Guide for Frostpunk 2 on Frost Lands: Squads, Route Marking, Buildings, and Upgrades
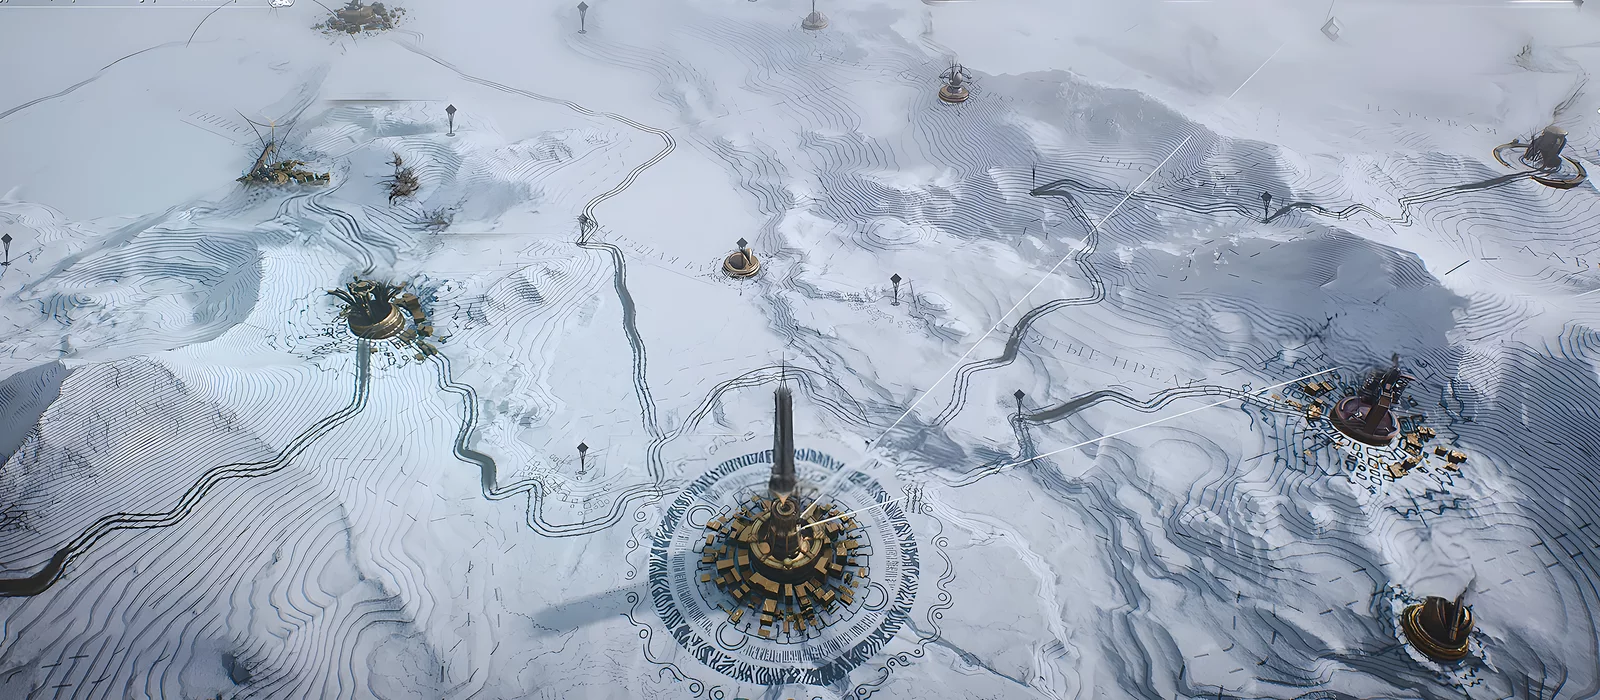
The survival of the city in Frostpunk 2 is impossible without the Frost Lands, and the faster you develop communications with your outposts and settlements, the better. Where to get more frost squads? What buildings need to be constructed? In this guide, we explain the points related to the Frost Lands.
How to Increase the Number of Frost Squads?
This is one of the first questions that arise while exploring the new features of the game, and it is quite easily solved:
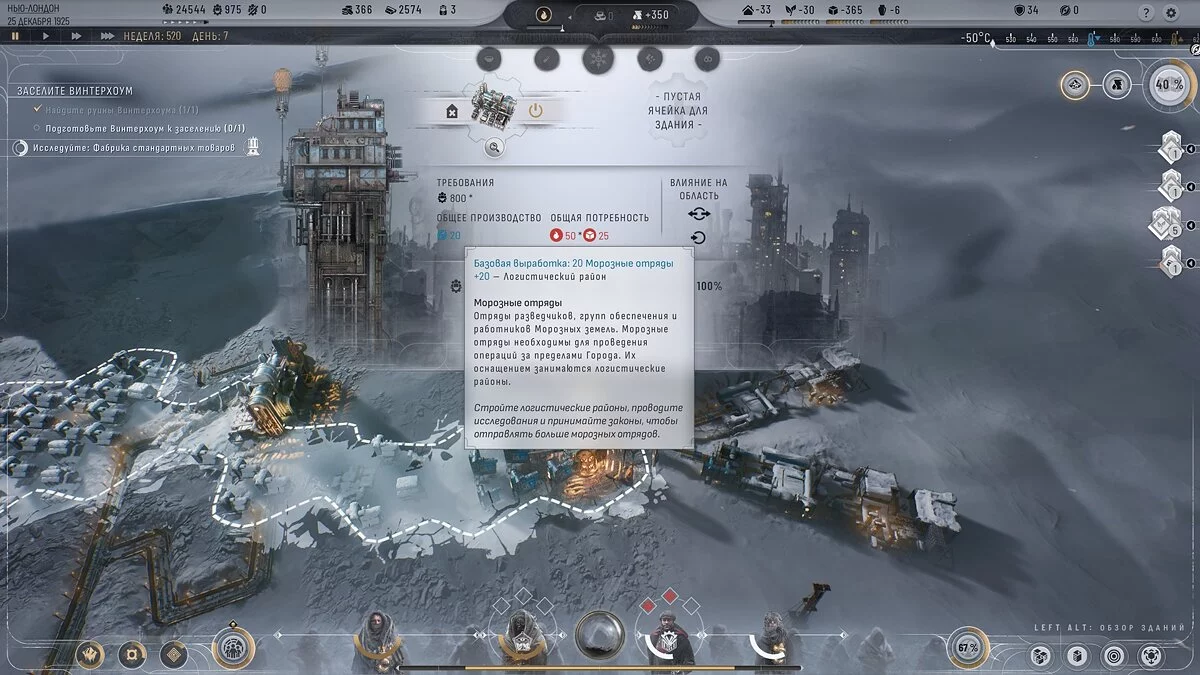
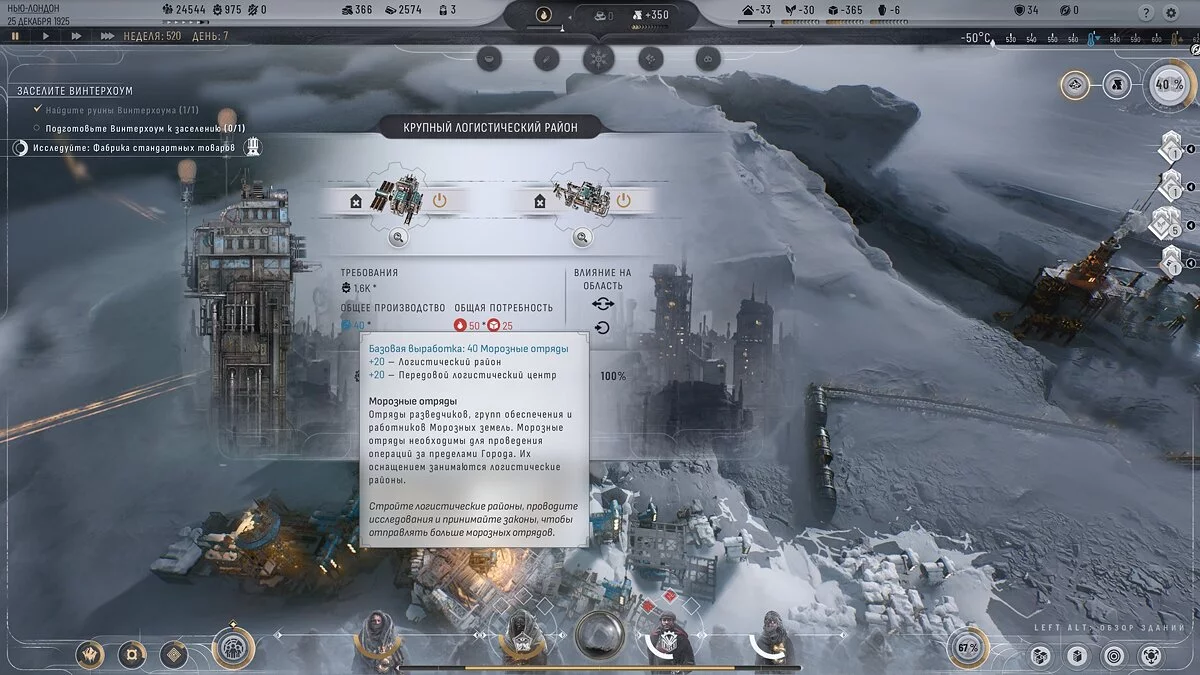
- build and upgrade logistics districts. For a regular district, you will get 15 frost squads, plus another 5 for its upgrade. 3 fully upgraded districts give you 60 squads;
- The Advanced Logistics Center will provide another 20 squads, totaling 80.
To increase the level of your scouts, we recommend building a Scout Headquarters, and researching everything in the Scout Preparation section. Also, in the Frost Lands, a couple of times during world exploration, you will come across auto-transport and knowledge that speeds up scouting. Choose these over other offered resources. The speed of your scouting is very important in the harsh world of Frostpunk 2.
What Are the Floating Points on the Map?
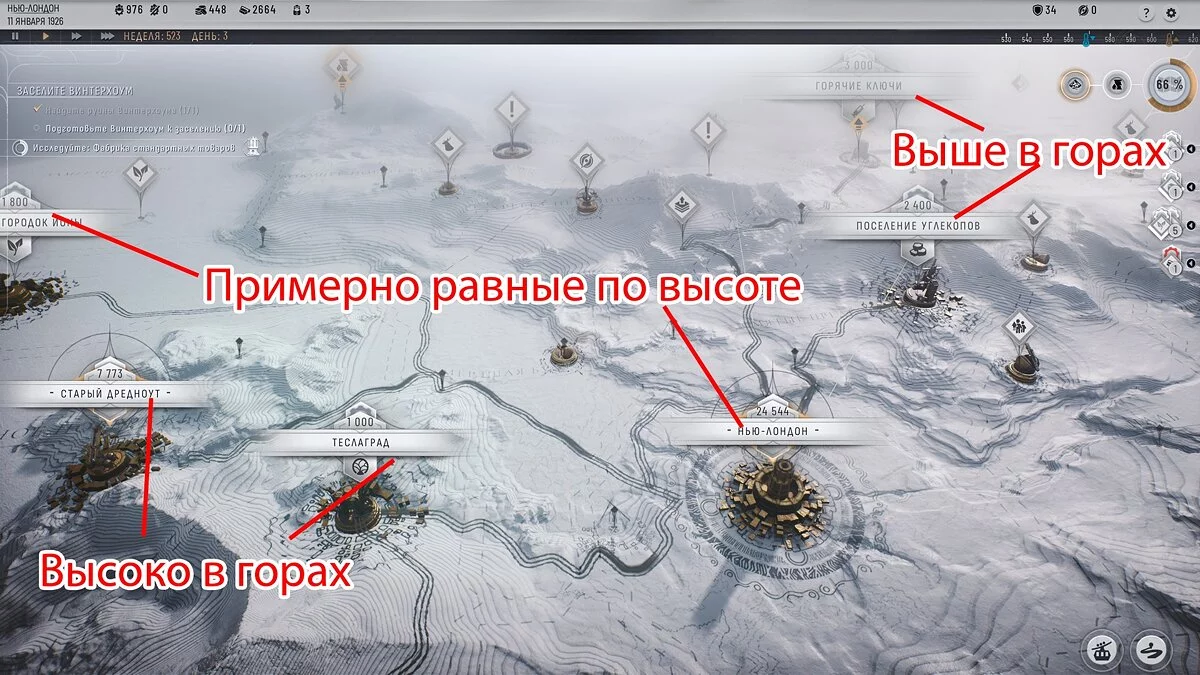
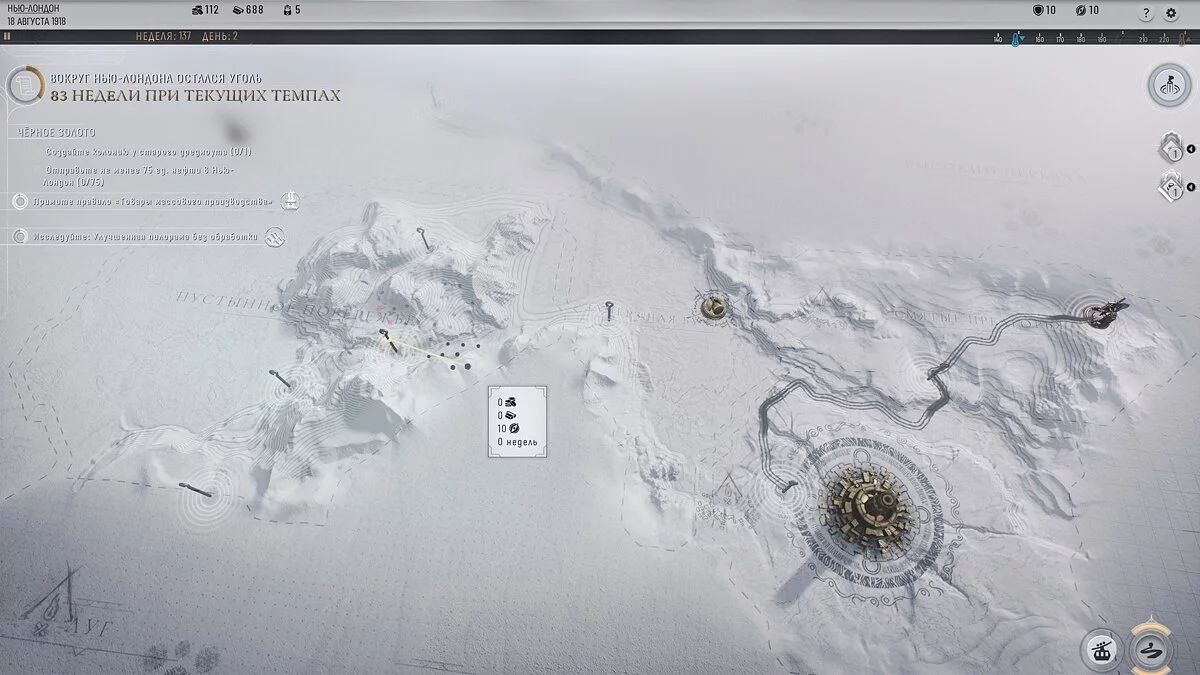
Unlike the original Frostpunk, in the sequel, you cannot directly plot a route from the city to the desired location. A new mechanic of elevation levels (normals) has appeared, meaning the terrain has different heights. Consider that New London is located at an elevation of 1000 meters, and points of interest around it are at different levels, often higher. This makes it impossible to build a direct route.
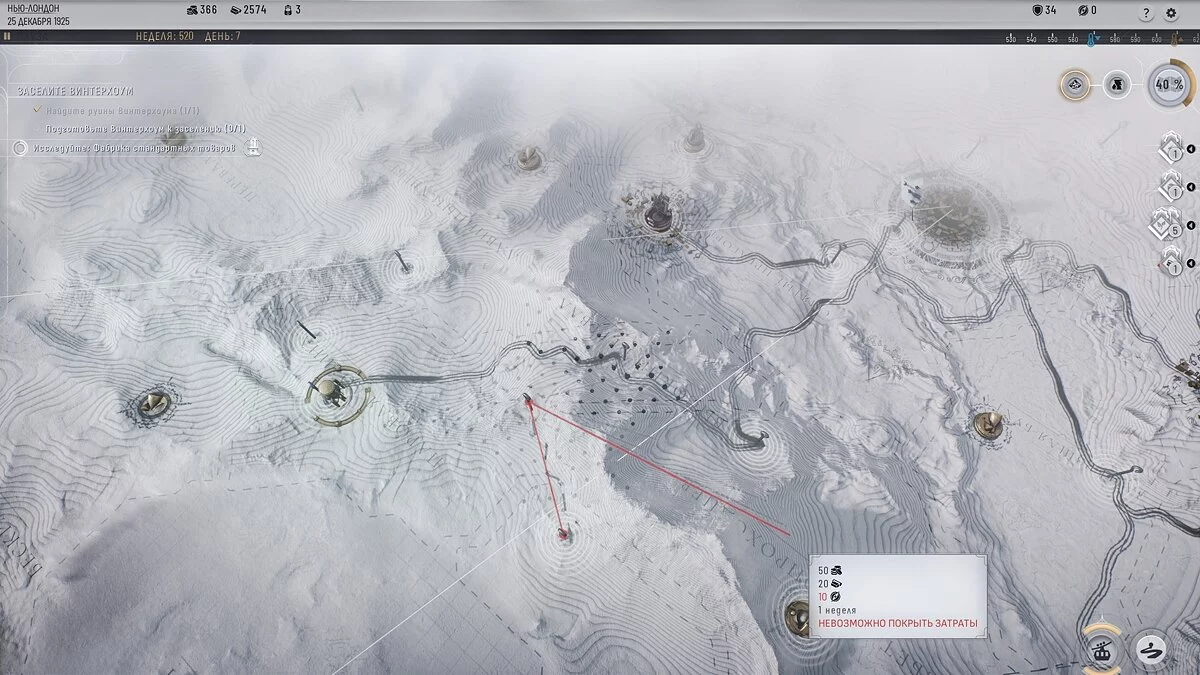
Any route in Frostpunk 2 will be divided into checkpoints (CP) and they can only be connected if they are at approximately the same height.
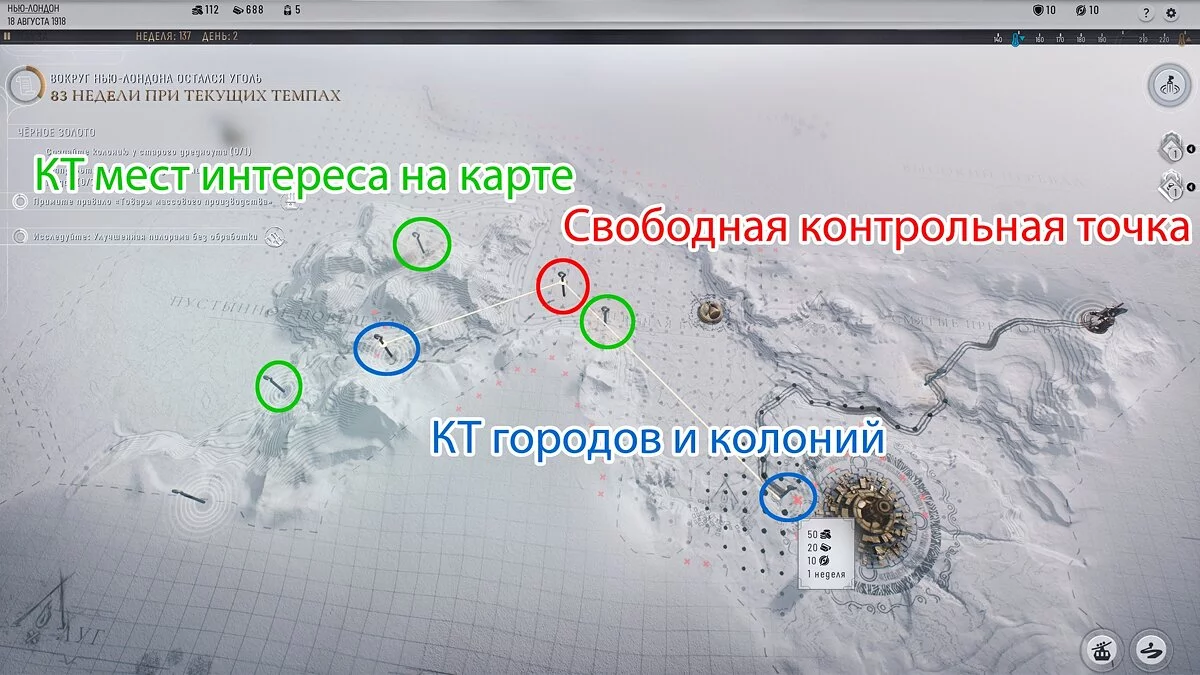
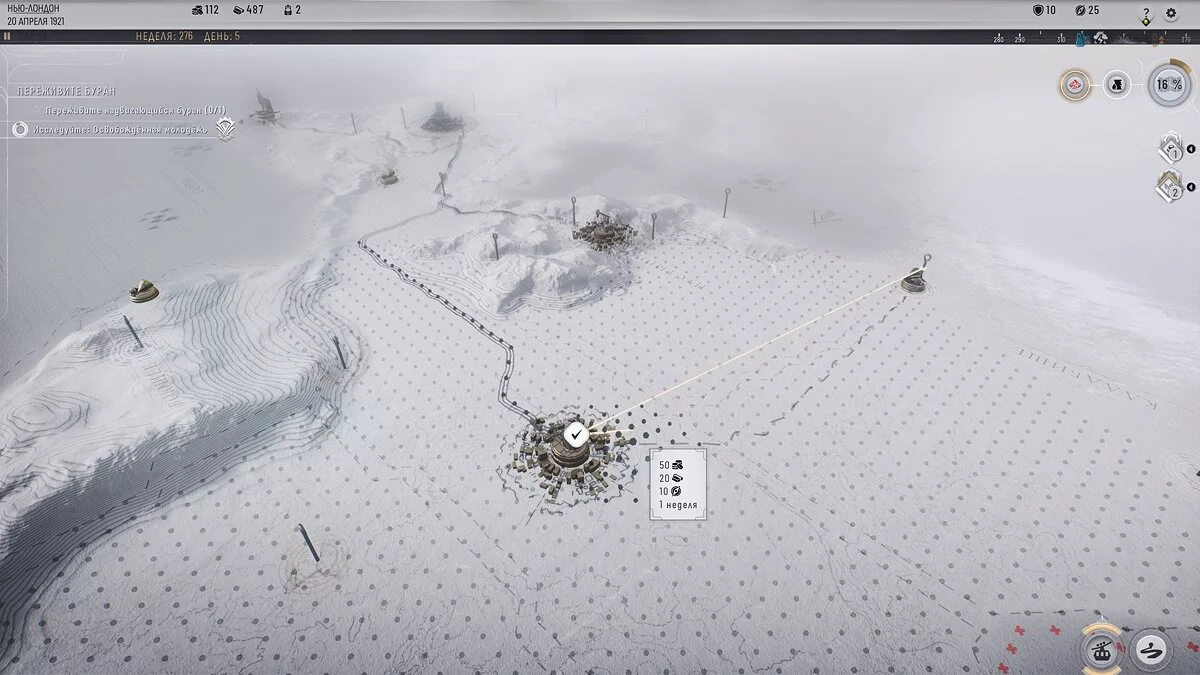
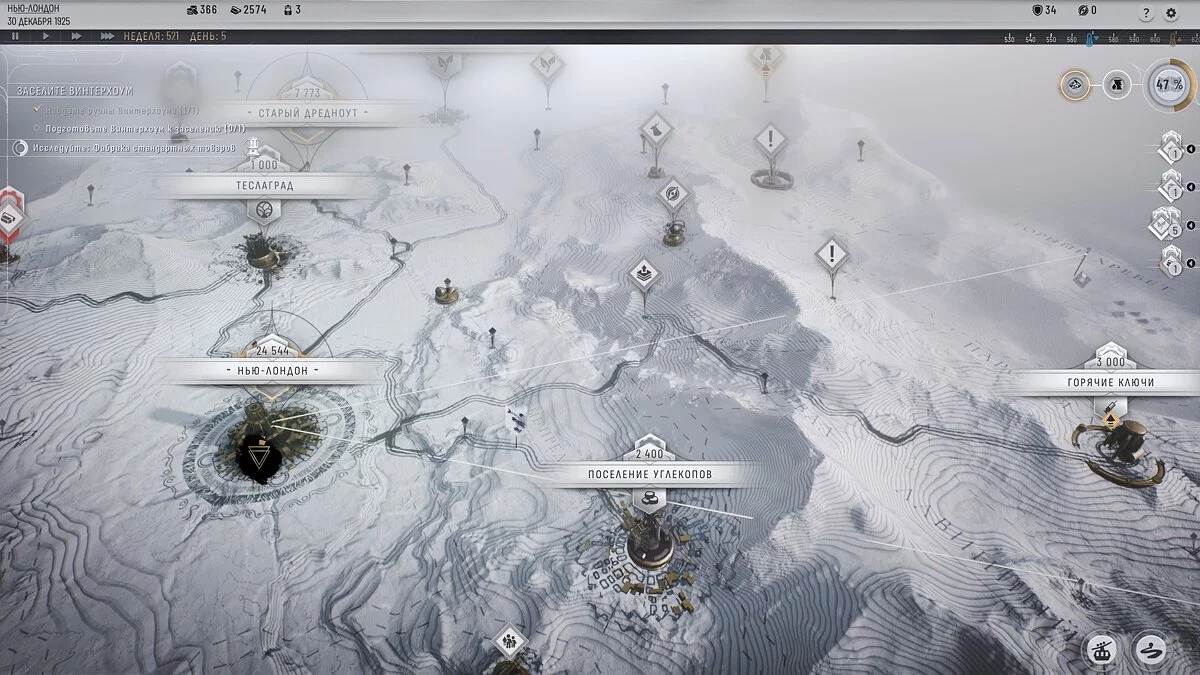
You can use both pre-set points of interest on the map as checkpoints and freely choose their location yourself. Cities and colonies have their own CPs. From a gameplay perspective, they are all equal. Visually, they are marked with ice hooks (pins).
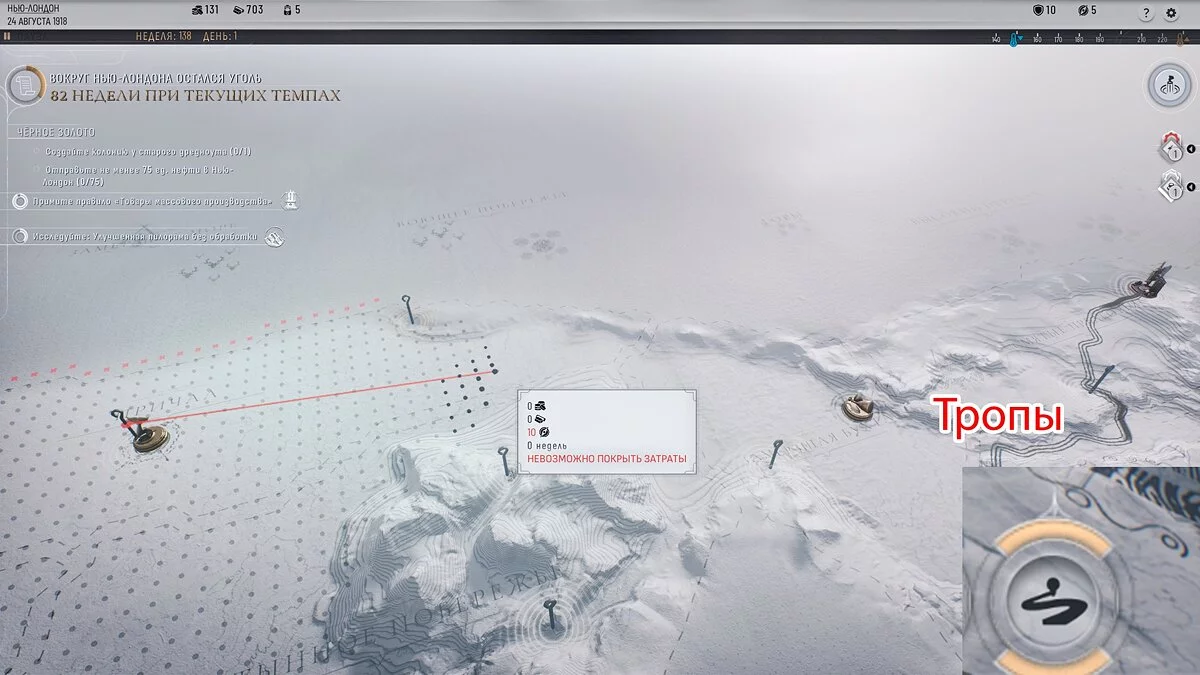
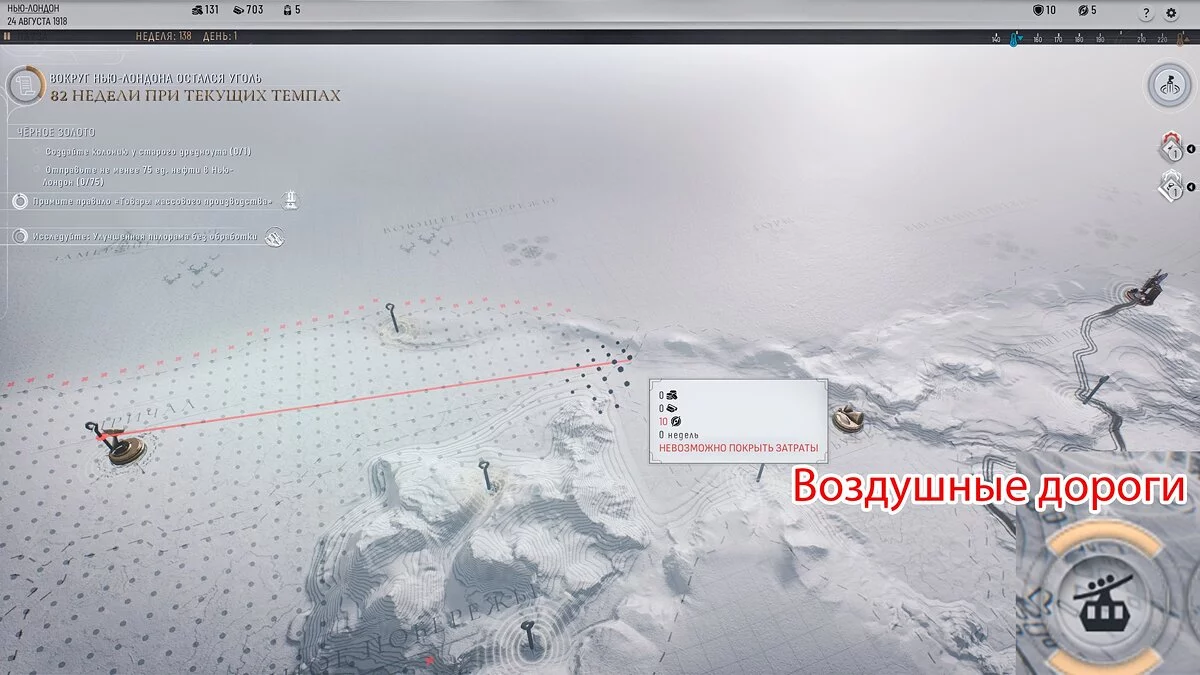
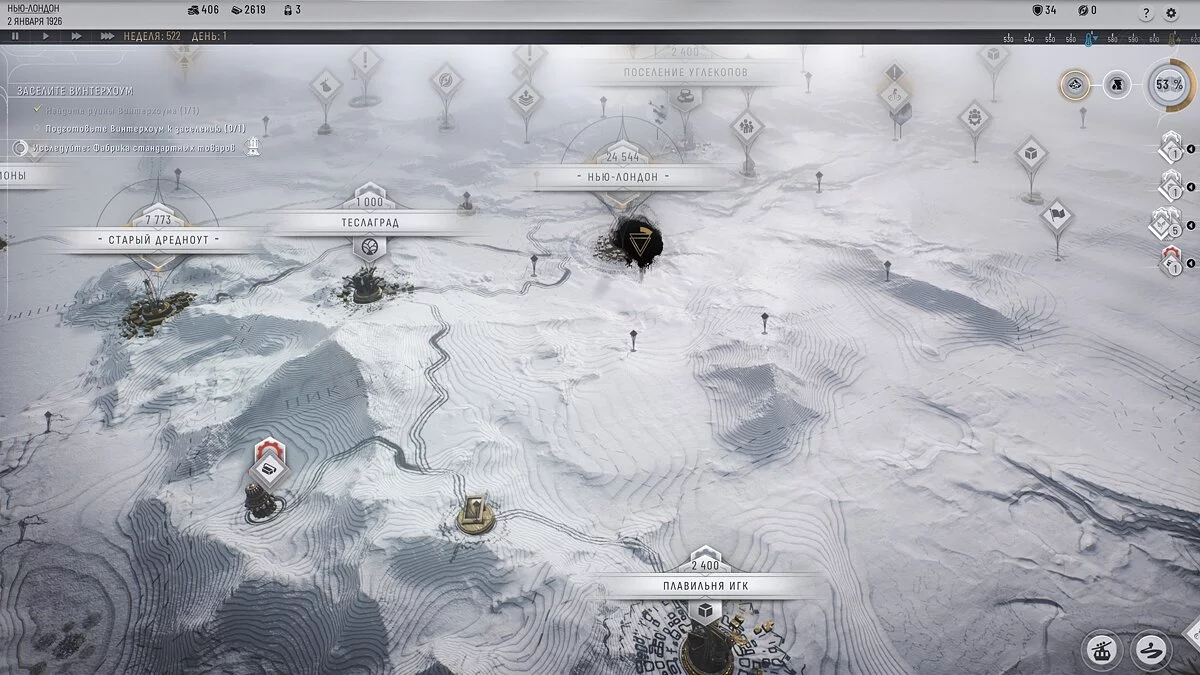
The height differences between checkpoints are visualized using floating points, which outline some area of effect on the map. For each checkpoint, the area of effect of the floating points varies and depends on the height difference.
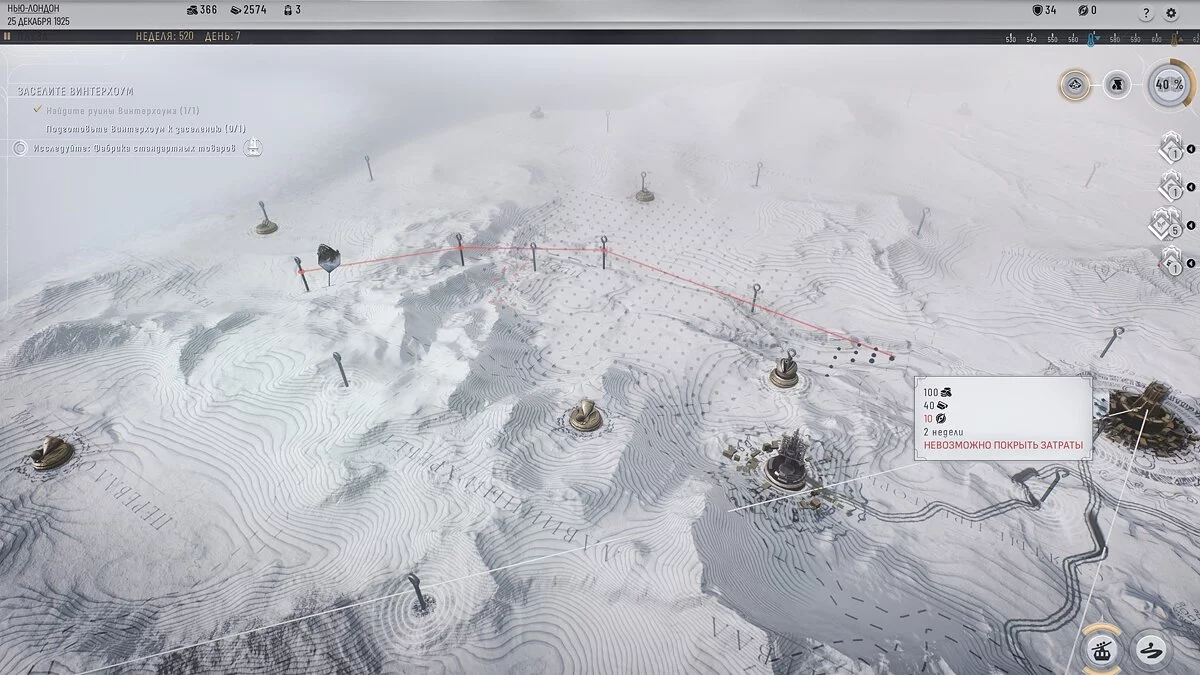
If the height difference is too great, the distance between checkpoints will be extremely short. For example, if your outpost is in mountains with steep slopes, the radius of the floating points will be limited, and you will have to set many CPs, gradually lowering the height and adjusting the route towards New London.
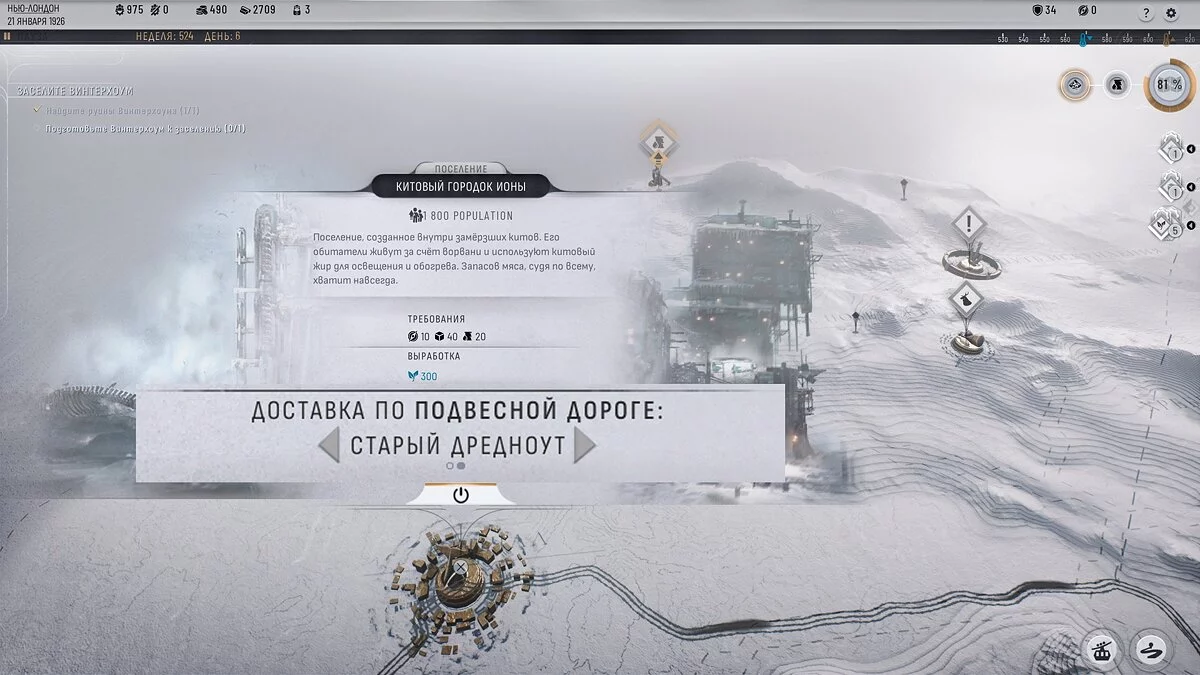
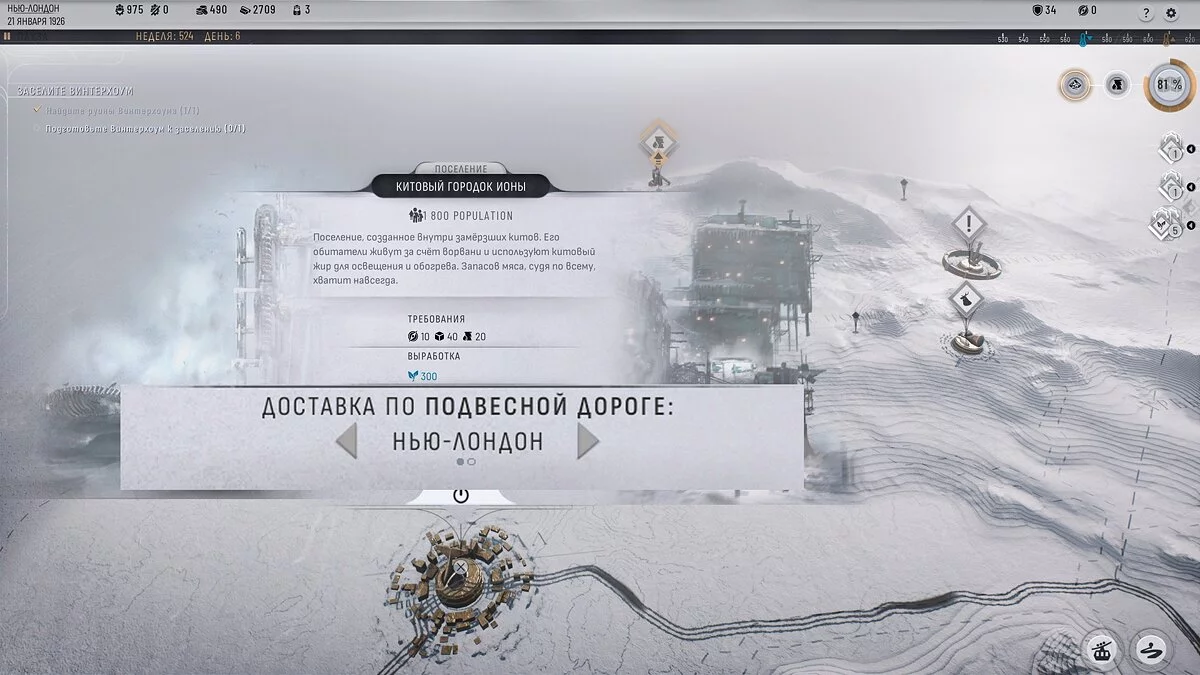
And if the point of interest is at the same height as New London (like the Whale Town), the area of the floating points will be maximum, as will the distance. Accordingly, you can place only 1-2 CPs and spend minimal resources. When planning a route, choose such height differences that the number of checkpoints is minimal.
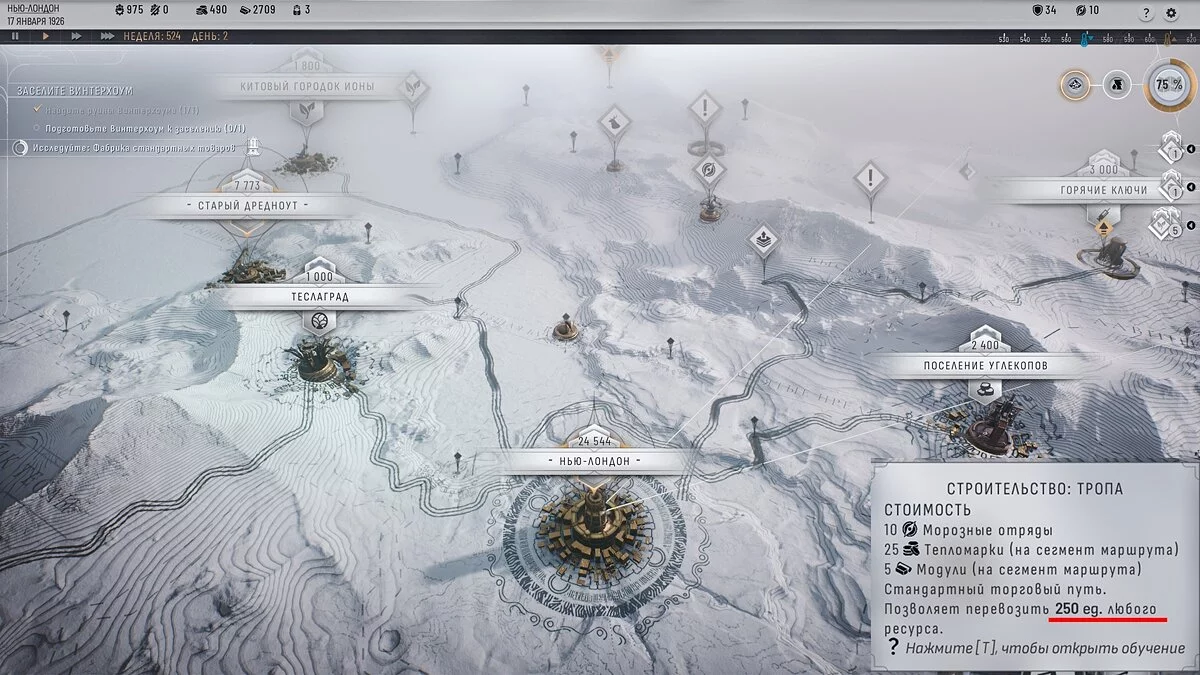
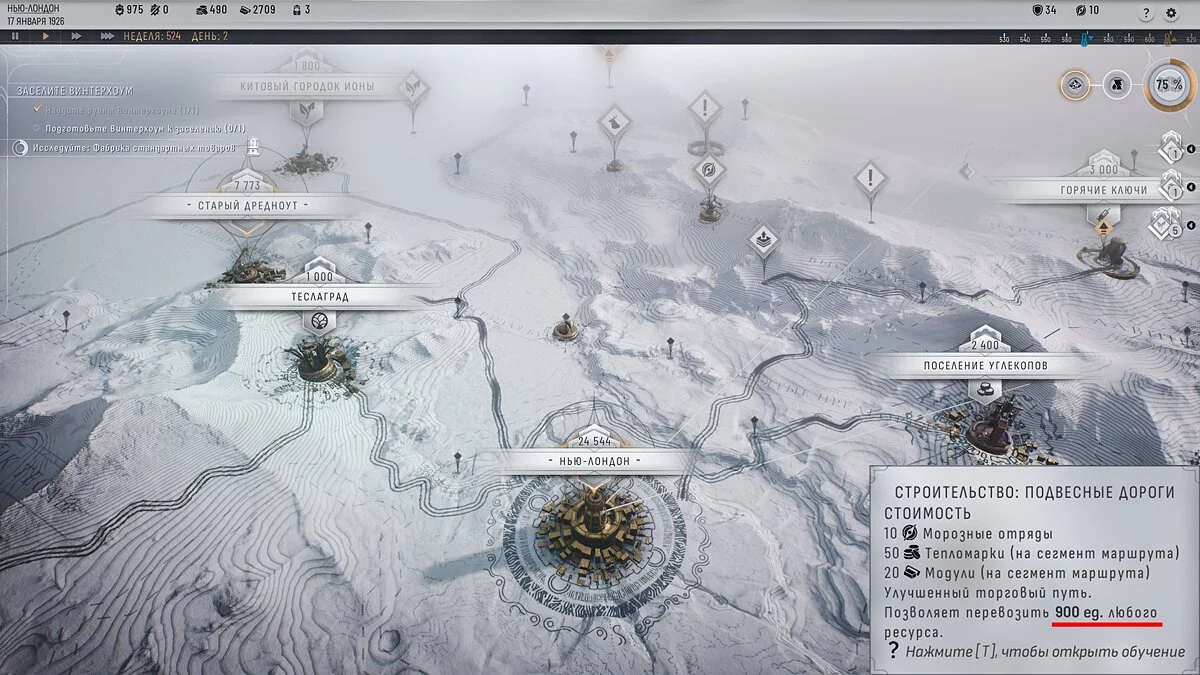
The distance between checkpoints also depends on the type of road. A simple path on ice is significantly shorter than suspended roads, meaning more checkpoints will be needed.
This disadvantage is compensated by the relatively low cost of routes for paths, but suspended roads are still more efficient as they transport significantly more cargo in less time. Transporting the same oil can consume the entire capacity of your route.
Where is the Starting/Ending Point of the City's Routes?
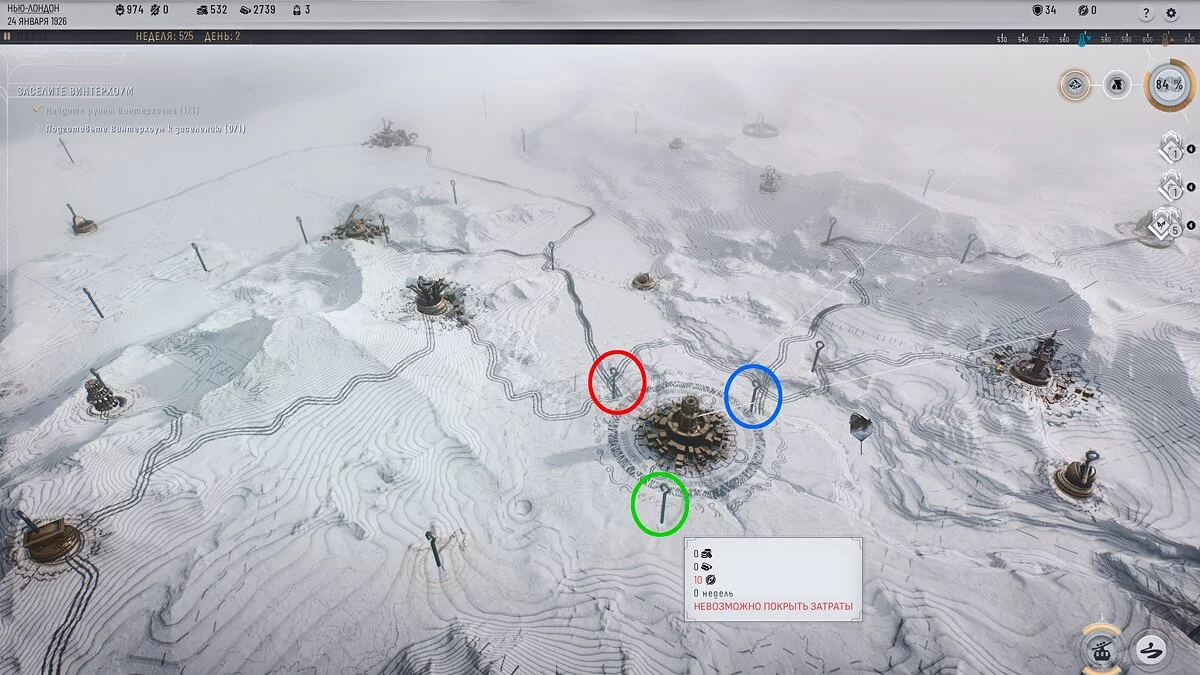
When plotting any route — to an outpost with resources, to a settlement, or to a colony — the game will automatically connect it to the starting checkpoint of that place. But how to determine the endpoint of New London? Where to attach? Many players mistakenly click on the city itself or the area around it. In fact, the required checkpoint (hook) is located in the vicinity, slightly away from the city marker.
This pin is the starting/ending point for all routes leading to New London. The task is complicated by the fact that this hook is only visible in the road planning mode and does not appear on the global map outside this mode. So, if you study the map in normal mode, you won't see the hook and can easily lead the path/road in the wrong direction.
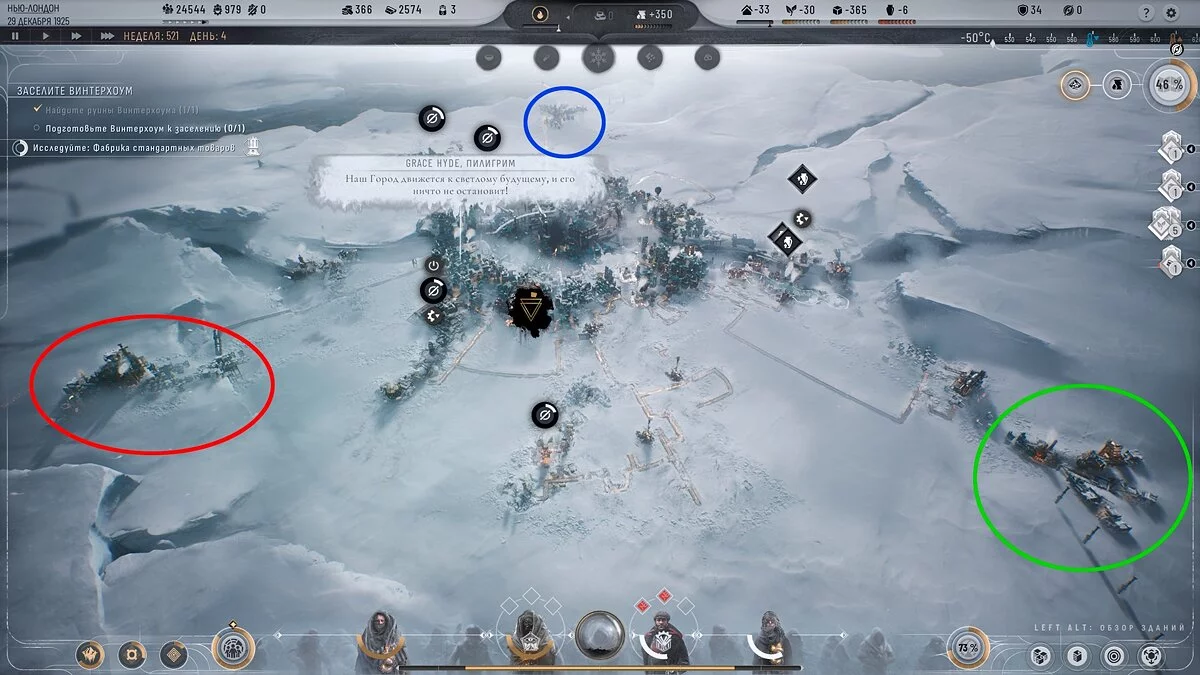
To make the ice hook appear on the global map, you first need to build a logistics district on the tactical map. The construction site on the tactical map determines the location of the hook on the strategic map — highlighted in the screenshots with colors. The first logistics district is better placed in the east, as this direction is most important at the start of the game, and then you can develop other directions.
Can Routes Be Connected?
Not only can they be, but they should be. Paths can be connected to paths, and roads to roads. However, paths and roads cannot be connected/joined. Nevertheless, you can lay both a path and a road along the same route if necessary.
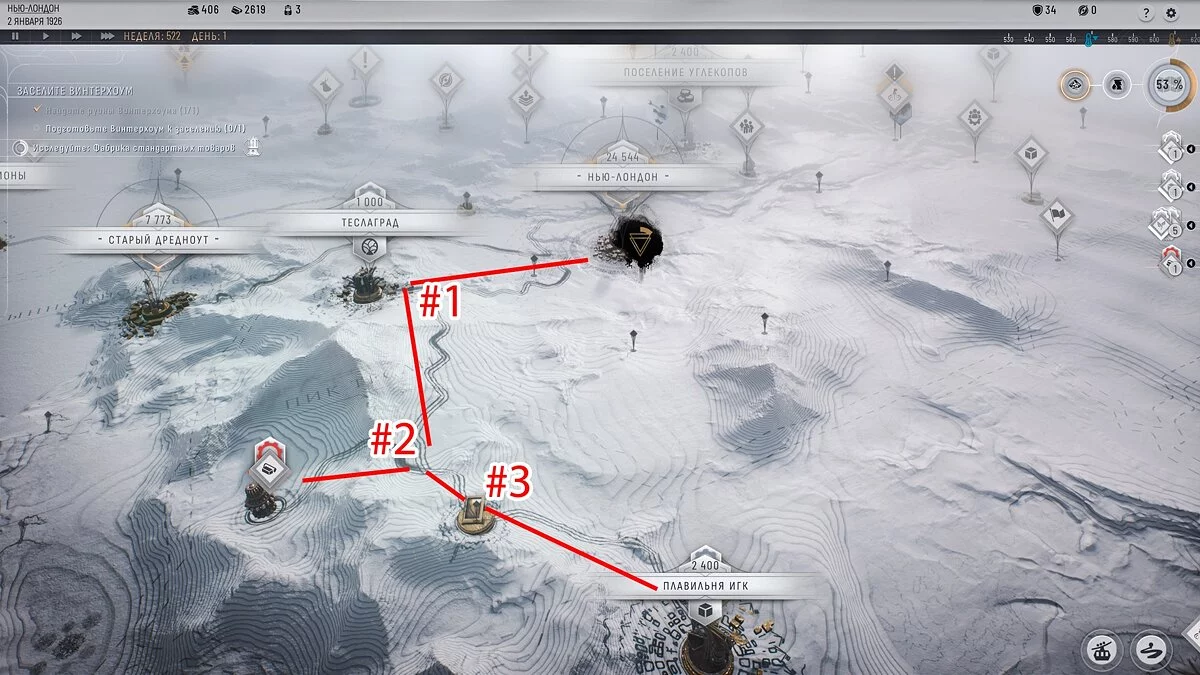
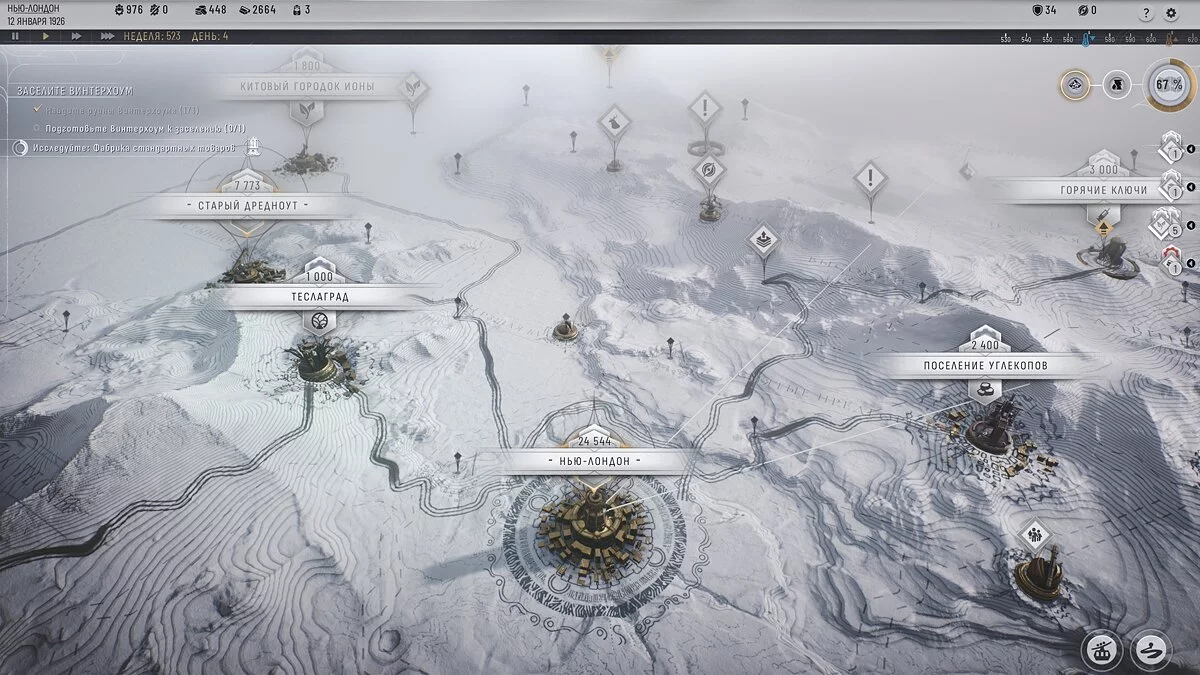
If you already have a route from point A to New London, and point B is nearby A, it is preferable to connect the route from B to the pin in A rather than building a new route from B to New London. In the screenshot below, 5 different positions were connected to each other in three stages.
This advice does not work if point A is located on a high ground and B is on a flat surface, or if the distance is too great. In such cases, it's better to remeasure the distance and connect point B to New London directly.
How Do Routes with Multiple Connections Work?
You can hang several routes on one CP (attach roads to one pin), and from it to New London. All resources will be delivered simultaneously. The game provides for transportation from an outpost or settlement either to the city or to a colony.
Settlements are connected only to New London and by default send resources there. If you need them elsewhere, just click on the settlement and choose a destination other than New London.
Each line has its own resource capacity limit. If you exceed it, consider examining the existing line and plotting a bypass or directing the route to another logistics district of New London. Overloading can also be avoided by building a separate route.
***
Proper development of communications with the Frost Lands is the key to survival in conditions of constant resource shortages and unpredictable weather. The better you establish transport routes, the faster the necessary resources will arrive for maintaining your city's life. May your efforts in establishing communications become the guarantee of your city's survival and prosperity!
Other guides
- Frostpunk 2 Guide: How to Deliver 75 Oil from the Old Dreadnought to New London
- Guide Frostpunk 2: How to Clear Ice and Plan Districts on a Hexagonal Map?
- Frostpunk 2: Quick Start in the New London Scenario
- How to Insulate the City and Survive the First Storm in Frostpunk 2
- Guide for Frostpunk 2 for Beginners: Tips and Tricks
- Frostpunk 2: Schnellstart im New London Szenario
- Leitfaden für Frostpunk 2 für Anfänger: Tipps und Tricks
- Frostpunk 2 Anleitung: Wie man 75 Öl vom Alten Dreadnought nach Neu-London liefert
-
How to Insulate the City and Survive the First Storm in Frostpunk 2
-
Guide for Frostpunk 2 for Beginners: Tips and Tricks
-
Frostpunk 2: Quick Start in the New London Scenario
-
Frostpunk 2 Guide: How to Deliver 75 Oil from the Old Dreadnought to New London
-
Guide Frostpunk 2: How to Clear Ice and Plan Districts on a Hexagonal Map?
