Sons of the Forest Walkthrough: How to Find All Keycards and Ancient Armor

Sons of the Forest is an open-world survival simulator where players must fight cannibals and monsters, as well as unravel the mysteries of the island. In this guide, we will detail the walkthrough of the game, as well as explain in which order to explore dungeons and how to find all beacons and keycards.
Sons of the Forest Guides
- Artifact in Sons of the Forest: What It's For and How to Find All Parts
- Sons of the Forest Cheats: Codes and Console Commands
- Sons of the Forest Walkthrough: How to Find All Keycards and Ancient Armor
- How to Befriend the Three-Legged Girl (Virginia) in Sons of the Forest and Make Her Your Companion
- How to Find a Shovel and Dig Up a Grave in Sons of the Forest
- Weapon Guide in Sons of the Forest: Where to Find and How to Craft
Gameplay Tips. In What Order to Explore Dungeons and Explore the Island
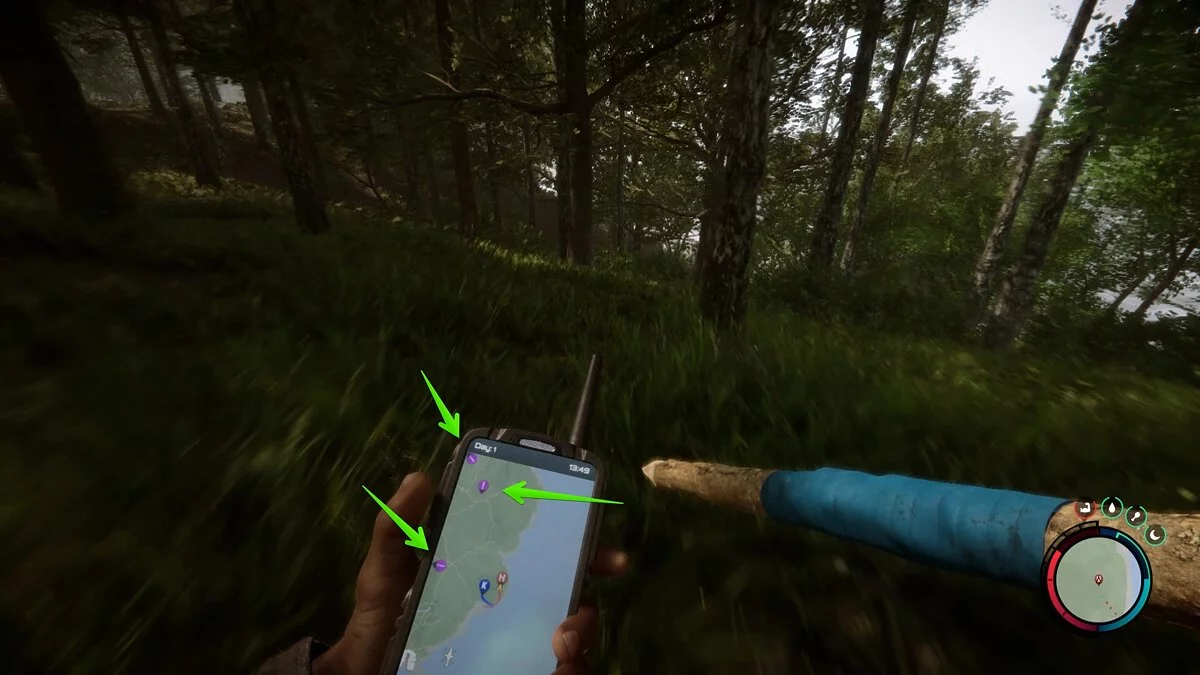
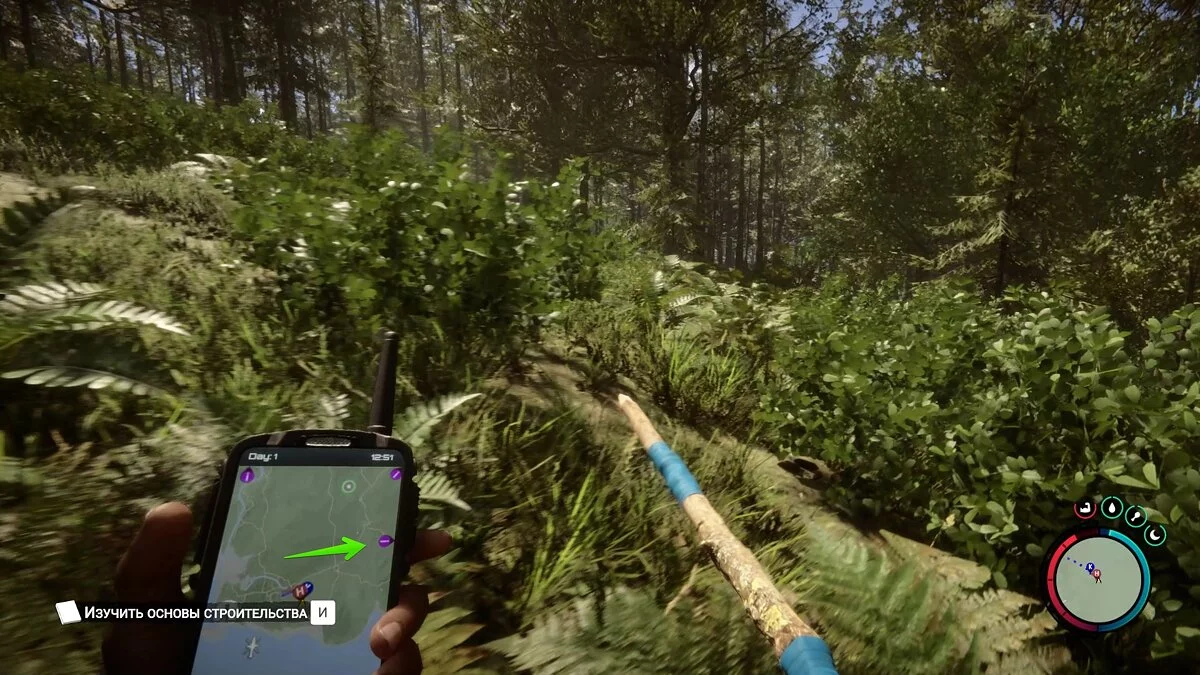
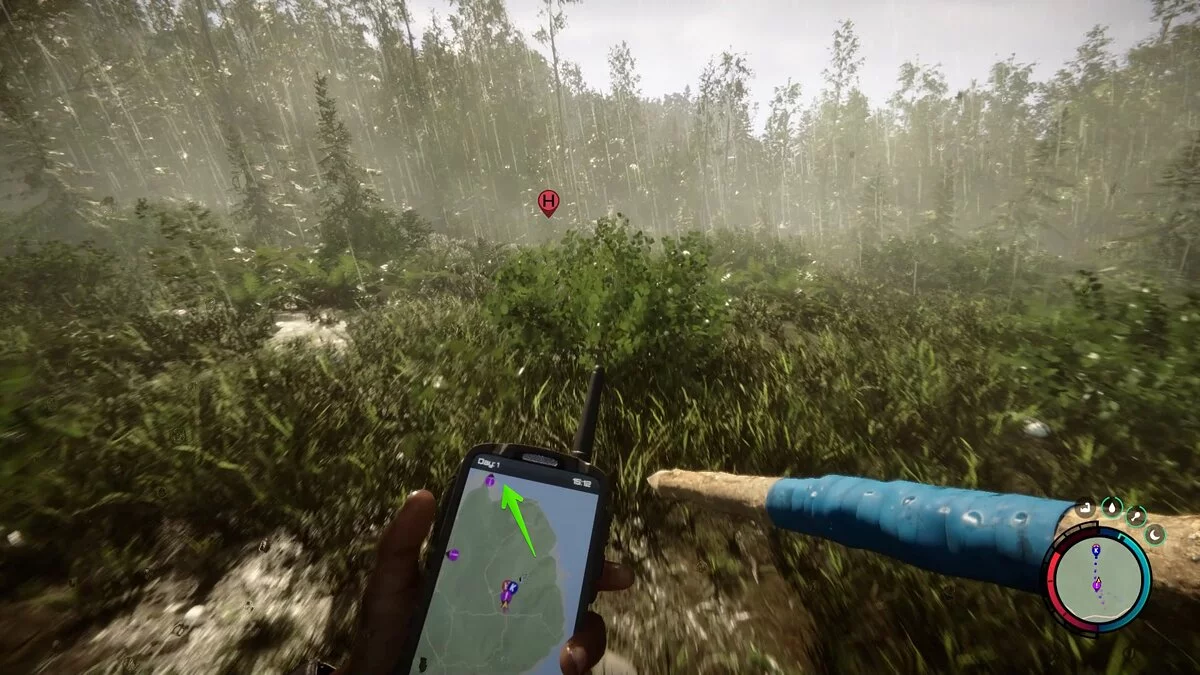
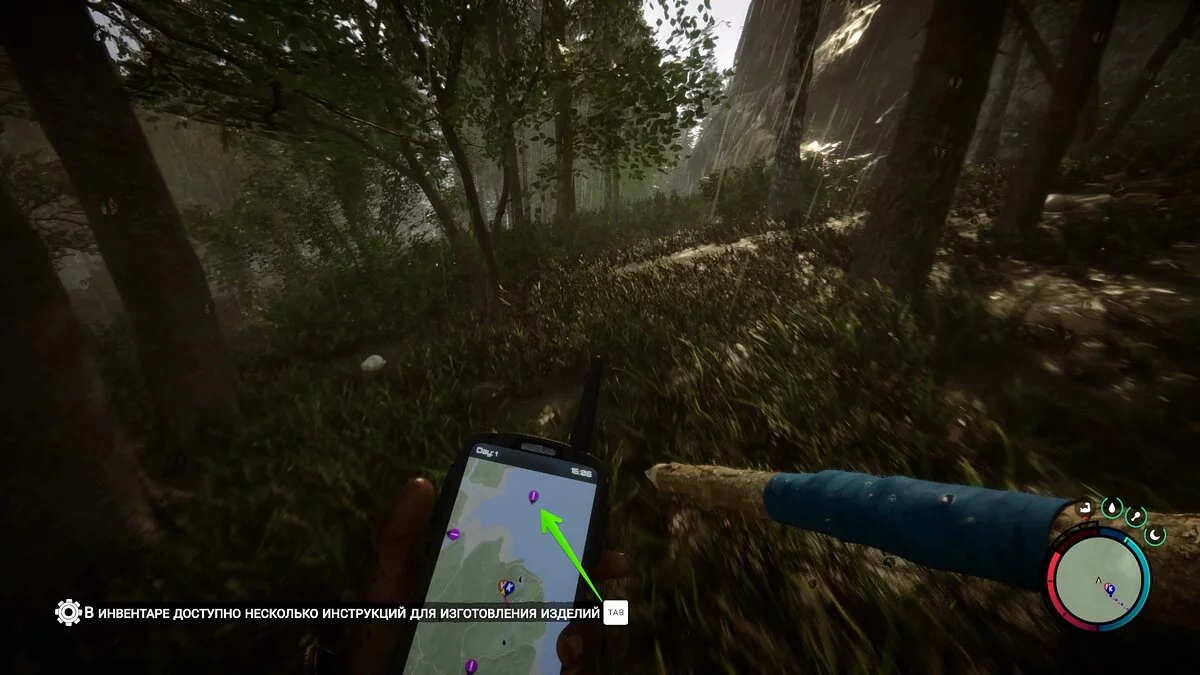
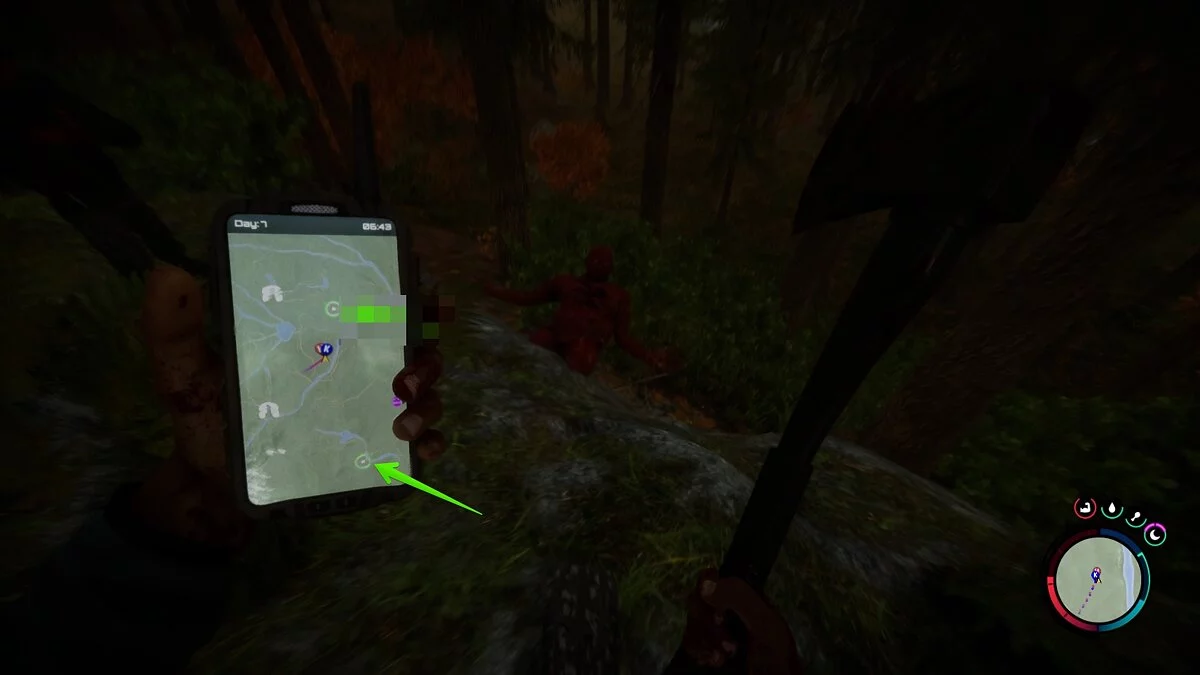
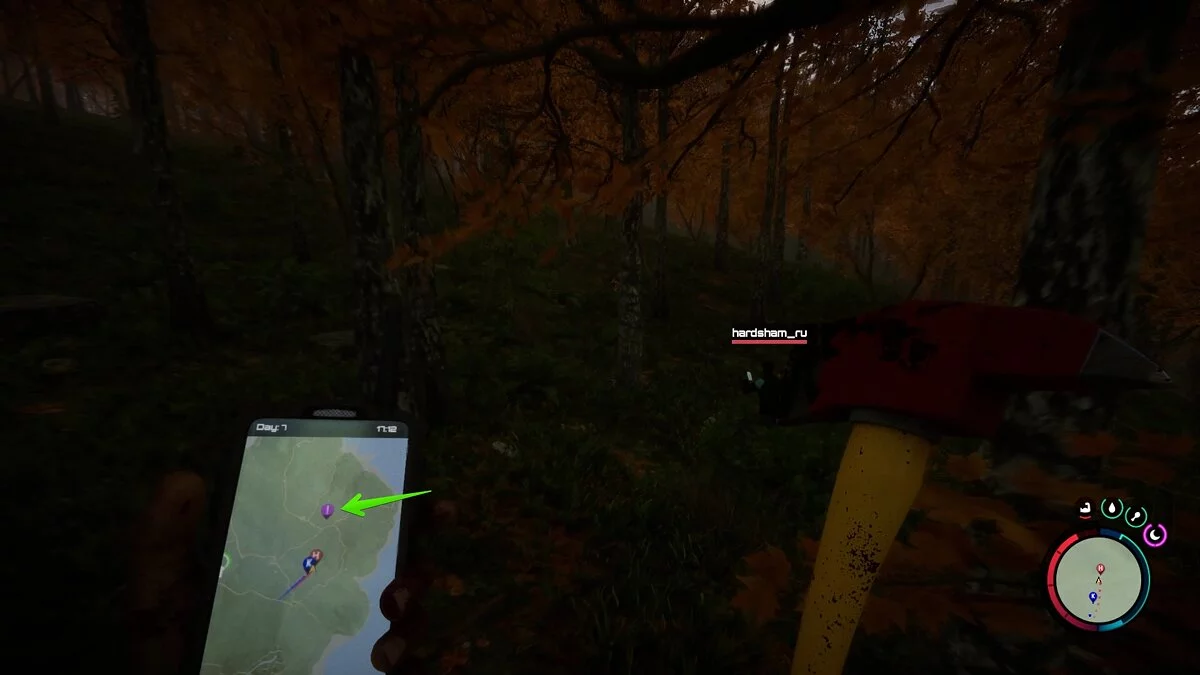
In Sons of the Forest, the first thing you need to do is find three beacons. They are highlighted with purple markers on your GPS. Reaching two of them is fairly straightforward, but the third can only be obtained with a shovel. Therefore, you will have to first explore several caves, find a grappling hook and a shovel, and then explore the marker with the third beacon.
How exactly to survive in the open world of Sons of the Forest is up to you. You can first set up a shelter and prepare for winter or immediately start searching for the beacons.
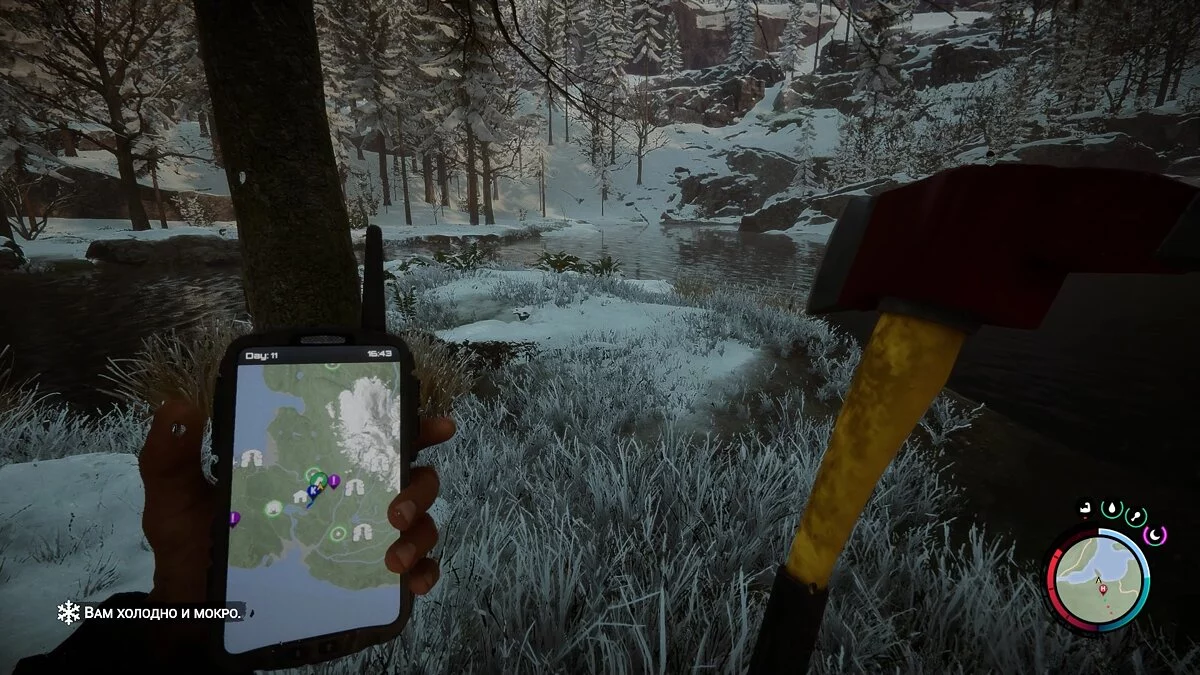
As the story progresses, the seasons will change. By the time you find the grappling hook and shovel, autumn will arrive. And a little later, the open world of the game will be covered with snow, and winter will come. At this point, it is advisable to have a fortified base with a fence and at least one shelter, as cannibals will start conducting real raids and will try to kill you.
At the beginning of the game, we recommend crafting primitive weapons (a spear, a homemade bow, and arrows) to hunt small game while exploring the island.
How to Find the First Beacon in an Inflatable Boat
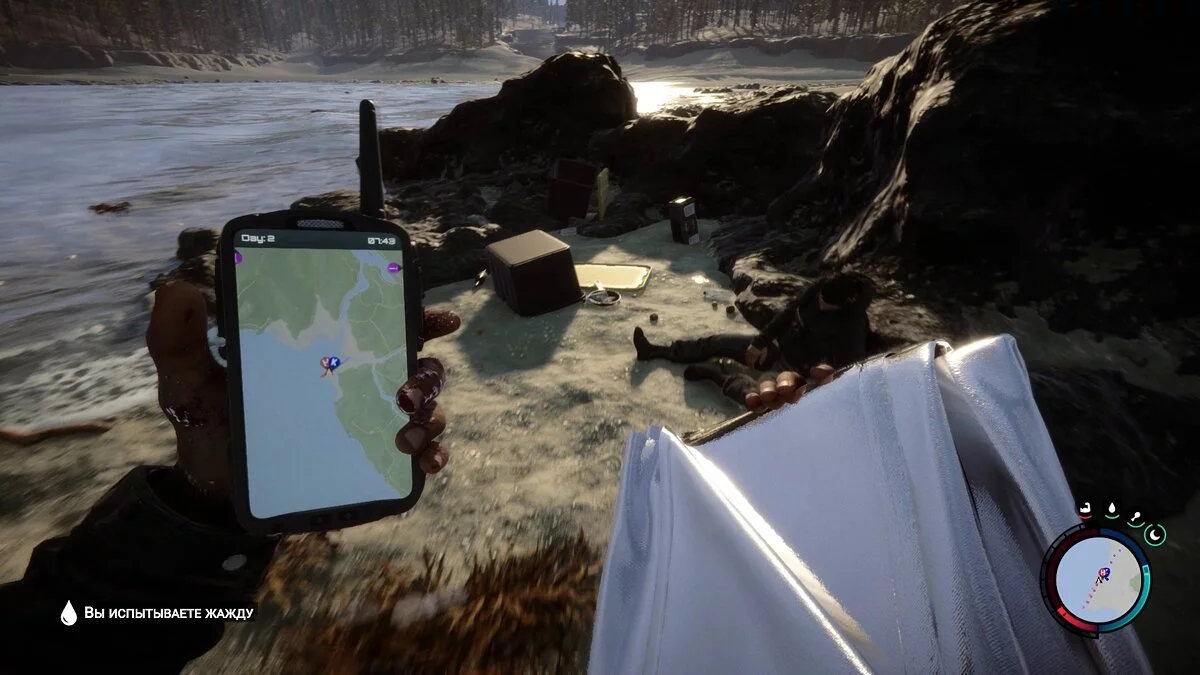
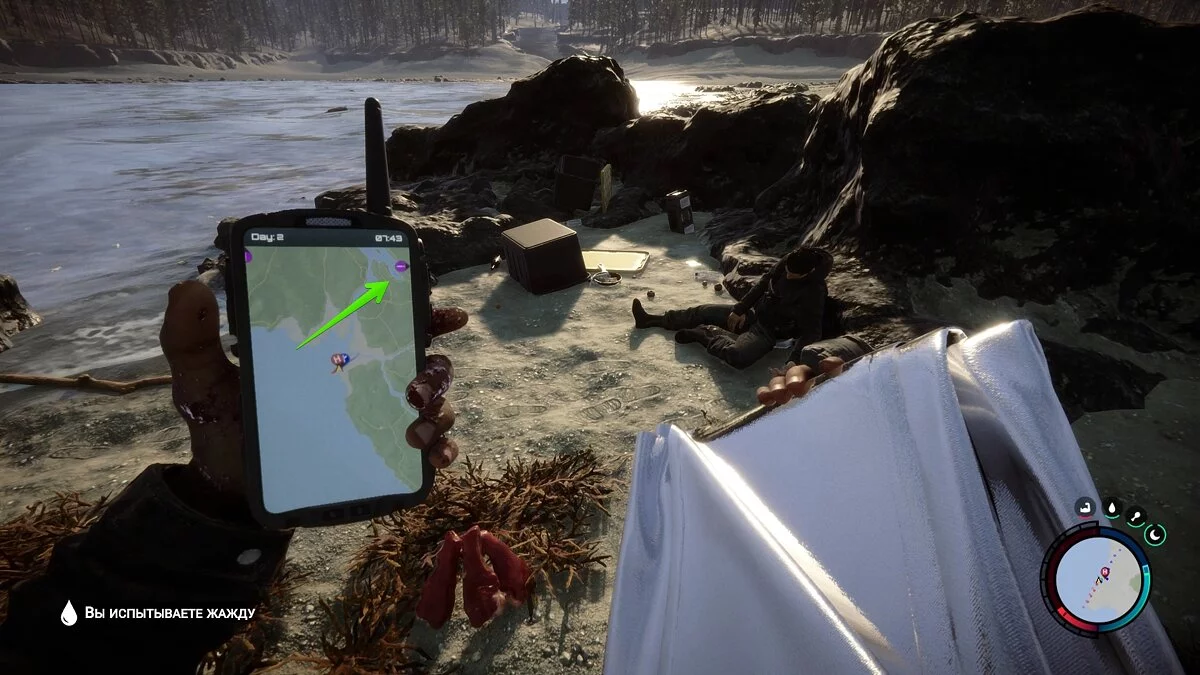
After landing on the beach, first, inspect the plastic containers and revive Kelvin. Set up a tent, and be sure to create a spear. Take the GPS in your hands and look around. Nearby, there is a cave, but it is dangerous to go there now, as quite a lot of monsters roam inside. We recommend first heading to the first beacon in an inflatable boat. Here, you can also pick up the first serious weapon — a pistol.
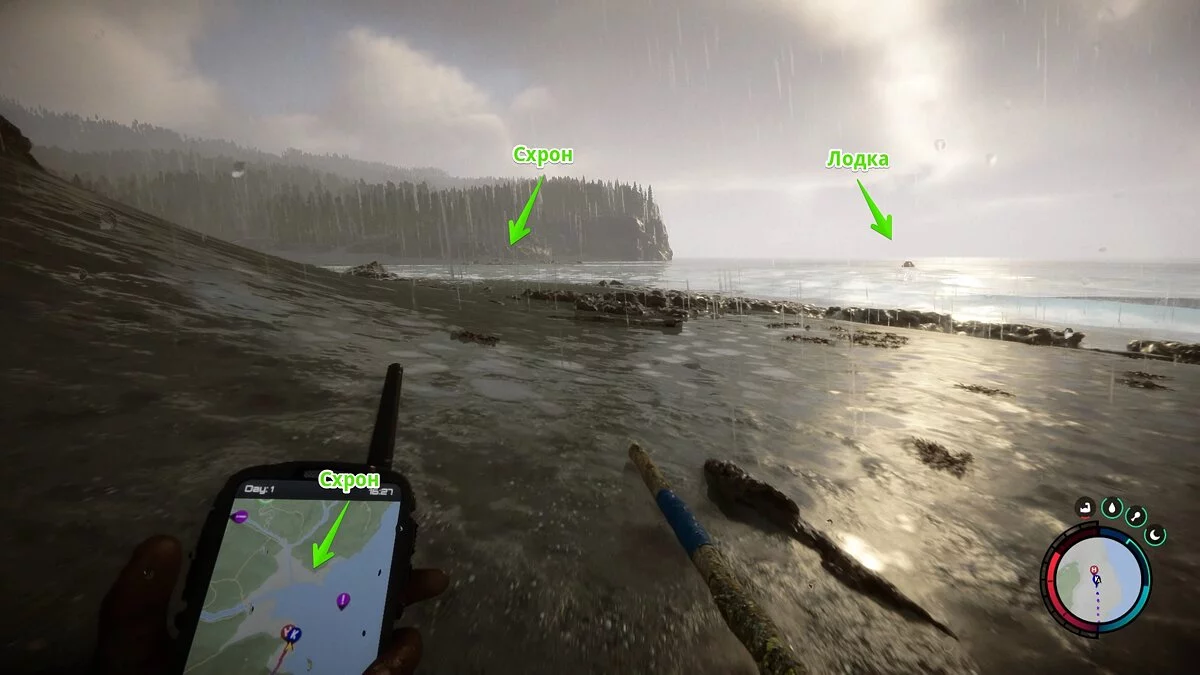
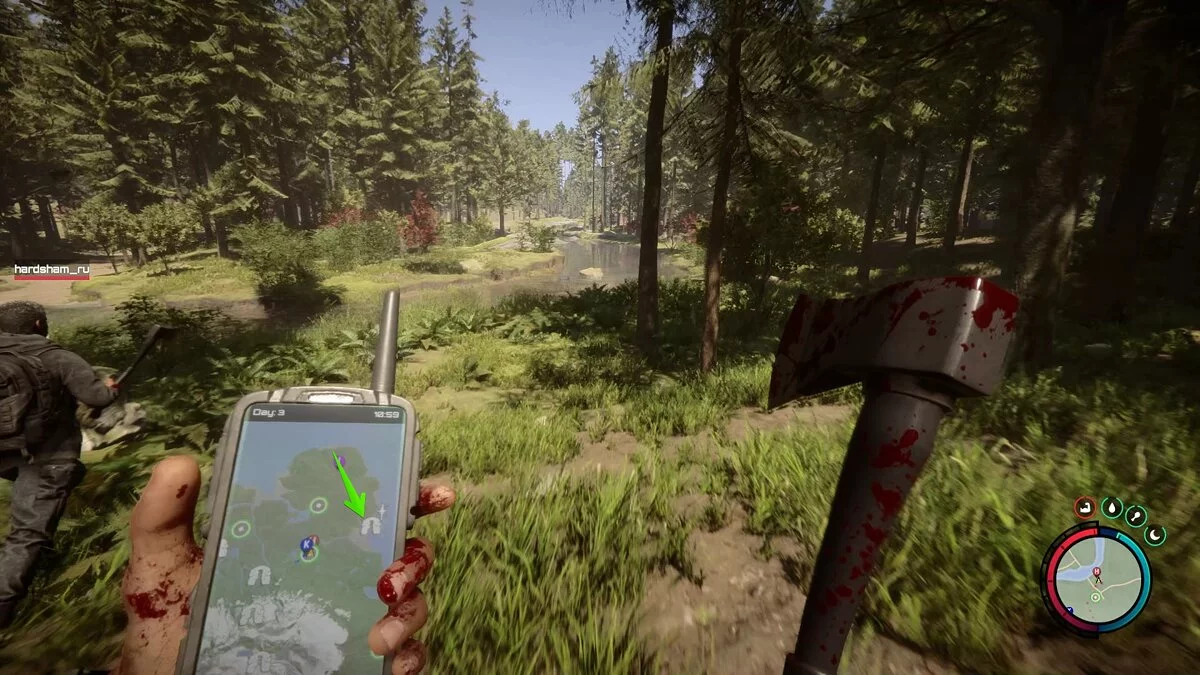
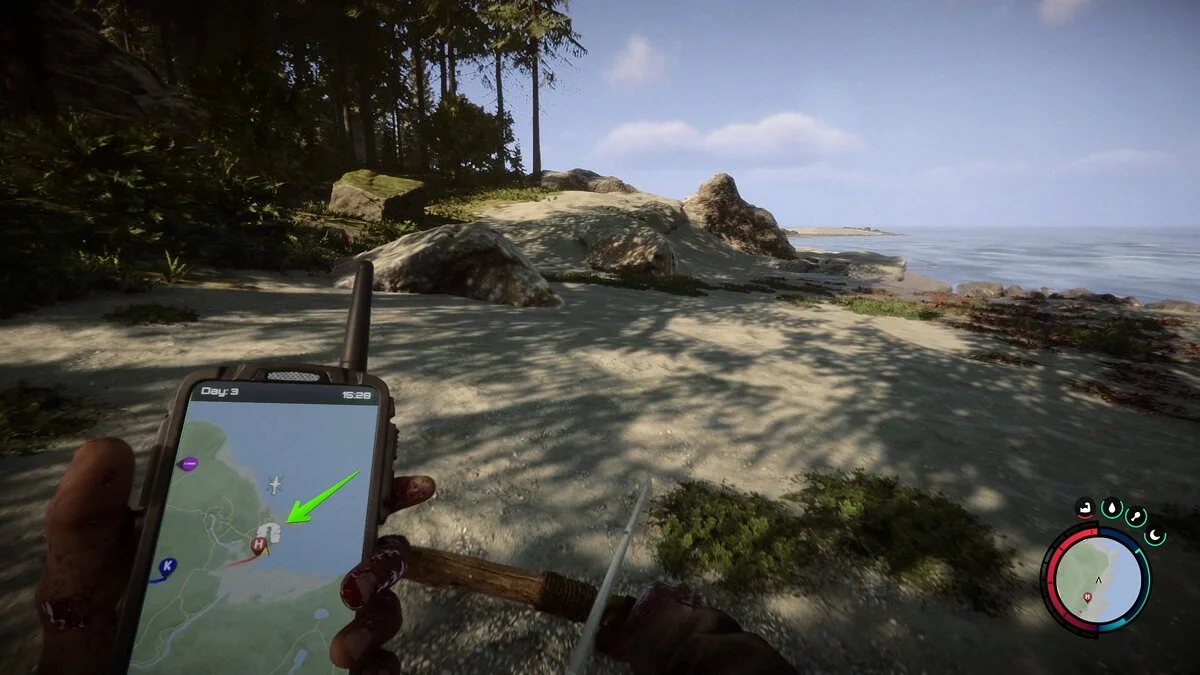
From the helicopter crash site, turn to face the center of the island and run east. The beacon is highlighted on the right side of the map. Along the way, you will come across another GPS tracker. But it is buried underground, and you currently do not have a shovel. Ignore it and run to the bay.
On the shore, you can find a cache with supplies and ammunition. It is located to the right of the boat's location on the map.
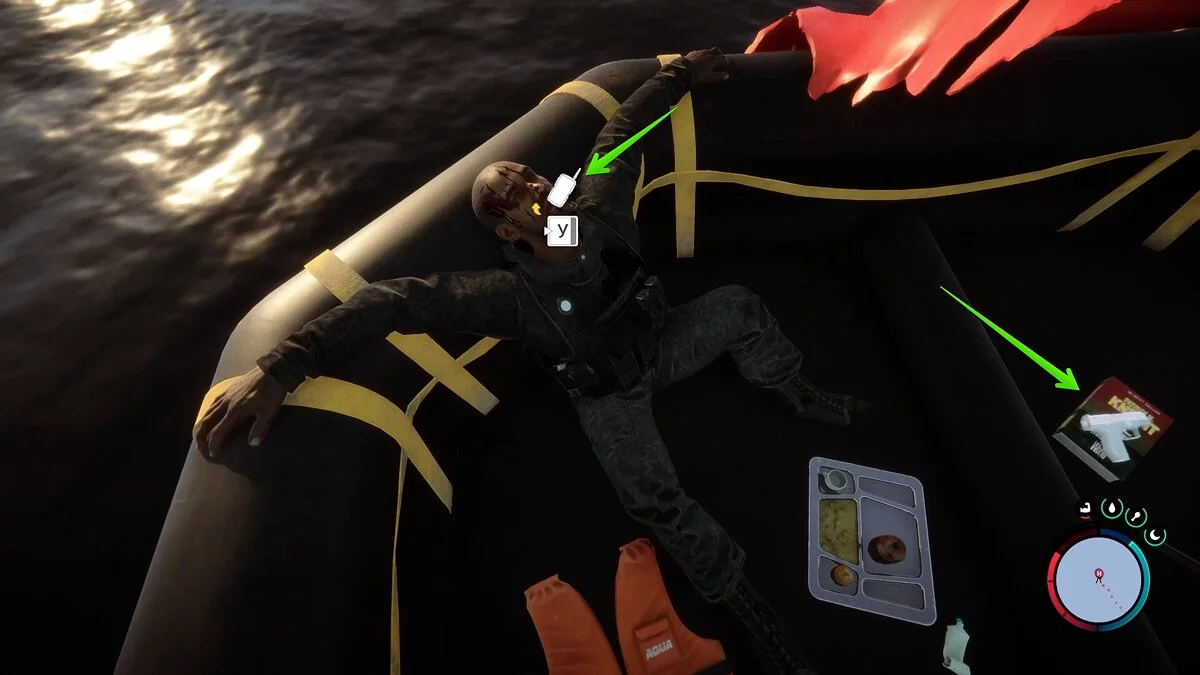
Before swimming to the boat, we recommend fully restoring health, as there is at least one shark swimming in the water (some players claim there can be several). On medium difficulty, a shark bite takes away about a quarter of the hero's health. It is worth noting that there are no medications in the boat, so you will have to use pills from the emergency pack or craft several healing kits from herbs.
For this, use the ingredients:
- Yarrow (1);
- Aloe (1).
In the boat with one of the squad members, you will find a radio, some supplies, and a pistol. Don't forget to pick up the GPS beacon.
How to Find the Second Beacon
Return back and follow to the beacon located closer to the center of the island. Ignore the buried GPS tracker just as before.
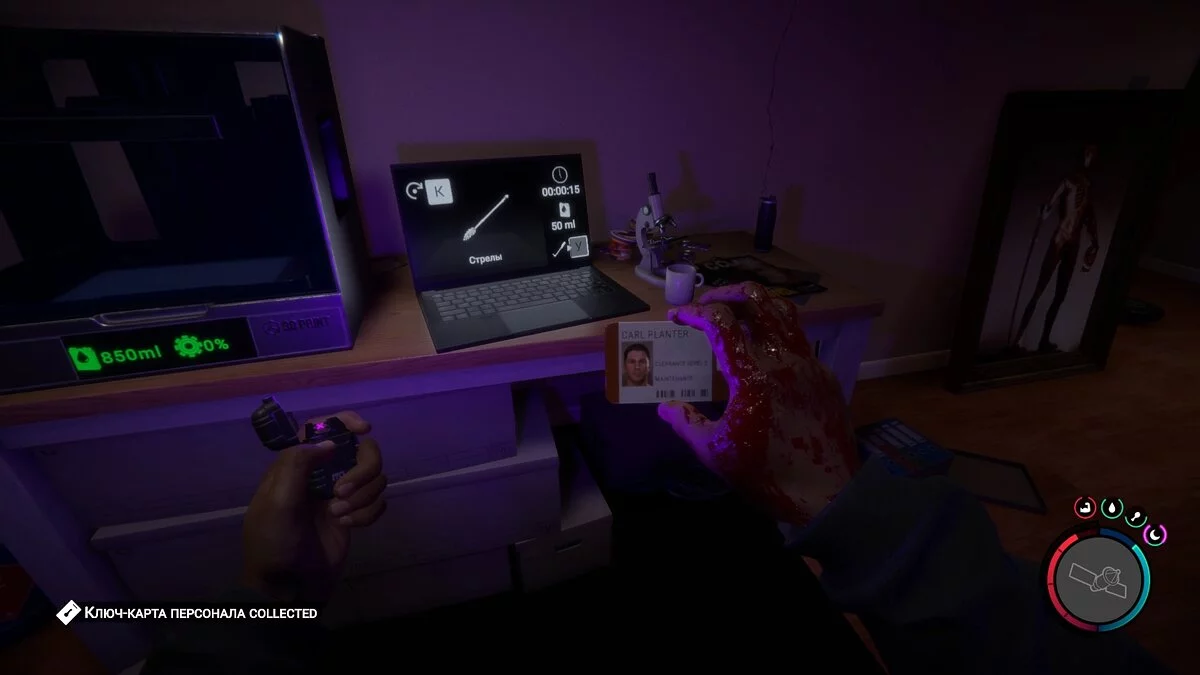
On the way, we recommend visiting the point of interest (green marker). Such points will need to be inspected as part of the story, but in this particular one, you will find a 3D printer — a very useful item.
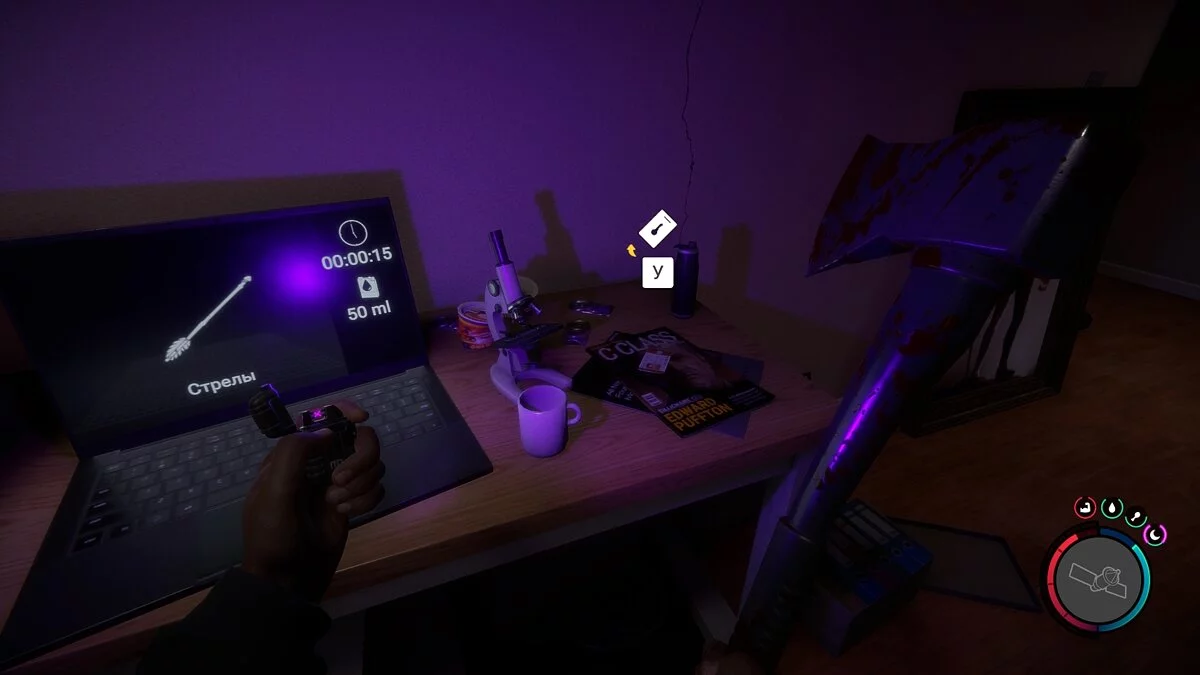
In the same bunker, you will find arrows for the homemade bow and will be able to print them on the printer. Besides, you will come across a locked door, which requires a key card to open. Remember this place and get out. Follow the purple marker.
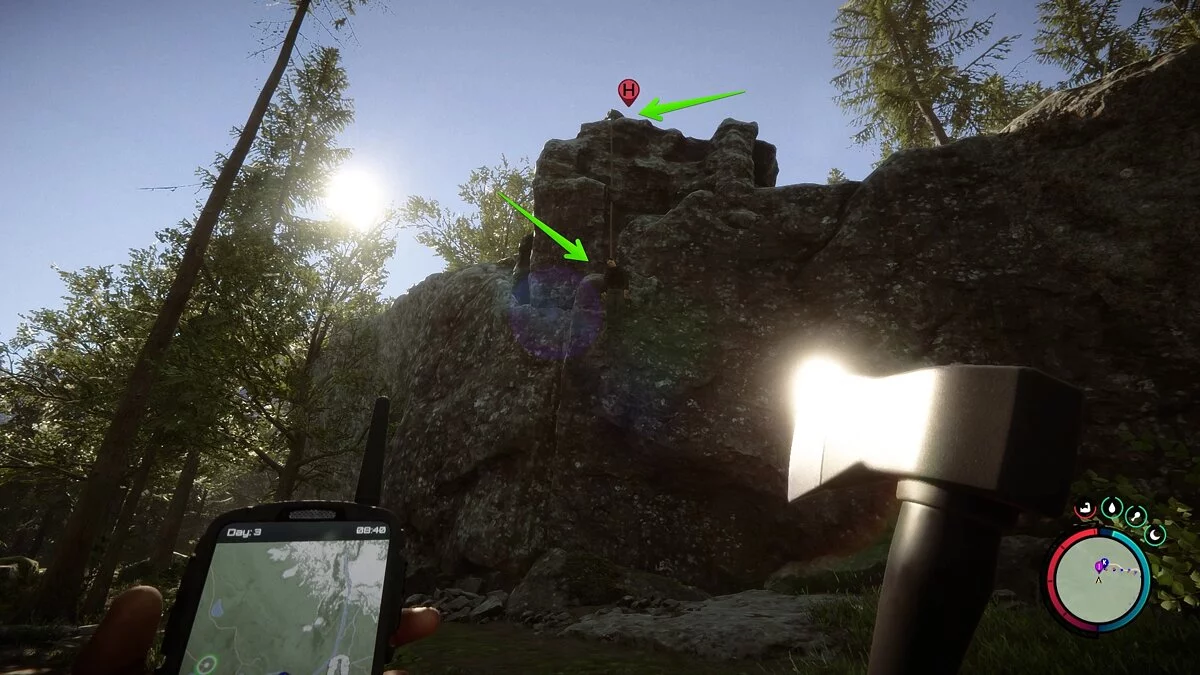
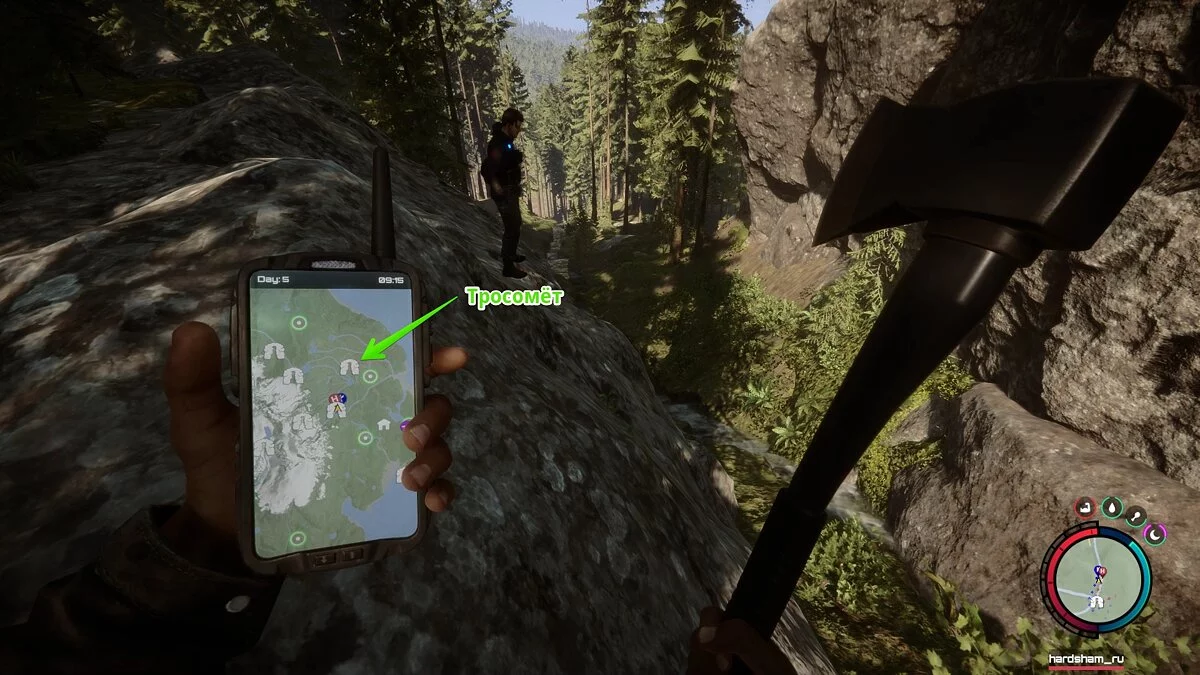
At this mark, you will find the body of one of the rescuers, who is hanging on a rope. You need to climb the hill and cut the rope so the body falls down. If you are playing in co-op, this is even easier to accomplish.
Search the body and take the second GPS tracker. We also recommend inspecting the area nearby. Some players report finding a basic flashlight here.
Where to Find the Scuba Gear
Next, you will need to find the scuba gear. It is required by the story to navigate underwater caves. On easy difficulty, it might not be necessary, but on medium and hard difficulties, you will die trying to overcome the underwater barrier.
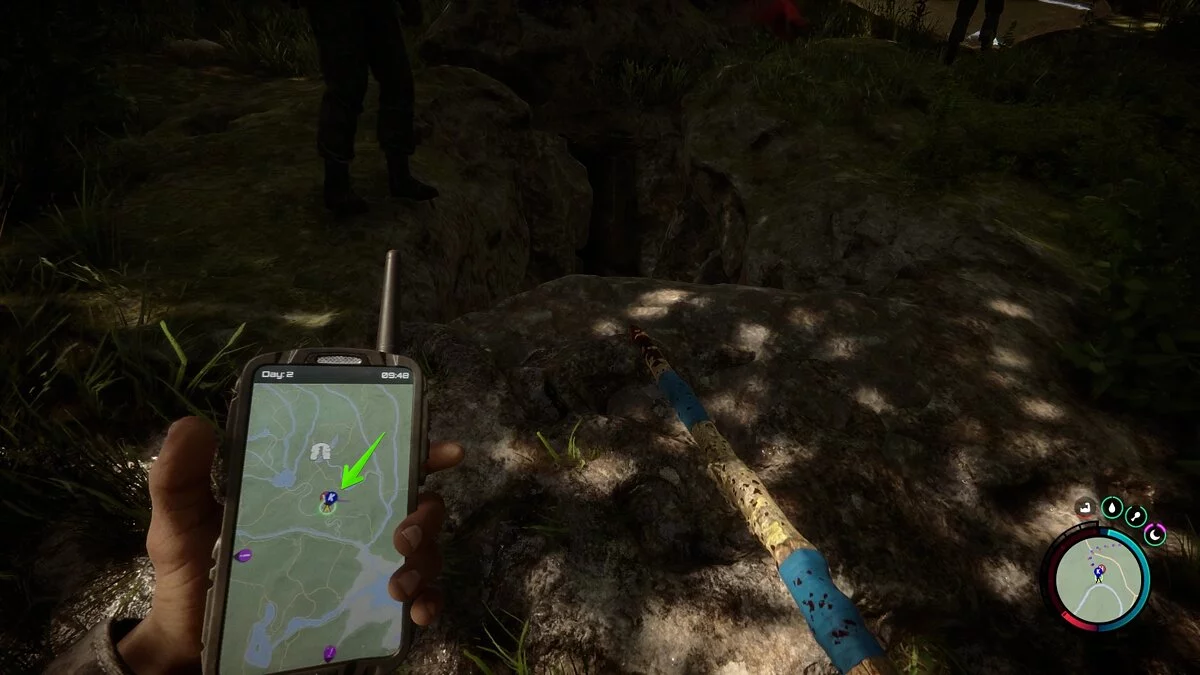
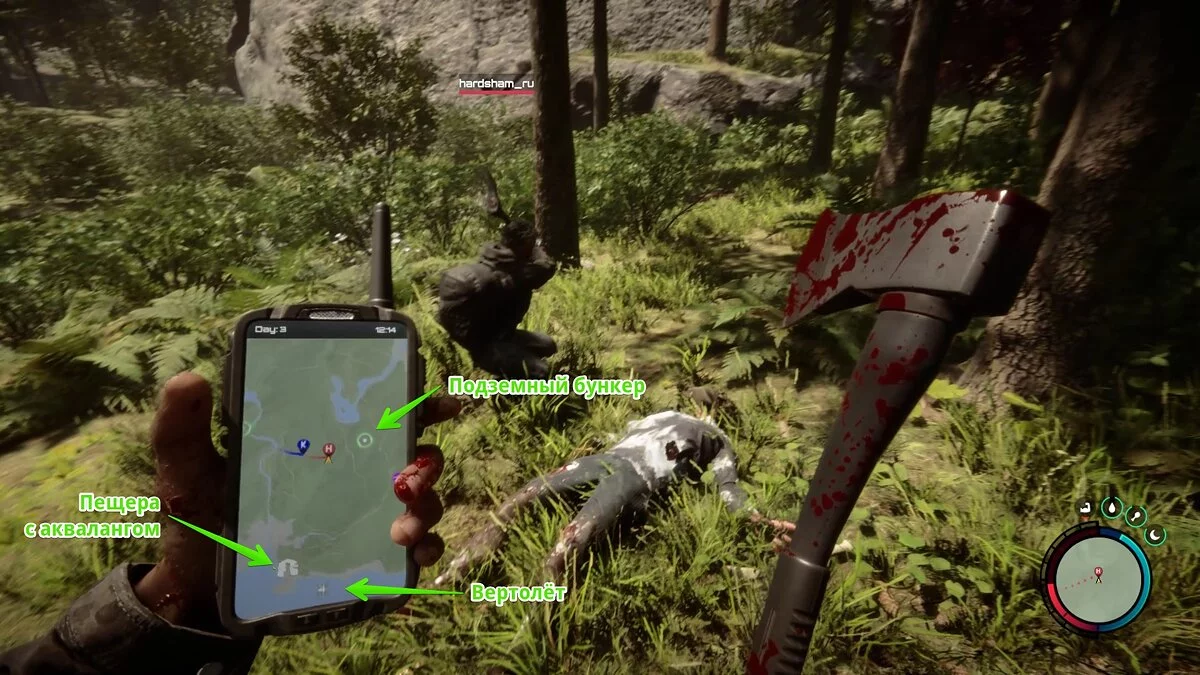
For this, you need to return to the helicopter crash site. Near this location, there is a cave that you need to inspect.
On the way, you will discover another point of interest with a green marker. You can visit it and descend into the underground bunker.
Inside, there will be supplies, as well as a locked door. Remember this place, we will return here later.
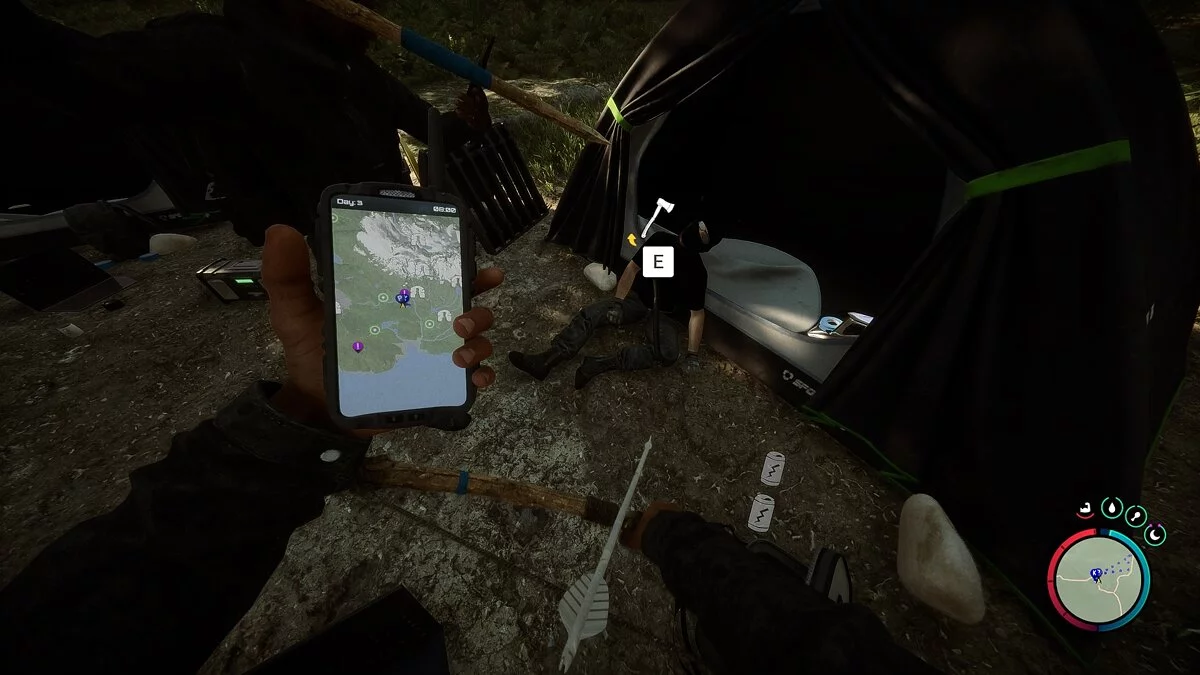
Between these two locations, you might also come across a camp where there are supplies and a corpse. Here you will find a modern axe.
When you are ready, continue moving to the cave with the scuba gear. At the entrance, pick up an oxygen tank and bullets. Move forward and prepare to encounter monsters. There will be several, so we recommend eliminating them one by one. If the enemies manage to surround you, the hero will die.
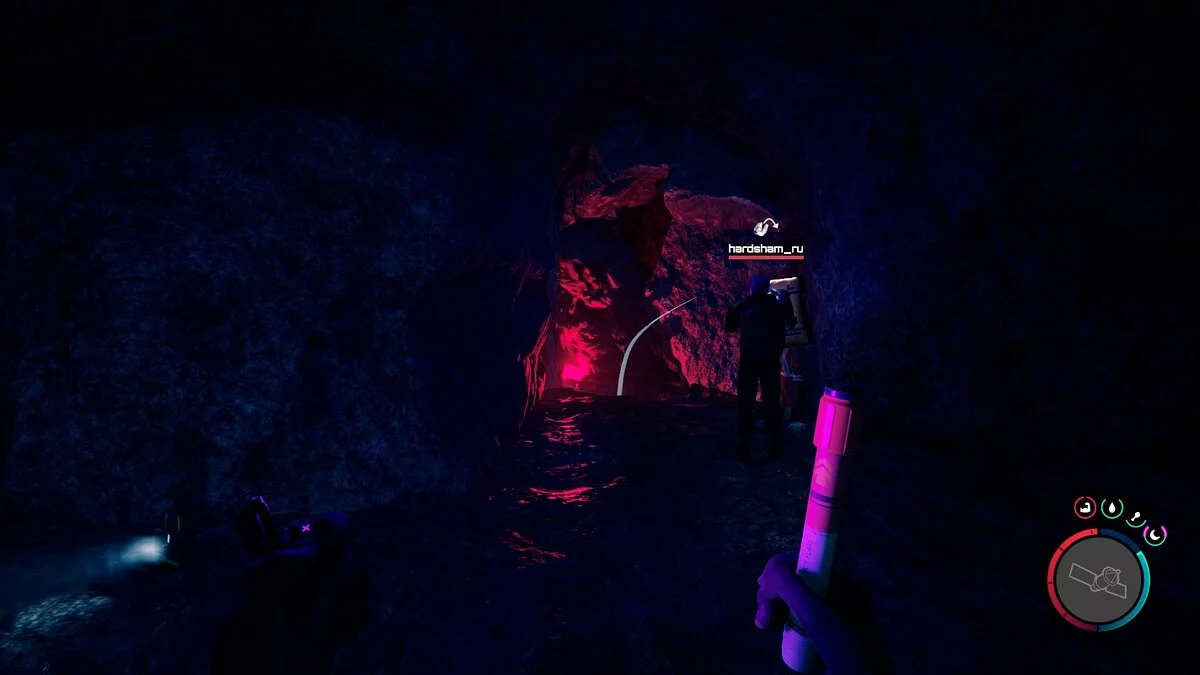
At the first fork, turn left and run forward until you find yourself in a mine shaft with water. The scuba gear is located in this room on the right. Here you can also pick up another oxygen tank.
To escape, you can either return the same way or put on the scuba gear and swim underwater. If you choose the second option, be prepared that a shark might attack you. However, if you decide to go back through the mines, you will definitely encounter several monsters that appear there.
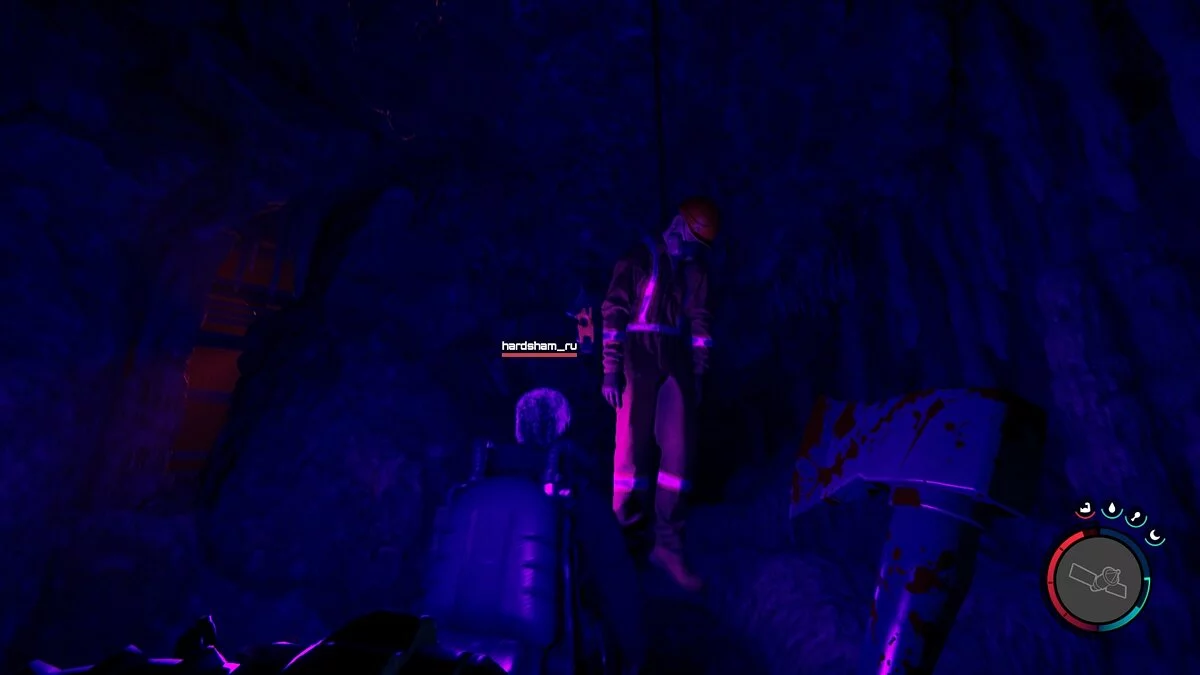
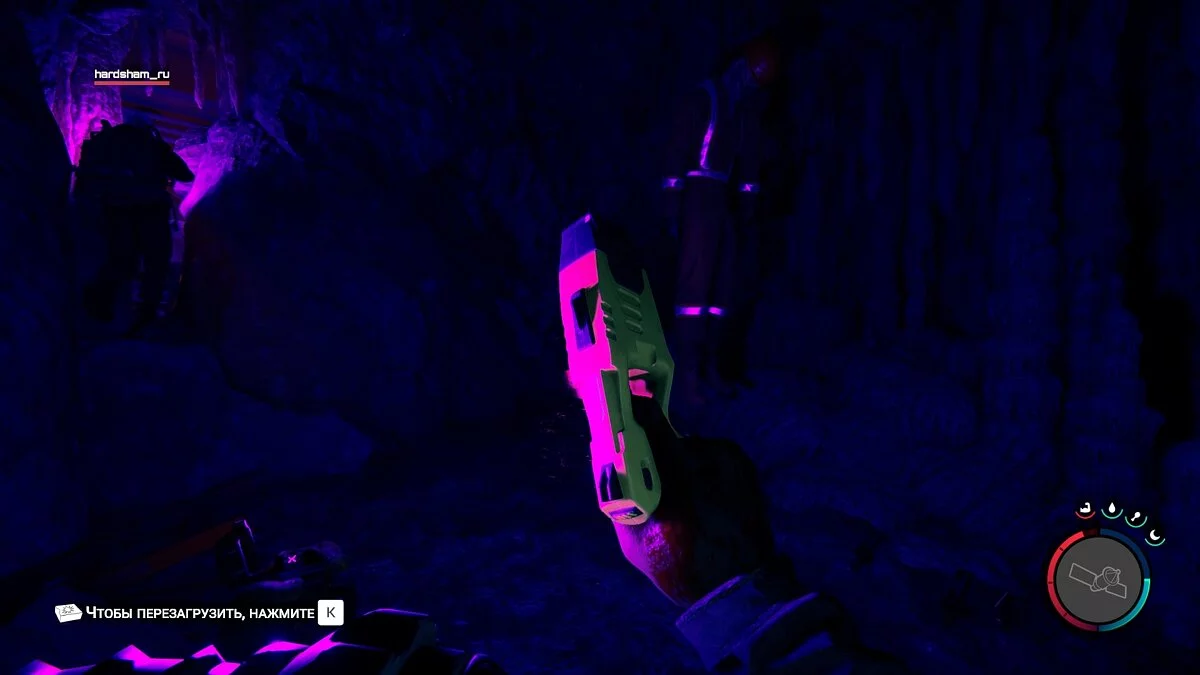
We recommend going back to the cave and checking the second fork, which leads to the right part of the dungeon. At the dead end, you will find a corpse hanging from the ceiling, from which you can take a stun gun.
Where to Find the Grappling Hook
The next item essential for story progression is the grappling hook. This weapon is needed to get across the wall in the dungeon where the shovel is hidden. All caves are located close to each other, so it will be difficult for you to get lost.
Enter and examine several skeletons. Next to them, supplies will be scattered. Also, we advise you to prepare, as you will definitely encounter monsters in the cave.
Kill the brutes in the large hall and pick up a letter from a worker's corpse. At the forks, always keep to the left. At some point, you will run into a huge monster. To save ammunition for firearms, we recommend using explosives. You can create it directly in the inventory, and you should already have the necessary ingredients.
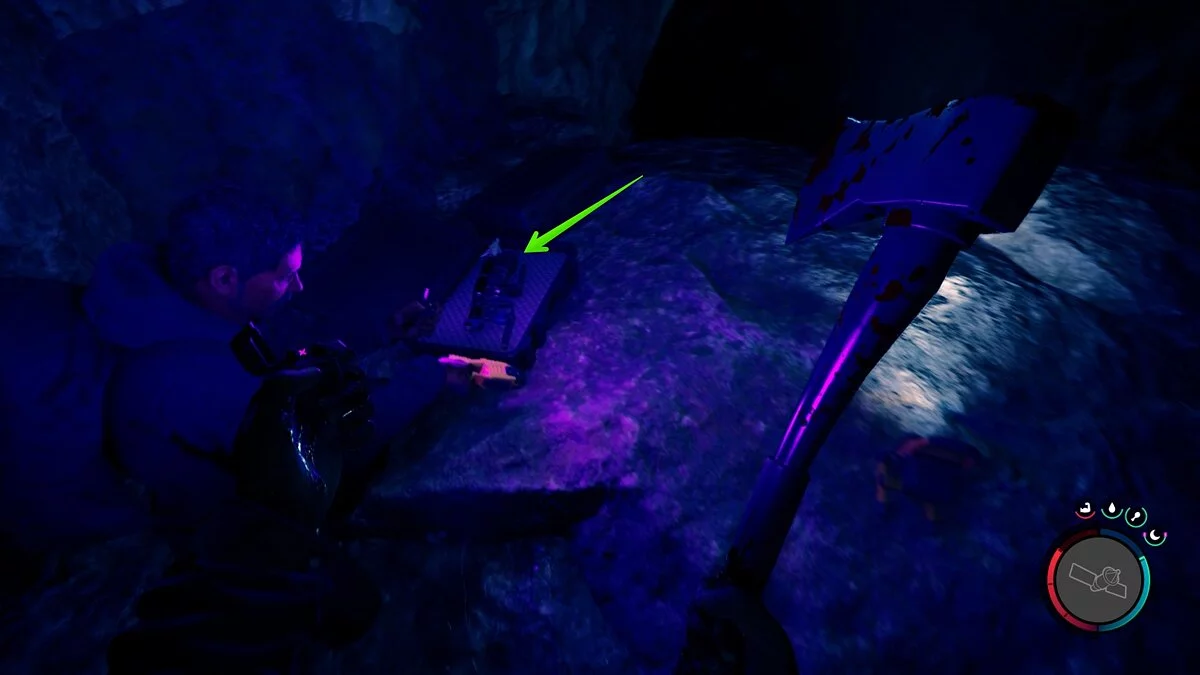
A bit further, you will reach a large mine with several enemies. Get rid of them as well and stick to the left side. At the end of the cave, you will come across a cliff. Right there, you will find a suitcase with the grappling hook.
You can exit the dungeon the same way you came in. There is no other way out of the caves.
Where to Find the Shovel
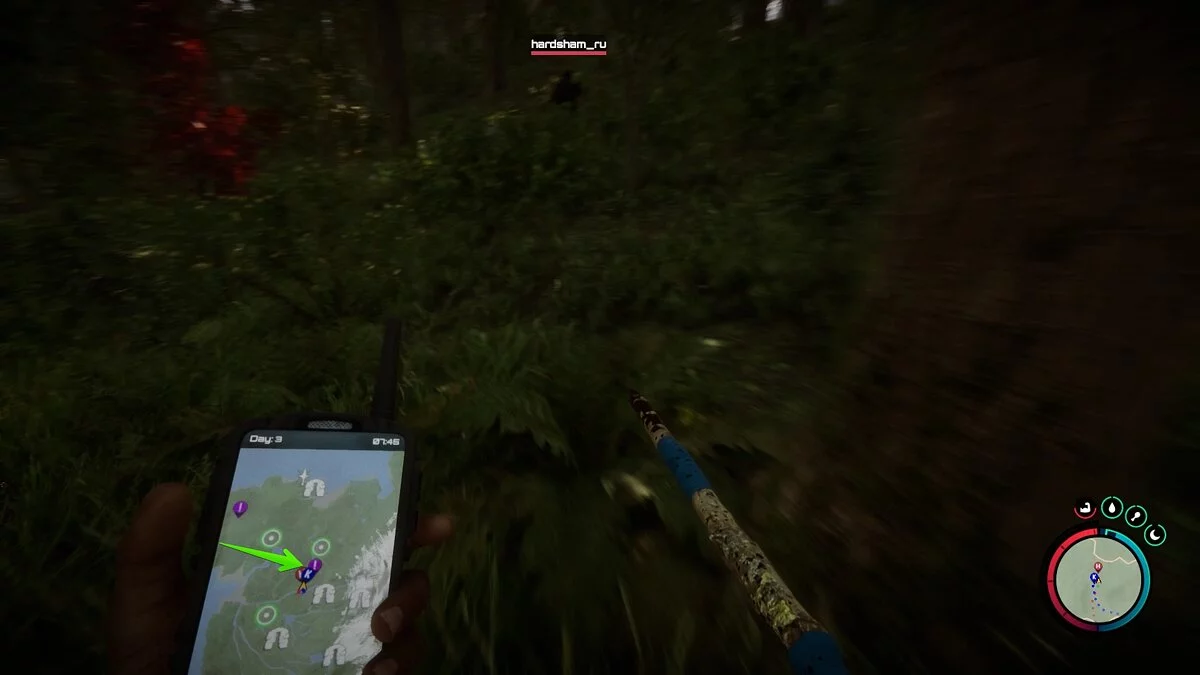
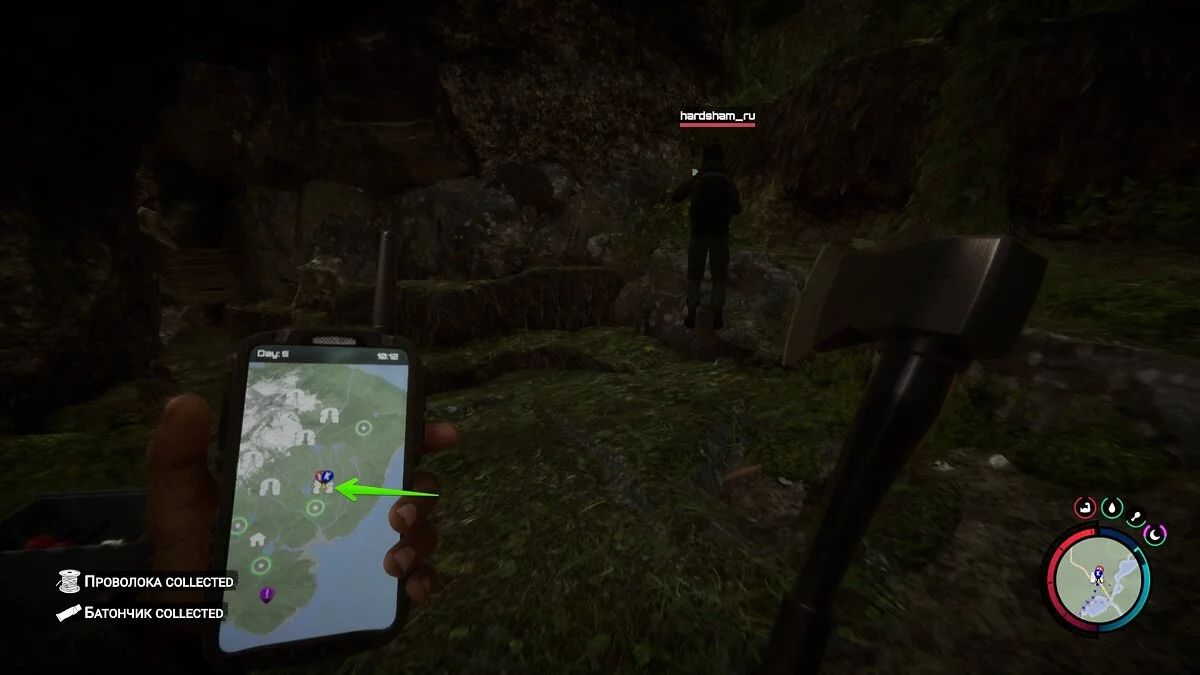
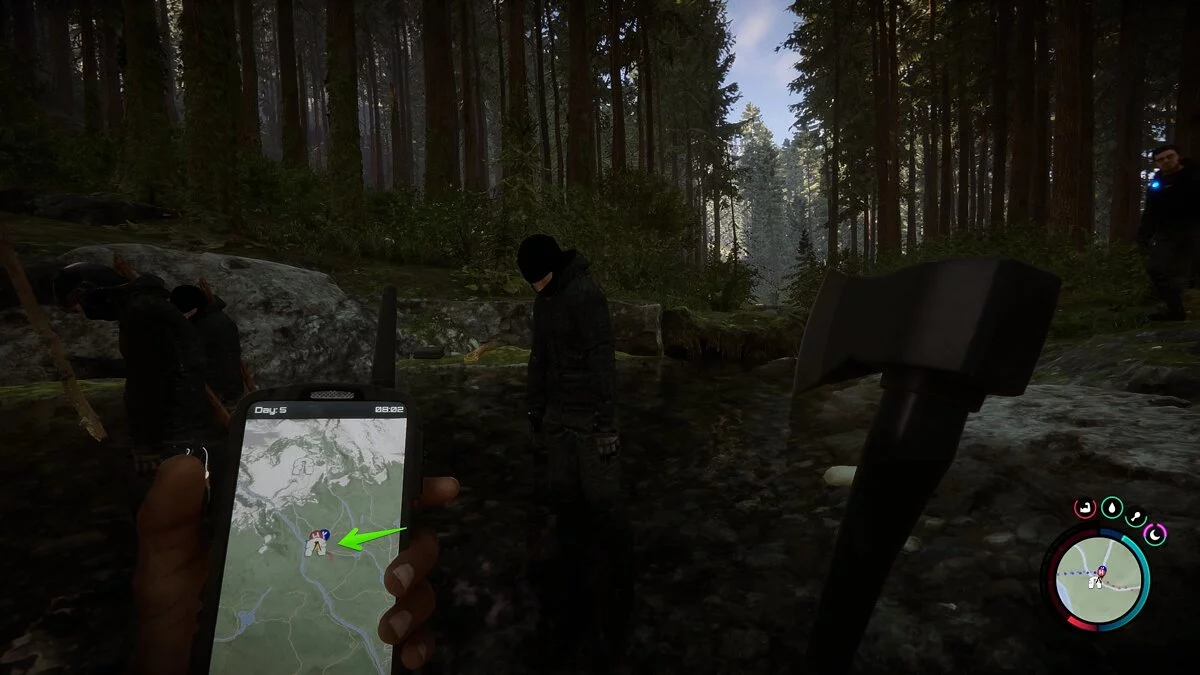
Head to the cave indicated in the screenshot below.
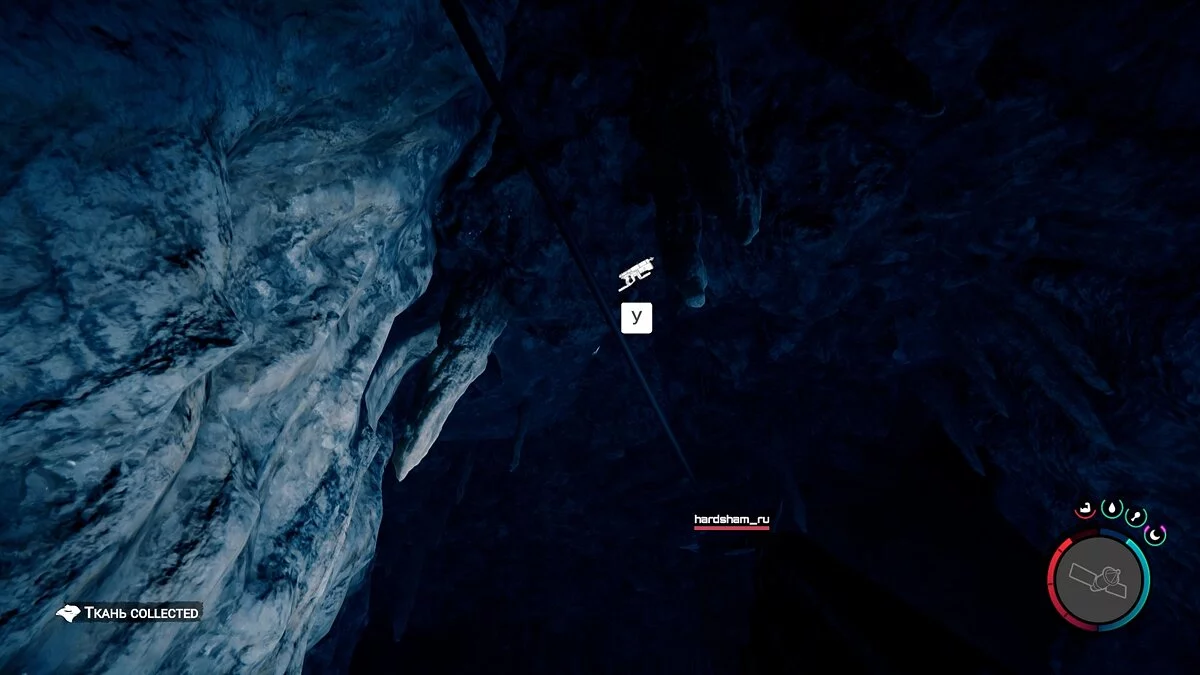
Proceed a bit forward to find yourself in front of a cliff. Useful items sometimes spawn below, but you need to get across the wall. For this, look up and interact with the rope so the protagonist pulls out the grappling hook.
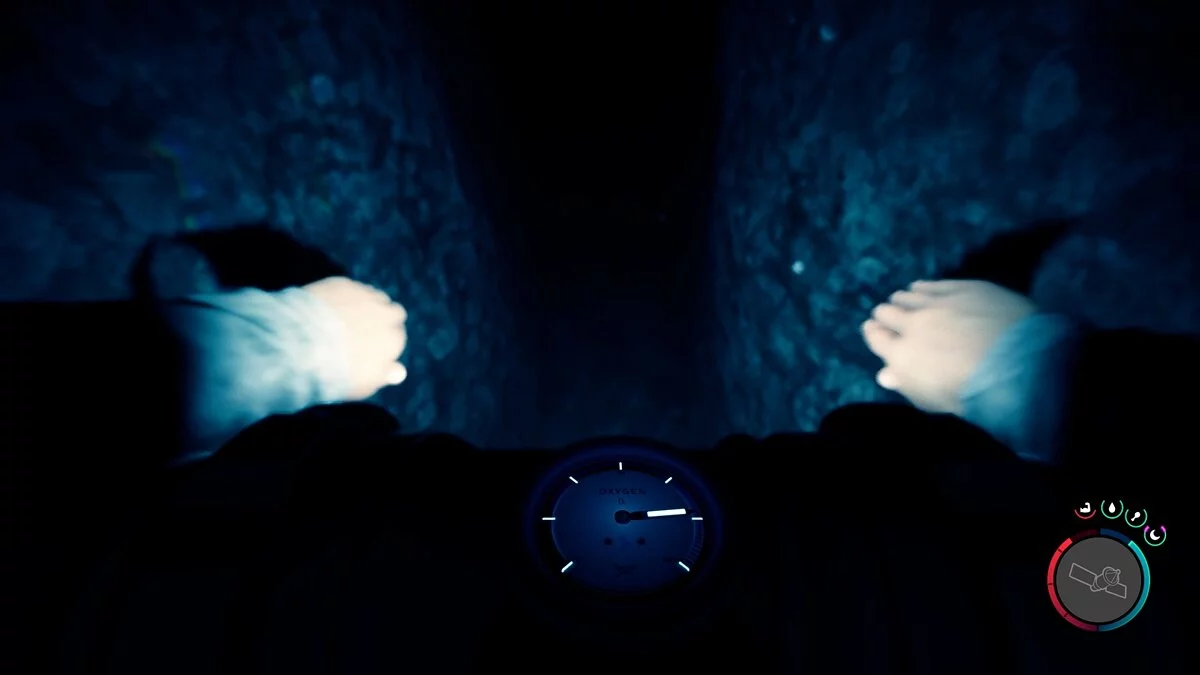
You will find yourself inside the cave. Put on the scuba gear and dive underwater. Swim down.
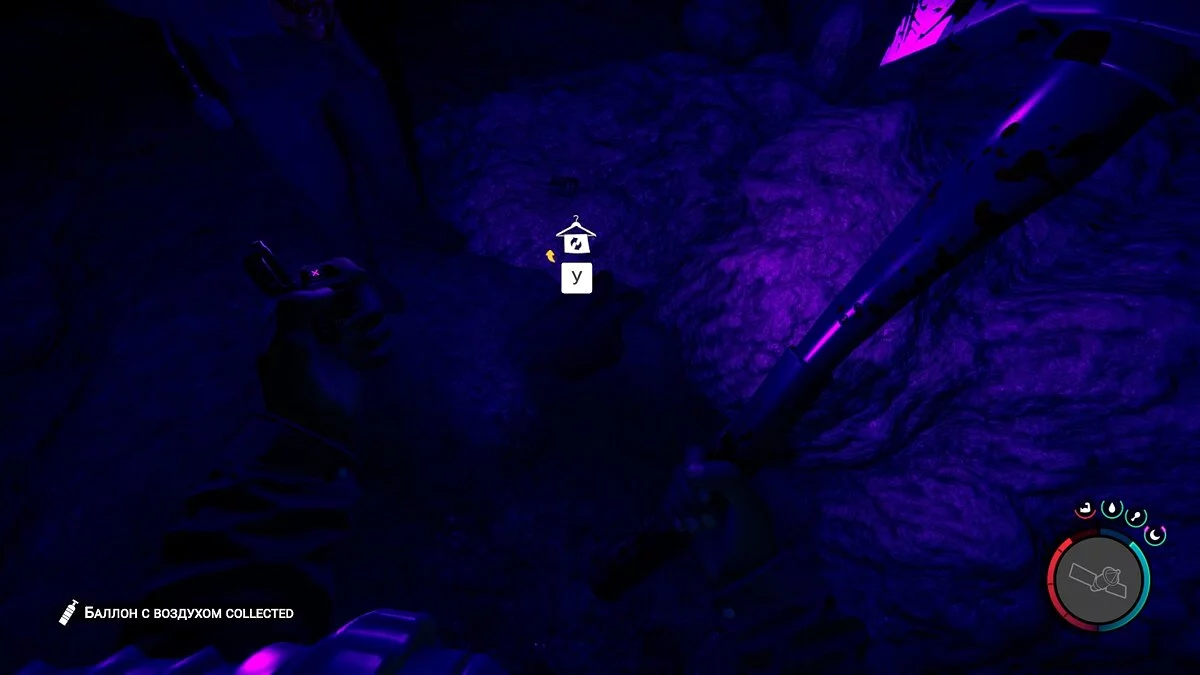
When you surface, kill the only monster and examine the mine. On the floor, you will find an air tank and a wetsuit. With the latter, you can move quickly underwater.
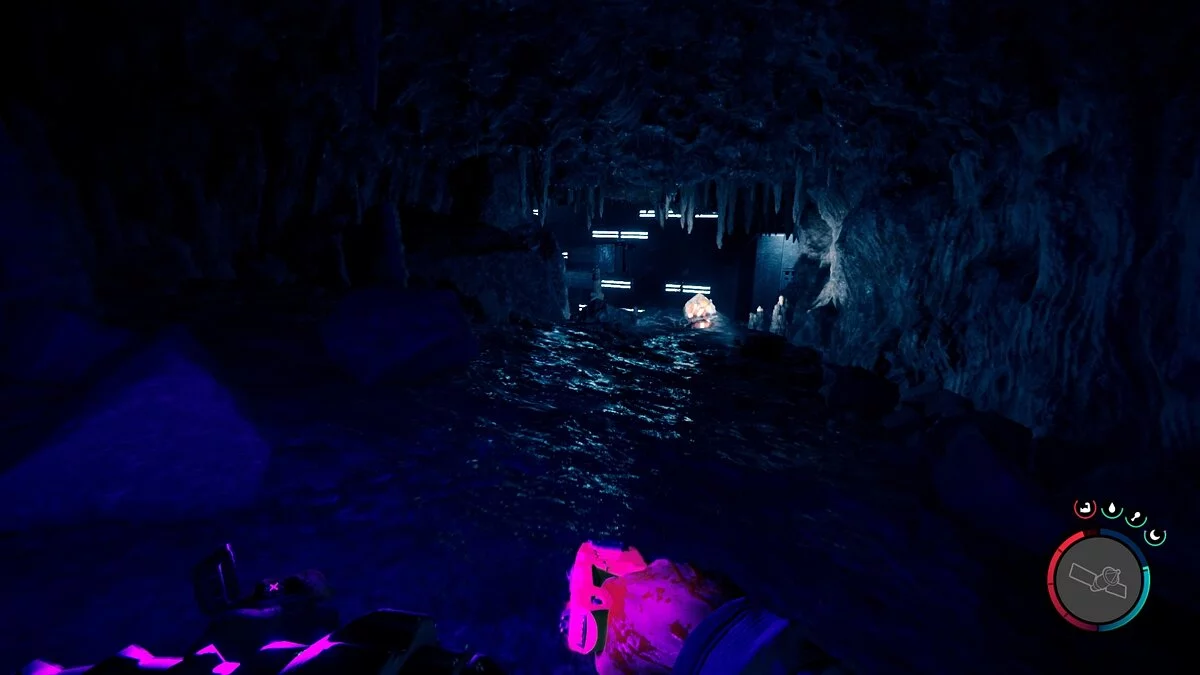
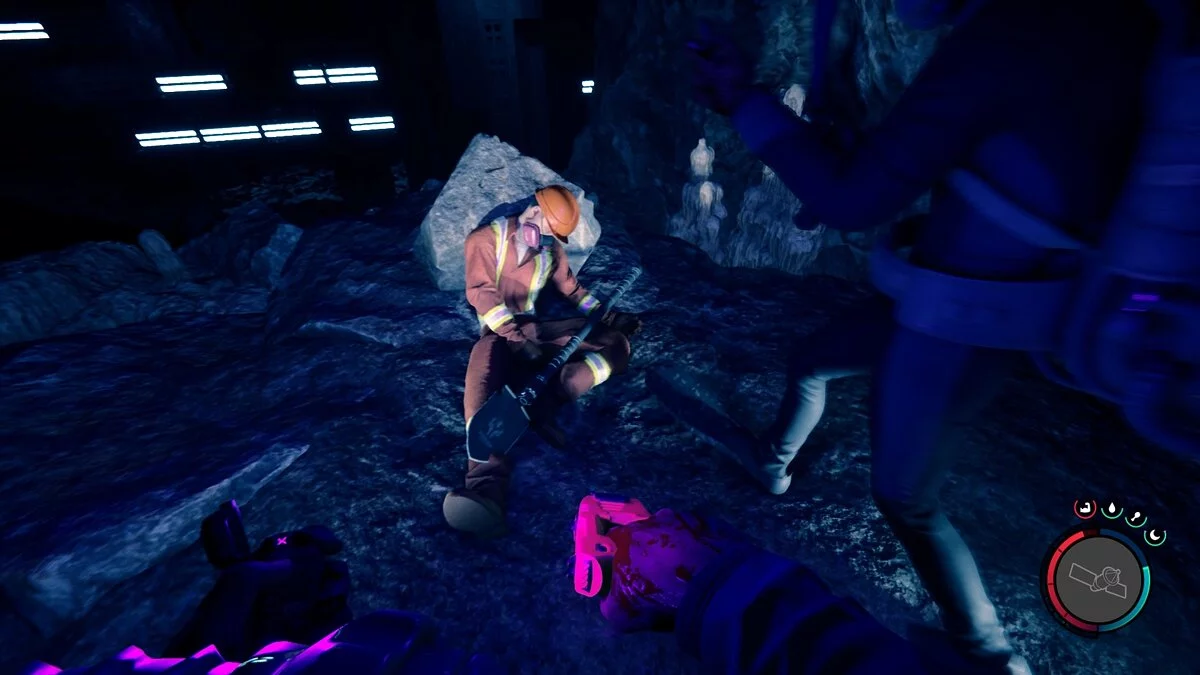
Further on, you will also encounter monsters, so be ready to fight back. After reaching the water, dive again and swim to the opposite side. At the end of the cave by the cliff lies a corpse with a shovel. Take it.
How to Find the Red Keycard
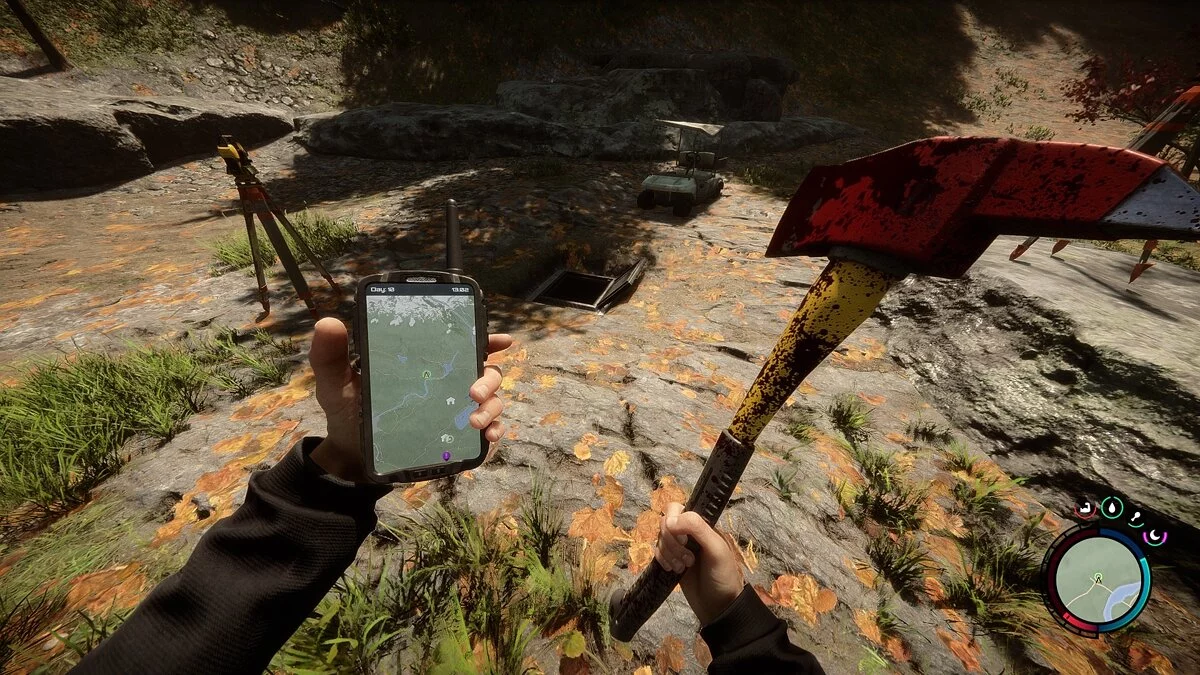
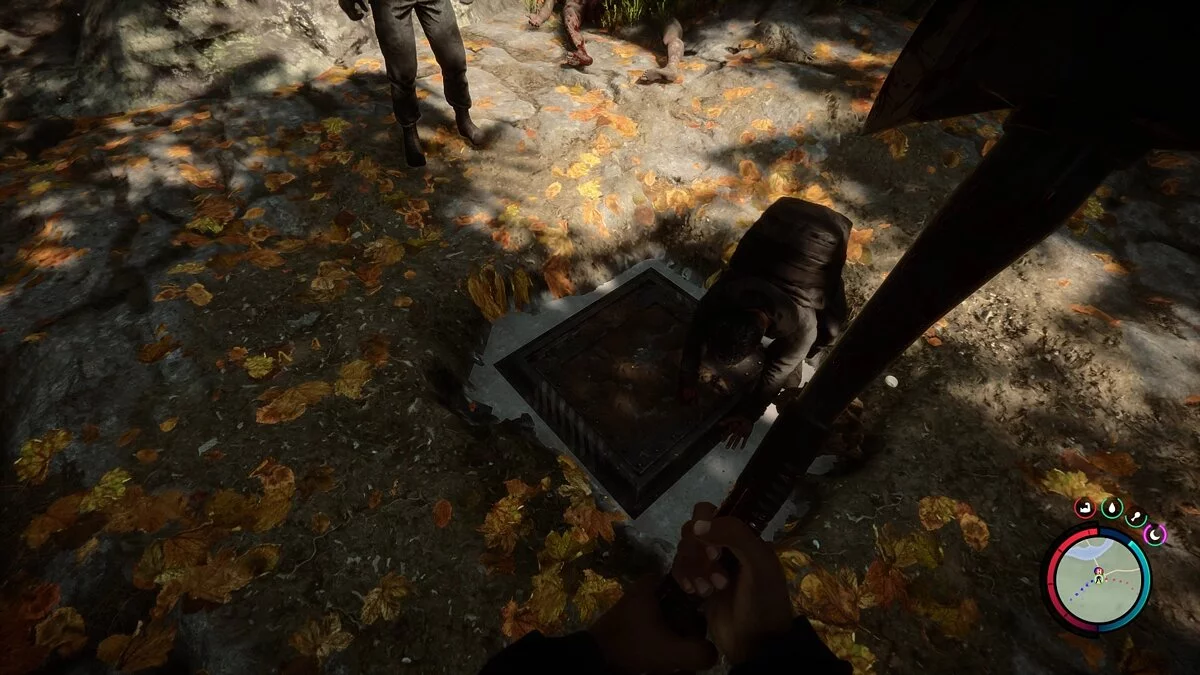
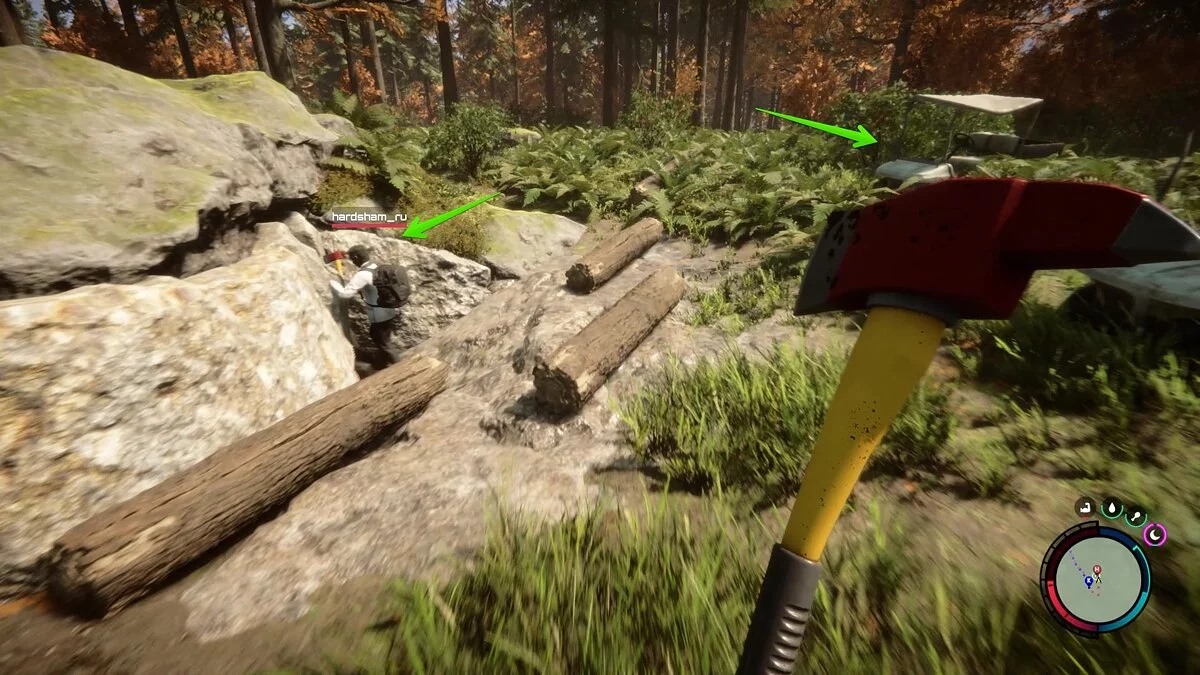
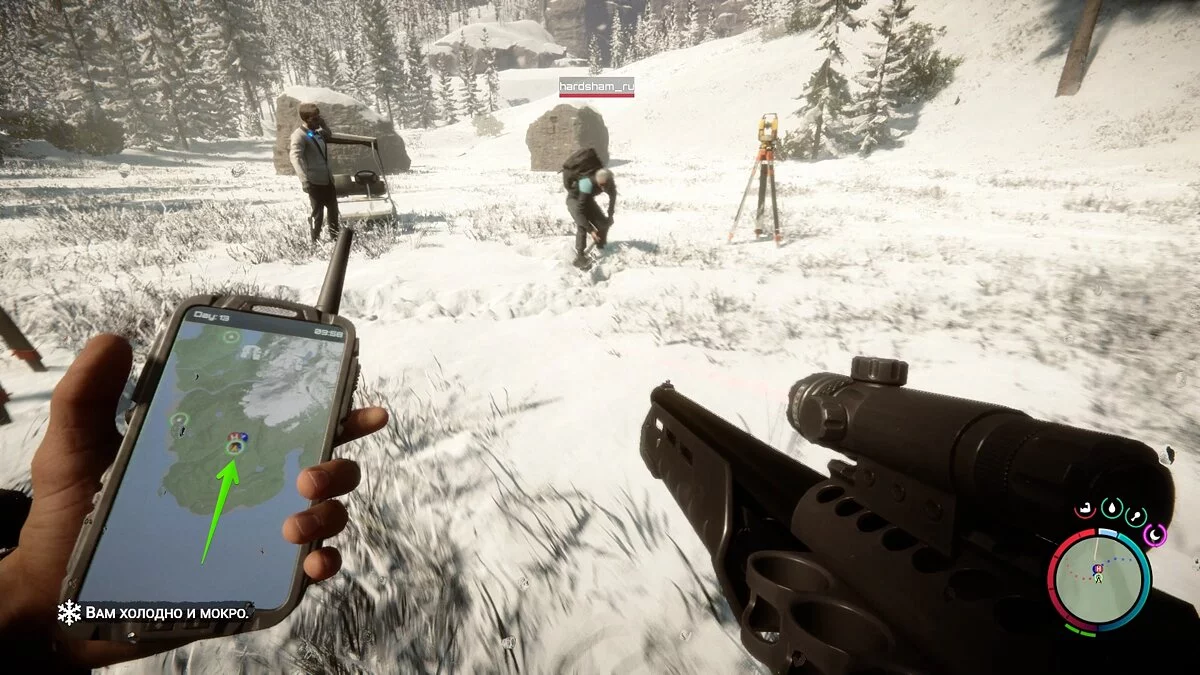
After getting out of the cave, run to the nearest point of interest (green marker) and use the shovel. There will be several golf carts and surveying equipment. You need to dig strictly in the center. This way you will find an entrance to the bunker.
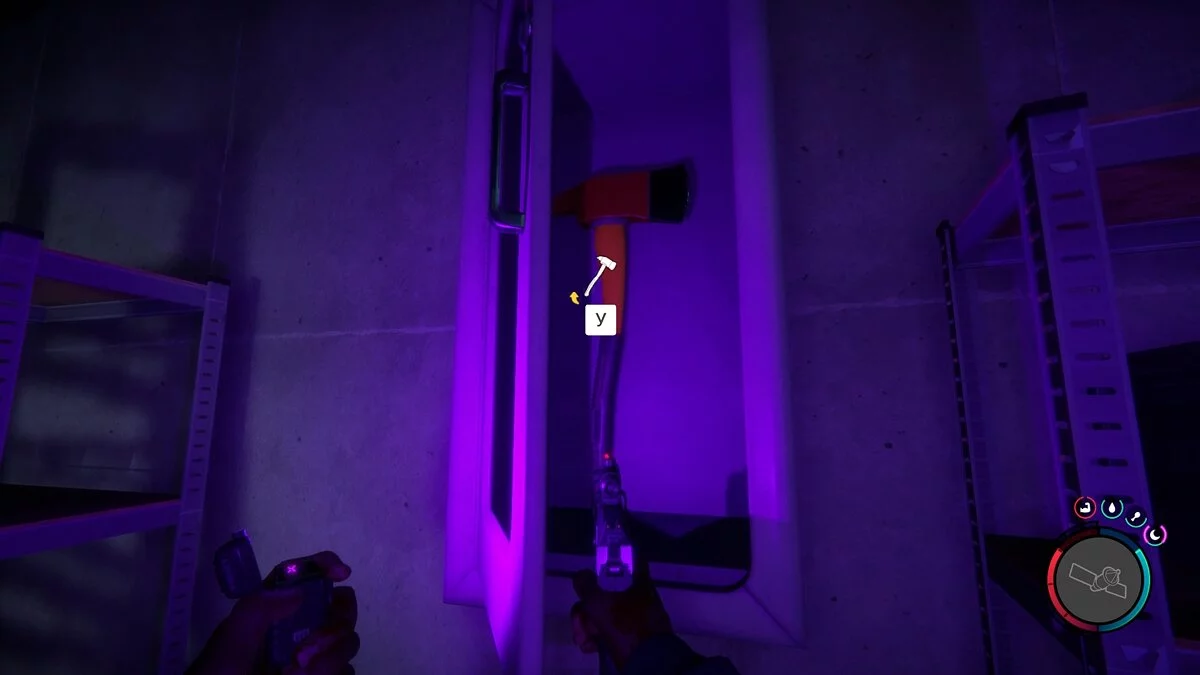
Inside, you will find a letter, album cover, supplies, a 3D printer, a fire axe, and a red keycard.
How to Find the Orange Keycard
Return to the cave with the underground bunker. Before entering this cave, you can still see two golf carts.
Descend into the bunker and unlock the door with the previously found red keycard.
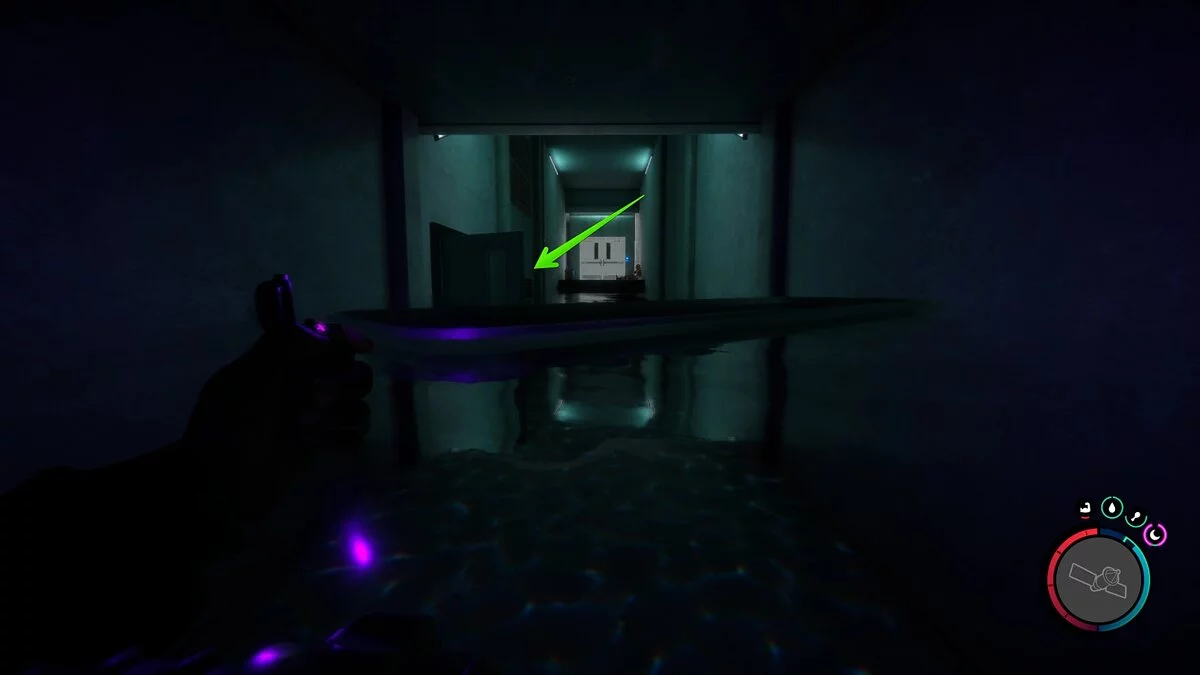
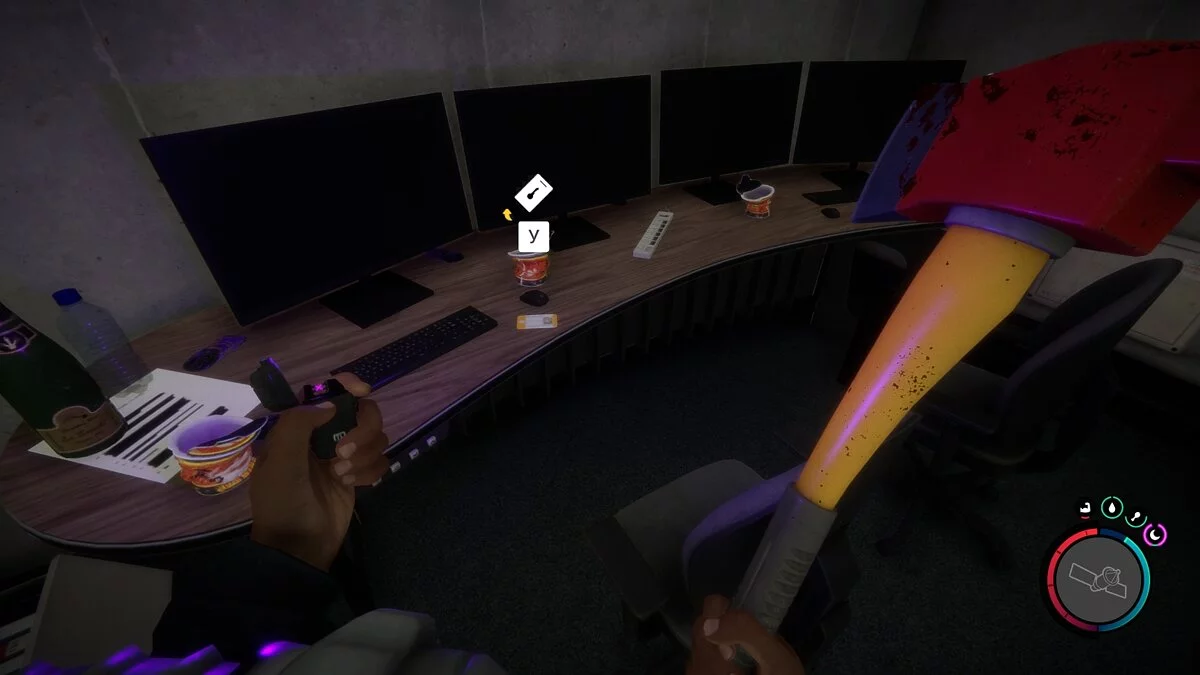
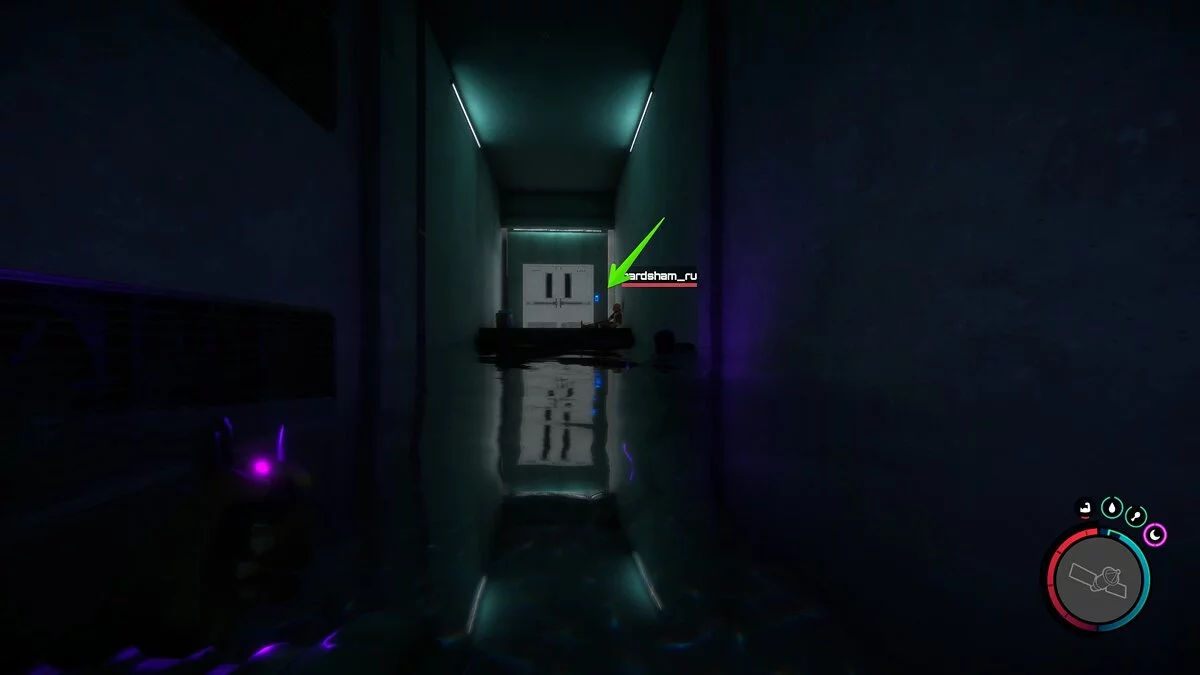
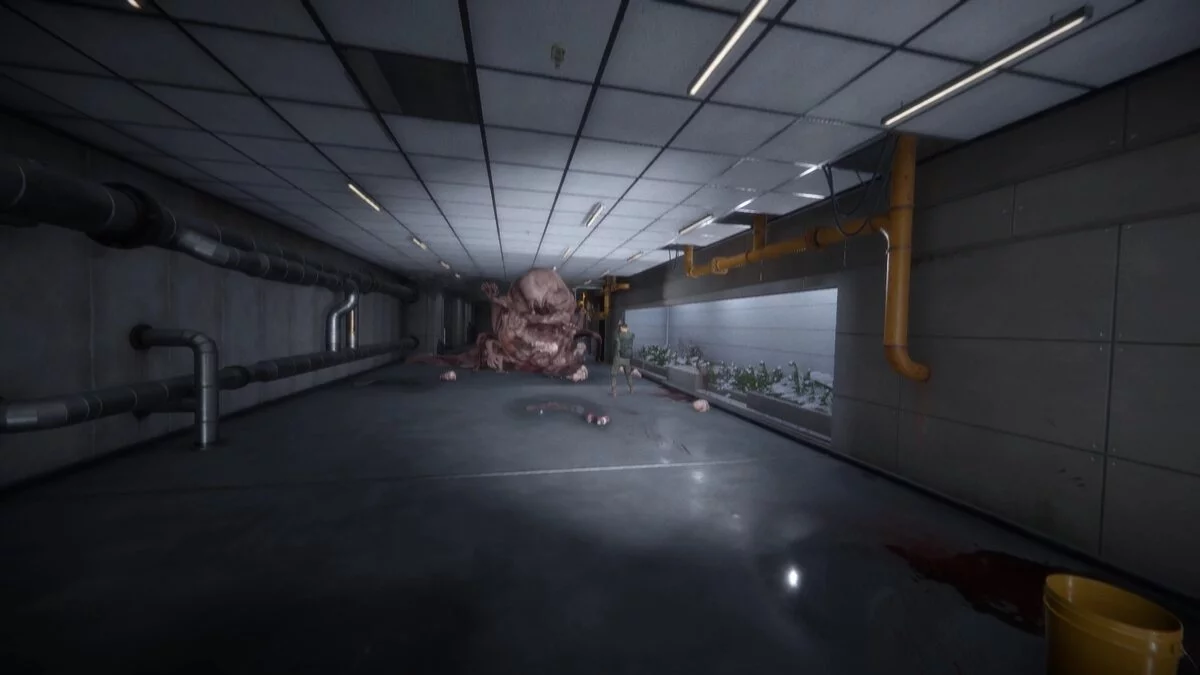
Here will be a long corridor and several rooms where greens are grown. In them, you will also encounter a couple of monsters. Further, the rooms will be flooded, but wearing a scuba gear is not necessary. Run ahead until you reach a fork. In the room on the left, there will be several monitors with video recordings, as well as an orange keycard on the table.
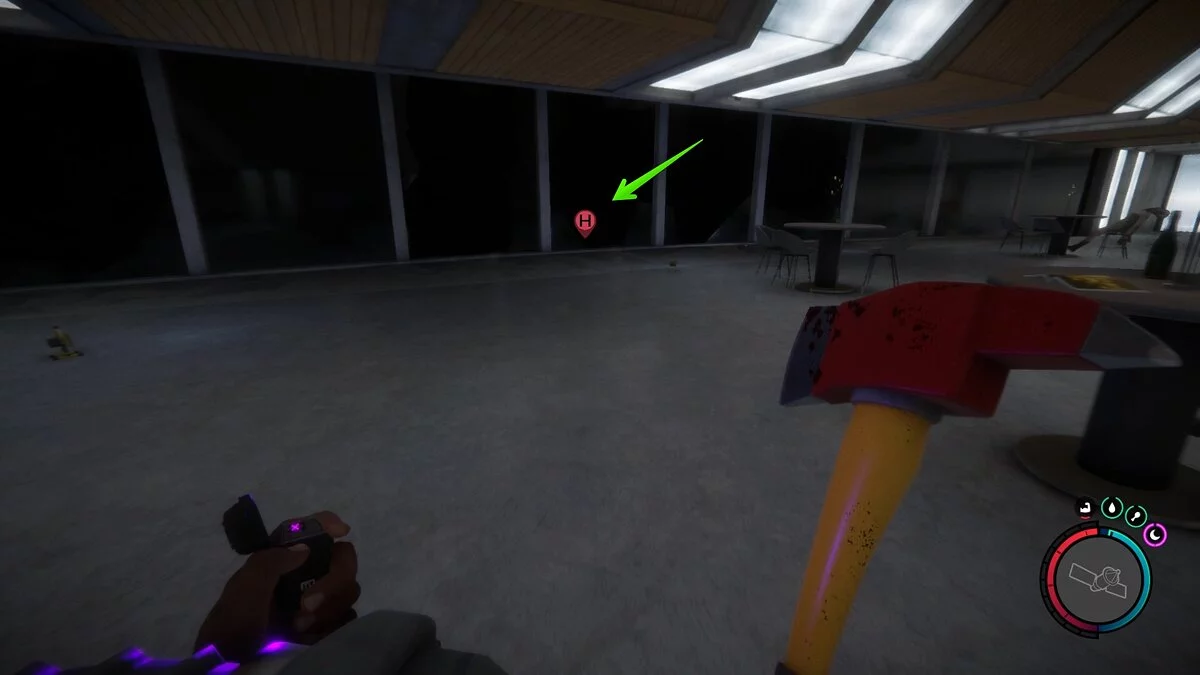
With its help, you can unlock the locked door in the corridor and inspect the large hall. Here will be a note, as well as an entrance to the cave. Put on the scuba gear and dive into the water. You will find yourself in a cave nearby. Be prepared to encounter several monsters.
How to Find the Third Beacon and Dig Up the Grave
Now follow to the last purple marker on your GPS tracker.
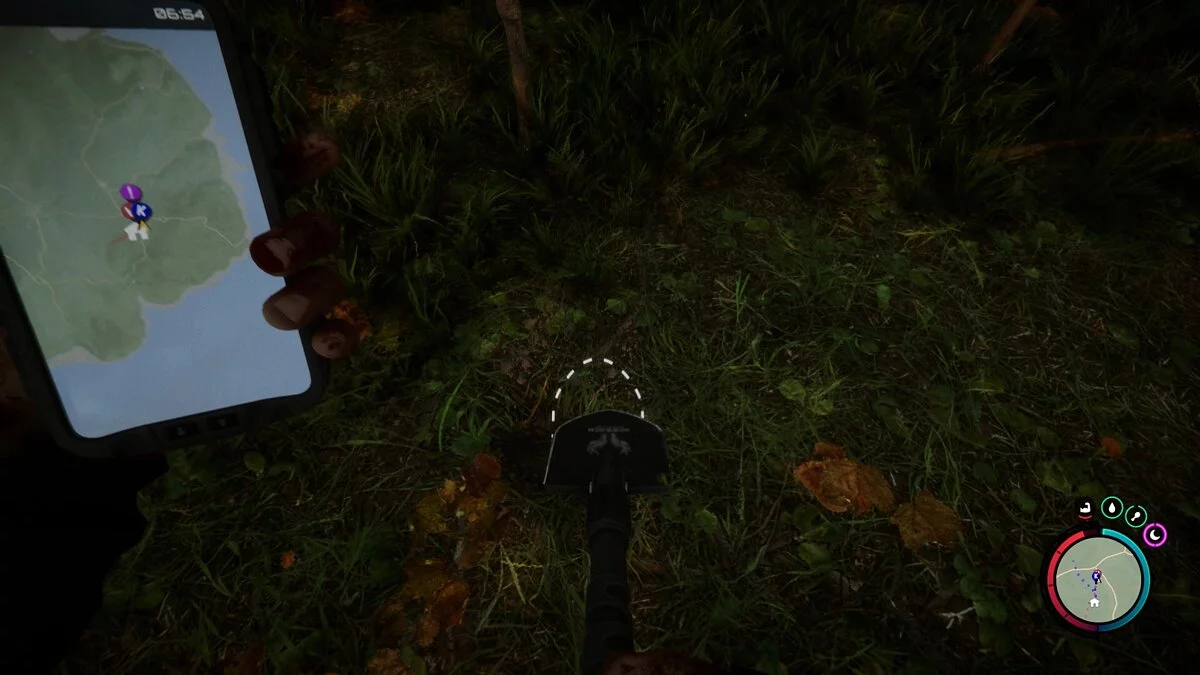
Using the shovel, dig up the grave and retrieve the beacon. Here you will also find some resources and a shotgun.
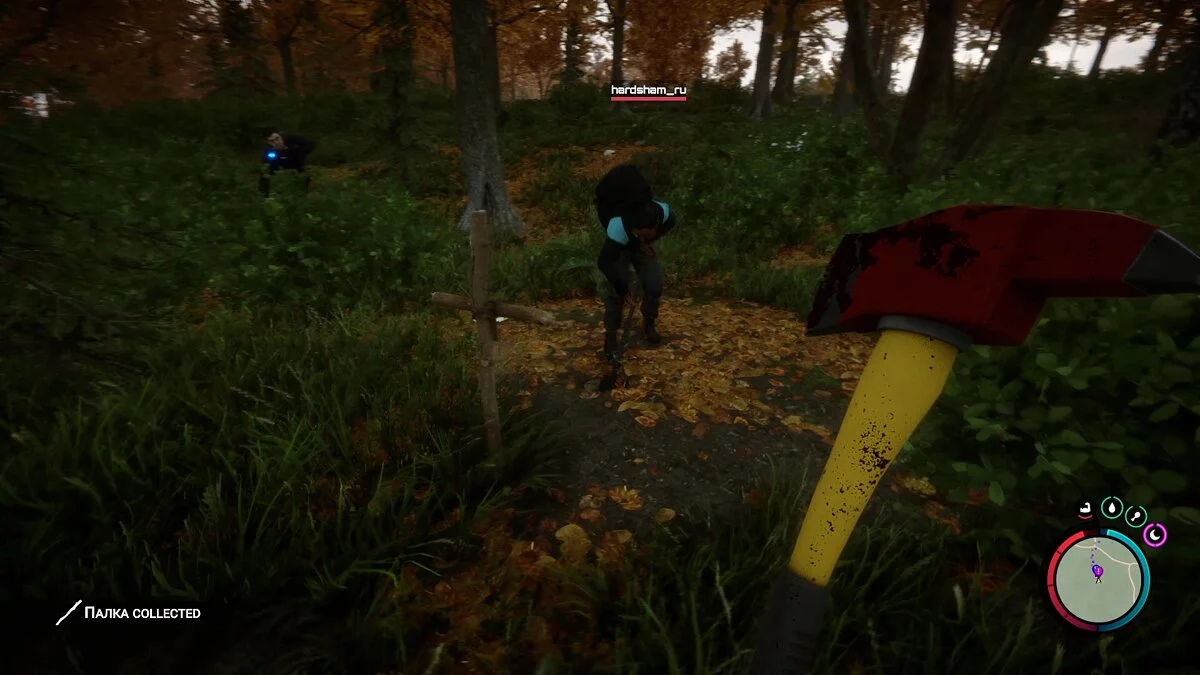
Nearby, there are also four graves. You can dig them up to find supplies.
From this point on, the game gives no hints on where to follow the plot. But since you have already found two keycards, you only need to find the right doors to use them.
Where to Find the Blue Keycard
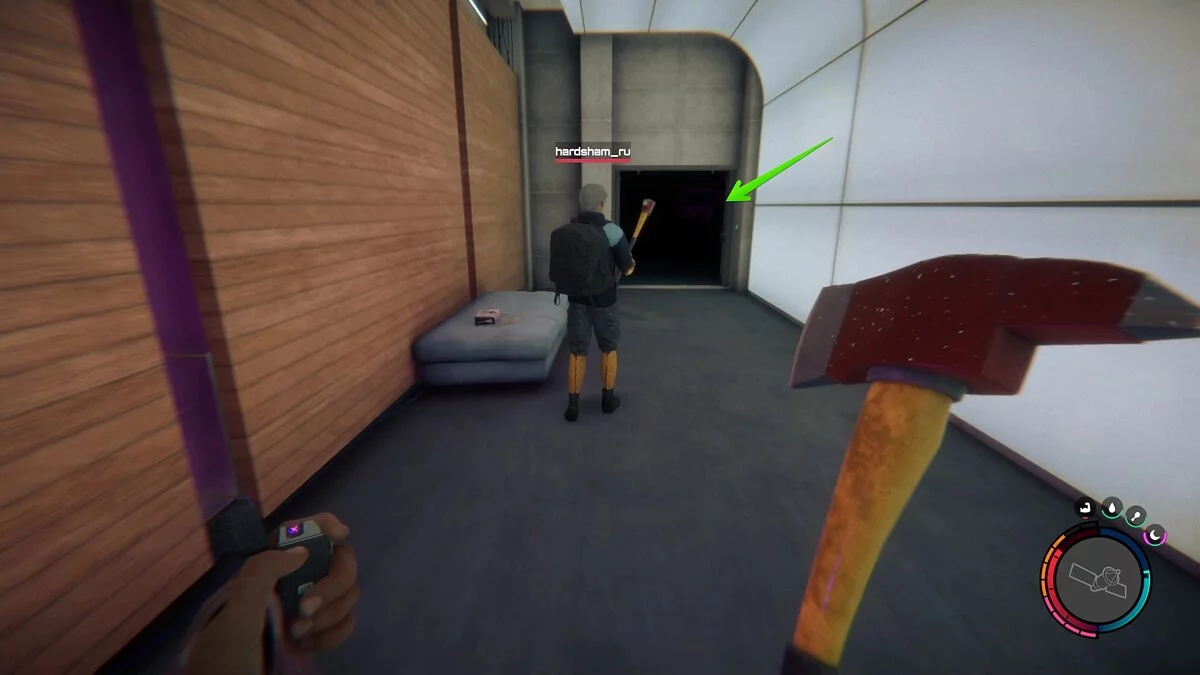
At the beginning of this guide, we described a bunker where you can first find a 3D printer. There is also a locked door here, which requires an orange keycard to open. Head to the cave and use the card on the door.
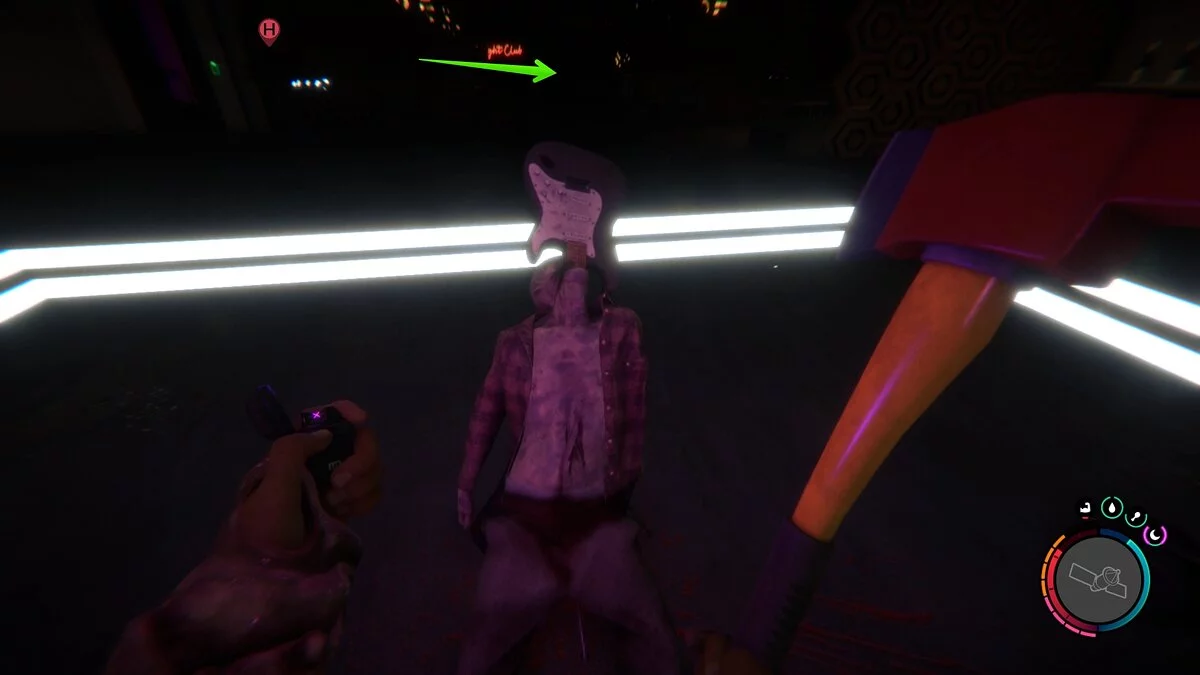
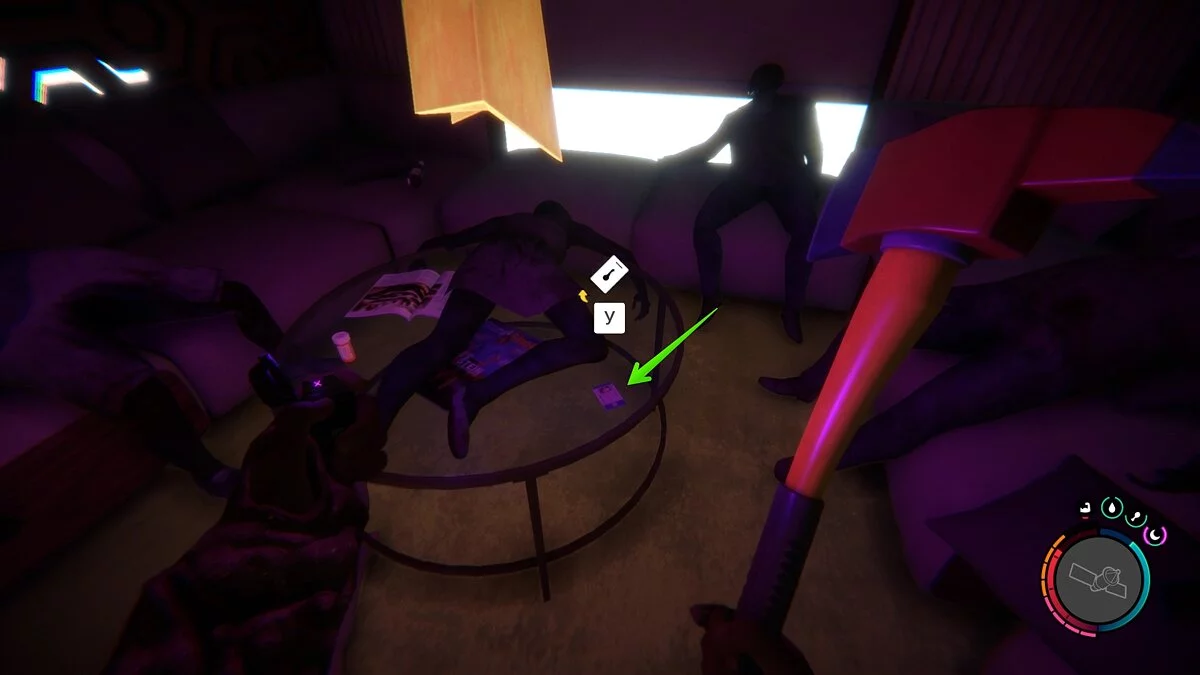
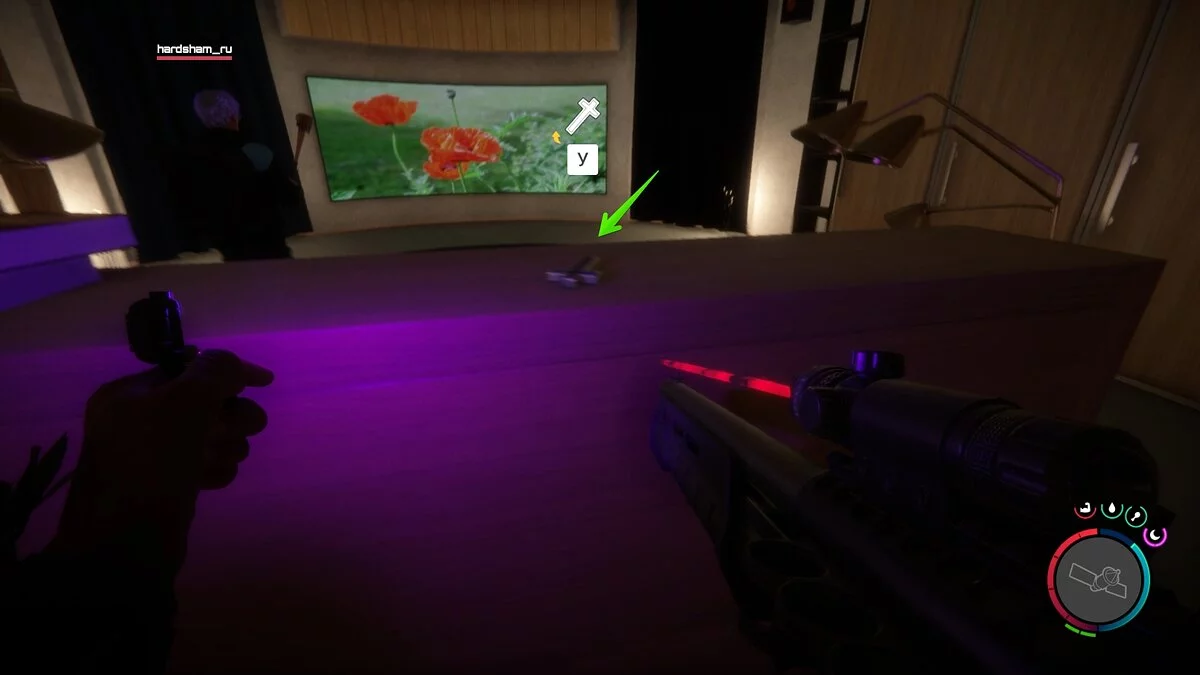
Pass through the gym into the recreation rooms. Inside, there will be several monsters. Deal with them and check the room for useful supplies. Make your way to the bar. Walk past the man with a guitar in his mouth and examine the tables for visitors. On the far right table lies a blue keycard.
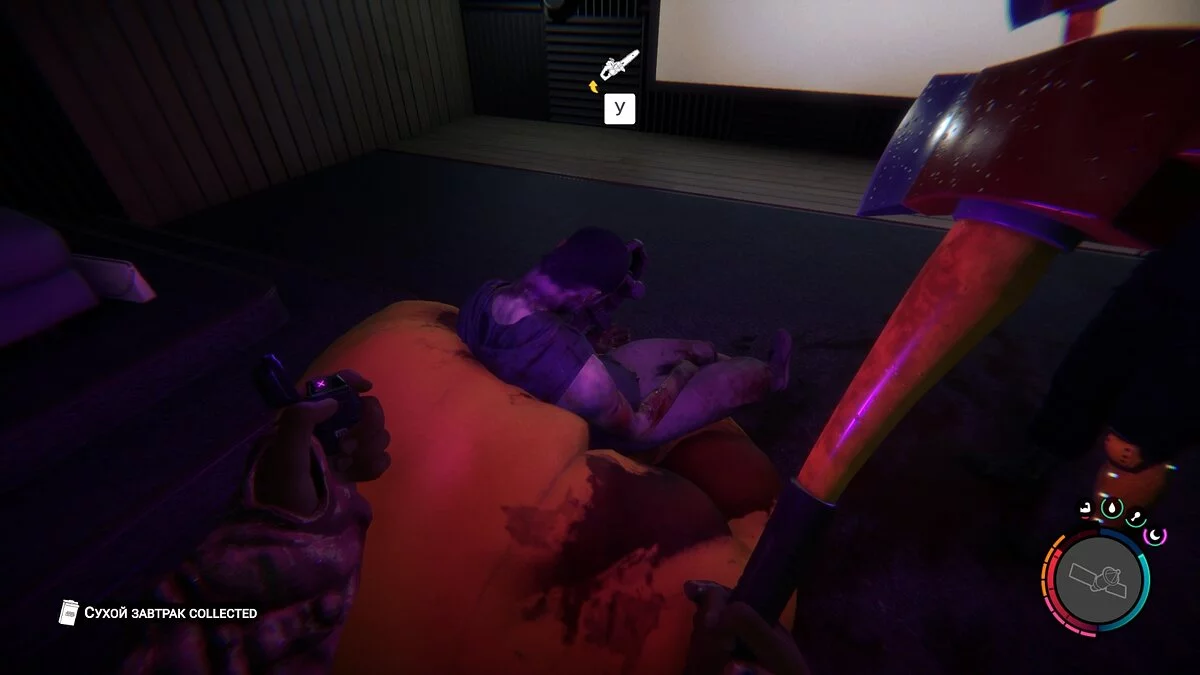
Go back a bit and find the bright corridor. It leads to a cinema where you will find a chainsaw.
There is also a passage to a cave that leads to the surface.
Where to Find the Underground Bunker with the Revolver
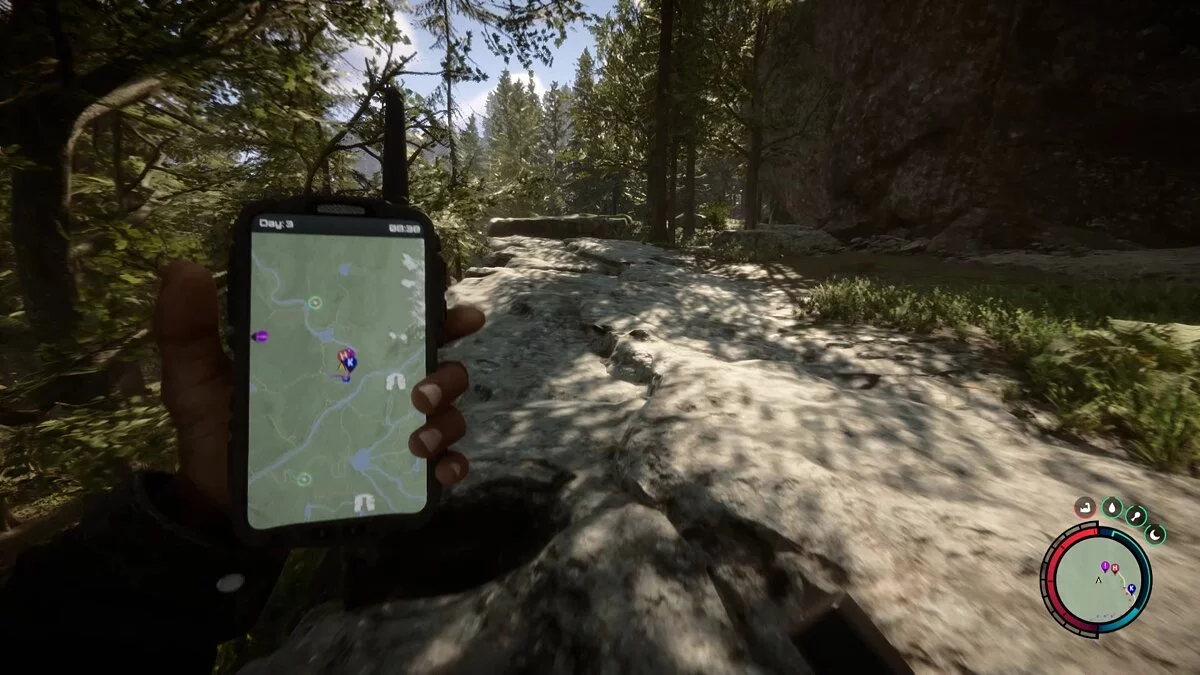
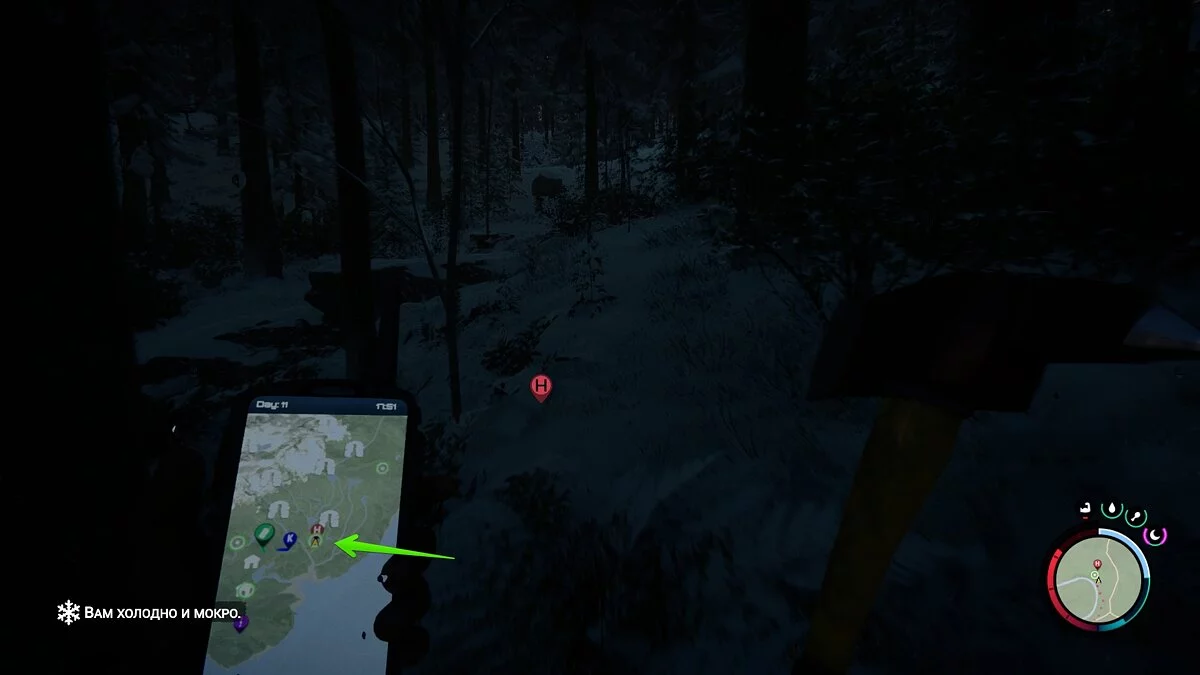
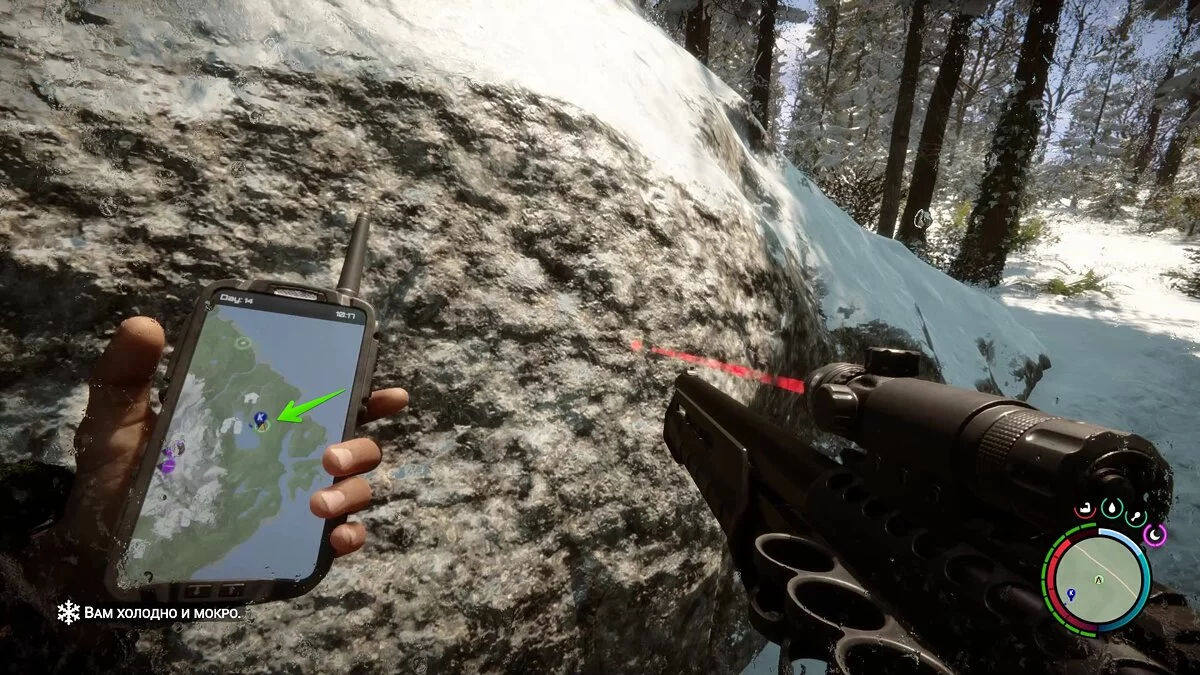
When you get out, winter will likely have already arrived. It can come earlier, depending on how long you survive on the island. There will be several points of interest left to visit on the map (green marker), but we recommend heading to the one shown in the screenshot below.
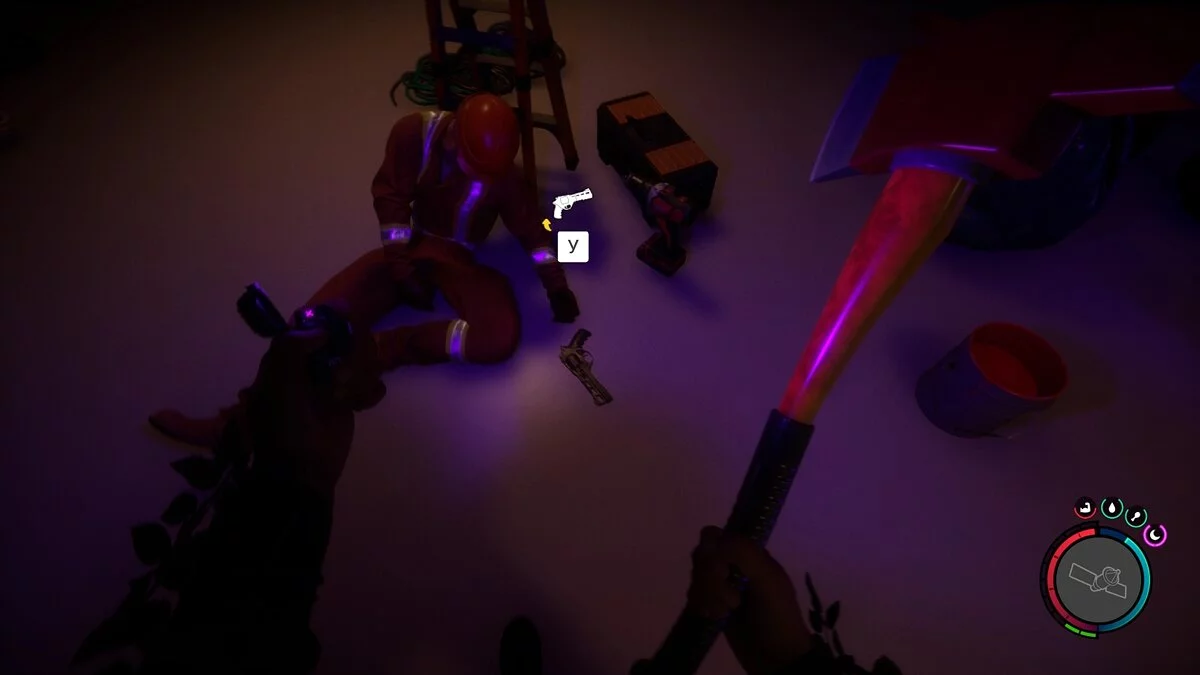
Here, there will also be several golf carts and surveying equipment. Use a shovel to dig up the entrance to the bunker and climb inside. Inside, you will find a revolver, resin for the printer, and other useful supplies.
Where to Find the Ancient Armor
Note: With the latest updates, the location of the ancient armor has changed. Now you can pick it up in another cave almost from the beginning of the game. To do so, head to the dungeon we've marked on the map below. However, the bunker marked in this section is also a must-visit!
Enter the cave and descend into the chasm. There will be a ladder, which you also need to descend. On the lower floor, there is a door. Interacting with it will trigger a cutscene.
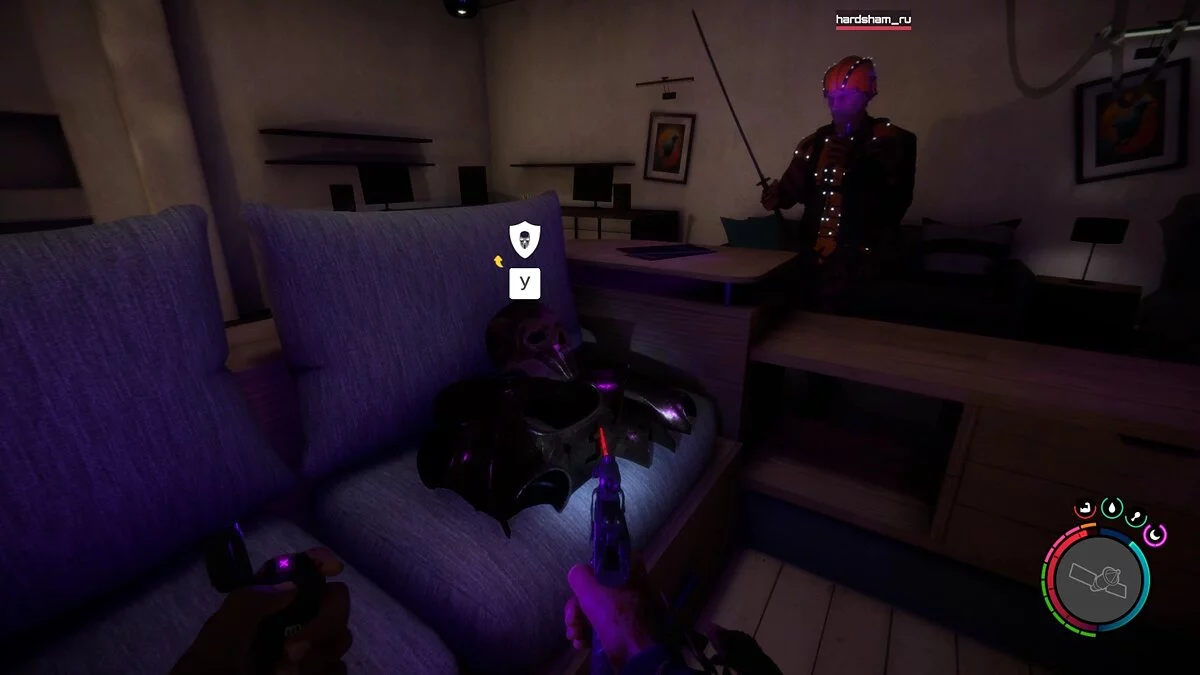
After the video, you will be able to fully explore the underground complex and find useful items, a katana, a pistol, a pistol flashlight. The latter is needed to open the door in the final bunker.
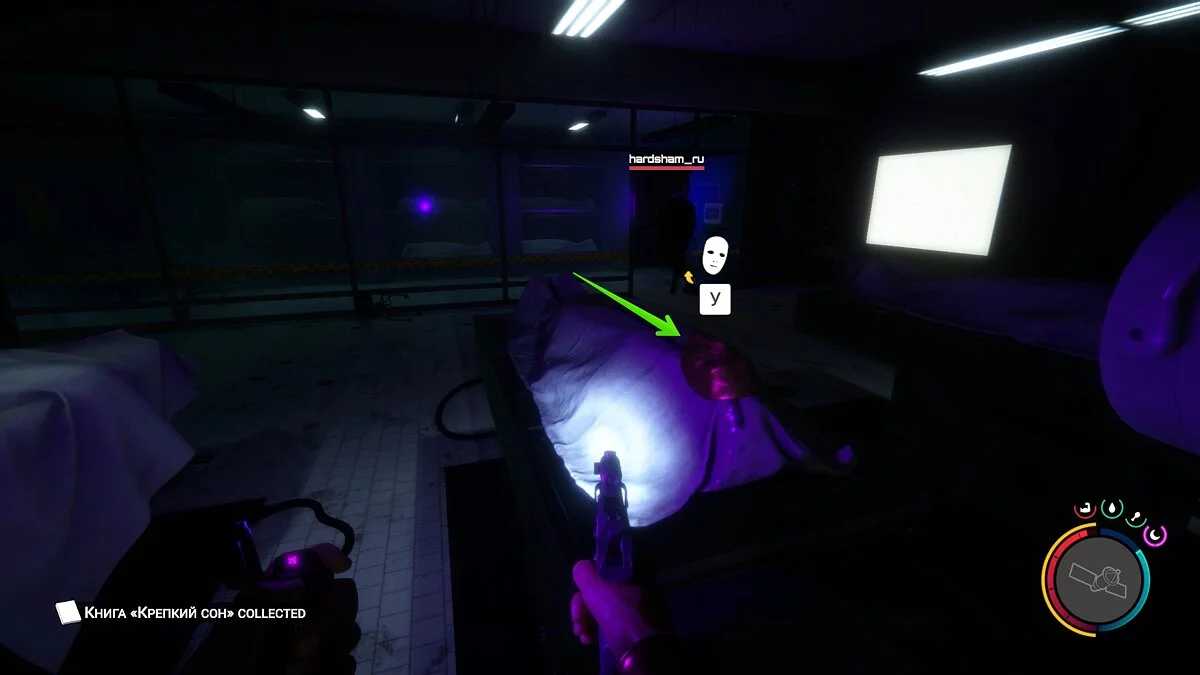
Even lower, there will be a morgue where you can find a golden mask. With it, you can deceive any cannibals.
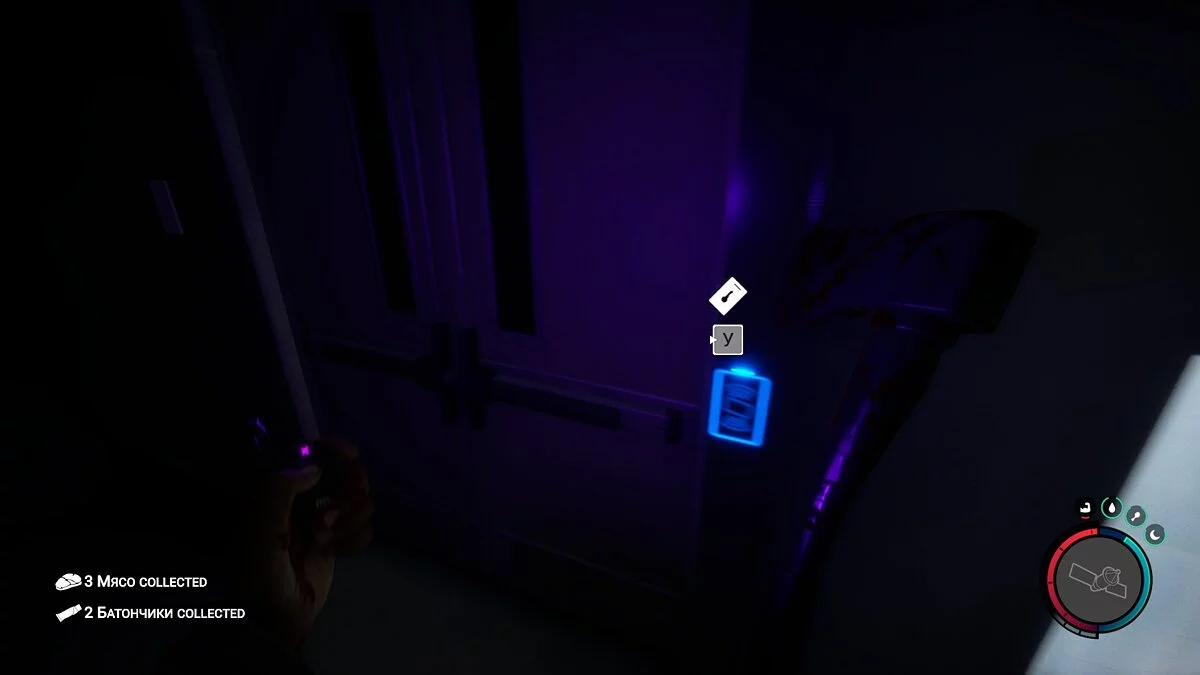
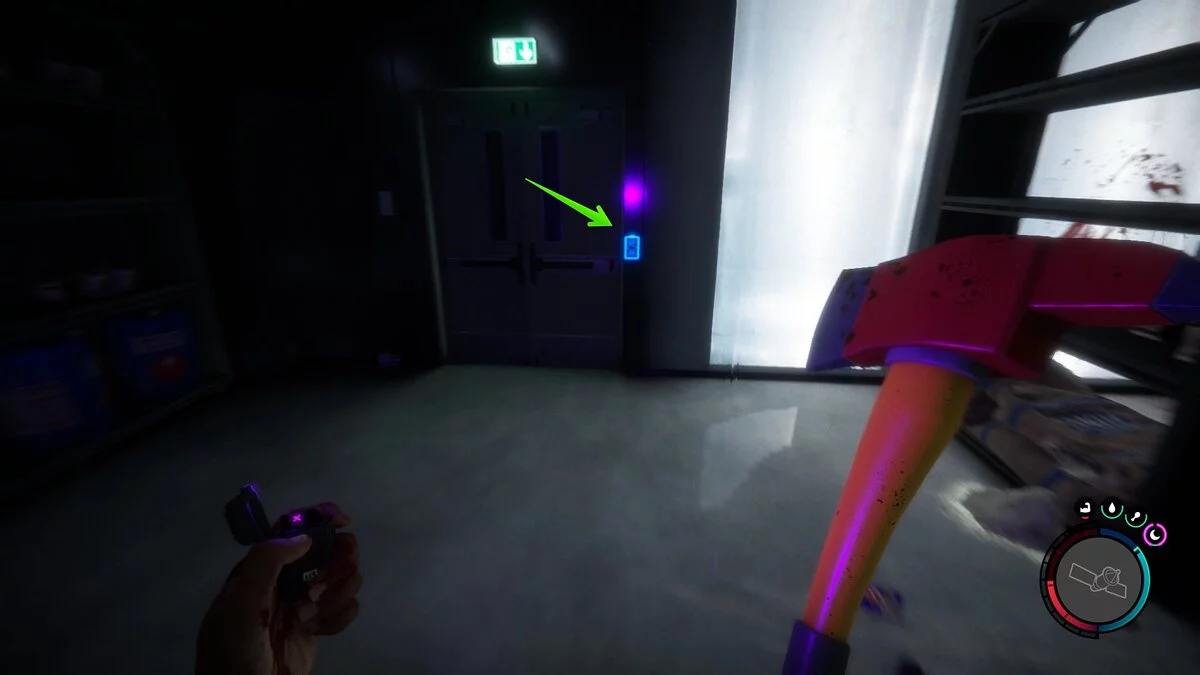
Open the last door with a keycard and get outside through the cave.
The Finale
The last point of interest you need to visit to complete the storyline is located right on the coast. Refer to the screenshot. You will notice that the entrance to the bunker is different from all the others you may have visited before. You will have to use the blue keycard to get here.
Descend and keep running forward, then turn right. You will enter a room that looks more like a hotel room. On the bar counter, there will be another shotgun and ammunition.
You can use the bed to save your game. On the headboard of the bed lies a cross (we do not know what it is for, but the character automatically adds it to the inventory).
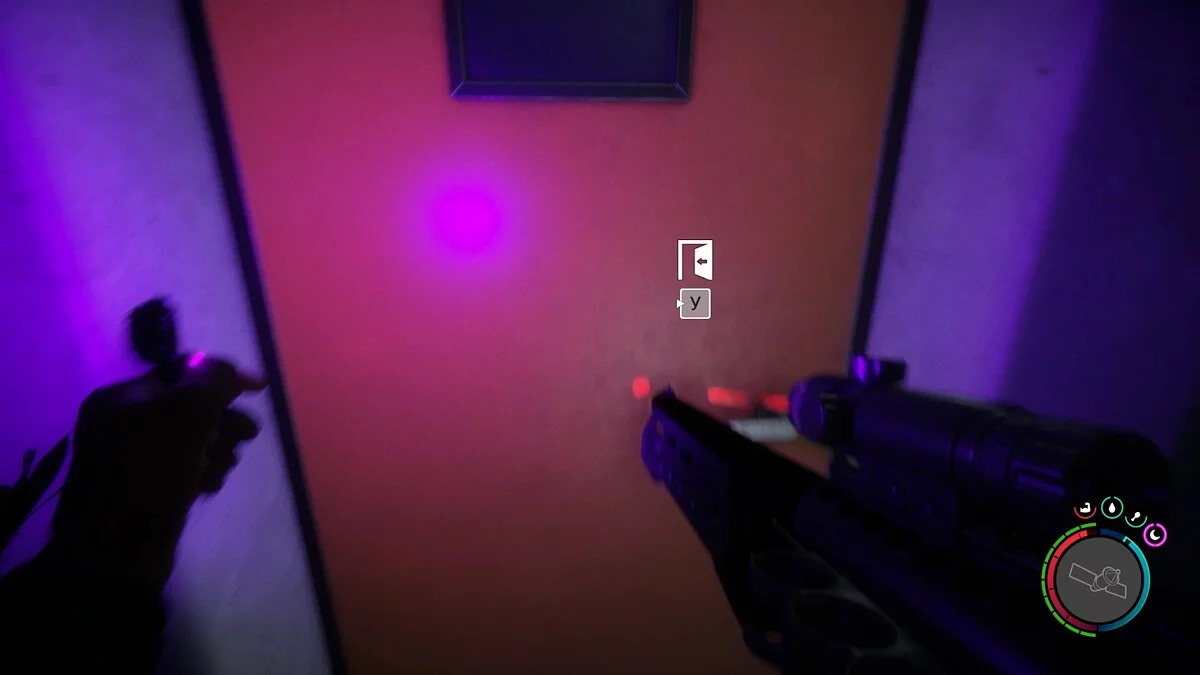
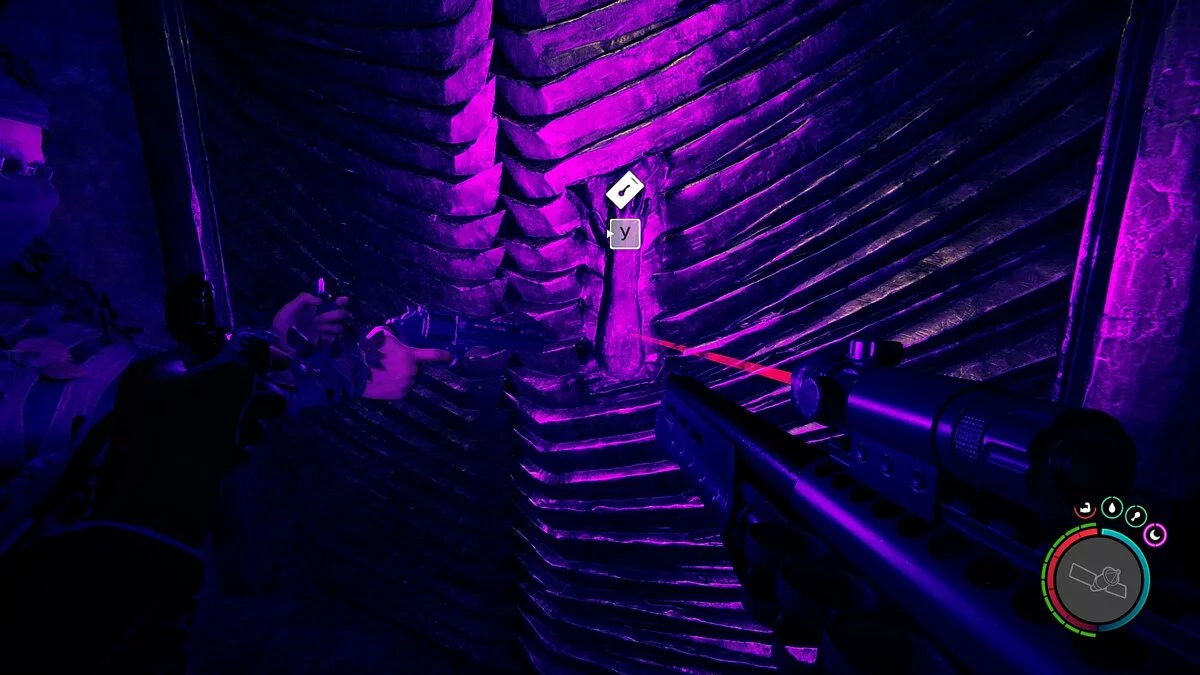
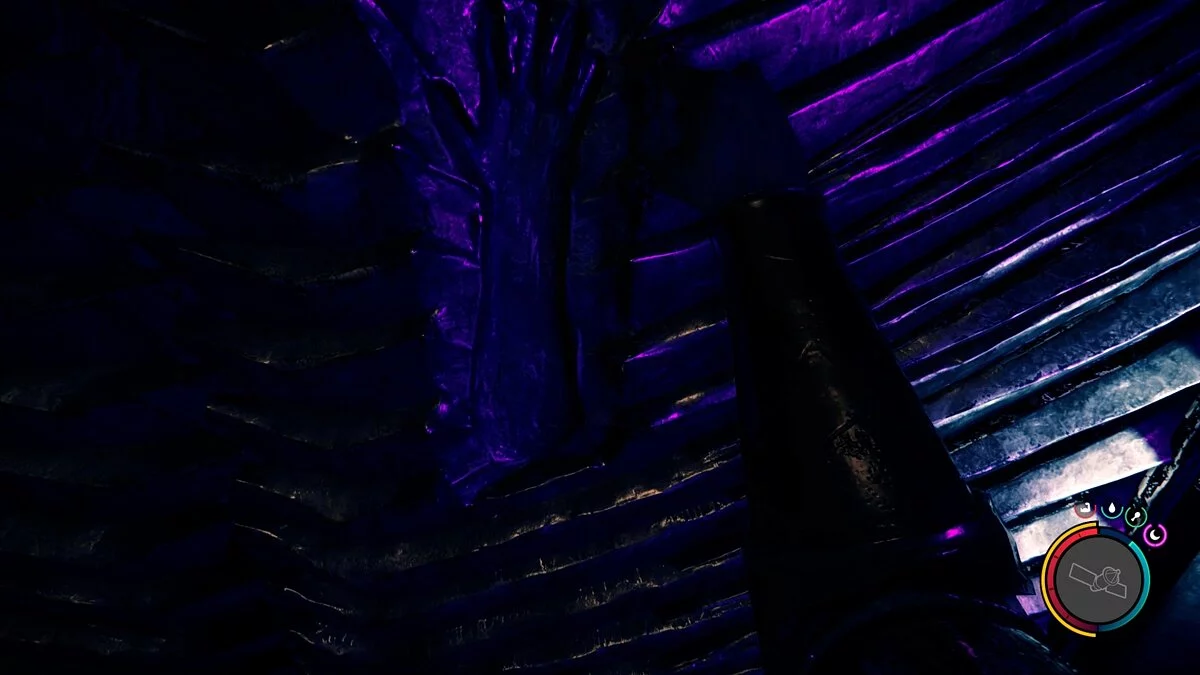
Then proceed to the restroom. There is a break in the wall here — you go there. Go forward a bit more and look through the locked door with a silhouette of a hand. Put on the golden armor and interact with the door.
Note: After the last update, nothing will happen: pick up the blueprint to the right of the door, go outside and craft an object, then place the armor in it. The monsters will start attacking. After you win, take the armor and put it on yourself. It is now ready to use — you can use it to open the final door.
Warning: Many players report that after starting the batteries on the object you created, the enemies run out, and the object itself does not stop making electrical sounds. That is, you can't pick up active armor, only destroy the object. We do not know how to bypass the bug, as we have encountered it ourselves.
Next, you will embark on a long journey to the final cutscene. Along the way, you will encounter strong monsters, so we recommend stocking up on medkits and ammunition. The path is linear, you won't get lost.
Upon reaching the golden cube, watch the cutscene after which you can choose: stay on the island or leave with the team. This concludes the storyline of Sons of the Forest. If the developers add any secrets or expand the game's story, we will update this guide in a timely manner.
Other guides
- Artifact in Sons of the Forest: What It's For and How to Find All Parts
- Weapon Guide in Sons of the Forest: Where to Find and How to Craft
- How to Disable Steam Overlay and Increase FPS in Games
- How to Befriend the Three-Legged Girl (Virginia) in Sons of the Forest and Make Her Your Companion
- How to Find a Shovel and Dig Up a Grave in Sons of the Forest
- Palworld bekommt einen Raid-Boss und neue Mechaniken
- Beste Mods für Sons of the Forest: Grafik, Bau, Cheats, Virginia und mehr
- Artefakt in Sons of the Forest: Wofür es ist und wie man alle Teile findet
-
How to Find a Shovel and Dig Up a Grave in Sons of the Forest
-
Artifact in Sons of the Forest: What It's For and How to Find All Parts
-
How to Befriend the Three-Legged Girl (Virginia) in Sons of the Forest and Make Her Your Companion
-
How to Disable Steam Overlay and Increase FPS in Games
-
Weapon Guide in Sons of the Forest: Where to Find and How to Craft
