All Muspelheim Trials in God of War: Ragnarok

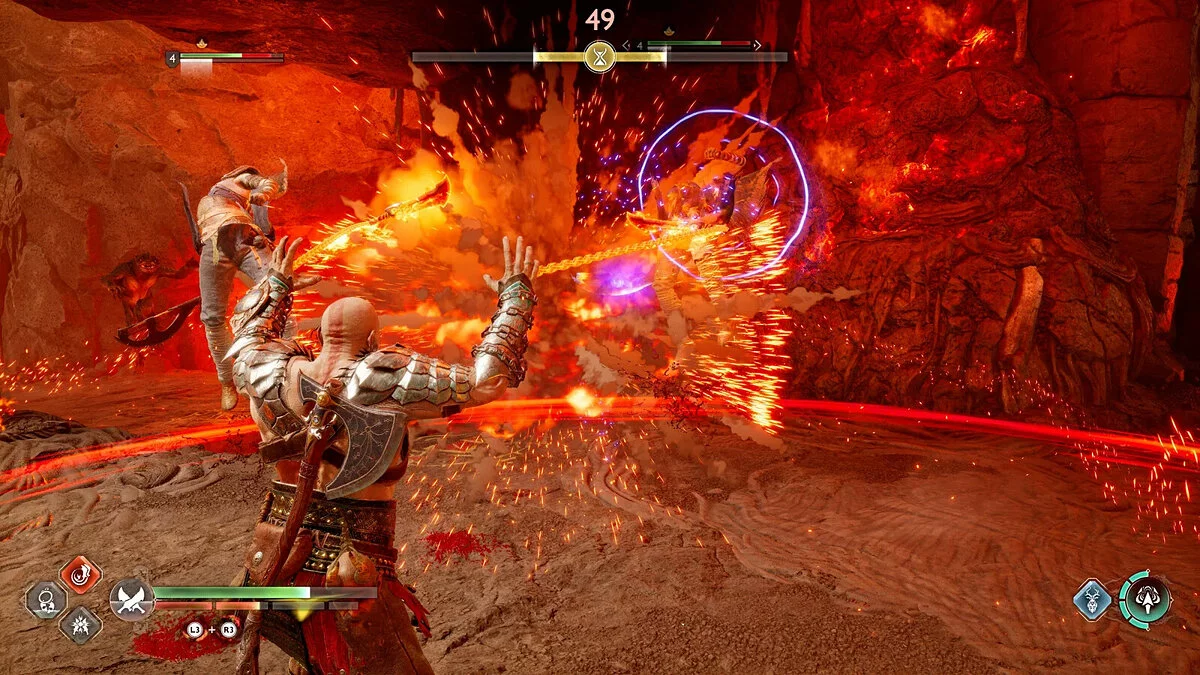
The Crucible Trials — an optional quest that becomes available upon arrival in the fiery realm of Muspelheim. As in the previous game, God of War, Surtr offers a multitude of combat trials to test your might. This guide includes information on how to complete each of Surtr's trials in God of War: Ragnarok and how to unlock the Armor of the Undying Pyres, Chaos Flame, and other rewards.
Muspelheim is a recurring area from God of War (2018), and it closely resembles its iteration in the previous game. To start this side quest, you must first gain access to Muspelheim itself. While players can explore part of this world during the main storyline, returning is not possible until you collect both halves of the Muspelheim Yggdrasil Seed. They are located in Svartalfheim, but you can only reach them on different visits to the location as per the storyline.
The giant Surtr is very fond of combat trials. Upon arriving in this realm, you will unlock the side quest, The Crucible, and be able to participate in various trials, the difficulty of which will increase as you progress.
Where to Find the First Half of the Muspelheim Seed
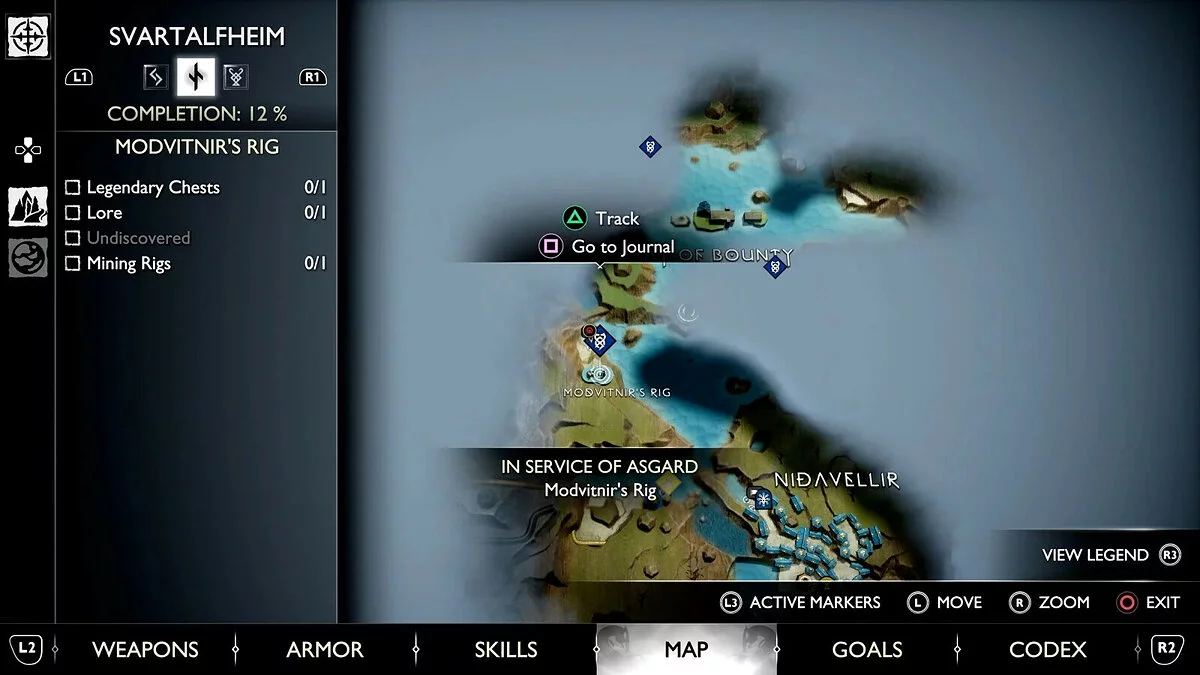
The first half of the Muspelheim Seed can be found right after passing through Nidavellir in the second chapter. It is located at Modvitnir's Rig in the west of Svartalfheim.
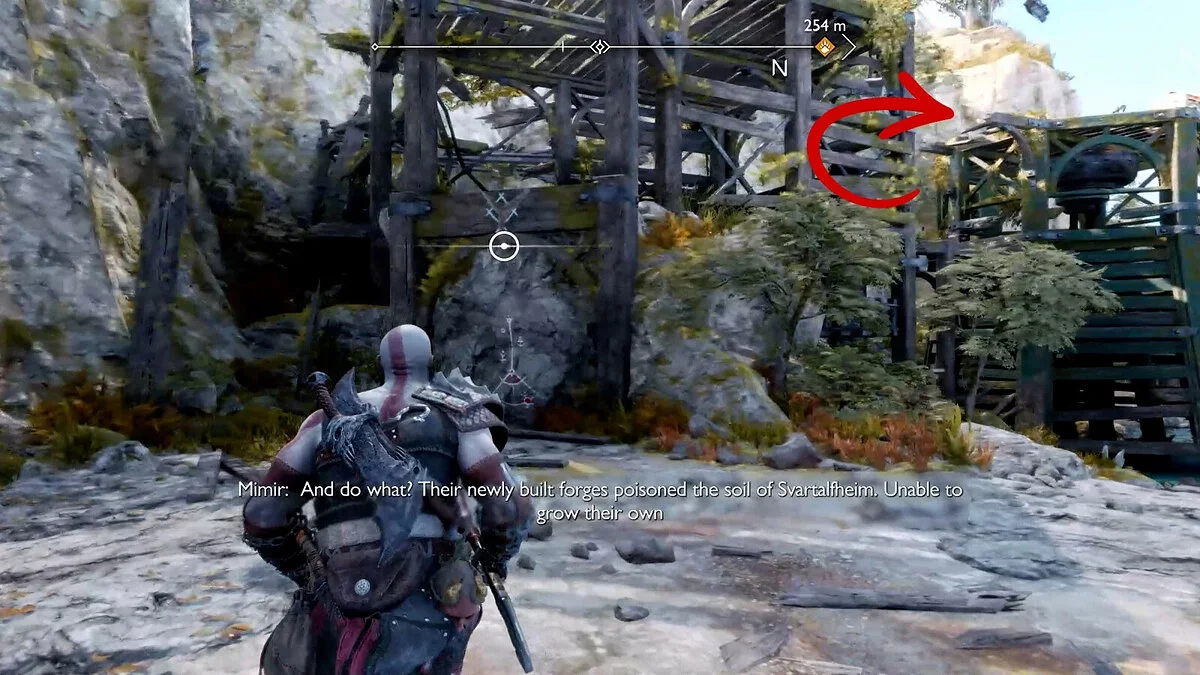
When you reach the beach, look to the right to see a tall platform where a legendary chest is located. You can get to it by defeating the enemies and climbing up. Throw your axe at the rotating lever to open the gates to the tall wooden platform.
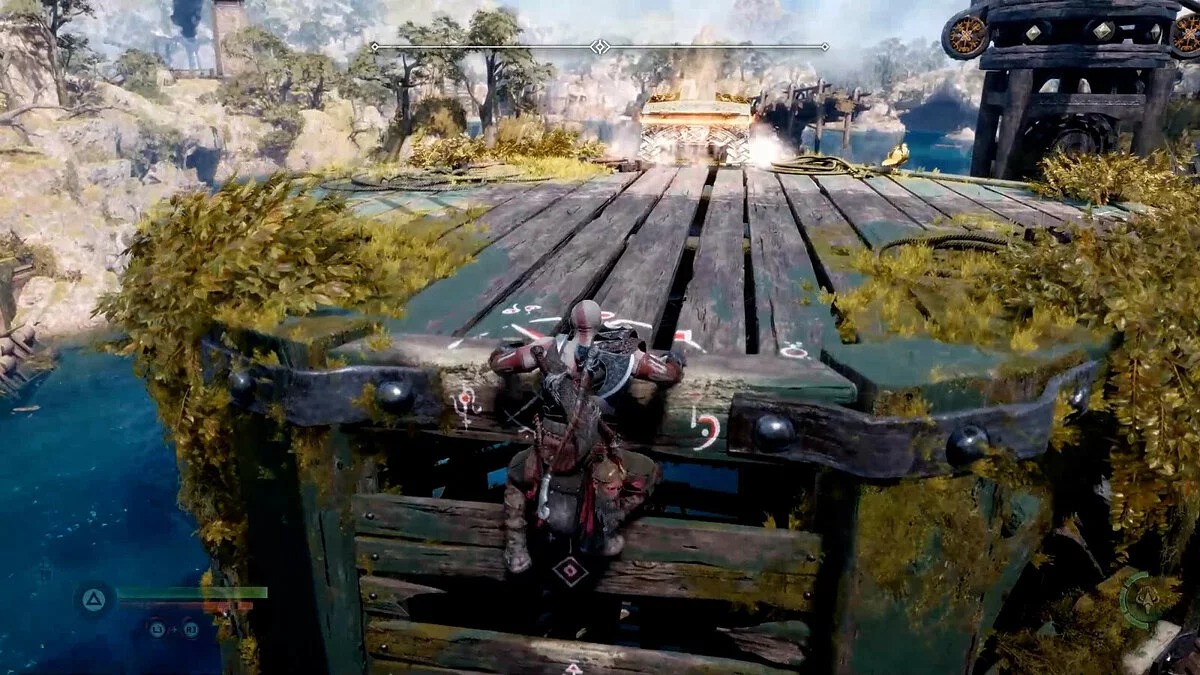
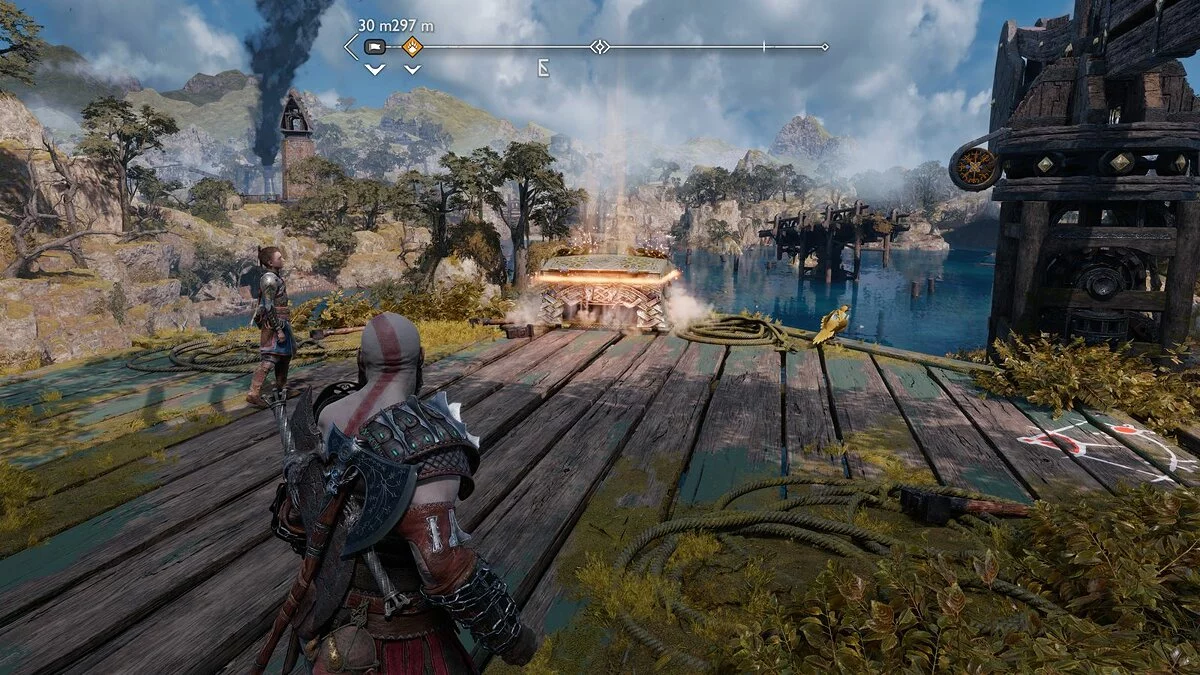
Climb to the top and kill the enemies there who will try to ambush you. Collect the first half of the Muspelheim Seed from the chest.
Where to Find the Second Half of the Muspelheim Seed
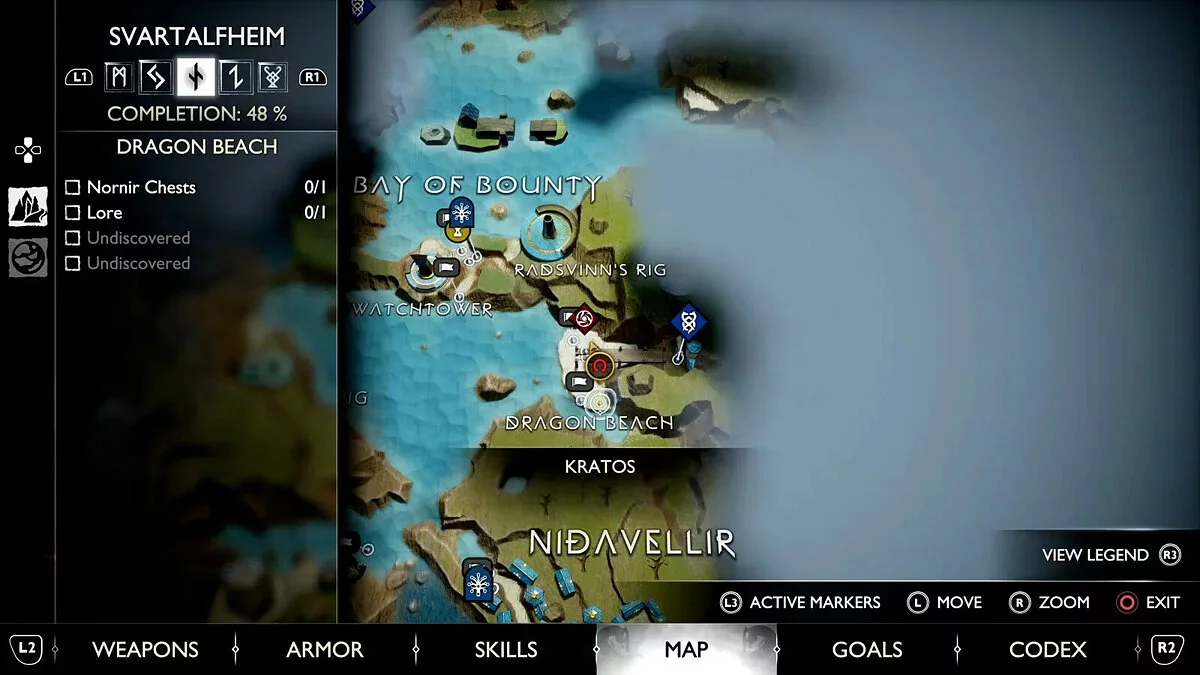
The second half of the Muspelheim Seed can only be obtained after you complete the tenth chapter and acquire a very important item that allows you to reach the chest. Sail to Dragon Beach in the east of Svartalfheim.
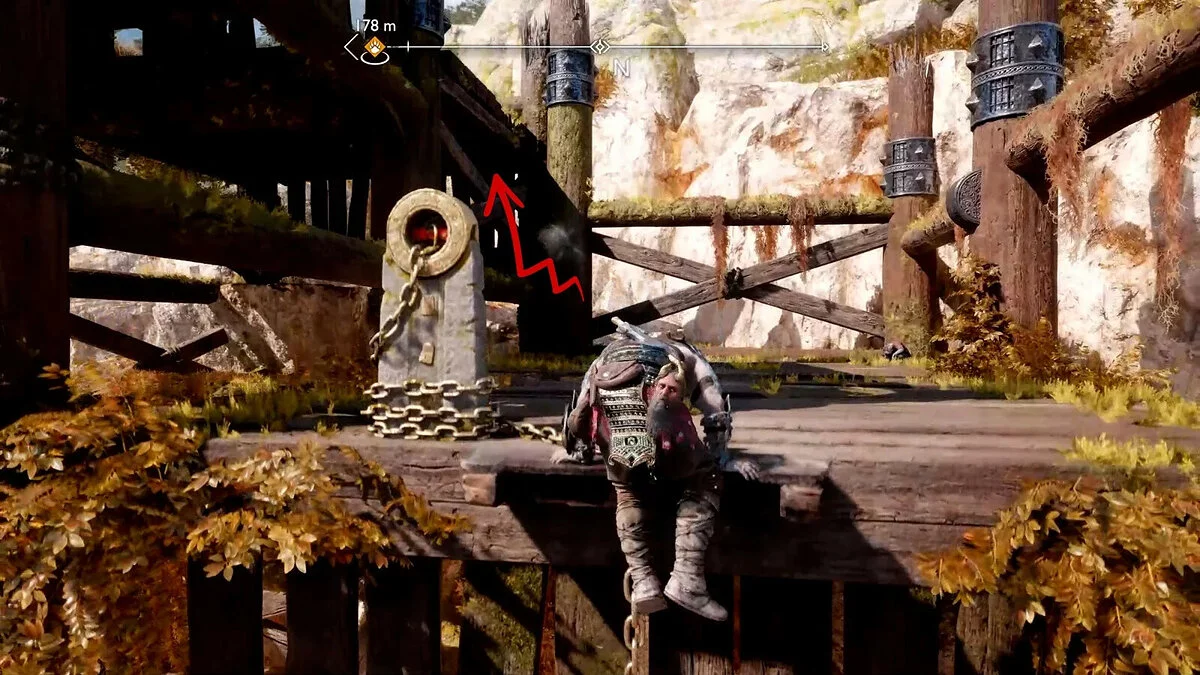
After defeating the enemies on the beach, look to the left to find large wooden scaffolding with a chain that you can climb to a ledge. Here, there is a ventilation hole into which you can throw your new tool to create a mechanism for ascending to a higher platform.
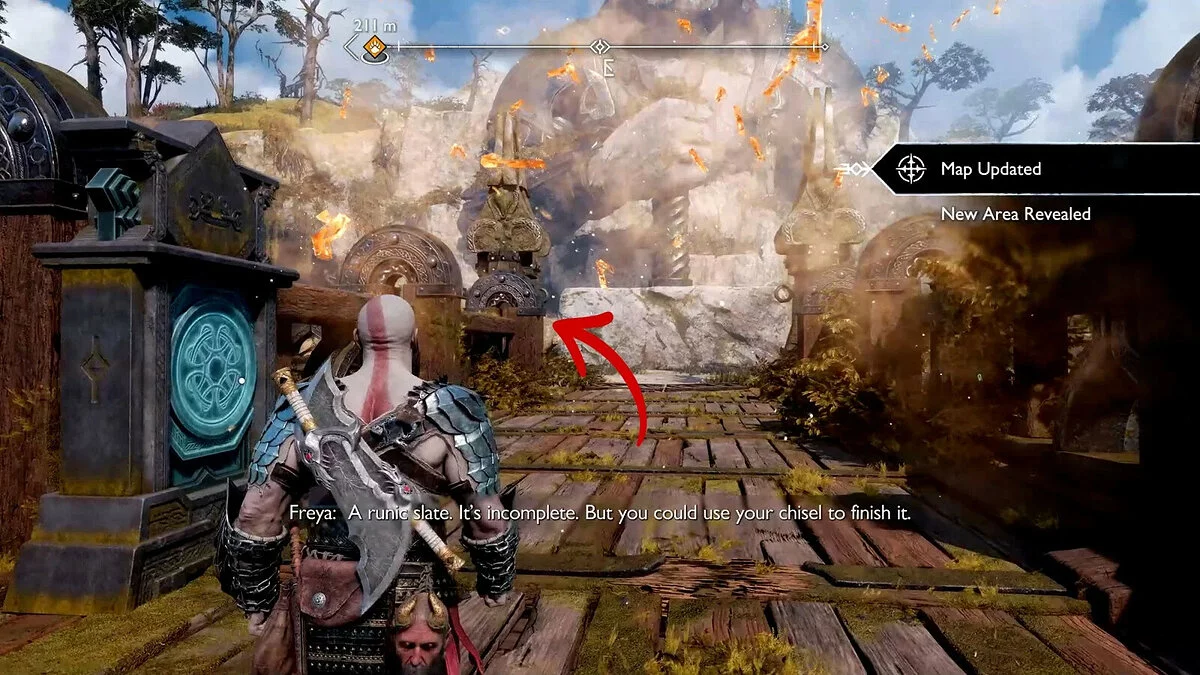
On the ledge above, you will encounter the spirit of the Elder Wayfarer, who will tell you a sad story about treasure hunting with his son and give you the side quest The Lost Treasure. Since he mentioned a treasure nearby, cross the chasm to the broken wooden bridge, located high above the beach.
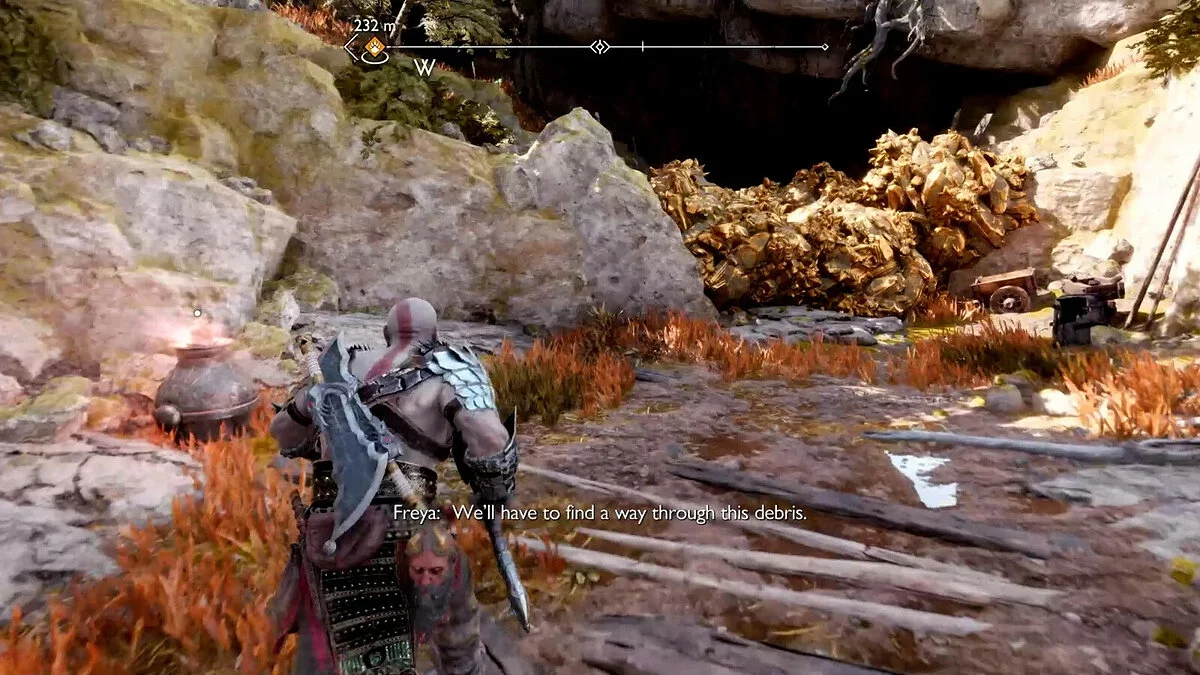
Here, you will find various rewards, but more importantly, a path to the left leads to Alberich Hollow. Inside this tunnel, you will encounter quite dangerous enemies. After defeating them, you can discover a legendary chest. Continue to the huge pile of gold stones, to the left of which you will find a pot you can use.
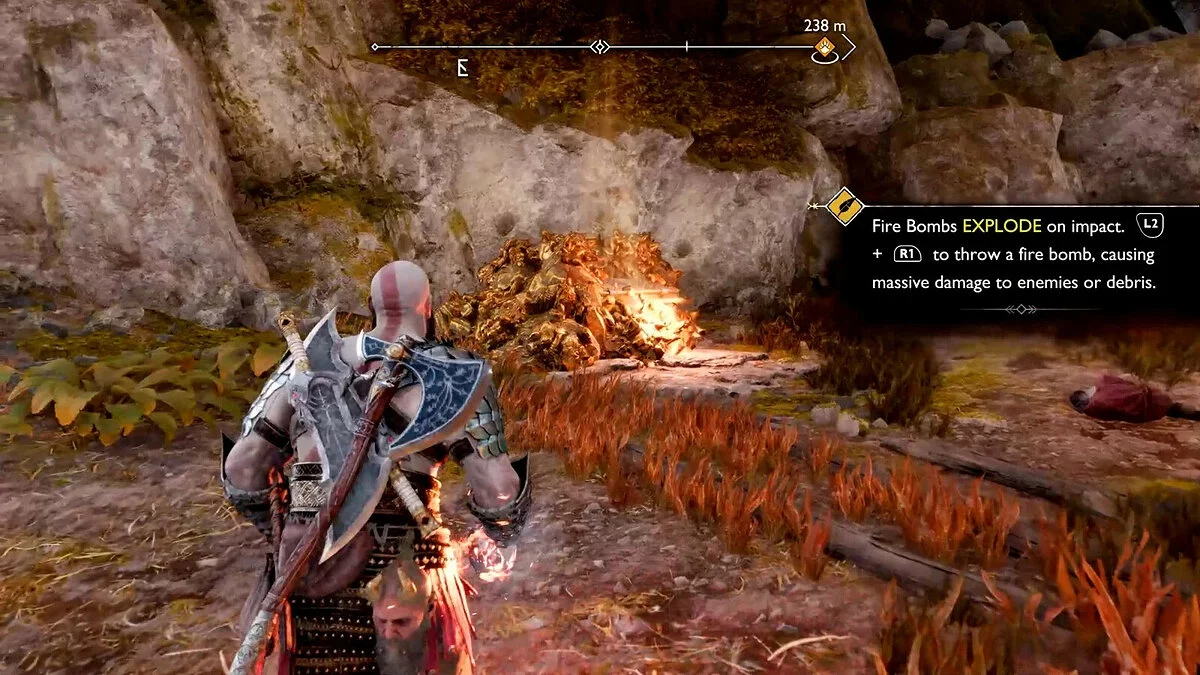
Return to the legendary chest and explode the gold stones to open the chest and obtain the second half of the Muspelheim Seed.
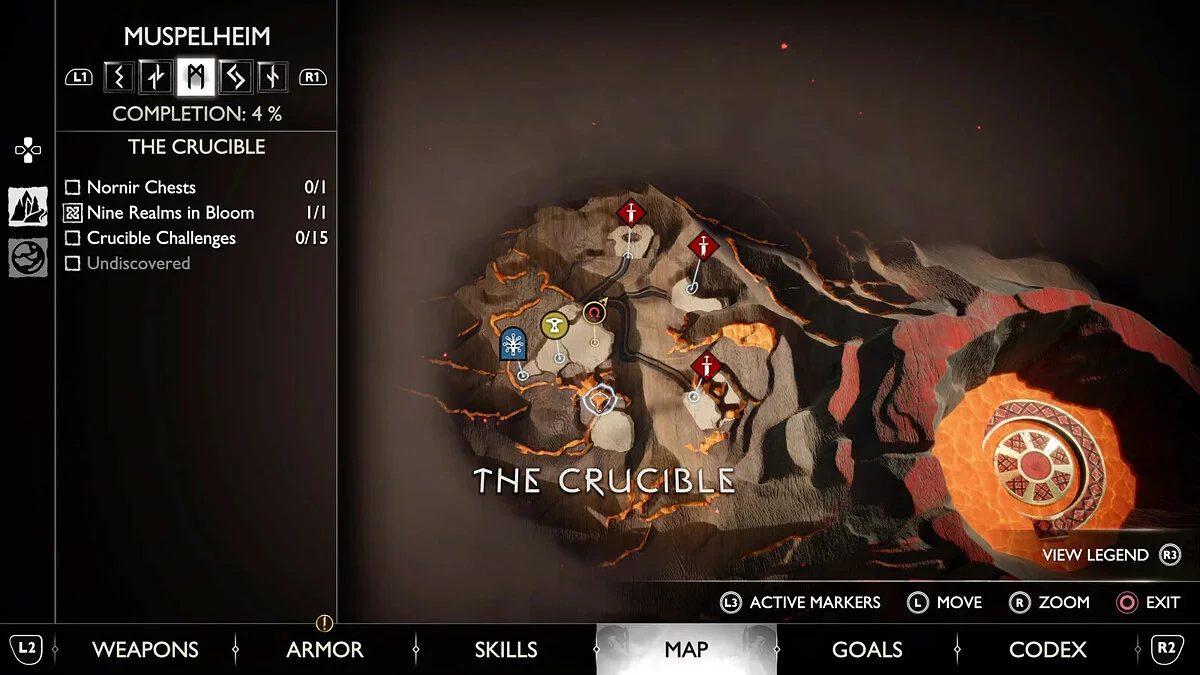
After obtaining both halves of the seed, return to any Mystic Gateway to unlock travel to The Crucible in Muspelheim. Now, you can undergo the trials set by Surtr and earn rewards for crafting exclusive Muspelheim armors.
The Crucible
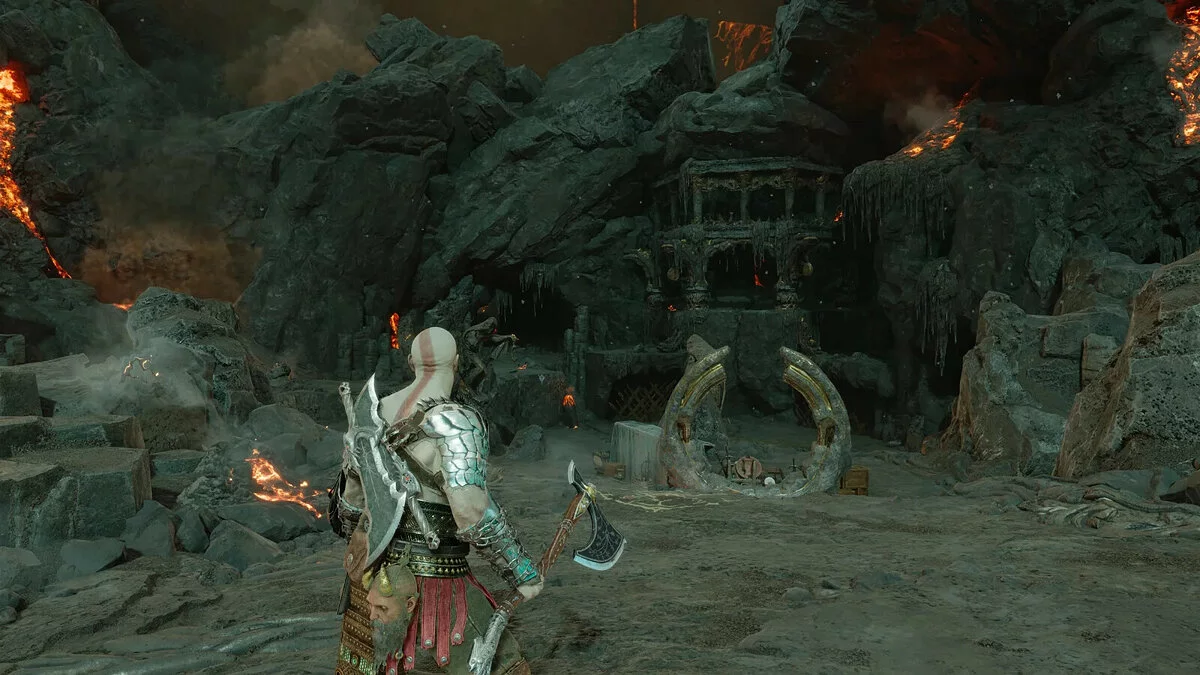
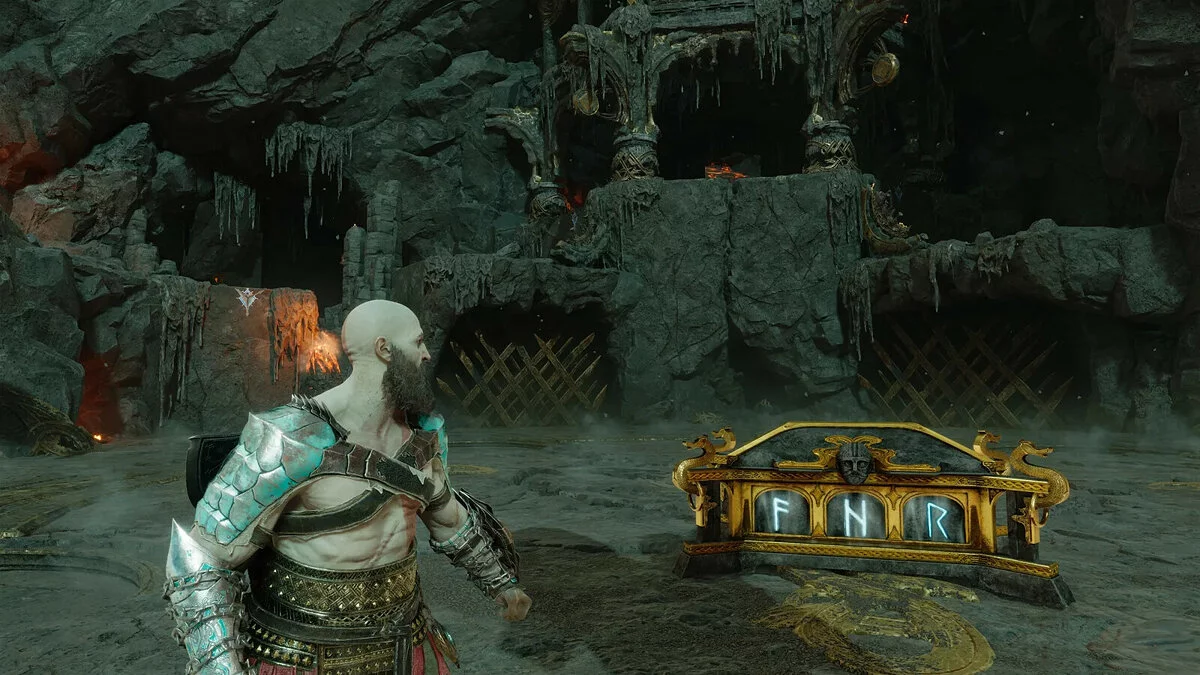
Arriving at The Crucible, you will find a large open arena with a dwarven shop nearby. In the pit is a chest, but it operates differently than others. It is linked to various tasks set by Surtr.
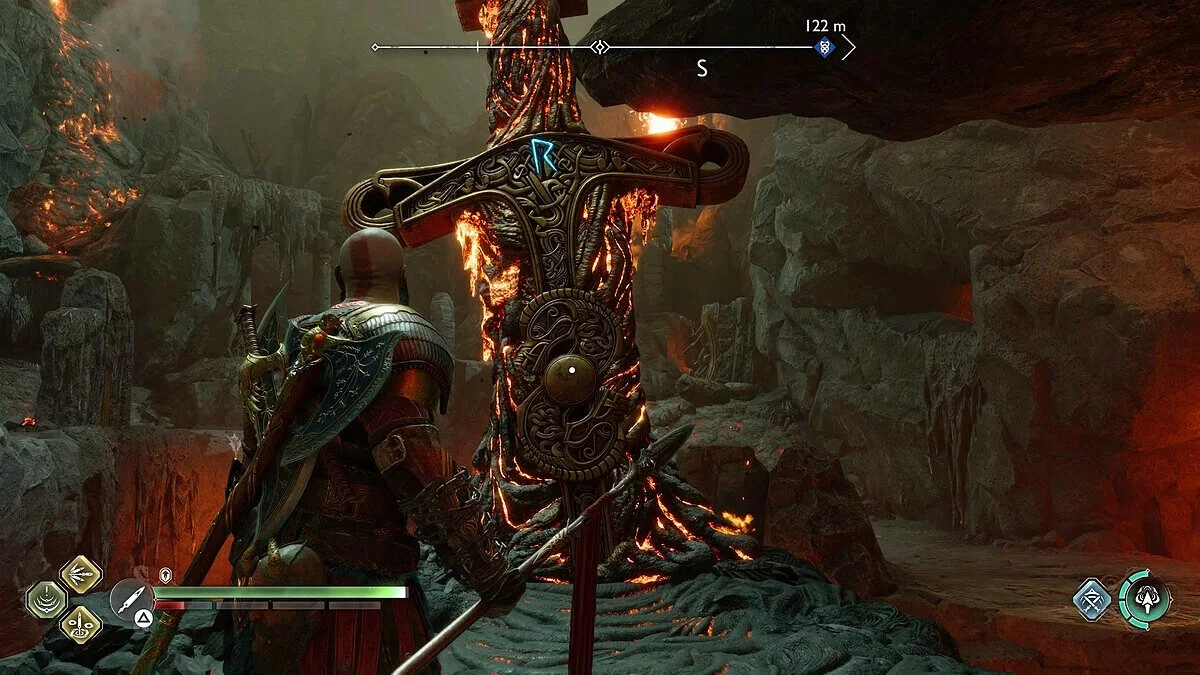
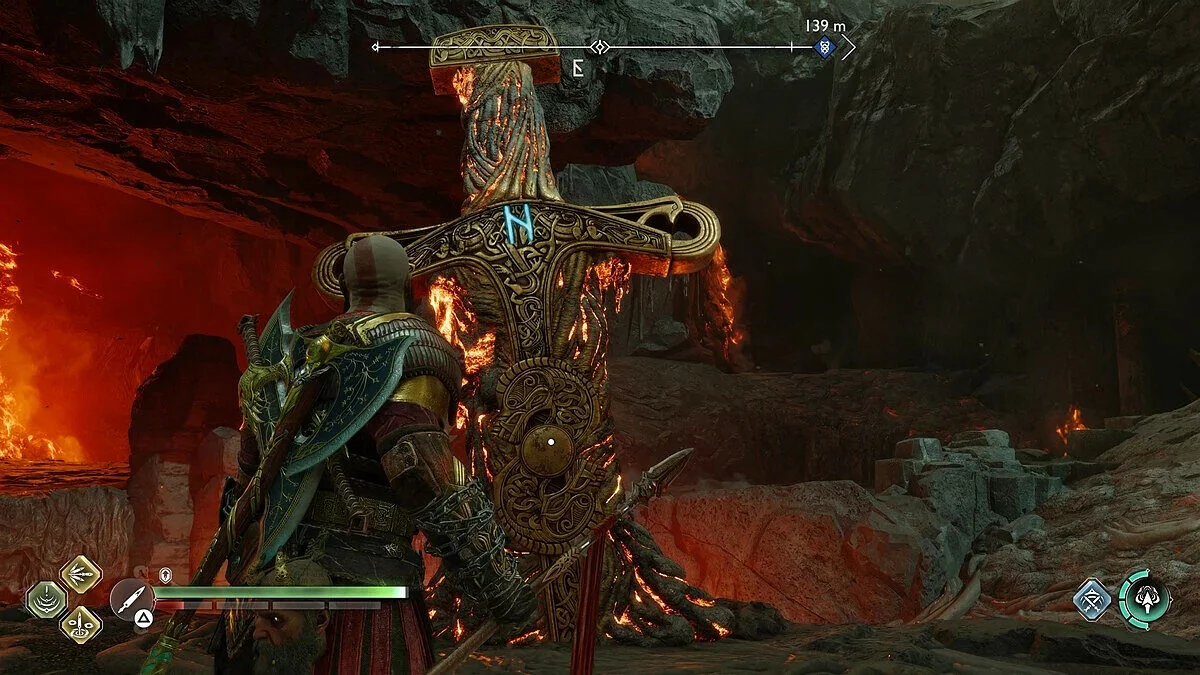
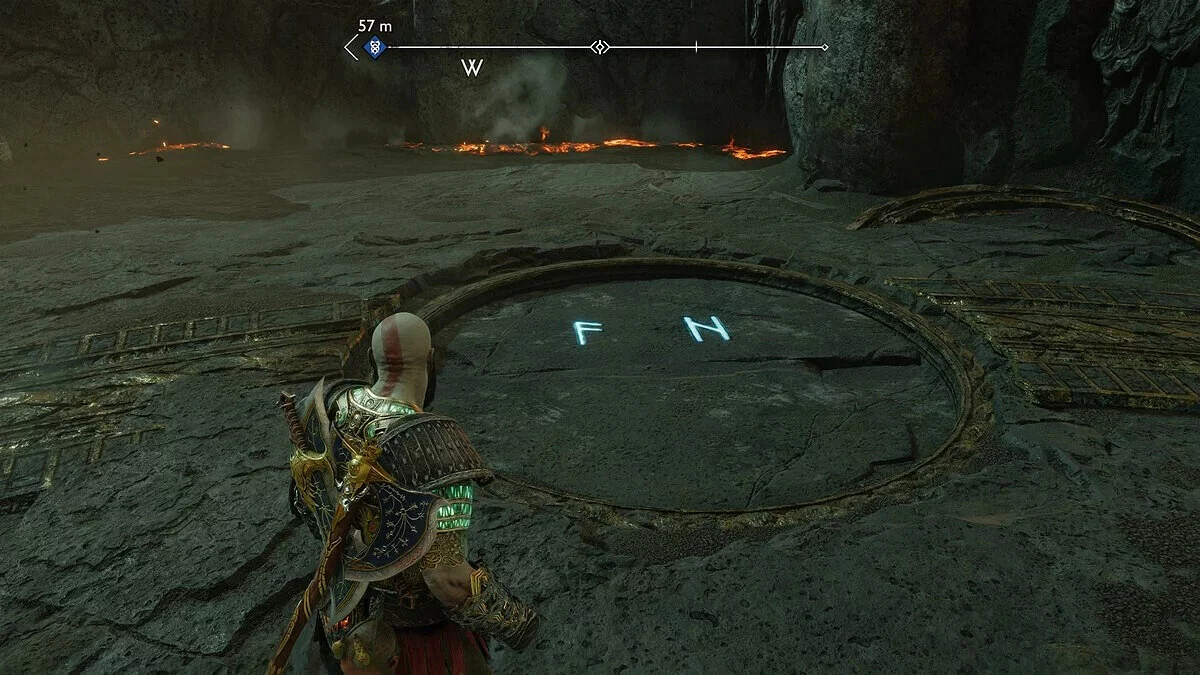
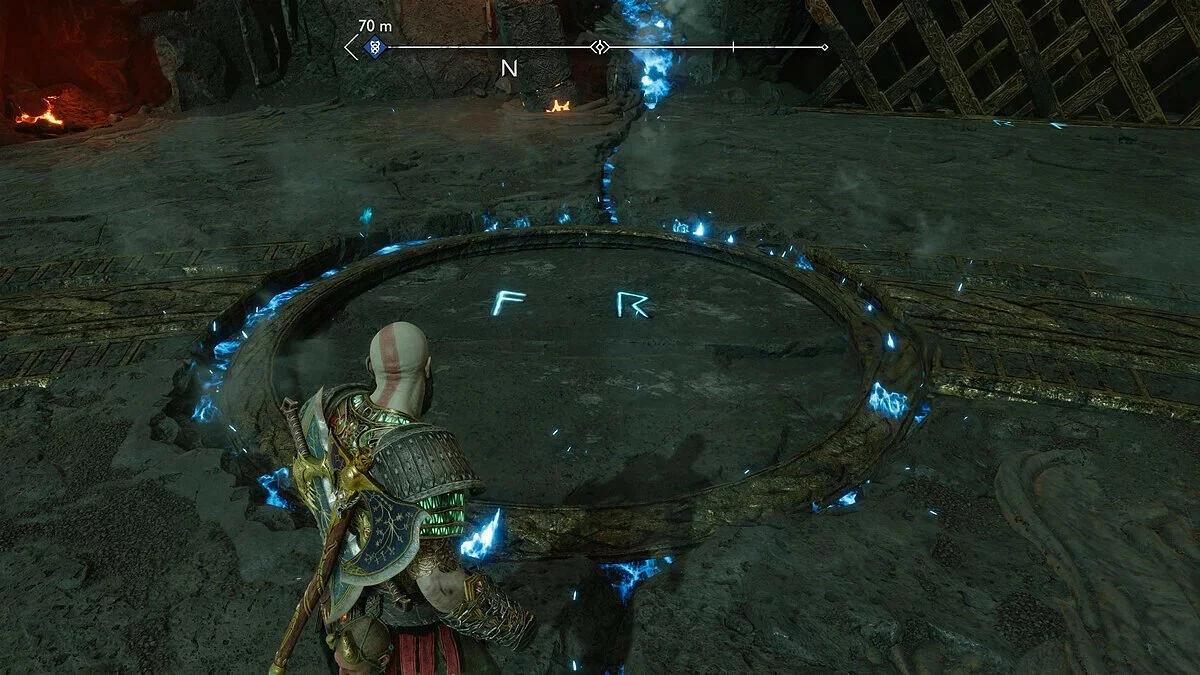
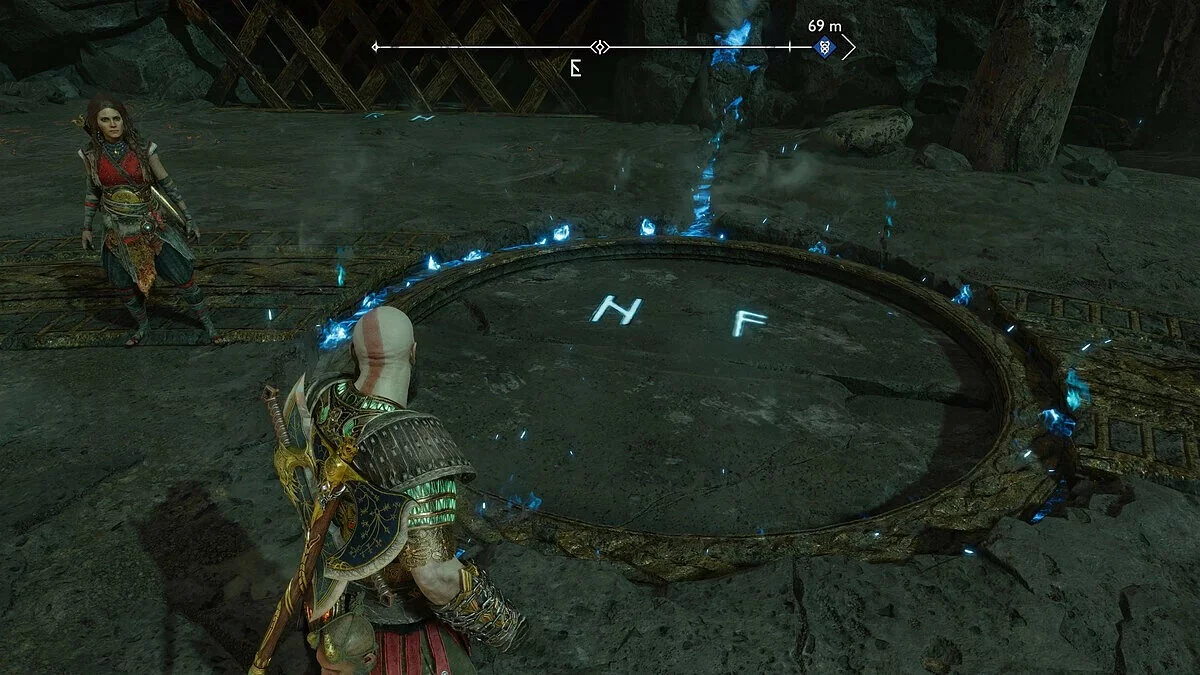
You can find three smaller arenas to the east of the pit with the chest, where you will find a large sword sculpture with a rune on it. Interact with it, and you will be able to choose one of several trials in the arena. Each tests your combat abilities differently, setting new conditions for completion.
The first six Crucible trials can be completed in any order. You can choose a warm-up option to test different equipment and abilities before taking on the trial itself.
Weapon Mastery. Rune F
- Recommended level: 4-5;
- Reward: Shoulder Guard of the Undying Flame (when fully charged with eternal frost, heat, or whirlwind, Kratos receives a shield that prevents charge loss on the first missed hit), 100 Kratos XP, 100 companion XP, 1000 Hacksilver, 250 Divine Ash.
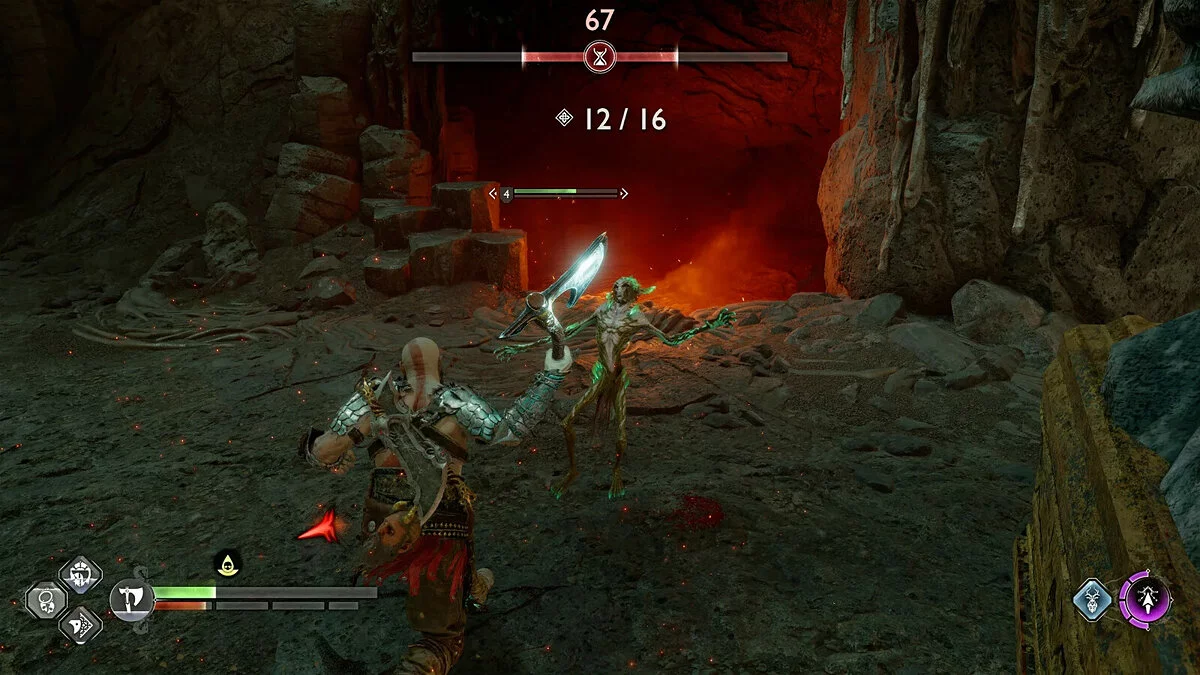
You will face 16 enemies, each with different elemental properties. You will need to quickly switch weapons. Each enemy will have a shield, so be sure to use your Leviathan Axe on enemies with fire shields and Blades of Chaos on enemies with ice shields.
The final enemy will be a Nokken, who heals the remaining enemies, so kill it first. The waves are not too difficult, and as long as you use the appropriate type of damage, you will have more than enough time to complete the task.
Flawless. Rune F
- Recommended level: 4-5;
- Reward: 100 Kratos XP, 100 companion XP, 1000 Hacksilver, 250 Divine Ash.
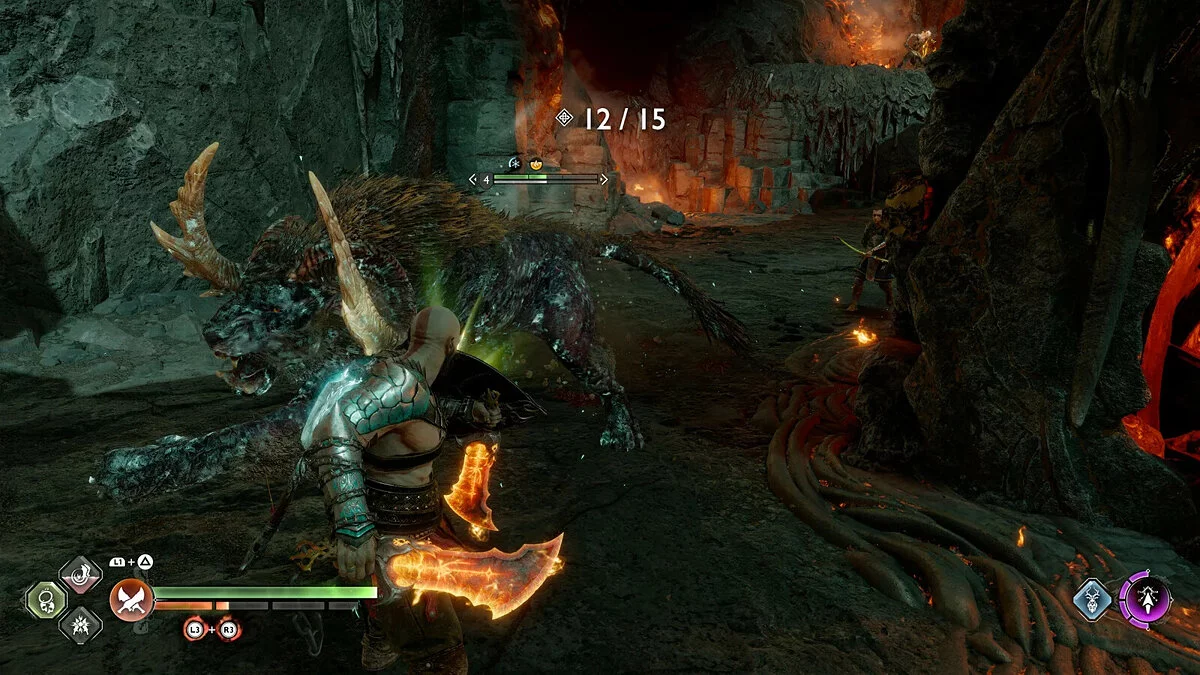
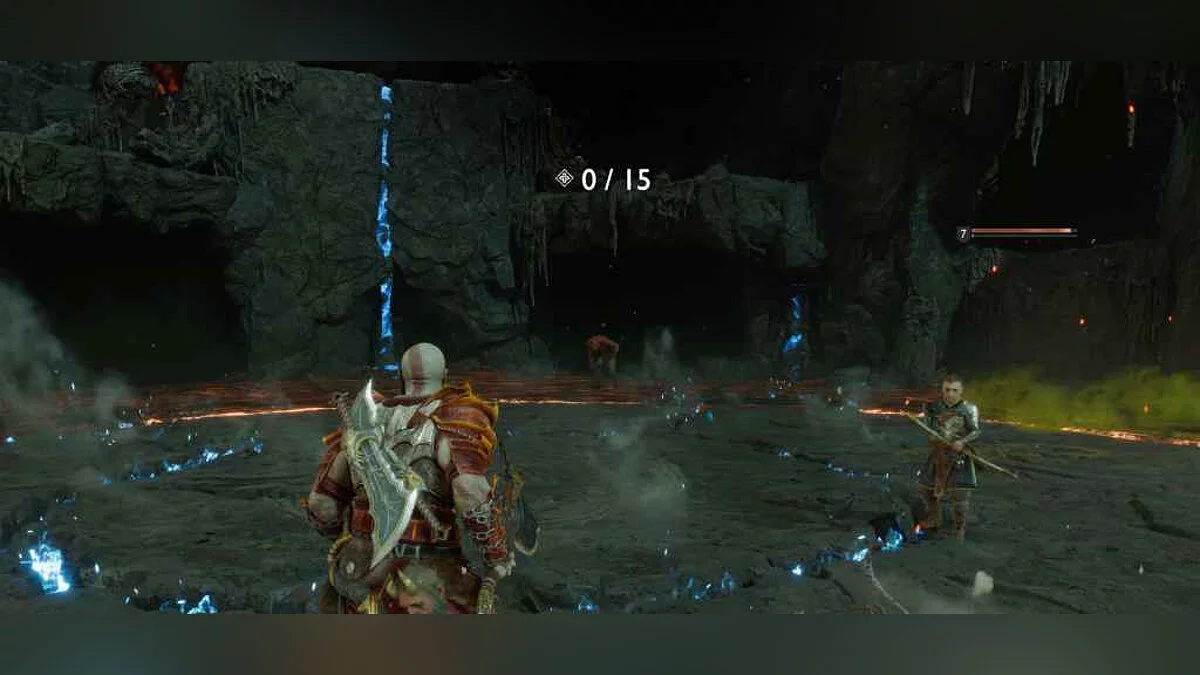
To pass this trial, you need to defeat 15 enemies without taking damage. You'll always need to keep your distance from danger, so make maximum use of your ranged attacks. Most of these enemies either explode upon death or attack from a distance. Don't forget about your ally—use them to extend your combos.
In the end, you will face an enemy that charges at the hero. You won't encounter too many enemies at once, but remember to constantly move, dodge, and take cover.
Ring Out. Rune N
- Recommended level: 4-5;
- Reward: Bracers of the Undying Flame (increases the rate of accumulation of eternal frost, heat, and whirlwind), 100 Kratos XP, 100 companion XP, 1000 Hacksilver, 250 Divine Ash.
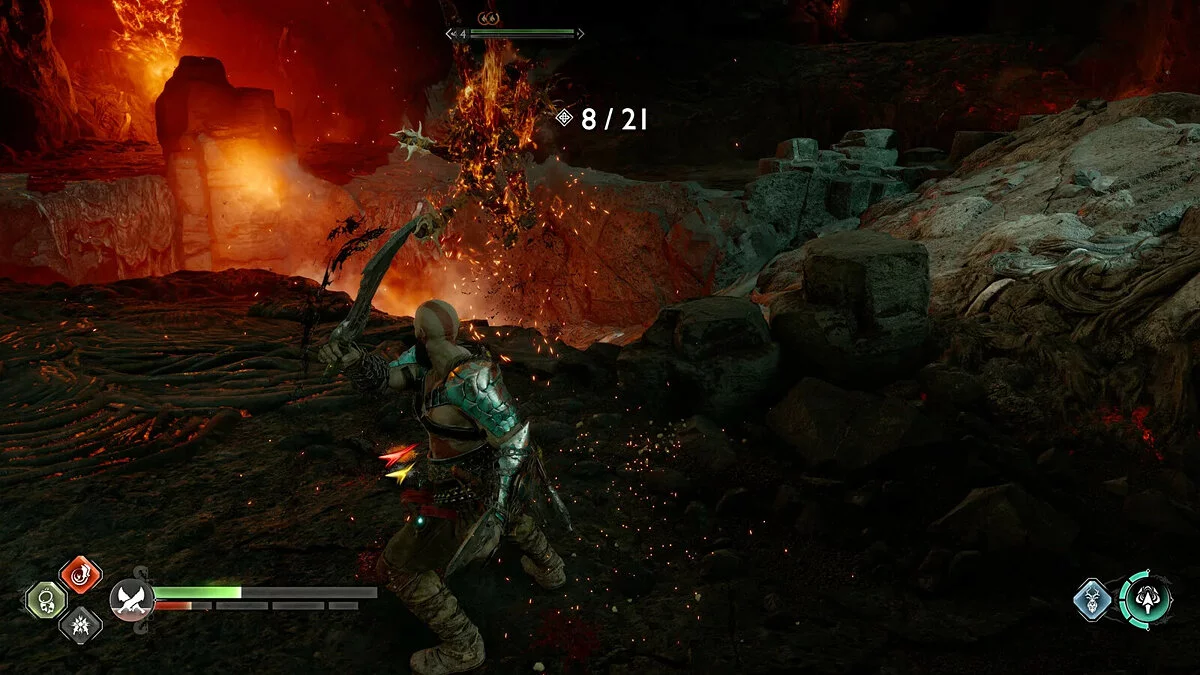
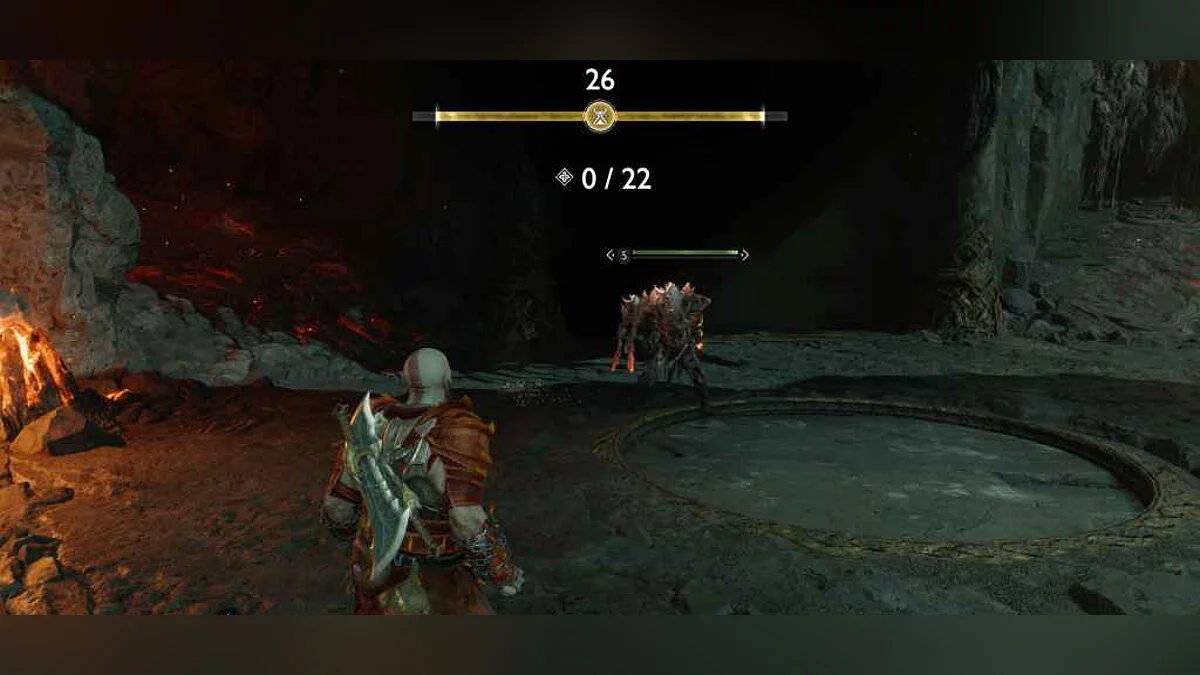
In this trial, you need to defeat 21 enemies that quickly regenerate health. The goal here is not to kill enemies in the usual way, but to knock them into the lava flowing through the arena.
Use weapon skills that push enemies away. Serpent's Snare of the Leviathan, Scorched Earth of the Blades of Chaos, and Gale Force of the Draupnir Spear. Using Kratos's unarmed strike is also an effective way to dispose of enemies.
Feed the Rift. Rune N
- Recommended level: 4-5;
- Reward: 100 Kratos XP, 100 companion XP, 1000 Hacksilver, 250 Divine Ash.
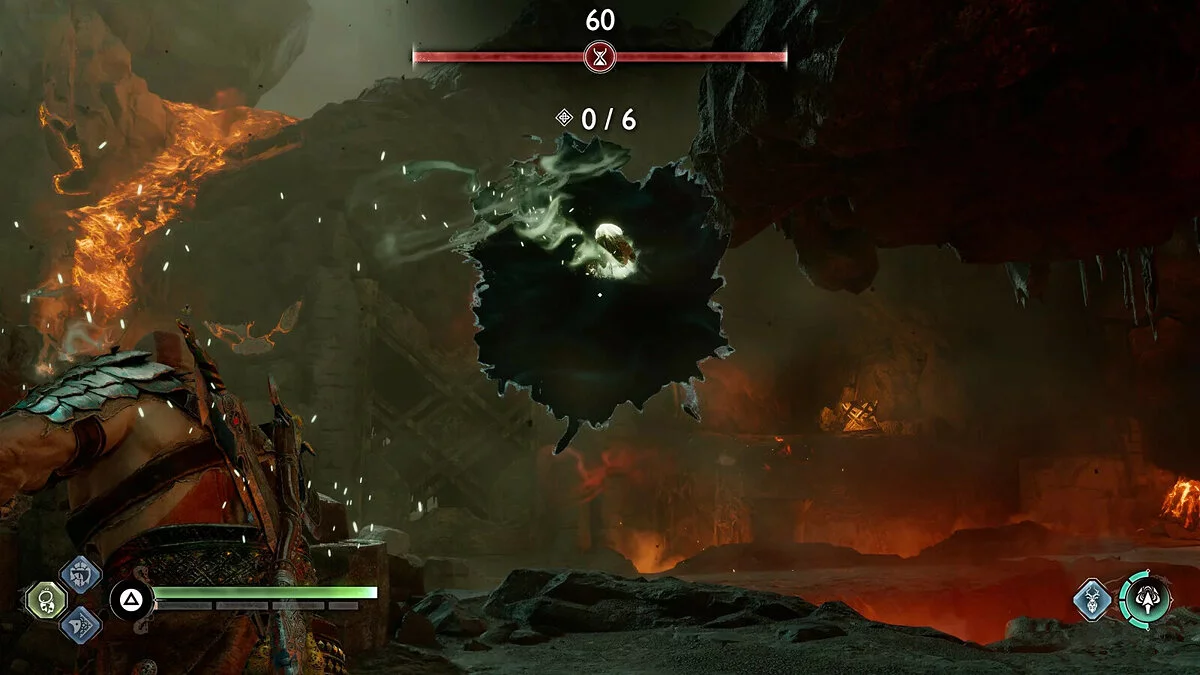
This task is more interesting in that killing enemies is only part of the solution. Each defeated enemy drops an energy orb that needs to be picked up and thrown into the main rift. There will be 2 waves: the first lasts 60 seconds and requires 6 points, the second — 150 seconds and 15 points. Don't forget to shoot arrows at the wisp to make them vulnerable.
Focus on making sure your throws count and pay attention to stronger enemies, as their orbs are worth more. Orbs from regular enemies are worth 1 point each, while orbs from larger opponents are worth 2 points.
Population Control. Rune R
- Recommended level: 5;
- Reward: Belt of the Undying Flame (increases the rate of accumulation of eternal frost, heat, and whirlwind), 100 Kratos XP, 100 companion XP, 1000 Hacksilver, 250 Divine Ash.
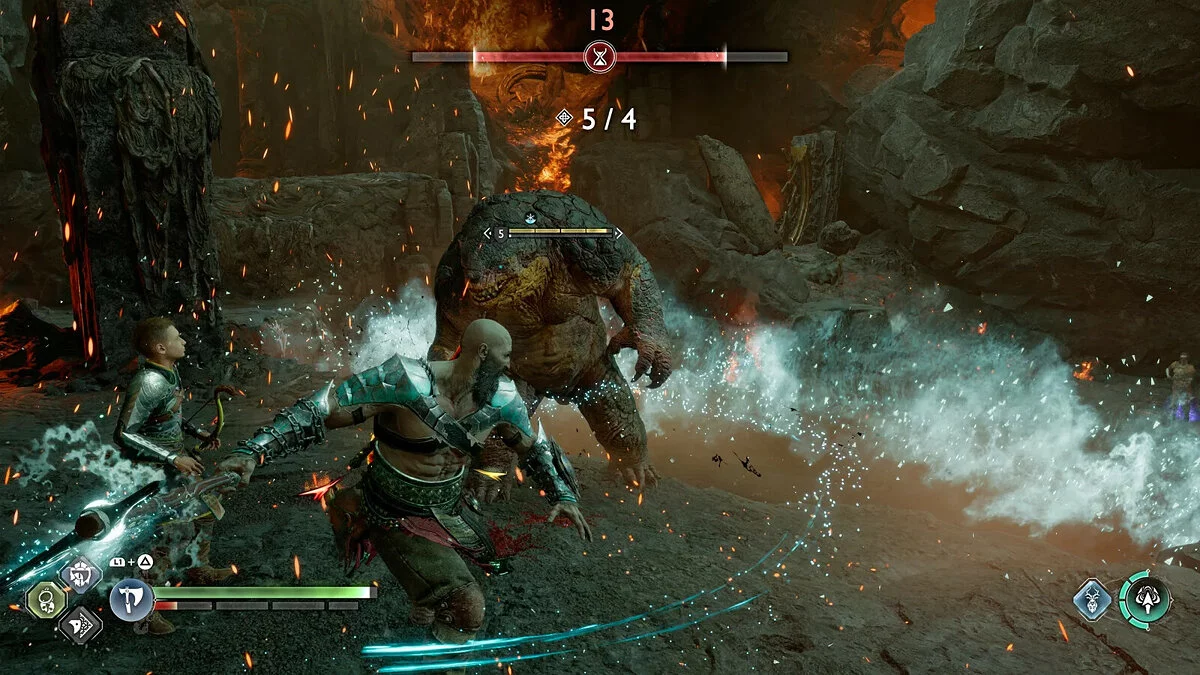
As the name implies, it's crucial to keep the number of enemies at 4, but you also need to kill the elite enemy Bergsra. Try to group the regular enemies together and use the Blades of Chaos for crowd control.
Once you have killed one or two of them, focus on Bergsra. You must kill it before a 5th enemy appears. If you quickly stun it with bare-handed strikes or the axe, it will open up grappling attacks that help you finish the process faster.
King of the Hill. Rune R
- Recommended level: 5;
- Reward: 100 Kratos XP, 100 companion XP, 1000 Hacksilver, 250 Divine Ash.
This trial consists of three rounds, each offering more rings, enemies, and time to kill them. The first wave — 1 ring and 35 seconds, the second wave — 2 rings and 60 seconds, the third wave — 3 rings and 90 seconds.
It's important to keep moving to clear the arena of enemies. Use area attacks to deal with enemies inside the ring. Apply skills to pull enemies into the ring. Use the spear to attack enemies at a distance. Be cautious with stronger opponents and don't let the counter fill up.
Reward for 6 Trials and Combinations for the Central Sword
After completing the 6 trials, you will fulfill the request of The Crucible. Return to the chest to receive the Flames of Chaos and XP. After this, a new giant flaming sword will appear on the central arena next to the forge. This is where the real fun of Muspelheim begins.
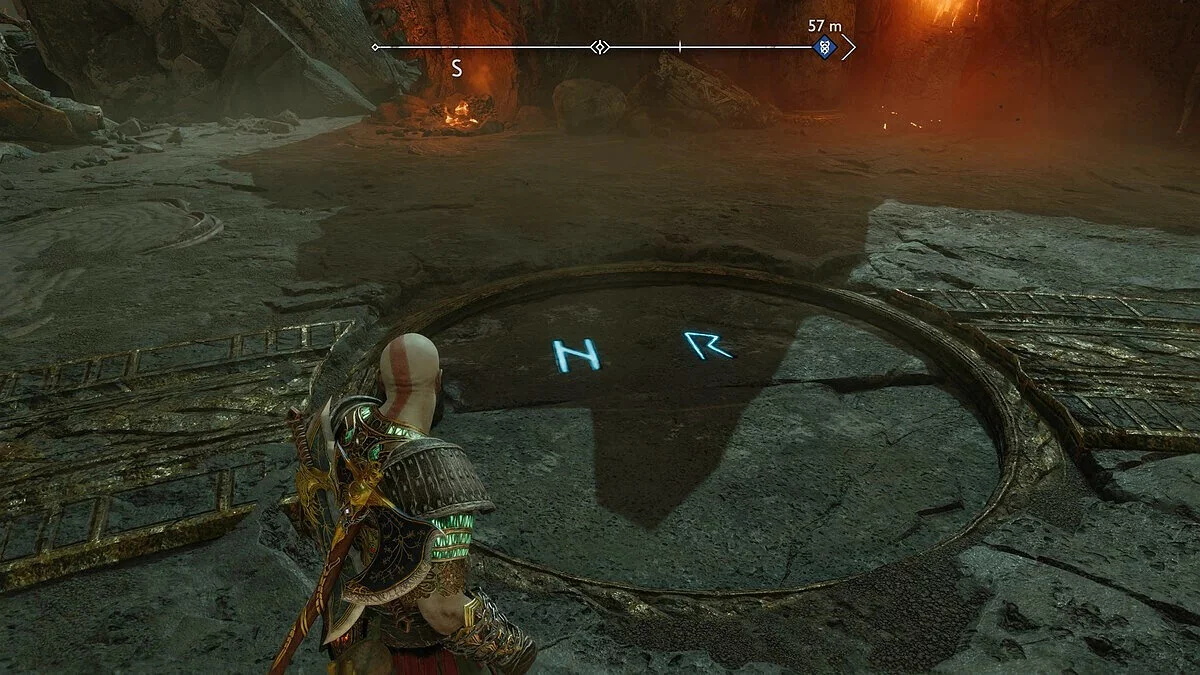
This opens one additional trial on each of the three previous swords. Accordingly, to the six initial trials, you will receive three more and six final trials on the main sword. Each sword corresponds to a specific rune, which you can see below:
To unlock the final trials, you will need to complete 2 trials from different swords. The six final trials can be obtained using the following combinations:
- Sword 1 (left) + Sword 2 (middle): Final Trial Endurance — FN;
- Sword 3 (right) + Sword 2 (middle): Final Trial Fierce Enemies — RN;
- Sword 1 (left) + Sword 3 (right): Final Trial Shield Breaker — FR;
- Sword 3 (right) + Sword 1 (left): Final Trial Phantom — RF;
- Sword 2 (middle) + Sword 1 (left): Final Trial Ring of Fire — NF;
- Sword 2 (middle) + Sword 3 (right): Final Trial Carnage — NR.
Rampage. Rune F
- Recommended level: 6;
- Reward: 100 Kratos XP, 100 companion XP, 4 Asgardian ingots, 2500 Hacksilver, 250 Divine Ash.
Heading to Sword 1 (left).
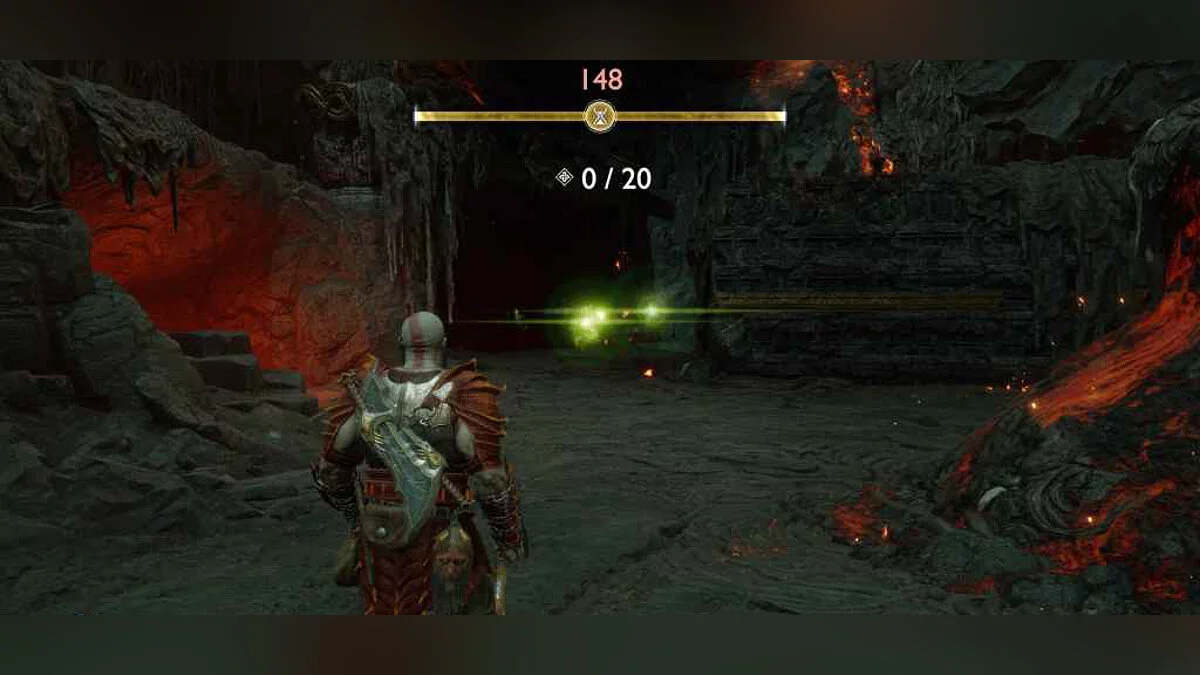
For this trial, Kratos must destroy at least 20 enemies within 150 seconds. This can be easily achieved by using the hero's most destructive skills.
Again, don't forget to use elemental advantages before focusing on elite enemies and getting assistance from your ally. To save time, you can ignore the elite enemies and switch to the weaker ones.
Health Steal. Rune N
- Recommended level: 6;
- Reward: 100 Kratos XP, 100 companion XP, 3 lightforged alloys, 2500 Hacksilver, 250 Divine Ash, smoldering embers.
Heading to Sword 2 (middle).
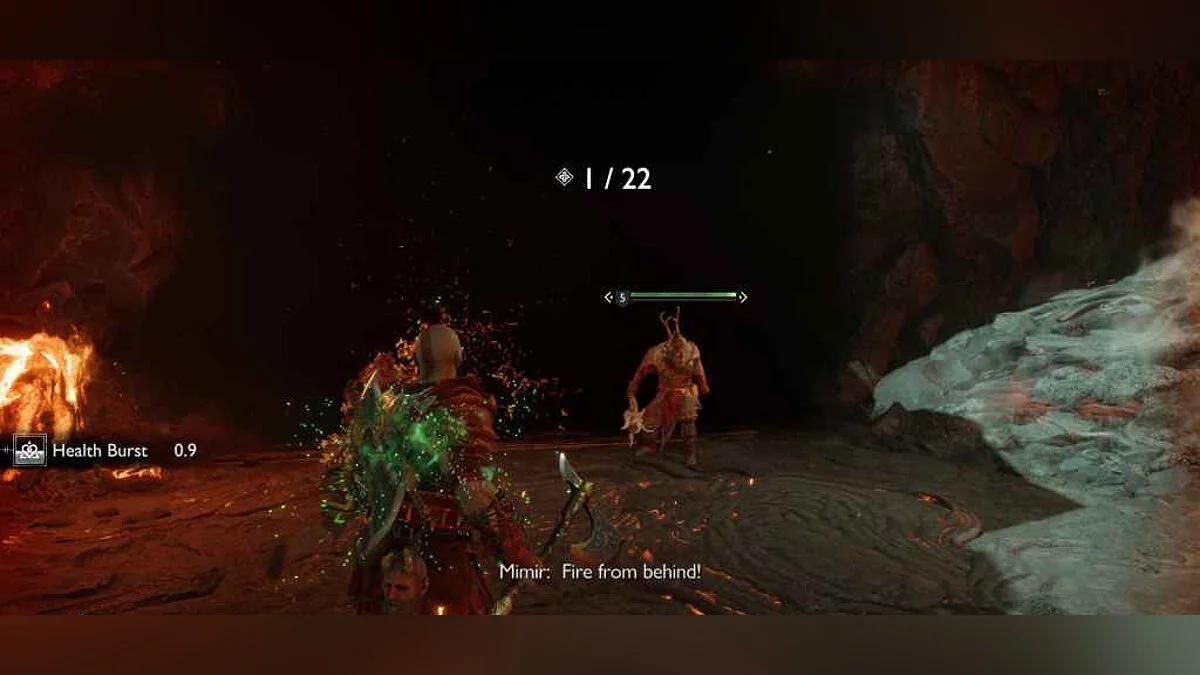
In this task, Kratos will constantly take damage, but he can replenish health through attacks. There will always be enough weaker enemies to keep the health reserve in a decent shape. Just make sure the crowd doesn't catch you off guard, and always be ready to block, parry, and dodge stronger enemies.
You must destroy 22 enemies. At the end, enemies that can heal allies will appear, so try to kill them first.
After completing the trial on Sword 1 (left) and Sword 2 (middle), return to the main one to undertake a new trial.
Endurance. Runes FN
- Recommended level: 6;
- Reward: Surtur's Scorched Cuirass (inflicting additional damage to an attacking enemy), 1000 Kratos XP, 1000 companion XP, 20000 Hacksilver, 1000 Divine Ash, 1 Smoldering Ember, 3 Smouldering Embers.
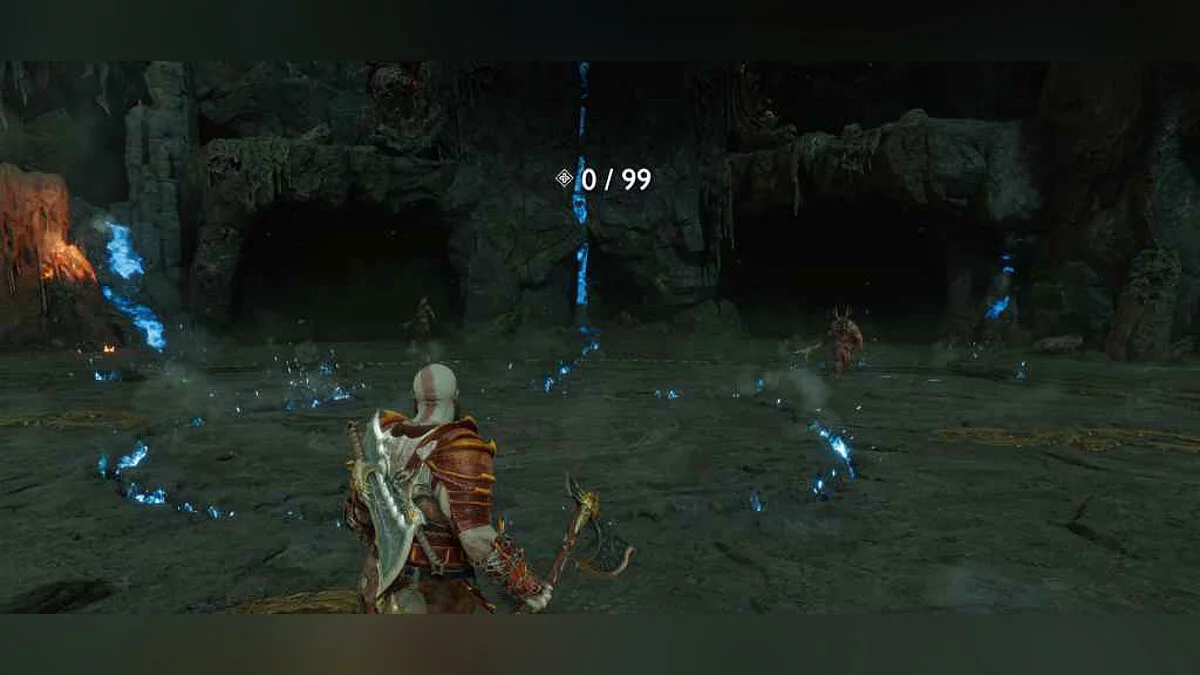
You need to kill 99 enemies. With each wave, it becomes increasingly difficult. You will encounter simple foes and a few elite fighters. Equipment with healing properties may come in handy.
As usual, first focus on the annoying support and ranged enemies before fighting the elite ones. Always be on the move and watch for flank attacks.
Kill Fuse. Rune R
- Recommended level: 6;
- Reward: 100 Kratos XP, 100 companion XP, 4 Petrified Bone, 2500 Hacksilver, 250 Divine Ash, 1 Smouldering Ember.
Heading to Sword 3 (right).
Your job is to maintain the timer by killing enemies. You start the battle with 30 seconds. The goal is to kill 22 monsters. Eliminating each enemy adds 5-10 seconds. Don't hesitate to change the situation with the use of ranged and melee attacks.
First, eliminate support enemies. Start with the nearest foes, leaving ranged ones for last. Try to kill the monsters as quickly as possible.
You have completed three new trials on three distant swords. Choose the fastest and easiest for you on these three swords. Combine runes to unlock new final trials. For example, Weapon Mastery on Sword 1 (left), Rift Satiation on Sword 2 (middle), and Population Control on Sword 3 (right).
Complete the trial on Sword 2 (middle) and return to the center for a new trial. This results in the combination: Sword 3 (right) + Sword 2 (middle).
Boss Rush. Runes RN
- Recommended level: 6;
- Reward: Surtur's Scorched Belt (receiving less damage and becoming more resistant to knock-backs when performing basic attacks and using skills), 1000 Kratos XP, 1000 companion XP, 20000 Hacksilver, 1000 Divine Ash, 1 Smouldering Ember, 3 Smouldering Embers.
One of the most challenging trials in Muspelheim. Be sure to properly prepare, whether it's skills or equipment. You need to kill 5 elite enemies one at a time.
It all starts with the Midgard Traveler. Simply dodge his red attacks and parry when possible to counterattack.
Next is the Fierce Valkyrie — an annoying enemy that can attack both from a distance and up close. Watch for her attack, and if you find yourself behind her, beware of her rear leg strikes.
Dark Elf Warrior — an elusive target, he likes to scatter explosives along his path. Dodge any long-range attacks and strike when you can. Just don't stay in one place for too long, or you might get blinded.
Next is the Light Elf Swordsman. He performs long chains of sword attacks, so block, parry, and prevent him from healing by striking with the shield.
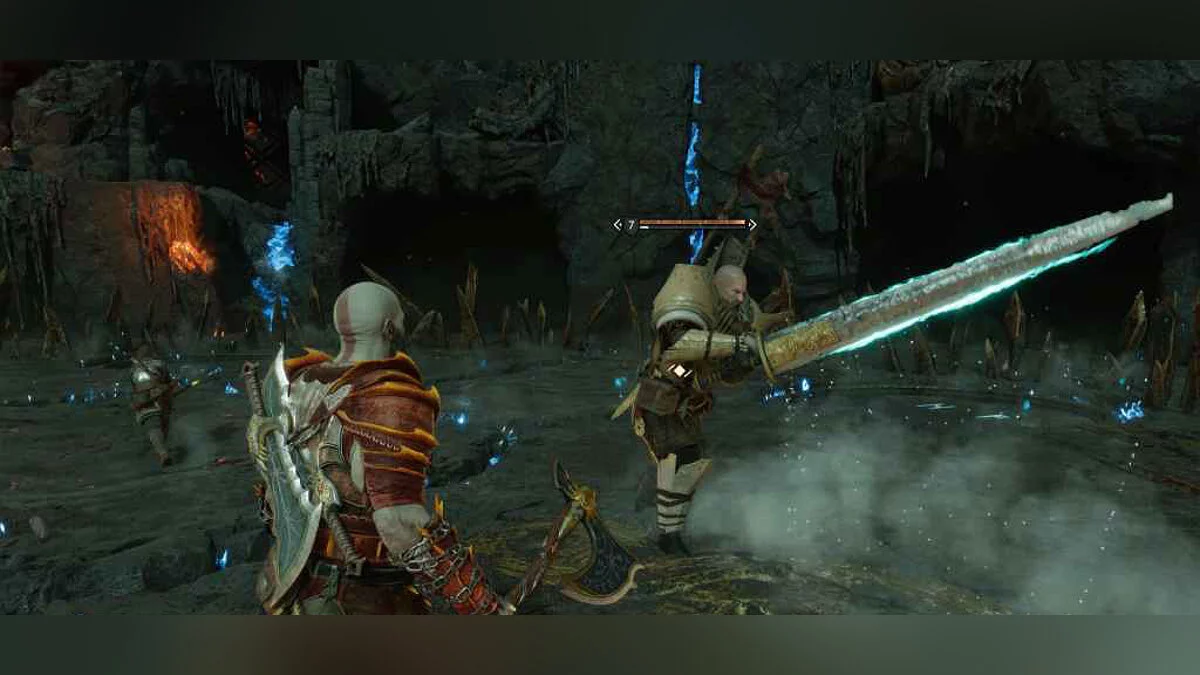
The last opponent is the Einherjar Captain. It's recommended to be more aggressive, as he can teleport around the arena. So hit him when you can, block his attacks, and don't let the Bifrost effect accumulate.
Shield Breaker. Runes FR
- Recommended level: 6;
- Reward: 1000 Kratos XP, 1000 companion XP, 20000 Hacksilver, 1000 Divine Ash, 2 Smouldering Embers, 3 Smouldering Embers, 1 Smouldering Ember.
We undertake the trial on Sword 1 (left) and Sword 3 (right).
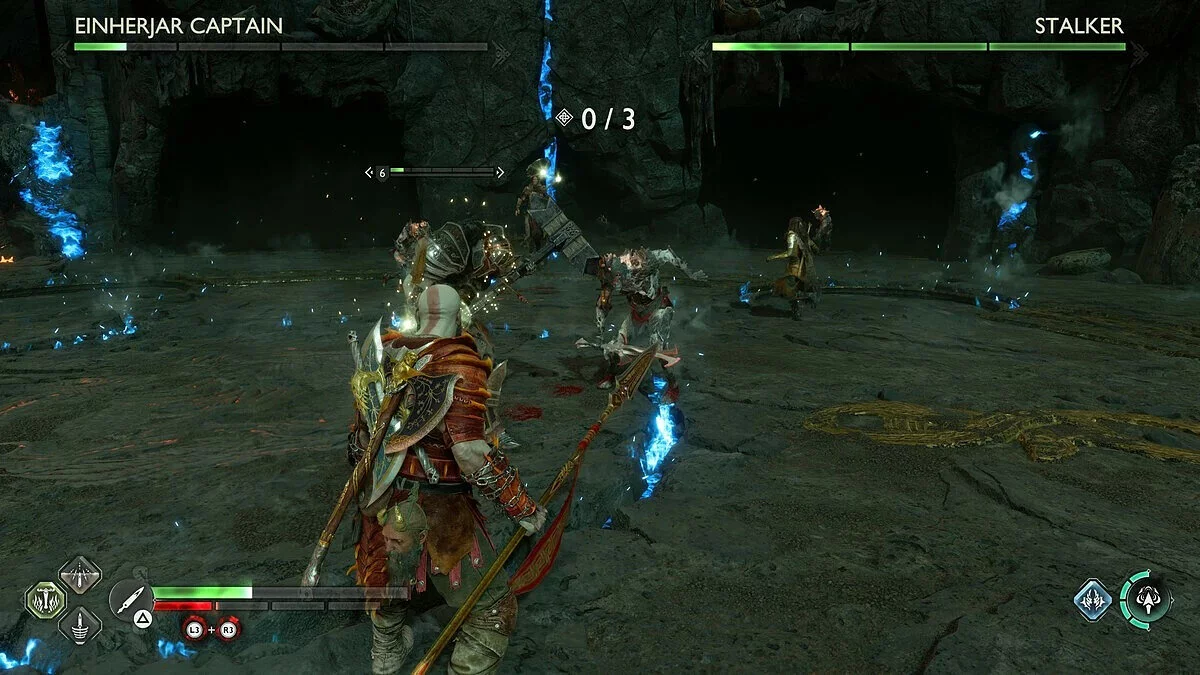
This fight will require you to eliminate regular enemies before you can attack the elite enemy. Towards the end, the Einherjar Captain and Hunter will appear. Regular enemies will spawn in groups of 3-4, so quickly deal with them, then switch to the elite enemies until new ones appear.
Use your ally to interrupt any attacks while you kill the regular enemies. Use Kratos's ability Spartan Valor to heal in case of an emergency.
Phantom. Runes RF
- Recommended level: 6;
- Reward: 1000 Kratos XP, 1000 companion XP, 150000 Hacksilver, 1500 Divine Ash, 3 Smouldering Embers, 2 Smouldering Embers, 1 Smouldering Ember.
We undertake the trial on Sword 3 (right) and Sword 1 (left).
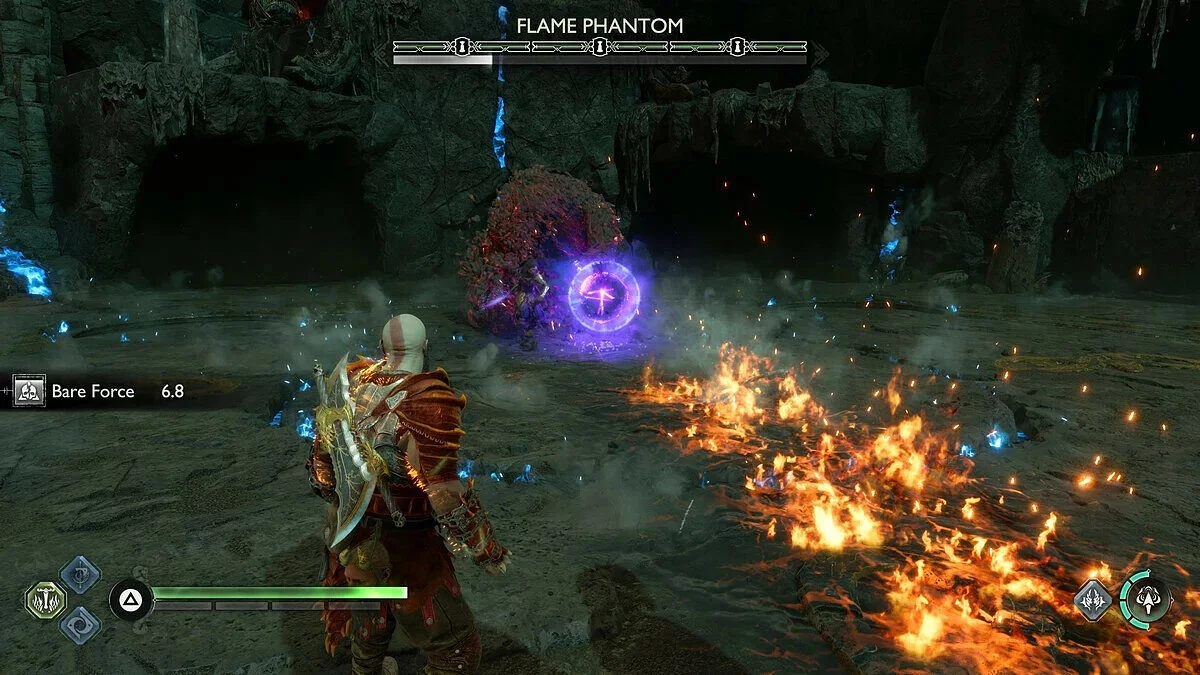
At this stage, you will face a fiery Phantom — a spherical creature. Focus on hitting the sphere to increase its stun meter, especially when it glows. It's best to use long-range attacks. This will allow you to stun the creature. Inflict enough damage, and it will retreat, allowing you to shift your attention to the glowing purple pillars, which are the true targets.
In between, it will also summon other enemies for help, so dispose of them as quickly as possible. Repeat this for three pillars, and you will pass this trial.
Ring of Fire (Огненное кольцо). Runes NF
- Recommended level: 6;
- Reward: Surtur's Scorched Bracers (performing basic attacks and using skills, Kratos receives less damage and becomes more resistant to being knocked down), 1000 Kratos XP, 1000 companion XP, 20000 Hacksilver, 1000 Divine Ash, 1 Smouldering Ember, 2 Smouldering Embers, 3 Smouldering Embers.
We undertake the trial on Sword 2 (middle) and Sword 1 (left).
Who knew that a key element of battle royales would appear in God of War: Ragnarok? The main destructive aspect of this trial is stepping outside the ring. Always stay inside the moving circle to avoid extra damage.
In this trial, you need to defeat 15 enemies. Rely on your long-range skills to destroy enemies from afar. Avoid reckless combos that could take you out of the circle. Also, there's a poisonous totem on the arena, which the circle might push you towards, so don't forget to freeze it with your axe.
Onslaught (Резня). Runes NR
- Recommended level: 6;
- Reward: Muspelheim's Endurance amulet enchantments, 1000 Kratos XP, 1000 companion XP, 20000 Hacksilver, 1000 Divine Ash, 2 Smouldering Embers, 1 Smouldering Ember, 3 Smouldering Embers.
We undertake the trial on Sword 2 (middle) and Sword 3 (right).
You must last 300 seconds in a battle with endless enemies in the central part of the arena. Stay inside the ring and kill enemies as necessary, but don't play too aggressively. Enemies don't take damage from lava, so it's best to play defensively. Use health-recovering equipment and abilities.
Fight at a distance and keep dodging. Your ally will also be a great help. If health crystals drop outside the ring, it's worth running out to grab them, as you'll heal more than the damage you'll take from the fire.
These are all 15 trials of Muspelheim. Completing the final trials also unlocks the trophy Trial by Fire.
Other guides
- God of War: Ragnarok Walkthrough — All Story Missions, Bosses, and Chests
- Where to Find All Relics (Sword Hilts) in God of War: Ragnarok
- Walkthrough of All Side Quests (Requests) in God of War: Ragnarok
