Artifact in Sons of the Forest: What It's For and How to Find All Parts
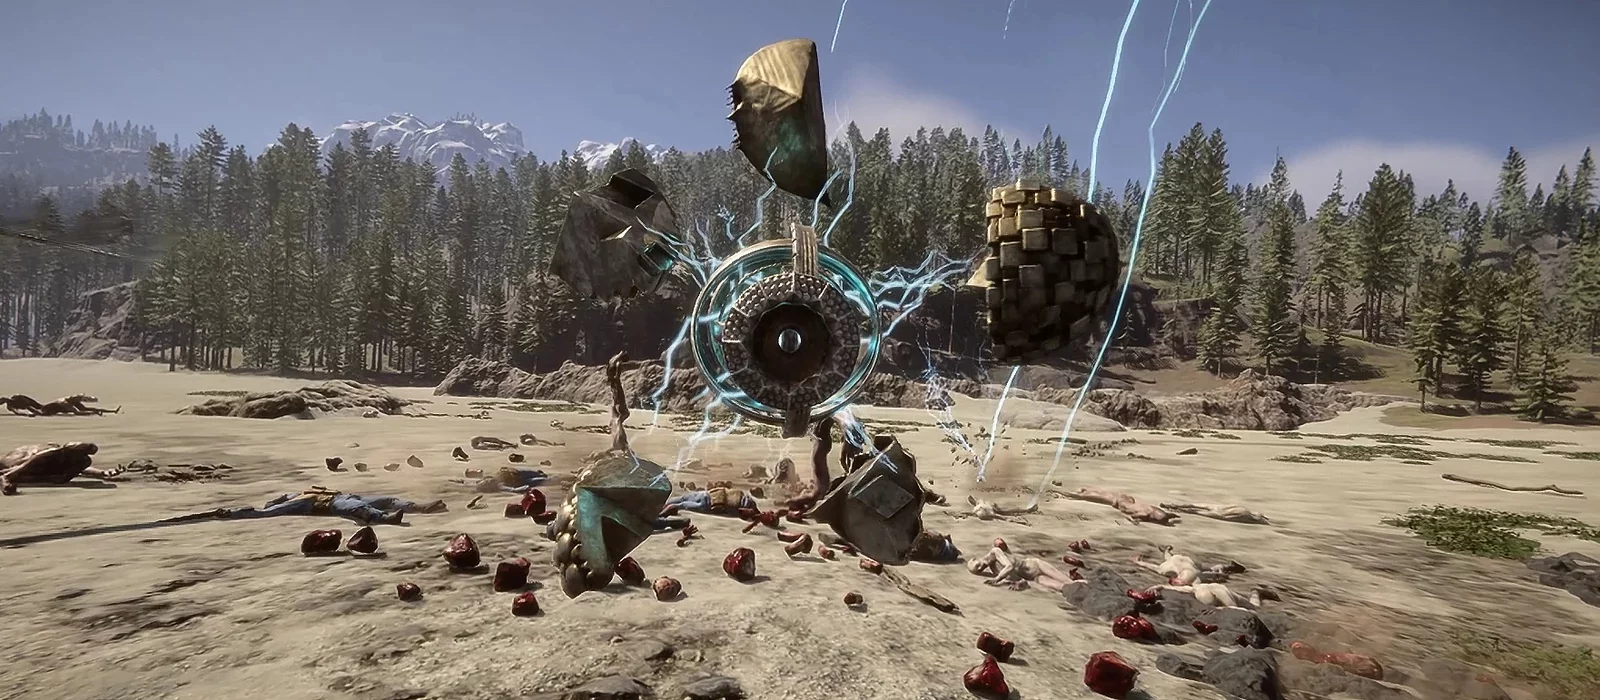
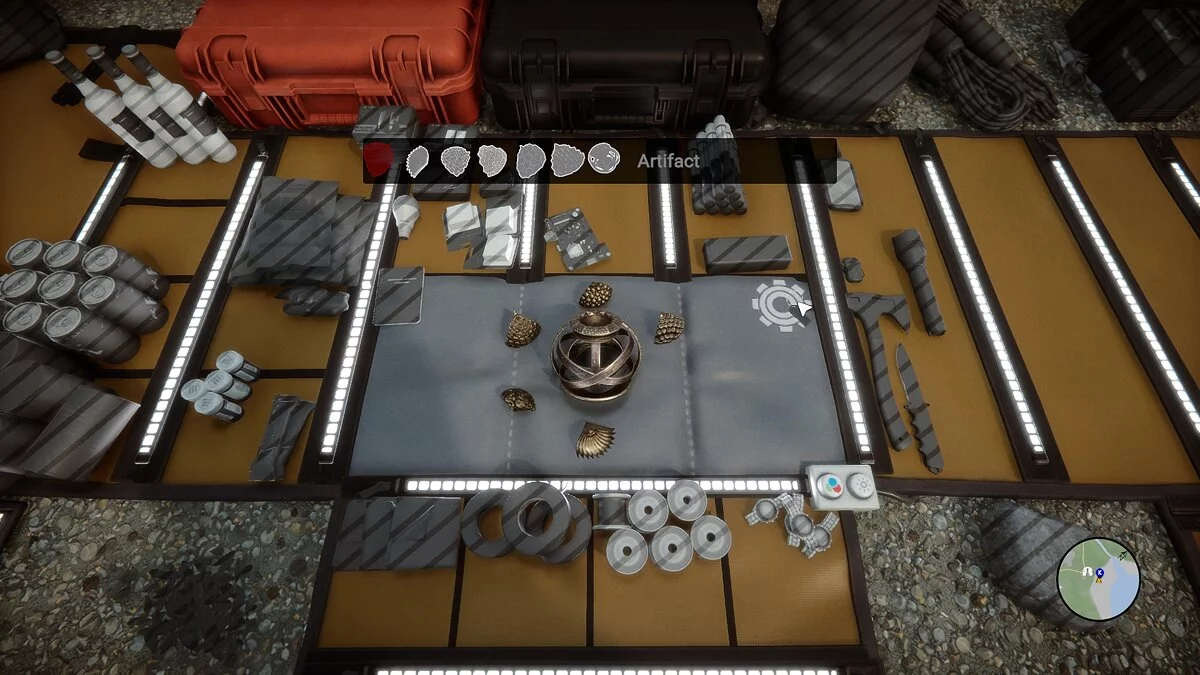
Sons of the Forest has finally emerged from early access, and with it, the last parts of the artifact that players could previously find have appeared in the game. To assemble the item, you will need to find seven shards. In this guide, we will describe in detail how to find each of them and what the artifact is used for in the game.
Sons of the Forest Guides
- Artifact in Sons of the Forest: What It's For and How to Find All Parts
- Sons of the Forest Cheats: Codes and Console Commands
- Sons of the Forest Walkthrough: How to Find All Keycards and Ancient Armor
- How to Befriend the Three-Legged Girl (Virginia) in Sons of the Forest and Make Her Your Companion
- How to Find a Shovel and Dig Up a Grave in Sons of the Forest
- Weapon Guide in Sons of the Forest: Where to Find and How to Craft
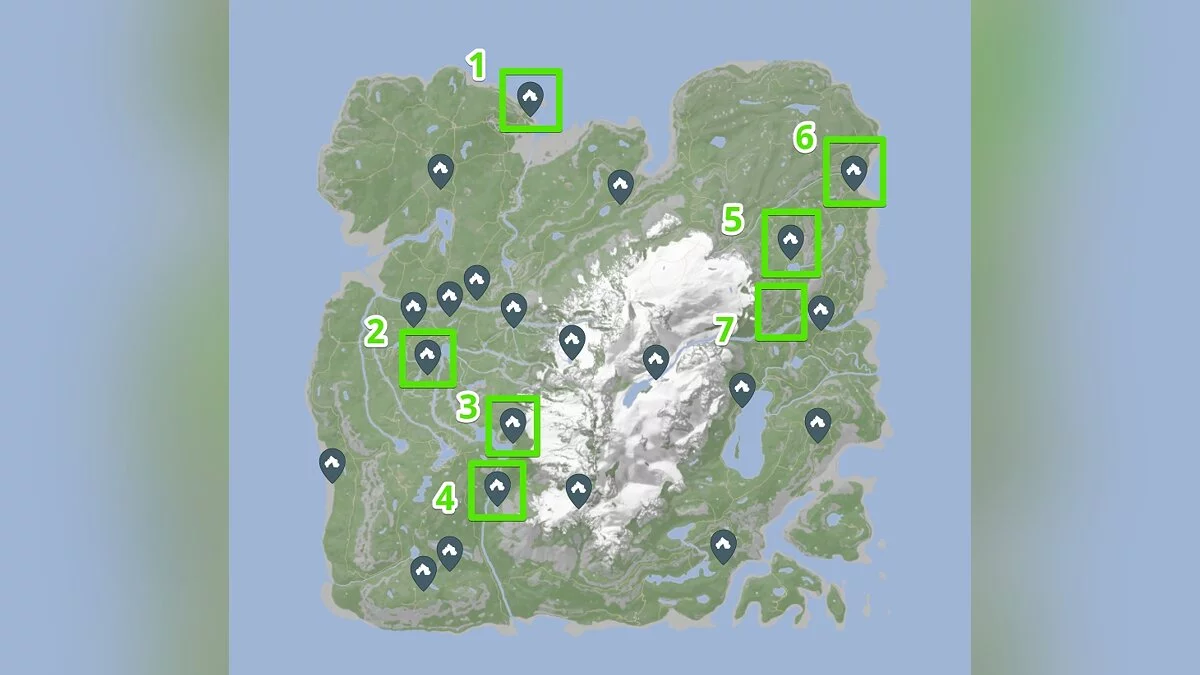
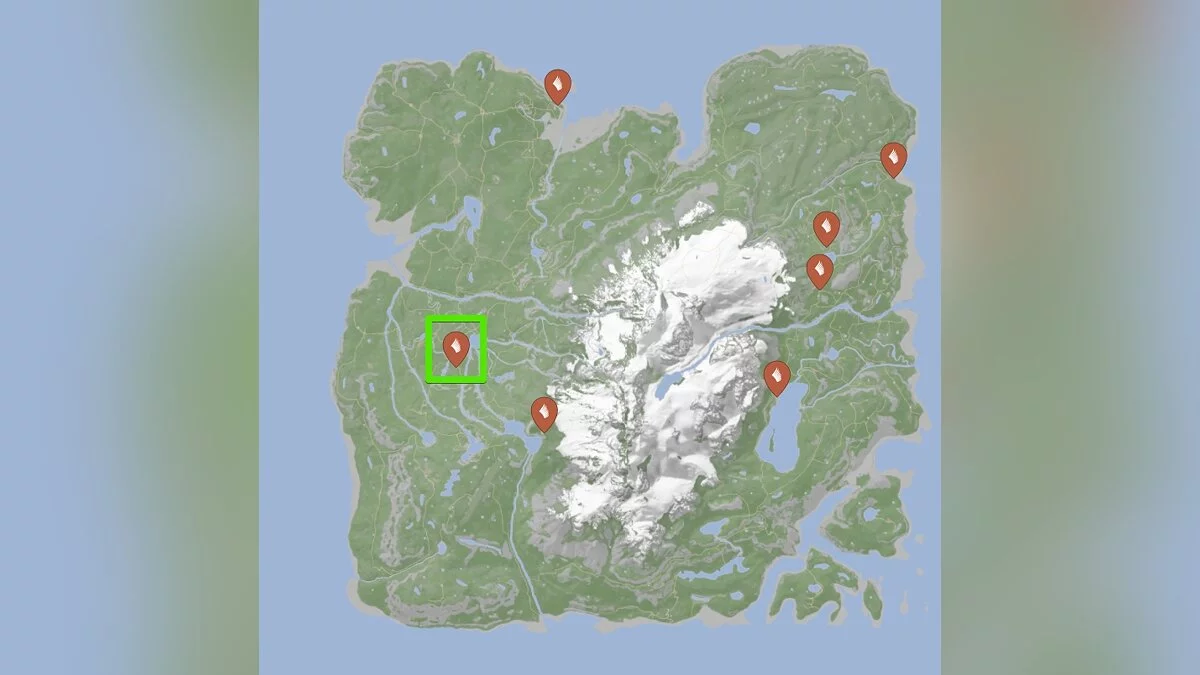
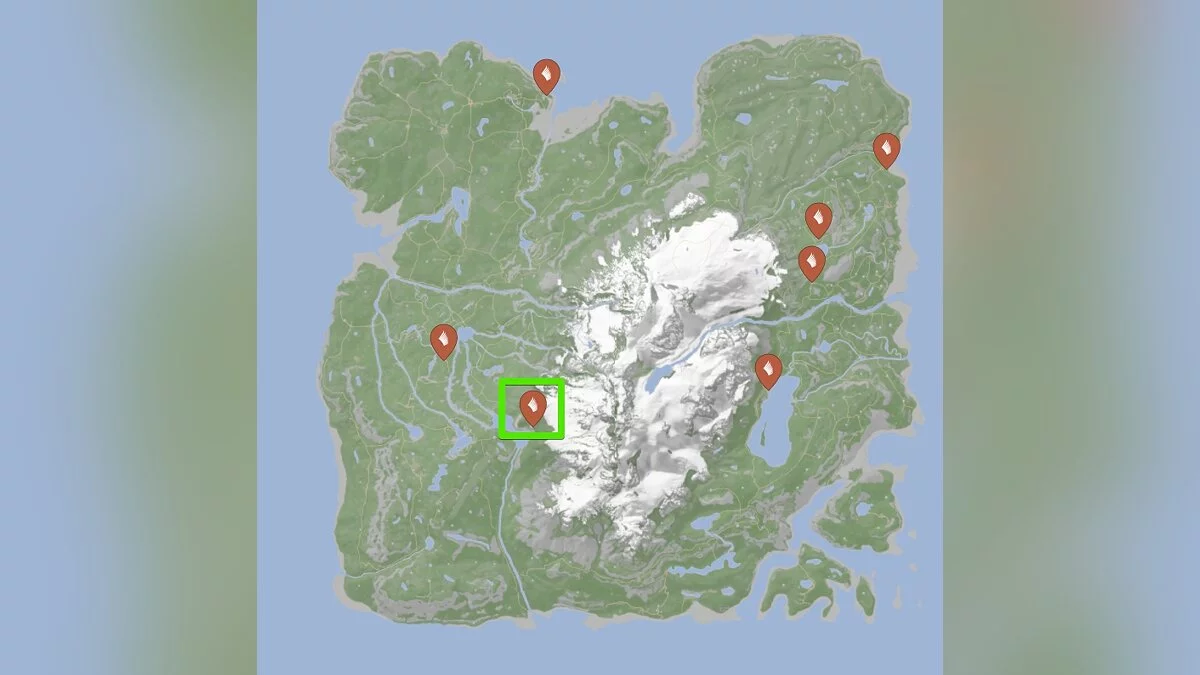
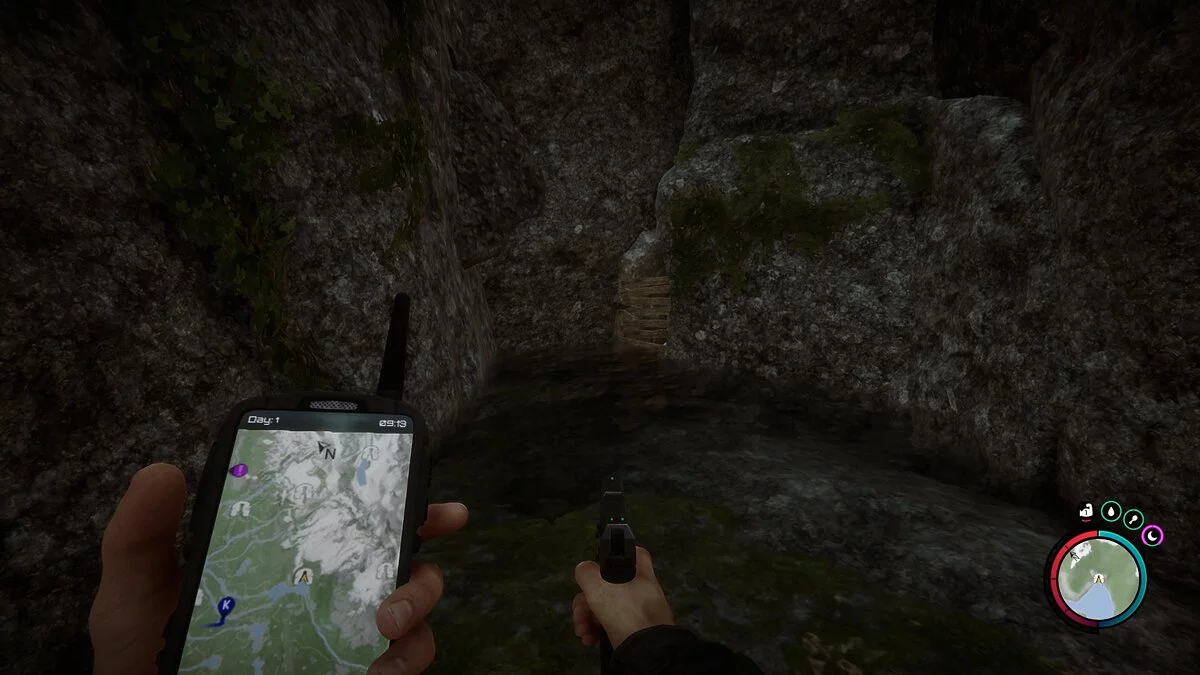
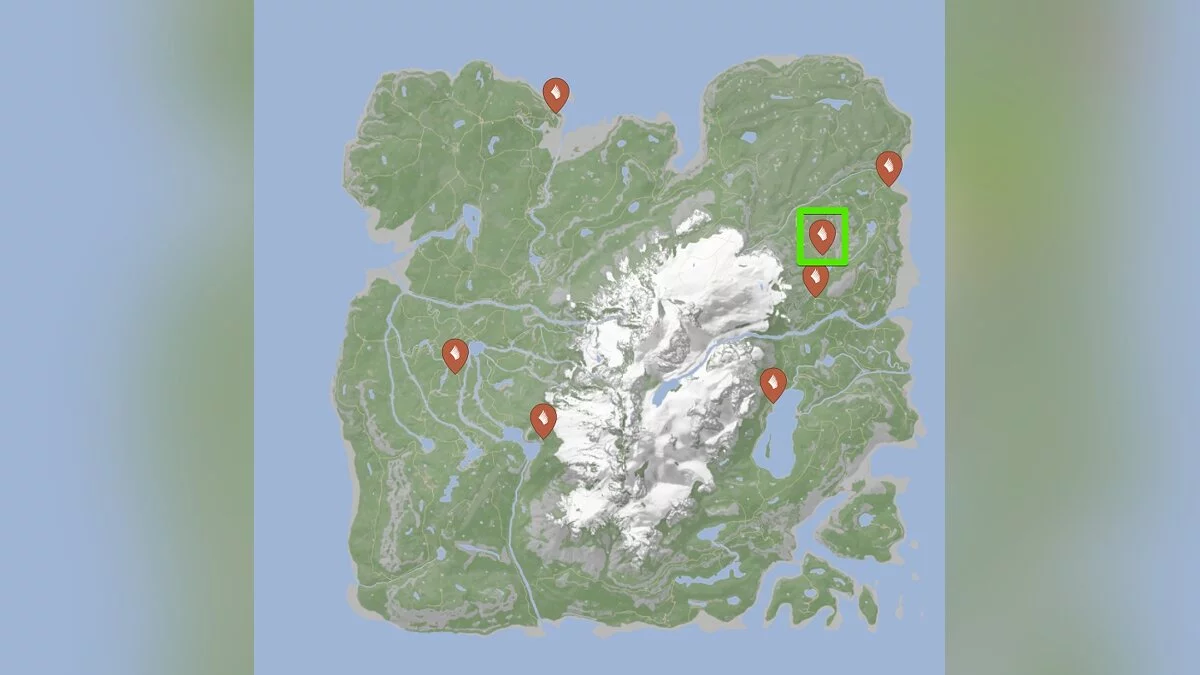
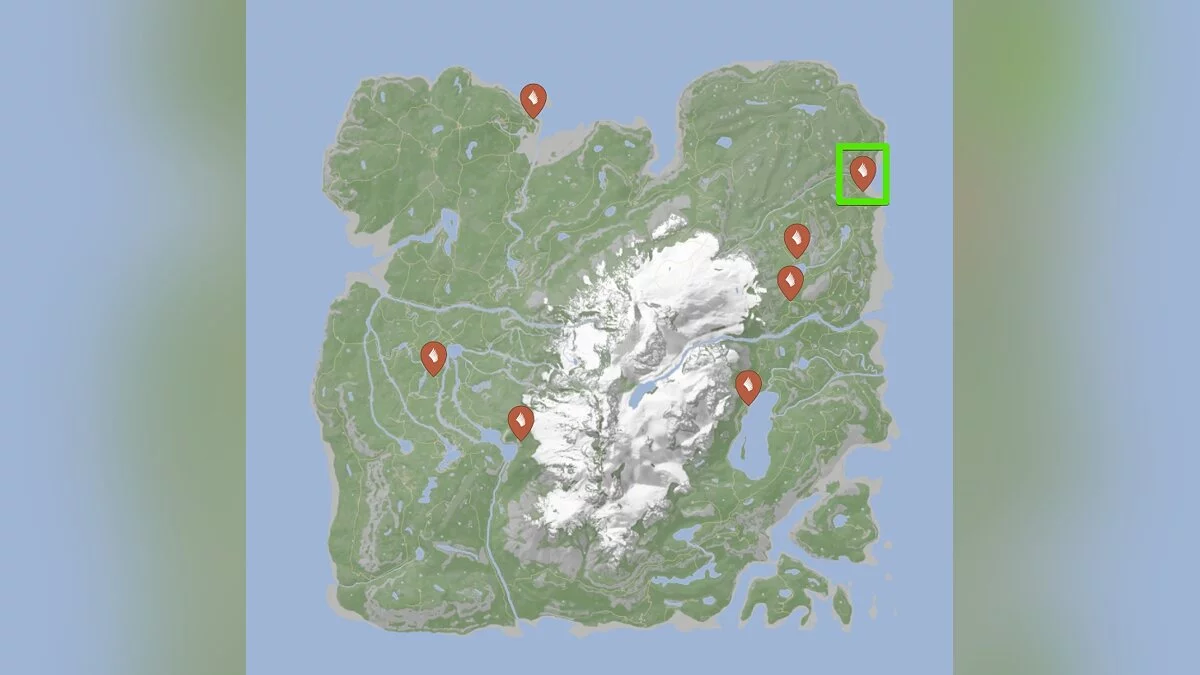
Although gamers need to find seven shards to create the artifact, only six can be found while exploring the caves on the island. Below, we have marked the locations of dungeons where the artifact parts are located, but it's easy to take a wrong turn and simply miss them. If you are familiar with Sons of the Forest from early access, then you should know a bit about the content of these caves, but note that some of them have been significantly changed since the launch, and others have appeared quite recently. The last shard of the artifact can only be picked up after completing the main storyline.
For convenience, we've described the locations of the shards roughly in the same sequence as if you were progressing through the game's story. We do not cover additional caves with key cards, which you will undoubtedly need. However, in some of them, you will find key items, such as a rebreather and a grappling hook.
Artifact Shard #1
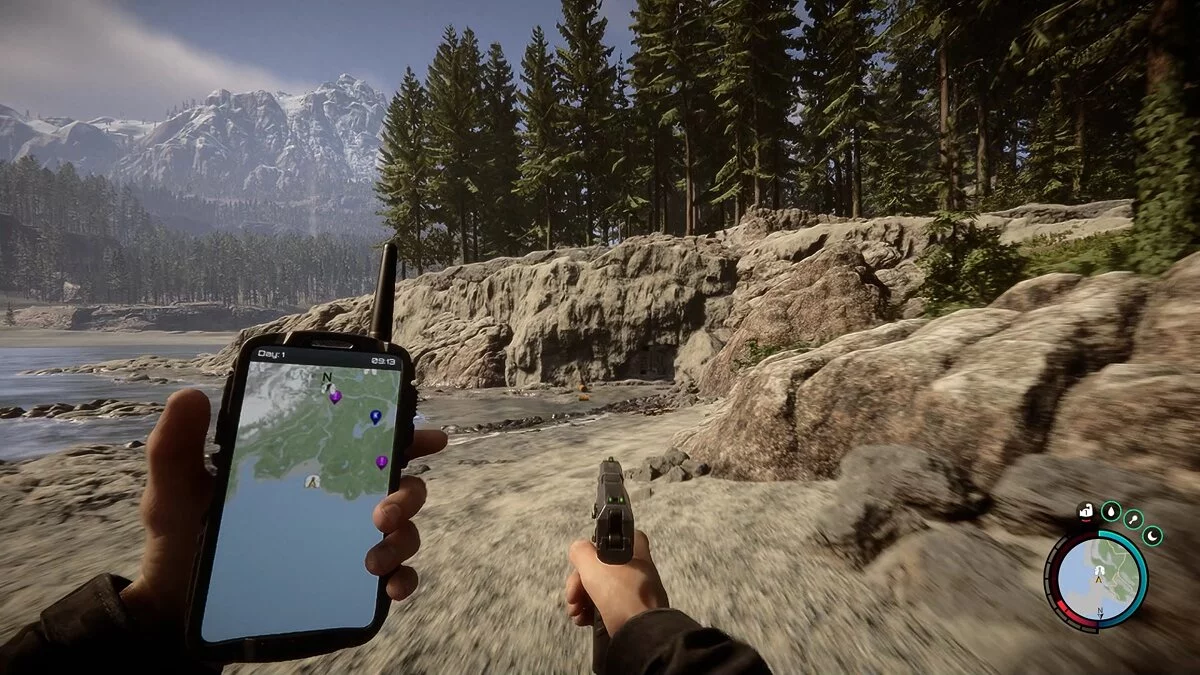
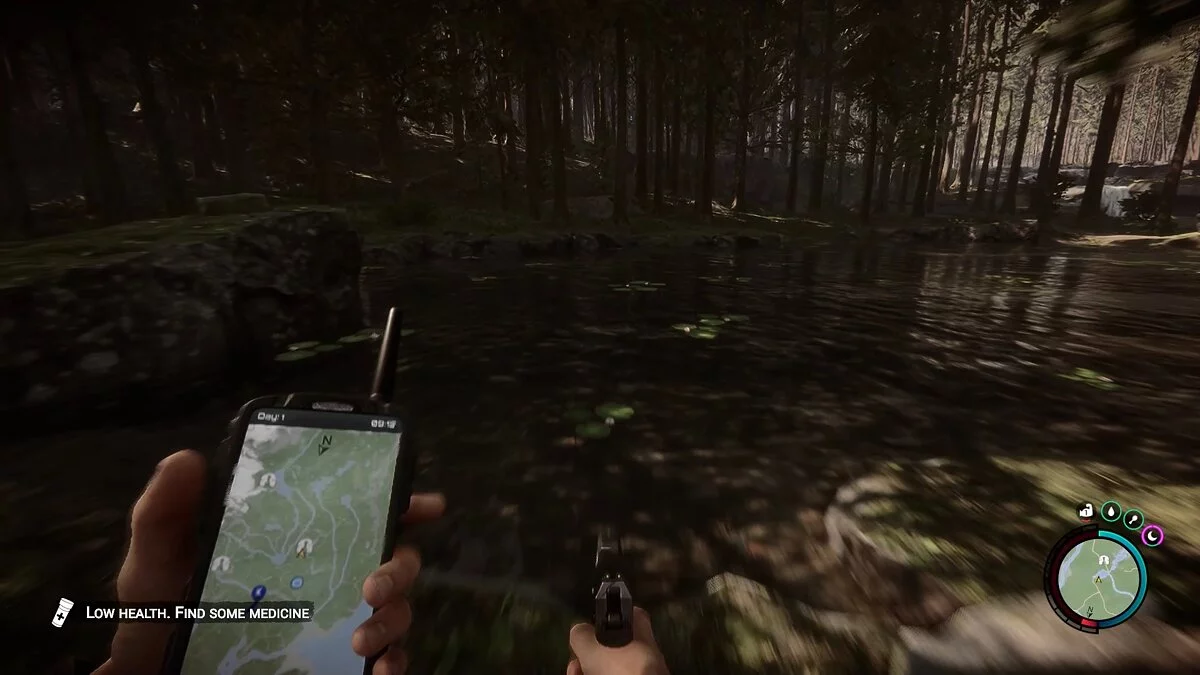
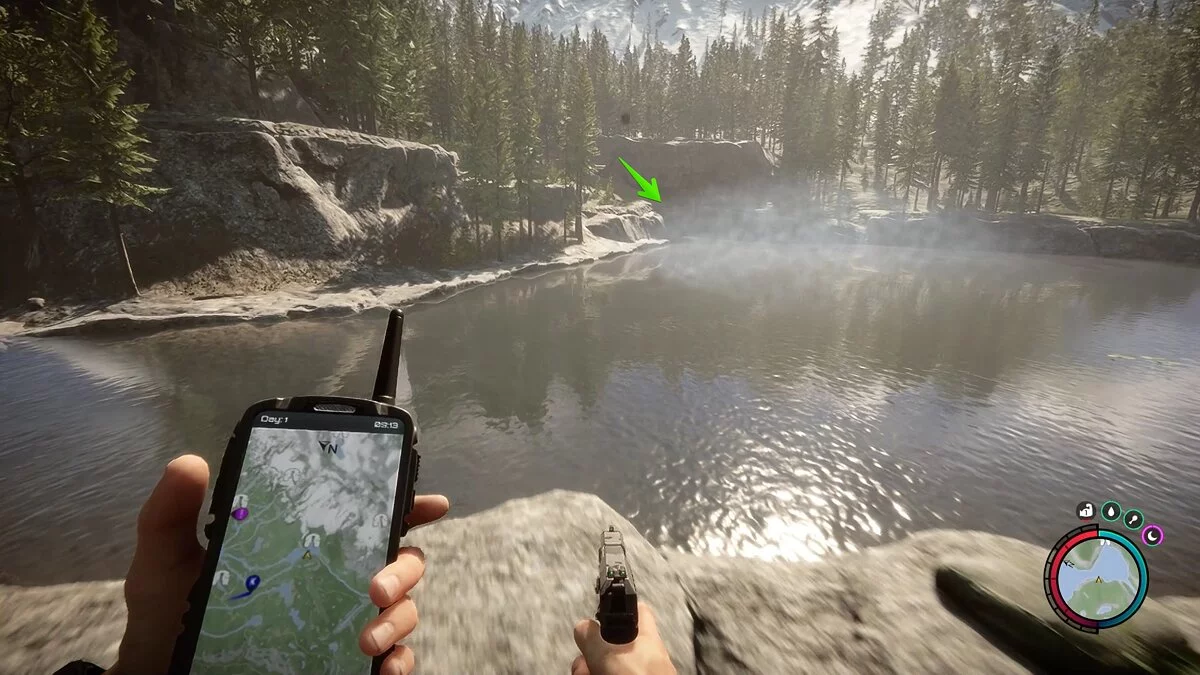
It's best to start searching for the shards in a cave where you can find a rebreather and an electroshocker. Although virtually every cave you'll explore is home to enemies, it's not strictly necessary to kill them. They often reside in spacious galleries, so you can simply avoid confrontation and run past. However, we still recommend visiting two of the three beacon locations marked with purple markers on the map beforehand. In one, you'll find a pistol, and in the other, a flashlight.
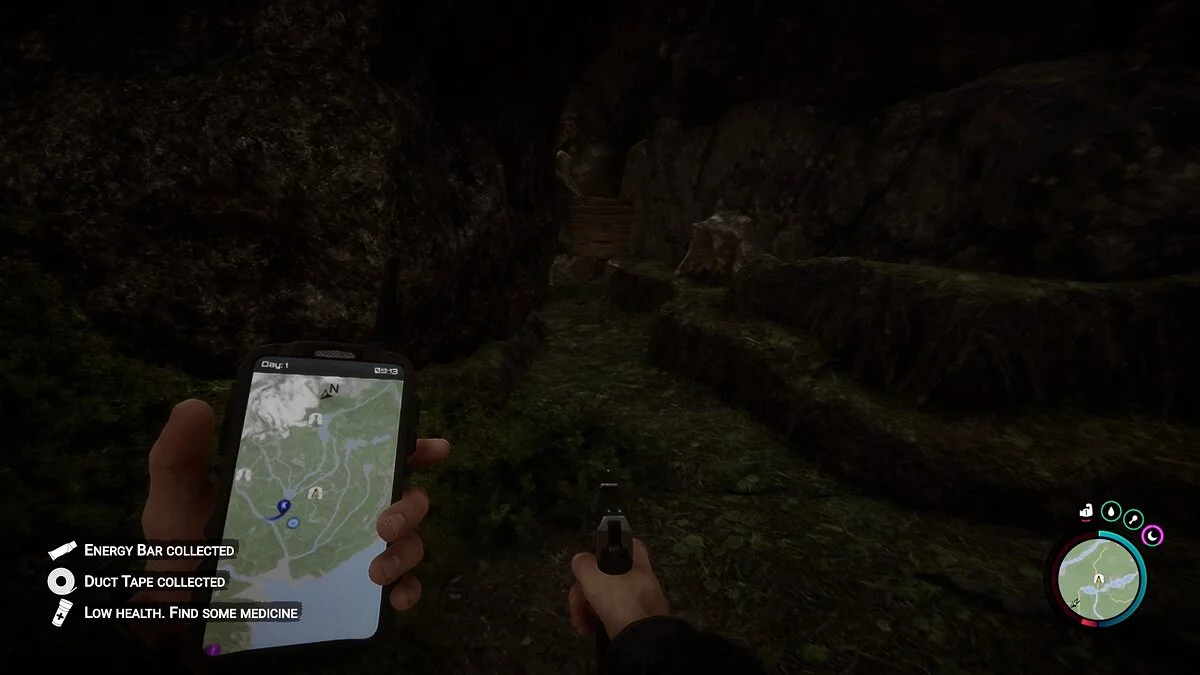
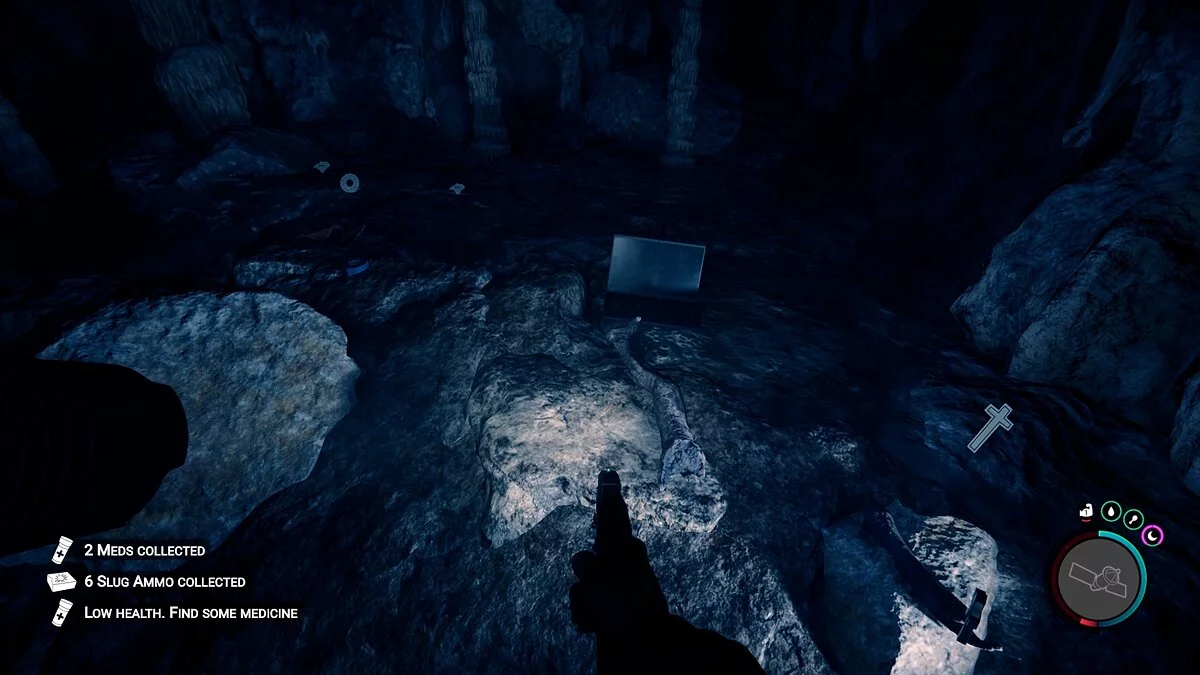
Break the planks and enter the cave. Right at the entrance, pick up useful items, including ammo, and also take a note and interact with a laptop. Don't miss the oxygen tank on the floor, which you'll need for further adventures.
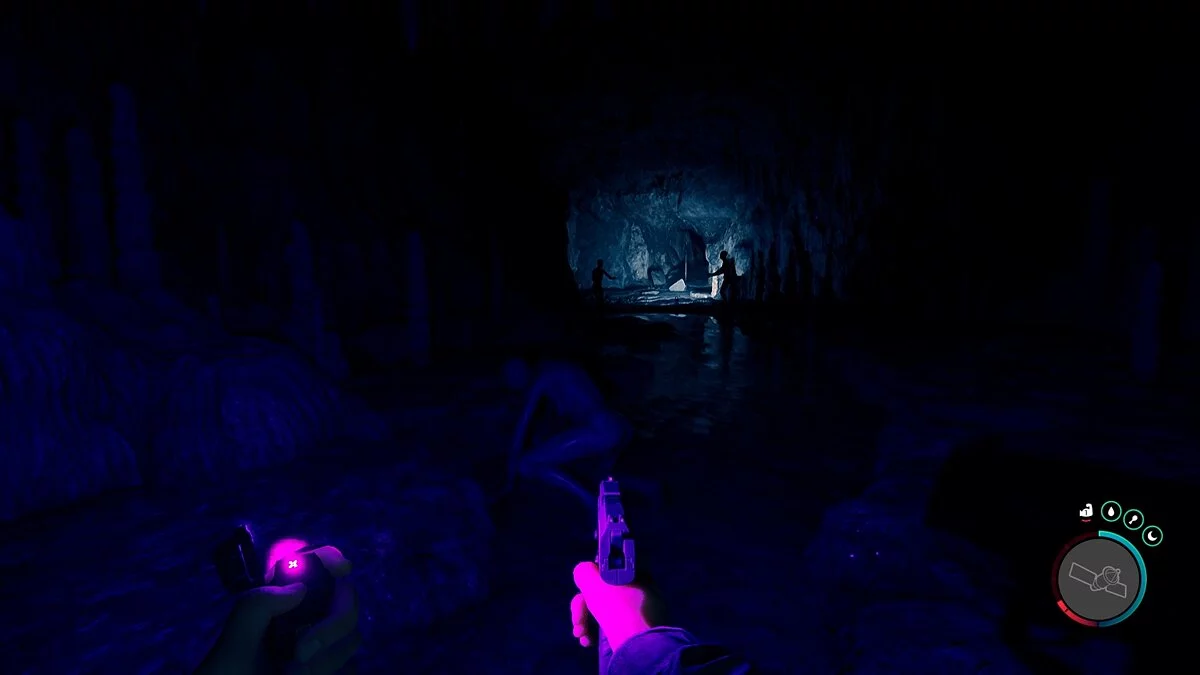
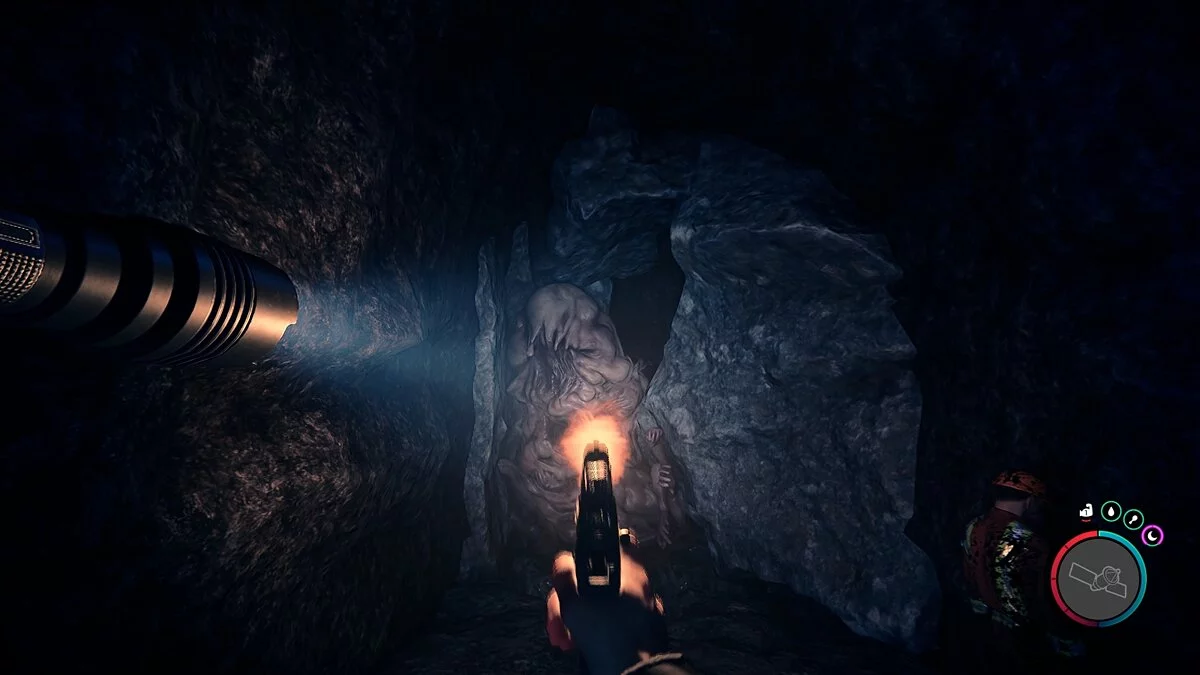
Proceed through the tunnel from which bats will fly out at the hero to reach a lit gallery. There are many monsters here, but we recommend not disturbing them and moving forward to the fork.
The main path to the rebreather is to the left, while to find the artifact and the electroshocker, you'll need to turn right.
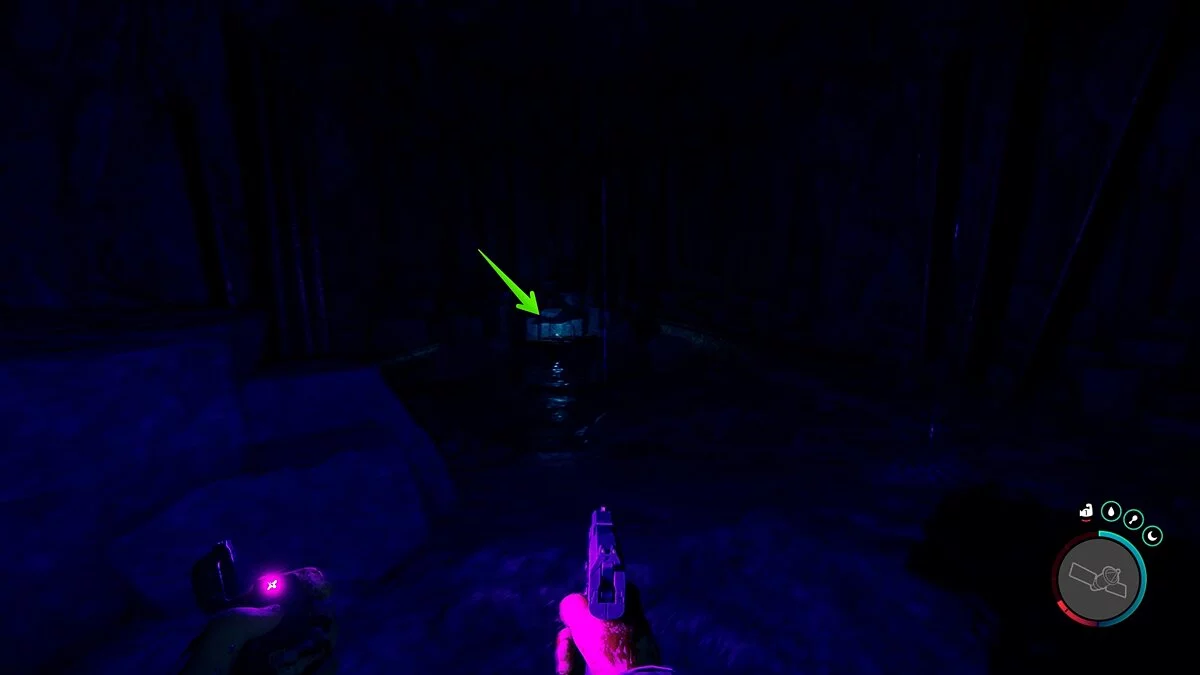
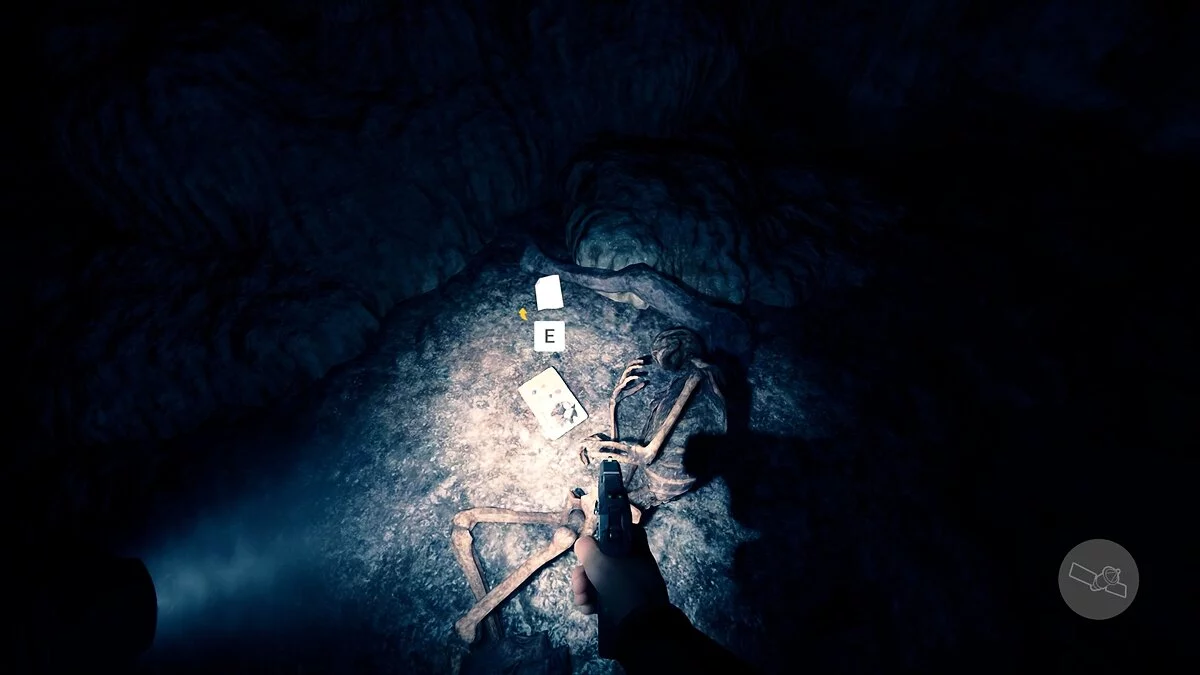
Run forward until you find yourself near two enemies. Here is a fork: the path to the right leads to the electroshocker, and to the left to the artifact. We recommend looking around and searching the skeletons' corpses, next to one of which will be a cross blueprint.
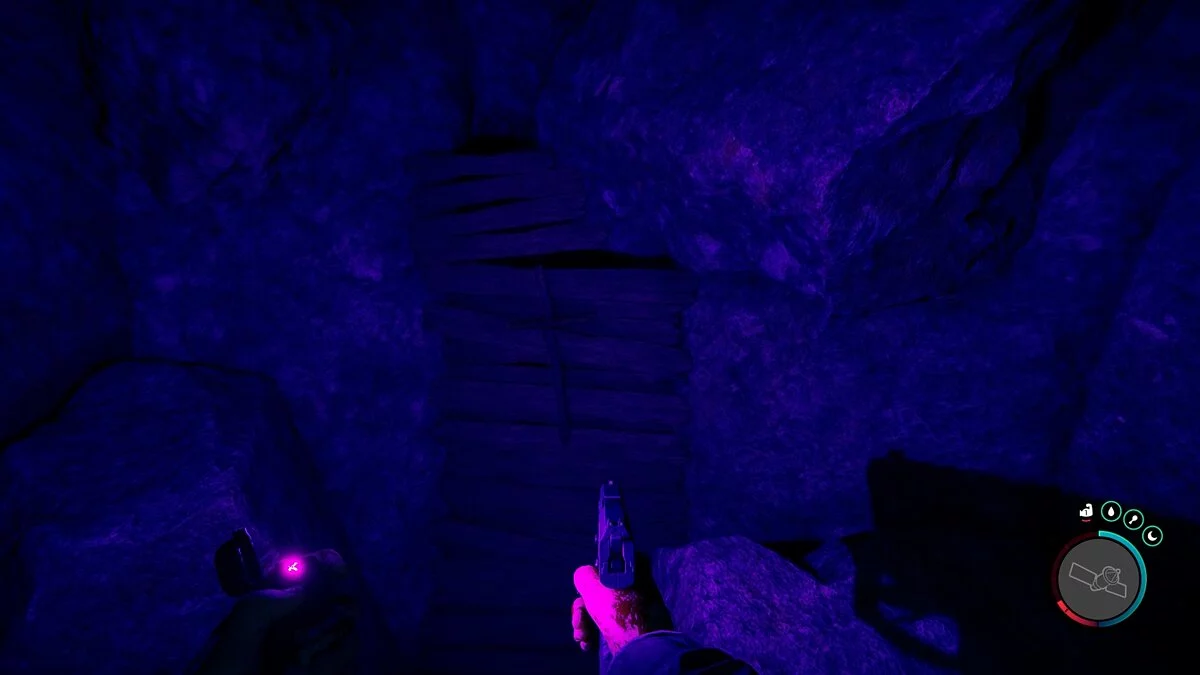
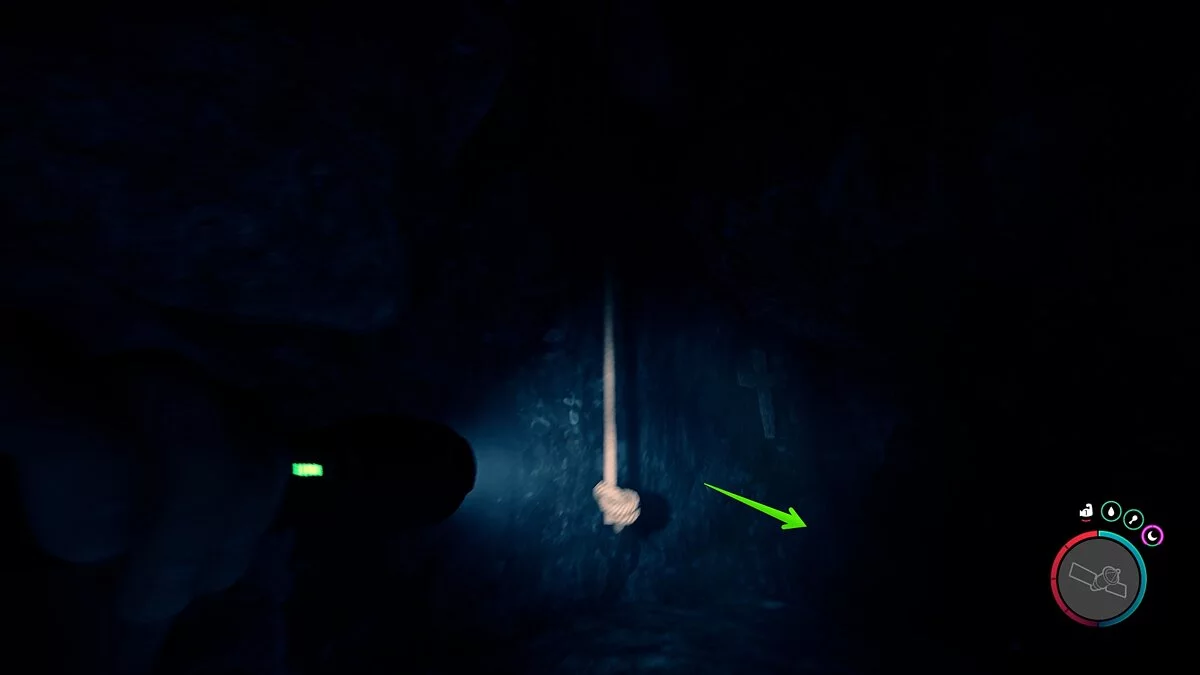
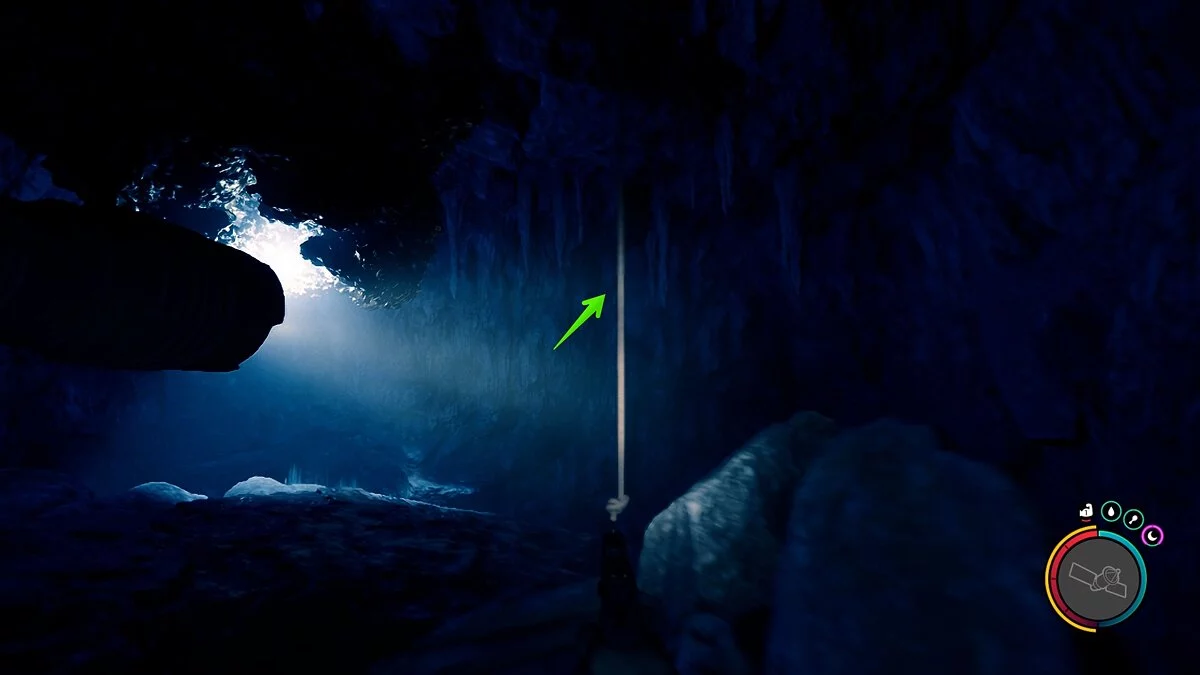
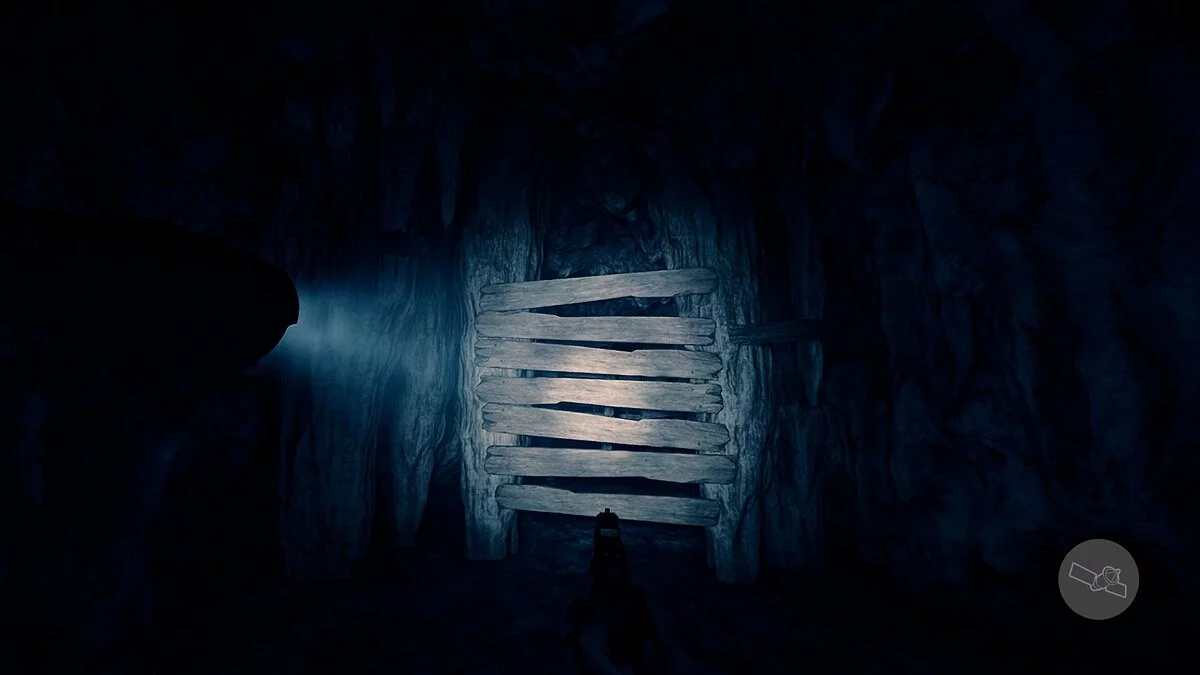
Turn left and clear the boards blocking the way. Before them, you'll also notice crosses hanging from the ceiling — a calling card of the local cultists. You'll enter a small room with a boarded-up hatch. Remove the boards on the ground and descend further using the rope.
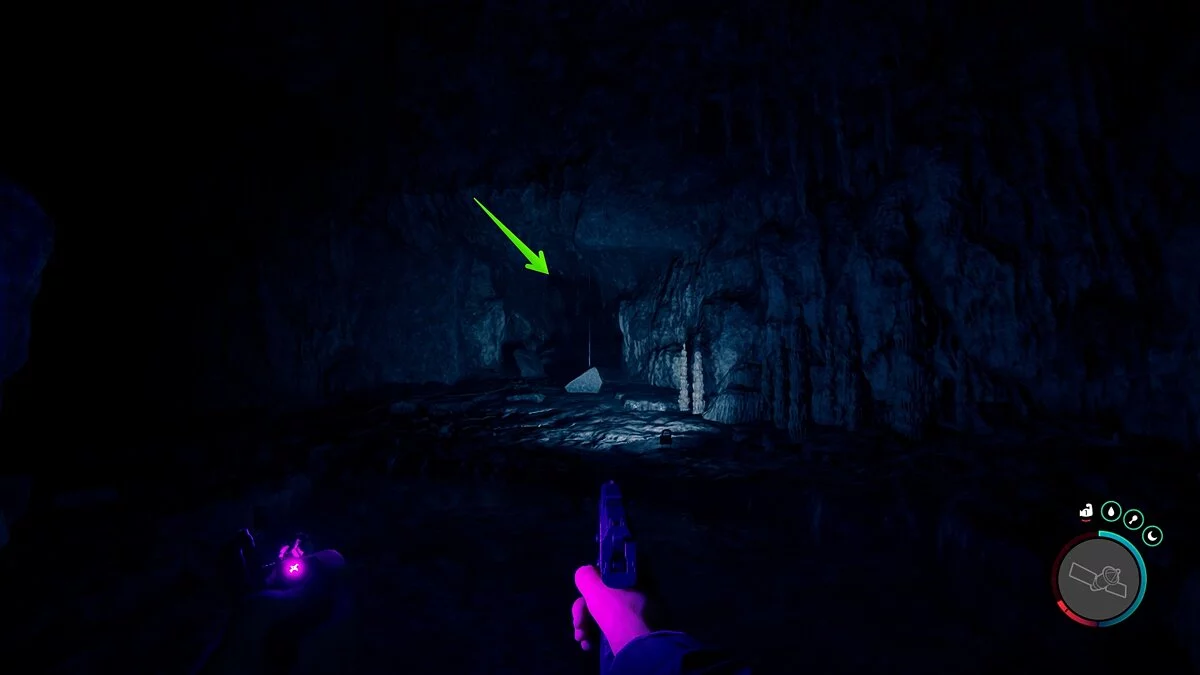
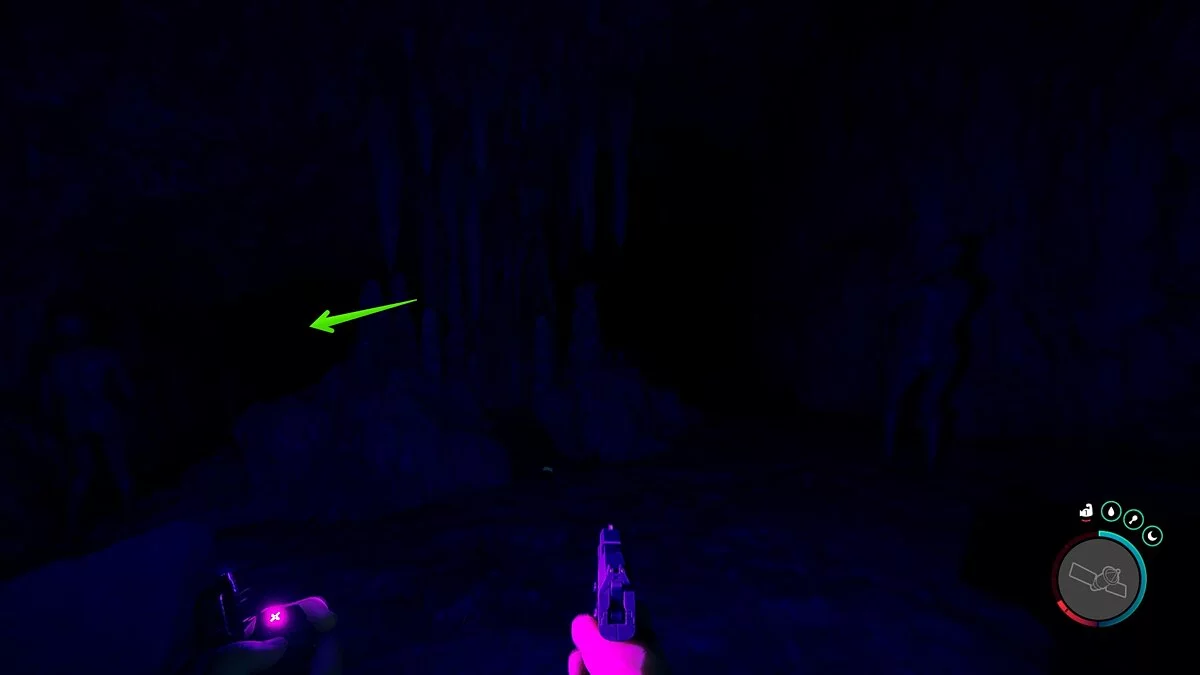
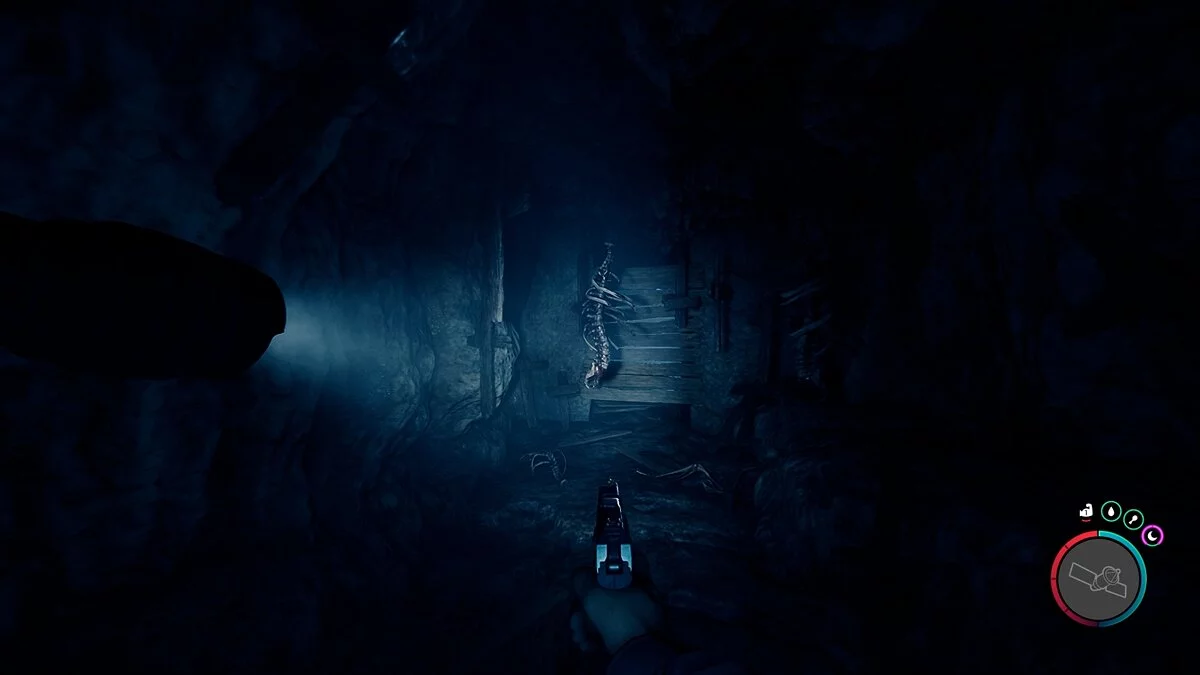
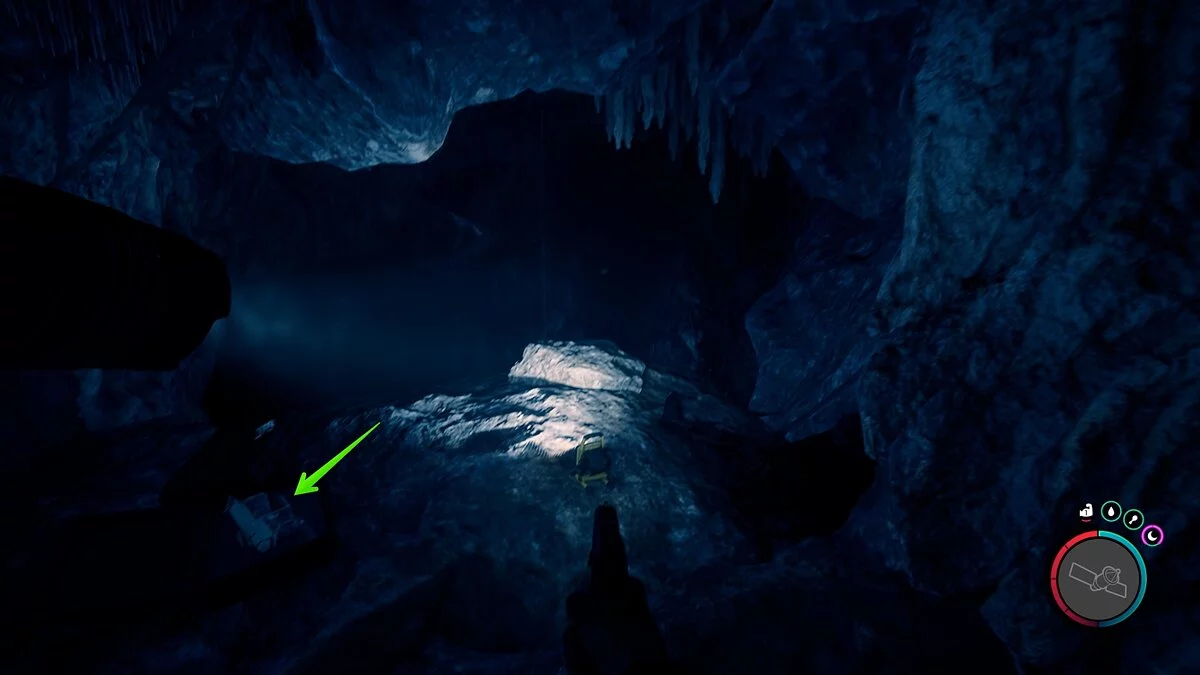
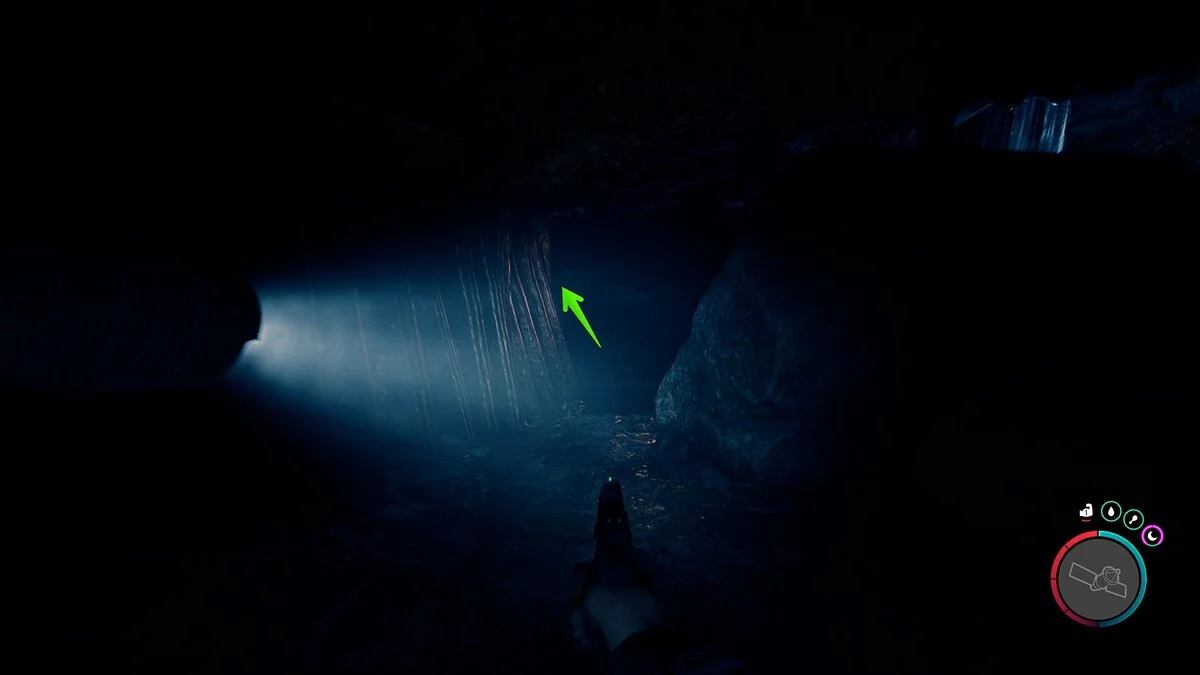
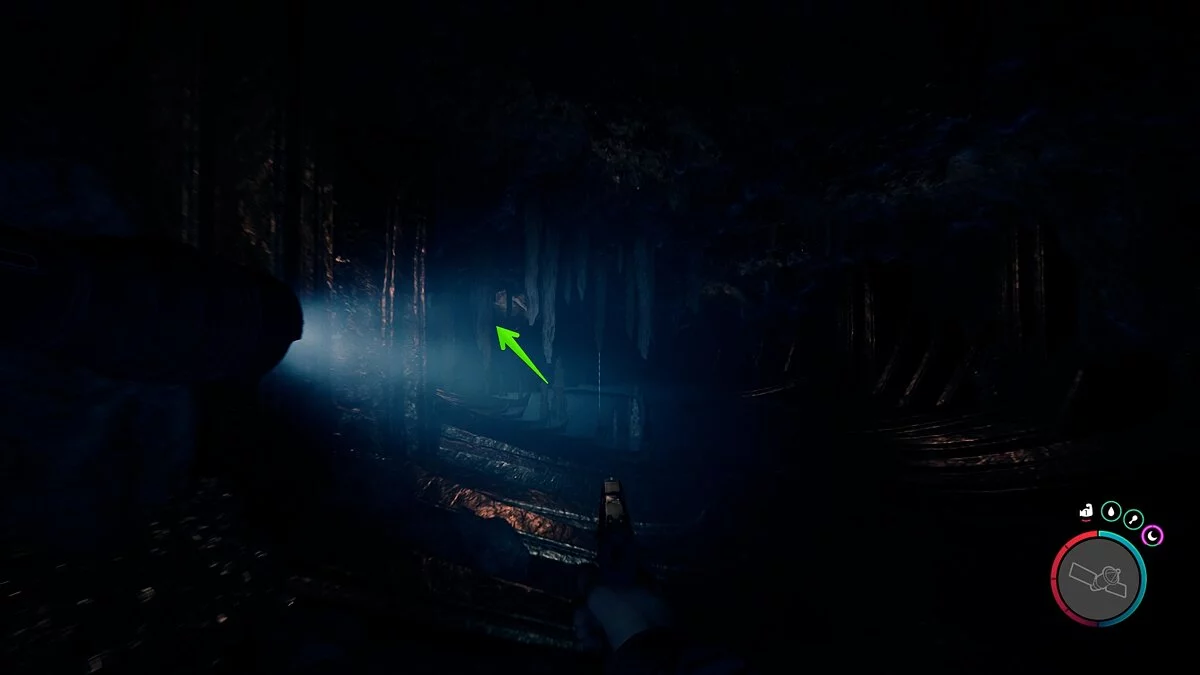
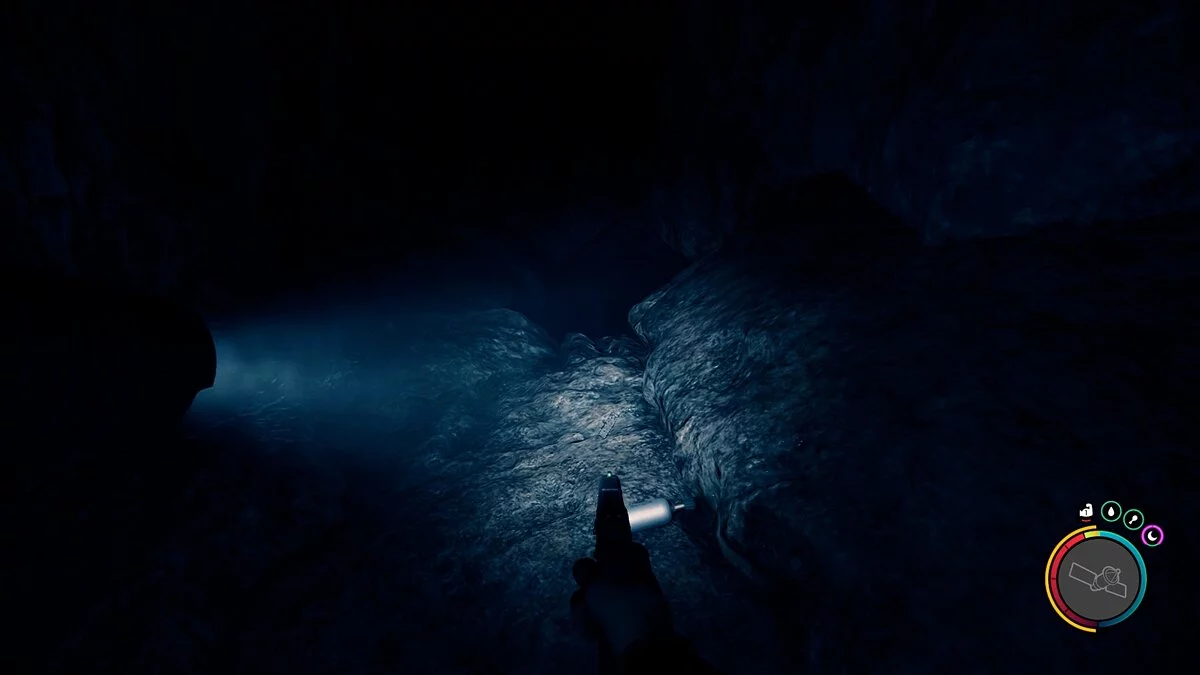
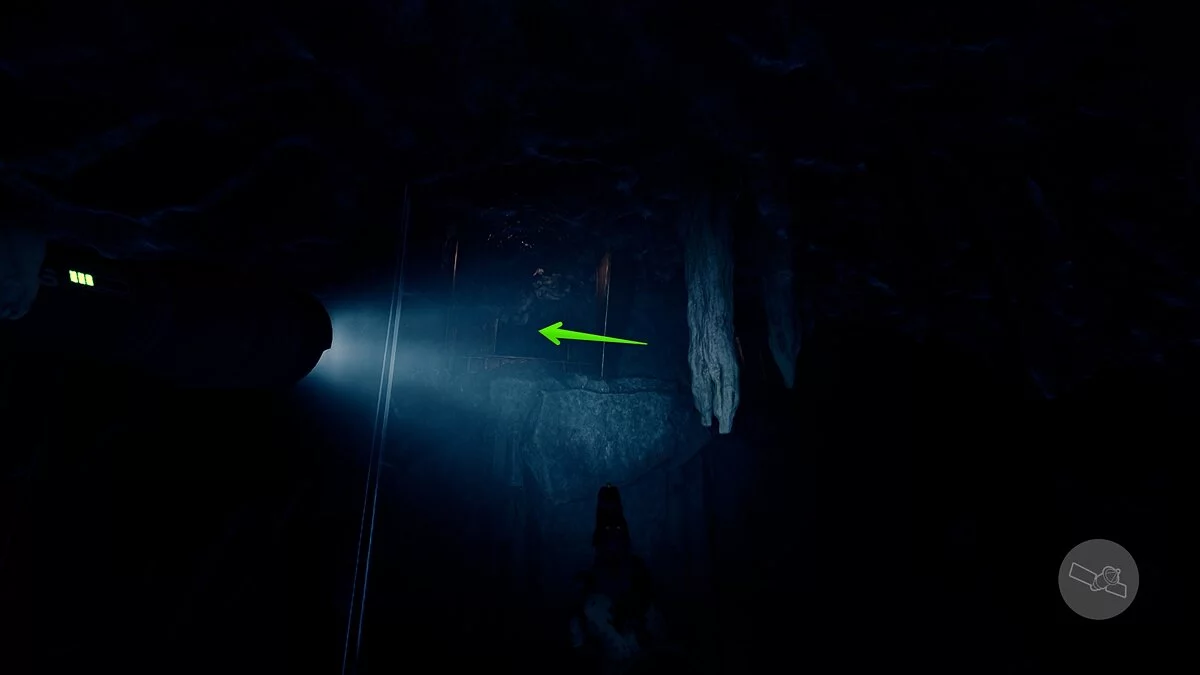
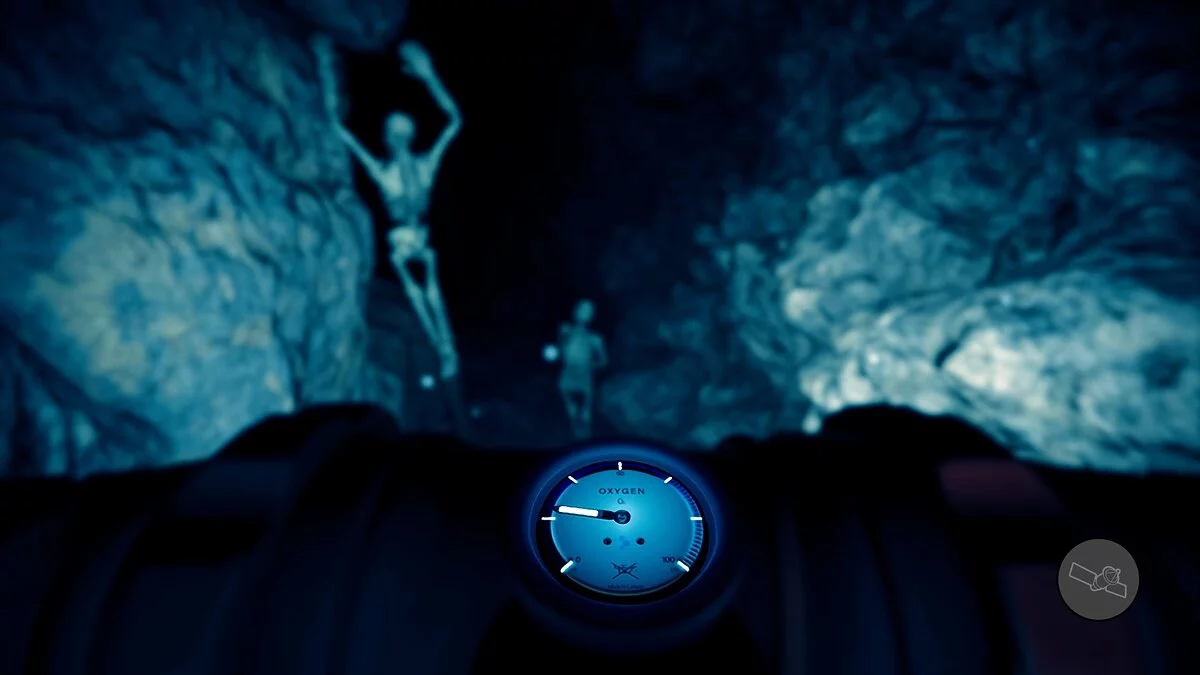
Bypass the tunnel with hanging skeletons and deal with another blocked passage made of boards. A makeshift cross is nailed to them. Here, turn left and jump into a small gap between the rocks. In the dead end on the ground, you will find the item you're searching for.
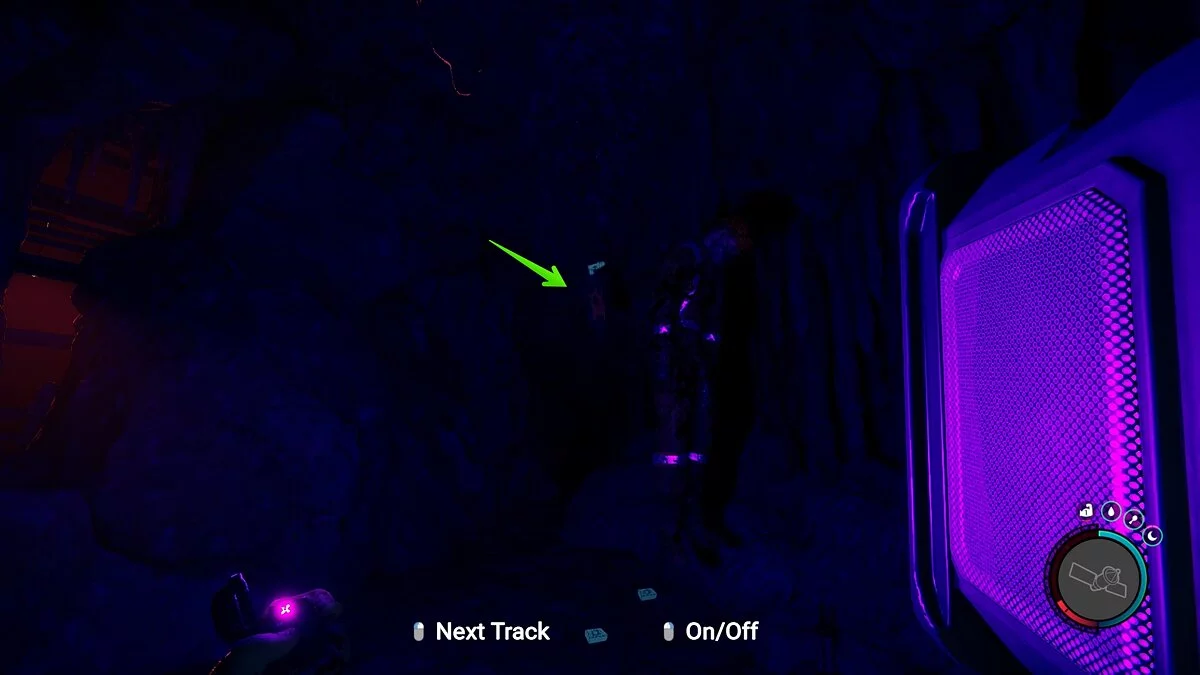
If you are playing for the first time and have not visited this cave before, go back the same way, and at the last fork, turn right. At the end of the tunnel, on a hanging corpse, pick up the stun gun.
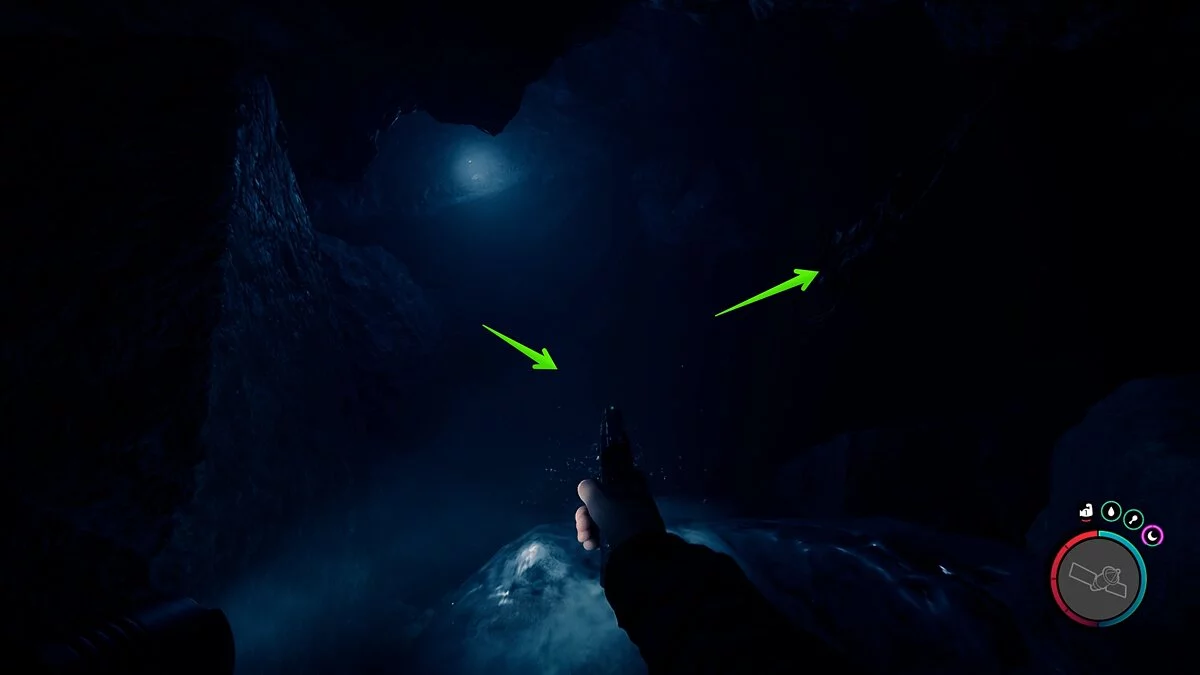
Run back to the fork with the lantern and now turn left. This will lead you to the water, where you will find the rebreather. You can try it out right now: dive into the water and swim through the only passage to emerge near the cave entrance.
Artifact Shard #2
To ease the search for artifacts and the game's progression, you will need to find the grappling hook, hidden in one of the caves on the western part of the island. The entrance is located near a river flowing into a lake. As usual, the entrance to such dungeons will be blocked by wooden boards. Use any available means to get through.
Right at the entrance, look around and find valuable loot: watches, rags, fresh meat, and canned food. All items are scattered around the only lamp here. Run through the only tunnel and jump down into a spacious cavern with many enemies. Whether to kill them or not is up to you, but to escape, you'll have to deal with at least one fat enemy stuck between the rocks.
After jumping down, the main path to the exit is through the tunnel on the left, but to reach the artifact, you need to jump into the water from the cliff on the right. But don't hurry: look around and collect many useful items, such as a cross and crafting resources. Here you can also find a document next to the body of one of the workers.
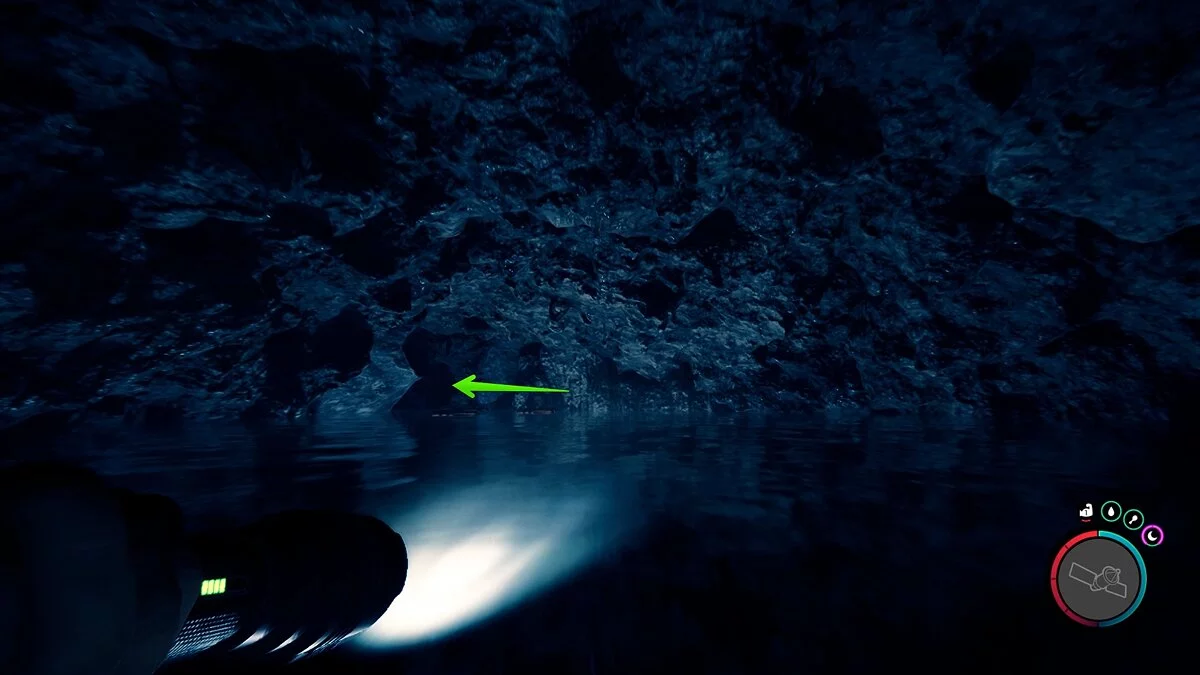
When you're ready, approach the cliff where the water flows down. Jump down and swim underwater to the right. Here will be a rope, but you don't need it now, just remember its location. Dive into the water from the opposite side again and swim forward. In the narrow passage, clear the wooden boards.
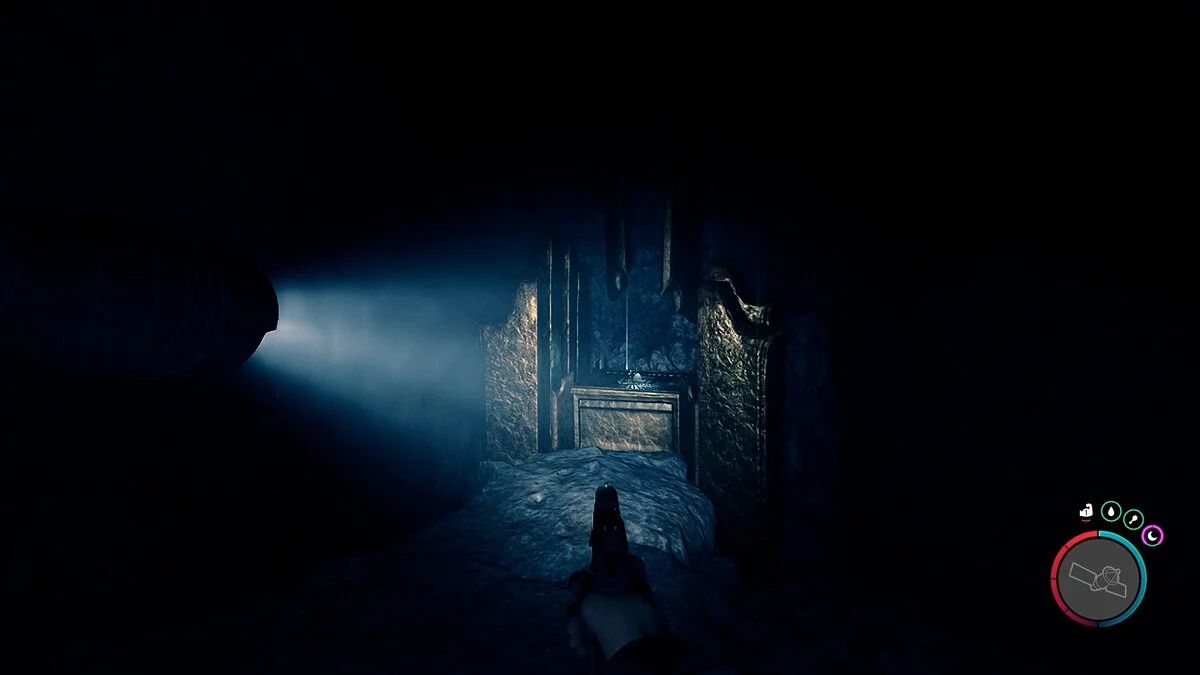
This will lead you to a cavern with a golden pedestal, on which the artifact lies. Walk around it on the right side to pick it up.
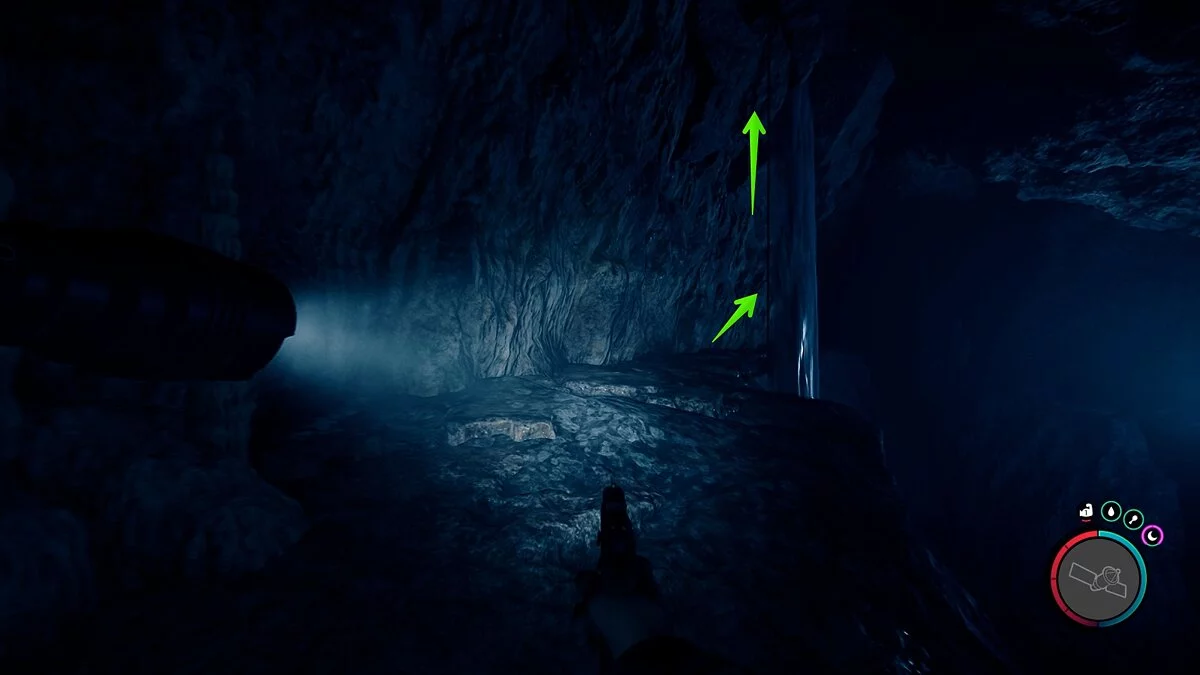
Having done that, return to the nearest rope, the location of which we recommended to remember. Climb up, remove the boards from the way, and turn left. Right in front of the waterfall, there's another rope that will take you to the starting location.
However, the journey doesn't end here. It won't be possible to exit the same way: the path upwards is blocked. You'll have to go through the only tunnel and deal with a huge monster stuck between the rocks. If you have already found a few bottles of vodka or a grenade, you can make a Molotov cocktail or throw a fragmentation grenade to save on ammunition.
The path ahead is linear, but you will encounter many strong enemies. Run to the end of the location, collecting loot along the way, and also examine the note next to the worker's body. At the end of the path, when the corridor narrows, turn right at the fork and crawl under the stone. Here, there will also be many small newborn monsters. After passing through the stope with water, head to the elevation towards the cliff. Next to the corpse in the case, you will find a rope gun.
Shards of Artifact №3 and №4
Interestingly, the next two shards can be found by exploring the same cave. Like any cave, it has two entrances, and you can use both of them — it's not necessary to go through the whole cave from start to finish. However, on your first visit, it's best to do just that.
The entrance to the dungeon is located not far from the previous cave, next to a large lake. Break the boards and enter inside. This location almost has no forks, and you will just have to follow the only route, so there will be no problems with finding the artifacts.
How to find Artifact Shard №3 and Ancient Armor
Right at the entrance before the water lies a air tank. Pick it up, as you will have to swim underwater in this dungeon for a long time. Dive and swim through the only path. Once you do that, look around and find another tank. Go through the narrow passage to end up in a stope with monsters. You can ignore them, quickly collect the loot and jump off the cliff. A scene will trigger where the hero falls into the water.
Swim to the left side, navigating by the life vests. Along the way, you will encounter locked containers and monsters. By the water, you can examine a large boulder on the left, behind which lie ammunition. You need to head towards the golden gates in front of you.
At the fork, turn left and run forward until you find a large golden wall with a passage, behind which lies the corpse of a cultist and a case with loot. Continue running through the cave to emerge in a spacious stope with a waterfall.
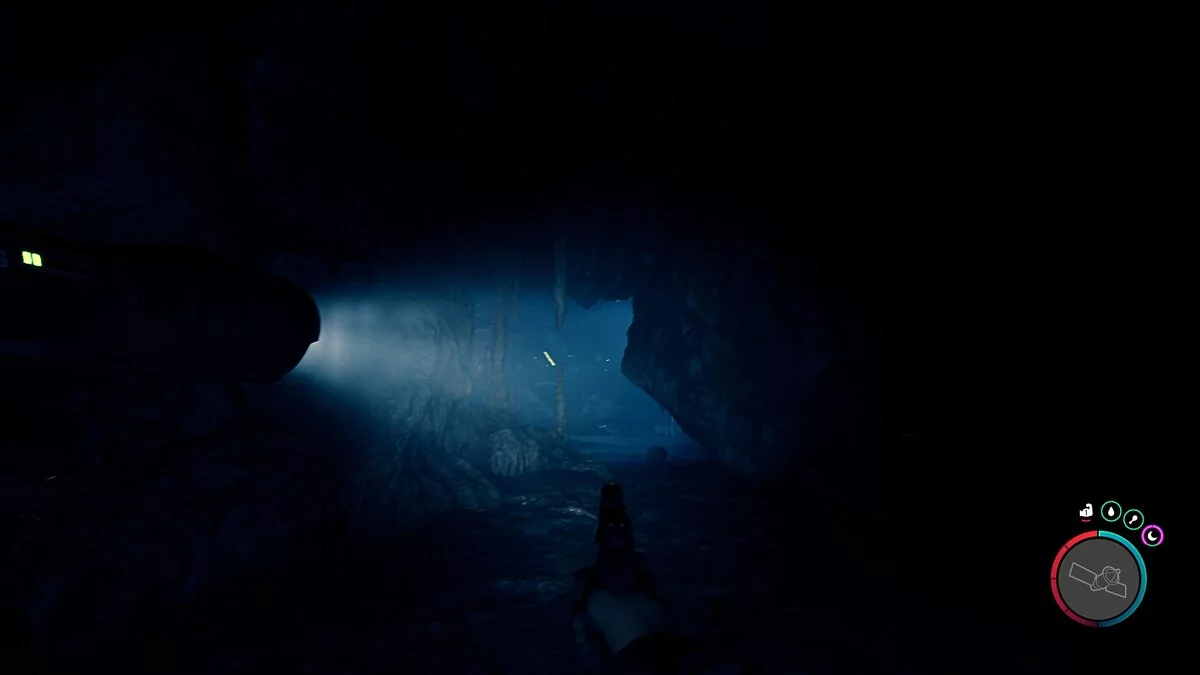
Stick to the left wall at all times, it will be hard to get lost this way. You will see light ahead, follow it. Pass by the corpses and the room with golden columns, then climb the rocks into a narrow passage.
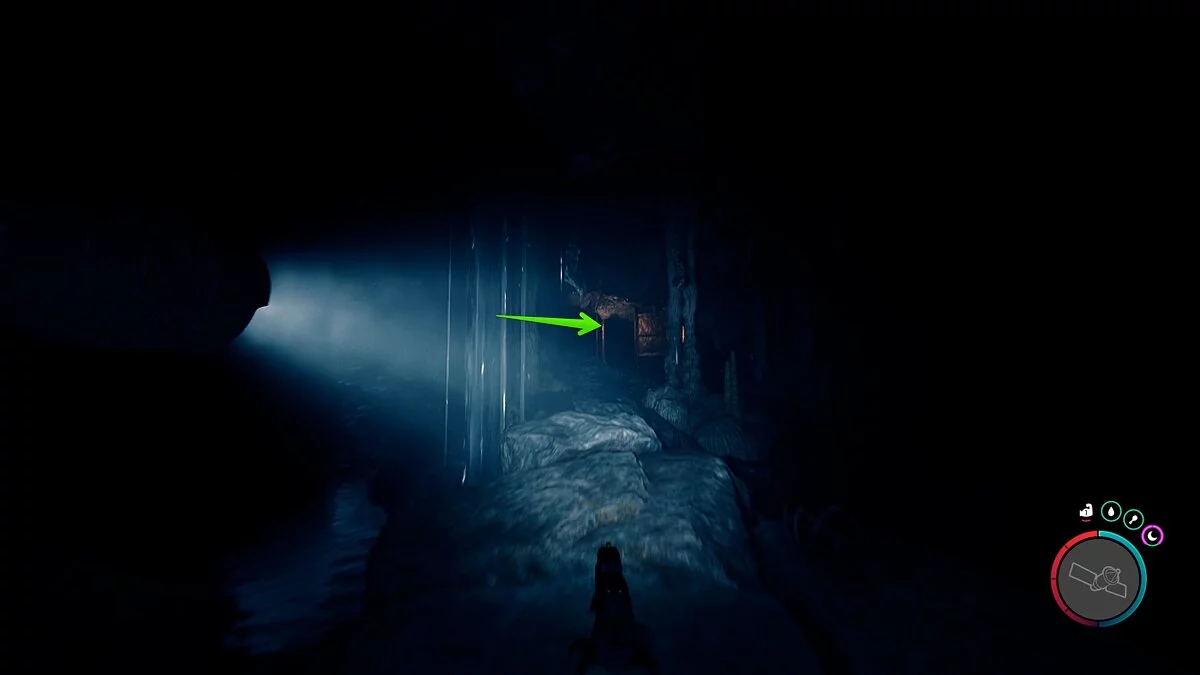
Right after it, there will be a corridor blocked with wooden planks, where crosses hang. Break the planks and descend down the rope. Having done this, run through the narrow passage with golden columns, dive into the water, and swim towards the golden glow. Eventually, you should reach a mine with a spaceship and bright flashes of lightning.
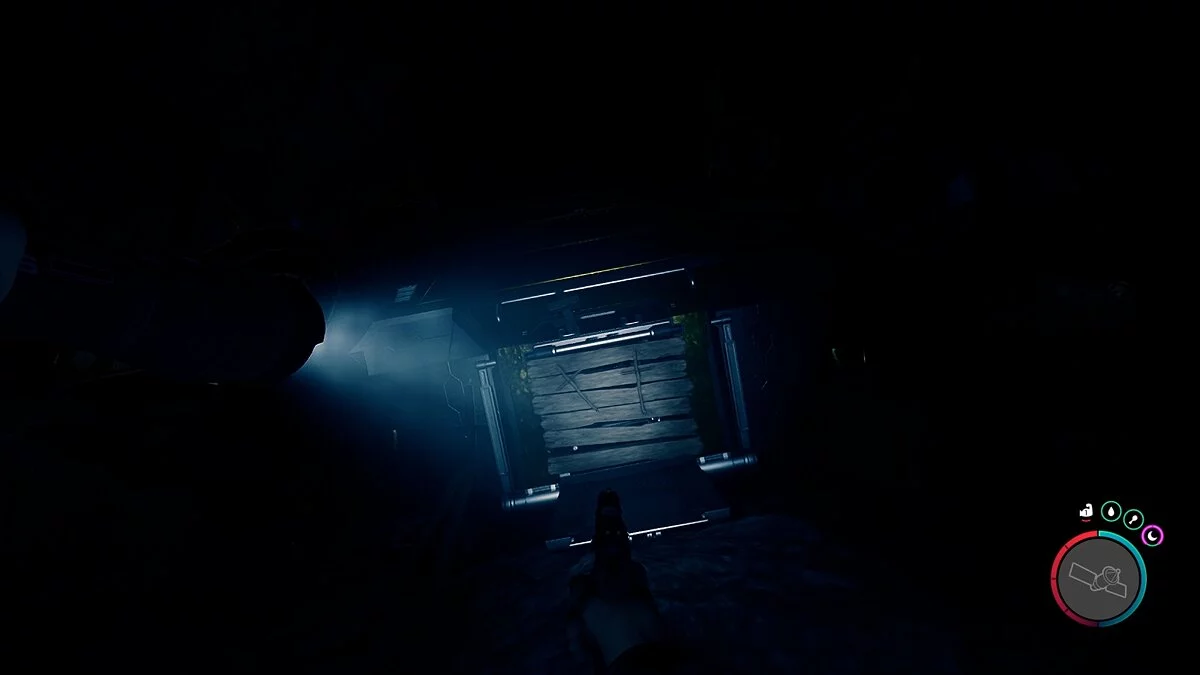
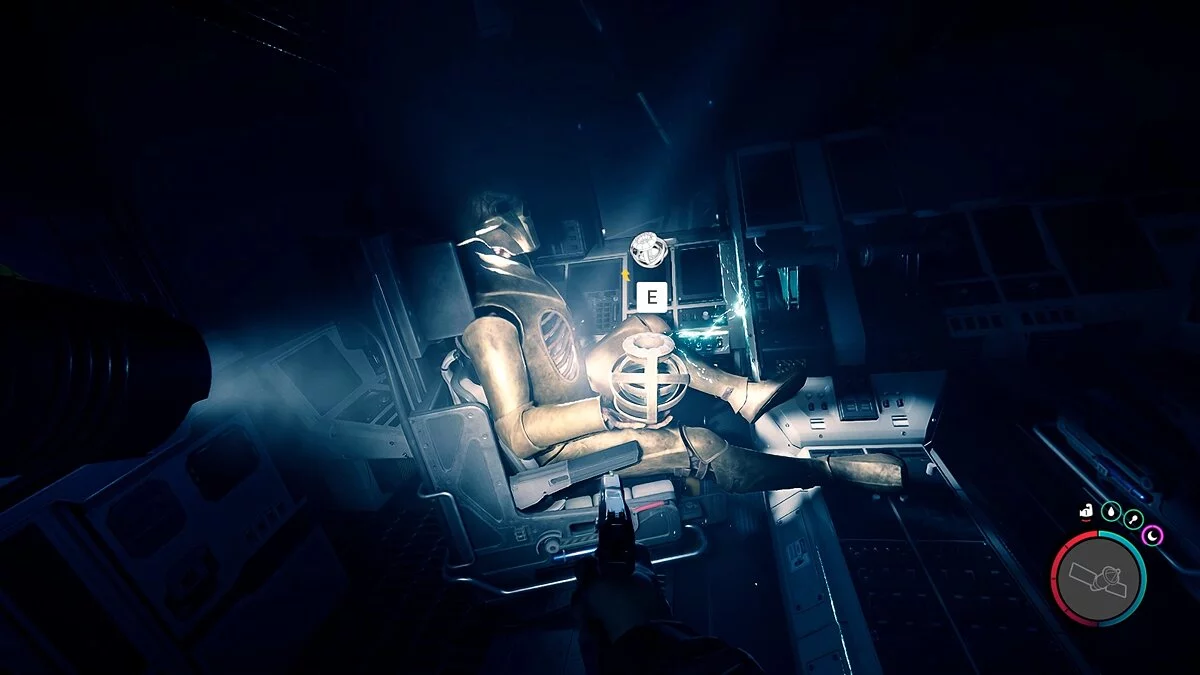
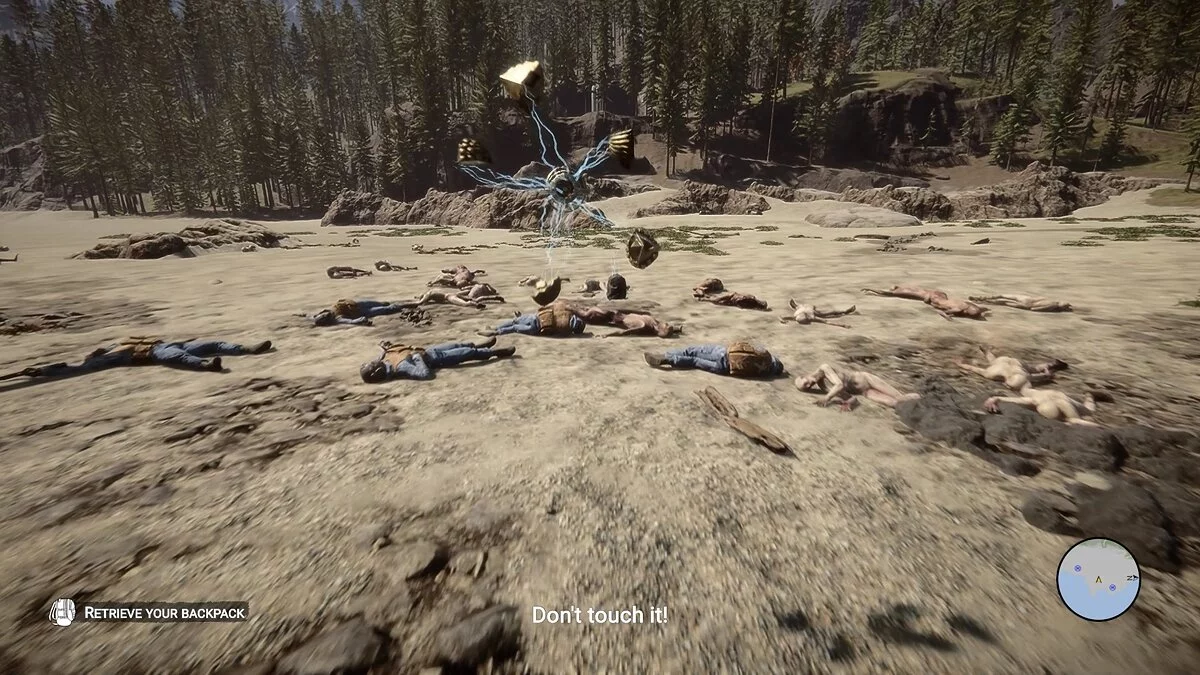
Walk around the ship to the left, then remove the planks at its rear to enter. Take the artifact shard from the pilot's hand, and don't forget to equip his armor. At this moment, a funny scene will start.
How to find artifact shard #4
Leave the ship and run along the only path that leads to the top of the cave and find a rope there, and then another one.
You will find yourself in a mine with hanging skeletons. Check the corner on the left to break open locked boxes and loot them. After that, find another rope, climb up, move forward, and dive into the water. Right before the water, there will be an oxygen tank lying.
After emerging, you will enter a mine with two monsters. We advise running past them and climbing up the rope. After a short passage, there will be several ropes down, as well as a long descent into the water. Get out of the water and prepare to meet a couple more enemies in the next room. You need to go through the only corridor to a boarded-up passage, behind which crosses hang again.
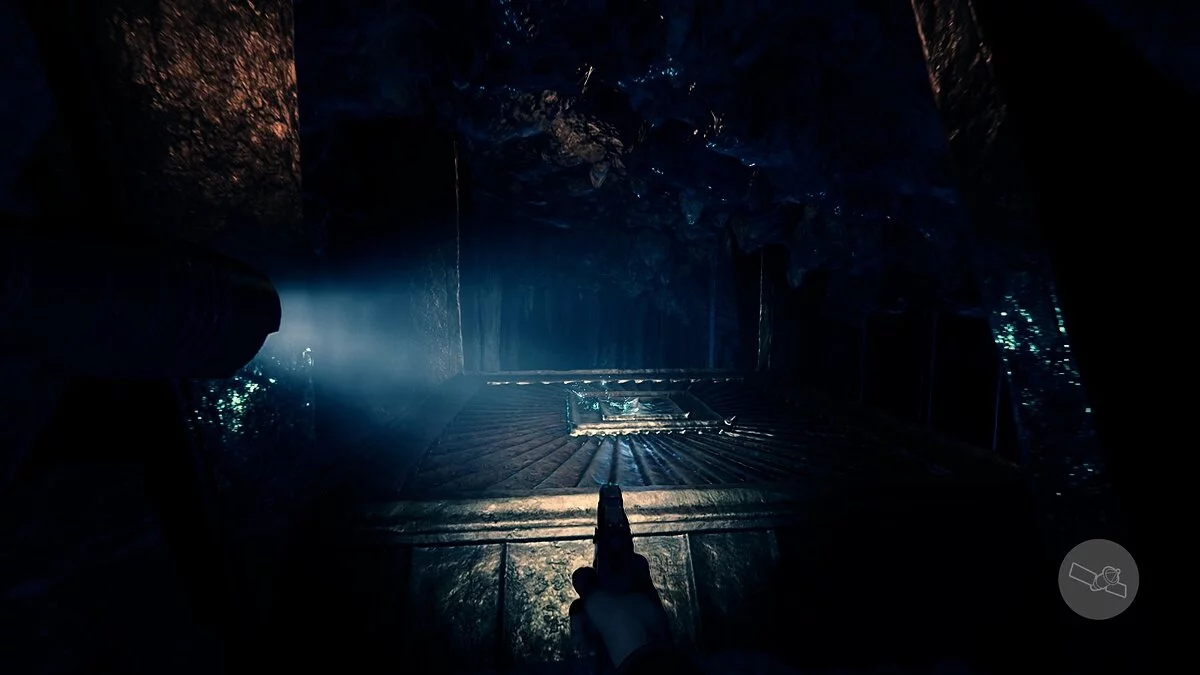
You will enter a mine with a golden pedestal. Climb up and take the fourth shard of the artifact.
To get out, run through the passage with golden columns and dive under the water. You will end up in a room with a skeleton on a chair, where the exit is located.
Artifact Shard #5
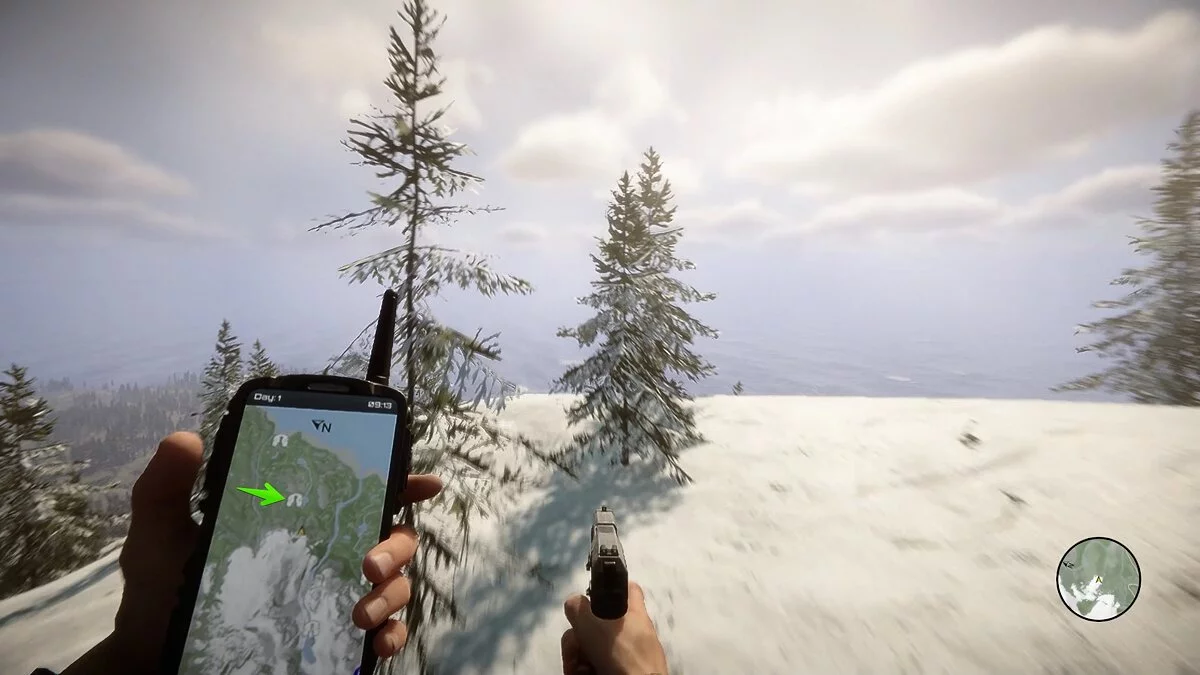
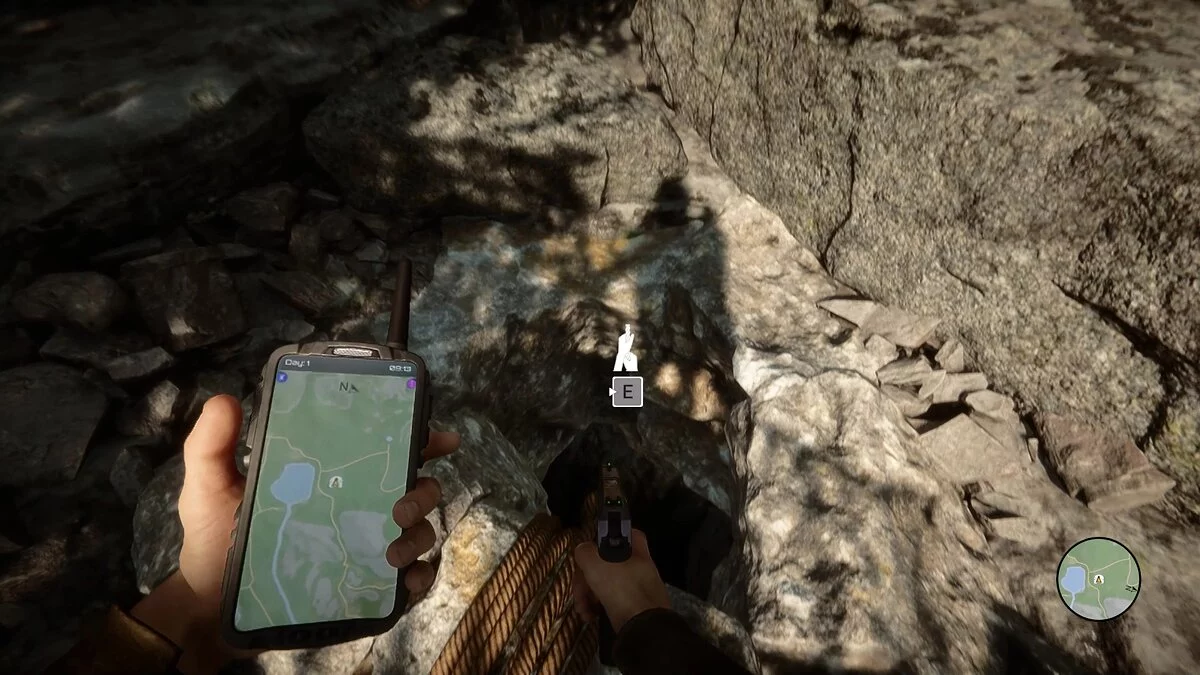
The penultimate shard, which can be found on the island before completing the storyline, is in a cave where a pickaxe is hidden. It is located in the northwestern part of the island, and from the previous dungeon, you will need to go around the mountain to get here. The entrance to the cave is different from the previous ones, as it is just a hole in the ground with a rope attached.
Descend and go right, towards the direction the water flows, then jump off the cliff. Right by the water, there is a bag, next to which there are supplies and an oxygen tank. To continue your journey through the cave, dive and swim through the only passage past the tied corpses.
Emerging from the water, you'll find yourself at a fork. To the left is a boarded-up passage, and to the right, an open one. As you've probably figured out, the path to the artifact goes through the broken boards.
Walk a bit forward into a small room, but don't fall down! Next to the hole in the ground lies a blueprint — pick it up, then use the rope.
Proceed through the narrow passage, then crouch and crawl under the stones. Going left, you can find several locked chests with loot. If you go straight, you'll end up in a tunnel with crosses, from where you can exit to the stope with the artifact.
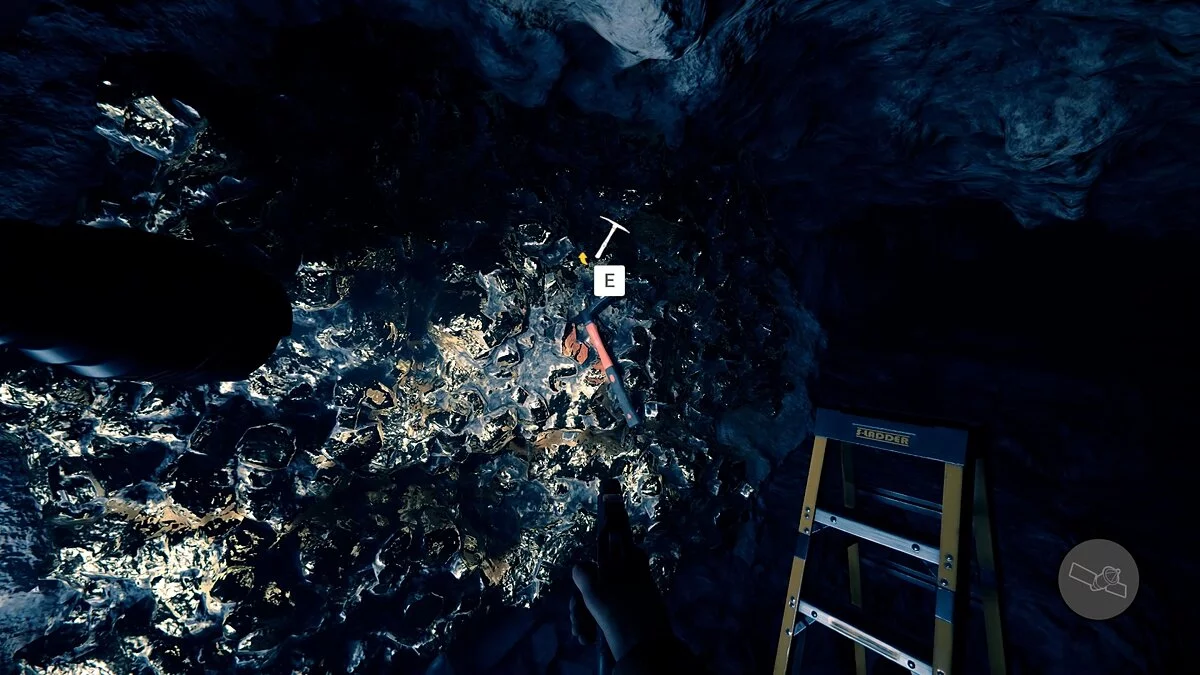
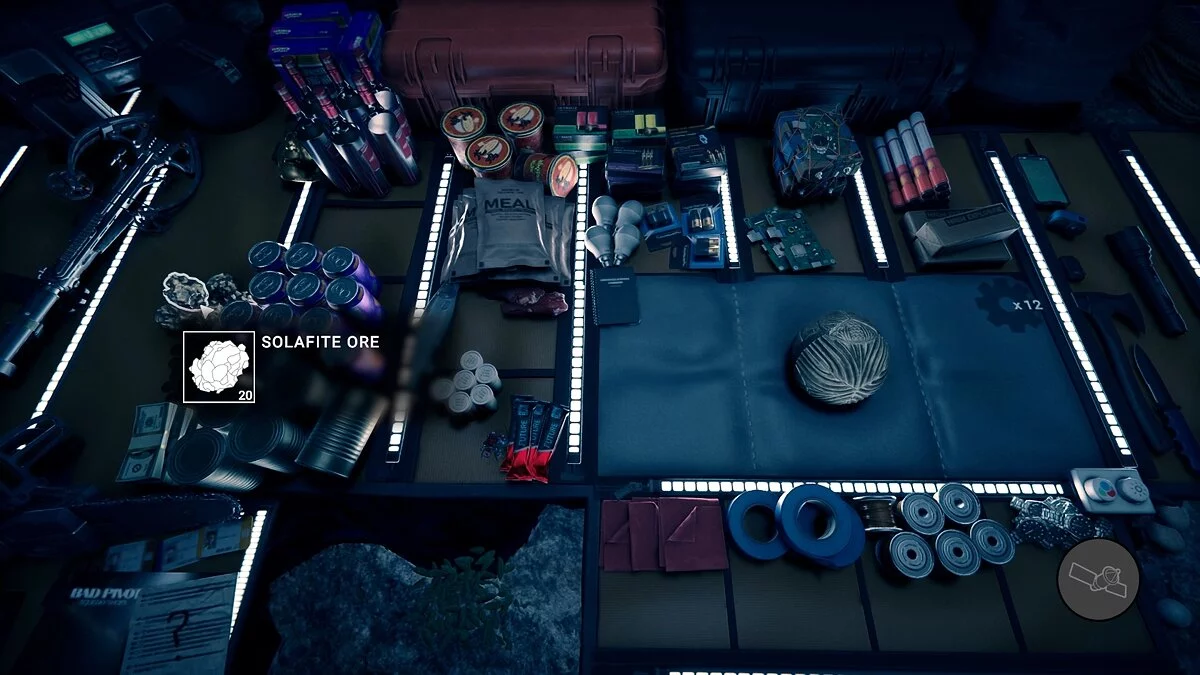
Use the ropes and return back to the fork where you destroyed the wooden boards. Continue running through the only passage until you notice a highlighted piece of solaphite ore, from which a pickaxe is sticking out. Collect as much ore as possible — it will be useful when using the artifact later! To get out of the cave, use the ropes twice and climb higher.
Artifact Shard №6
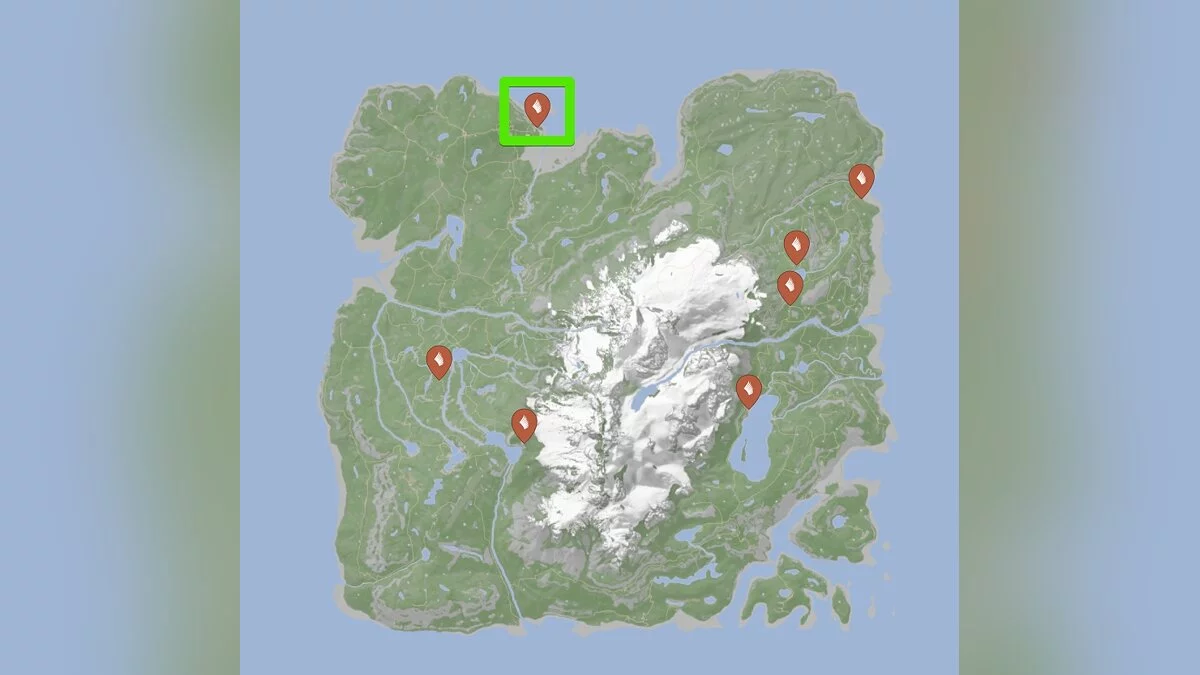
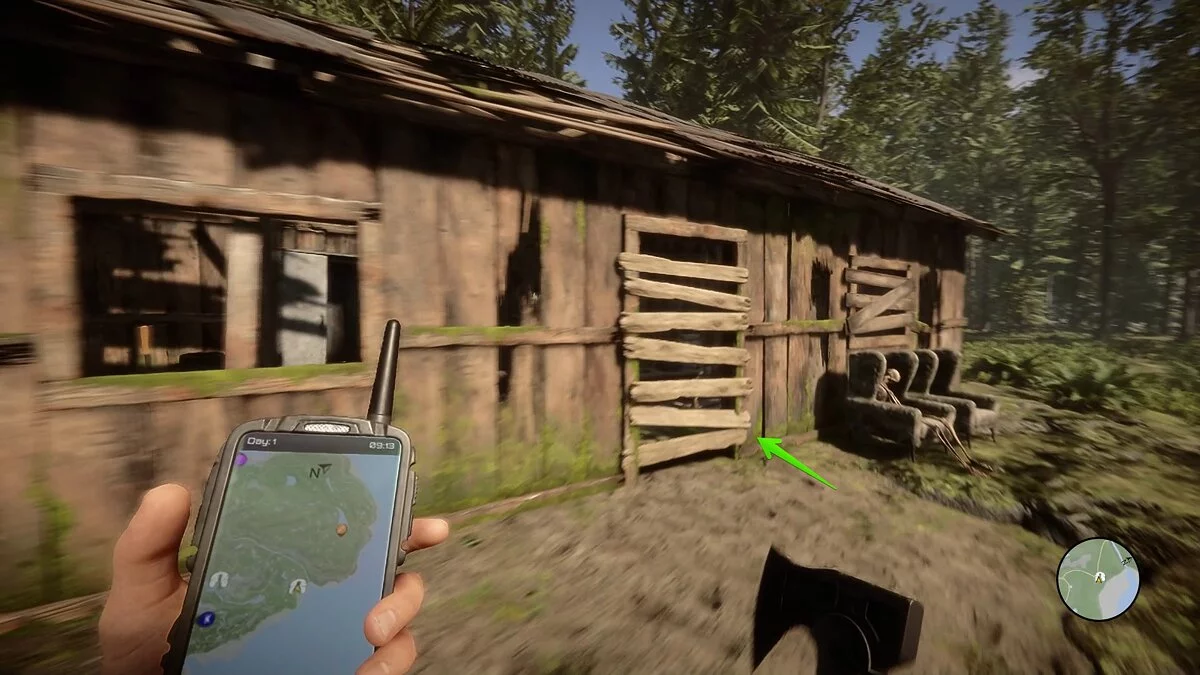
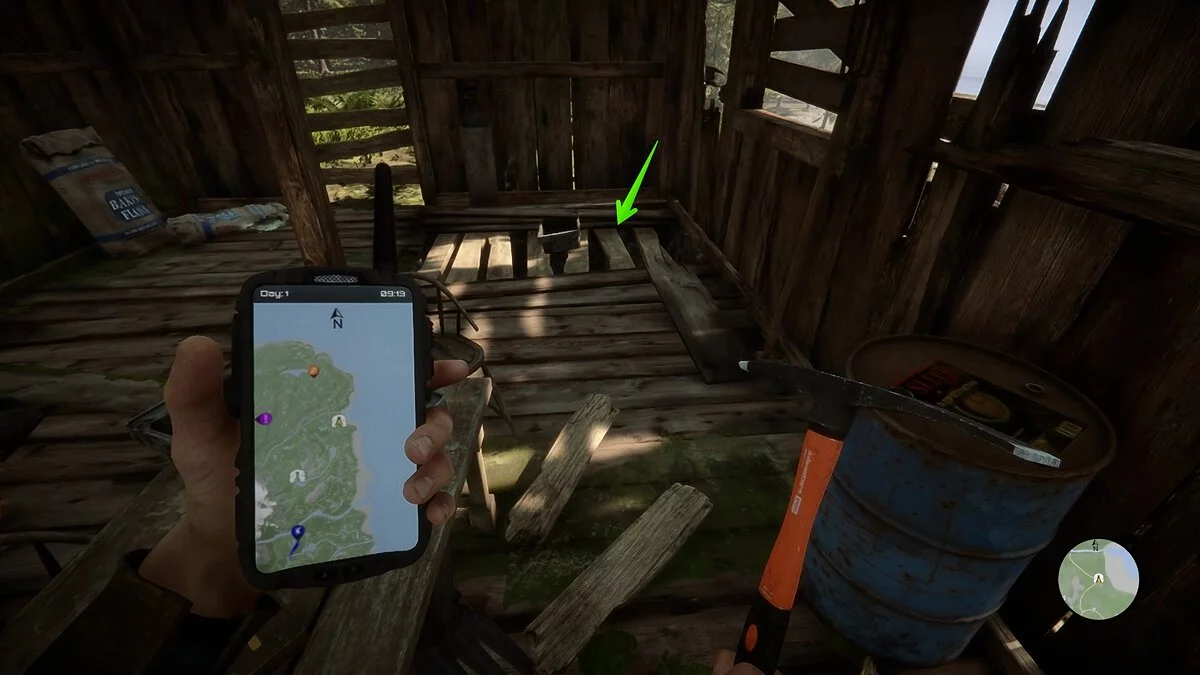
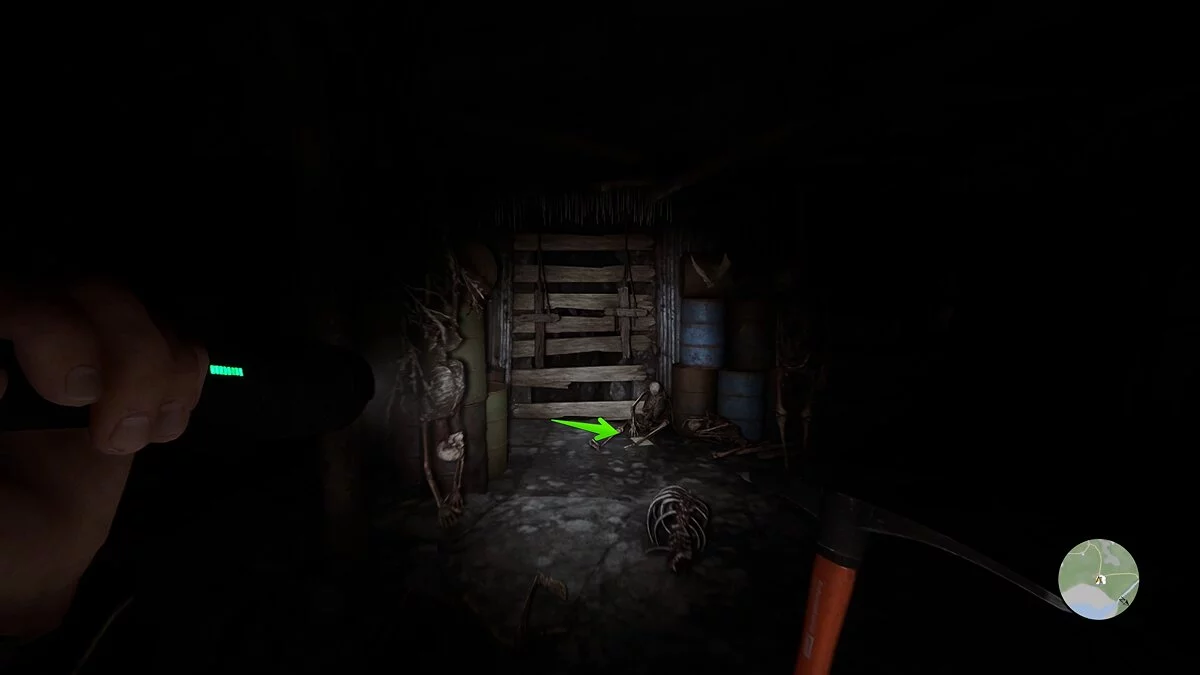
The last shard is hidden in a relatively new cave, added to the game recently. The entrance to the dungeon is concealed in a small fishing camp on the north-western part of the island. There are only three huts, one of which is boarded up. Break them and inspect the right far side of the house. You'll also need to break the floorboards.
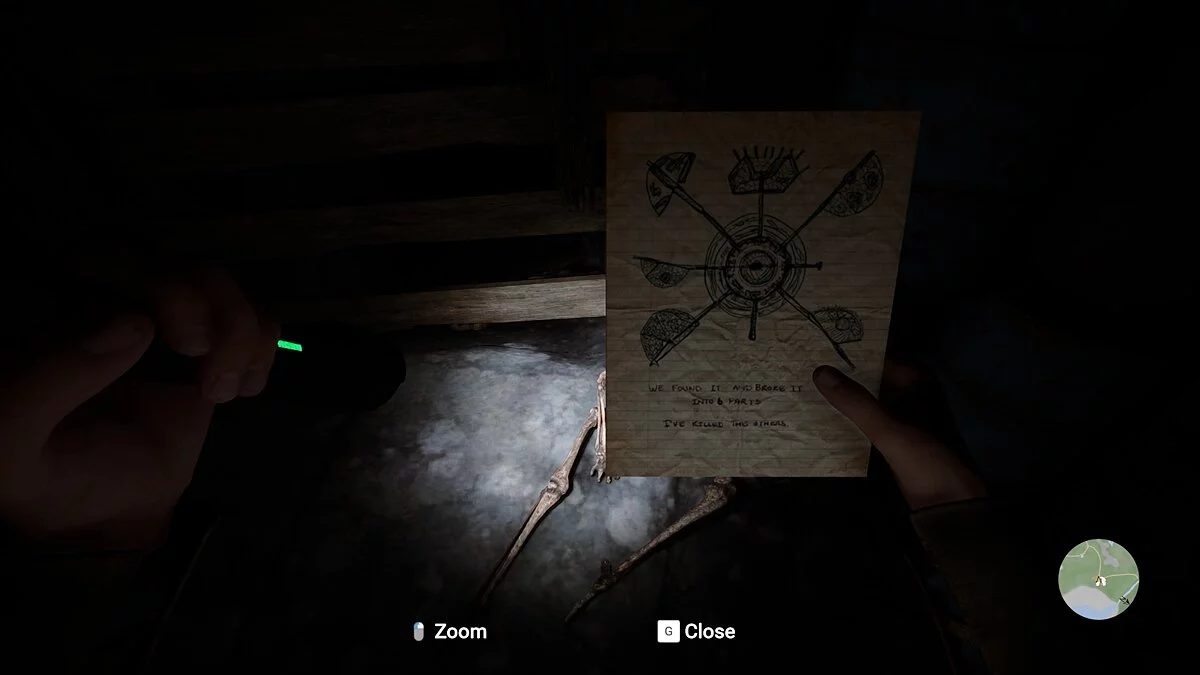
Descend the ladder below. You'll find yourself in a small corridor. To the right is a room with skeletons, but it's empty. Inspect the corpse to the right of the boarded-up passage and pick up a note, which describes how to assemble the artifact.
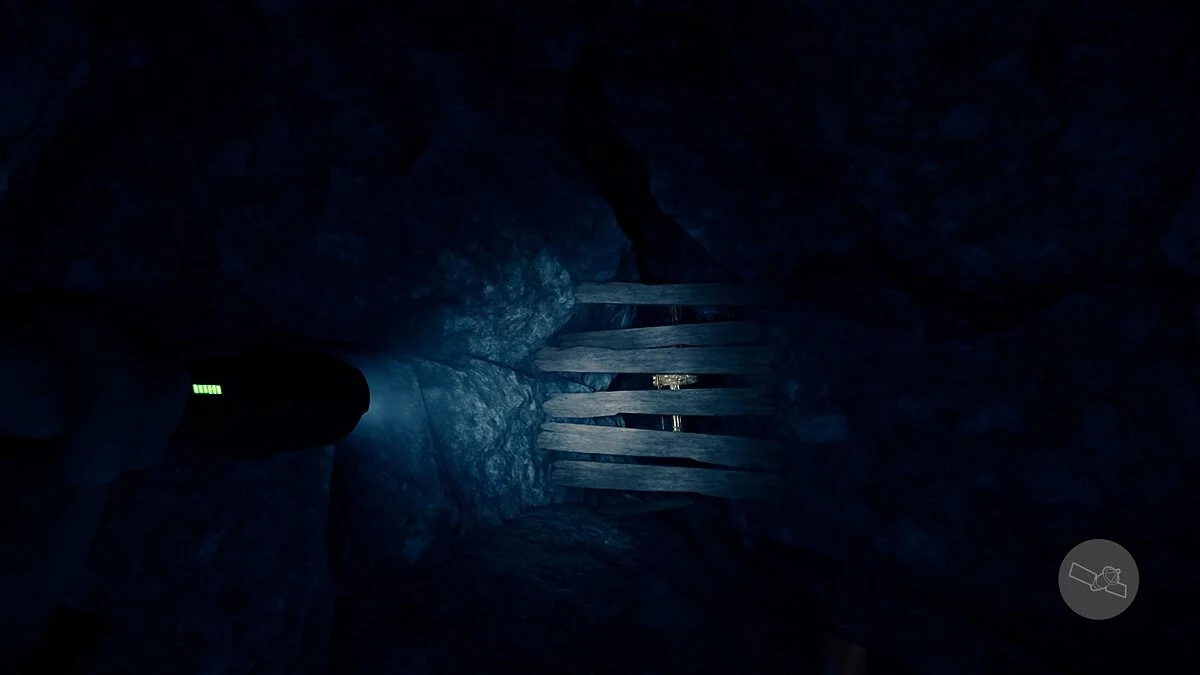
Break the boards and use the rope to descend. Emerging from the water, you can find two wooden locked chests with loot. Then, proceed along the ledge to the left and unlock the barricaded passage. Next, there will be a steep descent, followed by another blocked tunnel. Behind the boards, you can see a golden cross.
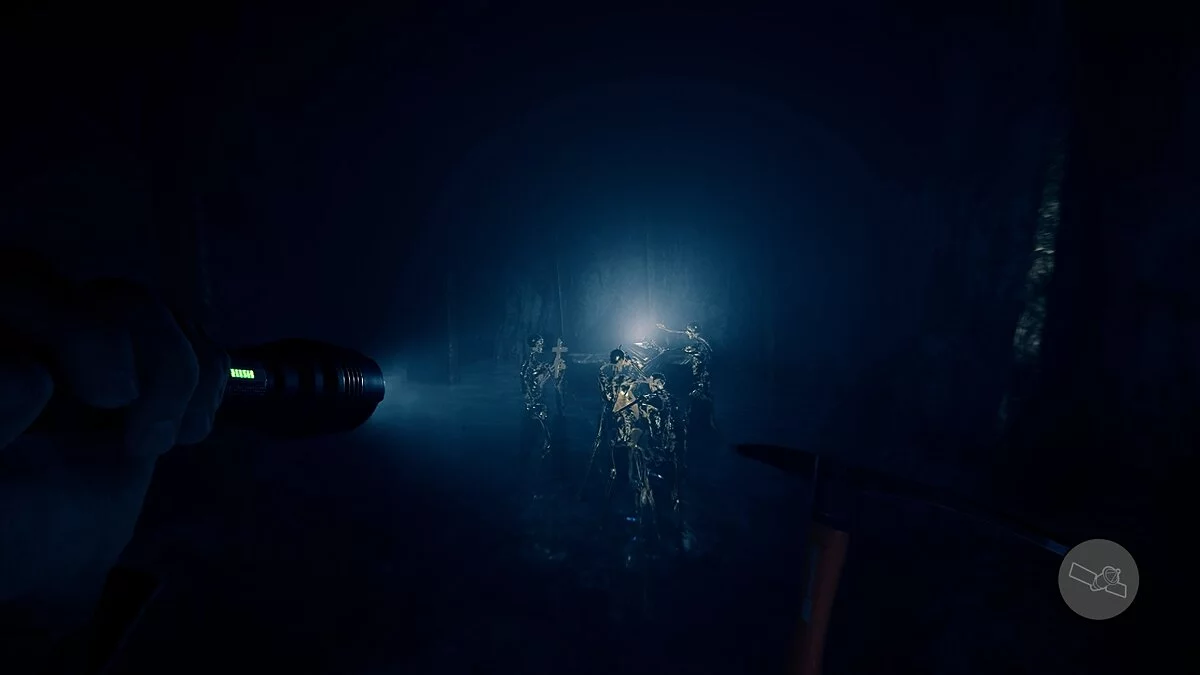
Use the rope to descend, and inspect the golden skeletons on the right side of the stope. They stand next to the sixth artifact shard. To get outside, find the golden skeleton pointing towards the rope.
Artifact Shard №7
The only way to obtain the remaining shard and create the artifact is to stay on the island after the final battle with the boss. A cutscene starts, in which the collected shards appear from the main character's inventory, and the backpack flies away from him by several meters. If you decide to stay on the island, approach and interact with it. But by doing so, you won't receive the ending where all the members of the rescue operation leave the island.
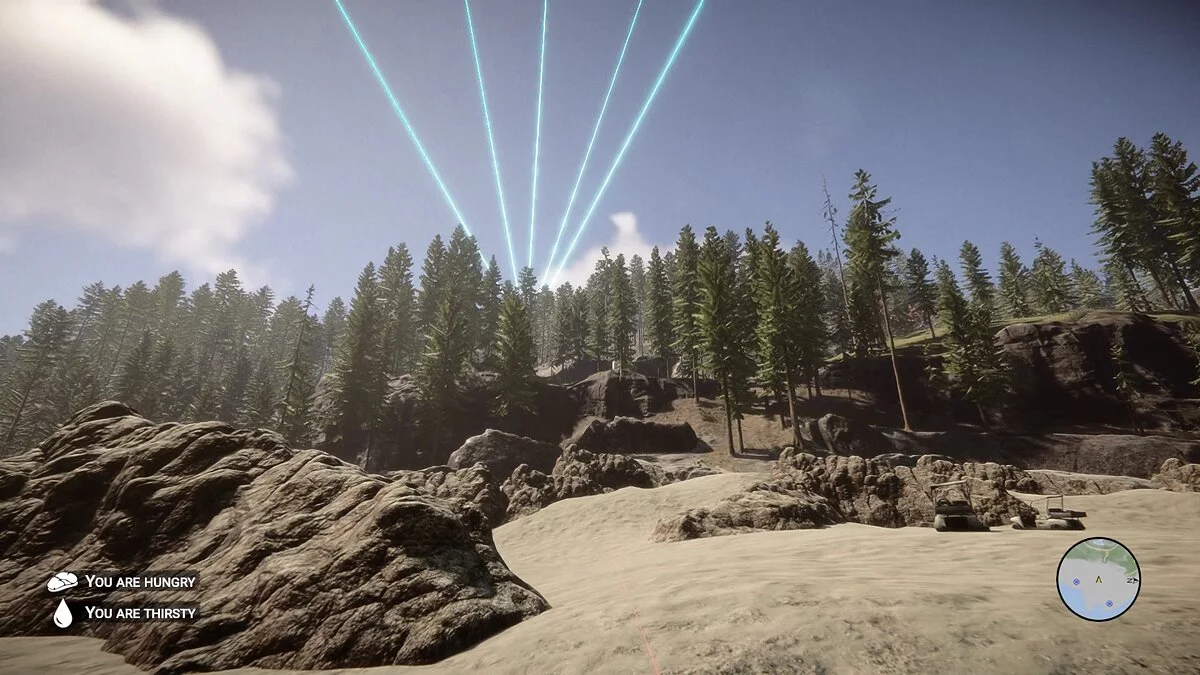
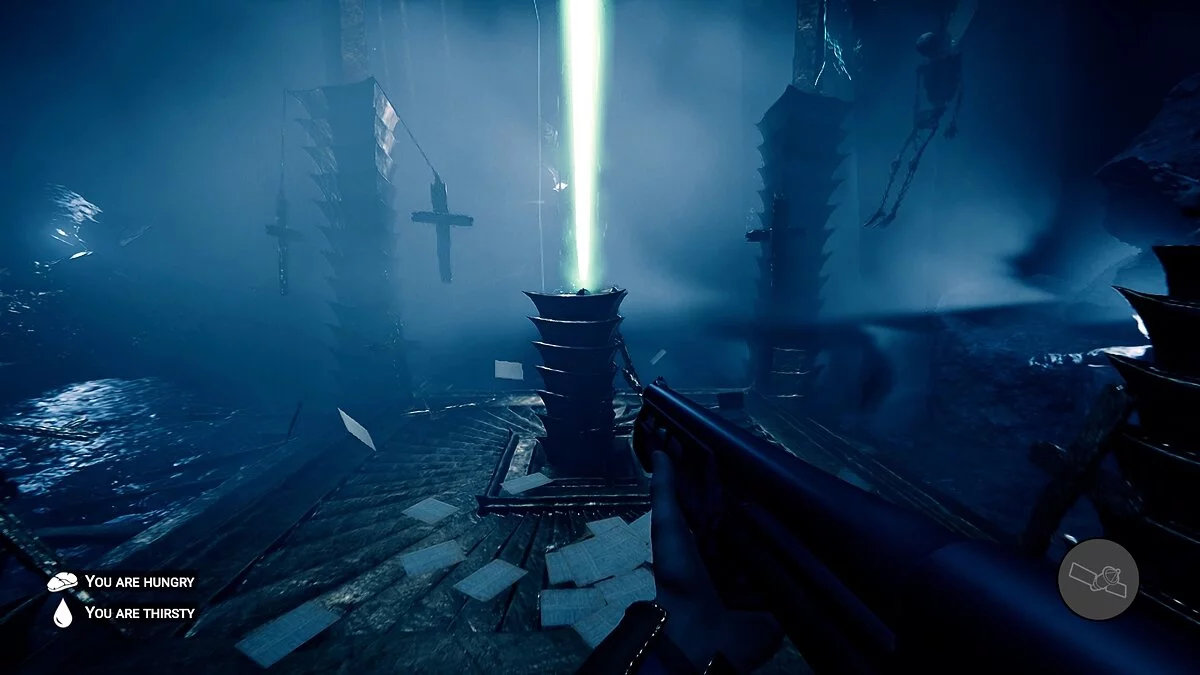
Helicopters will fly away, and in the distance, a light will appear, breaking into several bright beams. You need to head to this area and descend to the very bottom of the cave to find the last piece of the artifact.
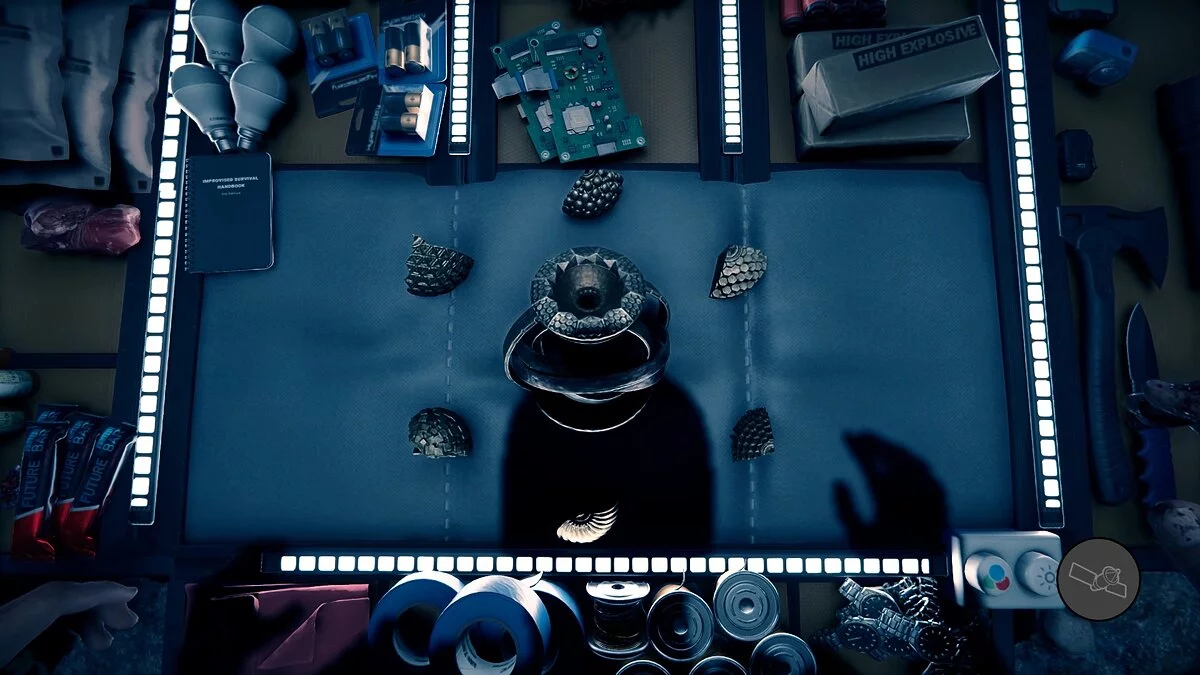
Open your inventory and combine all the parts to get a unique item. To use it, you will need to mine solfatara ore, deposits of which you might have encountered earlier in the story in various dungeons. Of course, a pickaxe will also be required for its mining.
How to Use the Artifact
First, recharge the artifact using solfatara ore. To do this, press the R key and watch the animation.
What the artifact can do:
- Turns items into gold.
- Instantly teleports the hero.
- Repels and attracts monsters.
How to Turn Items into Gold
To use each of these functions, first, you need to craft various objects. Turning items into gold is perhaps the simplest action you can use when you have solfatara ore in your inventory. To do this, take the artifact in your hands, aim at any item, and use it. In addition to a beautiful color, the item turned into gold will be much stronger and more durable than wood or stone.
How to Teleport
For many players of Sons of the Forest, teleportation is the most useful function of the artifact. If you have a teleportation device at your base, you can move there from any point on the island. To craft the object, use the blueprint obtained with the artifact. The following resources will be needed for construction:
- Bone (50);
- Stone (30);
- Skull (8).
Note that for the teleport to be used, the artifact must be charged with at least one unit of solfatara. If there is no ore in your inventory, you will have to return to base on foot.
How to Repel and Attract Monsters
The last function of the artifact is the repulsion and attraction of monsters. Two corresponding blueprints for building sanctuaries will appear in your journal. Being charged with the energy of the artifact, they will scare or summon hostile NPCs.
Blueprint of the Sanctuary of Repulsion:
- Bone (49);
- Stone (7);
- Skull (6).
After crafting the object, place six pieces of solfatara in the sanctuary and charge it with the artifact's energy to repel all enemies from your base.
Blueprint of the Sanctuary of Attraction:
- Bone (24);
- Skull (11);
- Stone (10).
This sanctuary works on the principle of the existing scheme you had, where you could collect turtle shells, batteries, and insert a katana into the object to attract strong monsters. Unlike the Sanctuary of Reflection, after building, you only need to activate it using the artifact's energy. Once it is charged, mutants will start appearing nearby.
Other guides
- Weapon Guide in Sons of the Forest: Where to Find and How to Craft
- How to Disable Steam Overlay and Increase FPS in Games
- Sons of the Forest Walkthrough: How to Find All Keycards and Ancient Armor
- How to Befriend the Three-Legged Girl (Virginia) in Sons of the Forest and Make Her Your Companion
- How to Find a Shovel and Dig Up a Grave in Sons of the Forest
- Söhne des Waldes Cheats: Codes und Konsolenbefehle
- Beste Mods für Sons of the Forest: Grafik, Bau, Cheats, Virginia und mehr
- Wie man das dreibeinige Mädchen (Virginia) in Sons of the Forest befreundet und sie zu seiner Begleiterin macht
-
How to Befriend the Three-Legged Girl (Virginia) in Sons of the Forest and Make Her Your Companion
-
How to Disable Steam Overlay and Increase FPS in Games
-
How to Find a Shovel and Dig Up a Grave in Sons of the Forest
-
Sons of the Forest Walkthrough: How to Find All Keycards and Ancient Armor
-
Weapon Guide in Sons of the Forest: Where to Find and How to Craft
