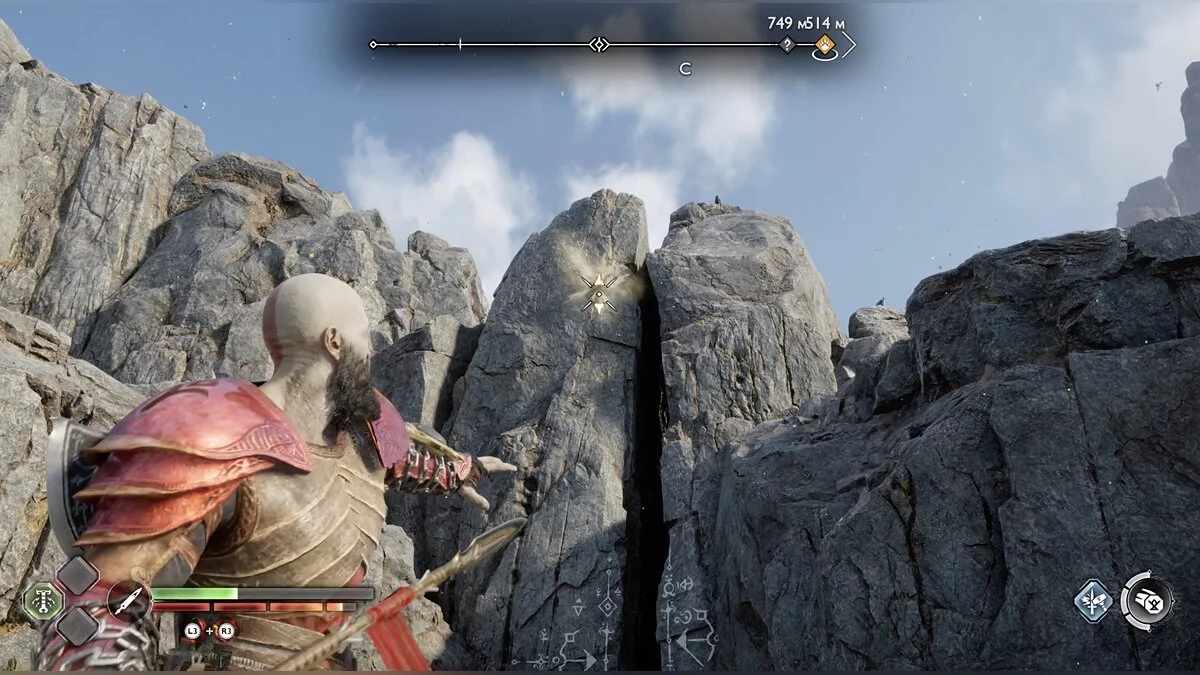
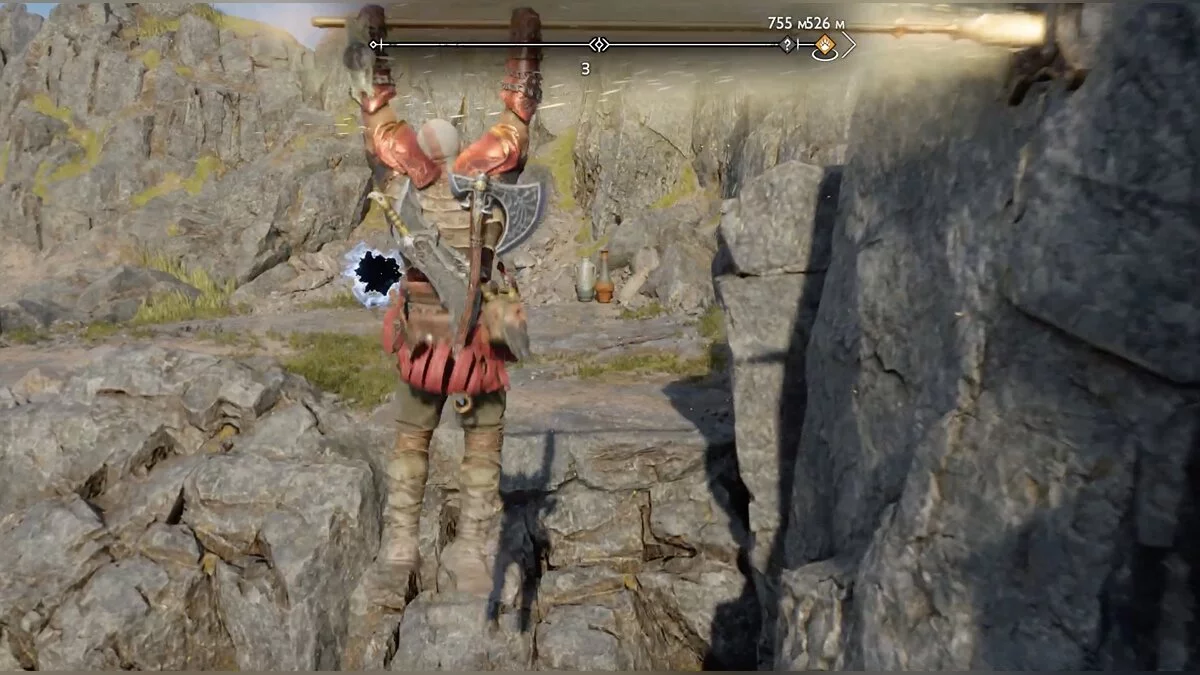
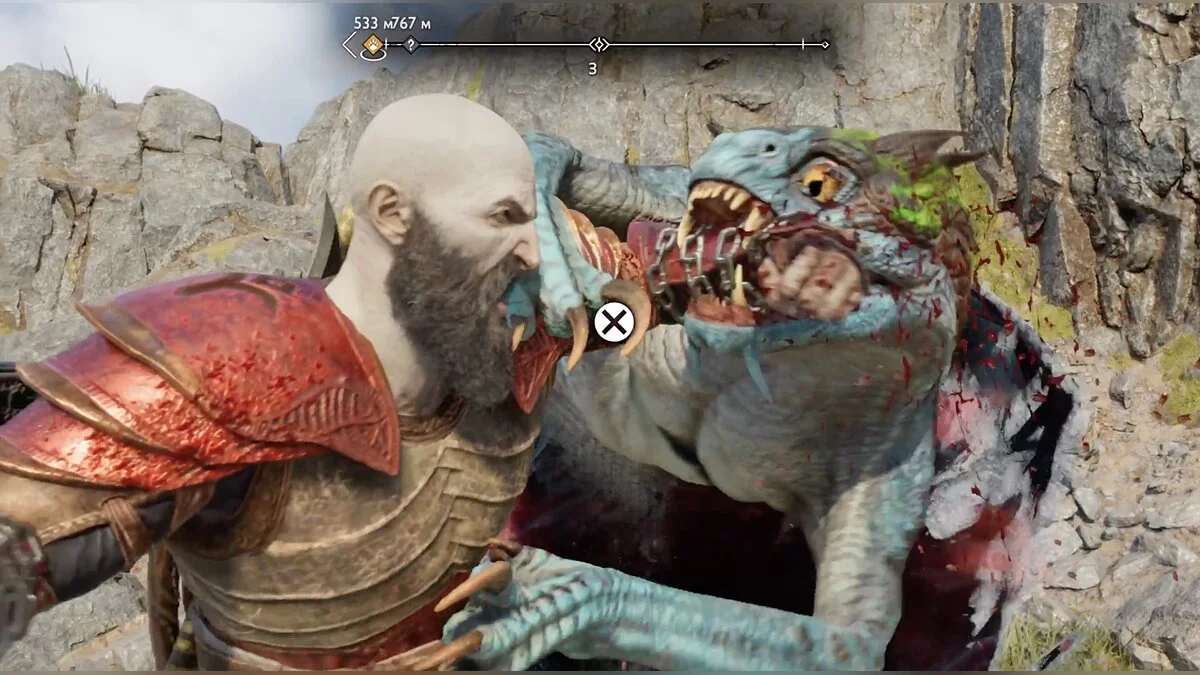
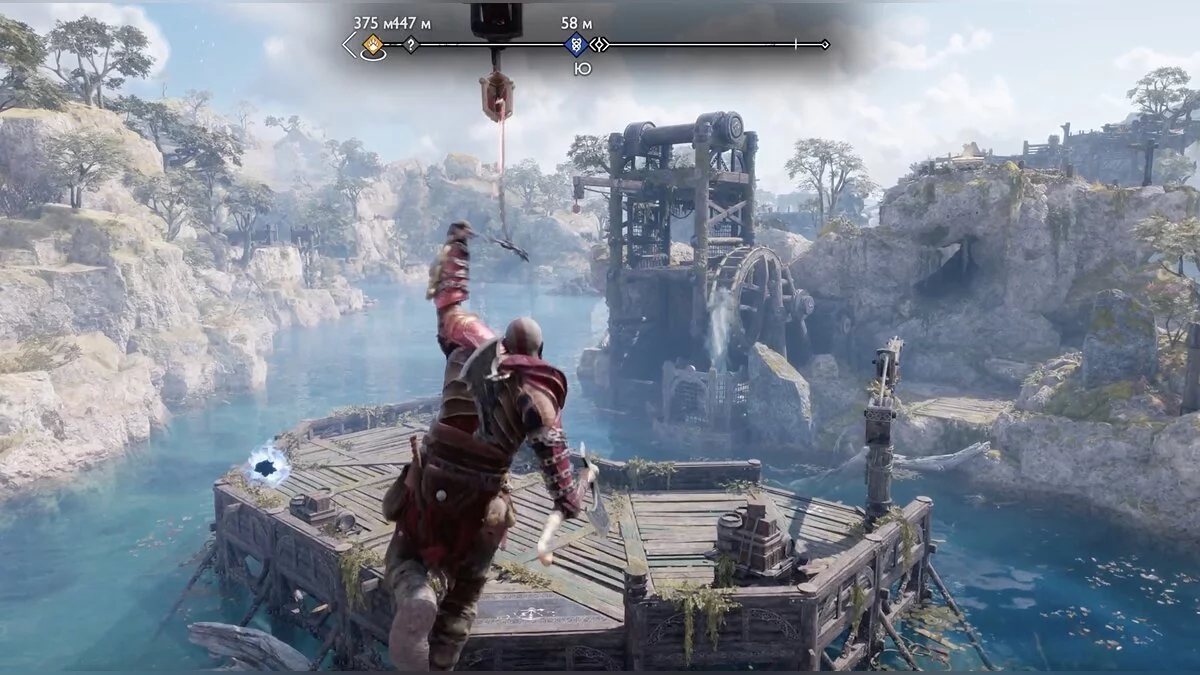
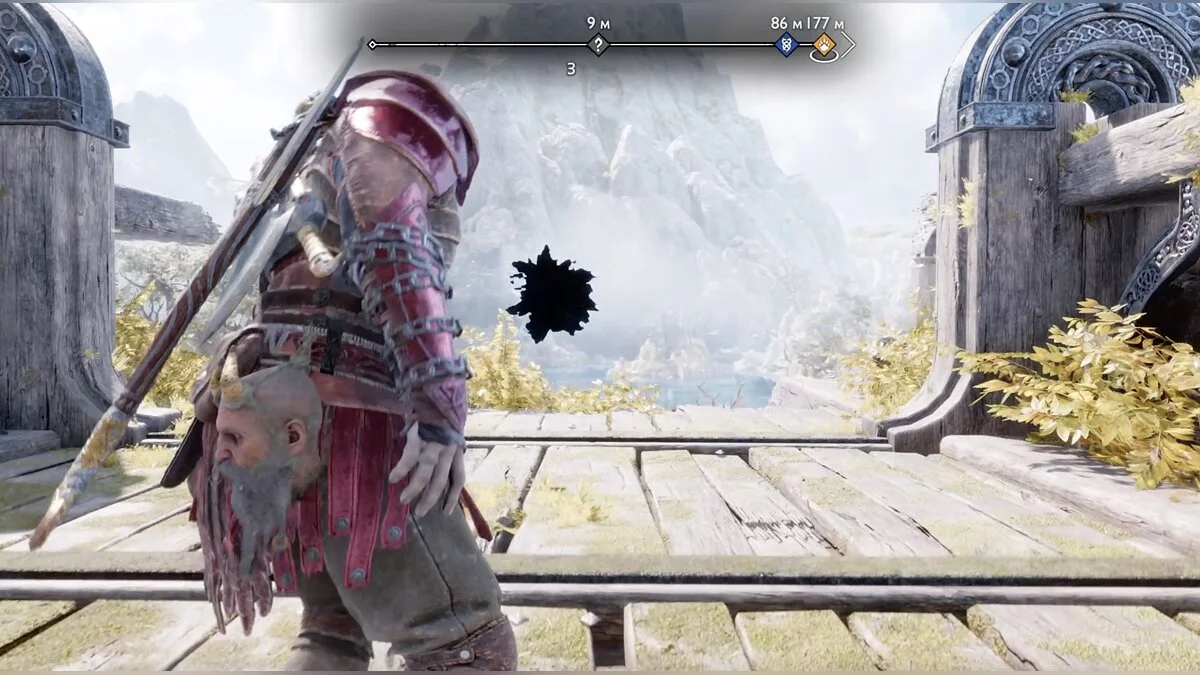
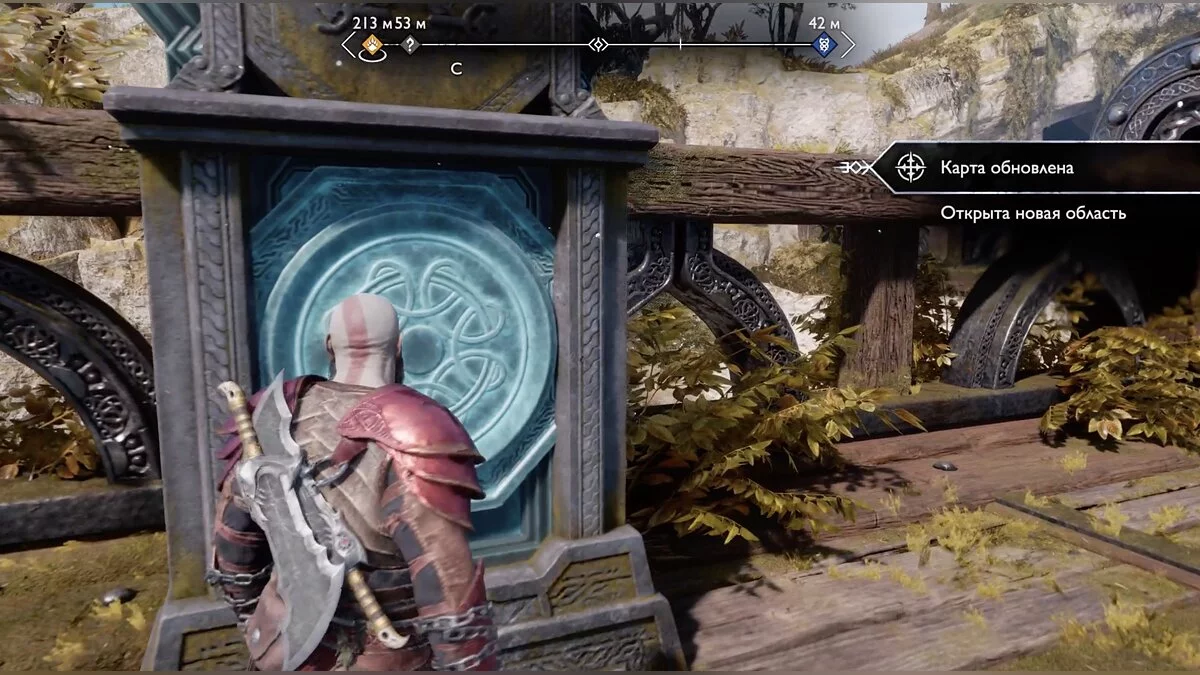
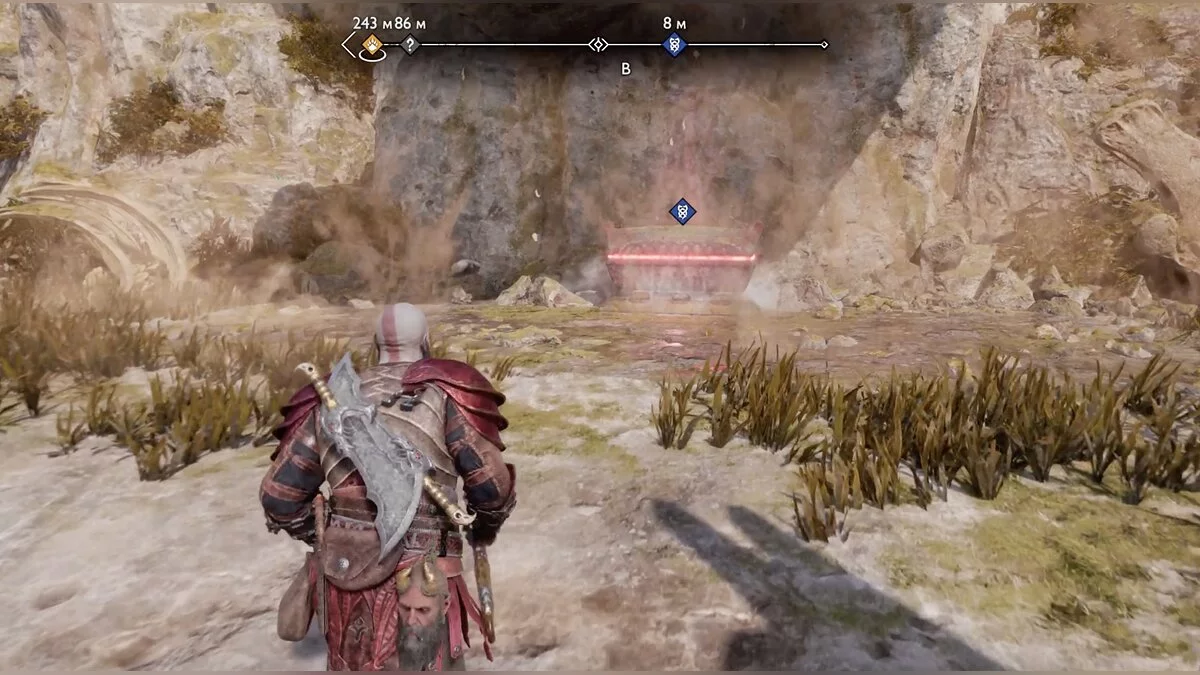
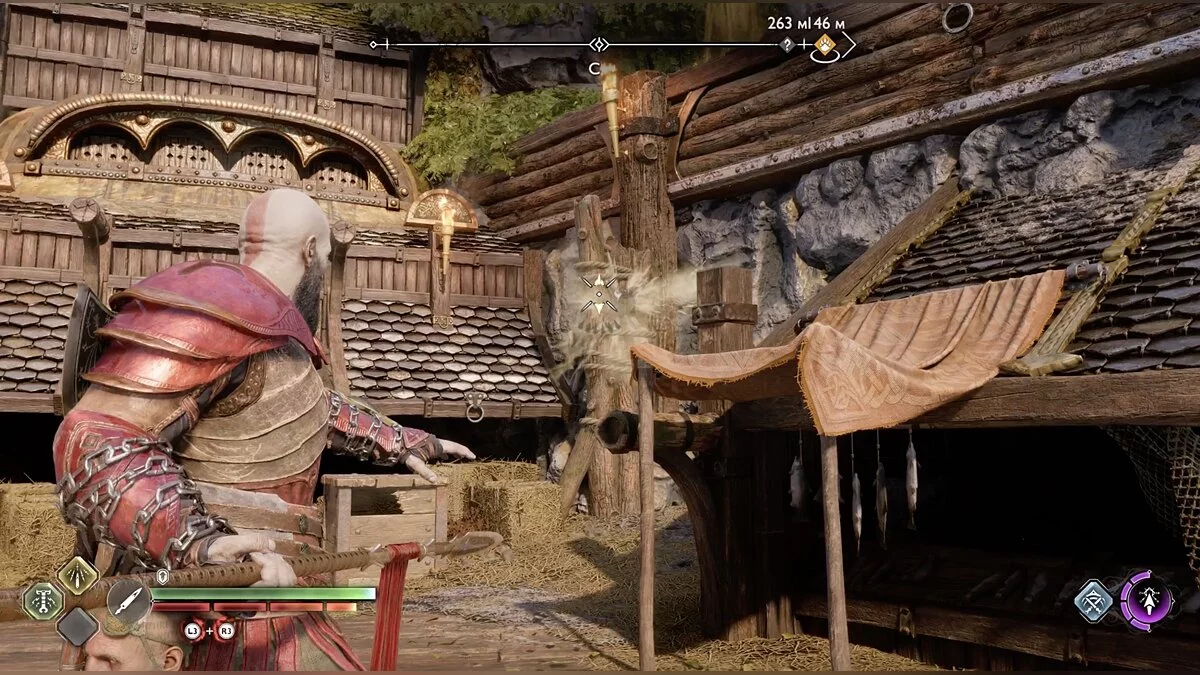
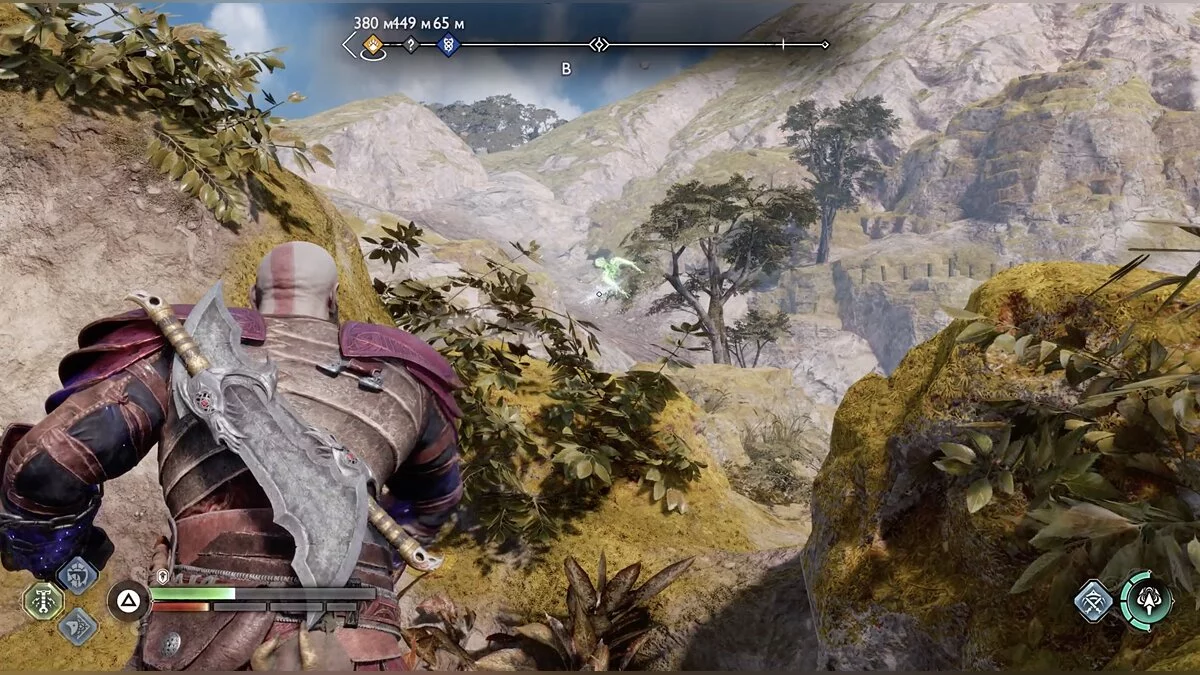
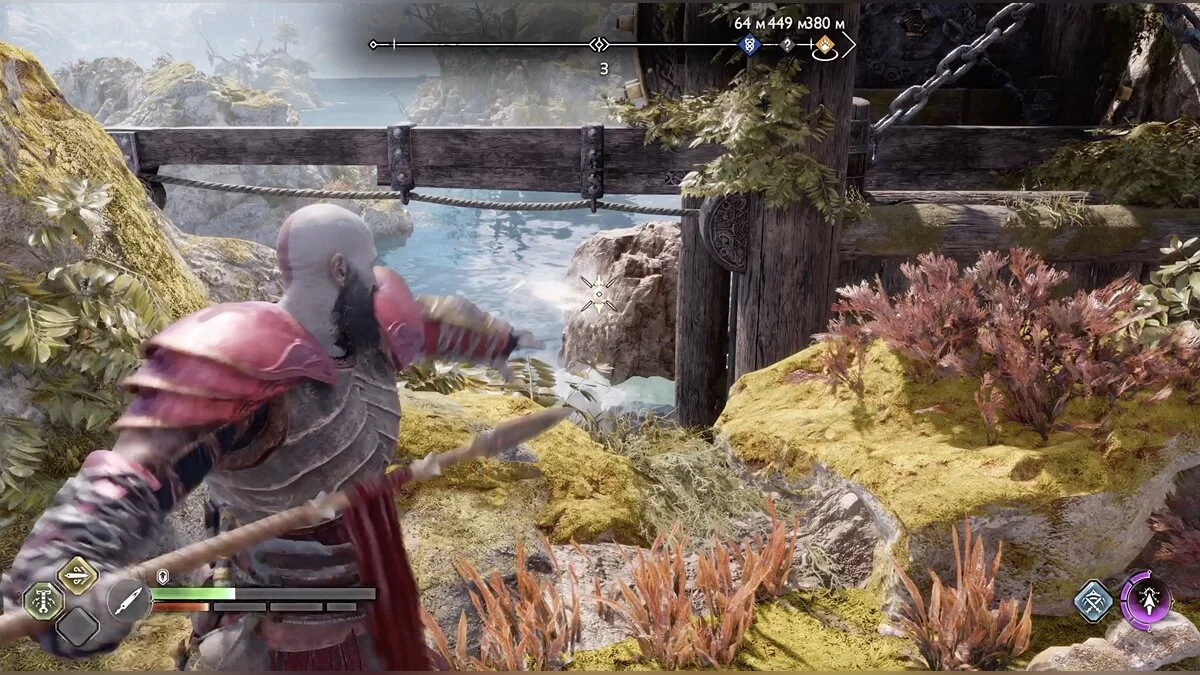
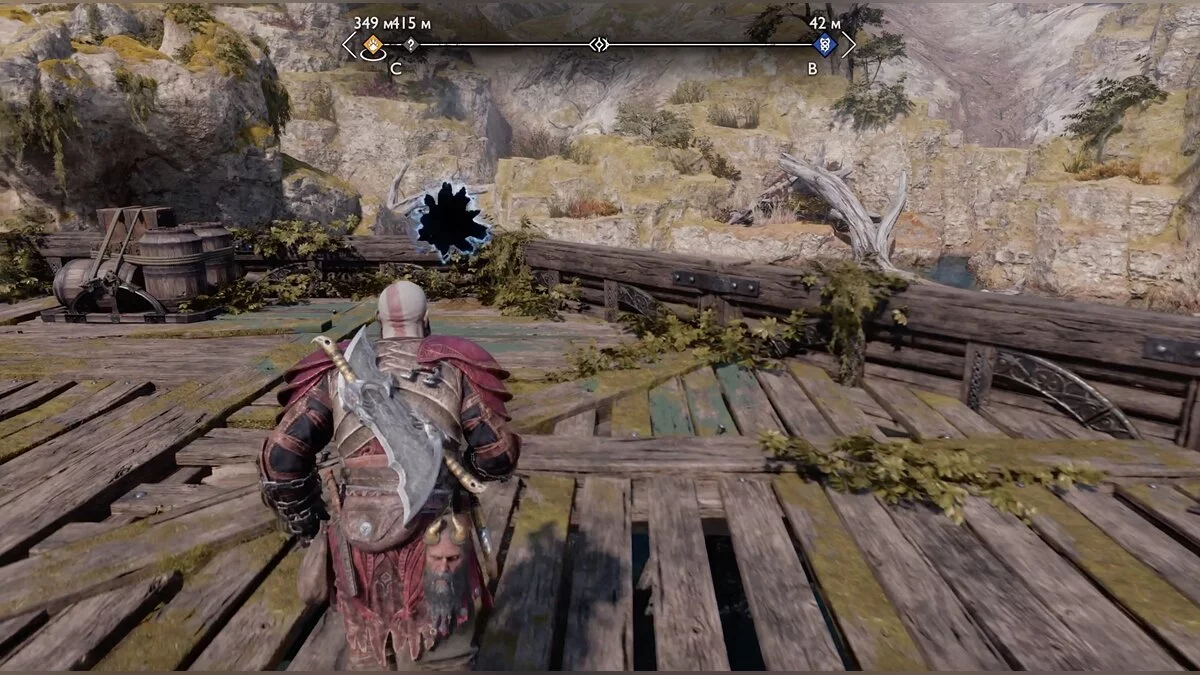
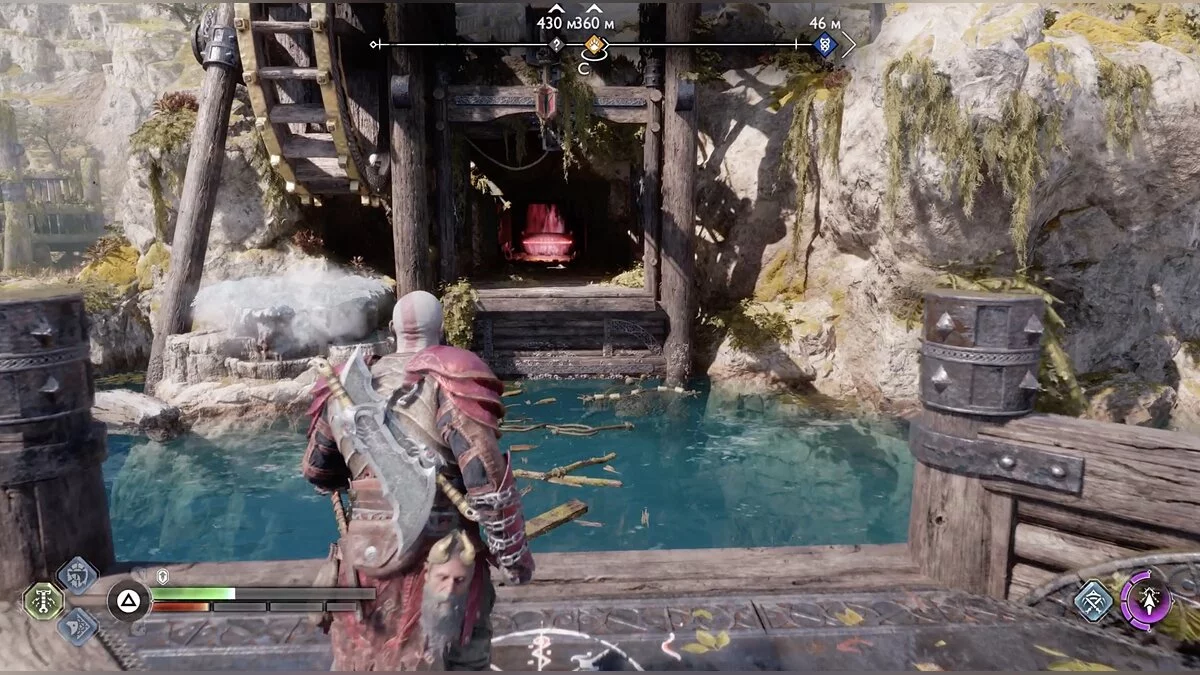
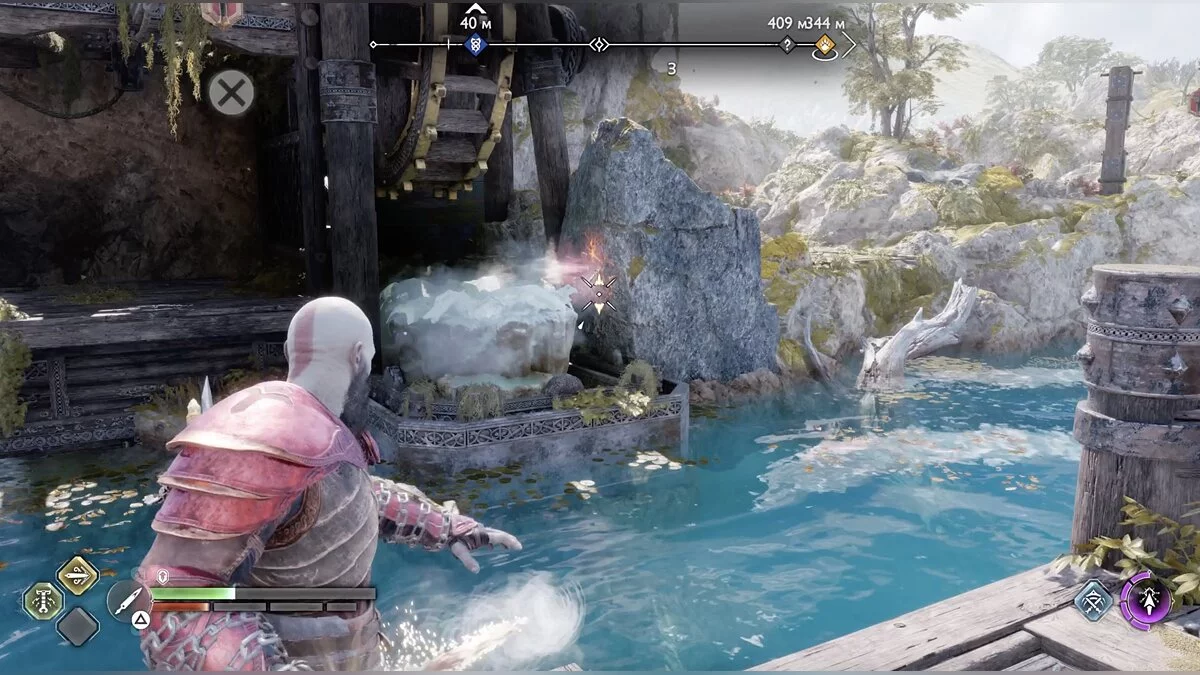
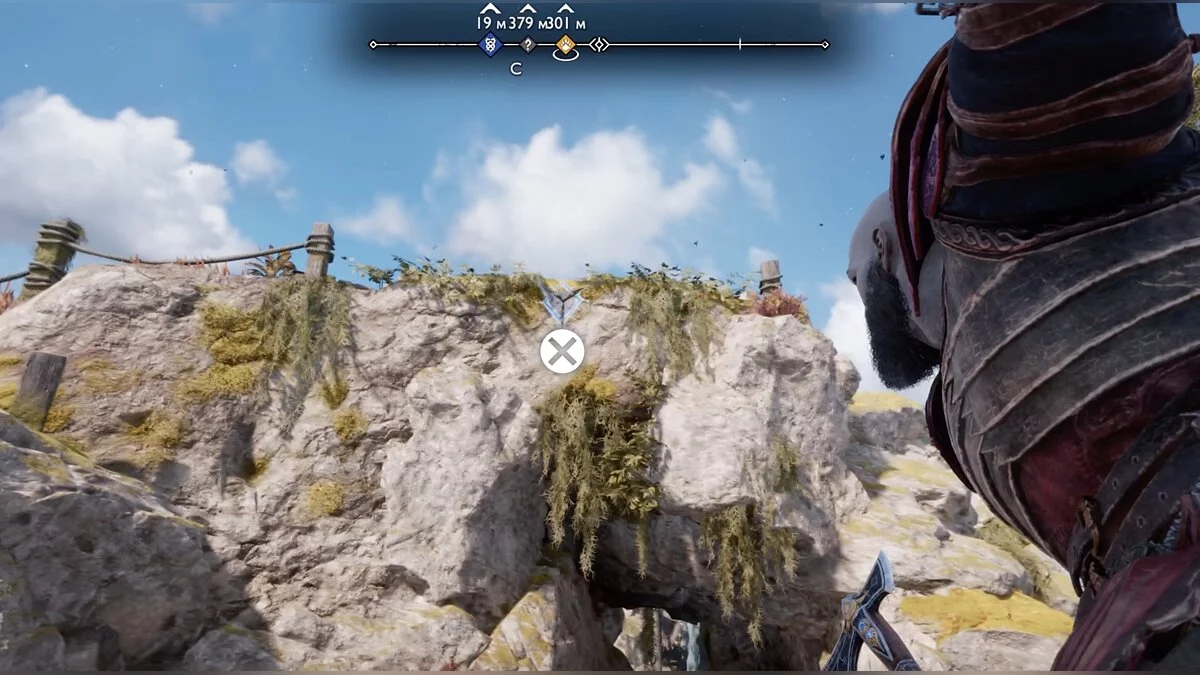
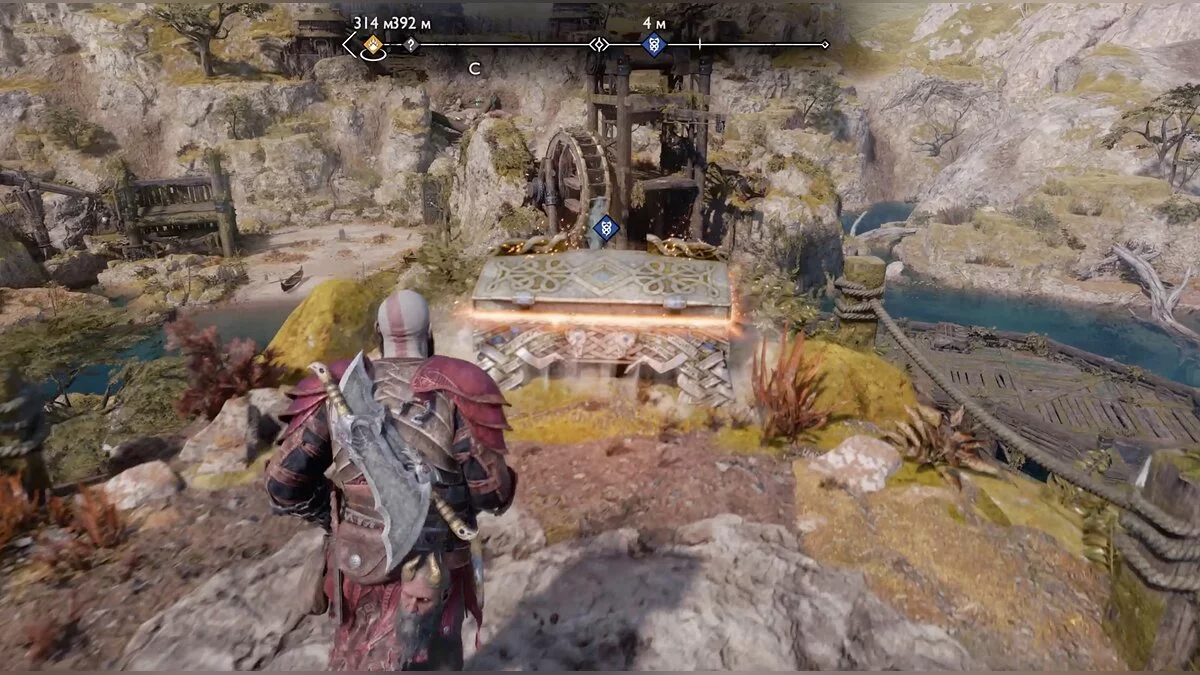
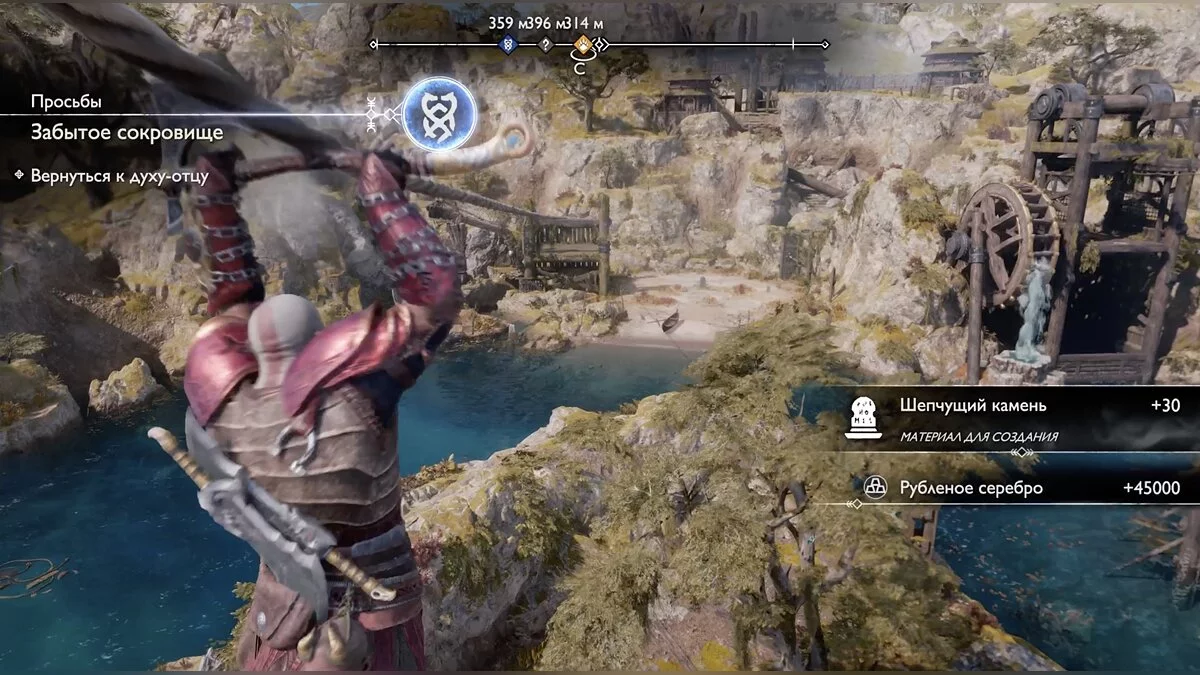
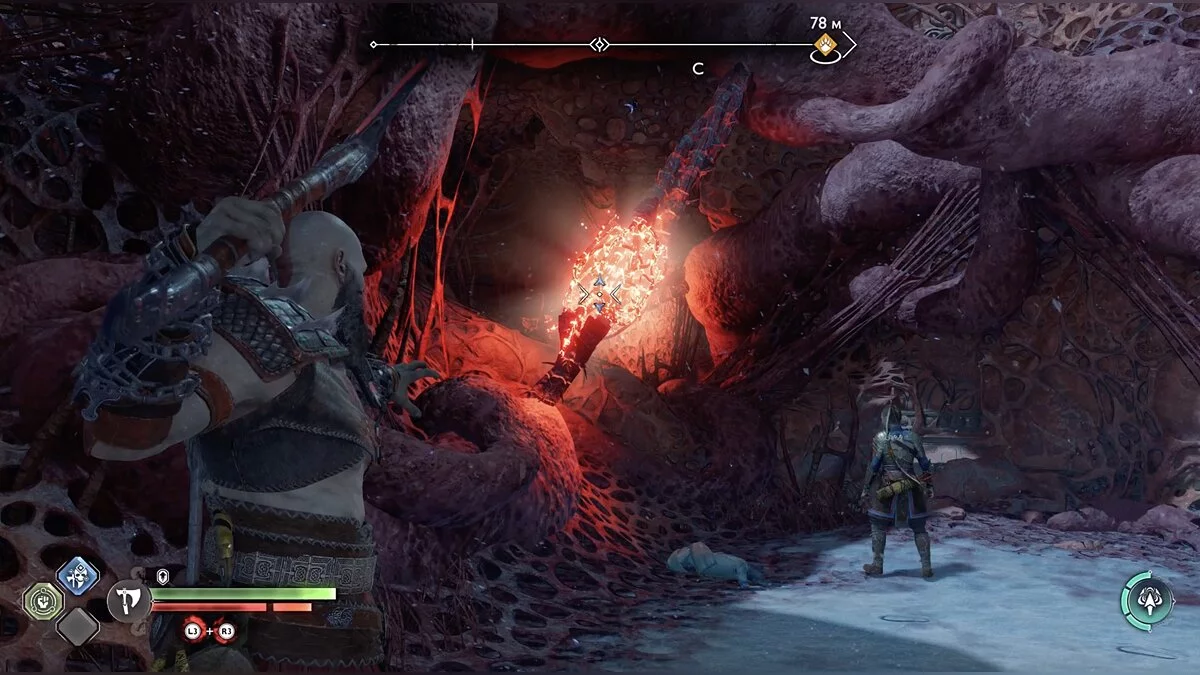
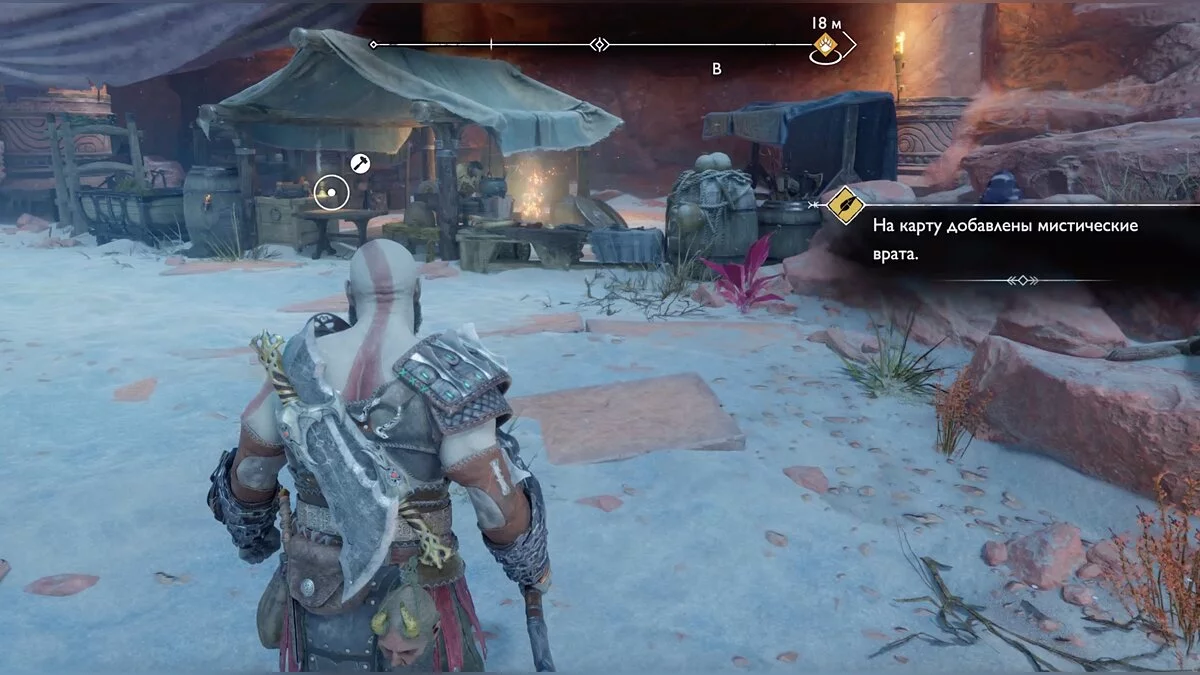
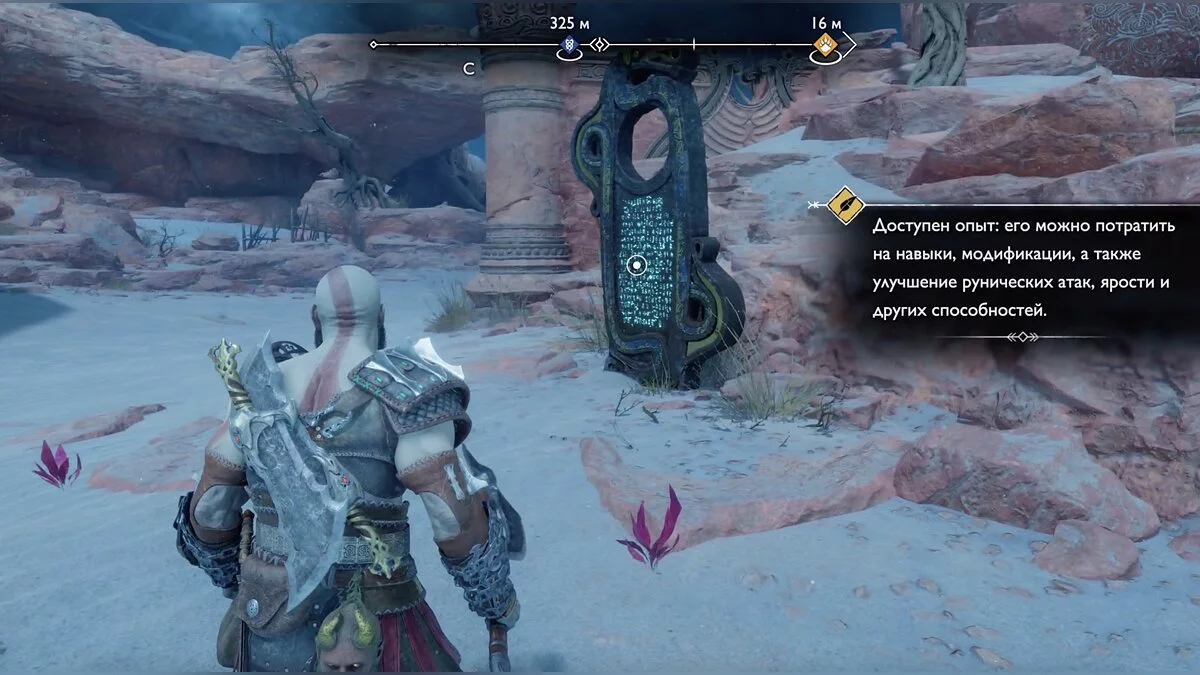
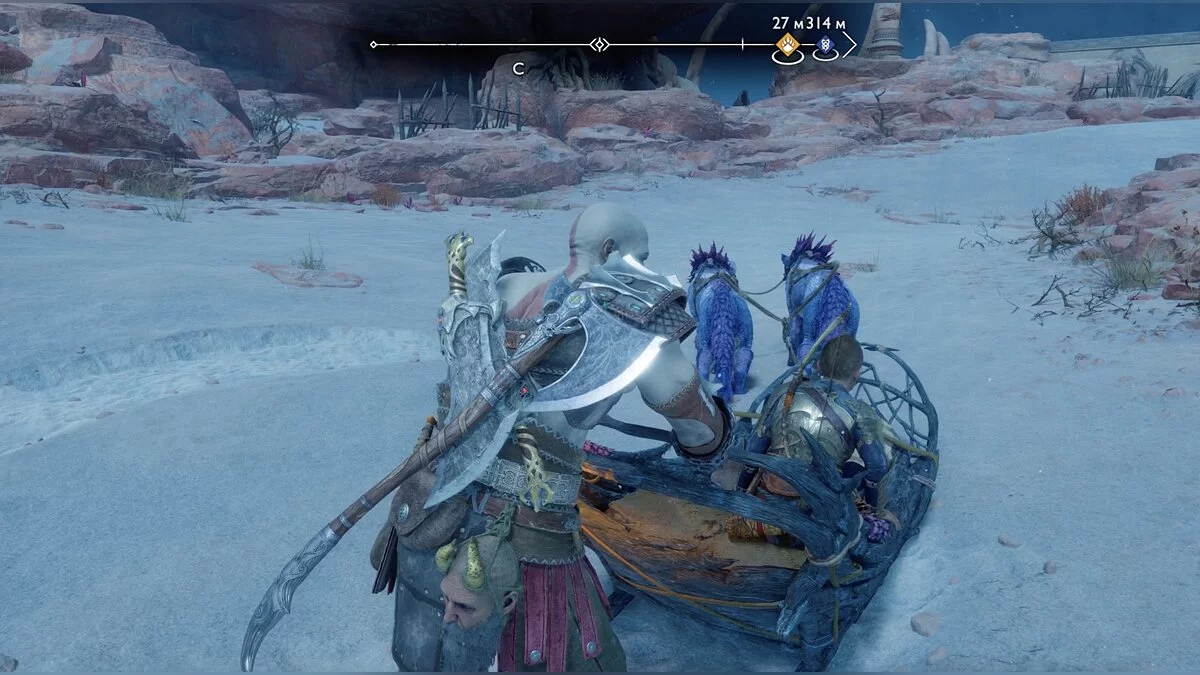
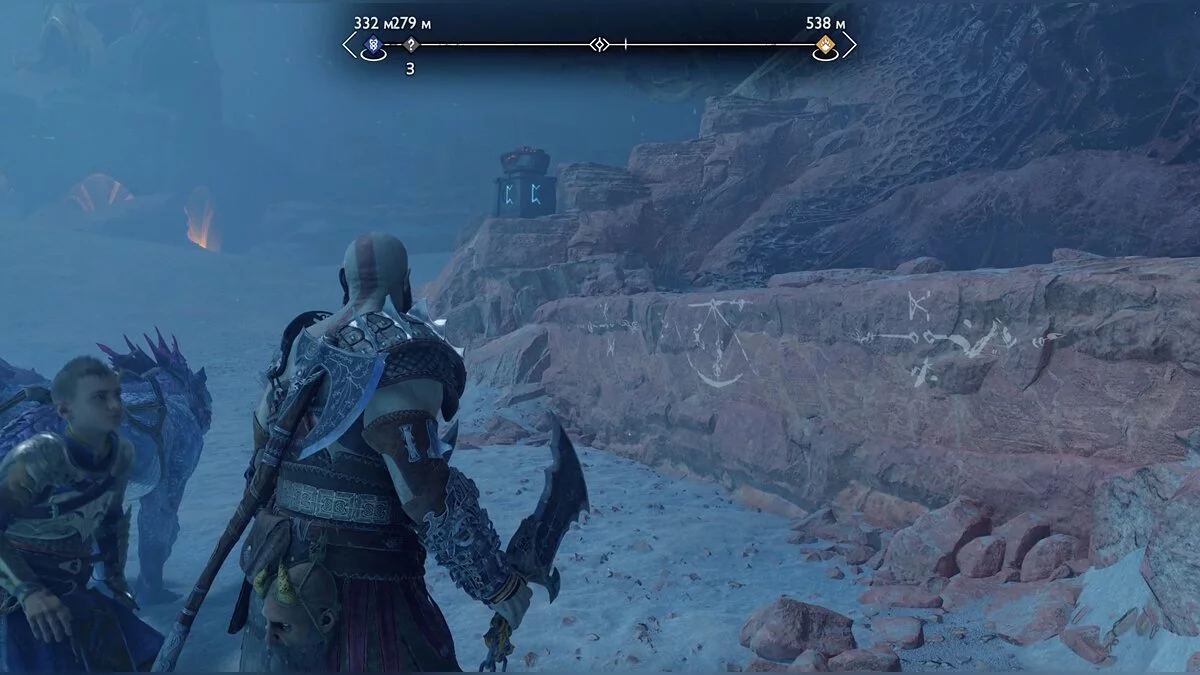
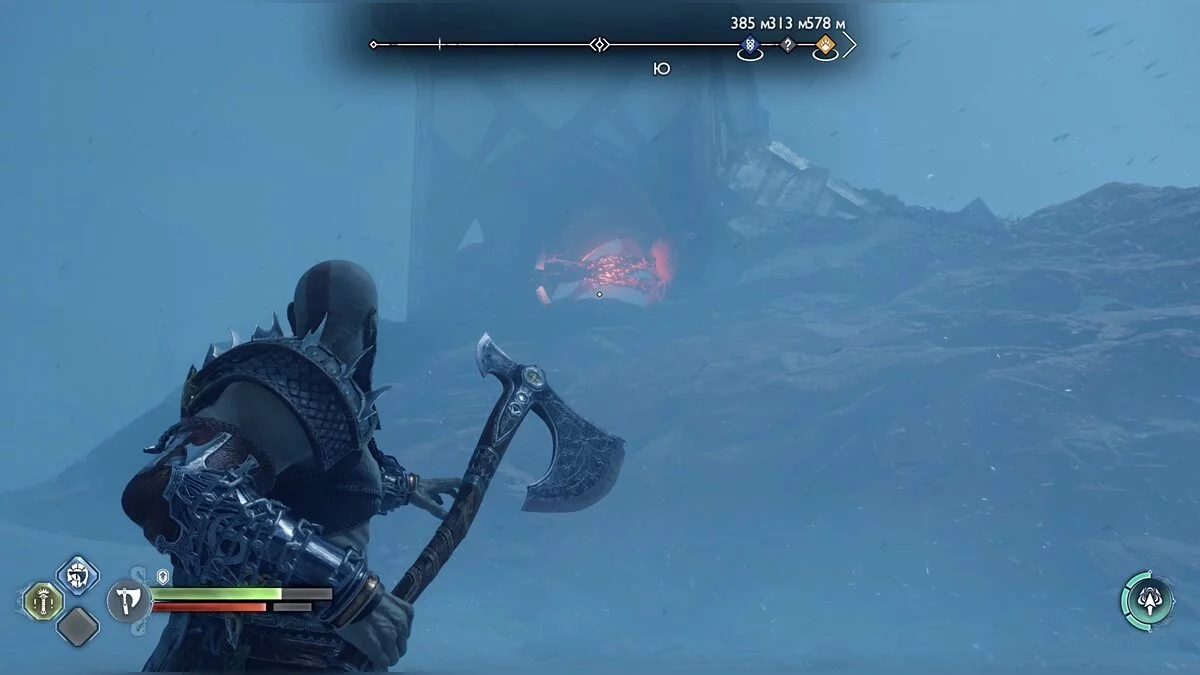
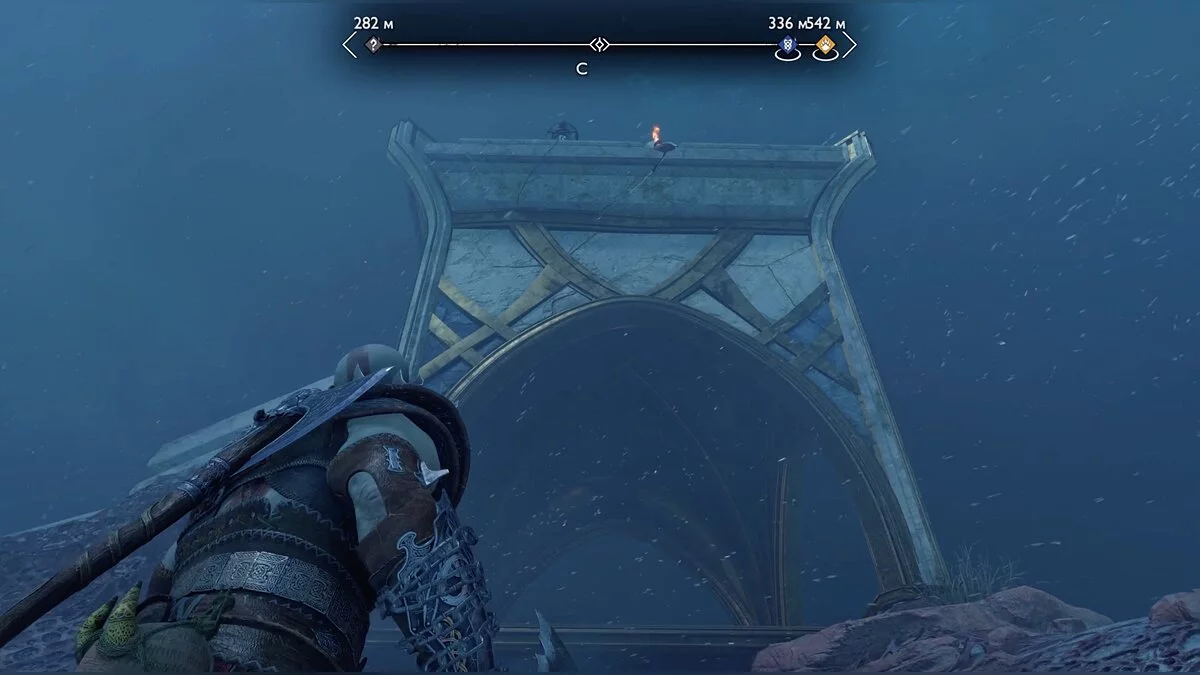
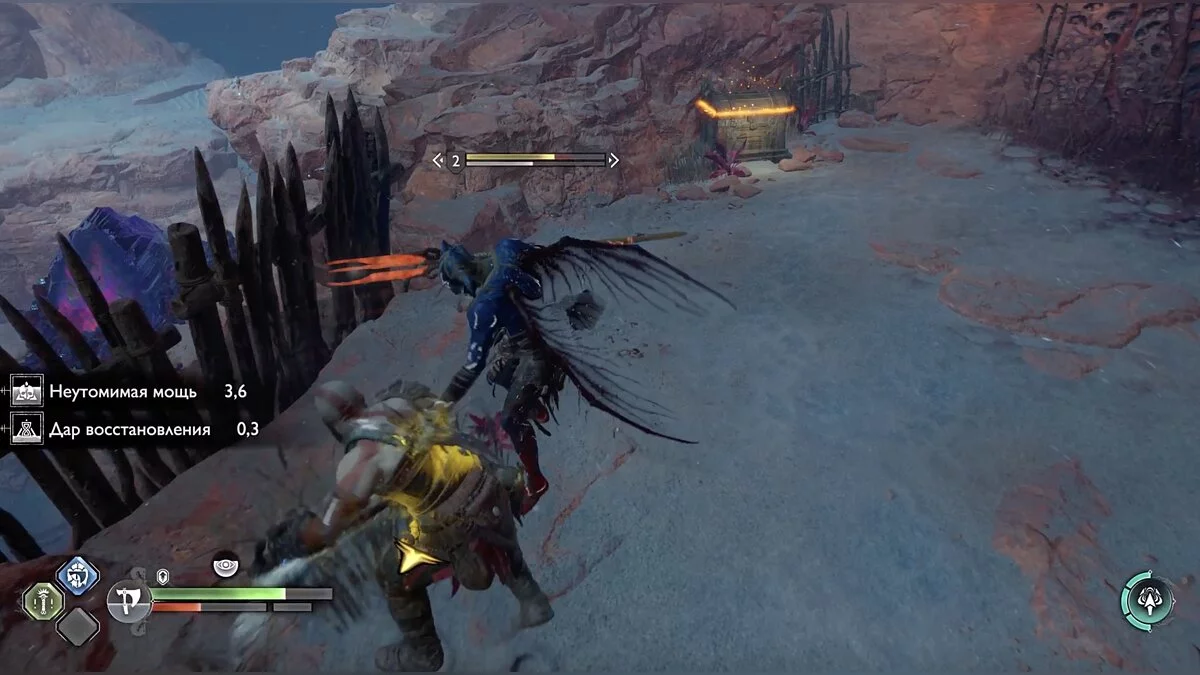
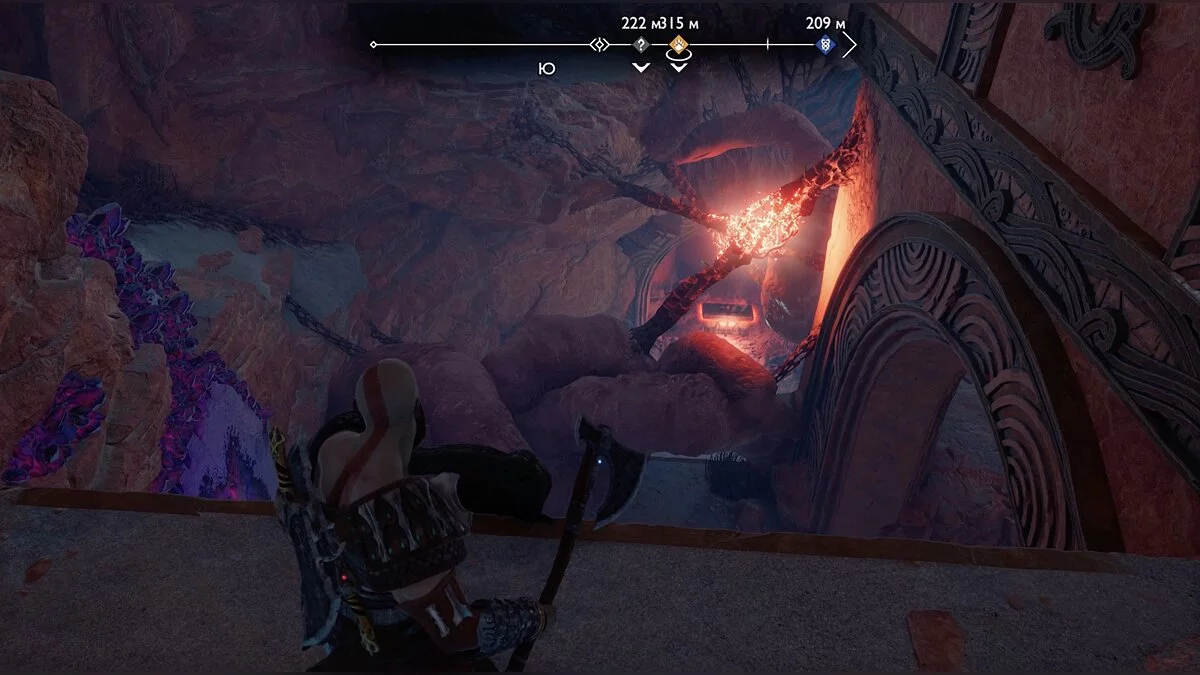
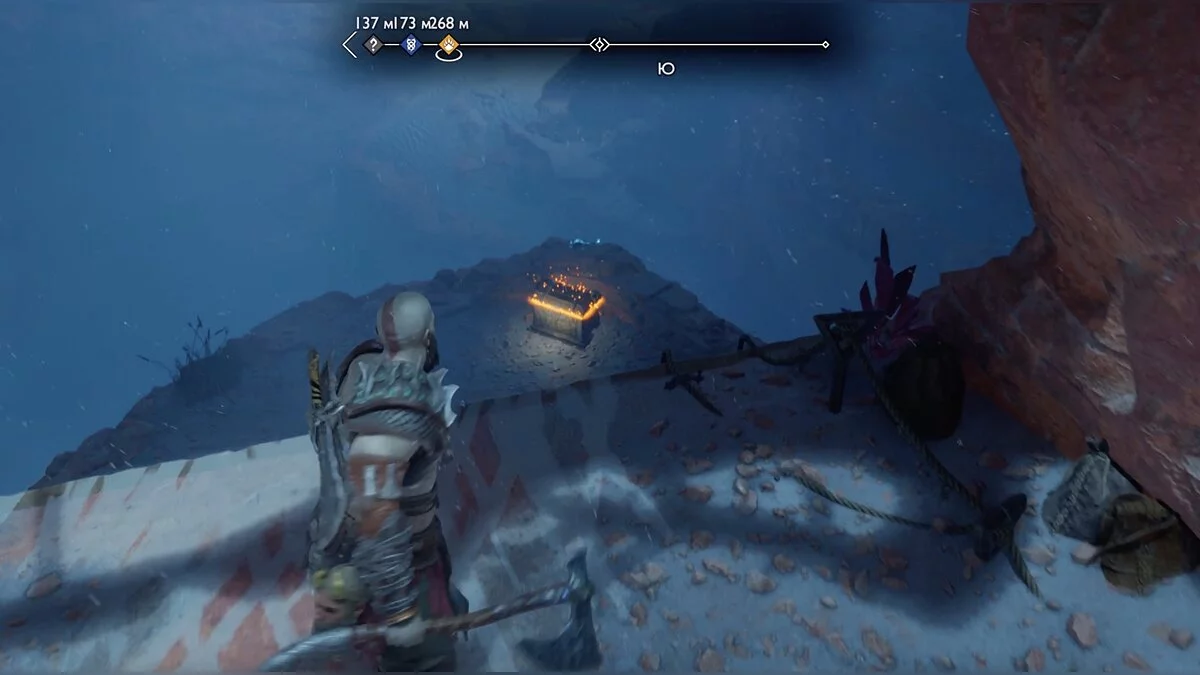
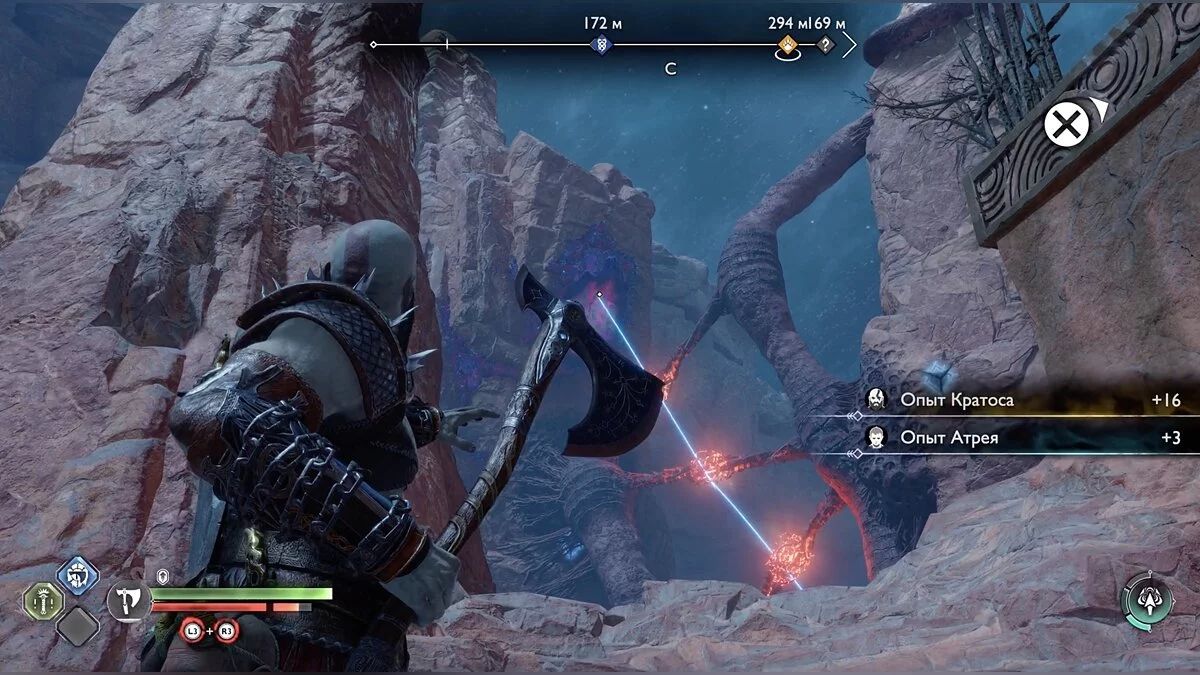
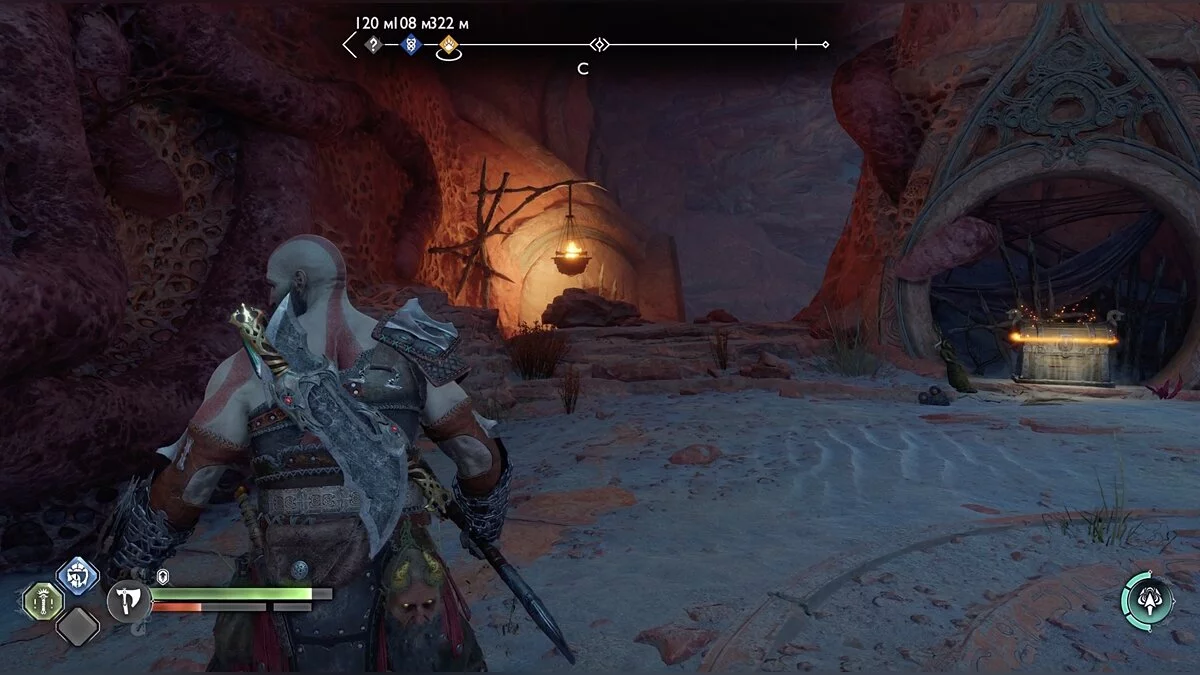
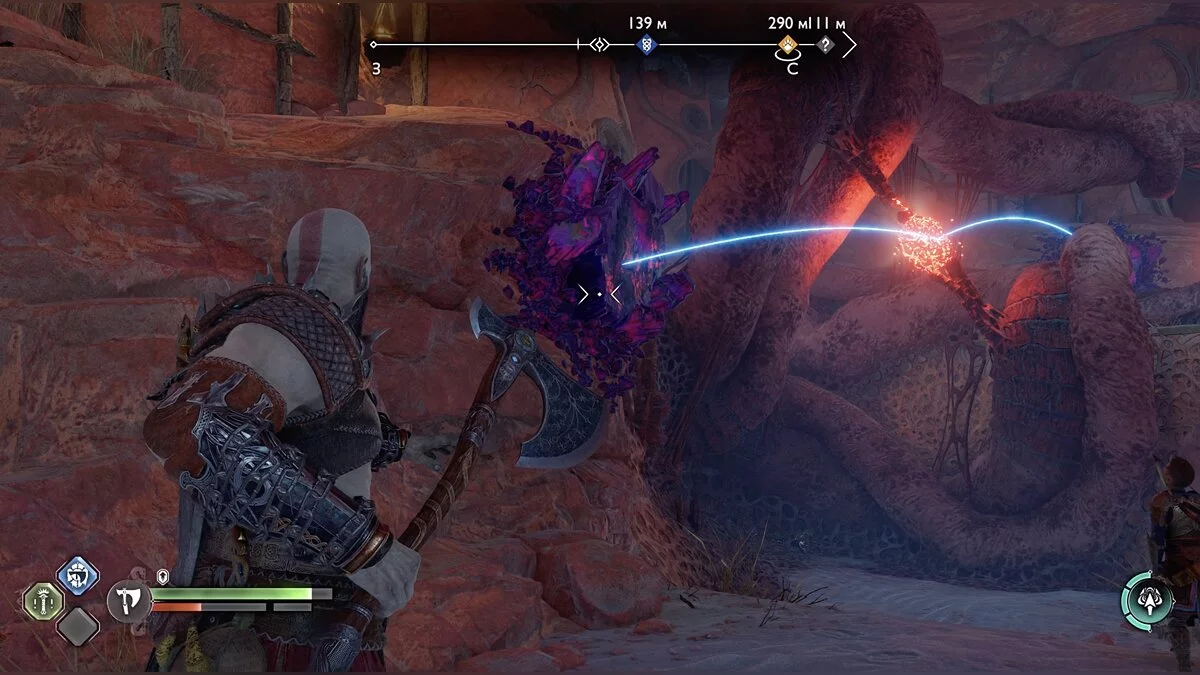
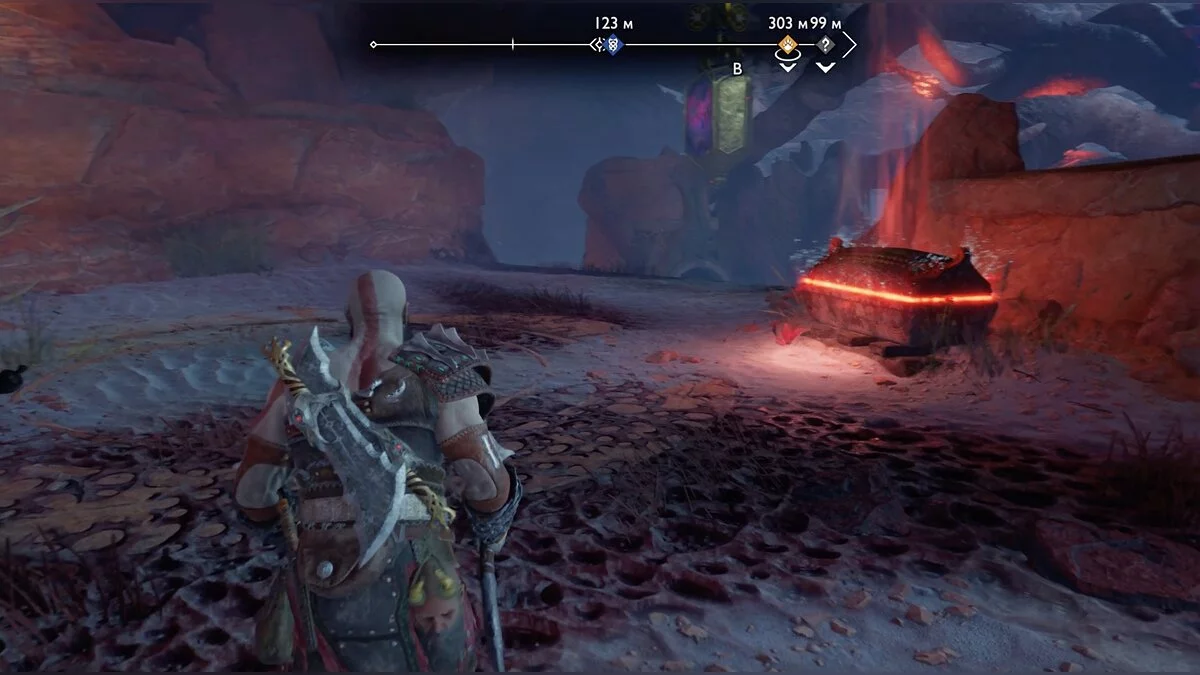
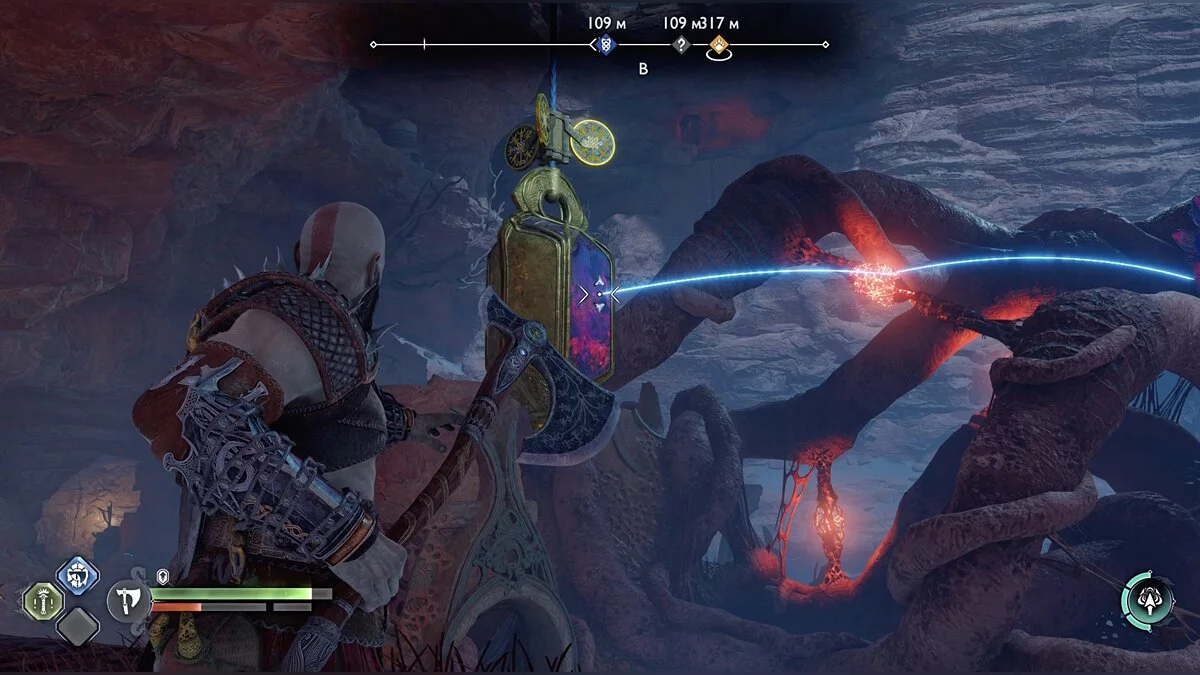
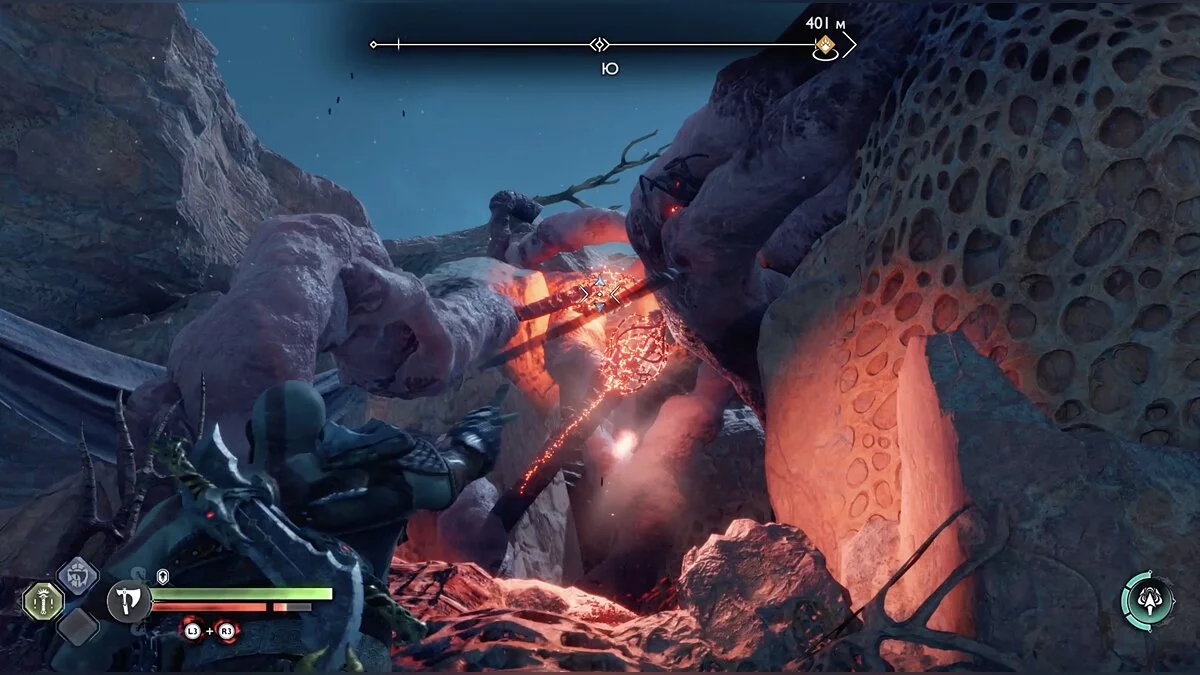
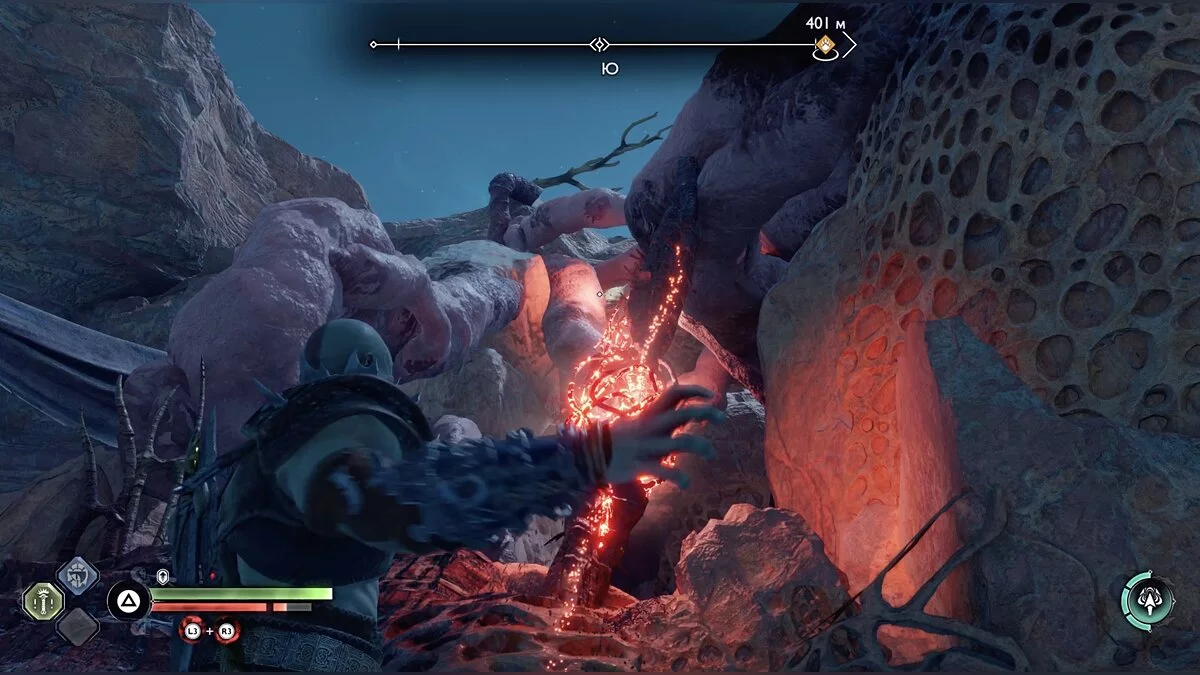
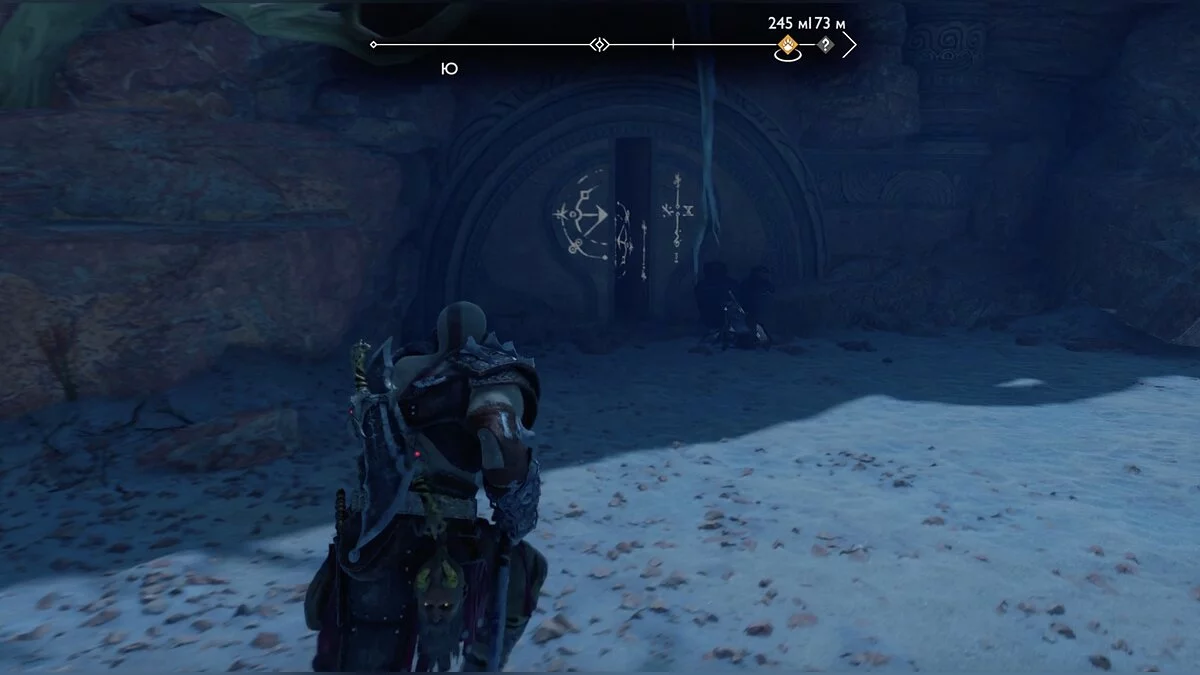
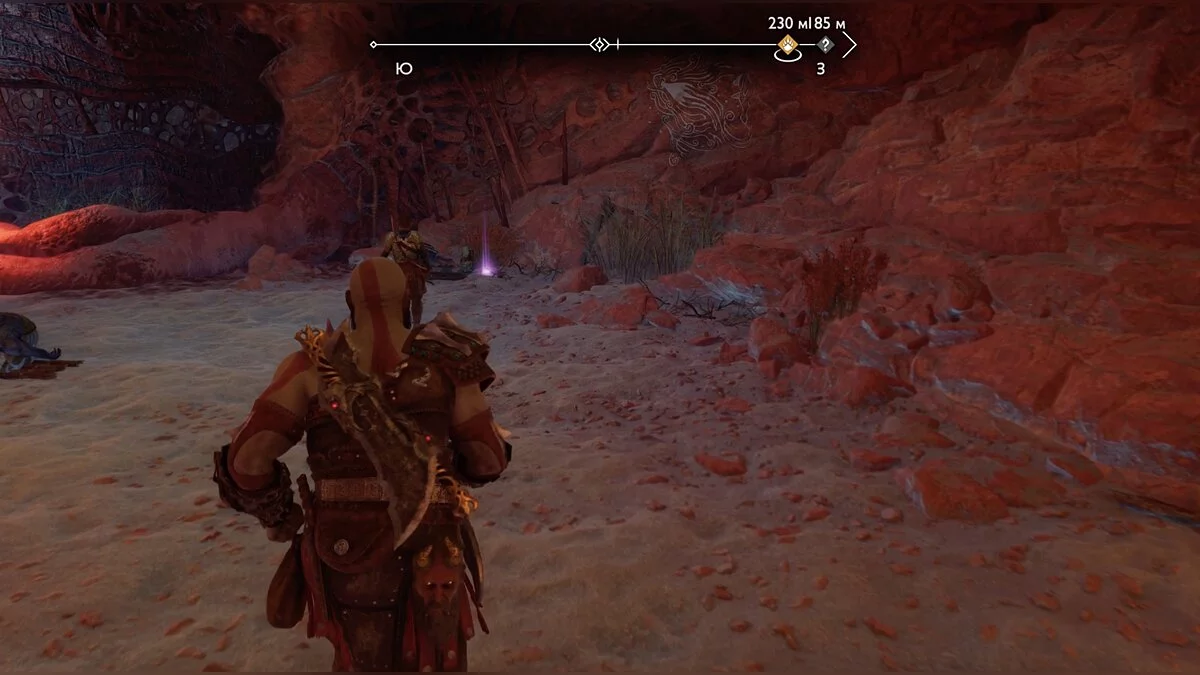
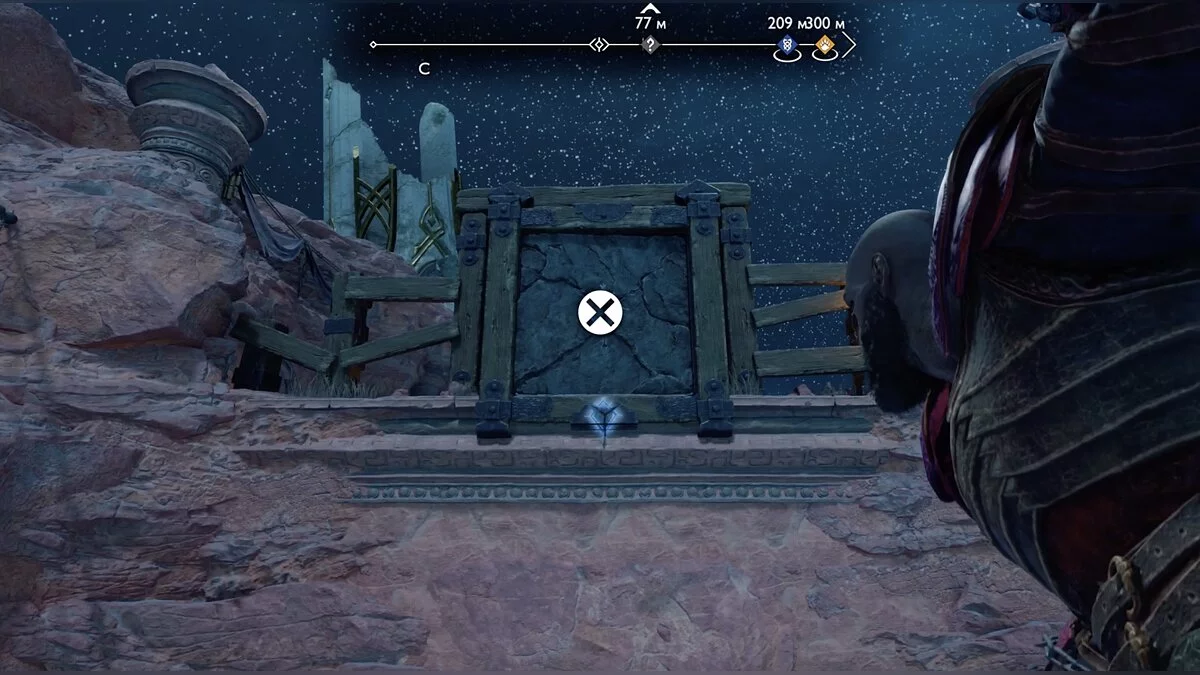
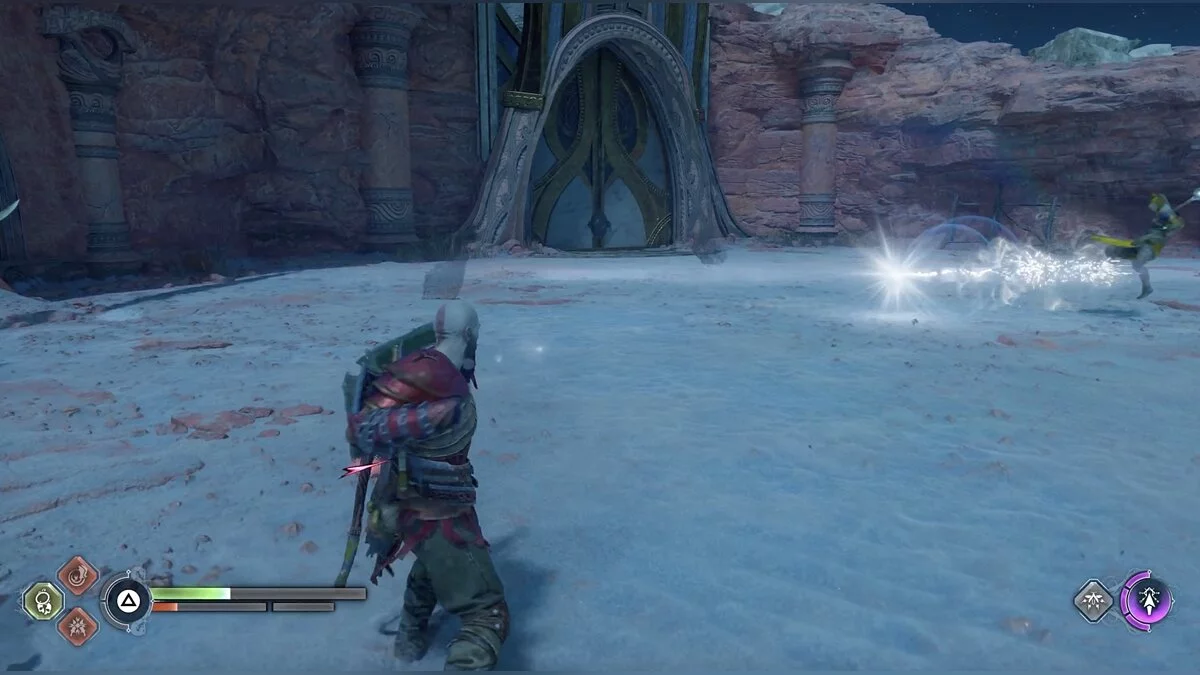
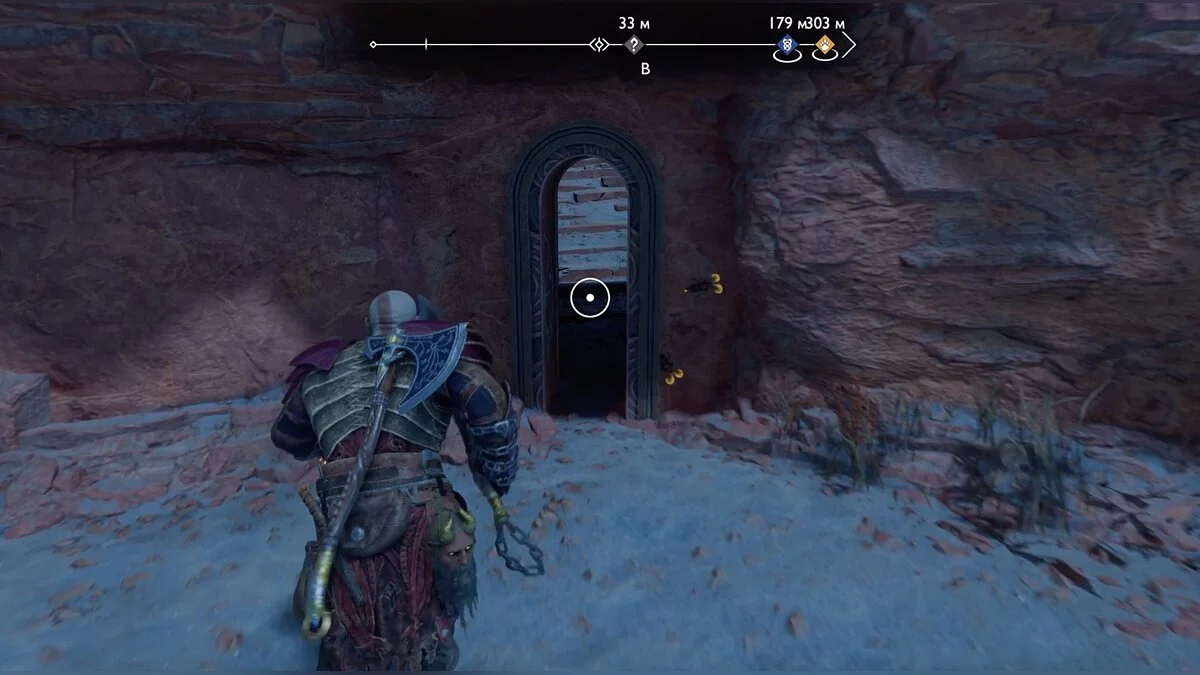
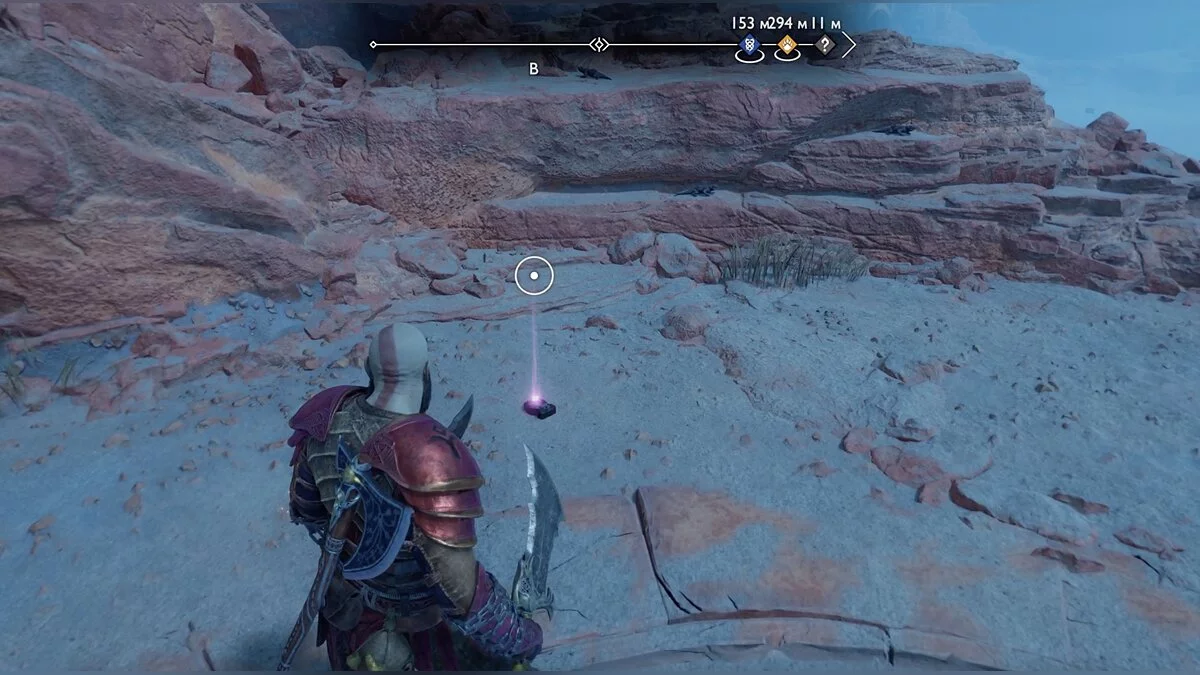
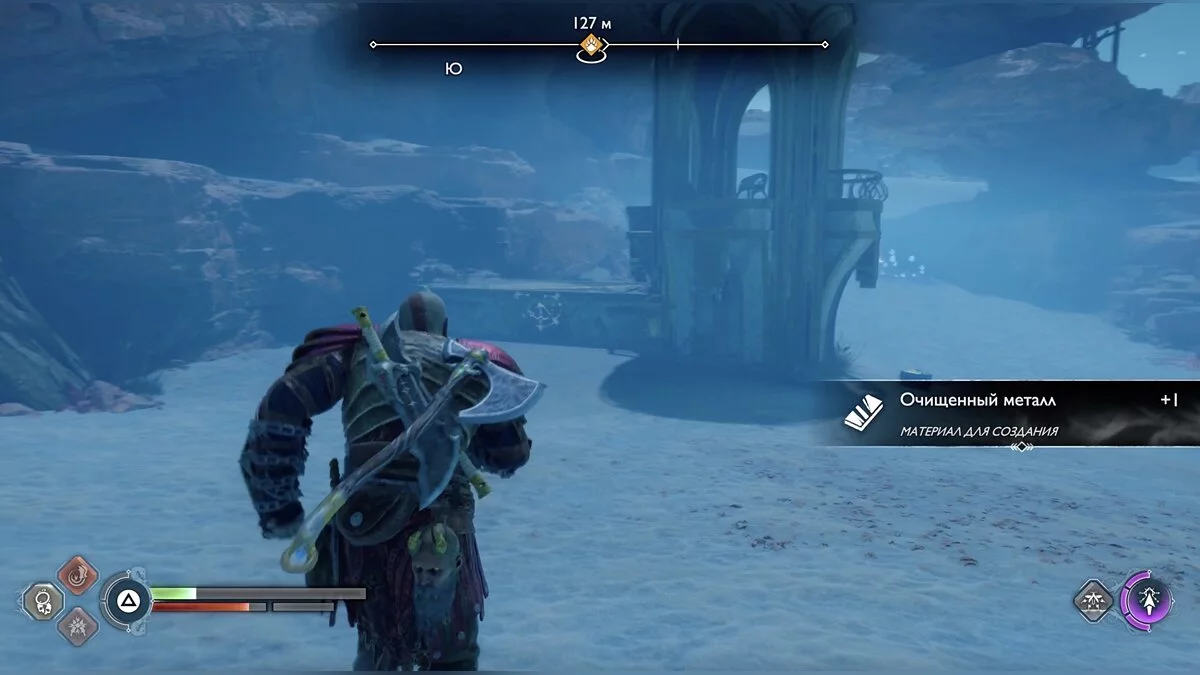
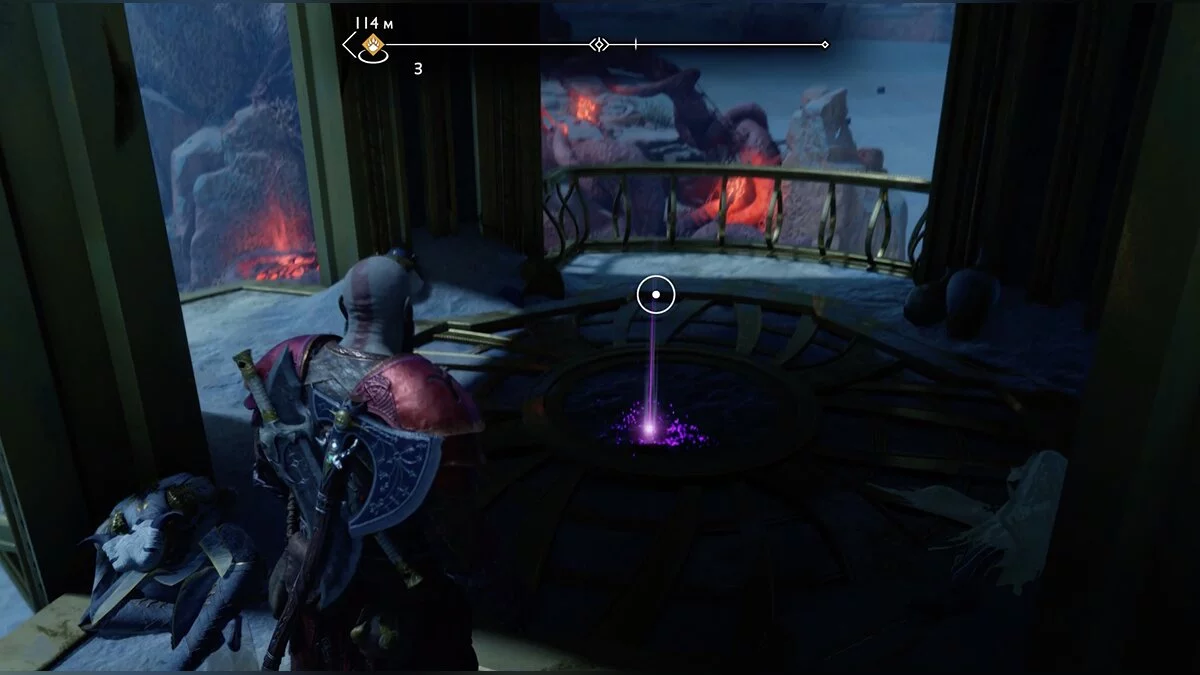
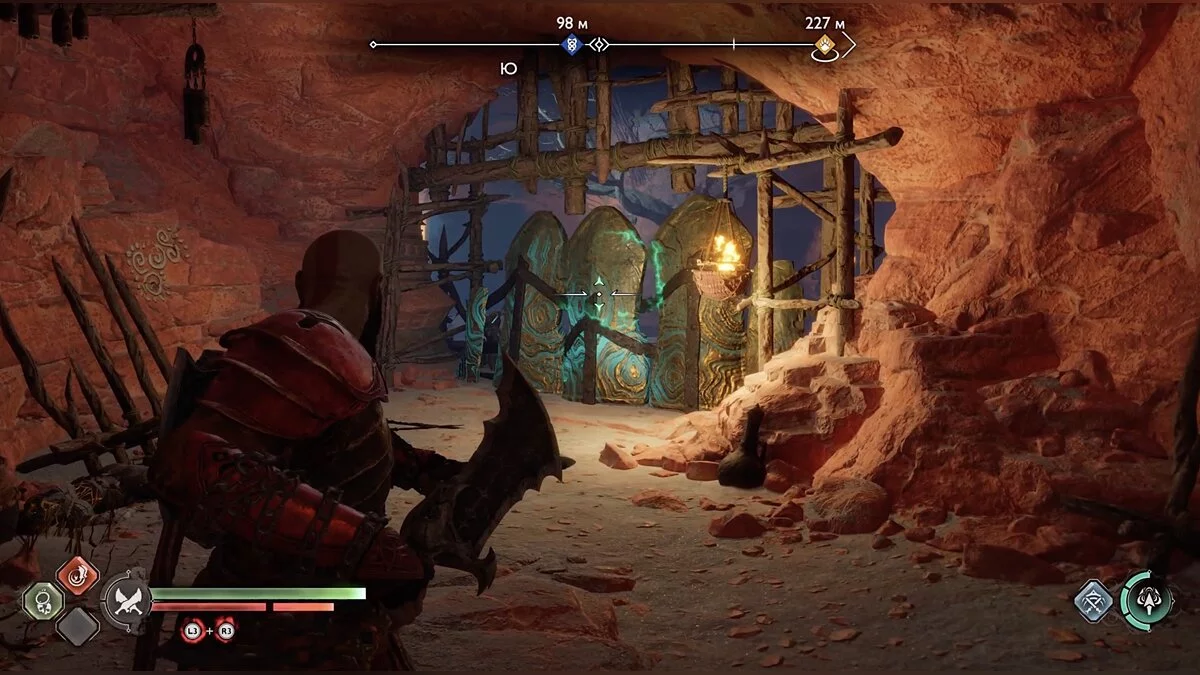
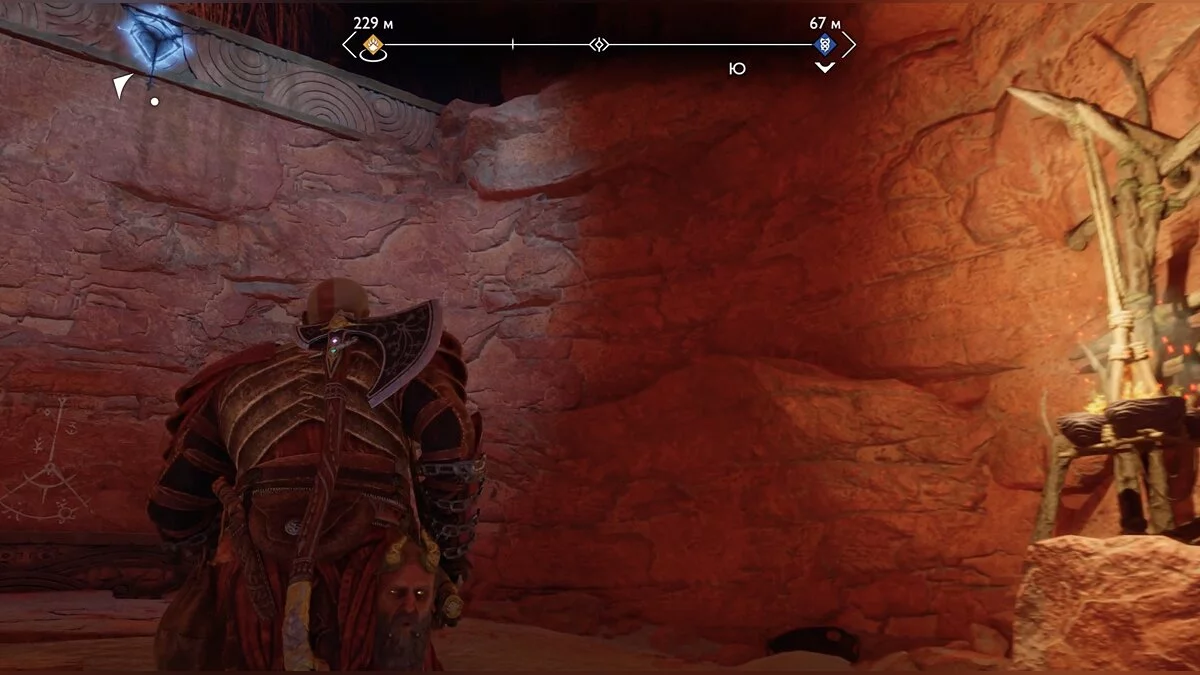
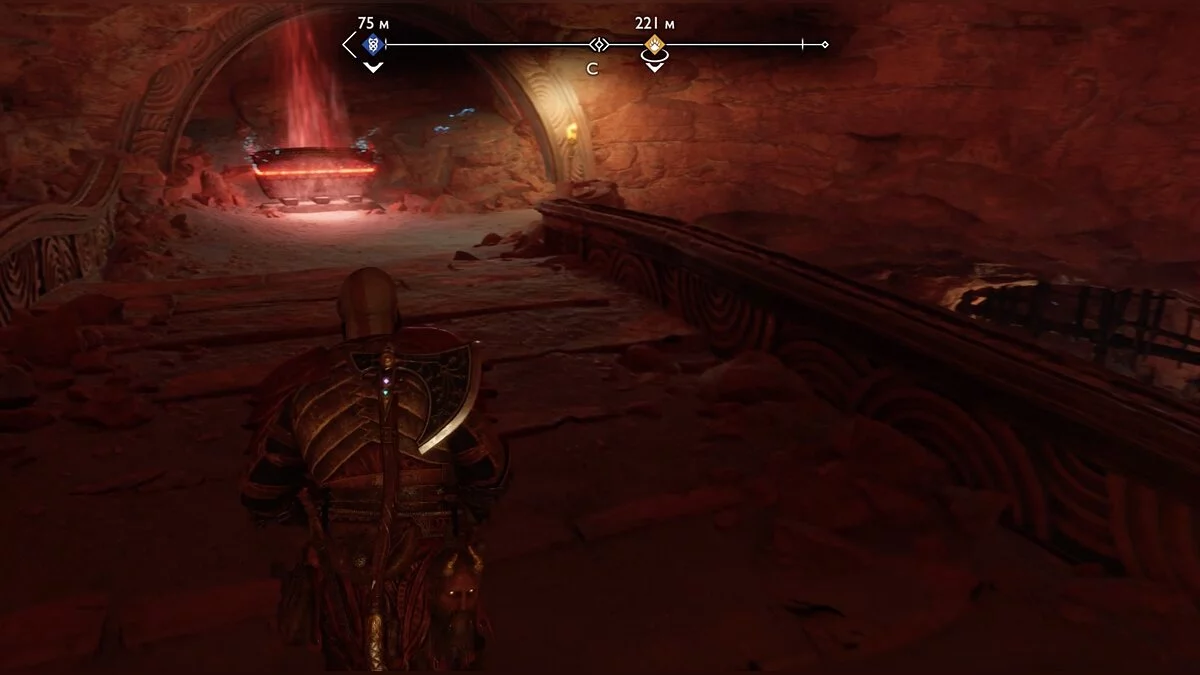
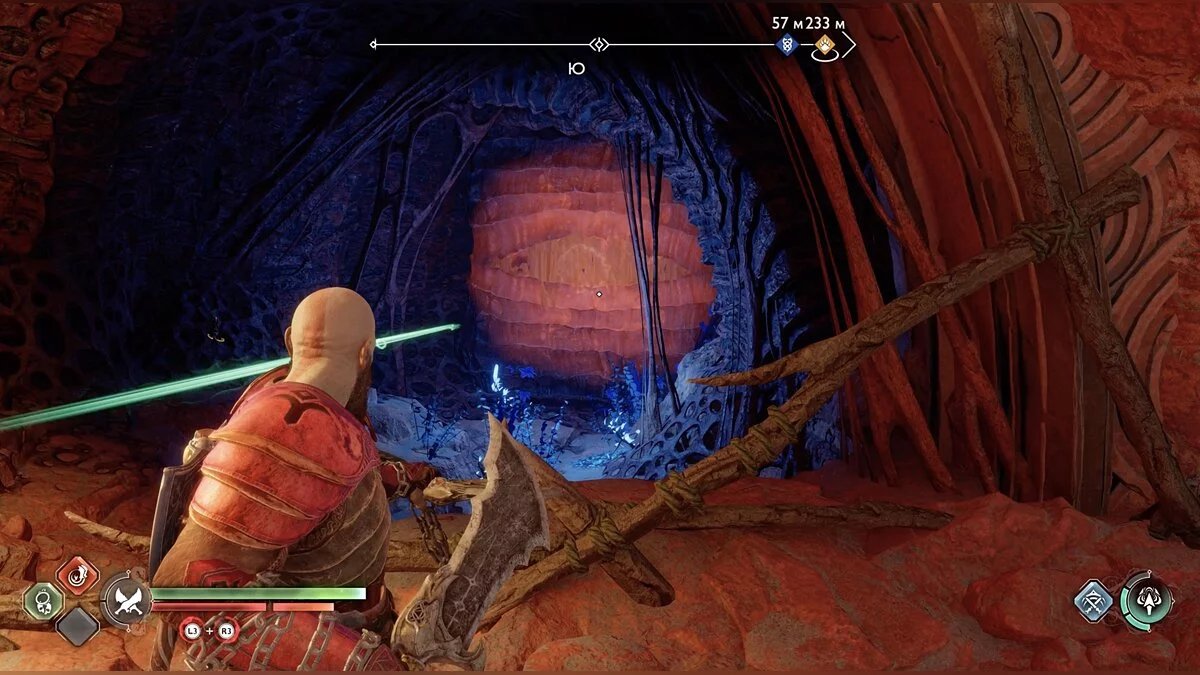
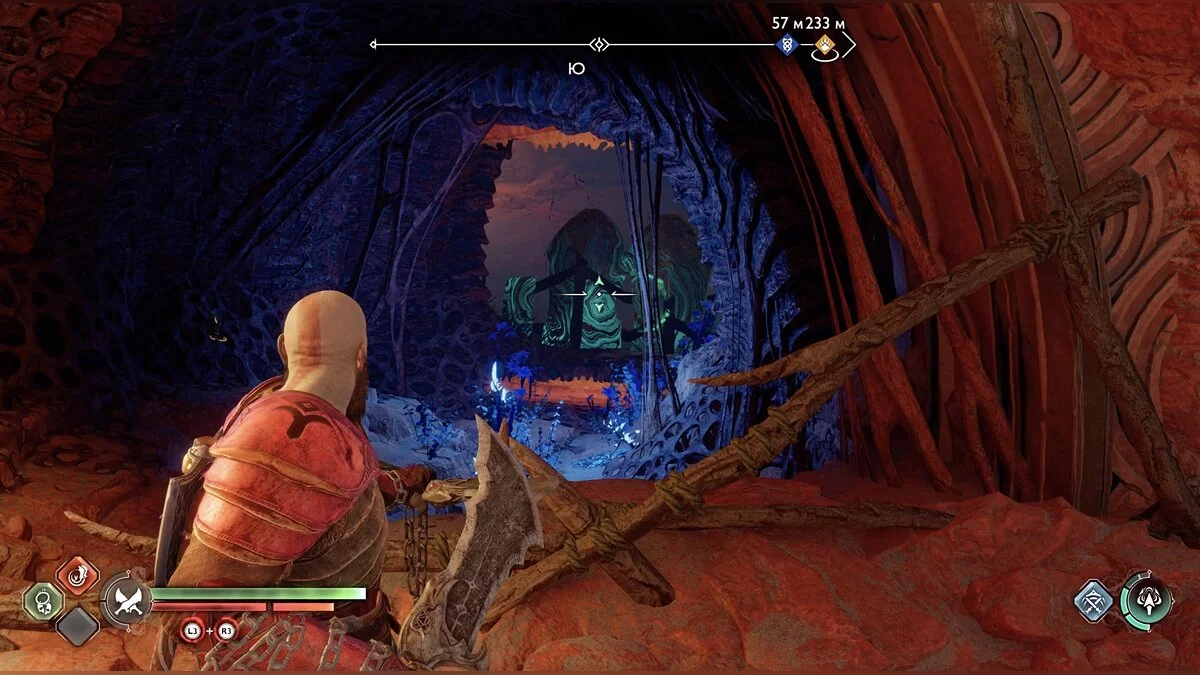
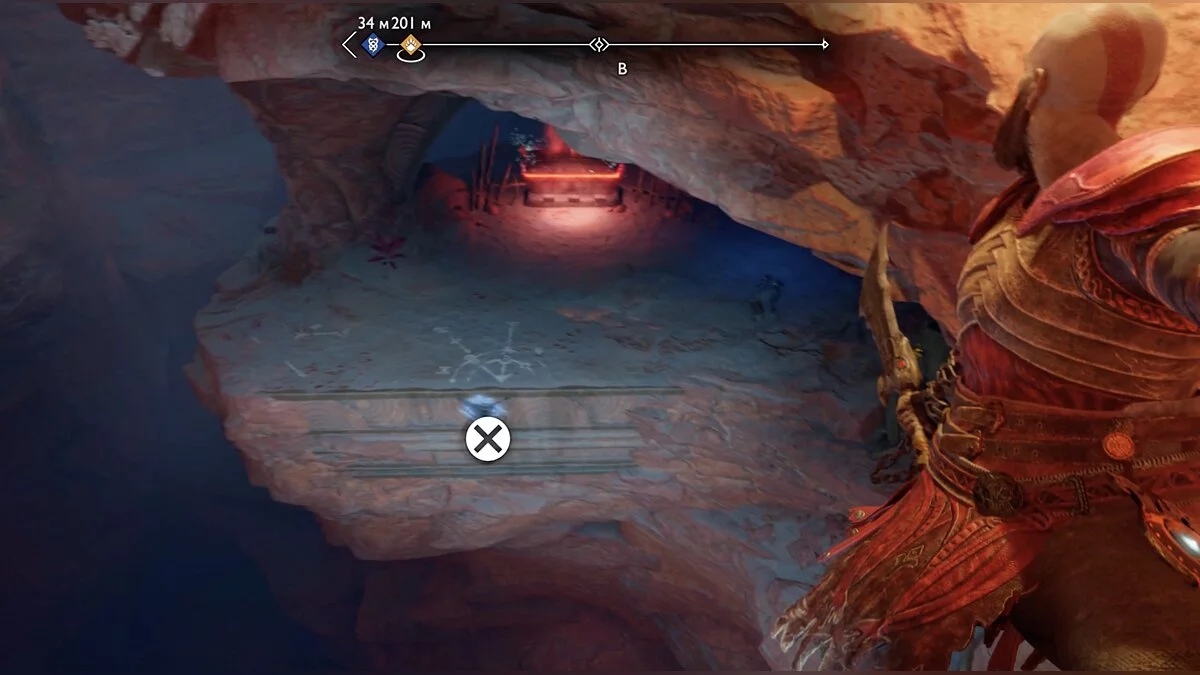
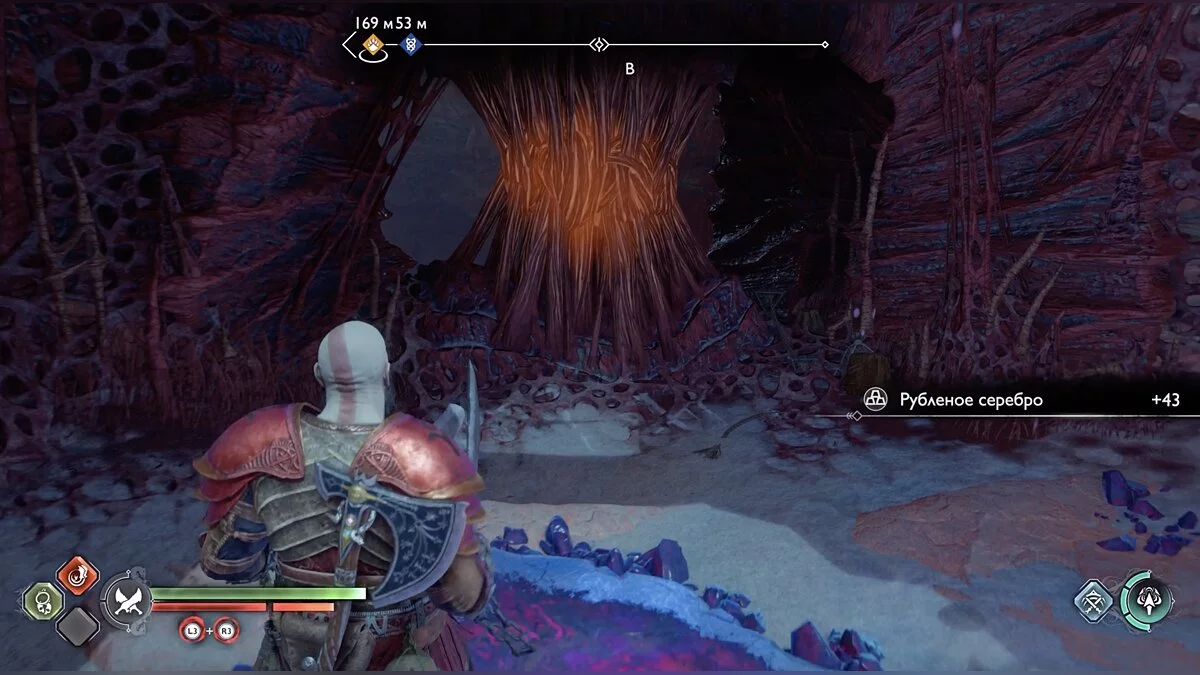
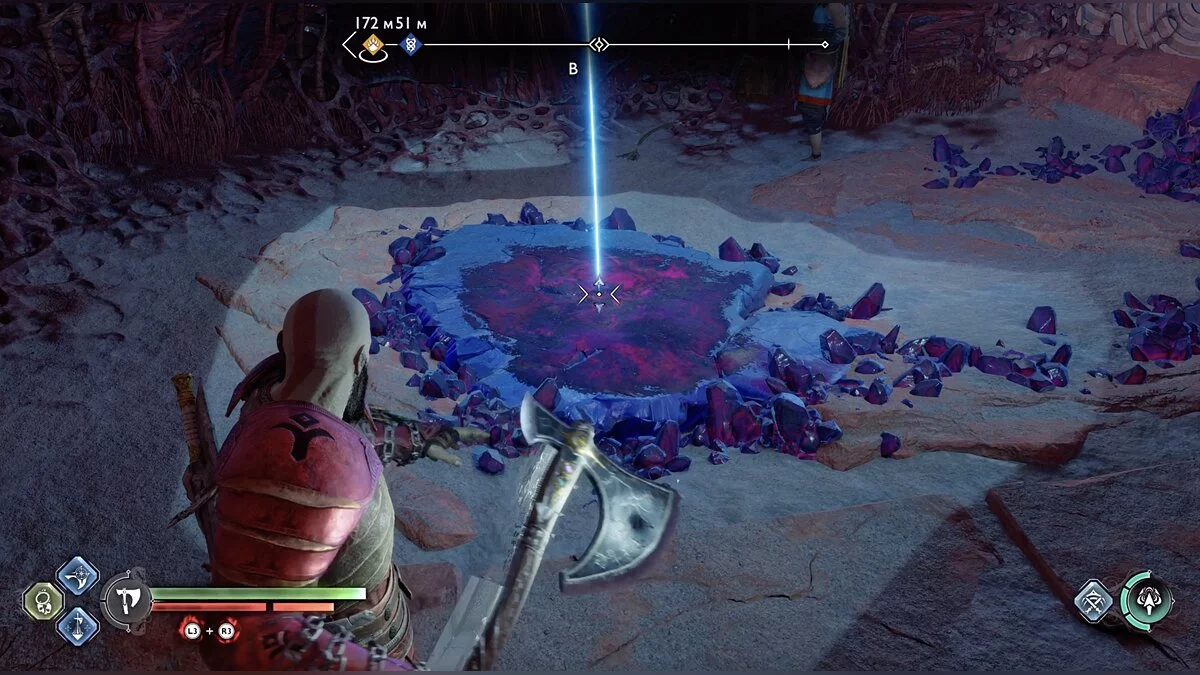
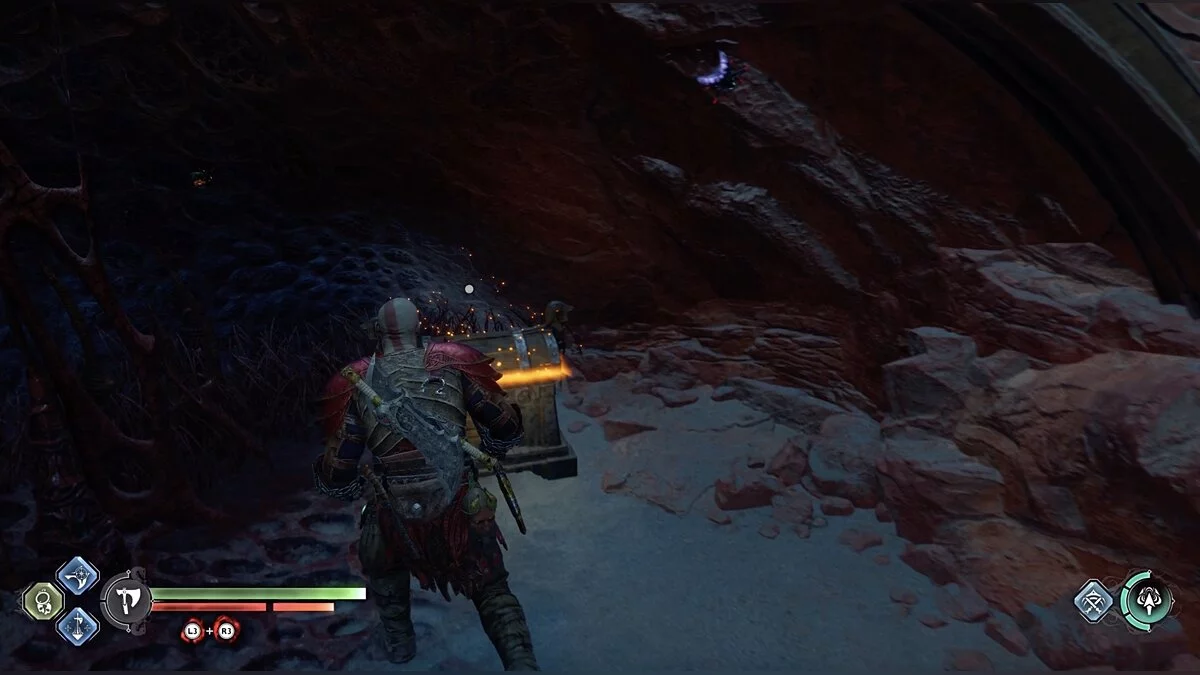
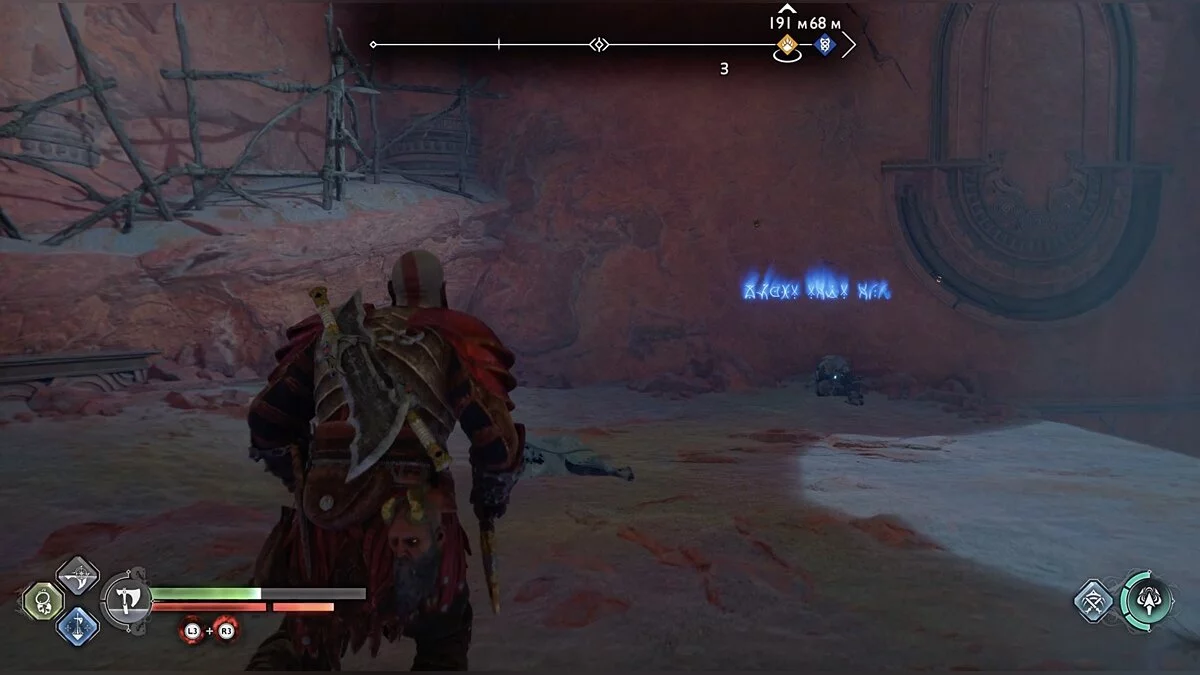
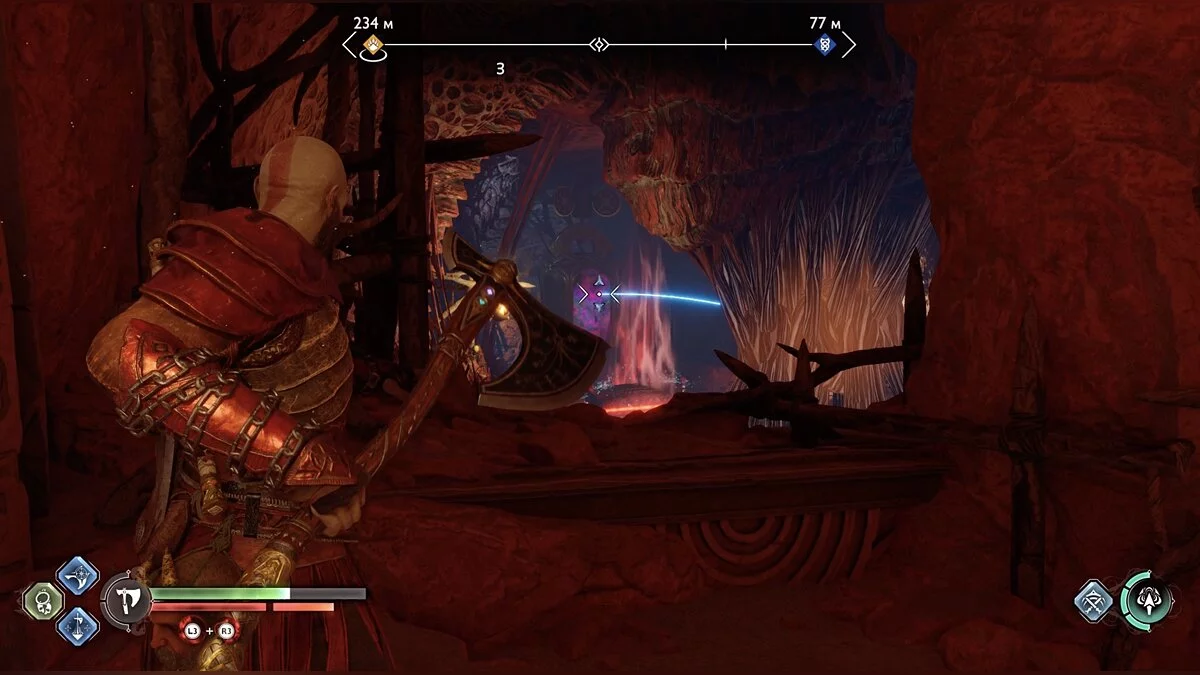
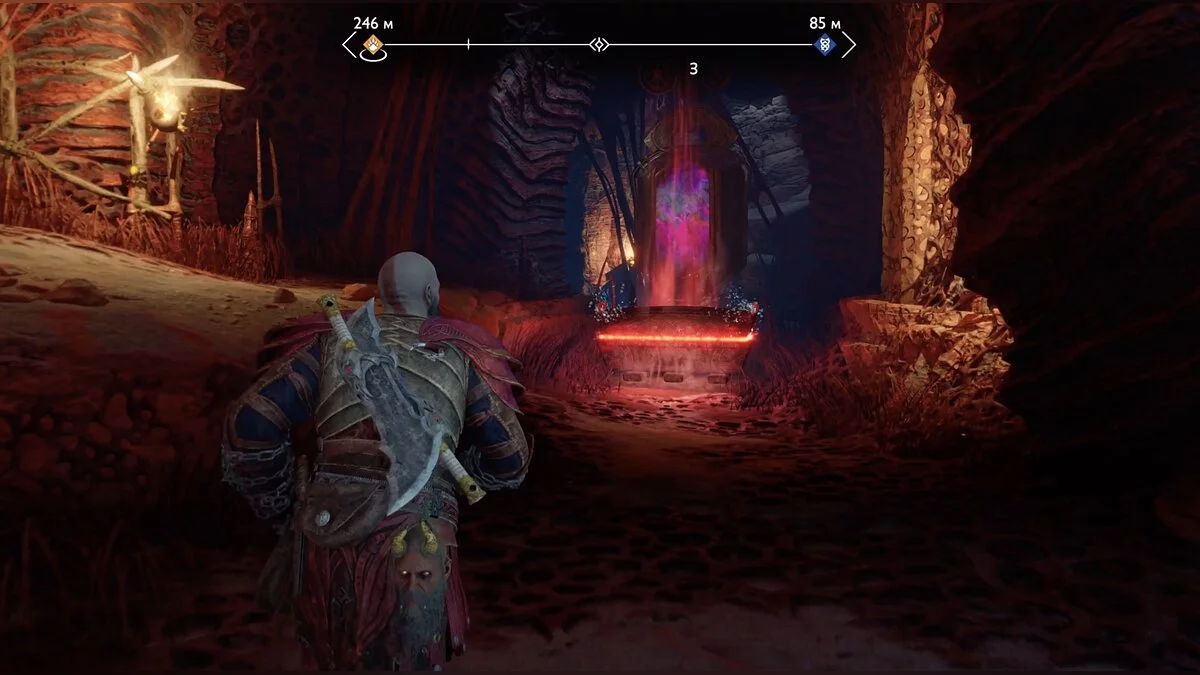
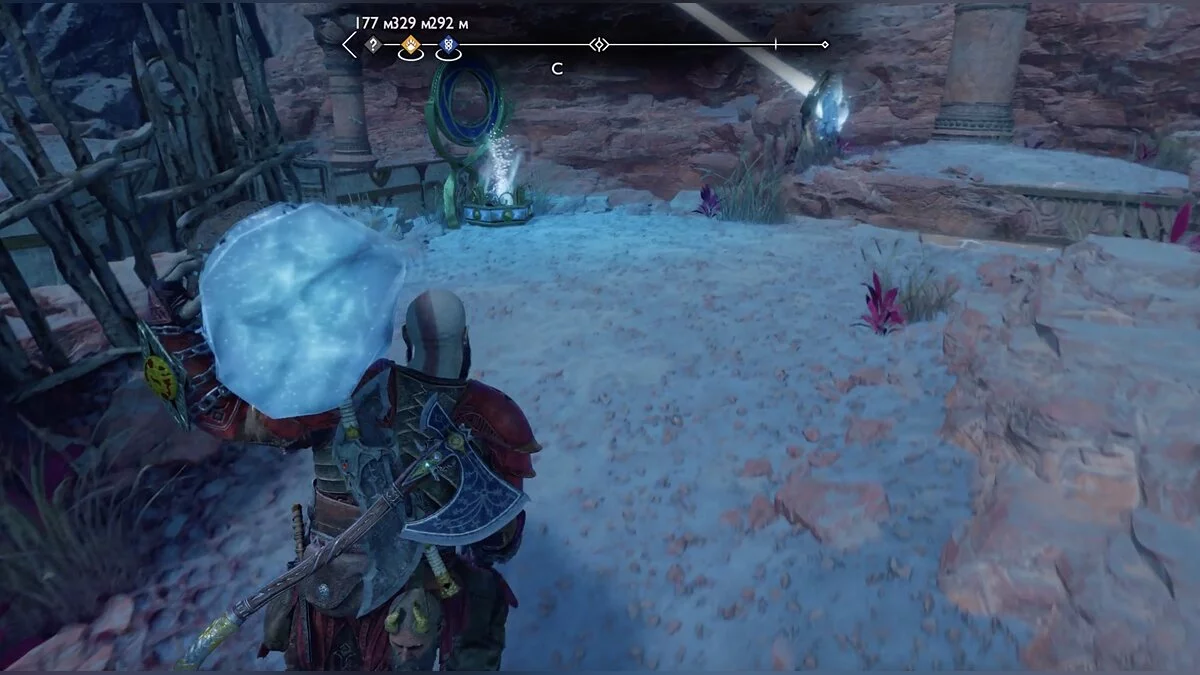
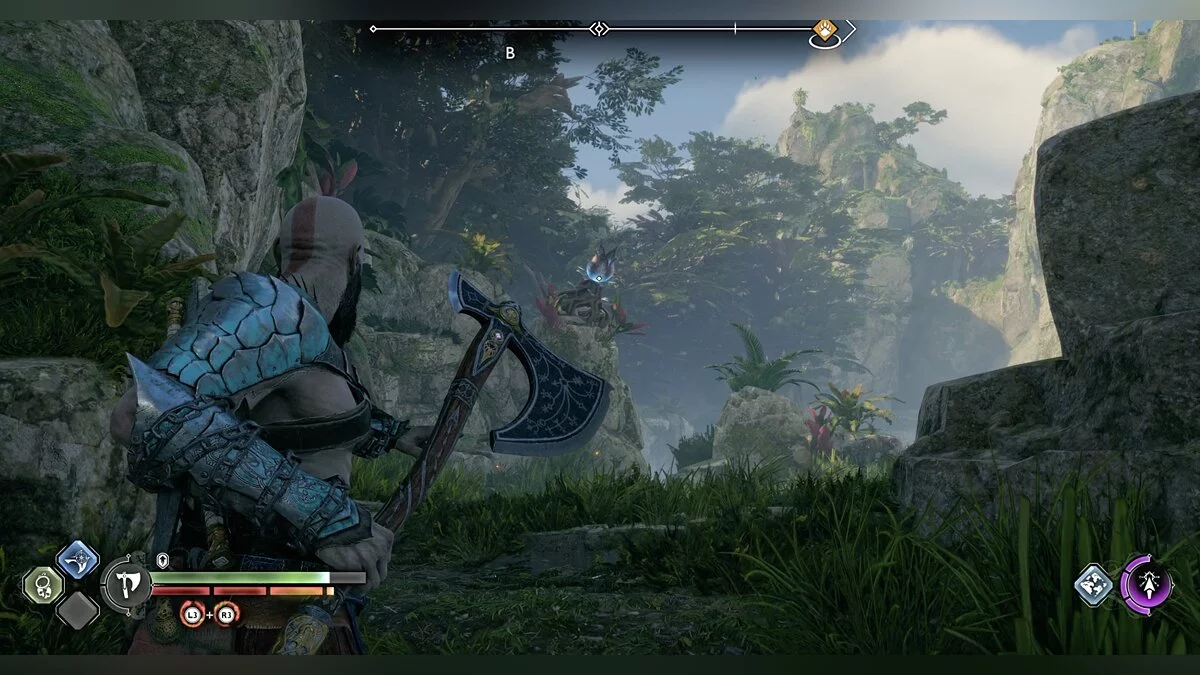
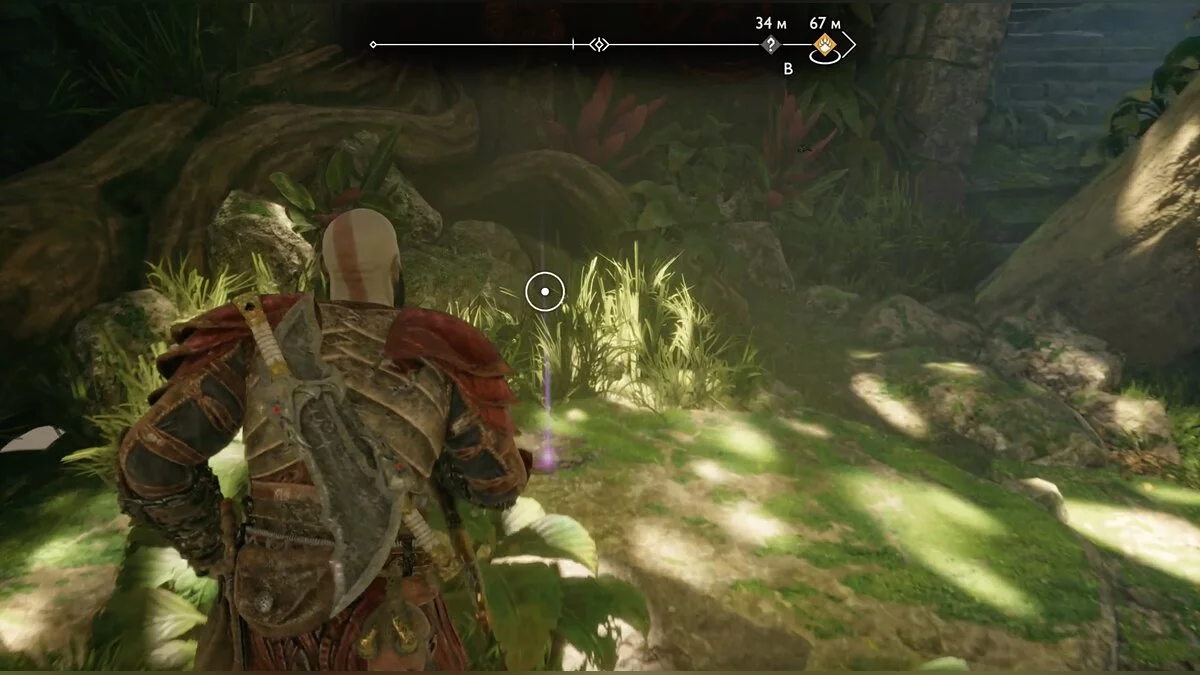
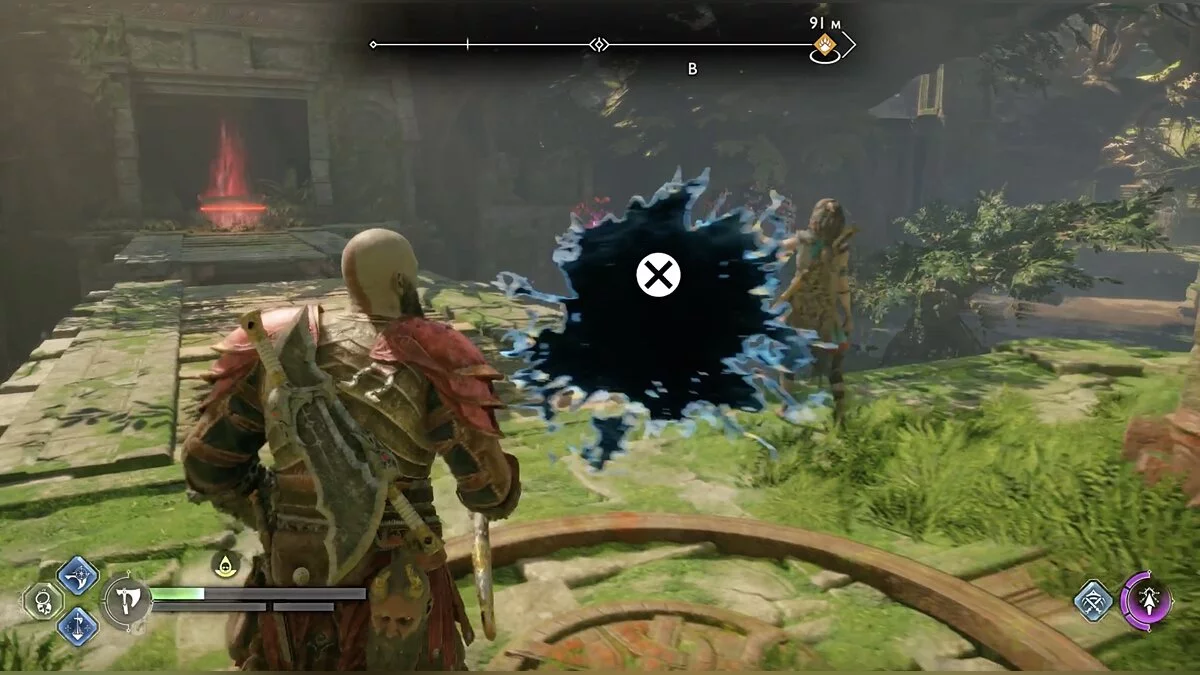
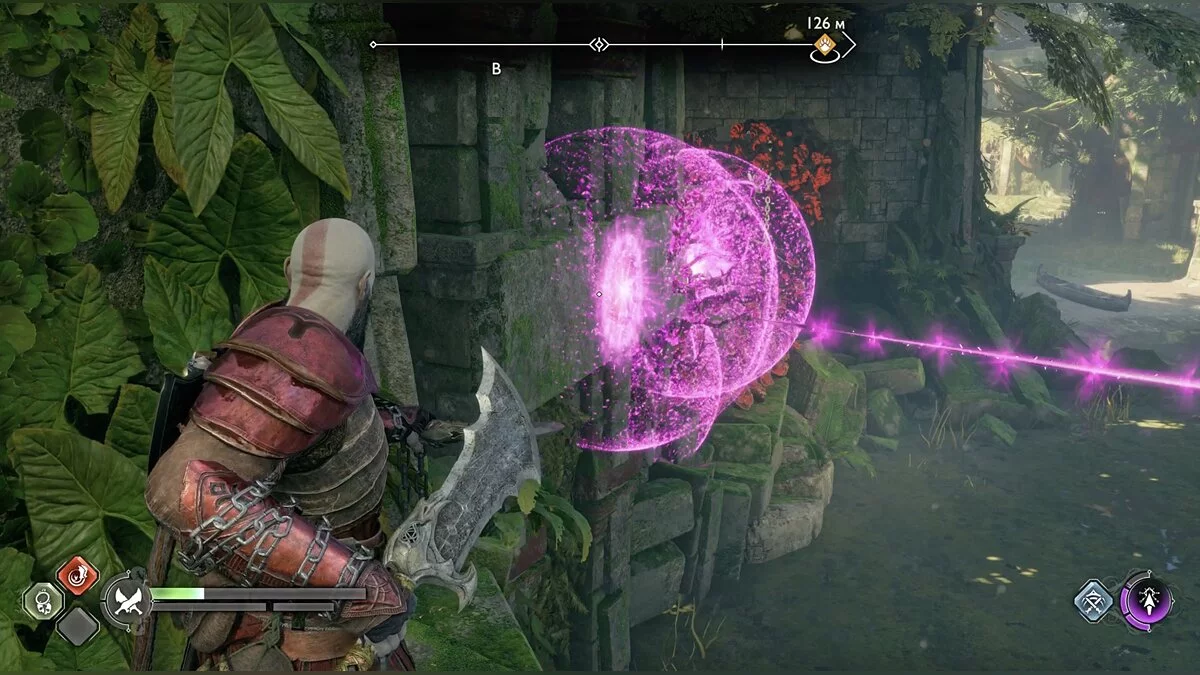
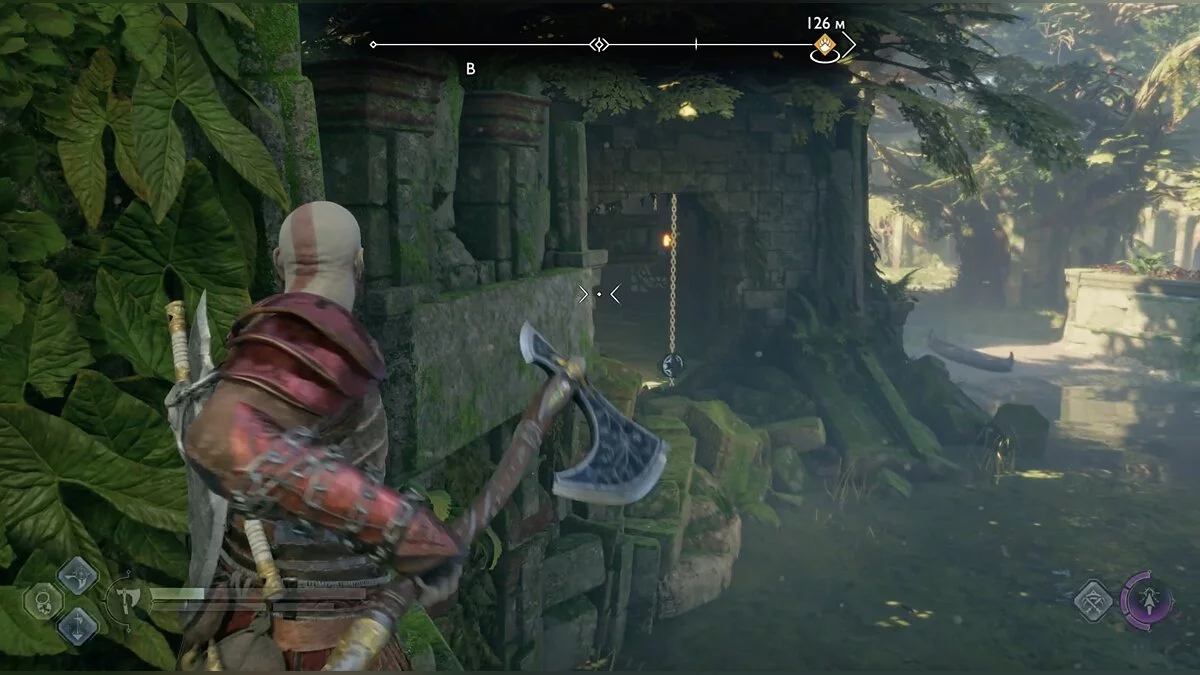
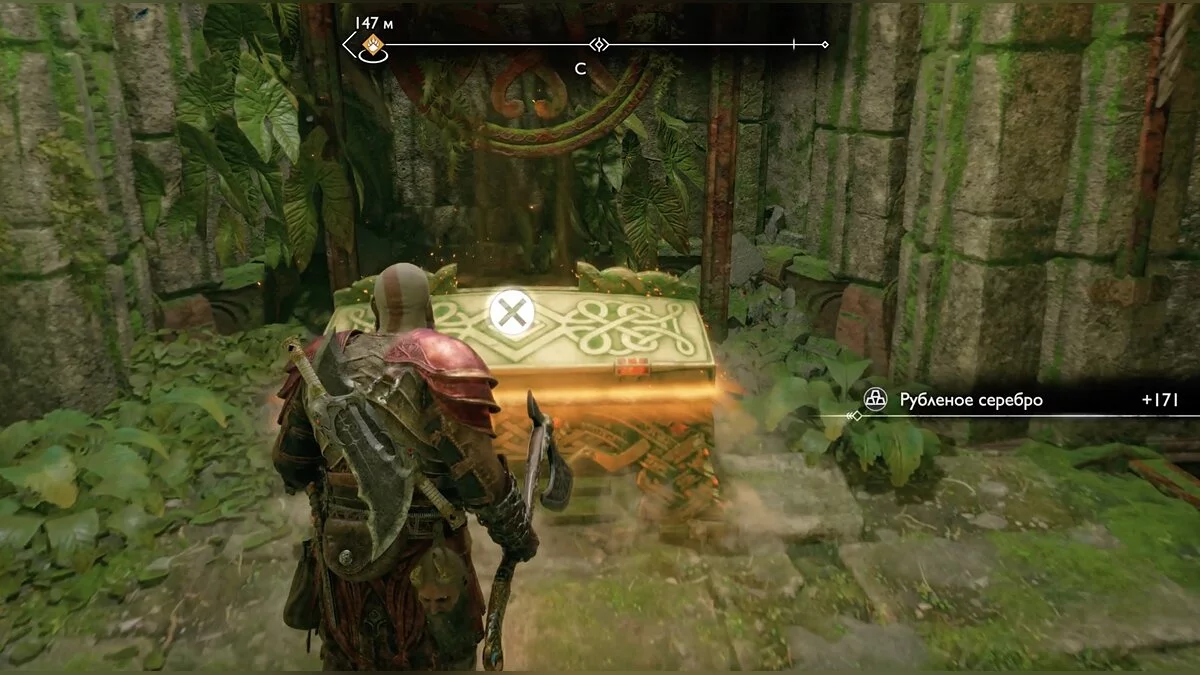
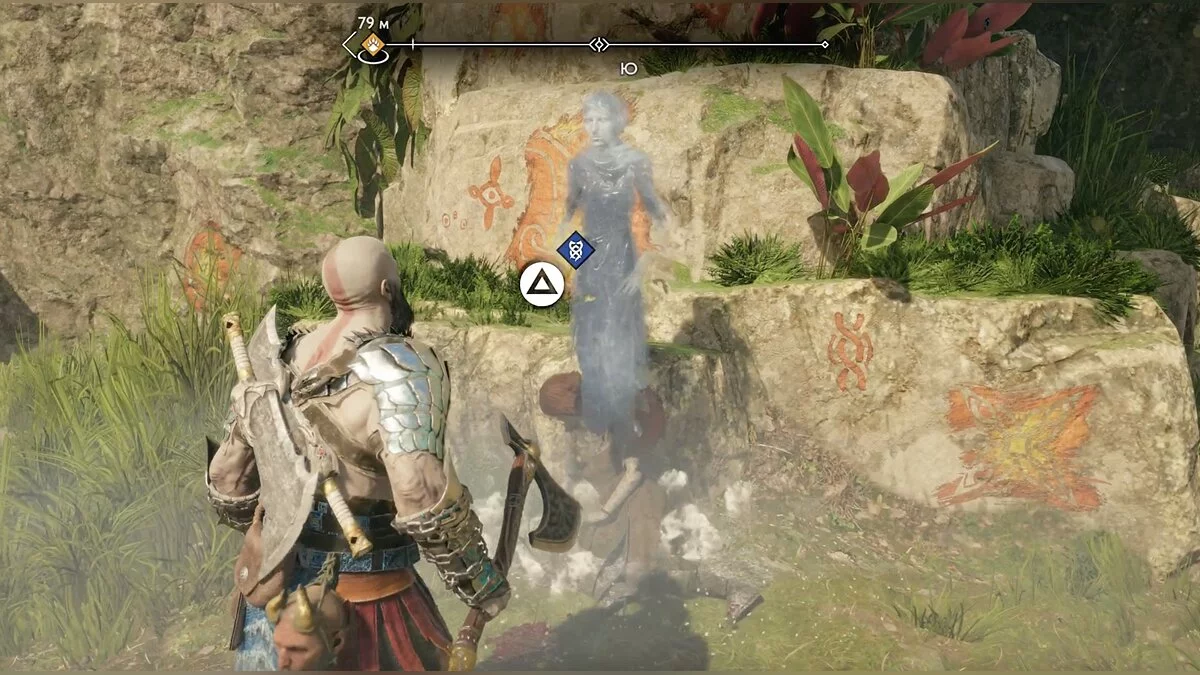
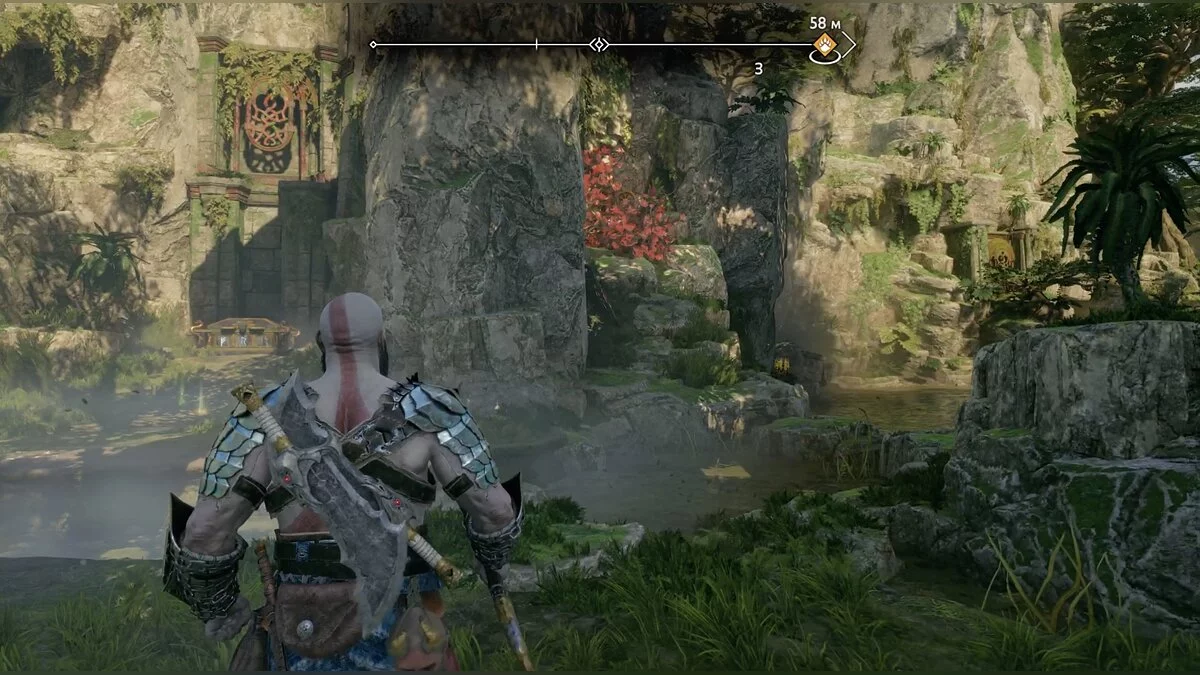
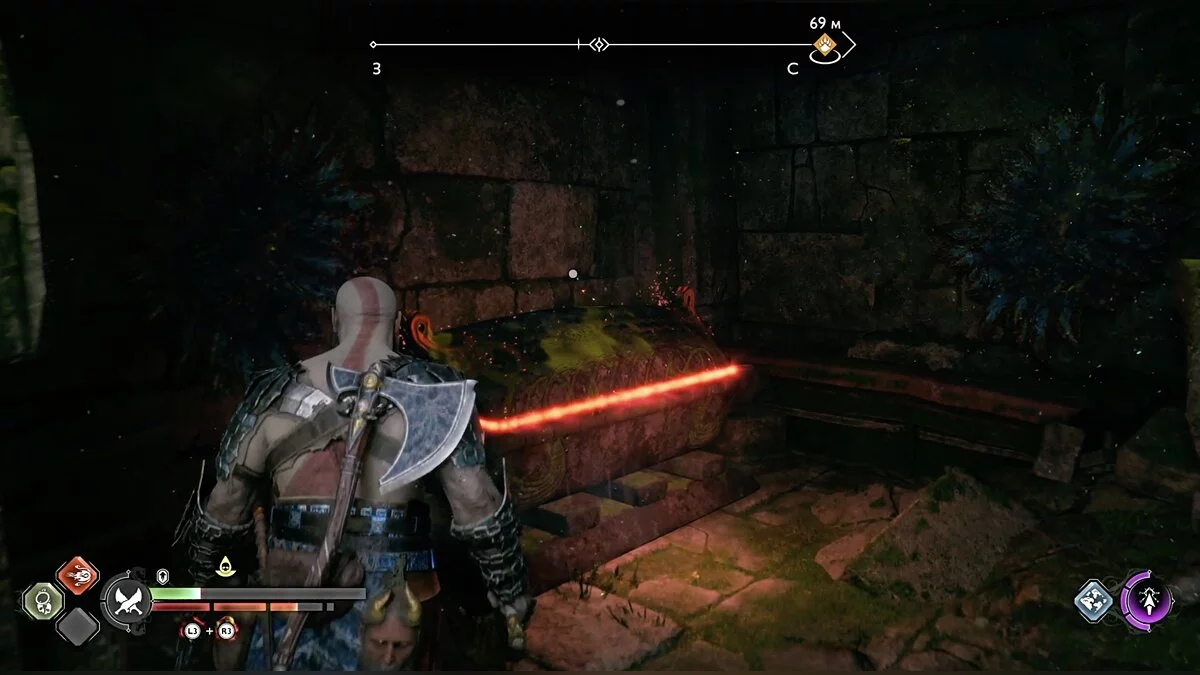
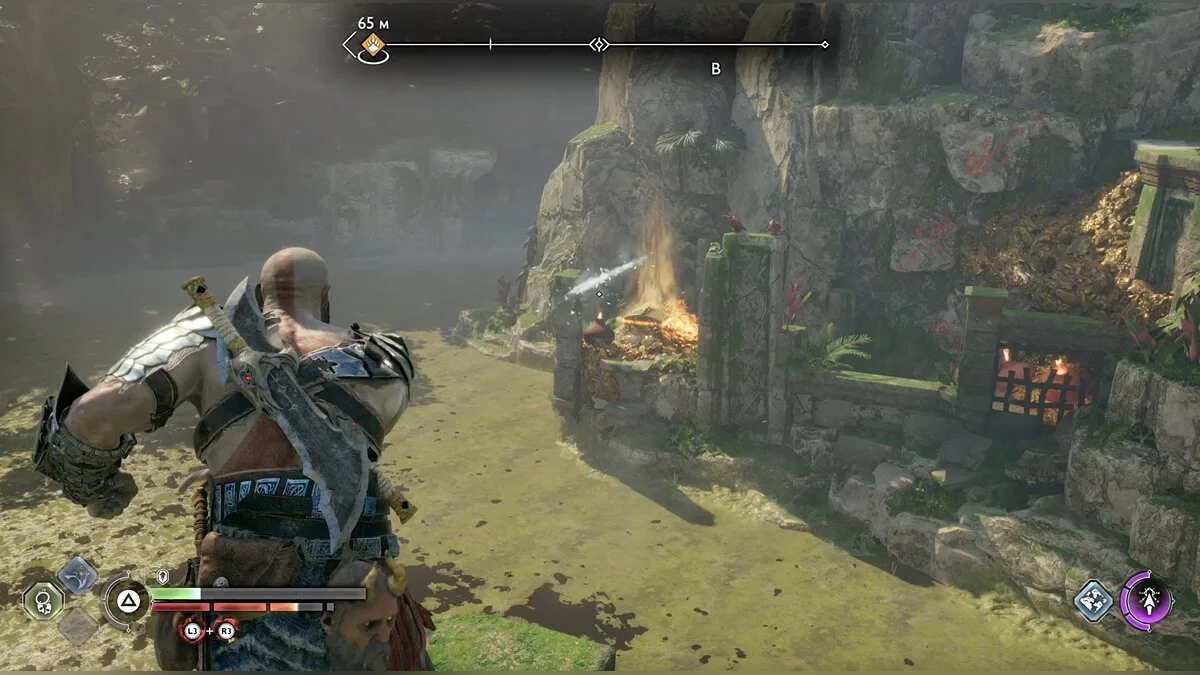
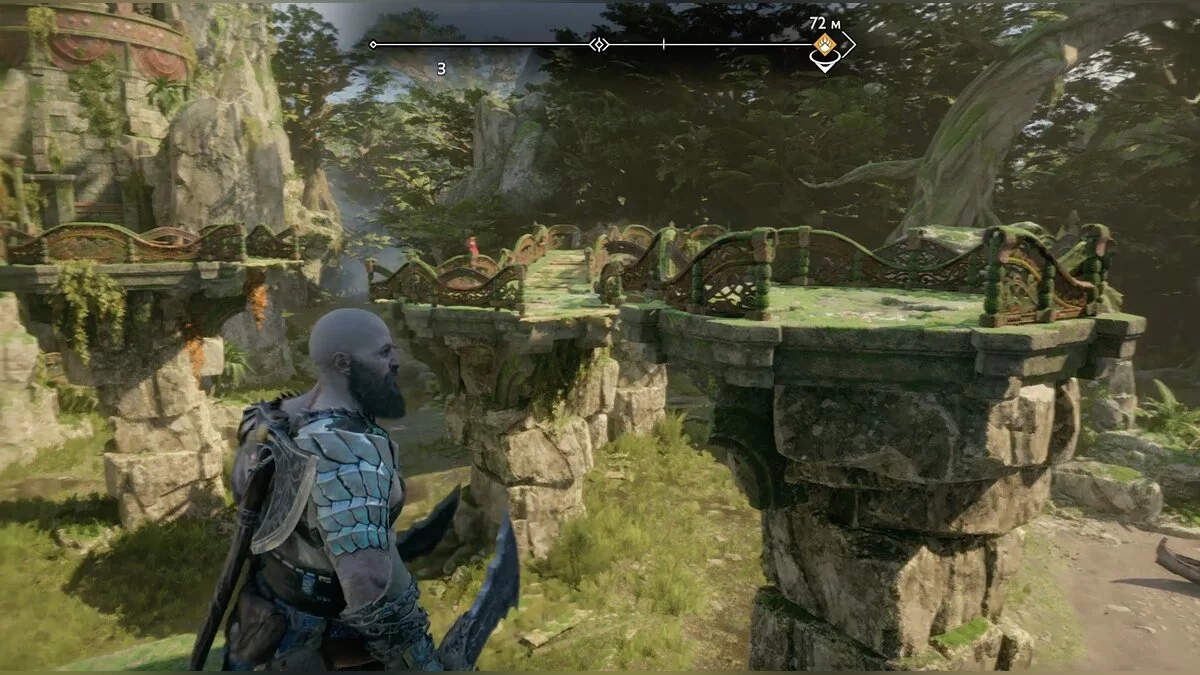
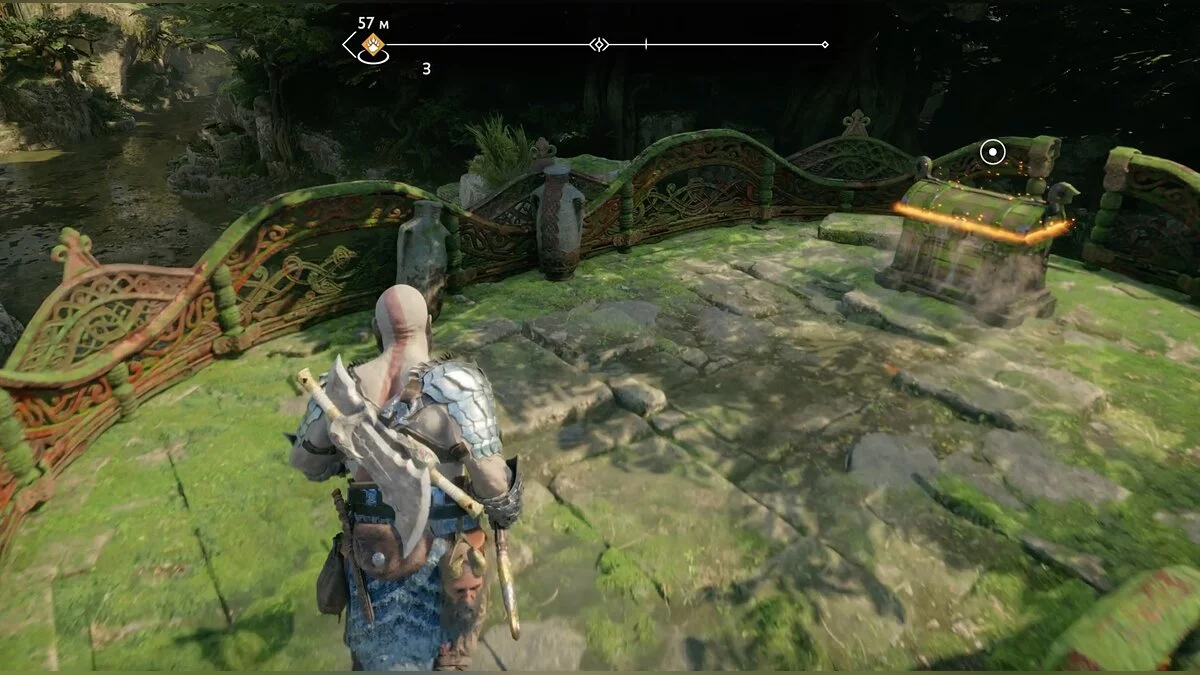
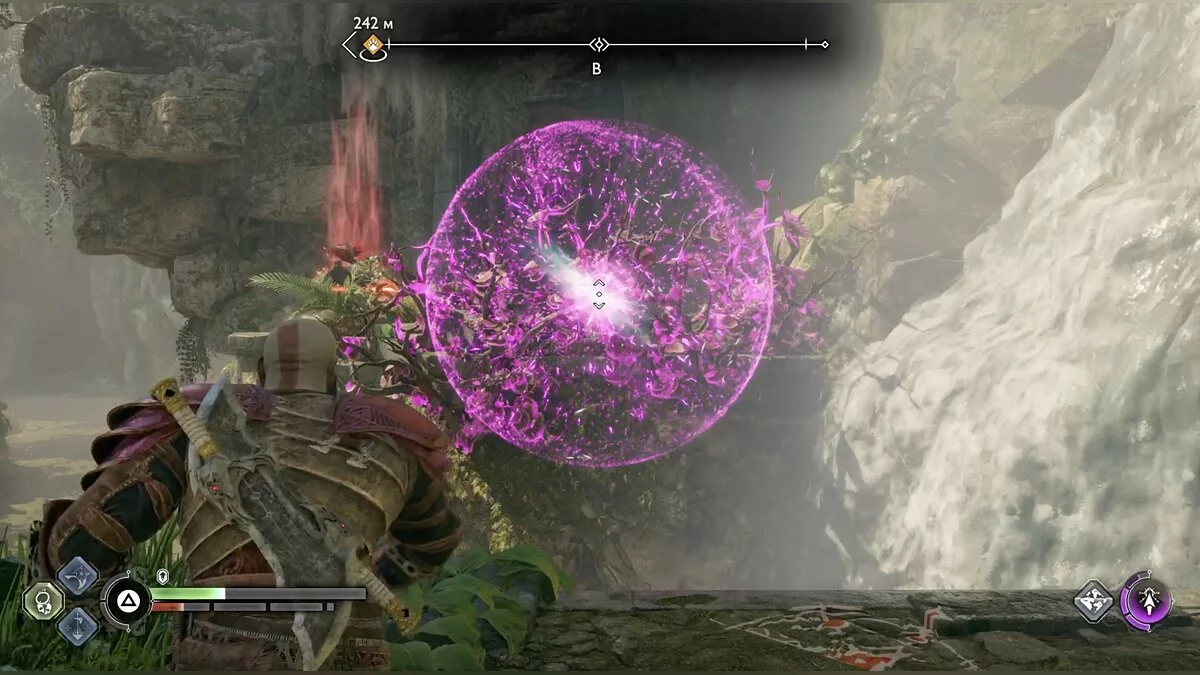
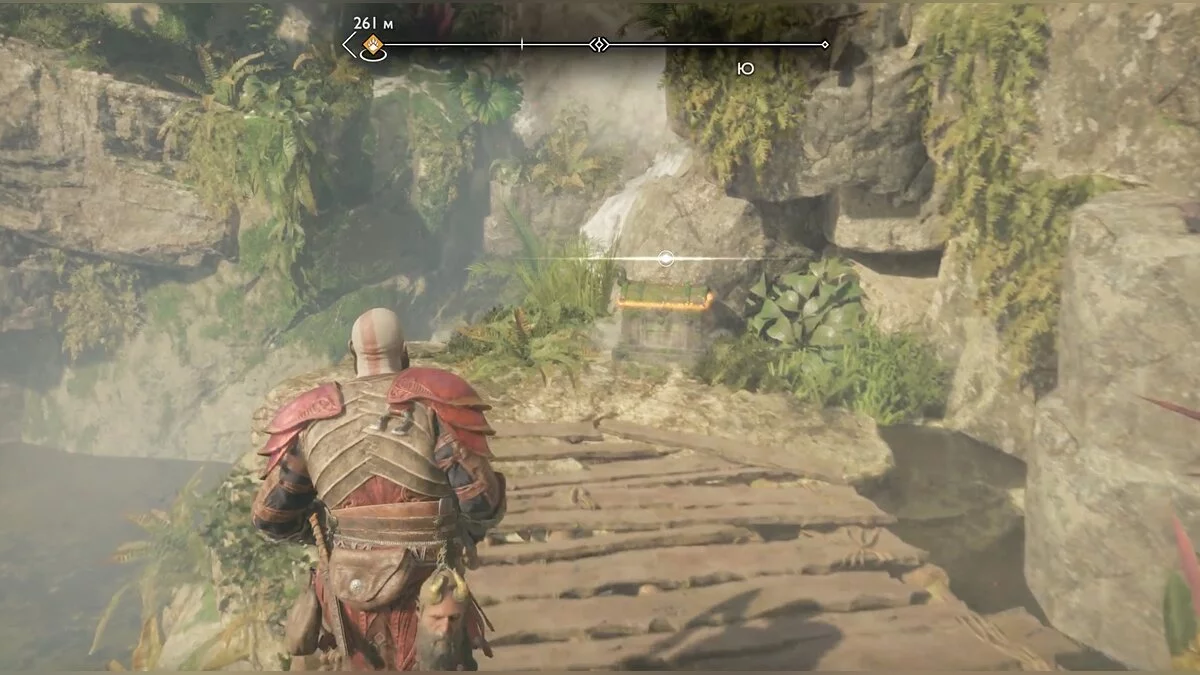
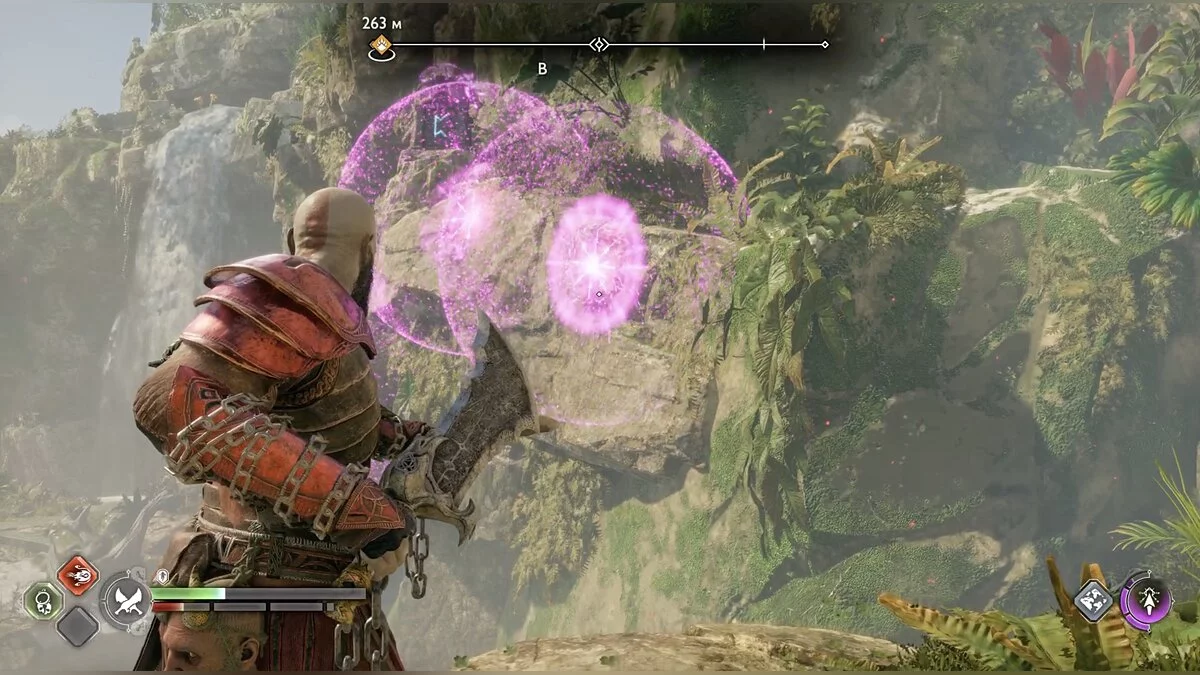
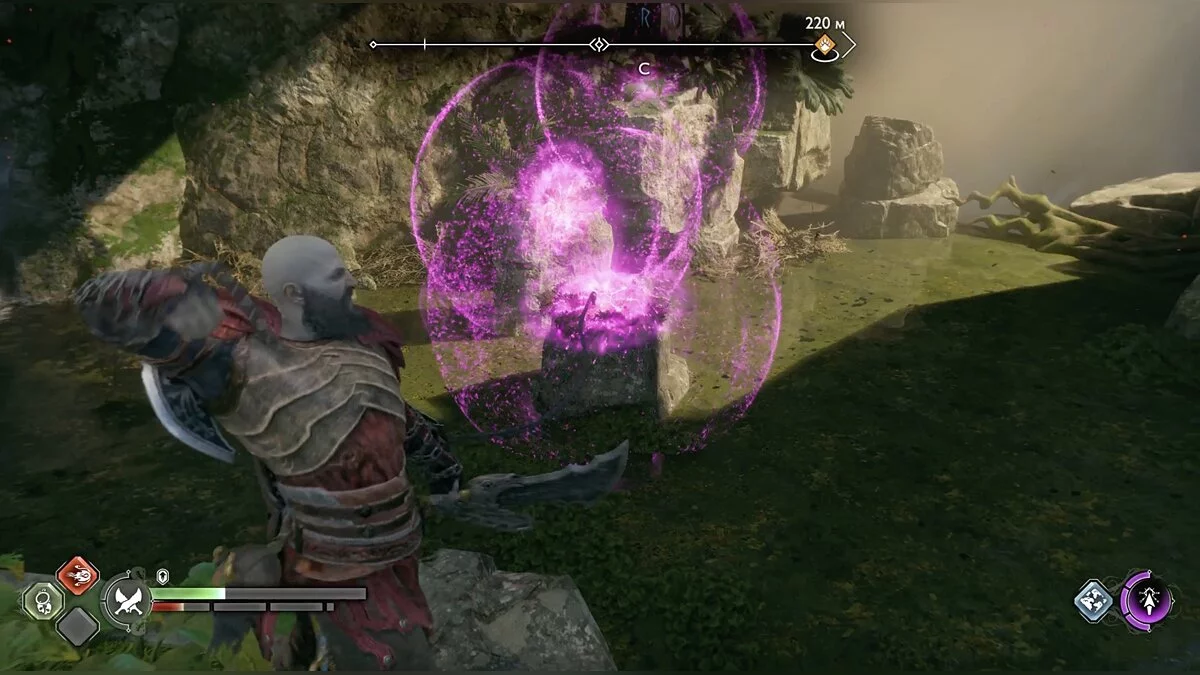
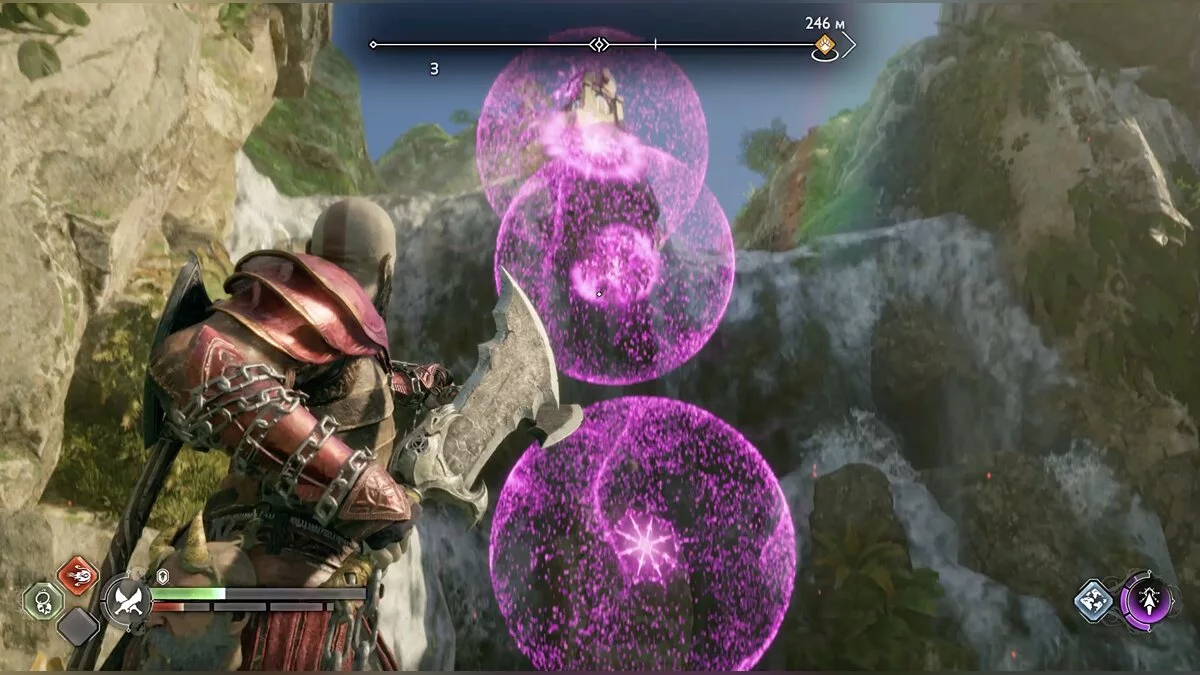
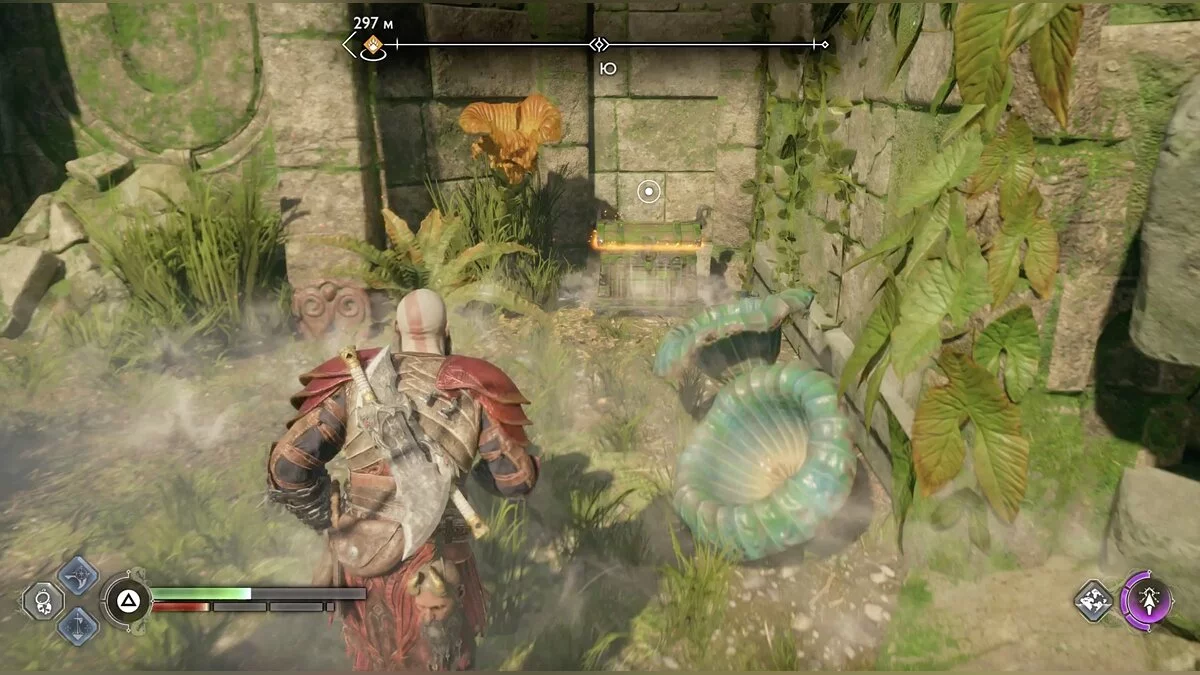
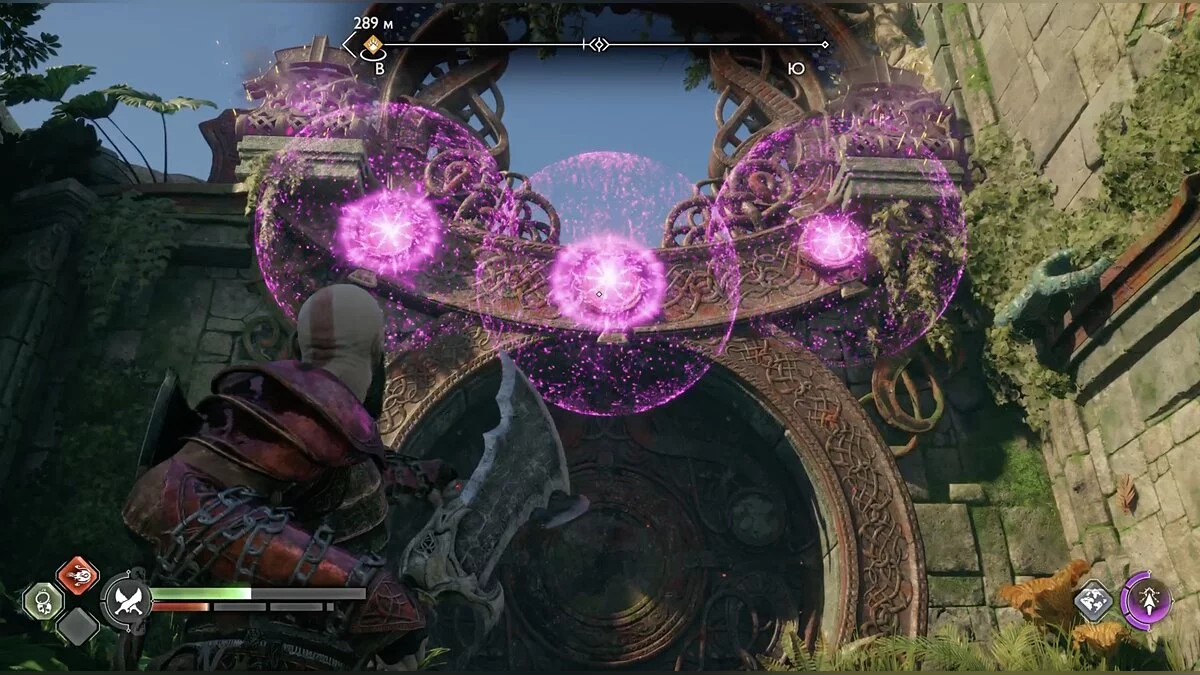
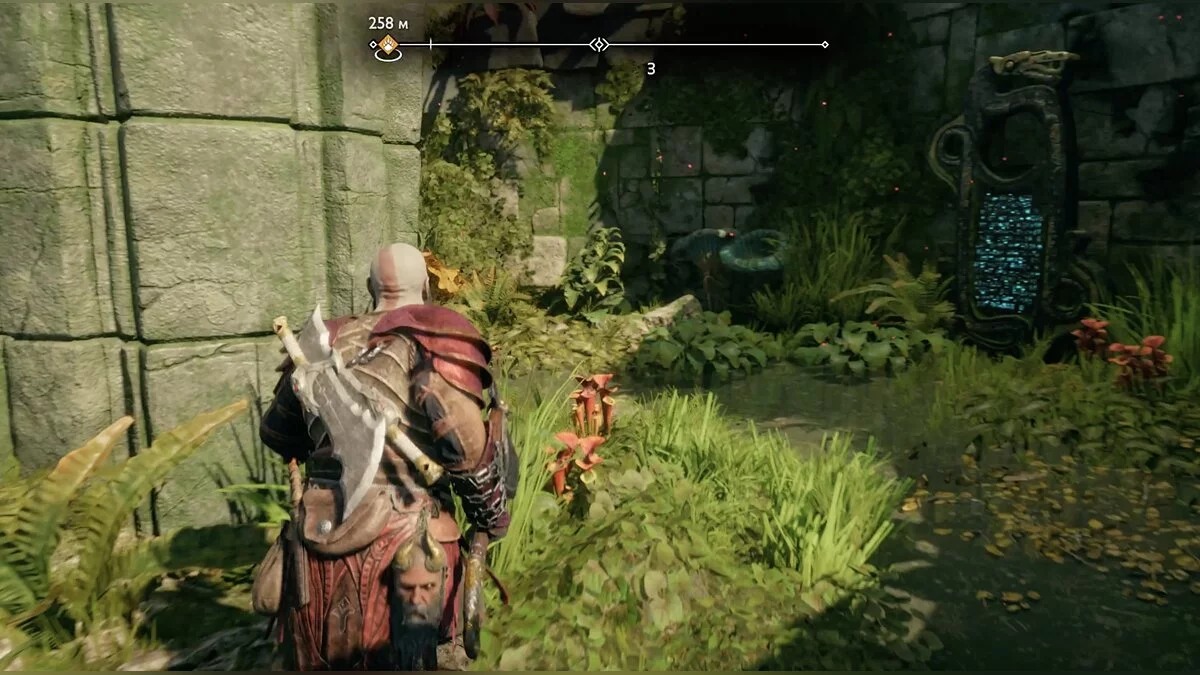
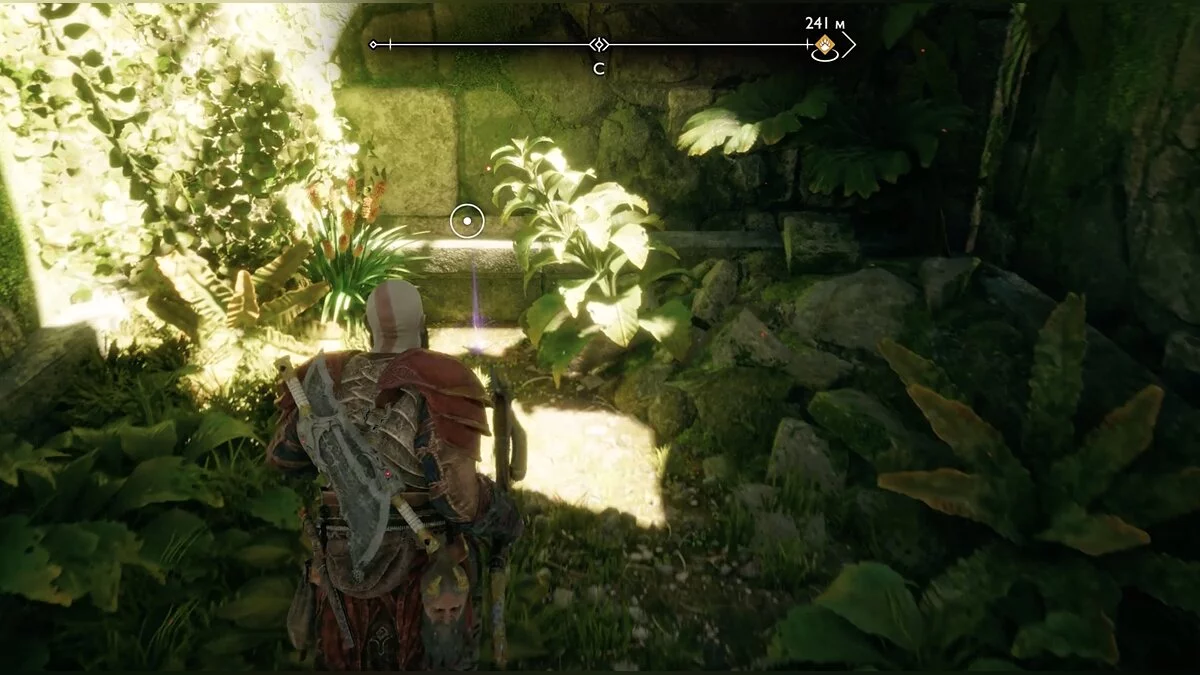
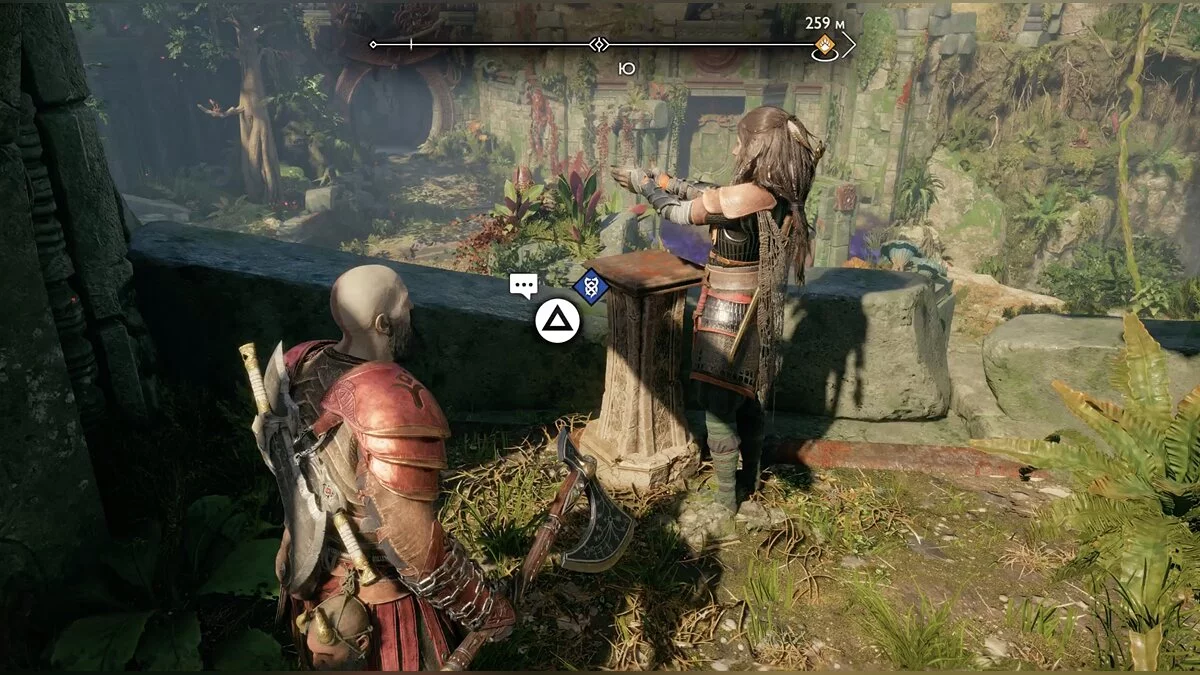
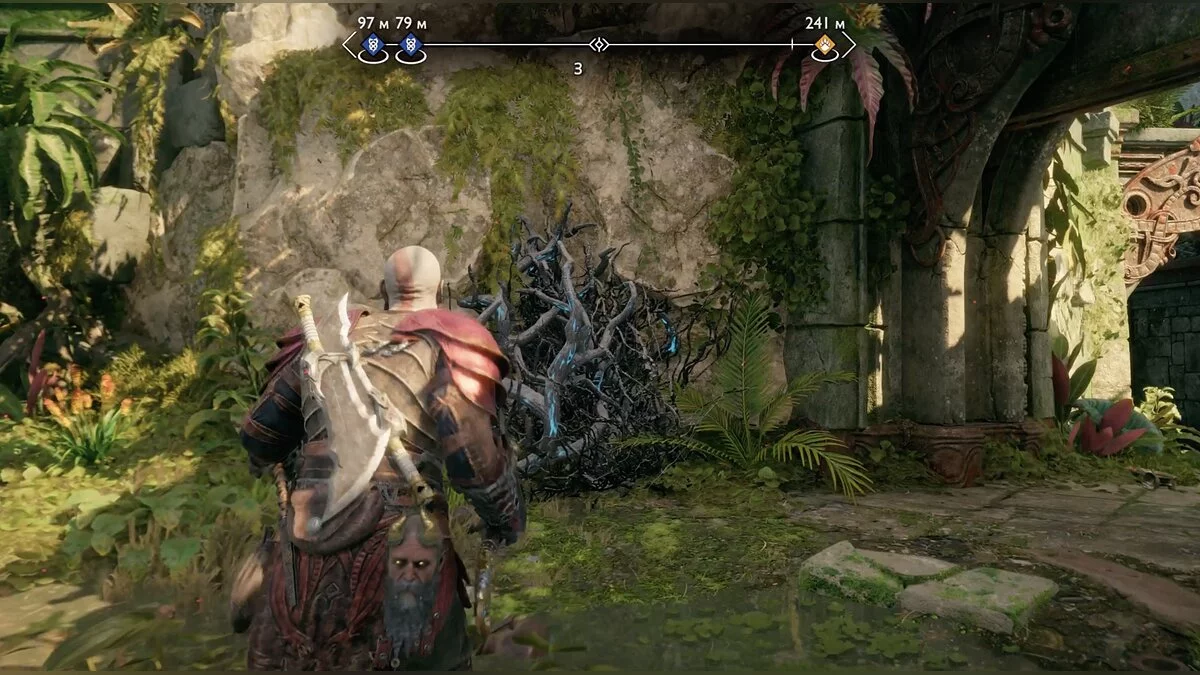
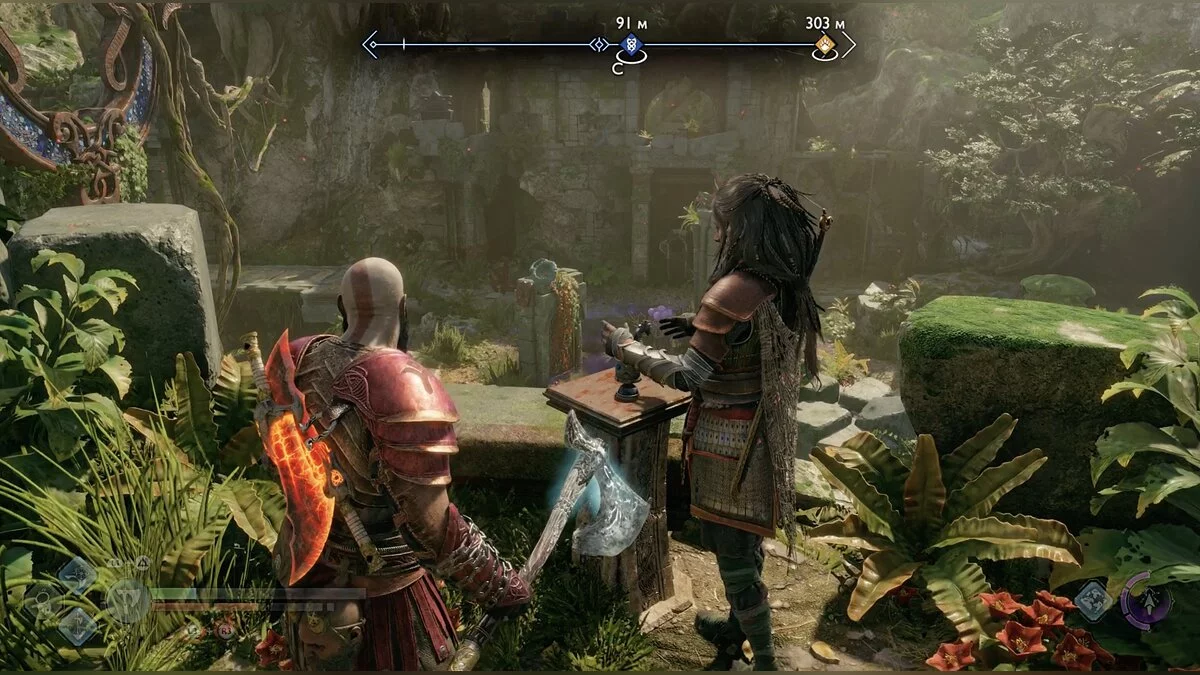
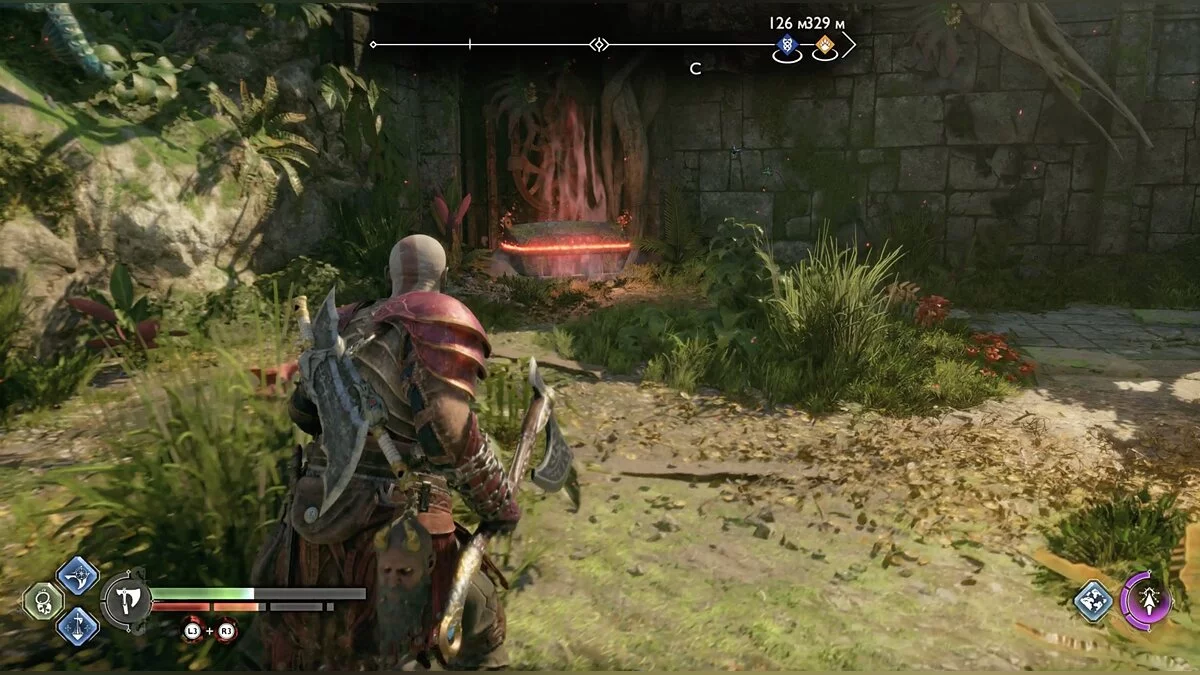
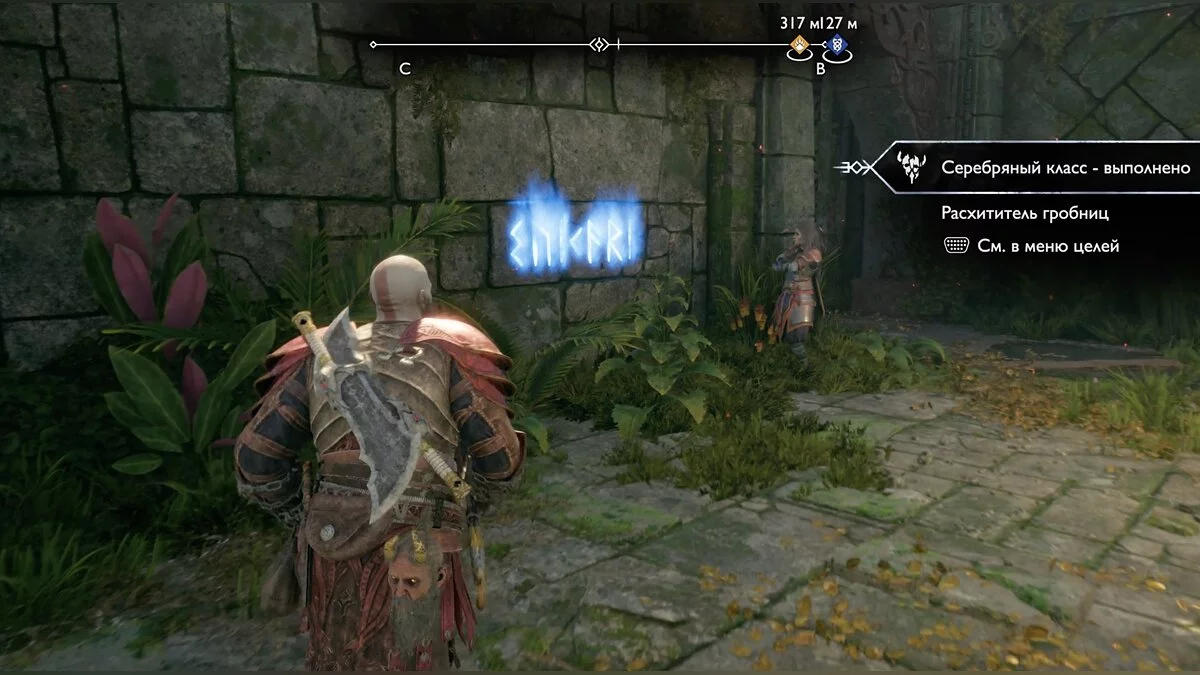
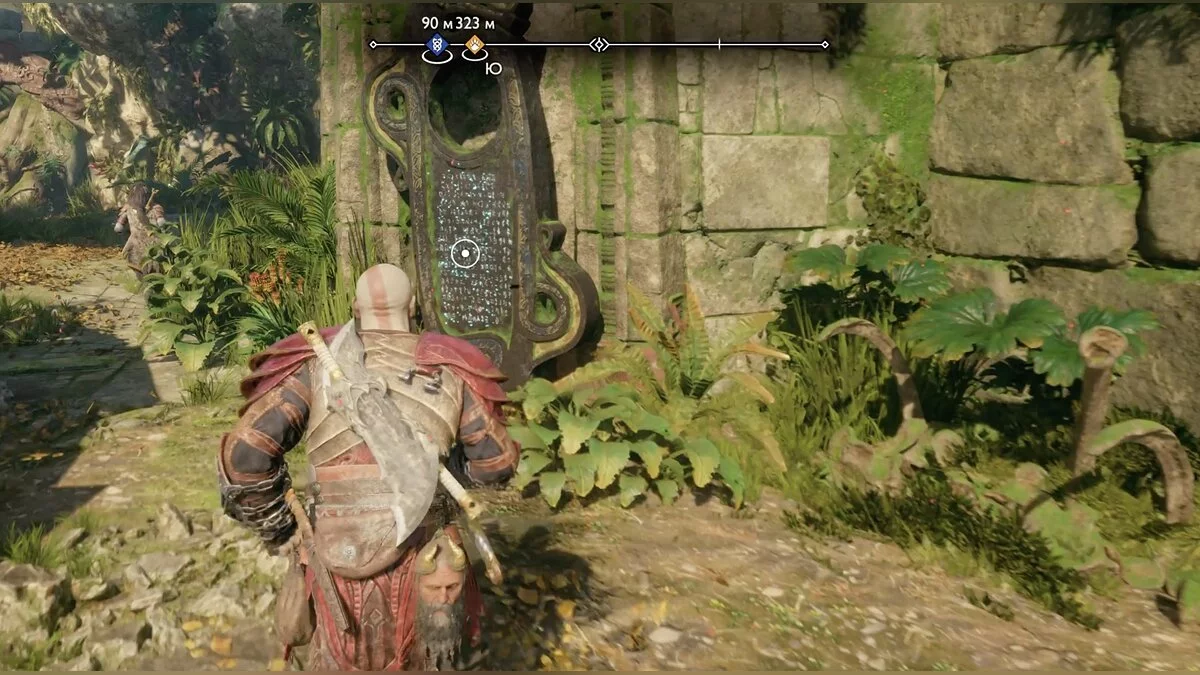
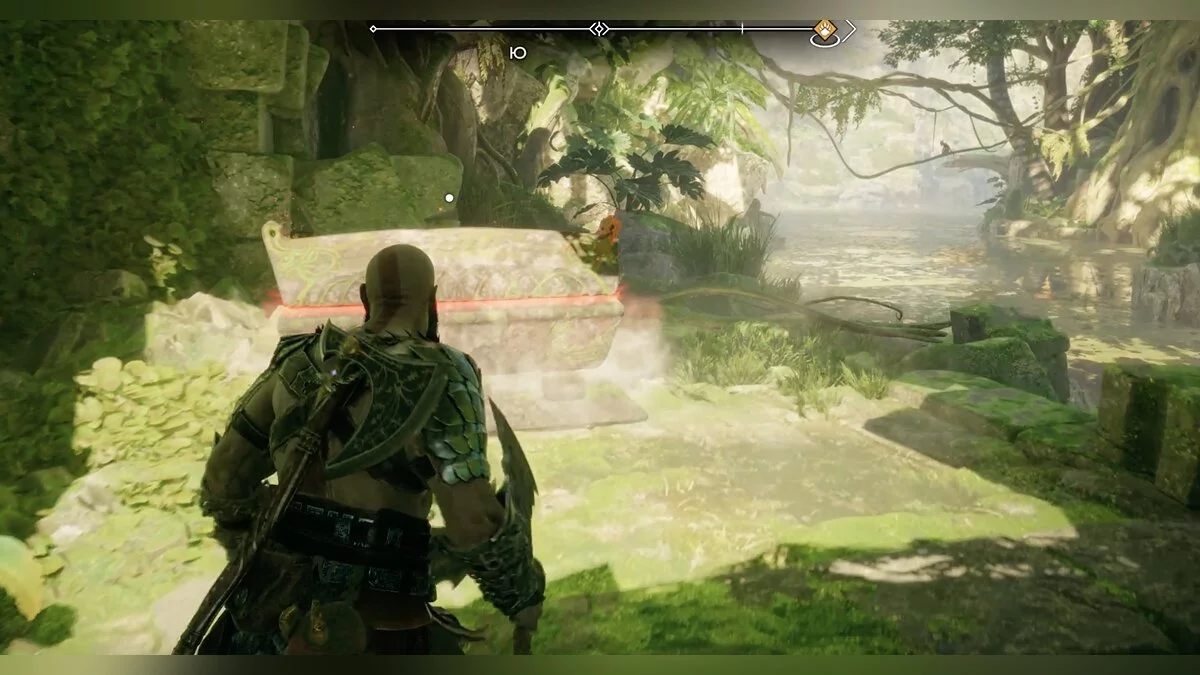
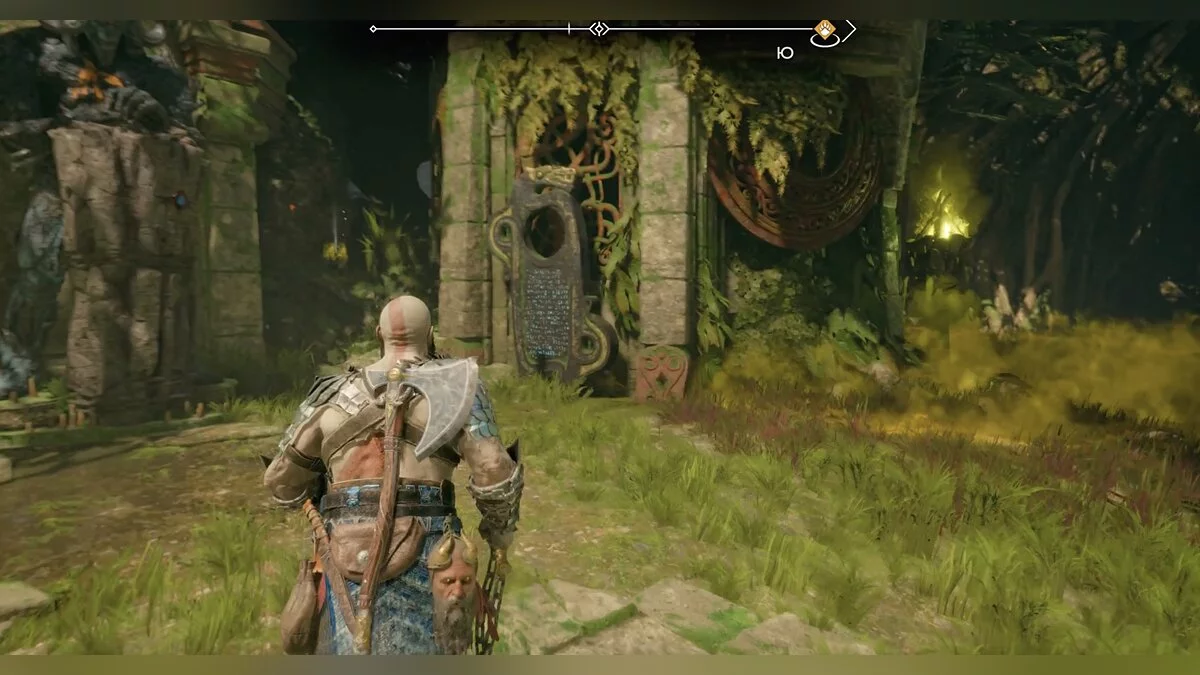
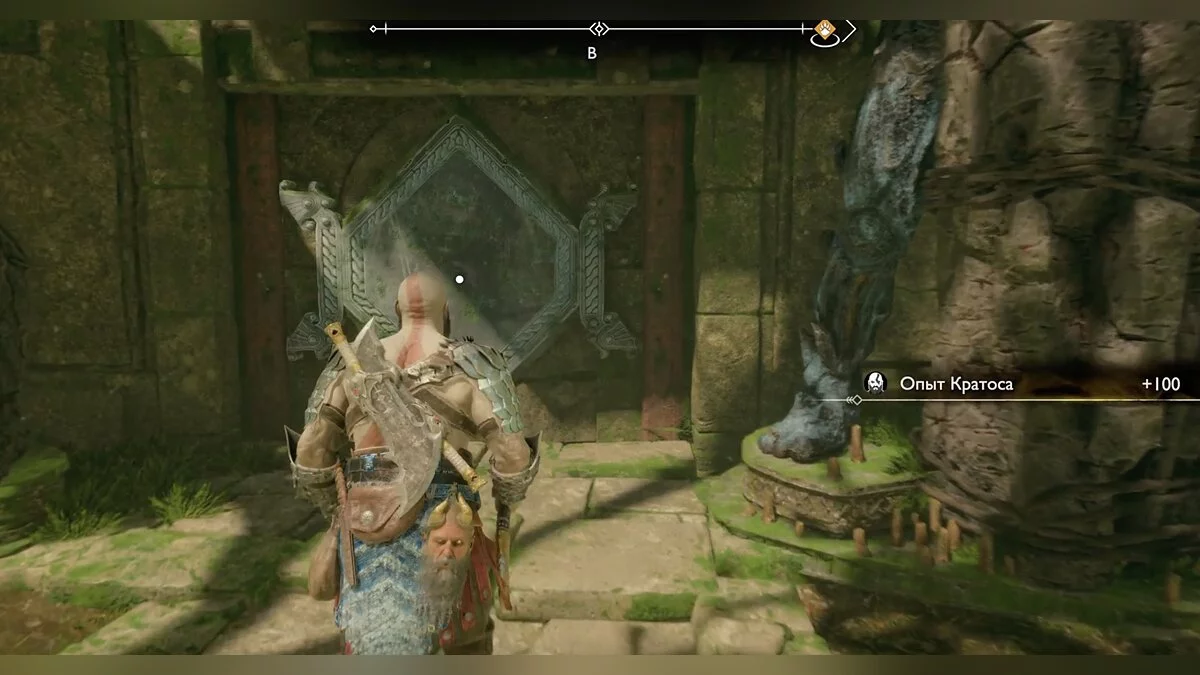
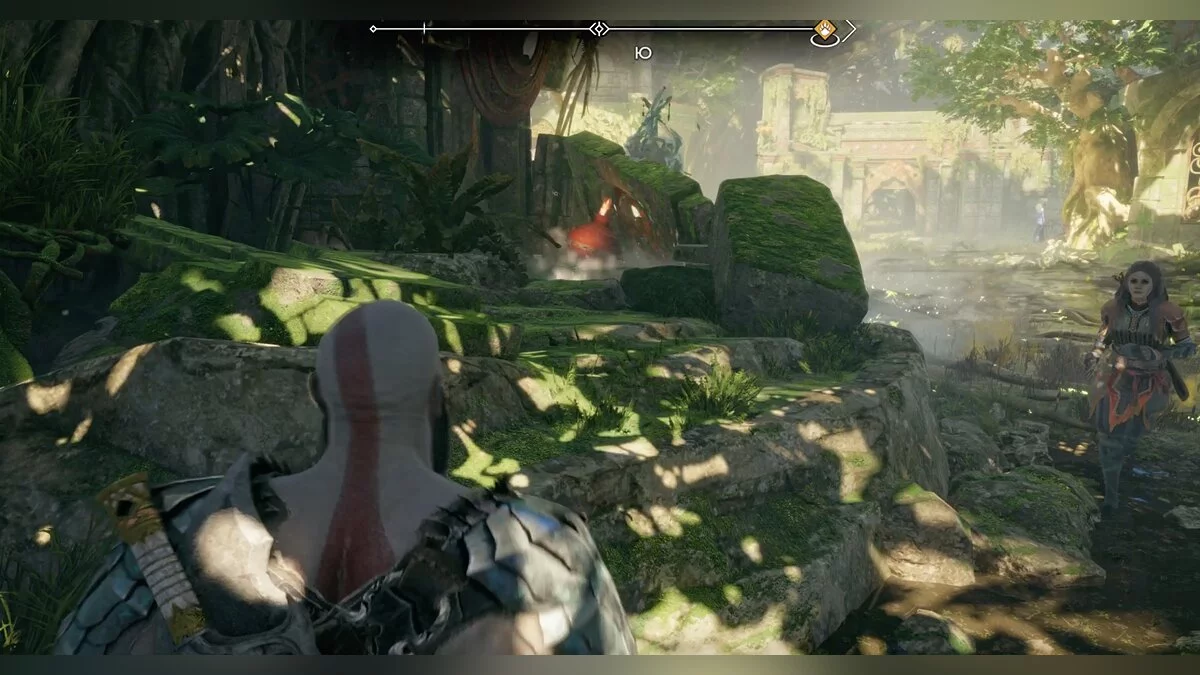
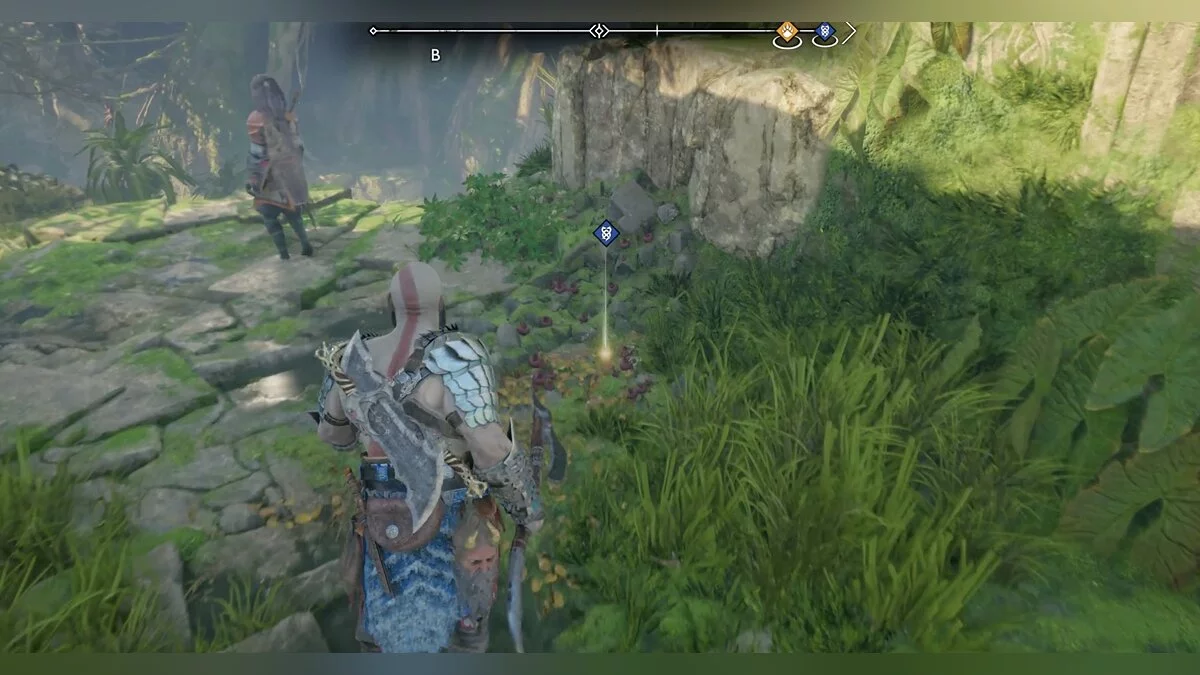
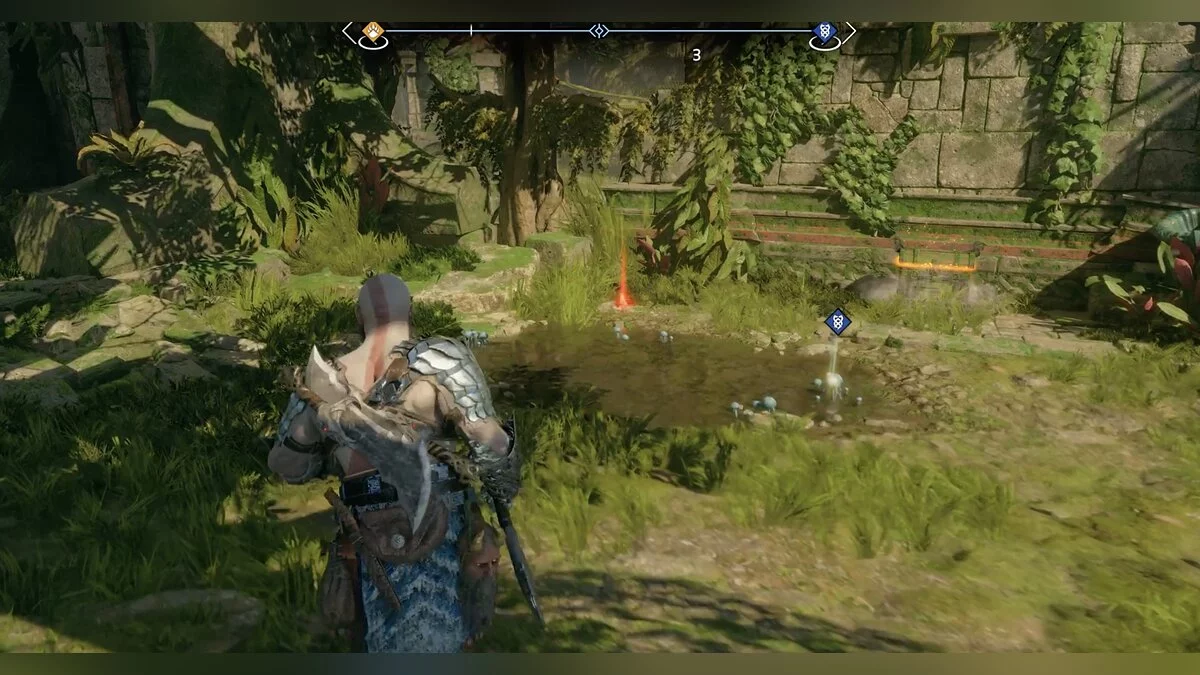
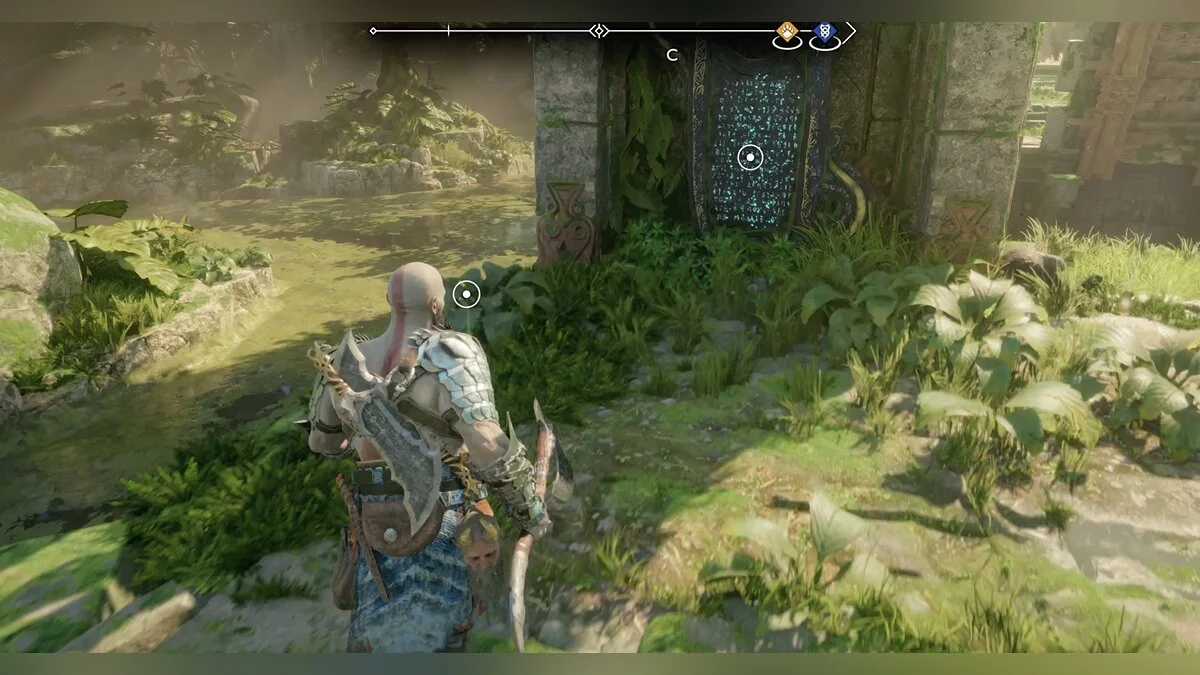
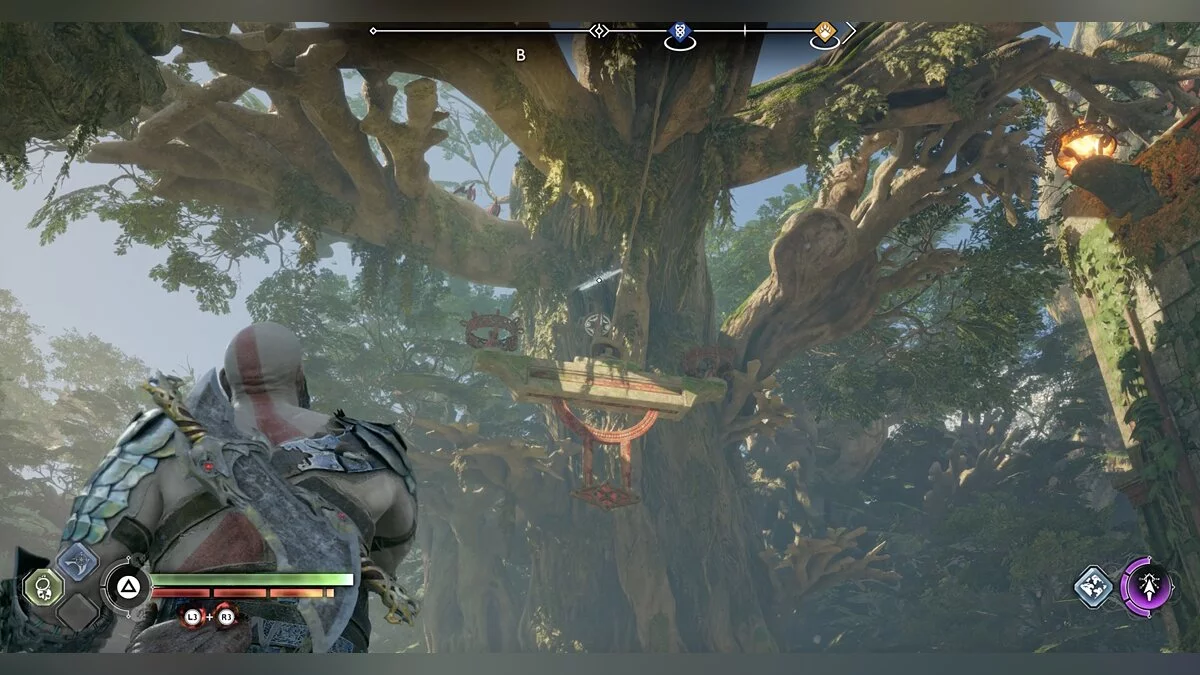
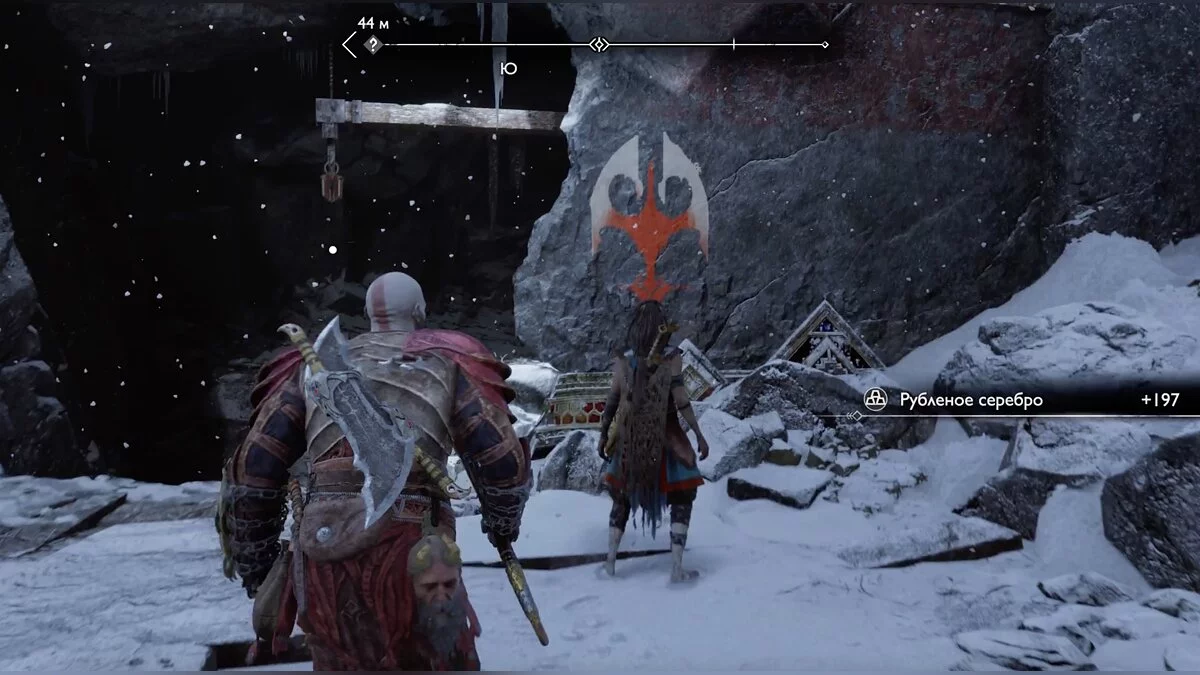
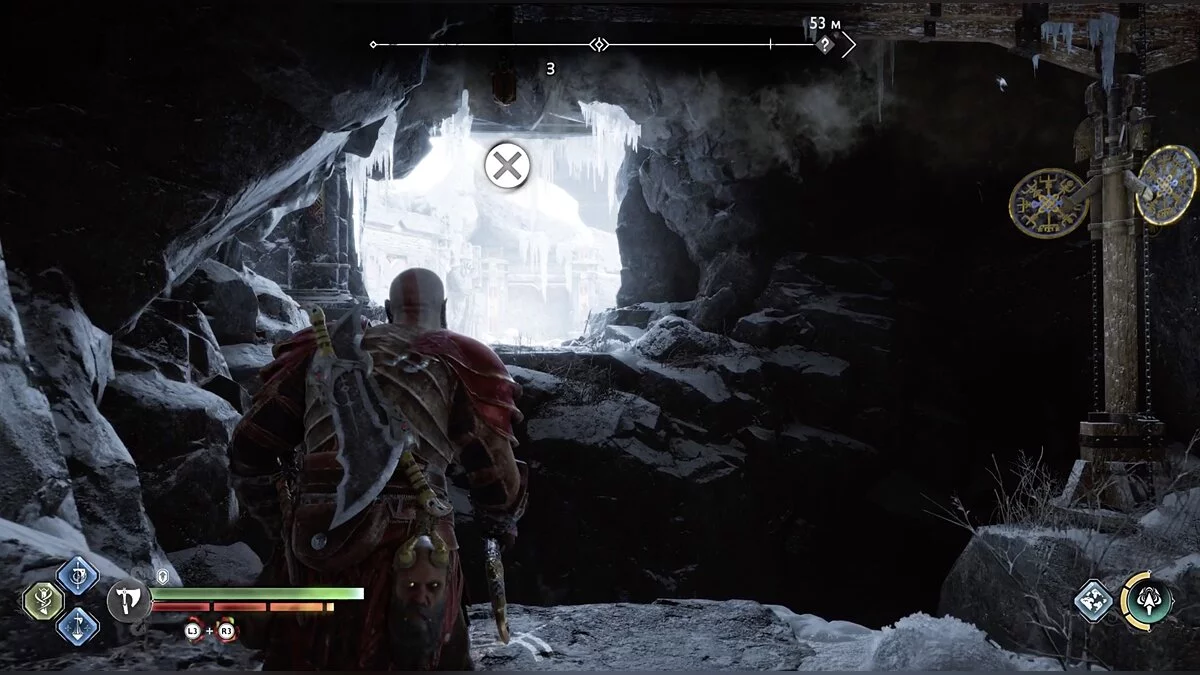
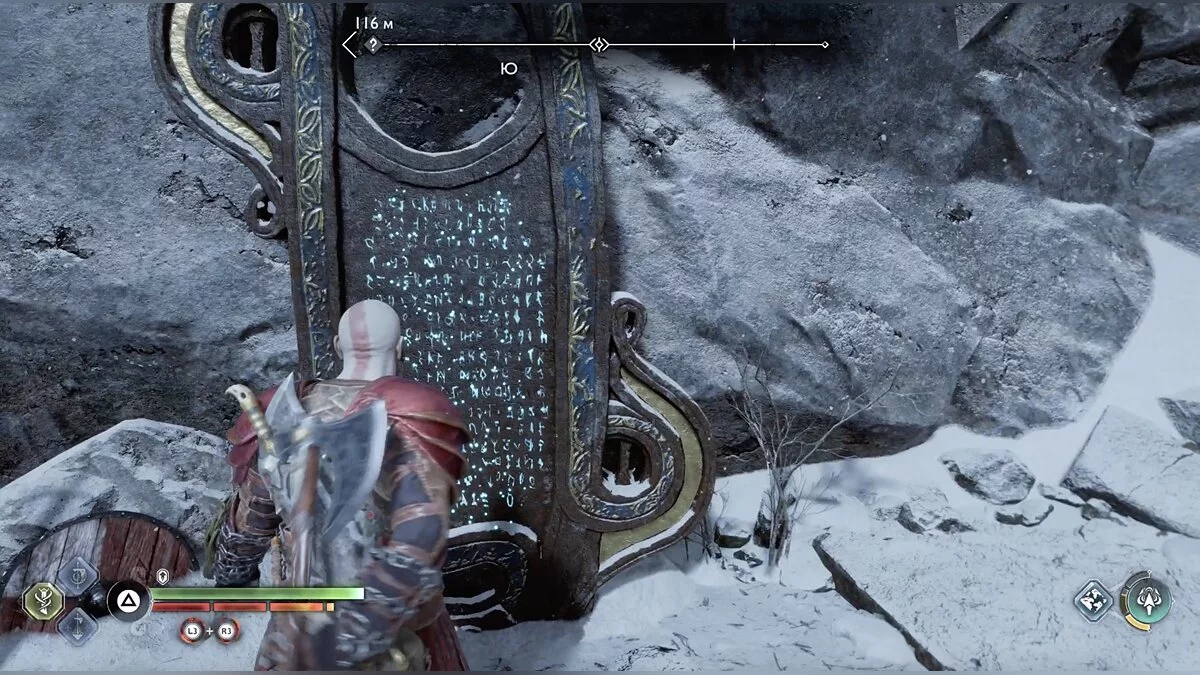
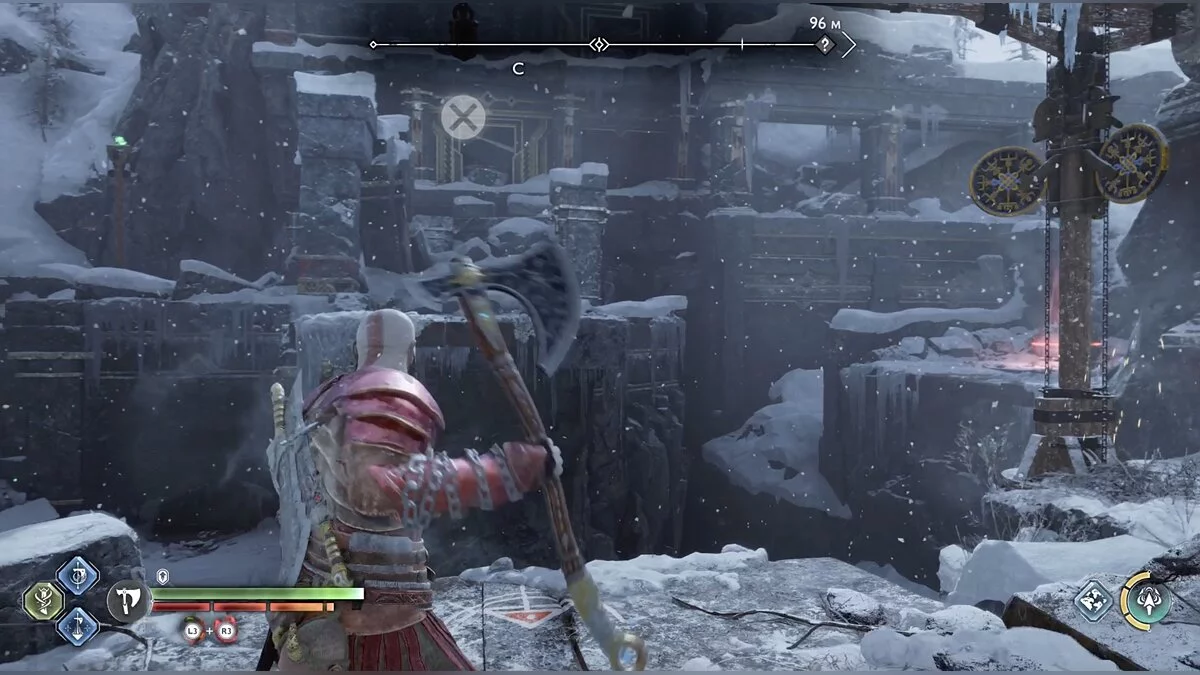
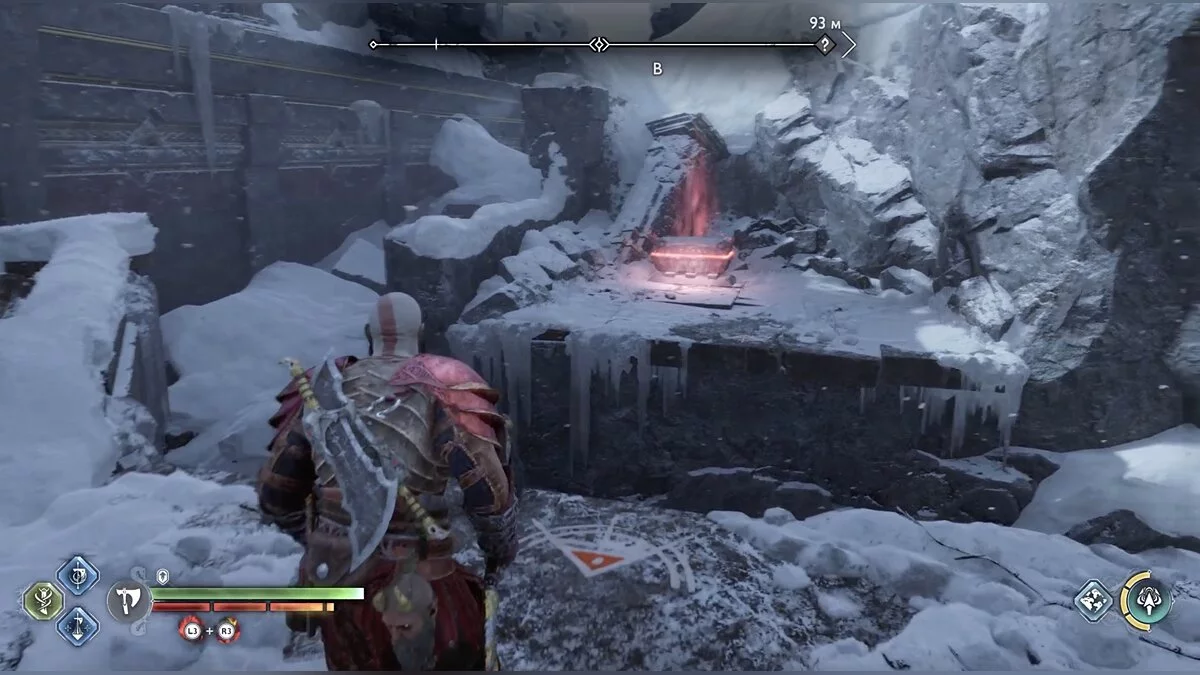
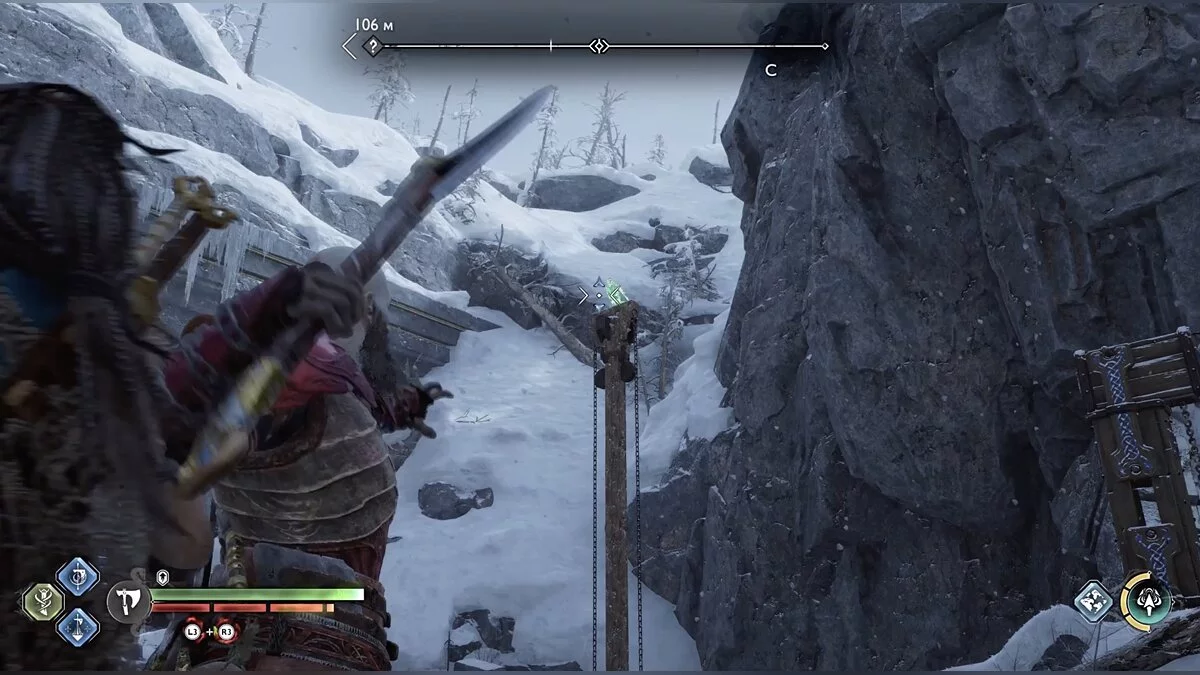
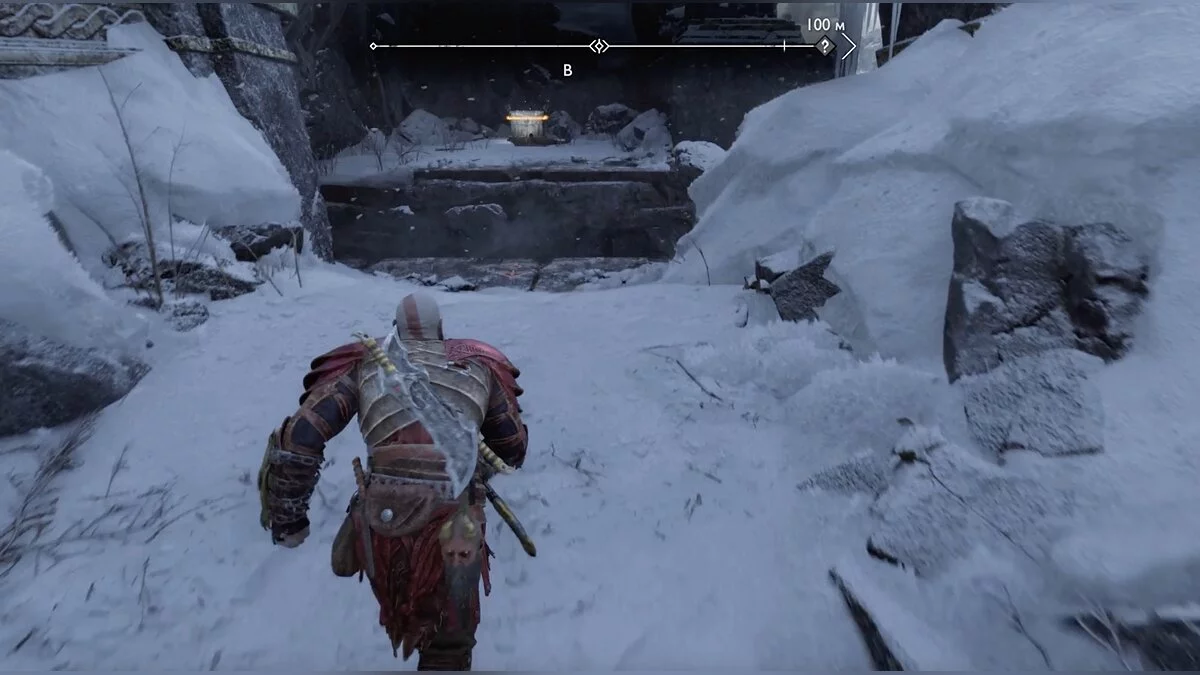
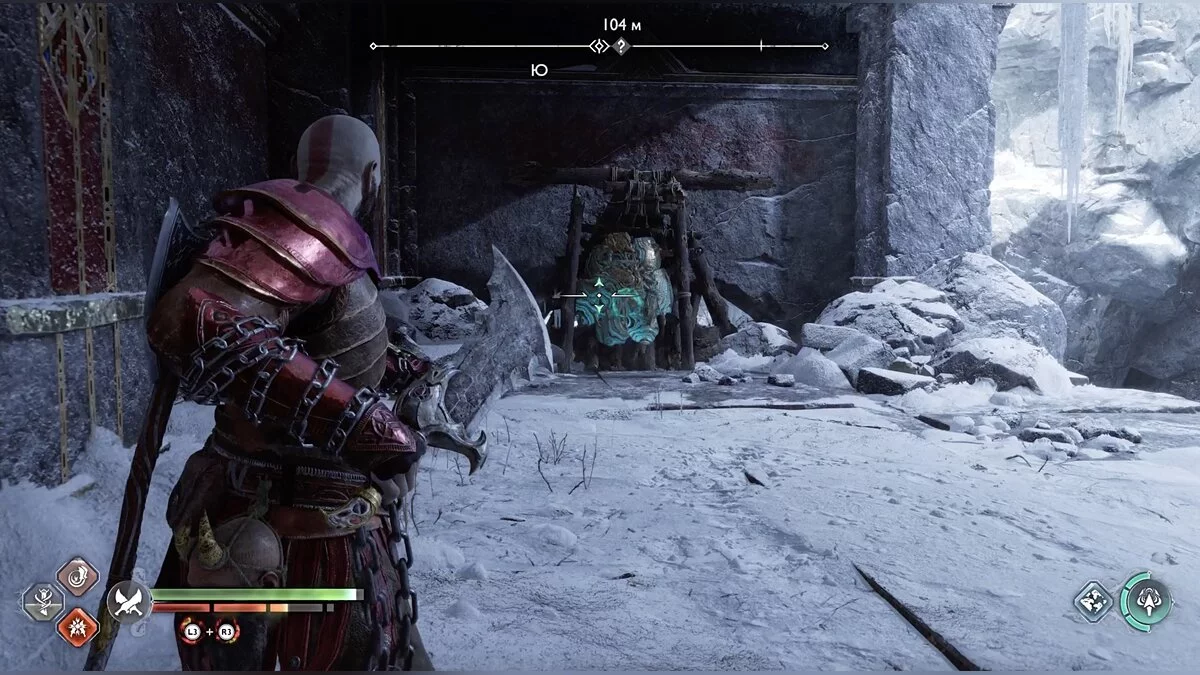
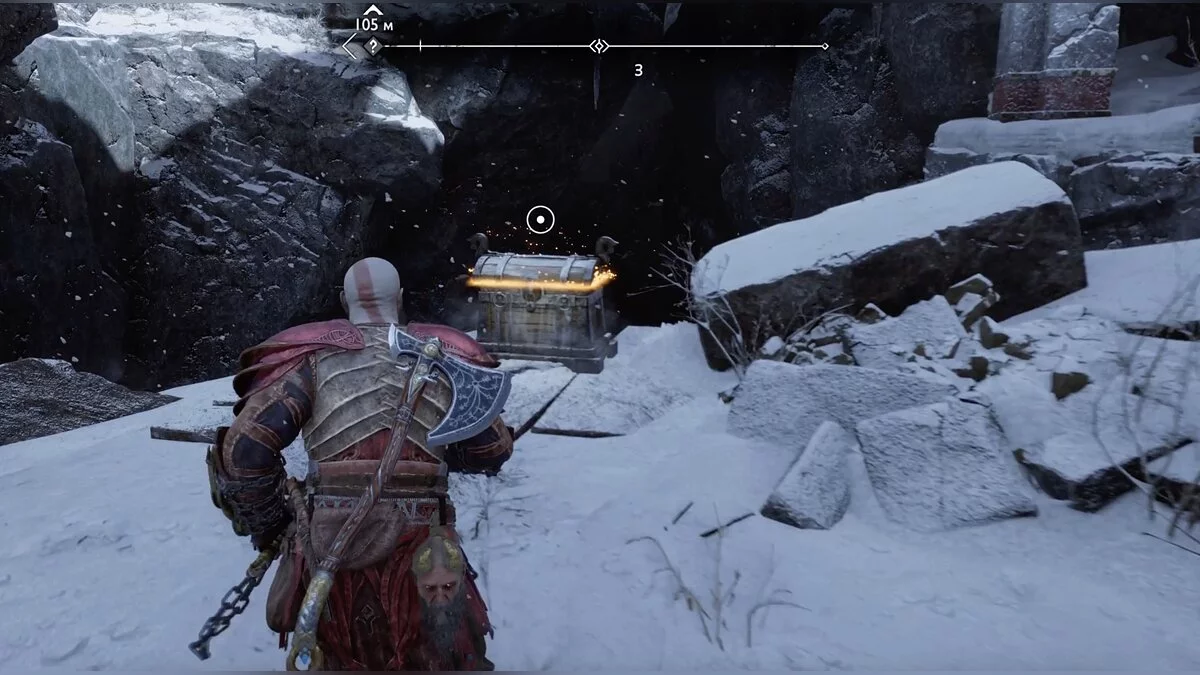
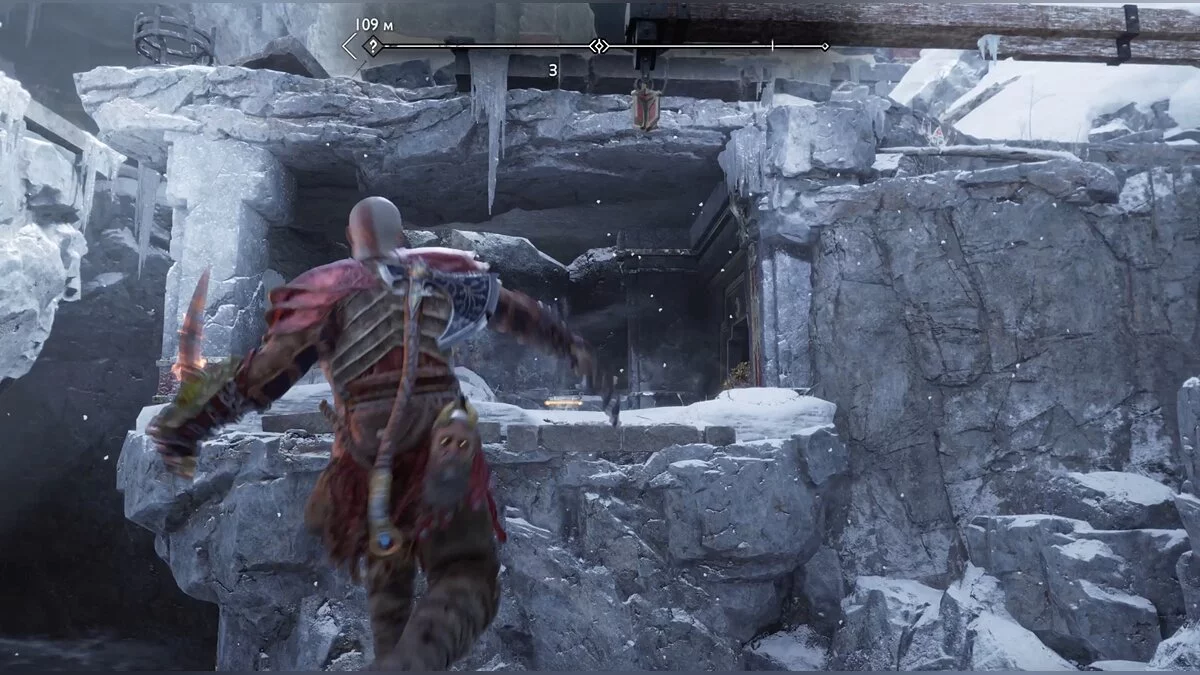
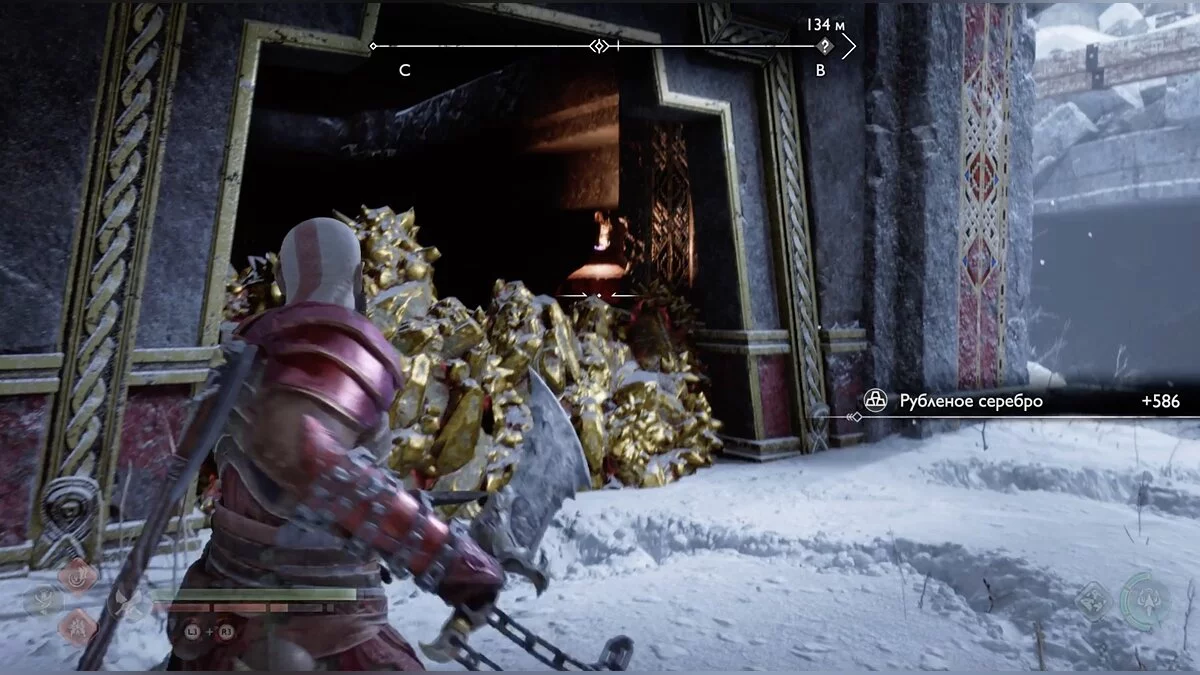
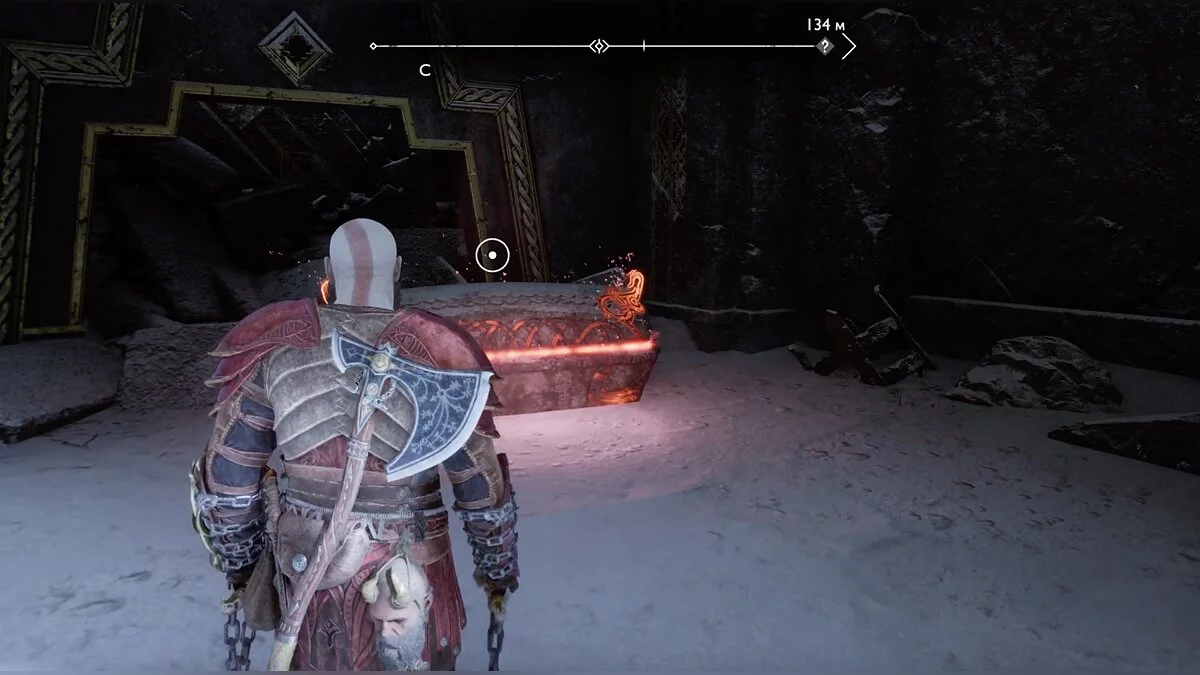
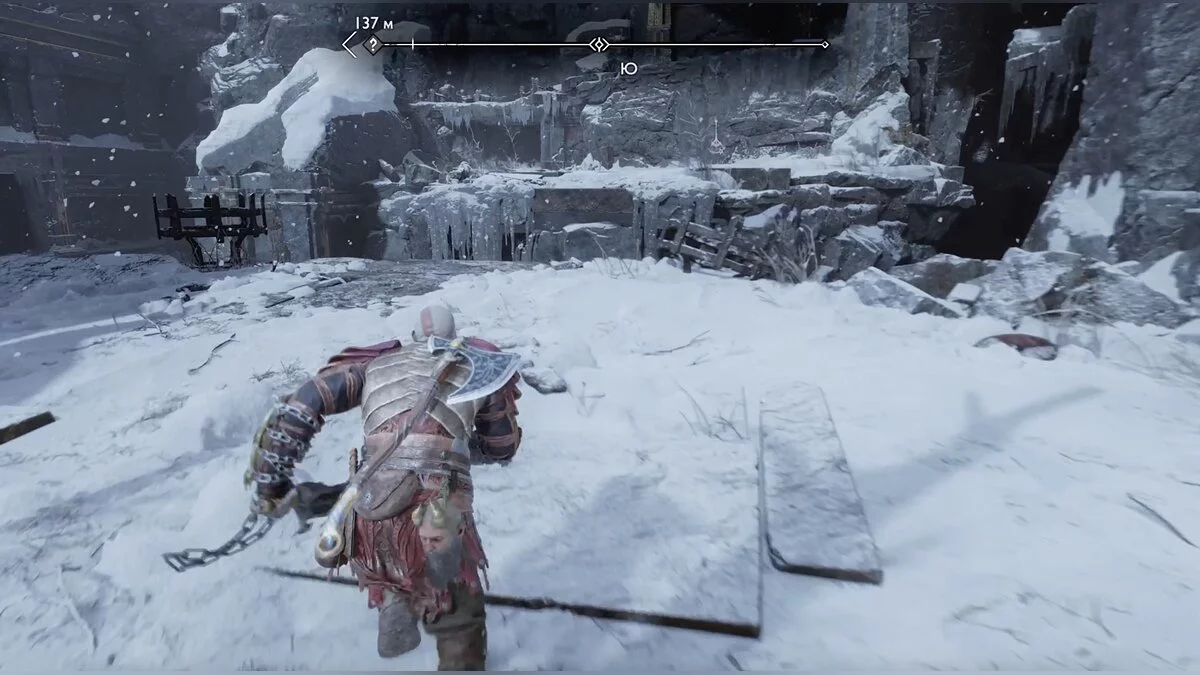
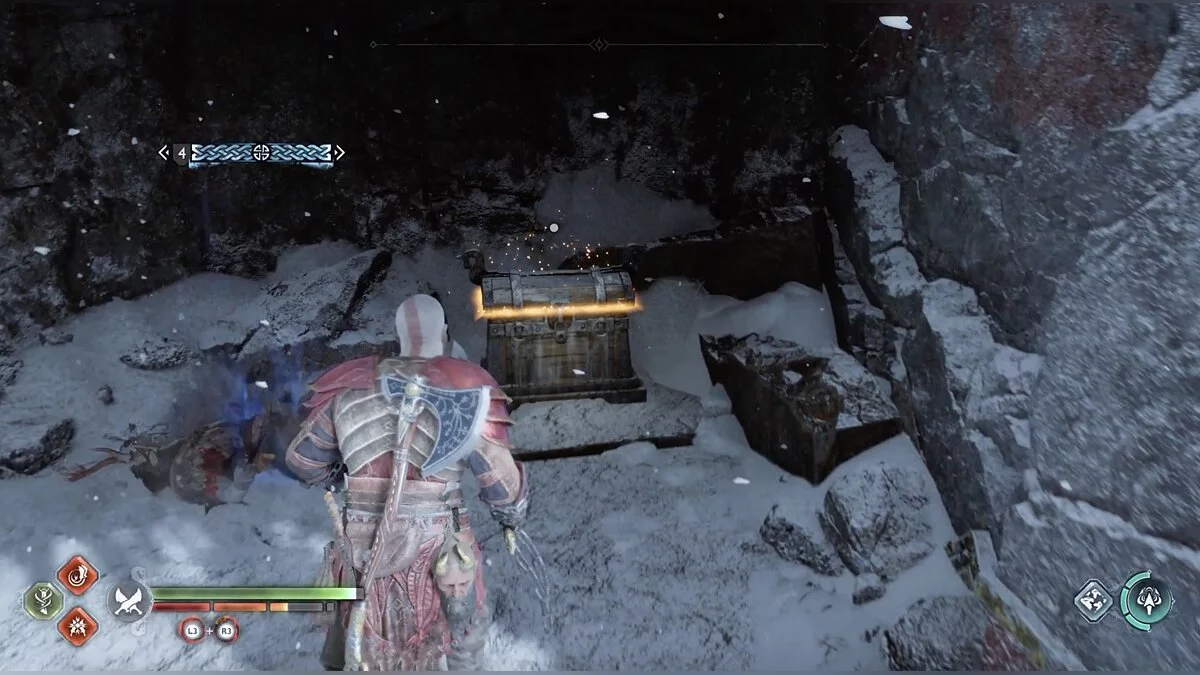
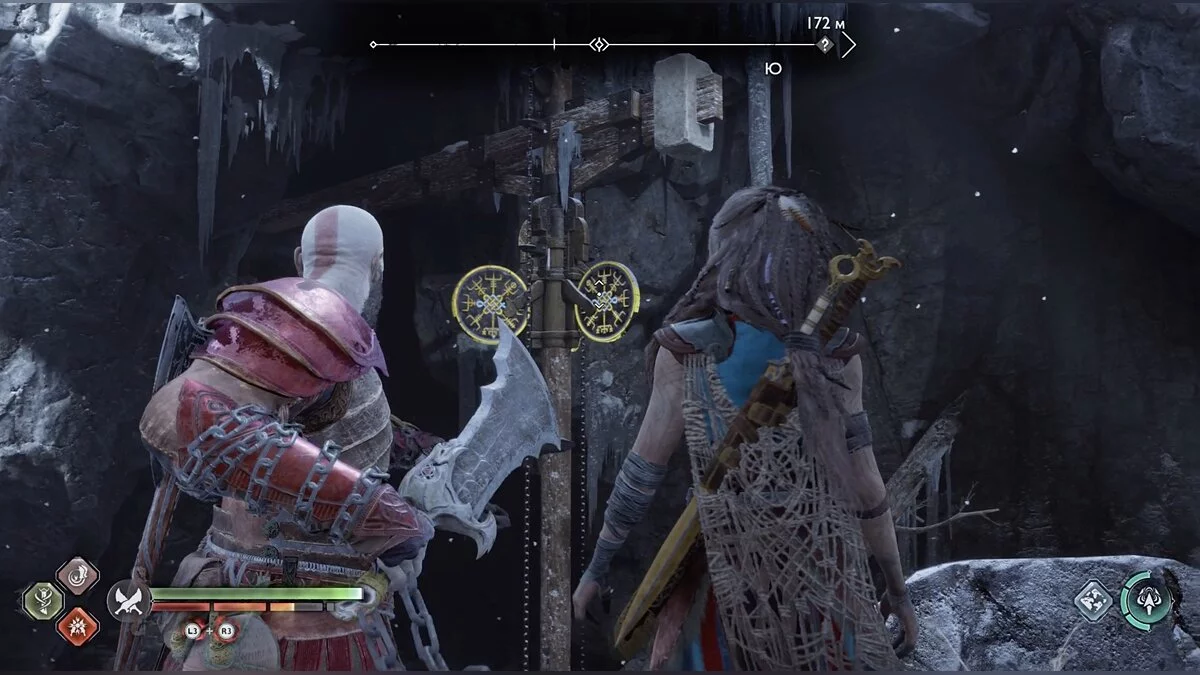
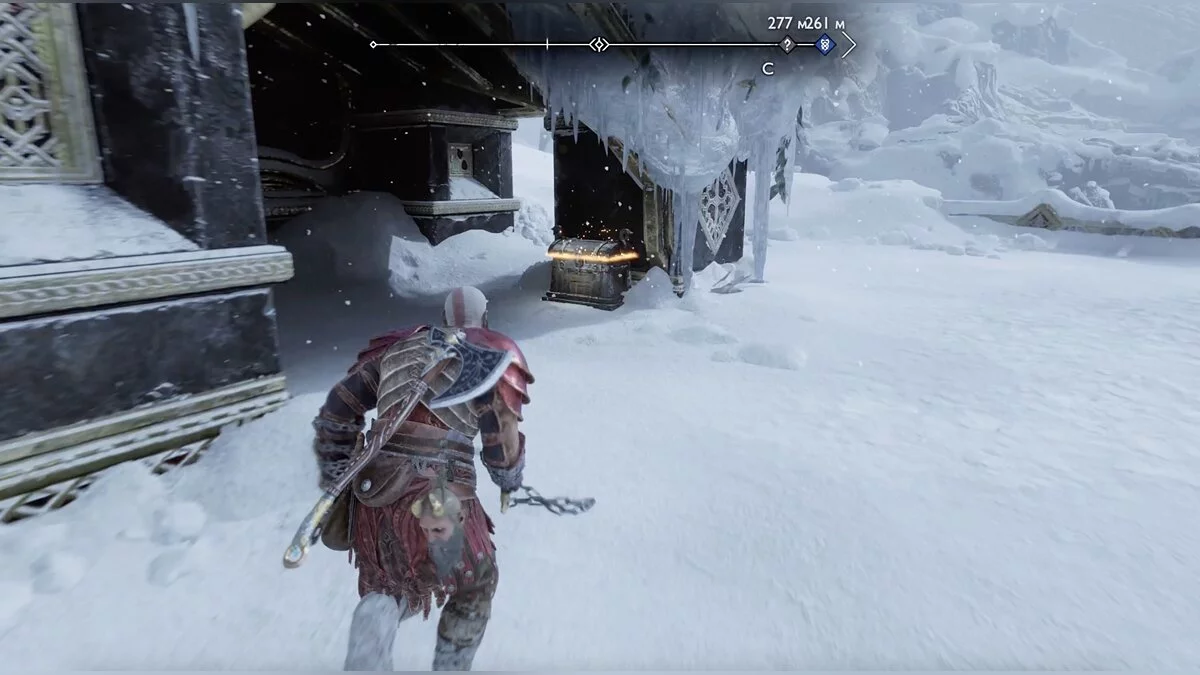
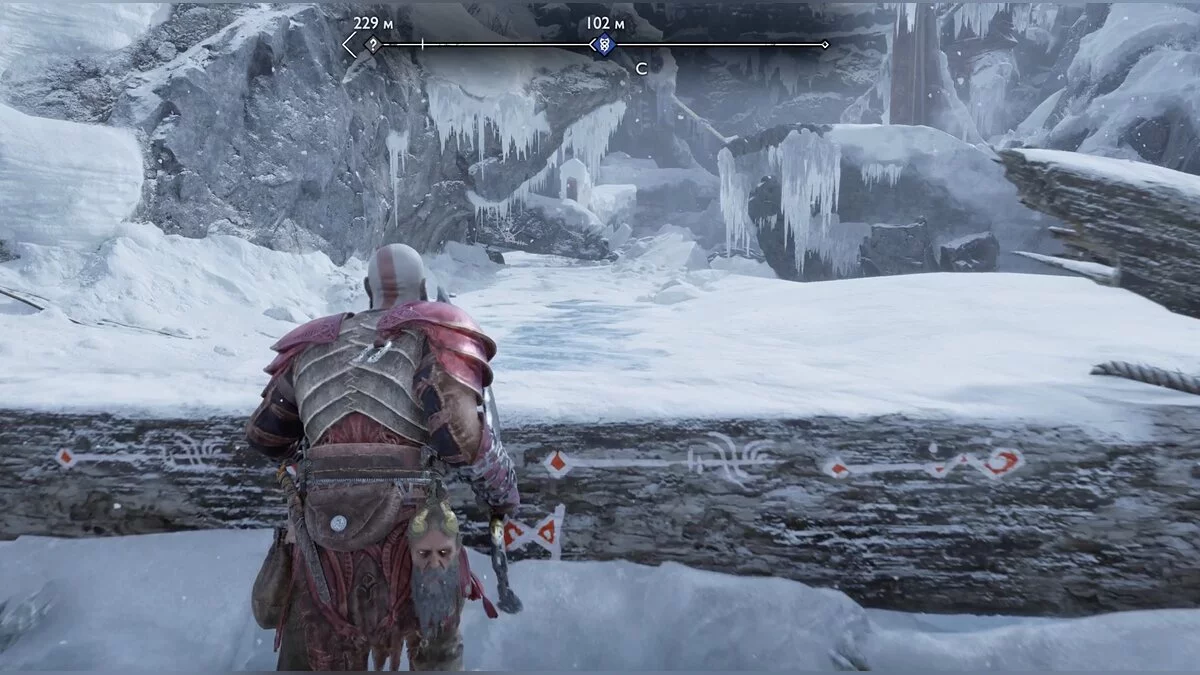
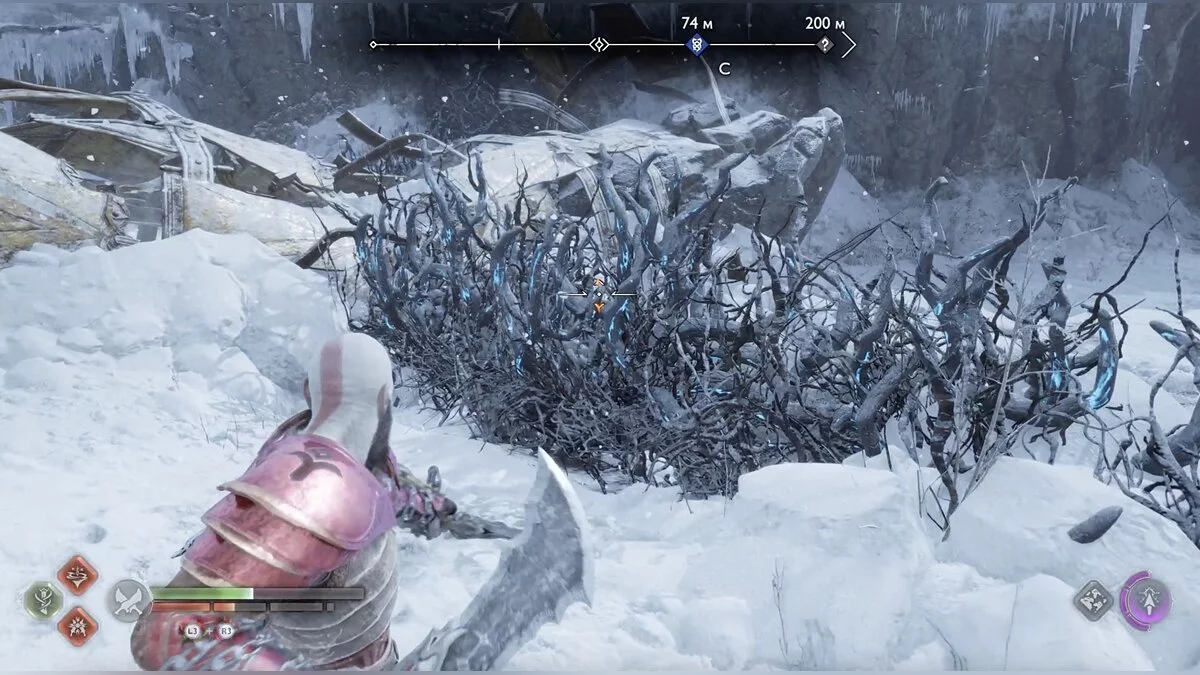
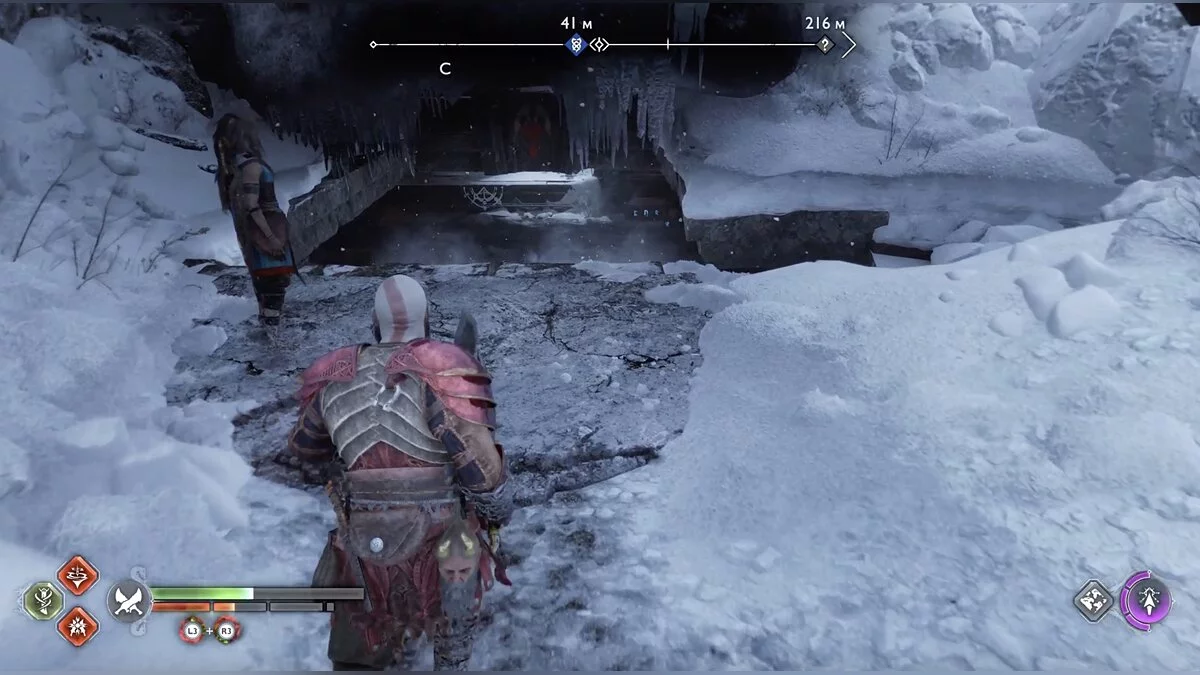
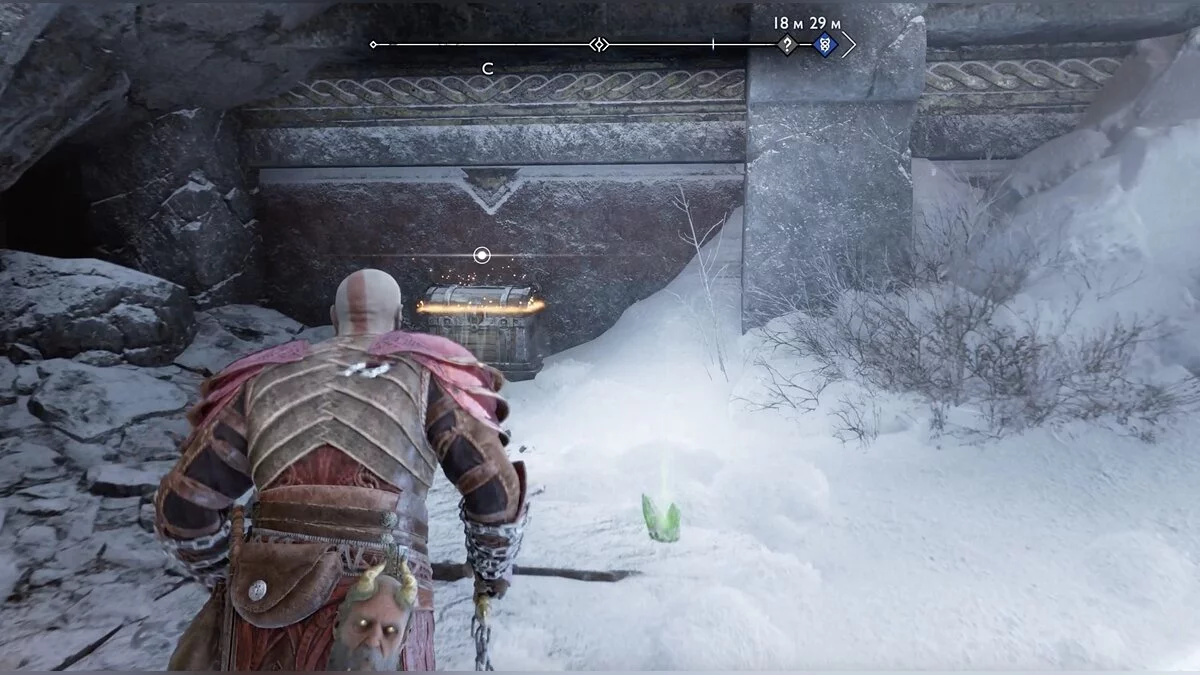
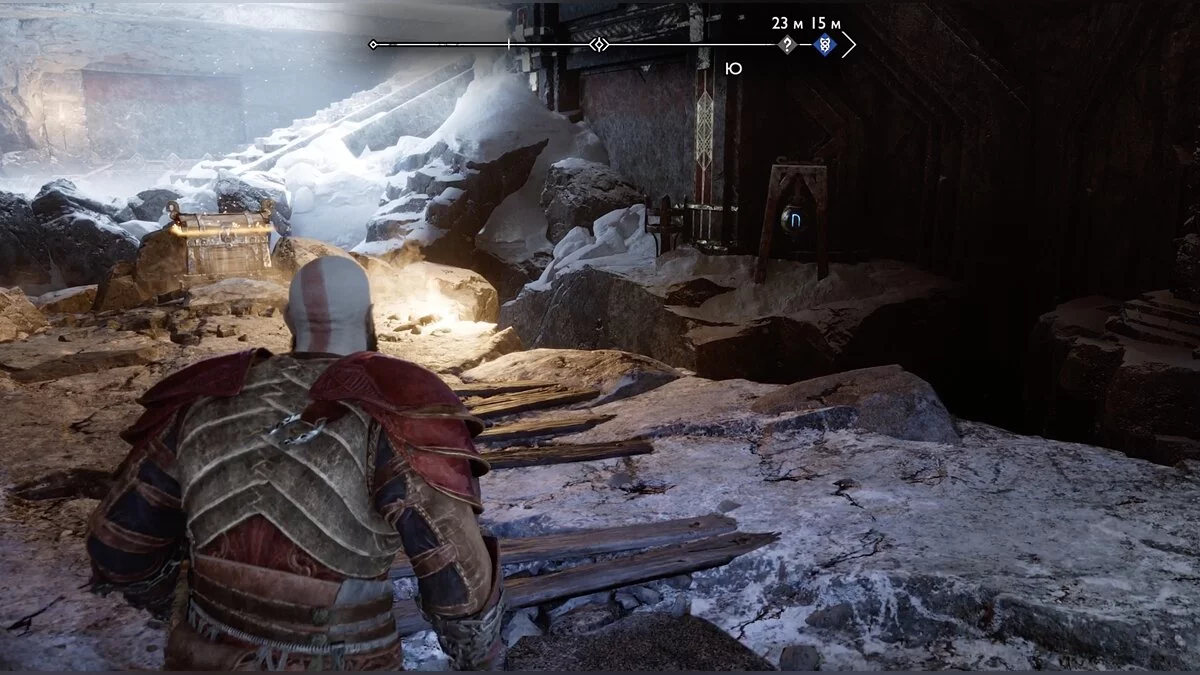
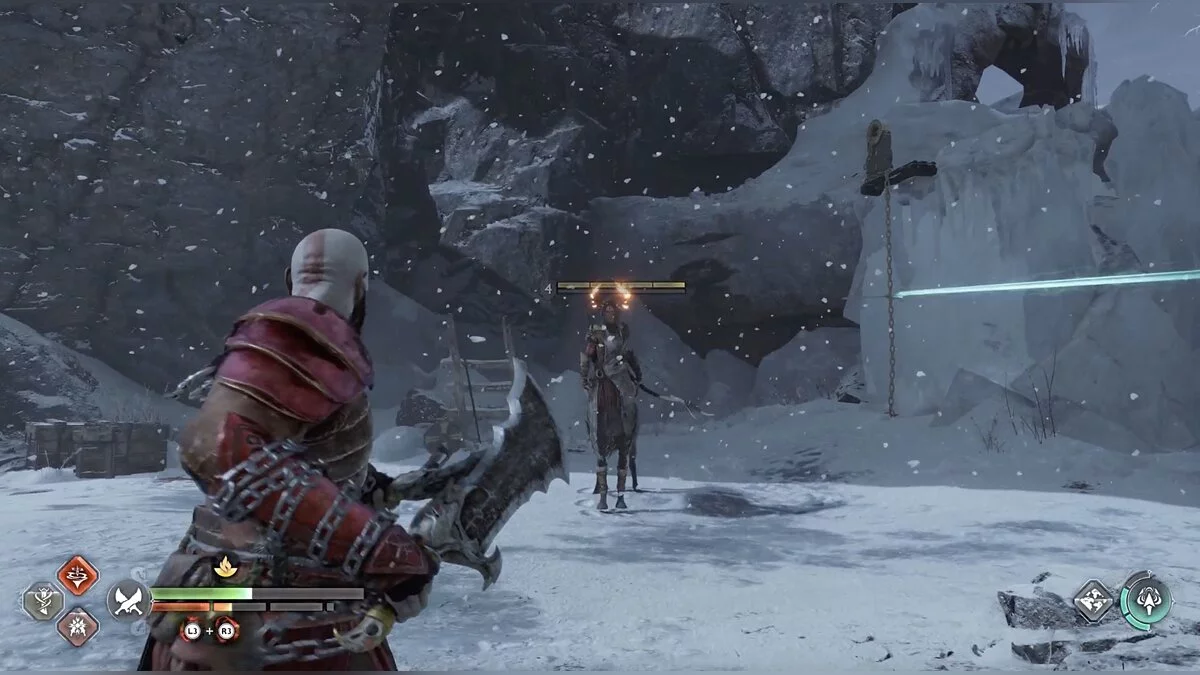
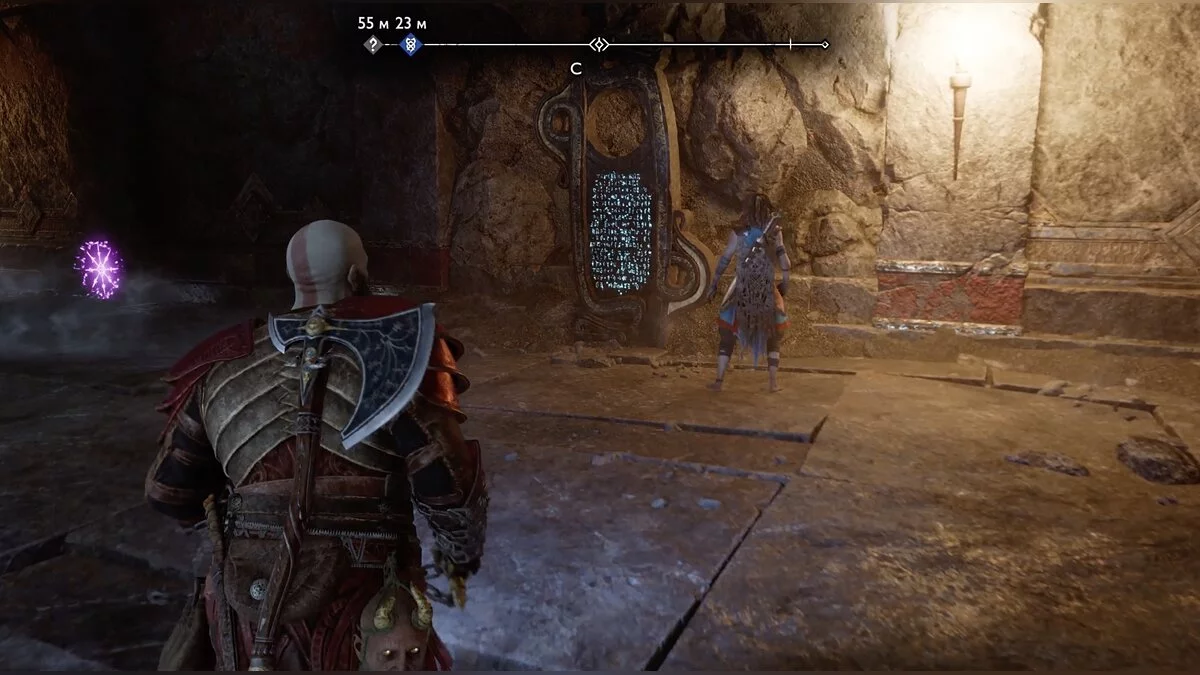
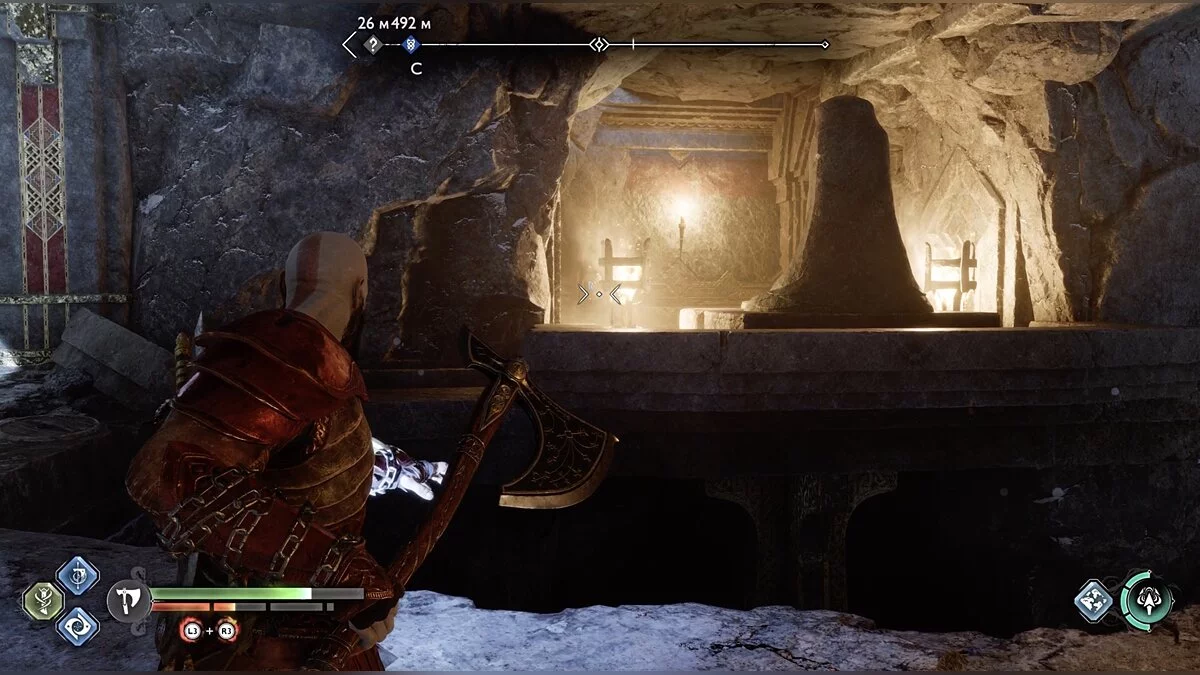
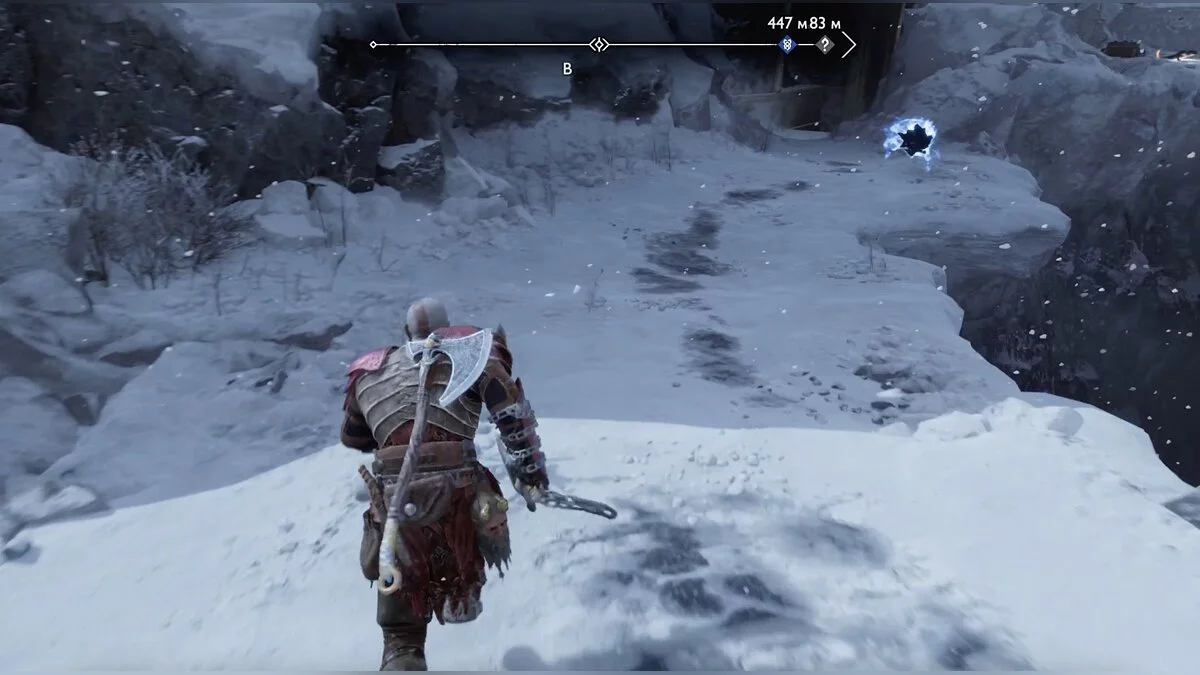
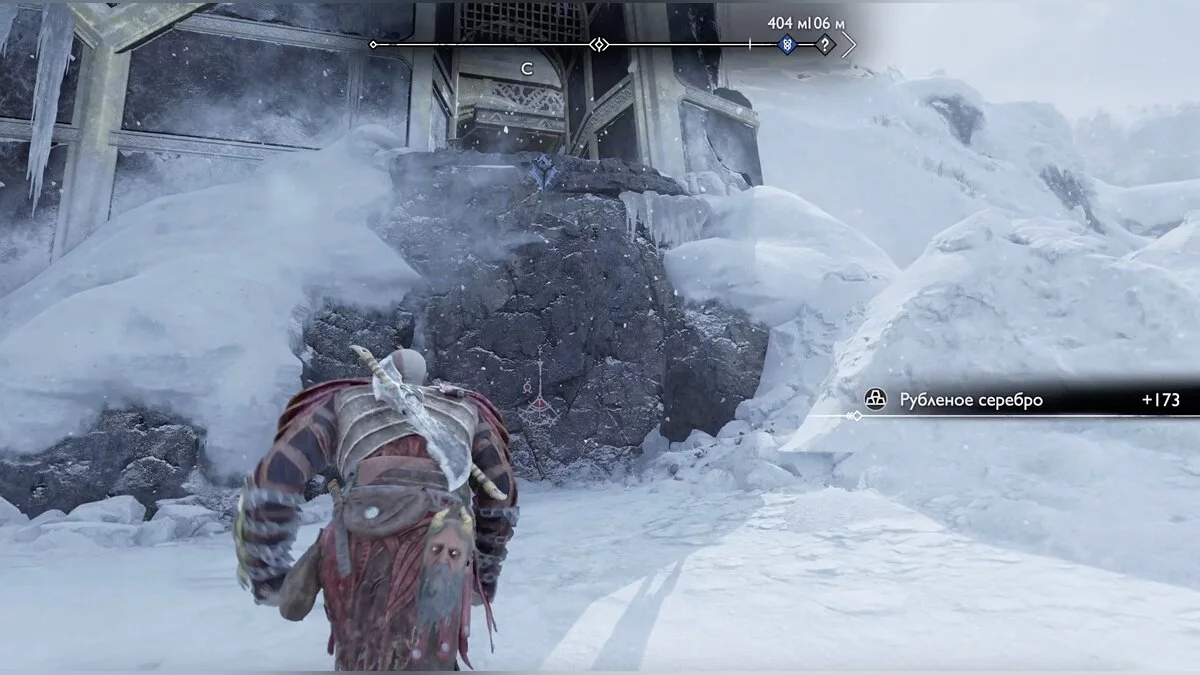
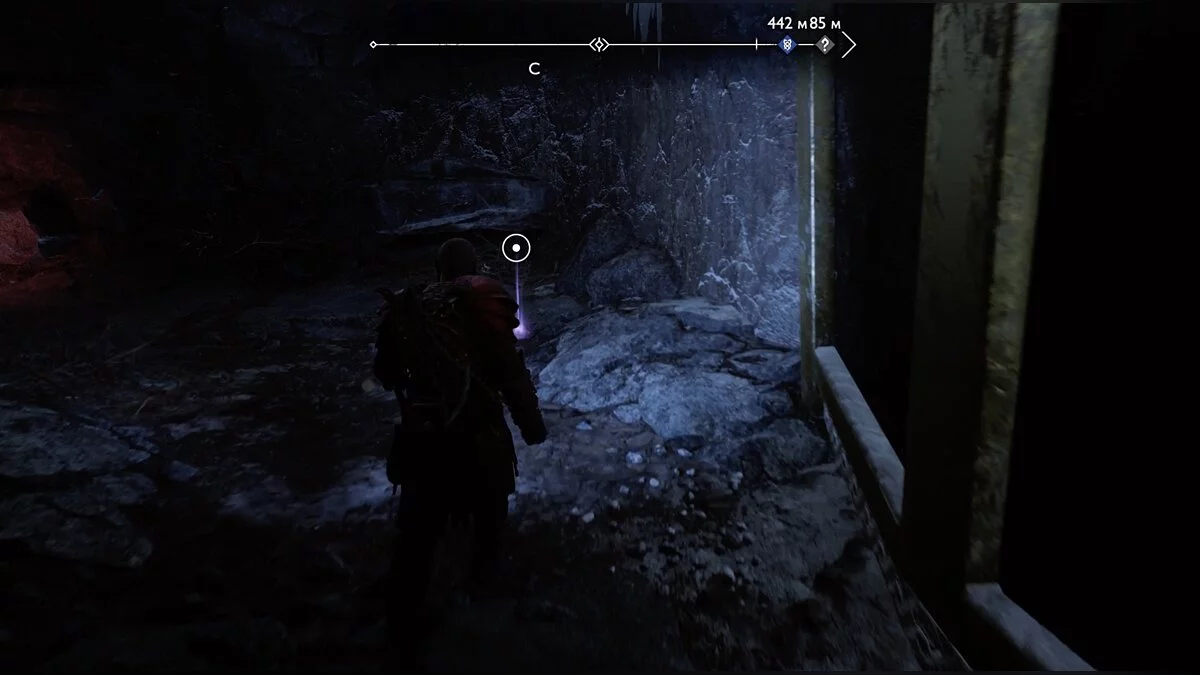
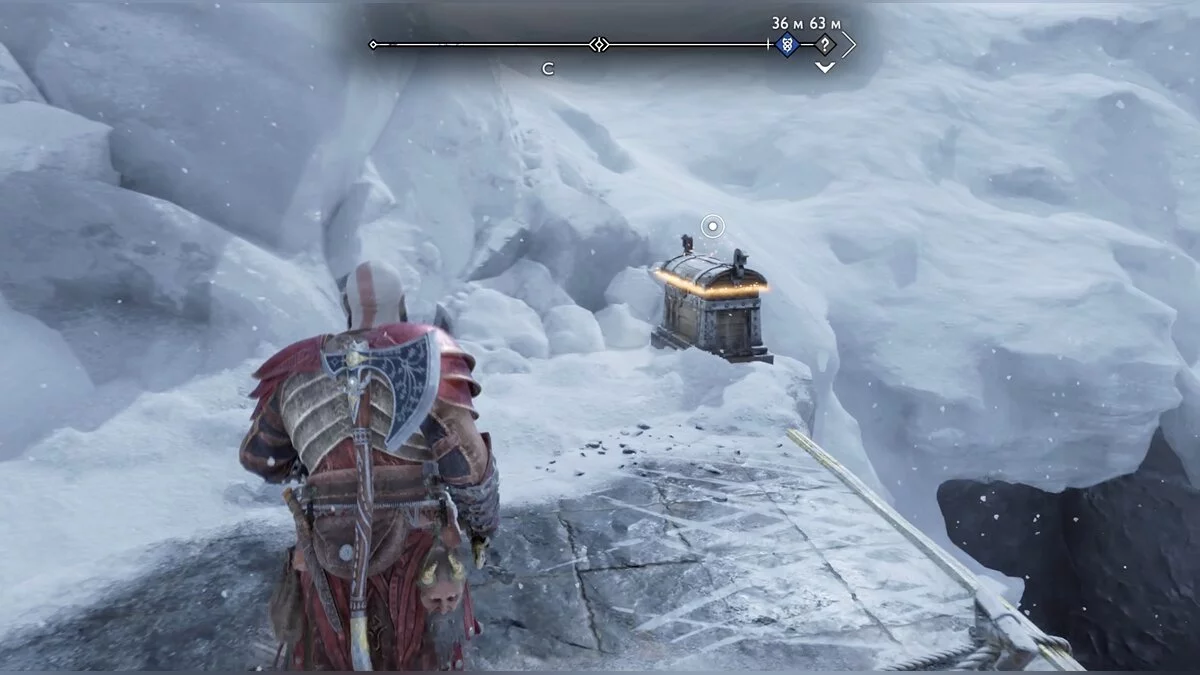
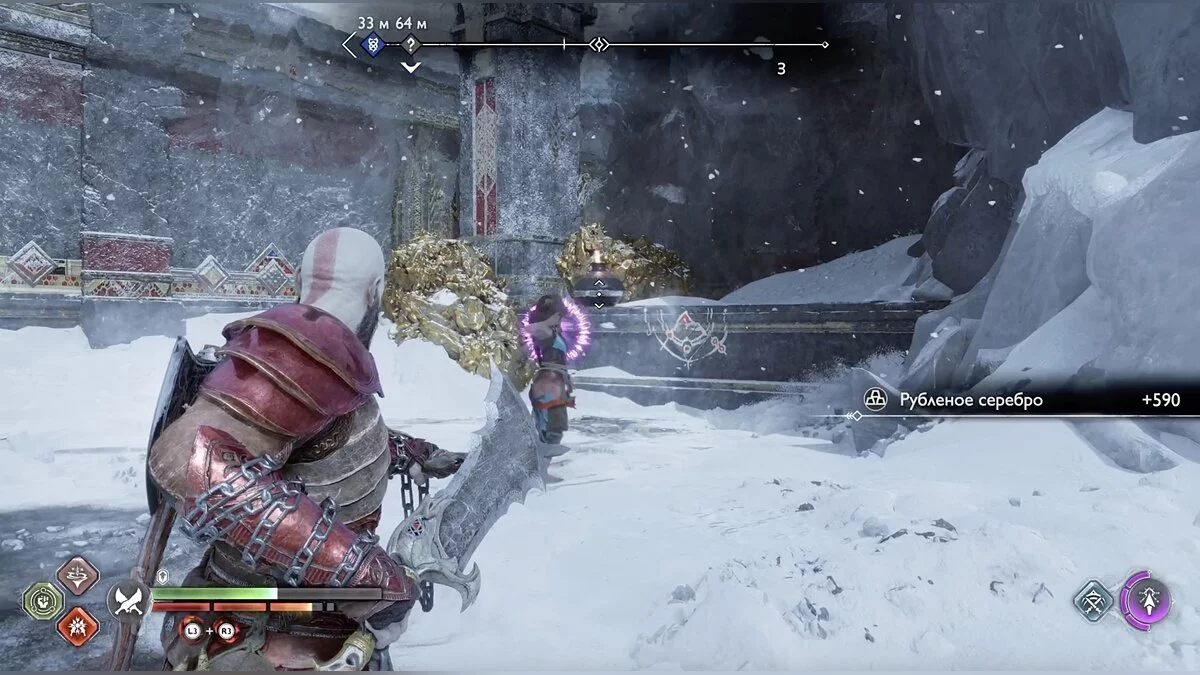
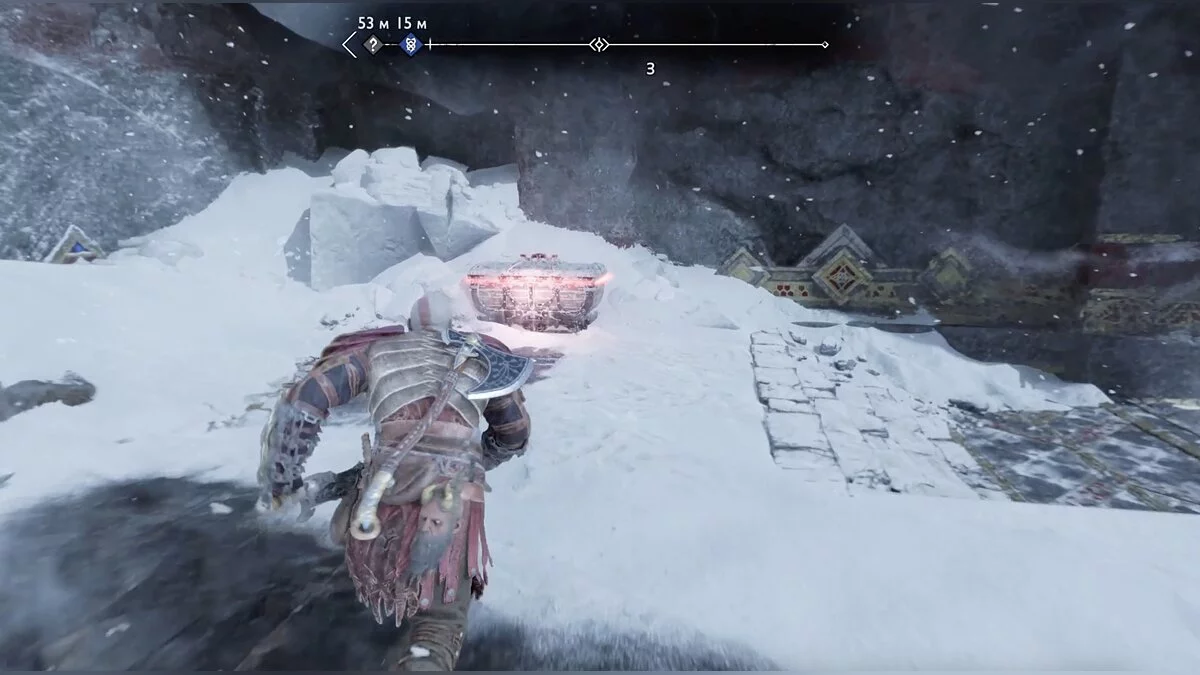
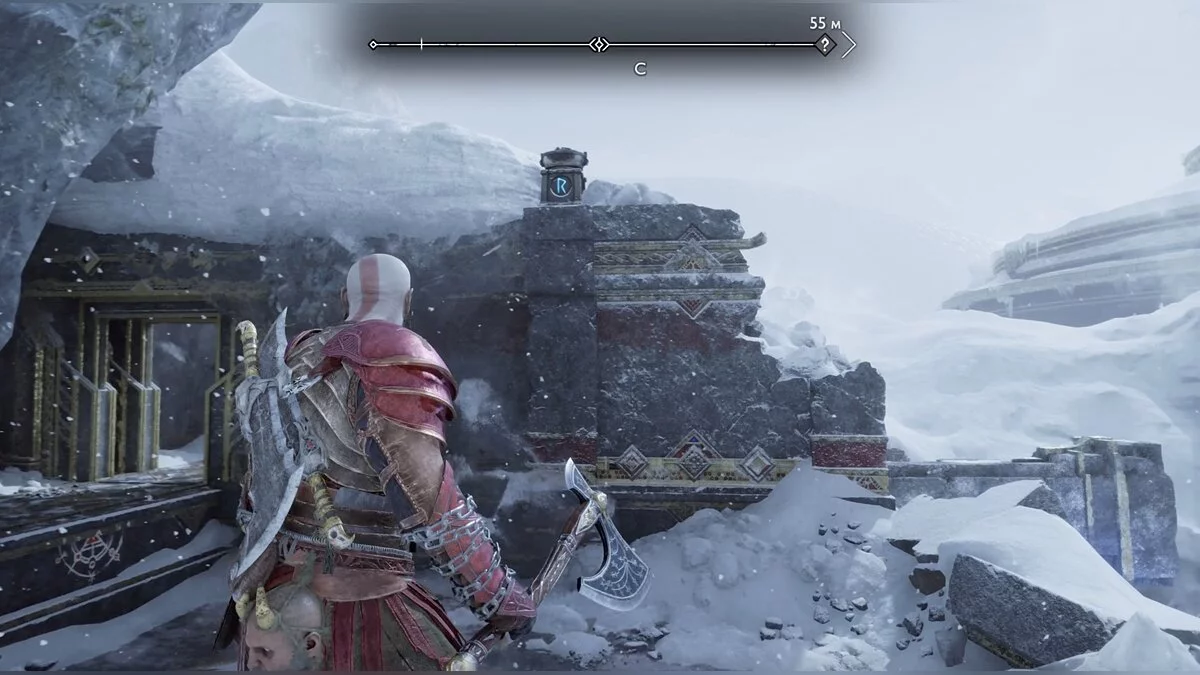
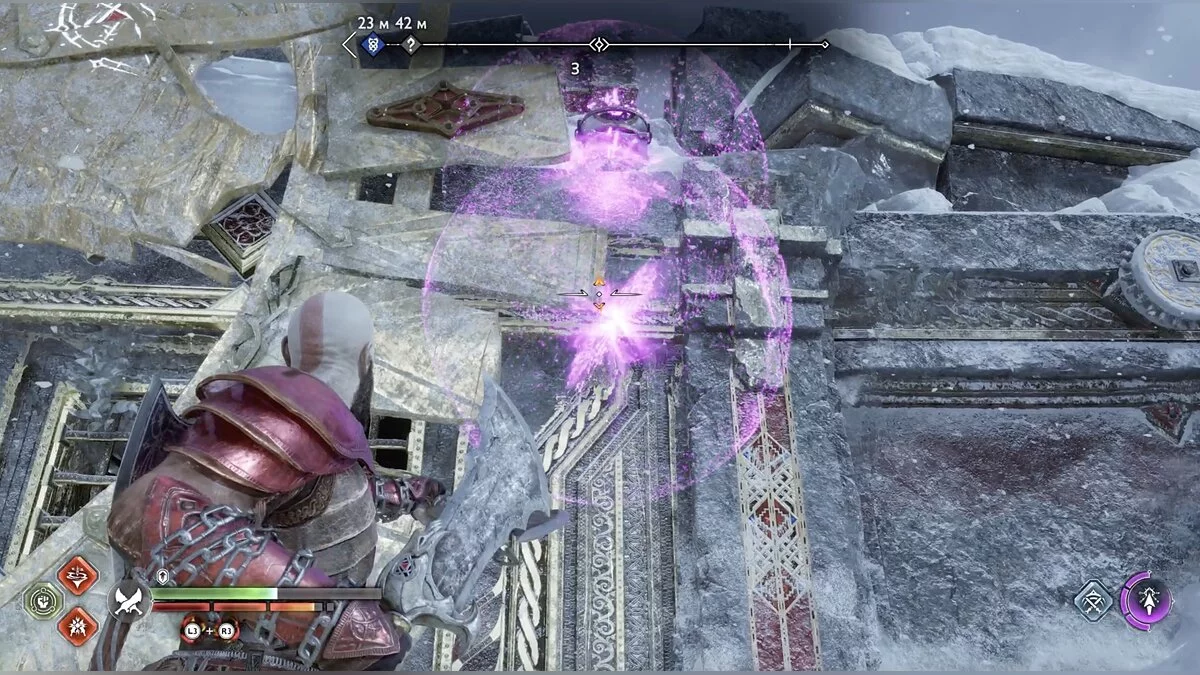
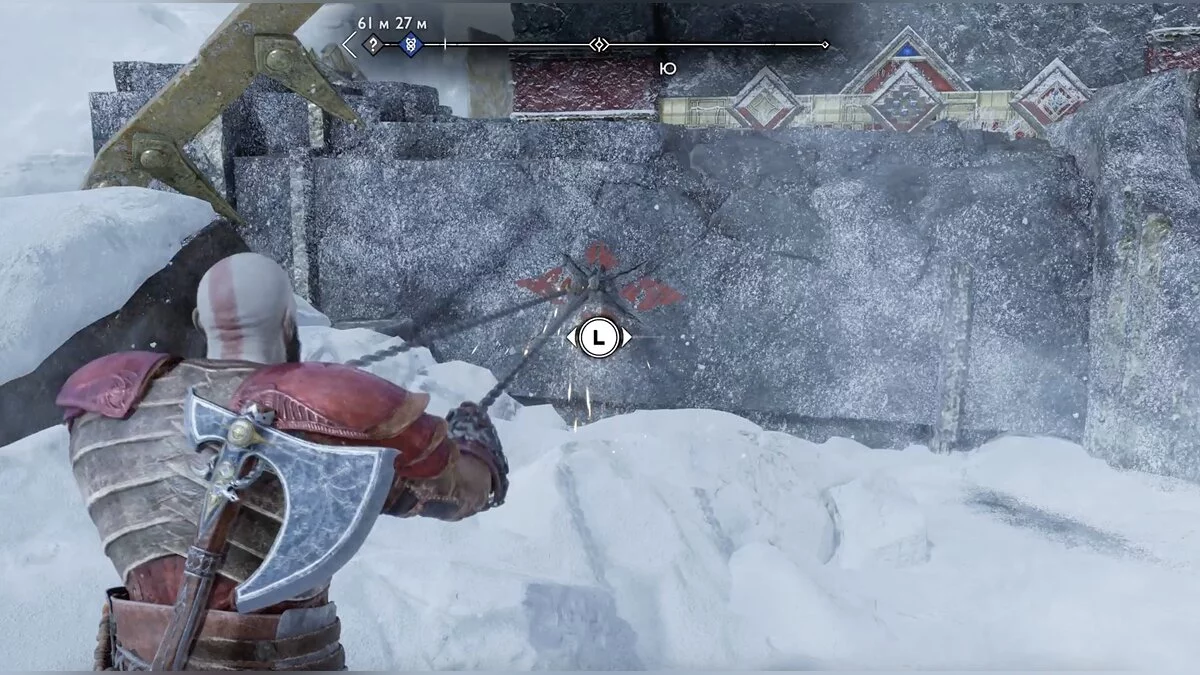
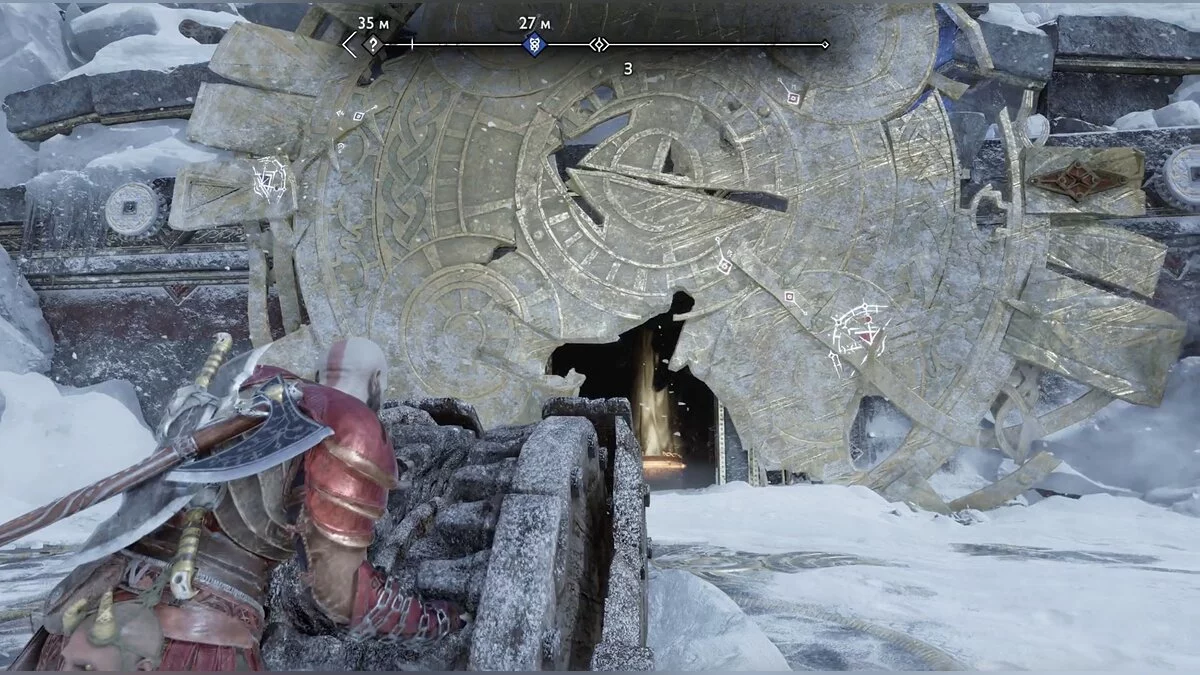
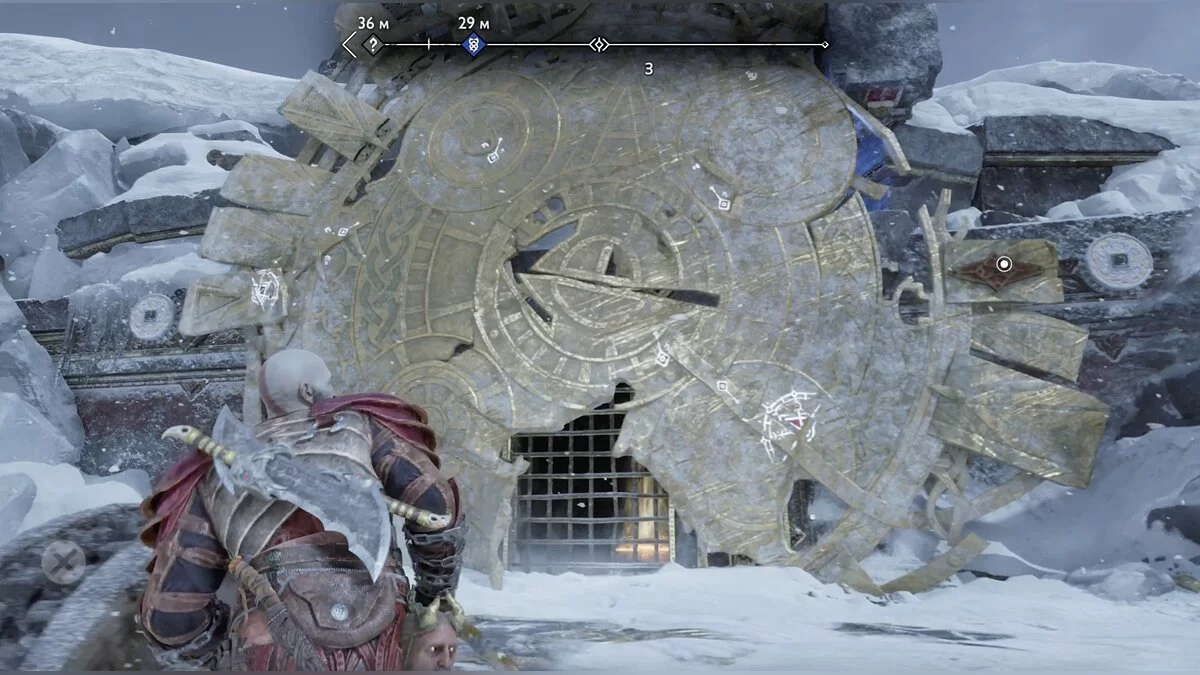
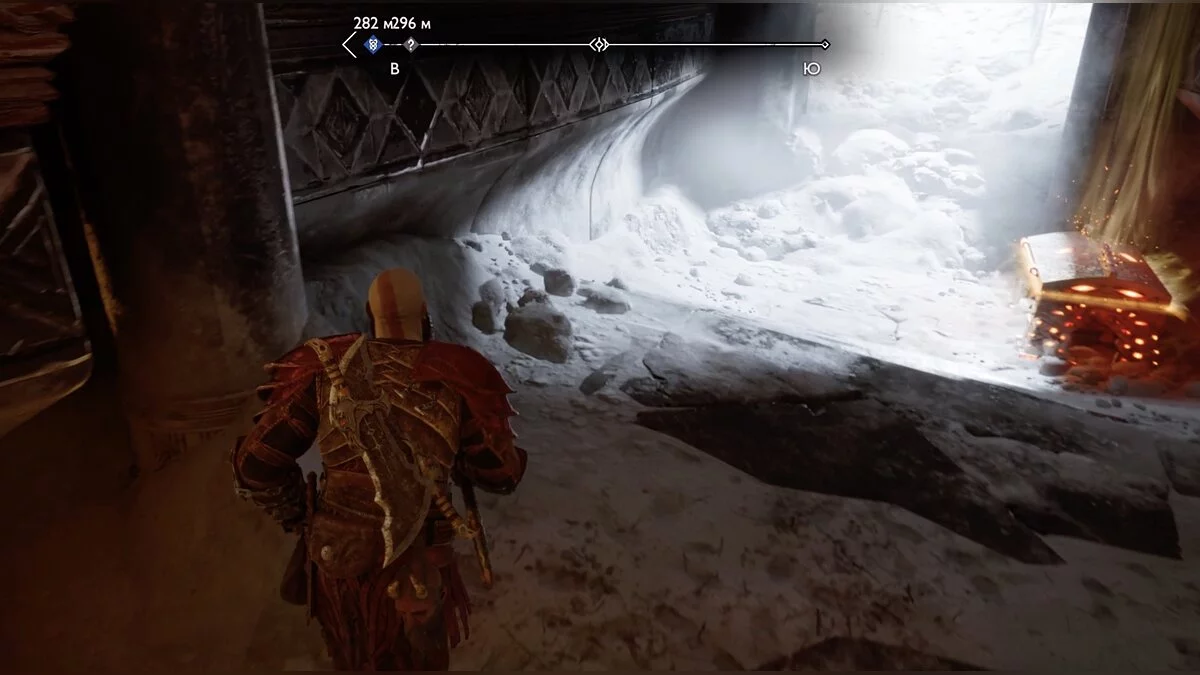
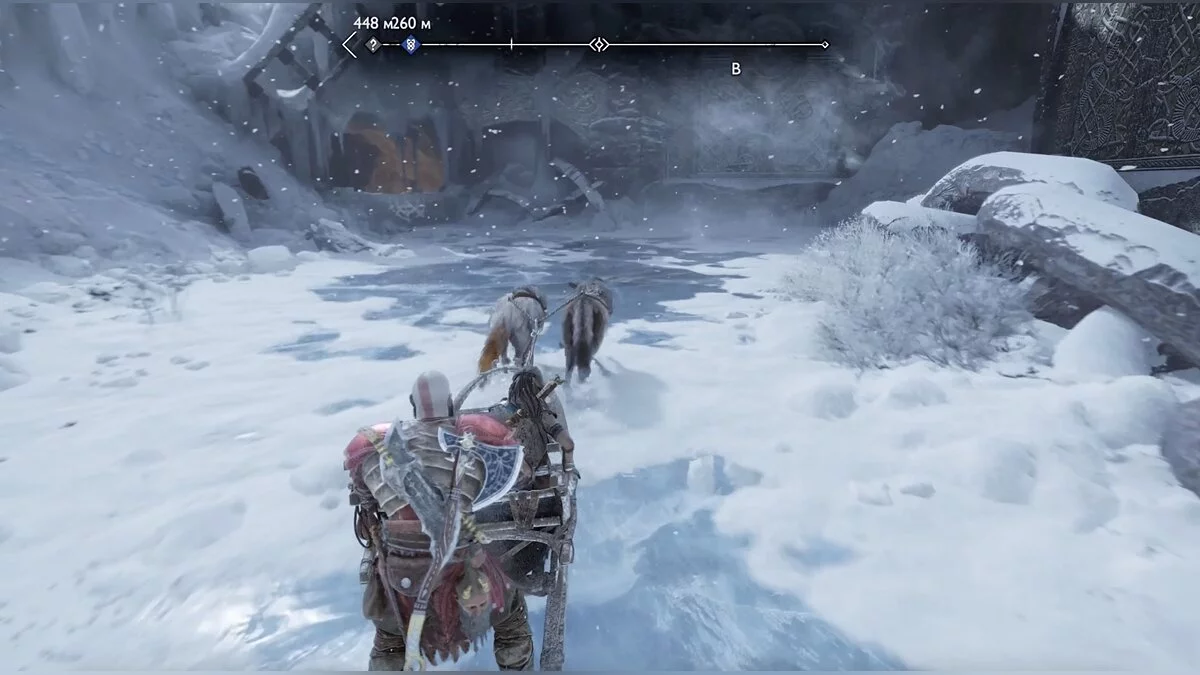
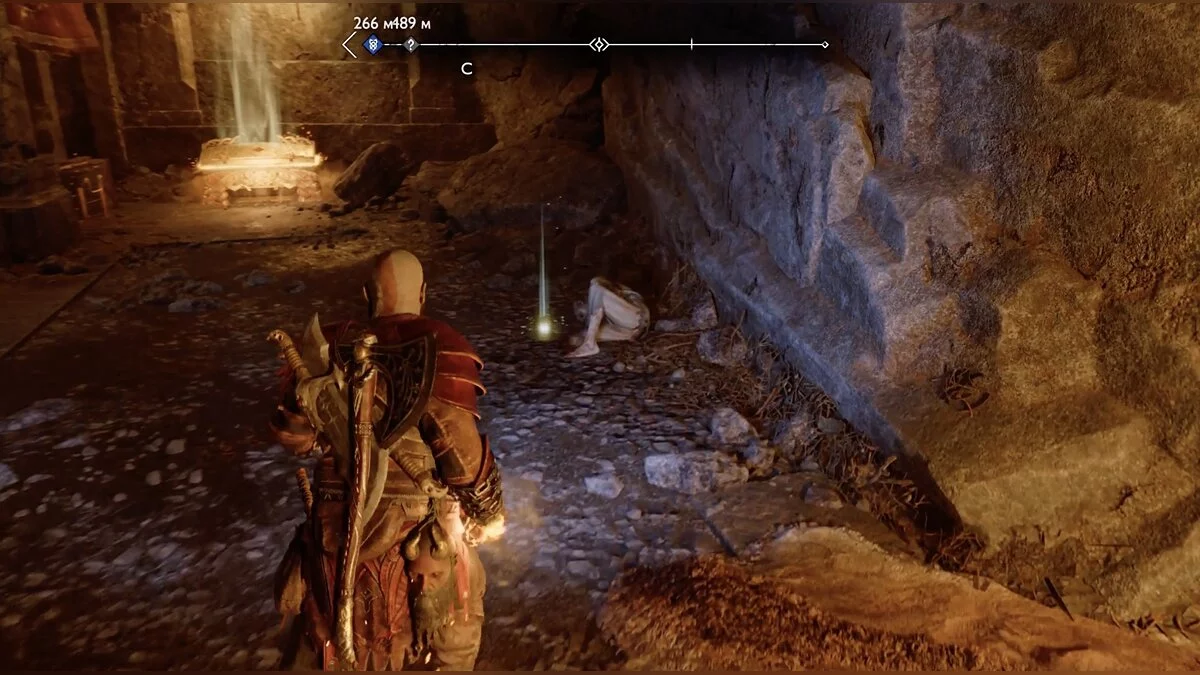
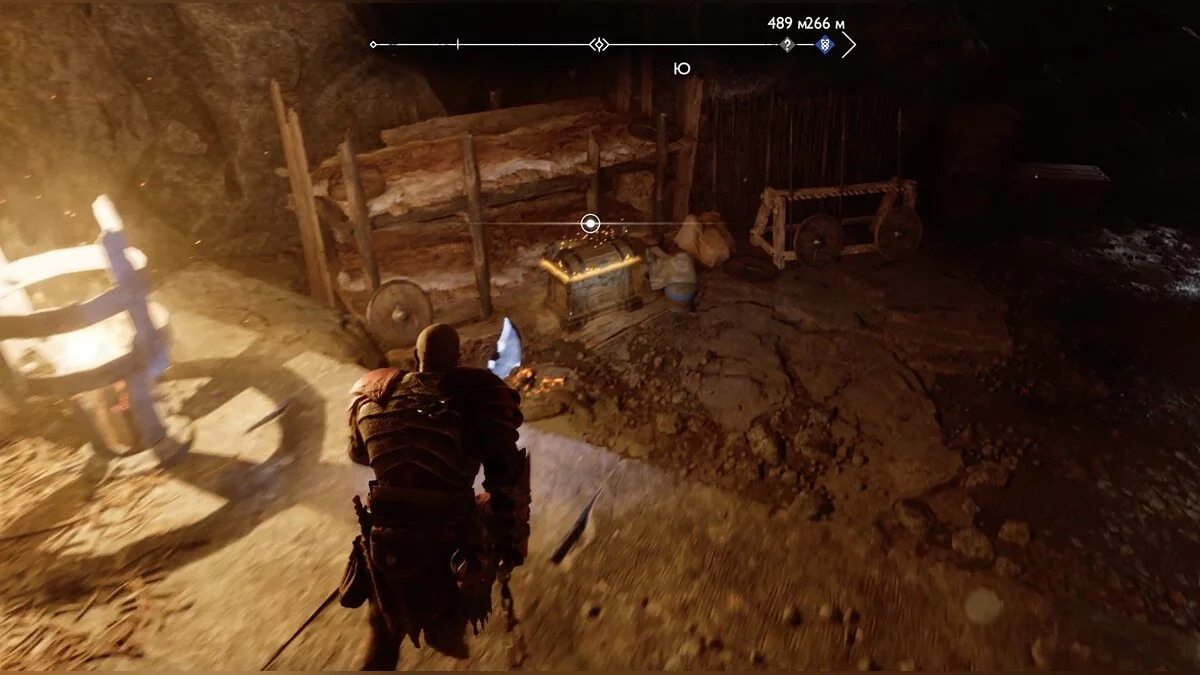
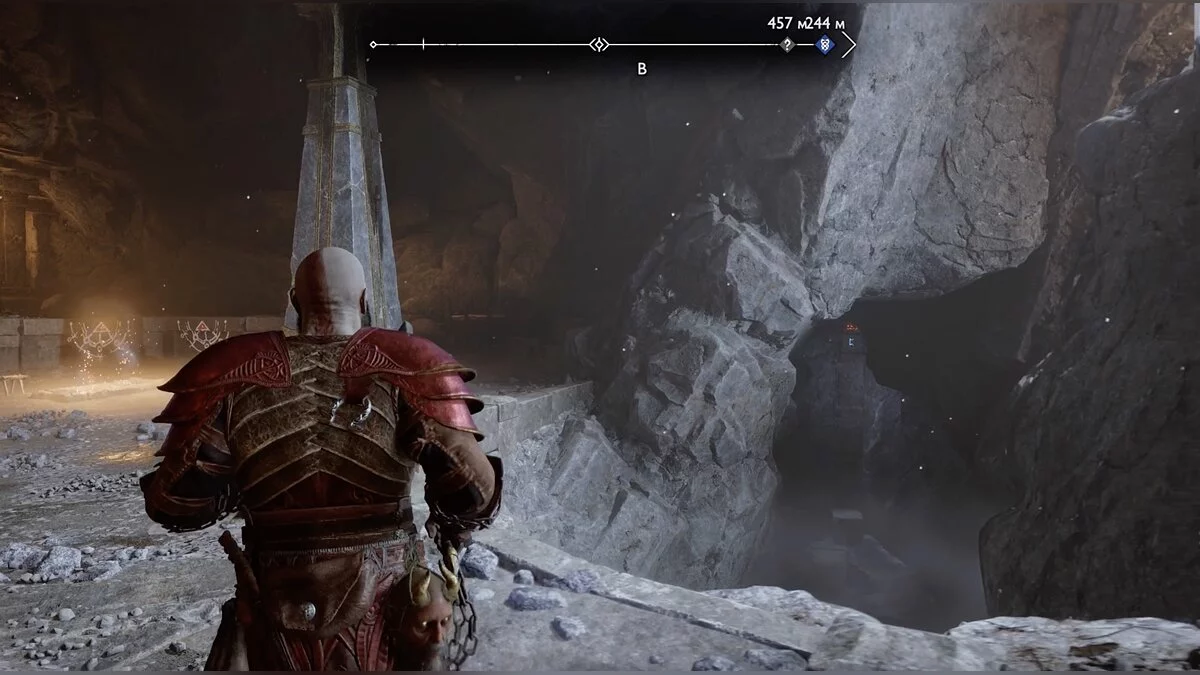
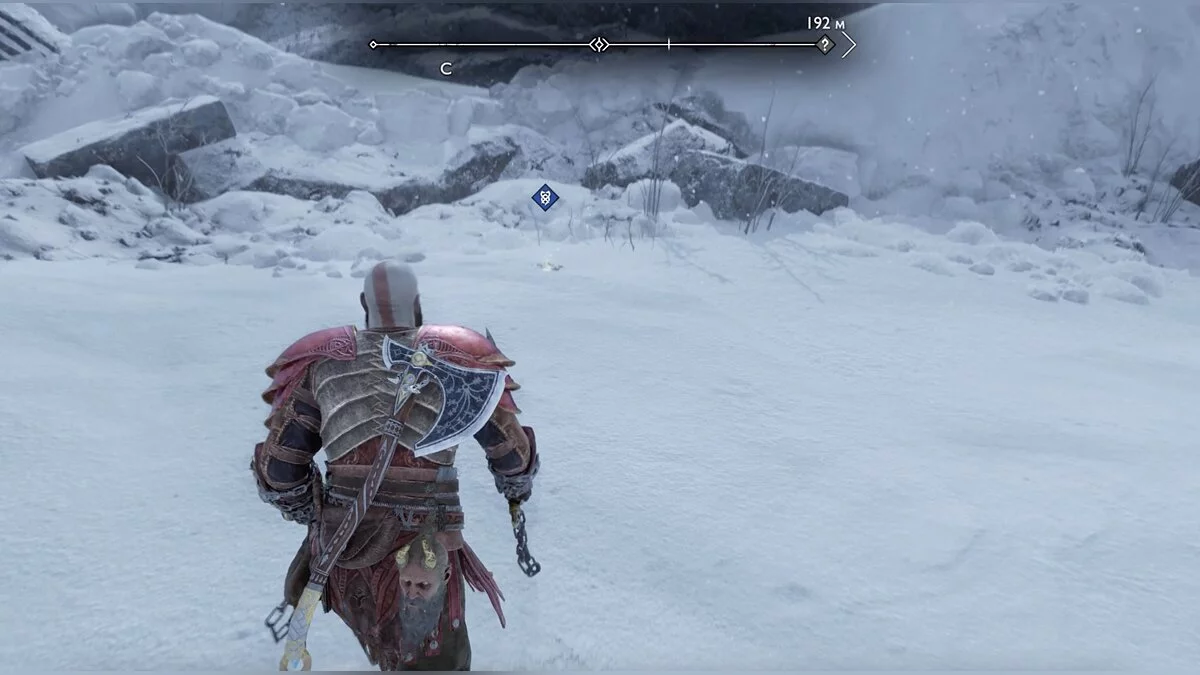
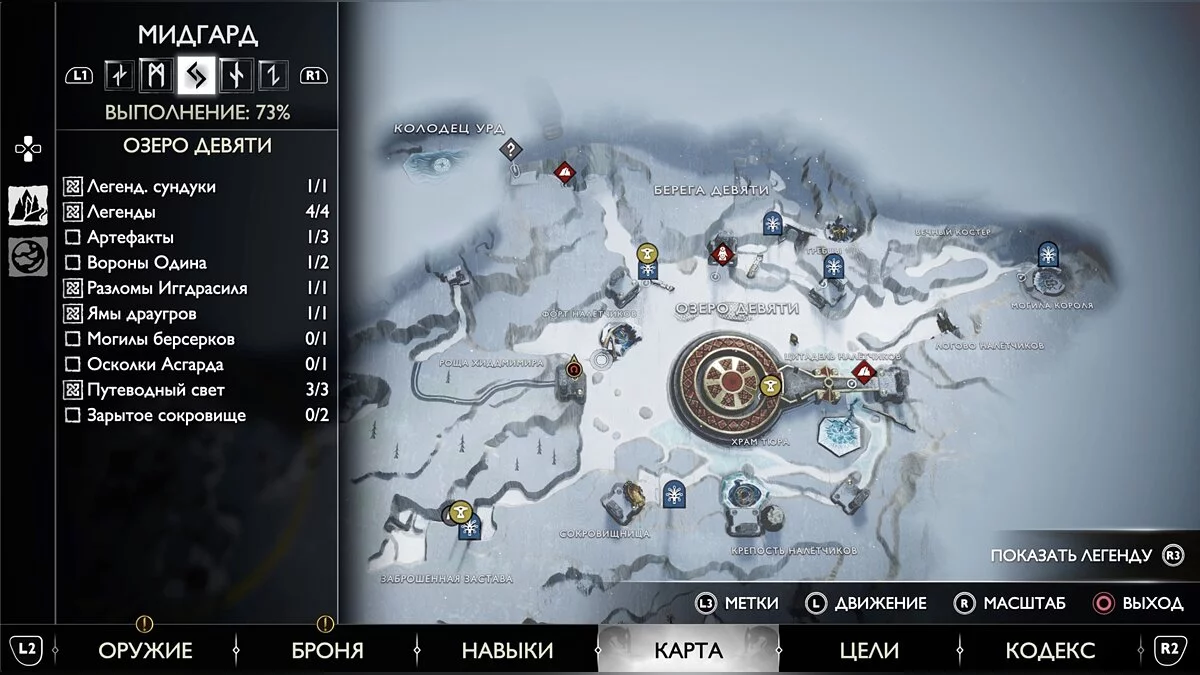
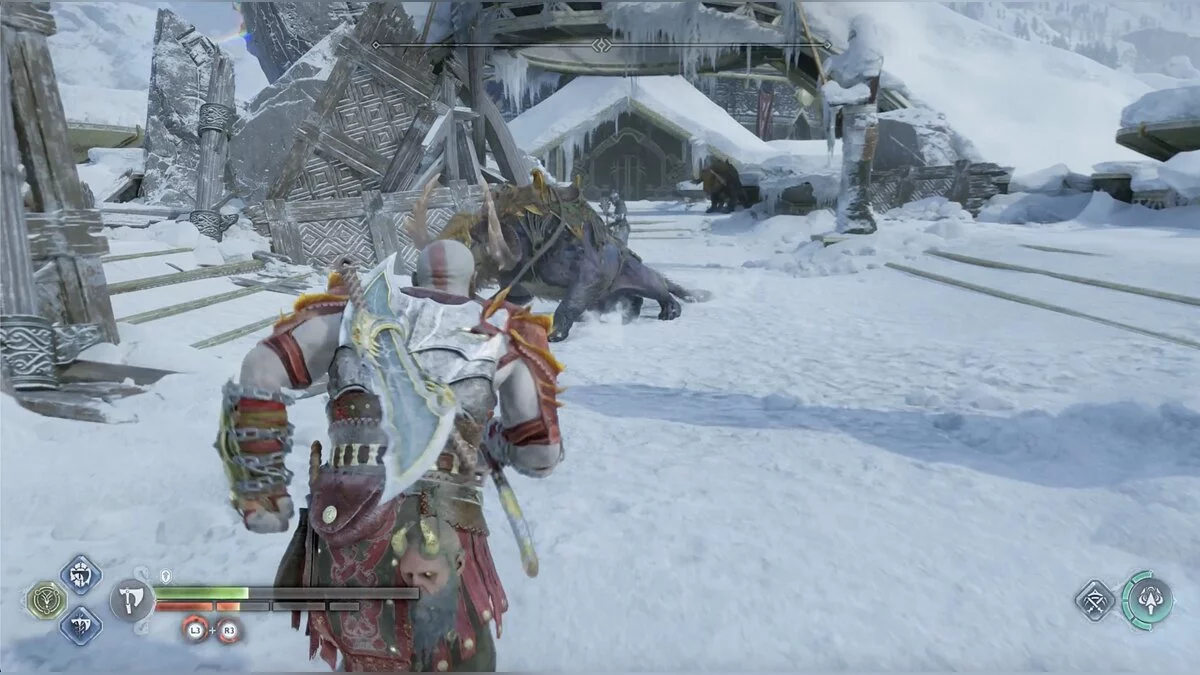
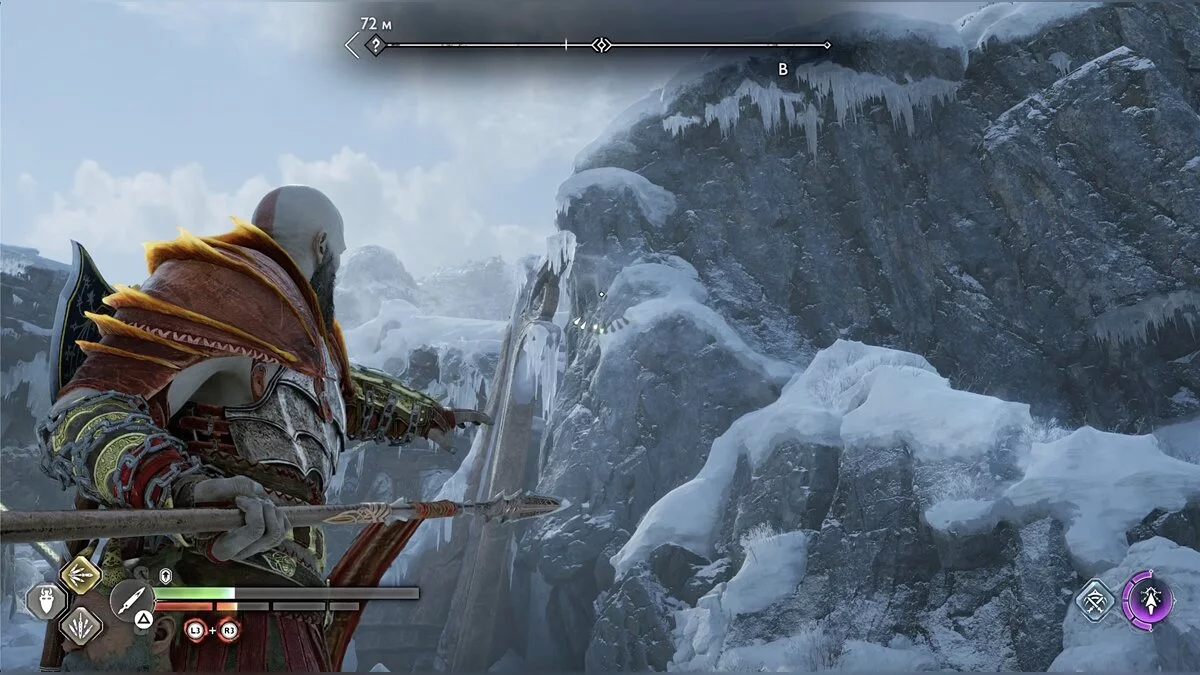
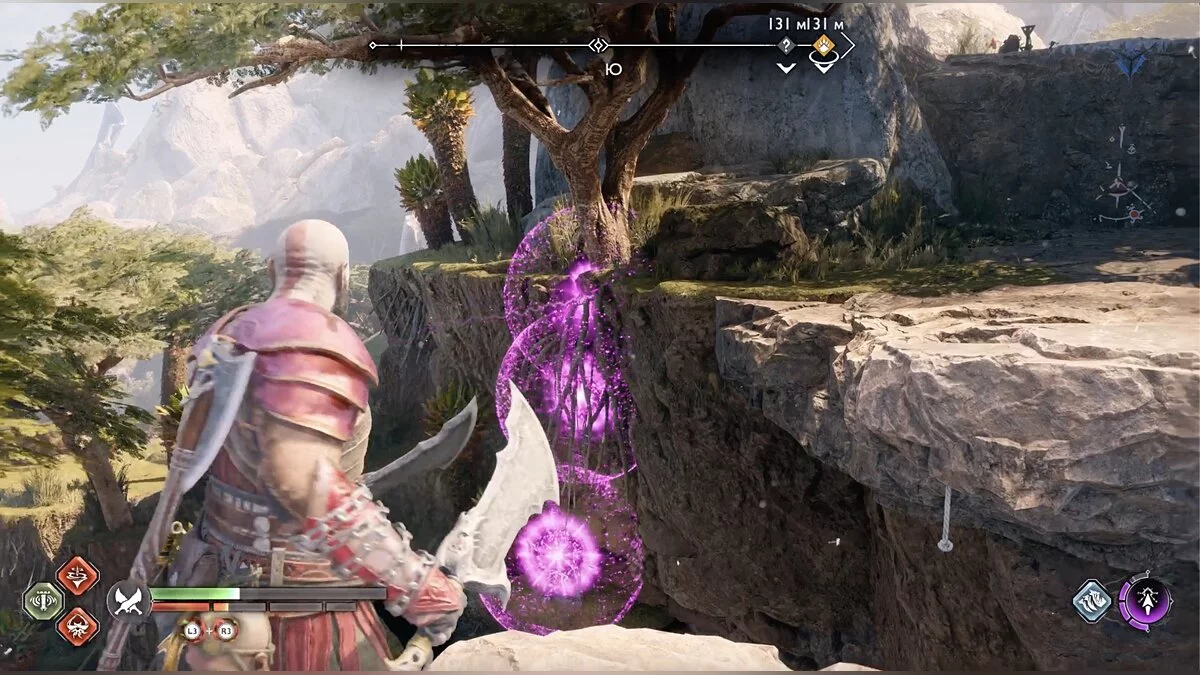
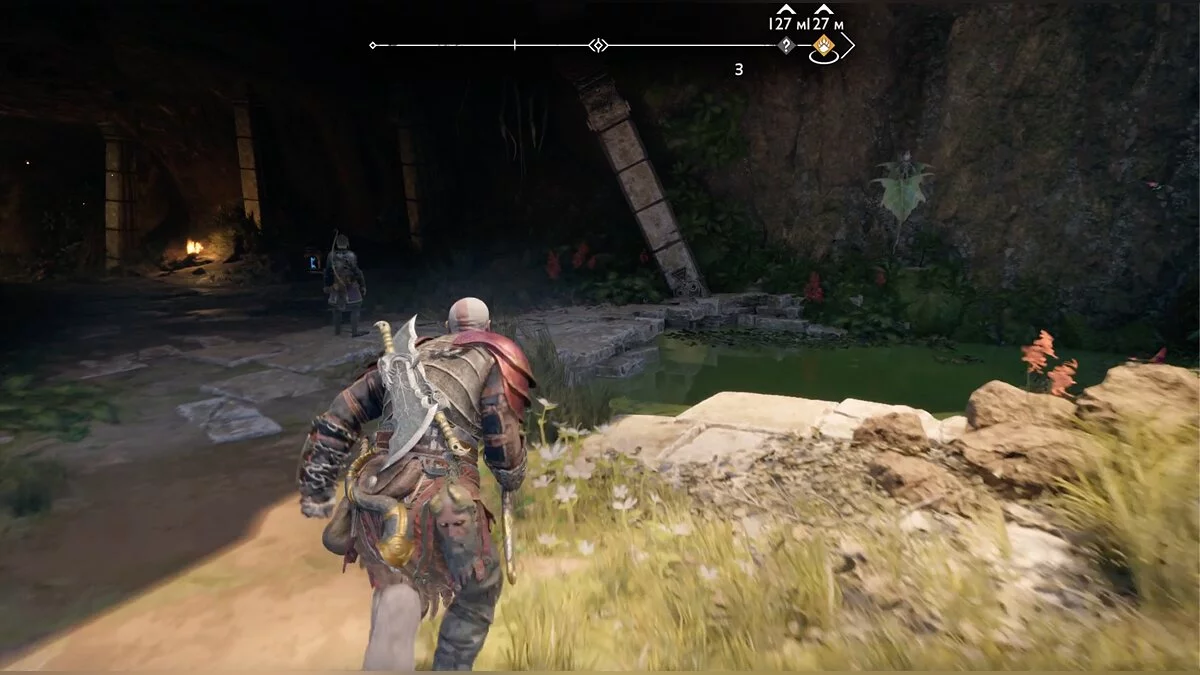
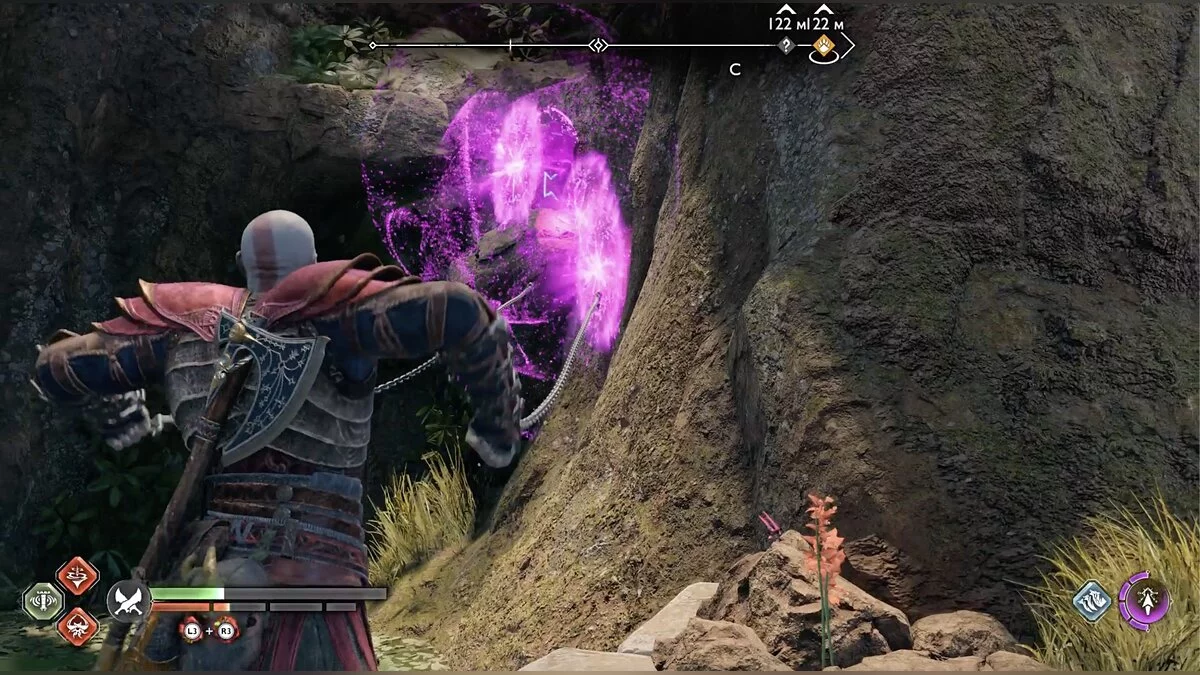
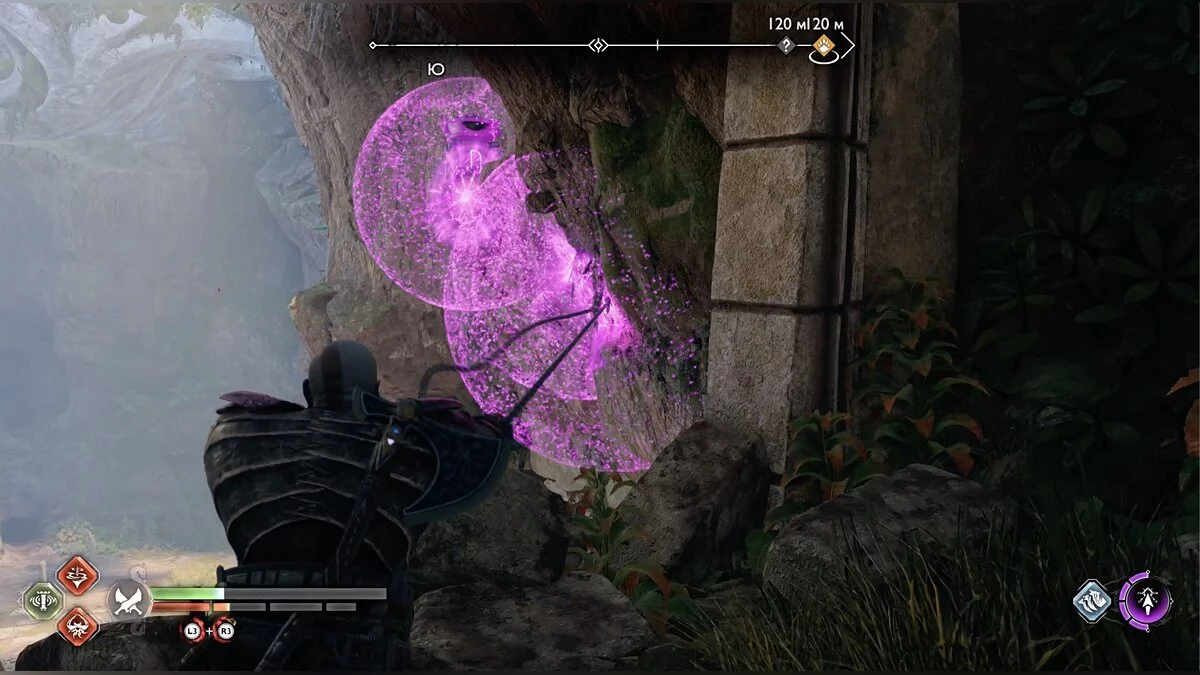
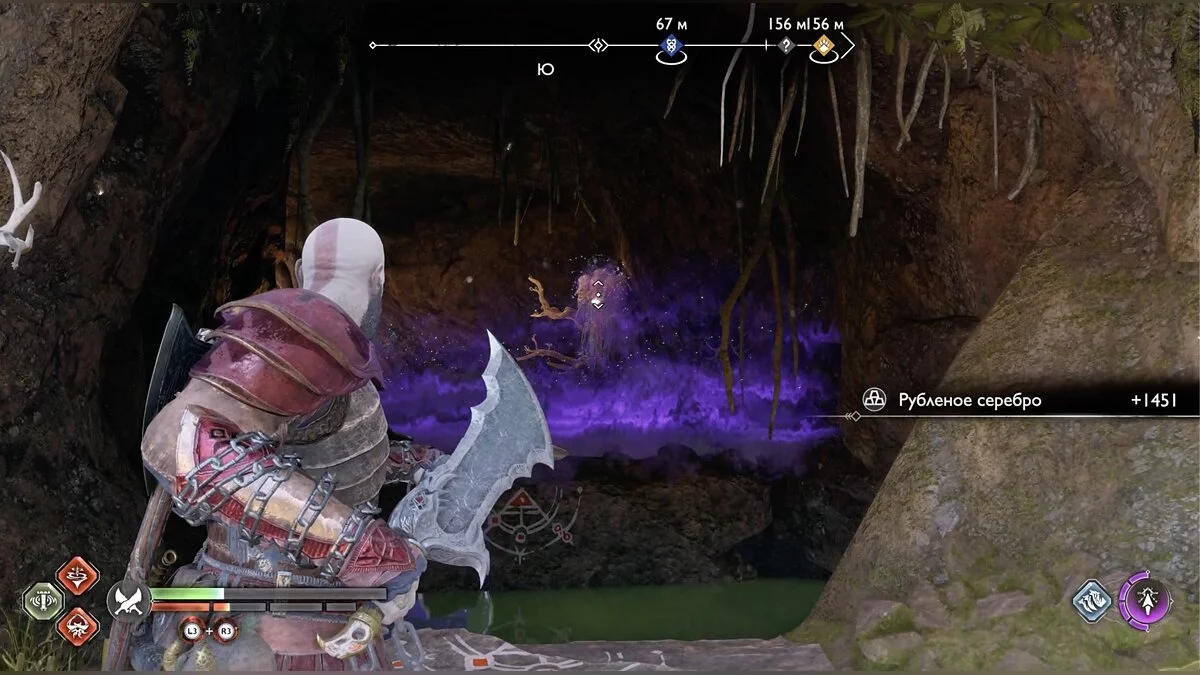
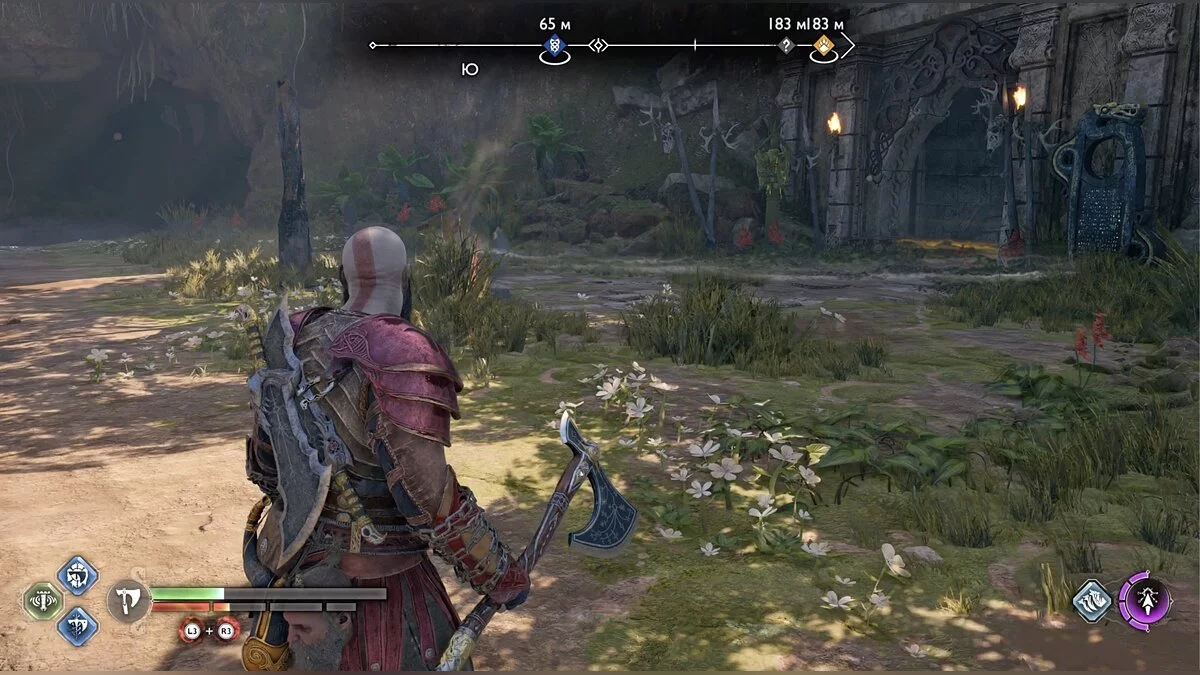
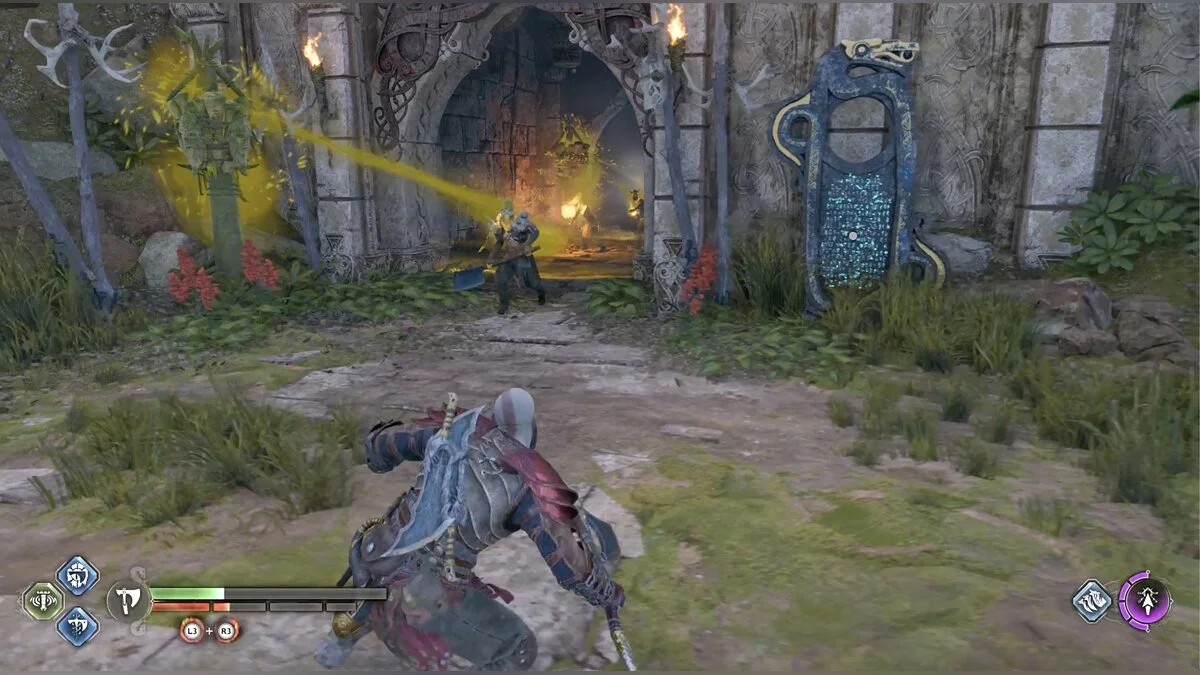
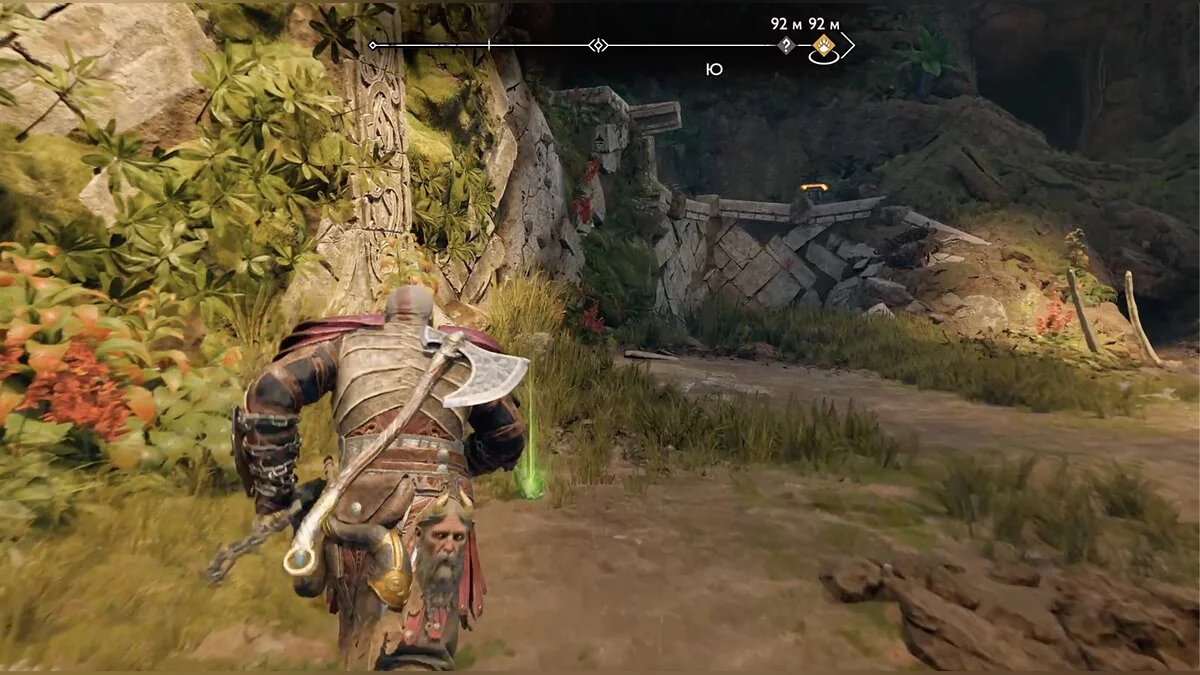
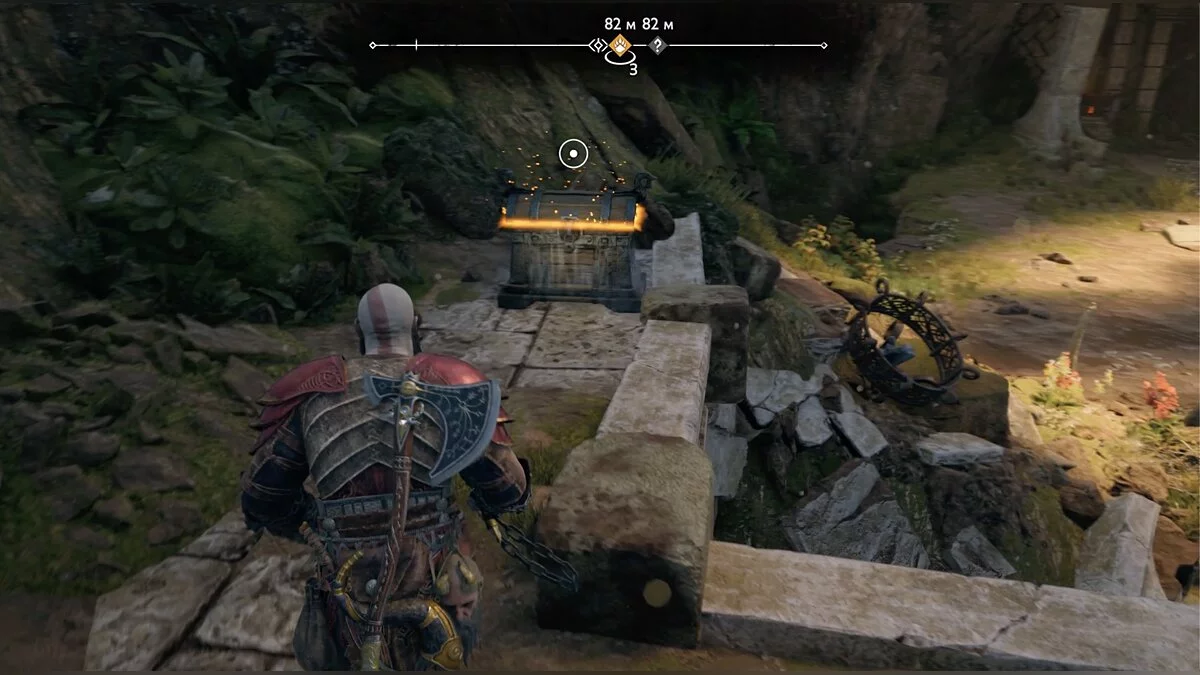
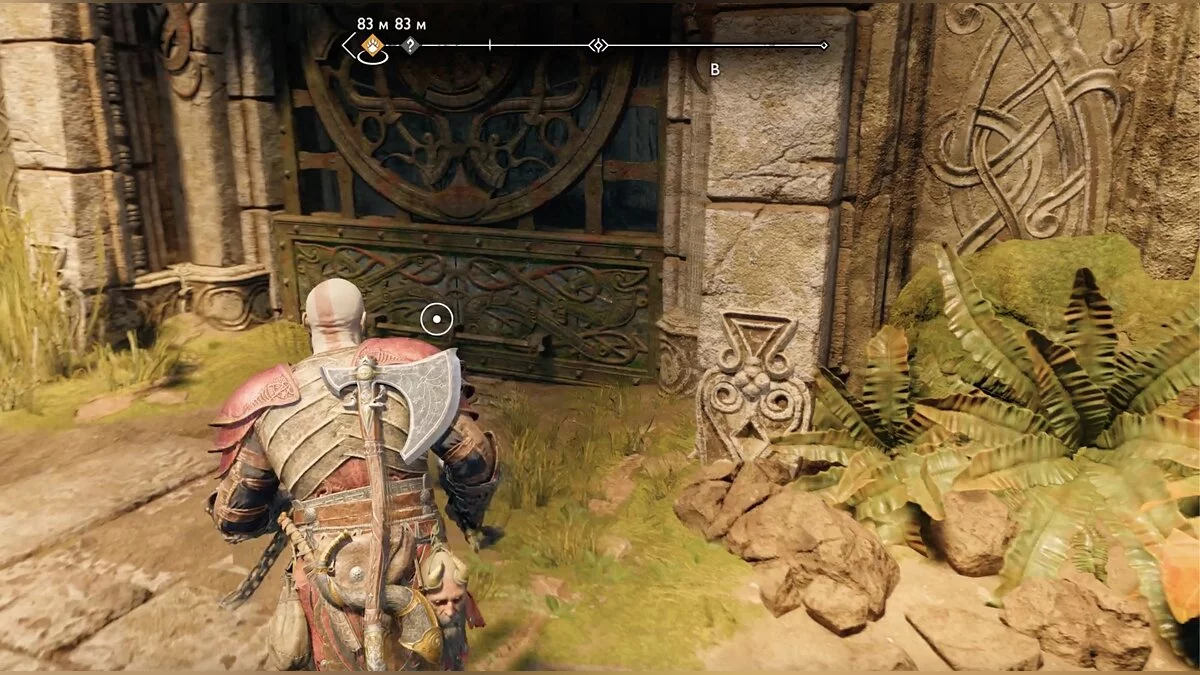
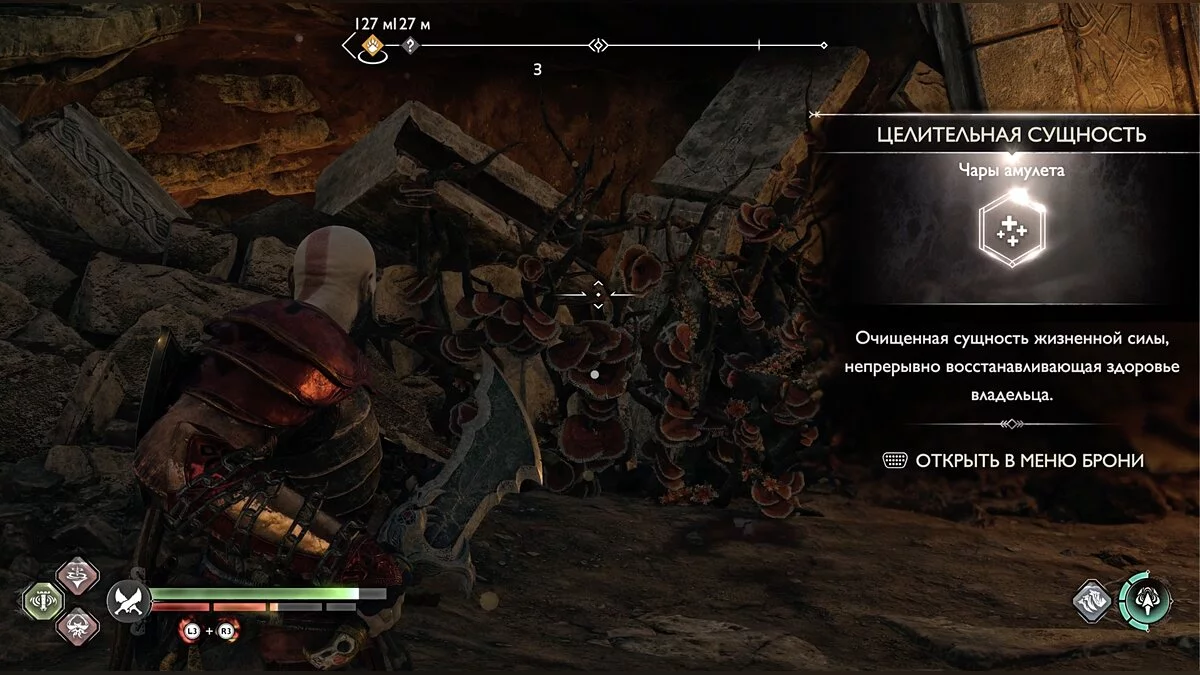
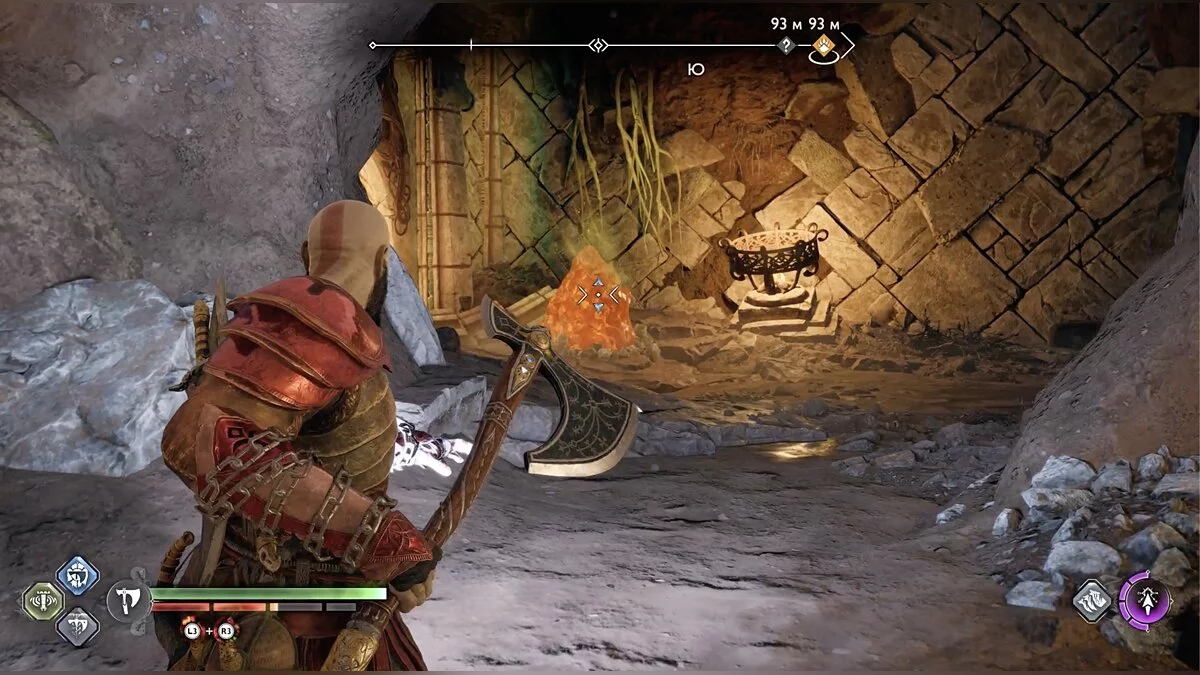
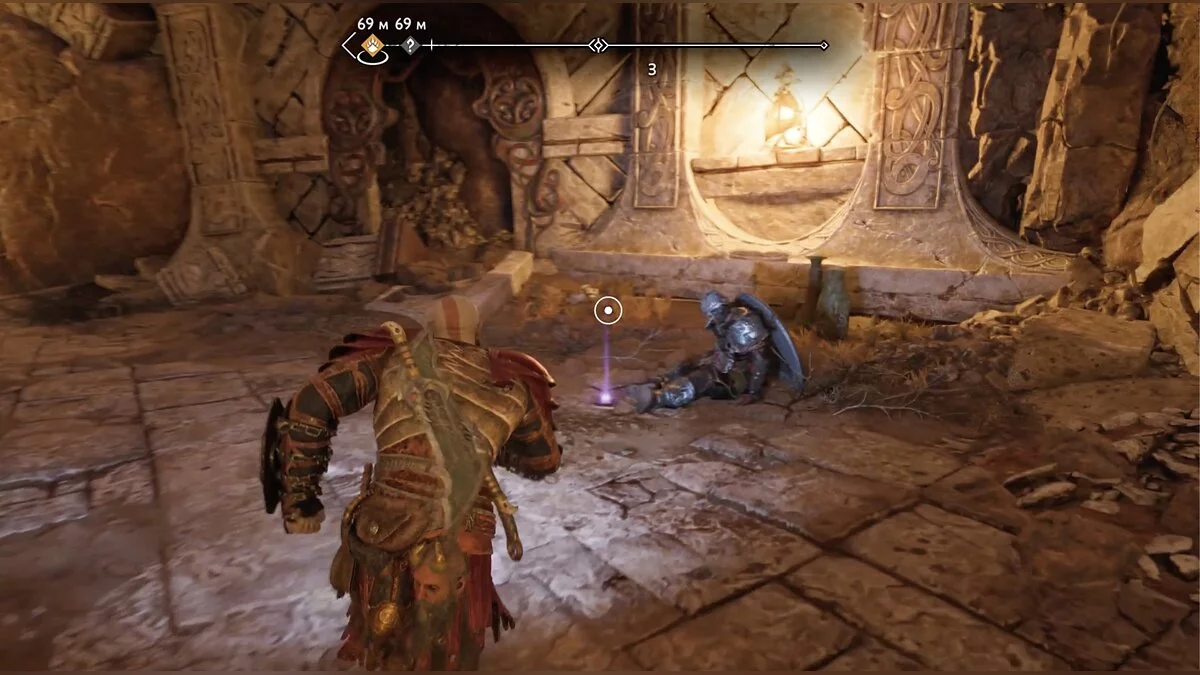
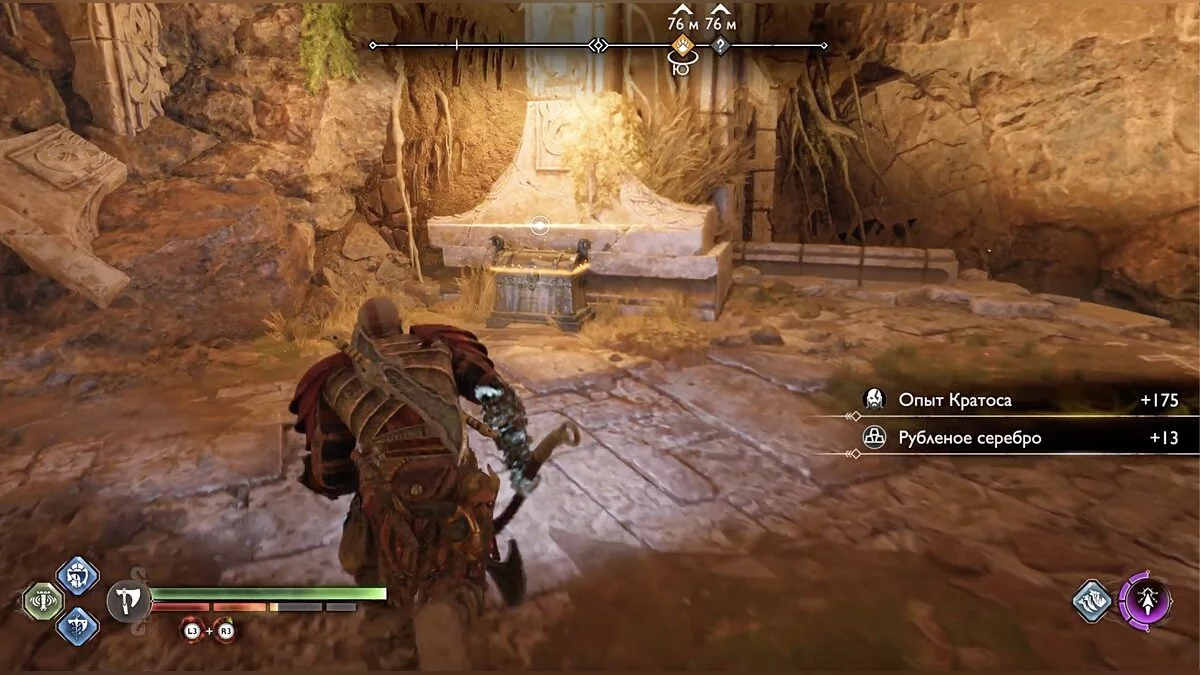
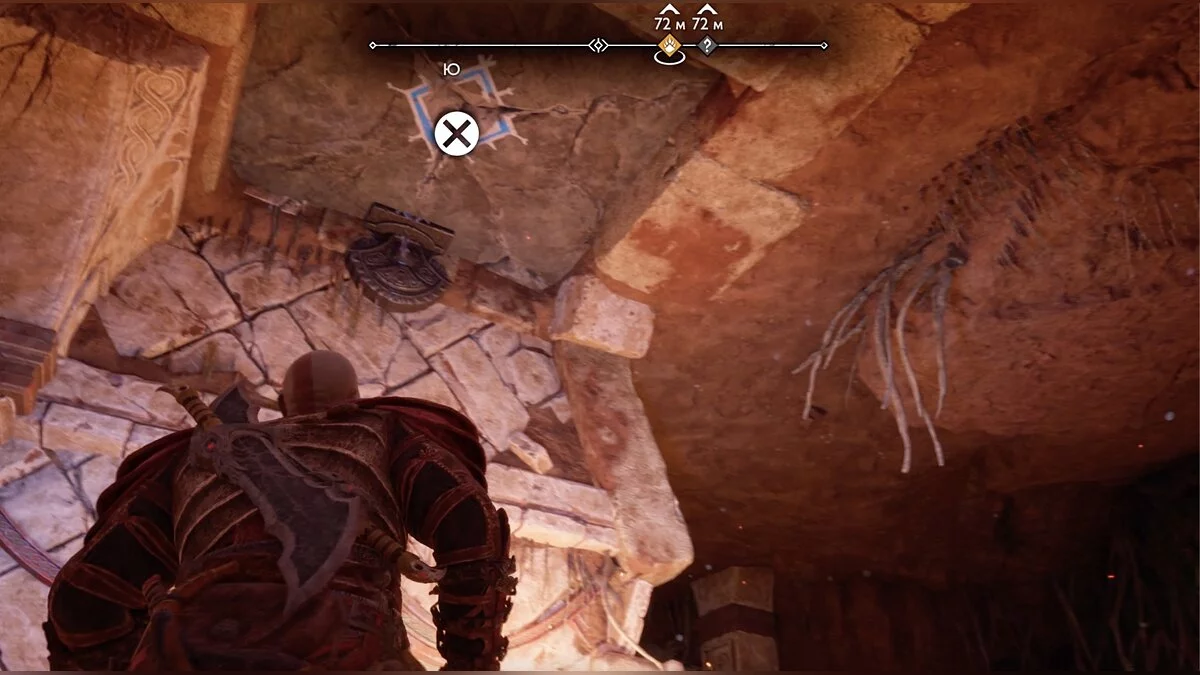
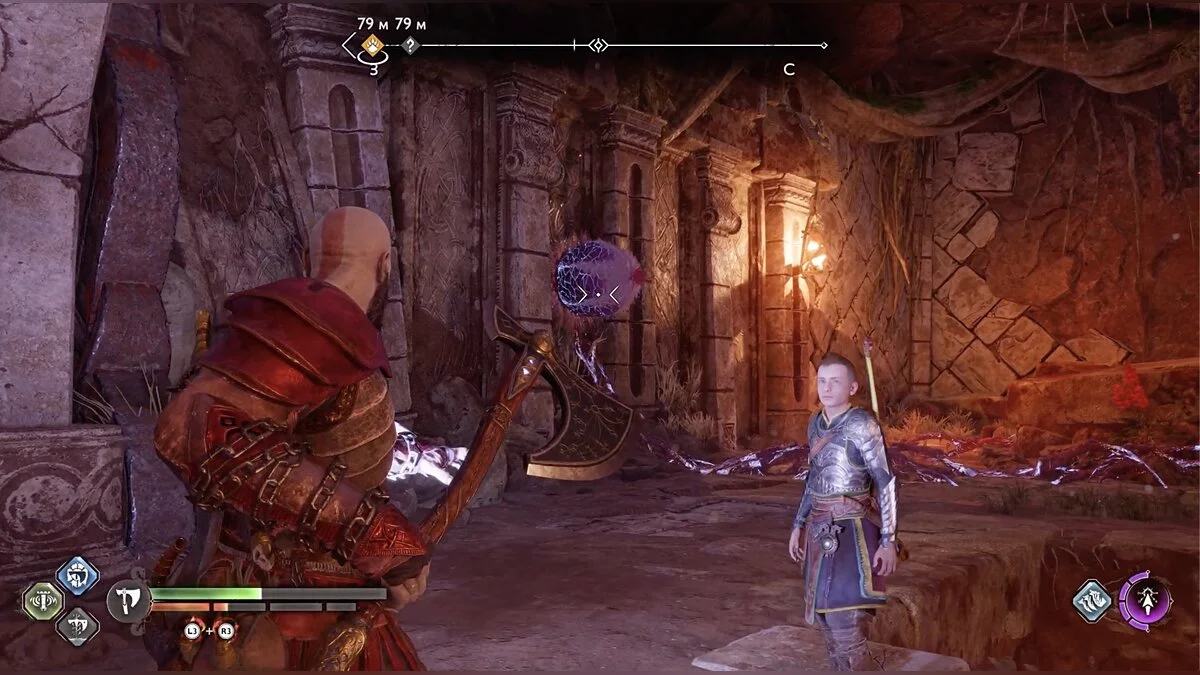
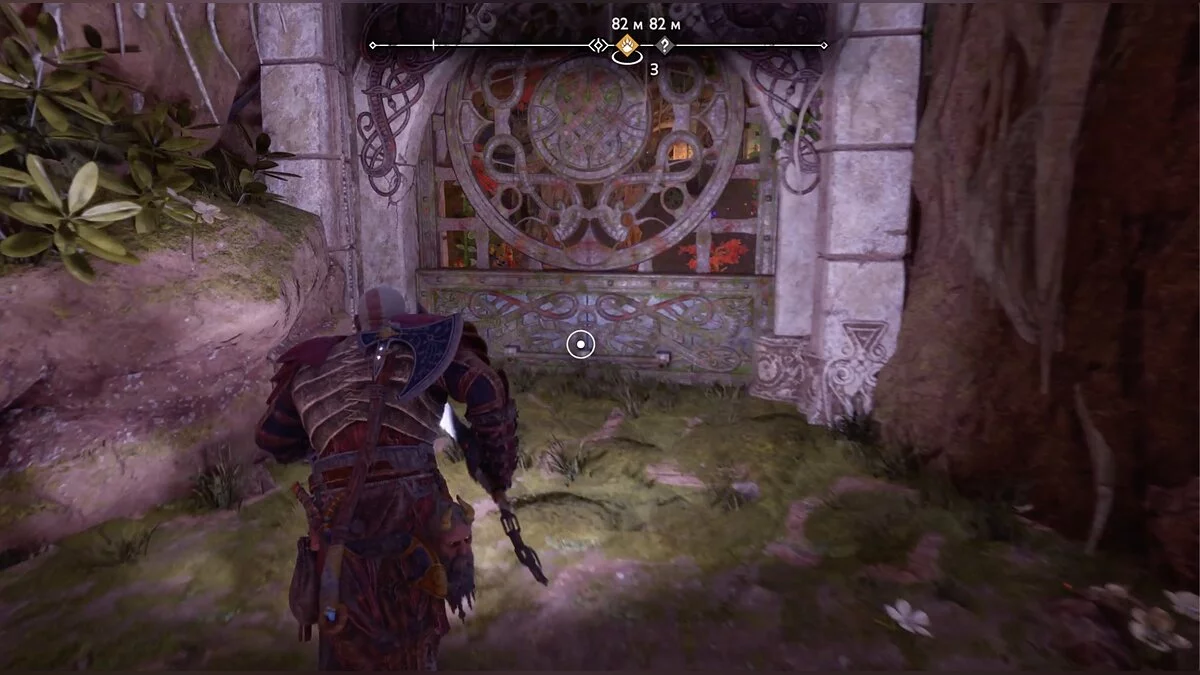
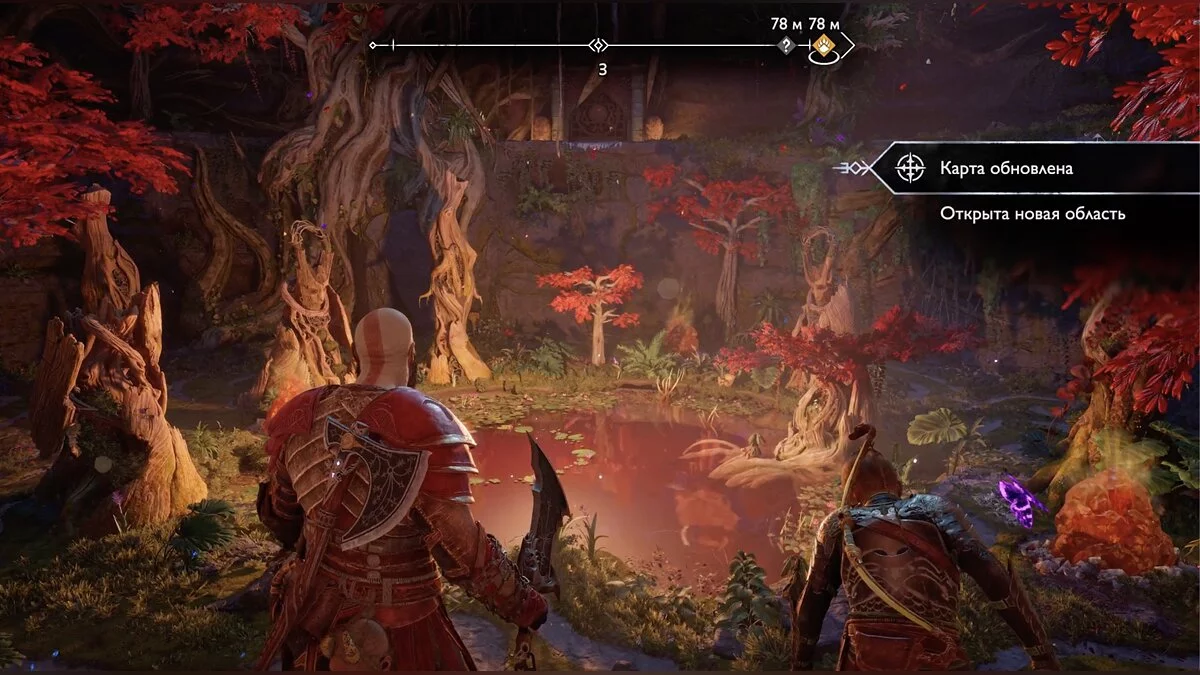
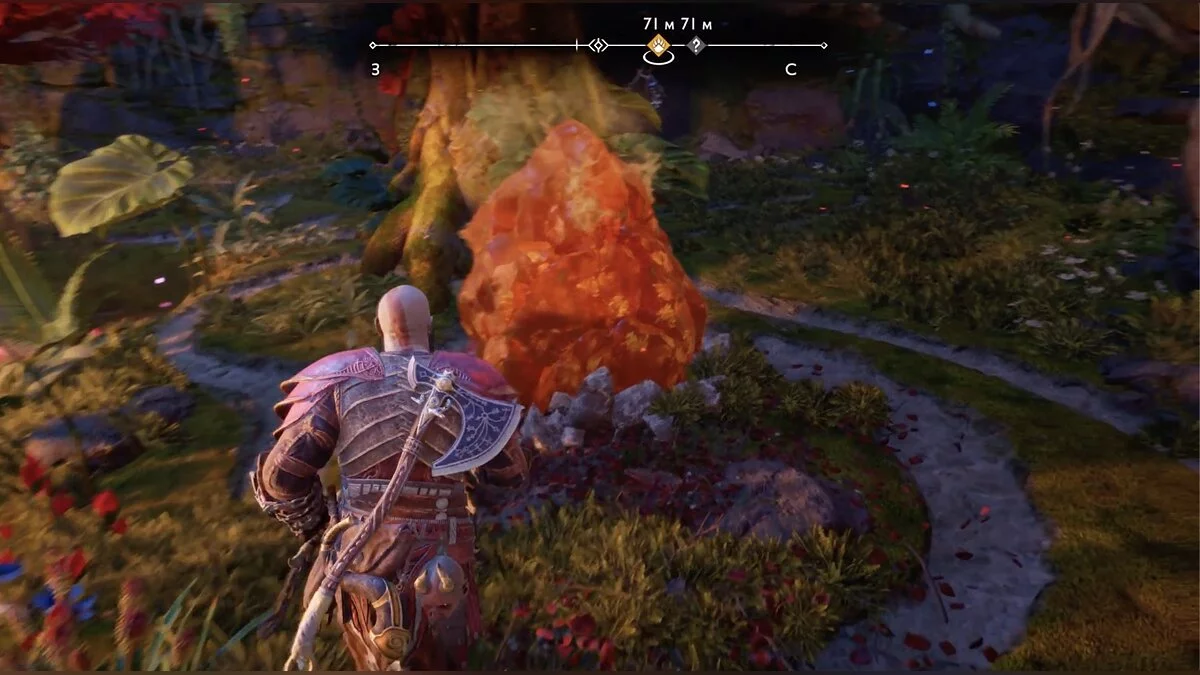
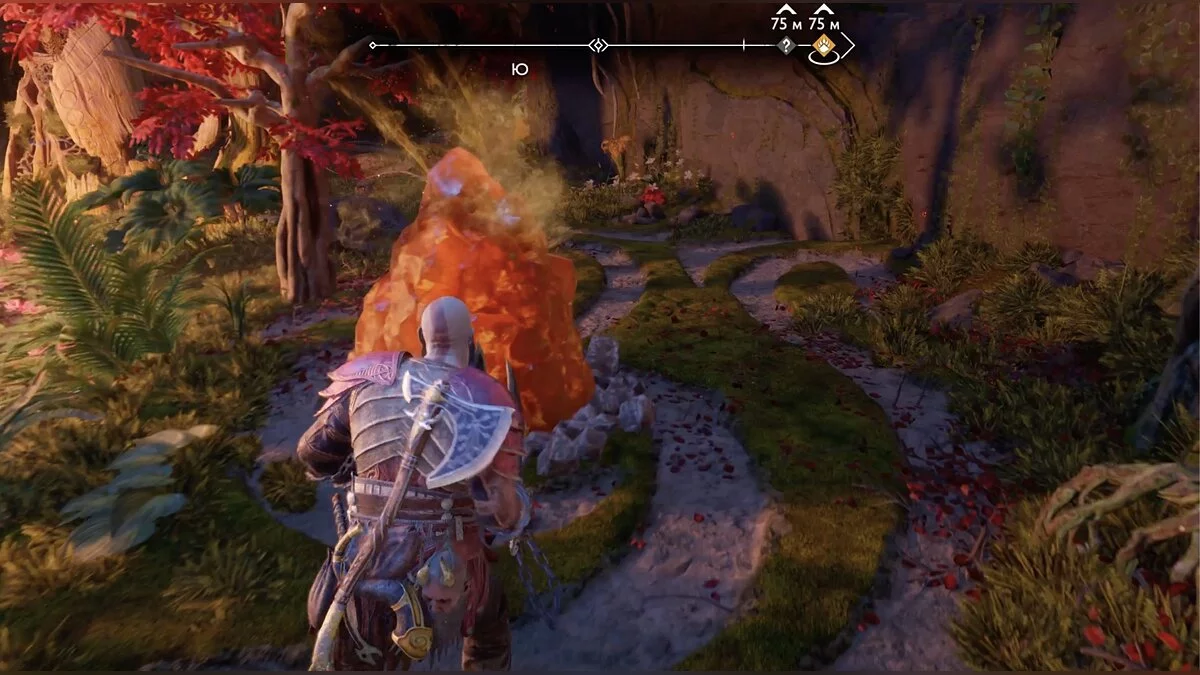
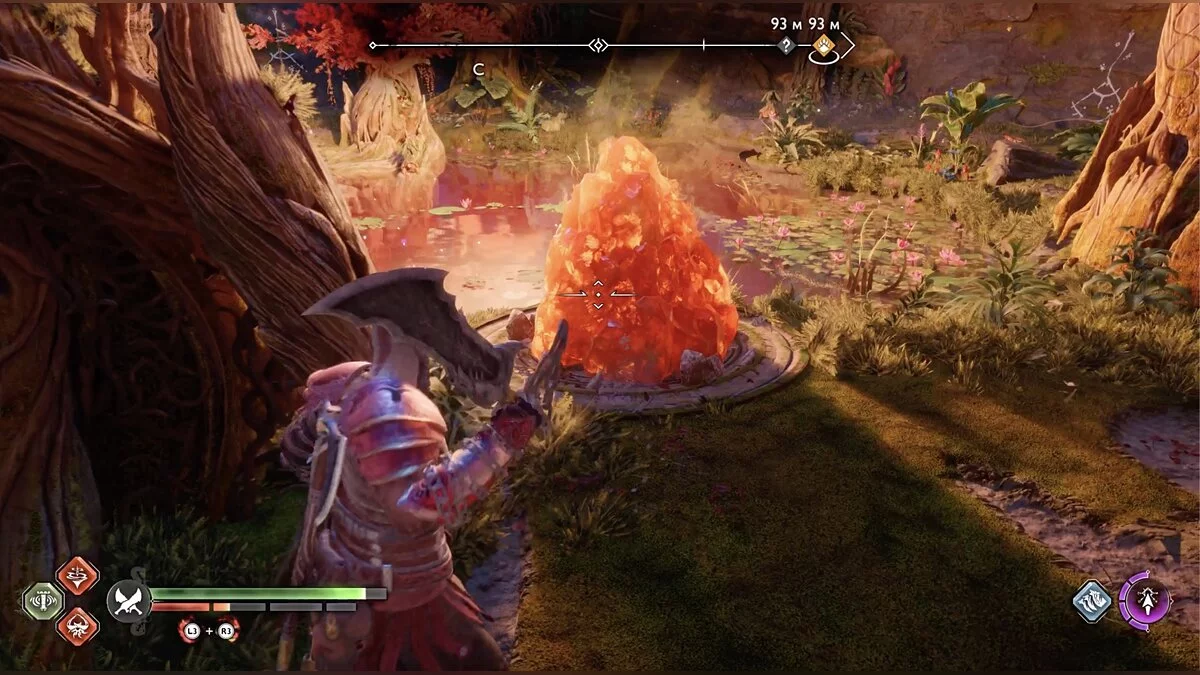
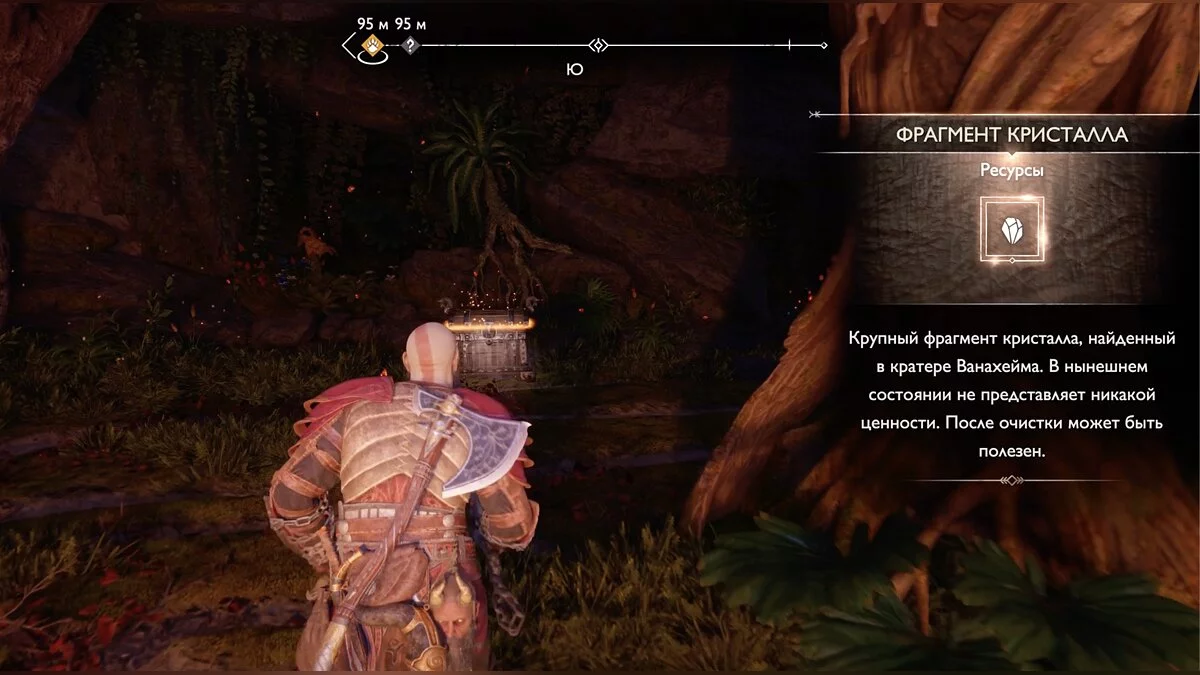
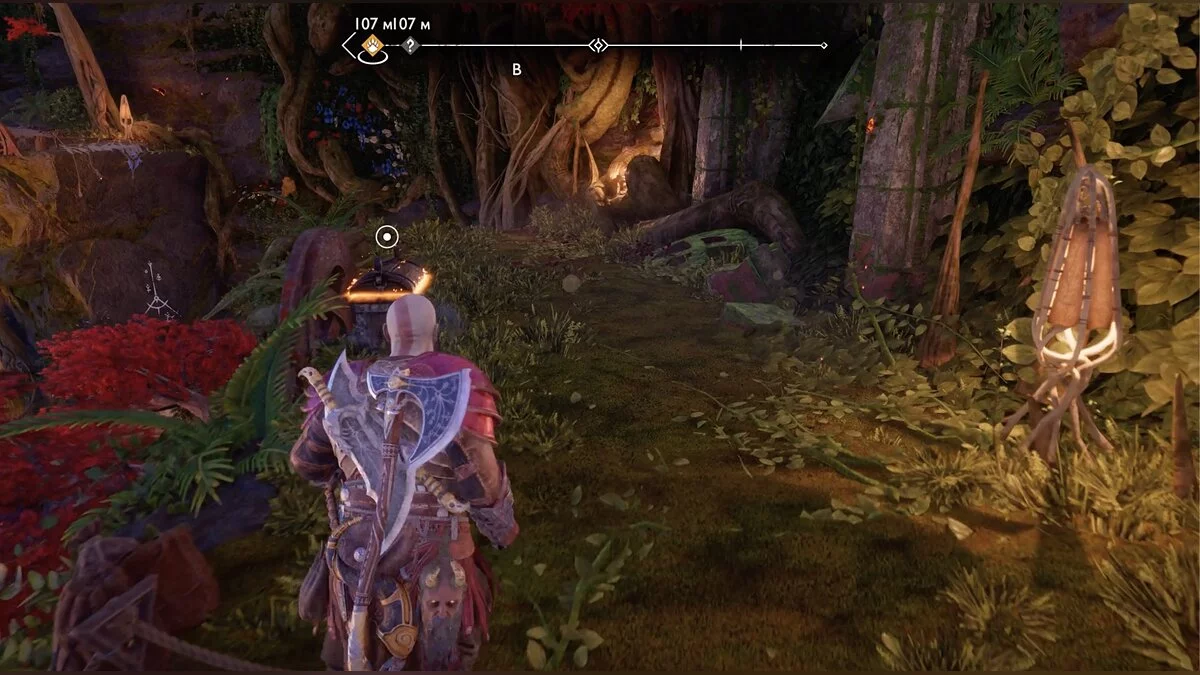
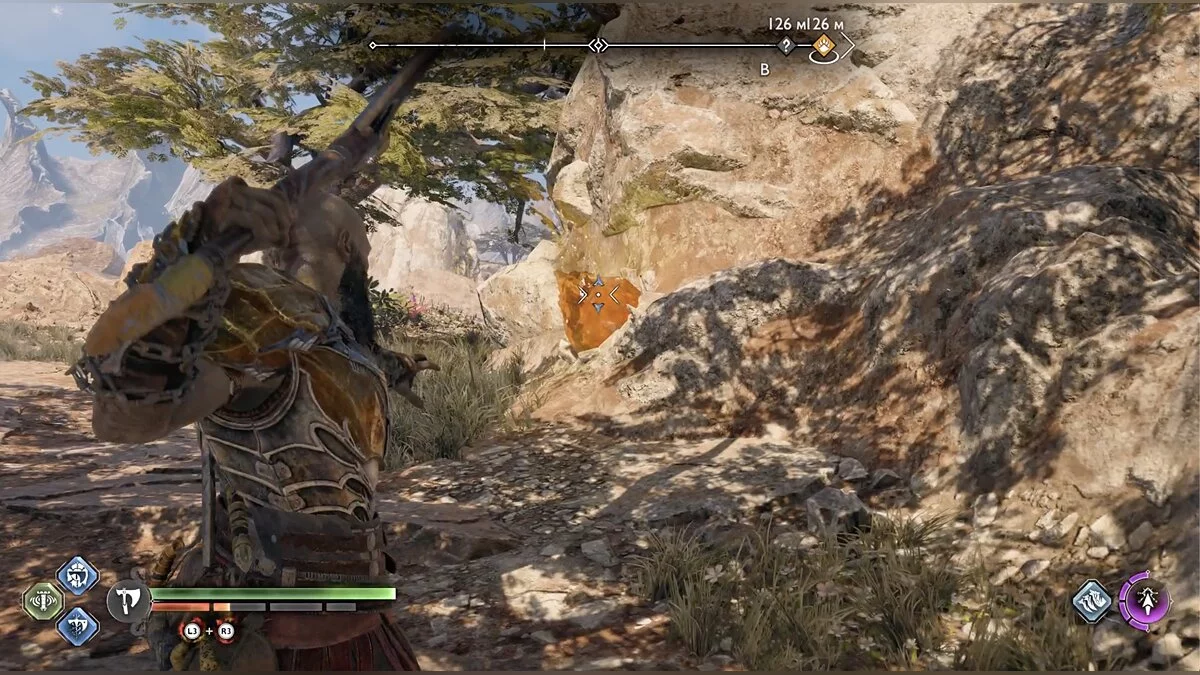
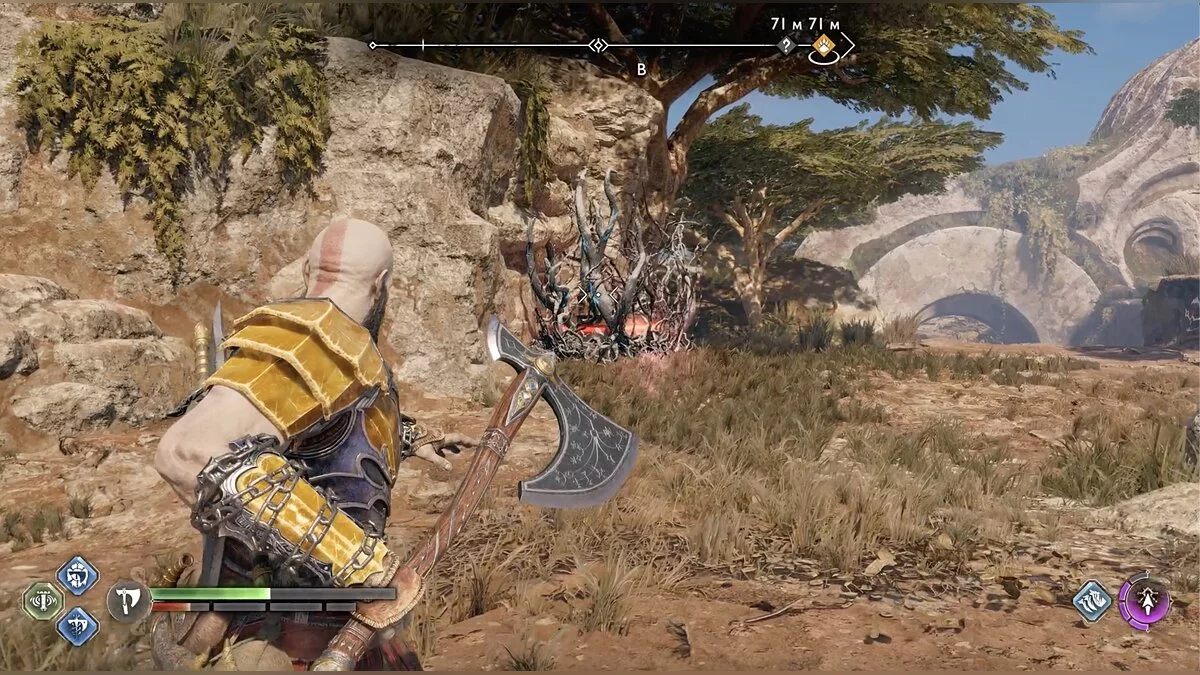
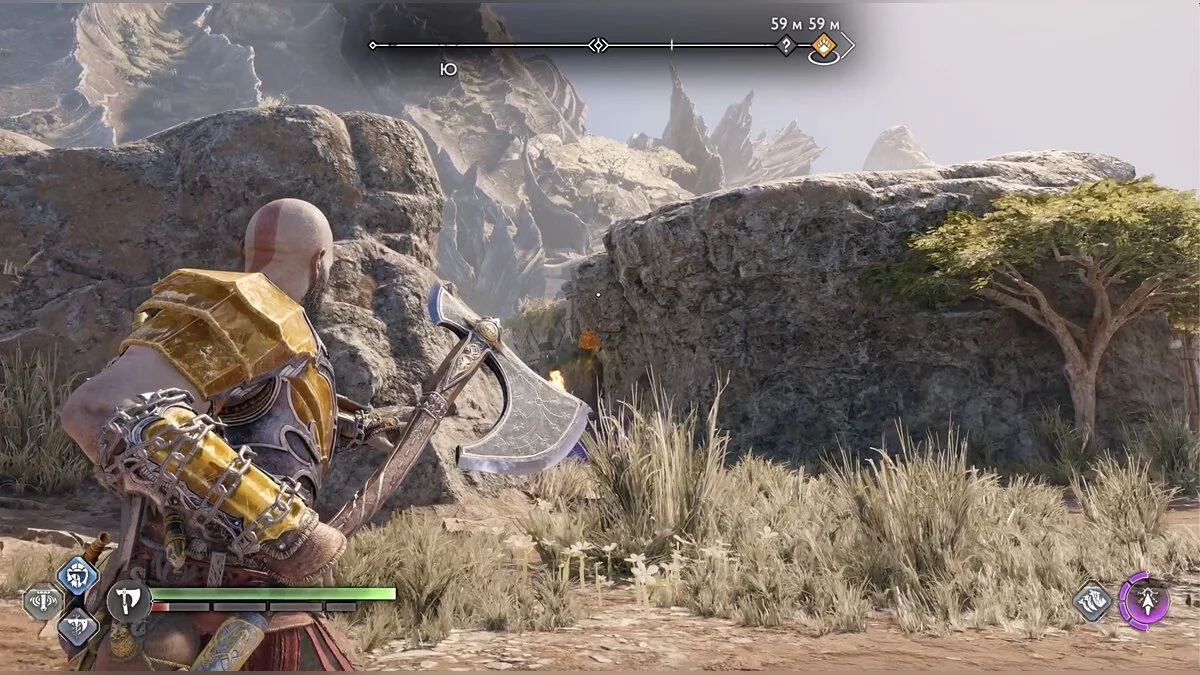
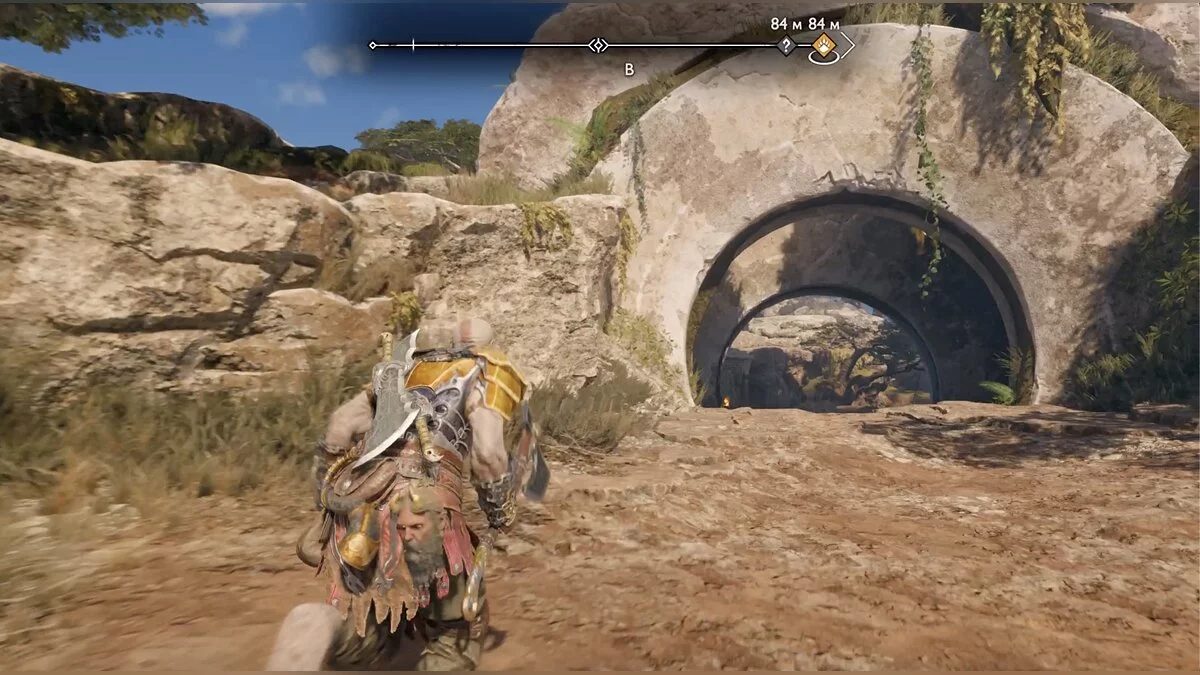
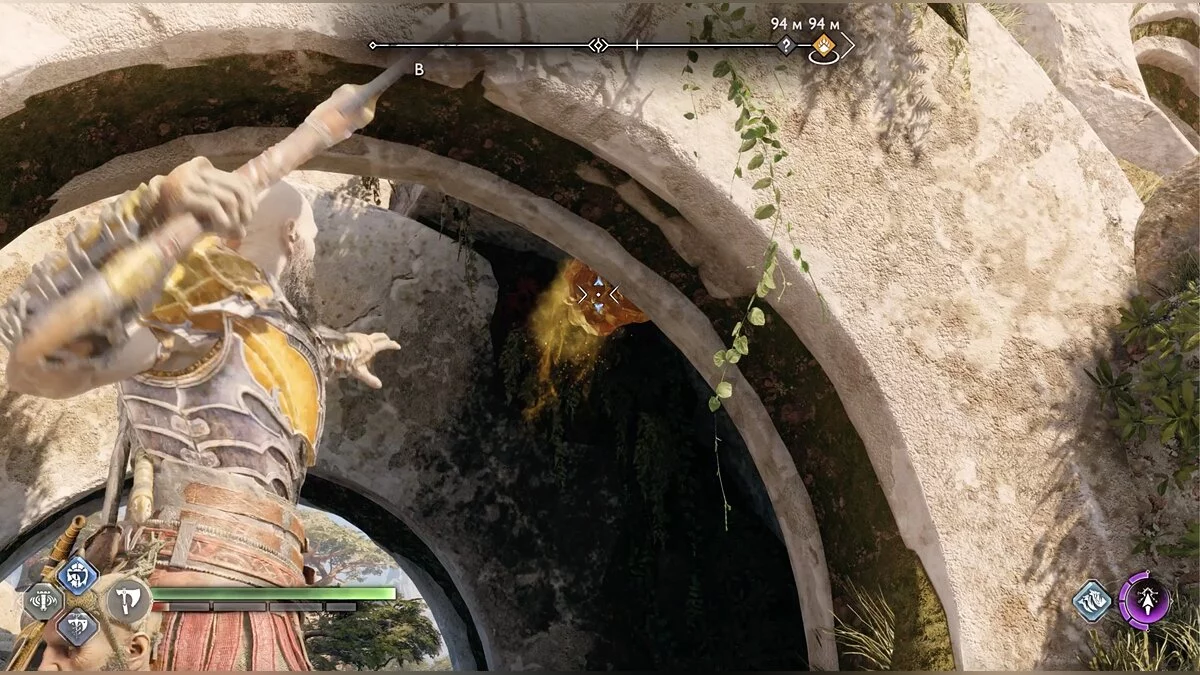
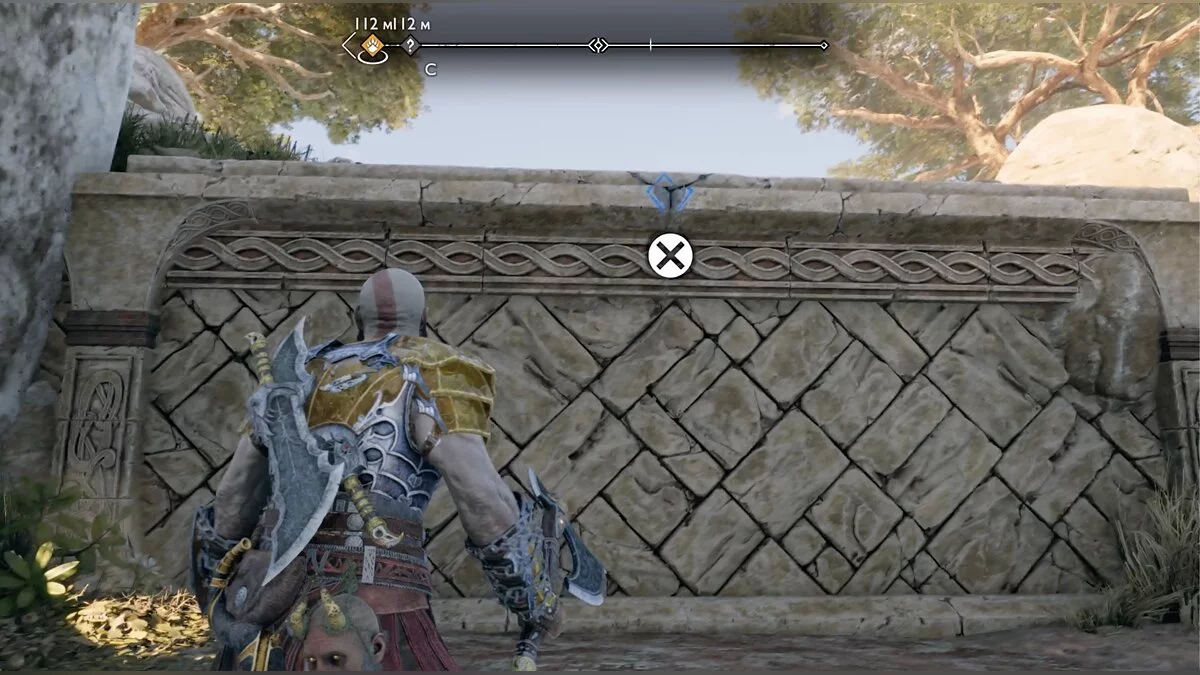
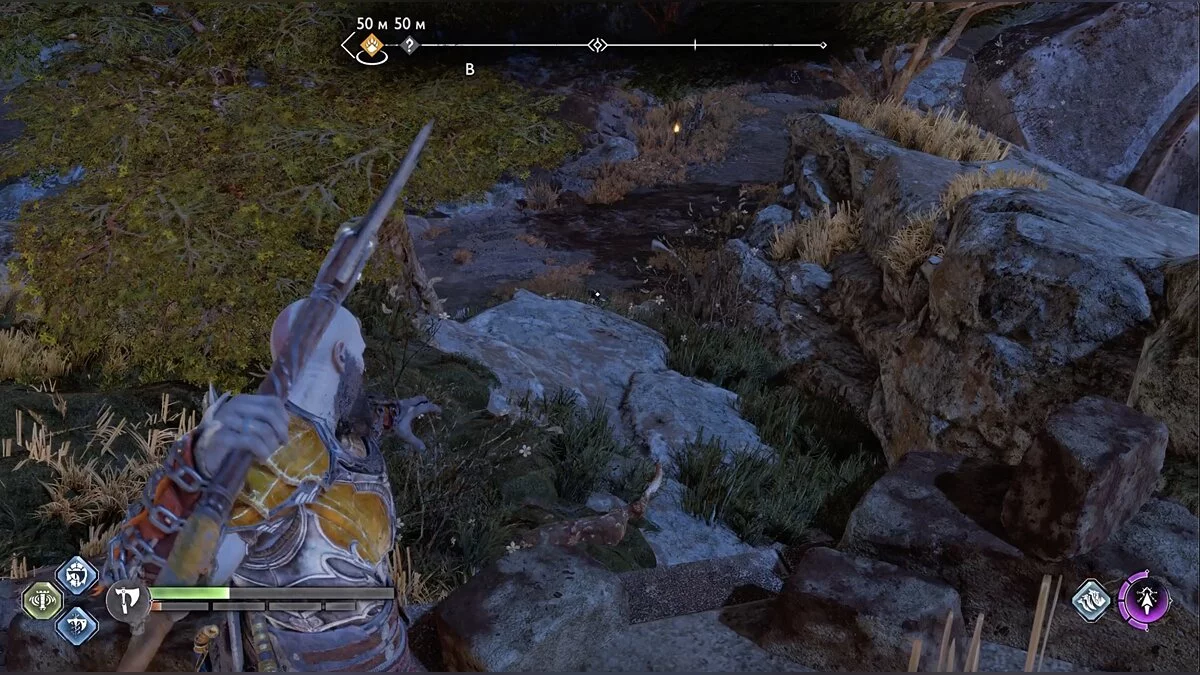
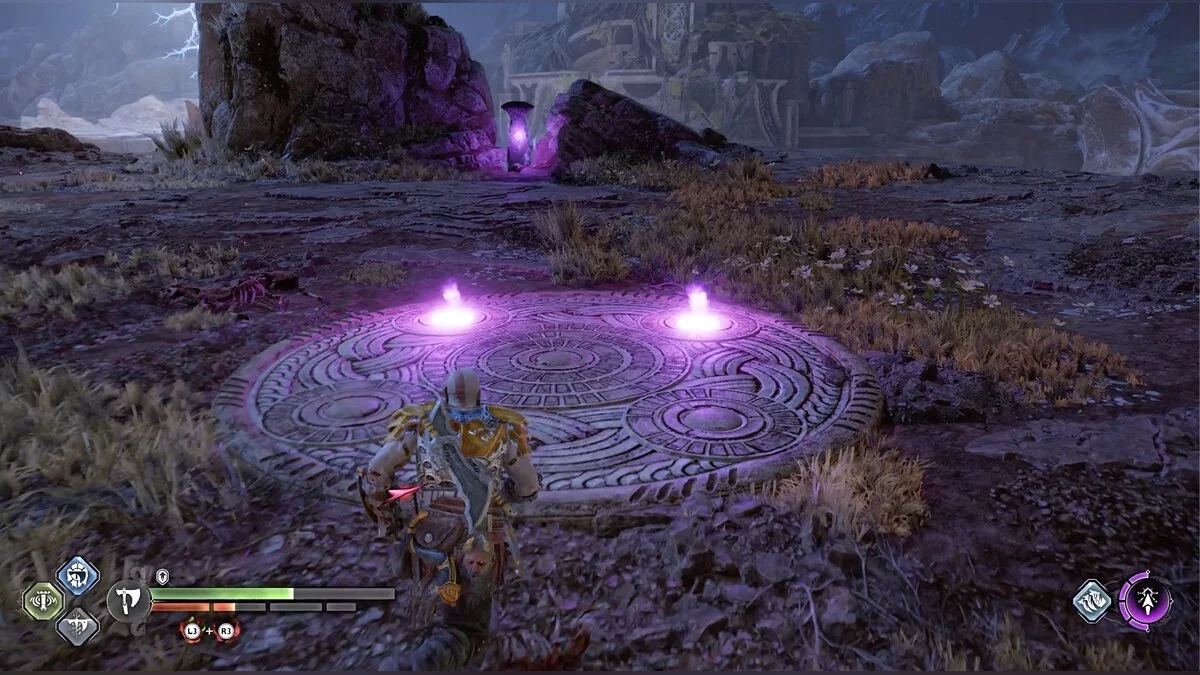
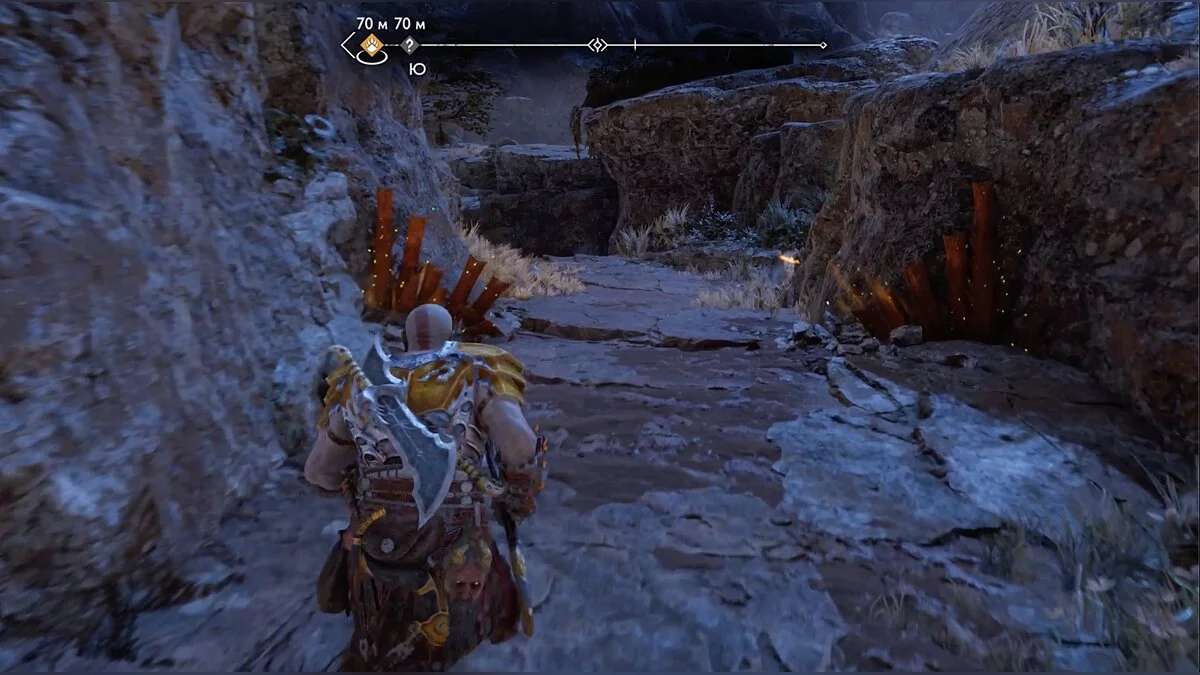
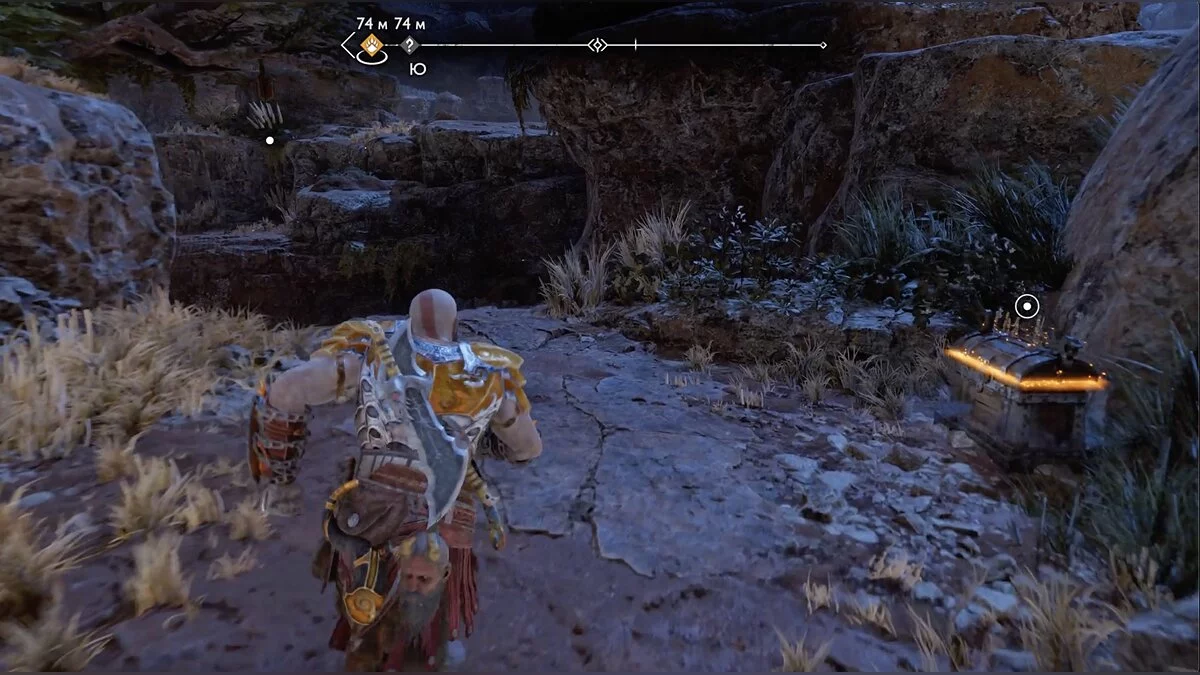
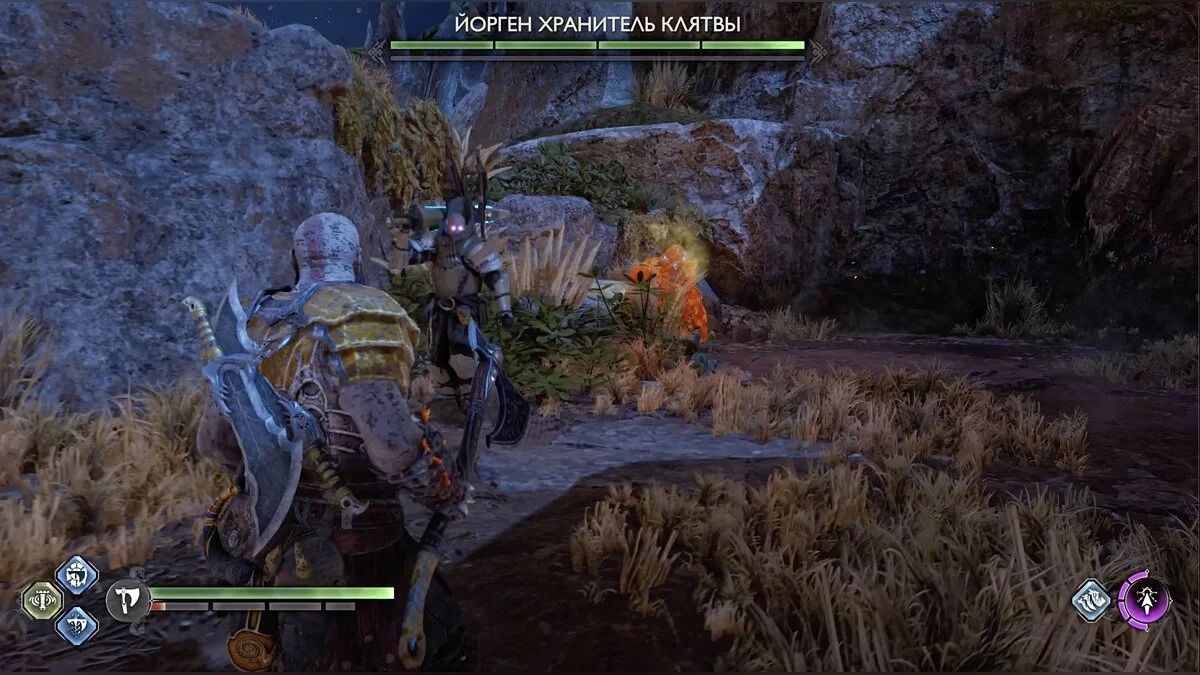
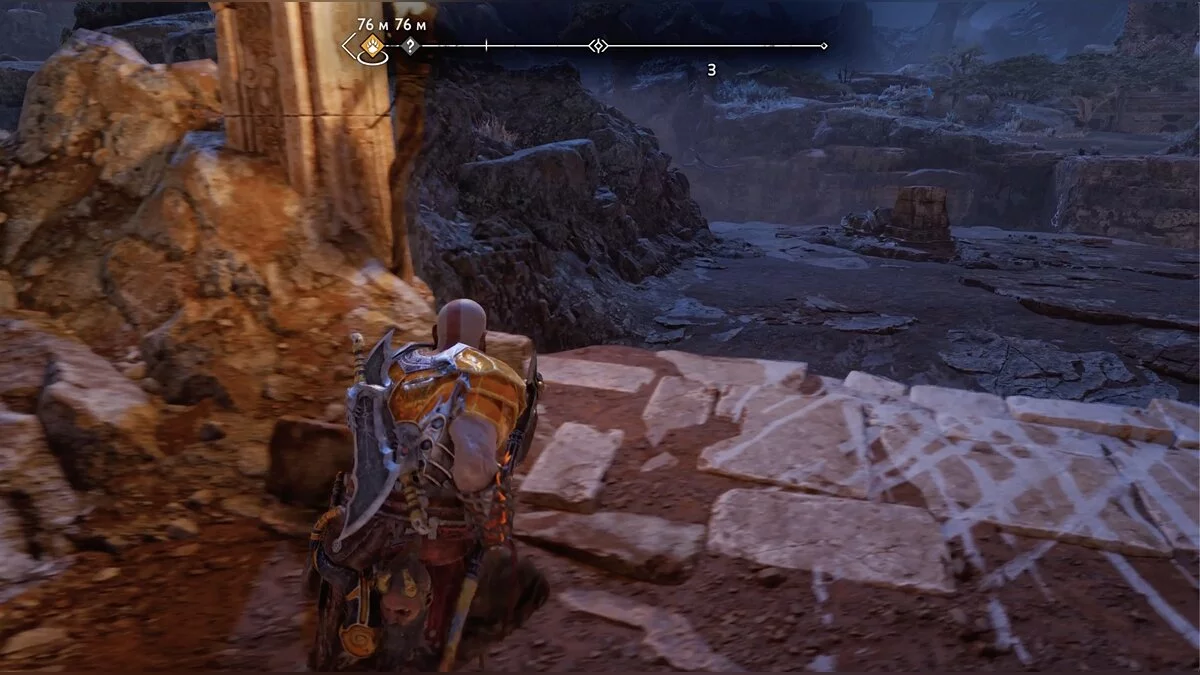
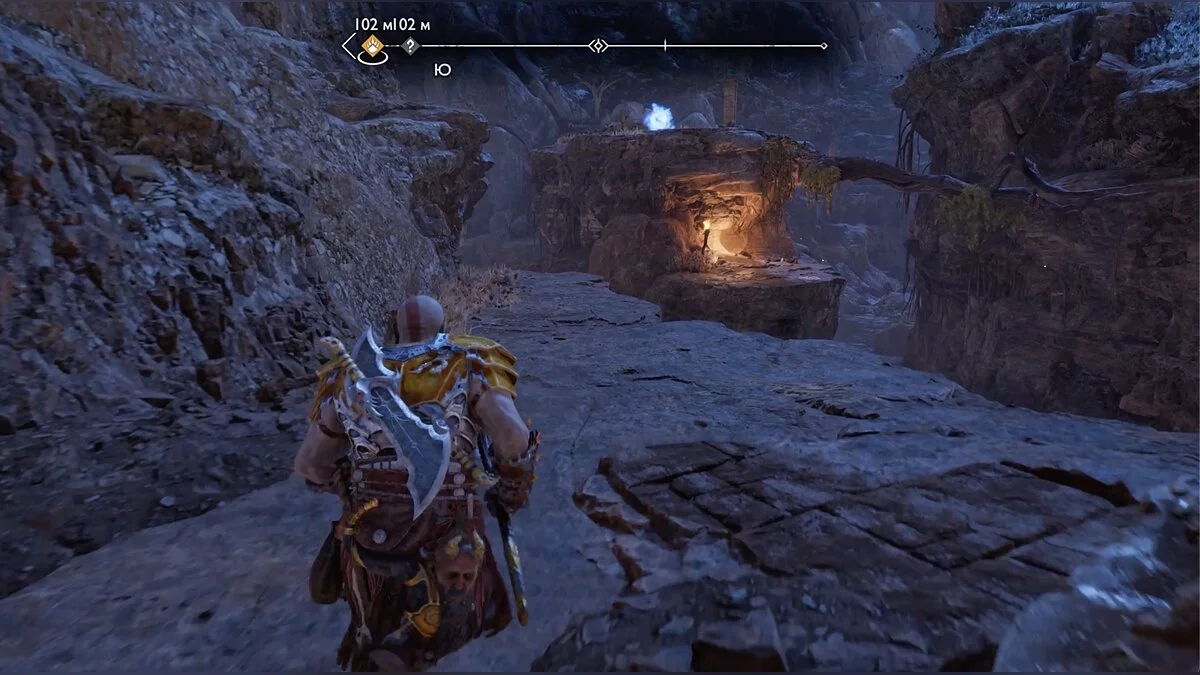
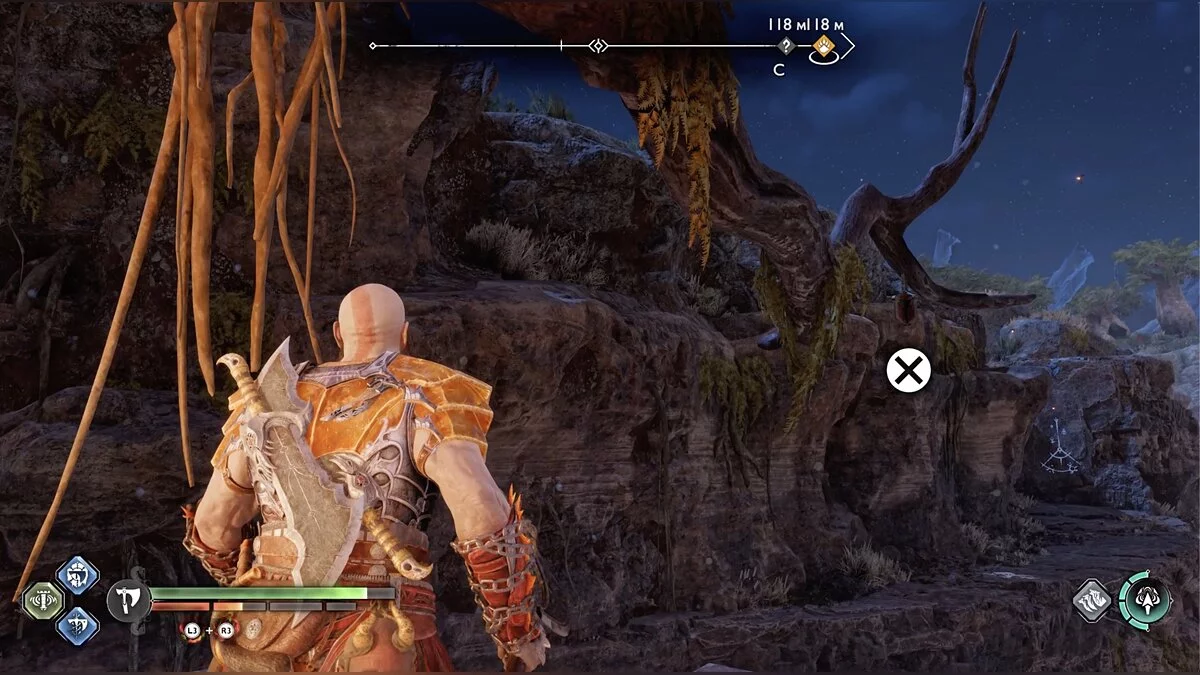
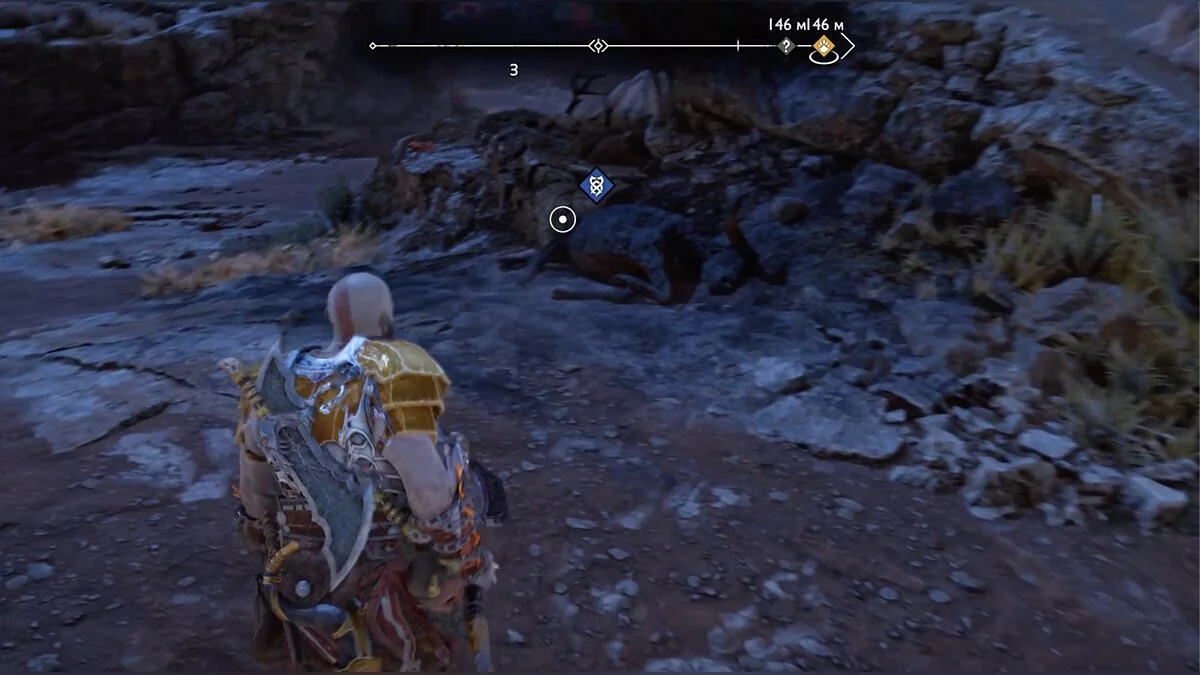
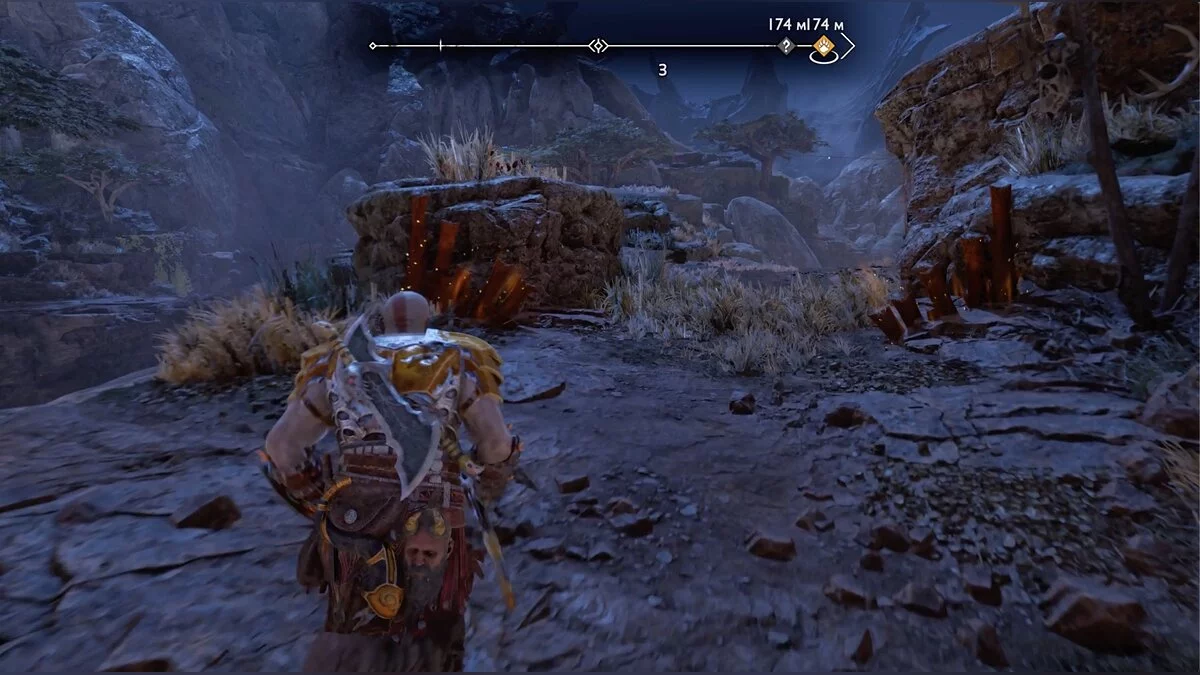
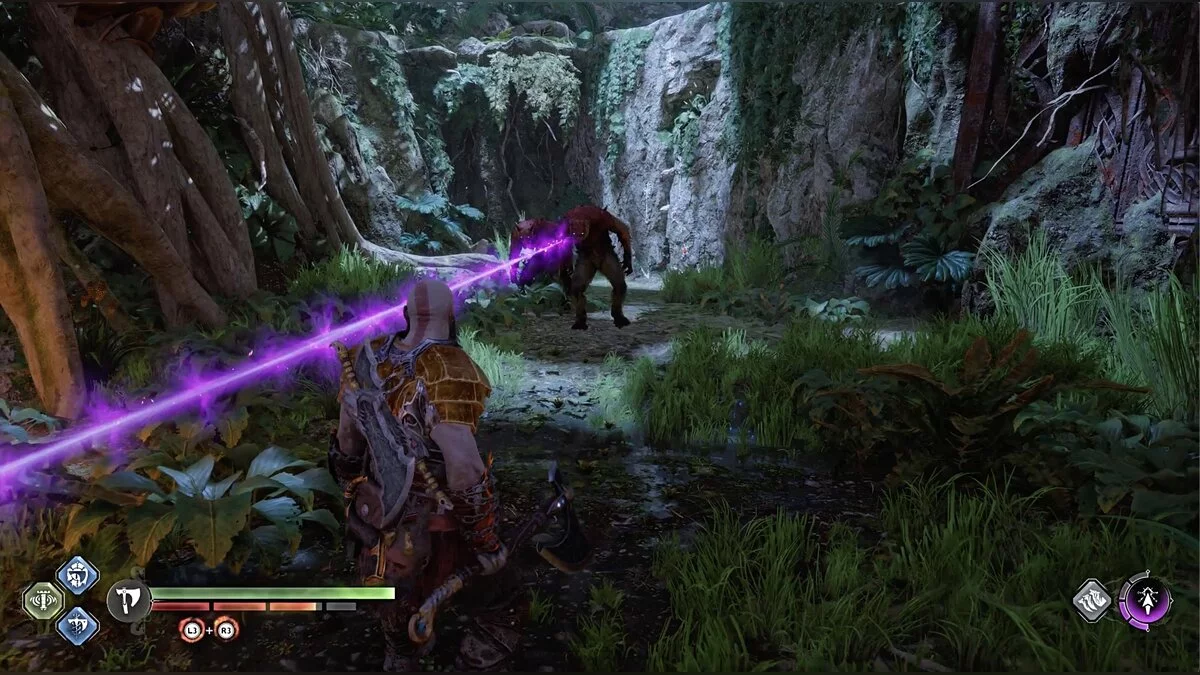
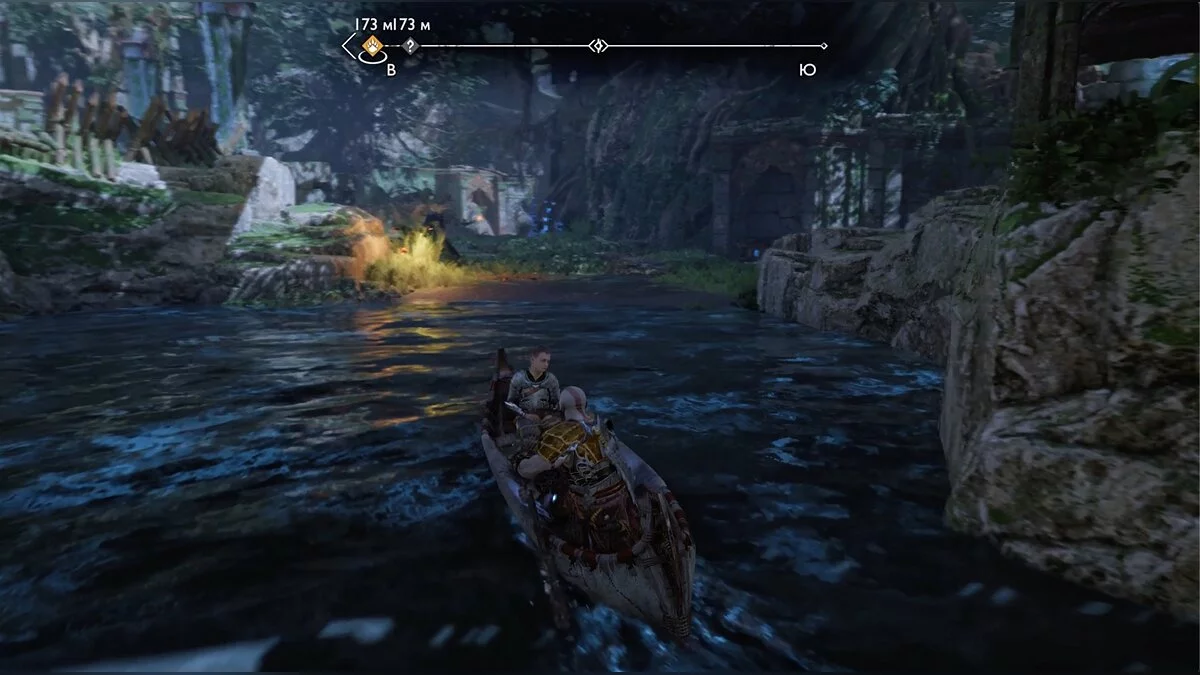
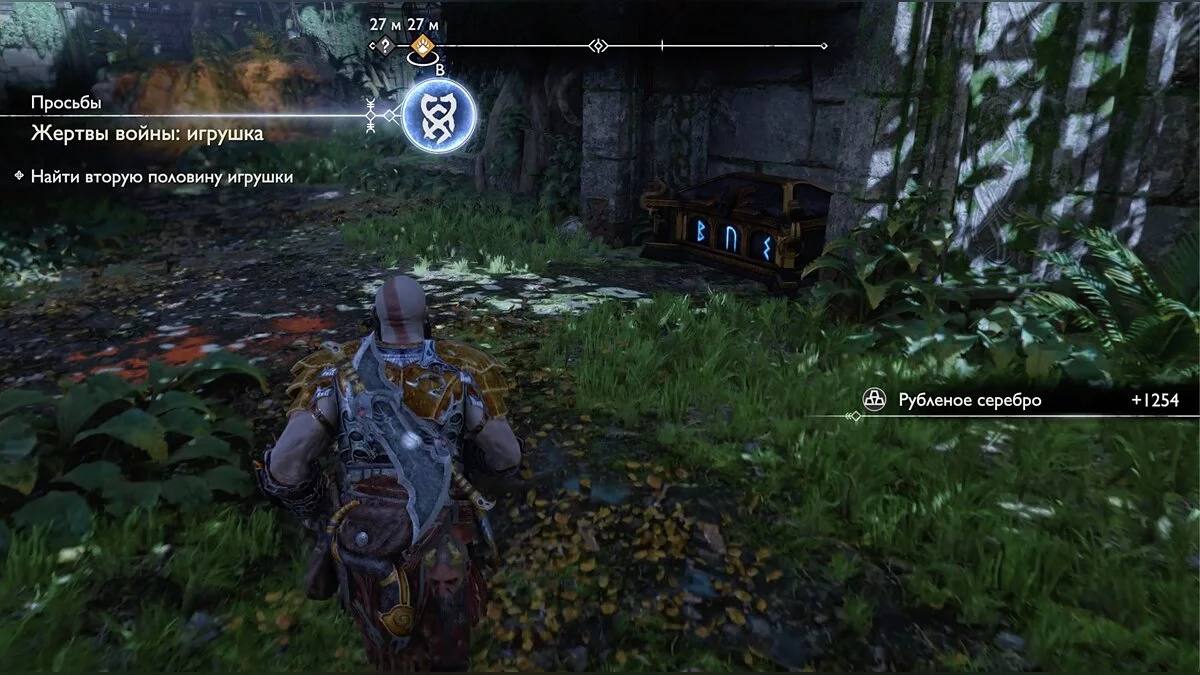
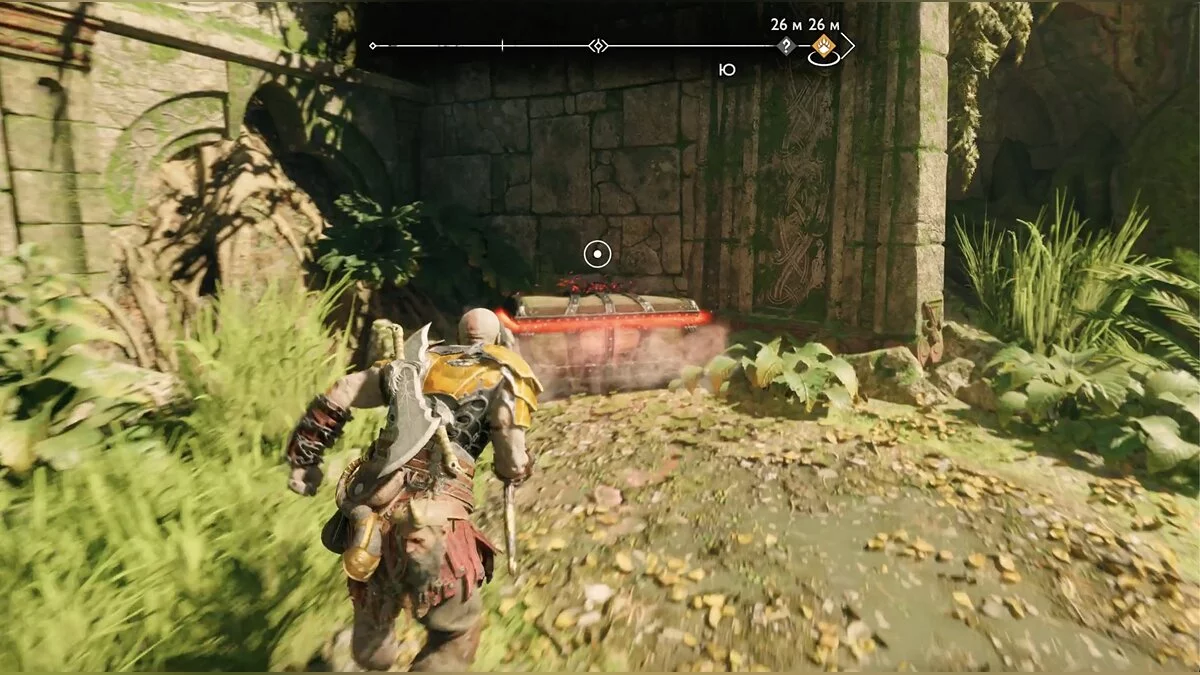
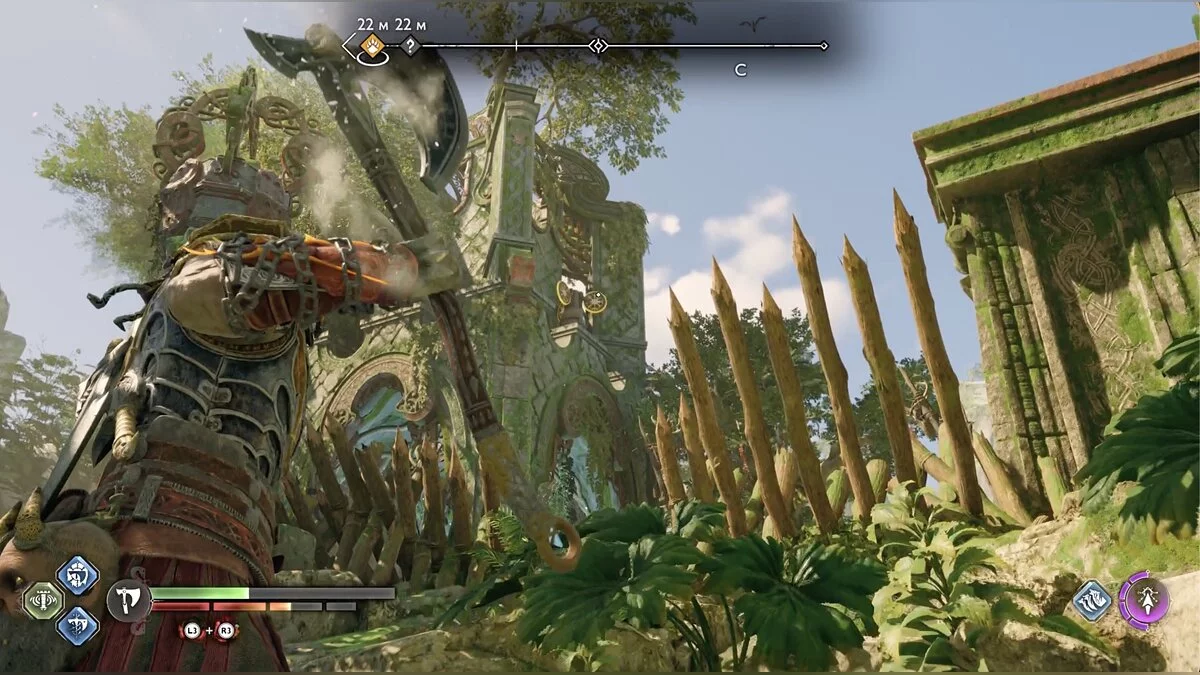
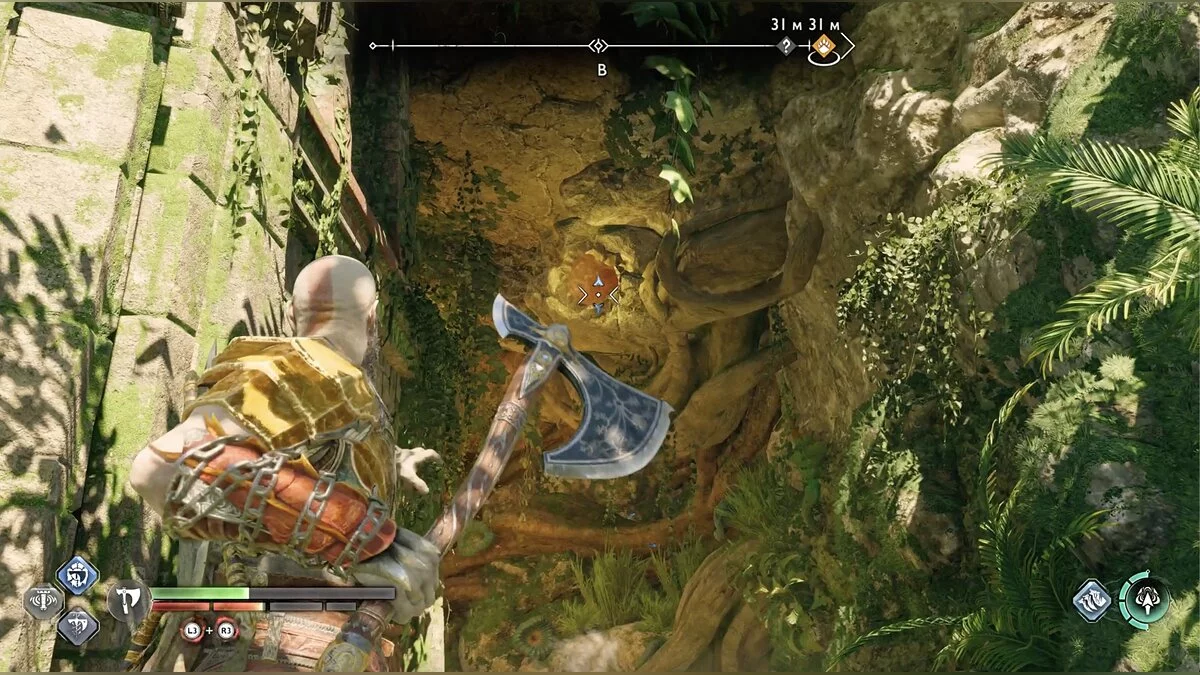
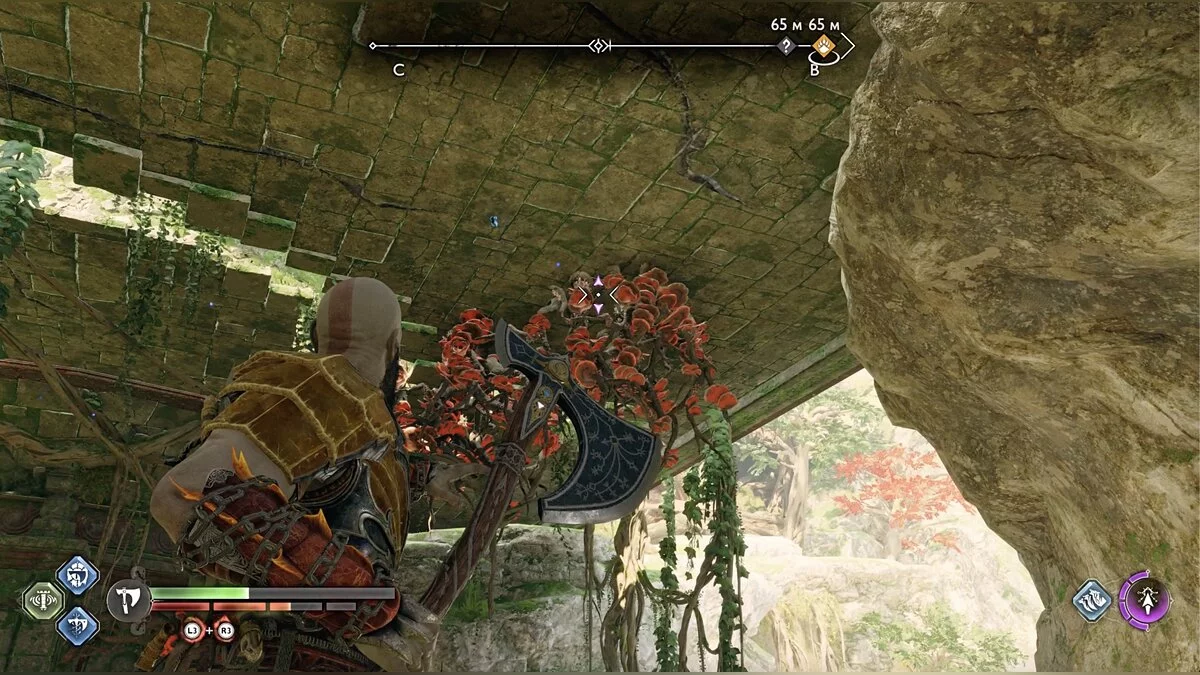
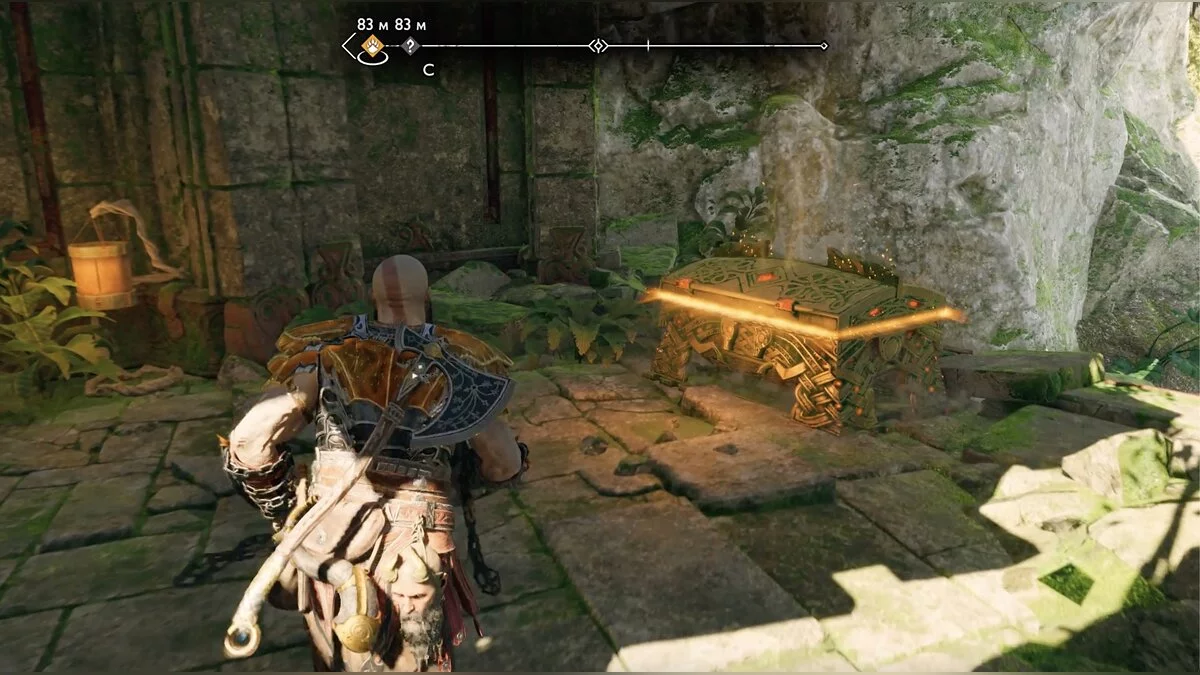
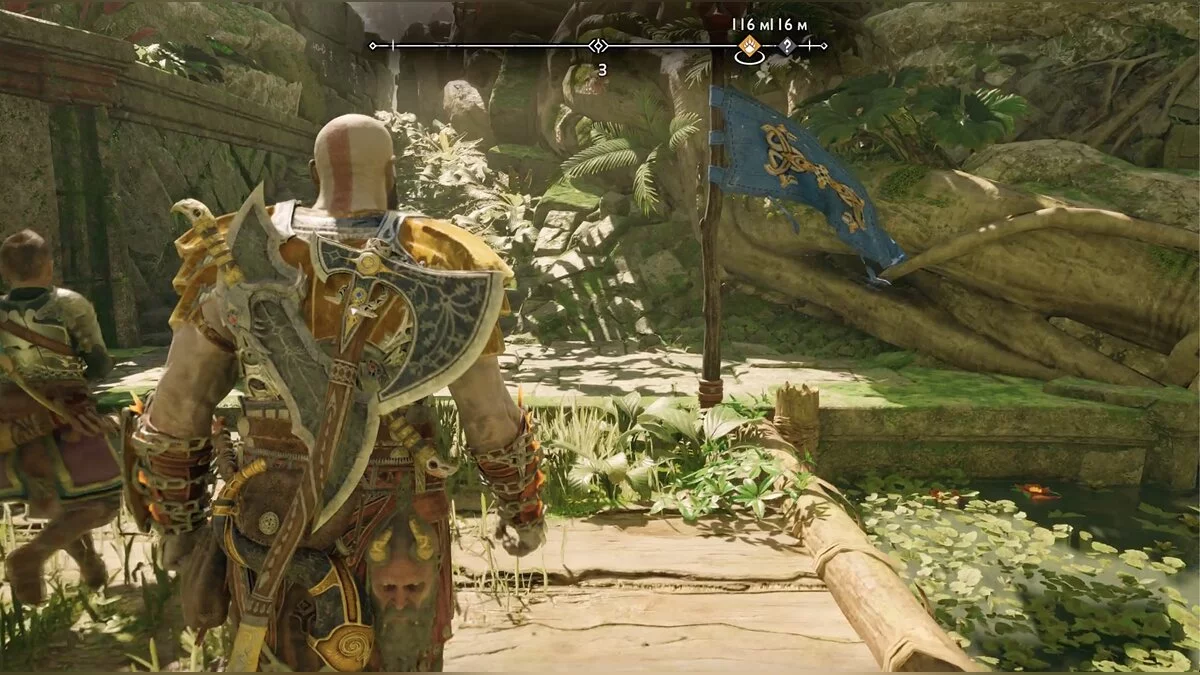
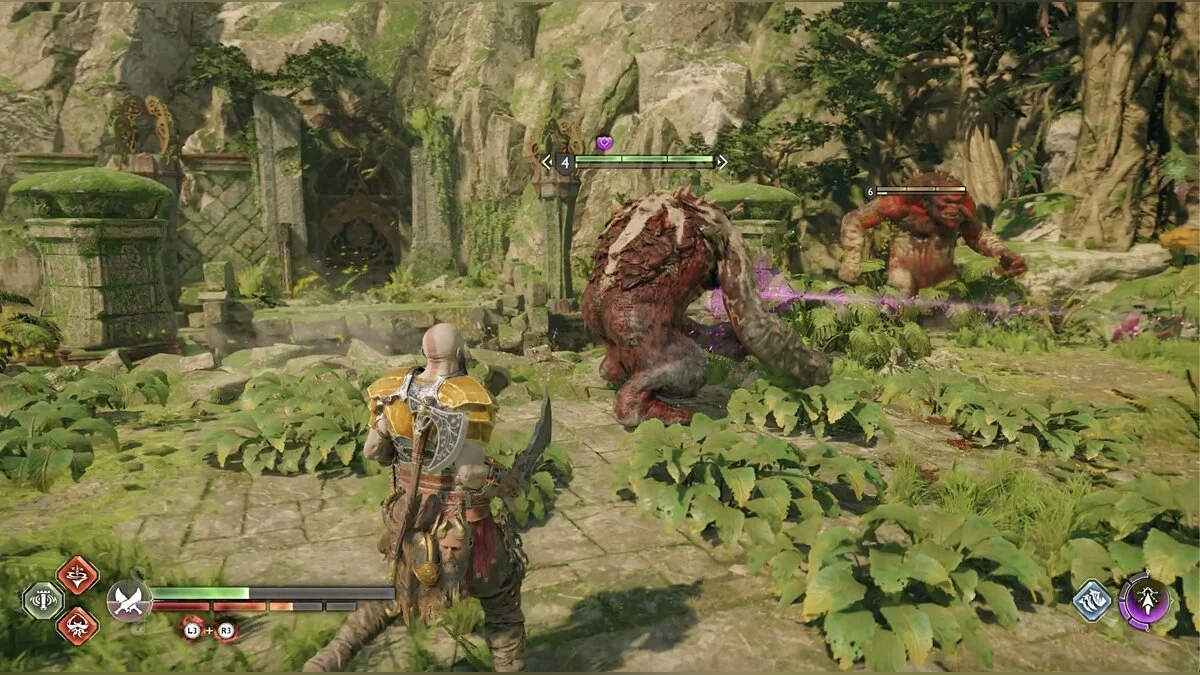
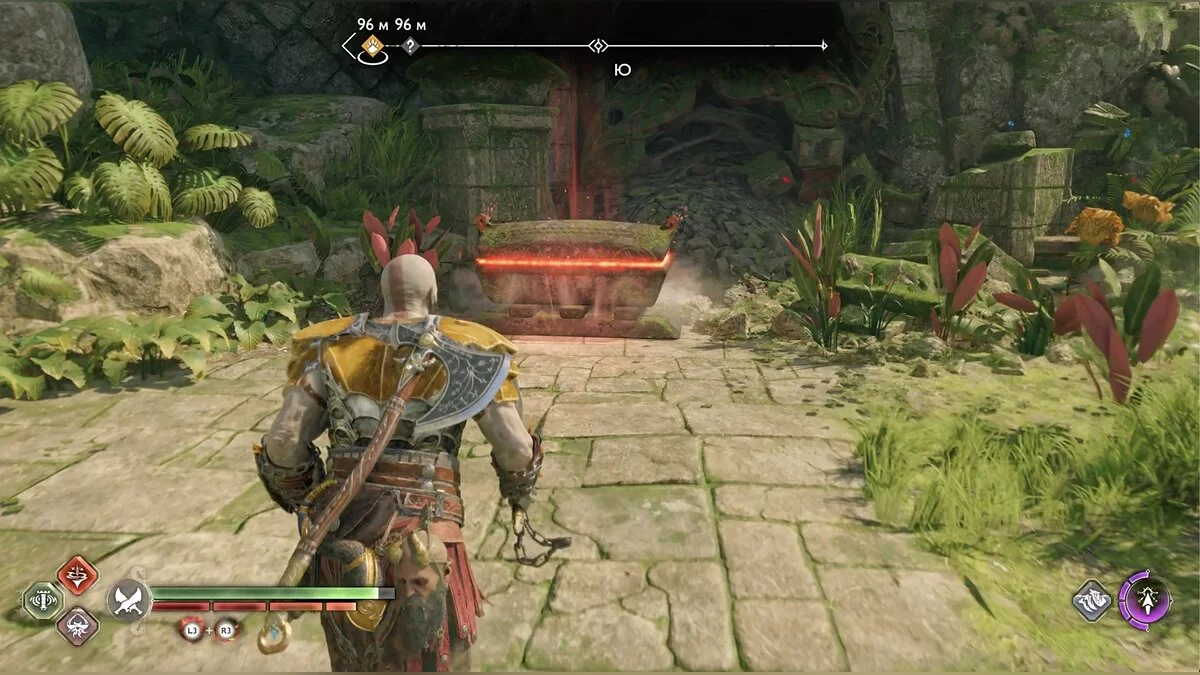
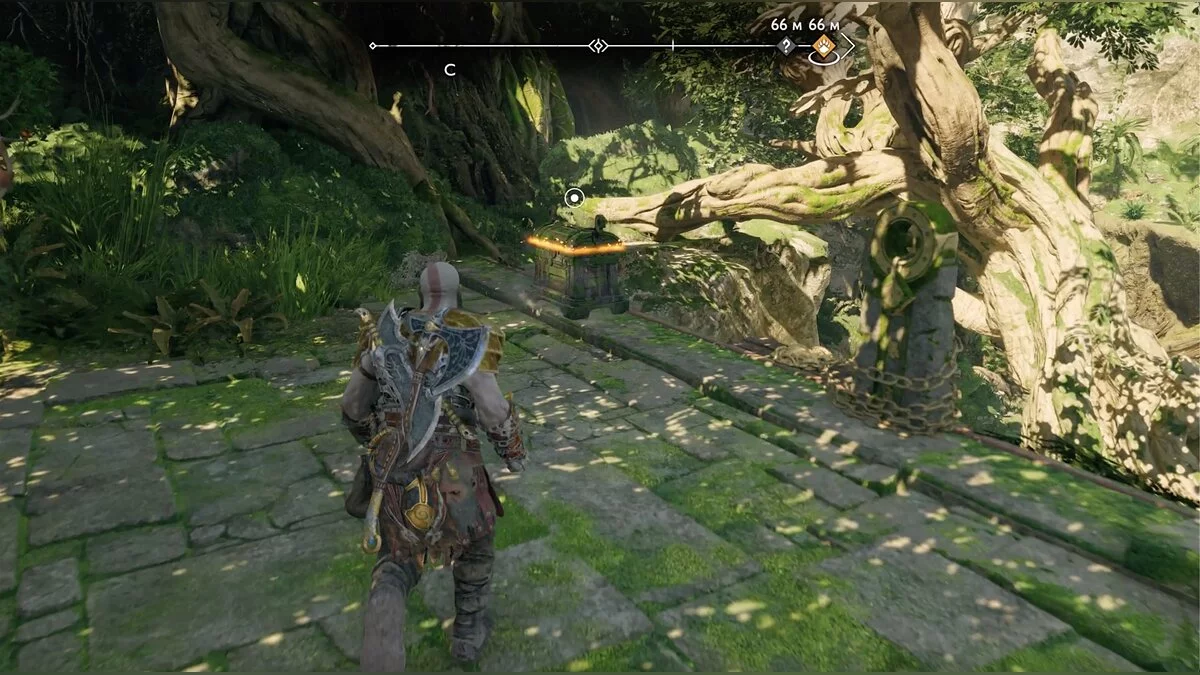
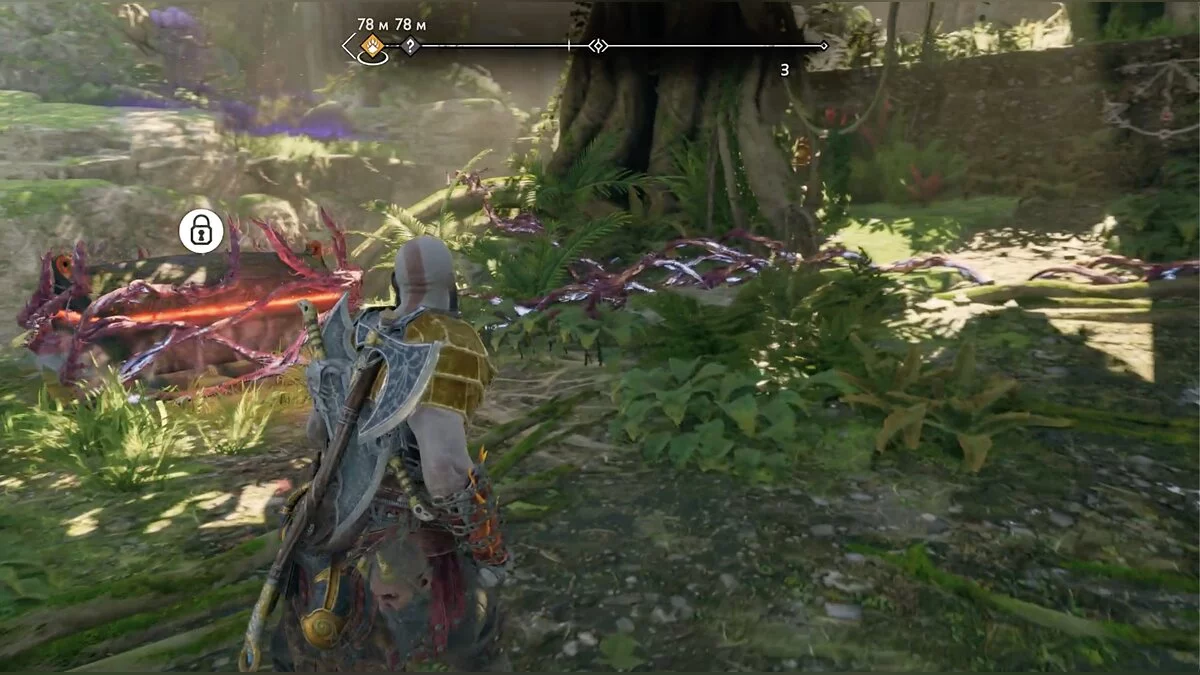
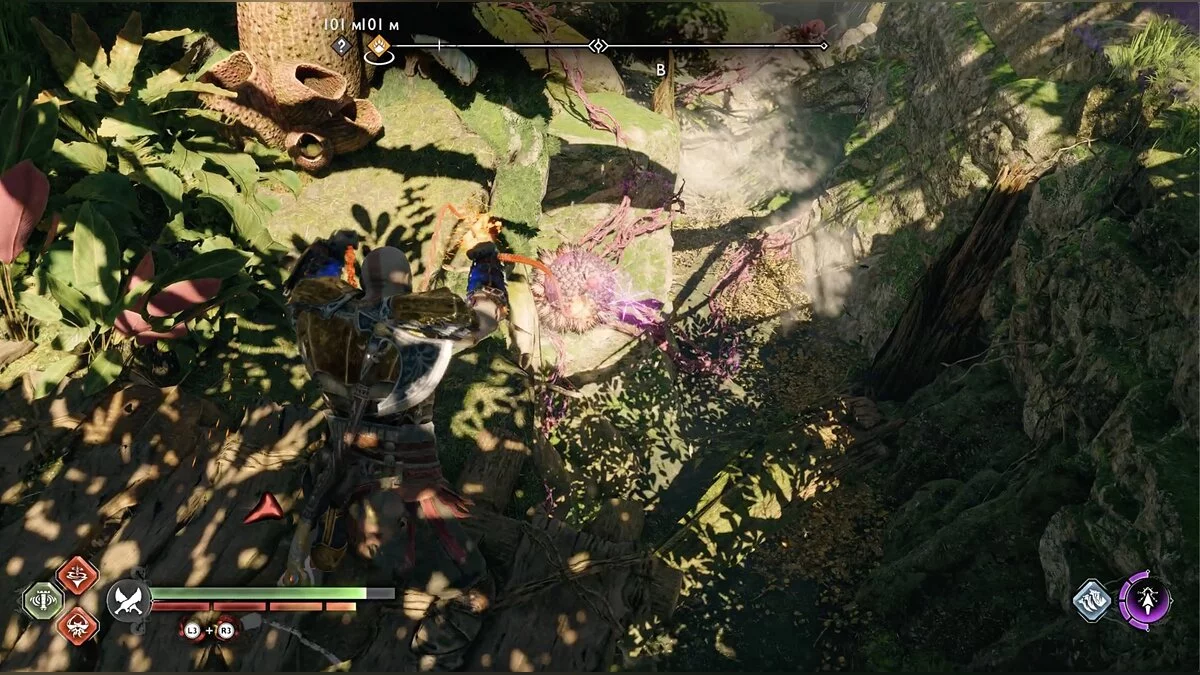
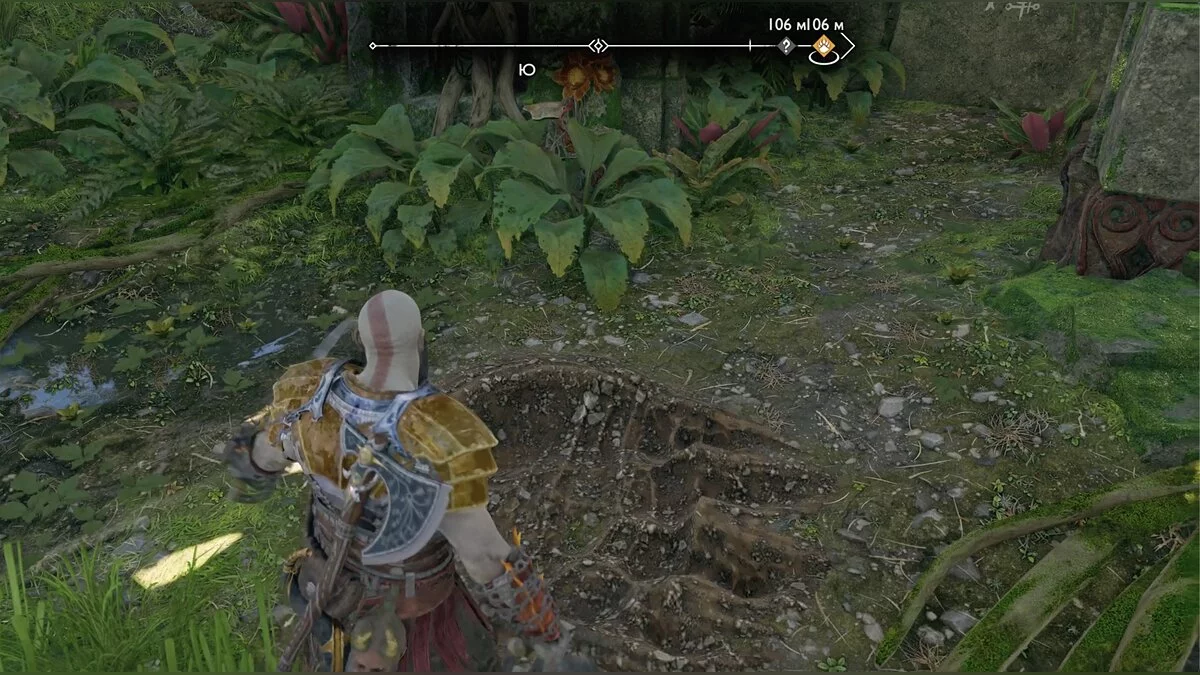
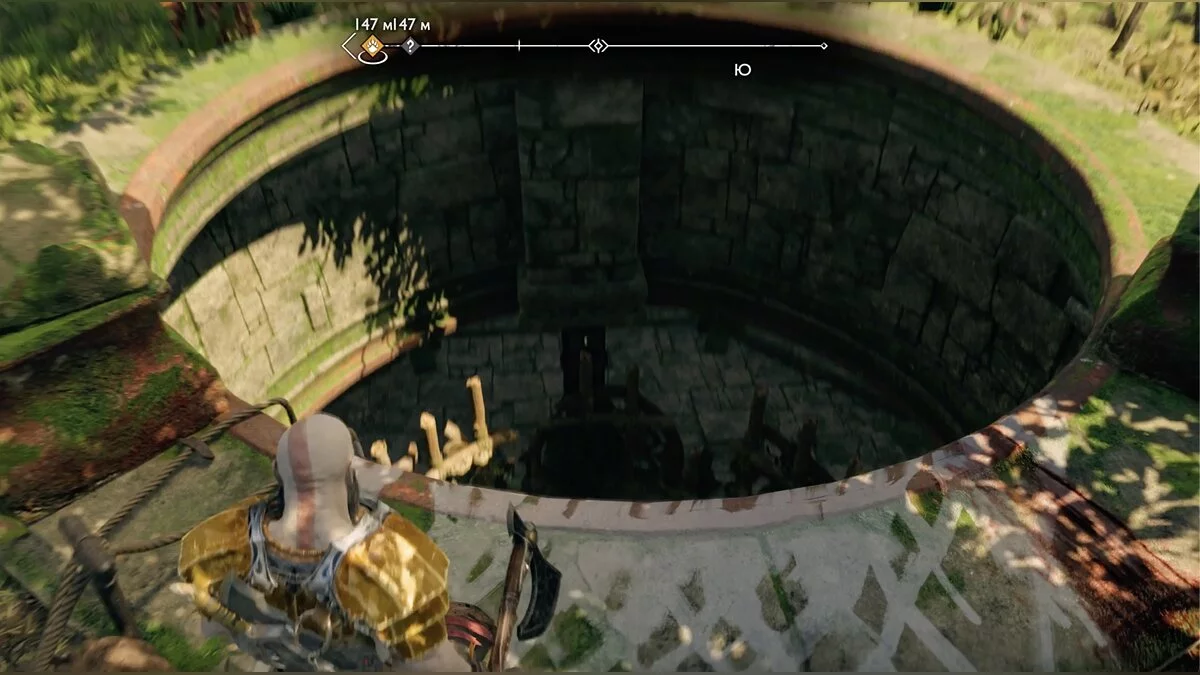
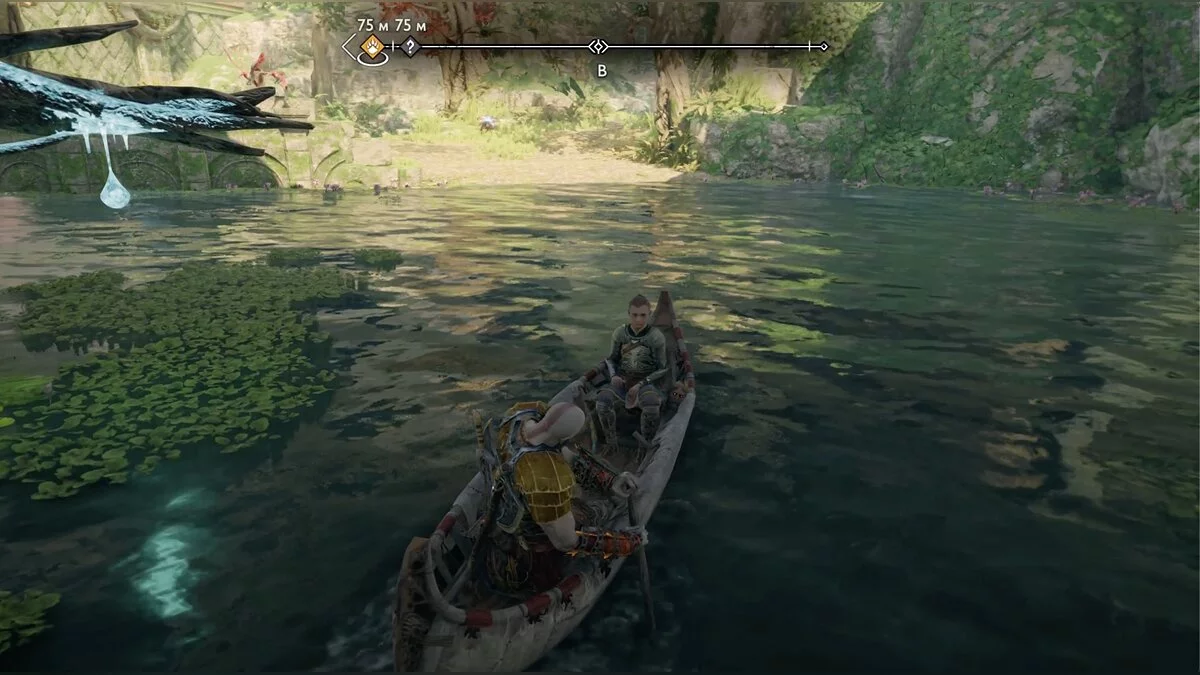
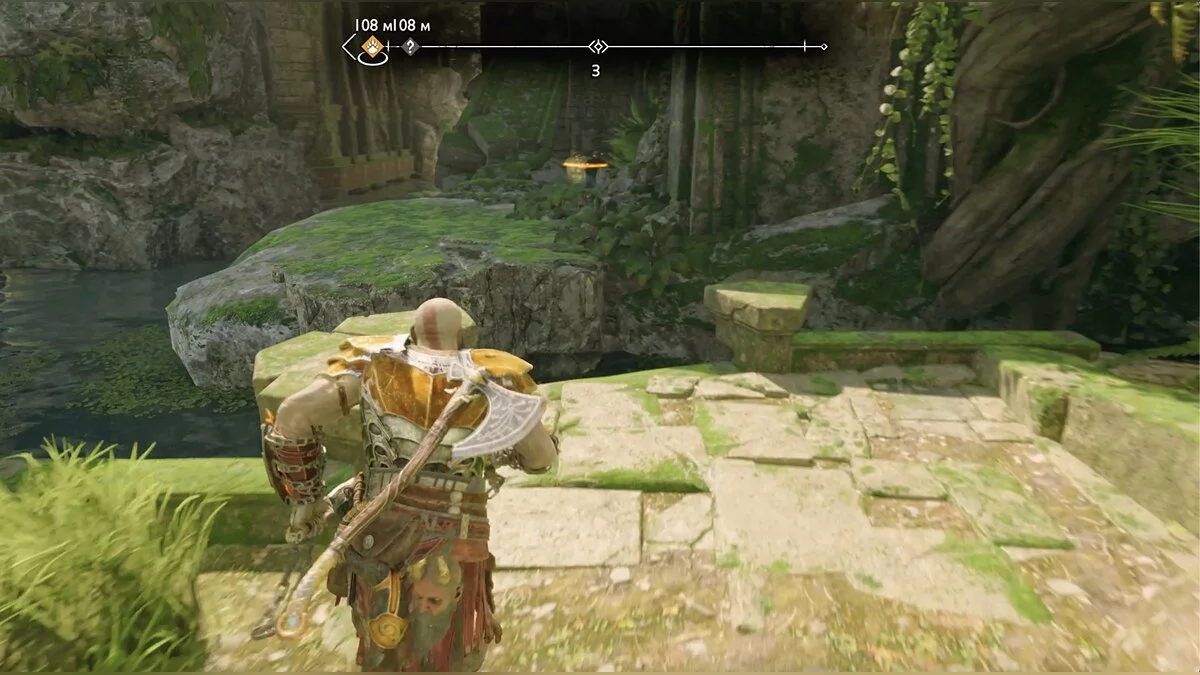
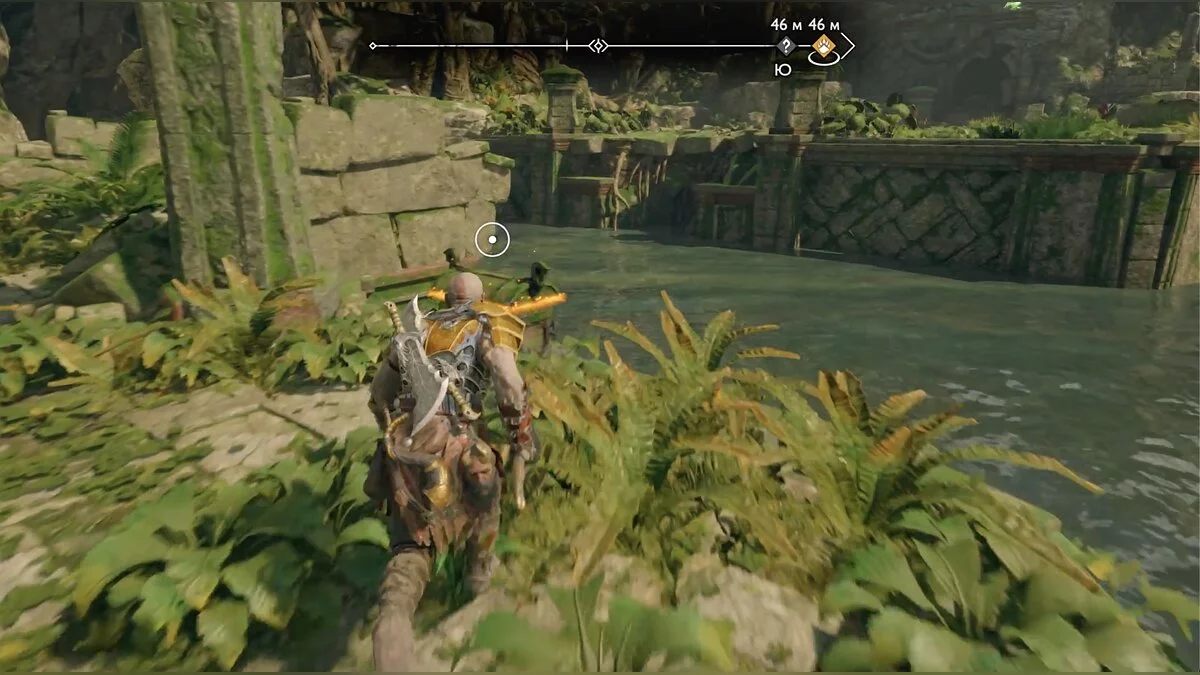
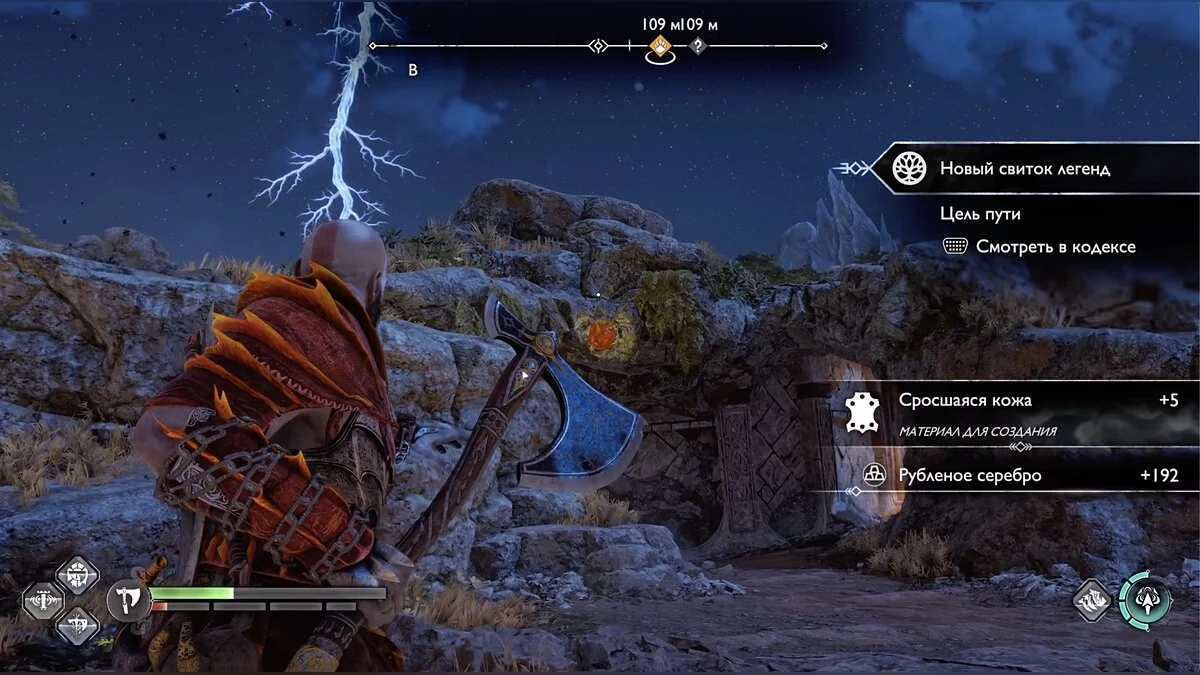
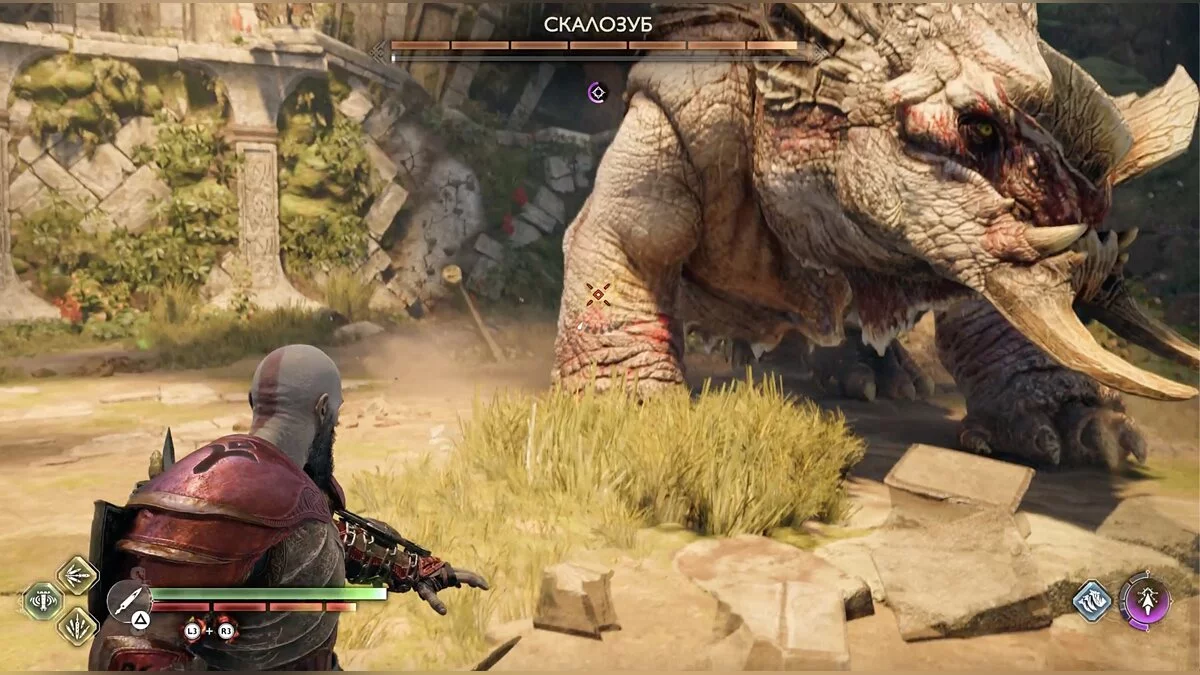
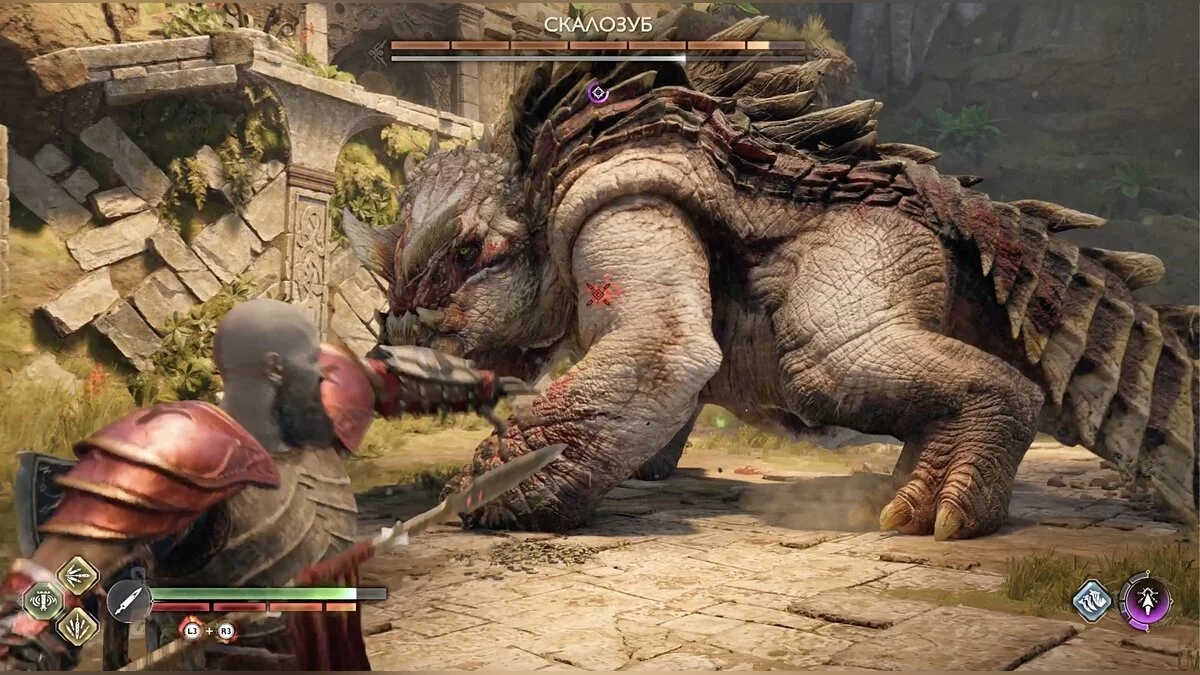
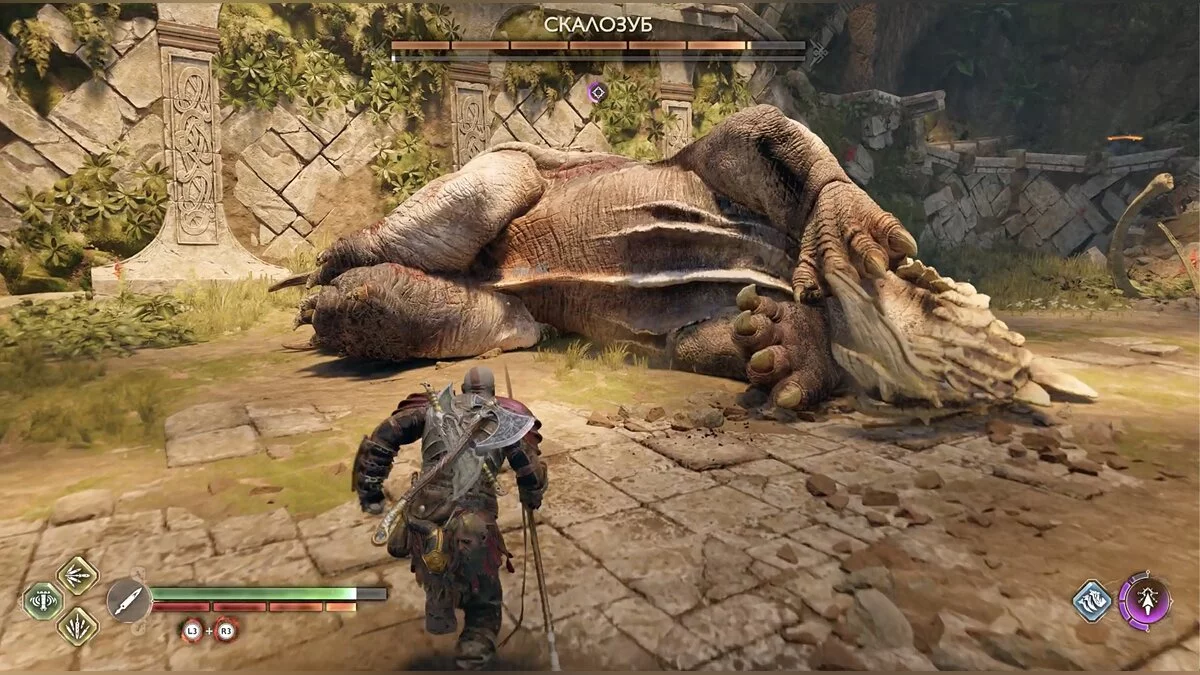
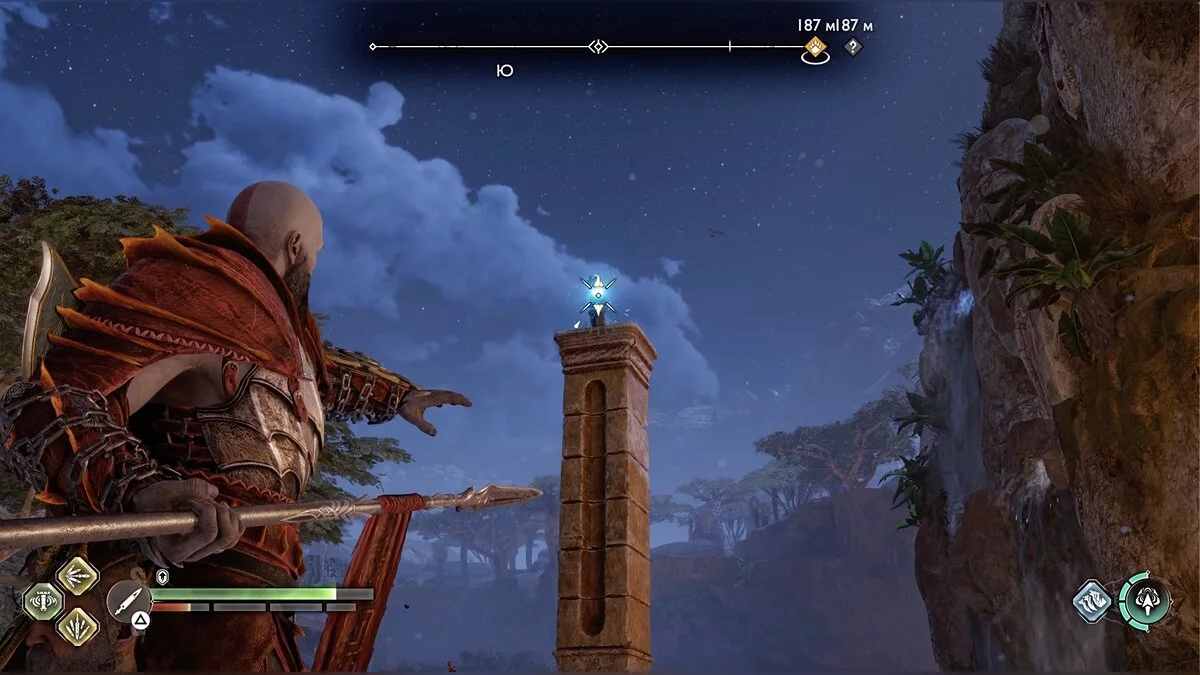
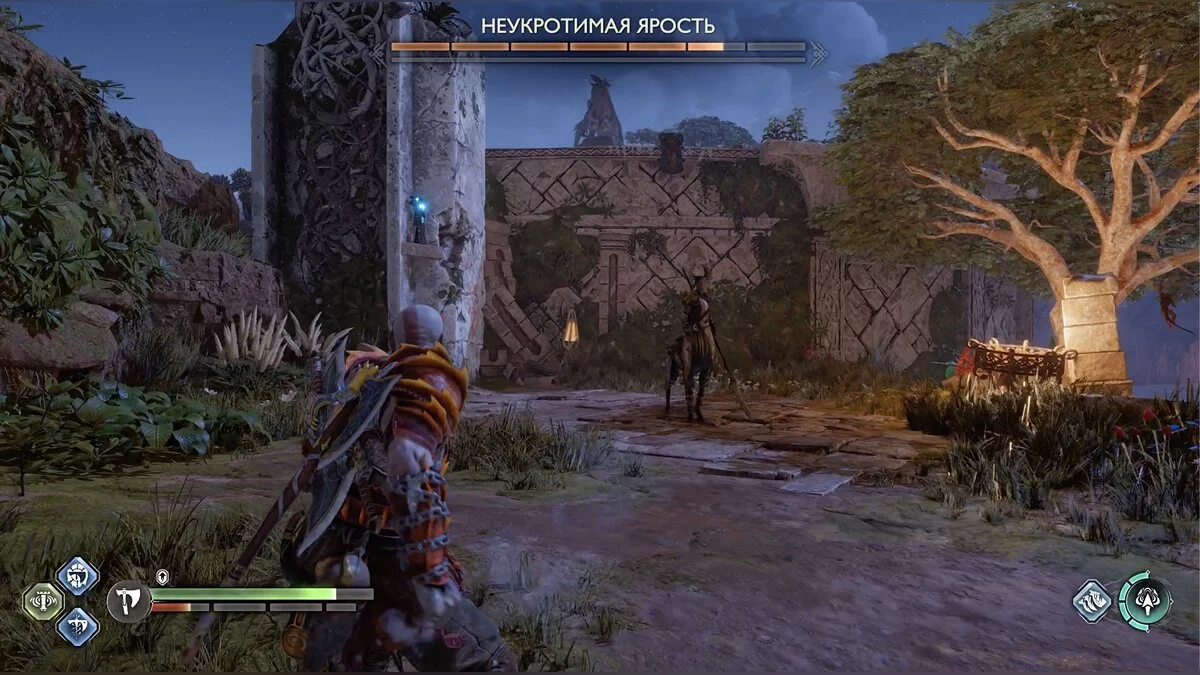
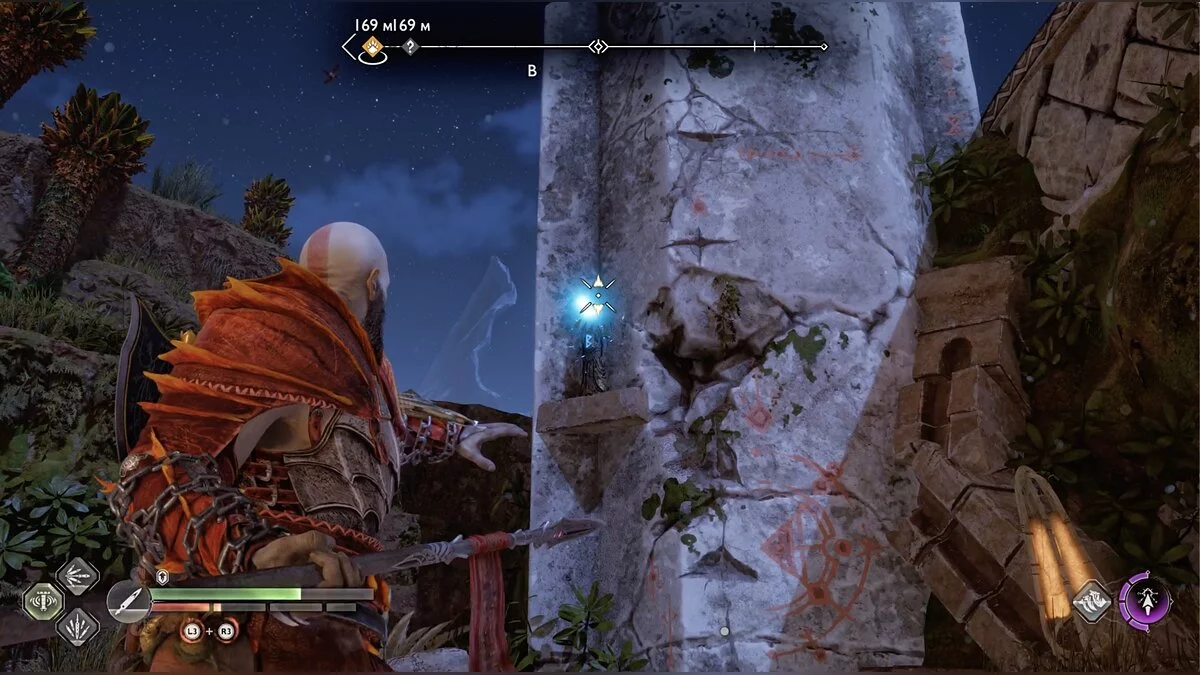
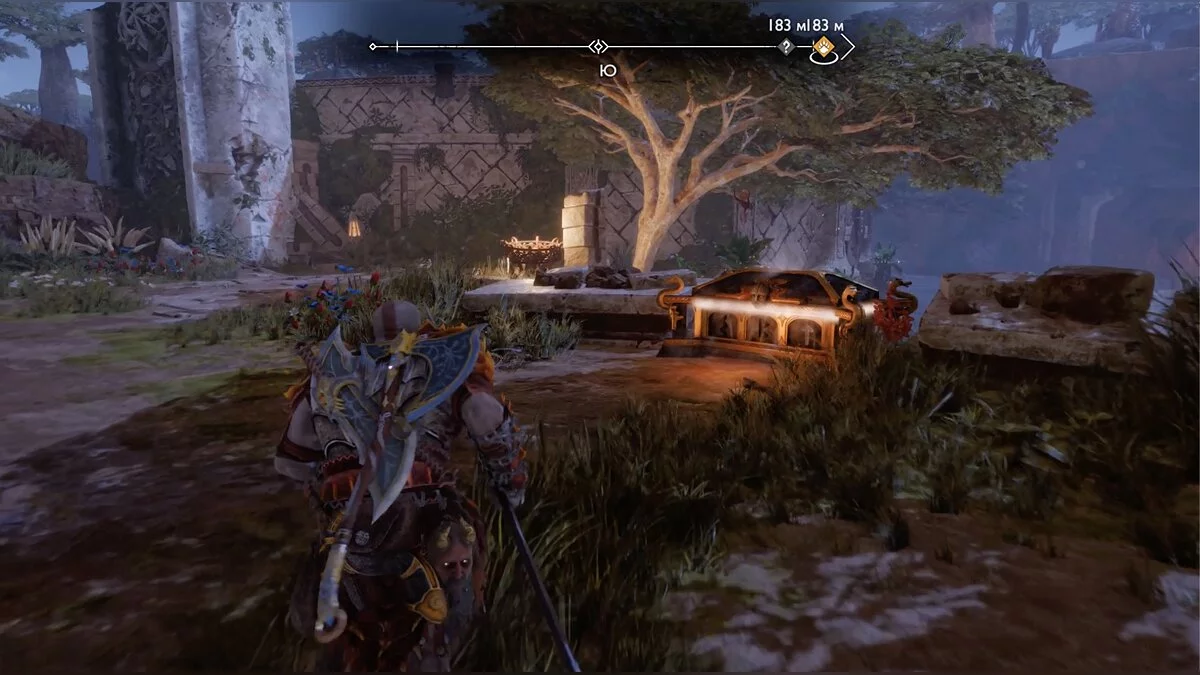
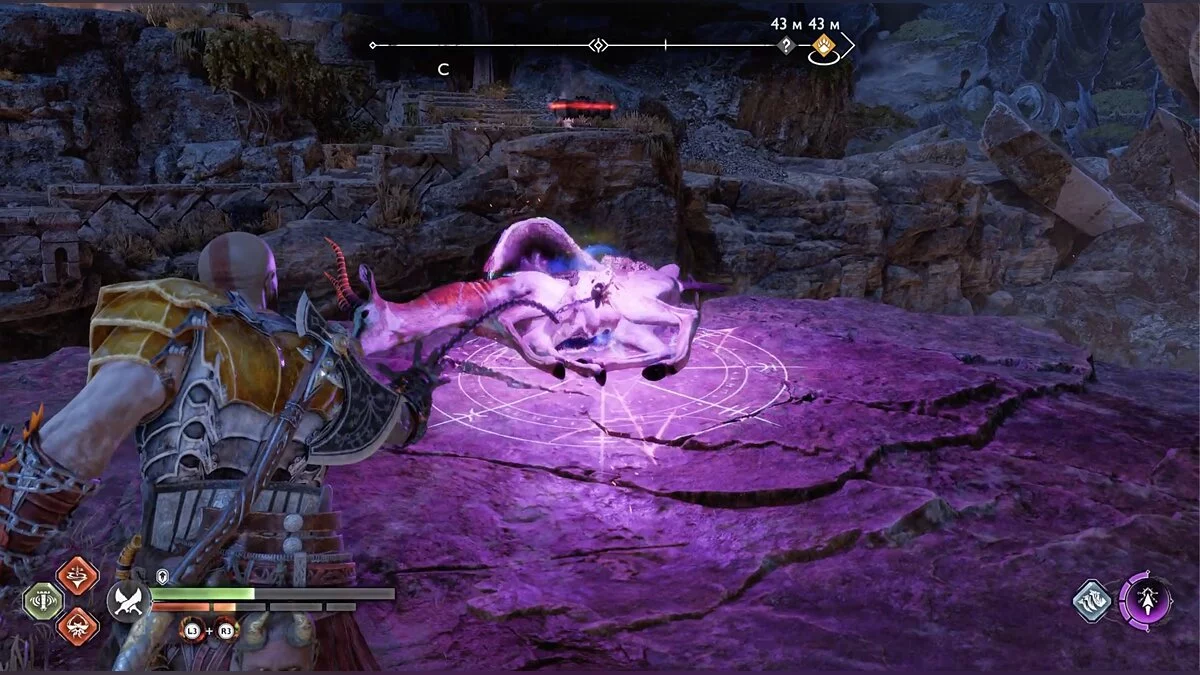
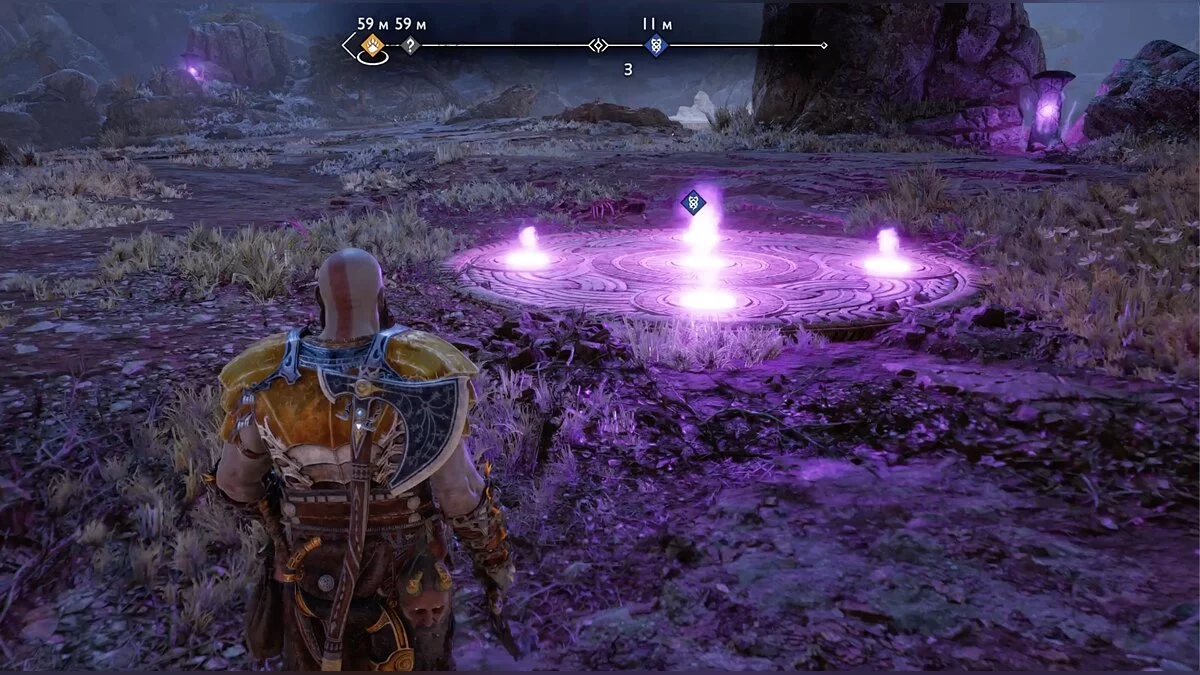
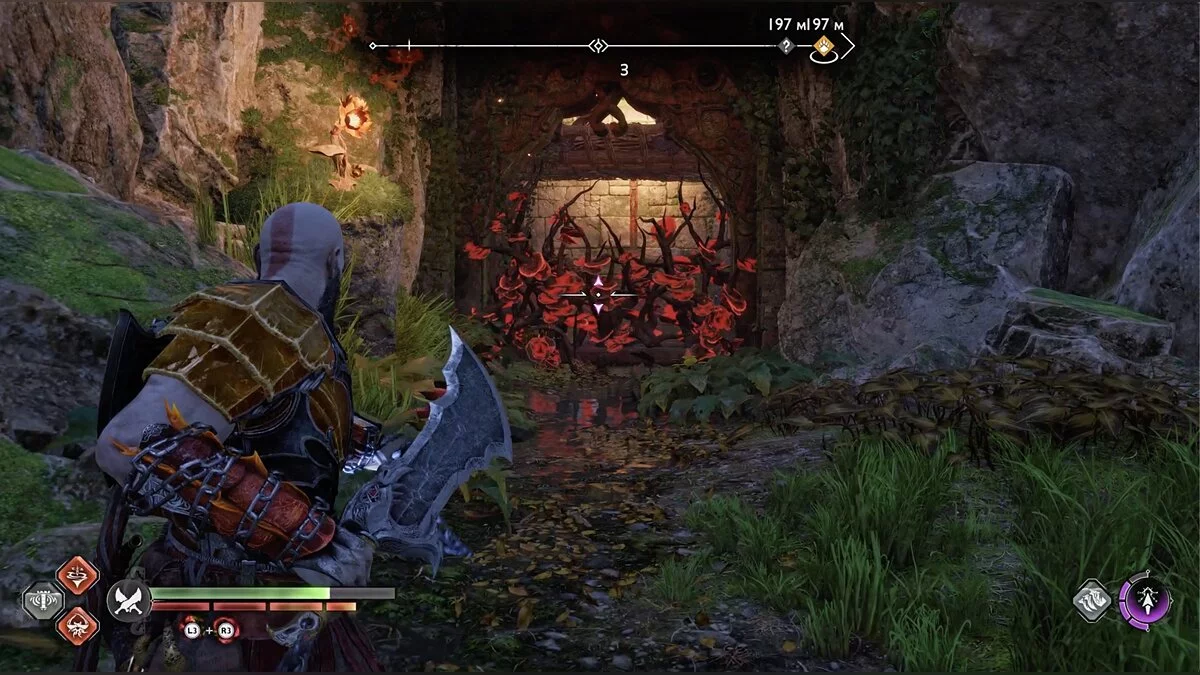
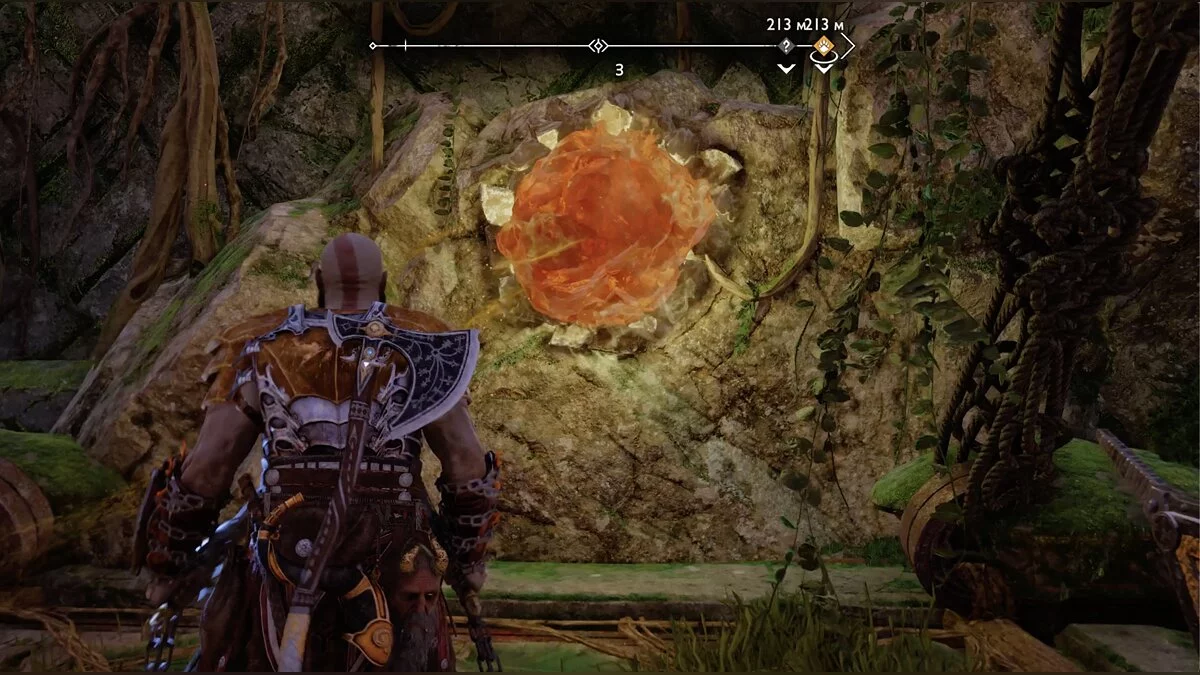
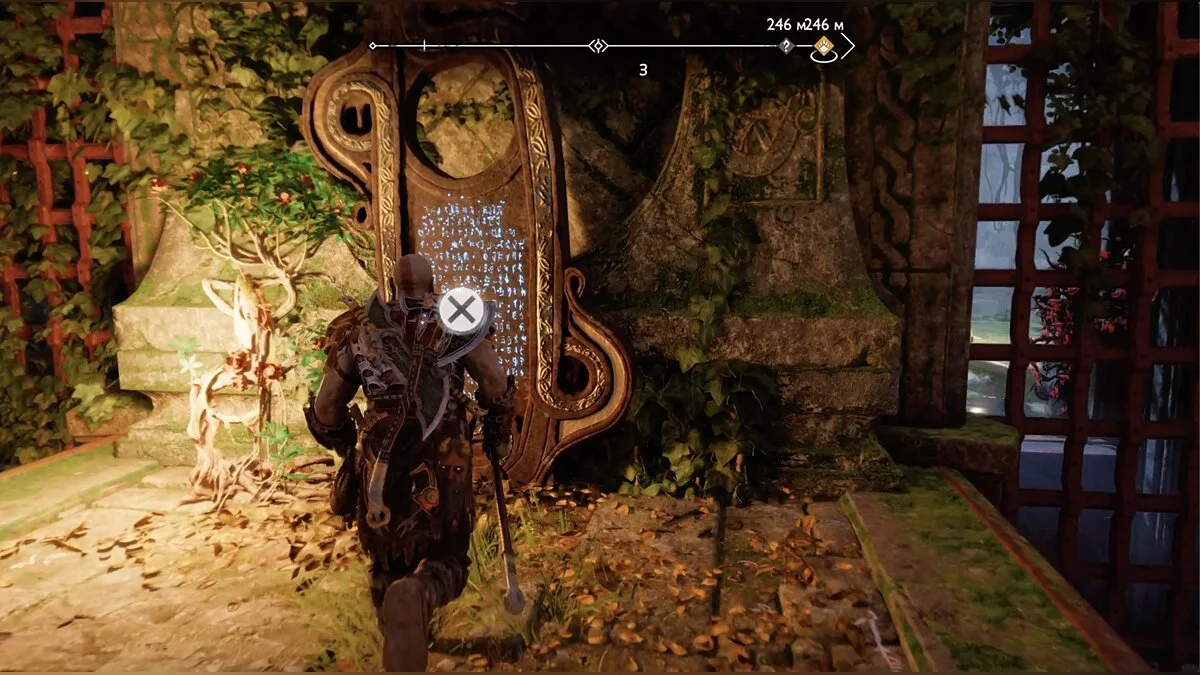
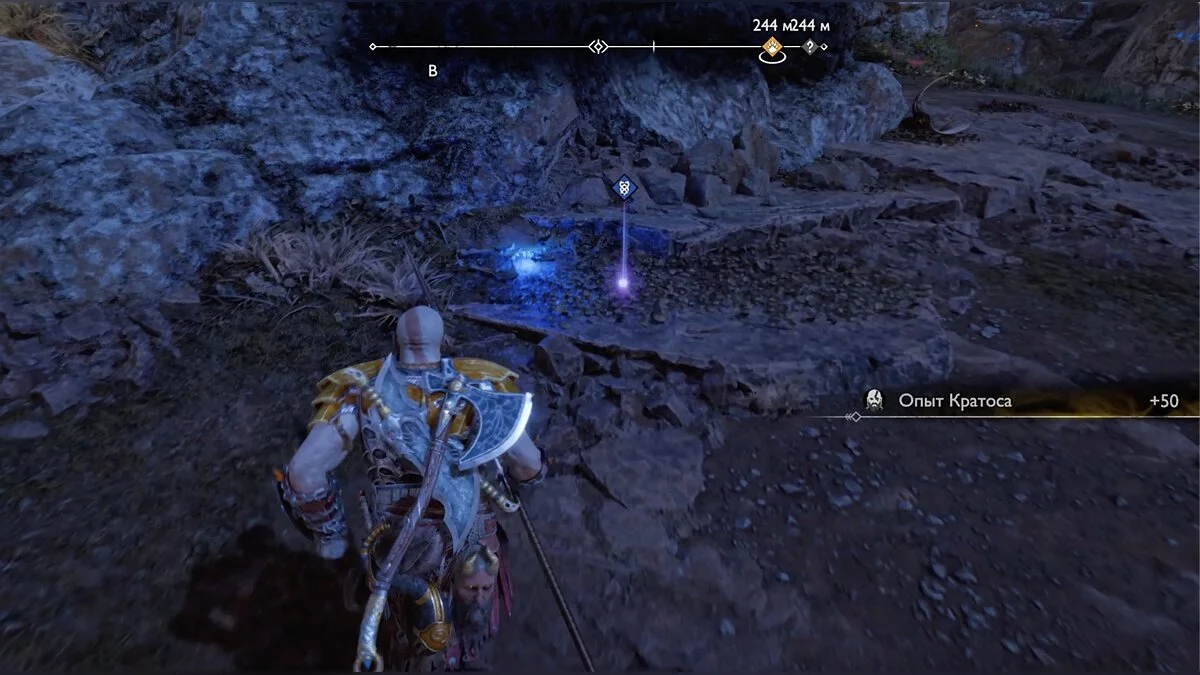
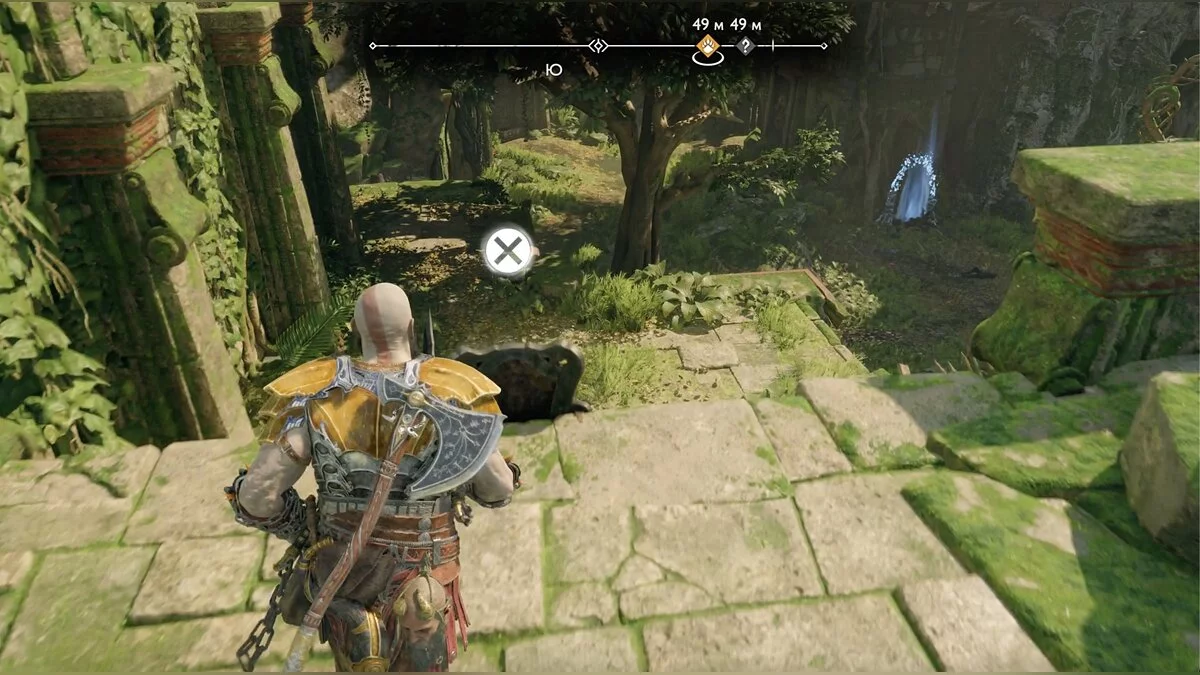
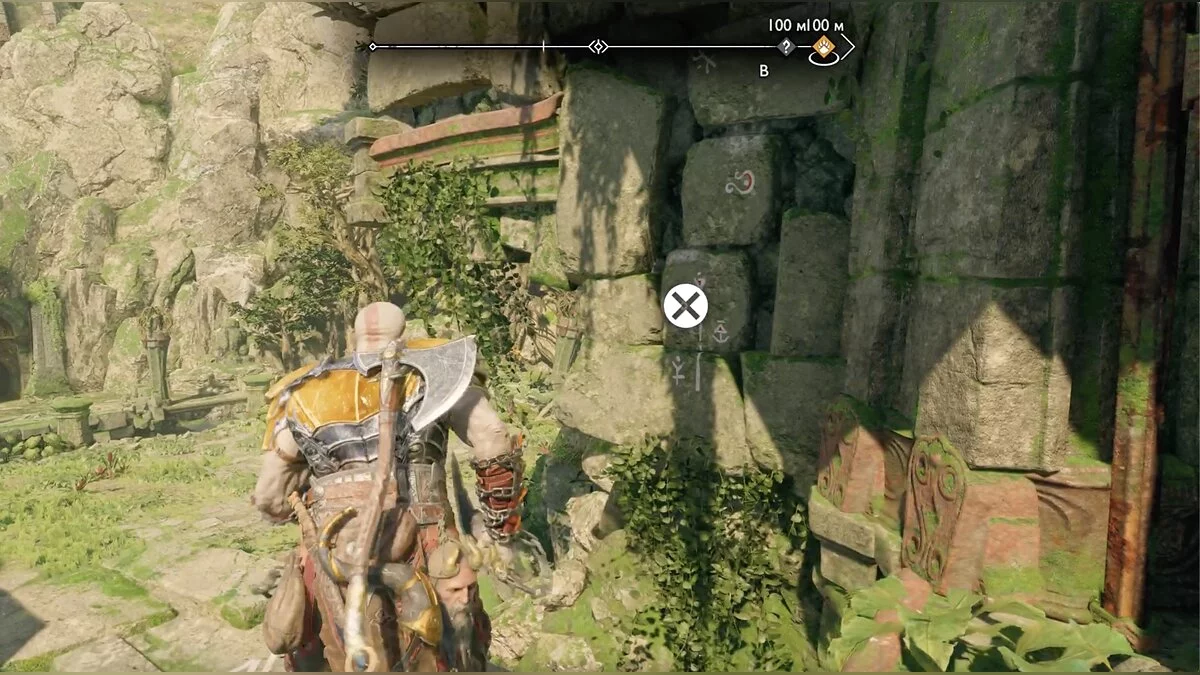
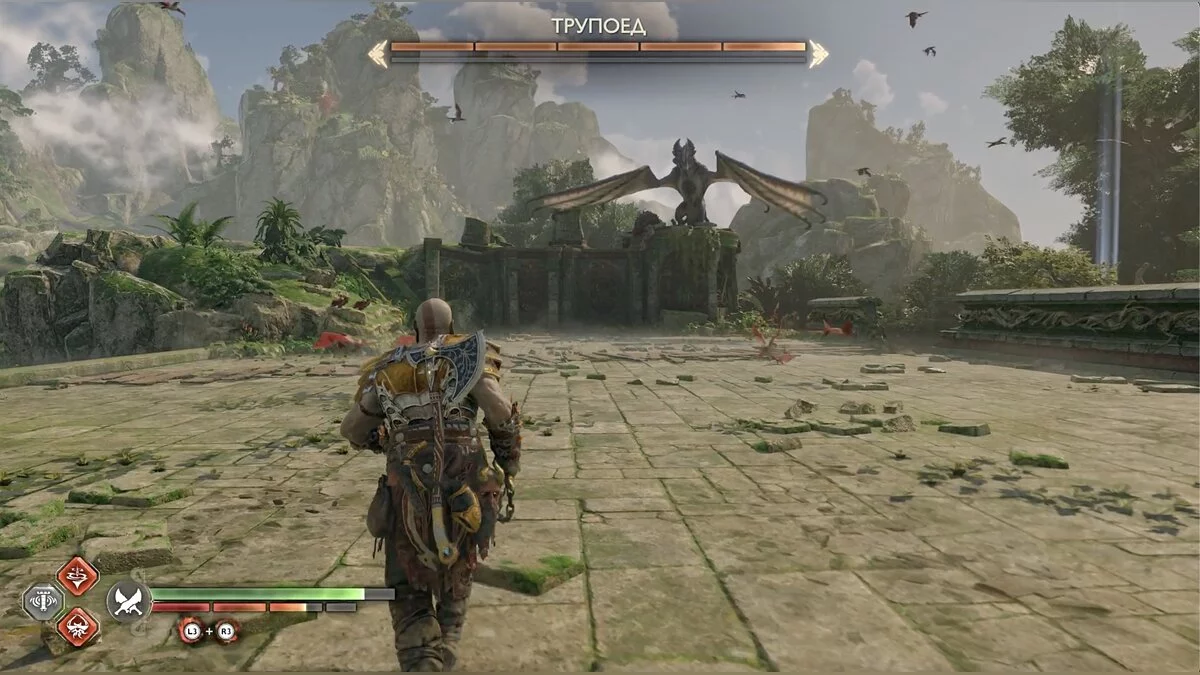
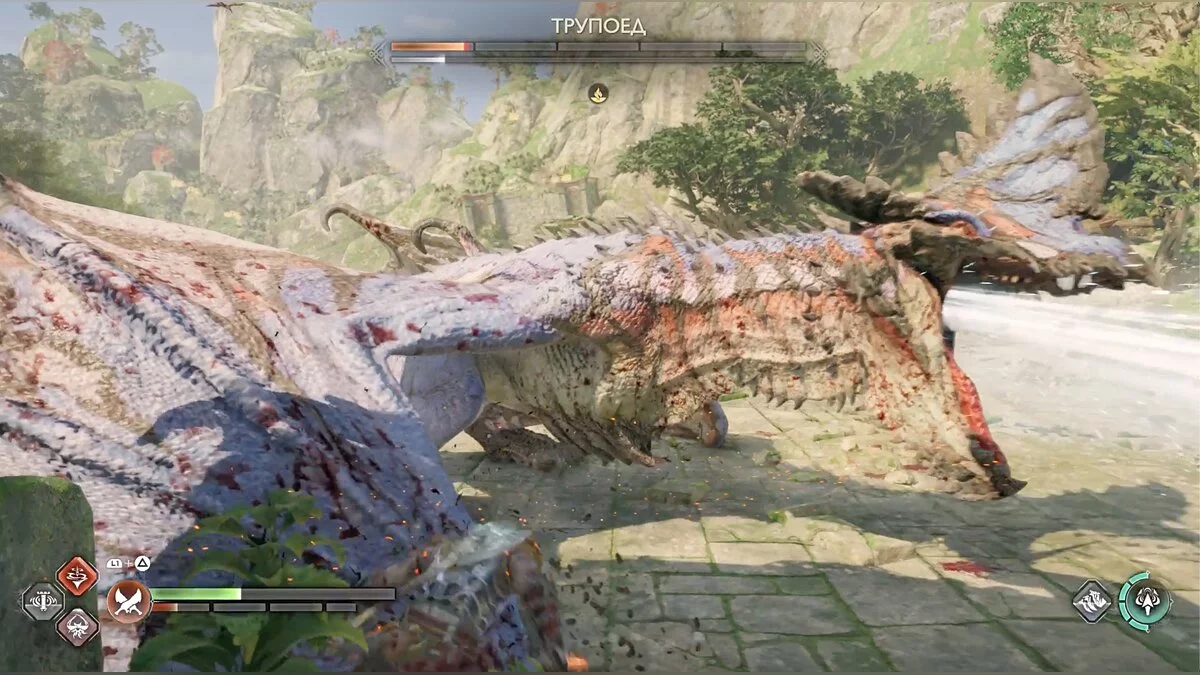
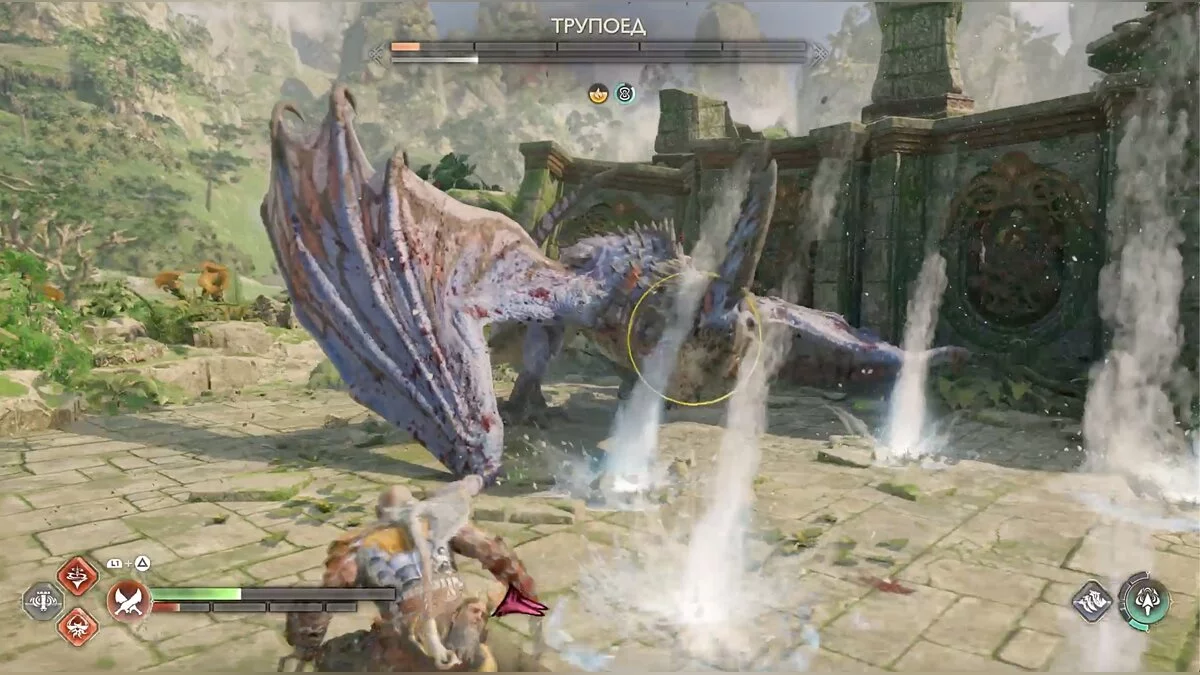
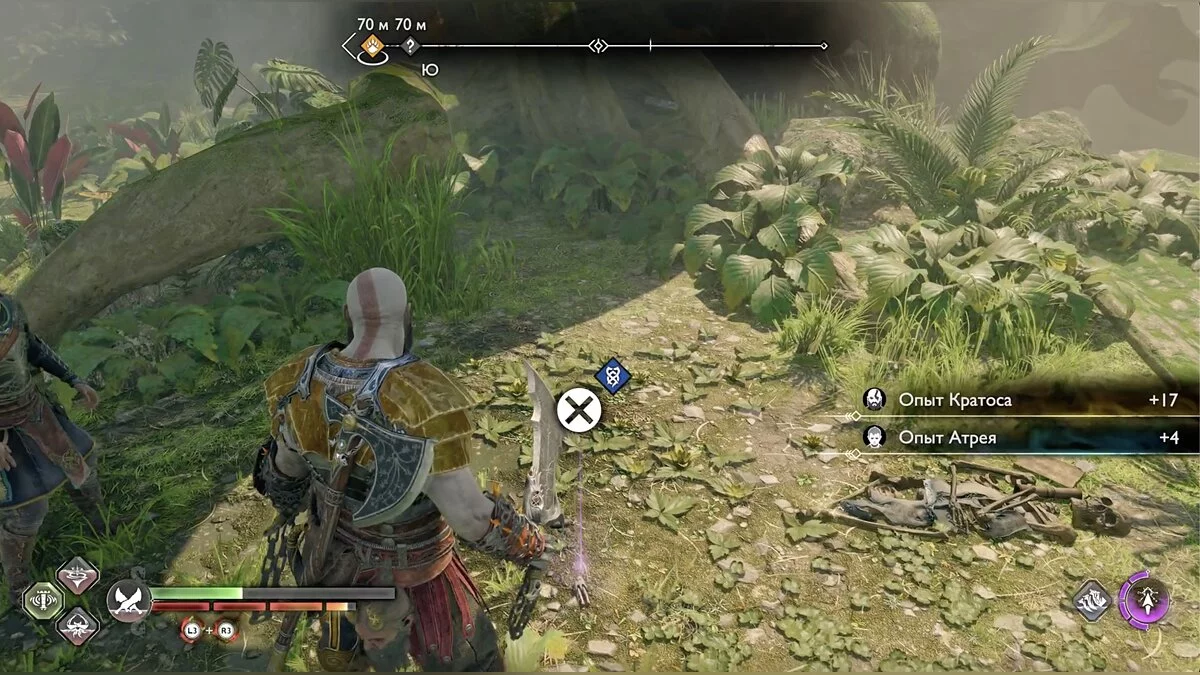
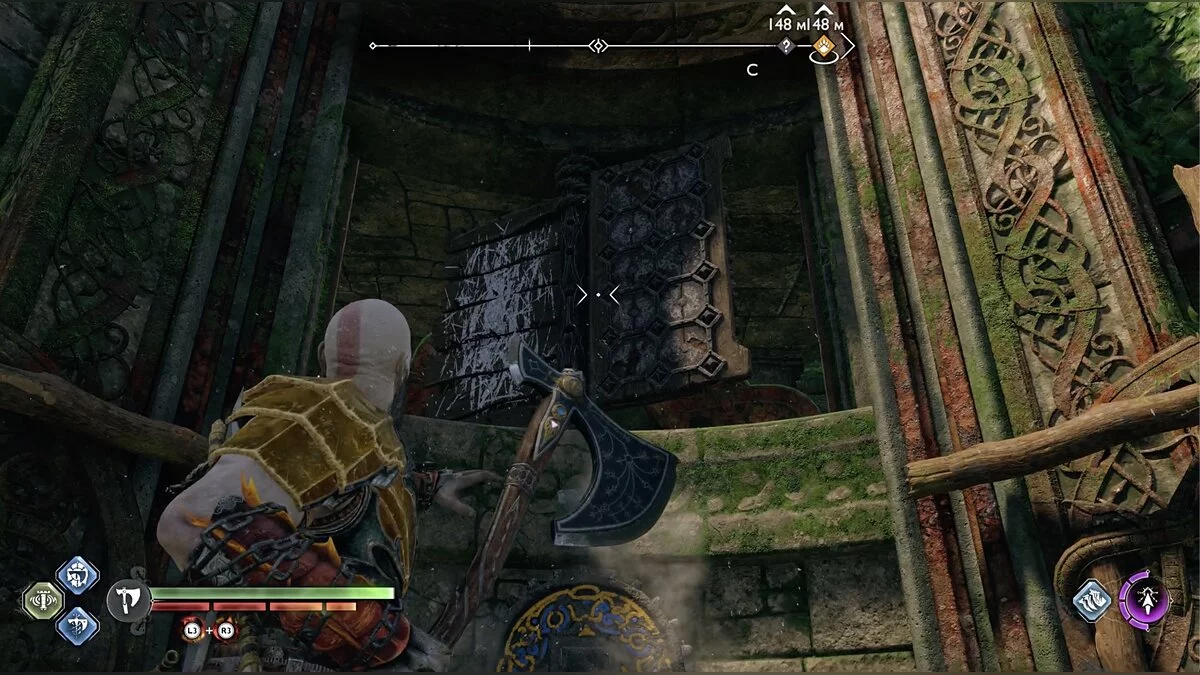
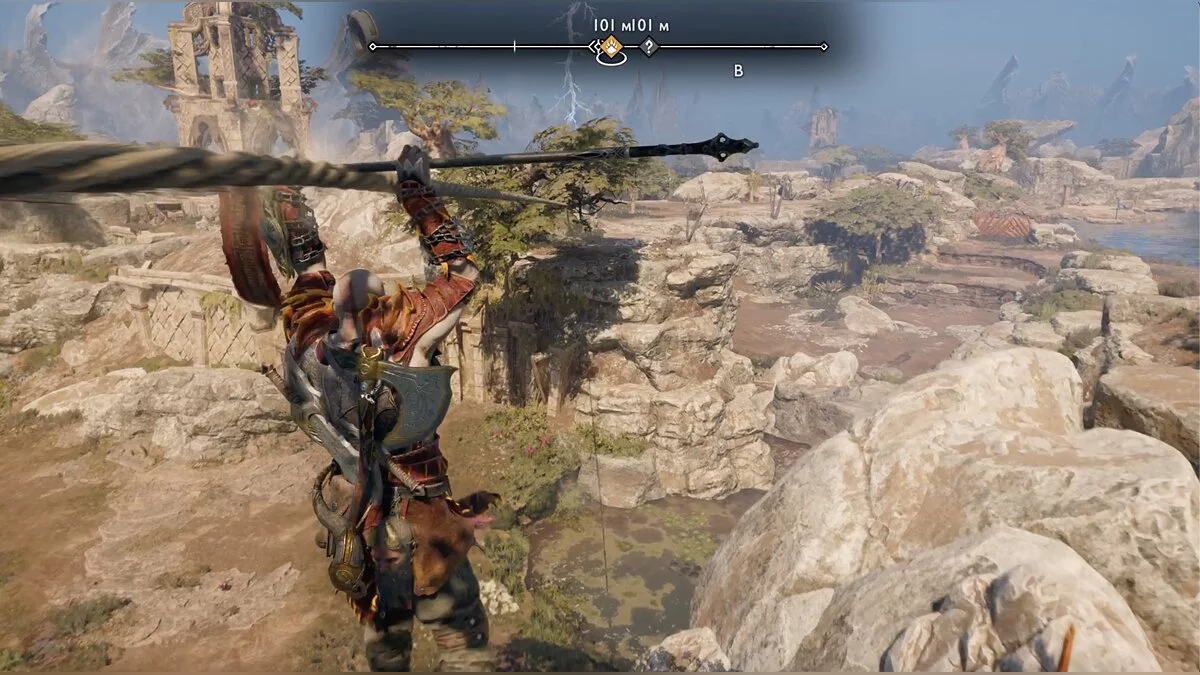
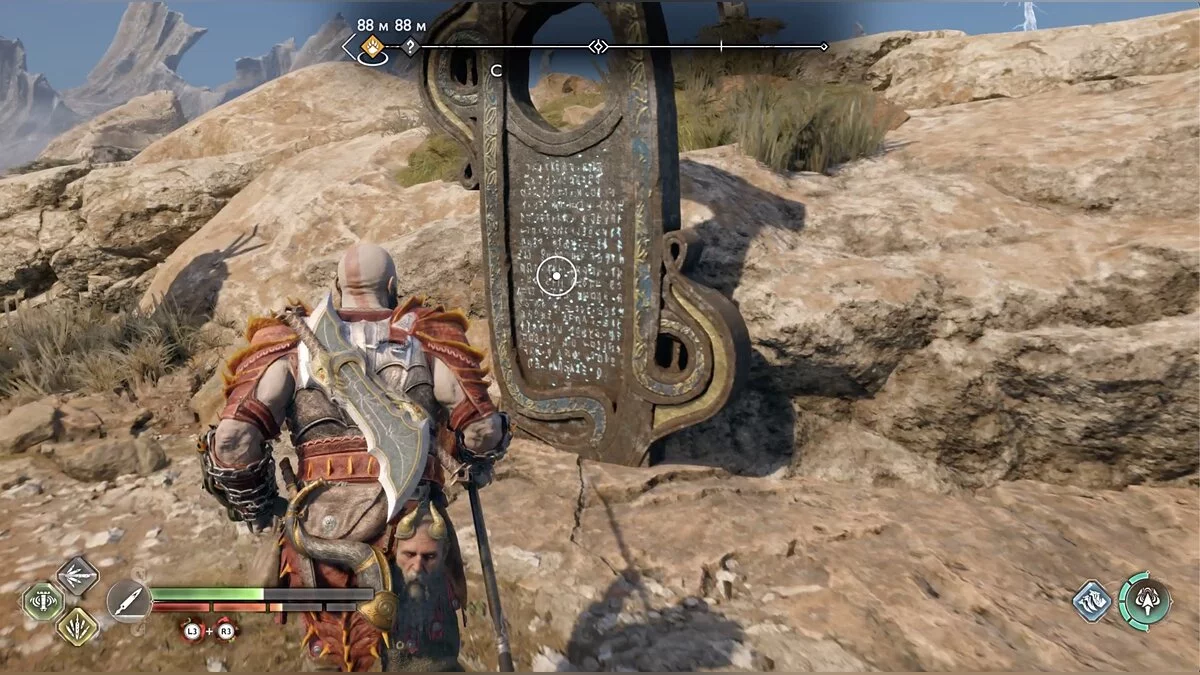
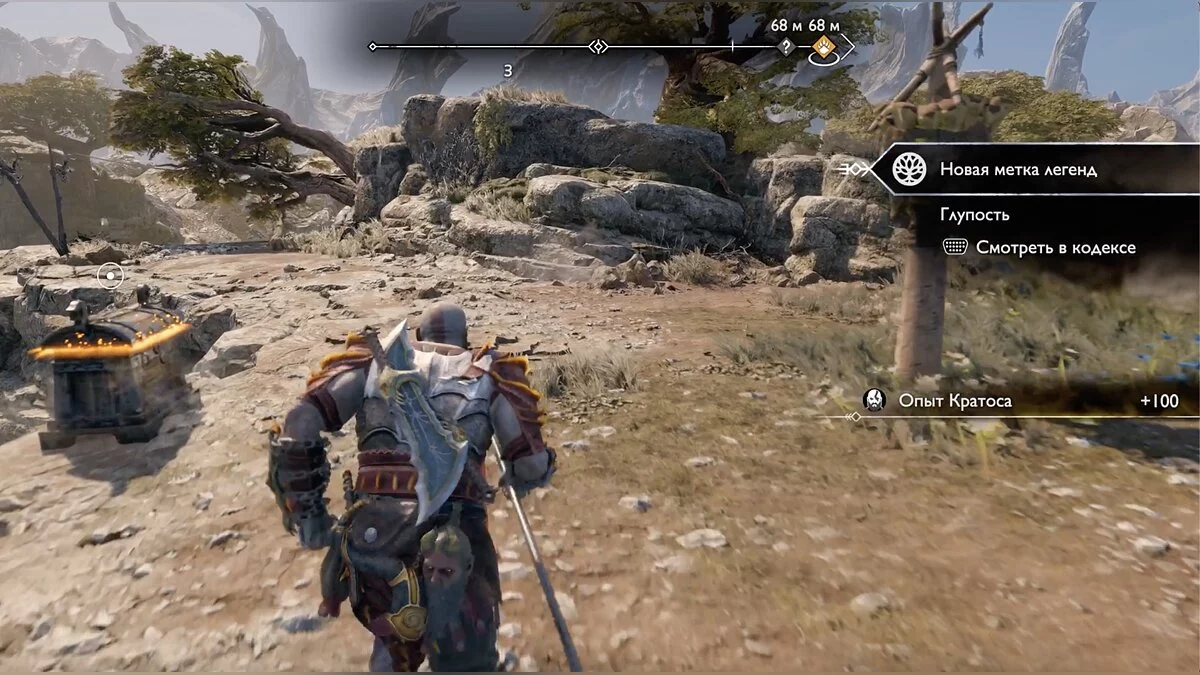
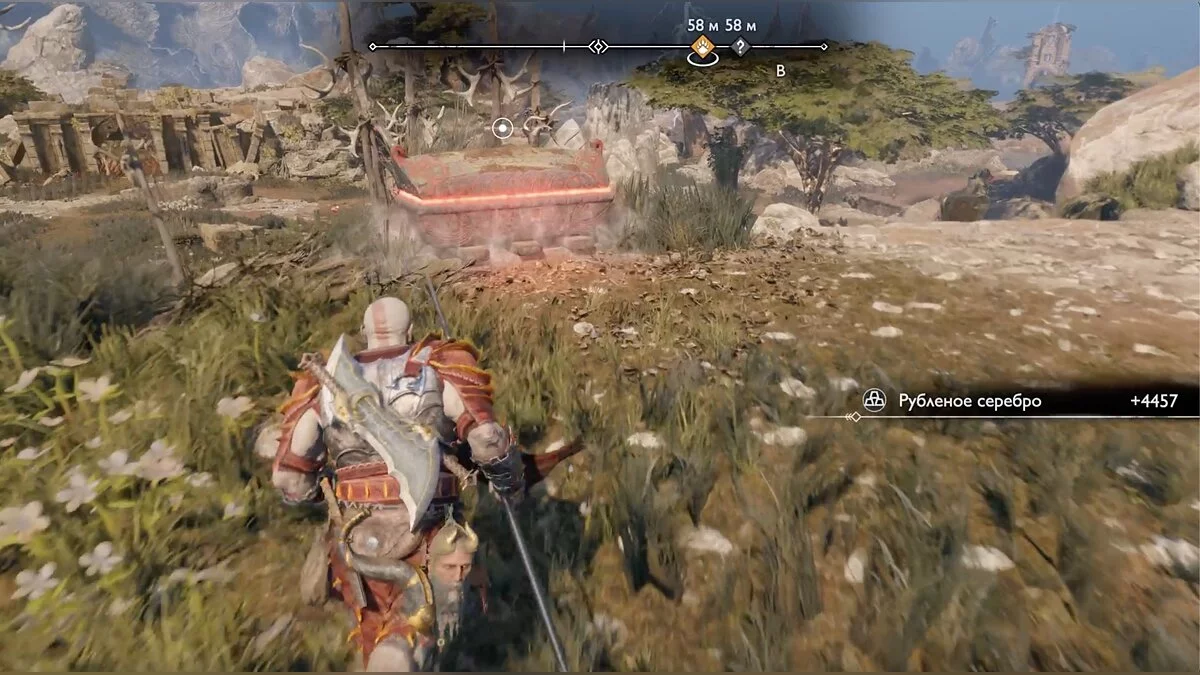
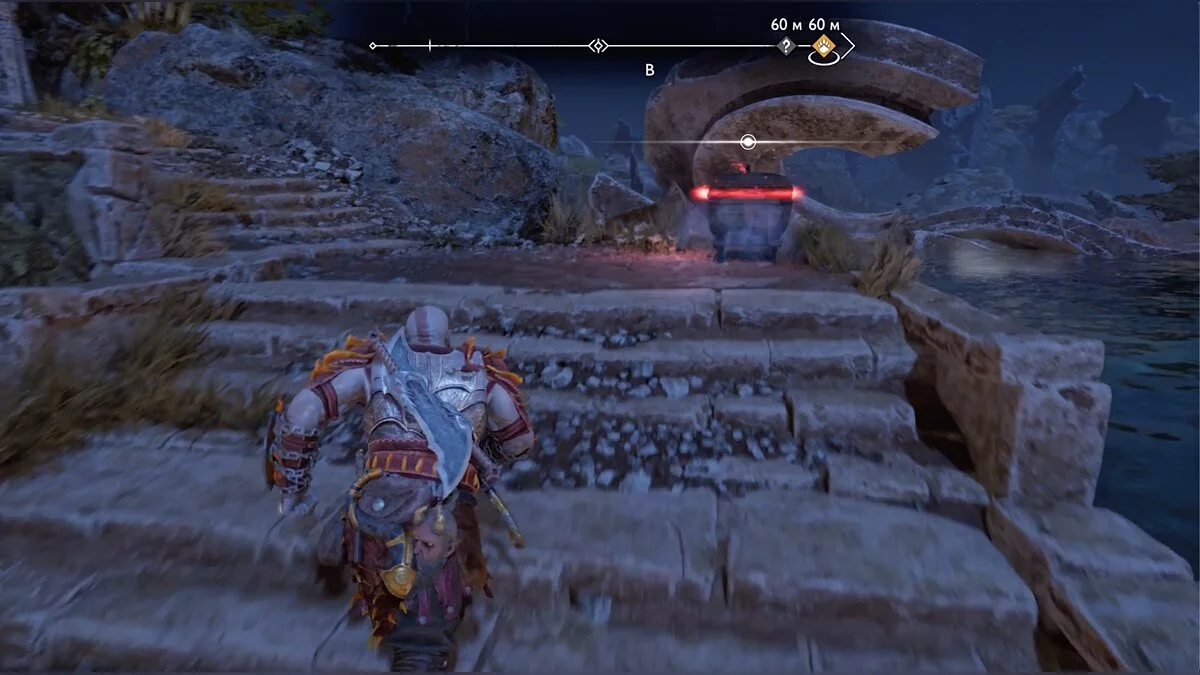
Walkthrough of All Side Quests (Requests) in God of War: Ragnarok
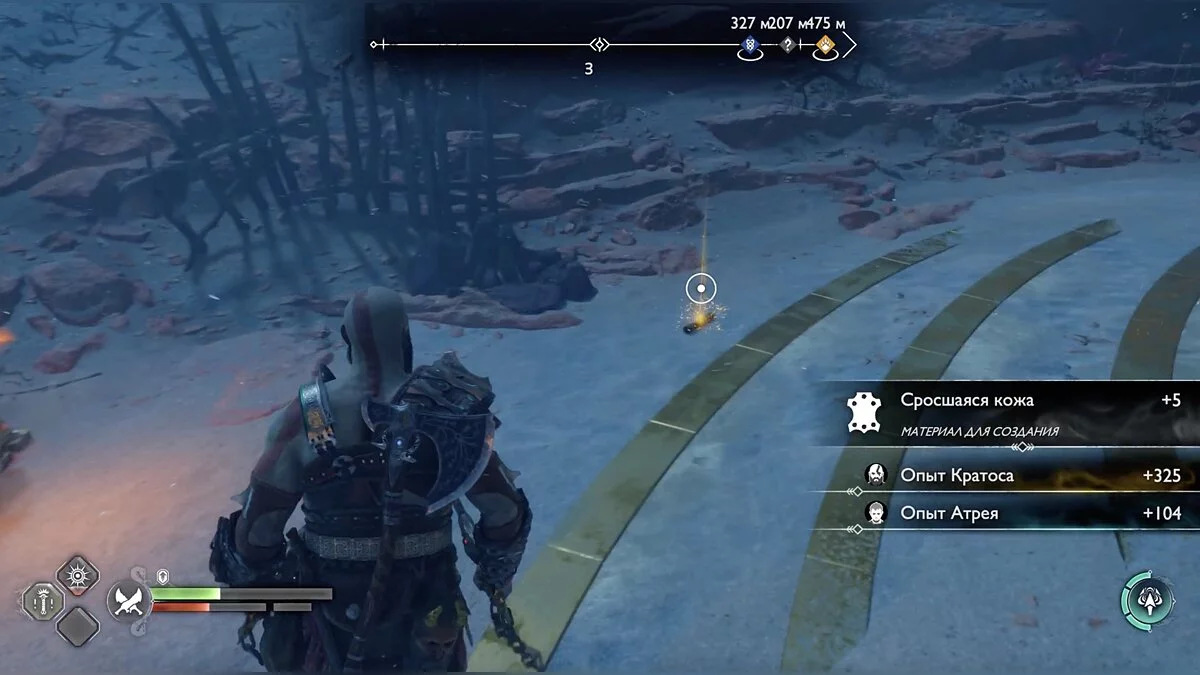
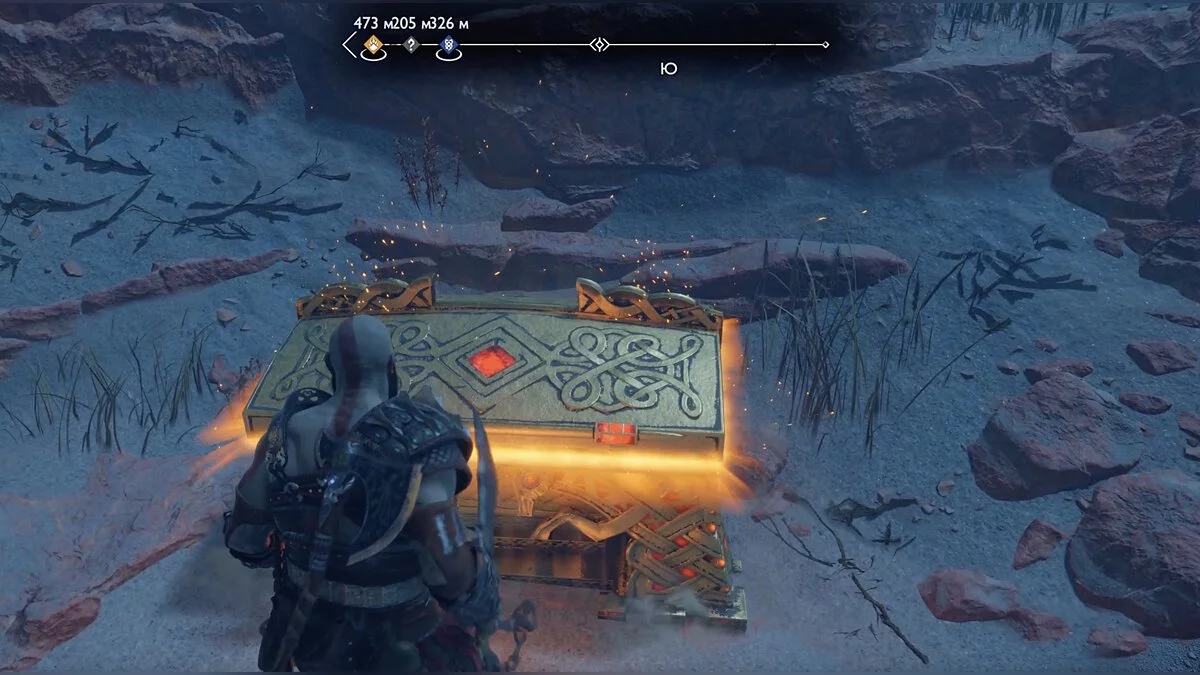
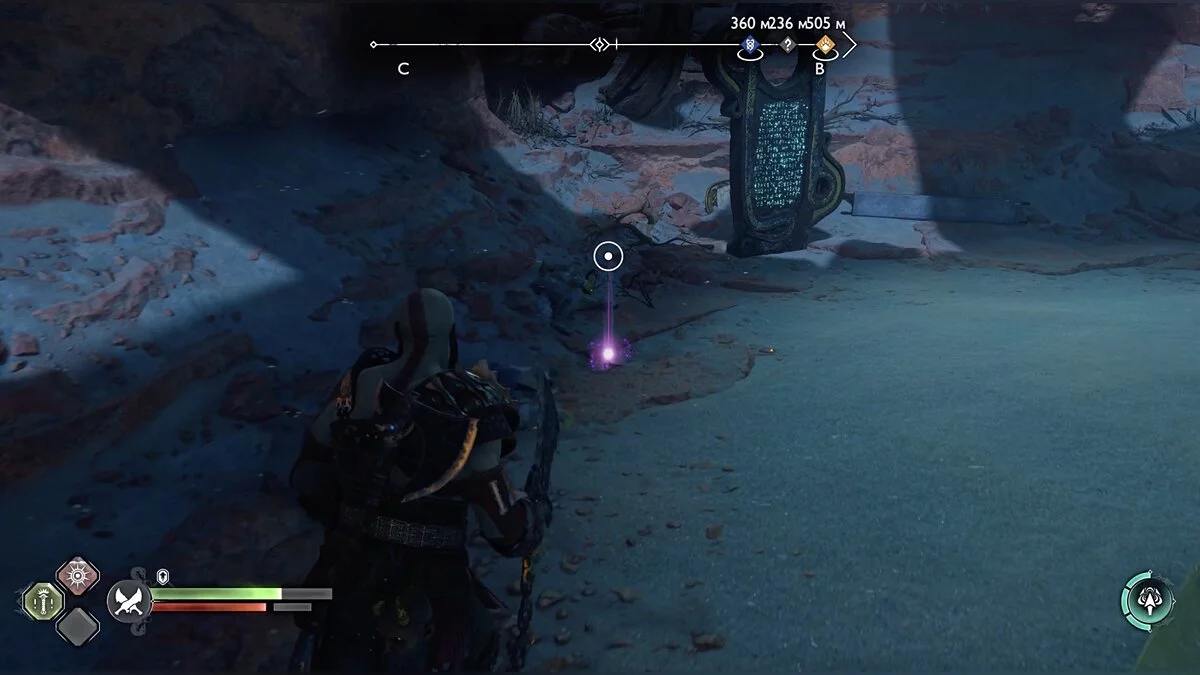
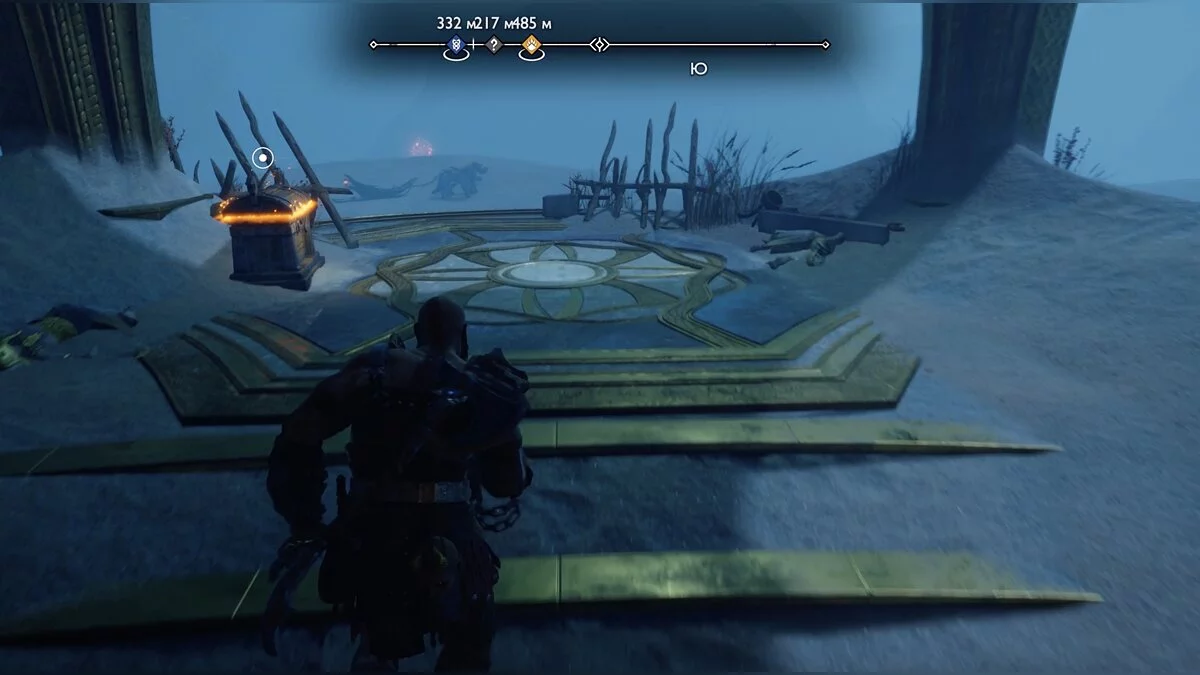
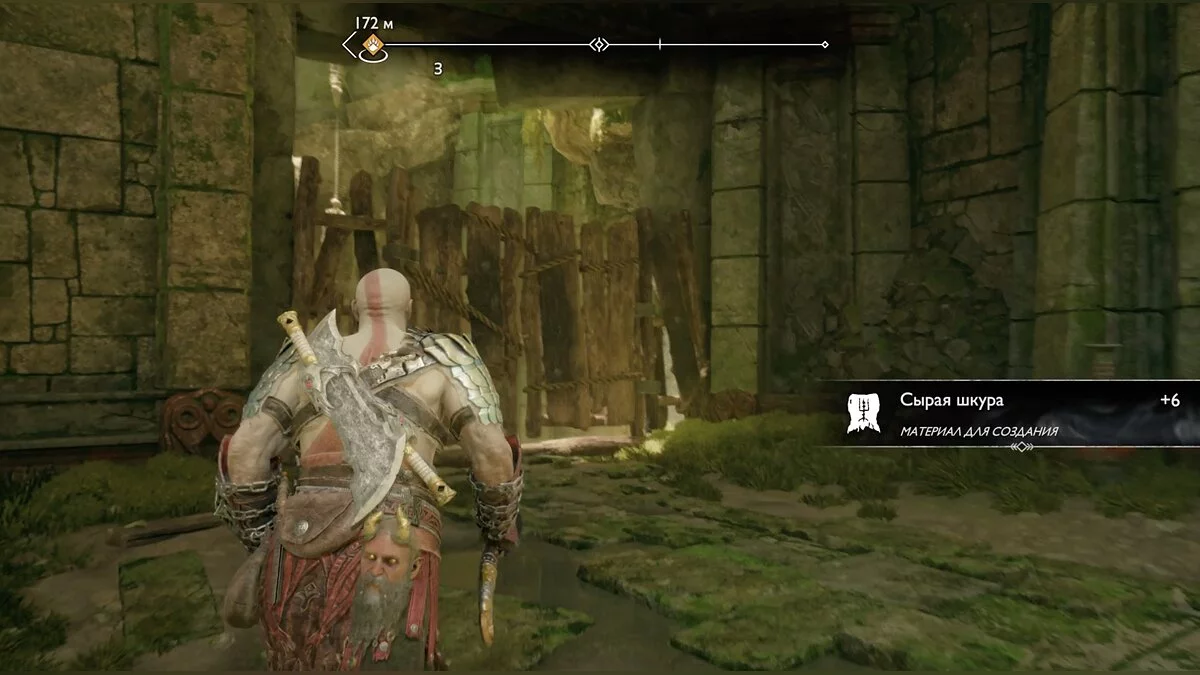
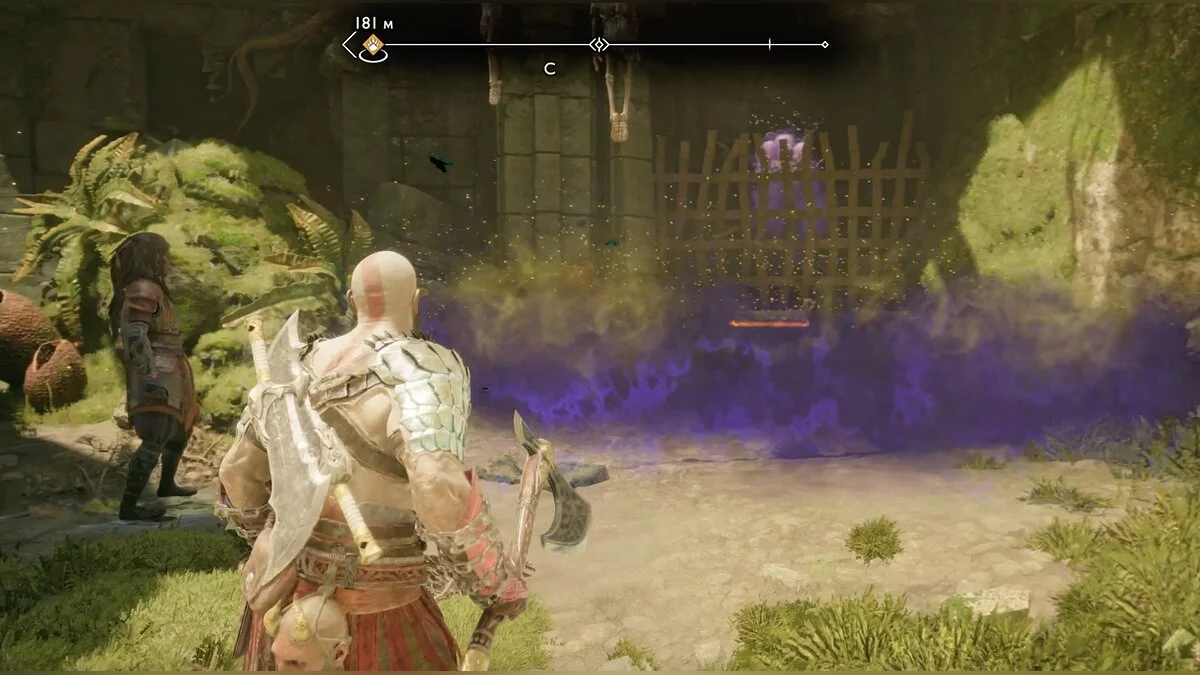
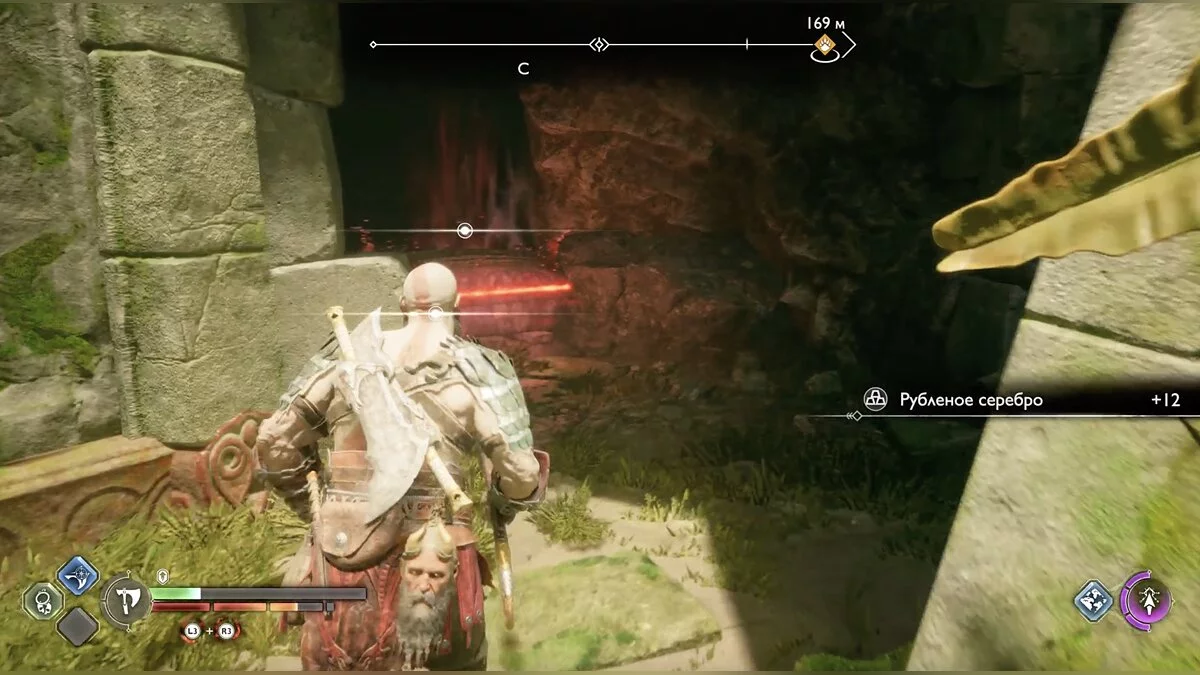
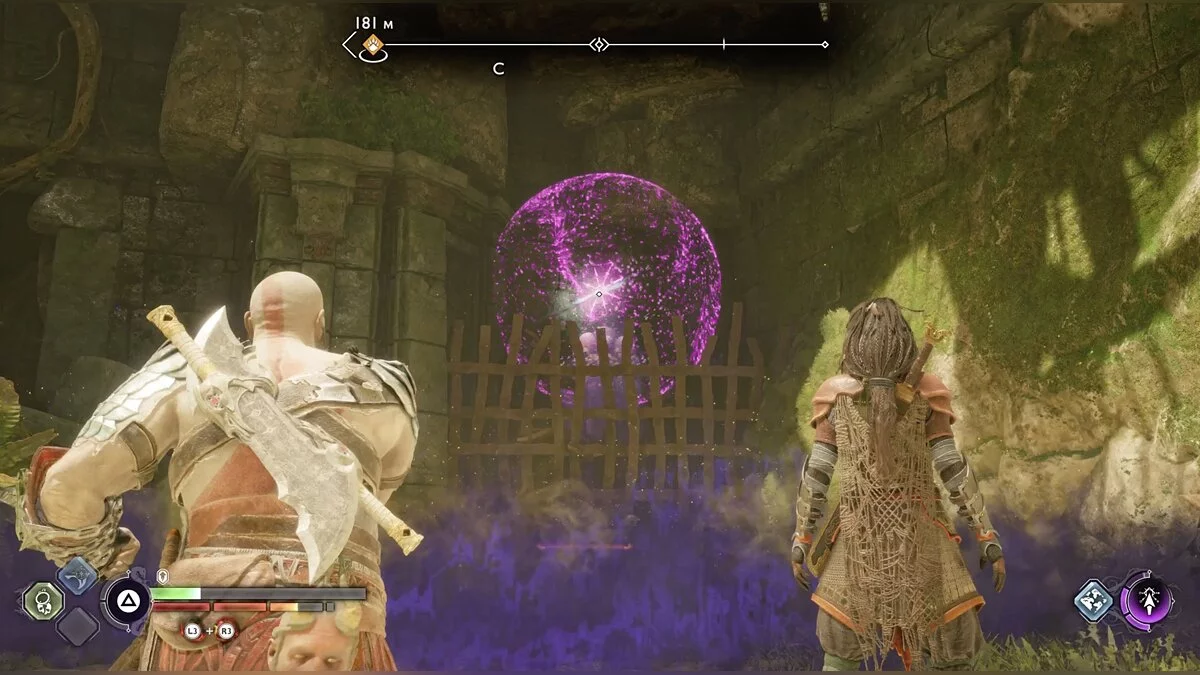
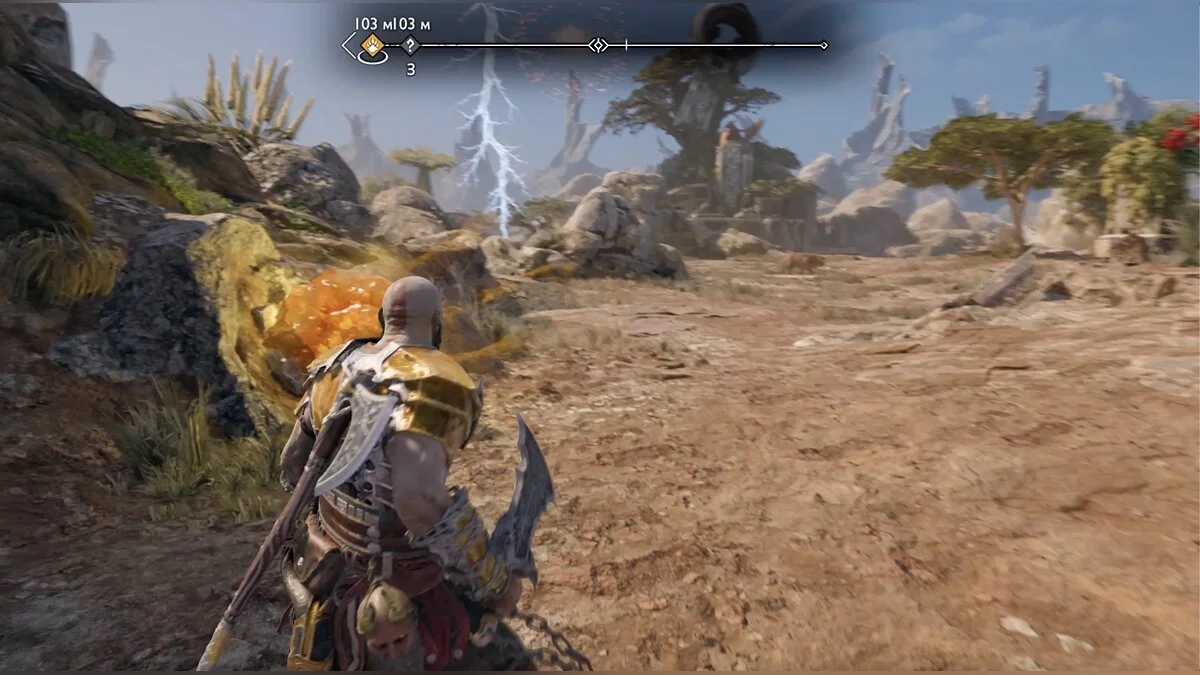
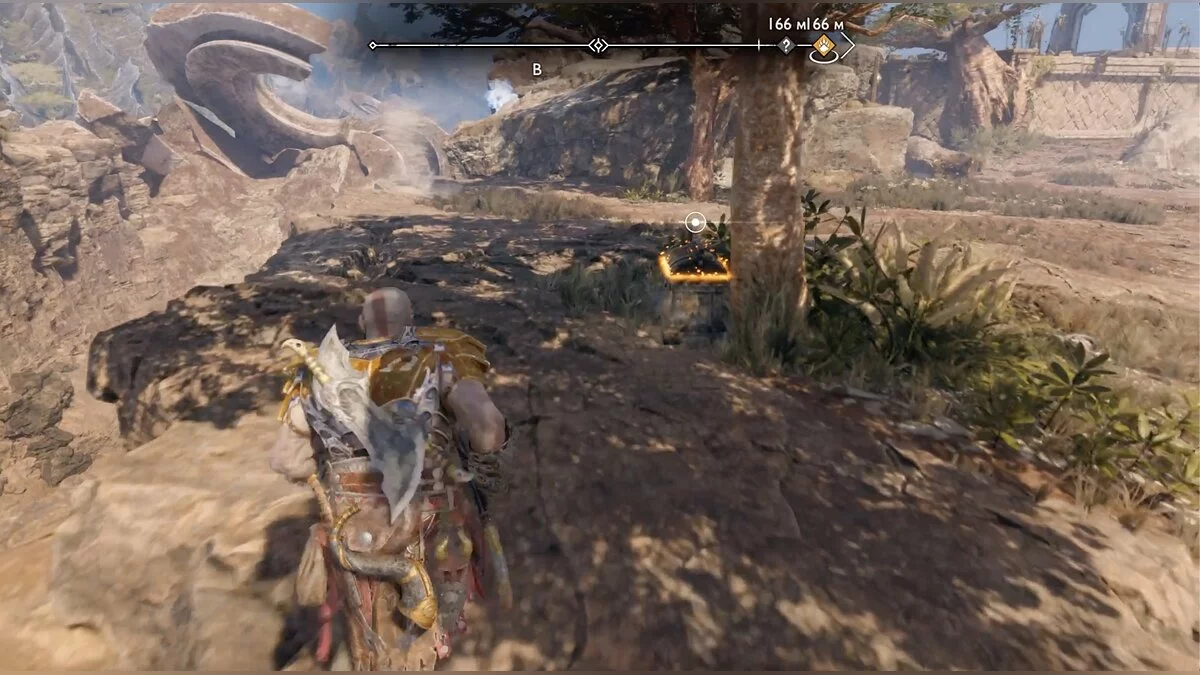
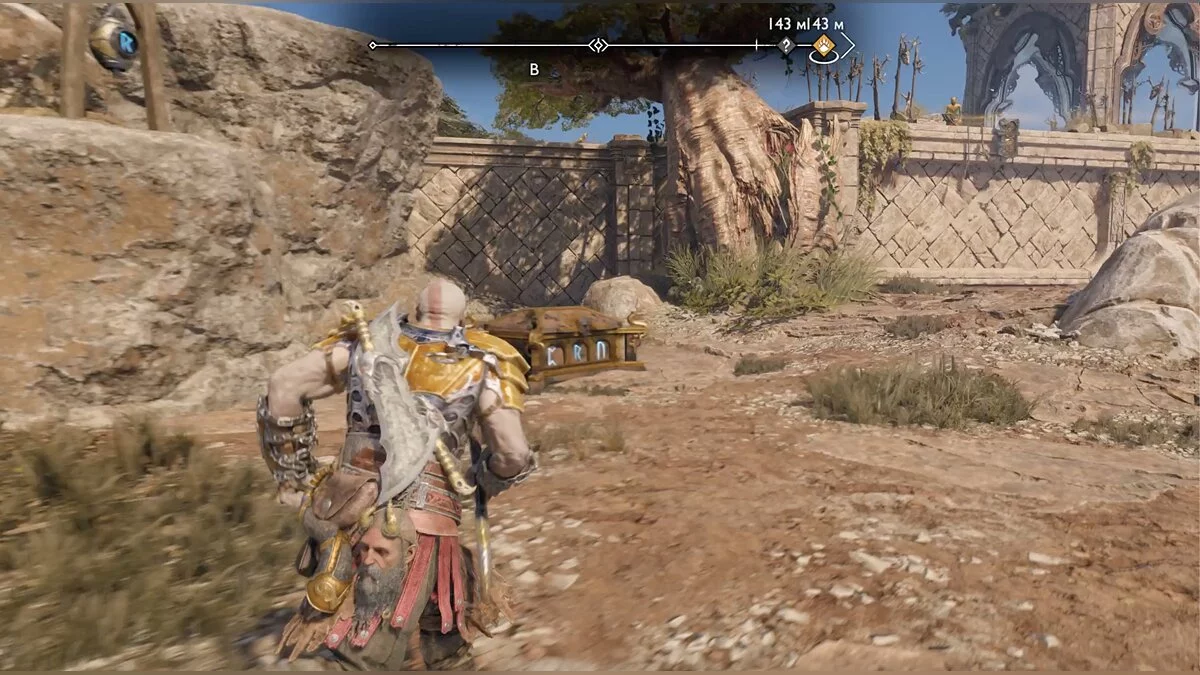
Despite God of War: Ragnarok being a story-driven game where you will mostly be moving through corridors, several locations are vast open areas with secrets and side quests (requests). In this guide, we will explain how to complete all the side quests in the game.
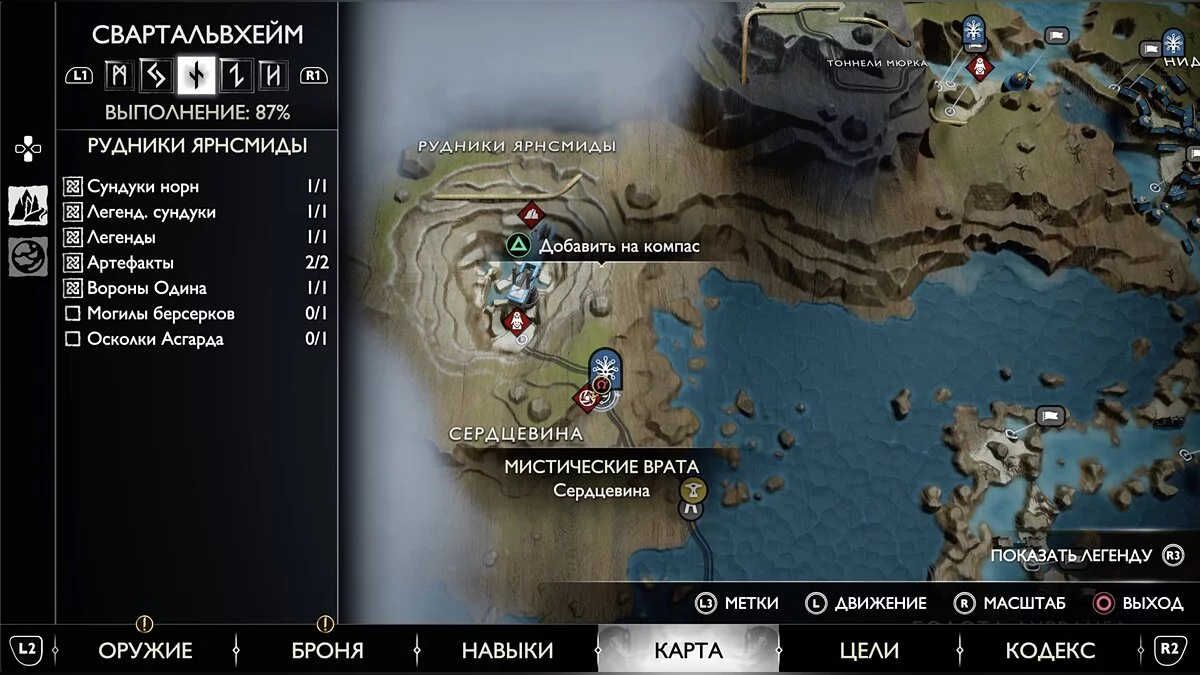
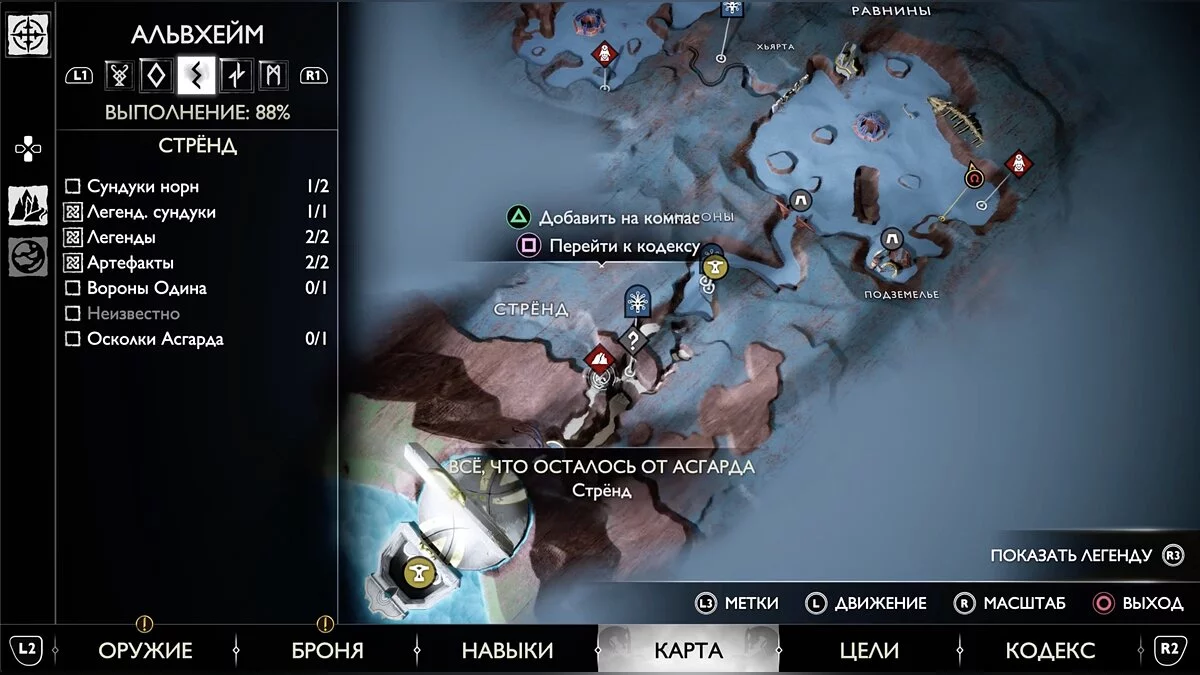
In Service of Asgard. Svartalfheim
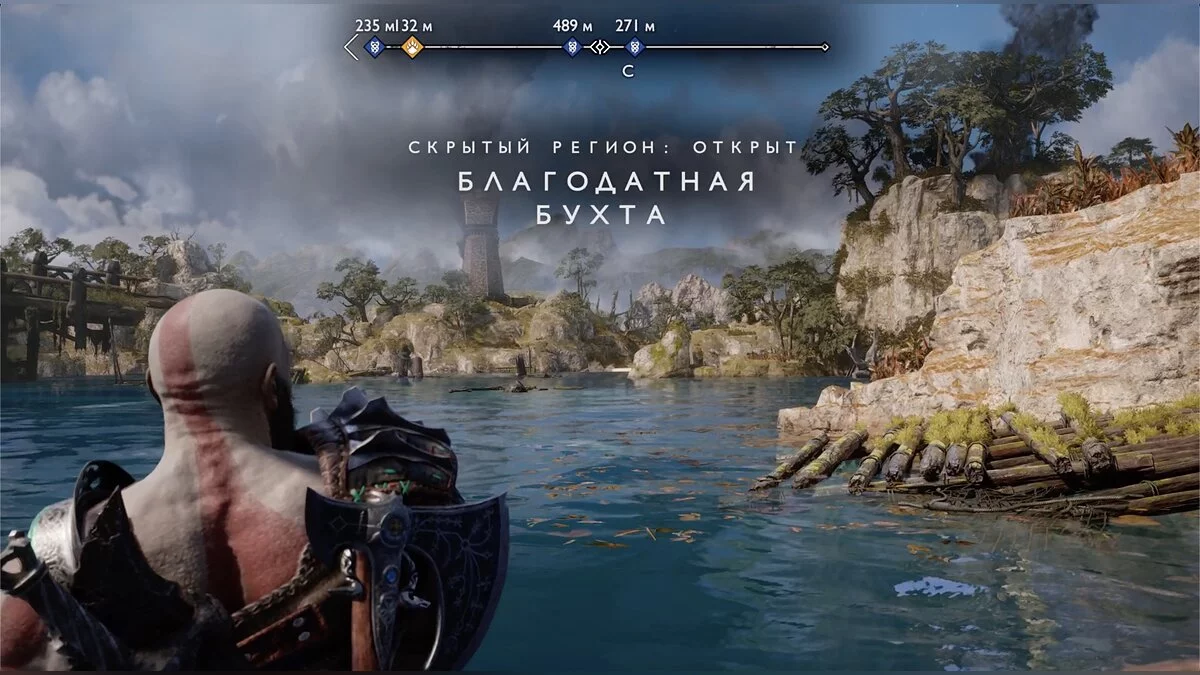
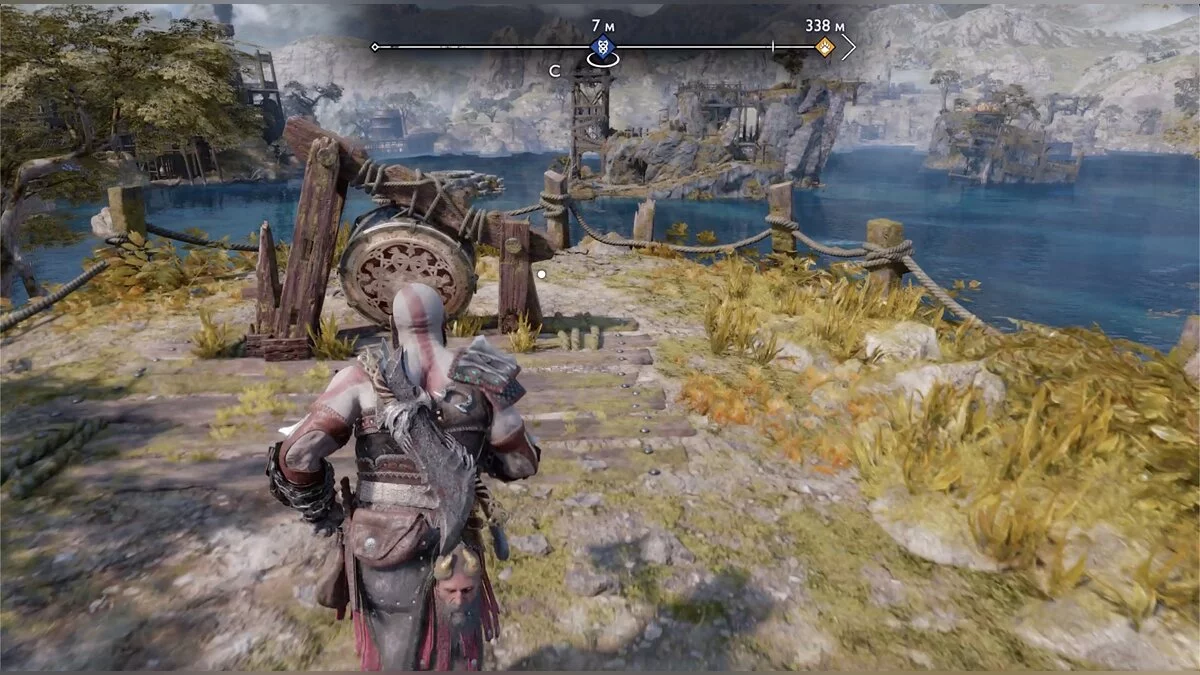
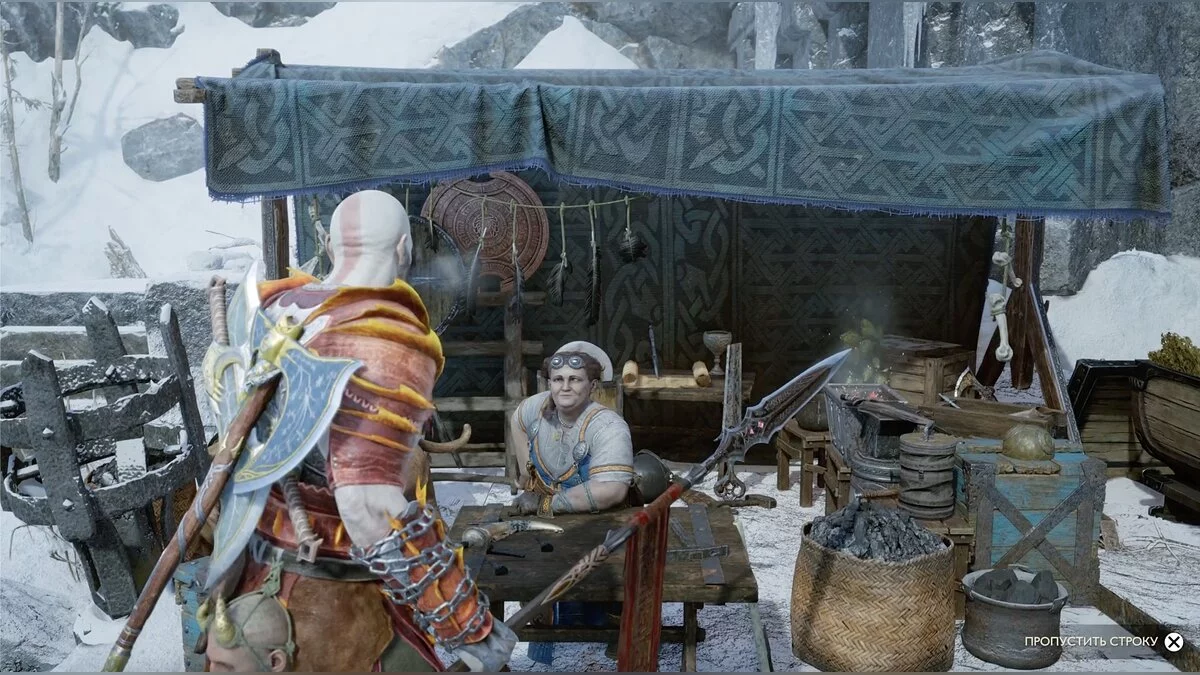
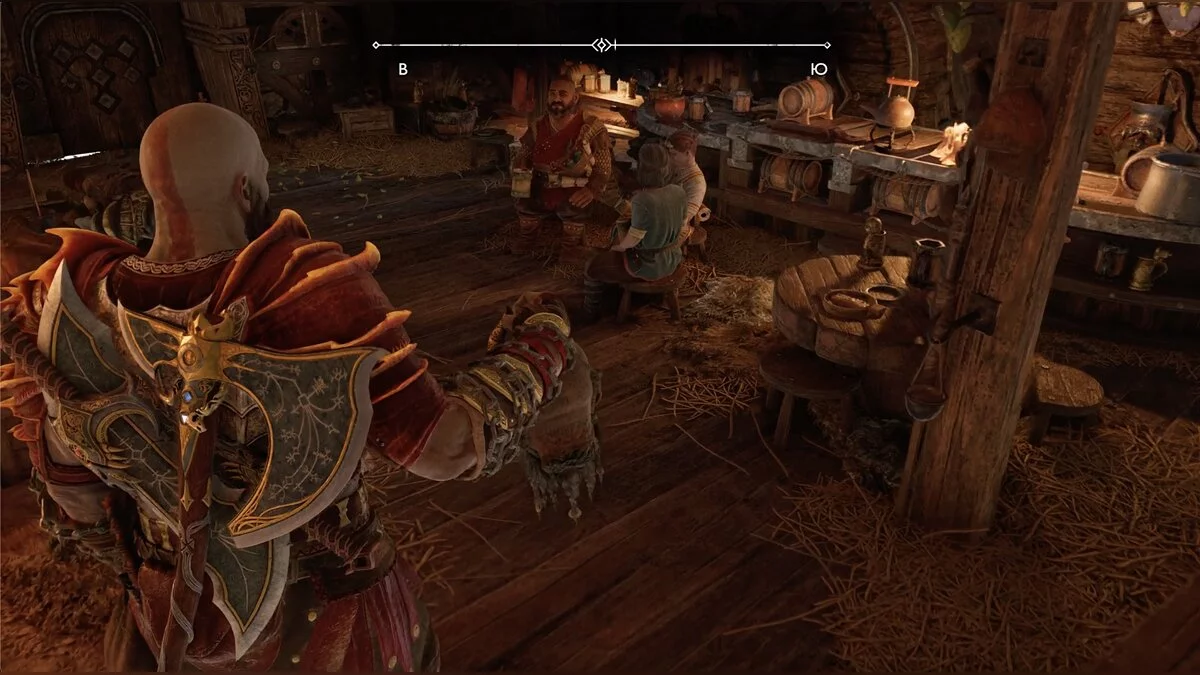
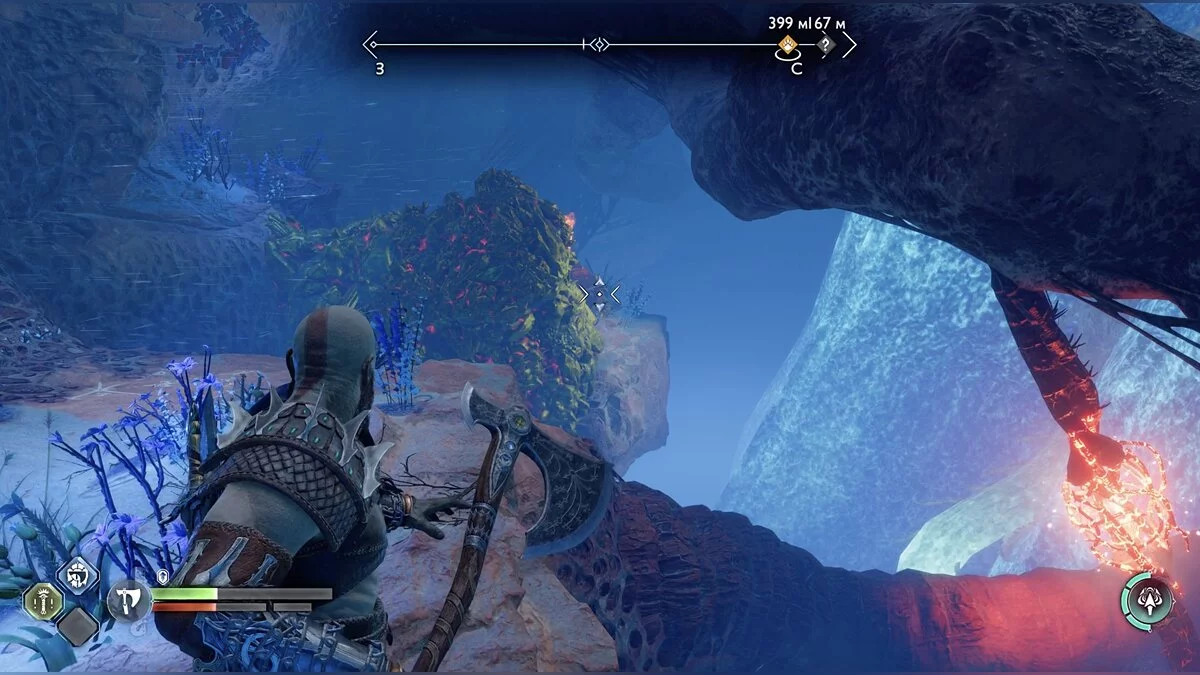
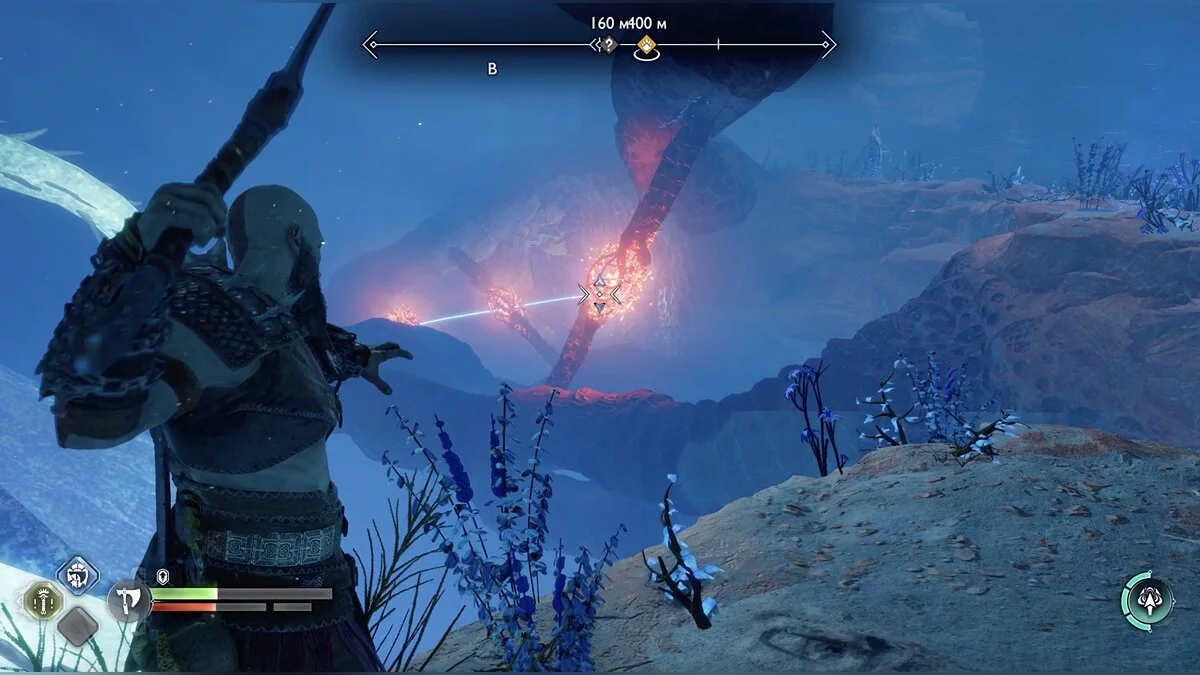
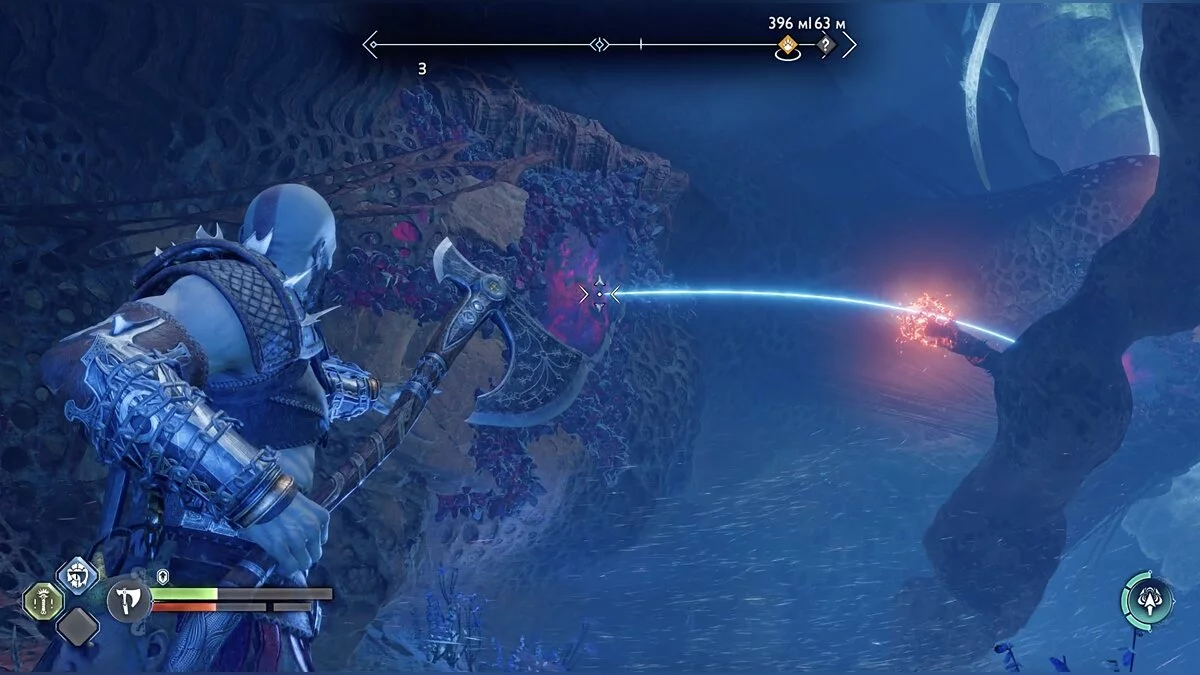
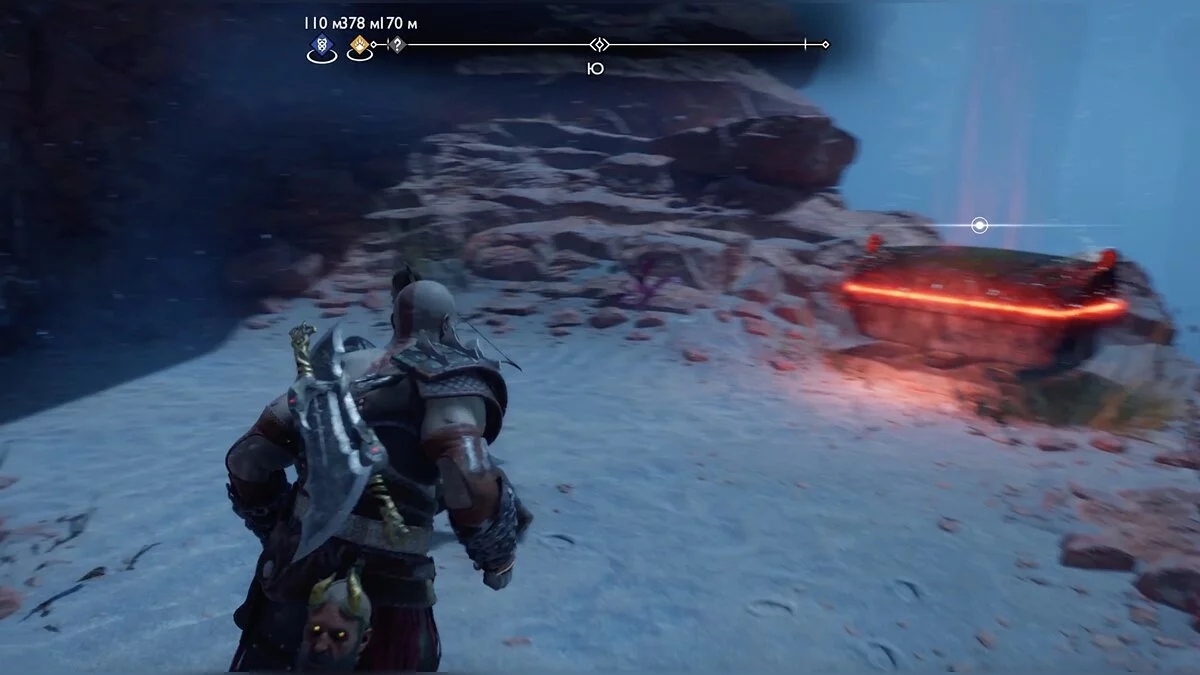
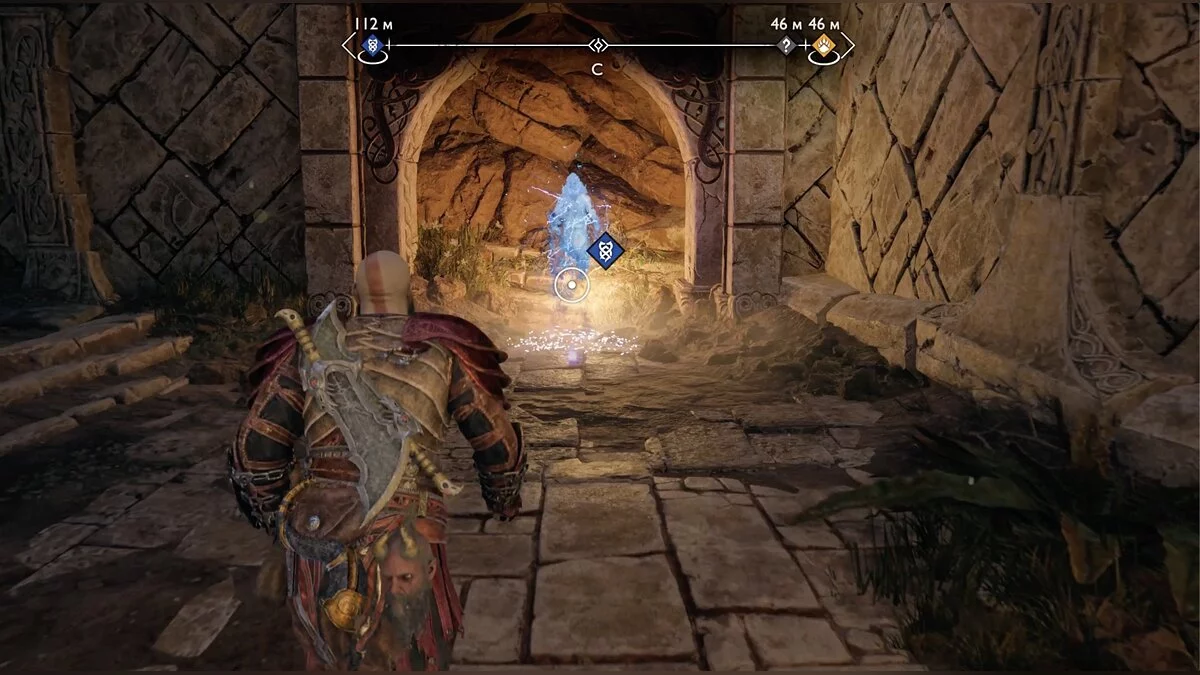
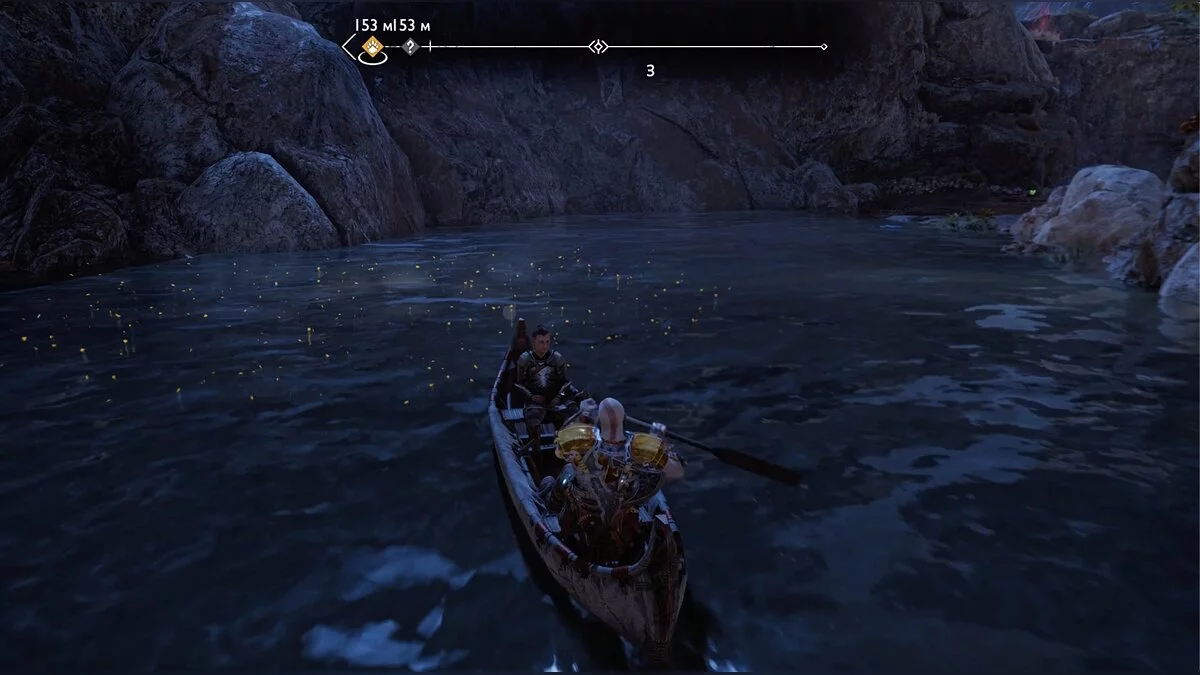
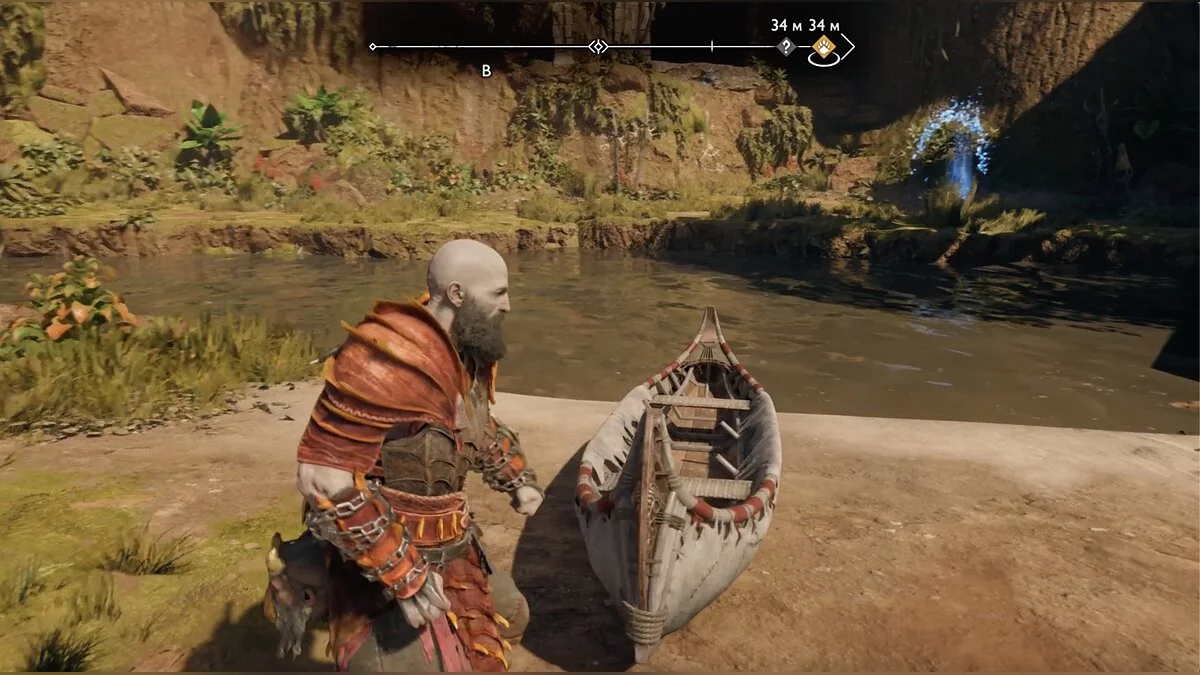
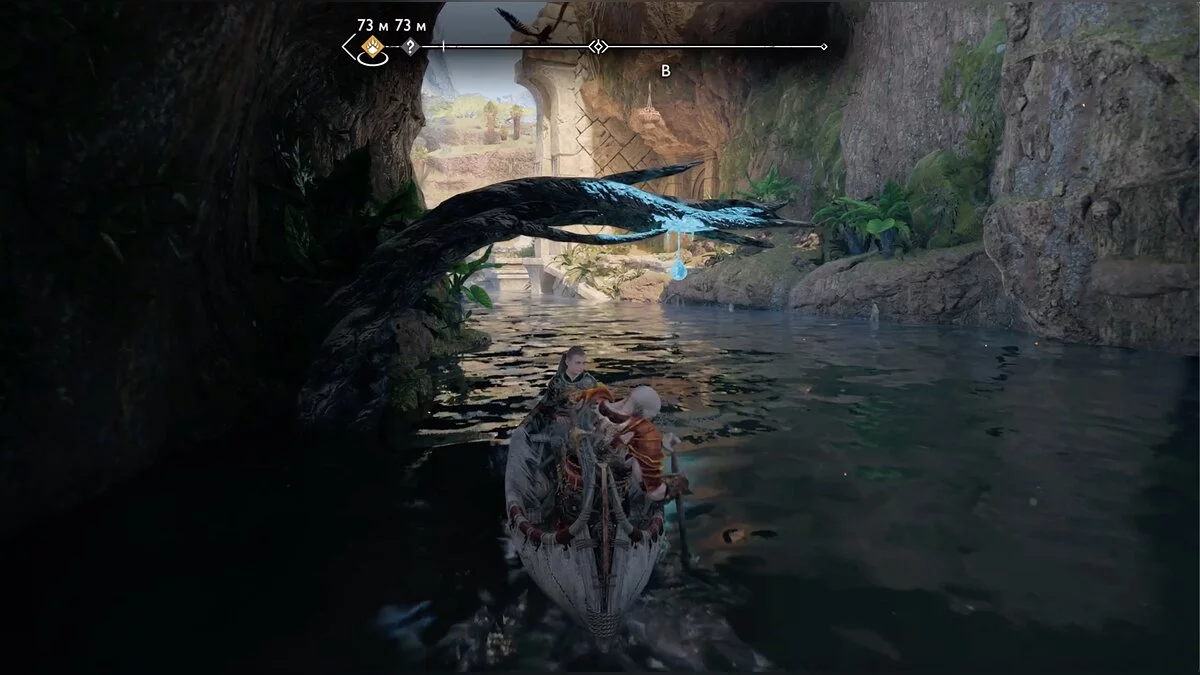
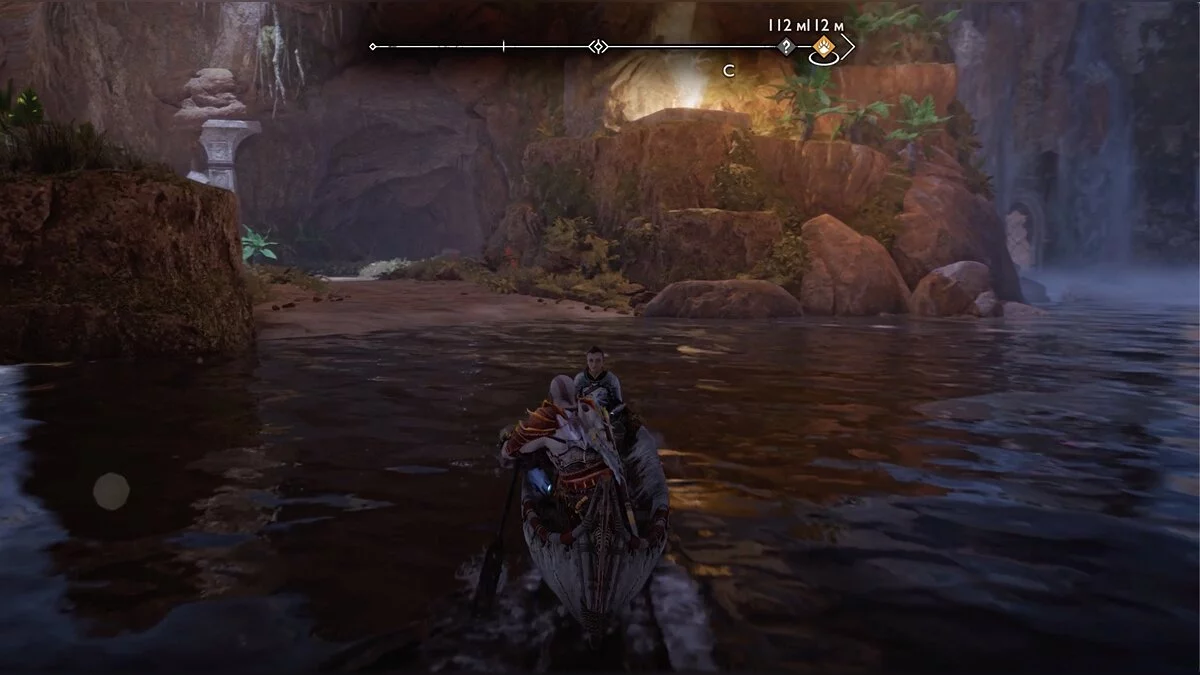
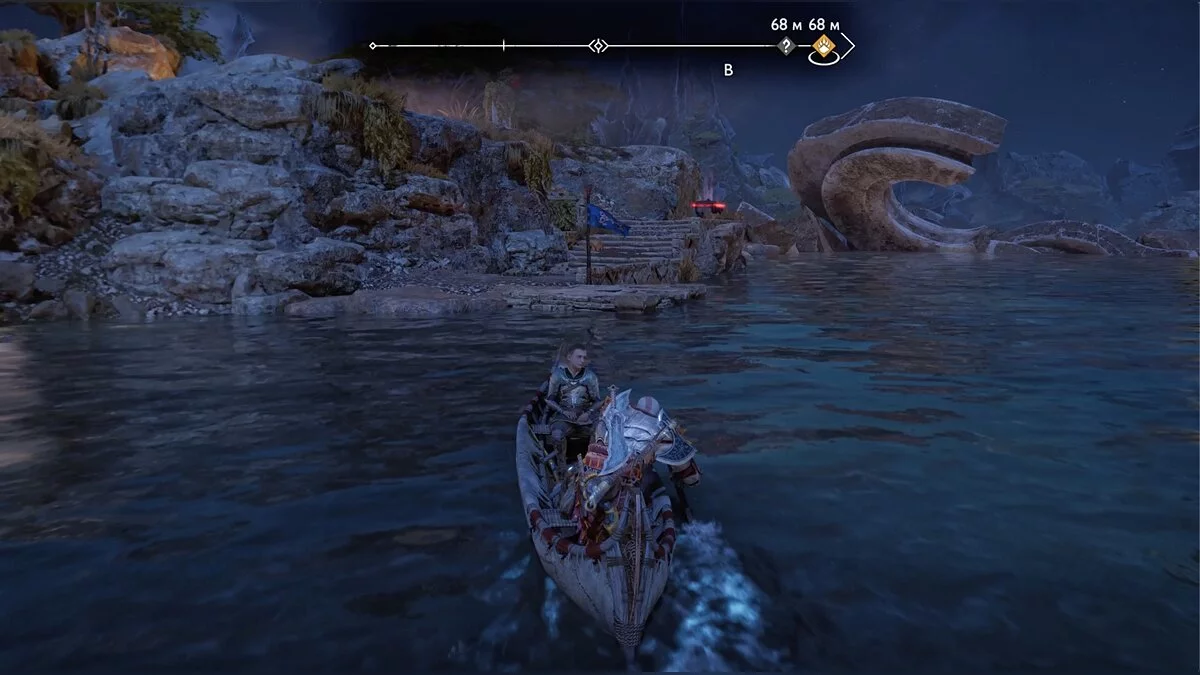
The first quest you will receive will be from the dwarf in the Nidavellir tavern, called In Service of Asgard. Destroy three drilling rigs built according to Mimir's plan. After leaving the dwarven city on a boat in a large water location, you can sail left to continue the story or right.
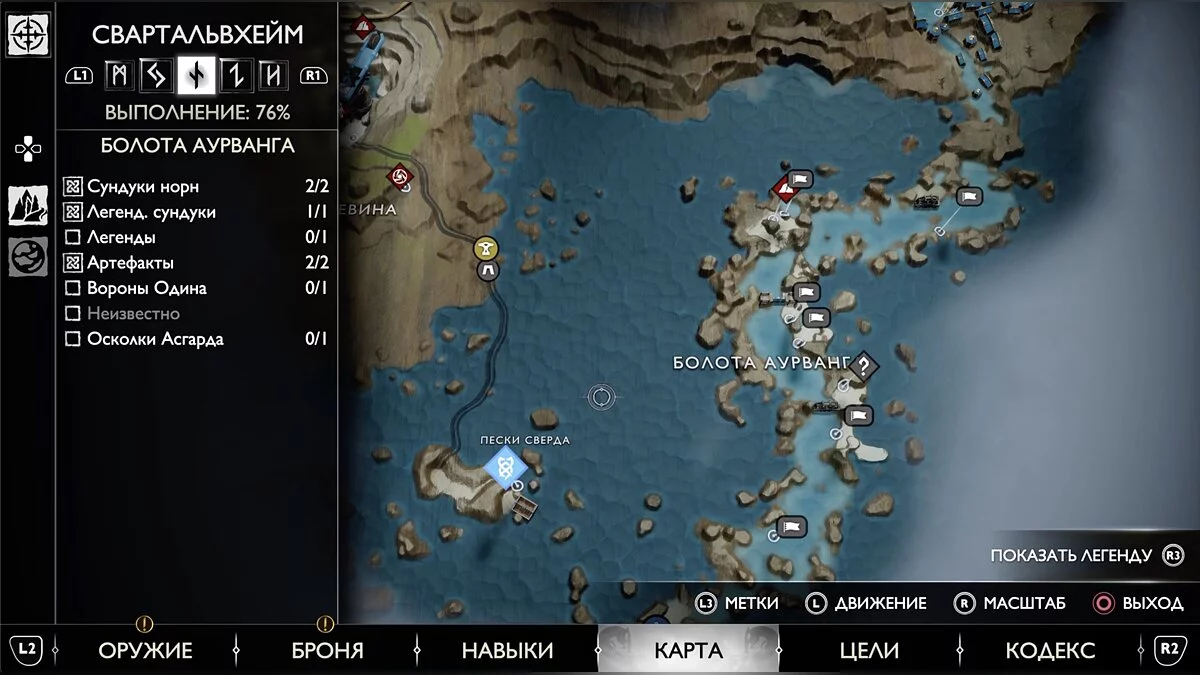
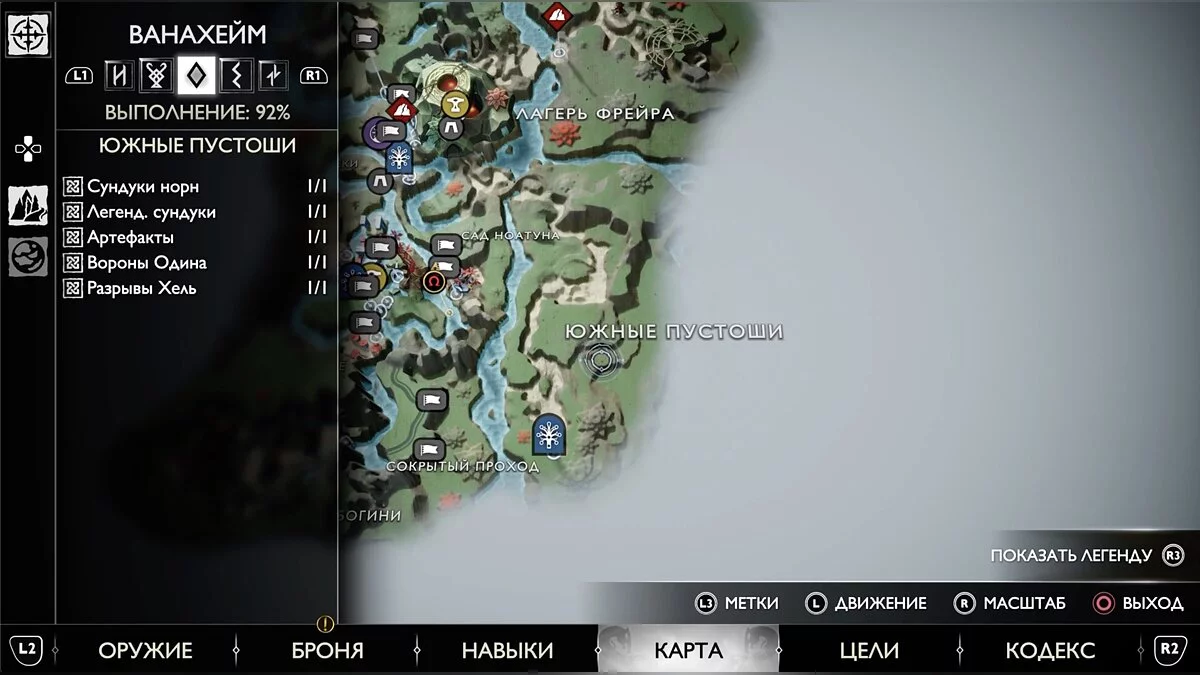
Side quests are marked on the map with blue markers, but not always. Some tasks can be obtained during exploration and initially, you will not see any markings. Also, some missions will become available after completing the main story, so don't hesitate to visit known worlds again.
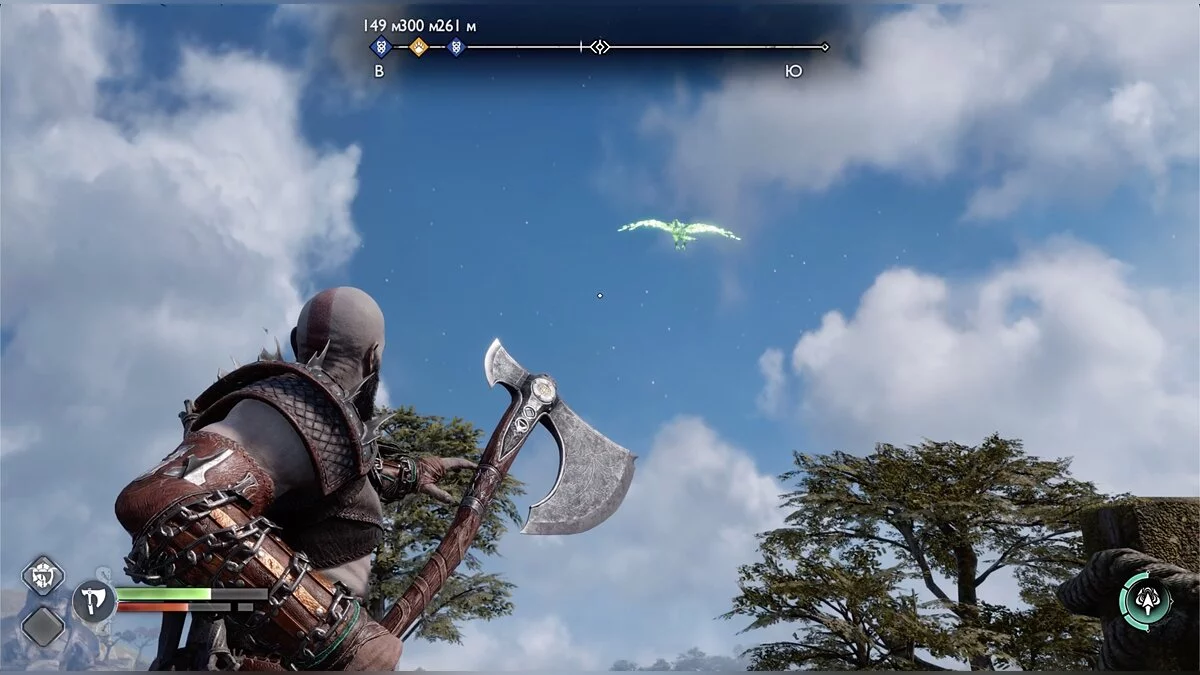
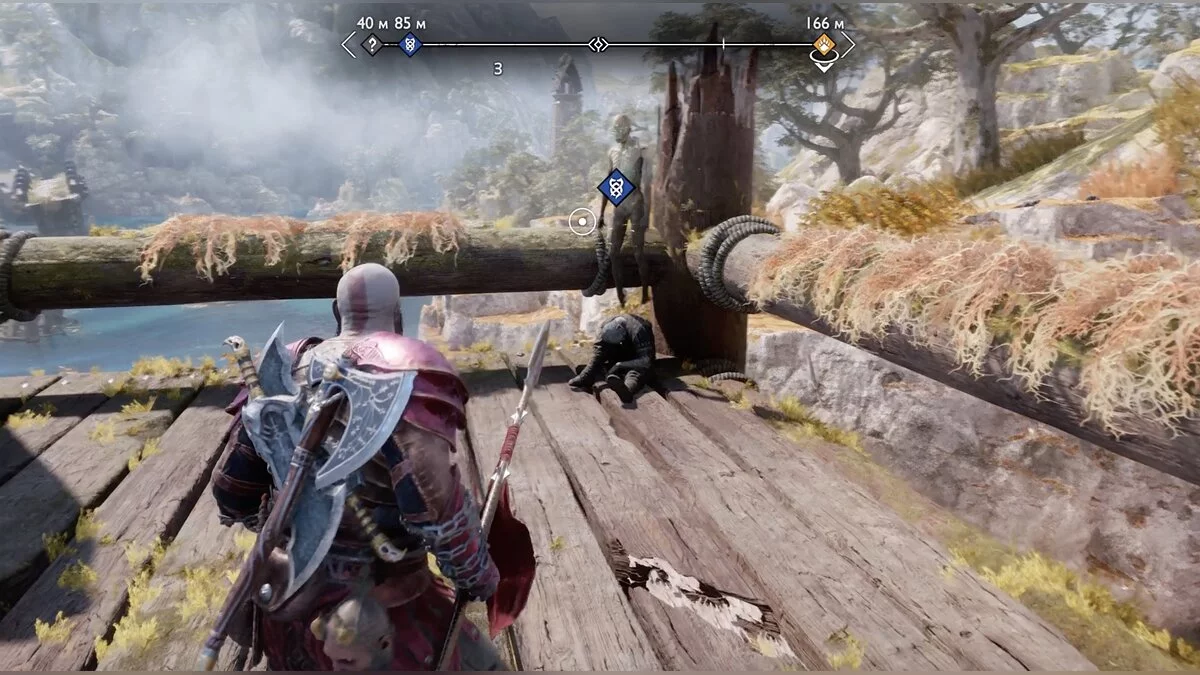
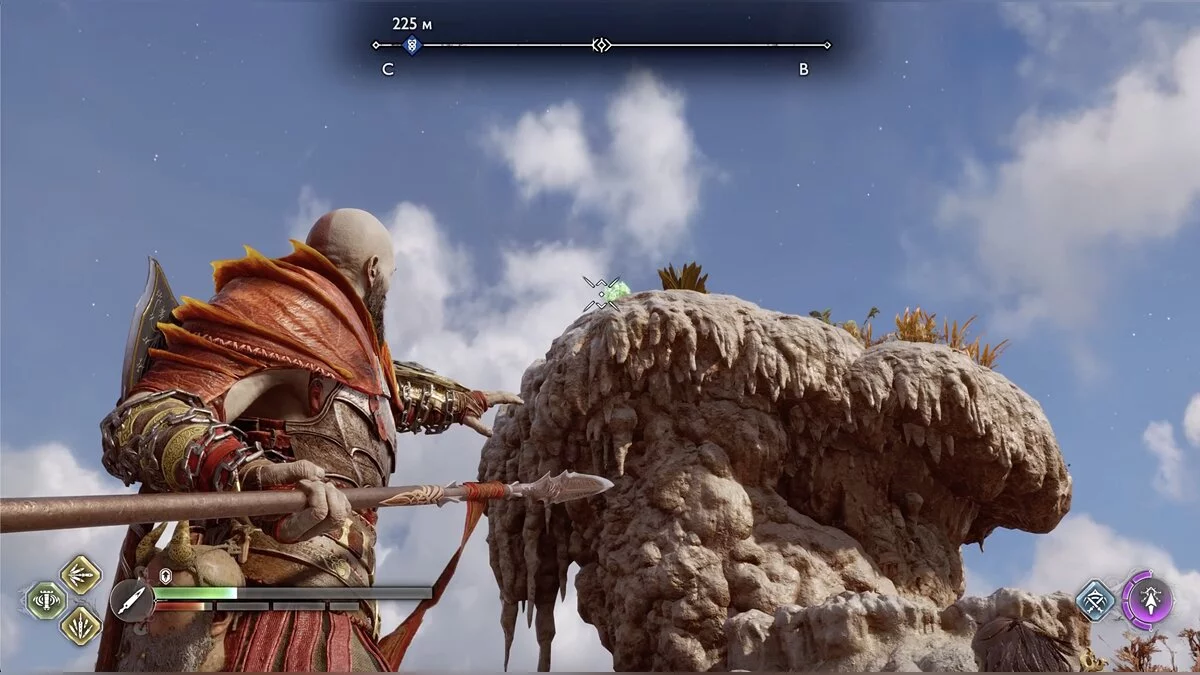
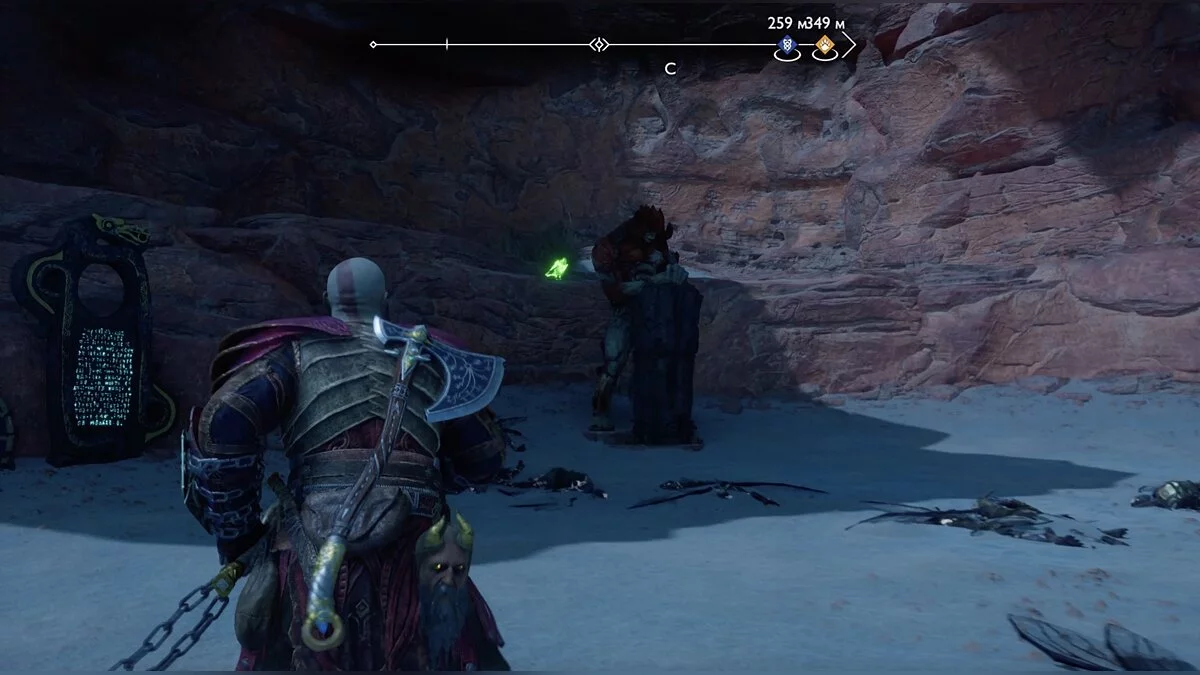
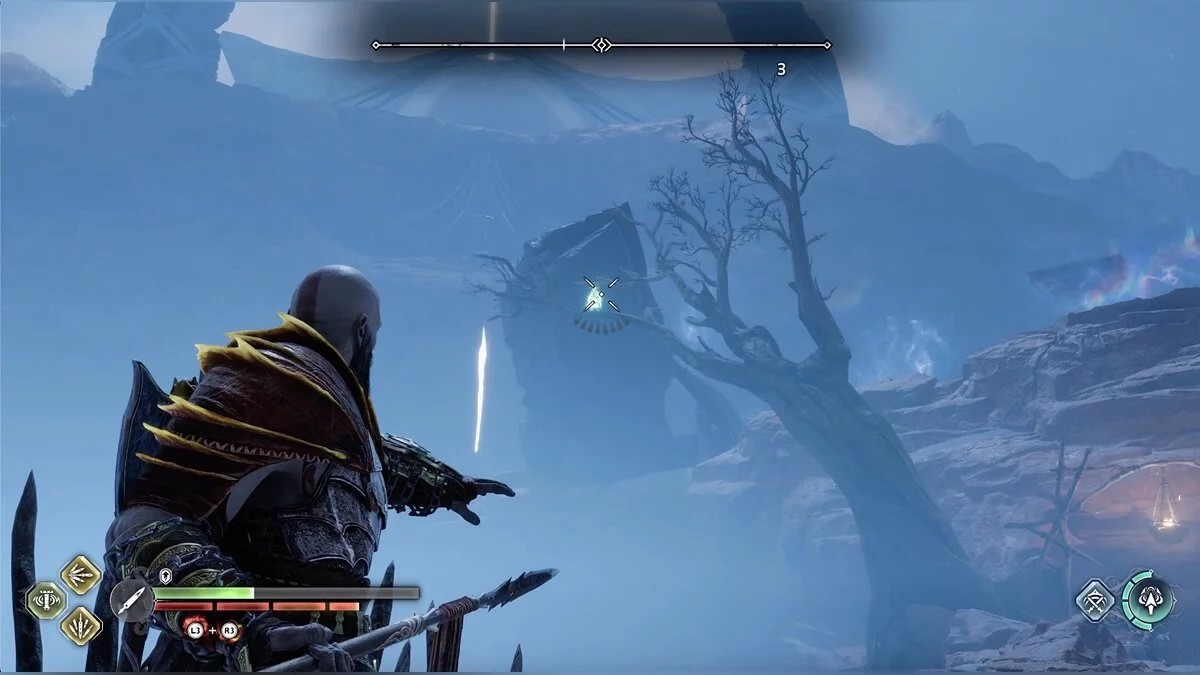
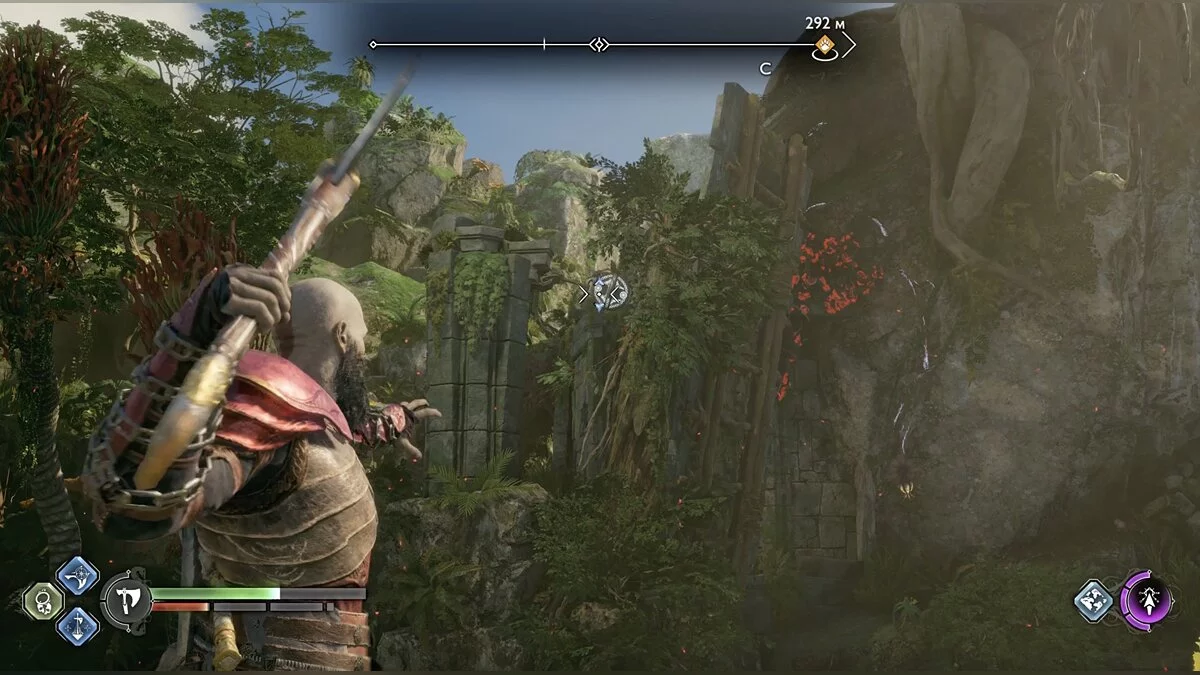
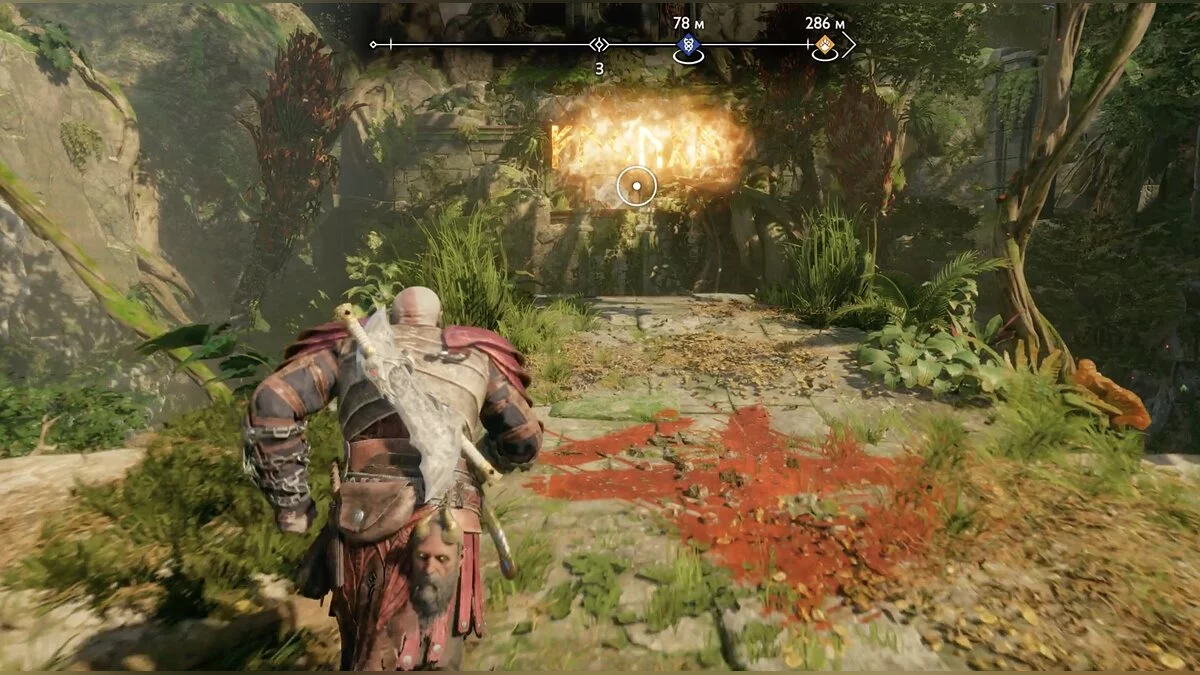
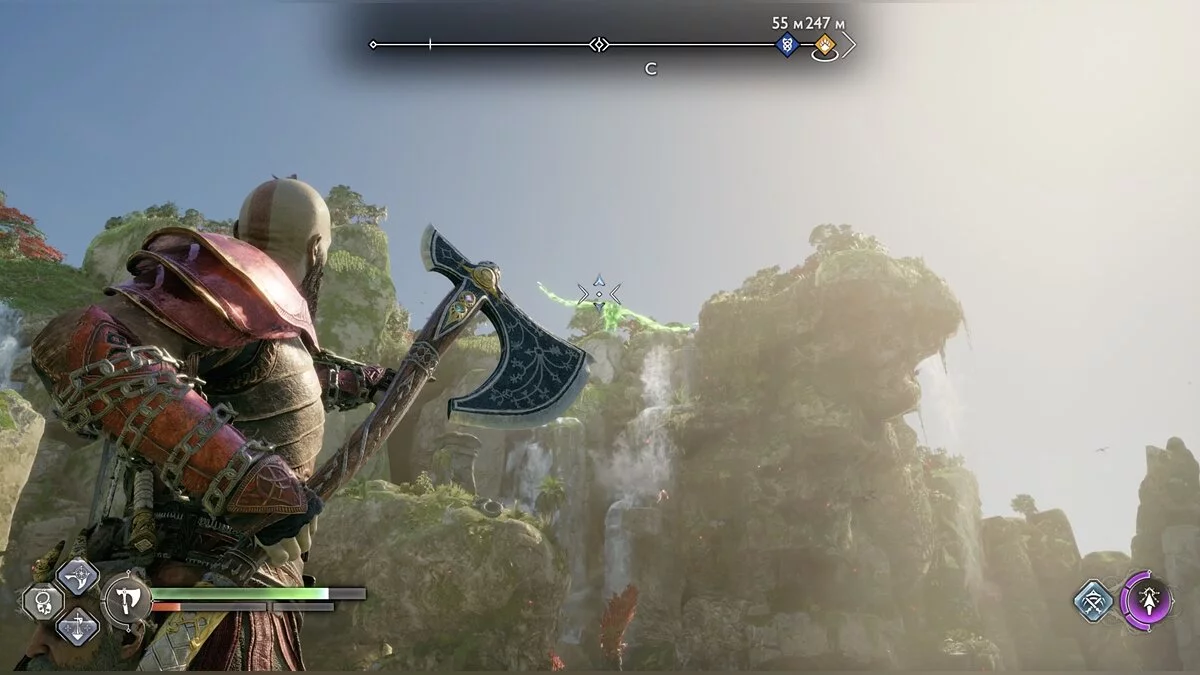
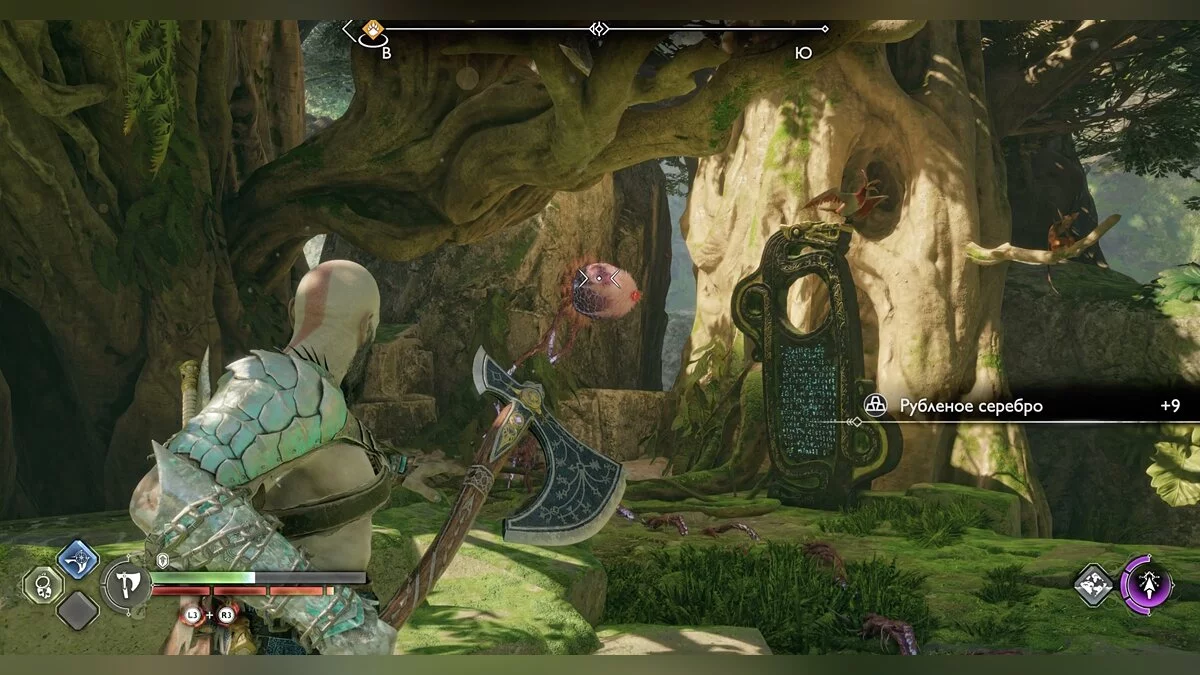
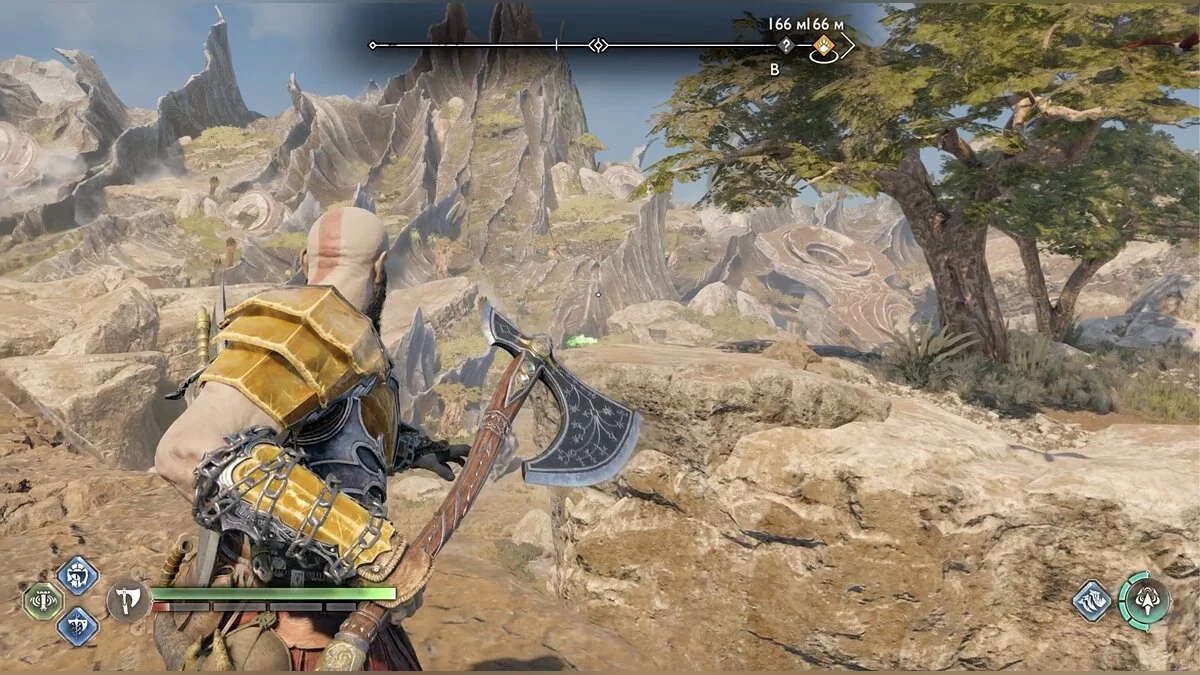
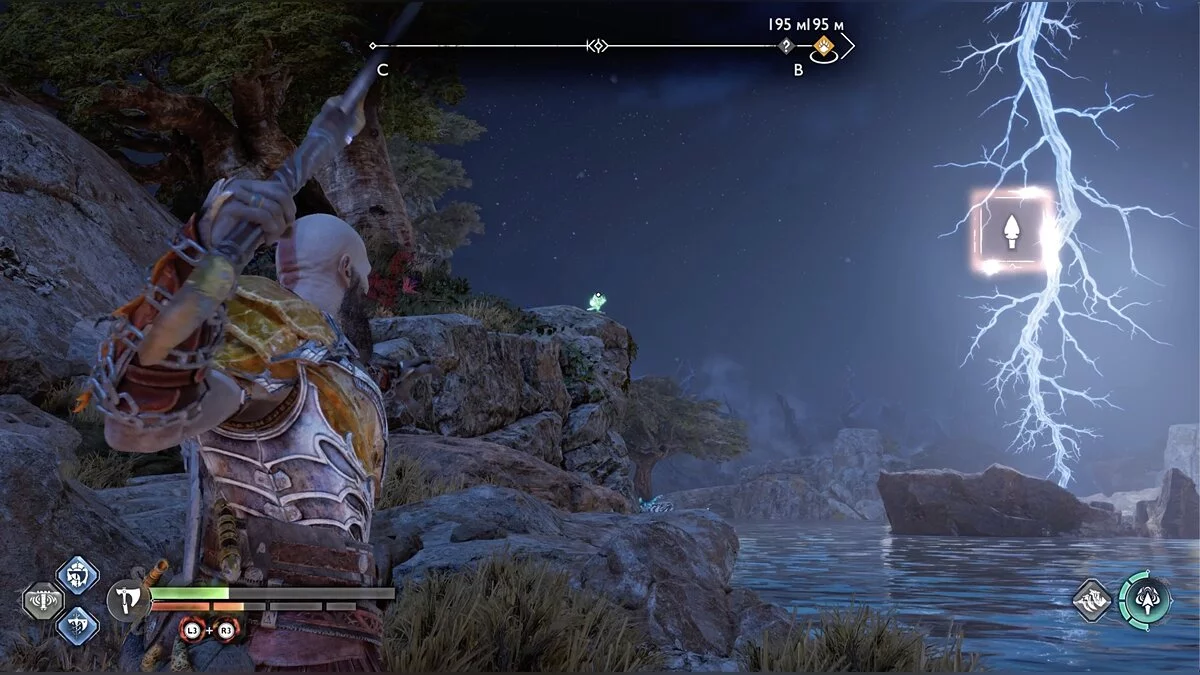
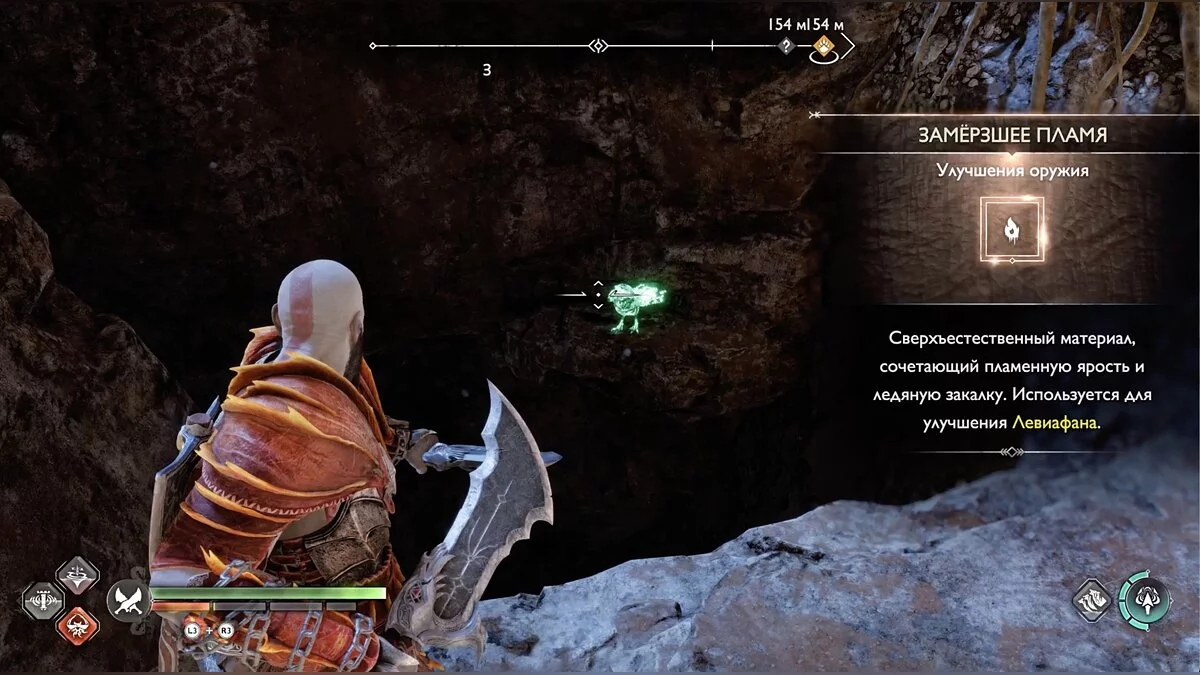
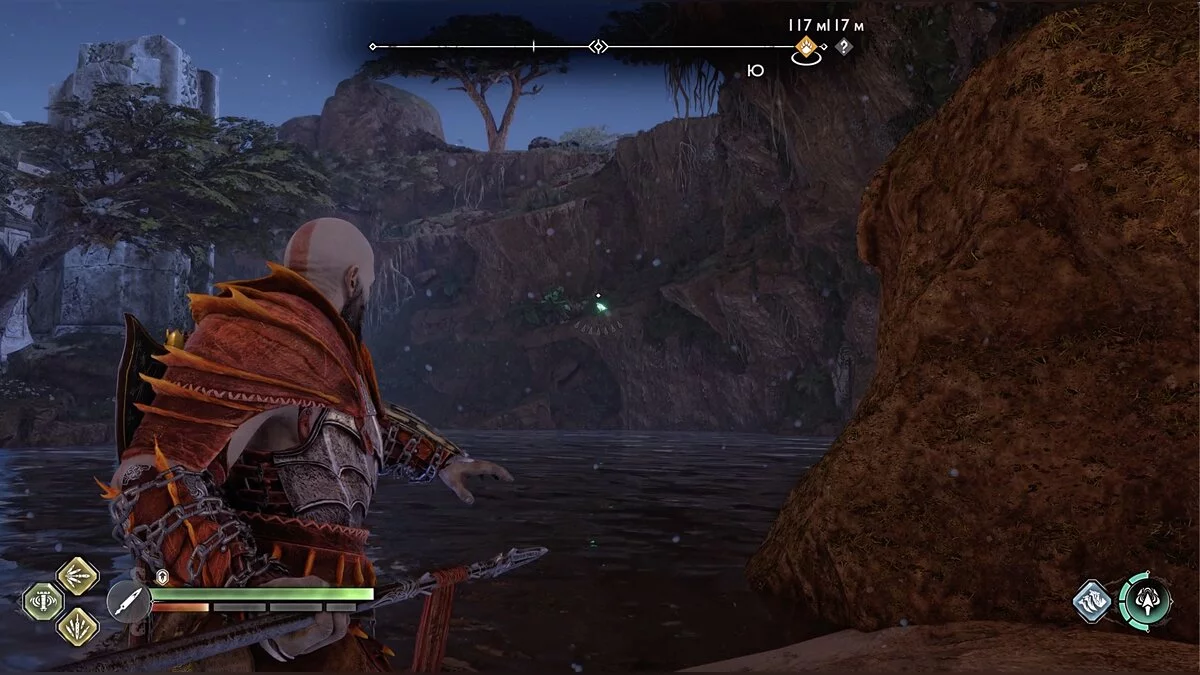
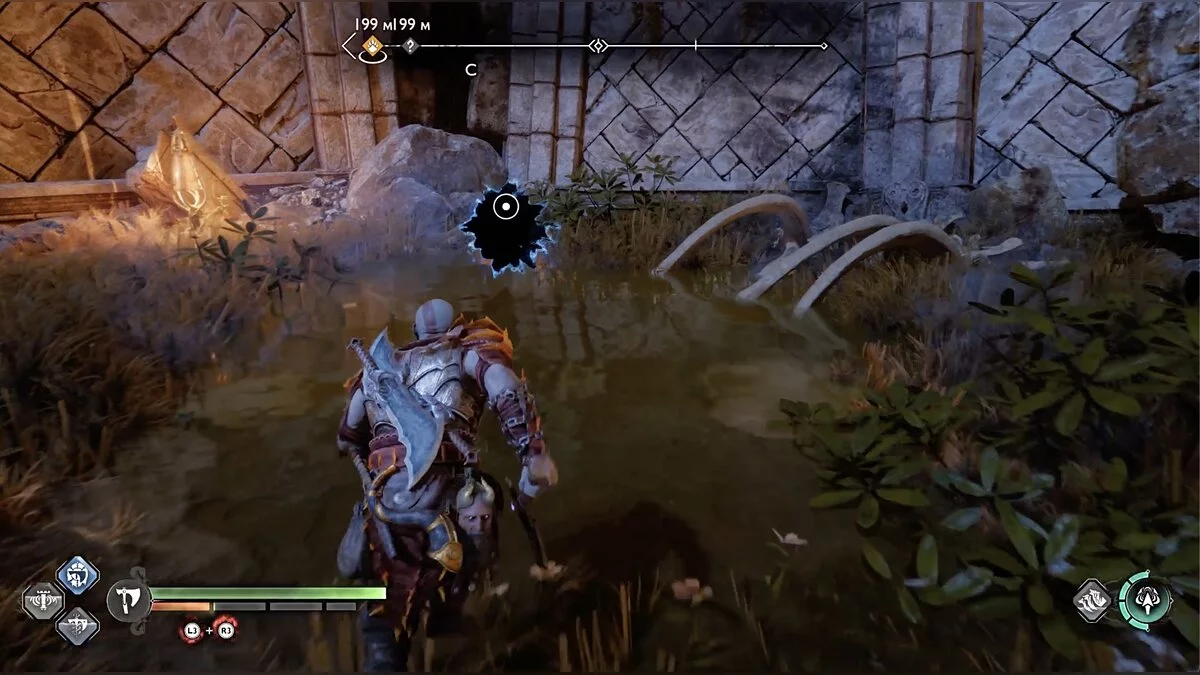
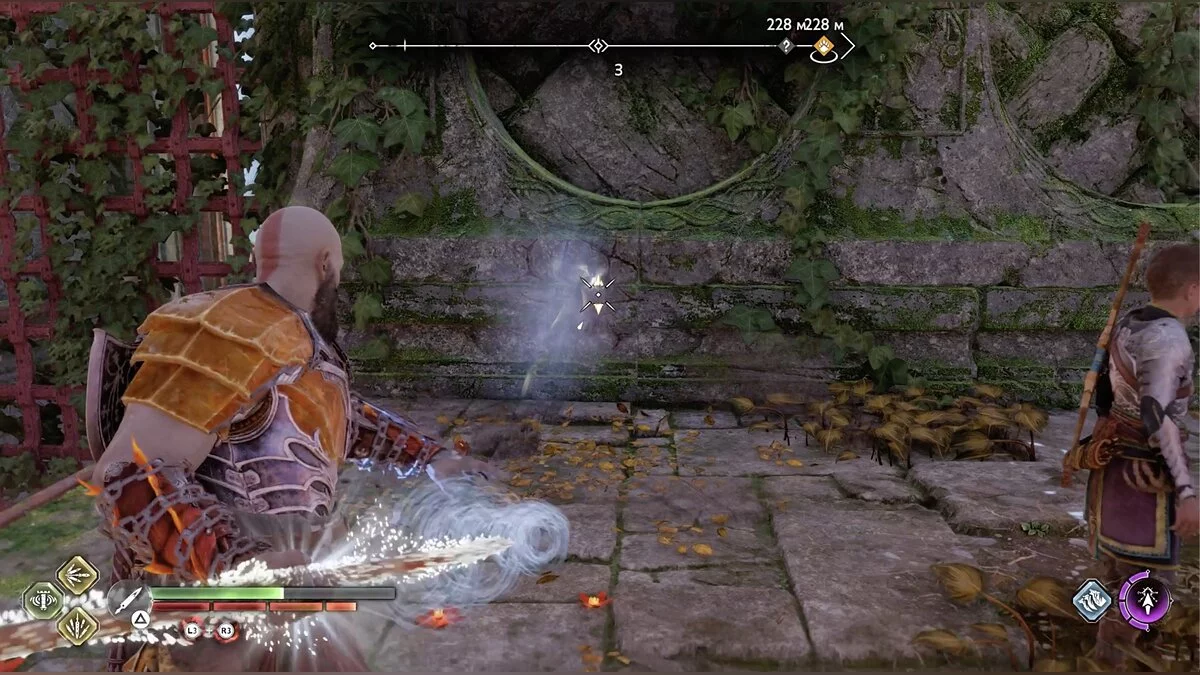
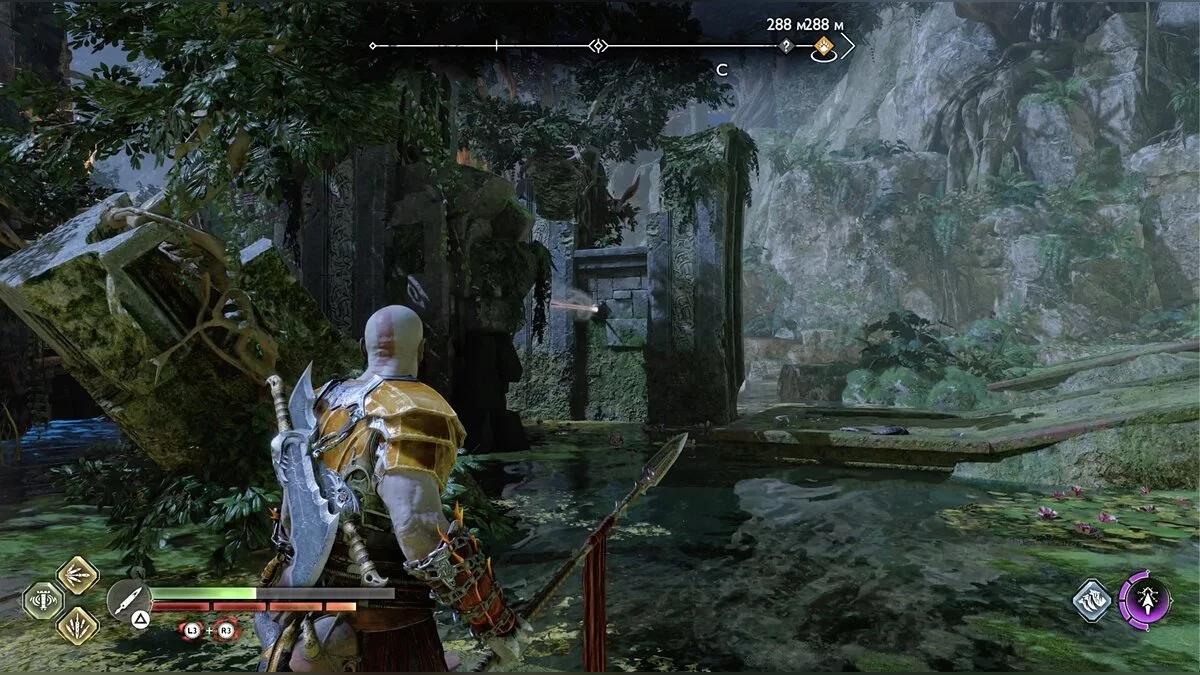
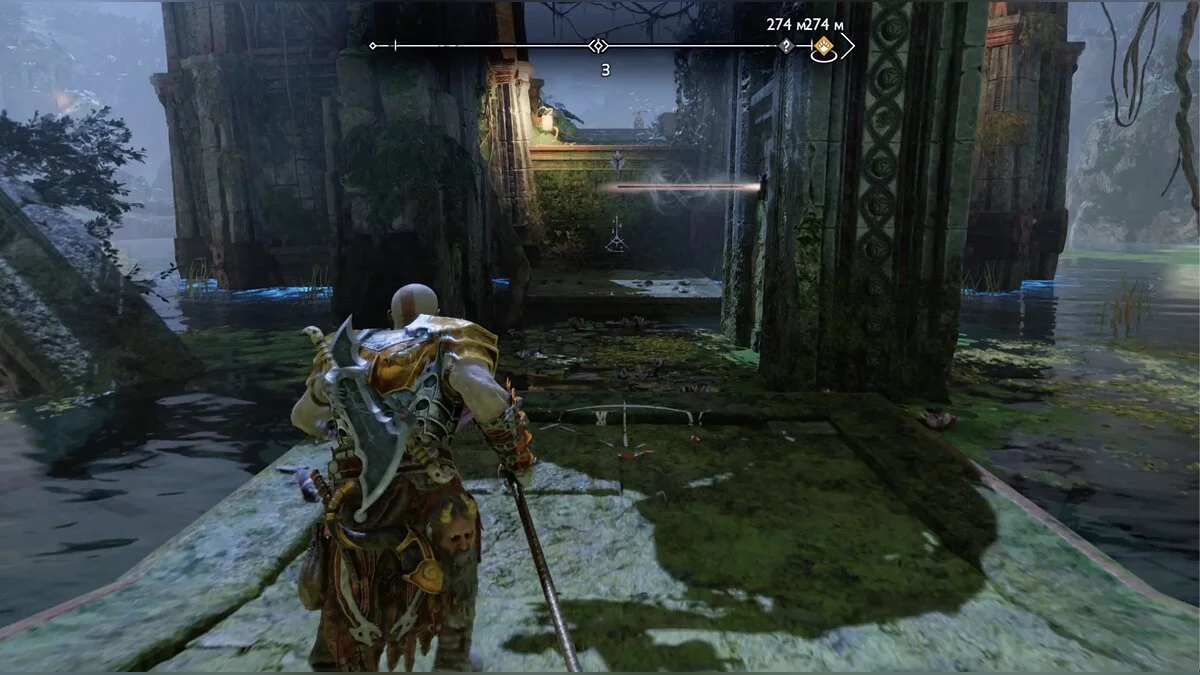
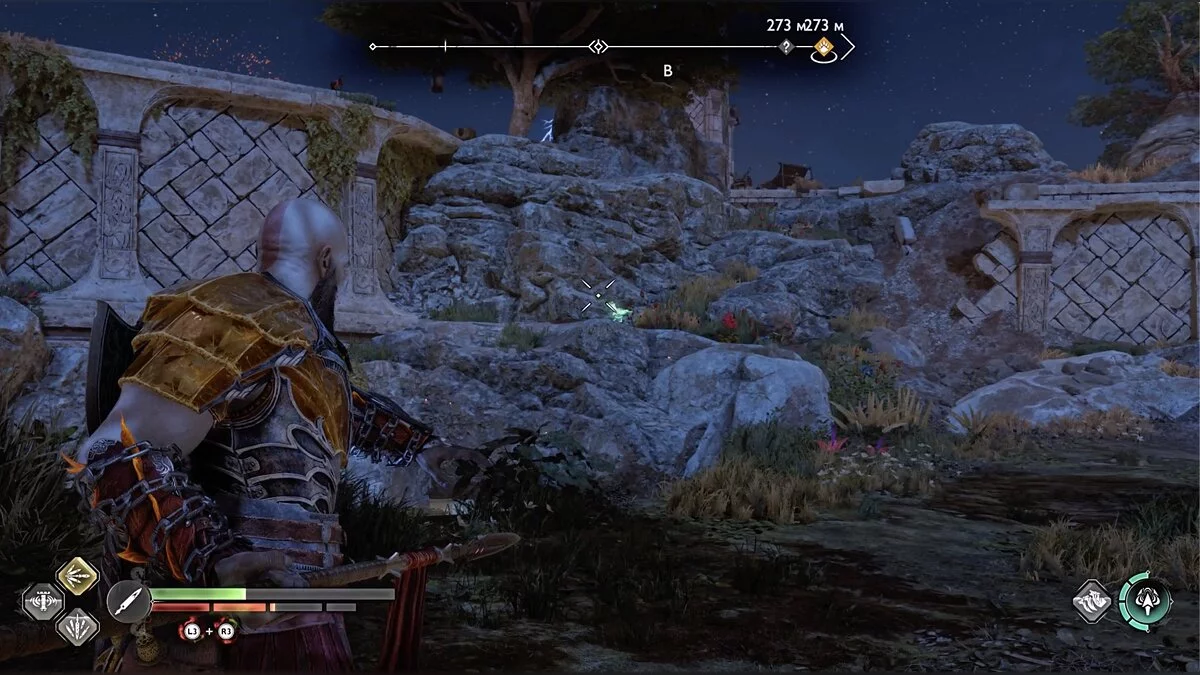
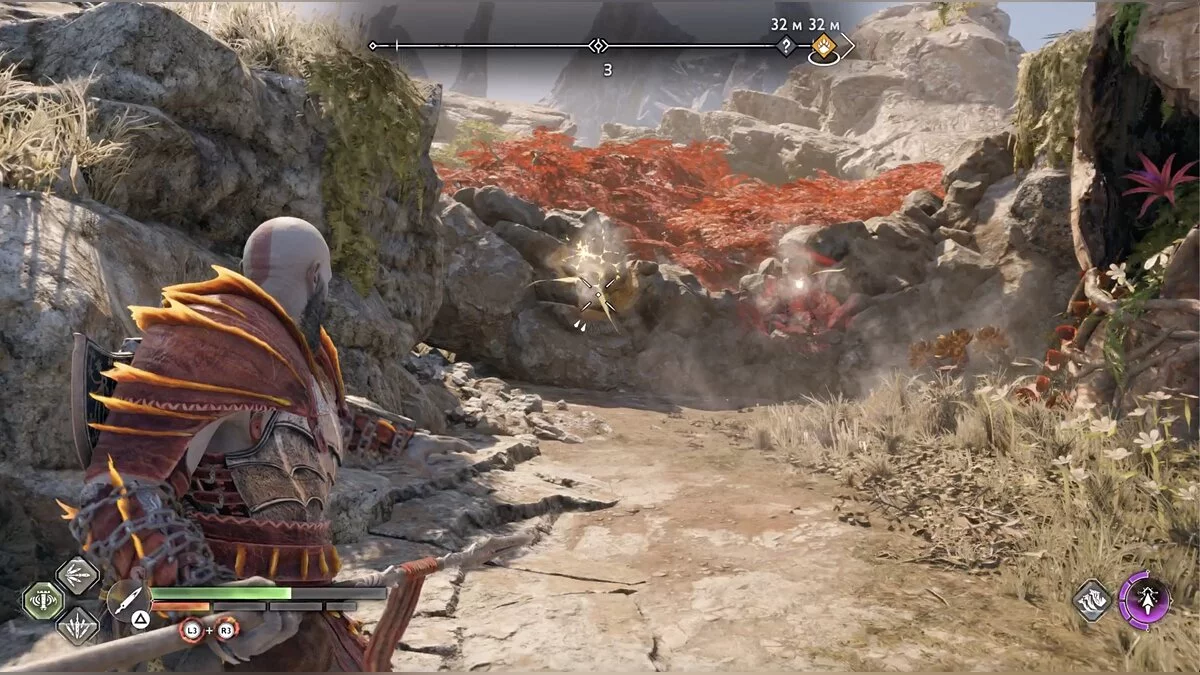
All three drilling rigs are scattered at different ends of the map and emit a lot of smoke. The path to them may be longer if you decide to explore the entire open area and study the landing sites. Pay attention to Odin's green ghostly ravens. As in the previous part, you need to accurately hit them with an axe.
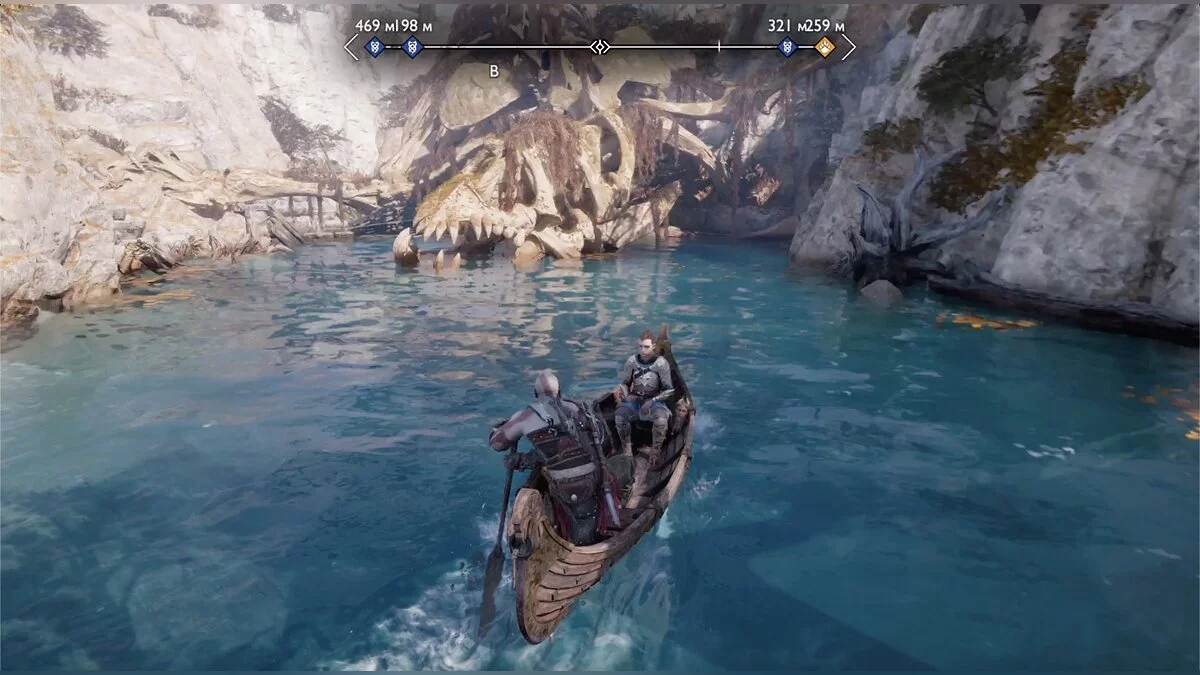
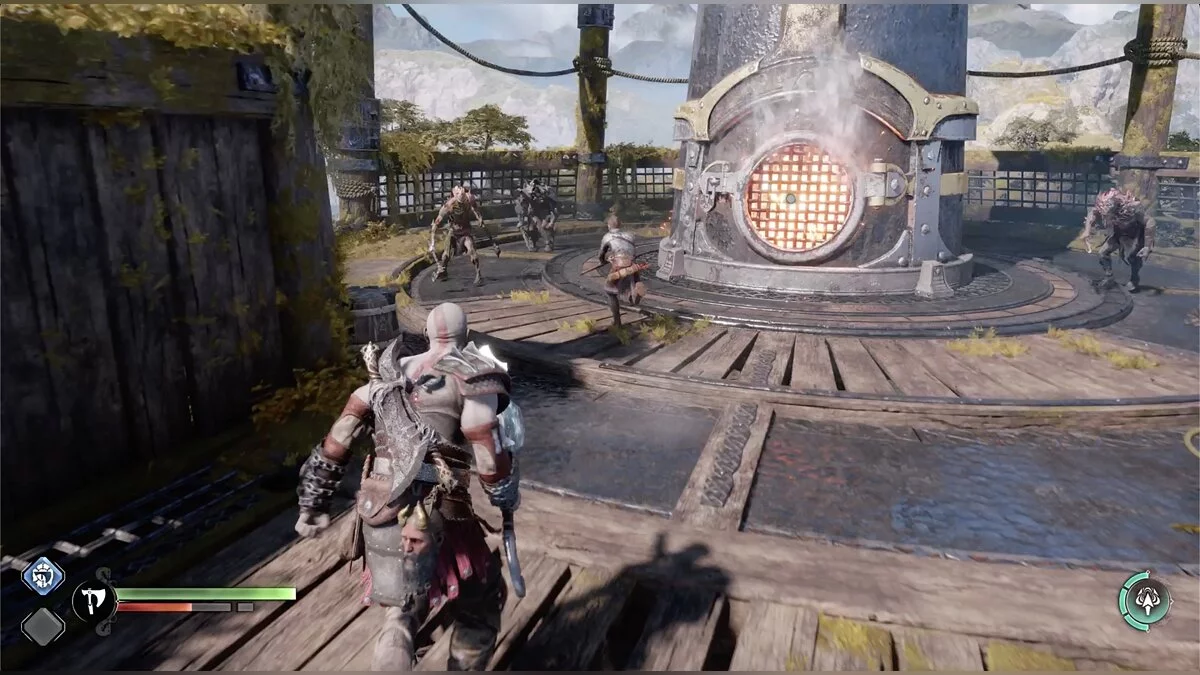
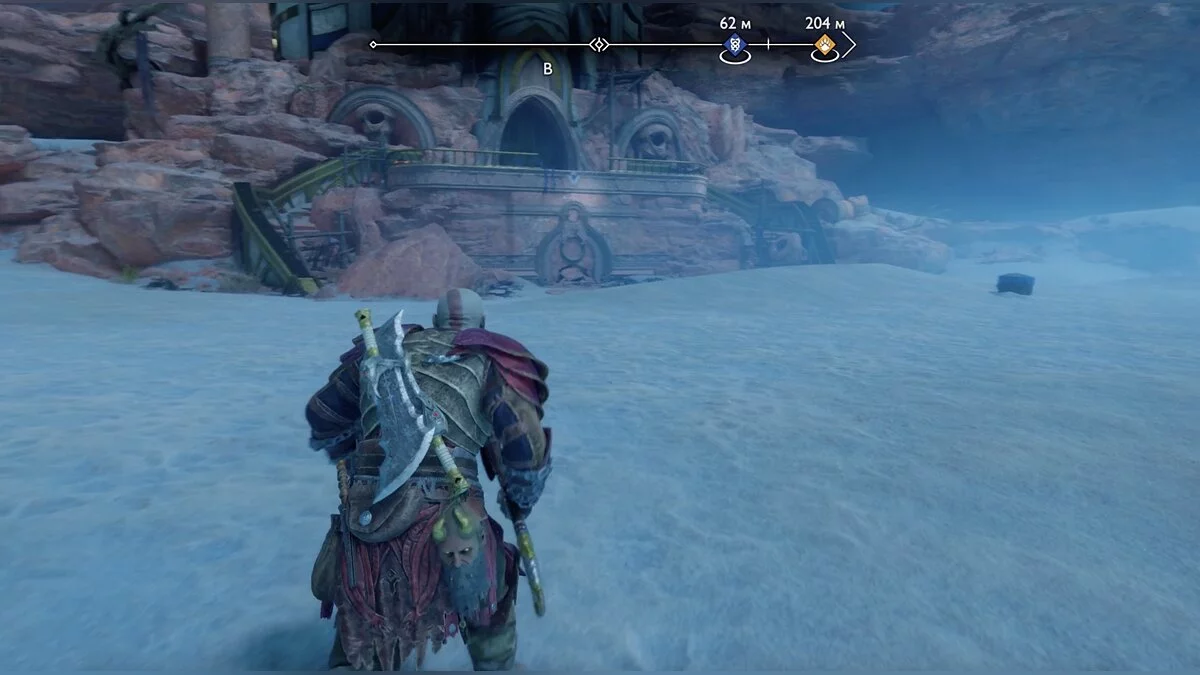
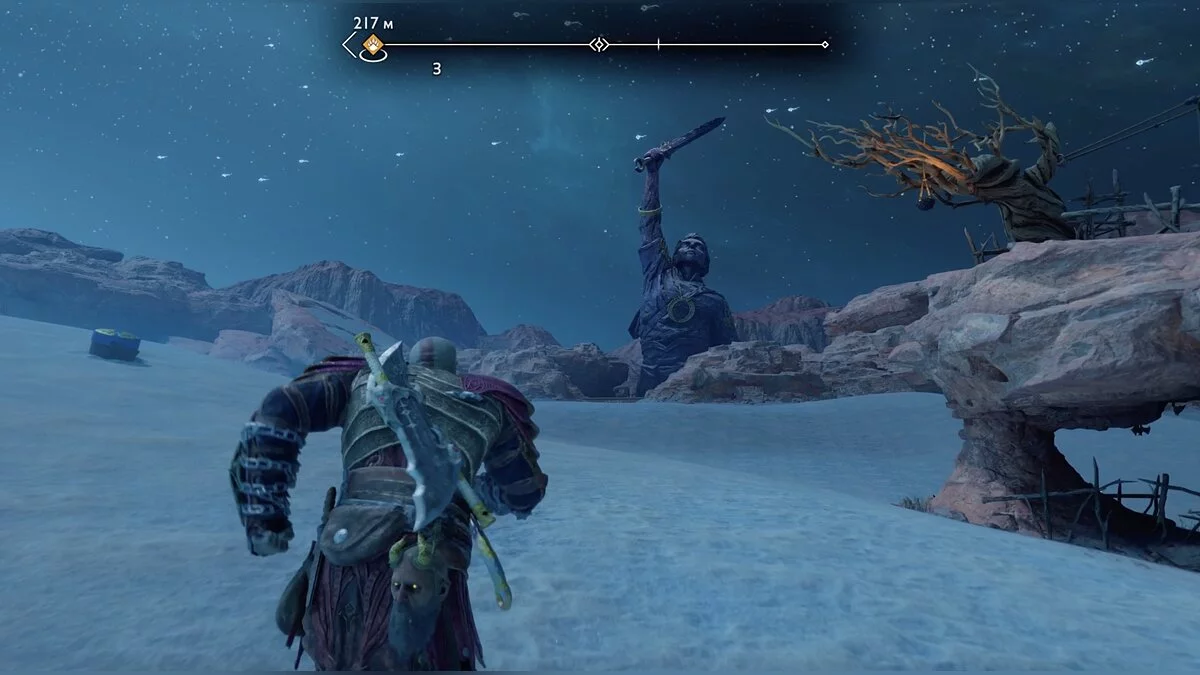
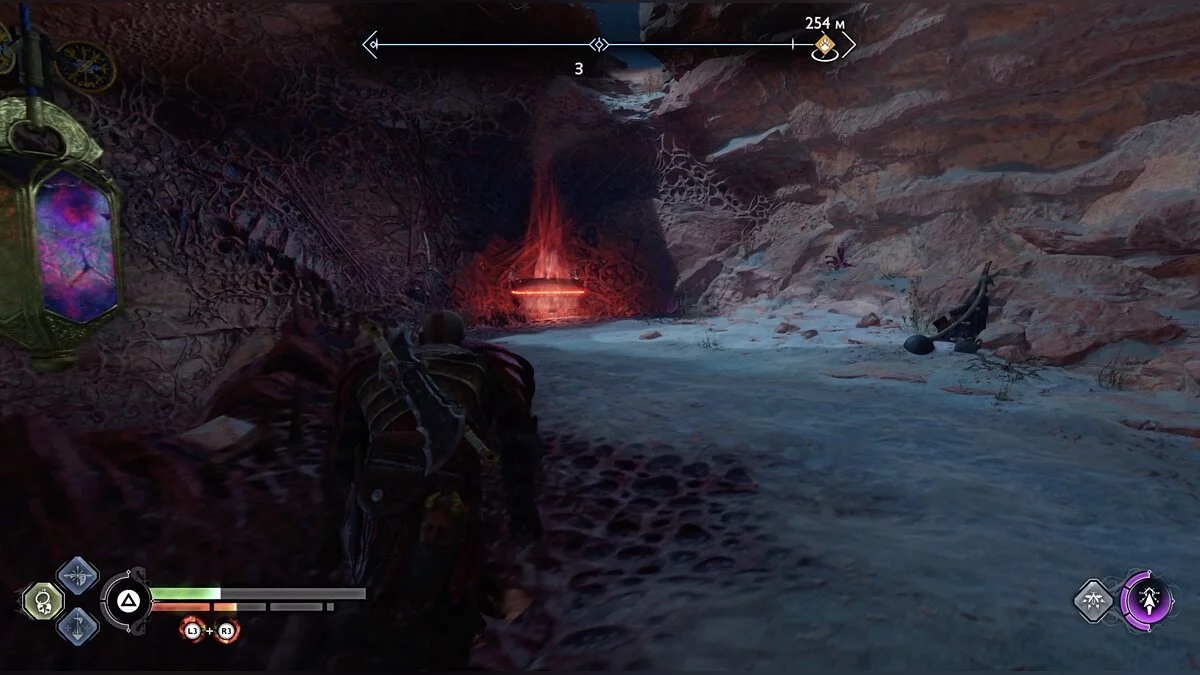
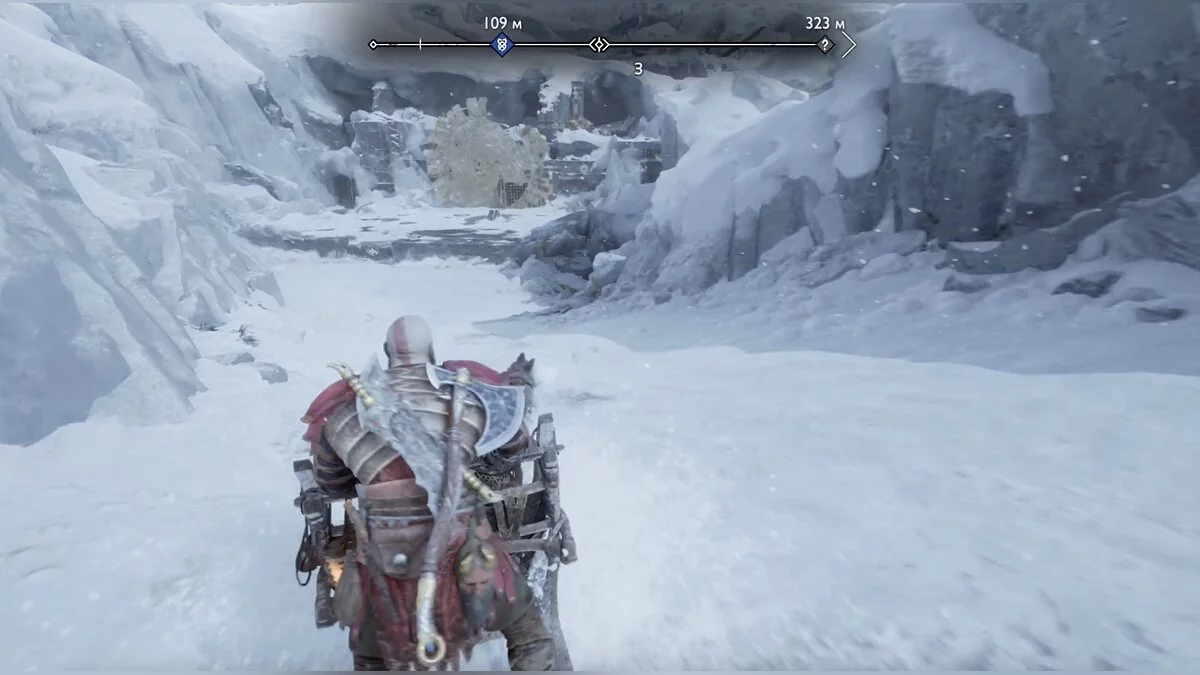
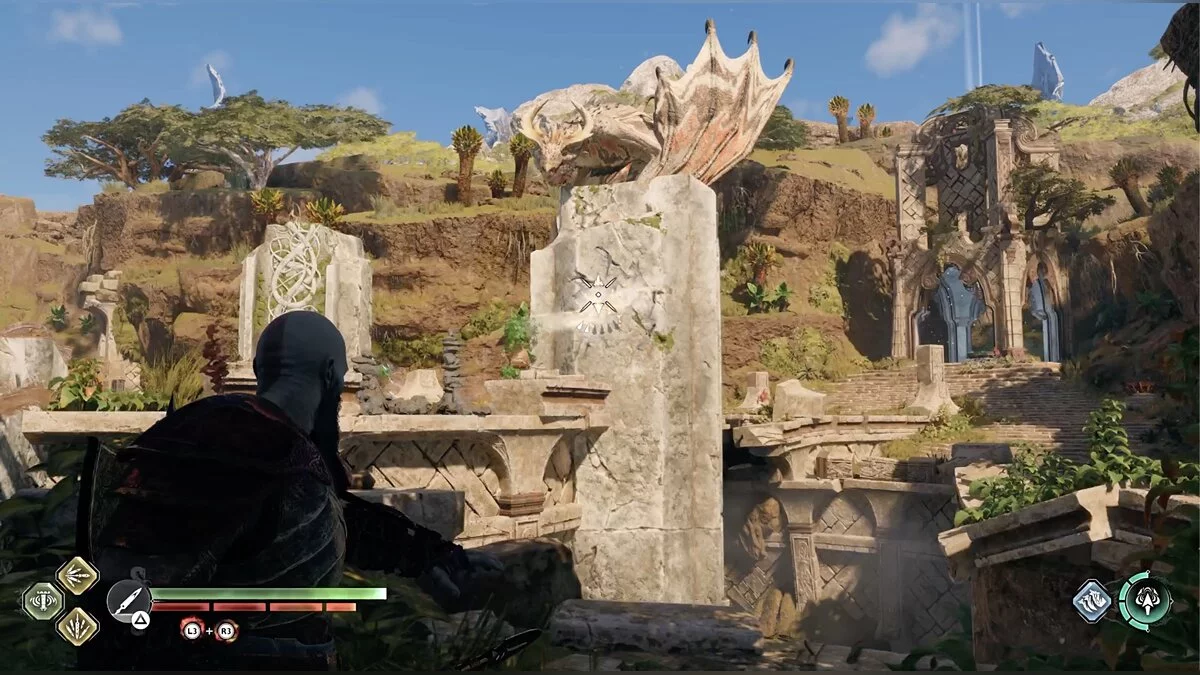
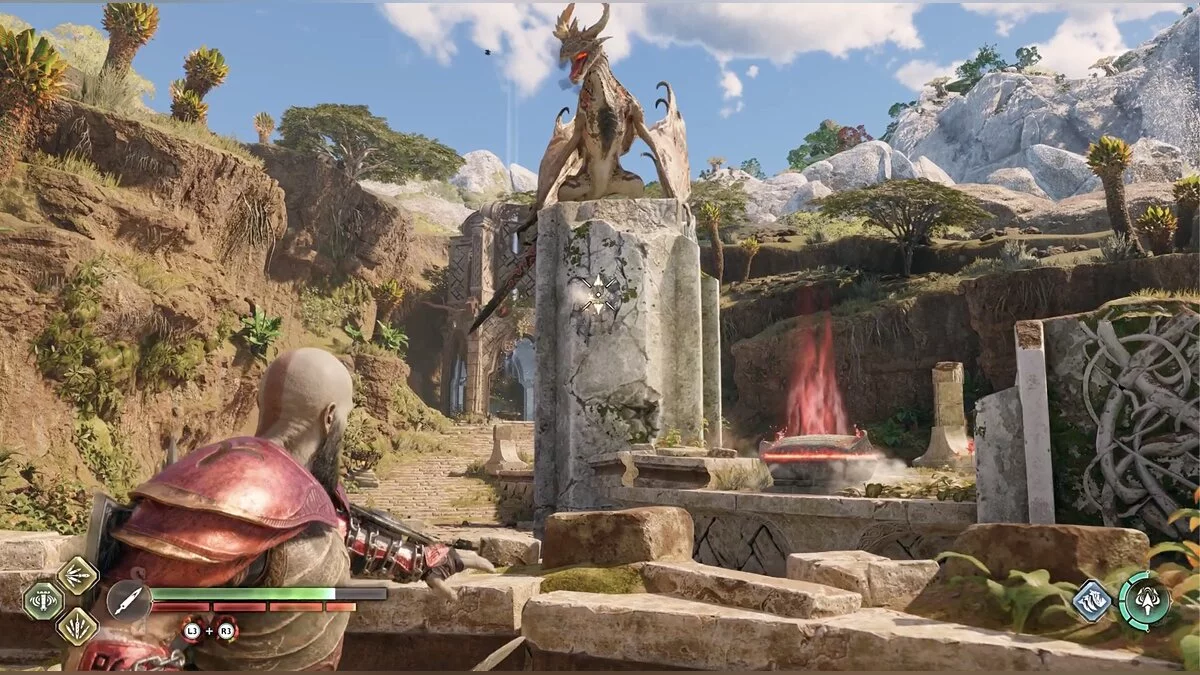
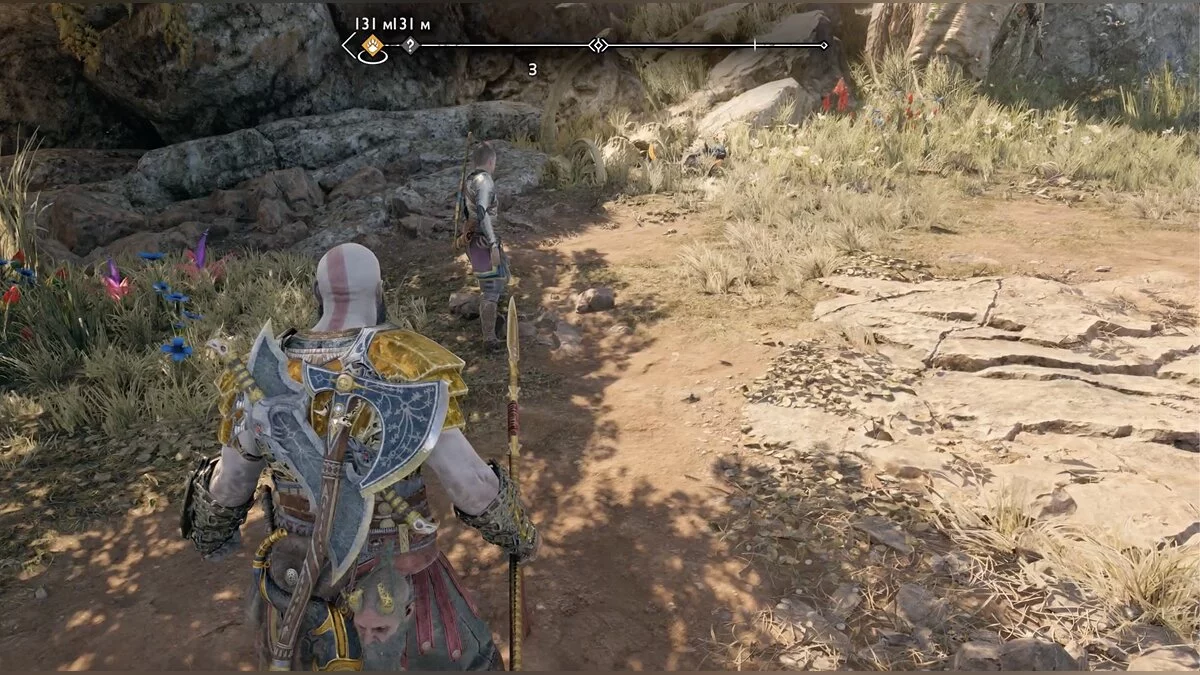
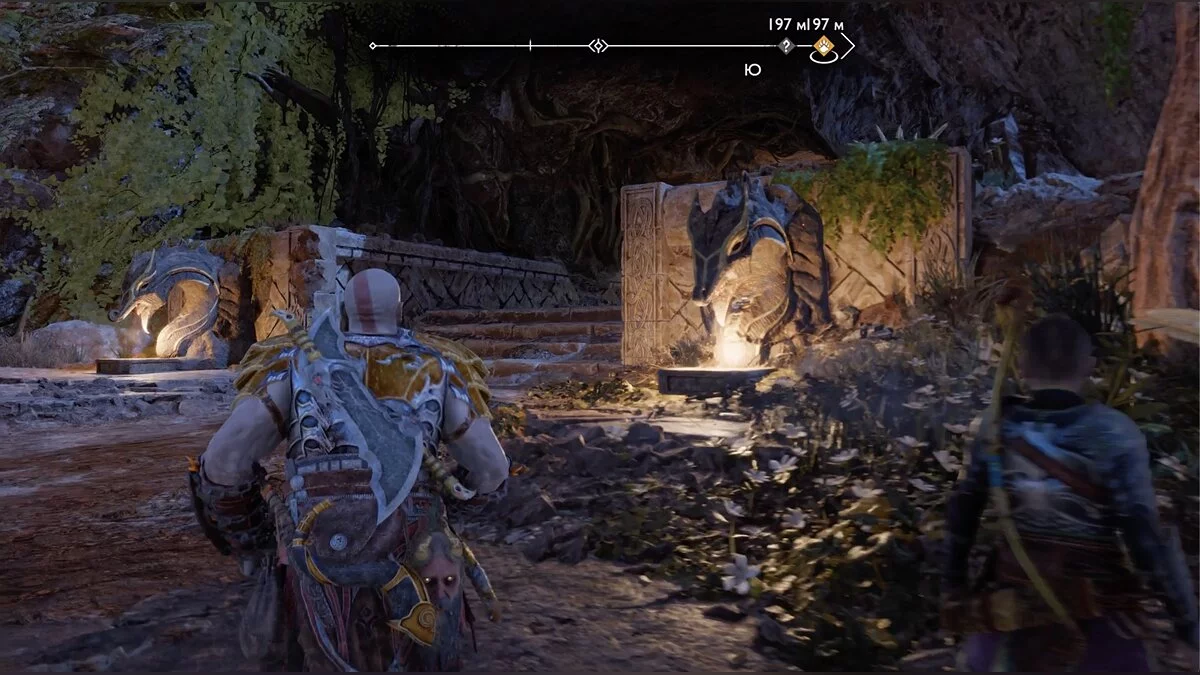
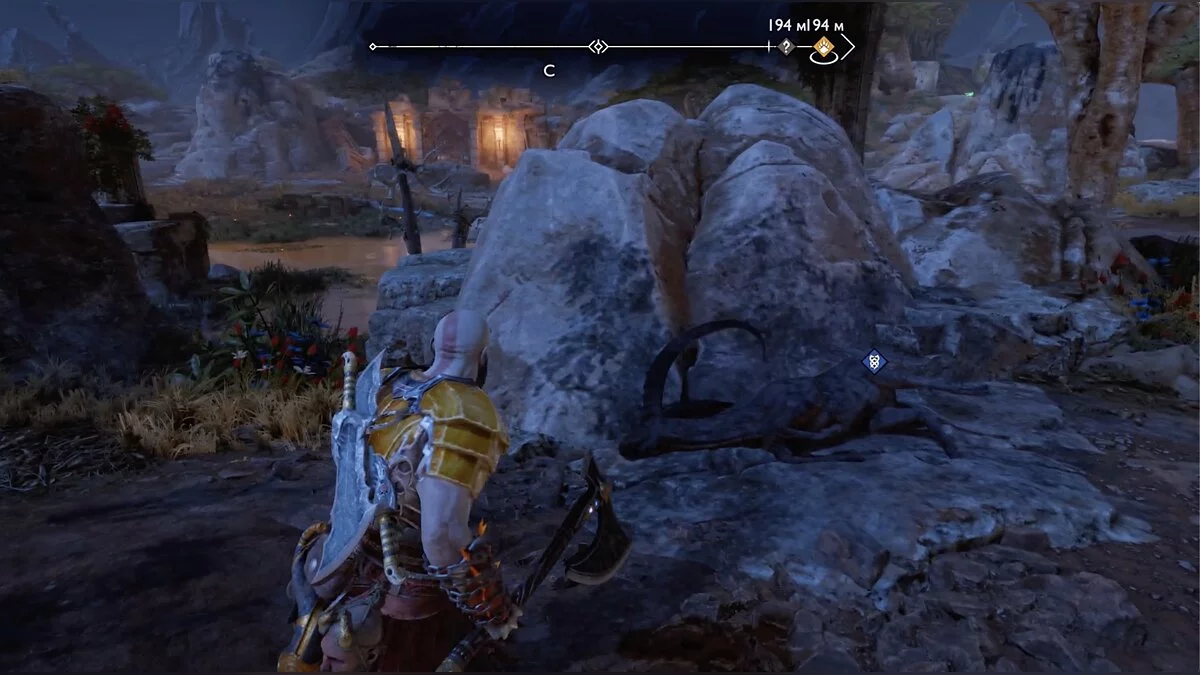
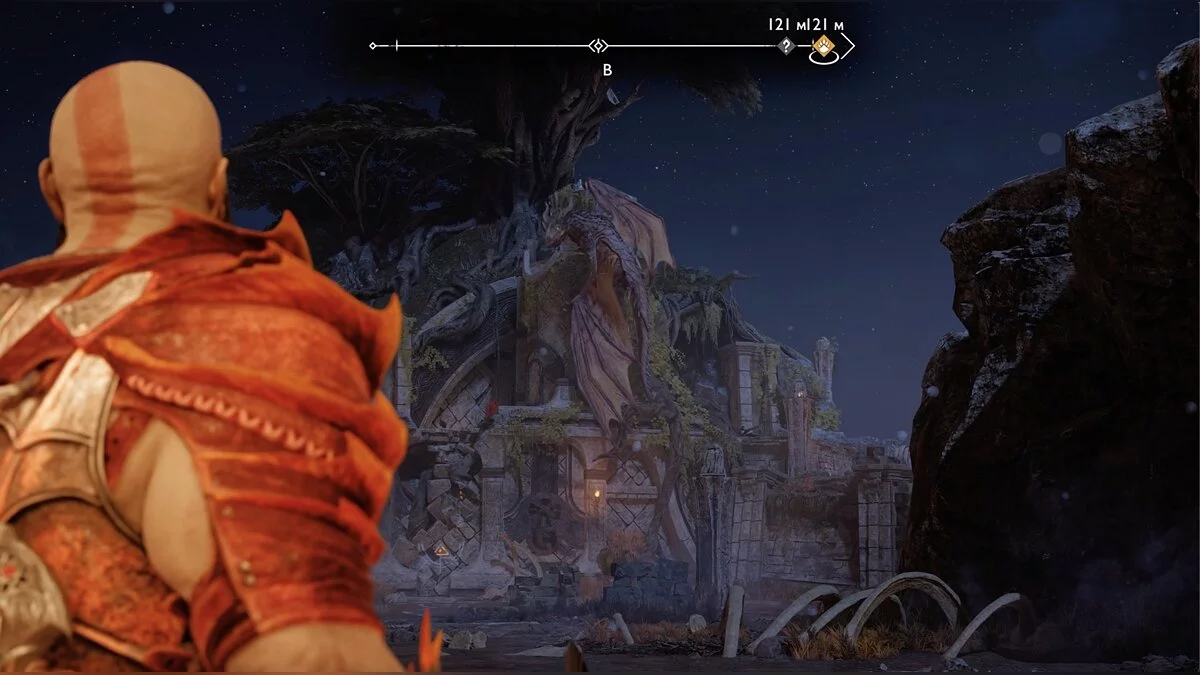
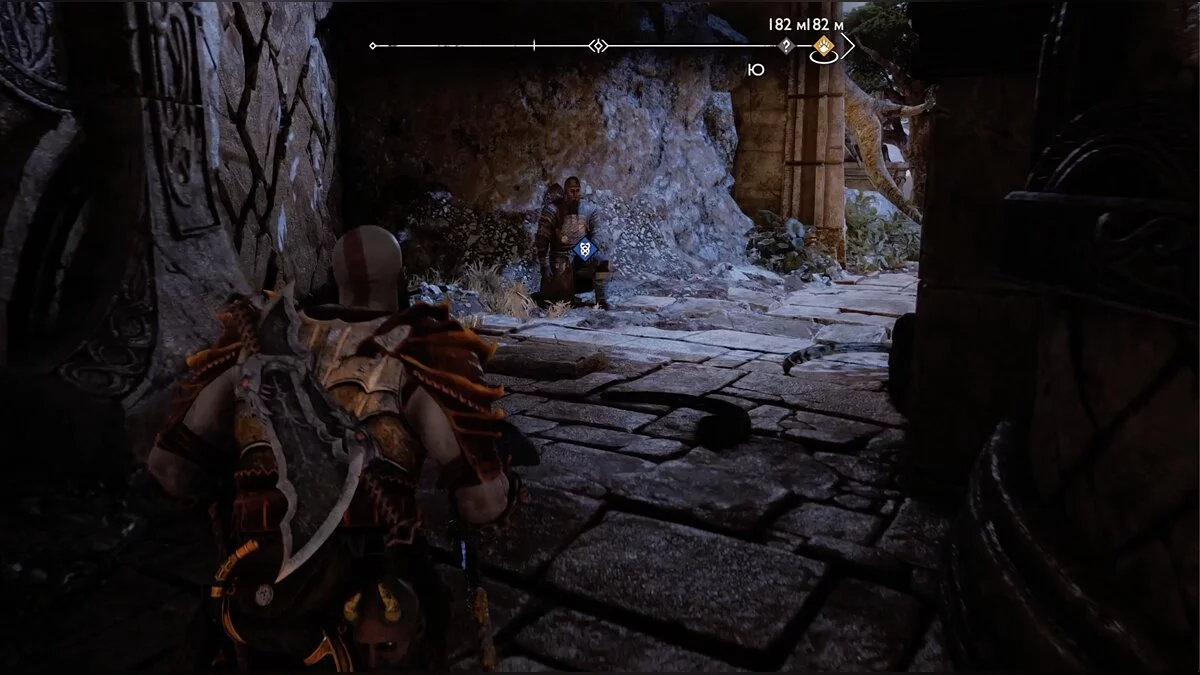
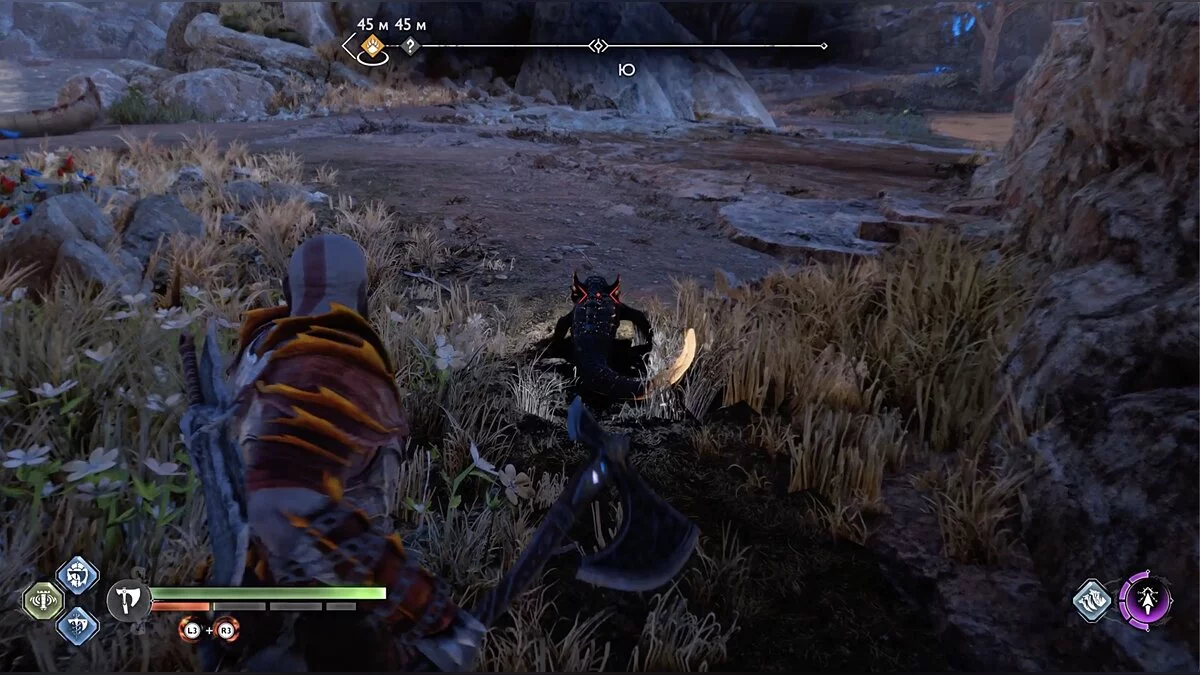
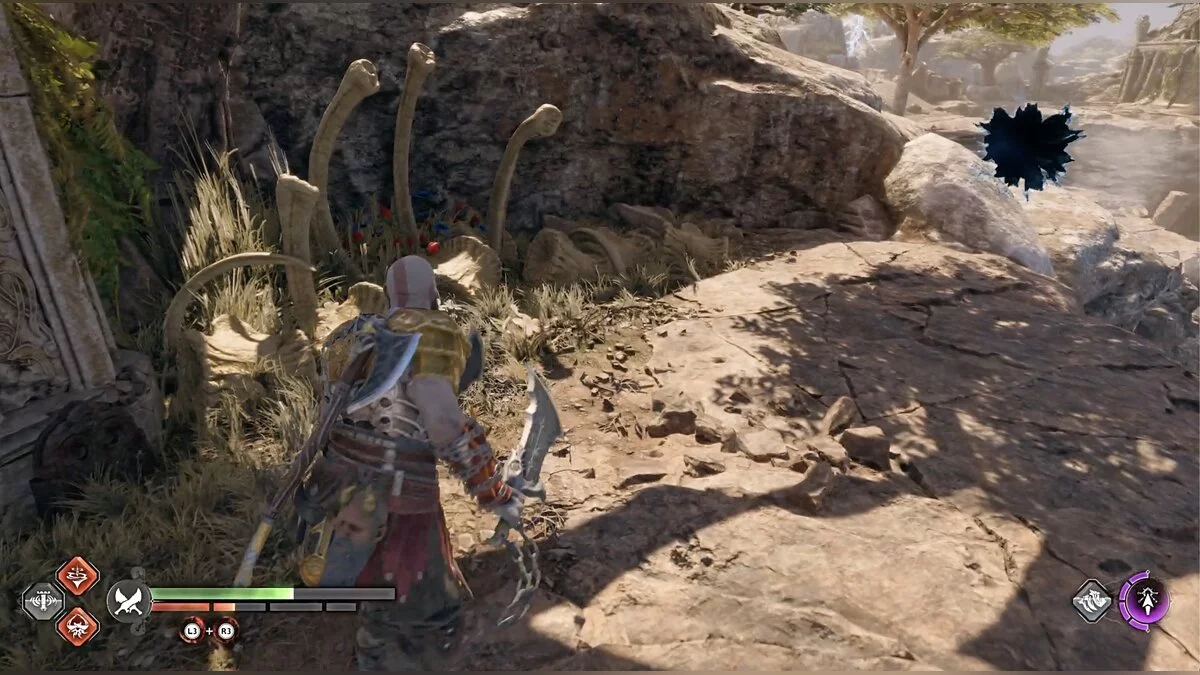
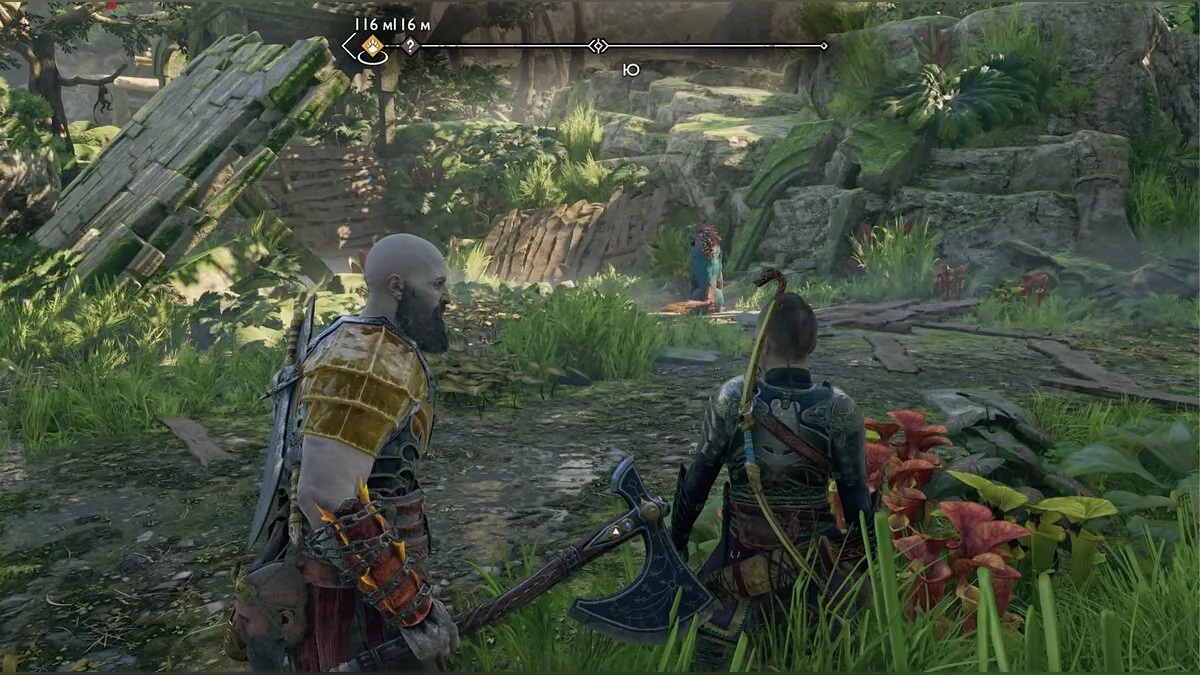
Stick to the right side and dock at the first available shore near the skeleton of a huge creature resembling a dragon. A good landmark will be the dragon statue, which Atreus will mention. You will have a prolonged fight with familiar frogs and new enemies — legless lizards that burrow into the ground.
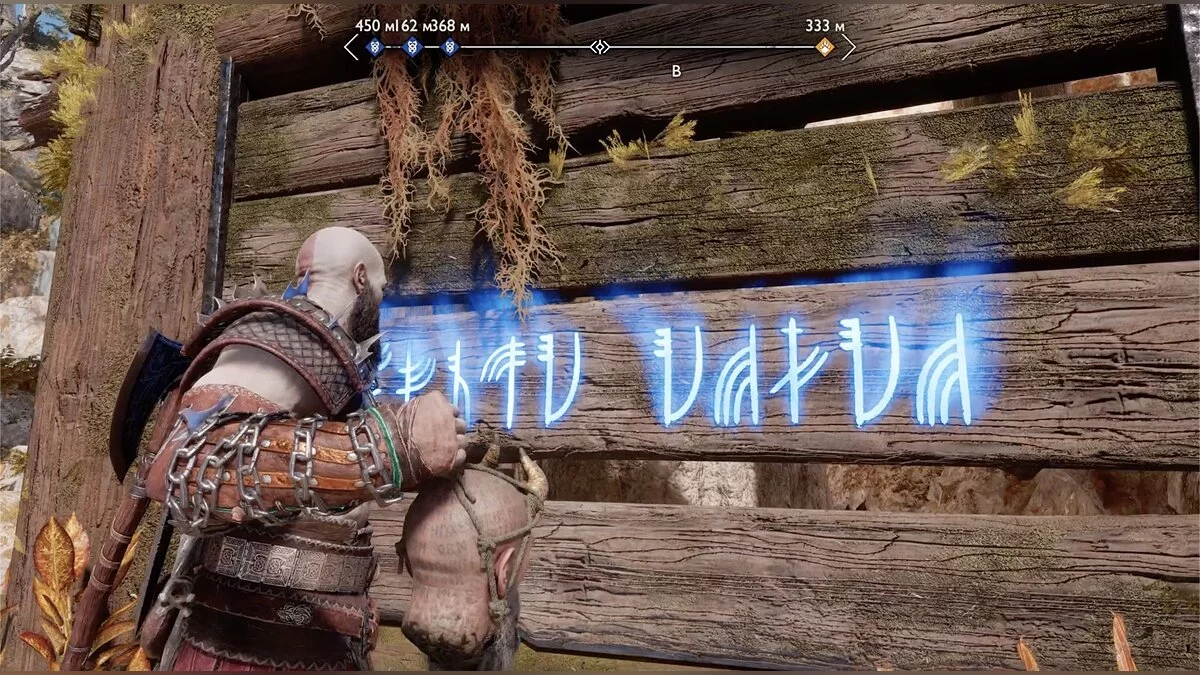
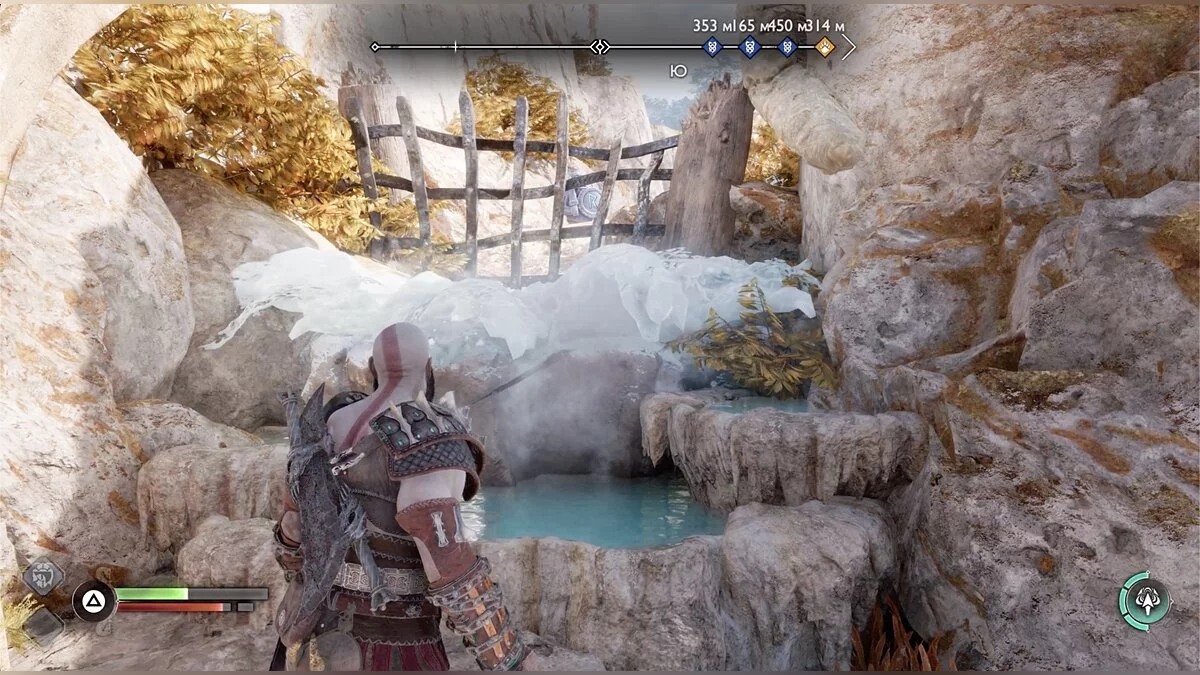
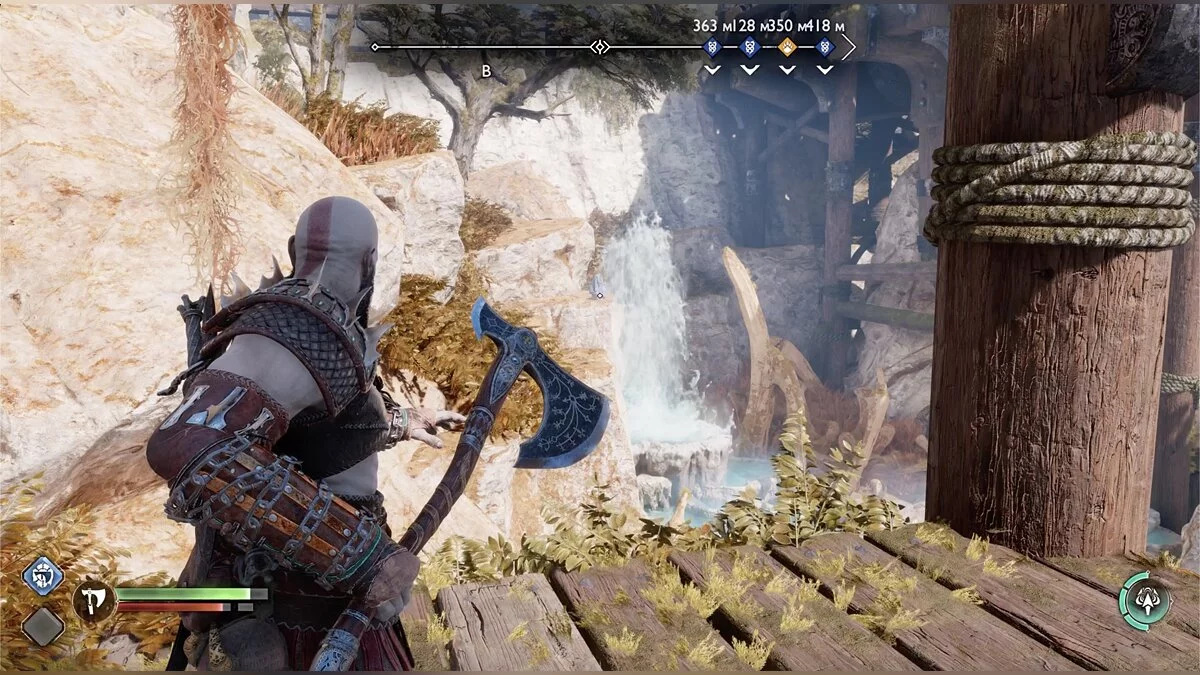
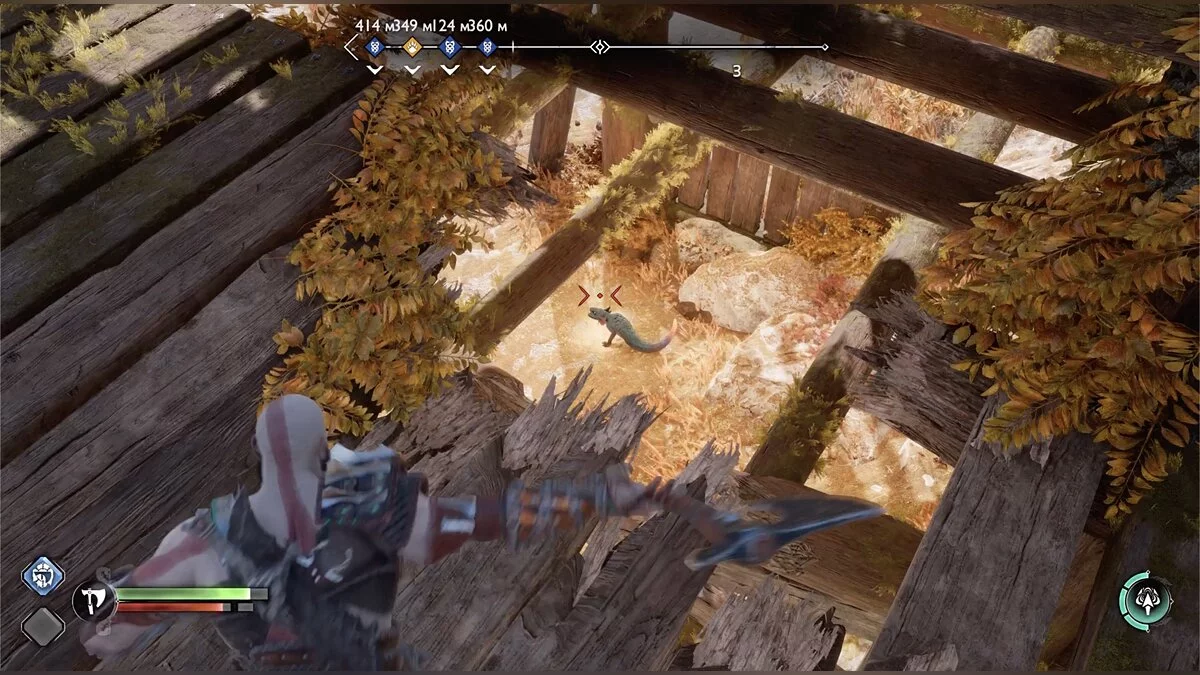
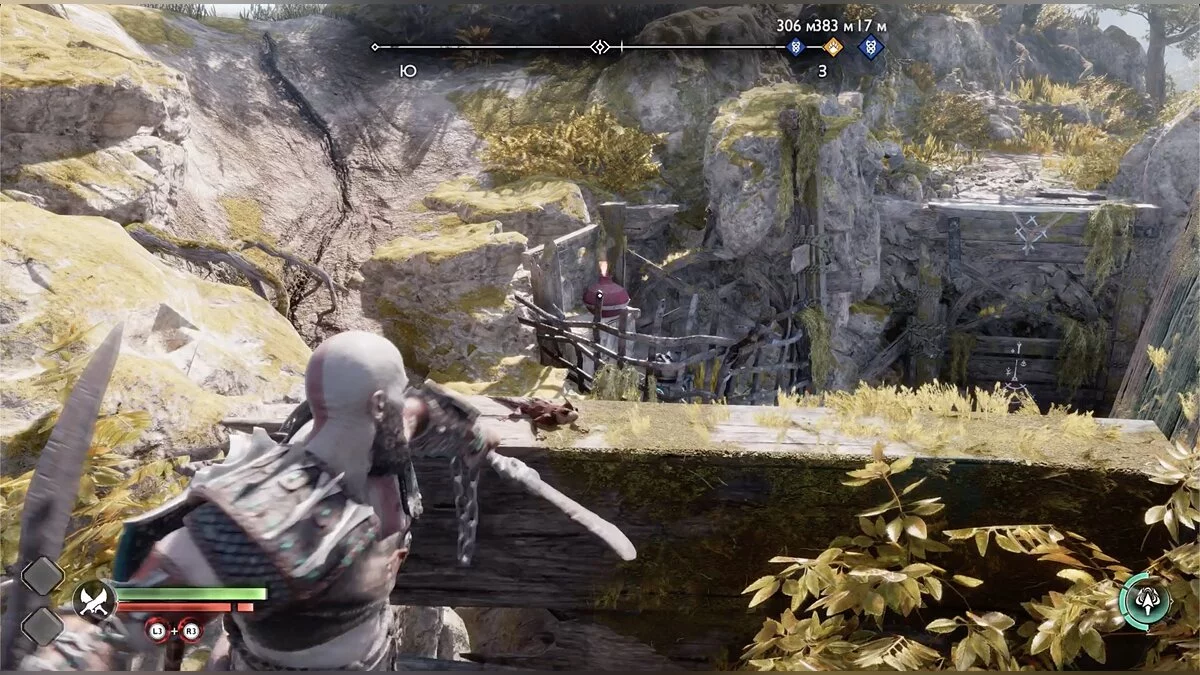
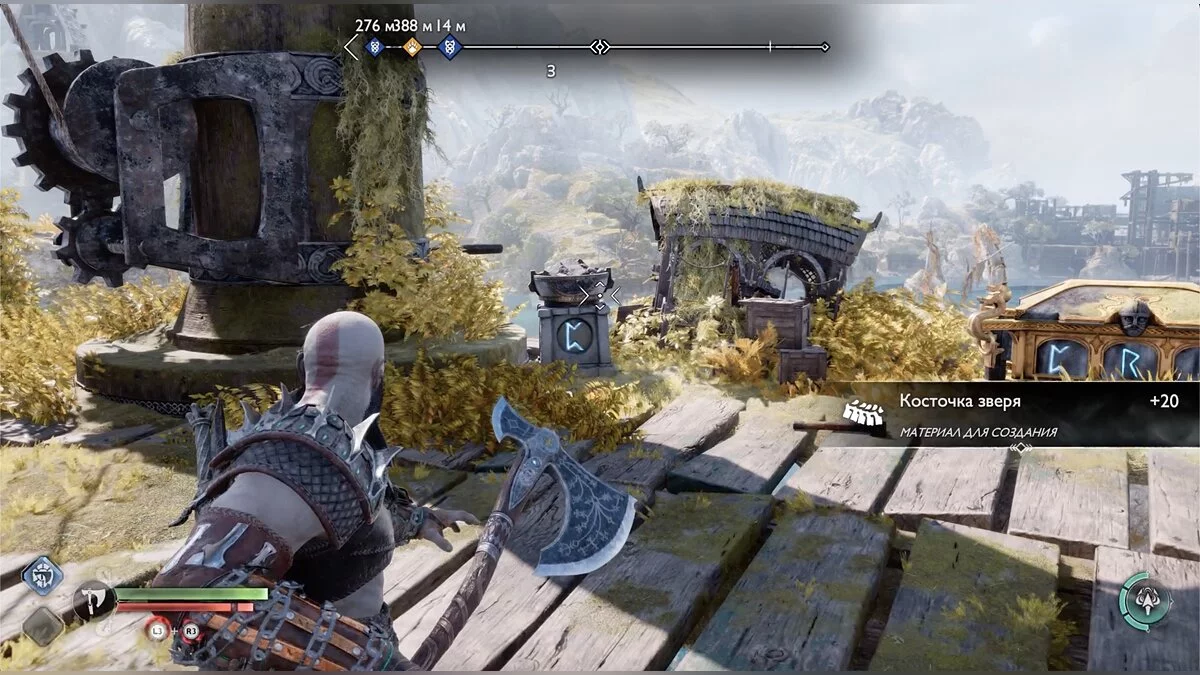
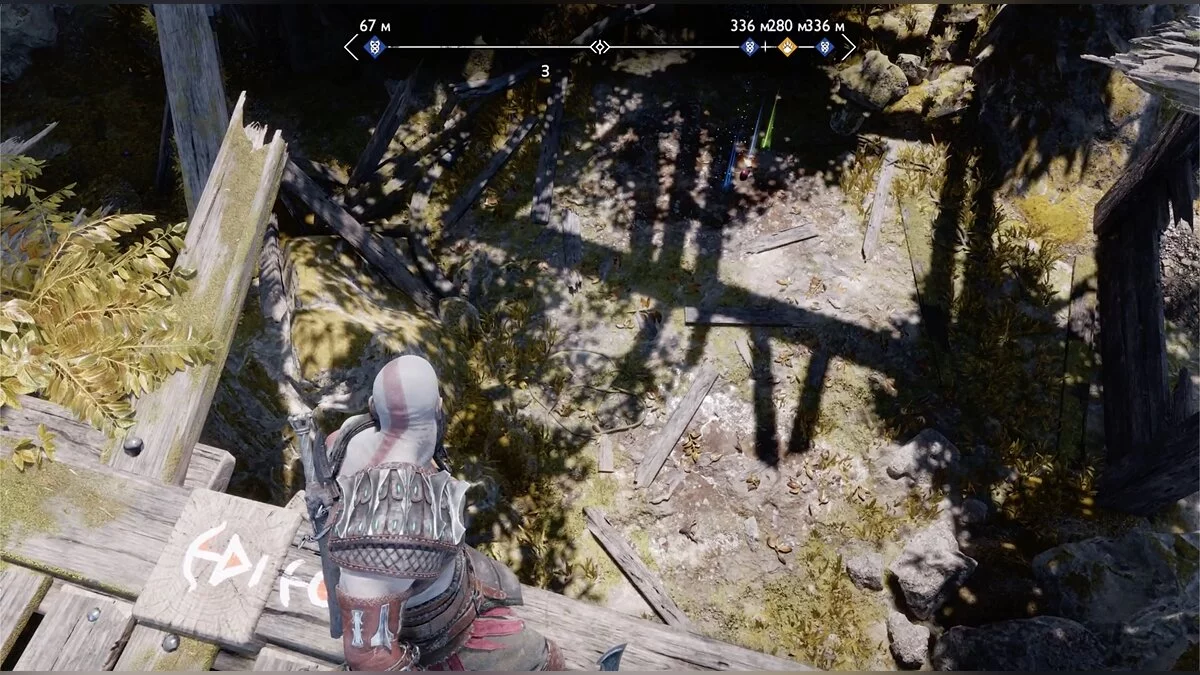
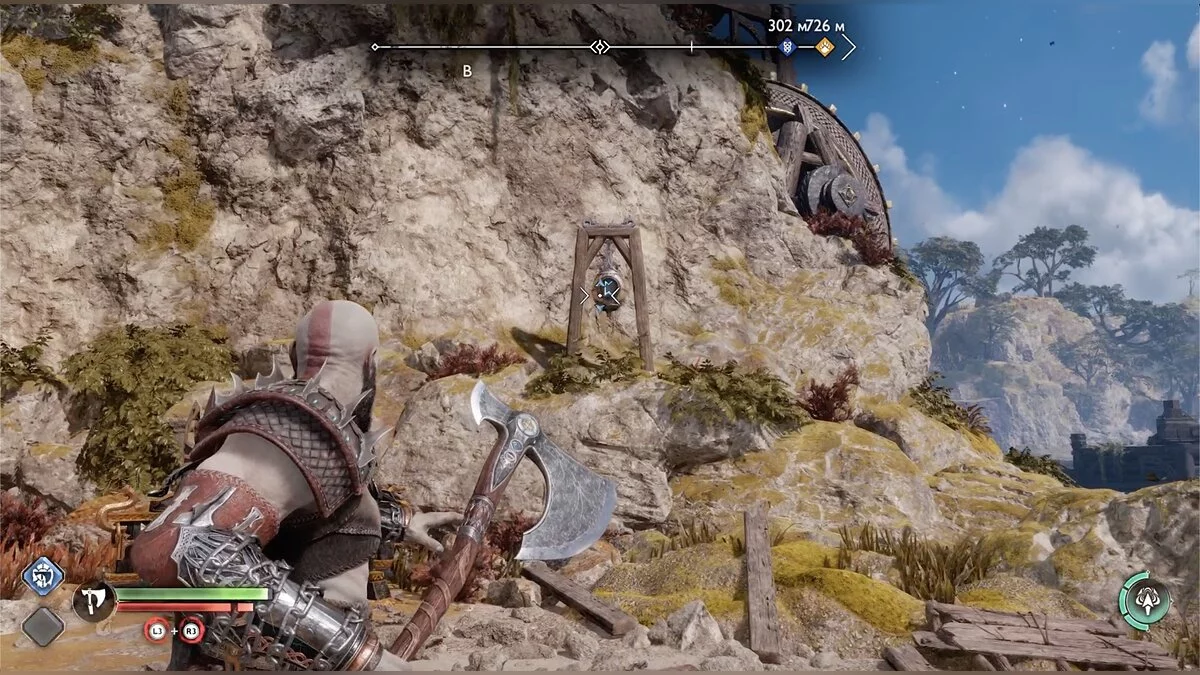
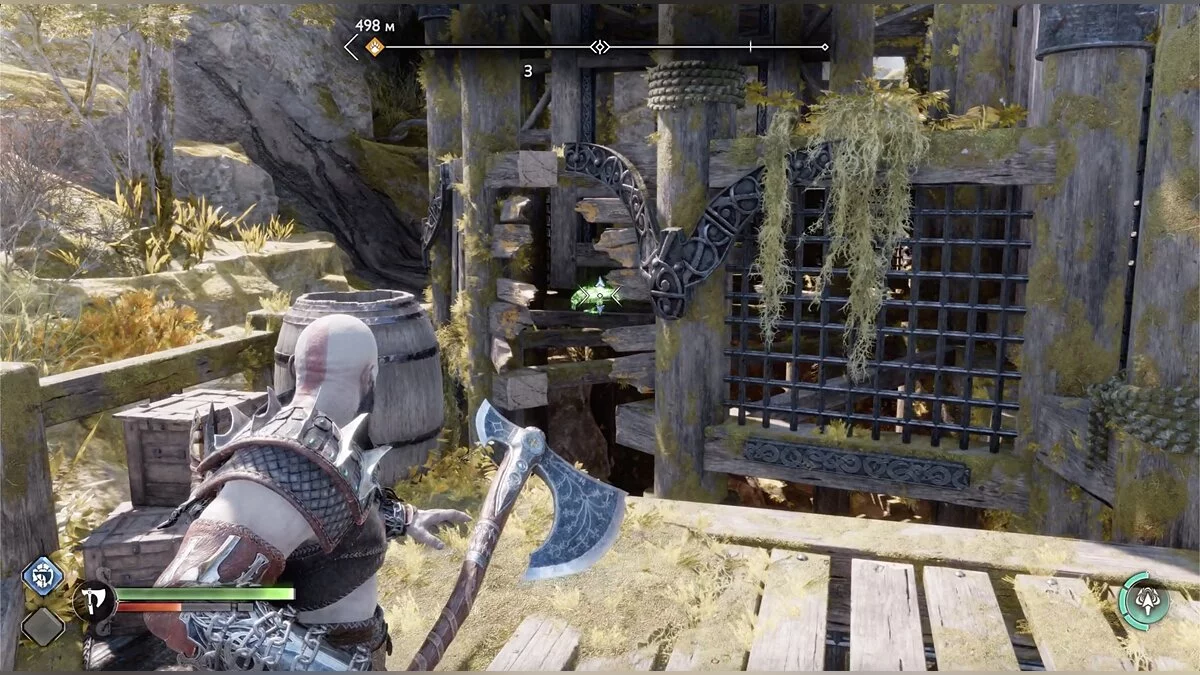
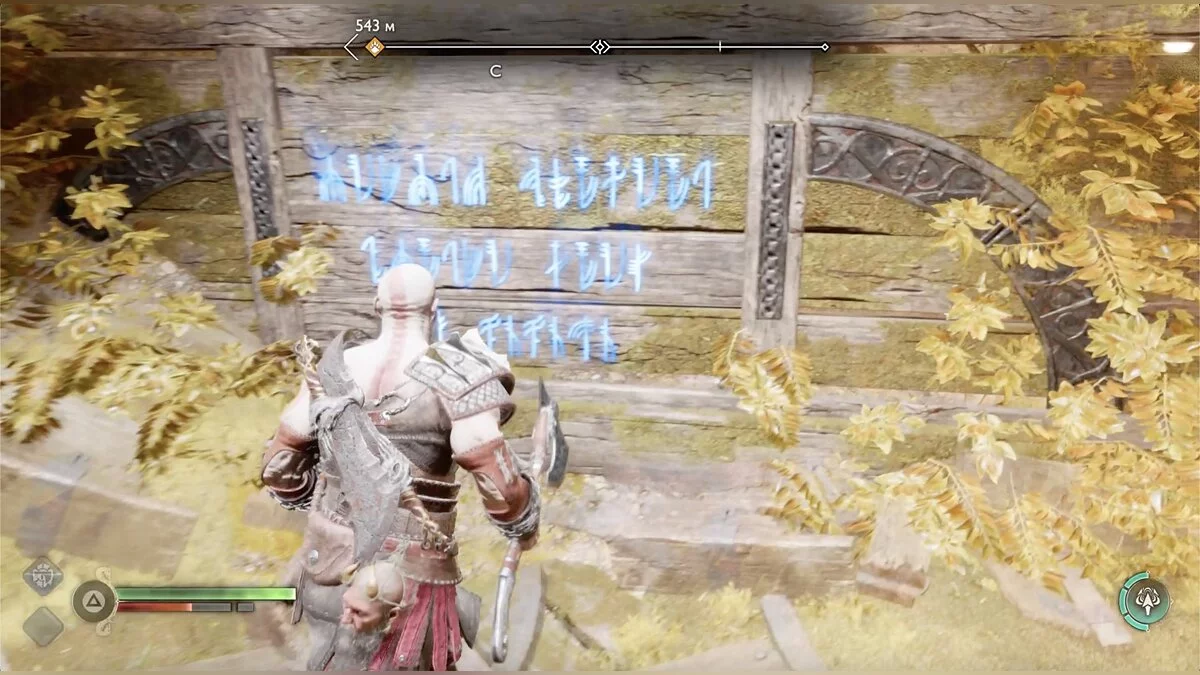
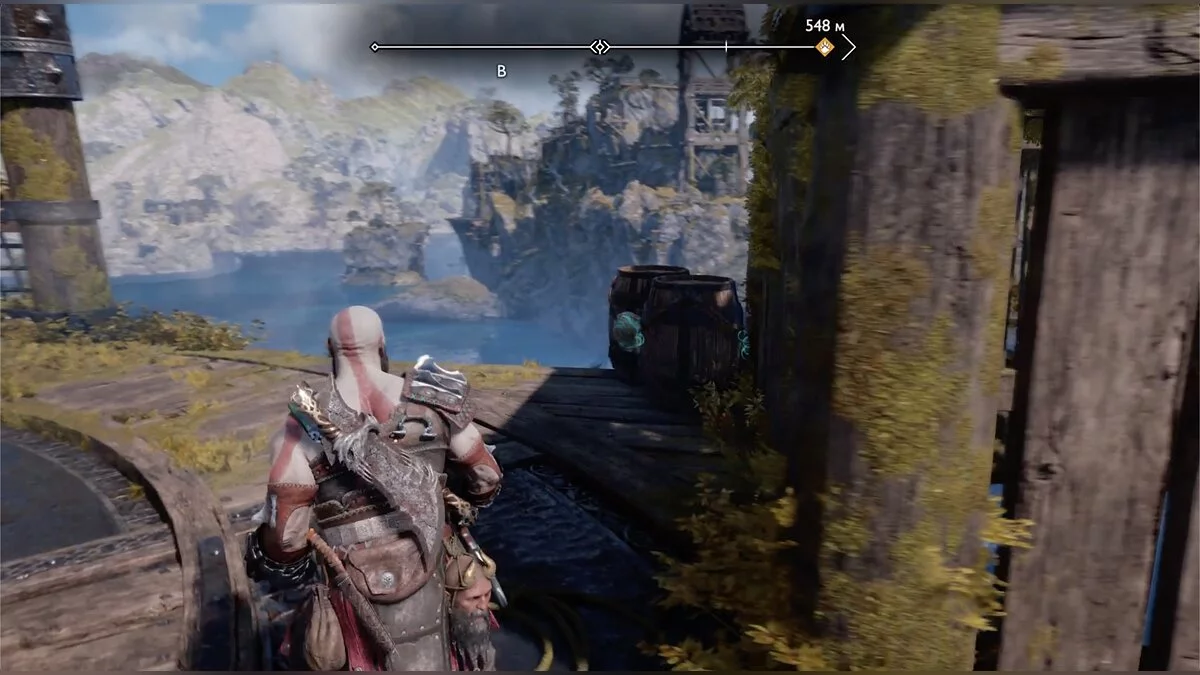
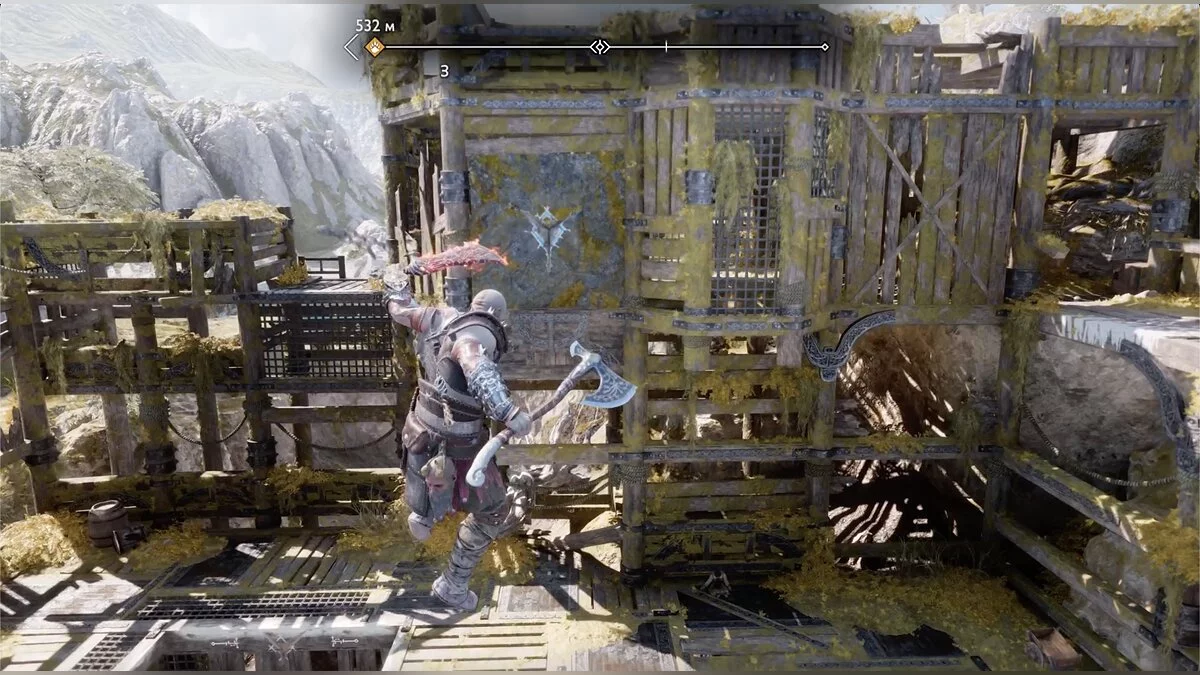
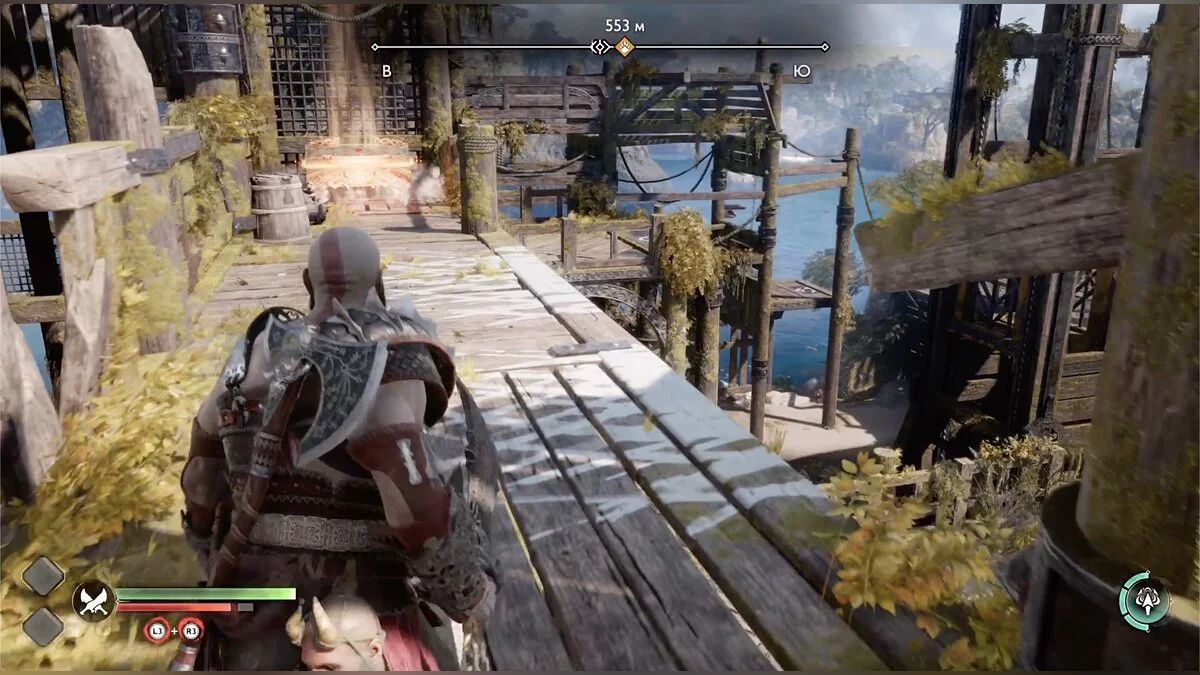
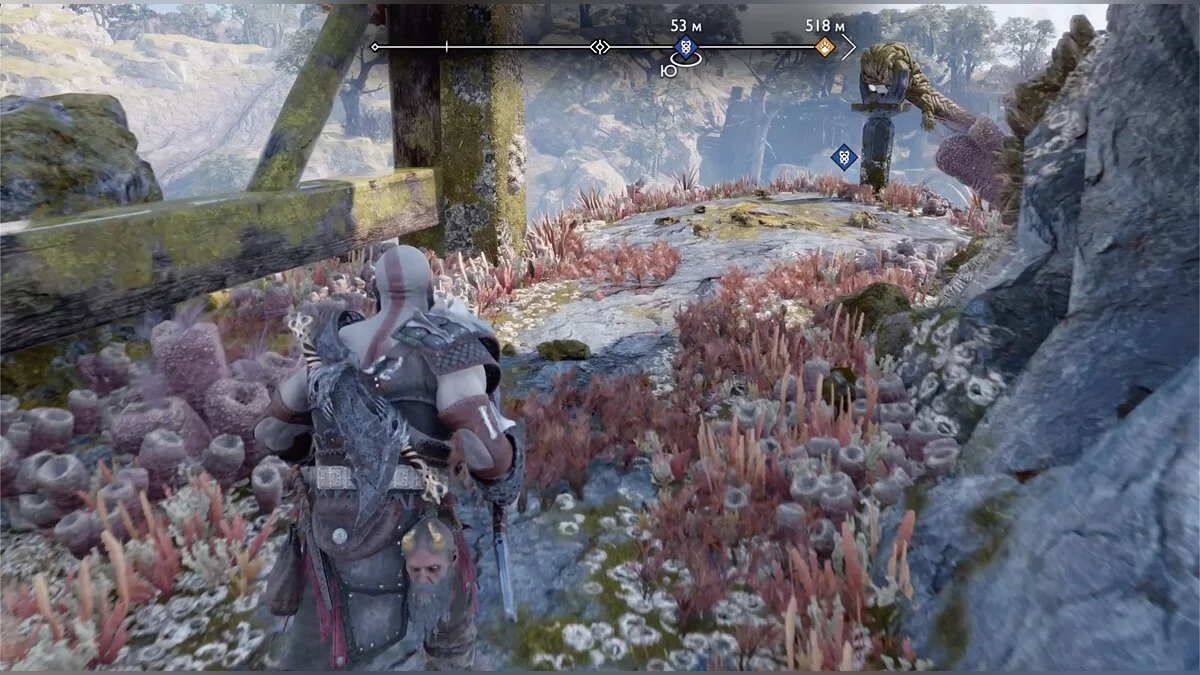
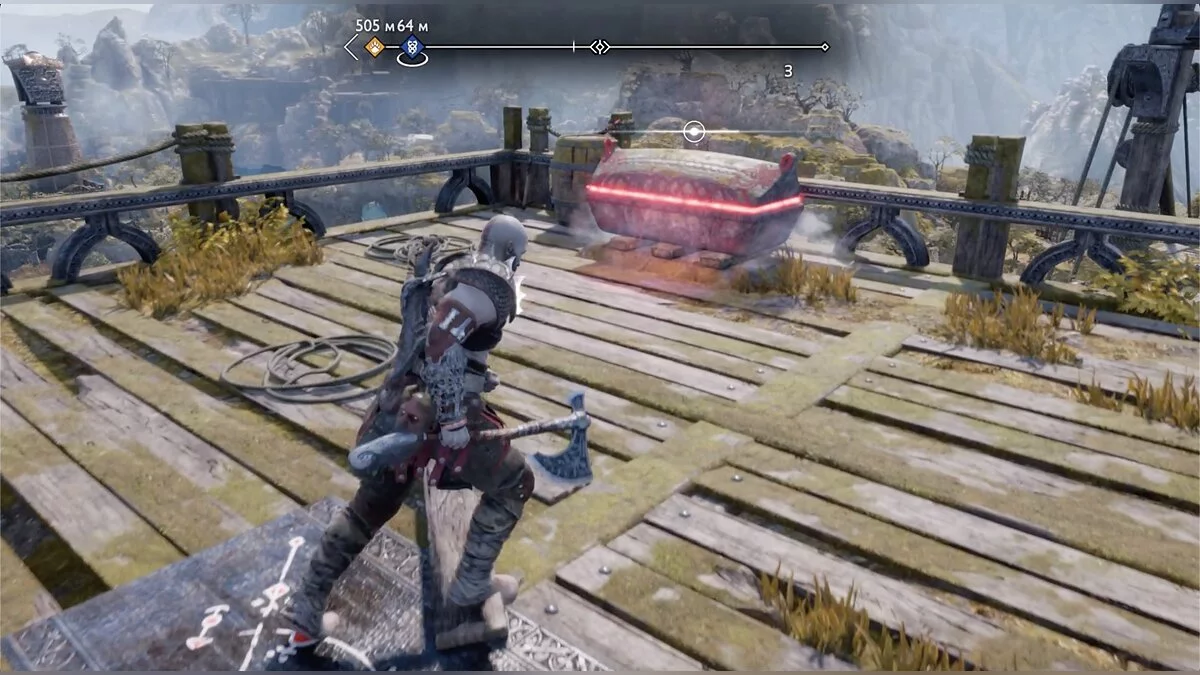
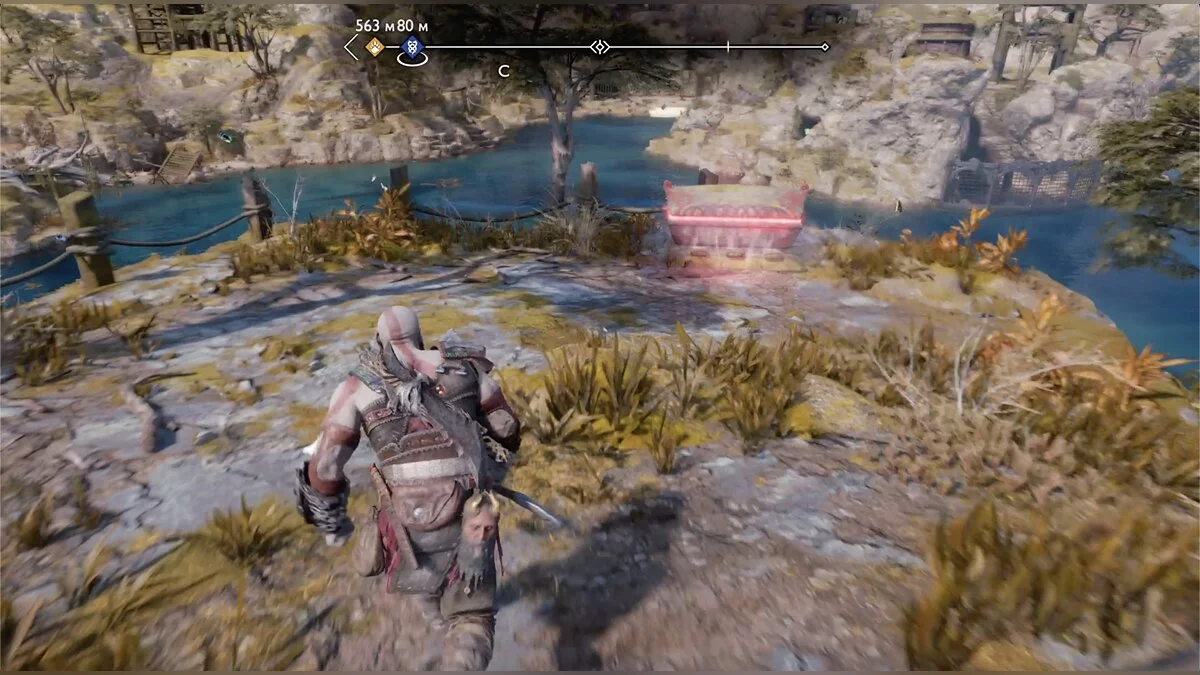
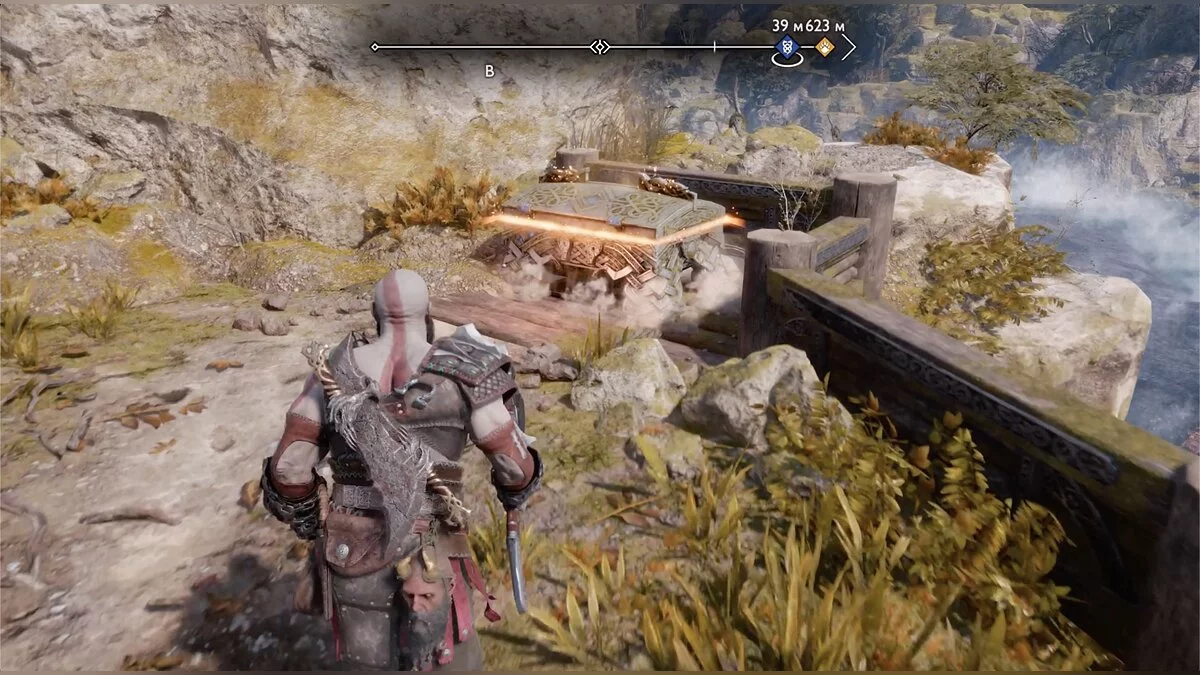
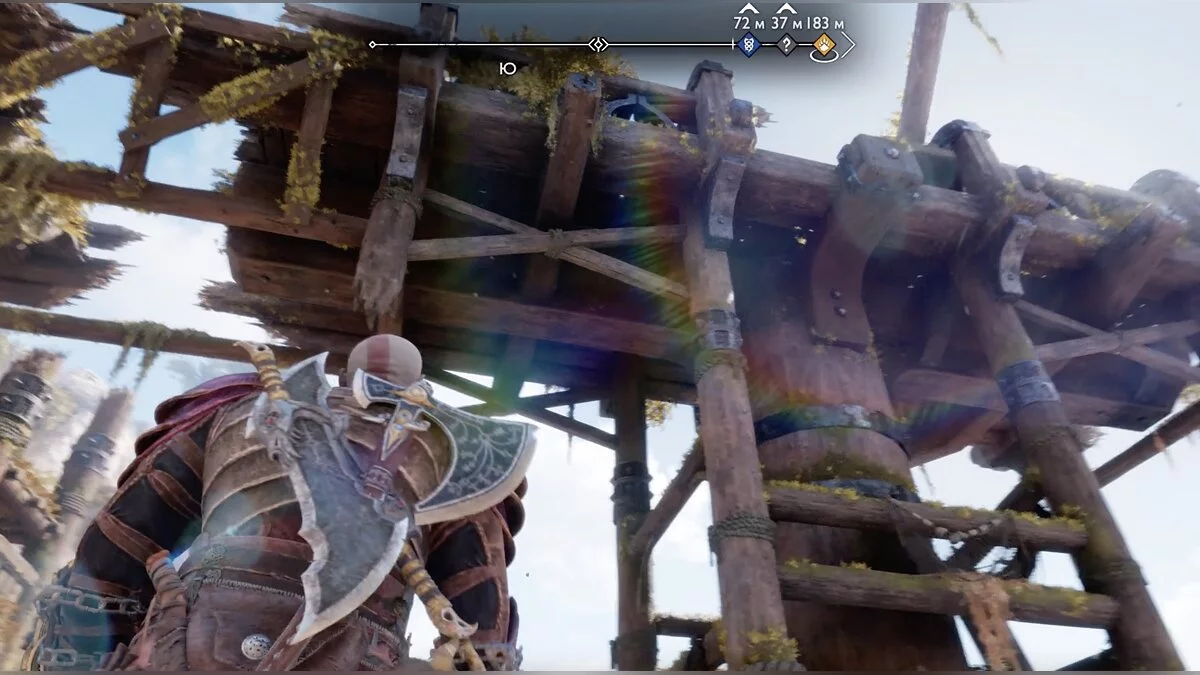
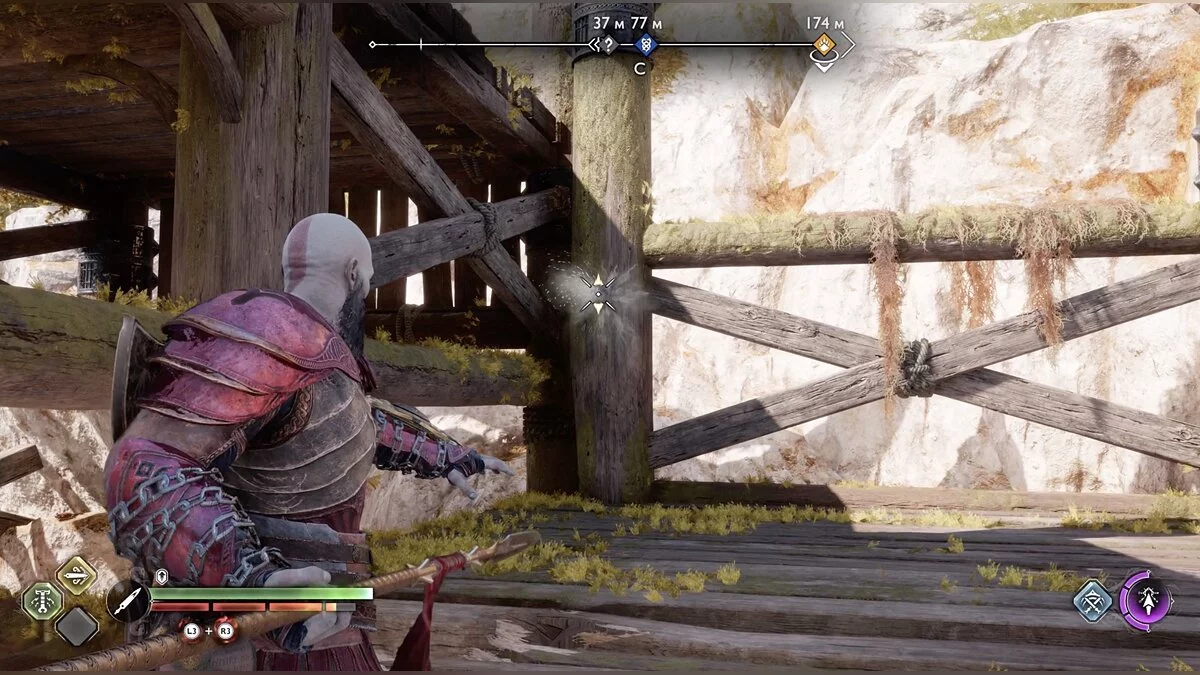
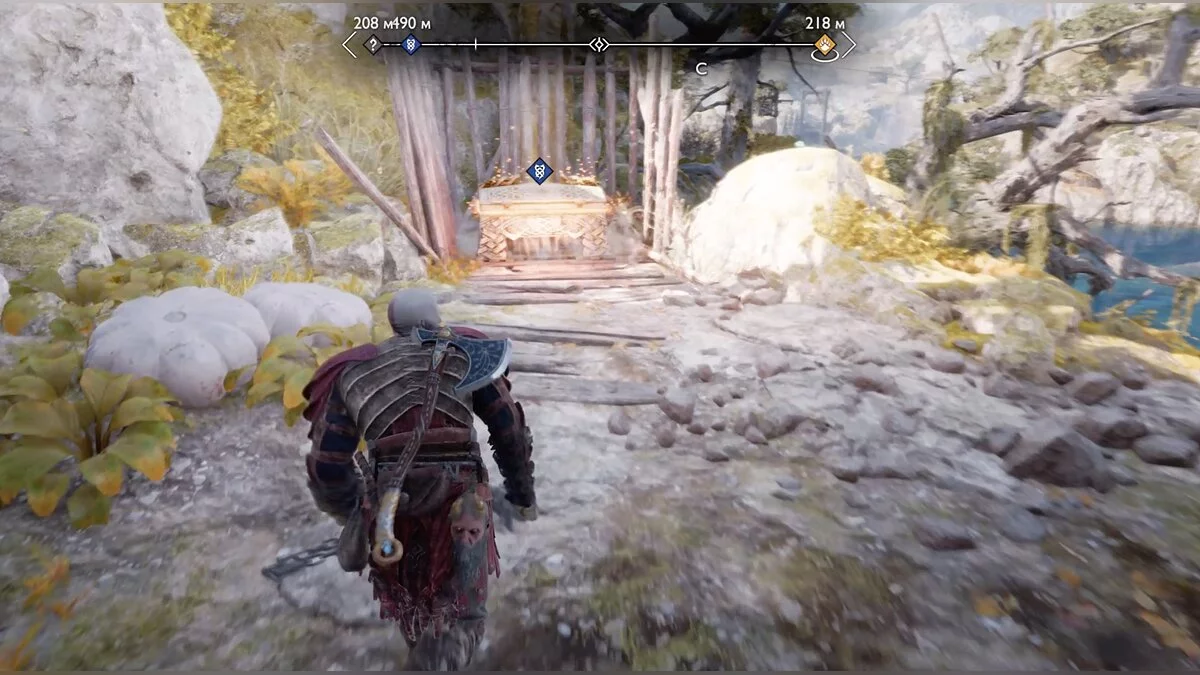
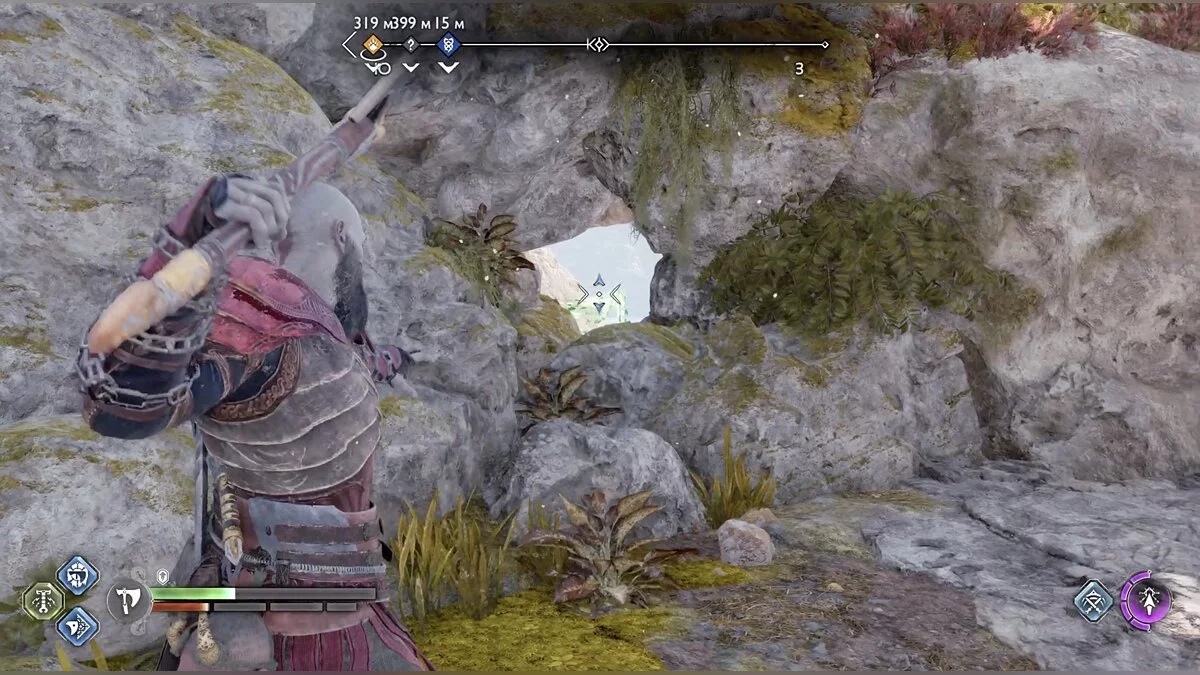
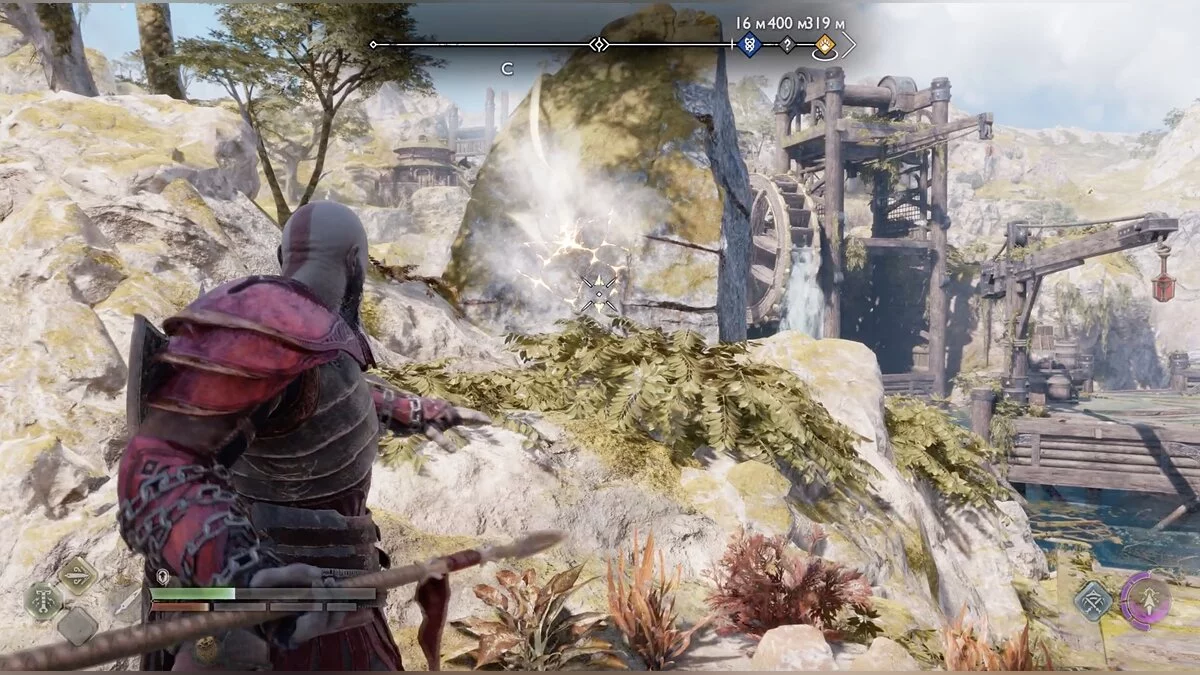
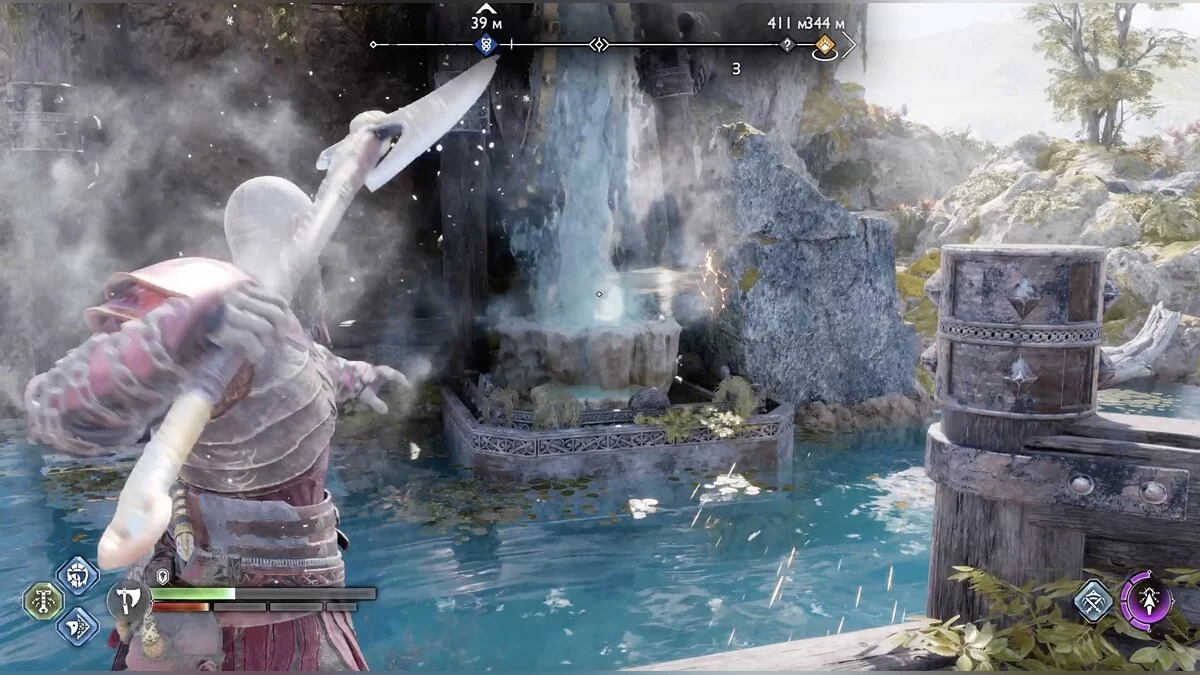
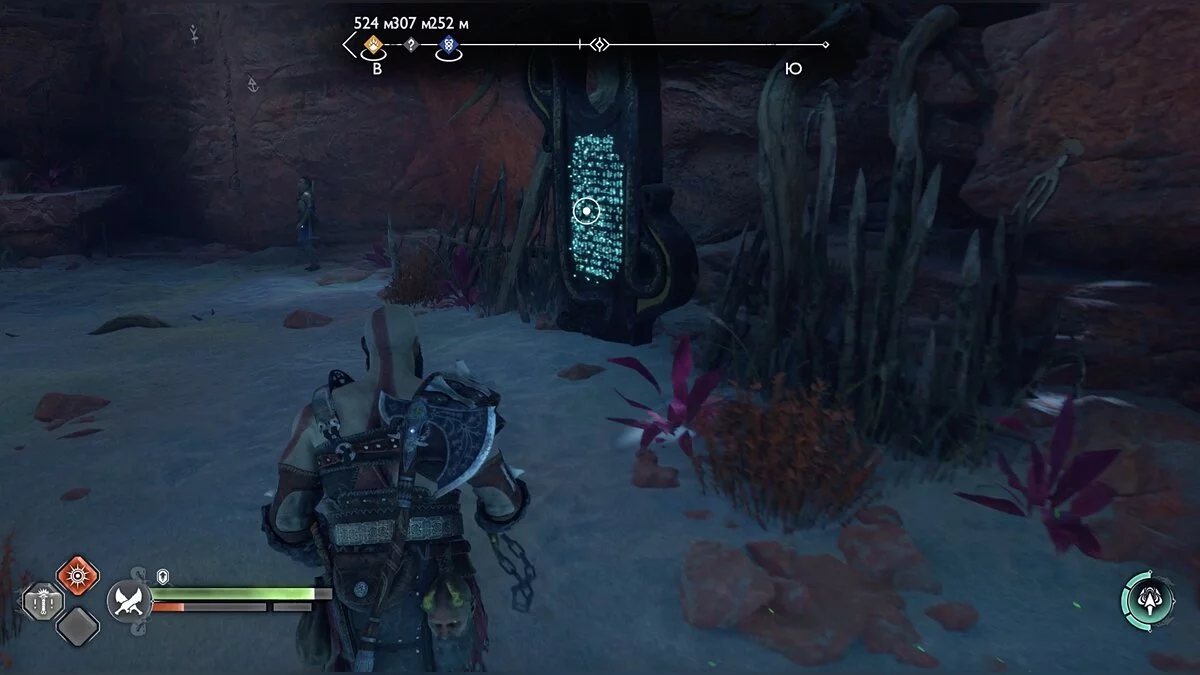
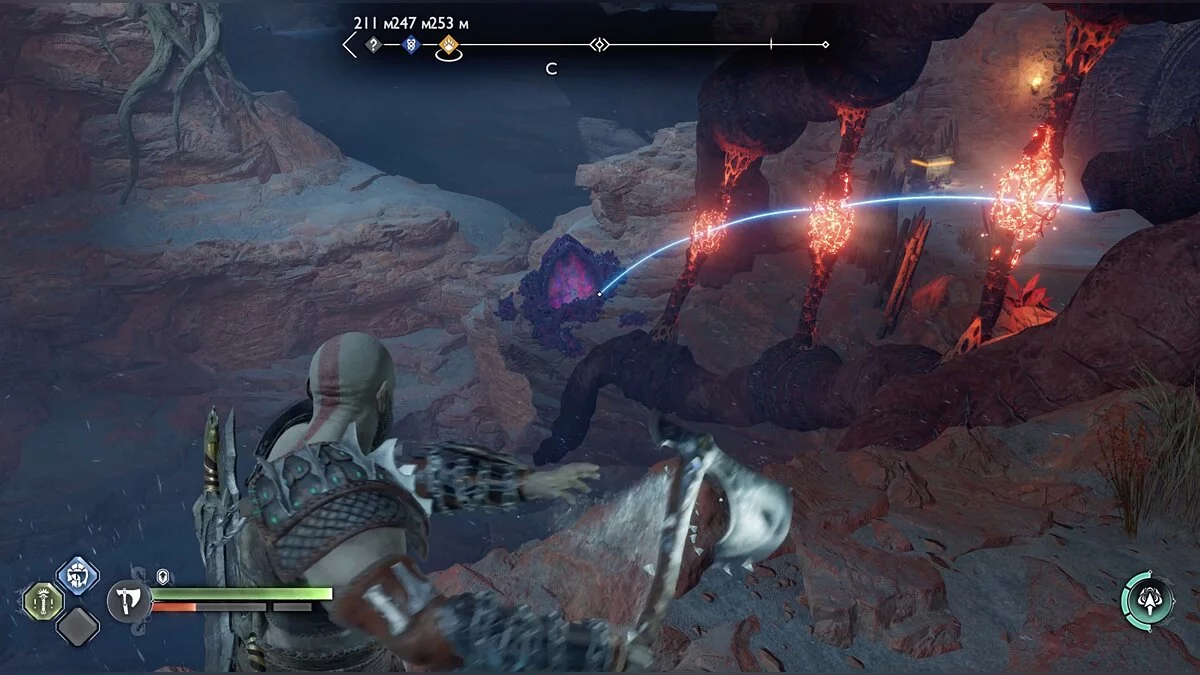
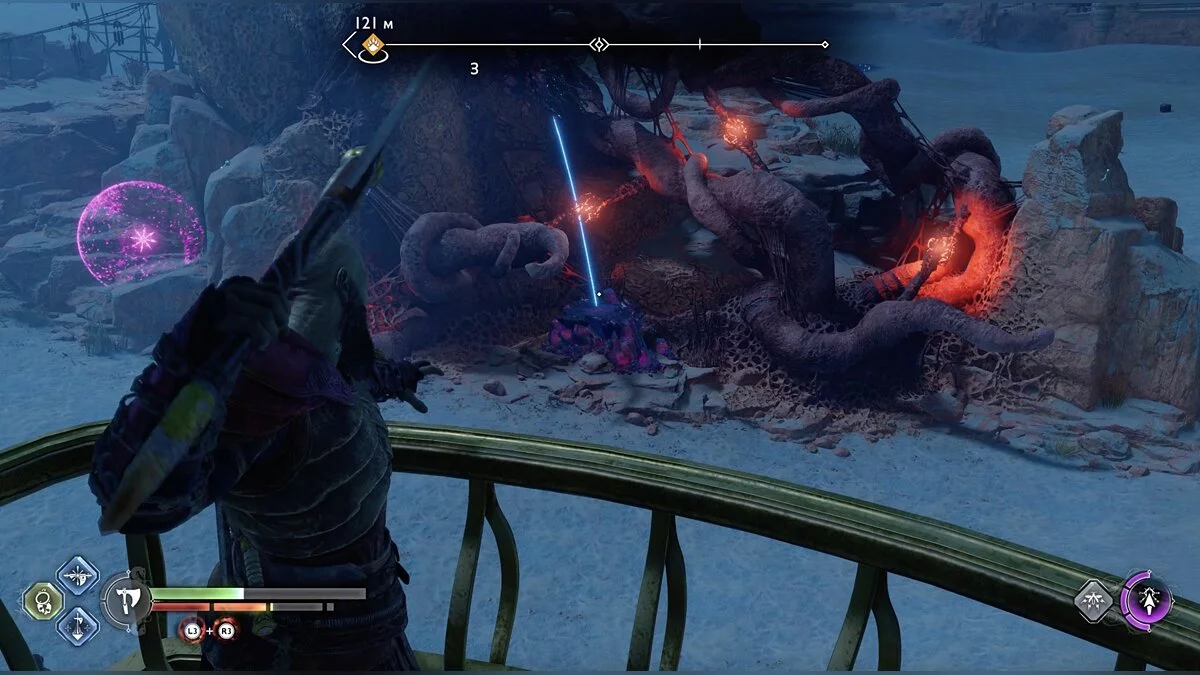
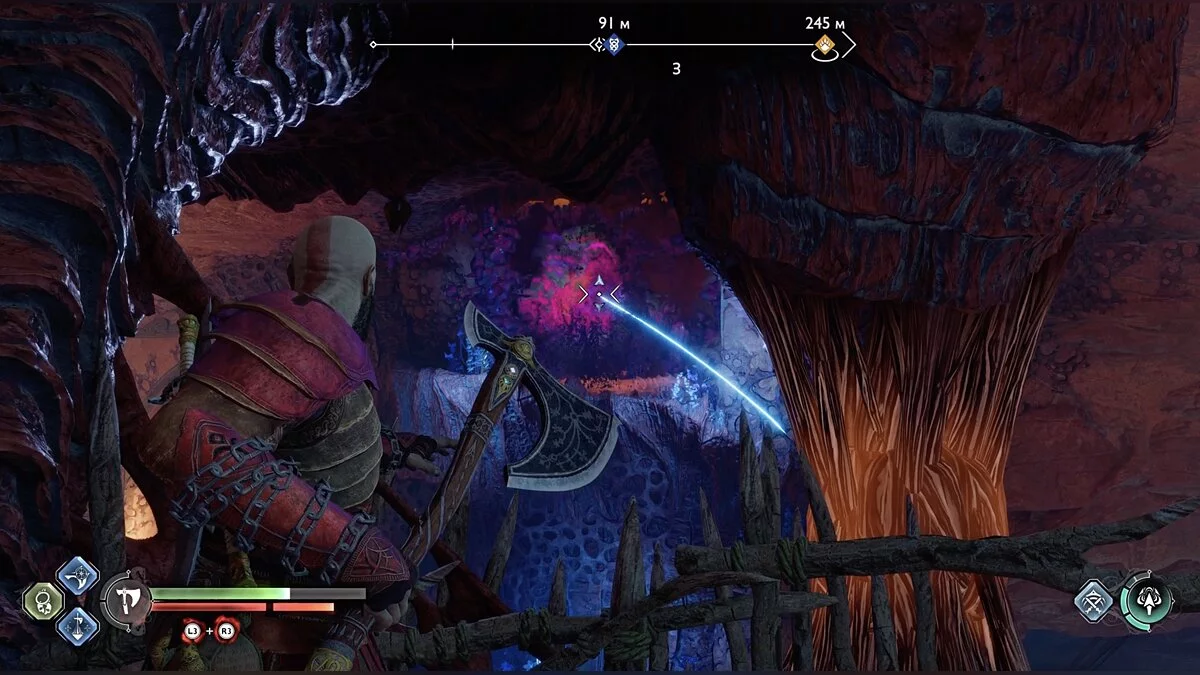
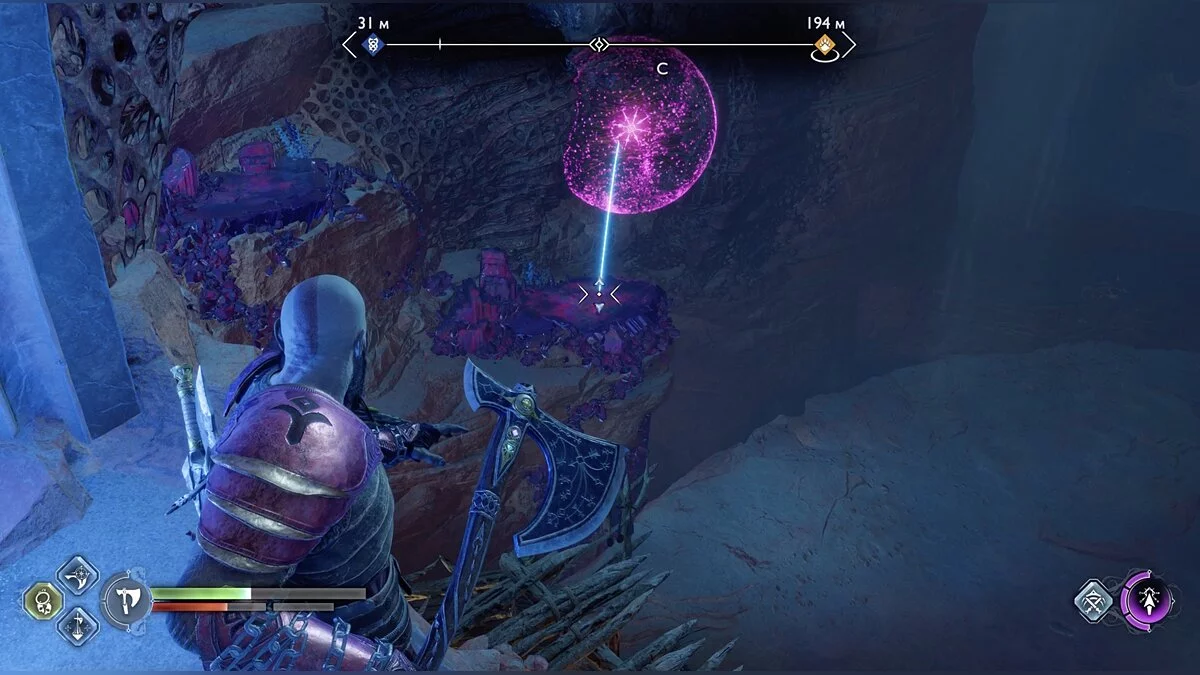
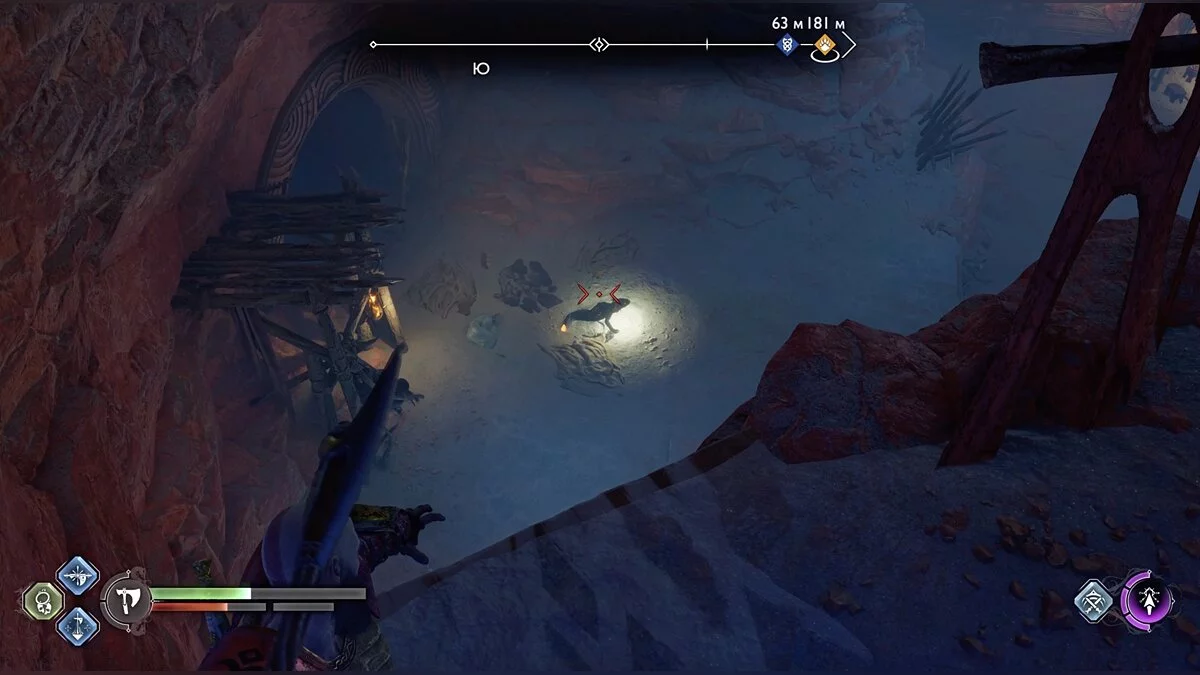
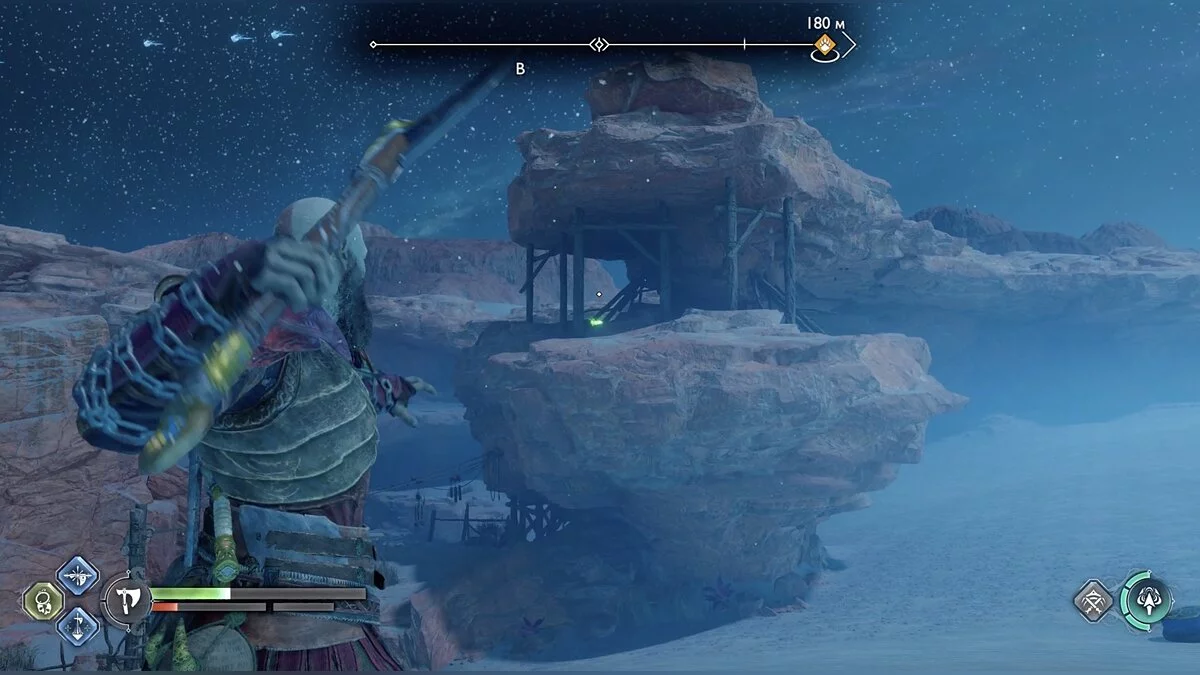
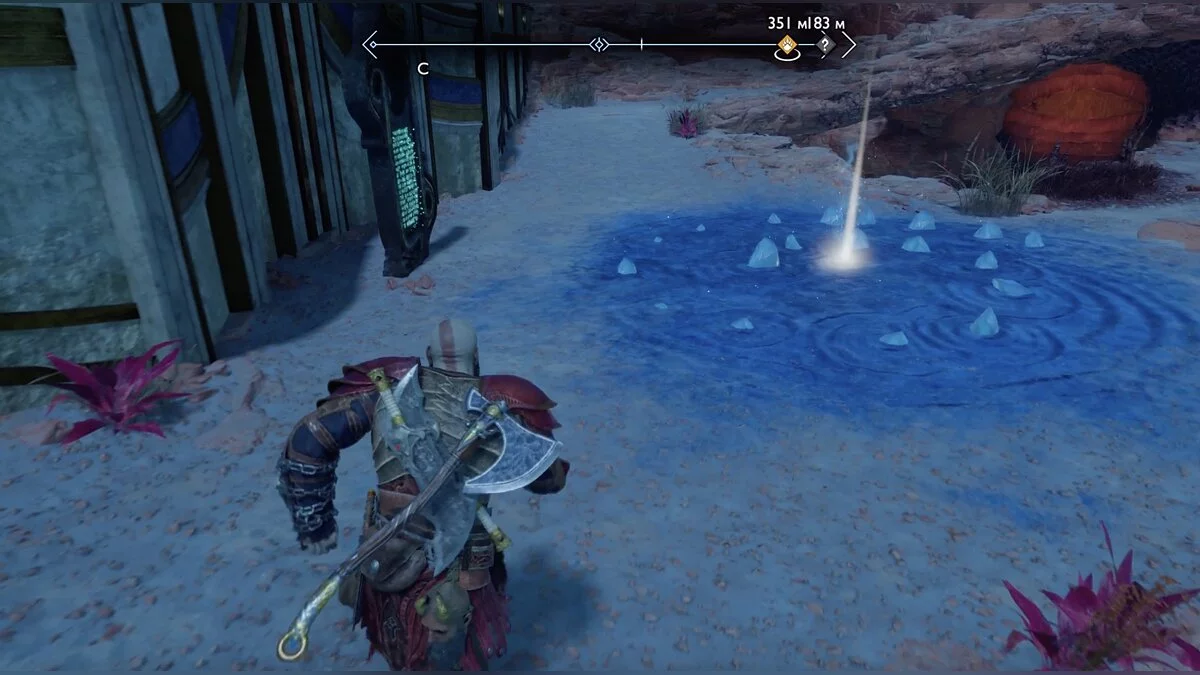
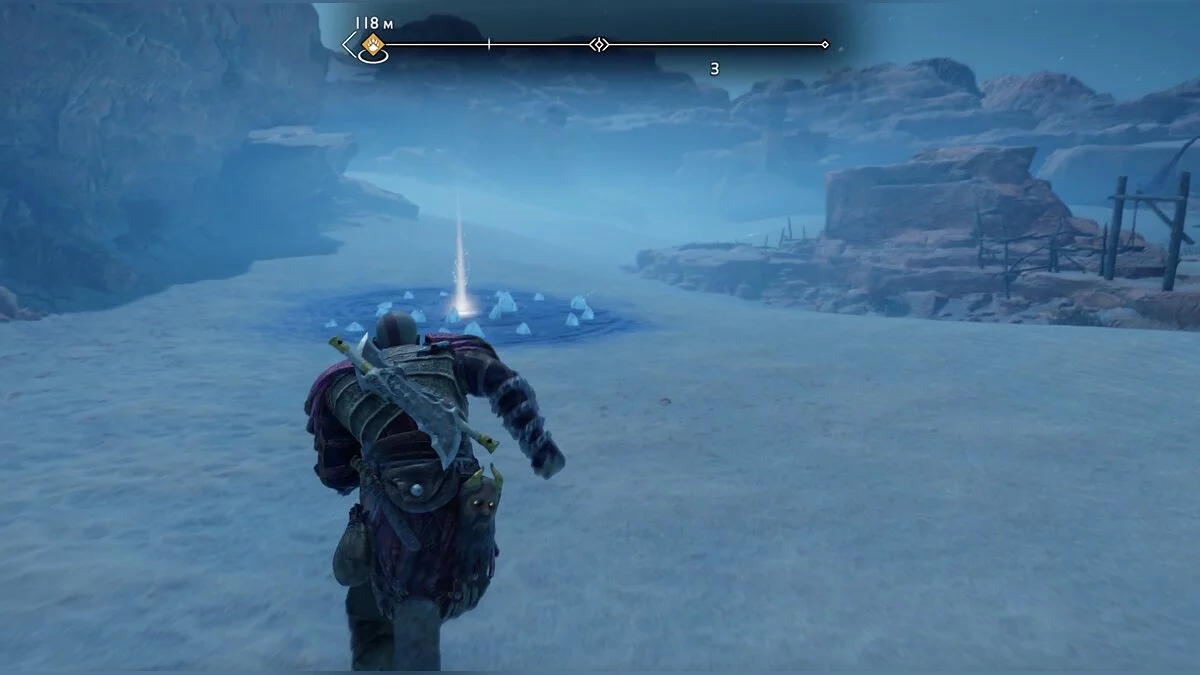
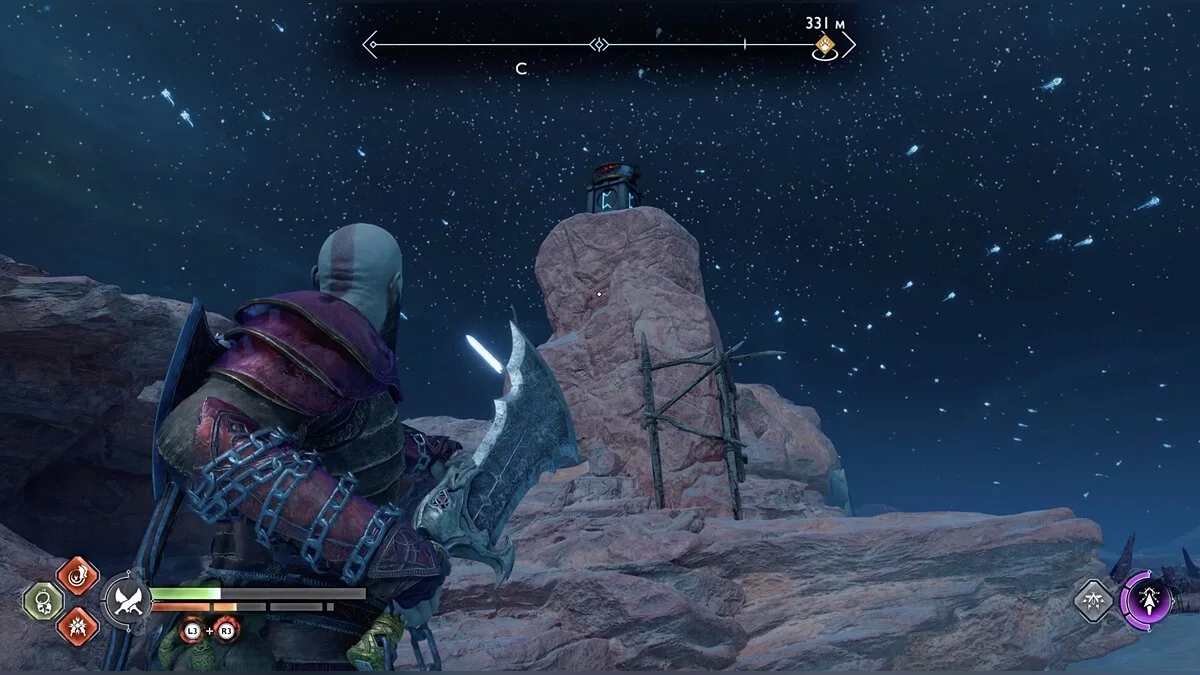
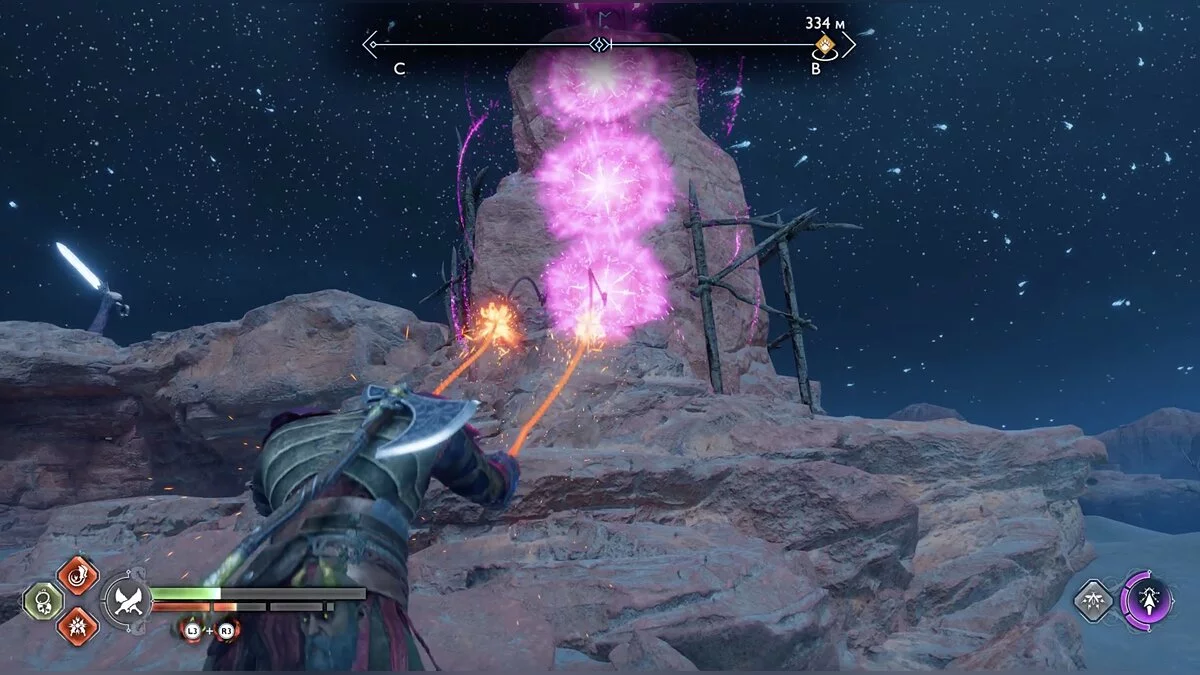
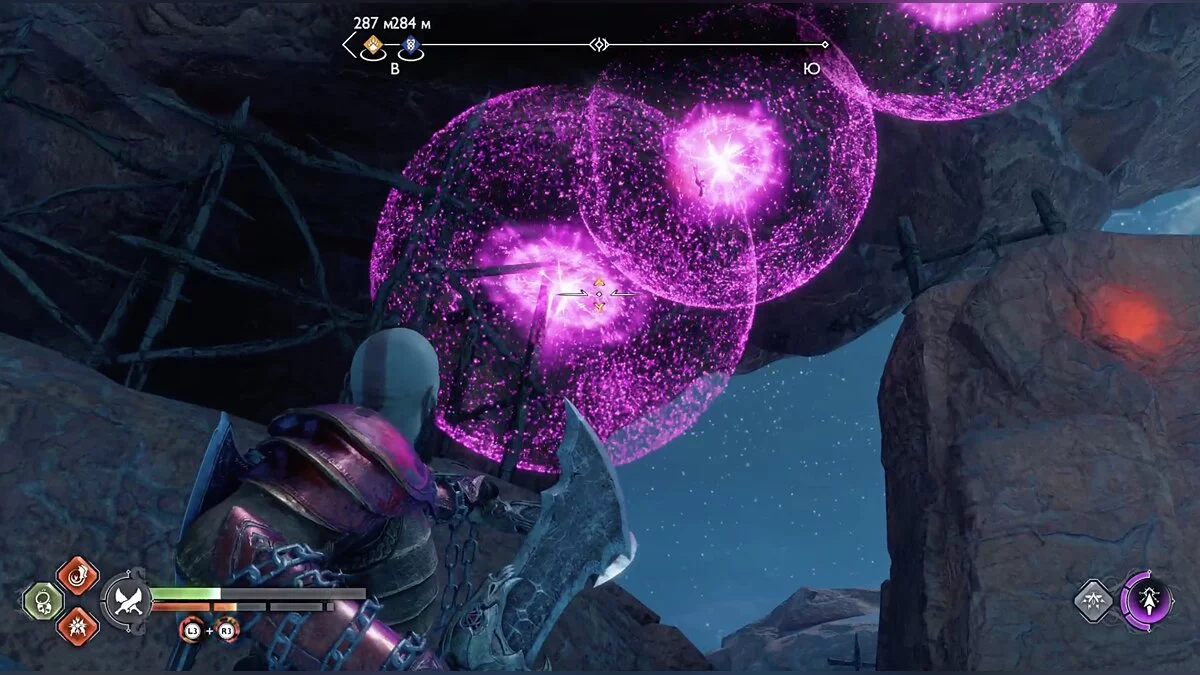
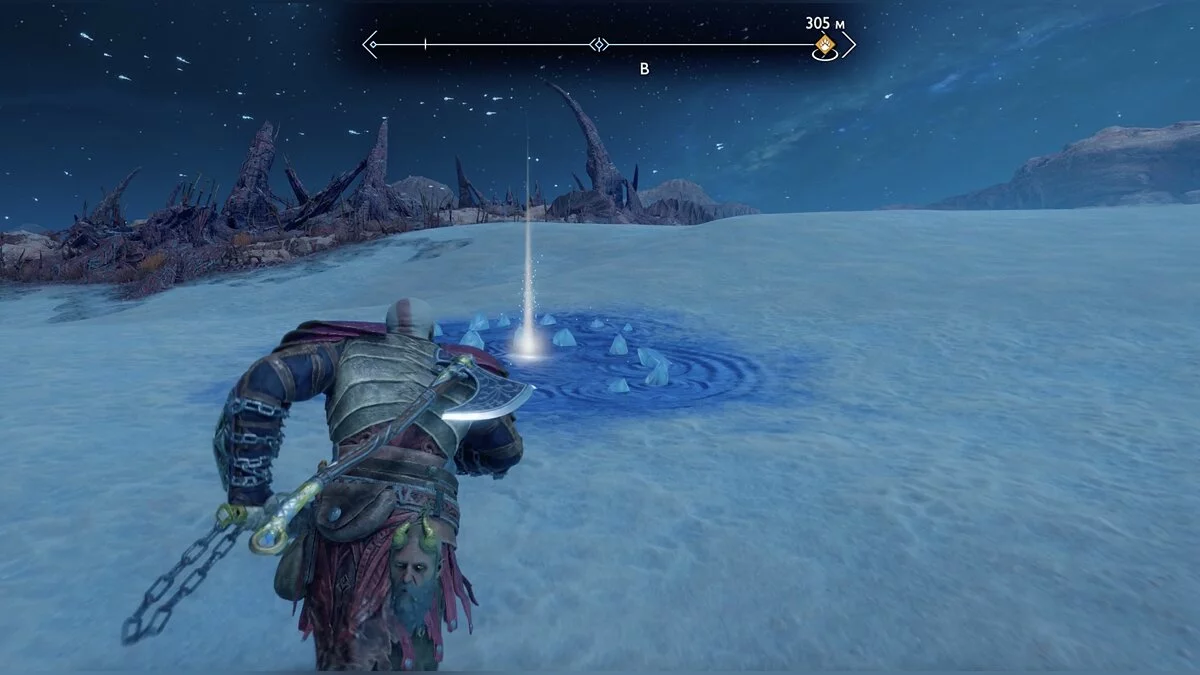
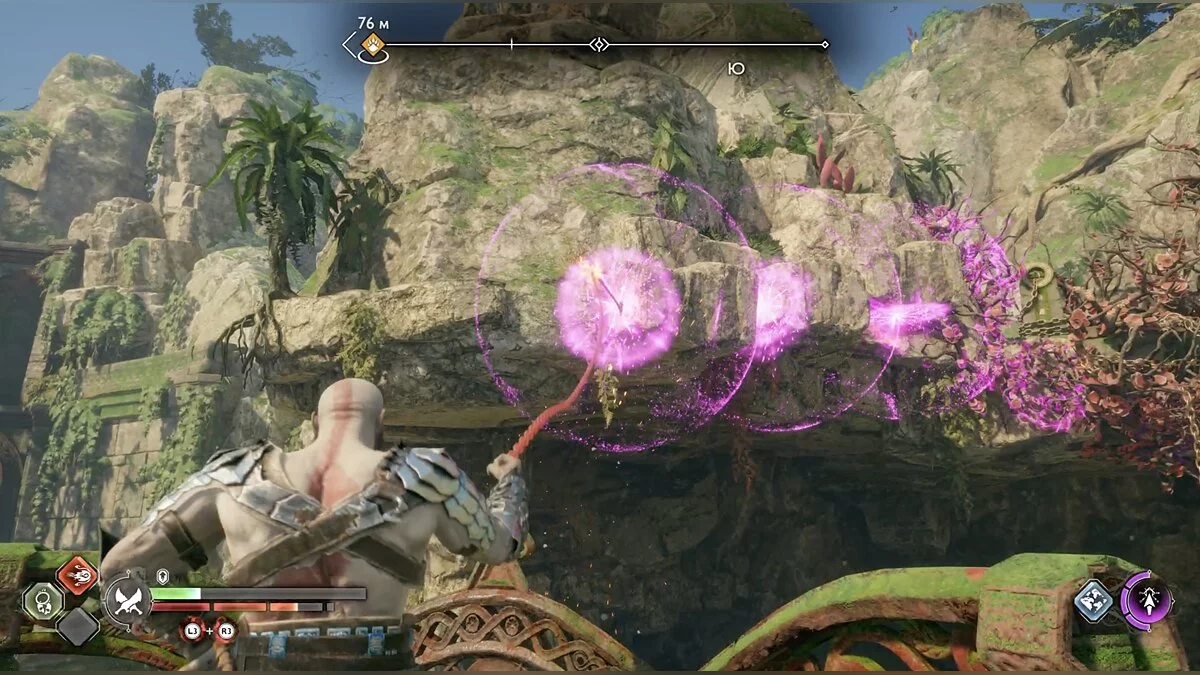
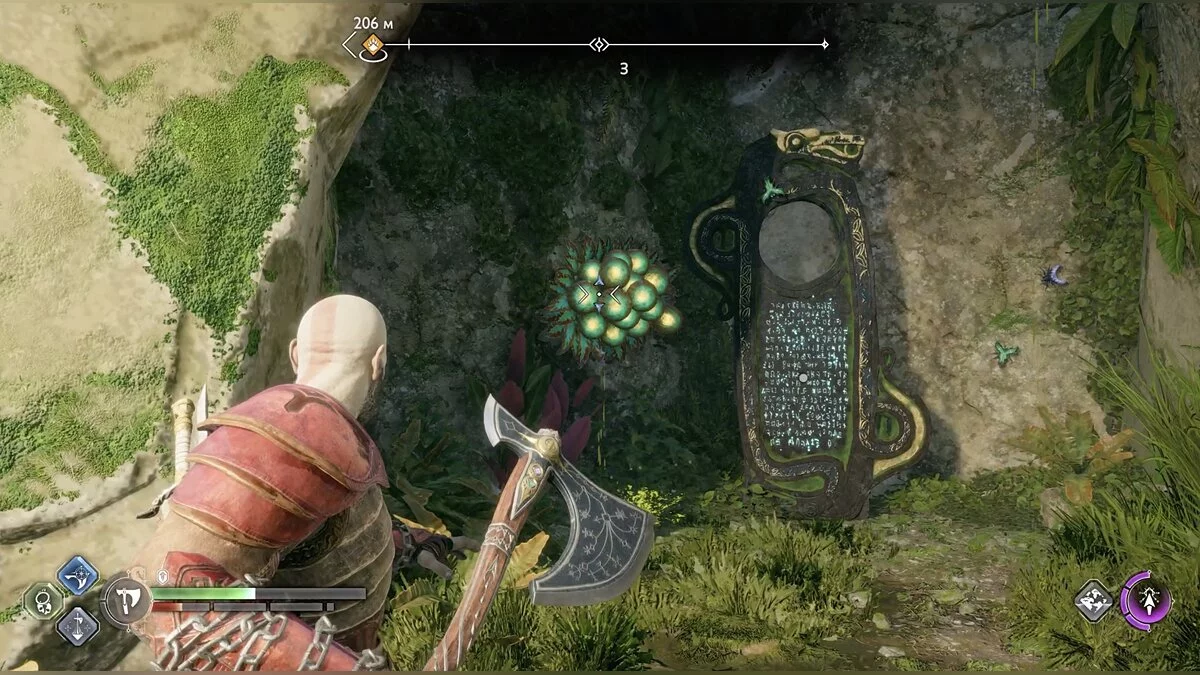
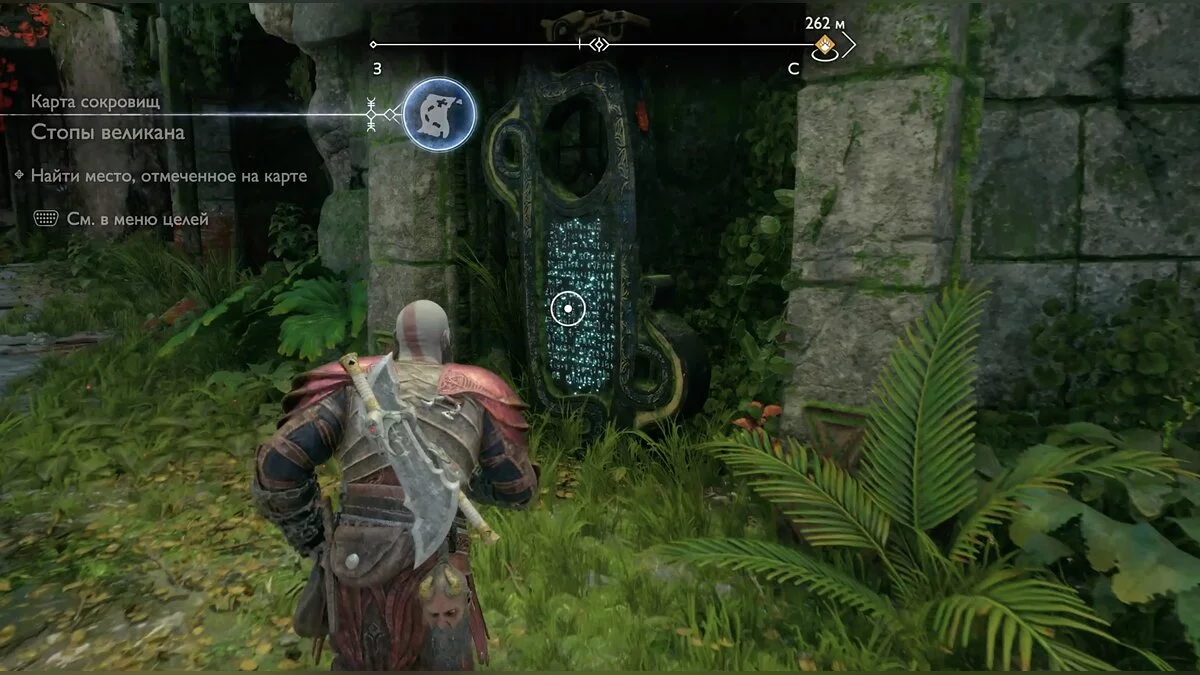
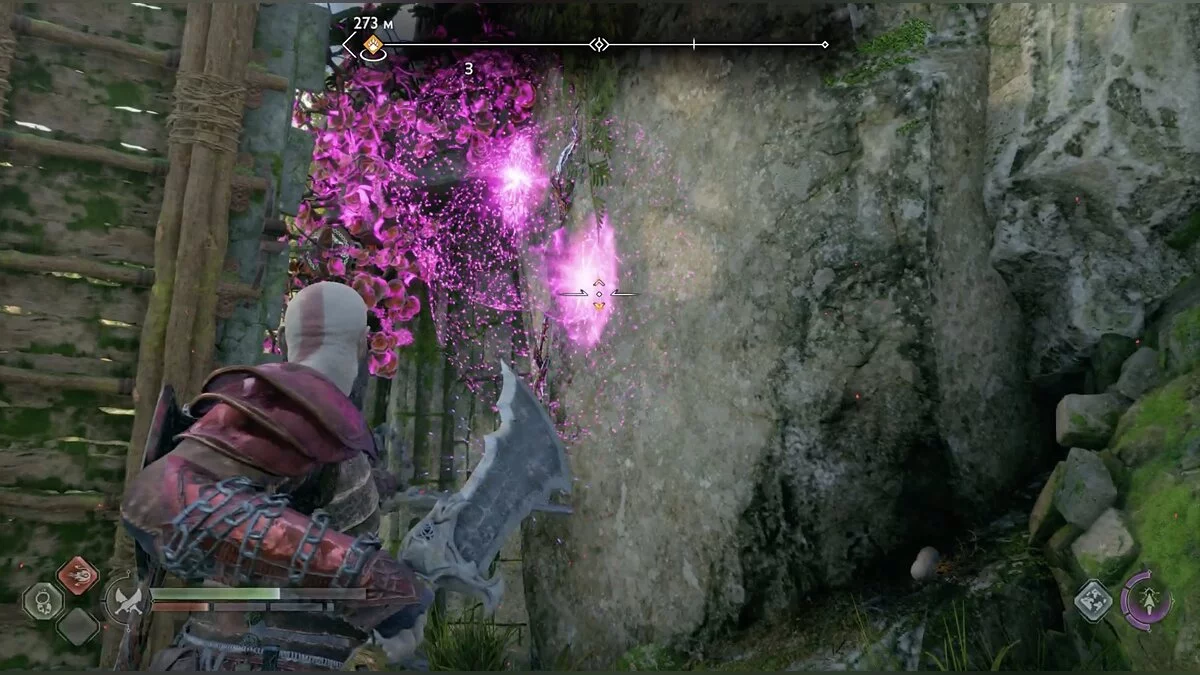
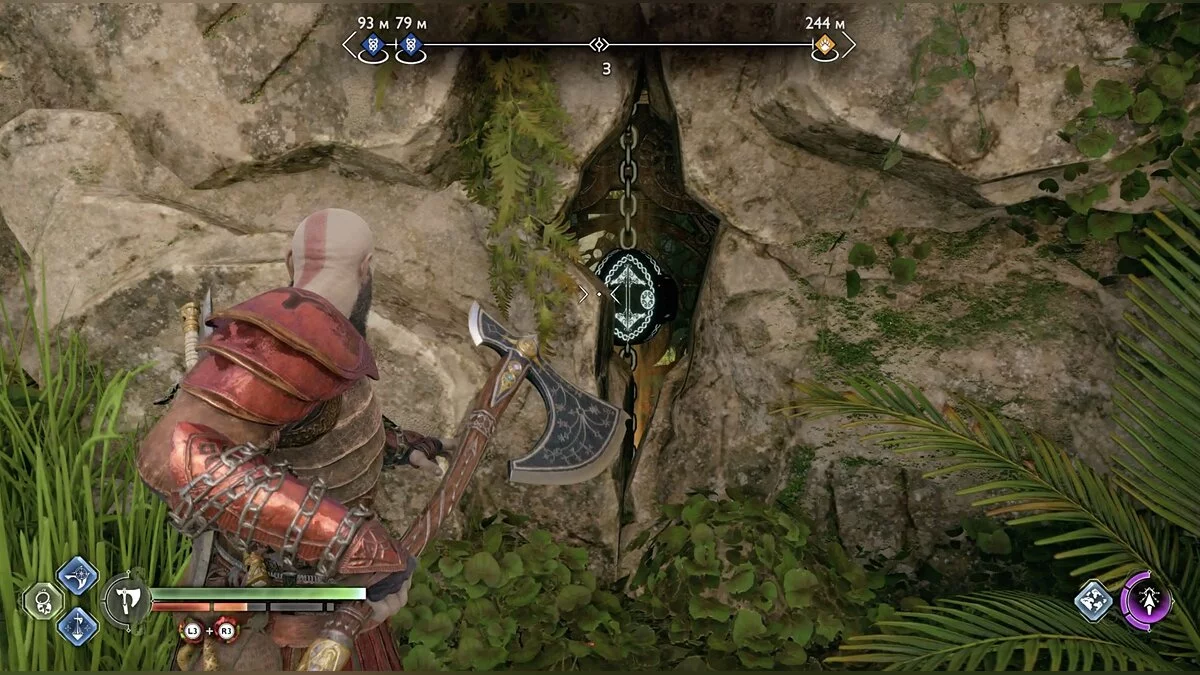
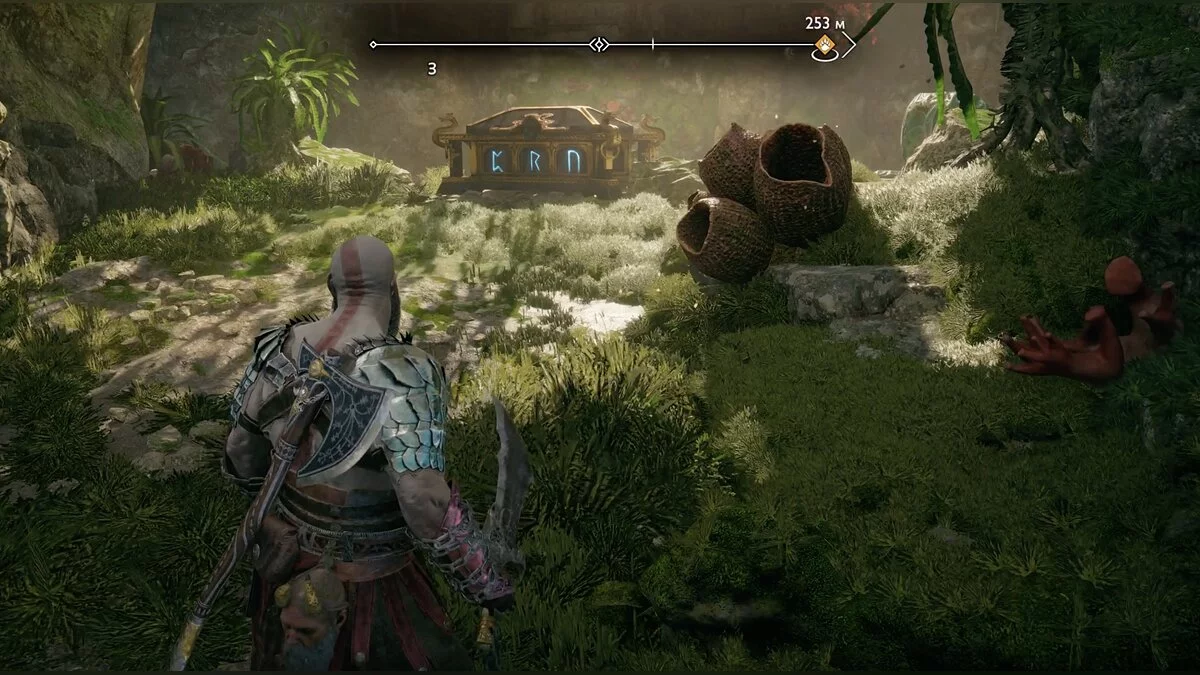
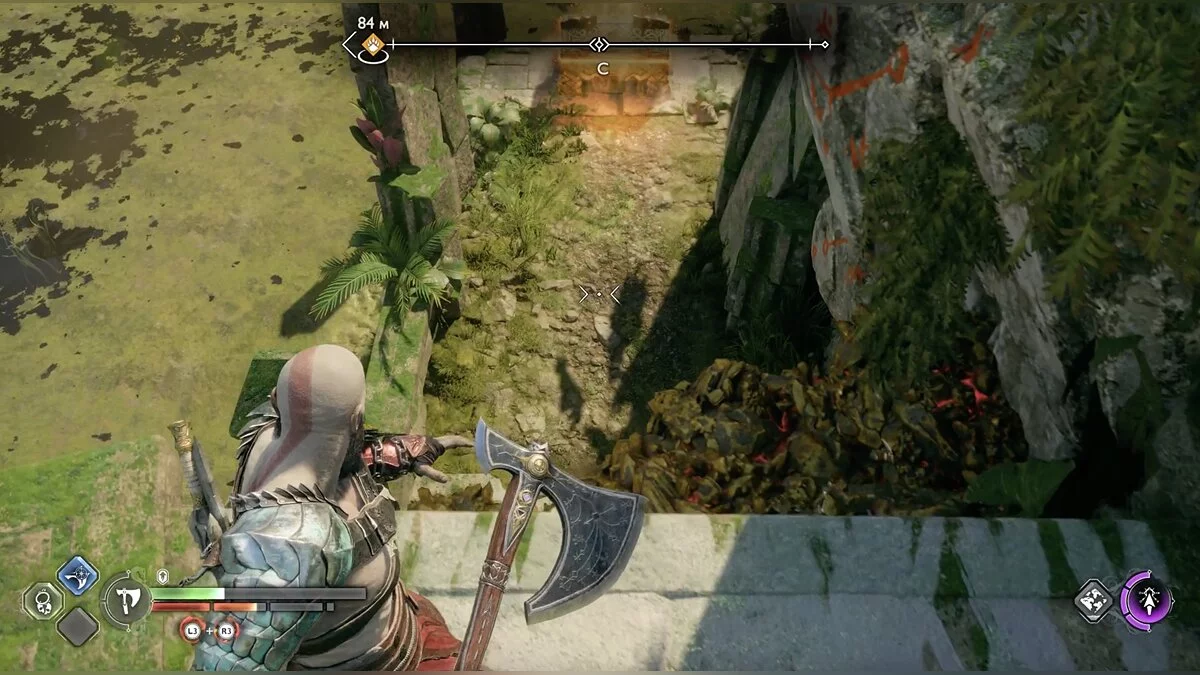
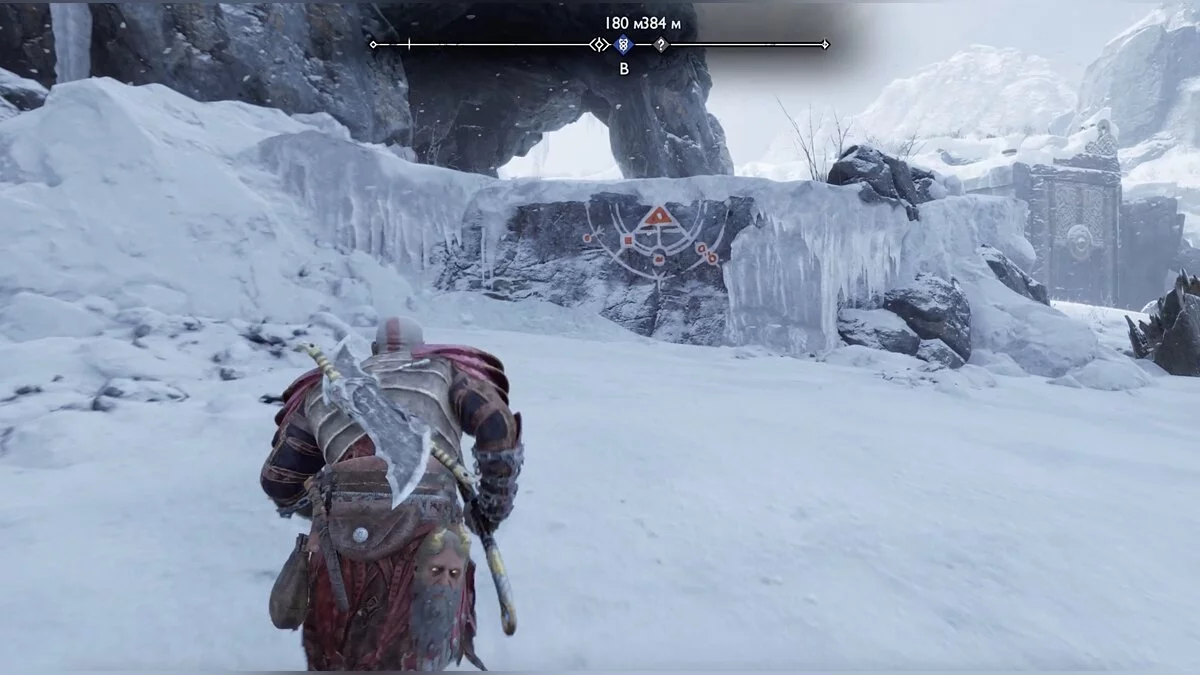
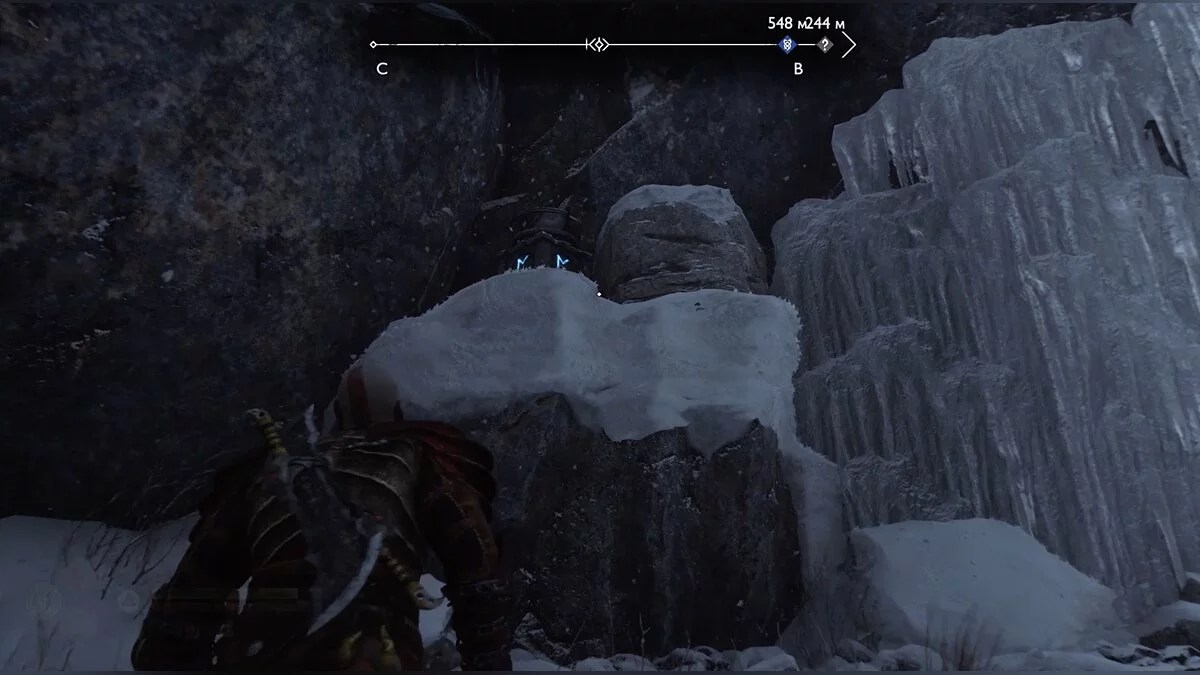
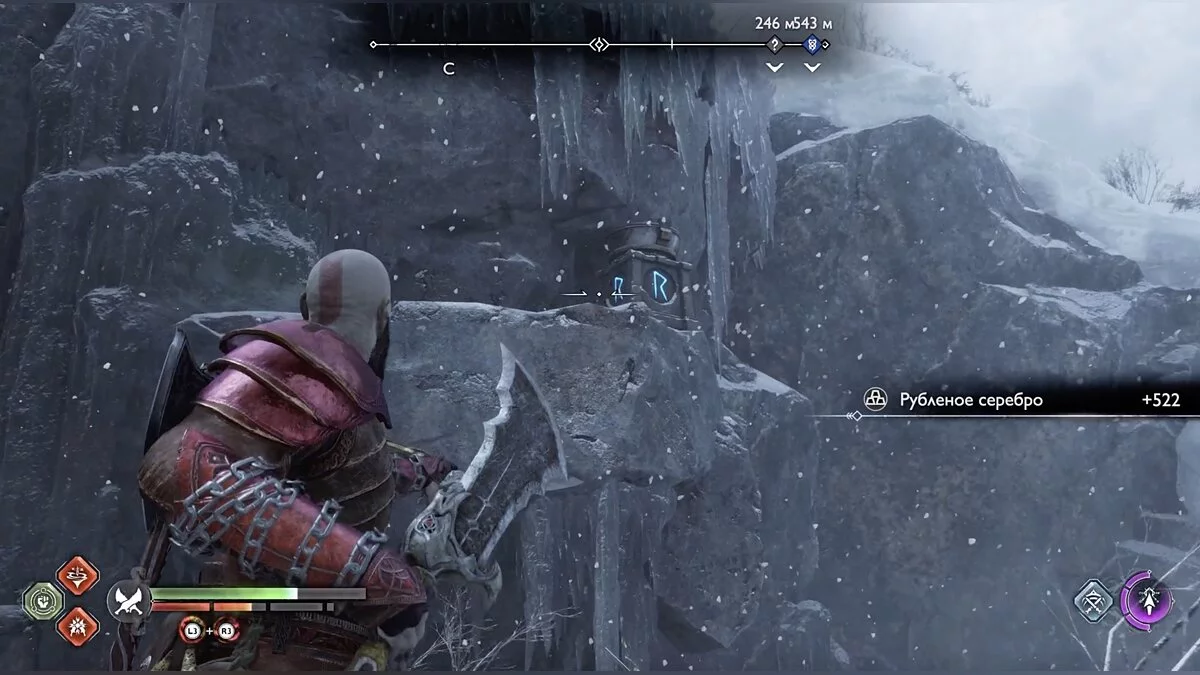
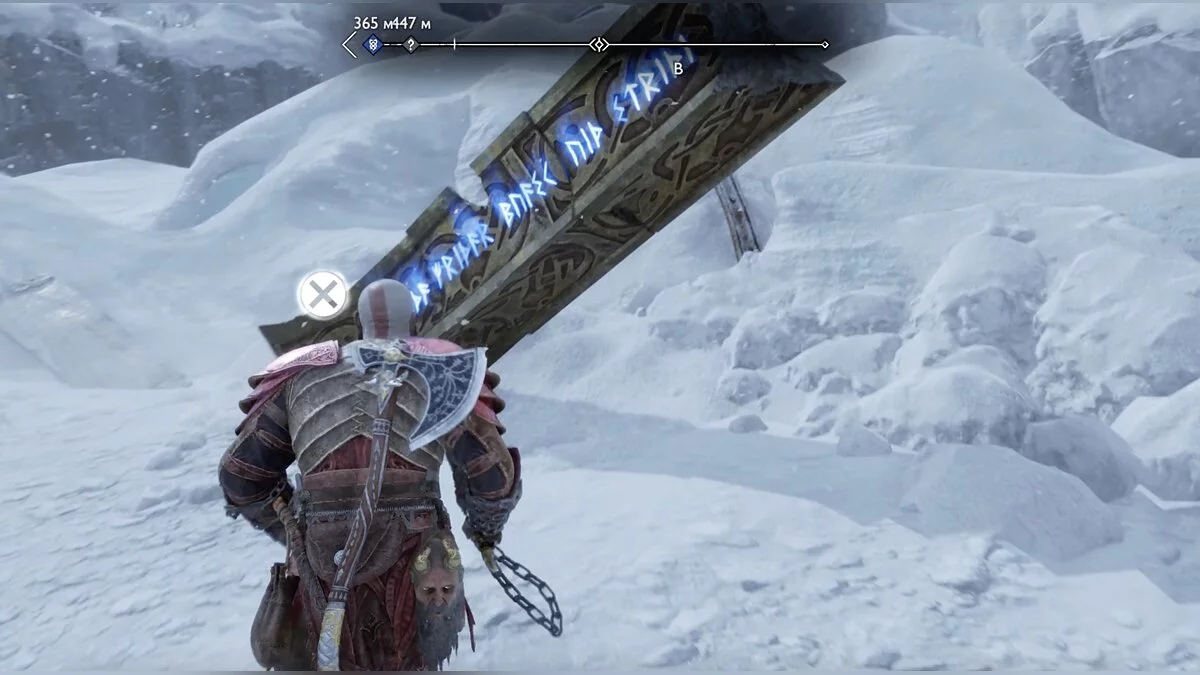
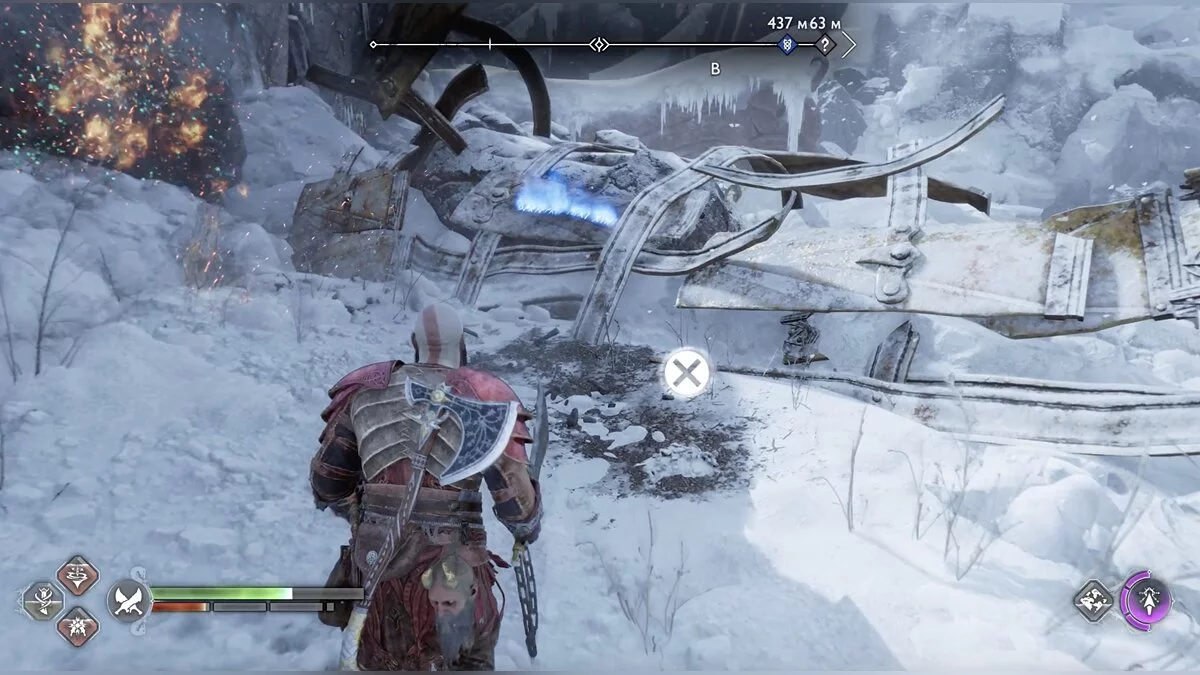
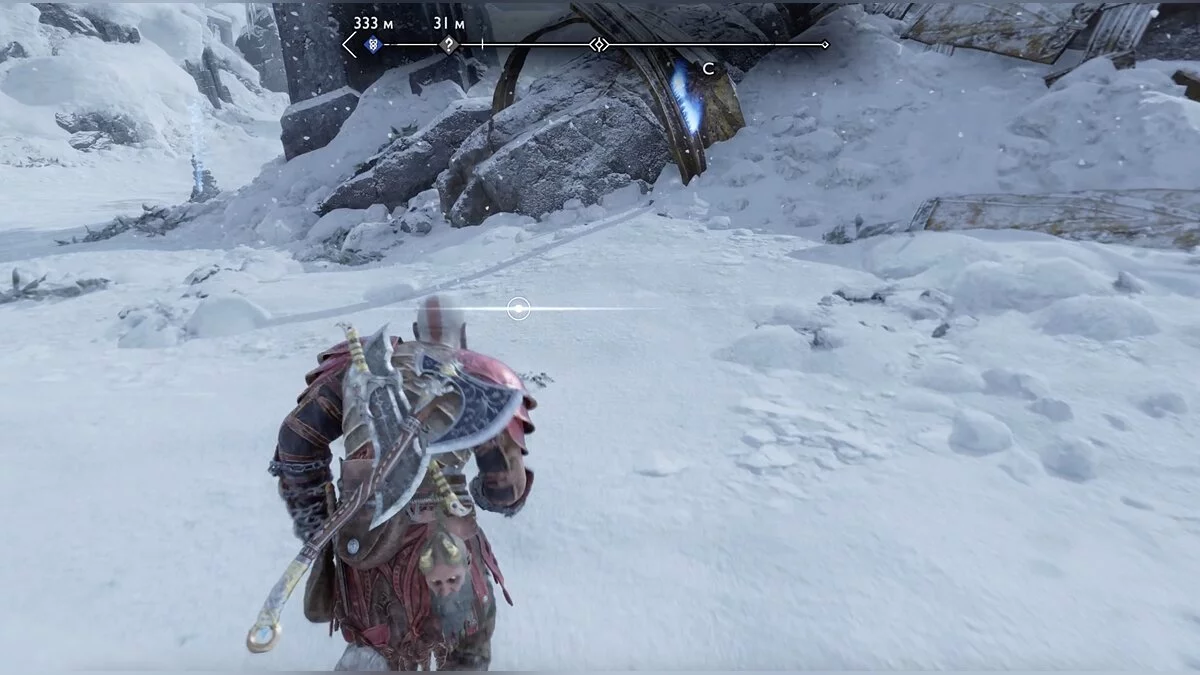
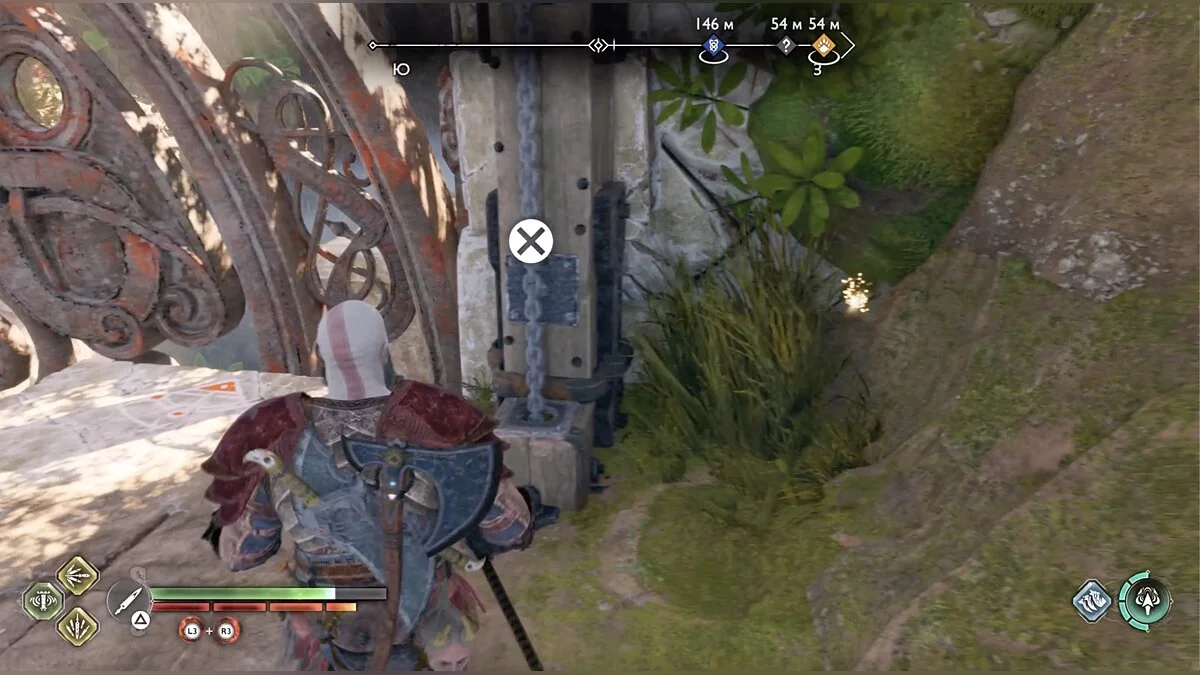
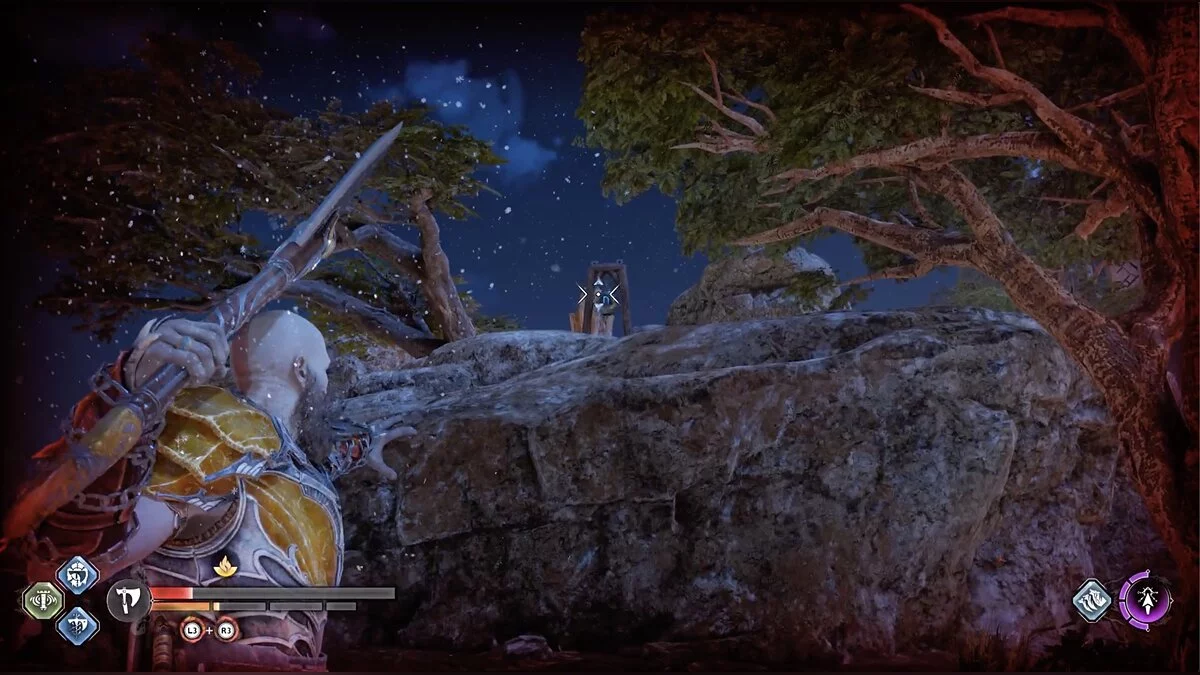
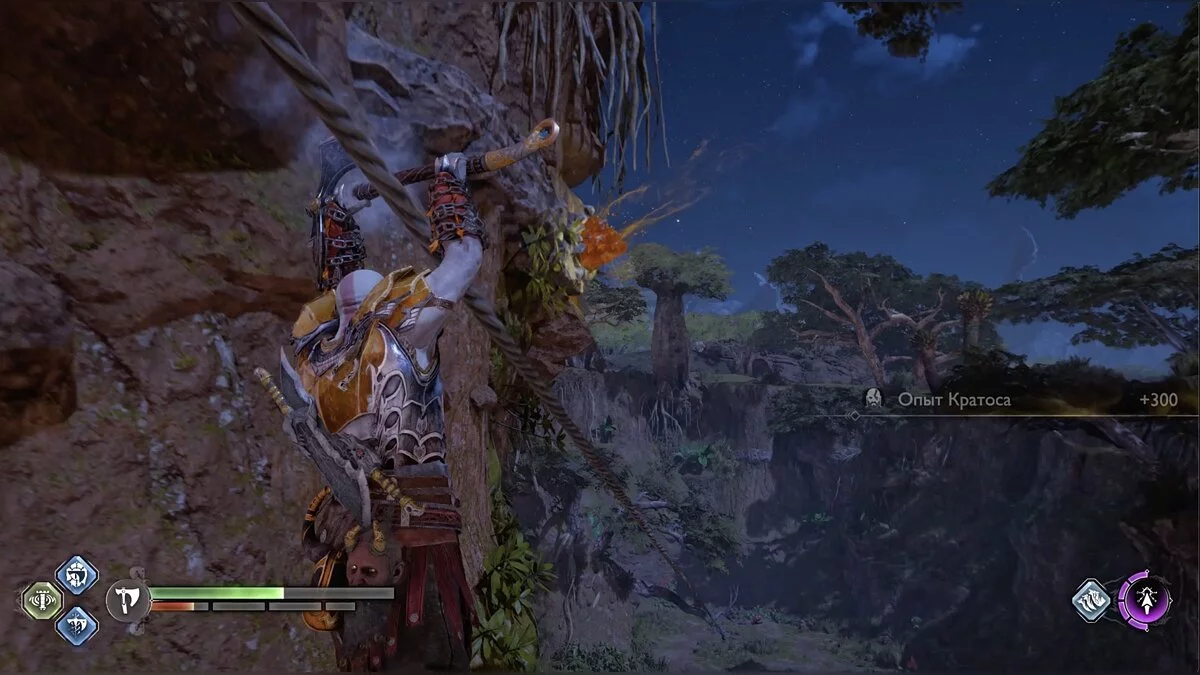
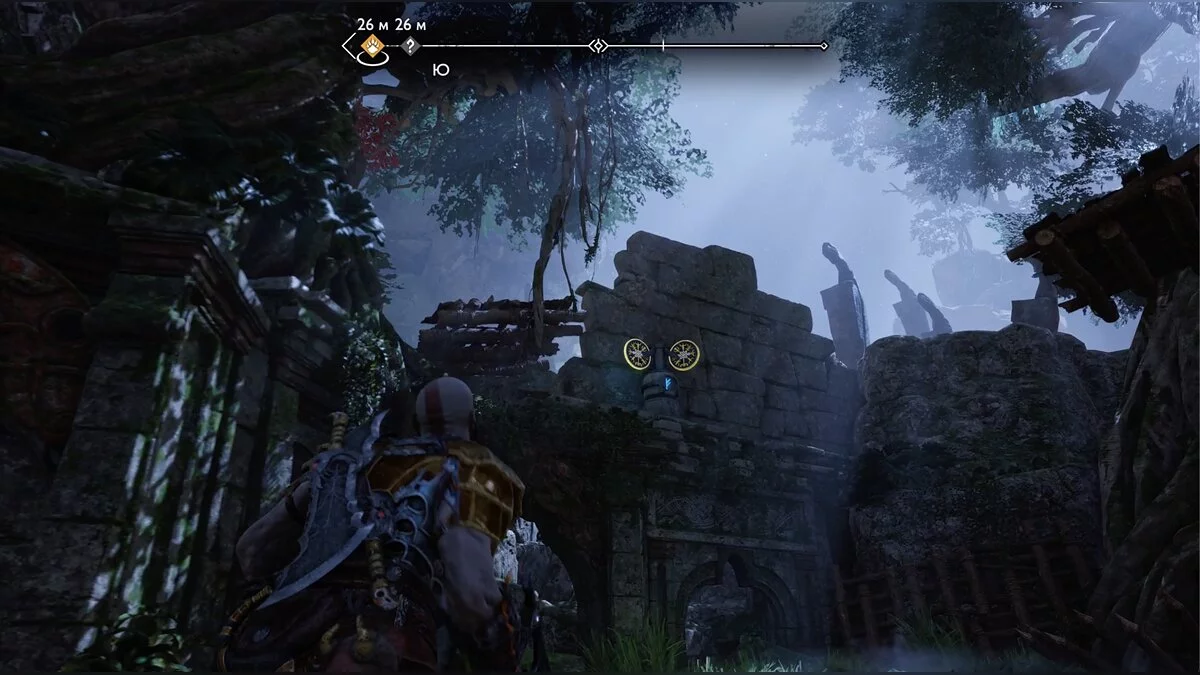
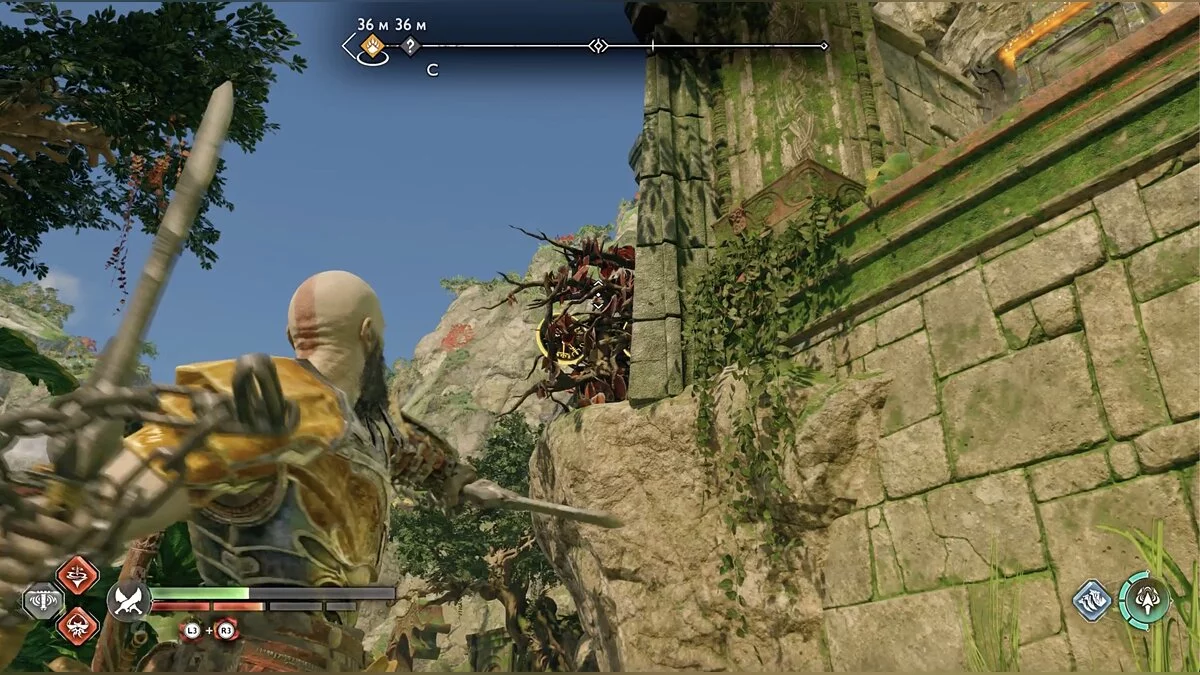
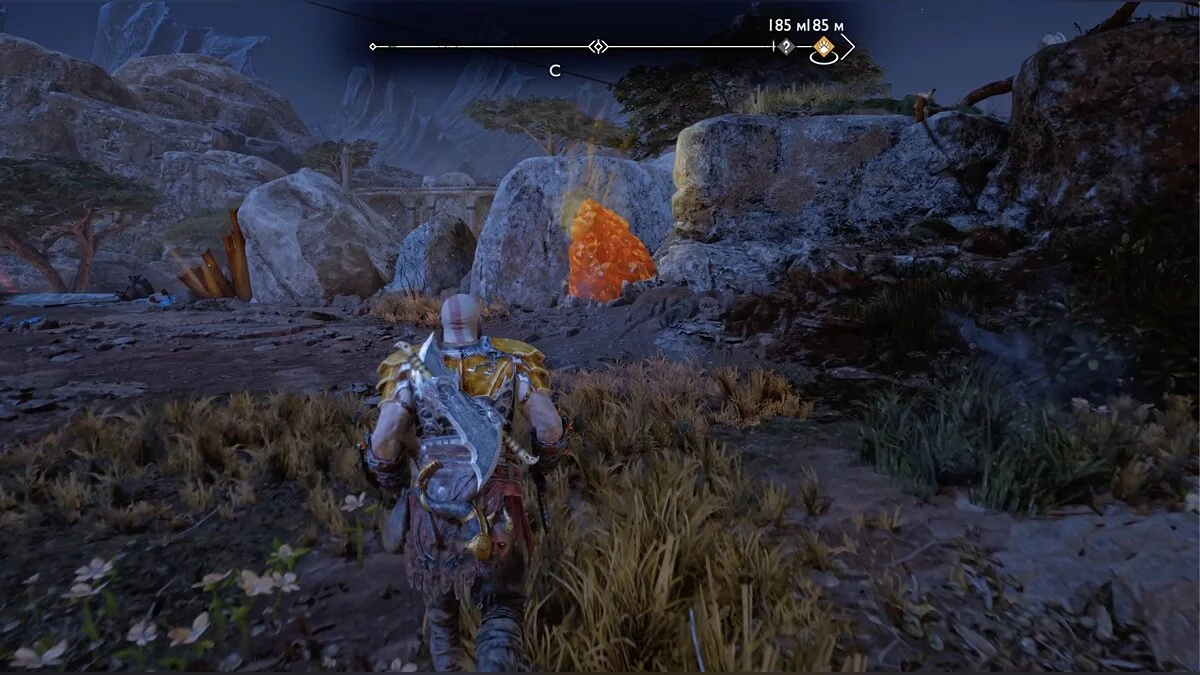
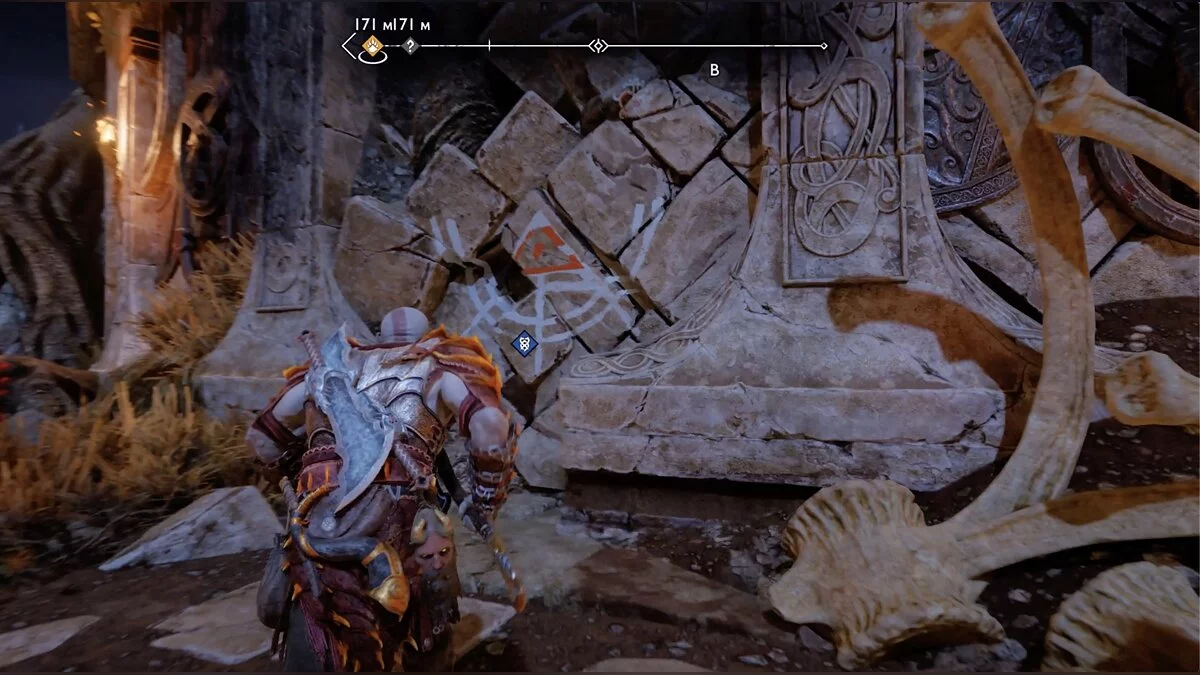
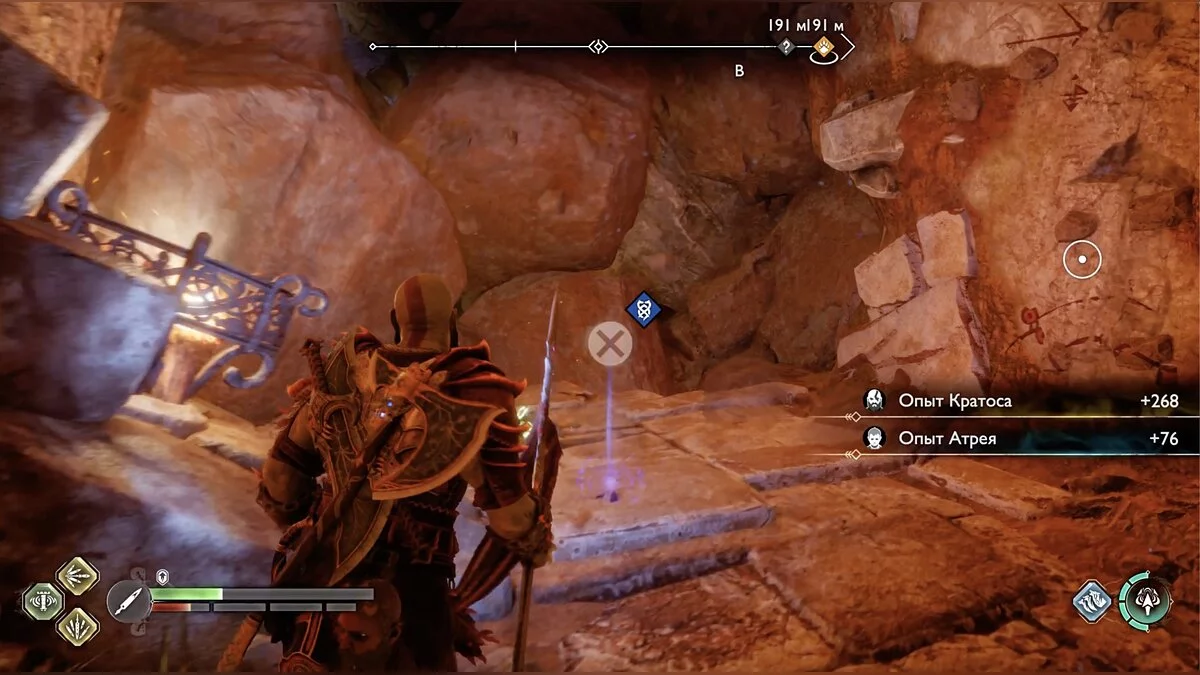
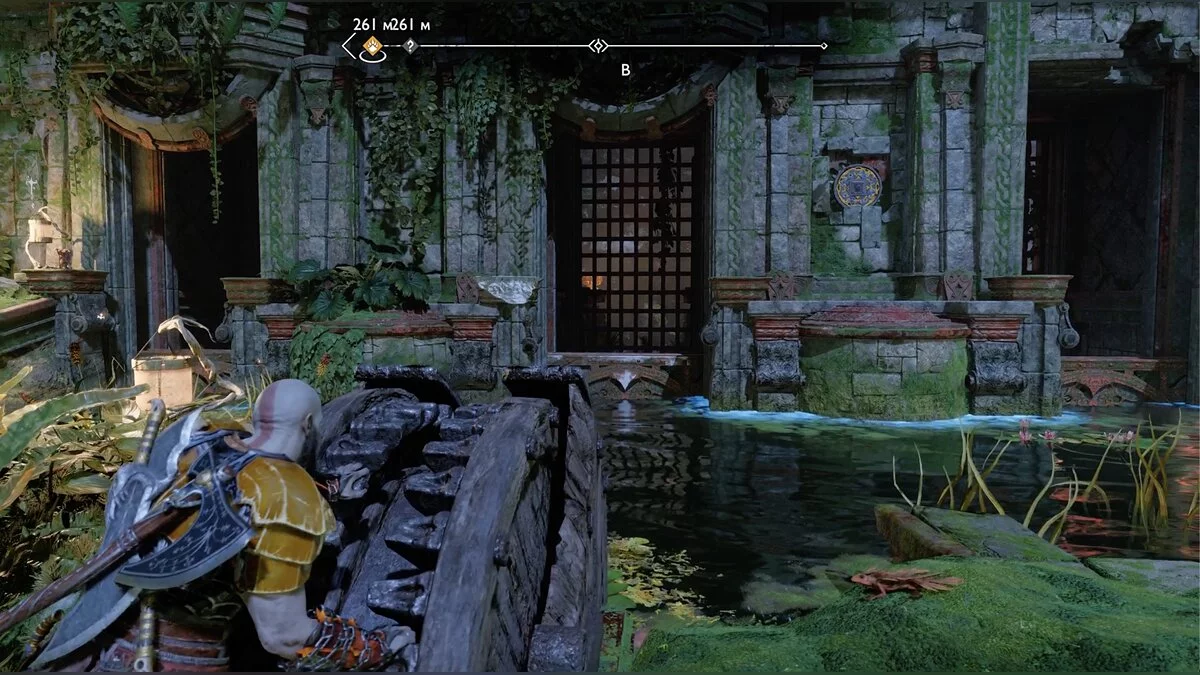
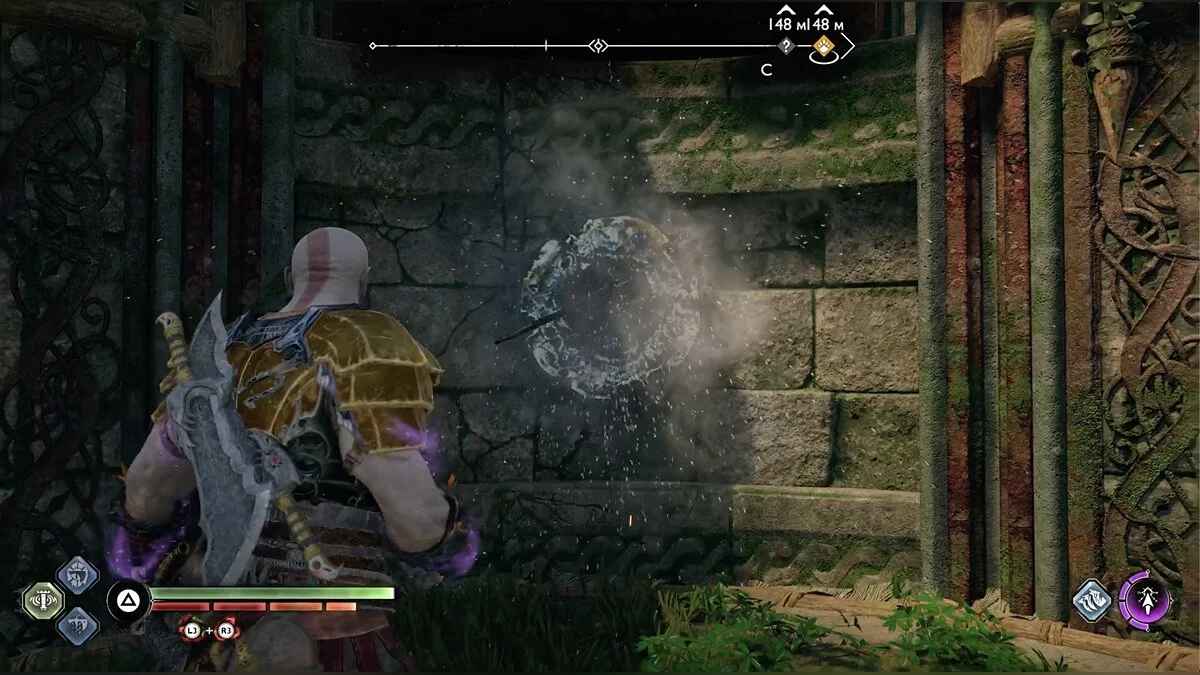
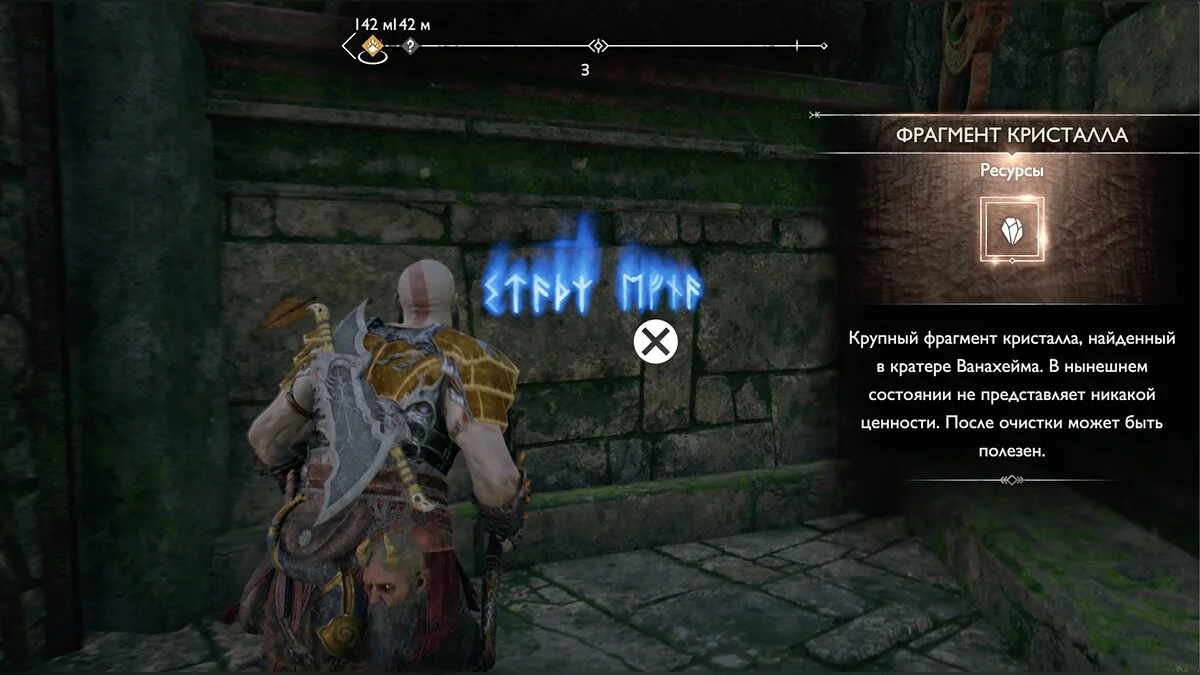
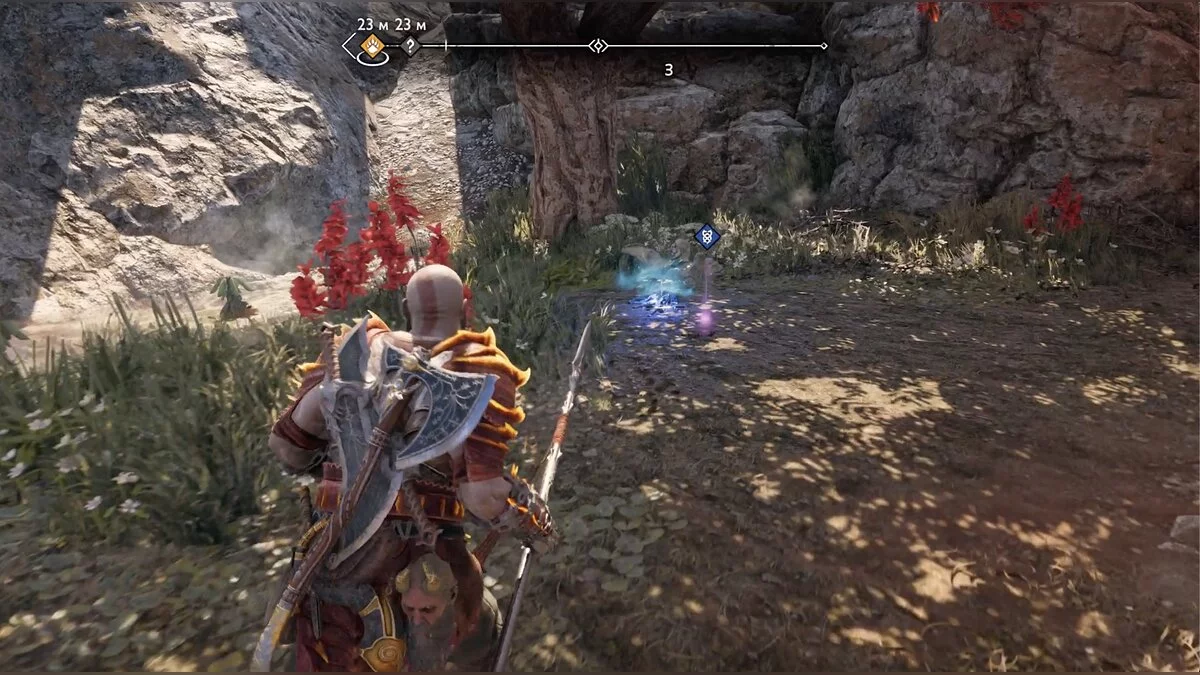
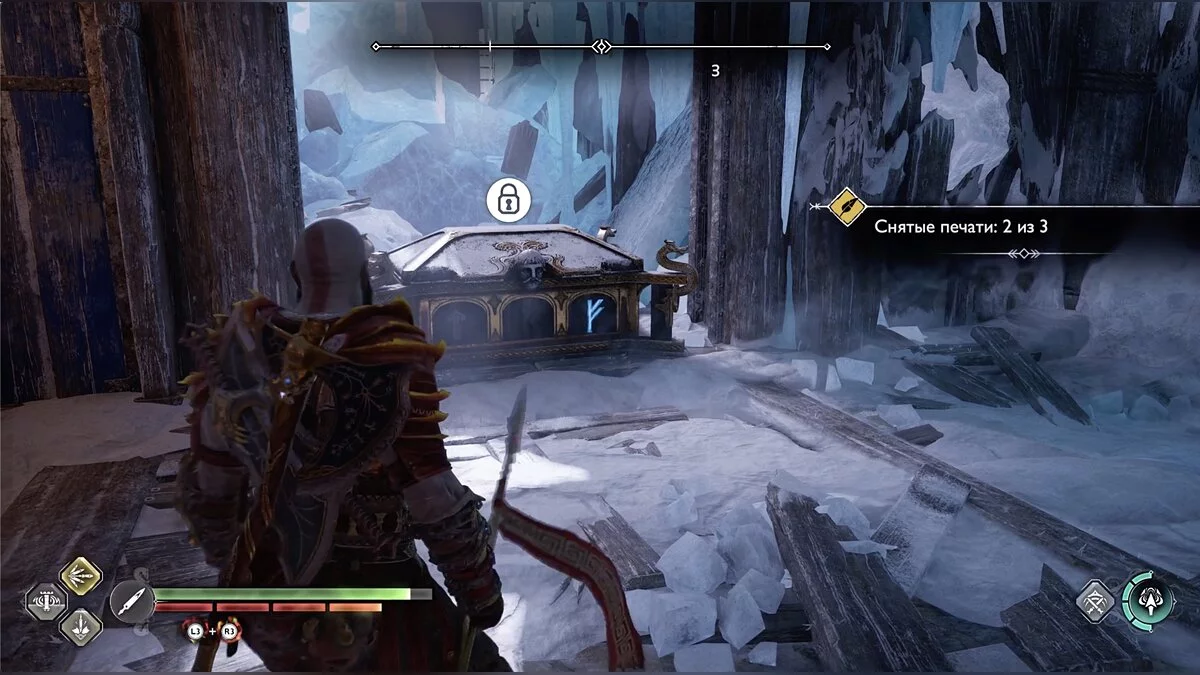
After the victory, study the blue runes and climb the chain to the wooden platform to kill the skittish lizard with resources. From this platform, you can destroy one of the runic seals for the Nornir chest — orient yourself by the geysers. Find the other two seals in the same manner. The second geyser is to the left of the dragon statue. Breaking the seal won't work due to the metal grate, so throw the axe to the right of the statue. The third geyser will be farther away, closer to the center of the location.
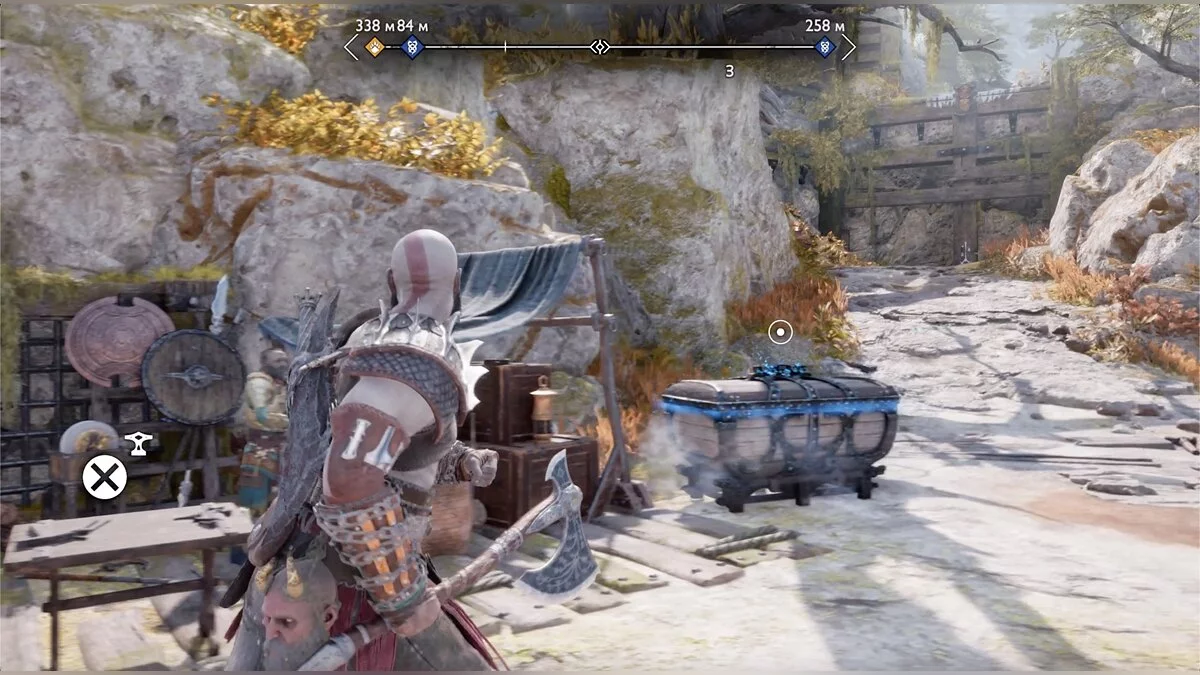
Sail to the drilling rig on the same right side. On the shore, Kratos will meet Sindri, where you can upgrade your equipment. Go left.
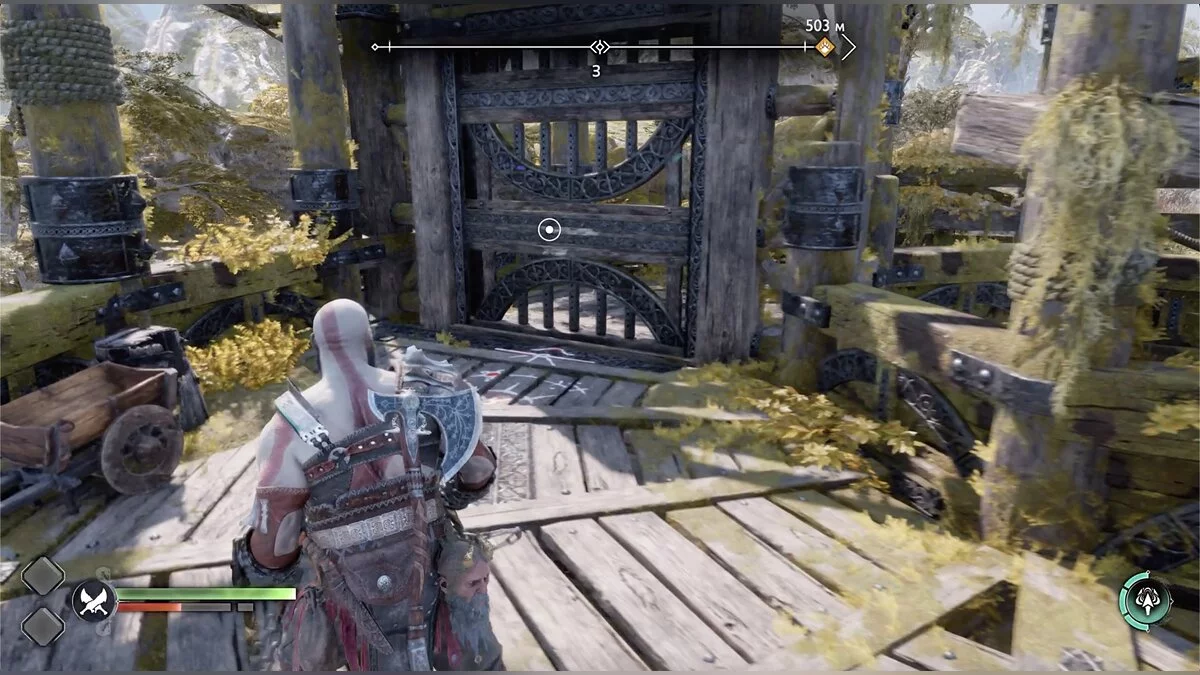
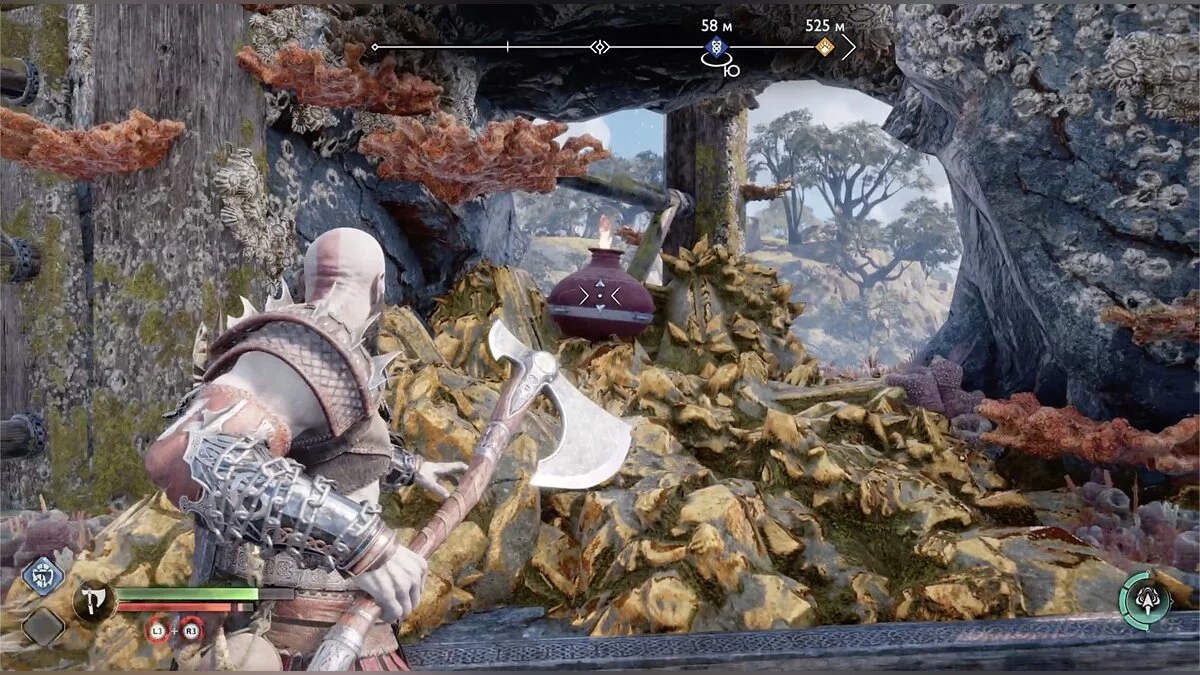
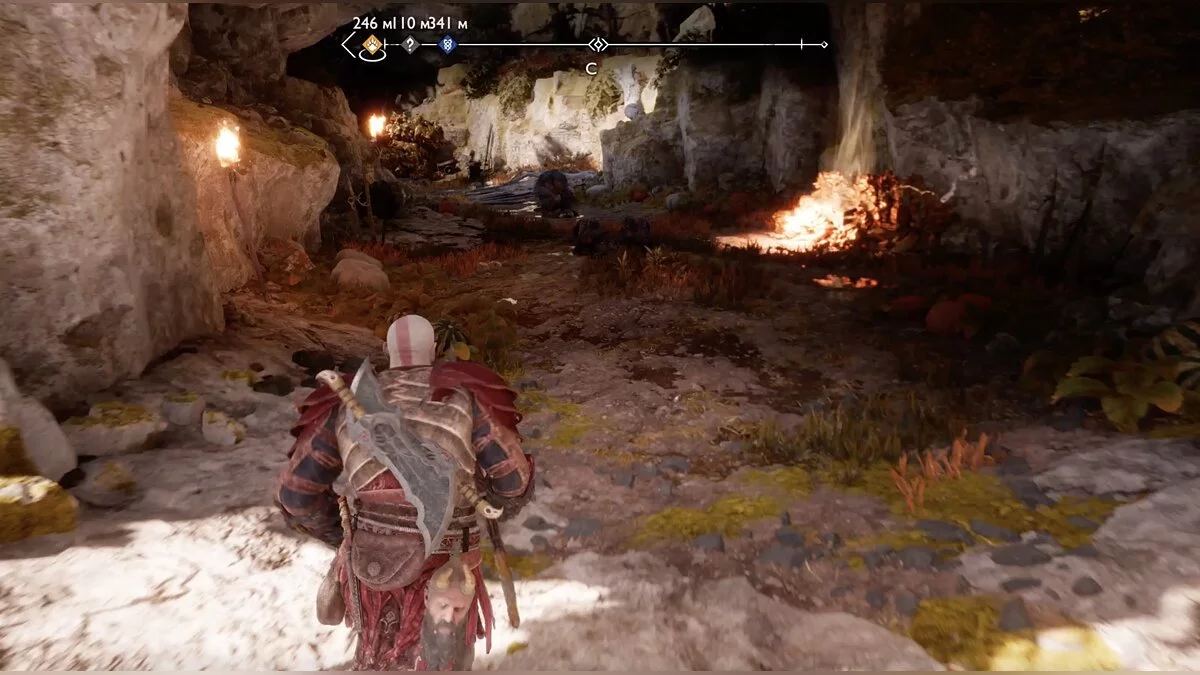
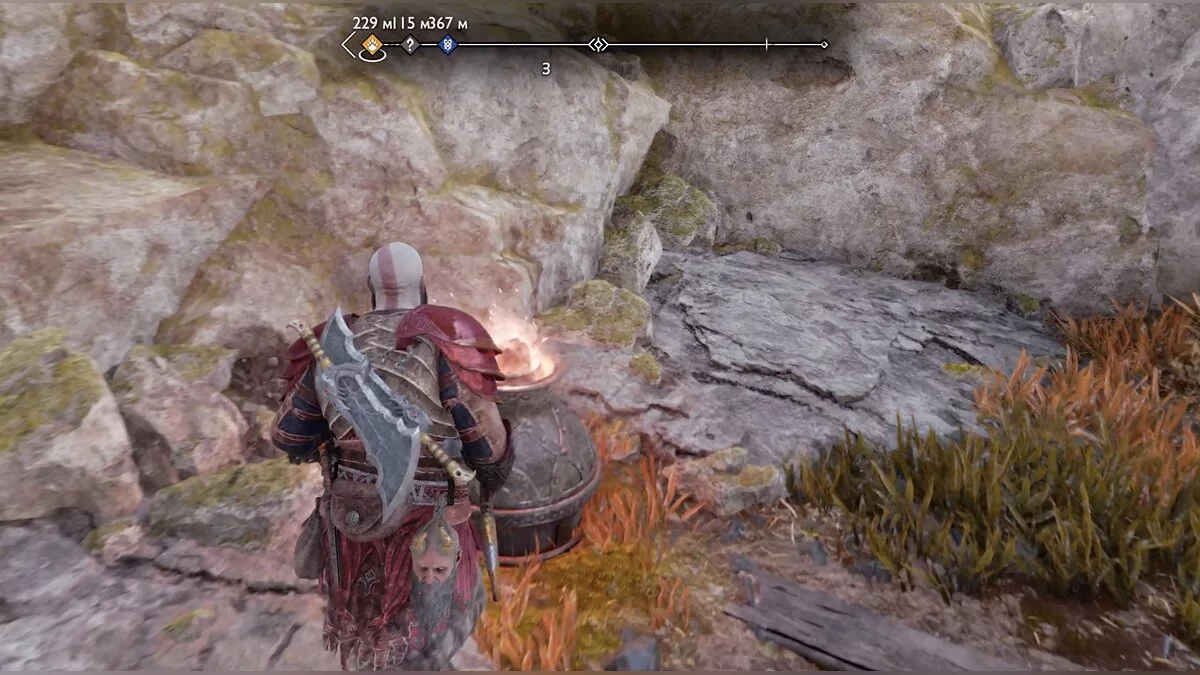
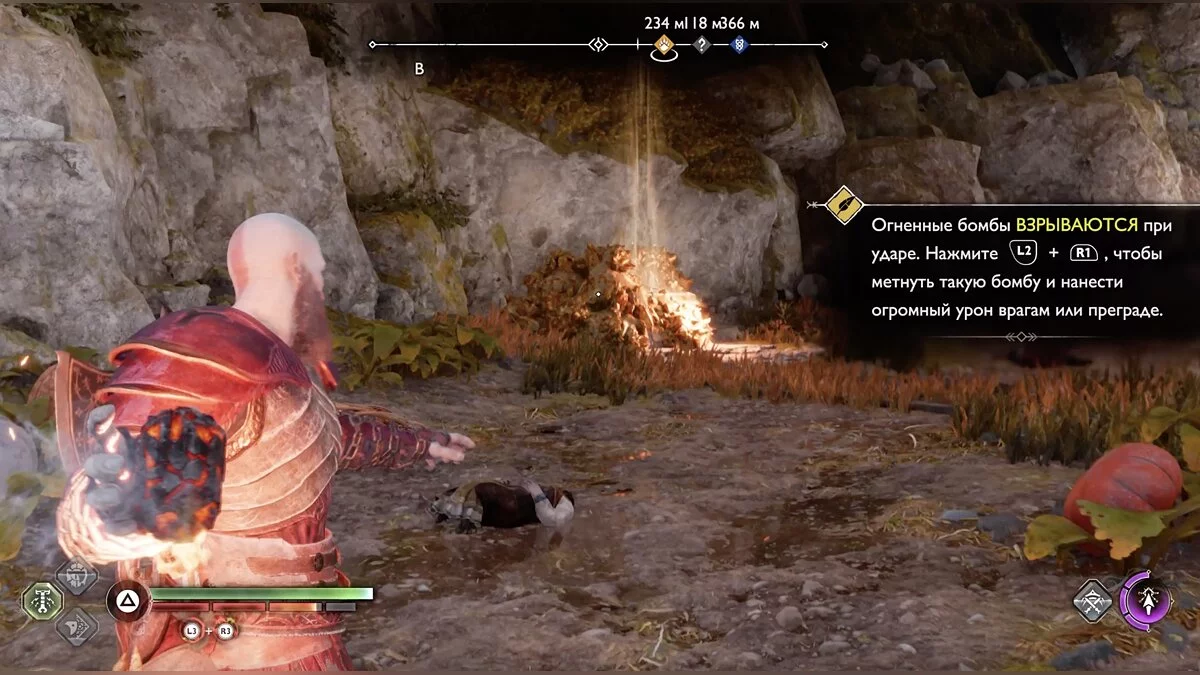
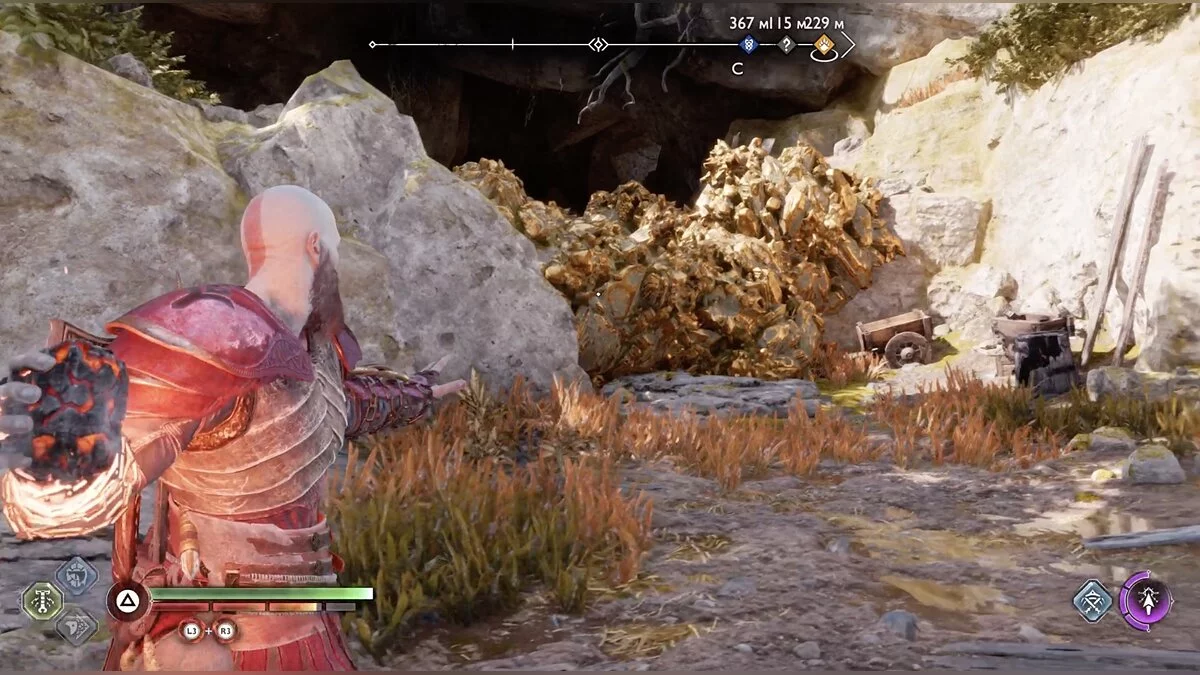
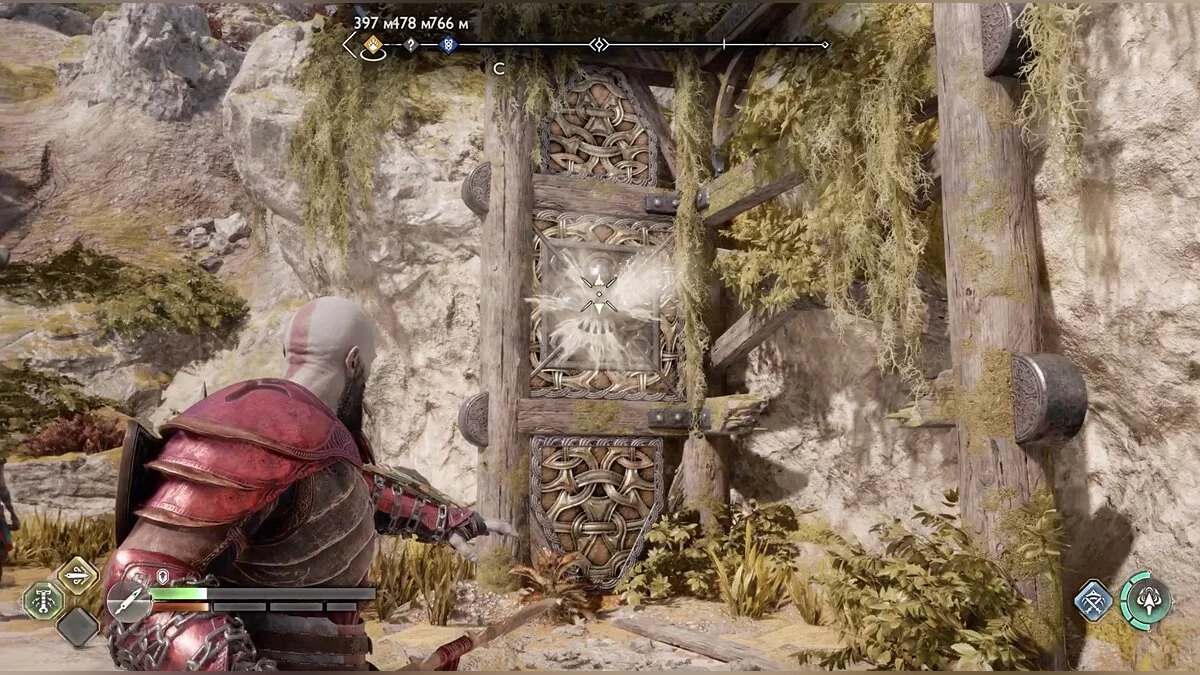
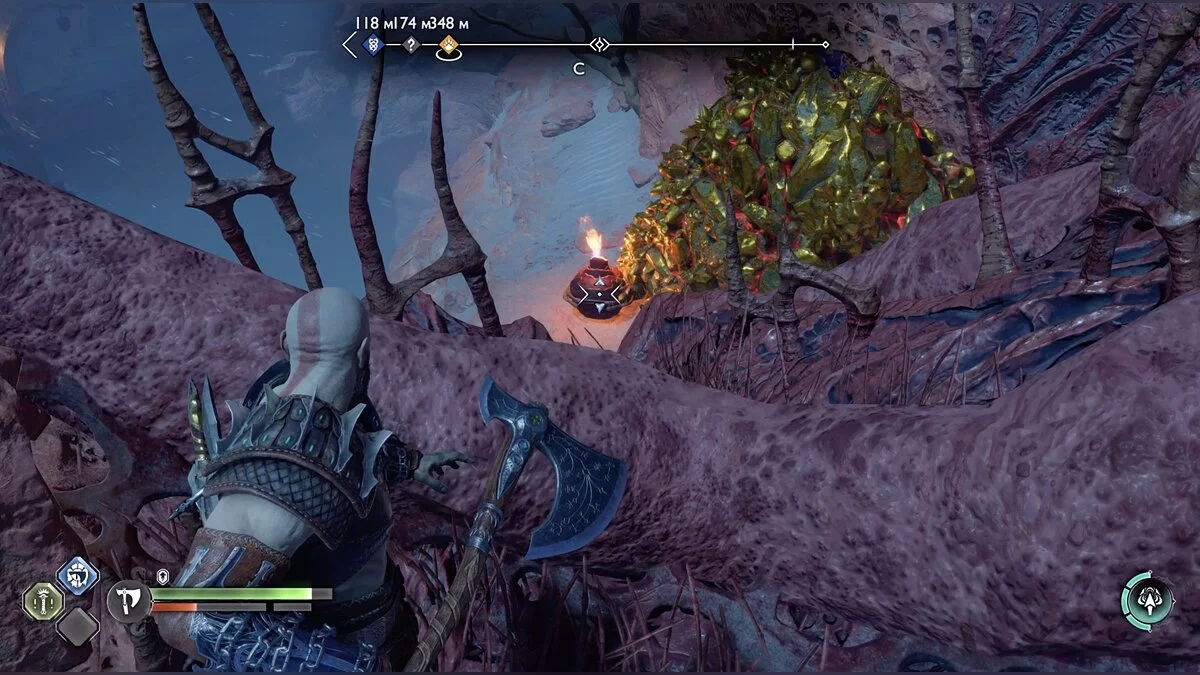
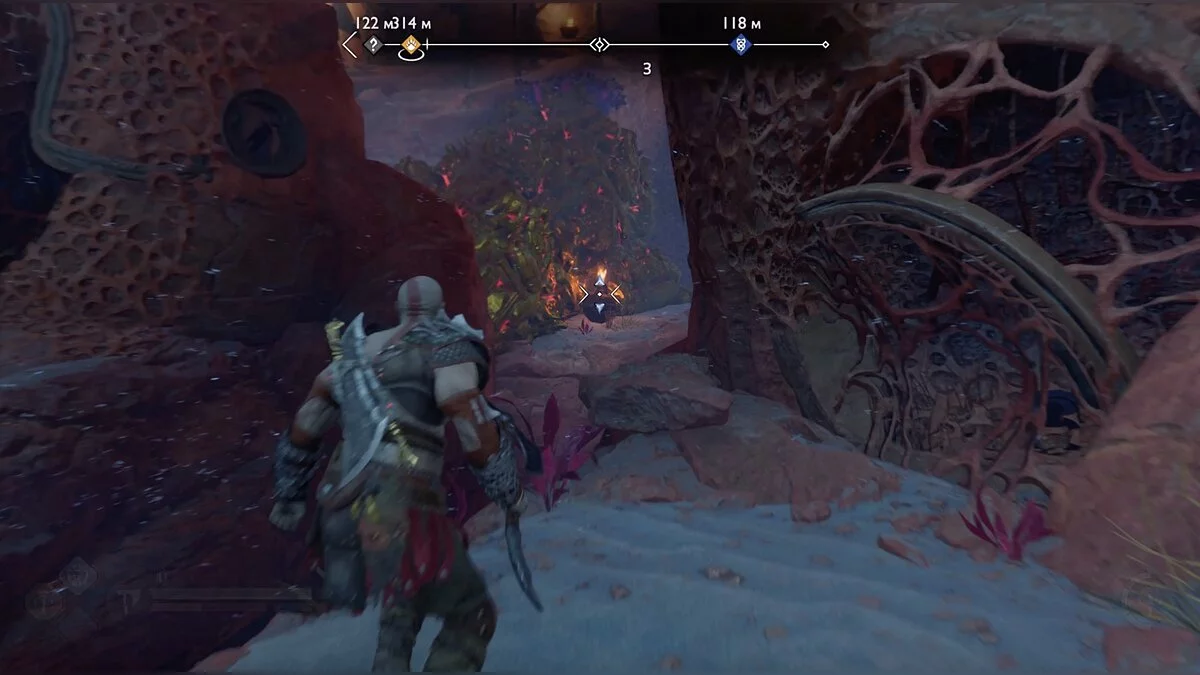
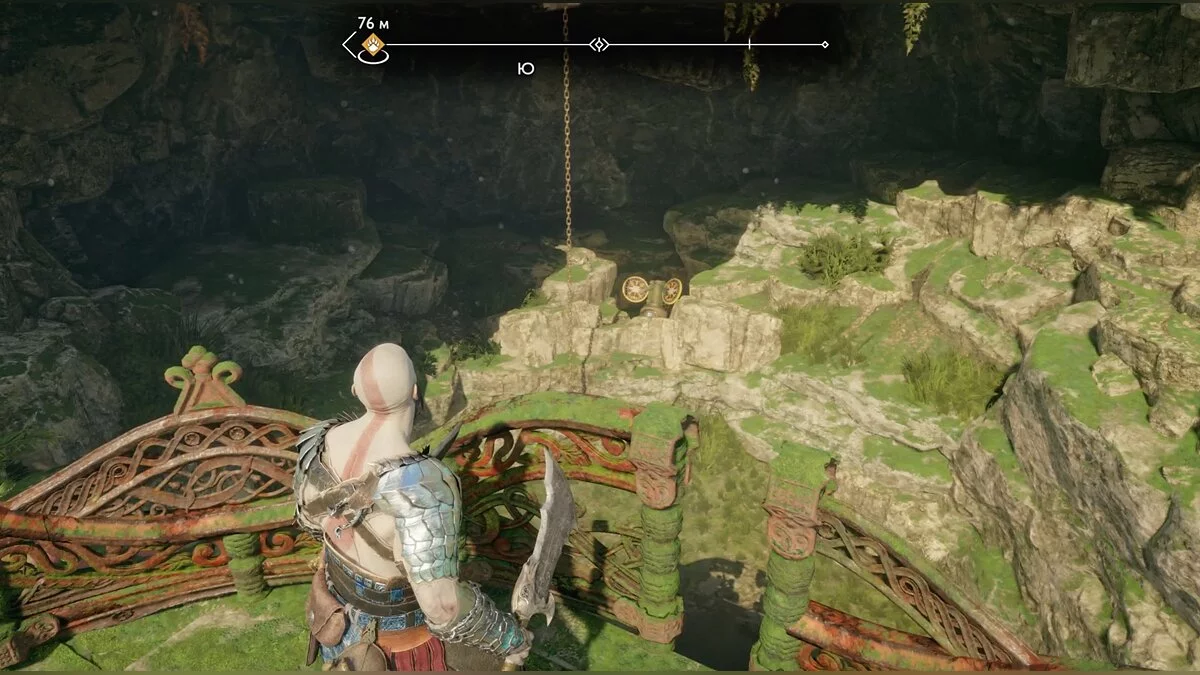
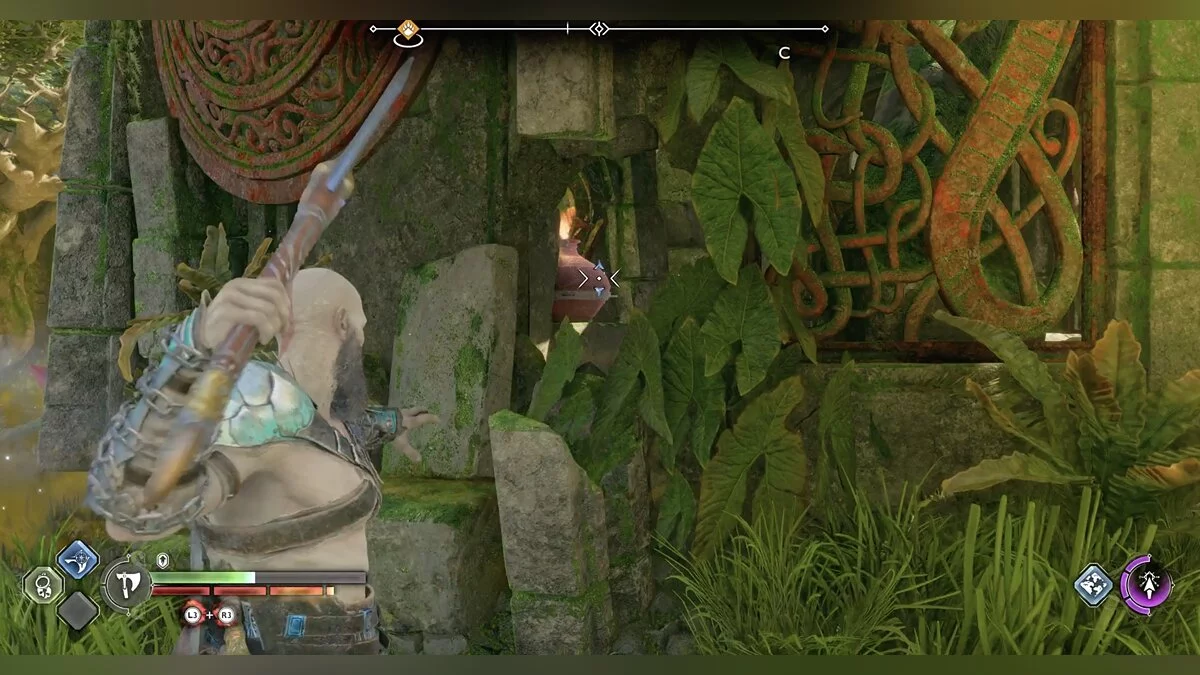
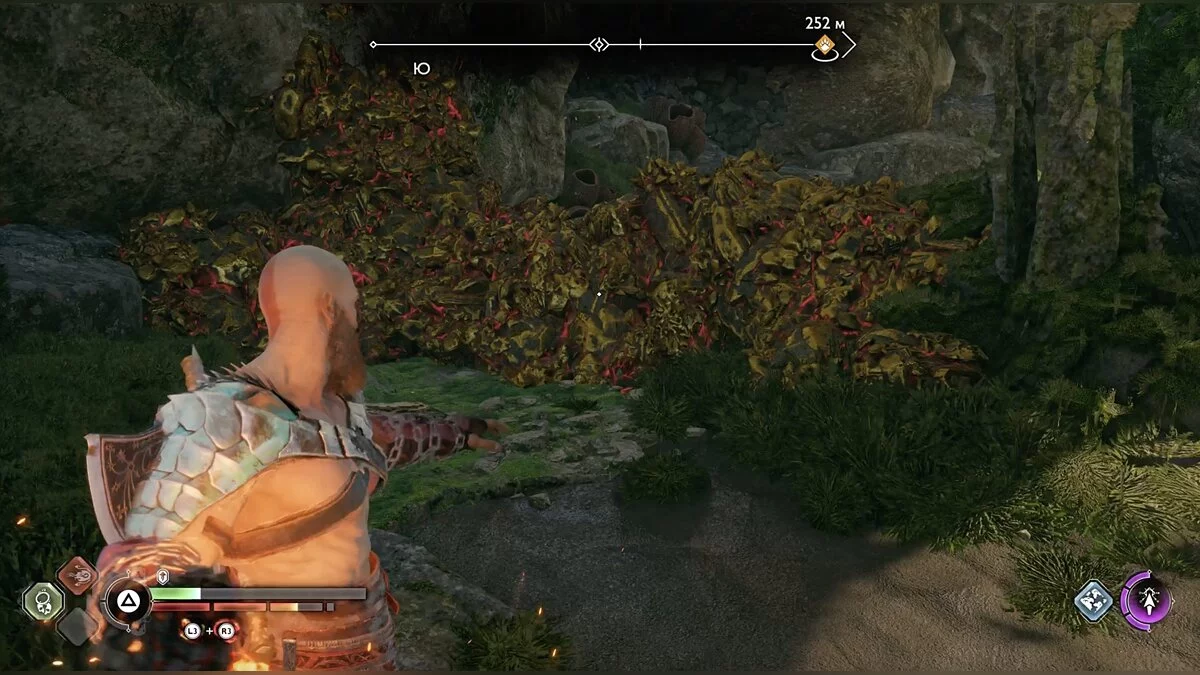
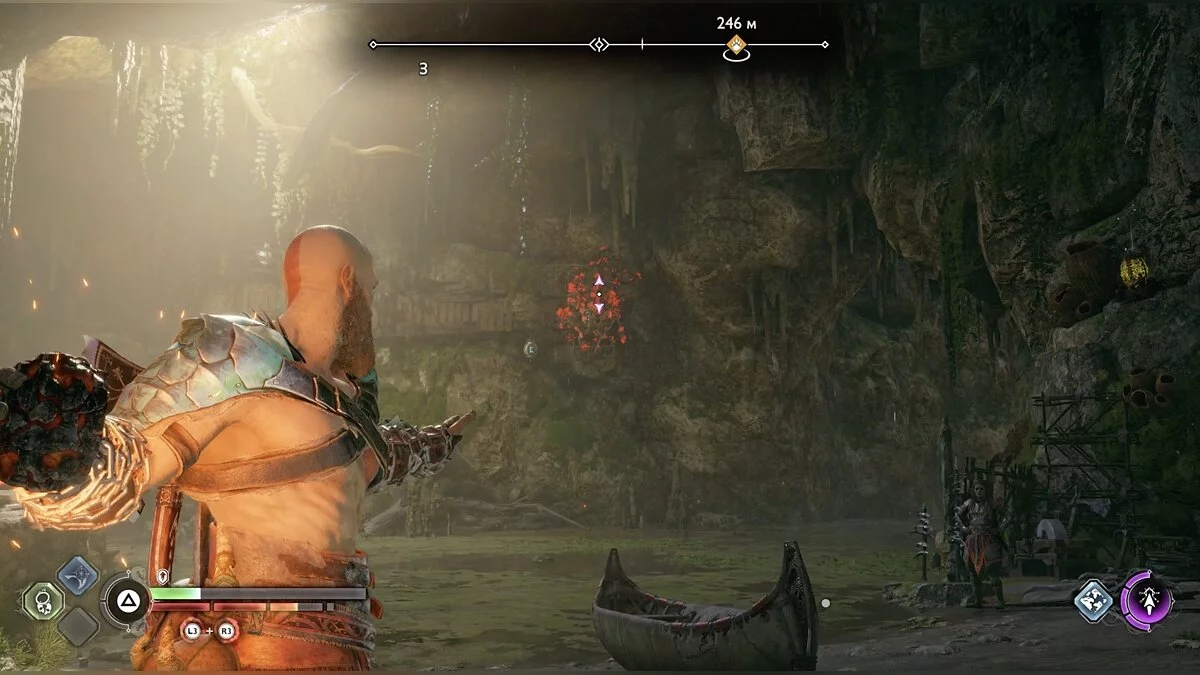
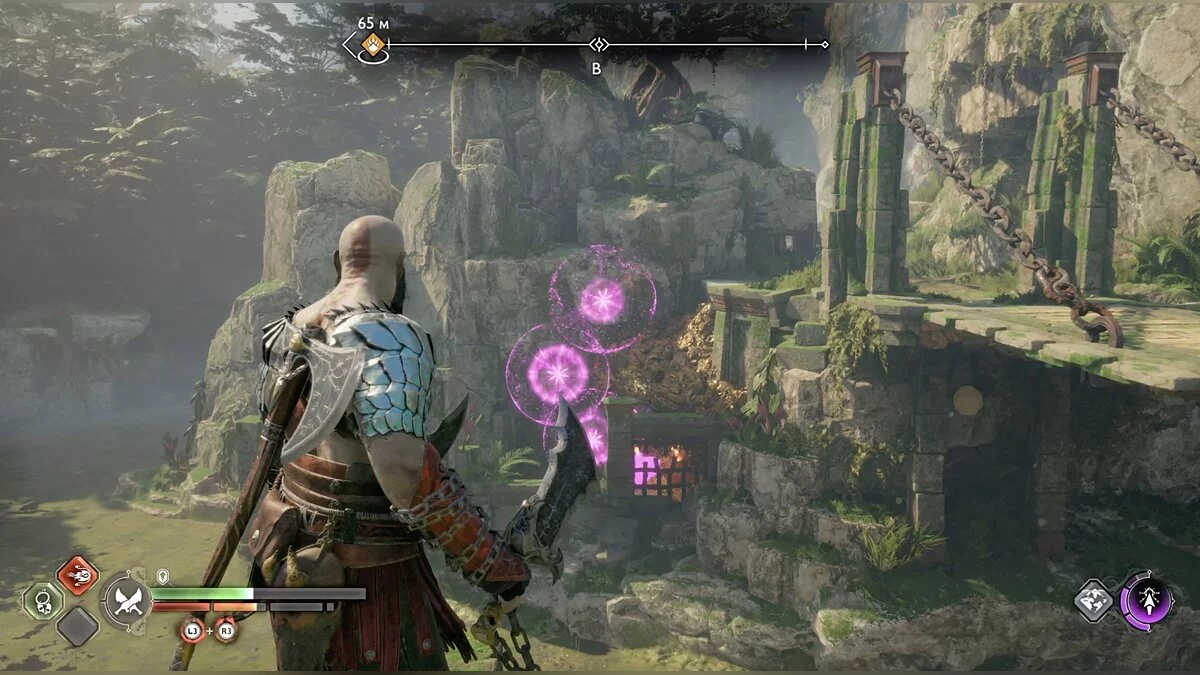
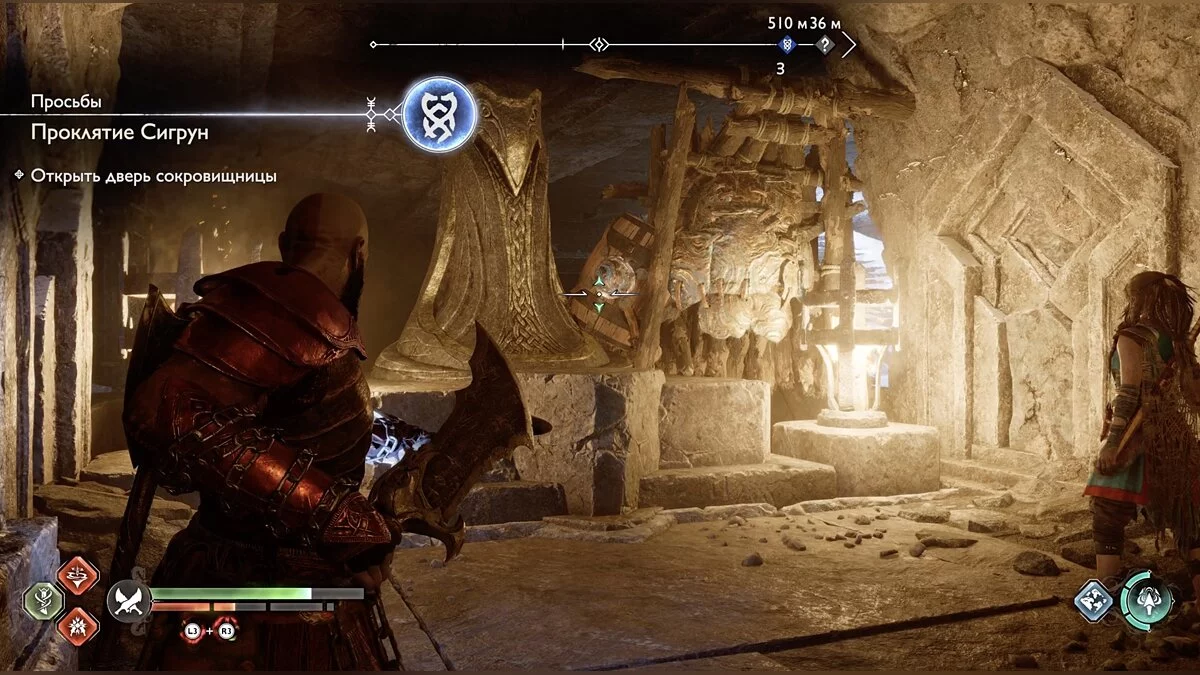
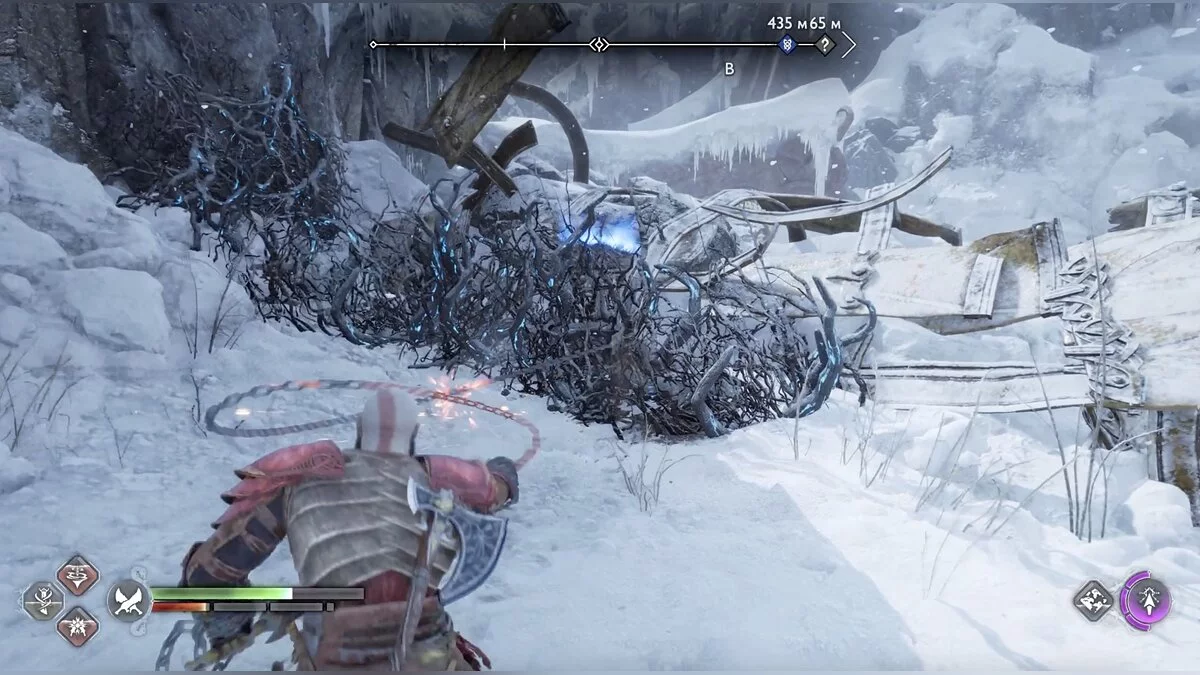
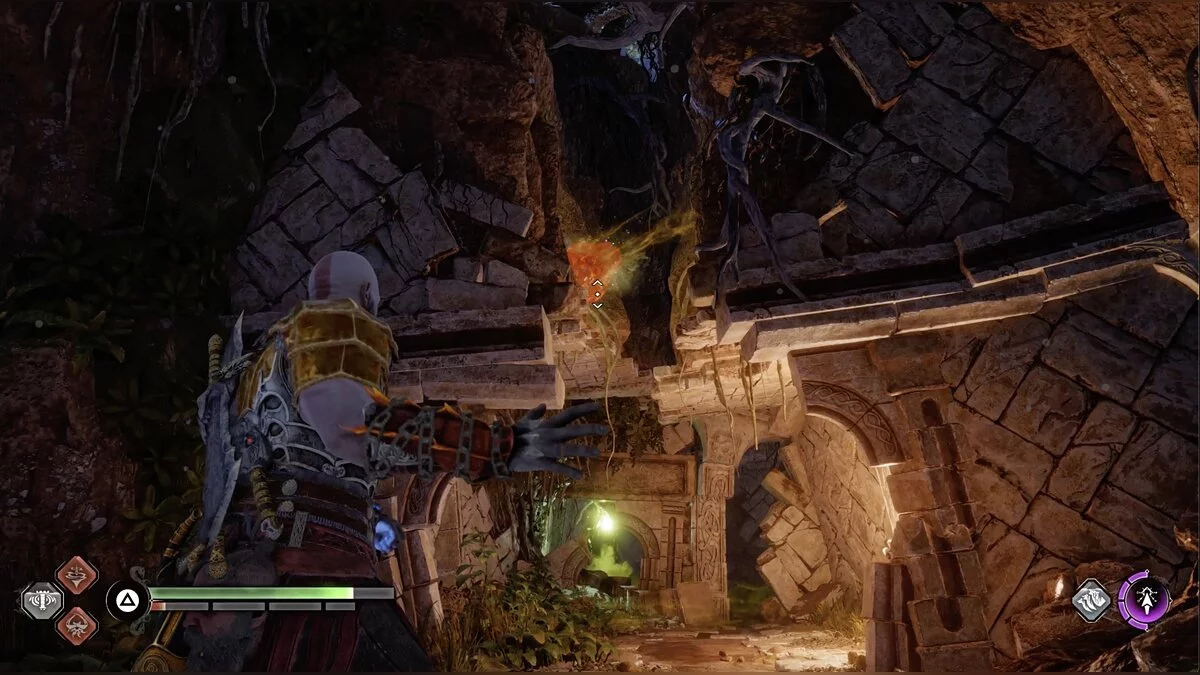
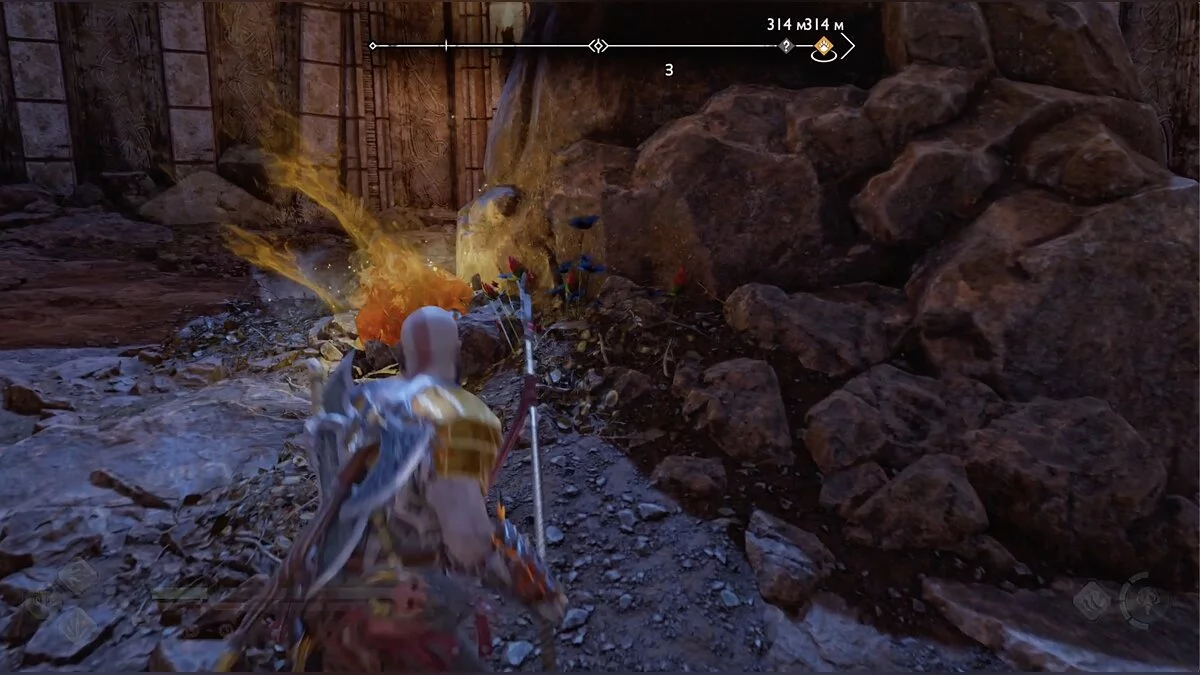
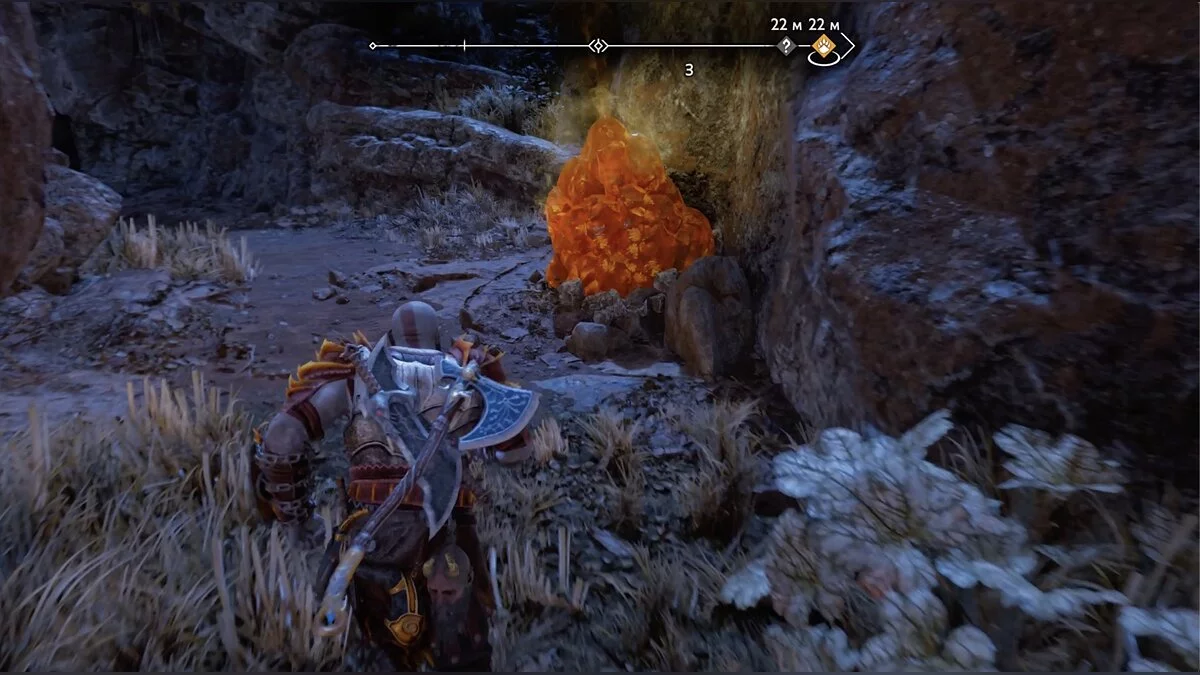
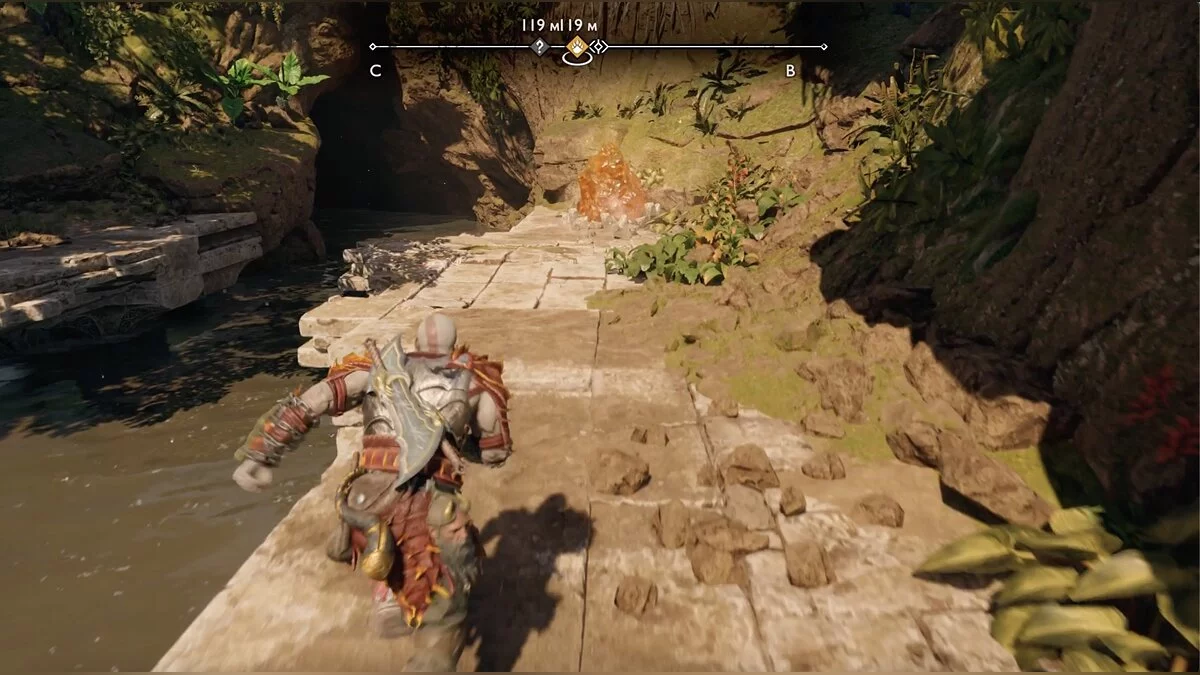
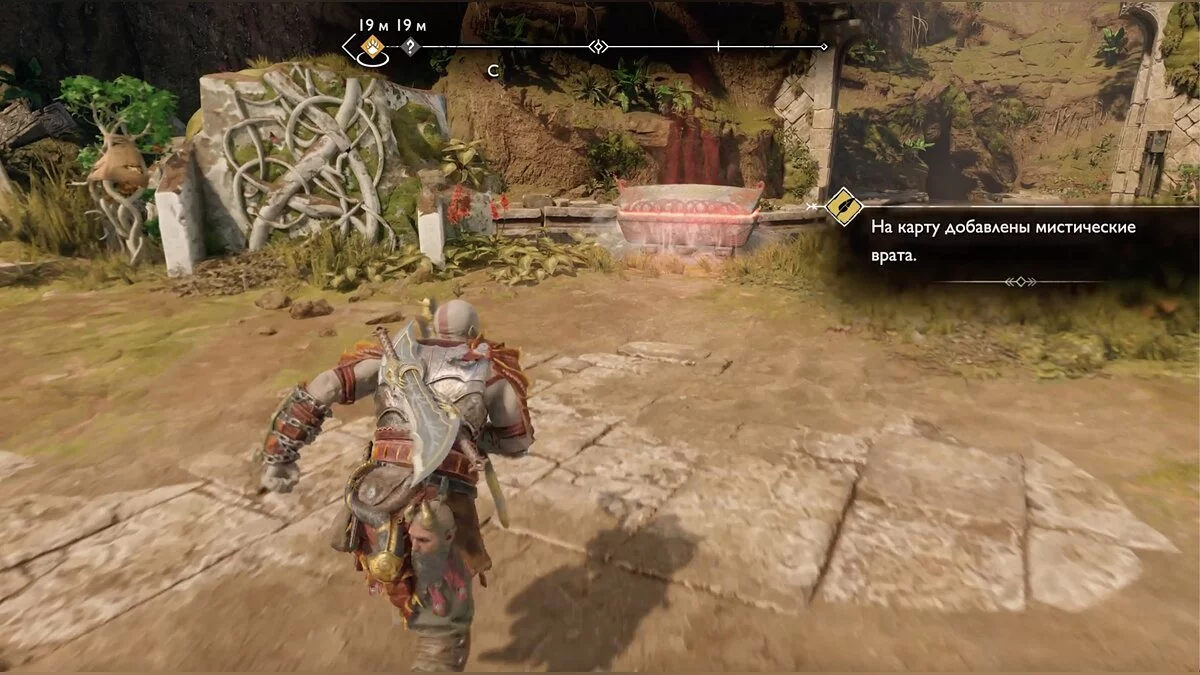
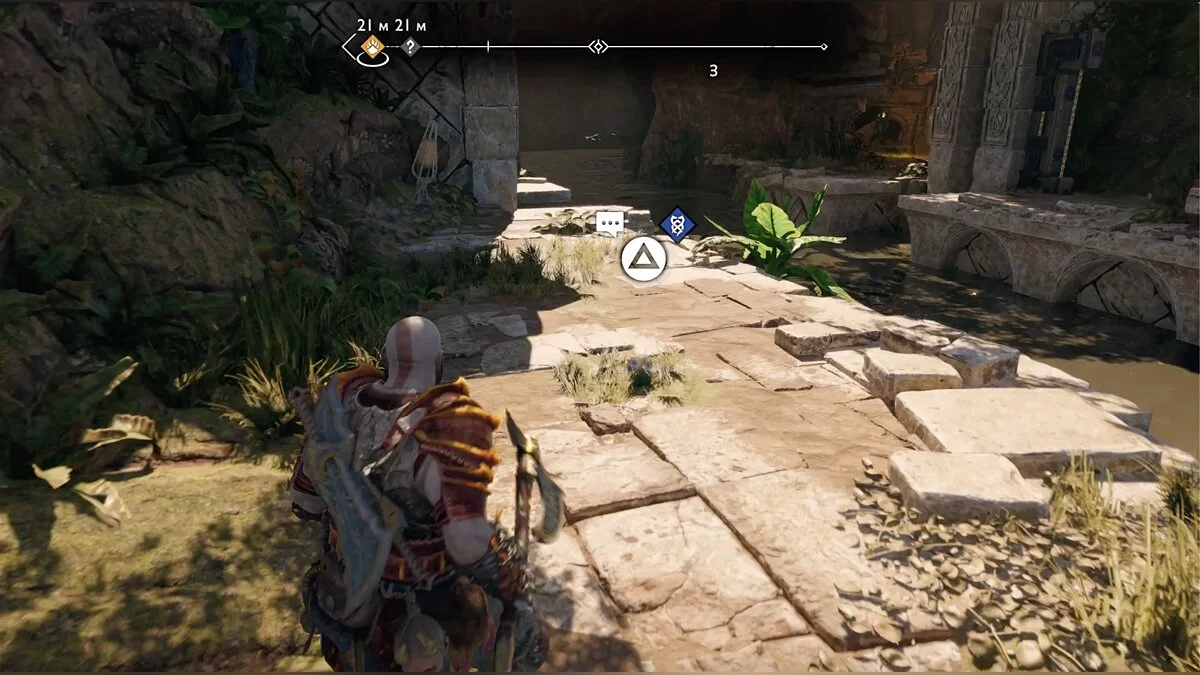
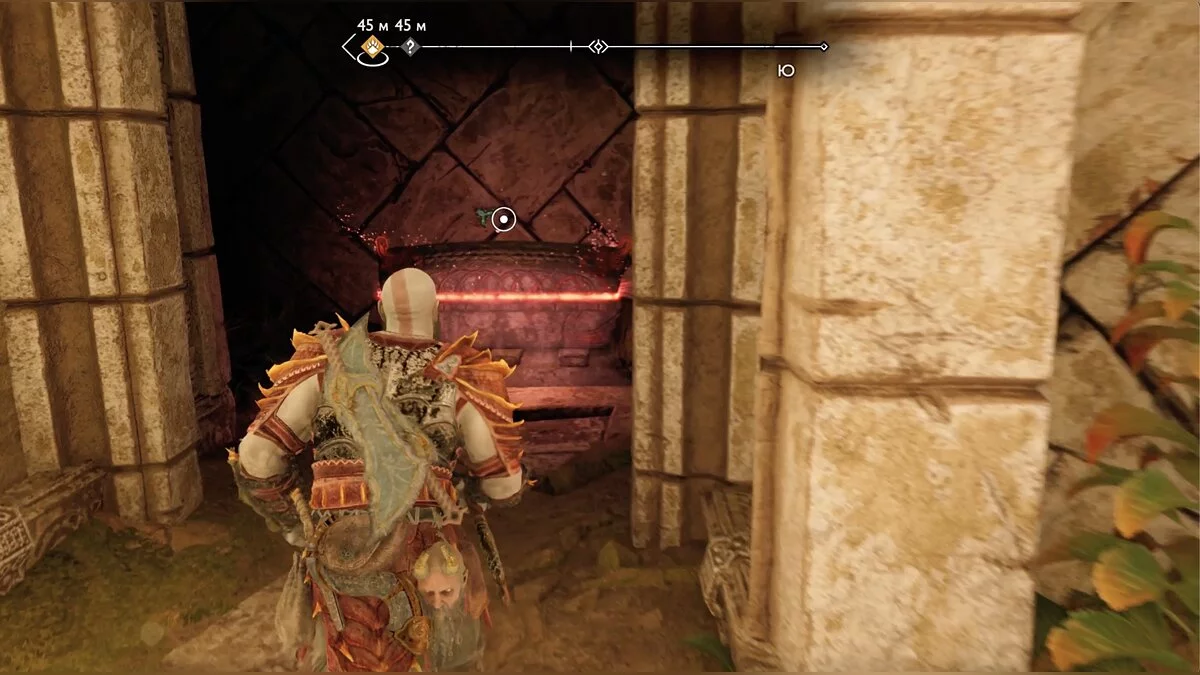
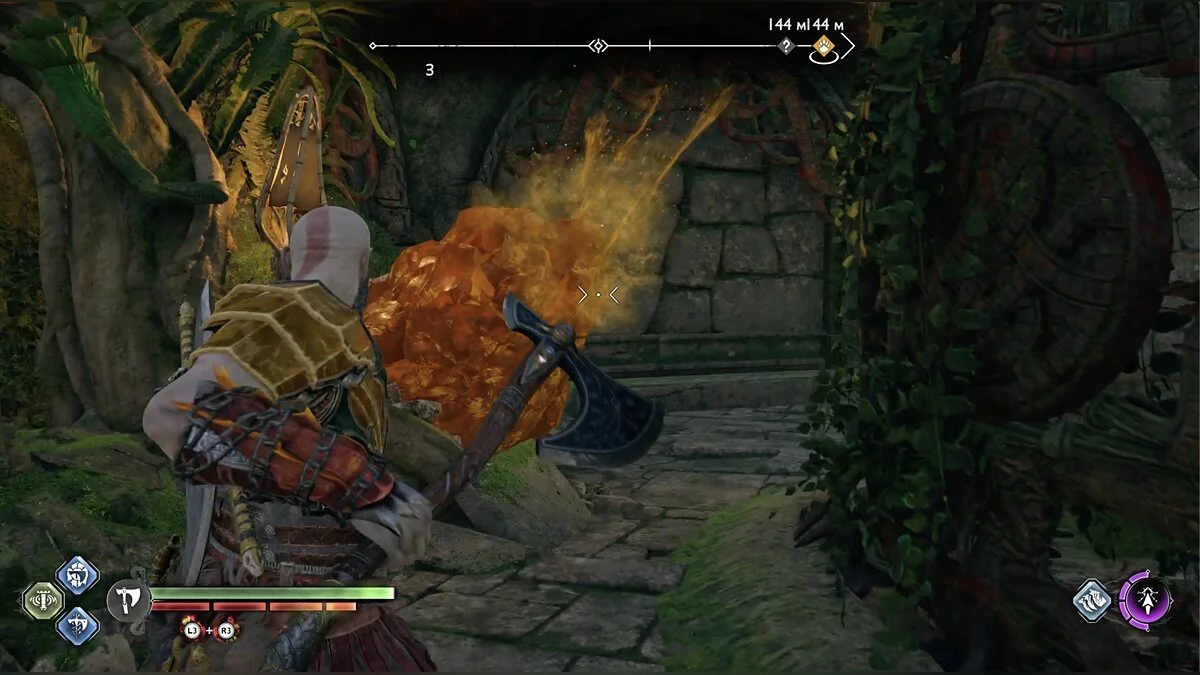
The path is blocked by hardened resin, which can be removed by exploding the red smoldering vessel. Climb up and you will find yourself in the watchtower. On the right, there is a closed door; approach it to receive a new side quest — Mimir will ask you to find a key on the island in the center of the location.
Postpone the search for now.
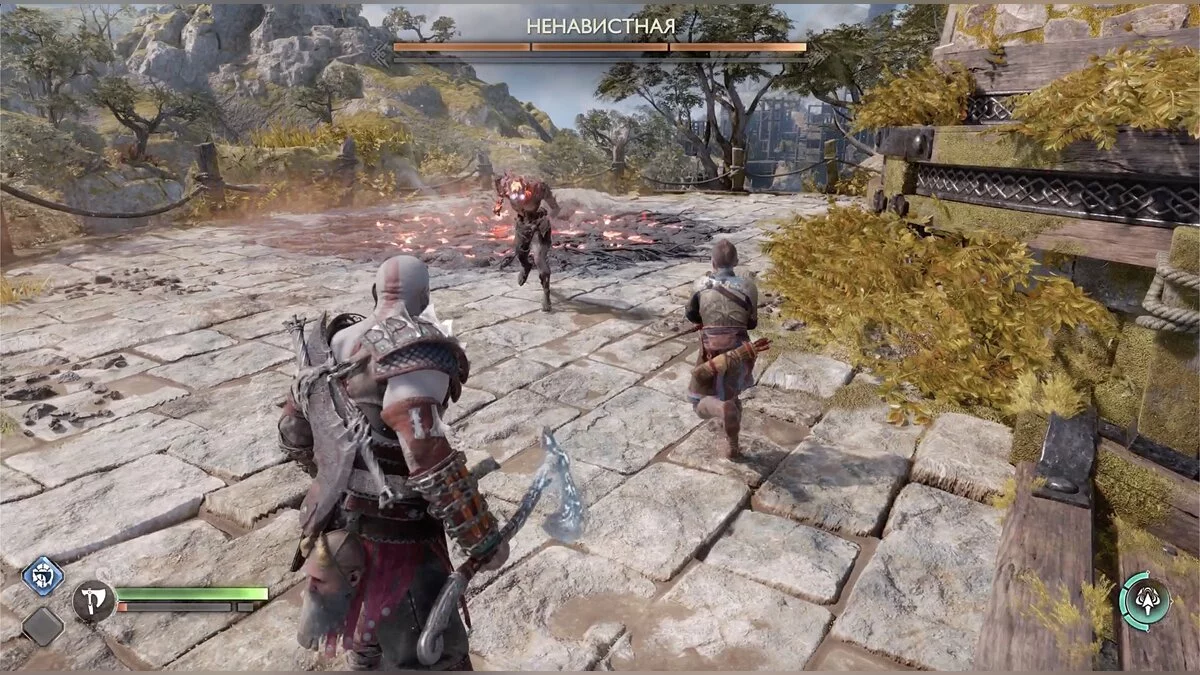
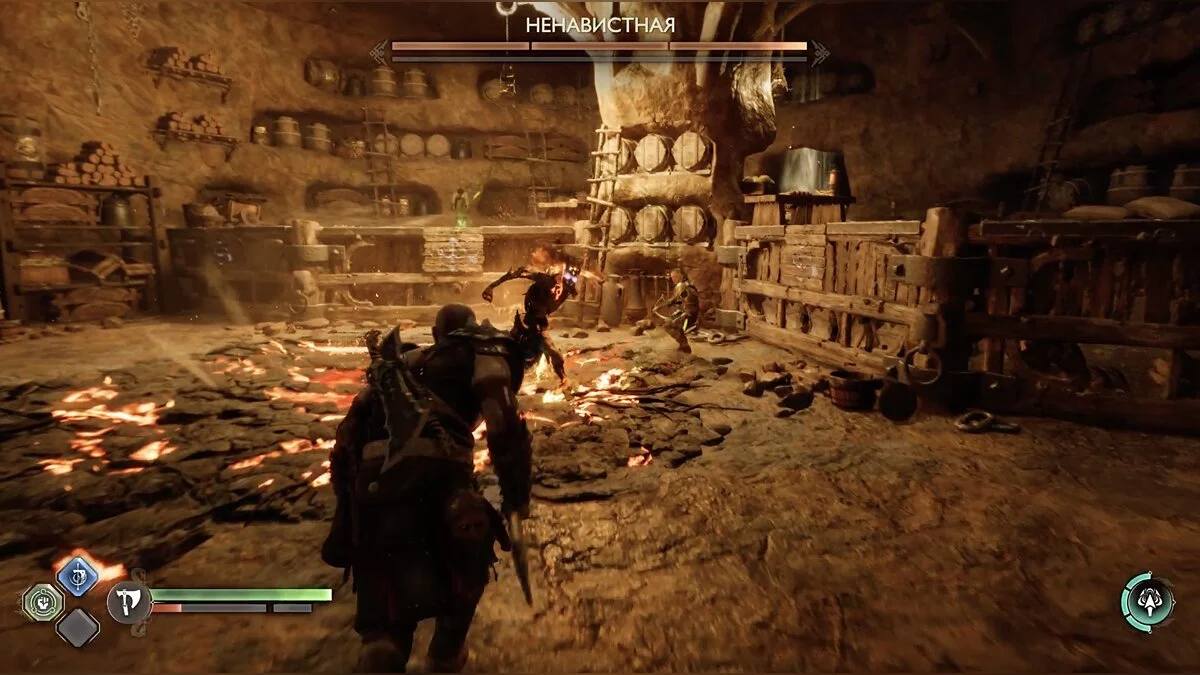
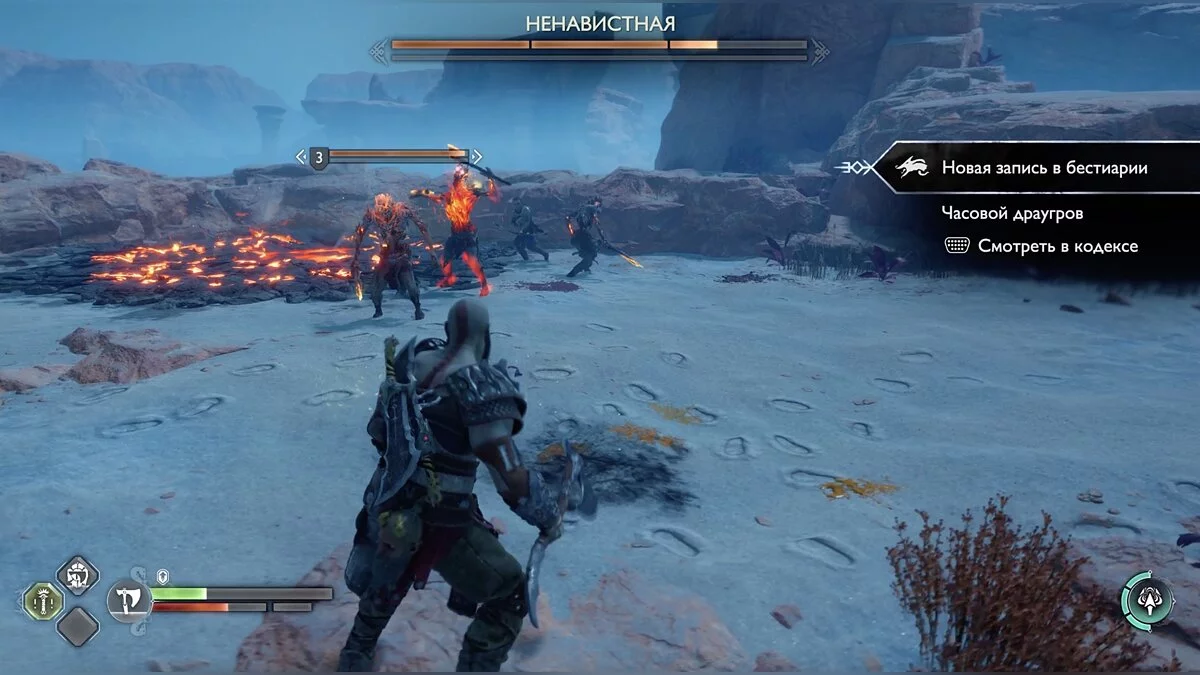
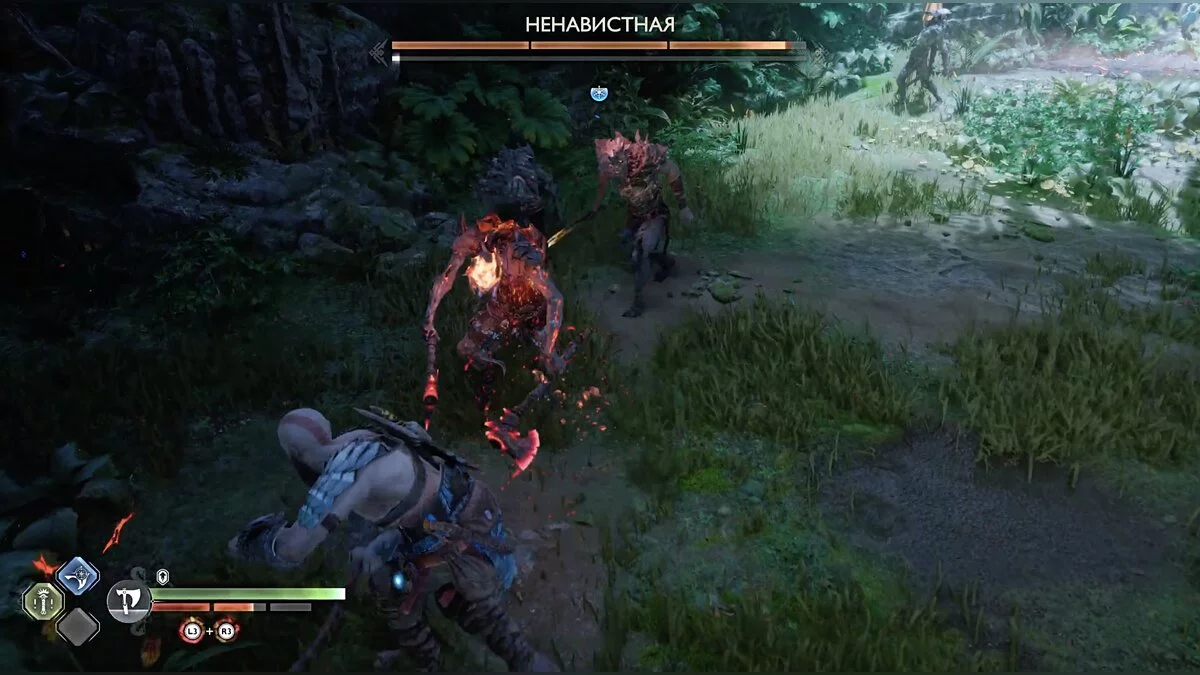
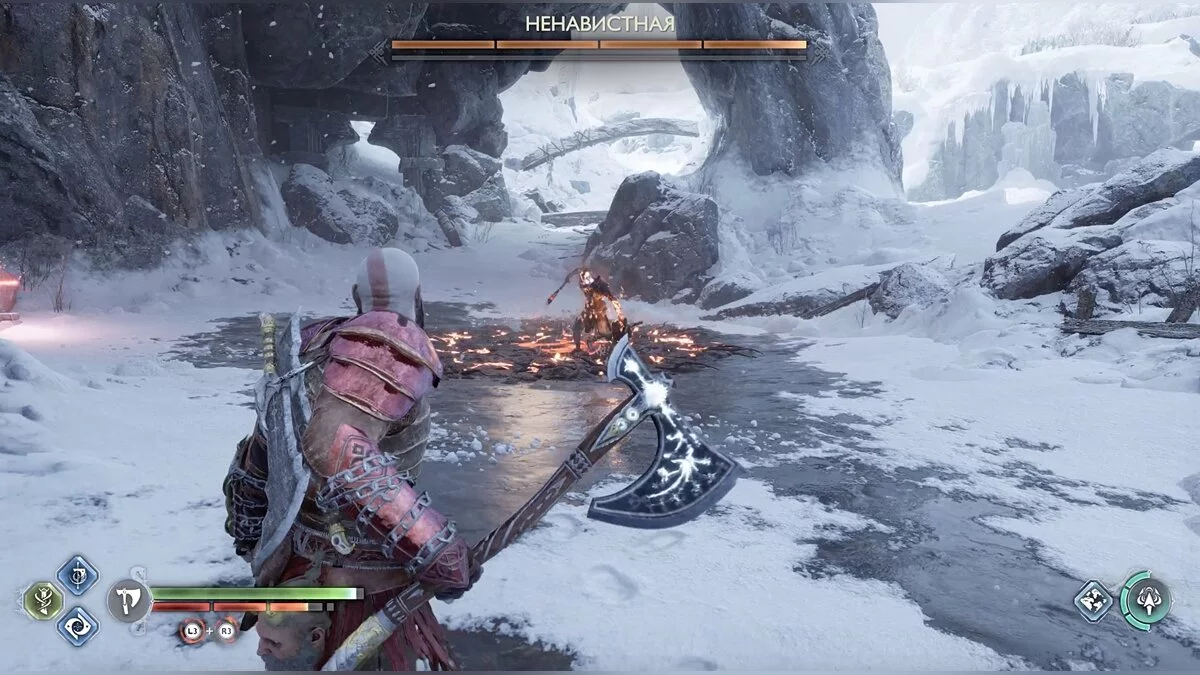
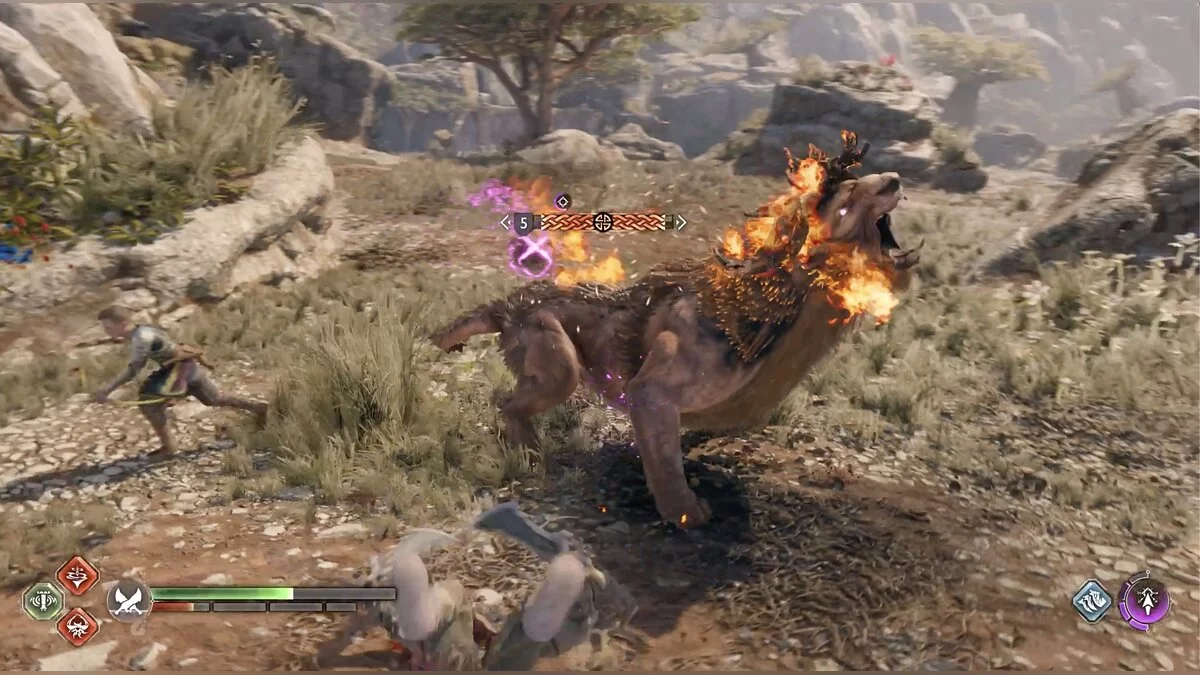
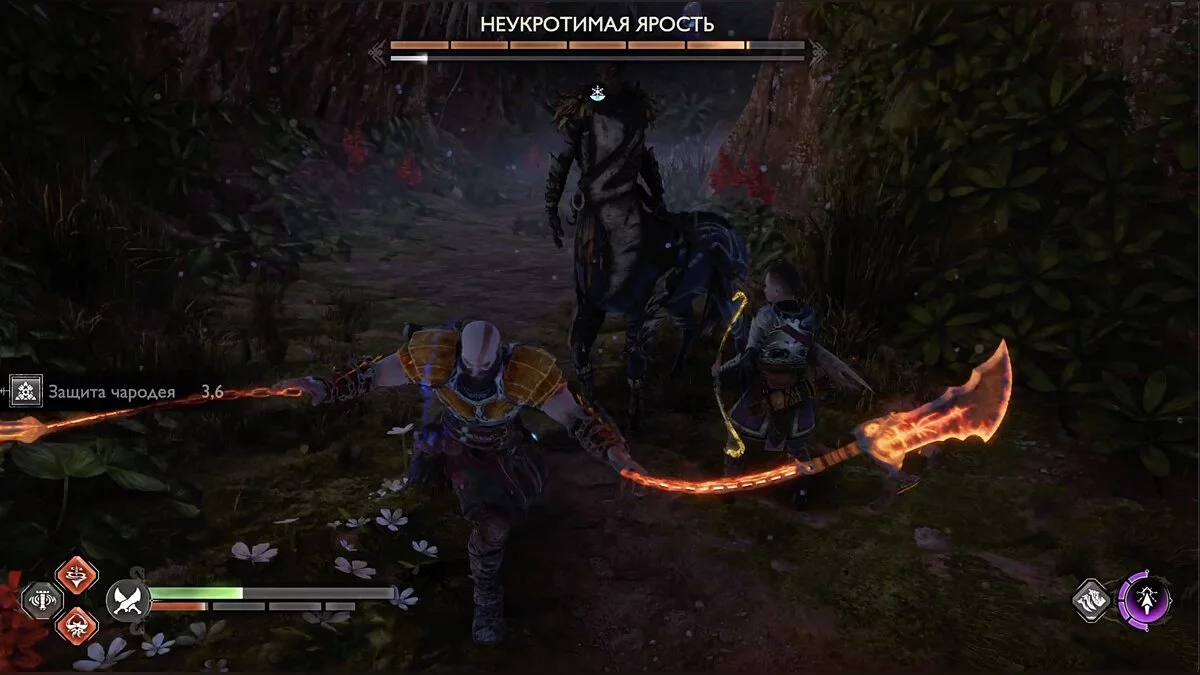
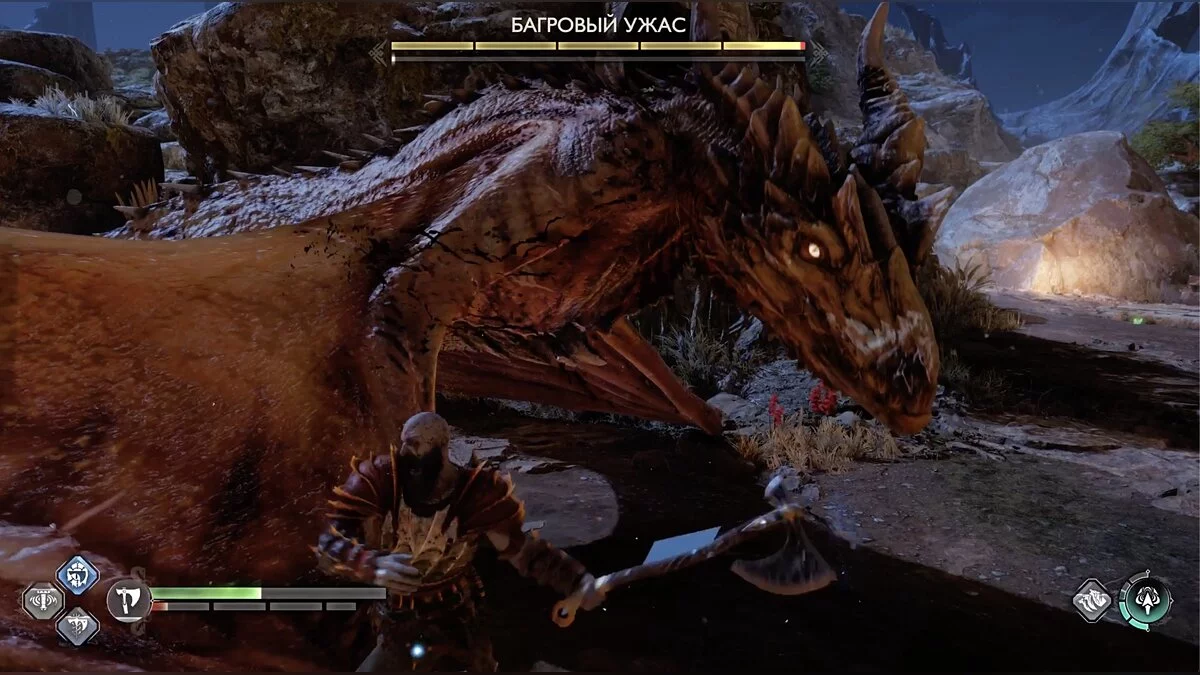
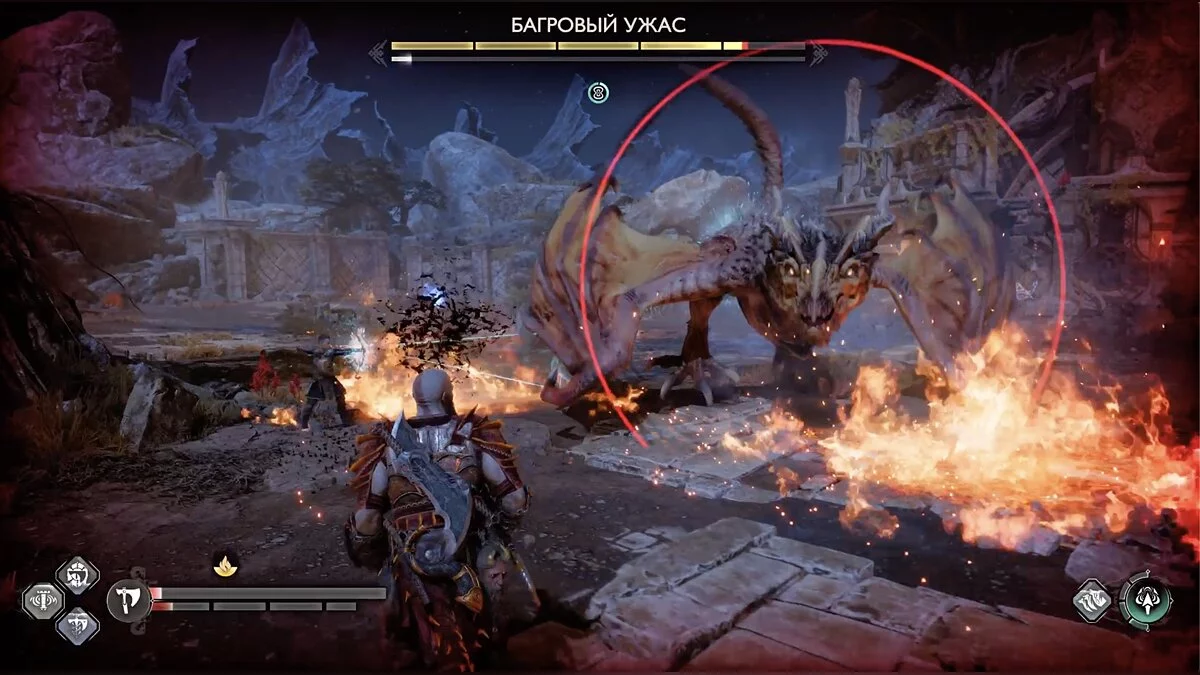
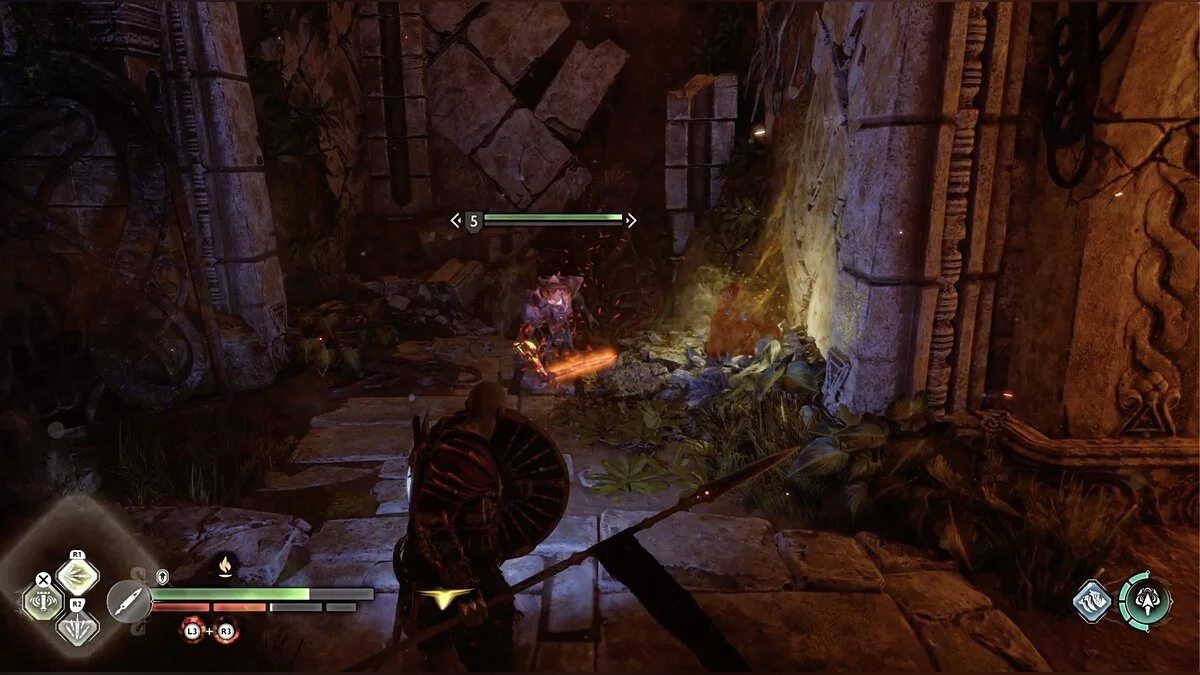
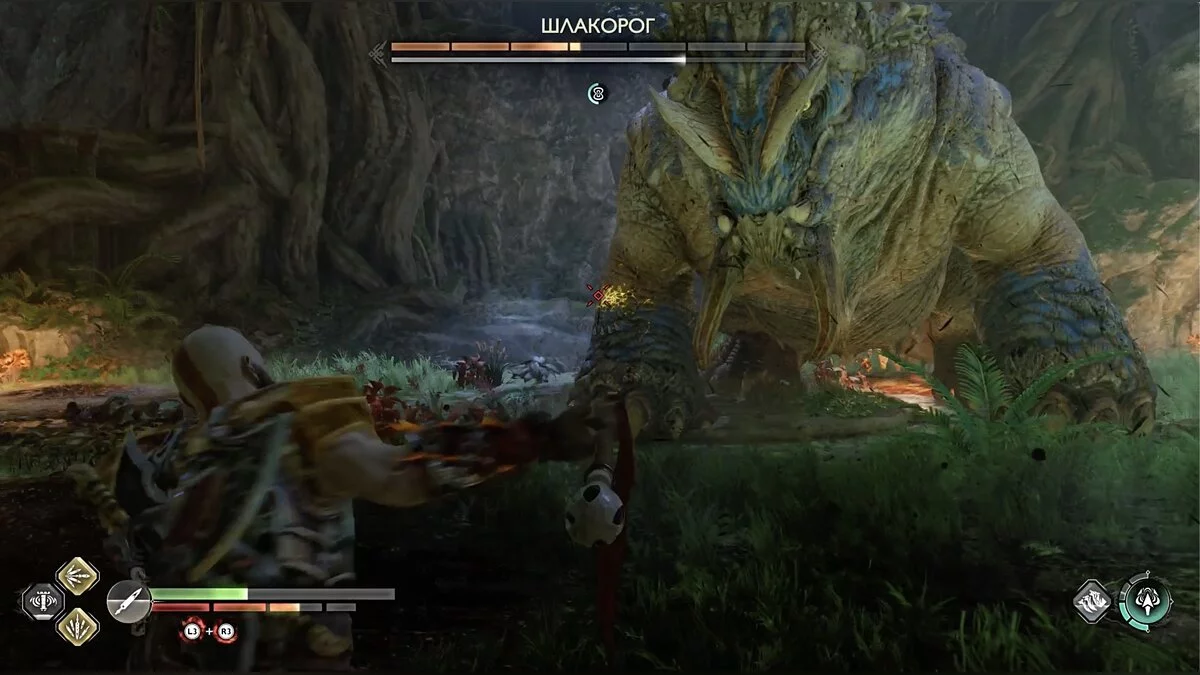
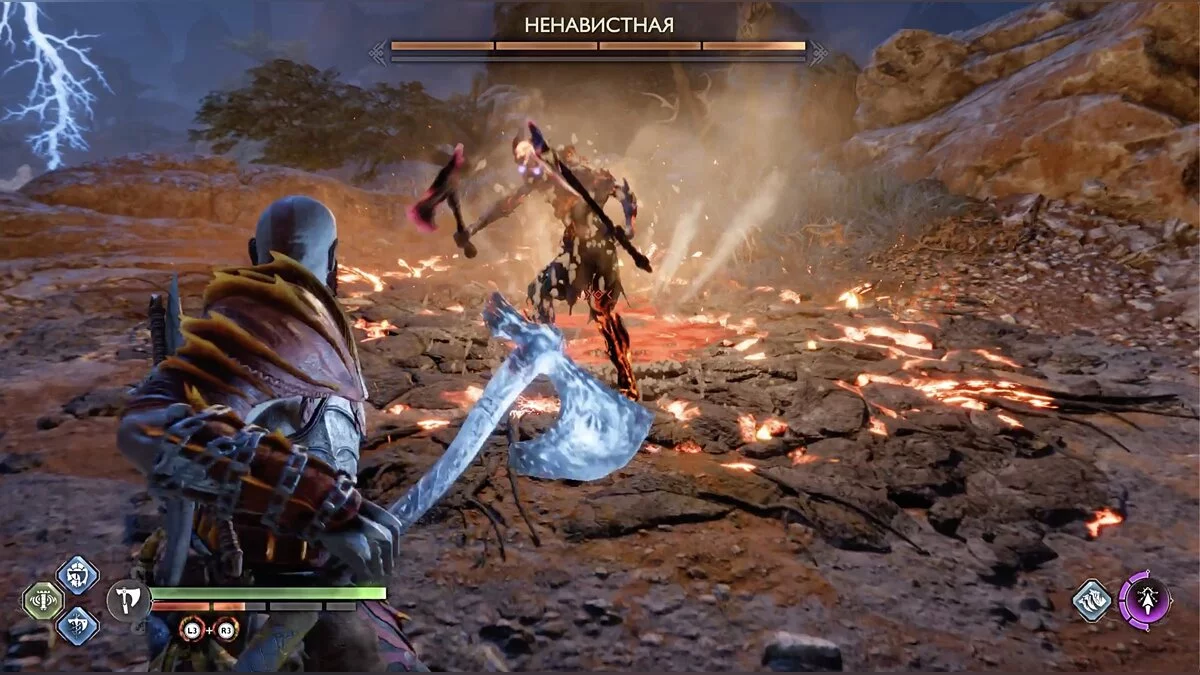
Climb further to the tower and you will meet the boss — the fire draugr Hateful. After the victory, a continuous side quest will open — to kill five more such draugrs as you progress through the game. The request is called Born of Fire.
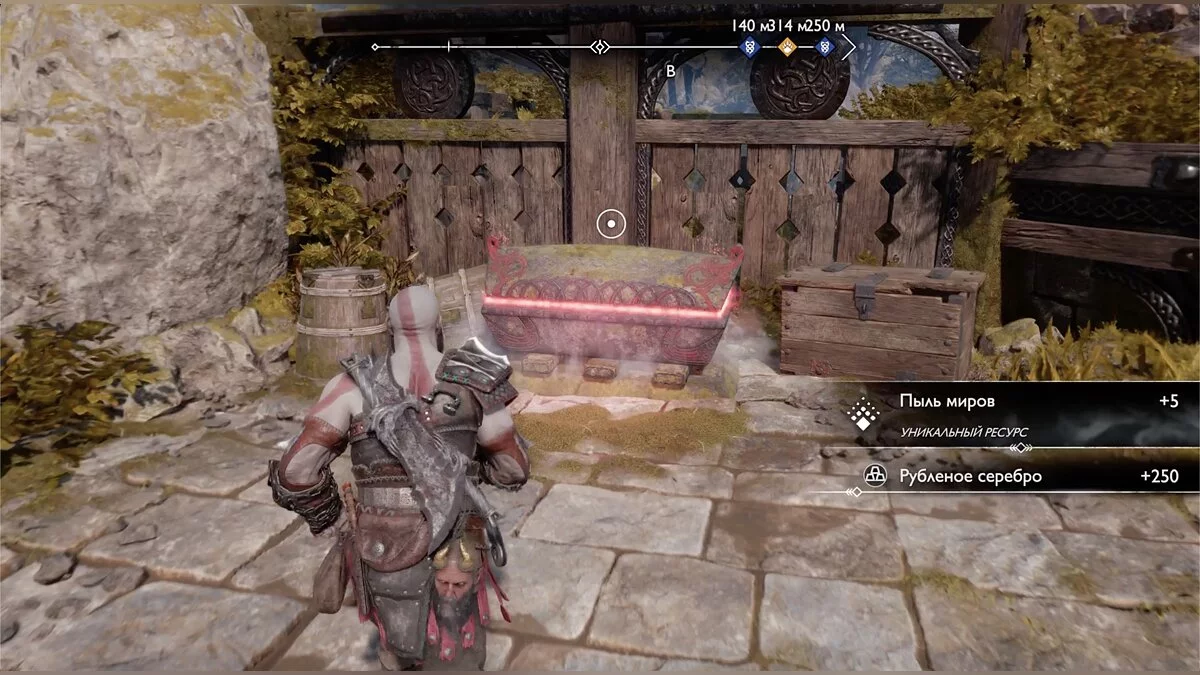
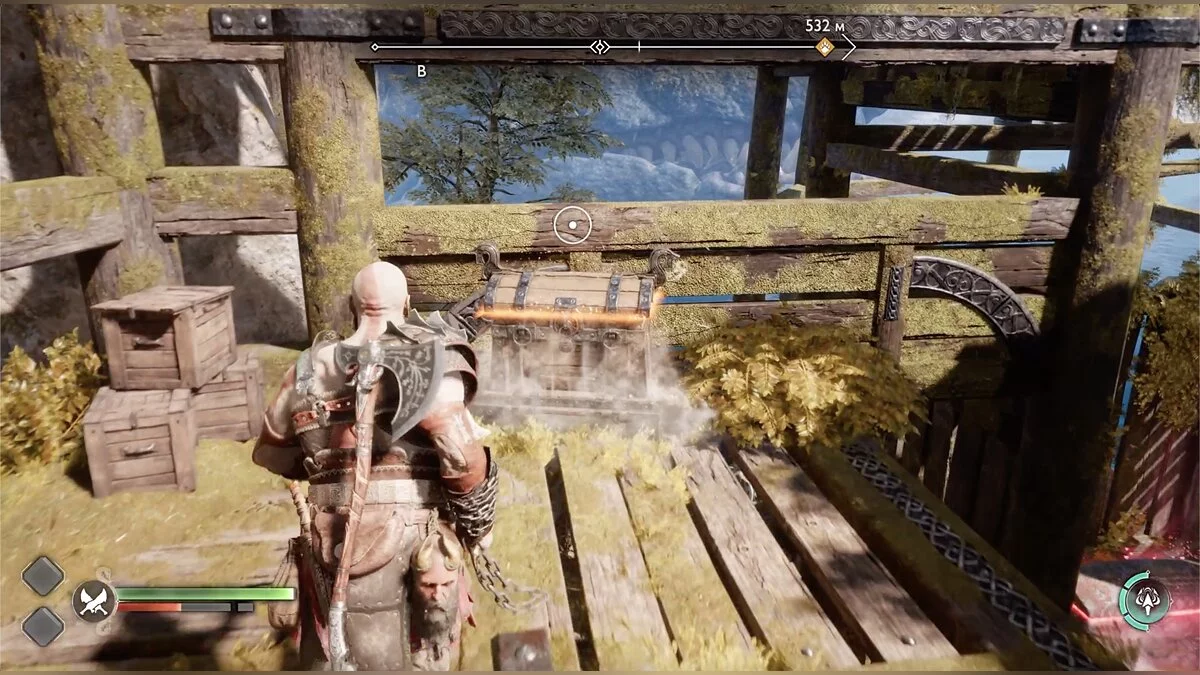
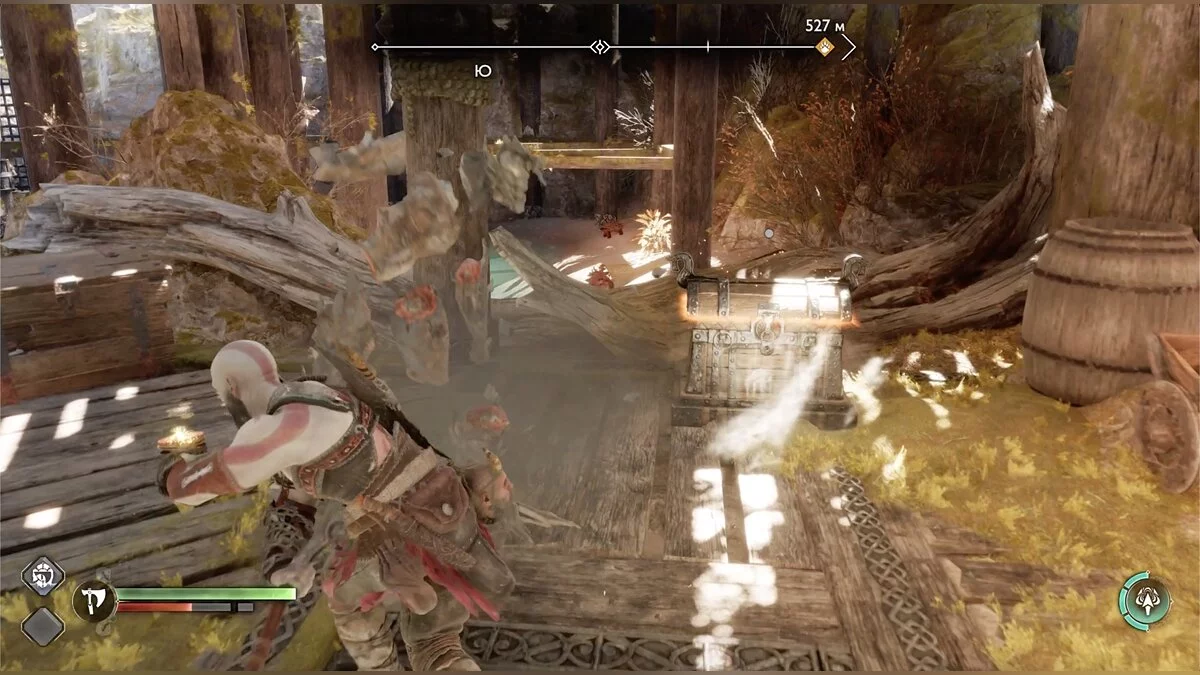
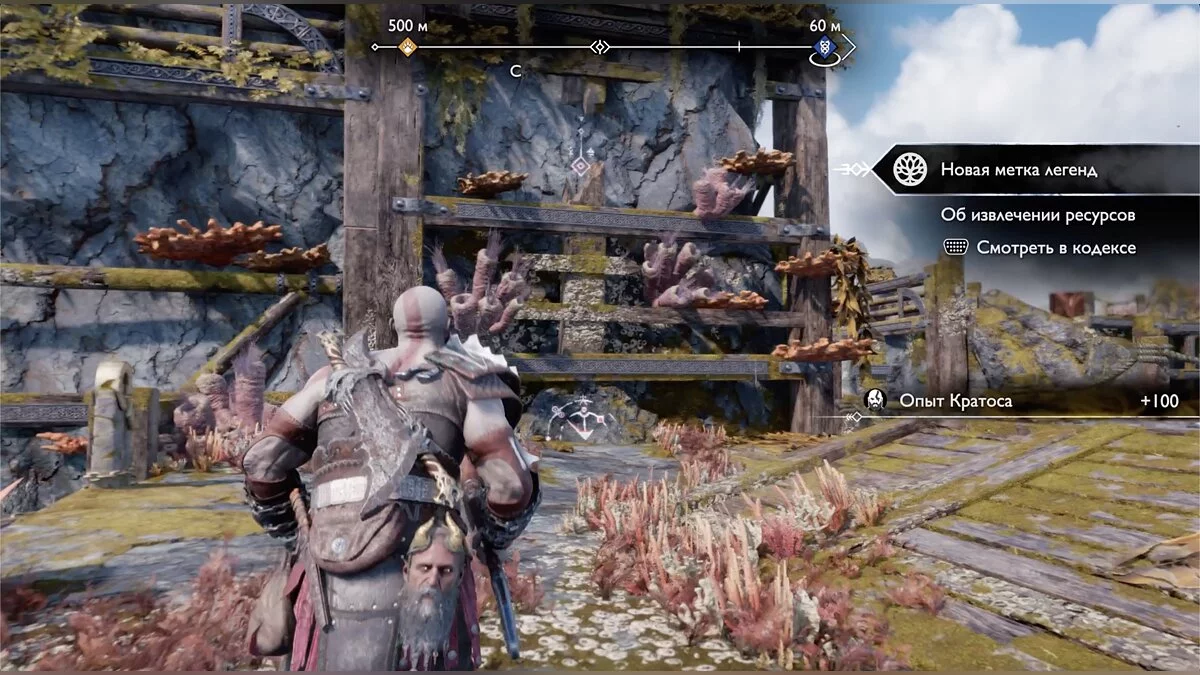
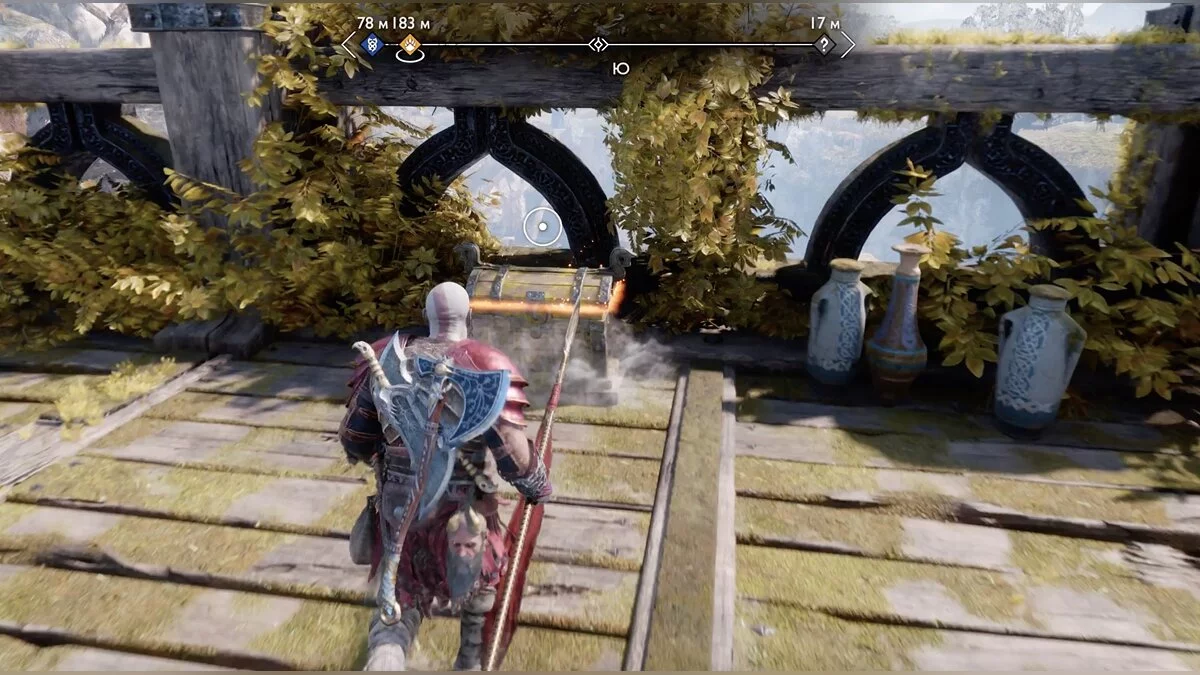
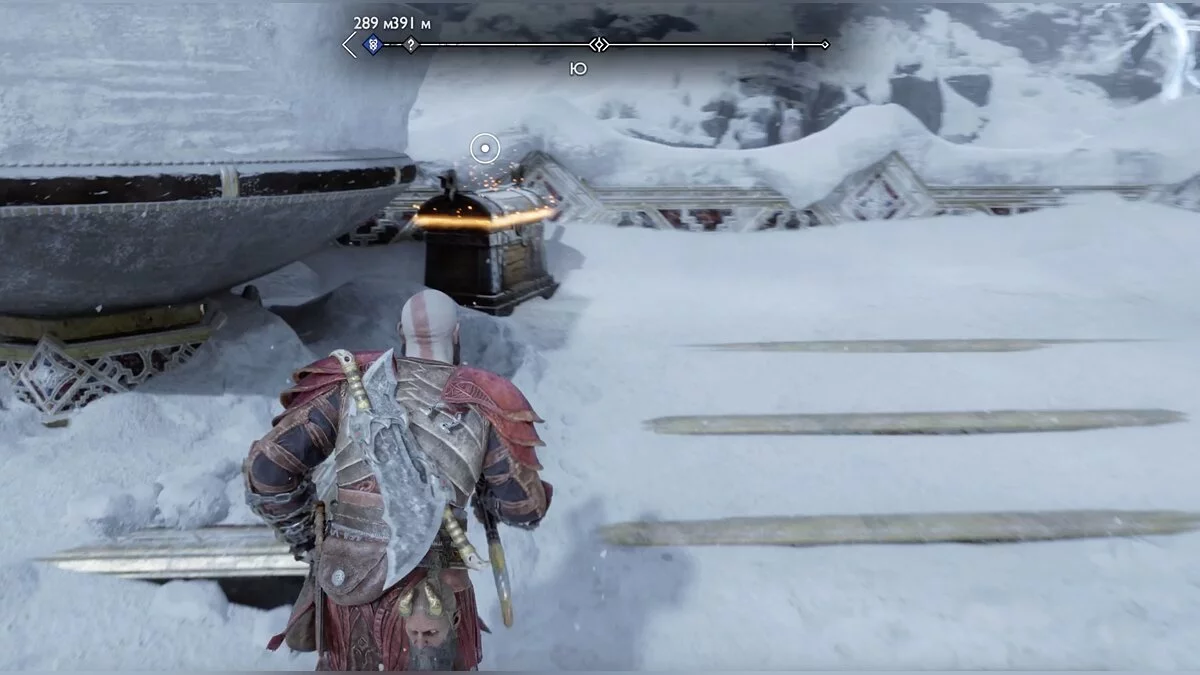
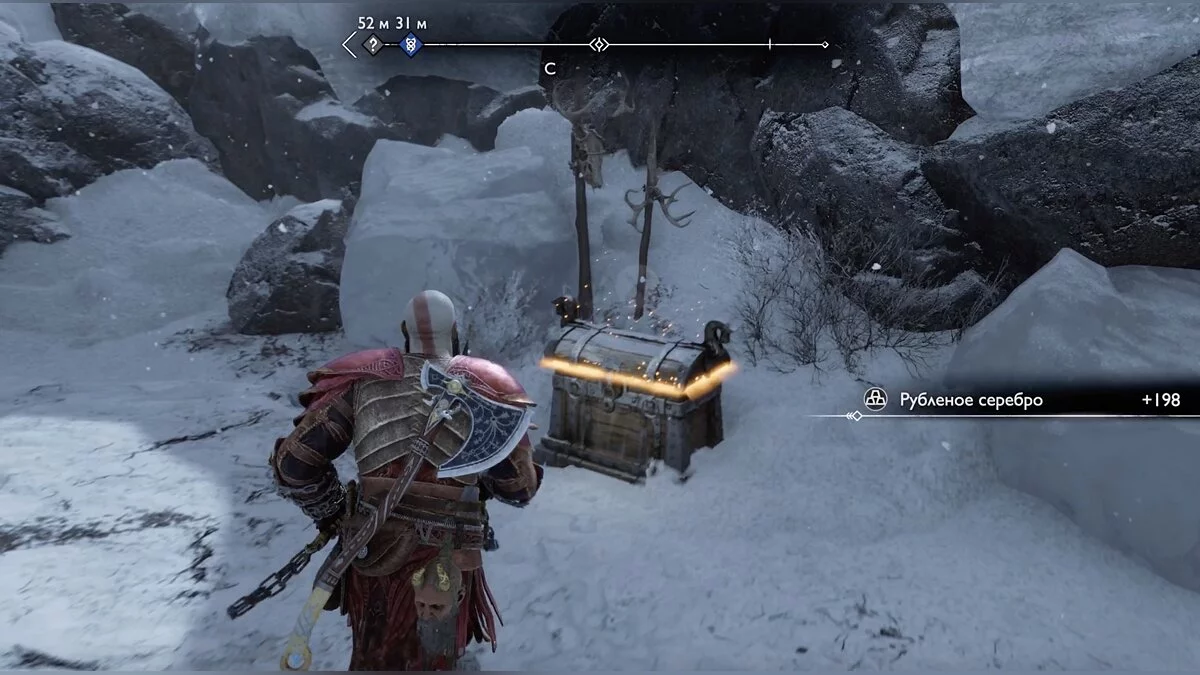
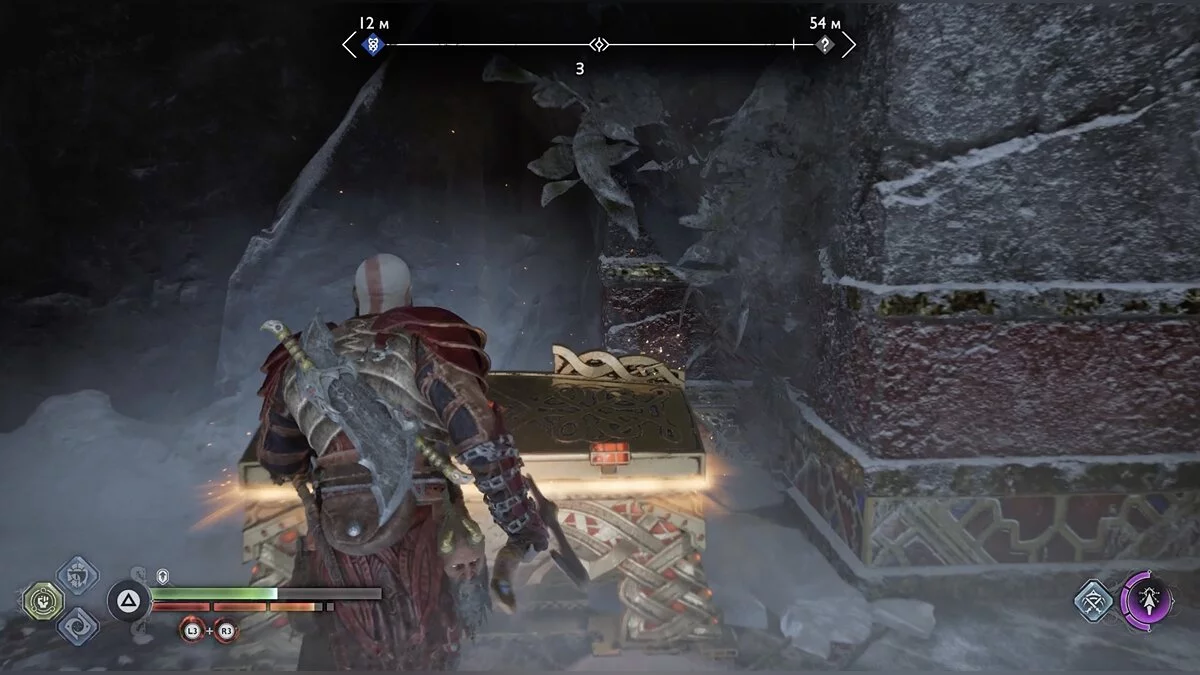
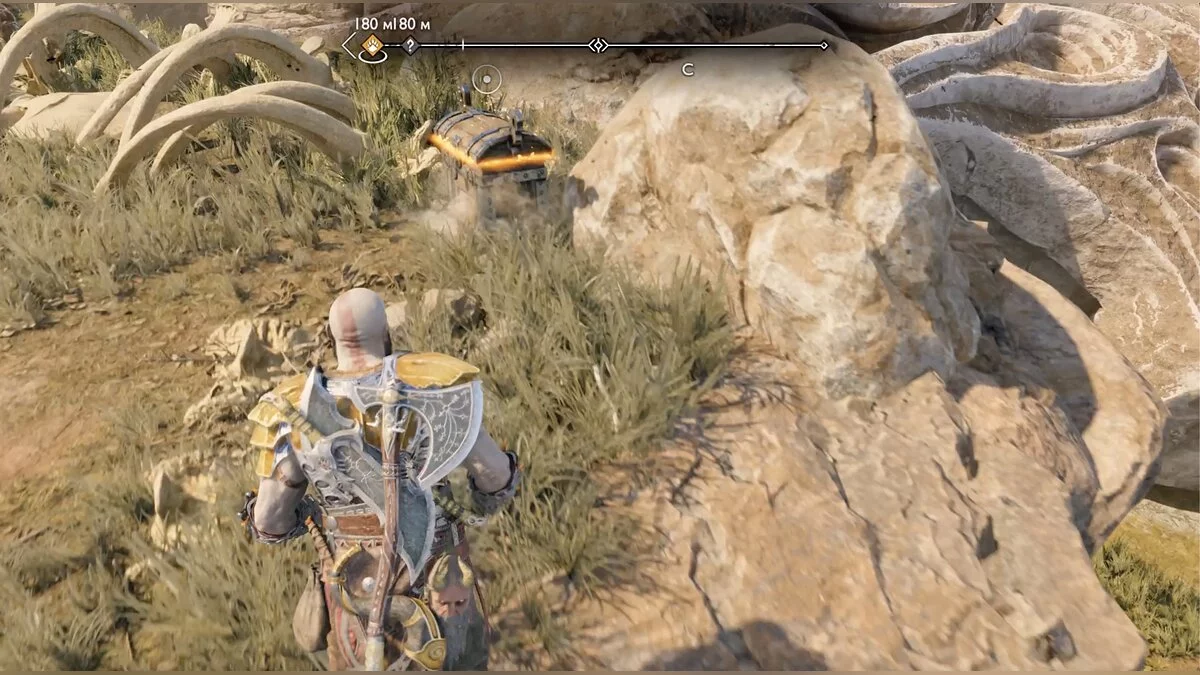
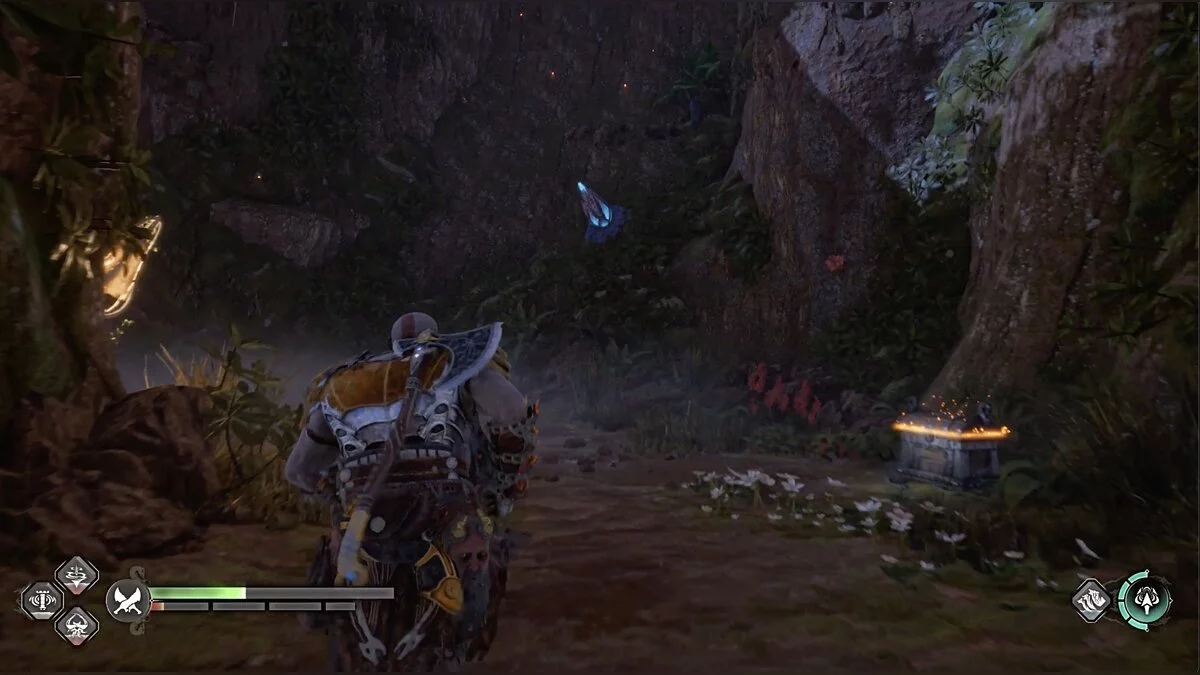
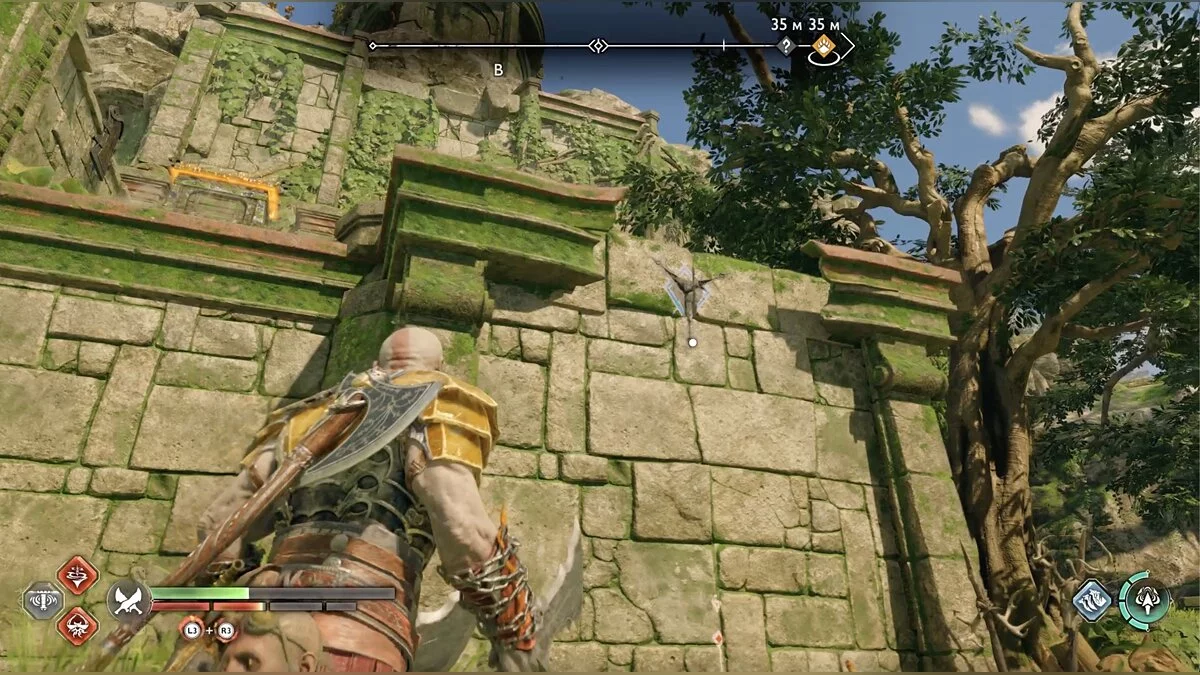
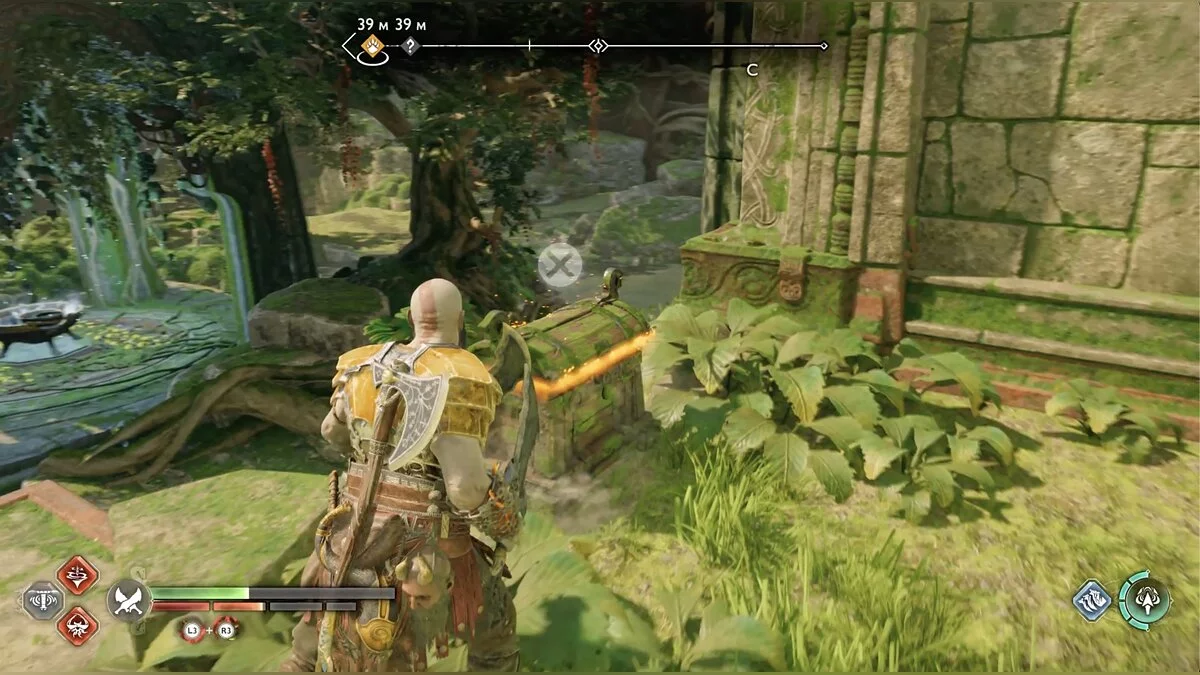
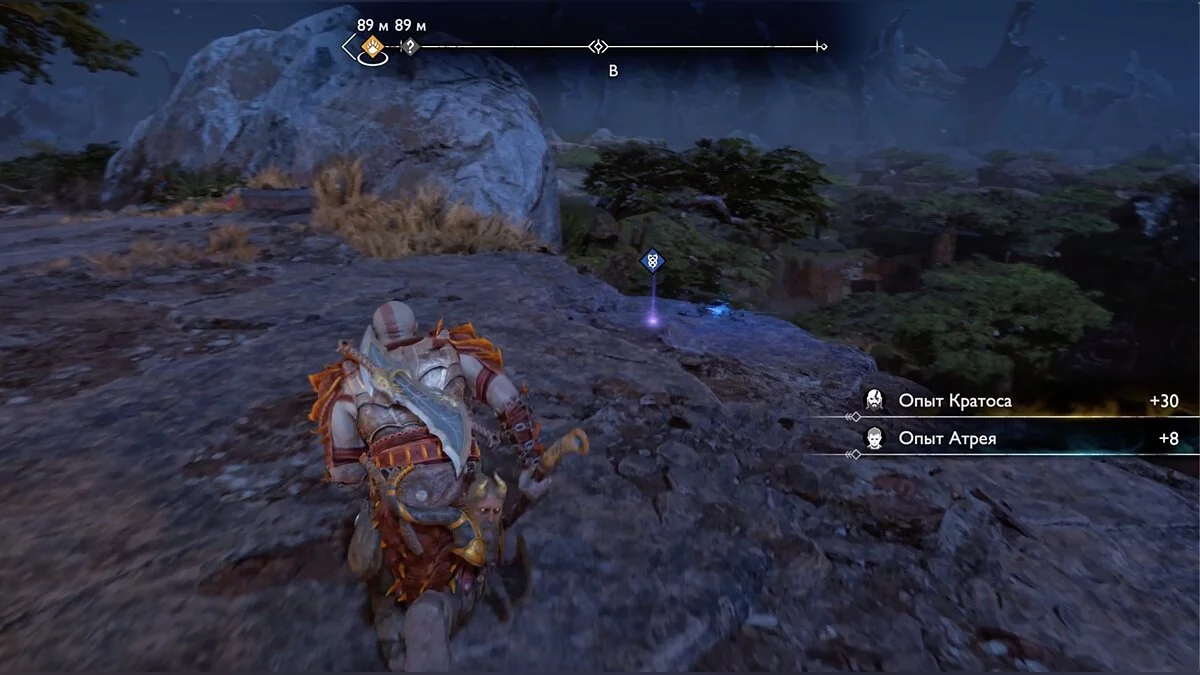
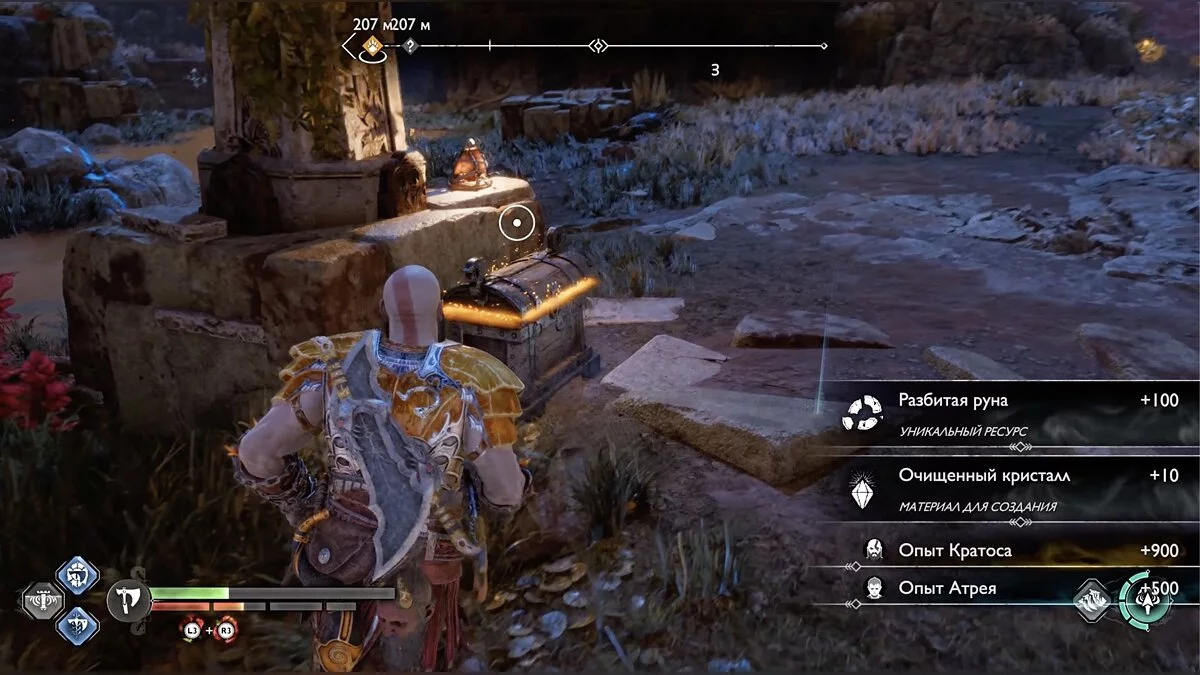
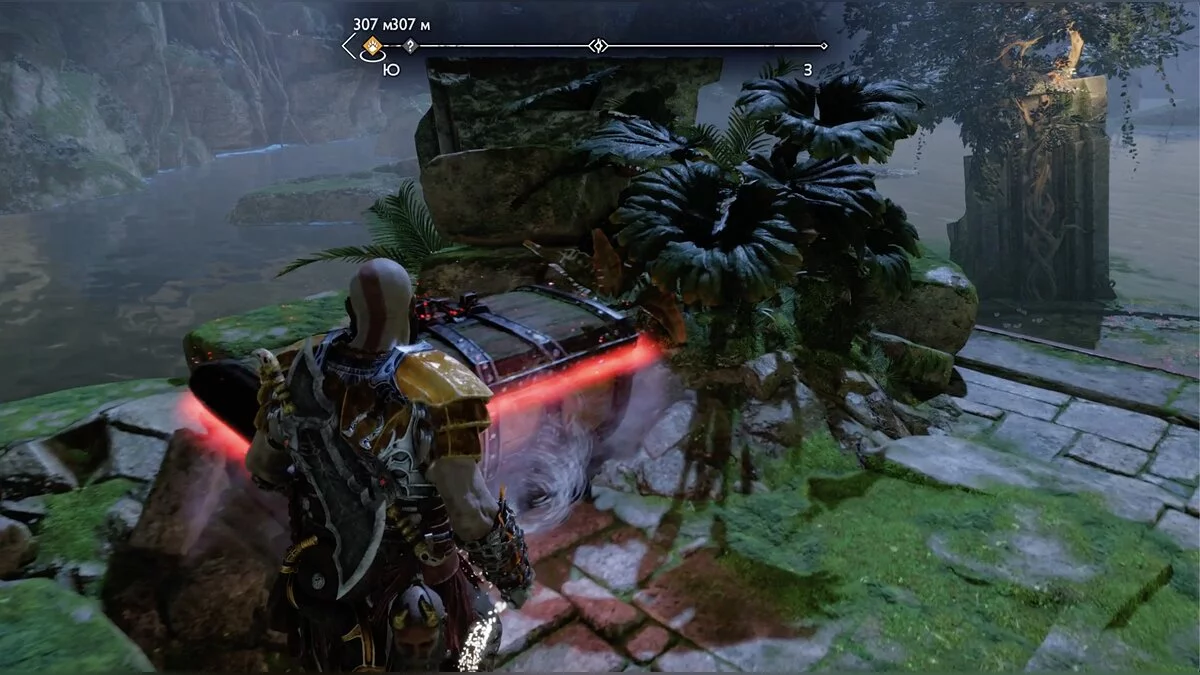
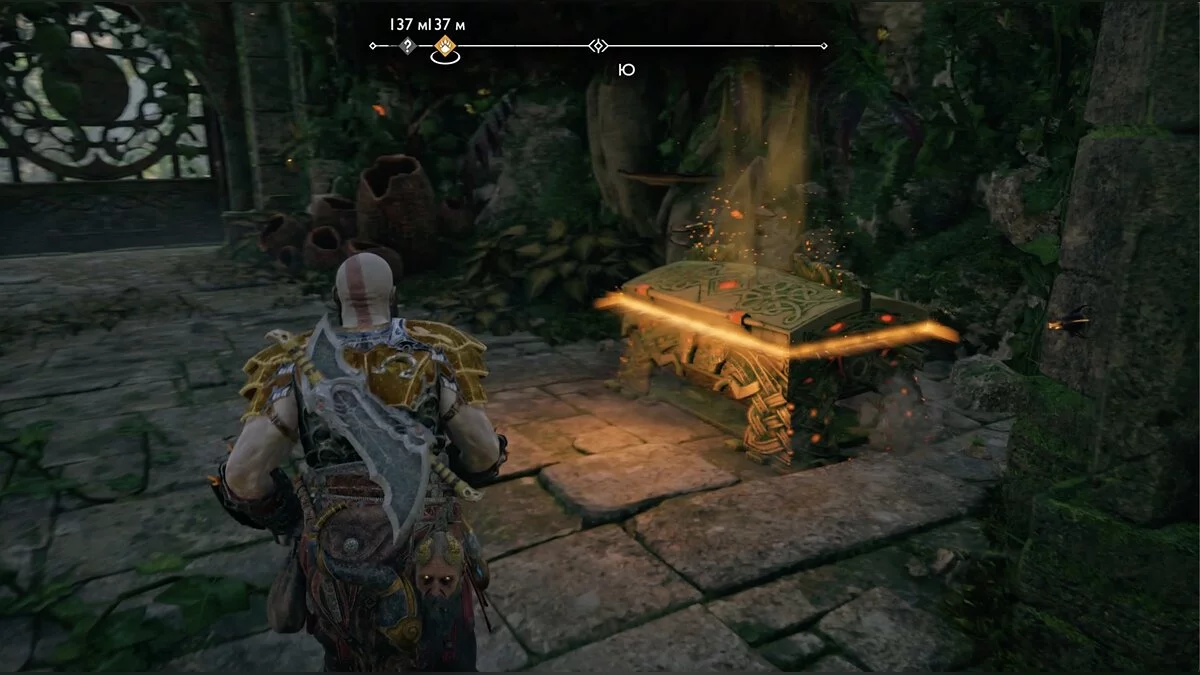
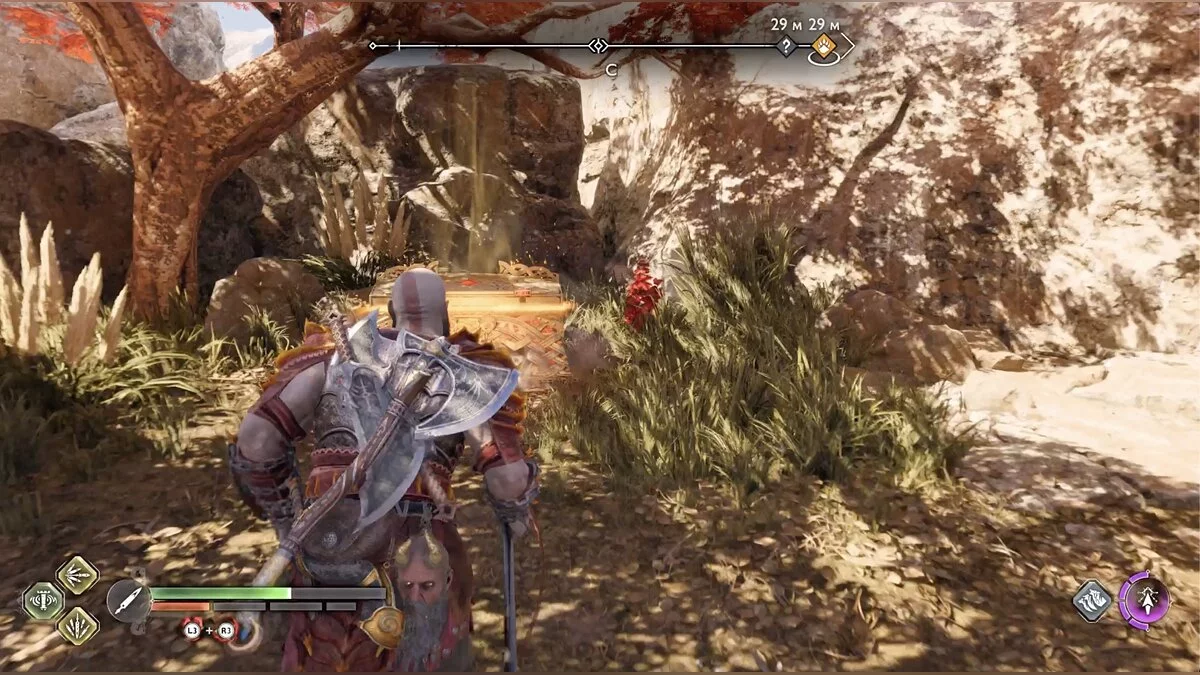
Open the large chest and destroy Odin's raven — this is necessary to complete the ongoing request Eyes of Odin. There are a total of 48 birds, and you will have to look for them in the most secluded places.
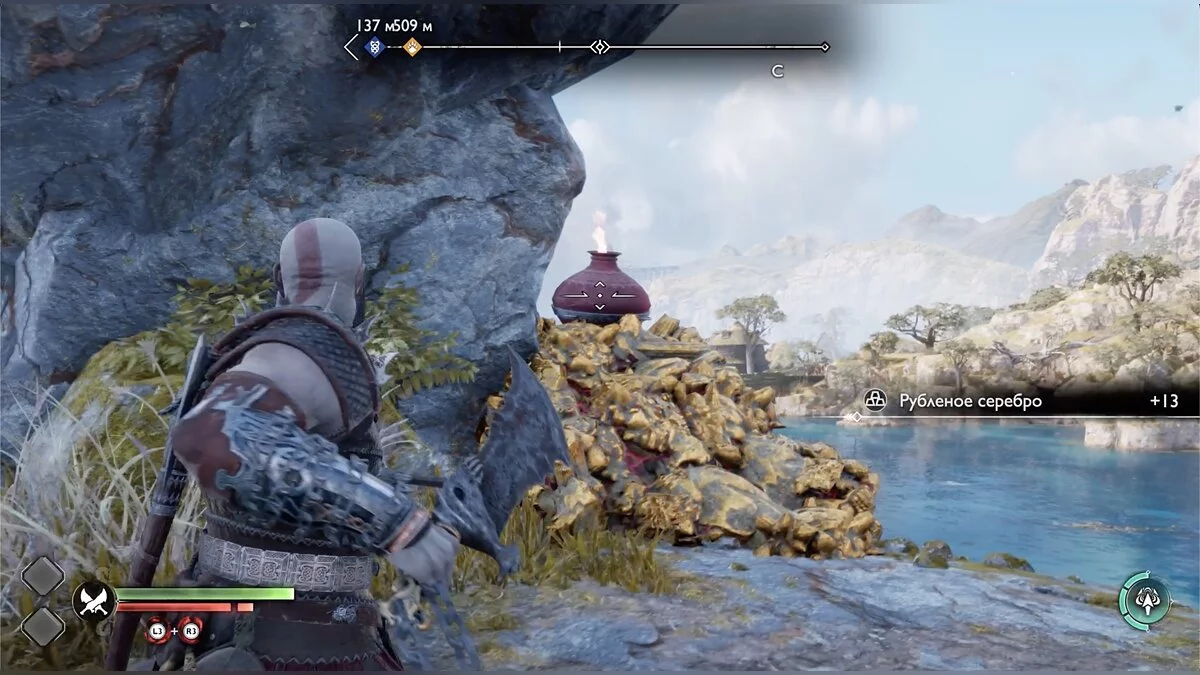
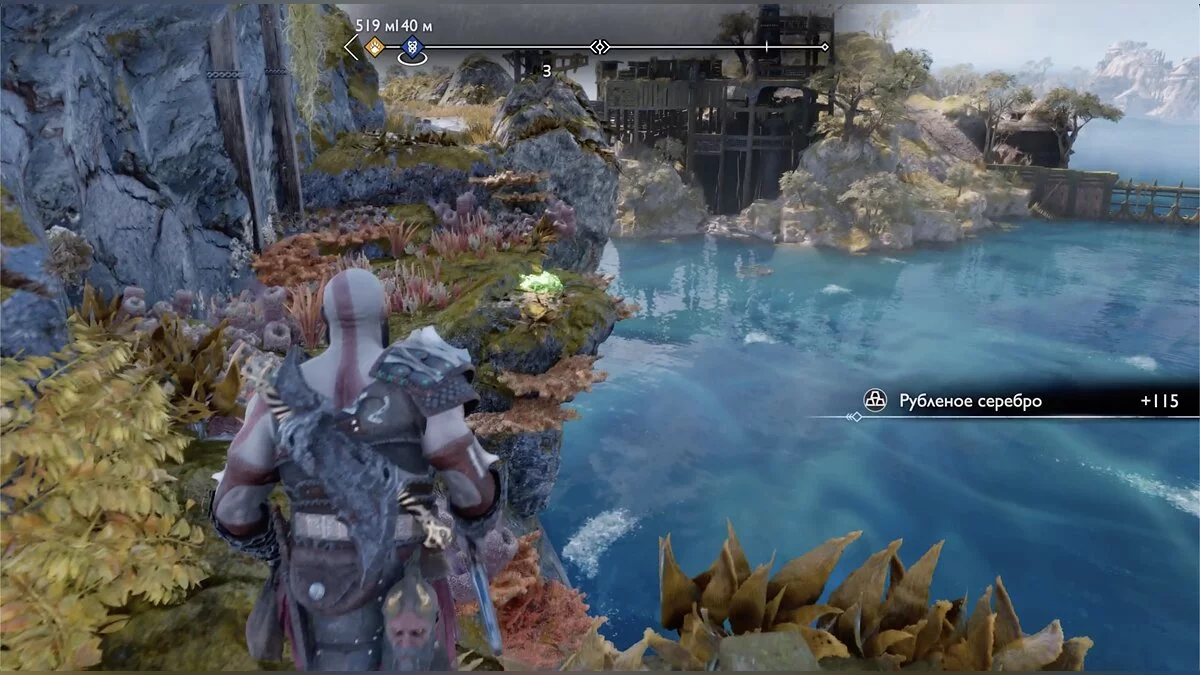
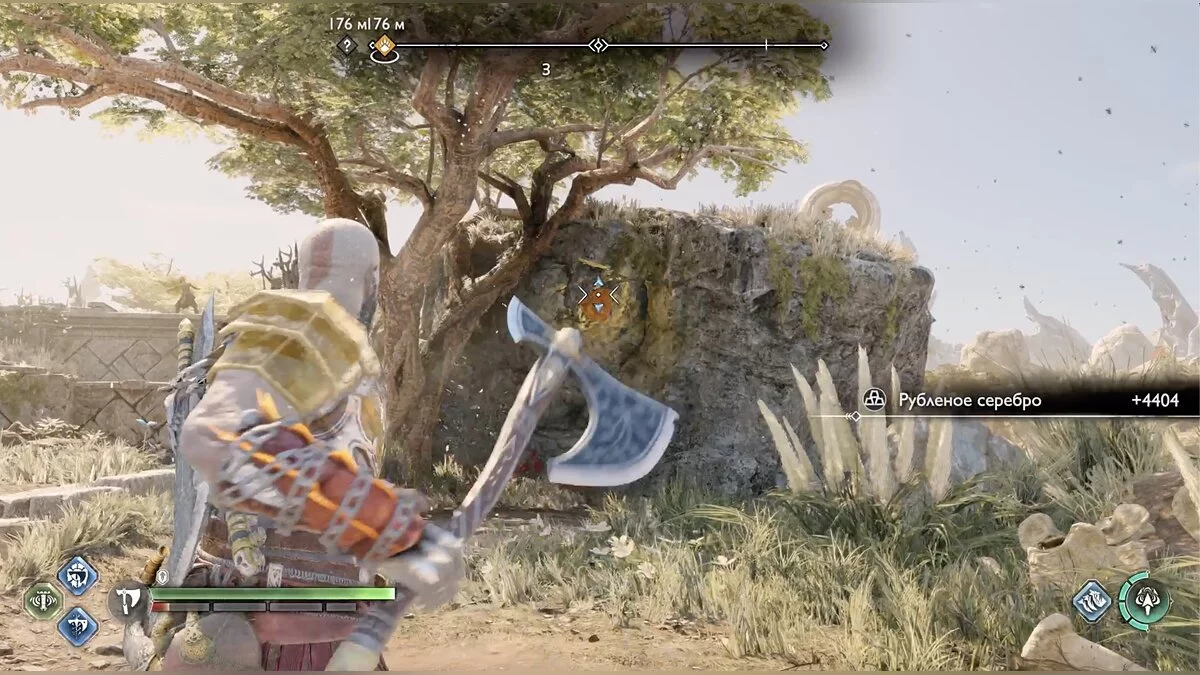
Return to Sindri and go to the right from where you landed. On the way, collect the hacked silver. Climb up to the drilling machine and fight the frogs and nightmares — flying eyes.
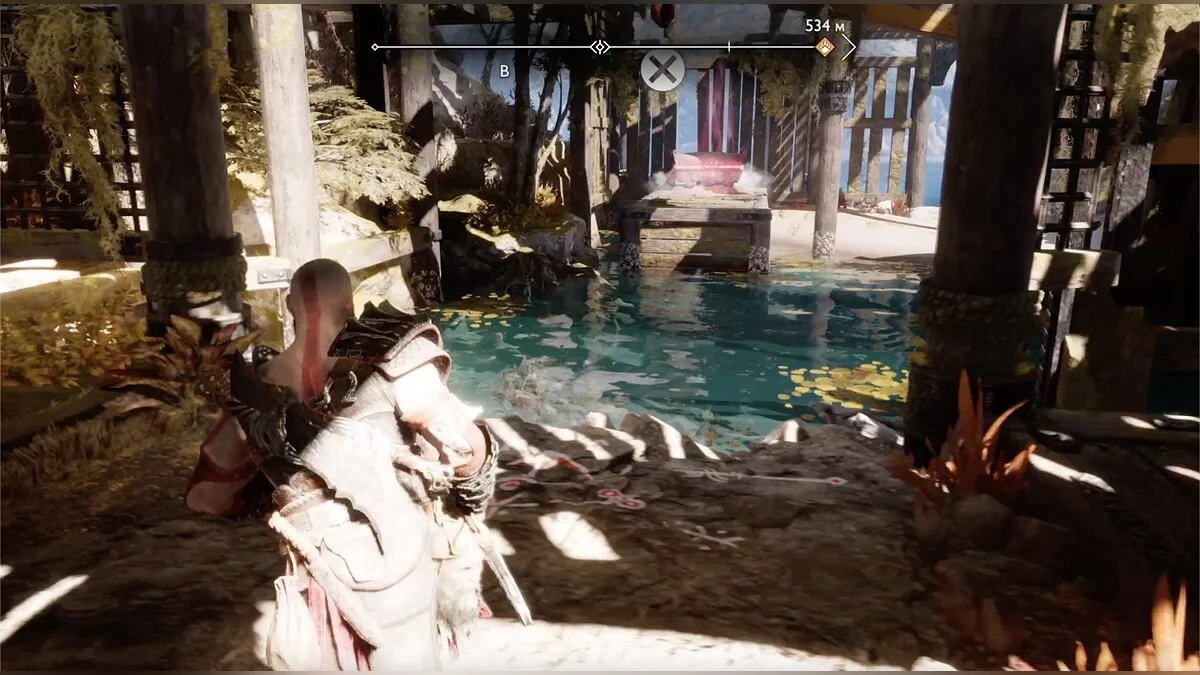
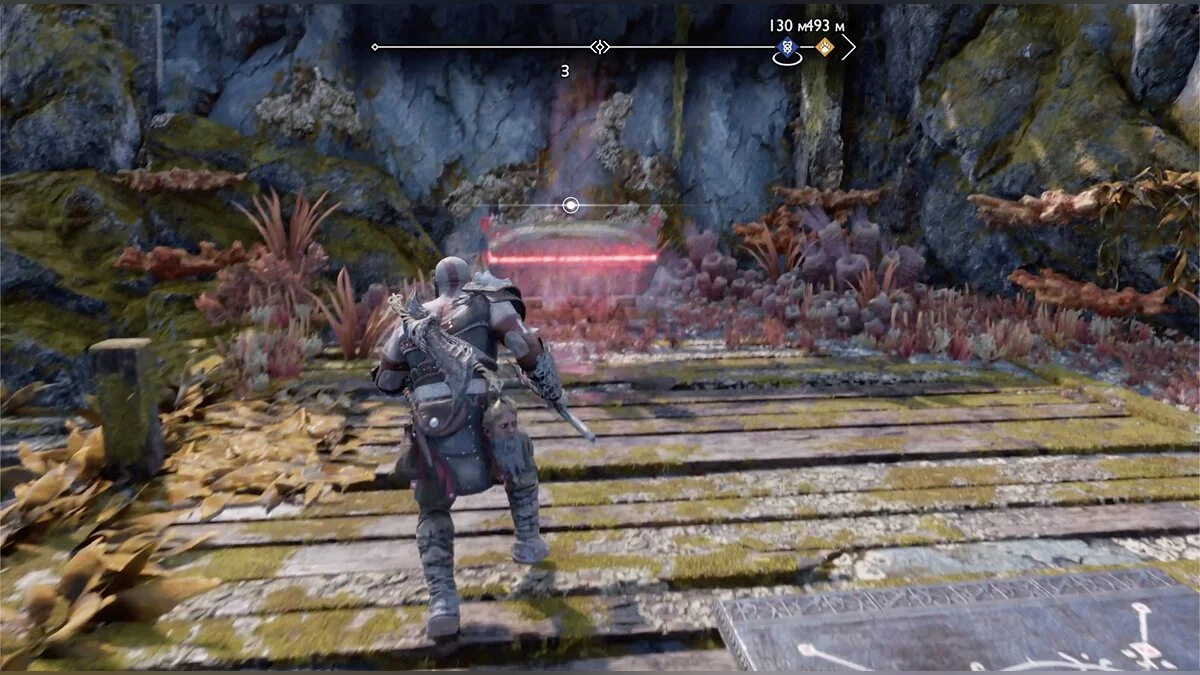
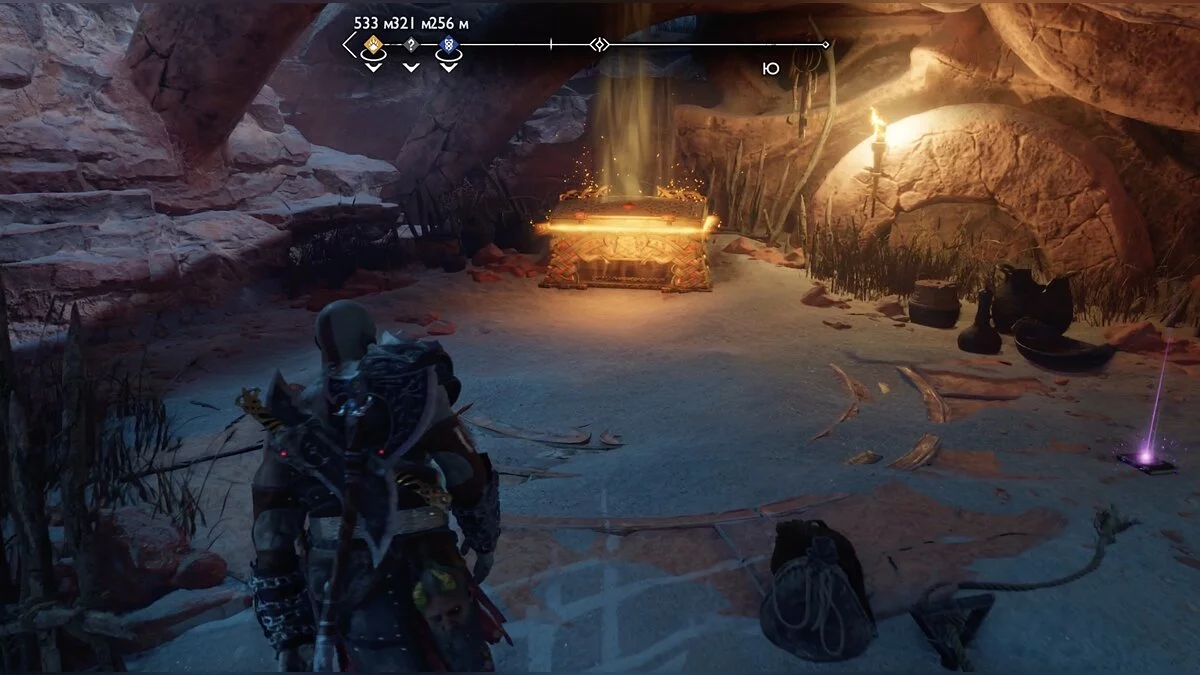
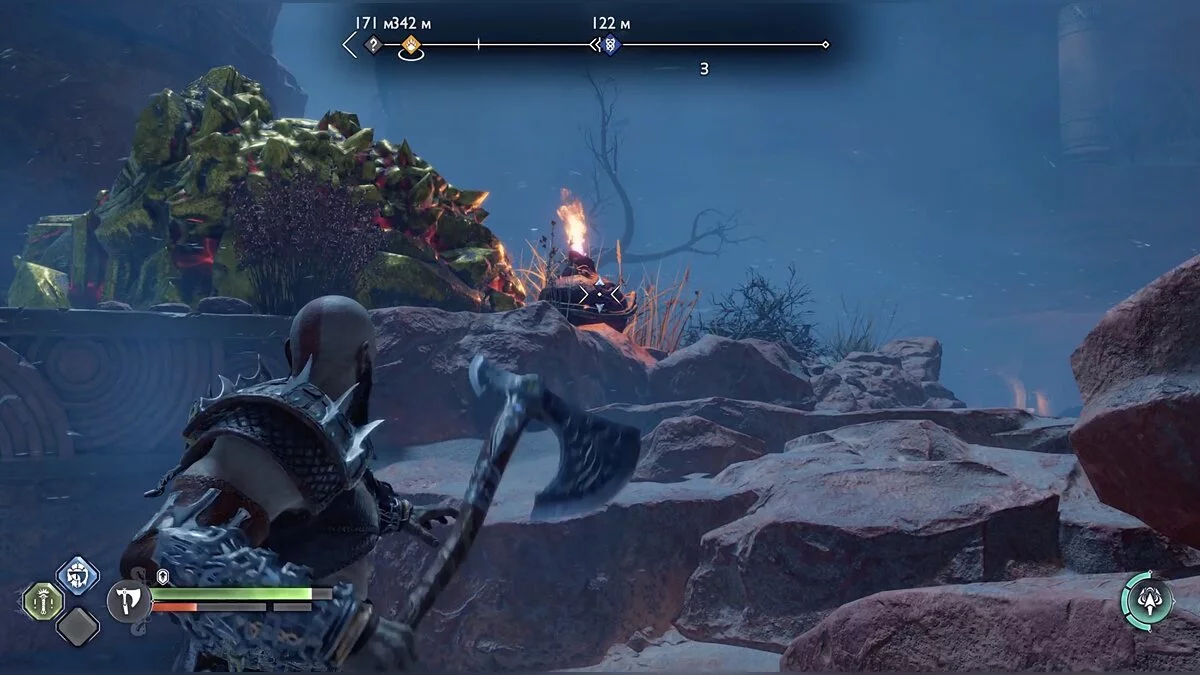
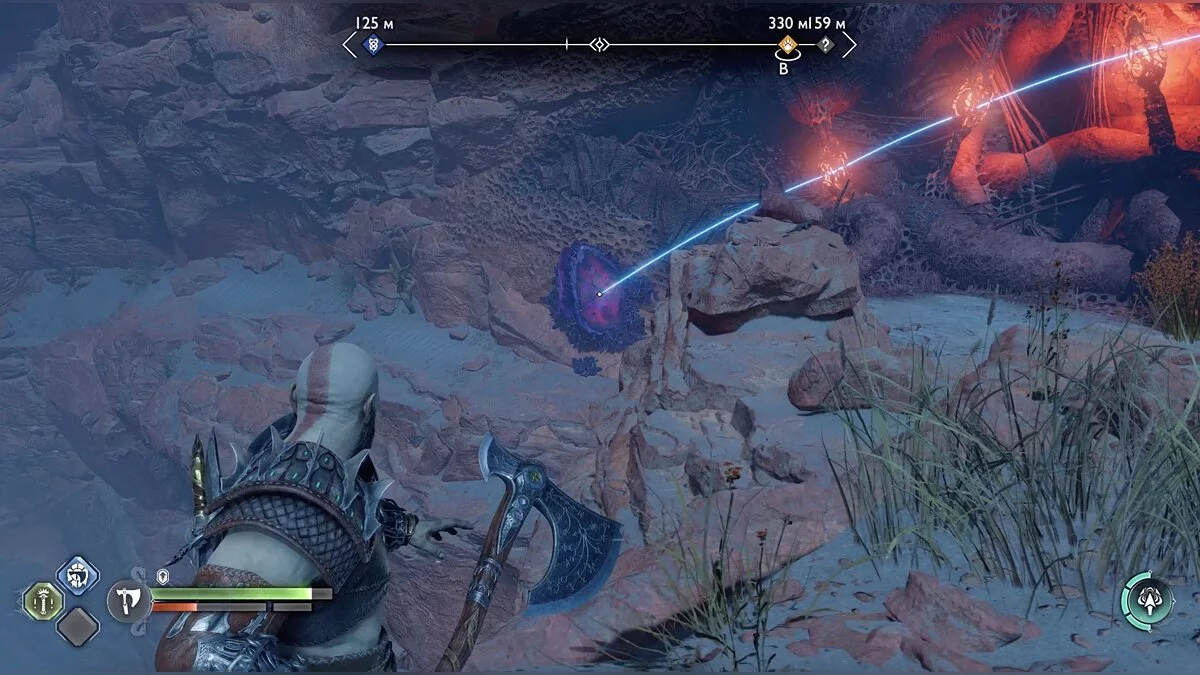
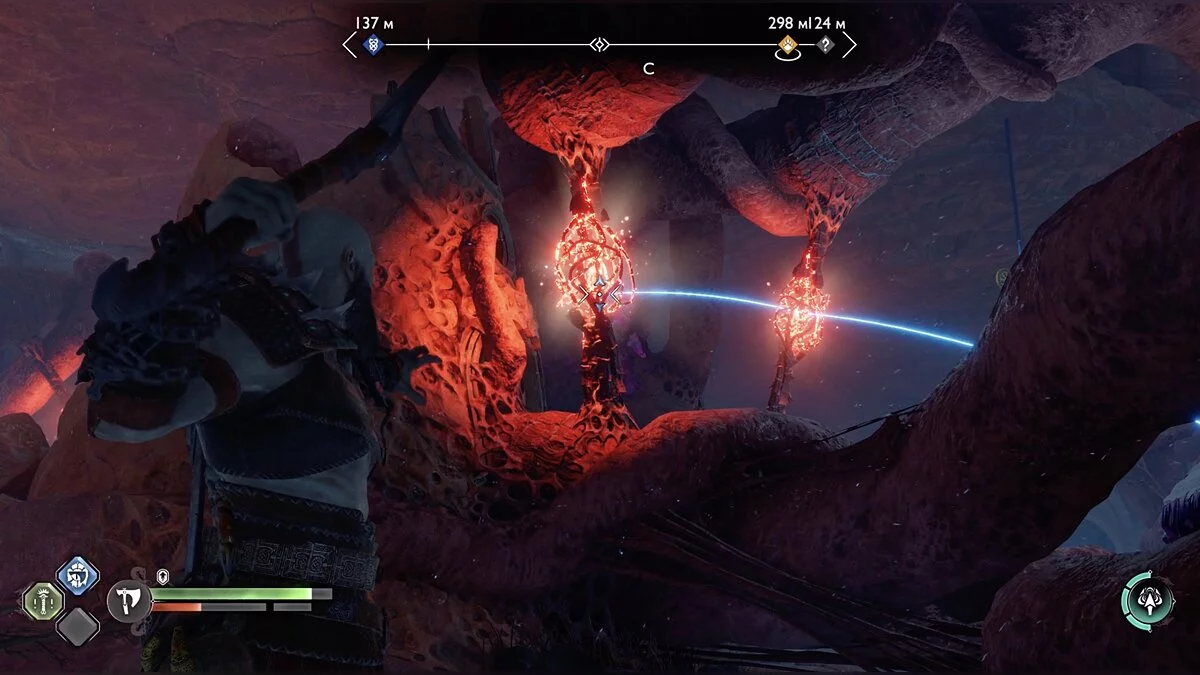
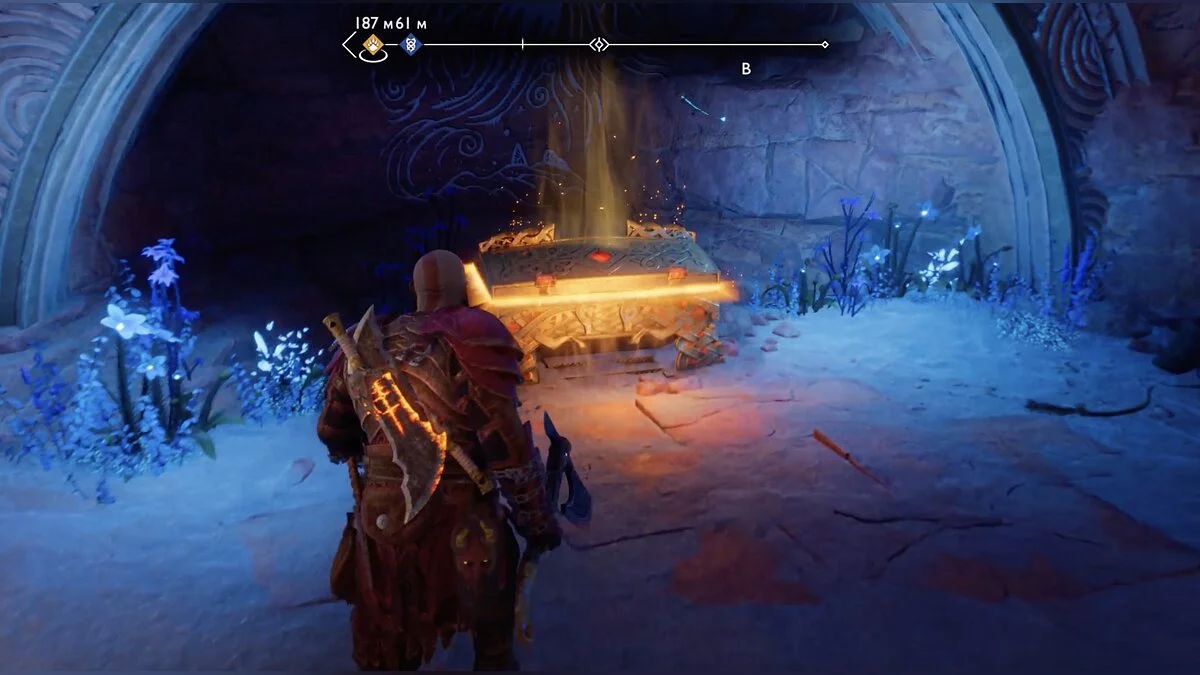
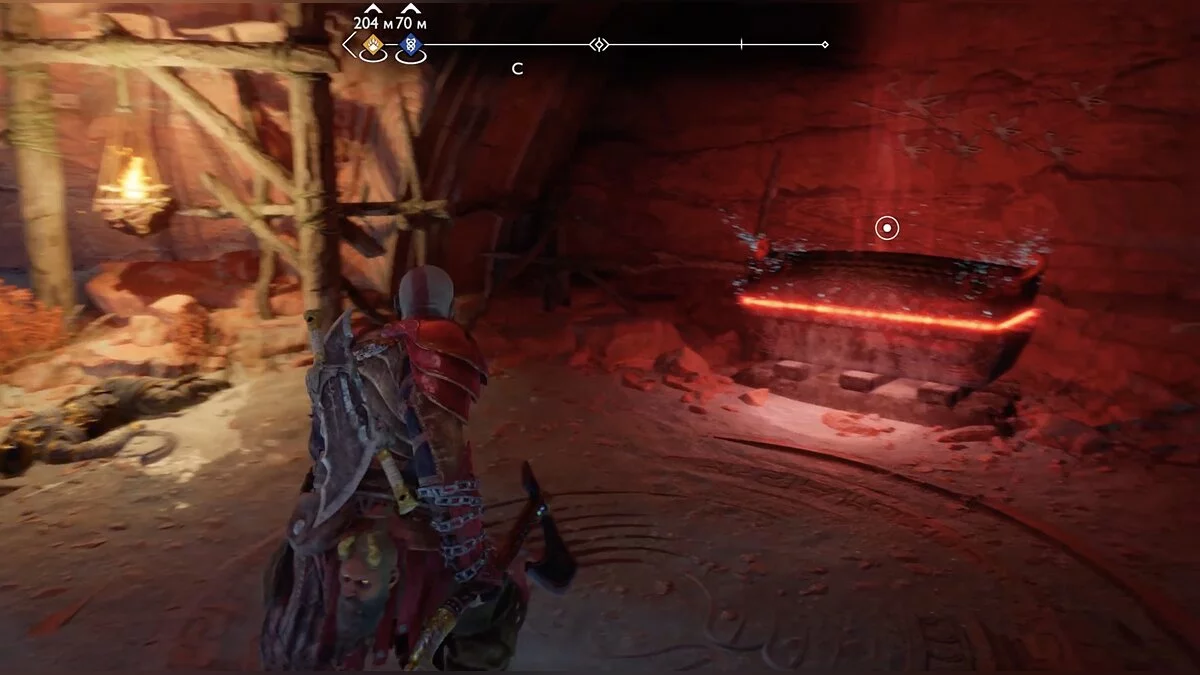
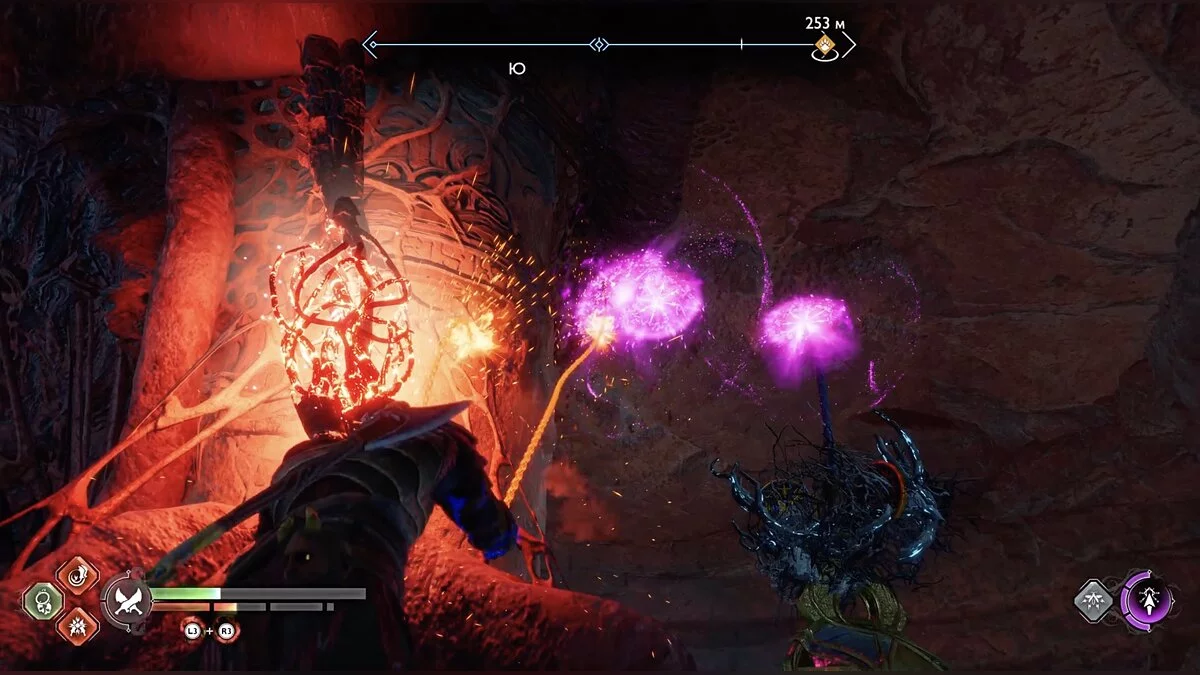
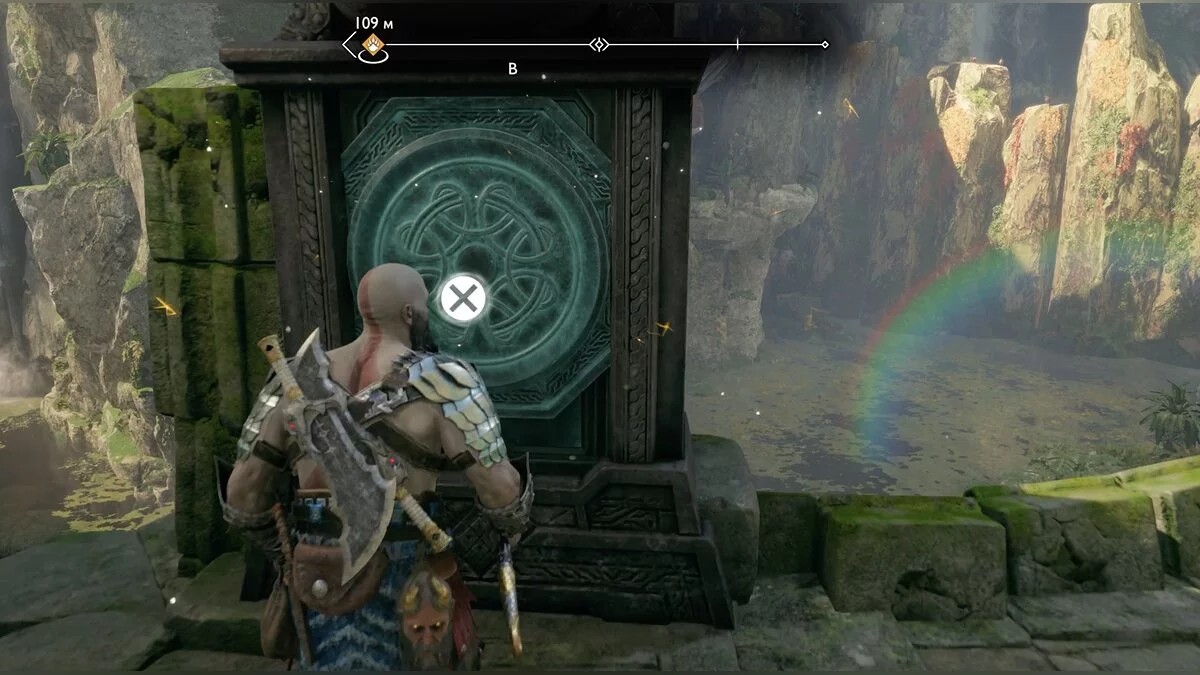
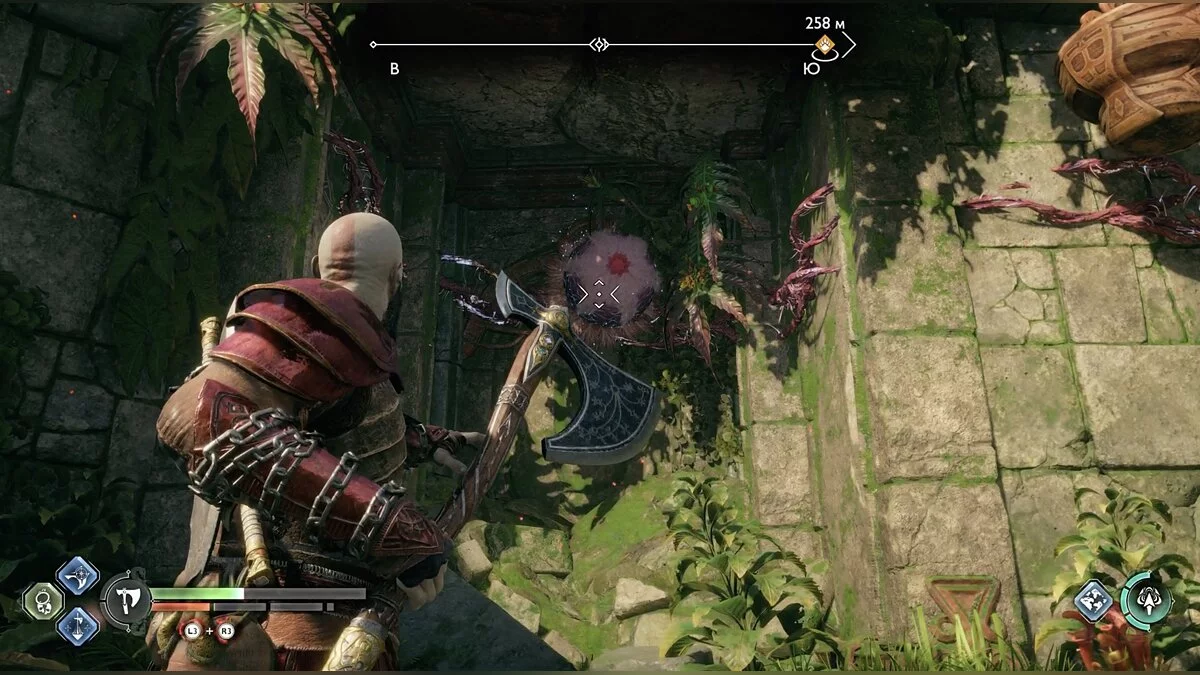
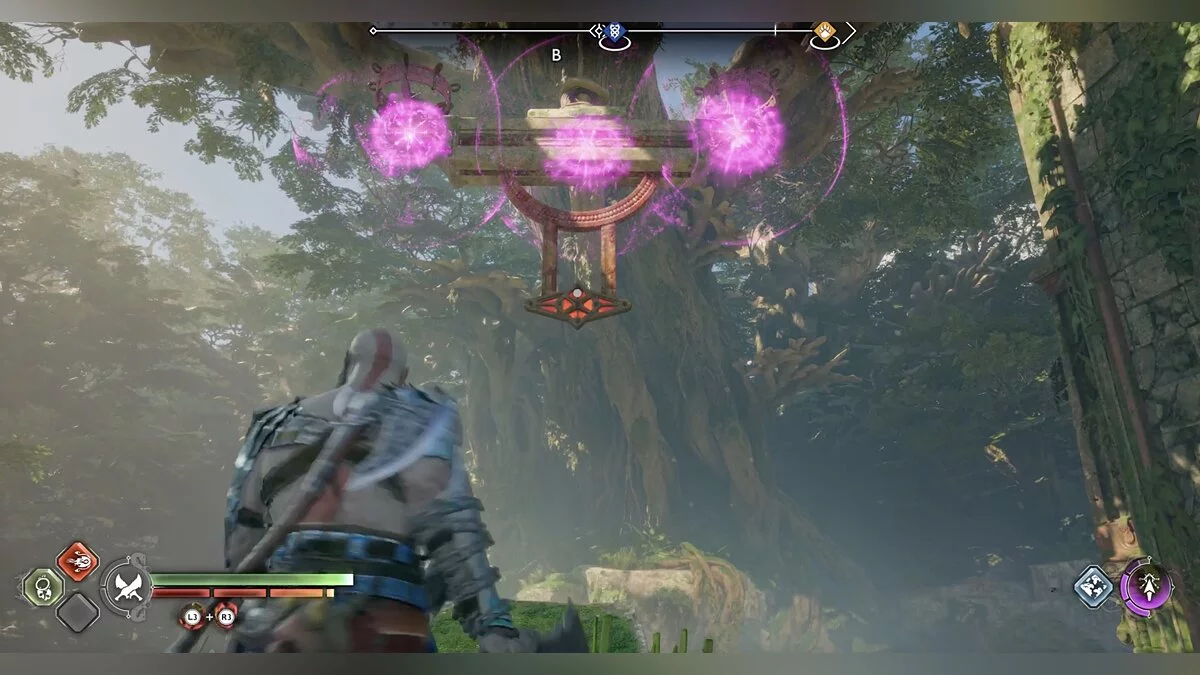
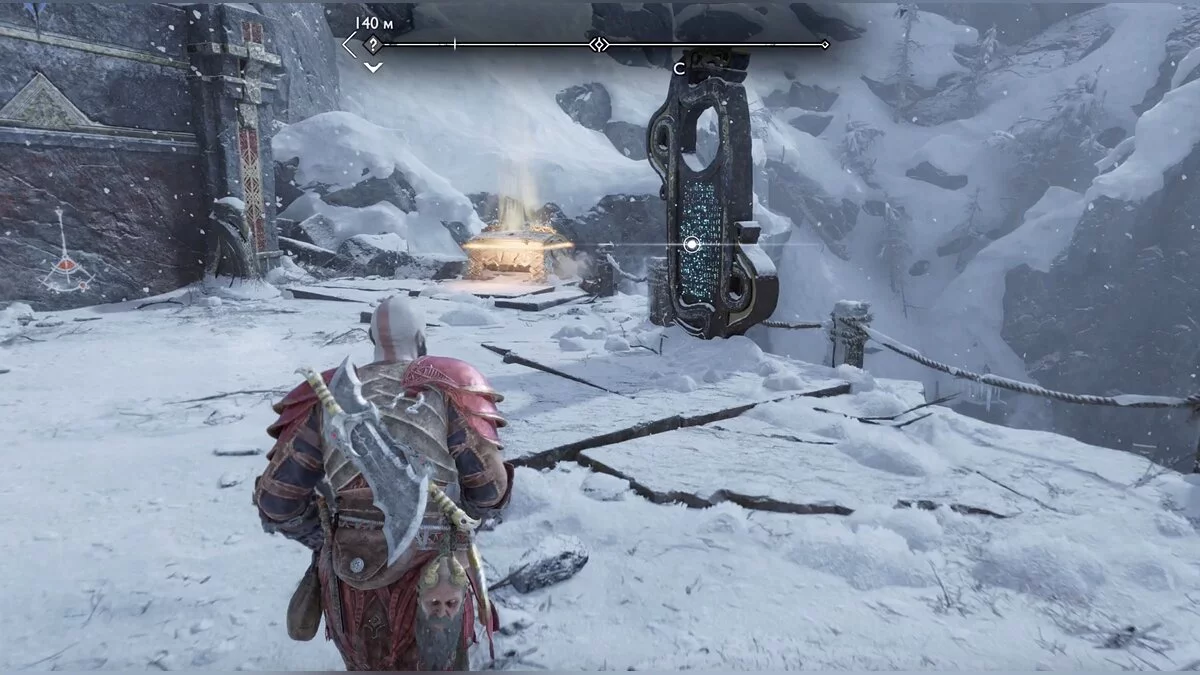
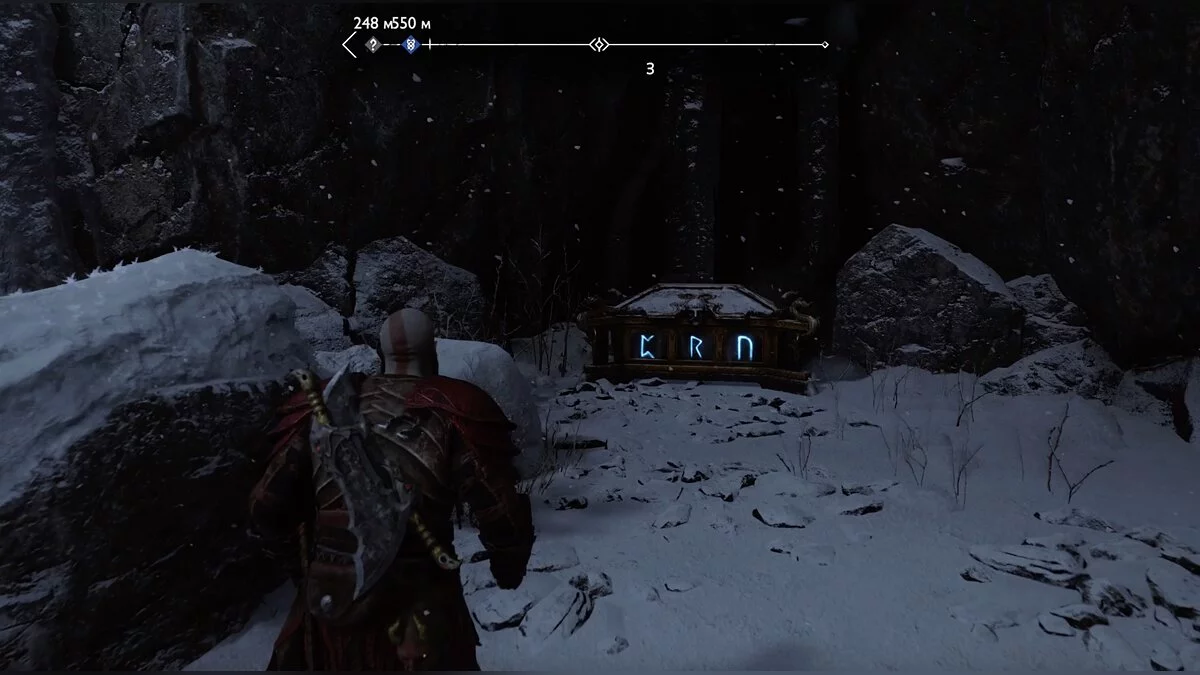
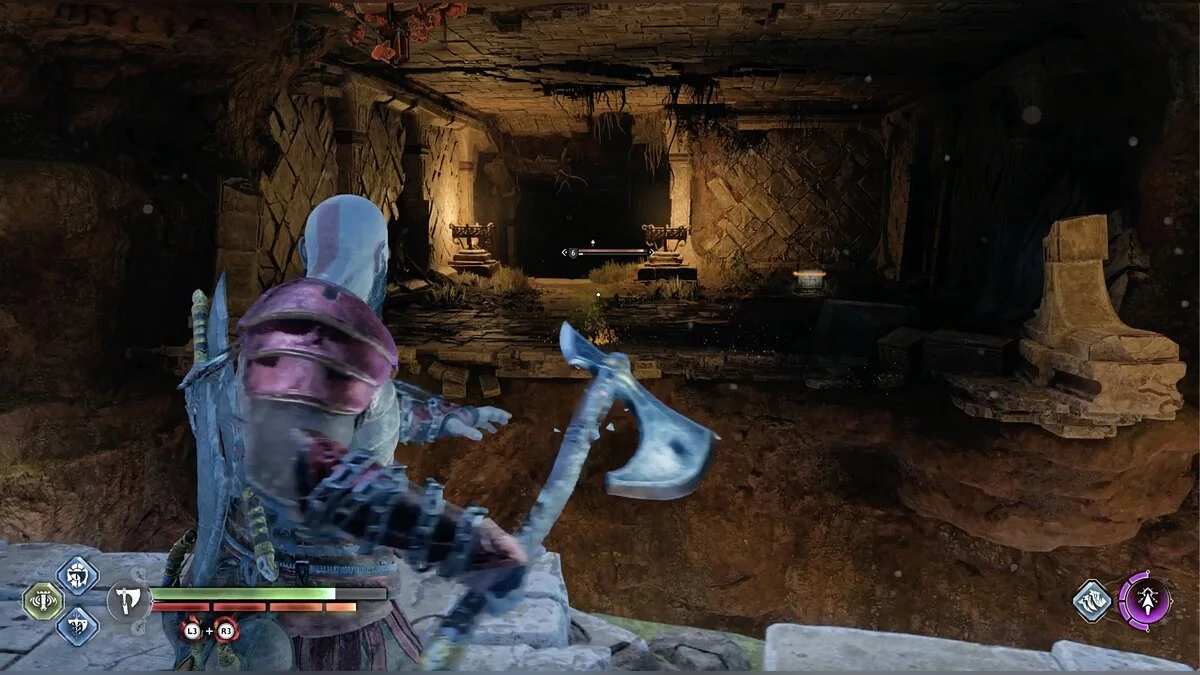
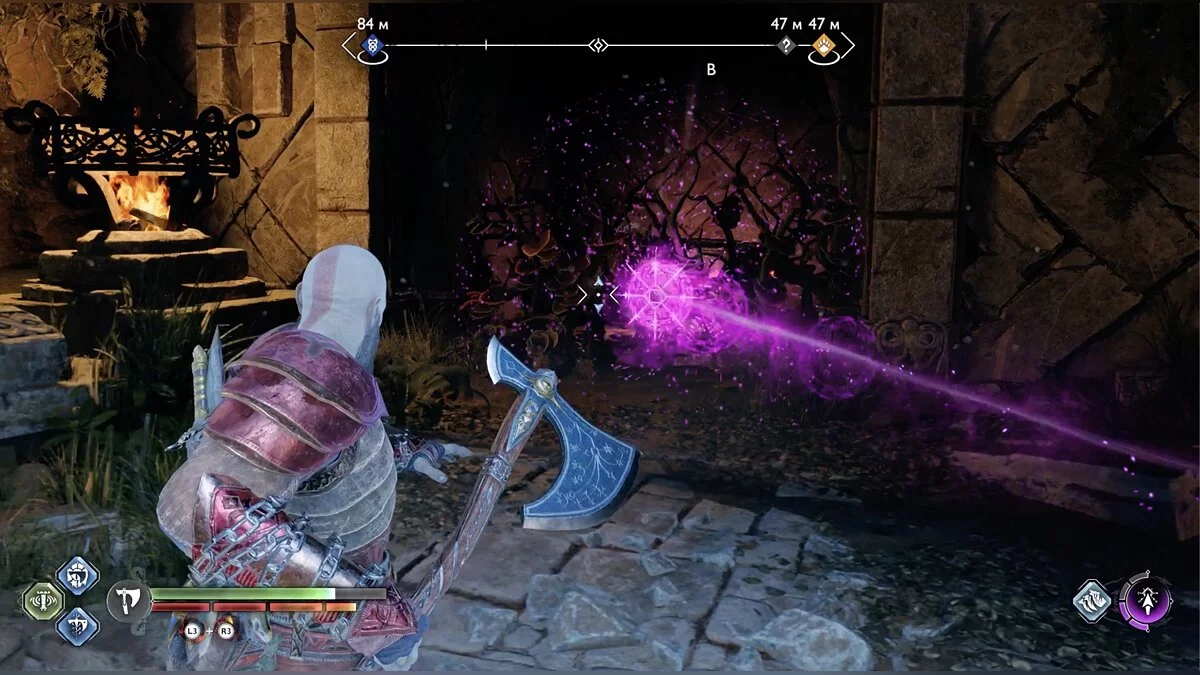
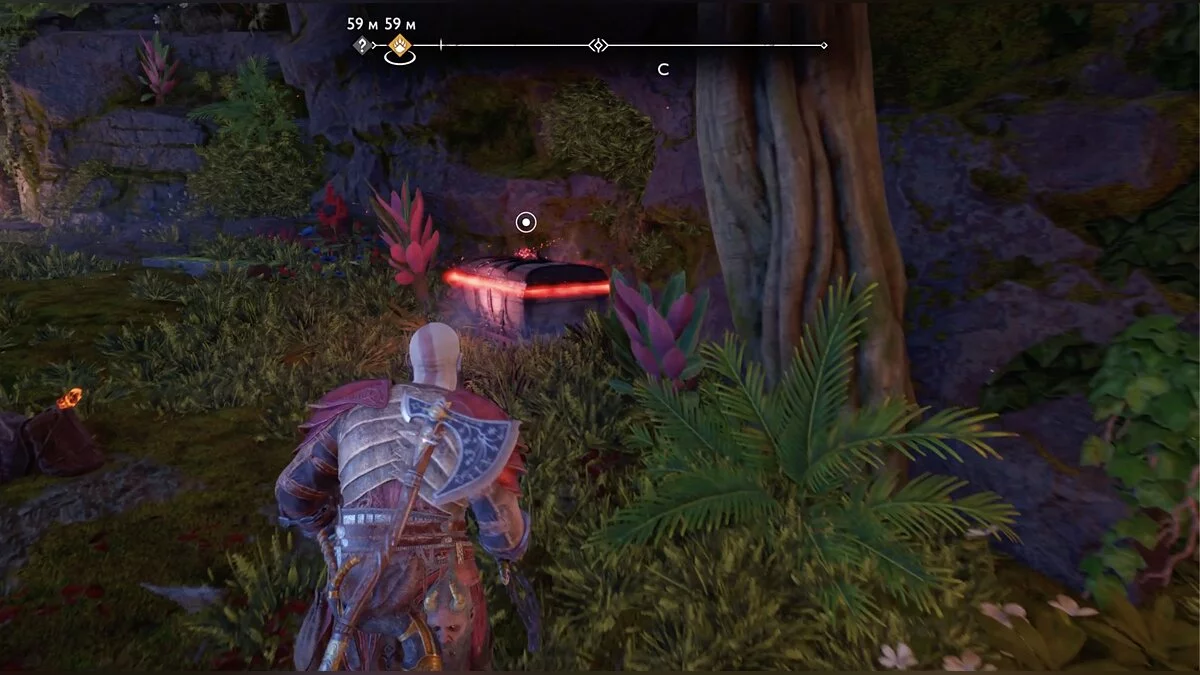
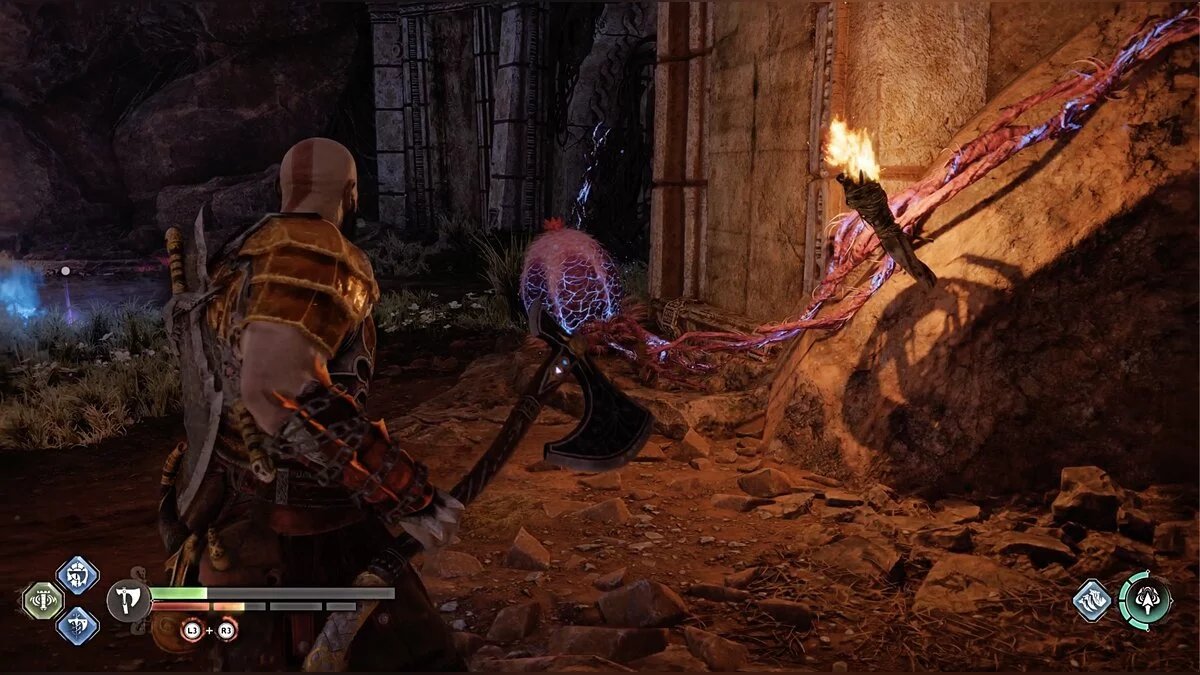
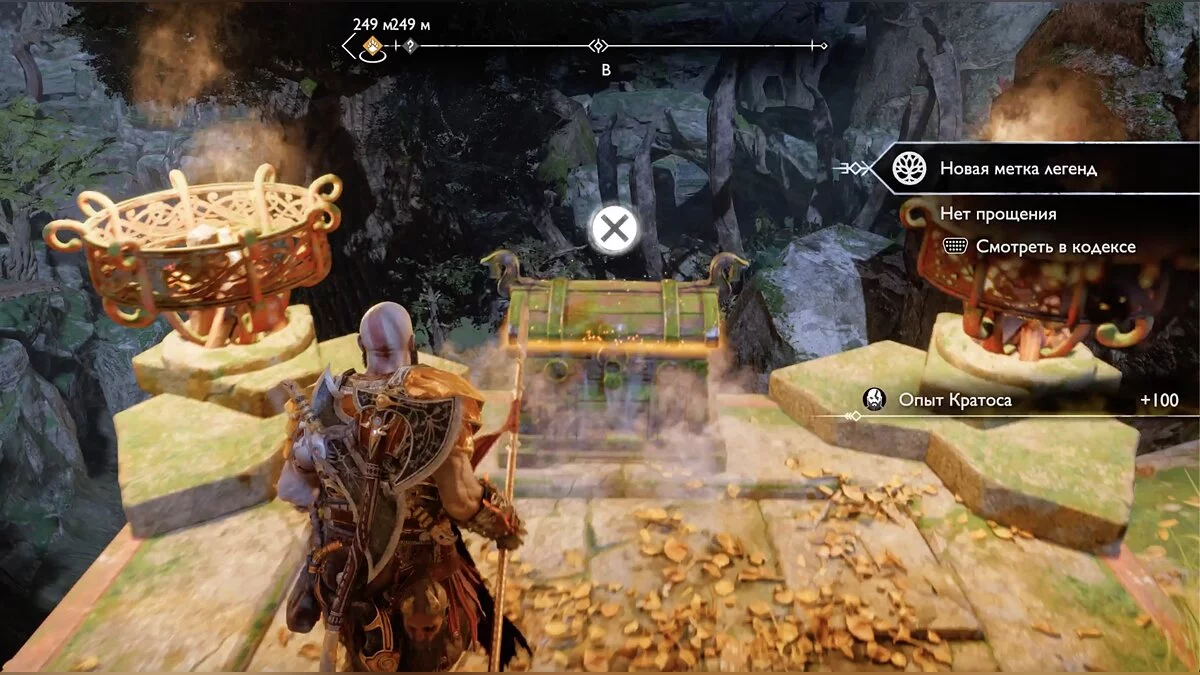
Inspect the arena — there is a Nornir chest. To open it, you will have to light three runic braziers. The first one will be behind the grate to the right of the entrance to the arena. Climb higher and throw the axe at the explosive red vessel next to the brazier.
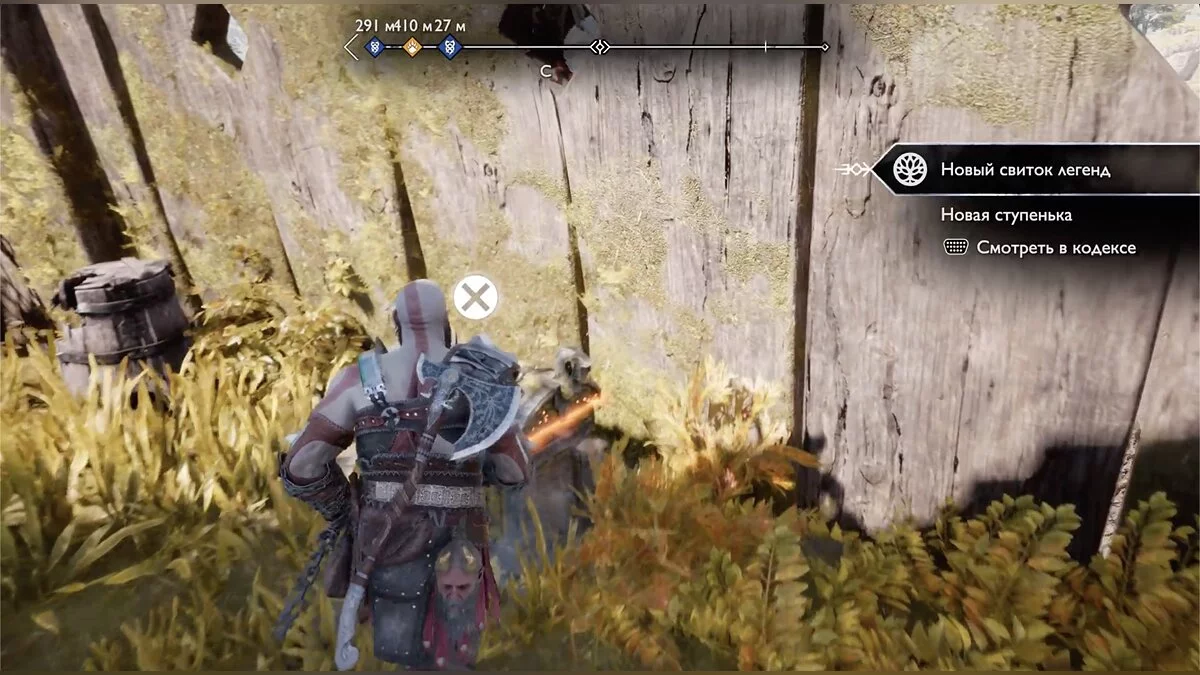
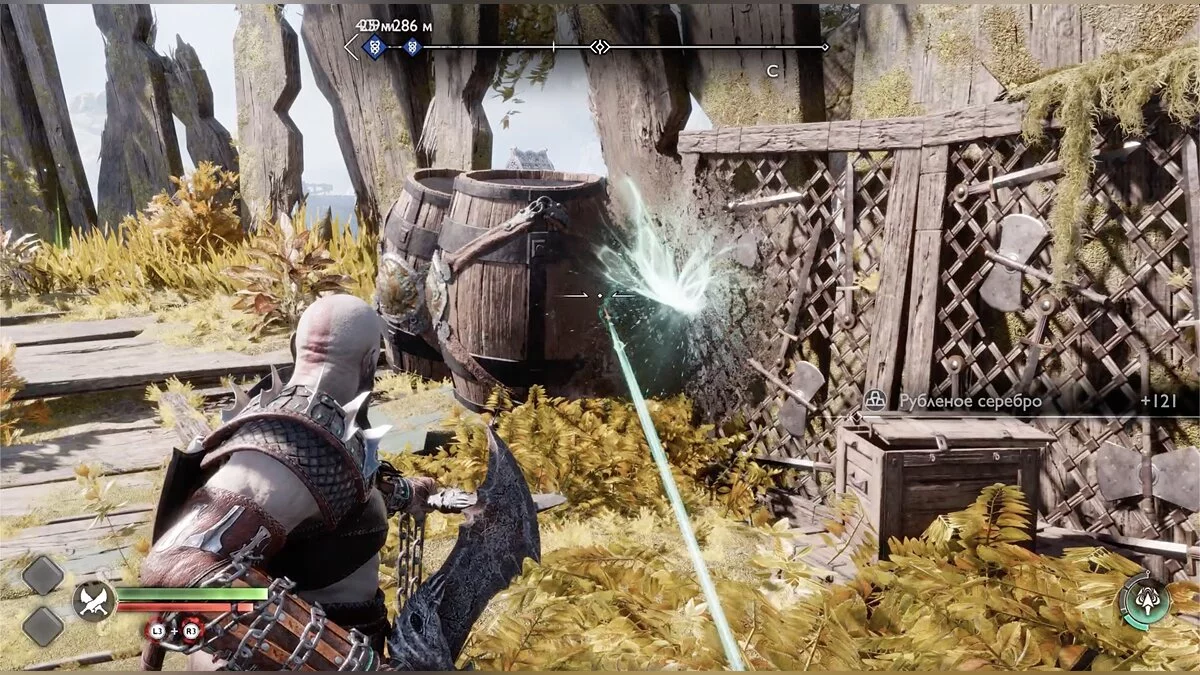
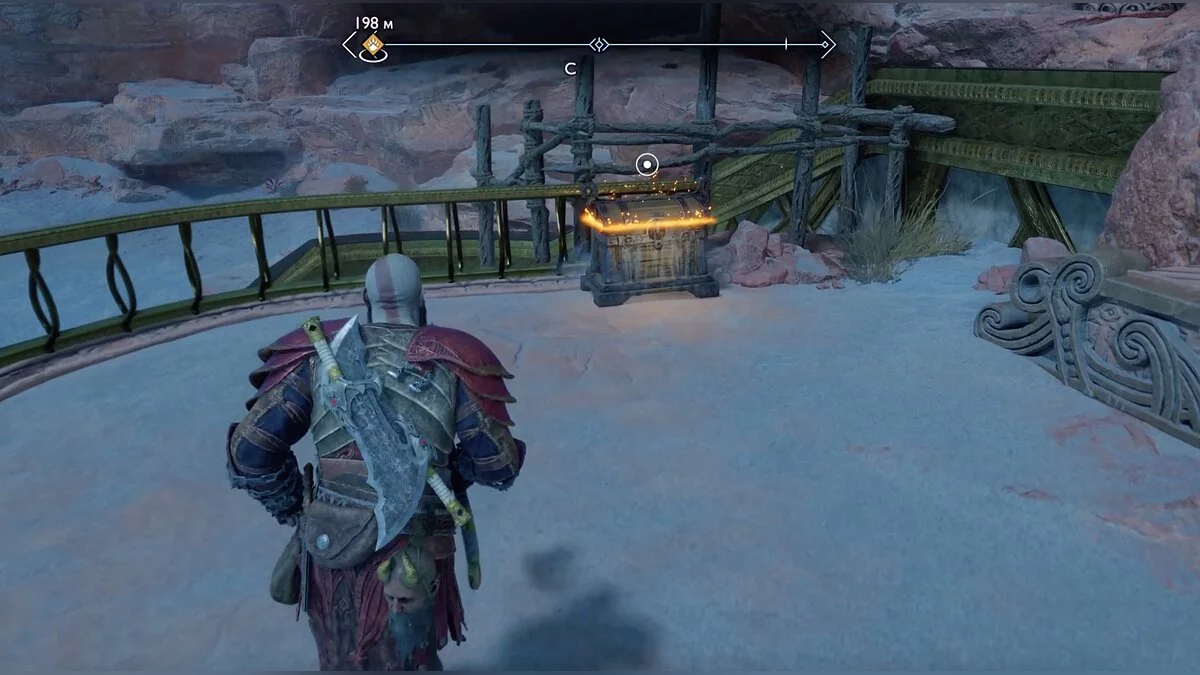
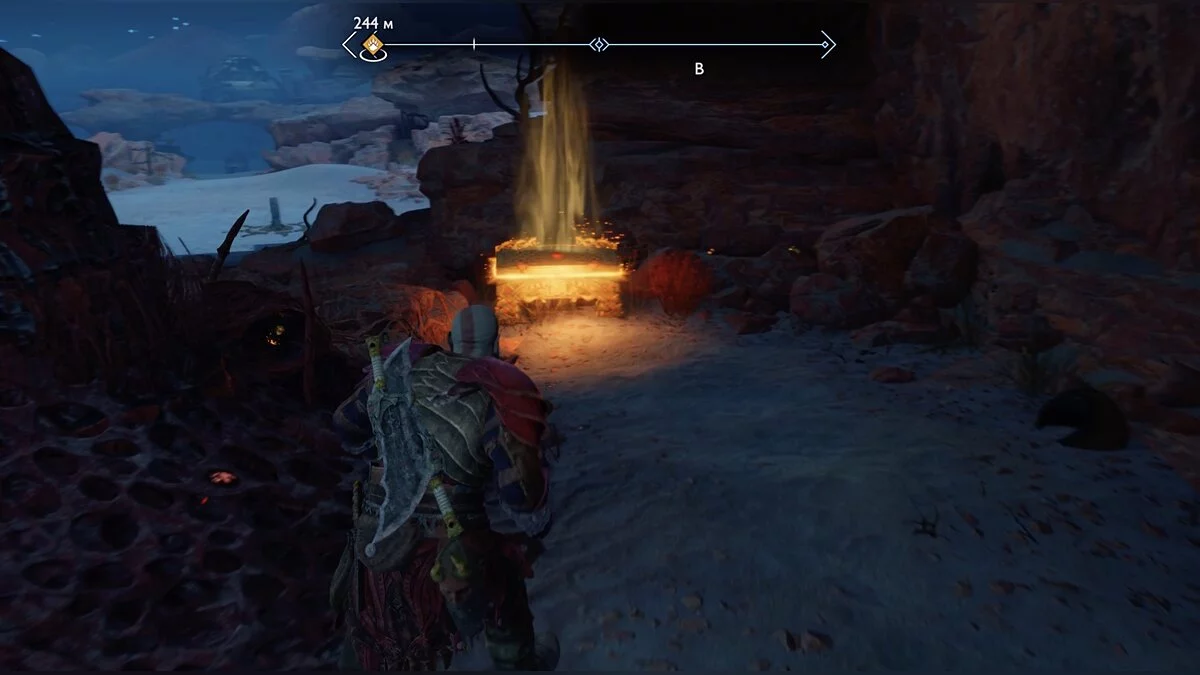
The second one is next to the chest, light it with the blades. Go to the far end of the arena, pick up the legend scroll from the floor, and open the small chest. Along the fence, there are a couple of barrels that can be broken with Atreus' special arrows. In the opened hole, you can find the third brazier. Take the contents of the Nornir chest and break the drilling rig. You can also find Odin's raven here.
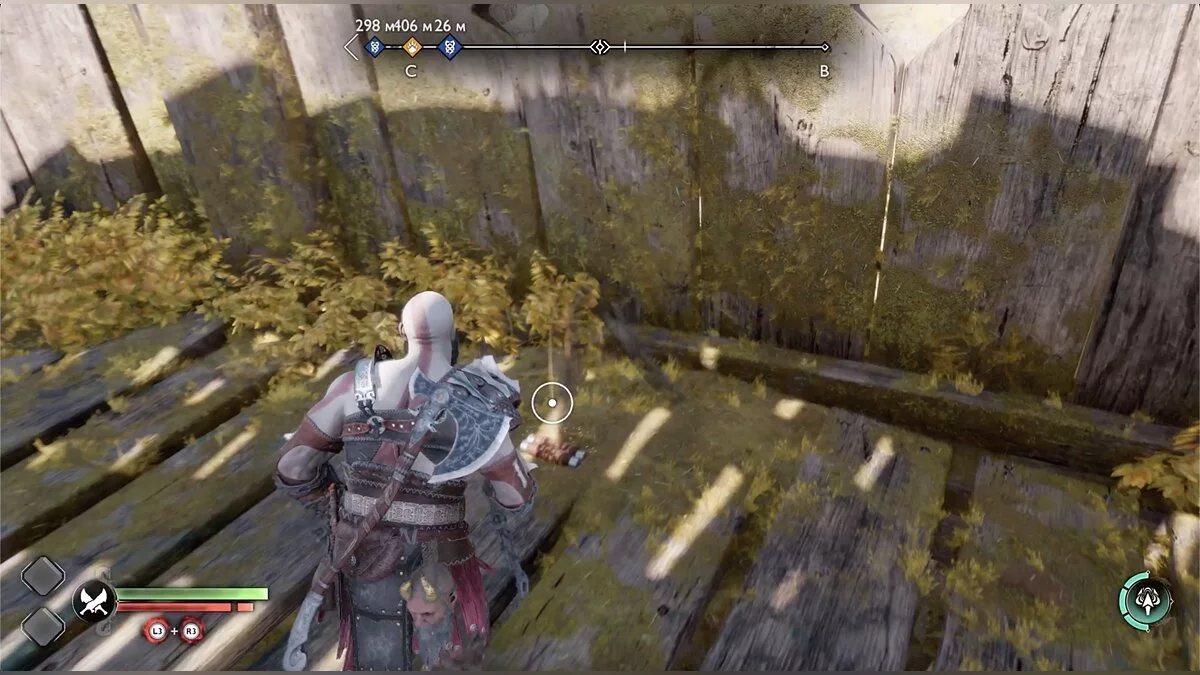
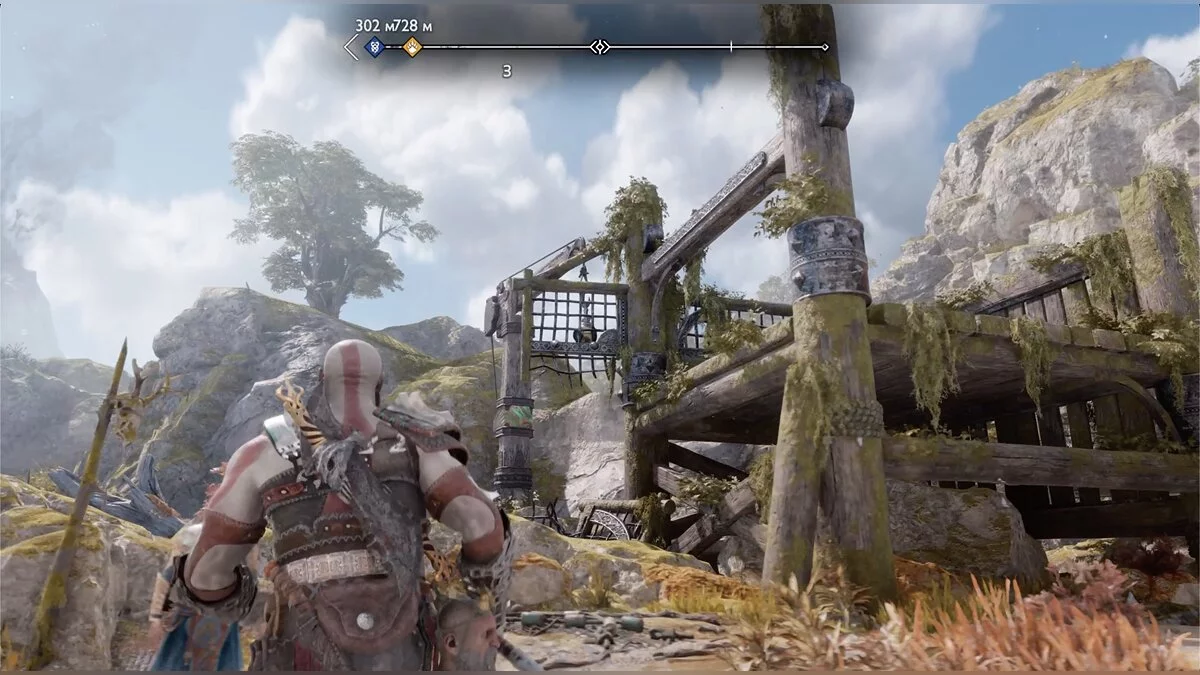
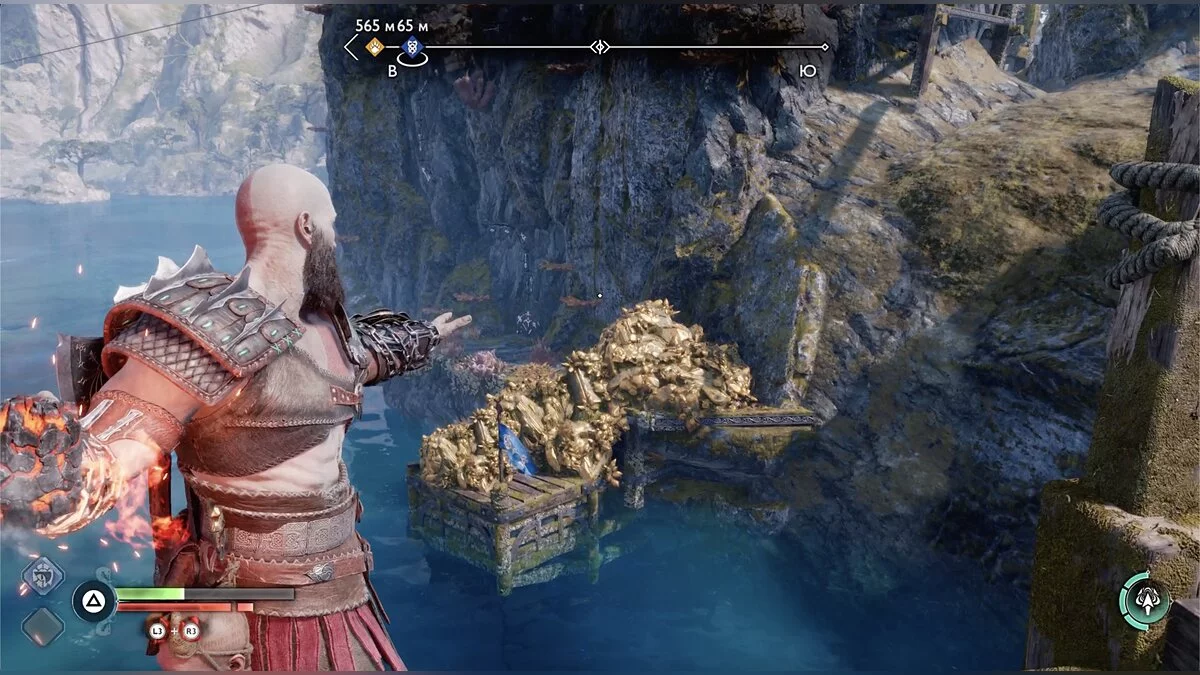
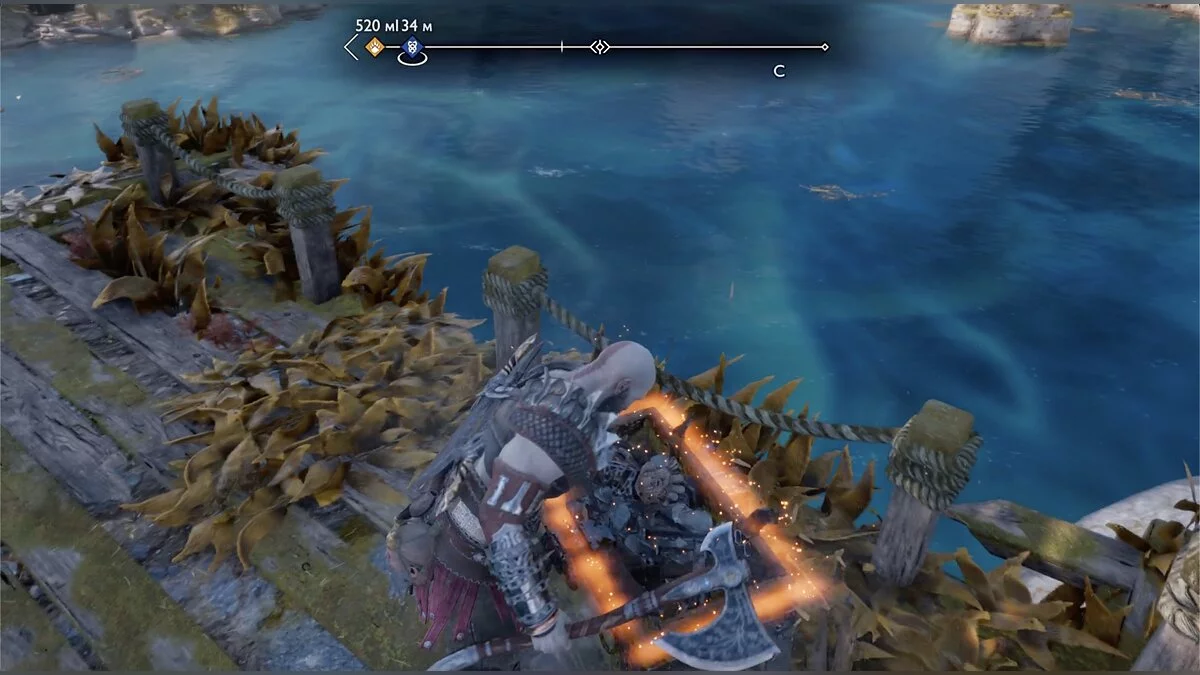
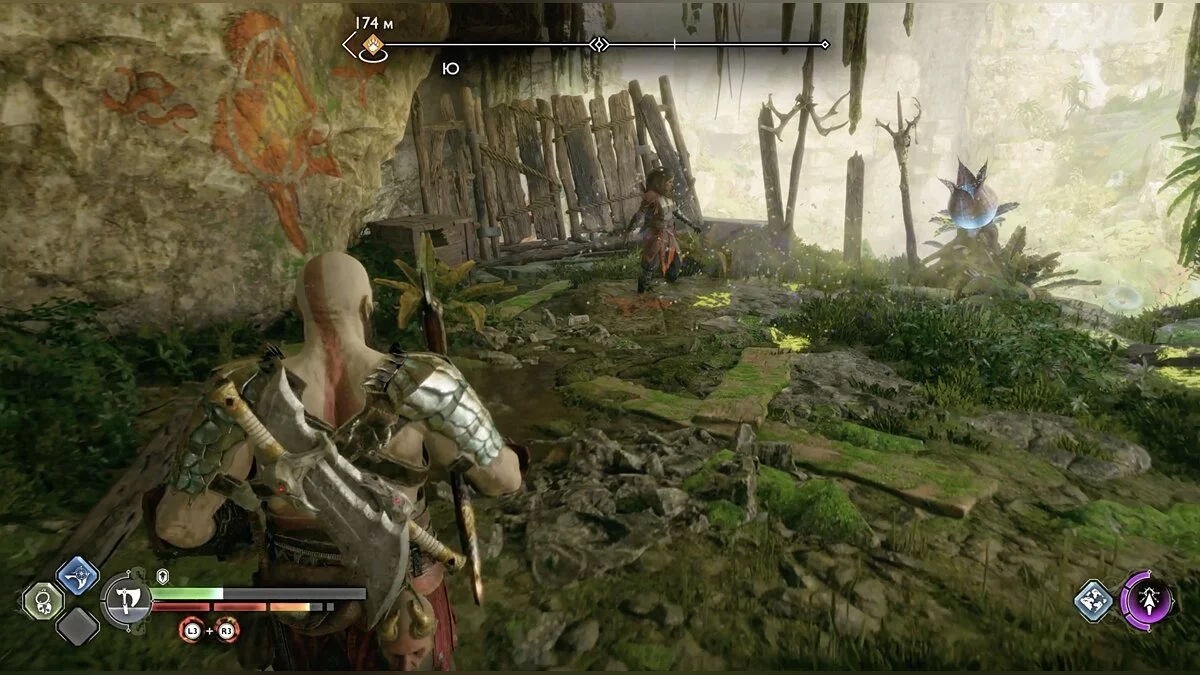
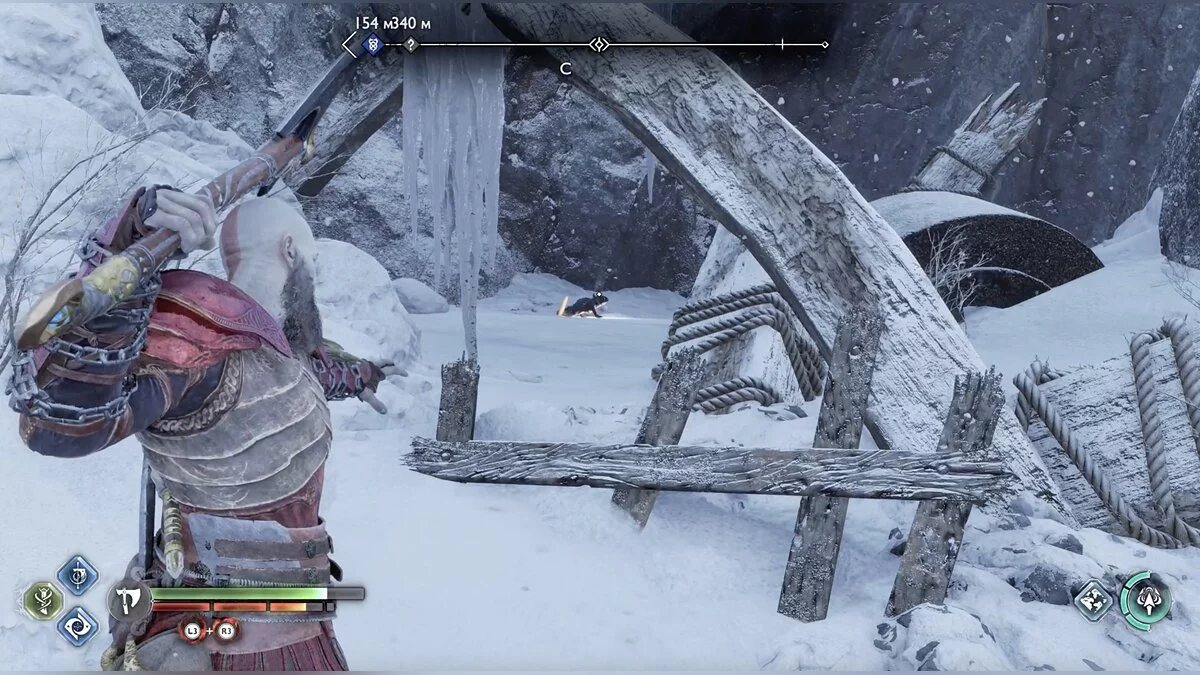
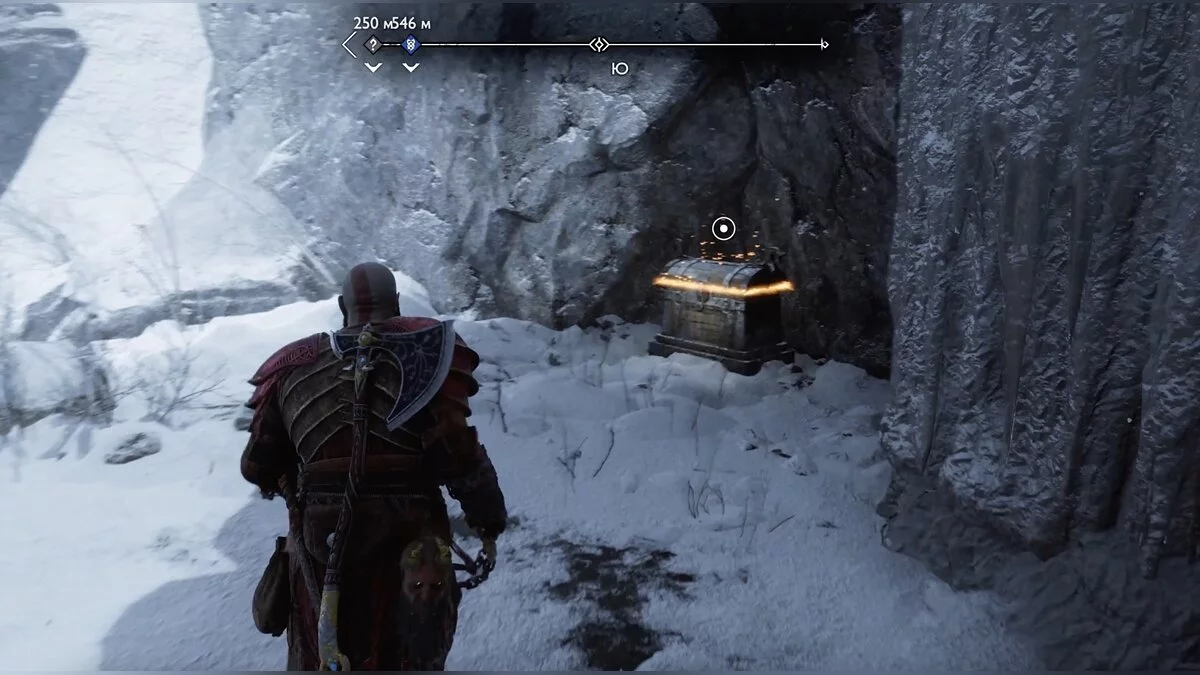
The second drilling machine is located near a large wooden barrier. After landing on the shore, deal with a few small lizards and climb higher. Collect the hacked silver and hit the mechanism with the axe to lower the barrier. Climb up the boards even higher, kill the lizards, and open the large chest. Inside you will find half a seed that opens the way to the world with the arena from the first part. You will need to find the second half, and a request The Crucible will appear in the journal. Pay attention to the skittish lizard with resources below behind the wooden fence where you just started your path, kill it with an axe throw.
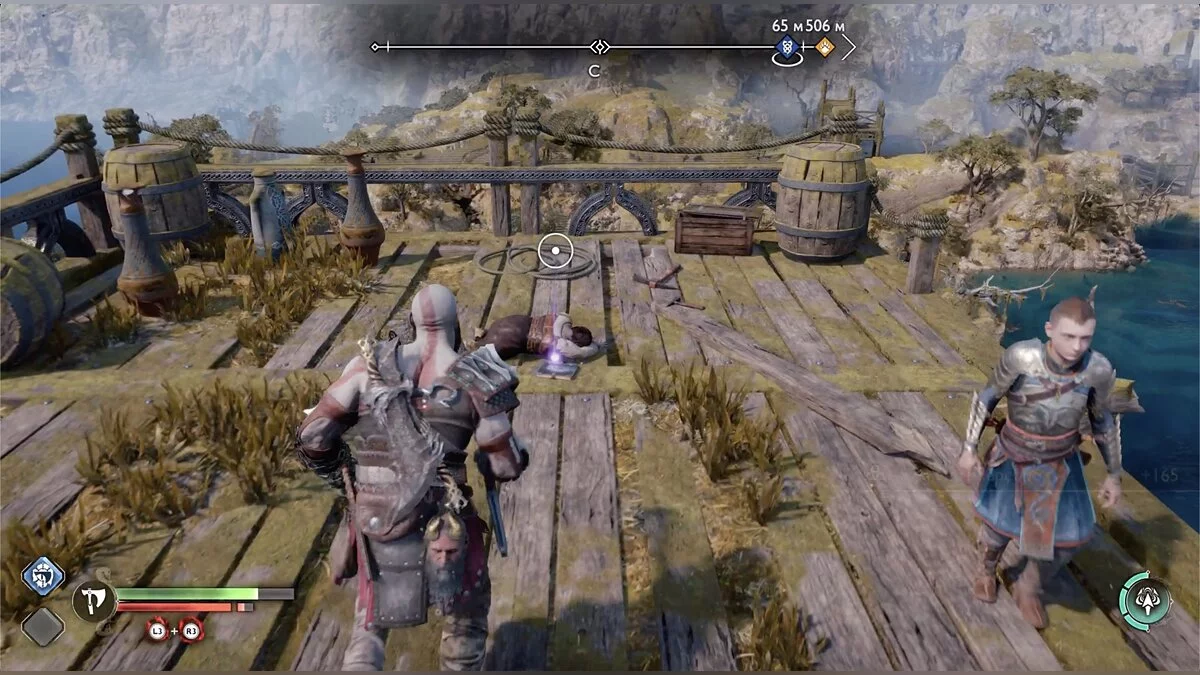
Jump to the other side with the help of the blades and go down to the right for resources after the lizard. There is also a rune plate for the legend mark.
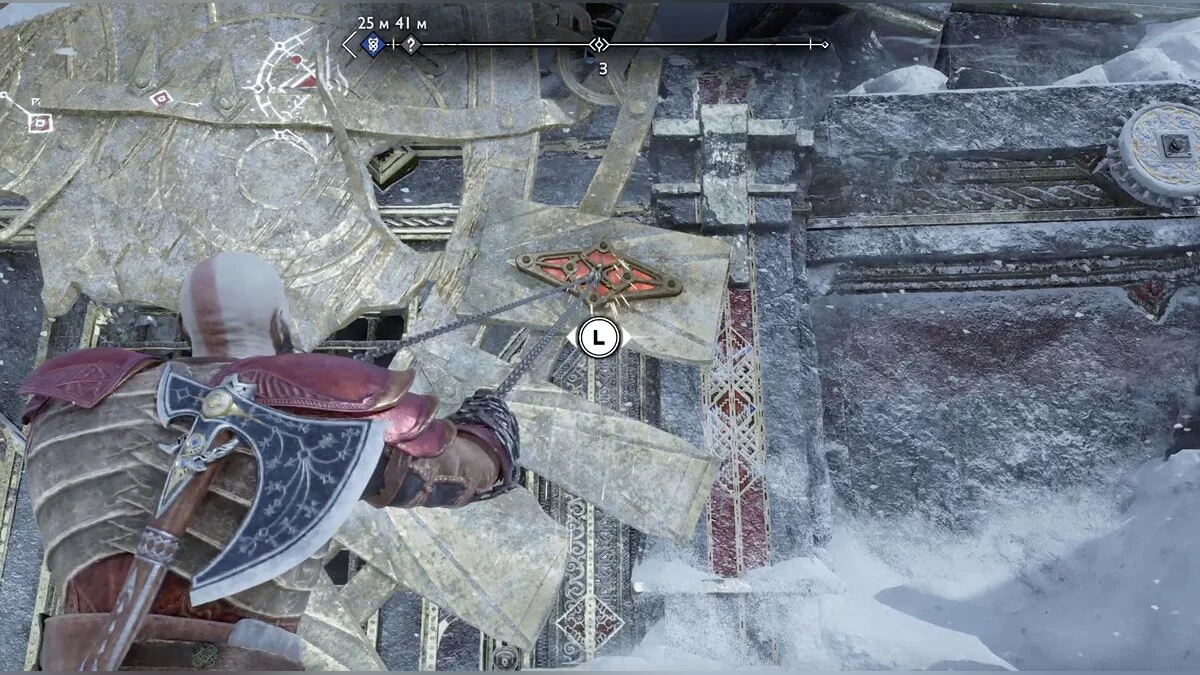
Climb back up and throw the axe at the mechanism on the crane to turn it towards the next chasm on your way. Jump across again and collect the hacked silver from the corpse.
Turn the crane again to reach the large chest, then climb up the chain. There you will face a serious battle with a berserker who spawns many small lizards. After the victory, approach the grate on the pipe and follow the game's prompts to destroy the drilling rig.
Before sailing to the third drilling machine, you can explore the second part of the water location. At the far end, there is a shore called Alberich Island. There is a Nornir chest, which can only be opened if you quickly hit three runic bells.
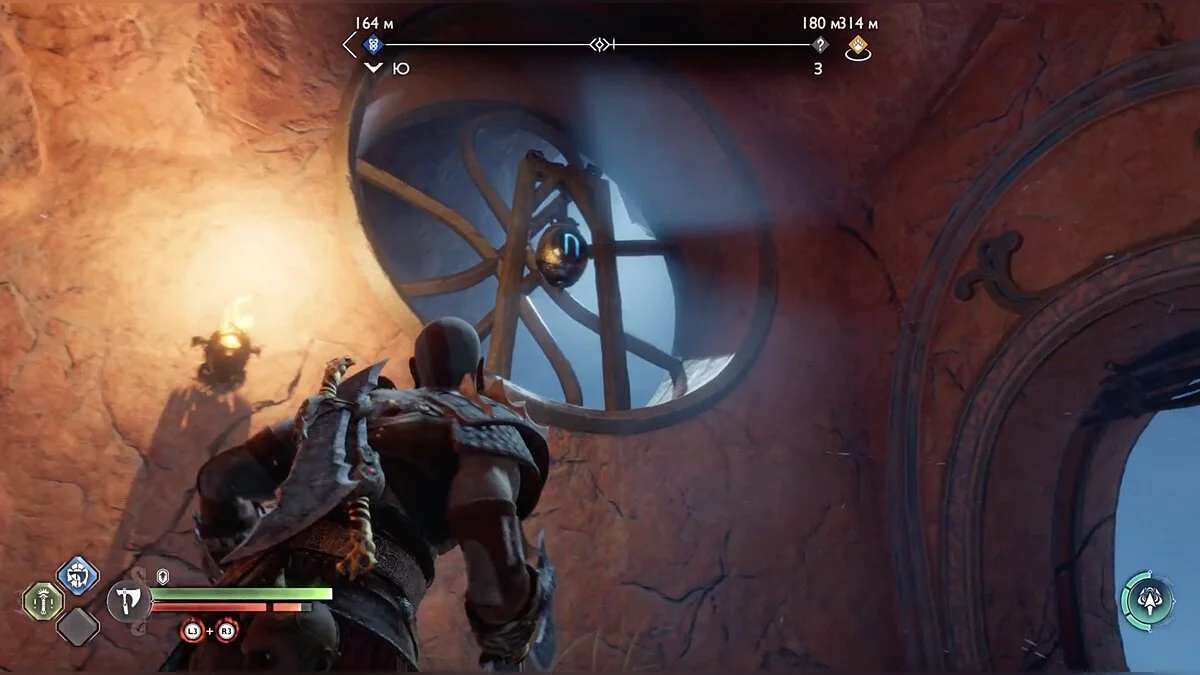
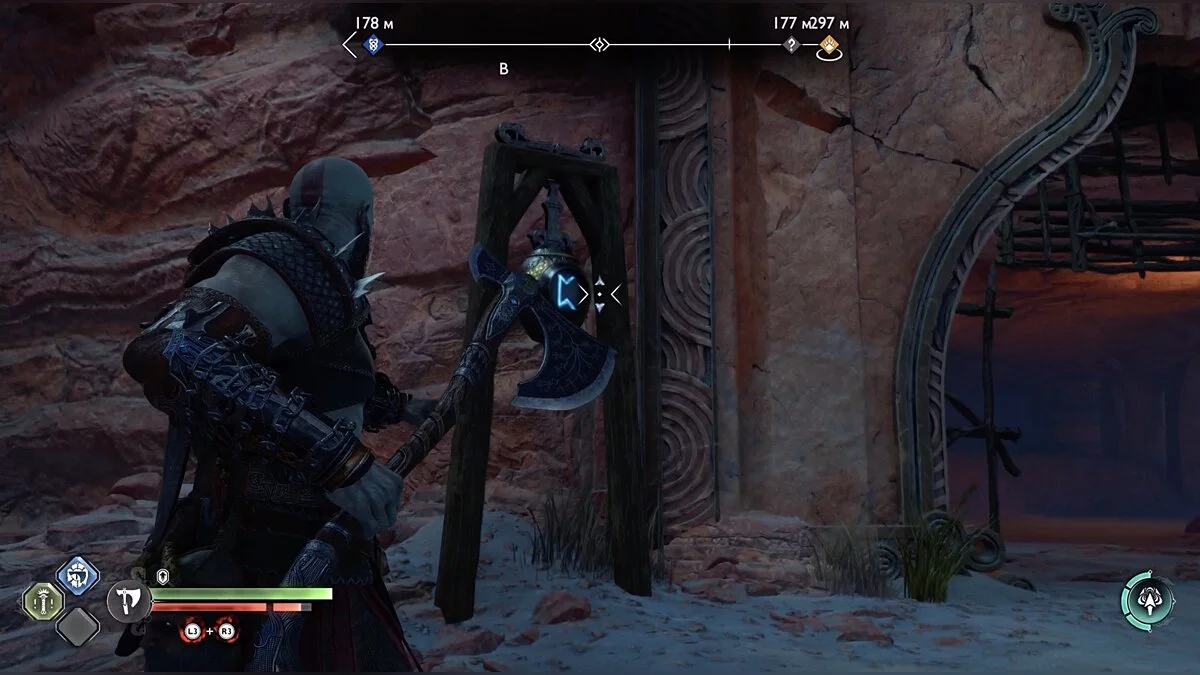
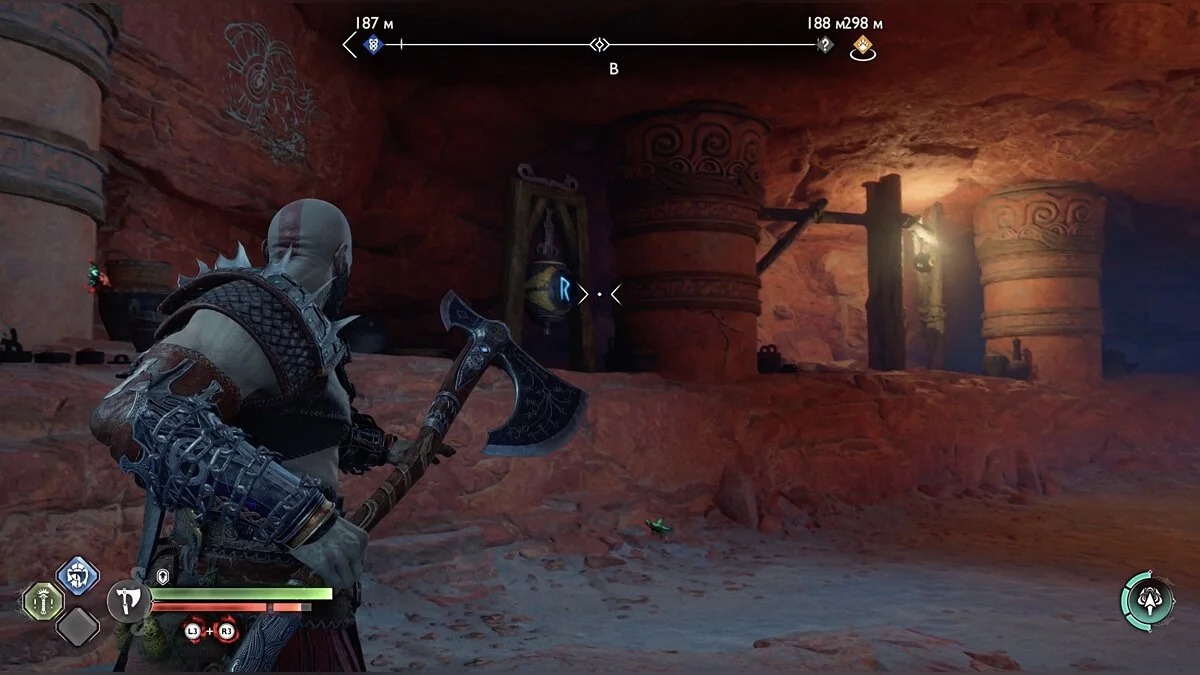
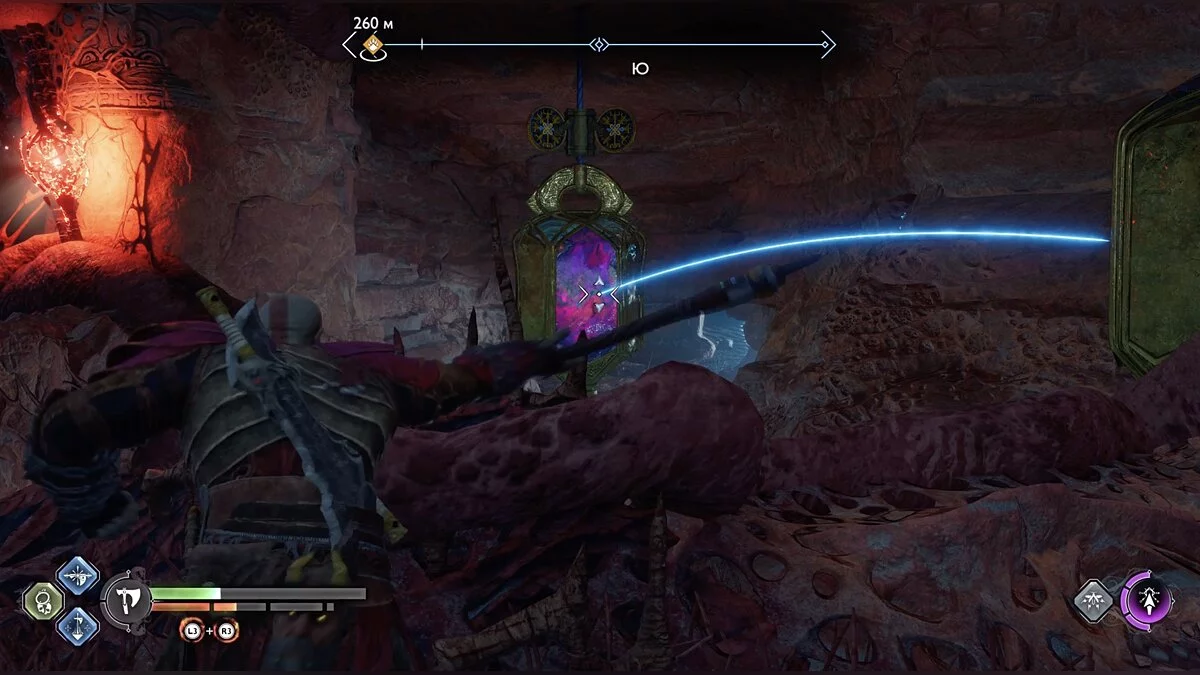
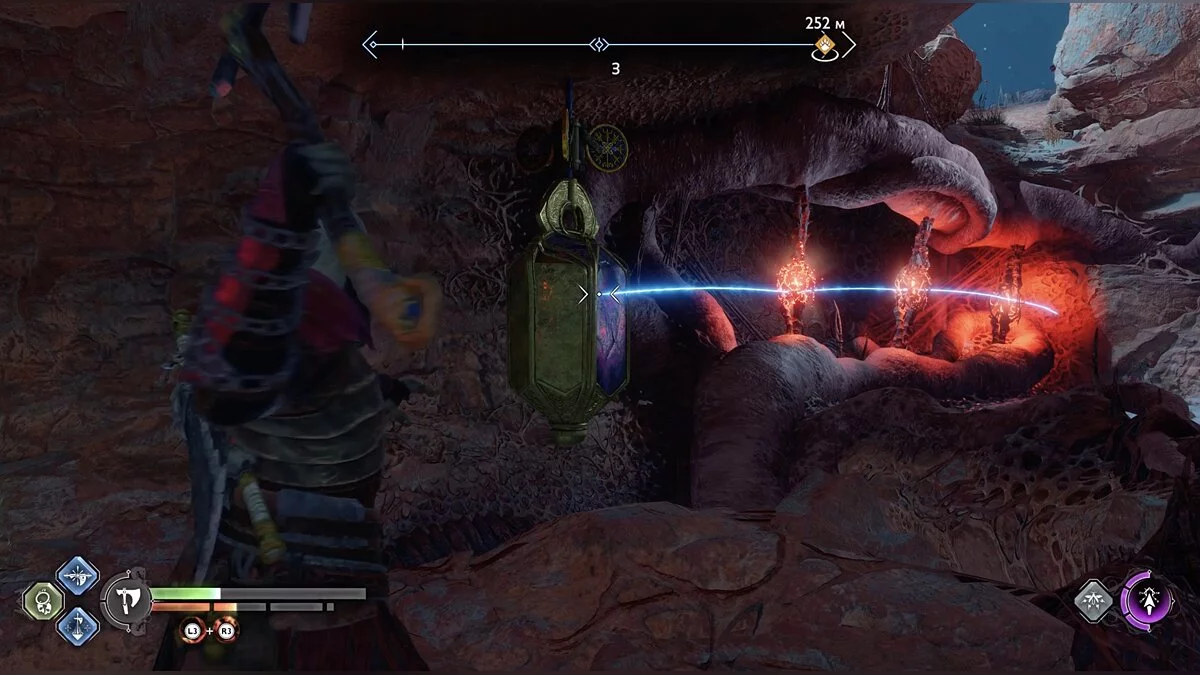
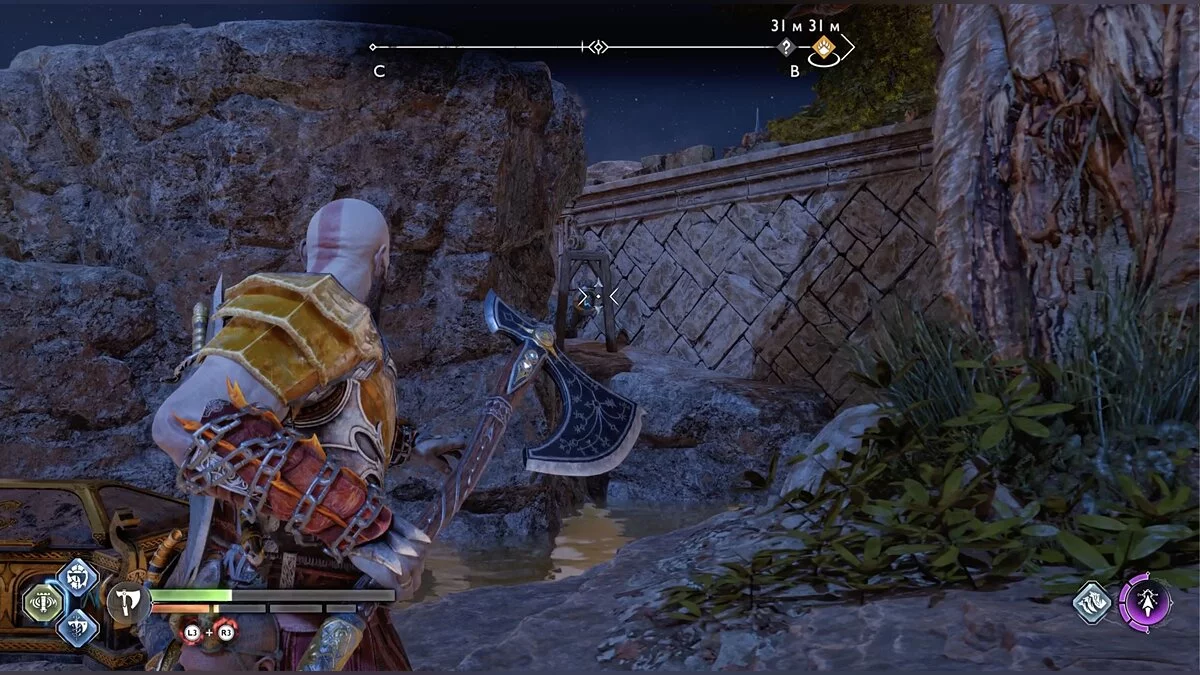
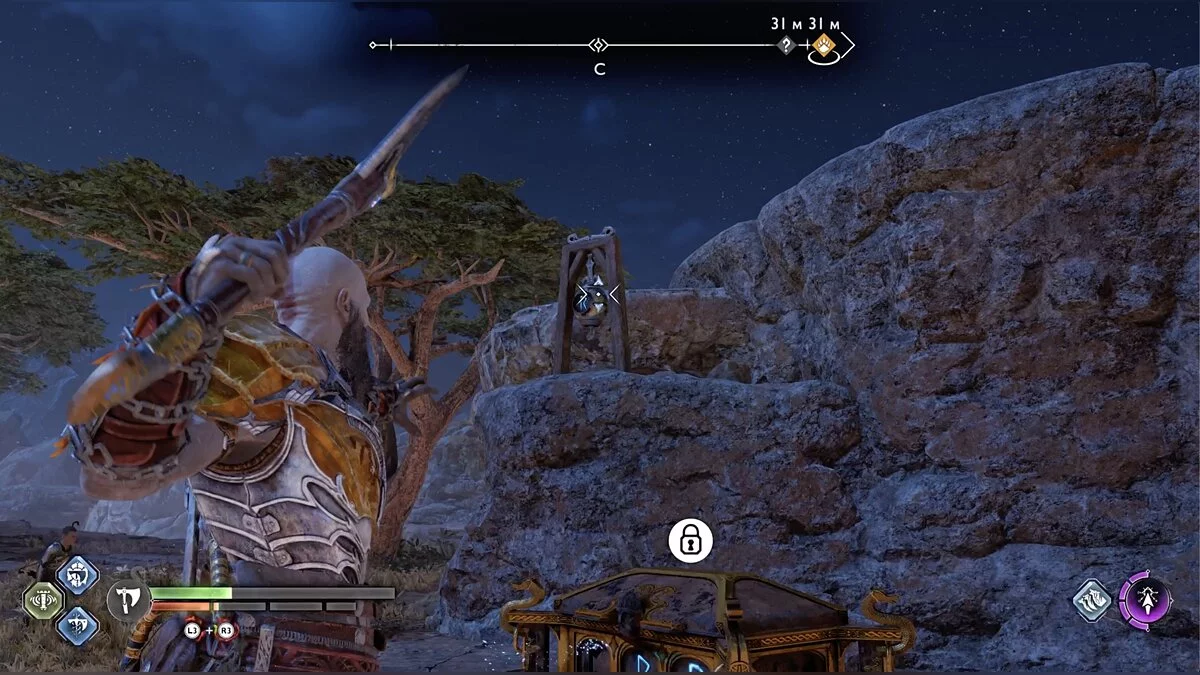
The first one will be available immediately. To open the second, shoot a special arrow at the small crane on the left (glowing green). The third bell is the most difficult. First, you need to hit the rotating mechanism with the axe to raise the bell, and then quickly throw the axe again. Otherwise, the bell will lower behind the fence. We recommend starting the sequence with this rune, as you will quickly deal with the remaining two, just aim accurately with the axe.
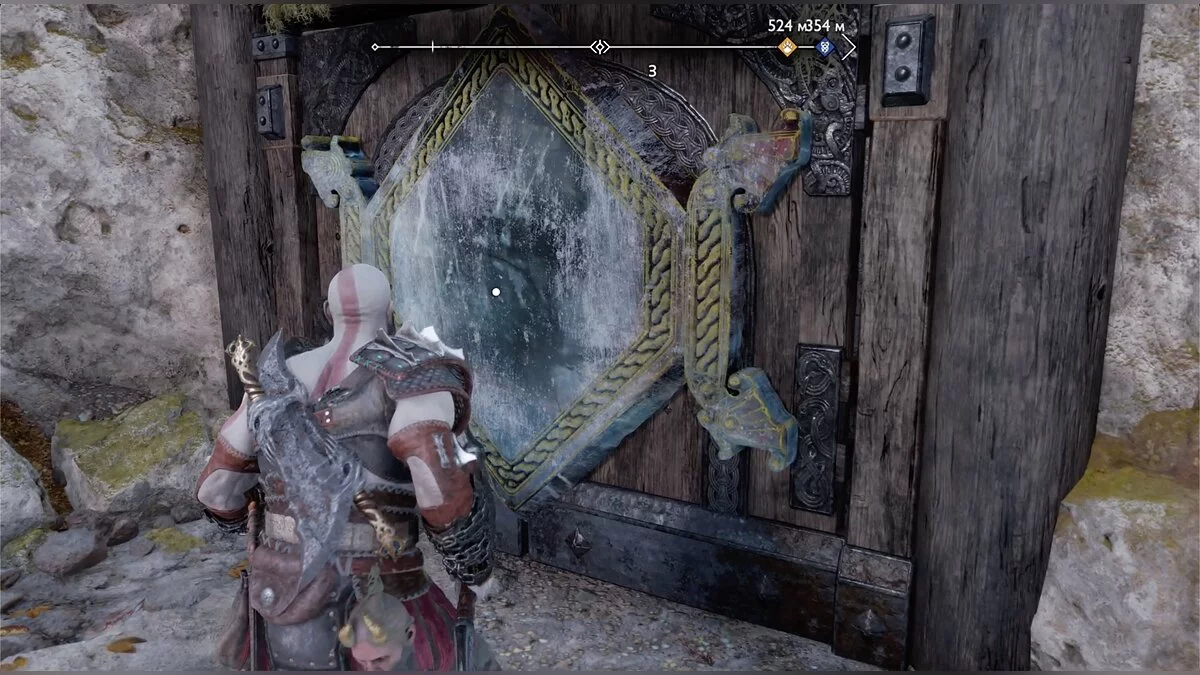
There's nothing more to do here. Continue exploring the area. On one of the shores, there is a glass door. Open it to find a large chest.
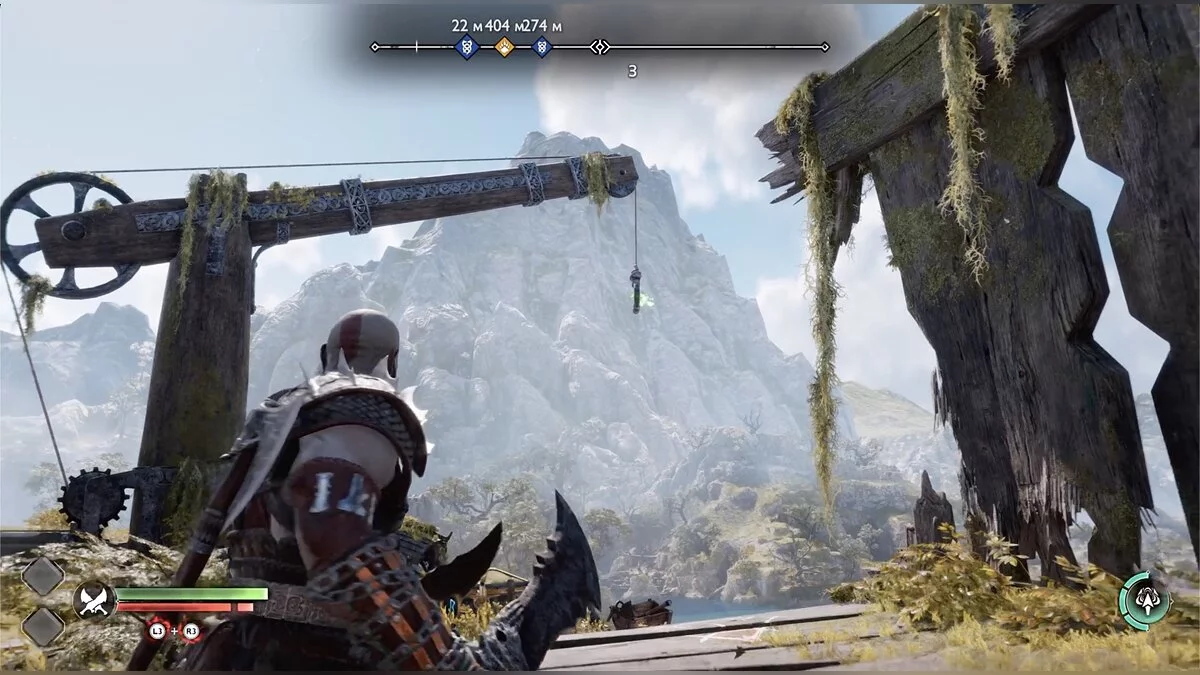
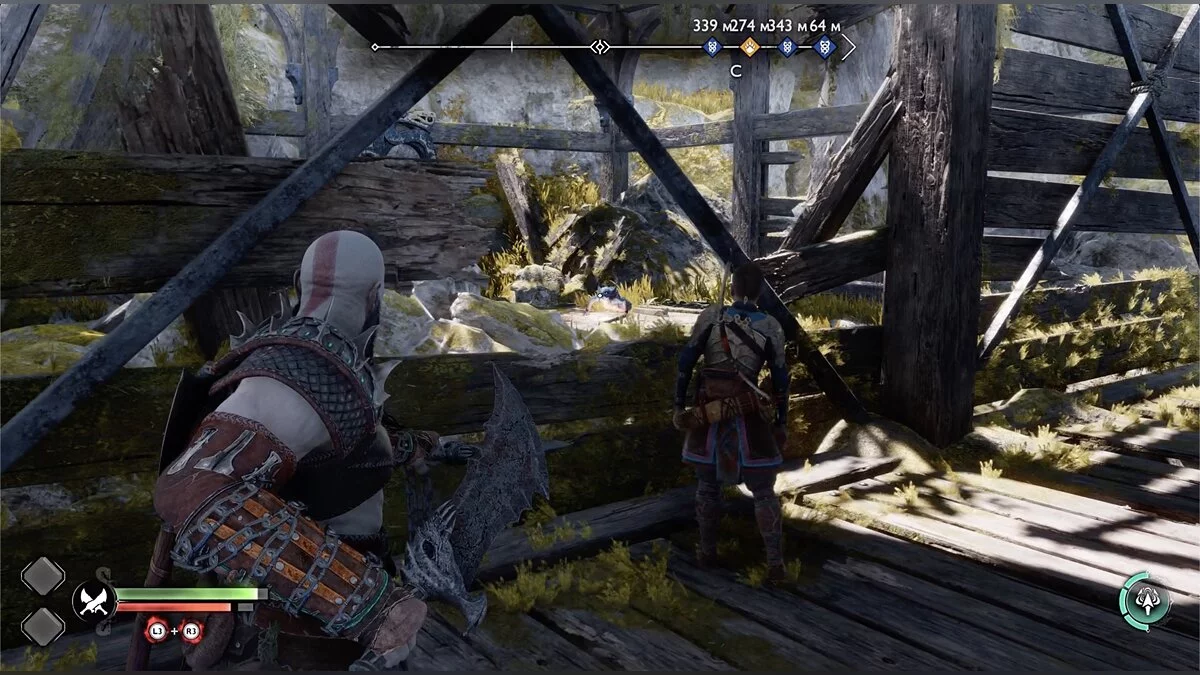
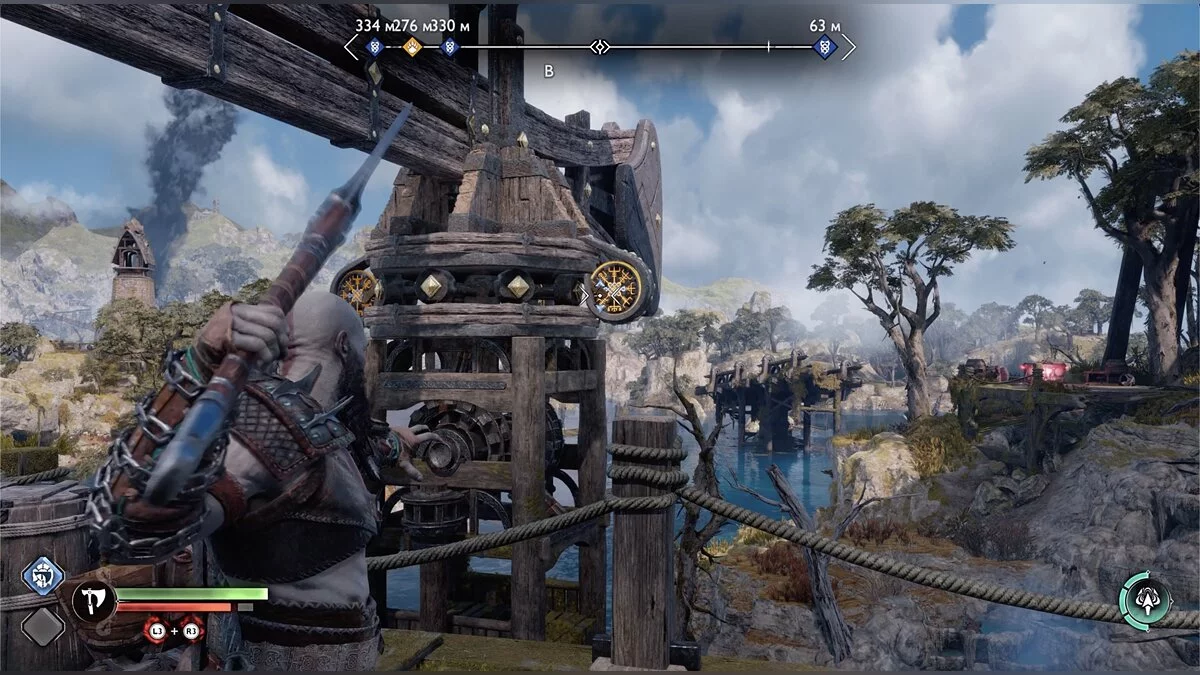
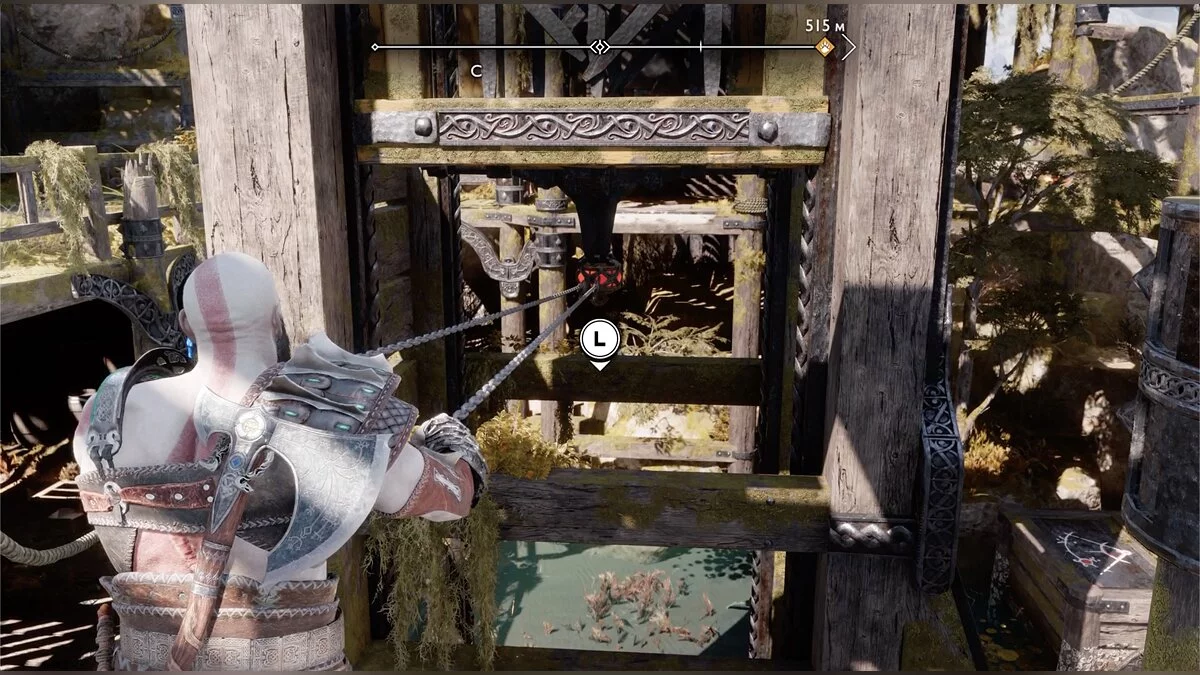
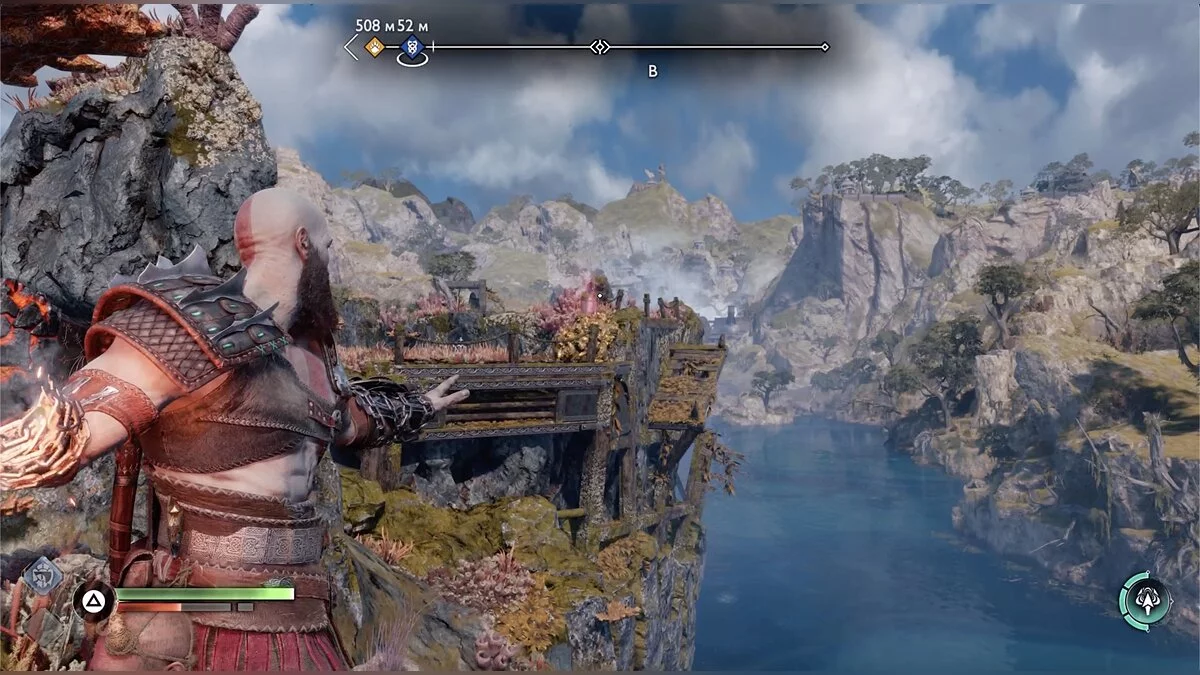
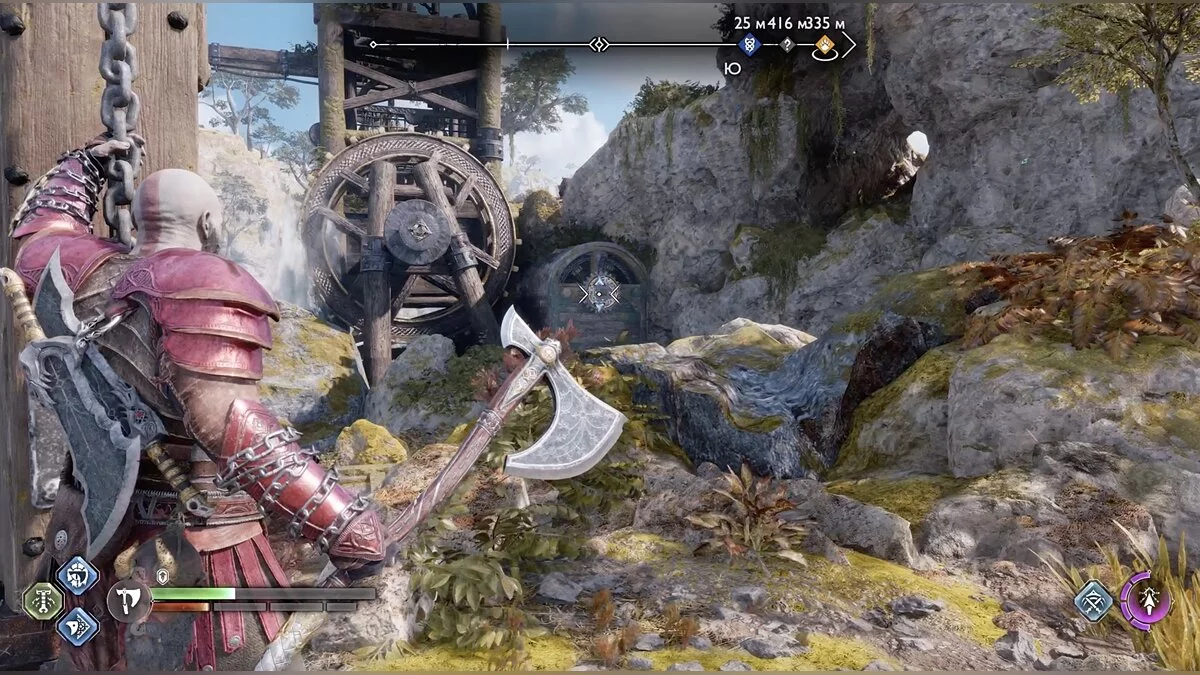
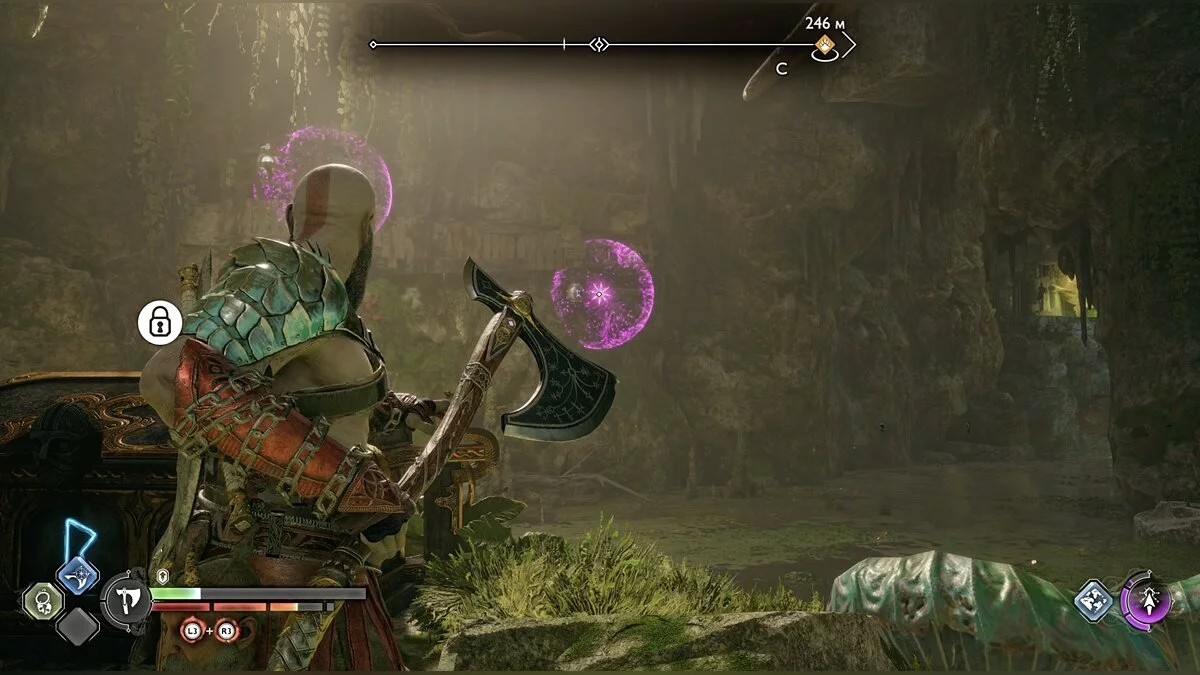
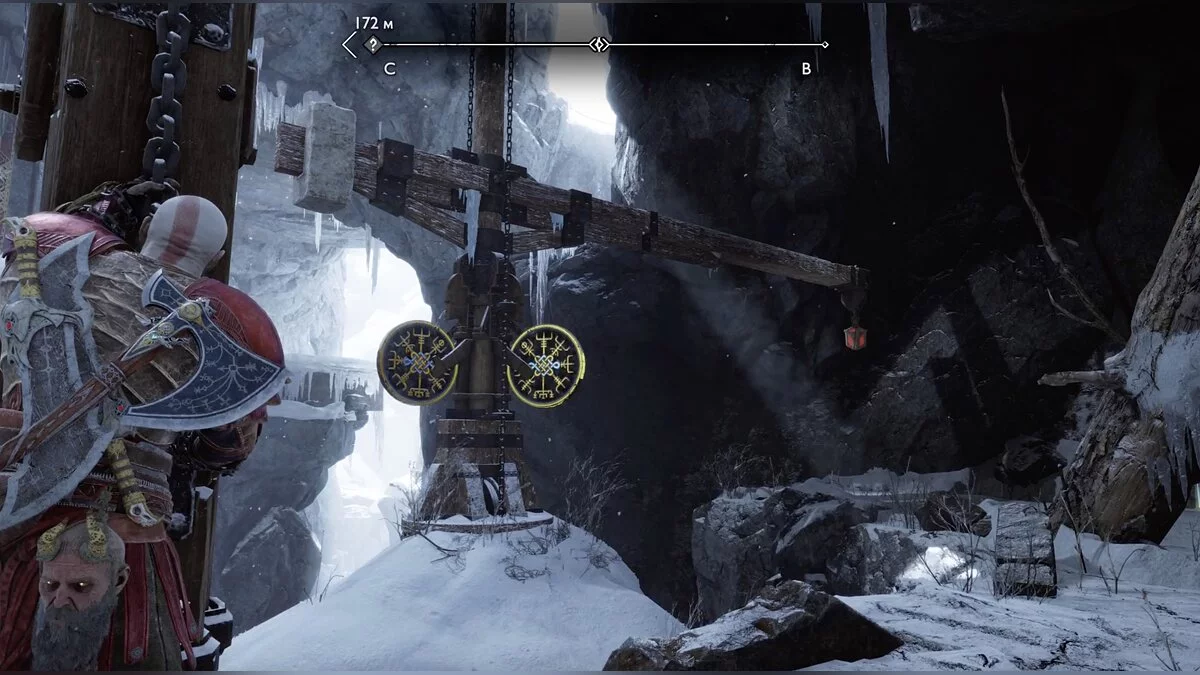
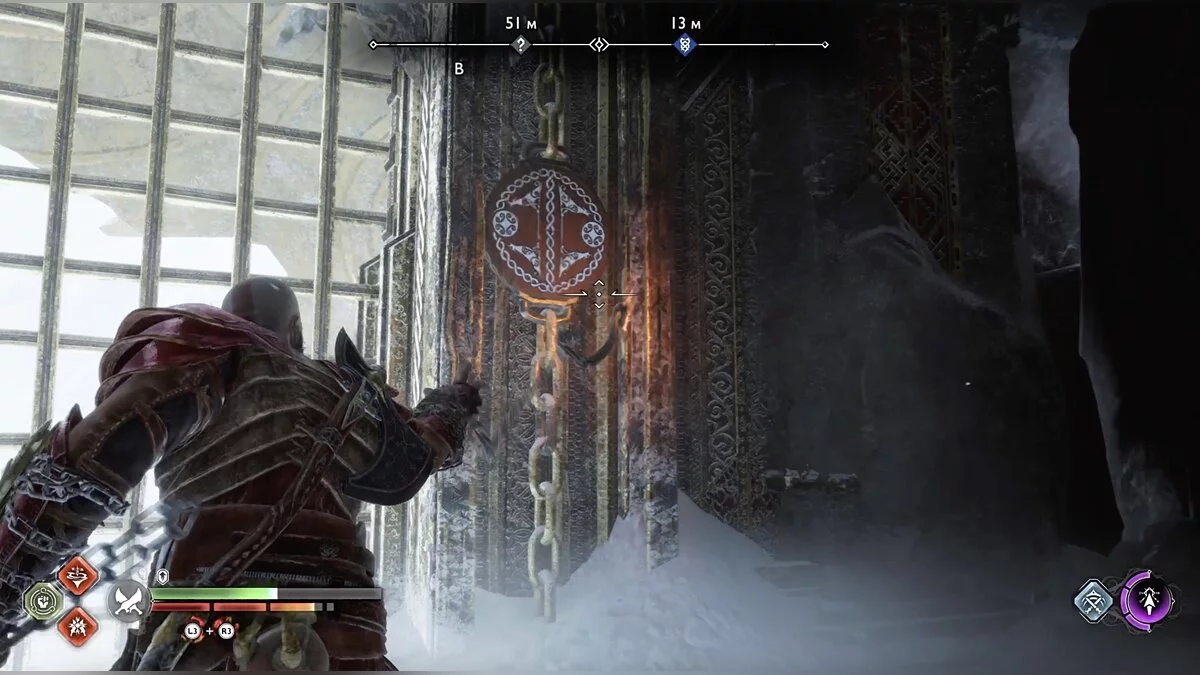
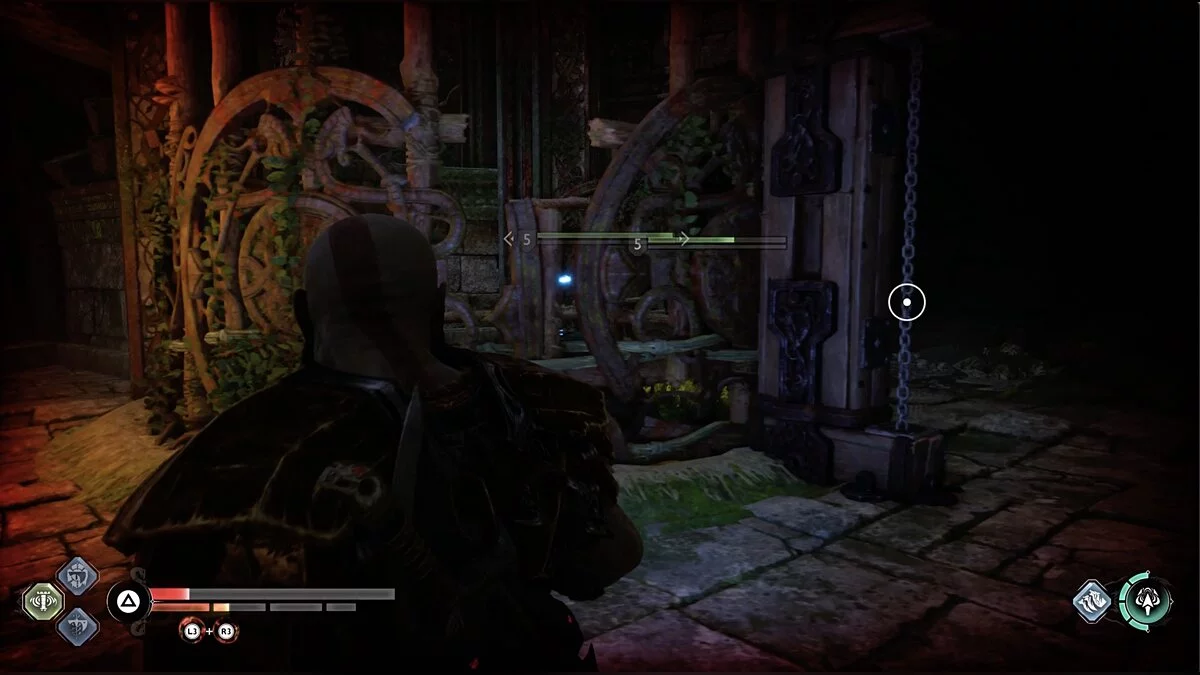
Sail to the third drilling machine. Climb up the chain, and right in front of you is Odin's raven. Approach the collapsed bridge and lower the lift with the blades. Now interact with the wheel so that the place for hooking with the blades is slightly above Kratos. Jump to the other side and explode the red barrel. Open the small chest here.
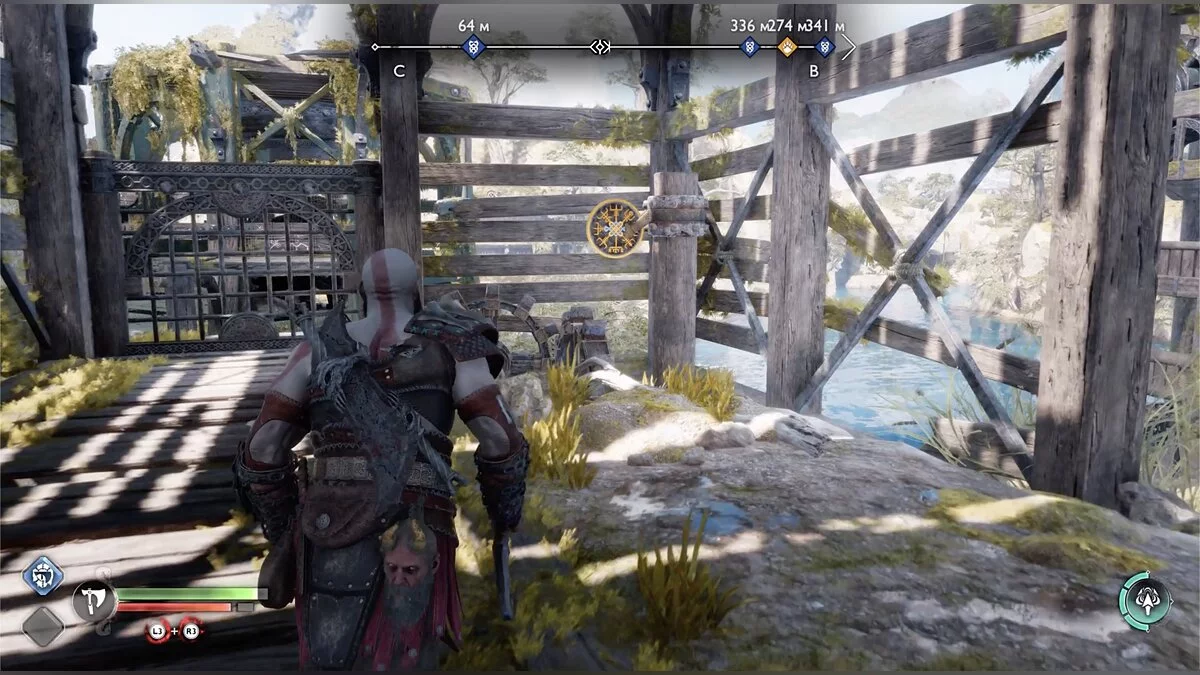
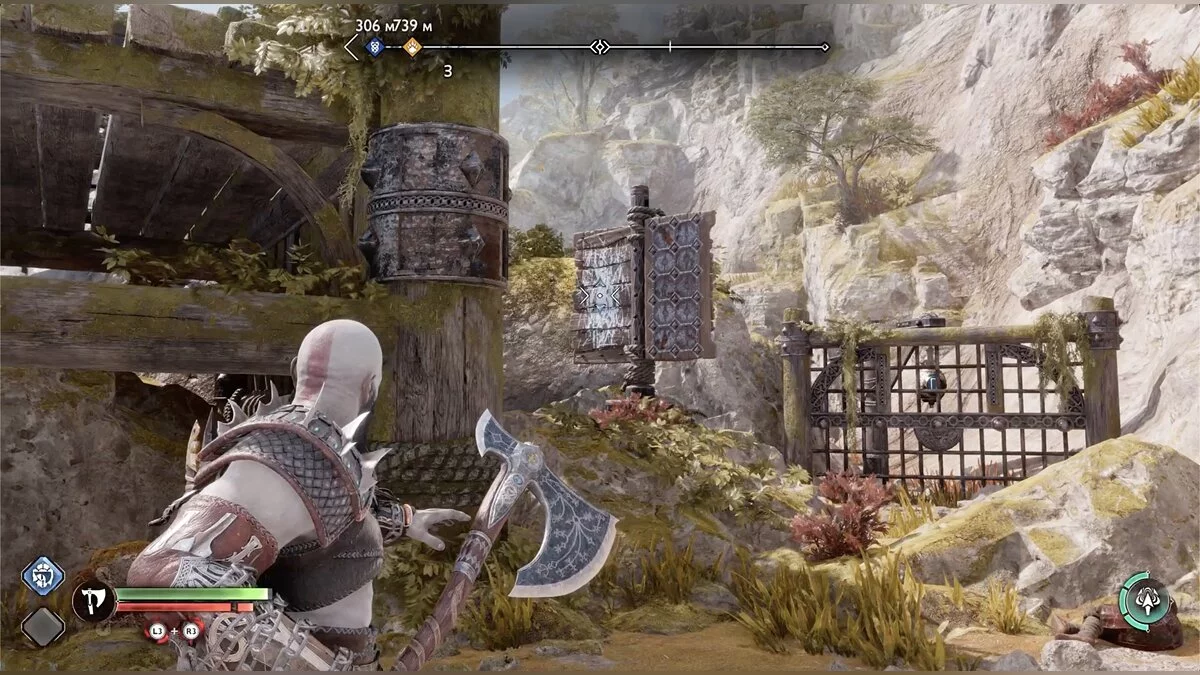
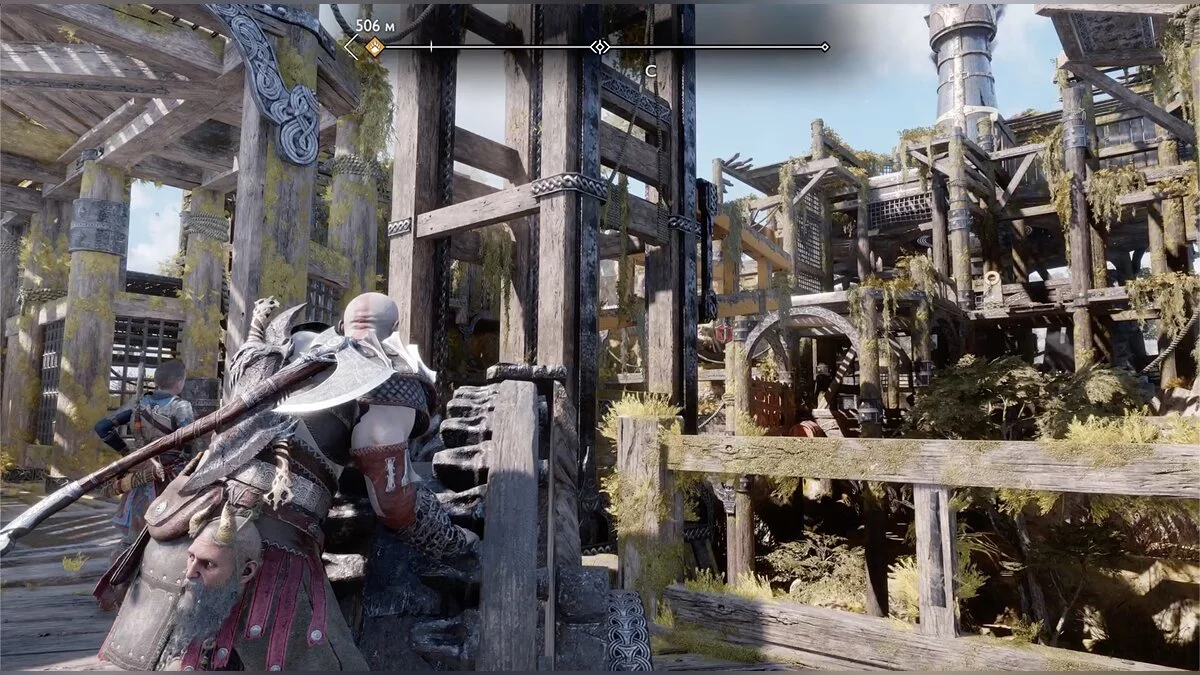
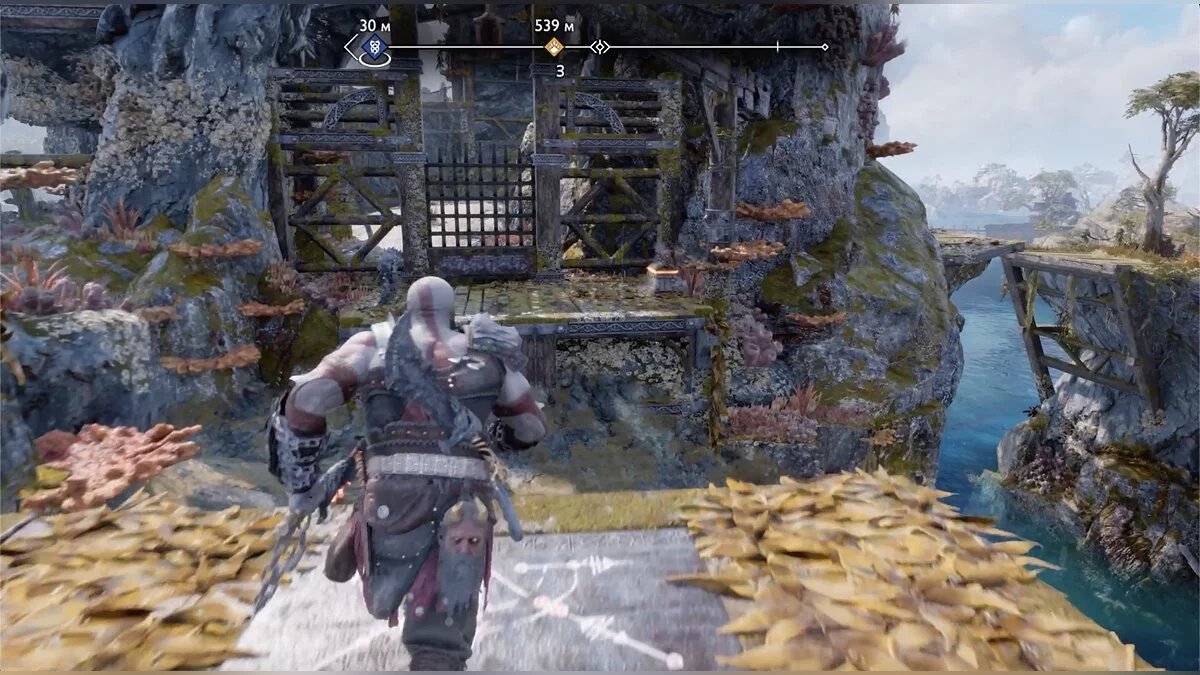
Go through the passage formed after the explosion, climb higher and turn left — you can drop the shield to open a quick climb. There are closed gates on the right. Fortunately, Kratos can easily open them. Below, there will be another explosive barrel and hacked silver. You will unlock another fast travel point and be able to climb up the boards. Before doing this, return to the wheel and lower the device to the very bottom.
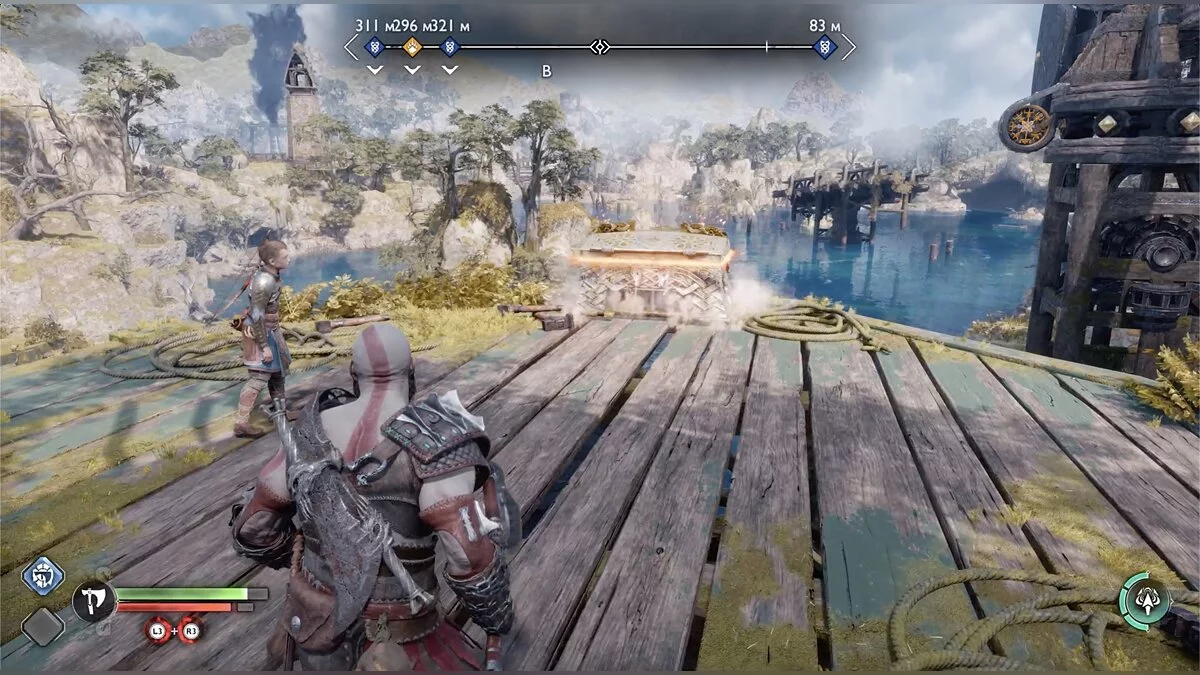
Climbing up the boards, Kratos will be able to break through the floor to the lower level. Defeat the enemies, open the small chest, and read the blue runes. Thanks to lowering the mechanism with the wheel in advance, you can jump to the large chest. Return to where you fought the draugr and read the runes; the lowered lift can be raised with the blades.
Now climb up to the wheel and use it to raise the hook for the blades. Jump to the other side and climb the boards up to the drilling rig. After the fight, you will complete the request In Service of Asgard, but this is not all the available side missions in this location.
Note that in the arena where the drilling machine is, there are two barrels for Atreus to shoot. Break them and walk along the beam to lower the chain and return to the wheel. Raise the hook for the blades to the top, then return to where you just dropped the chain.
On the left, there is a mark for breaking the wall. Swing on the hook and press the necessary button for Kratos to enter the secret area. At the end of the corridor, there is a large chest.
Weight of Chains. Svartalfheim
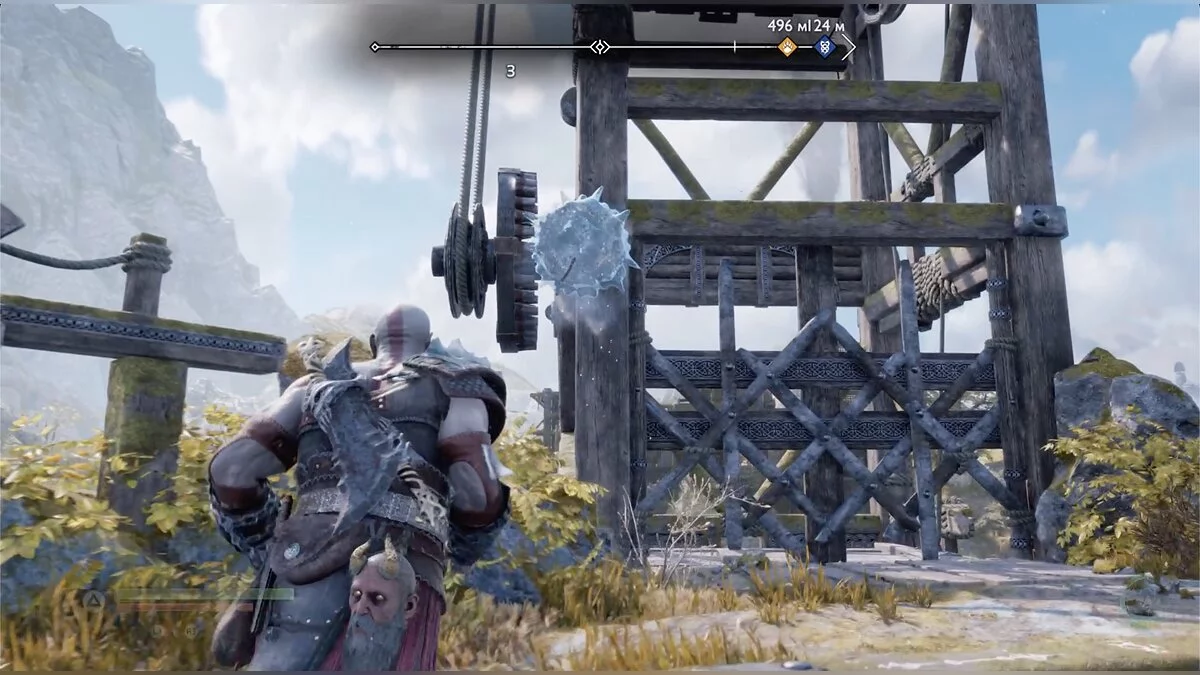
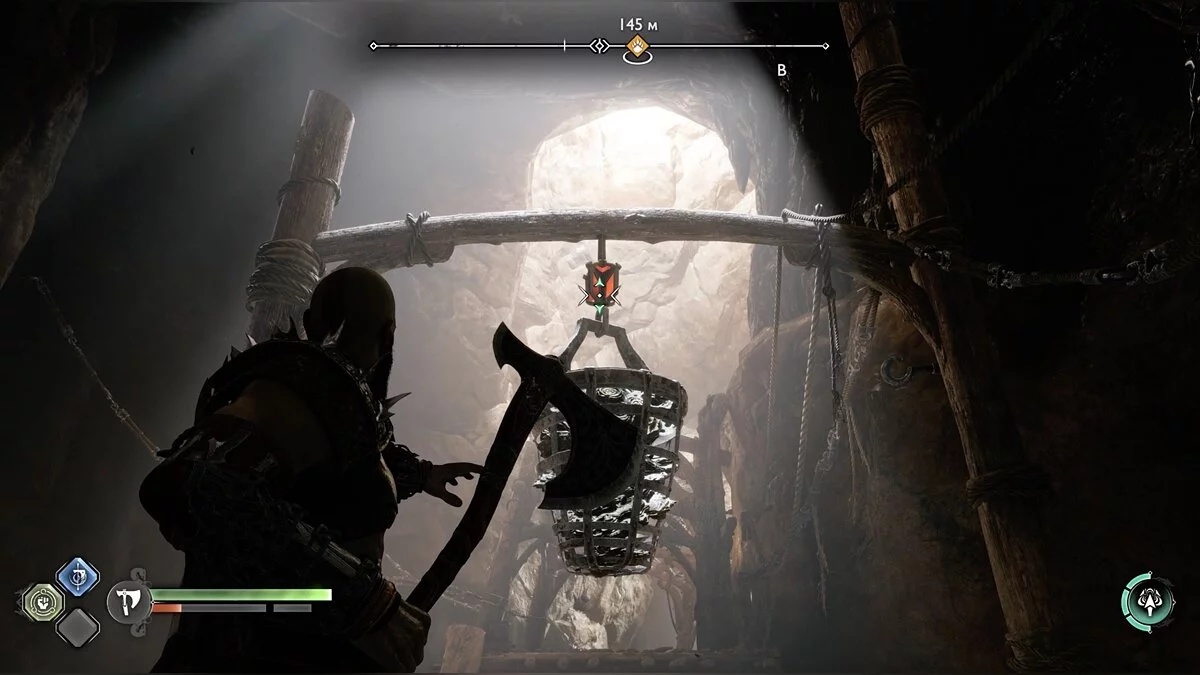
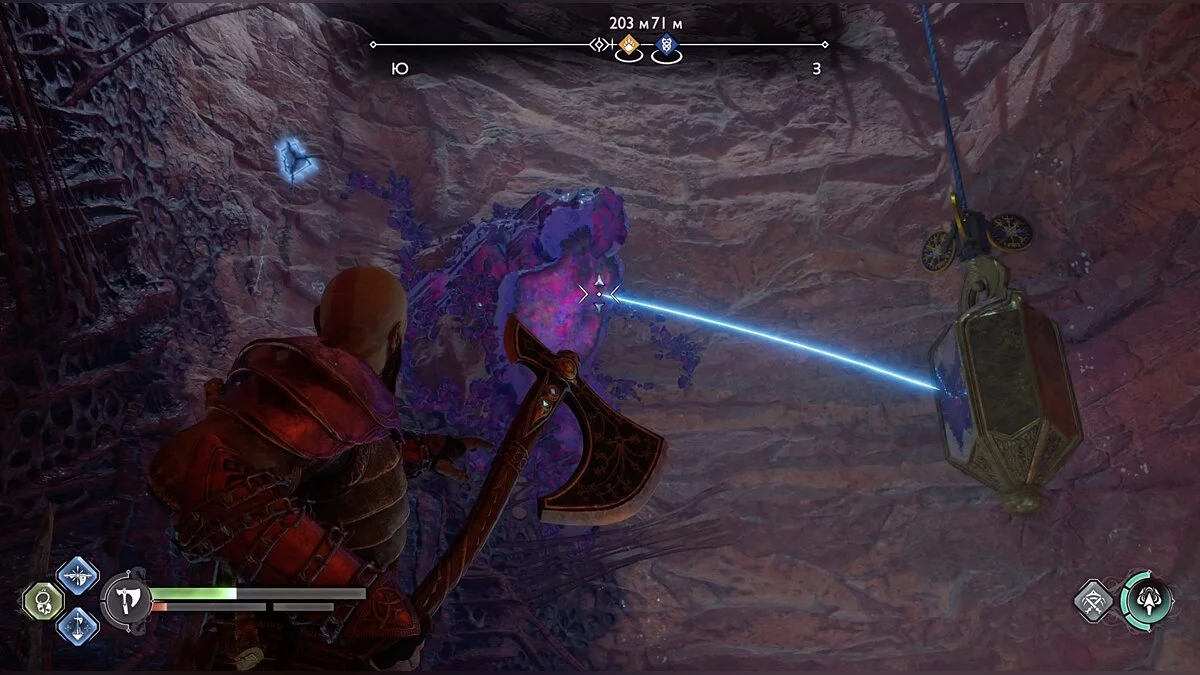
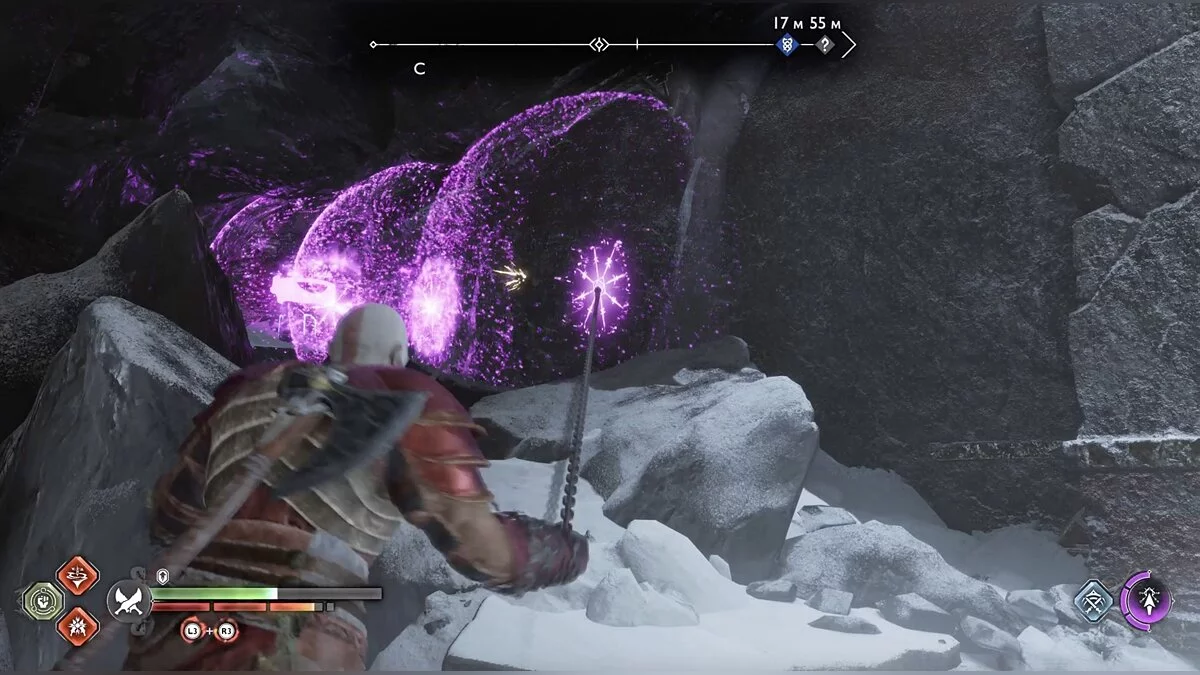
Now it's time to complete the request Weight of Chains. Sail to the only unexplored island in the center. Climb up and clear the path of resin. Continue moving until you reach the platform with the lift. Deal with the lizard nest and use the wheel to lower the lift. Freeze the mechanism by throwing the axe at the round stop on the lift. Climb onto the lift and unfreeze the mechanism to go higher and break through the ground below.
Destroy the berserker and take the key from the large chest. Return to the watchtower and the closed door. Open it and follow the prompts to make a giant whale appear from the water. You will need to free it.
Find the dock on the left side of the creature. Move forward and deal with the enemies. Stay on the right side to find the resin that can be exploded. Clear your path and cut the first of three ropes, then throw the axe at the seal on the fin — you will need to do this two more times.
Return back — a new path has opened. Kill the enemies again and climb up the chain. You won't be able to destroy the resin yet. At the top, there is a lore marker. You can climb even higher to reach the large chest and Kvasir's poem.
Return to the area where you found the lore marker and jump with the blades to the other side. Open the small chest and kill the enemies. Climb down the chain to the second rope and cut it. Kratos and Atreus will immediately be attacked by lizards from the nest. Destroy it and you will find a bomb storage. Now you can blow up the resin where there were no suitable combustible vessels.
Next to the place where the second rope was, clear the passage and open the large chest. Also, use the bomb to make the far dock accessible. Before sailing there, use the bomb and clear the resin in the place you have been before, open the large chest. Climb through the tunnel nearby to the small chest and find the Odin's raven.
Now you can sail to the accessible dock — the last rope needs to be removed. Deal with all the enemies — you will see a large chest in the resin. Jump with the blades to the closed gates and open the path to the bombs, open the small chest, blow up the resin, and open the large chest. Now cut the last attachment.
Climb down the rope to the shore and break the seal on the whale's tail with an axe. Immediately open the large chest, break the gates, and open the small chest.
Sail to the fish's eye and the request Weight of Chains will be completed.
Born of Fire. Svartalfheim
As we mentioned earlier, the quest will begin when you find a powerful fire draugr near the Watchtower, but it won't end after the victory. Open the journal to see the details — you need to destroy five more of the same enemies. In the world of dwarves, there is another such draugr that can be found during the story quest in the mine, when Kratos and Atreus are searching for Tyr.
While traveling underground, you will come across a Chaos Blades reinforcement covered with growths. Break them with Atreus's arrows to gain access and jump to the other side. The main path leads you forward, but pay attention to the left side of the corridor. The first turn allows you to open a fast travel point to a place you've already been — we don't need it. In the second turn, you can jump over a small waterfall and go down. There, Kratos will find an artifact and a gate that can be opened.
It is behind them that the second fight with the draugr awaits. The continuation of the quest should be sought in the following worlds that open up according to the story. For convenience, refer to the map. Arenas are marked with a question mark and are easy to find in the location. Gradually, the draugr will become stronger, so each fight will be special.
Eyes of Odin. Svartalfheim
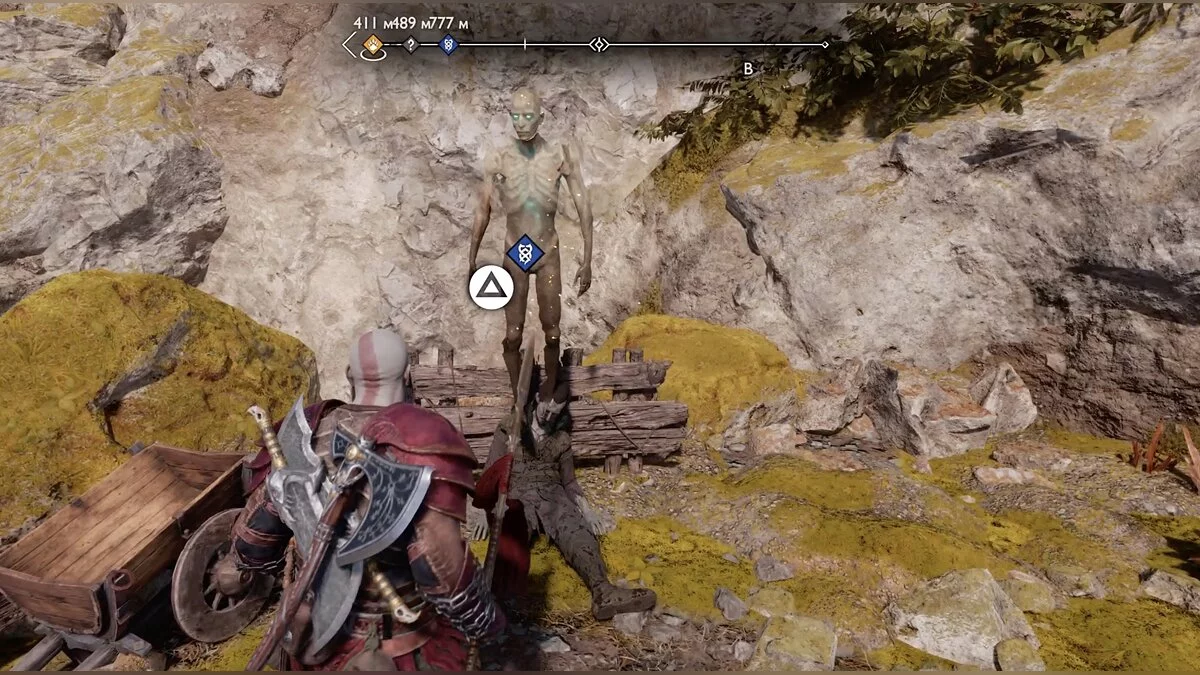
There are several ravens in the world of dwarves. They can be found both during side quests and while progressing through the story. As we mentioned, there are a total of 48 birds. A little later, Sindri and Brok will give you access to the ghostly world of Niflheim, where Kratos will find a tree with all the knocked-down ravens. Under the tree, there will be several chests that can only be opened after a certain number of birds. As a reward, you will receive special equipment.
Lost Lindwurms. Svartalfheim
After Kratos finds the norn in the story, a squirrel will talk to him in the dwarves' house. The creature wants the god of war to find 6 escaped lindwurms — lizards. All you need to do is look for small rifts in space. Interact with them to make the animal appear, after which Kratos will put it in a special trap. The first lindwurm can be found during the story quest. When Kratos obtains the Draupnir spear and starts learning how to use it, there will be a moment when Brok first tells about the weapon's ability to create bars.
The first one is needed for the story, but on the same rock above, there is another place from where steam is coming. Climbing higher, you will notice that with the help of the second bar, you can jump to a ledge with a spatial rift.
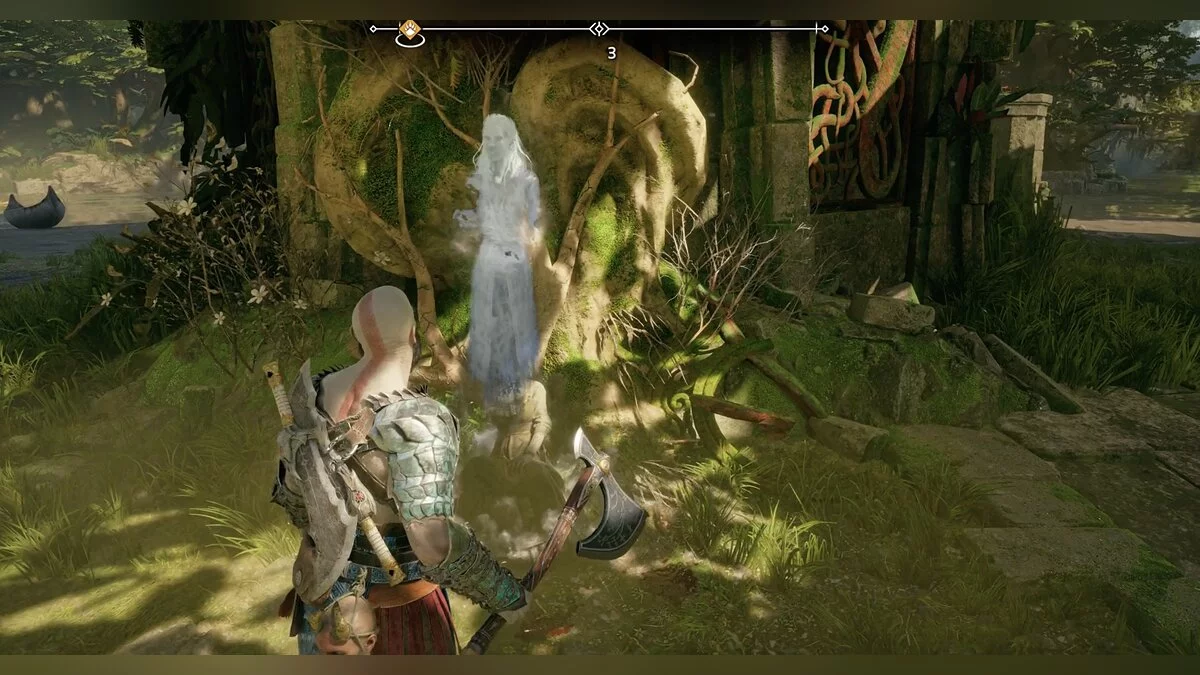
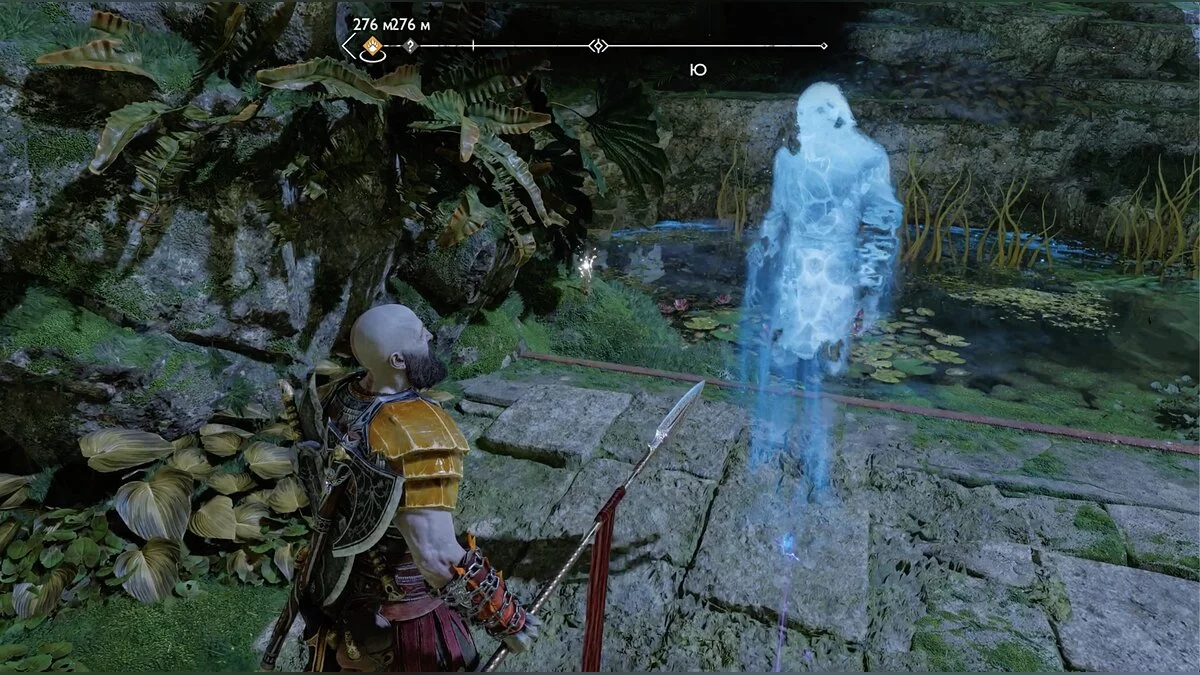
The second lizard can be found in the large water location of Svartalfheim. During the side quest Forgotten Treasure, which can be obtained from the ghost on the shore with the dragon statue, you will go to search for his deceased son. Finding him will be easy — there is a marker on the map, but then you will have to search for the treasure.
During all the manipulations, Kratos will find himself on a platform dividing the island and the shore with the ghost of the son. It is there that the spatial rift and the second lindwurm are located.
To catch another lindwurm, you will have to return to the mine where Tyr was imprisoned. Note that the path through the carts is closed, so go to the mine via the ferry. The landmark is on the map.
Visit the mine after obtaining the Draupnir spear. Use it to reach new areas.
Through the Worlds. Svartalfheim
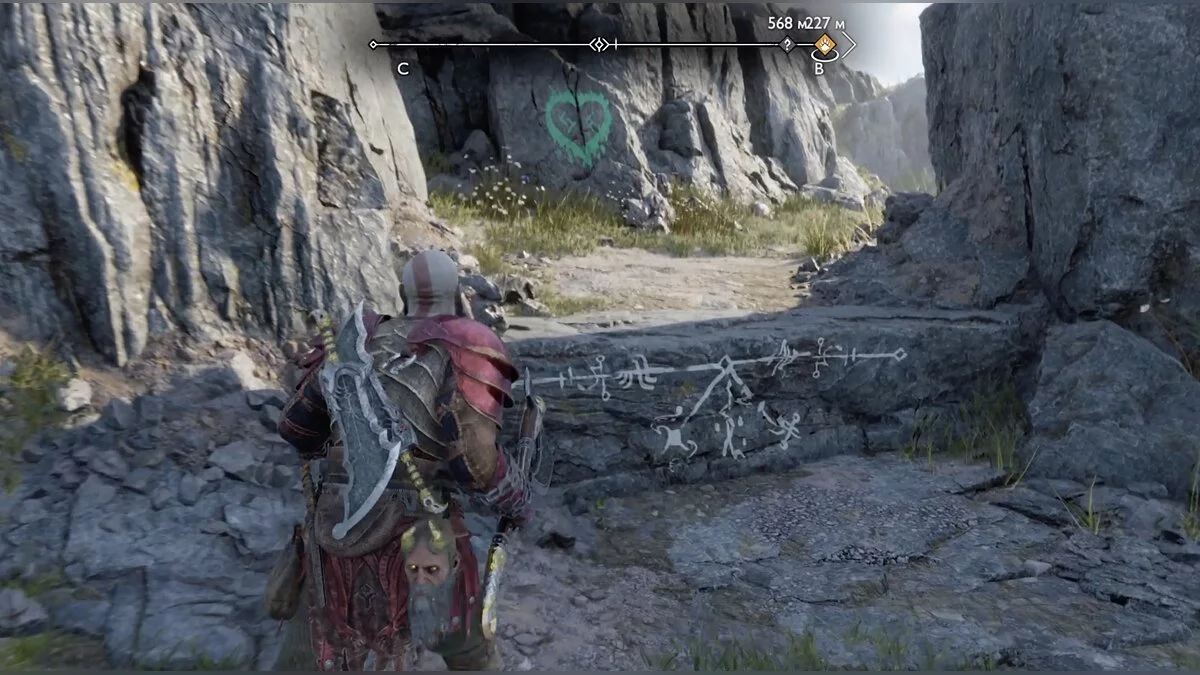
You will receive this quest in Midgard, below we describe all the details. Kratos needs to find 4 ingredients for a dish, but their location is unknown. The only thing that can help is the multicolored hearts on the rocks. Such can be found after obtaining the Draupnir spear.
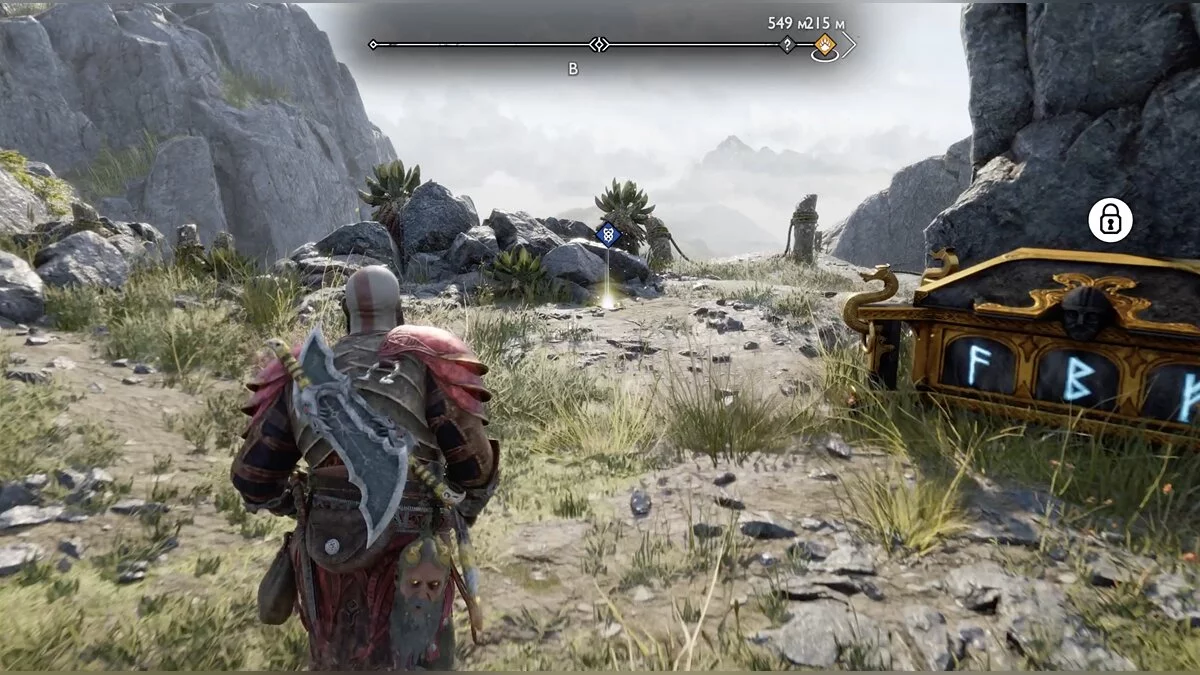
When you meet Freya again and return to the wooden rails on which the cart rides, pay attention to the left. Among the rocks is a norn chest, and there is a green heart. The ingredient lies next to the chest. According to the story, this should be the second one, two more remain.
Rebellious Spirit. Svartalfheim
After completing the story quest to obtain the spear in front of the world gates, Kratos and Freya are stopped by an old acquaintance — the dwarf Durlin. He asks to return his blacksmith hammer. Considering that with the spear you can open new areas, head to the already known water location.
Look at the map. The marker is on the shore where the dragon statue was. A wooden bridge rises in the sky, which could not be climbed before.
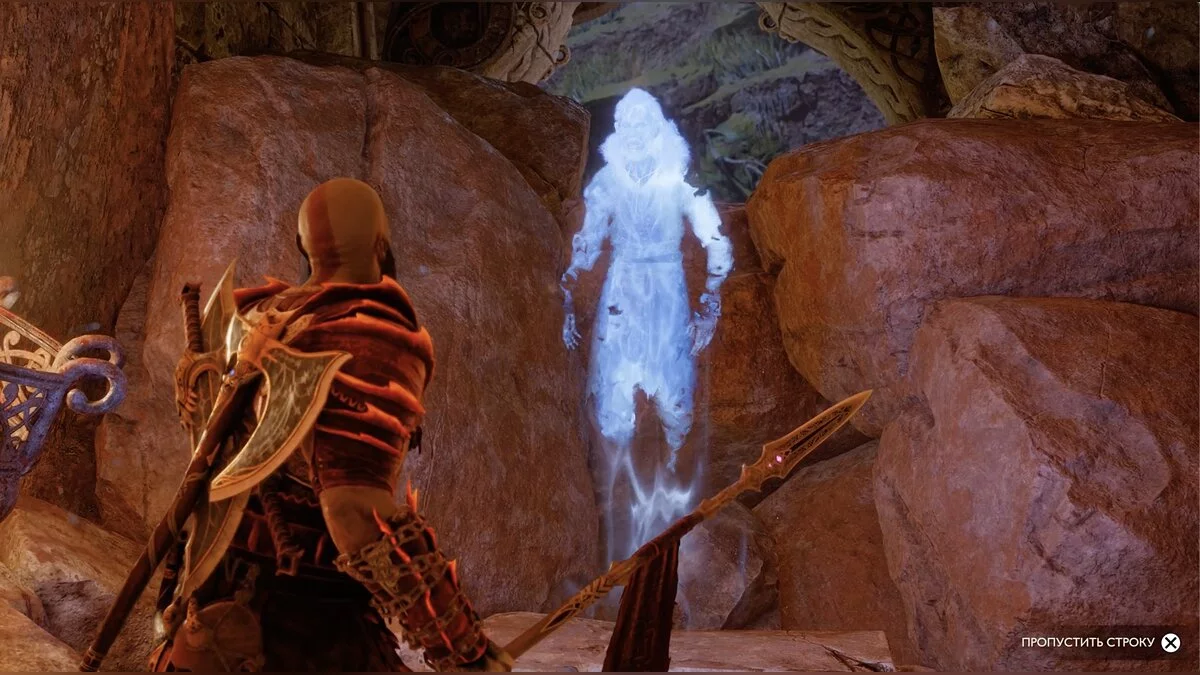
Climb the chain and you will see a place in the log to stick the spear. At the top, a ghost will appear who will give another quest — Forgotten Treasure. We won't deal with it for now.
Jump onto the large bridge using the blades — in front of you is a small chest. On the right, you can crawl through — a rift between worlds. A werewolf and a nightmare will appear from it.
Continue moving along the bridge to the large statue and you will open the territory of Alberich's Gorge.
To the left is a stone disc, use the cutter on it, and the statue will rise. Under it is a large chest with Durlin's hammer.
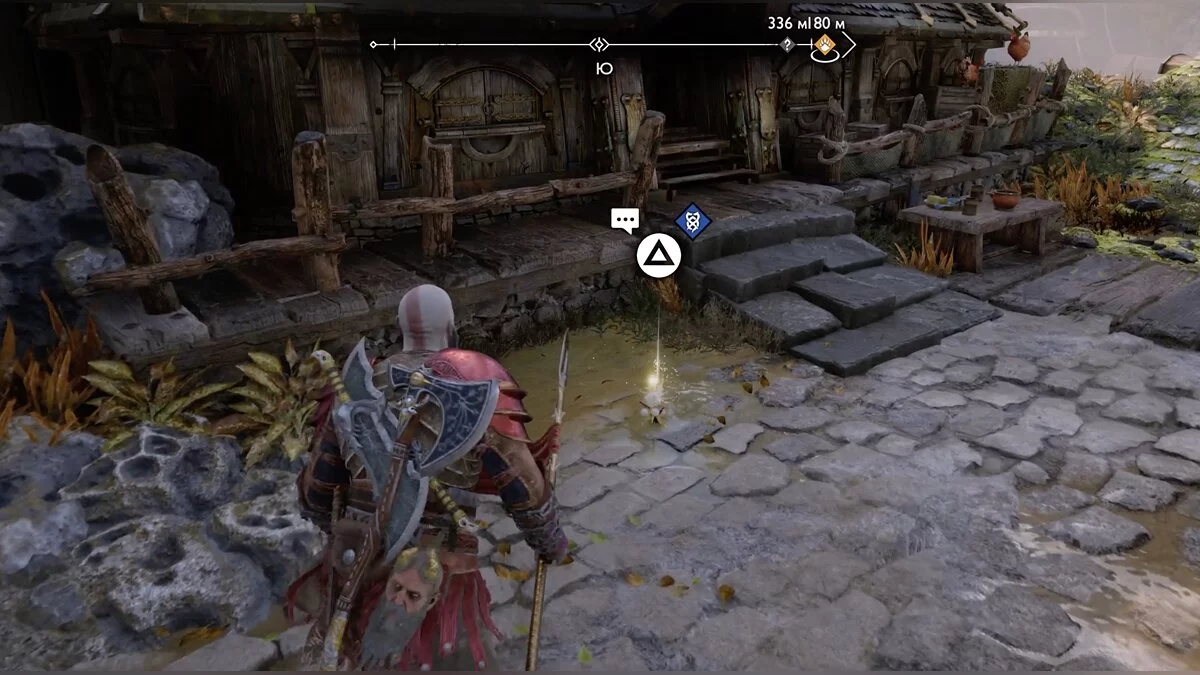
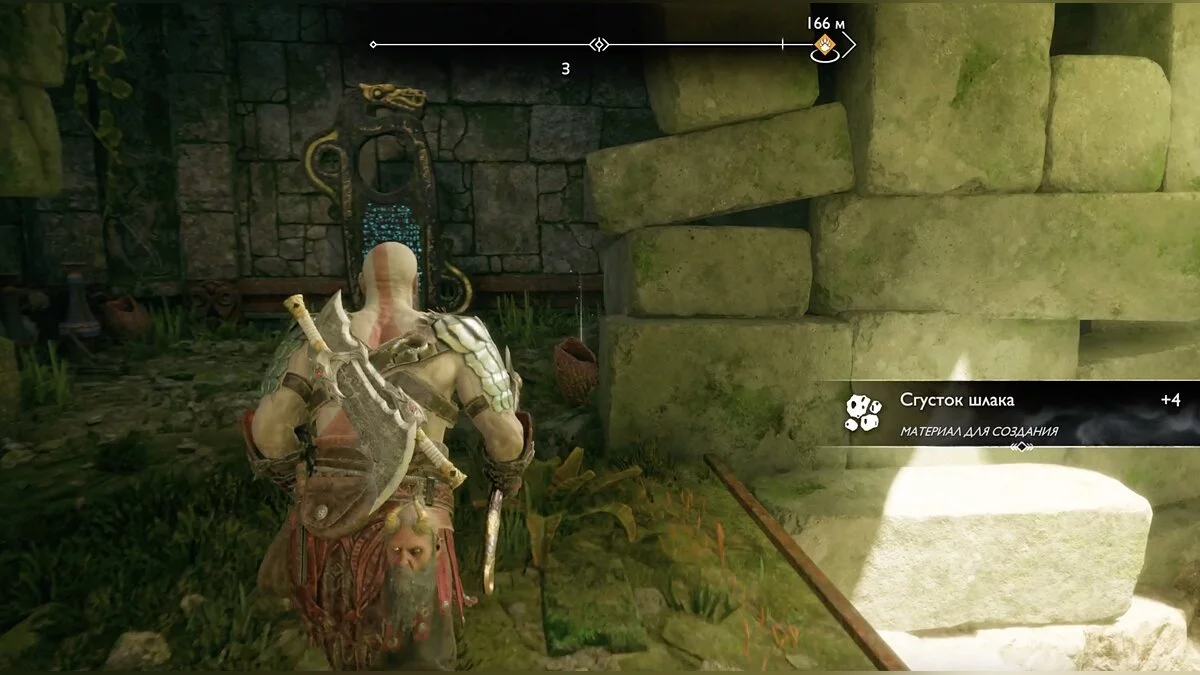
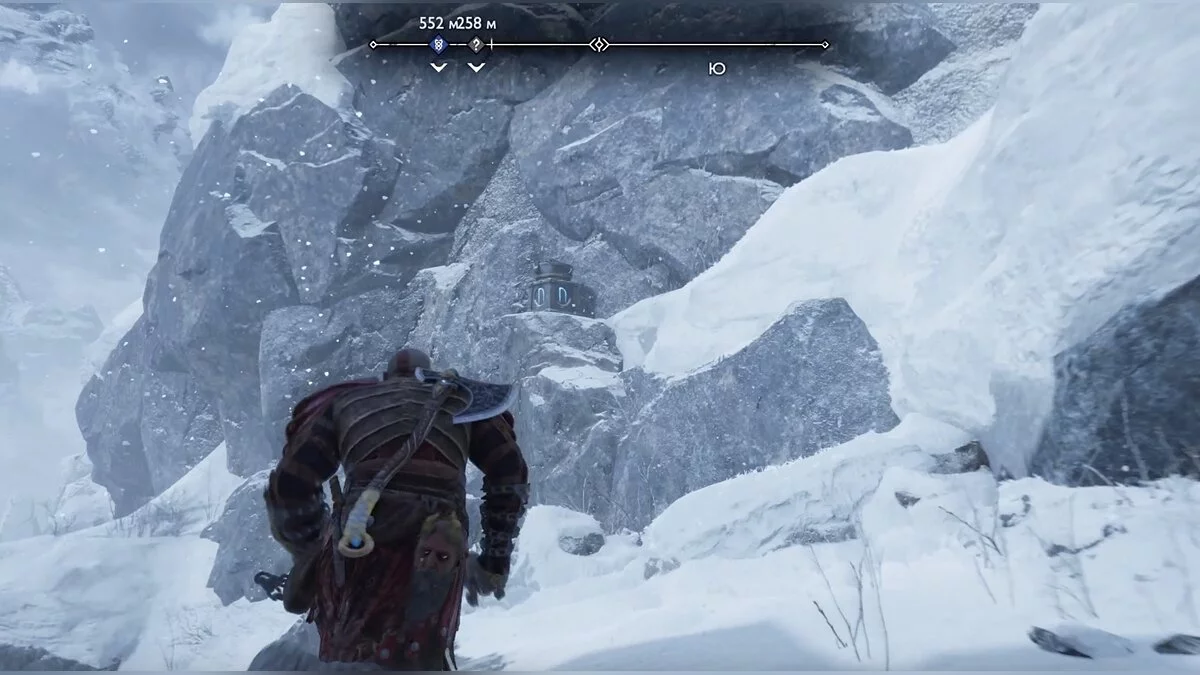
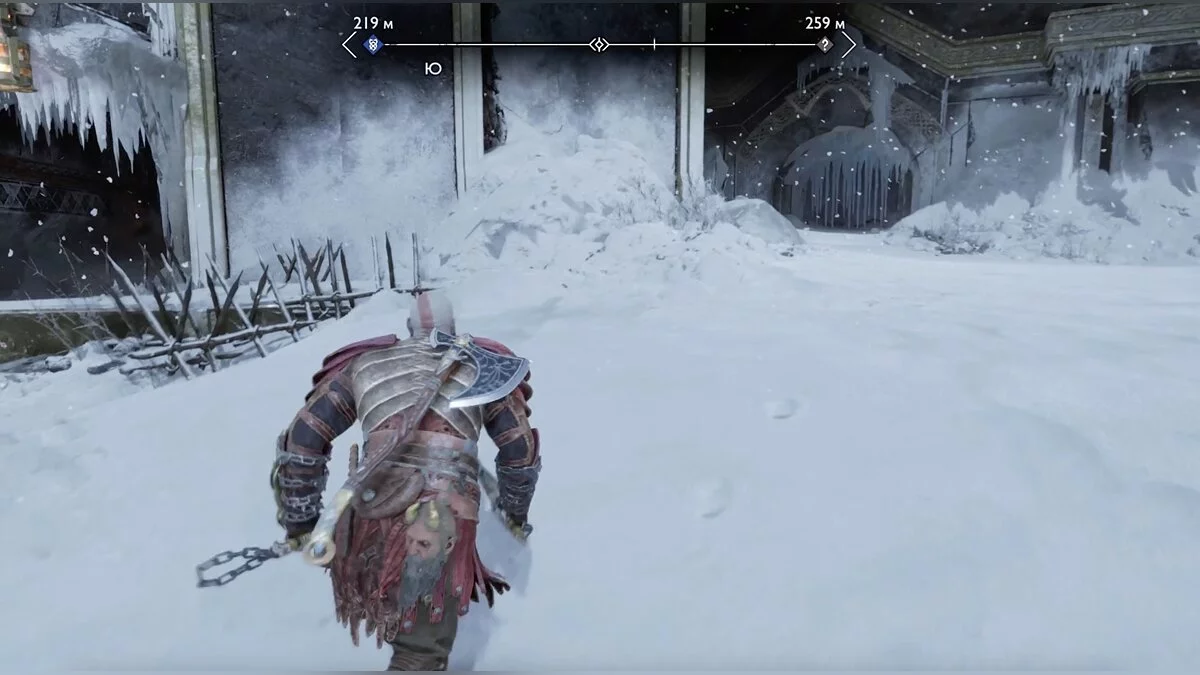
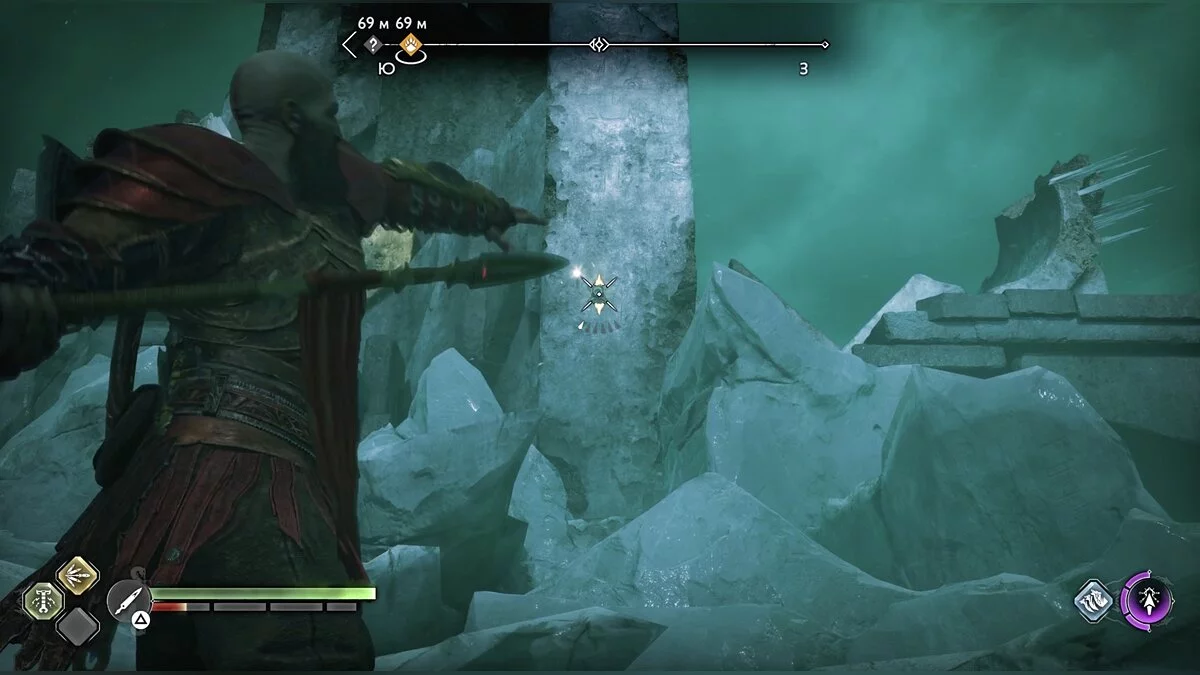
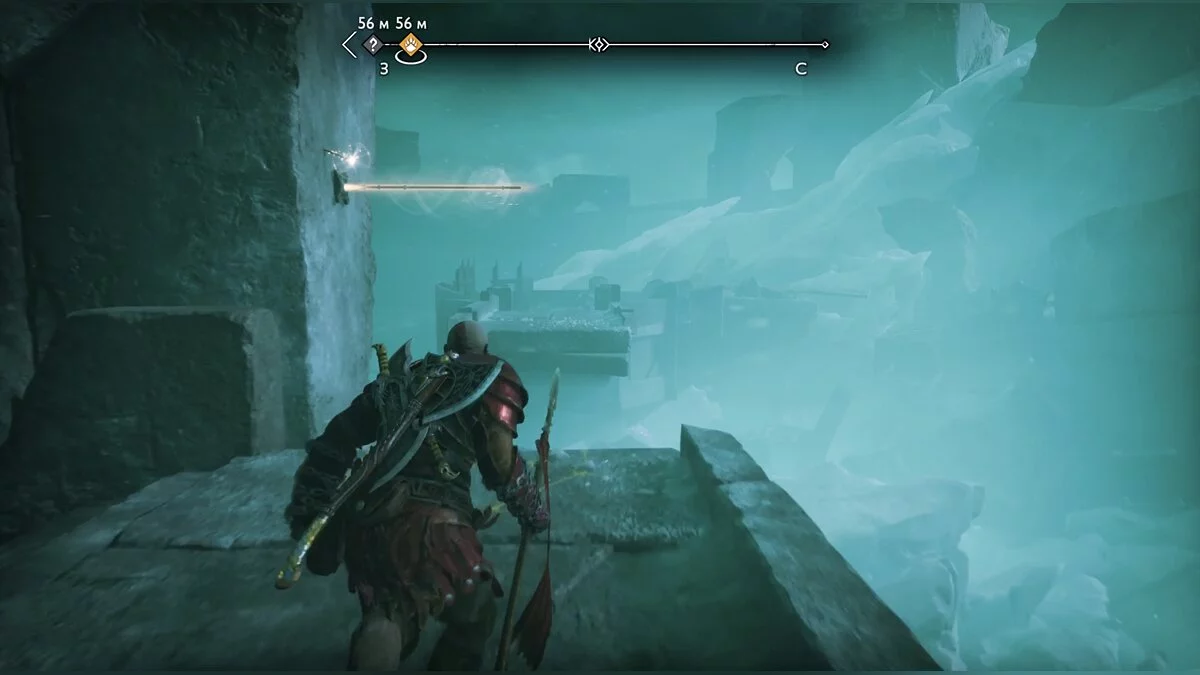
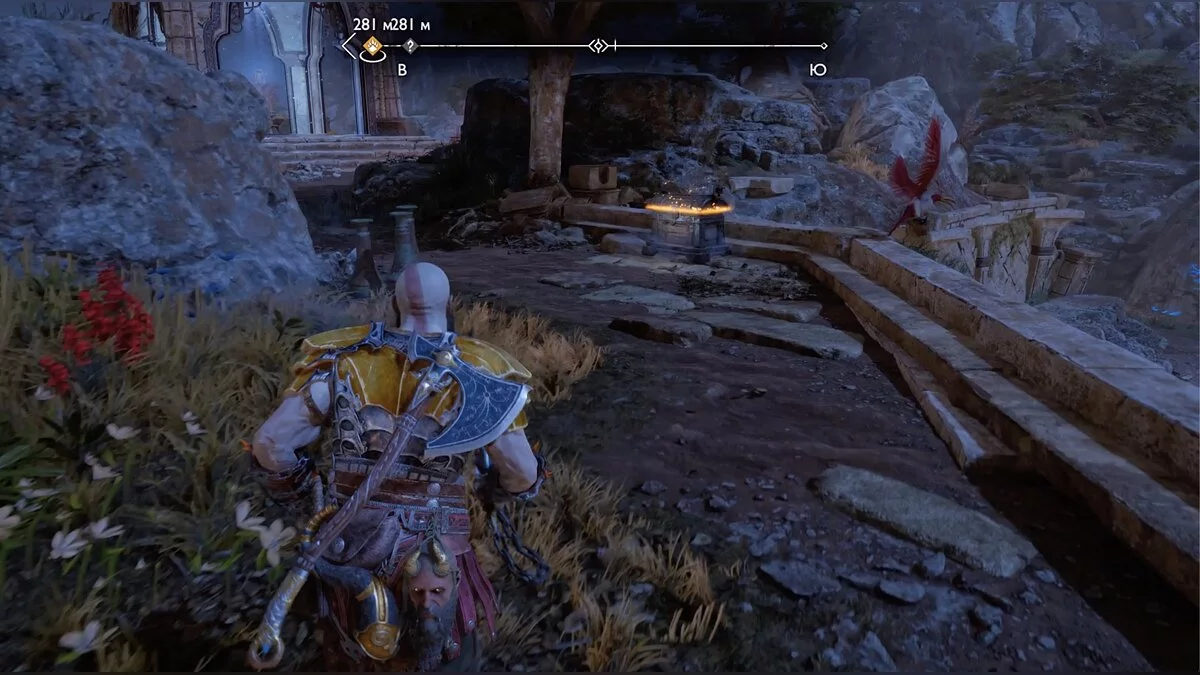
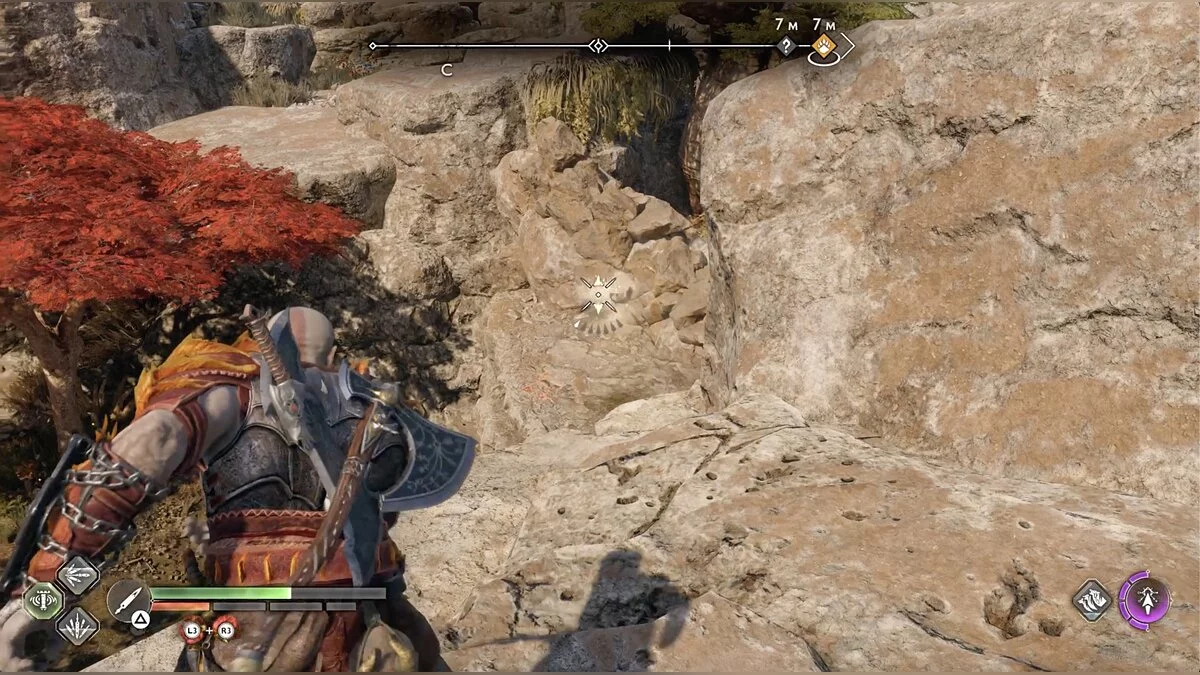
Return to the dwarf, who is waiting for you in the tavern (the only accessible building in Nidavellir). The quest is completed. You can return to the streets of Nidavellir. There are a couple of places for the spear. The first one is at the corner of the street, use the screenshot as a guide. At the top is a large chest.
The second place is near the blocked bridge next to the tunnel through which Kratos and Atreus first entered the city from the port. On the other side, you will be able to progress in the quest Blooming Worlds and open a small chest.
Blooming Worlds. Svartalfheim
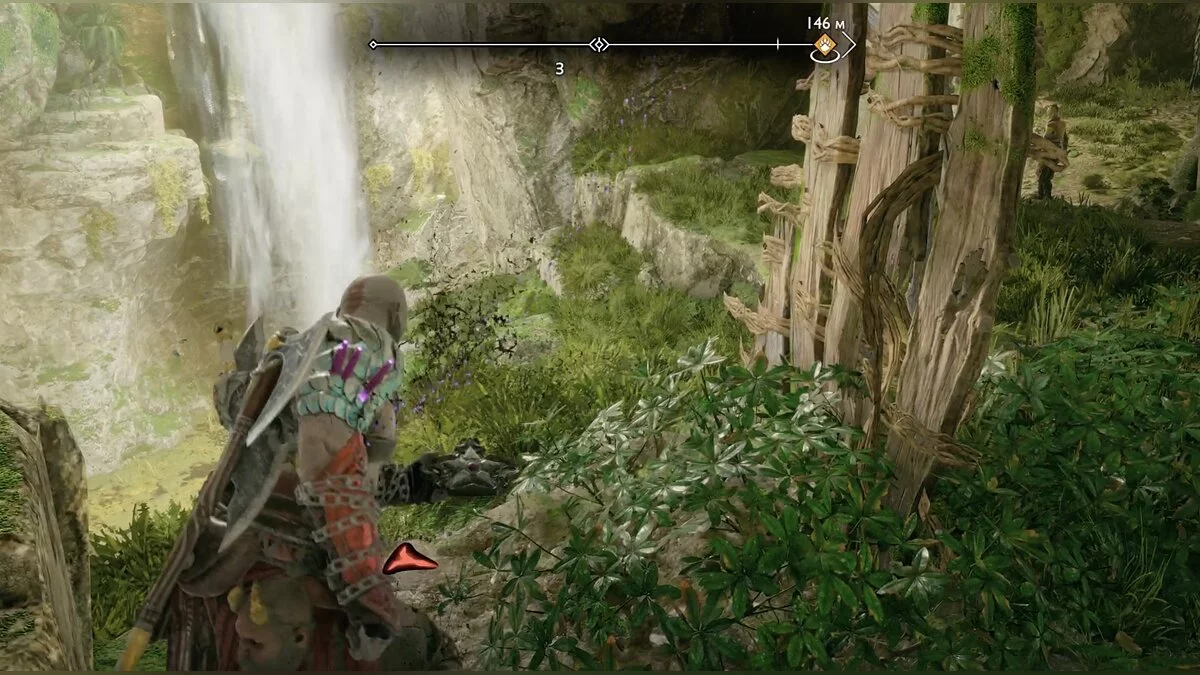
After obtaining the Draupnir spear, visit Nidavellir. There are not many places to explore. Return to the tunnel through which Atreus and Kratos entered from the pier to the main street. Right after the tunnel is a blocked bridge. It was previously impassable. Notice the place for the spear slightly to the left of the bridge. Create a bar and jump over — that's where the flower grows.
Forgotten Treasure. Svartalfheim
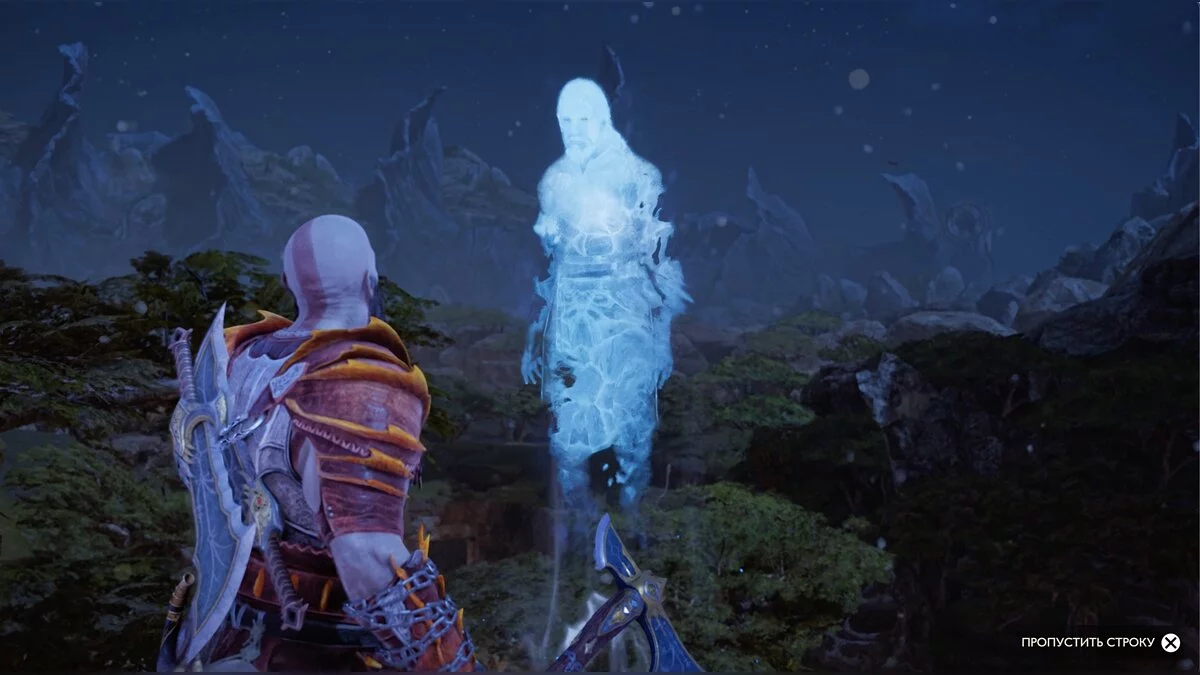
When you are searching for Durlin's hammer on the shore with the dragon statue, climb up the wooden structure to jump onto the large bridge. Kratos will meet a ghost who will tell that he was searching for treasure with his son, but they ended up separated. You need to find both the treasure and the son.
From the statue where Durlin's hammer was, go left into the cave. There, the heroes will encounter toads. Nearby is a bomb storage. Use one to blow up the resin on the large chest nearby. You will receive a world tree seed and a new request The Crucible, which will have to be completed in Muspelheim.
Take another bomb and break the resin blocking the path deeper into the cave, more toads await. After defeating them, turn around and you will see Odin's raven. Take another bomb and break the resin again.
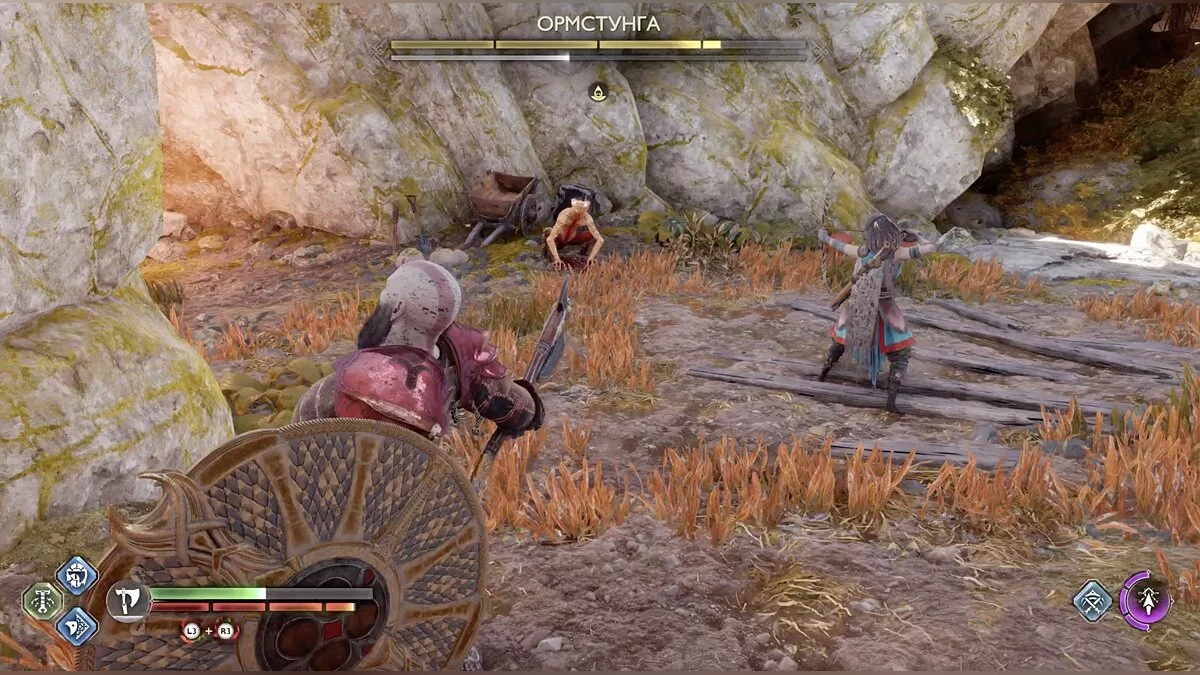
A boss awaits you — Ormstunga. This is a rather nasty toad that deals damage both up close and at a distance with its tongue. Additionally, it actively spits poison. The fight with it can drag on, but there is an excellent way to make your life easier. Run away from the monster and grab a bomb. Only 3-4 accurate throws, and the enemy is defeated.
After the victory, climb the ledge on the left and throw a bomb into the resin. This will open the way forward. At the exit stands a large chest with treasure. Climb down the chain and sail to the shore indicated on the map.
Here you previously opened a Norn chest, but now there is a place for a spear throw. Climb up it to the ledge and you will find the ghost of the son. Now you need to find the remaining treasure. Move forward, on the left is a barrier for the green arrow. Break it and go to the end — Odin's raven.
In the same place, turn around and examine the rock below — a place for a spear explosion. This will free the geyser. A lift will rise, from which you can jump onto the platform ahead. Examine the rift between the worlds and progress in the quest Lost Lindwurms.
Again, examine the lift from which you got onto the platform. Under it, behind the boards, is a large chest. Just freeze the geyser and you can open it.
Jump from the platform to the island and climb the ledge on the right. Right in front of you is Odin's raven.
Turn around and blow up the rock with a spear. Then go to the end to the chain. Lower the barrier in front of the wheel and freeze the mechanism, extending the time with a pink arrow.
You need to quickly run to the platform and freeze the geyser under the wheel. Also from this position, you can blow up the rock next to the geyser, use the spear.
The lift will descend, on which you will rise to the top. Kill a few small lizards and jump across the ledges using the blades. You will find a large chest with treasure.
Near the rope, make a quick descent to the shore and return to the ghost of the father. The quest is completed.
Viking Funeral. Svartalfheim
Attention, this is a side quest from endgame content, beware of spoilers!
Another request available only after completing the story. Visit Lunda at any of the forges and talk to her. The dwarf will say that preparations are being made for Brok's funeral and will invite you to participate.
Return to the tavern in Nidavellir and listen to what the dwarves are saying.
Then you need to head to the ferry that connects the beginning of the Svartalfheim location and the mine exit. Before the ferry, shoot down Odin's raven.
Reach the shore where the mine exit is, the area is called Sverd Sands, and watch the farewell cutscene.
All That's Left of Asgard. Svartalfheim
Attention, this side quest is part of the endgame content, beware of spoilers!
The first group of enemies and a piece of Asgard can be destroyed in the swamps when you are returning from Nidavellir to the ferry to fulfill the Viking Funeral request.
The second piece awaits on the large bridge in the location with the dragon statue. Sail there by boat.
The third piece is at the beginning of the mine, where Atreus and Kratos were attacked by a troll and the cart was broken in the story. You will have to go through the entire underground part.
Hel's Payment. Svartalfheim
After freeing Garm, 6 rifts between worlds appeared in all realms. They need to be closed manually. The rift in Svartalfheim is located in the swamps. As before, pay attention to the question mark on the map.
The Secret of the Sands. Alfheim
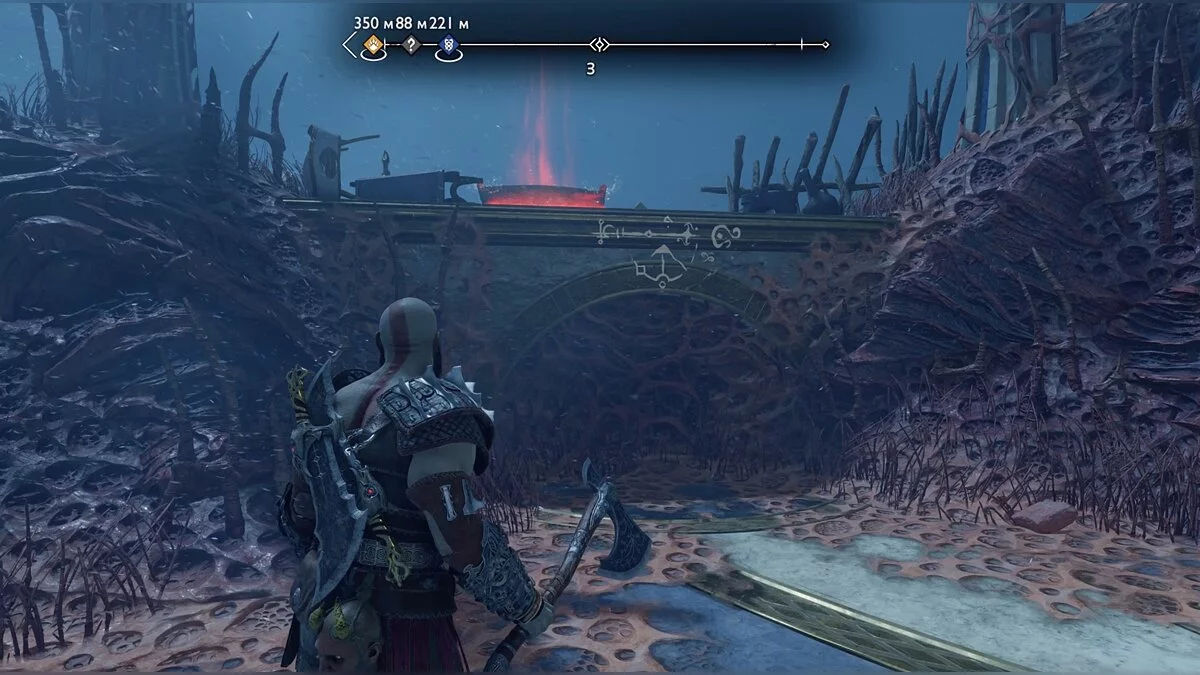
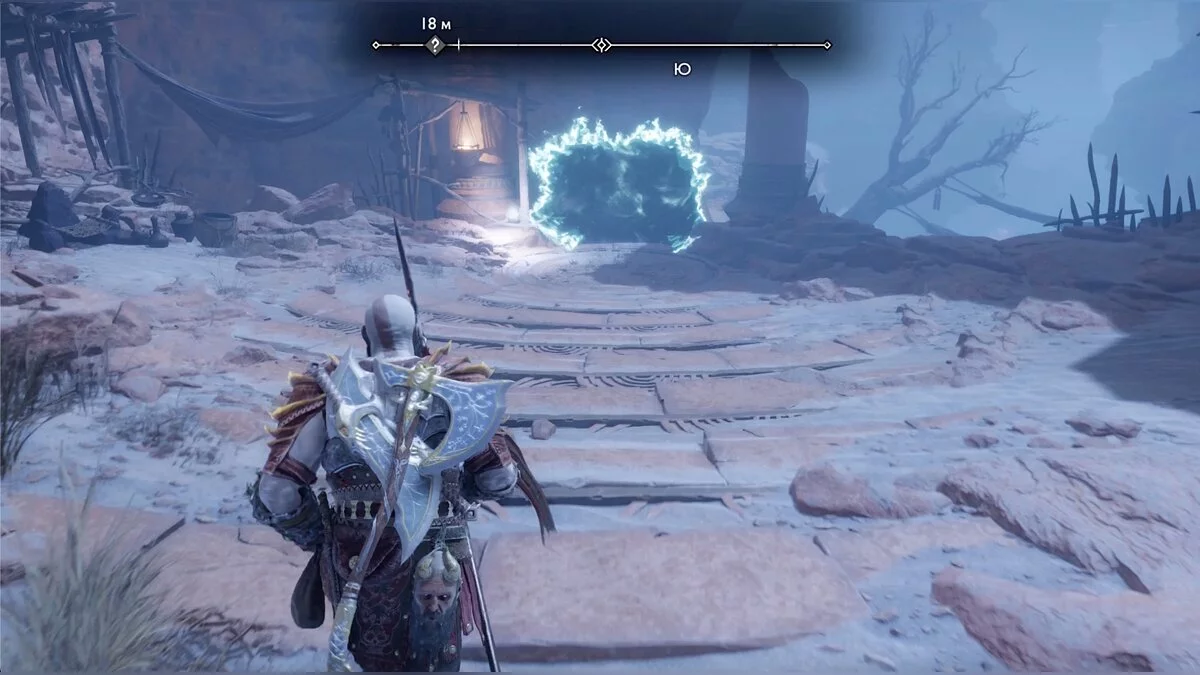
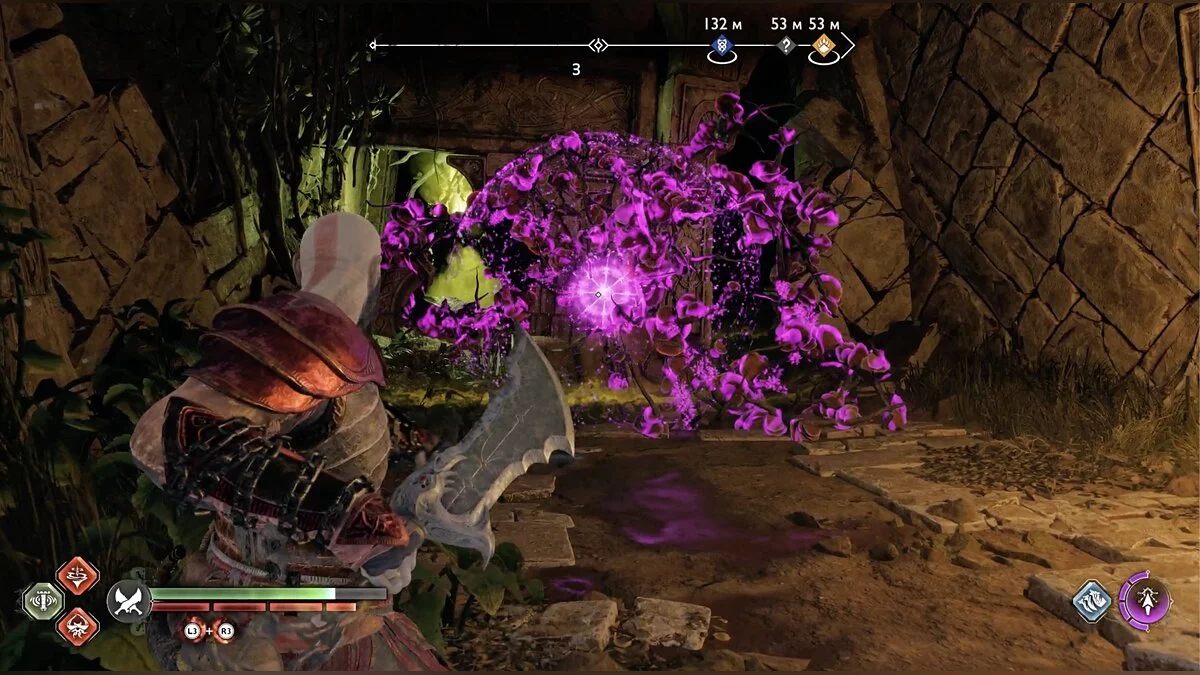
As soon as you reach the world gates and Tyr goes back to the dwarves' house, an explosion will occur, opening a new path in the elf world location. Move forward until you reach the dark elf matter cocoons. As in the previous game, the red clumps can only be broken if the axe hits them all at once. This knowledge will come in handy.
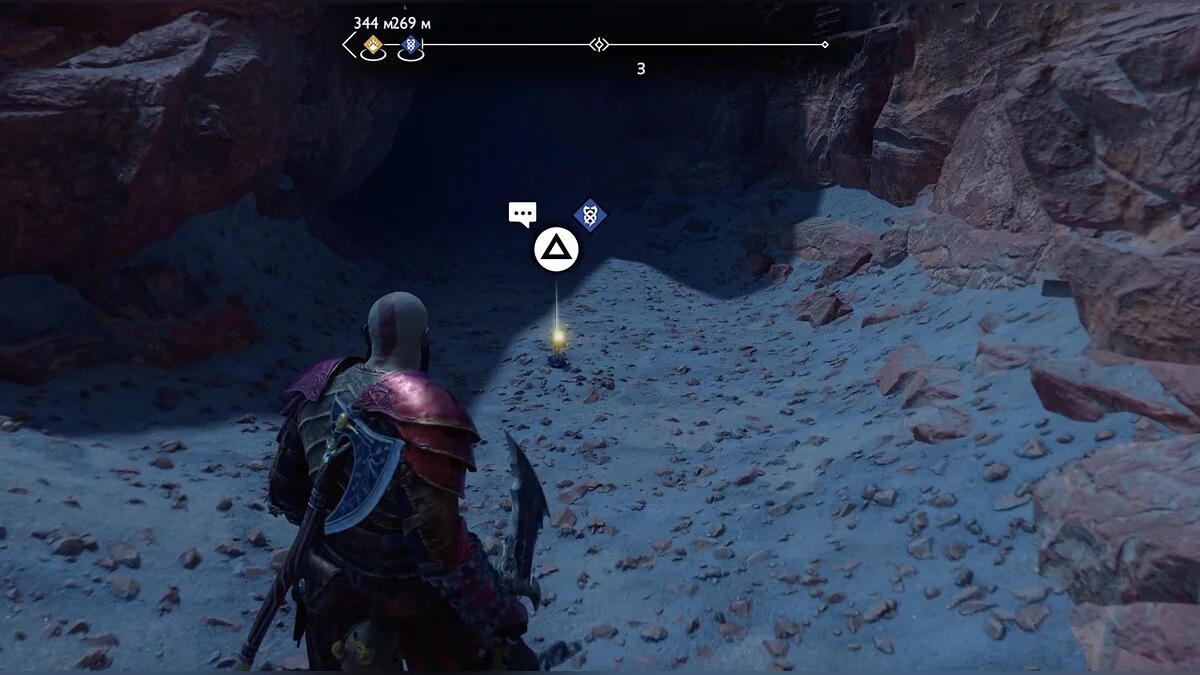
Climb up and you will see Sindri's forge. Talk to the dwarf to start the side quest — an unknown animal in the desert is asking for help. Atreus and Kratos decide to find out what's going on. Next to the forge, you can find a legendary mark and a hovering Odin's raven.
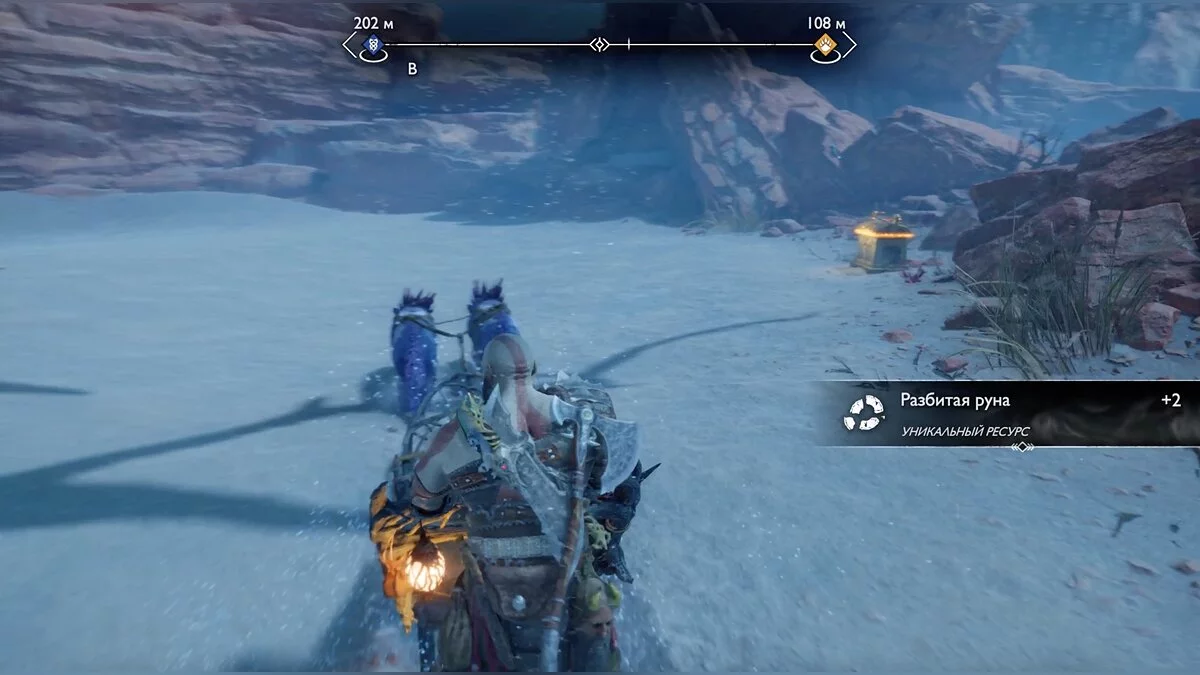
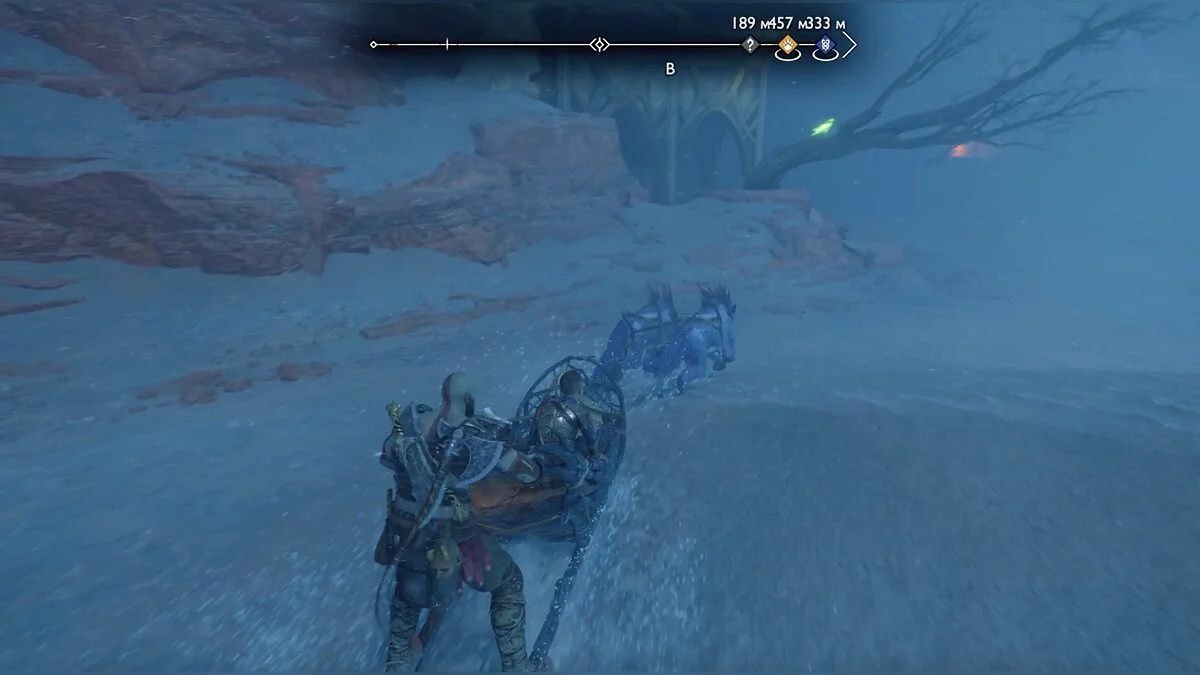
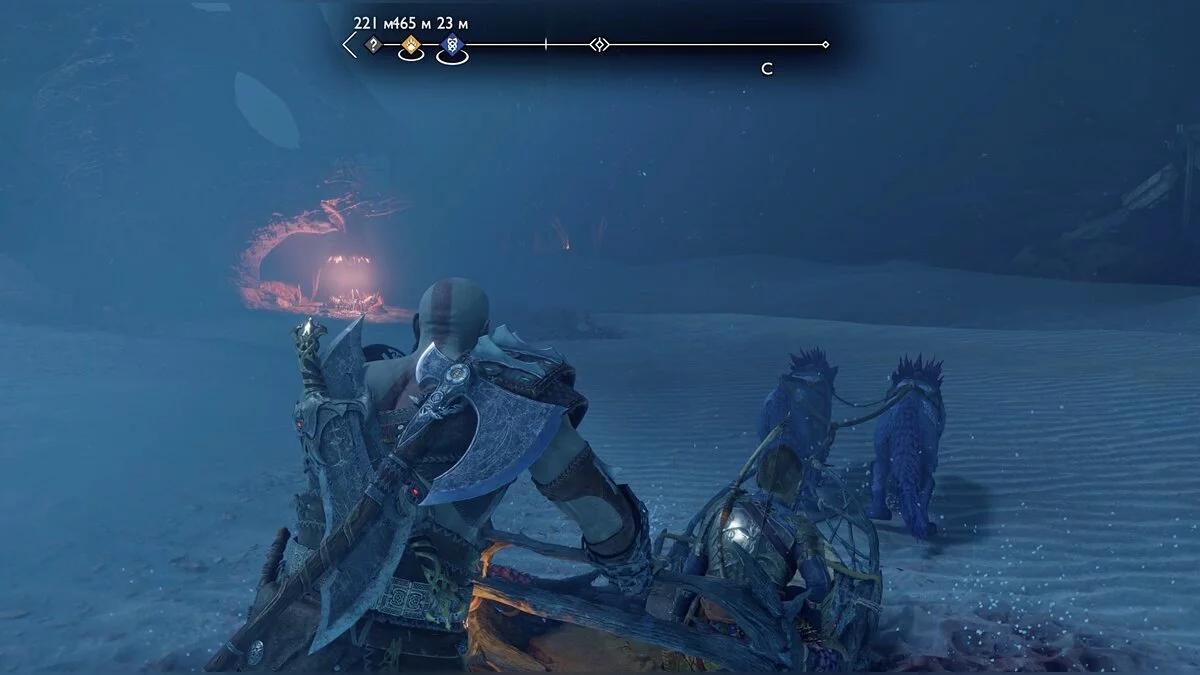
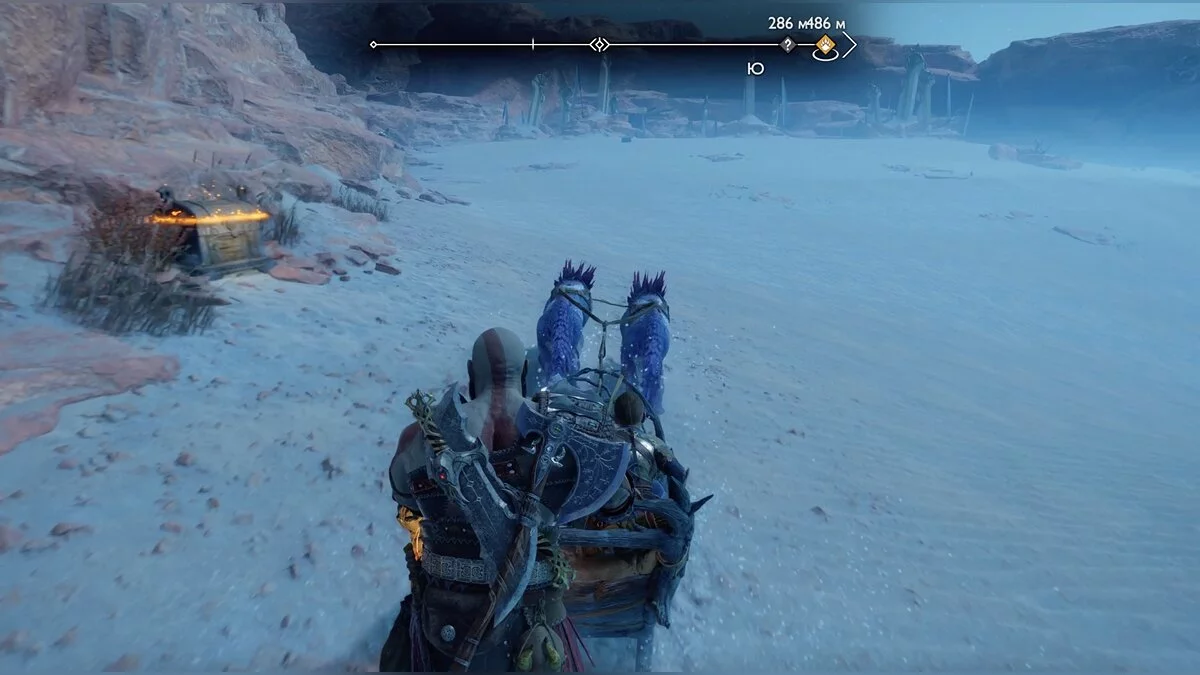
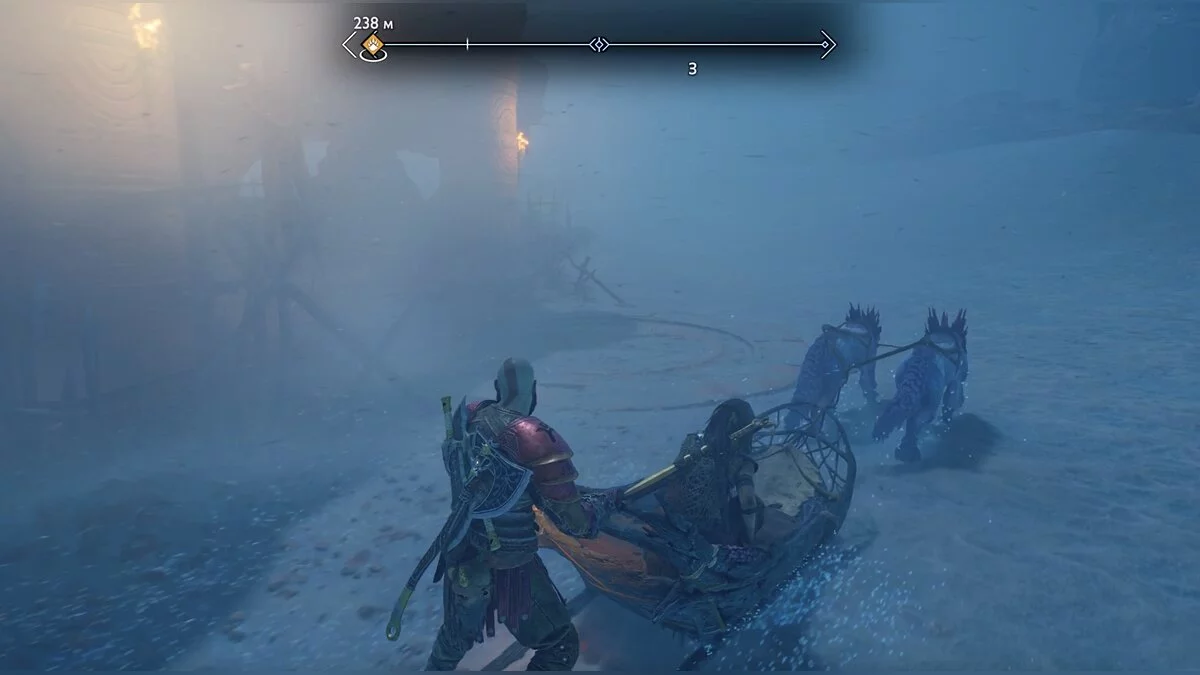
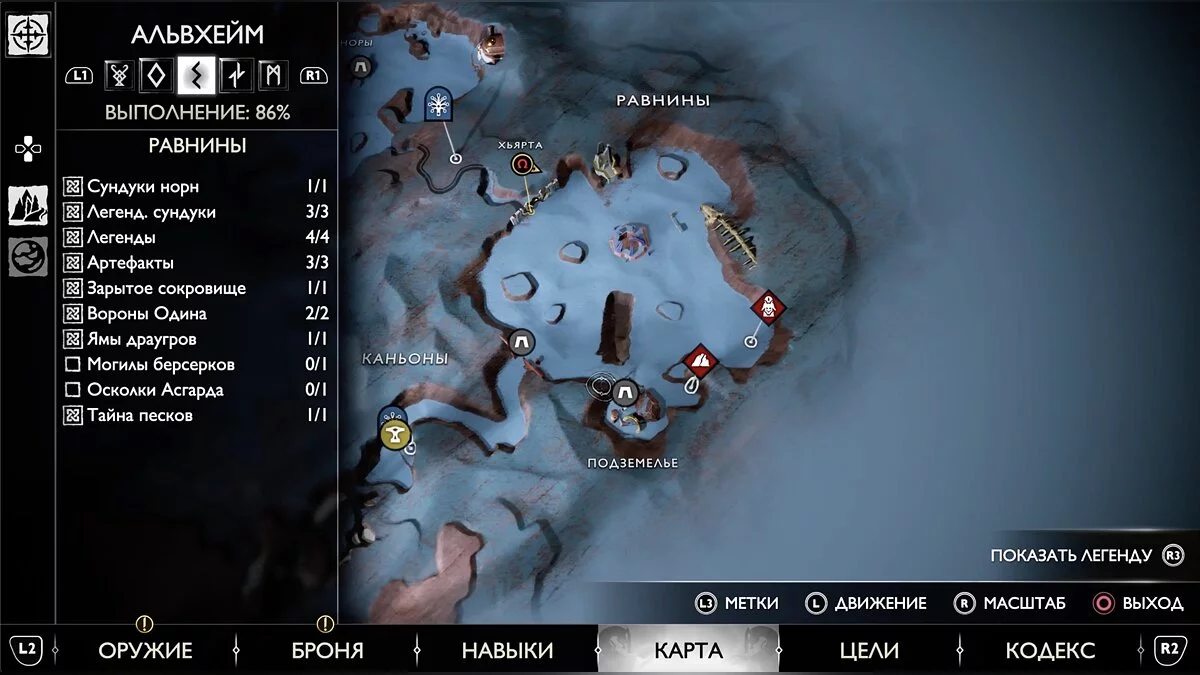
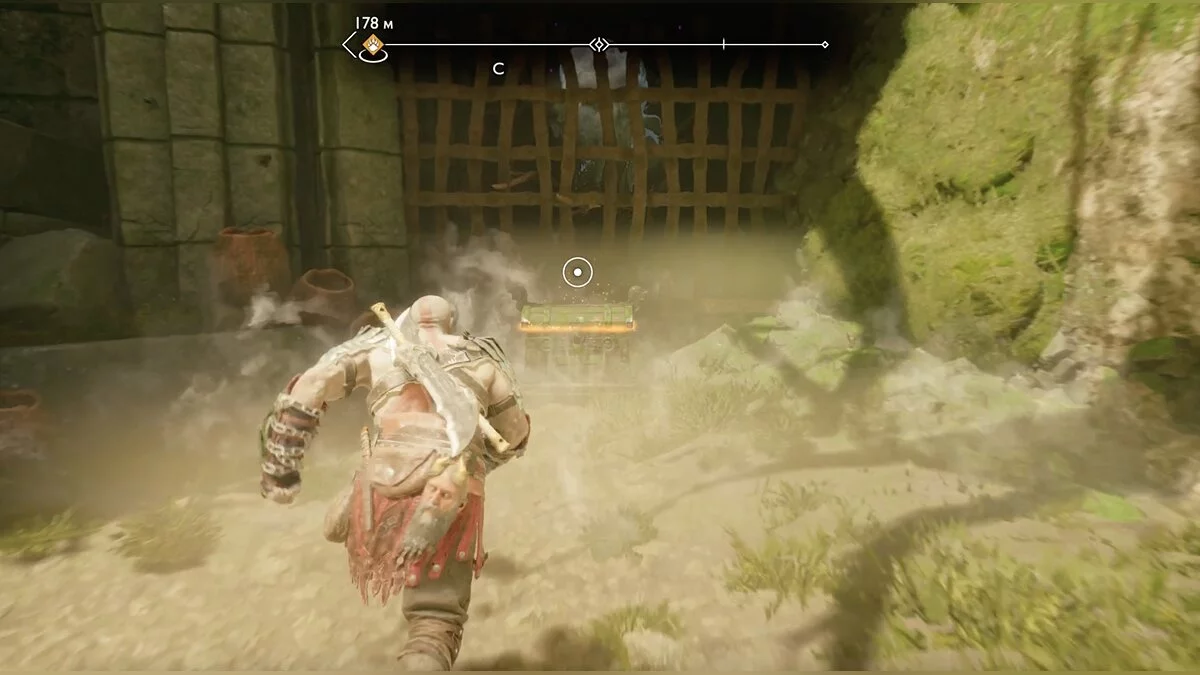
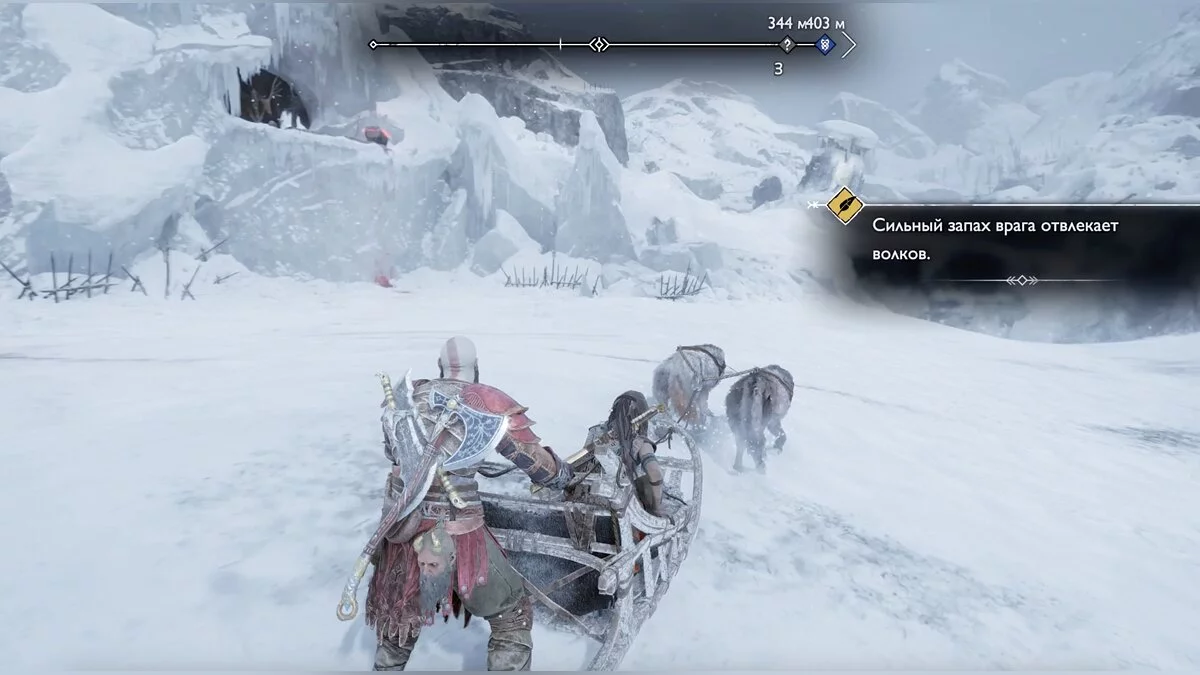
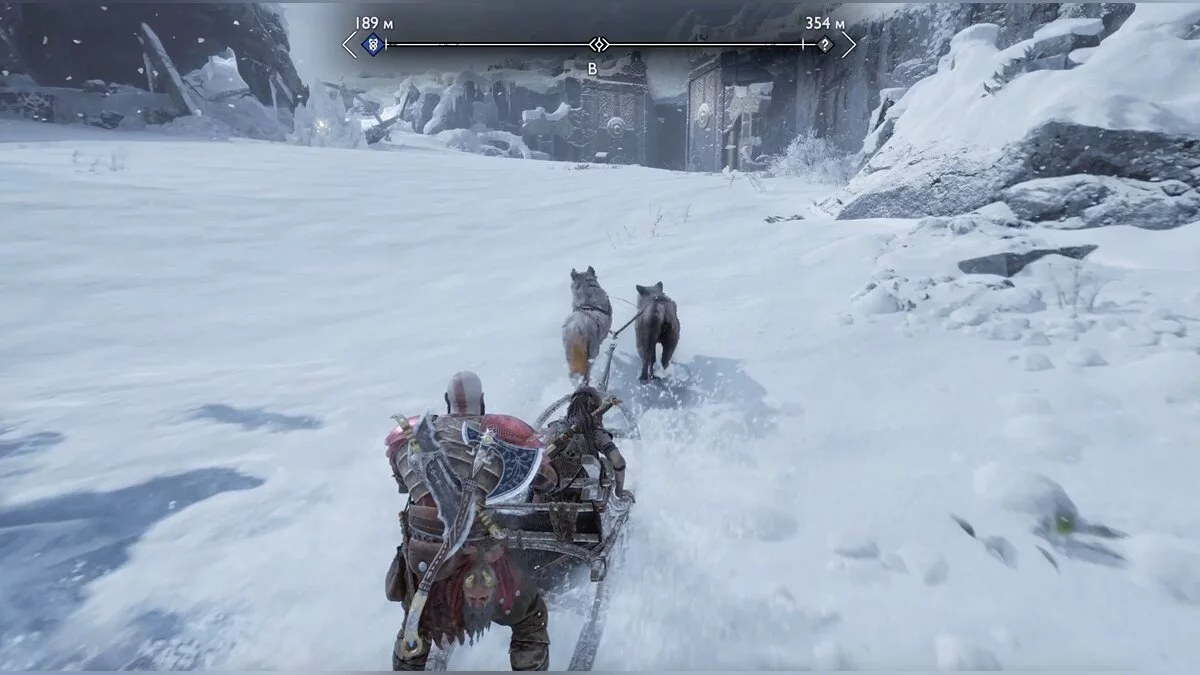
Move straight ahead and you will come across a sled with strange cats. This will help you move a bit faster. The plains are essentially the same location as the water area in Svartalfheim. Barrels are scattered in the sands, and running over them will give you some resources. All buildings and elevations are points of interest, and exploring them will yield something useful. There is only one difference from the open location you are already familiar with — a sandstorm. It severely limits visibility and doesn't allow you to properly observe the available objects. Nevertheless, after circling the new territory, you will clearly see the surroundings on the map.
Fortunately, the storm can be stopped. This is the goal of your side quest. After completing it, exploring the plains will be easy. We advise you to complete the quest first and then examine the points of interest, as many places will be heavily buried in sand during the storm, and access to them will be limited.
The desert is separated from the forge by a small canyon. Note that there is a small chest there.
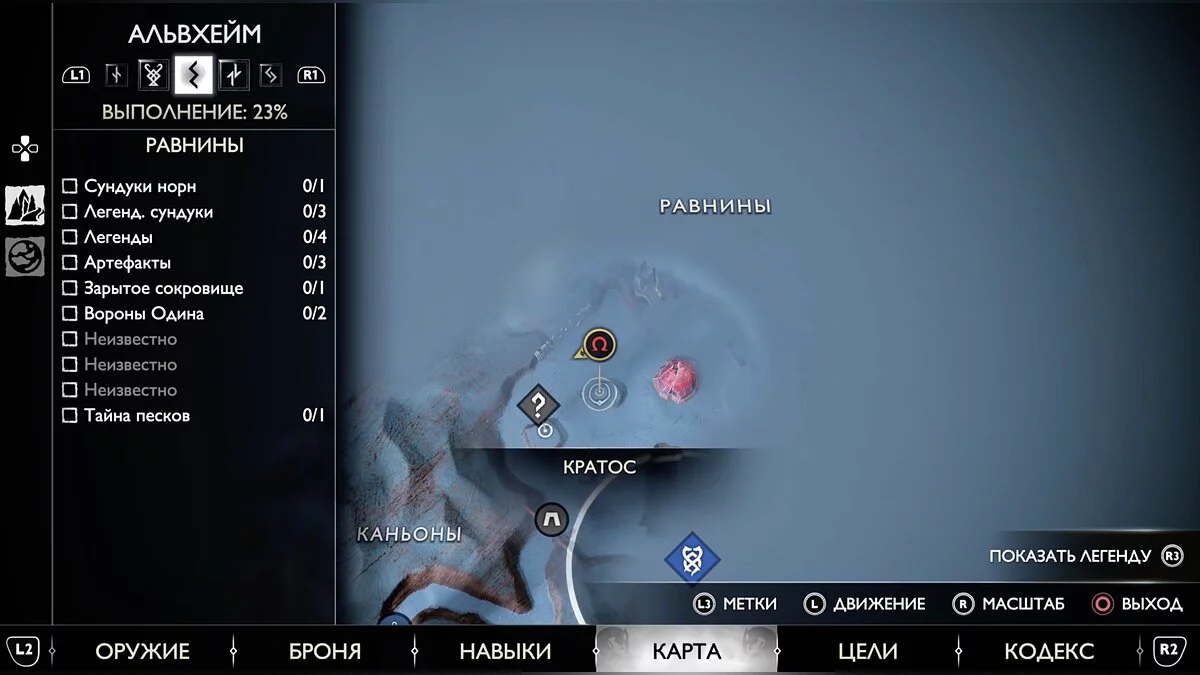
Upon entering the location, open the map and you will see a question mark — you can't get there yet. Continue moving in a circle along the left side. On one of the islands, you can open a large chest.
Stay close to the cliffs and you will notice a Odin's raven. It is sitting next to the remains of a temple, which can also be examined. You will face a battle with dark elves. After winning, open the large and small chests, pick up the sword hilt scheme, artifact, and examine the legendary mark.
The next structure on the left side will be a rock with something resembling a tower. The center of the building is entwined with elf cocoons. Find the entrance; on the left, there is a runic brazier from the Nornir chest. Go around the building from the back — there will be an optimal point to destroy the cocoons and the second runic bowl. Return to the entrance and climb higher. The last runic brazier is on the roof. Next to it is an explosive pot.
The next point of interest will be the toothed skeleton of an unknown creature. Pay attention to the Odin's raven in its right eye socket. Inside the skeleton, defeat the frogs, and then read the legendary mark. At the far end of the arena, there is a wall you can climb. At the top, there is another Kvasir's poem book and a large chest.
Further exploration of the location in the storm is pointless. Look for a cave, it should be located almost in the center of the side quest marker. Descend the sheer wall underground and jump to the other side using the blades.
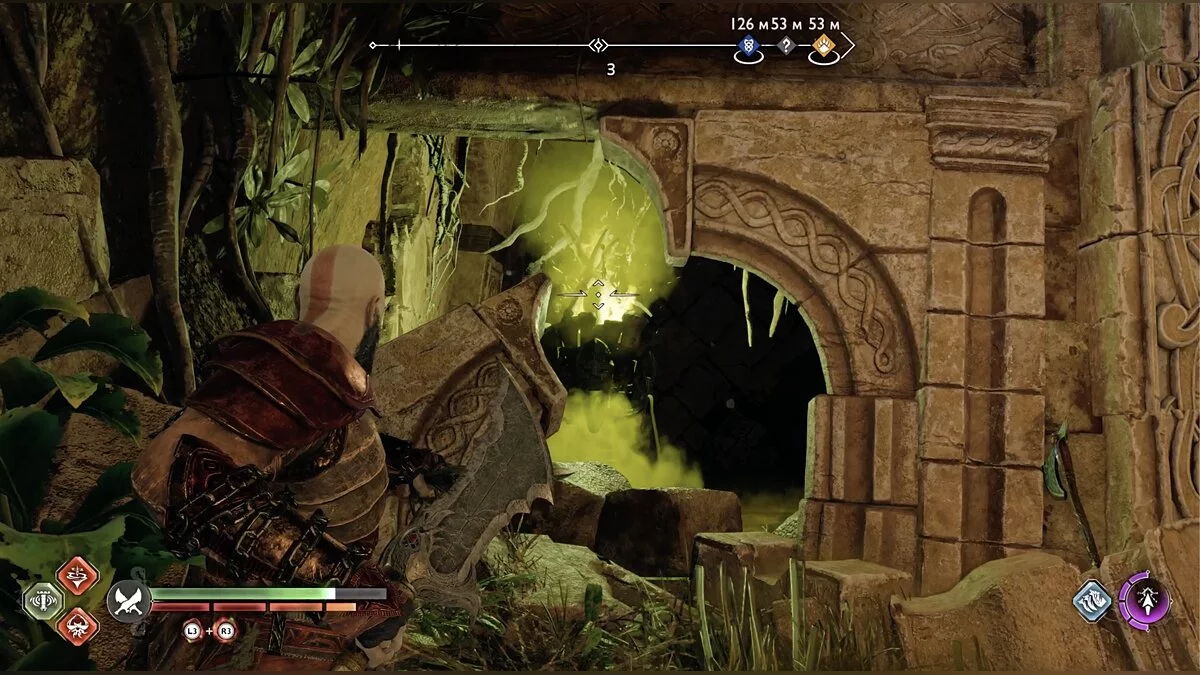
Break one cocoon with an axe to clear the path, an elf will attack. The way is blocked by hive matter, you need to figure out how to break all the cocoons at once. Pay attention to the twilight stone — pink in color. Aim with your axe and find the optimal trajectory to cut through all the barriers at once.
Elves will attack again, open the small chest. Move forward and you will enter a cave with elves. After the victory, climb the wall up and go to the right. Kick down the shield covering the quick ascent and cut through the hive cocoons. Now you can open the large chest and read the blue runes.
On the first floor of the cave, there is a runic bell and a Nornir chest, but access to it is currently impossible. Climb the wall again, and then even higher.
Descend the rope across the chasm. Below, there will be a ledge with a small chest. Use the blades to latch onto available points to reach the rock, and jump off it to the right. From here, you can destroy the cocoons you just jumped past. You will need to use the ricochet property of the twilight stone again. Just below is the Nornir chest — the very one you couldn't reach earlier. Here is also the second runic bell, and you can raise the gate to provide quick access to the first one in the cave. Now, you need to find the third.
Return to the place where you got thanks to the blades. After the hive matter, a new route opened up. Jump through it and descend inside. In the window is the third bell, and on the right, you can open the gate. Now you have everything to unlock the Nornir chest. Hit the bell and quickly descend to the other two. If you don't miss the throw, you should have enough time.
Return to where you found the last bell and descend the chain down, kill the elves. Move forward after Atreus and you will come across resin clusters. Go around it to blow up the pot. On the right, there are many hive cocoons, and below is more resin with a pot. Blowing it up will reveal the twilight stone. Stand on the ledge, where the first resin was, and you will find a suitable angle for throwing the axe. Clearing the area, open the large chest.
Return to where you threw the axe and descend after Atreus. The heroes will find themselves in a spacious cave filled with hive cocoons, frozen resin, and twilight stones. You will need to gradually clear the room.
Immediately after entering the area, on the right, there will be a cluster blocking a twilight stone. You need to throw the axe so that it ricochets into the remaining cocoons. Go through the opened passage, blow up the pot on the left to clear the resin. Open the small chest right there.
Go to where the resin was. On the left is a twilight stone. Aim in such a way as to hit another one, located a little further. This will immediately clear most of the cocoons and hive matter. Move forward to the accessible area — on the right is a large chest.
In front of you hangs a twilight stone on a rotating mechanism. Hit it once to turn it counterclockwise and you will immediately get the desired position. This will clear the last remnants of the hive in the area.
Move into the opened passage and deal with the nightmare nest. Climb up the wall. Kratos and Atreus will find themselves in a huge hall with a flying jellyfish — Hafgufa. The creature is stuck in hive cocoons and is trying to free itself. It is because of it that there is a constant storm on the surface. Pay attention to the resin on the left. It can be blown up. Jump onto the opened ledge and do exactly as you did in the previous area: aim simultaneously at the nearest cocoon and the twilight stone to destroy the rest. Return to Atreus and break the remaining cocoons, aiming at the twilight stone above Kratos.
Now the jellyfish needs to be released outside. Move further down the tunnel, don't miss the large chest. Climb higher and break through the ceiling. In the room, open the large chest and break the cocoons to clear the way — you are on the surface. Find the red structure on the map and go there. Following the game's hints, free the creature. The storm will immediately pass, and the task is completed.
Continue exploring the location. Now everything is clearly visible. If you drive along the skeleton, you will find a small chest. Ahead there is an area that looks like an arena. There you can read a legend mark.
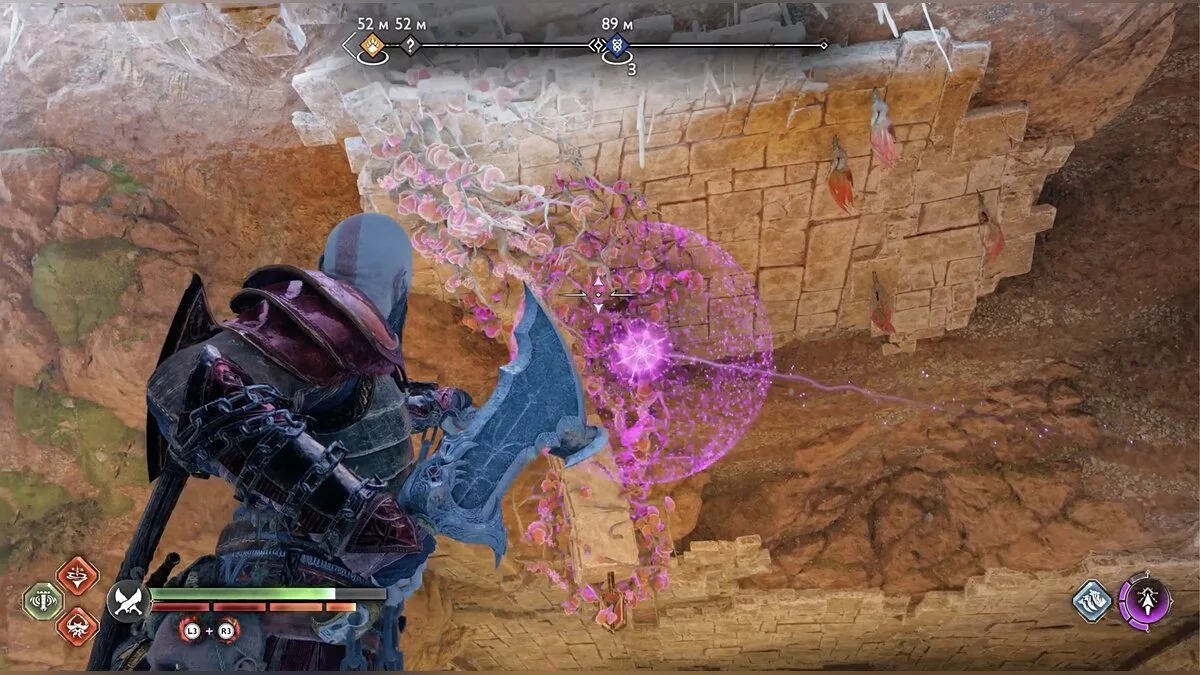
To the right of the arena is a hive-infected rock. The matter covers a large chest. To open it, you will have to simultaneously destroy three cocoons. You can't hit them from below; you are standing too high. The only way is to throw the axe to break the last one, wait for it to regenerate, and then call the axe back at that point so that it destroys all three in flight. In the screenshots below, we indicated the winning position.
There is also a narrow entrance to a cave in the location. During the storm, it was covered with sand, but now it is accessible. Inside, Kratos will find a artifact. There is also a twilight stone and several cocoons. You need to throw the axe so that it first destroys two consecutive clusters, and then immediately call the weapon so that it destroys the third in flight. The situation is reminiscent of the previous one and will require not so much skill as mechanical measurements of the suitable trajectory. Try, and you will definitely succeed. When the hive matter disappears, you will be able to open the large chest.
You can once again explore the area, open individual small chests or barrels. There is one last thing to do here, and then you can return to Sindri.
Born of Fire. Alfheim
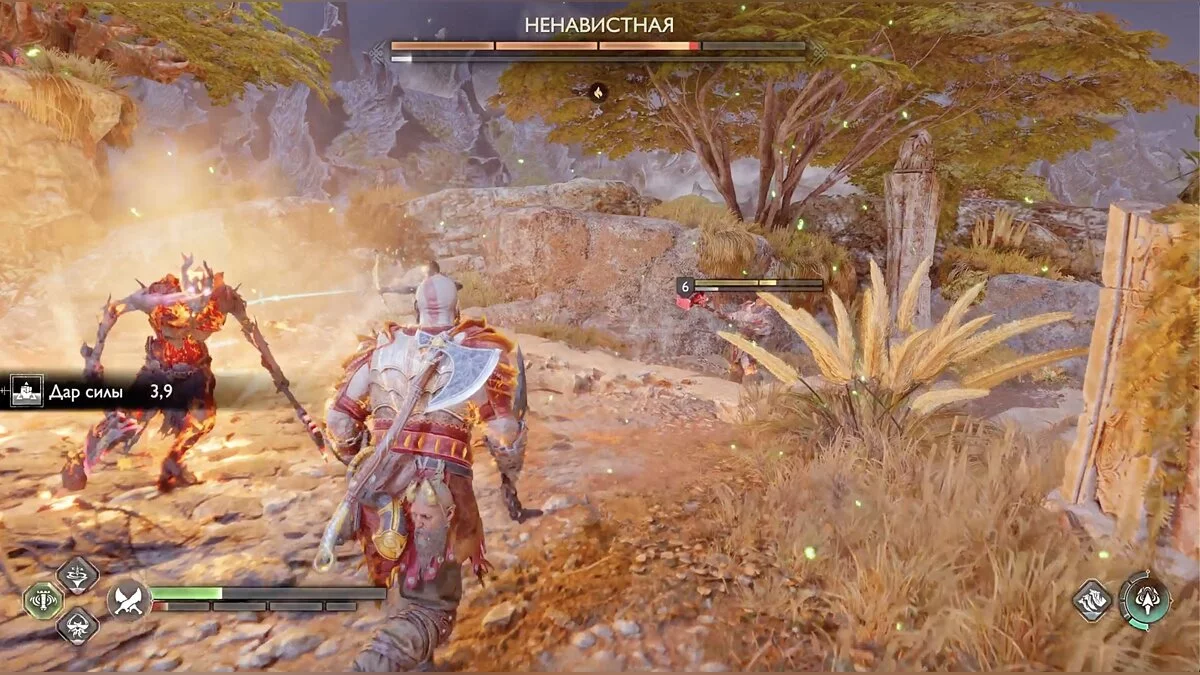
Above, we already wrote about the question mark on the map. When the storm subsides, get to it. This is an arena for a fight with the fire draugr The Hateful (the third one already). Besides the monster itself, it will have two helpers, but killing them won't be difficult. However, the draugr has learned new moves.
Periodically, it will fall into a kind of rage and burn brighter than usual. This is a very dangerous moment, as any contact with it will immediately lead to serious damage and a burning effect. However, there is a simple way to interrupt this state. Throw the axe at the draugr. It doesn't matter if it's a charged attack or a regular throw. The Hateful will instantly become ordinary, and the fight will continue as before.
Elf Shrine. Alfheim
You will receive this task after helping Freya lift Odin's curse. Upon returning to Freyr's camp, Kratos has time to talk to the locals. In the distance from the others stand two elves — one light and one dark. They ask to find an old book in their lands that can help end the war. You will have to visit Alfheim again.
Move to the Canyons. You were here when you and Atreus saved Hafgufa. Use the sled to get to the Plains. Move along the cliffs and find a stone disc, where you can now use the upgraded cutter. Use it and open another territory — the Forbidden Sands. There is also a storm and several new places to explore.
The Elf Shrine is marked on the map, so it's easy to find even with poor visibility.
Before going there, pay attention to the large statue of Freyr. From it, go along the cliffs clockwise — to the question mark. Ahead will be a structure, jump onto the cliff using the blades and break through the wall. Fight the elves. There are large gates in the arena. Approach them — you need two keys. They can be found in the location later. Nearby is a crevice. Behind it is a world rift and a artifact. Interact with it and kill two enhanced raiders.
Now head to the Elf Shrine. Upon reaching the entrance, open the small chest on the left. On the right is a artifact.
In the shrine, examine the legend mark as well as the tables. Some have items on them, including a crafting schematic and a legend scroll.
Climb higher and open the small chest.
On the top floor, open two large chests. Slightly below is a legend mark. In the center is the needed book. It glows, so it's hard to miss.
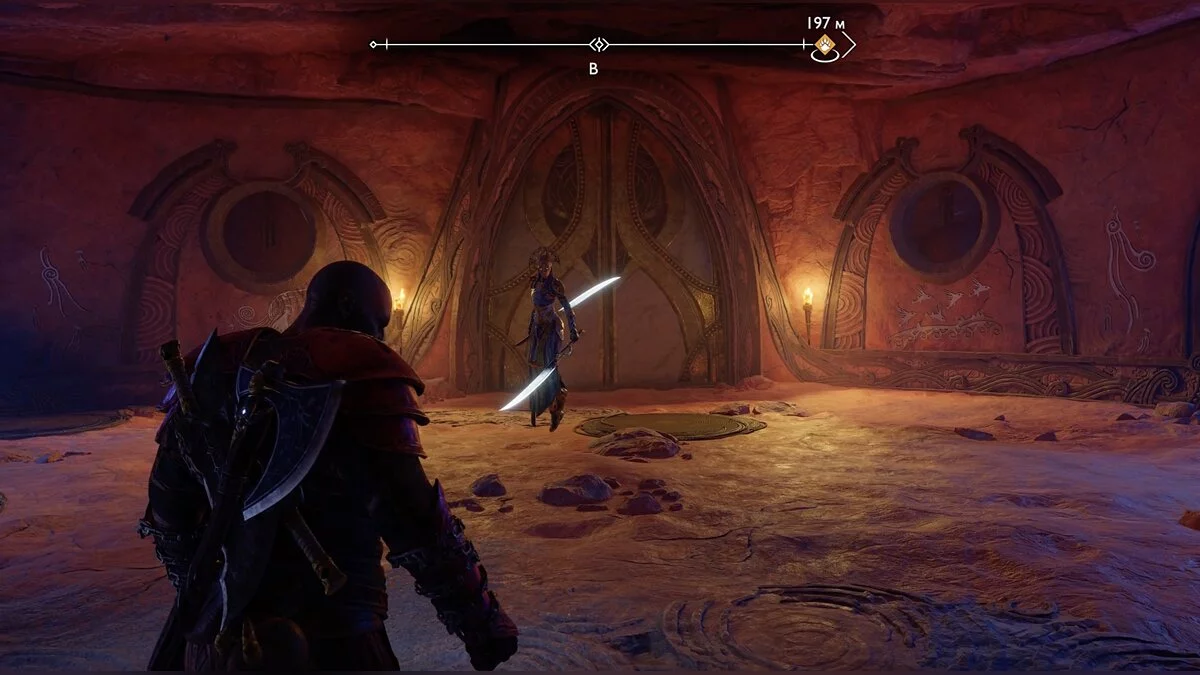
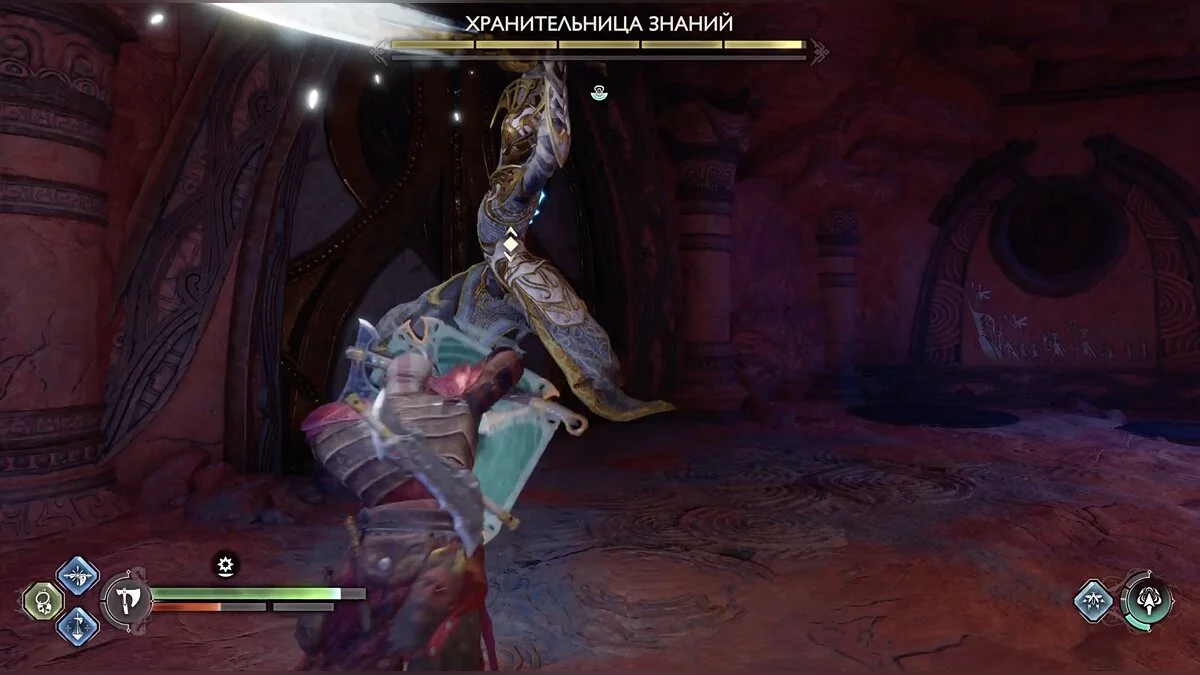
At the exit, Kratos and Freya are awaited by a boss fight — the Keeper of Knowledge. This elf is similar to the one you already killed in Alfheim when you traveled with Tyr. She has two swords and several attacks.
At a distance, the Keeper throws her weapon like a boomerang. Such attacks can be parried. Pay attention to the moments when the elf hovers in the air surrounded by blue circles — hit her with your shield. Periodically, the boss releases an energy charge from her swords. This cannot be blocked — dodge it. After the victory, the task will be completed.
How to Defeat the Frost Phantom. Alfheim
From the elf shrine, continue clockwise. There will be a small tower. Climb it to find Kvasir's poems.
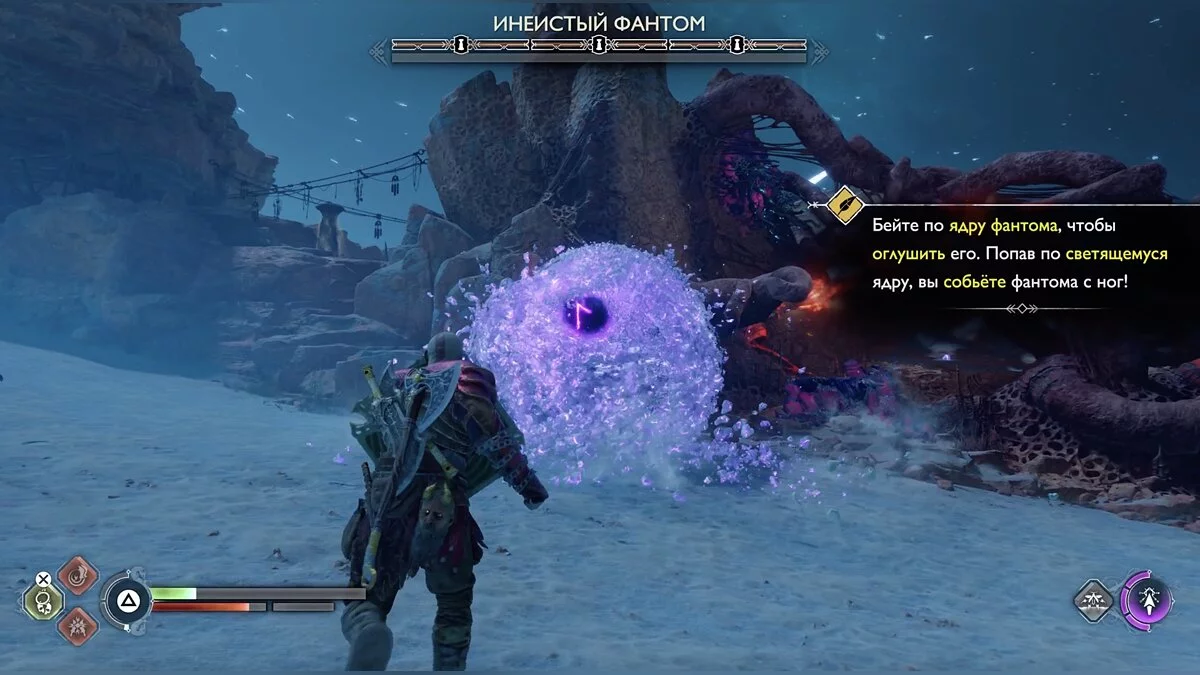
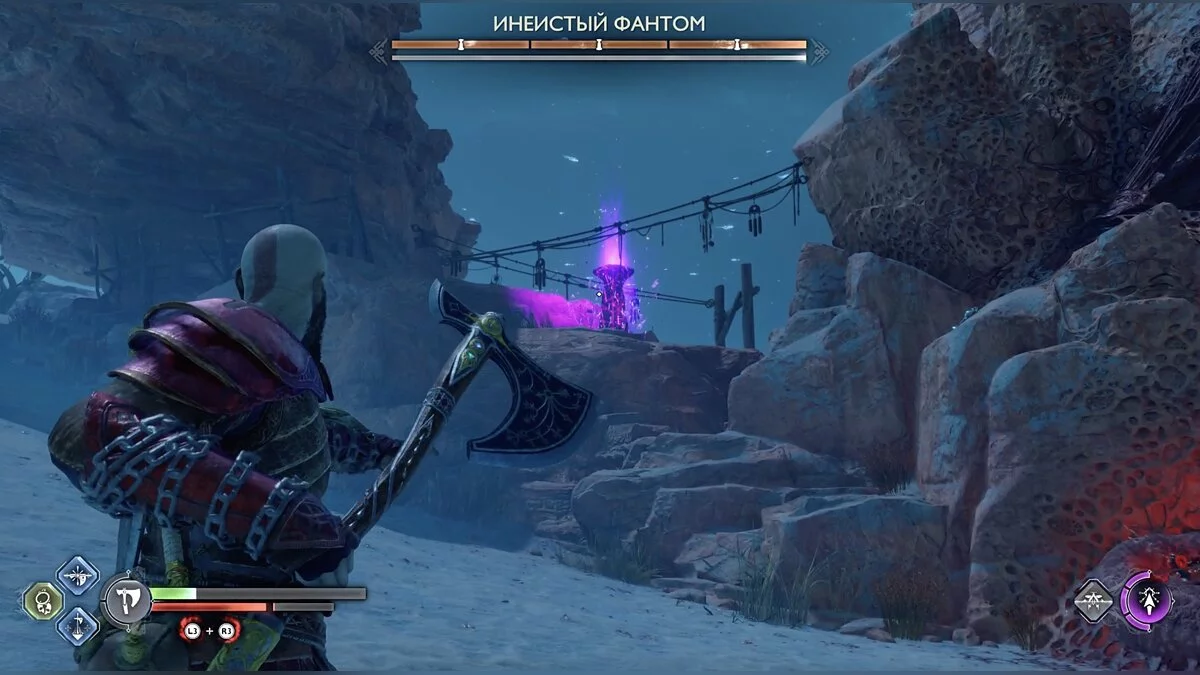
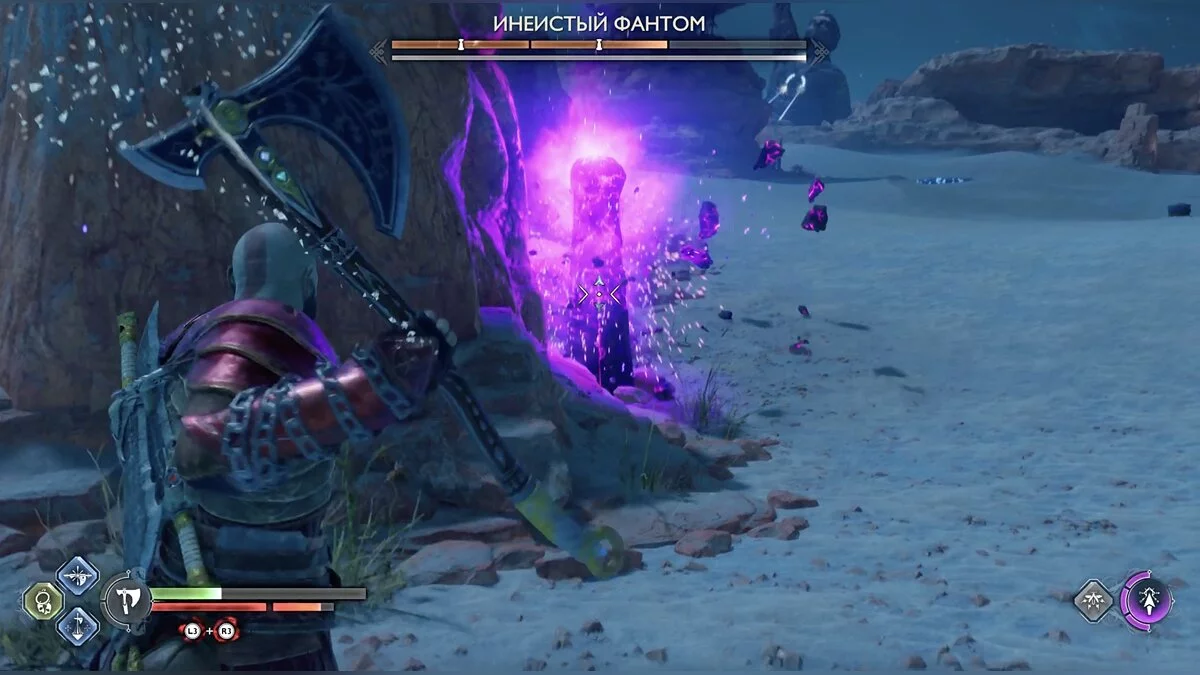
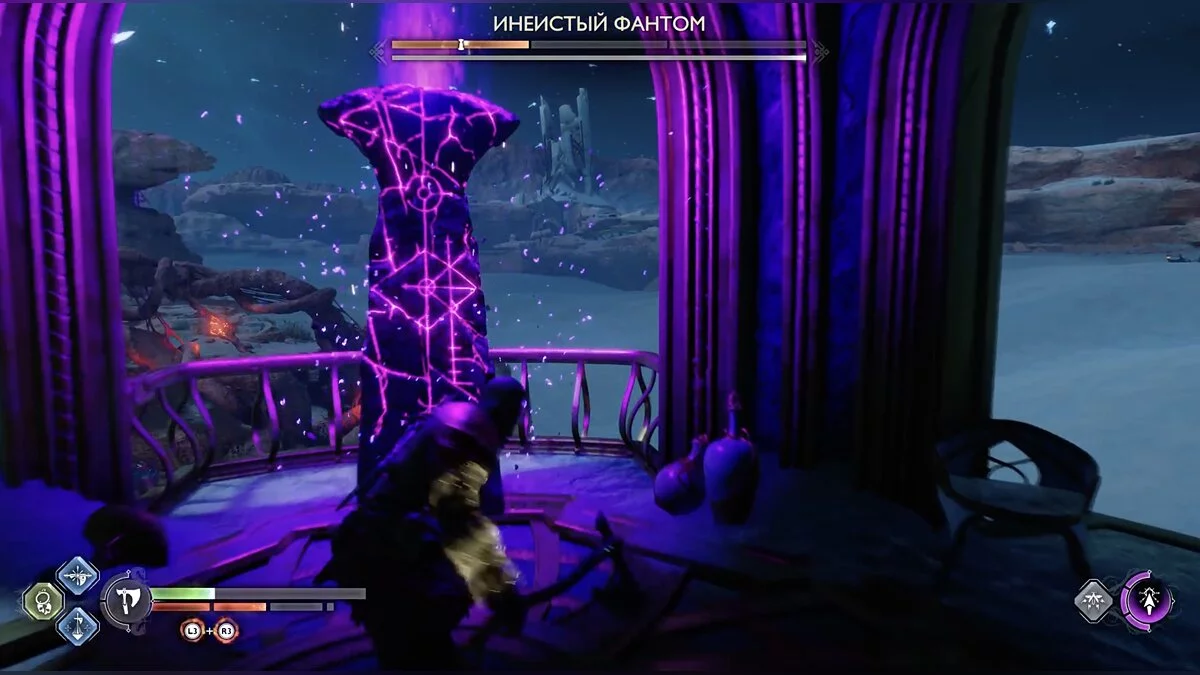
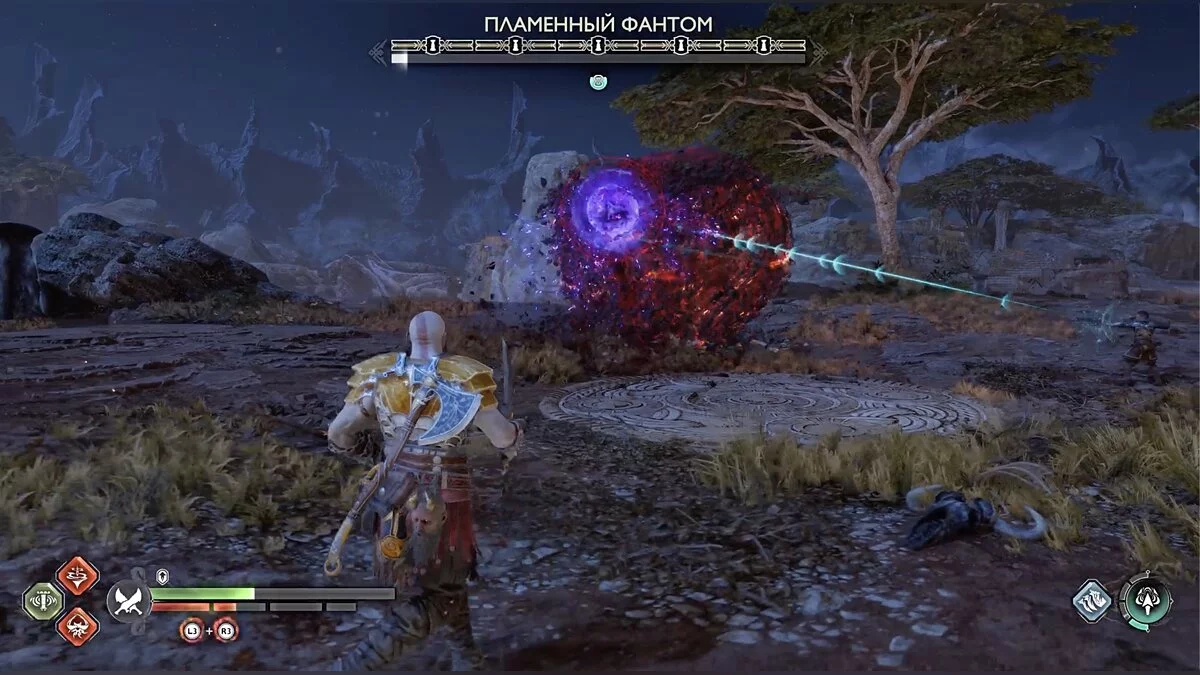
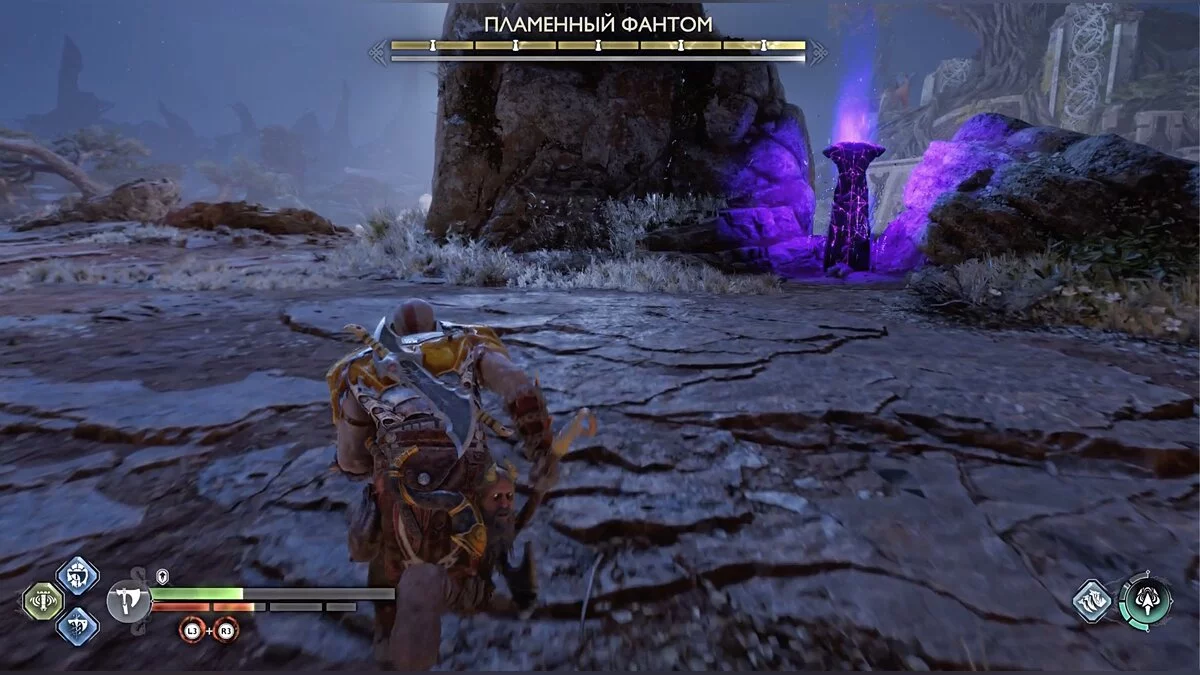
Descend and go to the hive matter clumps ahead. Suddenly, a boss will appear. You haven't encountered such a one yet. It's a phantom. The only place you can attack it is the head in the form of a rune stone — the core. At certain moments, it glows — this is the best time to strike. After some damage, the phantom will disappear, and you need to find and destroy several totems. Two will be on the cliff, the third in the tower where you picked up Kvasir's poems.
After the boss, you can clear the cliff near the hive matter clumps. Climb the tower again where the poems were and aim the axe at the reflecting stone. Find the right angle. Open the large chest.
Song of the Sands. Alfheim
As soon as you arrive in the Forbidden Sands — the new territory of Alfheim, you will notice a storm. It is obvious that there is a second Hafgufa that also needs to be freed, but this time with Freya, not Atreus.
Find the entrance to the cave, break the barrier below with a green arrow. At the fork, go right, the left is a dead end. Another fork. On the left, you can climb a high ledge and open the large chest.
Descend lower. In the left tunnel, there is a strange membrane. Shoot it with a green arrow, and the wall will disappear for a while. Shoot again to break the barrier. Use the blades and go around the wall.
You have a choice of where to go next — to the other side or lower. Choose lower to open the large chest.
Now you can jump to the other side. Crawl along the wall and jump over the chasm again. In front of you is an organic seal, impervious to arrows. Below is a stone reflecting the axe, use it to find the optimal angle and clear the path.
Descend and look back — small chest. Ahead is a lizard nest. In the next zone, there are toads, deal with them. In the arena, find the blue runes.
Squeeze through the crevice. Another seal blocks the way. Pay attention to the reflecting stone hanging in the distance on a rotating mechanism. Use the axe to turn it with the striking side towards you and launch the weapon at the correct angle. Open the large chest.
Descend to the right on the blades and go to the end of the ledge — ahead is a familiar membrane. Behind it is a reflecting stone that will help remove the seal.
Jump into the opened path, overcome some ledges and kill the enemies. Climb higher up the wall and turn around. In the arena, there is a seal, you found the optimal point for throwing the axe. Jump to the opened place and cling to the wall on the right side. Fly on the blades and open the large chest. From here, kill the timid lizard below.
Climb up the wall again from where you threw the axe and move forward. On the left is a descent, from there cut several red hive clumps with one throw. The path is open — you have reached the Hafgufa.
There is a reflecting stone on the left. Throw the axe and the seal above will disappear. You can jump across, clinging to the blades.
Look to the left — there is a membrane that reacts to a shot. A reflecting stone will open. Find the correct angle and remove part of the hive material. Go back to where you started freeing the animal. Cut several hive clumps with the axe. Jump to the ledge on the left again — destroy the last two clumps.
Now the jellyfish needs to be freed on the surface. Continue on your way. Ahead is a battle. After the victory, open the large chest and take the artifact.
Climbing up, look to the left and down — there is a small chest.
Climb higher to the three reflecting stones. You only need the two far ones. Throw the axe to open the path higher.
On the platform, there is a large chest. Turn the spinner with the reflecting stone, find the optimal angle, and cut the seal, climb higher.
Breaking through the wall, you will come out at the very beginning of the cave, where there was a dead end. Once on the surface, find the place with the red glow (also marked in red on the map). Free the animal. The task is completed, and visibility has returned to normal.
Not far from the place of liberation, there is a rock with Odin's raven.
Gift of Freyr. Alfheim
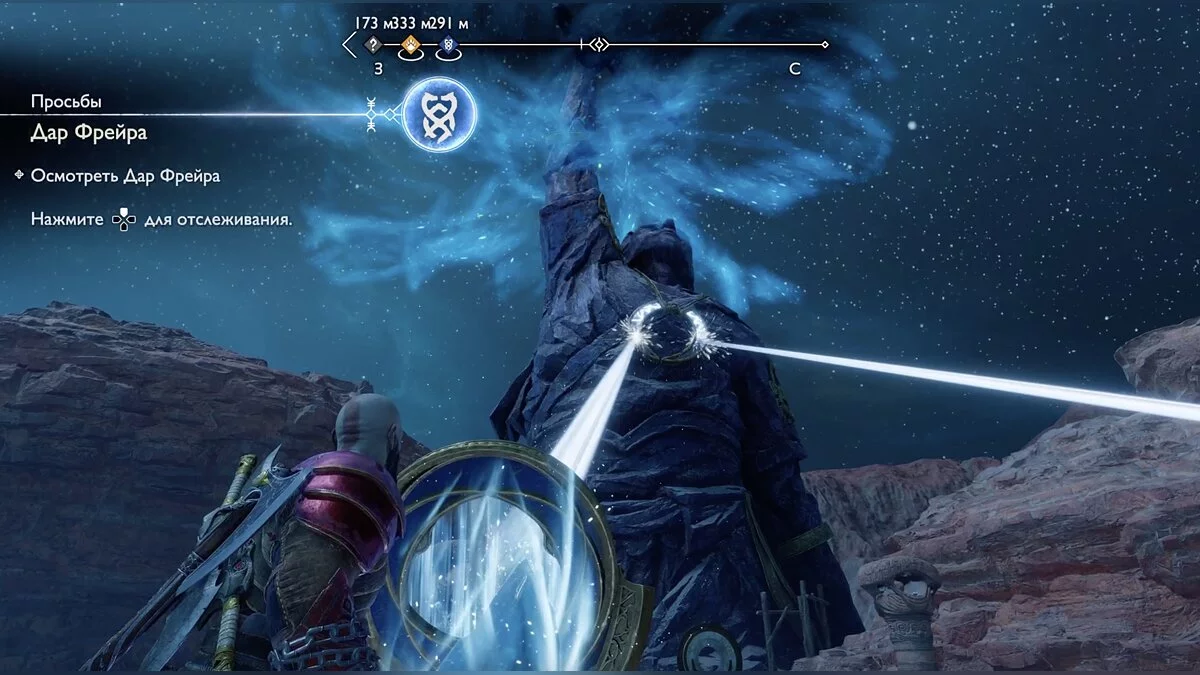
Run to the huge statue of Freyr with a sword. It can be seen from almost any point of the location. Shoot down Odin's raven and pass through the light bridge.
You need to power up the statue. Examine the rock on the left. There is a reflecting stone that will help destroy the seal. Take the crystal and go to the right.
Climb to the place where you can hit all the hive matter clumps at once. Destroy them and insert the crystal into the opened slot.
Staying on the right, descend and examine the opened place. Shoot the membrane and accurately throw the axe at the hive matter. Another crystal will fall.
Proceed further — you can take the crystal powering the bridge. Place it in the spot of the one that was to the left of the entrance. Take the crystal you freed from the hive and climb the newly appeared bridge to place it in the second slot.
Strange blue circles are scattered throughout the location. Now you can find items in the center. This will be needed later. Also, read the legend mark next to the statue.
The quest is complete. To exit the area, take the free crystal and insert it into the slot under the bridge.
The Door in the Desert. Alfheim
While exploring the Forbidden Sands, you will come across a large locked door that requires two keys. Finding them is not difficult, but you will need to carefully inspect the entire location. Return to the entrance to the Forbidden Sands and move clockwise. It is important that you have already completed the request Gift of Freyr, otherwise the blue circles on the sand will not be active. In the nearest left circle from the entrance, in the center, is the first key. Note that the quest will only start after this. When you find the door itself, no new requests will appear.
Continue exploring clockwise and you will see a large cave. Inside are several enemies, hive matter clumps, and spinners with reflecting stones.
One of the mechanisms is inaccessible due to dry branches. Use seals to burn them. Turn both spinners as shown in the screenshot, remove part of the hive material, and open the large chest.
Now turn only the spinner closest to the remaining clumps — clear the cave completely. Open the second large chest.
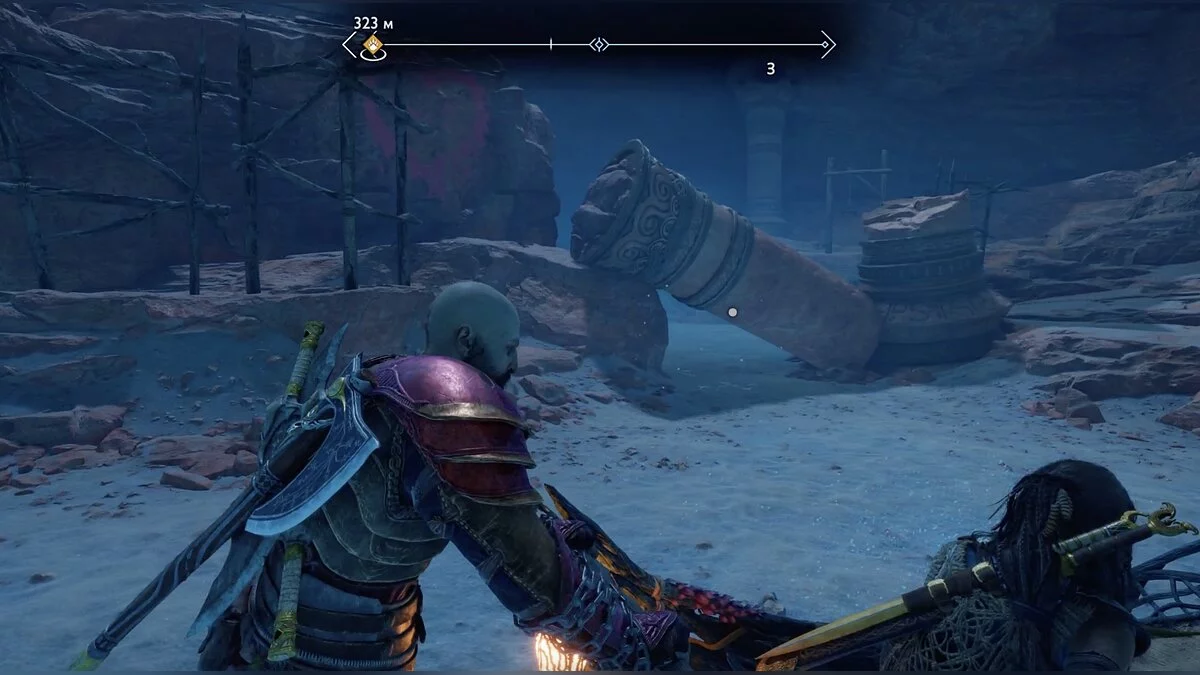
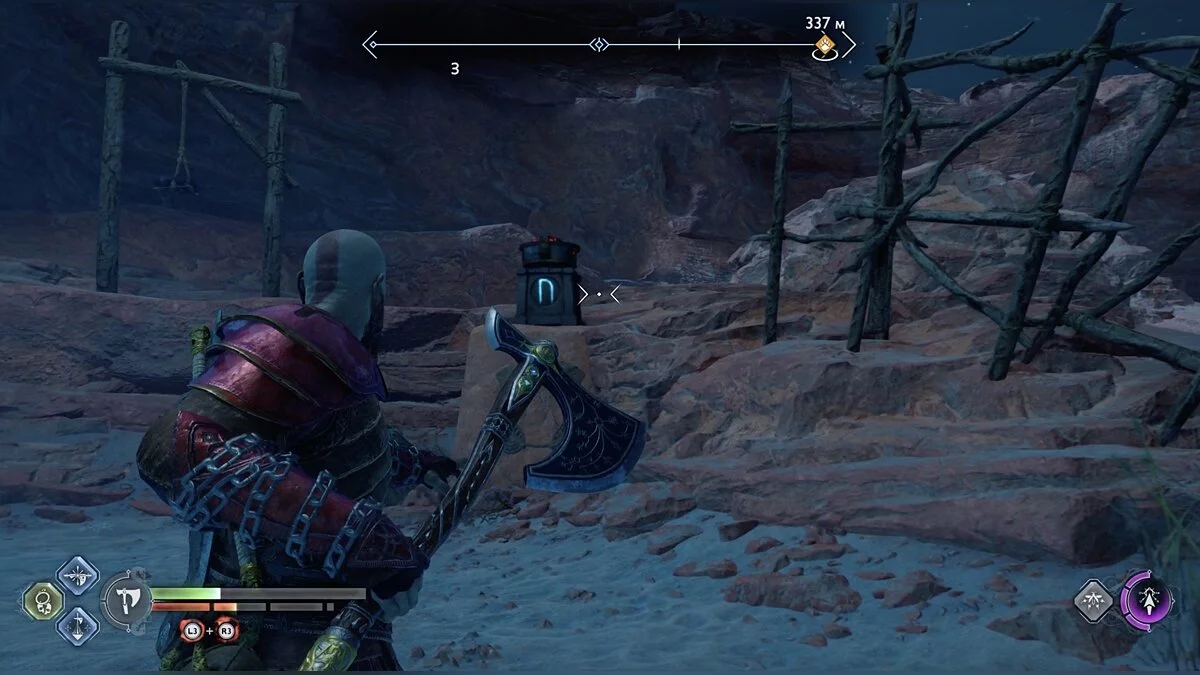
Continue moving through the location. To the left is a fallen column, and behind it is a Nornir chest. Light the three braziers. The first is on the right, immediately after entering the chest area. Exit to the main location. The second brazier is at the top of the rock. Use pink arrows to reach it. The third is on the large rock to the right of the second.
Behind the rock where the second brazier was — a blue circle. In it is the second key. Explore the area to the left. Pick up the flower. This starts the request for all locations Blooming Worlds. You will need to collect flowers in different corners of the game.
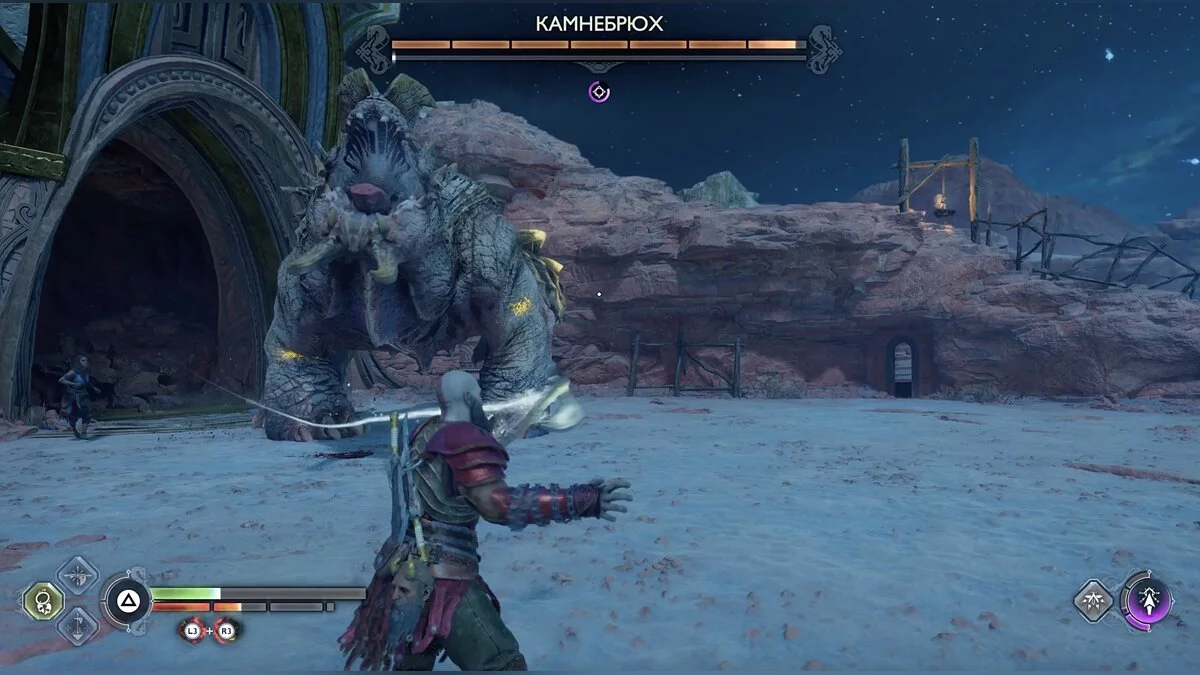
Climb the ledge and examine the legend mark, as well as shoot down the Odin's raven. If you have completed all other local requests, there is nothing more to do in the location, return to the door. Use the keys, and you will face a very serious boss fight with a huge lizard — Stonebelly.
The creature strikes the ground with its paws and makes sudden lunges forward, biting with its jaws. Stonebelly also actively attacks with its tail and shoots scales. At this stage, killing it can be very difficult. This is because you do not have the third weapon — the spear, which can quickly weaken the lizard. However, even with blades and an axe, it is possible to defeat it. If you already have the spear, pay attention to the yellow marks on its paws. Throw projectiles there and explode them. This will instantly shock the creature and you can calmly deal damage without fear of retaliation. After the victory, the task will be completed.
Blooming Worlds. Alfheim
In this quest, you need to collect flowers. For the first time, you can find the plant in Alfheim together with Freya. When you are looking for keys to fulfill the request The Door in the Desert, pay attention to the area to the left of the blue circle with the second key. The flower is marked with a side quest symbol, so it is visible from a fairly long distance.
All That Remains of Asgard. Alfheim
Attention, this is a side quest from endgame content, beware of spoilers!
In the realm of the elves, there are two fragments of Asgard. The first in the Desert Plains, the second can be found if you go to the temple the same way you went there for the first time with Atreus and the false Tyr. Along the way, you can shoot down Odin's raven, which we missed on the first visit.
Hel's Fee. Alfheim
The task will appear after freeing Garm, so you will not find it on your first visit to Alfheim. Reach the place where you started exploring the world during the story mission. One path leads to the desert, the second to the temple, and on the third there was a battle between dark and light elves — you need to go there. The spatial rift is easily noticeable.
Born of Fire. Vanaheim
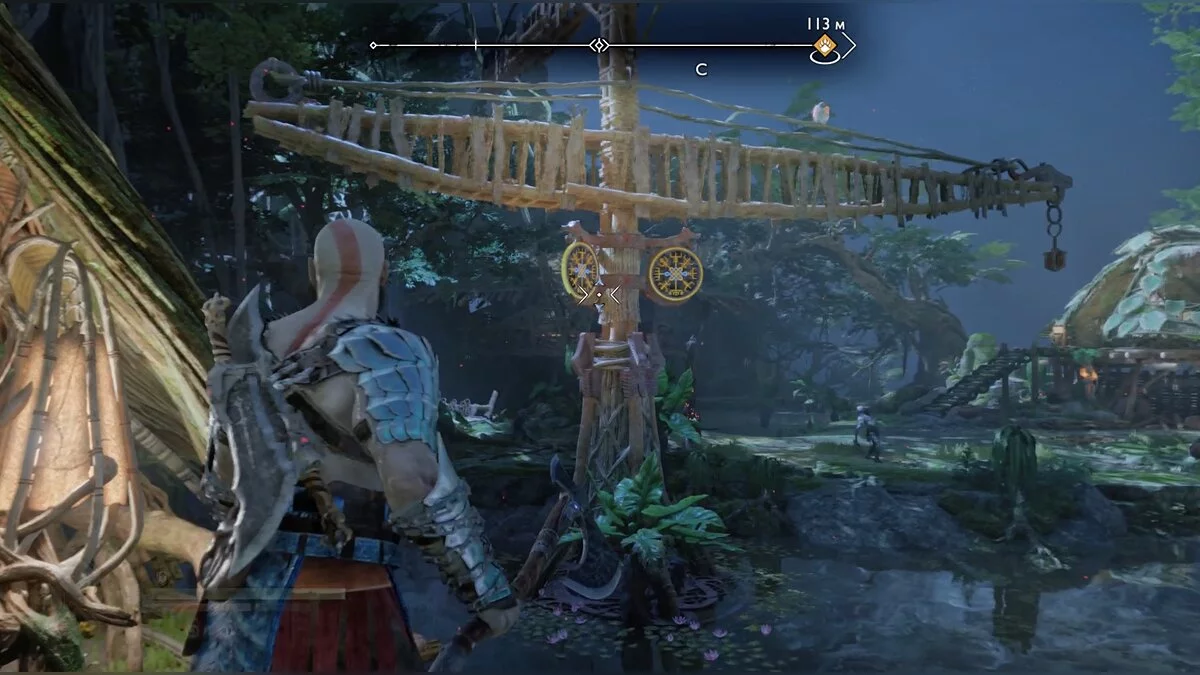
Helping Freya break Odin's spell during the main storyline, Kratos will visit the goddess's native village. Cross the bridge to the hut. Turn the crane in the right direction to hook with the blades.
In the next building, there are two paths — straight and to the left. Turn left, turn the crane again, and jump. Go left to another bridge.
There you will find the draugr Hateful. This time she will have several helpers.
We advise luring the monster out of the area back across the bridge. There are several interactive items in the arena that will help you in the fight.
Freya's Worry. Vanaheim
When you sail to the beach where the world gate stands, Freya will ask to return to the place of her wedding with Odin. Break the log with a green arrow and sail through the canal to the left. A new large location — the River Delta — will open. There are several places to explore where you can take additional tasks from ghosts.
Move along the right side and dock at the Pilgrim's Shore. Defeat some enemies and talk to the ghost. Get the task Potion for the Dead.
Sail further along the right side, take the lucky dew of Yggdrasil. On the left, there will be a shore with Brok's forge and a gate between worlds. Behind them, pick up the artifact. To the right is the legend mark. Even further to the right, notice the poisonous flower. Hit it with an axe to kill the timid lizard with poison and collect valuable resources.
Sail further, the river will start to circle. Disembark at Noatun's Garden on the right side. Kill some lions. In the center, there is a ghost who will give an additional task Garden of the Dead.
Also, in this part of the river, there is a branch. Sail there, on the right you can dock. Pick up the artifact and go higher. On the ledge is a rift between worlds, and ahead is a big chest. From where it stands, you can easily burn the vines with seals, preventing you from exploring the last building in the garden. In the opened space, a seal on a chain is visible, knock it down with an axe to unlock the door.
Interact with the rift between worlds and kill two enhanced elves, then return to the garden and explore the building. There are several nightmares and a big chest.
Opposite the shore with Brok's forge, there is a piece of land with columns where you can dock — the Ruins on the Rock. Defeat some enemies and talk to the ghost to take the task Conscience of the Dead.
There is also a Nornir chest in the arena. You will have to turn the mechanisms to choose the right runes. The first one is easy to see — it is opposite Brok's forge.
Climb the ledge to the left of the arena. In the arch is a big chest. In the distance, there is a big chest in resin. You can remove it by exploding the pot, but the bridge cannot be lowered yet.
Return to the arena with the Nornir chest. Jump on the columns to open the small chest.
The column close to the rock will help remove the thorny vines on the chain. Use pink seals to burn the plants. From above, you can also see the second runic mechanism for the Nornir chest.
To the right of the chest on the rock, thorny vines grow; burn them with seals to see the third mechanism with the rune.
Climb up the chain and activate the runes on the stone disk with the cutter, Freya will open a hidden passage in the rock, which you can sail to by boat.
Move through the water to a new area. On the left, there will be a turn — the Hidden Passage. There you can complete the requests Mysterious Sphere and Conscience of the Dead. Move along the main path, docking at a spacious shore with enemies.
Climb up and immediately go into the cave straight ahead — legend mark. Move along the main path until you reach a fork. To the left are thorny vines, to the right is an ascent. Burn the plants and open the big chest.
Above will be an area with a Nornir chest, for which you will have to light the bowls. Follow Freya, to the left of where she stands is a small chest. From here, you can also light the first runic brazier. Use seals to reach it.
To the right of the Nornir chest is another brazier, use seals. The last bowl is on the waterfall, don't forget the pink arrows.
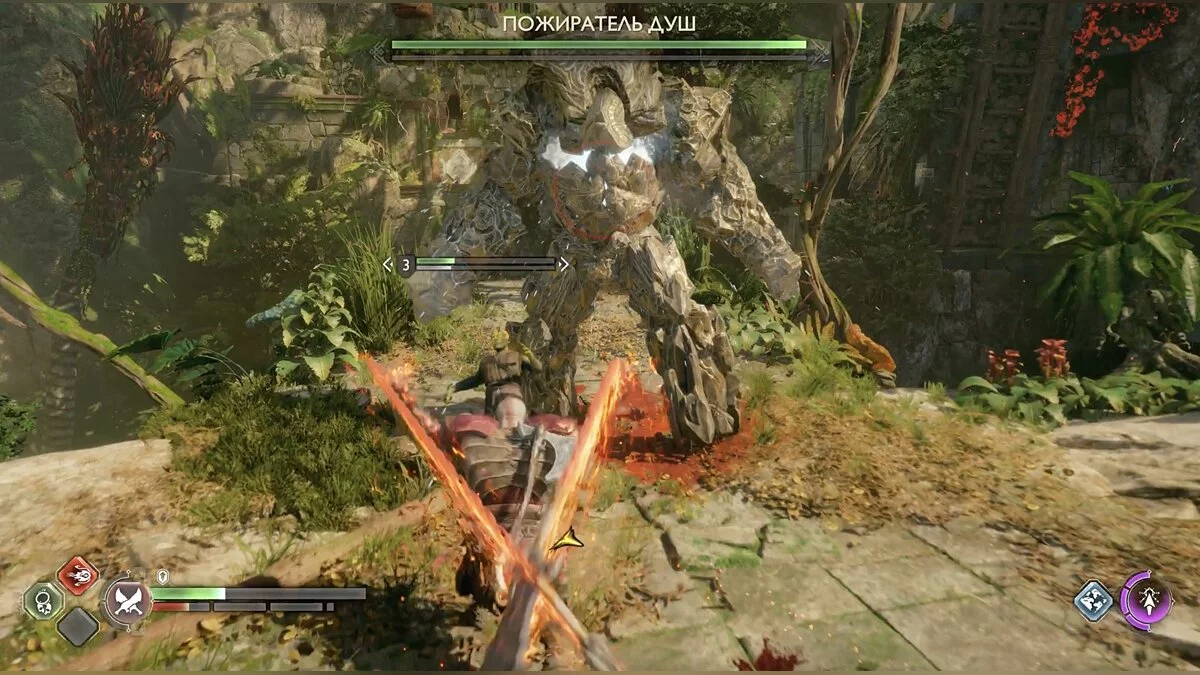
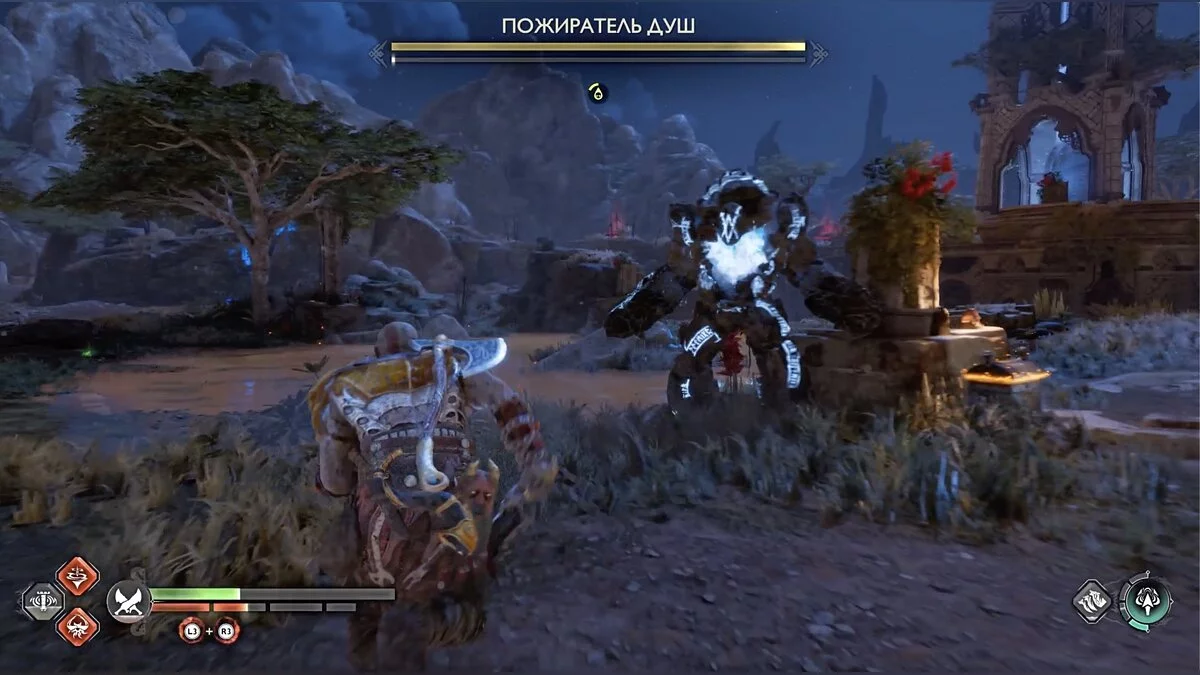
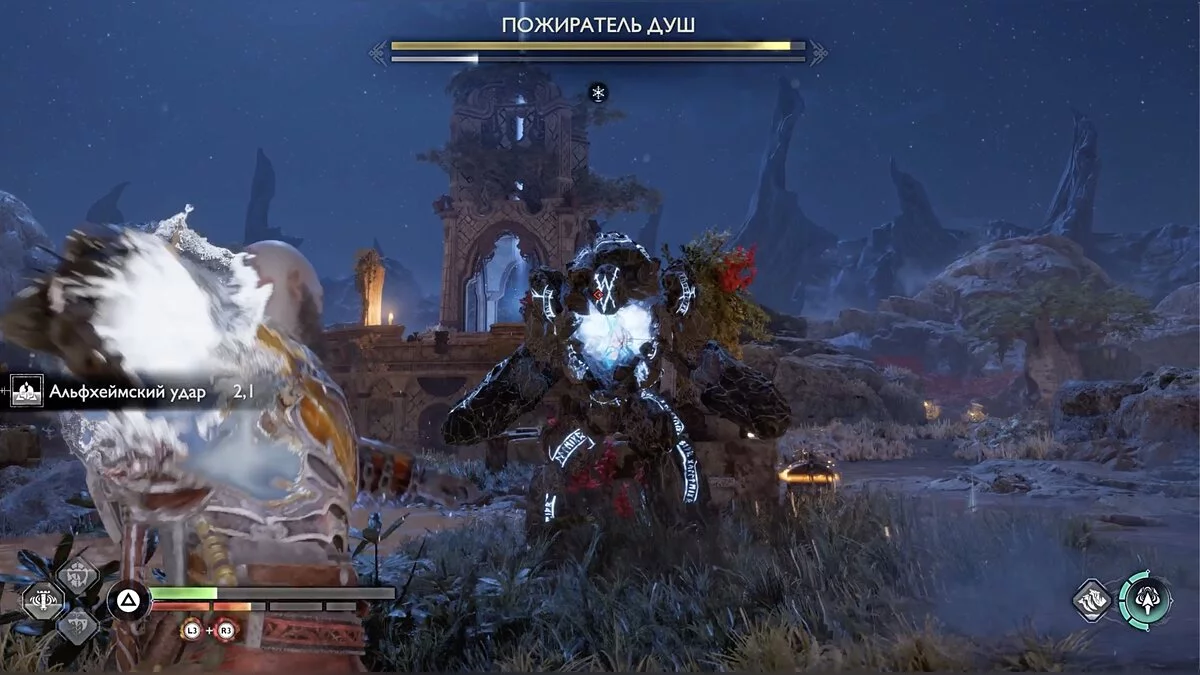
Let Freya remove the illusion and move on. In the Vanir shrine, kill the monsters and deal with the mini-boss Soul Eater. You have already encountered a similar enemy during the storyline, the battle principle has not changed.
In the left part of the arena, there is a small chest. Also, there are gates on the left. They can be opened by simultaneously lighting two statues above. One of them has thorny vines, but they are easy to remove. Aim at the small round ornaments with pink arrows to transfer the fire in both directions.
In the right part of the arena, there is a legend mark. Choose the right path or the left through the opened gates — it doesn't matter. We started with the right. Note the raised bridge. Approach the cliff in the center of the arena and inspect the bridge — there is a seal on the chain that can be broken with an axe. Now use the seals from the arrows to burn the vines on the right side of the bridge and break another seal on the chain.
Ahead are enemies and needle-shooting flowers. Find their bulb nearby. There is also a legend mark. Go to the accessible passage, a lion will jump out from the ambush. Examine the place where the enemy appeared, and you will find a artifact.
Ahead are more enemies; after the victory, Freya will take the circlet herself. Talk to her, but don't leave the arena yet. Burn the branches on the right side of the entrance to the area. Behind them is a seal holding the chain. Cut it and go back a bit. Defeat one enemy and open the big chest. On the left side of the area where Freya took the circlet, there are vines. Burn them and you will find a quick descent into the main area of the shrine.
Pay attention to the place where the goddess is standing. There is a stone disk where you can use the cutter to reveal the runes.
Descend into the main area and go through the gates to the left. The enemy there cannot be killed; he is invulnerable due to the singing monster. Try to quickly burn the vines blocking the way and run to the second floor to kill the nokken and other monsters. Inspect the area. Go back, open the big chest and read the blue runes.
In the area where you defeated the nokken, there is a legend mark. Talk to Freya, who will take the goblet, and use the cutter on the stone disk to open the second part of the runes. Descend into the main location, now the goddess will read the writings and a path forward will appear.
Near the diamond-shaped door, pick up the scroll of legends, use the cutter to open the way. Watch the cutscene. Now Freya has two swords and new armor. The task is almost complete. Inspect the area and find the legend mark, then return to the boat. Go the same way to the big shore, defeating werewolves. In the area where the Norn chest was, you can knock down Odin's raven.
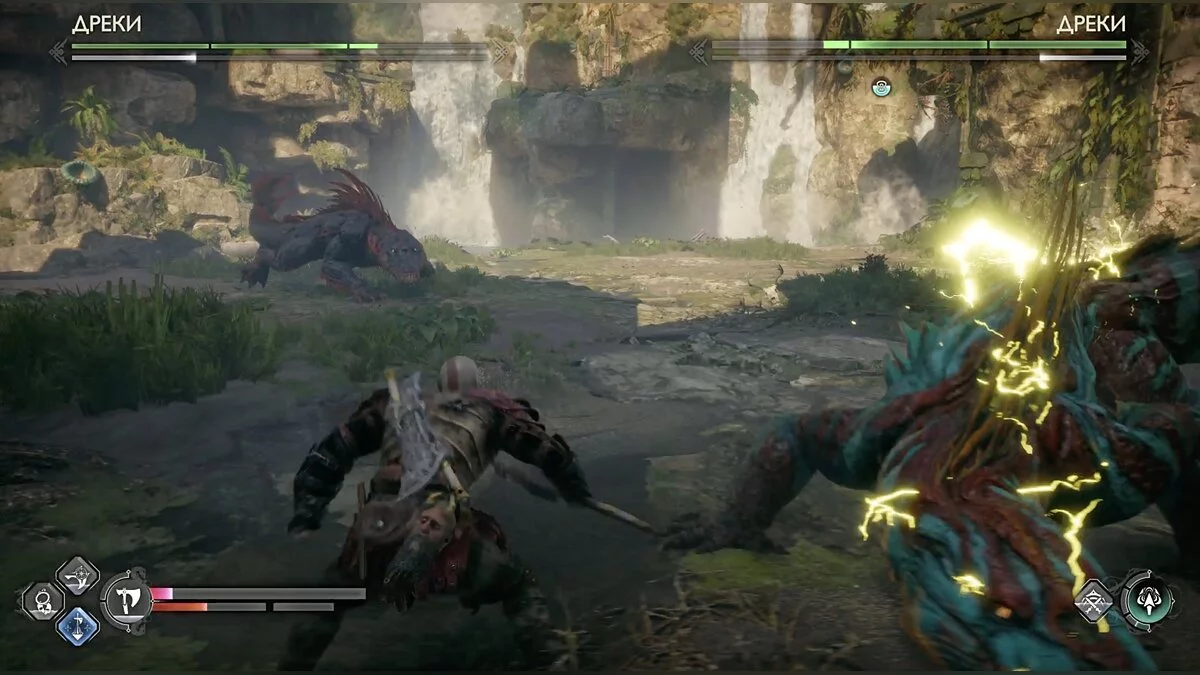
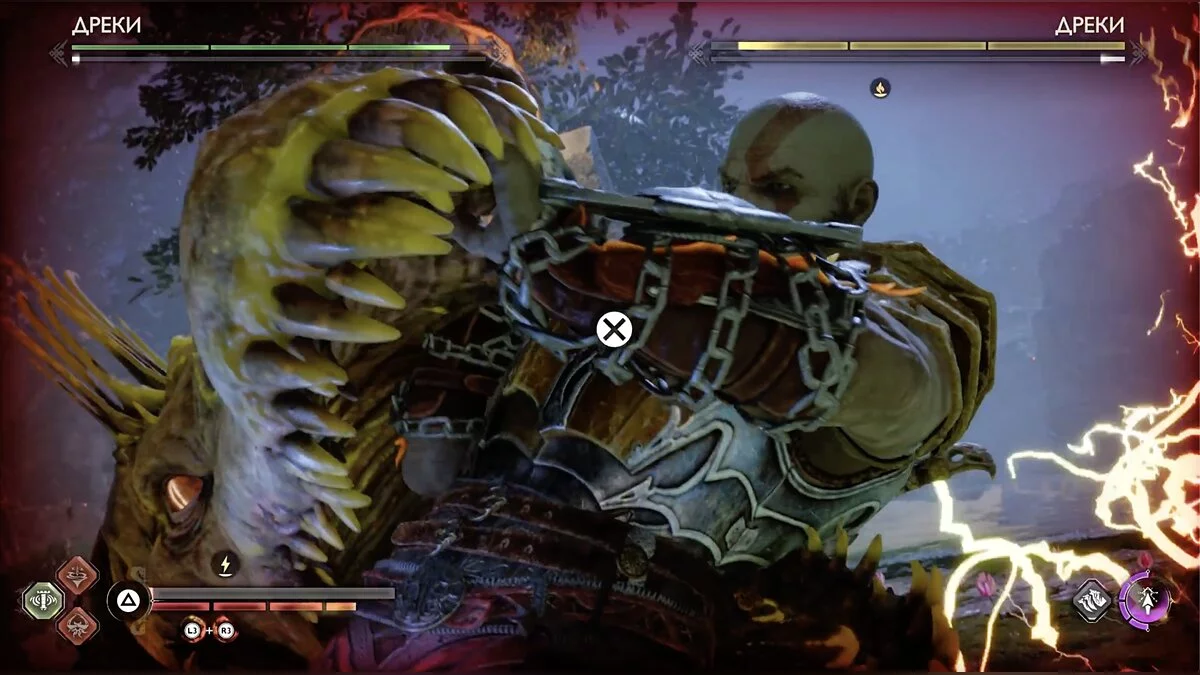
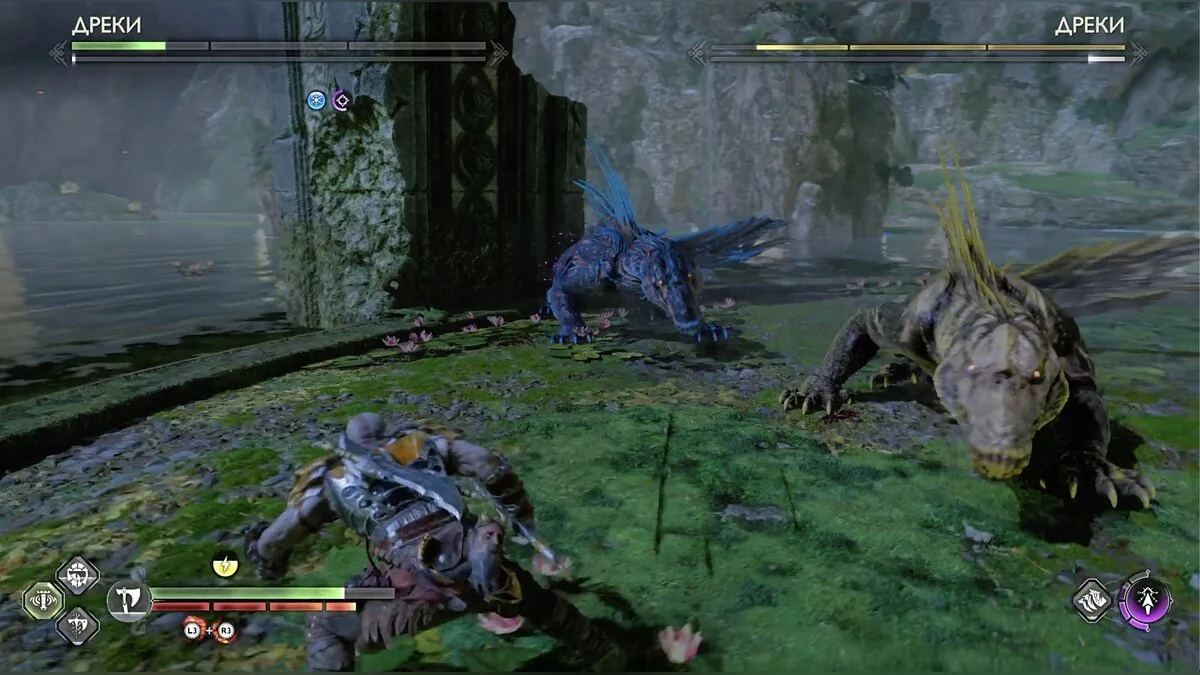
As soon as Kratos sits in the boat, two Dreki lizards will appear. You have already fought one in the storyline in the world of dwarves.
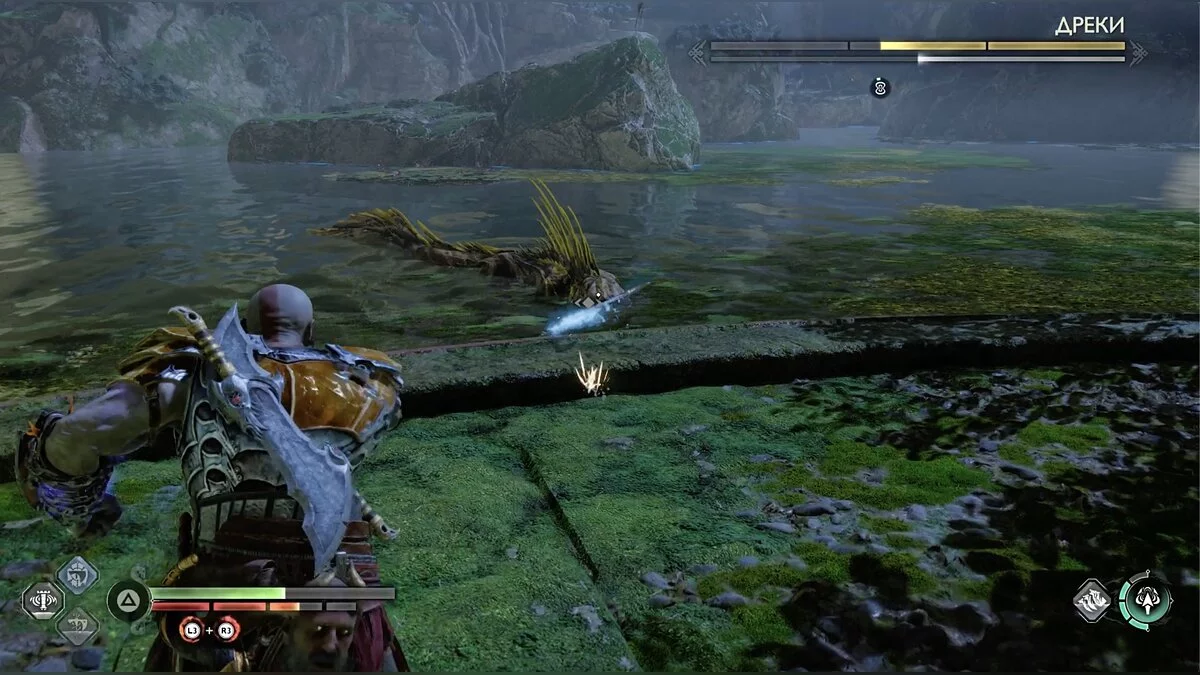
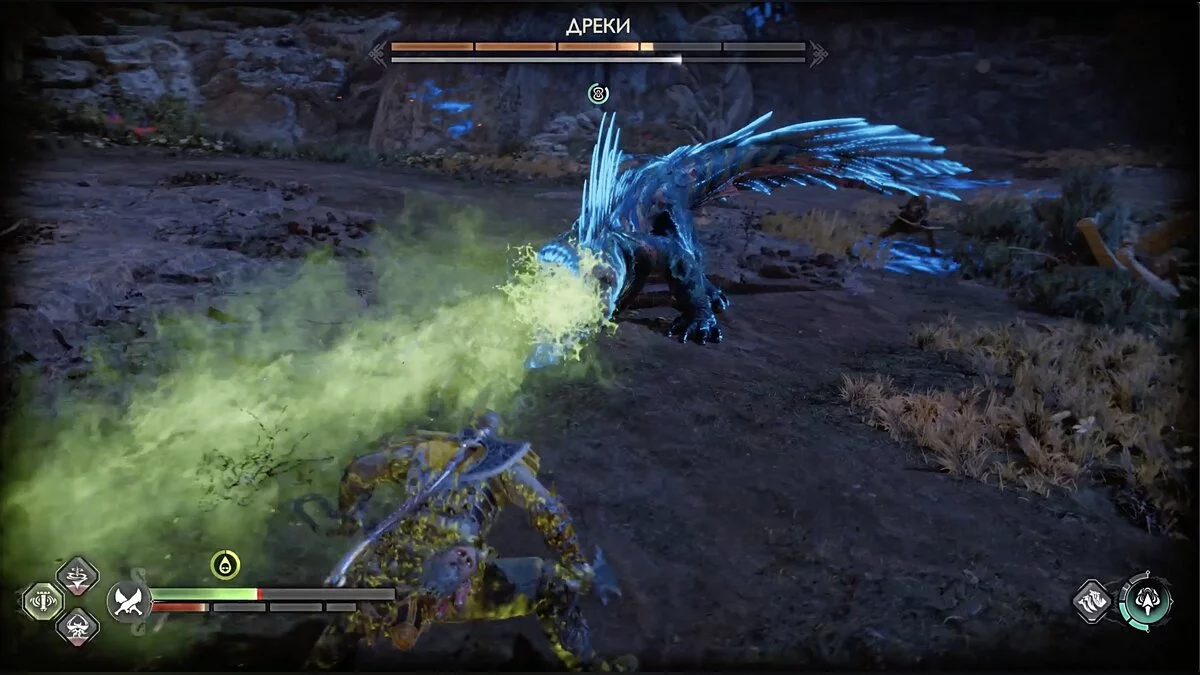
They have not changed since then. The difficulty of the boss fight will only be that now there are two of them. As before, Dreki spits water and electricity, hits with its tail, deals area damage, and immobilizes with electro-element. Periodically, one of the lizards will run into the water and shoot at you from there. This is a chance to focus all attention on one of them. After the victory, you can leave Vanaheim if you have completed all other quests along the way, there is nothing more to do here for now.
The Garden of the Dead. Vanaheim
Once in the garden, talk to the ghost near the large structure in the center. The woman wants to free the garden from decay, and Kratos needs to find and destroy three sources of contamination. Pay attention to the poisonous fumes.
Stay on the right side and pick up the artifact. There is also a wall to climb. At the top, there is a legend mark and the bulb of the poisonous plants. From here, you can see the seal on the chain behind the grate of another building. Break it, and a combustible pot will fall and destroy one of the sources of poisonous fumes.
There is a crack in the roof; jump inside and open the big chest. You can exit by lifting the gates from the inside.
Continue exploring the garden; on the right side, there is a legend mark. A little to the left is a special door that can be broken with the cutter. Behind it is a big chest.
Next, there is the second source of fumes. Go around to the left and you will see a combustible pot. The third source is near the ghost. Through a crack in the wall, blow up the pot.
Talk to the ghost. There is another closed building in the garden, but it cannot be opened yet. How to gain access is explained in the Freya's Worry section.
A Potion for the Dead. Vanaheim
On the Pilgrim's Shore, where you talked to the ghost and took the request, there is a ledge. Climb up and look at the raised bridge. You need to collect three ingredients for the potion, all of which are in the fortress beyond the bridge.
To the left of the bridge are thorny vines and a burning brazier. Shoot it with a pink arrow — the seal will open. The second seal is to the right of the bridge. Both hold chains, break them with an axe to open the passage. Ahead is the first ingredient.
Kill the enemies in the arena and inspect the area — near the second ingredient is a small chest. Nearby is a legend mark.
Inspect the top area. There, a seal holds two braziers. Free the structure and shoot two pink seal arrows at the braziers, and a third in the center. Now swing the structure with the blades. On the right wall is a burning bowl. As you swing, the fire will transfer to the farthest brazier, and thanks to the seals, to the far left one. The bowl near the thorny vines will also automatically ignite. To burn the plants, shoot a pink arrow directly at the brazier.
When the path is clear, throw the axe at the seal on the bridge to lower it. Behind it is the last ingredient, hacked silver and a big chest. You can also knock down Odin's raven from here.
Return to the ghost to complete the quest.
Mysterious Sphere. Vanaheim
This request can be completed during Freya's Worry. When you open the secret passage to the Goddess Falls using runes, stay on the left side. Turn into the first tunnel and watch the right bank. You will see a stopping place with an abandoned forge. There lies Lunda's sphere. You can find the dwarf woman near Brok in the nearby forge, so you won't have to go far.
On the shore with the forge, there is resin and a bomb storage. Break the resin and go to the end — there is a Norn chest.
To open it, you will need to quickly hit the three rune bells on the opposite rock. Pay attention to the thorny vines. They can be burned with a bomb.
Now the most difficult part remains — choosing the correct position for the two seals. The first one will help hit the two right bells simultaneously, but you will need to throw a bomb, as there won't be enough time for two axe throws.
The second seal will ensure the bell behind the grate rings — aim the axe there.
Conscience of the Dead. Vanaheim
The quest can be taken on the shore, opposite Brok's forge. Another ghost will ask you to destroy several seidr. They look like humans but with green skin. Complete the Freya's Worry request. When you open the rune-hidden branch of the river, stay on the left side — there's a tunnel in the rock. There you will find Lunda's sphere and be able to complete the Mysterious Sphere quest, but it's not necessary to go to the end of the tunnel. To help the ghost, however, you need to go to the end.
On the left are boards blocking the passage — break them, but don't go through. On the shore, you can find a big chest. Pay attention to the pillar emitting purple mist. Freezing it won't work due to the grate. Shoot a pink arrow slightly above the pillar, then throw the axe. Thanks to the seal effect, the pillar will freeze, and you can open the small chest.
Go through the passage behind the boards, destroy the poisonous plants, and climb up. On the right is a legend mark. Enemies await ahead. You can throw an axe at the poisonous flower to speed up the fight. Pay attention to the boards on the left, break them, and find a big chest. Continue moving through the cave but stay on the left side (closer to the cliff). Behind the boards is a artifact.
The needle-shooting flowers are very annoying in battle, destroy their bulbs. Near the end of the cave, there is a pillar emitting purple mist. The quest will be completed, but don't return, keep moving forward.
Descend the chain and you will find yourself to the right of the area where you took the quest, on the other side of the bridge that couldn't be lowered. Examine the legend mark on the right, knock down the Odin's raven, and open the small chest.
Lower the bridge, on the right there is a big chest, but resin is blocking the way. To clear the path, correctly distribute the seals.
This can be done either near the resin or by crossing the bridge — different viewing angles will allow you to choose the optimal trajectory. Use the blades.
Once the path is open, take the contents of the chest. Now you can talk to the ghost.
Hel's Fee. Vanaheim
The quest becomes available after freeing Garm during the storyline quest. The rift between worlds awaits you near the mystical gates in the Southern Wastes. That's where you appeared when you first arrived in Vanaheim.
All That Remains of Asgard. Vanaheim
Attention, this is an endgame side quest, beware of spoilers!
There are several Asgard remnants in Freya's world. The first is near the upper exit from Freyr's camp. The second is a bit further, near the ruins. Defeat the strong einherjar and don't forget to open the big chests.
Sigrun's Curse. Midgard
You will periodically travel to Midgard throughout the story, but a truly large location will open only after Kratos' quarrel with Atreus, during which the latter teleports to Asgard, and the god of war decides to find the Norns. Although you have already seen the Lake of Nine in the previous game, this time the area has undergone significant changes.
Upon entering the lake, stay on the right side and turn into the first branch. If you have already completed the story — this is where the second presumed Norn hideout was. Dismount the sled and move forward — small chest. Climb up the chain — Sindri's forge. Head to the ruins, and Freya will notice a symbol on the wall.
Move forward, turn the spinner with the blade attachment. On the other side, there will be enemies. After the victory, look around — legend mark.
Nearby is another spinner that will help you get to the other side of the ruins. Immediately look to the right — big chest, but you will need to turn the spinner.
Go to the end — at the top is Odin's raven. On the right, there is a chain you can pull. Go to it and turn around — small chest.
By pulling the chain, you will raise the blade attachment, use it and defeat the enemies. Stand so that the attachment is on your right hand. At the end of the arena, there is a descent. There is only one path. Pick up the artifact and break the barrier with a green arrow. Crawl under the wall — on the right is a small chest.
You have returned to the area where you raised the attachment with the chain. Now it can be lowered, and you can return to it from below. Ahead is a small chest, and on the right is resin, behind which you can see an explosive pot. Clear the path and open the big chest.
Climb onto the platform where you first landed when jumping with the blades, go to the left.
Ahead is a climb up the wall, but don't rush, examine the area, kill the enhanced enemy, and open the small chest.
At the top, defeat the enemies and move forward until you reach another chasm with a nearby spinner that doesn't move. Descend on the right side and use the chain to first lower the mechanism, turn it, and then raise it again.
On the other side, climb up — big chest and legend mark. Another ledge and Kratos will find half of the lock. The second part needs to be found. Return, move forward, and descend the chain. At the exit of the level, defeat the enemies again, and you can leave.
When you descend the chain after the forge, pay attention to the wooden structure frozen between the ice blocks. This is the last thing blocking you from the sled with the wolves. There you can find Odin's raven.
The second part of the key is on the other end of the map. Continue moving on the right side counterclockwise. The path will split into two parts by a rock. Move closer to Tyr's temple and you will find Odin's raven.
If you follow the main path, you will unlock the Raiders' Fortress, after exploring which the request Animal Instincts will begin.
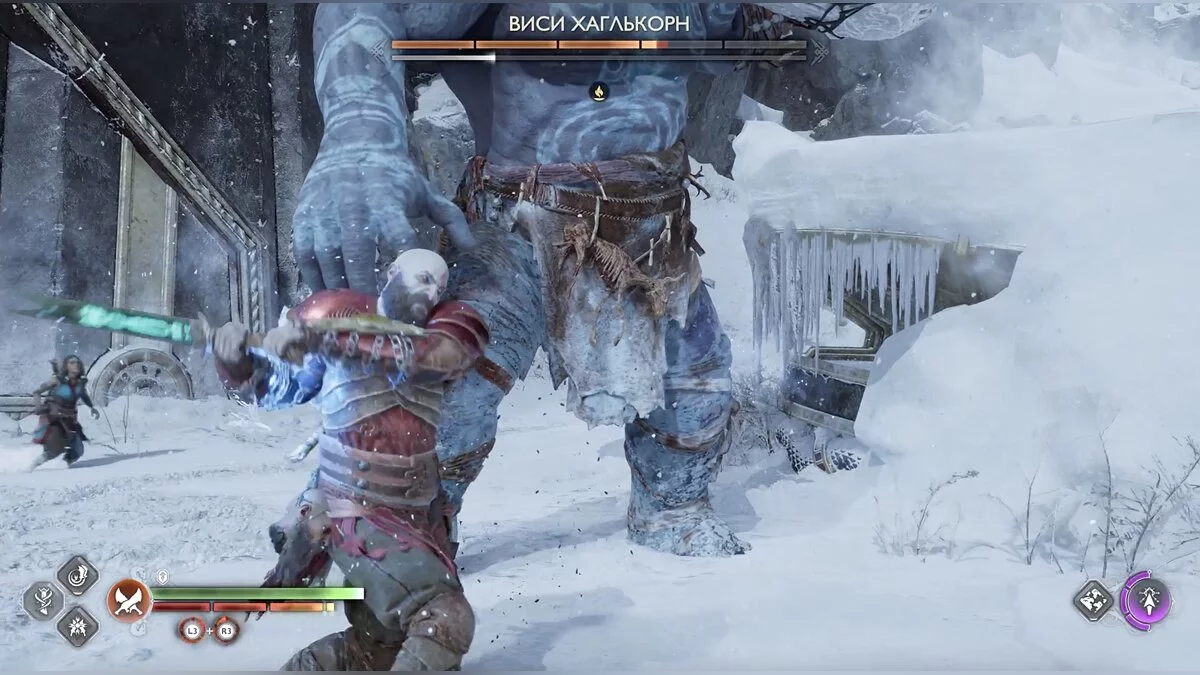
Continue moving, you can defeat the troll boss Visi Haglkorn. Next, there will be a small stone fragment with blue runes. Read them to start the quest Guiding Light.
Pass under the temple and head to the right. The path will split. One road goes up, the other down. Climb up and stop near the first turn. There is a skittish lizard, and next to it is an obstacle for a green arrow. After shooting, go around from the right side and throw the axe at the animal. Collect the resources.
Nearby, there is a ledge where the next stage of the request Born of Fire is located.
You can also climb into Tyr's temple. To the right of the place where you passed under the temple bridge, there is a lift. Immediately after the large left bowl, there is a small chest.
Enemies await ahead, and near the temple on the right, there is another small chest. Inside, there is nothing but Brok's forge, so you may not enter, but pay attention to the two ladders on the right and left sides of the main bridge. Face the entrance to the temple and descend on the left.
You will find yourself in the place where the first battle with Thor took place. There is a small rift between the worlds that will give valuable resources. There is nothing special on the right ladder, but you will descend quickly.
There are many points of interest opposite. Jump over the obstacle to get to the area called Shores of Nine. At the fork, burn the branches and jump to the other side. The area is called The Rowers.
Descend down, kill the enemies and open two small chests. There is also a Nornir chest, but to open it, you need to hit three bells. For now, this cannot be done.
Climb up the wall. There awaits a centaur and several enemies. On the same arena, open the small chest.
Climb up the chain and move another large chain. A second descent will open to the same room where the Nornir chest is located, but from the other side of the chasm. Open the large chest, examine the mark of legends, and jump over the small barrier to the right behind the stairs — artifact and small chest.
From the mark of legends, turn left and find the second part of the key. Also, break the stones with the green wall and lift the gates to return to the Nornir chest. Now it can be opened. The rune cooldown times on the bells are not the same. Therefore, it is important not only to throw the axe accurately but also to find which of the three to start with. The longest bell is to the left of the chest if you face it. After hitting, immediately run to the chasm as shown in the screenshot.
Since you have found both keys, it's time to find the treasury. Continue exploring the location.
Return to the fork before The Rowers. You have already explored the right side. Going straight can advance the quest Guiding Light, now turn left. Kratos will climb higher and jump to the tower. Ahead is a spatial rift. After examining it, you will encounter three enhanced elves.
After the victory, you can activate the lift and also kill the skittish lizard.
Return to the lake and move to the right of The Rowers, closer to the rock. To the right is a tower you can climb. You will find a artifact and a large chest.
Continue to keep to the right side and you will see Sindri's forge. From it, you can go deeper, further from the lake. At the end, there will be a dead end and a Nornir chest. Light three braziers. The first is to the right of the chest. Climb the rock to the very top, there is a brazier. It may be difficult to notice, but very easy to light. Descend from the other ledge. You will find yourself on a platform with a small chest and the last brazier. You will return to this place if you haven't found the Nornir chest yet, so you can open the chest later.
Look at the map — you have a few request markers left. The nearest two show the stages of the quests Animal Instincts and Guiding Light. To complete our side quest, you will need to go a little further. The treasury is almost in the same place where you found the first key.
As soon as you get to the place, deal with the enemies. A huge iron wheel blocks the way. On the right side, there is a place to hook the blades, do this and turn it to the right. Now you can climb higher. Once on the roof, immediately open the small chest and blow up the resin with the help of the pot. Move on.
Kill a couple of enemies and open the large chest. Pay attention to the runic brazier at the very top.
Descend and turn the wheel to the left. In this same zone, there is a Nornir chest. The second brazier can be found just behind the moved wheel.
Climb back up to the roof using the wheel. Find the boulder that fell after the resin explosion — it needs to be moved to the left with the blades.
Descend again and move the wheel to the right once more. Thanks to the boulder, the gates will finally become accessible, but the grates still need to be removed. Right in front of the gates is a mechanism; turning it will open the way. Pay attention to the two small wheels on the sides of the large wheel. To keep the passage open, you need to freeze both. Throw the axe at one and secure the effect with a pink arrow. Immediately throw the weapon at the second mechanism and run forward.
Inside, there is a large chest and the last brazier. Break the seal on the gates so Freya can pass through as well.
Destroy the thorny vines and proceed to the next hall. There is a strong enemy in full armor. Examine the mark of legends after the victory. Climb up the chain — on the roof, there is a small chest, and you can also break the floor here, under which there is a crafting scroll and hacked silver.
Quest completed.
Animal Instincts. Midgard
While exploring the area around Tyr's temple, you may notice that Kratos' wolves become agitated. This is due to the blood on the snow. You can find it by moving counterclockwise from the place where you entered the location. Additionally, this is the second point of interest. The first will be the Outpost, where you will start the quest Sigrun's Curse.
Examine the area and you will enter the Raider Fortress. Kill the raiders and open the small chest. You will need to destroy three more such camps. You can exit the fortress by jumping off the ledge, where there is a large chest.
Continue moving. When you pass under the temple, turn left. Use the helmet from the statue as a reference point. To the left of it is the entrance to the lower level of Tyr's temple. Go there and you will enter the Raider Citadel. Examine the area and open the large chest.
Also, after passing under the temple, you can immediately turn right. The road will split into one that goes along the cliff and one that climbs the hill. Choose the lower one. At the end of the path, there is a cave called the Raider's Den. After dealing with the enemies, open the small chest on the right and the large chest a bit higher.
In the cave, there are bombs; take one and destroy the thorny vines to the left of the entrance. They block one of the bowls for the Nornir chest. Pick up another bomb and throw it into the bowl.
Approximately in the center, there is a breach in the wall, and behind it, you can see golden resin. Use a bomb to remove the obstacle — another brazier.
The third bowl is in the far part of the cave. You can't reach it. Use pink arrows and a bomb to light it. There's nothing more to do here.
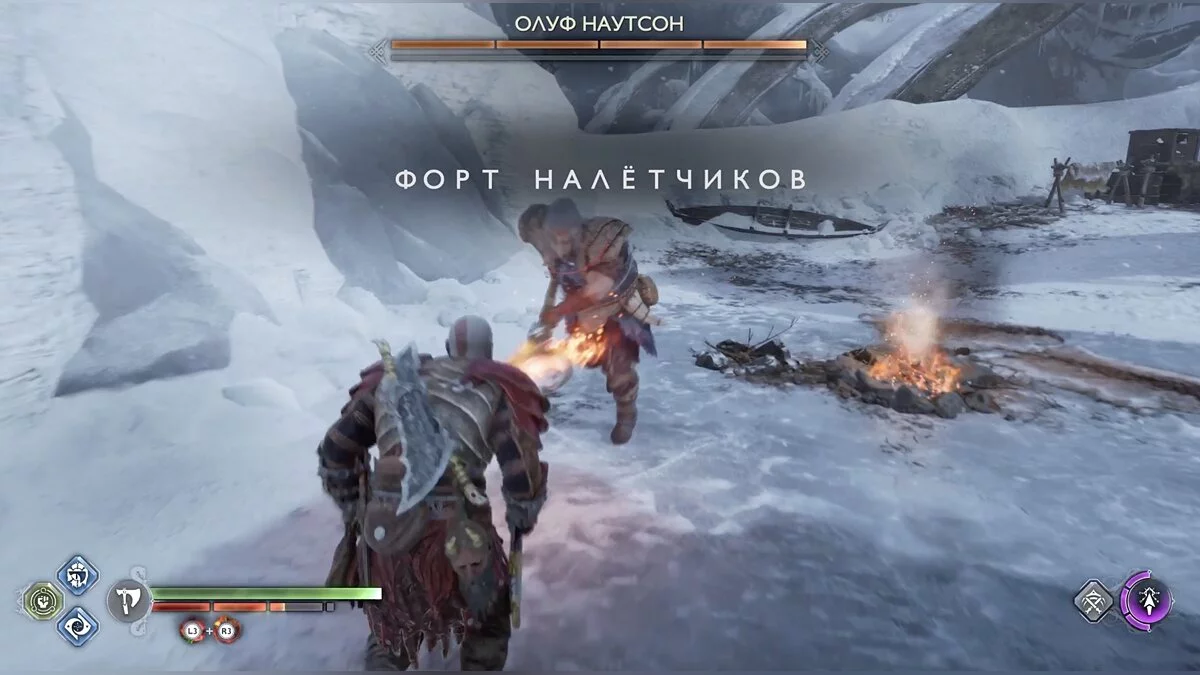
The last raider camp will be near Sindri's forge. It is easy to find as it is marked on the map — Raider Fort. After killing the regular raiders, you will face the boss leader — Oluf Nautson.
He has fiery weapons, so you can easily get a burning effect. Also, beware of attacks with red circles — the raider hits especially hard, and the burning effect accumulates faster. An unpleasant feature is Oluf's ability to restore his health. Fortunately, Kratos can interrupt this action.
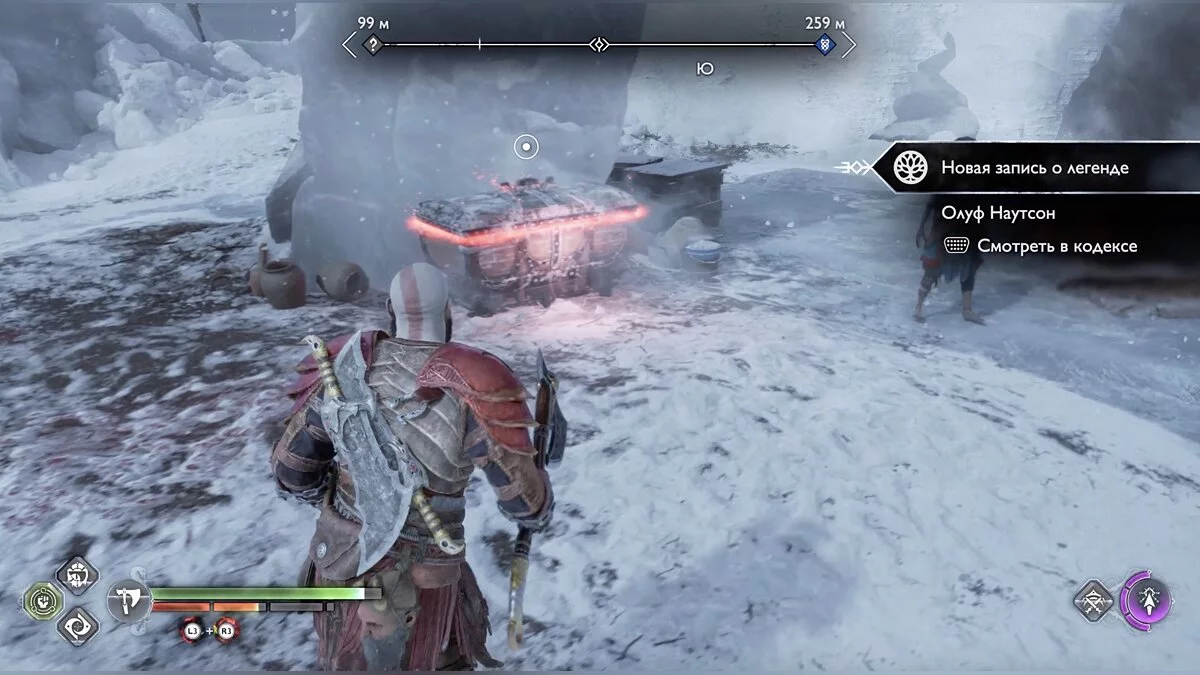
After defeating the villain, open the large chest in the arena. Return to the wolves and calm them down. The quest is completed.
How to Defeat Visi Haglkorn
Leaving the main area from the Raider Fortress, stick to the right side and move forward. You will encounter an ice troll, which Kratos killed in the previous game.
The monster holds a huge log in its hands and actively attacks with it. However, defeating it is quite simple because Visi is very slow. It's easier to dodge most attacks, even those that can be parried. Use fire to speed up the victory.
Guiding Light. Midgard
On the Lake of Nine, there are scattered broken parts of Tyr's statue. There are 4 in total, marked with blue runes. Since we started exploring the area counterclockwise, the first runes you will see are on a small stone fragment near Tyr's temple. Use the place where the boss troll Visi Haglkorn was located as a reference point. The fragment is almost immediately after it. Nearby in the ground will be valuable crafting materials.
Pass under the temple and turn left. On the ice lies a large helmet. This is the second place for runes.
To the left of the helmet, there are two entrances to the lower levels of the temple. Go to the one on the right, break the ice, and pick up the artifact.
While exploring the location, you will enter the Shores of Nine zone (before the Oarsmen). There will be a fork. To the right are dry branches blocking the passage to the Oarsmen, where you can progress in the quest Sigrun's Curse, but for now, go straight to the iron ruins. Crawl under them, defeat two ice cats, and burn the dry branches. Behind them are more blue runes and resources.
The last runes are almost immediately behind Sindri's forge on the lake. The place is marked with a sign on the map. On the large ruins, there are blue runes again and the last crafting items, which allow you to create a special armor set.
The quest is completed.
Born of Fire. Midgard
Another fight with the draugr will take place in the upper right part of the map. If you head there clockwise, Tyr's temple will be on your right. If you are exploring the map counterclockwise, you will have to pass under the temple. The road splits into two paths. One goes uphill, the other down. Go uphill, but don't go too far — turn left. On the right, there will be a ledge, climbing which you will immediately engage in battle with the draugr The Hateful.
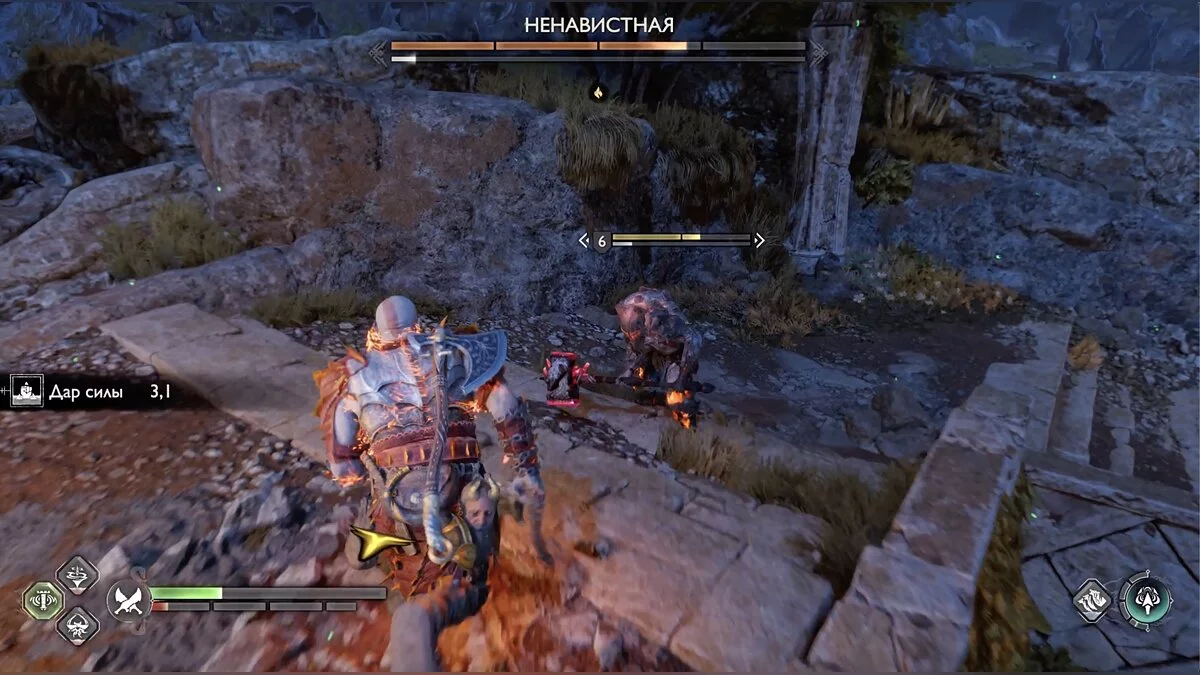
As before, the draugr will periodically burn more intensely — these are dangerous moments. Kratos will take damage on any contact, so throw weapons at the enemy to return it to a safer state. This time the monster will not have additional helpers, but it will throw three fireballs at once.
After the victory, open the large chest nearby.
Across the Worlds. Midgard
When you are heading to the first supposed Norn shelter, stick to the left side. On the road going up the mountains, there is a branch. Explore the area and you will discover the Eternal Bonfire zone.
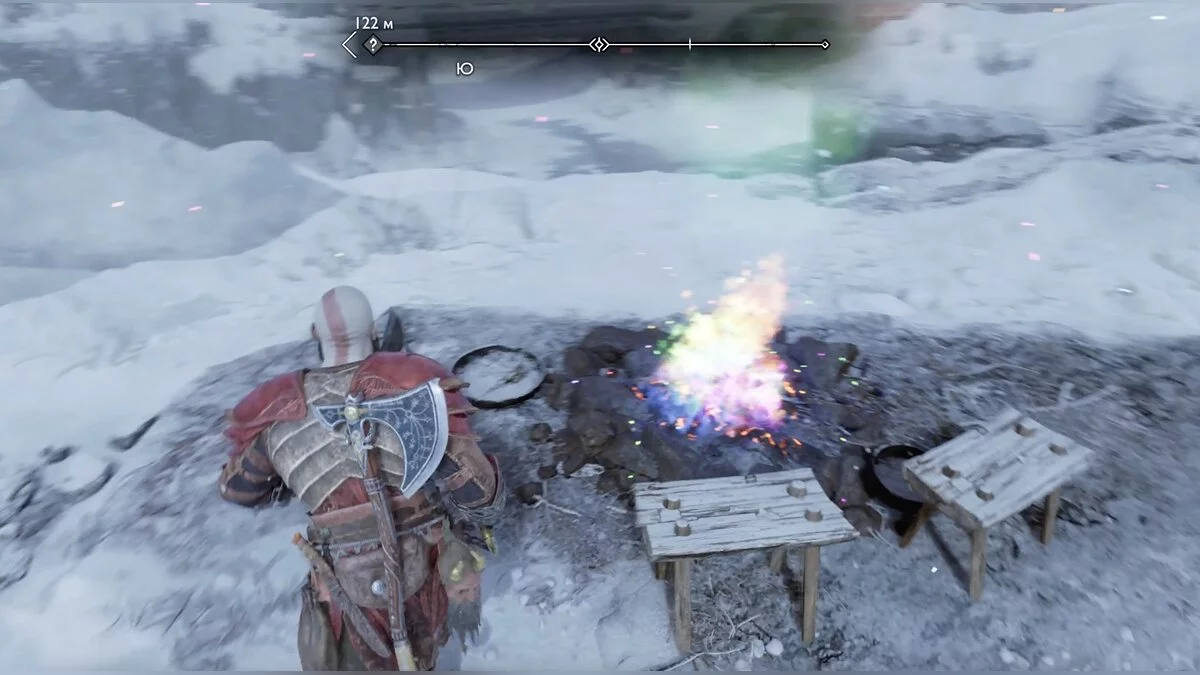
There really is a bonfire burning, emitting a rainbow glow, and next to it lies a recipe for an unknown dish. Now you need to find 4 ingredients scattered across all 9 realms. Fortunately, you will find many of them through the storyline if you are attentive enough.
The first ingredient lies near the bonfire and is marked with a corresponding request symbol. Use the colored initials in the heart as a reference point. They are usually found on rocks. This is how the game signals you where to look for the corresponding supplies.
All That Remains of Asgard. Midgard
Attention, this is a side quest from endgame content, beware of spoilers!
A request that will appear only after completing the main storyline. The remnants of Asgard with Odin's remaining army are scattered across all realms. There are 10 such places. They are easy to find as they are all marked on the map with special icons. You will face battles with Einherjar, as well as valuable resources needed to upgrade equipment to the maximum level. We recommend completing the quest, otherwise defeating the queen of the Valkyries and berserkers will be almost impossible.
In Midgard, where you will be after the ending, there are 2 fragments: on the bridge and at the top of the map, where Kratos found the Norn. Along the way, you can visit the Shores of Nine and knock down Odin's raven.
Hel's Charge. Midgard
The request is related to the spatial rifts that appeared due to Garm. You have already closed some of them earlier, now you can finish the quest. In Midgard, explore the upper part of the map — look for the question mark. As before, you just need to hold out for the set time, after which all the remaining enemies will disappear.
Blooming Worlds. Midgard
The flower awaits you in the location near the turtle Charlie, which is also Freya's home. You won't be able to get to the location right away. After completing the storyline quests, talk to the squirrel in Sindri's house and gain access to several new gates. There are no other active points of interest in the location, so you won't miss the plant.
Blooming Worlds. Muspelheim
Although you will mainly be undergoing Surtr's trials in the Crucible, you can also progress through other quests there. As soon as Kratos exits the gates between worlds, there will be a dwarf forge ahead. To the right of it is another flower.
Matter of Honor. Muspelheim
Attention, this is a side quest from endgame content, beware of spoilers!
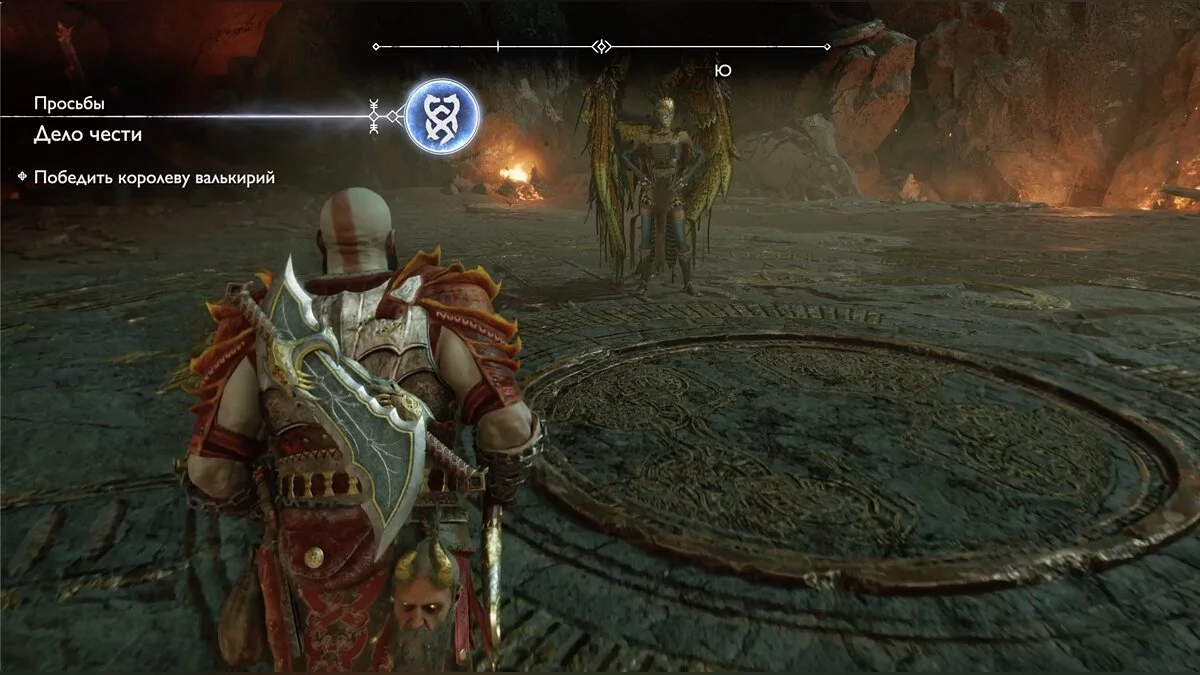
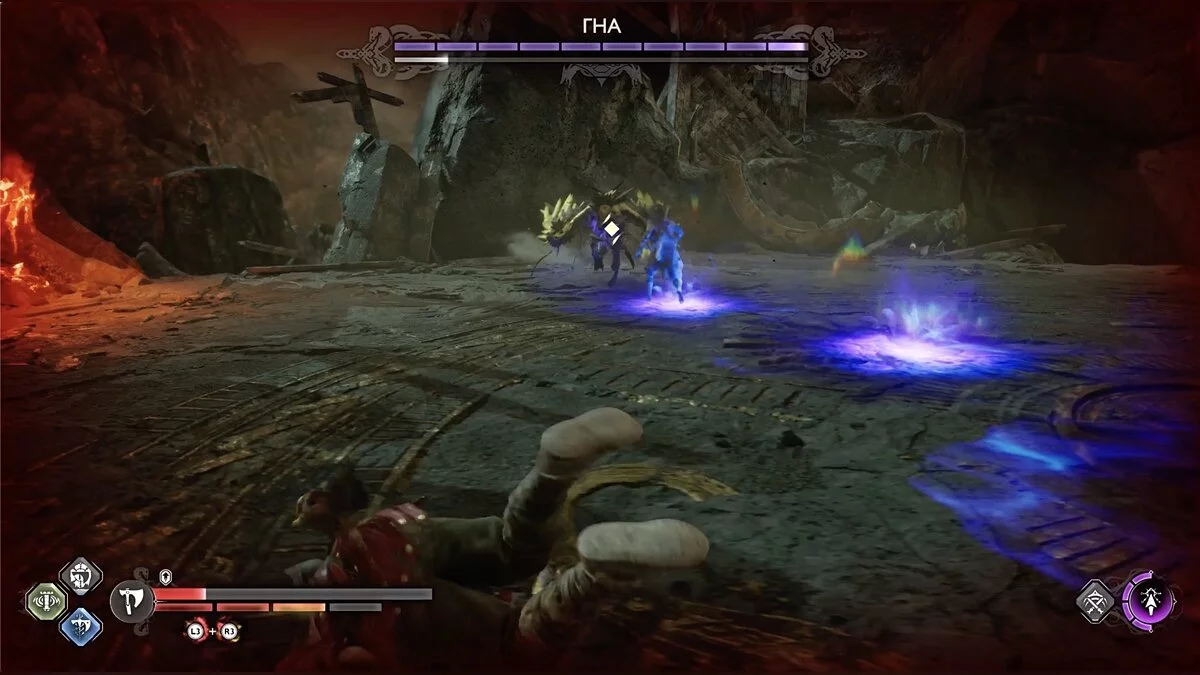
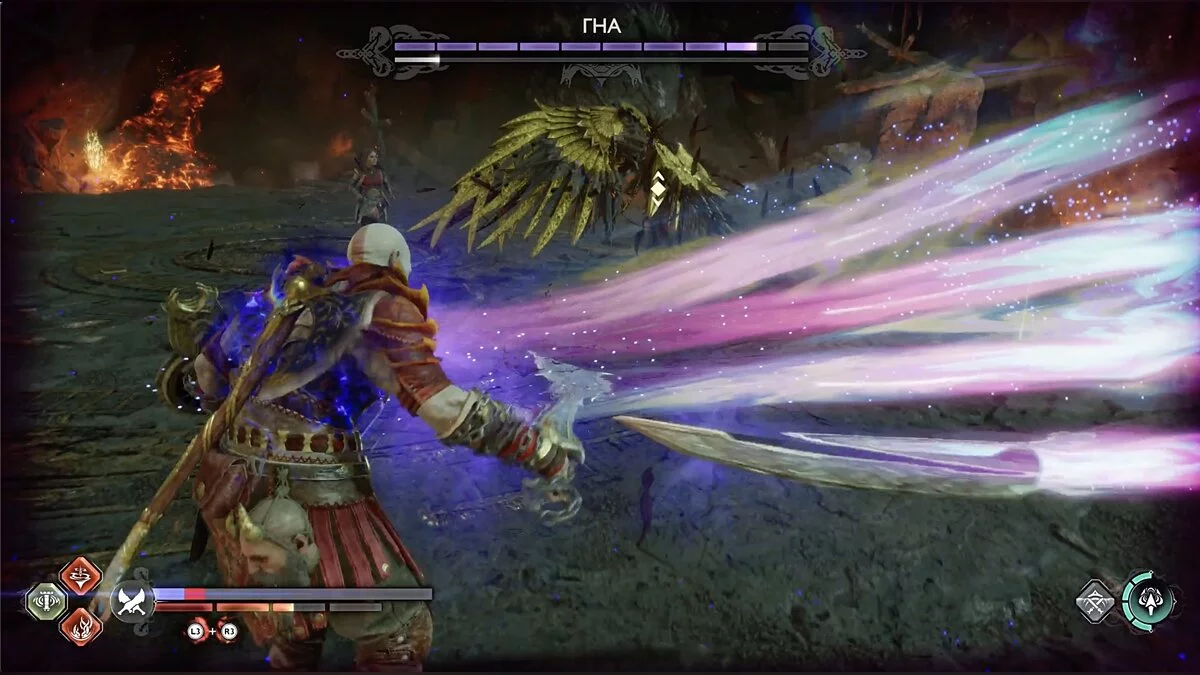
Since the former Valkyrie queen did not support Odin and joined Kratos and Freya, the Allfather found a new one. After the victory over Asgard, the winged warrior still wants revenge. In Muspelheim, head to the question mark to meet the boss. She is considered one of the strongest in the game, so prepare well before fighting Gna.
The Valkyrie actively shoots energy bursts from her wings and also uses other attacks with elemental effects of fire, cold, or Bifröst. Additionally, Gna dives sharply from top to bottom. The only way to avoid damage is to dodge. There are blockable or shield-interruptible attacks, but very few. If you feel strong resistance, it is better to leave the boss and return to her later.
All That Remains of Asgard. Muspelheim
Attention, this is a side quest from endgame content, beware of spoilers!
In the fiery world, one of Asgard's fragments awaits. Kill the Einherjar. Note that the location will have blue runes as well as a large chest with valuable resources (as in all fragments).
Blooming Worlds. Helheim
When you watch the cutscene where Garm transforms into Fenrir, there will be only one path out of the area to the mystical gates — through the ledge. Before climbing up, inspect the rock to the right — you can stick a spear there. When you reach the top and jump over the gap, Atreus will notice the flower.
The Scent of Survival. Vanaheim
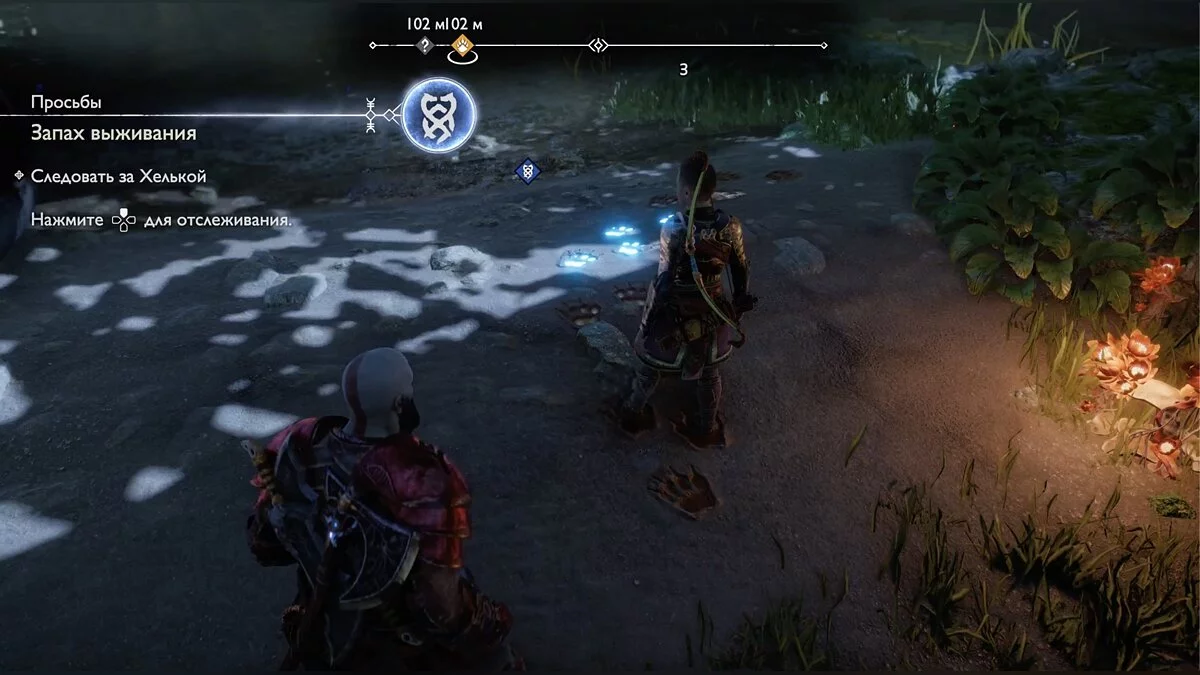
After rescuing Freyr, head to the upper exit of the camp. There, Atreus will notice Lunda's animal — Helka. She is leading you somewhere. To avoid getting lost, pay attention to the paw prints on the ground.
Get in the boat and sail to the right. You've been here before with Freya when you were heading to Heimdall. On the shore, follow the tracks again. Enemies may appear along the way. In the area with fiery draugrs, kill the enemies and change the time of day at the altar to daytime. As in the storyline mission, the altar is on the right side of the location, on a ledge.
Run forward along the opened road until you see Helka, patiently waiting for Kratos and Atreus near a cliff. Next to her is a strange air current; interact with it to summon Freyr's airship. The quest is completed, but you need to move on.
For Vanaheim. Vanaheim. The Crater
After the cutscene with the boat, the heroes will land in an unknown location. Go left and you will reach a large area — the Crater, where a dragon will fly by. According to the storyline, one of Freyr's companions sacrificed himself. Now there is hope that he is still alive, but you will have to reach the lizard. There are many other quests in this area, let's go through them all.
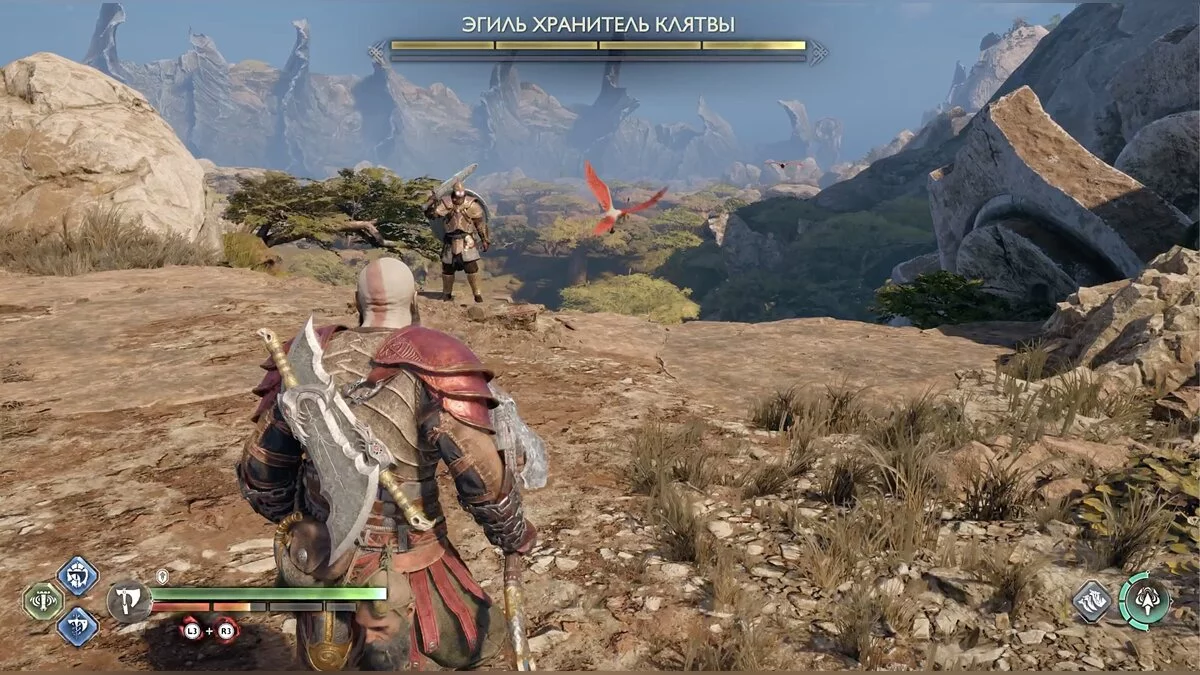
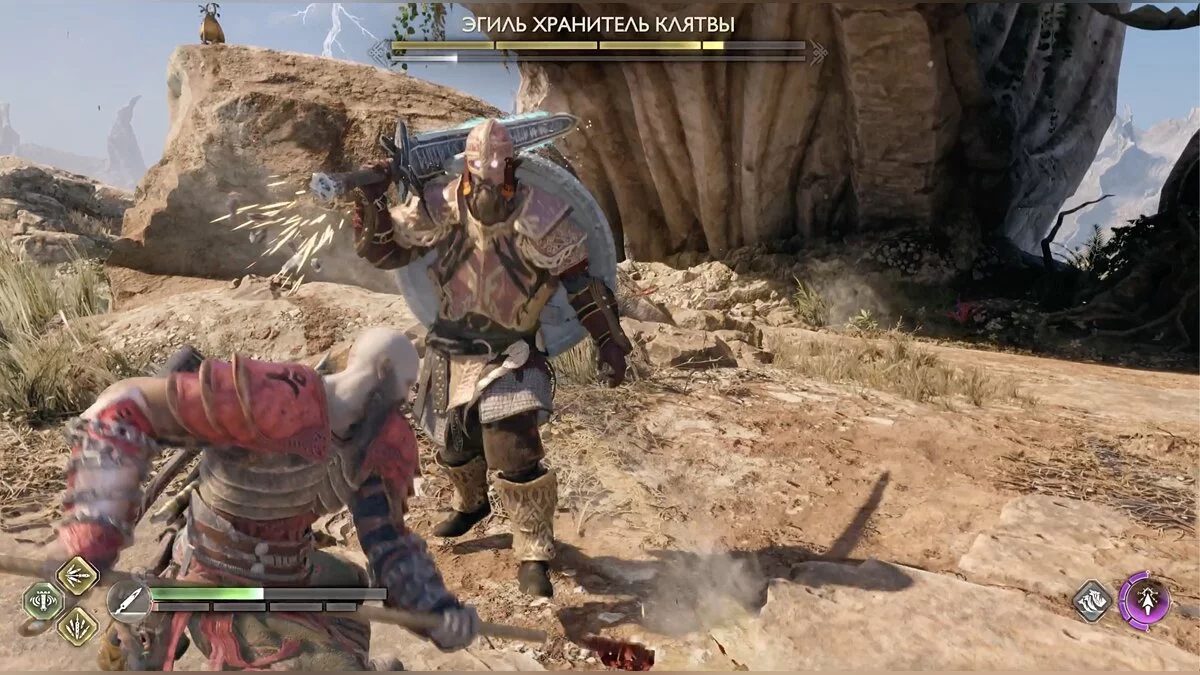
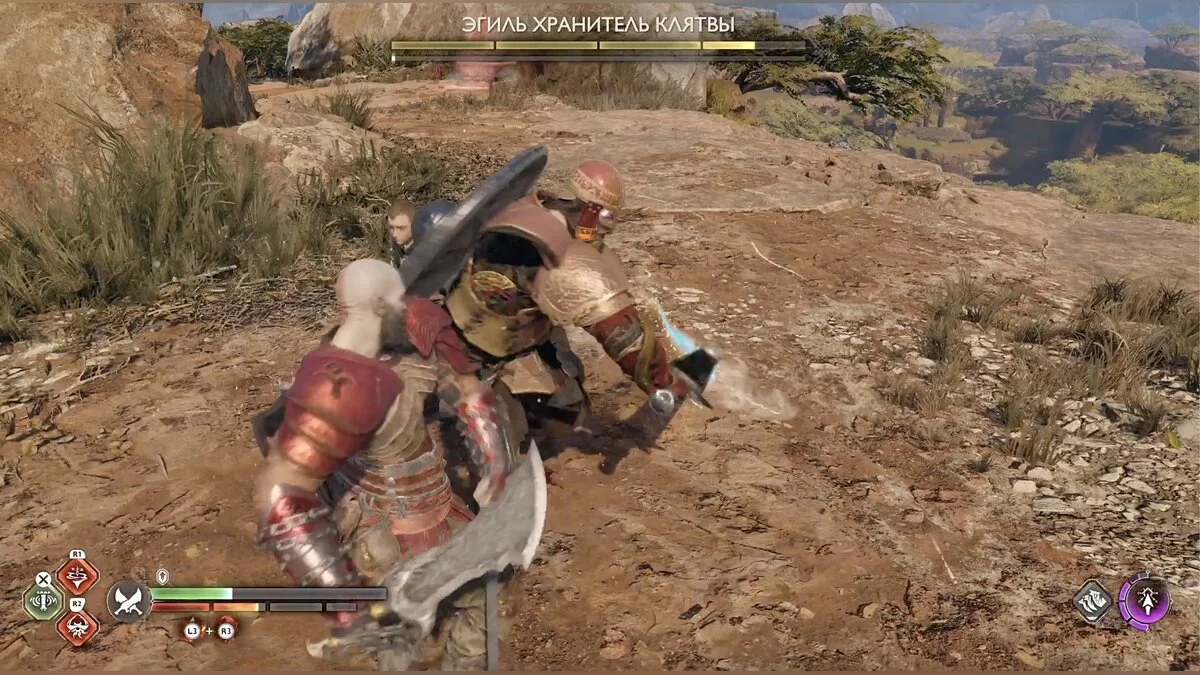
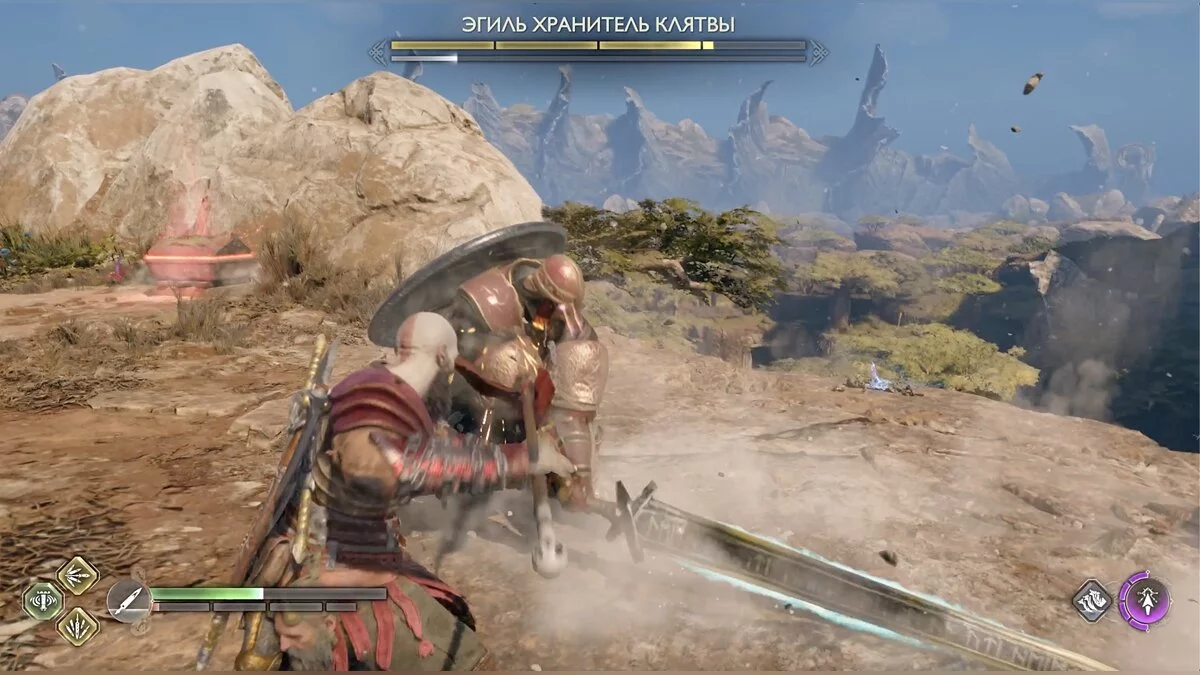
Go right to the pillar with the purple mist. Freeze it to move forward. Next, there will be another pillar and a couple of large lizards. Climbing up, you will find the boss — Egil the Oath Keeper.
After the victory, move on. Pay attention to the zip line. Approach the cliff where the zip line starts — there is a runic bowl on the opposite side. You can't light it from here, go back a bit and shoot pink arrows at the tree roots to create an elemental chain.
Slide down the zip line and you will find yourself in the Wells location. Go back — into the cave. There is a Nornir chest. The second bowl is to the right of it on the rock, and the third one is to the left. Each of them can only be lit using pink arrows. An earthquake will occur in the cave, activating another request — The Trembling Chasm.
Exit the cave and keep to the right side — the tunnel. The entrance is blocked by purple mist — freeze the pillar.
On the other side is a spacious location, with an entrance on the right from where enemies will appear. Pay attention to the green pillars that heal enemies as long as they are in the corresponding zone. You will have to lure them out or freeze the pillars with the axe and fight with other weapons. For example, you can pull enemies towards you with the blades.
After the victory, inspect the legendary mark to the right of the entrance. There's no point in going inside — the gates are closed.
Return to the spacious location. On the right, you can jump across the chasm. You will find yourself next to the mystical gates. Slightly to the left stands a deer, approach it and receive the quest Deer of All Seasons.
Next to the gates is a ledge, climb it and destroy the poisonous plants. The tunnel ends with a wall, but there is a weak spot in it. Open the passage with the spear.
In the next location, a dragon is flying, but not the one you saw when you entered the Crater. There are also several enemies here. The dragon sits on a fragment and spits fire. To chase it away, throw a spear at the fragment's vulnerability, and then again. The lizard will fly away, and you will receive the quest Burning Skies.
On the right side, there is a chain, lowering which will open the way for you. Pay attention to the crystal on the rock above the passage — knock it down with the axe and collect the shards.
Ahead are thorny vines that need to be burned. Behind them is a poisonous pillar. Freeze it and squeeze through the stone boulders. You will immediately see a spirit that will give the quest Victims of War: Hourglass. There are several such ghosts in the Crater. It makes sense to help them — you will learn interesting information about Faye, Atreus' mother.
Climb further — a cliff. On the other side are enemies, kill them from a distance. Now turn around. To the left of the entrance are thorny vines and a large chest. The cliff can be crossed. Look up and you'll see more thorny vines. Burn them to open the clamp for the Blades of Chaos. Jump to the other side.
Immediately inspect the right corner — small chest. Go down the ladder — there will be a crystal on the left. Break it with the axe and collect a few shards — they will be needed later. Such crystals will be found throughout this location. Be sure to break them and collect the shards.
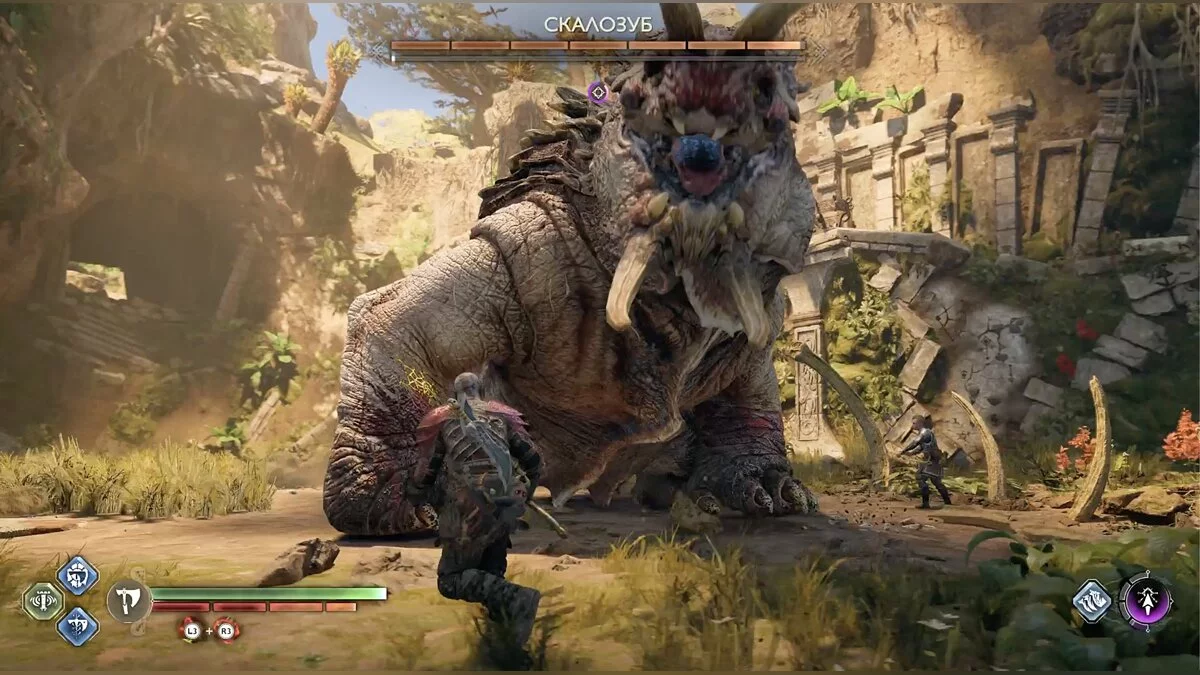
Next, fall down and crawl through the tunnel on the right. As soon as you get out — the boss Stonetooth will appear.
After the victory, look around. In the far part, there is a climb up the wall. Once up, turn right — small chest.
To the left are gates, raising which will create a quick transition to the spacious area where you met the first deer and found the mystical gates. To the left in the Stonetooth arena are thorny vines. Burn them and climb into the crevice — crystal on the left. Climb up the ladder — Kvasir's poem. To the left — small chest.
Climb up using the blades. There is a strong draugr and a large chest, entwined with a poisonous plant. Quickly kill the enemy and find the core of the flowers to destroy them. You will need to climb another floor and break through the roof. In this same area, there are gates. Raise them to access the Well of Wishes.
Explore the location — it is round and divided into tiers. On the lower level, there is the well itself and several crystals, as well as a small chest. By throwing the collected crystals into the water, you will receive rewards — resources and a set of armor, so return to the well whenever you have gathered many shards.
On the second tier, you can progress in the quest Deer of All Seasons, and there is also a small chest.
The third tier has a large chest and a passage. This will take you to the very beginning of the Crater, where the heroes landed.
Returning to the main area, go to the left. Do not jump off the ledge, but move along it — a ghost with another quest Victim of War: Brooch.
Continue along this side and you will find a crystal. Upon reaching the open area, you will engage in a fight. A dragon will immediately appear. It can be temporarily driven away with arrows.
Take your time to explore the rocks — nearby is a small chest. Turn around, just a few steps away is a large chest in dry branches. To the right will be a stone fortification with enemies. You can't reach them from here — no worries. On the left rock is a crystal.
Head toward the dragon to the cliff — a large fire cat. The dragon will join the battle again. Next to the tree near the cliff is a small chest. You can't cross to the other side yet.
Approach the fort with the inaccessible enemies — Nornir chest, where you will have to quickly hit the runic bells — leave it for now. Return back to the pillars with the purple mist — on the wall is a crystal.
Descend to the large stone ring-ruins. At the top right part of it — crystal.
Go through the ring and immediately climb the ledge on the left. Ahead is a timid lizard, but you won't kill it yet. Move straight, but keep an eye on the right side — Odin's raven. Right after that is the dwarves' forge. A bit further on the right is a small chest. Look to the left, on the rock is a crystal.
You will engage in a fight with enemies you couldn't reach earlier. Pay attention to the green pillars — they heal enemies within a certain zone — lure them out or freeze the pillars themselves.
After the victory, go to the cliff without jumping — on the left is a runic bell in dry branches. Even lower is a portal that will help advance the quest Lost Lindwurms.
Explore the ruins again — you can change the time of day. Make it night. There is also a legendary mark nearby. Find a place to kill the timid lizard.
Descend to the main location — new enemies have appeared at night. In the center is a stone circle. Two pink fires are burning on the edges; you need to light two more. This will start the quest Night Predator.
After the victory, approach the Nornir chest. Now it is accessible. Start with the rightmost bell — it lasts the longest.
At night, you can descend again by the rope into the Wells. Pay attention to the crystal on the rock, which can be noticed in the process.
Go deeper into the Wells. Suddenly, a boss will appear — Unyielding Fury. This is a centaur who will disappear after a few hits. There is also a small chest here.
Return to the main entrance to the Crater. Previously, we mostly went to the right, but now stick to the left side. At night, the obstructing barrier will disappear, and on the right is a small chest. Jump across the chasm and you will encounter Jorgen the Oath Keeper. There are also crystals.
Exit the boss area and continue to stick to the left side, jump off the ledge and follow the left path. After jumping across the chasm, you can find a grab point for the blades. Use it to move. Climb higher and inspect the animal carcass. Receive the quest In Plain Sight.
Stick to the left side and cross the stone bridge to the large gates. Move through the tunnel, destroying enemies and plants. Crawl along the wall and pick up Kvasir's poem.
Break the boards and continue until Kratos sees large tracks that turn somewhere to the right. We will deal with them later. Moving straight, open a new region — the Jungle.
An ogre will immediately start attacking. He throws rocks from the other side of the ruins and cannot be killed right now. Go to the right and jump off the ledge. Open the large chest on the right and break the crystal to the left of the chest.
Freeze the pillar with the purple mist and go through the opened path. Kill two werewolves and climb the ledge. The quest Return of the River will immediately appear. Be sure to complete it, as without water it is impossible to finish the request For Vanaheim.
Once the river is freed, descend on the lift and you will see another dragon. A new quest Path of the Dead will appear here.
On the right, there is a dock with a boat. Get on it and sail straight, then to the right — another dock. Immediately defeat the werewolves and nokken, then approach the ghost to the right of the landing site. He will give another quest to find the second half of the item — War's Sacrifice: Toy.
Nearby is a Nornir chest. You need to activate the correct runes on the spinners. The first mechanism is to the right and above. Select day on the altar nearby and examine the wall to the right — behind the thorny vines is another spinner. To the right, you can climb a ledge — small chest.
Explore the lower level of the location — at the far end is a large chest. Opposite is the entrance to the Den of Unyielding Fury, but nothing can be done with it now.
The third spinner for the Nornir chest is at the top of the temple with the altar, on the right side.
Climb the ledge with the small chest again and go deeper. Mimir will say that this road leads to the dragon. Look up — crystal.
Jump using the blades — thorny vines block the way. Burn them and cross to the other side. Immediately open the large chest.
To the left is a fork. The right path leads to the dragon, but an ogre throws rocks there — can't pass yet. Go left, open the quick lift, and descend to the dock — you have returned to the beginning of the zone.
Get in the boat and sail to the ogre. You will have to circle around his shore to find a dock. After landing, crawl through the rocks and immediately engage in battle with two ogres and nokken. After the victory, you can progress in the quest War's Sacrifice: Toy, as well as open the large chest.
Clear the path with the blades and move forward — you can progress in the quest Deer of All Time.
Move further — on the right is a small chest and a chain for quick travel (be sure to drop it). Go left — the large chest is entwined with an aggressive plant. Look for the bulb to destroy.
Continue on the path and you will see the unknown tracks again, which were at the beginning of the location. Wake up between the walls and you will find yourself in a spacious arena. There is no one here, but the quest Path of Destruction will appear.
Complete it immediately, then sail deeper into the Jungle, to where you burned the thorny vines from above to reach the dragon's nest. Collect the protective dew of Yggdrasil.
Dock at the nearest shore, deal with the animals. On the right, you can jump to the small chest. Now you are ready to complete the quest Path of the Dead.
There is nothing more to do at the location. Return to the exit and examine the gates ahead. Previously, they could not be lifted because of the ogre, but now everything is accessible. There is also a small chest. Behind the gates is a tunnel. Destroy the lizard nest and make a crossbar with the spear. Climbing higher, you will eventually come out to the Well of Wishes. You can drop off the accumulated crystals.
It's time to return to the left part of the Crater. From the stone gates leading to the Jungle, sail to the right. There is a rift between the worlds visible. Interact with it and defeat two strong enemies.
Now, sail to the far left part of the zone. On the shore, there is a crystal.
Mimir will also say that he smells blood. You will receive the request Silent Night. After defeating the dreki, examine the arena — you can progress in the quest War's Sacrifice: Mug.
Exit the arena by raising the gates. On the ceiling, there is a crystal. Ahead is open space and enemies. If you climb the ledge on the right, you will progress in the quest In Plain Sight.
Continue to keep to the right rock and you will come to an enemy camp. On the rock, there is a crystal.
Return to the spacious location that was to the left of the gates from the arena. There, the ogre is fighting against the closed shutters. You can finish the quest In Plain Sight here.
From the closed gates, go to the right towards the water — crystal and slightly to the left on the rock Odin's raven. There's also a skittish lizard there, but you can't kill it yet.
Now, from the gates, go to the left. You will reach a spacious cave. On the right are closed gates — they cannot be opened yet. Examine the bottom of the cave — Odin's raven.
Ahead is a large chest entwined with a plant. Find the bulb. Go around the cave wall, but don't miss the crystal in the area where you can climb the ledge. On the other side of the wall, there are many poisonous plants and small lizards. There is also the bulb and a ghost who will give another request War's Sacrifice: Scroll.
Return to the area with the ledge and climb up. Open the small chest and you will see the time of day altar and the forge. There is also a large chest and a mystical gate.
Make it night if it was day, and open the gates that the ogre was trying to enter (they are blocked during the day). Go to the fork. On the left is a large chest.
Several enemies will immediately attack you, as well as the boss — Vali the Oath Keeper, however, his actions are exactly the same as those of the previous keepers.
After the victory, return to the fork and go to the right. You will reach the main dragon of the Crater — the Crimson Horror. The boss fight has several features.
In addition to jaw attacks, the lizard creates a wall of fire around itself, which can be extremely painful. The main attack is when the dragon takes to the sky and spits fire accurately or burns everything in its path. There is a way not only to avoid damage but also to interrupt such an attack — just throw an axe at the dragon when it is close enough. Since the monster dives in a straight line, calculating the axe's trajectory will be simple. Upon hitting, the boss immediately falls and gives the opportunity to use several runic attacks.
Examine the arena clockwise from the entrance — almost immediately there will be a small cliff, and below it — Odin's raven. A little further is a crystal and a portal with a lindworm.
Climb up the partially destroyed wall — on the left is a large chest, and on the right is Birgir. You have finally found the warrior. Escort him to the mystical gates. Quest completed.
Also, explore this area. To the right of the gates, there is a large crystal, and further on, you can use blades to break the logs to kill the skittish lizard you saw earlier. Here you can also complete the Deer of All Times quest.
How to Defeat Egil, Jorgen, and Vali the Oath Keepers. Vanaheim. Crater
Upon entering the Crater, stick to the right side. After two pillars with poisonous purple fog and a couple of large lizards, you will face the boss. Egil is a heavily armored warrior. You've encountered such before, but this one is much more dangerous.
All his attacks with the huge sword deal very high damage. Moreover, he often uses a circular attack, where the hits come one after another. Unblockable top-down strikes are also dangerous. The Keeper is capable of adapting to Kratos and catching him at the end of a dodge.
The warrior has a large shield on his back, so attacking him from behind is almost useless. Don't forget about magic either. When the enemy raises his hand, it's important to hit the energy orb in it. If you don't make it in time, energy streams will fly at Kratos, which are quite difficult to block.
An unpleasant nuance is that while Kratos uses runic attacks, Egil continues to attack him. We recommend choosing quick strikes that won't keep the god of war standing in one place for too long. Also, don't rely on a saving dodge. Dodging an attack once, you risk immediately suffering from subsequent ones; it's better to break the distance to control the situation.
After the victory, open the large chest nearby.
Jorgen is exactly the same boss. You can find him if you turn left from the main entrance to the Crater. However, there's a nuance — the passage is blocked during the day. Continue exploring the location to find the altar and change the time of day. All of Jorgen's moves are exactly the same as Egil's, so we won't dwell on them separately.
The last Oath Keeper awaits you in the left part of the Crater. You can only reach him at night. Get to the spacious location, there are closed gates and the Soul Devourer from the In Plain Sight request. Kill the enemies and open the gate.
Reach the fork — on the left is a large chest. Go to it and you will immediately fall into an ambush. Besides the boss himself, there will be two mystics shooting poison from a distance. We recommend dealing with them first, as they are weaker and greatly complicate the battle.
The further fight is exactly the same as in the other two cases. Beware of circular attacks and magic. After the victory, open the large chest and break the crystal on the rock opposite.
Shaking Gorge. Vanaheim. Crater
The quest is activated when you enter the cave in the Wells zone. The cave is easy to find — there's a Norn chest. Something is causing earthquakes, and Kratos and Atreus decide to find out what it is.
You can complete the quest if you continue exploring the Crater. Exit the cave and stick to the right side — there's a tunnel. Go through it and you will enter a large location. Kill the enemies, open the mystical gates. Pay attention to the deer — the beginning of the Deer of All Times quest.
Climb the ledge behind the gates, break the wall and you will enter a location with a white dragon. Chase away the lizard and start the Burning Skies quest. Lower the gates in the right part of the location, remove the thorny vines and freeze the poisonous pillar, you will find a ghost with the quest Victims of War: Hourglass.
Move deeper into the ruins, overcome the chasm by clearing the attachment for the Blades of Chaos from the thorny vines. Ahead you will fall into a small pit, from which a tunnel leads to the right. Once you get out, you will finally find the source of the earthquakes — a huge lizard named Rocktooth. You should have encountered such in Alfheim when traveling through the second part of the open location and completing the Door to the Desert quest. At that time, the boss was one of the toughest opponents, but now you have a spear.
Note that Rocktooth's paws have yellow vulnerabilities, the same as those on destructible rocks and walls. Throw a spear there and detonate. Two hits will knock the boss down, allowing you to perform a series of attacks. Now the fight will be no harder than with an ordinary mob. Of course, beware of tail or jaw strikes, but keep shooting at the vulnerabilities. After the victory, the quest will automatically complete.
Deer of All Times. Vanaheim. Crater
The quest will start when you encounter a strange deer in a location accessible through a tunnel from the area called Wells. The deer stands next to the mystical gates.
As soon as Kratos sees it, you need to talk to Ratatoskr. Go through the nearest mystical gates to the Dwarves' house and summon the squirrel. Don't worry — the story won't start until you enter the house. The fluffy Tree Keeper will explain that there are 4 deer in total — like the seasons. You need to find each one, after which they will automatically return to the realm between realms. Fortunately, all the deer are in the Crater.
The first deer will be where you found it — next to the mystical gates. Now Kratos has special feed, and the animal will return home without any problems.
The second deer hides in the Well of Wishes location. To get there, complete the Shaking Gorge quest. In the arena where Rocktooth was, there are thorny vines, clear the passage, go inside and reach the gates that open access to the Well. The location is divided into tiers that go in a circle. The deer is on the second one.
You will be able to find the third deer only after a long time. Open the additional location Jungles. There is a dam and one of the dragons. You can get to the Jungles if you go to the left side of the Crater at night. We write more about the path in the quests For Vanaheim and Path of the Dead. Completing the Return of the River quest will open the possibility of traveling by boat — this is a mandatory condition.
Upon entering the Jungles, you will immediately encounter an ogre throwing rocks, but too far to kill it. When the river returns, you can finally sail to the monster. Find the right dock and engage in battle. After the victory, remove the rock with the blades and open the bridge. The deer is on the other side, you won't miss it.
The last animal awaits you at the very end of the main request in the Crater location — For Vanaheim. When you rescue Birgir and take him to the mystical gates, look to the left — the deer. Feed it and the task will be almost completed.
Return to the squirrel and receive your reward.
Burning Skies. Vanaheim. Crater
The quest will appear when you encounter the white dragon. This is easy to do. Upon entering the Wells, find the tunnel. On the other side is a spacious location with a rift in the middle. Jump to the mystical gates and the deer, which will trigger the Deer of All Times quest. Behind the gates is a ledge, inside the cave ends with a vulnerable wall. Destroy it with a spear and you will enter the zone with the dragon. You need to find the lair, but that's still far off.
When you complete the Return of the River request in the Jungles, return to the Wells location. Again, enter the spacious location with the mystical gates where you found the first deer. There used to be an abyss, now there's a river. Sail to the right. Pick up the life-giving dew of Yggdrasil.
Next, you will enter the location where you first encountered the white dragon. Previously, many parts of it were inaccessible, now sail to the right and dock at the nearest shore.
Ahead is a crystal. To the left is a chain that will open the way further. Go to the end — another crystal, and to the left, you can progress in the Through the Realms quest.
In the center of the ruins is a berserker grave and a large chest. If you face the round ruins, go to the left — a flower. Go a little further — to the left is another large chest.
Make it night at the altar and sail through the open gates. Dock at the first shore on the left and immediately turn around — a Odin's raven. Go left from the landing spot and you will find a crystal. There is also a chain there to lower another set of gates.
Now go to the right and lift the door. You will find yourself in a long corridor. A draugr will jump out from the wall. Walk a bit further, two more draugrs will appear, and ahead is a dragon. It will set the corridor on fire. The only place to hide is in the recesses where the draugrs stood.
On the right in the rock are three vulnerabilities. Blow them all up simultaneously. Kill the appearing draugr and run into the opened passage. On the right, another enemy and a crystal. Go to the left and to the end. Kill the enemies.
Climbing onto the ledge, you will be very close to the dragon. Its flame not only deals damage but also knocks you back. Try to reach the wall on the left — it will protect you. On the right in the wall is a vulnerability — blow it up and block the dragon's window with stones. Here you can also complete the War Sacrifice: Hourglass quest.
Climb up the wall. Once on the large platform, go to the left — a rune totem from the Nornir chest. Turn around — the second totem is on the column. Move forward and fight the Unyielding Fury again. The huntress will flee again. The third totem is on the white wall ahead. Blow them up simultaneously.
Climb up and fight the Ash Tyrant. On the ground, the dragon attacks like all others — with its jaws. In the air, it can be knocked down with an axe. Also, note that before spewing fire, the lizard's neck turns yellow and becomes vulnerable to a spear.
There are several columns in the arena. When the dragon lands on them, draugrs appear. The column can be broken by throwing a spear into its vulnerability. After the victory, the quest will be completed.
War Sacrifices: Hourglass. Vanaheim. Crater
The request is given by a ghost, which can be found right after the first encounter with the white dragon and activating the Burning Skies quest. Lower the gates with a chain in the location where the lizard was and burn the thorny vines. Inside is a pillar with poisonous mist — freeze it. The ghost lost half of the hourglass and because of this cannot remember the details of the last moments of its life.
The second part of the hourglass will become available after water appears in the Crater. Complete the Burning Skies quest to learn how to get to the zone with the white dragon. When you find yourself in a long corridor, the lizard will regularly spew fire, burning everything alive.
Defeat the draugrs in the breaks between the dragon's attacks and blow up the right wall through the vulnerabilities. Walk around the corridor, defeat the enemies, and climb the ledge. Right in front of you is the dragon. The only way to deal with the fire is to defend with a shield and try to reach the wall on the left. Here you can take a break. In the wall opposite is a vulnerability. Break it and the dragon will not be able to attack.
A part of the hourglass will fall out of the stones, and the quest will be completed.
War Sacrifice: Brooch. Vanaheim. Crater
The quest can be taken if you go left from the main entrance to the Crater location. Do not jump off the ledges — stay on the same terrain and walk along the cliff. The ghost will ask you to find the second part of the brooch. In return, he will tell you several events from Faye's past.
The brooch awaits you at the place where you fought Egil the Oath Keeper. From the main entrance to the Crater, go to the right. There are two pillars with purple mist — freeze them. Climb the ledge, defeat the wisps, and approach the edge of the cliff.
The quest is completed.
Lost Lindwurms. Vanaheim. Crater
The location is very large, but the task is made easier by the marker on the map. While searching for the first lindwurm, you will first pass by the dwarven forge and then enter semi-destroyed ruins with enemies. The enemies are healed by green pillars, but this only works in a certain zone. Kill everyone and turn right towards the large cliff, you will descend from the ledge and see the portal.
The second lindwurm awaits you in the arena with the dragon Crimson Horror. How to get to it is described in detail in the For Vanaheim quest. The dragon will be almost at the very end. After the victory, inspect the arena and you will immediately notice the portal.
Night Predator. Vanaheim. Crater
When you reach the altar and make it night in the location, you will find a stone circle with two pink fires in the center of the main zone. Look for three animals being devoured from within by spirits — they are nearby. Use the blades to exorcise the demons.
Once you do this, return to the stone circle, and a Flame Phantom will appear. Despite the new name, you have already encountered phantoms. Attack the monster when its core (head) is glowing. When the spirit weakens, find 5 totems (usually 3) nearby and destroy them.
The quest is completed.
In Plain Sight. Vanaheim. Crater
To find this request, be sure to find the altar and set it to night. From the main entrance to the Crater, go to the left side without turning anywhere. Descend from the ledge and continue to stay on the left side. Jump over the chasm and use the blades to jump to the previously inaccessible part of the location. As soon as you climb the ledge, you will see an animal carcass nearby. Atreus will hint that the Soul Eater is somewhere nearby. This is the very enemy that needs to be thrown its own shards into its chest.
The second carcass can be found in several ways. It depends on whether you decide to immediately explore the left part of the Crater or head to the Jungle. We chose the second option, and then the Dead of Night quest. Exit the arena where you defeated the poisonous dreki and immediately climb the ledge on the right. The dead animal is marked with a marker and lies on the left. All that remains is to find the culprit.
Go to the open area ahead, where an ogre is trying to break the gate. Feel free to engage in battle, the Soul Eater will also appear. This is not a boss, so killing it will not be difficult. After the victory, the quest will be completed. Near the column, open the small chest.
Return of the River. Vanaheim. Crater
The quest will appear automatically. While exploring the Crater, head to the left part at night. There you should go through the large gates and discover another location — the Jungle. Escaping from the ogre's rocks, you will jump off a ledge. Freeze the pillar with the purple mist, kill the werewolves, and climb up. The heroes will see a dam holding back water in the Crater, it needs to be opened.
Go forward and kill several aggressive animals, open the small chest. Climb the ledge, open the lift by burning the thorny vines. Immediately break the crystal on the wall to the right.
Clear the area. Examine the legendary mark and open the small chest. Break the crates — there is a vulnerability in the wall behind them. Blow it up with a spear and squeeze between the rocks. Another quest In the Depths will immediately appear. Clear the area and talk to the ghost. You will receive the request War Sacrifice: Mug.
Burn all the thorny vines on the dam and turn the wheel to release the water. Exit the dam and watch the river fill all the chasms. Now you can travel by boat and reach new areas.
The quest is completed.
In the Depths. Vanaheim. Crater
When Kratos and Atreus reach the dam, a familiar large lizard — dreki — will appear. It will immediately run away, but Atreus will say that the animal is harming the jungle inhabitants, so it needs to be found.
Open the dam, we write about this in detail in the quest Return of the River. Turn around — you can jump over, but there is no crossbar. Find the optimal point and use the spear.
Ahead is a large chest and a descent to the arena. There are two lizards, but at this stage of the game you have already encountered similar ones, the bosses will not cause much difficulty. As before, beware of electric charges and area attacks. To lure the dreki out of the water, just throw an axe at it.
As soon as you defeat it, the request will be completed.
War Sacrifice: Mug. Vanaheim. Crater
The ghost can be found during the quest Return of the River. When you reach the dam and find the control mechanism, the lost soul is waiting there. You need to find the second half of the mug, and then Kratos will learn new details about Faye.
The quest can be completed in the Crater. Return to the entrance to the Jungle and sail to the left. The quest The Dead of Night will appear on the shore. You can read more about it in the corresponding section. After the victory, examine the arena. The half of the mug lies on the ground near Odin's raven.
As soon as you pick up the item, the ghost will appear, and the quest will be completed.
Path of the Dead. Vanaheim. Crater
There are several dragons in the Crater, and you will have to kill them all. When you complete the request Return of the River and descend from the dam, you will immediately see a huge lizard. You need to find its feeding ground.
Getting to the enemy is not difficult, but you need to know where to go. Head to the shore with the time of day altar. Make it day and examine the wall to the right. Climb up, move forward to the thorny vines and burn them to jump over the large chasm. We write more about this in the quest For Vanaheim.
You will find yourself at a fork. The path to the right leads to the dragon, but the ogre will not let you climb up. Go left, make a shortcut for yourself, and sail to kill the ogre. When the enemy dies, return to the shore with the altar and use the shortcut to return to the fork. Climb the rock on the right, and you will immediately be in front of the dragon — Corpse Eater.
In general, all the winged lizards in the Crater attack in roughly the same way, only the elements change. This dragon is icy, so it will periodically attack with ice streams. The creature also jumps back and shoots several ice clumps at Kratos. At other times, the Corpse Eater either bites with its jaws or flies into the sky and hits the area with ice.
The dragon is quite slow, so it is difficult to lose. On the ground, attack it with runic attacks, and also use the Blades of Chaos more often. After the victory, the quest is completed.
War Sacrifice: Toy. Vanaheim. Crater
Another interesting task to find the second part of the item will be given by the ghost, which can be found after completing the request Return of the River. As soon as you descend from the dam, turn right and get into the boat. You need the dock with the time of day altar. It is very close — stay on the right side. The ghost needs the second part of the toy.
Finding it will be relatively easy, as you will end up in this place anyway if you want to kill the dragon and complete the quest Path of the Dead. On one of the shores, an ogre throws stones at the heroes and prevents them from calmly exploring the location. Find the dock to this area. It is located at the back, so you will have to bypass the place with the ogre by water. Go to the arena, there will be two ogres. There will also be two nokkens, which will slightly complicate the battle.
After the victory, the second part of the toy is easily noticeable on the ground — marked with the request symbol. Pick it up, and the quest is completed.
Path of Destruction. Vanaheim. Crater
This is a hidden request that is very easy to miss. The task is related to the tracks of an unknown animal, which you will find when you enter the Jungle. You will not be able to reach the owner immediately, moreover, the task will not appear either. Before progressing, complete the quest Return of the River, and also reach the ogre throwing stones.
There you will be able to open a bridge, after which you will find the third deer for the quest Deer of All Times. Continue further, you will overcome a chasm, burn an aggressive plant, and jump over a broken wooden bridge — the last track is on the ground. Next to it, you can squeeze between the walls. This will take you to the arena, and Path of Destruction will become active. There is no monster, but apparently, it is a lizard, similar to the one in the quest Trembling Gorge. In the center is a large well. Go down inside and you will find yourself in a cage.
To get out, hit the large rotor with an axe and immediately freeze the gear. The task will update — you need to figure out how to lure the lizard out. This is probably the only quest in the entire game where you will have to use some imagination, so understanding what the game wants will not come immediately.
Upon exiting the cage, inspect the right and left sides. There are crystal and blue runes. Head towards the closed gate — on the right is a large chest. Opening the passage, you will enter the area in front of the dam. Note that aggressive wild animals, similar to lions, have respawned here. Enemies do not respawn anywhere else — this is a sign.
Run to the nearest altar and make it night, then return to the trap. It is important not to kill the lions. Open the cage — hit the rotor with an axe and freeze the gear. Now you need to get one or two animals to follow you into the cage.
As soon as they are inside, dodge and unfreeze the mechanism — you should remain on the outside of the cage. There is a chain here that lifts the trap to the arena. Do this and you will hear a characteristic roar — the monster has reacted. Return to the arena the same way you got there the first time and start the battle with Slaghorne.
This is another recurring boss that you will have to kill for the third time. As in the quest Trembling Gorge or Door in the Desert. The lizard attacks with its jaws, tail, and paws. To speed up the victory, aim the spear at the vulnerable points on its limbs, and when the animal falls, use runic attacks. The request is completed.
Dead of Night. Vanaheim. Crater
The task will appear automatically. When you release the river and exit the Jungle into the main location Crater, sail to the left. On the shore, Mimir will notice that there is a monster feeding ground ahead.
Before going there, look at the rock on the left — you can climb up — large chest. Descend by the rope and you will enter an enemy camp. Destroy everyone and open the small and large chests, study the mark of legends.
Return to the shore and jump onto the spacious arena in front of you. Another lizard — dreki — will appear. It spits poison, which can be problematic. Try to block such attacks or dodge them. Otherwise, it is a completely ordinary dreki, of which you have already killed an entire squad.
After the victory, inspect the area, open the large chest, and knock down the Odin's raven.
The task is completed.
War Sacrifice: Scroll. Vanaheim. Crater
The ghost with the missing part of the item can be found in the cave. First, you need to complete the request In Plain Sight to make orientation easier. When you defeat the Soul Eater, inspect the gate that the ogre was trying to open.
From there, go left to the large cave. The wall in the center can be bypassed. You will have to do this anyway if you want to open the large chest entwined with an aggressive plant. Next to the bulb that needs to be burned, the ghost is waiting. He needs a scroll.
Fortunately, you won't have to search for long. Go back a little and climb the ledge. You will find another time-of-day altar and the dwarven forge. Pass by the mystical gates and stand on the cliff. Look down and to the right — there is a vulnerability in the rock. Now descend into the spacious part of the location where you completed the quest In Plain Sight and keep to the left rock — you will see two more vulnerabilities. Stick spears into all of them and simultaneously explode to clear the path. Ahead will be the scroll and a large chest.
The quest is completed.
Born of Fire. Vanaheim. Crater
You can complete the multi-stage confrontation with the fire draugr Hateful in the same place, in the Crater. When you complete the main side quest of the location For Vanaheim, you will open the shore, from which it is quickest to reach the battle. Check the map to better understand where to go. Sail past the frozen lightning straight ahead, there will be a dock on the left. There is also a large chest.
The battle takes place in a very confined space, and besides Hateful herself, there will be a large draugr with a heavy hammer. Do not expect an easy fight. There will be no specific tactical advice here. Both draugrs use the same attacks as always. Remember that Hateful needs to be attacked with something from a distance when she is covered in flames, otherwise, you will take damage from any of her touches. Since the second opponent is weaker, it is better to start with him. After the victory, the quest will be completed.
Across Worlds. Vanaheim. Crater
Finding the ingredient will not be easy. First, you will need to complete the quest Return of the River. Once the chasms are filled with water, return to the Wells and reach the large location. The Deer of All Time quest started there. Sail to the right on the boat and you will reach a location with round ruins.
There you met a white dragon and started the request Burning Skies. Dock on the right shore and go left to the closed gates. Lower them and jump across the river to the other side. The landmark is the orange heart.
Blooming Worlds. Vanaheim. Crater
The flower can be found if you reach the round ruins by water. More details in the previous quest. Face the circle and go left — Kratos will immediately notice the flower.
Ruined Prison. Niflheim
Attention, this side quest is part of the endgame content, beware of spoilers!
Go to the world with ghostly ravens. There was nothing to do here before, but now there is an additional quest. One of the Asgard fragments is a ruined prison. Someone very important is definitely inside, so it is worth checking out.
Move to the building and climb down the wall. Kill several enemies and stick a spear in the place for the crossbar — in the central shaft. This will allow you to descend one level down. There are more enemies there. After the victory, find the chain and lower the platform so that you can jump even lower. Open all accessible doors.
In one of the cells, there is a wall that can be broken with a jump. Do this and climb a little higher — Norn chest, which will open after destroying three runic seals.
You need to reach the very bottom floor. Use the mechanisms with chains to lower both lifts with crossbars as low as possible and you will reach the gates behind which the real Tyr is sitting. Yes, the god of war is still alive. Release him and climb back up the same way.
The quest is completed. Now Tyr can be found in various corners of the eight worlds.
Blooming Worlds. Niflheim
After completing the storyline, talk to Ratatoskr. With the squirrel's help, you will gain access to new mystic gates and head to Niflheim. Here, you have not yet been as Kratos. Right after the gates, there is a flower. You can also find a berserker's grave in the large location.
Blooming Worlds. Jotunheim
A new Tree seed, which Ratatoskr will give after the story's finale, will grant access to Angrboda's dwelling. Explore the location — the flower is near the descent where Atreus and the girl fell while riding a mount. The exploration area is very limited, so you won't miss the plant. As a bonus, you can talk to the girl and pet Fenrir.
Other guides
- God of War: Ragnarok Walkthrough — All Story Missions, Bosses, and Chests
- All Muspelheim Trials in God of War: Ragnarok
- Where to Find All Relics (Sword Hilts) in God of War: Ragnarok
- God of War: Ragnarok PC-Version wird mit einem lang erwarteten Feature ausgestattet sein, das auf der PlayStation fehlt
- Modder behebt Video-Speicherproblem in PC-Version von God of War: Ragnarok
- Die Grafik von God of War: Ragnarok auf PC und PS5 wurde verglichen
