All chests in the Origami Academy in Honkai: Star Rail — map and routes
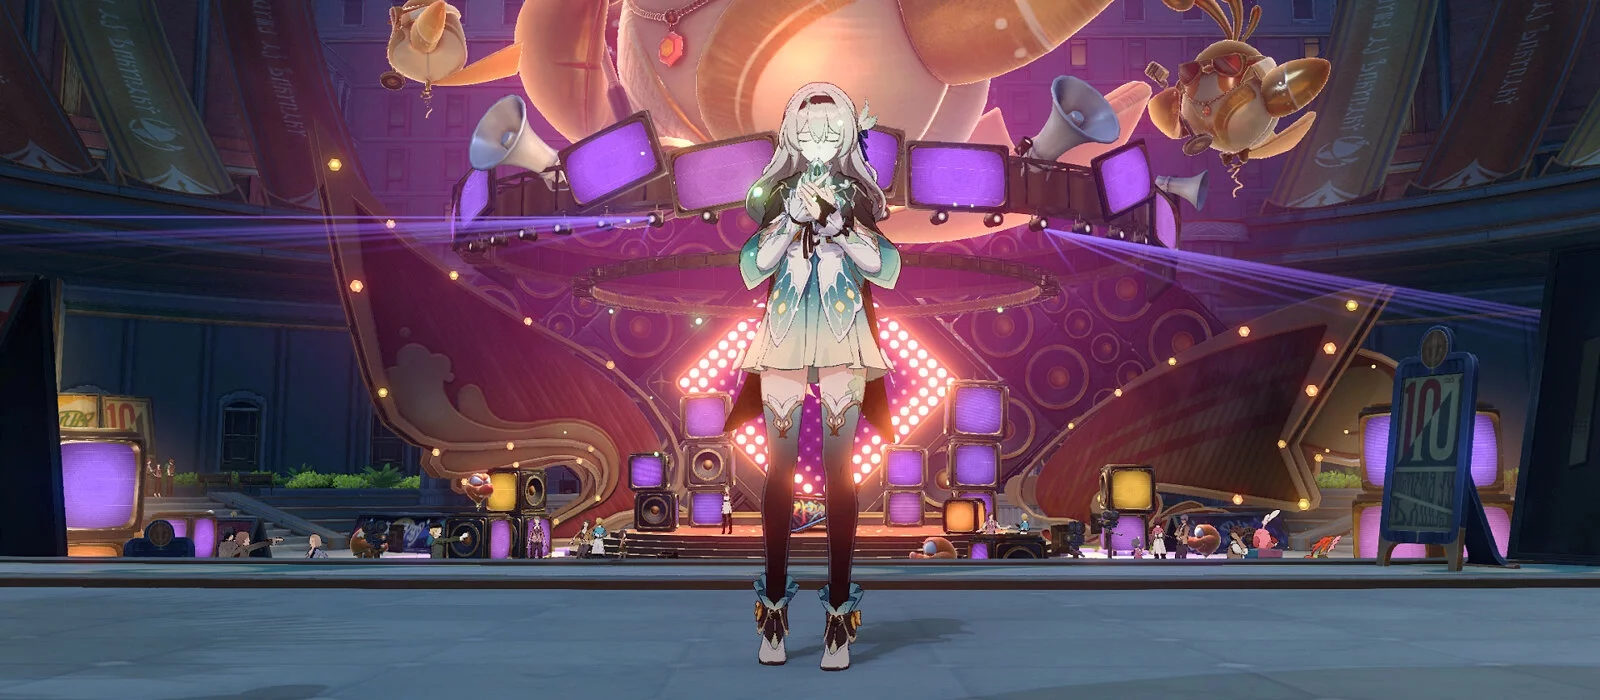
With the new 2.6 update in Honkai: Star Rail, the story once again takes the Nameless from the Star Express to Penaconia. While the adult crew members attend a seminar dedicated to Mastery, March 7, Dan Heng, and the Trailblazer head to a new location on the dream planet — the Origami Academy. In addition to the ubiquitous baubanana monkeys, the university also has scattered treasures, which we will discuss today. In this guide, we will tell you where to find all the chests in the Academy, as well as provide a map and routes for collecting them.
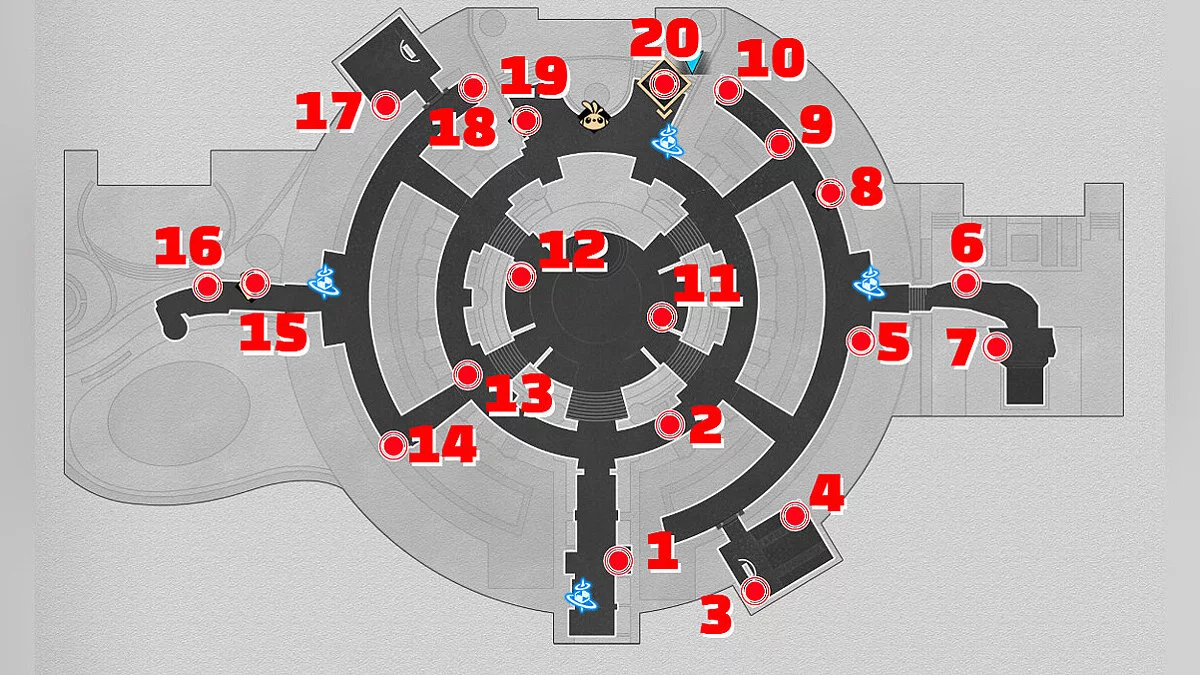
Location of all chests in the Origami Academy on the map
There are a total of 20 chests in the Origami Academy, most of which are common, awarding five units of stellar jade each. However, there are also more valuable chests in the location. You can obtain them by solving puzzles. Additionally, the university has two royal tanks, which, when spoken to, can provide good rewards. All treasures and tanks are marked on the map above.
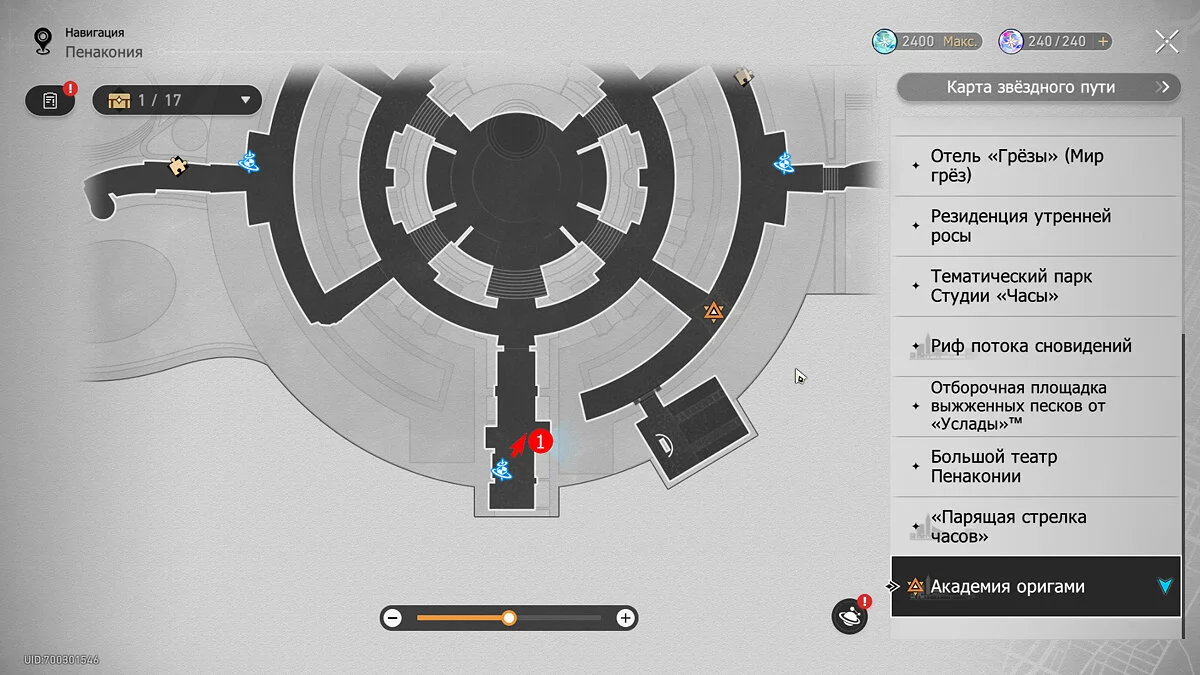
Chest #1
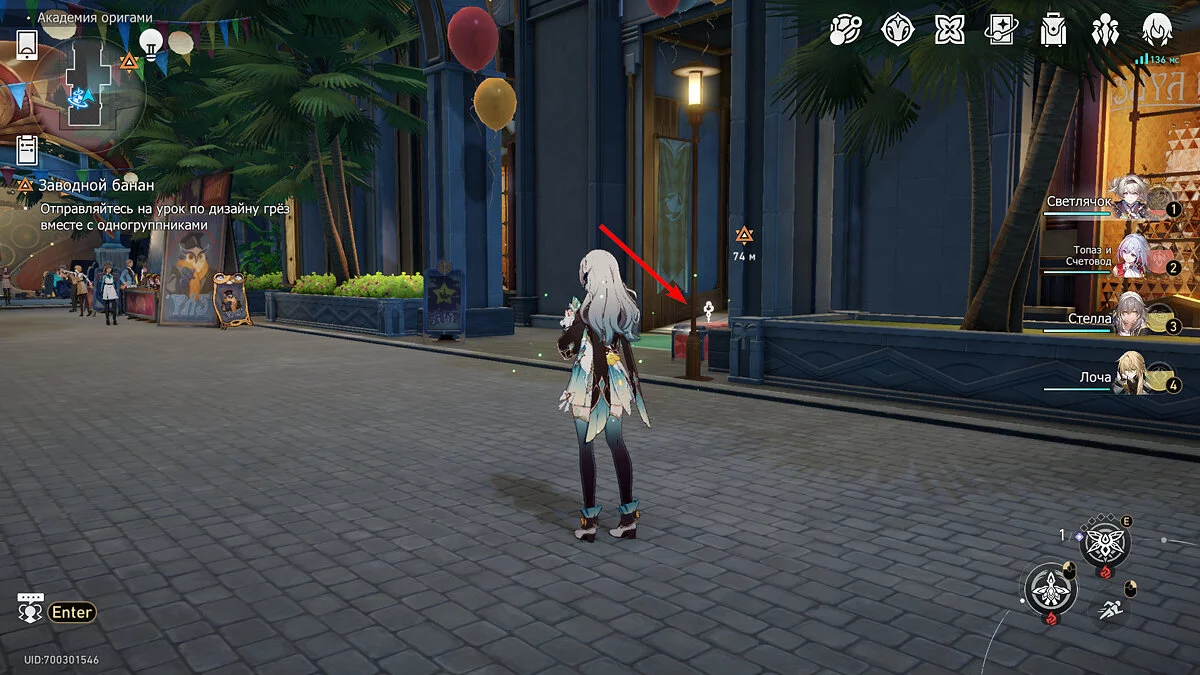
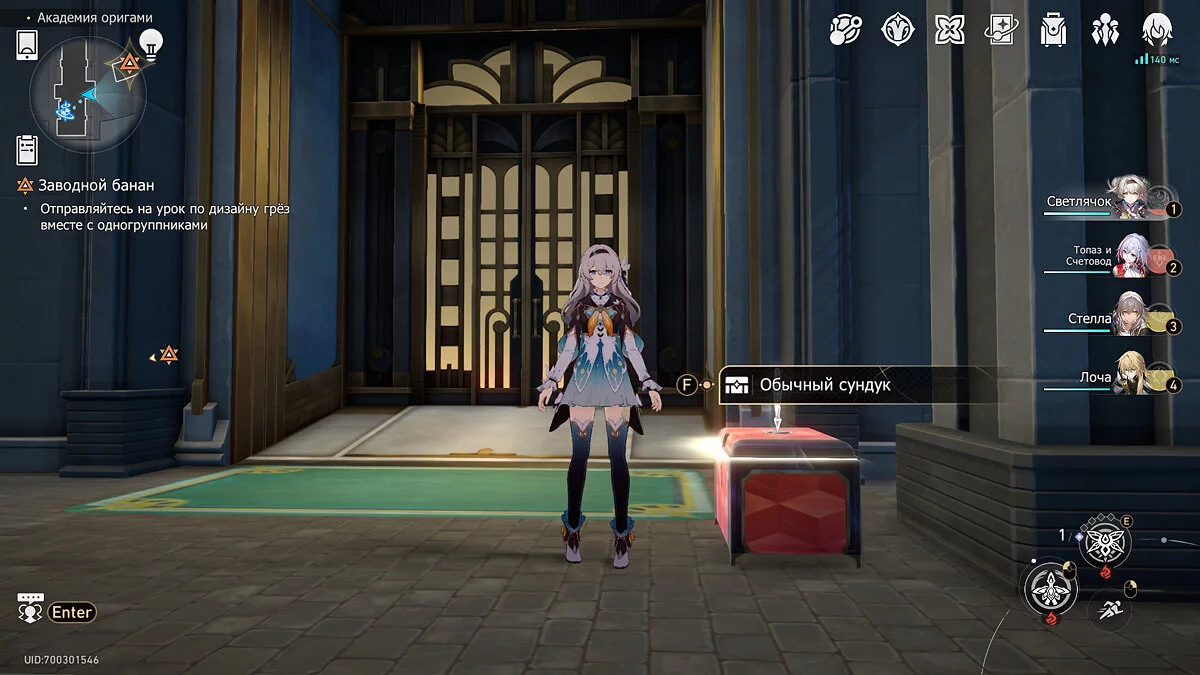
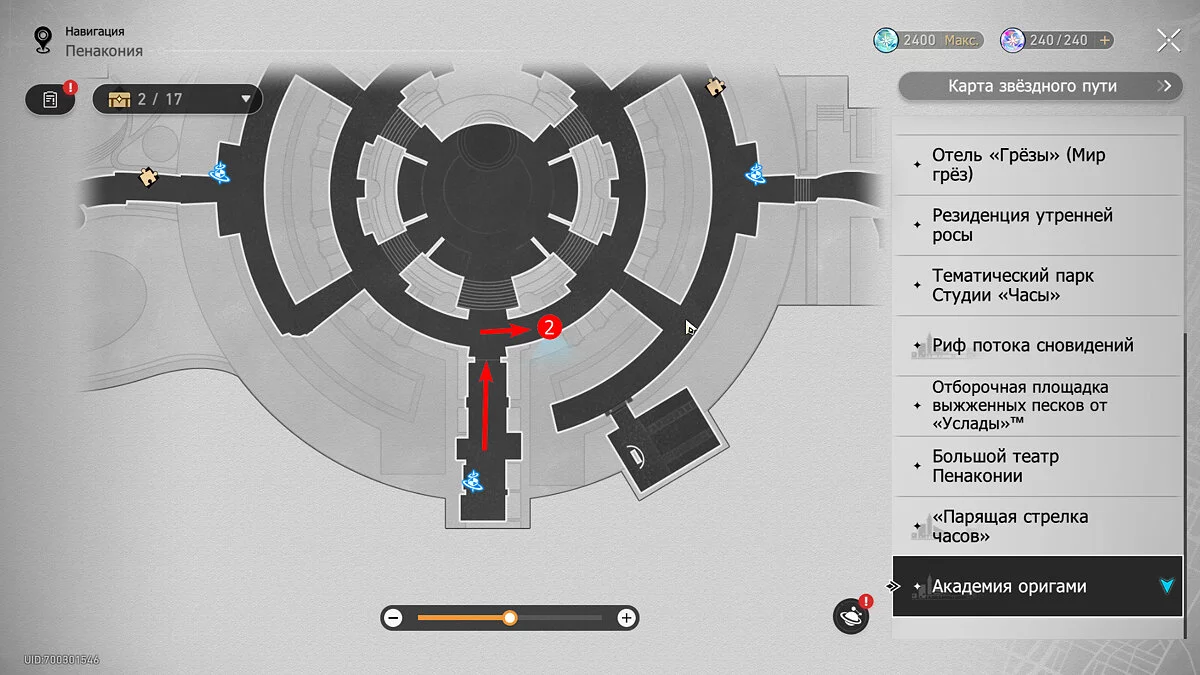
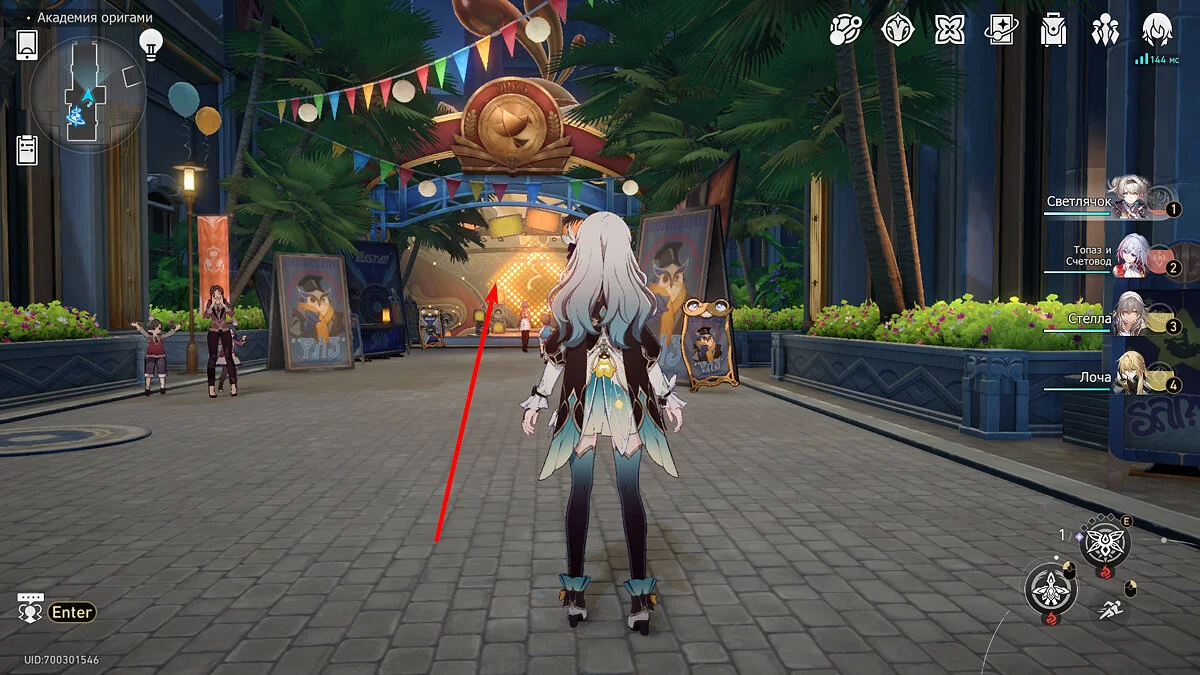
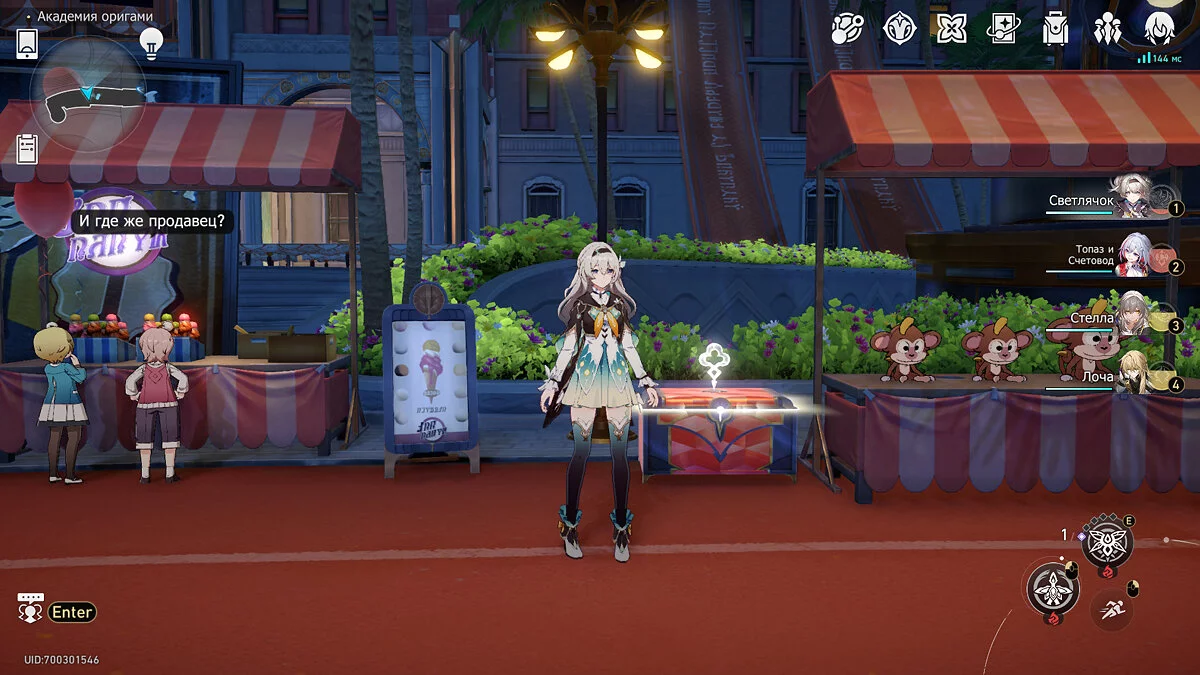
Teleport to the entrance of the Origami Academy, on the Colorful Dream Highway, and immediately turn left towards the building entrance adorned with balloons. The first common chest will be at the door.
Chest #2
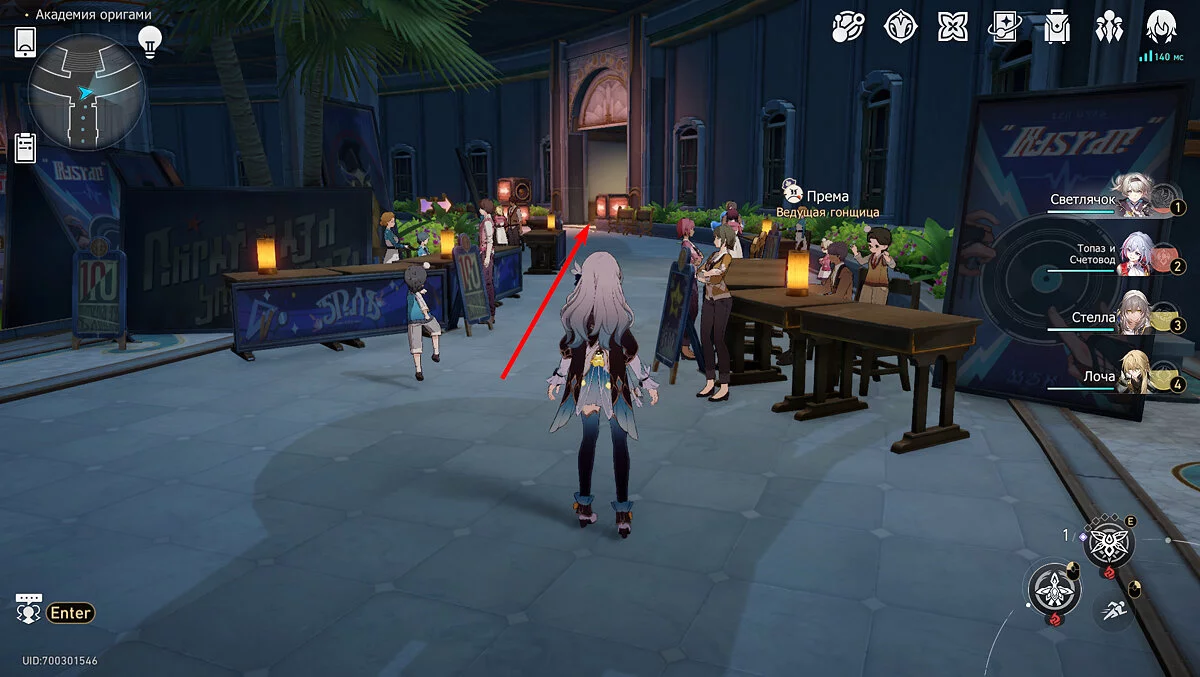
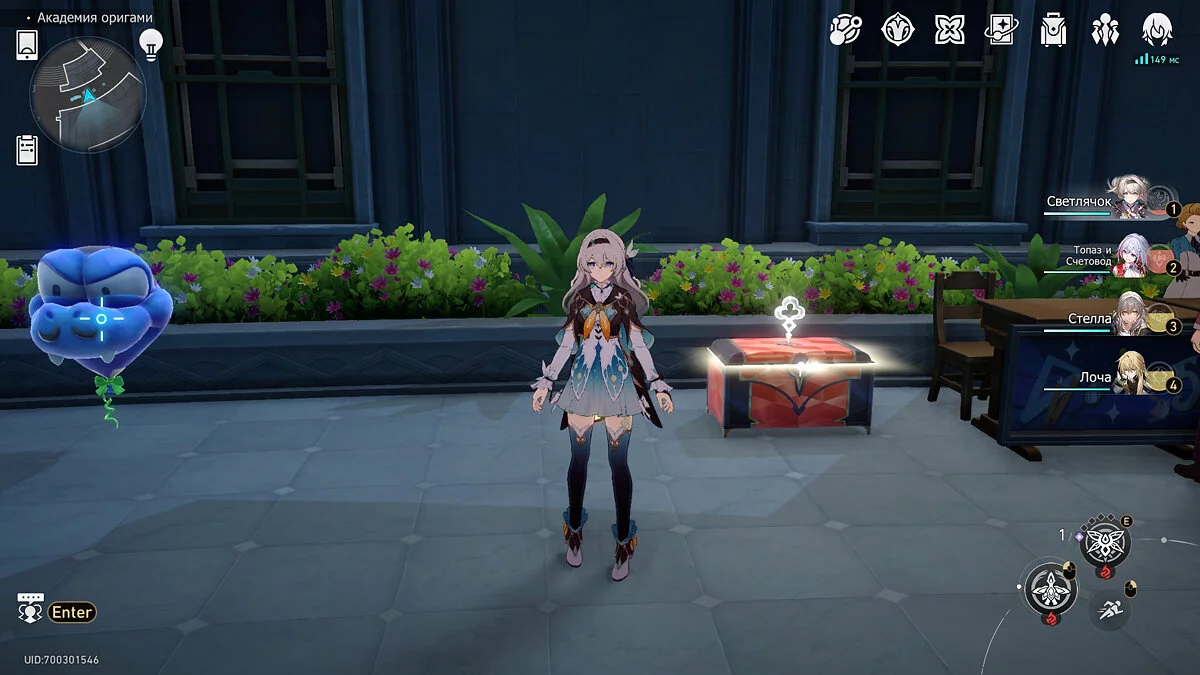
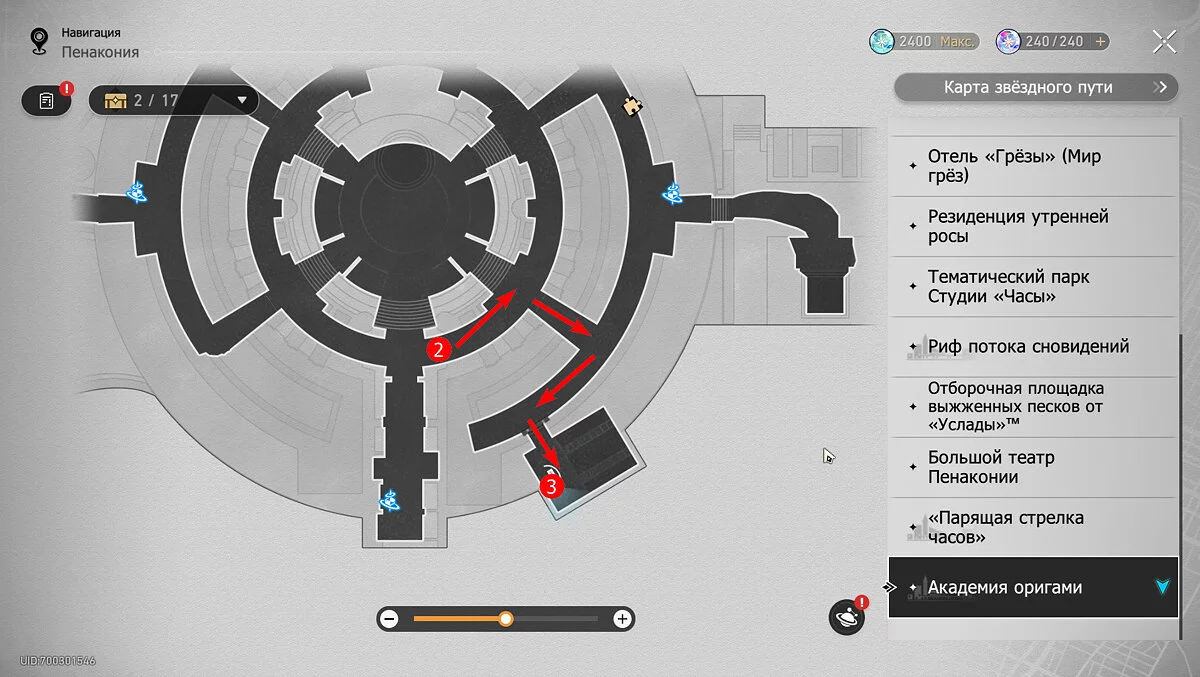
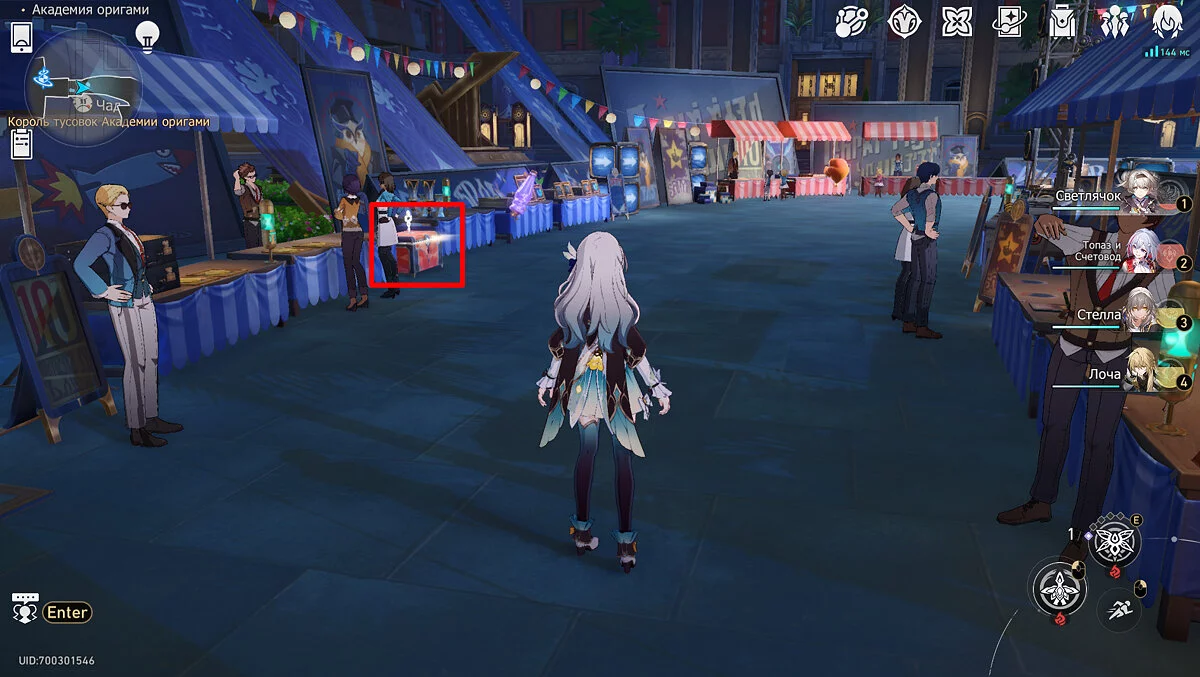
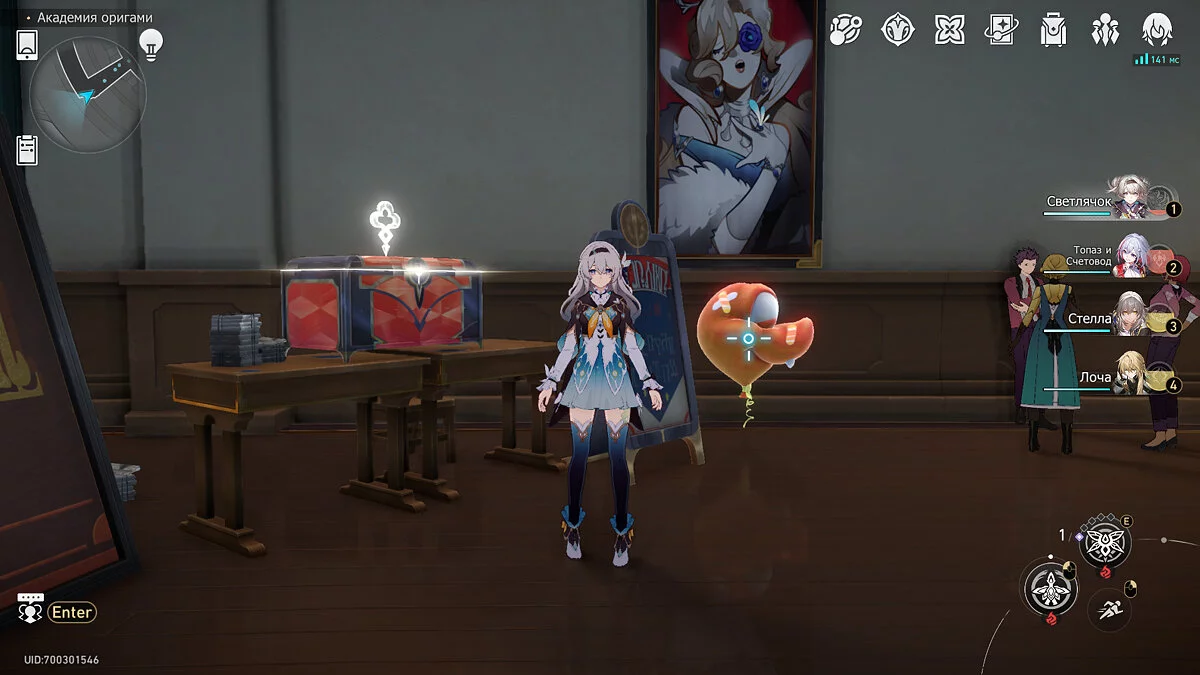
Continue moving down the street, and at the fork, turn left. Walk past the stands until you reach an NPC named Prema. At the end of the table, there will be a treasure chest next to a crocodile-shaped balloon.
Chest #3
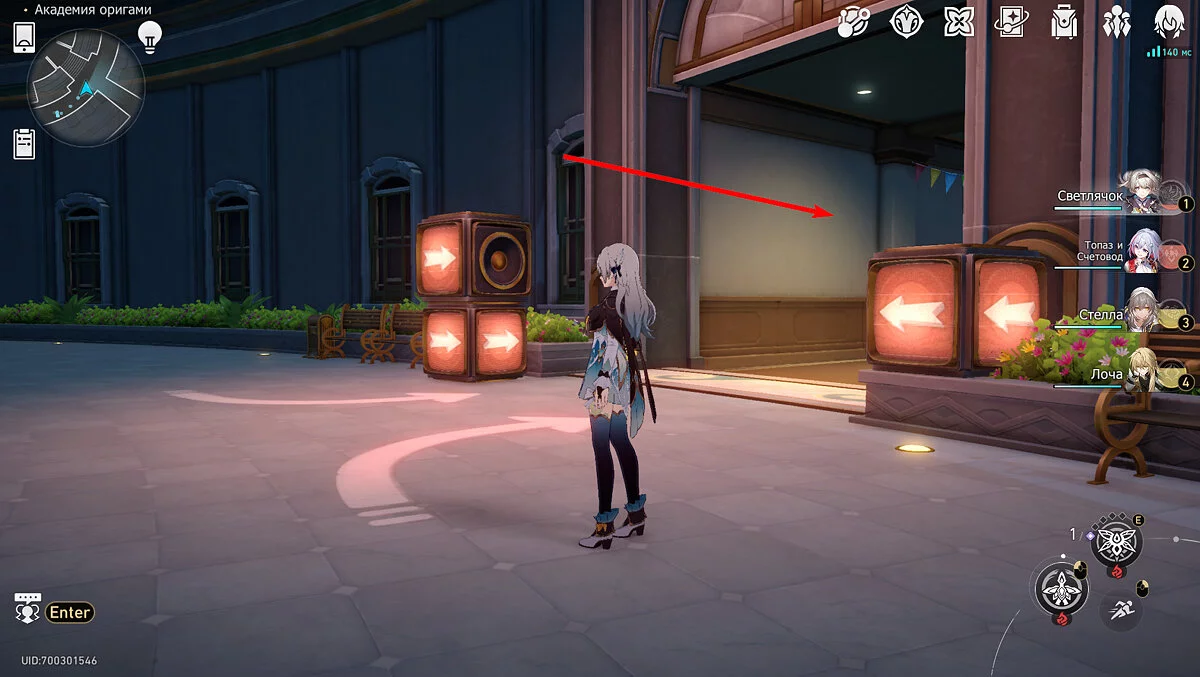
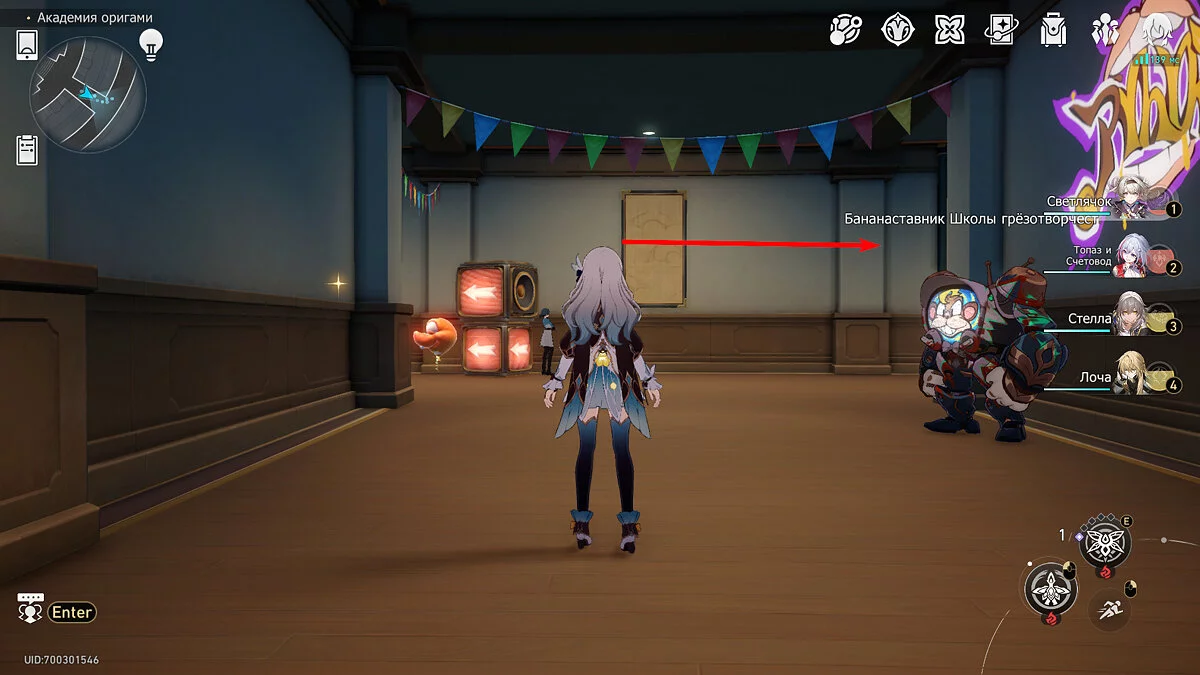
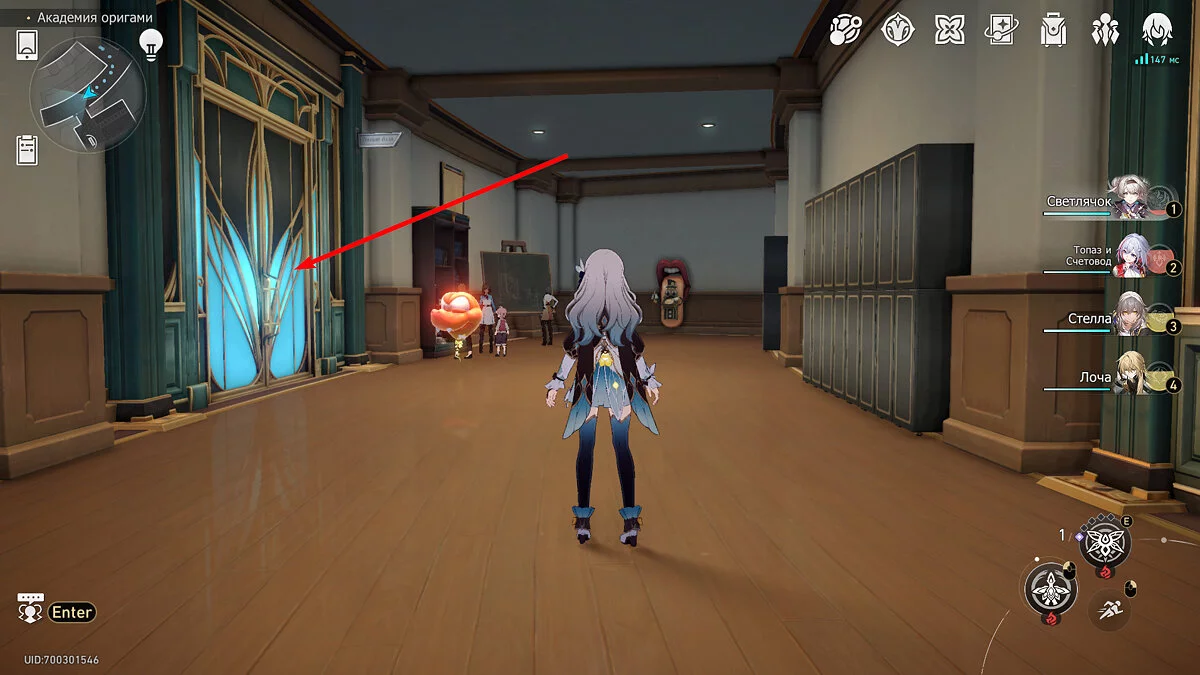
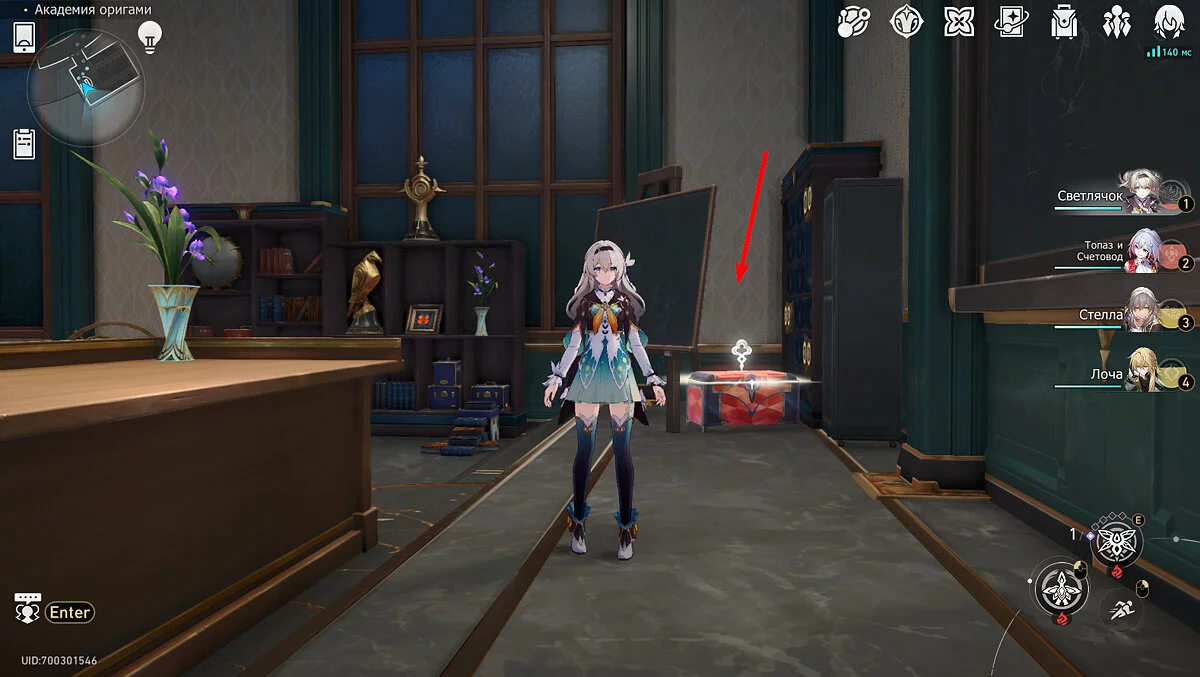
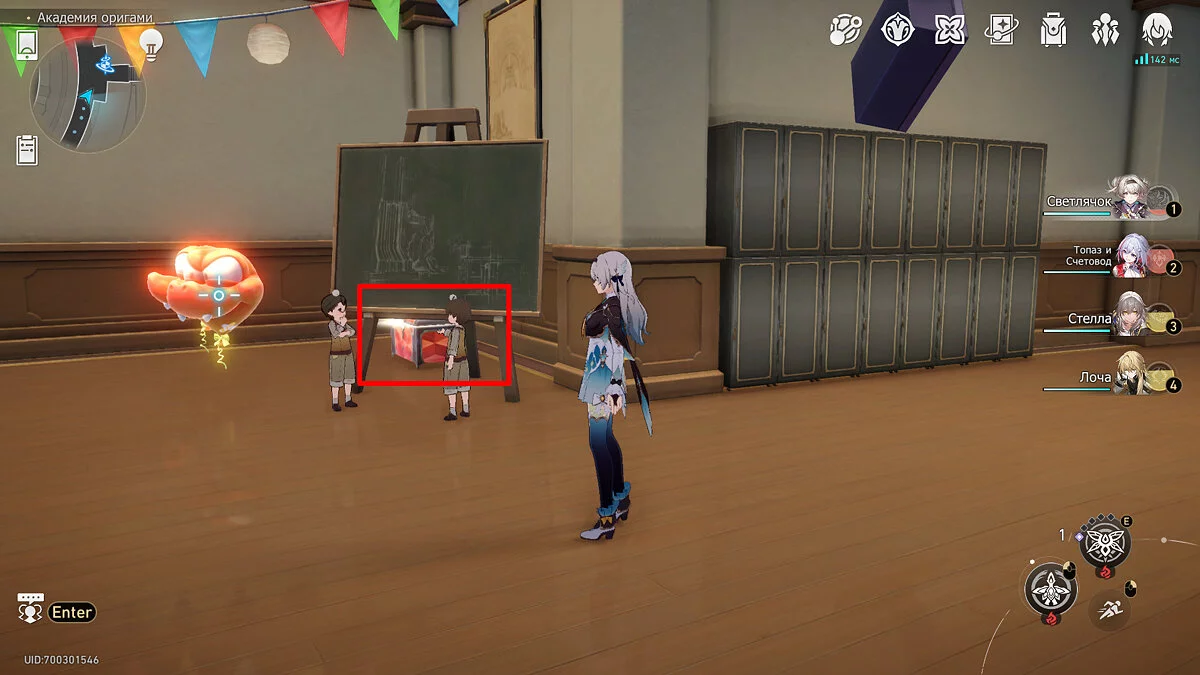
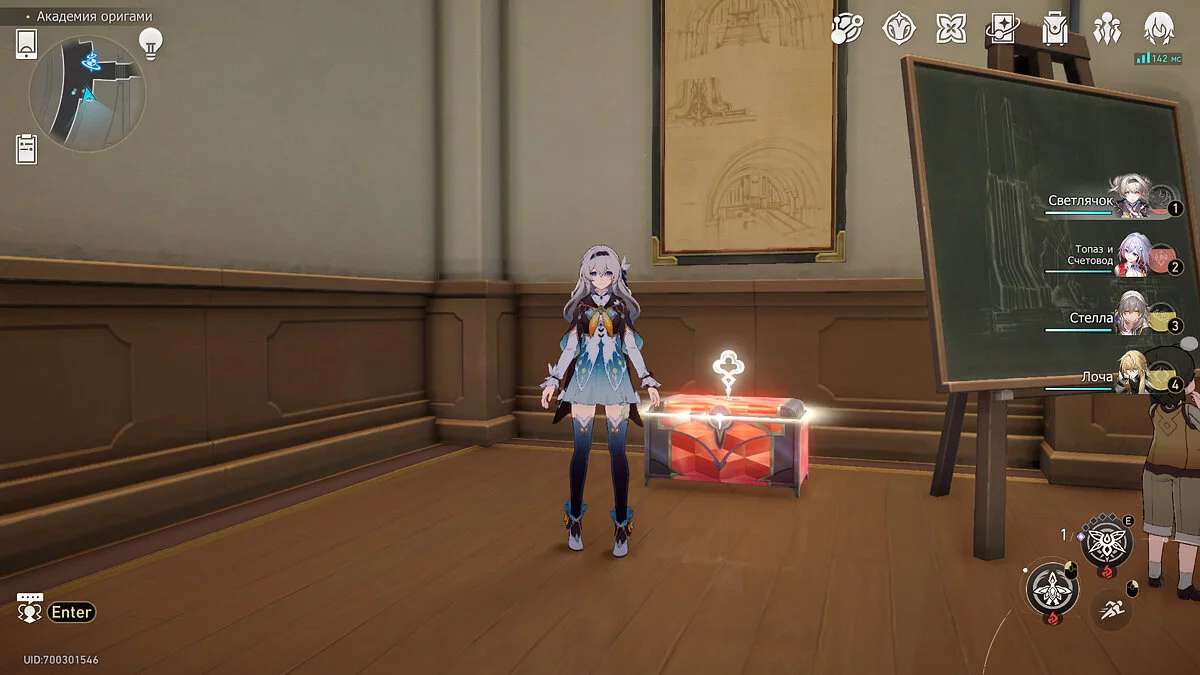
Continue along the semicircular street until you see another fork. One path will lead to a large origami bird statue, and the other to the academy corridors. Turn right into the corridors and keep walking straight until you meet the Banana Mentor. From there, turn right. On your left, you will see a blue door. Enter it to reach a lecture hall. The chest will be near the professor's desk behind the board.
Chest #4
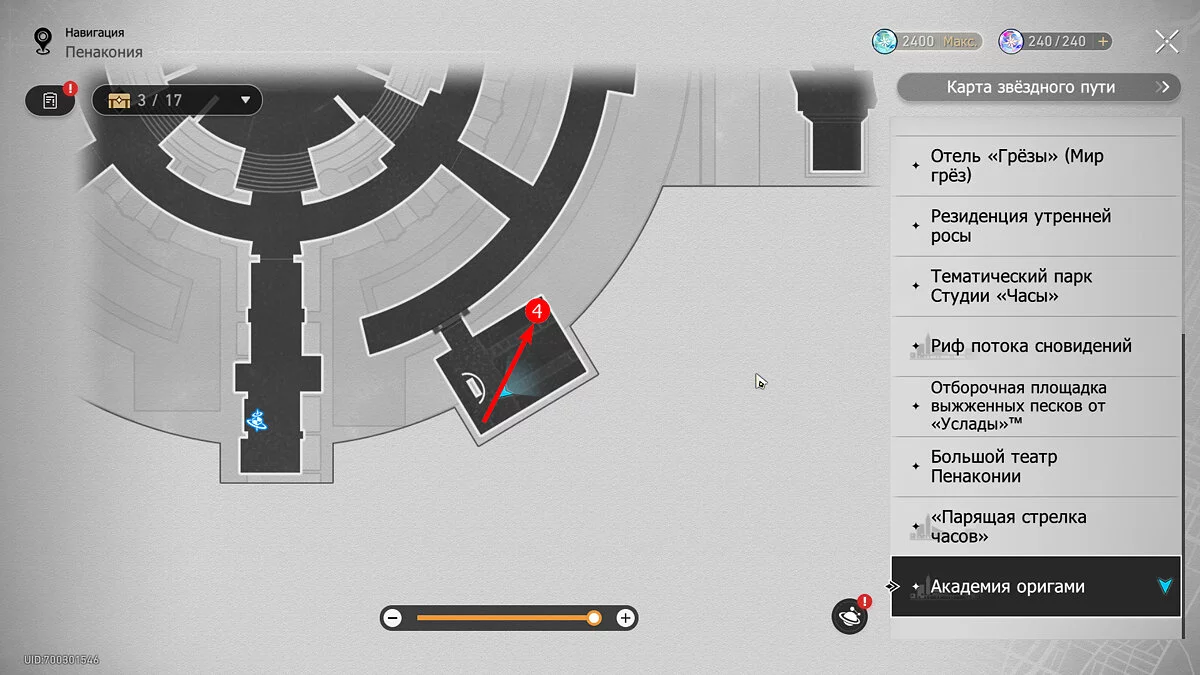
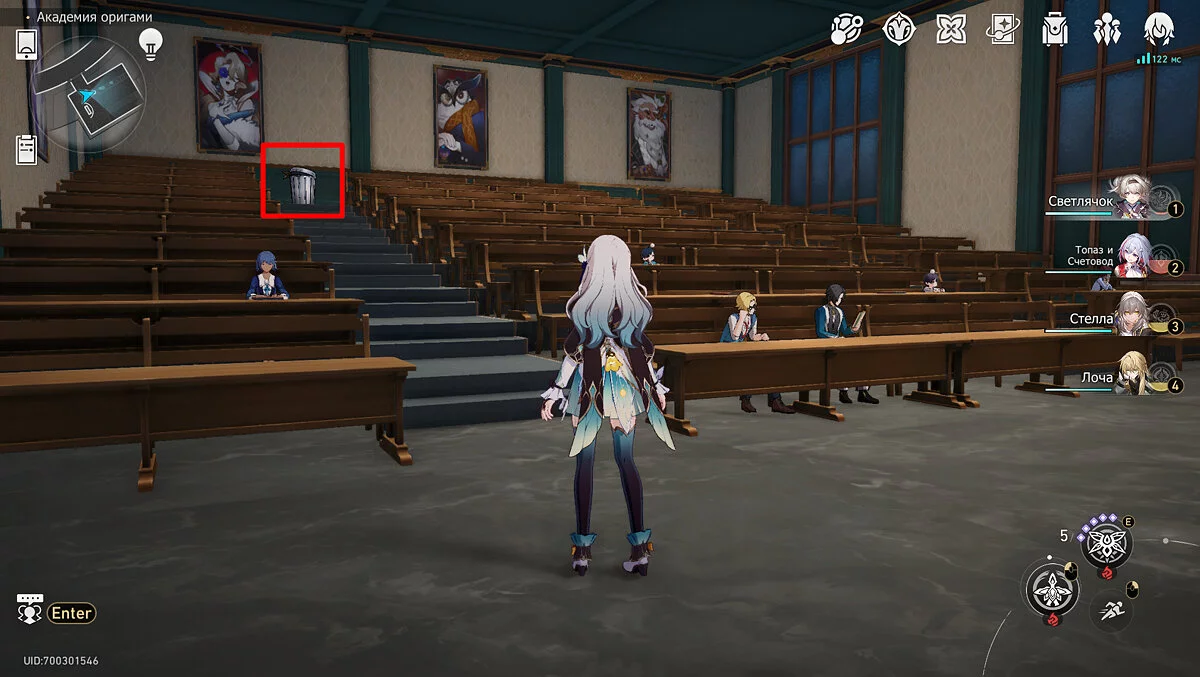
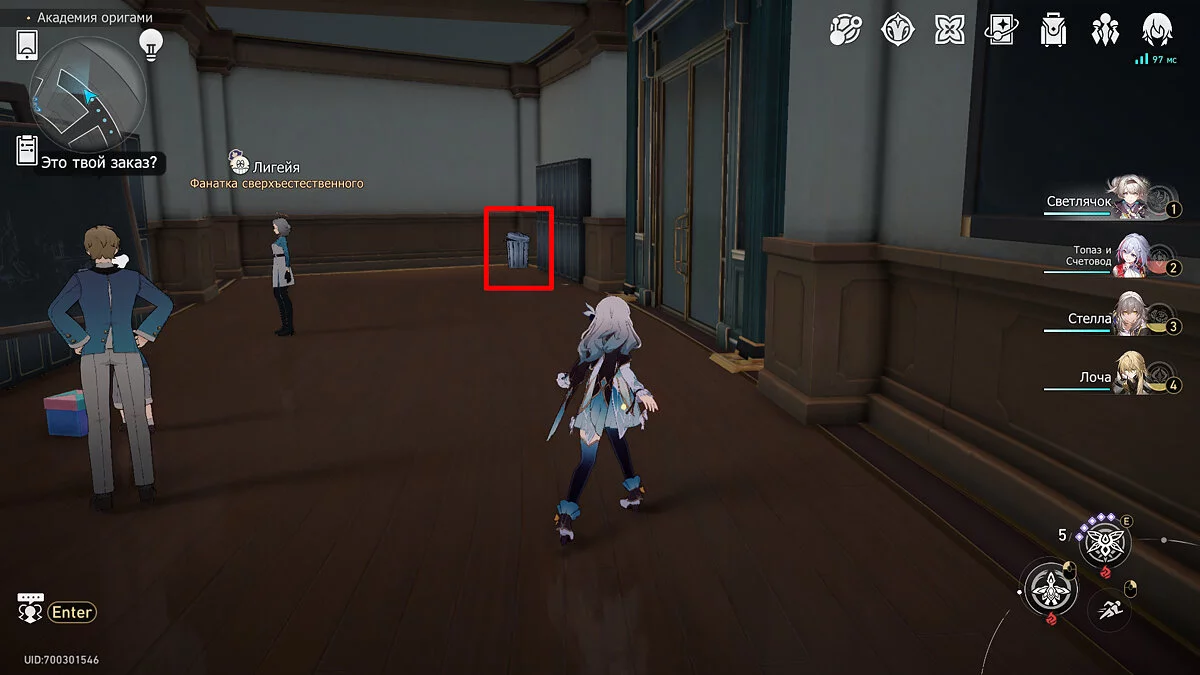
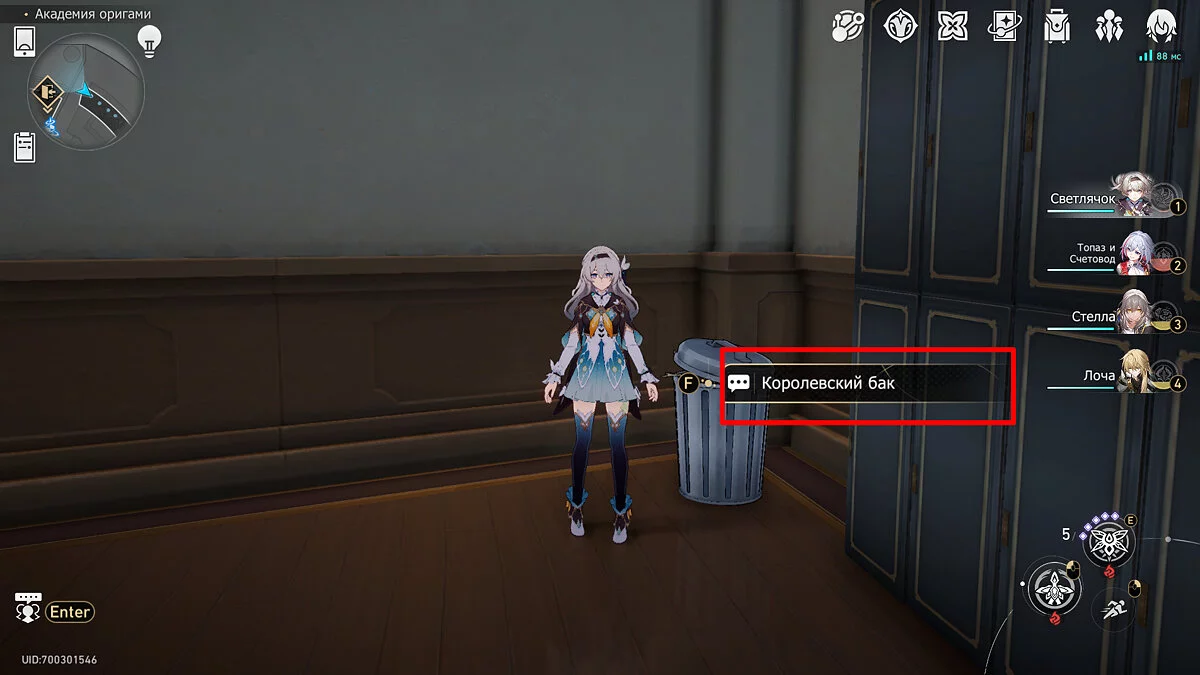
In the same lecture hall, go to the upper left corner of the auditorium. At the very top near the seats, there will be a royal tank. If it is not there, first complete the Mastery mission of patch 2.6.
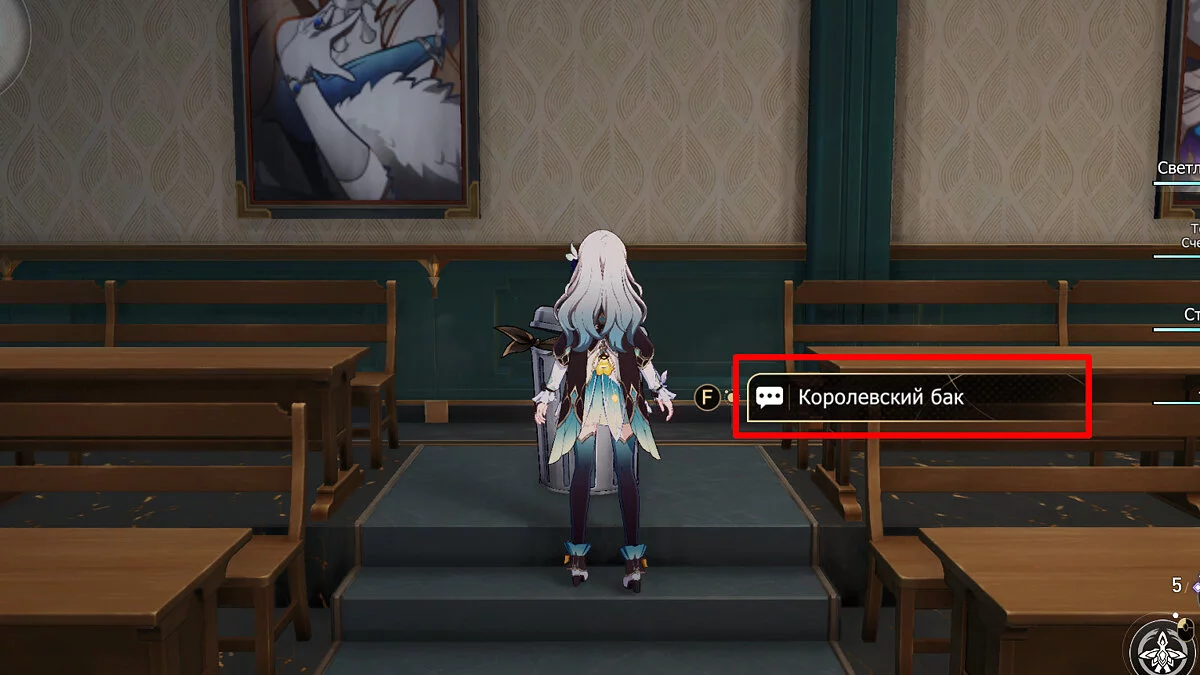
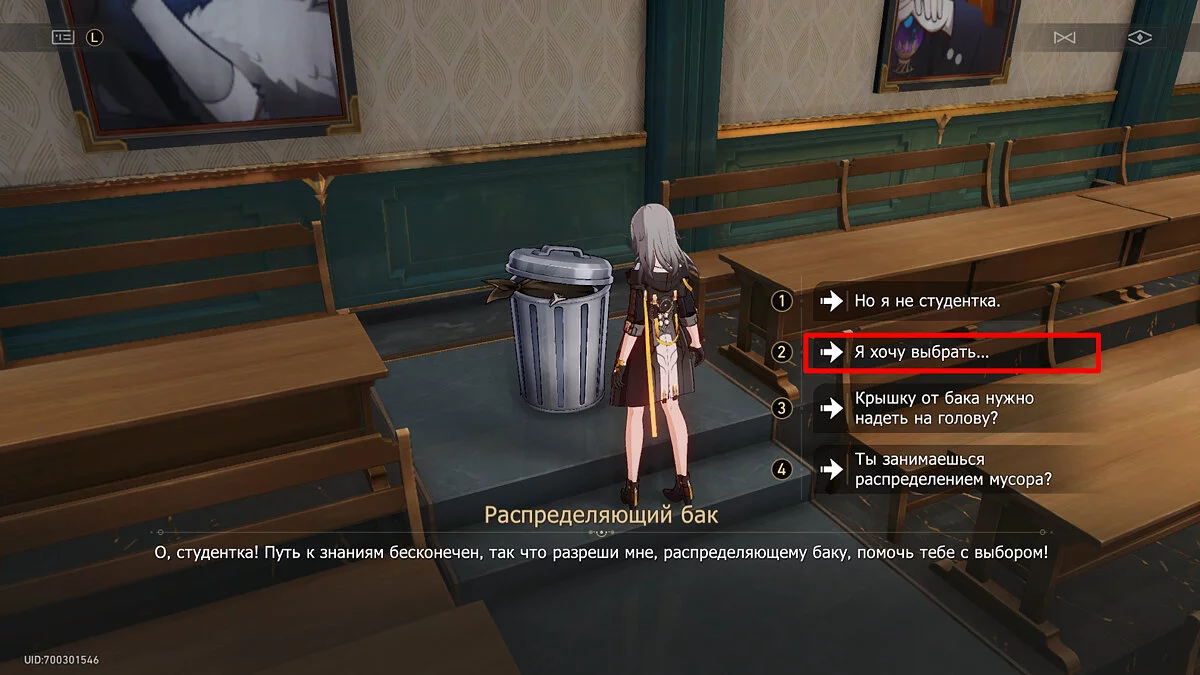
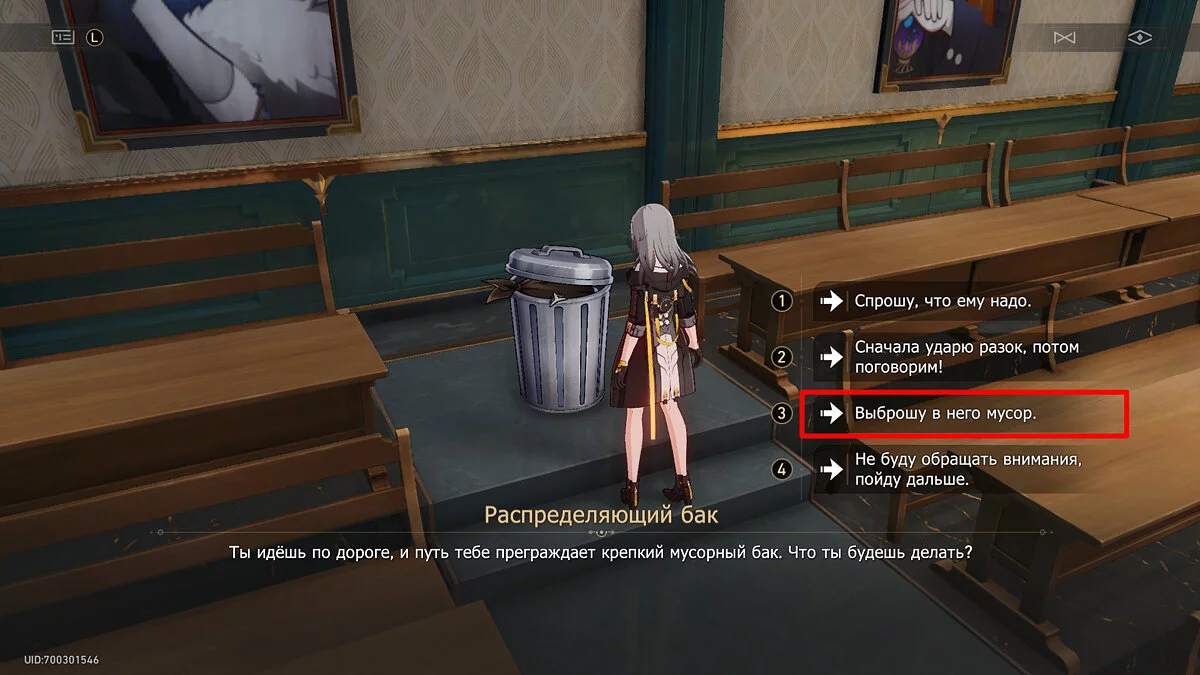
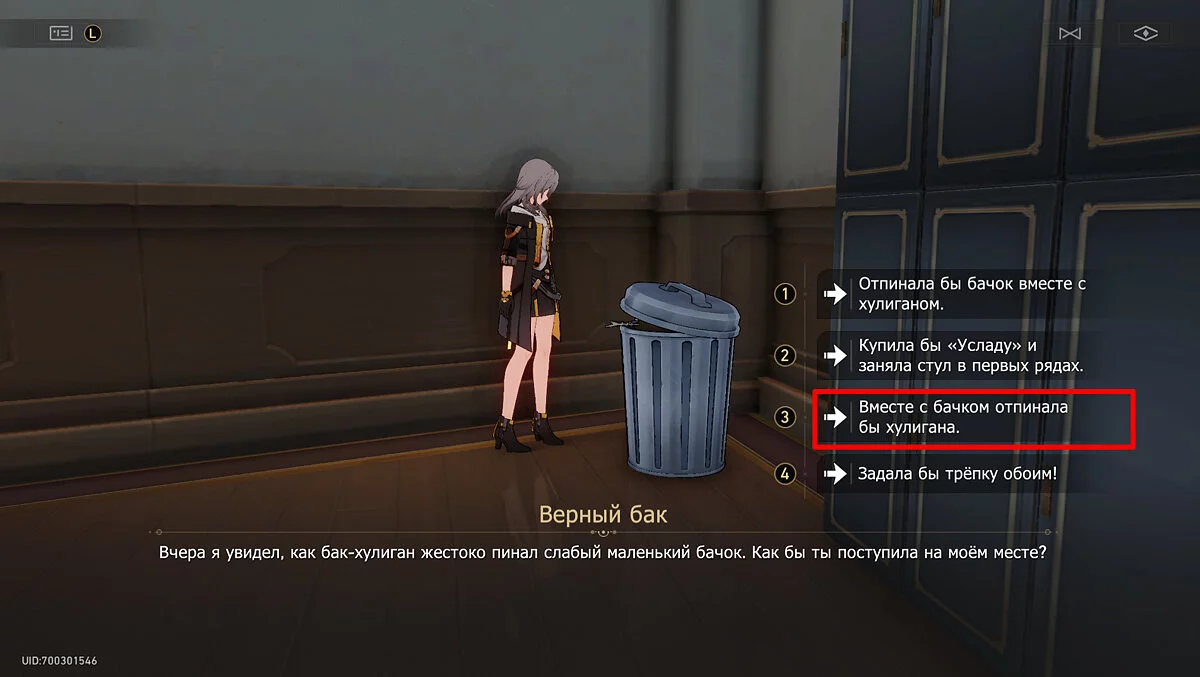
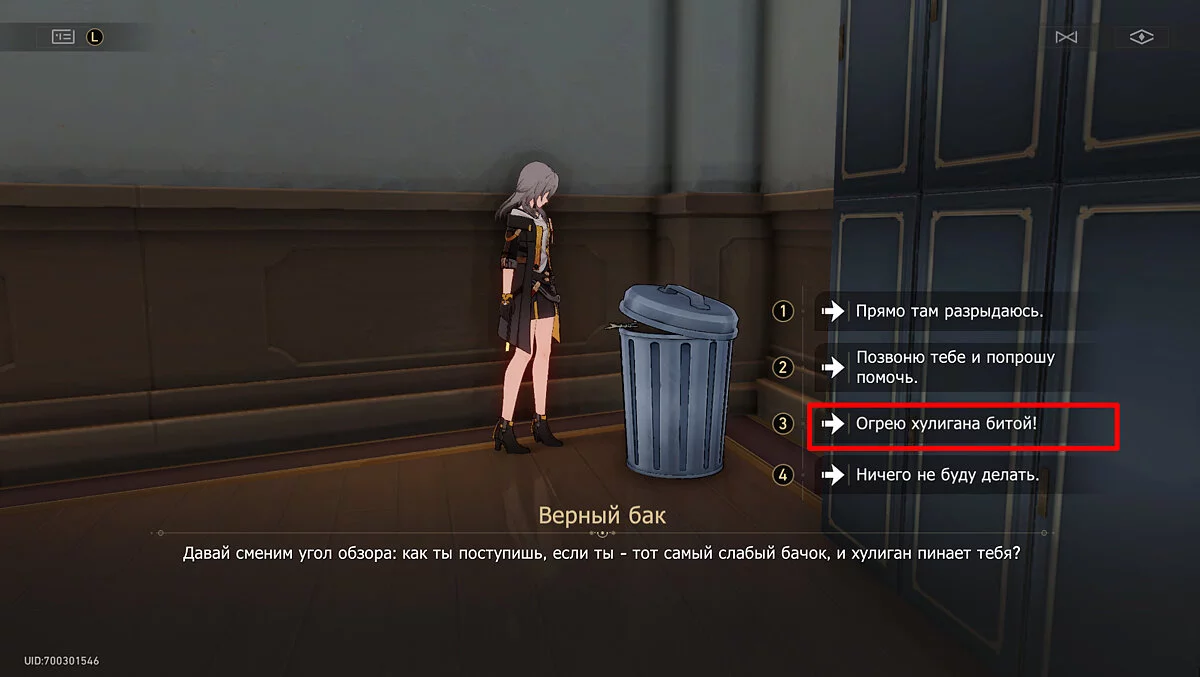
Talk to the tank and choose the correct dialogue options to avoid fighting the enemy. They are shown in the screenshots above. If you select the wrong reply, quickly move away from the tank, wait for it to calm down, and try talking to it again.
Chest #5
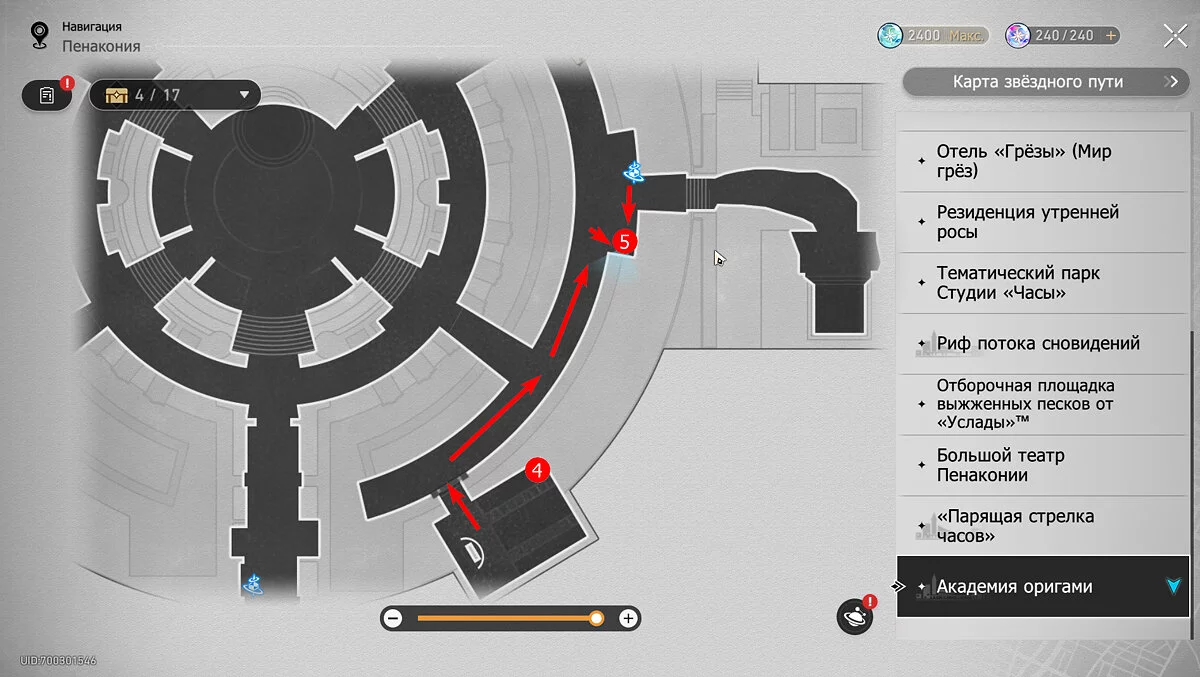
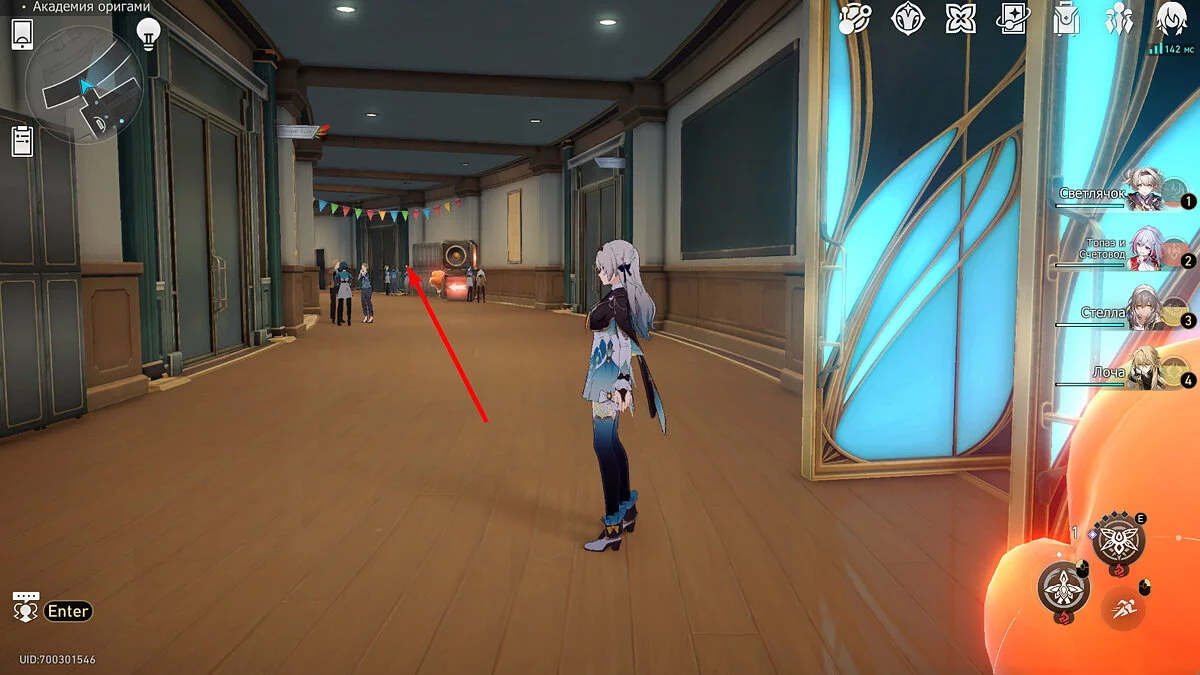
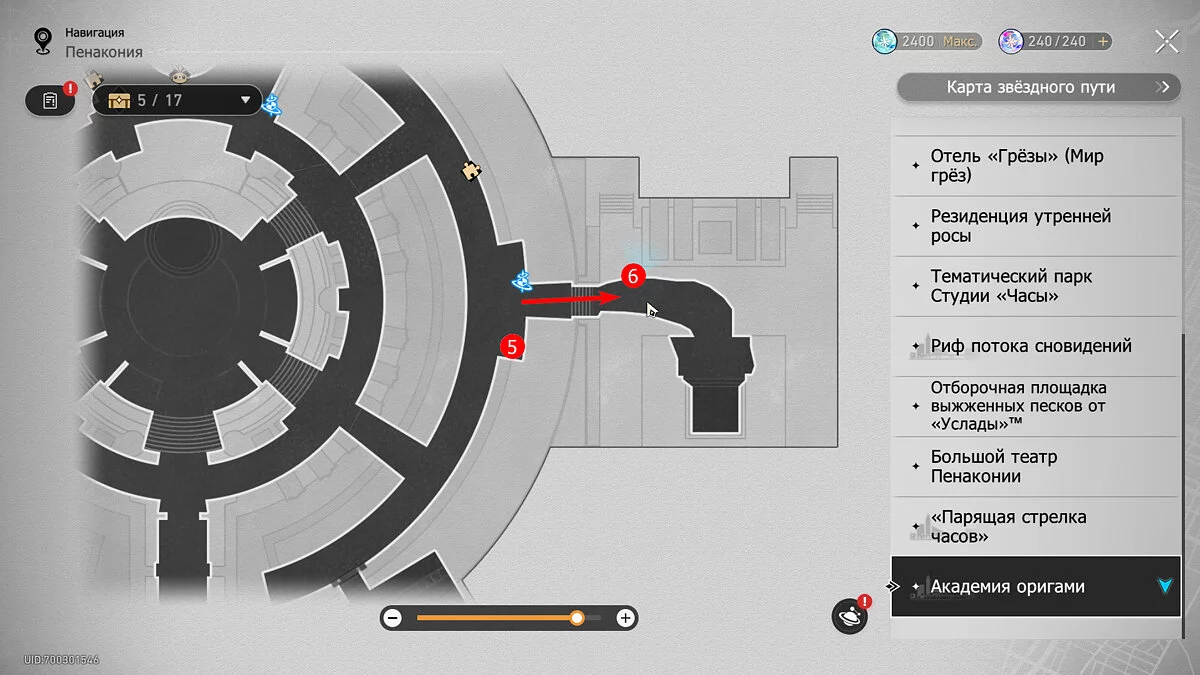
From the lecture hall, return to the corridor and run to the right. Pass the first fork and go straight to the second one. Alternatively, teleport to the anchor in the Corridor of Culture, as the fifth chest will be opposite it, behind the chalkboard.
Chest #6
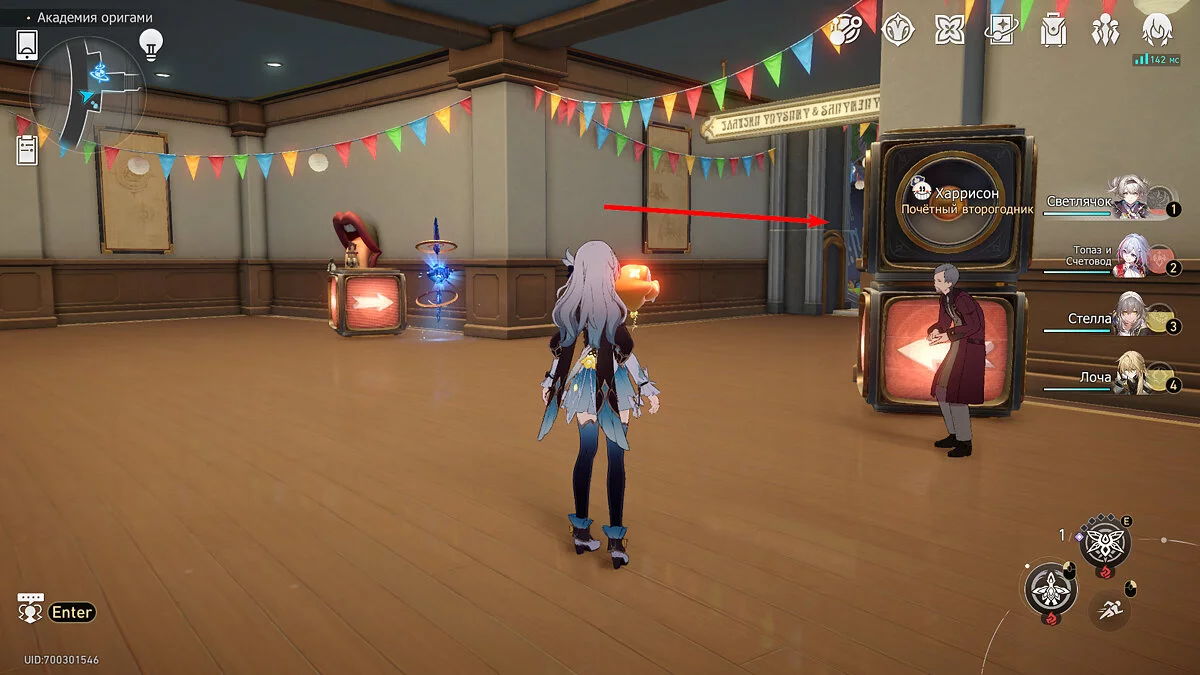
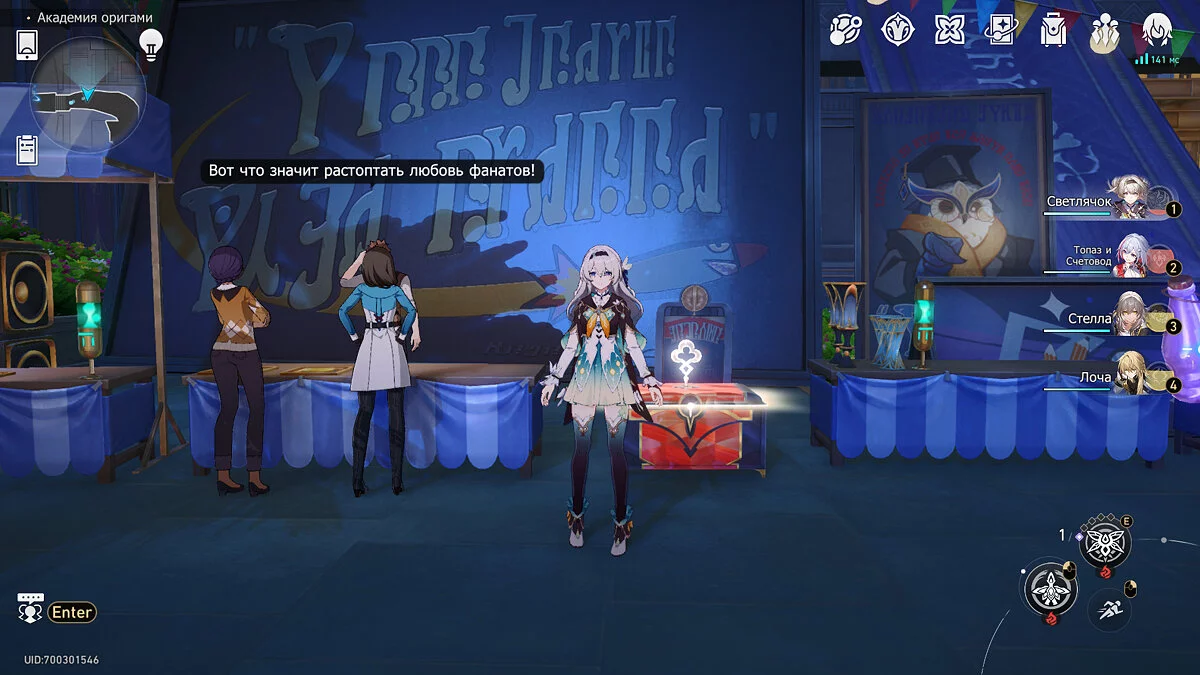
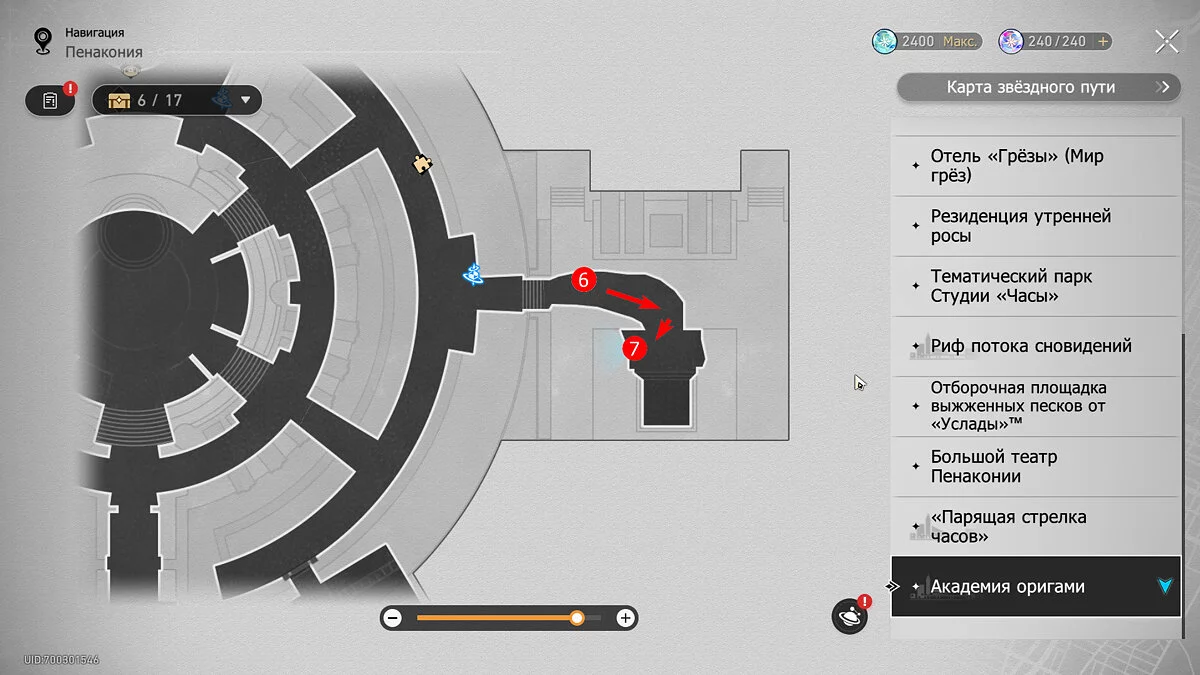
From the previous chest, turn right and you will find yourself back on the street with various stands inviting you to study clubs. The treasure chest will be on the left side, between the tents and next to an owl portrait.
Chest #7
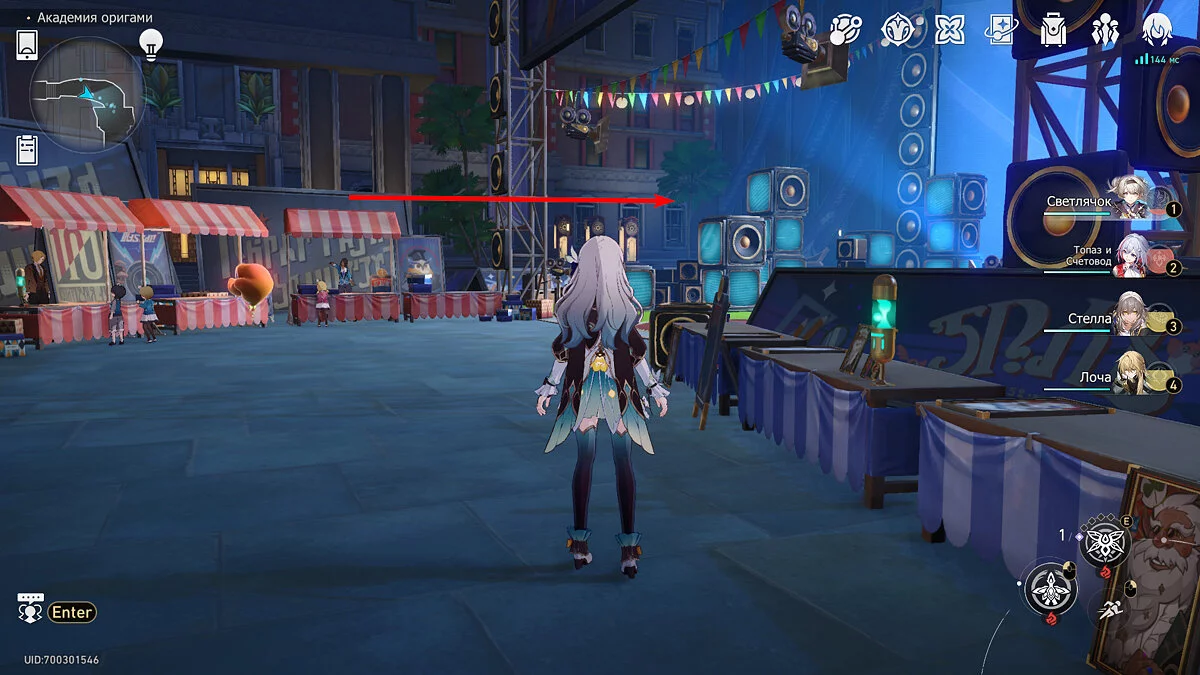
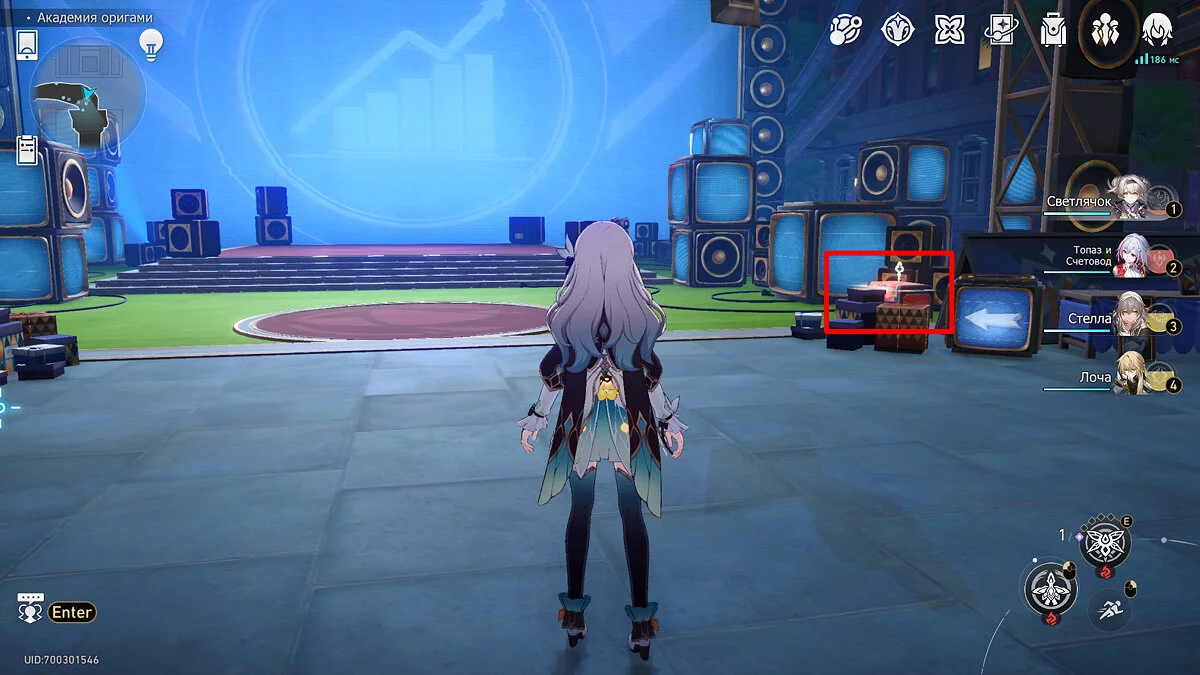
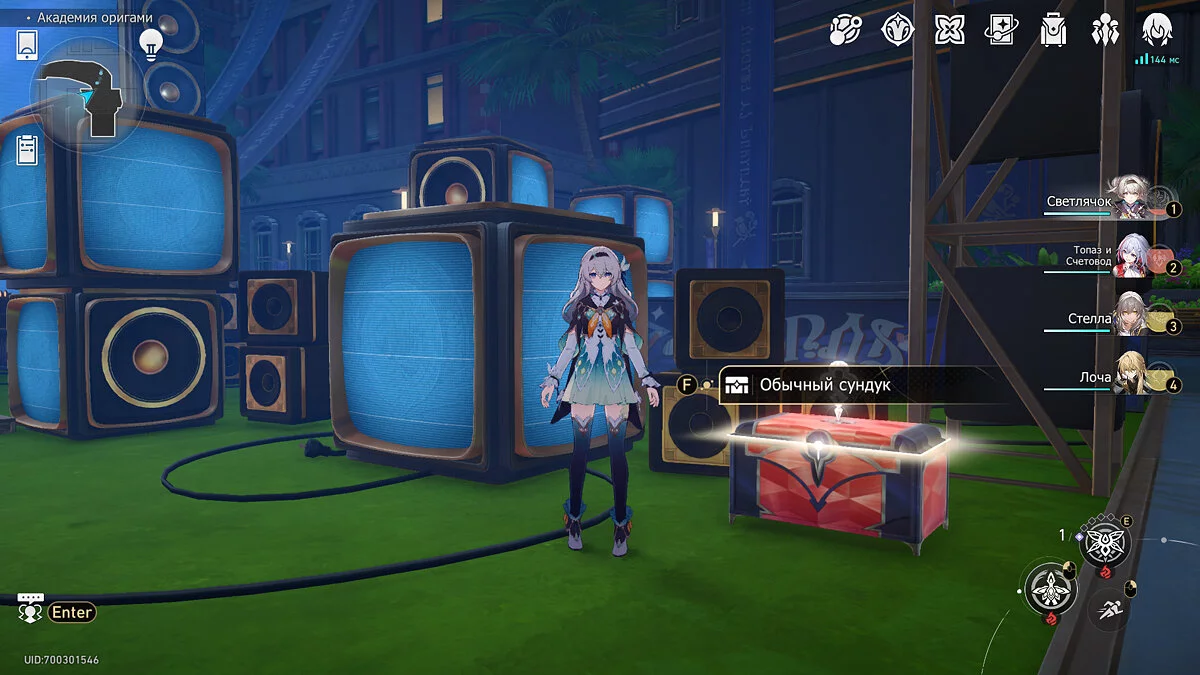
Continue along the same street with the stands until you come across a large blue monitor displaying some graphs. The chest is hidden behind a pile of boxes and is next to a smaller square monitor.
Chest #8
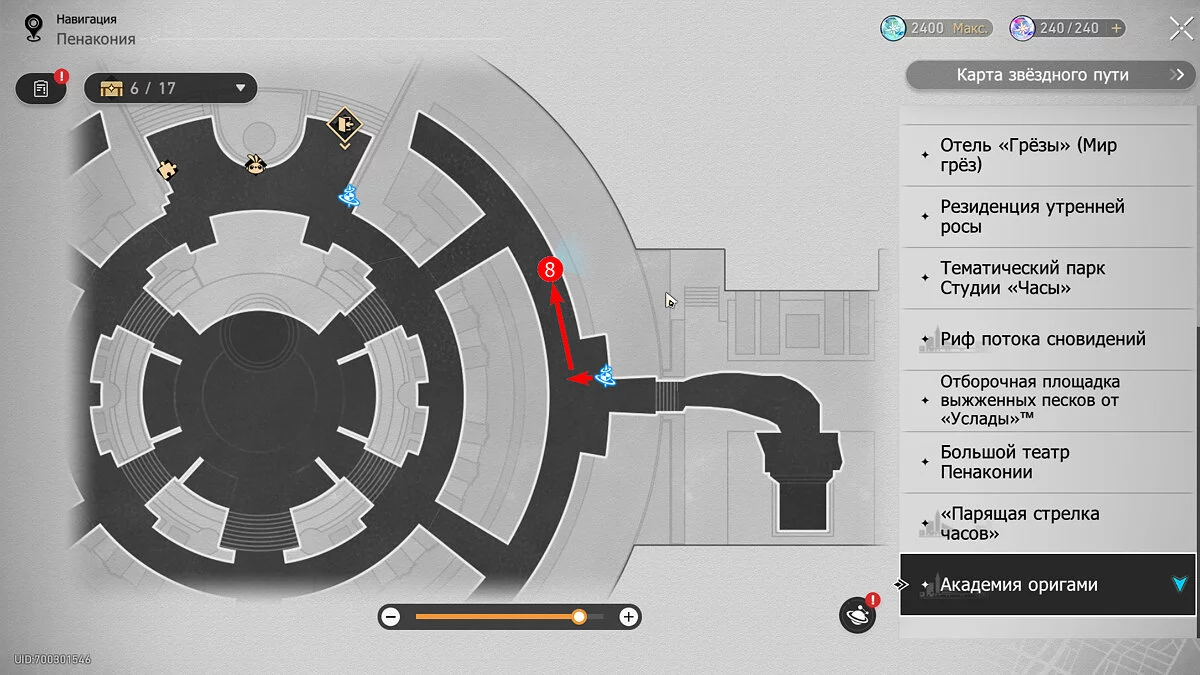
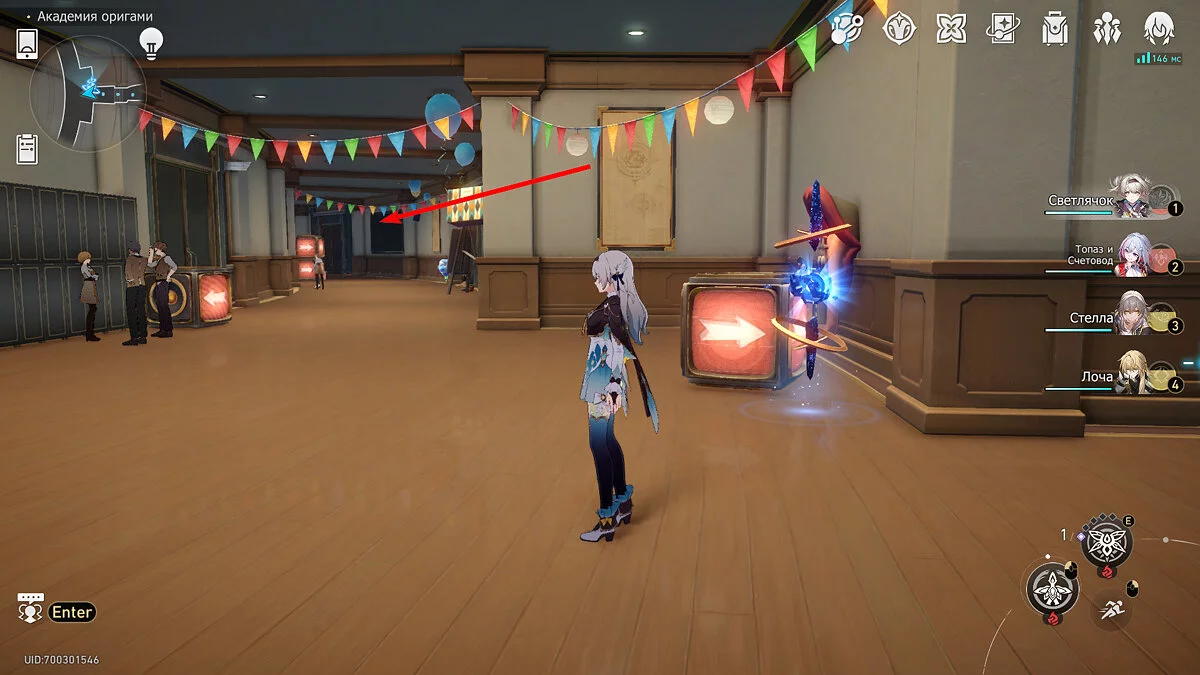
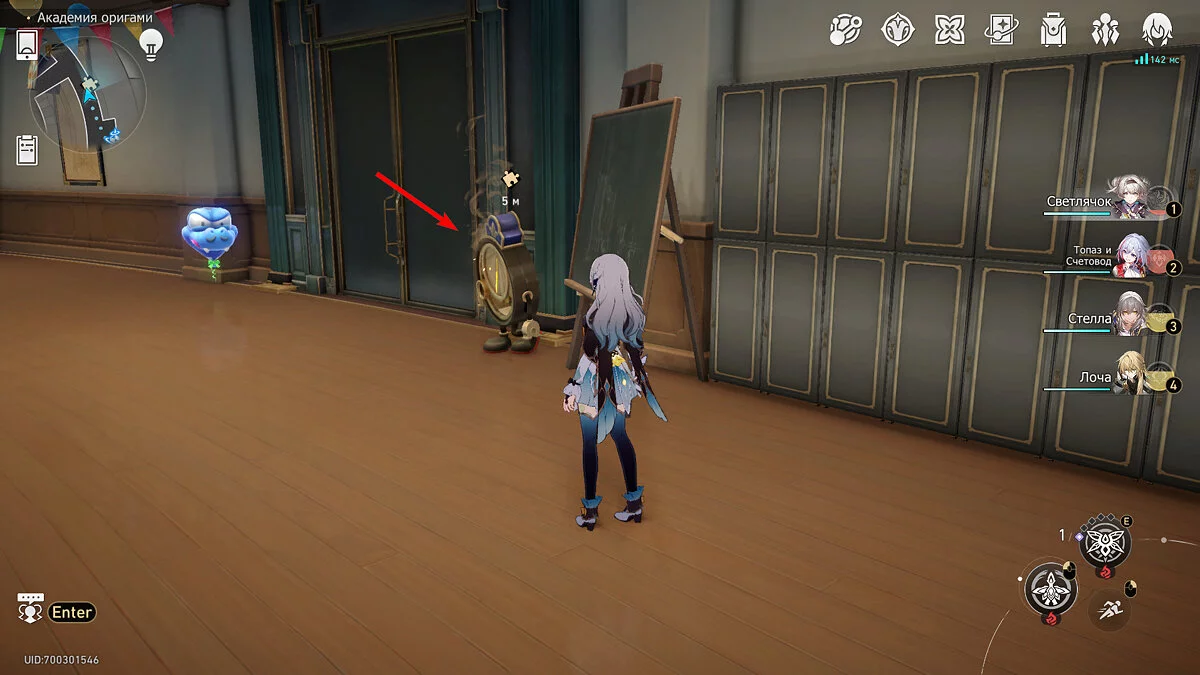
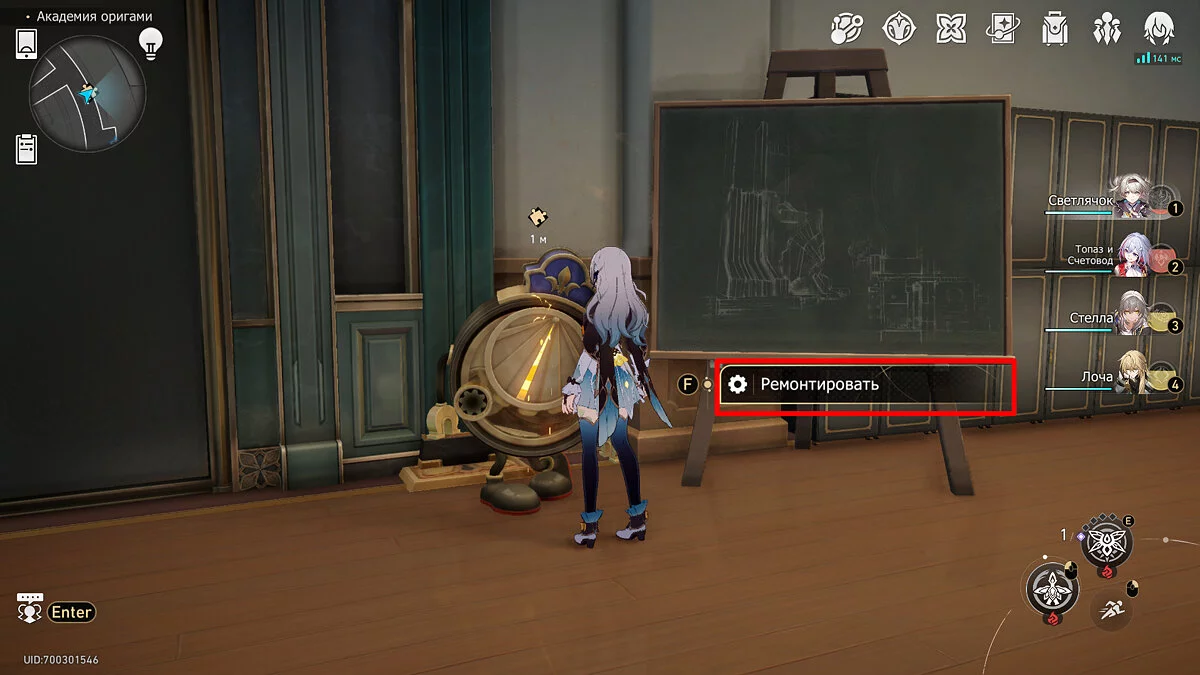
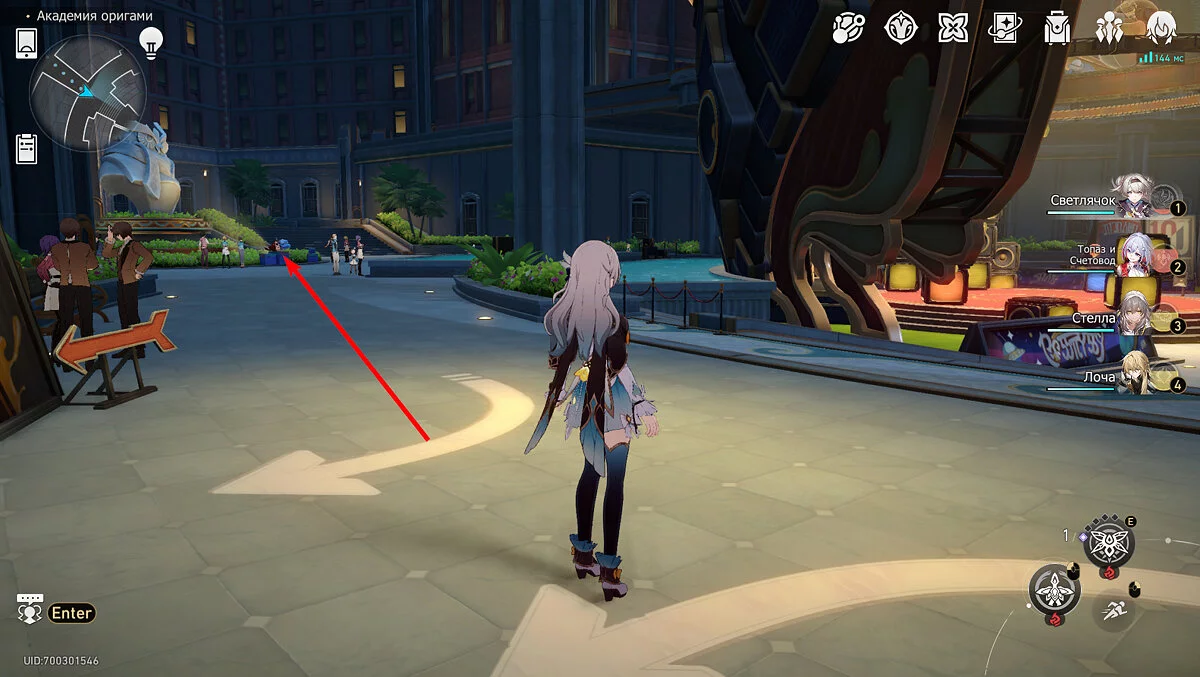
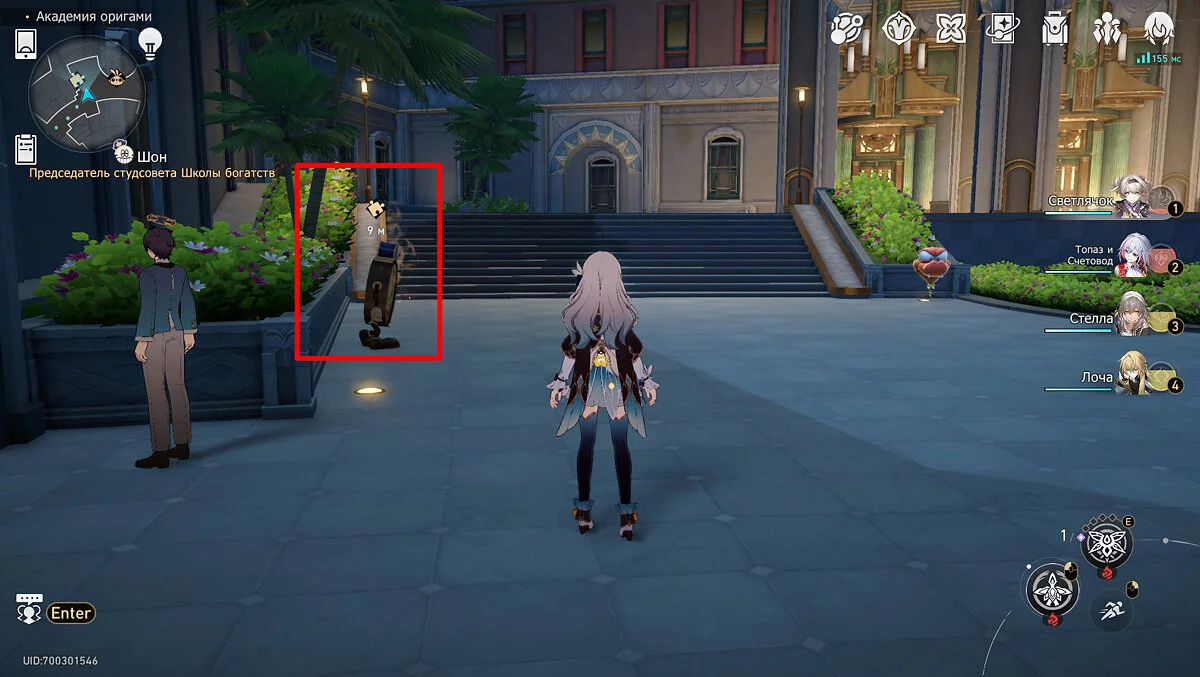
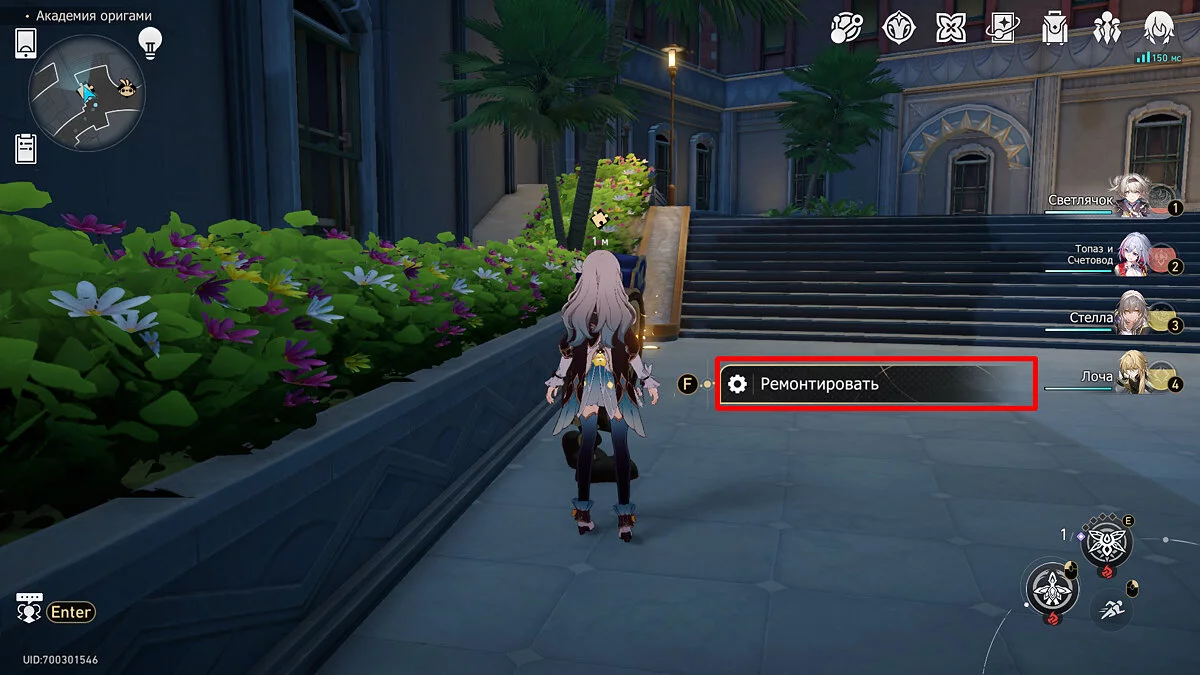
Return to the teleport anchor and run forward down the corridor until you see broken clocks on the right side. They are near a chalkboard. Fix them to obtain a valuable chest.
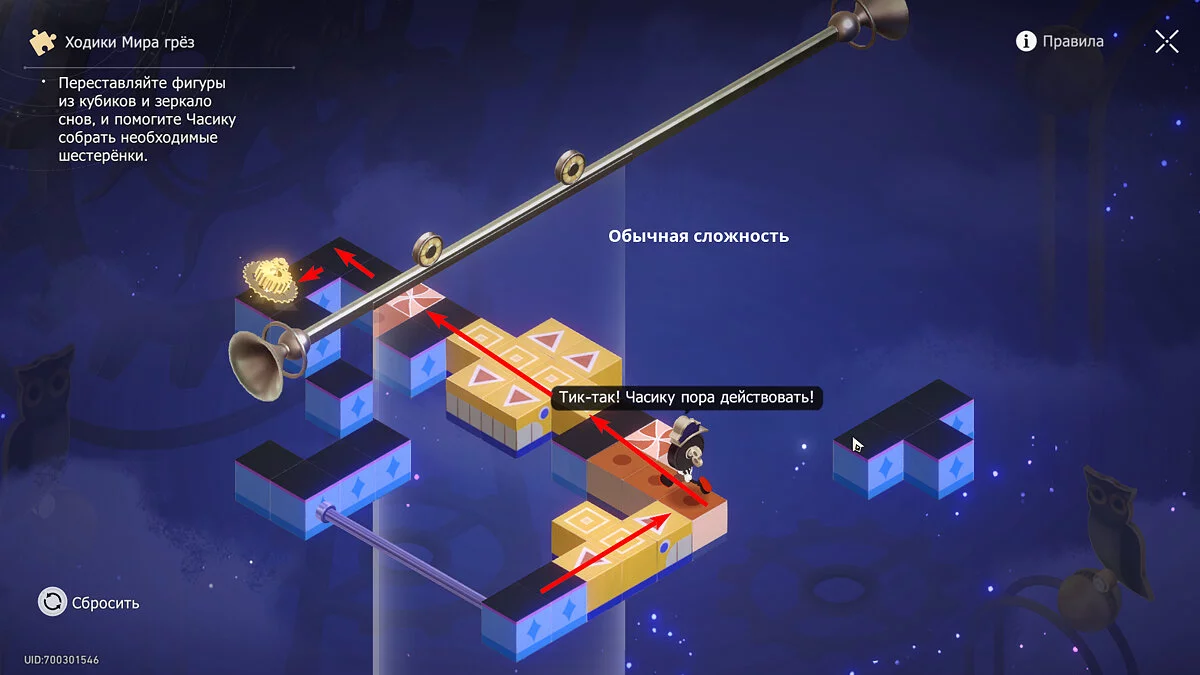
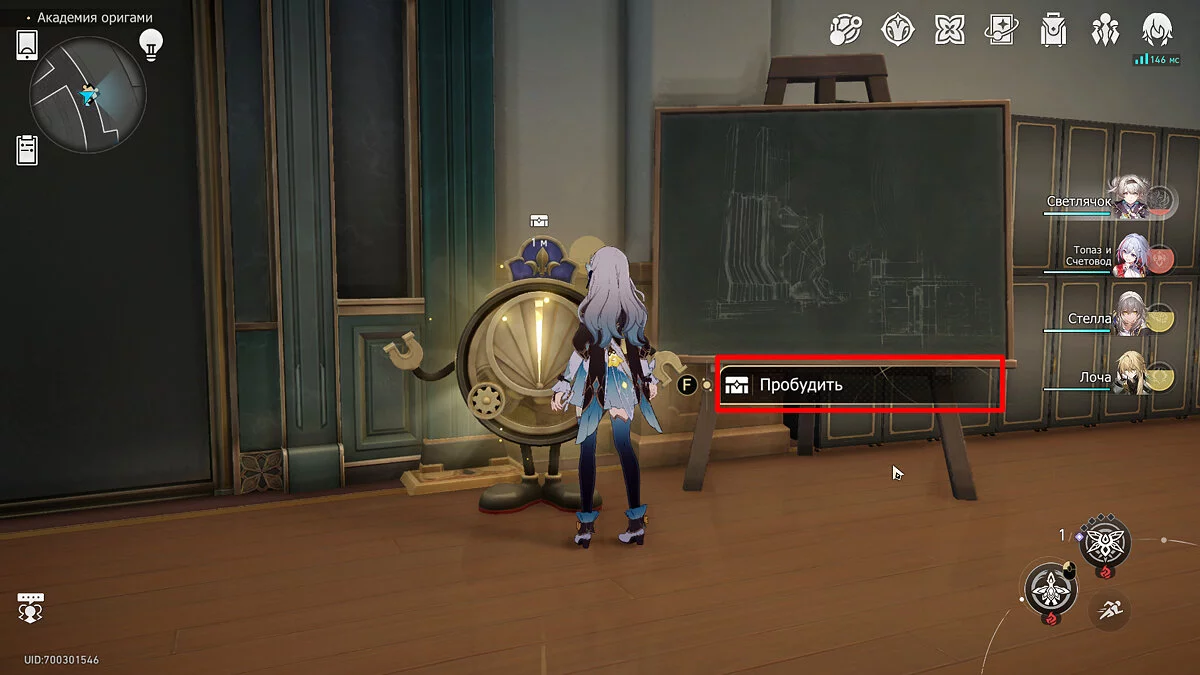
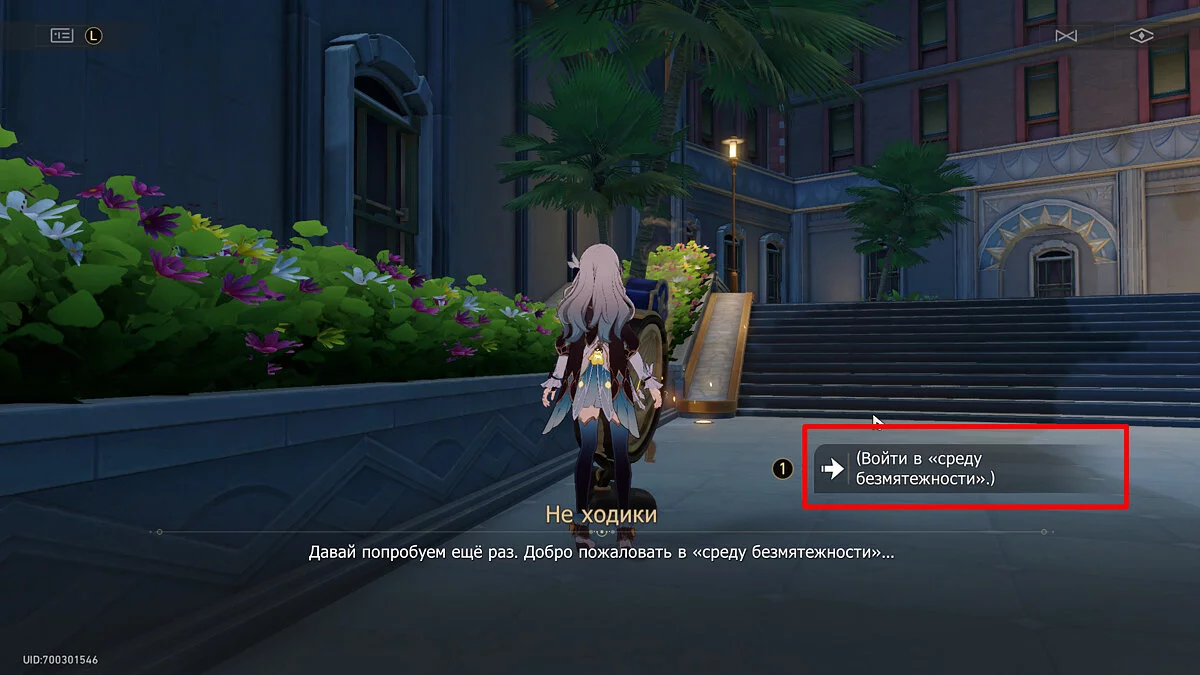
The puzzle can be solved at any difficulty level, the reward will not change. The screenshot above shows the solution at normal difficulty. Once the puzzle is completed, awaken the clocks to receive 20 stellar jades.
Chest #9
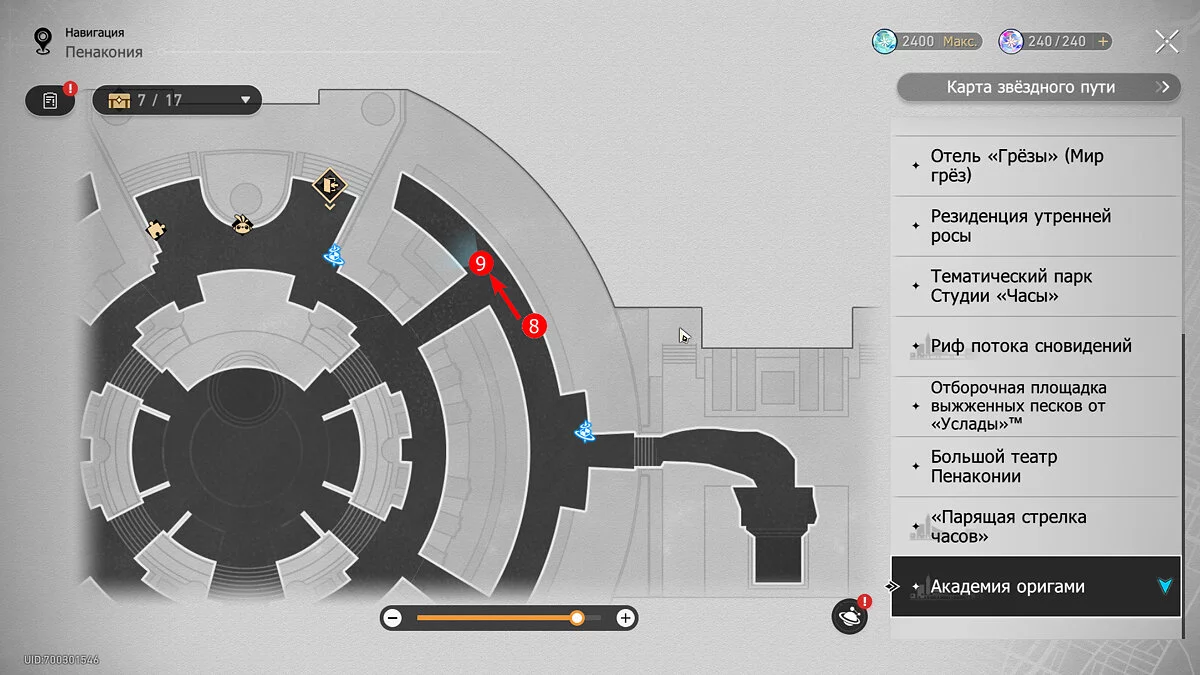
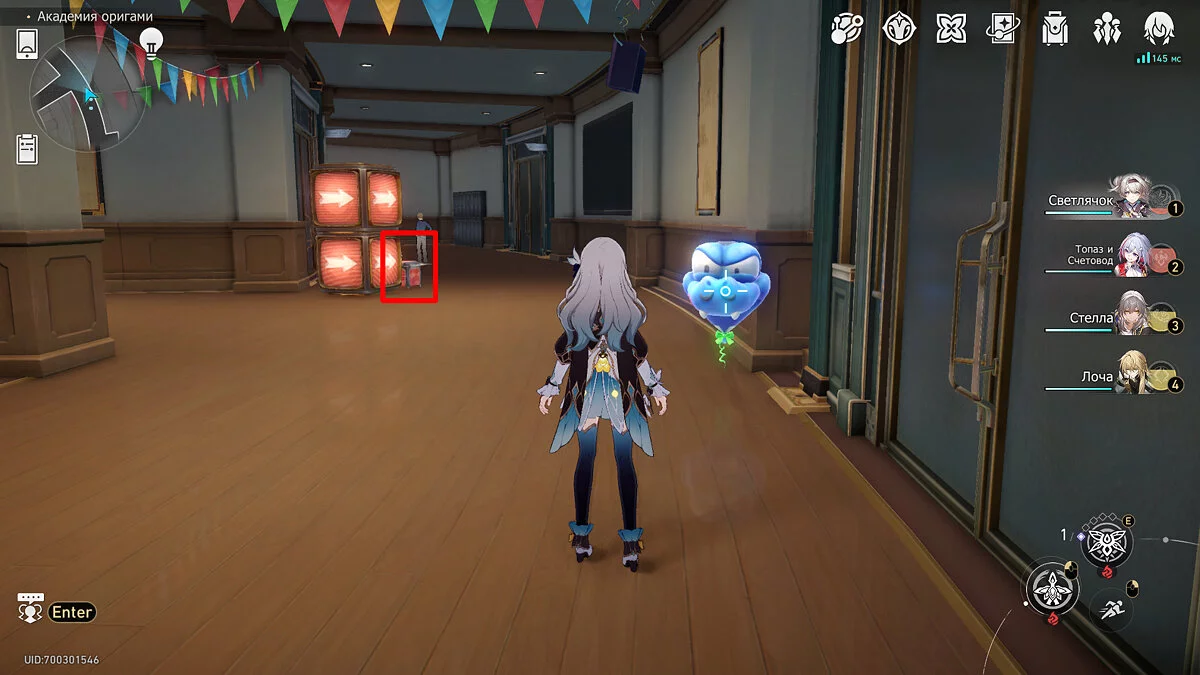
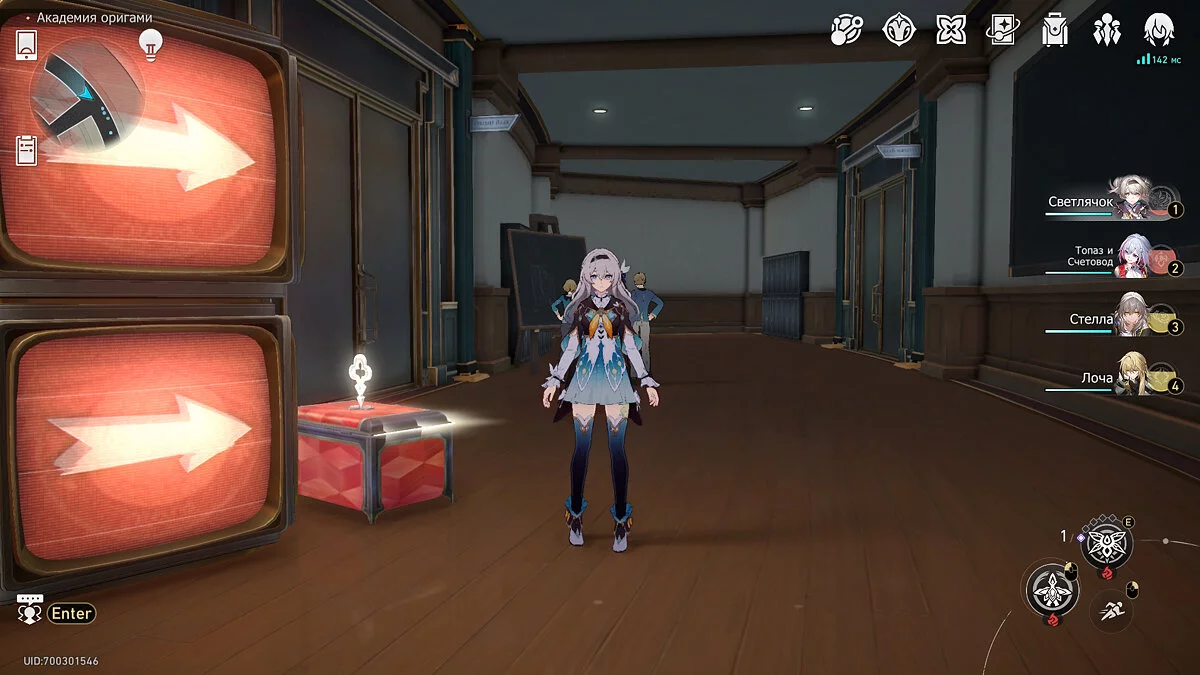
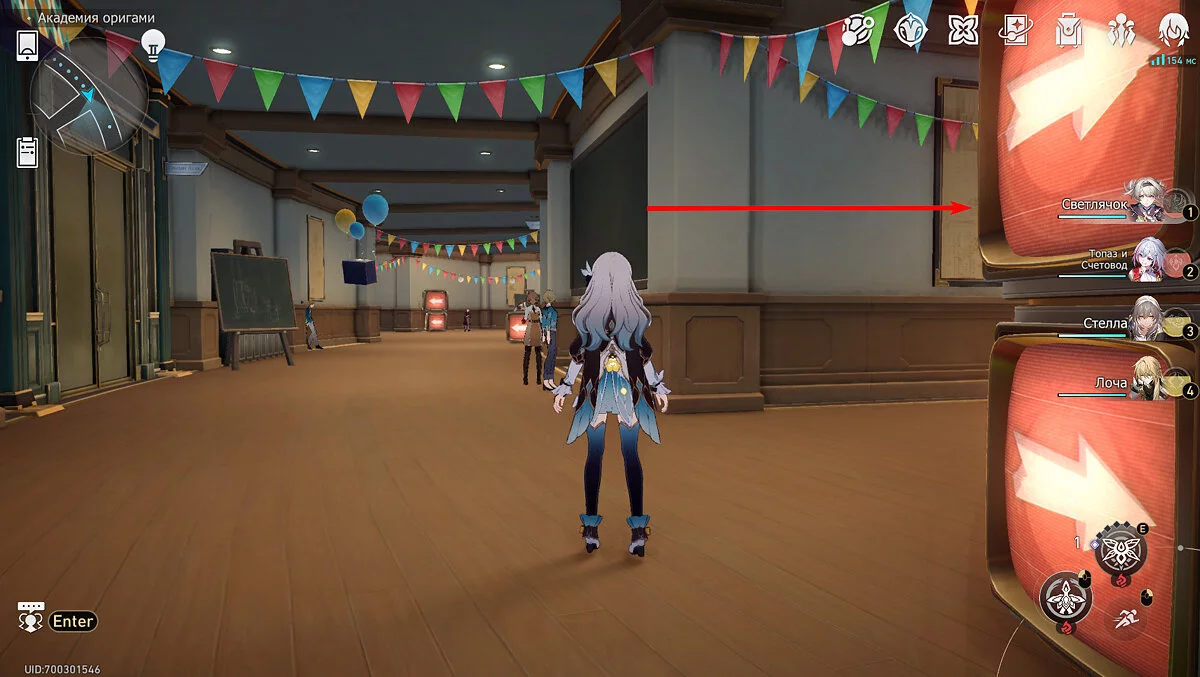
Walk a little further along the same circular street until you come across another fork. The common treasure chest will be hiding behind a group of monitors with arrows. Just approach and take the chest.
Chest #10
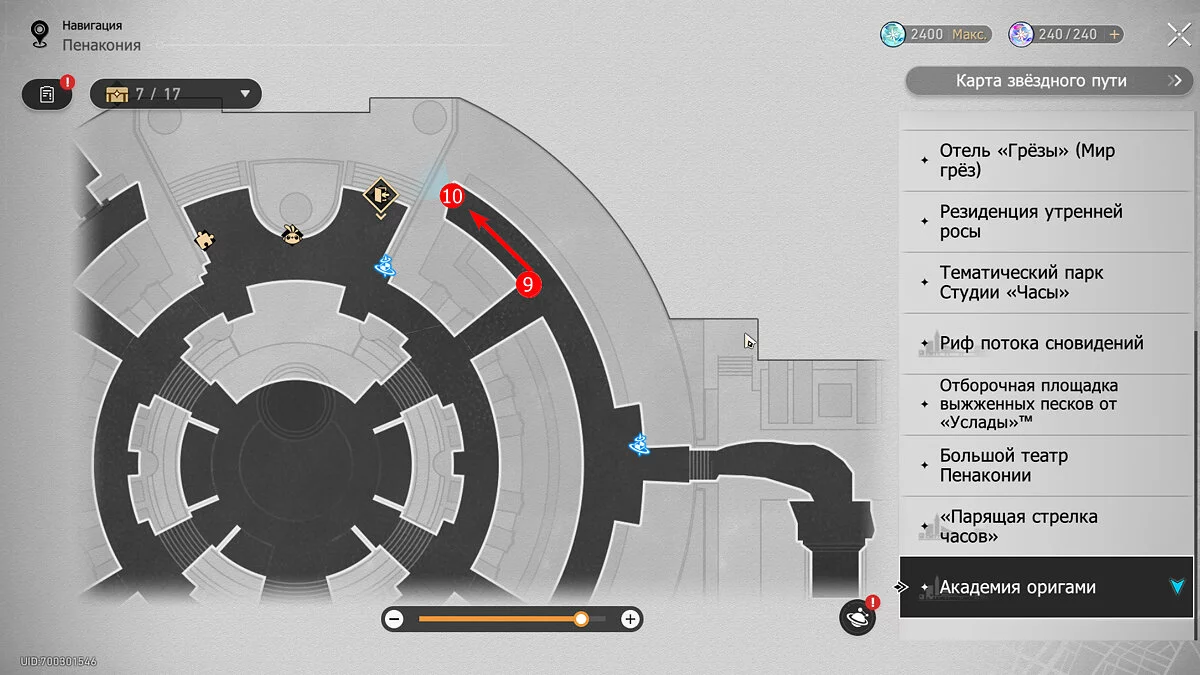
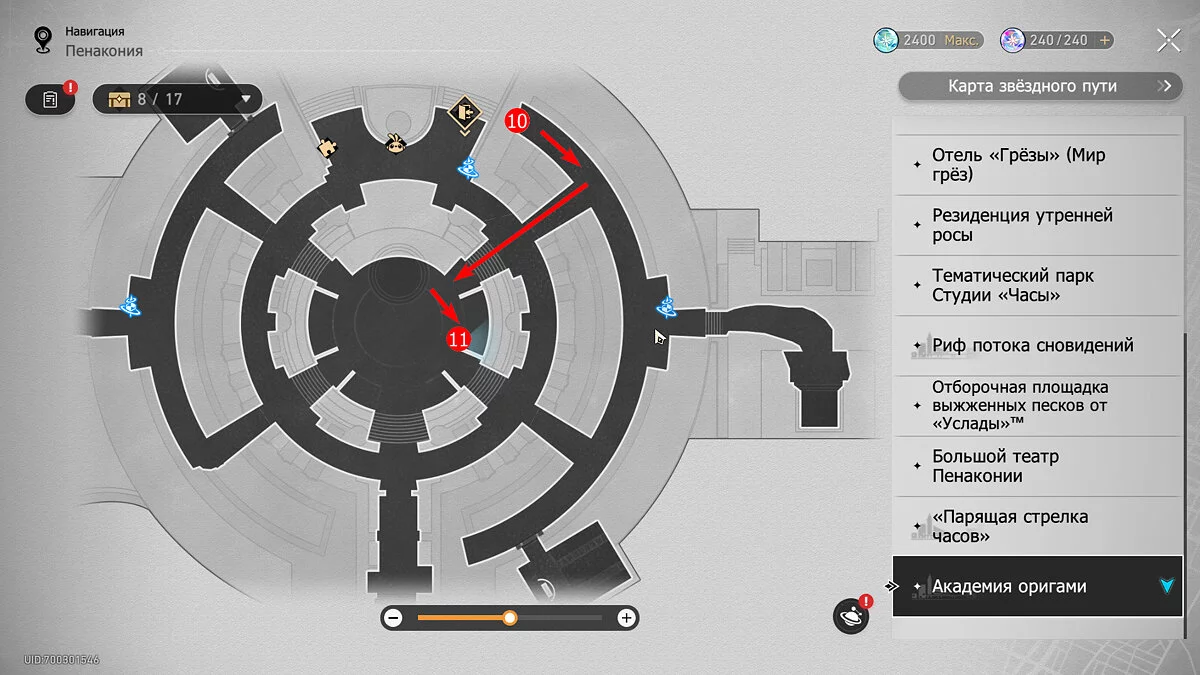
Without turning at the fork, go to the end of the corridor. Once you reach the dead end, you will see another royal tank. Talk to it and answer the creature's questions correctly. The correct answers are shown in the screenshots above.
Chest #11
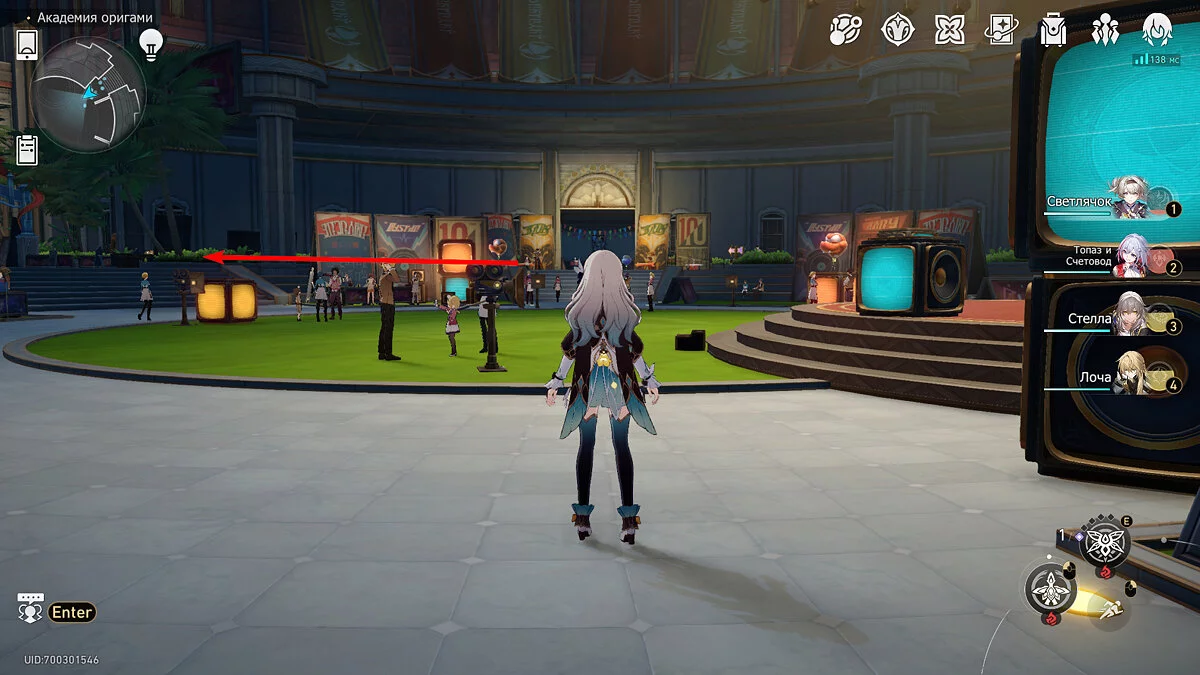
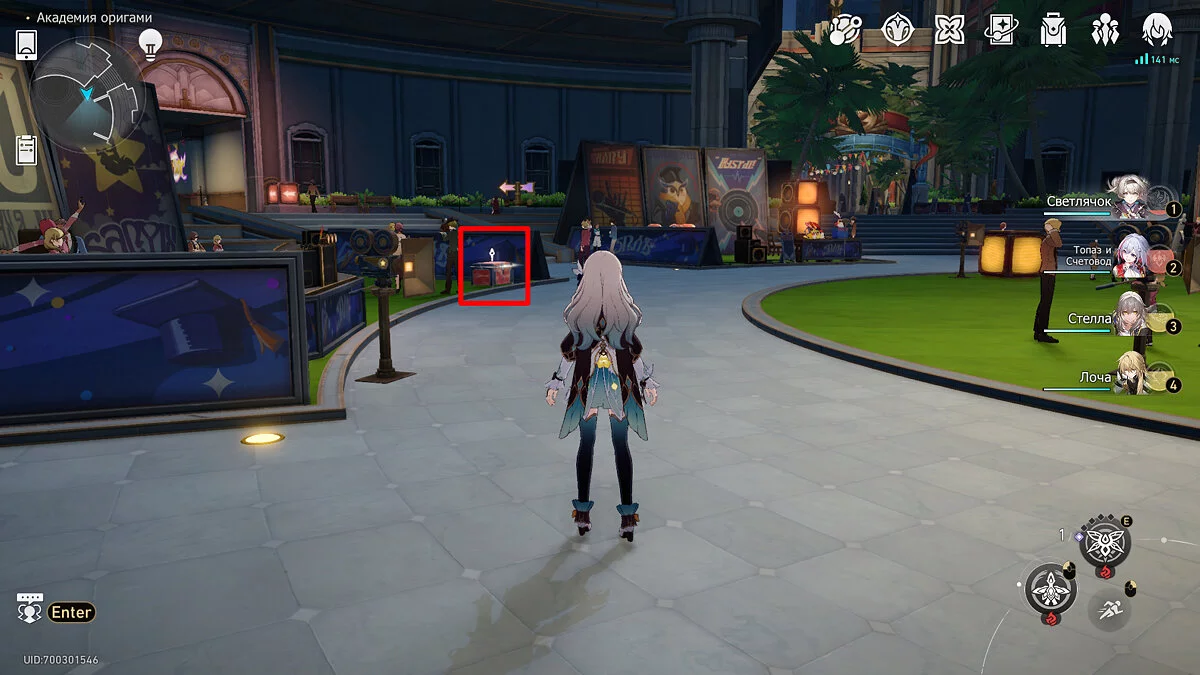
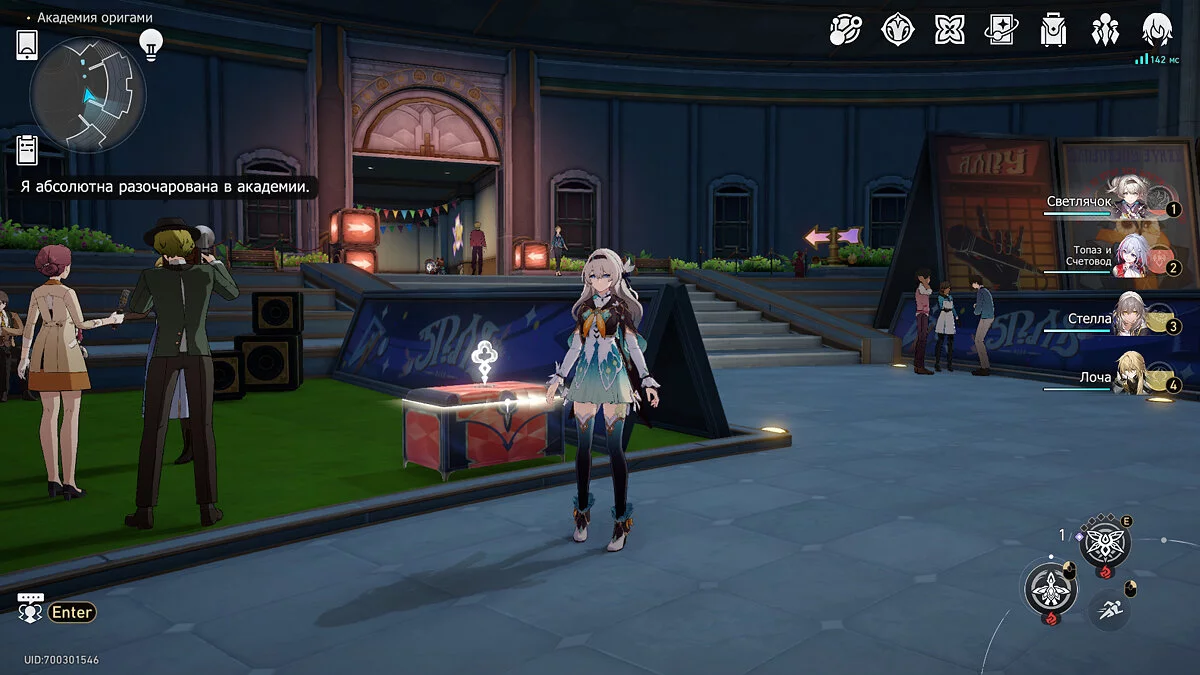
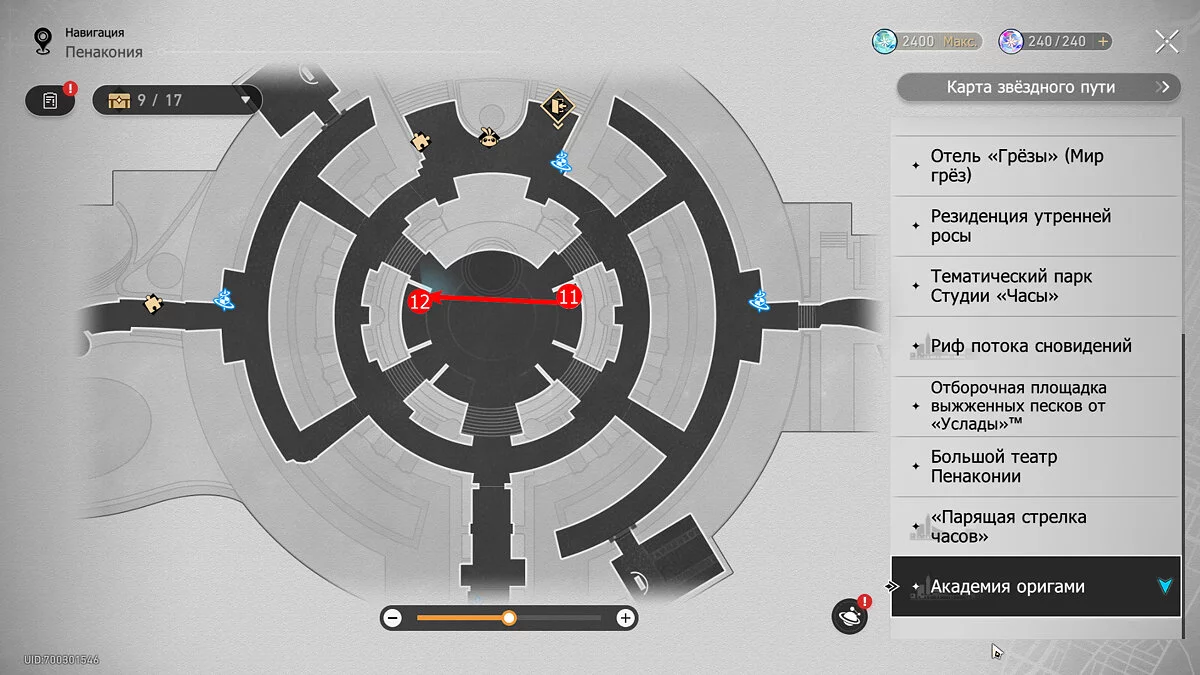
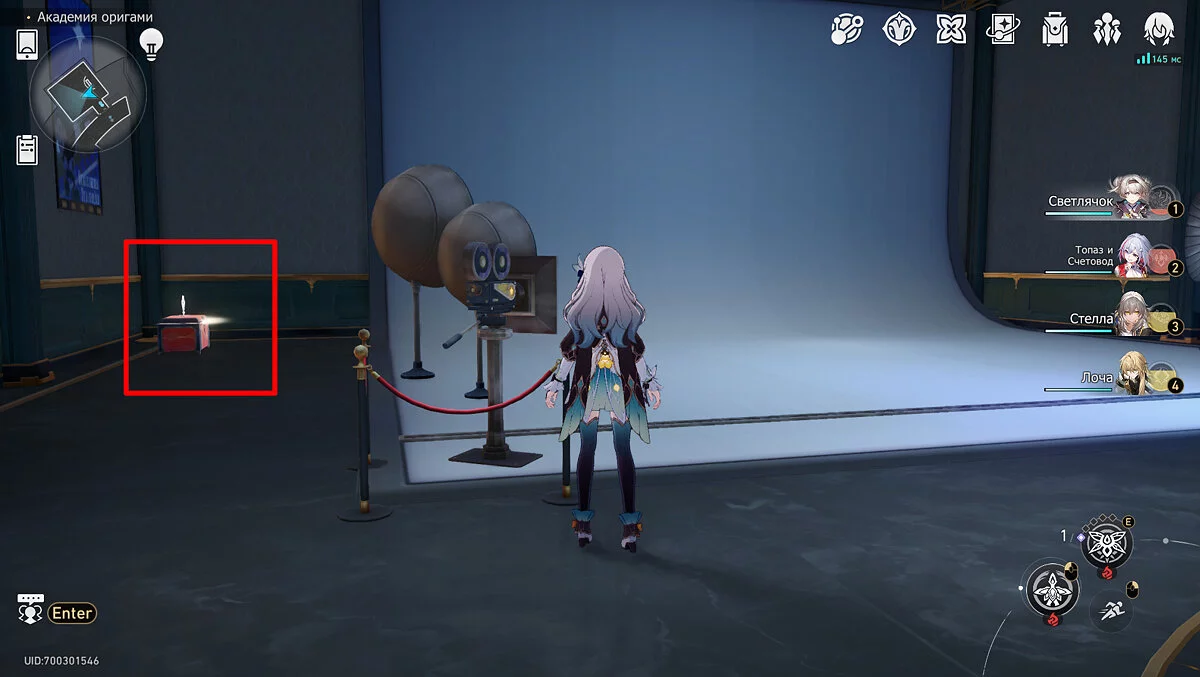
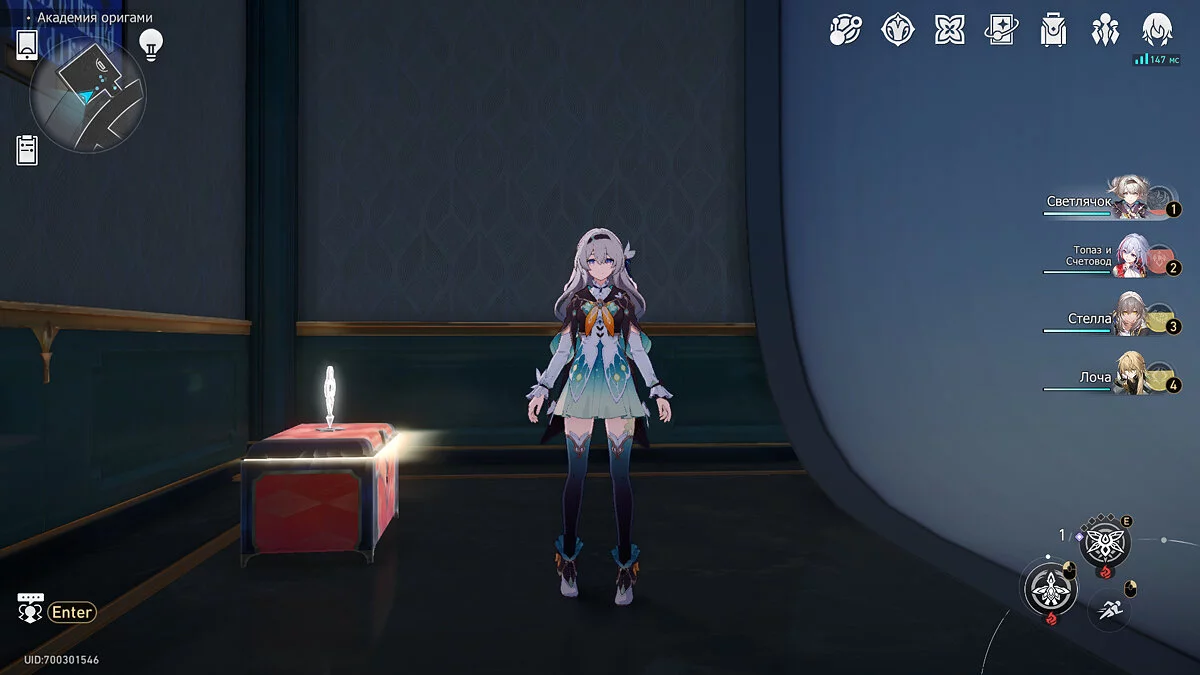
From the royal tank, go back a little to the fork and turn right at the monitors, then go straight to the origami bird statue. Approaching the green field, turn left and you will immediately see a common chest. It will be near a group of NPCs filming a report about the Academy.
Chest #12
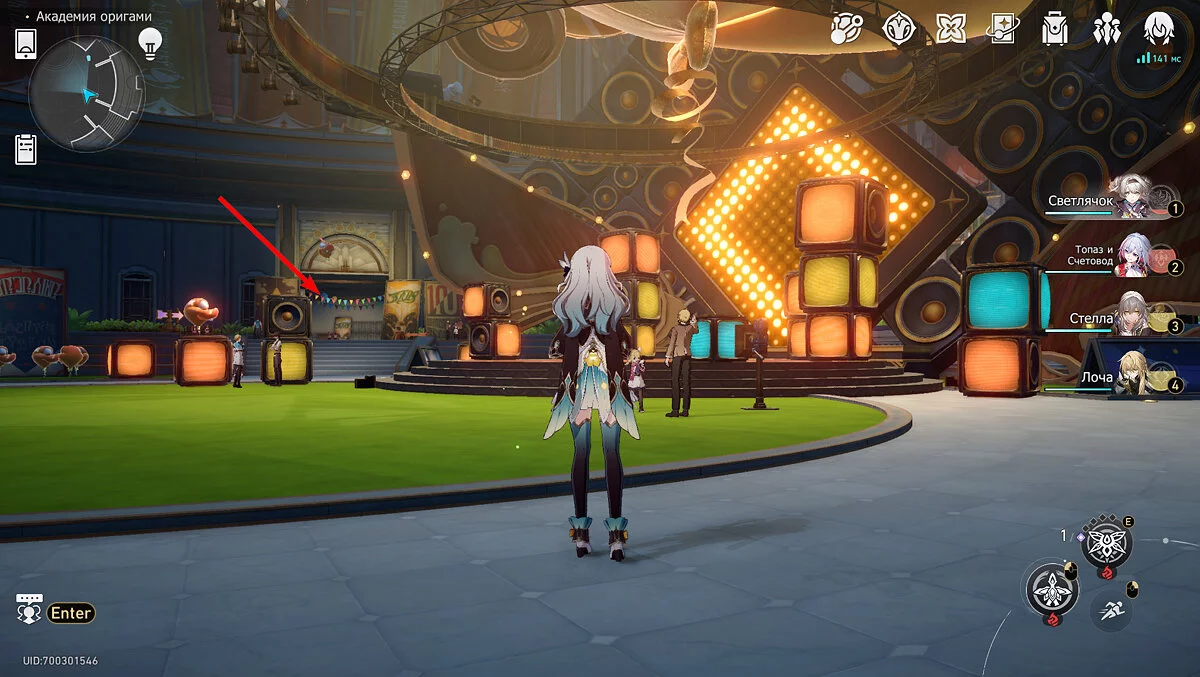
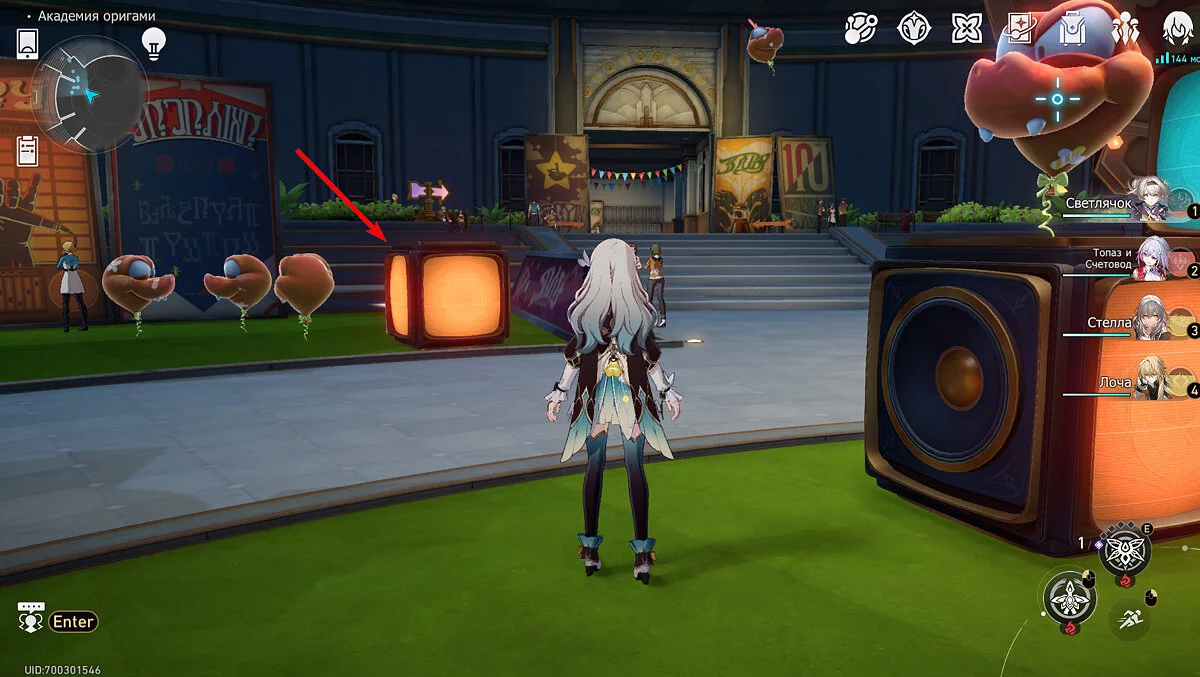
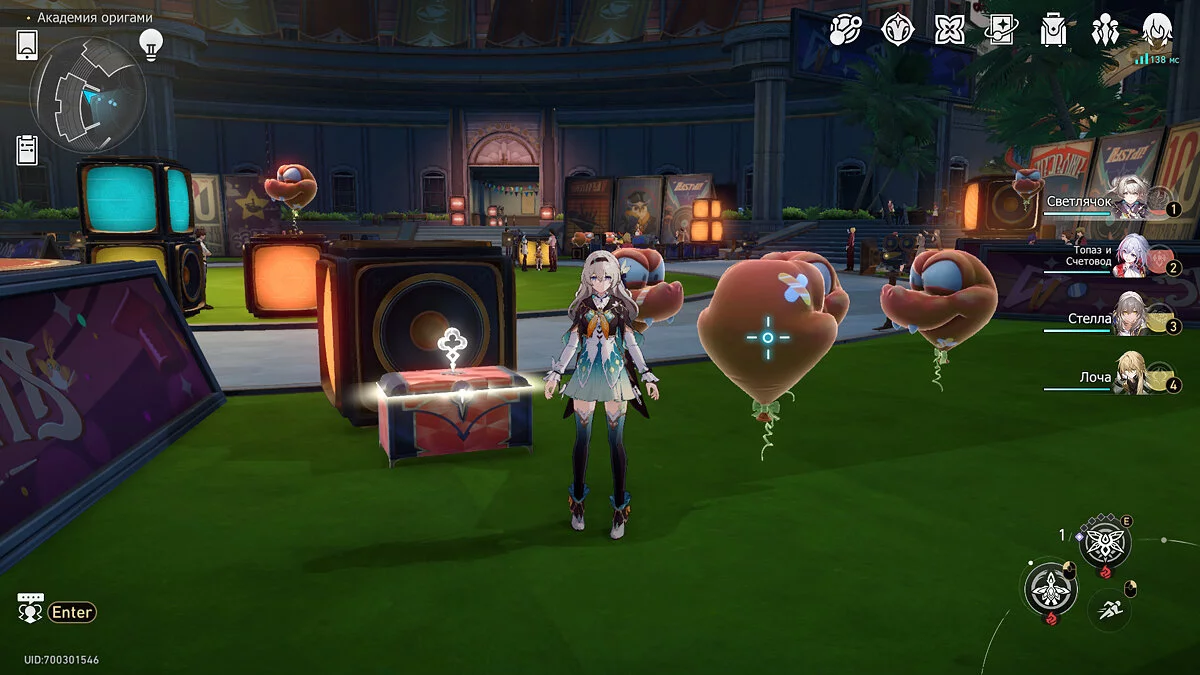
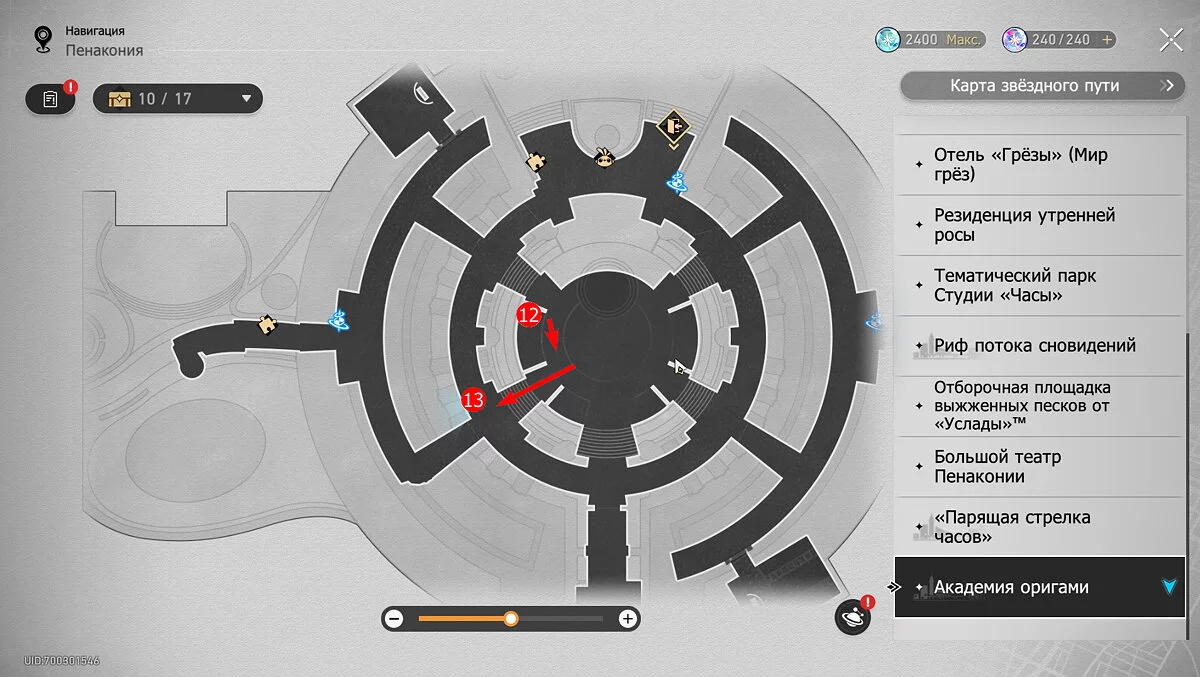
Run from treasure chest #11 to the opposite entrance, but before reaching the corridor, go slightly to the left to a group of orange balloons and a square monitor. Go around the cube on the left and you will see another common chest.
Chest #13
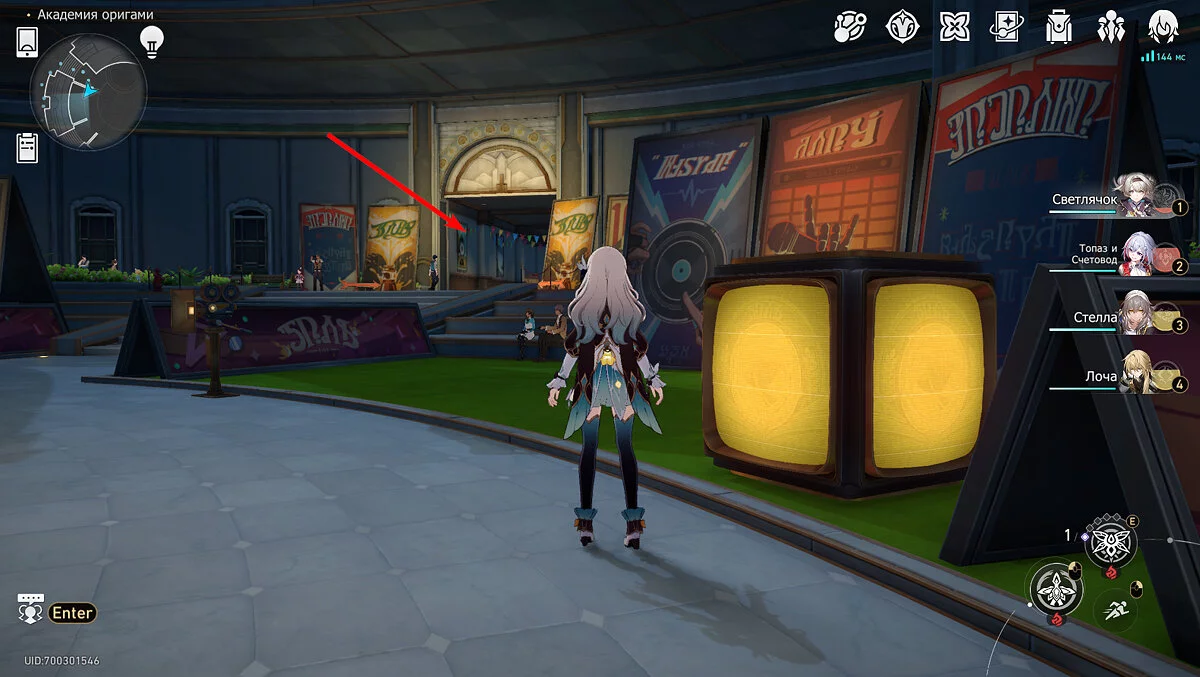
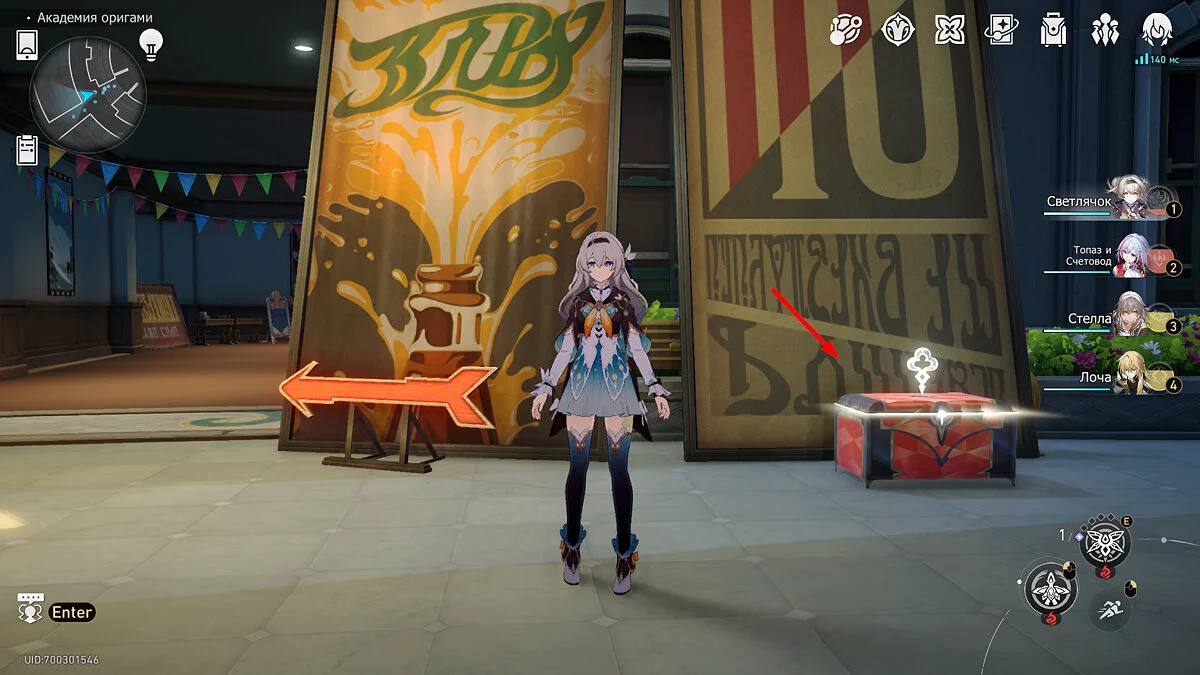
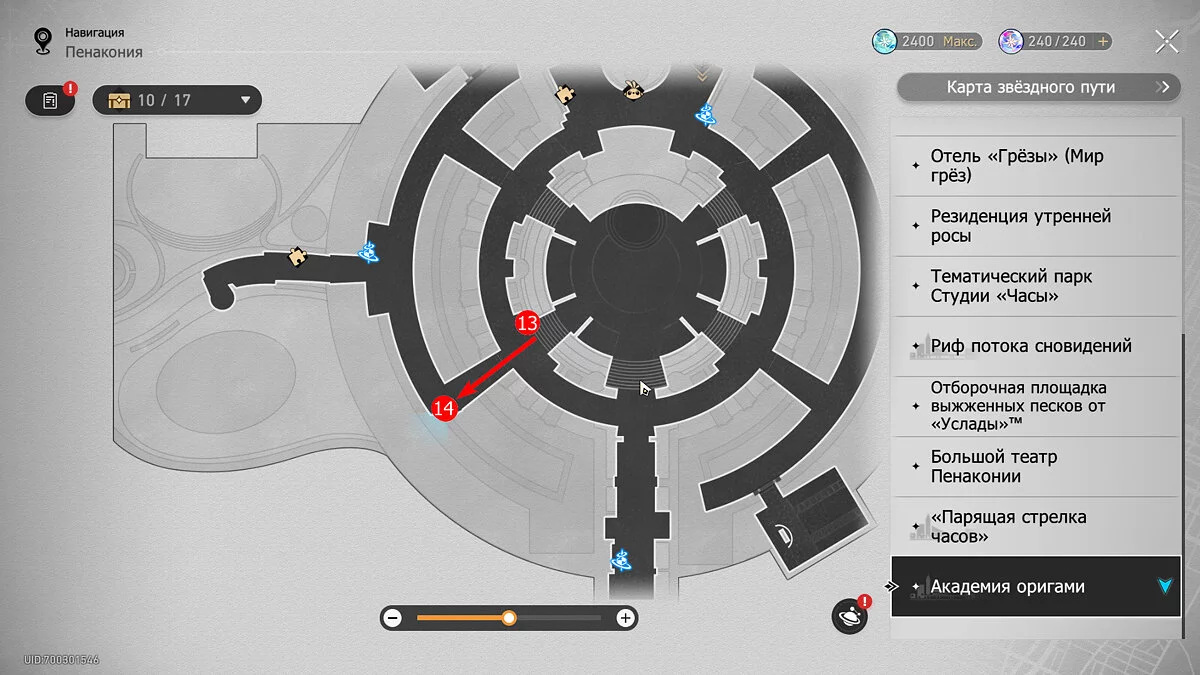
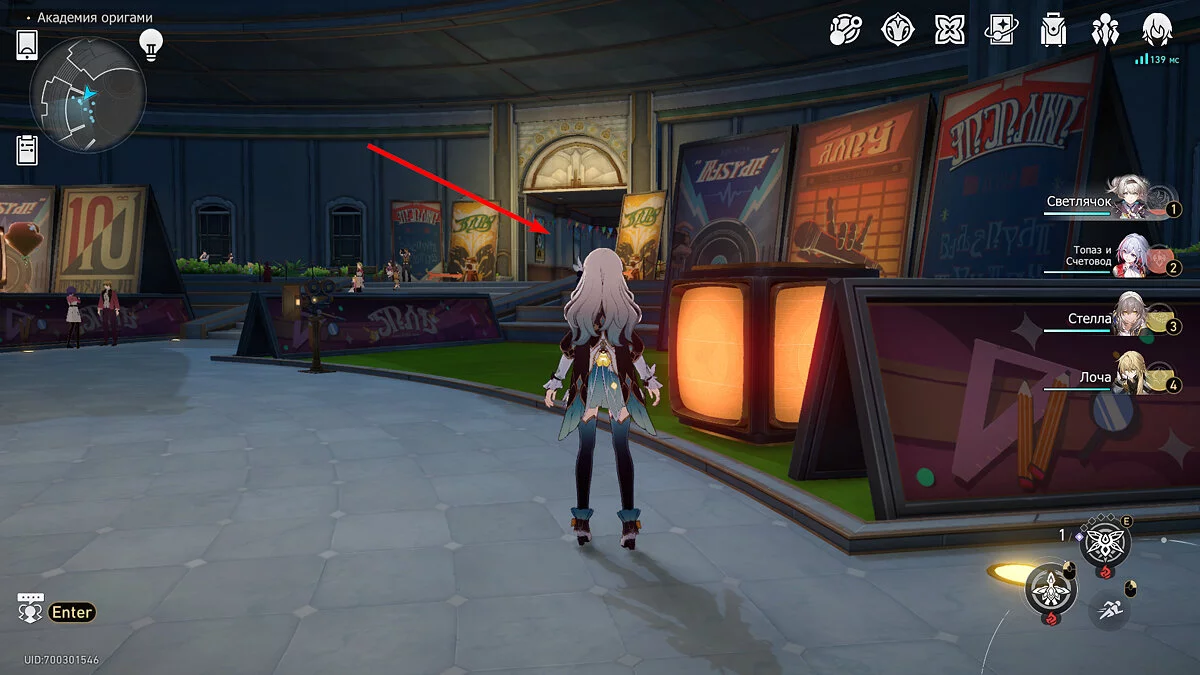
From the previous chest, run to the adjacent entrance, but do not enter the corridors, turn right — treasure chest #13 is located near two banners and an arrow.
Chest #14
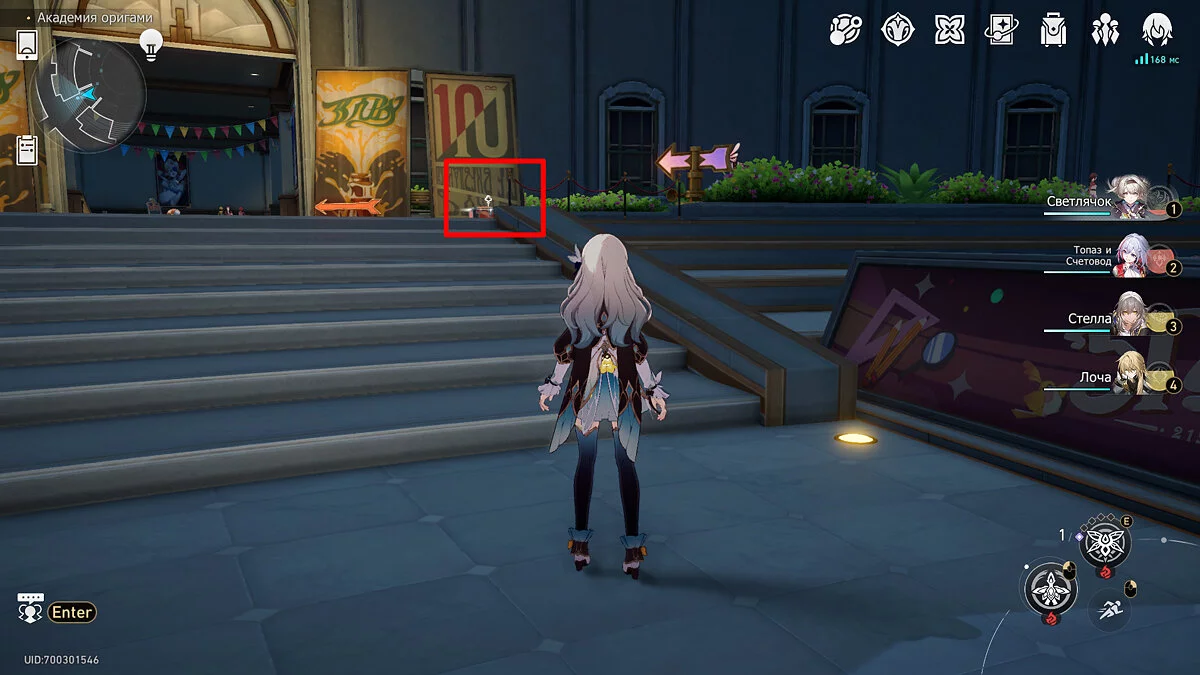
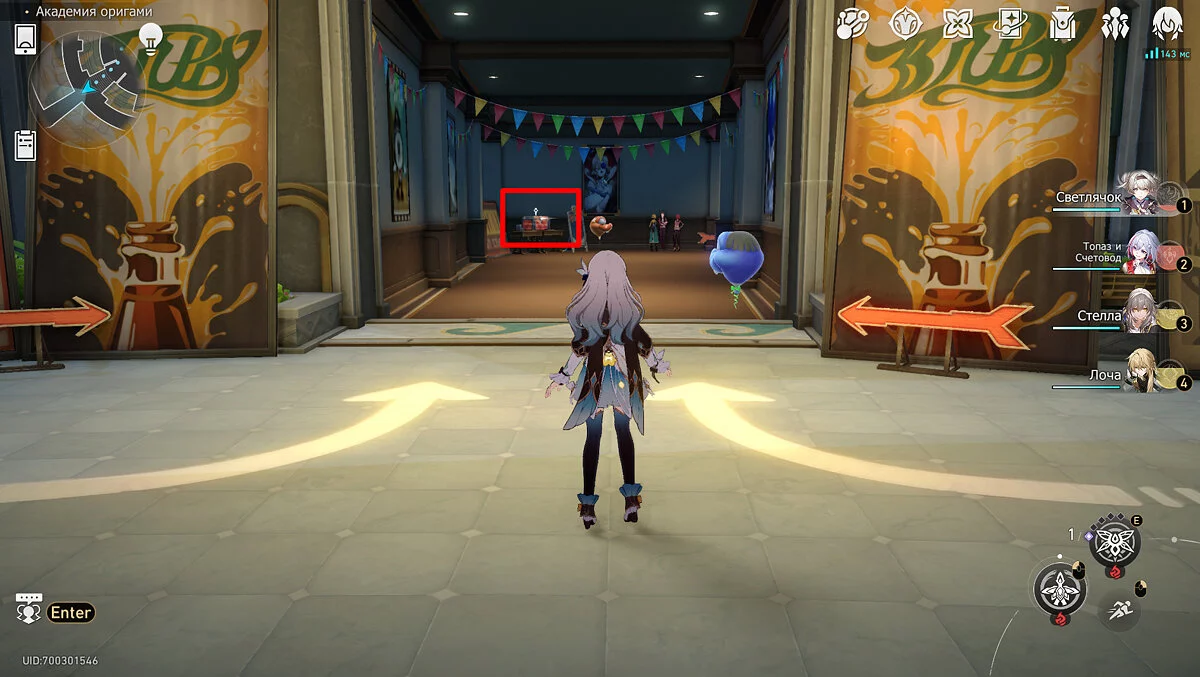
Enter the corridor at the entrance near where the previous chest was located. On the left, there will be two tables drawn together, and on them is another common treasure chest.
Chest #15
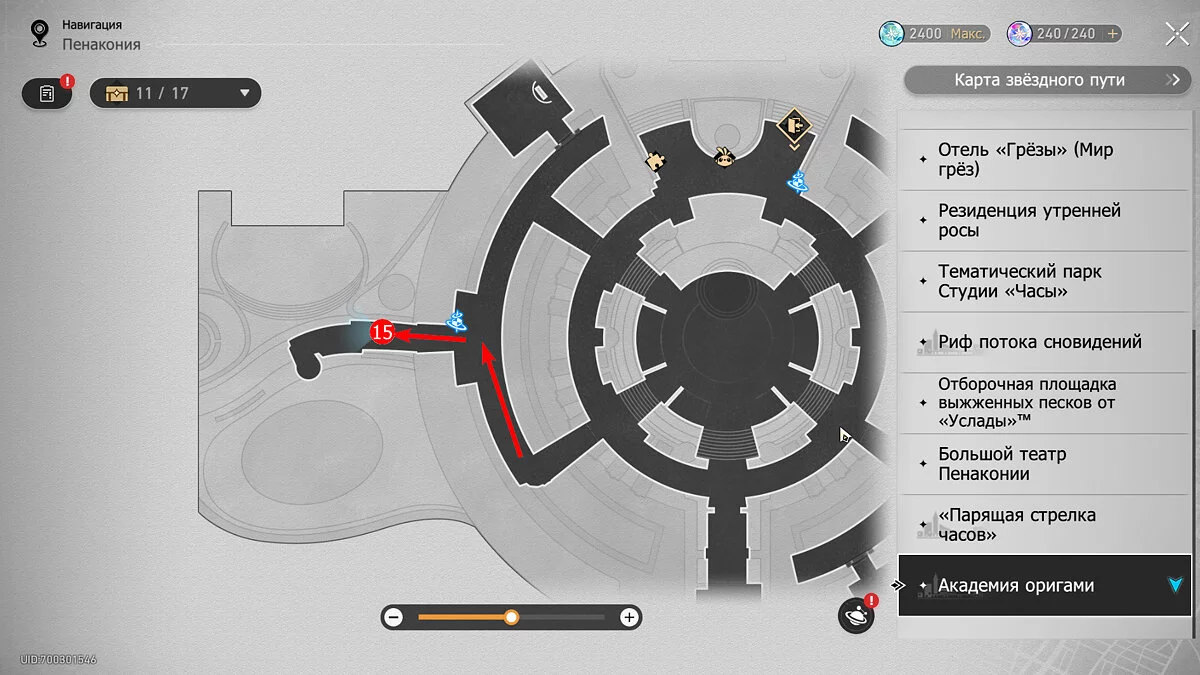
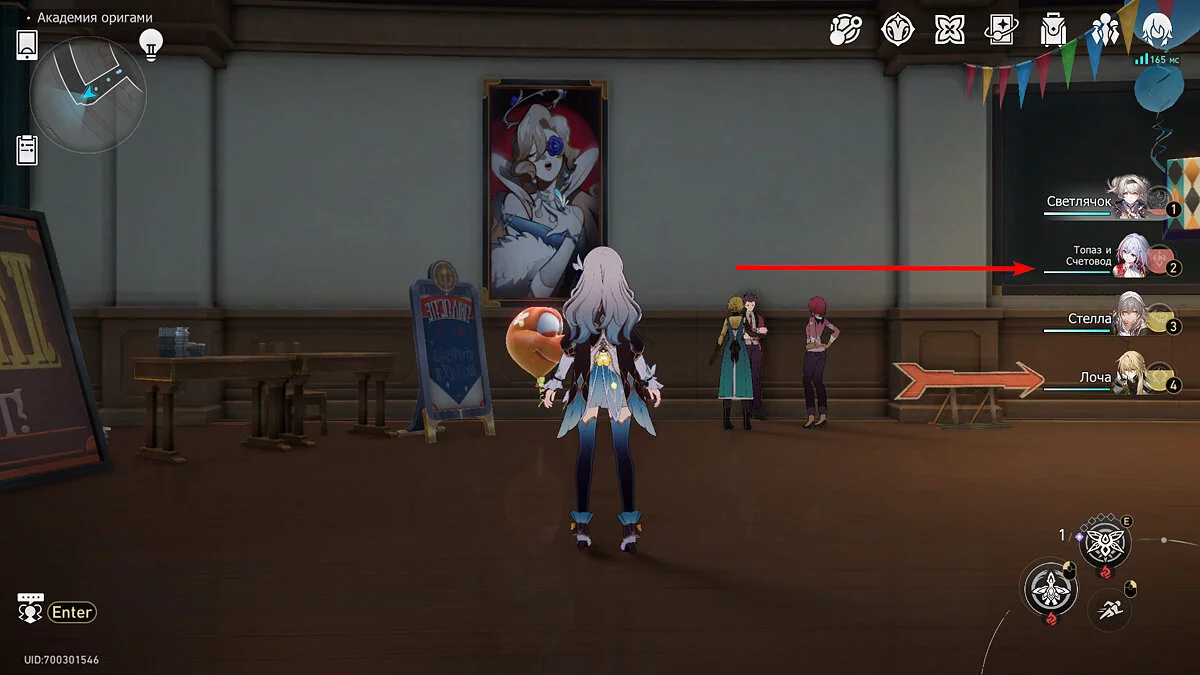
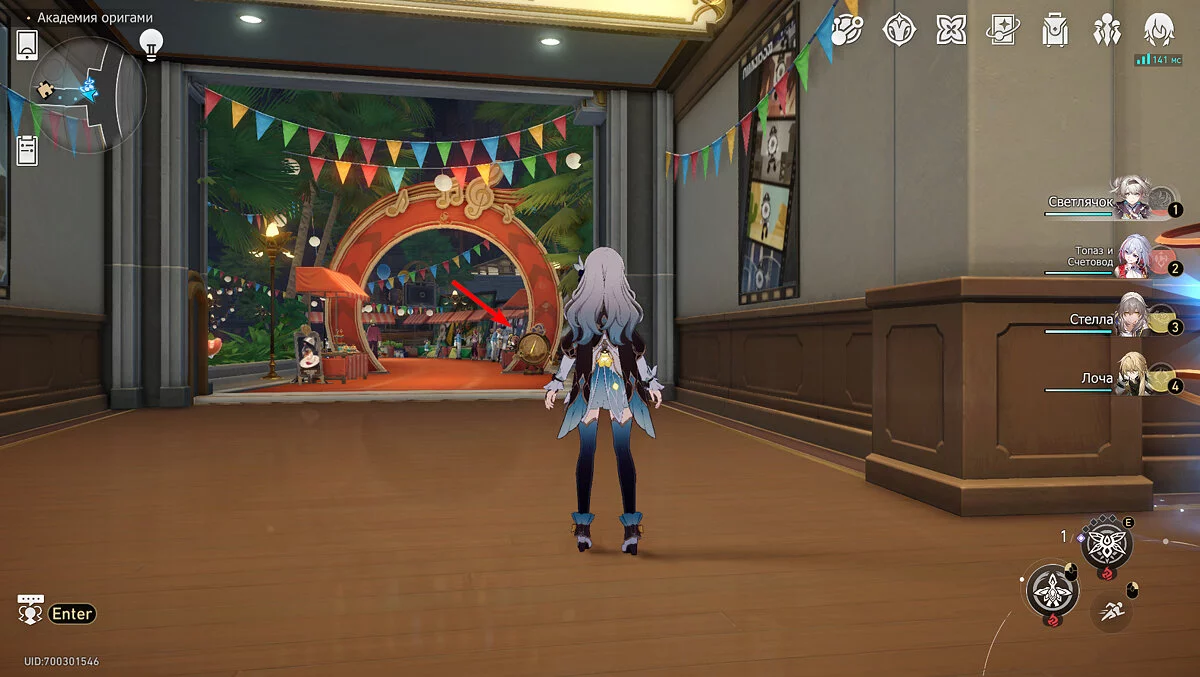
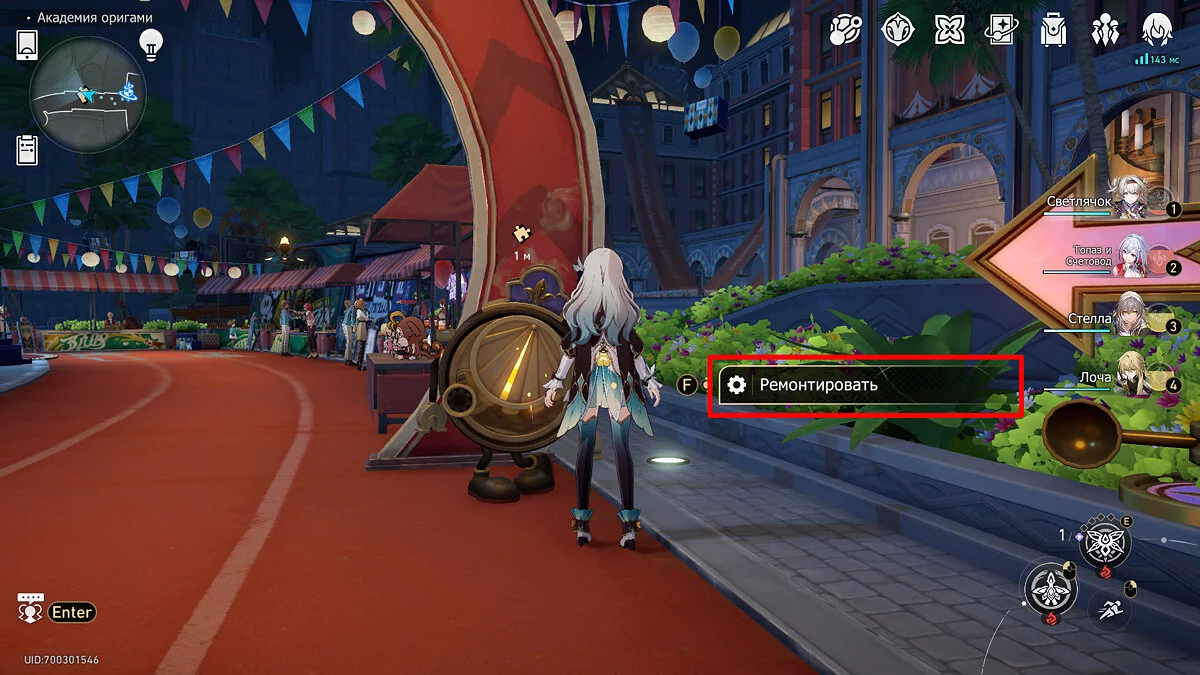
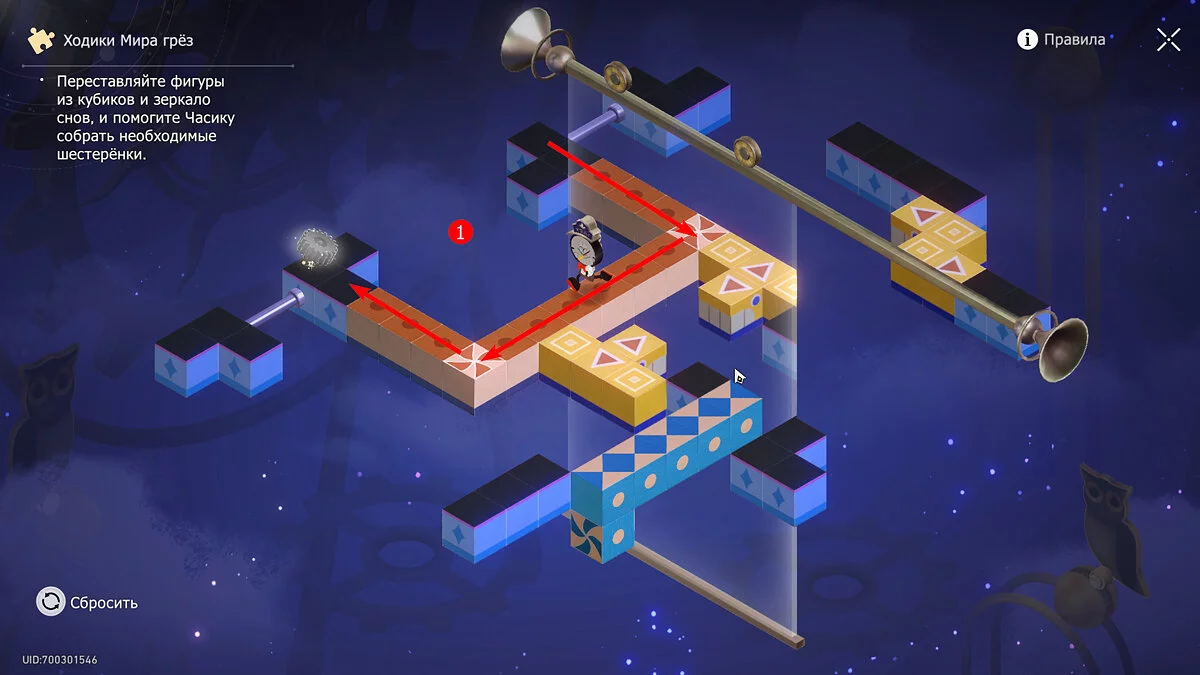
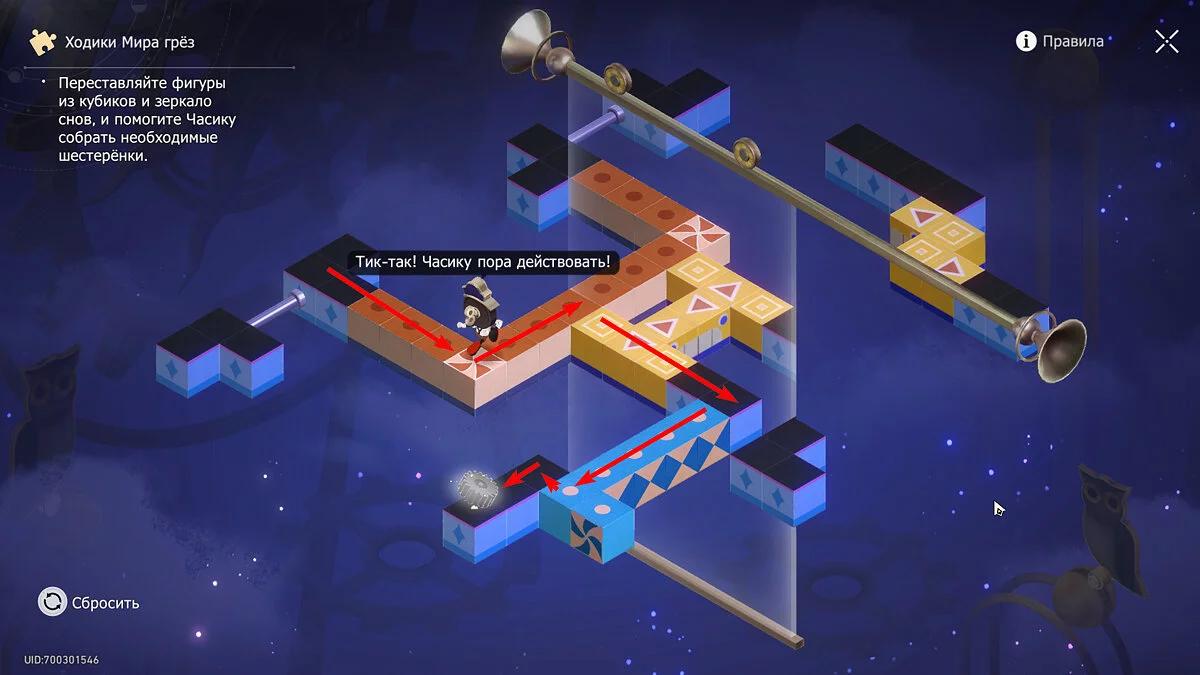
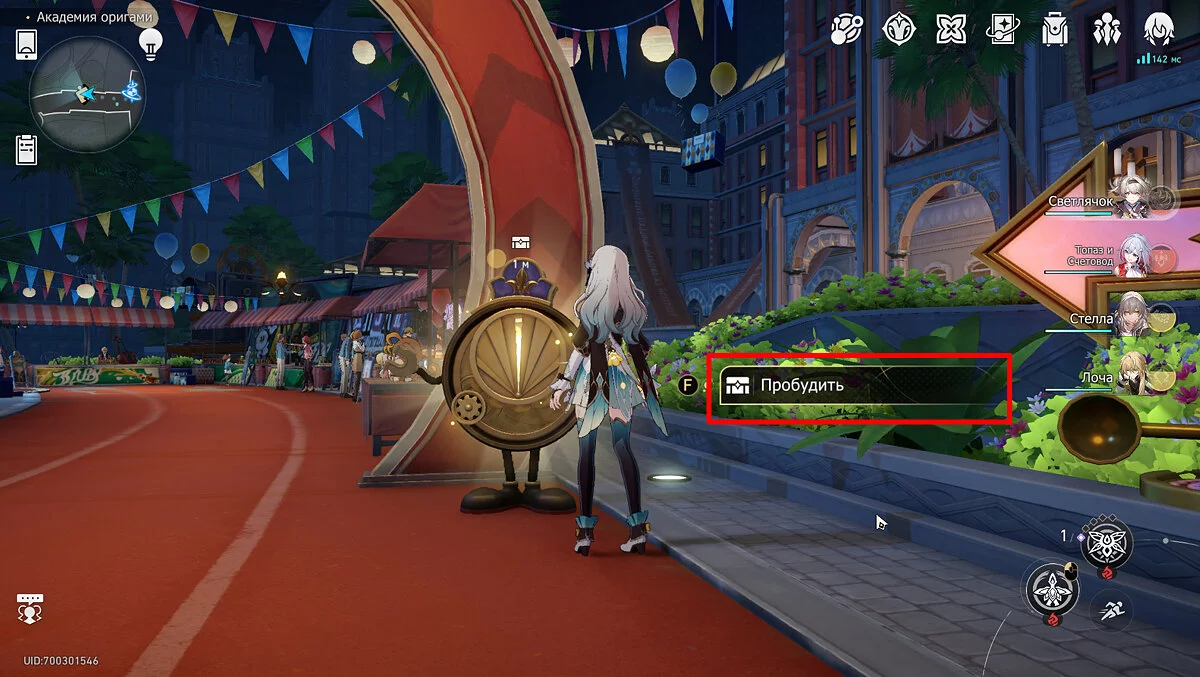
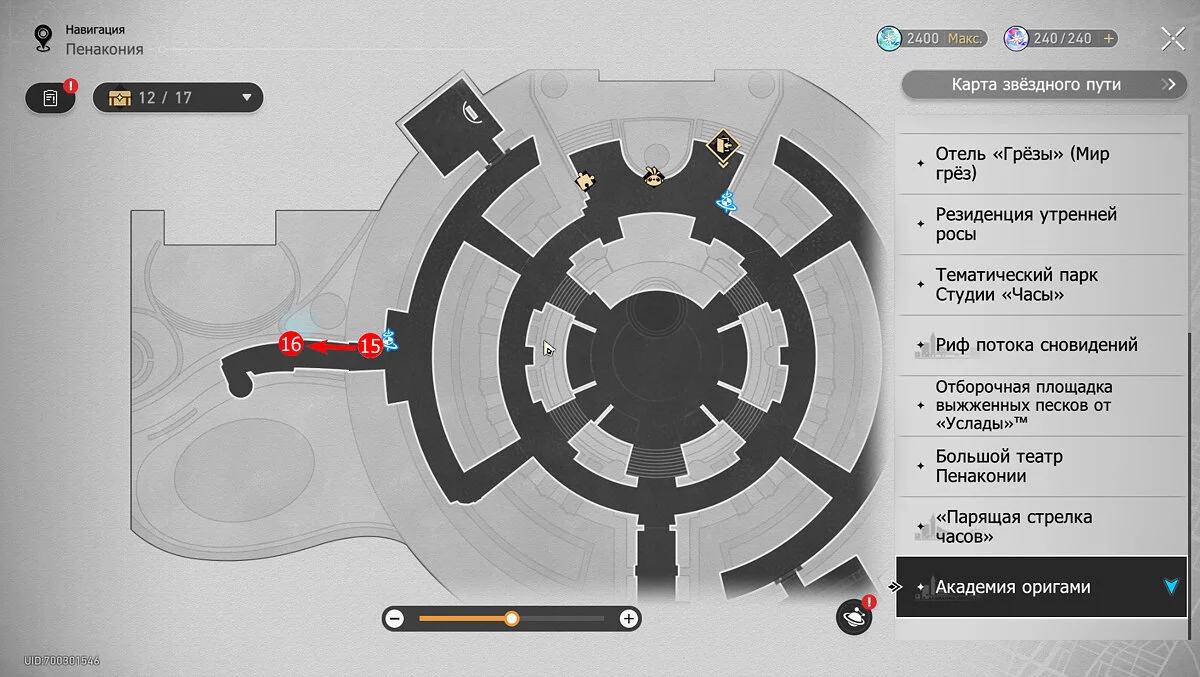
From the last chest, turn right and run to the first fork to turn left, or immediately teleport to the anchor at the Creative Fair and turn at the bend. You will end up on the street. The broken Dream Clocks will be standing near the red arch on the right.
Interact with them and repair. To solve the puzzle, look at the constructor's arrangement in the screenshot above. After successfully solving it, you will receive 20 stellar jades and various useful materials.
Chest #16
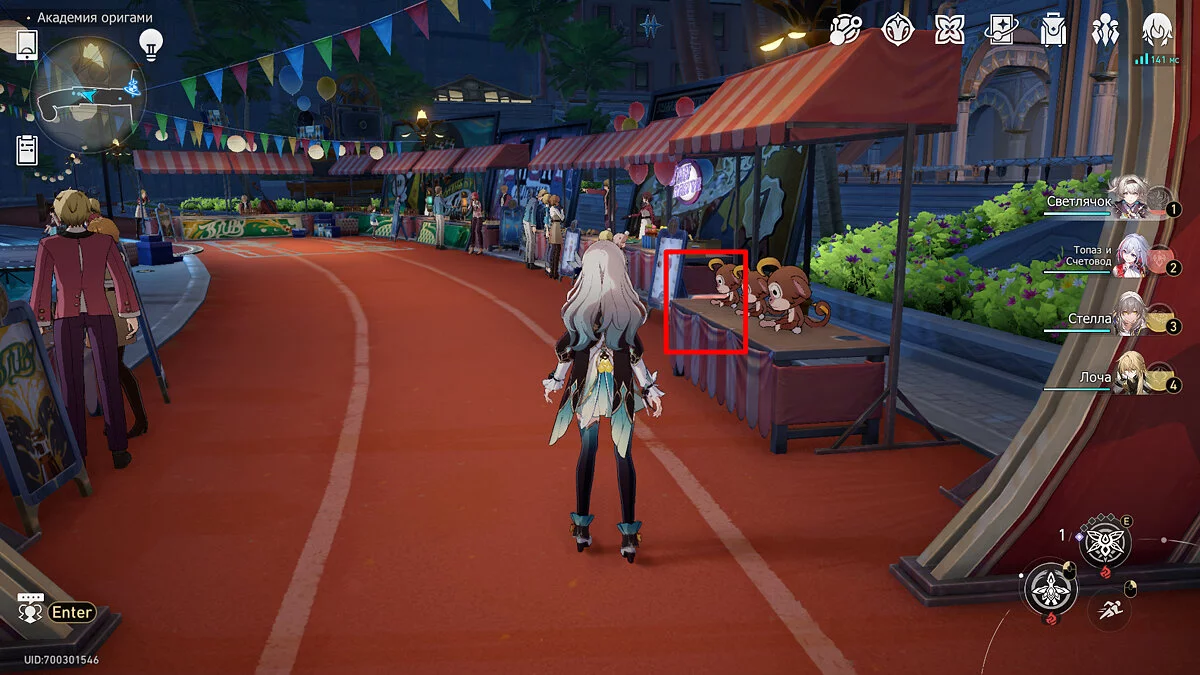
Walk literally a few steps along the same street, reaching the end of the stand with monkeys, which is on the right side of the alley. Behind the counter, there will be another chest, for which you can get 5 stellar jades.
Chest #17
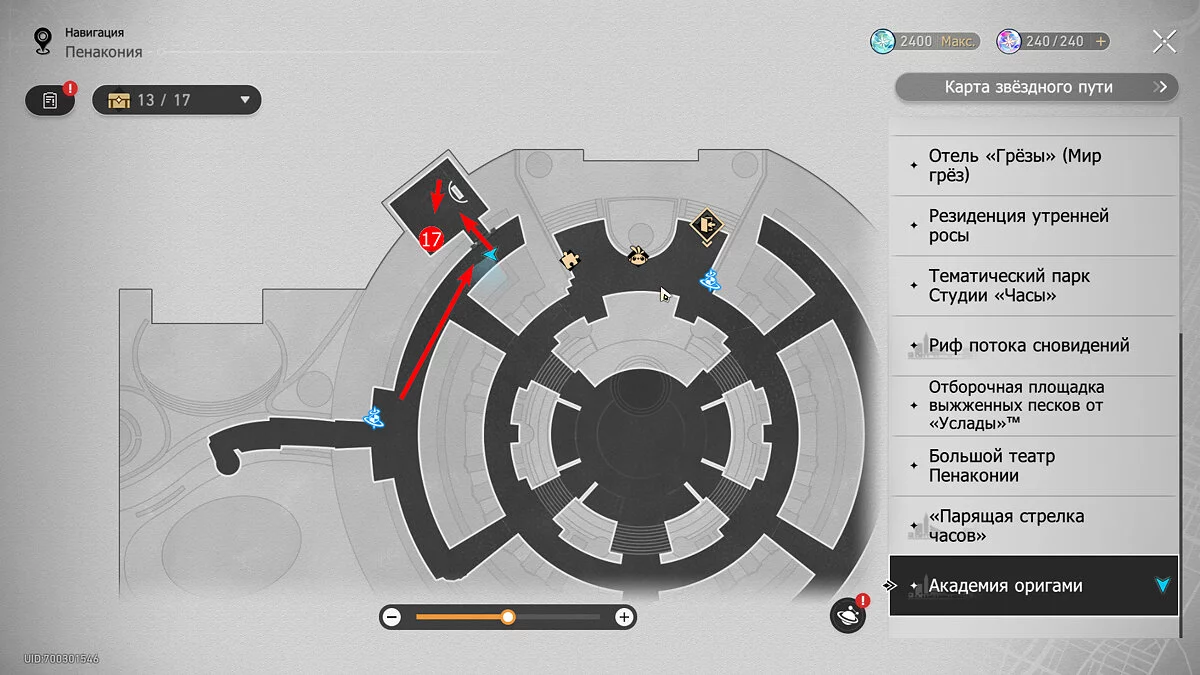
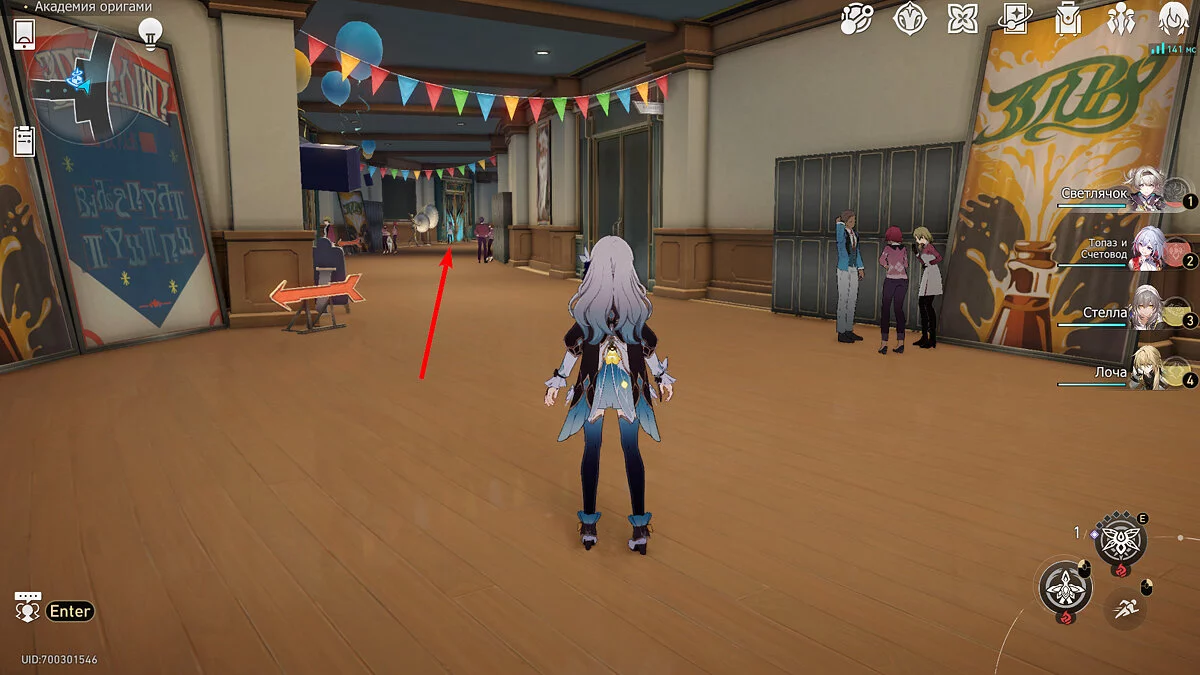
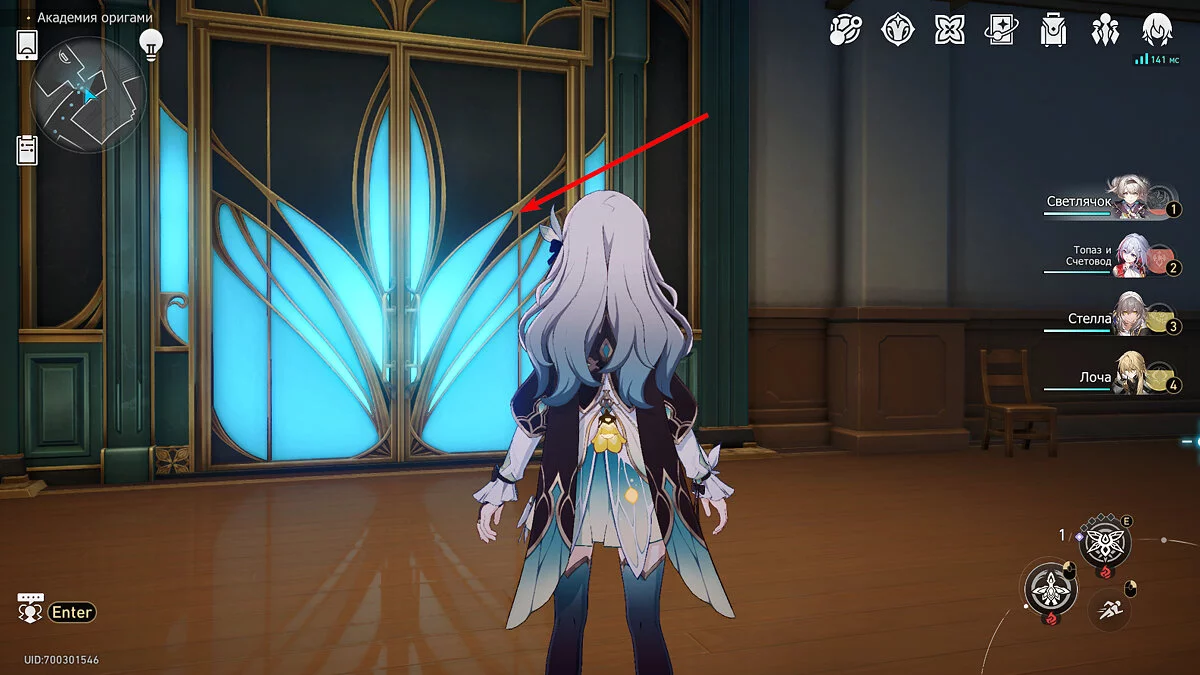
Return to the spatial anchor at the Creative Fair, but this time continue straight along the street until you see another blue door on the left, leading to the second lecture hall. The chest will be on the left side of the large banner with a white background, in the corner of the room.
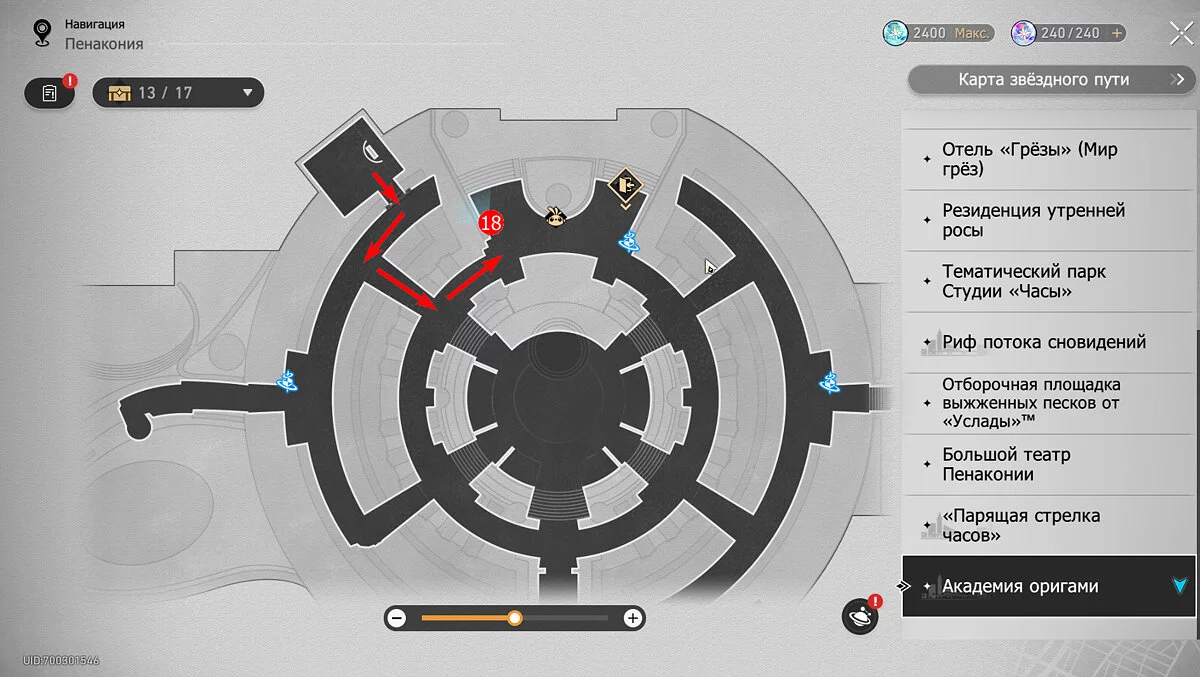
Chest #18
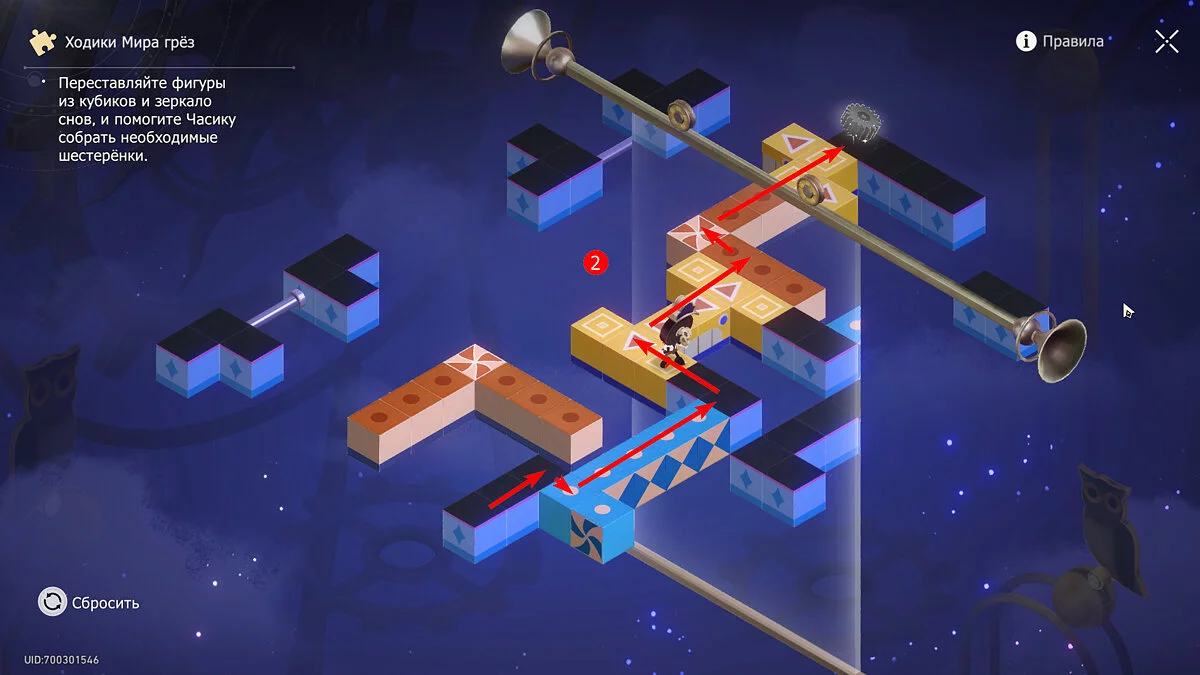
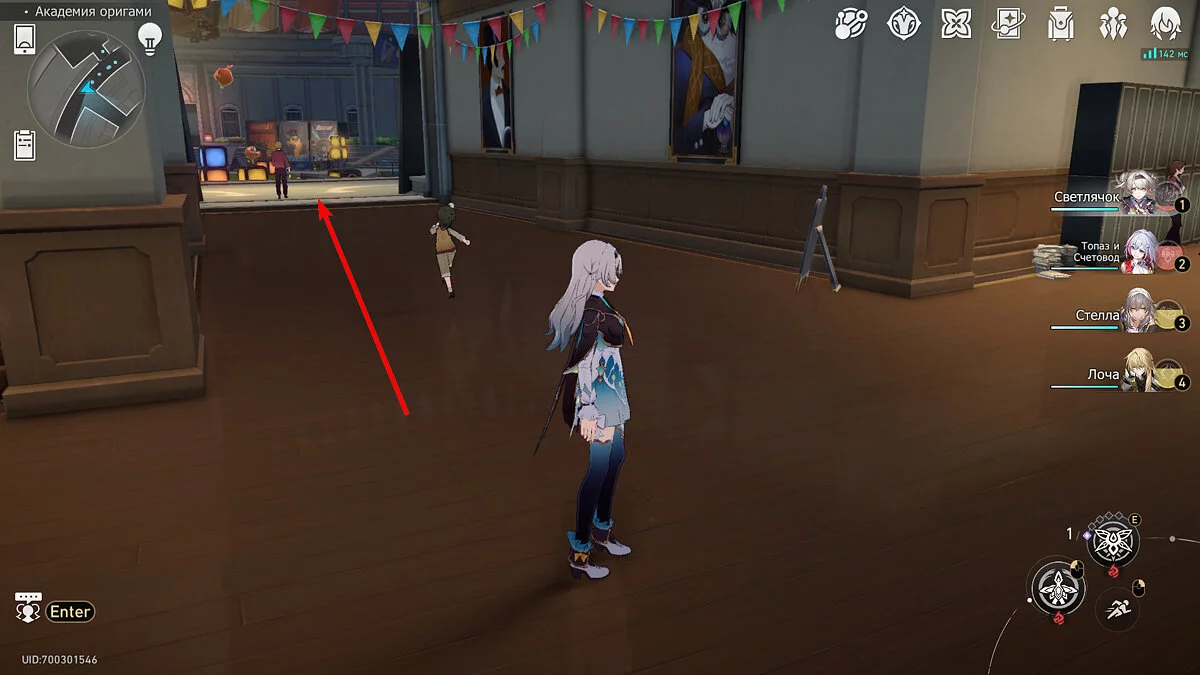
Exit the lecture hall into the corridor and run back towards the previous spatial anchor. At the first fork, turn left and you will find yourself in a small courtyard of the Academy. Head towards the owl statue, but keep to the left. At the steps, you will see another set of Dream Clocks.
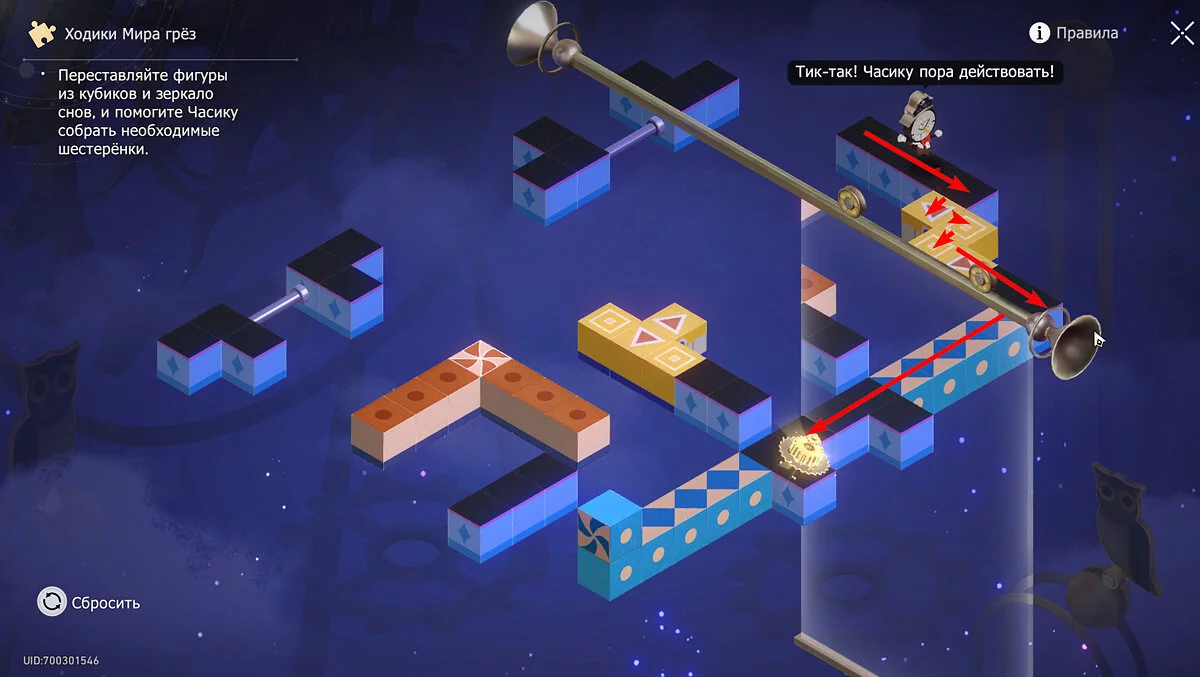
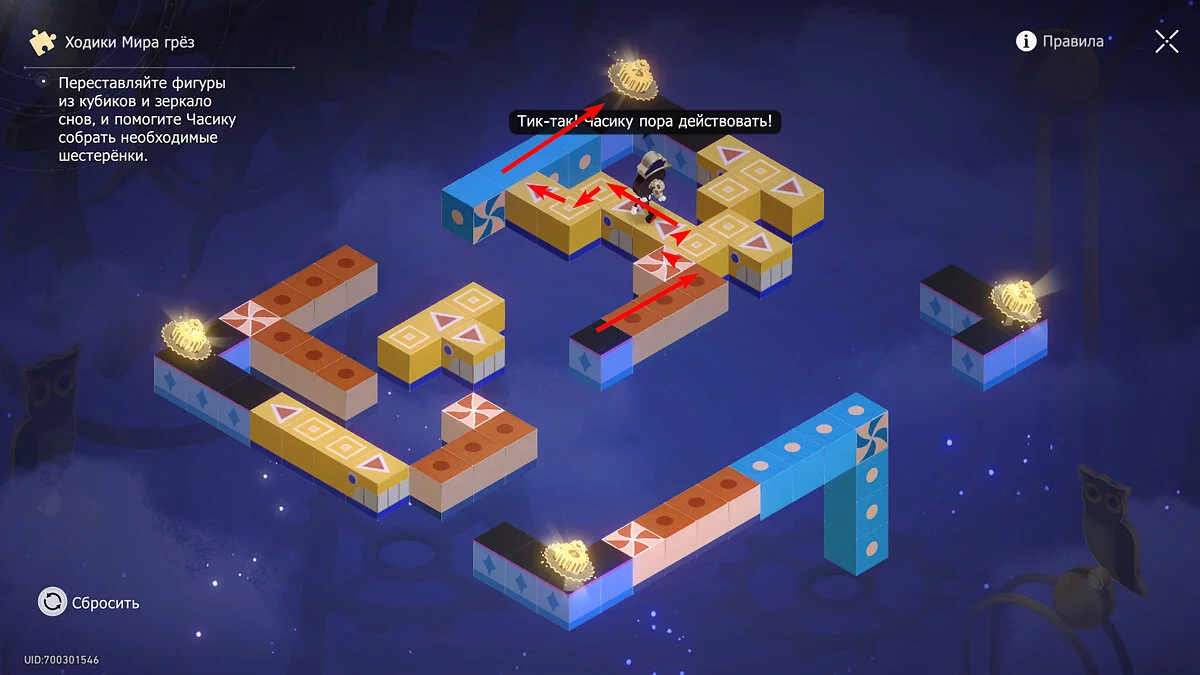
Interact with them and enter the device's emotional environment to solve another puzzle with the Clock. There will be several golden gears and you can build a path to any of them, the reward will remain the same. The screenshot shows the construction of one of the paths. In any case, you can build the road several times, or you can take 20 stellar jades right away.
Chest #19
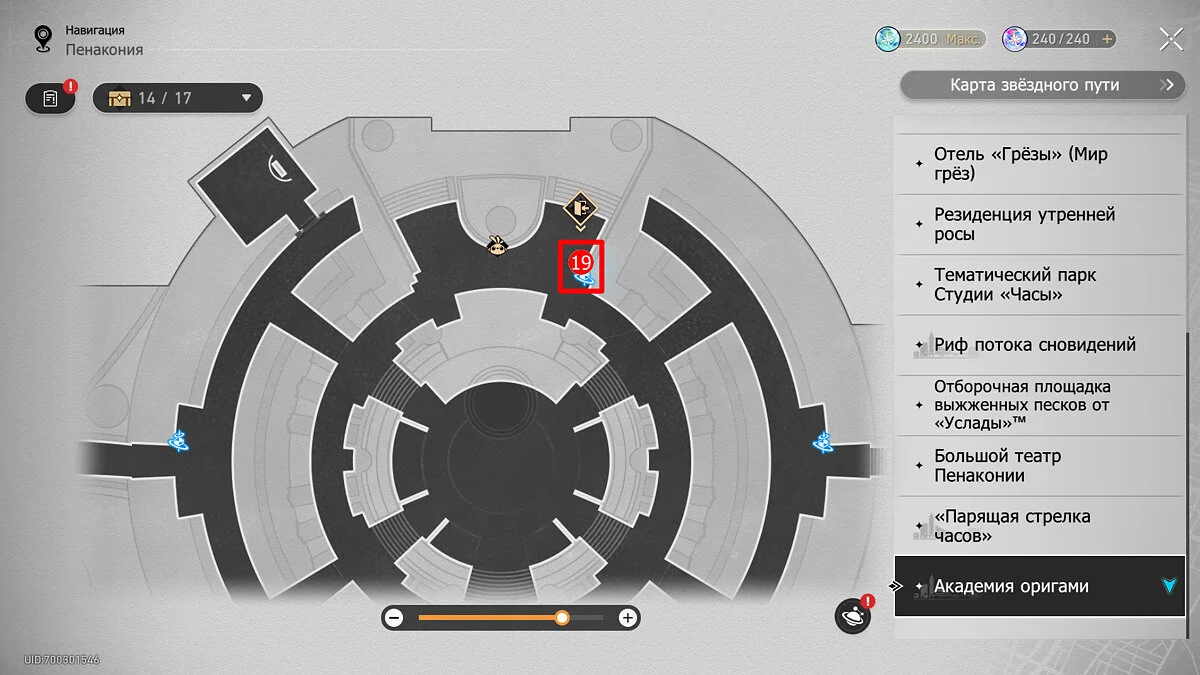
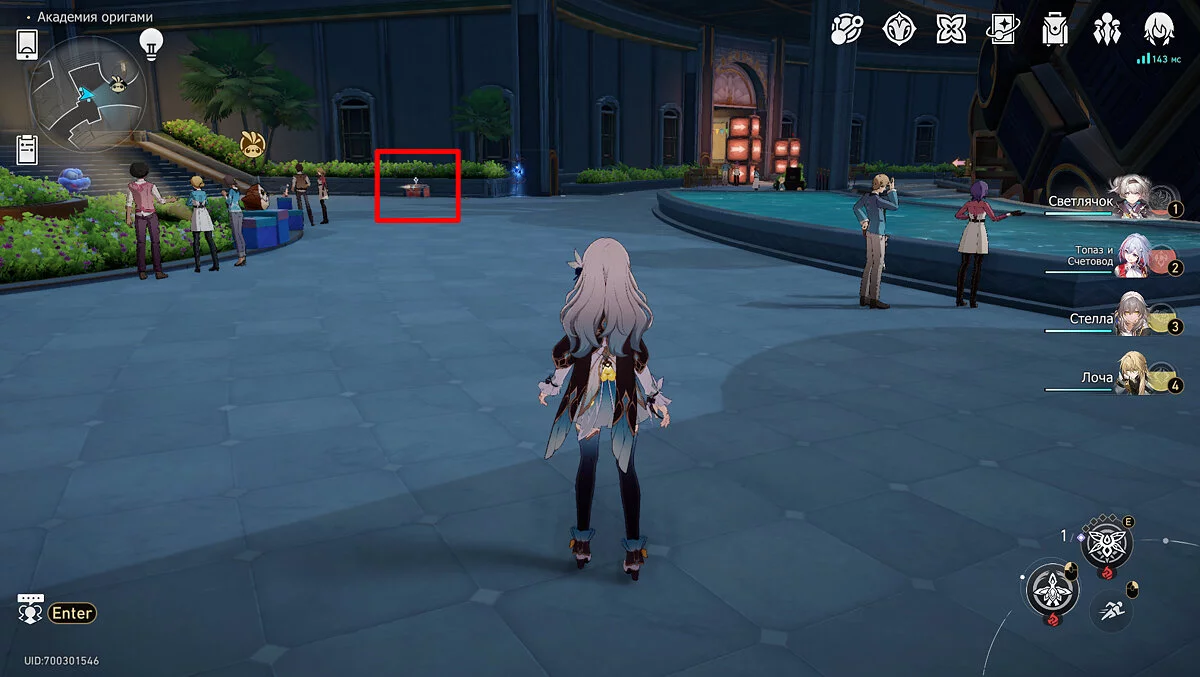
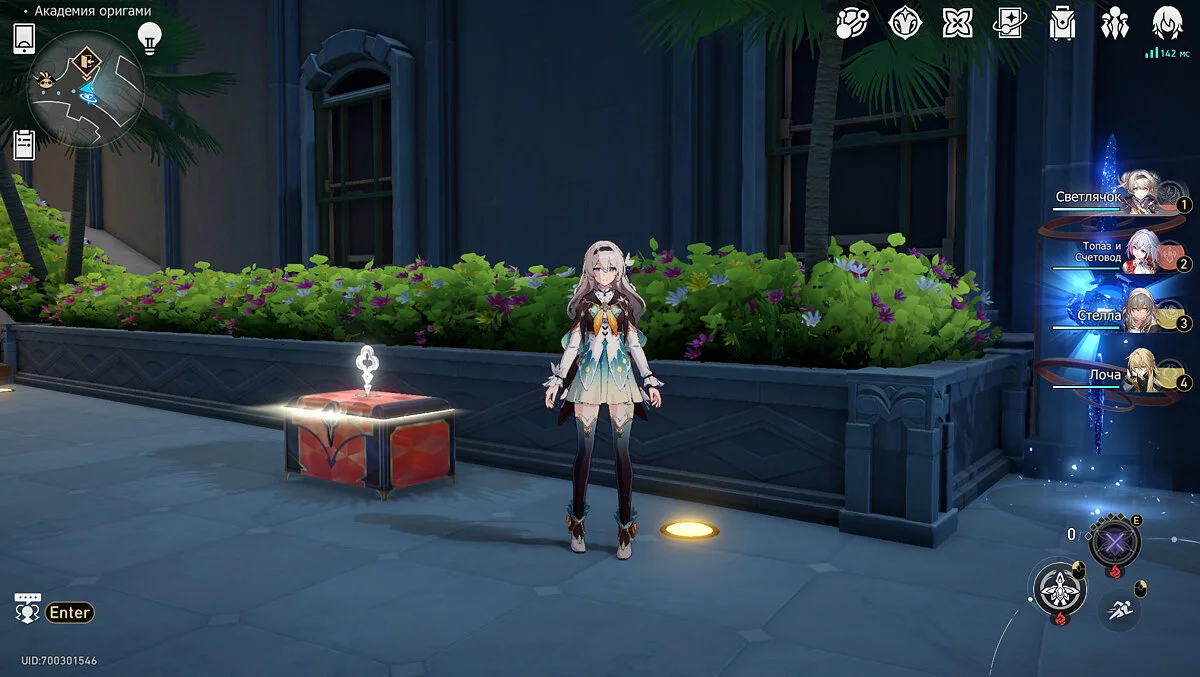
From the Dream Clocks, run to the spatial anchor opposite, or immediately teleport to the «Glaux Statue» waypoint. The common chest will be a few meters from the device.
Chest #20
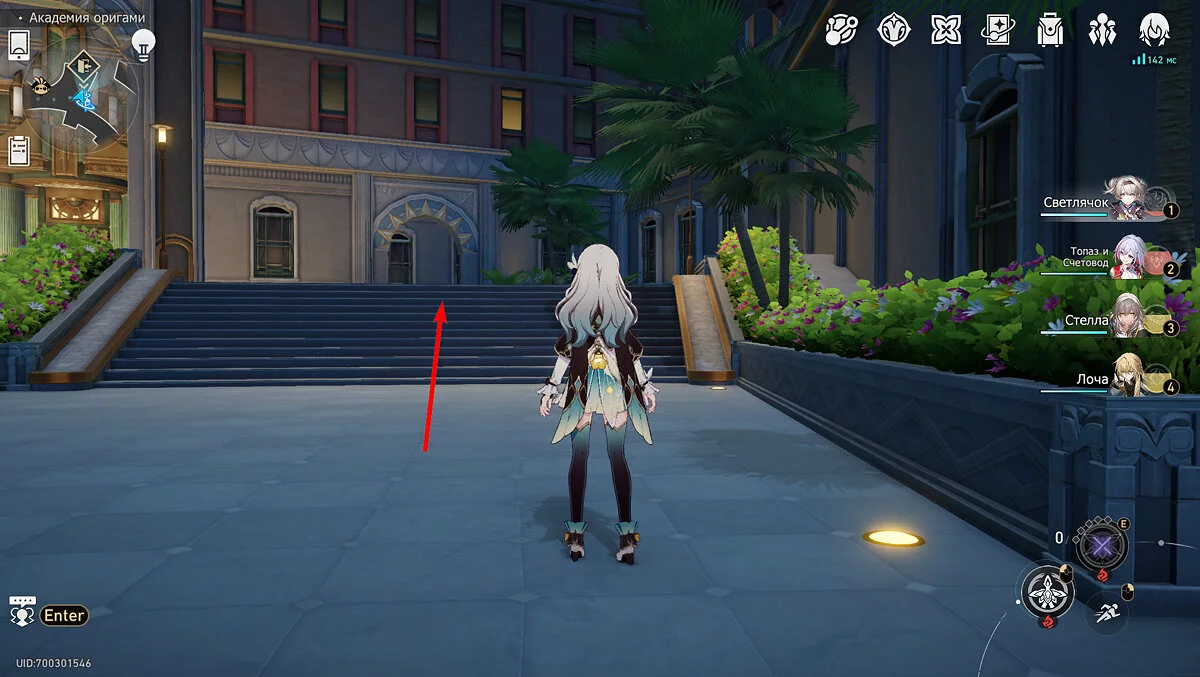
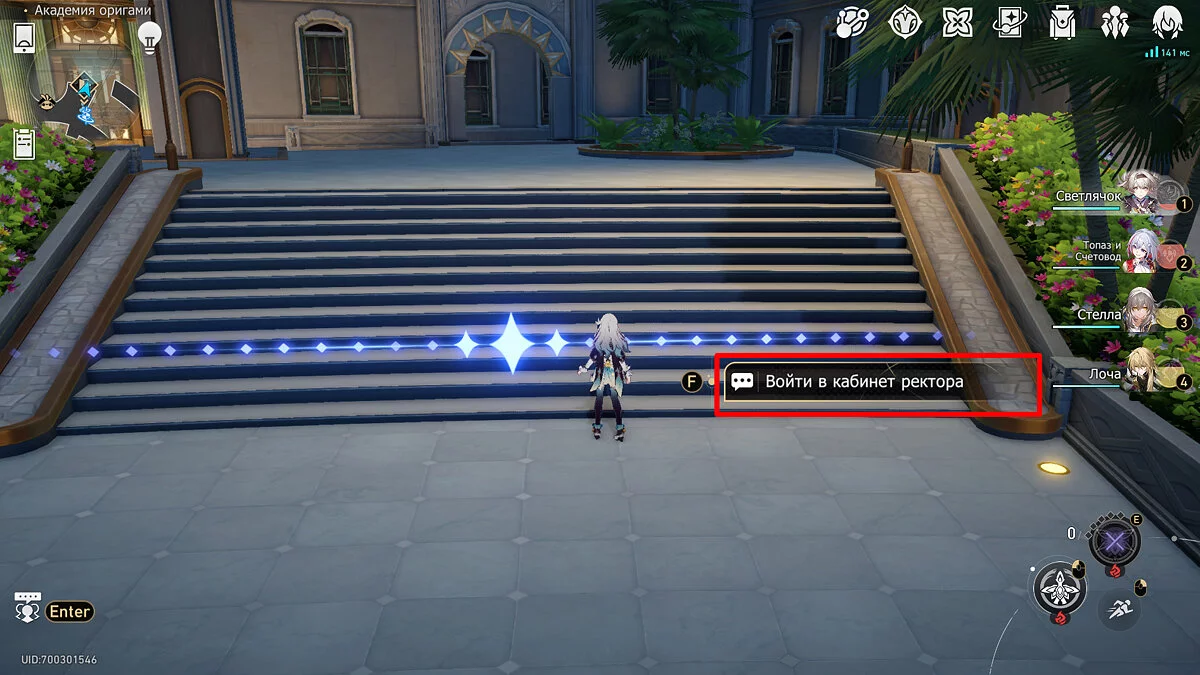
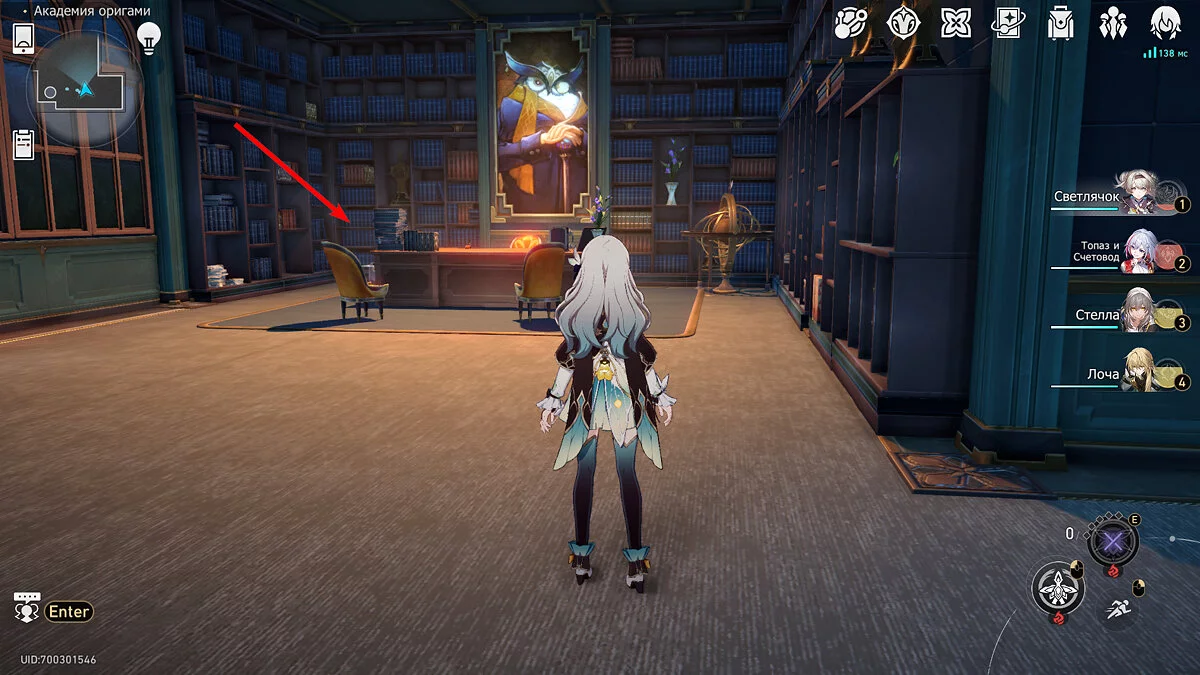
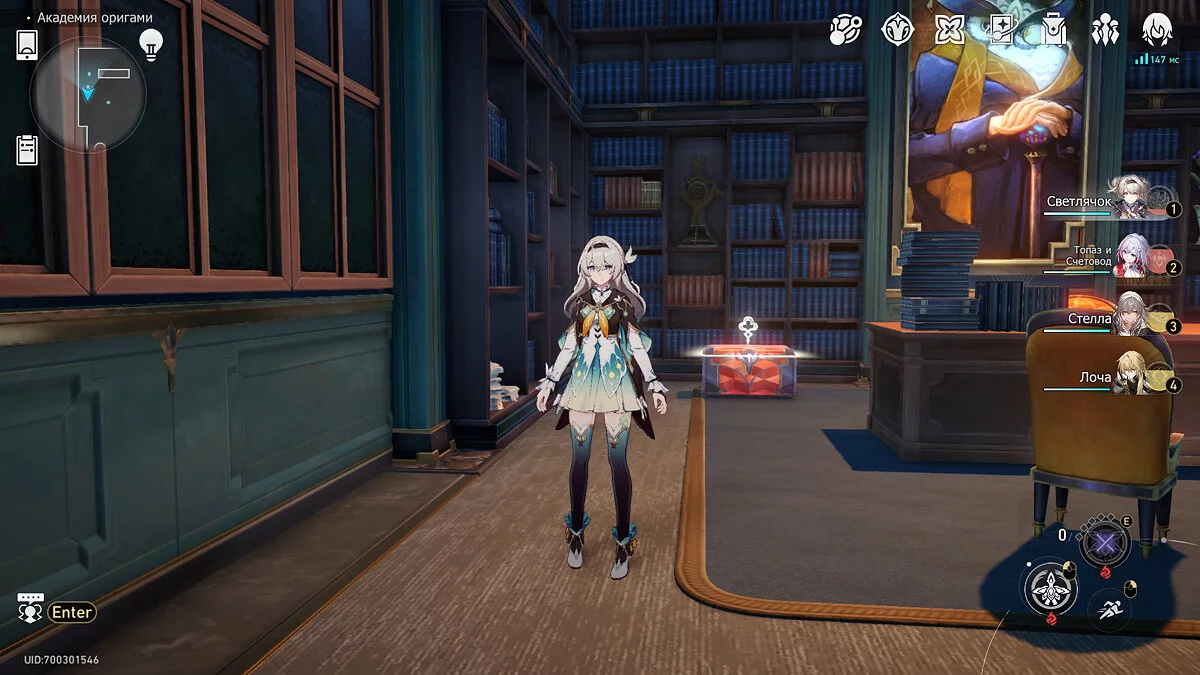
Climb up the steps from the teleport and click on «visit the rector's office». After that, you will enter a separate location. Approach the rector's desk and take the chest that stands behind it.
Other guides
- How to Get Free Polychrome in Zenless Zone Zero
- Guide for Zenless Zone Zero Beginners: Tips and Tricks
- All Chests and Puzzles in the House of Chains in Honkai: Star Rail
- All Origami Birds in the Origami Academy in Honkai Star Rail: How to Find Them
- All Clockwork Mechanisms in Origami Academy in Honkai Star Rail: How to Find and Get Achievements
- All Chests and Puzzles on the Skybreaker in Honkai: Star Rail
- Alle Truhen und Rätsel im Haus der Ketten in Honkai: Star Rail
- Alle Truhen und Rätsel auf dem Skybreaker in Honkai: Star Rail
- Gruppenchat kommt wahrscheinlich zu Honkai: Star Rail
-
Guide for Zenless Zone Zero Beginners: Tips and Tricks
-
All Chests and Puzzles in the House of Chains in Honkai: Star Rail
-
How to Get Free Polychrome in Zenless Zone Zero
-
All Origami Birds in the Origami Academy in Honkai Star Rail: How to Find Them
-
All Chests and Puzzles on the Skybreaker in Honkai: Star Rail
