All puzzles and riddles in Dragon Age: The Veilguard
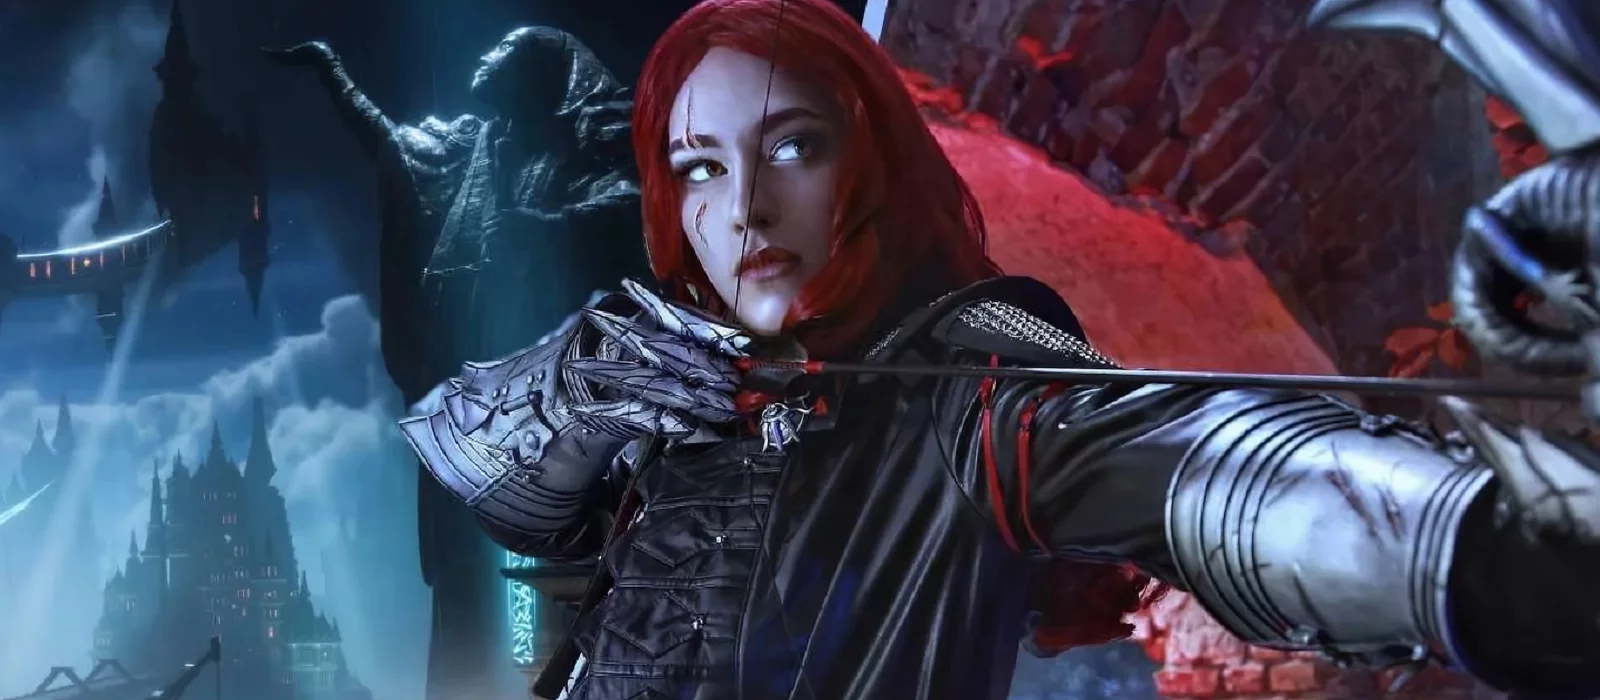
In the recently released Dragon Age: The Veilguard, you are in for an amazing adventure, full of not only an exciting storyline but also engaging puzzles. Throughout the main and side quests, you will encounter numerous events that require attentiveness and logical thinking. In this guide, we will take a detailed look at each of the puzzles we managed to find and offer you useful tips and strategies for their successful solution.
Statue Puzzle (Lighthouse)
After completing the quest End of the Beginning, you will find yourself in the mysterious Lighthouse — a unique location within the Fade. This puzzle can easily be overlooked, especially if you focus solely on advancing the main storyline.
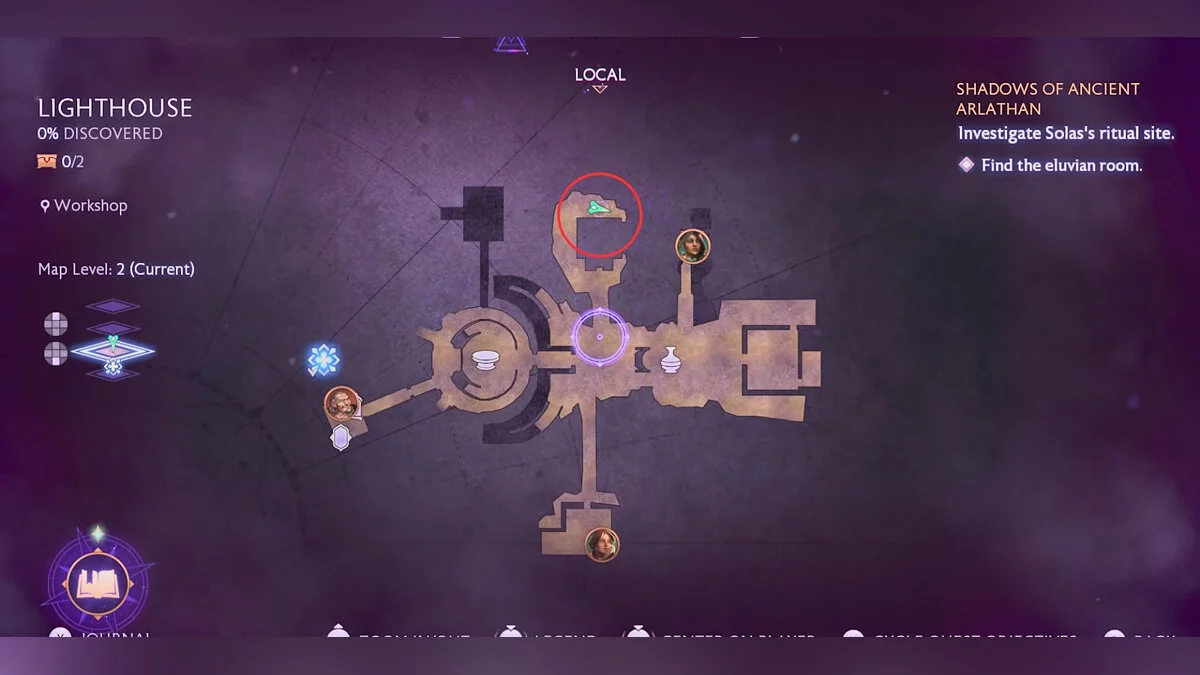
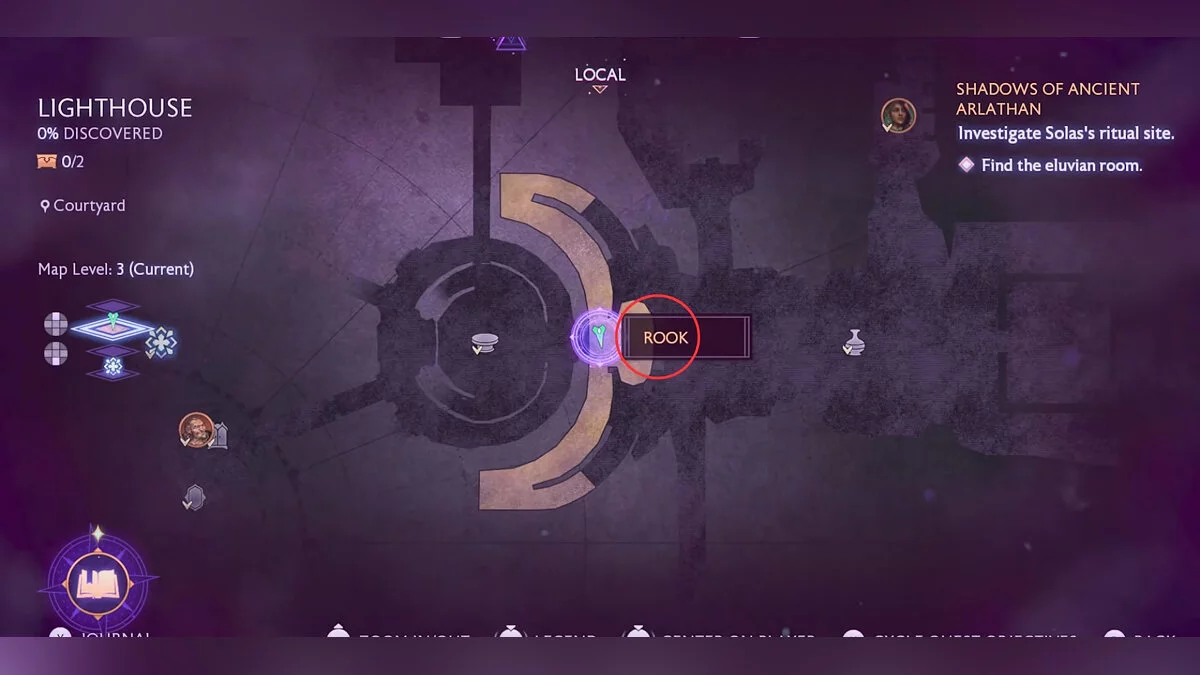
After completing the prologue and talking with your companions, you should leave the main library building and go into the courtyard. Head north on the map, bypassing the building with the vine-covered door on the left, known as the Workshop.
Go around this building on the left side, and you will come across a tall statue with a mysterious note attached to its base. Don't miss the opportunity to read it — this is where you will start solving this fascinating and challenging puzzle.
On the statue, you will find a lever that you can interact with to change the direction of its gaze. Your task is to find and correctly position three pairs of statues so that they look at each other.
Location of the first pair of statues
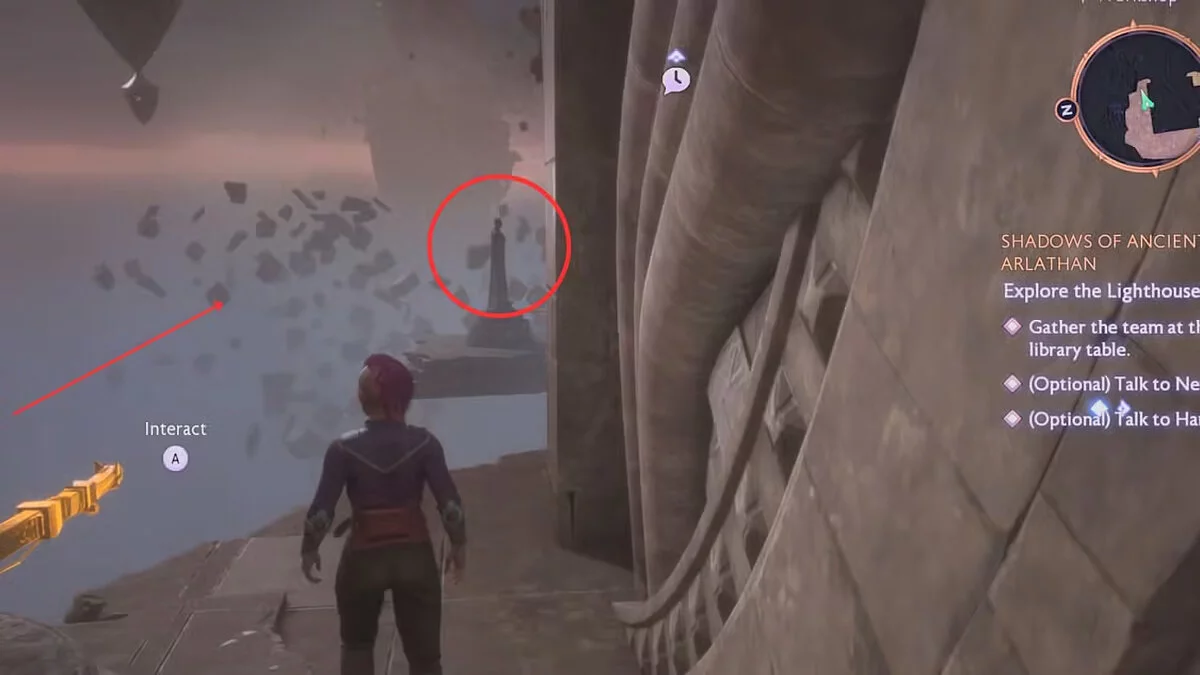
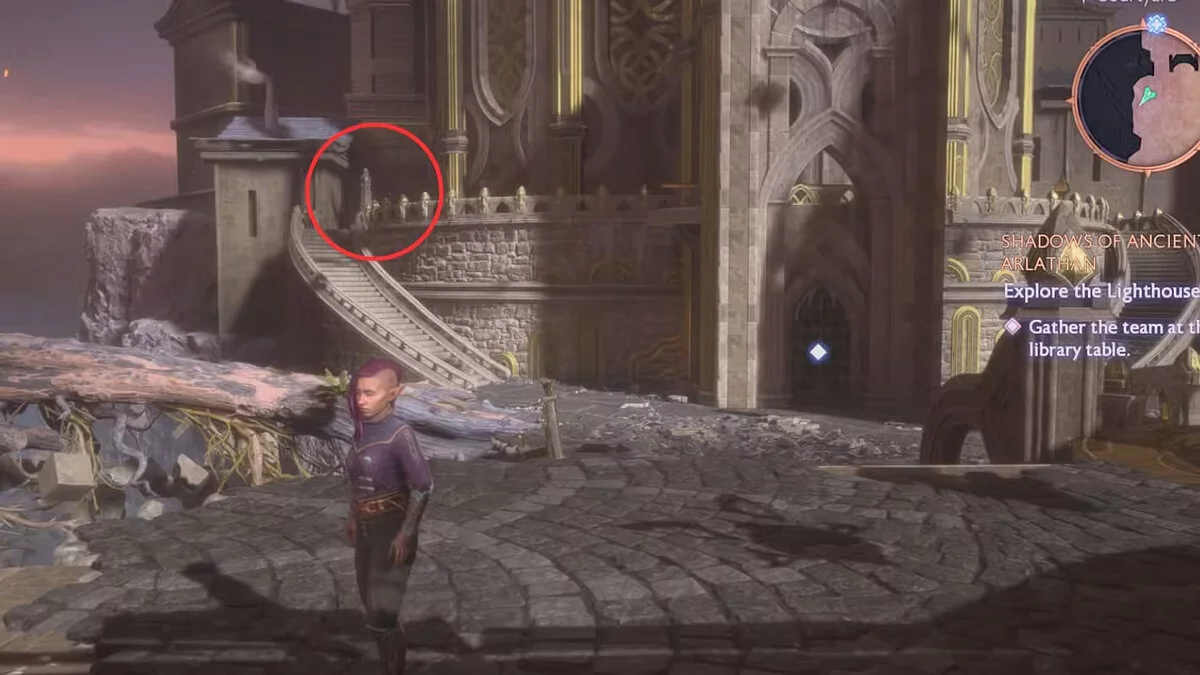
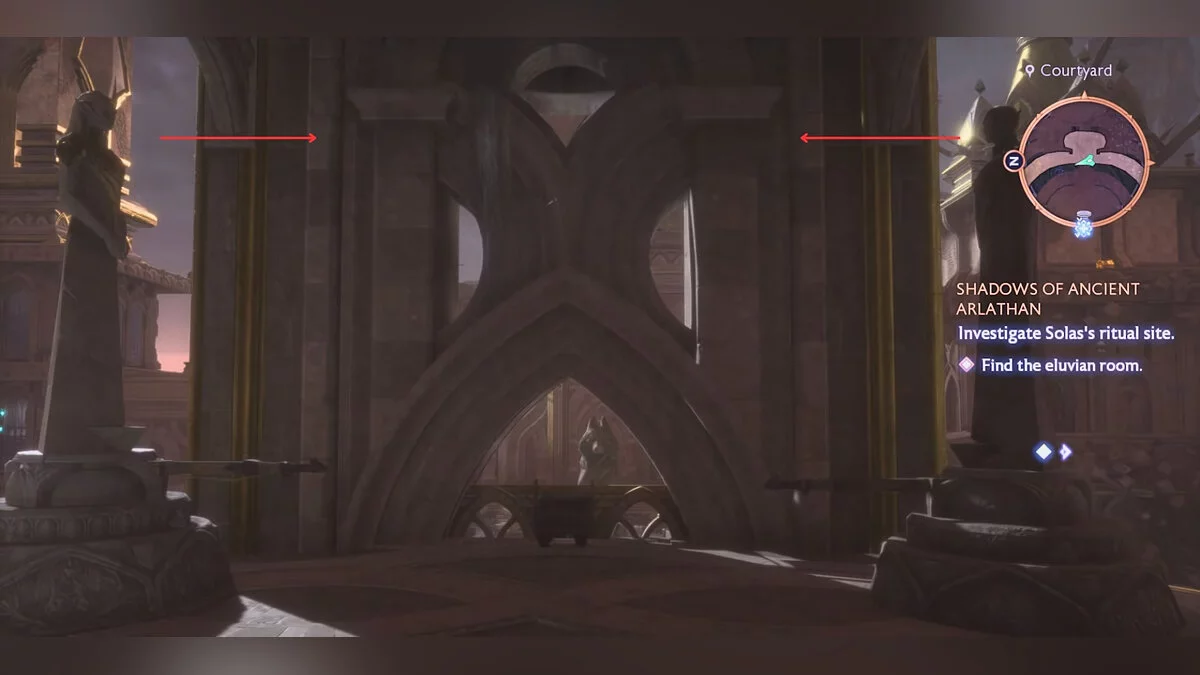
Stand facing the statue at the base of which you found the note and interact with it so that it faces east, as shown in the image.
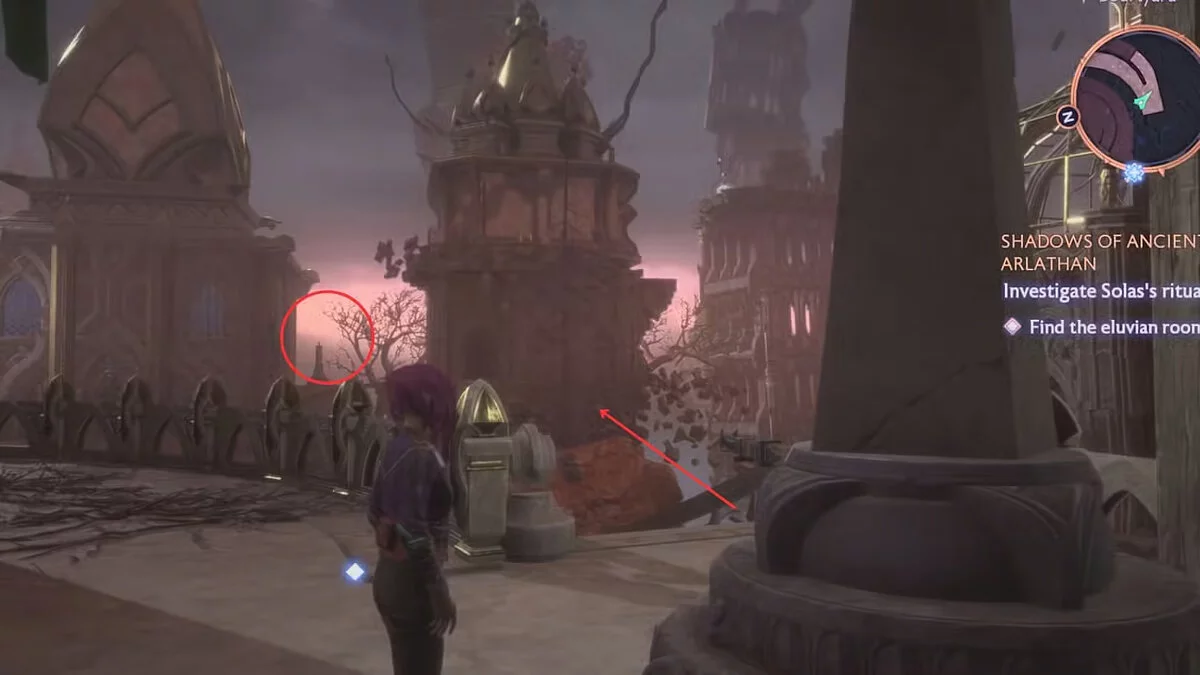
Directly in front of you, you will see another statue, which you can reach by running to the next building on the left, where one of your companions resides. Descend the ledges outside this building and carefully jump over the gaps to reach the platform below.
Turn the statue to the west so that its head is facing the first statue you found. Once you successfully solve this first part of the puzzle, a green sphere will emanate from the statues.
Location of the second pair of statues
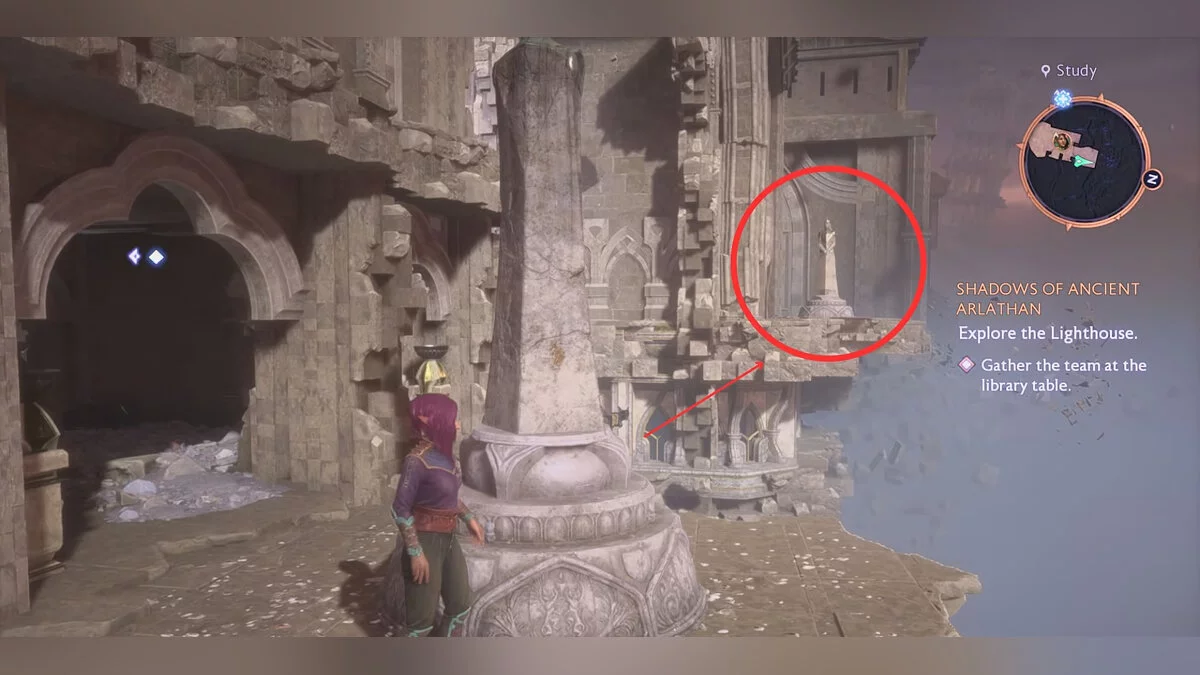
You will find the second statue to the left of the dining hall. Instead of entering the building, follow the path to the right and climb the stairs. Soon you will see the second statue located to the right of the building's perimeter.
Turn this statue to the west so that its face is looking at the library. This is the direction you will need to move to find the statue's twin. You need to climb the external library stairs to reach it.
Turn this statue to the east so that it looks at the statue by the dining hall. This action will complete the second part of the puzzle and activate further elements of the riddle.
Location of the third pair of statues
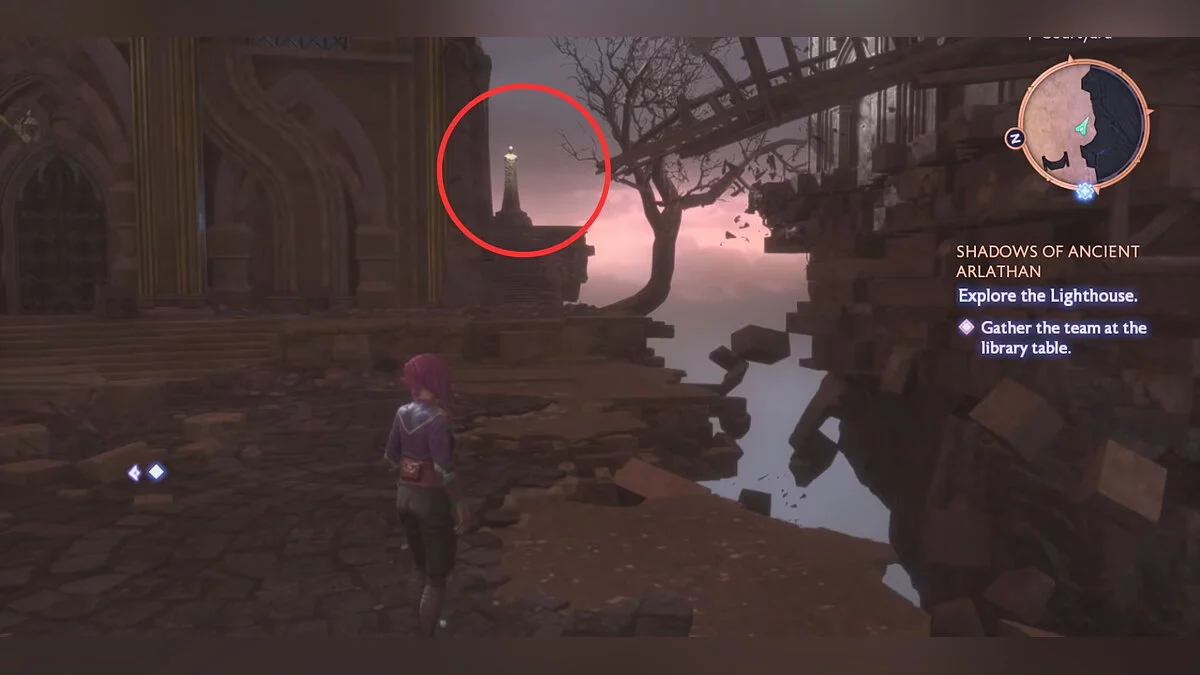
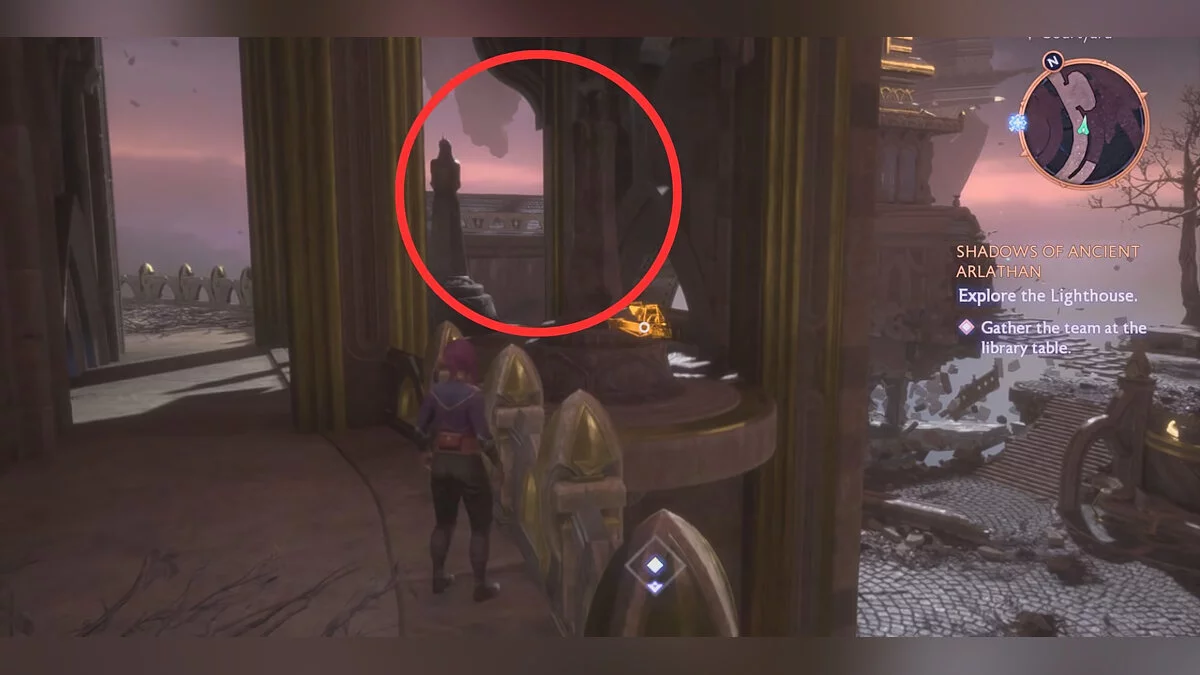
Fortunately, the last part of this puzzle is the easiest to find. When you climb the stairs by the library, look to the left — there you will see a canopy under which the third pair of statues is located.
Turn both statues so that they look at each other, thus completing the puzzle.
Reward
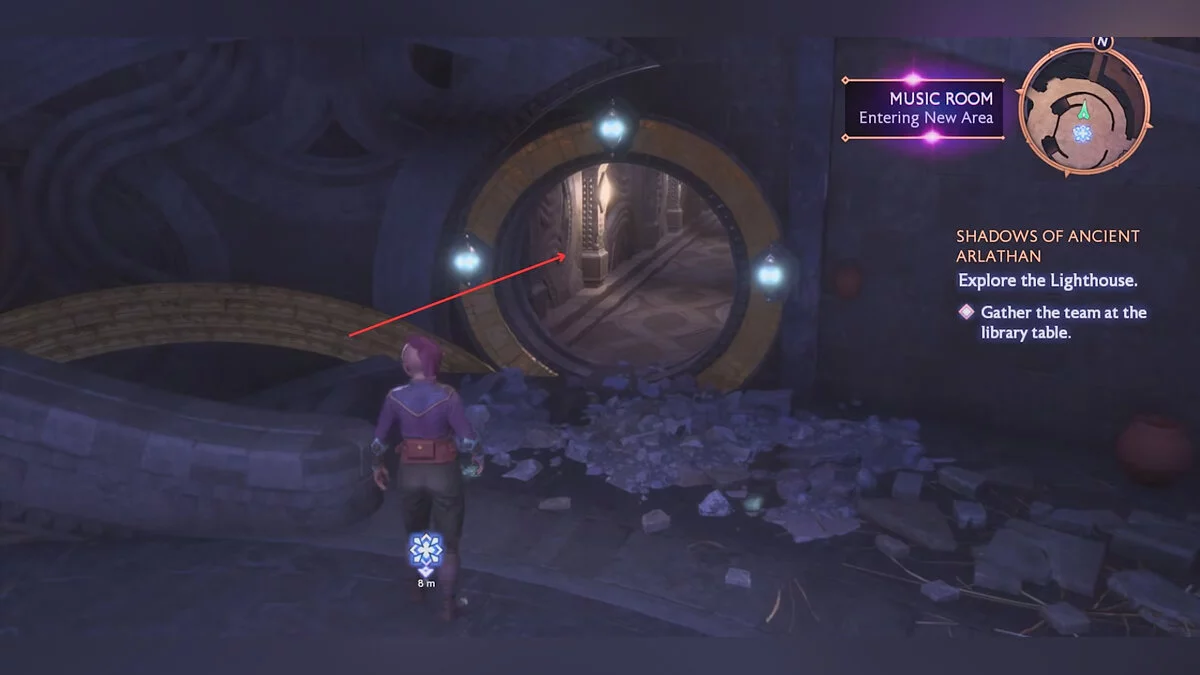
Return to the library and enter the room with the table where you gather your team. Opposite the table, you will see a round door now illuminated by three lamps. This indicates that you have successfully completed the puzzle and unlocked access to the door.
Next to the door, you will also find a plaque with the inscription Three meetings, face to face, under the sky, which can only be read after completing the puzzle. Approach the door and enter the hidden music room. Once inside, you can freely explore the room and enjoy its atmosphere. Additionally, in this room, you will find several collectible items that serve as great rewards for your efforts in solving the puzzle:
- Codex entry Memories of a Duet on the piano in the center of the room;
- Flawless Crystal;
- Gold.
Statue Puzzle on the Rivain Coast Treasure of Sharksmouth Mountain
Rivain is a kingdom in the northeast of Thedas. This picturesque place is located on a peninsula and is almost completely surrounded by water, which gives it a special charm and makes it strategically important. The only land connection to neighboring Antiva is a bridge, which adds to the isolation and uniqueness of this region. Rivain is famous for its rich history, cultural diversity, and unique architecture, making it an important part of the lore.
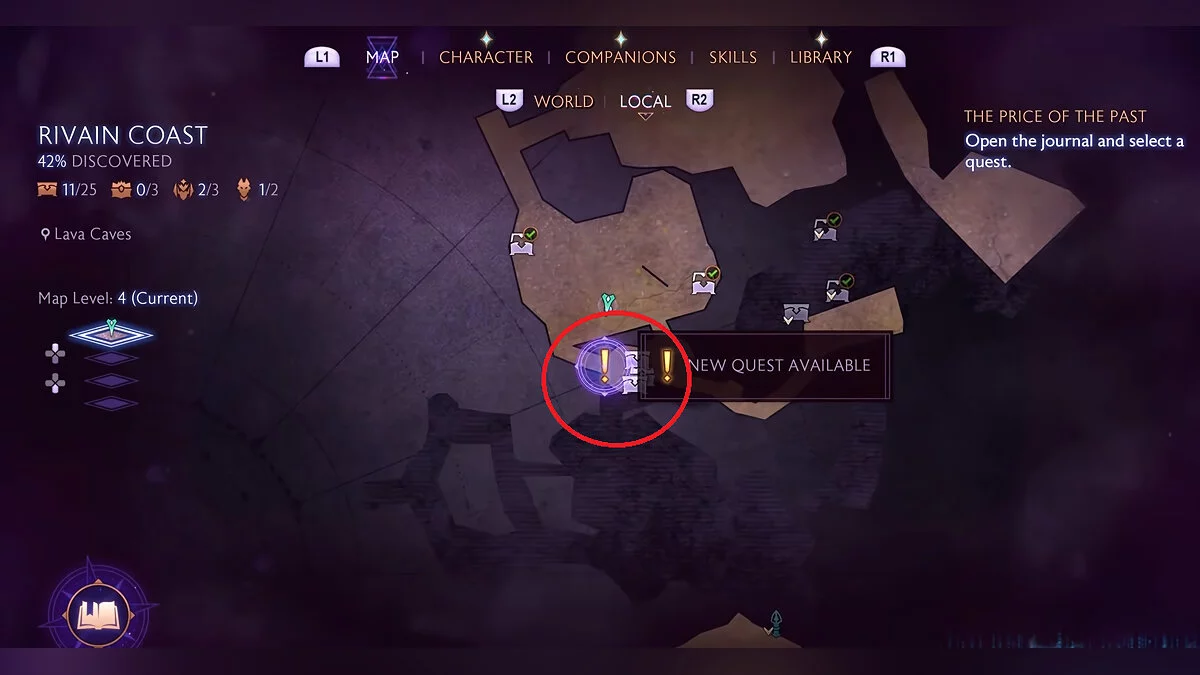
Upon reaching this location, follow the marker that will guide you through the stairs. Descend to the gates and accept the quest to start the puzzle.
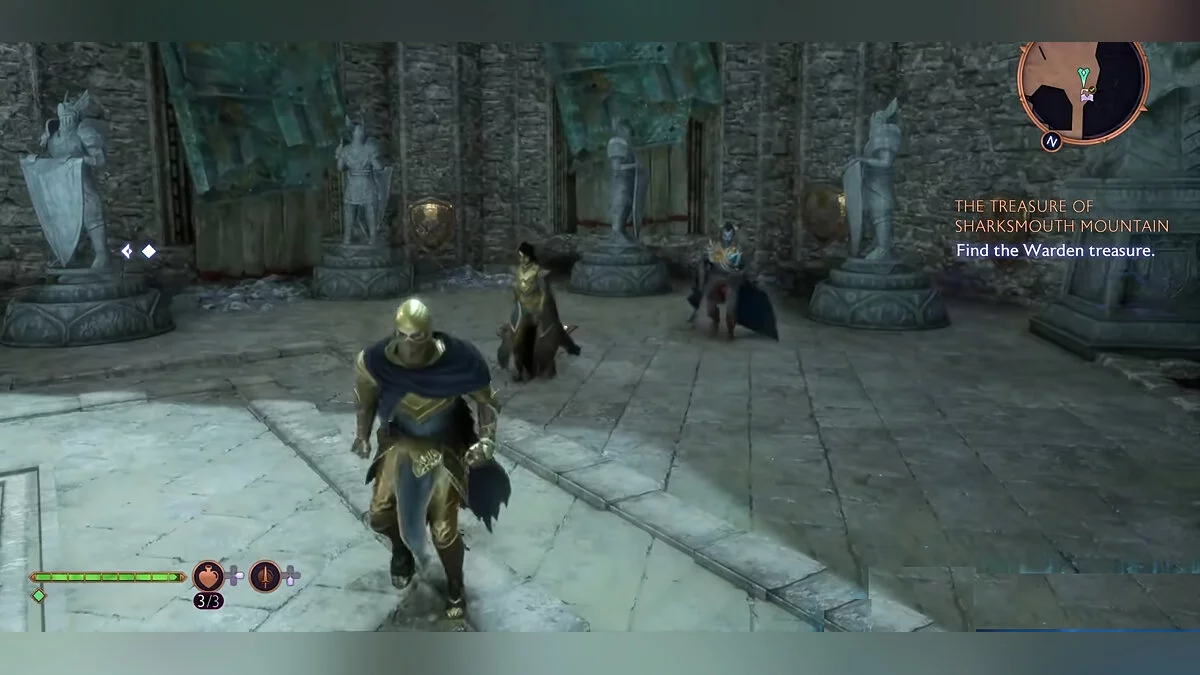
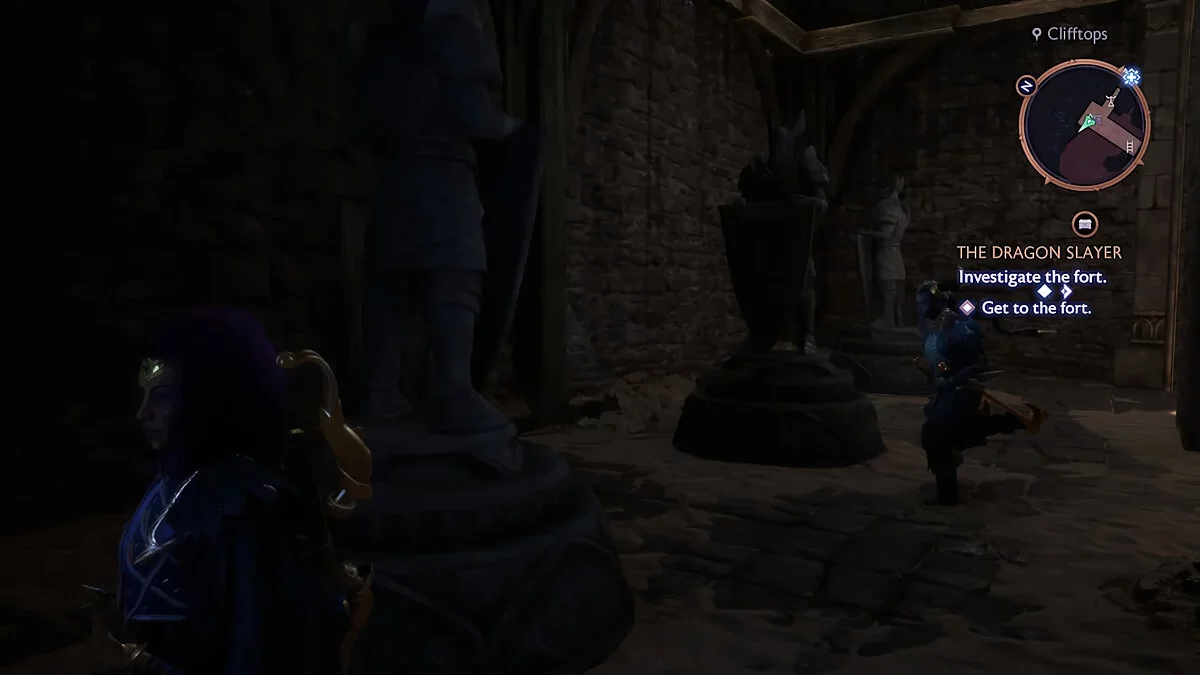
Head inside the fortress to find four statues located next to each other. Next to each statue are shields with the names of knights. Your task is to correctly turn each statue so that they face the correct directions. Pay attention to the shields to match the names and turn them in the right direction:
- Statue of Rian — facing east;
- Statue of Ifea — facing south;
- Statue of Deon — facing north;
- Statue of Cruach — facing west.
You can also simply match the direction of the statues with the image below.
Reward
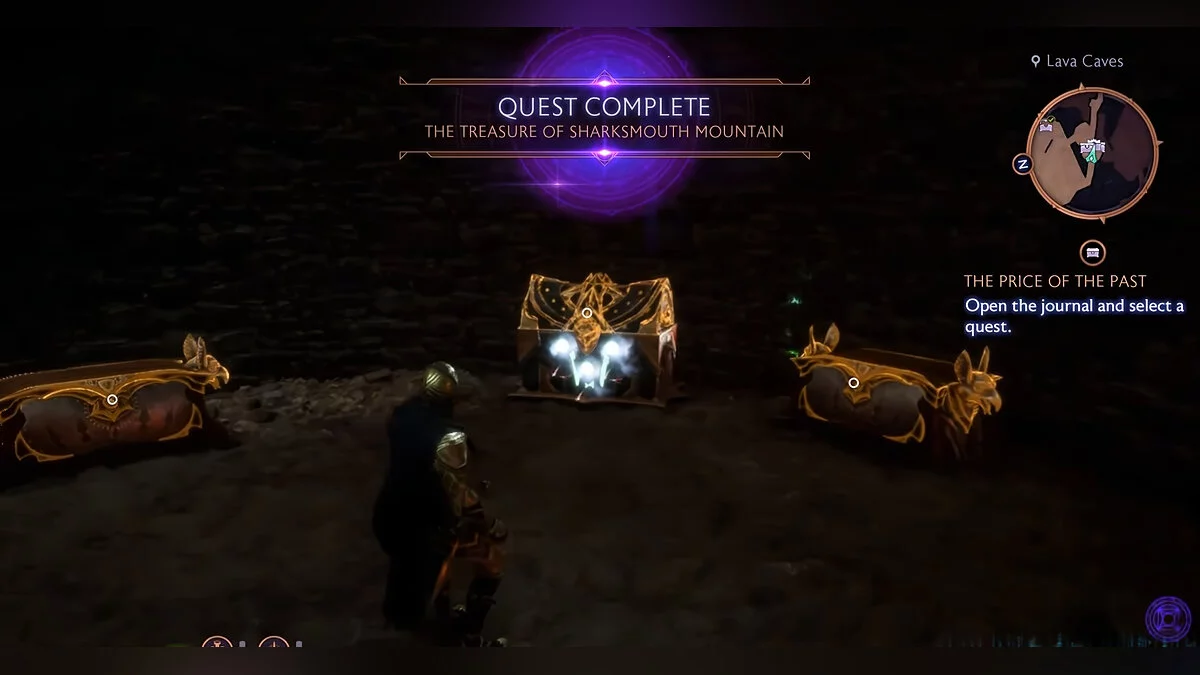
If you did everything correctly, the tower door where you accepted the quest should open. Inside the room, you will find three chests full of treasures and useful items.
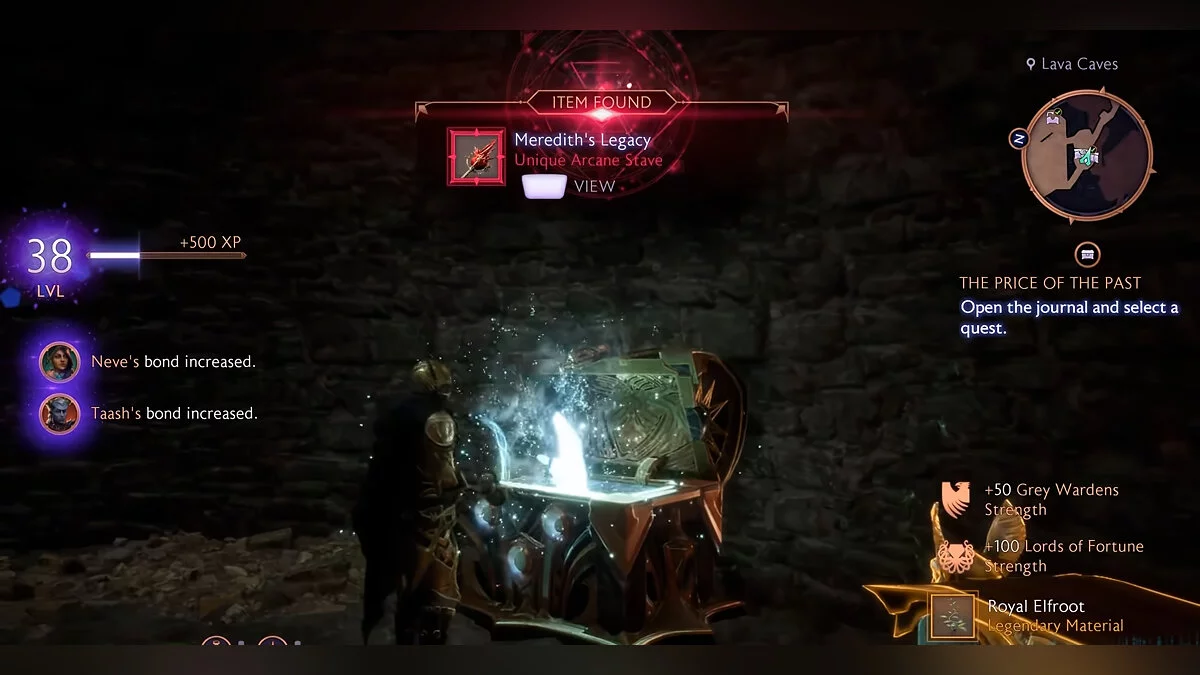
You can take duplicates of Brawler's Decorated Leathers and Weisshaupt's Wall to increase their rarity. Additionally, in the larger richly decorated chest, you will find the unique longsword Meredith's Legacy:
- +325 necrotic damage;
- +400 stun;
- +10% to leeching efficiency;
- You no longer take damage from potions.
This sword will be a powerful addition to your arsenal, so don't miss the chance to get it.
Statue Puzzle in Treviso (Dellamorte Estate)
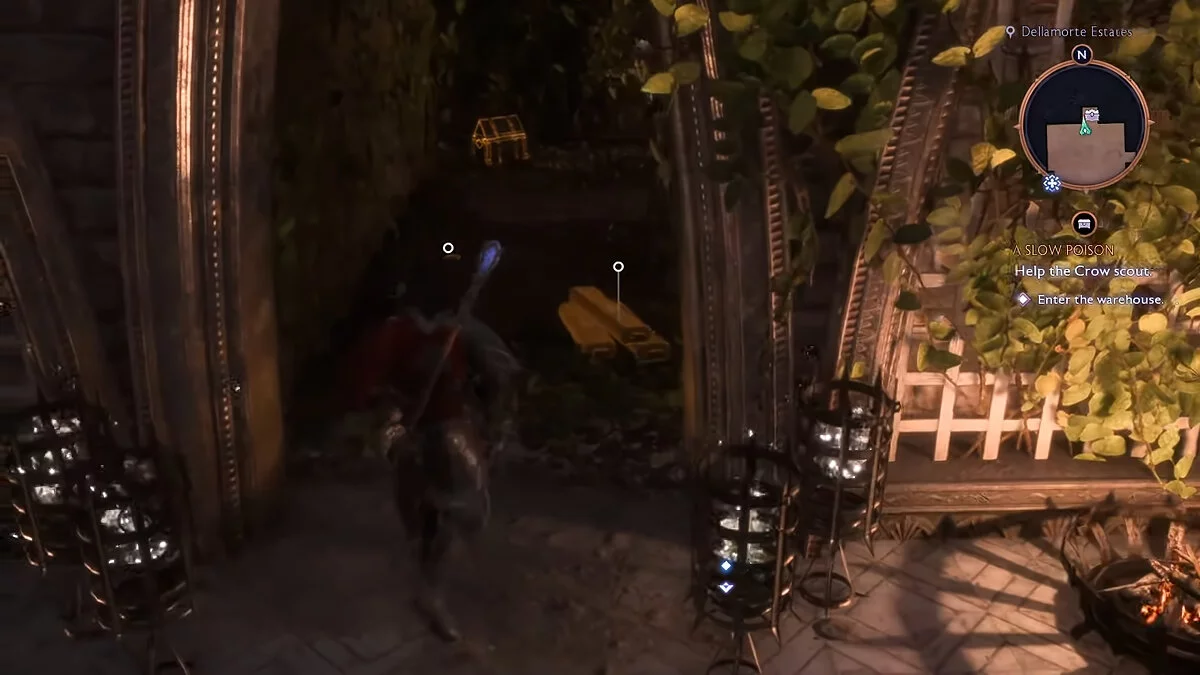
While traveling through the picturesque region of Treviso, you will discover an intriguing puzzle in the Dellamorte Estate. To unlock access to the next area, you will need to figure out the correct direction to rotate all the statues, which play a key role in this task.
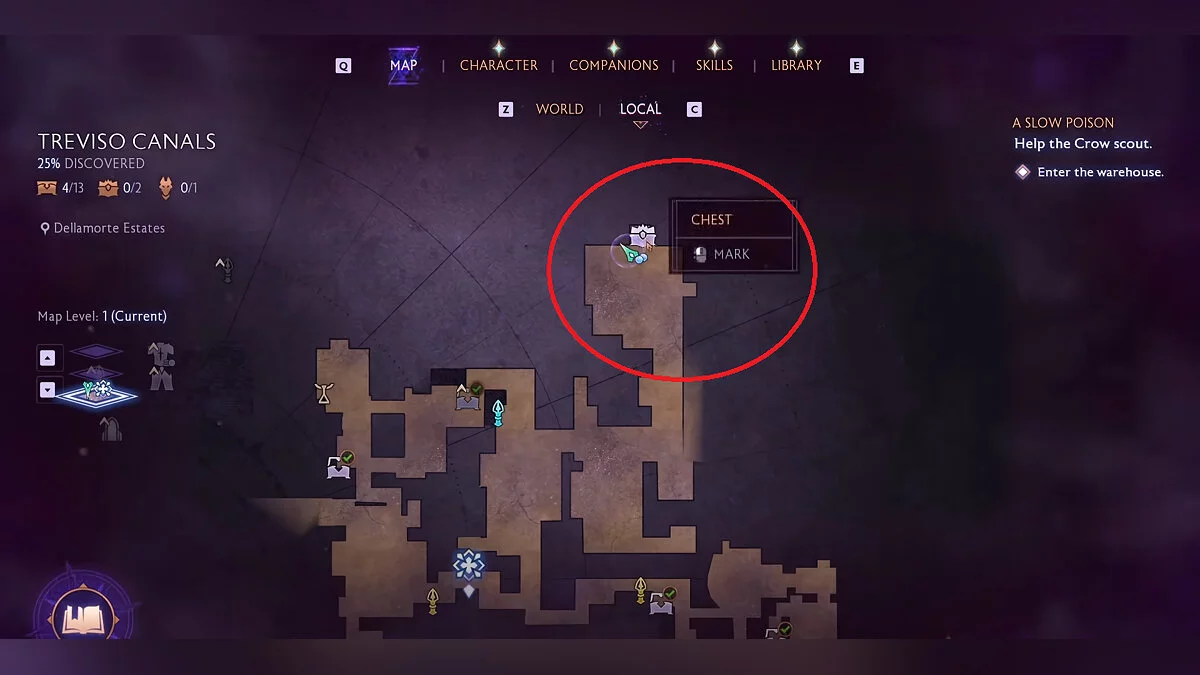
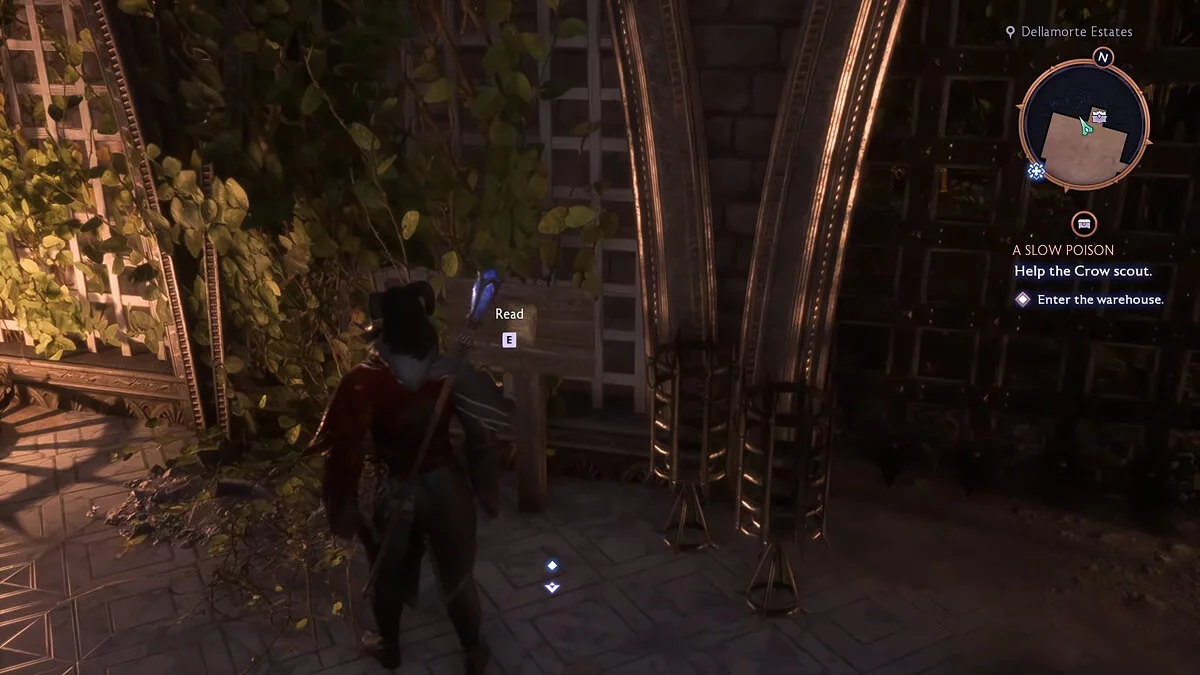
However, before you begin solving, it is crucial to understand how to activate the statue puzzle itself. Head to the marker on your map to read the text on the plaque located next to the gates, thus starting your journey through this puzzle.
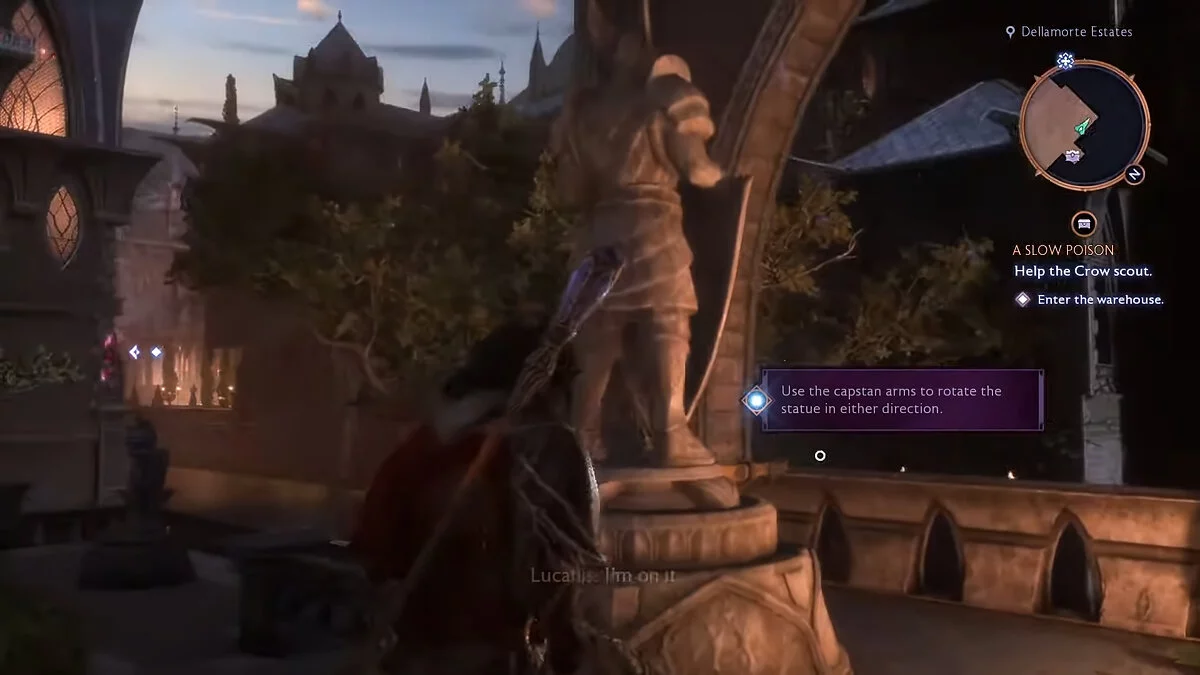
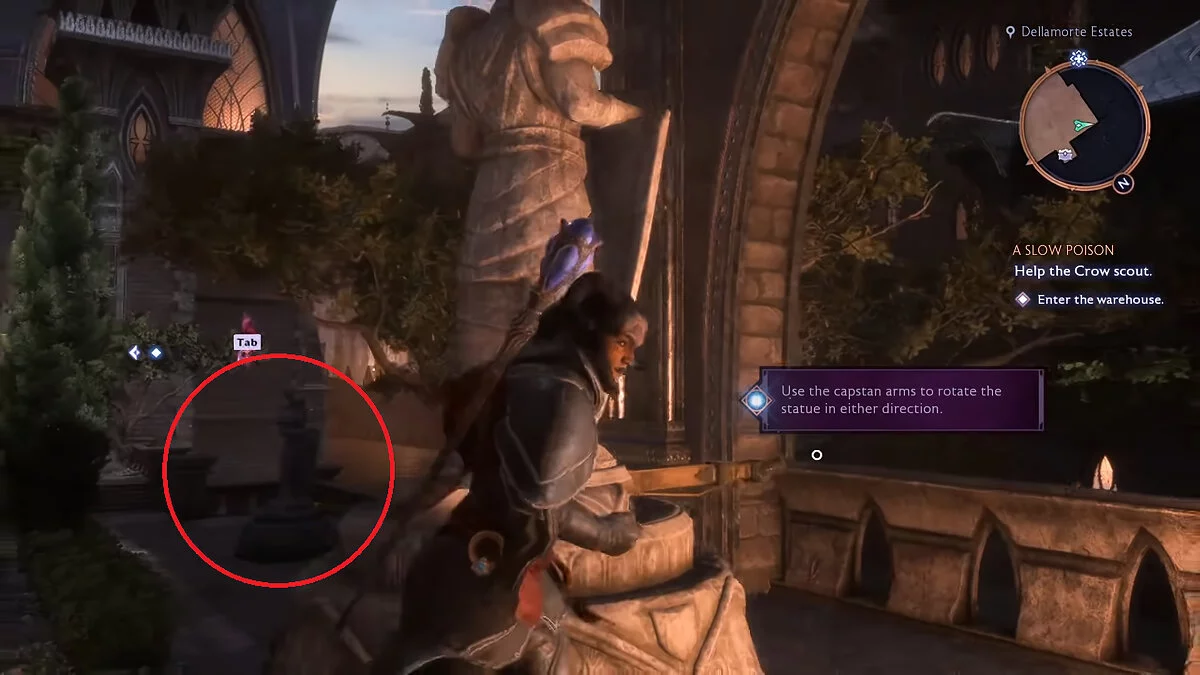
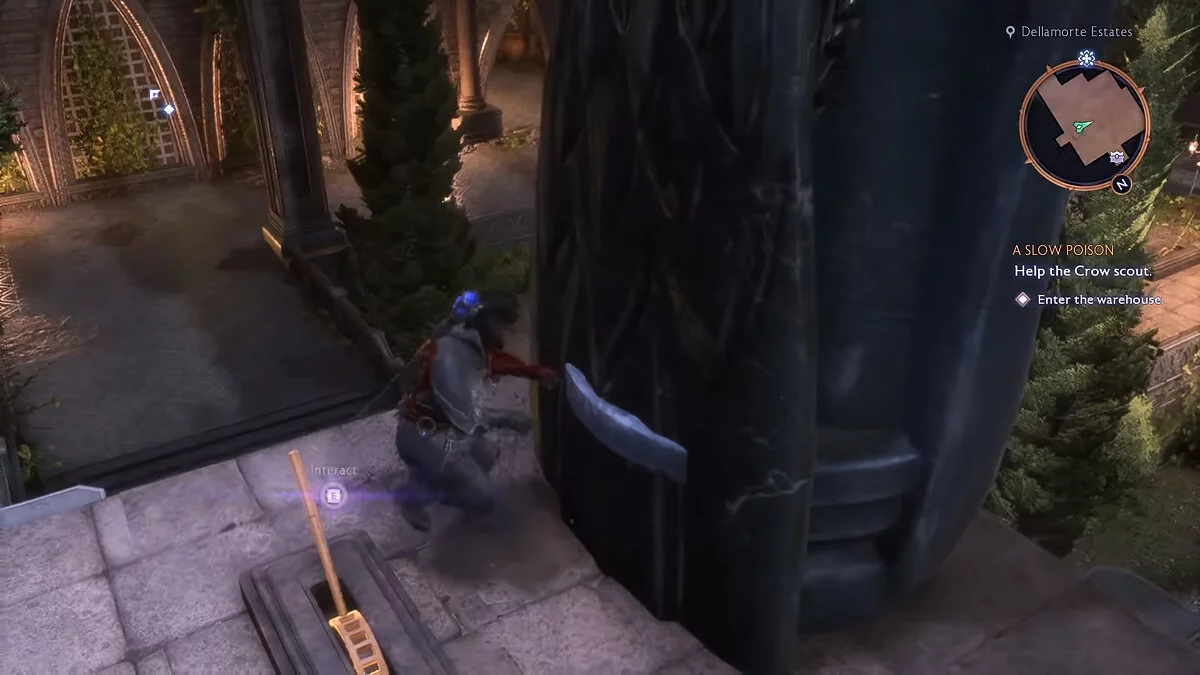
Move a bit to the left from this spot to find the first statue. Interacting with the lever, turn the statue to face east, as shown in the image.
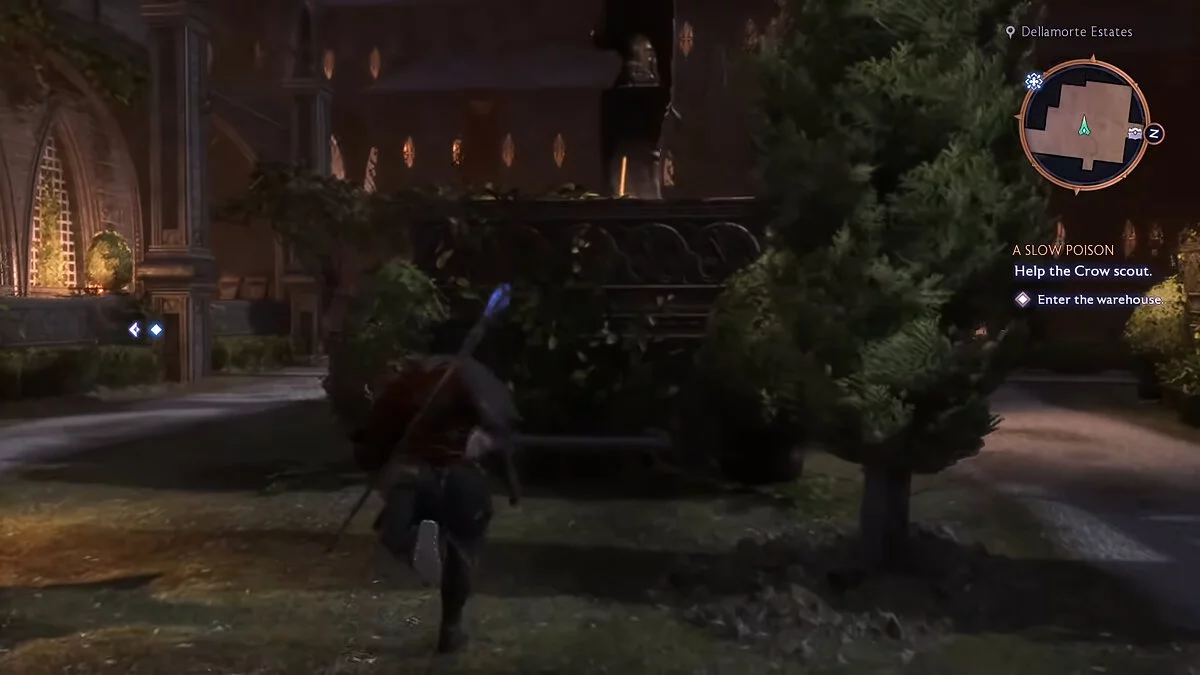
The second statue is directly ahead of the first one and is quite easy to spot. You need to turn it so that it faces the first statue, i.e., in a westerly direction.
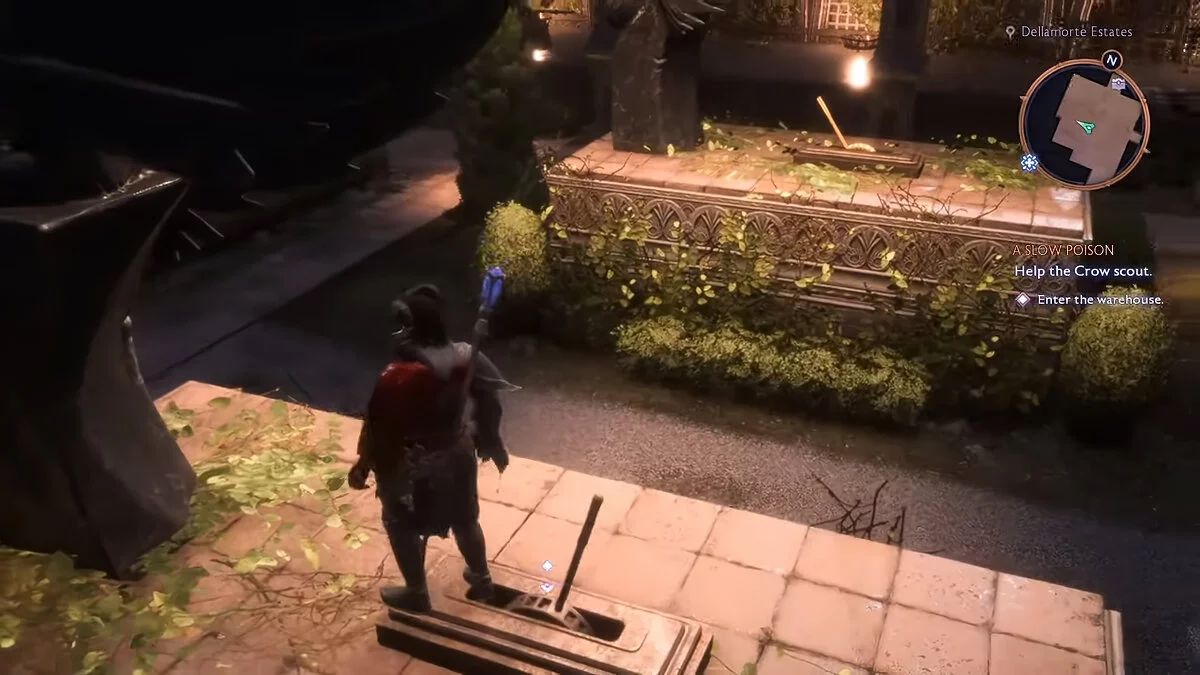
Finally, you will find the third statue a bit to the left of where you read the plaque. Turn it to the northeast to complete this stage of the puzzle.
There is only one statue left, but it is locked behind massive gates. To unlock them and continue the adventure, you need to activate three levers located around the garden courtyard.
How to find the levers and open the gates
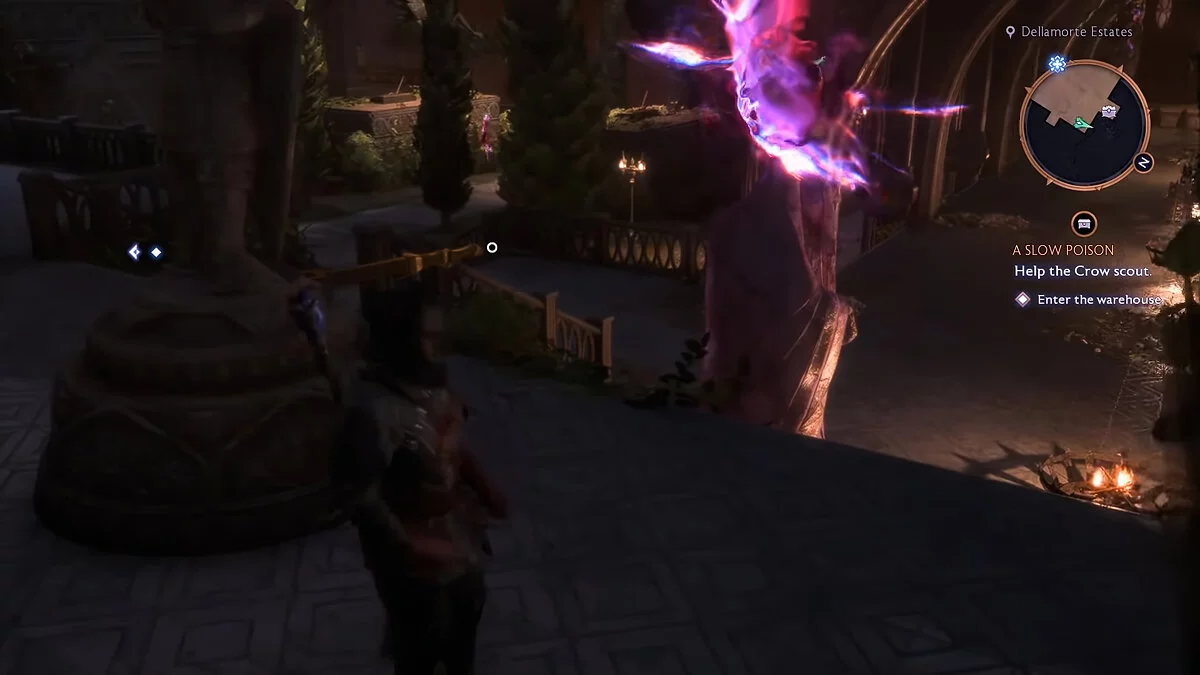
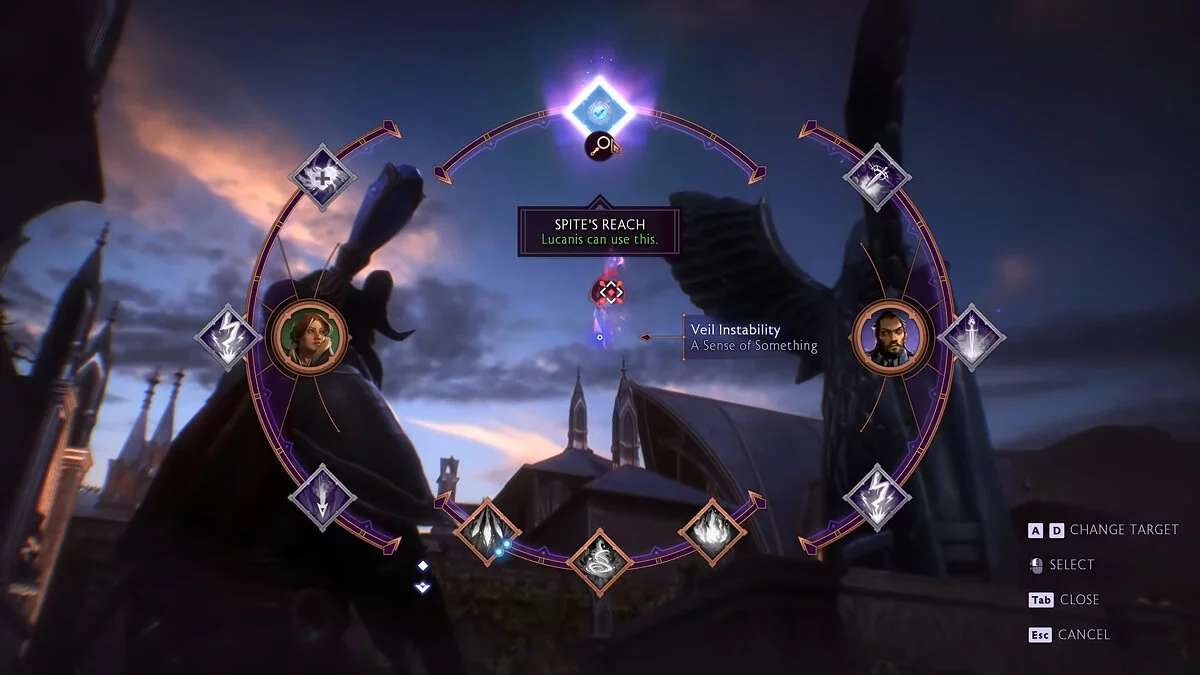
All three levers are located behind statues of winged creatures standing guard. You can spot one of the statues right in front of the locked gates. To climb onto the platform of the winged statues and use the lever, you need to activate the Spite's Reach ability, which will help you get up.
The second and third winged statues are located behind the first one. Perform the same actions you used earlier to activate the levers and thus open the gates to interact with the last main statue.
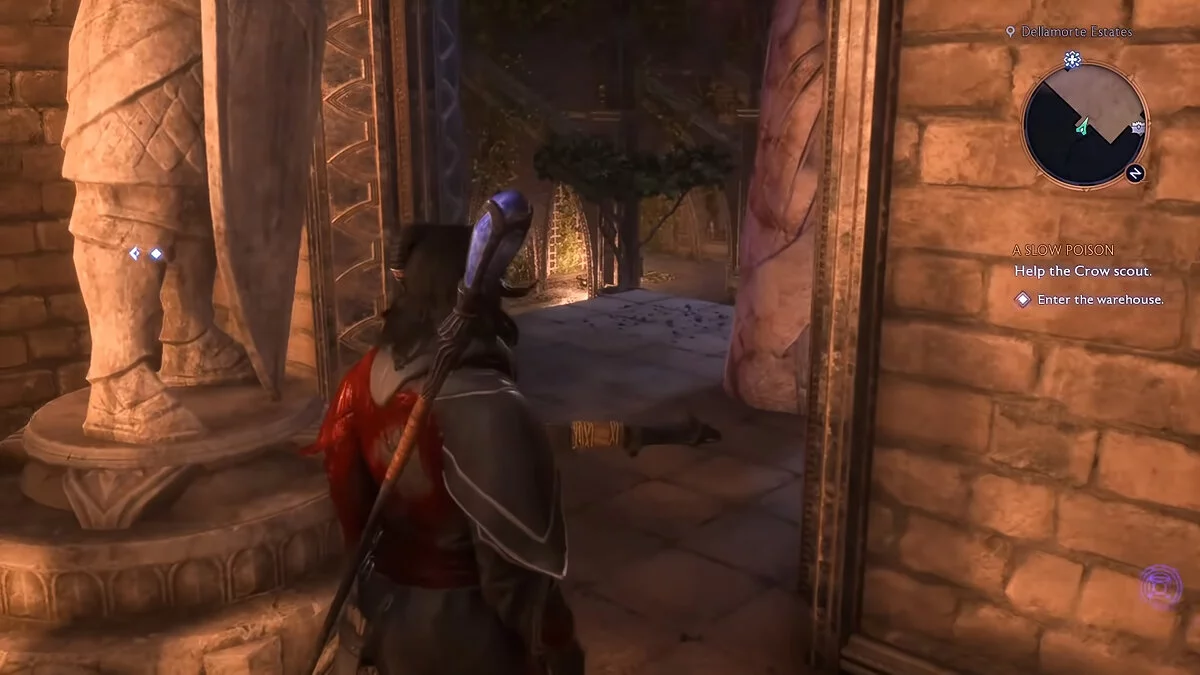
Enter the gates and turn the statue as indicated in the photo. This action will activate a mechanism that opens a hidden door behind which you will find chests full of valuables.
Reward
Return to the already unlocked gates where you read the plaque, and search the chest to find:
- Medallion Crow's Perch — an unusual amulet that gives +20% to ability damage;
- Jenny's Belt — a unique grenade belt that provides 500 healing and applies the Bees effect to nearby enemies when using a potion.
Statue Puzzle (Rivain Coast)
The Rivain Coast is one of the most desolate places in Dragon Age: The Veilguard. Although the ruined forts and castles scattered across its beaches are not the most impressive sights, they hold many secrets. One of these secrets is the statue puzzle you will encounter when you first enter the fort.
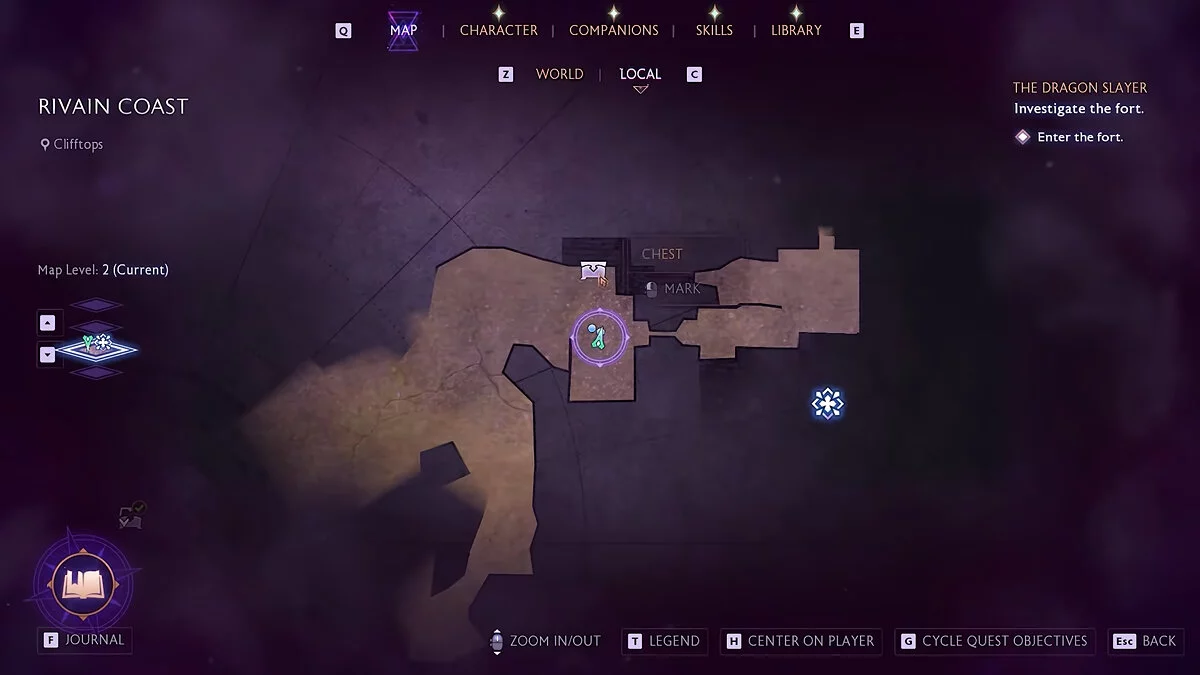
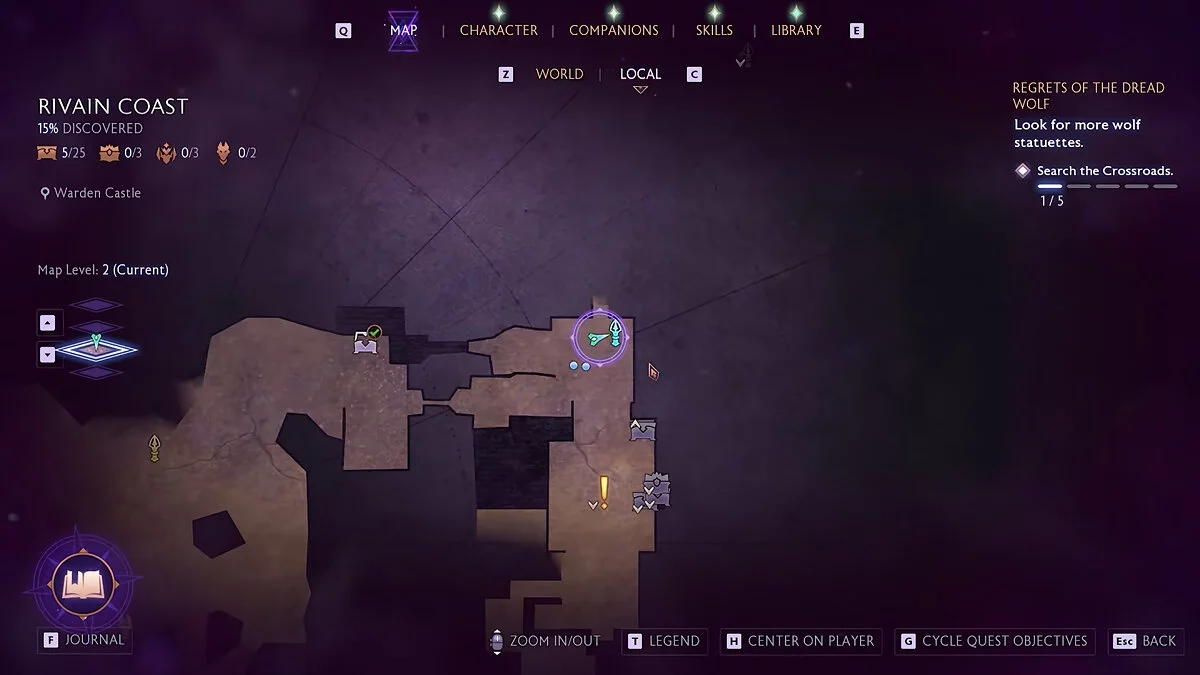
Other statue puzzles usually offer obvious clues for their solution, but in this case, you will have to do a bit more research to solve it. We will explain how it works by looking at every aspect of the puzzle in detail so you can understand what steps to take for its successful resolution. Head to the marker on the map to start the puzzle.
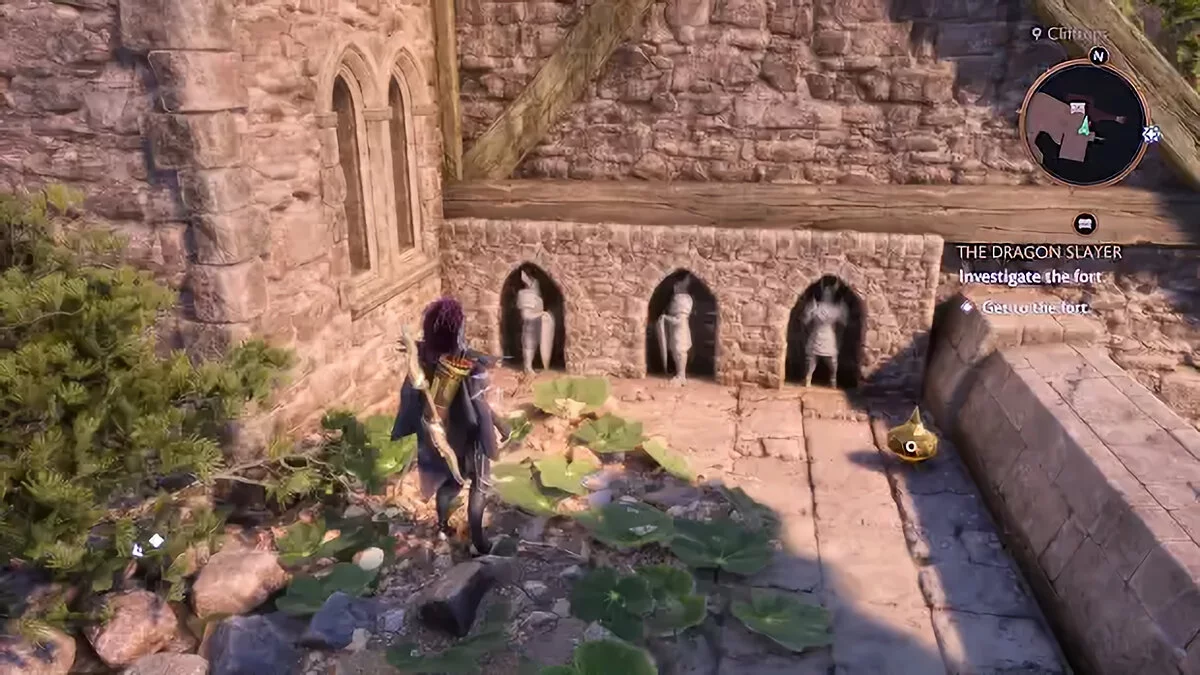
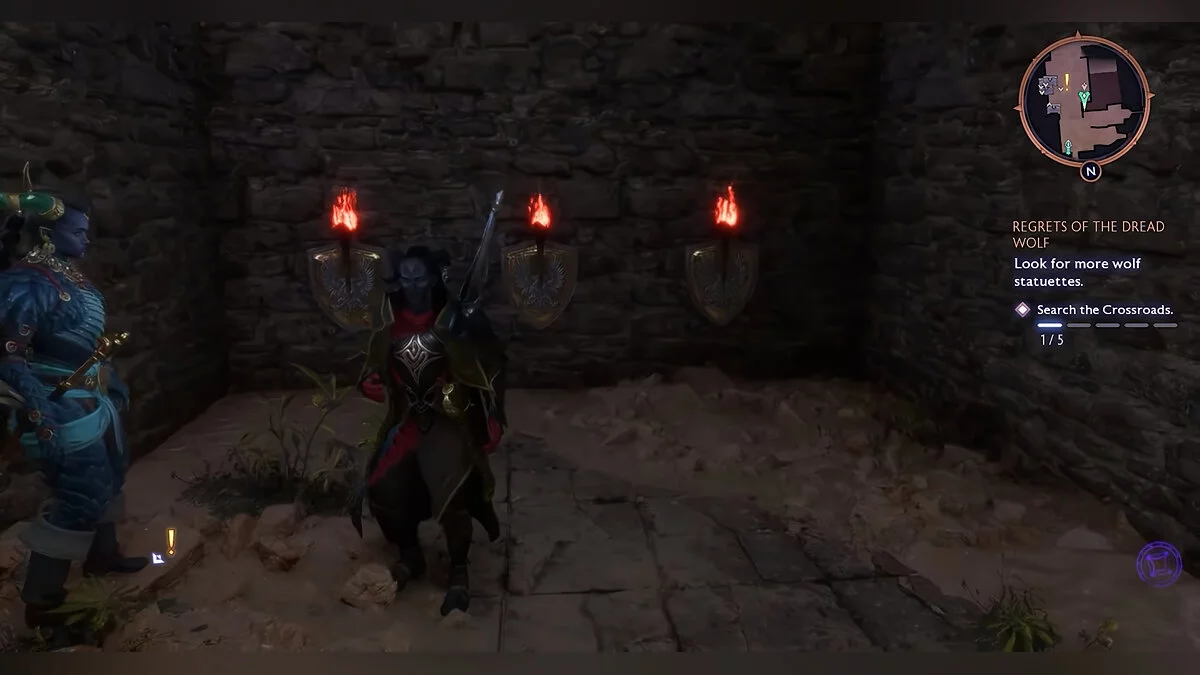
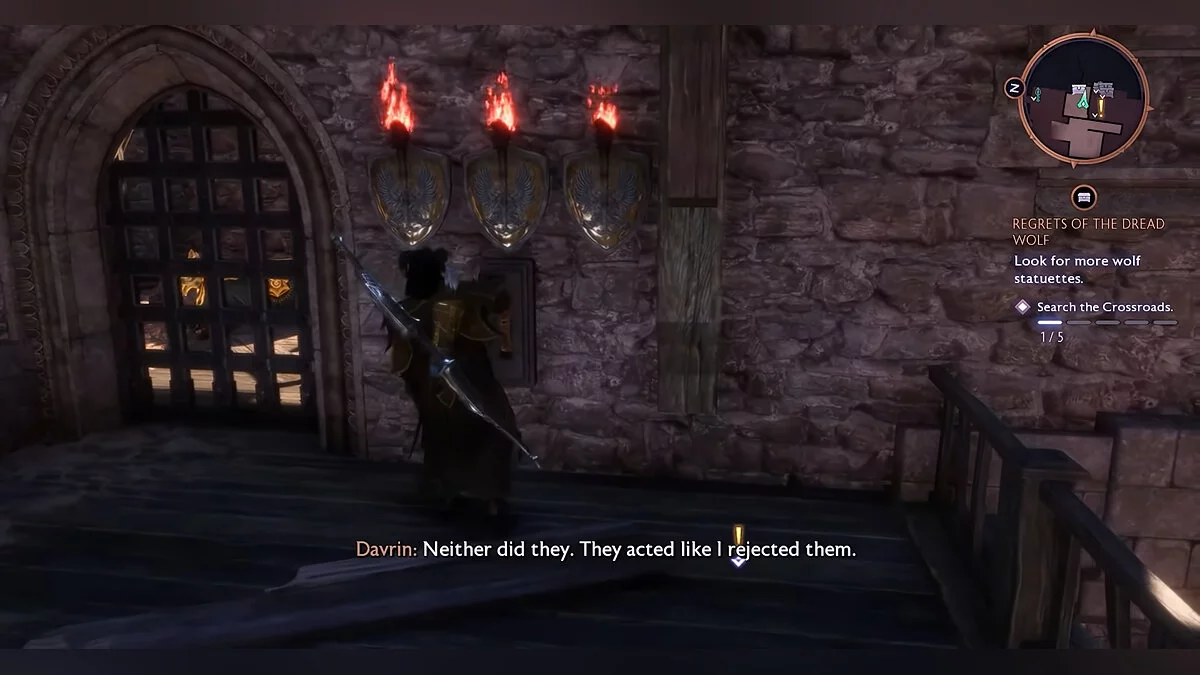
It seems there is no obvious way to arrange the three main statues, but if you retrace your steps and go up the stairs, you will notice several small statues embedded in the wall.
These three small statues show the direction in which the main statues should be turned. Turn them as shown in the image above (from left to right). Once you perform these actions, the staircase will lower, granting access to a small room where a chest with gear awaits as a reward for your efforts.
Reward
Descending and opening the chest, you will not find anything unique, just some gold and a medallion that gives +40% to defense level. Although these rewards may seem modest, the medallion can still have its advantages, so be sure to check its characteristics and use it in your playthrough.
Fire Puzzle (Rivain Coast)
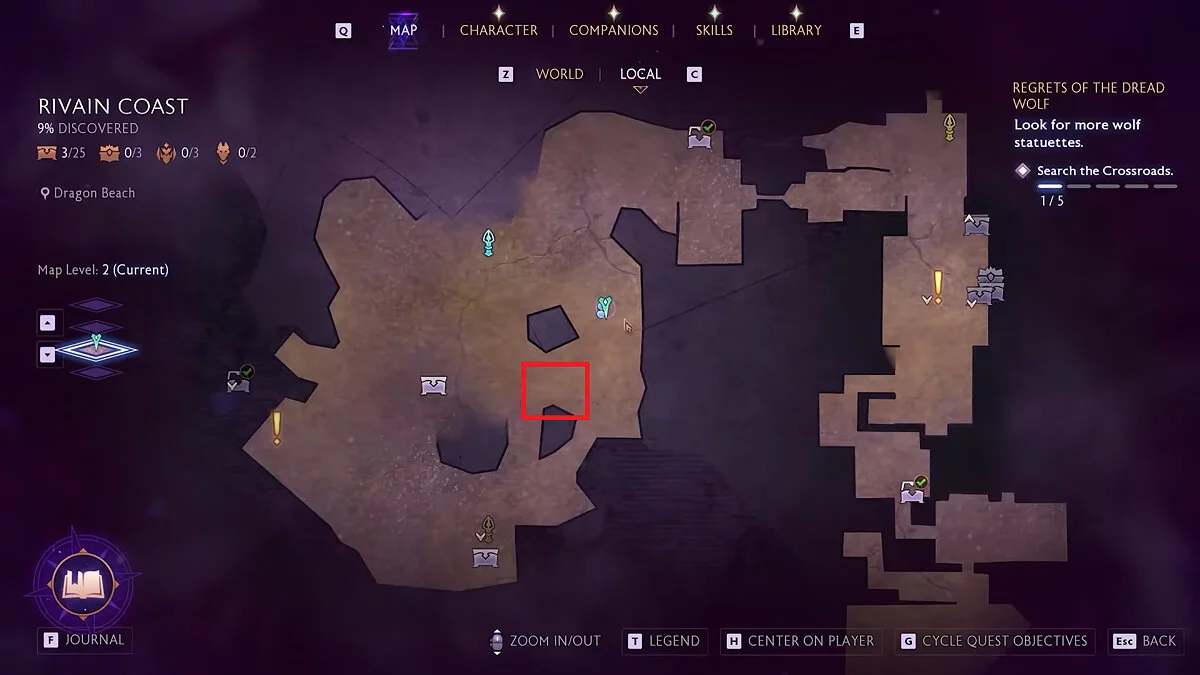
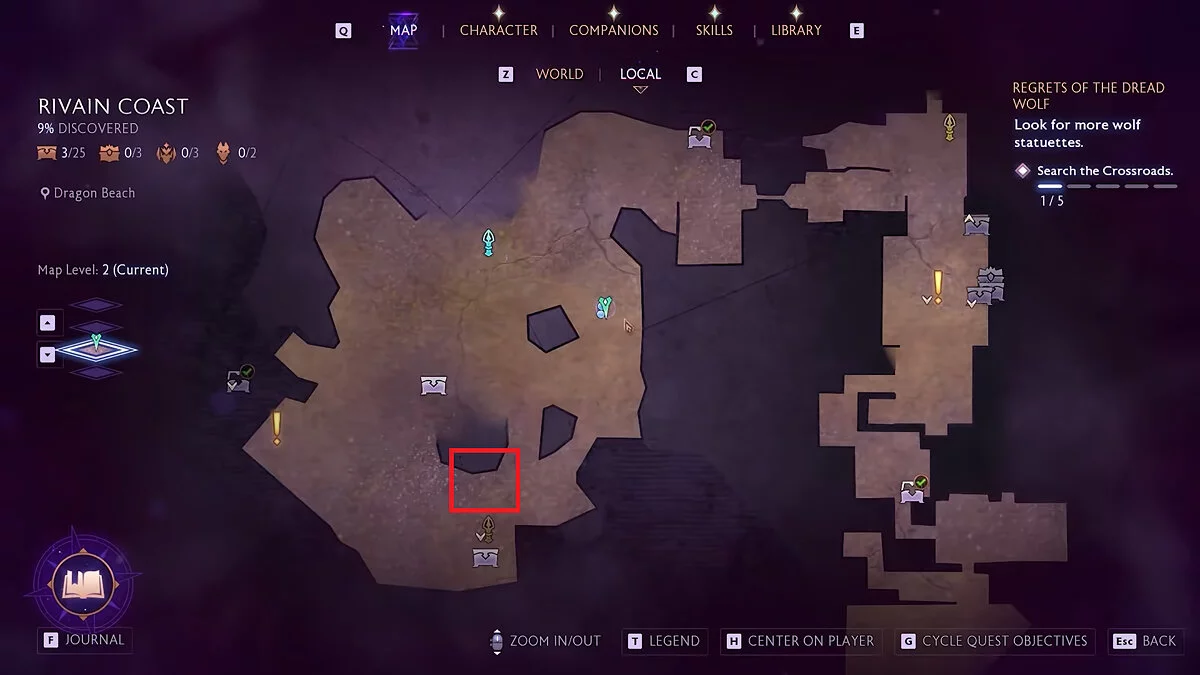
Reach the marker on the map and break all the barrels to access the first torches that need to be lit. This action will activate the next stage in your adventure, opening new opportunities for exploration and interaction.
On the right side of this room, you will notice an ascent leading up where massive gates await you. Once you enter, you will need to activate the lever located near the grate to open it and enter inside.
Search the chest to find several daggers and a small amount of gold. These daggers can become a useful addition to upgrading your gear, and the collected gold will be useful in the future for purchasing new items or improving existing ones.
Closed Door Puzzle (Rivain Coast)
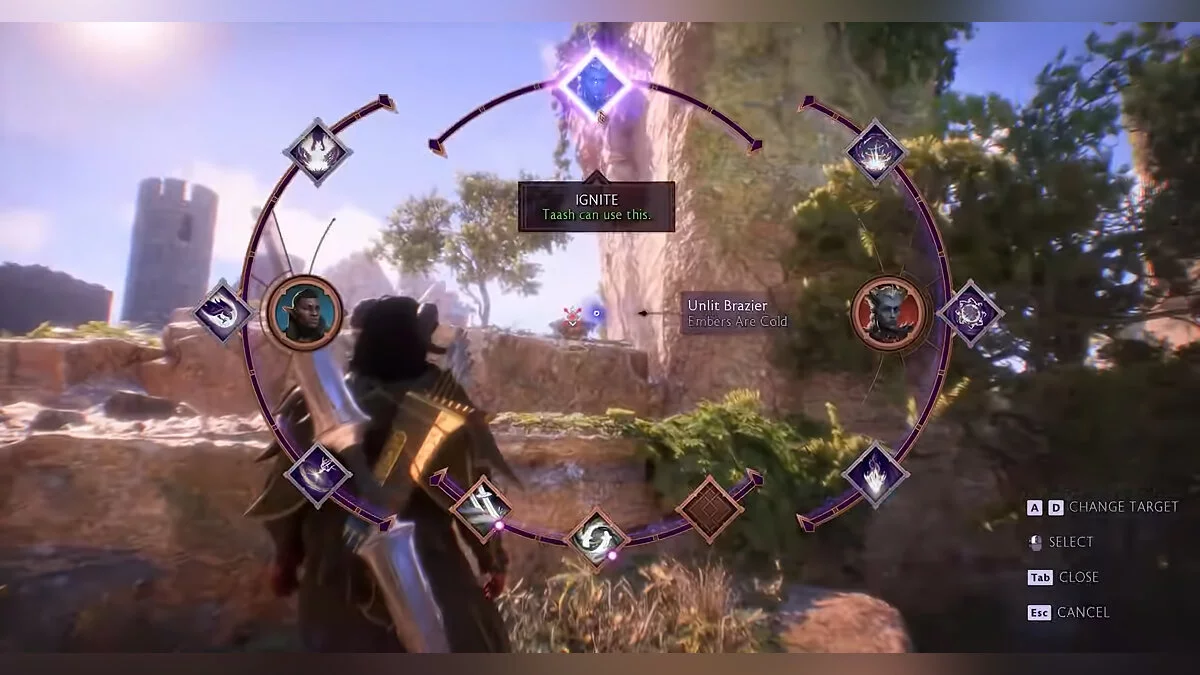
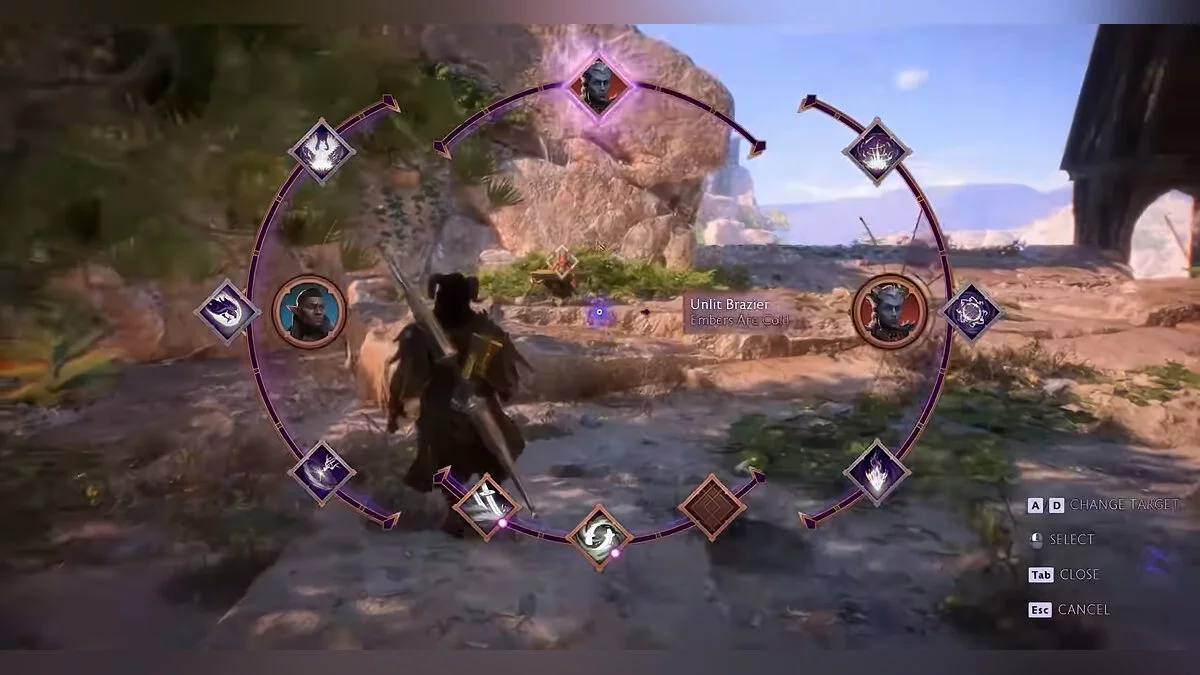
You will need to light three torches to unlock the path to the locked door. Head to the marker on the map and use the Ignite ability on the first torch. This action will activate a mechanism that will grant you access to the next section.
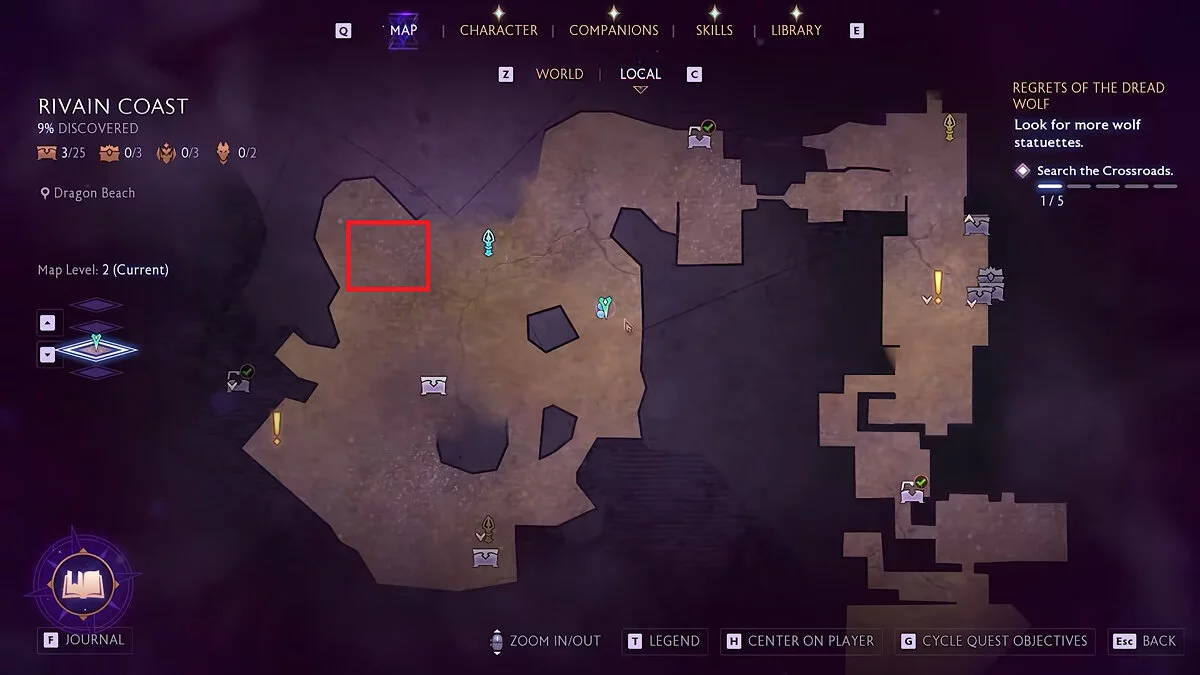
The second torch is located to the northwest of the first one. Approach it and light it using the same Ignite ability. This will allow you to advance to the next stage of the puzzle.
And finally, head to the third torch, which is located between two chests. Light it using the Ignite ability.
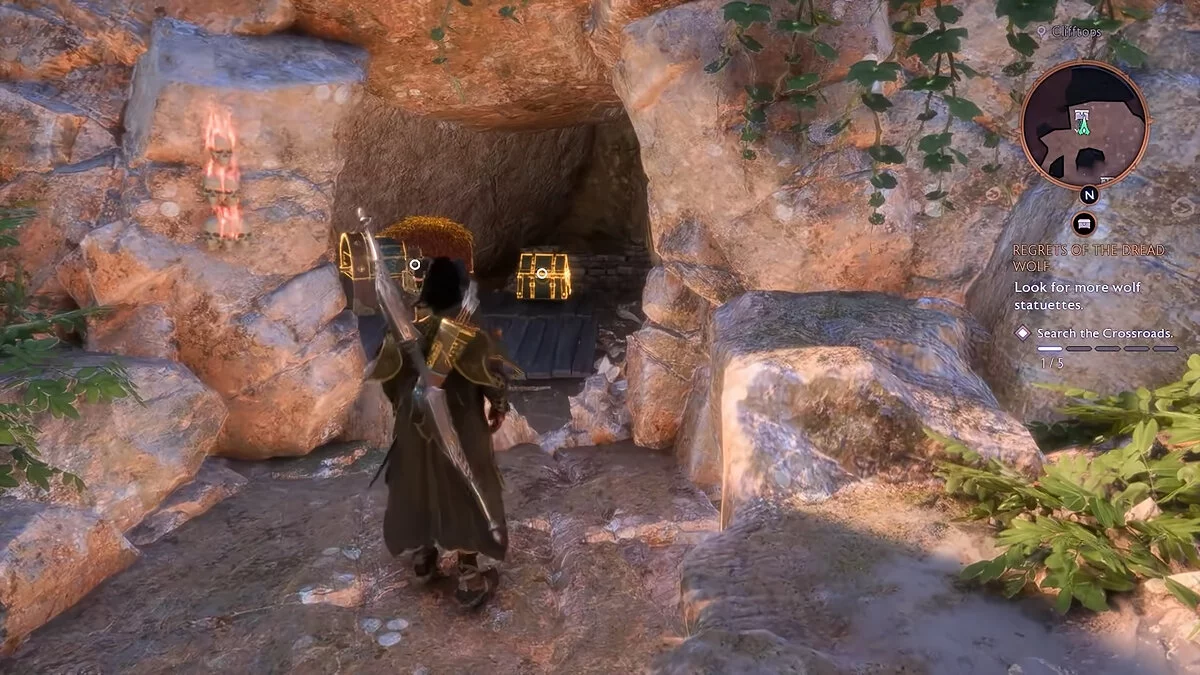
To the left of the last torch, you will see a wall inside the rock begin to slowly lower. Entering this room, you will find several chests containing useful gear and some gold. These finds can be very valuable for your further journey, so don't forget to add them to your inventory.
How to Open the Guardian Vault on the Rivain Coast
You can read more about this puzzle in a separate guide.
Other guides
- Dragon Age: The Veilguard Guide — How to Find All Unique Items
- How to Save Everyone in the Final Quest in Dragon Age: The Veilguard
- Guide to Romances with Companions in Dragon Age: The Veilguard
- Dragon Age: The Veilguard The Best Mage build
- Dragon Age: The Veliguard Graphics Optimization for Weak PCs
- Interactive Map of Dragon Age: The Veilguard — All Locations in the Game
- Dragon Age: The Veilguard — How to Find All Evanuris Altars
- How to Enchant Equipment and Abilities in Dragon Age: The Veilguard
- How to Open the Warden Vault in Dragon Age: The Veilguard
- How to Get All Endings in Dragon Age: The Veilguard
- Wie man das Warden Vault in Dragon Age: The Veilguard öffnet
- 15 Jahre Dragon Age: Origins. Erinnerungen an das beste Spiel der Reihe
- Interaktive Karte von Dragon Age: The Veilguard — Alle Standorte im Spiel
-
Guide to Romances with Companions in Dragon Age: The Veilguard
-
How to Save Everyone in the Final Quest in Dragon Age: The Veilguard
-
How to Open the Warden Vault in Dragon Age: The Veilguard
-
How to Enchant Equipment and Abilities in Dragon Age: The Veilguard
-
Interactive Map of Dragon Age: The Veilguard — All Locations in the Game
-
How to Get All Endings in Dragon Age: The Veilguard
