Where to Find Power Cells in Horizon Zero Dawn

The RPG component of Horizon Zero Dawn allows you to customize Aloy's attributes exactly as you need. Armor plays a significant role in this. In this guide, we'll tell you how to obtain the best armor in the game, why you need power cells, and where to find them.
Where to find all power cells in Horizon Zero Dawn? Why are they needed?
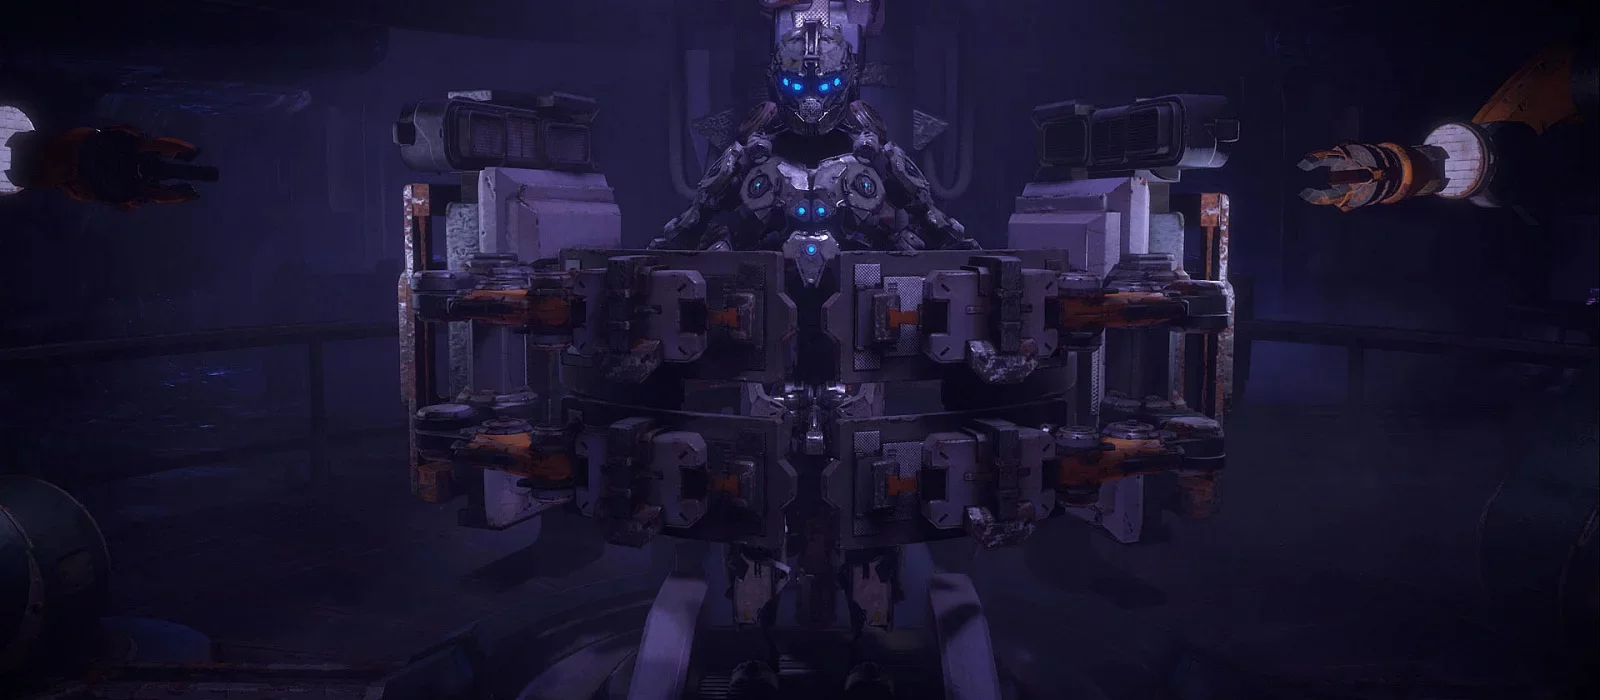
To get the «Shield-Weaver» armor, you'll have to complete a lengthy multi-stage quest called «Ancient Armory». As a reward, you'll receive arguably the best armor in the game. It protects Aloy with a force field capable of completely absorbing all damage for some time. The quest can be obtained in several ways: either find a power cell by chance or visit the bunker with the ancient armor yourself.
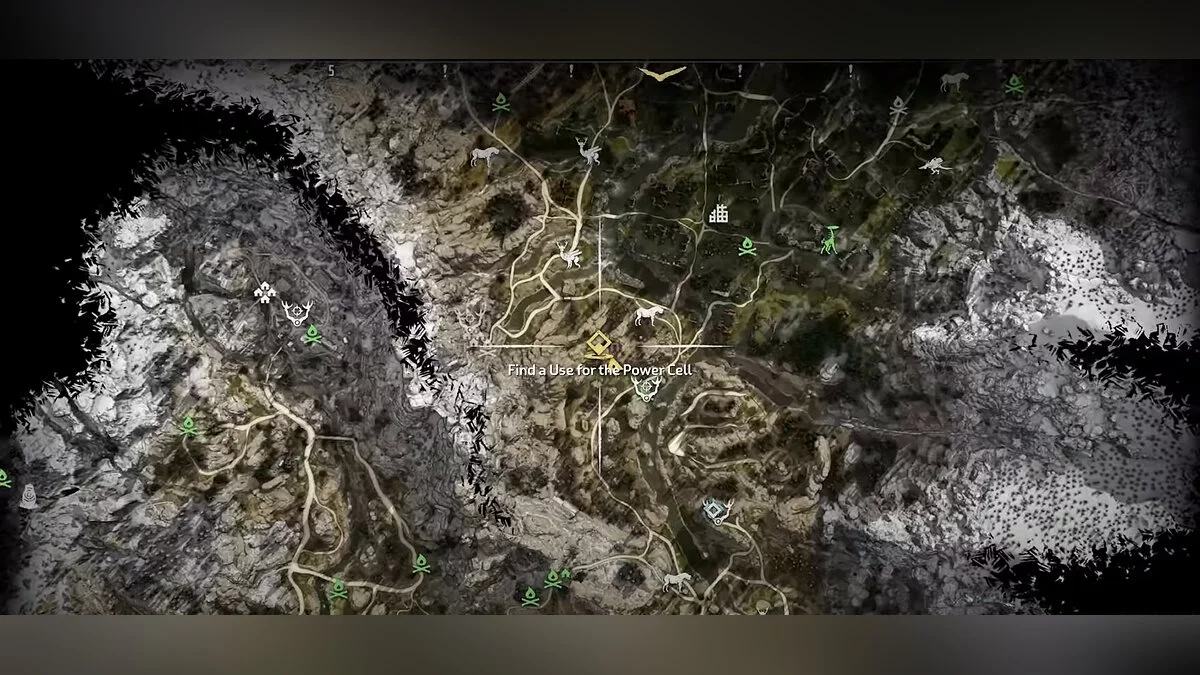
There are five power cells in the game, located in ancient ruins and bunkers. Some of them are easy to miss, as you'll enter the ruins during story missions, but you'll always have the opportunity to return for them later. Note that if you die, you'll have to go back for the power cell again. It doesn't save in your inventory until a checkpoint.
All the cells are marked with green signs, so you won't miss them once you're nearby. Once you find the bunker with the armor, it may seem that only two cells are needed — this is not the case. Two cells will only open the door, while three more are required to unlock the armor itself. Also, remember that the search order can be arbitrary.
Where to find the first power cell
During the «Heart of the Nora» mission, you'll enter the «All-Mother» location. Don't miss the power cell, as after completing the quest, you'll only be able to return to the location towards the end of the game, after completing the «Heart of the Nora» mission.
Proceed to the room where the main objective is straight ahead, and to the right is a locked door. You need to turn right there. Facing the door with the lock, turn left. You'll notice a large niche with candles inside. Climb into it and move forward until you find yourself in the room with the required part.
Where to find the second power cell
To get the second element, you need to progress through the story. During the «Maker's End» mission, you'll have to climb a very tall building. Once you're on the roof, the objective marker will point straight ahead, but behind Aloy, at the structure, there will be ledges you can climb to go even higher. The power cell is at the very top.
Where to find the third power cell
This element can be found during the «Grave-Hoard» mission in the catacombs. First, you need to be on the third level. To avoid getting lost, use the map for guidance — it marks the floors. You will see a locked door in front of you. Move towards the objective marker into a round room. There, you will find three puzzles with rotating locks. Near each, there's a cabinet that you need to scan for hints. Two puzzles are located below the entrance to the room, and one is on the same level. Solve all three to unlock the door, then go back and retrieve the power cell.
Where to find the fourth power cell
This power cell can be found during the «The Mountain that Fell» mission in the «GAIA Prime» location. Again, you need to be on the third level. The objective marker will lead you forward to a place where you can descend by rope, but don't rush. Turn left and you will see a descent. Next is a cave. Boldly head inside, the power cell awaits at the end.
Where to find the fifth power cell
In these ruins, Aloy was a child, but you won't be able to retrieve the power cell the first time around. Return when you're grown up. The entrance to the ruins is a hole in the ground. Descending is very easy — don't worry. Move straight until there is a passage on the right, blocked by stalactites. Break the barrier with your spear, after which you can easily retrieve the power cell.
How to get the Shield-Weaver armor?
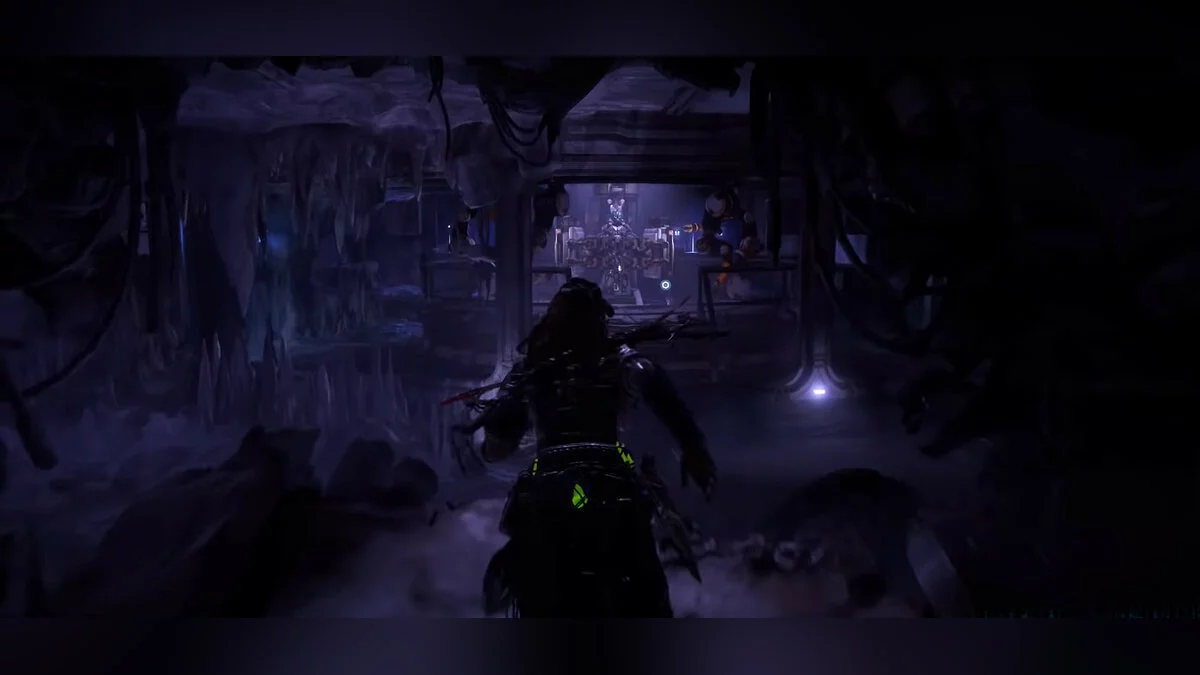
After all the elements are collected, it's time to return to the bunker.
You will face two puzzles. As before, hints can be seen by scanning the cabinets next to the energy locks.
Note that the hints are slightly different — you will not see the exact positions, but the values of the needed angles. So, you'll need to recall the basics of geometry. After installing all the power cells, the armor is yours.
-
Guide to the Adamantine Forge in Baldur's Gate 3
-
Where to find hellish ore for Karlach in the quest «The Hellion's Heart» in Baldur's Gate 3
-
All Endings of Dragon's Dogma 2: How to Get the True Ending
-
Where to Find and How to Repair the Moon Lantern in Baldur's Gate 3
-
How to Disable Steam Overlay and Increase FPS in Games
-
All Endings of Cyberpunk 2077: Phantom Liberty — How to Get Them
-
How to Unlock Locks in Hogwarts Legacy
-
Where to Find All Iconic and Legendary Weapons in Cyberpunk 2077: Phantom Liberty
-
How to Increase Your Relationship with Johnny Silverhand to 70% in Cyberpunk 2077
-
Cars in Cyberpunk 2077: Where to Find the Best and Fastest Cars in the Game
-
All Bosses in Valheim: How to Find and Defeat
-
Riddles, Puzzles, and Secrets of Fontaine in Genshin Impact
-
How to Find a Shovel and Dig Up a Grave in Sons of the Forest
-
How to Permanently Disable Updates in Windows 10, Windows 11, and Stop Background Application Downloads
-
How to Check Your PC's Specifications on Windows 10/11
-
Where to Find or Buy Cor Lapis in Genshin Impact: Why You Need It
-
Black Screen When Turning On a Computer or Laptop — What to Do and How to Fix It?
-
How to Upgrade Your Camp in Red Dead Redemption 2: Boost Morale, Increase Satchel and Food Supplies
-
All The Quarry Game Actors: who played Dylan, Travis, Ryan, Emma and other
-
Cars in Project Zomboid: Where to Find and How to Start a Car Without a Key


