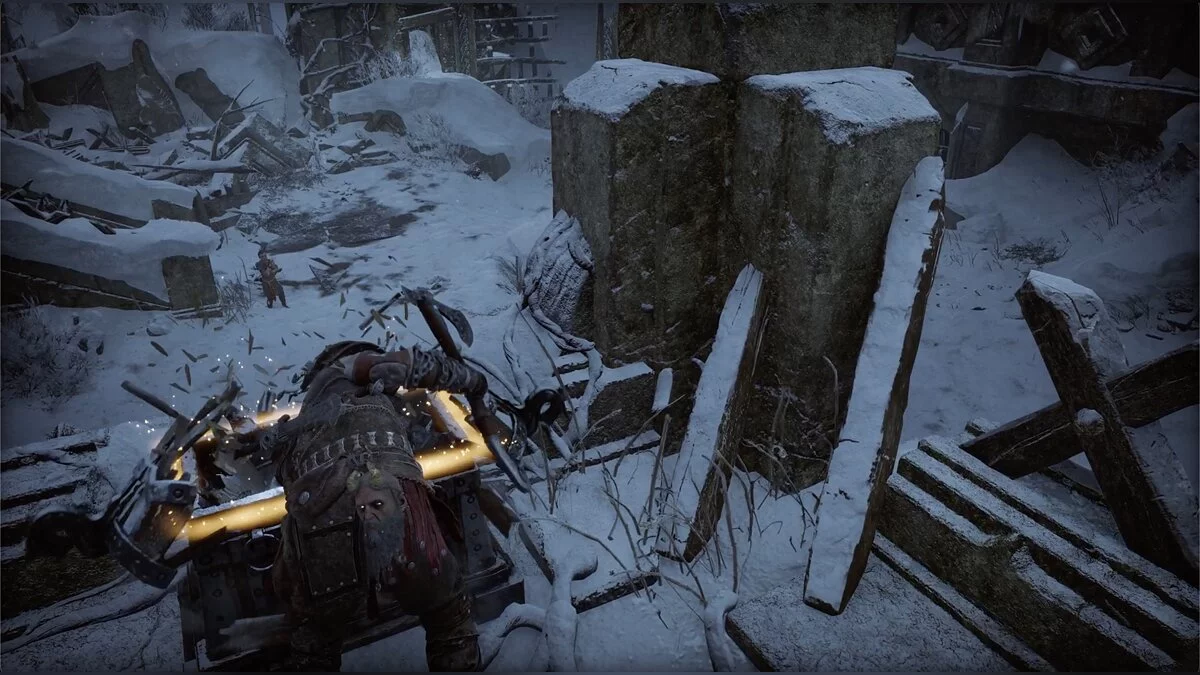
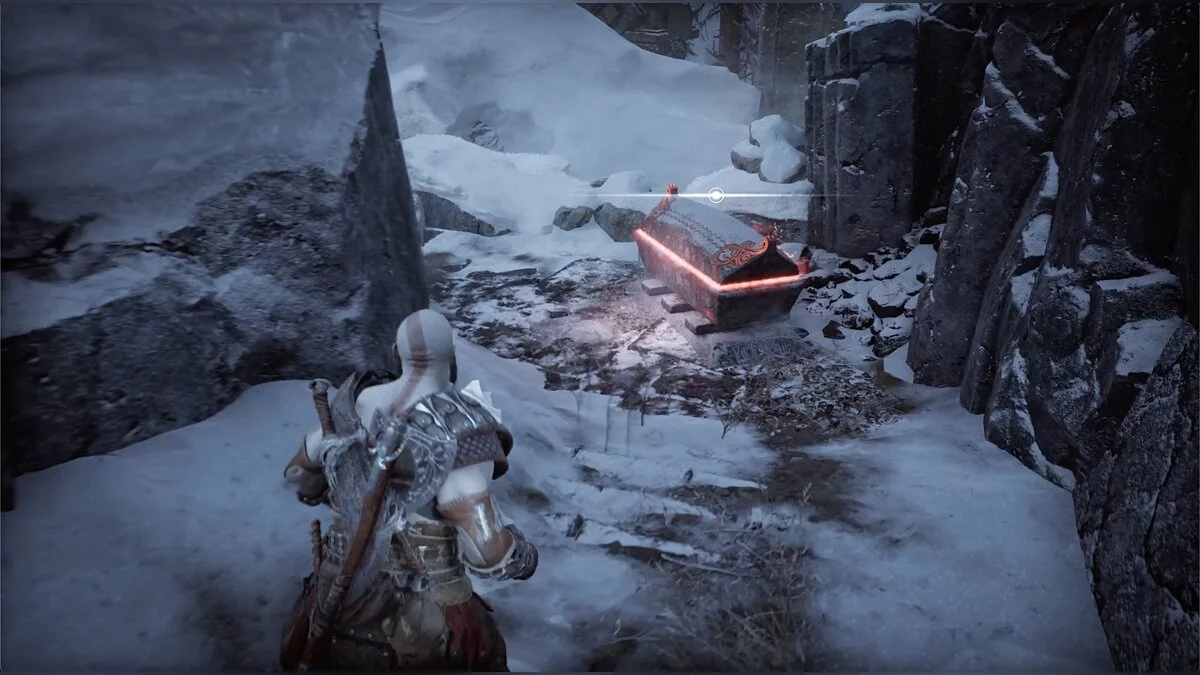
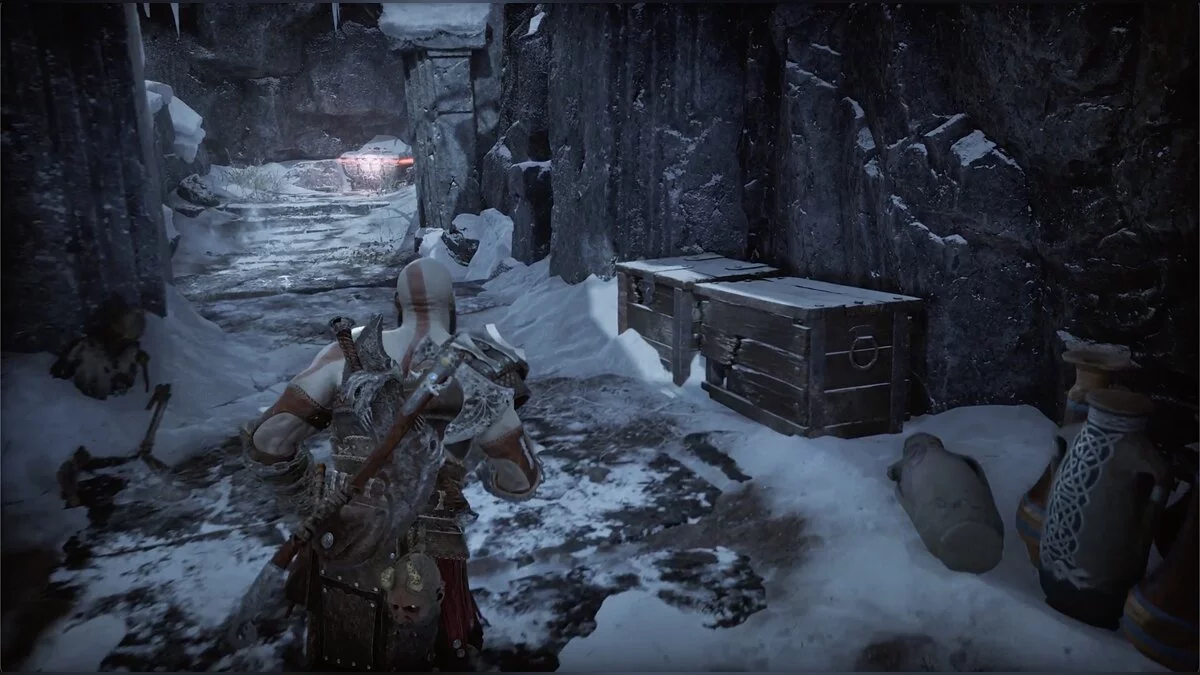
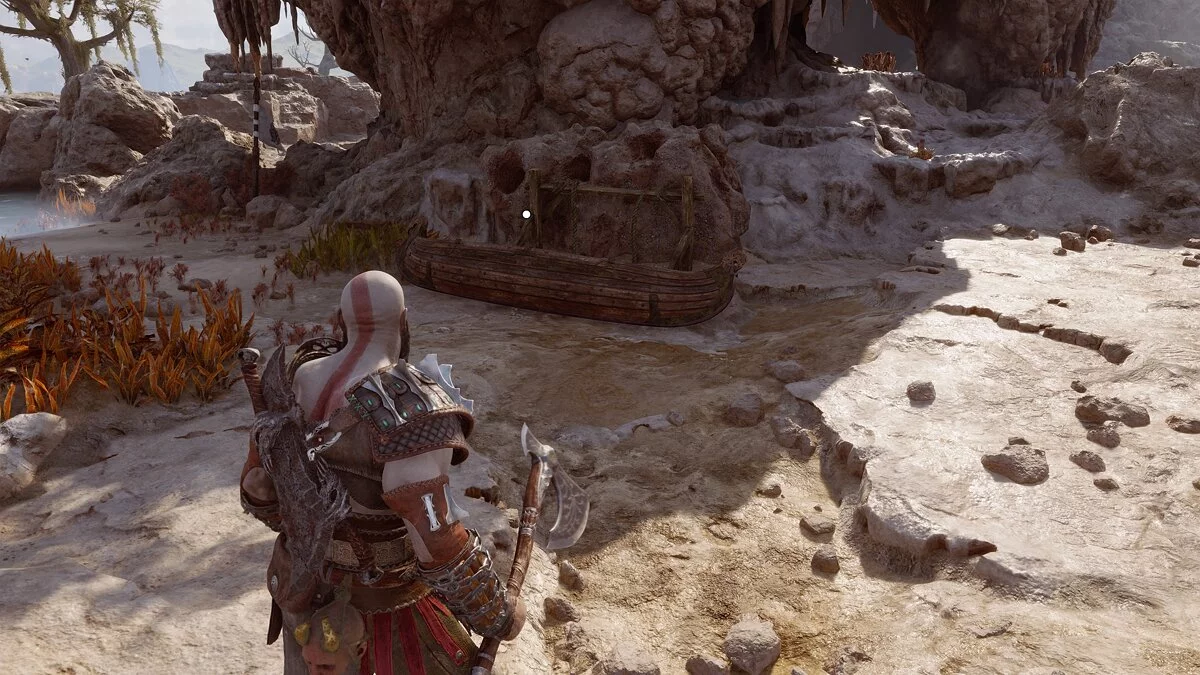
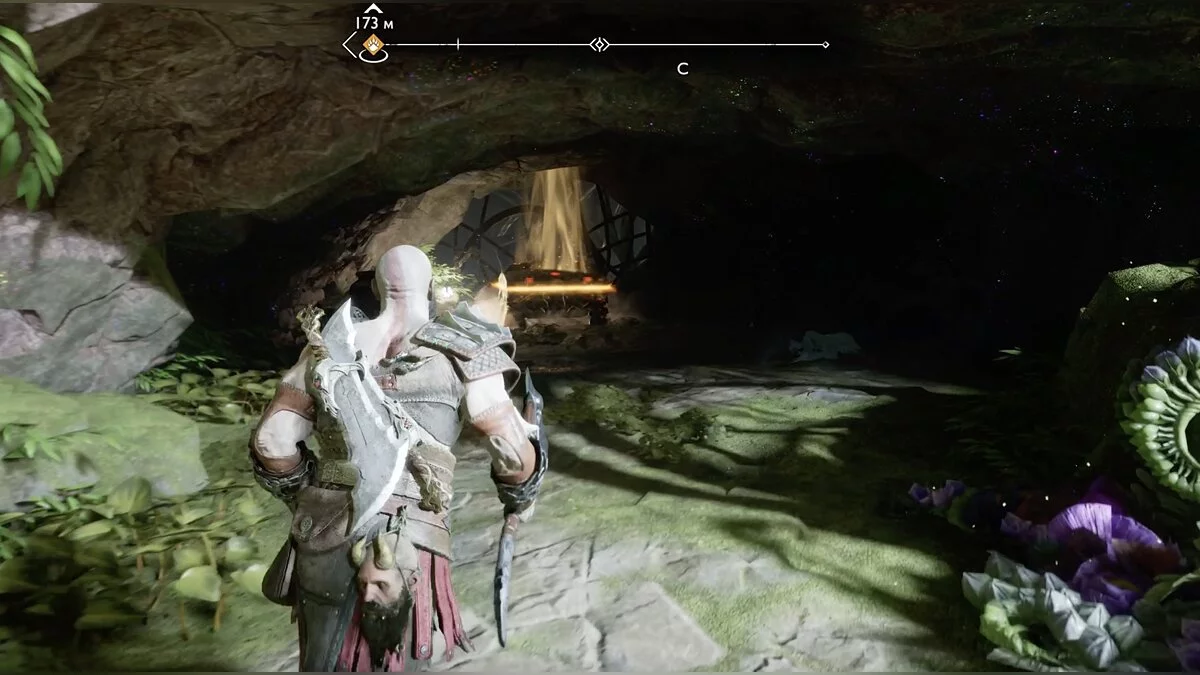
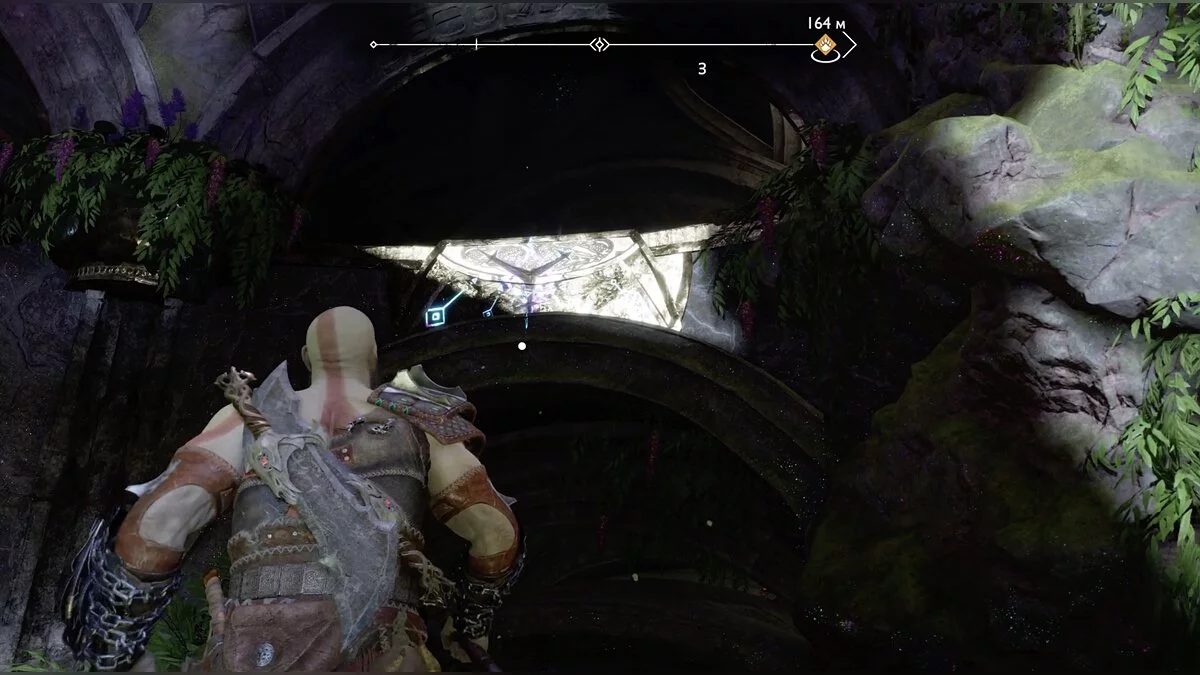
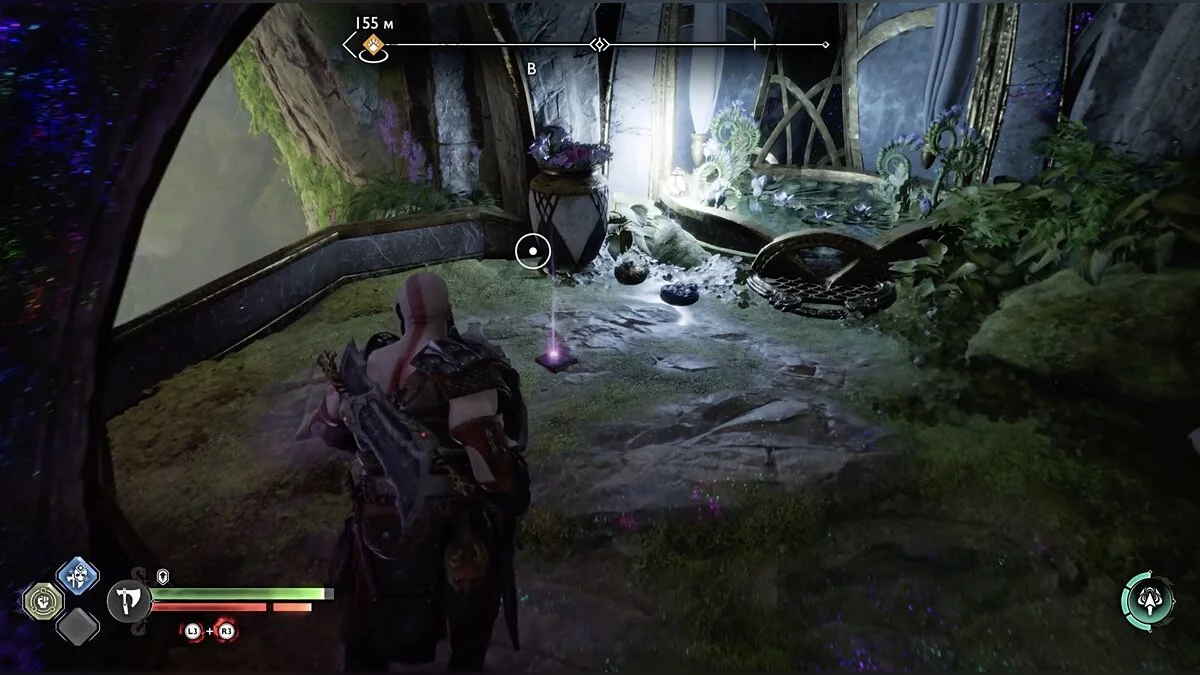
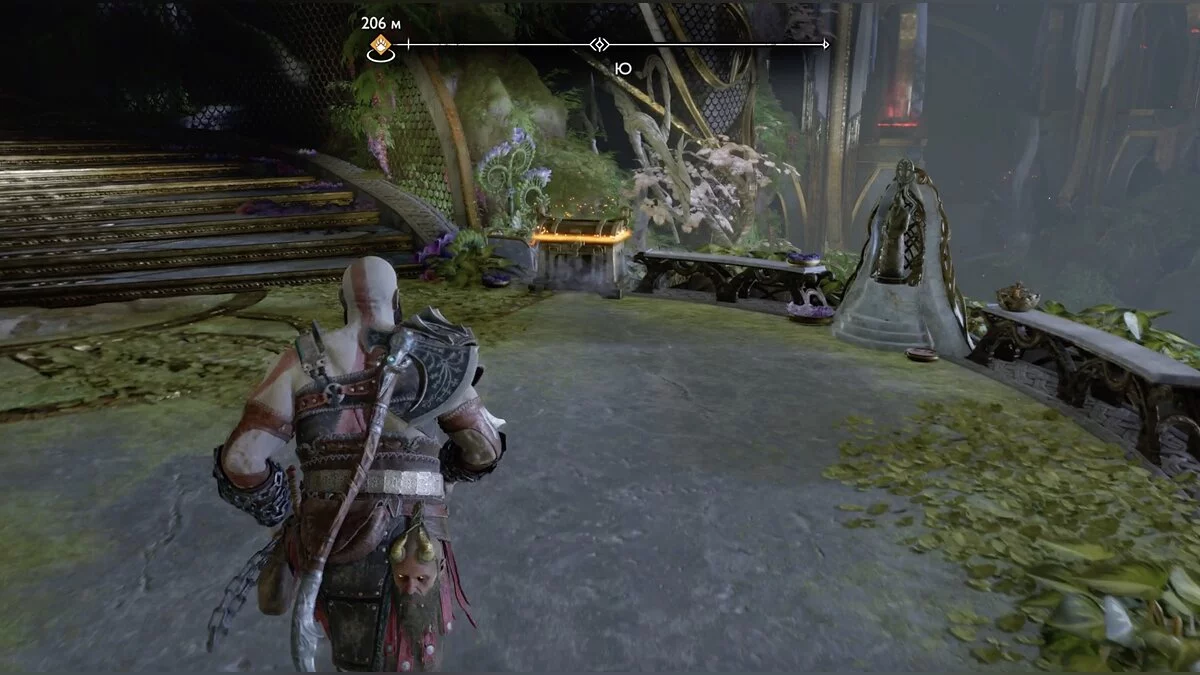
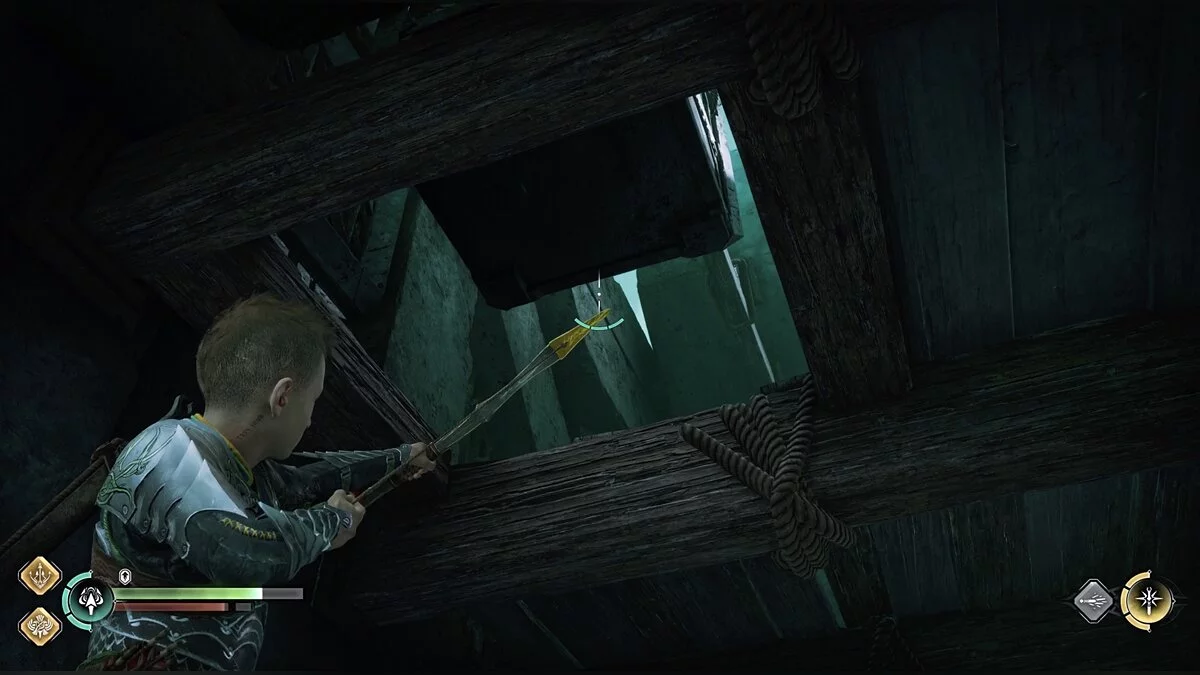
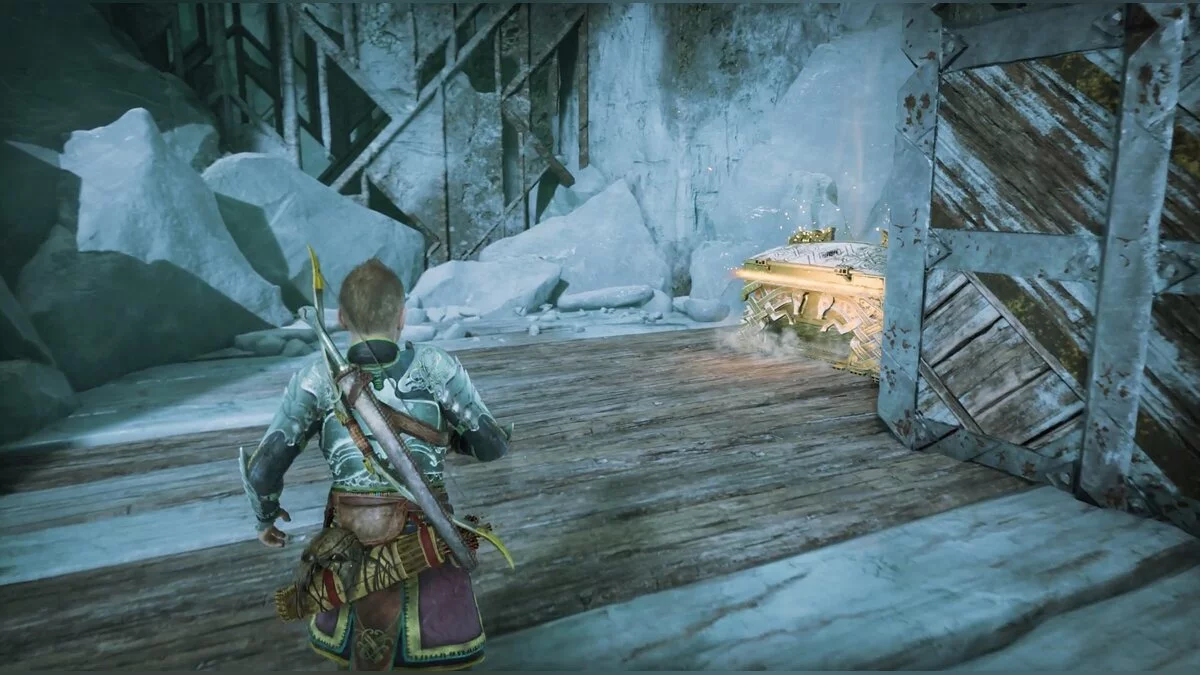
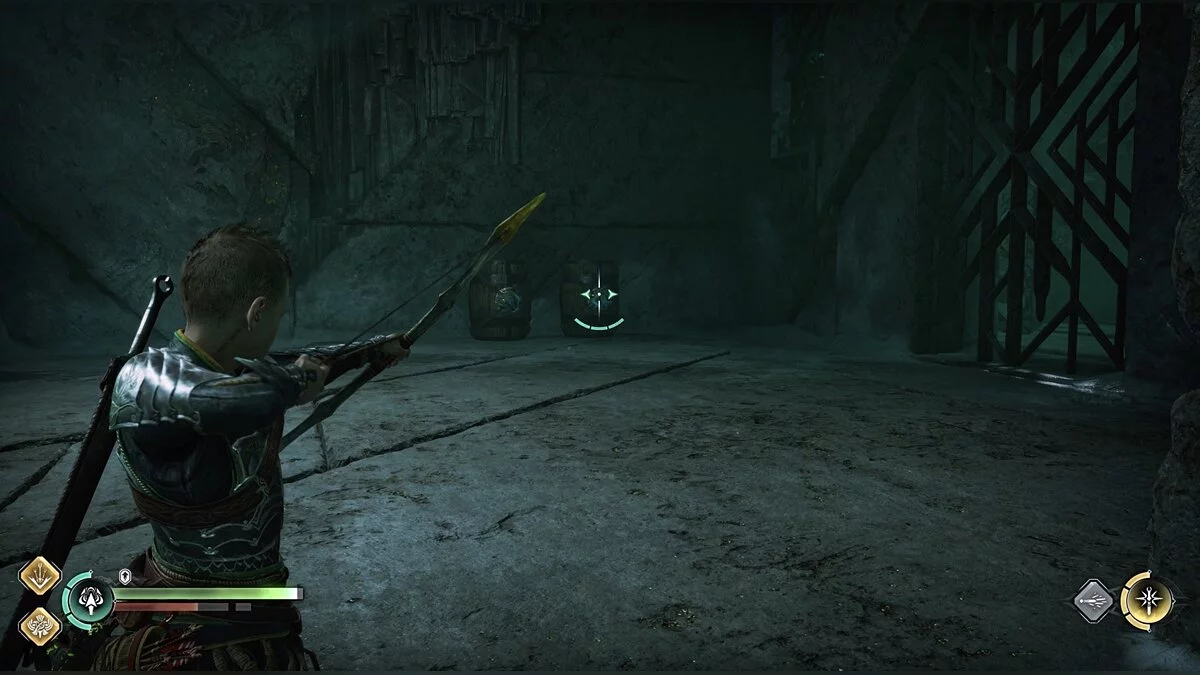
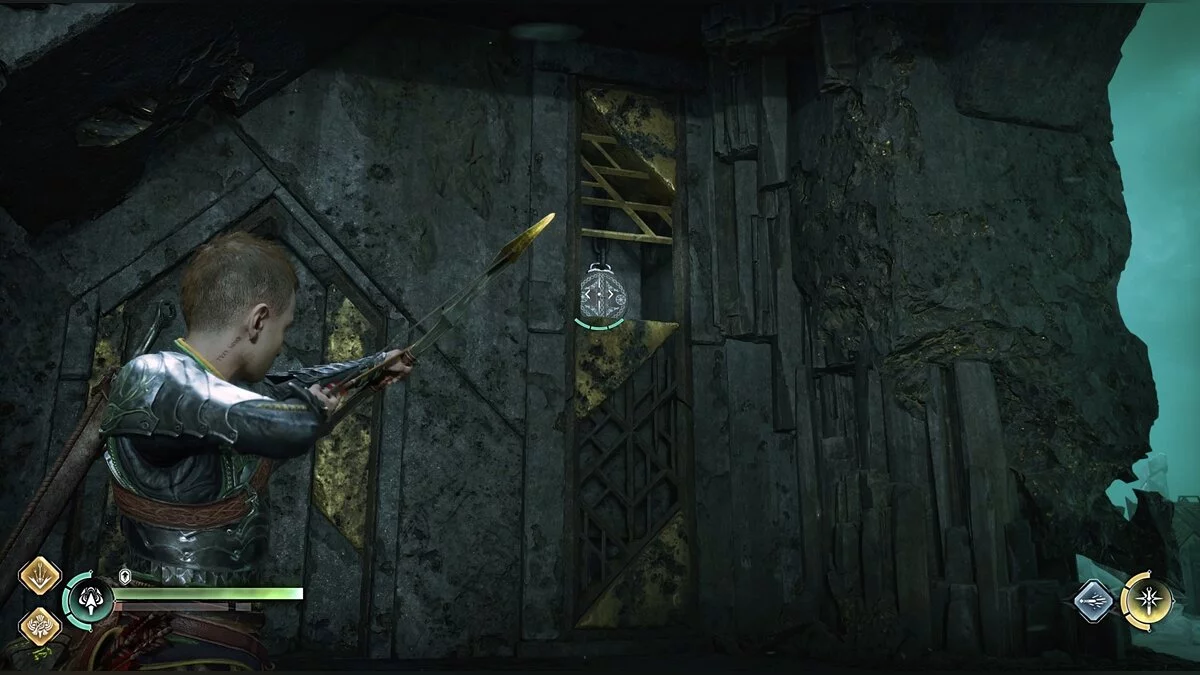
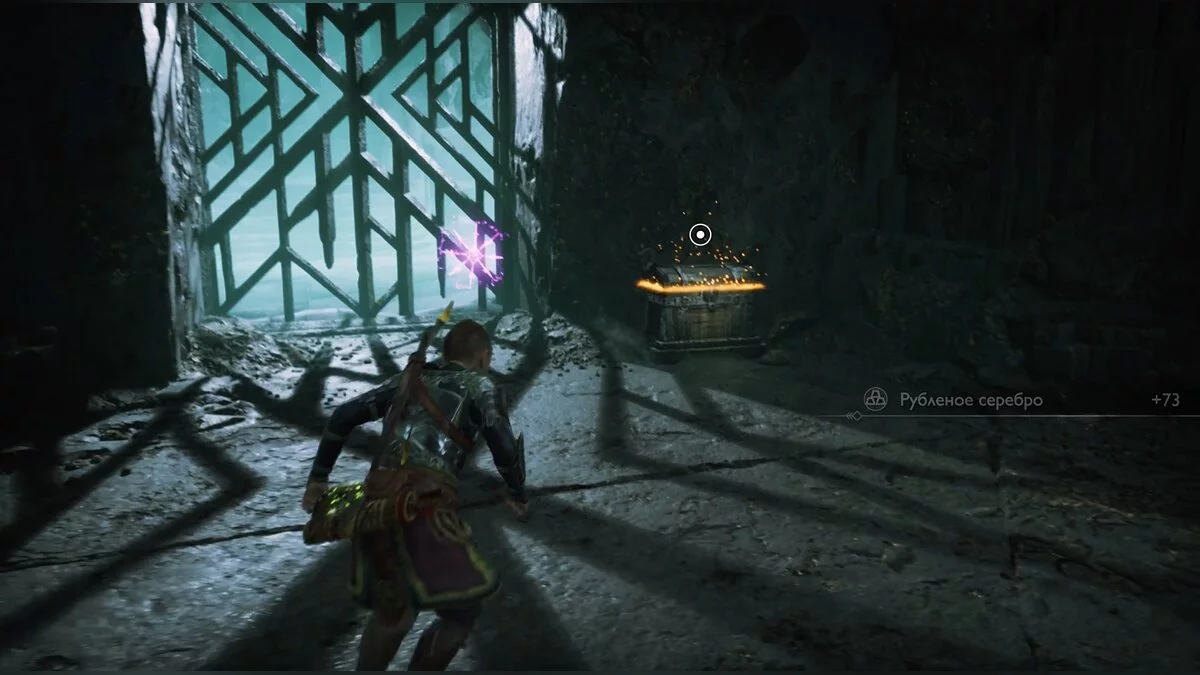
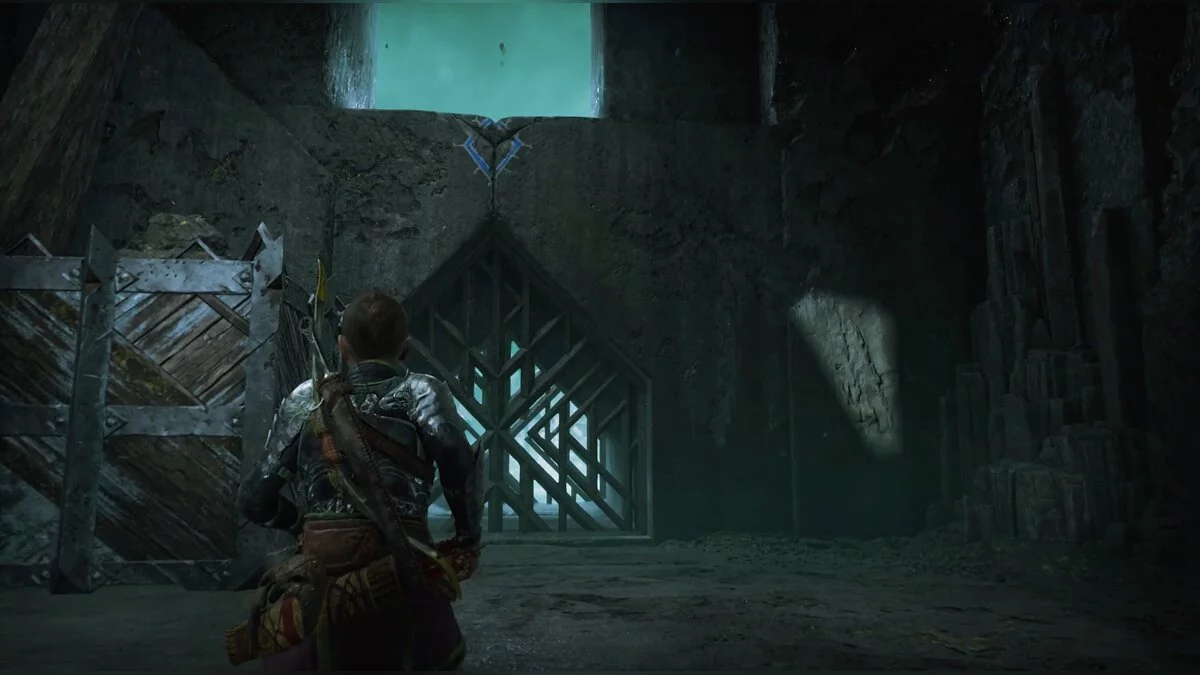
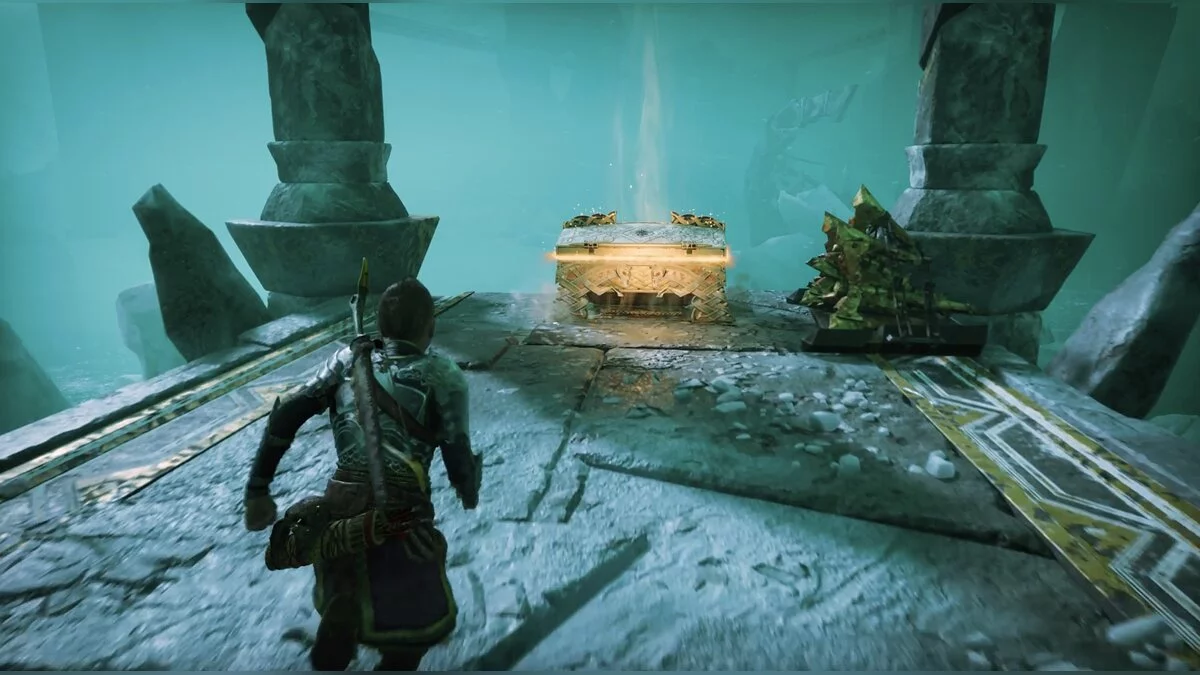
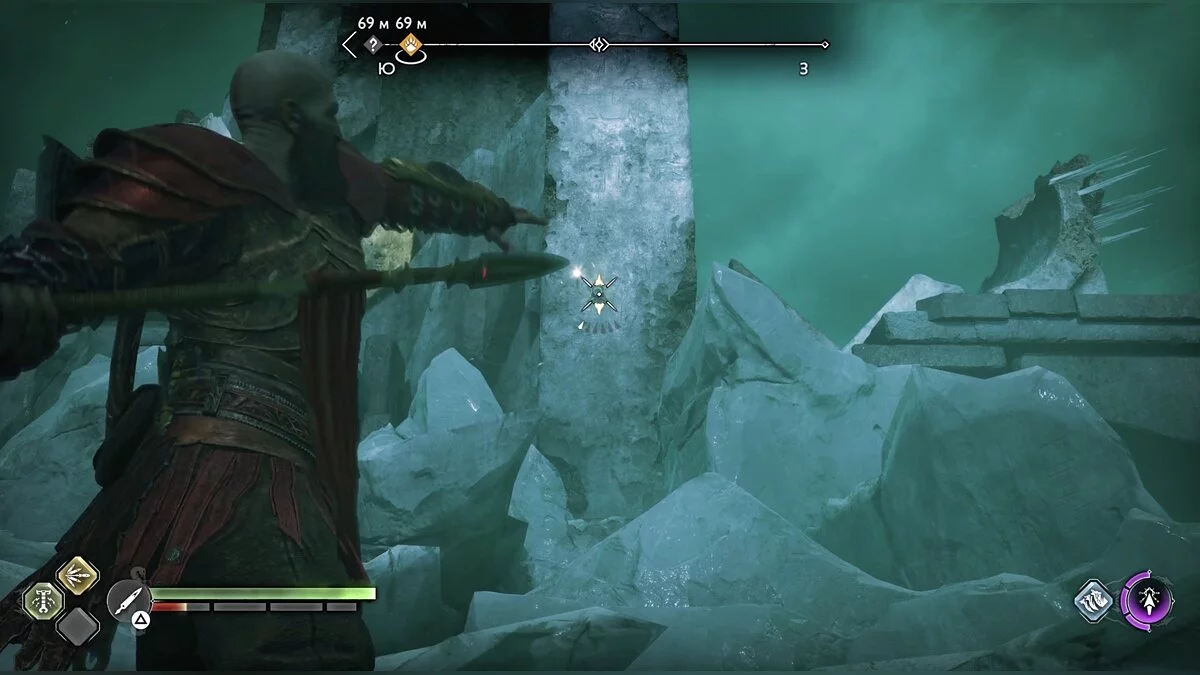
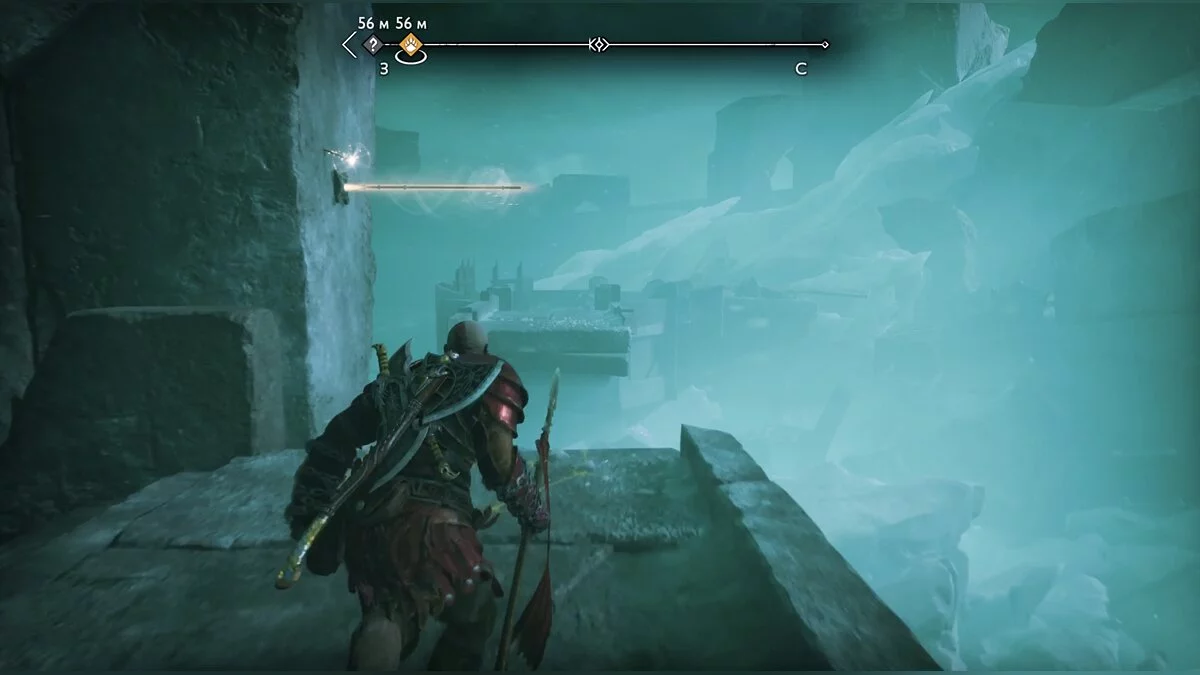
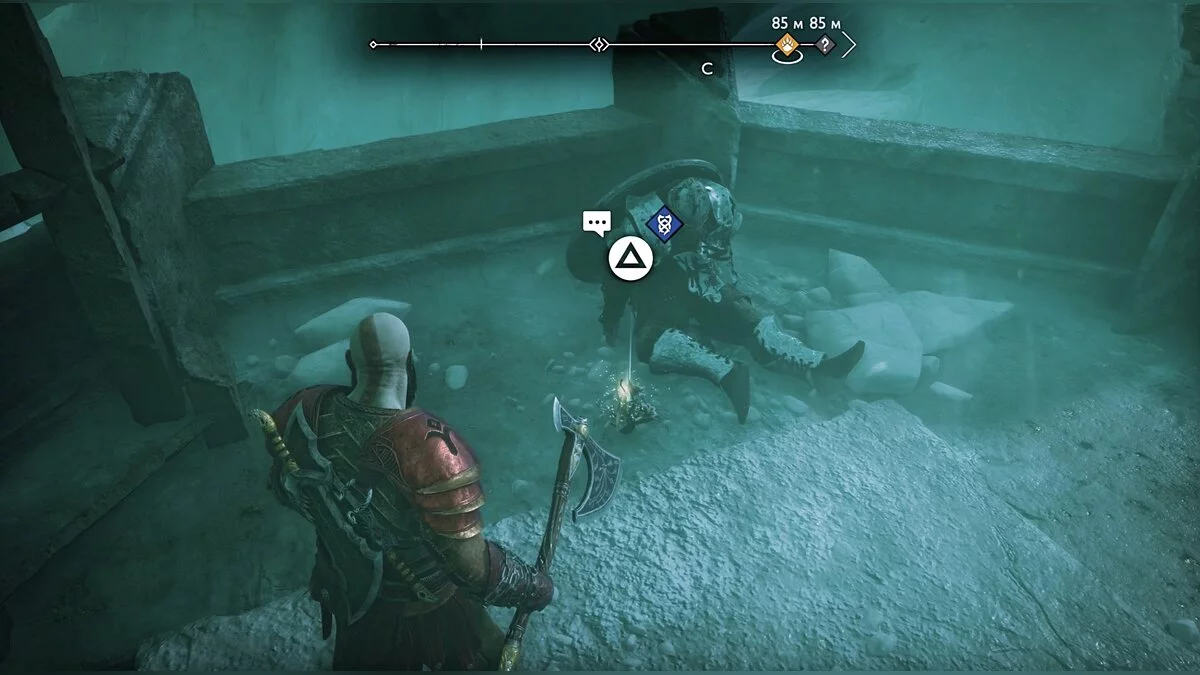
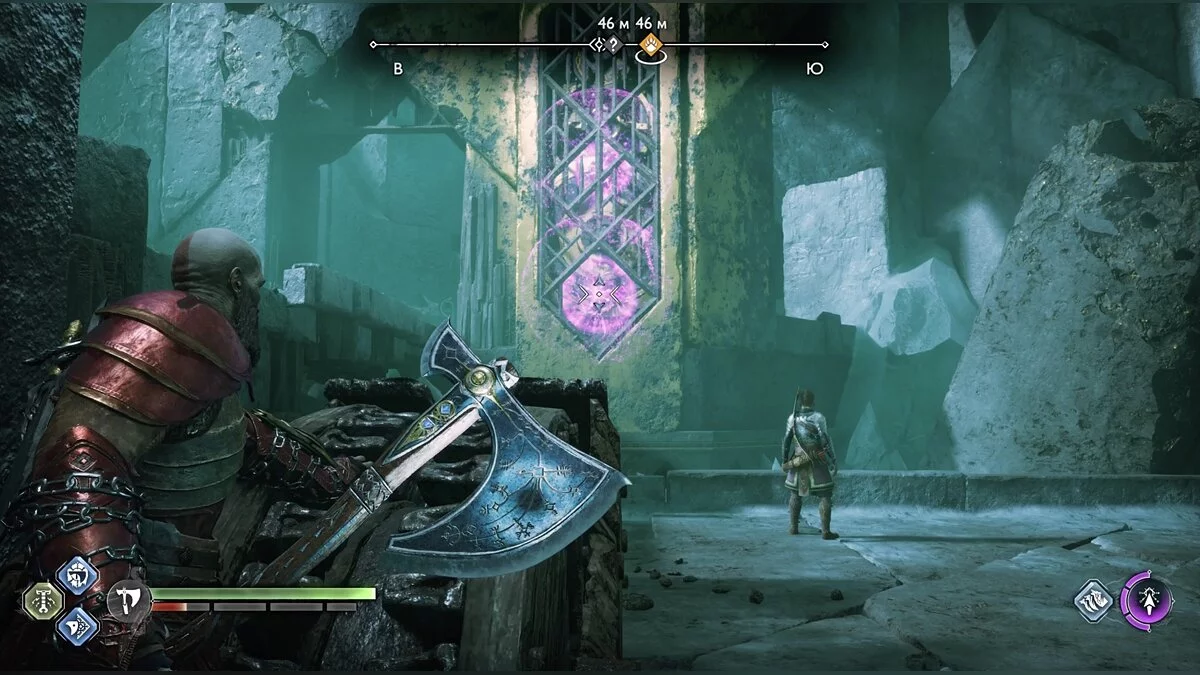
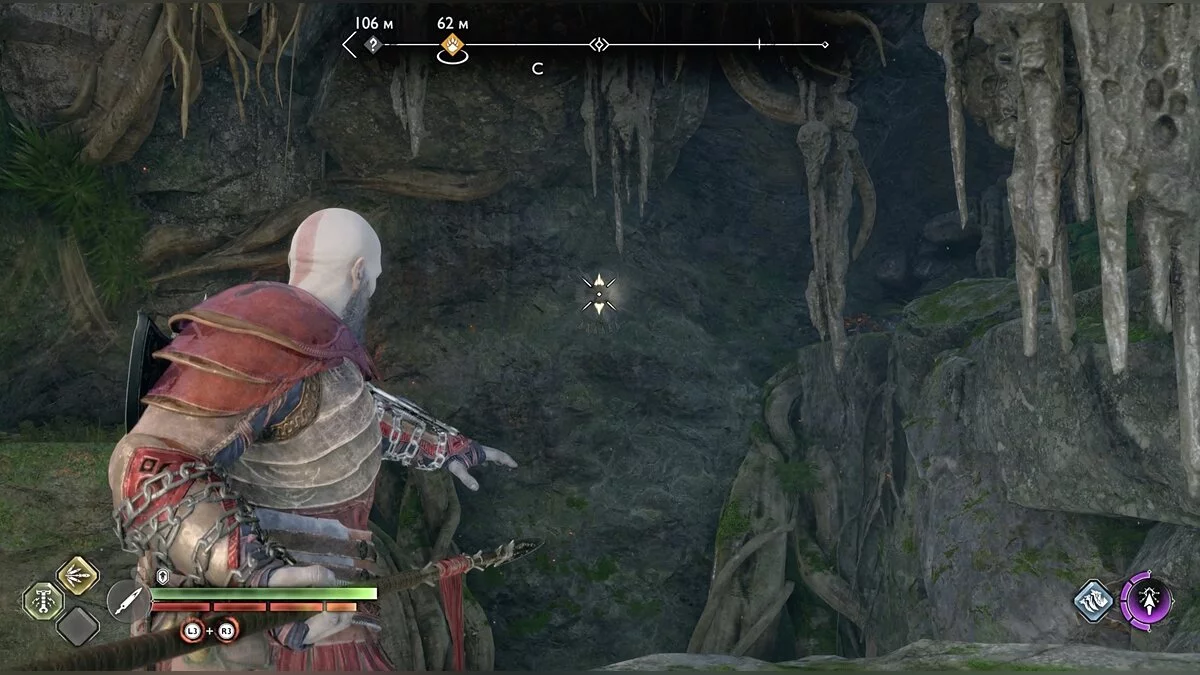
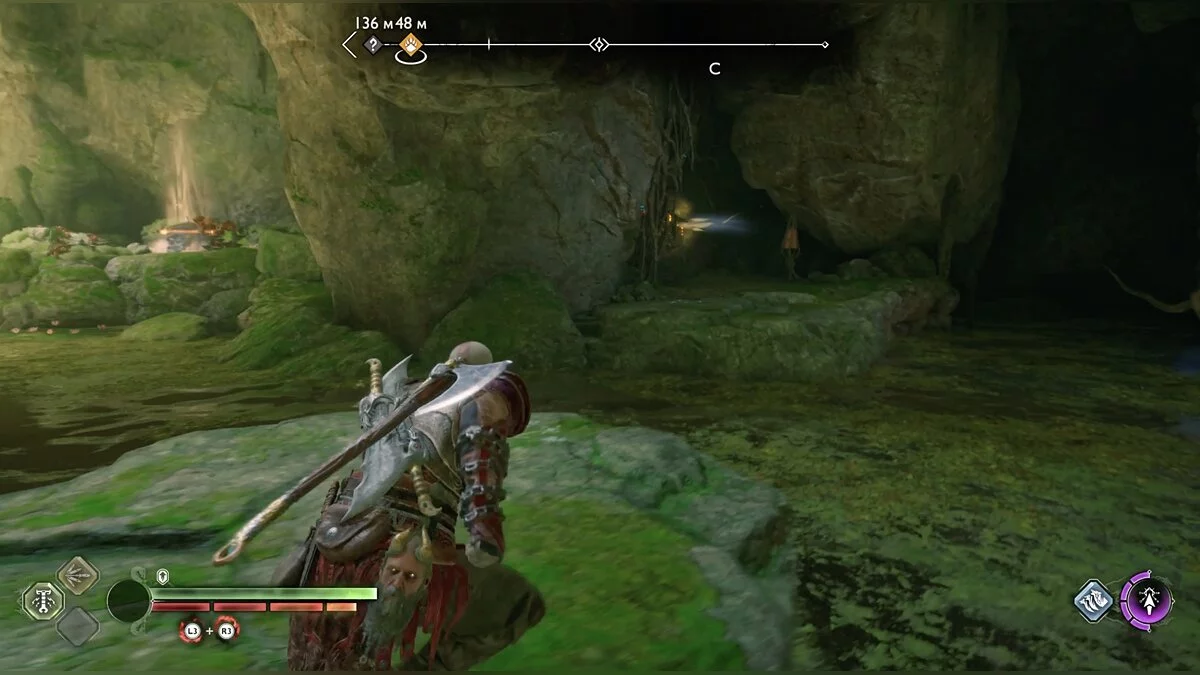
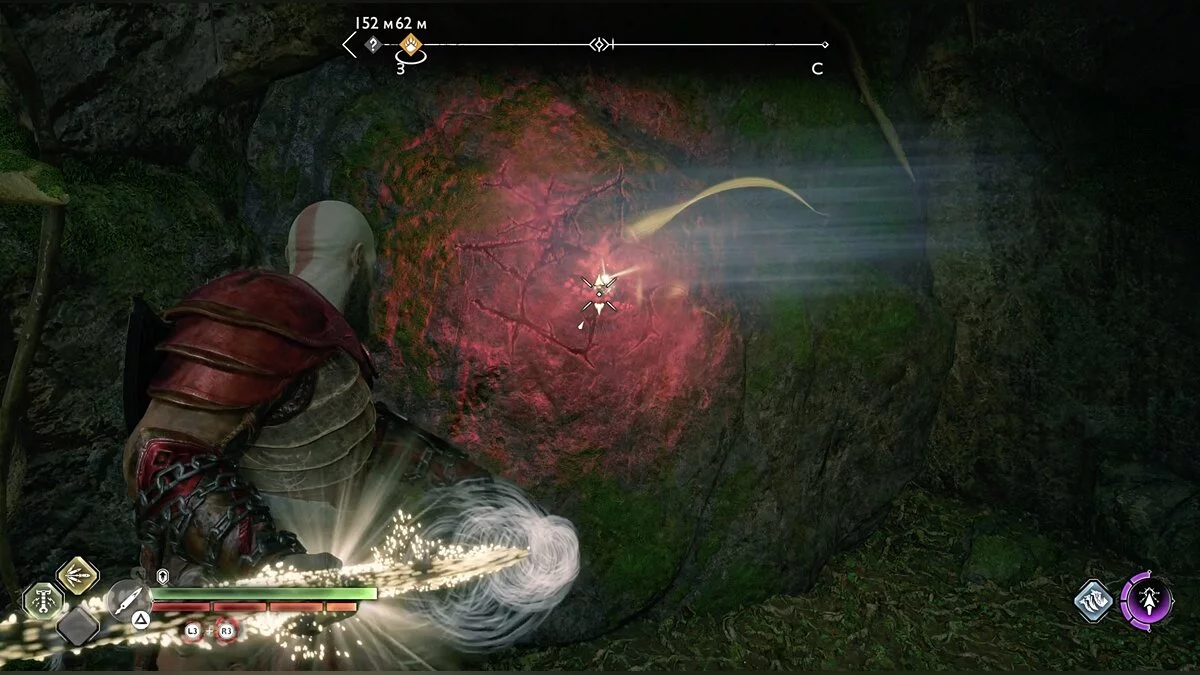
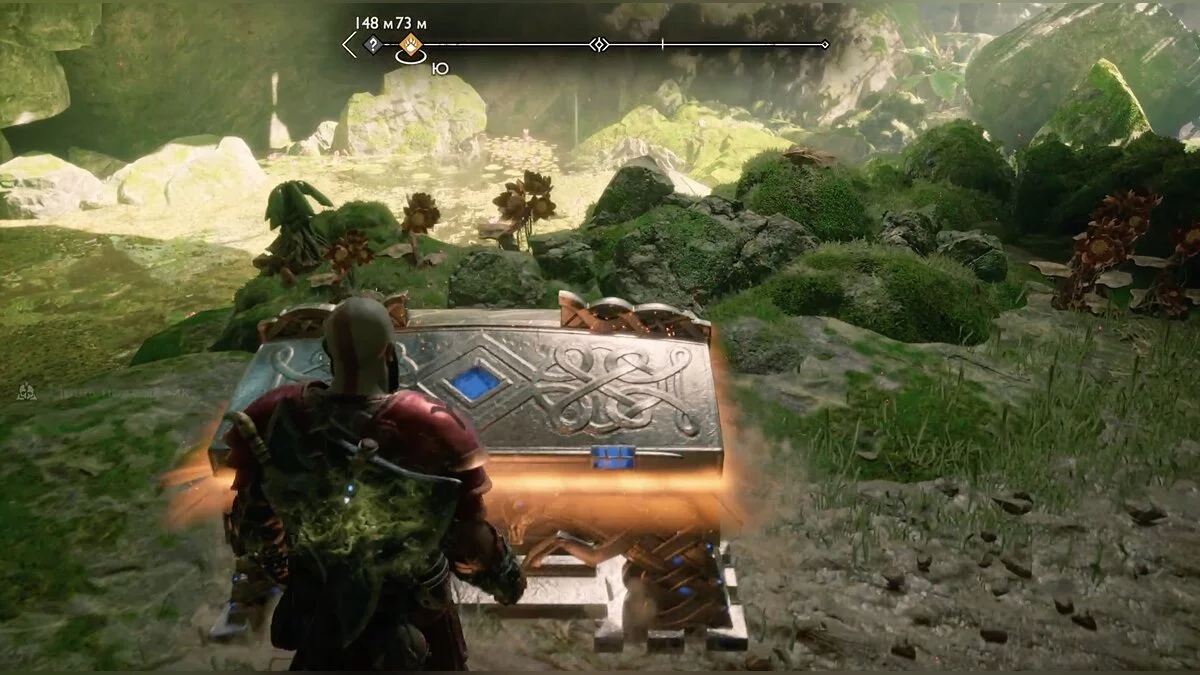
God of War: Ragnarok Walkthrough — All Story Missions, Bosses, and Chests

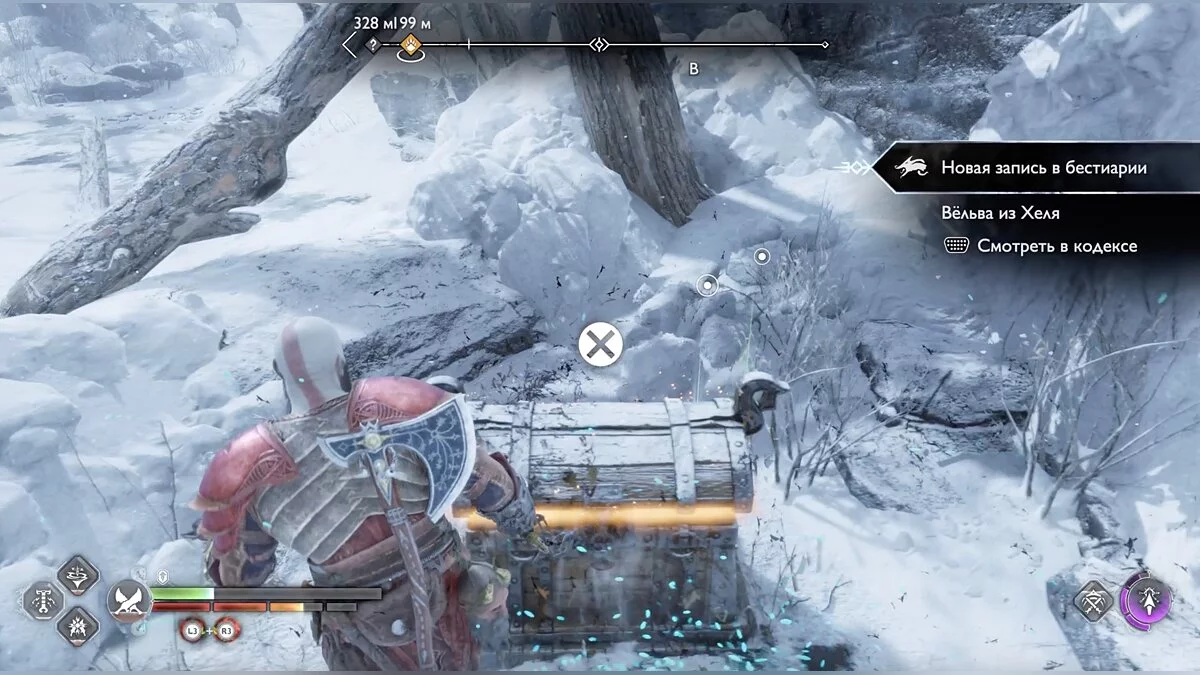
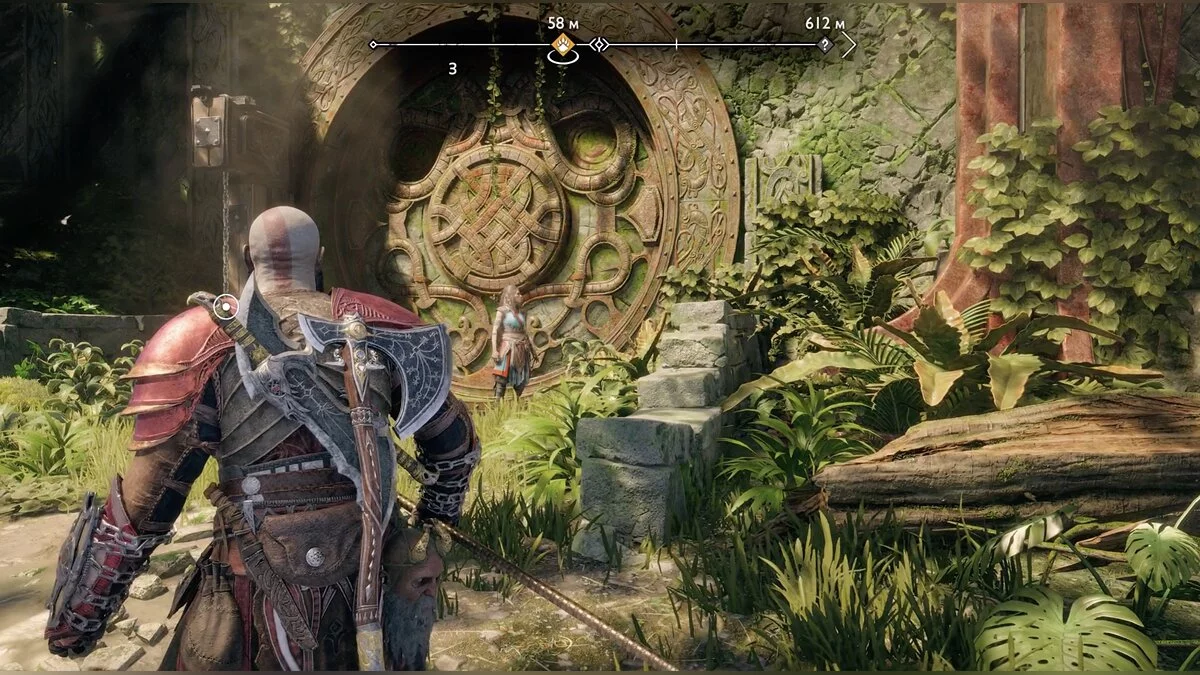
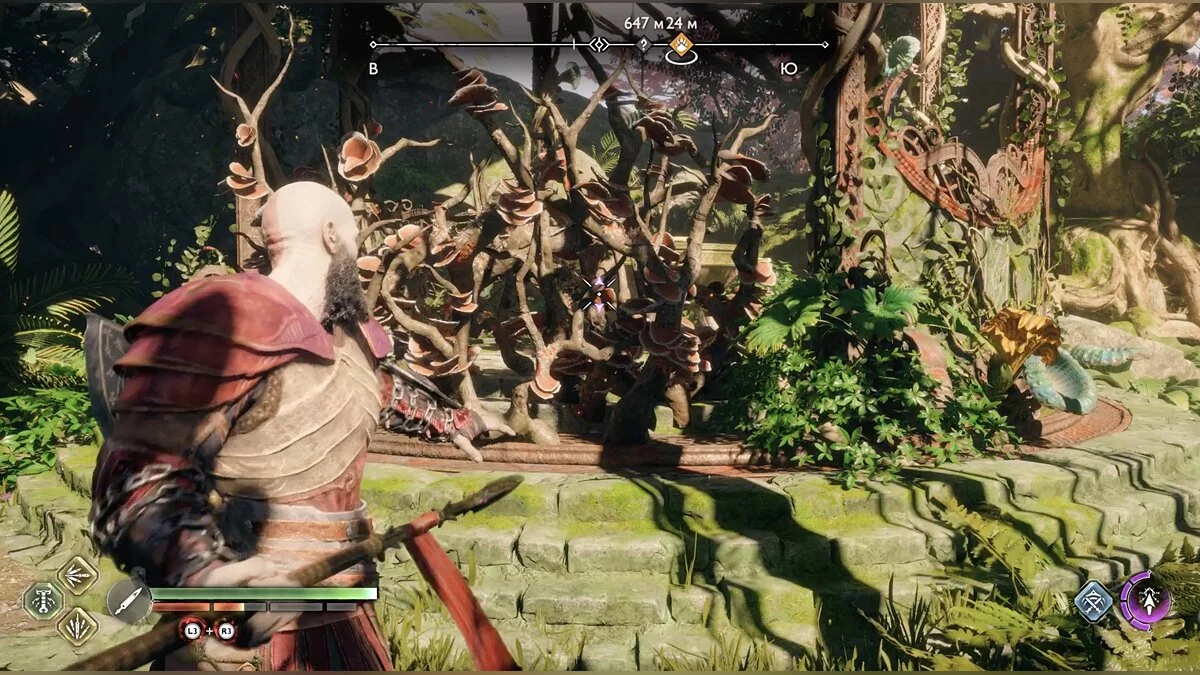
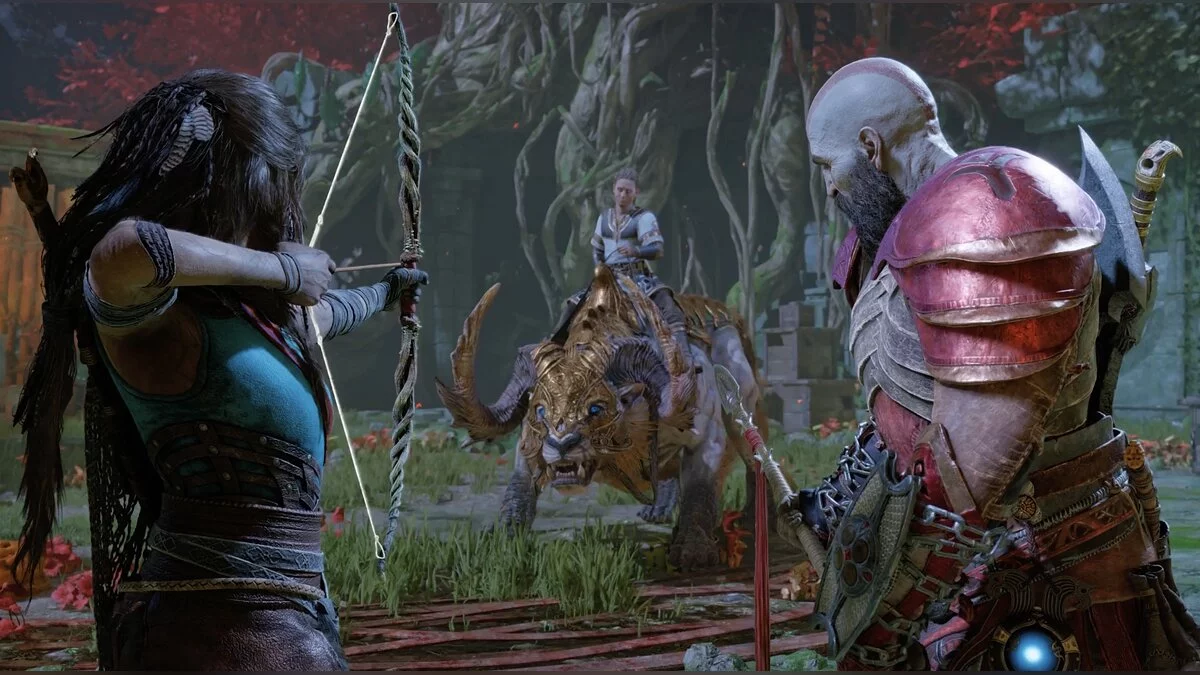
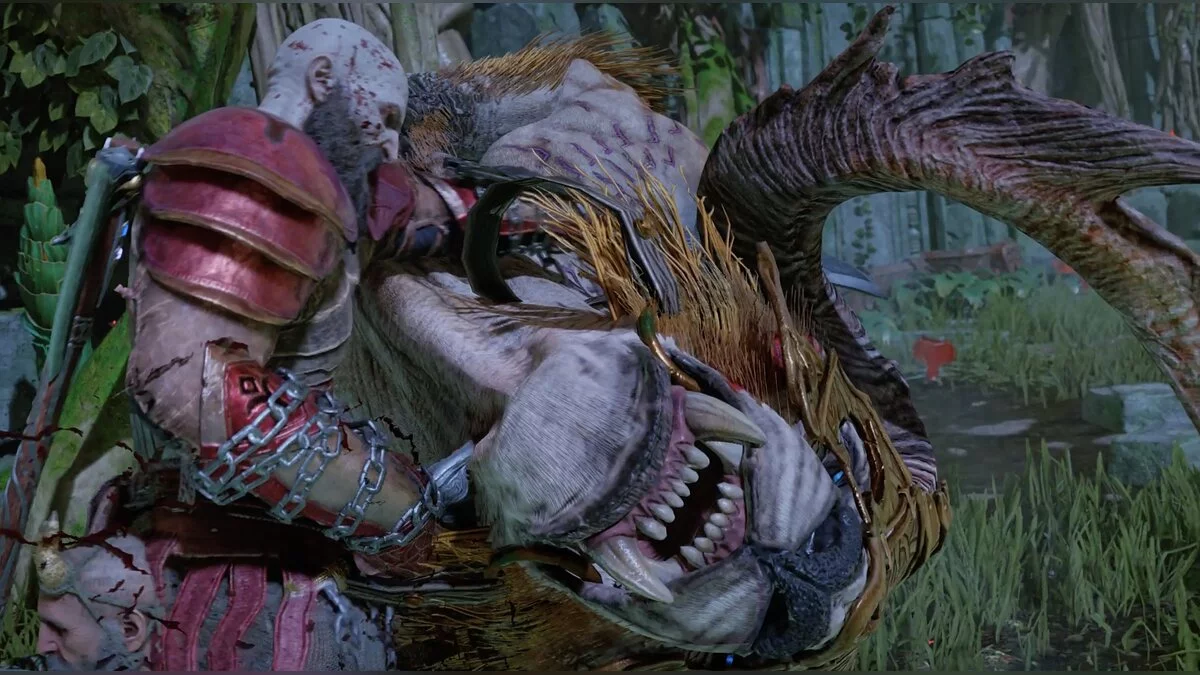
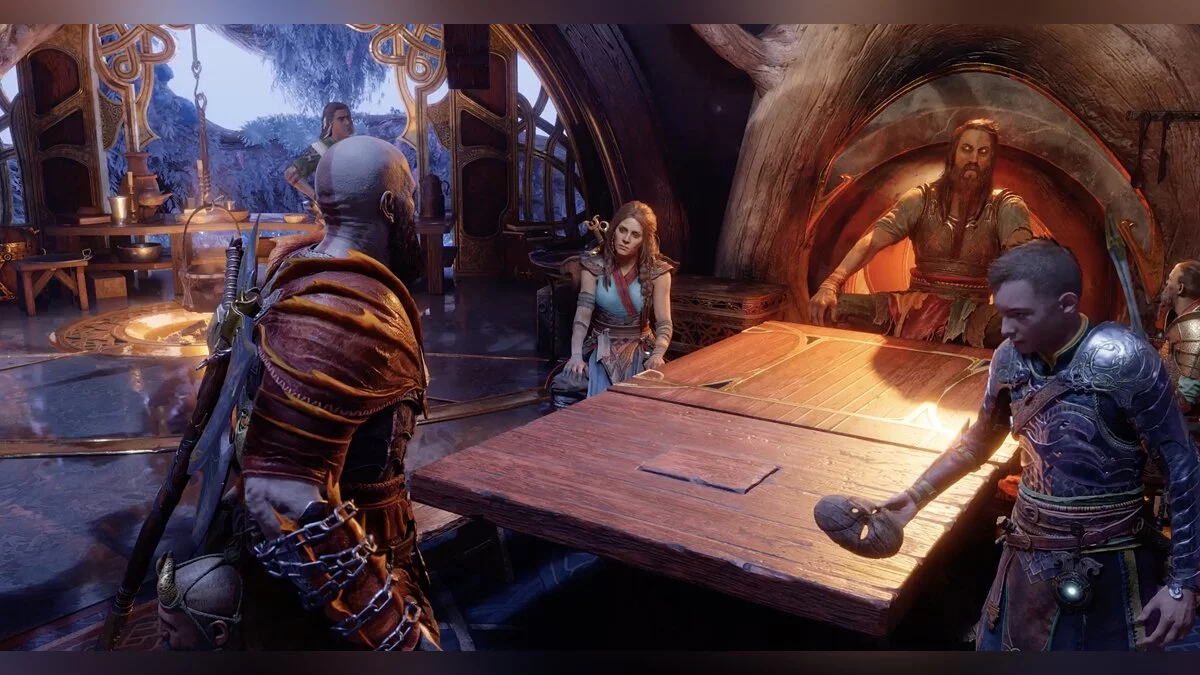
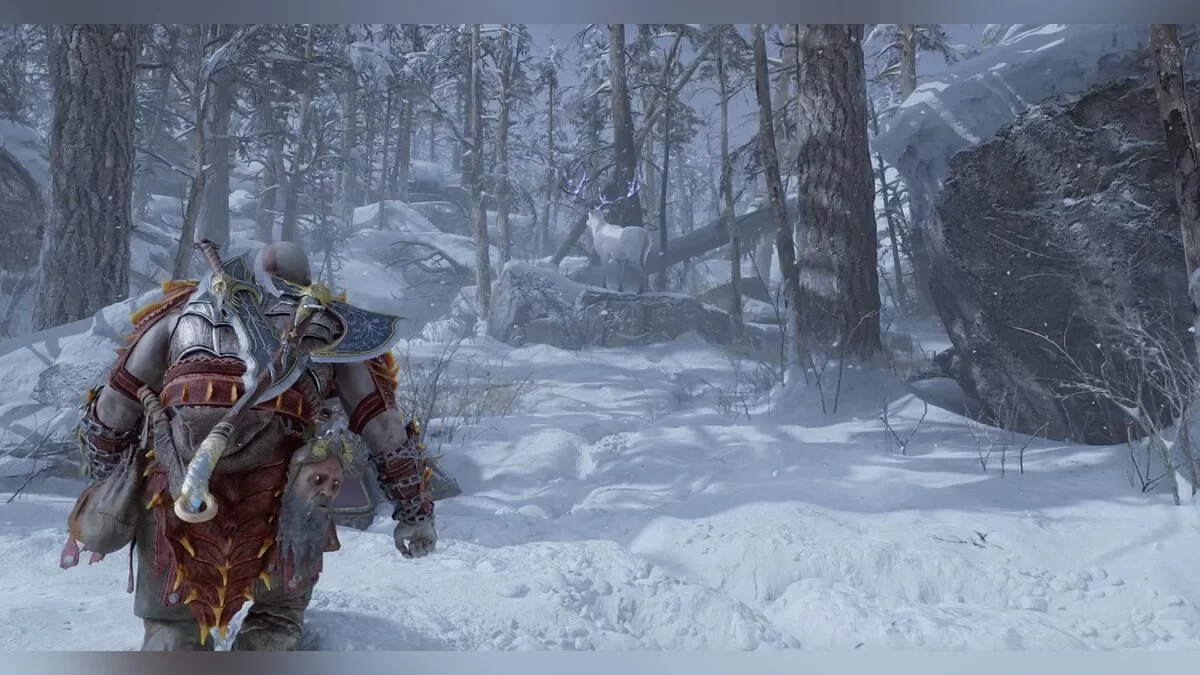
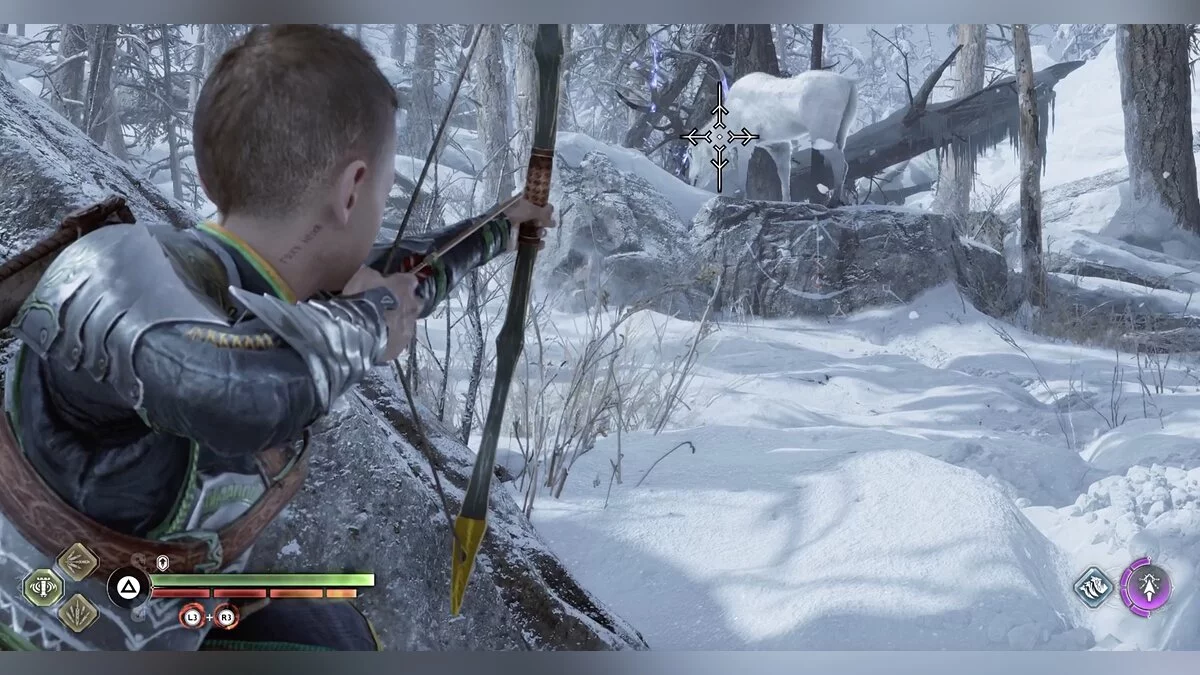
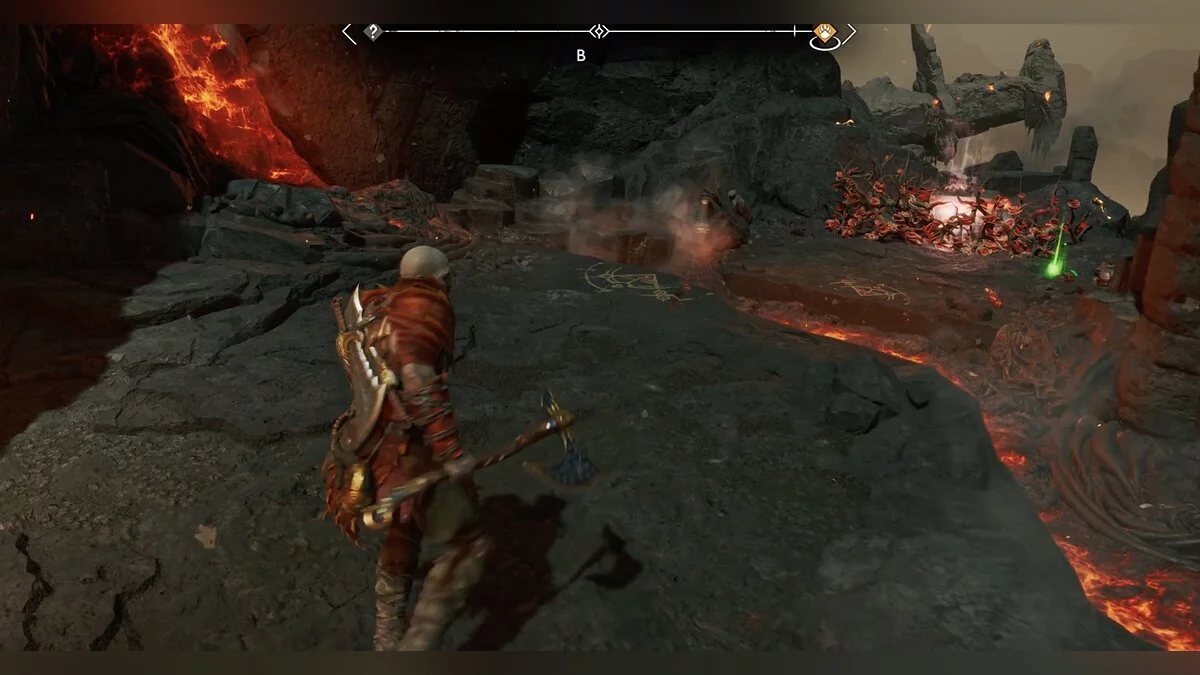
God of War: Ragnarok is the new chapter in the adventures of the famous Spartan Kratos and his grown-up son Atreus. The game is so massive that it can easily compete with recent Assassin's Creed titles in terms of duration. In the diverse locations, it's often easy to get lost. To prevent this, we have prepared a complete walkthrough of the main storyline of Ragnarok.
Some Useful Tips
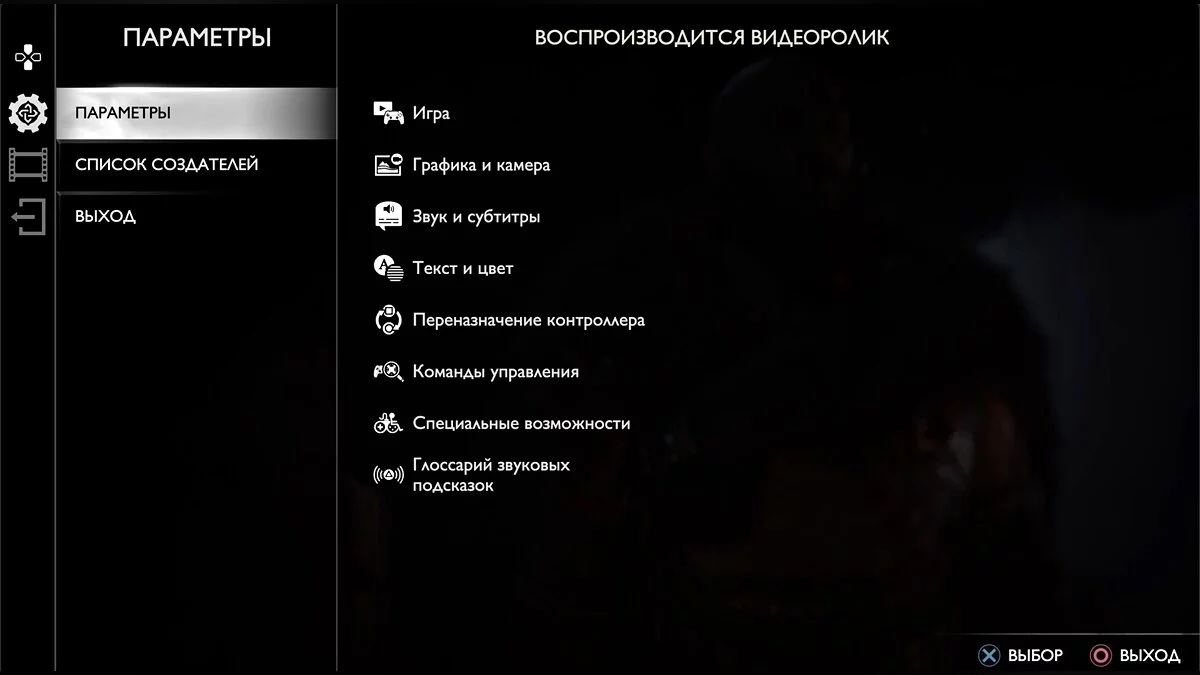
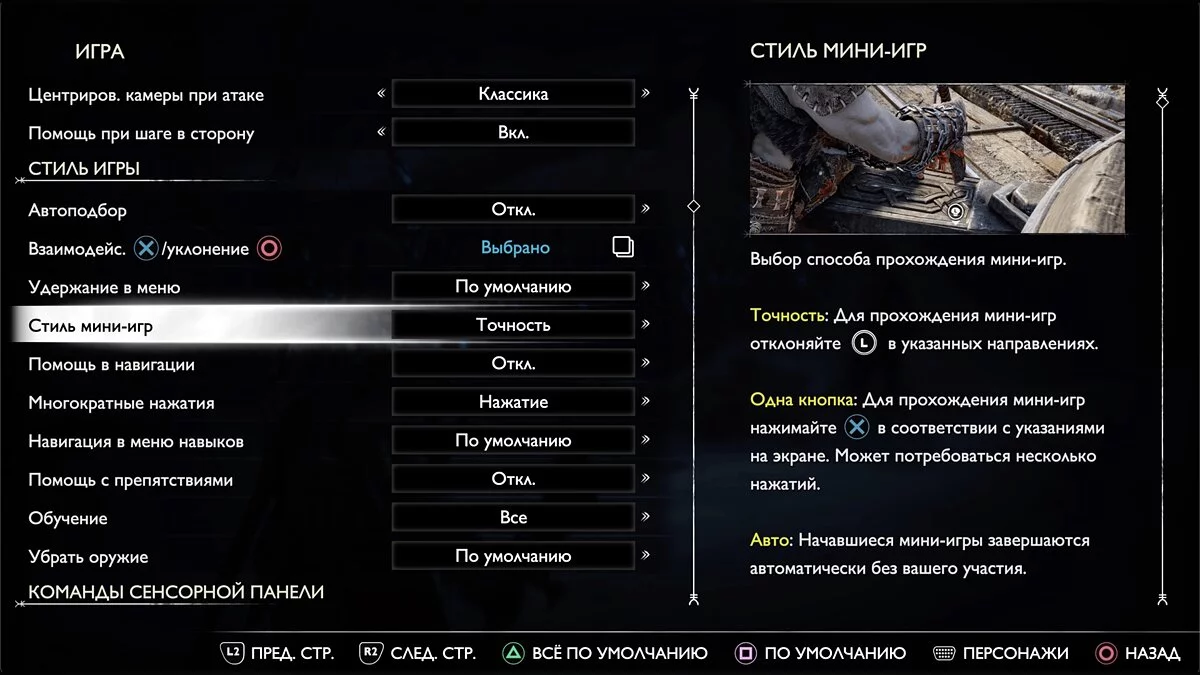
Before starting the walkthrough, explore the settings. The game has a huge number of parameters that you can customize to your liking. Pay attention to the button assignments for dodge and interact. By default, the buttons for these actions are chosen as if reversed. Fortunately, this can be easily changed.
Also, enable Kratos to automatically pick up valuables and resources. This will save you from having to click one button repeatedly.
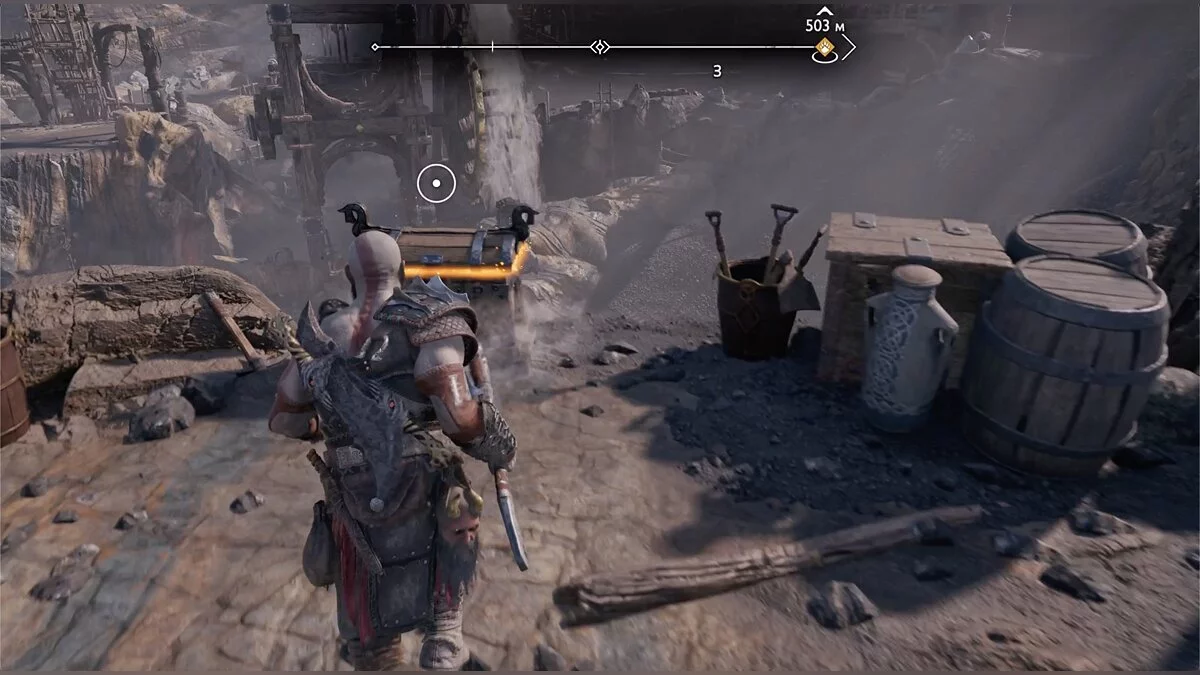
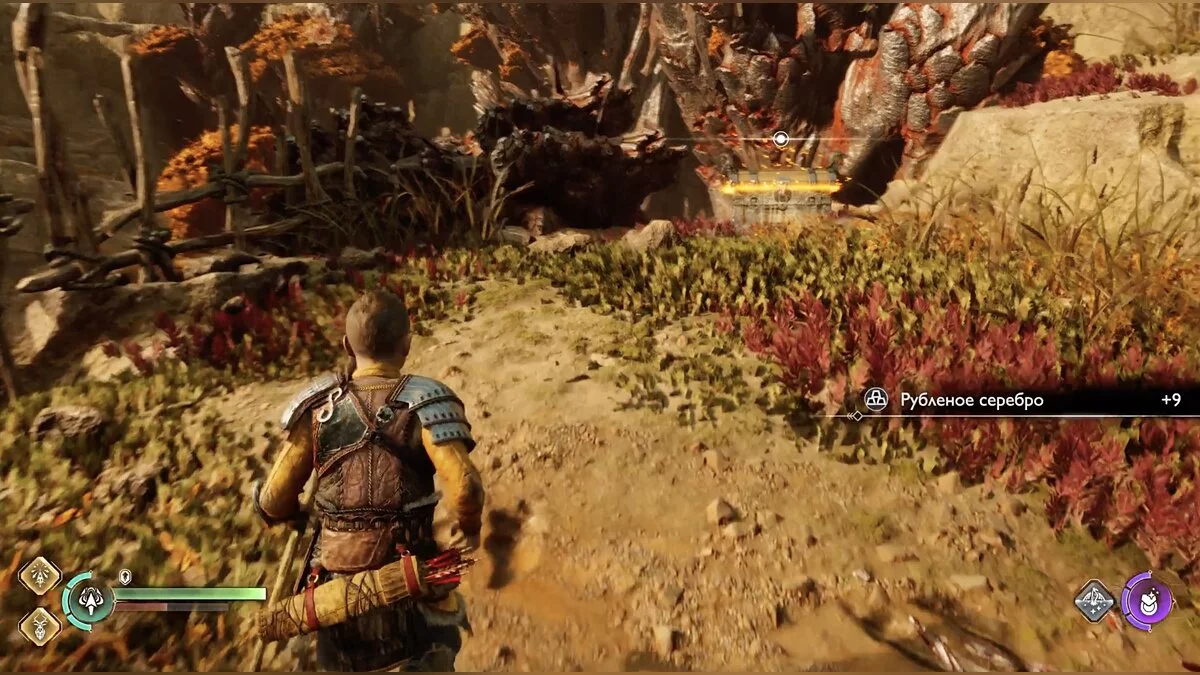
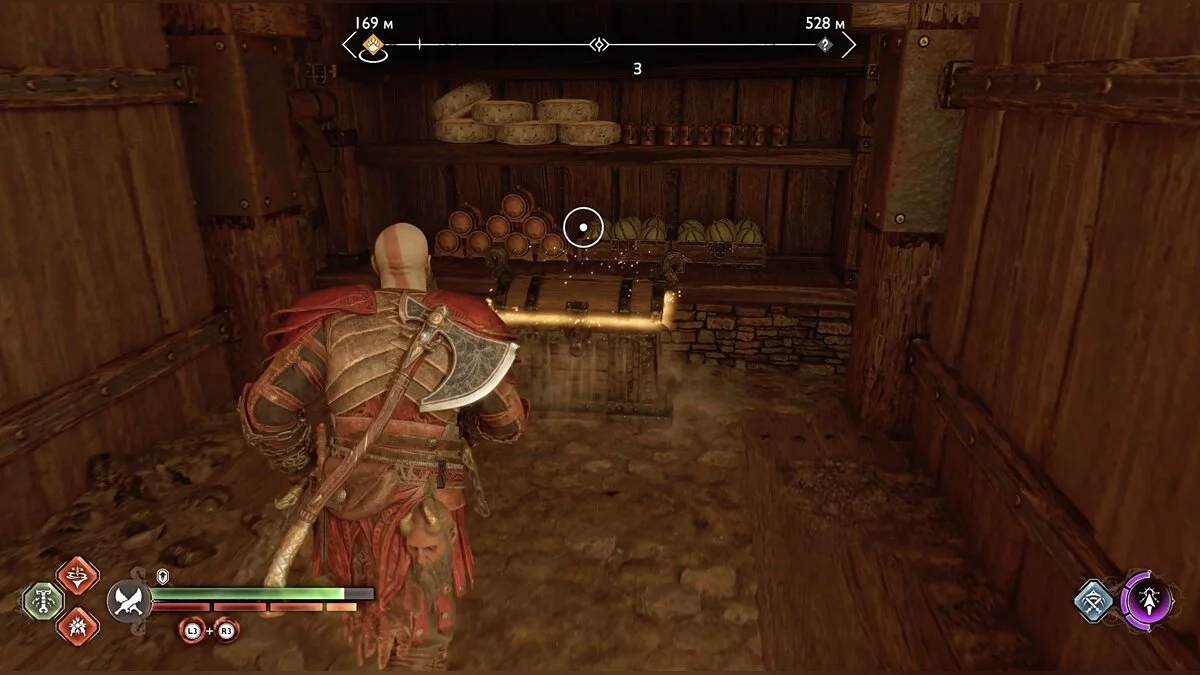
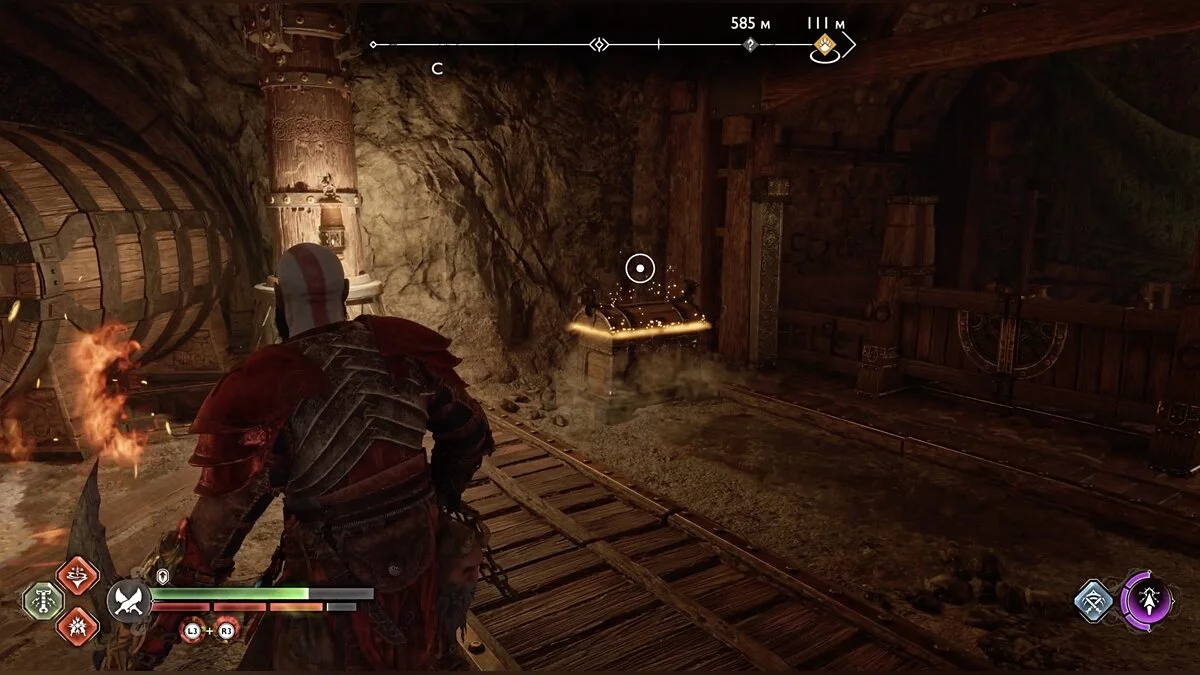
Another important parameter is the size of the icons. Available chests or scattered materials are always marked with a circle. The game is quite bright, so it's better to increase the size, making it easier to spot everything you can pick up or activate on the level.
Choose the desired button for centering the camera towards the main objective. This will help determine where not to go if you want to explore the location.
It's also better to review the other settings. Many annoying moments can be fixed by wisely choosing certain parameters.
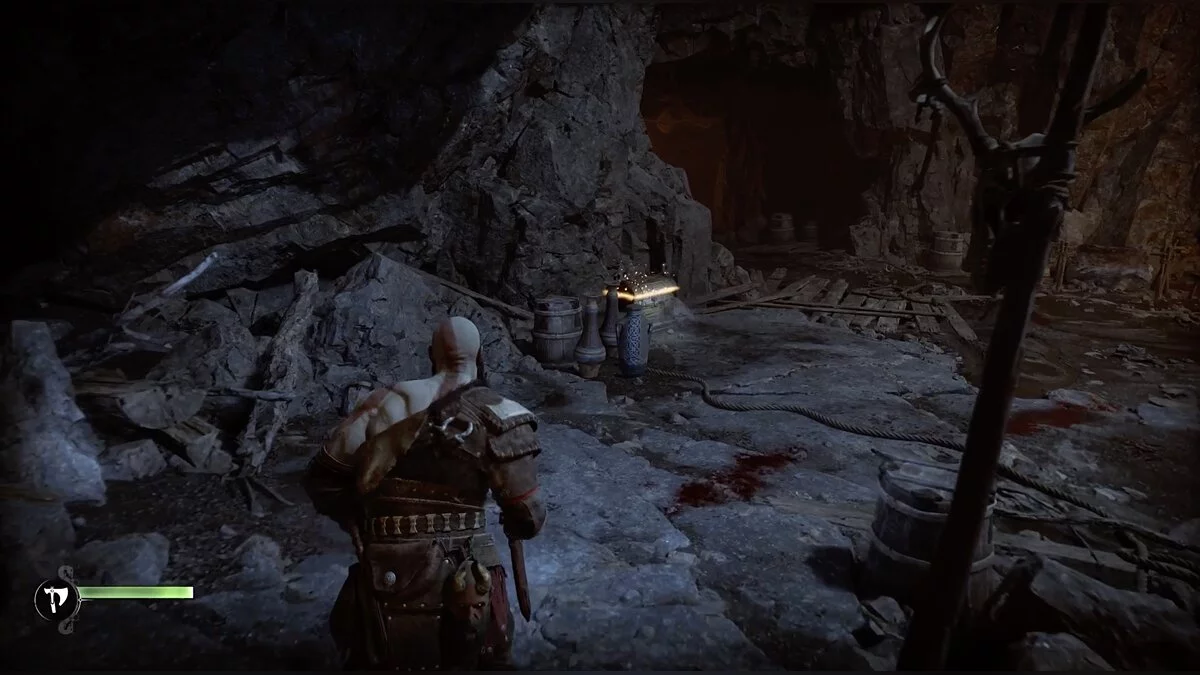
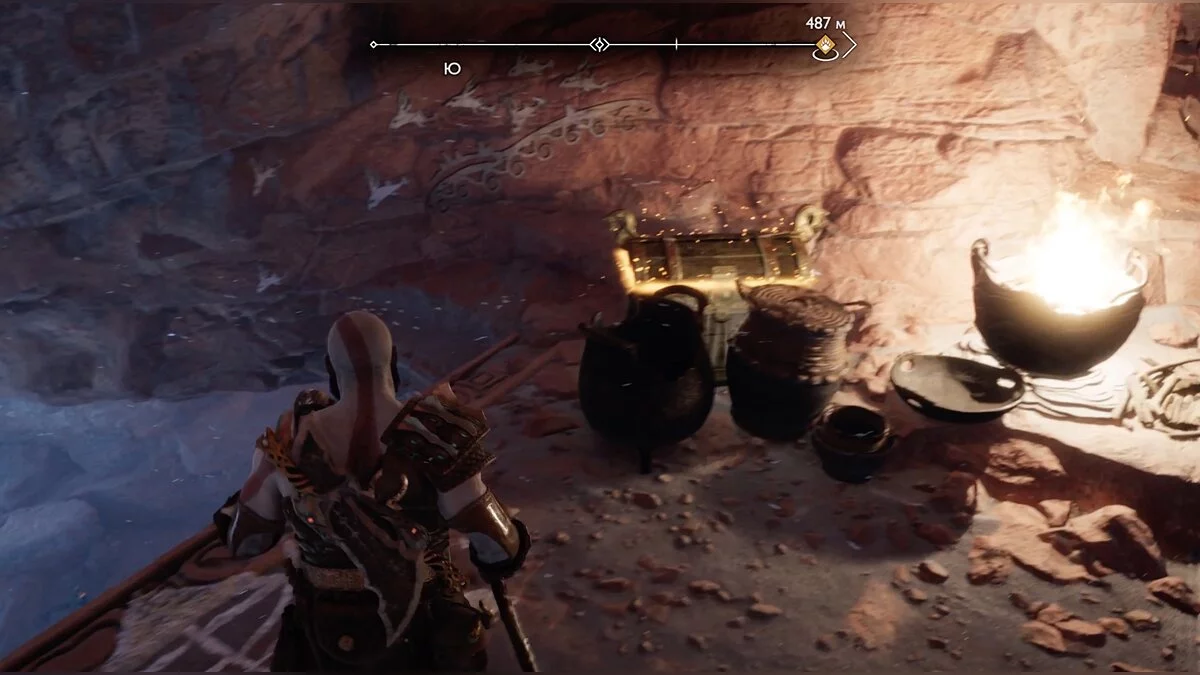
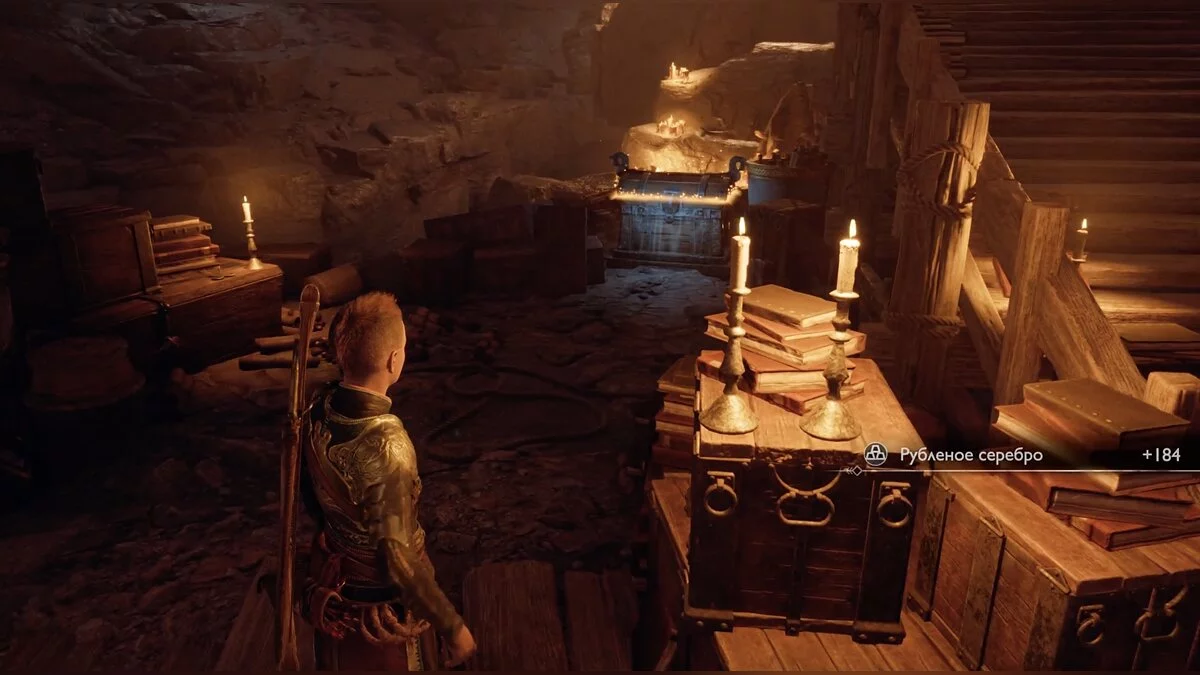
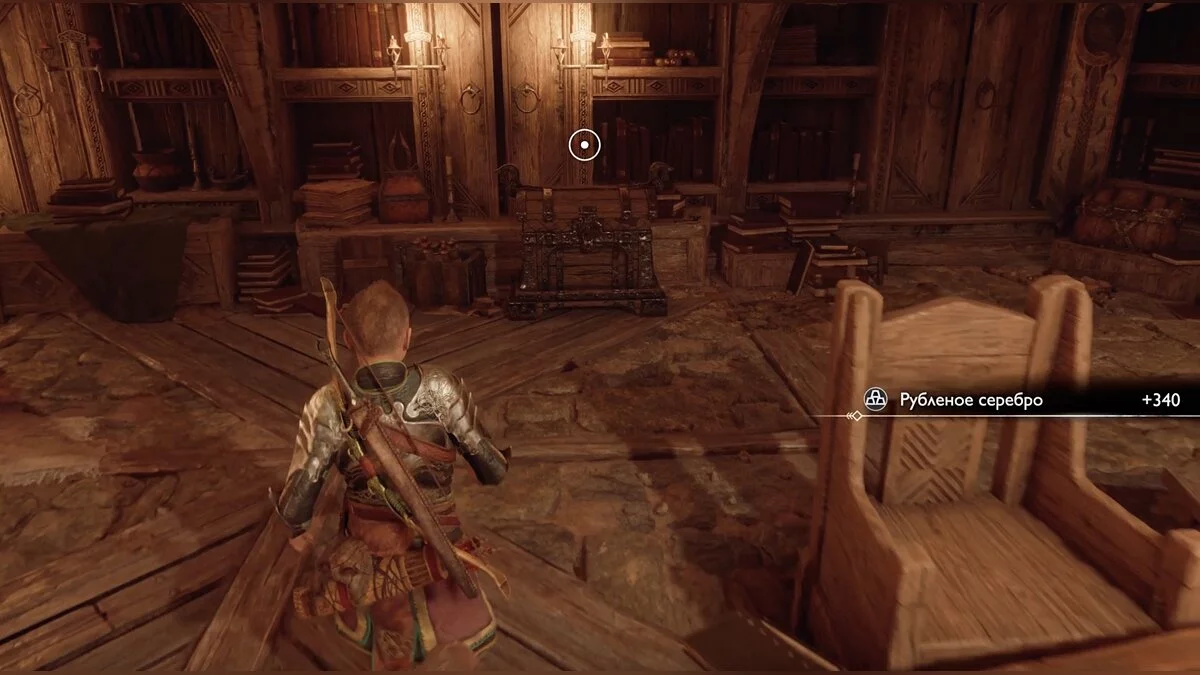
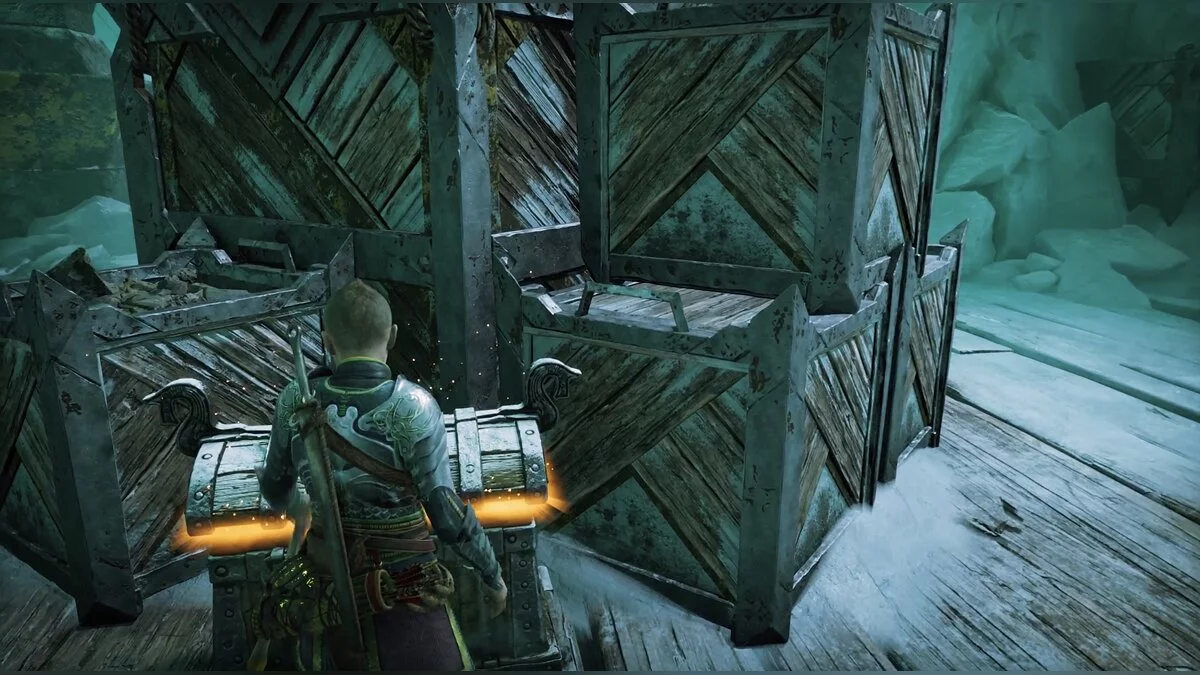
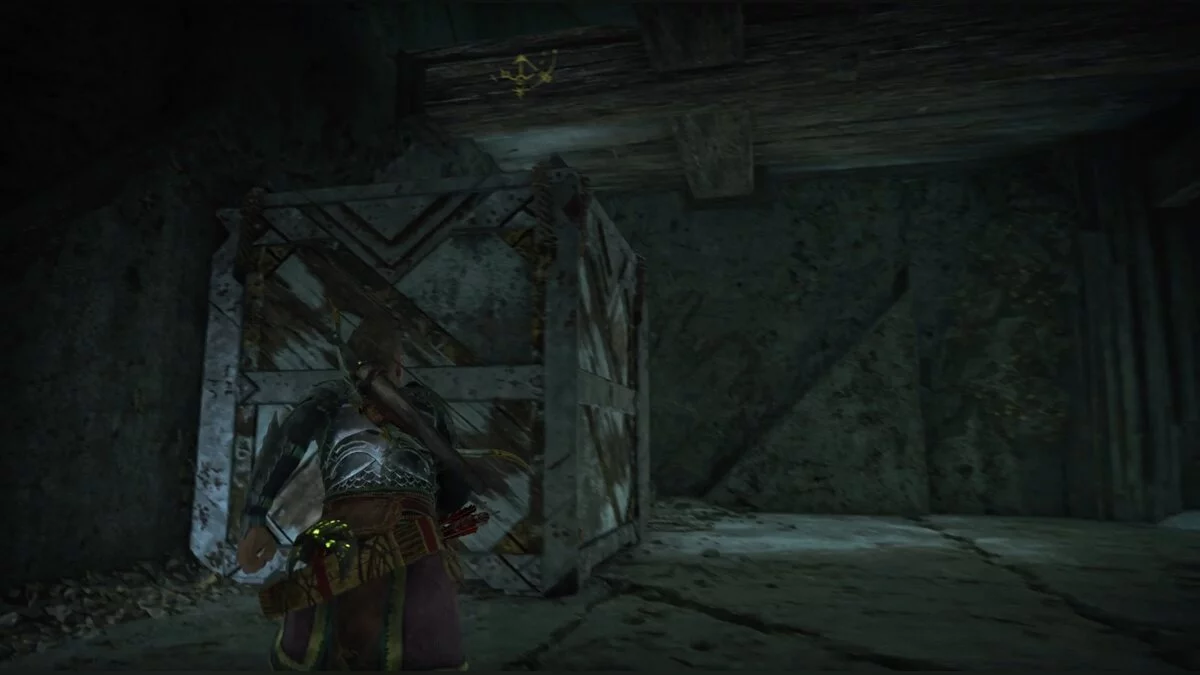
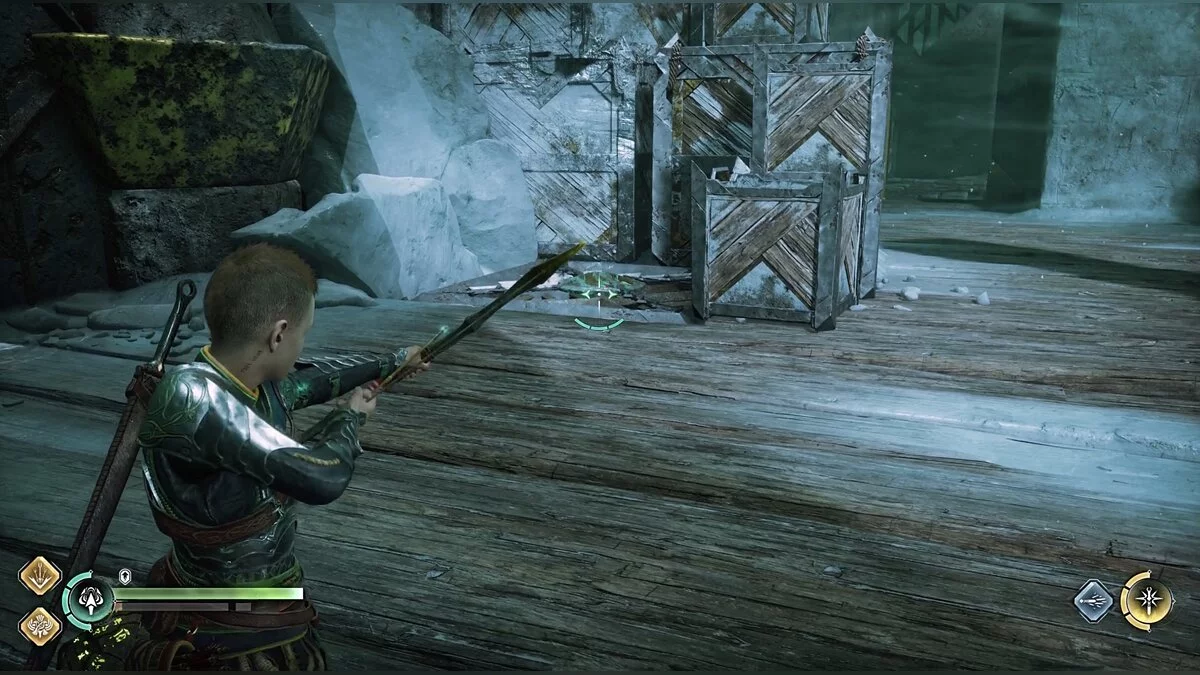
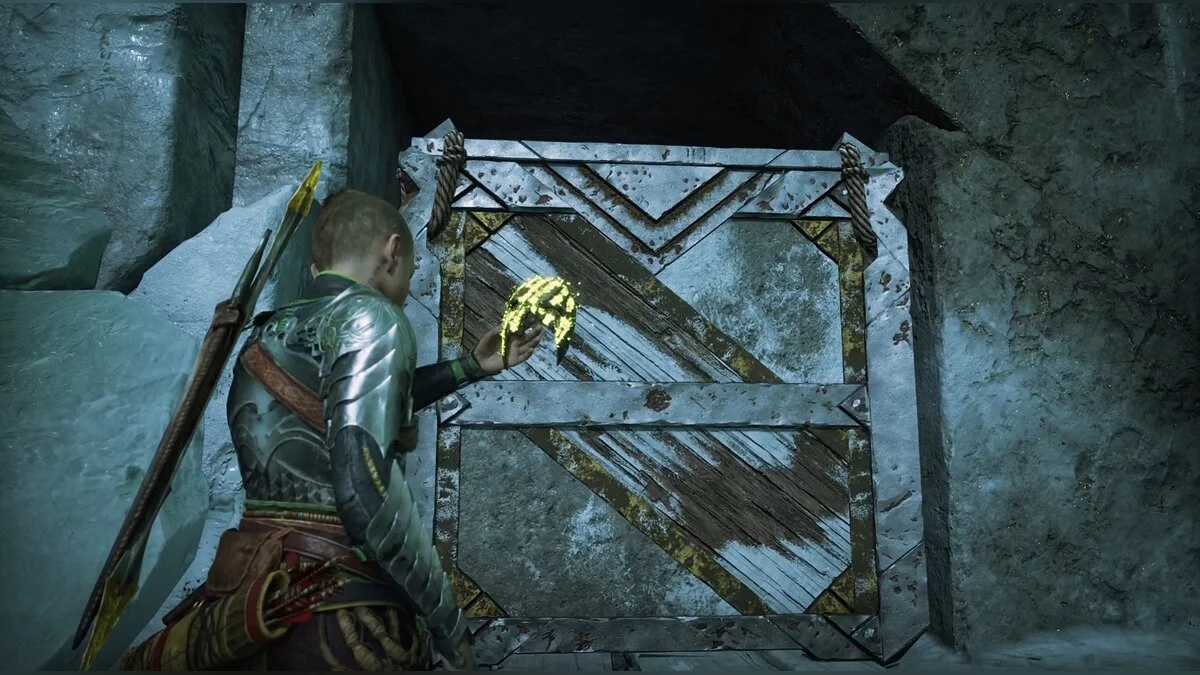
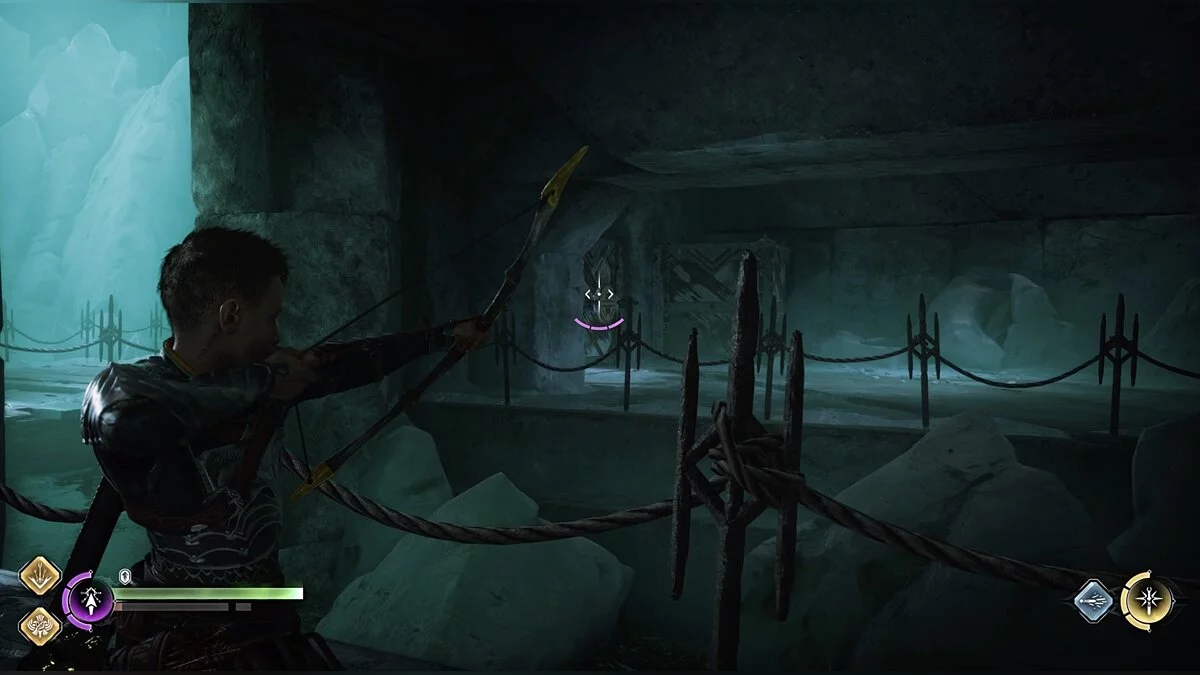
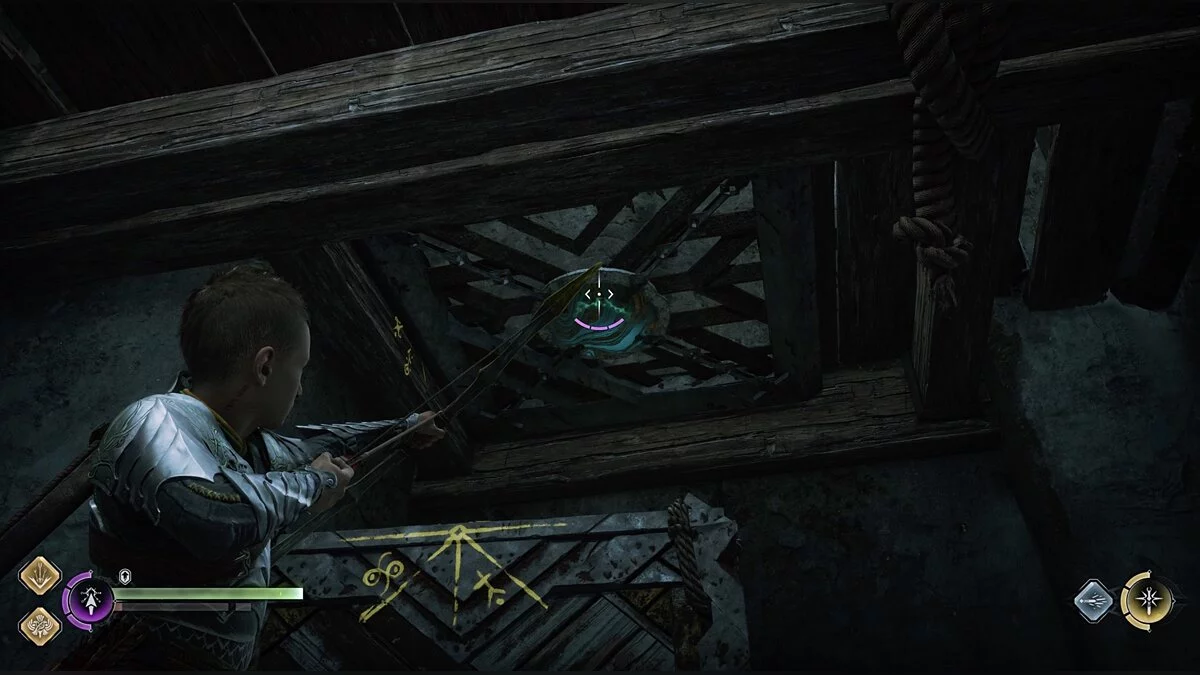
When exploring levels, don't waste time destroying barrels and crates — they are always empty (except for those marked with special symbols for Atreus's arrows). The only place where you can find some hack silver is in jars and vases.
Surviving Fimbulwinter. How to Escape from Freya
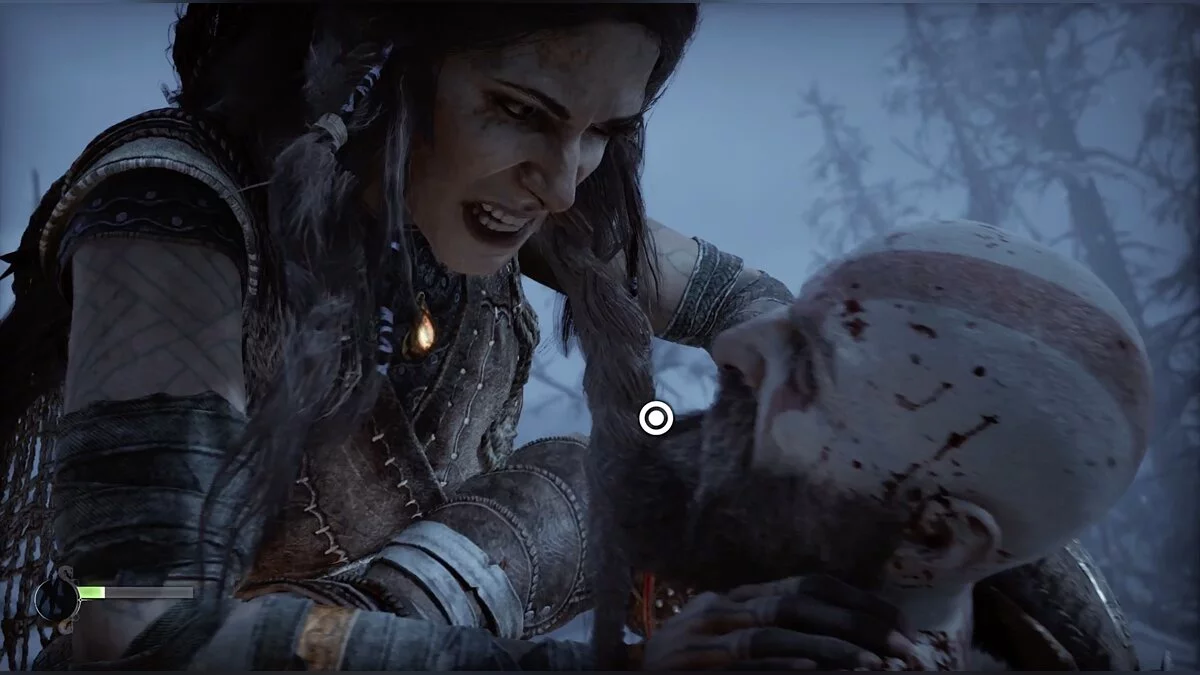
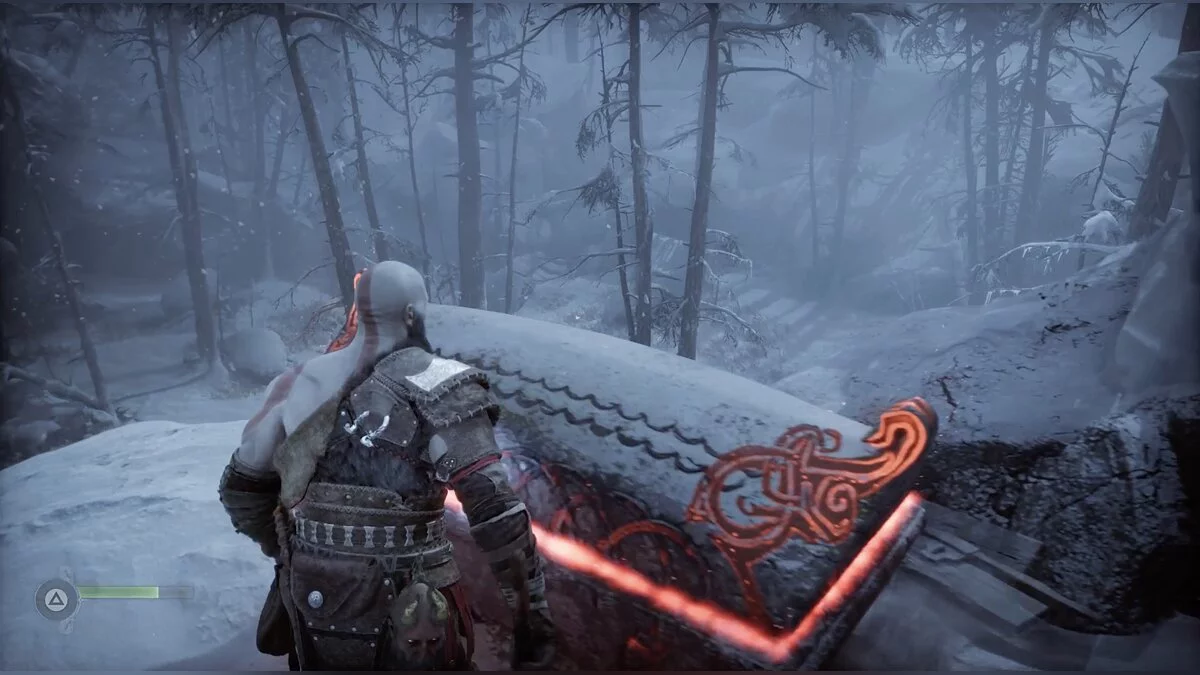
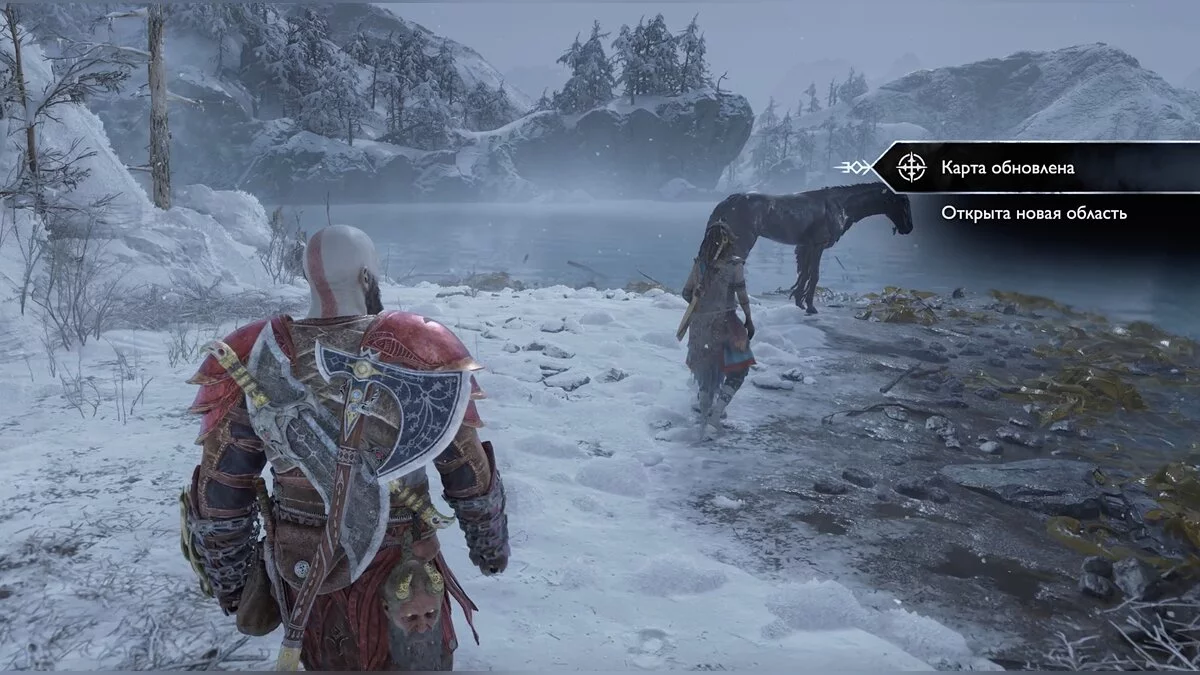
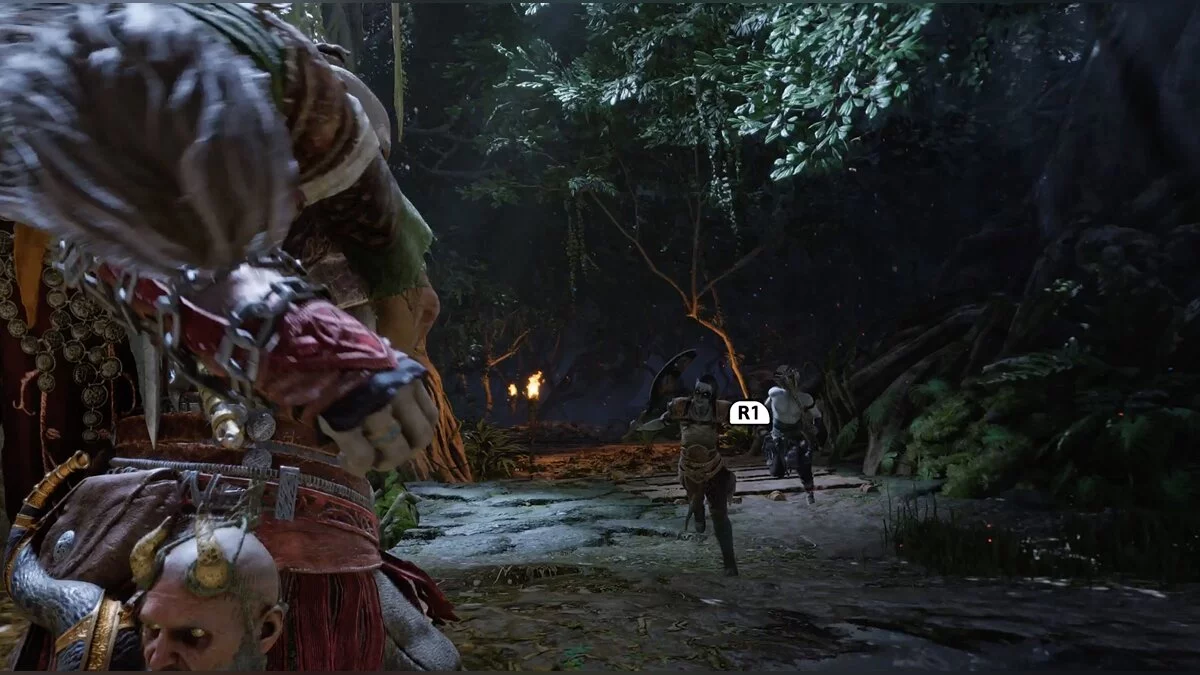
The game begins several years after the previous part. Kratos and the grown-up Atreus are being hunted by Odin and Freya. The latter seeks revenge for the death of her son — Baldur. After a small cutscene, you control a sled with wolves. At some point, the goddess attacks the heroes. Press the buttons that appear on the screen to fend off her attacks.
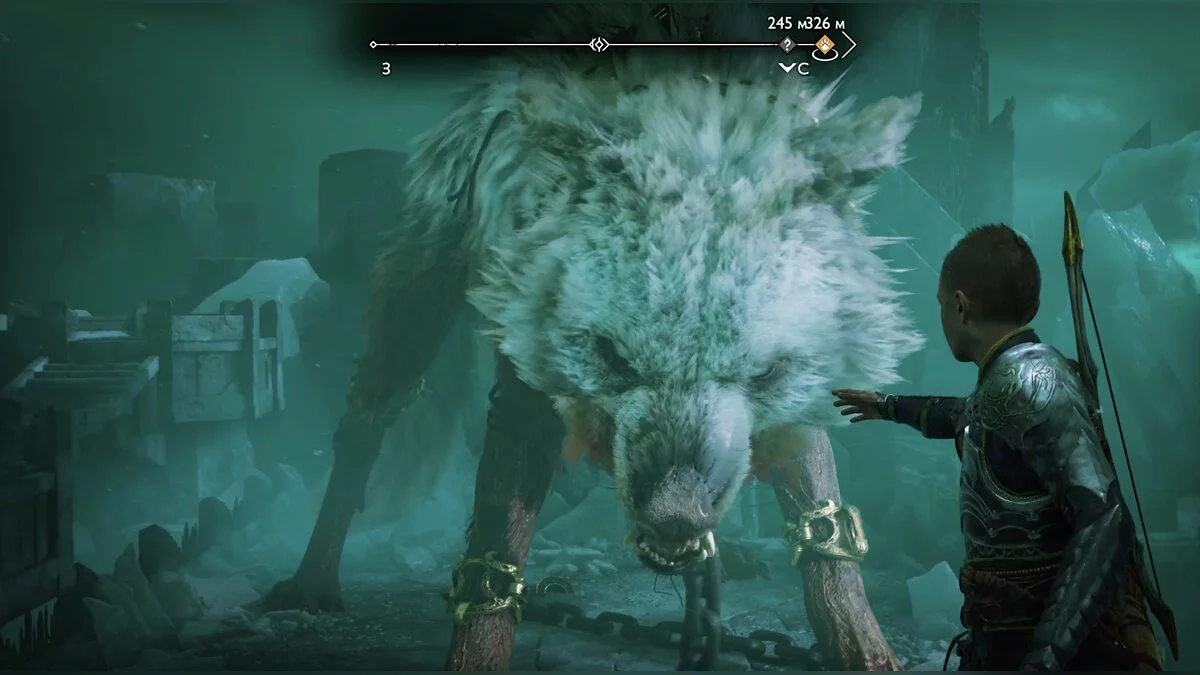
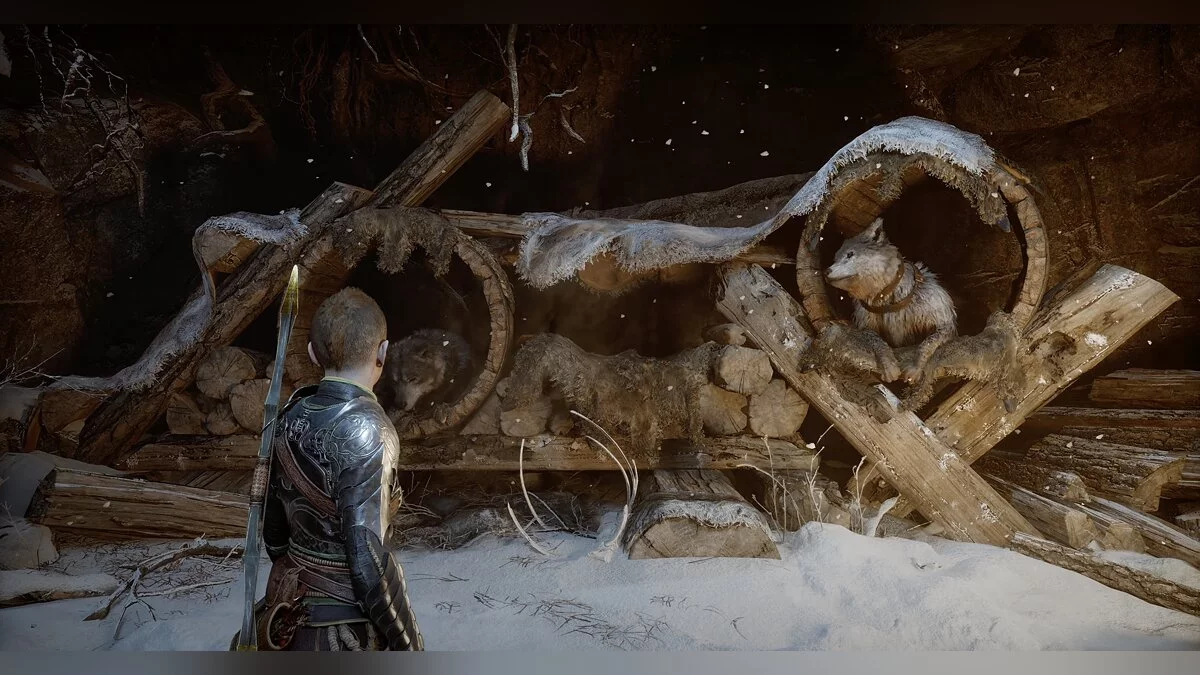
When the chase ends, and you gain control, go up the slope to the hut. Approach the wolf in the kennel and watch the cutscene.
In the dream, follow Faye. After the wolf runs away, turn around and approach the three logs, move one of them and climb up the ledges. Go right to the wolf and watch the cutscene.
How to Find Atreus
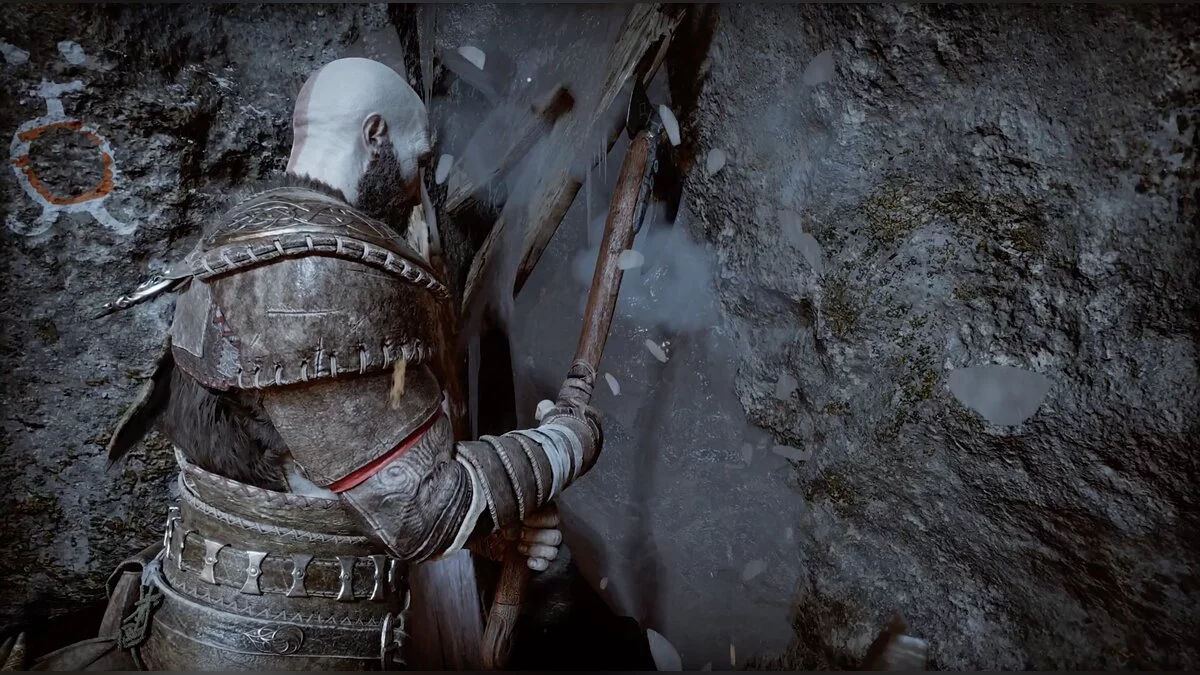
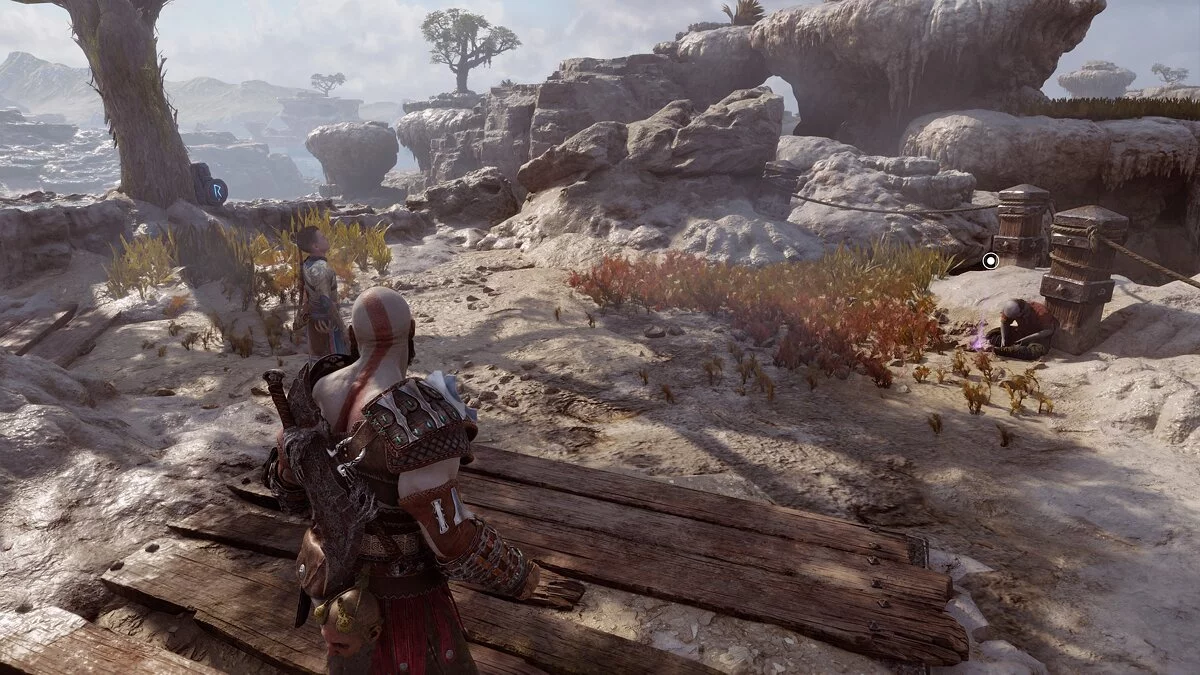
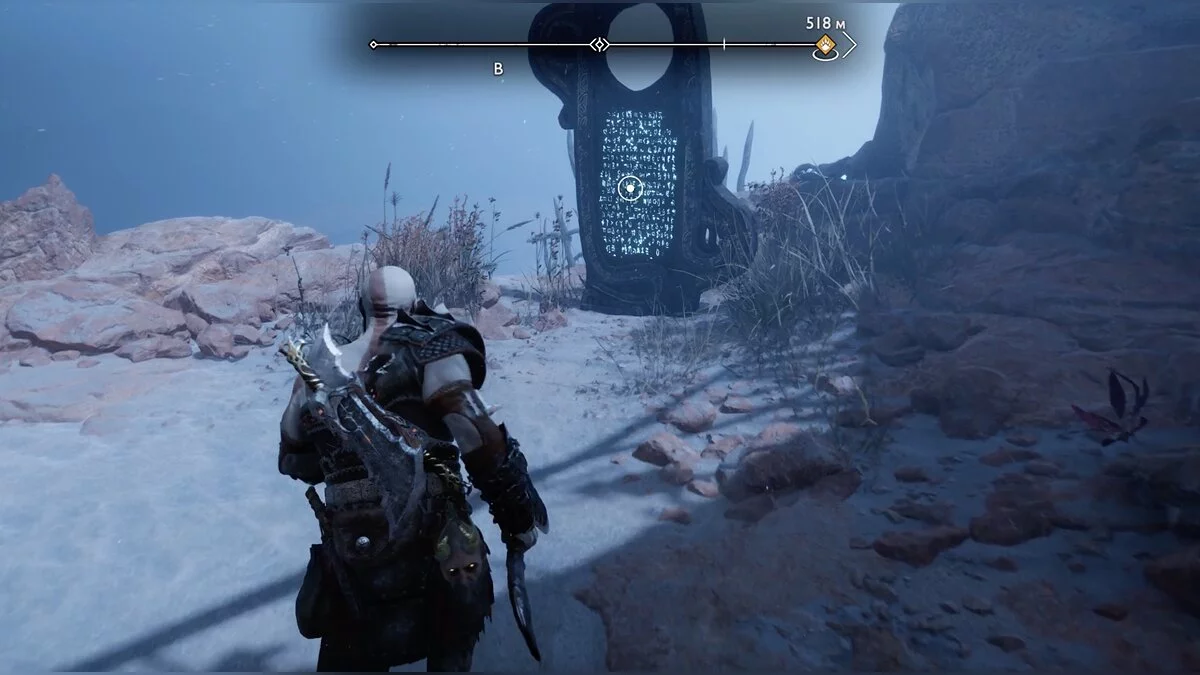
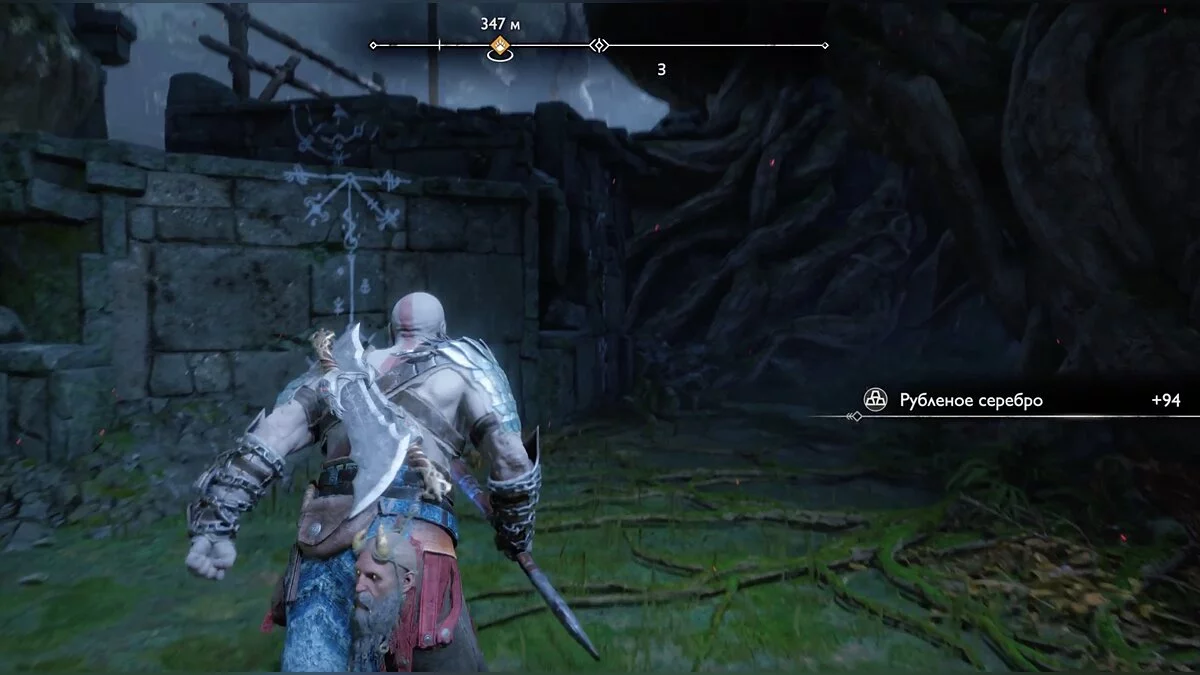
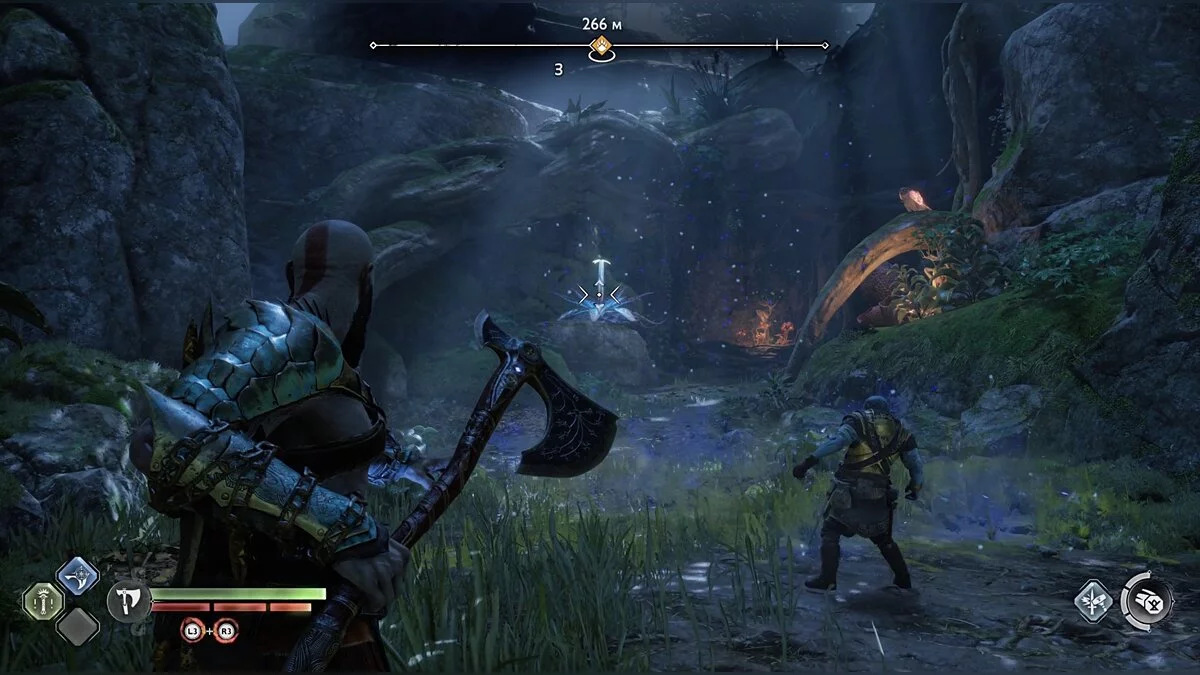
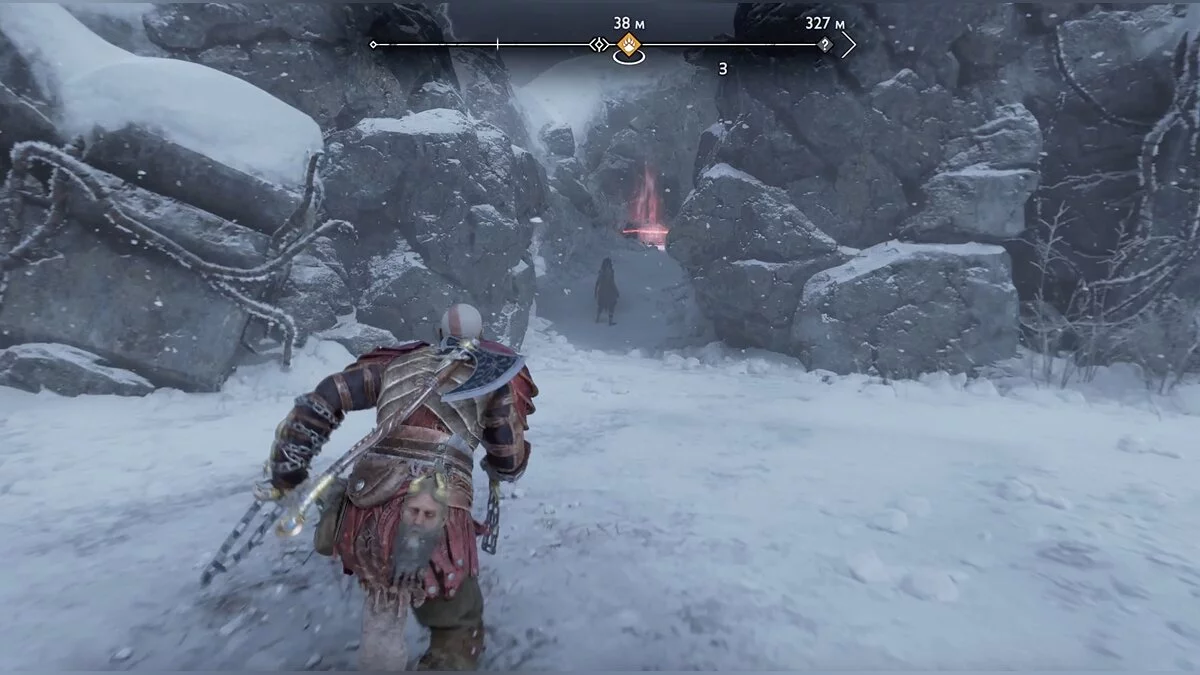
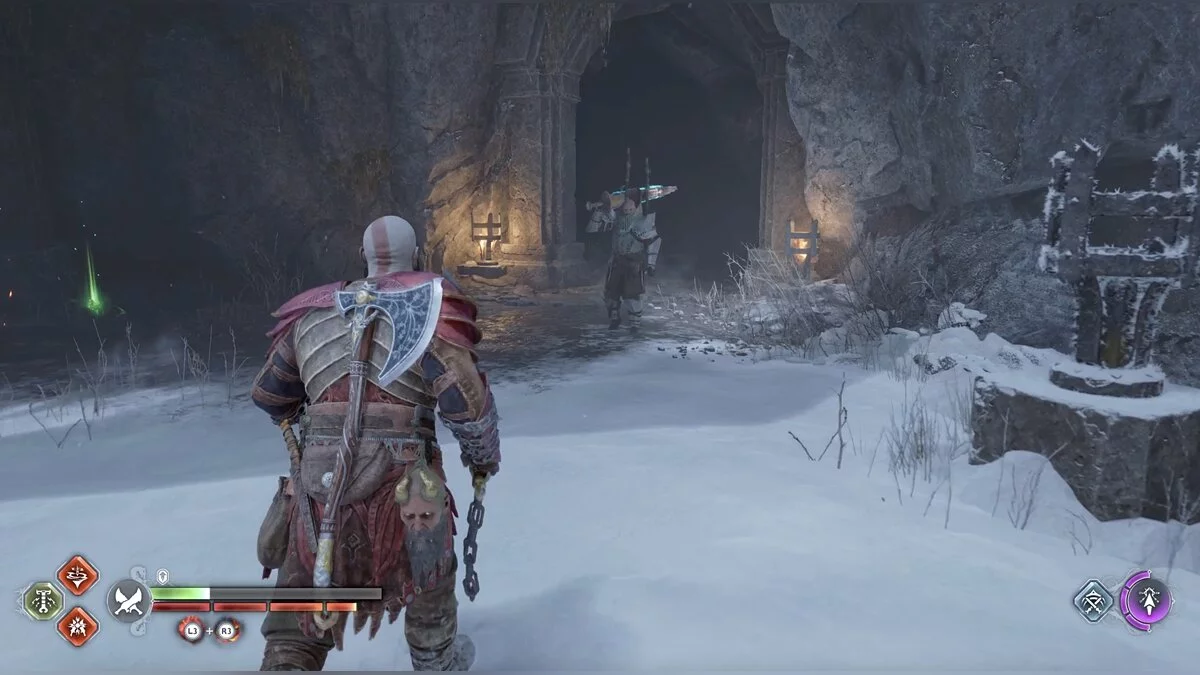
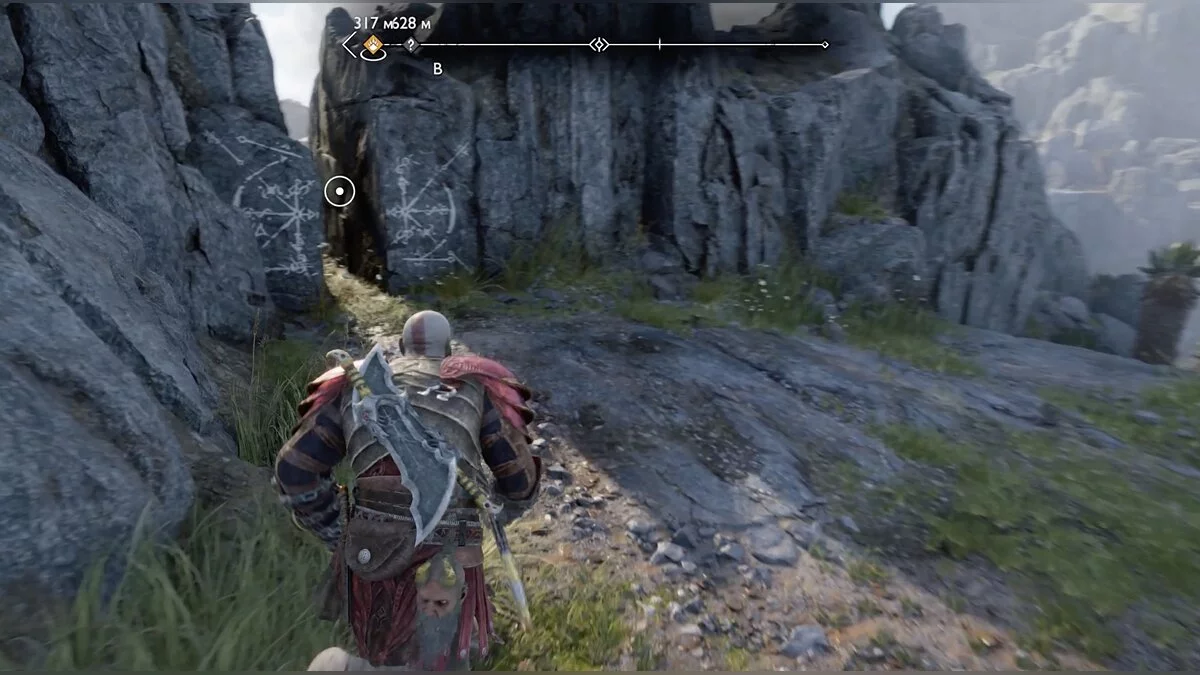
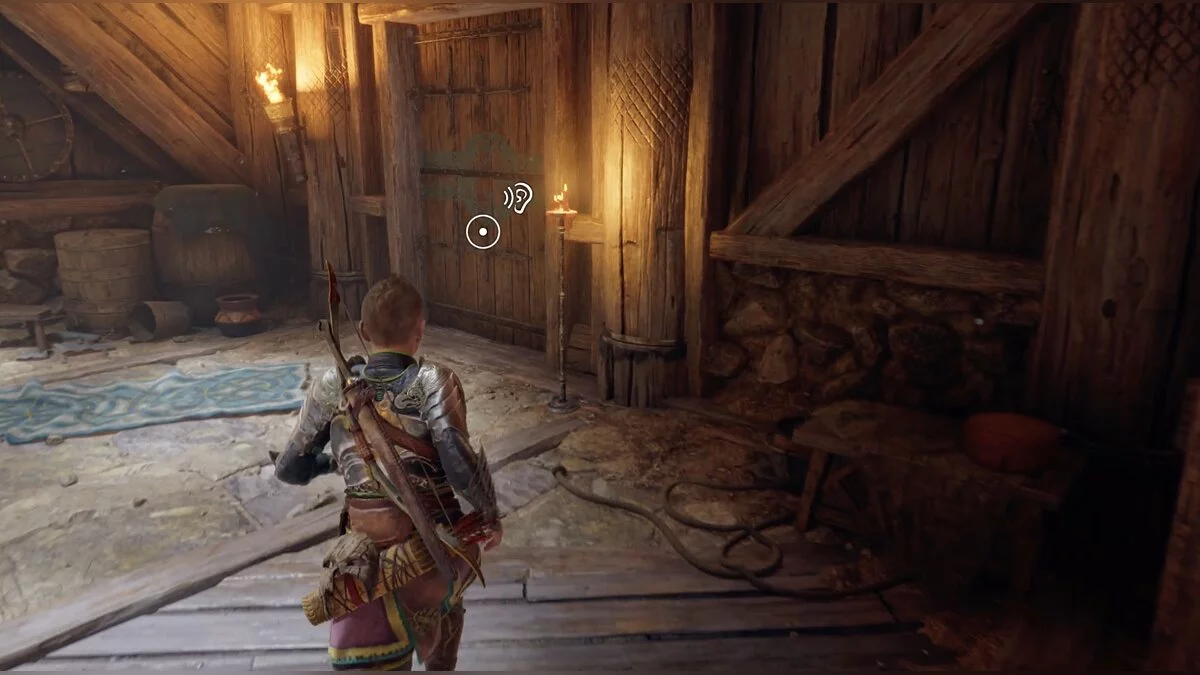
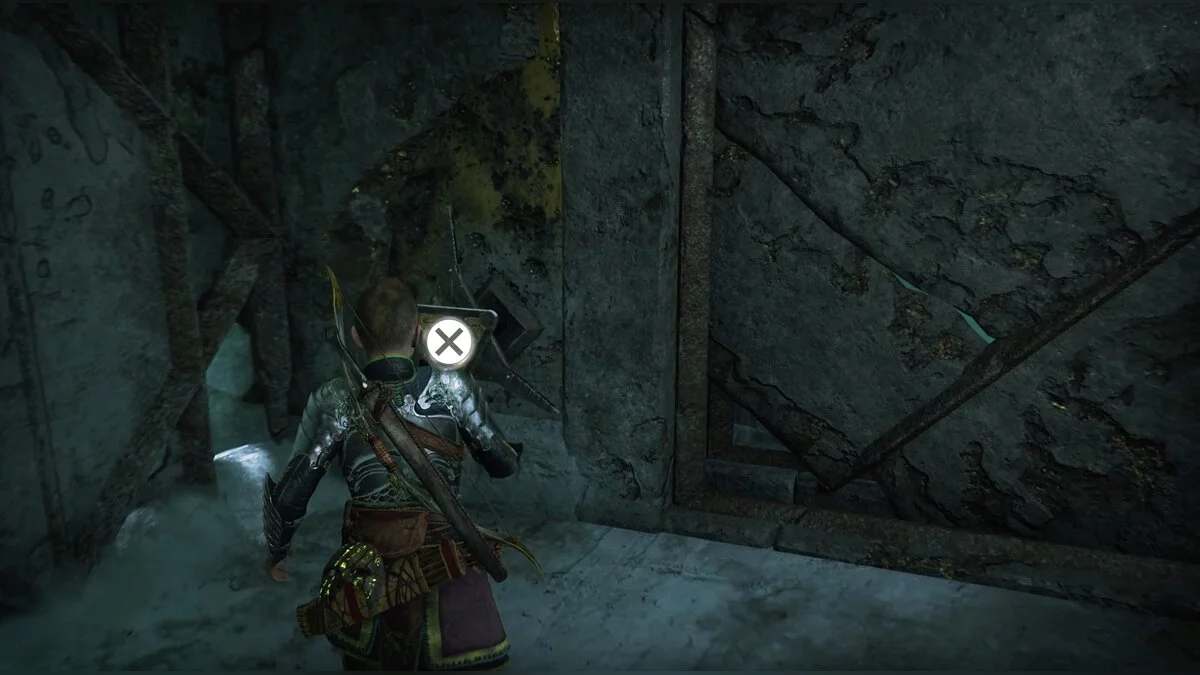
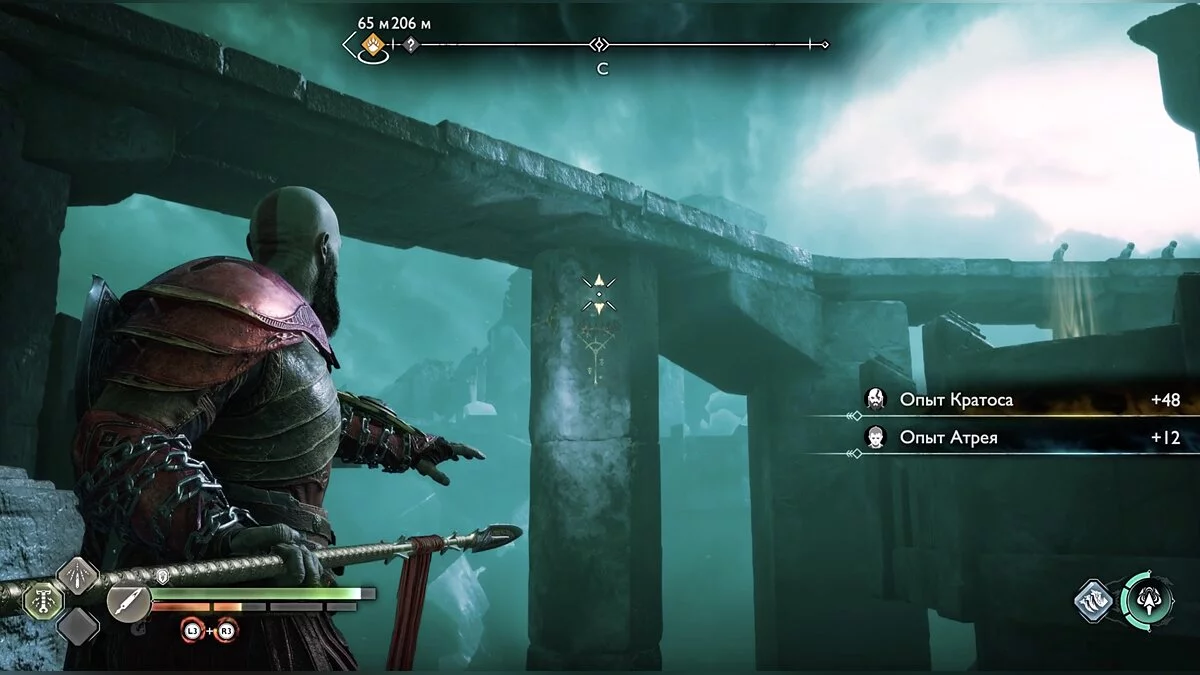
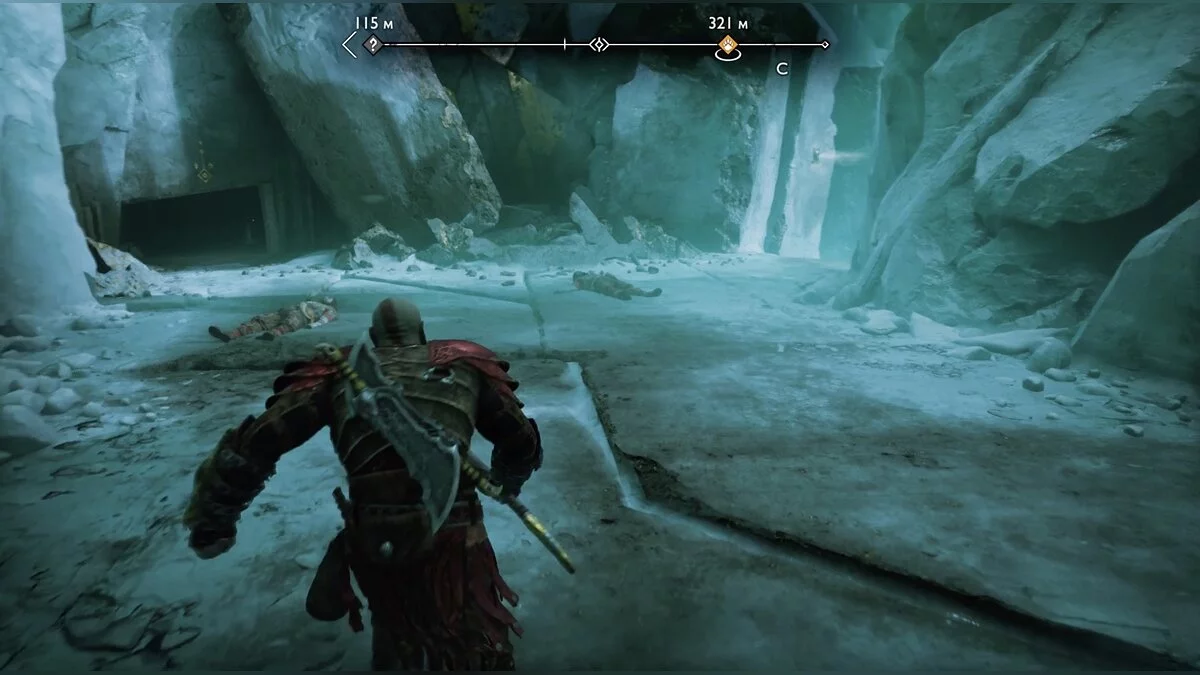
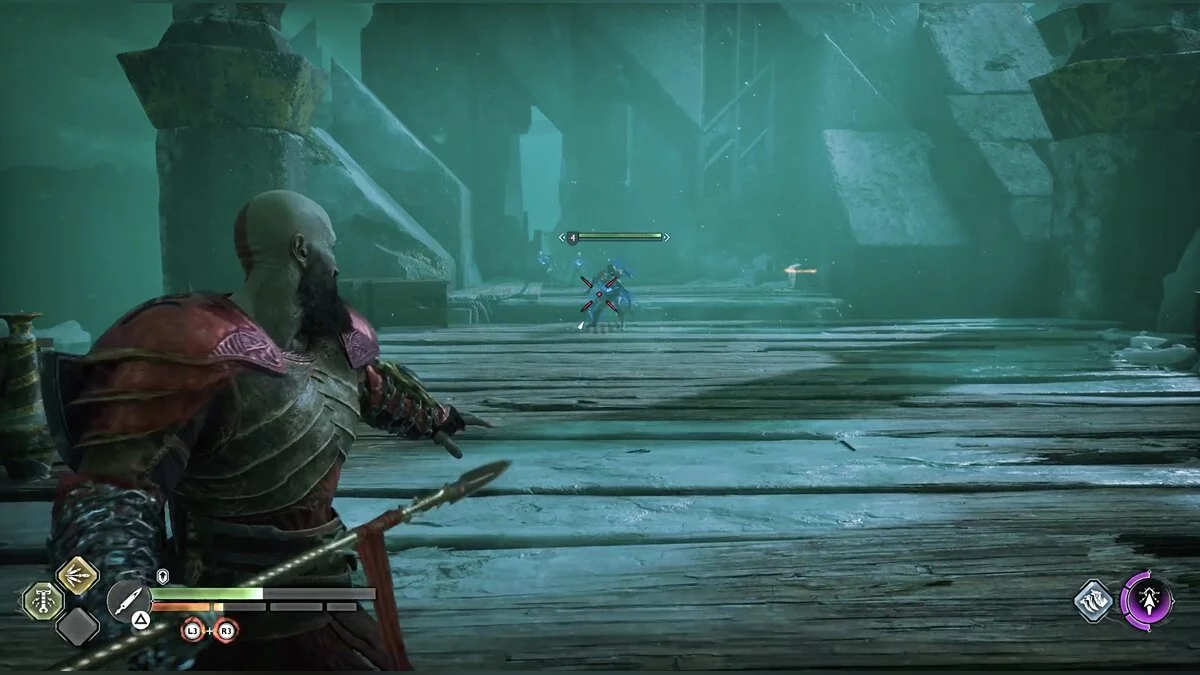
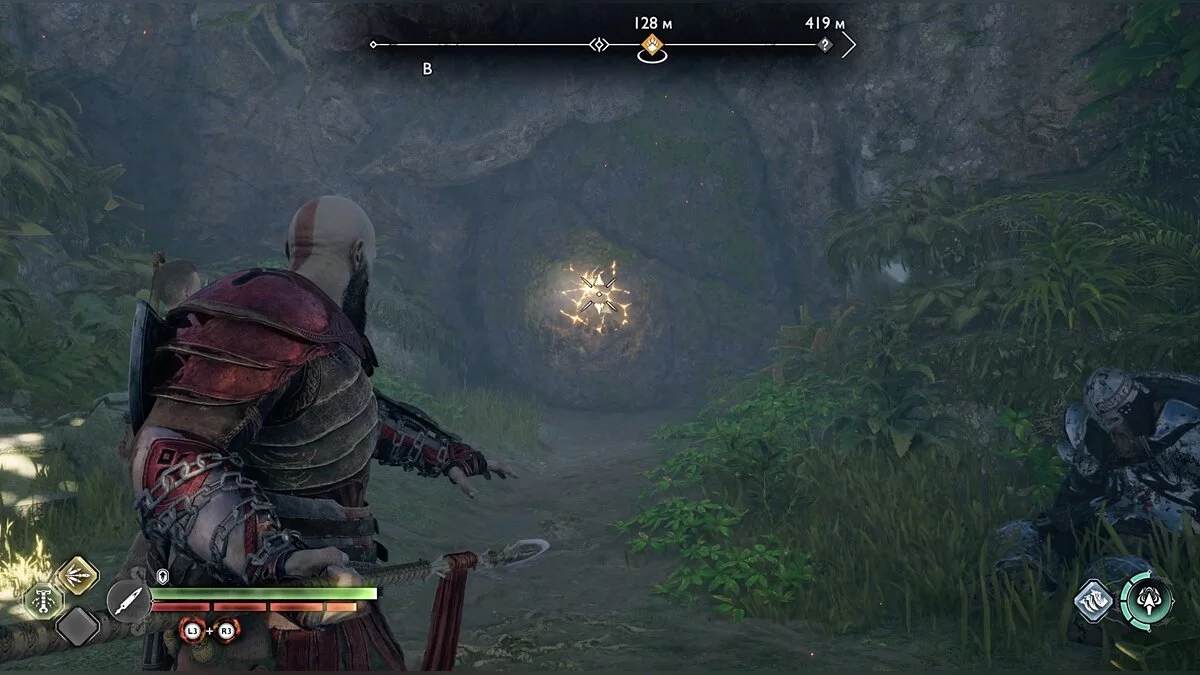
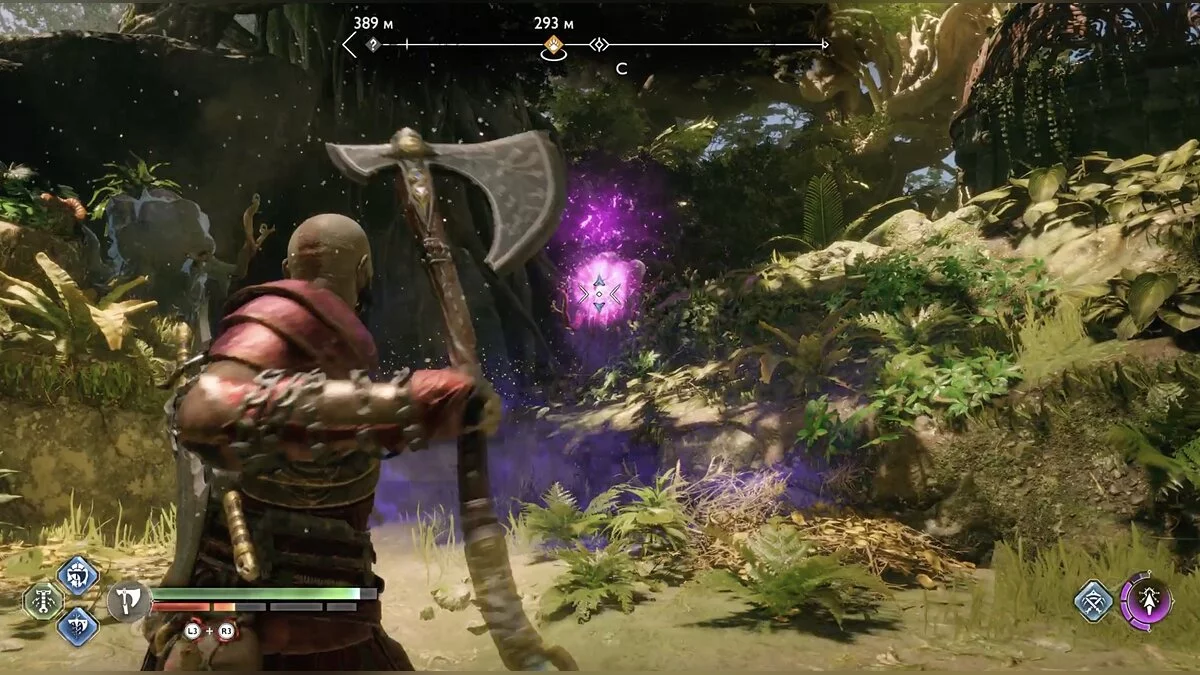
Mimir will wake Kratos and tell him that Atreus is missing. After leaving the hut, go left, to where you left the sled. There is a gap in the rock, widen it with your axe following the game's prompts, and squeeze into the cave. Move forward until raiders attack you. Deal with them, learning the basics of the combat system, and then go left. You will find the first health stone — the main resource for healing. They are easily noticeable by their green color.
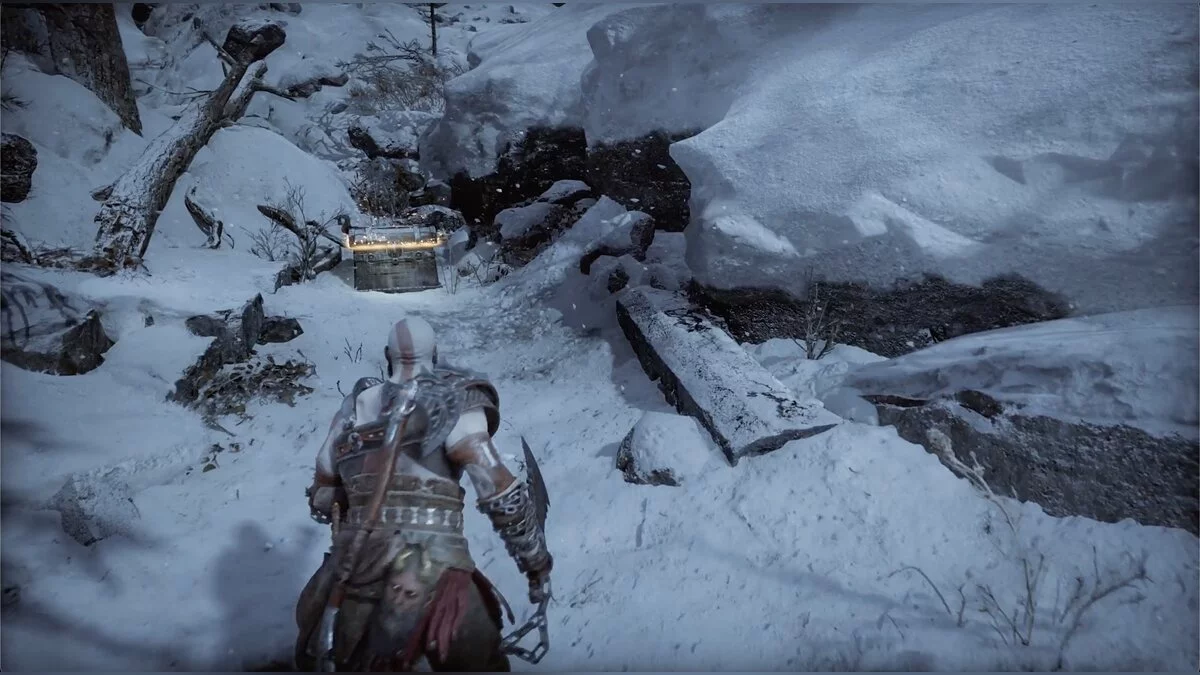
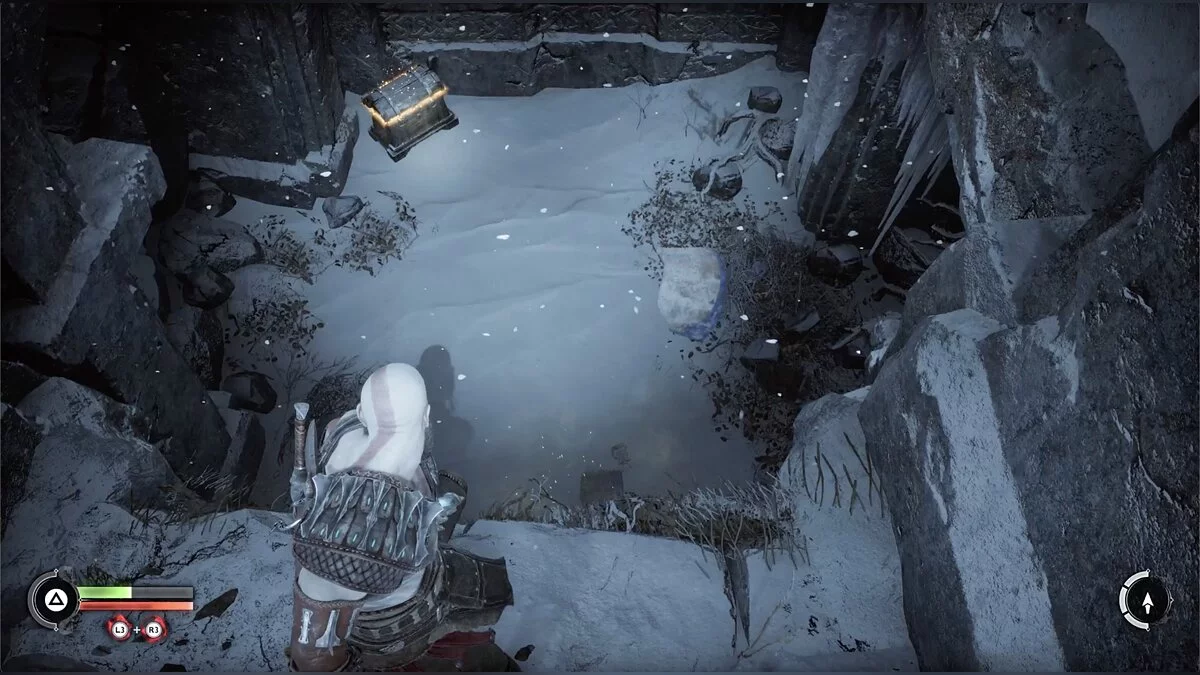
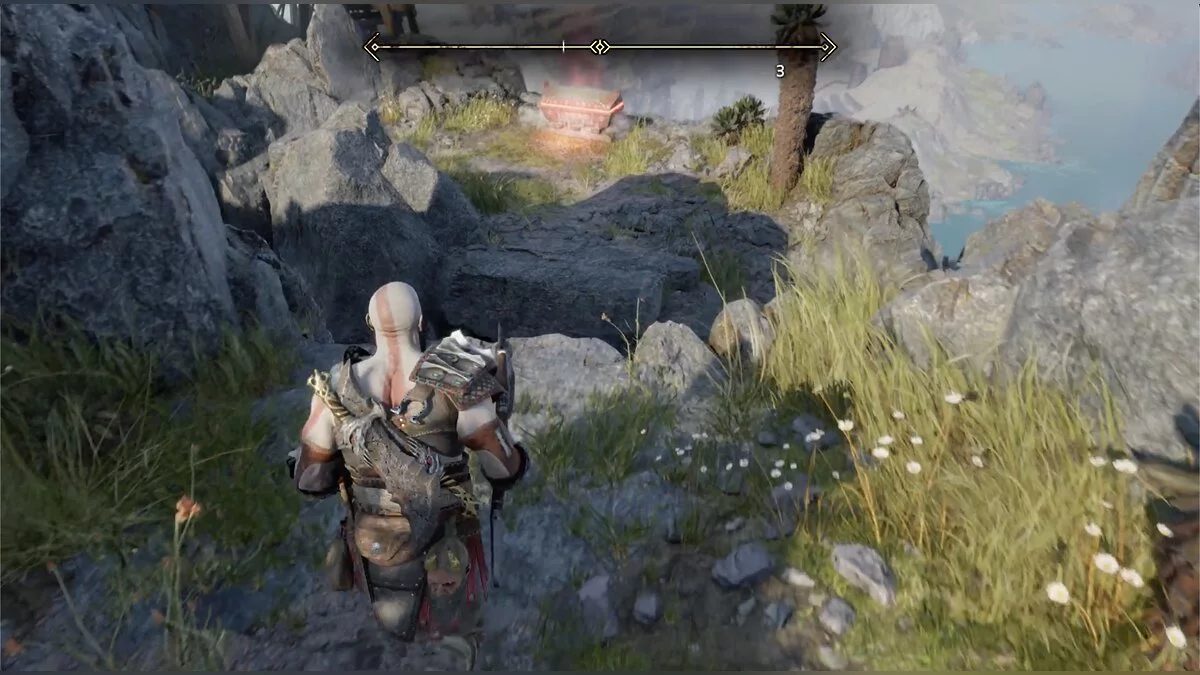
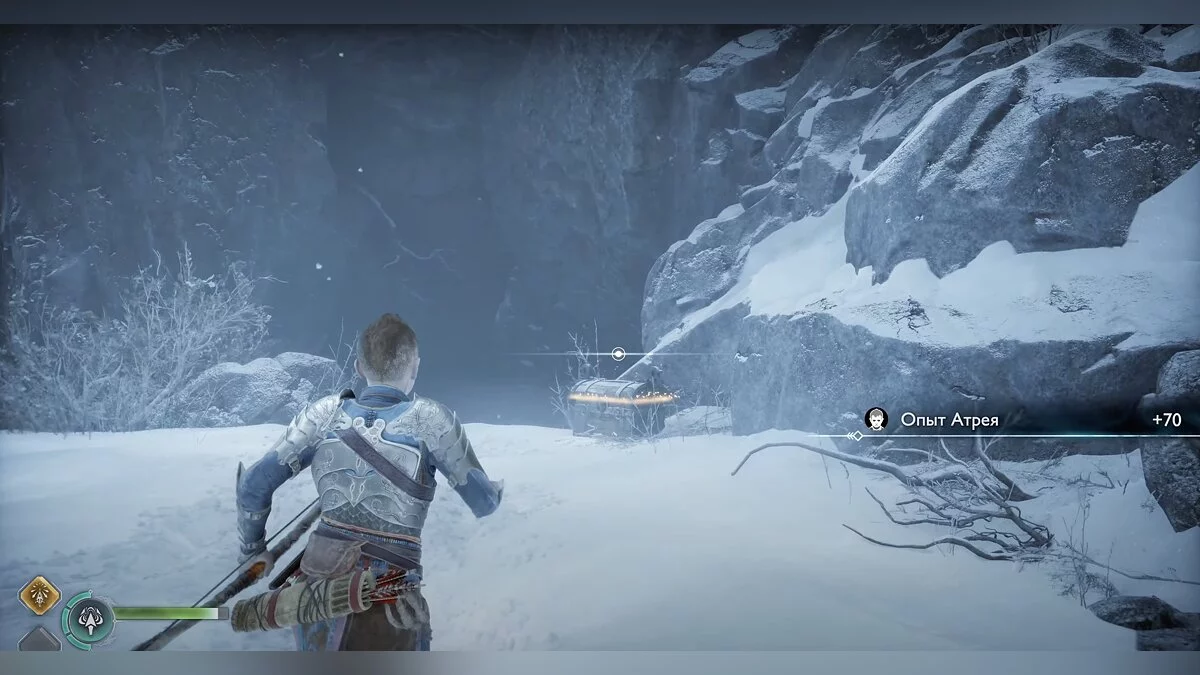
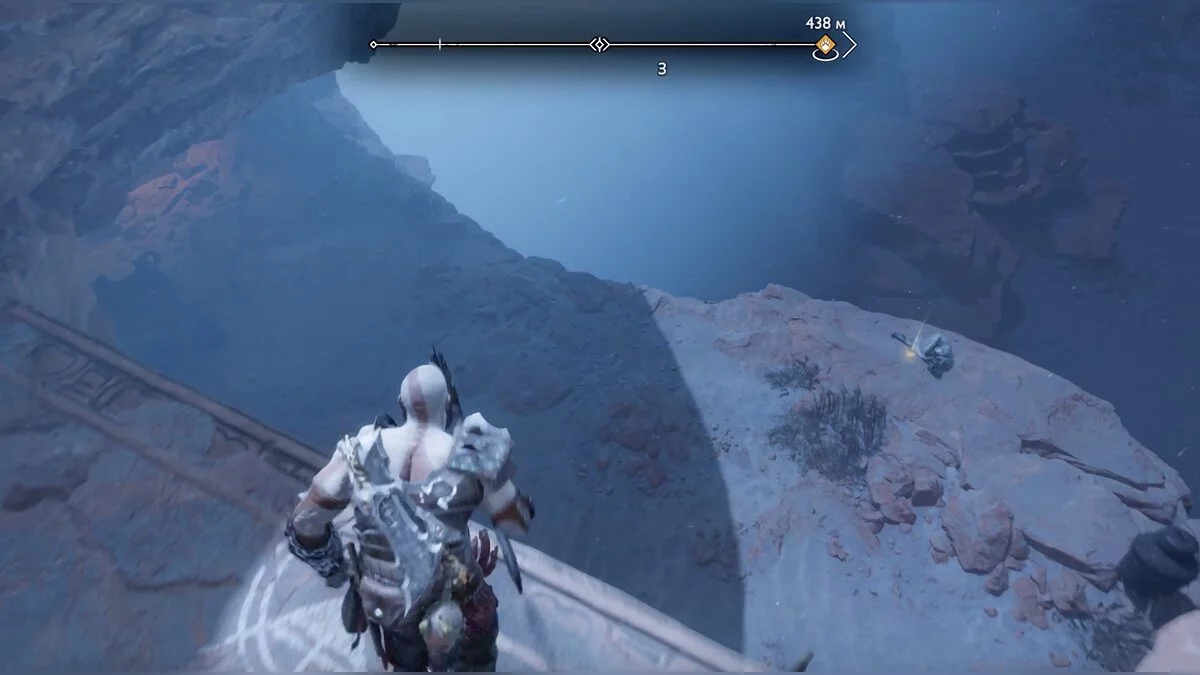
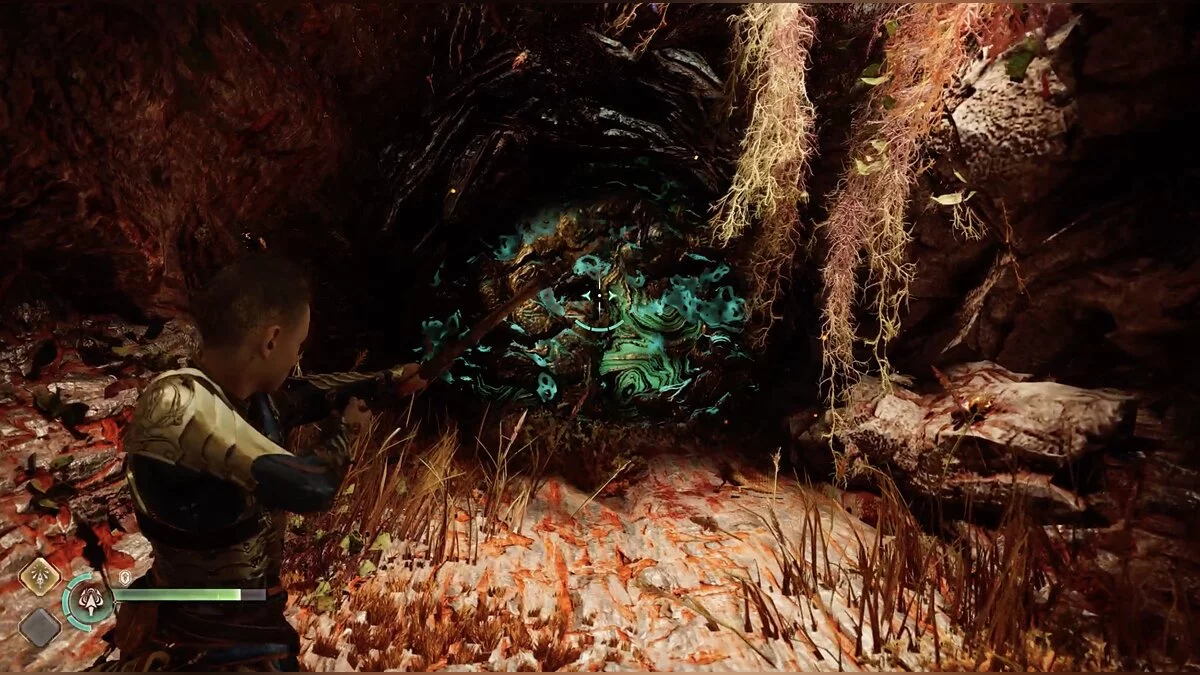
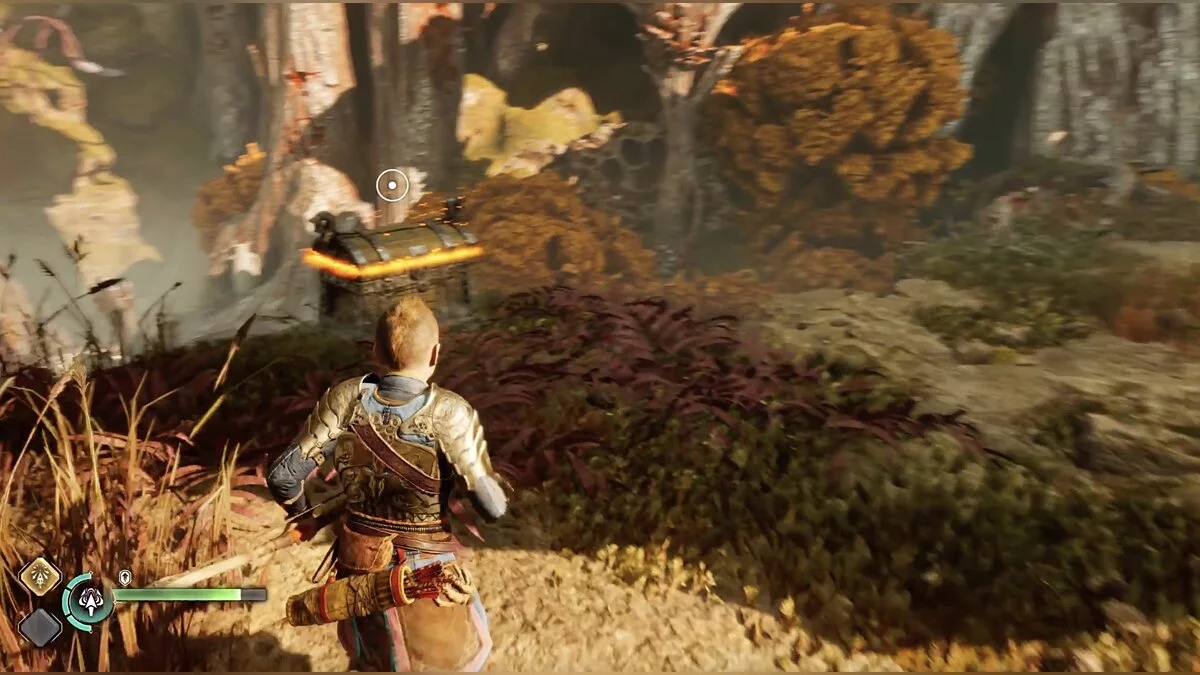
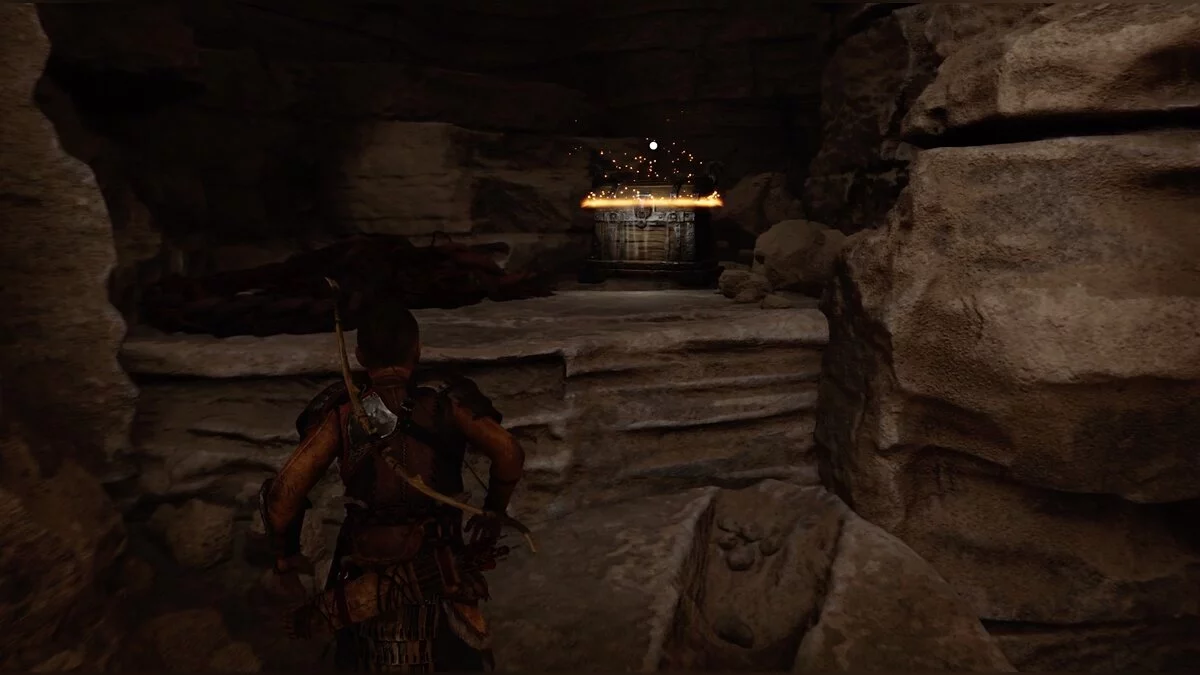
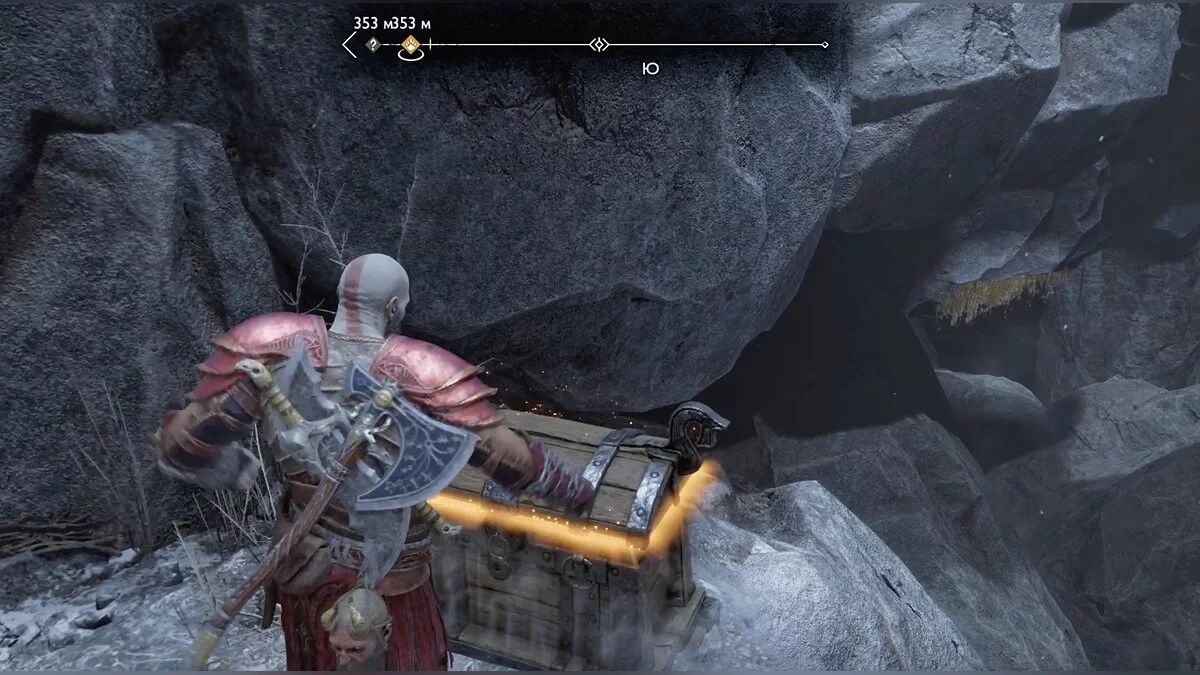
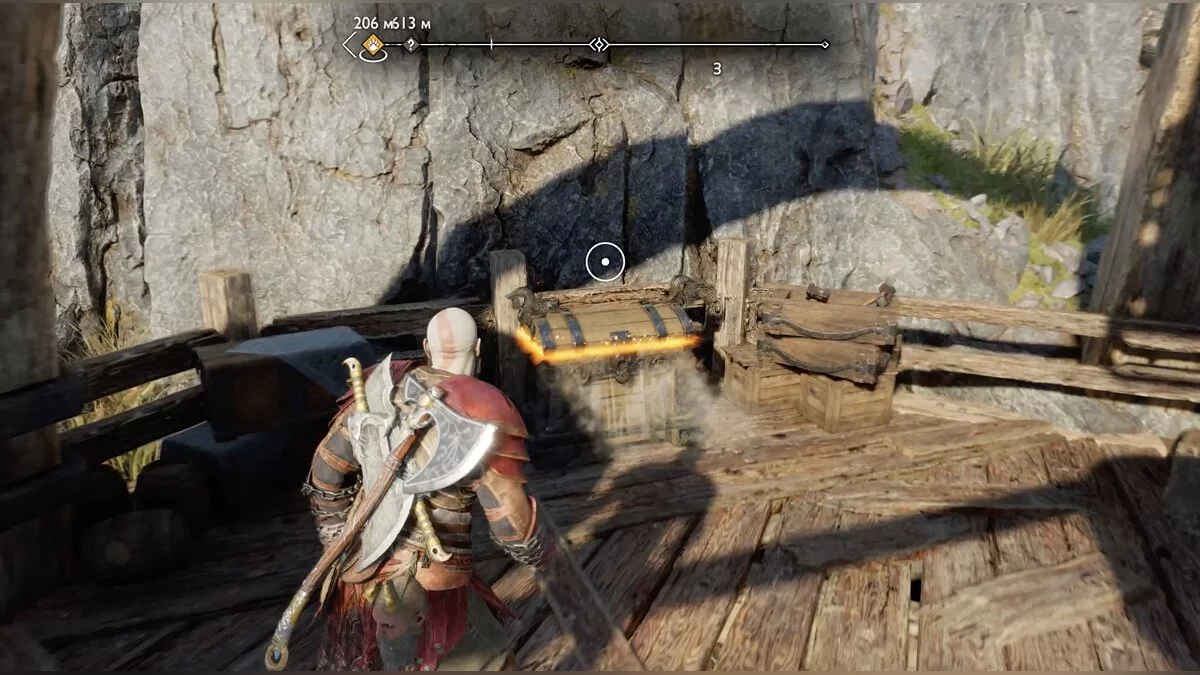
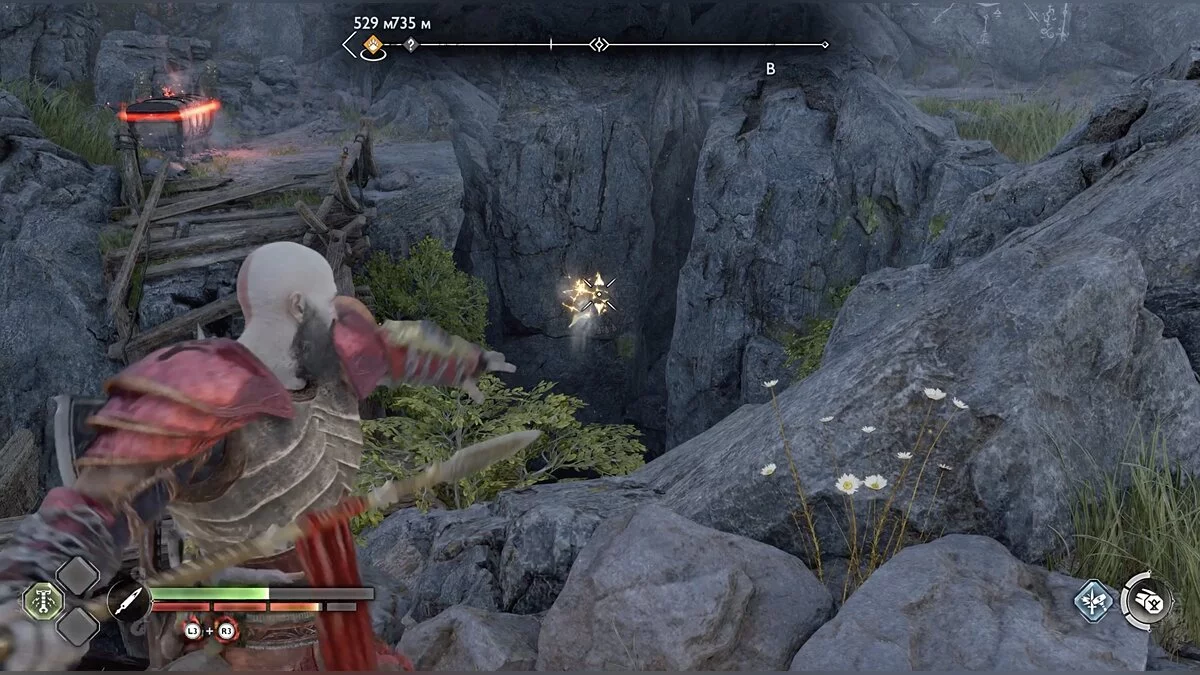
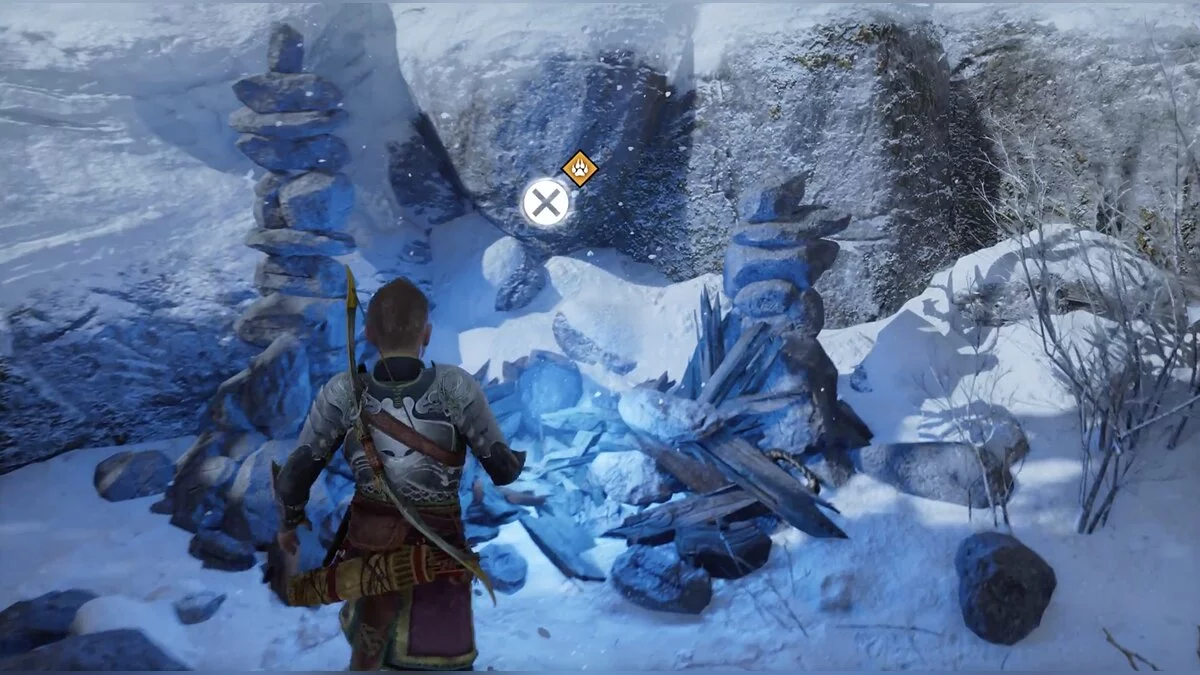
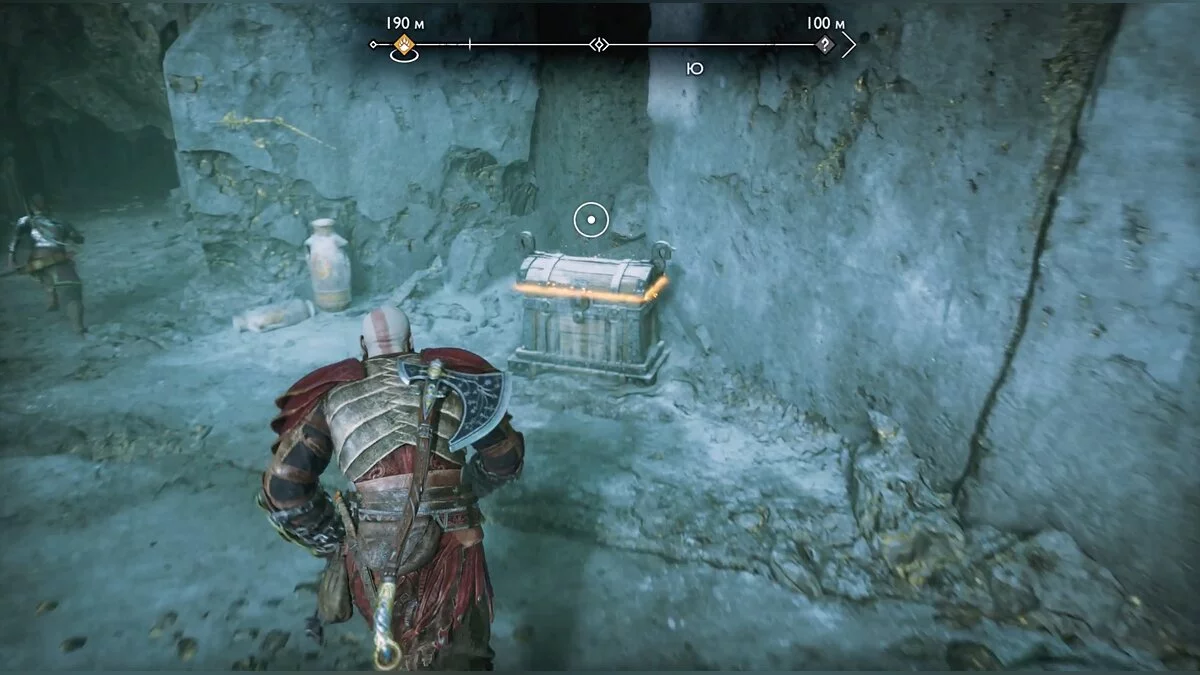
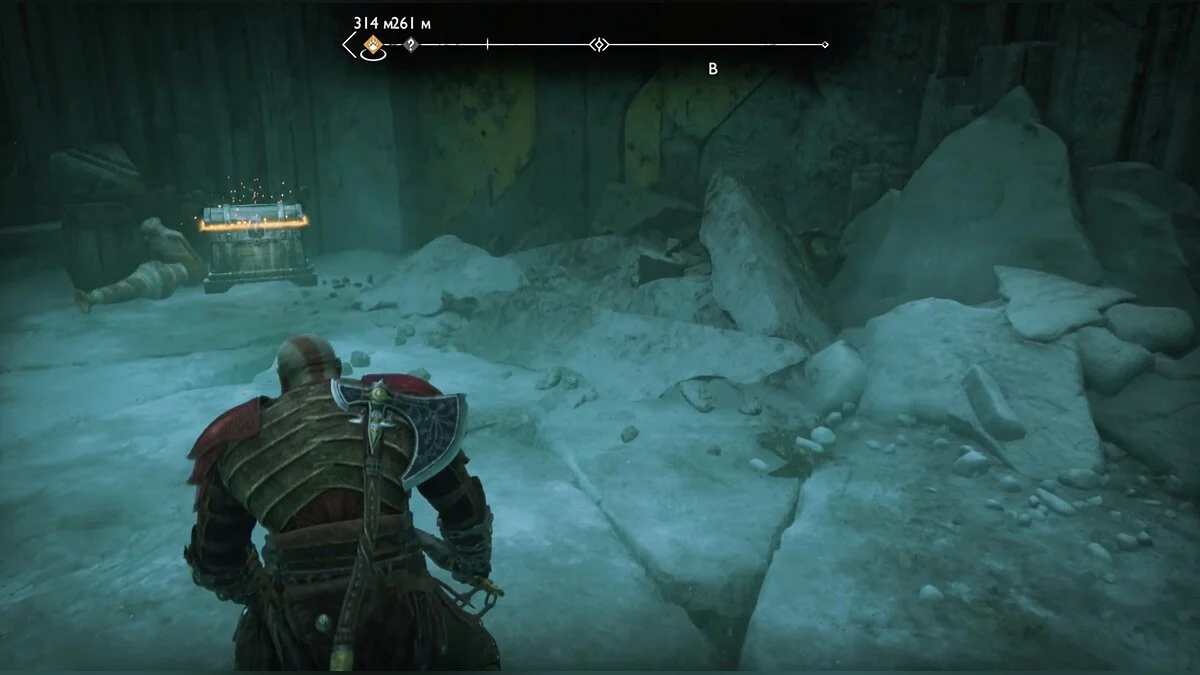
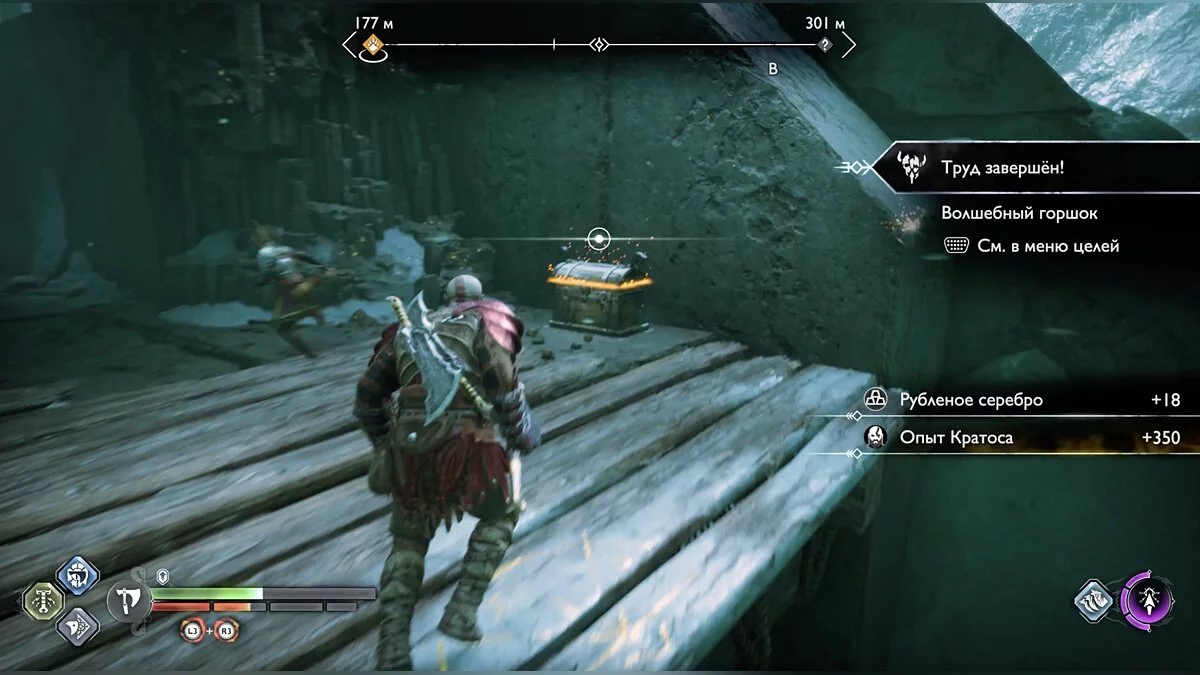
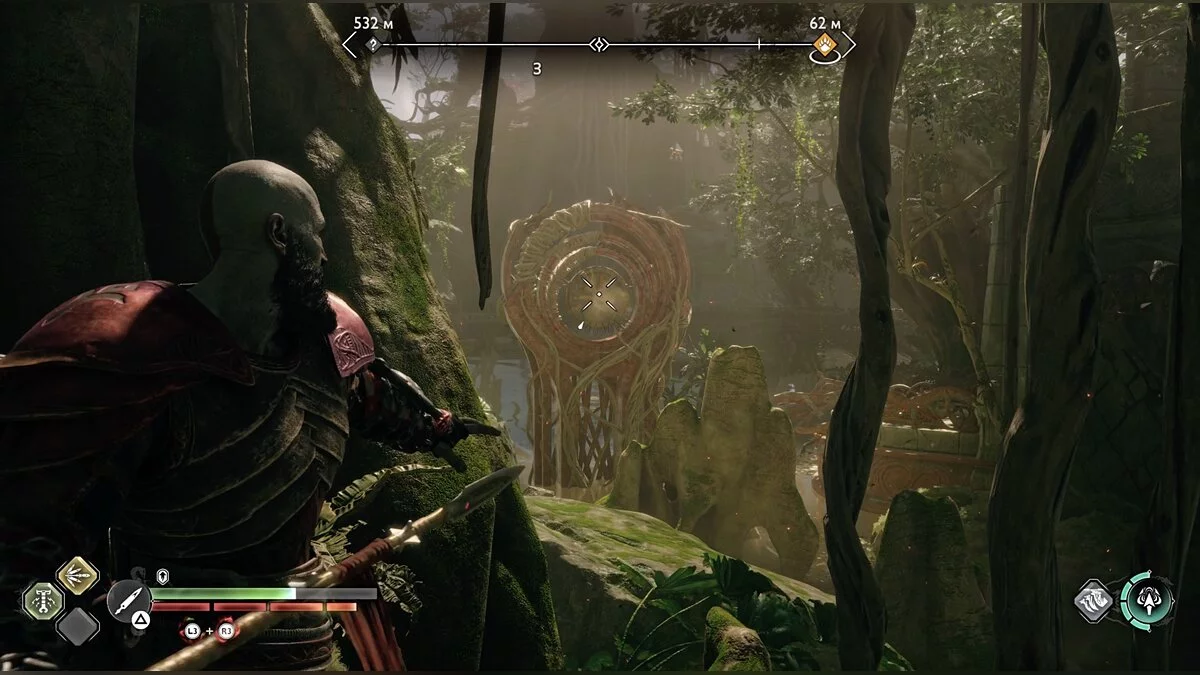
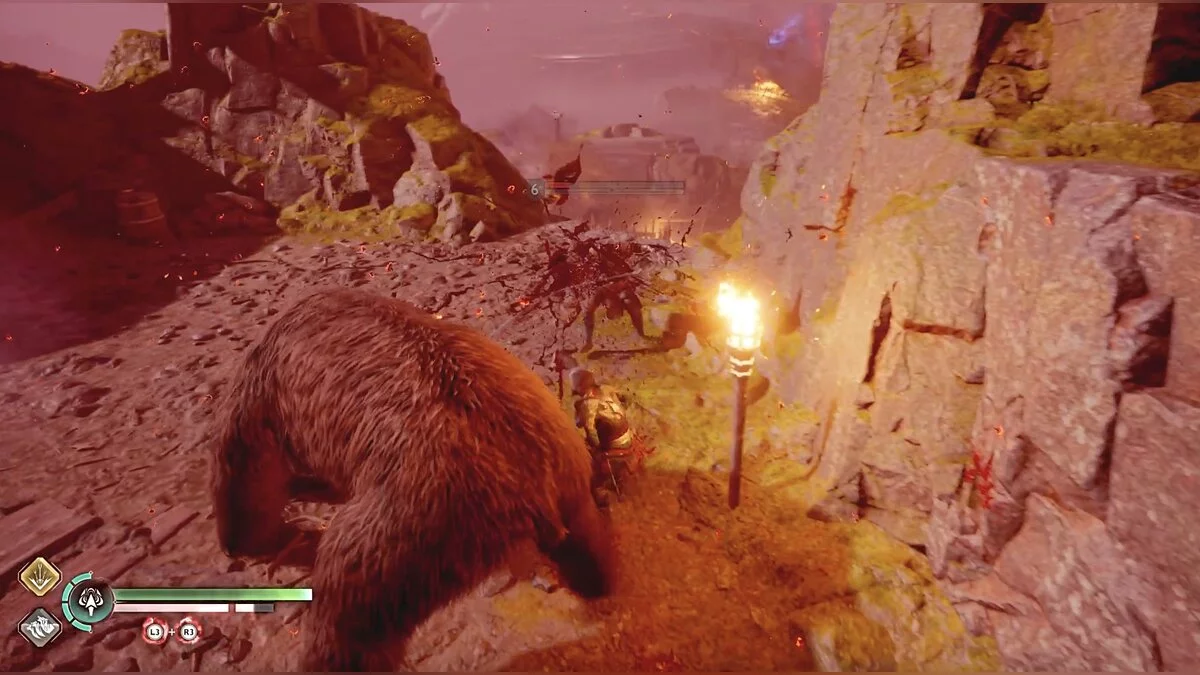
Examine the bear carcass and follow the blood trail. You will reach a chasm, which is blocked by a half-rotted tree. Throw the axe to cut it down, but don't rush to jump. There is a chest on the right.
Jump over the chasm and move straight to the ledges, turn right and go down. Before climbing up, take the pouch with hack silver on the right.
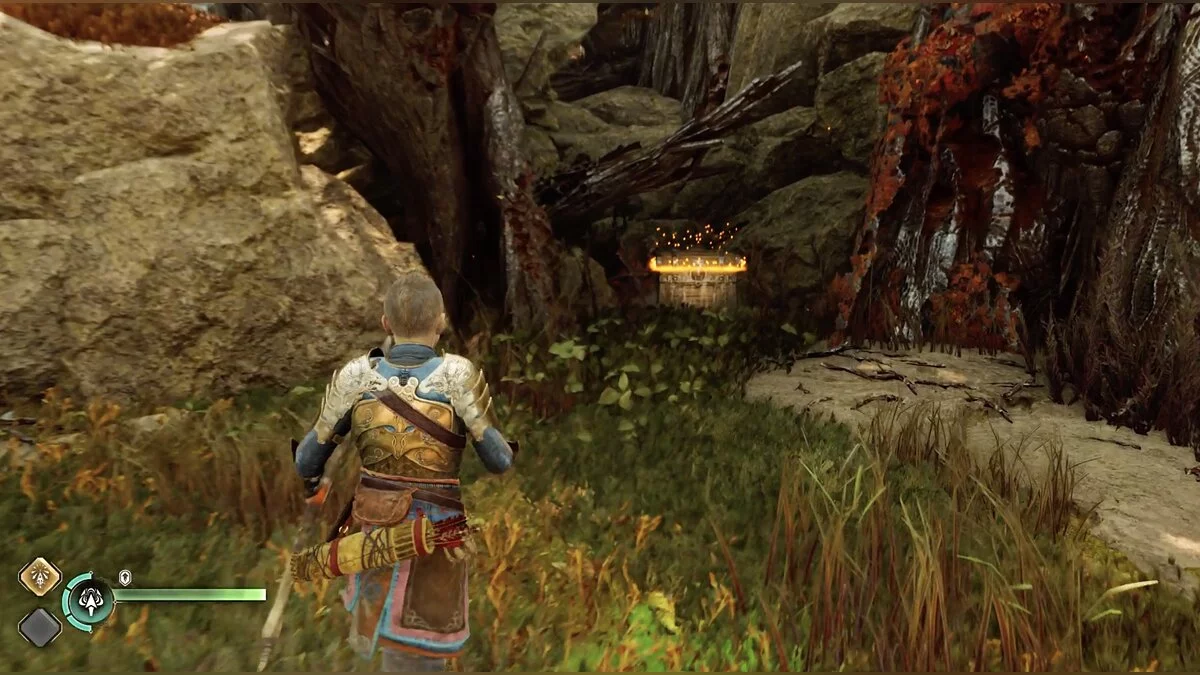
Stay on the left side and don't follow the blood trails, you will find a chest. Now return to the blood and continue moving.
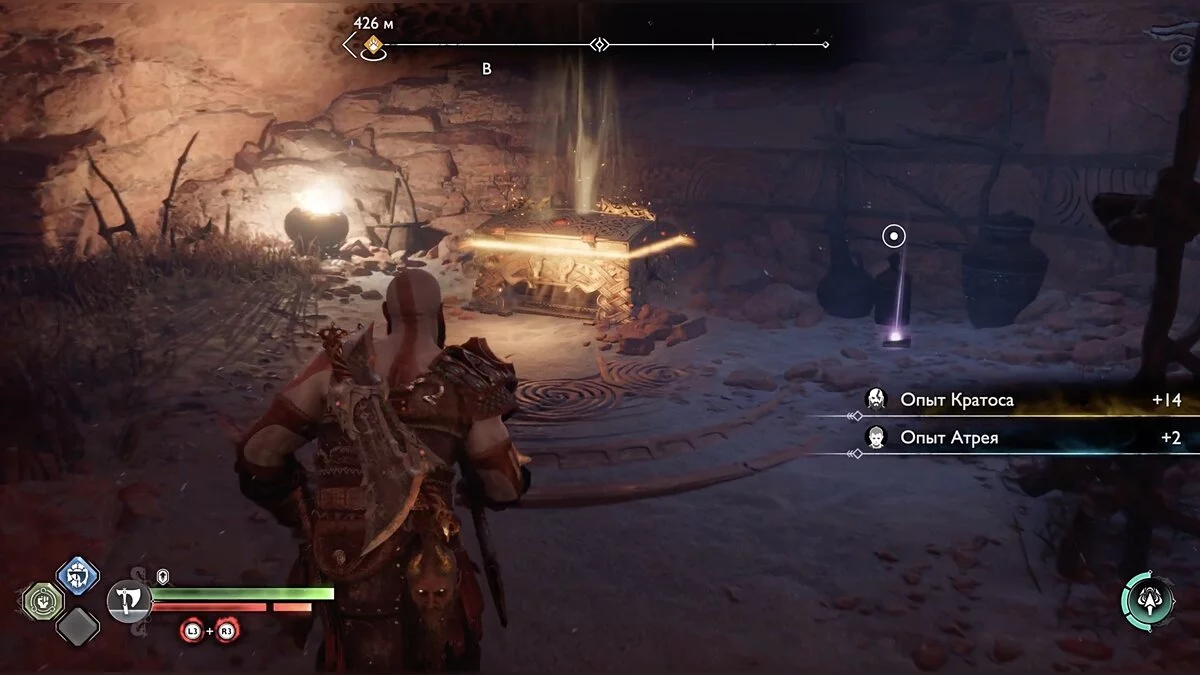
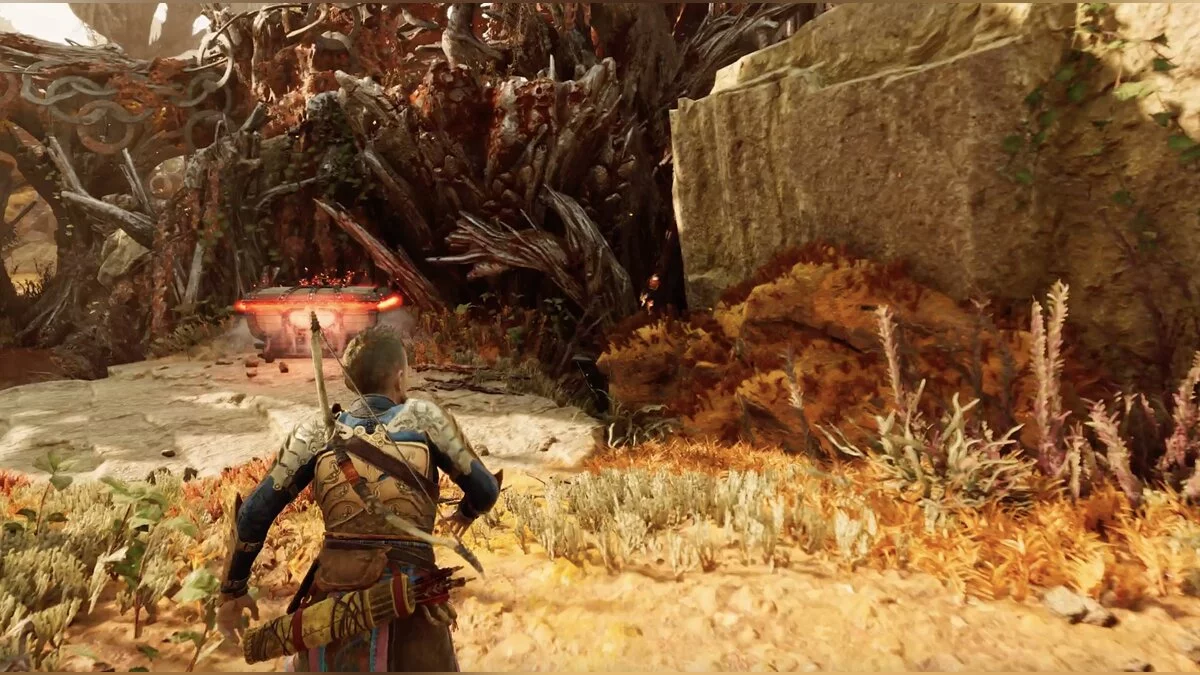
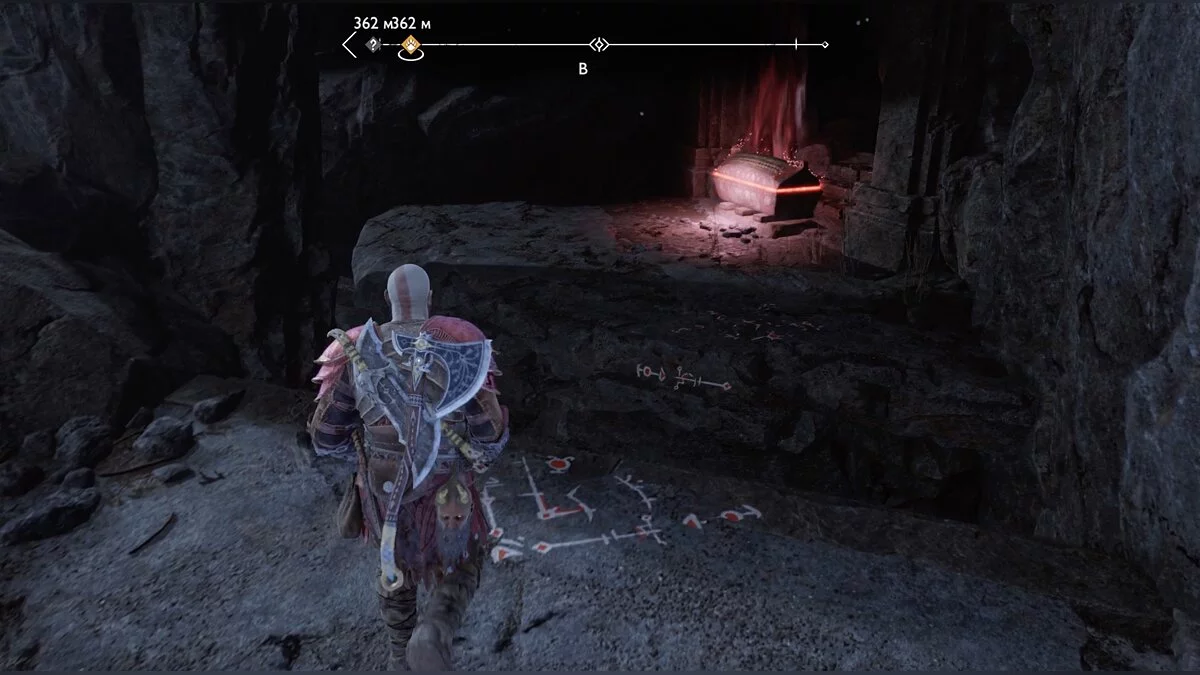
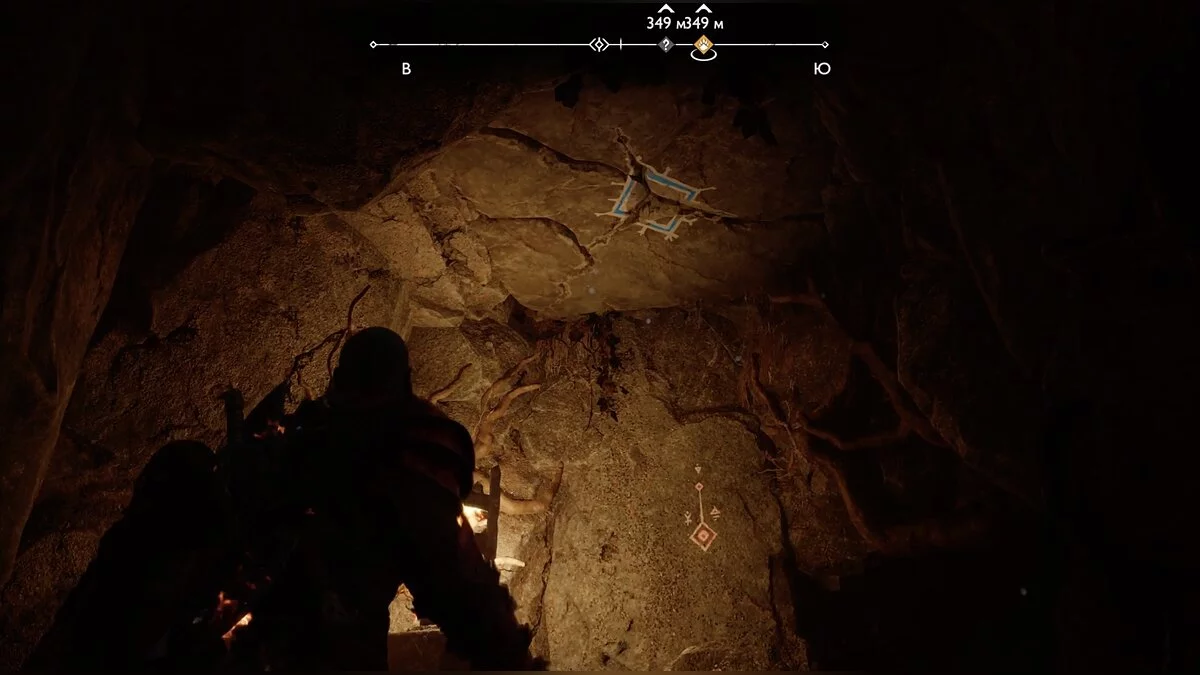
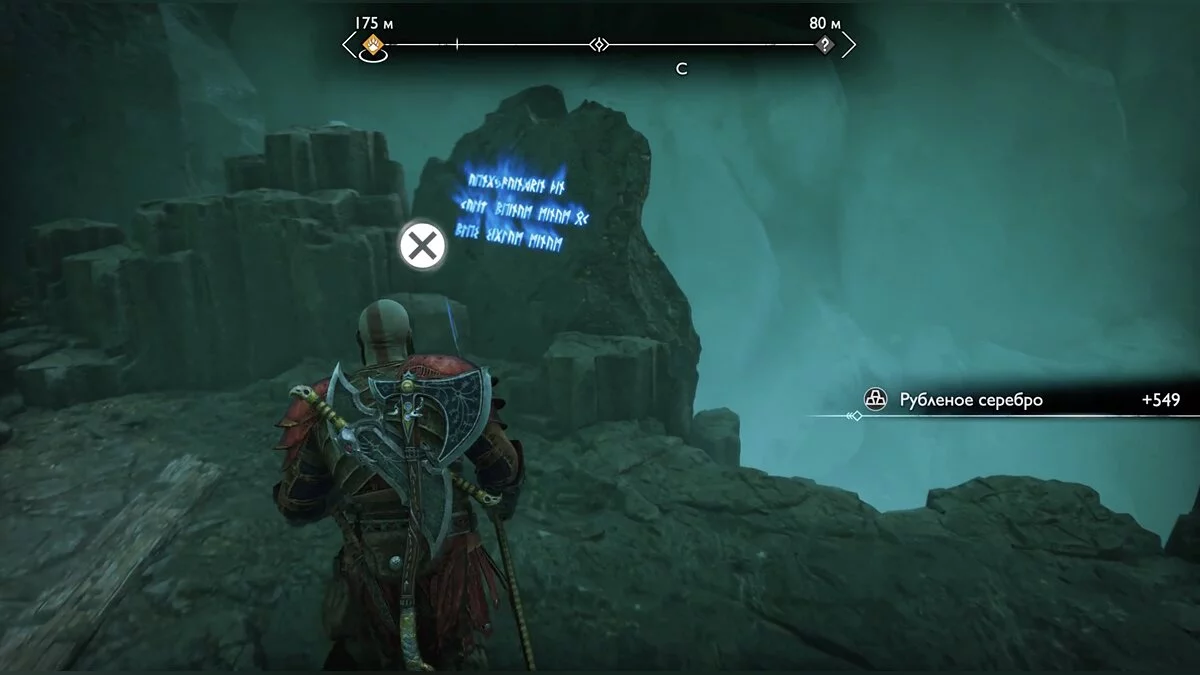
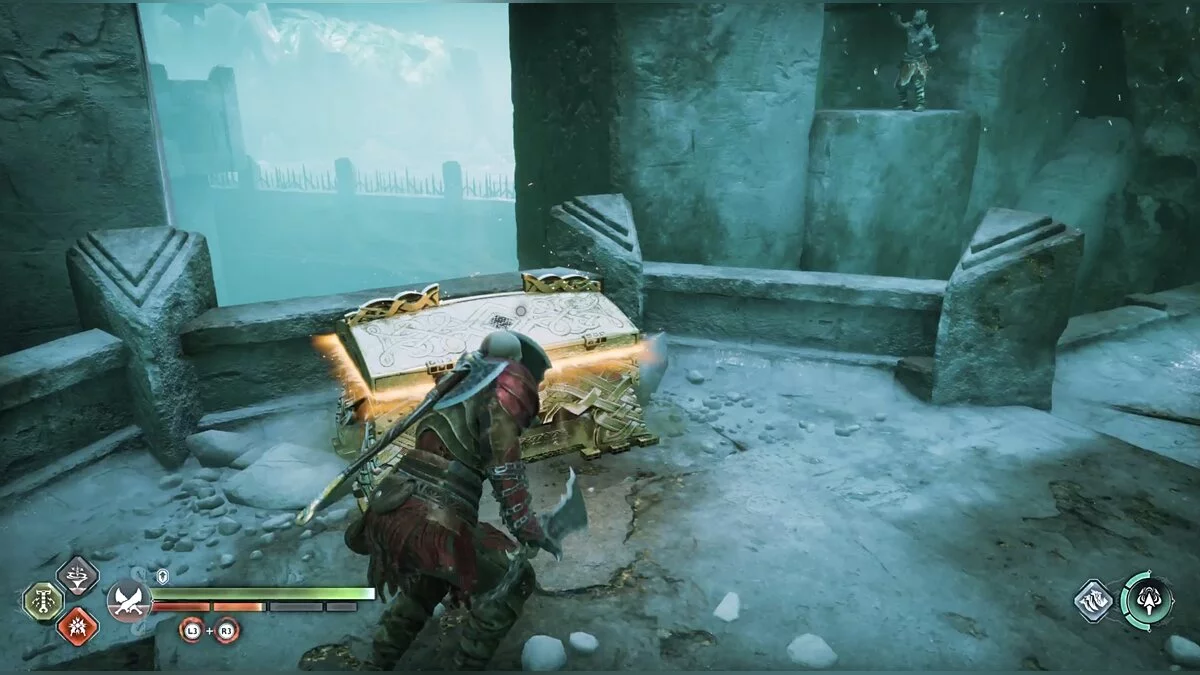
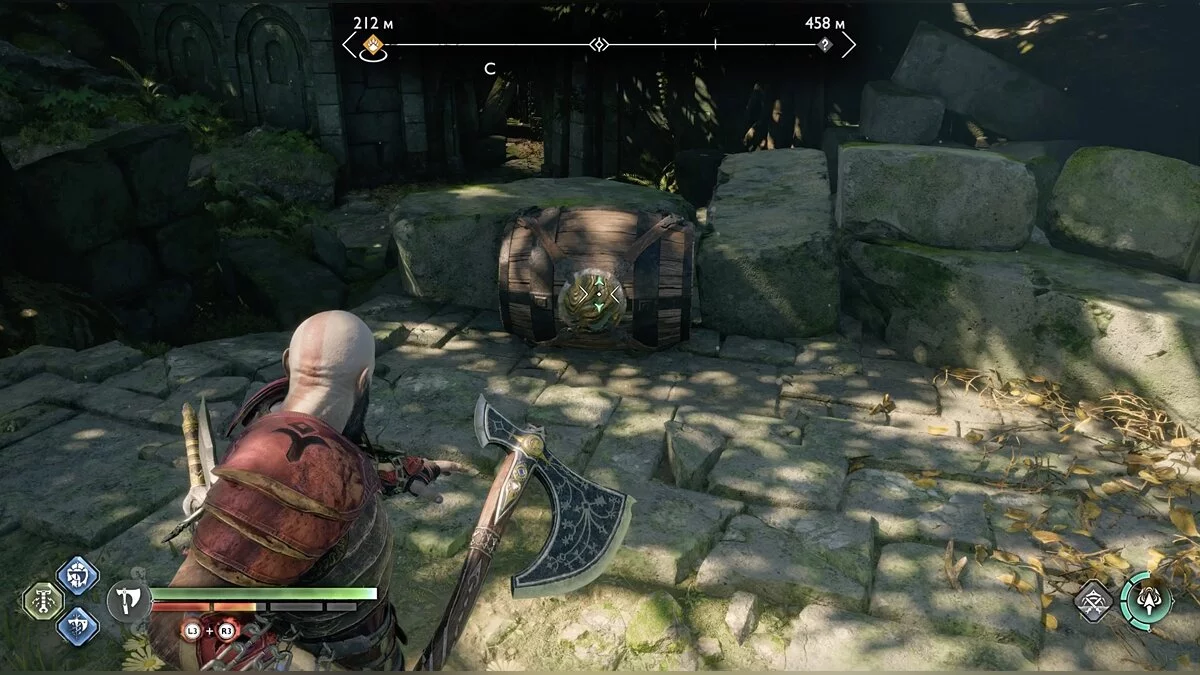
Crawl through the low cave and defeat the enemies. You will come across a high rock marked with runes. You can climb up it. There you will find a large chest.
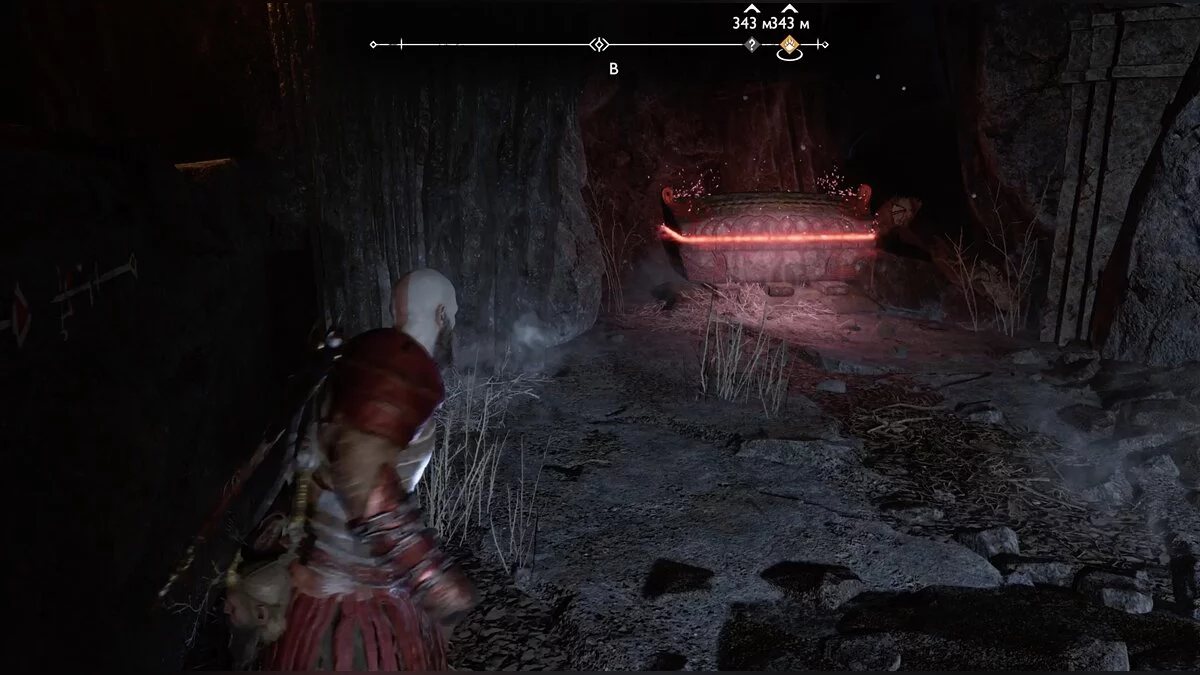
Enter the cave; on the way, you can break a small chest. Inside, there will be enemies again, as well as several pouches with silver. Clear the area and open two chests. The first is on the main arena to the right. The second can be taken after you climb the ledge and immediately jump over the chasm on the right.
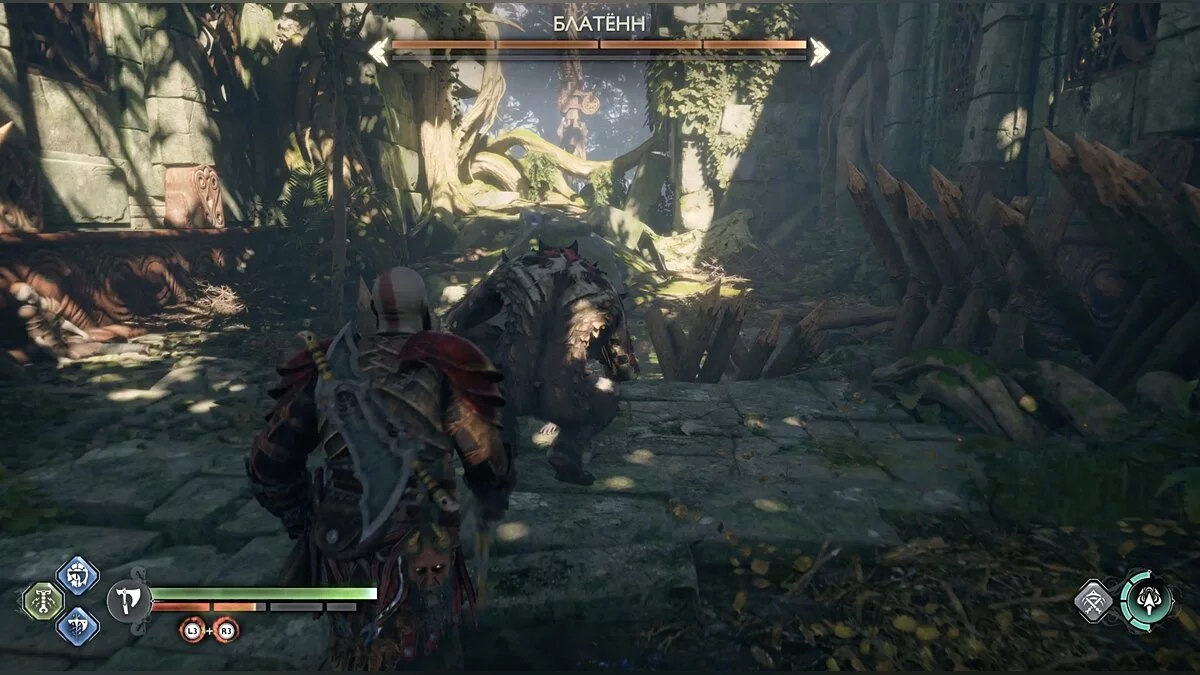
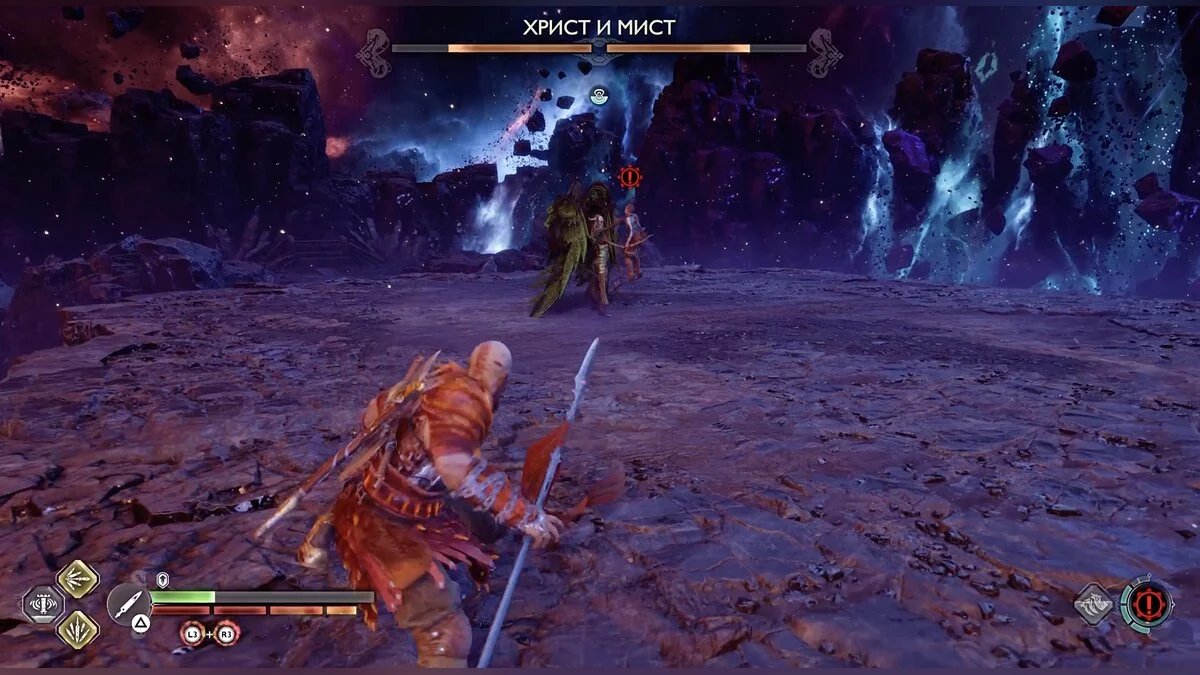
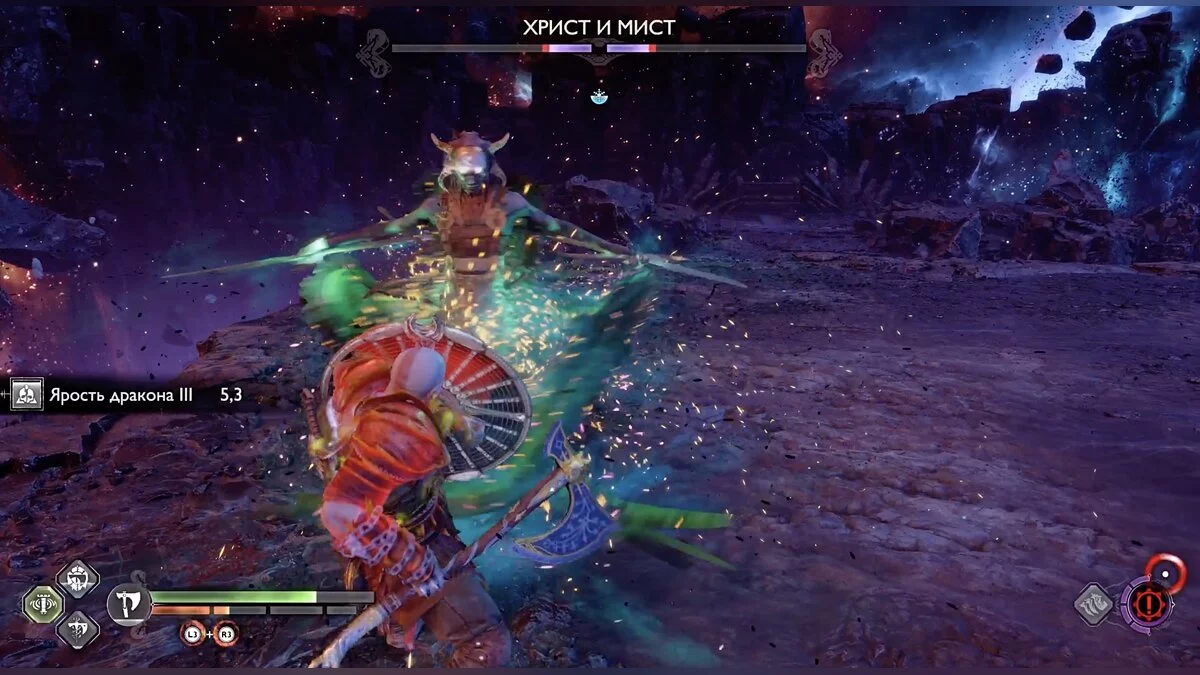
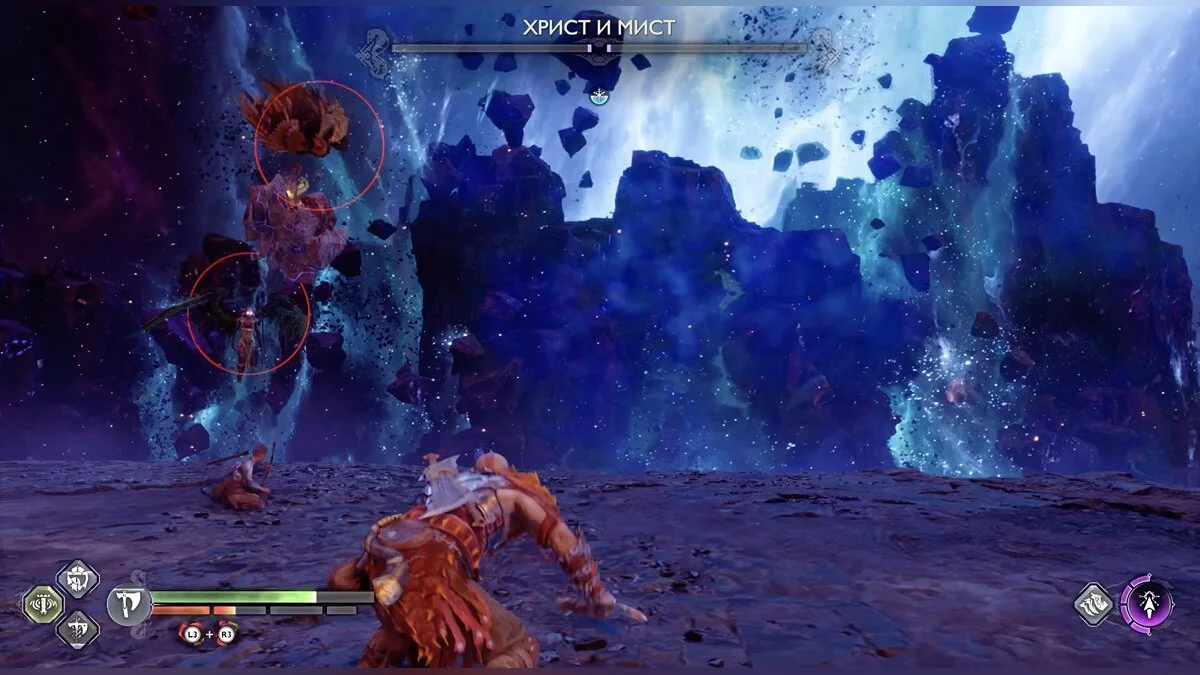
At the cave exit, the first boss — the bear Bjorn — will be waiting. Dodge unblockable attacks marked with a red glow, and there will be no problems. After the victory, watch the cutscene.
How to Meet Thor
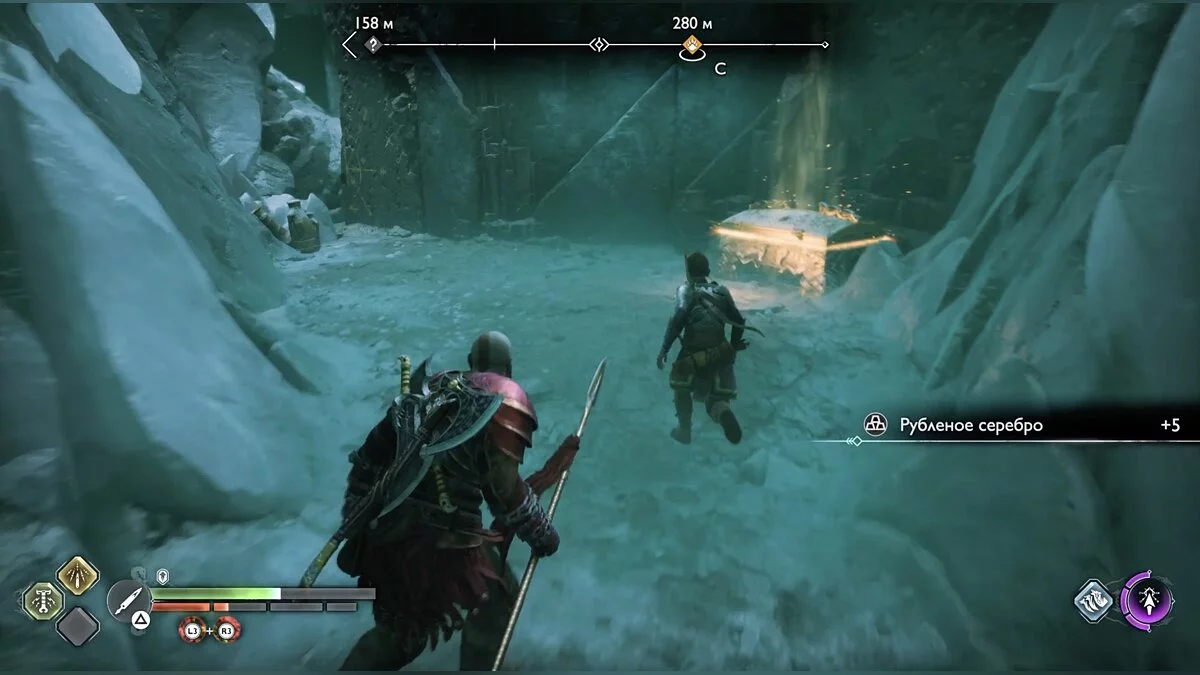
Find the exit from the arena and, after cutting down the log with the axe, follow Atreus. You will be taught how to use his skills in battle. Descend deeper into the cave using the chain; on the right is a large chest. You will return to the route you were already on, go home the same way.
After the cutscene with the bear, the heroes will encounter enemies again. Defeat them, go straight to the hut, and enter. Watch the long cutscene.
How to Defeat Thor
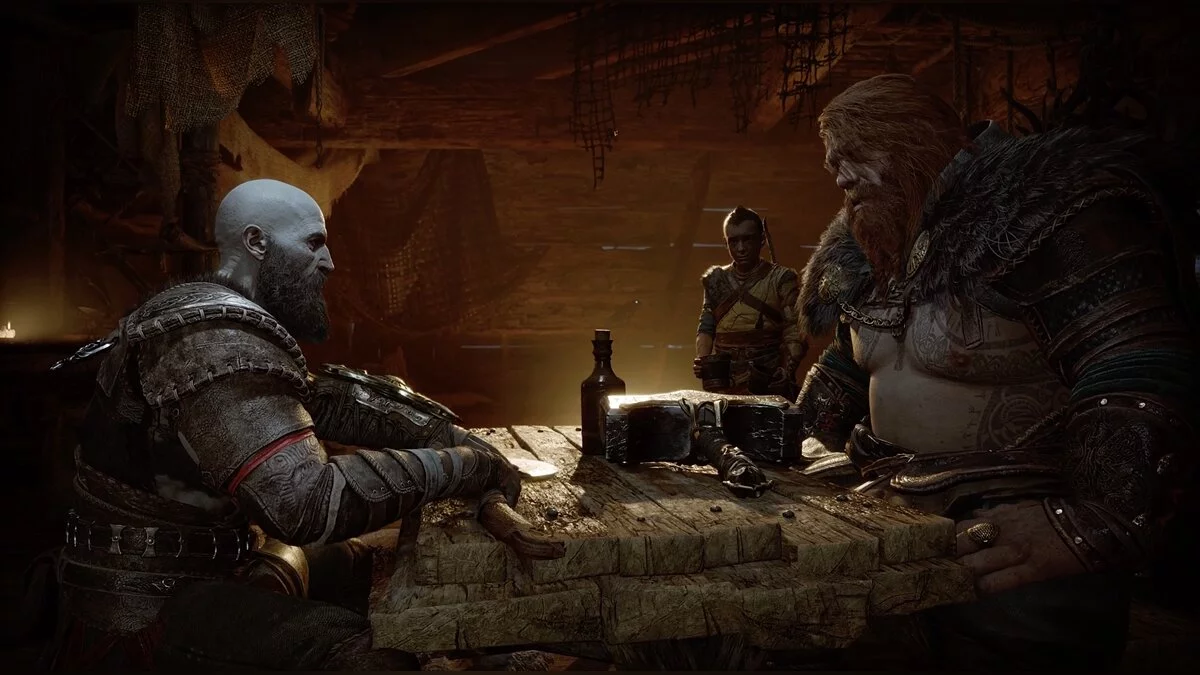
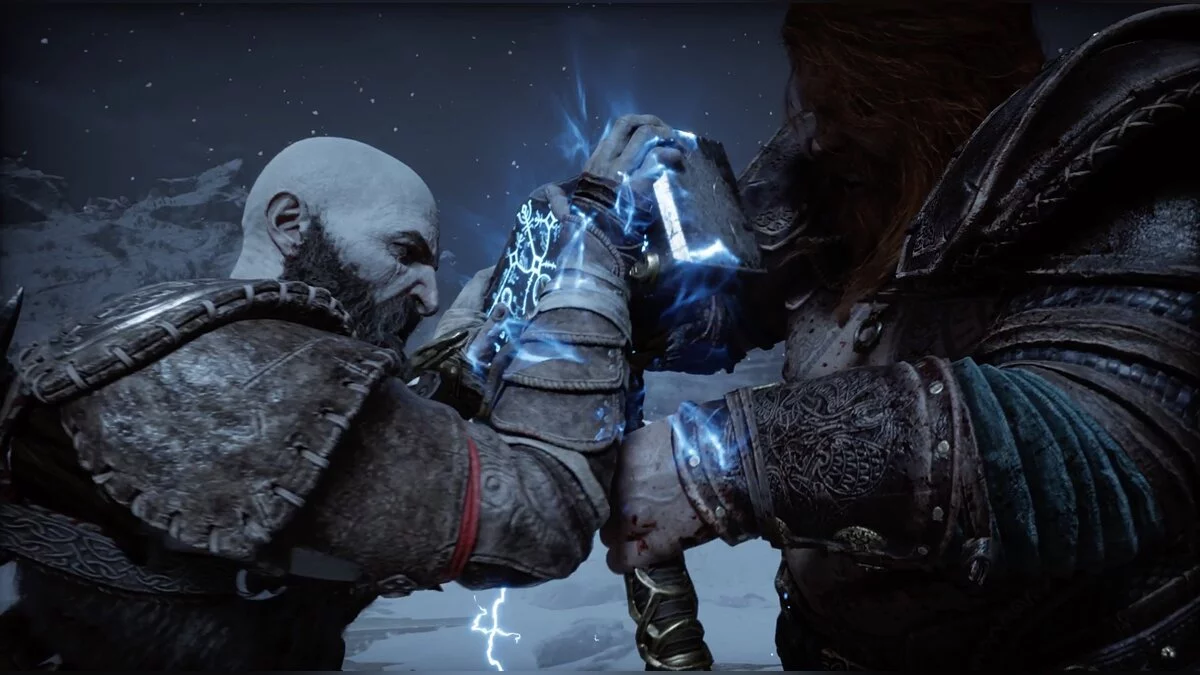
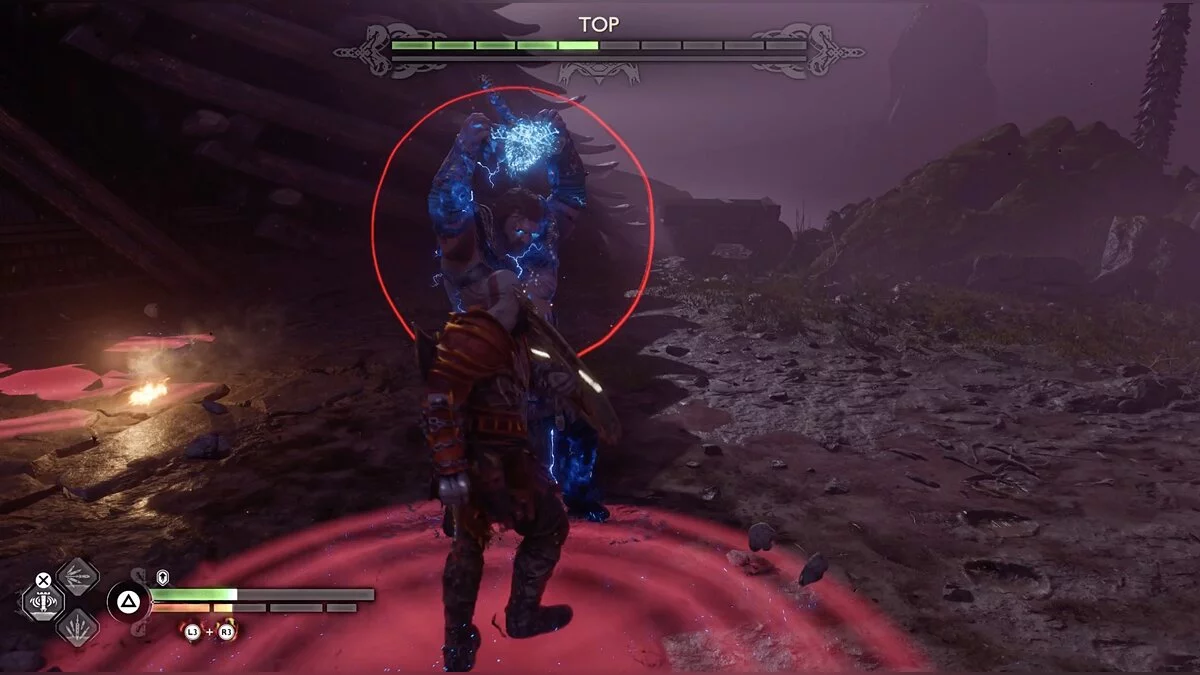
You will face a tough fight with Thor. The god of thunder will use the same attacks for most of the battle. The first is a clap of his hands that throws Kratos to the other edge of the arena, the second is a grab followed by a strike. This attack cannot be blocked, but you can try to reduce the damage by pressing L1 in time when the button appears on the screen. However, it's easiest to dodge. Another unblockable attack is Thor charging at Kratos, twisting his arm, and throwing him aside.
When the god of thunder has ⅔ health left, a strong ground slam that knocks the hero down will be added to the list of unblockable attacks.
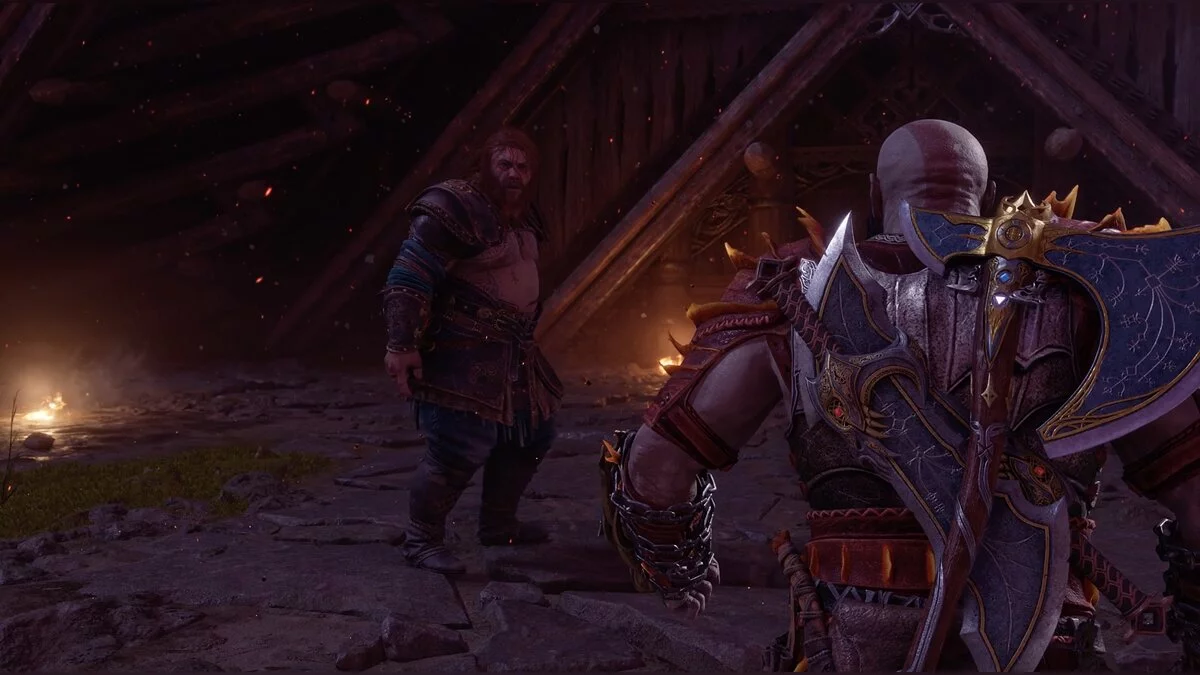
Continue the battle until a cutscene starts, after which Thor will begin using his hammer. Hit the god with the columns standing on the edges of the arena. The hammer cannot be blocked; you will have to dodge. In the end, Kratos will lose, but don't worry — that's how it should be. After the loading screen, Thor will revive the god of war himself, and the fight will continue, with the opponent almost fully restored.
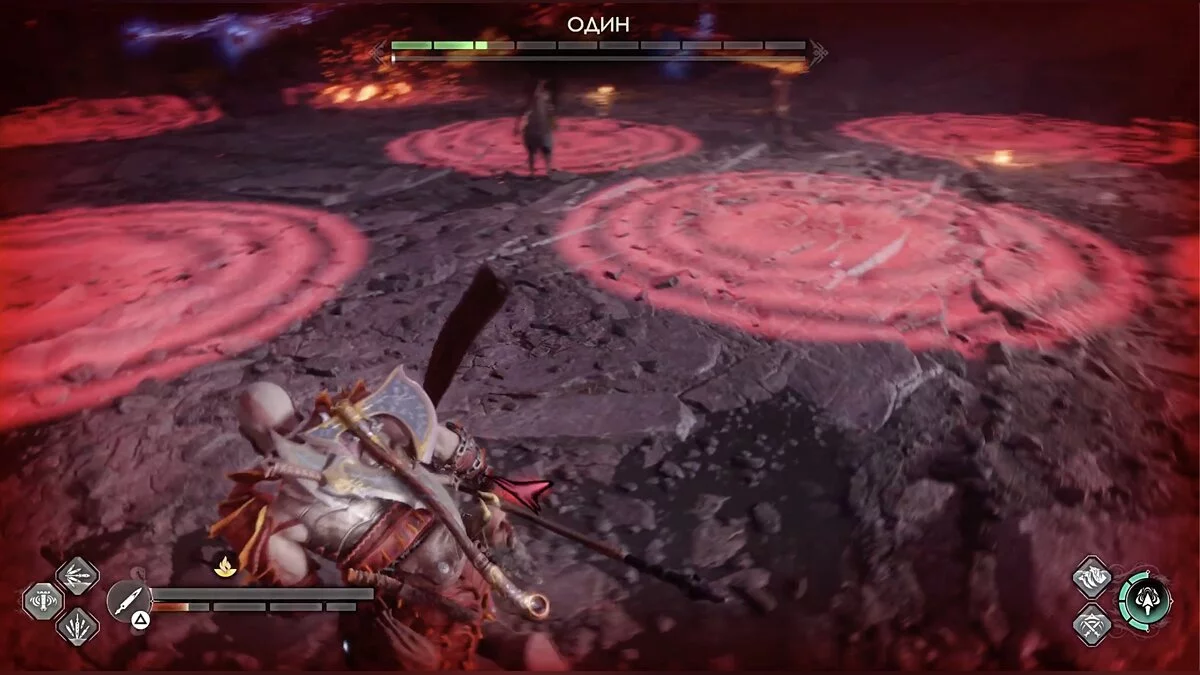
After the victory, watch the cutscene, after which Thor will have full health again. Now almost all his attacks will be accompanied by lightning. Pay attention when the enemy strikes the ground with his weapon. Red circles will start to appear on the arena — the predicted locations of electrical discharges, try not to stay in the affected area.
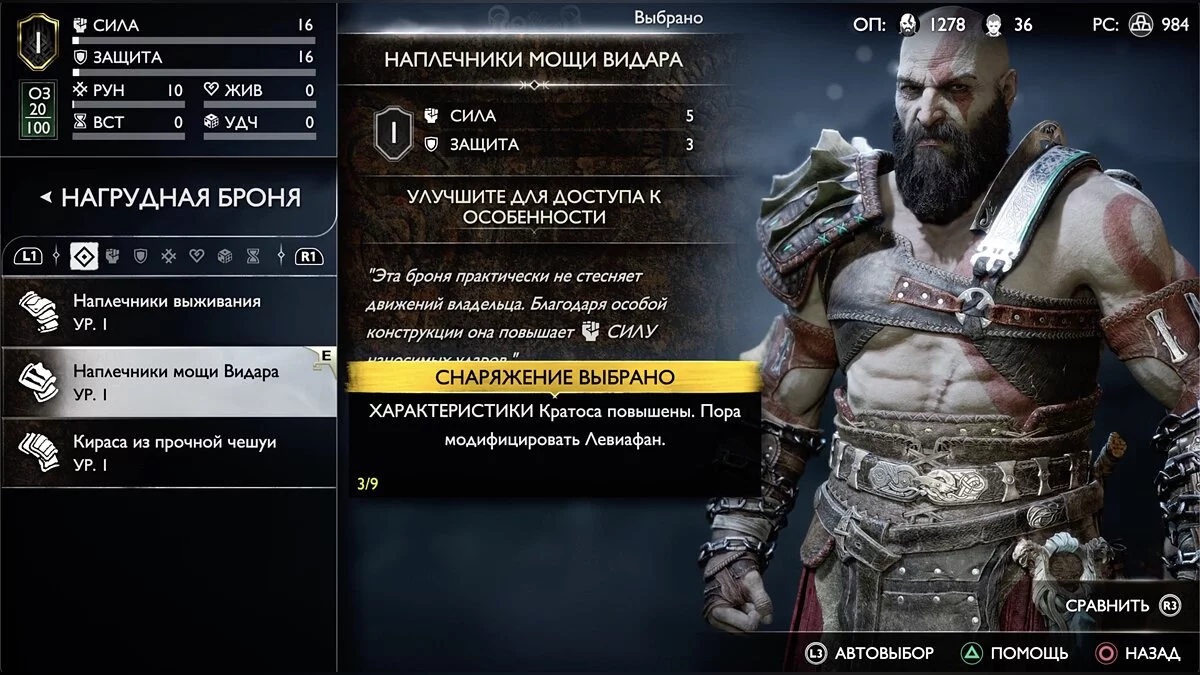
After the victory, watch the cutscene and follow the dwarf home. Once back, talk to Atreus and choose an armor set. It's time to set off.
Where to Find and How to Defeat the Hunter Boss
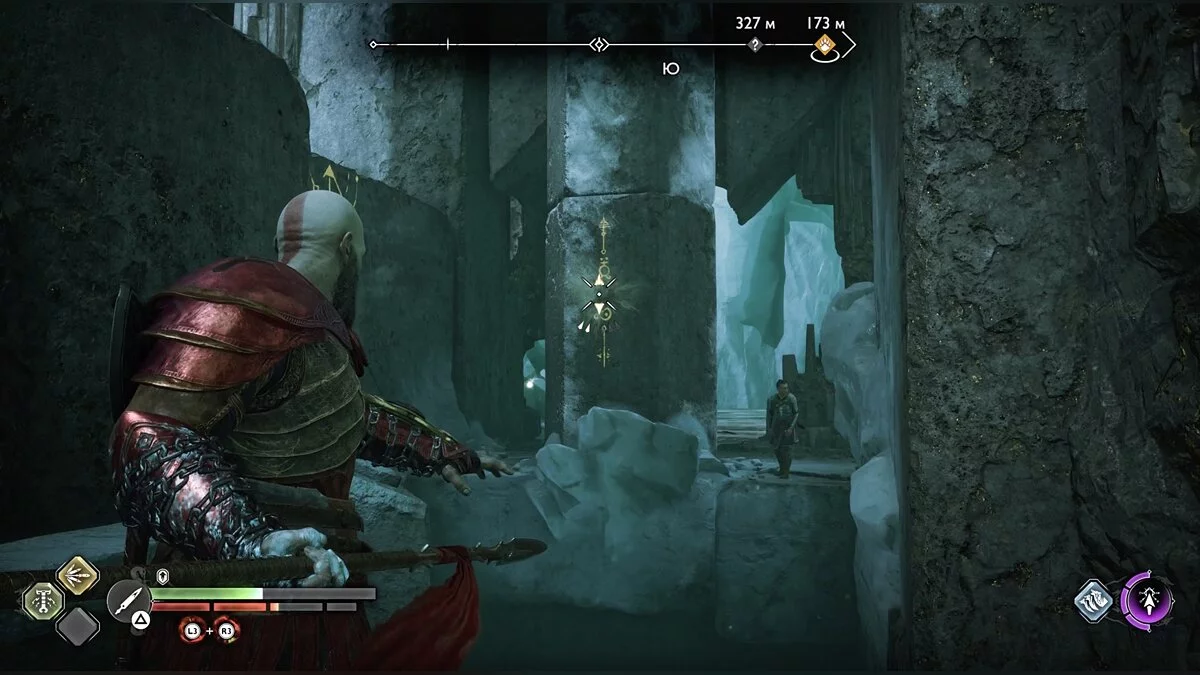
Follow Atreus. After using the Blades of Chaos for the first time to overcome a high ledge, there will be a small chest on the left.
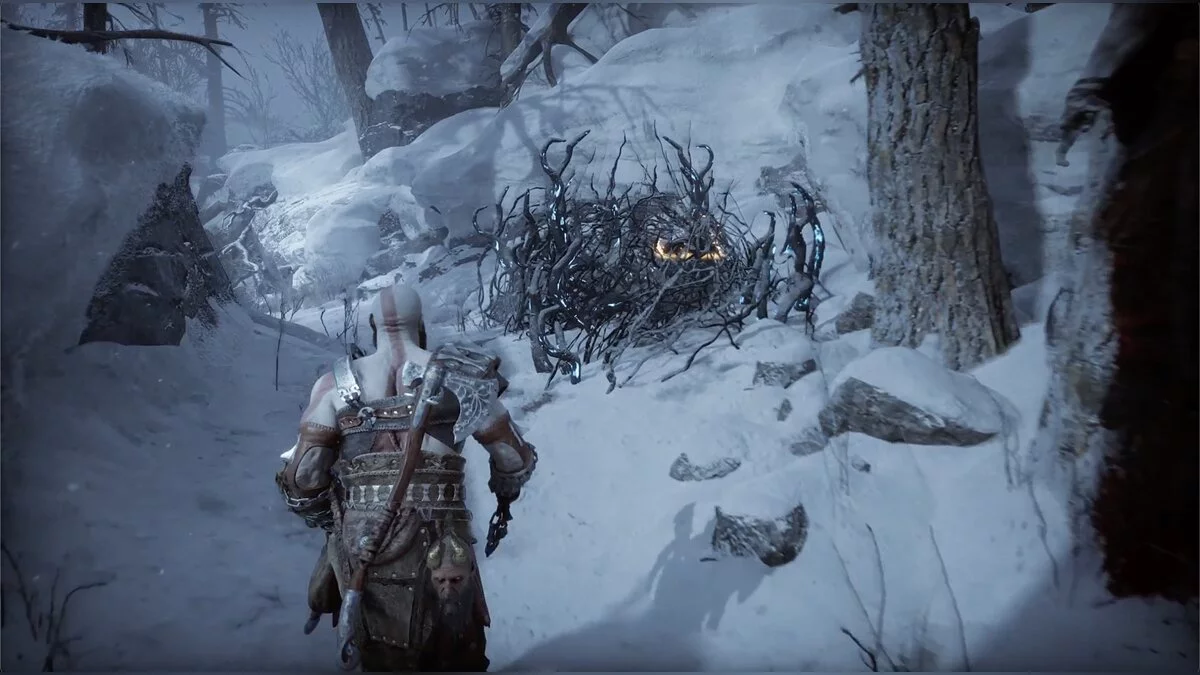
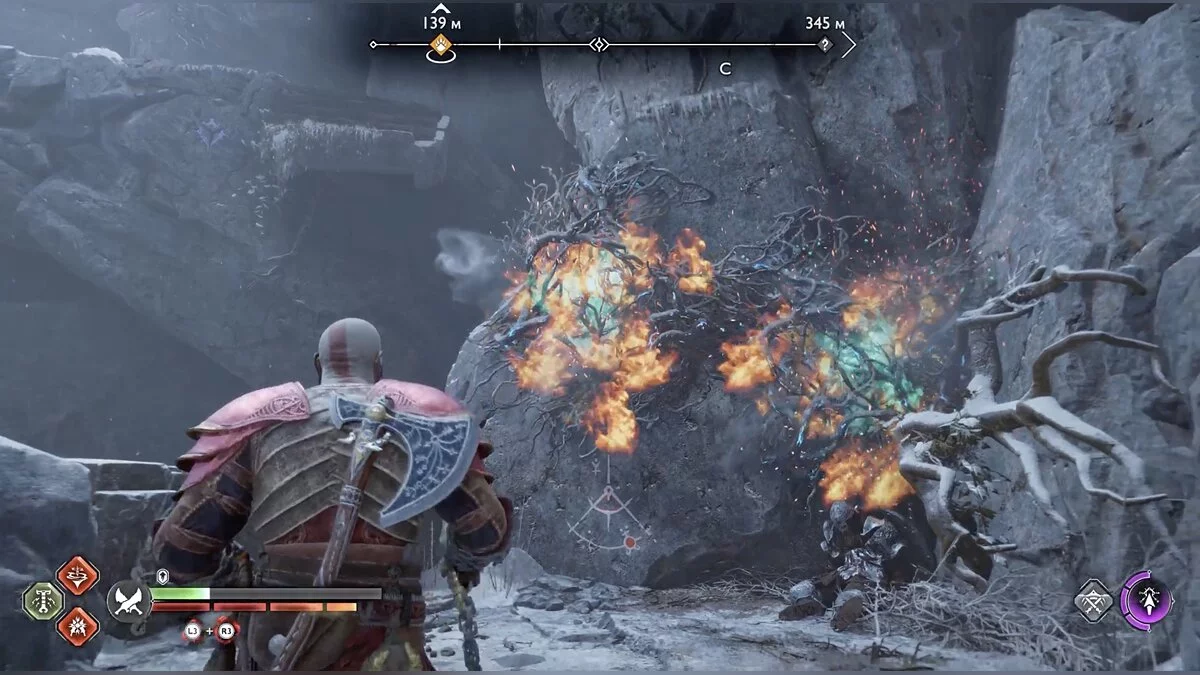
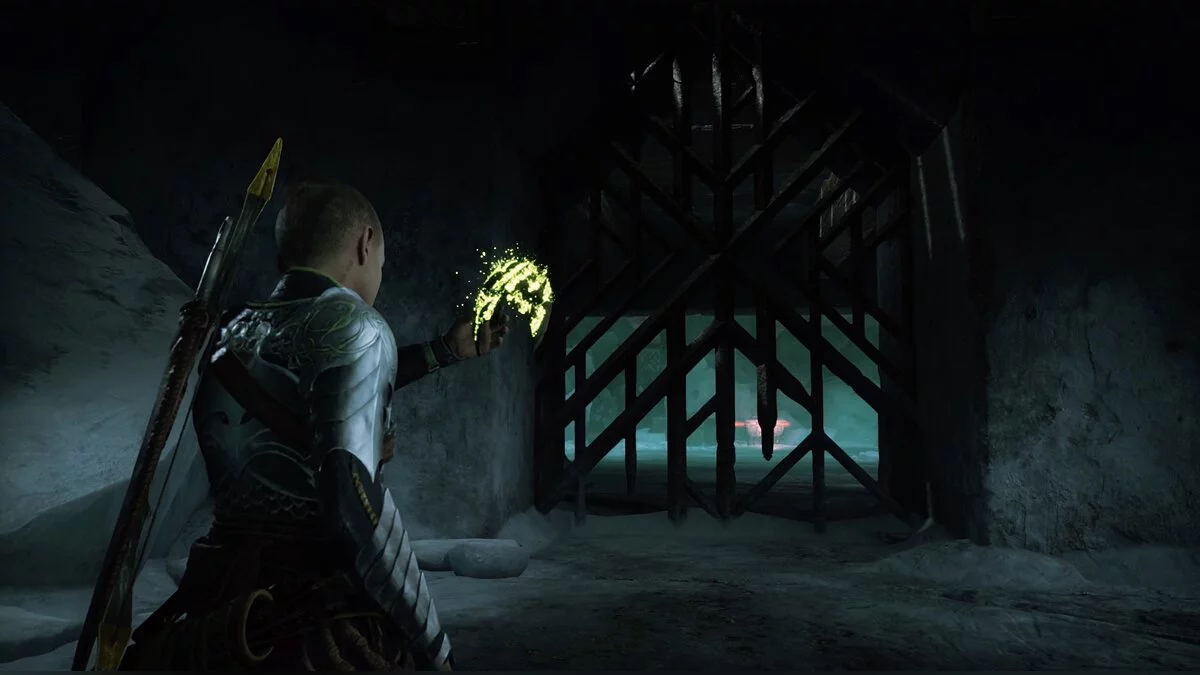
Burn the dry branches with the blades and move to the right towards the ledge blocked by logs. The blades will help clear the path again. Atreus will jump down and go to the right. You should go left, there will be a descent and a pouch with hack silver.
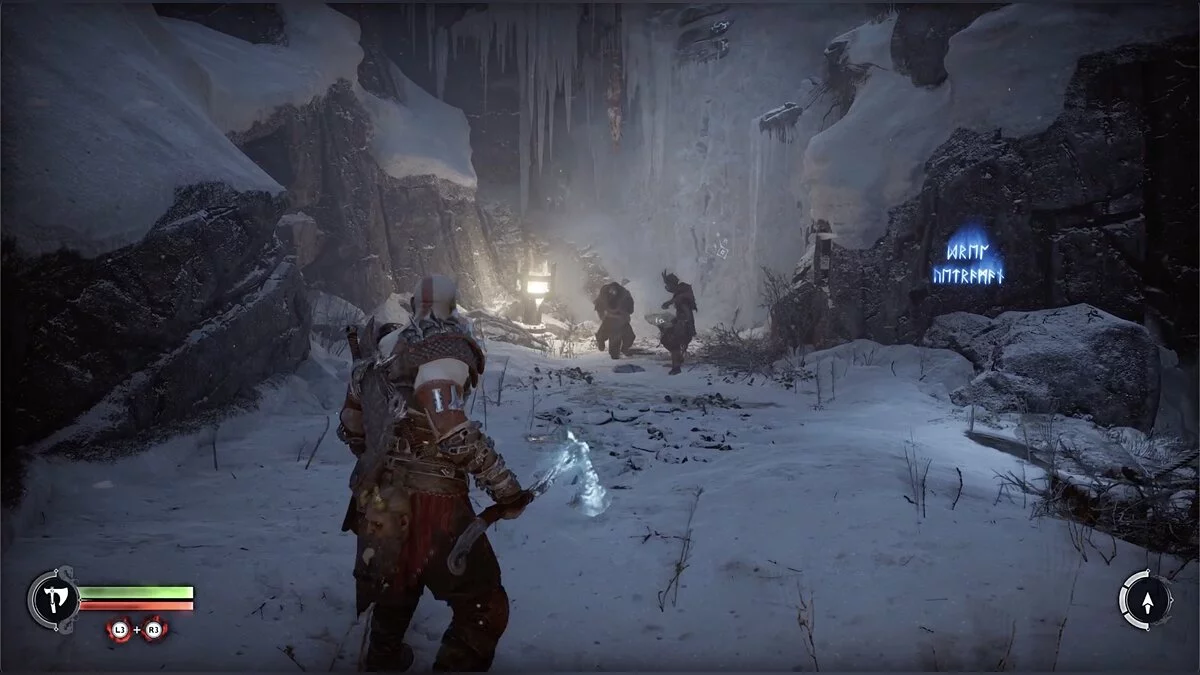
In the cave, an enemy is waiting, but someone else will kill it. Go left, following the mysterious hunter. Burn the branches to reveal the small chest. Return to the fork and move right, following Atreus. Defeat several reanimated corpses.
Descend, you need to go into the small passage on the right. Facing it, turn right again — a descent to a chest.
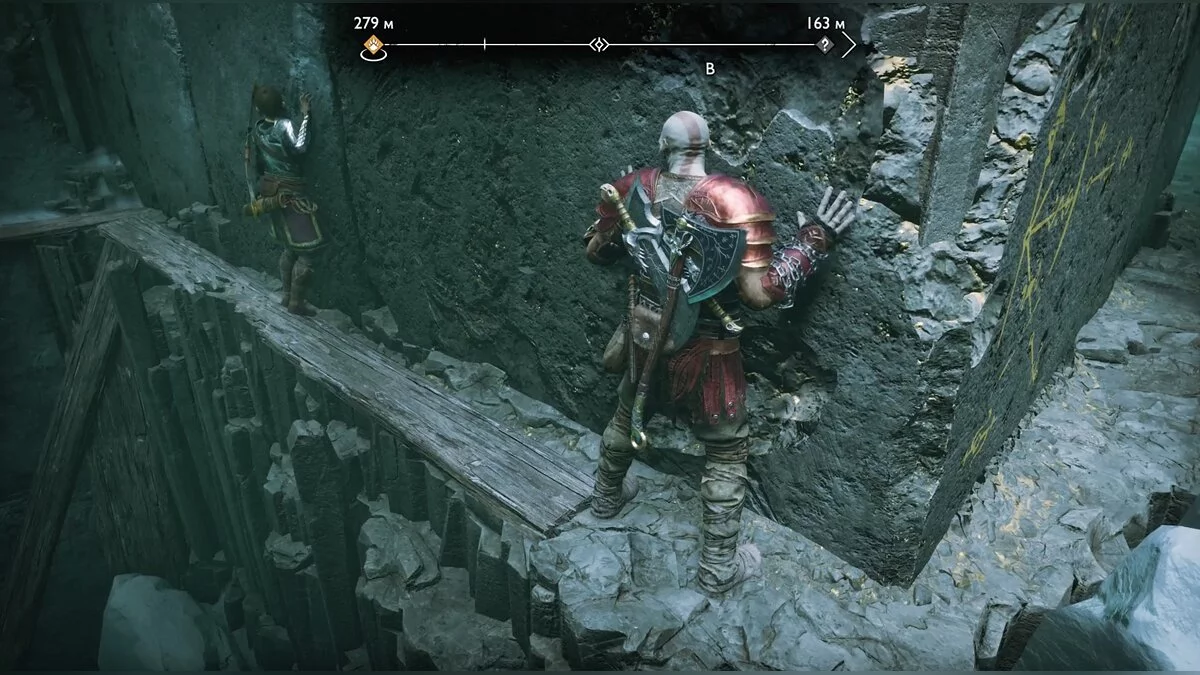
Go through the small entrance and defeat the enemies, then squeeze through the crevice. Move the boulder with the blades to pass further, then climb higher and return the boulder to its original position.
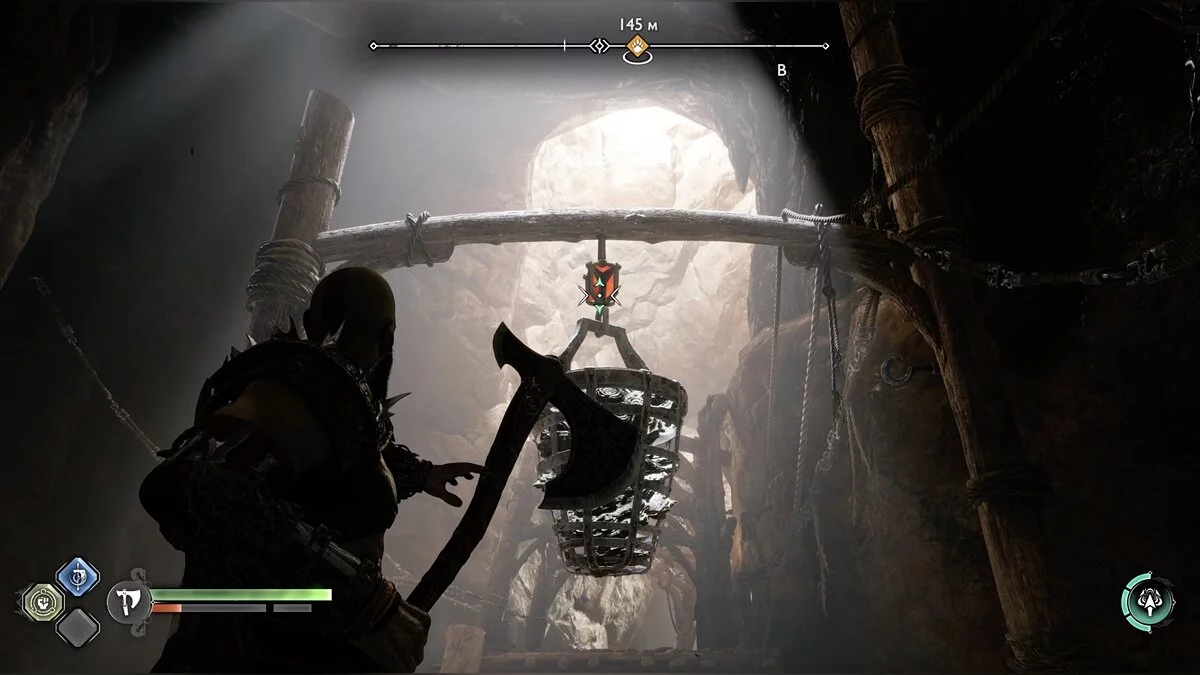
Near the chain that raises the rope, break the round seal on it with an axe. Tighten the rope with the chain and descend. Another battle awaits you. Burn the dry branches to open the path from the arena. Ahead are several reanimated corpses and blue runes that can be read for extra experience. To the right of the runes, there is a descent to a chest, guarded by another zombie.
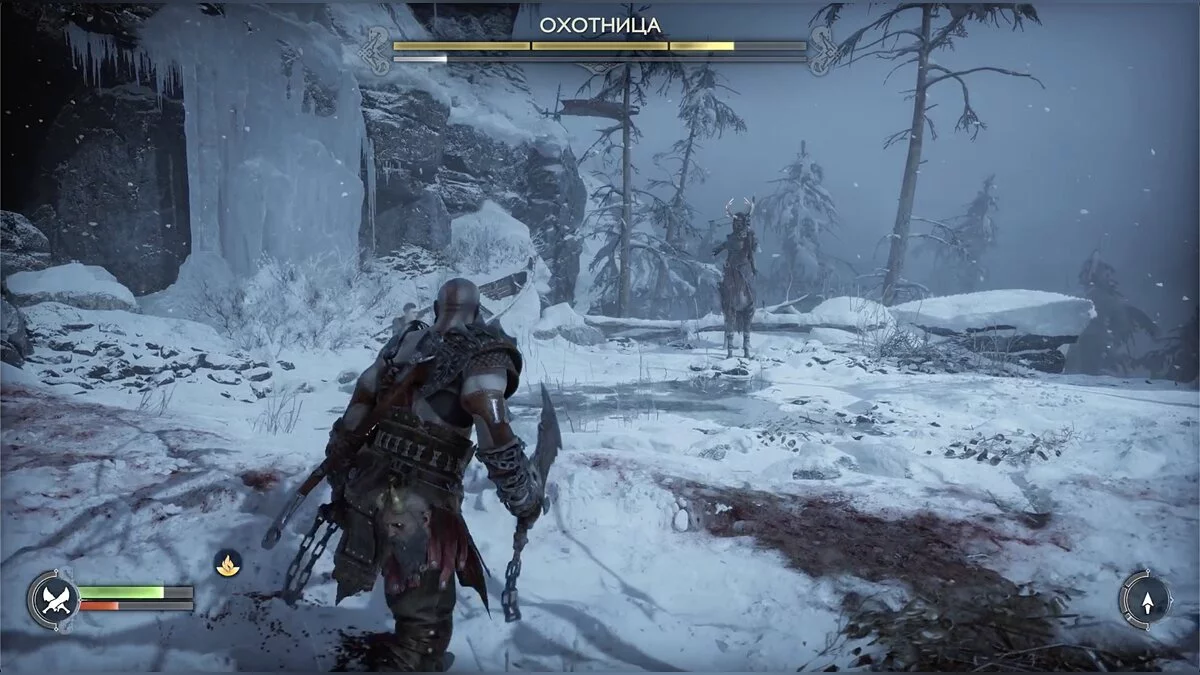
Climb up the rock, destroy several reanimated corpses. Try to climb even higher in the only accessible place — the Hunter boss will appear. This is a centaur shooting fire arrows and kicking with hooves. She has a weak spot — aim at her horns when they glow to shock the enemy. After dealing with the Hunter, climb up and go left — a scroll of legends.
How to Break Fragile Floor
Follow Atreus into the large open area and stick to the right side. At the end of the zone, there will be a crevice, through which Kratos will find a large chest.
Approach the stairs where Atreus is standing and turn left. You can climb onto the platform with the chest. Return to your son and clear the path with your blades; the statue will get stuck at a tree. Use the axe to cut the log and finally make the stairs accessible. Follow Atreus and watch the cutscene.
After the cutscene, go down, you can lift the grate on the right and open the large chest.
Atreus will stop near a crack in the floor. Stick to the left side and climb the ledges to the top — large chest.
Return and stand directly above the cracked floor. You will have the option to break it. Once below, jump to the large chest.
How to Enter the Dwarves' Sanctuary
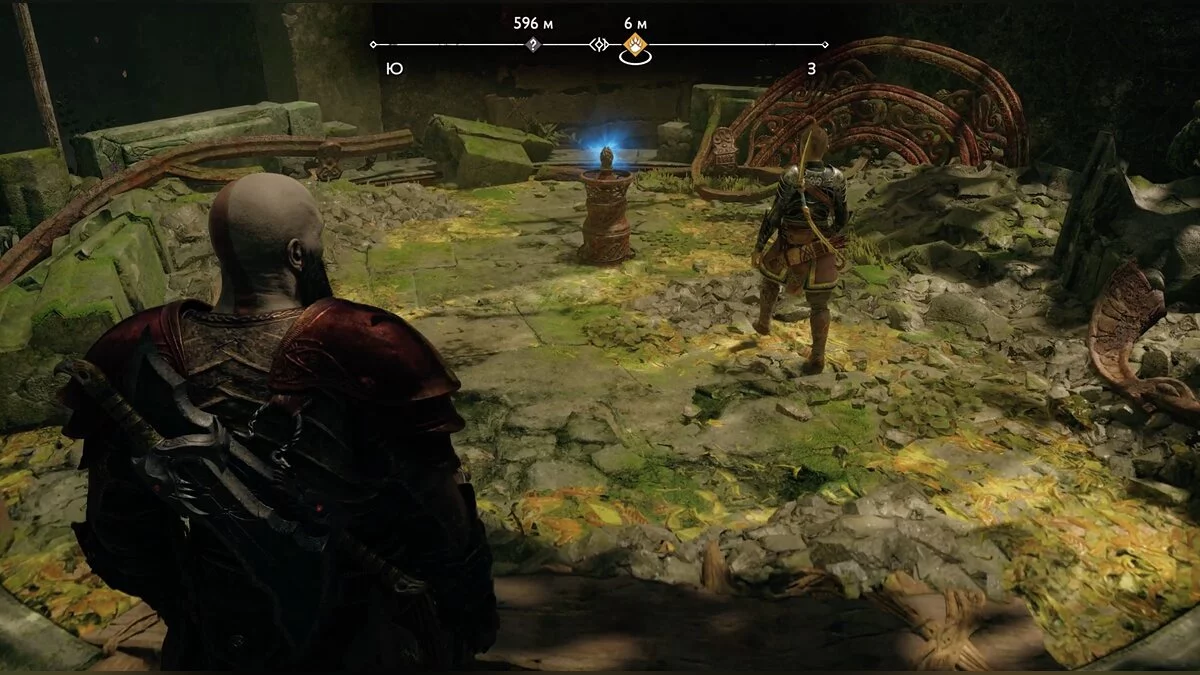
Return back, Atreus is waiting for you near the chain that can be lowered. Climb down and defeat the group of enemies. Move straight ahead, on the right will be a large chest. Continue following Atreus to the house and meet the dwarf Sindri. Follow him through the passage between worlds and you will reach the brothers' sanctuary. Follow the main objective markers, here you can talk to the dwarves and upgrade your gear. Then watch the cutscene and head to the dwarves' world — Svartalfheim.
Searching for Tyr. How to Remove the Wooden Wheel
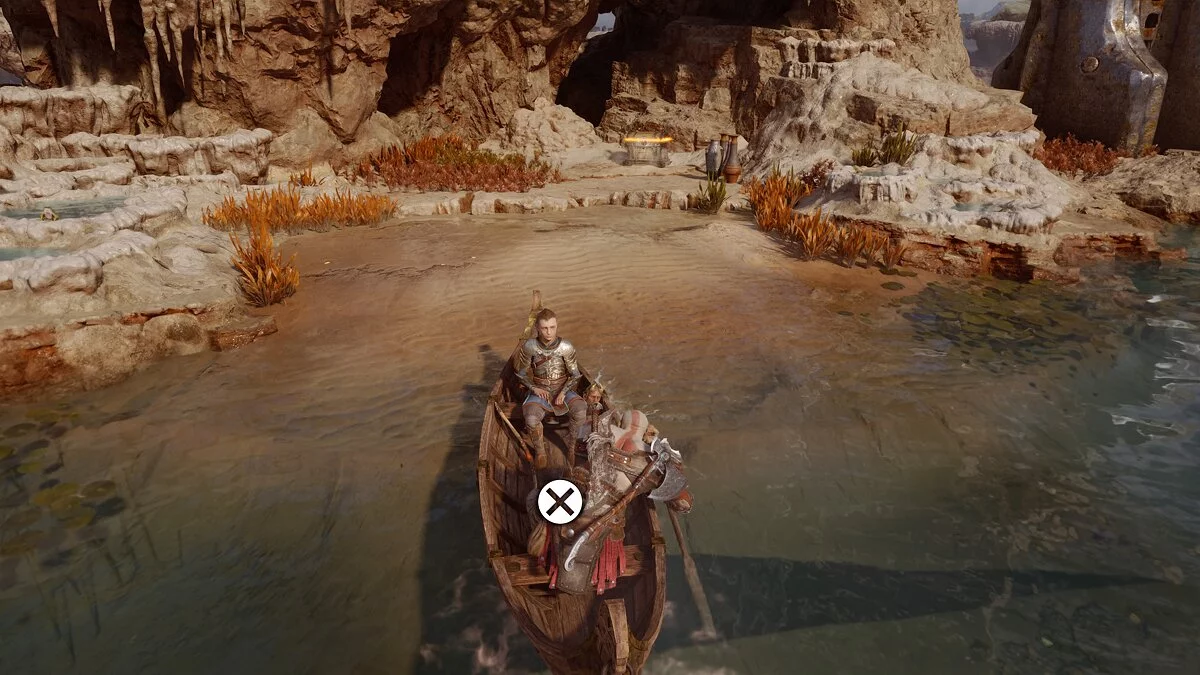
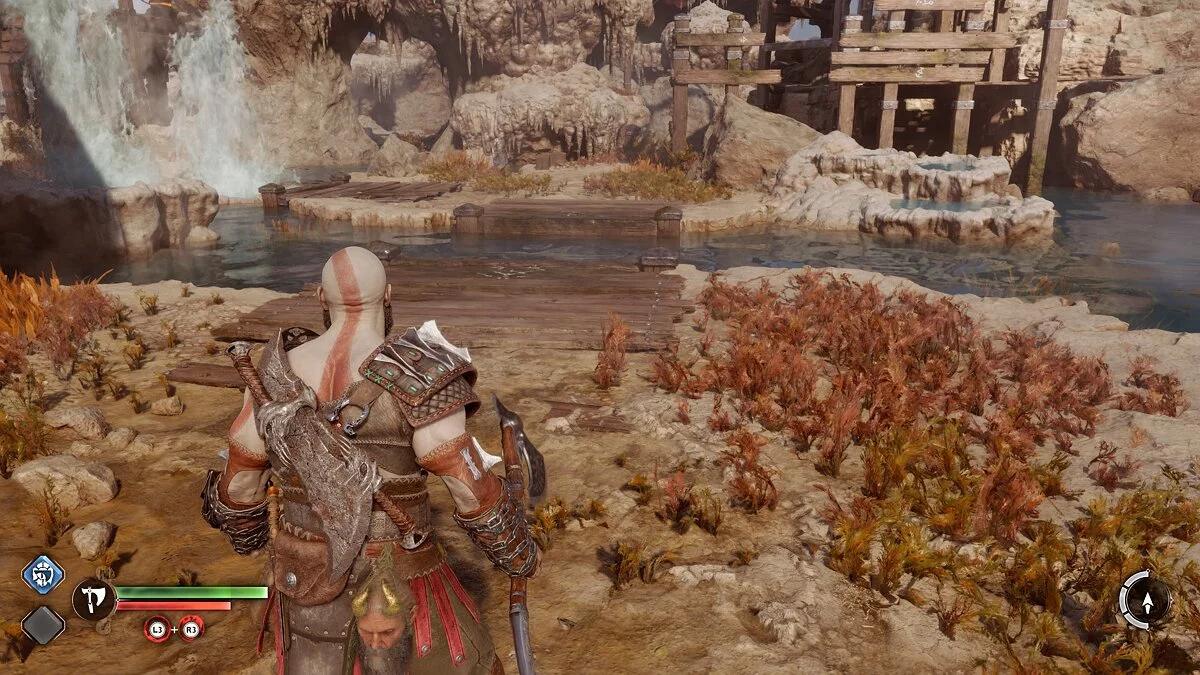
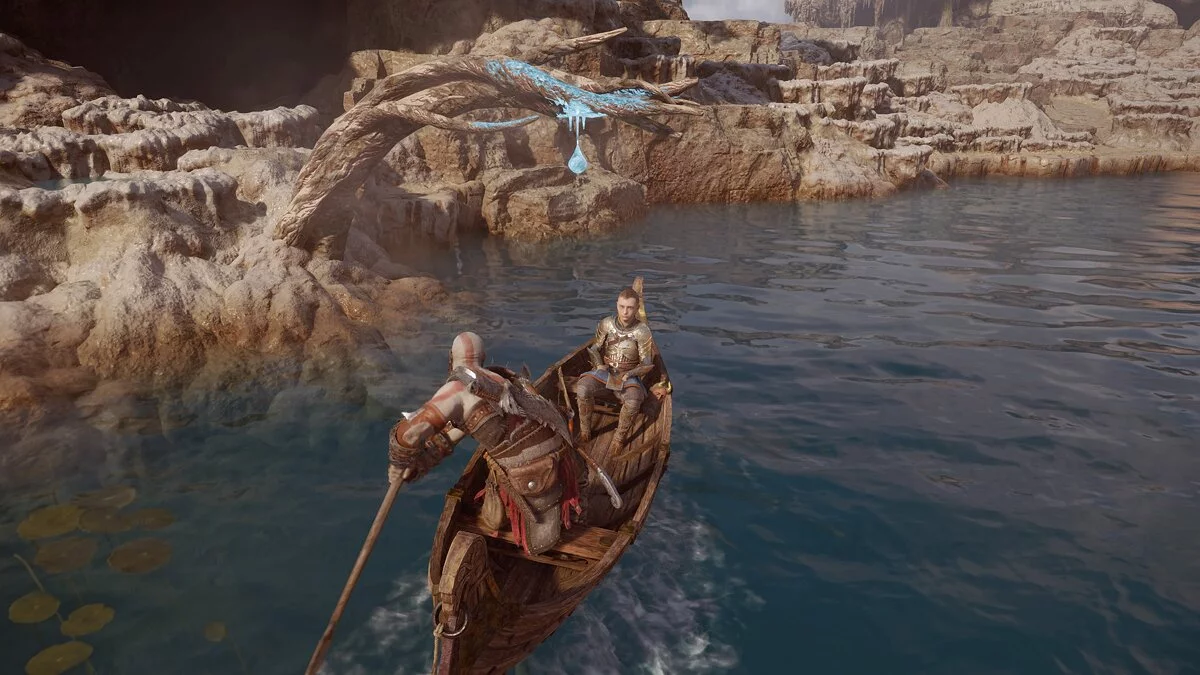
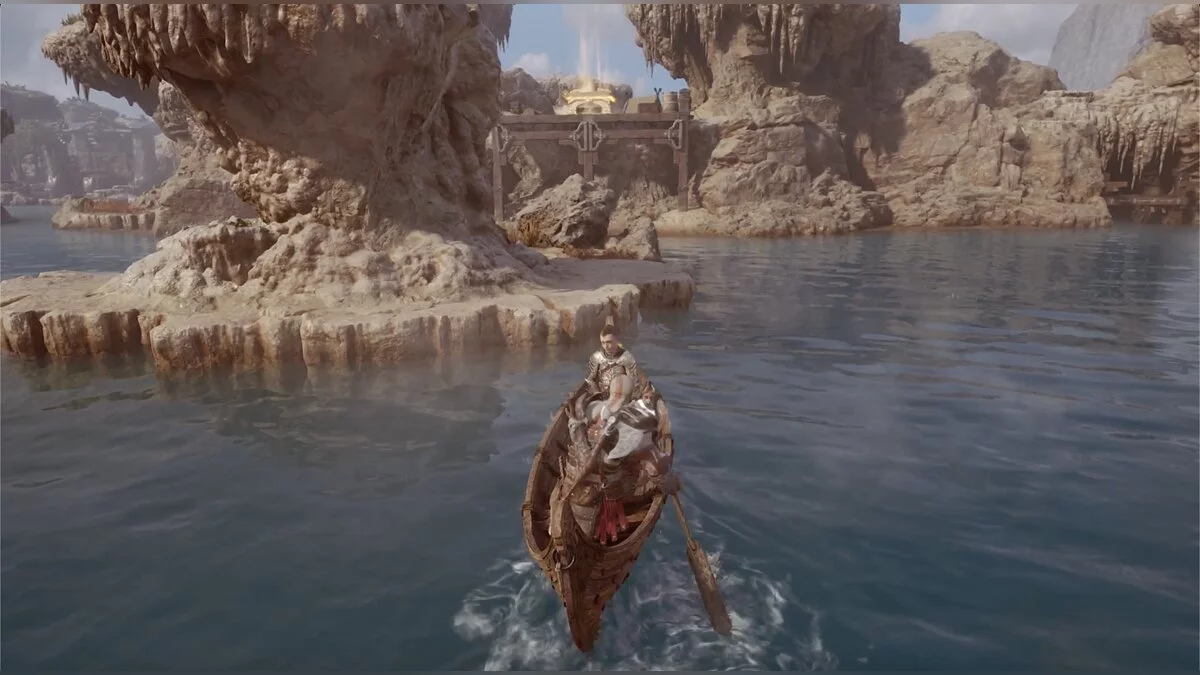
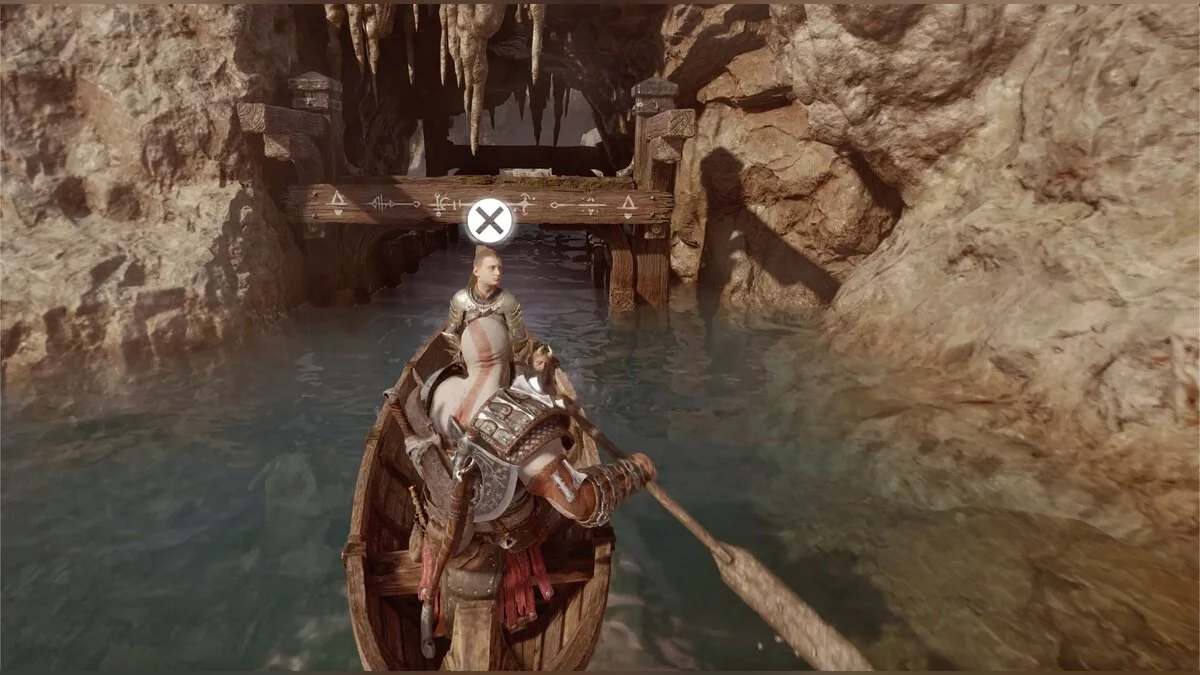
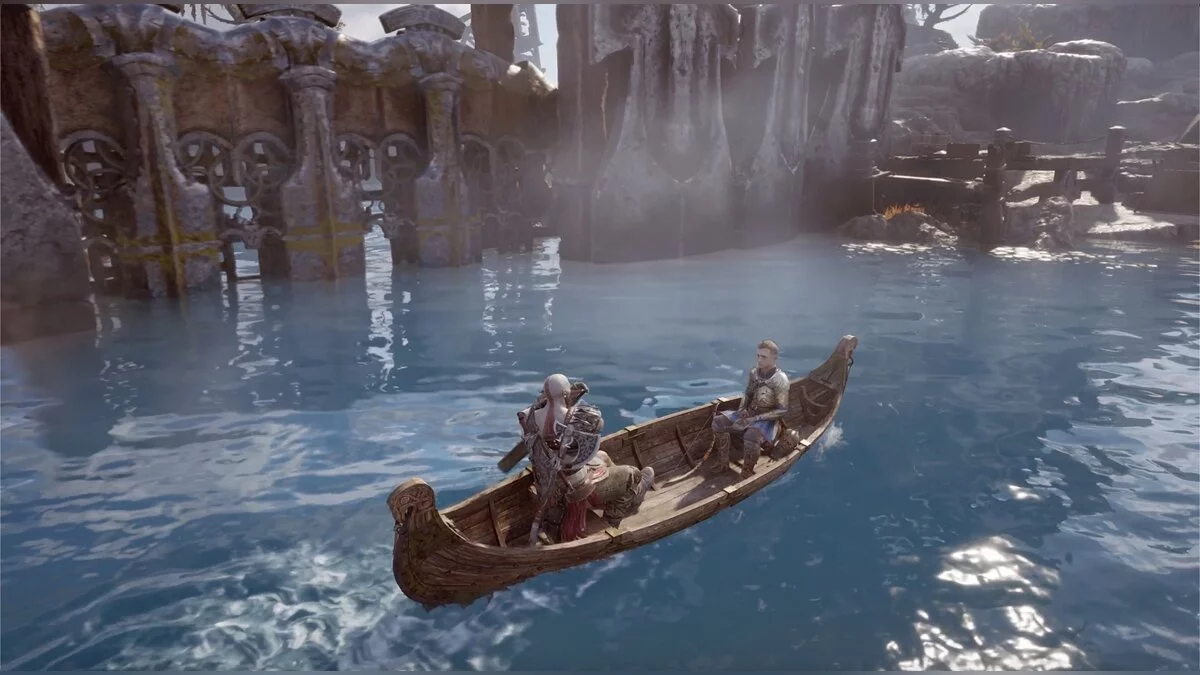
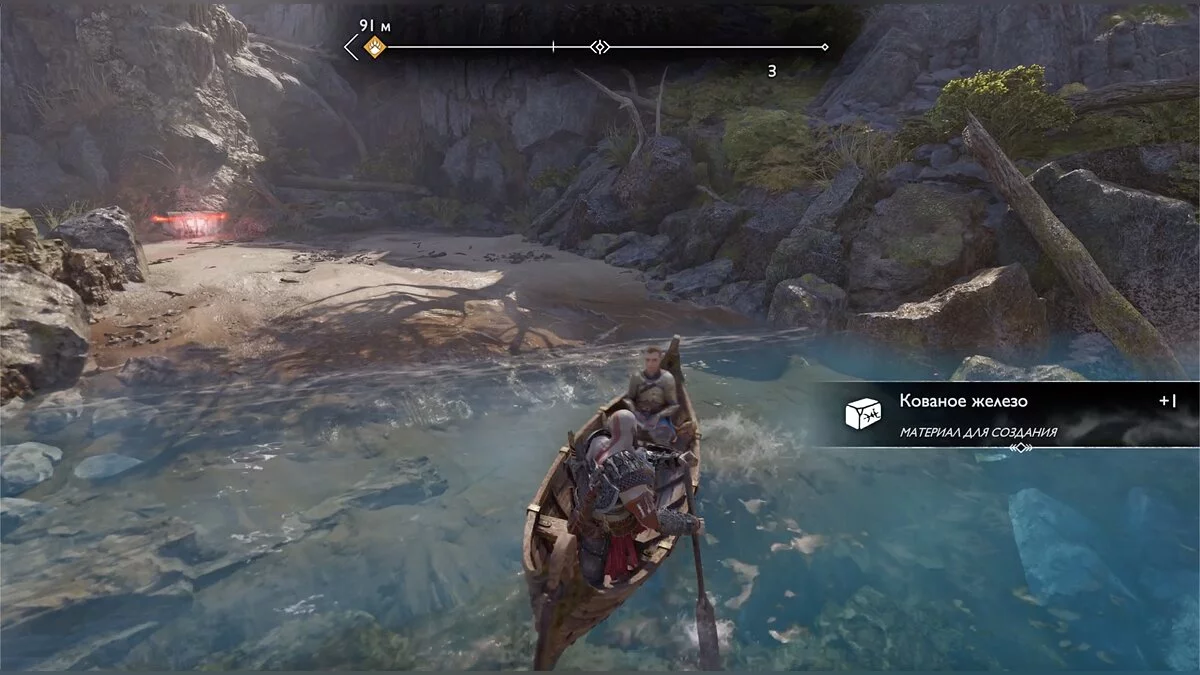
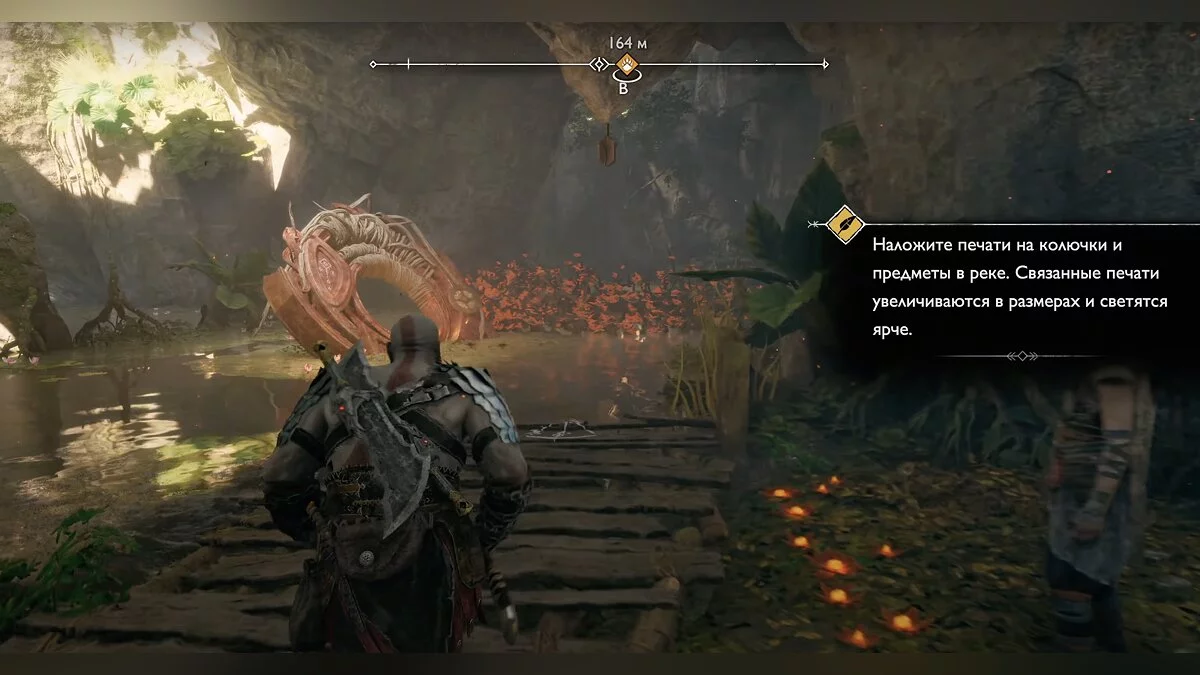
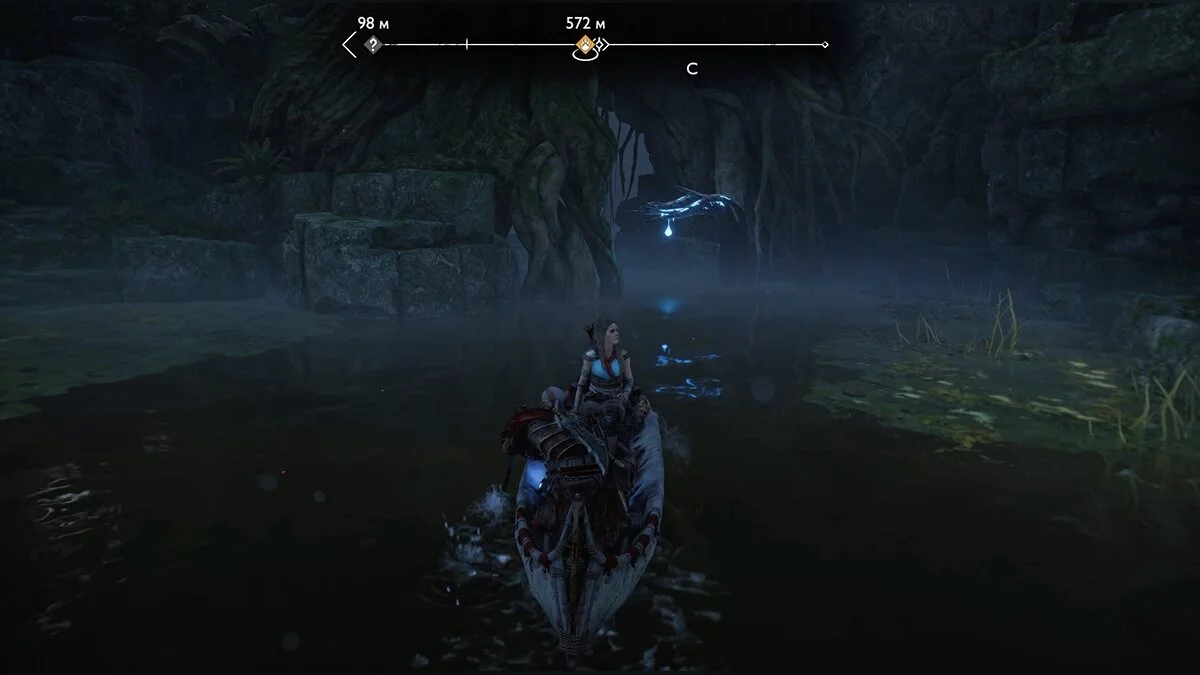
Once in the dwarves' world, Kratos and Atreus need to reach the city — Nidavellir. Follow the boy until you see a boat. It's going to be a long sail. The dwarves' world is very similar to the location from the previous game where the world serpent lived. Once on the water, take note of several features: zones marked with leaves will allow you to collect rare materials, and floating barrels will give you chopped silver. You can dock only at specific places marked with flags.
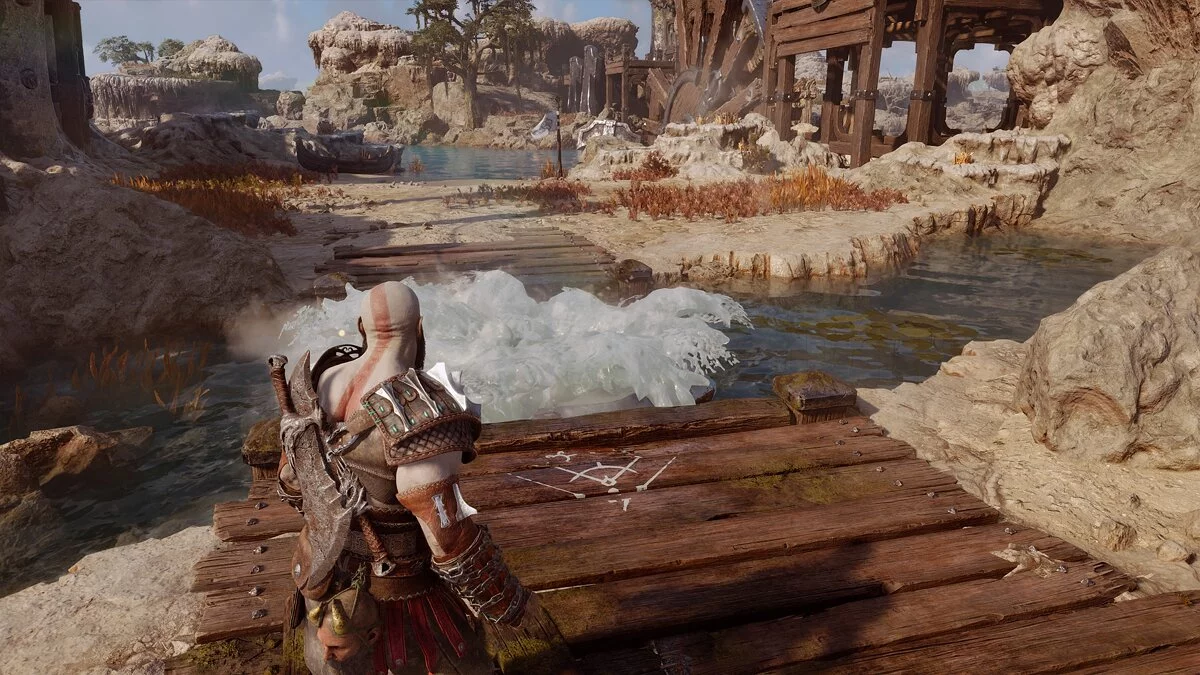
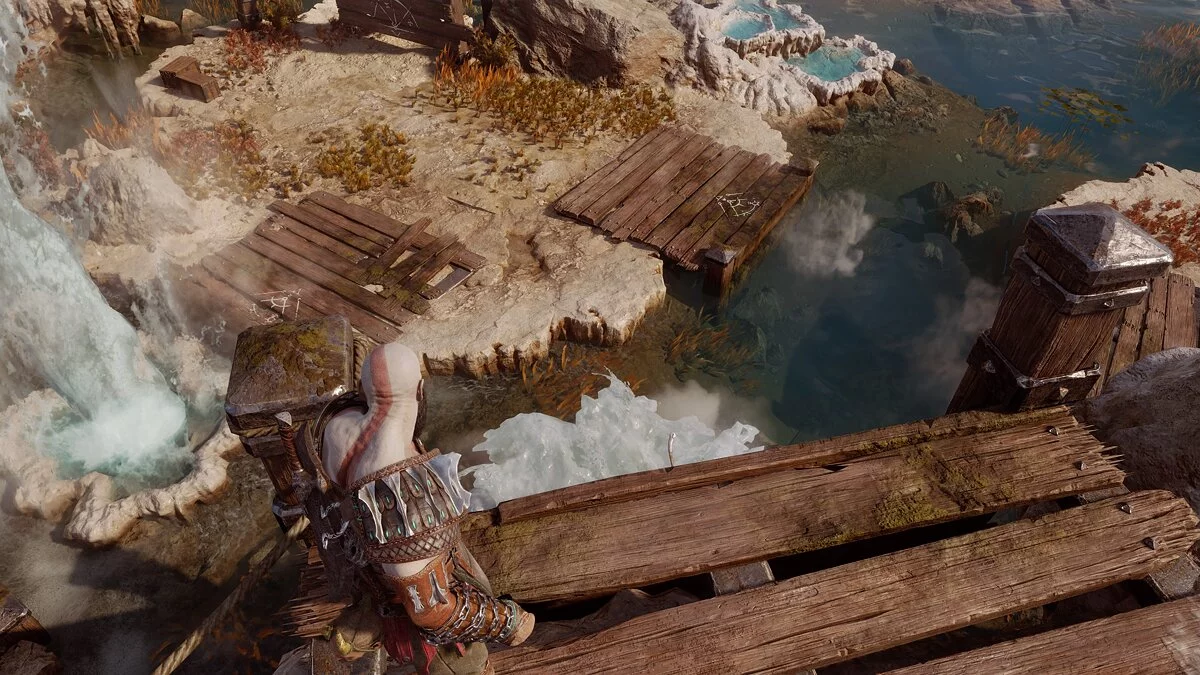
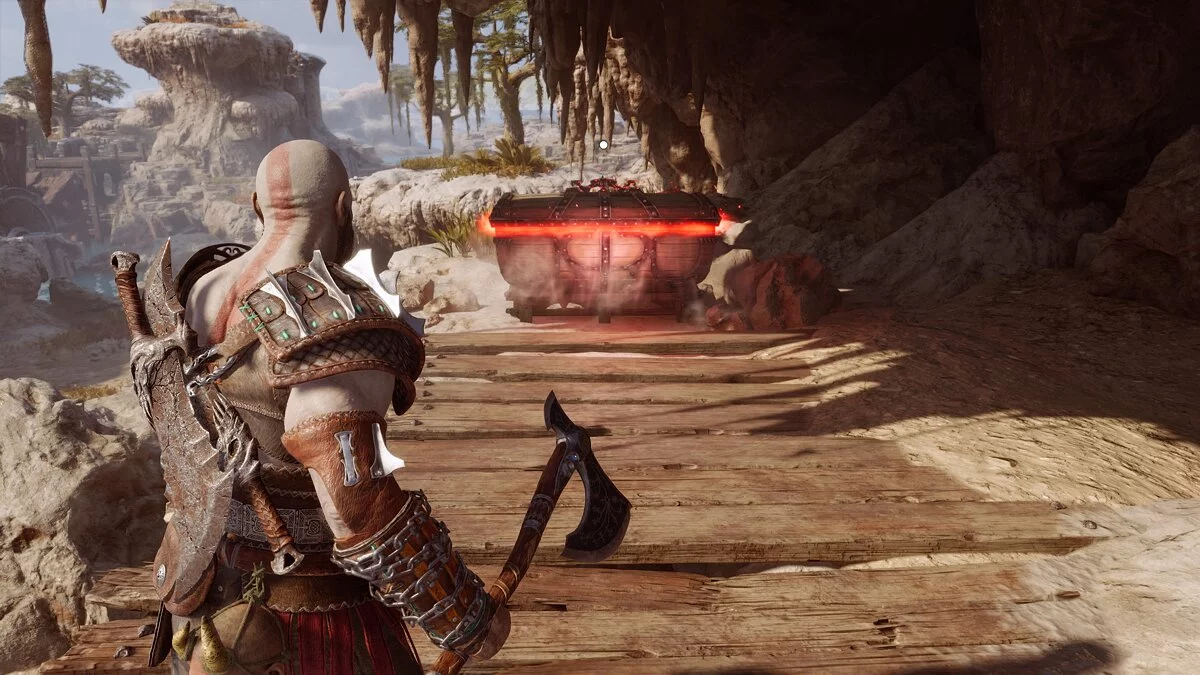
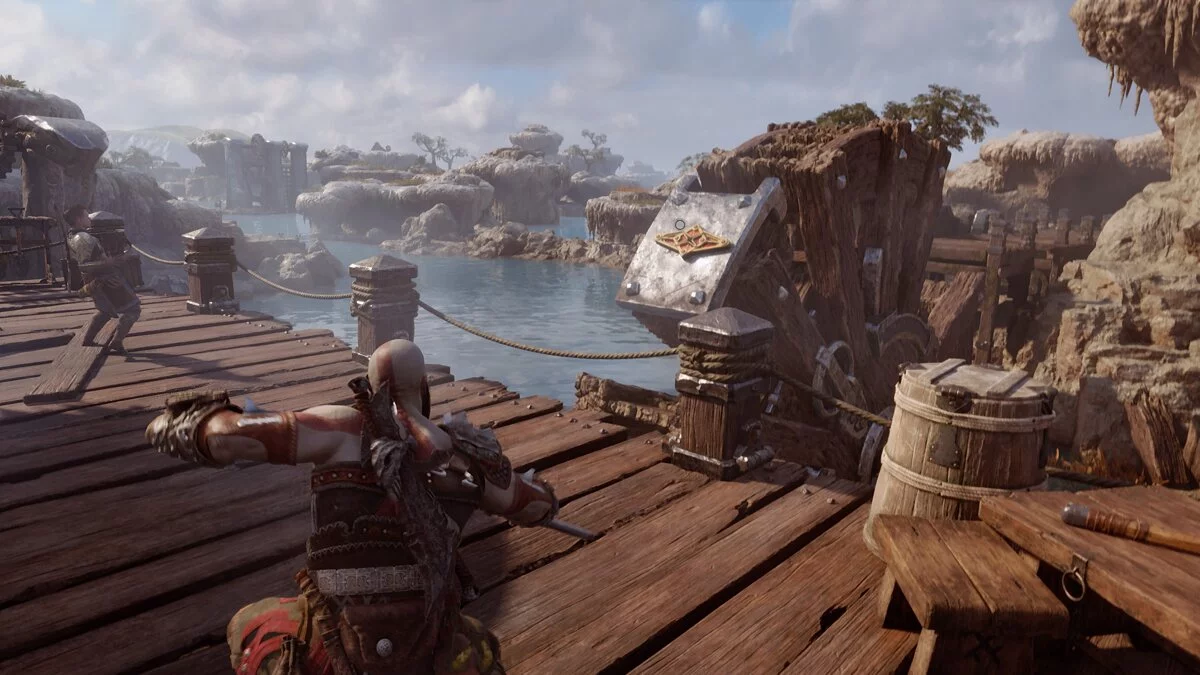
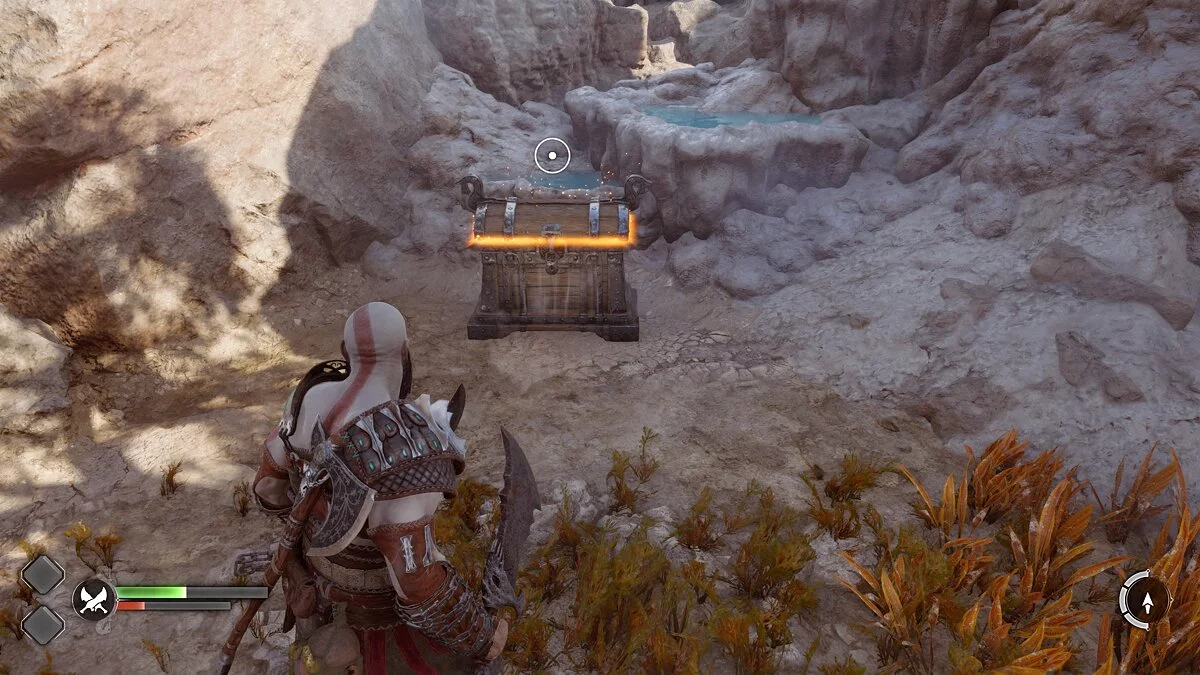
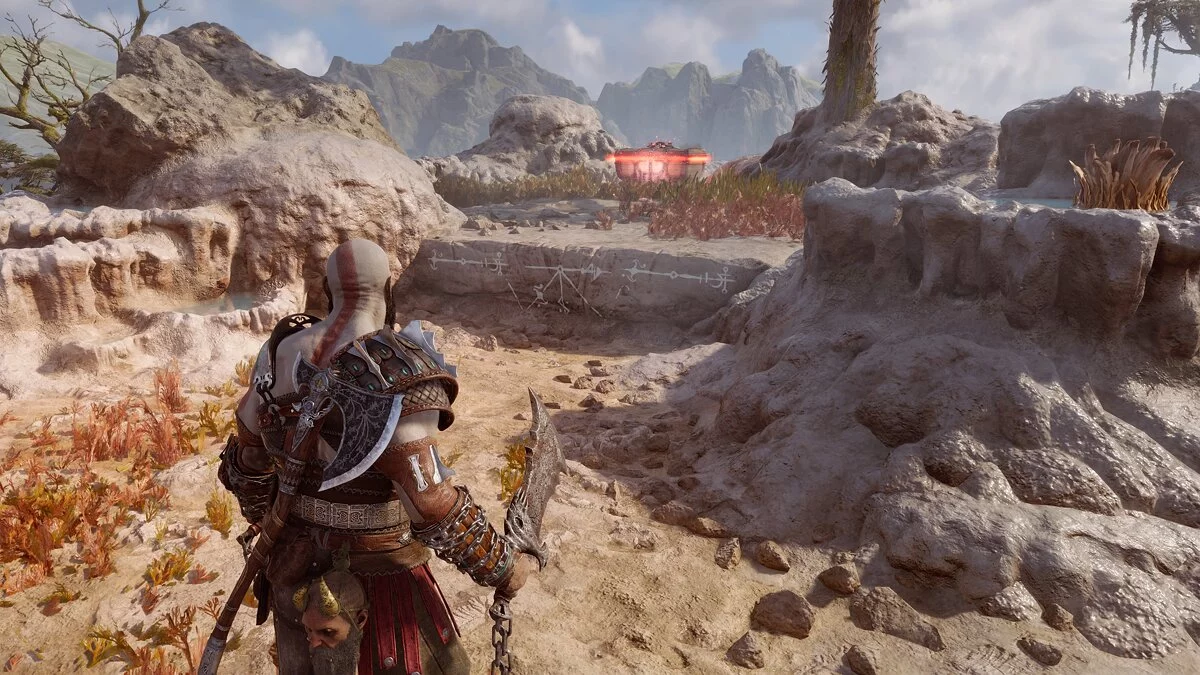
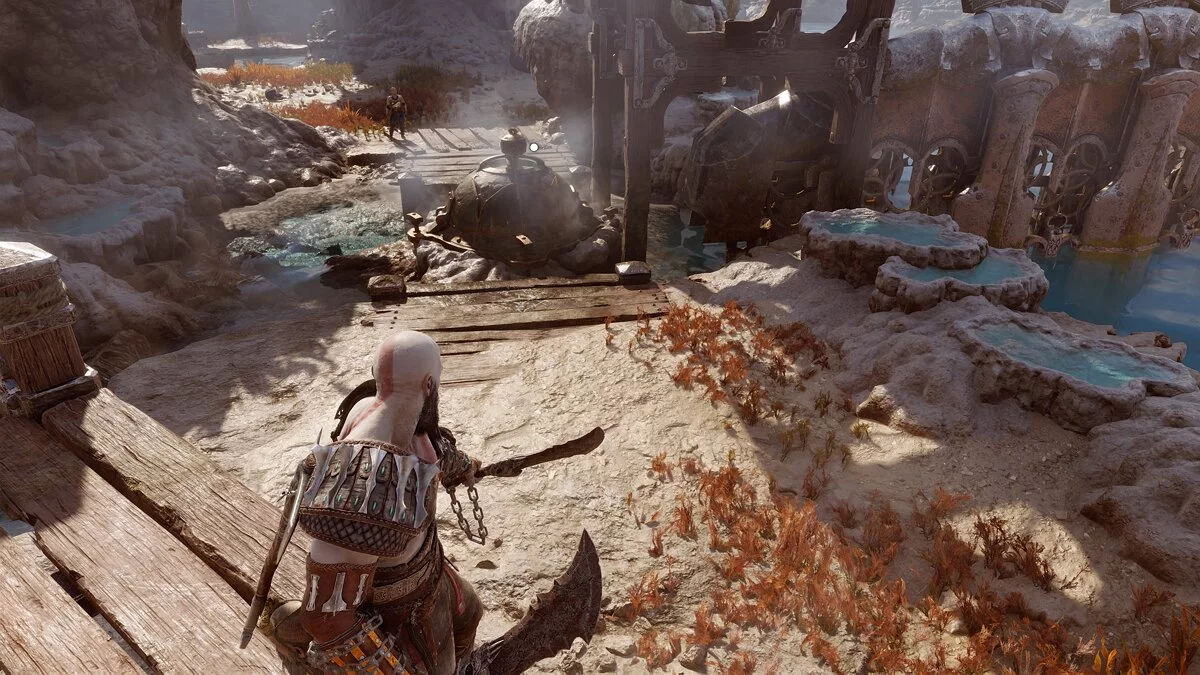
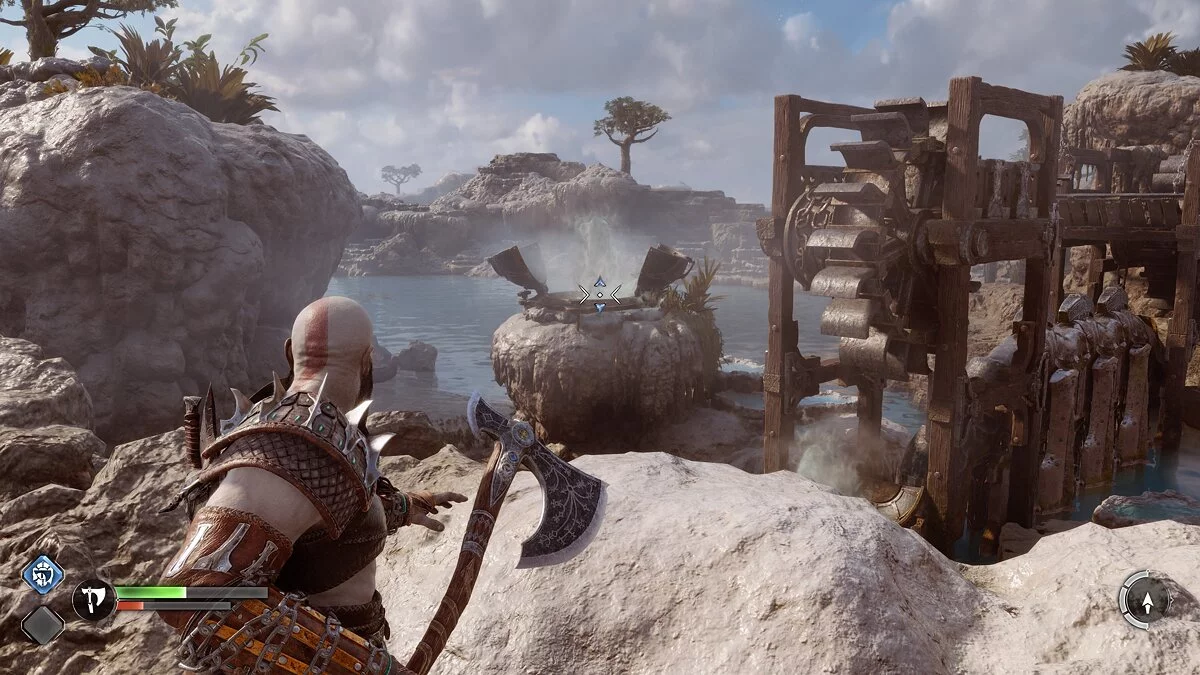
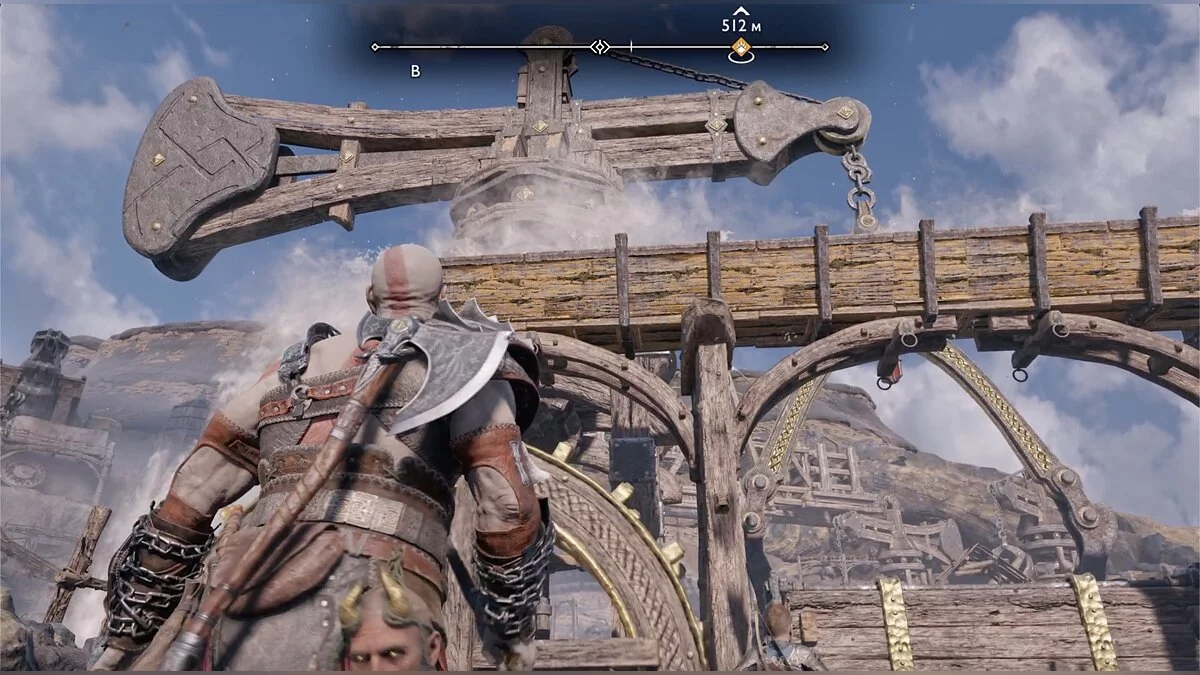
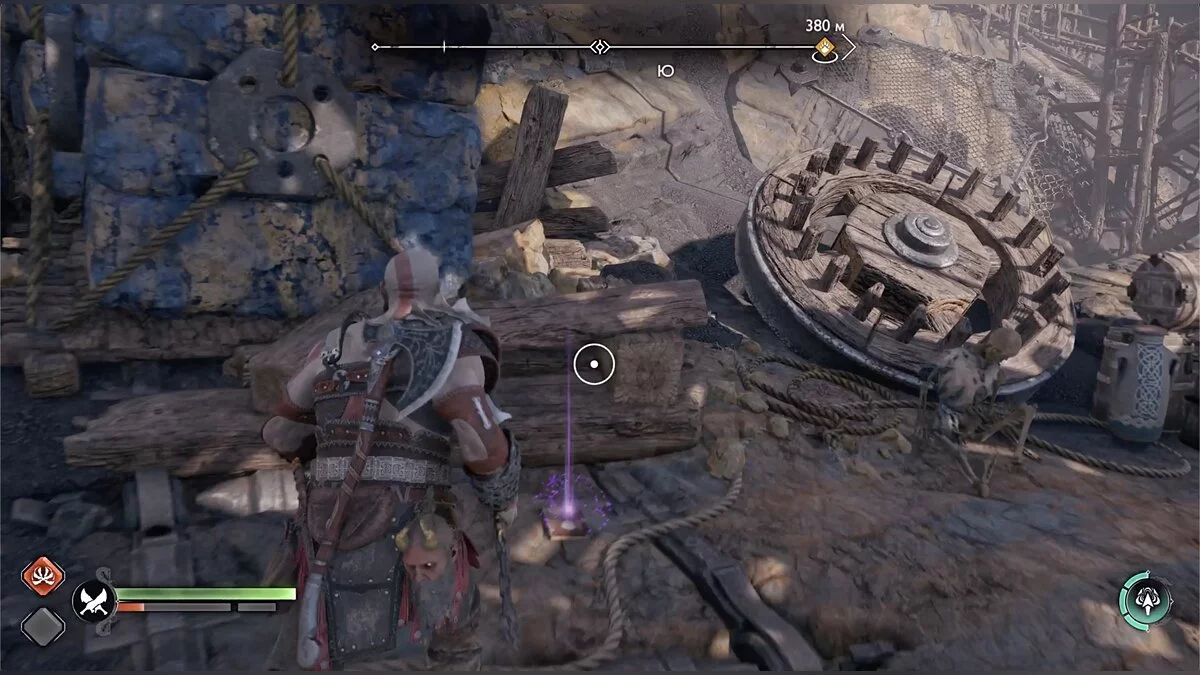
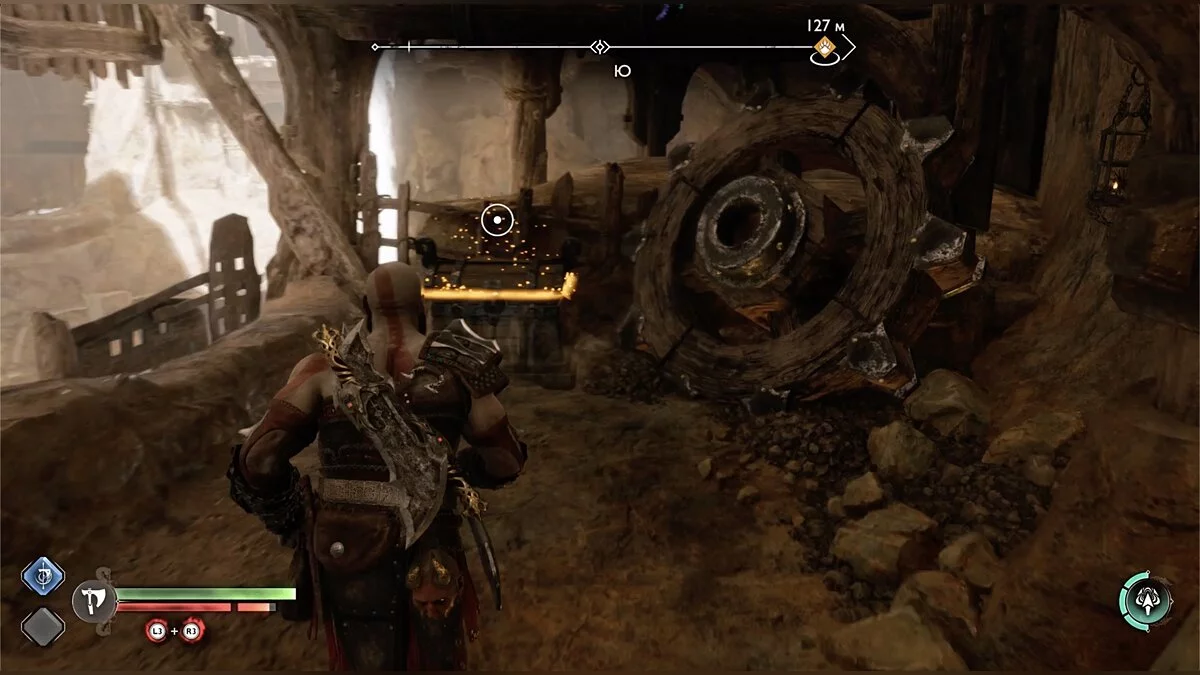
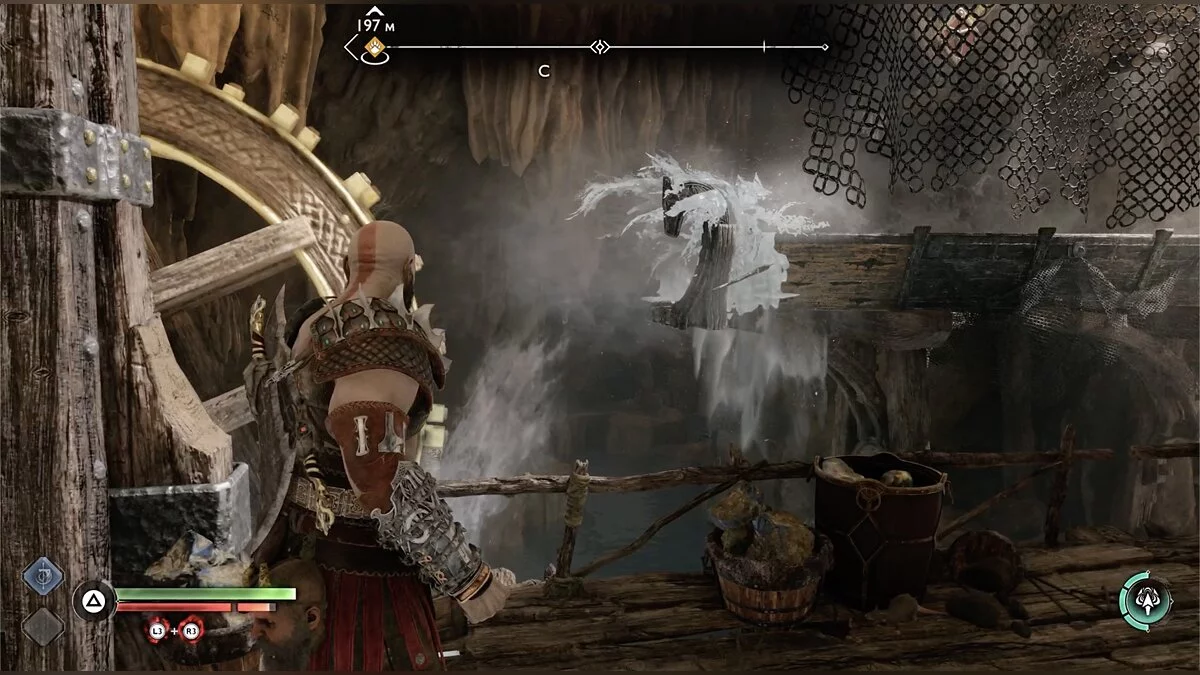
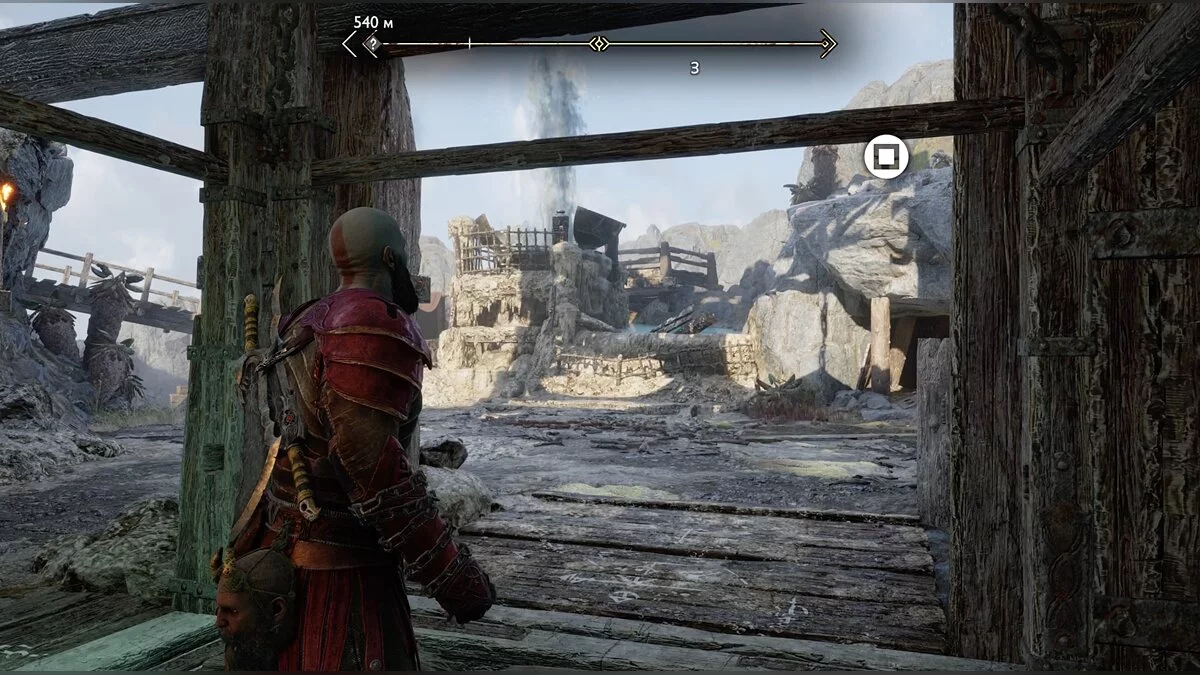
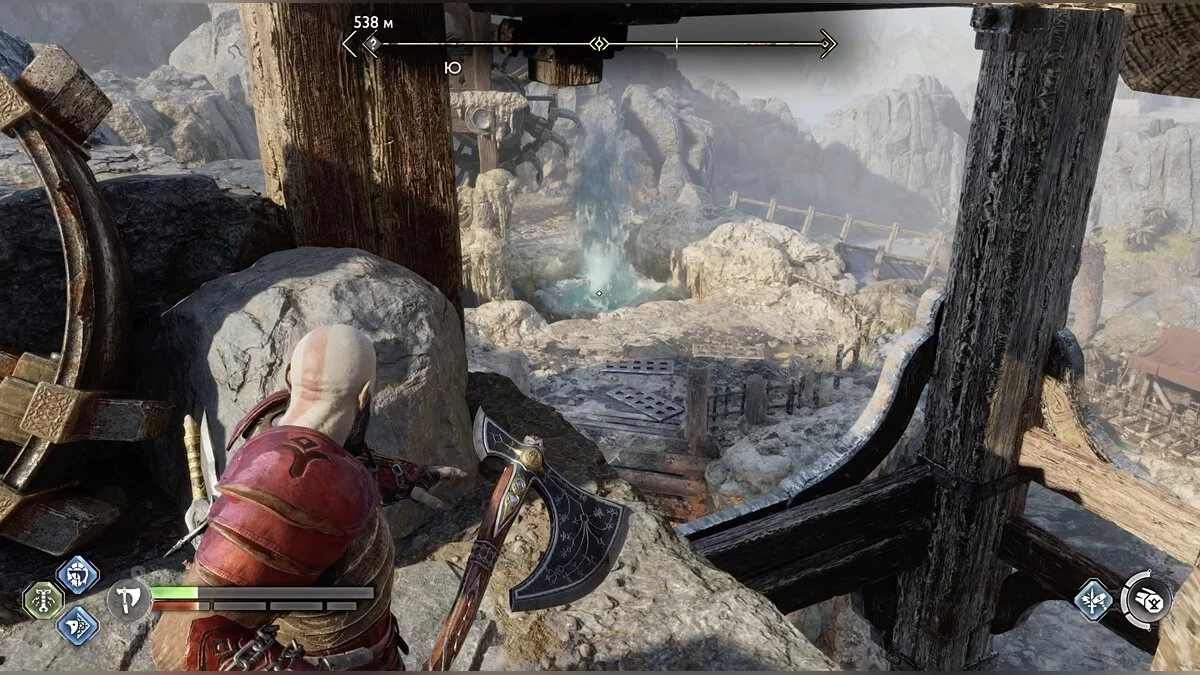
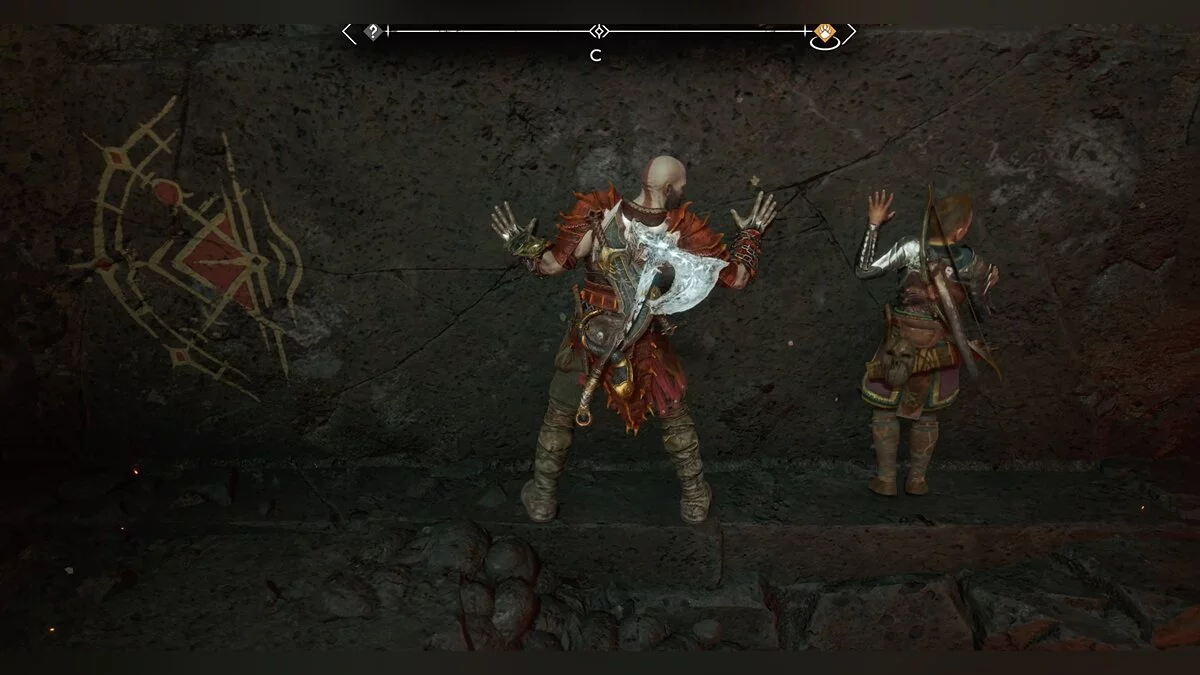
You can explore the accessible part of the location. There are several small chests that are easy to spot. Move towards the large wooden wheel blocking the path. To the right of it, there's a shore suitable for landing. Once on solid ground, turn left — under the wooden structures is silver. Use the axe to freeze the geyser and jump over the water.
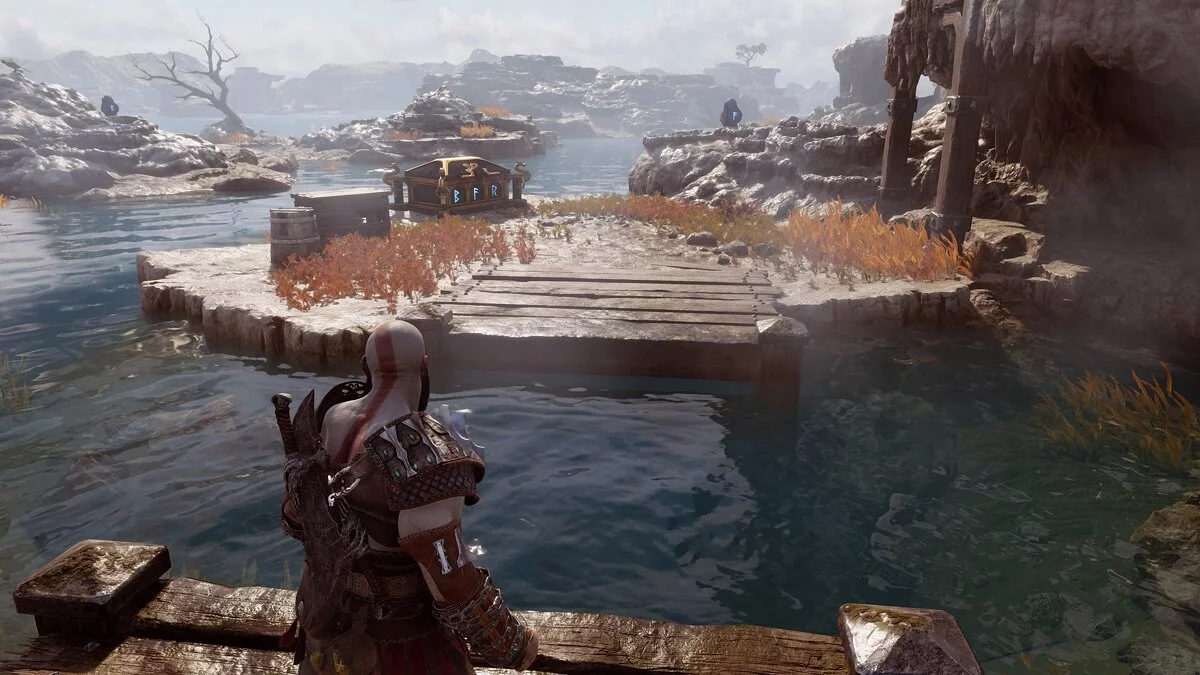
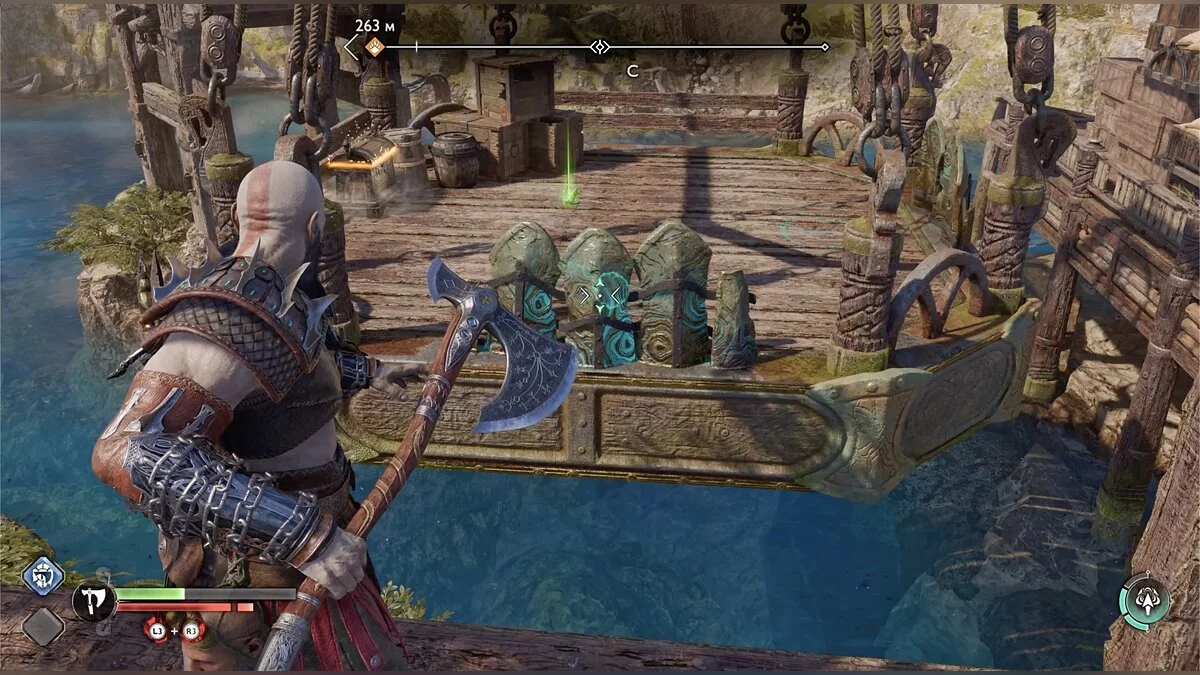
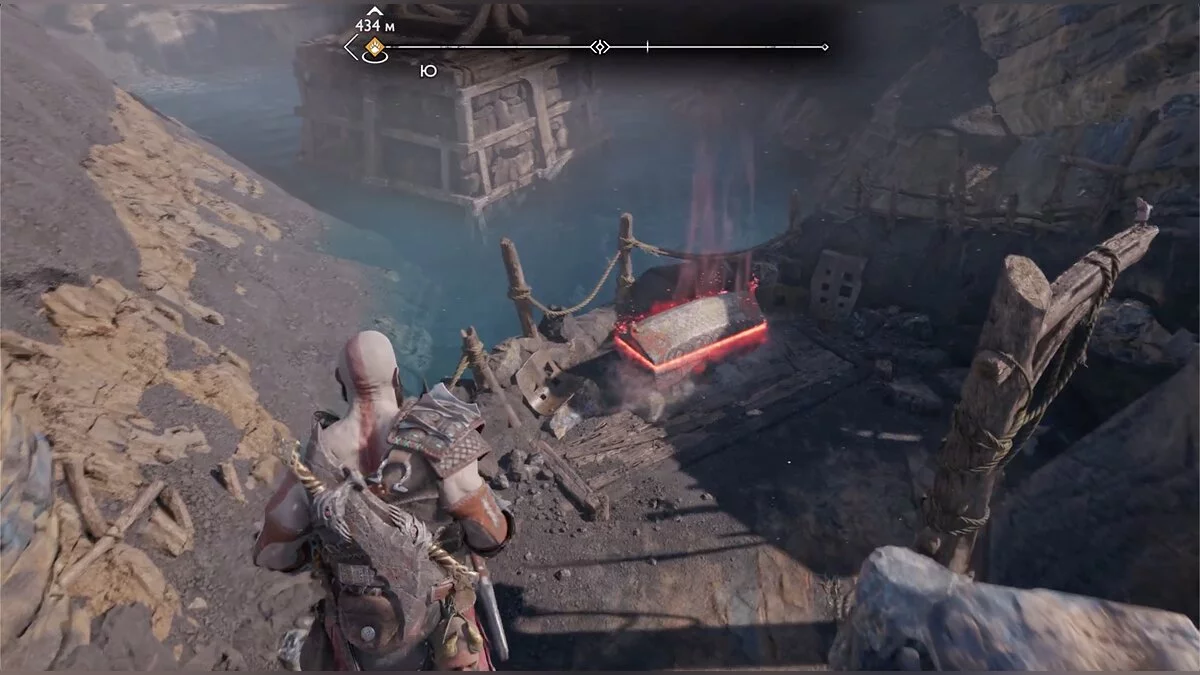
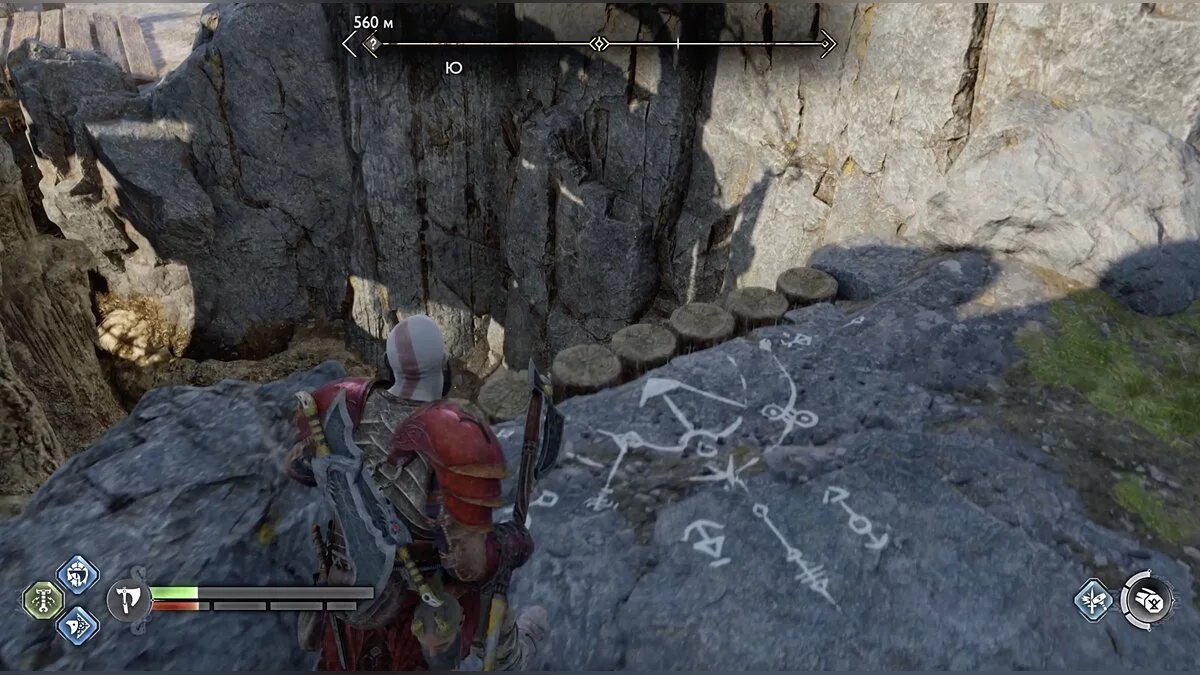
To the right, there will be an island with a Nornir rune chest. Break the three rune stones nearby with your axe to open it. Freeze another geyser and climb higher. You will find one of the stones and a artifact. Return to the place you reached after the first geyser and climb the wooden structures. The place is marked with white runes.
Defeat the humanoid toads and examine the right side of the arena. There you can walk along the edge of the wooden platform and climb higher to the large chest.
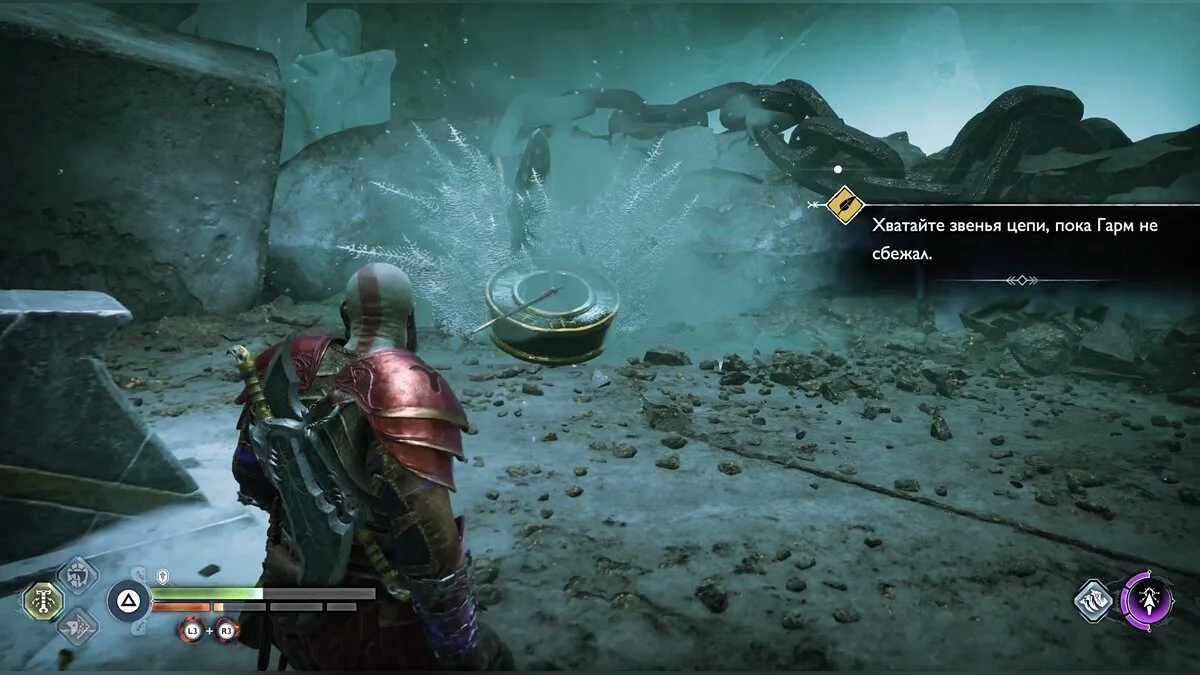
Descend back into the arena and go to the wheel. There will be a mark for the Blades of Chaos. Use them to open the passage. Grab the small chest here and return to the boat.
How to Use Geysers
Sail to the next area; you will have to pass under a low bridge. Collect the Yggdrasil's dew of runes.
Right after the bridge, there will be a docking spot on the right. Burn the branches to reach the chest, and then do the same to open the passage in the rock. Kratos can walk across the bridge to the chest. Inspect the rock, there are several more dry branches above. Clear the path and climb up. You will find a large chest.
Return to the boat and stick to the right side — another docking spot. You will need to lower the iron gate. Defeat the enemies and climb the wooden platforms to bypass the barrier from the other side. Atreus will notice a large iron plug for the geyser. Break it to release the water. Perform a few maneuvers, freezing the geysers, so the gate is no longer an obstacle. Move on.
How to Get to Nidavellir
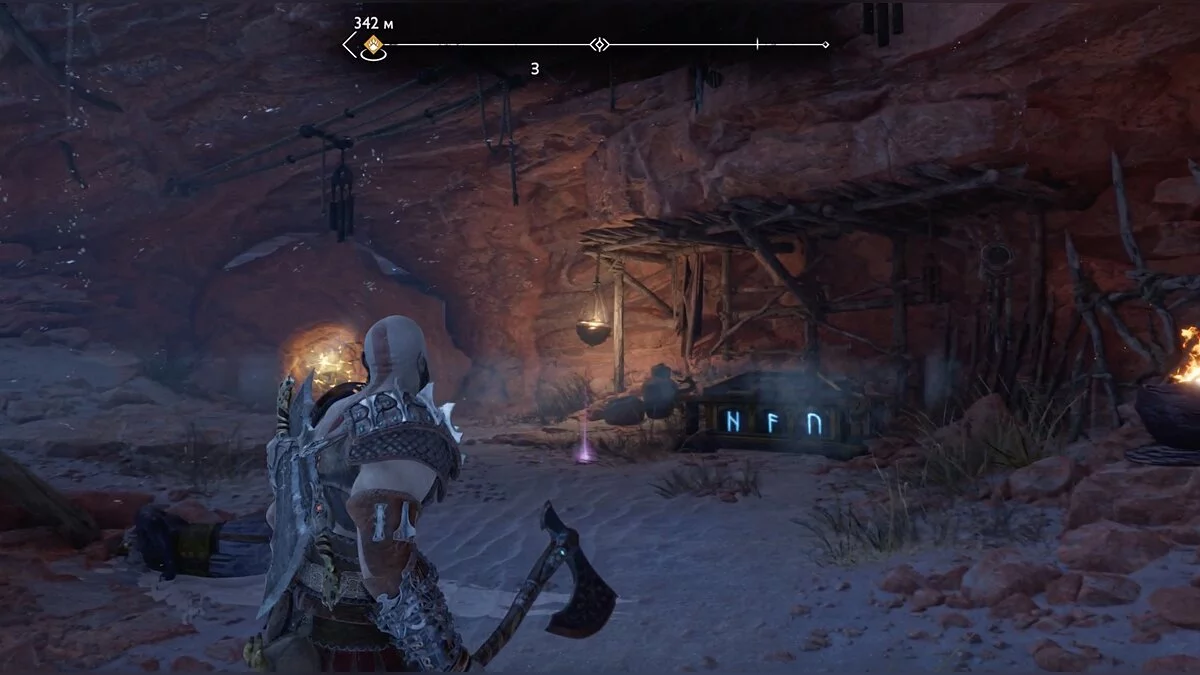
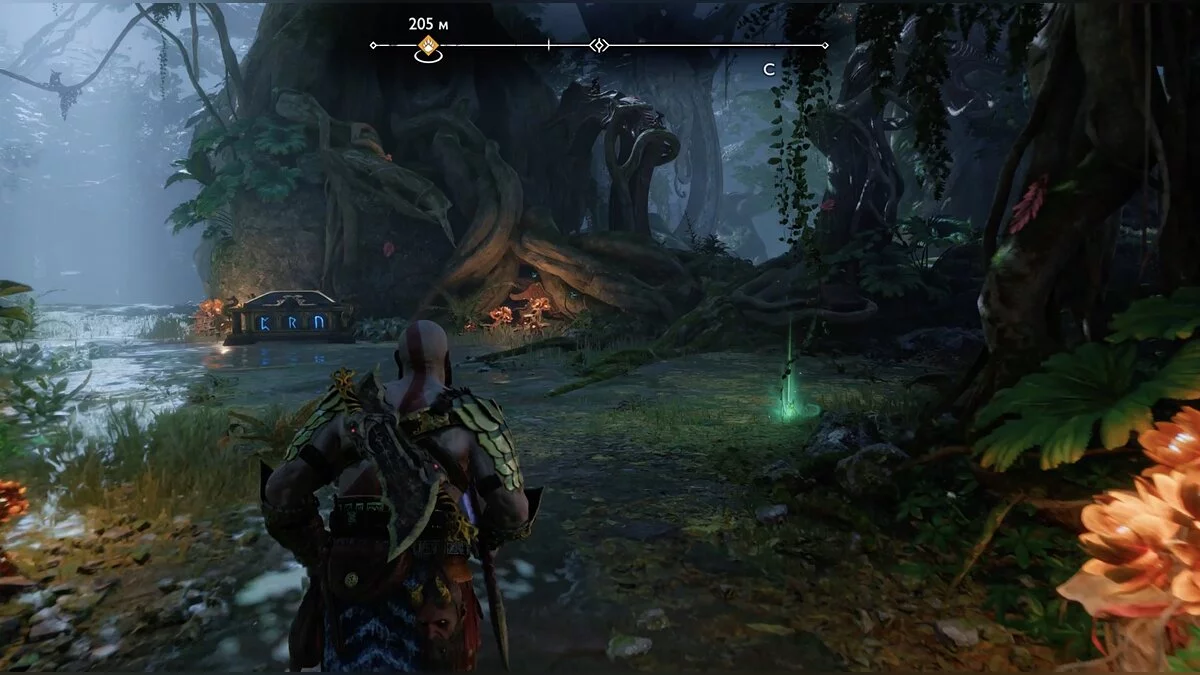
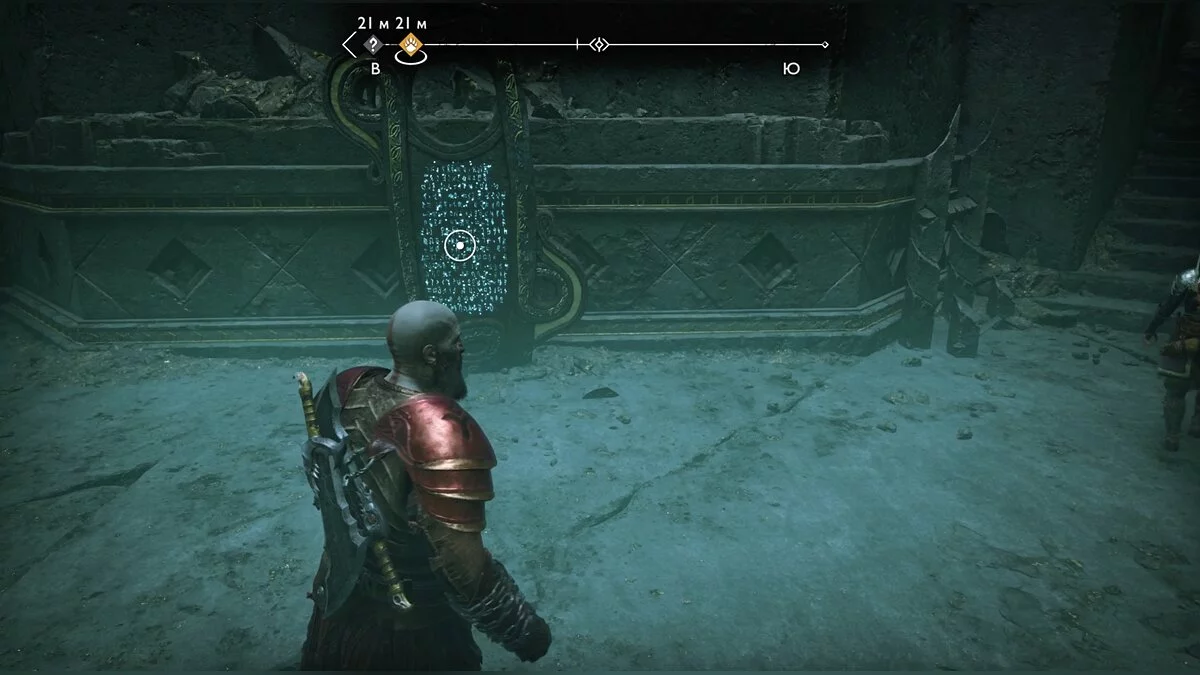
Stick to the left side. On the rock, there is a golden chest, and a bit further, a low passage through which you can sail. You will enter a secret area. Dock at the shore and go right, past the Nornir rune chest. Below is a ravine with toads. Kill them and deal with the chest. Find three rotating rune mechanisms and use the axe to hit the correct symbol on them. All mechanisms are located near the chest, and there are no time limits.
From the place where you docked, notice the planks on the left that you can climb. At the top, deal with a few lizards and open the chest you saw from the boat. Here you can also find one of the three mechanisms for the Nornir chest.
Return to the main location and sail to the very end until you hit another barrier. There is a dock on the right.
You will see a large lizard that hides if attacked openly. On the right, there is a wooden platform. Climb onto it and throw the axe at the creature from behind. The lizard will leave behind many valuable resources.
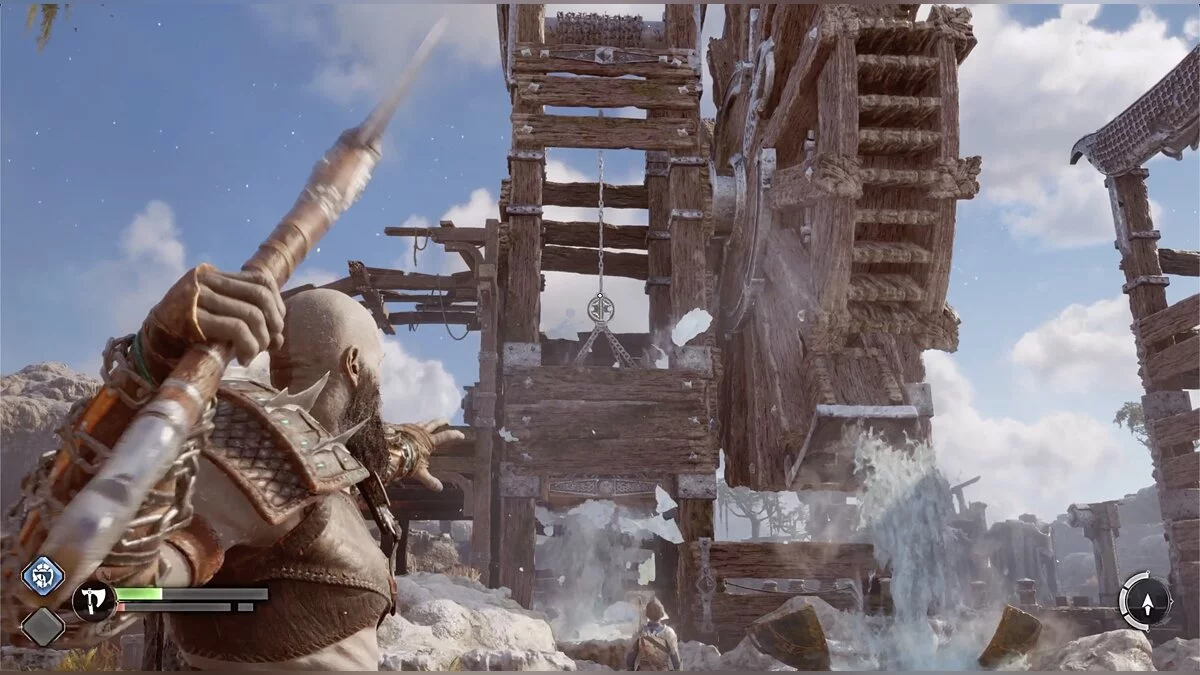
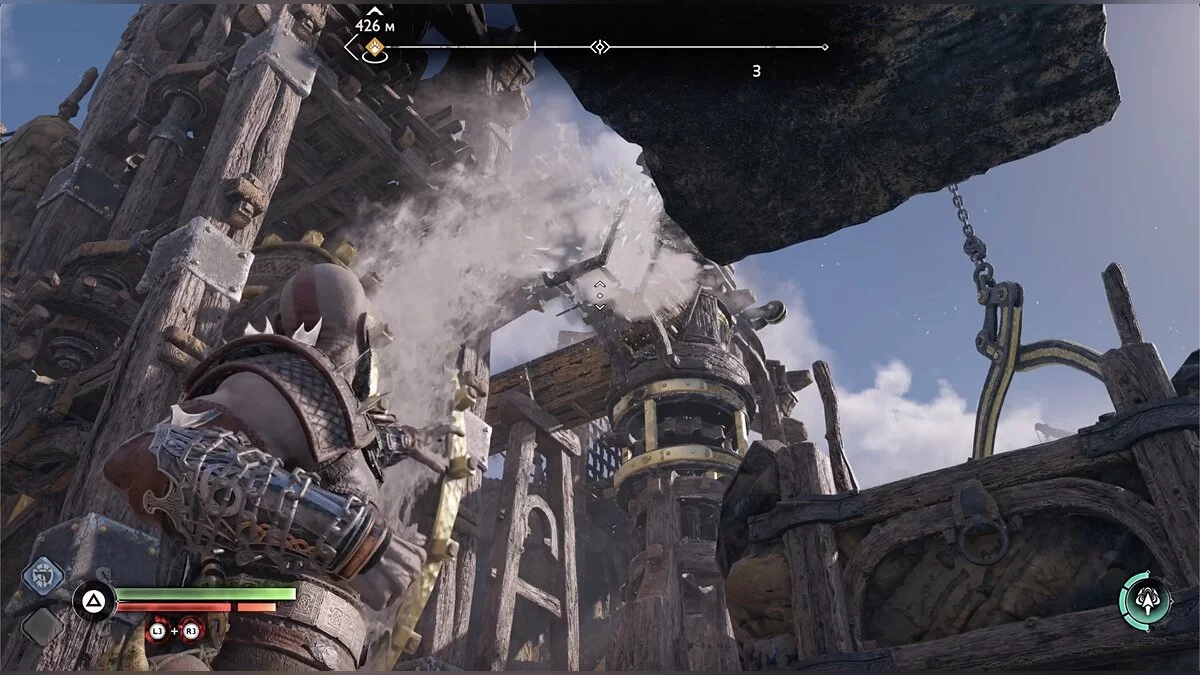
Approach the large counterweight and cut the seal with the axe to open the passage. Use the chain to remove part of the barrier. Move further and freeze the geyser. Defeat the group of toads and open the second geyser under the wooden wheel.
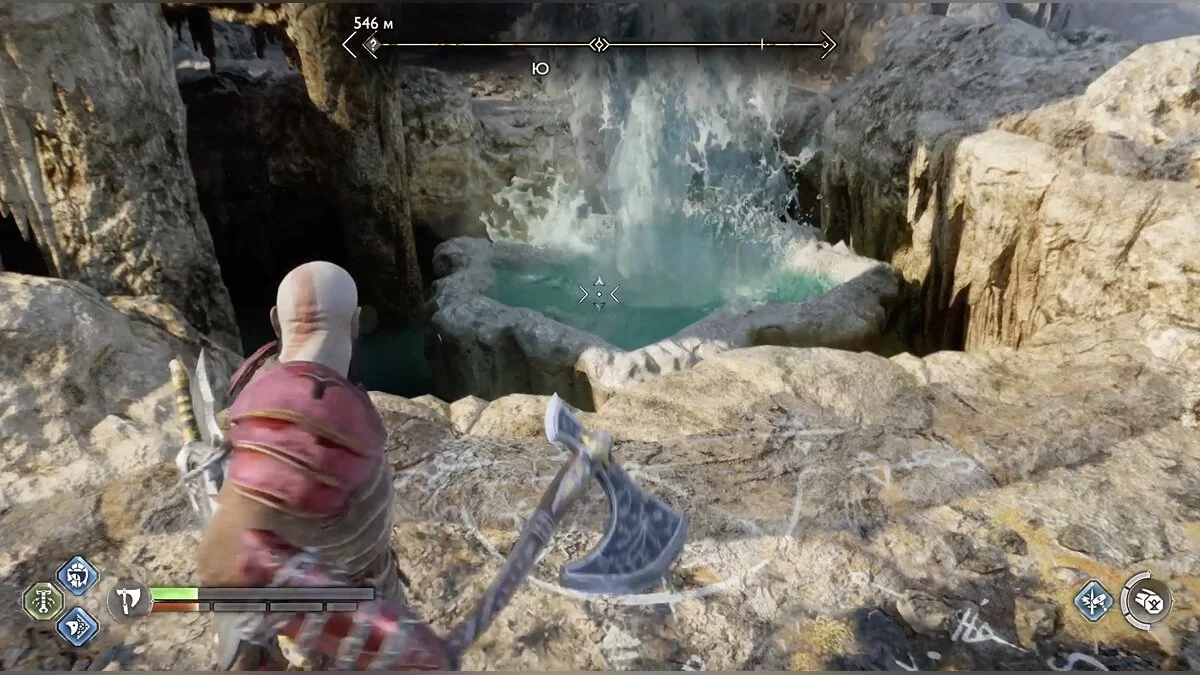
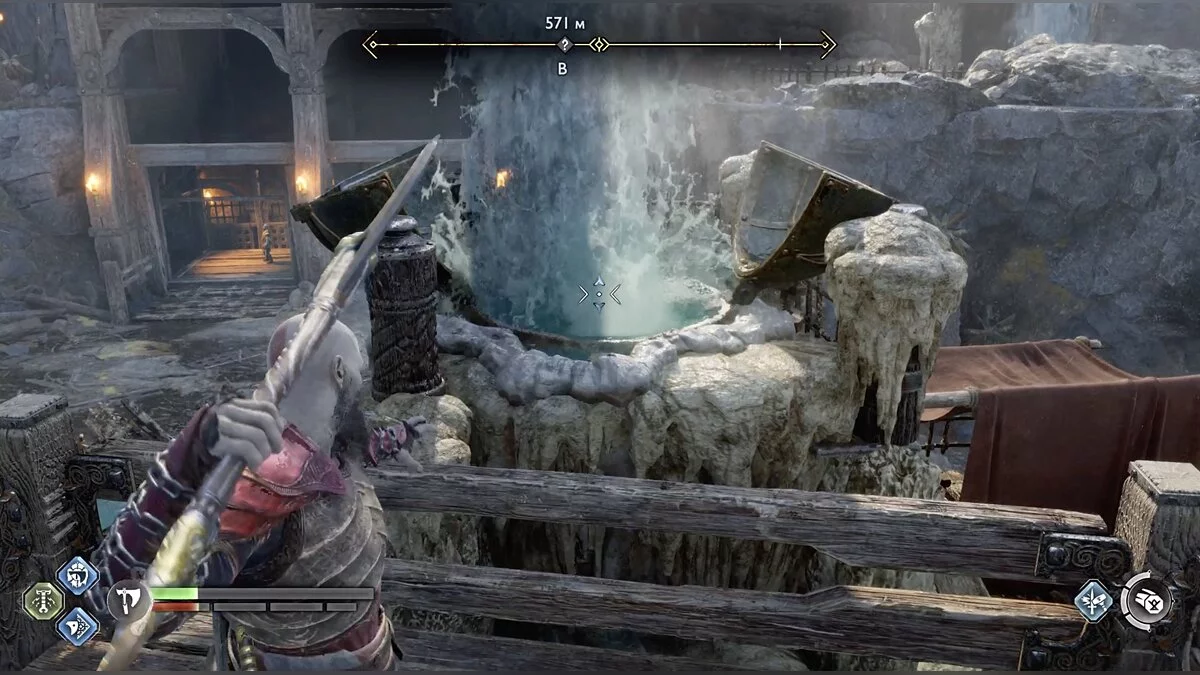
You need to solve a small spatial puzzle. To make the water from the opened geyser turn the wheel, you need to increase its pressure. To do this, freeze the geyser through which you entered the arena with the toads again.
The counterweight holds a chain with a seal. After unfreezing the geyser, you must quickly throw the axe to make the heavy iron block fall and block the water flow.
Climb onto the counterweight from above, and then freeze the only accessible geyser under the wheel. You will rise higher as if on an elevator. Take the Kvasir's poem book and open the large chest. Interact with the chain to fully open the further path along the river.
Sail along the only available route, and you will reach Nidavellir.
Where to Find the Dwarven Tavern
At the dock on the left, there is a large chest, but you can't take it yet. Climb up to the statue of Odin. Stick to the left side. Next to another water wheel, you can climb higher and find a small chest.
Talk to Sindri and use Atreus' new arrows. Barriers that can be destroyed glow with a greenish light. Deal with the enemies and return to the dock. Now you can take the chest by breaking a row of shields with an arrow. There will also be another book of poems.
To the left of Sindri, there is a destructible barrier behind which is a small chest. Go deeper into the city and immediately turn left. Break several old barrels to get into the alley. You will find a artifact, and behind a breakable shield, there will be a chest.
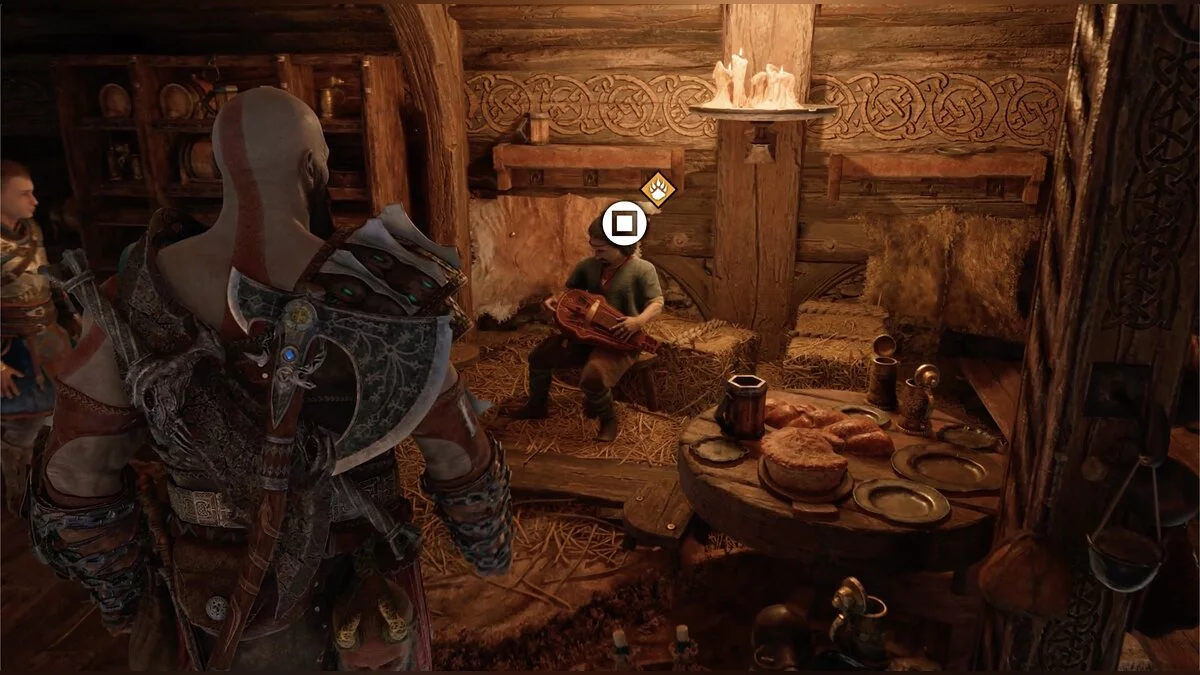
Return to the main street and command Atreus to shoot the cart. Move further, push the cart aside, and enter the tavern. Talk to the dwarf and take the first side quest from him — the request In Service of Asgard.
Exit the tavern and learn to use the compass. Stick to the left side and cross the bridge. At the end, there is an open house where you can take some resources.
Move forward to the boat. It's time to sail again.
How to Find Durlin
After sailing through the tunnel, you will reach a fork. To complete side quests, turn right, but we won't stop there now. Sail to the left. Almost immediately, you will see Durlin's house. You can sail to the end of the water area where there will be a shore with a large chest.
Talk to the dwarf and exit the hut. Defeat the regular enemies and open the large chest in the arena. Also, inspect the lift located closer to the water.
Break the barrier with sonic arrows and open the small chest.
How to Get to the Mine and Defeat the Lizard Dreki
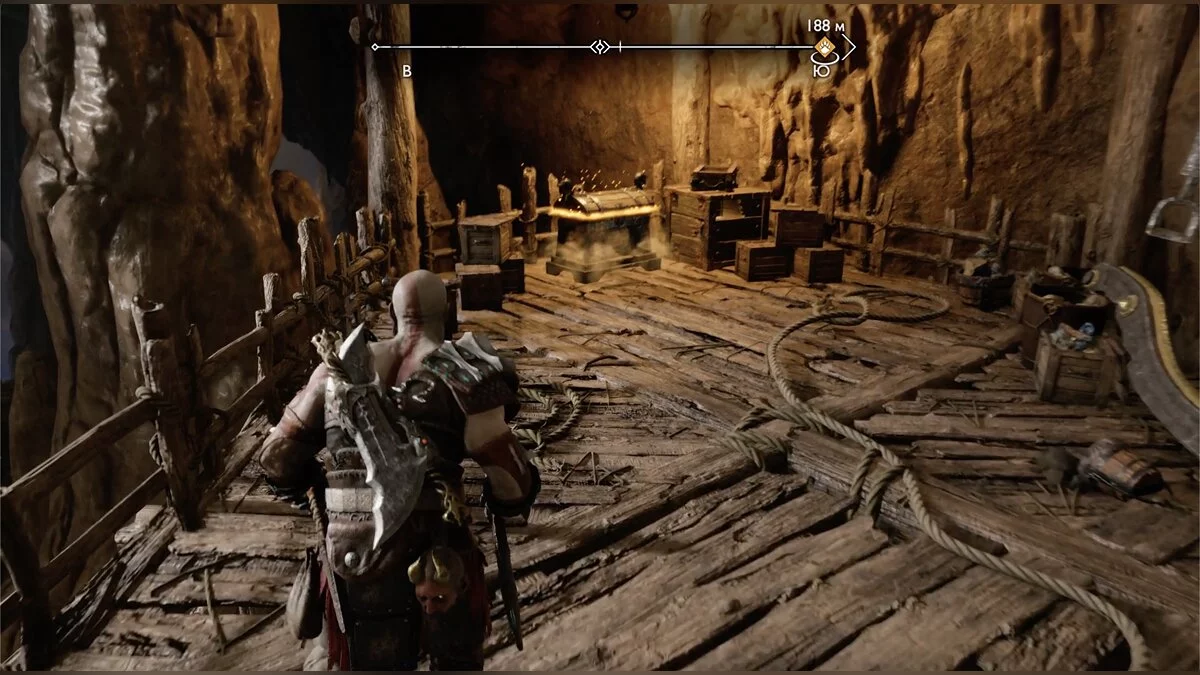
Move towards the objective and explore the area around the cart, find some hacked silver and a large chest.
Get into the cart and move towards the mine. After stopping, go down. Stick close to the tracks and break the wooden barriers to take the artifact.
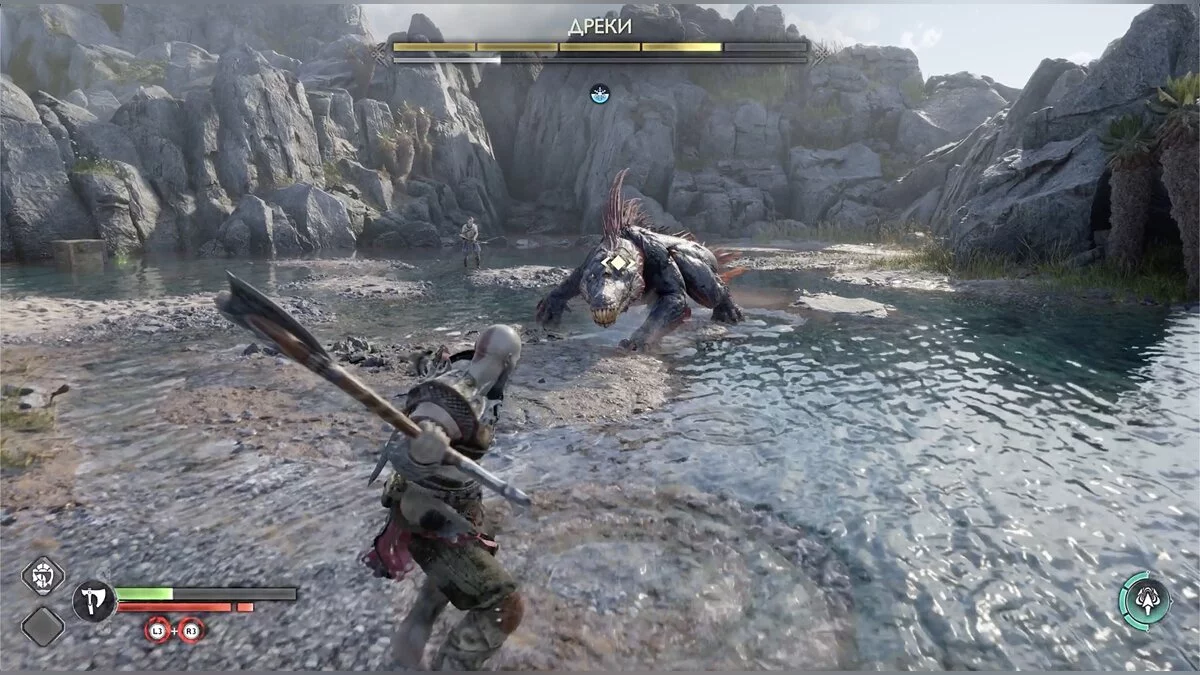
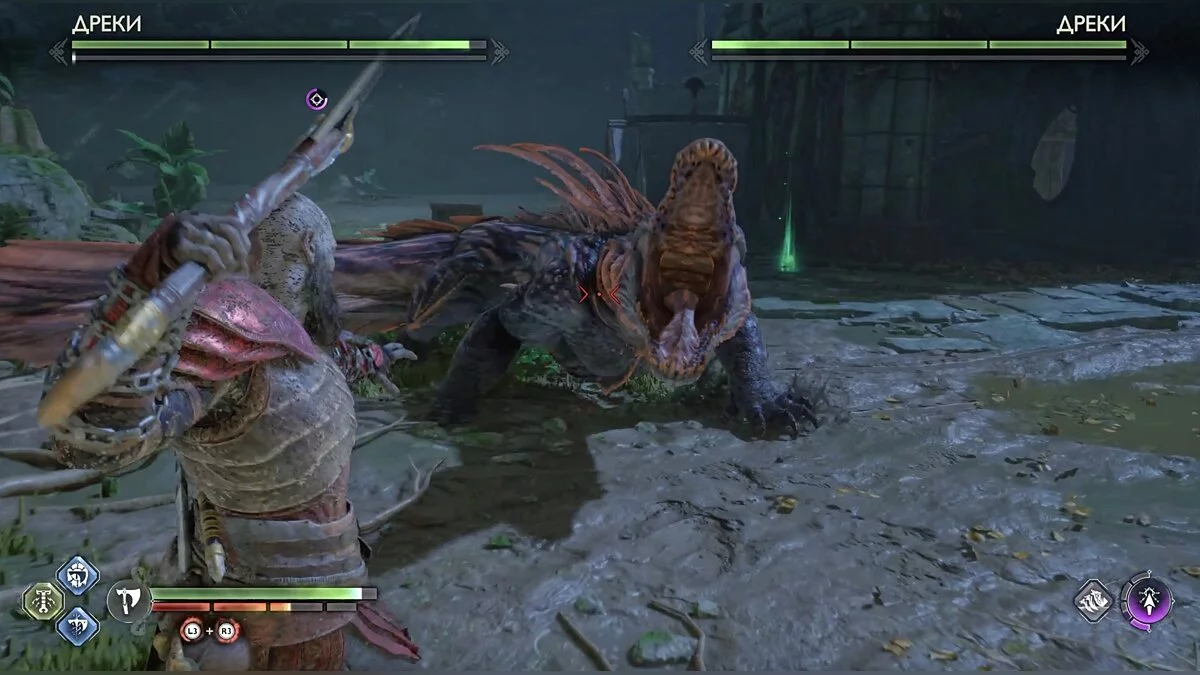
In this same location, there is a nornir chest, but you can't open it right now. Go to the objective marker; a boss fight awaits. The large lizard Dreki is not the most difficult opponent but will require your concentration. The creature spits water and electrifies the area around it. If Kratos enters such a zone, he will lose mobility and become vulnerable. Also, watch out for tail and jaw strikes.
After the victory, climb through the crevice and explore the area to the right. There you can find several pouches of hacked silver, a scroll of legends, a small chest, and blue runes on the closed gates.
Return to the crevice and go left from it. You can climb up, but it's better to explore the area below — a large chest.
Climb up, destroy the lizard nest, and go to the derailed cart. Follow Atreus' hints to set the cart correctly. On the way, enemies will attack the heroes; deal with all the opponents. This will bring you to the entrance of the mine.
Break all the shimmering barriers with arrows to collect some hacked silver, and descend to a lower level — a small chest.
Now head to the very bottom. To do this, you will need to drop the chain. There you will find an artifact, another small chest, and vine-covered gates that cannot be activated yet. Also, knock down Odin's raven.
Climb back up and go left. Break the resin with an axe and destroy the lizards. On the right, there is more resin blocking the path to a small chest — blow it up and get the reward. Climb through the tunnel and collect hacked silver. At the exit, there is only one way — down.
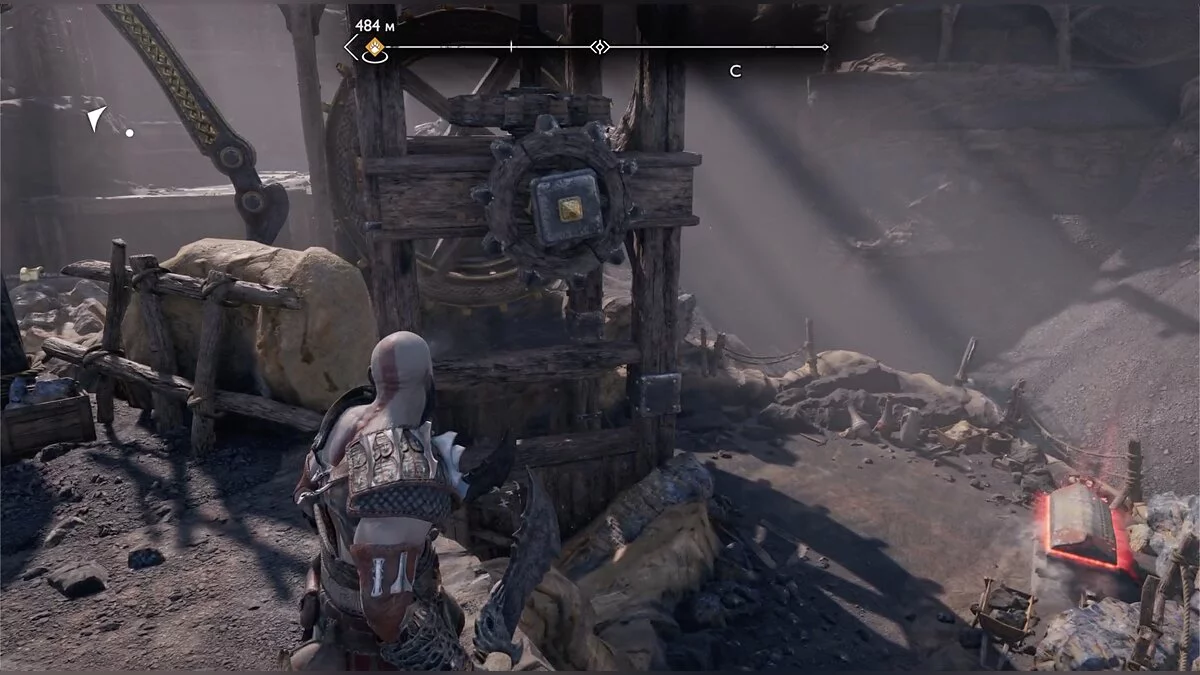
To the left of the stone barrier, there is a spinning wheel. Freeze the water channel with your axe to stop the wheel and make the barrier disappear. On the other side, there is a nornir chest. You need to light three runic braziers. One is next to the chest. Turn left and go down — a large chest and the second brazier. Unfreeze the wheel to return the mechanism to its original state; a path to the third brazier will open next to the second one. To the left of it, you can read the blue runes.
Note that after unfreezing the wheel, the second brazier will go out due to the water. Freeze the channel again to get to the chest's contents.
Move further, Atreus will ask you to give him a boost. Do so. Tell the boy to lower the bridge and freeze the gear to jump across in time. Use the Blades of Chaos to move the water channel and raise the stone counterweight blocking the path. Move forward and freeze the same channel again to lower the counterweight. Now you can climb on it.
Once at the top, unblock the water flow and climb higher. Here you can jump to Atreus and open the passage. Go right, take the hacked silver, and open the large chest. Go back — the passage on the right side is blocked by frozen resin. Move to the left and push the cart.
After the cutscene, deal with the enemies. You can enter the mine, but first, explore the surrounding area. Focus on where the resin was. Now you can approach it from the other side. Along the way, don't miss the small chest. Blow up the resin and turn the water channel with the Blades of Chaos.
The large crane with the stone load will turn; you need to figure out how to return the crane to its original position along with Kratos. Climb onto the stone counterweight, then freeze the channel you just turned. Without water, the crane will return to its original state. Jump over the gap and collect everything available, including Kvasir's poems and the large chest.
There's nothing more to do here, return via the cable to Atreus and enter the mine.
How to Find Tyr
Once in the mine, deal with the lizards, break the barrier with an arrow, and proceed to the large hall where another fight awaits you. Get in the boat, it will move automatically. As soon as you gain control, move straight to the wooden barrier with a spot for Atreus's arrows. Destroy the barrier to find the blue runes.
Inspect the mechanism with the wheel ahead. There is a barrier in the channel that can be destroyed with an arrow. Do this and freeze the channel right above the wheel so that the water starts turning the mechanism. A grab point for the blades will appear, which can be used to cross to the other side.
In the next room, there is a large chest, and you can also break the barrier with an arrow. Climb into the crevice formed after the shot, and in the new location, take the hacked silver and follow Atreus. Defeat the enemies at the fork and turn right. Break the boards and see the mark of legends below.
Return to the fork and move to the left side. There will be a passage on the left, but before that, go to the end to open the small chest.
Once on the wooden platform in front of the next mechanism, turn right. Below, there will be a large chest and hacked silver. There is also a chain hanging there, which you can climb. At the top, close the channel with the blades to start the mechanism.
Return to the wooden platform and freeze the channel above the left wheel, then a grab point for the blades will rise from below, and Kratos will be able to continue his path. Block the channel with the blades from the side where the axe was to ensure a permanent way back.
Now freeze the channel that helps the nearest wheel to rotate. The mechanism will stop, and an elevator will come down. After exiting the elevator, open the small chest and go through the large gates.
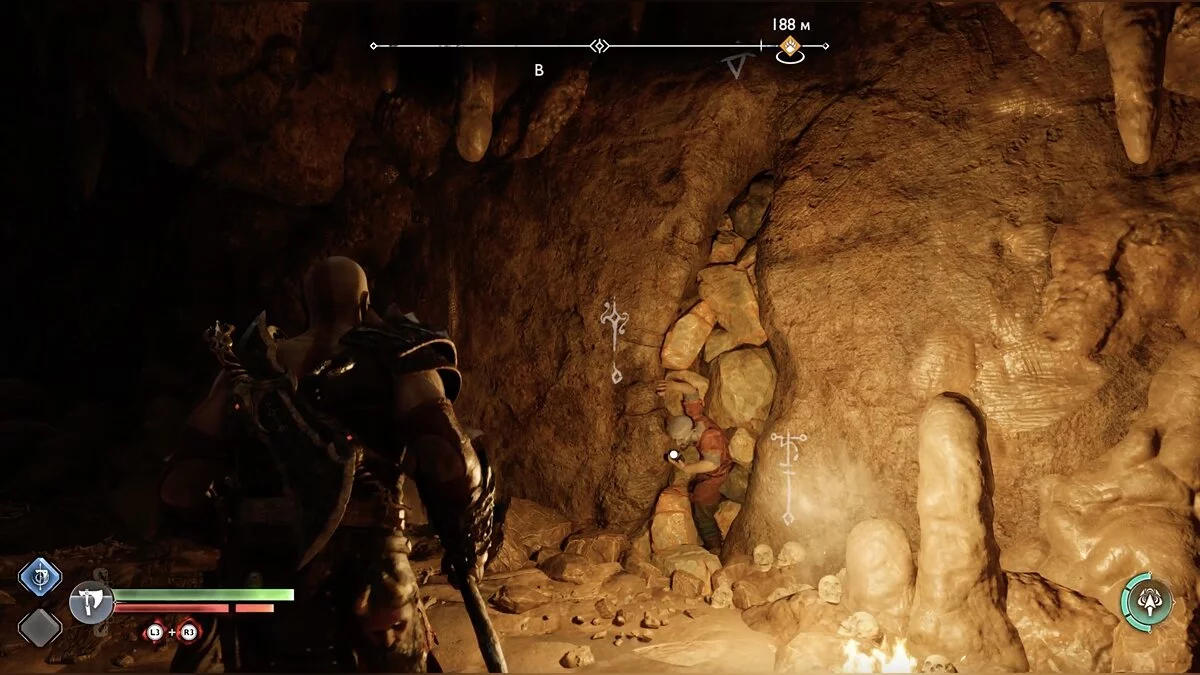
Kill all the lizards and inspect the corpse in the wall to get the first relic. Kill the enemies again and go through the crevice where the corpse was. Move to the cliff. A barrier covers the grab point for the blades, break it with Atreus's arrow, and jump to the other side.
As soon as there is a turn to the left, go there. Jump over the water using the blades and go down. Kratos will find another artifact. Open the locked gates there to reach another fire draugr and progress in the Born of Fire quest. After the victory, open the large chest and return to the main path.
You need to tighten the cable with a chain, but growths are in the way, which can be easily broken with arrows. After crossing the cable, jump to the left and approach the place where you can climb. Kratos won't climb, but he will boost Atreus. The boy can turn the lever on command.
Return to where you ended up after the cable. In front of you are the left and right wheels. Freeze the channel next to the left one (closer to Atreus) and command the boy to pull the lever. Several pieces of rock will block the water path, allowing Kratos to retrieve his axe. Now freeze the channel next to the right wheel. This will create a grab point for the blades. Jump onto the lift and command Atreus to shoot the blockage in the channel. Kratos will rise to his son.
Walk along the beam along the wall, open the small chest, and take the silver. Open the gates, you have returned to the place where you descended to fight the draugr. Return back to the lift and open the large gates. There will immediately be a large chest. Move forward until you find yourself in a hall with gates blocked by special seals. They can be broken with arrows.
As soon as you remove the seals, enemies will appear. Kill them all and finally open the gates. Inside sits Tyr. After the cutscene, kill the enemies again. Continue moving down the corridor until you catch up with Atreus and Tyr. Watch another cutscene and open the small chest. There is only one path.
Eventually, you will reach the lift from the mine. Outside, you will find yourself in the swamps, where you started exploring the dwarf world. Kill the enemies and approach the ferry. After crossing, deal with Odin's messengers again and return through the gates home to Sindri.
Old Friends. How to Find Jormungandr
In the house, talk to the dwarves and upgrade your equipment if necessary. Head to your room and watch the cutscene, after which you will unexpectedly be allowed to control Atreus. Sindri will accompany the boy. The boy wants to return to Midgard and try to talk to Freya, but the dwarf reminds him of the world serpent we met in the previous game. We need to find out if he is alive.
Go through the gates between worlds, then follow Sindri. On the way, open the small chest. You definitely won't miss it. Shoot rune arrows at the seals on the gates to blow them up.
Descend down — everything is overgrown with dry branches, but Atreus won't be able to burn them. Go into the open space and climb the ledges on the right. There will be frozen resin there, which can easily be blown up by shooting the red pot. Clear the path and open the large chest.
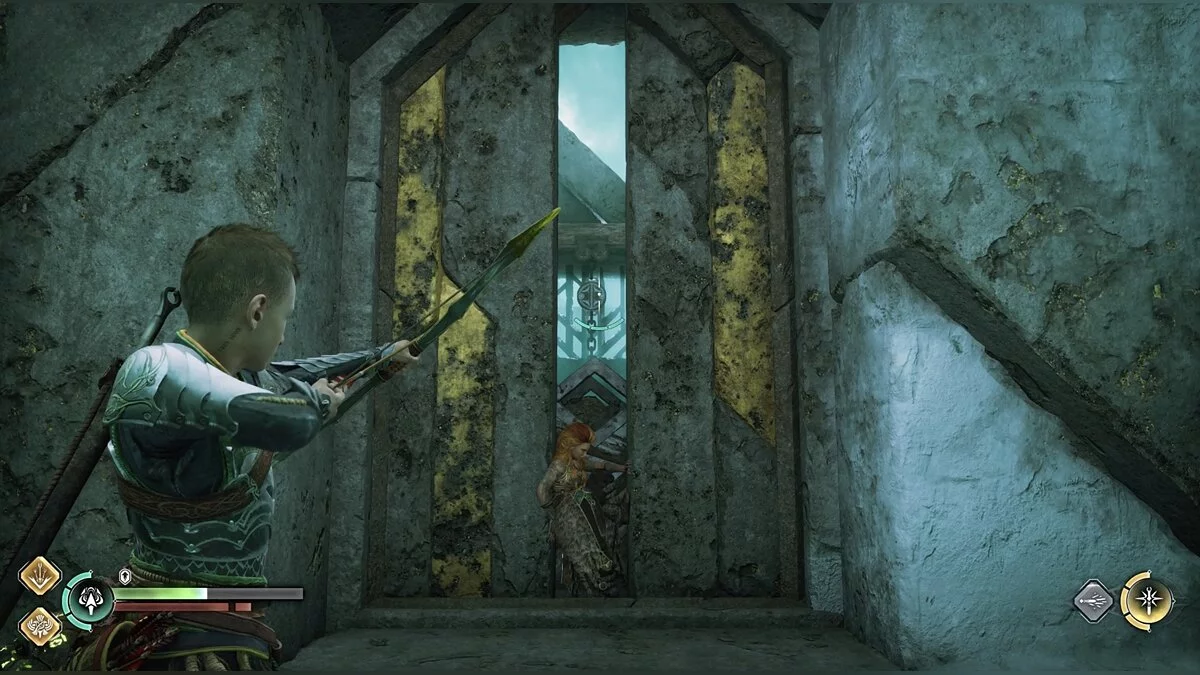
Continue following Sindri. On the way, shoot at hanging buckets and barrels with seals for special arrows to collect some resources. The path will be blocked by part of a collapsed statue. Pay attention to the shimmering parts that can be knocked down with special arrows. You will have to go back a bit to examine the obstacle from a height and a different angle.
Crawl into the freed passage. At the exit, a fight with draugrs awaits. Examine the arena and find the small chest.
Ascend the lift and watch the cutscene with the serpent.
How to Find Freya
Now you need to reach Freya. Go through the gates, take the chopped silver to the left of the entrance, and open the large chest on the right. In the tunnel, deal with the draugrs again, then shoot the red pot from the ceiling to blow up the resin and open the large chest.
Shoot a rune arrow at the shimmering wall and climb through the crevice. After the cutscene, climb the wall, and don't forget to upgrade the newly unlocked skills.
Continue the ascent. A draugr will start shooting from the opposite wall, but he can be killed by blowing up the pot next to him with an arrow. Keep moving, breaking barrels with seals. Eventually, you will come to the draugrs. Defeat them.
At the end of the location, there is a lot of resin. Shoot the seal on the logs to open the only accessible path forward. Now you can see the red pot and remove part of the resin. Stand on the revealed ledge to shoot the new seal, and then the pot behind it. Atreus will be attacked — fend them off. Go to the area where the second resin cluster was and open the large chest.
Climb the cliff until you find yourself in the arena again. After the victory, open the small chest. Climb higher and go left — large chest.
Return to the place where you climbed up and go into the passage where the deer ran — nightmares will appear. Once in the open area, deal with the draugr and several nightmares, after which Atreus will find himself in a room with many enemies. After clearing the area, open the small chest on the bridge. On the right will be a large chest in resin. Go around from the other side to shoot the smoldering pot and gain access to the chest.
Move through the corridor, destroying enemies, until you reach another large chest.
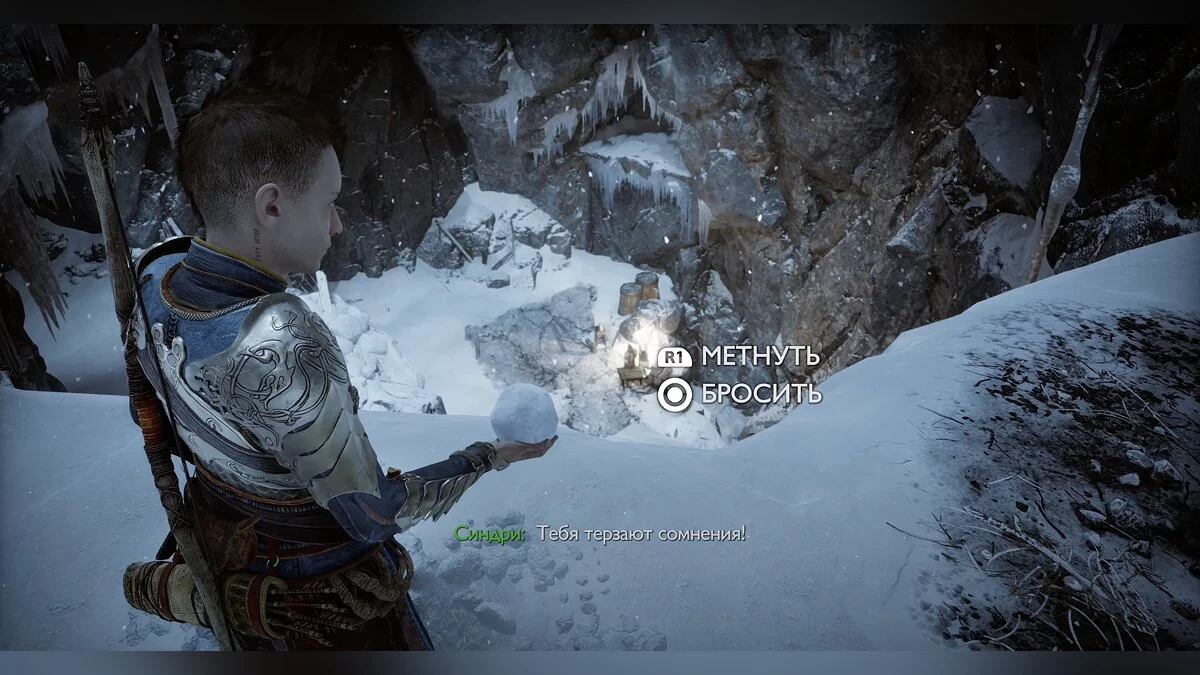
You will find yourself in the same area where Sindri stayed, but higher up. You can talk to your friend and throw a snowball at him. Keep moving and you'll find Freya, watch the cutscene.
Once you regain control, climb up the chain. To the left is a large chest. Return to Sindri, descending the ledges. In the tunnel, you will have to break the barrier with a rune arrow, and you are there. Along the way, pay attention to the chopped silver — it's very hard to miss in the corridor location.
The conversation with the dwarf will be interrupted by a strong draugr, defeat him and several nightmares. It's time to go home.
Very soon, Atreus and Sindri will find themselves near the destroyed statue again. There will be enemies there again. Return to the lift where there were many dry branches. Sindri will fix it, after which you will immediately find yourself near the gates to other worlds.
Return home and watch the cutscene.
The Secret of Groa. How to Meet the Squirrel
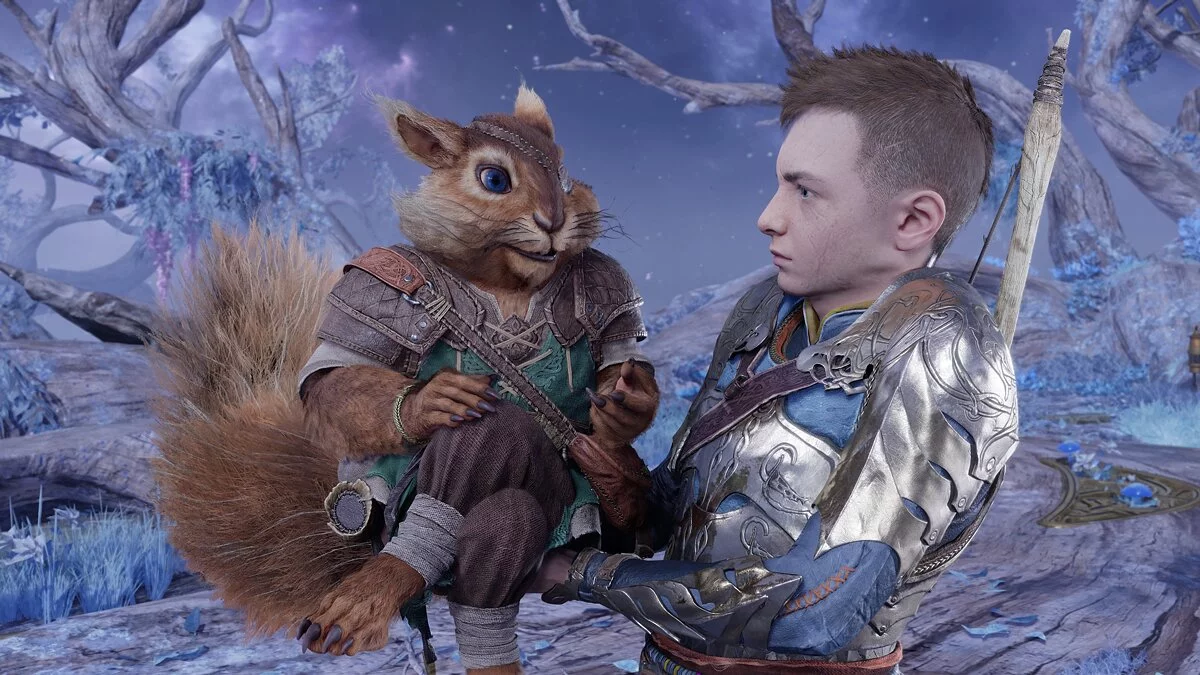
As soon as you regain control of Kratos, head to the world of elves. Go to the gates, but the God of War will be stopped by an unknown voice. This is how you will meet another of the best characters in the game — the squirrel Ratatoskr.
He monitors the state of the Yggdrasil Tree. Now you will be able to regularly talk to him by hitting the bell in the dwarves' yard with an axe. Over time, Ratatoskr will give you a side quest, so it's worth visiting him regularly.
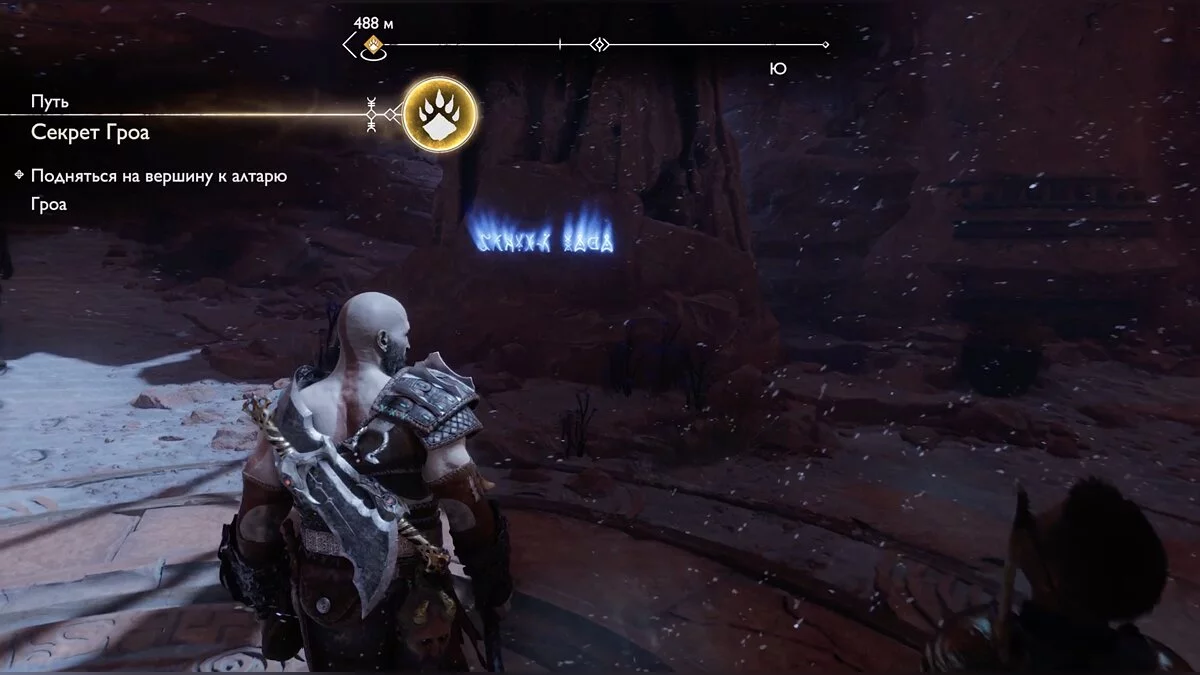
How to Reach the Top of the Elven Temple in Alfheim and Discover Groa's Secret
Once in the world of elves with Tyr, explore the area. Nearby, there are blue runes. Follow Tyr and stay on the left side. Near the cliff, look down — there's a ledge with a mark of legends. Descending, you will also be able to open a large chest.
Squeeze through the crevice and open the small chest. On the left, there is a descent to a ledge with a Nornir chest. The first two rune braziers for lighting can be found on the same ledge as the chest. To activate the third one, return to Atreus and follow Tyr. Climbing two ledges higher, you will see another cliff on the left. Approach it — below is the last rune bowl. You can descend back to the chest from here.
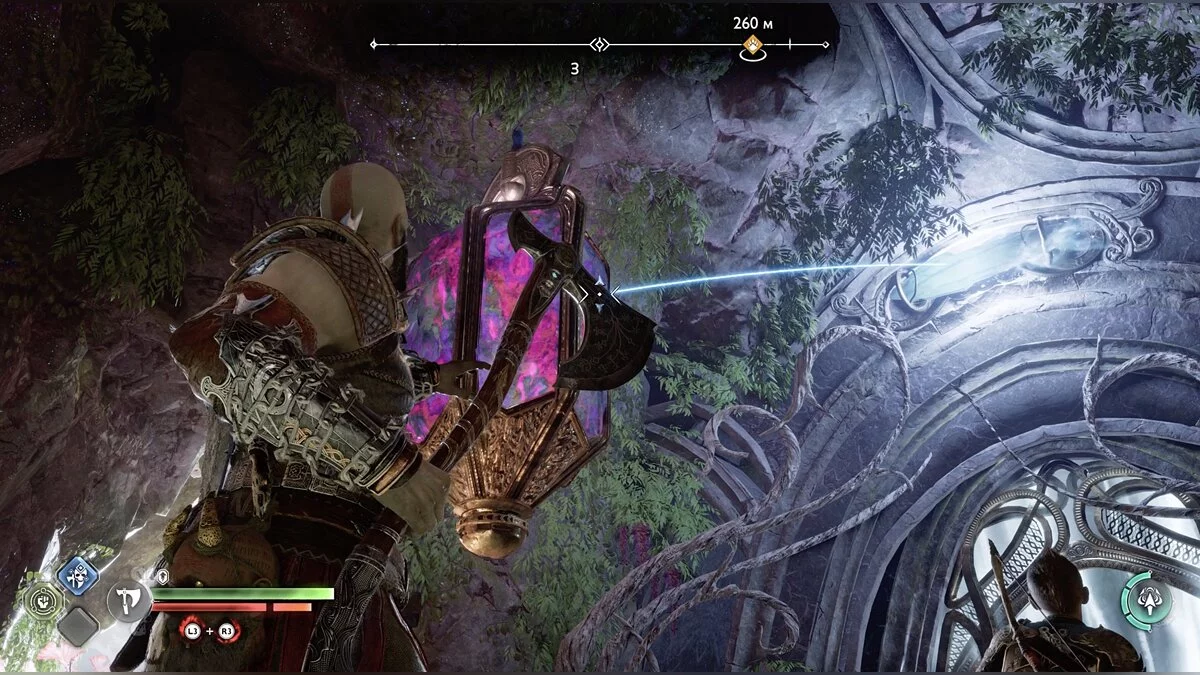
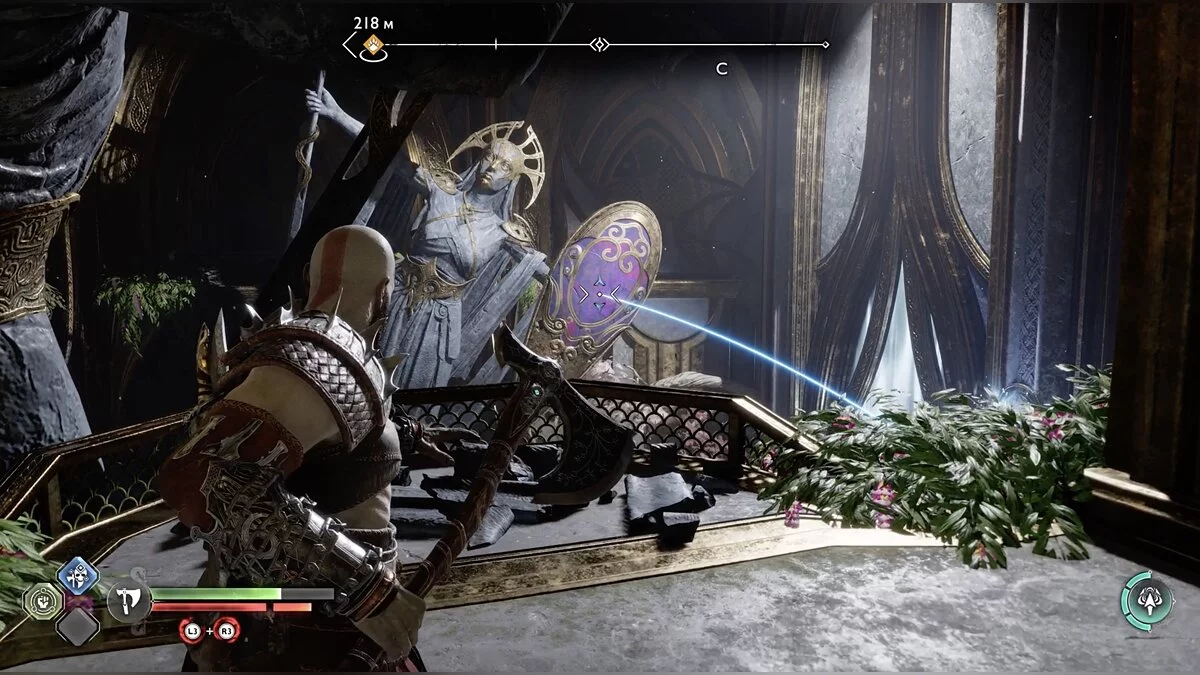
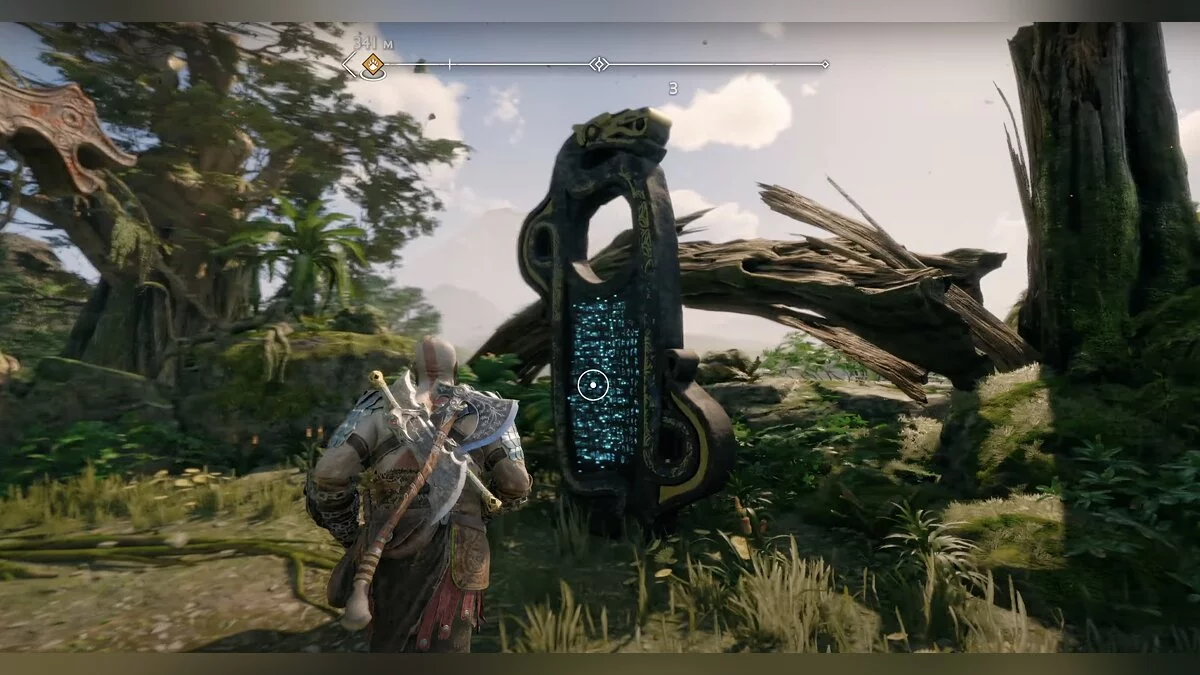
Move after your companions, pick up the chopped silver. Eventually, Kratos will reach a dead end. You will need to familiarize yourself with the mechanics of twilight stones. These formations are easily noticeable — they are pink in color. When struck, the axe will bounce off them. Be prepared to use this technique in most of the upcoming puzzles. For convenience, we recommend activating the trajectory flight setting for ricochets. This way, you can quickly find the optimal angle for the axe throw. When done correctly, the projected flight path will glow bluish. In all other cases, it will remain pink.
There is a hole in the fence through which you can throw the axe at the twilight stone and break the seal. Do this and kill a few lizards. Stay on the left side again — descent to the ledge. There you can take the chopped silver, kill the lizards, and pick up the Kvasir's poems. Also, open the large chest.
Return to your companions and climb the cliff. Defeat several light elves. The group will reach a Nornir chest, near which lies a artifact. The chest cannot be opened now, so don't linger. Kratos and Tyr will grab the wheels to open the door to the temple. Follow Atreus's hints to succeed.
Inside, use the twilight stone to break the light crystal above the closed door. Move further, jump over the chasm with the help of the blades, and watch the cutscene.
In the next hall, open the large chest. Stay close to Tyr to find the correct angle for the ricochet and break another light crystal above the door.
In the large hall, defeat several elves and follow the Norse god of war. Use the blades to latch onto the hanging steel structures with twilight stone particles. Once you climb up, go left. There you can open a quick return and a small chest. Now go right after Atreus and Tyr. On the way, open the small chest on the right.
Climb the winding staircase and immediately jump off the ledge. Kill several lizards, at the end of the left corridor is a scroll of legends. In the right corridor is Odin's raven. To knock it down, use a double ricochet from several twilight stones. From this area, you can descend even lower and open a large chest.
Return to Tyr and continue climbing until you reach another light-sealed door. Go right and climb the ledge. Walk to the end to pick up the Kvasir's poems. From this spot, you can find the right angle for the ricochet from the twilight stone.
Deal with the elves and inspect the arena. Collect the bags of chopped silver, and at the exit of the area, open the small chest.
Once near the door, descend but do not touch the wheel yet. On the right, there are regular gates, open them, and you will see a puzzle. Use the chain to lift the twilight stone and find the correct ricochet. The axe will get stuck in the white wall. Now release the chain — the large chest will rise to the level of the axe. Summon the weapon to break the seal, and the platform with the chest will fall down and become accessible.
Return to the wheel and use it to lower the twilight stone. Throw the axe at the mechanism to rotate the structure and find the correct angle for the ricochet. Kill the enemies and pick up the Kvasir's poems in the left passage. Go to the right corridor and kill the elves.
Explore the right part of the hall, kick down the shield blocking the descent from the ledge, and then open the large chest. Return to the place where you fought the elves, knock down the shield from the left ledge, and descend. Use the blades to latch onto the hanging structures to get to the other side.
After defeating one elf, climb up after Atreus and fight the elves again. Destroy the column and climb the light bridge. On the right is a Nornir chest. You will need to quickly hit three runic bells. As usual, two of them are in plain sight, near the chest. The third one remains to be found.
To the right of the chest, there is a corridor. Walk to the end to open the large chest. Return to the beginning and shoot a special arrow at the seal — the third bell. If you hit it from a close distance, you won't make it to the other two in time. Fortunately, there is a twilight stone for a ricochet. Stand as far back as possible and throw the axe at the two accessible ones first, then at the twilight stone from the correct angle. It's better to follow this sequence, or you'll waste precious seconds retrieving the axe.
Ahead is a battle with elves, and on the arena, you can also spot Odin's raven. It's just sitting there — easy to knock down.
In the next hall, you won't be able to open the door right away. Examine the statue on the right — the support can be destroyed with a special arrow. Now push it with the blades and climb onto the balcony (on the right). Jump to the other side, open the small chest, and shoot the seal with a special arrow. Push the statue to the left, break the seal with the axe to remove the wing. Push the statue to the right and use the twilight stone to remove the second wing. Push the statue to the left again and climb onto the right balcony where you were earlier. Now you can find the right angle for the axe throw and open the passage.
Move towards the goal until you reach a new light door. There is a seal for an arrow on the right statue. You will free the grip for the blades. Jump over and find the blue runes. You can also jump to the next platform and open the large chest. Return to the door and command Atreus to shoot the seal on the left statue. This will unlock the twilight stone, which Tyr himself will turn in the right direction. Open the door and take the elevator up.
Move towards the goal until you exit the tower. On the right is a small chest, but you need to go left.
Next to the dwarven forge is the very prophecy, watch the cutscene.
How to defeat Alva
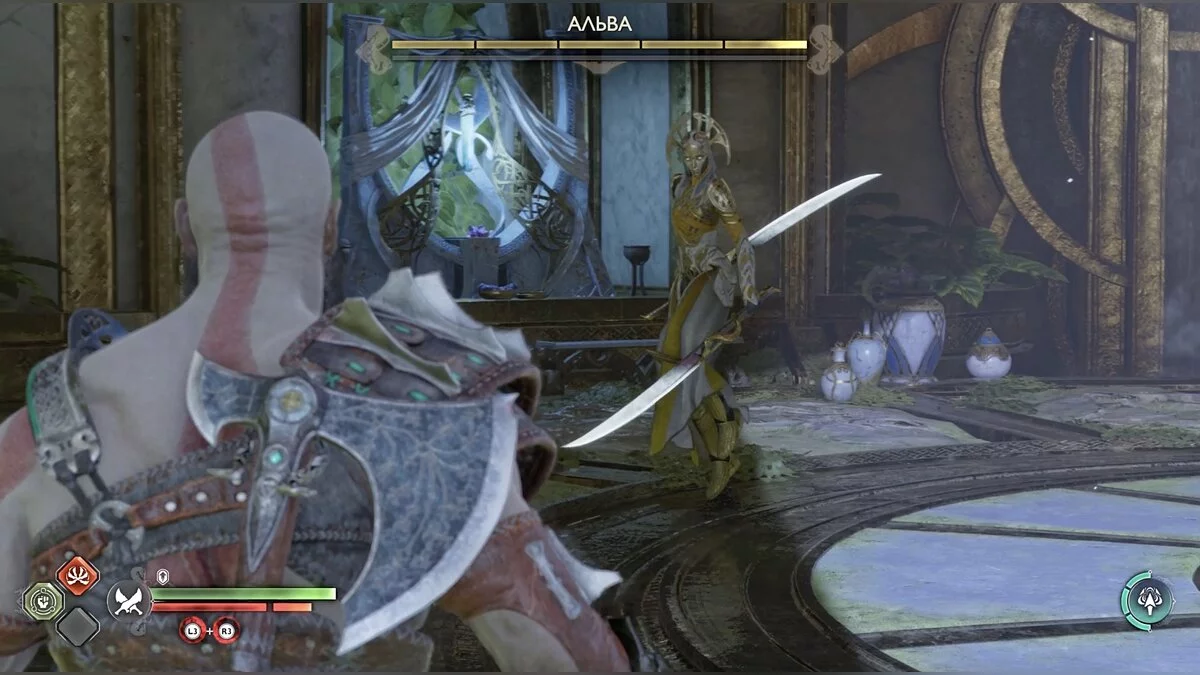
Return through the same gates you came through. As soon as you are in the tower, elves will attack. Following Tyr, Kratos and Atreus will gradually descend. On each floor, you will have to kill enemies. So before jumping to the next level, check if you have destroyed everyone. There are no chests here, only hacked silver and experience for victories. At the bottom, an elf will attack Tyr, whom he will accidentally kill. At this moment, you will face a boss fight — a powerful elf named Alva. The warrior uses two swords, which she attacks with not only in close combat but also throws at a distance.
Throughout the fight, you will have two moments when you can deal maximum damage. Alva will periodically repeat these, so you can try again if you didn't succeed the first time.
The first situation — the elf hovers in the air, and blue circles appear around her. By this time, you should already know that in such cases, you need to hit with the shield. If you manage to do everything on time, Alva will fly off and become helpless for a few seconds.
The second situation is a bit more difficult to execute. When the elf prepares to throw her swords or attack, yellow circles will appear around her. You need to parry this strike. Sometimes there will be several attacks in a row — two parryable and one with a red circle (unblockable). Always reacting correctly can be challenging, but if you succeed, you will not only deal good damage to Alva but also make her helpless, allowing you to capitalize on your success.
After the victory, follow Tyr and watch the cutscene. Once you regain control, continue following the second god of war and Atreus. Don't miss the small chest on the right.
Upon exiting the tower, you will encounter dark elves. Continue along the route, killing everyone in your path. Occasionally, you will come across small obstacles like crevices or ledges, but they are easy to overcome. At some point, Kratos will separate from Atreus and Tyr, and you'll have to deal with the elves alone. The team will reunite almost right before the gates to other worlds.
Tyr will return to Sindri. To continue the story, you can follow him immediately. However, the explosion will open a path to the spacious location The Plains. There are many places to explore and requests — additional quests. We will cover them in a separate guide.
Forgotten Sanctuary. How to find Angrboda
Returning home, listen to Tyr's conversations with Atreus and sit at the table. Watch the long cutscene, after which you will find yourself in the world of giants as Atreus. You will have to play as him again for a while.
Follow the wolf through the forest. There will be no chests or difficulties here. Eventually, Atreus will meet a young giantess named Angrboda. Follow the girl.
How to reach the sanctuary
Reach the large hollow log. Angrboda will jump to the other side, but you need to go inside. Break the barrier with a special arrow. Continue on and remove a few more shimmering barriers. Don't miss the small chest on the left.
Keep going until draugrs attack. The girl actively helps in the fight, don't forget to use her abilities. In the arena, you can open a small chest.
Proceed to the next area and open the large chest. Shoot a special arrow at the seal above the chasm to unlock the path to the other side. Several nightmares will attack.
Head left — there will be ledges to climb higher. Break a couple of old wooden boards, take the scroll of legends, and you will see another seal holding the fastening for an arrow with a rope. Use the special arrow. On the other side, there will be nightmares and a small chest.
In the next area, there is a whole pack of nightmares, as well as a large chest.
Climb up the tree, break the seal with a special arrow, and jump over the chasm. Follow Angrboda, but stick to the right side — there is a small chest on the ledge.
Kill several draugrs and race with the girl. Winning is not possible in any case. Destroy aggressive animals that resemble lizards without hind legs. Once in the settlement, inspect Loki's sanctuary and the prophecy paintings. Watch the cutscene.
How to collect sour pears, roots, and learn to transform into a wolf
Follow Angrboda, feed the animal, and climb on it. Controlling Jalla, move along the swampy river. You need to collect a few fruits. The river ends at a cliff, but you can climb it. Collect another sour pear, and Angrboda will summon the animal. Continue on.
After some time, there will be another ledge. Climb up, pick the sour pear, and ride Angrboda's companion again. Ahead is another ledge. Reach the edge and remove the debris on the water by shooting them with a bow.
Continue moving along the river and stick to the right bank. There will be a ledge with a large chest. The end of the river is not far. Place the sour pears in the bucket and carefully examine the camp. In the closet, you can take new armor and a bow, as well as upgrade your equipment.
Go to the girl and climb on Jalla. After some time, Angrboda will suggest dismounting and collecting roots. Do so. When crossing the trunk of an old tree, the heroes will be attacked. Defeat all enemies. Atreus will learn to transform into a wolf at will. The ability works similarly to Kratos' rage. Collect the root in the arena and engage in battle again.
Meeting with Jalla, inspect the area from where she came — small chest. You will return to the camp. Place the roots in the bucket and follow Angrboda. Move along the river again, but in the opposite direction (the girl will guide you). In the tunnel, don't miss the small chest.
How to find the giants
Climbing onto solid ground, the heroine will suggest Atreus throw some stones. Follow the game's prompts. Suddenly, draugrs will attack. After the victory, continue practicing stone throws until the boy hits a carnivorous plant, and it spits something into the water. Climb onto Jalla and pick up the resources from the flower in the water. Almost immediately after the plant, there will be a ledge on the left — climb it. From here, you can jump to the large chest. Continue moving forward and find a lift. Angrboda wants to show Atreus something at the top.
Climb up, go forward, and you will encounter enemies. Lift the rock together with the girl. Behind it, there will be an arena with draugrs. After the victory, wake up through the crevice and enter the Valley of the Fallen. Follow the girl and watch the cutscene.
Return the same way you came. Lift the rock with the heroine, and a werewolf will suddenly attack. After the victory, climb to Angrboda and go to the lift.
How to destroy all edl nests in the well
Descend and continue moving behind Angrboda until you reach a large well. The girl will say that she took materials for paints from the caves, but now there are monsters there. Atreus will want to help.
Descend and crawl through the hole in the wall. You will be taught how to light torches with Angrboda's help. The light repels enemies and makes their attacks less active, so try to light all the torches you find.
Immediately destroy the nest of small lizards — edl. Move a little forward, light the torch, and defeat the fire draugr. There is another torch here. Go left and open the small chest. If the chest is inaccessible, there are enemies nearby.
To the right of the small chest, there is a large chest, but it is currently unreachable, light the torch. Go straight from the found chest, there are two torches. Atreus will encounter draugrs and a nest on the wall. After defeating everyone, open the large chest. There are still two nests left.
Return to the place where you killed the first fire draugr. Deal with the enemies and jump over the obstacle. If you went left before, now go straight. Stay on the left side, light the torch, and defeat the draugr.
Pass through the ledge, light the torch, kill the draugrs and the lizard. Climb the ledge in front of you and light the torch. Move forward, activate the light, and open the large chest. As soon as you climbed the ledge, you could jump over the obstacle on the right, go there.
Activate the light, destroy the obstacle with a special arrow. Ahead, there is a small chest in sight, but for now, turn right across the bridge.
A fork in the path. To the left, there will be another torch and an obstacle. This will open a quick path back. Go right, activating the light. There will be another fork. To the left is the same large chest you saw earlier but couldn't reach. To the right, find a breach in the rock through which you can easily remove the obstacle with a special arrow. Go there from the other side and find the nest.
Return to the small chest, climb the ledges, and destroy the last nest.
Now you can return. On the way back, a monster that spawns edl will attack. Deal with it and climb the chain to Yalla.
How to get to the giantess Gryla's dwelling
Riding the animal, move through the water to the ledge. At the top, Angrboda will sit down to rest. Enjoy the moment or get up right away. Continue moving until a cutscene starts. A crazed grandmother of Angrboda will attack the wolf. Now you need to get to her house and free the wolf.
Descend and deal with all the opponents. Upon reaching a dead end, climb the ledge on the left. From here you can break the obstacle with an arrow. Pass under the tree, climb higher, and destroy the second obstacle, continue the path. Fight the werewolf again.
You will see the first cages on the trees — the house is very close. There is a large chest on the route.
Go around the house on the right, there is an accessible ledge near the rock. Jump over the gap and shoot at the shimmering obstacle inside the nearest cage. Angrboda will be able to climb up.
Go to the girl, stay on the right side — small chest.
You will get inside the house. Now you need to explore the basement on the left side. Open the door and follow the girl down. After the stairs, there will be a barrel with a mark for a special arrow on the right. Removing the obstacle, you can jump to the other side, where there is some hacked silver. Continue following the heroine.
On the right, there will be a corridor with hacked silver. Angrboda will stop near the barrels, the far one has a seal for the arrow. Return to the passage where you found the silver and look at the barrels — another seal. Shooting it will open the way. Ahead awaits a cutscene, after which you need to return to the house the same way.
How to defeat Gryla
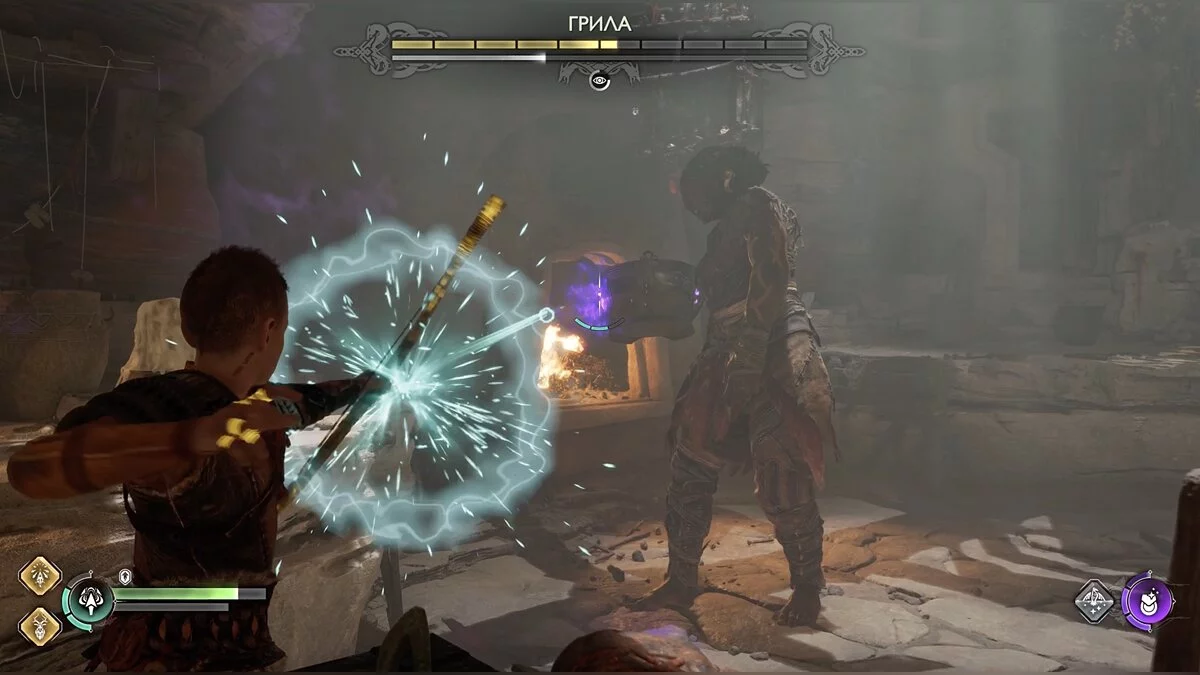
After closing the basement and placing the mug, you will encounter the mistress of the dwelling. While Angrboda distracts the giantess, free the wolf, after which Atreus will be noticed and the battle will begin. The fight strongly resembles a platformer. The main target is Gryla's magic cauldron. Shoot at it, and the damage will be dealt to the old woman. At certain moments, the cauldron will glow purple. It is important to hit it, as Gryla will be stunned and take more damage.
After several successful attacks, the giantess will start casting spells. The floor will turn red. You need to quickly change position and climb higher. In turn, the high levels will also be attacked by magic, to avoid damage, go down to the floor.
Angrboda will help distract the old woman, so you can turn the boss's vulnerable side of the cauldron towards you without taking direct hits.
The key to victory is constant maneuvering. Don't hesitate to shoot at Gryla herself if the cauldron is inaccessible; you will still weaken her.
How to return to Sindri's house
After the victory, follow Angrboda along the only available route. Atreus will suggest a race, but now the girl will be on a fox, and the boy will turn into a wolf. You can't lose here, just run forward. Upon returning to the camp, examine the prophecy once again, and a cutscene will start. Atreus will return home, but not to the dwarves, but to Midgard. Ice wanderers await in the yard.
After the victory, go to the gates between worlds, from which Kratos will emerge. It turns out the boy was gone for two days. Wanderers will attack again. Play as Kratos. Once you deal with the enemies, an unknown Valkyrie will attack the god of war.
How to defeat Freya–Vanadis
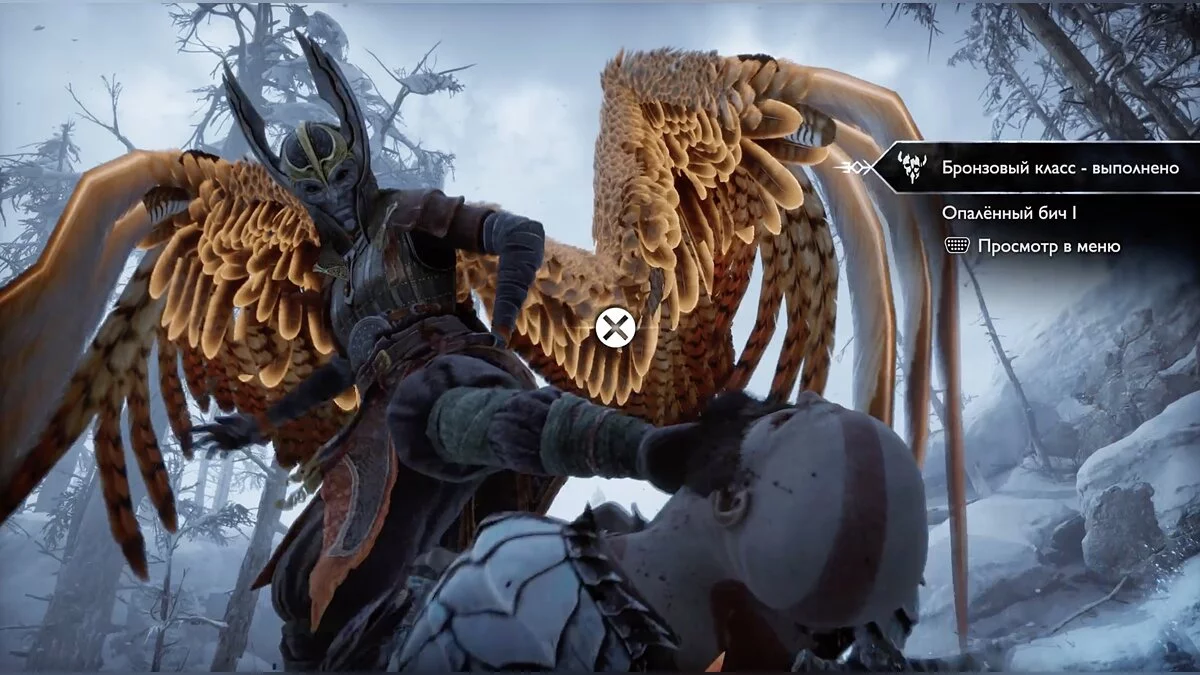
Like any Valkyrie, the boss attacks with swift lunges, using her wings. Watch for the circles above her head; if they are yellow, it's better to try to parry and deal additional damage; if they are red, dodge. Actively use Atreus's abilities. All the skills the boy has acquired will be used in the battle.
Sometimes Vanadis shoots arrows or throws acid. There are no special tips here — just dodge. The boss is not the most difficult; just take your time and always try to keep the enemy in front of you. If the Valkyrie ends up behind you, you won't be able to track her moves and will take a lot of damage from her swift attacks.
In the middle of the fight, Kratos will unlock a new rage ability — valor. Now you can gain some health for rage. Use this in battle to heal quickly. When the Valkyrie has no health left, you will learn that you were fighting Freya. Watch the cutscene. Kratos will send Atreus with the dwarves and join forces with his former friend to lift Odin's curse. You will have to go to one of the largest worlds in the game — Vanaheim.
Reckoning. How to find Freyr
Once in Vanaheim, go straight ahead. In the arch, you can see Odin's raven, and a bit further hacked silver. If you go to the right side from the gates between worlds, you will find a small chest. Follow Freya and Brok to the crevice. Ahead will be closed gates, but Kratos will easily lift them.
Watch a small cutscene where you will be taught to beware of poisonous plants. Hit them with a weapon from a distance to avoid damage.
Enter the large arena; there is a small chest to the right behind the plant. From the entrance, move to the left side, and you will find a passage to a large chest. Continue further and defeat the enemies.
Behind the stone ruins, there is a small chest. Go to the end and climb the ledges. Once at the top, head towards the ruins where you found the chest. Kick down the shield blocking the quick ascent, and you can break through the floor. You will find Kvasir's poems.
Climb back up and go to the right to the large chest. Return to the place where you broke through the floor and head deeper into the forest to the right.
Destroy several poisonous plants, then a pack of gulons — the local equivalents of tigers or lions — will attack Kratos. Inspect the left side of the place where the battle began — there you can crawl to a large chest.
Return to the main road. Kratos and Brok will encounter another aggressive plant; throw the axe at it until it closes its petals. Ahead is a Nornir chest. On the rotating mechanisms, you need to select the appropriate runes. On the right, burn the dry branches covering the first spinner. On the left on the rock is the second spinner. From the chest, go back a bit; on the rock is the third mechanism. Nearby, you can find branches to burn to make it active.
Continue the path; on the left are branches, and behind them is a large chest. Jump across the river with Brok, stay on the right side to collect hacked silver. Ahead is a battle with werewolves.
There are other secrets in this arena, but you don't have the necessary tools yet. Continue following the dwarf, lift the rock, and help Brok up the ledge. At the top, watch as something drags your companion into the thicket, follow him. Watch the cutscene. Kratos will meet Freyr — Freya's brother.
How to defeat the Forest Ancient
Inspect the rebel camp. Here you can find a scroll of legends and also read blue runes.
Talk to Freyr and head further into the forest until you reach a fork. Turn left and then left again; behind the pots and log is a large chest. Also, knock down Odin's raven here.
Now go to the right. You will come to a cliff that can be jumped across with the blades. Before doing this, turn right and find a large chest. Returning to the path, you will reach roots under which you can crawl.
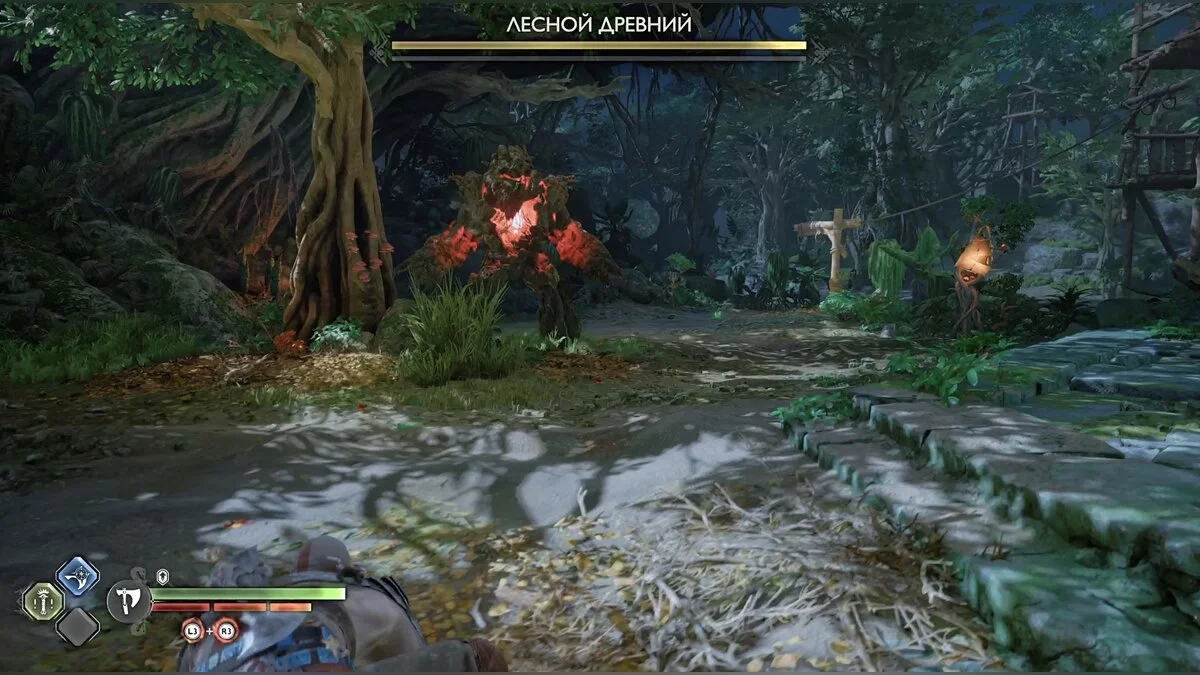
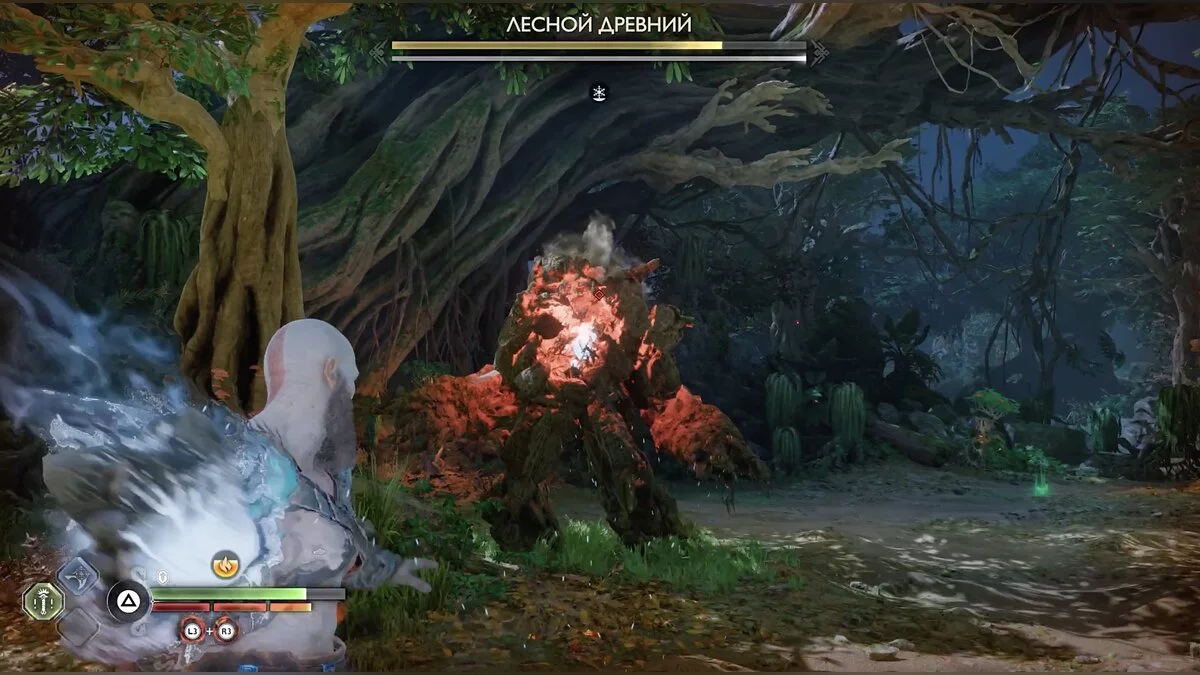
At the exit, you will face the boss, the Forest Ancient. Killing it is quite simple but requires timing. Note that after an attack, the monster opens its ribcage. Hit it with any suitable weapon to release several projectiles. Immediately after this, the boss will start attacking: your task is not only to dodge but also to pick up what flew out of the Ancient's chest. As soon as the chest opens again, throw the projectile there and run up for a grab.
Repeat the actions several times. During the battle, the boss will summon other enemies who will actively interfere with Kratos. Try to eliminate them quickly to focus on the projectiles and throws.
How to reach the Watchtower
After dealing with the monster, proceed along the only available path between the planks. Burn the branches. After overcoming the ruins, defeat the lions and open the small chest. Crawl under the tree and move straight ahead. Along the way, pick up hacked silver.
After passing through the crevice, you will encounter Odin's minions. Deal with them, and then defeat the large fiery cat — Gradunga.
Climb the ledges and jump to the other side across the river. Go through the tunnel filled with poisonous plants. Don't miss the small chest.
At the exit, engage in battle. The small monster Nøkk makes draugr invulnerable, so kill it first.
Cross the bridge and turn the crane with the blade grapple. In the next house, go left, turn the crane again, and jump into the village. Look around; on the left, there is another bridge. Cross it to find the draugr for the Born of Fire side quest.
After the victory, don't forget to return to the place where the draugr appeared — you can crawl under the rock there. You will enter one of the village huts, open the large chest. Climb the ladder in the far building and slide down the rope to the ruined temple. To the left of the entrance, you can find a small chest, and to the right — blue runes.
Inside, Odin's minions await, deal with them. There are no secrets in the arena, go to the closed gates and lift them with the chain. To the right, there will be dry branches, burn them to reach the large chest. Go down and head left from the gates.
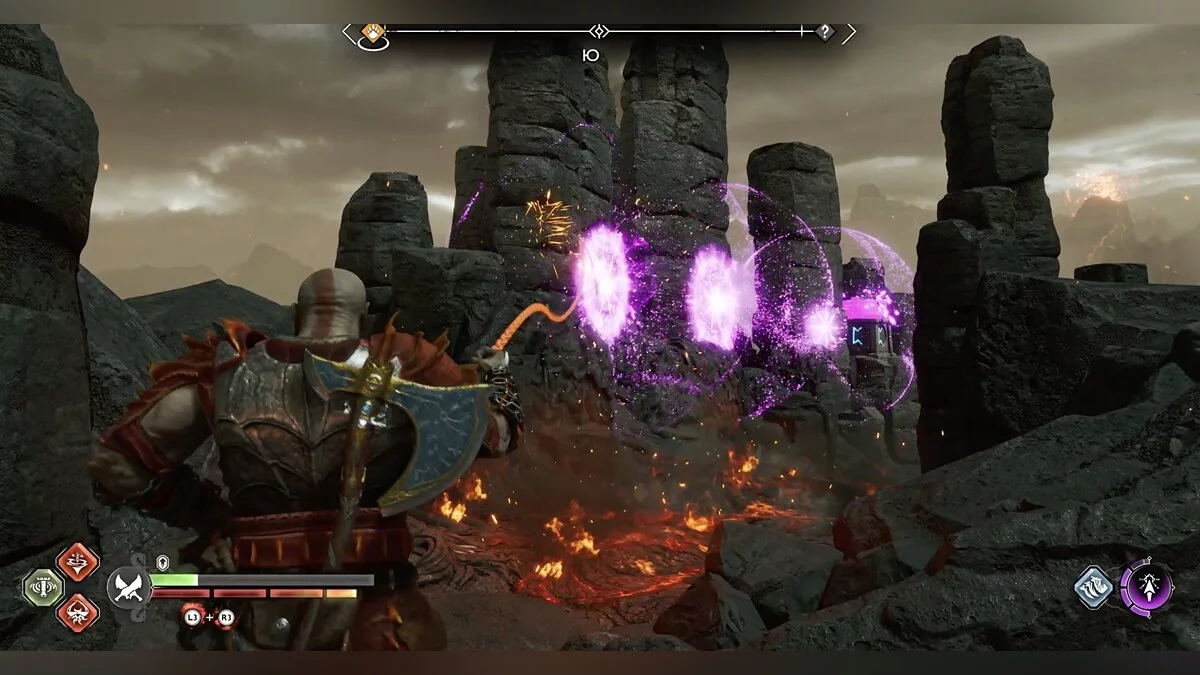
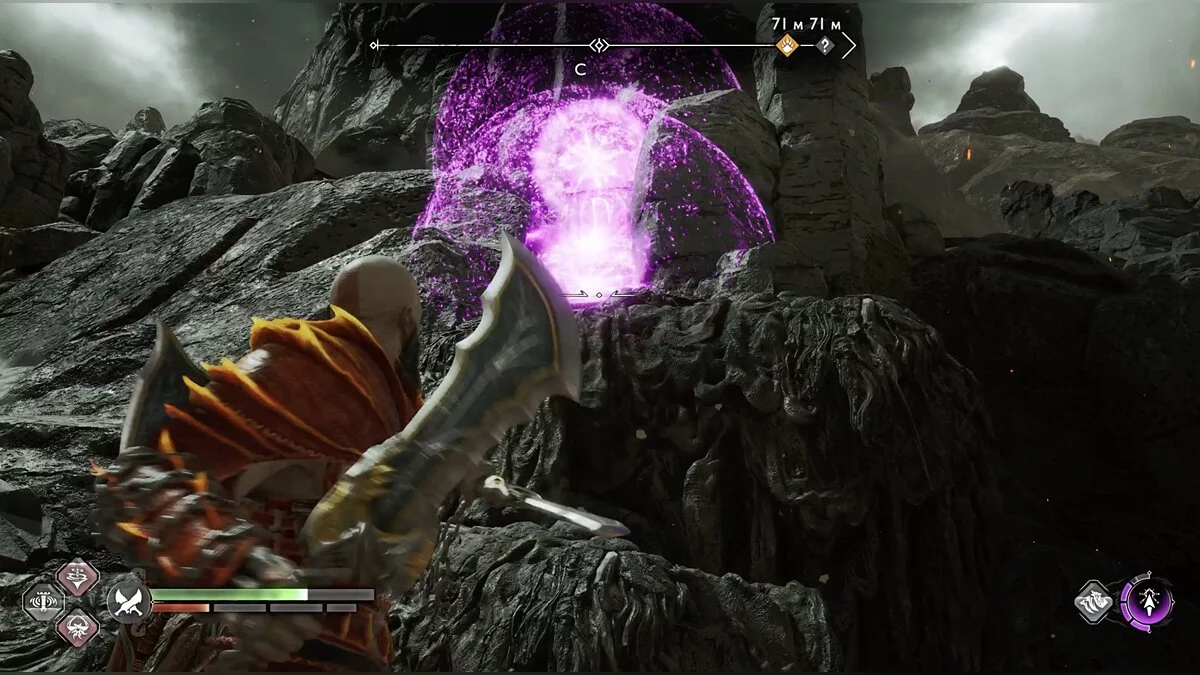
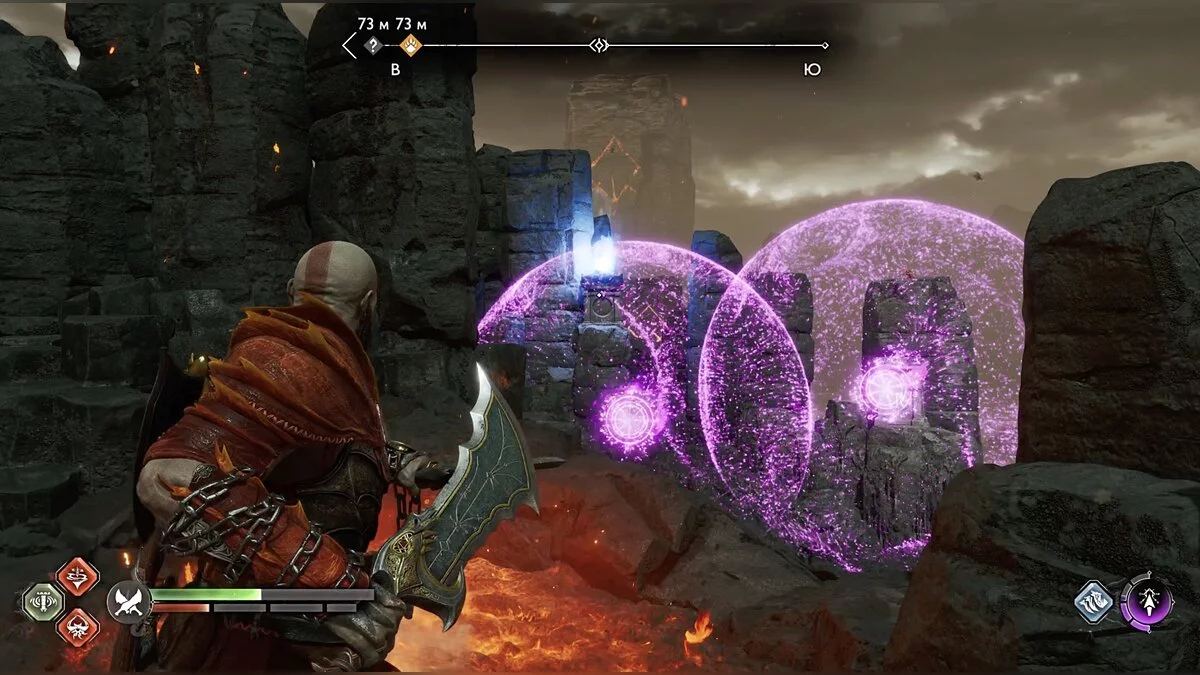
Ahead is an obstacle — pillars emitting purple mist that can instantly kill. Freeze the top of the pillar with the axe to remove the obstacle. Remember that as soon as you retrieve the axe, the mist will reappear.
Stay on the right side and open the small chest. On the left, there are many poisonous plants and dry branches blocking the way up. At the top, straight ahead, there will be a large chest, freeze the poisonous pillar to open it.
Climb higher on the wooden platforms. Slide down the rope and continue on your way. Jump using the blades.
In the ruins, turn left to open the small chest.
Return and go straight ahead.
How to cross the ruined bridge
In front of you is a large crane that can be rotated by throwing the axe. A bucket covered with branches hangs on the rope. First, burn the branches. The bucket with fire inside can be swung with the blades. Turn the crane counterclockwise — you can jump to the other ledge. Note the brazier for the Nornir chest in the tree. Another one is right below the ledge where you just were.
Turn the crane so that the face is as close to the bucket as possible, and swing it to the left — the brazier will light up. Now swing the bucket towards you, so it reaches the branches in front. Return to the place where you started solving the puzzle. Turn the crane to cross to the other side of the bridge.
To the right, there is another brazier. It is easy to descend to it. The chest is opposite.
How to defeat Odin's General Fiske
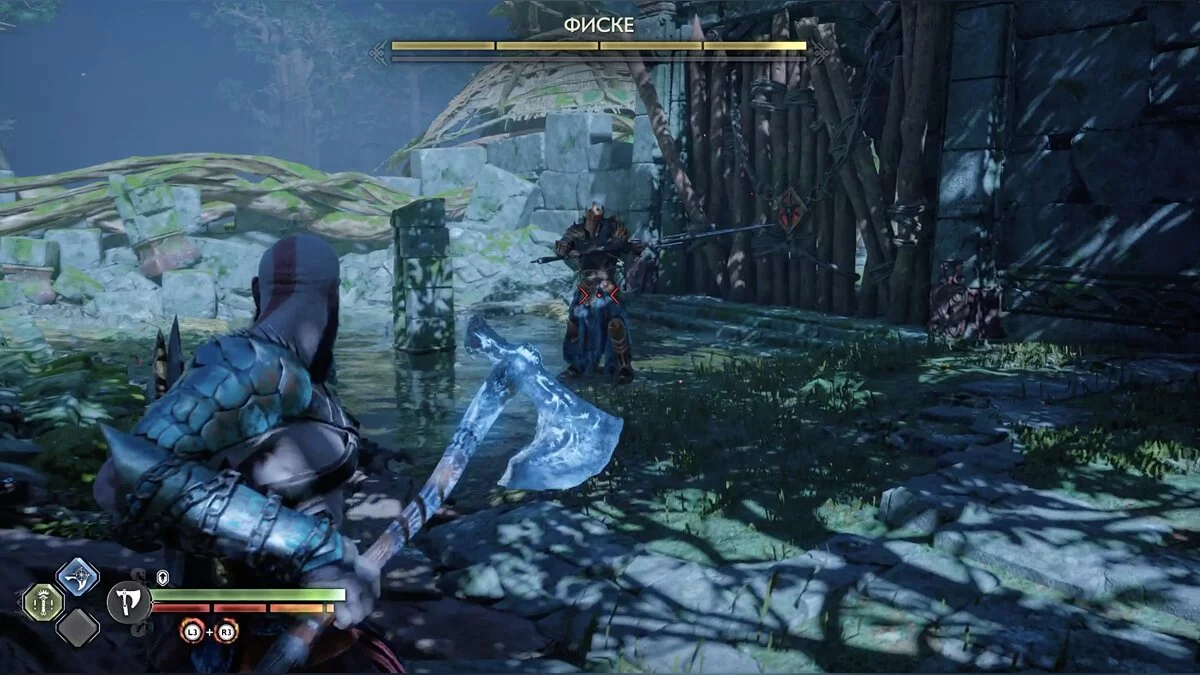
Keep moving forward until Freya warns about Odin's general. Fiske wields a scythe that can inflict the Bifröst effect.
Try to stay as close to the boss as possible. From a long distance, Fiske makes a sudden lunge, which is difficult to dodge. The general can also plant the scythe into the ground and deal area damage. Here, you should dodge. Break the gates with the blades and move on.
How to find the source of Odin's curse
As soon as you pass through the gates of the arena with Fiske, there will be a passage to the large chest on the left. Return and go to the right. After a while, you will find yourself in front of another crane. Jump down and go to the left — a large chest. The crane cannot be turned yet.
Return to the place where you descended and go diagonally to the small chest. You won't miss it, as this is the only way to free the crane. At the end of the corridor (after the chest), you can break part of the ruins with the blades.
Return upstairs, the crane can be turned clockwise and you can jump to the opposite side. Go to the end and you will see the large chest, turn the crane clockwise to jump to the find.
Go to the target marker and climb the ledges. After jumping down, follow Freya, open the gates and move a bit forward. Watch the cutscene.
How to defeat Níðhögg
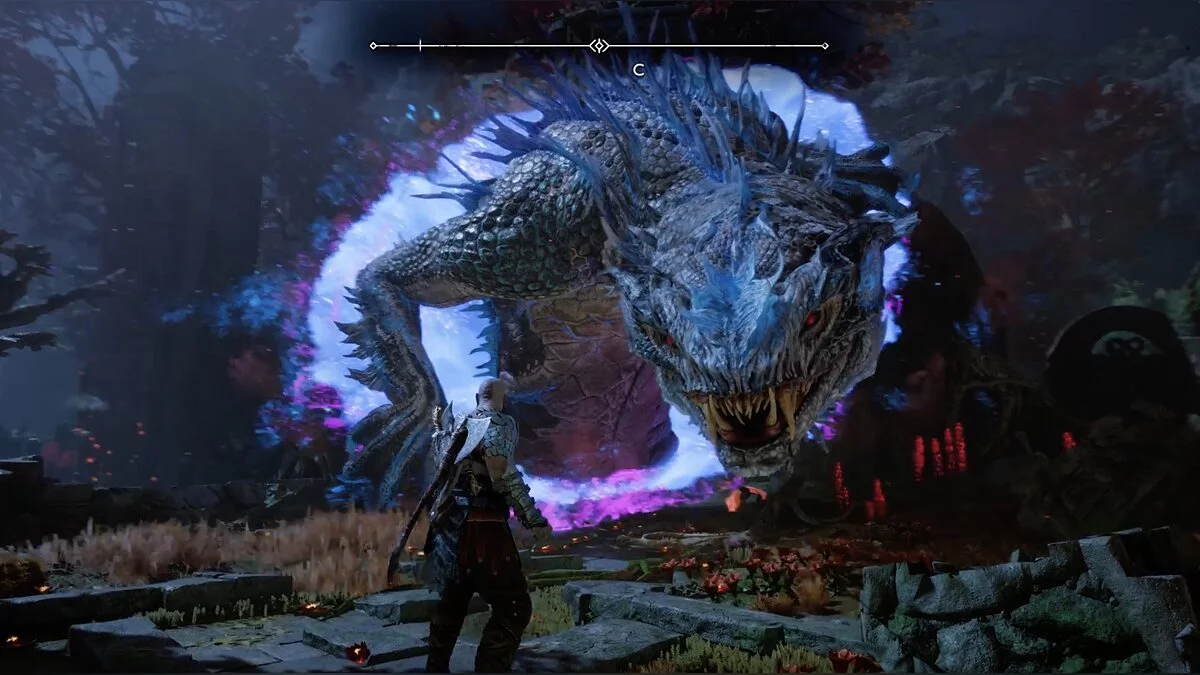
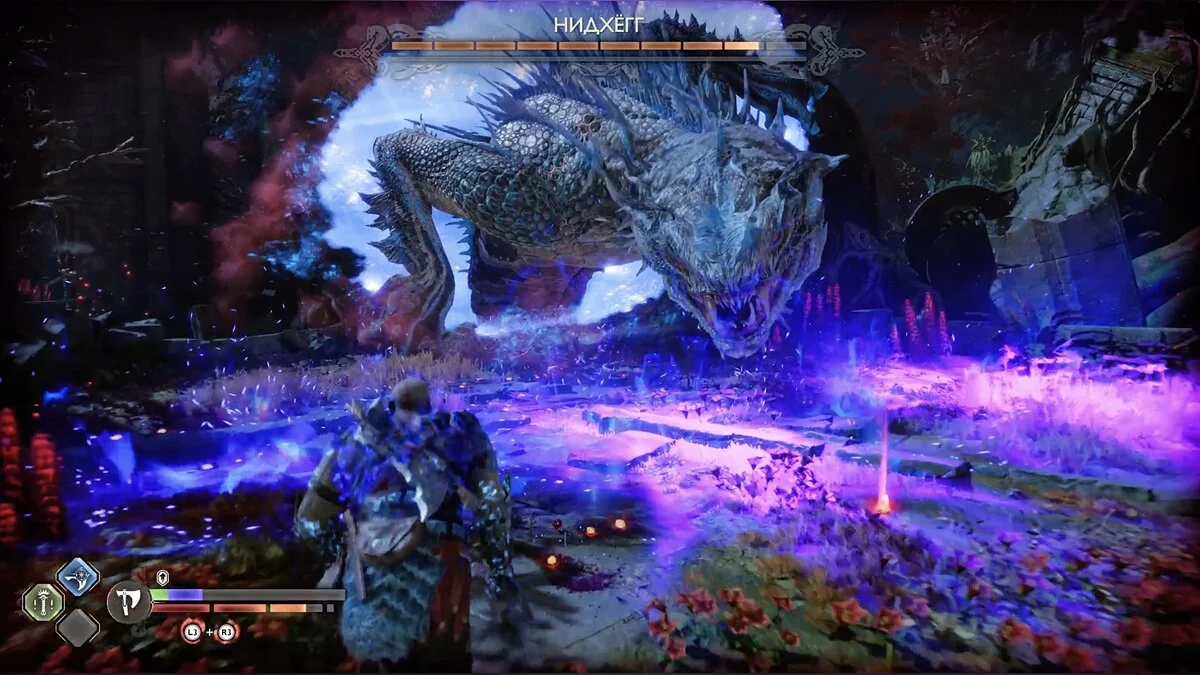
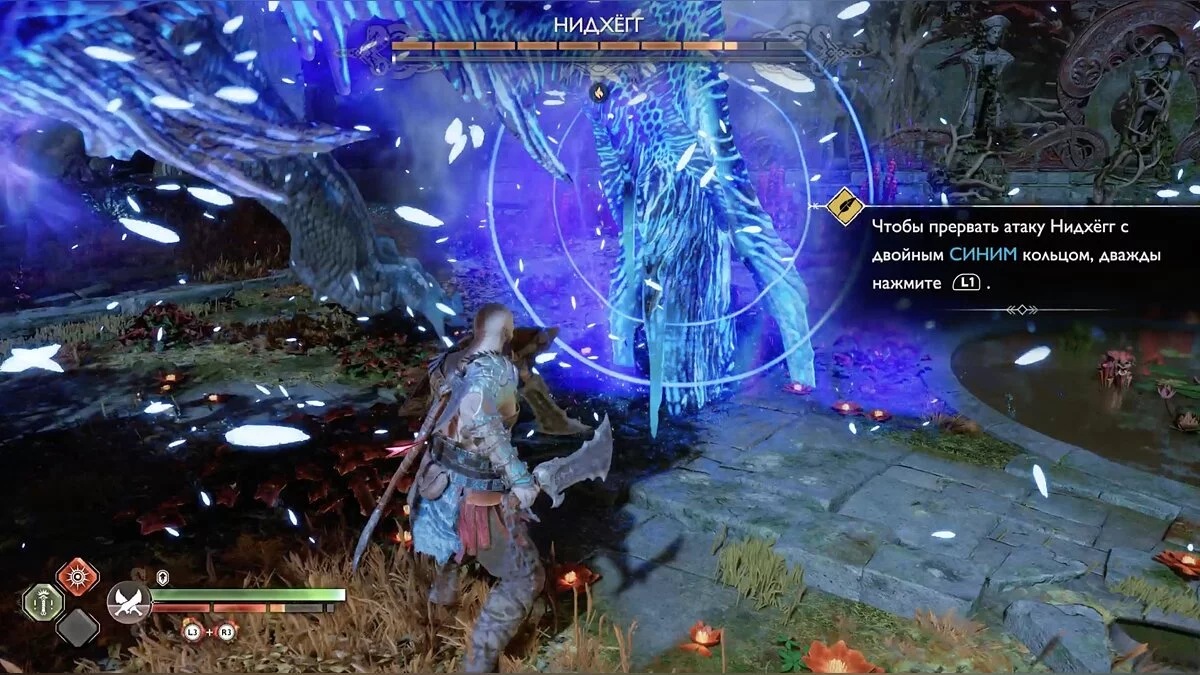
An enormous lizard — Níðhögg — will attack Kratos. This is one of the main bosses of the game, so defeating it will not be easy. The lizard strikes the ground with its paws and head. It is easiest to attack it on the head.
Sometimes Níðhögg will create a Bifröst field in front of it, which is best not to step into, otherwise, you will receive a negative effect and become vulnerable.
When the lizard takes enough damage, it can be grabbed. The boss will appear fully in the arena and start attacking with its tail. It's best to hit it with a shield, otherwise, you will take serious damage. If you decide to keep your distance from the root guardian, she will start throwing chunks of rocks.
When the boss's health is down to about ⅔, Freya will join the battle. Níðhögg's tail will start emitting dangerous beams that are very hard to dodge, and thanks to portals, it will appear like a spear in different parts of the arena. The lizard's most dangerous ability is to absorb stones with its belly and then spit them out directly at Kratos. This deals massive damage, and the only way to avoid it is to block with the shield in time.
After the victory, watch the cutscene, it's time to return to the goddess's brother.
How to return to the resistance camp
Go straight as you came to the arena. Near the vines, Freya will explain how to clear the path with pink seal arrows. Shoot at the vines, then ignite them through the blades by hitting the pink sphere.
Move to the ledge, on the right in the vine is a large chest. It can be freed using the method you already know. Climb up and kill Odin's minions. Then crawl under the ruins. Stick to the right side, remove the vines behind which there is a large chest.
Ahead are two pillars that cause fog. Here you will be taught another mechanic. Pink arrows extend and enhance elemental effects. Throw the axe at one of the pillars, shoot an arrow there, and then call the axe back — the freeze effect will remain. This doesn't last long, but it's enough to expand your options.
After the pillars, go left, burn the vines again and open the large chest.
Return to the pillars and go right. There are fireflies. They cannot be damaged until you shoot them. Move further and watch the cutscene with YET another mechanic. In Vanaheim, the time of day changes, which affects the growth of stems that open some paths and close others. For now, you cannot use this at will. To the right of the stem you need to cross, there is a legend mark.
Kratos will encounter a new type of dangerous plant. The flowers shoot needles and are immune to any damage. To destroy them, look for the main bulb. Usually, it can be tracked by the branching stems from all the flowers, converging at a single point. Near the bulb is a large chest.
Ahead are several of Odin's warriors. After the victory, crawl under the roots.
When you reach the water, on the left are vines preventing you from jumping to the other side. You will be taught another new mechanic with seals — when combined at the edges, they can transmit the elemental effect over a distance. With the blades, you can reach the stone ring in the water. Create one seal on it, one on the thorny vines, and a third in the middle. Remember, the seals must intersect, otherwise, it won't work.
Fugitive. How to get to Asgard
Returning to the dwarves, watch the cutscene of Atreus and Kratos arguing. You will play as the boy again. He will move to Midgard and immediately find himself in a battle.
There are no secrets at this stage, just move forward, defeating groups of enemies. Atreus will reach the Sacred Grove — this is where Freya lived.
Inspect the turtle. Once inside the house, first close the window. Examine the available items — they are well highlighted. Atreus will start a fire.
Watch the cutscene and you will find yourself in Asgard.
How to meet Odin
Follow the raven and defeat the toads. In the left part of the arena, there is a small chest.
Continue to stick to the left side (closer to the cliff) and you will find another small chest.
When you climb higher, you will notice a large chest with dry branches. Atreus cannot burn them, but he has pink seal arrows, just like Freya. Climb above the chest. Another set of branches blocks the path, and to the left, there is a small fire burning. Use it to transfer the fire over a distance. Also, open the chest. Move further and watch the cutscene. Now Atreus will have to climb the wall.
While following the local guy, there will be a small chest on the left.
Climb up, there should be no problems — the route is straightforward. Eventually, you will find yourself on a platform with enemies. Deal with them and shoot a green arrow at the chain above Atreus' head.
There will be another small climbing stage, after which the boy will find himself in a cave. Enemies will appear endlessly until you destroy the totem, so do that first. In the cave, you can find a small chest.
Climb the wall again until you see two large boxes. Climb onto the nearest one and notice a stopper on the second box that can be broken with a green arrow. Go around the structure on the left to shoot the second stopper. Cut the rope and ascend like on an elevator, kill the enemies, and open the large chest on the ledge above.
Climb to the very top, Atreus will meet Heimdall. After the cutscene, follow him into the city. Before getting into the saddle, inspect the area. There will be a small chest behind.
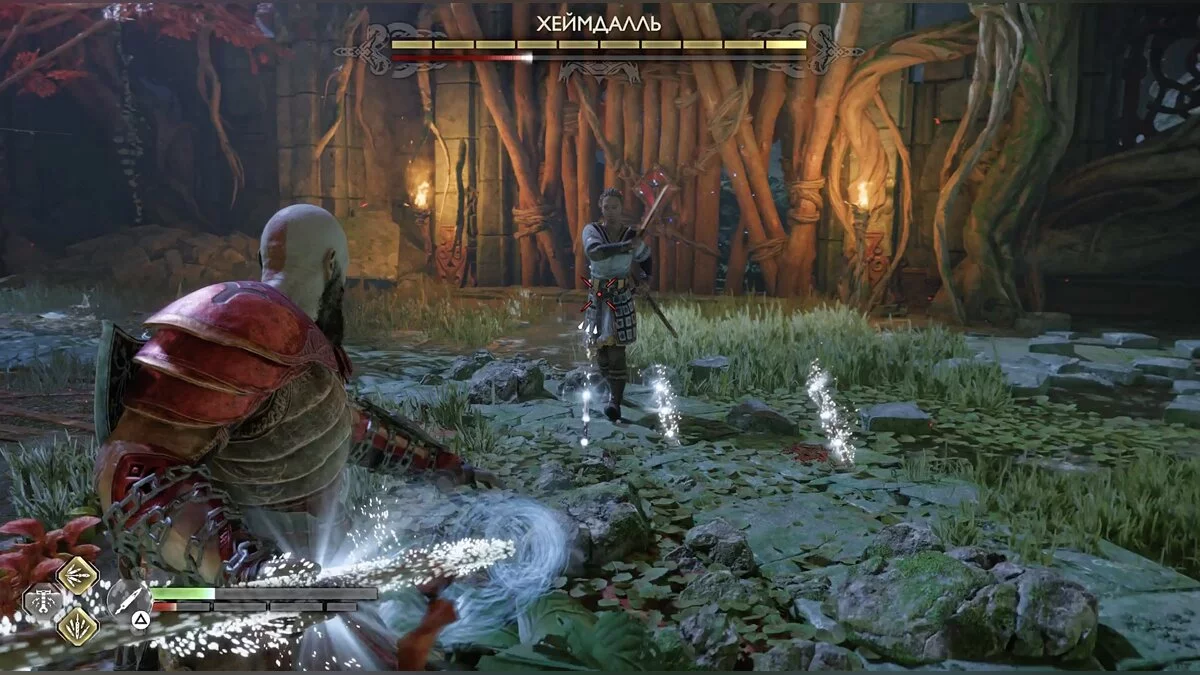
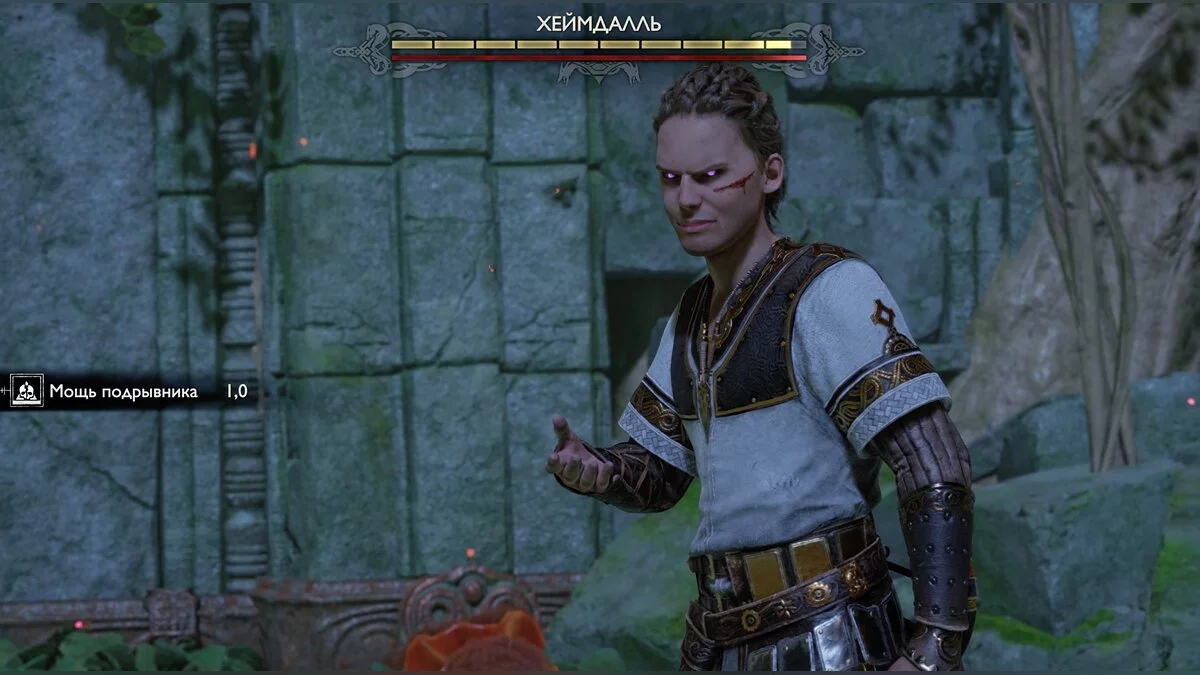
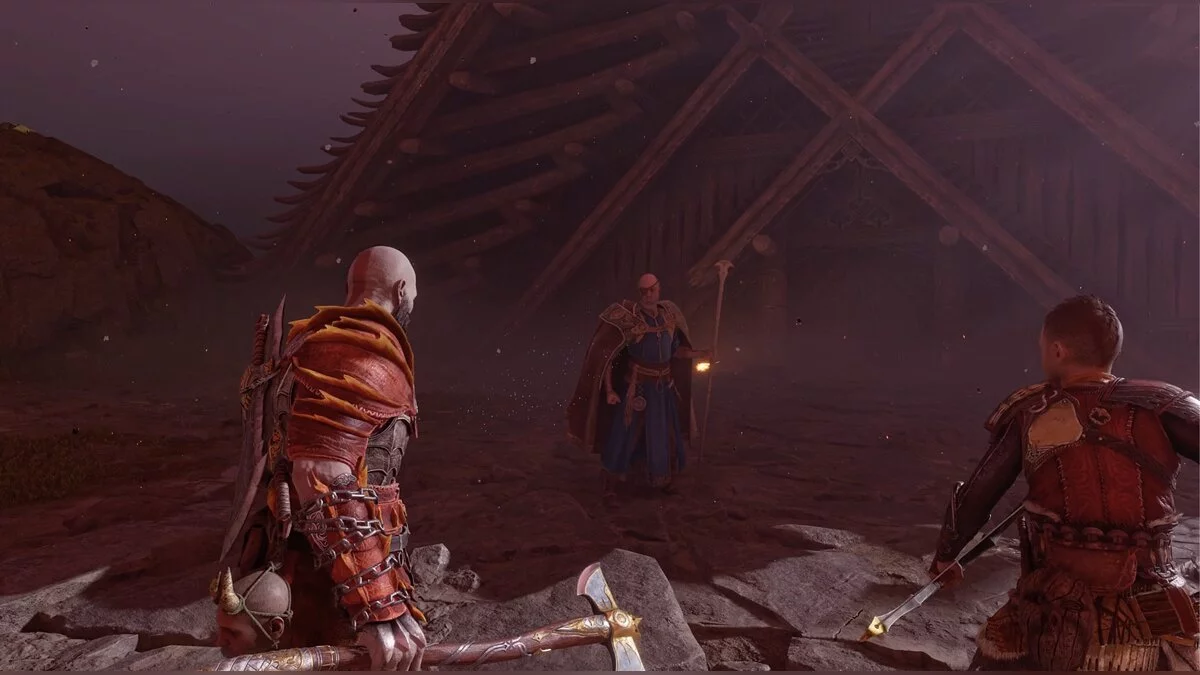
After a short ride, you will find yourself in front of Odin's hall. Heimdall is not the most pleasant acquaintance and will sic enemies on you. After defeating them, fight the Aesir, but Atreus will not be able to deal damage. Lose a few times, after which a cutscene will start, and the Allfather will appear.
Escort Odin while he talks to his subordinates, and you will find yourself in your room. There is a cabinet with a new bow and armor, and you can also upgrade your equipment here.
How to get Ingrid — the living sword
Leave the room and meet Thrud — Thor's daughter. Follow her. Near Odin's office, she will say that you can go directly to the Allfather or go upstairs. Choose the latter and explore the hall, meet Sif, and then go down to the main Aesir.
Watch the cutscene and get the sword. Go down to the cave with Odin. There will be another cutscene, after which you will go with Thor to find a piece of the mask.
Into the fire. How to find the mask piece in Muspelheim
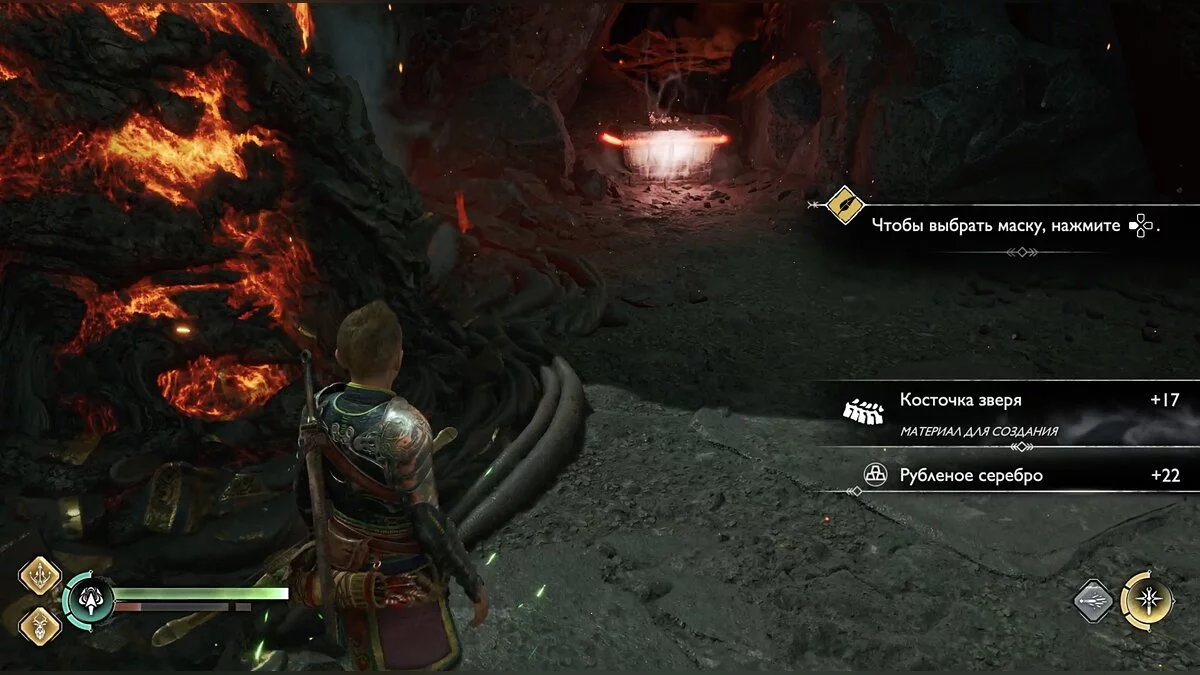
Choose the mask, it glows when you are going in the right direction. Point the camera at the blockage — Thor will clear the path.
Ahead, there are several enemies and a dead end. Approach the edge and use the mask again — Thor will throw Atreus to another part of the location. Defeat all the enemies in the spacious arena and open the large chest. Crawl under the debris — there is a small chest on the right.
Approach the blockage again, using the mask and move forward after Thor's help. Crawl along the edge and kill the enemies.
At the edge of the cliff, use the mask, and then return to Thor, who will lower Atreus into a new area. Win the fight with the draugrs again. Move towards the objective marker. Climb the rock and destroy the totem creating the fire sparks. Closer to the lava cliff, there is a small chest, and ahead is another prophecy. Open it and watch the cutscene.
Return to where you said goodbye to Thor, defeat the enemies, and reunite with the god. Use the mask and move along the cleared path. Watch the cutscene.
Returning to Odin, inspect the cave. There are large and small chests. There is also a small chest in Odin's office.
On the way to your room, you can talk to Thrud. Sit on the bed and watch the cutscene.
The Word of Fate. How to find the Norns
You are playing as Kratos again. The God of War decides to visit Midgard and find the seeresses — the Norns. Freya will help him in this. Upon reaching the hut where Atreus and Kratos used to live, go to the wolves and the sled. Harness the animals and ride to the objective marker. You will find yourself in a large location from the previous game — the Lake of Nine. Now the water has turned to ice, and the area is covered in snow.
Neither Freya nor Mimir know where the Norns are hiding. You will have to rely on the wolves, who constantly turn their heads towards the main objective. There are many places to explore on the Lake, but we won't focus on that now. Open the map. You need to head roughly to the upper right corner.
When a ledge blocks the path for the wolves, climb up and move a bit forward. You will enter an area called the King's Grave. Defeat all the enemies. In the center of the arena, Kratos will find a handle that will open a new ongoing side quest for you — to kill very strong ghosts. This is similar to the Valkyries from the previous part.
We won't fight anyone right now. Freya will lift the illusion, move forward. Open the large chest. There is another illusion in the wall. Freya will remove the spell, but it's a dead end. Return to the wolves and follow their scent again.
The second place is also a dead end. Once you remove the disguise, defeat several enemies.
The third point is near Sindri's local forge. There was a Norn chest here, but we already opened it earlier while exploring the world and completing requests. Climb to the very top of the rock, break the ice with an axe, and kill the enemies.
The path leads higher, more enemies. In the arena, you can open the large chest and knock down Odin's raven.
Enter the hidden cave. Ahead is a small chest. Go down and burn the branches to clear the path. At the top, there is a fight with a very dangerous enemy — a knight in armor. You will have to get rid of his defense first, and then hit him directly.
Sometimes the knight uses magic and raises his hand with a flashing orb. At this moment, it's important to throw a weapon at the orb, otherwise, Kratos will take serious damage. Open the large chest and the small chest that is a bit further away in the arena.
Ahead are several battles and a large chest. Look around and find the small chest.
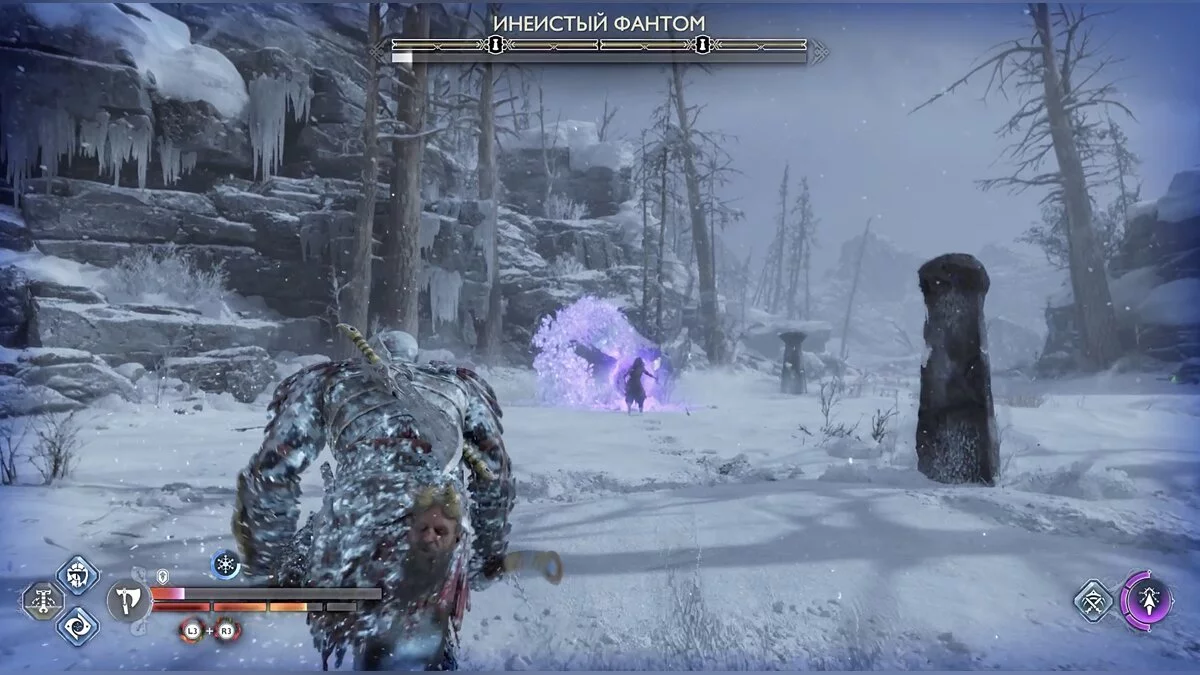
Climbing up the ledge, Kratos will meet the mini-boss Frost Phantom. You might have encountered him before if you completed all the additional quests in Alfheim. The battle principle hasn't changed.
As long as the phantom's core isn't glowing, the monster is almost immune to damage. If you manage to hit the glowing head, the phantom will stop for a few seconds, allowing you to deal damage. After a few successful hits, the monster will disappear for a while, and you need to destroy the totems. They are all located in the same arena.
After the victory, move forward and open the large chest. Climb ahead. When you break the door with the cutter, visions will start to appear. Destroy many enemies, after which you will reach the Well of Urd. Sit on the horse and watch the cutscene.
When the horse brings Kratos back, return to the sled, but watch the right side — there is a large chest.
Climbing up the sheer rock, look to the right again — a small chest.
You will enter a cave where it's easy to open the large chest. Break through the ceiling to move further.
Exit the Norn's refuge and go down the rope — there is a small chest on the left.
Return to Sindri's house and talk to the squirrel at the entrance. He will give you the side quest Lost Lindwurms. In the house, talk to the dwarves. It's time for a new weapon.
Master of His Fate. How to Navigate the Tunnels
To craft a weapon for Kratos capable of killing Heimdall, you will need to visit a special dwarven forge. Brok will lead the god of war and Freya into the tunnels beneath Nidavellir. Immediately go left — small chest.
At the fork, to the left is a barrel with a seal for the green arrow — hacked silver.
Ahead is another fork. A grate with an exploding barrel nearby blocks the straight path, and there are thorny vines on the right. Blow up the barrel and burn the plants. Behind the vines, collect some hacked silver, but the main path leads straight ahead.
Deal with the frogs and turn right. There will be enemies again. Burn the thorny vines — behind them is a small chest.
The main path is blocked by a grate. Pay attention to the oil that has spread on the floor — ignite it and you can pass.
Ahead is a large round room and enemies. After defeating them, go right and open the small chest. Now from the round room, go straight and left, move the cart to get to the next area.
The central tunnel is blocked by a grate. Explore the other available room and burn all the thorny vines — you will find a large chest.
To proceed further, lower the gate with the chain and freeze the mechanism. You still can't pass. Strengthen the freezing effect with a pink arrow, then throw the axe at the mechanism behind the gate, using the stone for a ricochet.
Ahead is a large room with two gates and a strong enemy. Focus on the left doors; the right ones can't be opened yet. Freeze the water trough so that the wheel starts spinning.
After the gate, there is a Nornir chest ahead. To the left is the first brazier. The second is also on the left but behind a low grate. Break the barrel with oil with a shot and ignite the substance using pink seals. The third brazier is hidden behind crates in the right wall of the corridor leading to the chest.
Go right, then left (a quick return to the room with the gates). Along the way, kill several enemies. Once in the spacious room, open the small and large chests. Here, find the chain to climb higher. Burn the thorny vines on the ceiling of the tunnel to collect resources and turn the lever. Now you can open the other gate in the room you were in earlier.
First, freeze the distant trough and secure the effect with a pink seal, then freeze the trough above the gate — the path is clear.
In the large area, there are two strong enemies. Ahead is a rift between worlds that will give you resources. On the right side, there is a gate that the heroes can lift to move further.
Open the large chest on the left and climb up. You will find yourself on the surface next to the forge.
How to Get to the Forge
Freya will leave on her own business, so Kratos will spend the near future with Brok. You have already been to this location with Atreus when you were looking for Tyr. However, now you need to go in a slightly different direction. Follow the dwarf and destroy the nightmare nest along the way.
Squeeze through the crevice into the arena where you first fought the large lizard. In the center is a rift between worlds. Interact with it, and an enhanced centaur and several regular enemies will appear.
Return and follow Brok to the large closed gate. Now the dwarf will open it. Passing through the settlement, the heroes will find that the lift is not working. Nightmares have settled on the mechanism, and you'll have to figure out how to remove them. Study the left side right there — small chest.
Follow Brok to the right. Kill the nightmares, and you will find yourself in a dead end. The path is blocked, but there are many mechanisms nearby that can help. First, burn the branches on the right. The lift will open, but it will not rise up on its own.
Climb up the ledge nearby and freeze the geyser to jump over.
Go to the end and freeze the second geyser. The lift along with Brok will rise. Now the dwarf can lift Kratos. Return to the lift and command your companion to close the geyser.
Climb even higher and command Brok to open the geyser. The lift will descend, and the counterweight will rise, giving you a view of the second geyser.
Freeze it and ask Brok to close the geyser a second time. The gates will open. Ahead is a large chest.
Before immediately following the dwarf, jump off the ledge on the left. Freeze the geyser and find a small chest.
Now you can go forward and destroy the nightmare nest. Return to the lift and ascend into the mountains.
At the exit, deal with the toads and go into the tunnel.
As soon as you exit and descend from the ledges, inspect the mountain on the left — Odin's raven. The lift is not working, but Brok can easily fix it, however, he needs help. On the same ledge where the dwarf is repairing, there are minerals that need to be broken.
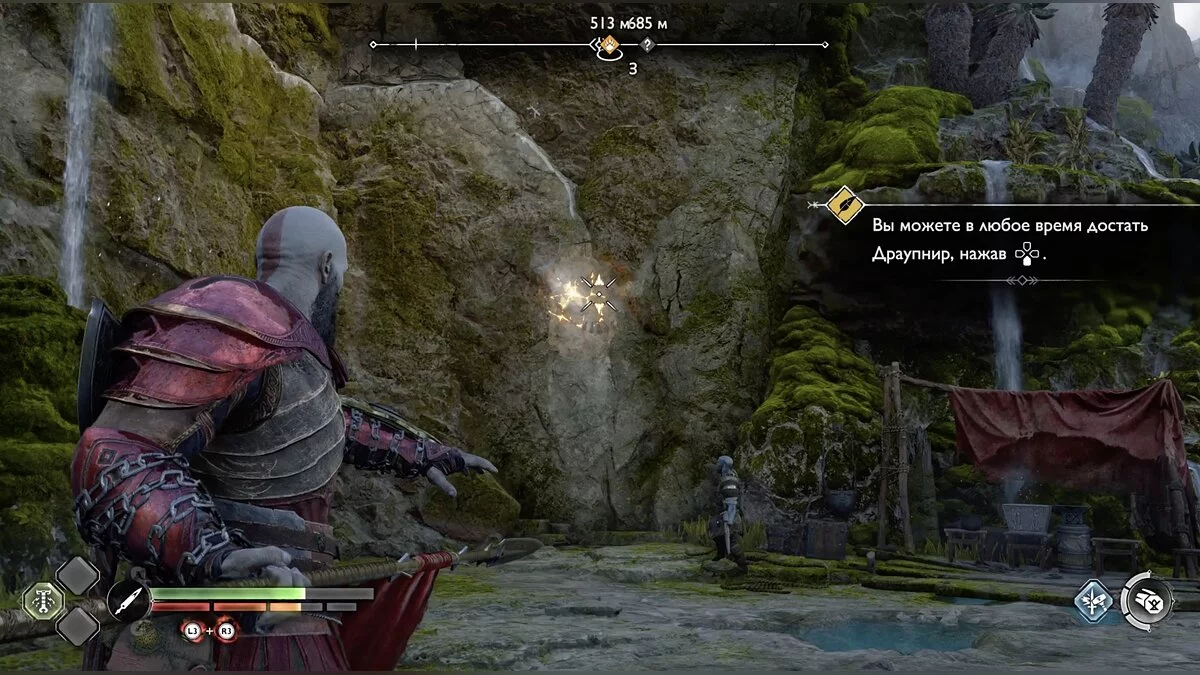
After that, return to the lift and watch the cutscene. Kratos received a new weapon — the Draupnir spear.
How to Meet Freya
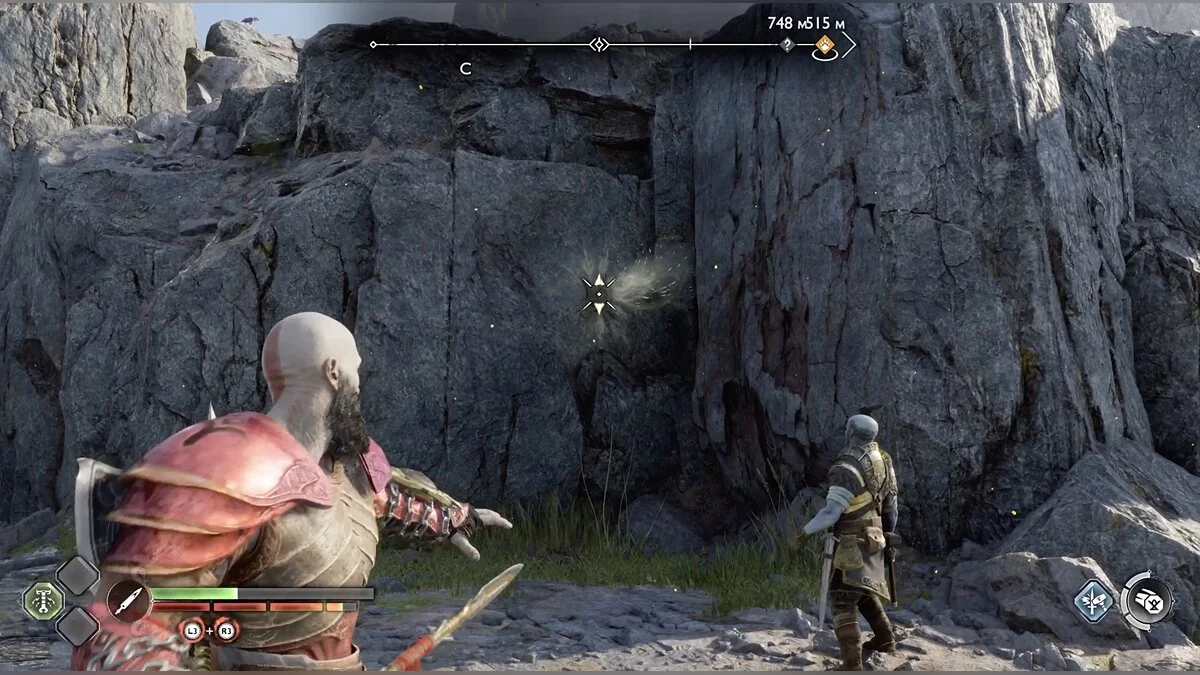
At the exit, you will encounter several toads, on which you can try out the spear. Then you will be taught one of Draupnir's main features — some walls have weak spots that shimmer yellow, throw the spear there and explode it to clear the way. This will open the path up the wall.
Climb up and engage in battle. There are many nightmare nests in the arena, so destroy them as quickly as possible.
On the right side of the arena, there is a large chest. To open it, you need to find a vulnerable spot in the rock and explode it. There will be two such spots here. The first opens the main path, the second allows access to the chest.
Go through the crevice, kill the enemies, and learn the second feature of the spear. In some places, there are points from which steam (air) comes out strongly. If you stand in front of them straight enough and throw the spear, you will get a bar that will help you climb higher or jump over a chasm. Note that there is another place for such a bar higher up. Make it too. Once on the ledge, jump through the second bar — the rift between worlds. Interact with it and advance in the side quest Lost Lindwurms.
Return back and break the rock with the spear. Descend and crawl along the wall.
Defeat all the enemies and approach the coiled rope near the cliff. Now, near such places, Kratos will be able to create a descent. Return to the dwarf settlement and watch the cutscene.
Exit through the gates and immediately encounter Odin's warriors. Freya is waiting for Kratos there.
Return to the place where you emerged from the tunnel. There, Odin's raven is circling.
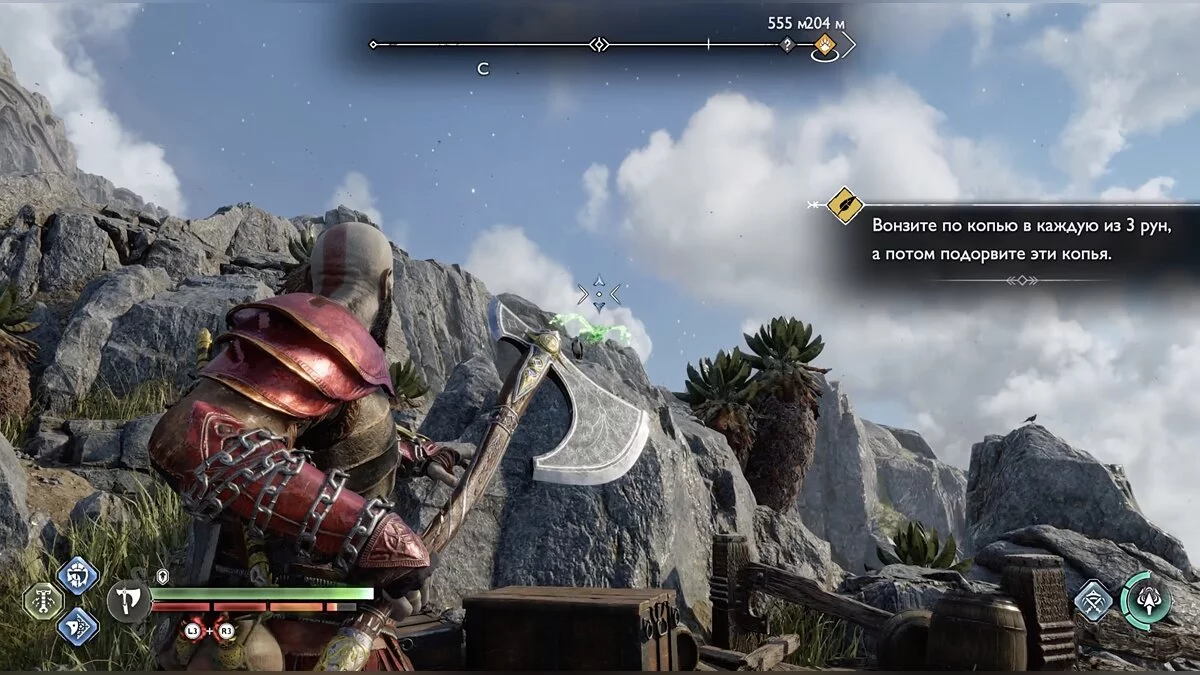
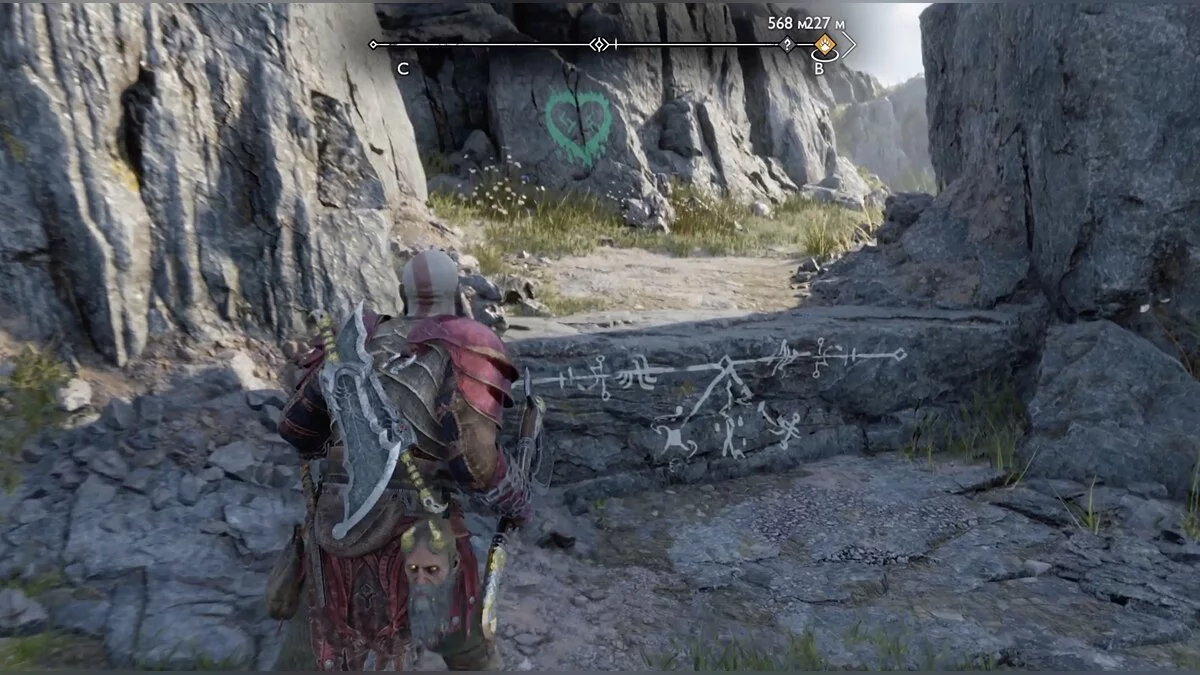
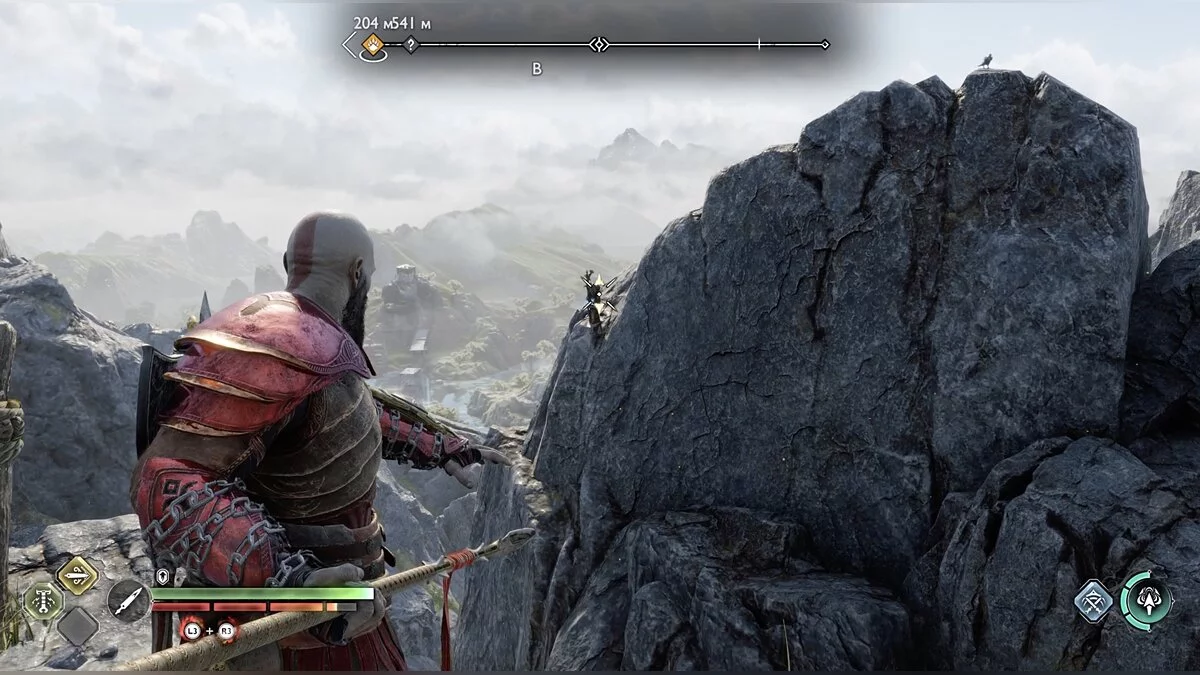
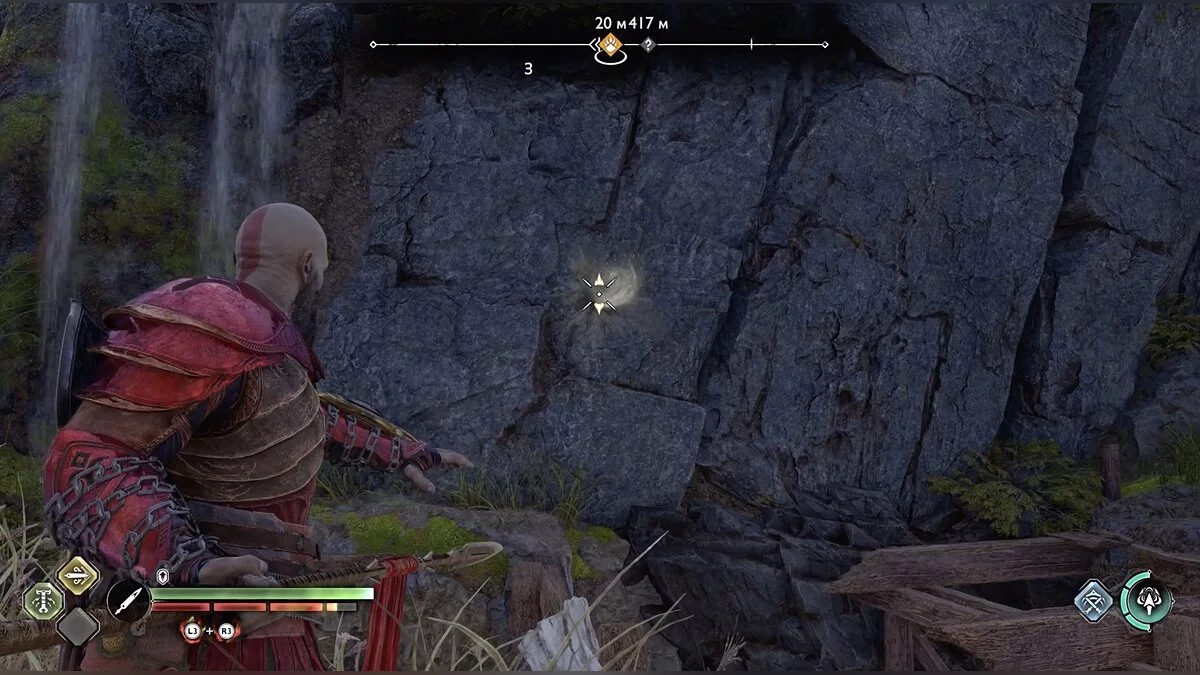
Pay attention to the green heart — you can advance in the Across Worlds quest. There is also a Nornir chest. Previously, it couldn't be opened, but now you have the spear. Find three runic totems, throw a spear at each, and then explode all three simultaneously. One totem can be seen not far from the chest, just stand on the cliff. The second will be much closer to you, on the rock to the left. The third totem can be found near the wooden platform.
Return on the cart. You have already been here with Atreus. Keep to the left — you can stick the spear into the wall and gain access to the gates between worlds. Durlin the dwarf will stop you and give you the side quest Rebellious Spirit.
Return to the dwarfs' house. Kratos will want to rest. Go to sleep and see another dream with Faye. Follow her to the boat and sail forward. No special actions are needed, just listen to the dialogue and watch the cutscene.
The story will shift back to Atreus. Go to Odin's office. On the way, you can eavesdrop on a conversation in Thrud's room.
The All-Father is in the cave, head there immediately. Listen to Odin's dialogue with Thor, watch the cutscene. Atreus, along with Thrud and Heimdall, heads to Helheim.
Hel Task. How to find the last mask fragment
Once alone with Thrud, move forward. Don't miss the small chest. Keep going, destroying groups of enemies, until you reach a closed gate. To the left of it, there is a lever.
In the next area, also go to the end. Use the mask near the grate, it will point forward. Enemies will appear from behind. After the victory, move the box with Thrud's help and climb higher. Immediately turn left — large chest.
Now go to the right. Break two barrels with a green arrow and study the gate. On both sides, there are places for shooting a green arrow. Behind the right barrier, a seal holding a chain and a box will open. Break it and return to the closed grate where you used the mask — thanks to the box, you can climb higher.
Defeat the enemies and pay attention to the barrels with green arrow marks. They are near the right wall. Break them and you will see a grate on the floor, which can also be removed with a green arrow. Jump into the opened gap.
Ahead is a large chest, followed by enemies. Examine the boxes, behind them you can find a small chest.
Climb up the stairs, Thrud will slightly open the stone gate wings, shoot the seal ahead to help her.
Return a little back and climb up the fallen box again, the fight will start immediately.
Turn the lever to open the gate and go to the end — dead end. Turn around, in front of the pile of boxes on the floor there is another place to shoot. Inside, go straight to the boxes on the right — small chest.
Go to the other end of the zone, on the right there is a large pushed-in box. Use the mask on it to determine the path, and Thrud will start pushing it. Something is hindering the girl. Go around to the other side and shoot the seal on the box.
In the new room, shoot the ceiling with a green arrow and climb up. Move to the next gate and do not miss the large chest on the left.
Thrud will try to open the gate, but there will be no seals ahead. Examine the wall to the right and above the gate and you will see a seal, break it.
Defeat the enemies on the bridge. In the room on the other side, there is a small chest. Activate the mask, the path is blocked by boxes. Thrud will move one behind you, climb over the wall. Ahead is a large chest.
From this place, turn left and you will see a seal on the chain, break it to help Thrud. On the way back, Atreus will encounter enemies, after which return to the girl.
On the opened path, look to the right — small chest. Go forward to the huge sleeping wolf. Atreus wants to free it. Follow Thrud first to one chain, then to the second. When only the last one remains, the wolf will wake up and run away. Approach the cliff after it — the mask is inactive. Return back. On the way, Heimdall will find the heroes, watch the cutscene.
Head to Odin's office, then to your room. On the way, you can eavesdrop on a conversation in Thor's quarters. Odin will come to Atreus. After the dialogue, you will find yourself in Midgard again.
How to Return Home to the Dwarves
Fortunately, you are not in Freya's house, but in your own. Go outside and deal with the squad of wanderers. Now head to the mystic gates.
Once near the dwarves' house, the boy will be caught in the midst of a battle. Wanderers are running through portals. Fight them for a while. At some point, Freya will ask for help. Join her and control will switch to Kratos.
Finish off the remaining wanderers and watch the cutscene.
Reunion. How to Find Garm
Head to Helheim. Straight ahead is Odin's raven. On the right, there is a ledge with a large chest.
Break the rock ahead with a spear and go down. Climb the ledge on the left — blue runes. From here, inspect the ice block obstructing the climb up the wall. Find three vulnerable points for the spear and blow them up simultaneously.
At the top, open the small chest and follow Atreus. You will encounter a spatial rift left by Garm. While Atreus closes it, Kratos must kill enemies. After a while, all remaining enemies will disappear, so the main goal is to survive. This will advance the side quest Hel's Payment, which began near the dwarves' house.
Ahead are gates and a wheel that raises them. Pay attention to the gear that can be frozen. The raised gates cover it, so you need to be clever. From the gear, a stone line with round decorations extends. Shoot it with pink arrows so that at least one is accessible even when the gates are raised. Use the seals' property to transfer cold over a distance, throw the axe at the accessible pink circle.
After the gates, immediately turn right and climb up — small chest, also kill the enemies.
In the next zone, another fight, after which two paths will be available — straight ahead and to the right. Atreus will stand near the straight path, but we won't rush.
Jumping to the right, you can make a bar. Without this, you won't progress on the main path. Return and jump to the next platform — on the left is a large chest. Defeat the enemies again. Go to the end and turn left. Climbing the wall, you will finally meet Garm.
How to Catch Up with Garm
After the cutscene, the wolf will run away, and you need to catch up with him. Defeat the enemies, squeeze through the crevice. On the right is a small chest.
Move across the bridge and to the left. You will find yourself in front of closed gates and a wheel that helps to open them. The place is guarded by a heavily armored warrior, whom you have encountered before. Beware of his magic — throw weapons at his raised hand. Also, keep moving and parry frequently.
To get through the gates, use the same seal scheme as before. Shoot three times with pink arrows at the board connecting to the freezable gear, open the gates, throw the axe at the accessible gear.
Immediately look to the left — large chest. You will reach a fork: on the right is a normal path, on the left, you will have to crawl under a rock. Enemies will appear here. To go to the right, find a point and throw a spear — there will be a bar.
On the left path, there is only hacked silver. Move on the right side, don't miss the large chest and crawl along the wall. After Garm's destruction, go down the ledge, defeat a group of enemies.
Catching up with the wolf, Atreus will decide to distract him. Your task is to freeze the chain when it falls nearby. Immediately after that, grab it and pull. It won't work, and the wolf will run away again.
The next area is a wide bridge, many weak enemies will appear, after which jump to the other side and open the small chest.
To climb the ledge, find a point and make a bar. Defeat the enemies again. Jump along the ledges to the wolf, you will have to fight him.
How to Defeat Garm
First of all, you should know that this is a two-phase fight. When you defeat the wolf for the first time, you will have to face him again.
Garm has several main attacks: ground slam with paws followed by a shockwave, sudden lunge and jaw bites, cold spit, and chain strike.
Pay attention to the last move, as the chain can be frozen just like in the previous encounter. However, only when it gets stuck in the ground. Kratos will hit the animal hard, immobilizing it for a few seconds.
When the wolf is far away, throw all spear charges at it, this will allow you to deal damage even if you can't use the chain.
Periodically, stones will remain on the arena, and you can throw them at the animal with the blades.
When Garm's health is low, he will jump onto a rock and start constantly spitting cold clumps.
After the first victory, climb the ledge near where you are. On the right in the corridor is a small chest.
In the next area, there are closed gates and a large chest. Shoot pink arrows at all counterweights to freeze the gear.
Keep going, and suddenly the wolf will attack again, you can only run. In one of the rooms, there are many weak enemies, you can deal with them calmly — Garm will not come.
Keep running until the animal appears right in front of you. On its right paw are shackles with a vulnerable spot for the spear. Throw the weapon and blow it up. The wolf will retreat but will reappear very quickly. The heroes will fall to another batch of enemies.
Go forward until the wolf attacks. You are back in the arena. The battle tactics will change slightly, as now you need to use the spear more often. Shoot at the paws and throat when Garm falls — this deals significant damage to him. Once during the fight, the beast's health will recover. Atreus will say he has an idea.
When Garm falls again — grab his collar and watch the cutscene. The enemy is defeated.
How to Find Out What Happened to Garm
Since the wolf ran away after all of Atreus's manipulations, you need to check his condition. Leave the arena. Overcome a few simple obstacles and watch the cutscene.
How to Return to the Mystic Gates
When the wolf leaves, examine the wall to the right of the ledge you need to reach. Plant the spear, then climb up and jump to the other side — progress in the quest Blooming Worlds.
The main path is again blocked by closed gates with a wheel mechanism. Pay attention to the two discs that rotate when you turn the wheel. Shoot the round decorations with pink arrows as shown in the screenshot and freeze the available seal.
Right after the gates, there is a lore marker. Climb the right ladder to talk to Hrósvélogr. It is worth returning to her when you close all the interdimensional rifts.
Return back, above the lore marker is Odin's raven.
Go down the left stairs, descend from the ledge, and pass through the mystic gates.
Beasts of Prophecy. How to Find the Two Wolves Sköll and Hati
Head to Vanaheim. Use the gates closest to the camp. Thanks to the spear, Kratos will create bars and open a new path.
Also, in the left part of the camp, there is a large chest that can now be opened.
Approach the bonfire and study the tracks. After meeting Hildisvini, leave the camp, cross the bridge and tunnel, and examine the wall on the right. It's easy to find because the companions will stop. Break the wall with the spear and follow the newly opened path. You've been here before. The trail leads to a tunnel, exiting which Kratos and Atreus will find themselves in a spacious location with ruins. A centaur and several wisps will appear.
After the victory, crawl through the wooden passage and exit on the other side of the ruins. Fire lions and a nøkka will attack.
On one of the walls, there is a weak spot for the spear. Break the stones and climb to the upper level. Walk along the wooden beam to the other side and open the large chest.
Following the main path, you will reach another breakable wall. On the right, there will be thorny vines, burn them, kill two large lizards and a nøkka, and open the large chest.
Stick to the left side and pick up the scroll of lore. Continue along this path and you will reach the Norn chest. The first rune spinner is on the left. Further to the left, there will be a werewolf. Kill it and look around from the platform — the second spinner is visible. Slightly to the right is Odin's raven. Return to the chest, and the third spinner will be to the right of the stairs. It is entangled in dry branches, so you need to burn them first.
Return to the main path and go to the end until you see two sleeping wolves.
How to Find the Moon
Odin has stolen the Moon, so now it must be found and returned to the wolves. Walk along the cliff and go into the jungle. The path is blocked by two pillars with purple mist. Freeze them.
Ahead is an outpost of Odin's servants. Deal with the scouts and break the entrance with the blades. Inside, you will see a warrior who teleports to an unknown location. On the left wall are blue runes.
Descend from the cliff and jump into the Vanir hut. On the right is a small chest. Go to the left — a large chest.
Climb the ledge on the right and create a descent with the spear. Examine the stone statue slightly to the left of the descent — you can create a bar. This will be needed in the future. Slide down the rope and break the wall with the spear. Ahead is another temple and an ambush. The Moon is at the very bottom in the center, but it will be stolen by a teleporting warrior. Kill everyone and pursue him.
When you exit the temple and deal with the enemies, knock down Odin's raven. Refer to the screenshot.
Continuing the pursuit, use the bar you made earlier and engage in battle again.
On the cliff ahead, there is a weak spot for the spear, break the stones to climb up. There you will finally catch up with the thief and fight a wyvern. This is not a boss, just a new type of enemy for you. After the victory, take the Moon and squeeze through the crevice.
How to Return to Sköll and Hati
Reach the wall and create a bar, on the right is hacked silver.
Ahead is a section with enemies, after which you will return to the path you have already walked. Reach the wolves and watch the cutscene. In Vanaheim, a new mechanic will now work. Seeing an altar with water, Kratos will be able to change the time of day. During the day, some paths are closed, but thanks to the roots, you can access hidden places. At night, the plants hide. Visit Freyr's camp. The road will hardly change, only new enemies will be added. Near the ruins, fight two bosses — Dreki lizards. You have already killed them many times, so we will not dwell on the tactics.
How to Find Where Freyr is Held
Freya will meet you in the camp. After the dialogue, you will need to rescue Freyr. Go to the upper exit, through the bars. Getting into the boat, sail to the right — restorative dew of Yggdrasil.
Dock at the shore, defeat the enemies, and crawl through the tunnel. Ahead is a large group of enemies. In the next area, there are several draugrs and two nøkkas. After the victory, climb the ledges on the right and use the altar to bring back the day. Now you can move further.
Upon reaching the large white column, create a bar there and climb to the large chest.
Ahead is a fork; you don't need to go right — you have already opened the chest. On the left are two pillars with purple mist. Use pink arrows to freeze both simultaneously. At the next fork, stick to the right side. Ahead is a group of Odin's warriors.
Ahead will be several barrels with seals for green arrows. Don't miss them — hacked silver.
When you descend from the next ruins, pay attention to the path on the right — there sits a large werewolf leader. This is a sudden boss.
How to Defeat Blatönn
The werewolf leader is not much different from his kin, but the fight will take place in a very confined space, which complicates the victory.
In addition, the wolf delivers many attacks with a yellow circle, which are quite difficult to parry. The danger is that if you miss at least one, Kratos will immediately receive several more in a row. The same applies to blocking. The wolf's strikes will break through it, depriving the god of war of the ability to dodge and defend for a few seconds. The only way out is to parry and attack with the shield when blue circles appear.
How to Find and Defeat Heimdall
After defeating the werewolf, follow the main path. You will return to the area where you lifted the curse from Freya. Stick to the left side, on the distant column you can create a bar. Find a ledge to jump over.
Upon reaching the gate, open it with the chain. The passage ahead is closed. Note that there is an altar on the right. Burn the thorny vines and make it night. Now you can enter the spacious arena.
You will have to fight Heimdall alone, as Freya will leave Kratos. The boss is very interesting, and for his defeat, the Draupnir spear is the best fit.
First, you will have to deal with the god's mount — Gulltoppr. You have encountered similar cats before, but this one is significantly stronger. Heimdall himself will also actively attack.
The easiest way is to take a waiting position and catch the beast on blue circles when you can interrupt the attack with the shield. This is extremely effective, as you will not only avoid damage but also be able to counter-attack with the shield and weapon. However, there is a downside. To succeed, you will have to stay very close to the cat. There is a danger of not dodging the red attack and taking serious damage.
At this stage, you can use the entire available arsenal. Runic attacks will help quickly destroy Gulltoppr with minimal losses.
The fight with Heimdall consists of several phases. This is where the spear comes in handy, as the god predicts your every move. Throw spears at him from a distance — he will catch them, block them, or simply deflect them. This is your chance to deal damage. When there are many projectiles around the Aesir, just explode them all at once — he won't be able to dodge that.
It is useless to hit the Aesir in close combat — all attacks will be blocked. Do not miss the moments when the capture buttons appear. Perform them several times to weaken the god. At the same time, the Aesir's health will remain full, only the red bar under the health frame will grow — this is how it should be.
After several captures, Kratos will finally wound the enemy. This will trigger the next phase.
Heimdall will start attacking much faster, adding new techniques. Periodically, time will slow down. In such moments, it is important to react correctly — dodge or block the hit. The Aesir shoots energy bursts, and also covers himself with the light of Bifröst and strikes the ground with his sword. These attacks should be especially feared, as they cover an area.
Now there won't be enough time to throw spears, but after successful parries, Kratos will have the opportunity to attack directly with the spear — take advantage of it.
As soon as the pesky Aesir's health drops to zero, a cutscene will start. After it, the third round begins. Now Heimdall has an arm of pure energy, which he will actively use. New attacks will also appear: a sharp closing of the distance and a crushing swing with the arm, a throw of a stone boulder, and an area energy strike. You can use the spear equally often both up close and at a distance. The main thing is to parry the arm attacks in time — this is the fastest way to victory.
How to Join Freyr's Allies and Escape the Prison
After the victory, it's time to find friends. Exit the arena using the blades and move forward. There is only one path. Eventually, you will reach the ruins where you will have to fend off Odin's servants with your comrades. After the victory, it turns out that Freyr is unable to walk on his own, and Kratos will carry him. You will have an impressive weather scene where you will periodically need to press the necessary buttons.
First, use light and heavy attacks to fend off the pursuing cats, then more serious opponents will appear, but the buttons will remain the same. Then follows a long cutscene, after which you can return to the dwarves' house. If you go up to the upper exit of the camp, you can start the quest The Smell of Survival. Watch the cutscene at the dwarves' and take control of Atreus again.
Acquiring the Mask. How to Get to Asgard
Once again, the boy needs to travel to the world of the Aesir. This can only be done through Odin's raven — Huginn, so we head to Midgard. Once at your home, go check on the wolves, pet them.
Now enter the house and watch the cutscene. Go to the All-Father's study and talk to him. Now you need to find Thor.
How to Find Thor and Go for the Mask
Odin has given the task to go for the last part of the mask, but for this, Thor is needed. Find Thrud in the main hall of the palace and talk to her. Follow the girl to the tavern, find Thor there.
After the cutscene, a fight will begin, move around the tavern, defeating enemies. Once on the second floor, help Thrud and shoot with the bow. Another cutscene will start, after which you will lead Thor out of the building and listen to his conversation with his daughter. Eventually, you will go for the mask in Niflheim.
How to Find the Last Fragment of the Mask
As before, the mask's glow indicates the right direction. Climb the ledge on the left and go left again — small chest.
From this place, go straight into the corridor — large chest. Exit the corridor — go forward. Pass through the arch, defeat a few enemies and inspect the ledge on the left — small chest.
Ahead is another arena with enemies, after which use the mask to determine the direction. Upon reaching the enemies, inspect the arena. There you can find a small chest. To move further, direct Thor using the mask.
Jump off the ledge, defeat the enemies and turn into the tunnel along the left wall — large chest.
Now move forward, dealing with groups of enemies, until you reach the Pale Meadows location. Here awaits a fight with a familiar boss — the Frost Ancient. You know how to kill him, but Atreus is weaker than Kratos and won't be able to throw anything. Just shoot the ancient with the bow when its chest is not protected by armor.
Clear the way again, on the left is a ledge with a small chest. Go down — on the way there is a large chest. Exit to the main arena and orient yourself with the mask — Thor will remove the obstruction near the passage where you just were.
Ahead is a long stage where you need to go forward, destroying groups of enemies. Note that there is a small chest along the way.
At the end of the path, use the mask and watch the cutscene. Eventually, you will return home to the dwarves. Playing as Kratos, discuss Atreus's discovery and watch the cutscene.
After the cutscene, return to Midgard.
Hunting for Comfort. How to Find the Deer
Follow Atreus, he wants to hunt a deer. Squeeze through the crevice into the location where you were at the very beginning of the game.
Continue following the boy until you see the animal. Control will switch to Atreus — you need to aim and shoot. Watch a short cutscene.
How to Find Sindri
Return to the sled and head to the Lake of Nine. Sindri should be in Tyr's temple. You already know the way, so drive to the lift on the bridge without unnecessary stops.
In the temple, talk to the dwarf and return to the house between worlds.
Summoning. How to Find Surtr
Watch the cutscene, after which the heroes decide to split up. Kratos and Atreus will head to Muspelheim for Surtr. Exiting the mystical gates, turn left.
Descend the ledge and look to the left. Burn the thorny vines, open the large chest.
Now go to the right. Near the large chest will appear wisps.
To the left behind the thorny vines is a crevice, and to the right is a Odin's raven.
In the next zone, there are several enemies. You have already been here with Thor. After dealing with the enemies, head to the left side. Crawl along the wall and continue on your way.
Stay close to the right wall to not miss the weak spot in the rock. Break it with the spear and you will reach the Norn chest. Opening it might be harder than all the previous ones. The three runic cups are well visible. Two of them are easy to ignite with the help of pink arrows, but the third one is not so simple. It will be the cup that is next to the one you have already lit. To activate the last one, remember that fire is transmitted not only from the Blades of Chaos but also from other burning cups. You have done something similar while playing as Atreus. It is also helpful to shoot each of the pink seals several times — this will increase their active diameter but shorten the time the magic lasts. To start the elemental chain, shoot at the burning cup.
Next awaits a boss — the Flame Phantom. You have already killed such an enemy several times, this one is no different. The only thing you need to know for a quick victory is that two totems are nearby and freely accessible on the edge of the arena, and the third one will have to be opened first by breaking the wall with a spear. Find the rock with the vulnerability.
Make a descent with the spear and meet Surtr. The conversation will not go well, and Kratos will immediately engage in a fight with the boss Soul Eater. This enemy is no different from the previous Soul Eaters. After a short struggle, another one will appear, and you will have to fight two at once. After the victory, talk to Surtr again.
Follow the god to the Spark of the World. Note that there is a large chest on the right in the tunnel.
Keep going forward and watch Surtr transform into Ragnarok. Immediately after the cutscene, you will encounter Odin's two valkyries — Hrist and Mist.
How to Defeat Hrist and Mist
The first phase of the battle with the valkyries will be quite easy, but don't relax too soon. As soon as their health reaches zero, Hrist and Mist will fully heal. Now they will periodically grab Atreus, causing Kratos to have to throw a spear.
Each of the valkyries strikes with their wings and also has area attacks. Especially beware of the spinning attacks when the bosses deliver multiple quick strikes. It's better to block such attacks without attempting to parry. When their health reaches zero for the second time, the valkyries will heal again. Now they will also start throwing stone boulders.
After the victory, press the necessary buttons in time and watch Kratos and Atreus in bear form defeat Odin's servants.
How to Return to the Mystic Gates
Return to the mystic gates the same way. When you exit the tunnel near Surtr's forge, enemies will appear. Deal with them and climb the wall. Several groups of Odin's warriors will block the path. Defeat them and move towards the gates. Pick up Mimir on the way out and head to Tyr's temple in Midgard. There, the final battle of the game will begin.
War in the Realms. How to Start a War with Asgard
Reach Tyr's temple. Some troops have already gathered on the bridge. Talk to Freya and go to your tent. Watch the cutscene, after which you will find yourself in a dream with Faye. Follow your beloved and press the buttons that appear on the screen.
Upon waking up, head to the temple and blow the horn.
Watch all the cutscenes, after which Kratos and the army will be transported to Asgard.
How to Break Through to the War Machines
The next level consists entirely of a series of battles. There are no secrets or chests here. Initially, Kratos is accompanied by Freya. Beware of the dragon and the energy shields of Odin's warriors. They can only be broken with arrows or powerful runic attacks, while the lizard will fly out of reach and deal area damage.
There is only one path, and there will be no navigation difficulties. In one of the arenas, you will meet a powerful warlord with a scythe (previously a boss) and an ogre. To simplify the battle, focus on the latter. When the ogre has little health left, you can ride it and deal significant damage to the warlord while staying safe.
After Jormungandr's defeat, Freya will be replaced by Atreus. You will immediately face a strong warrior on a cat. His strikes are almost the same as in Heimdall's initial phase.
In this same arena, there is a dragon. It will sit on a rock. Note that there is a weak spot for a spear on it. Continue the path and you will reach the gates to the dwarf world.
They didn't come to help, but Sindri will appear. Move forward as a trio, killing soldiers until you see the war machines. Watch the cutscene.
How to Save the Refugees
Now you play as Atreus. Along with Sindri, kill the waves of enemies. When it's over, head to the passage, watch the cutscene, and use the transformation ability. Scatter the enemies in bear form.
Climb to the gates and watch the cutscene. After Sindri makes a crack in the wall, shoot the bow repeatedly and watch the cutscene.
How to Find Odin and Defeat Thor for the Second Time
As Kratos, go through the wall. Kill Odin's servants again and move forward until you meet Thor. The fight with him is slightly different from the first one. Most of the thunder god's attacks are unblockable — dodge them. Also, Thor will immediately start hitting the area with his hammer. Watch for the red circles indicating the expected explosion location.
A spear will be a good weapon choice, allowing you to deal damage without getting close. After the victory, a cutscene will begin, and you will immediately enter a battle with Odin.
How to Defeat Odin
Traditionally, the final story boss has several phases. The first one is unlikely to surprise you. Odin fights with his spear, attacking either in melee or at a distance. In the latter case, energy charges fly towards Kratos, and sometimes freezing beams (a similar runic attack is available for the axe).
Periodically, the Allfather rises into the air. There can be two scenarios here. If the arena floor turns pink — it's an area attack. There is always a safe zone, but it's not certain you'll reach it in time. In the second scenario, Odin will suddenly dive onto Kratos' position — dodge it.
After the victory, a cutscene will start, and the second phase will begin. Freya will join the battle. You can use special moves of both Atreus and the goddess. Odin's moveset will almost completely change. Melee spear attacks will remain but will be faster and more aggressive. The Allfather constantly moves around the arena, shoots energy arrows, and sends flocks of ravens. If you fail to block such an attack, Kratos will be helpless for a few seconds.
Odin's spear turns into a whip. Even if the hit doesn't land on you, beware of the wave that comes from each swing. The old man also sends waves of Bifrost in straight lines. One of the most dangerous attacks in this phase is the red energy balls that the Aesir creates in the air. They approach slowly at first, so try to break them in advance.
However, these are not the main surprises. When the Aesir has a little less than half of his health left, he can be stunned. A cutscene will start, after which he will activate a fire shield and begin to release waves of flame. At the same time, all previous attacks will remain. When the shield drops, poisonous puddles will form in the arena.
But that's not all. Periodically, Odin attacks with ice and fire across several circular zones at once, so try not to stand on the reddening floor.
After the victory, watch the cutscene. Control will return to Atreus. Move through the tunnel to Kratos, talking to friends. Once you reach your father, watch the concluding cutscene.
Congratulations, you have completed the main storyline of God of War: Ragnarok. The game has quite a few events after the finale, but they all occur within additional requests, which we will discuss in detail in a separate material dedicated to side quests.
Other guides
- All Muspelheim Trials in God of War: Ragnarok
- Where to Find All Relics (Sword Hilts) in God of War: Ragnarok
- Walkthrough of All Side Quests (Requests) in God of War: Ragnarok
- Modder umgeht CPU-Anforderung für God of War: Ragnarok
- God of War: Ragnarok PC-Version ist jetzt dank eines Mods ohne PSN spielbar
- Leitfaden für alle Nebenquests (Anfragen) in God of War: Ragnarok
