Thread principle — ReShade preset
-
www.nexusmods.comDownloadArchive password: vgtimes
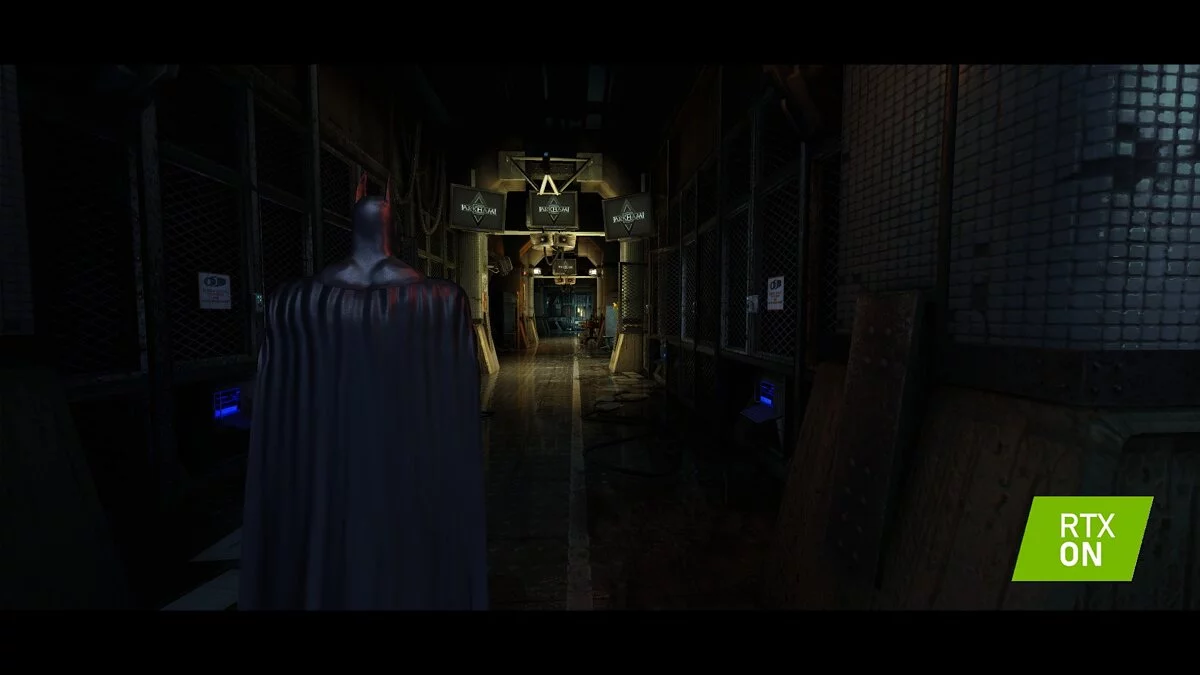
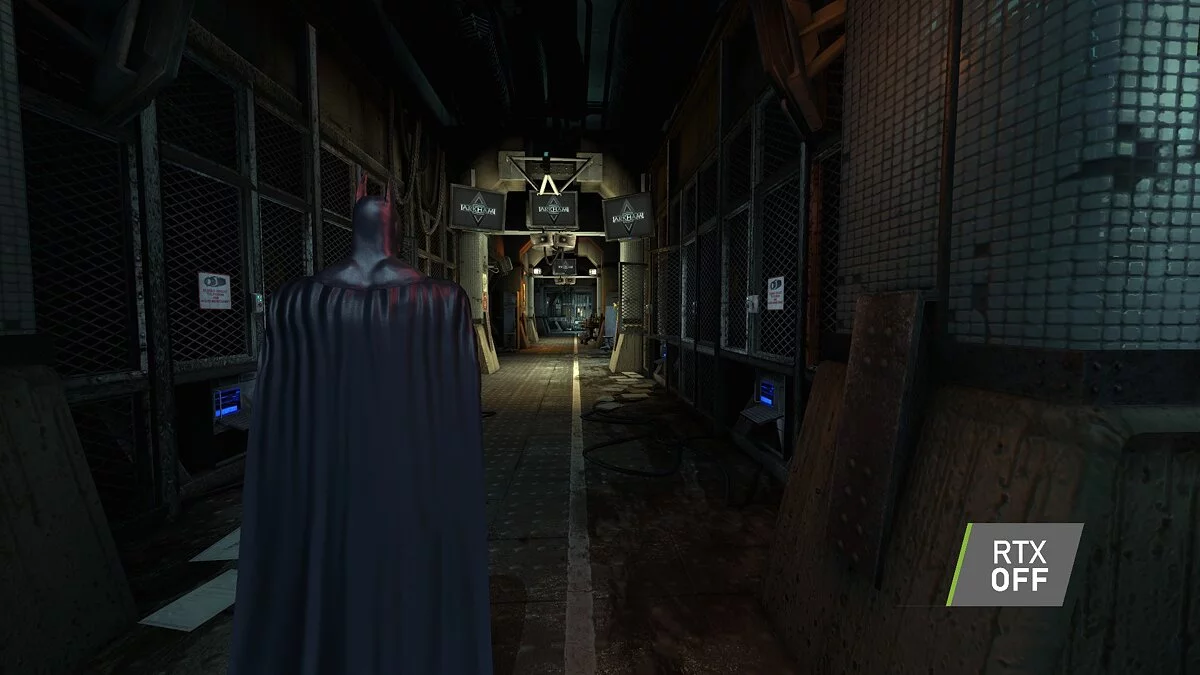
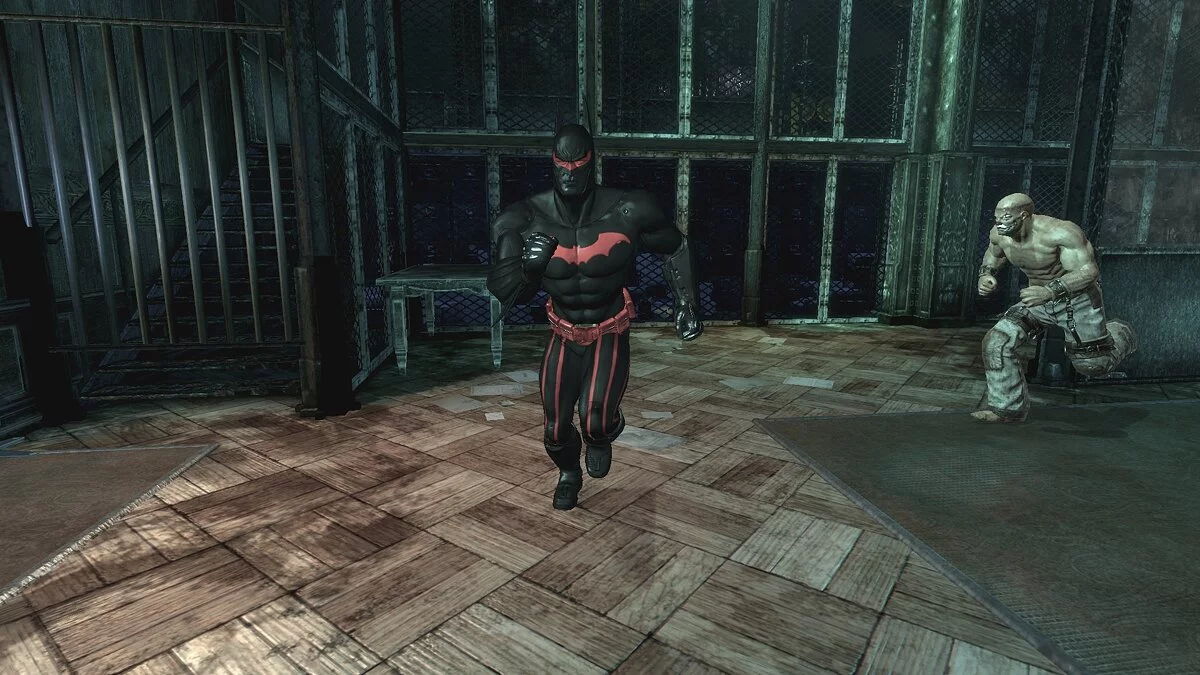
The End's Beginning - ReShade Preset.
Own author's ReShade with RTGI + SSR.
Installation instructions:
Before we start for the RTGI + SSR effects, they can only be obtained from Pascal Gilchers Patreon https://www.patreon.com/mcflypg. These are optional, but the main visual improvements to my preset come from them.
Step 1: Install ReShade https://reshade.me/ Select all options during installation (the game executable is called shipping pc -bmgame.exe and is located in STEAM - STEAM APPS - COMMON - BATMAN ARKHAM ASYLUM GOTY - BINARIES)
Step 1.1. If you purchased the RTGI shaders described above, copy and paste them into ReShade. The Shaders folder, which will be in the game folder.
Step 2: Download my preset and extract it.
Step 3. Copy and paste my preset into the game folder where you just installed ReShade.
STEAM - STEAM APPS - COMMON - BATMAN ARKHAM ASYLUM GOTY - BINARIES
Step 4. IMPORTANT. Before we launch the game, if you are using an RTGI shader, we may need to set the correct depth buffer after opening ReShade and running the shader. In-game anti-aliasing must be OFF for the depth buffer to work. My preset smooths and cleans up the image with SMAA and Gaussian Blur, so don't worry about having to turn anti-aliasing off.
Step 5: Launch the game and open the ReShade menu using the M key (if that doesn't work, it will be the HOME key)
Step 6: Select my preset from the dropdown menu. The preset can be turned on and off with the N key.
Step 7: If the RTGI + SSR effects are not working, you need to properly configure the depth buffer in ReShade. Please see the screenshot and the highlighted box that needs to be checked. This should fix the depth buffer. If you're still having trouble with the depth buffer, there are plenty of YouTube videos explaining how to set it up.
The End's Beginning — ReShade Preset.
Собственный авторский ReShade с RTGI + SSR.
Инструкции по установке:
Прежде чем мы начнем для эффектов RTGI + SSR, их можно получить только у Pascal Gilchers Patreon https://www.patreon.com/mcflypg.Это необязательно, но основные визуальные улучшения моего пресета происходят из них.
Шаг 1. Установите ReShade https://reshade.me/ Выберите все параметры при установке (исполняемый файл игры называется shipping pc -bmgame.exe и находится в STEAM — STEAM APPS — COMMON — BATMAN ARKHAM ASYLUM GOTY — BINARIES)
Шаг 1.1. Если вы приобрели шейдеры RTGI, описанные выше, скопируйте и вставьте их в ReShade. Папка Shaders, которая будет в папке с игрой.
Шаг 2. Загрузите мой пресет и распакуйте его.
Шаг 3. Скопируйте и вставьте мой пресет в папку с игрой, в которую вы только что установили ReShade.
STEAM — STEAM APPS — COMMON — BATMAN ARKHAM ASYLUM GOTY — BINARIES
Шаг 4. ВАЖНО. Прежде чем мы запустим игру, если вы используете шейдер RTGI, нам может потребоваться установить правильный буфер глубины после открытия ReShade и запуска шейдера. В игре сглаживание должно быть ОТКЛЮЧЕНО для работы буфера глубины. Когда он включен, я не смог заставить работать буфер глубины. Мой пресет сглаживает и очищает изображение с помощью SMAA и размытия по Гауссу, так что не беспокойтесь о необходимости отключить сглаживание.
Шаг 5. Запустите игру и откройте меню ReShade с помощью клавиши M (если это не сработает, то это будет клавиша HOME)
Шаг 6. Выберите мой пресет из выпадающего меню. Предустановку можно включать и выключать клавишей N.
Шаг 7. Если эффекты RTGI + SSR не работают, необходимо правильно настроить буфер глубины в ReShade. См. снимок экрана и выделенное поле, которое необходимо отметить галочкой. Это должно исправить буфер глубины. Если у вас все еще есть проблемы с буфером глубины, есть множество видеороликов на YouTube, объясняющих, как его настроить.
Useful links:


![Batman: Arkham Asylum — Trainer (+9) [1.0] [testhawk]](https://files.vgtimes.com/download/posts/2017-11/thumbs/1510089619_jpg.webp)


![Batman: Arkham Asylum — Save / SaveGame (Completed the entire campaign, everything is open) [Version without Games for Windows Live]](https://files.vgtimes.com/download/posts/2017-07/thumbs/1501181959_1501181910_334.webp)
![Batman: Arkham Asylum — Trainer (+10) [1.0] [testhawk]](https://files.vgtimes.com/download/posts/2017-11/thumbs/1510089607_jpg.webp)