Dying Light - Enhanced Edition
Dying Light — Enhanced Edition — a collection that will include the original Dying Light and The Following add-on. Players have access to a large and... Read more
Cheat Mod (Developer Menu) [1.49]
-
1656244935_dying-light-dev.rarDownload 52.04 kBArchive password: vgtimes
Lately everyone has started to notice that most dev. menu stopped working. Now I will tell you step by step how to install a working dev. menu.
Step 1
Download this archive.
Step 2
Place files dide_mod.ini and dsound.dll to the root folder of the game, for example: D:SteamsteamappscommonDying Light.
Step 3
In the root folder of the game there is a folder called DW, put the file there Data6.pak.
Step 4
Let's go to the file dide_mod.ini and at the very bottom in front of DWData6.pak=1 delete what is written there and write your path to the root folder of the game, for example: D:GamesDying Light. The result should look something like this: D:GamesDying LightDWData6.pak=1.
Step 5
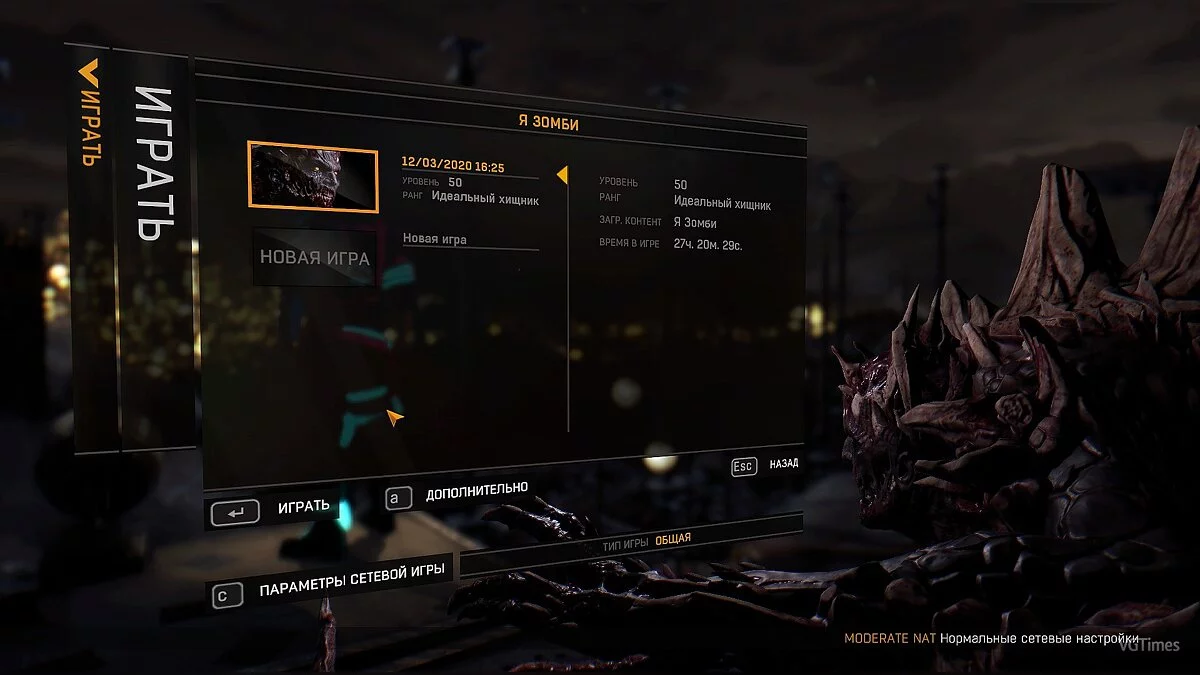
We go into the game, load the save, click on esc, then to additionally and use dev. menu.
В последнее время все начали замечать, что большинство dev. menu перестали работать. Сейчас я вам расскажу пошагово, как установить рабочее dev. menu.
Шаг 1
Скачать этот архив.
Шаг 2
Поместить файлы dide_mod.ini и dsound.dll в корневую папку игры, например: D:SteamsteamappscommonDying Light.
Шаг 3
В корневой папке игры есть папка под названием DW, помещаем туда файл Data6.pak.
Шаг 4
Заходим в файл dide_mod.ini и в самом низу перед DWData6.pak=1 удаляем то, что там написано и прописываем свой путь к корневой папке игры, например: D:GamesDying Light. В итоге должно получиться примерно так: D:GamesDying LightDWData6.pak=1.
Шаг 5
Заходим в игру, загружаем сохранение, нажимаем на esc, потом на дополнительно и пользуемся dev. menu.
Useful links:
![Dying Light - Enhanced Edition — Cheat Mod (Developer Menu) [1.49] / Cheat Mods / Cheats Dying Light - Enhanced Edition — Cheat Mod (Developer Menu) [1.49] / Cheat Mods / Cheats](/uploads/games_previews/49439/dying-light-enhanced-edition_vgdb.jpg?1669019837)
![Dying Light - Enhanced Edition — Cheat Mod (Developer Menu) [1.49]](https://files.vgtimes.com/download/posts/2022-06/thumbs/1656246087_c8bf7ab6961467de104ceacaa45b3ef4cf703791642efd22840b27b0ea60a601_product_card_v2_mobile_slider_639.webp)
![Dying Light - Enhanced Edition — Save [1.30] (Game completed 100%, maximum money)](https://files.vgtimes.com/download/posts/2020-09/thumbs/1599578795_1599578762_545.webp)
![Dying Light - Enhanced Edition — Saving [Epic License]](https://files.vgtimes.com/download/posts/2023-03/thumbs/dying-light-licenzija-epic-games_1679053115_40262.webp)
![Dying Light - Enhanced Edition — Saving (Easy start, Max Skills...) [1.30.0]](https://files.vgtimes.com/download/posts/2020-08/thumbs/1598608996_1.webp)
![Dying Light - Enhanced Edition — Trainer (+28) [1.10 - 1.43]](https://files.vgtimes.com/download/posts/2021-06/thumbs/1623428564_clnilh4es02a7ntyg3rgwg.webp)
