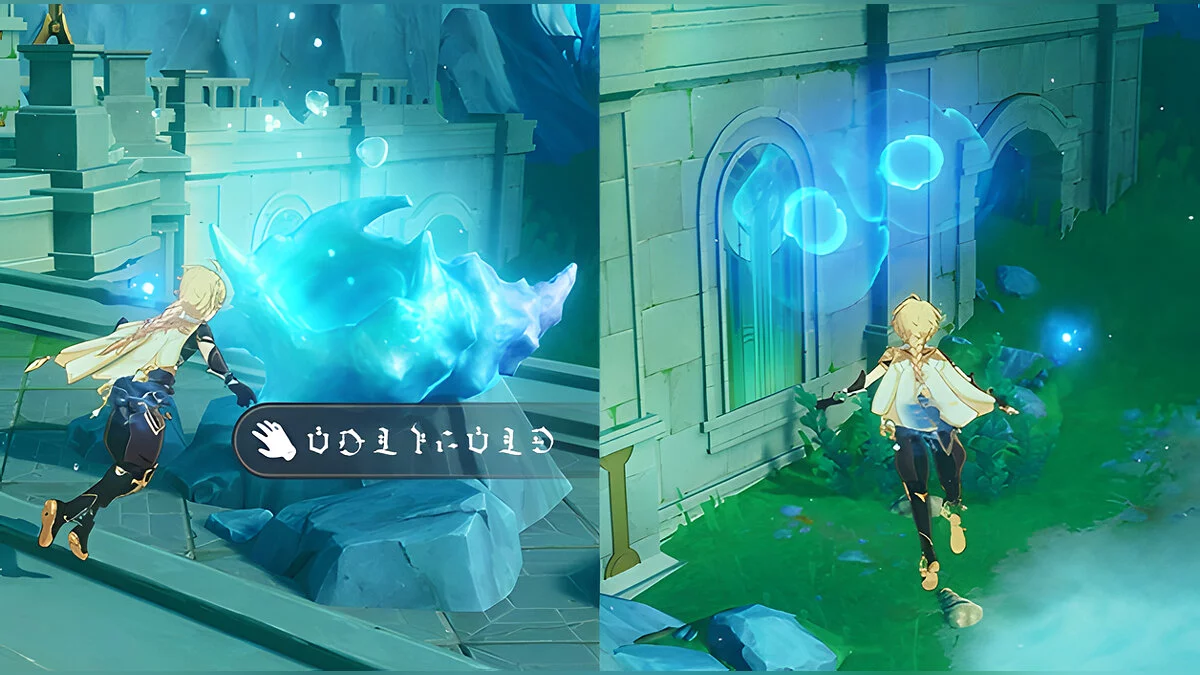
Riddles, Puzzles, and Secrets of Fontaine in Genshin Impact
Unlike other regions in Genshin Impact, Fontaine features multi-level puzzles, solving which can reward you with several rich, precious, and even luxurious chests. Currently, only a small part of Fontaine is accessible, but we have already prepared a comprehensive list of riddles, secrets, and puzzles that you can solve to earn great rewards.
In this guide, you will find all the riddles, secrets, and puzzles whose solutions will allow you to unlock chests of various rarities. We will explain how the puzzle mechanics work in the Fontaine region, as well as some underwater mechanics. If you encounter any difficulties, can't solve a particular riddle, or wish to contribute to the material, be sure to write about it in the comments — we will try to help every reader in a timely manner.
Note: We are still updating this guide, and it will be further refined with the release of new locations in the Fontaine region.
How to Solve Pneumasia Energy Puzzles
In Fontaine, you will definitely encounter various blocks and puzzles related to the elements of Pneuma and Usia:
- Pneuma — yellow color;
- Usia — purple color;
- Balance — green color.
Interacting with the opposite property will change the element's state. Combining pneuma and usia will result in an energy state of balance. This averaged state is often necessary to achieve.
How and Why to Open Pneumasia Storage Boxes — How to Solve the Puzzle with the Hot Lake in the Beryl Area and Cool the Lake
On land and in water, you can often find energy boxes for storing pneumasia. They can only be opened with a specific energy — either pneuma or usia. Which one exactly will be for you to figure out on the spot. Once you open the box, you'll gain access to the opposite element or another object that will help solve the puzzle.
For example, to solve the puzzle on one of the islands with a pneumasia storage box, you first need to pick usia and hit the box.
This will reveal a water level reconnaissance crystal. Send it to the locked chest, then find a second crystal nearby and also send it to the chest.
Finally, find the last reconnaissance crystal, hidden behind thorny branches on the opposite shore. You can get rid of them using the Pyro element.
Now return to the chest and pick up the unique hydrogranum. There is only one, but it won't stop us from making a Hydro core out of it. Just use any Hydro ability or stand in water.
When the core appears, the Hydro element will start affecting the area around the character. Stand in a way that you capture all three reconnaissance crystals at once and stop for a few seconds.
This way, you will be able to not only unlock the precious chest but also activate the teleport to the nearest hidden cave.
Once in this cave, you will understand why the lake is constantly hot. Simply inspect the central part of the mine. Here, you will also need to solve another puzzle. On the left side of the location, there is a hydrogranum that you first need to turn into a core, then place it in the first vessel. This will extinguish the fire. To turn a hydrogranum into a core, quickly use several Hydro attacks in succession.
Now run to the left side and find three explosive barrels. Get rid of them to gain access to the hydrogranums. Do not use all three at once — better to divide them, create cores, and place them in vessels next to the fires.
Use the Hydro element on the pedestal to fill the cave with water and cool the lake.
Now head in the opposite direction from the entrance, where an underwater boss — the Iron Viscount awaits you. Defeating him, you will earn the achievement Iron Viscount in the Wonders of the World section. Here, you will also find the Fontaine Current. If you do this for the first time, you will receive the achievement Twenty Thousand Leagues Under the Water. Inspect the precious chest, and you can return to the surface and open another luxurious chest in the lake.
In addition, you will also earn the achievement Cooling the Hearth in the Wonders of the World category.
How to use water level reconnaissance crystals
These crystals were created to measure the humidity of the surrounding environment, however, it turned out that they only measure their own humidity and react accordingly.
To achieve some effect from such a crystal, you need to continuously use the Hydro element on it. For this, you can use the corresponding heroes or unusual hydrogranums, previously creating a Hydro core. A specific example can be found in the previous section.
How to use unusual hydrogranums
Hydrogranums closely resemble anemogranums, but they can only be found in Fontaine. After merging, they create a Hydro core, however, even a single hydrogranum can be turned into a core using the Hydro element. Just use an elemental skill, elemental burst, or simply walk through water several times to get a whole core from one unusual hydrogranum.
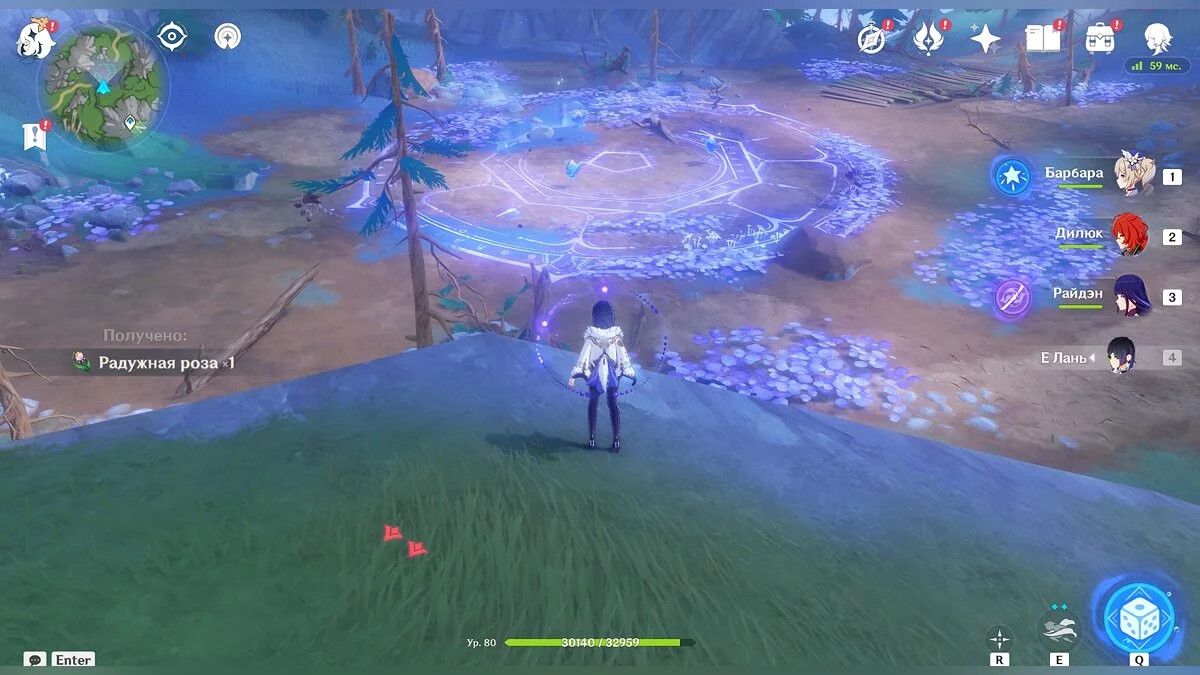
What is a Beast Rift
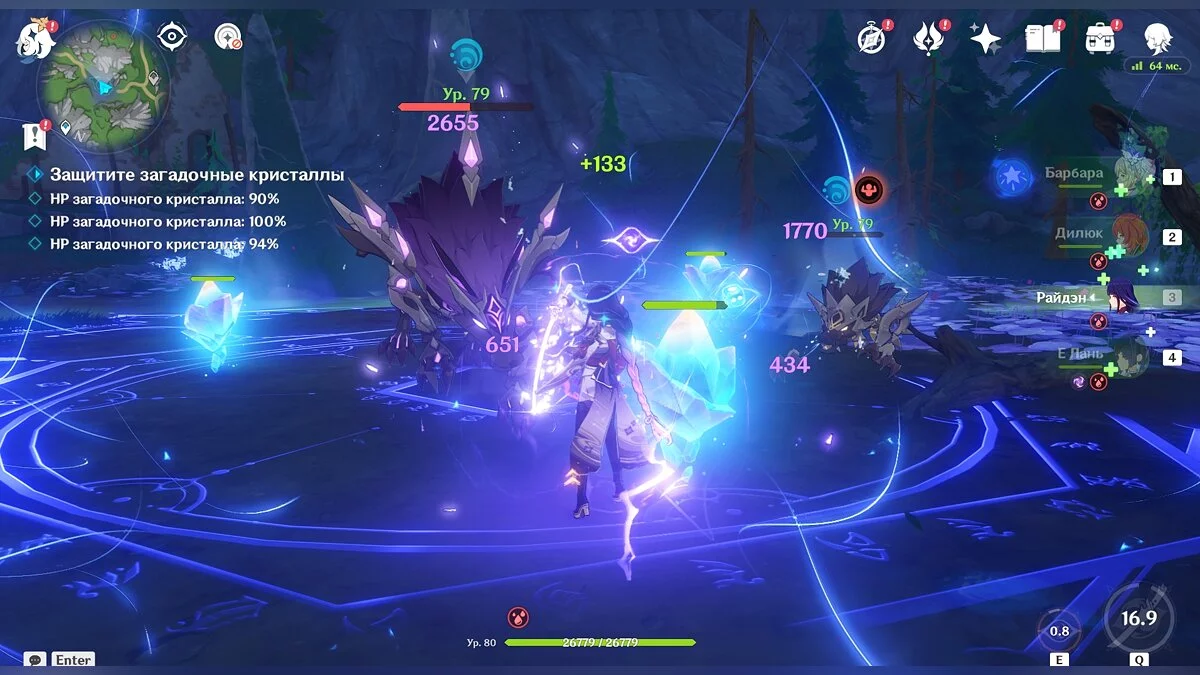
In some places, you can find magical information left by an unknown creature. It summons monsters from other worlds, which will try to destroy the crystals containing the information. Usually, there are several such crystals.
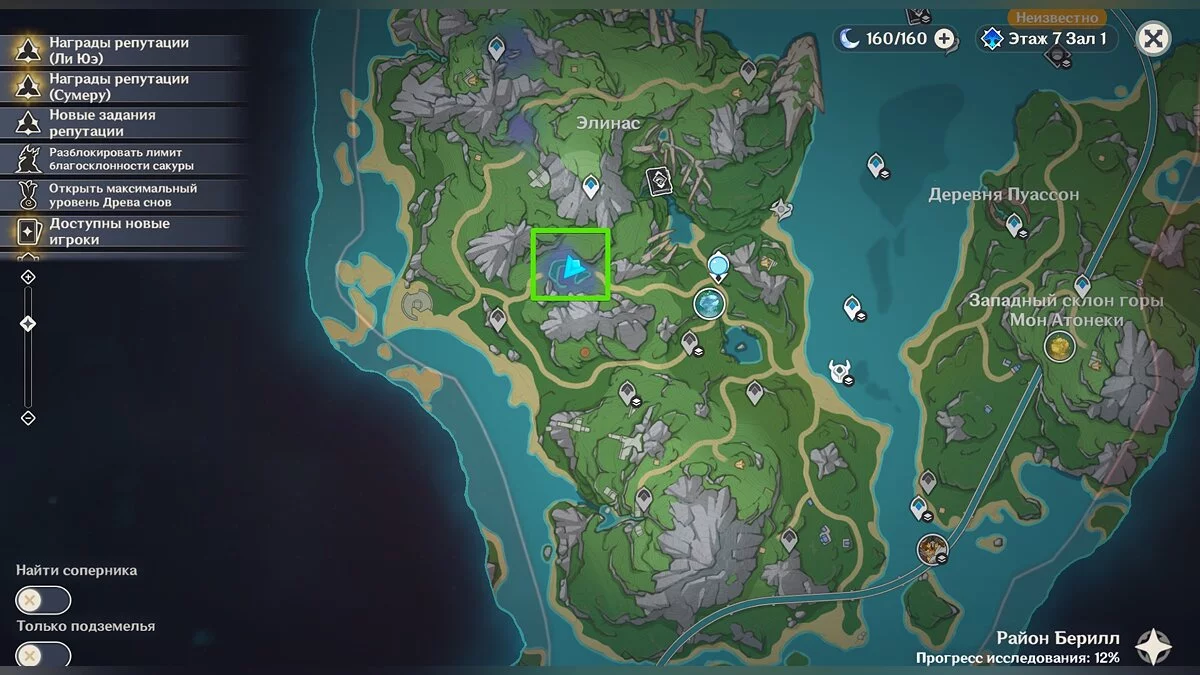
For example, a beast rift can be found in the Beryl area, near the statue of the Hydro Archon.
Simply approach it to summon the monsters and fight them. There may be five to seven waves of enemies, and at the end of the battle, you will definitely face an elite opponent.
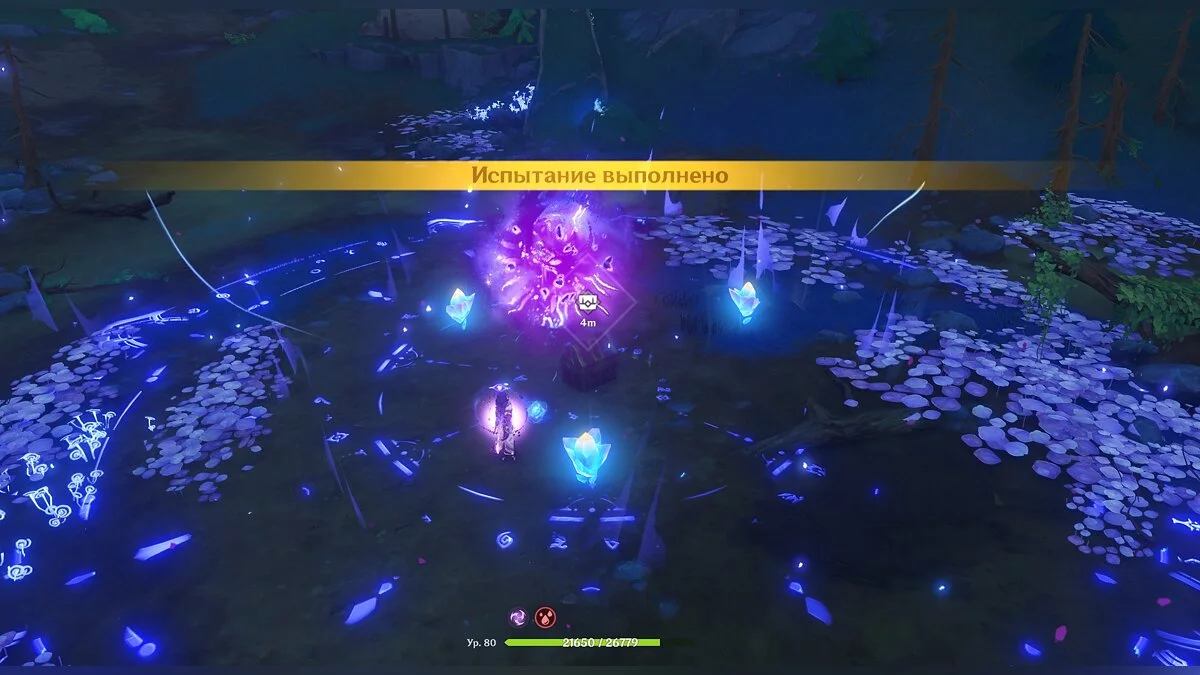
Upon completing the challenge, you will receive a precious chest.
How and Why to Use Ocean Currents
Ocean currents are rare, but they allow you to overcome a certain underwater section in only one direction. When the current is activated, you cannot fully control your character, but you can interact with the Right and Left keys, as well as Up and Down.
What are Sonar Resonance Points
When exploring the ocean depths, you can use the abilities of xenomorphic puffballs to interact with sonar resonance points. They appear as a small blue glow, which you need to direct the puffball's ability towards. This way, you can find unexpected treasures and valuable items.
What are Echolusks
These special bio-devices will help you find hidden treasures, various items, and valuables nearby. Simply interact with them, then look around — you will notice marked invisible items.
What are Pululusks and How to Destroy Them
Some puzzles will also involve pululusks — cunning sea creatures that shoot at the hero when he approaches within a certain distance. You cannot get rid of the creatures using a regular attack, but you are entitled to use the abilities of the xenochromic armor crab to capture the fired projectile and send it back to the creature.
How to Defeat the Scarlet Pesterer
The Scarlet Pesterer is another creature that appeared with the 4.0 update. It is a small plant that attacks anyone who comes within a certain distance. You need to attack it, then destroy all the small pesterers. Otherwise, the enemy will constantly respawn.
Some puzzles may be related to these creatures. For example, you will definitely have to destroy them to gain access to various mechanisms or chests.
Some challenges will also involve several similar enemies at once. To get rid of three or more Scarlet Pesterers, you need to use the ability of the xenochromic jellyfish. Throw a bomb at one enemy and swim up to two that are located close to each other. Activate the charge and finish off the remaining ones with regular attacks (LMB).
What is a Stabilizer and How to Use It
Another device that can be found in Fontaine. To fix it, just wait until the ring is in the control zone, illuminated in blue, then apply a basic attack.
First, you have to activate the stabilizer (it will glow red). For this, you need to find an energy block nearby. However, you may also need to use pneumasia energy.
For example, by following this principle, you can open a precious chest in the East Slope of Mount Esus region. Find pneumasia energy and use it to activate the teleport. On the tower's roof, pick up the energy block and place it next to the stabilizer. Complete the challenge and claim your reward.
Bello District. How to Find Three Fairies and Get a Luxurious Chest
Between the first two teleports in this area, you can find several huts, near which treasure thieves dwell. Here, you will also see three cages with fairies. Deal with the enemies and release the fairies — for this, simply interact with the doors.
Now, just lead the fairies to the designated point to receive two regular chests and one luxurious.
Beryl District. How to Solve the Puzzle and Get a Luxurious and Precious Chests
The next combined puzzle is located in the Beryl District. Proceed to the point marked on the map and find three crystals, near which there are hydrogranums.
If you don't have a Hydro element character, you can find the third hydrogranum behind the wall to the left. When you create a core, use it on the crystals to open the grate.
Here, you will also find a fairy, which you need to lead to a pedestal nearby. Use the teleport.
You will arrive at three pedestals, where you will need to fight several elite enemies. Once you do this, you will need to find two more fairies.
The first one is in the opposite tower. Approaching it, the grate will close — you need to return and use the teleport. You need to reach the fairy through a hole in the roof.
The last fairy is hidden in a locked tower, next to which there are several pneumasia blocks.
Climb up to the hole on the right side from the entrance and defeat several enemies. They will drop the necessary elements. Apply them to the blocks to create a state of balance and open the grate.
Lead the last fairy to the pedestal to receive a precious chest. However, the challenge doesn't end there. A teleport will appear at the chest's location, leading you to a luxurious chest. To get it, jump on the platforms, and also pick up the Hydrocul.
Beryl District. How to Solve the Pneumasia Mechanic Puzzle and Get a Precious Chest
Head to the area we marked on the map and find a pneumasia block. Nearby, you will see ussia energy, interact with it, then hit the block. After that, several monsters will appear — deal with them.
Repeat the actions several times with different elements. After the third time, the block will disappear, and a chest will appear on the ground.
In addition to the usual rewards, you will also receive a Mysterious Core. This is just one of the seven similar puzzles that need to be solved to get all the cores.
Beryl District. How to Open a Luxurious Chest with the Help of Four Fairies
Reaching the next chest is not easy — you will have to start the Ancient Colors world quest to enter a unique area. After that, you also need to find three lost pages. When you reach the Secrets of the Revelation Book quest, you will be in the right area and can find the chest. However, it is locked by a seal. It can be removed with the help of four fairies.
The first fairy will appear when you complete the challenge of collecting hydro particles on time. It will be standing on a broken bridge on the right side.
Approach the chest and look down. Here you will also see a challenge where you need to defeat two elite monsters. Do so, and the fairy will appear.
The next two challenges are on the opposite side from the chest in front of you. There are various ways to get there. We recommend first completing the challenge on the destroyed bridge above.
Then, as soon as you open a common chest and interact with the third fairy, descend to the last challenge.
Return to the chest and claim its contents.
Elton's Hollow. How to Get Two Precious Chests
In the central part of the underwater Fountain, you can find a large hollow with explosive barrels. This place is also home to a large number of hostile creatures. To get two precious and one luxurious chest, you simply need to eliminate them all.
It is recommended to acquire the abilities of a xenochromic puffball, as they will allow you to quickly deal with the enemies. Fortunately, puffballs live nearby.
Elton's Hollow. How to Get a Precious Chest and a Secret Achievement
Head to the marked area and find a deep hollow. Near the bottom, a huge puffball — the local boss — resides. You need to defeat it to get a precious chest and the achievement The Fading Old Soldier.
You can use any abilities of xenochromic creatures, but we recommend borrowing specifically the puffball's skills. This is because the boss will occasionally become invisible — an area attack will help detect it.
Elton's Hollow. How to Get a Precious Chest
Exploring the area marked on the map, you may discover a bridge under which there are several glowing stone blocks. They need to be broken using the crab's ability to gain access to three statues.
Nearby, on a ruined building, there is an ussia energy block — use it only on the middle stone. If you open the right one, an explosive barrel will appear, and the left one — a large crab.
Chemin-de-Lespor. How to Solve the Pneumuse Puzzle Near the Echolusk
Reach the point on the map and activate the echolusk. You will see two locked chests, one of which is hidden behind a grate in a small tower.
To get inside and obtain the first element, you'll need to find an armored crab and borrow its abilities, then release the shield into the invisible wall.
Use a regular attack to place the pneumuse in the block with ussia. Then, head to the right and swim through a small passage — there's a pneumuse element in the building. Repeat the actions with the second block to open a chest.
Chemin-de-Lespor. How to Befriend a Puffball, Earn a Hidden Achievement, and a Luxurious Chest
In the southern part of the underwater region of Chemin-de-Lespor, you can find a young puffball hidden in a small building. Right in front of the building, there's a puzzle with pneumuse blocks. Solve it to receive a luxurious chest. To do this, you need to activate the blocks in a specific sequence.
When you reach the spot marked on the map, read the scientist's notes at the entrance. From them, you will learn about the puffball left by the research group. It is very weak now — feed the creature fish.
The animal will feel better, but you will need to return after some time. According to our observations, at least an hour of real time must pass before you can interact with the creature again.
In subsequent times, Grapey will refuse food. To feed it, complete small tasks — free nearby puffballs from threats.
On the third or fourth time, you will no longer need to help Grapey's kin. Simply interact with it and watch as it grows. After that, the creature will swim into the open sea, and you will receive the achievement Puffball Evolution Theory and a luxurious chest.
While exploring the same region, you will be able to meet Grapey again. This will not affect the game.
Chemin-de-Lespor. How to Get a Luxurious Chest
In the center of this region, on a ruined bridge, stands a luxurious chest. You can see it from the teleport.
To open it, you need to complete three challenges nearby. The first one is right next to the chest (a timed challenge). You need to collect 40 hydro particles within 2 minutes. Just follow the particles and use the teleports. When you find yourself above the water, descend through the platforms and collect the last particles.
A luxurious chest will appear right next to the second timed challenge. For this challenge, you'll need the abilities of a xenochromic puffball and find four shells.
From the second challenge, swim down. Here you'll see the last task, where you need to destroy all items within the allotted time. When you do this, a luxurious chest will appear, and access to the luxurious one will be unlocked. In addition, we received the achievement Do You Believe in Delight?.
Cour-de-Fonteyn. How to Open the Luxurious Chest Under the Dome
Use the teleport to the area to the right of the city walls and find the chest hidden under a hydro dome. To get rid of the dome, you need to complete three small challenges — the teleports are highlighted with a special glow, so you won't get lost.
For the first challenge, you'll need an archer. Shoot the crystal, after which platforms will appear. Go to the end and shoot again. Repeat the actions until you find yourself next to a luxurious chest.
In the second challenge, you will need to defeat two monsters.
The last challenge is a speed test. When you enter the portal, you'll find yourself at the next one, which you need to activate in time. Do this three times. Eventually, you'll reach a platform with a luxurious chest.
Return back to the luxurious chest and claim your reward.
Cour-de-Fonteyn. How to Solve the Fairy Puzzle and Get the Luxurious Chest
Head to the northeastern part beyond the city of Cour-de-Fonteyn and reach the coast. Here you will see a luxurious chest sealed, and also two fairies nearby.
Near these two fairies, there are two crystals, as well as a vessel for a Hydro core. Collect three hydrogranums (or one, from which you can create a core using the heroes' abilities), then place it in the vessel. First, approach one fairy, then the other. The fairies will unlock the crystals, but the core must already be in the vessel, as the fairies will return to their places after a while.
The creatures will go to their stands and unlock access to the luxurious chest. However, solving the puzzle does not end there.
Behind the luxurious chest, there are also crystals and several hydrogranums. Create a core and activate both crystals at once. Using the core, you need to bring the crystals to the end of the newly appeared platform, open the luxurious chest, and find the third fairy.
The last fourth fairy is located on a small spit nearby. Here, you will also see a wondrous chest, next to which are several monsters. Kill them, bring the fairy to the stand and collect the luxurious chest.
Saloss Sea Plateau. How to Remove the Dome with Echoing Conch Using Fairies to Get the Luxurious Chest and Geoculus
In the central part of the Saloss Sea Plateau, you can observe an echoing conch locked behind a Hydro dome. To unlock it, you will need to find three fairies nearby. The order in which you bring the fairies does not matter.
The first is behind a stone barrier near the shipwreck debris. It's important to break the distant stone, as a skate is hidden under the closer one. Each fairy, upon being found, will head to an accelerating ring. You just need to approach the ring for the fairy to continue its movement to the echoing conch dome.
The second fairy is hidden in a pneumusia storage chest. It can be opened using the energy of usia, hidden nearby.
The last fairy can be found at the ship's bow wreckage — it's held by two skates.
When the three fairies are at the stands, you will be able to interact with the echoing conch and watch a cutscene, after which a luxurious chest will appear in its place.
But a teleport will also remain in place of the chest — interact with it to obtain a Geoculus. It is impossible to reach this item by any other means.
Salos Sea Plateau. How to Access the Precious Chest and Locked Hydroculus
Head to the specified area and find a small building that once belonged to the Fontaine research group. You will notice that the entrance is blocked and highlighted in red. To open it, you'll need to solve two small puzzles.
Turn the screen to the right and find the Wondrous Floating Orb, which a stream of water is directed at. Nearby, find a xenochromic armor crab, borrow its abilities, and activate the shield. Then, use the shield to block the water stream, allowing the floating orb to reach the ring.
The second similar orb is located to the left of the building. First, use the shield and break the stone barrier that blocks the path to the water stream on the sea floor.
All that's left is to hit the crystal to activate another stream, which will send the floating orb to the ring.
Head to the building's entrance and interact with the two levers. The order does not matter. Once you do this, access inside will be opened.
Salos Sea Plateau. How to Destroy All Pufffruits in 3 Attacks
Near the previous puzzle, you will find a challenge. The player needs to destroy 15 pufffruits in 3 attacks. This can be done using one of the abilities of xenochromic creatures.
Find a xenochromic armor crab nearby — it usually swims next to the challenge icon. But do not use a long-range attack. All pufffruits are divided into three small groups — swim up to each of them and press the E key.
Eastern Slope of Mount Esus. How to Obtain Two Precious Chests and a Hydroculus
Head to the specified location on the map and find a locked cage right in the water. Opposite it, on a small islet, stands a chest with a seal.
On the left bank, find two drops guarding a water level reconnaissance crystal. Defeat them and move the crystal. It will head towards the chest.
On the right bank, there is an unusual hydro flower. Use the abilities of Pyro or Electro heroes to destroy it and find the second crystal.
The last crystal is locked in a cage. To open it, you'll have to defeat several mechanical enemies near the tower and activate the stabilizer. We've already explained how to do this above.
Once the challenge is completed, pick up the power element and place it next to the cage (key T). The energy will power the lock, and you will be able to open it and move the water level crystal.
All three crystals are in place, but the hydro core won't reach all of them at once. You need to create a core and approach the fourth crystal nearby. As soon as the core transfers energy to it, the remaining items will be activated, and you will gain access to the precious chest.
Note: In the same area, you can find a hydrocul. To reach it, climb the tower next to which the stabilizer is located, and find pneuma energy here. Strike the glowing stone with it to open the teleport.
Eastern Slope of Mount Esus. How to obtain the precious chest from the quest In Search of the Past: West
This task can be taken in the northern part of the region. Once you get there, explore the tall tower — inside there will be enemies, but you won't get loot for killing them. Eliminate the opponents on each floor and inspect the locked passage on the staircase.
Open the task journal and press Track Target, then go down to the floor below and read the records on the table.
Now you need to explore two camps in search of clues. One is located on a height, the other in a depression. We managed to find the correct clue in the lower camp, so you can head there and deal with a small group of enemies.
After doing this, return to the entrance of the tower and hit the kettle next to the tent. Enemies will appear, led by Shumilov, who for some reason forbade hitting the kettle.
Having dealt with them, proceed to the top of the tower and activate the stabilizer. You need to find pneuma energy first, open the teleport, and pick up the energy block. Hit it when the ring is in the control zone (marked in blue).
The passage to the very top floor will open, where you can find the precious chest, as well as inspect the device and pick up the perforated tape. Surely, it will come in handy in the next tasks of the world — we will definitely update the guide or provide a link to the new manual.
Eastern Slope of Mount Esus. How to get the luxurious chest, complete three trials, and achieve the Dive Timers and Fluffy Fruit achievement
If you've already explored the tower we talked about in the previous section, then head to the northernmost part of the region and dive underwater. Here you will find a mechanism that will allow you to go through three trainings and get a luxurious chest.
Before starting the challenge, find a jellyfish nearby and borrow its abilities. It doesn't matter which training you start with — you'll have to complete all three.
Acclimation Training
In this challenge, you need to destroy all the fruits with 2 attacks. Use the first bomb to destroy the nearest group, then throw the second projectile into the central group of fluffy fruits.
Standard Training
Four groups of fluffy fruits will appear in front of you with one in the center. Throw a bomb at the central fruit and wait until the other groups are close to it. At that moment, press the E key and detonate the bomb.
Advanced Training
In the last challenge, you also need to destroy the fruits with 2 attacks, but there's nowhere to attach the bombs. Throw one projectile and detonate it when it's approximately near the first or second row of fruits. Repeat the action with the second row. If it doesn't work — try again.
For completing all three challenges, you will receive a luxurious chest, as well as the achievement Dive Timers and Fluffy Fruit in the Wonders of the World section (5 Primogems).
Central Laboratory Ruins. How to get the precious chest near the Hydro Archon statue
In the new area, there are two Hydro Archon statues available. You need to reach the eastern one and activate it. Nearby, there is a waterfall — descend here and examine the crystals in the water.
Here, you will also see the Hydro pedestal, but it's not useful to use it now. First, find the hydrogranum behind the sealed chest and transform it into a hydro core using the corresponding element.
Place the hydro core on the bowl in the water, then apply the water element on the pedestal to attract the crystals. Once they reach it, the seal on the chest will be removed, and you will be able to take its contents.
Central Laboratory Ruins. How to get the precious chest near the stabilizer
In the eastern part of the region, not far from the new boss Experimental Field Generator, you can stumble upon a stabilizer. It will not look different from the others, however, to complete the challenge, you need to hit it only when the ring is passing near a certain point.
Note that after each hit, the speed of the ring's movement decreases or increases. You need to make about ten hits, after which a precious chest will appear.
Central Laboratory Ruins. How to open the dome near the teleport and get the luxurious chest and hydrocul
In the southern part of the Central Laboratory Ruins region on the high ground, you will find a lone teleport. Right next to it will be a large dome, behind which you can see a luxurious chest and a hydrocul.
To get rid of the dome, you need to walk around the surroundings and find two fairies. The first is located near the fast travel point — next to her, there is also a water-level crystal. To have the fairy follow you, it's enough to use the Hydro element on the crystal several times.
The second fairy is on the opposite side of the hill. She is hidden in a strange plant. Use Electro and Pyro elements to destroy it and free the fairy.
Central Laboratory Ruins. How to open the luxurious chest
On the shore under the New Fontaine Research Institute, you will find this puzzle. Here you will see several hydro crystals, as well as special crystals that can be used to move the first ones.
First, hit the crystal on the left, then the one on the right, and place the hydro core in the bowl (hydrogranums are floating next to the staircase). Having done this, wait for the element to spread to all crystals and inspect the chest's contents.
Central Laboratory Ruins. How to complete the quest Treacherous Light from the Depths
Head to the area marked on the map and dive underwater. Here there is a locked passage that can be opened using the ability of a xenochrome jellyfish. Having done this, you will enter a cave where the task begins.
For the quest, you need to find two prisms and place them in the corresponding mechanisms.
The First Prism
From the entrance, run to the central platform, then turn left. Climb up to the locked grate and interact with the console. Select the second chamber, then transfer the energy from the power block at the cage to the block at the grate.
Inside, you will find the first component, which needs to be placed in the mechanism right here, in front of the grate.
The Second Prism
Descend and find the staircase to the ruins on the opposite side. Here, there is a similar mechanism and a console nearby. But this time, no transfer is required. Just climb up to the first chamber and take the prism.
How to Activate and Adjust the Optical Devices
Now, head to the third device and activate it. Then follow the beam to the previous mechanisms and interact with them until the beam moves further.
How to Find the Punch Cards
When the beam passes through the three prisms, a grate below will open, leading to the dungeon. Down there, you will encounter two inactive mechs — break the wall and find the energy block. Install it next to the console to engage the enemies.
After doing so, watch the cutscene with Sevinia and find three punch cards on the shelves. The last one is hidden in a previously locked room, where you broke the wall in search of the energy block.
To complete the quest, simply teleport to the New Research Institute of Fontaine and tell everything to Kisseri. In addition to the main rewards, you will also receive the achievement Where Does the Rainbow Come From?...
Rewards:
- Primogems (40);
- Hero's Wit (2);
- Adventure EXP (300);
- Mora (30,000);
- Mystic Enhancement Ore (3).
Central Laboratory Ruins. How to Get Two Precious Chests
Between two teleport points in the northeast part of the location in the river, you will see a locked precious chest. It can be opened using four crystals scattered nearby:
- Defeat two enemies on the left bank.
- Defeat a pair of enemies on the right bank.
- Destroy the strange hydro flower on the left bank.
- Collect a hydrogranum and turn it into a core to send the last crystal to the chest.
By the way, nearby you can find a combat challenge stele, for completing which you will also receive another precious chest.
Central Laboratory Ruins. How to Solve the Chamber Puzzle and Get the Precious Chest
Upon arriving in this area for the first time, climb the stairs to the ruined building and find the pneuma energy. There's no point in going down to the basement now — the grate is locked.
Use the energy to charge the energy block on the wall to the left and activate the console. Transfer the energy to the chambers, then pick up the nearby empty energy block (red) and place it in the center of the platform.
With the second chamber, transfer energy to this block to carry it downstairs and power the device next to the chest. This will grant you the first precious chest, but later you will be able to open the passage in the basement and find a second one.
At the moment, we do not know how to do this. However, it is likely related to a specific world quest. We will update this guide soon.
New Research Institute of Fontaine. How to Solve the Puzzle with the Crystal and Hydro Statues
Head north of the location. On the coast, you will see a small island, on top of which there is a crystal. Below it, there's also a water level crystal that can be moved from pedestal to pedestal. You need to ensure that all statues are locked with seals. To do this, return to the crystal on the island and switch it so that the next statue in the path of the water level crystal is either locked or unlocked (depending on whether there is a seal on the crystal itself). Once all pedestals have seals, return to the crystal and switch it again. A precious chest will appear under the stone.
New Research Institute of Fontaine. How to Get the Precious Chest
Inspect the area we've marked on the map. Here, you'll find a ruined building, inside of which there is a console, two chambers, and an inactive stabilizer. Use the console to take energy from one block and transfer it to another, after which you can activate the stabilizer.
All that's left is to complete the challenge with the stabilizer for the precious chest to appear.
New Fontaine Research Institute. How to Solve the Water Level Crystals Puzzle and Get the Precious Chest
Upon reaching the area marked on the map, you will see several locked water level crystals, as well as one crystal that can be switched between several positions. In the first position, hydrogranum becomes available, in the second, a bowl for the hydro core appears, and in the third, the last two crystals are unlocked.
First, move the crystal around to make the bowl appear, then create a hydro core and place it inside.
Pick up a hydrogranum and transform it into a second core, also send the crystal to the third position to unlock the last two water level crystals. Use the hydro core to activate them and claim the contents of the precious chest.
New Fontaine Research Institute. How to Get the Luxurious Chest and Hydroculus on the Mountain Top
Head to the fast travel point in the northern part of the location (where there is also a puzzle, the solution to which is described in the previous section). Find a fairy here and lead it to the Anemo statue. Use any Anemo character to activate it and ascend higher.
Fly through several air rings and enter the teleport that will take you straight to the chest with the hydroculus.
We will update this guide soon.
Other guides
- How to Clear the Fog and Break the Seal on Tekoloapan Beach in Genshin Impact
- Secrets, Mysteries, and Puzzles of Natlan in Genshin Impact
- All Luxurious Chests in Natlan in Genshin Impact: Maps, Schemes, and Routes
- Open Your Heart to Me Quest: Find the Secret Cave in Ochkhanatlan in Genshin Impact
- Riddles, Puzzles, and Secrets of Inazuma in Genshin Impact
- Dance in the Moonlight in Genshin Impact: how to find а photographer
- Riddles, Puzzles, and Secrets of Dragonspine in Genshin Impact
- Where to find the Northlander Polearm Billet in Genshin Impact: How to craft the Dragonspine Spear
- How to Get into the Jade Chamber in Genshin Impact
- Walkthrough of Archon Quests in Genshin Impact: Act 4, Chapter 5. The Masquerade of the Guilty
- Spirit-Karpfen in Genshin Impact: Wofür sie gut sind und wie man sie alle findet
- Rätsel, Puzzles und Geheimnisse von Dragonspine in Genshin Impact
- Wo man Mist Flower in Genshin Impact findet


