The Long Dark Full Walkthrough (Episodes 1-5): all Puzzles, Keys, and Caches
: all Puzzles, Keys, and Caches")
Episode 3. Crossroads Elegy
In the third chapter of the Wintermute story campaign for The Long Dark, players take on the role of the pilot Mackenzie's companion. This episode is considered the least favorite among most fans of the game, as it involves performing the same monotonous actions. In any case, in this section, we will tell you how to find the church relic, all Joplin's bunkers, save all survivors, and get achievements for checking all the local residents' tales.
Trauma
At the beginning of the episode, you will meet a woman named Molly. After waking up, you need to inspect the house for clues about this woman.
- In the living room, examine the broken hunting rifle;
- In the study, find a photo of Molly on the desk.
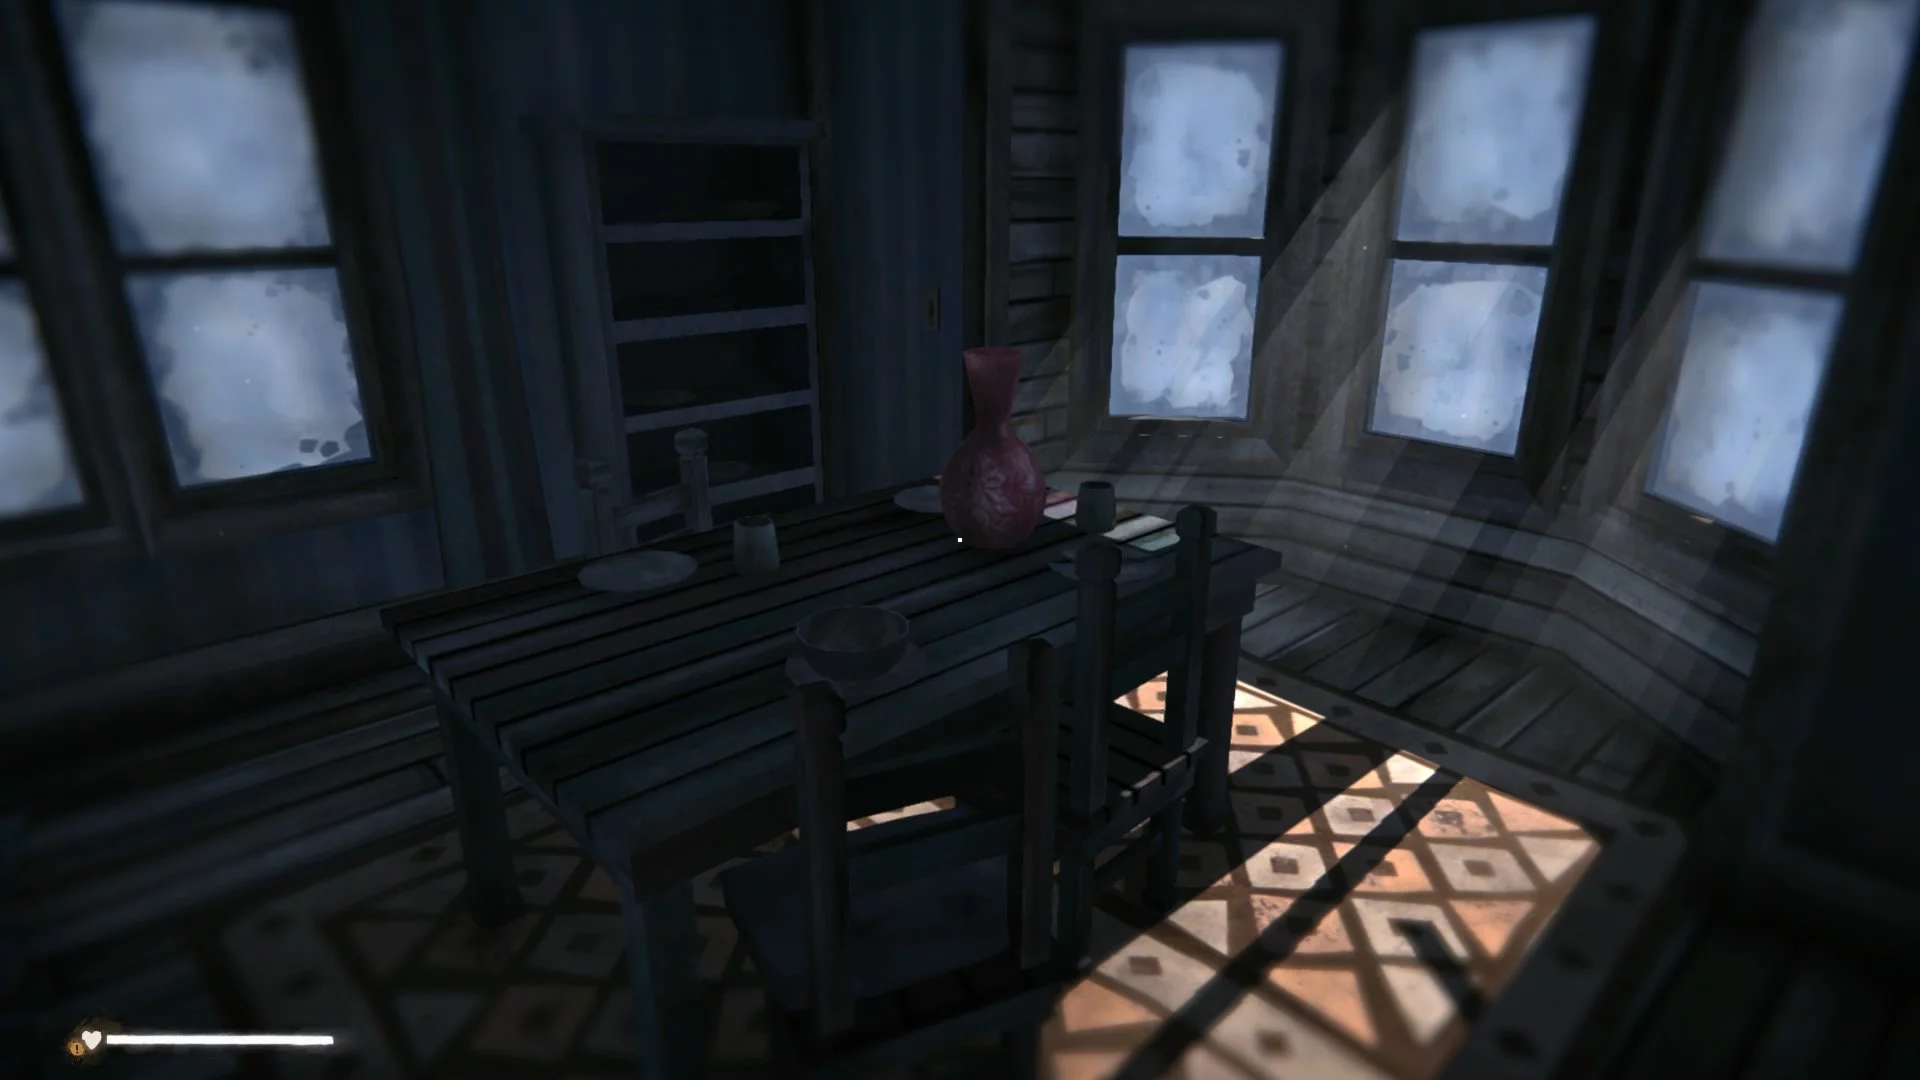
These items will be enough, after which the phone will ring. Answer the call and take the basement key from under the vase on the table in the living room.
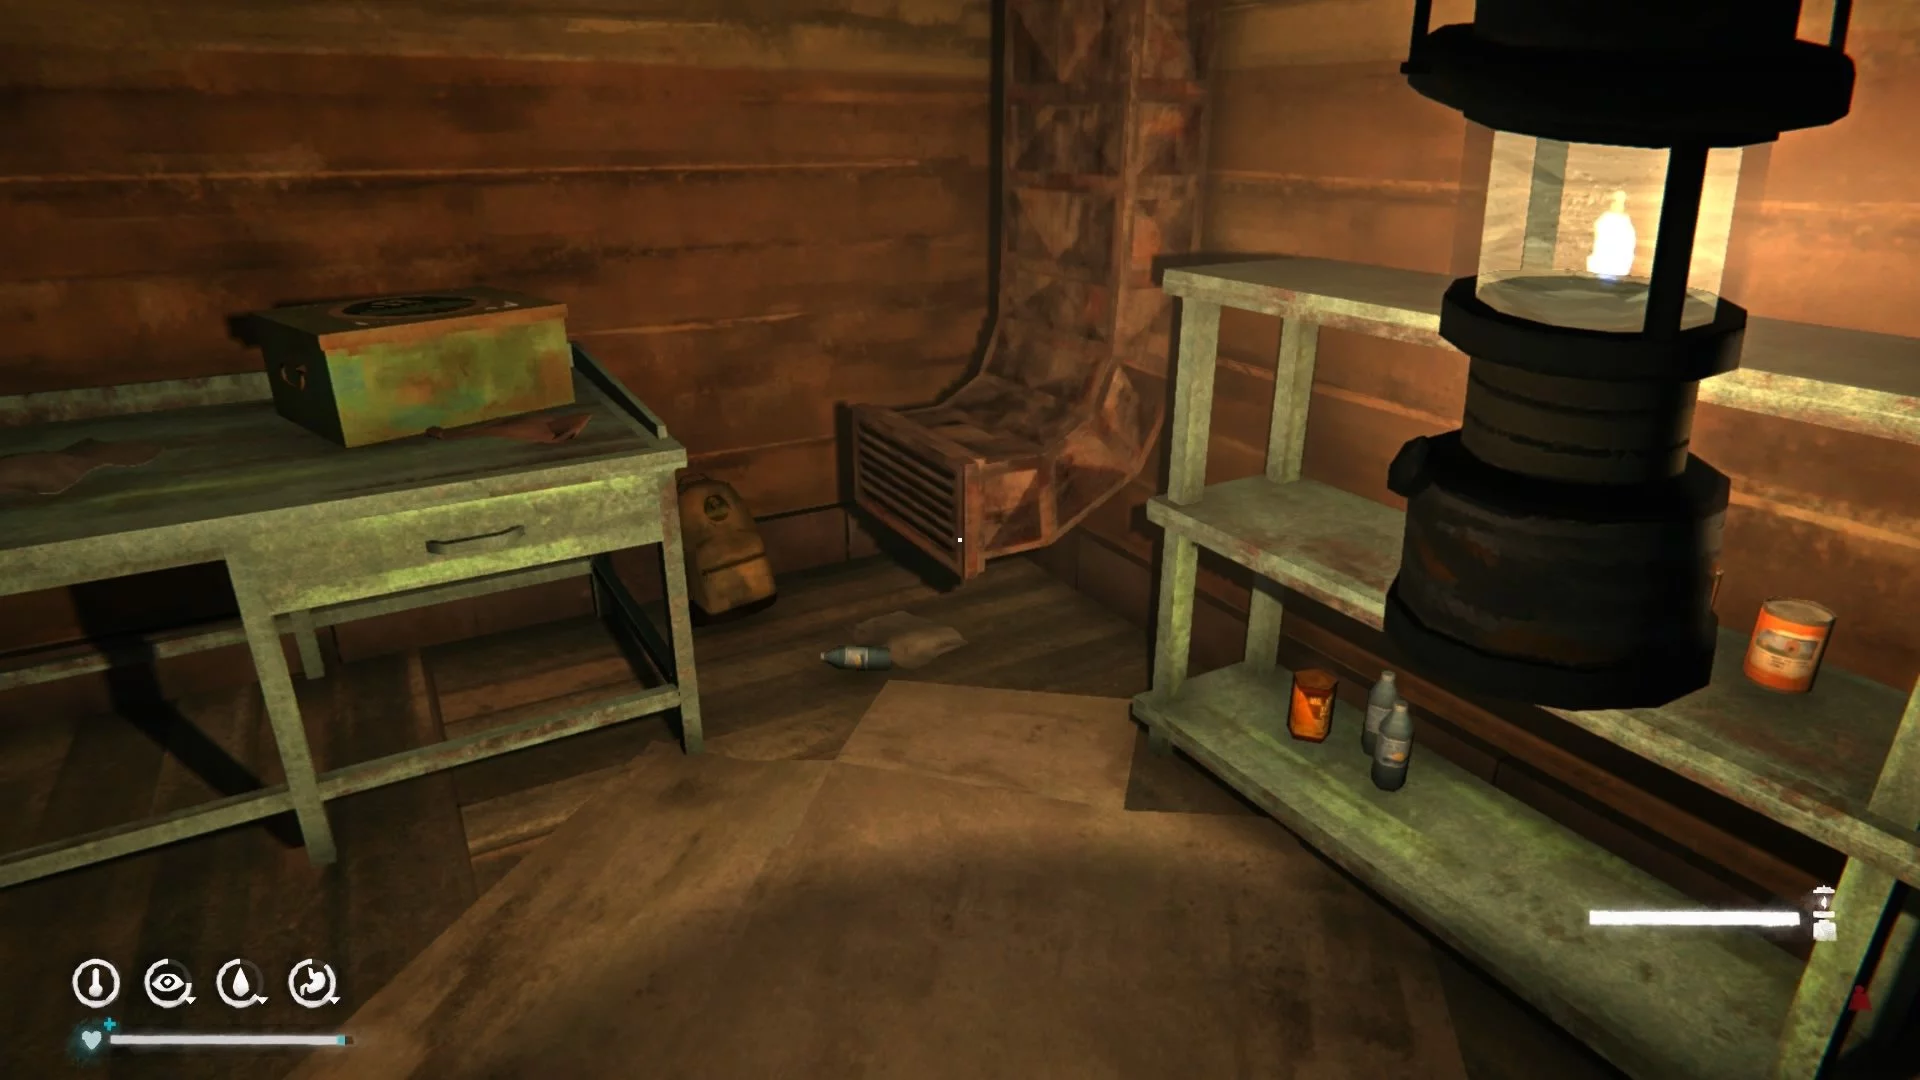
Inspect the basement for valuable items, bandage the wound, and take the clothes. To repair items, find a sewing kit and some rags in the container next to the workbench. Weapons and ammo can be picked up from the gun cabinet.
Outside, follow the small fence with colored bands. Following it, you will reach the barn Molly mentioned. In front of the building, a wolf is waiting — if you don't manage to wound it with a precise shot, it will attack the heroine.
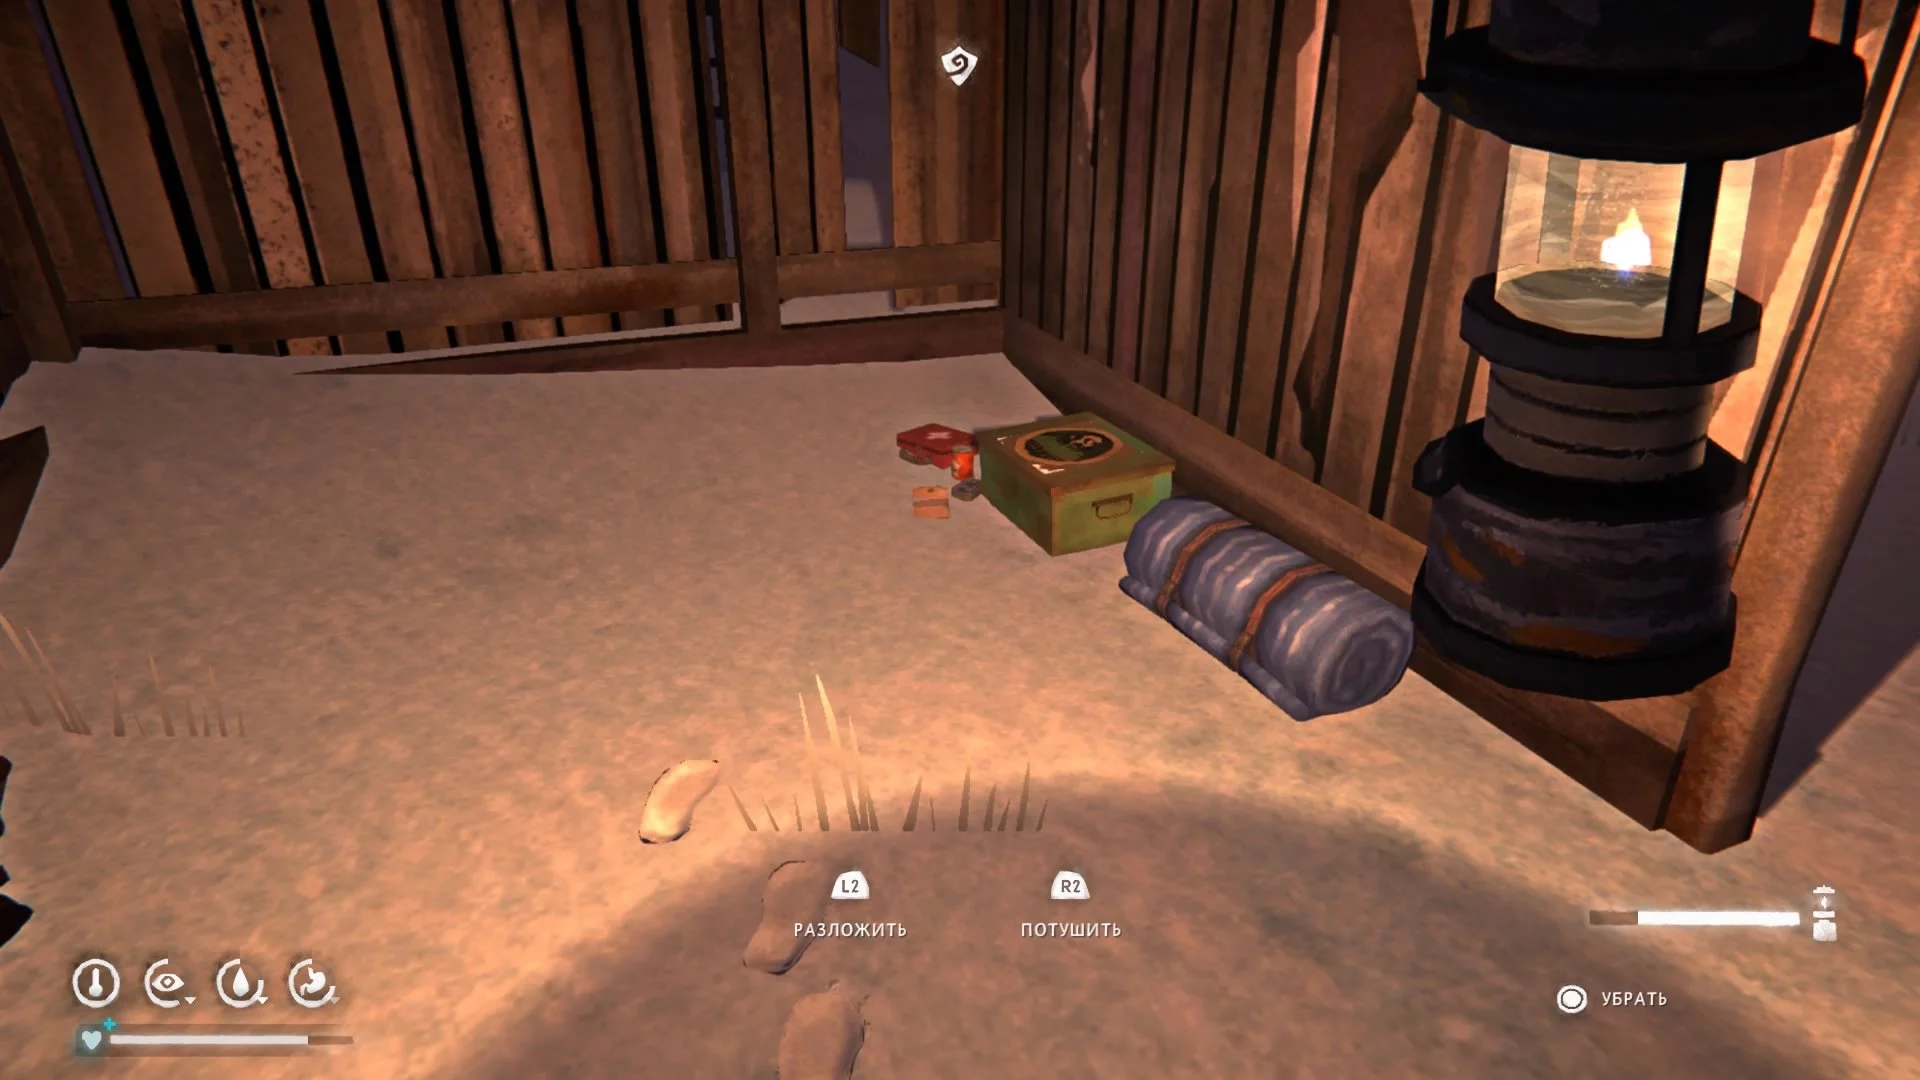
Inside, take valuable items and a sleeping bag. We also recommend lighting a fire to warm up. After talking to Molly on the phone, you will receive a new objective.
It is very cold outside, and your character does not have warm clothes, so we do not recommend exploring the surroundings right now. Instead, head straight to the marker on the map.
Blackrock
Cross the Adrenaline Bridge and find the guard's corpse. It will have a note, and you can pick up a homemade knife from the body. This will also unlock the side activity Blackrock.
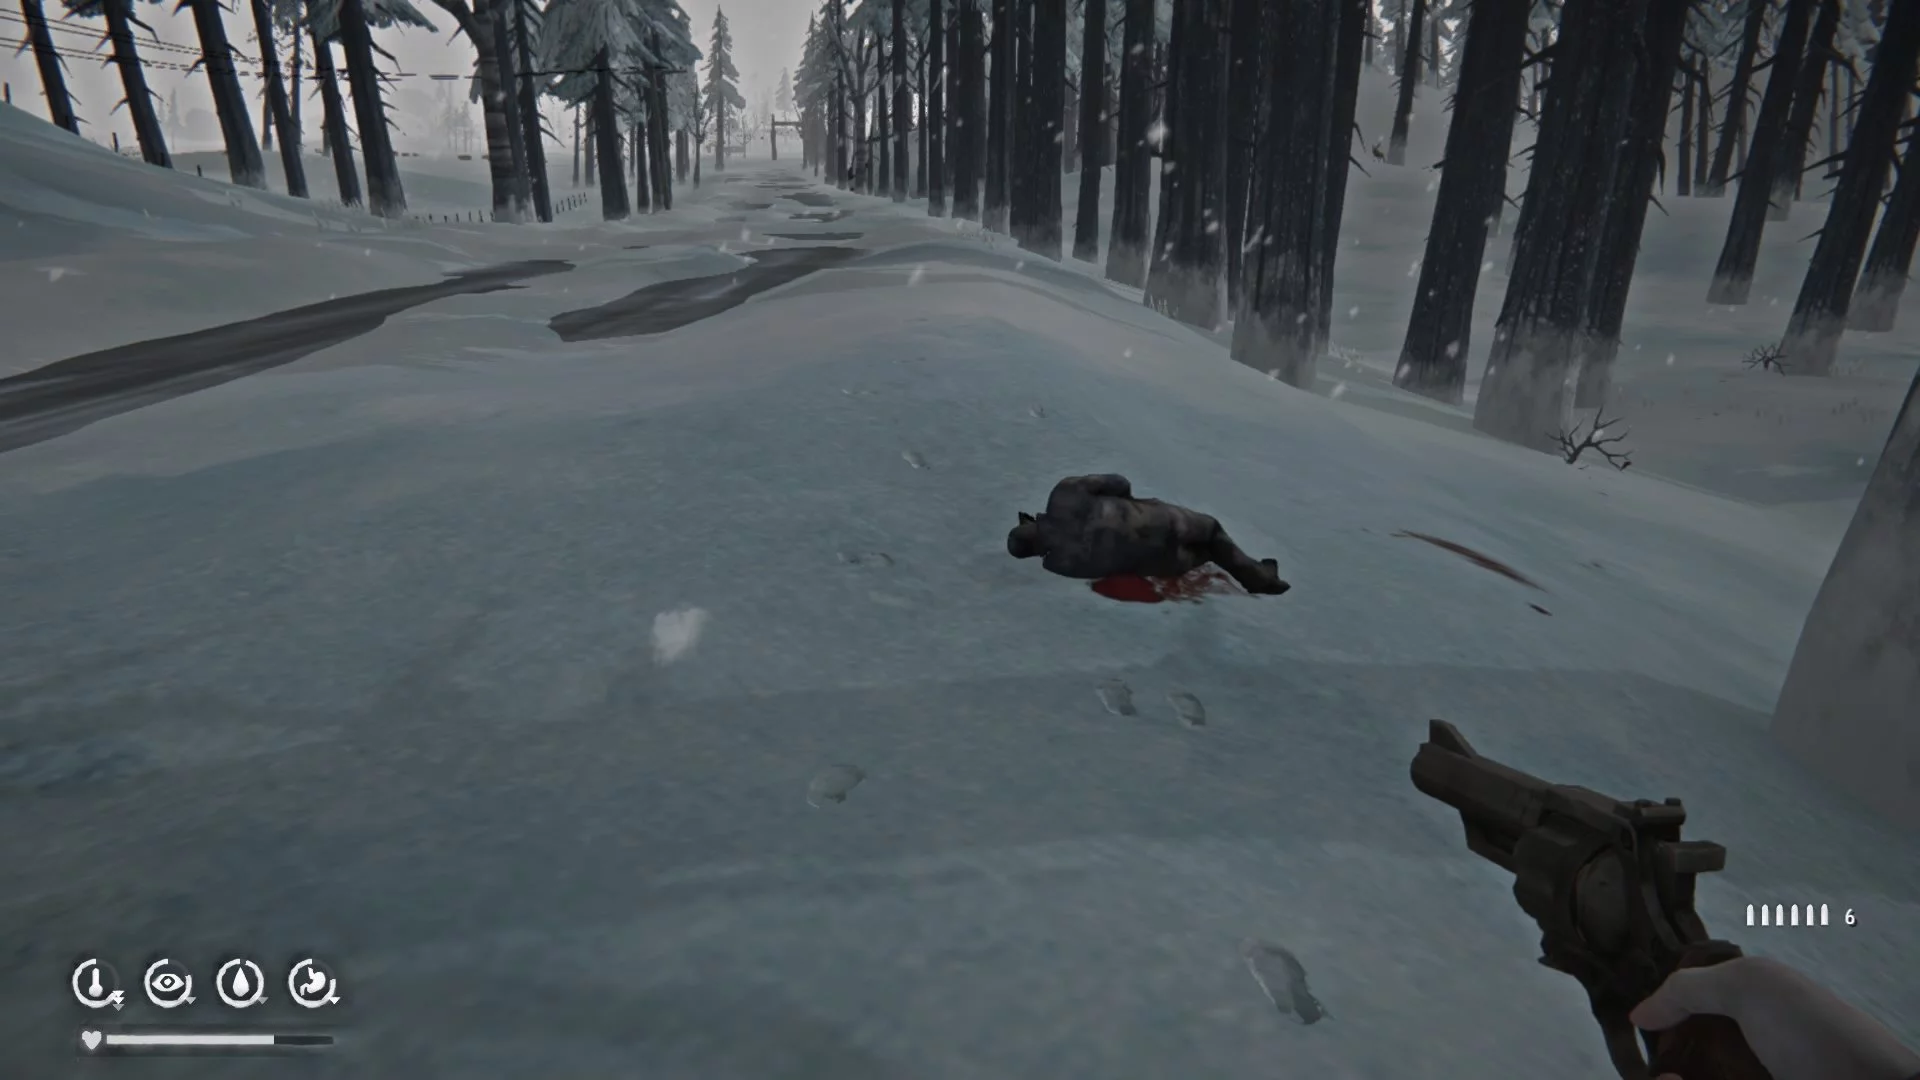
Follow the blood trail to the barn, where the prisoner's corpse lies. Inside it, there is a note, after reading which two more markers will appear on the map.
If you reach the nearest exclamation mark, you will find the body of another prisoner and some supplies in the backpack, as well as a note.
Visiting the second marker, inspect the backpack and take the note with the location of the convicts' cache. However, there is no need to run anywhere for it — it is right in the cave in front of you. Inside, there are many revolver bullets and food supplies. Once you inspect the cache, the side quest will be completed.
Thompson's Crossing
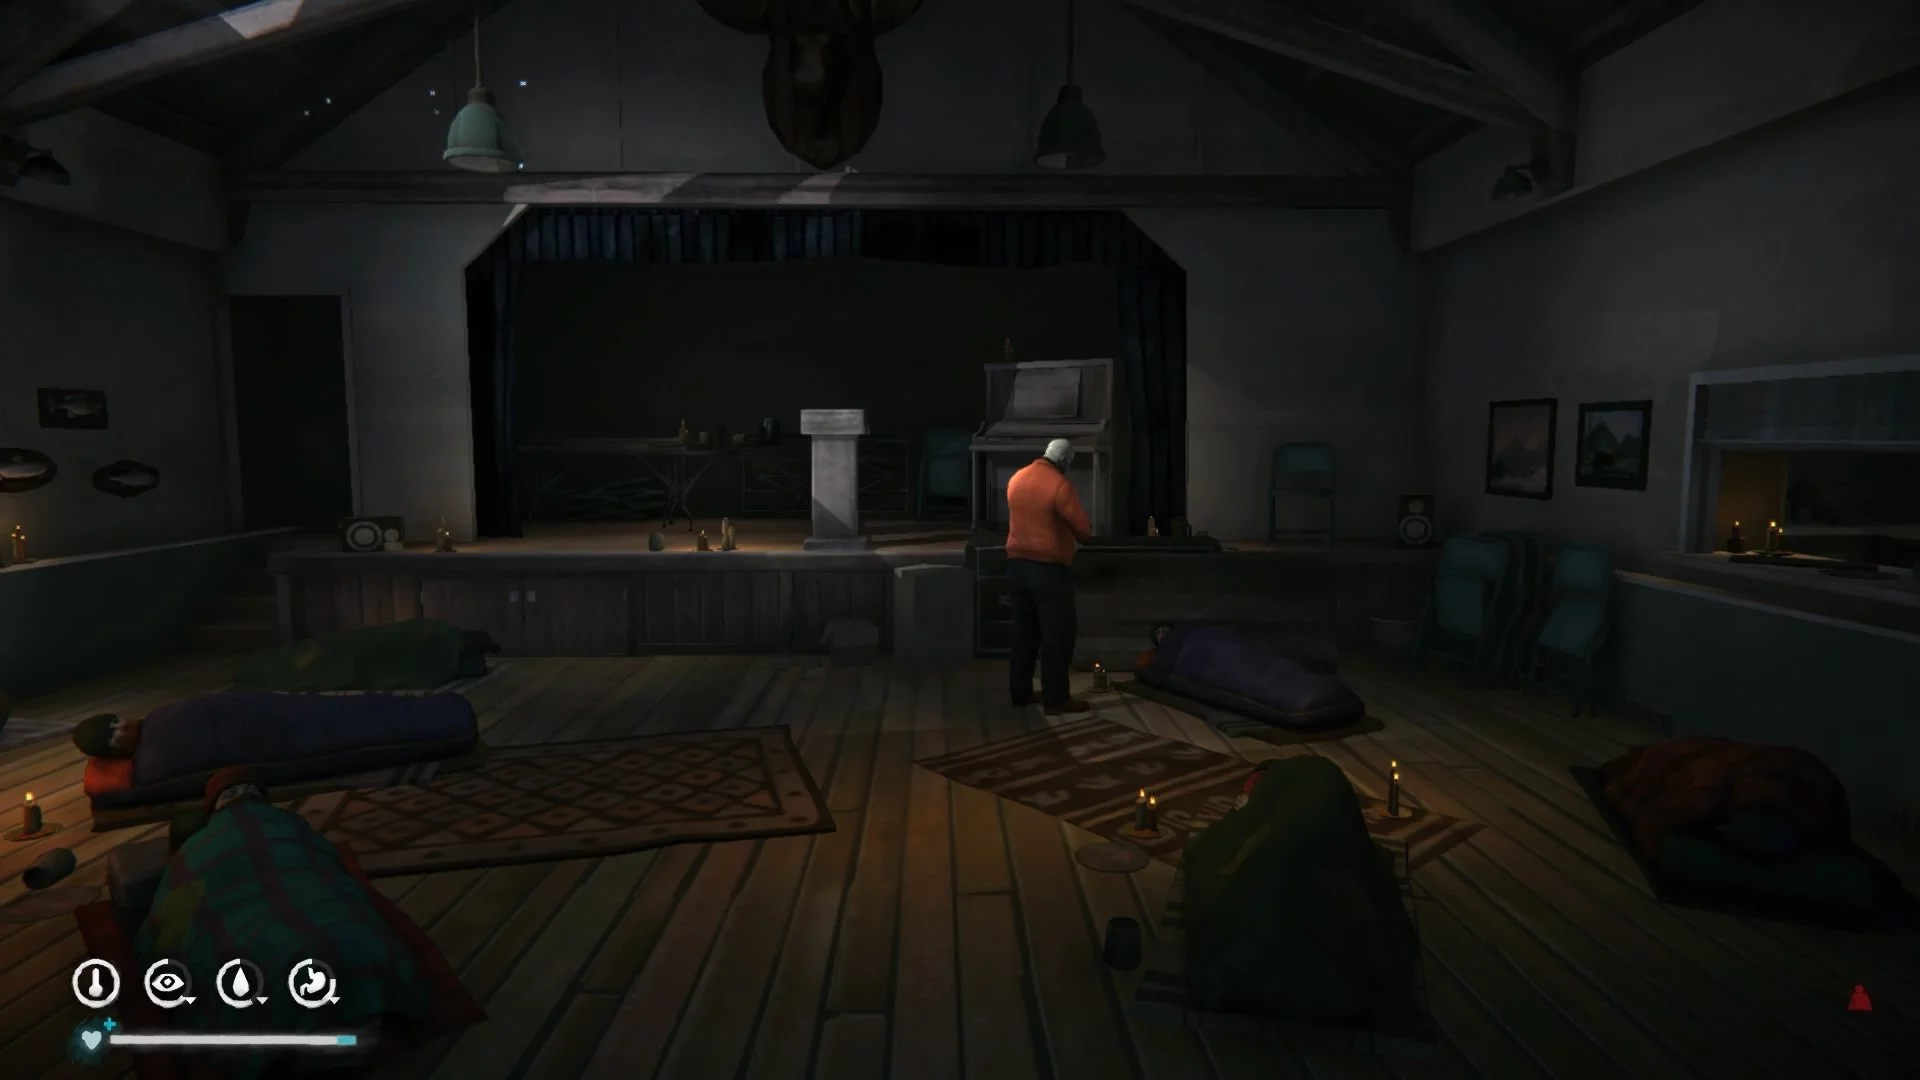
Upon reaching the settlement, you can immediately talk to the priest or first inspect all available buildings. In the large house with the sick, take the note in the small room on the right and the manual in the bathroom.
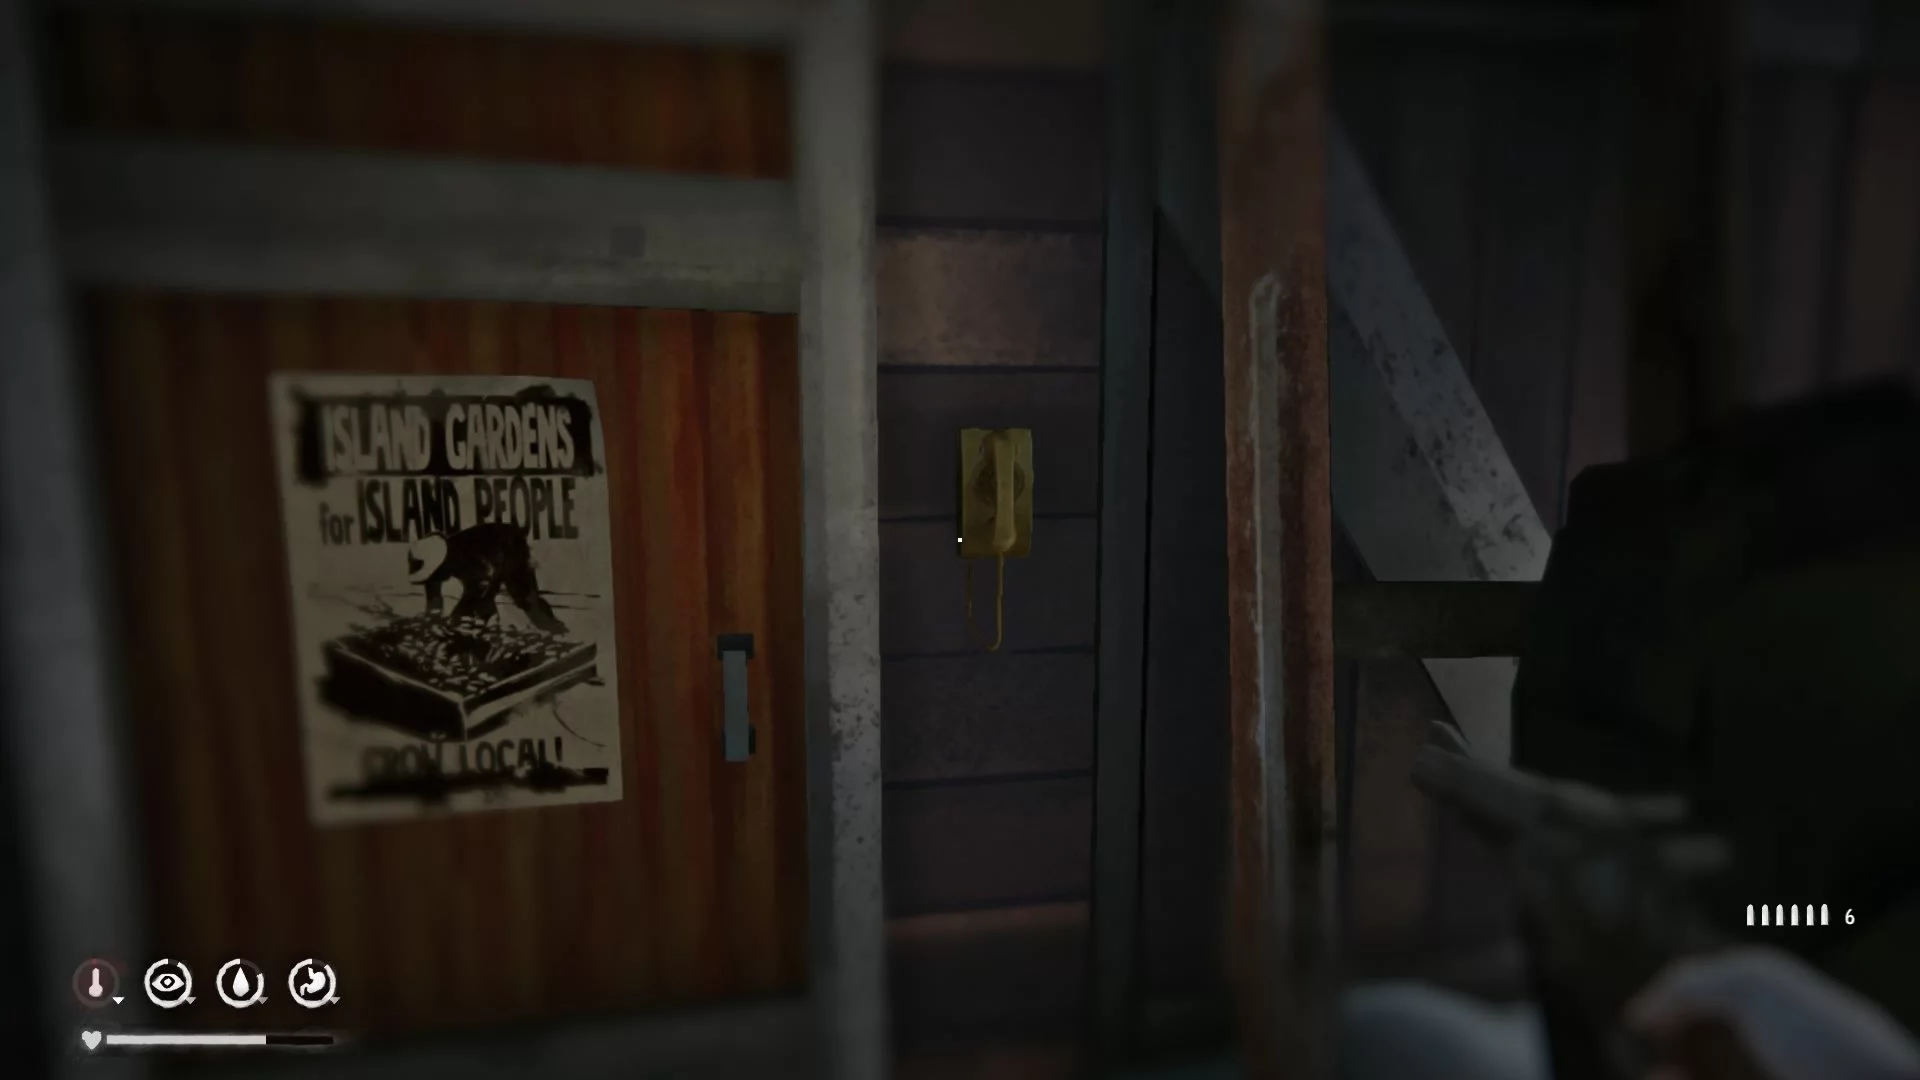
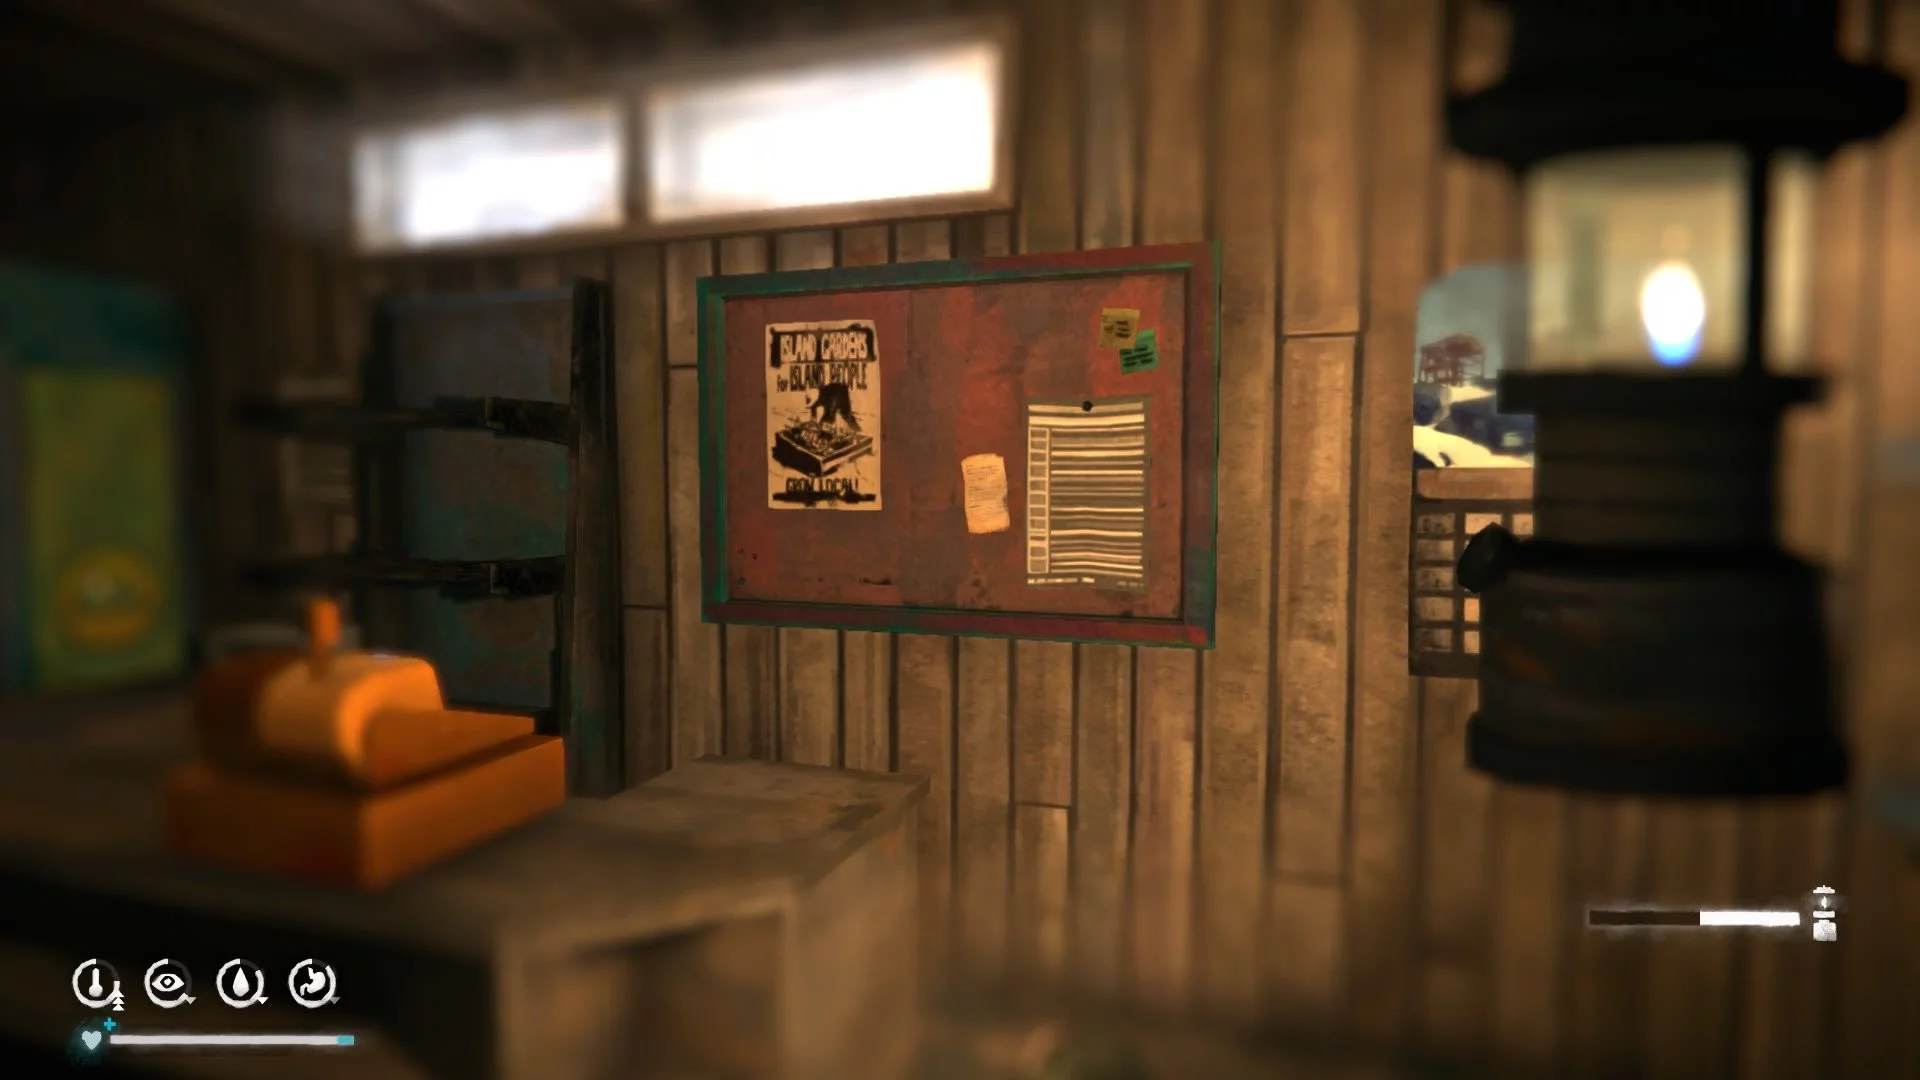
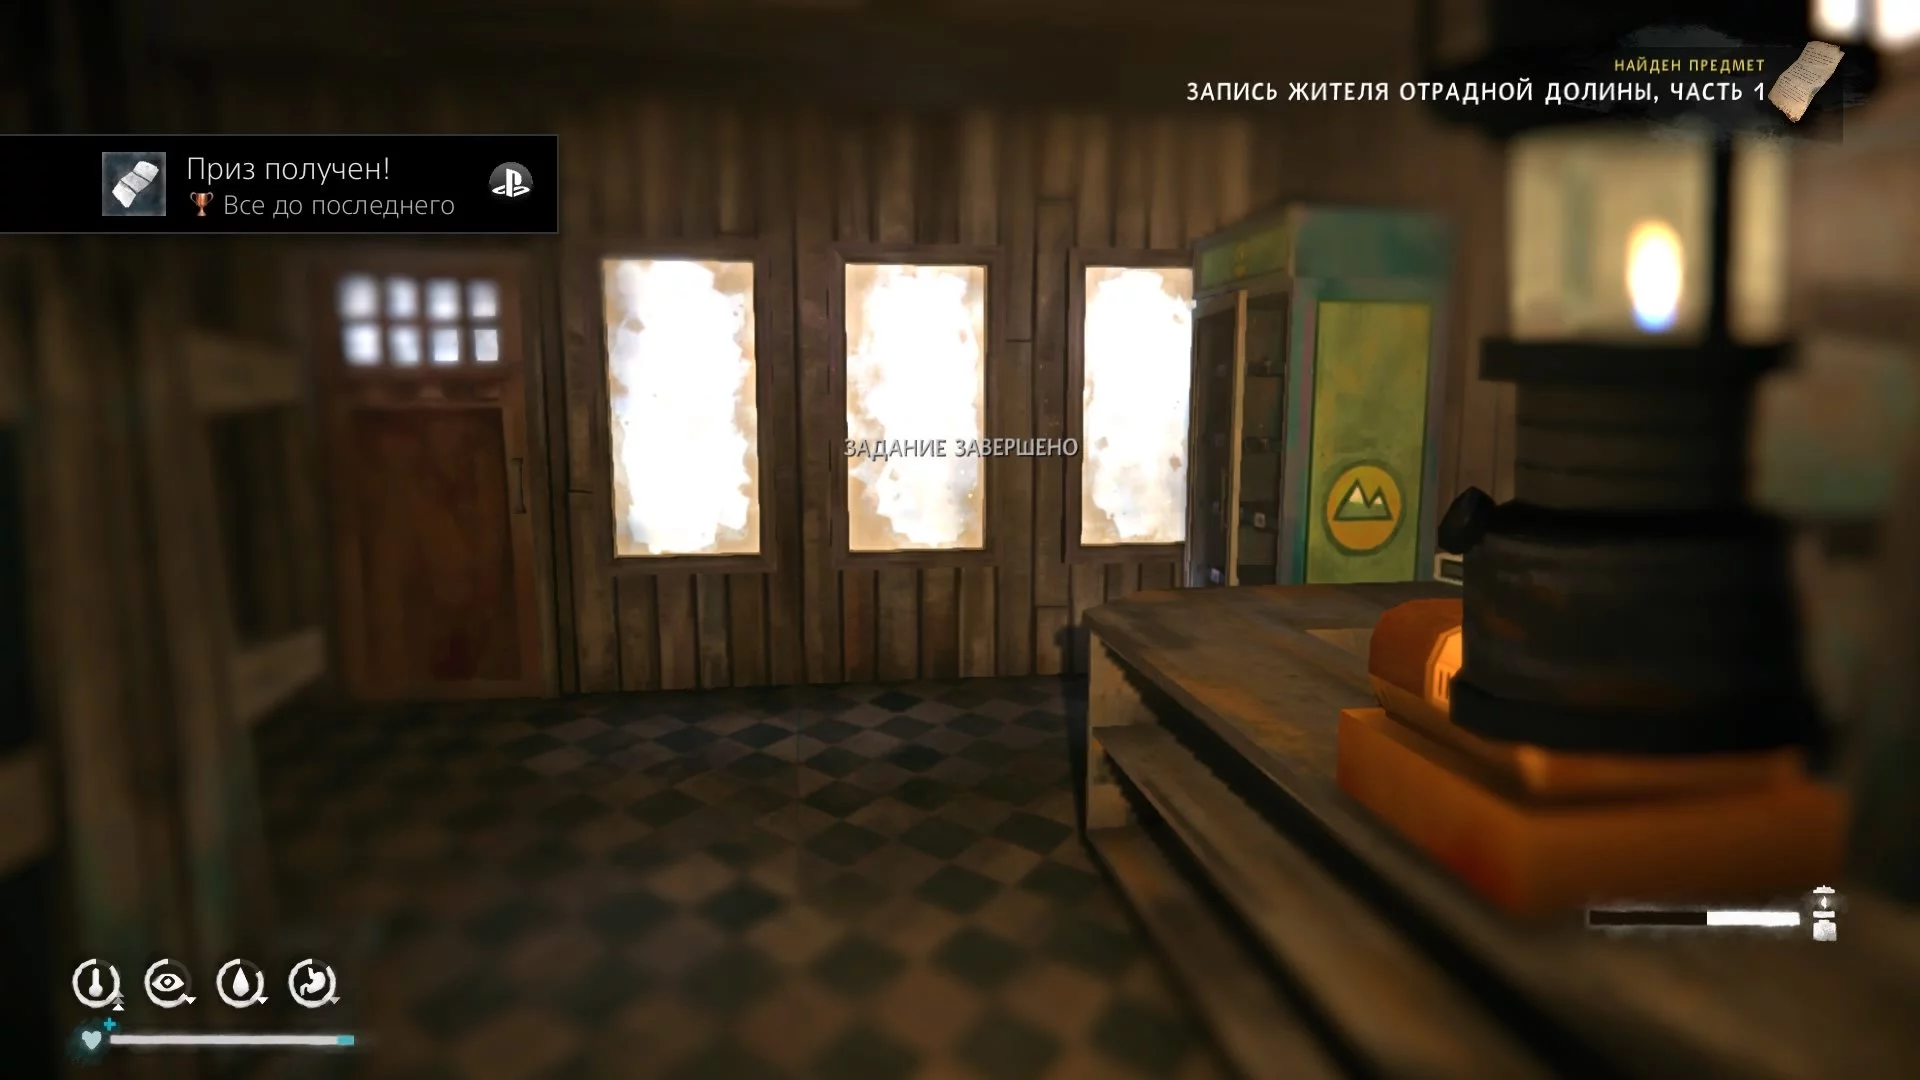
In the church, you can find the History of Pleasant Valley, part 1, as well as the Church Flyer. When you pick it up, the additional activity Church Relic will begin. Another note can be picked up on the podium next to the book.
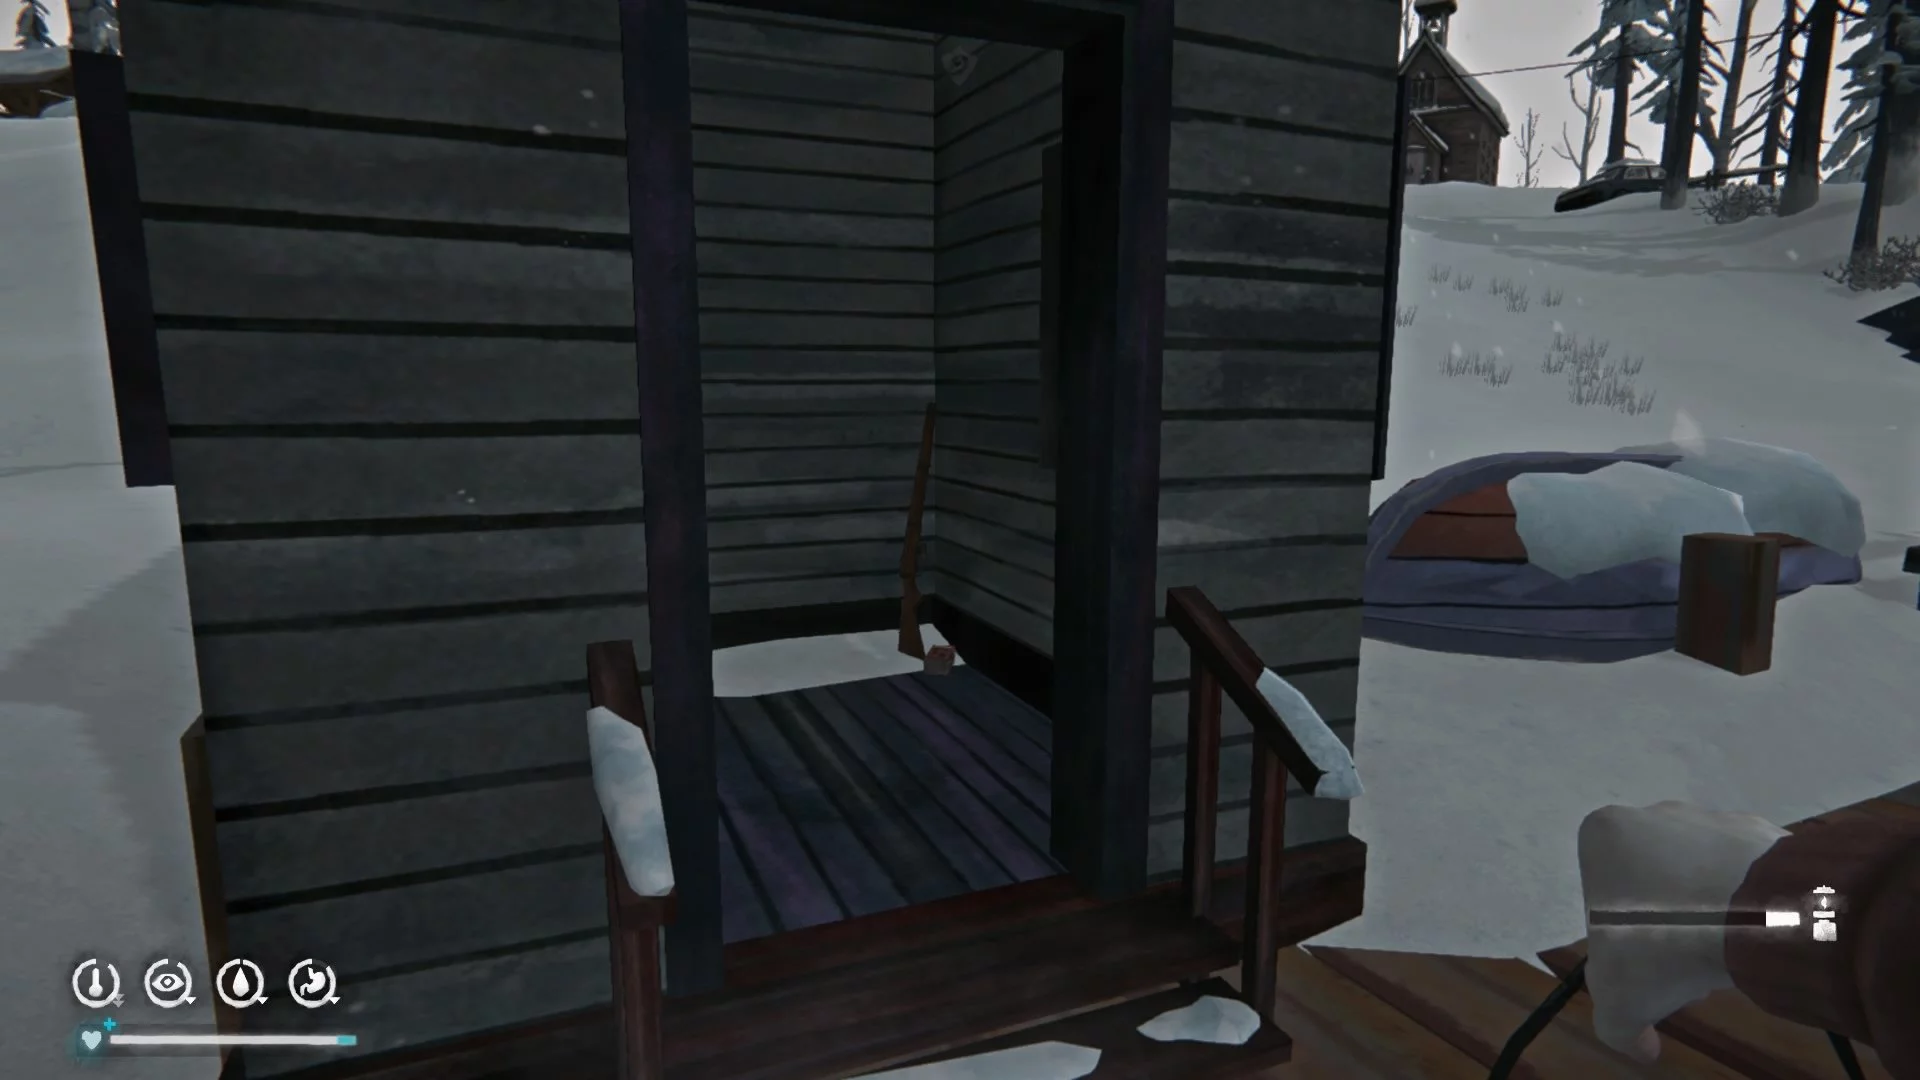
The last mandatory place you need to visit on this side of the river is the small barn on the shore. Inside you will find a rifle and ammunition.
Also, don't forget to visit the village store at the gas station, which is opposite the large building. Inside lies a corpse, next to which there is a backpack. Inspecting it, you will receive a note with bunker coordinates, as well as start a new activity Joplin's Bunker Raids. Behind the corpse on the wall, there is also a note needed for another side quest.

On the other side of the river, you can inspect only one house, as the doors of the others are barricaded. When you are ready, return to the large building and talk to the priest.
Fallen Star
After the dialogue with the holy father, inspect the survivors in the room. Some will need water and regular rest, but one of the airline passengers critically needs insulin, which you don't have. Return to Father Thomas and tell him about this problem.
When you want to leave the building, the phone will ring. Molly has hidden some supplies for you — they are in the trunk of a blue sedan on the shore.

Note: before leaving the building, prepare your weapon, as a pack of wolves will attack you. To scare them off, shoot (preferably hit, as they will run away faster). Also, use flares to keep the predators from getting close and throw these items at them.
On the way to the crashed plane, you can complete additional activities described below, and near the bunker, you will find a small house with the magazine History of Pleasant Valley, part 2.
Church Relic
To start this small quest, enter the church in the settlement and read the flyer on the wall to the left of the entrance.
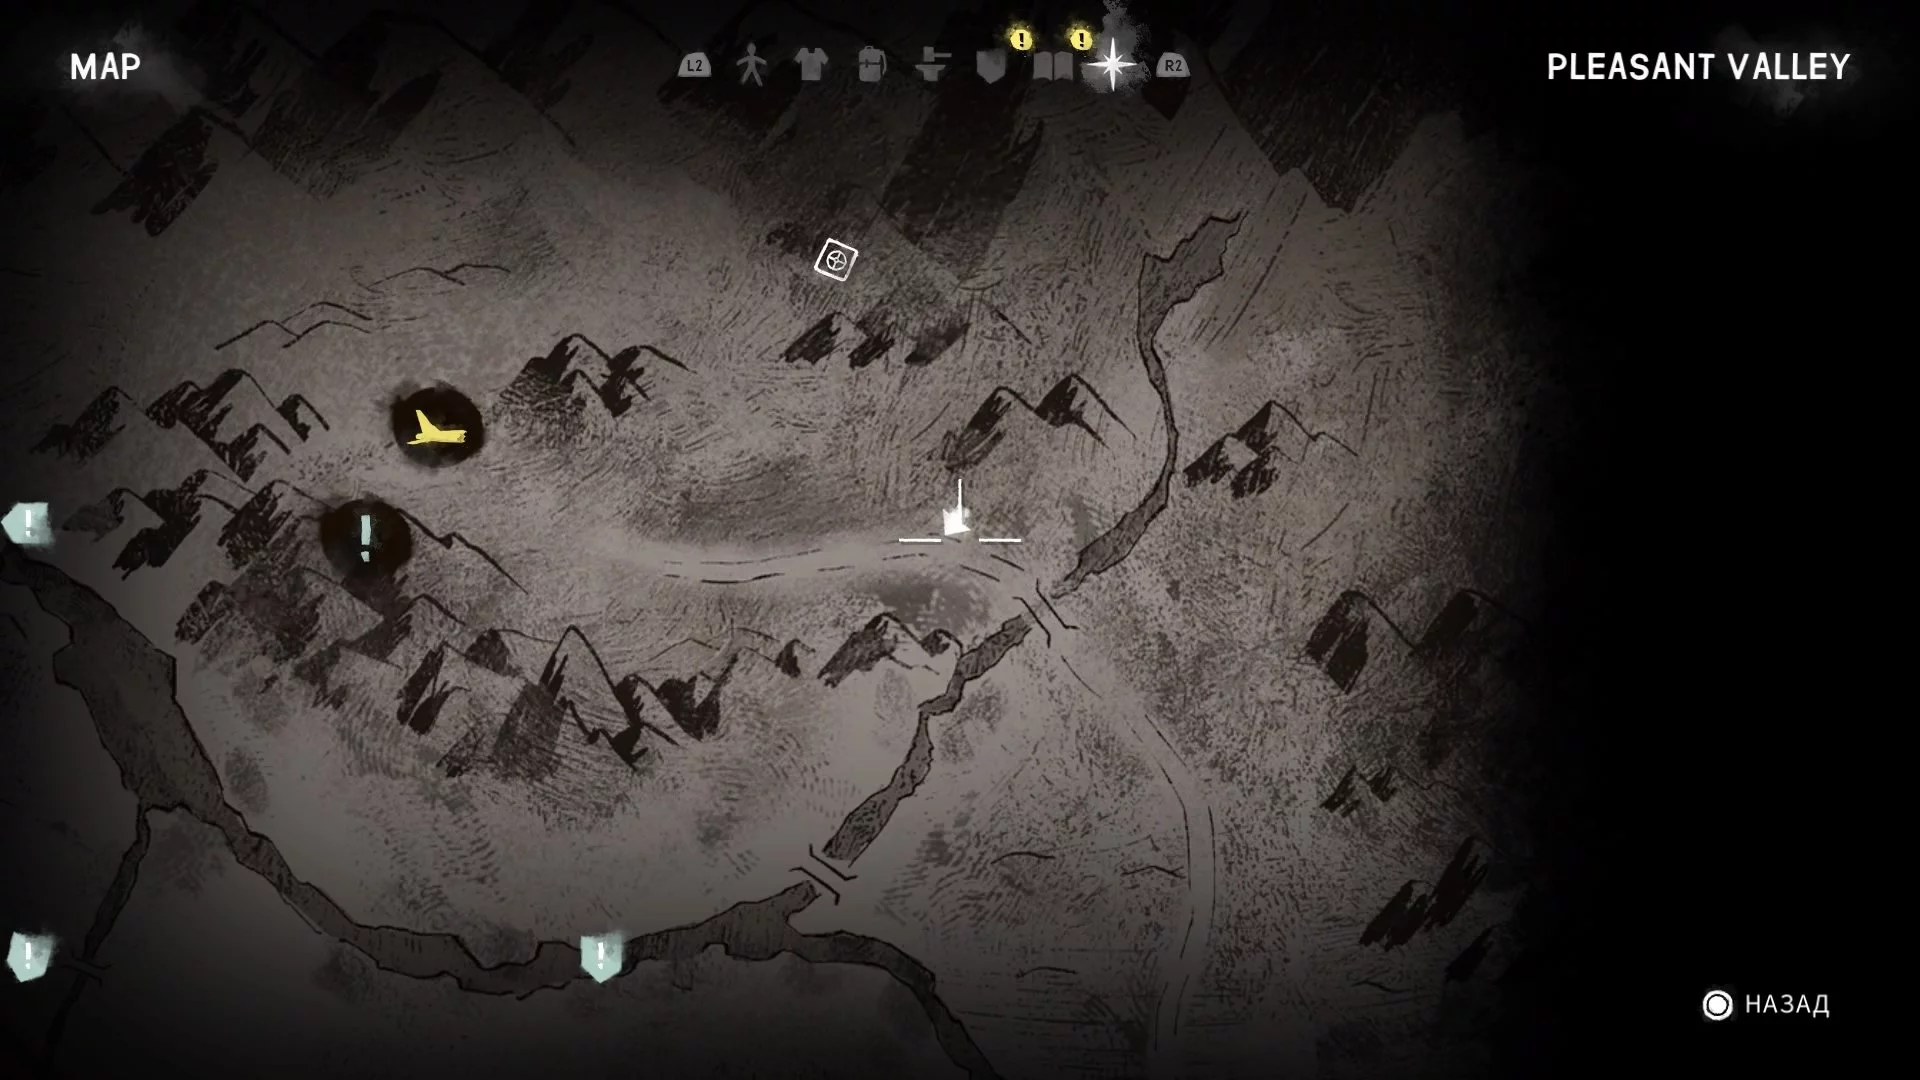
A marker will appear on the map for the building you need to visit. It is located in front of the hill behind the Buildings in Pleasant Valley. You don't need to rush to complete this task now, as you will have to visit this area as part of the storyline anyway.
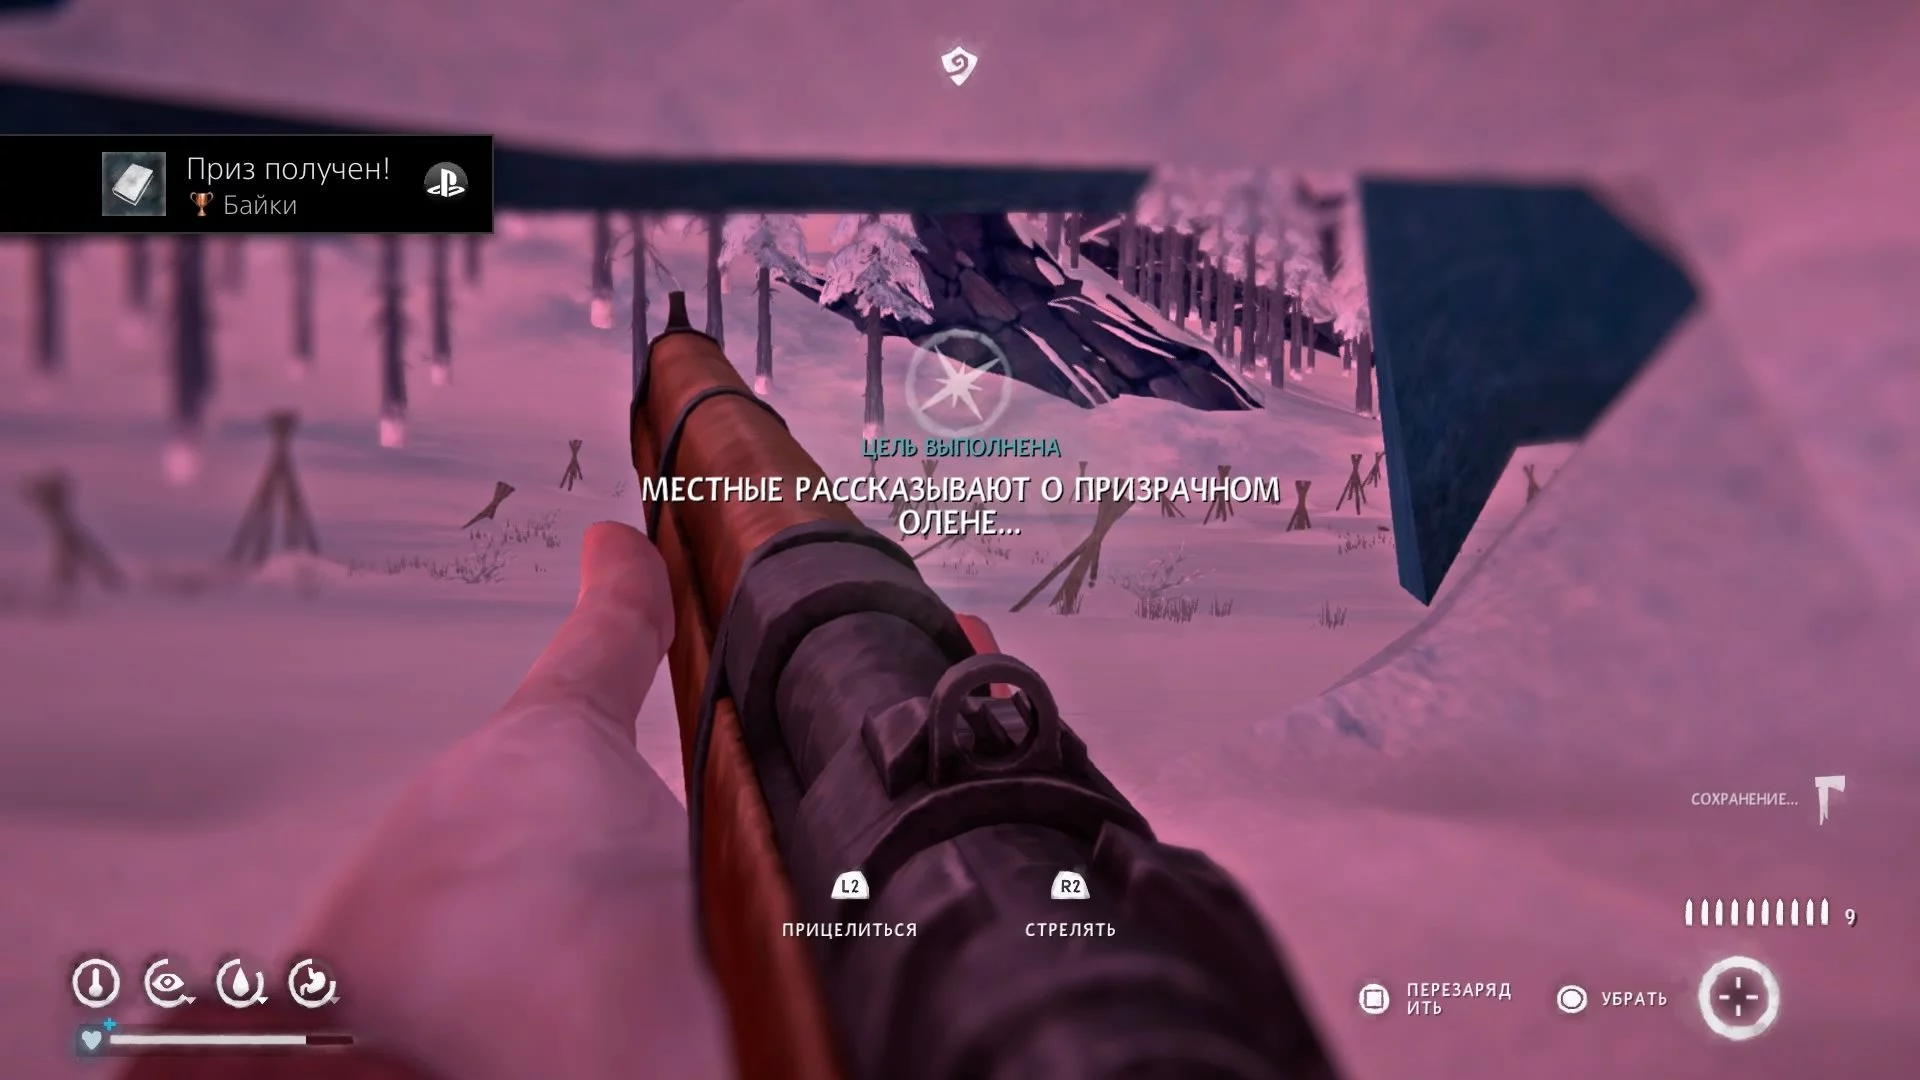
Upon reaching the Homesteader's House, take the book Local Legends: Ghost Deer on the shelf to the left, the newspaper clipping, and inspect the suitcase under the sofa. In the latter, there is a note about the location of the stolen item from the church.


To get to this area, you first need to reach the crash site through the story quest. Once at the plane, don't rush to go to it. Turn to the clearing on the left and find the basement entrance of the nearest house. On the metal shelf to the right, take the note History of Pleasant Valley, part 3. Additionally, you need to move the boards under the stairs and take the search item.


All that remains is to take the artifact to the church. Place it on the altar and visit the building the next day. The holy father will leave a thank you note, as well as a rabbit fur hat. This will complete the small side quest.
The Plane. How to Find All Bodies and Insulin
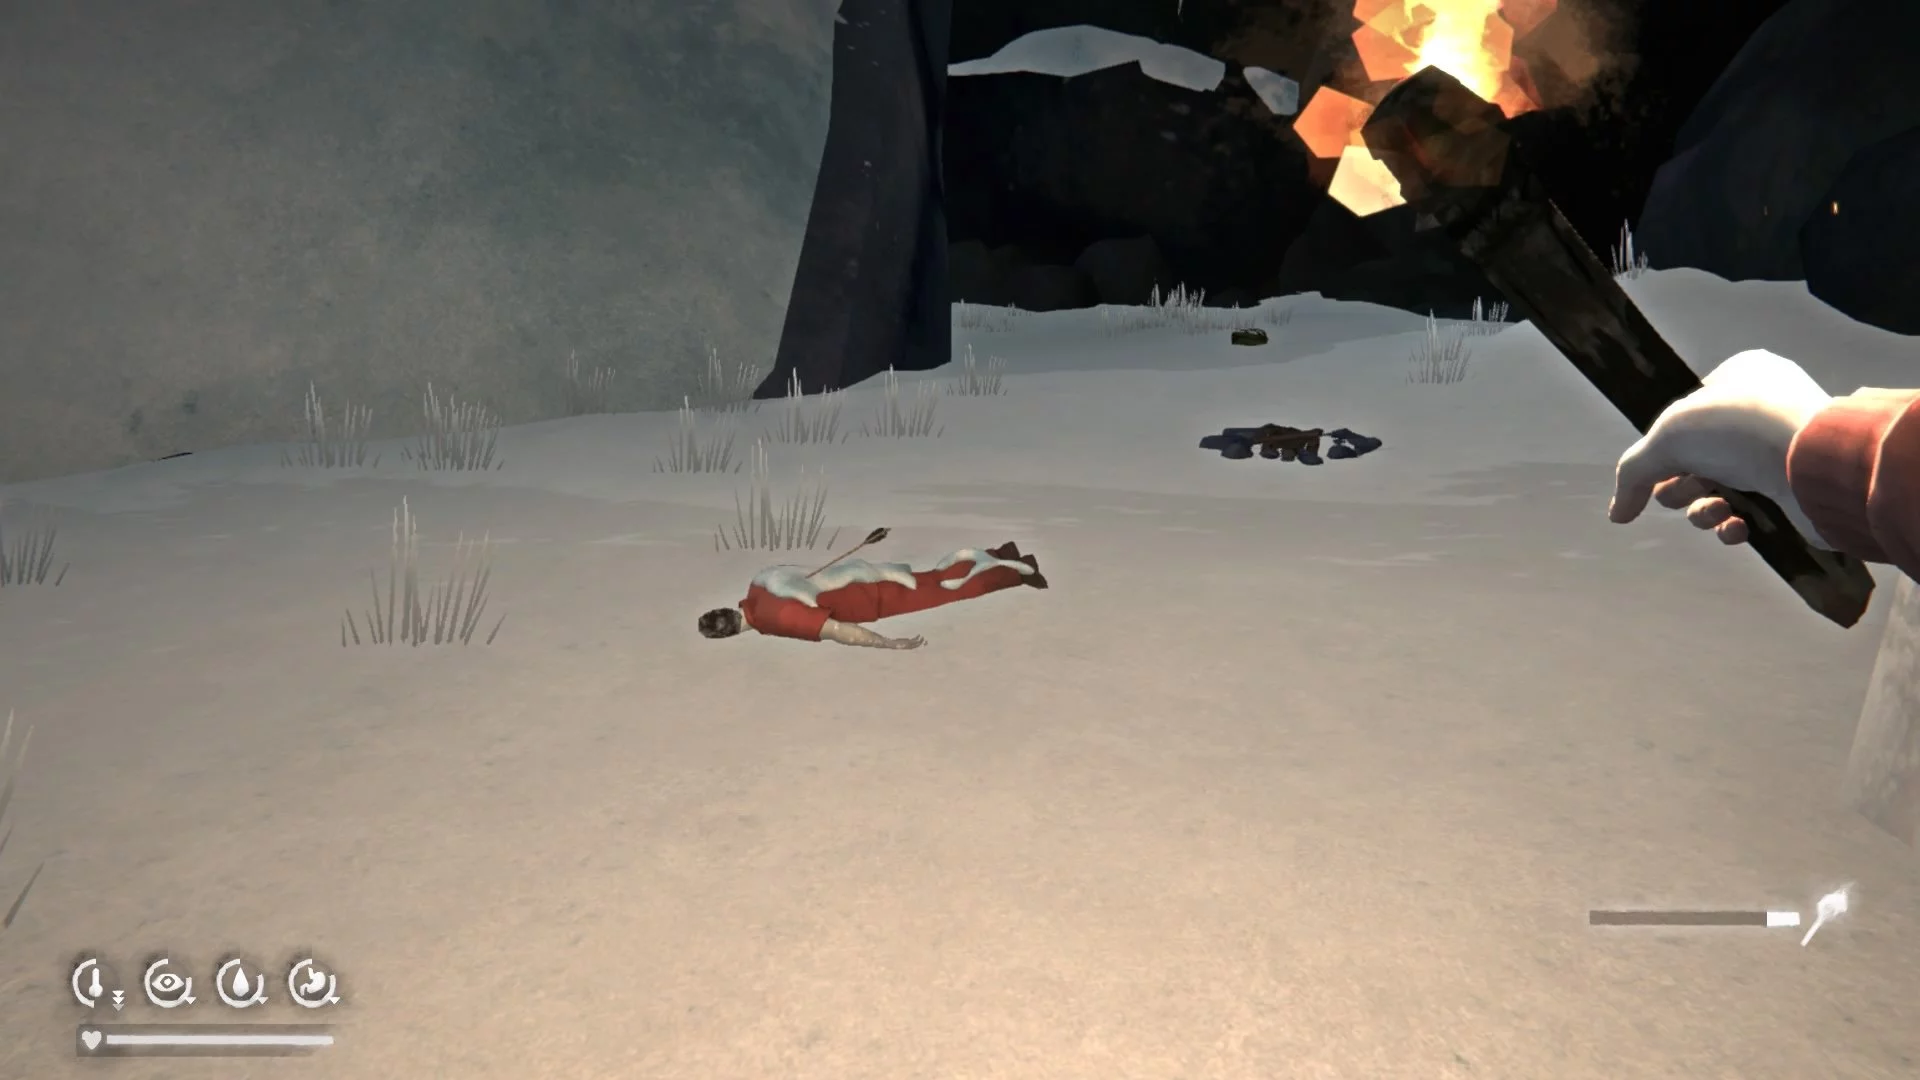
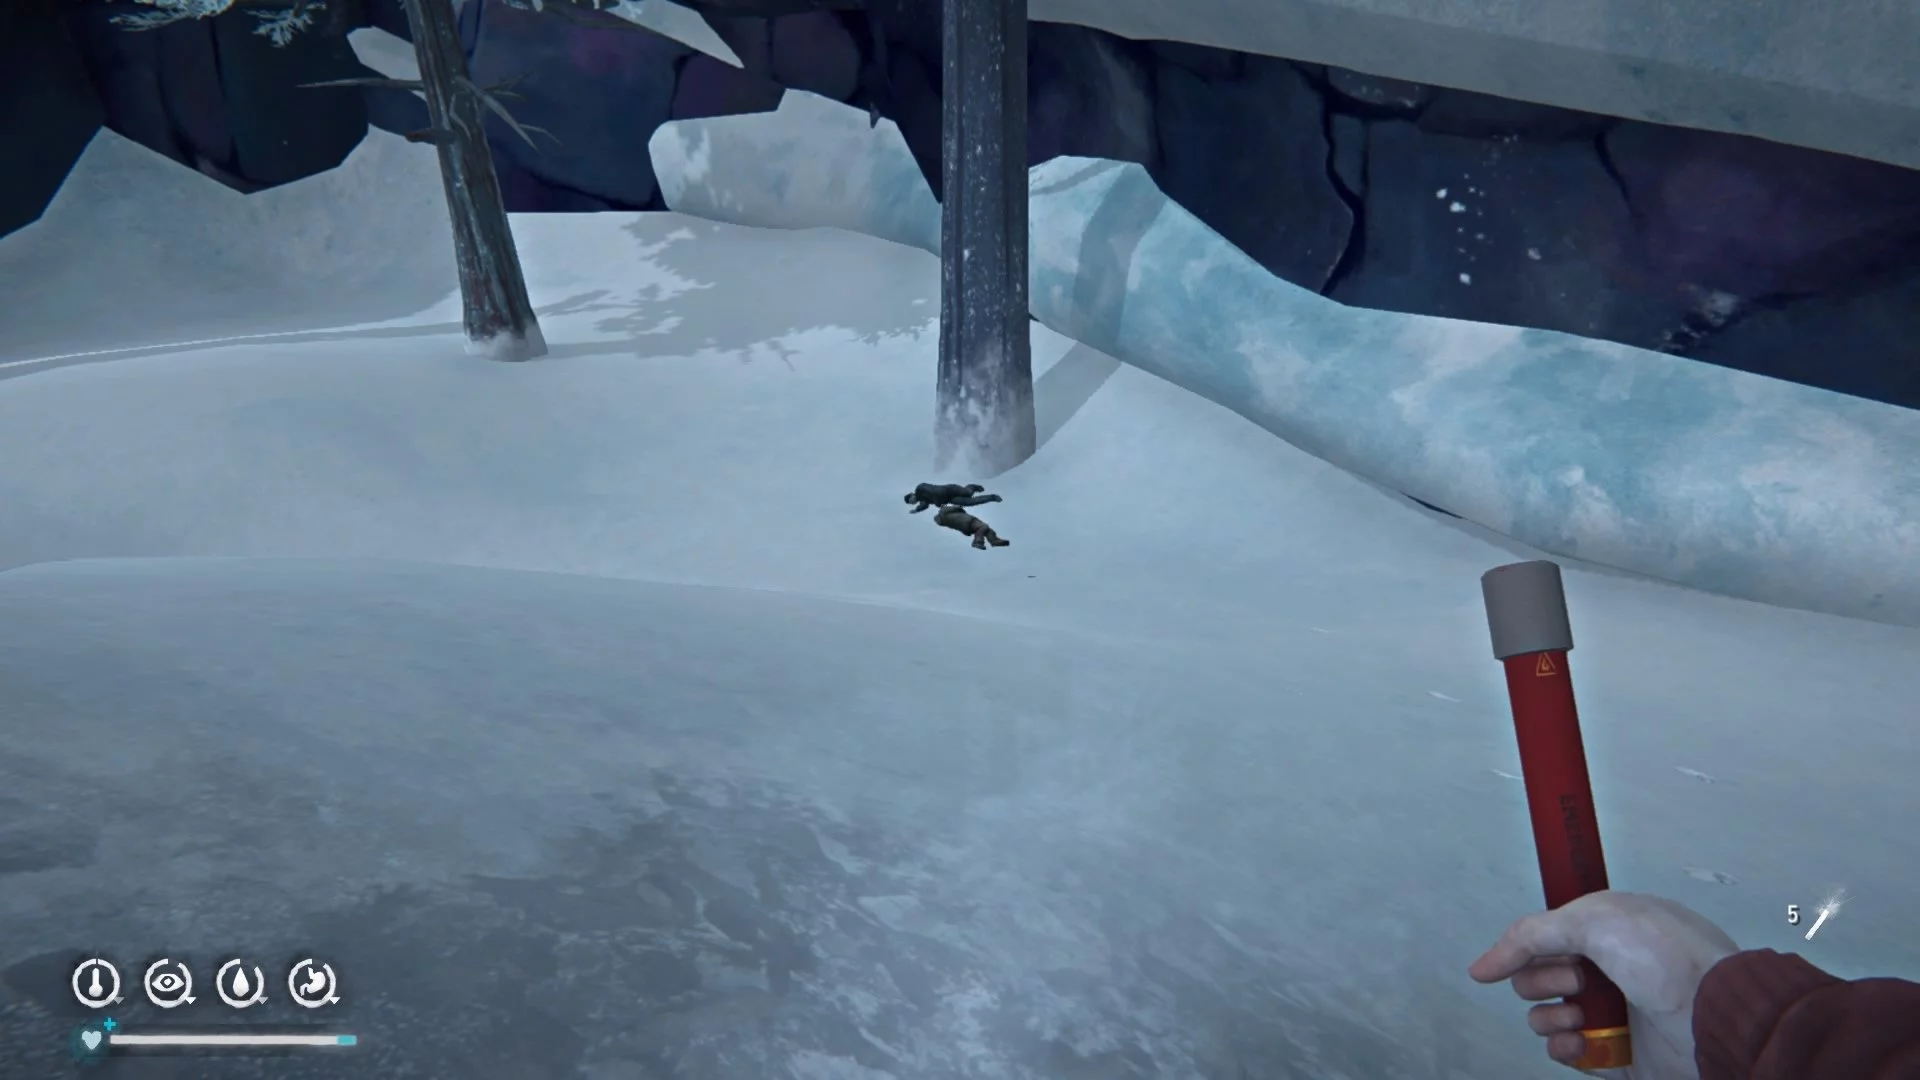
So, if you've dealt with Joplin's bunker and the stolen artifact from the church, it's time to search for insulin for the crash survivor. Go through the front part of the plane—the quest will update. Now you need to find all the bodies and get the medicine. First, turn right—in a small ravine, there are two bodies (2/10).
Go back to the road, here are two more bodies (4/10). If you turn around and look at the plane wreckage, there is another body on the left wing (5/10).
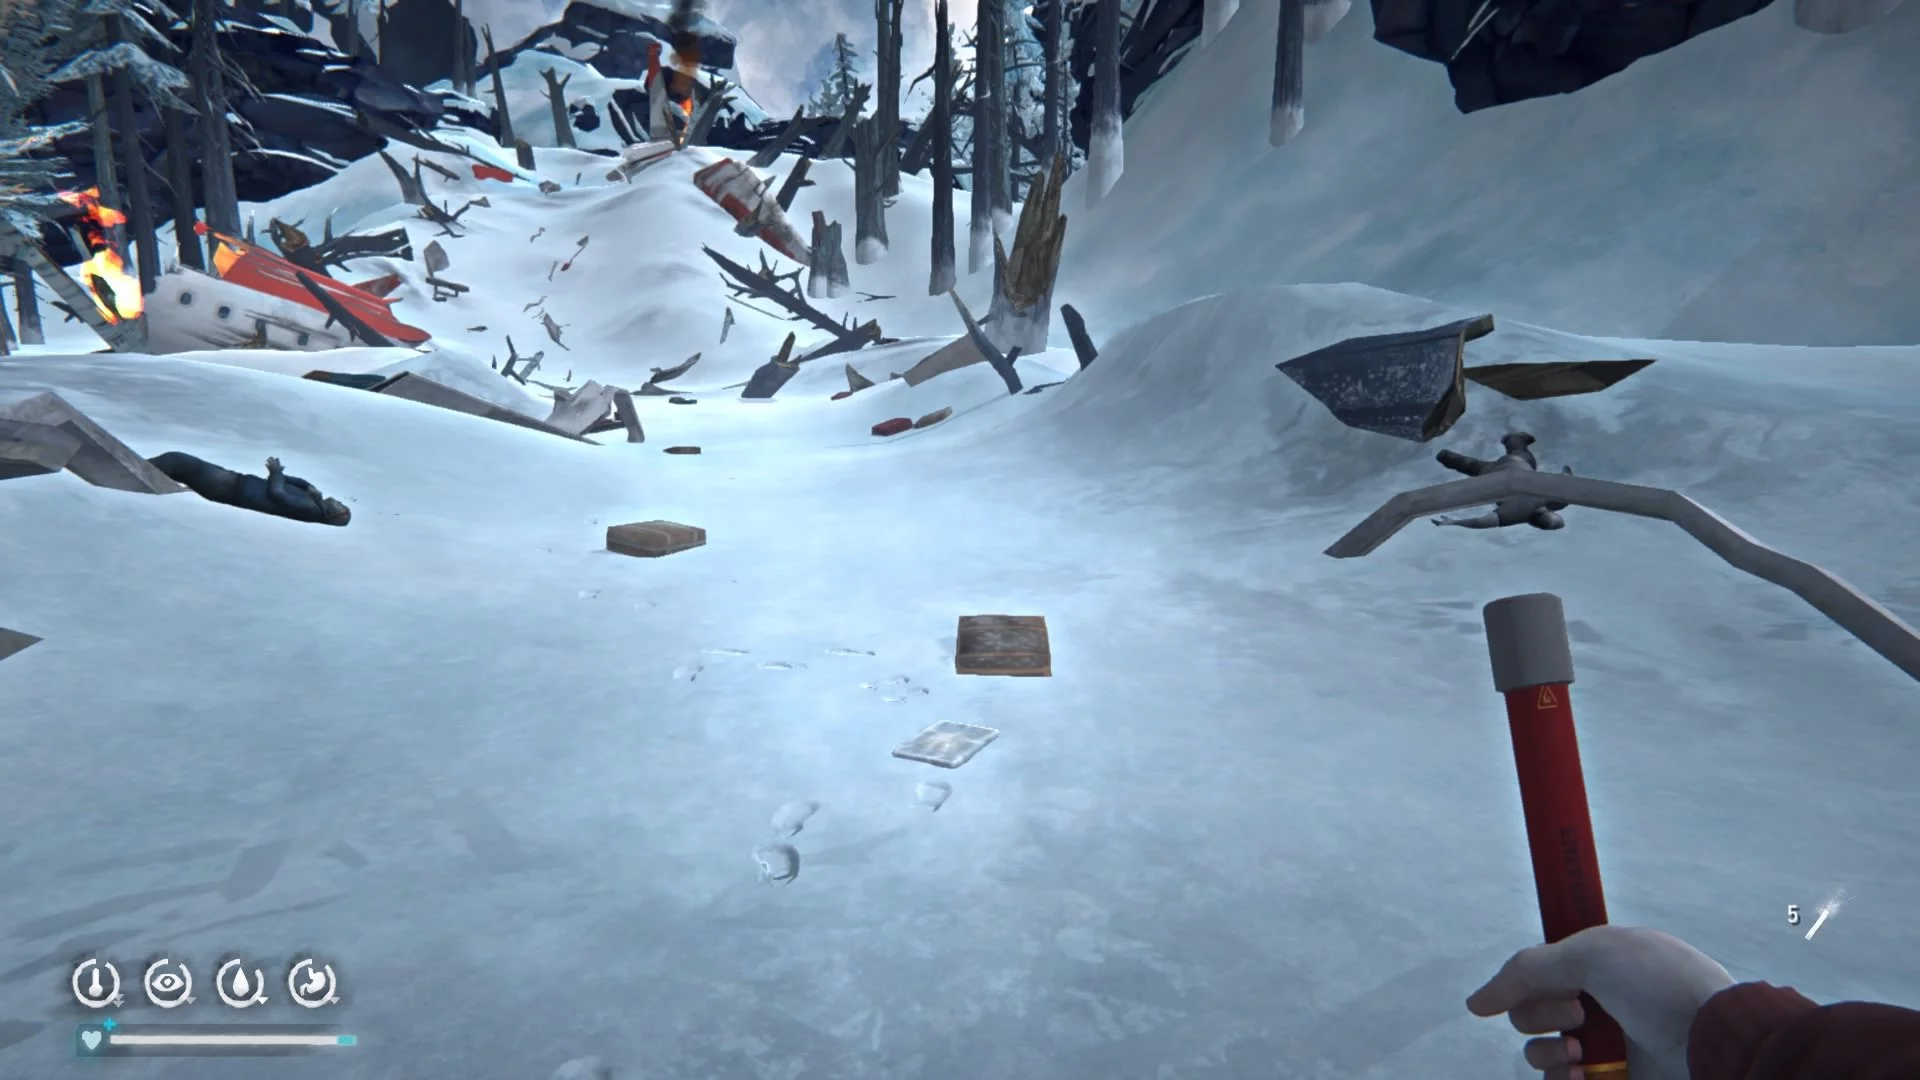
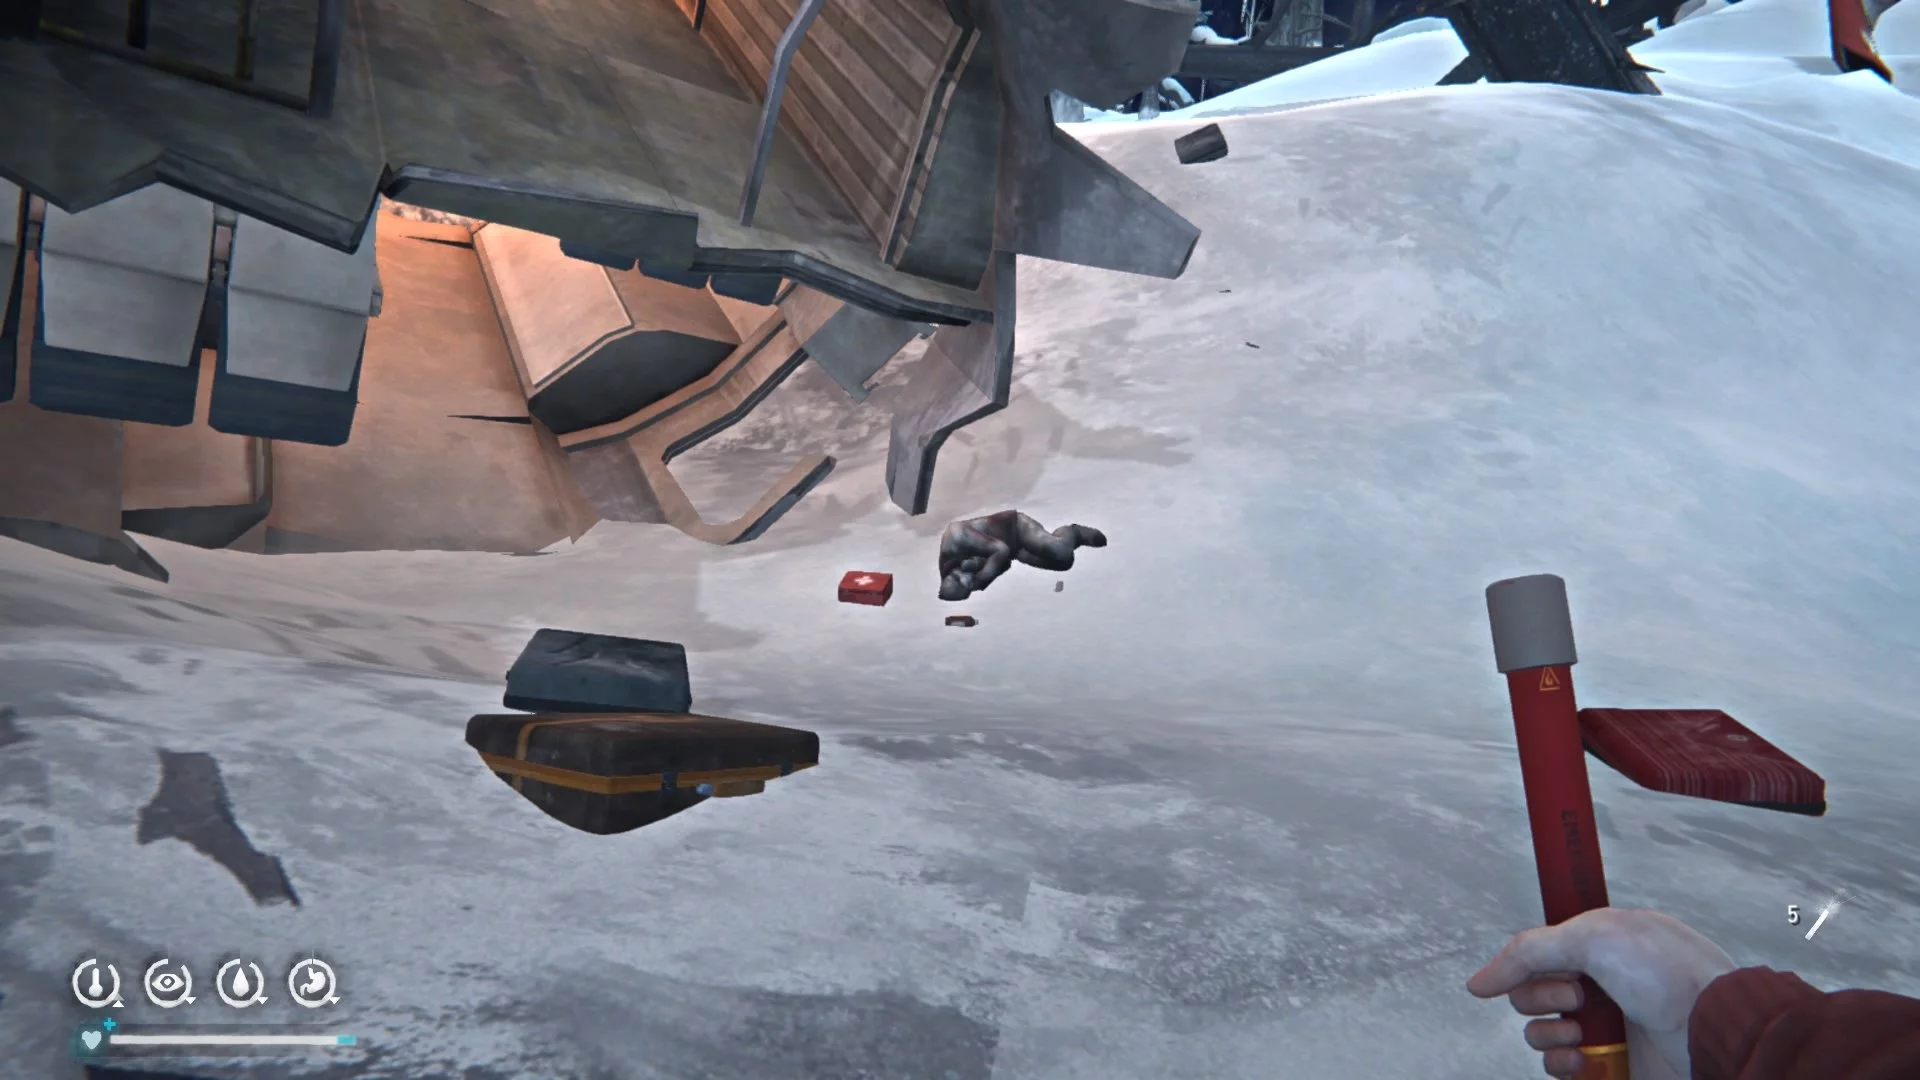
Another body is next to the detached part of the plane (6/10). If you go forward through the section, you can find a case with a flare gun on the right. On the opposite side of this body, behind a fallen tree, lies a dead girl (7/10).
Keep going forward. At the fallen tree, there is a woman's body (8/10).
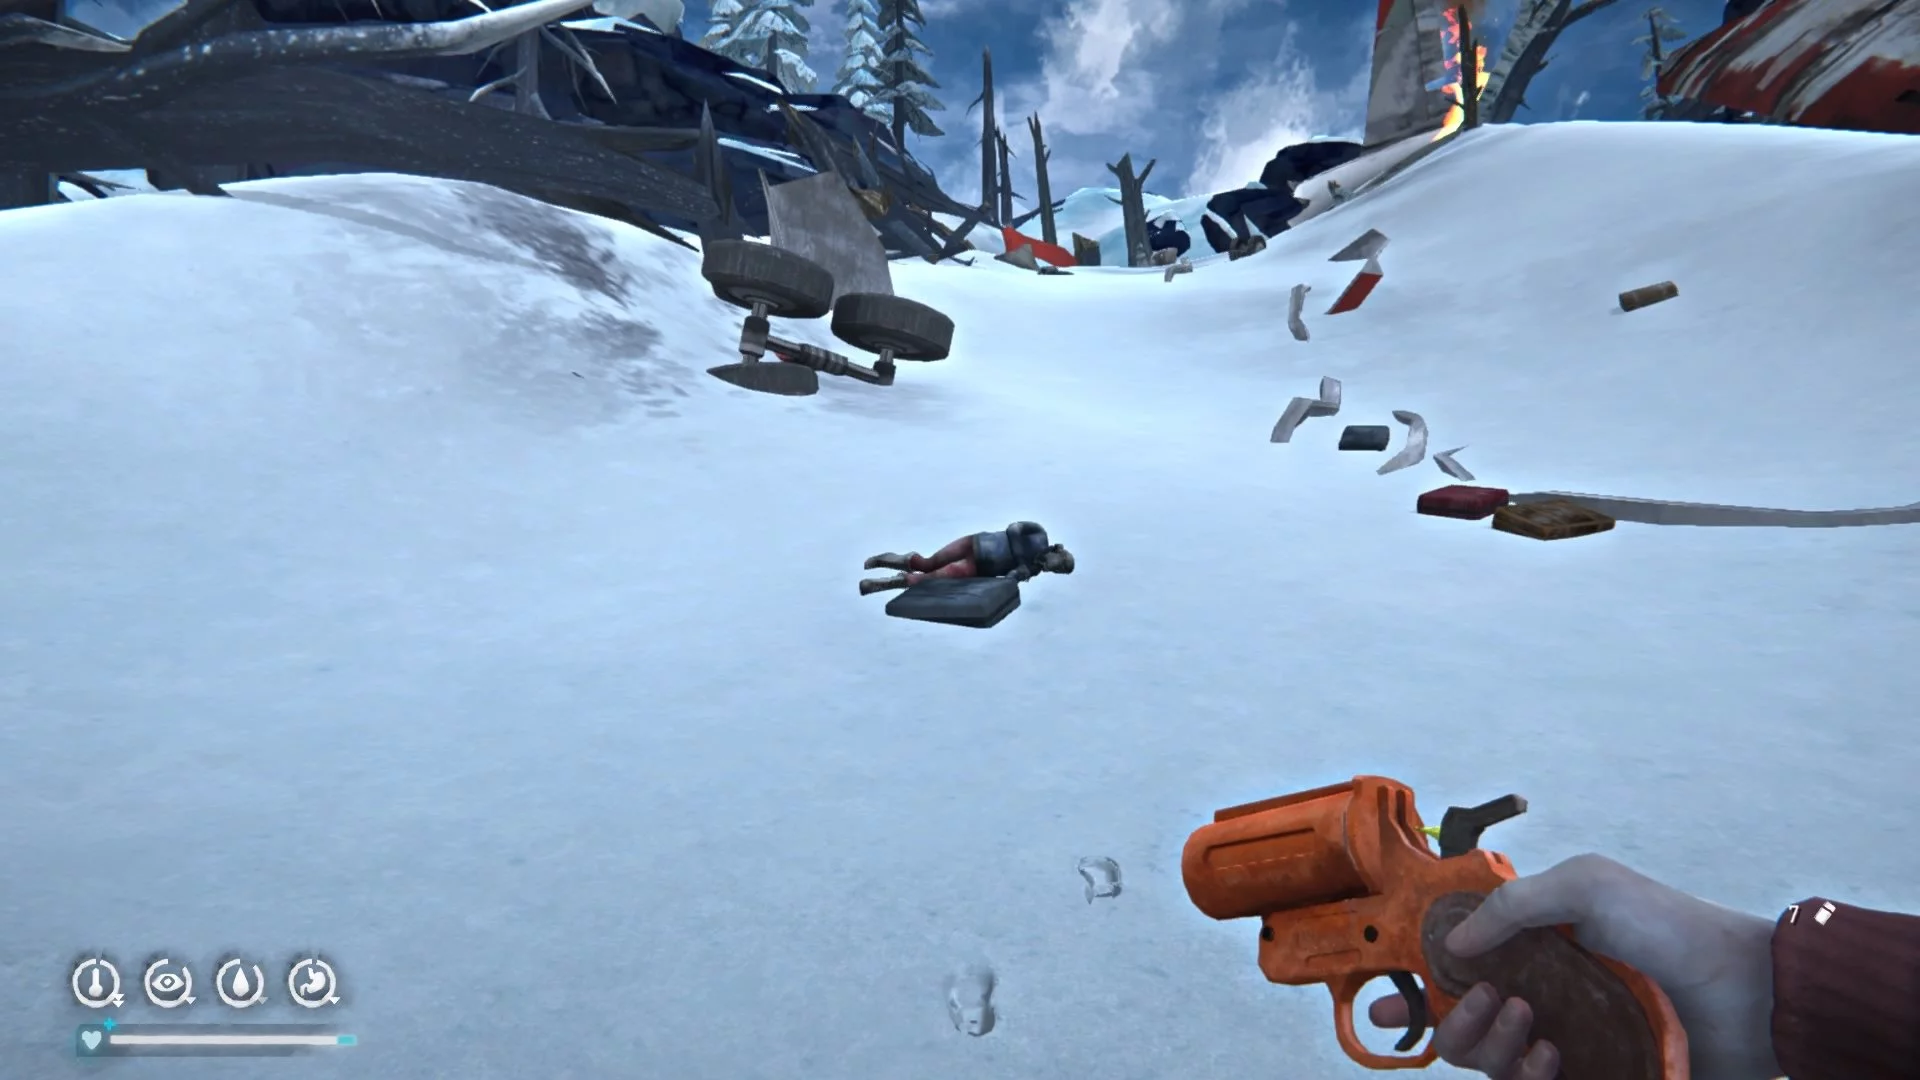
Continue climbing the slope, on the left, there will be a guy's body with a note (9/10). And at the tail section of the plane, you will find a surviving girl (10/10). Interact with her and watch the cutscene, then inspect the nearest suitcase to her. This way, you will get the insulin, but you still need to find two more bodies to leave the area.
How to Deliver Gwen to the Community Hall
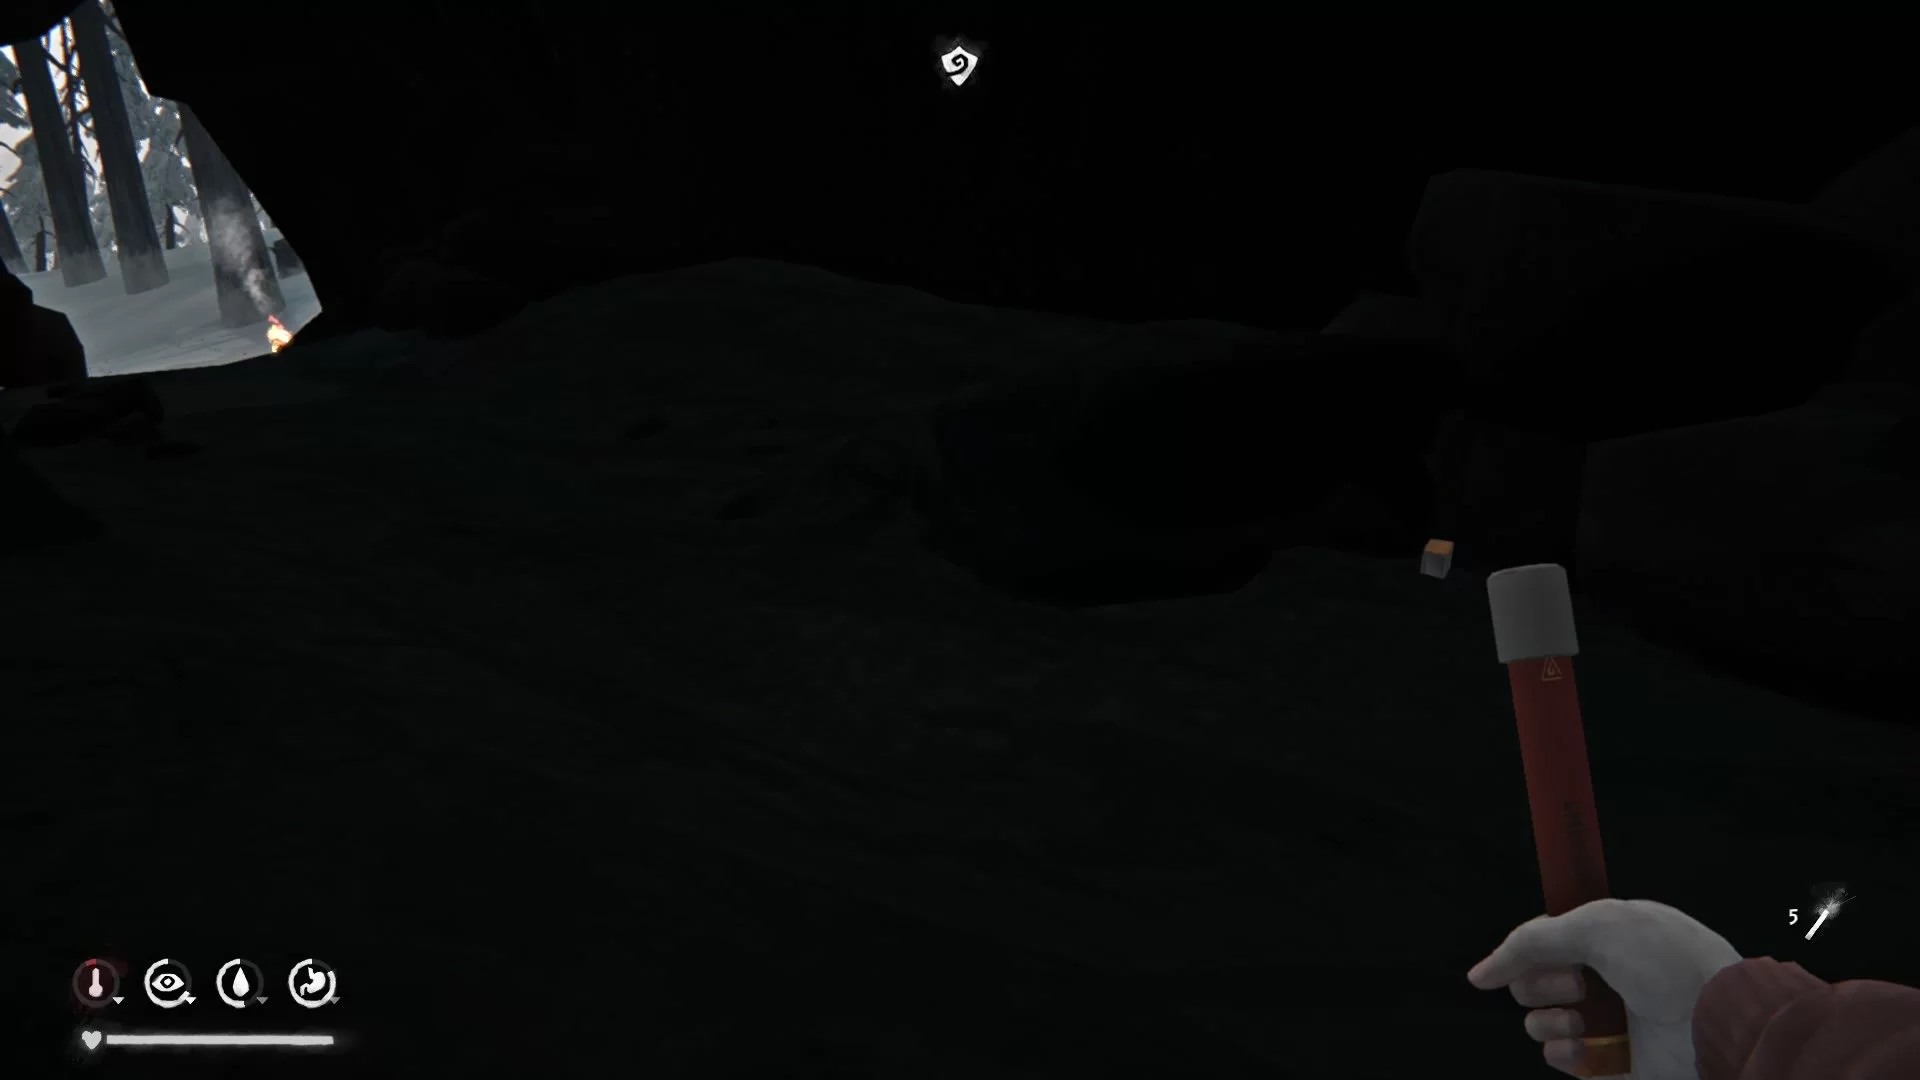
When all the bodies are found, the quest will update. Now you need to deliver Gwen to the other survivors, but first, you need to rest in the nearest cave. You will find it if you go back a bit and turn left at the fork. Also, don't forget to bandage the victim's wound. First, take care of the drinking water—the patient loses water very quickly.
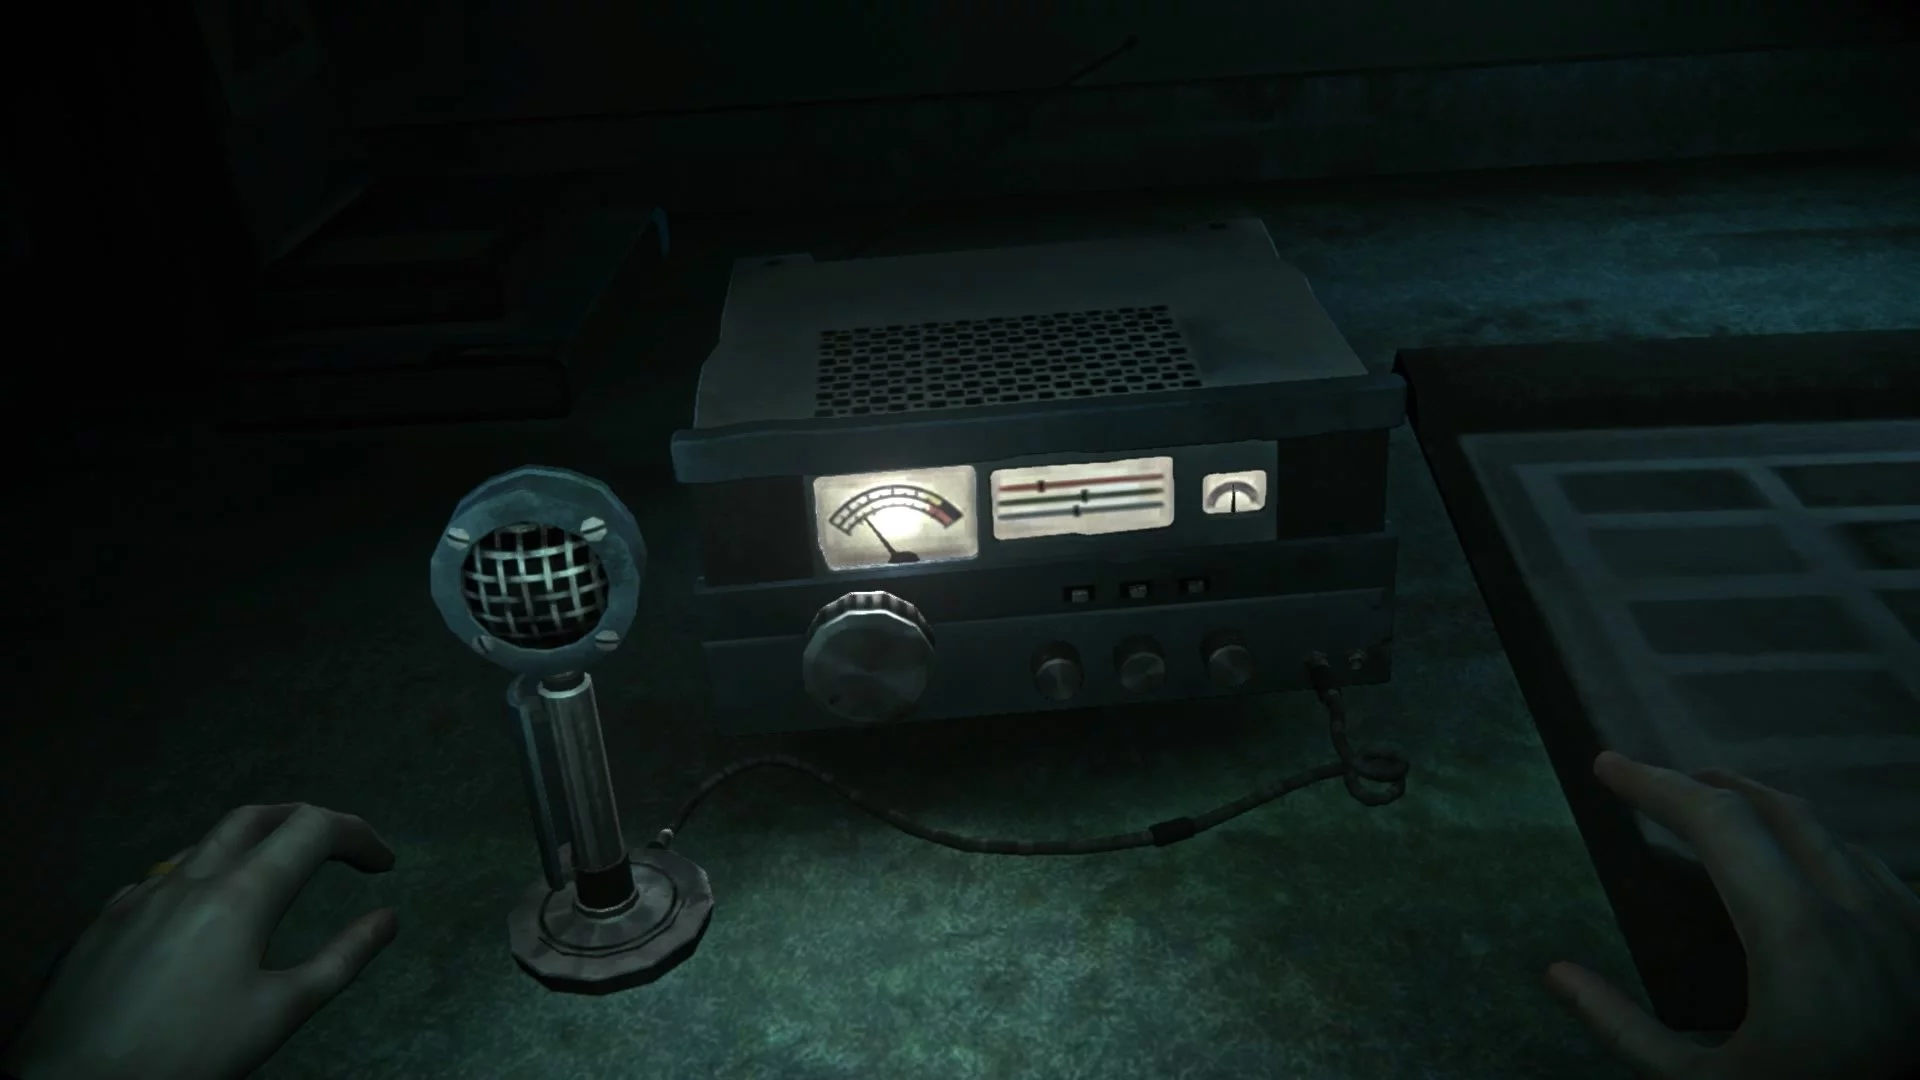
From the cave, turn right and keep going down until you reach the ruined building. Here, put Gwen down and pick up the receiver. Next, we recommend heading to Molly's barn, as her house is locked, and you can't start a fire in the basement. On the way, wolves will definitely attack you.
Whether you are completing the additional quest to find Joplin's bunkers or not, you still need to return to the survivors and place the girl on a free mattress. Now go around to all the survivors and return the documents, then talk to Father Thomas.
Raids on Joplin's Bunker
The quest can be obtained after you find the note in the village store at the settlement near the gas station by the bridge. Inspect the green backpack and read the note, after which the bunker location will appear on your map.
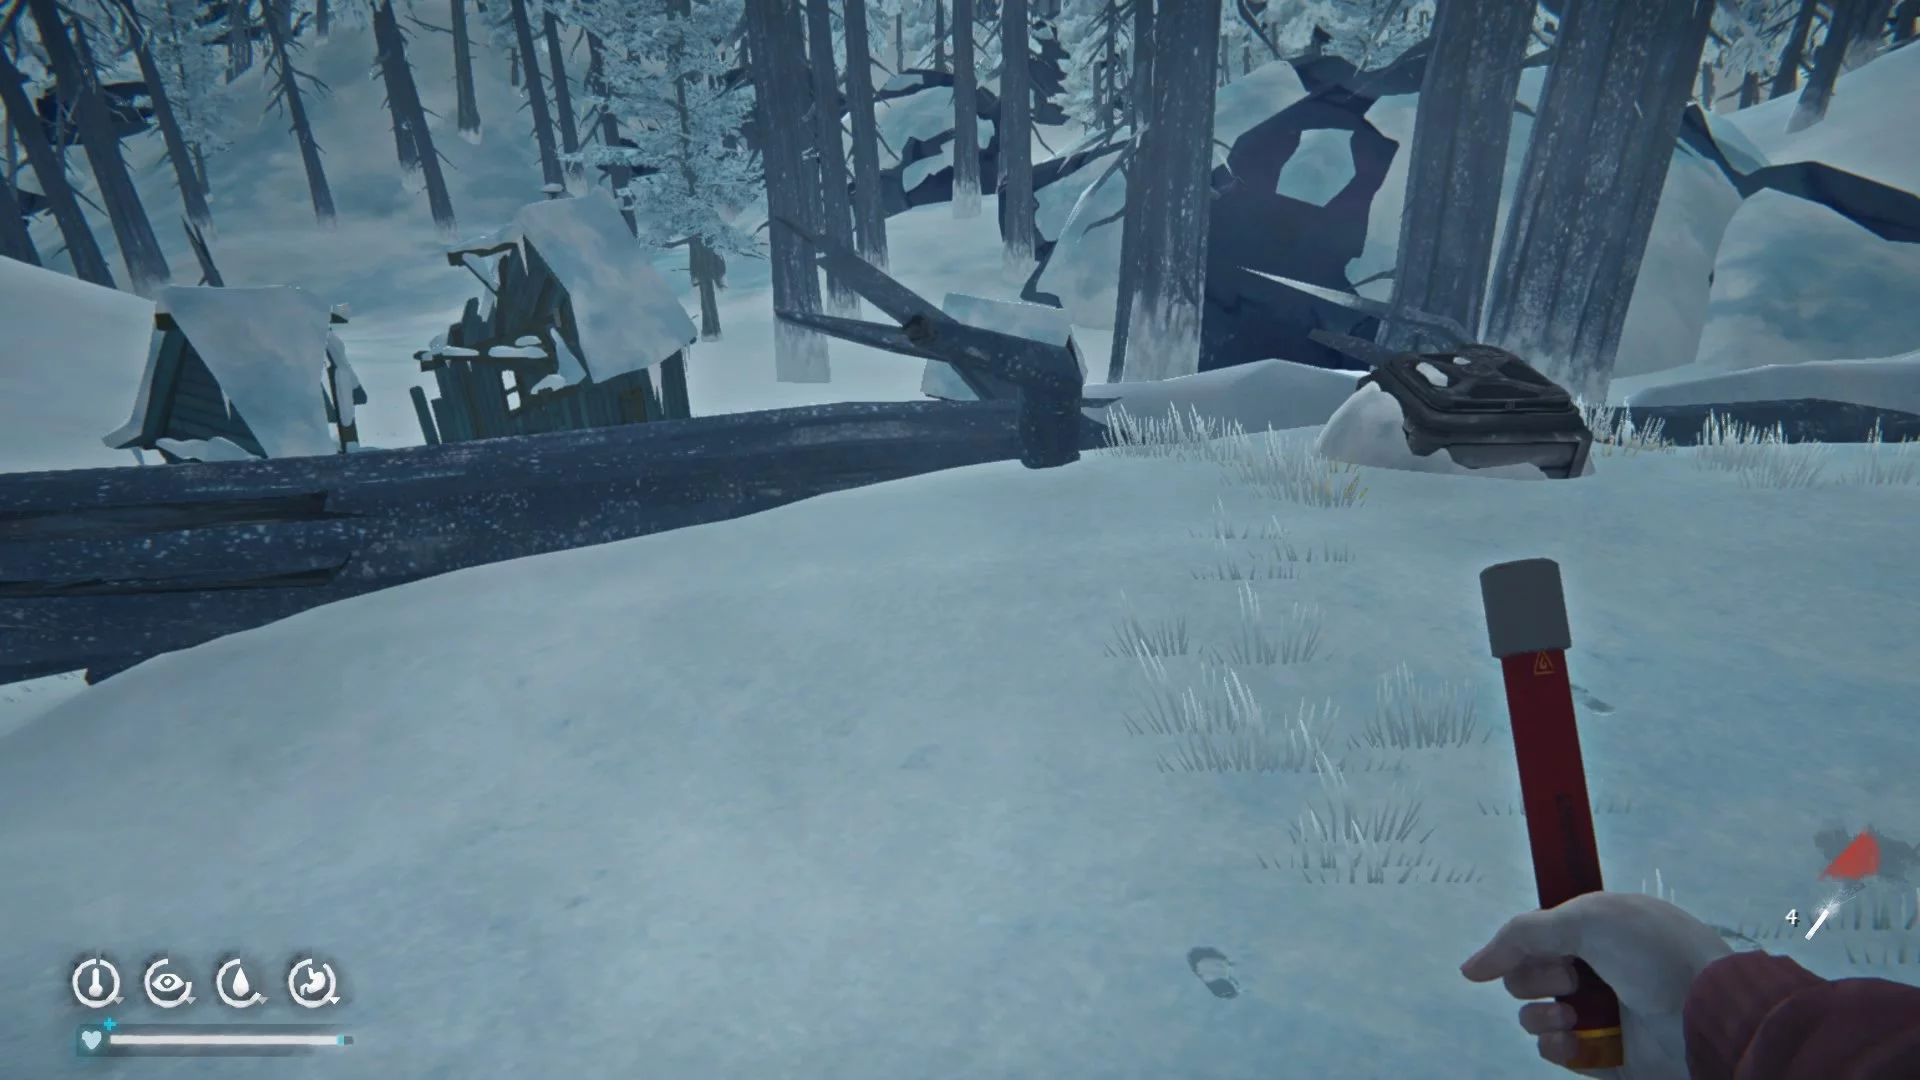
The bunker is hidden behind a fallen tree and a ruined building. You can visit this place while completing the story quest Fallen Star, but beware of wolf packs.
Inside, there will be many valuable items, as well as a note hidden in the ventilation. Picking it up will mark the second bunker on the map — it is located near Molly's house. By the way, you can visit it on the way back with Gwen.
As before, open the ventilation grate and read the second part of Joplin's journal. A marker for the third bunker will appear, which is located near the survivors' settlement.
A Blizzard is Coming
If you have already found all the bunkers, it is time to visit them and collect supplies because to complete this quest, you will need not only to save three survivors but also to fill the kitchen cupboard with supplies, including medicine and fuel. In the last bunker, by the way, you can find a lot of logs.
The flare gun can be found at the entrance to the building with the survivors, at the crash site, and in Joplin's second bunker. There you will also find kerosene and medicine: antibiotics and antiseptics.
As for the survivors, you can find them using the flare gun. Below we will describe and show on screenshots where all the lost plane passengers are located.
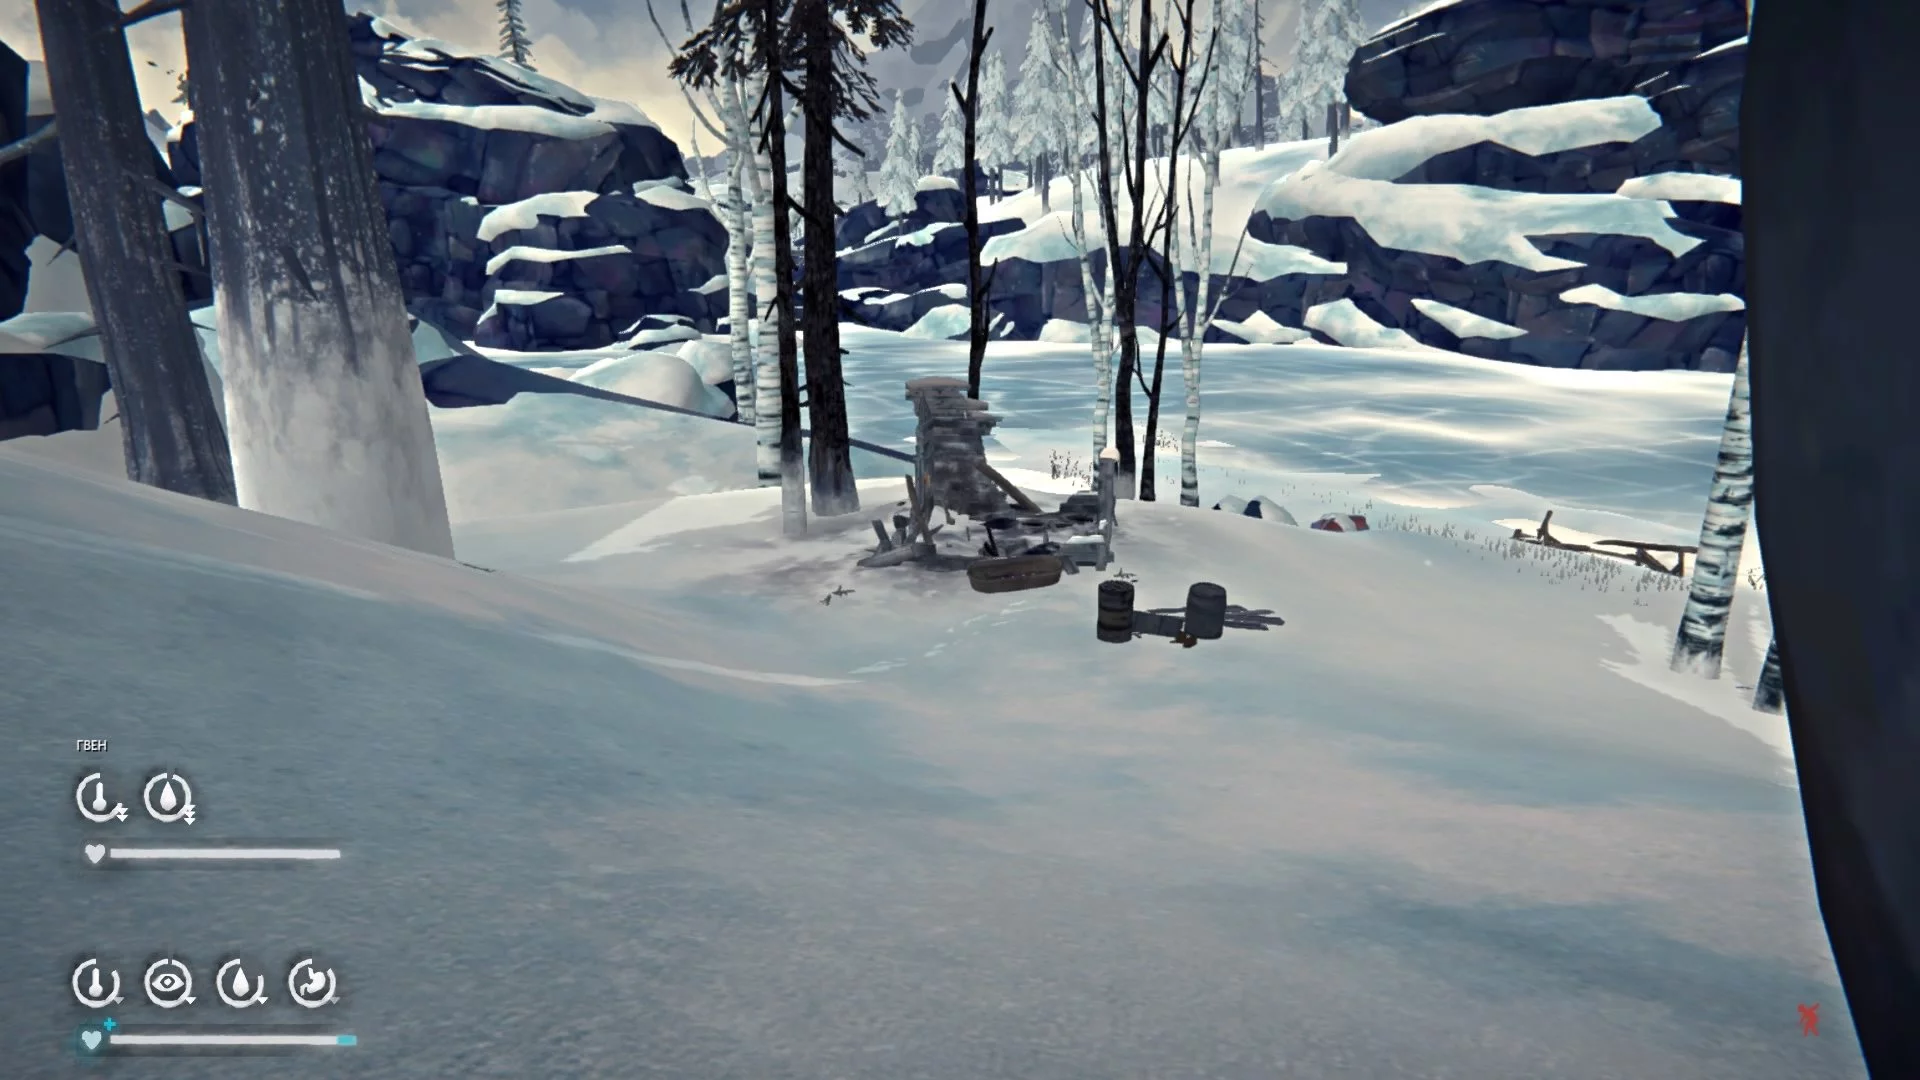
First survivor (western part, by the river).


Second survivor (northern part, by the Buildings in Pleasant Valley).


Third survivor (southwestern part, behind Molly's house).


Note: near each of them, you will encounter a wolf pack. The last pack will be the largest, so we recommend preparing for a fight with the predators.
Consequences
When the supplies are gathered, and the people are saved, talk to Father Thomas and head to the exit of the Community Hall. The phone will ring — Molly will share information about the radio at the radio tower. If you tried to get into this building earlier, you encountered a locked door, but now it will be open.
Once you reach the building, look around and take the note of a local resident of Pleasant Valley, part 3. Then interact with the radio station. The heroine will lie down to rest, and upon waking, a geomagnetic storm will begin. Now you can interact with the radio again.
When you are ready, return to Thompson's Crossing and cross the bridge. Follow the road north until you see a fork with red signs. Turn right and then climb the elevation.


Before this, of course, it is better to prepare: save a few marine flares, as well as take a rifle and ammunition. You will have to fend off the largest pack of wolves.
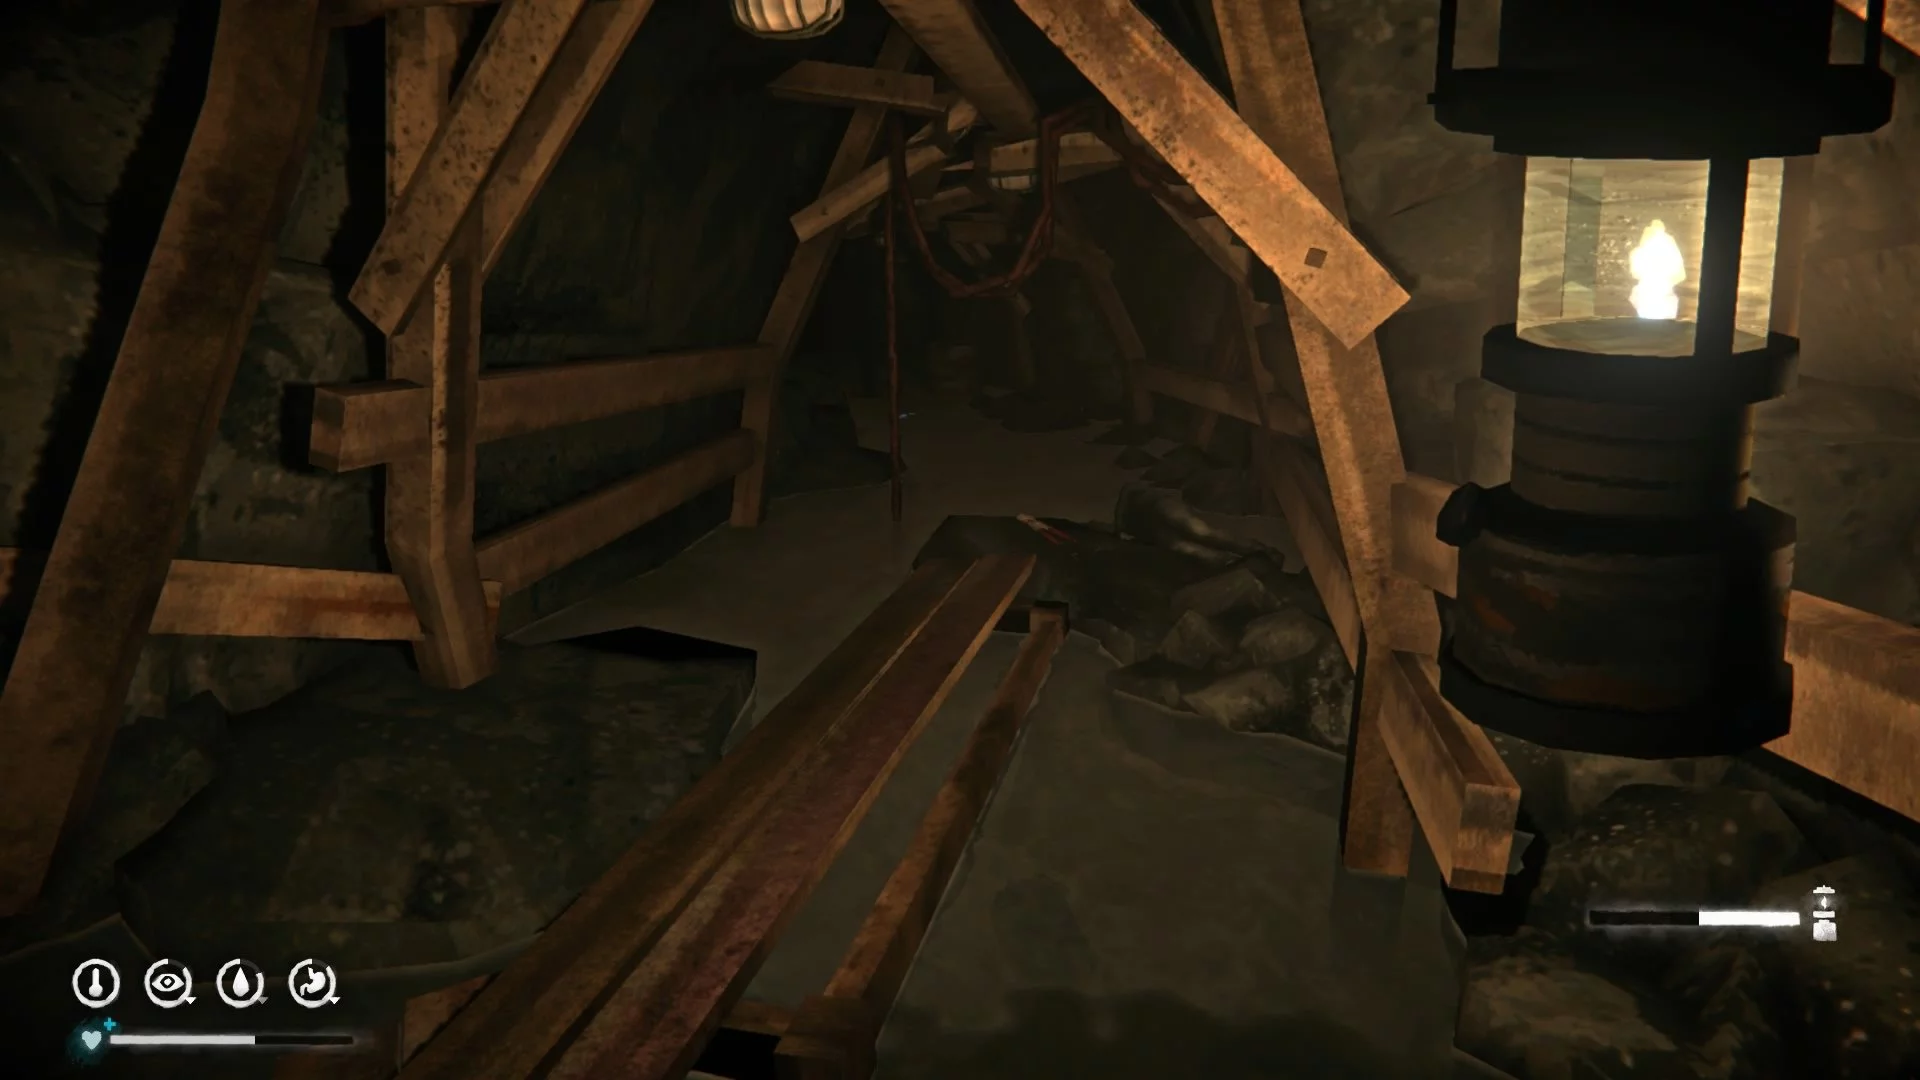
Before entering the mine, also make sure that you have completed all additional tasks, as it will be impossible to return. In the mine itself, always stick to the left side, and when the ceiling collapses on Astrid, treat the wounds with bandages.
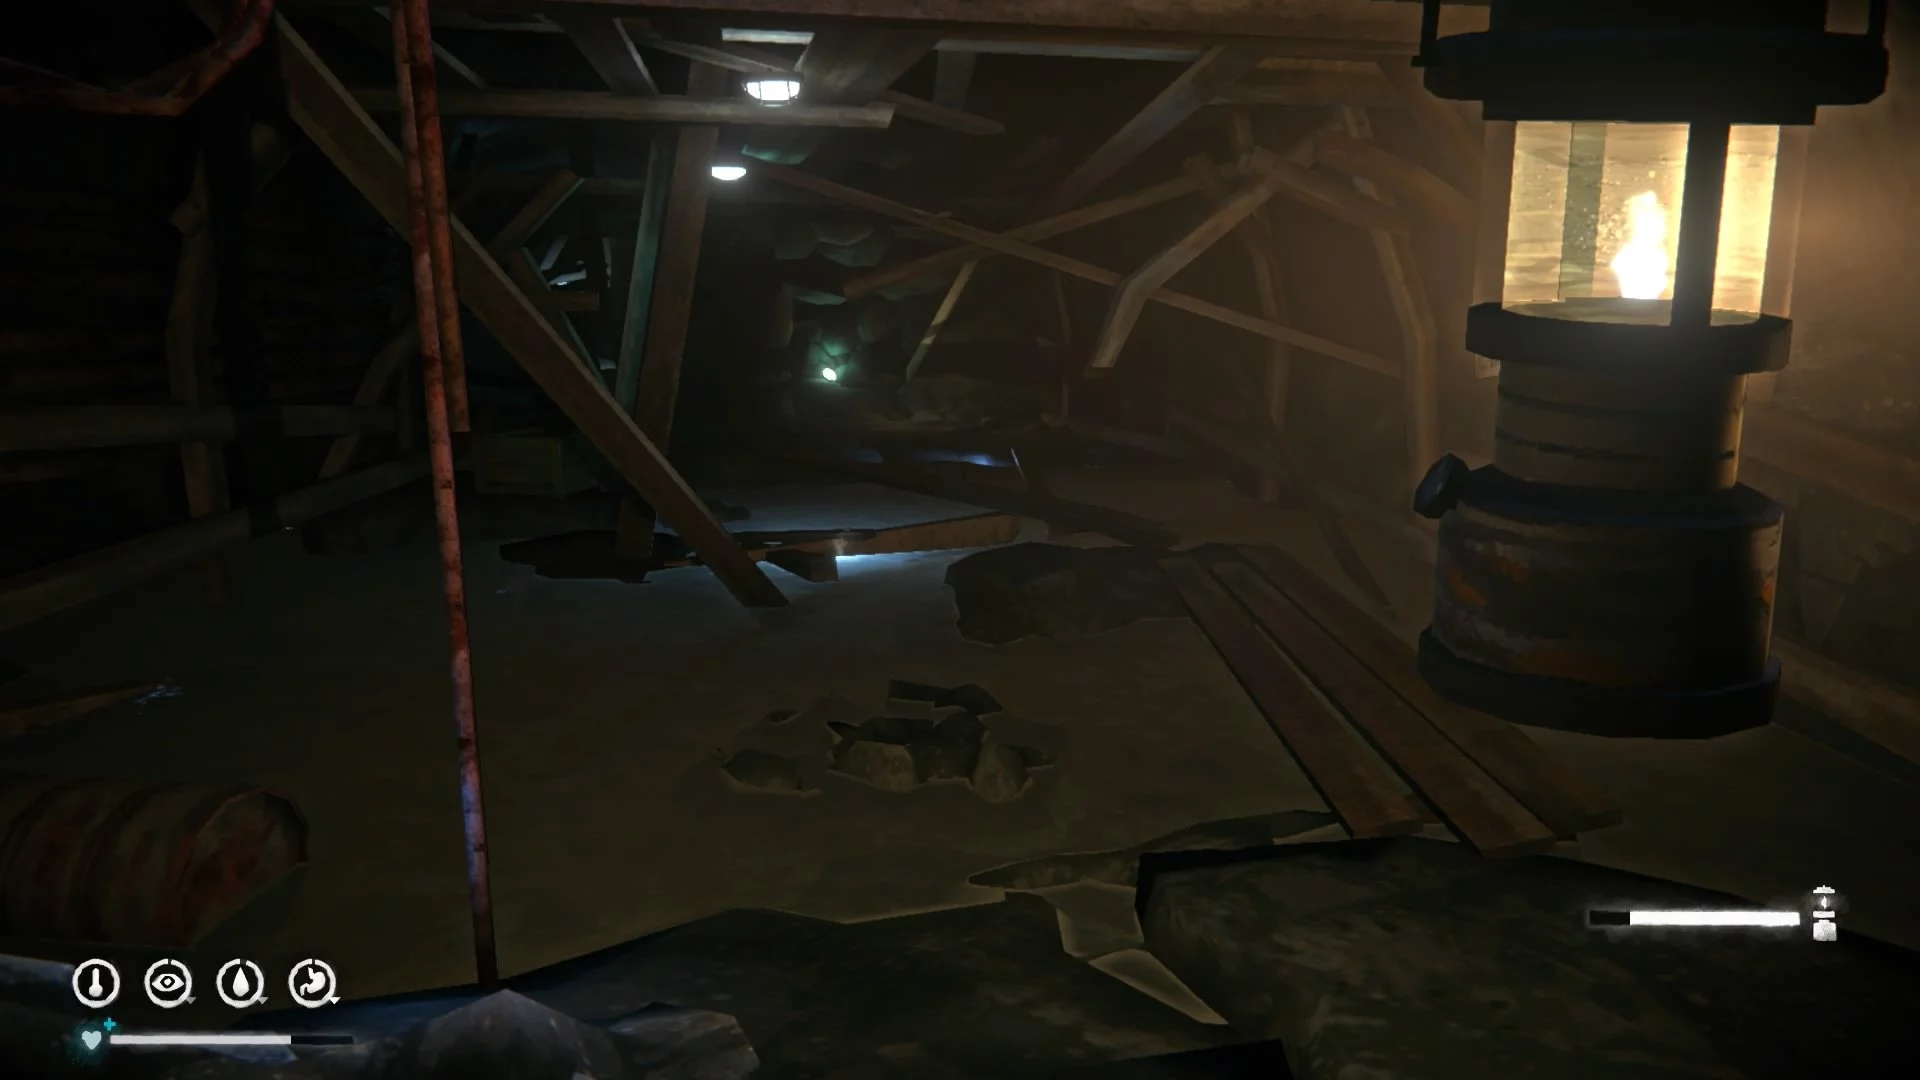
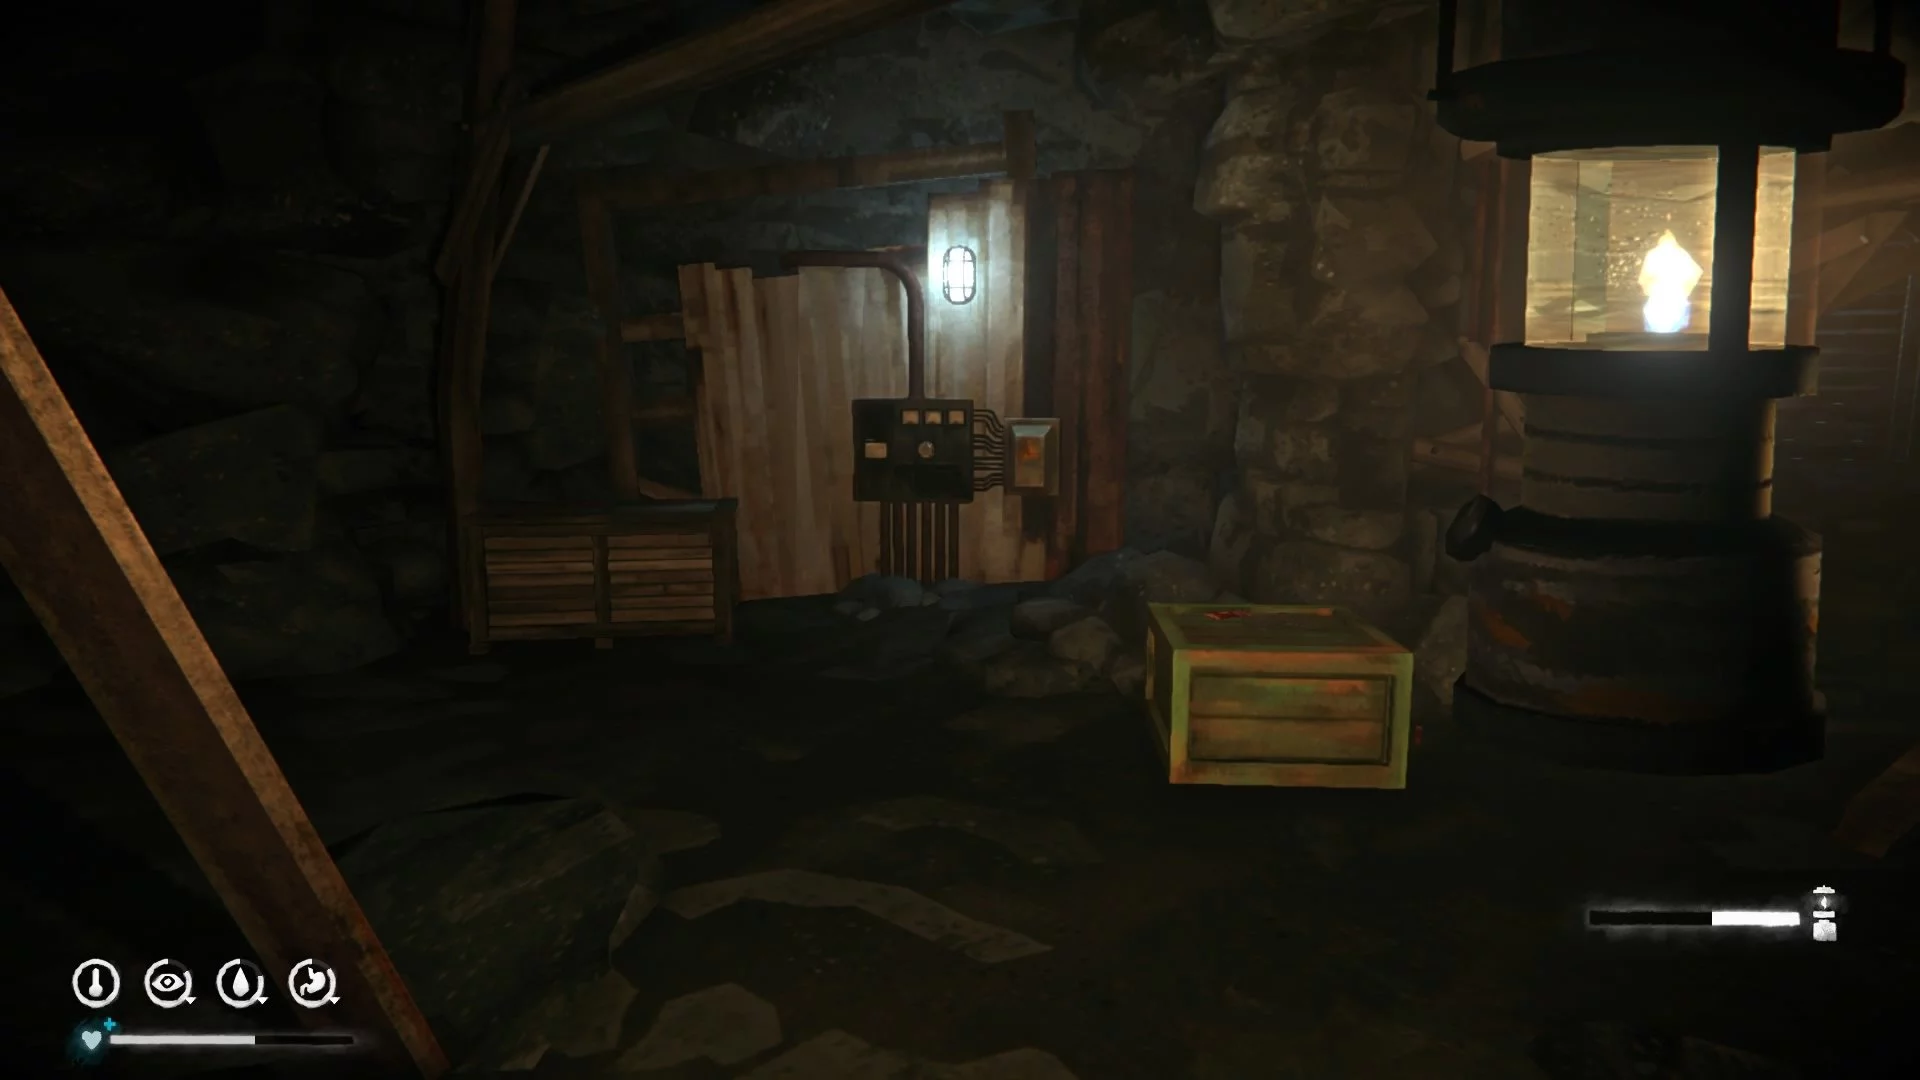
When you reach the adit with water, stay away from it, as well as from the red wires. In the next room on the right wall, there will be an electrical panel with a burnt-out fuse (1/3). Another similar panel can be found to the left of the elevator if you go through the long flooded passage (2/3). The last panel with a burnt-out fuse is located on the platform above the elevator (3/3).
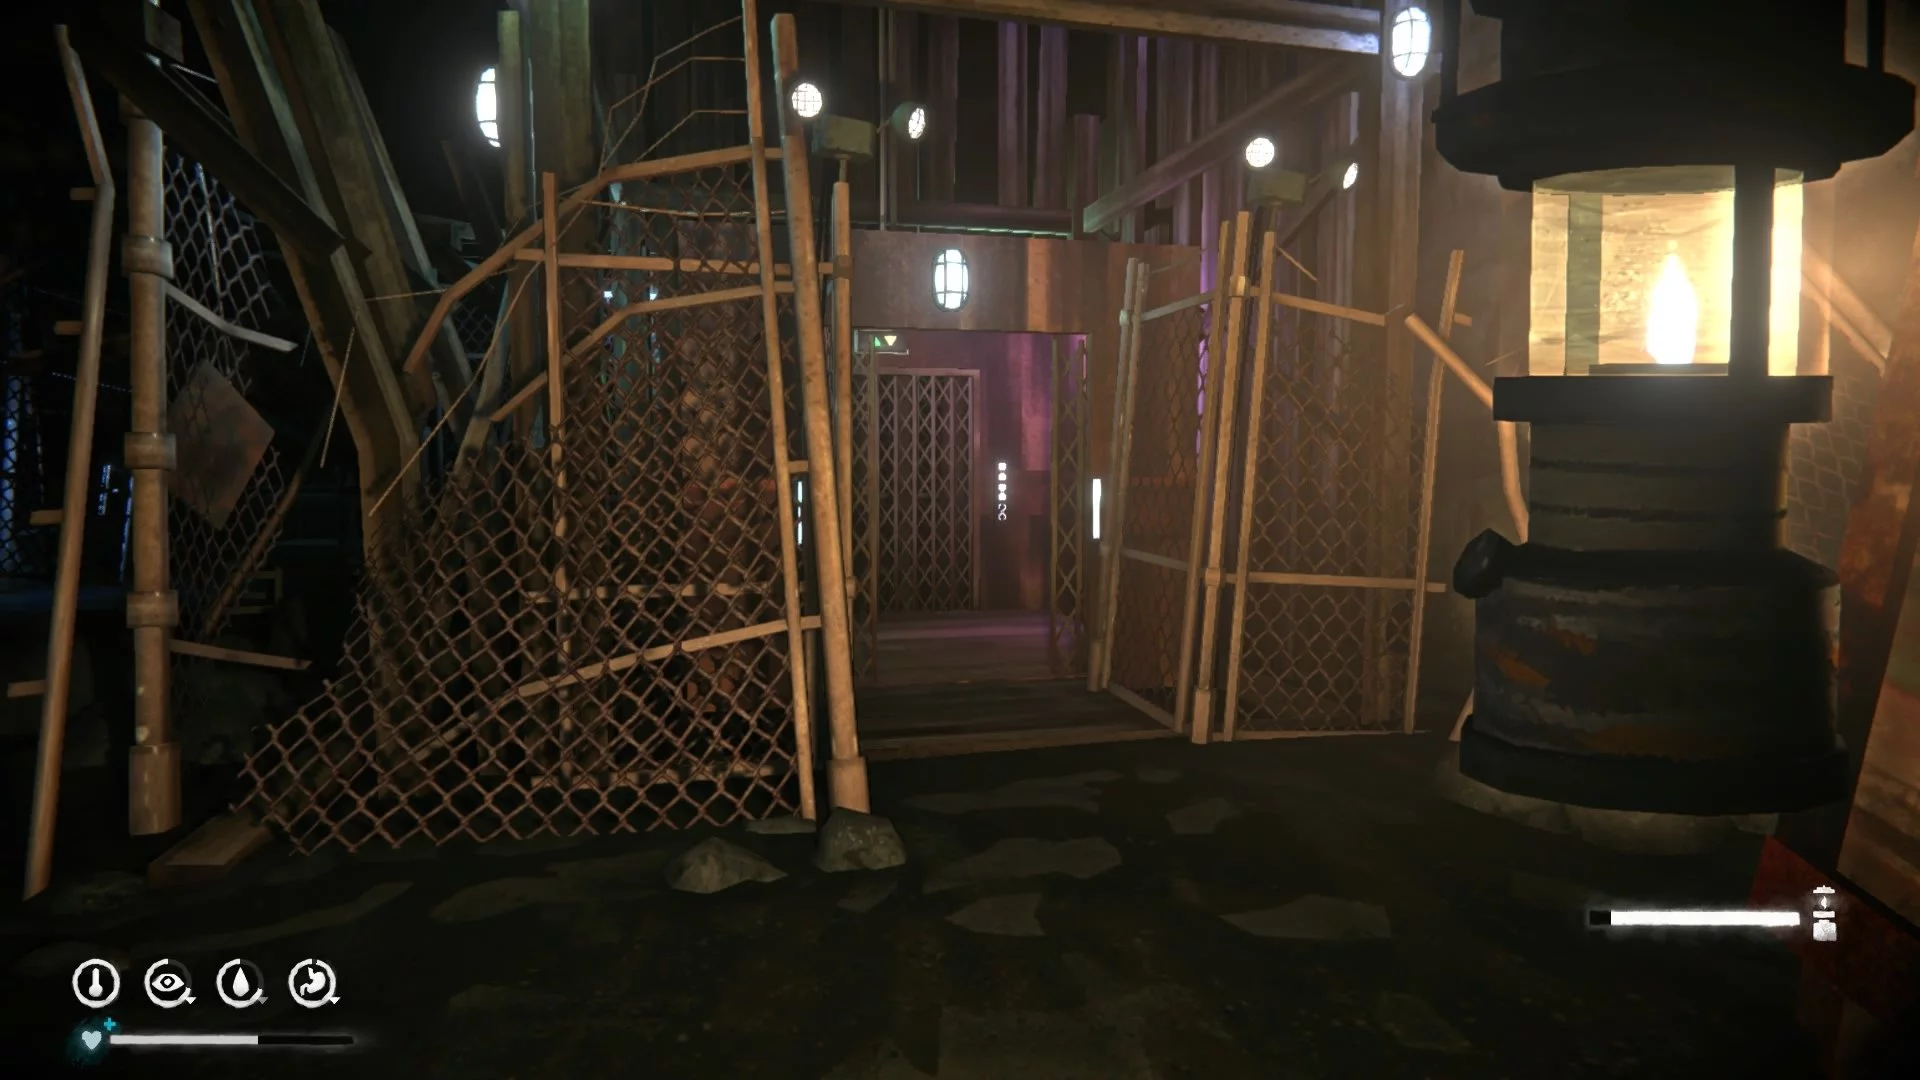
The cave is quite large, but it is not difficult to navigate. Go to the elevator and climb the ramp to the left of it. Run along the left side until you reach a locked door that requires a bolt cutter to open. Turn left at it, and in the next adit, turn left again and crawl under the debris. On the platform, there is access to the panel with the working fuse (1/3).
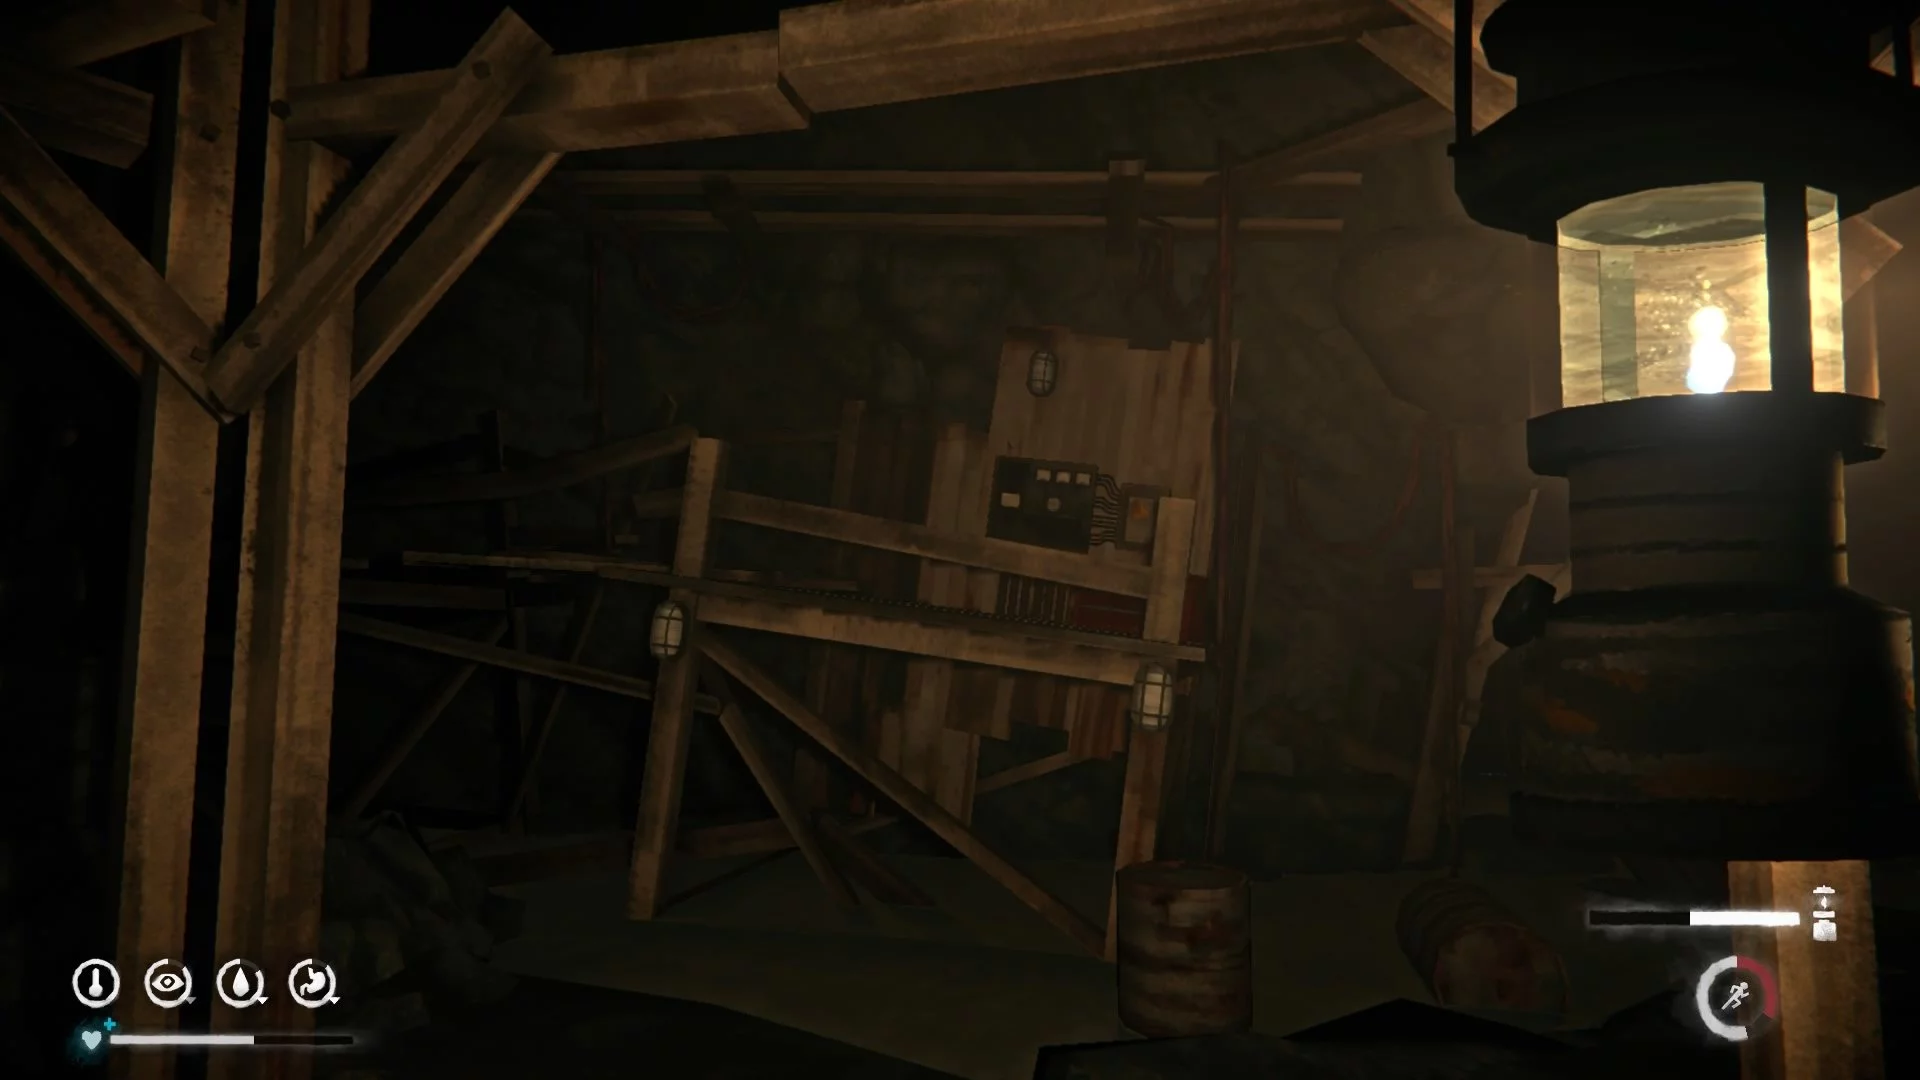
The bolt cutter can be found here: if you are looking at the electrical panel from the entrance to the adit, go straight along the wooden beams and take the tool.
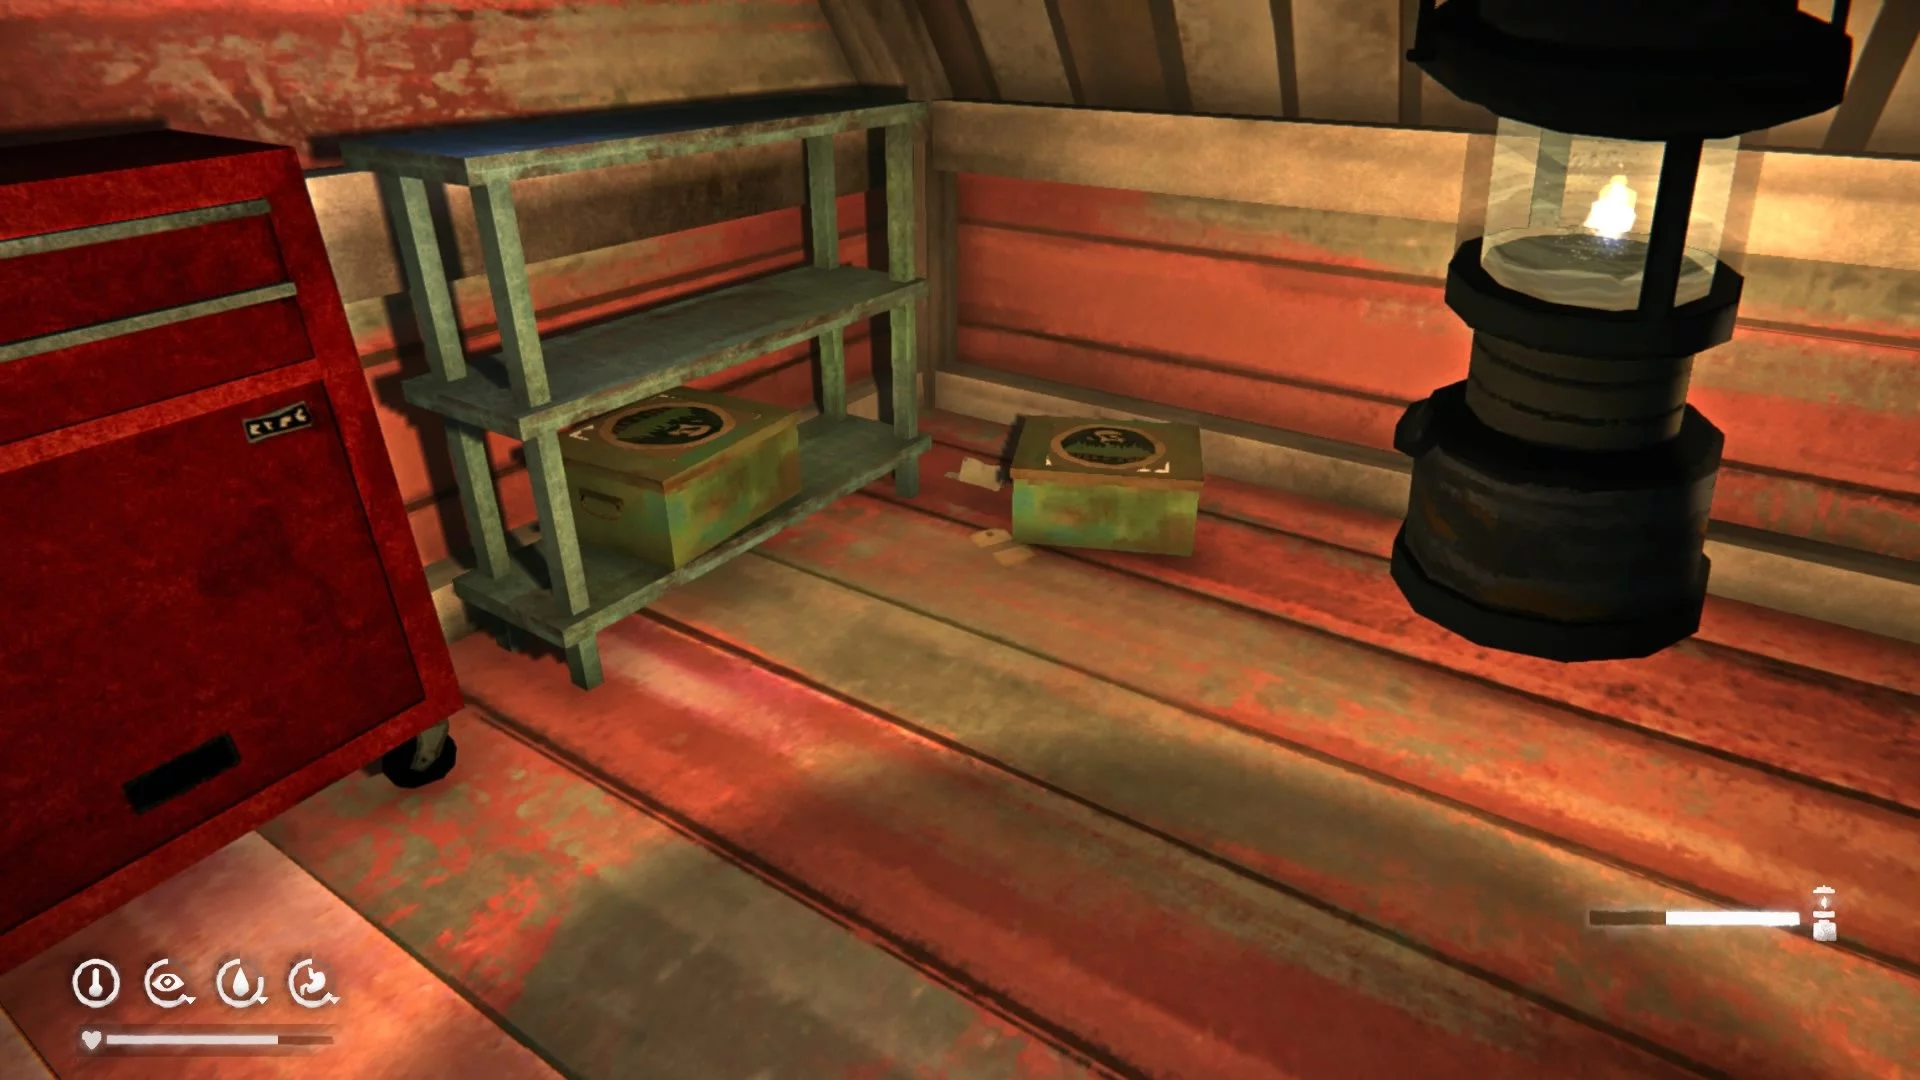
From this place, run to the passage on the right. In the dead end, there will be the second panel with the fuse (2/3).
Return to the locked door, open it with the bolt cutter, and take the last fuse (3/3).
All that is left is to return the fuses to their places and get into the elevator.
Forest Speakers
If you enter the Buildings in Pleasant Valley, which are on your way to your goal, you can find Forest Speaker's Note, Part 2 on the second floor. With it, you will start the side quest Forest Speakers.
Record of a Pleasant Valley Resident, Part 2, is located in the large building with the survivors, in the room to the right of the exit.
Note of a Pleasant Valley Resident, Part 1, is left on the wall of the village shop at Thompson's Crossing (opposite the Community Hall), behind the seller's desk.
Forest Speaker's Note, Part 3, is located in Joplin's first bunker. You can start this side quest by inspecting the backpack next to the corpse in the village shop by the bridge.
Forest Speaker's Note, Part 1, is hidden in the northwestern part of the map, in a small hangar at the Three Throws Estate location. You will visit this area during the additional quest to find the ghost deer.
The last note of a Pleasant Valley resident lies on the table in the radio tower building, which will become accessible during the storyline quest Consequences.
Note: for finding all the notes, you will receive the achievement Every Last One.
How to Find All Guides
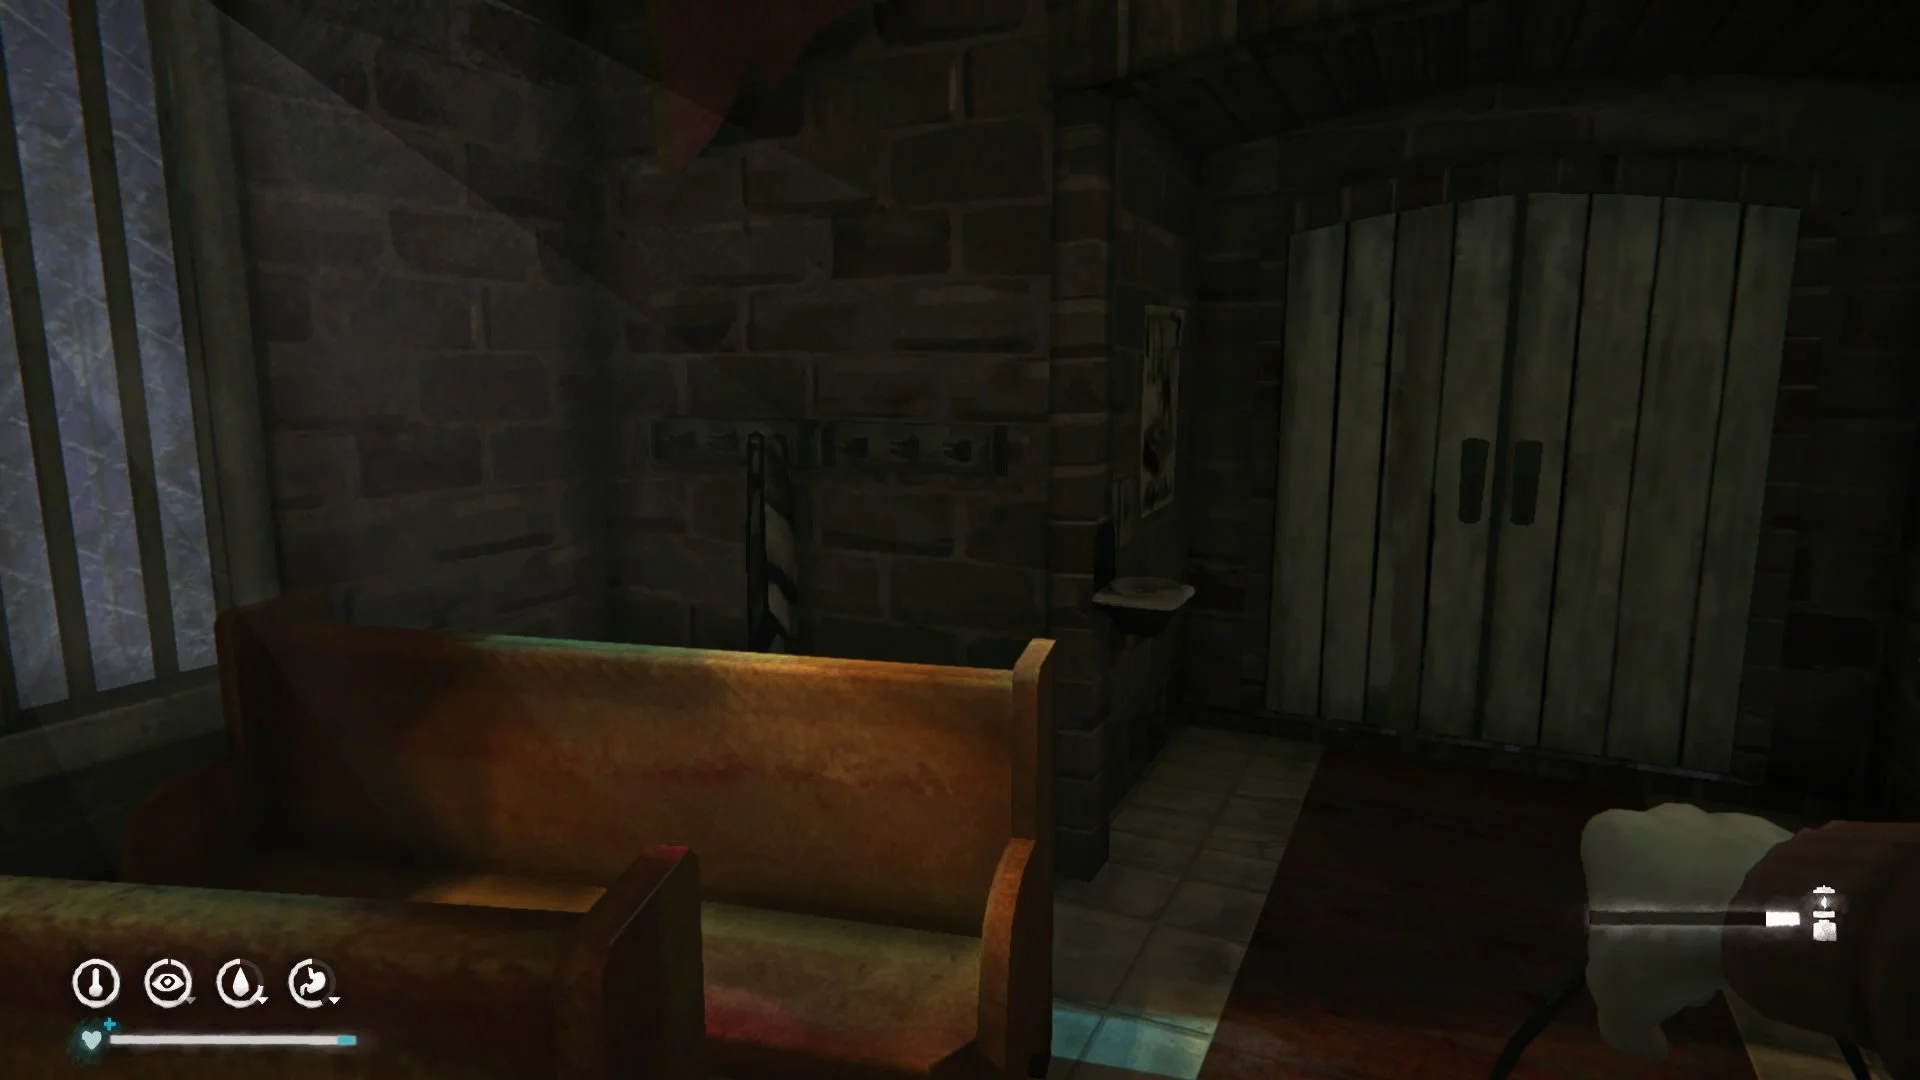
- The first book can be found in the restroom of the Community Club. It is called Local Legends: Yeti. With it, the side quest Tales will open, in which players need to find the Yeti's cave near Thompson's Crossing. There won't be any Yeti there; instead, you will find a new wolf coat.
- If you leave the Community Club and cross the road, you can find a small shop. On the shelf to the left of the entrance, there is a magazine Local Legend: Abandoned Cave. It will open an additional activity to inspect the old cave near Joplin's first bunker. In this place, you will find two corpses, one of which has a moose hide satchel (+5 kg to carrying weight).
- Another guide is located in the Recluse's Bungalow, which can be accessed by completing the side quest Church Artifact. It lies on the shelf to the left of the entrance. It activates the side quest Tales, in which you need to visit a clearing and find the ghost deer. Upon arriving at the marked location, inspect the backpack and take the rabbit fur mittens, then wait in the snow shelter.
- The next magazine with tales Local Legends: Big Fish is hidden in Joplin's second bunker. To find it, read the walkthrough of the quest chain — it is located near Molly's house. You can complete the optional mission by catching a fish at Philosopher's Pond.
Note: Completing all objectives will reward you with the achievement Tales.