Guide for Frostpunk 2 for Beginners: Tips and Tricks
Frostpunk 2 has just been released, but it has already sparked a wave of discussions among players and fans of the original, who seem to be confused by the numerous innovations brought by the sequel. This guide will help you understand the new features and get a quick start. Let's begin!
How the Scale of the Game Has Changed
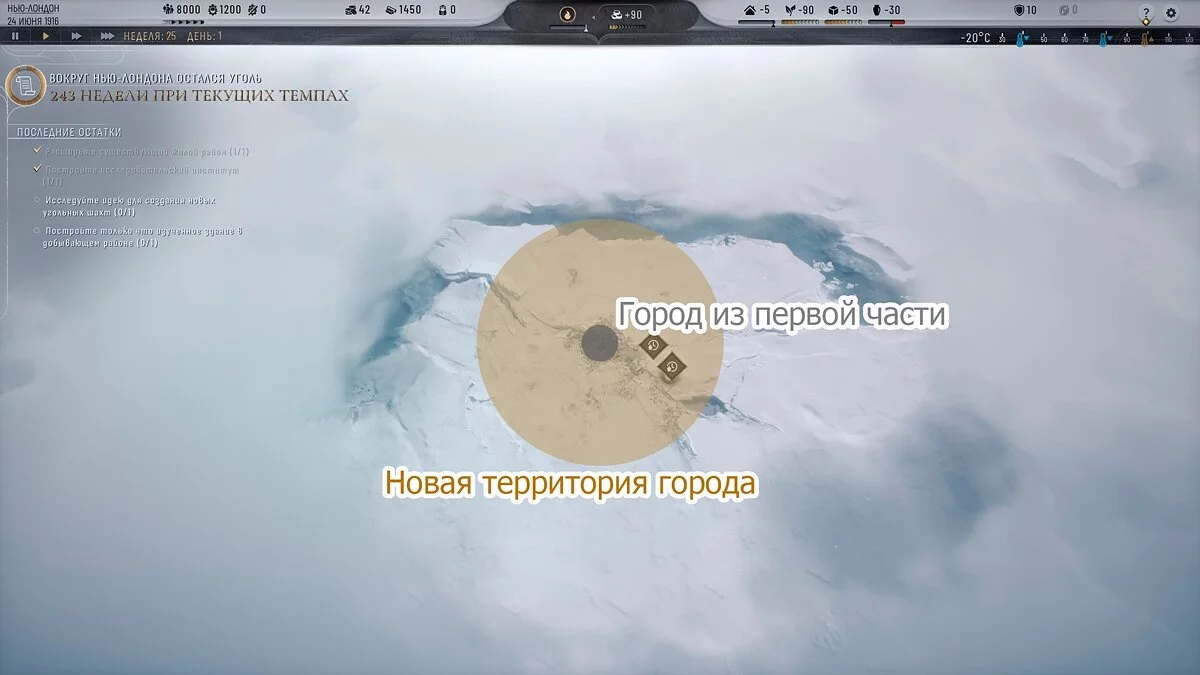
The first thing that stands out in Frostpunk 2 is the scale, which is immediately noticeable on the main map. The pit in the center is the very city we built in the first part. In the sequel, it serves as the central district of the new city, but you won't have access to it throughout the game, only the ability to add upgrades. The entire surrounding area is available for construction, and the boundaries of the Frostlands have significantly expanded. Yes, the lifeless desert has prevailed, and we decided to settle in it!
What Are Hexes?
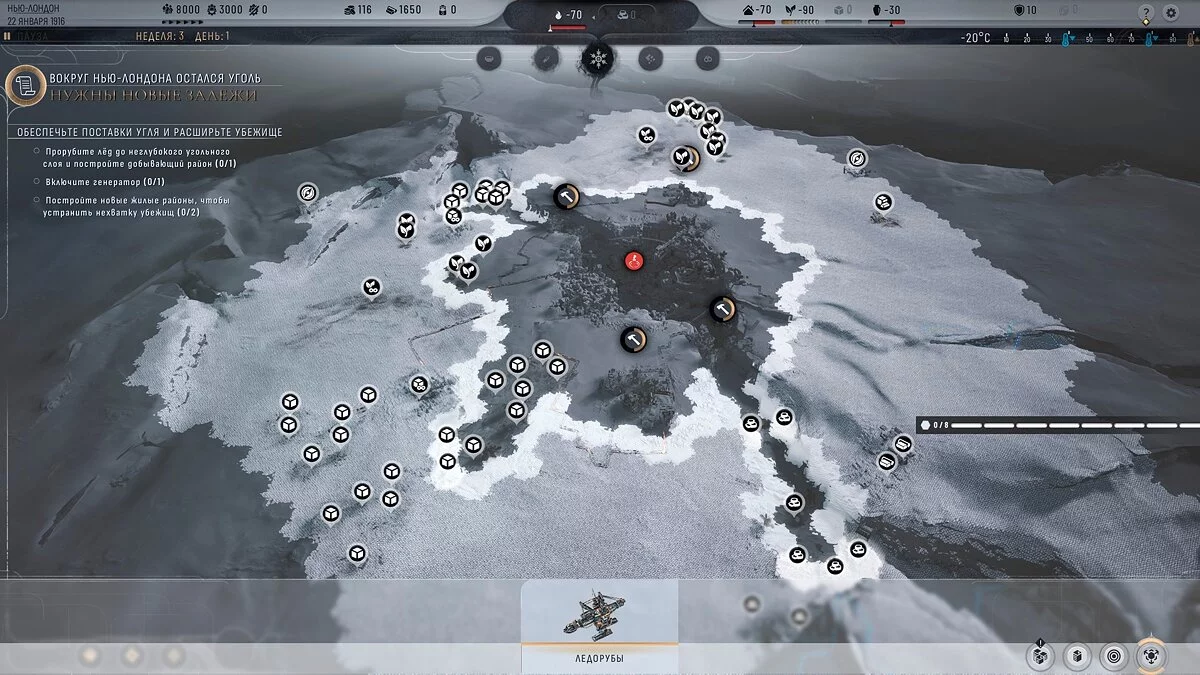
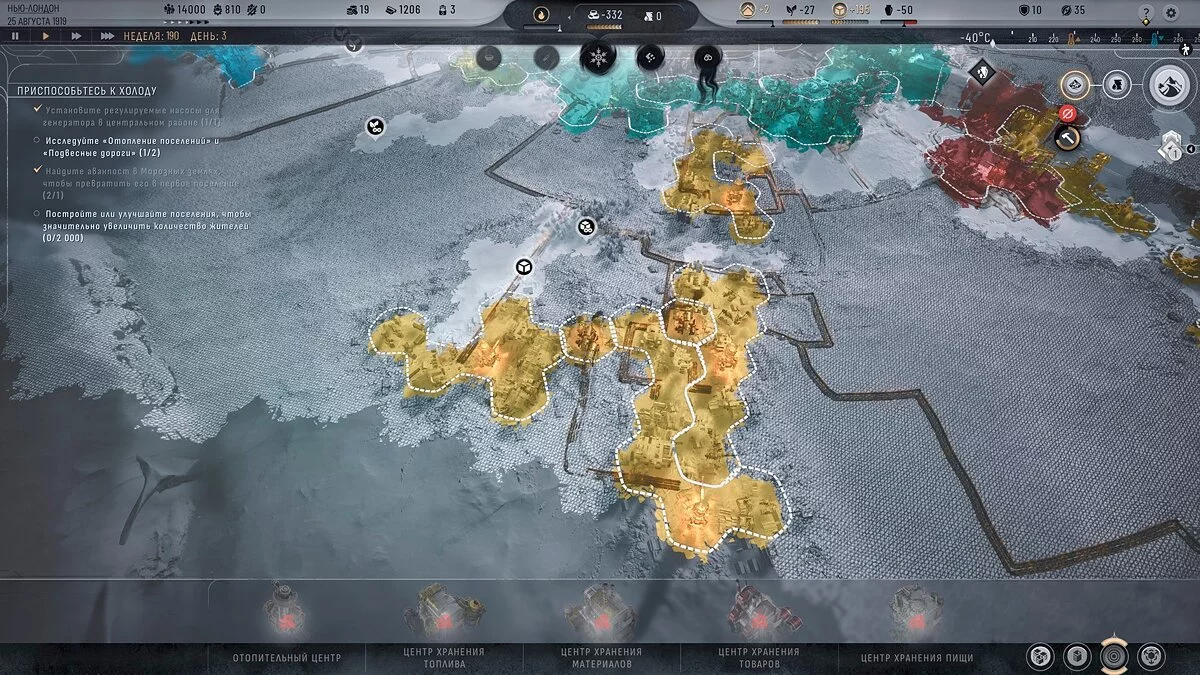
The map layout has changed; it is now divided into large hexagons (hexes). They are not perfect as they adapt to the terrain — they can stretch, compress, or otherwise follow the shape of the landscape, such as canyons and hills.
Icebreakers and Clearing the Area
You can't just build buildings anywhere. First, you need to clear the hexes of ice accumulations using specialized equipment — icebreakers. These machines remove ice and prepare the surface for construction. The grid-marked gray areas on the map in the screenshot below are unavailable for construction, while the shiny white areas are suitable for building.
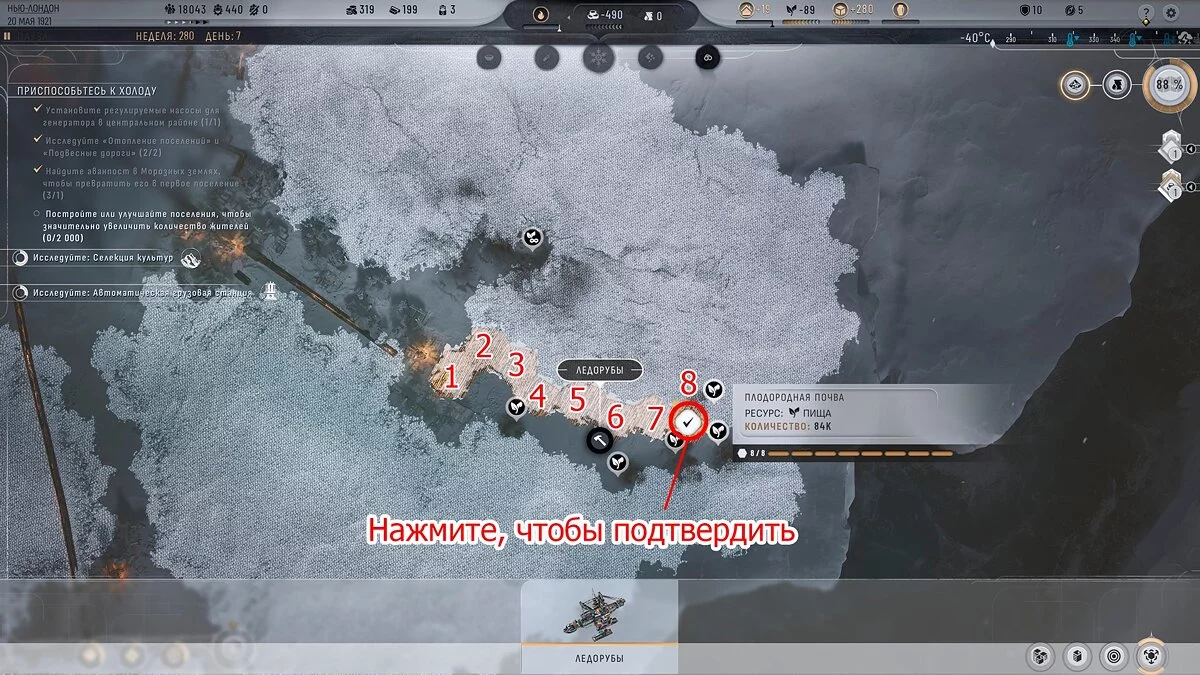
To clear an area, you need to manually click the hexes you want to clear until the entire bar is filled. One squad of icebreakers can process up to eight hexes at once, but to speed up the process, you can deploy multiple squads simultaneously. In a separate guide, we explain how to clear ice and plan districts on the hexagonal map.
Starting Resources Everywhere
As before, useful resources are scattered across the map, which need to be extracted for the city's gradual development. But now you don't collect them; you extract them, and the extraction area needs to be built over the hex with resources; hexes around it won't be beneficial. The more hexes occupied by the area, the higher its productivity.
There are also one or two hexes on the map where the resource is infinite. If you build an extraction area over it, you will get a significant boost in extraction, equivalent to a regular area. At some point, you will deplete this resource, but as technology advances and more advanced buildings are obtained, you will be able to drill deeper and deeper.
Climate Change and Landscape Impact
Climate changes — cooling and warming — occur regularly, and for survival, you will need to, as before, develop technologies, insulate the city, and prepare for severe storms. However, after a storm, the areas cleared by icebreakers will remain accessible — snow will not accumulate again.
The landscape also plays an important role in regulating heat: buildings in canyons consume less heat than on open hills, where strong winds blow. Adjacent districts share heat with each other, further reducing the load, but proximity to industrial sites such as mines is not welcomed by residents. Unfortunately, the agenda has reached here too — the residents of the permafrost are concerned about the environmental friendliness of productions, air cleanliness, democracy, and the rights of children and women. Well, to track resource consumption, press 4:
Generator and Fuel Management
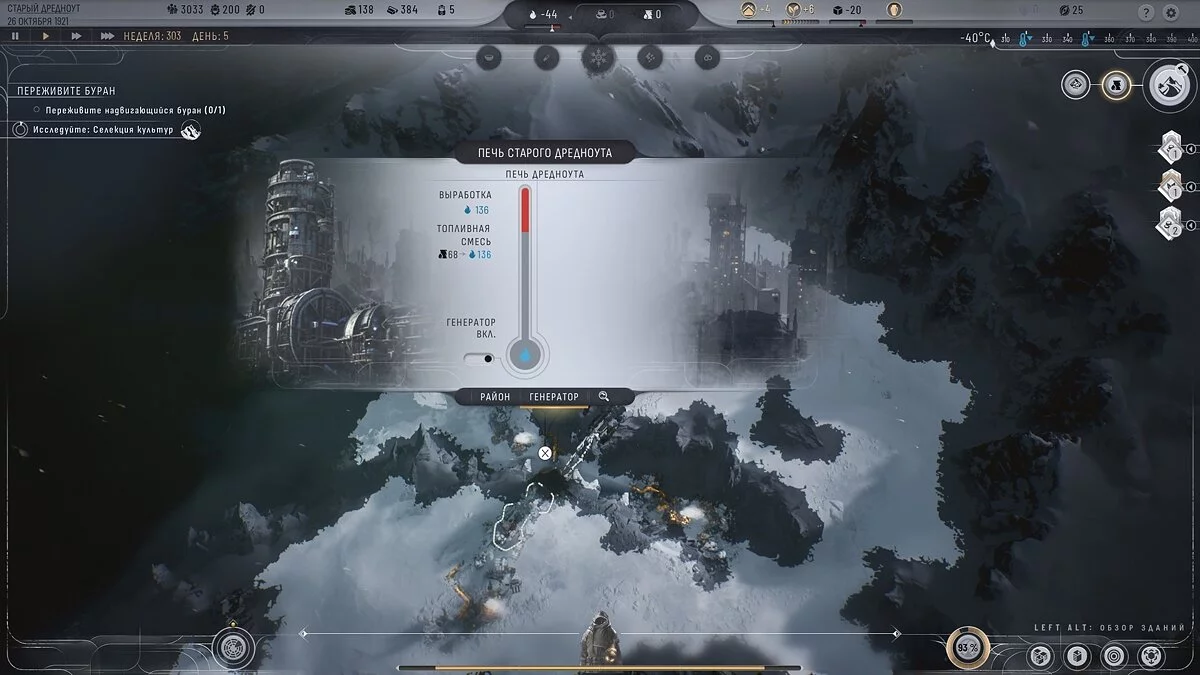
The generator no longer requires constant attention. If you remember, in the first part, you had to constantly adjust coal consumption and temperature — now this is gone. The generator is turned on once, after which it works automatically. Upgrades are still possible, but you won't be able to adjust the temperature.
The generator consumes as much fuel as is available in the warehouses to maintain a comfortable temperature, and to survive in extreme cold conditions, you only need to monitor fuel supplies. But to survive a storm, you will need to gather a lot of resources — how to insulate the city and survive the first storm in Frostpunk 2 we explained in a separate guide.
Time and Planning
Previously, each event was measured almost by the hour, but now time flies by years. The day has become shorter, and weeks can pass between significant events. This means that preparing the city for a storm now requires more careful planning, as the storm itself can last several weeks, not just a couple of days.
City Management and Development
The city management system in Frostpunk 2 has also been significantly expanded. Now you do not need to lay roads or plan the placement of buildings to meet the needs of residents. All this is replaced by large districts: residential, food, extraction, industrial, and logistics. The names speak for themselves.
The resource set has been updated:
- Coal (later oil) — for heating homes;
- Food — to provide residents with food;
- Materials — include wood and steel from the first part, actively consumed in the production and maintenance of buildings;
- Modules — construction elements that return when a district is demolished;
- Goods — consumer goods needed to meet the needs of the population;
- Cores — a strategic resource used for the construction of the most important objects.
But the main resource is heat marks, a kind of money equivalent obtained as taxes from the population. Heat marks accumulate weekly, and their amount depends on the number and satisfaction of the residents. The more heat marks, the more actively you can develop, as this resource is necessary for all actions in the city.
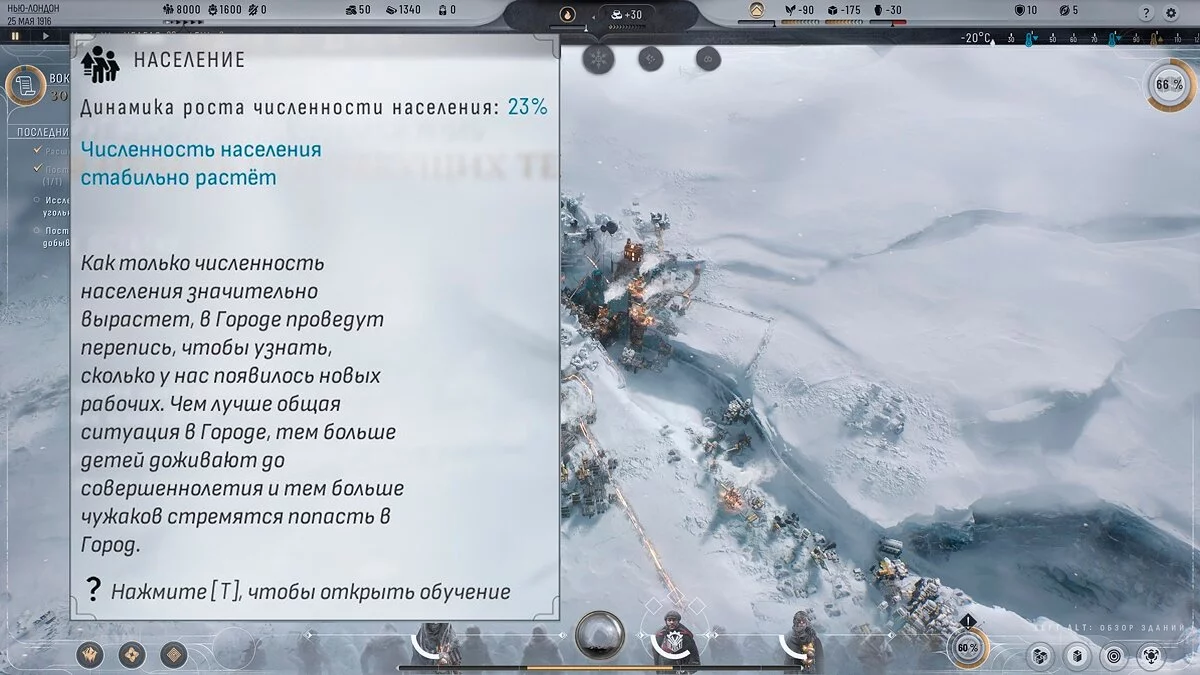
Population is also a resource. Unlike the first part, the sequel does not have workers, engineers, and children. Instead, there is a population and a workforce, which makes up 60% of the total number (the rest are children and the elderly). The game tracks the aging of residents, and over time, the population will grow naturally. The higher the population's satisfaction with food, goods, and heat, the faster the growth occurs, and the more heat marks you get. Survivors from the Frost Lands will also come to the city.
It is not important how much money you have accumulated, but how much on average you received during the game; the more, the faster you can build. Hence the task of providing the city's residents with heat and consumer goods.
District Management
With such changes, city management has come to resemble a full-fledged city-building simulator. You mark out districts, and the rest happens automatically. Each district performs its functions, but its construction and operation will always have to be paid for with one or another type of resource.
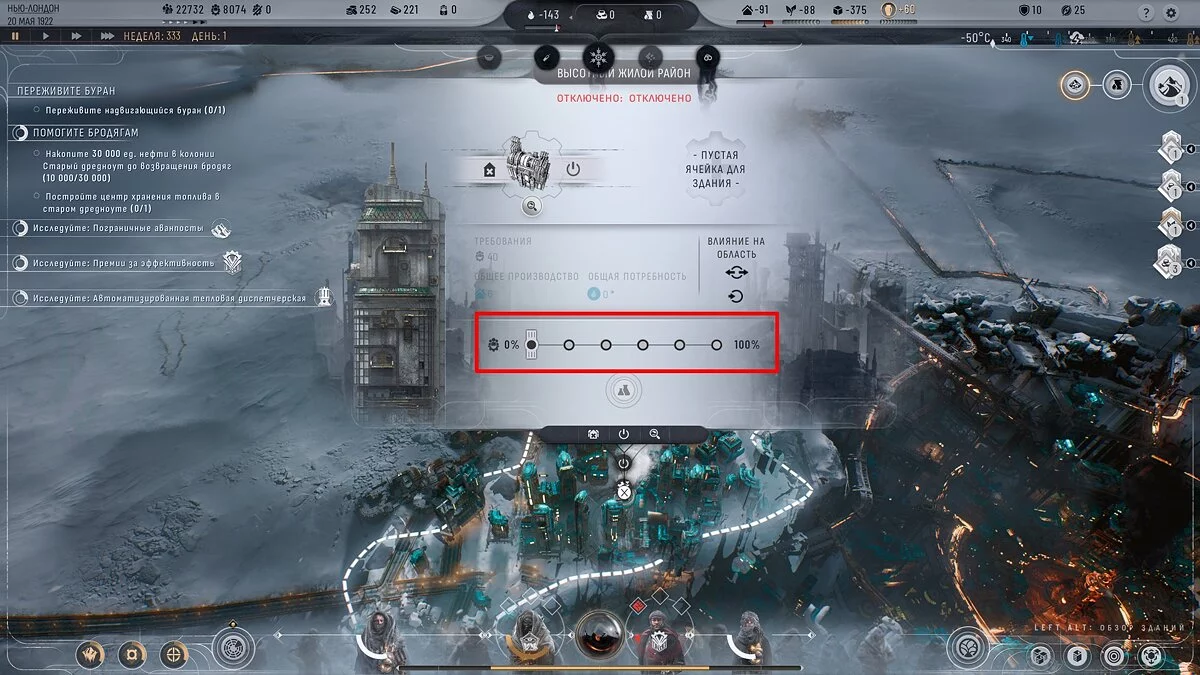
If something is lacking, the district's productivity drops. District management (including residential ones) comes down to setting employment: you have five sliders and the ability to turn it off. This way, you regulate production volume, especially if there is a shortage of labor or too much of a resource is being produced.
Districts can be improved, expanding them physically (by adding hexes) and increasing product output, while the need for labor in this district will not grow, which is extremely valuable. But the price is high — each district upgrade costs more than building a new district, so combine according to circumstances.
Improving districts unlocks a slot for a building — this is another modification option that significantly increases the production of the basic resource or solves specific problems. For example, a consumer goods factory will increase the volume of goods so much that it will replace a couple of basic districts. But individual buildings are also balanced by the huge cost of maintenance and the number of additional workers.
When improving districts, it is important to monitor the placement of hexes so as not to block the development of other districts. The hexes of each district are connected to each other like cells of one chain. It will not be possible to build a district in one place and make an expansion for it on the other side of the city.
Resource Storage
For storing resources in the game, storage centers (warehouses) are used, which are allocated to a separate menu item. Without sufficient stocks, it will simply not be possible to survive the storm.
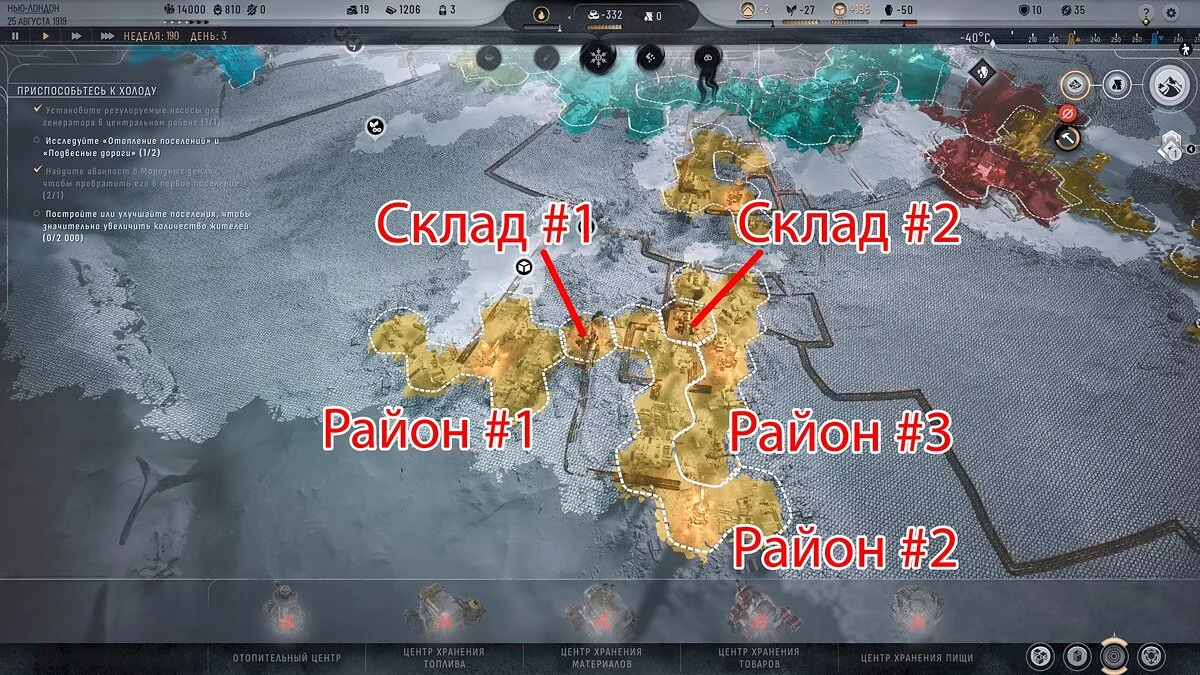
They require 100 people of workforce but reduce employment in the district by 10%, so 1-2 such warehouses between 2-3 districts will free up much more hands. Warehouses need to be built close to the district, but they cannot be placed next to each other; they must be separated by at least one free hex. We talked more about district layout and how to estimate it by eye in a separate guide.
Frost Lands and Expeditions
In the first part of Frostpunk, the city was built in a place with enough resources to keep the generator running and provide food and raw materials throughout the campaign. The city was self-sufficient, except for a few scenarios. In the sequel, you will not be able to ensure survival on basic resources, no matter how hard you try.
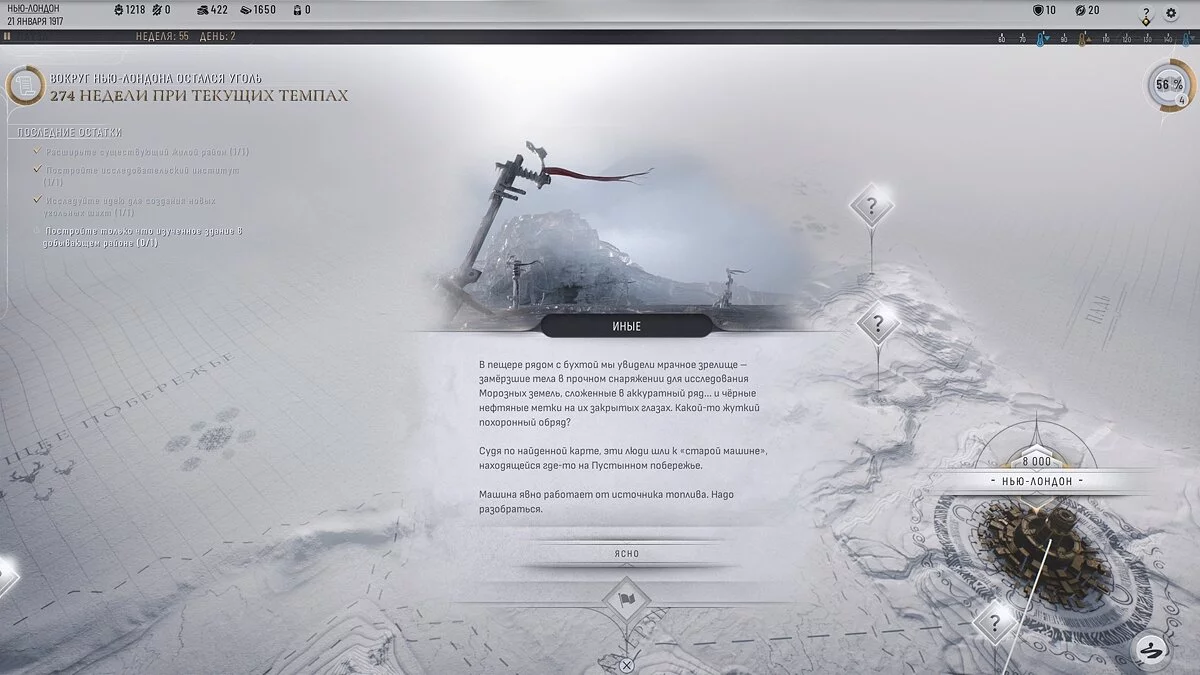
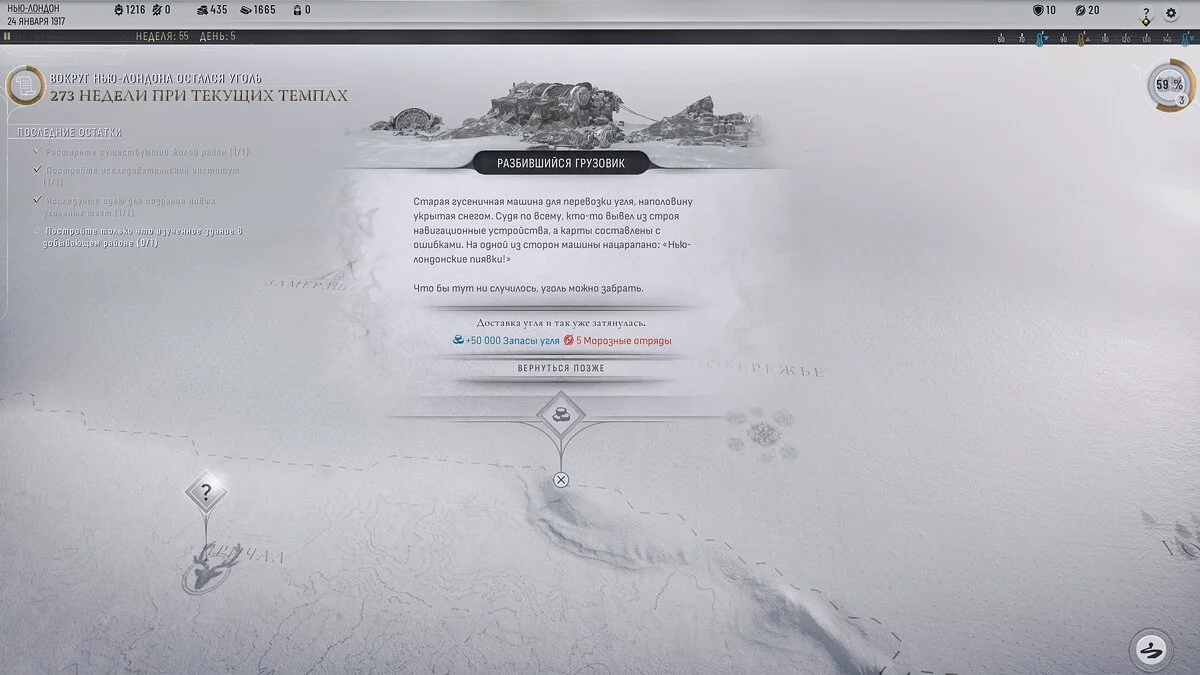
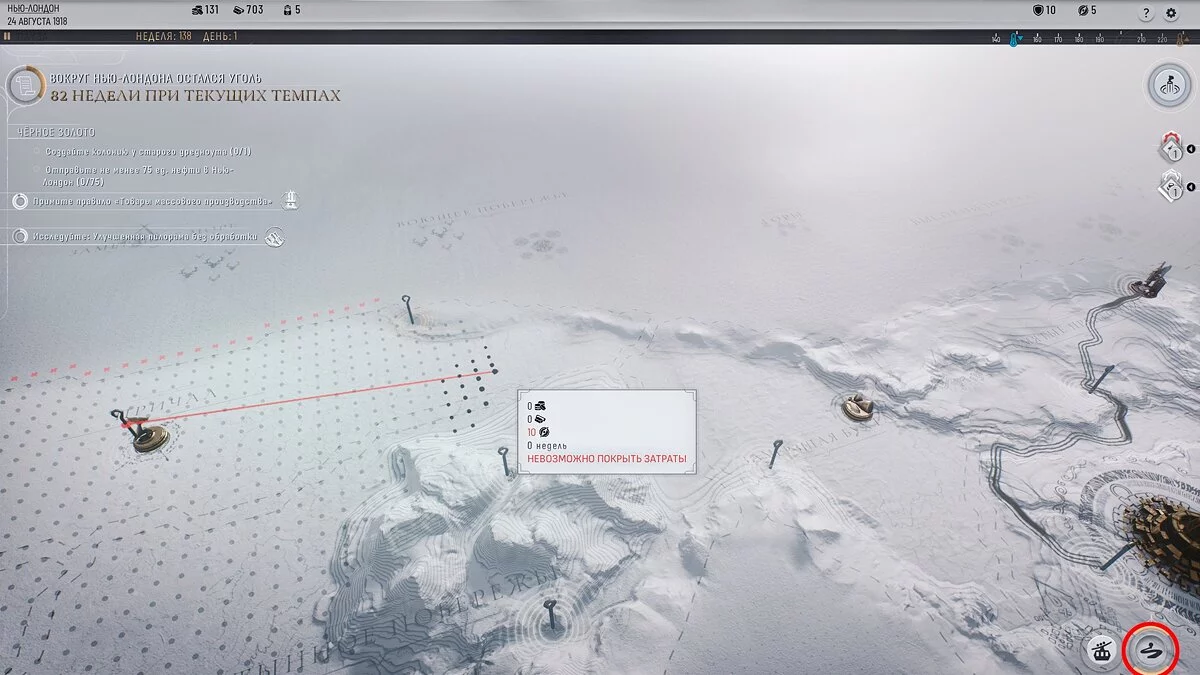
The only way to survive in Frostpunk 2 is to get out into the Frost Lands as soon as possible and start exploring them with frost squads (how to use them). The lands are now divided by regions, and survivors first explore a region, then it opens on the map, and you can see points of interest (from 1 to 3). Such places have changed little:
- Points with useful story information or random — remain, but they are now significantly fewer.
- Resource points allow you to collect materials, steel, fuel, people, or steam cores at once and send them to the city.
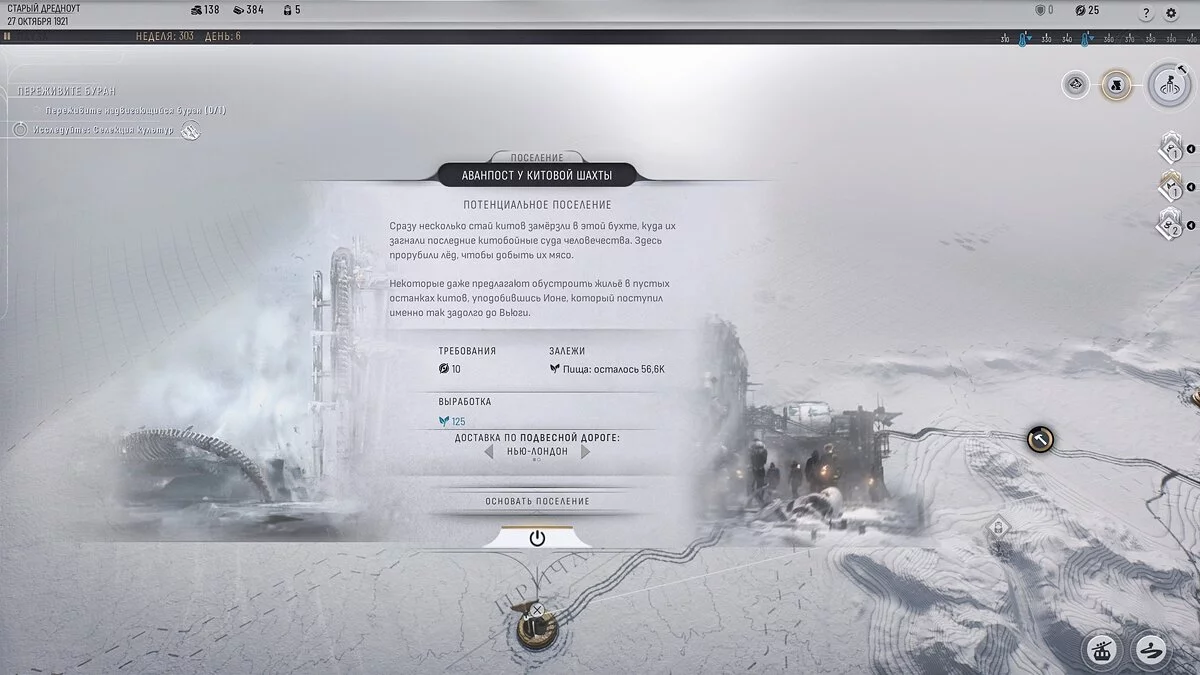
- Outposts continue to perform their role: here you can temporarily extract, for example, coal or food until the local resource is exhausted. Survivors set up camp and transport the resource to the city.
- A new feature is the ability to turn an outpost into a settlement. Some of your city's residents move there, and by providing them with a small amount of basic resources, food, or coal (each time differently), you get a larger volume of coal, materials, or modules in return. These settlements become autonomous and are managed by local authorities without your intervention.
In addition, the game has introduced a new concept — managed colony. It can be considered as another city. The first such colony or the first second city you will get by the storyline, in the prologue, where the dreadnought with oil was introduced, and then the main campaign is tied to it. The second city, Winterhome, you will get in the third act of the story and can build it as you wish, and in general, you have full power over its residents, but you will have to solve the same problems.
Routes and Communications
The mechanisms of communication both within the settlement and among the Frost Lands have also changed significantly. It is important to fully master all the game's capabilities, which we discussed in a separate guide. Within settlements, you can, for example, build a metro to speed up the movement of citizens. Outside the city, two types of routes are available:
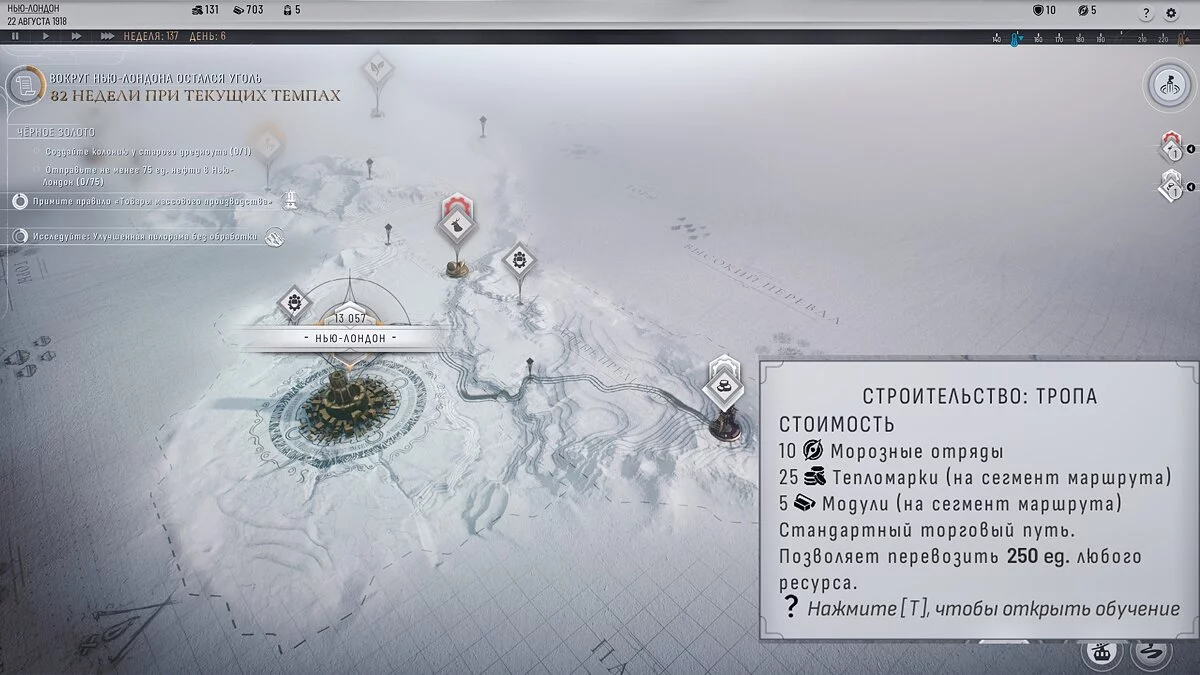
- path, which can be laid in the ice immediately;
- suspended (elevated) roads, which open later.
Suspended roads are much more efficient than paths, as they speed up the transportation of goods and allow you to get more resources per unit of time, which significantly accelerates development. When fully upgraded, outposts continue to function even in storm conditions. However, their construction requires research, and at the beginning of the game, they are unavailable. Suspended roads are not much more expensive to build than paths, and the allowable distance between checkpoints is much greater, which excellently offsets the cost.
***
These were the main tips we wanted to share with you! What secrets did you discover during your adventures? Share in the comments!
Other guides
- Guide Frostpunk 2: How to Clear Ice and Plan Districts on a Hexagonal Map?
- Guide for Frostpunk 2 on Frost Lands: Squads, Route Marking, Buildings, and Upgrades
- Frostpunk 2: Quick Start in the New London Scenario
- Frostpunk 2 Guide: How to Deliver 75 Oil from the Old Dreadnought to New London
- How to Insulate the City and Survive the First Storm in Frostpunk 2
- Die Schöpfer von Frostpunk 2 zeigten das Intro-Video des Spiels mit dem alten Kapitän
- Frostpunk 2 wurde auf den Herbst 2024 verschoben
- Leitfaden zum Abschluss von Frostpunk: Das letzte Herbstszenario
-
Guide for Frostpunk 2 on Frost Lands: Squads, Route Marking, Buildings, and Upgrades
-
Frostpunk 2 Guide: How to Deliver 75 Oil from the Old Dreadnought to New London
-
Guide Frostpunk 2: How to Clear Ice and Plan Districts on a Hexagonal Map?
-
Frostpunk 2: Quick Start in the New London Scenario
-
How to Insulate the City and Survive the First Storm in Frostpunk 2
