Life is Strange: Double Exposure — How to Find All Polaroid Photos
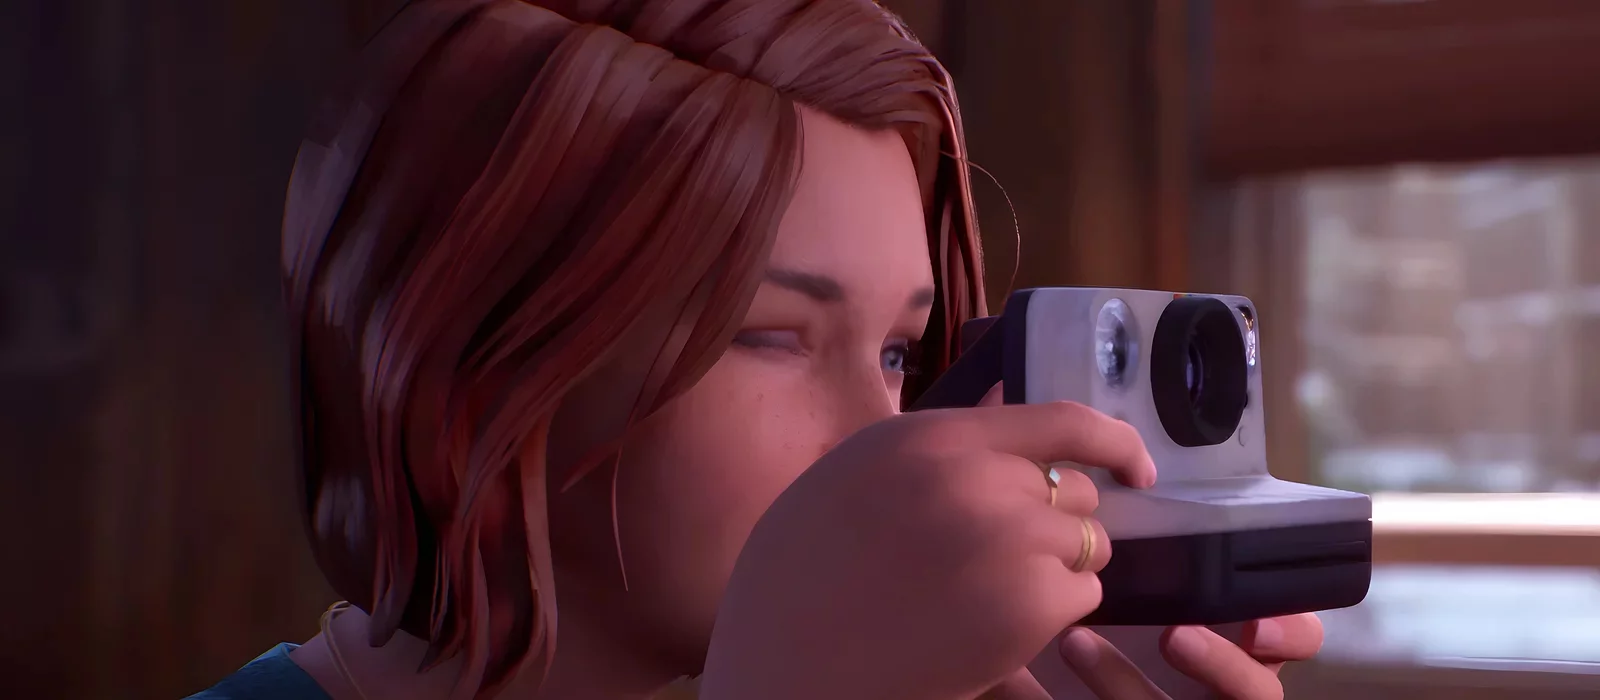
Polaroid photos in Life is Strange: Double Exposure are standard collectible items. Collecting all the photos can earn you a rare achievement, but they are very easy to miss. In this guide, we will detail the locations of all the photos in each chapter.
Chapter One
In the first chapter of the game, you can find three Polaroid photos. They are located in quite obscure places, so they are easy to miss. Note that if you don't pick them up immediately, you won't be able to return for them later.
Photo #1
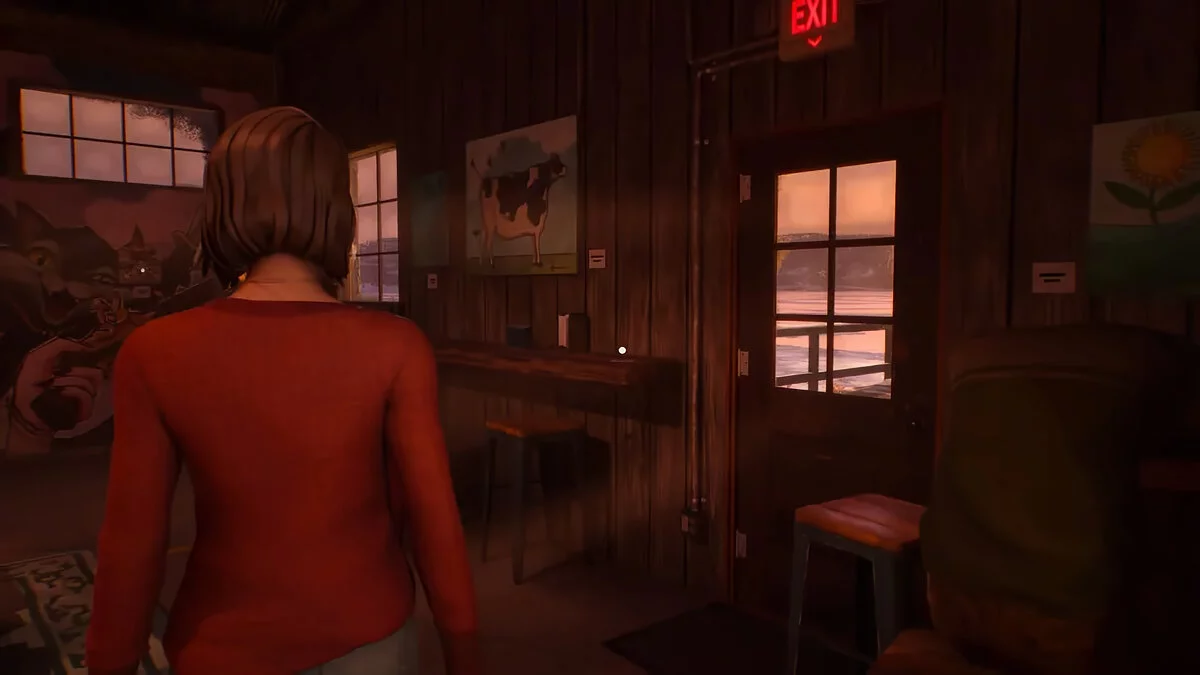
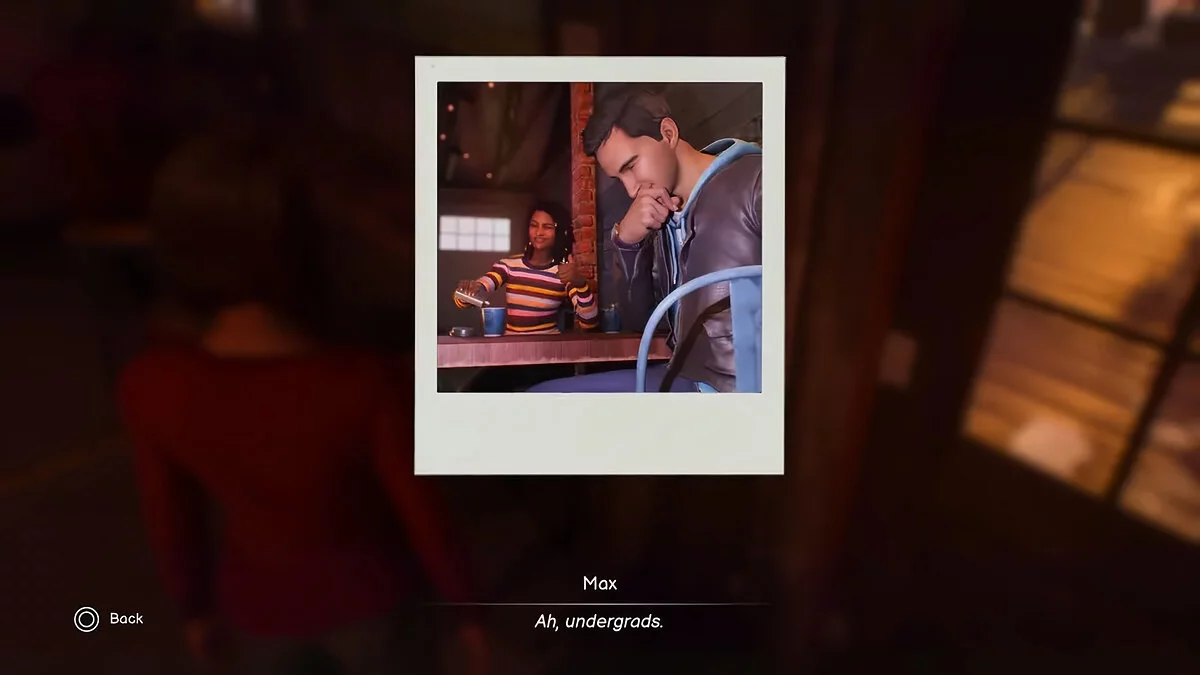
When you enter the bar, first talk to Safi, then walk past the two students sitting at the table — Reggie and Diamond. Turn right, where you will notice a Polaroid lying by the back door.
Photo #2
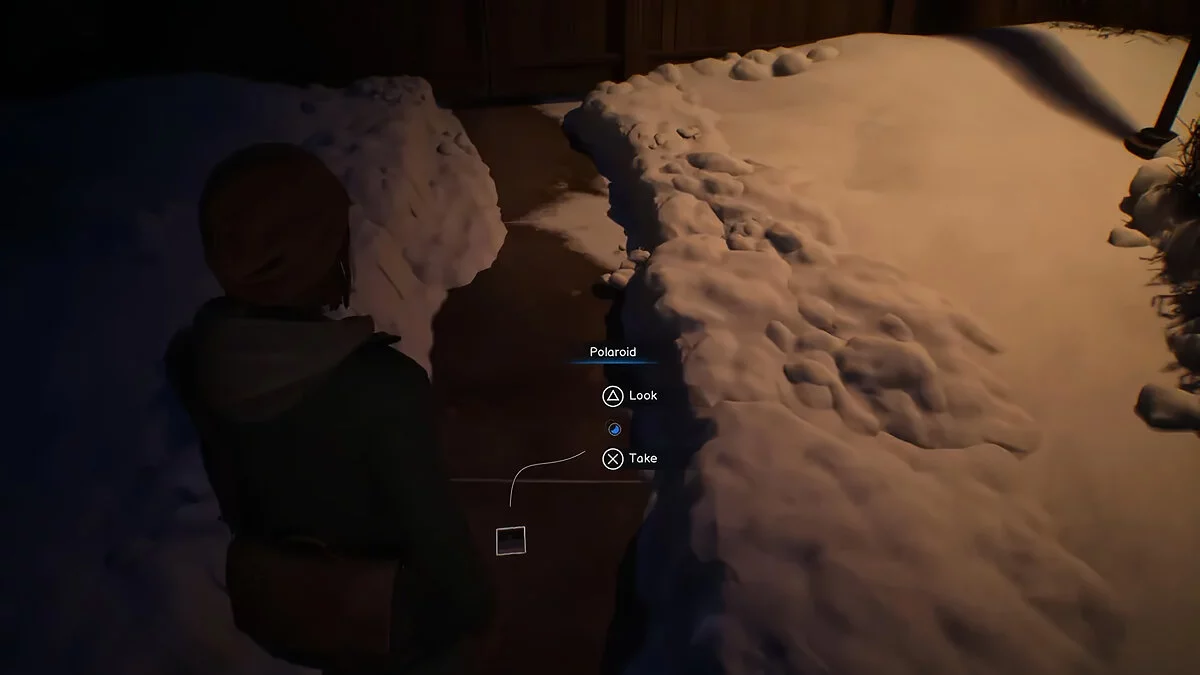
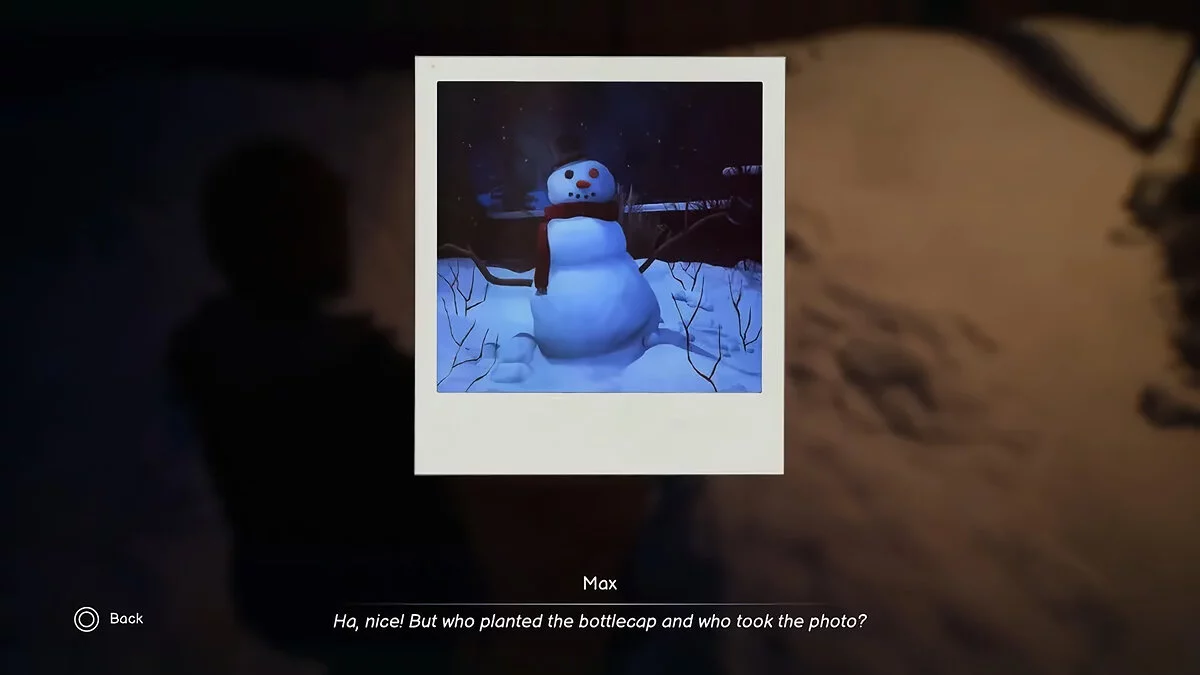
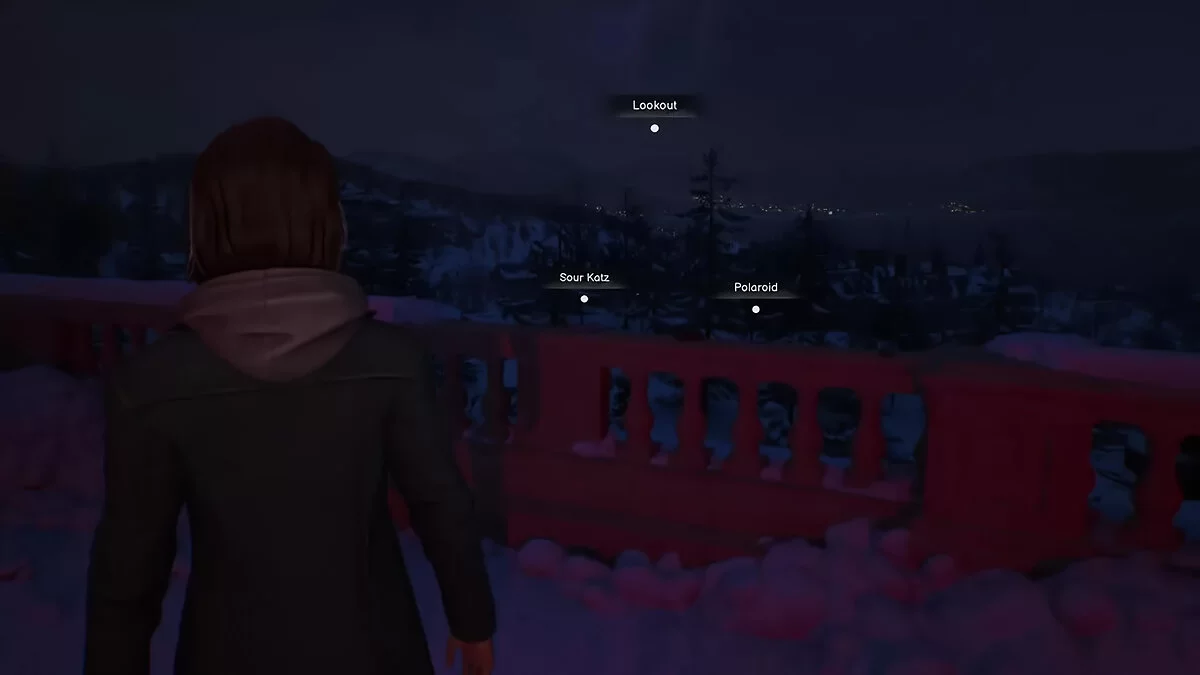
When you leave the observatory and go searching for Safi, be attentive. On your way to the fountain, you will come across a fork in the road, and if you turn left, you will find a photo near the gates.
Photo #3
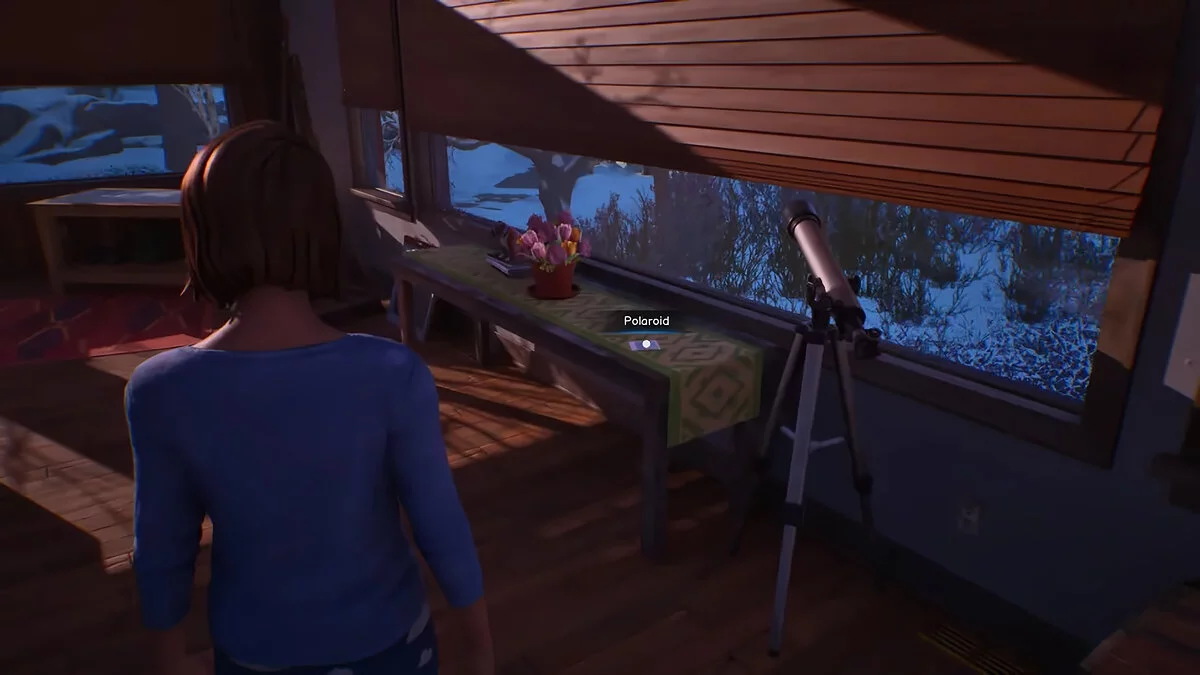
In the final scene of the first chapter, you will need to quickly tidy up your apartment before Amanda arrives. Go downstairs and approach the telescope by the bay window. Next to it is a bench where the photo is lying.
Chapter Two
In the second chapter of the game, you need to find five Polaroid photos.
Photo #1
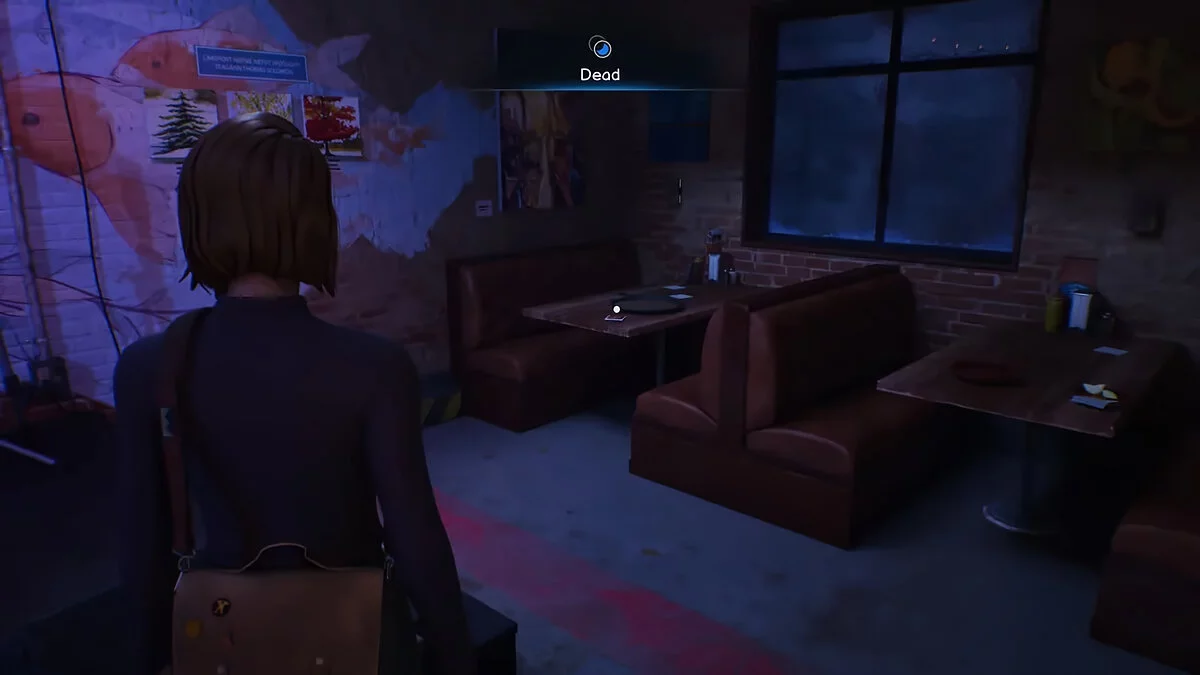
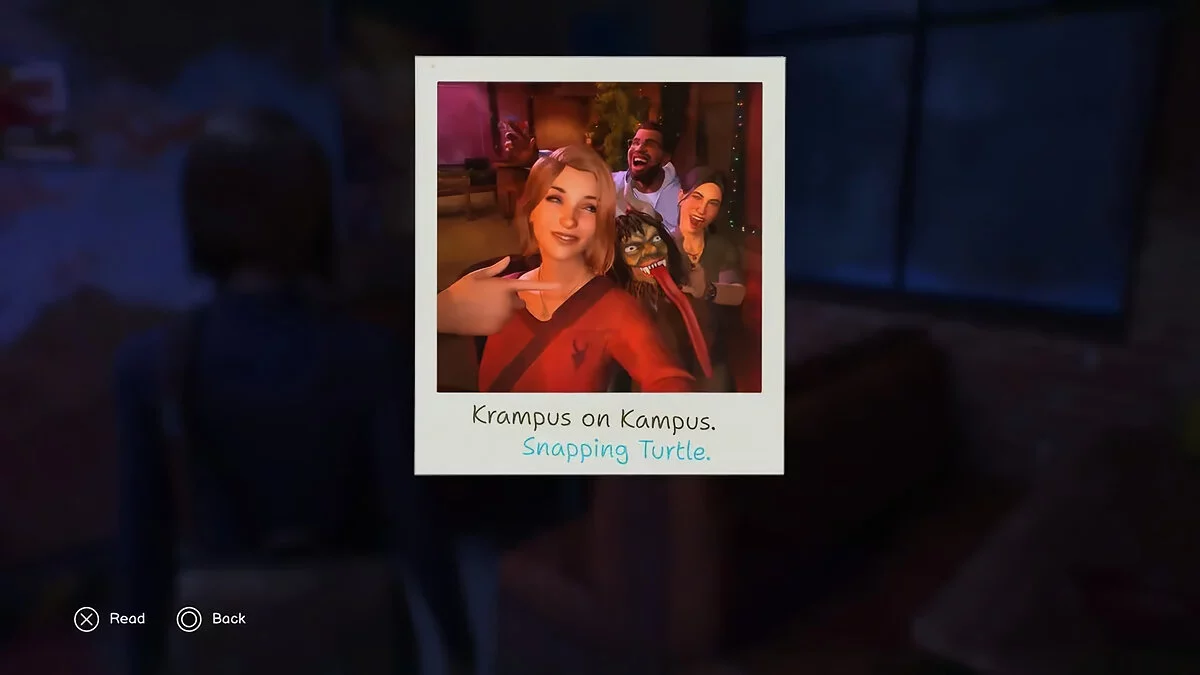
At the beginning of the second chapter, after talking to the girls, get up from the table and go to the bathroom to switch to the death world. Then head to the table where Reggie and Diamond were sitting in the first chapter. On this table, you will find a photo.
Photo #2
While outside near the administrative building, walk past the entrance and head to the benches near the painted rock. The Polaroid photo will be lying on the right bench under the lid.
Photo #3
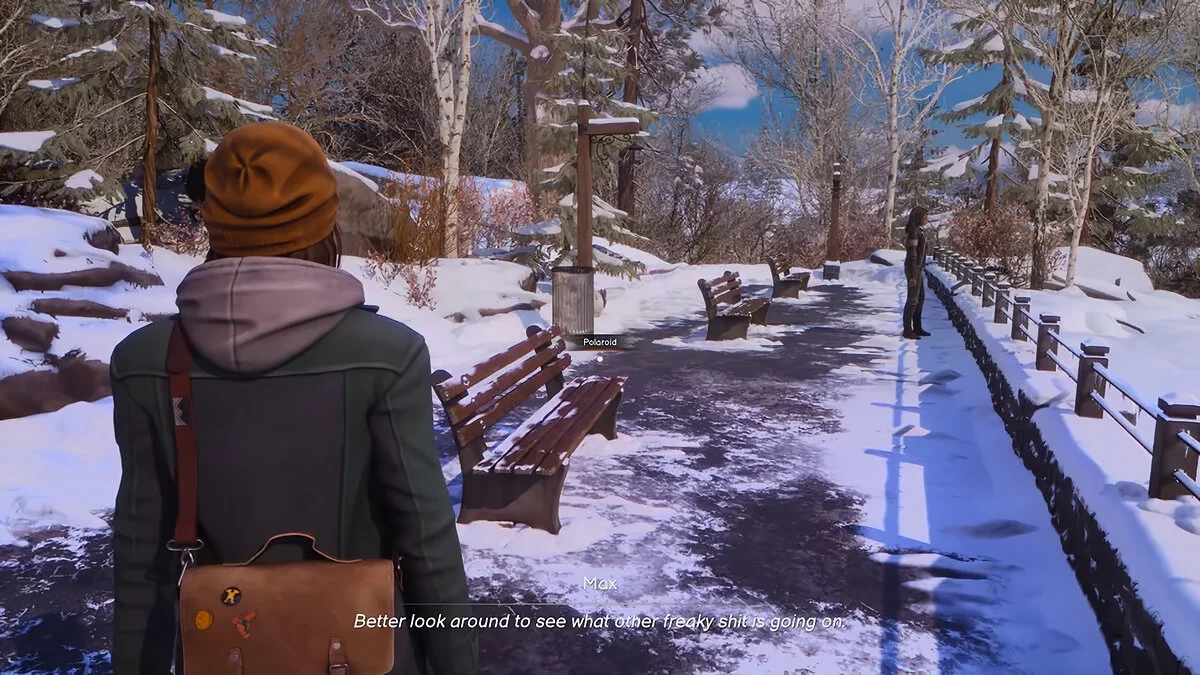
After deciding whether to save or destroy Gwen's data, go to the bench next to Safi's murder scene. Pay attention to the strange snowdrops growing nearby — this is where you will find the photo.
Photo #4
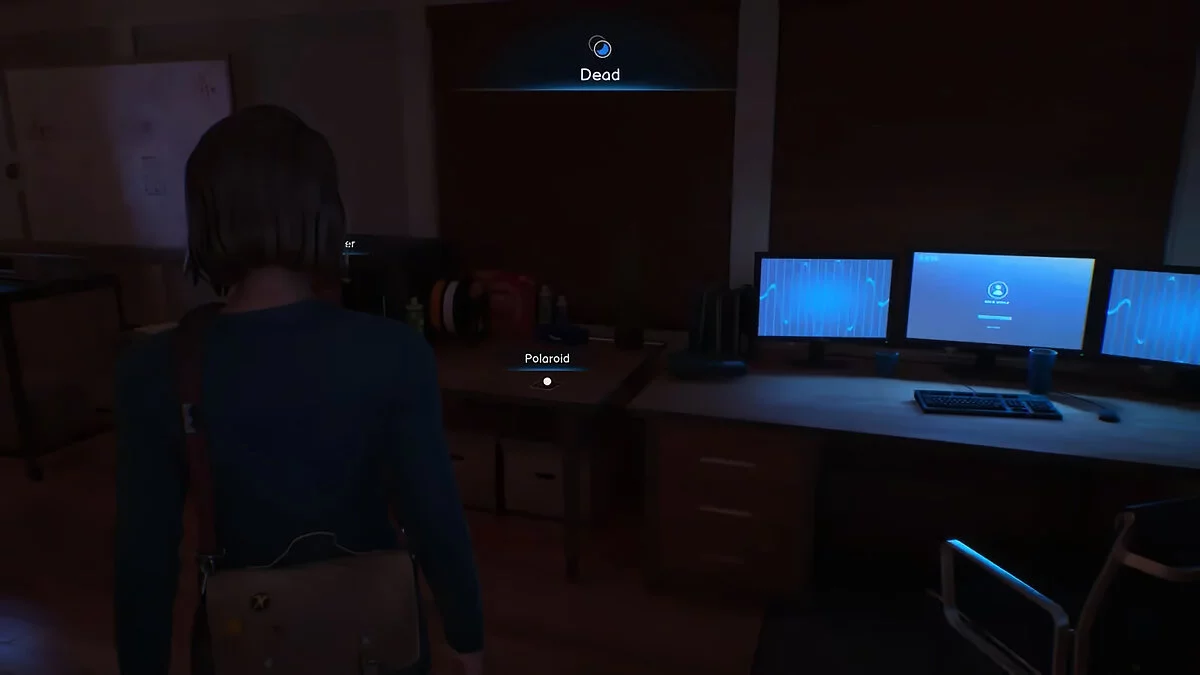
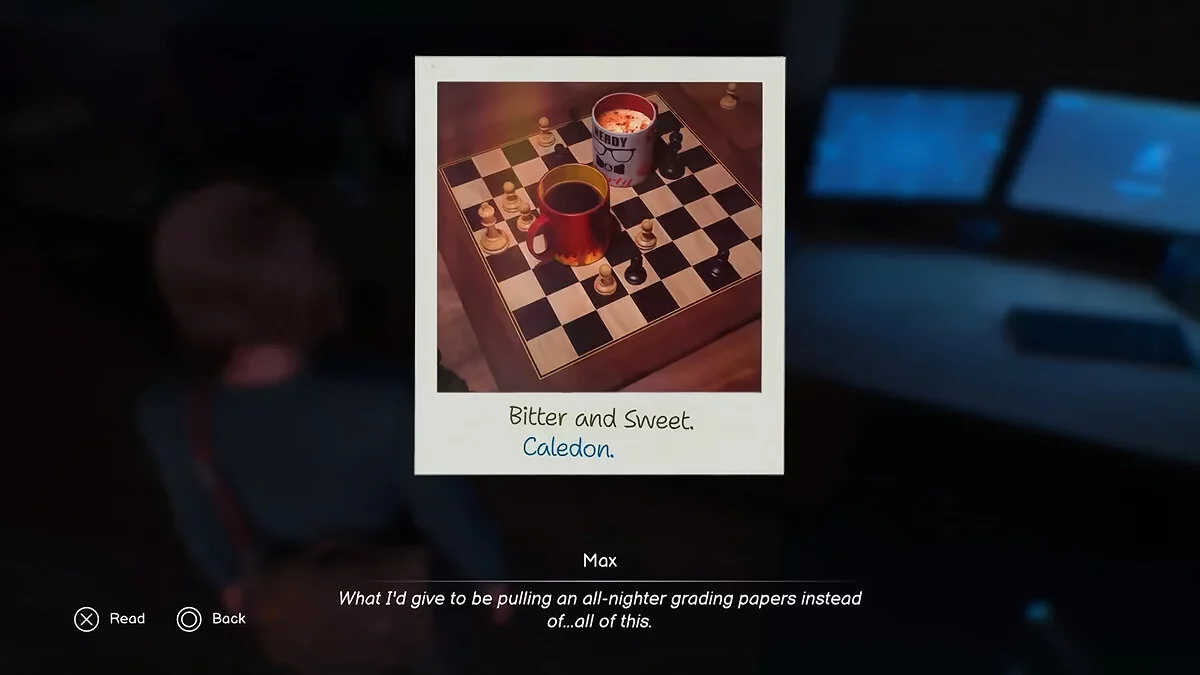
In Moses's office, when you need to retrieve Safi's hidden camera, switch to the world of the dead and approach the computers in the corner of the room. Next to the monitors, you will find the fourth photo.
Photo #5
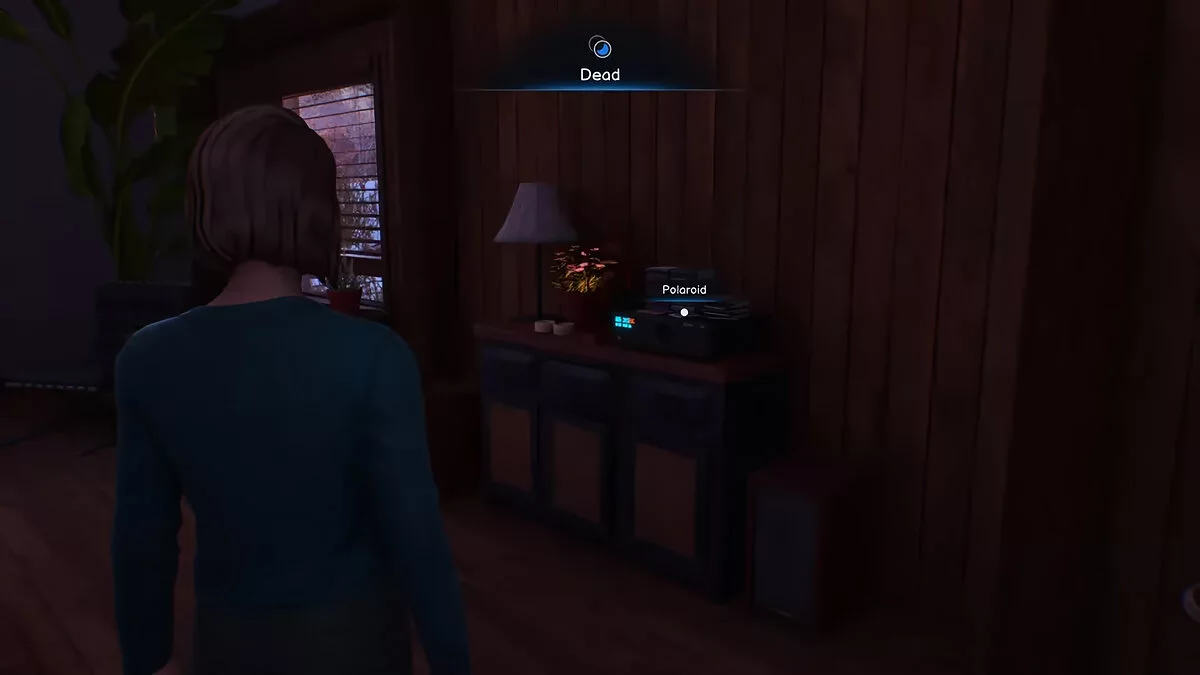
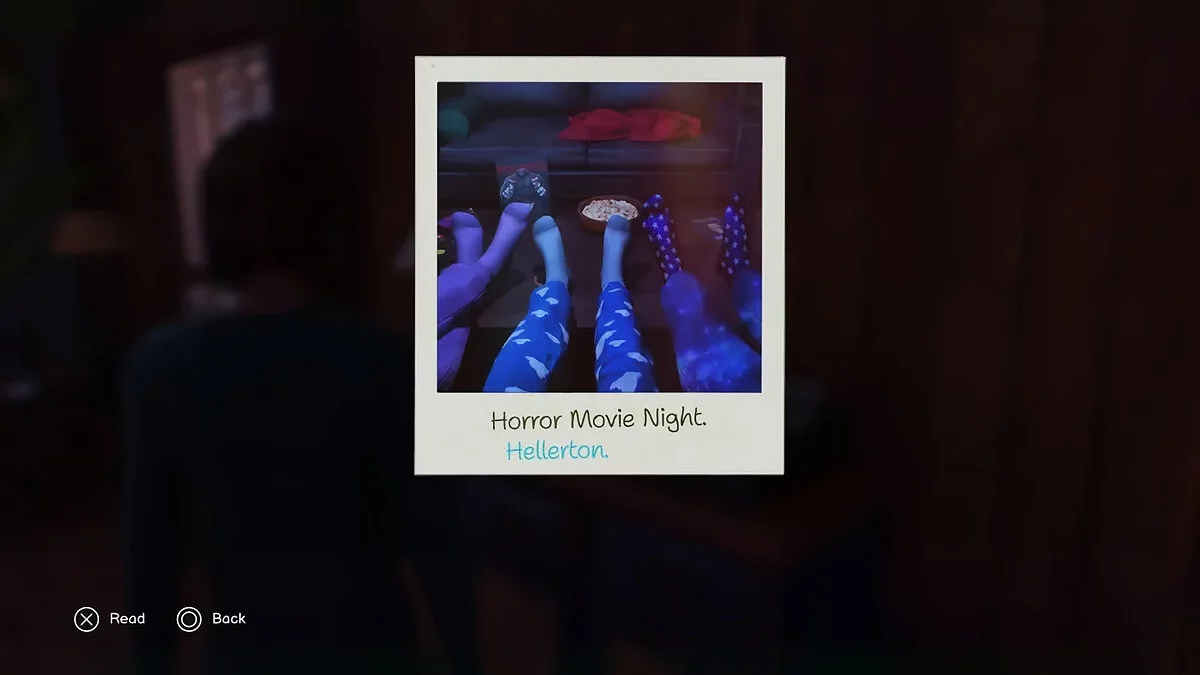
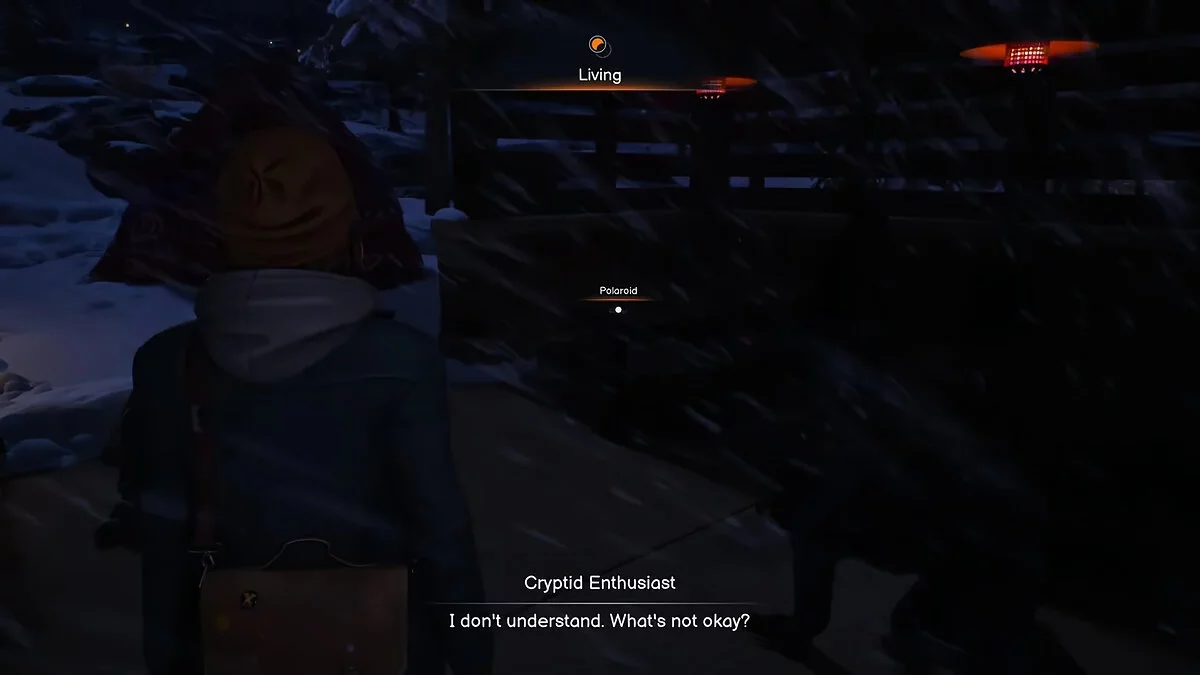
When you find yourself in your apartment, switch to the world of the living and head to the living room on the lower floor. The fifth Polaroid photo will be at the back of the room, on an old stereo system.
Chapter Three
In the third chapter of the game, you need to find five Polaroid photos. All of them are located in the arts faculty.
Photo #1
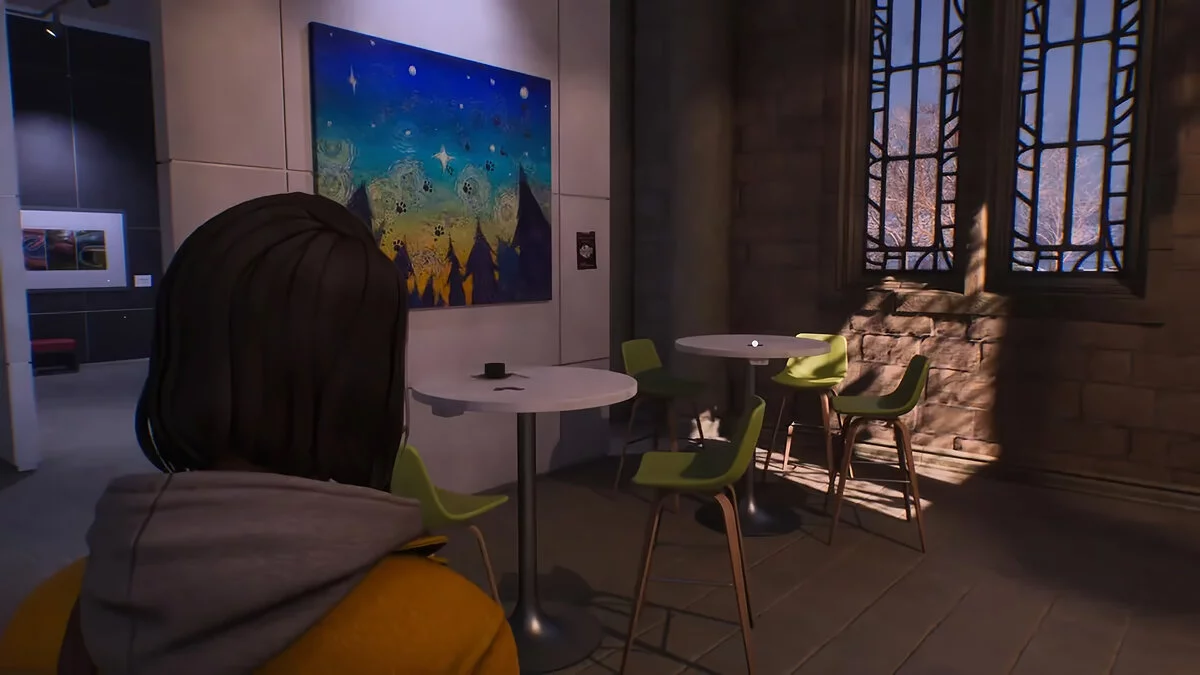
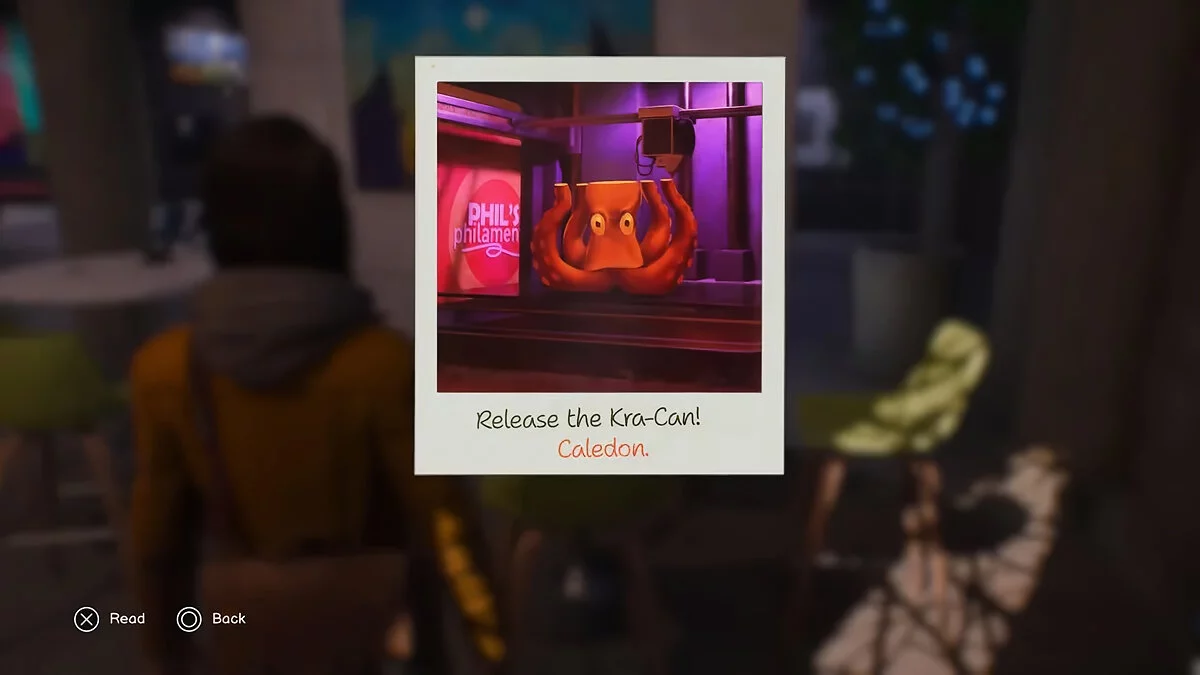
After visiting Gwen's office, walk around the arts faculty building and head to the café on the corner. Switch to the world of the living and take the Polaroid lying on the far table in the café.
Photo #2
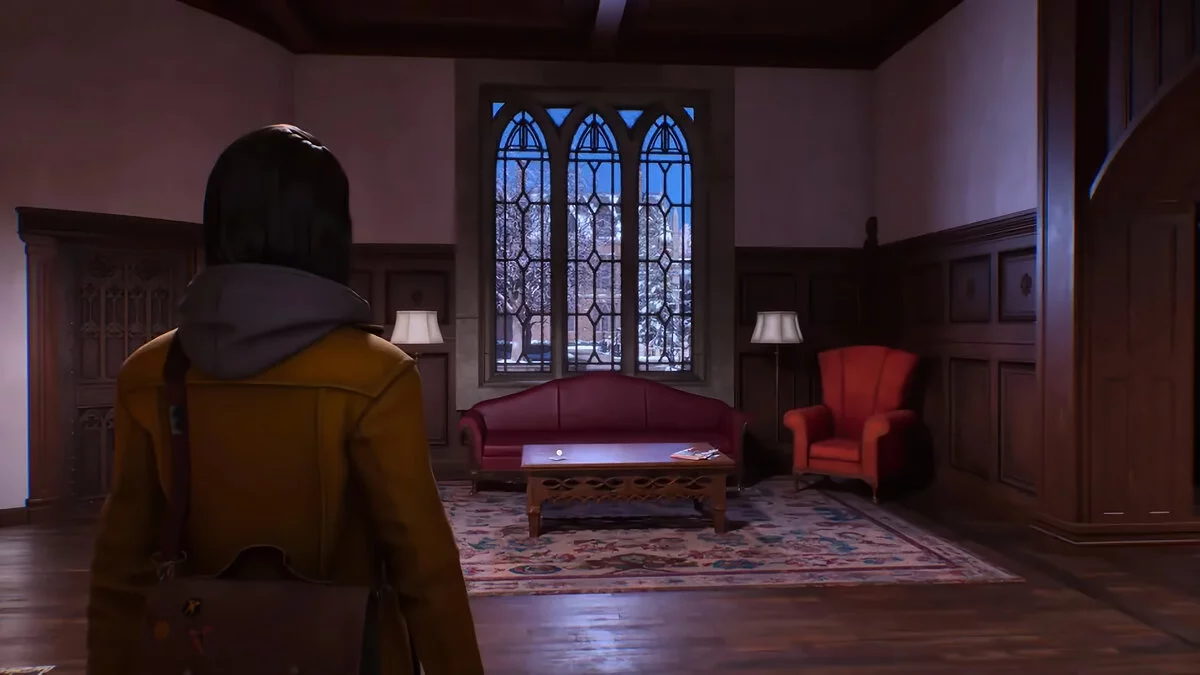
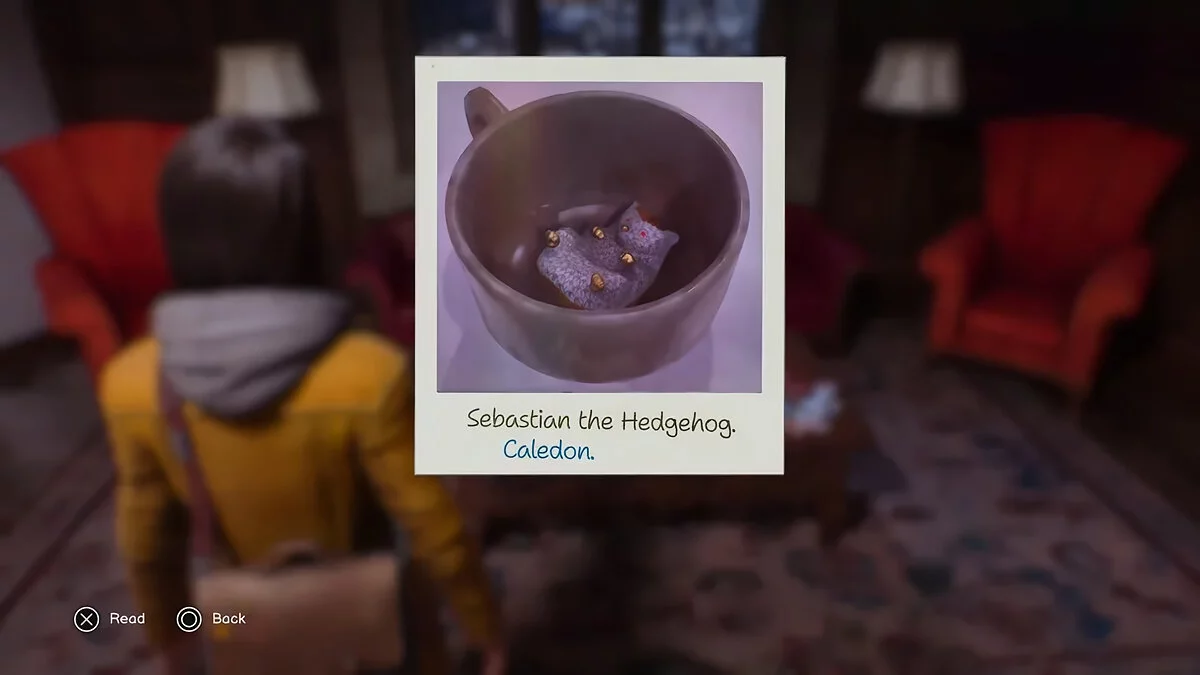
Switch to the world of the living and head to Van's office. To your right, there will be a couch with a coffee table, on which you will find the photo.
Photo #3
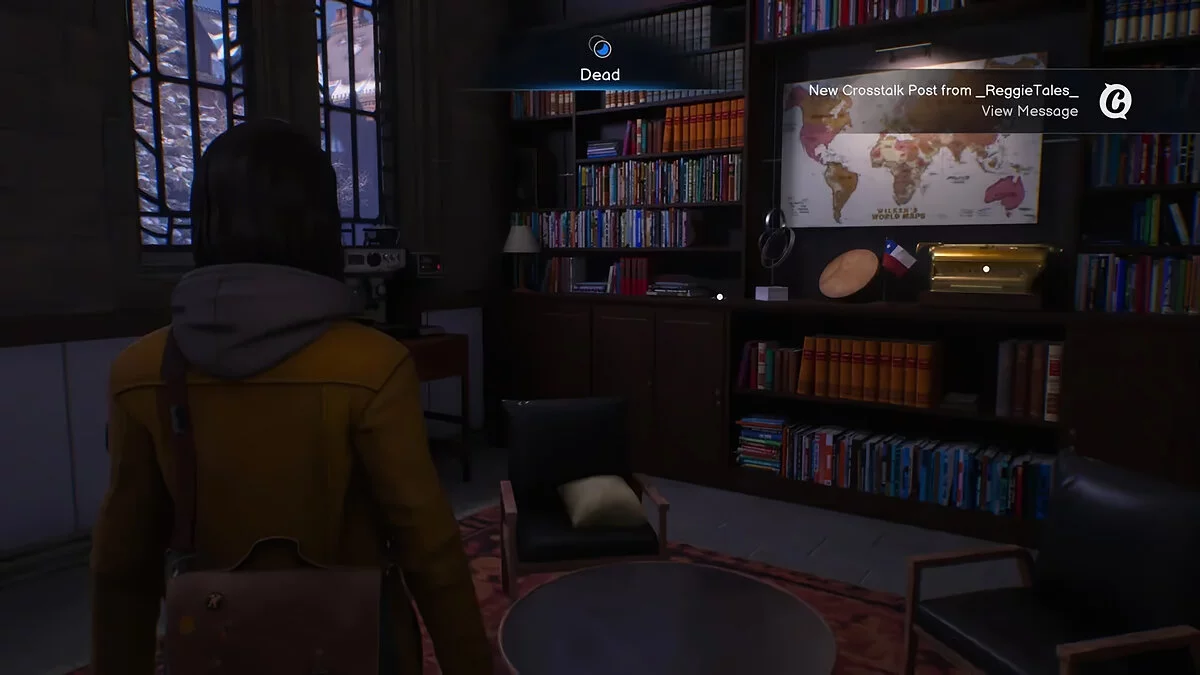
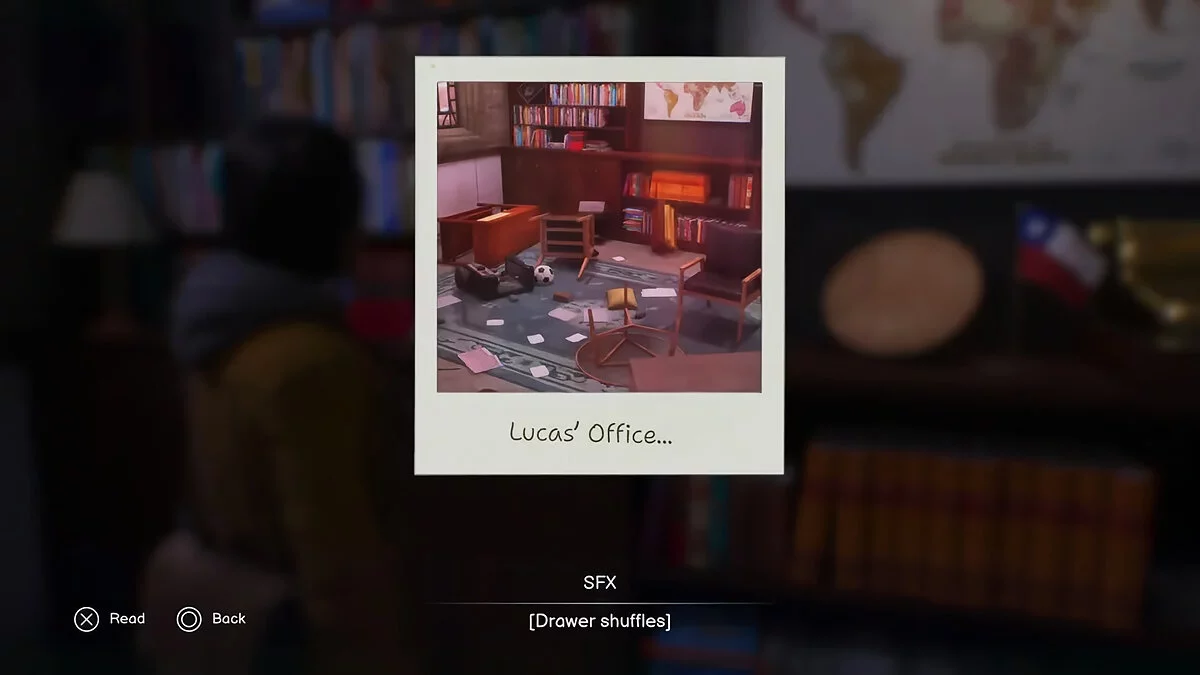
After obtaining incriminating evidence on Lucas, you will head to search his office. During the investigation, switch to the world of the dead, and you will find the Polaroid photo on a pedestal next to the golden typewriter.
Photo #4
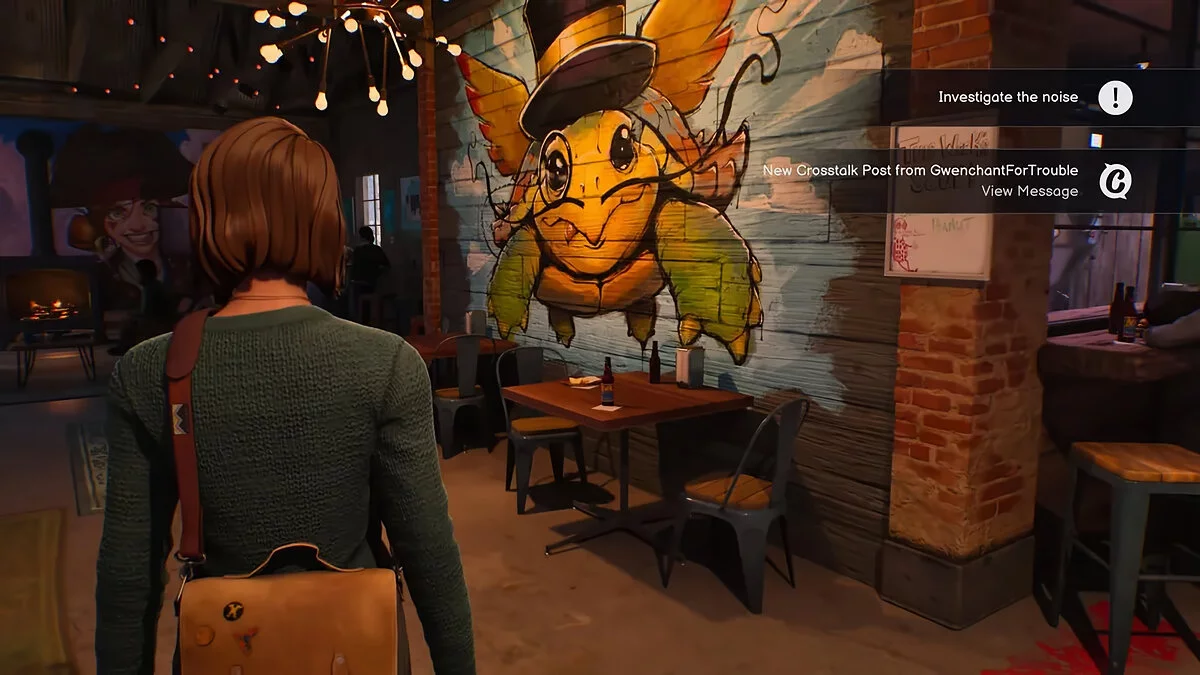
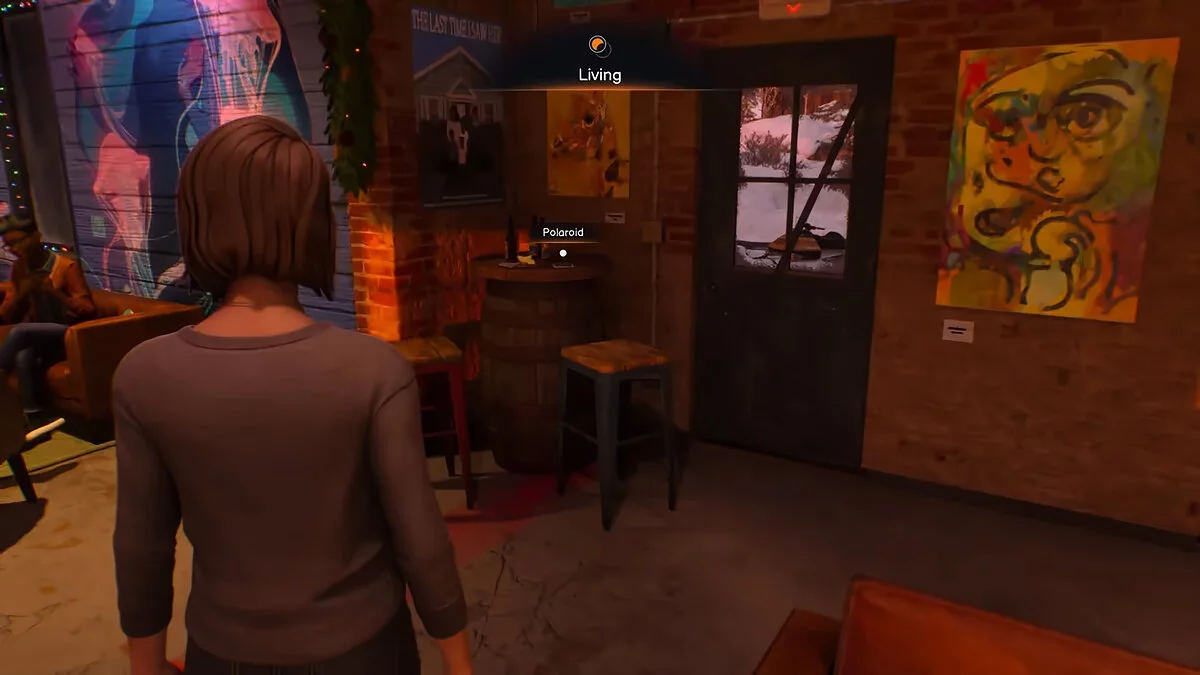
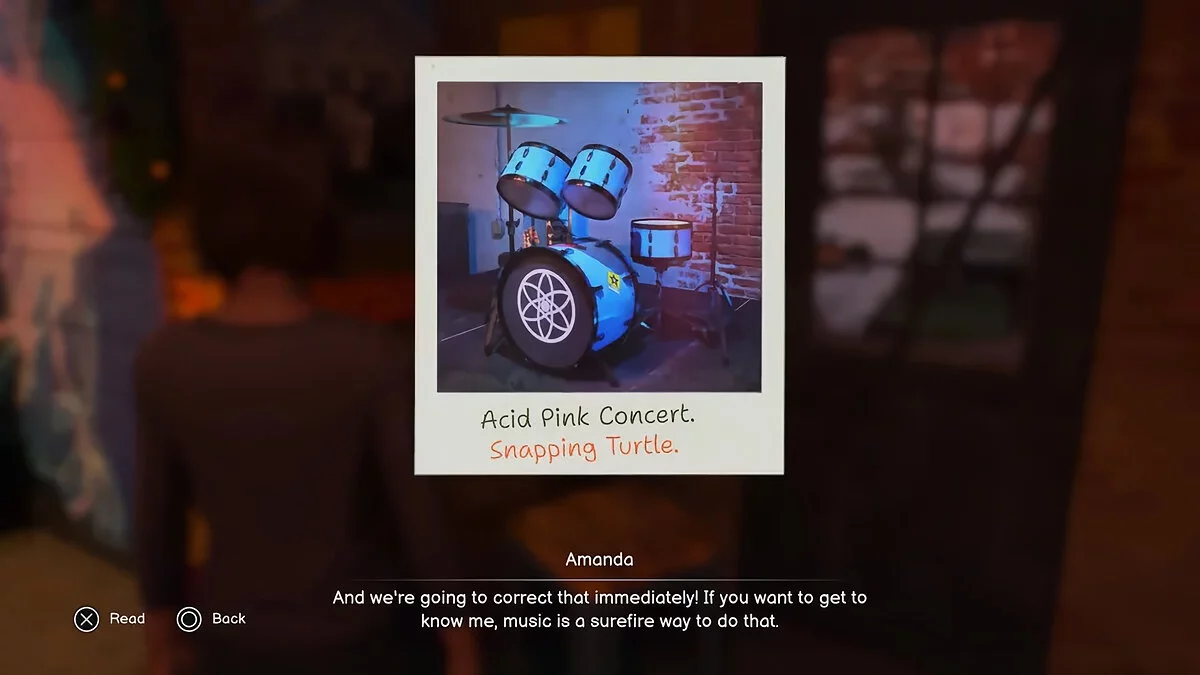
When you find yourself in the «Biting Turtle» bar, head to the back of the bar. In the corner of the room, you will notice a barrel with a Polaroid on it.
Photo #5
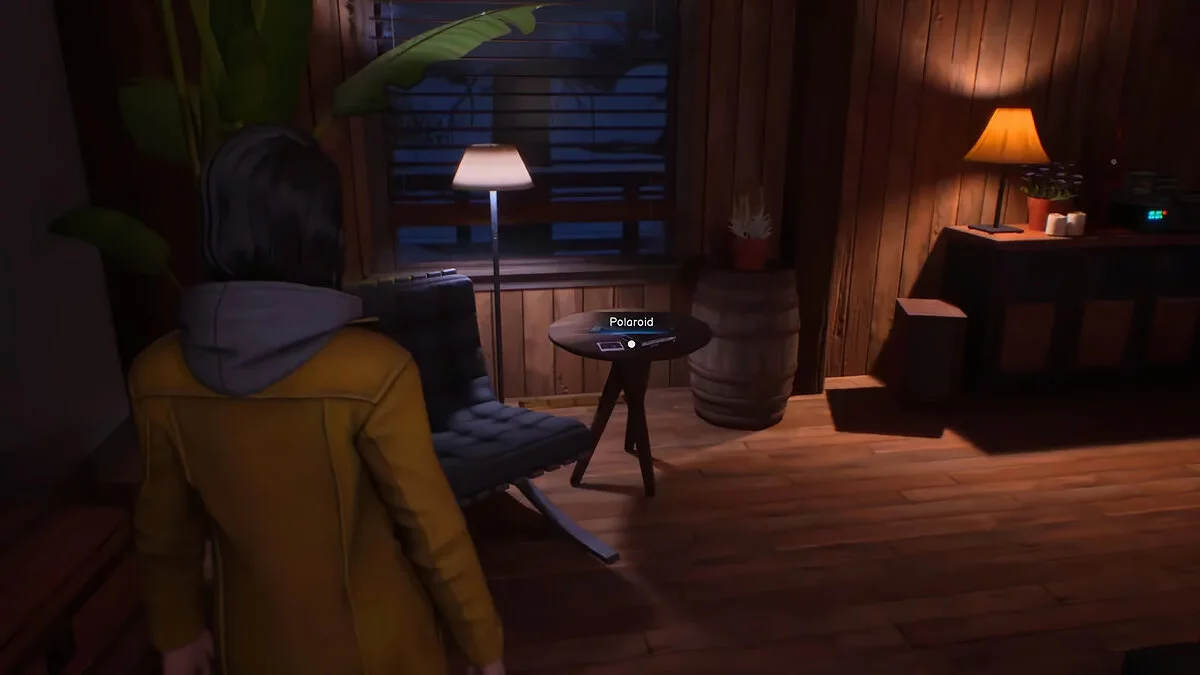
The last Polaroid in the third chapter can be found when you are trying to uncover the hacking mystery. Switch to the world of the dead and head to the living room. The photo will be on a table under a large leafy plant.
Chapter Four
In the fourth chapter, you need to find four photos. Considering the speed at which you will be moving through the scenes and how easy it is to get stuck in progress, it is important to be attentive to every step and action throughout the chapter. Don't forget to carefully inspect all details to avoid missing the chance to take a photo.
Photo #1
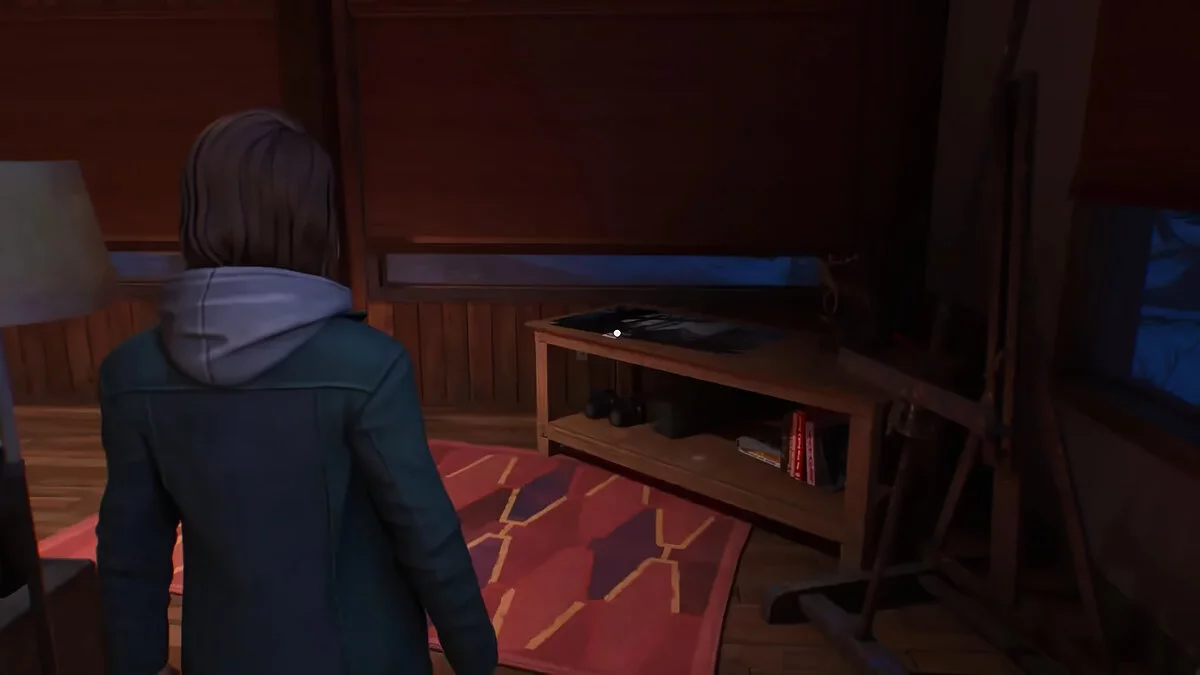
When you find yourself in the protagonist's apartment, you will need to ask questions to an unexpected guest. Before changing into warmer clothes, switch to the world of the living. In the corner of the room, next to an empty easel, you will find a Polaroid photo lying on the table.
How to Find All Polaroid Photos in Life is Strange: Double Exposure
Photo #2
Returning to the bar, head to the restroom to switch to the world of the dead. Approach the stage where you previously examined the cow skull. To the right of it, there will be a table with a Polaroid photo on it.
Photo #3
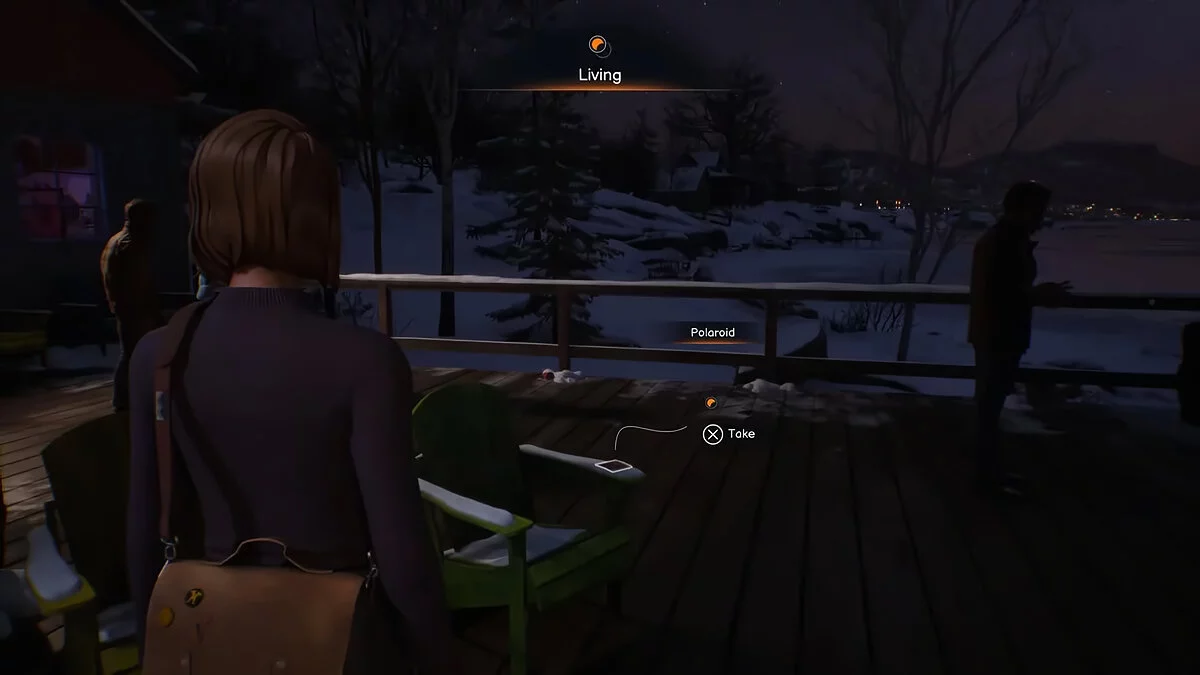
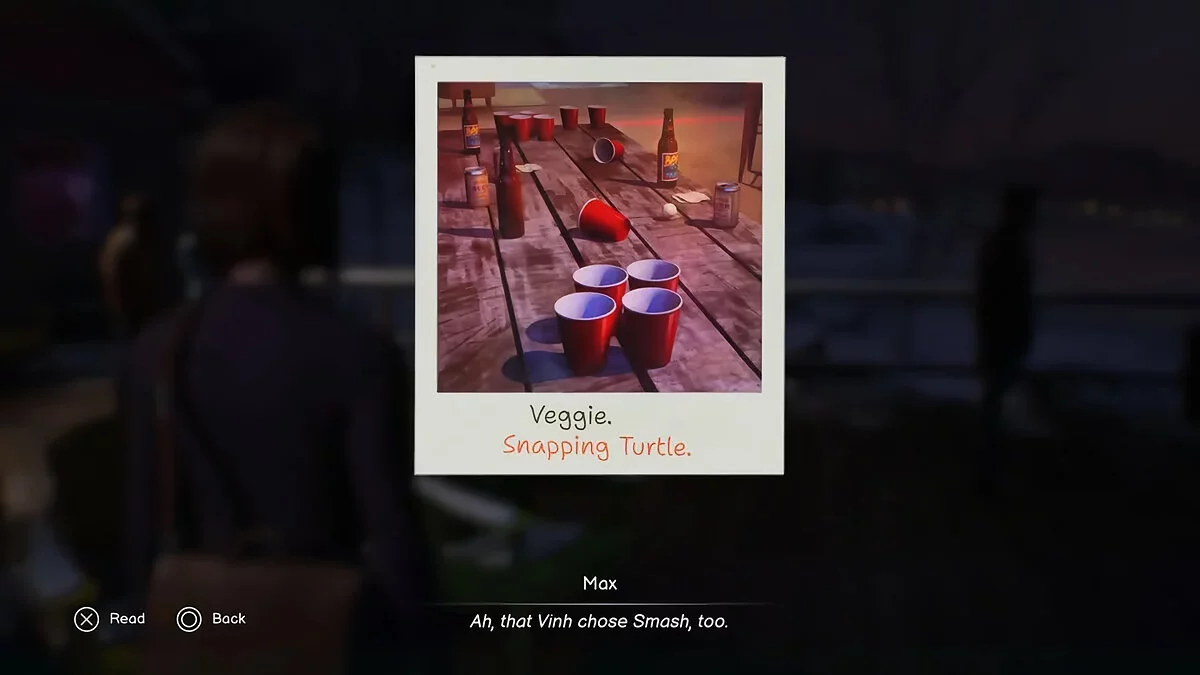
Switch to the world of the living and go out to the terrace where you will see Lucas. Before intervening in what is happening, pay attention to the green lounge chair. On the armrest of the lounge chair, you will find the photo.
Photo #4
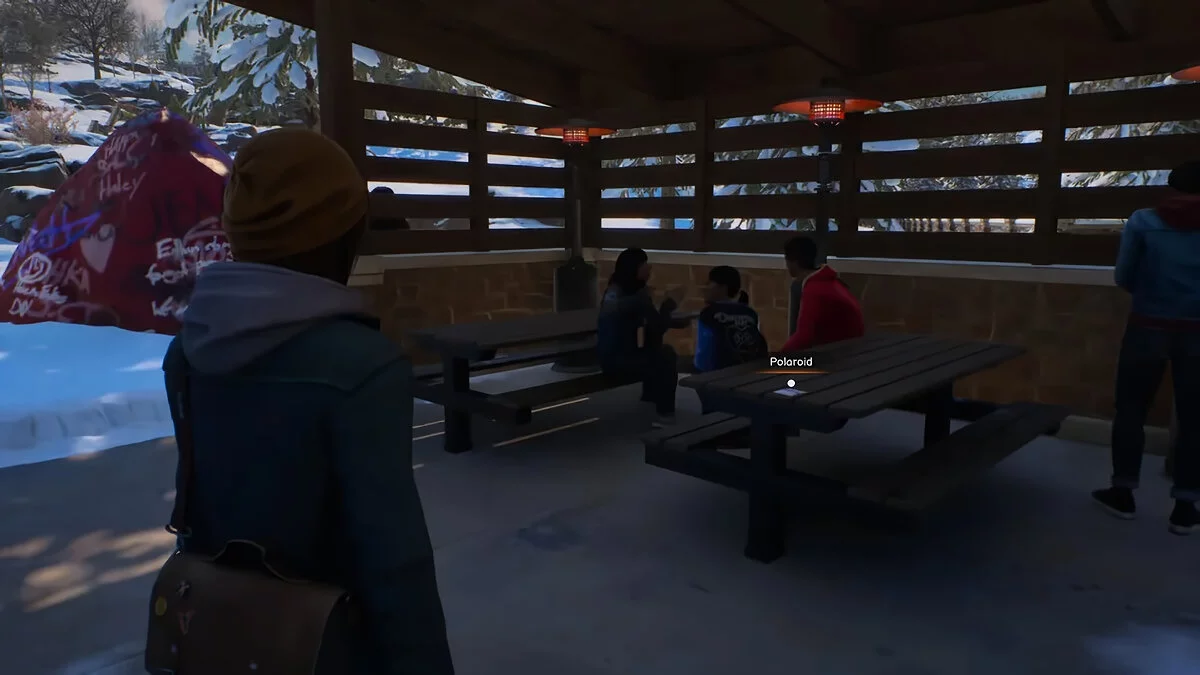
Once again in the courtyard of the administration building, head to the gazebos where you previously found Abraxas's puzzle. Switch to the world of the living and look under one of the benches — there you will find the photo.
Chapter Five
The final chapter of Life is Strange: Double Exposure includes three photos. By carefully exploring the environment, you can find all these shots, completing the collection.
Photo #1
In the observatory, go downstairs to the place where you tried to hand Safi the lid. The Polaroid will be lying on a ledge next to the candies.
Photo #2
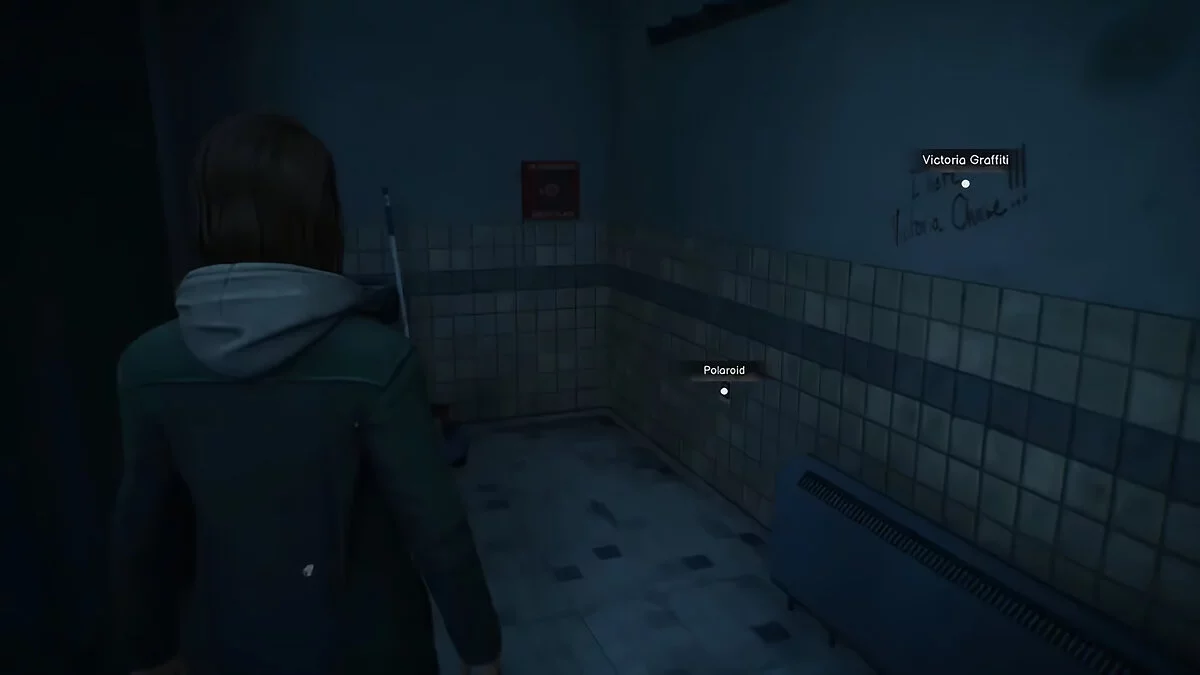
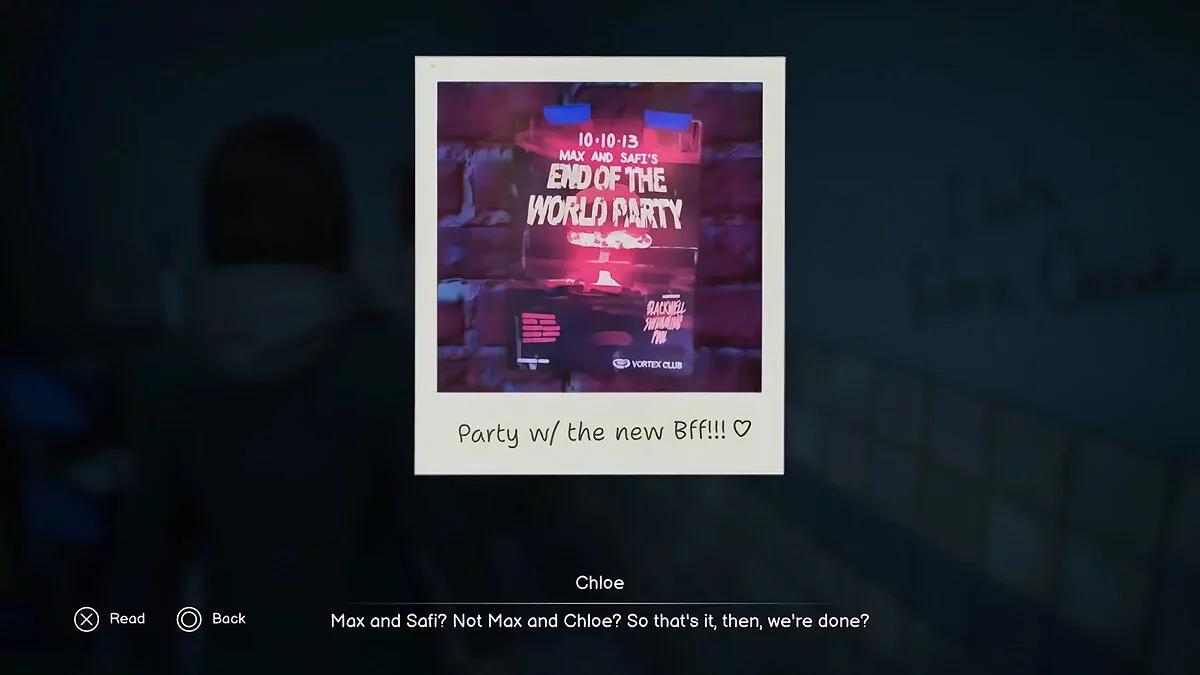
In Blackwell Academy, enter the bathroom and find Victoria Chase's graffiti. The photo is stuck to the wall right under this graffiti.
Photo #3
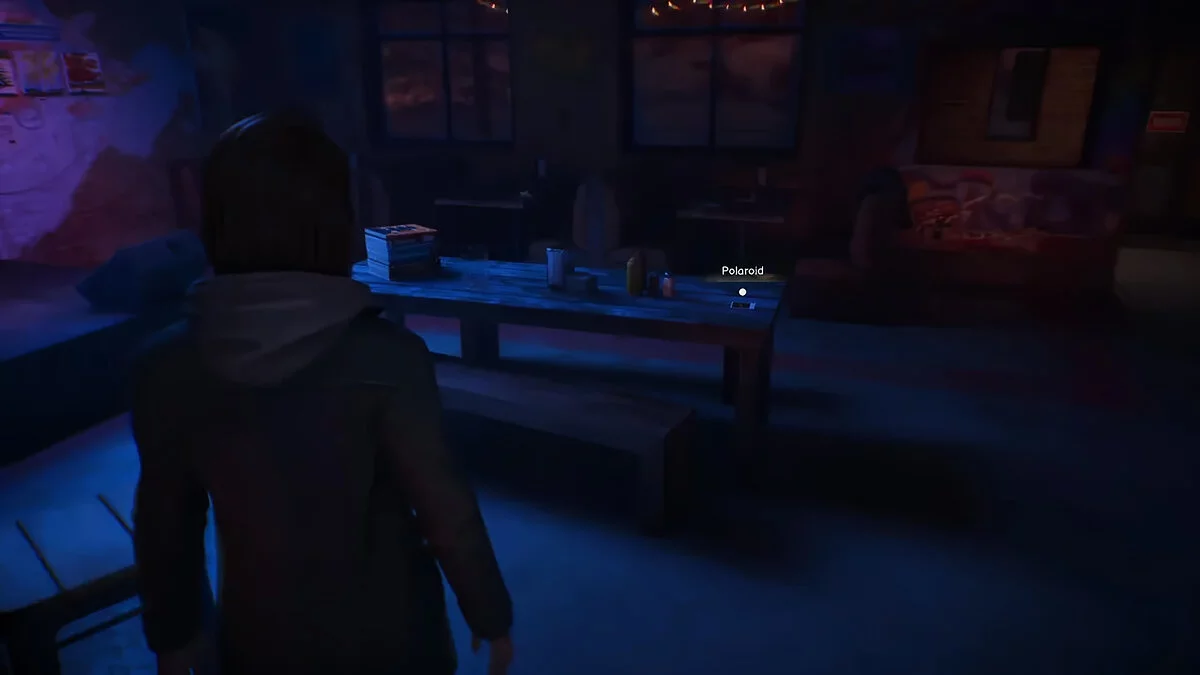
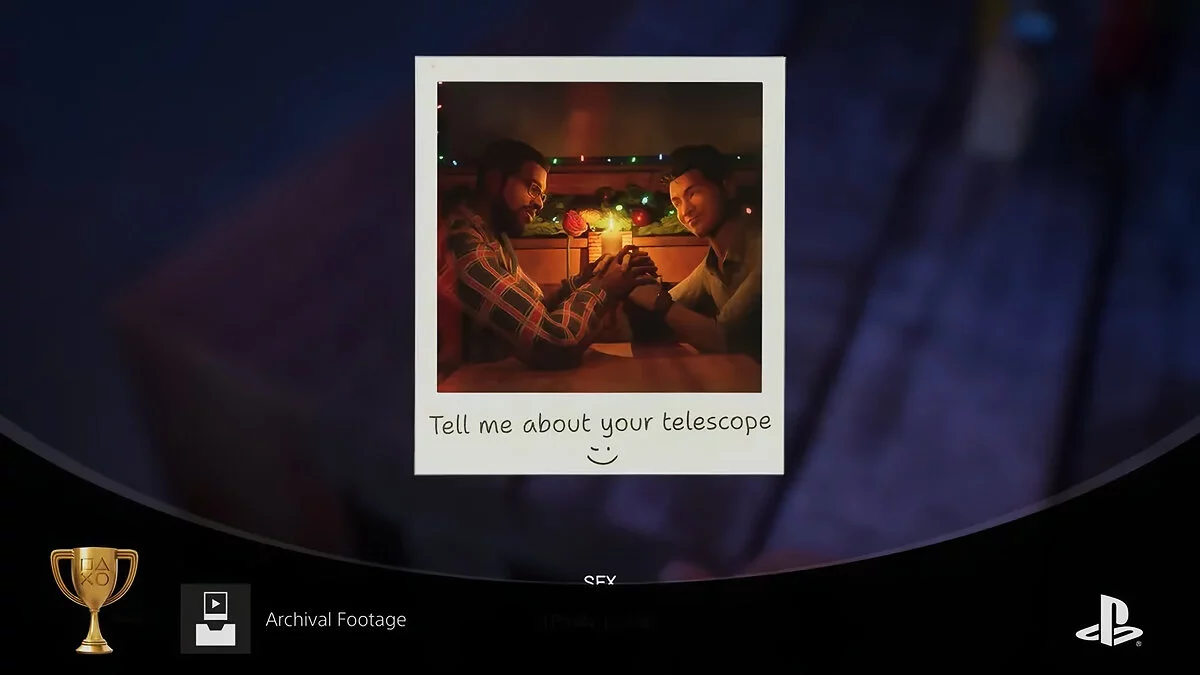
For the last time in the bar, pay attention to the long table located in front of the stage. At one end of the table, there will be a stack of books, and at the other end — a Polaroid photo. Taking the last photo will earn you the achievement «Archival Footage».
Other guides
- Lost Records : Bloom & Rage des créateurs de Life is Strange reçoit des critiques très positives sur Steam
- La vie est étrange : Double Exposition reçoit un prix que personne ne pouvait réclamer en raison des licenciements
