How to Repair, Upgrade, and Install Modules on Weapons in Stalker 2

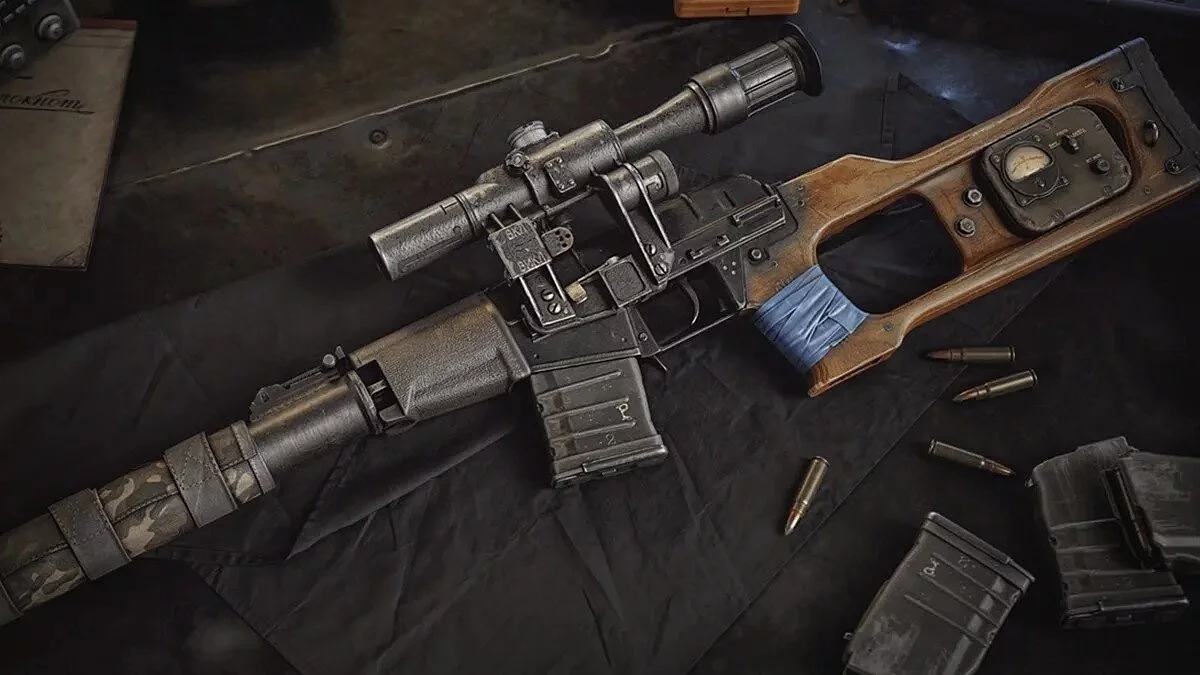
If you want to upgrade your weapons in S.T.A.L.K.E.R. 2: Heart of Chornobyl but don't know where to start, this guide is for you. In Stalker 2, shooting plays a key role, and the ability to customize your weapons to your liking with various upgrades and attachments is an essential part of the gameplay.
For beginners, the process of upgrading weapons may seem complicated and confusing. However, once you understand the basic principles, everything becomes much easier. In this guide, we will explain in detail how to upgrade weapons in Stalker 2, as well as how to install various attachments on them, such as scopes, extended magazines, and silencers.
By following our instructions, you will be able to customize your weapons to match your playstyle and keep them effective throughout the entire playthrough of S.T.A.L.K.E.R. 2: Heart of Chornobyl.
How to Repair Weapons
In Stalker 2, weapons have a durability indicator that decreases over time. If the durability drops to zero, the weapon becomes unusable. You can see the condition of your weapon in the inventory by the color of the shield icon next to it.
It's important to monitor the condition of your weapons to avoid critical situations. Regularly check the durability and perform repairs in a timely manner to avoid unpleasant surprises in combat. Also, note that some modifications can increase the durability of the weapon or reduce the likelihood of it jamming.
To repair a weapon, you need to visit a Technician in a settlement, open the upgrade menu, and restore the weapon for a certain number of coupons. However, repairing rare weapons can be costly, so sometimes it's easier to find or buy a new gun.
How to Upgrade Weapons
In Stalker 2, each weapon can be upgraded in various ways, which requires expenses but usually justifies its cost, especially for rare specimens. For this, you also need to visit a Technician in a settlement, open the upgrade menu (key Q), and select the necessary modifications for the weapon.
In the upgrade screen, you can select the weapon or item you want to upgrade from the list on the left. If the item can be upgraded, you will see circles over certain areas of the item's image in the center of the screen. Click each of these circles in turn to view the various upgrades that can be applied to parts of the item.
Note that in Stalker 2, you can upgrade different parts of the weapon, such as the barrel or handle, to improve its characteristics. Some upgrades require the prior application of others, while others are mutually exclusive. The last applied upgrade can be undone on the upgrade screen by selecting the weapon and pressing the G key.
Below are some key points to consider when upgrading any weapon:
- You will not be able to apply upgrades to a weapon if its durability is below 40% — a message Condition too low will appear.
- Not all technicians can install the same upgrades — in such cases, it will say Technician cannot install this upgrade. You will need to find another technician to install the desired upgrade.
- Existing upgrades are highlighted in green, available ones in orange, and unavailable ones in gray.
- The cost of each upgrade is indicated in coupons — to find out the price, select the upgrade and look at the lower central part of the screen.
- Some upgrades allow additional attachments to be installed on the weapon. For example, adding a rail to the top of a rifle allows scopes to be installed.
How to Install Modules on Weapons
In Stalker 2, modules can be added to weapons if they are compatible. Compatibility can be checked by hovering the cursor over the module. Modules can be installed both in the inventory and outside of it using various methods. Some modules require prior weapon upgrades.
Players can install modules either in the inventory menu or simply while holding the weapon:
- If you have entered the inventory, select the desired module and right-click on it RMB (you can also drag it with the cursor to the desired weapon).
- To install an available module outside the inventory, hold down the T key. This will open the module section. Simply select the desired one and click Apply.
The latter option brings up the attachment selector on the right side of the screen, allowing you to replace or remove any suitable equipment from your inventory while on the move.
Tip: some types of weapons cannot have modules installed without the corresponding upgrade. For this, go to the Technician and install the upgrade for the specific module (scope, foregrip, magazine, etc.). For example, the Scope Mount upgrade, available for many rifles, will allow various optical modules to be attached to the weapon.
Other guides
- Stalker 2 Guide: Kill Nimble or Spare
- The Key to Freedom: Stalker 2 Quest Walkthrough
- Stalker 2 Interactive Map: Key Places and Locations
- Unknown Quest at the Deaf Meadow: Stalker 2 Quest Walkthrough
- Stalker 2 Guide: Where to Find All Journalist's Stashes
- S.T.A.L.K.E.R. 2: Heart of Chornobyl Walkthrough Guide — Survive, Hunt Artifacts, and Complete Missions
- Shock Therapy: Stalker 2 Quest Walkthrough
- All Jobs From Boozer: Stalker 2 Walkthrough
- Shift Change: Stalker 2 Quest Walkthrough
- King of the Hill: Stalker 2 Quest Walkthrough
- S.T.A.L.K.E.R. 2 je zdaj na voljo na PC-ju in Xbox Series X/S
- Immersif mais imparfait : Les critiques donnent leur avis sur S.T.A.L.K.E.R. 2
- GSC publie la bande-annonce de lancement de S.T.A.L.K.E.R. 2 avec Strelok
-
All Jobs From Boozer: Stalker 2 Walkthrough
-
Shift Change: Stalker 2 Quest Walkthrough
-
Stalker 2 Interactive Map: Key Places and Locations
-
Unknown Quest at the Deaf Meadow: Stalker 2 Quest Walkthrough
-
S.T.A.L.K.E.R. 2: Heart of Chornobyl Walkthrough Guide — Survive, Hunt Artifacts, and Complete Missions
-
Fast Travel in Stalker 2: How to Use
-
How to find the Lullaby assault rifle in Stalker 2
-
There and Back Again: Stalker 2 Quest Walkthrough


