Poppy Playtime: Episodes 1-4 Walkthrough

Episode 4. Safe Haven
This section describes a detailed walkthrough of the fourth episode of the game Poppy Playtime. Together with Ollie, the player descends under the factory and finds a strange prison from which they try to escape.
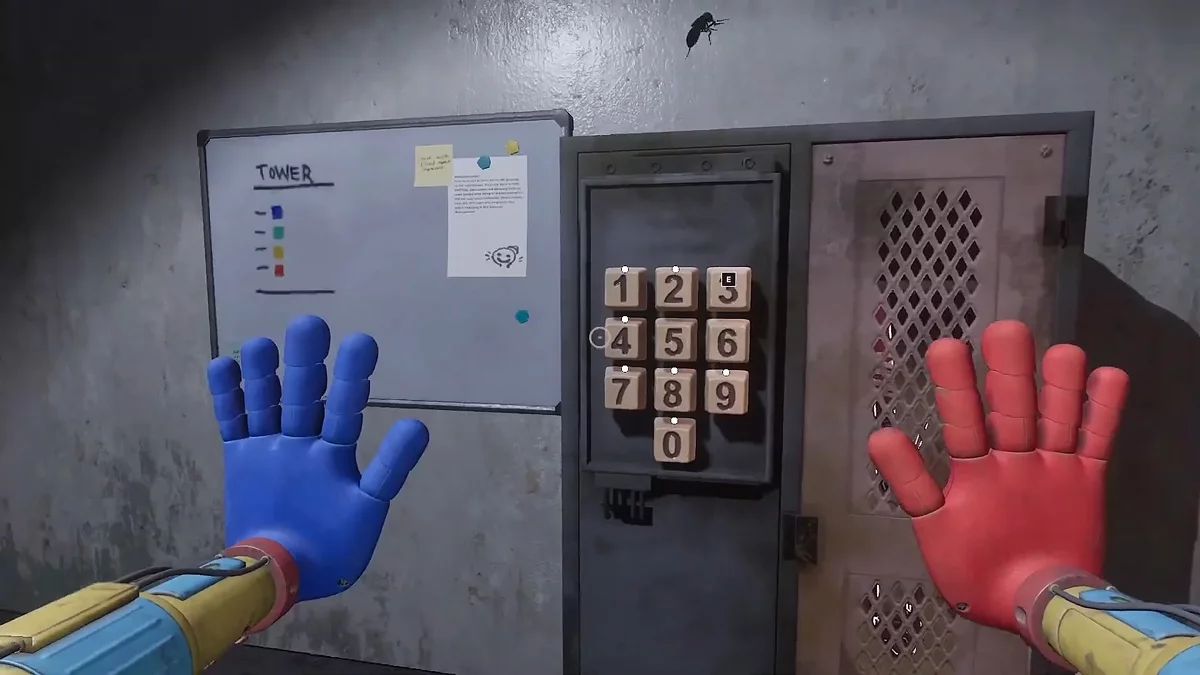
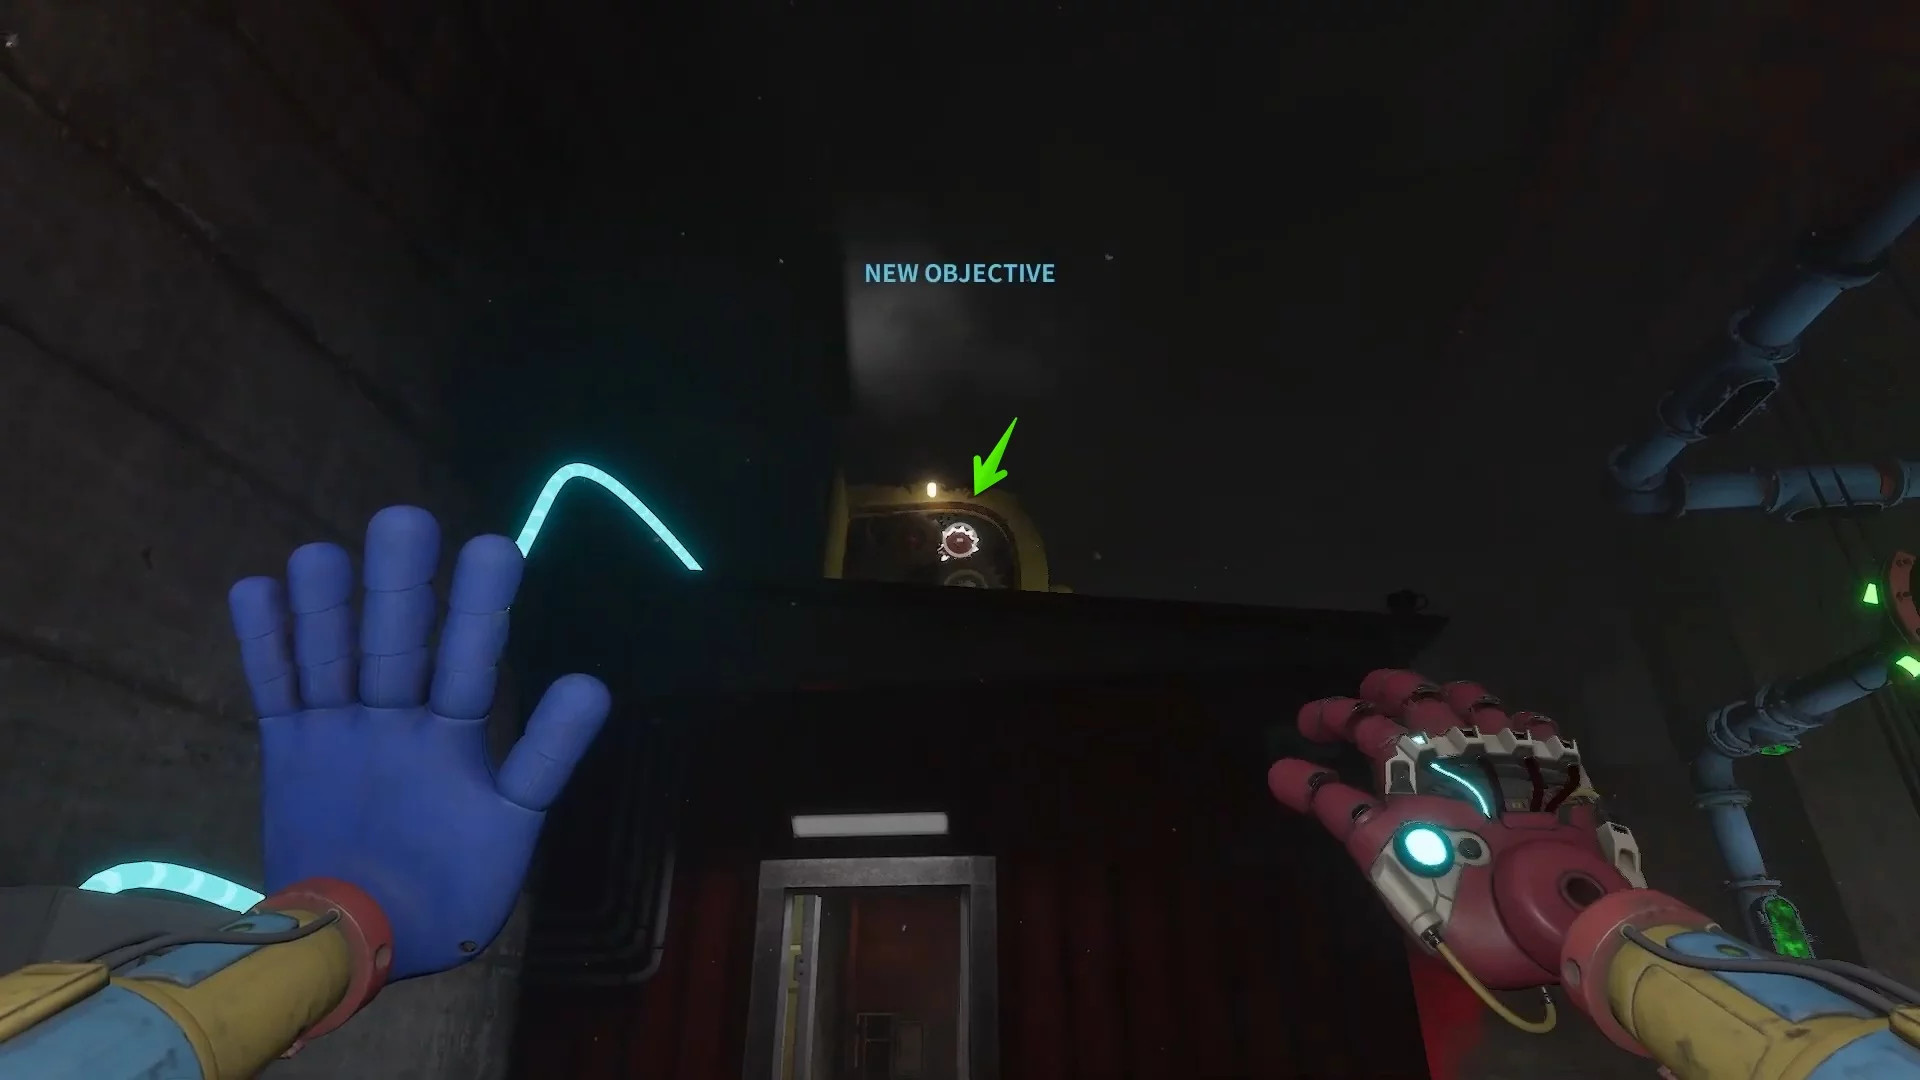
Investigate the Control Room
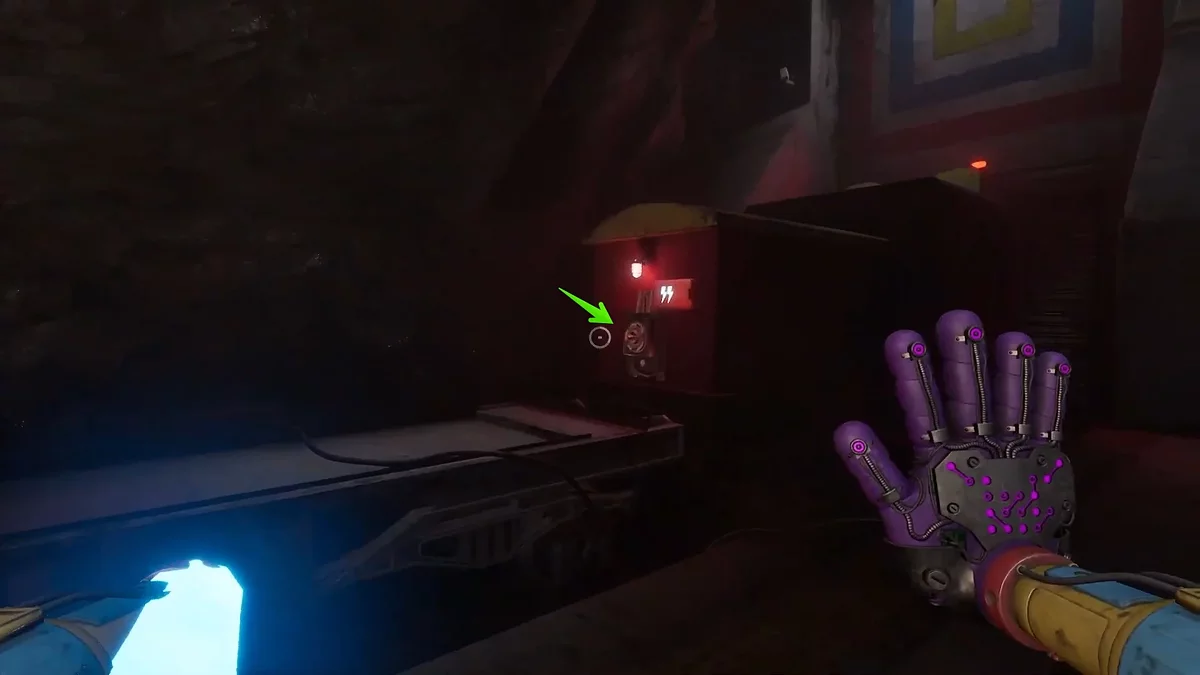
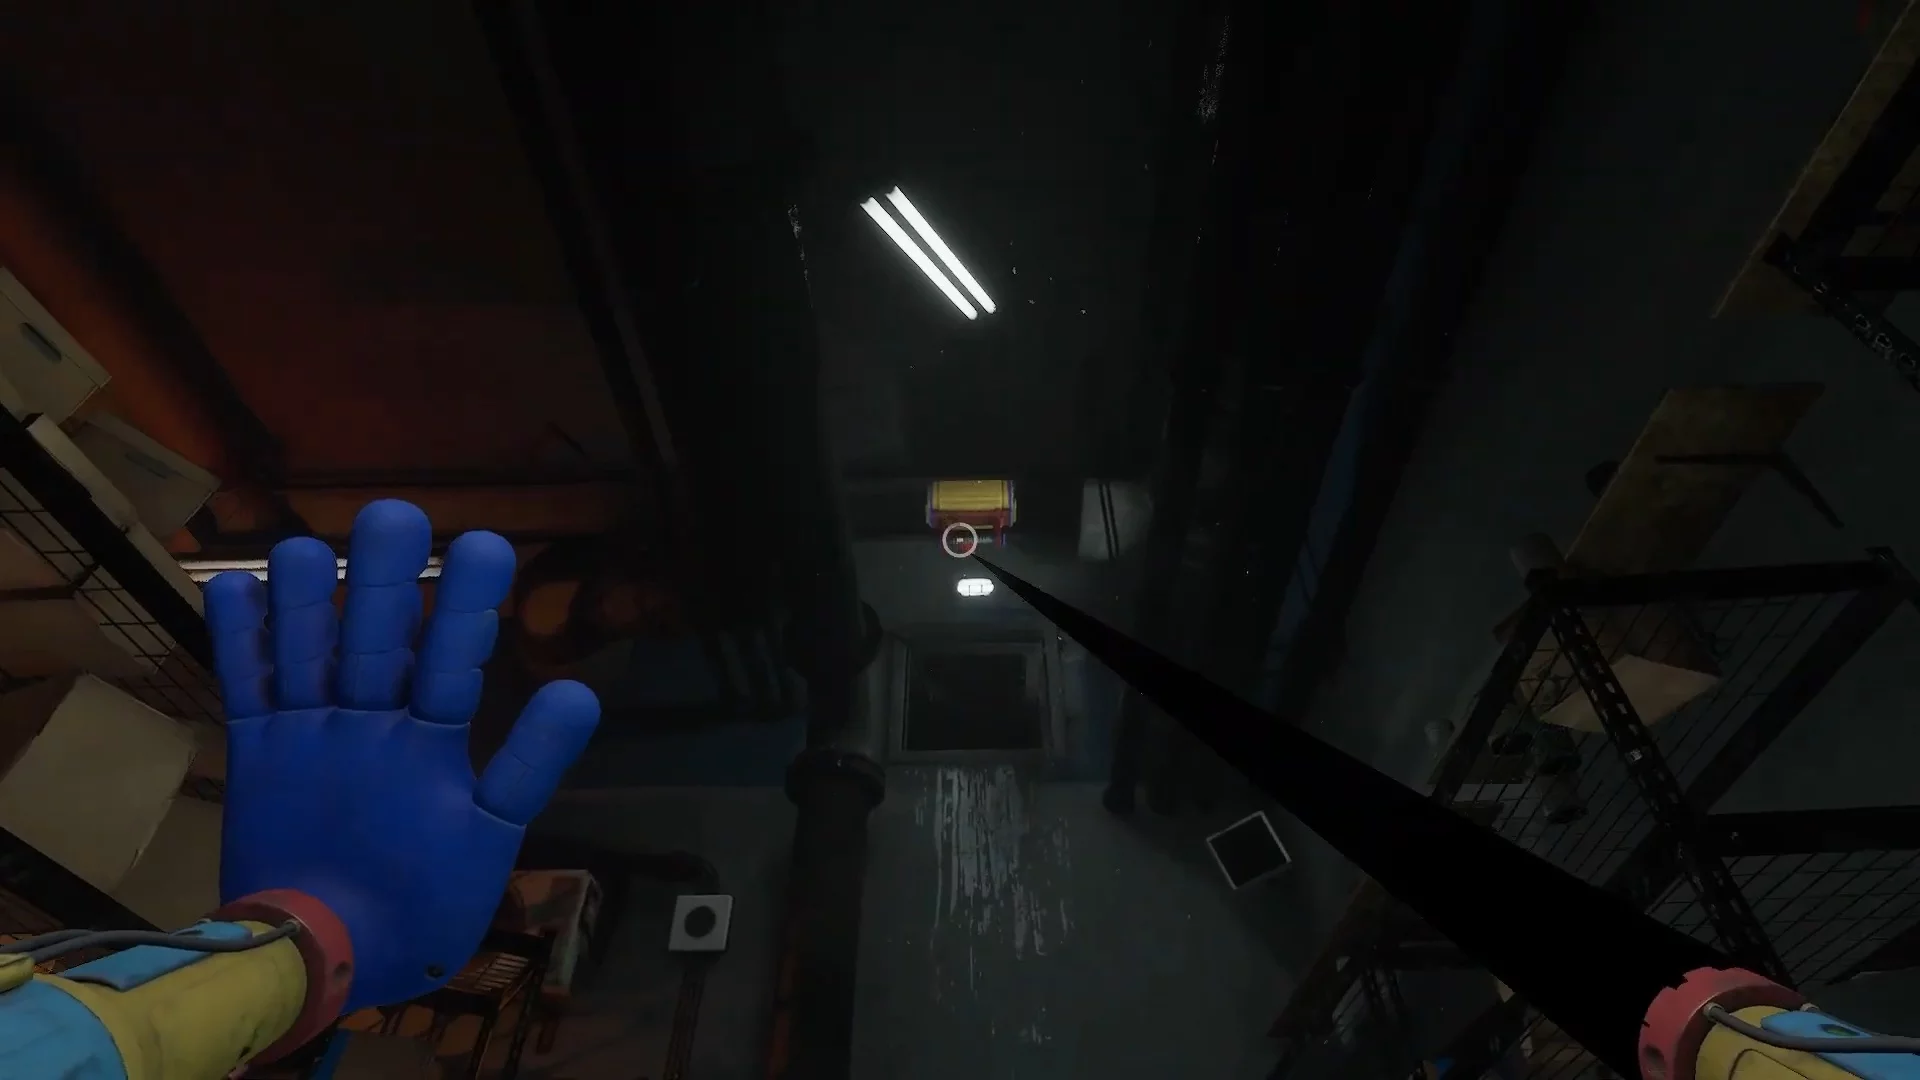
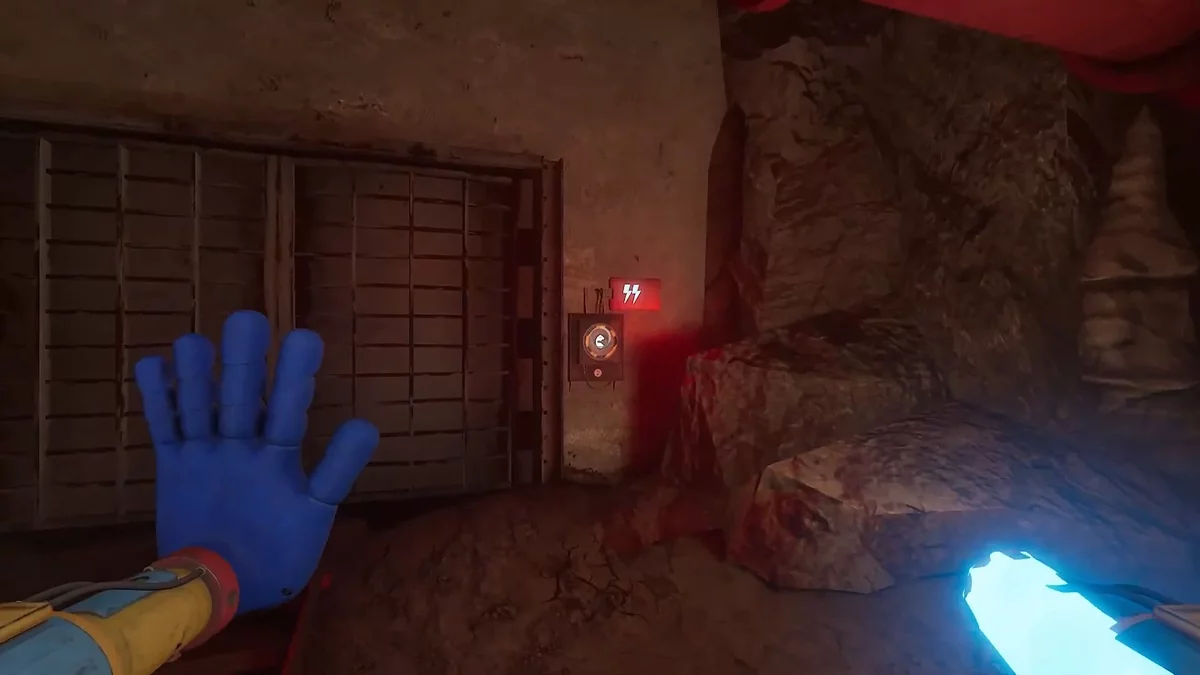
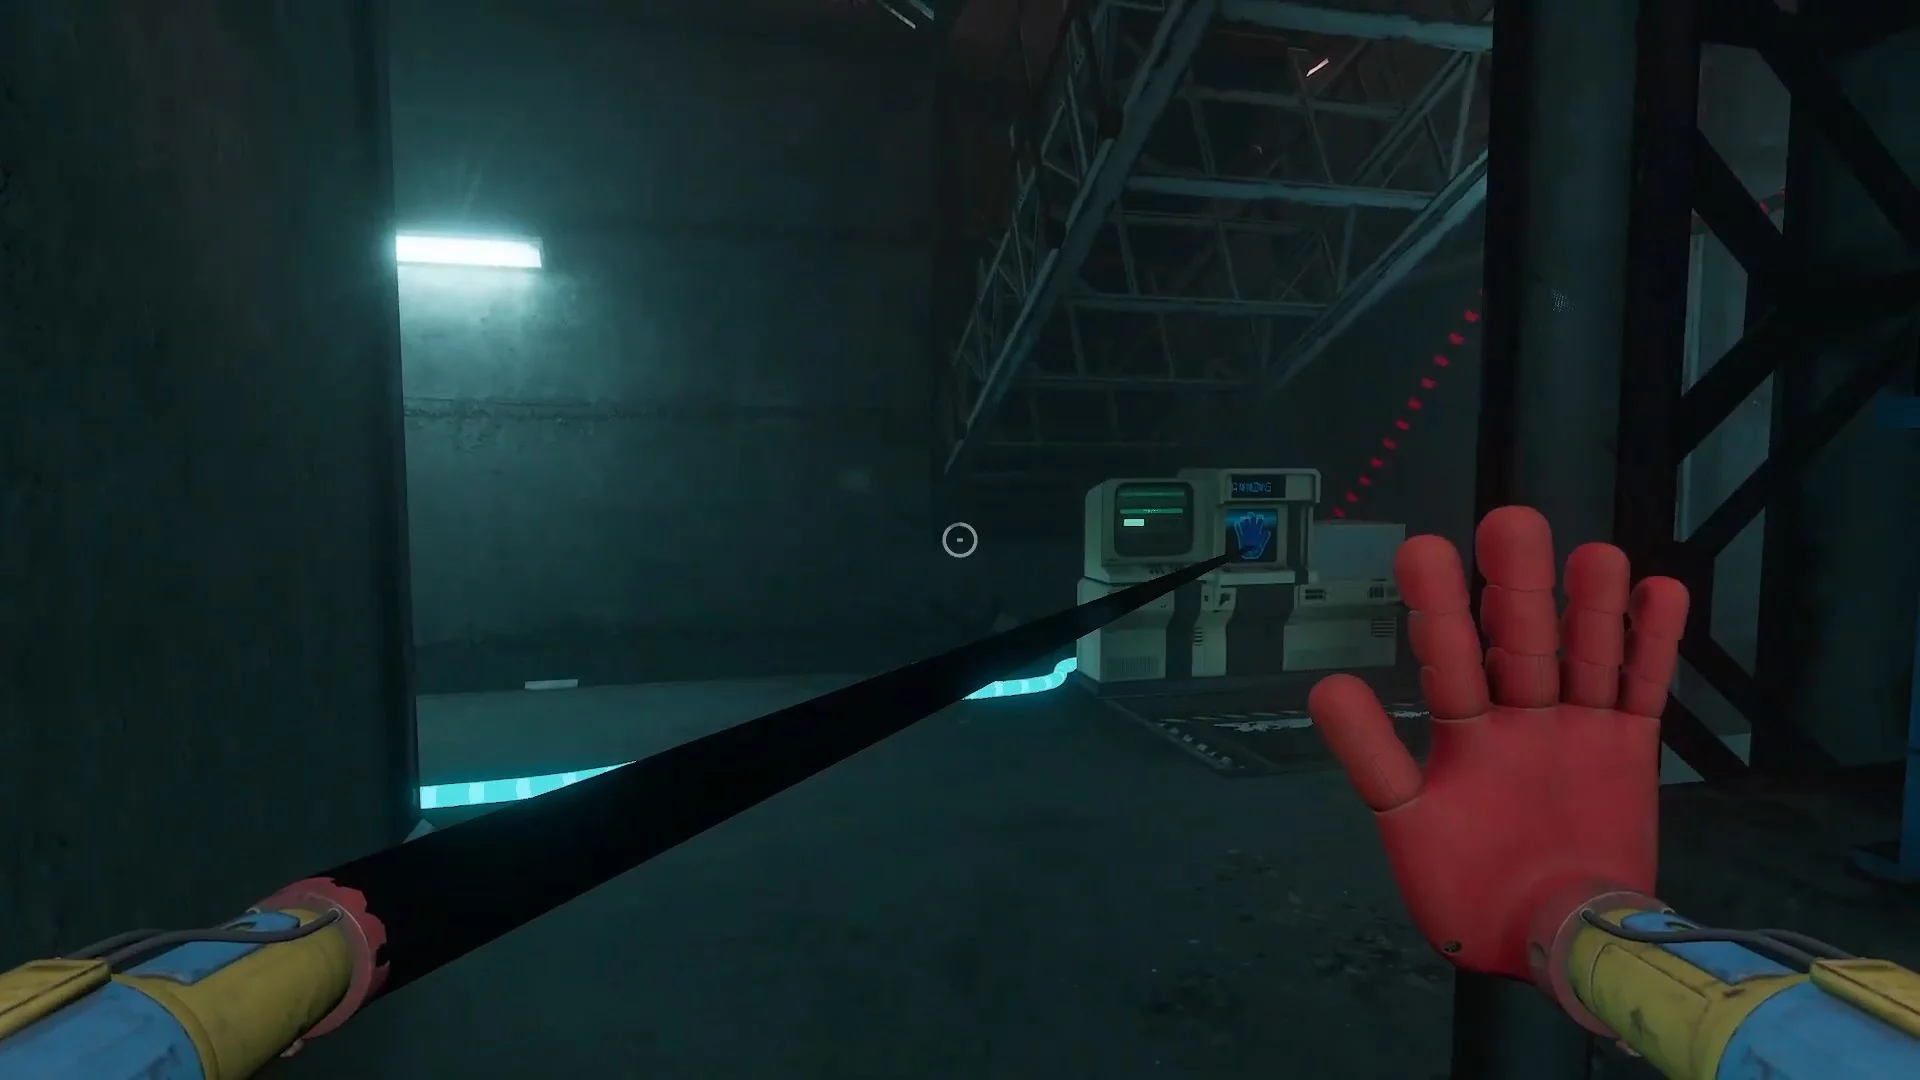
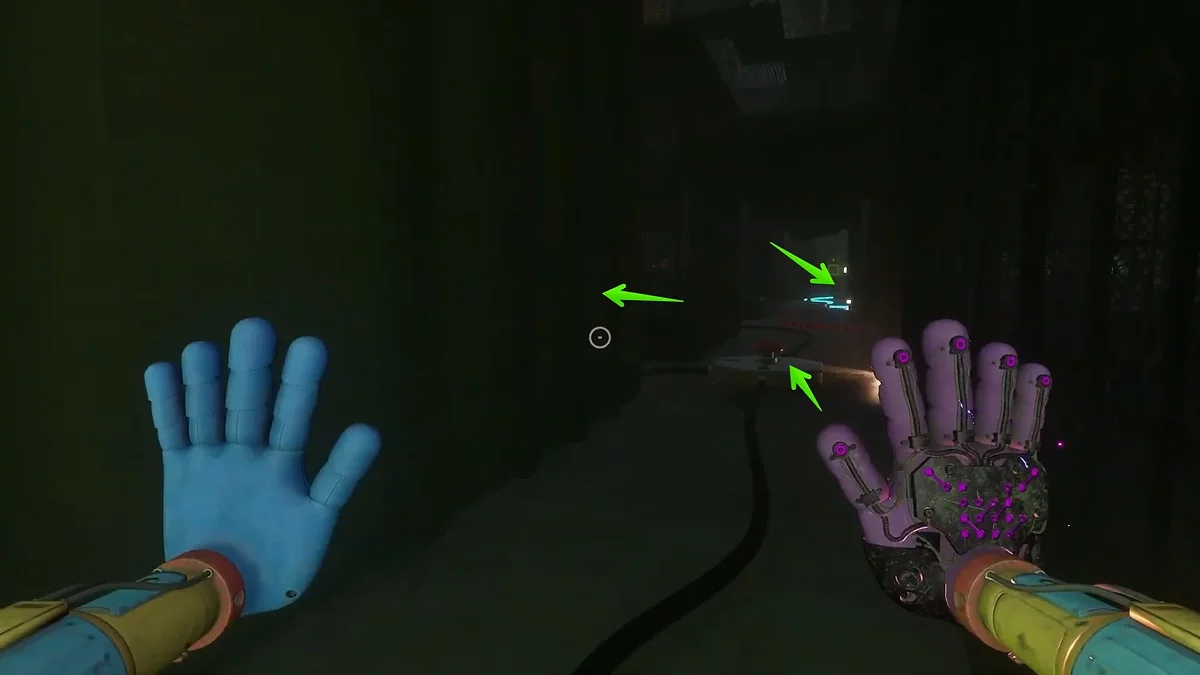
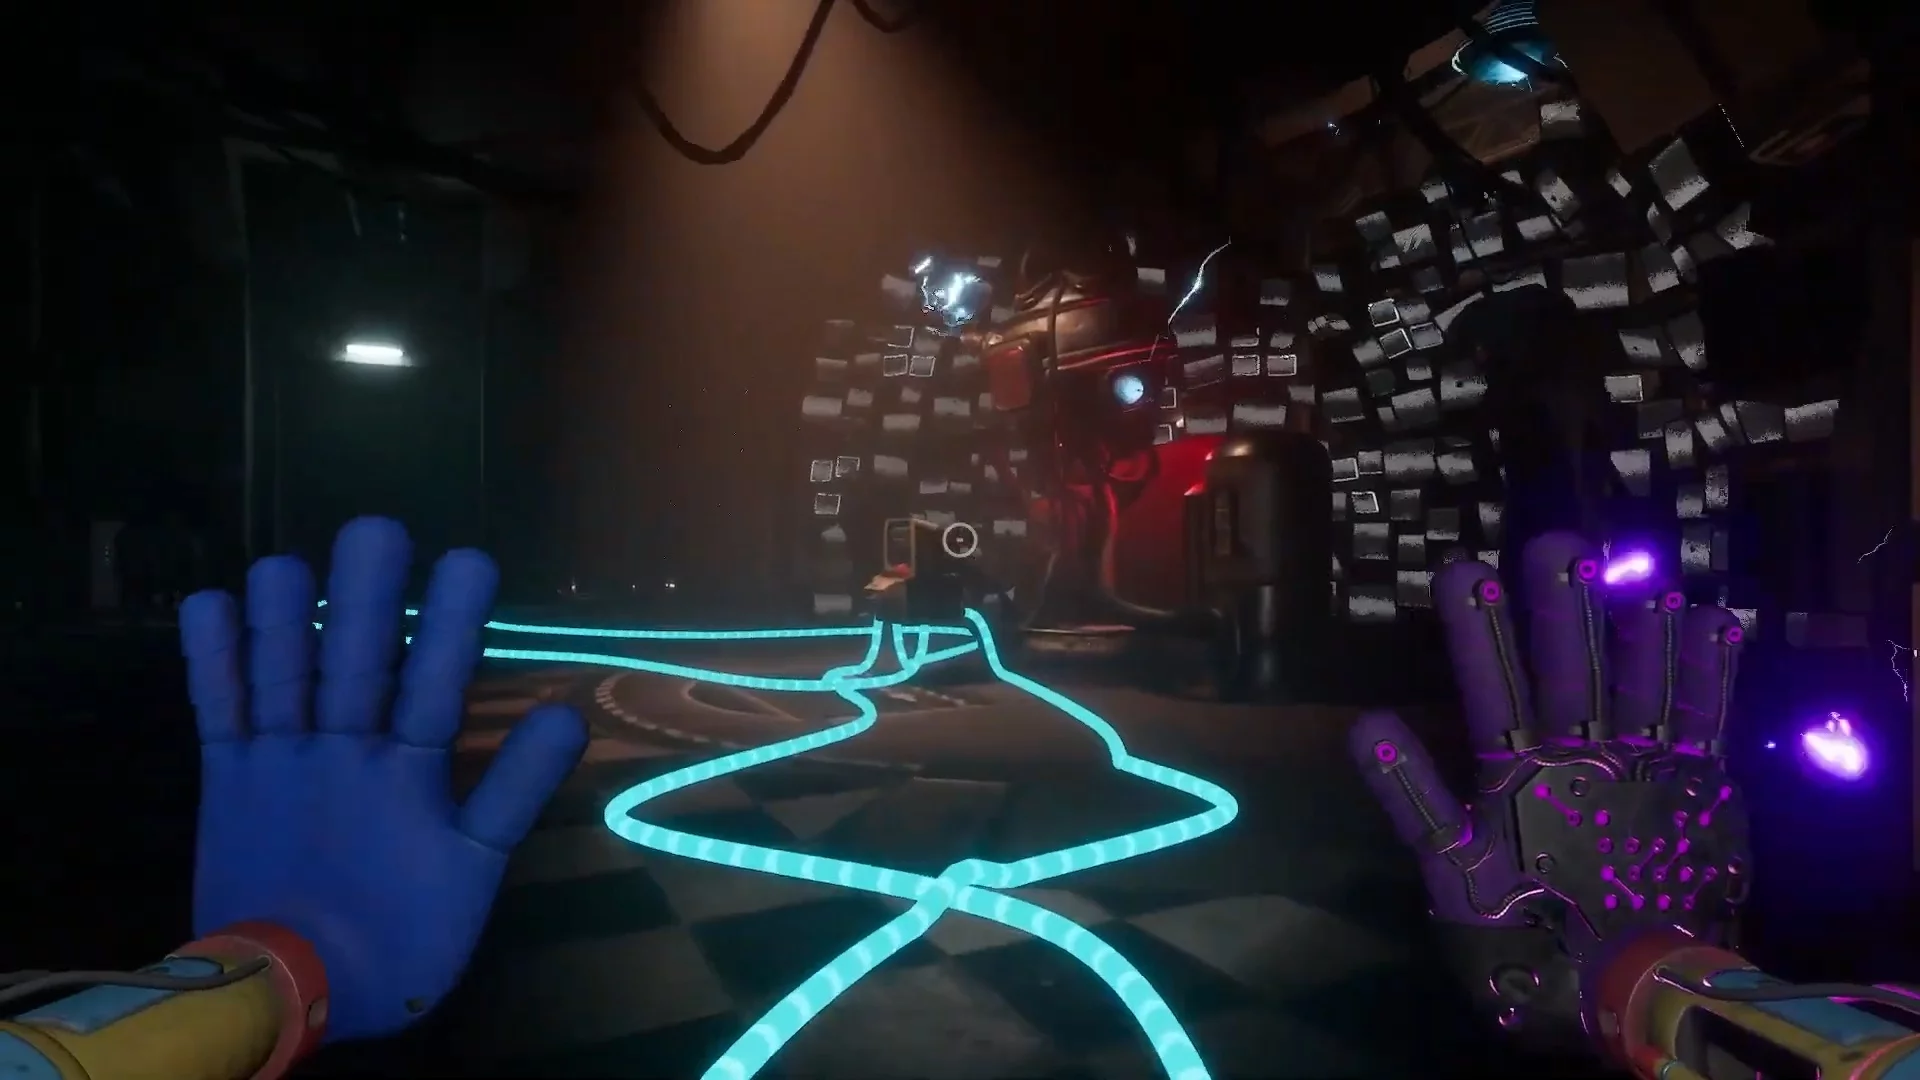
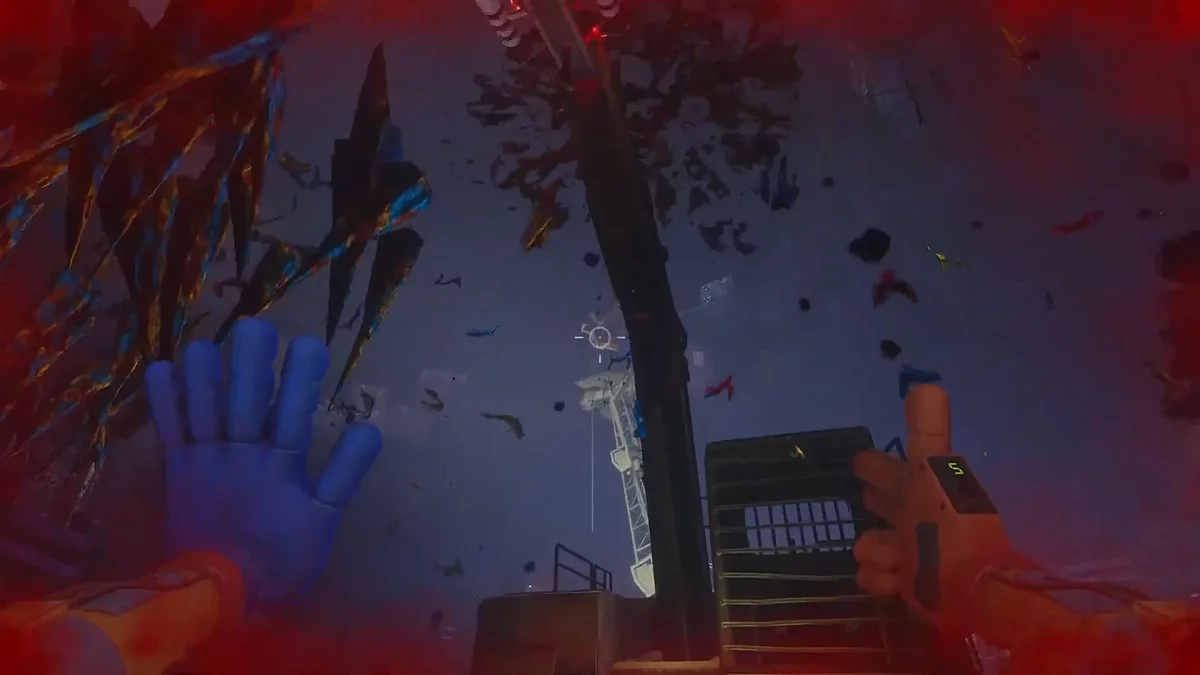
Approach the locked door and climb onto the large boxes. Use the glove to move to the distant box, then grab the battery through the hole in the grate.
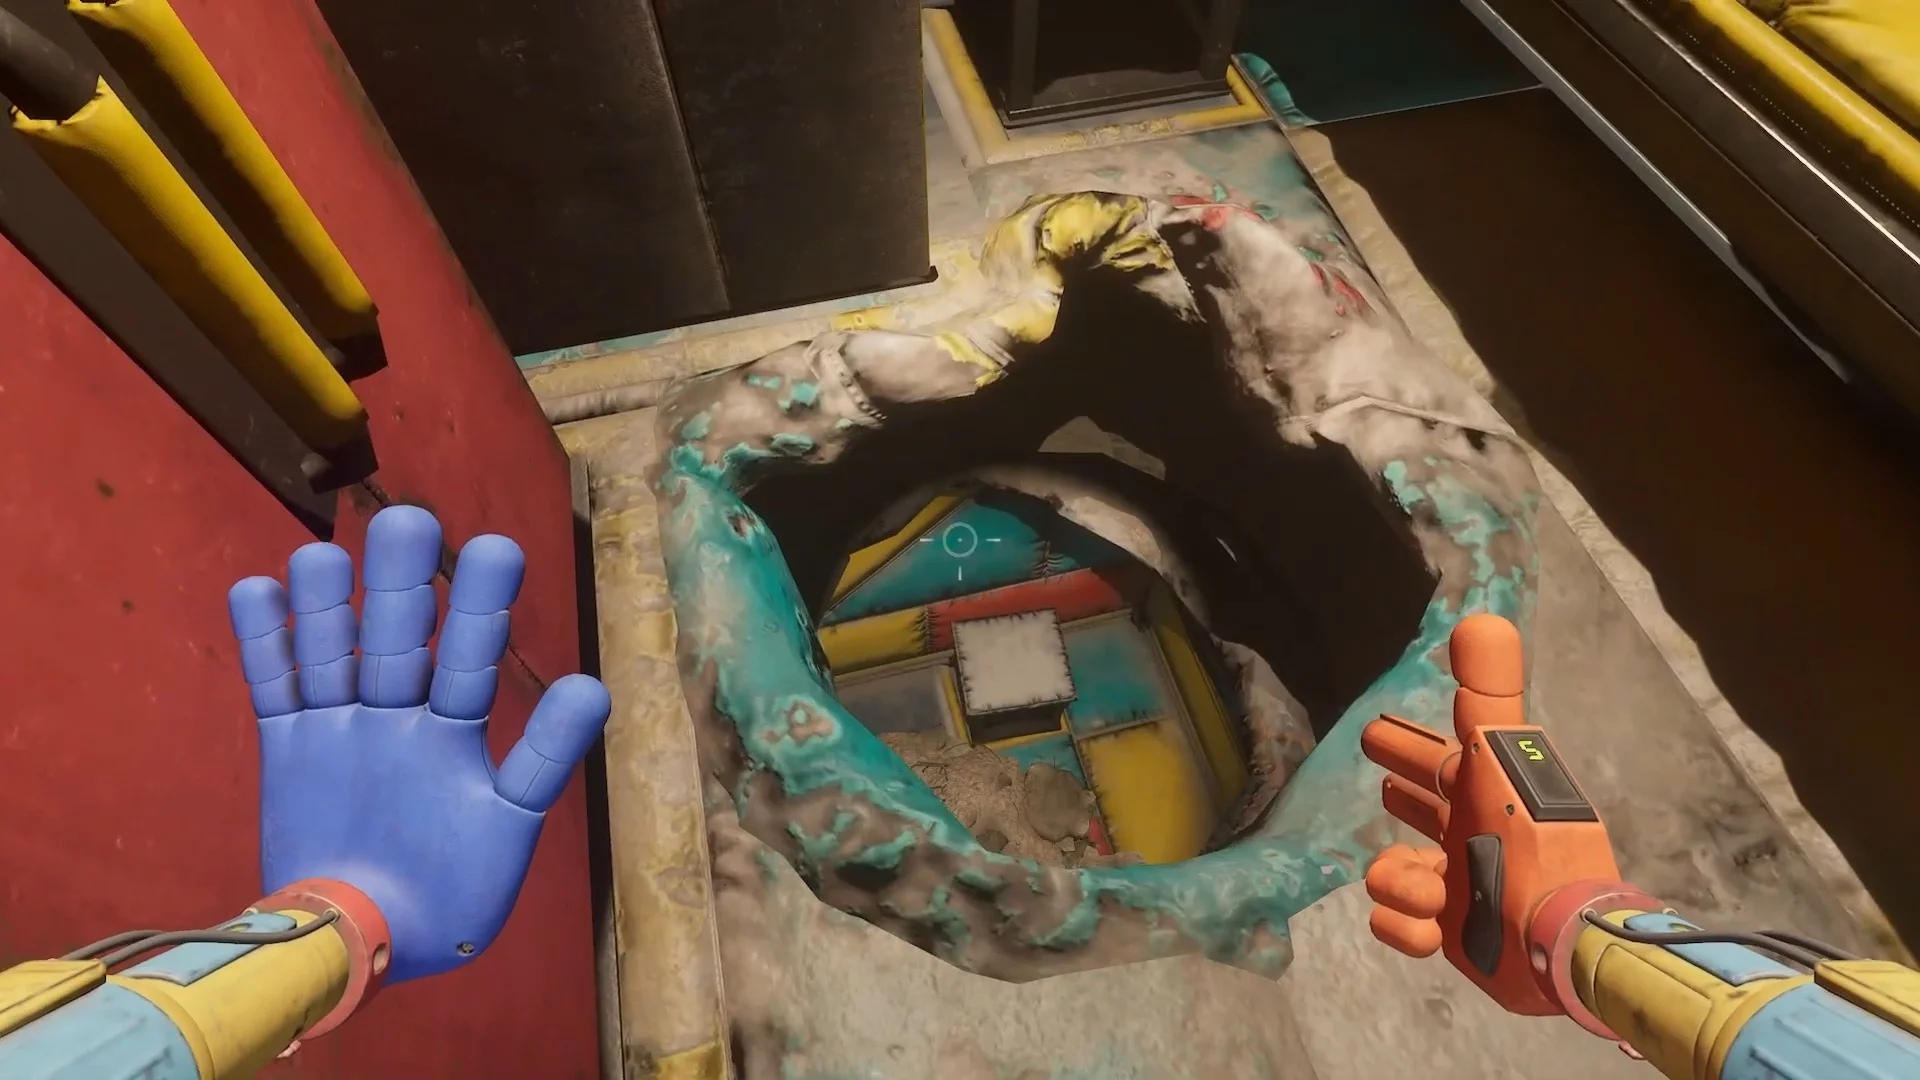
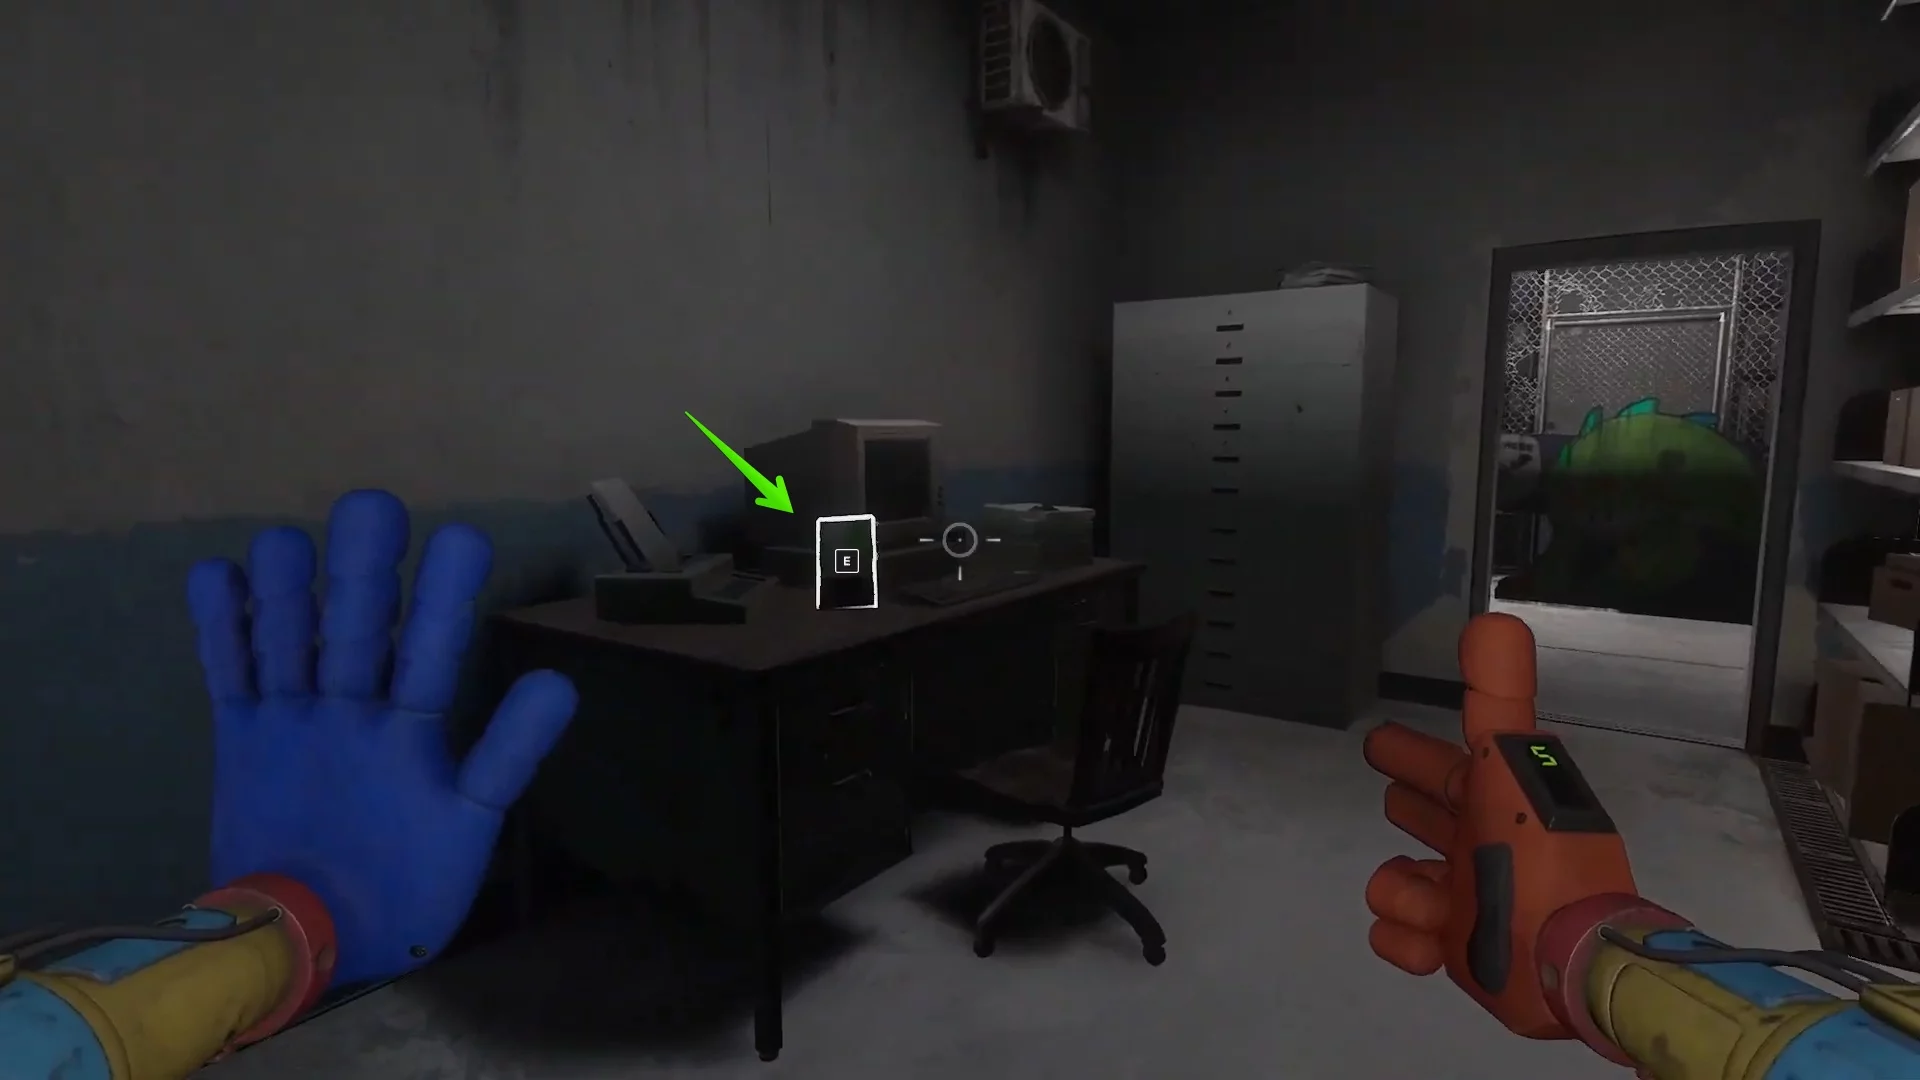
In the room on the left, you can pick up a note on the table, then exit through the main door. In the dead end, find a hole in the wall, after removing the large cube from it. Cross the ravine and use the rocket glove on the door. Here you will also find a cassette with a training recording and a video player.
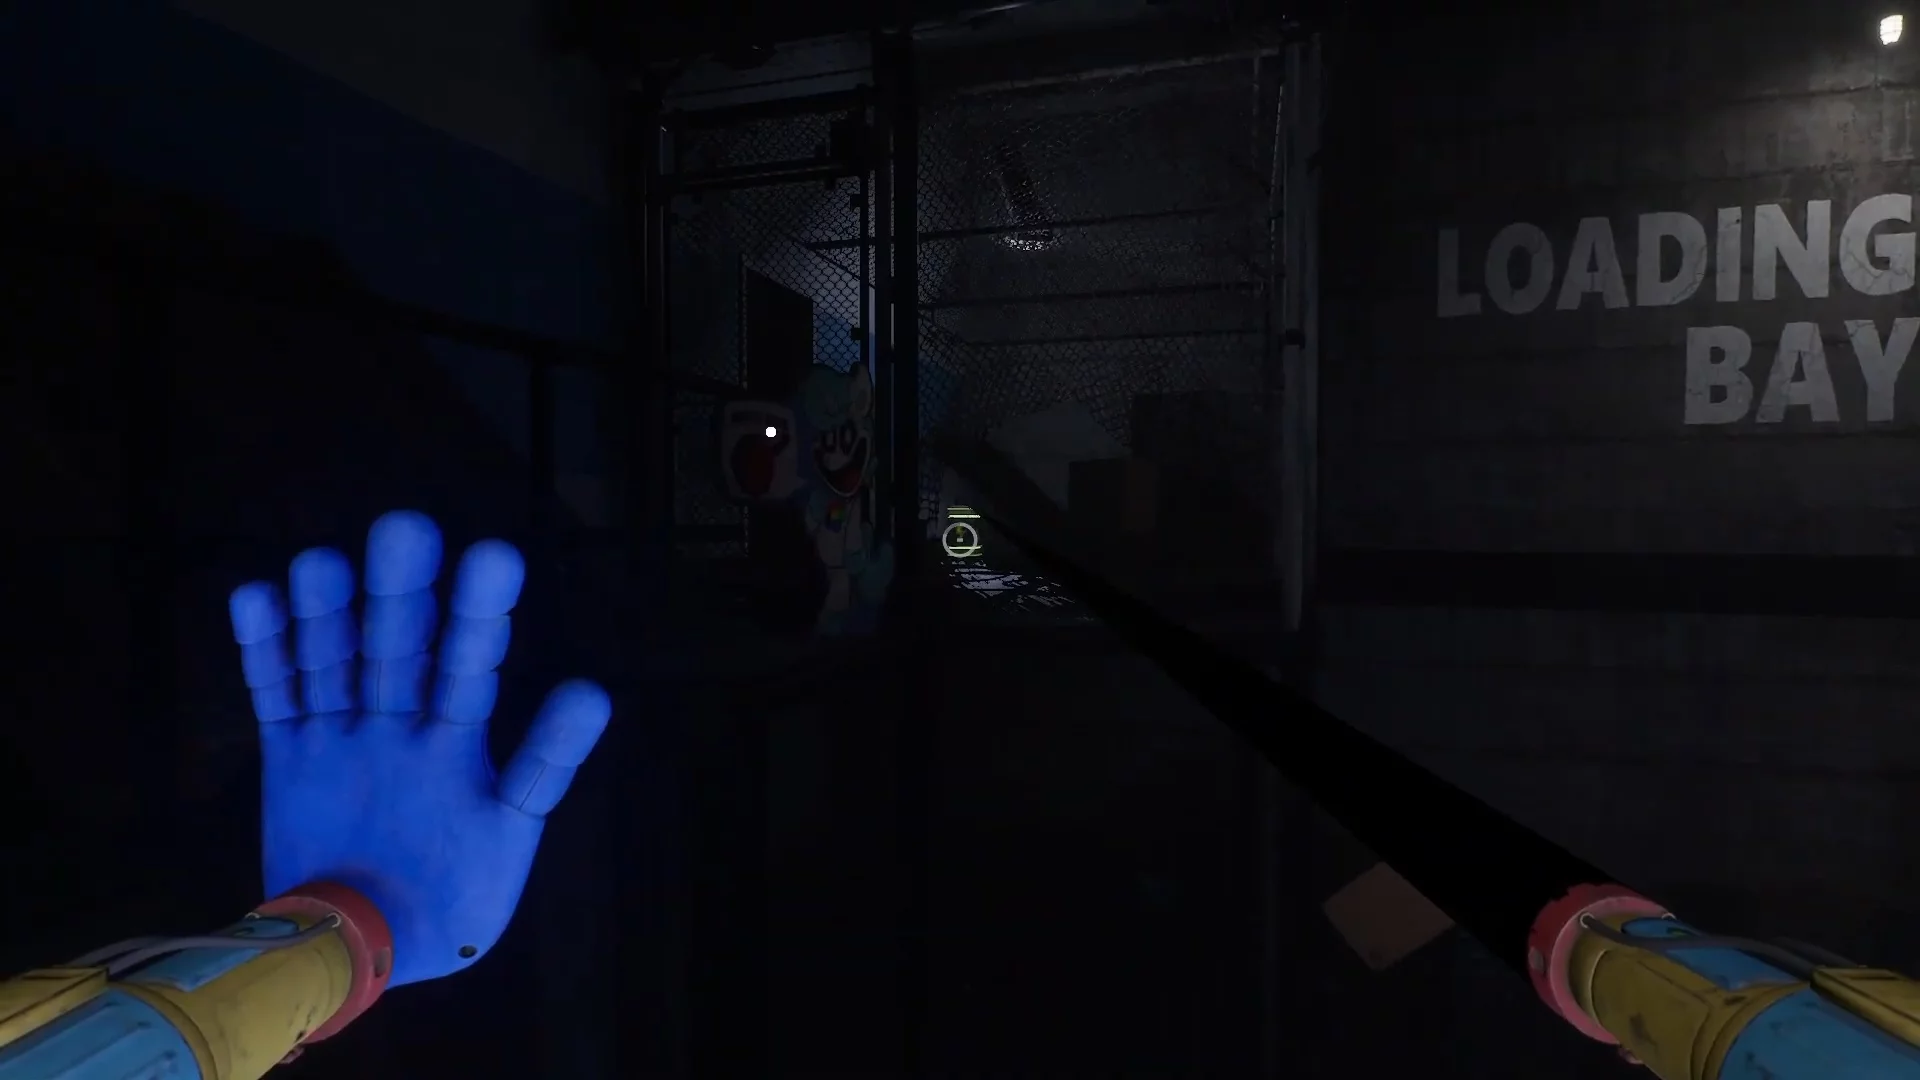
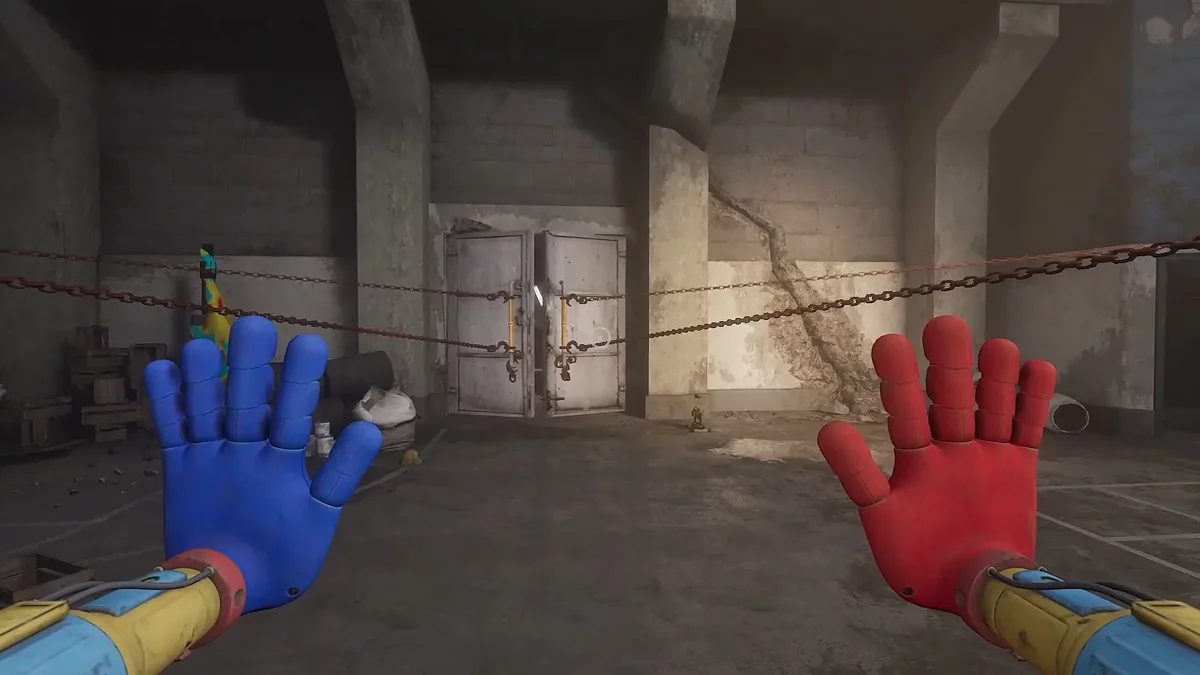
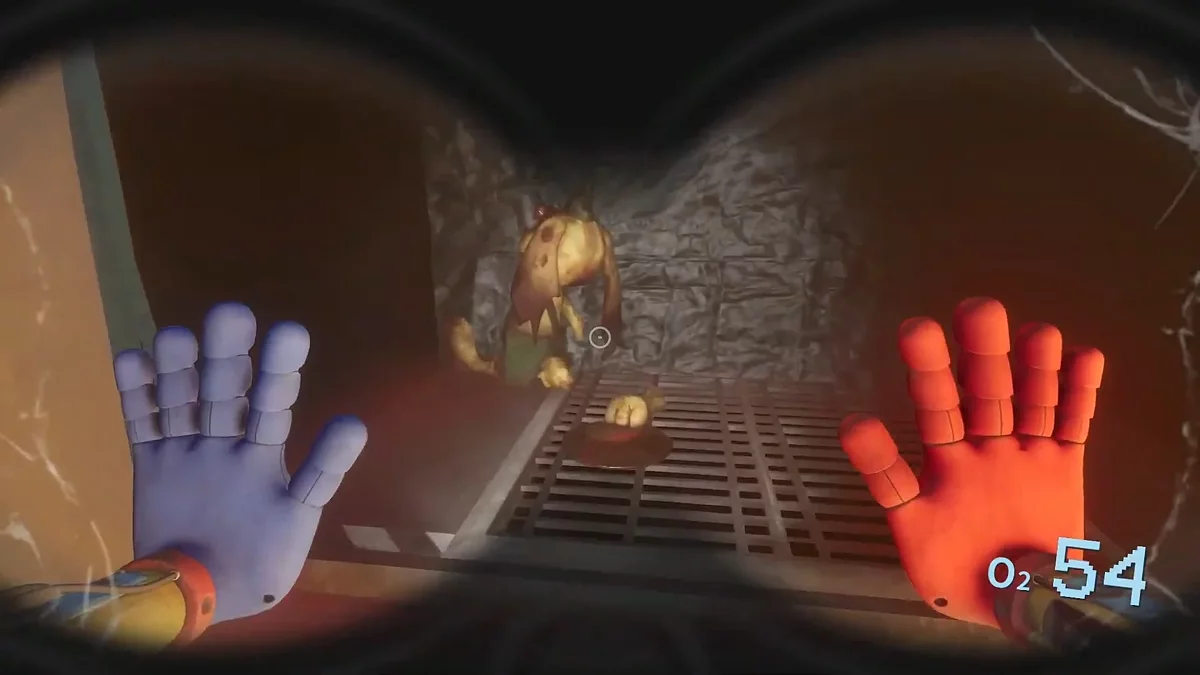
Find the Entrance to the Prison
While passing by the toy dump, pick up a note on one of the barrels. At the entrance to the prison, dolls will attack the hero. Fend them off and climb the pile of toys leading to a breach in the wall. Next to the corpse, there's another note, after reading which Ollie will call.
Right above the hero, you will see an open cell. To reach it, go around the platform and move two cubes closer. This way you will get the key.
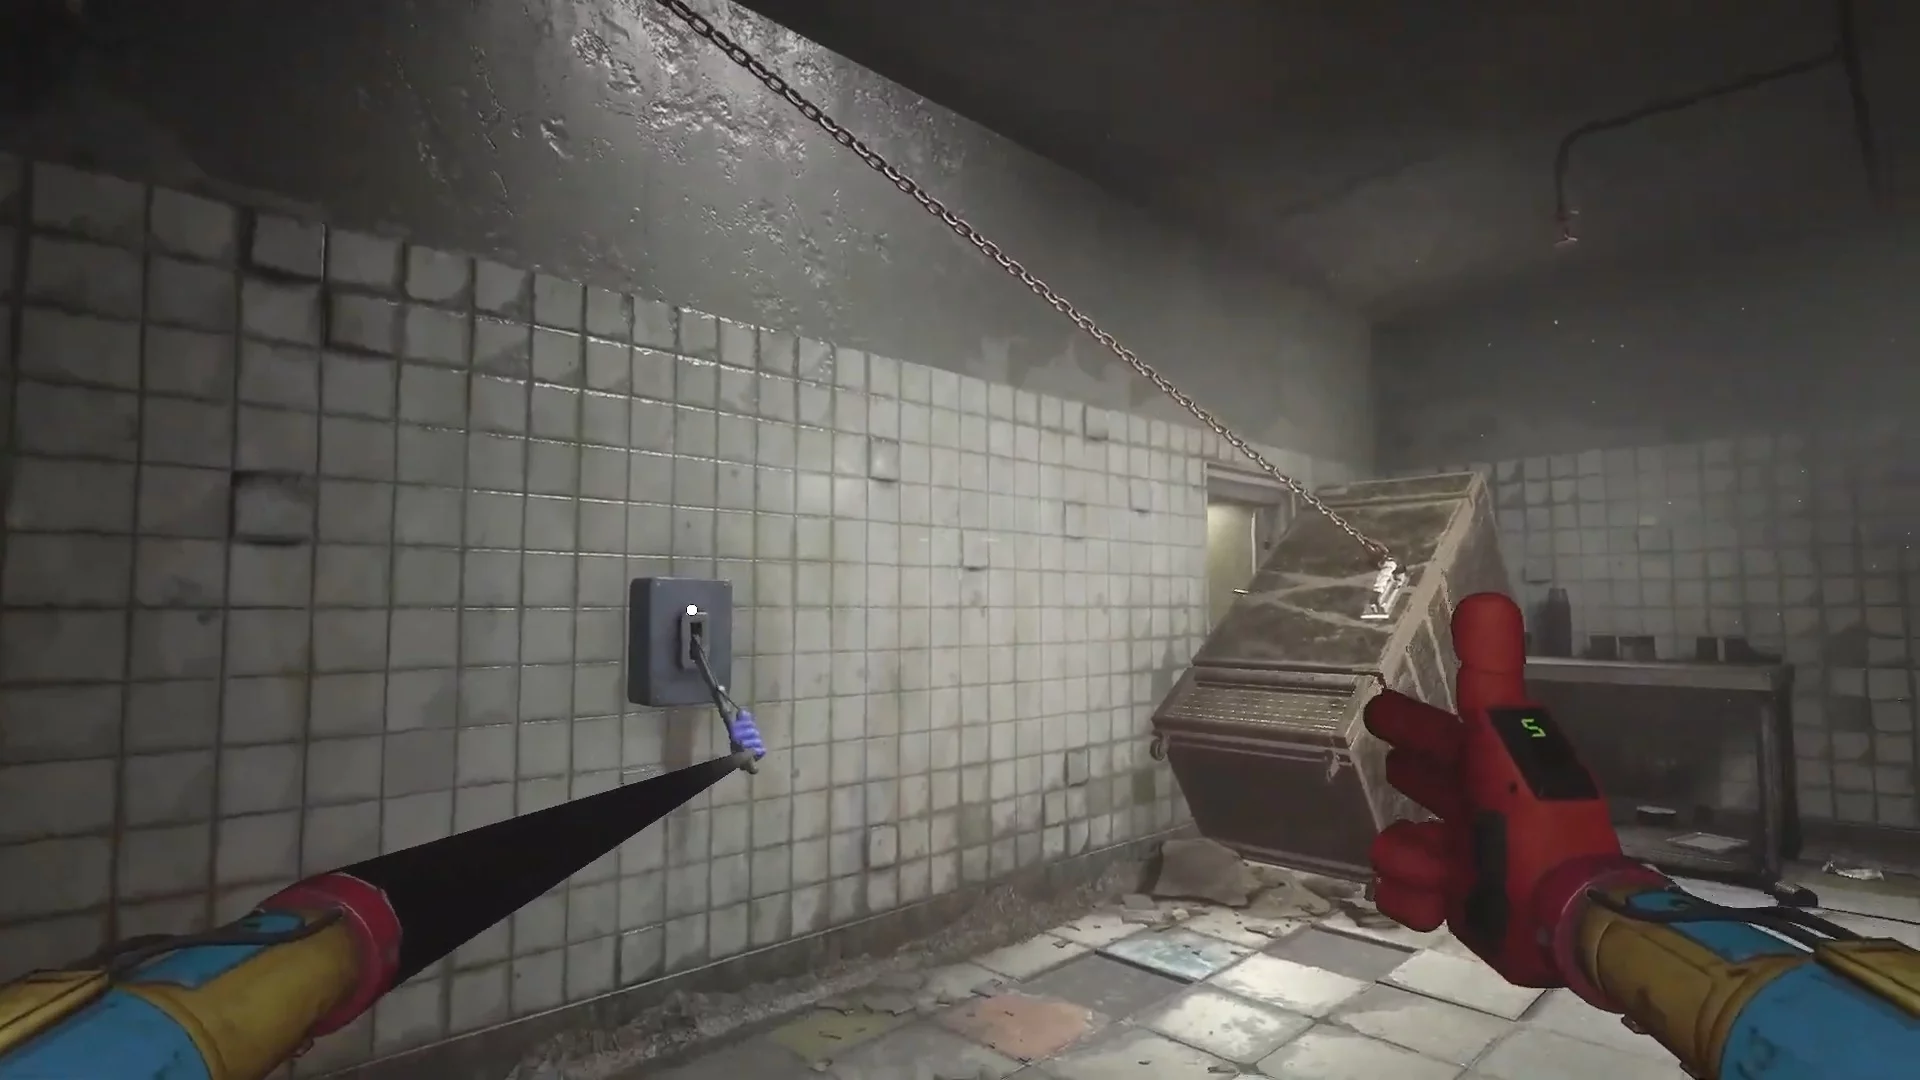
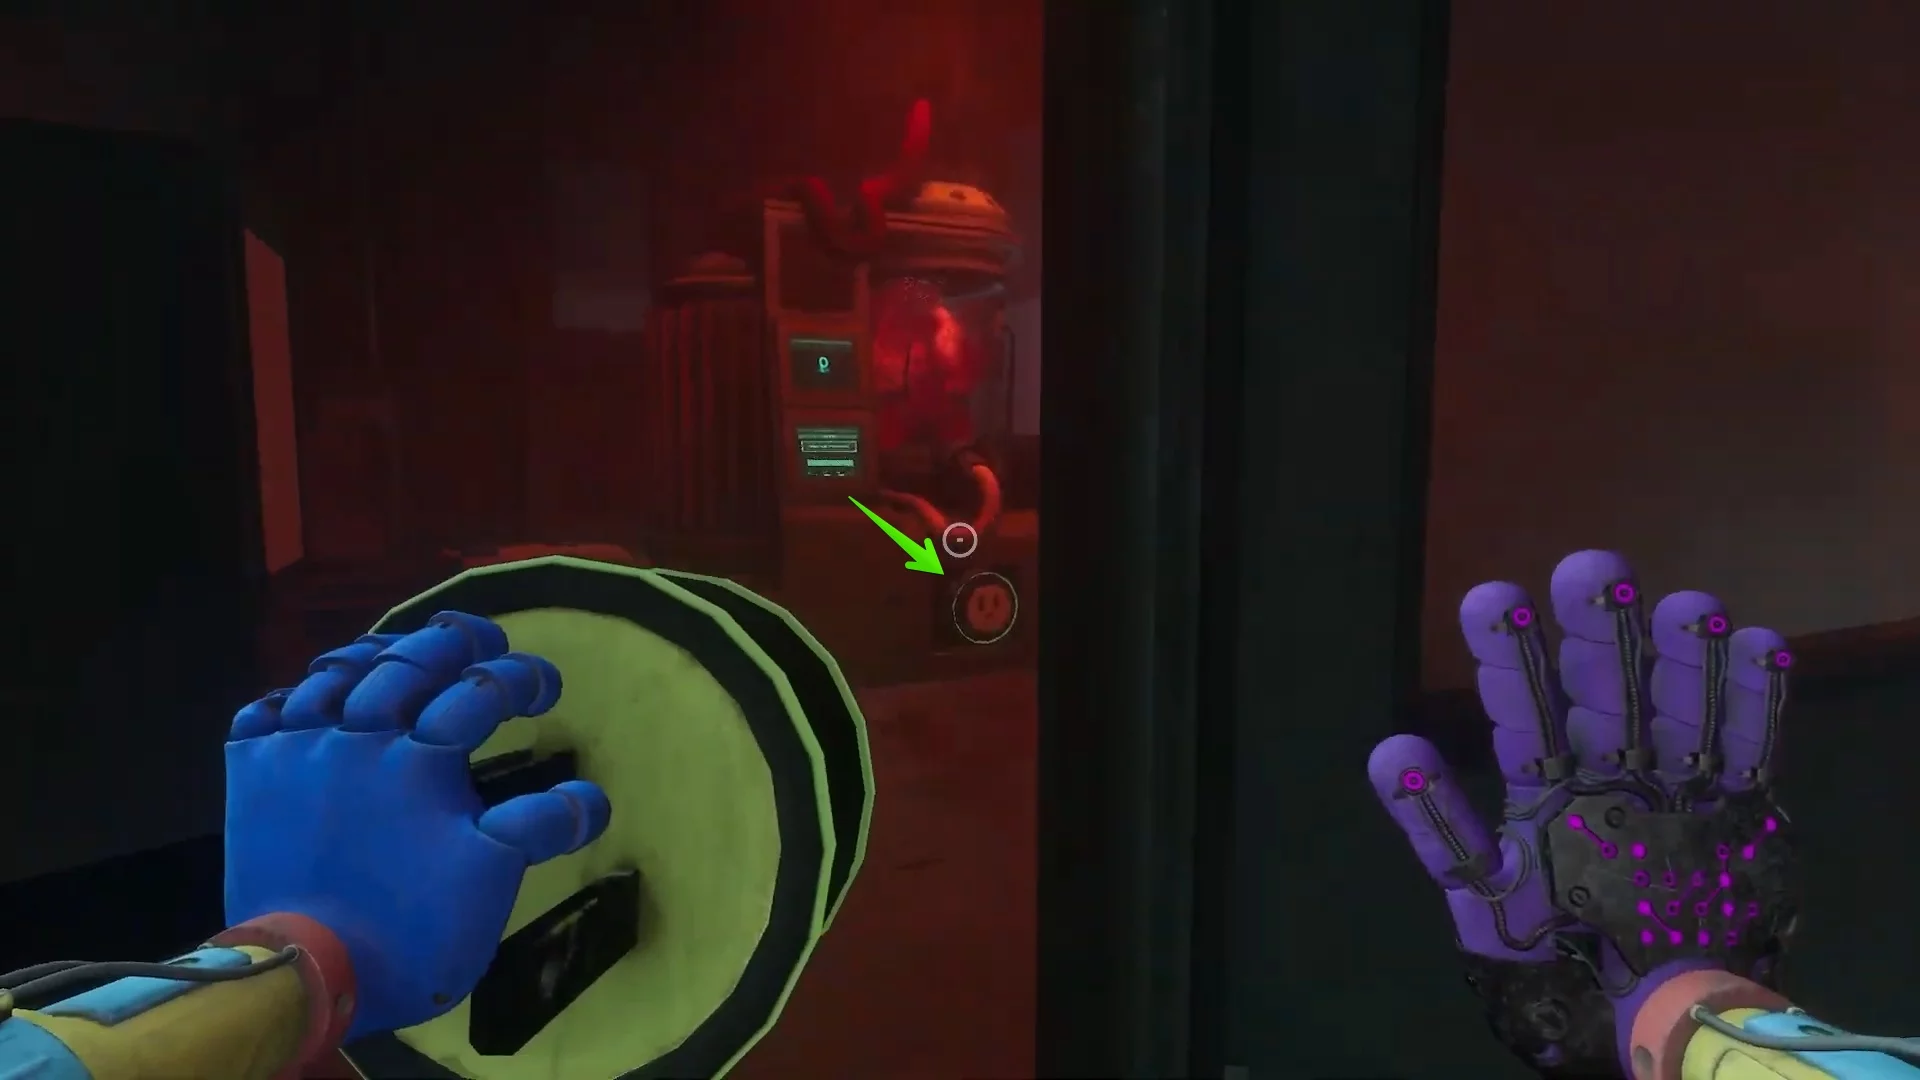
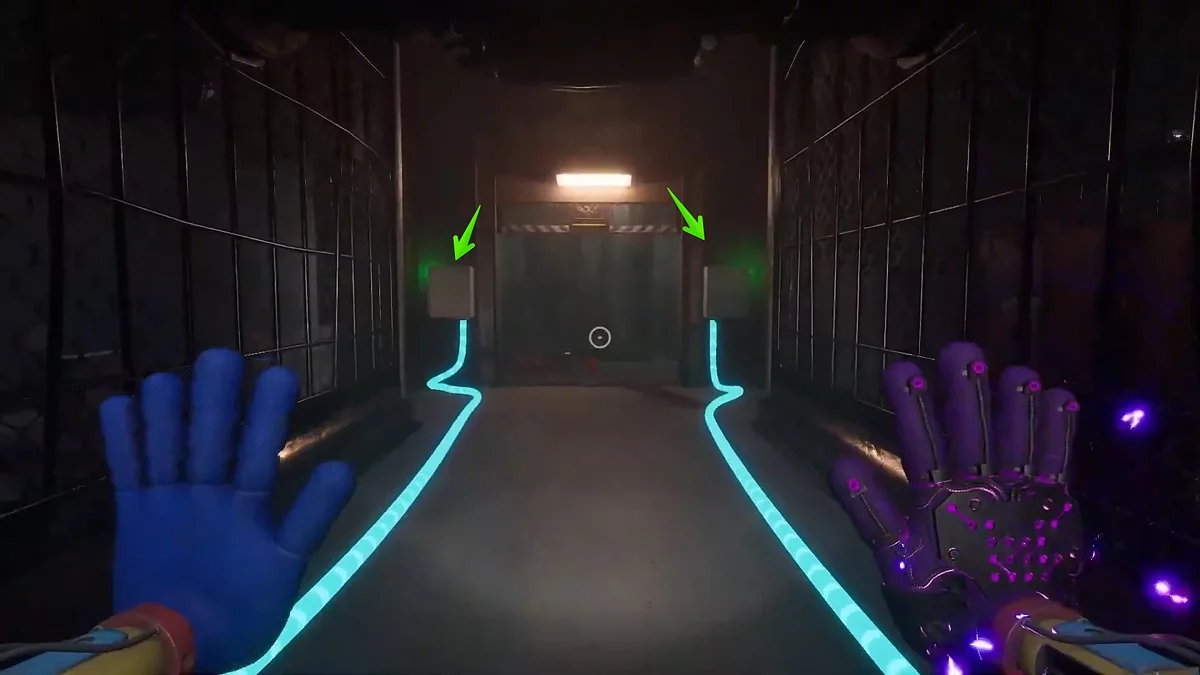
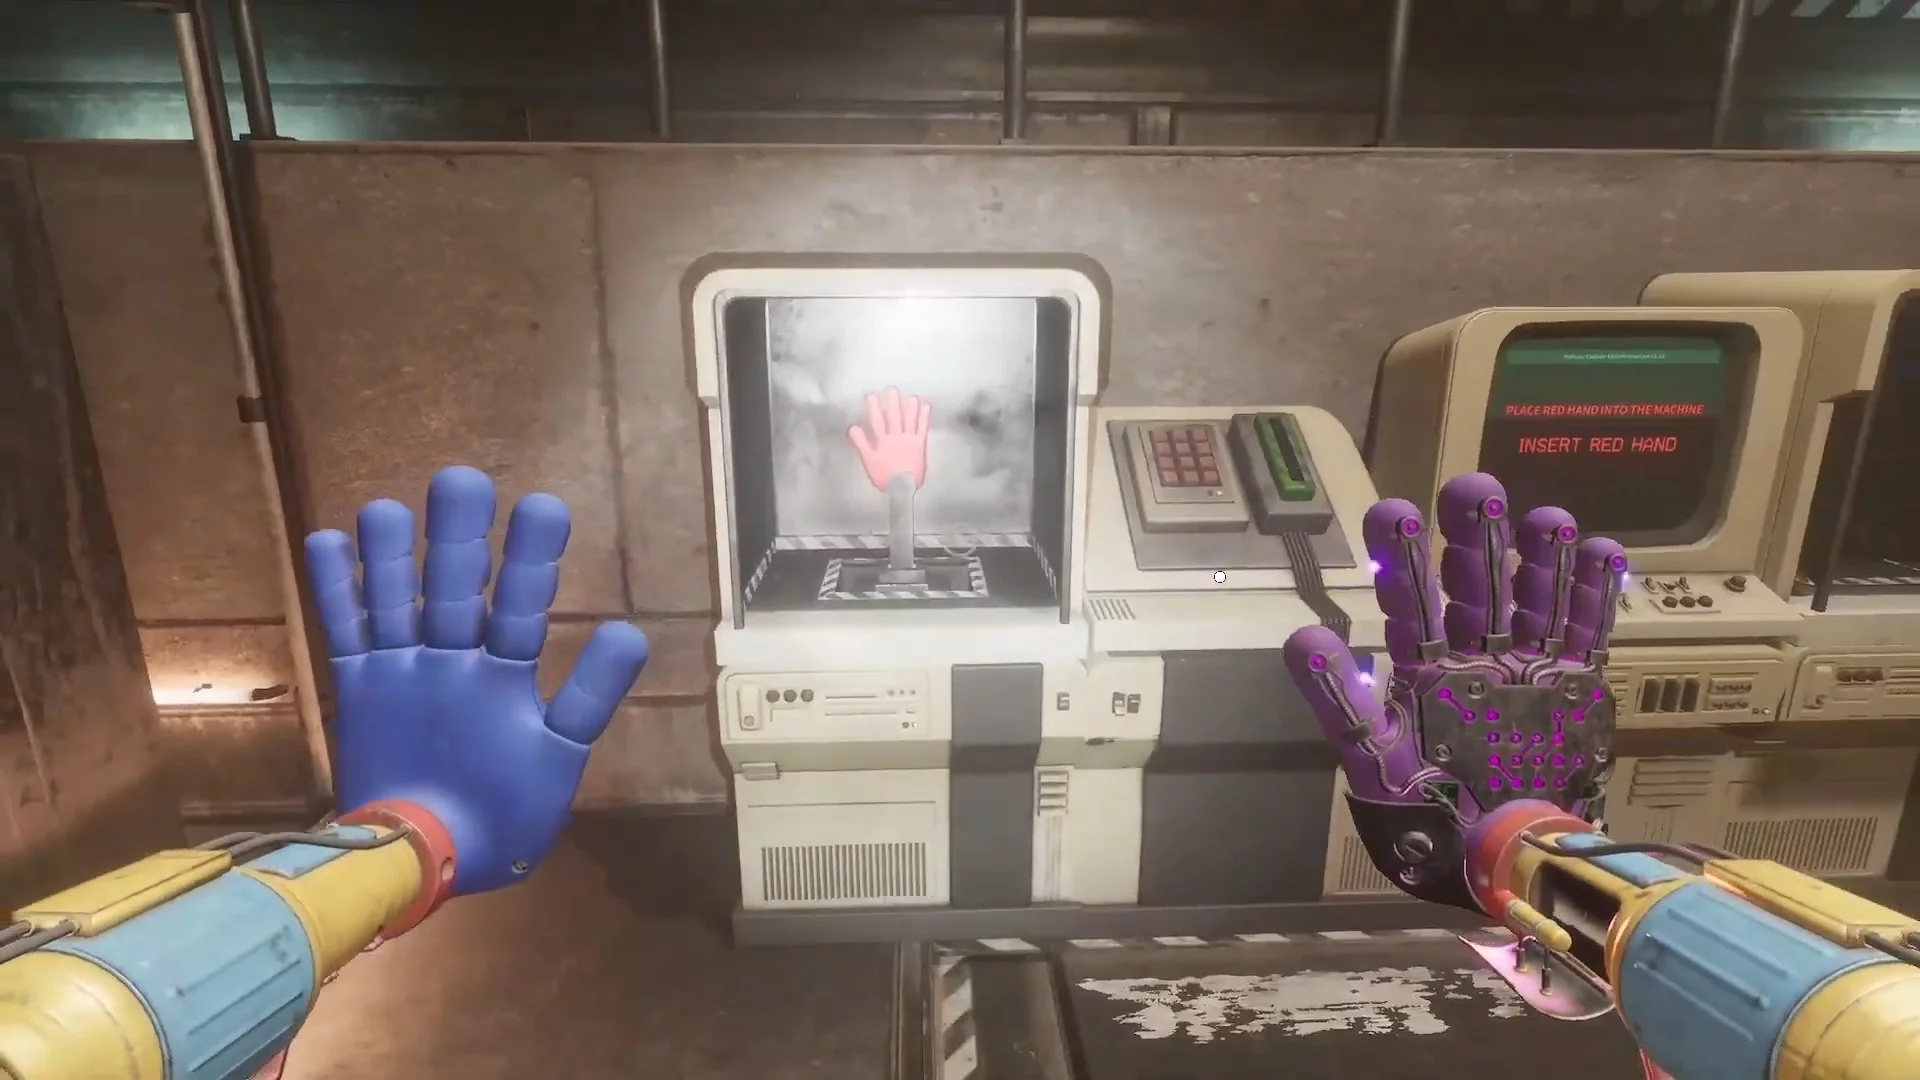
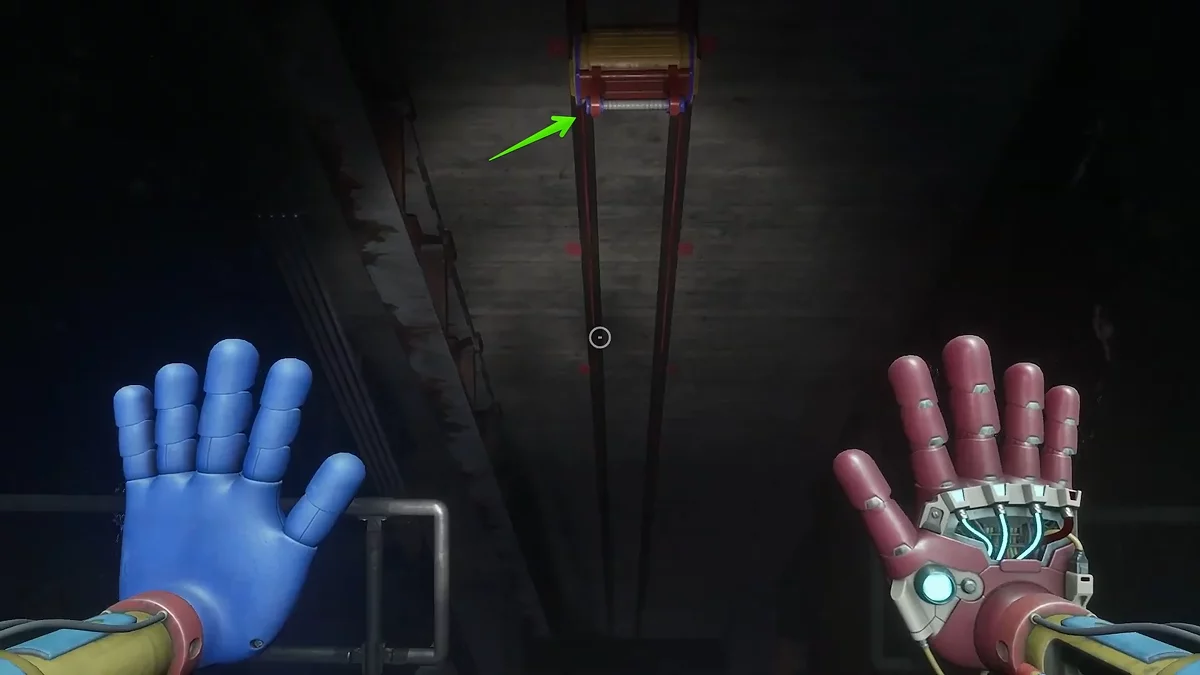
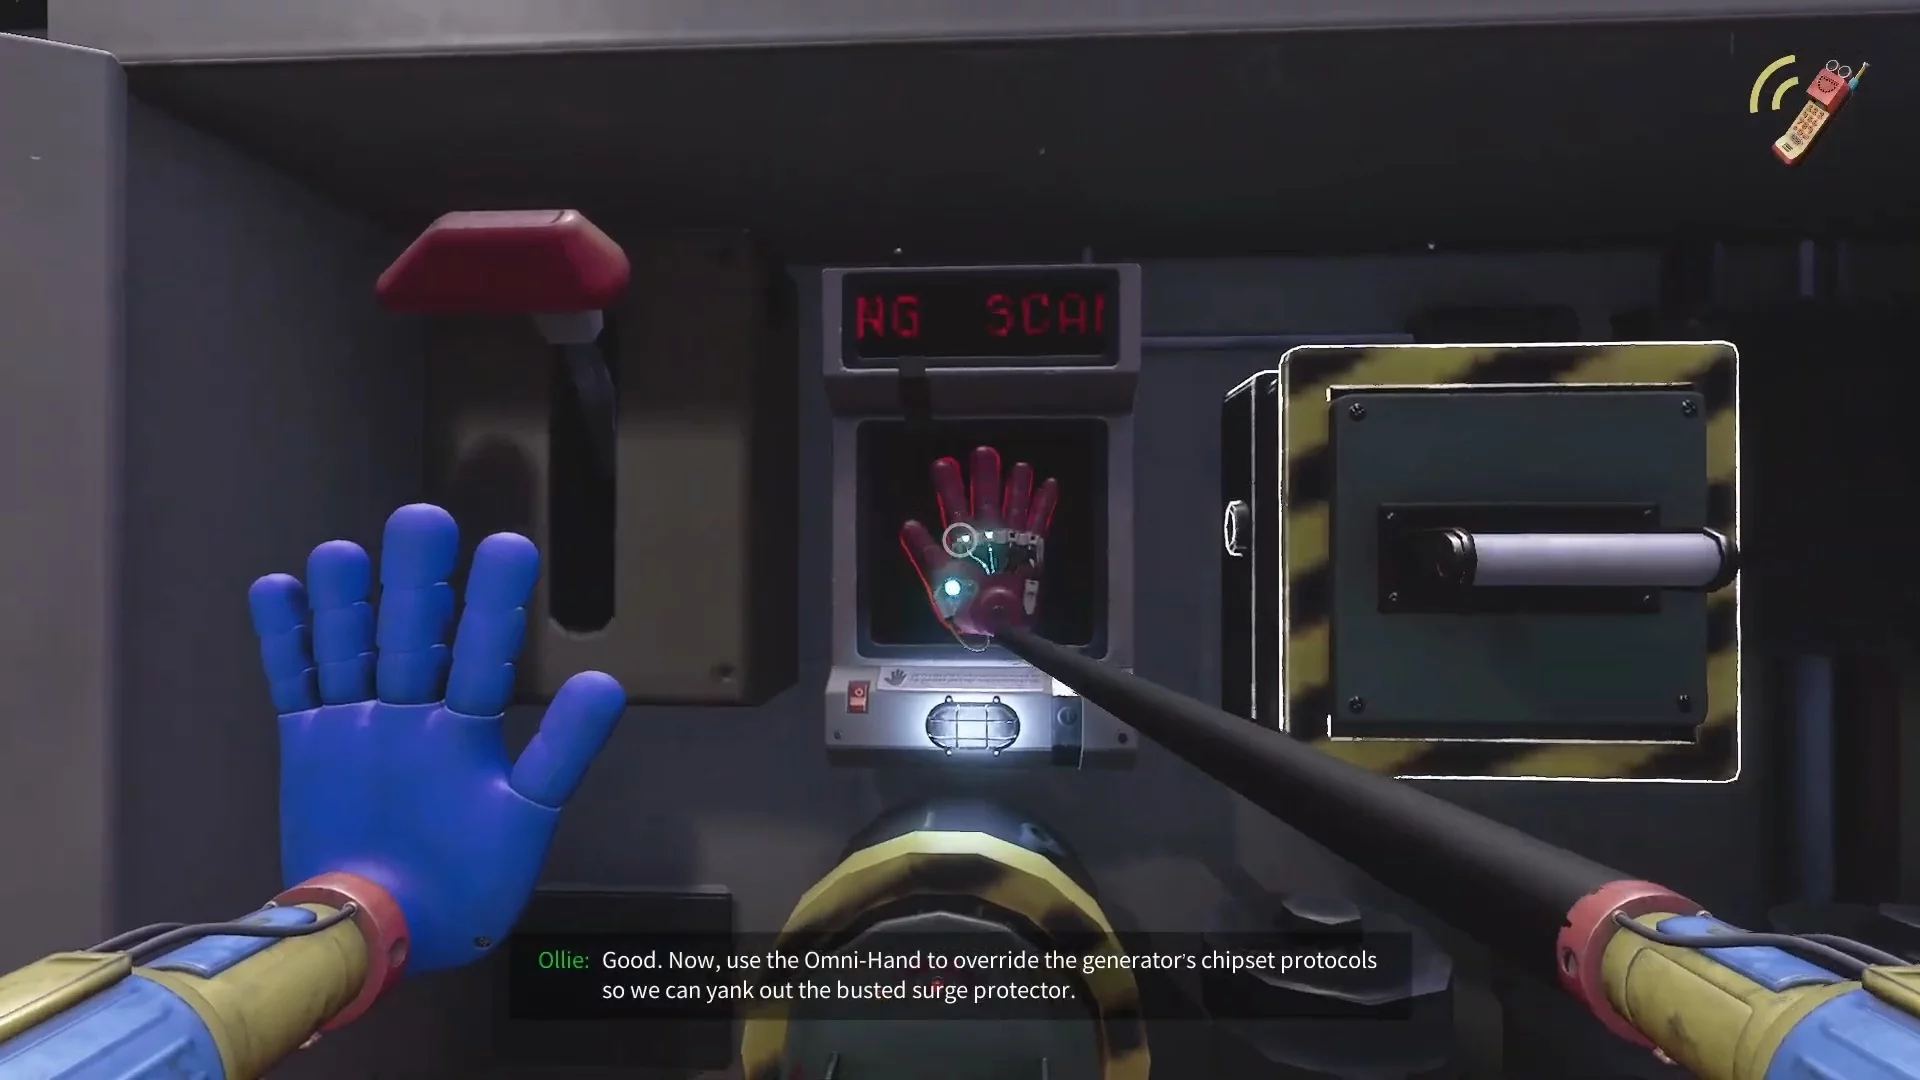
Use the key to open the room and watch the videotape. Aim one glove at the power source, exit, go around the column on the left, then on the right, and then aim the second glove at the socket. The locomotive will start — climb into the last container.
Escape the Prison
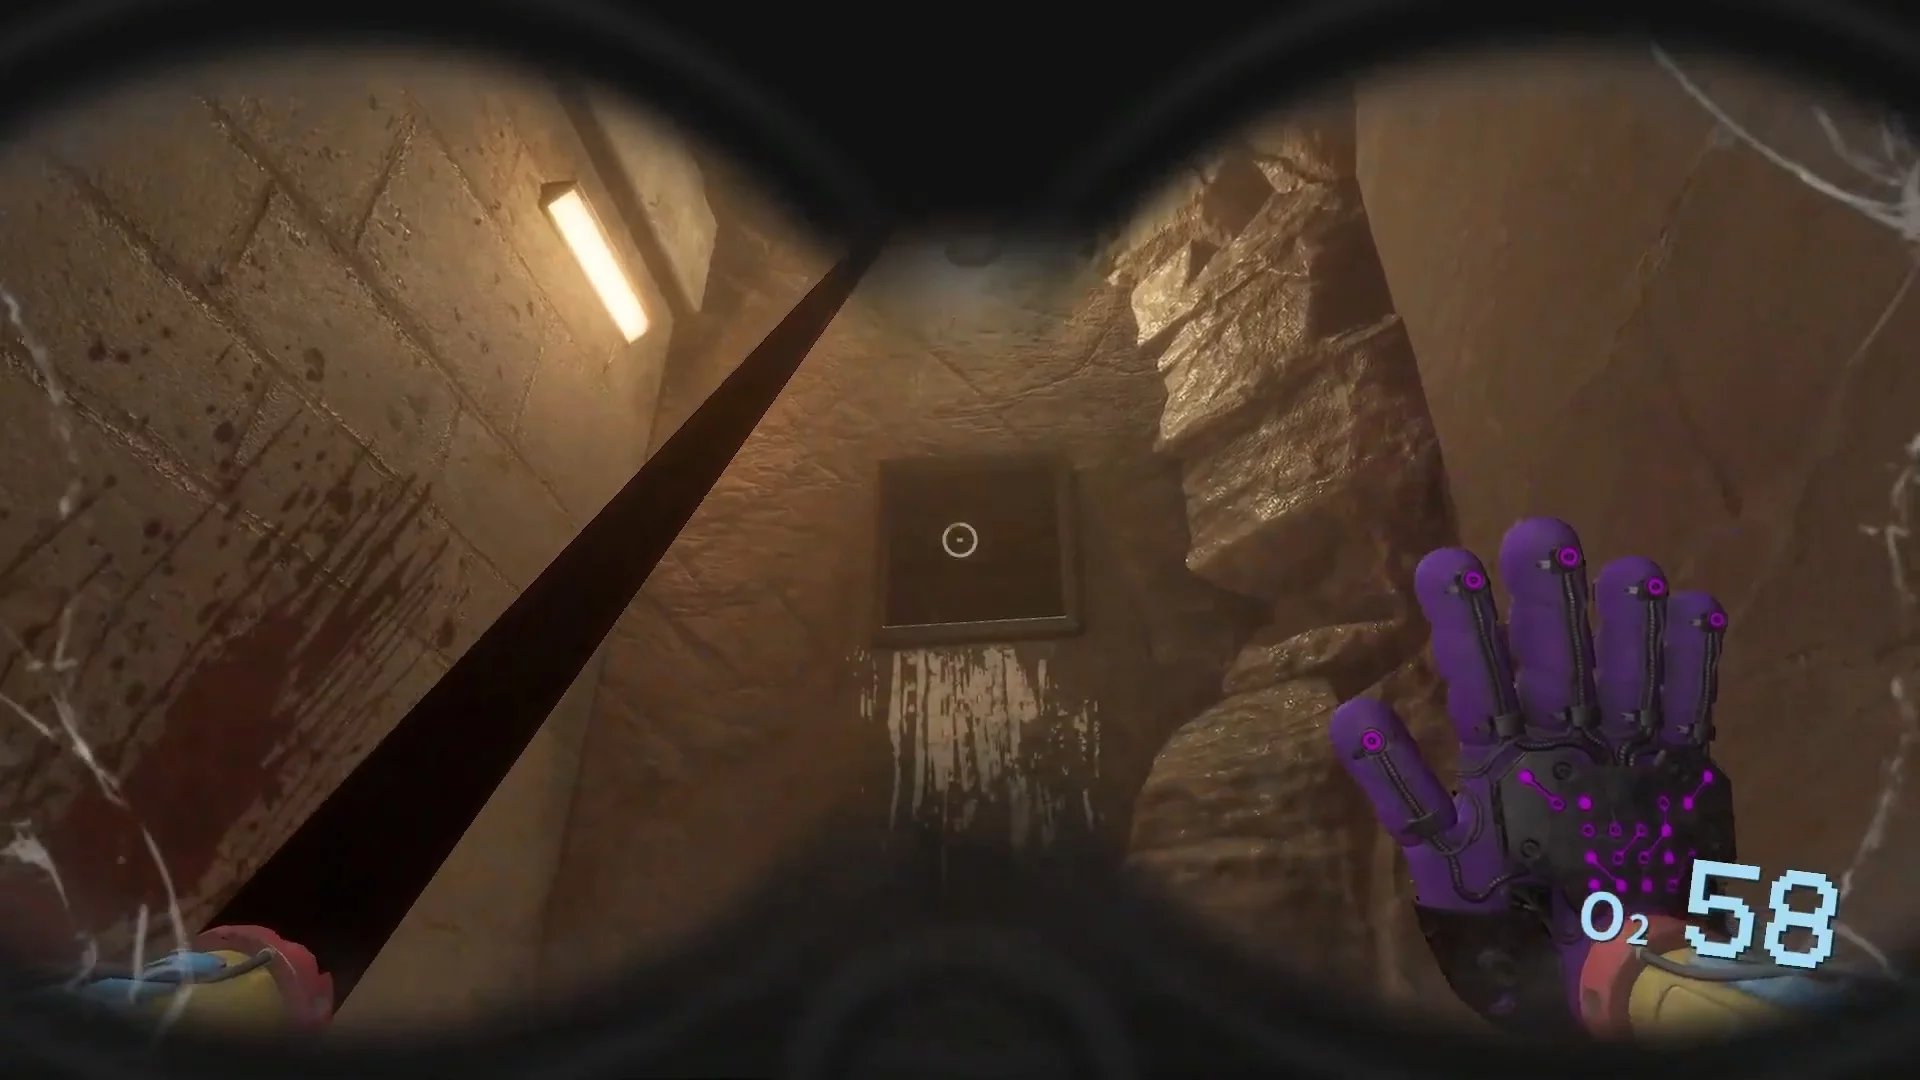
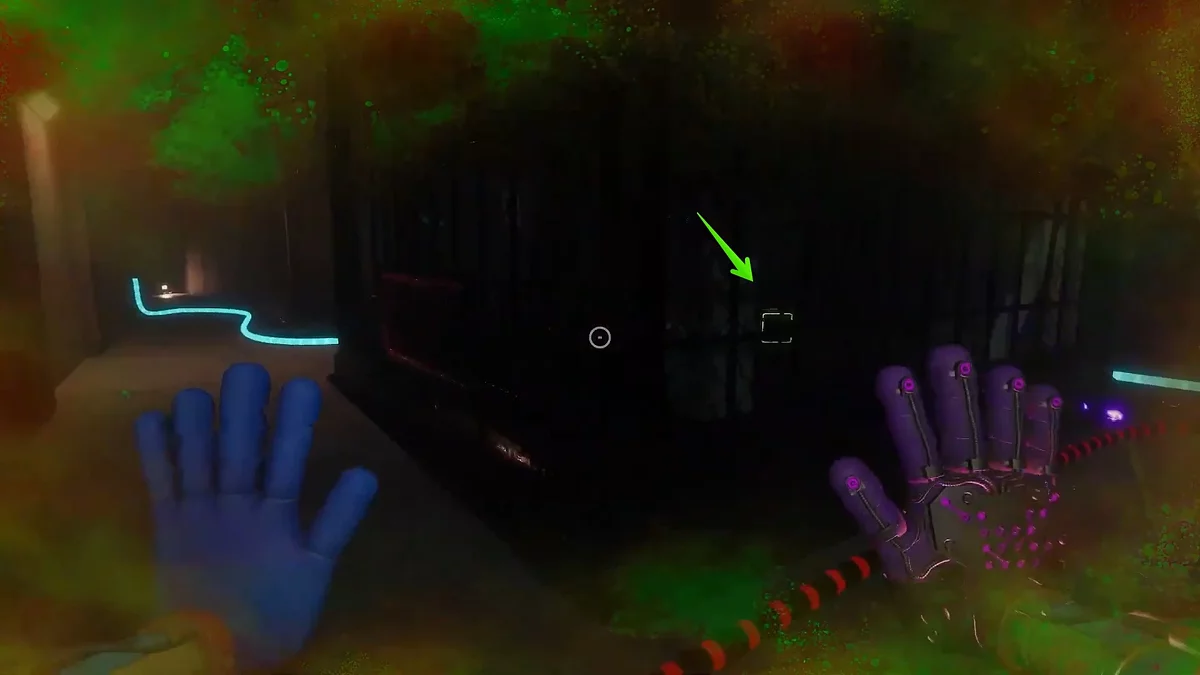
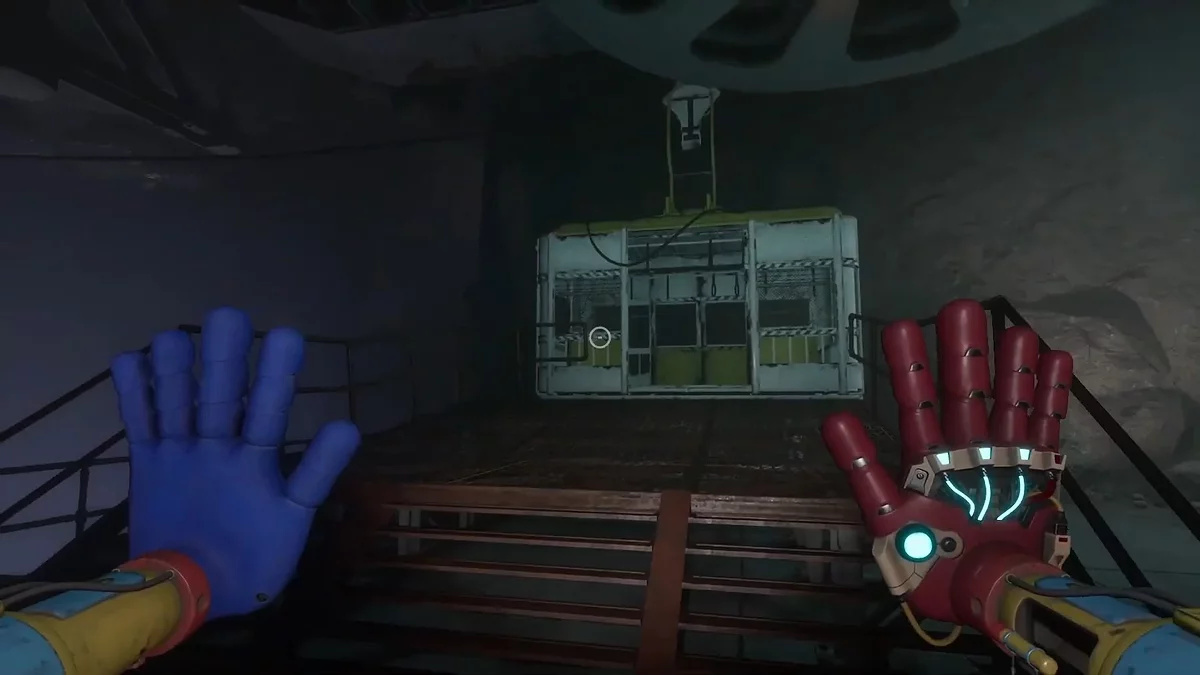
When the train stops, climb up using the grapple and go through the ventilation shaft. Open the door with the blue glove and return back. Close the door to the room with toys, and the adjacent door on the left, on the contrary, open and jump into the hole in the floor.
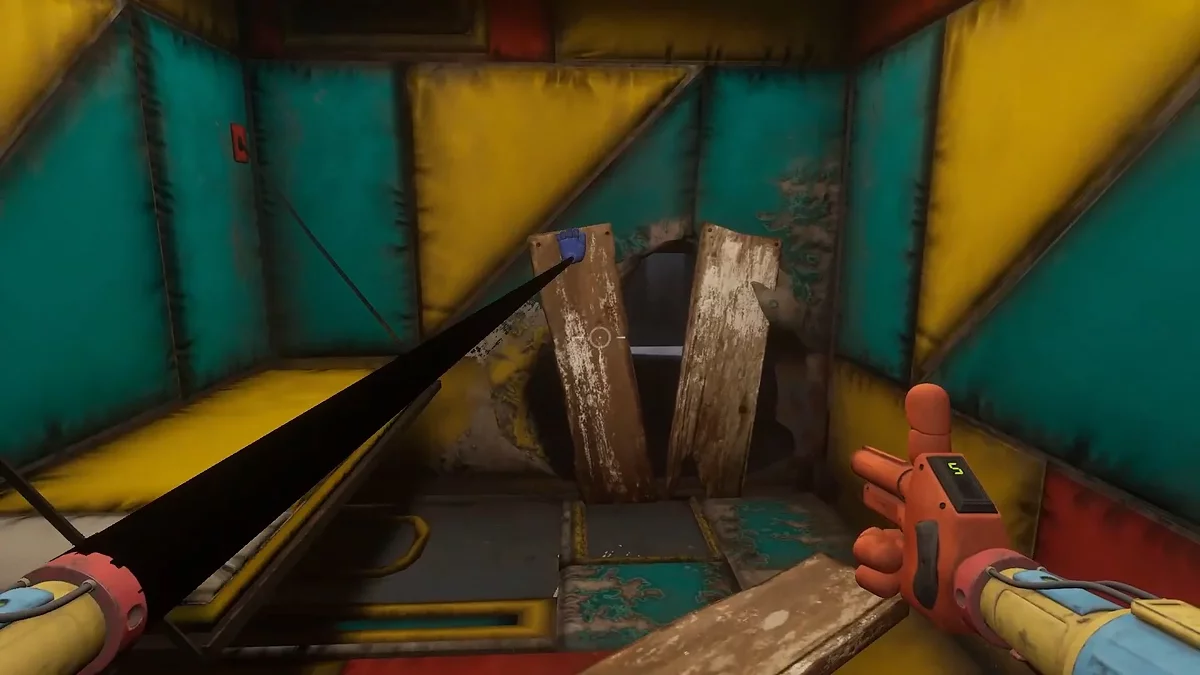
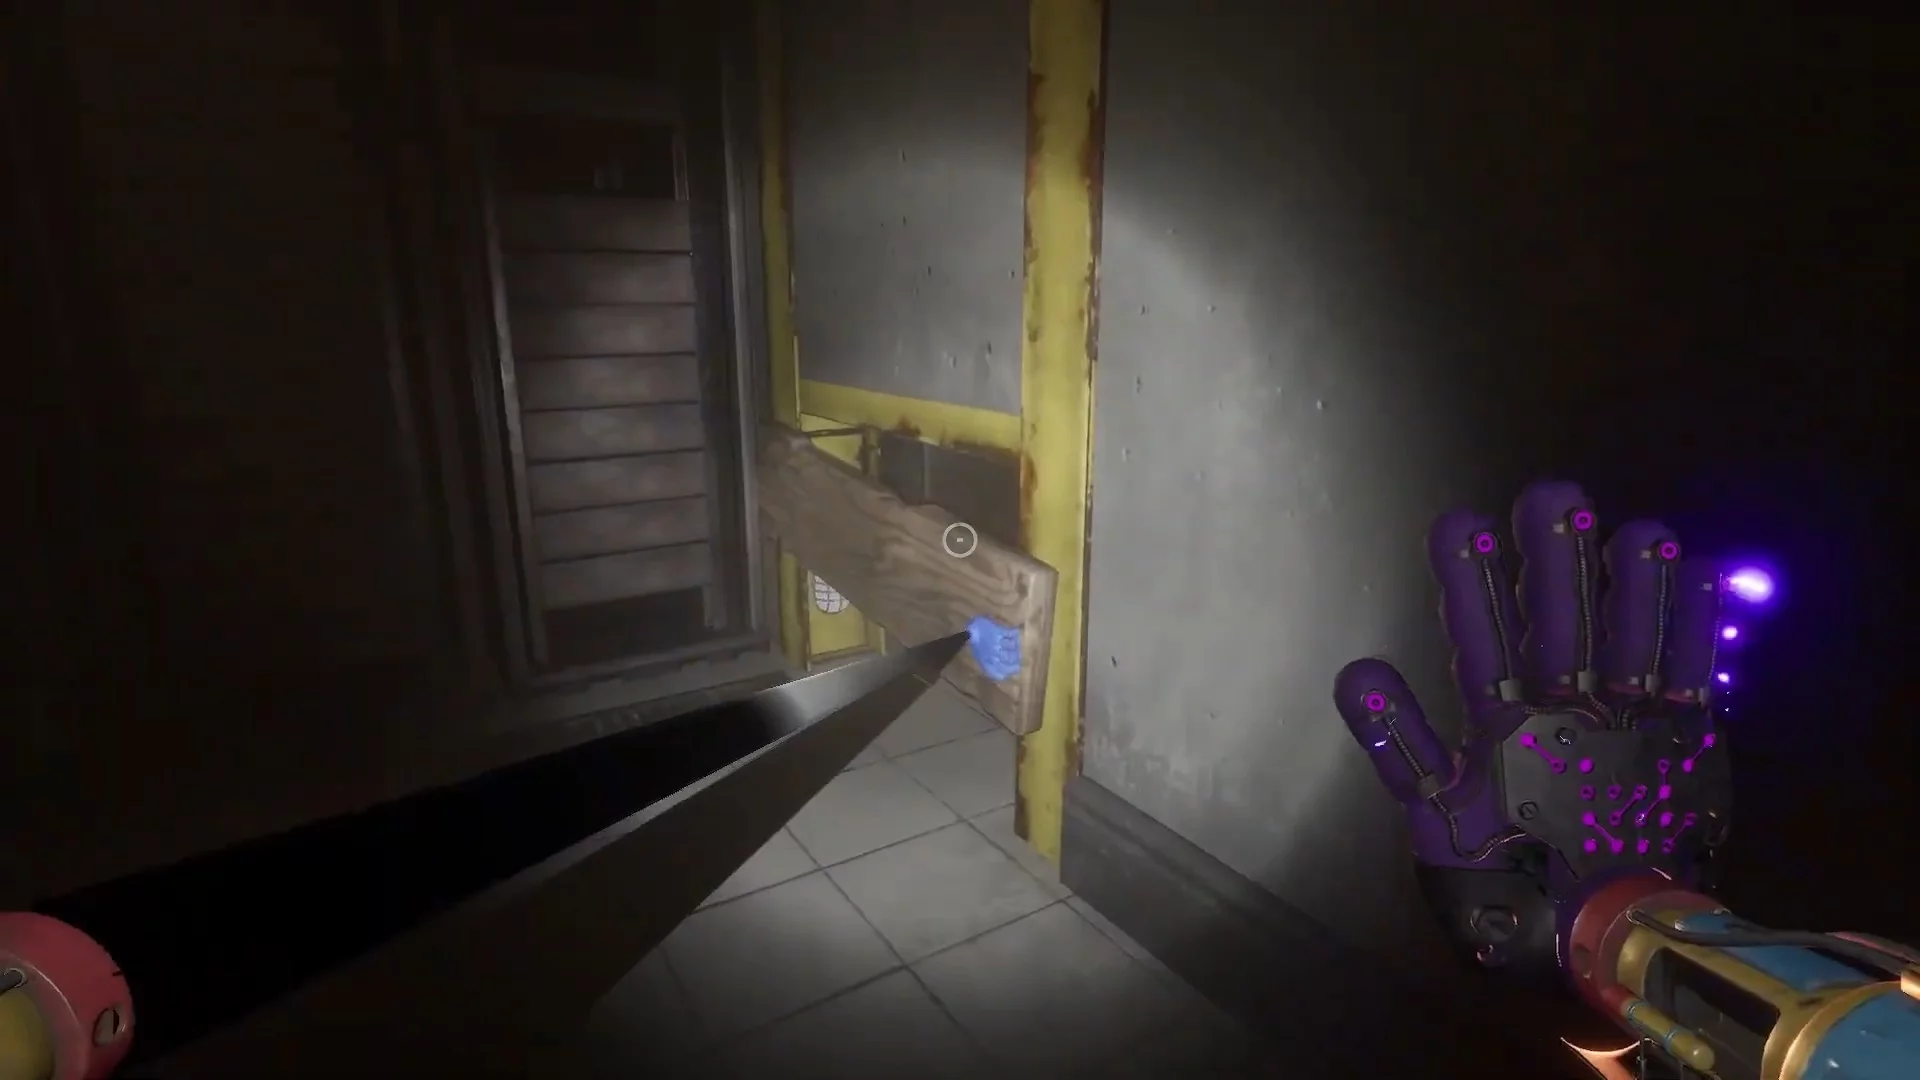
At the end of the corridor, you will see a red glove scanner, but there is no such glove at the moment. Run back and open the door to the container on the opposite side. There is a passage boarded up with planks — get rid of them using the glove. First, open the door to the adjacent cell: the blue glove scanner is visible through the debris.
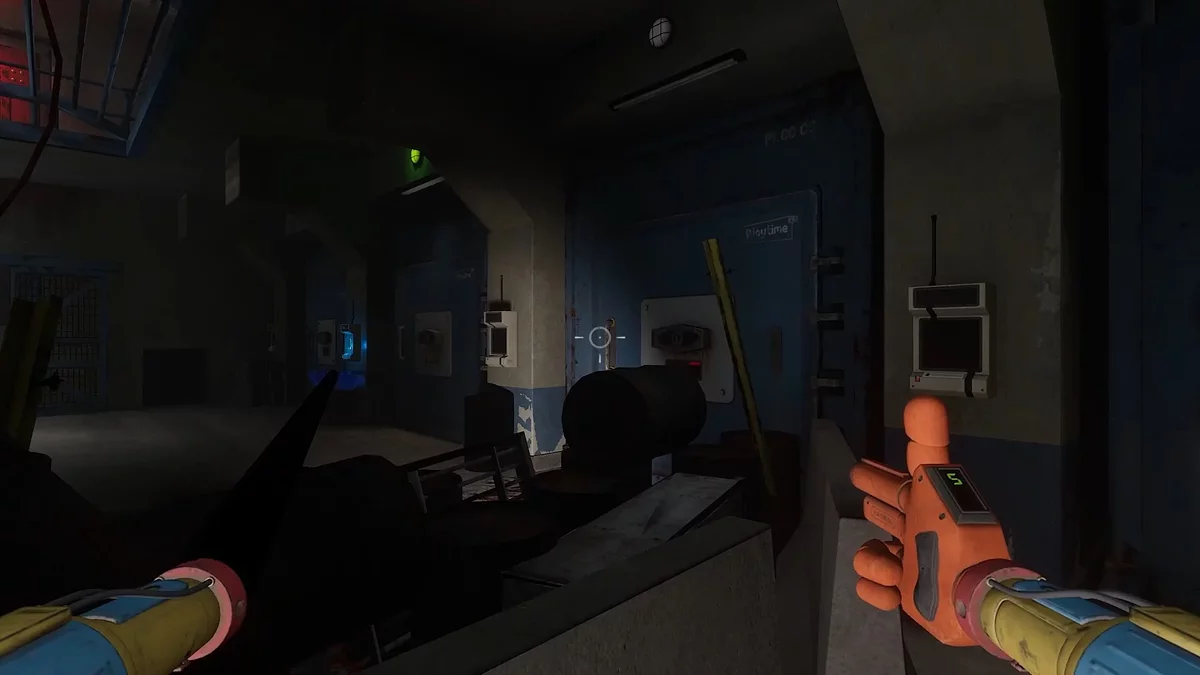
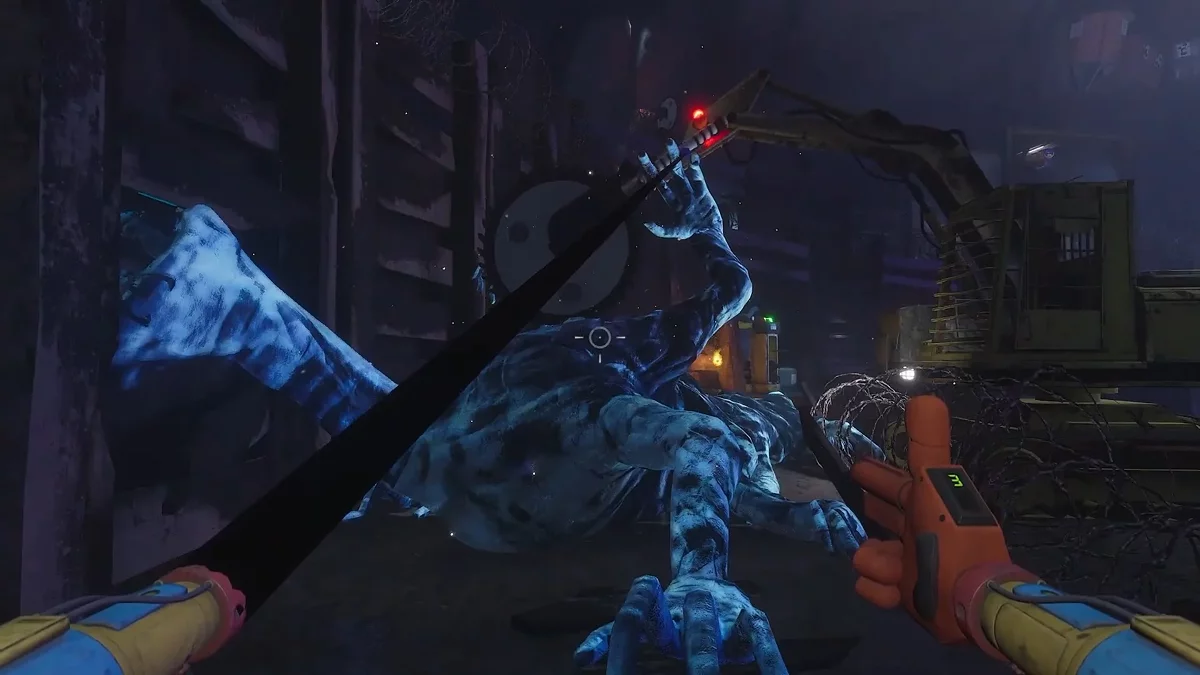
Examine the large room and find the red glove. Once you do this, you will meet a new antagonist and his minions. Shoot back at the toys while closing the doors they appear from. Your task is to hold out for a certain time and not die.
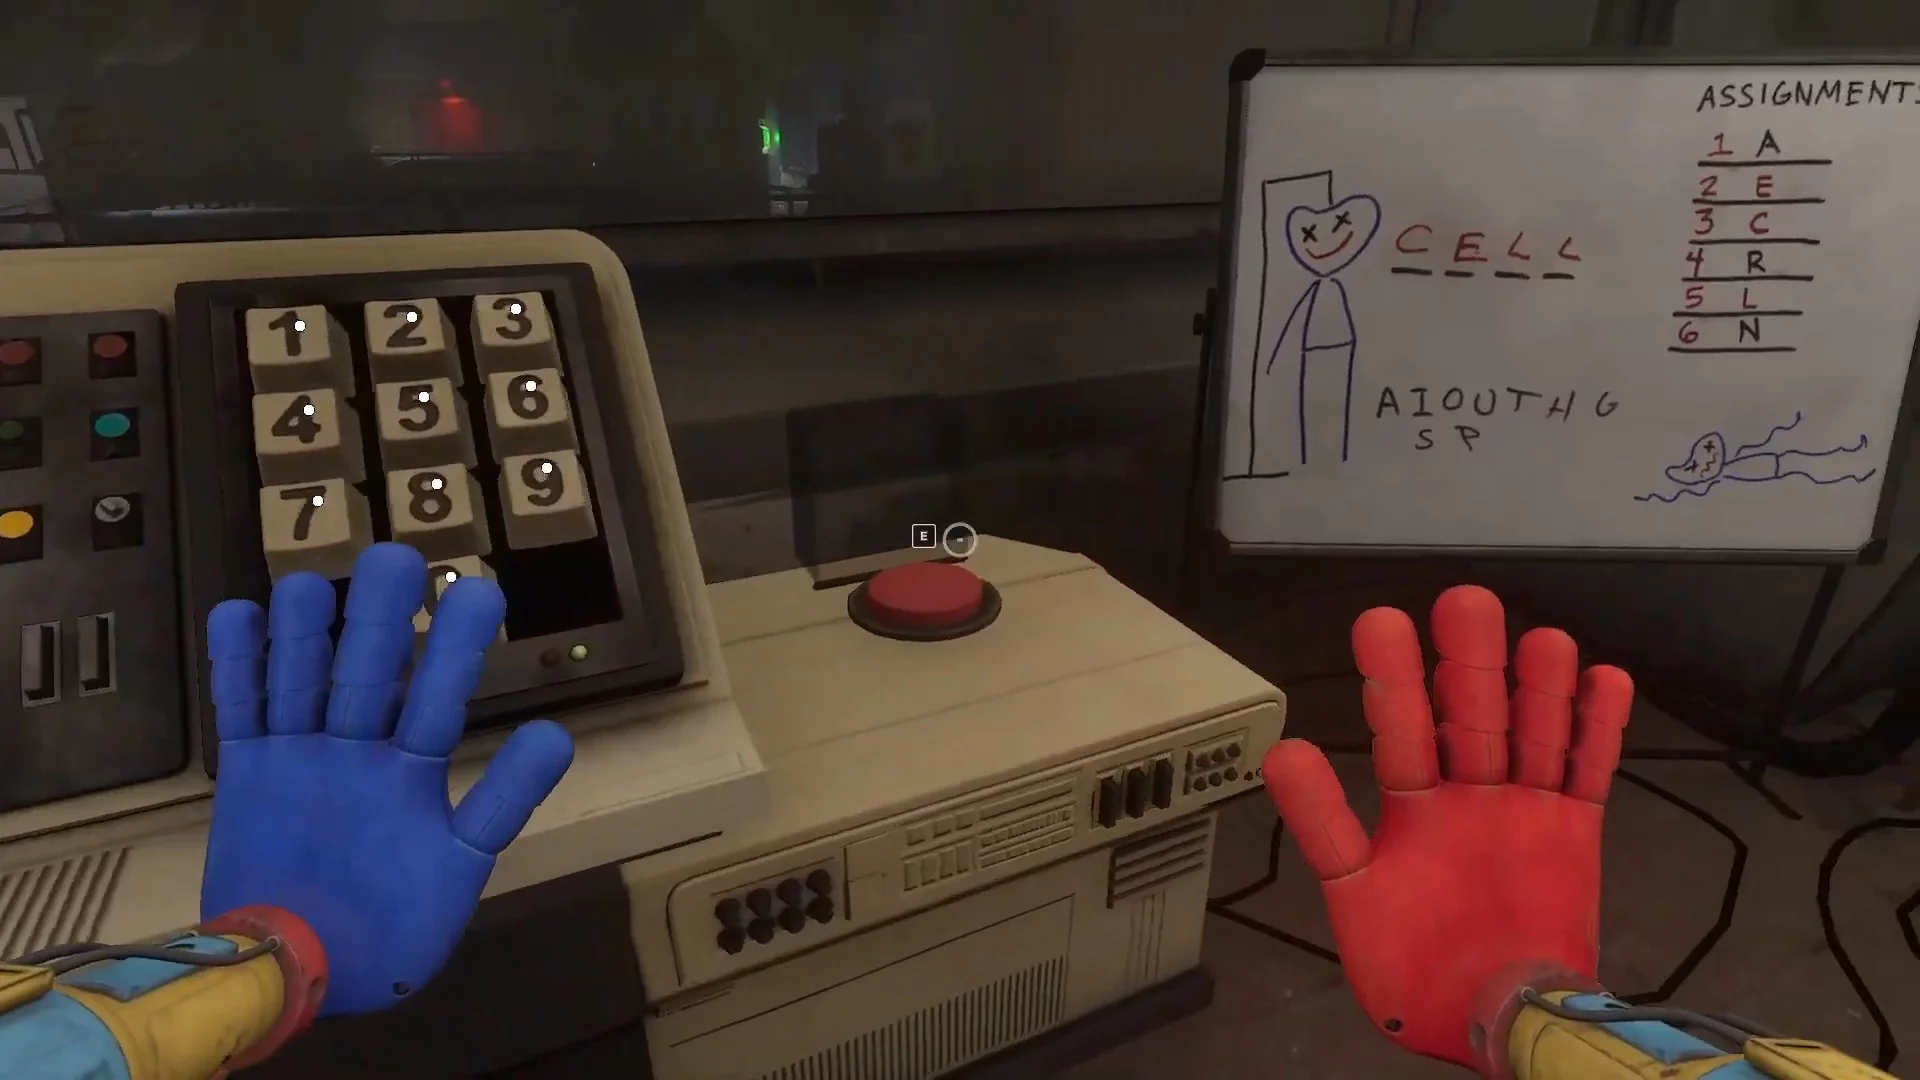
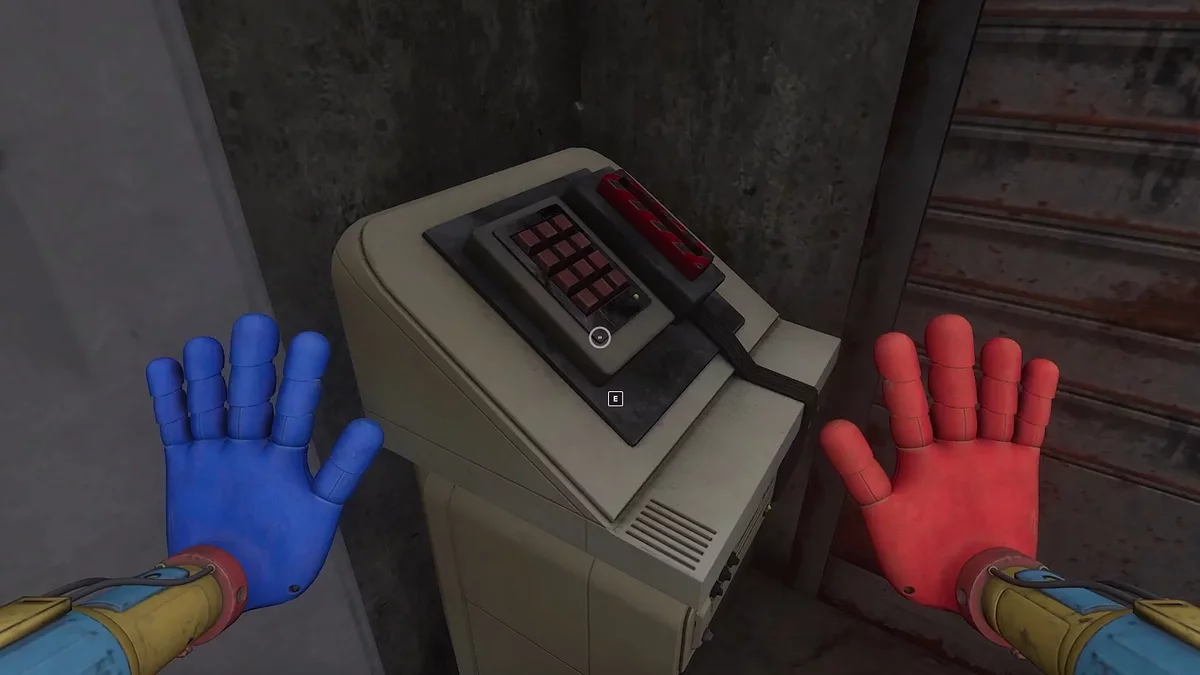
Use the red glove on the scanner and enter the code on the digital panel, indicated on the board (it's encrypted): CELL — 3255. This will open the passage to the second floor of the prison.
Walk along the balcony to the armored hermetic door, then use the gloves to get rid of the broken bars on the grate. Grab the bars by the very edges, otherwise, you won't be able to break them.

On the main console, you will see four sections of the prison, but currently, there is access to only one. Use the glove, enter the door on the left, and sneak past the corpses. In the dead end, you will find a red key card.

Use the key card on the control panel, unlocking access to the corresponding section of the prison. Move forward along the balcony until at some point Doctor starts talking to the hero. Do not delay and find the broken bars that can be broken to go down to the first floor.

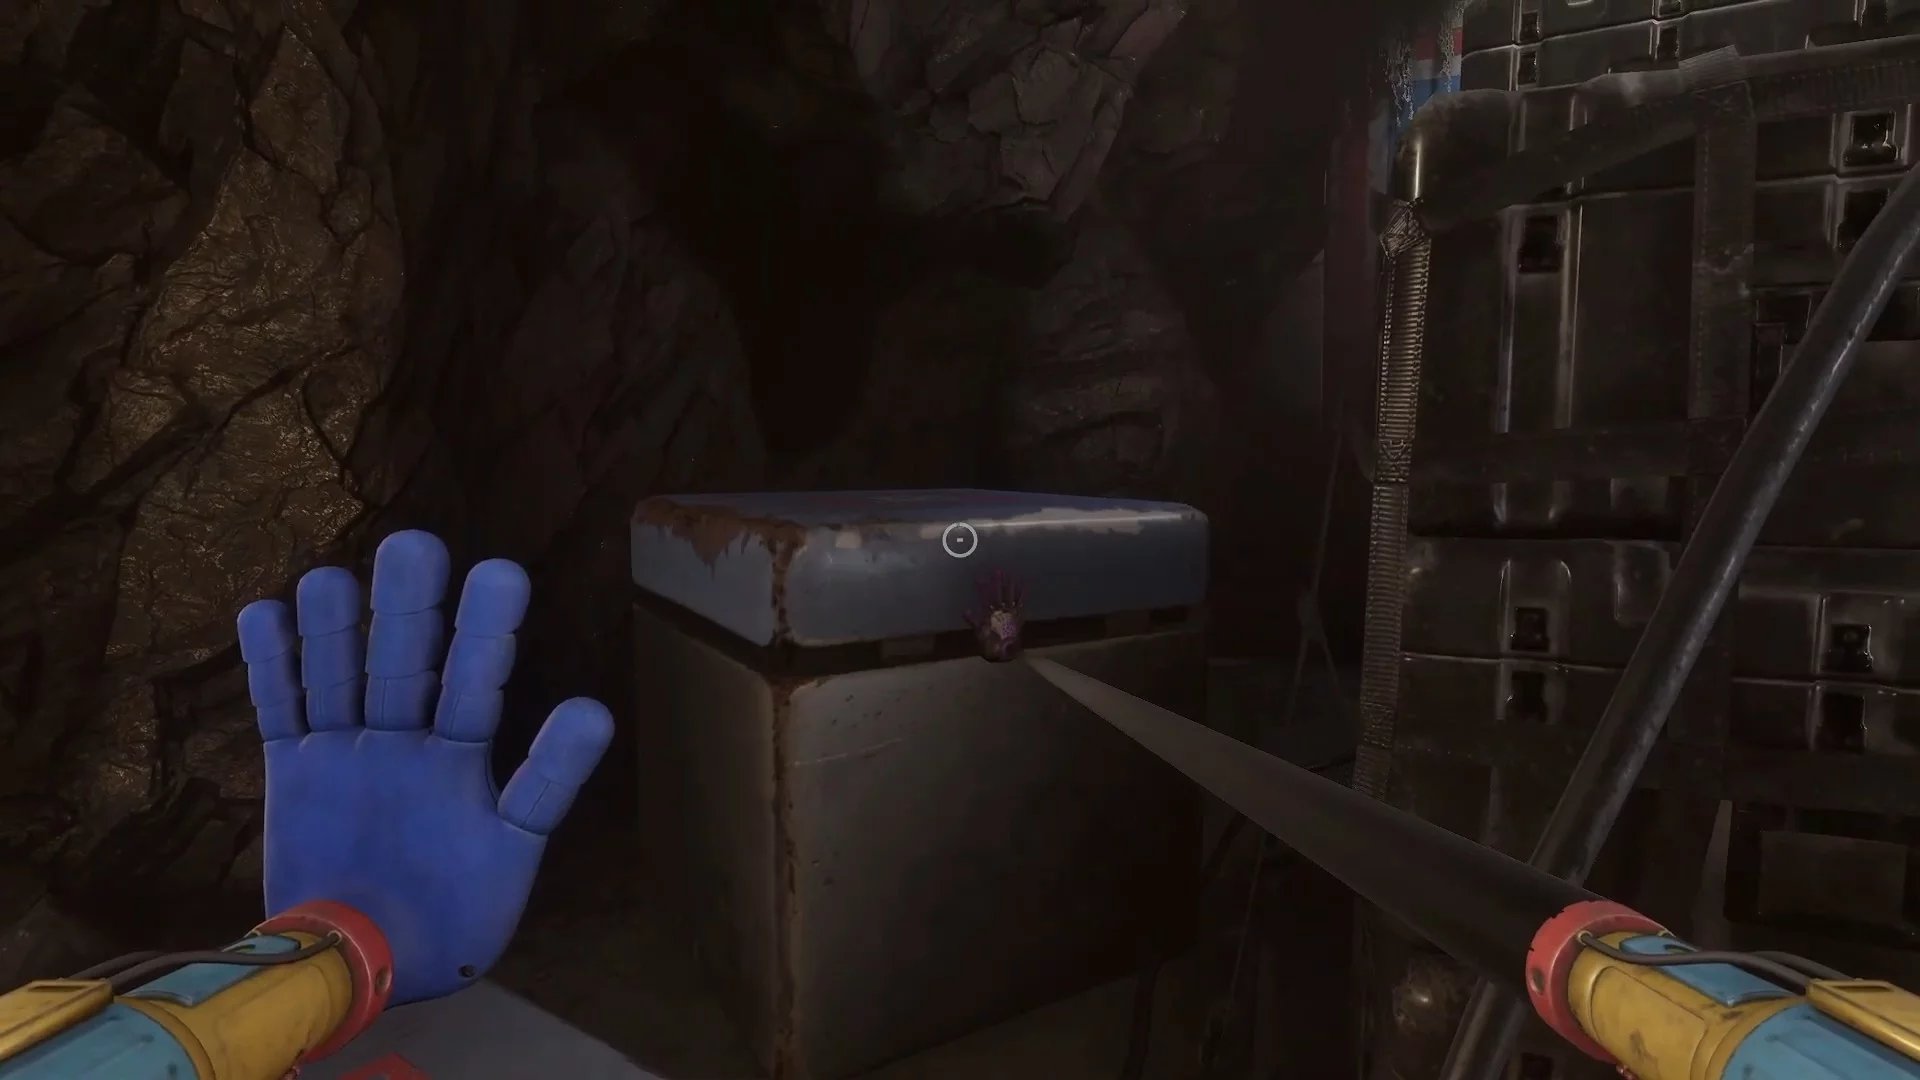
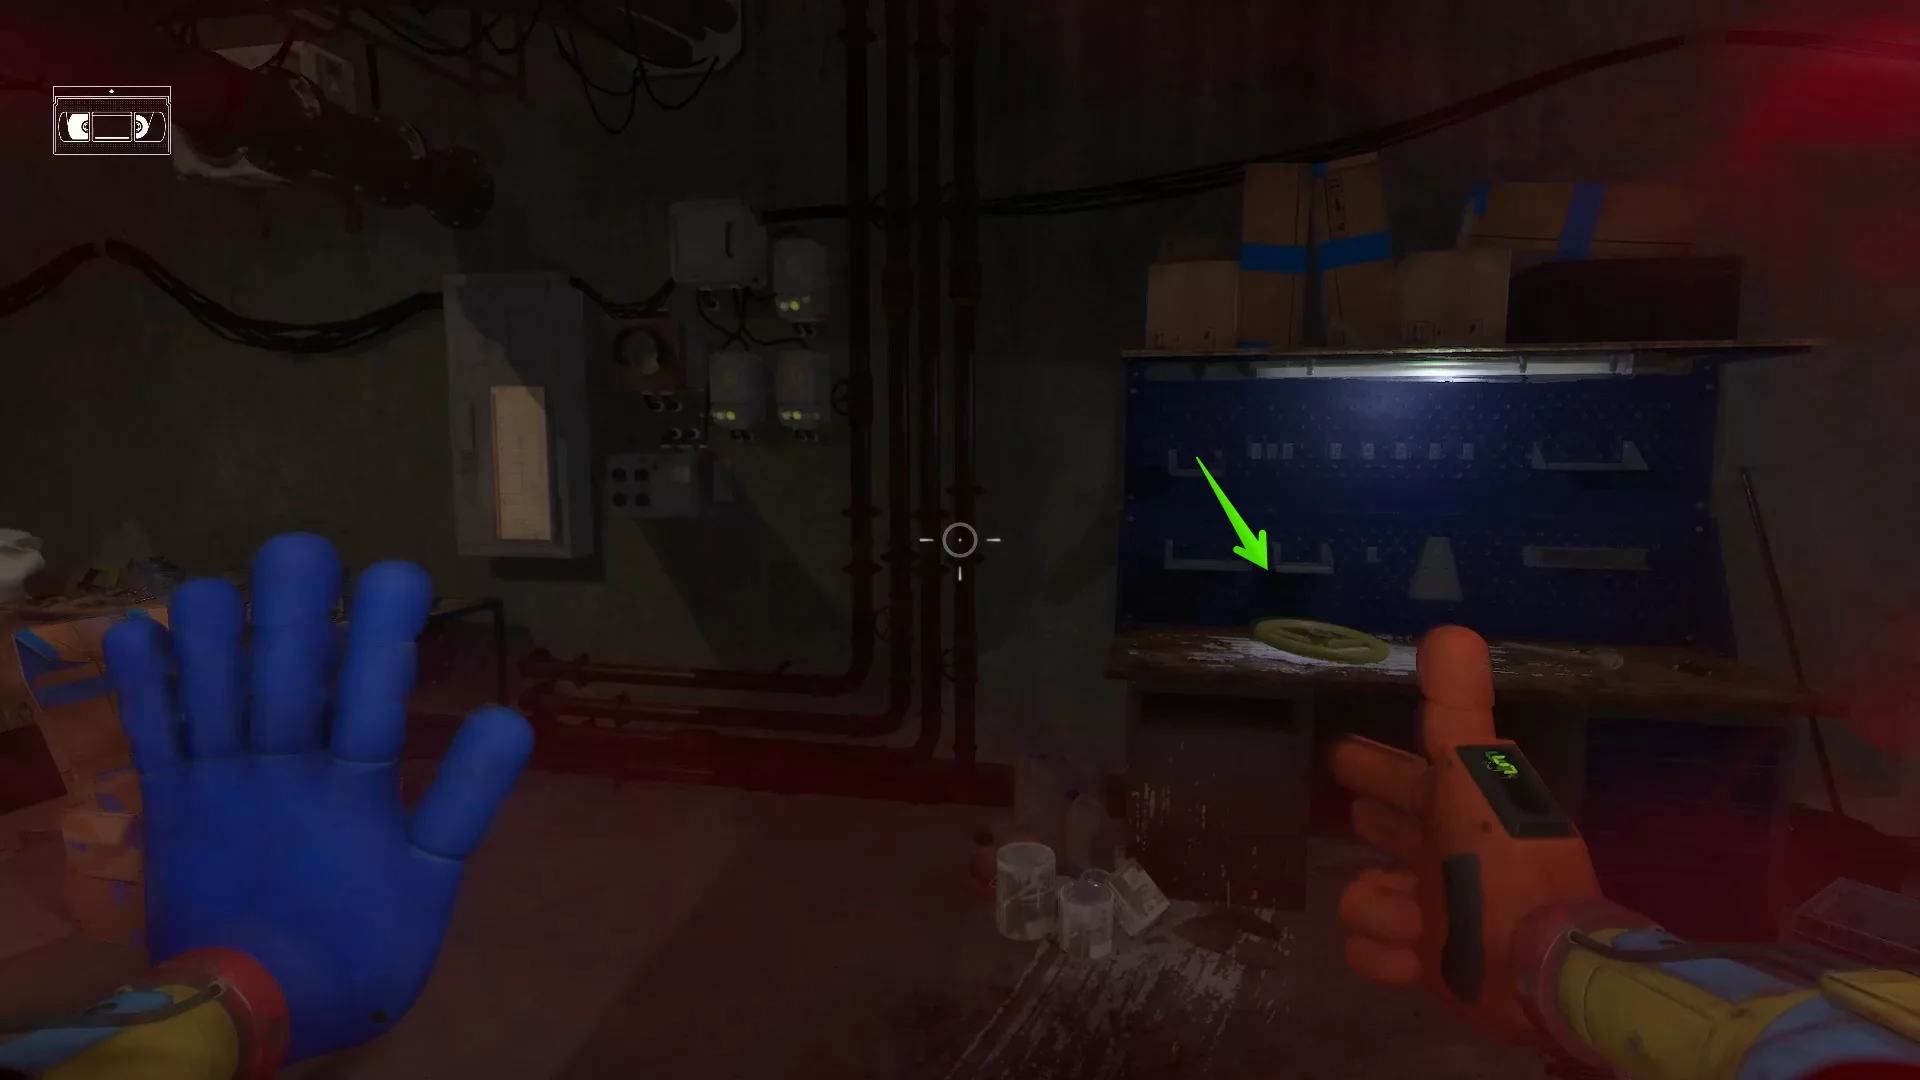
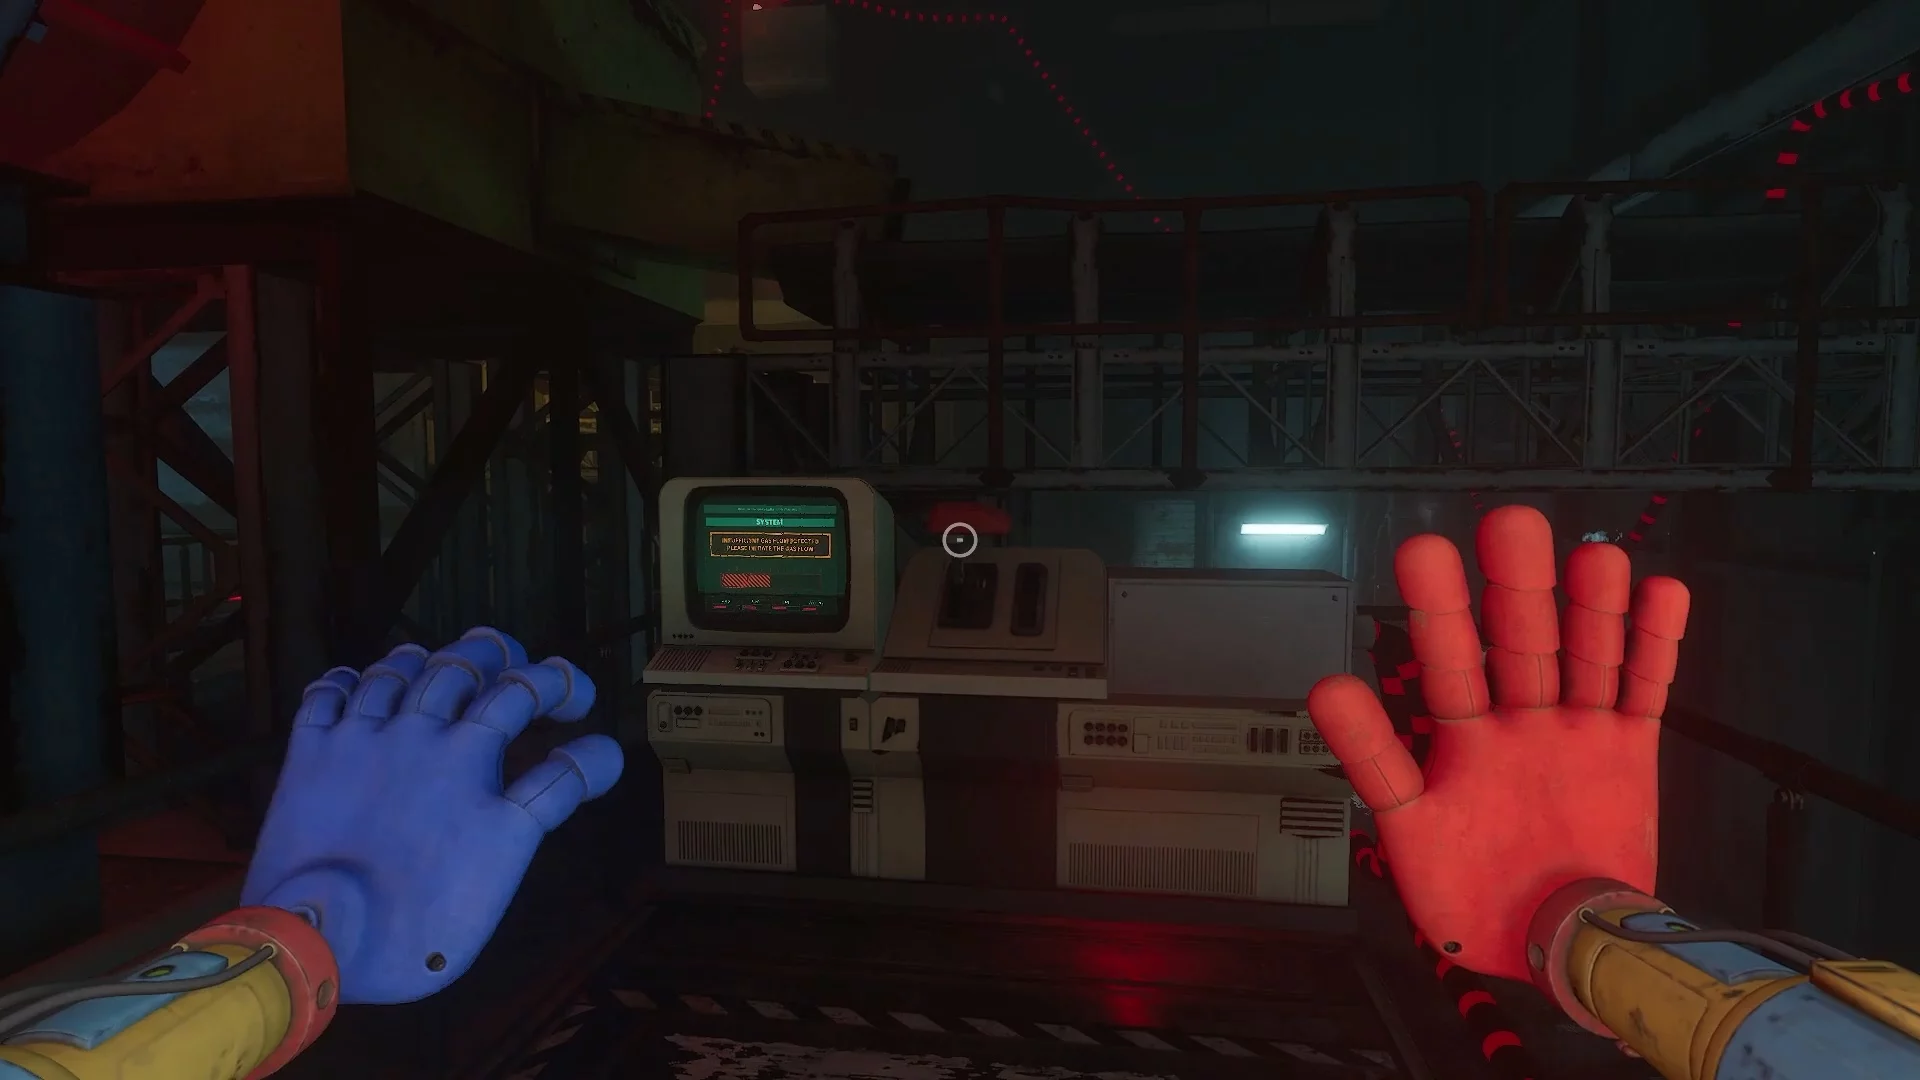
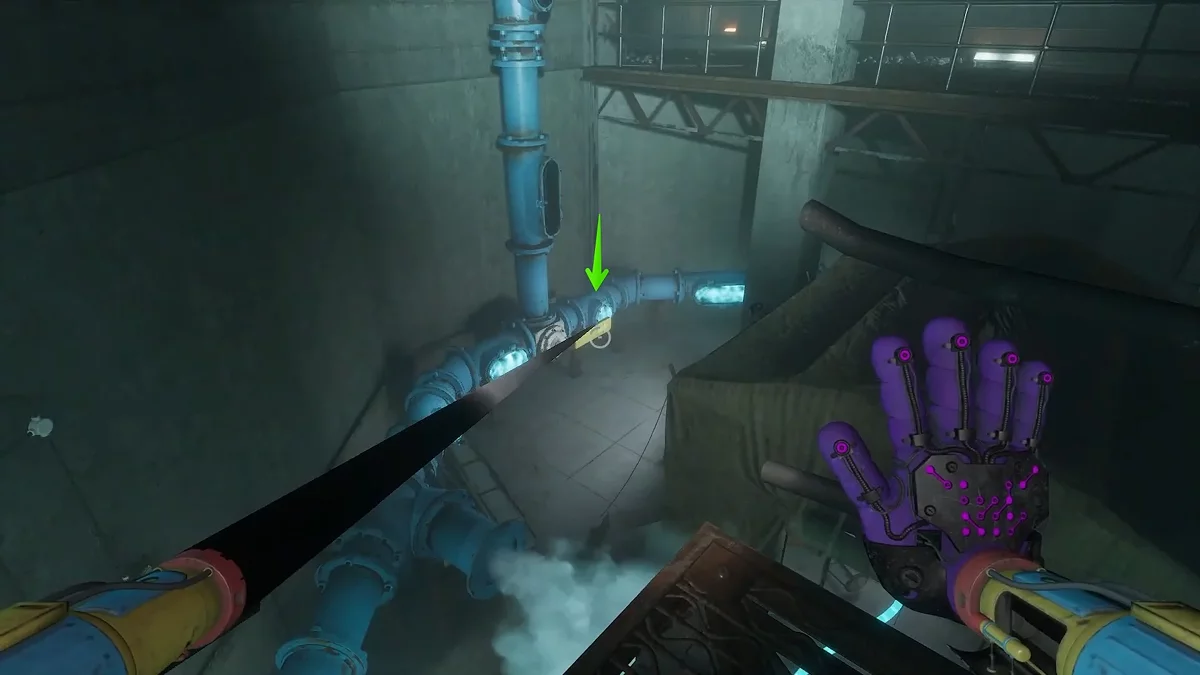
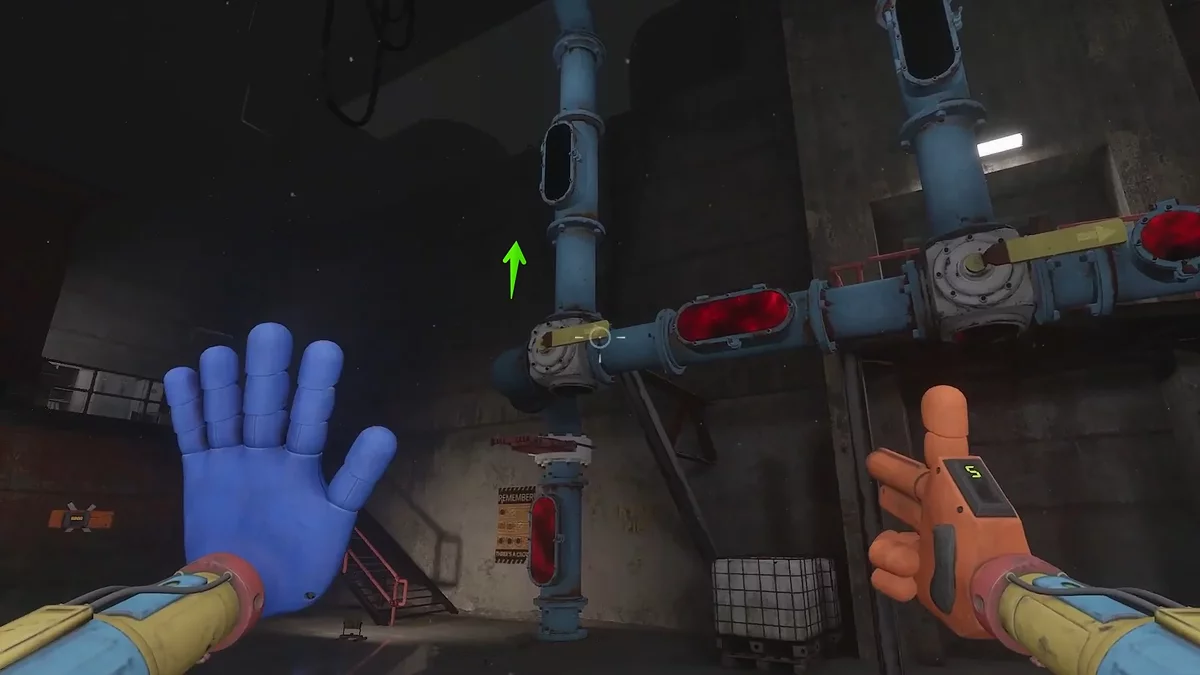
Below you will see a pipe emitting red gas. Head to the blocked passage and break the boards. On the workbench in the far room, pick up the steering wheel, which can be used to shut off the gas supply.
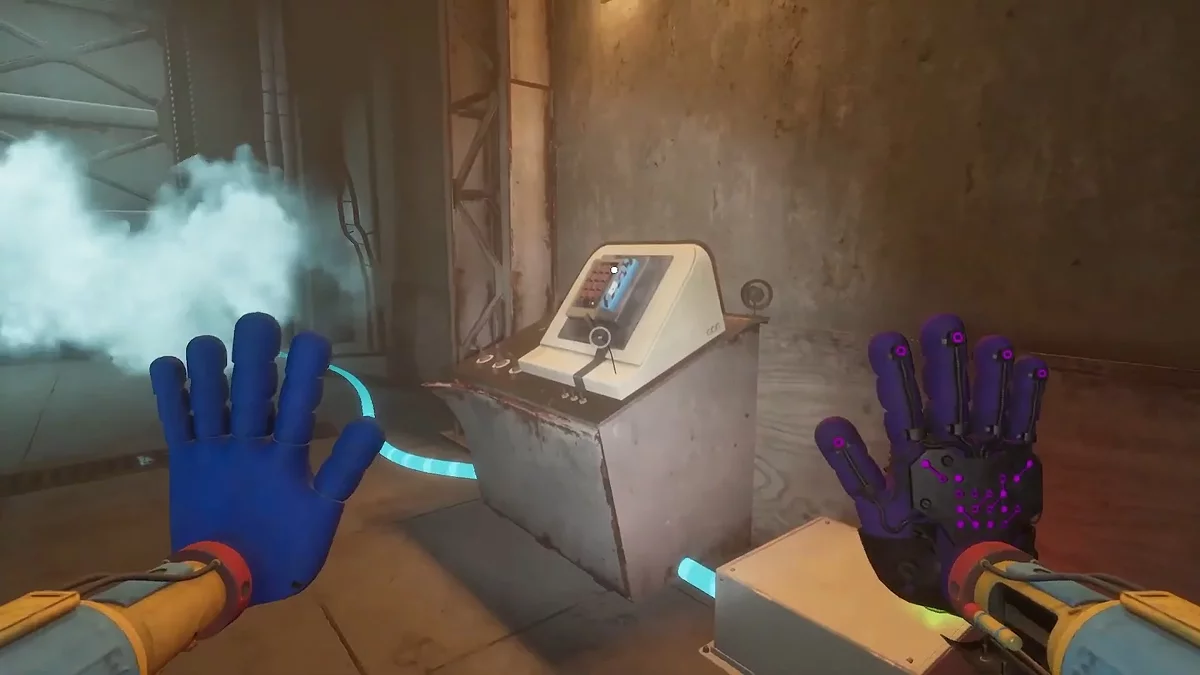
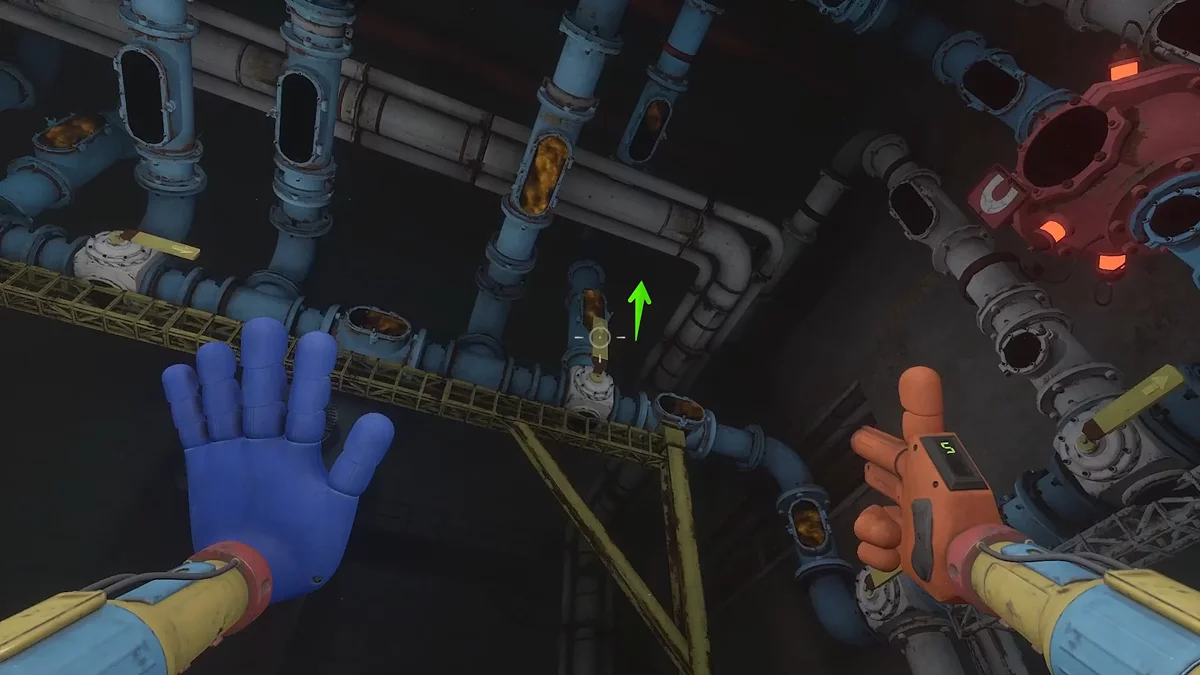
Returning the same way won't work — run to the left and move the large cube blocking the passage aside. Insert the valve and turn it all the way. By this time, the entire screen will change color, so switch to the red glove and scan it on the device next to the pipe.
Enter the code on the panel, written in cipher on the notice board: CAGE — 3642. The gas from the main building will be removed, but the pressure will break the side glass, through which you can pass. Jump higher on the trampoline and examine the note on the shelf in the dark room. Exit on the other side, where another trampoline and a ventilation shaft await.
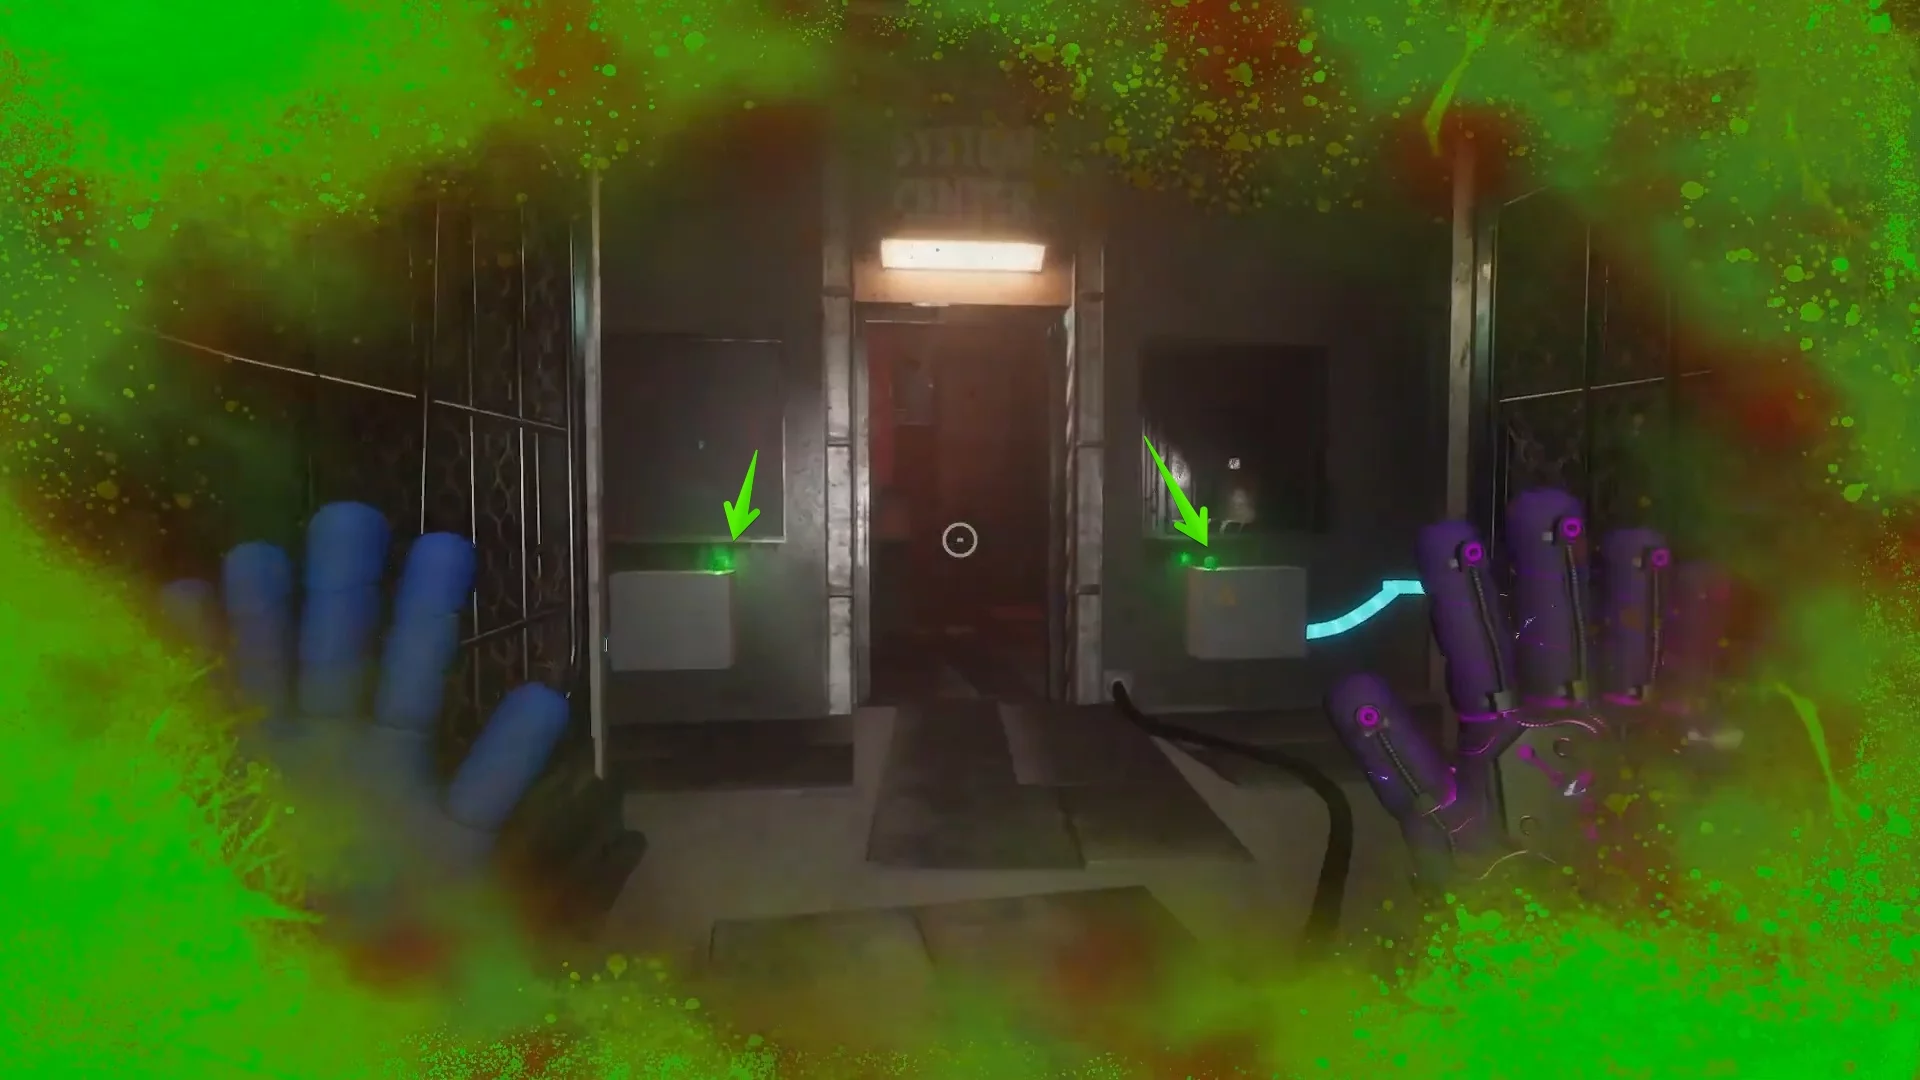
You will find yourself in a room where you need to simultaneously use two glove scanners — red and blue. However, when using the first one, the gate to the second scanner closes. Use the large cubes: place them under the gates on both sides so you can pass through.
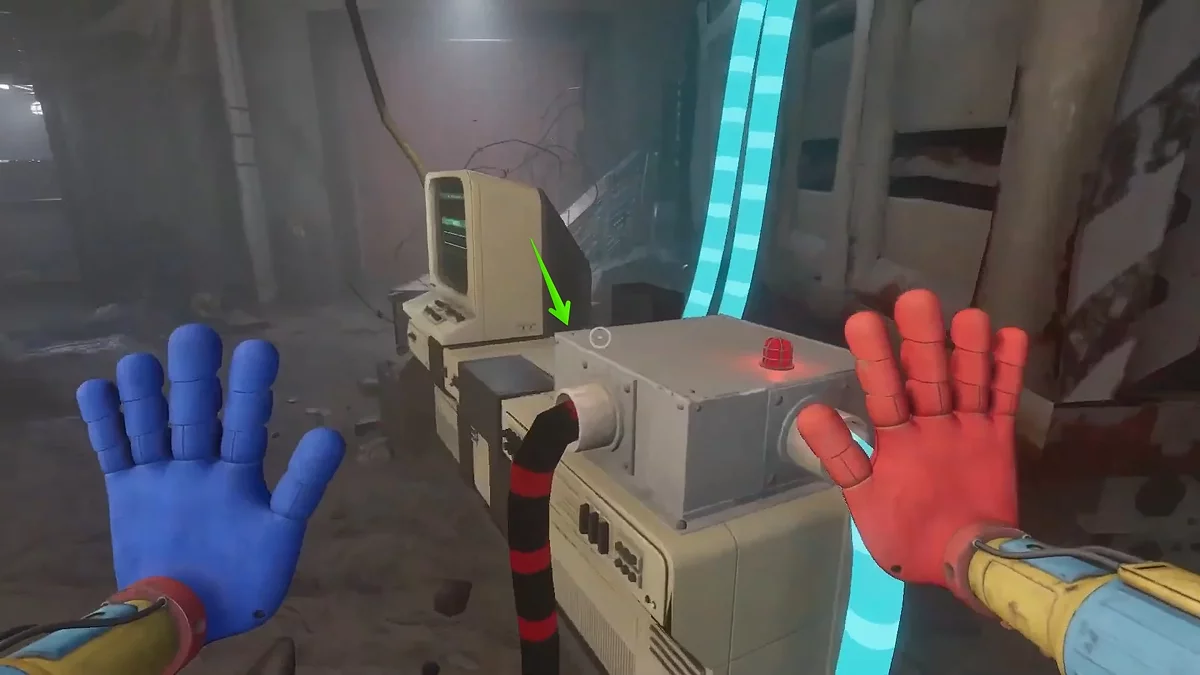
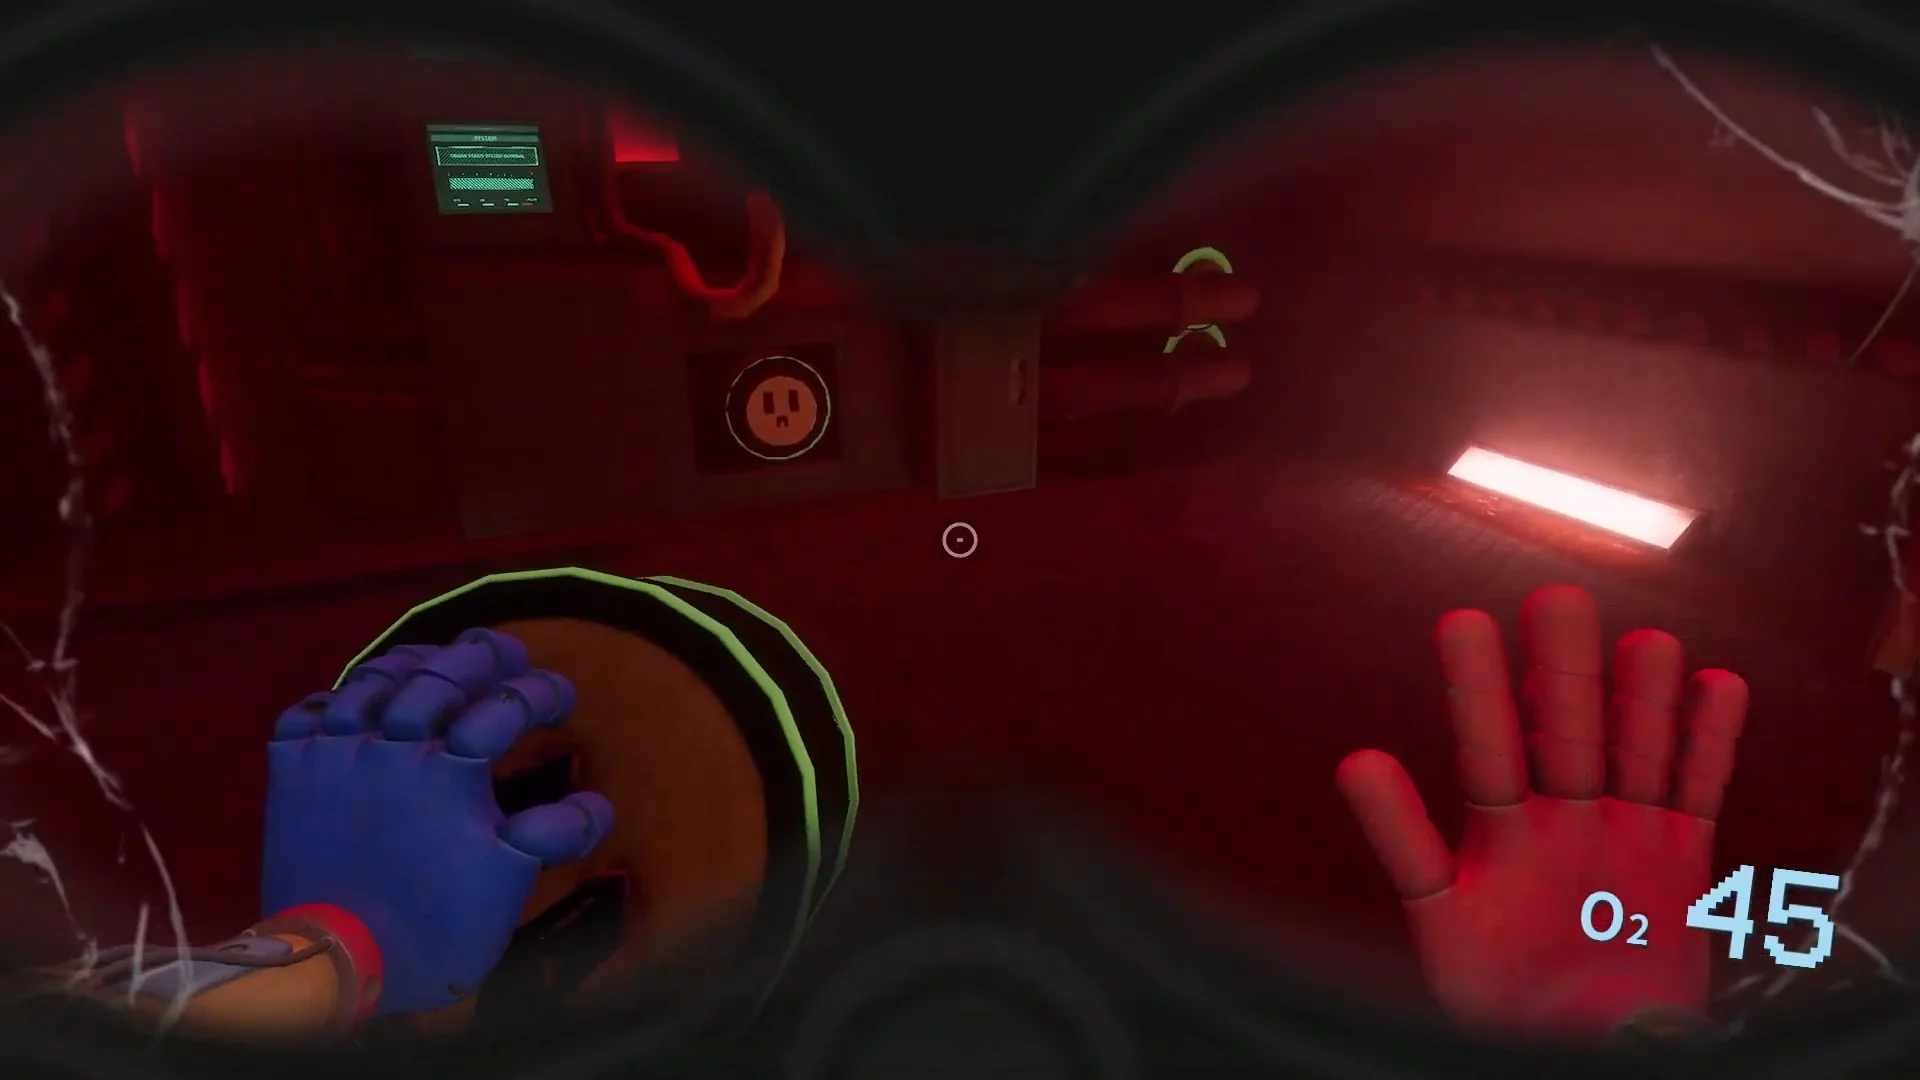
The next hall is divided into several cells. In one of them, there is a note, and in the third cell, there is a blue glove scanner. After a brief scene with the doctor and the monster, open the electrical panel and insert the battery into the upper left section, to which a blue wire is connected. Now you can use the scanner.
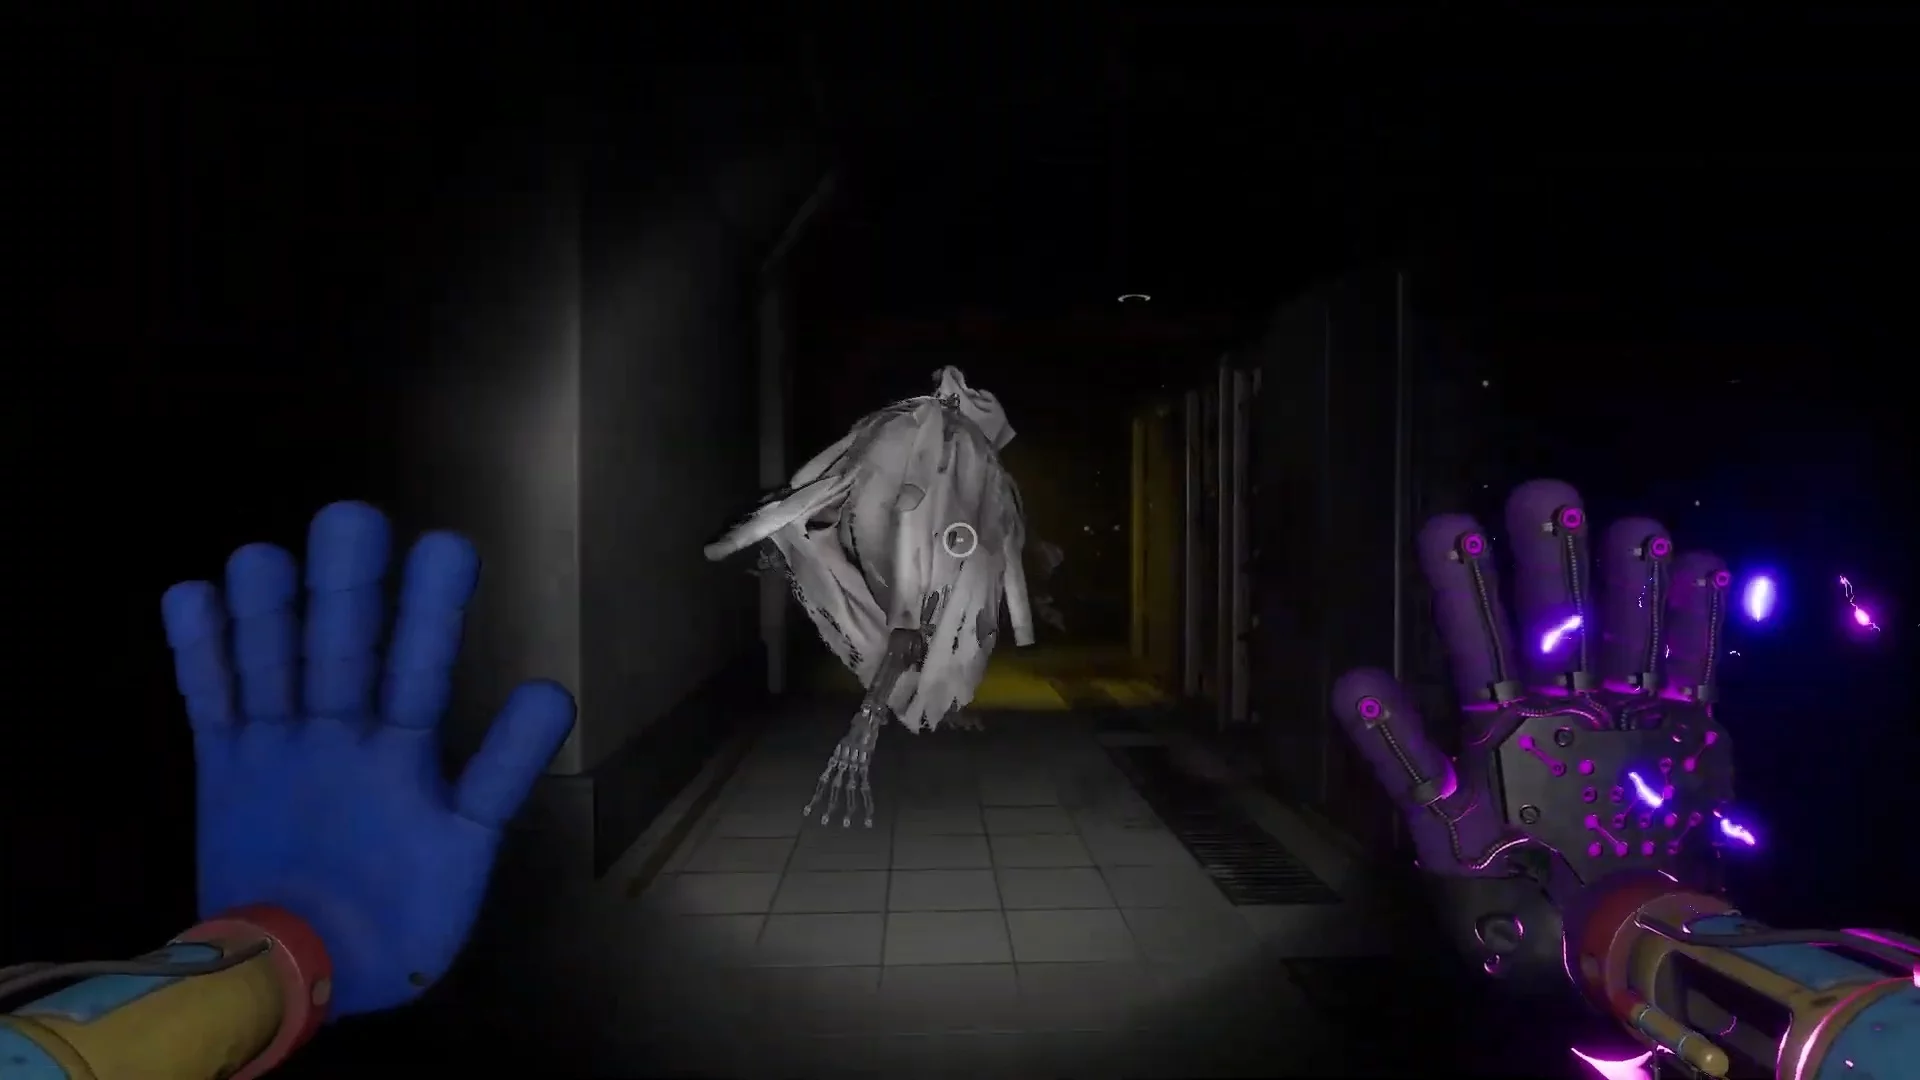
Avoid Detection from Yarnaby
Move through the rooms until you encounter the monster. Go back a little — an unknown person will distract the enemy, and you will be able to climb into the ventilation shaft.
After getting out, take the videotape on the shelf to the left. Then begins a classic game of "hide and seek": when the enemy sees you and starts the hunt, immediately hide behind any cover where he cannot reach you.
Go through the ventilation shaft and take the note on the shelf to the left. The enemy will appear behind you — run to the yellow door and climb into the ventilation. In the next room, turn left and take the green key card on the table.
If you go down the far right corridor, you'll find a note on a pull-out drawer. In the central room on the shelf, a videotape is hidden. When you're ready, use the green key card on the card reader at the yellow door, then jump down to the monster.
Follow Doey
Players will meet a new character named Doey, whom they need to follow for a while. Climb higher and go through the room on the right into the corridor. If you examine the central door, you will find a yellow videotape. The player can be found in the next corridor if you open the first door on the right and move the cube from the hole in the wall.

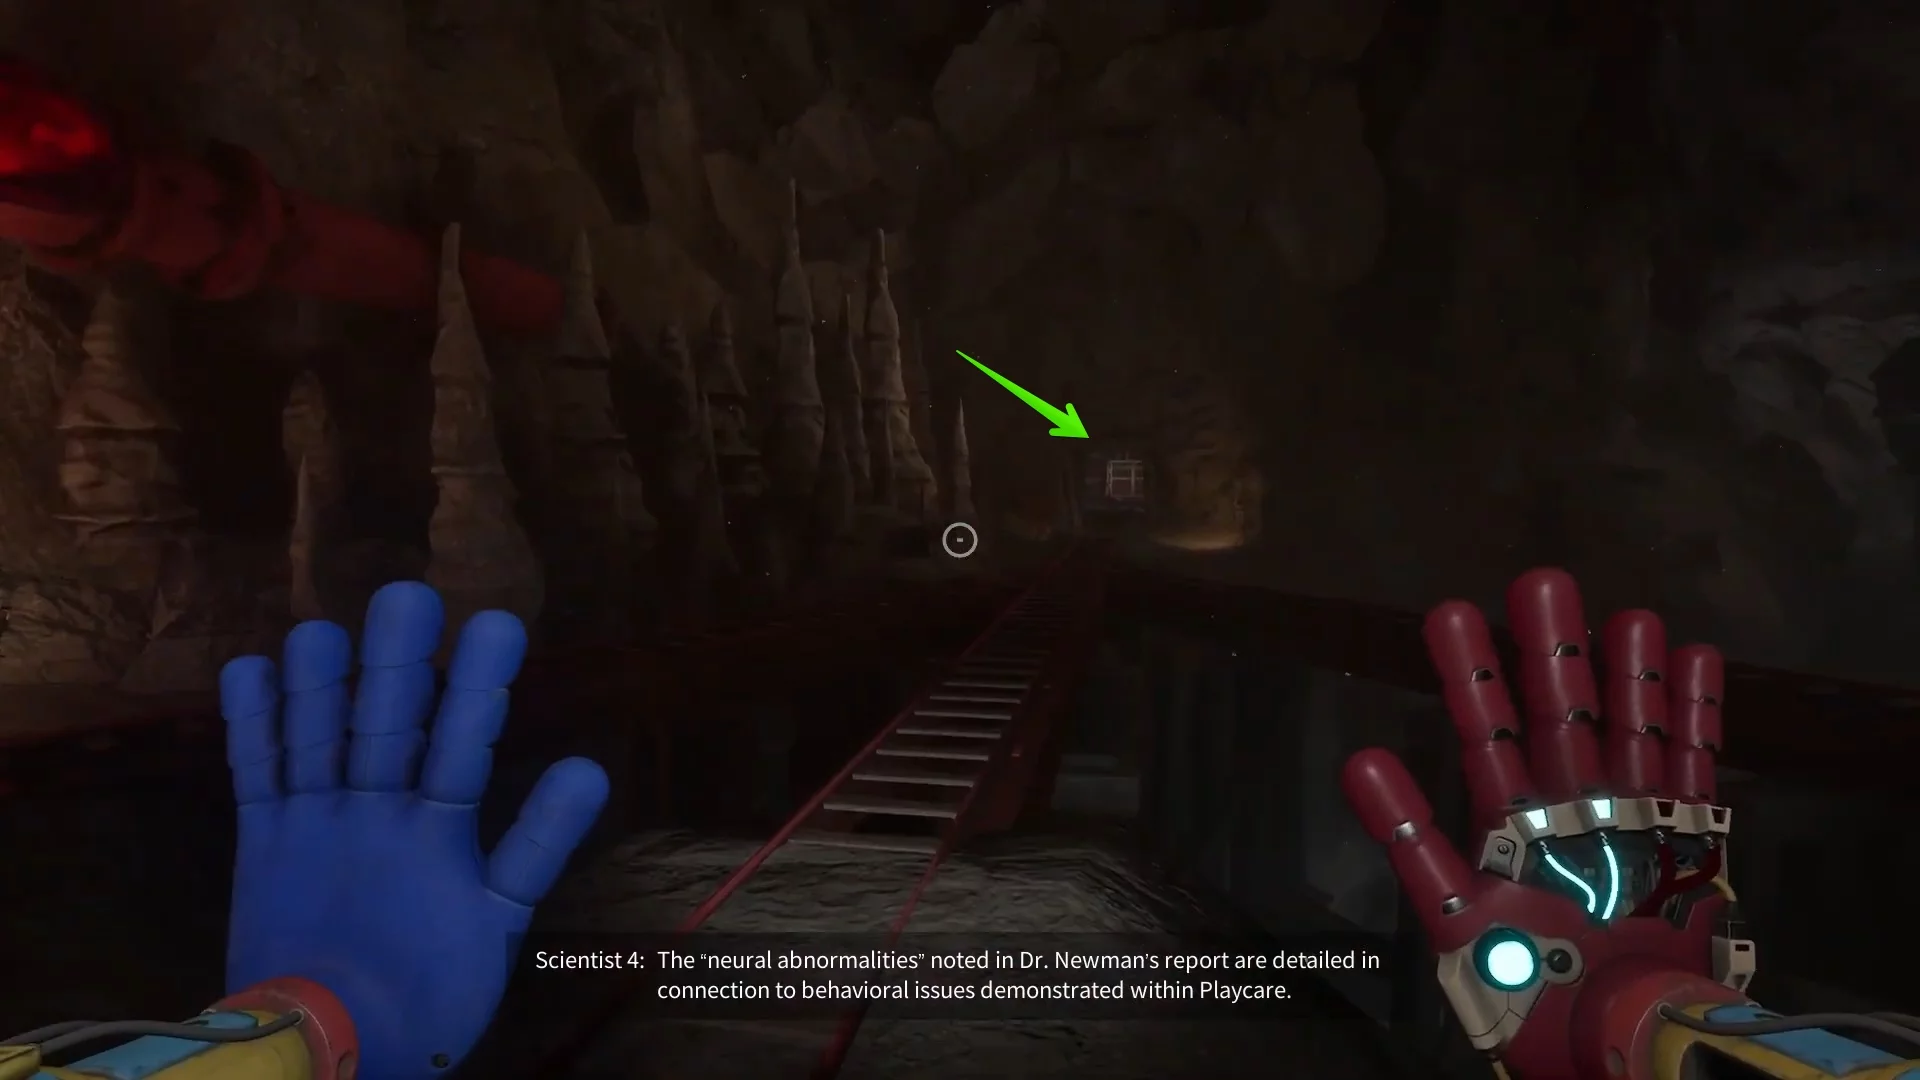
A clumsy toy will try to pass through the grate, damaging the bars. You know what to do with them. Continue following the cave with Doey's help. Eventually, players will find themselves in the prison yard.
Get out of the Prison Yard
Find the missing lever on the floor and use it on the green winch. However, you won't be able to interact with it. Wait a bit until your new friend drops a second similar item, insert it into the hole next to the red winch. The last one remains to be found.
Climb to the second floor using the far right staircase. Here you will find a board with a hint for the correct combination of the code panel (3021), and you can also take the fourth lever. Connect the chains from the winches to the door and activate the levers in any sequence.
Catch Up with Doey
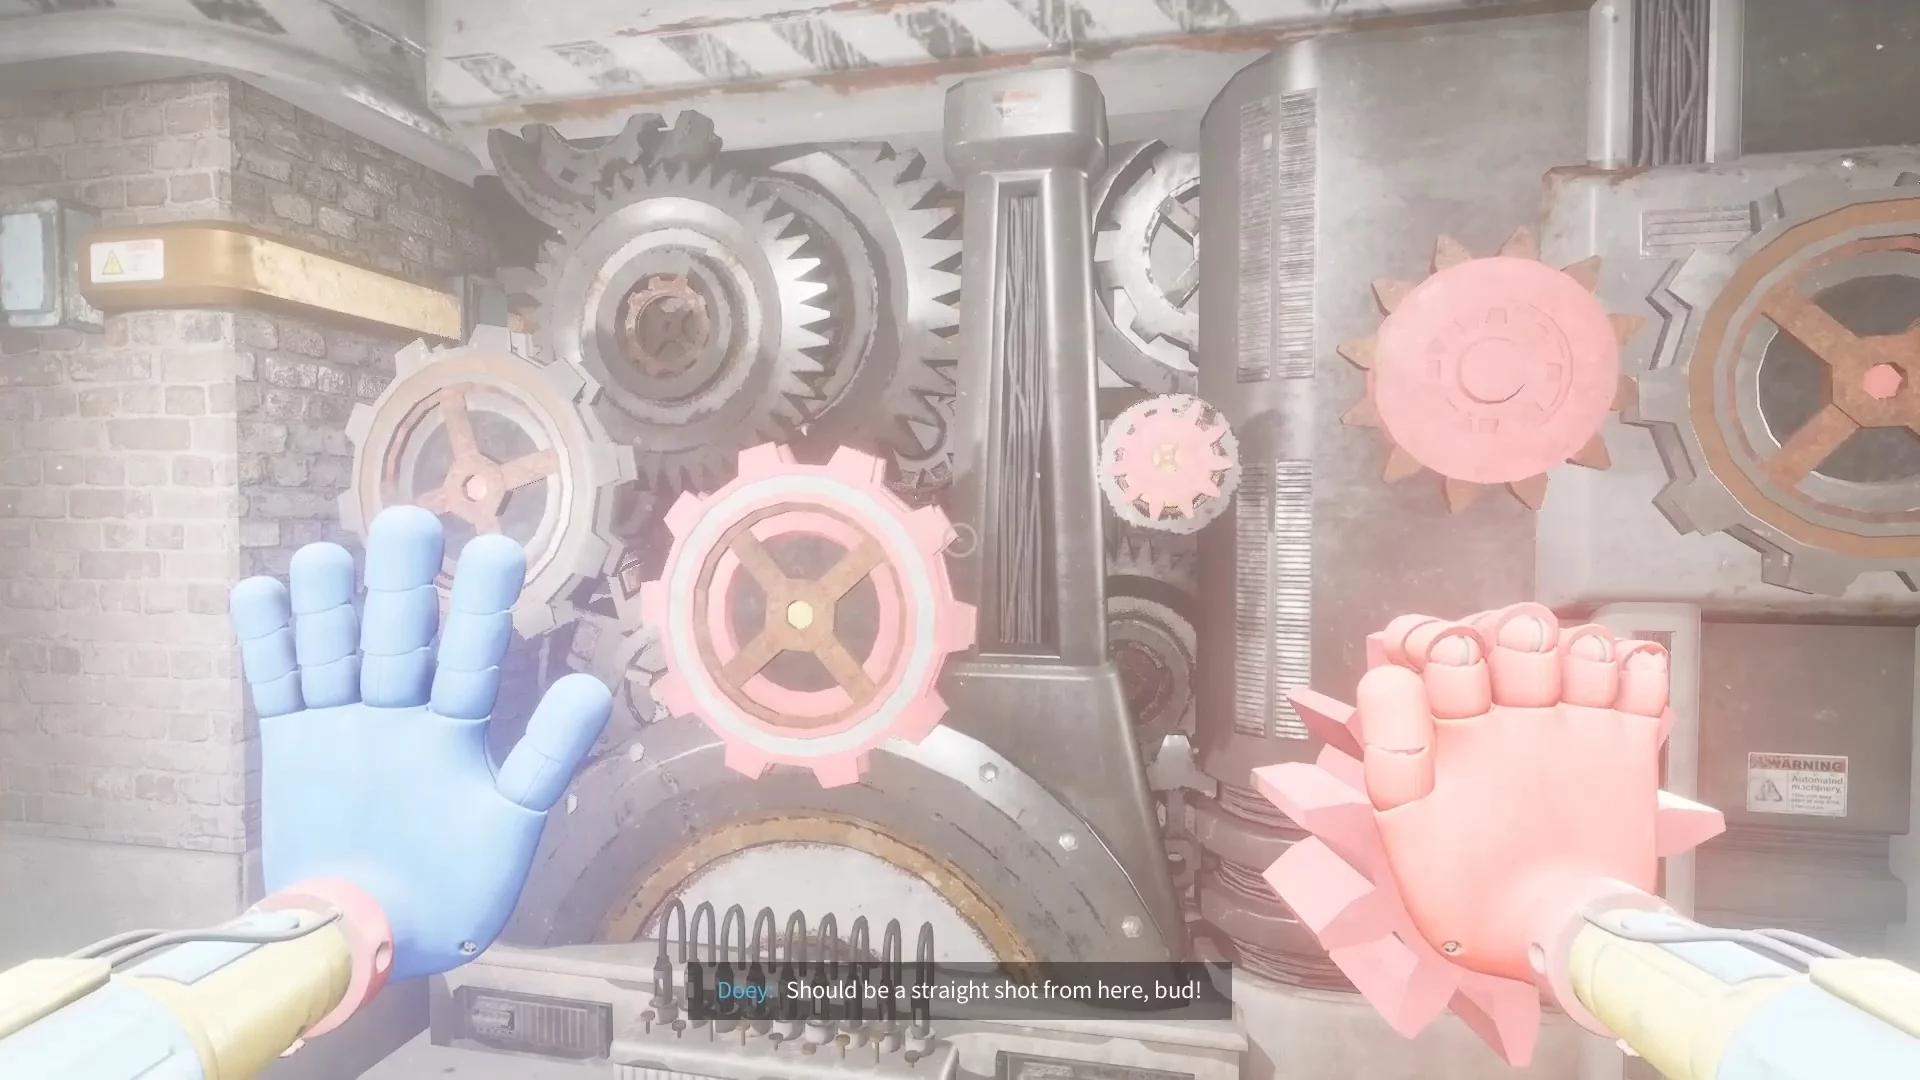
Enter the door on the right and follow the breaches in the walls to find a note on the table. In the adjacent corridor, find the passage blocked by wooden boards to the ventilation shaft. Doey will hand you a battery, and then you'll have to solve a small puzzle.
- The first gear can be found on the workbench next to the mechanism.
- Go around the room and reach the dead end — here is the second small gear.
- The third and fourth parts are hidden near the second one, also on the shelves.
- The last one can be taken through the hole in the grate.
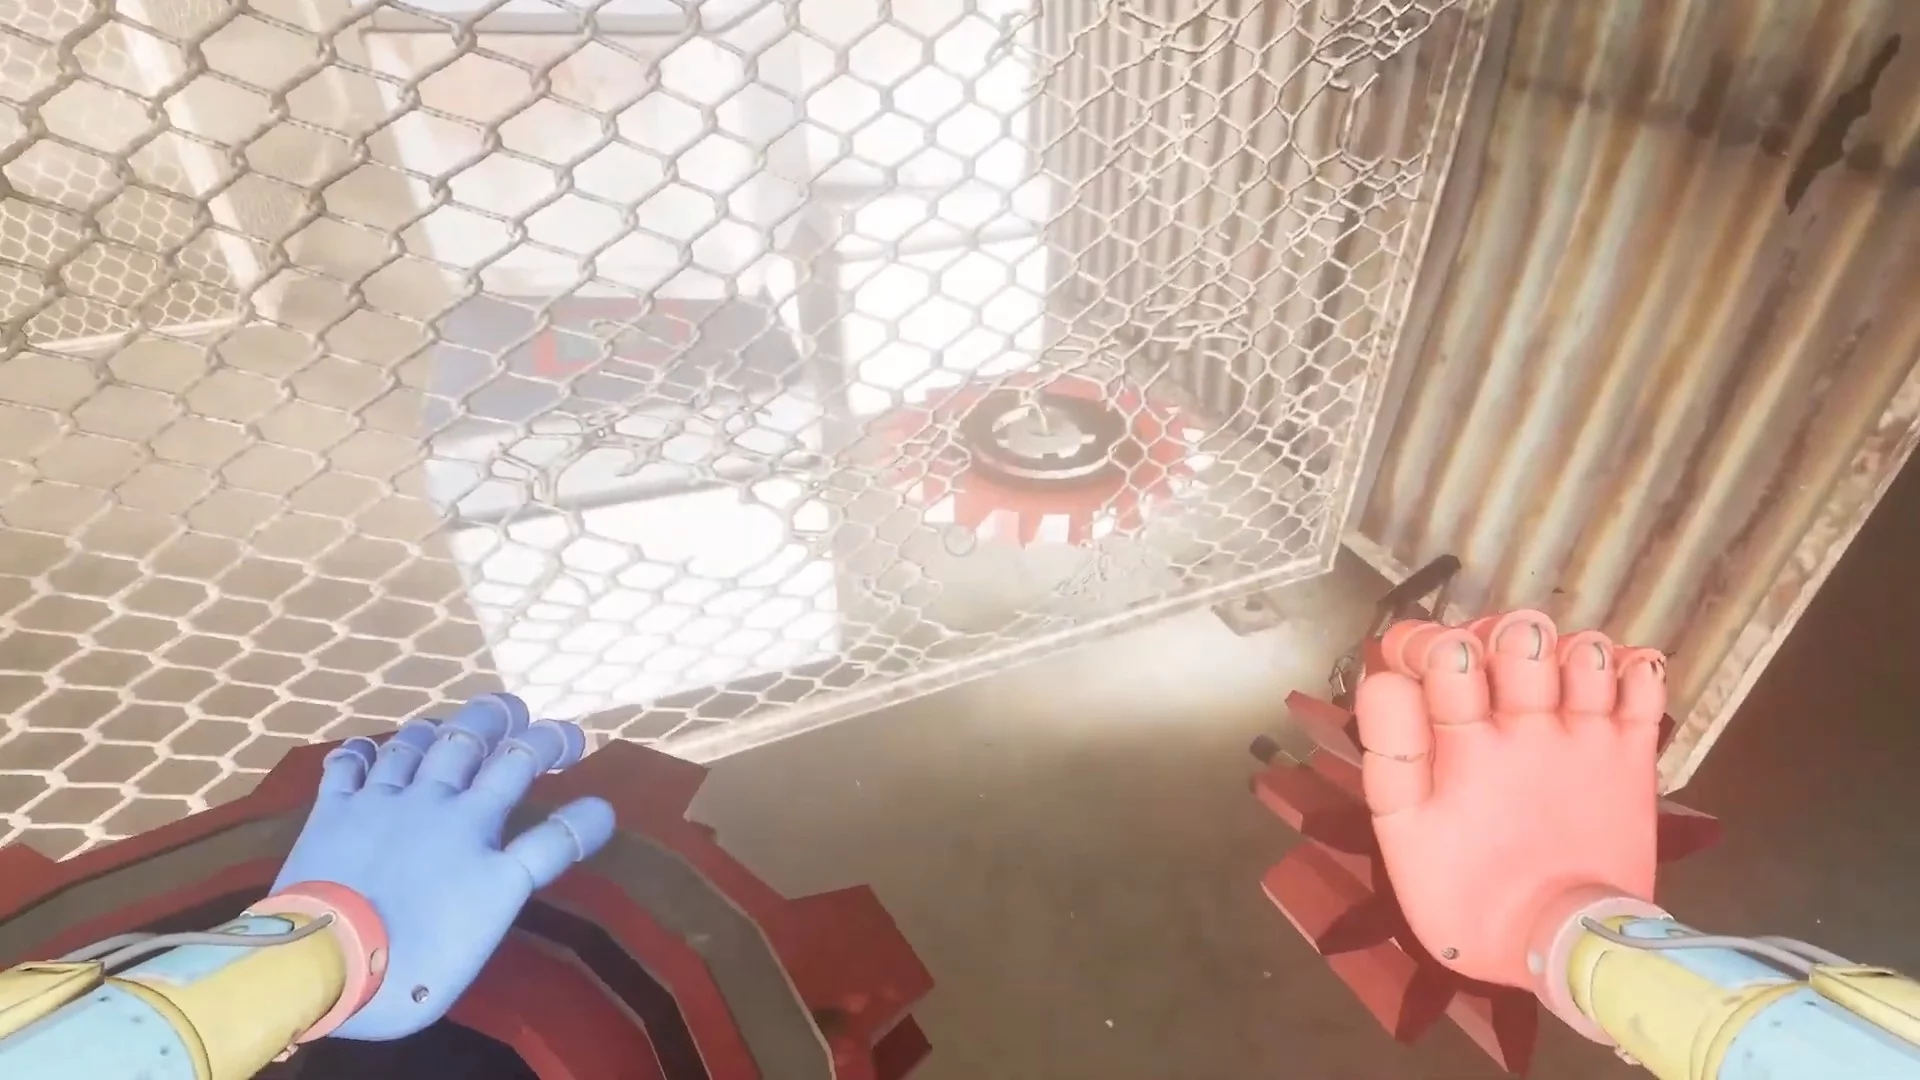
Place the gears as shown in the screenshot below — the door on the left will open. Prepare the glove-launcher in advance to ward off small toys from yourself.
In the small room where you first encounter these minor enemies, you can pick up the familiar lever. Insert it into the hole, attach the chain to the refrigerator, then lower the lever down.
Soon Ollie will appear. Follow the girl and watch the scene with all the friends in their makeshift hideout. Optionally, inspect the location and follow Doey into the opened passage. It leads to the "Auxiliary Power" section.
Find and Defeat the Doctor
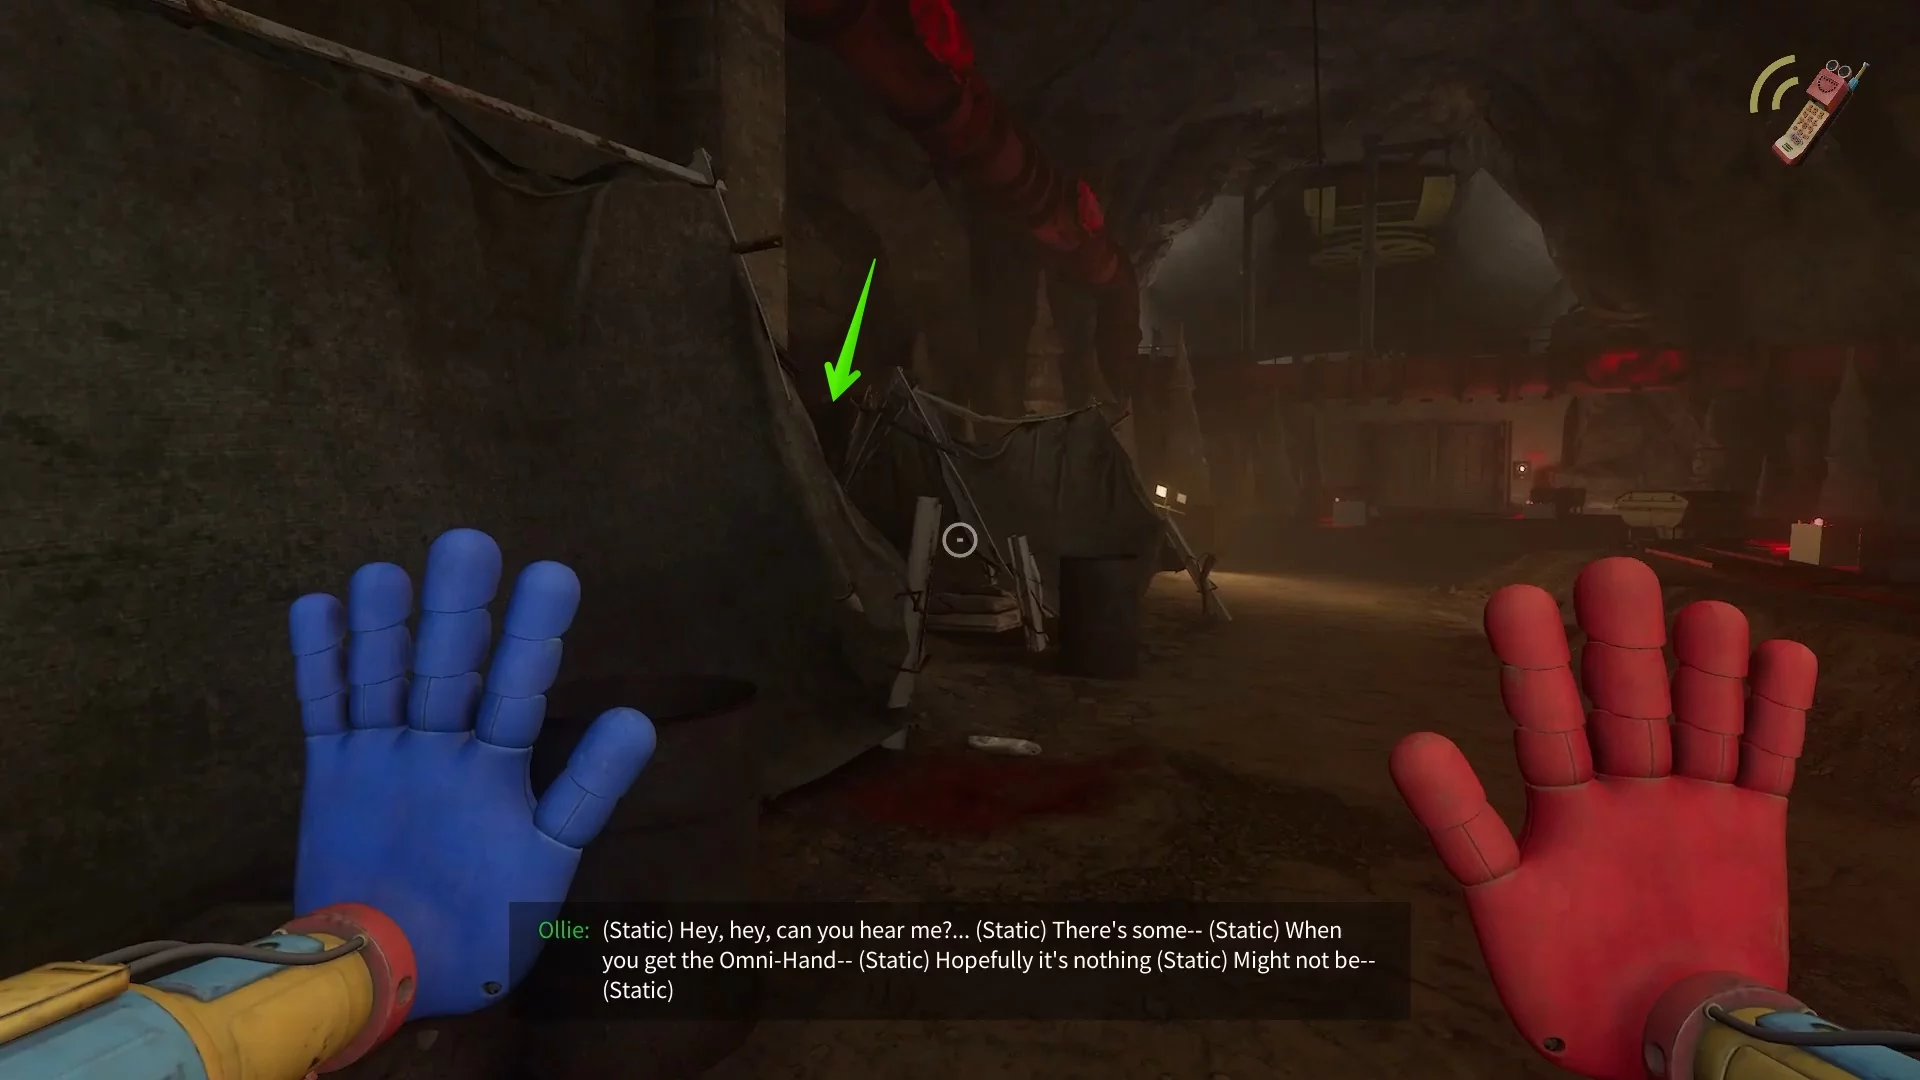
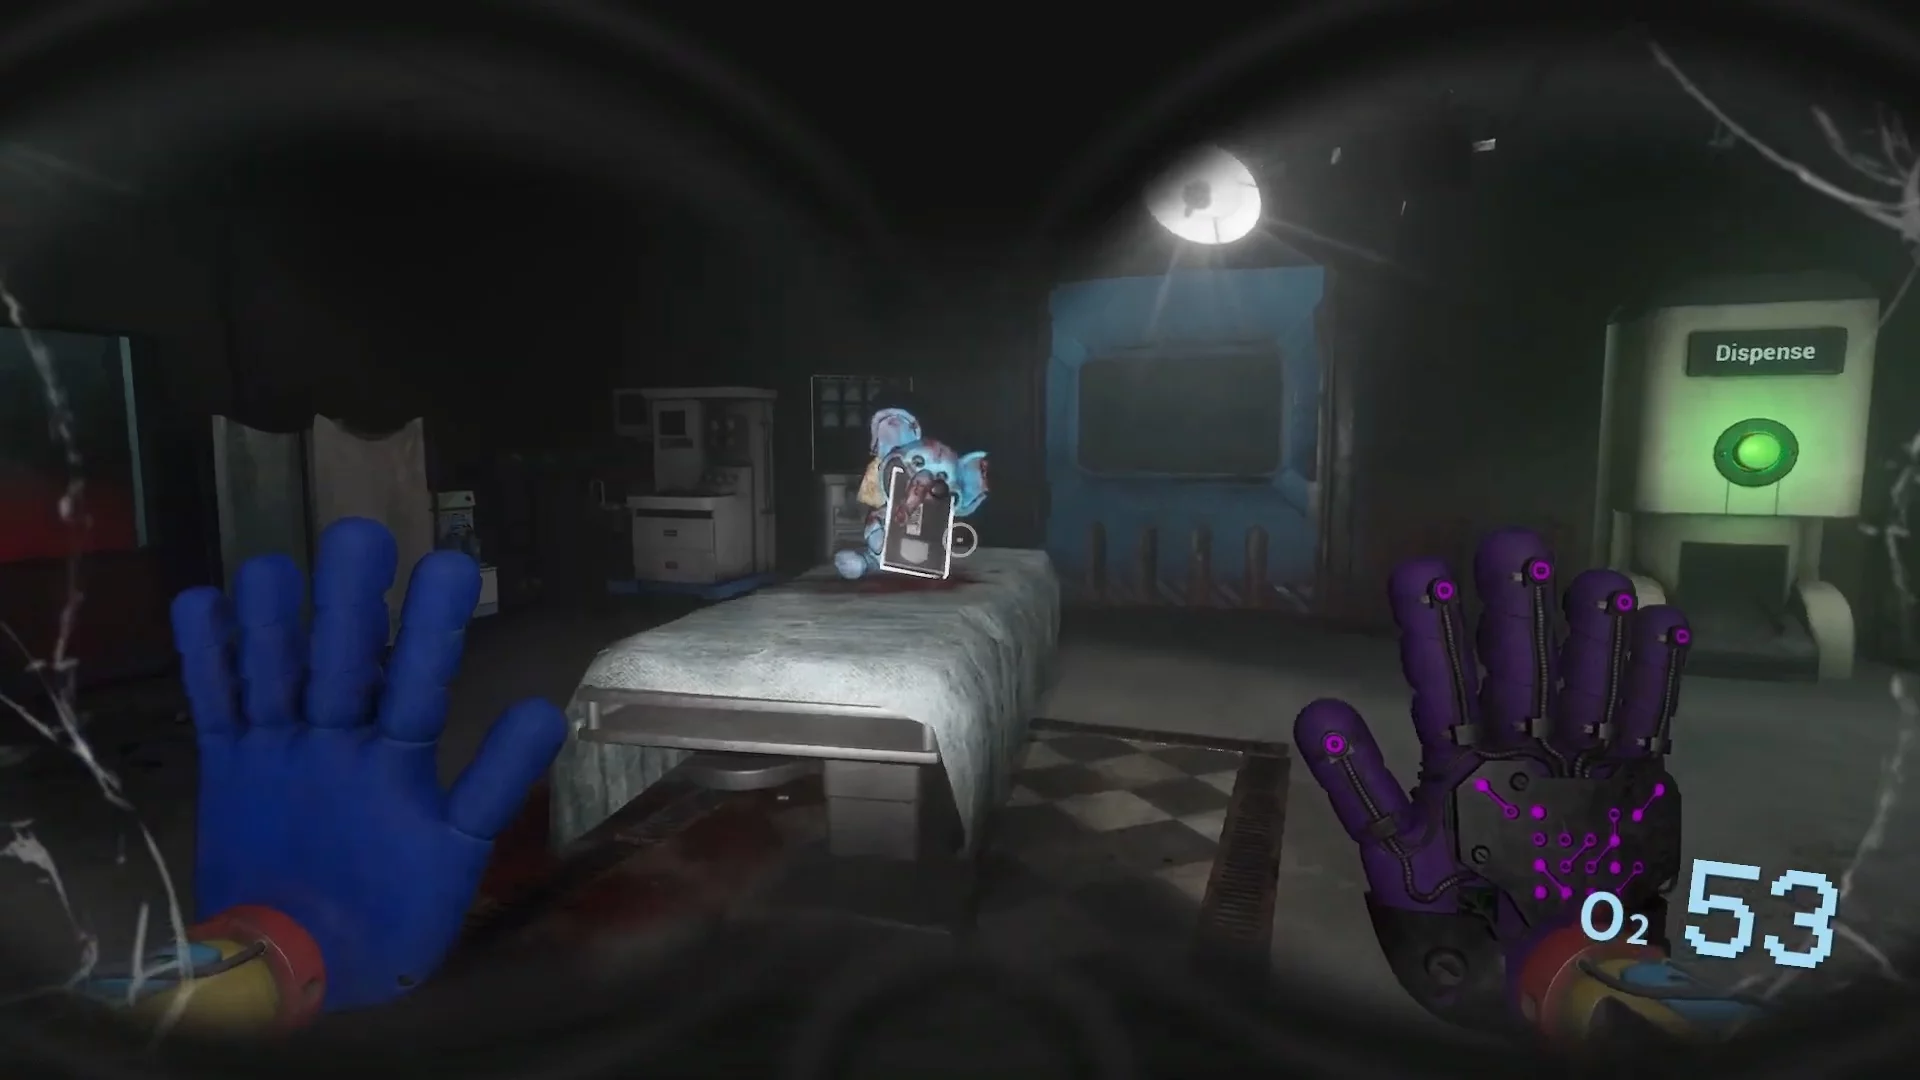
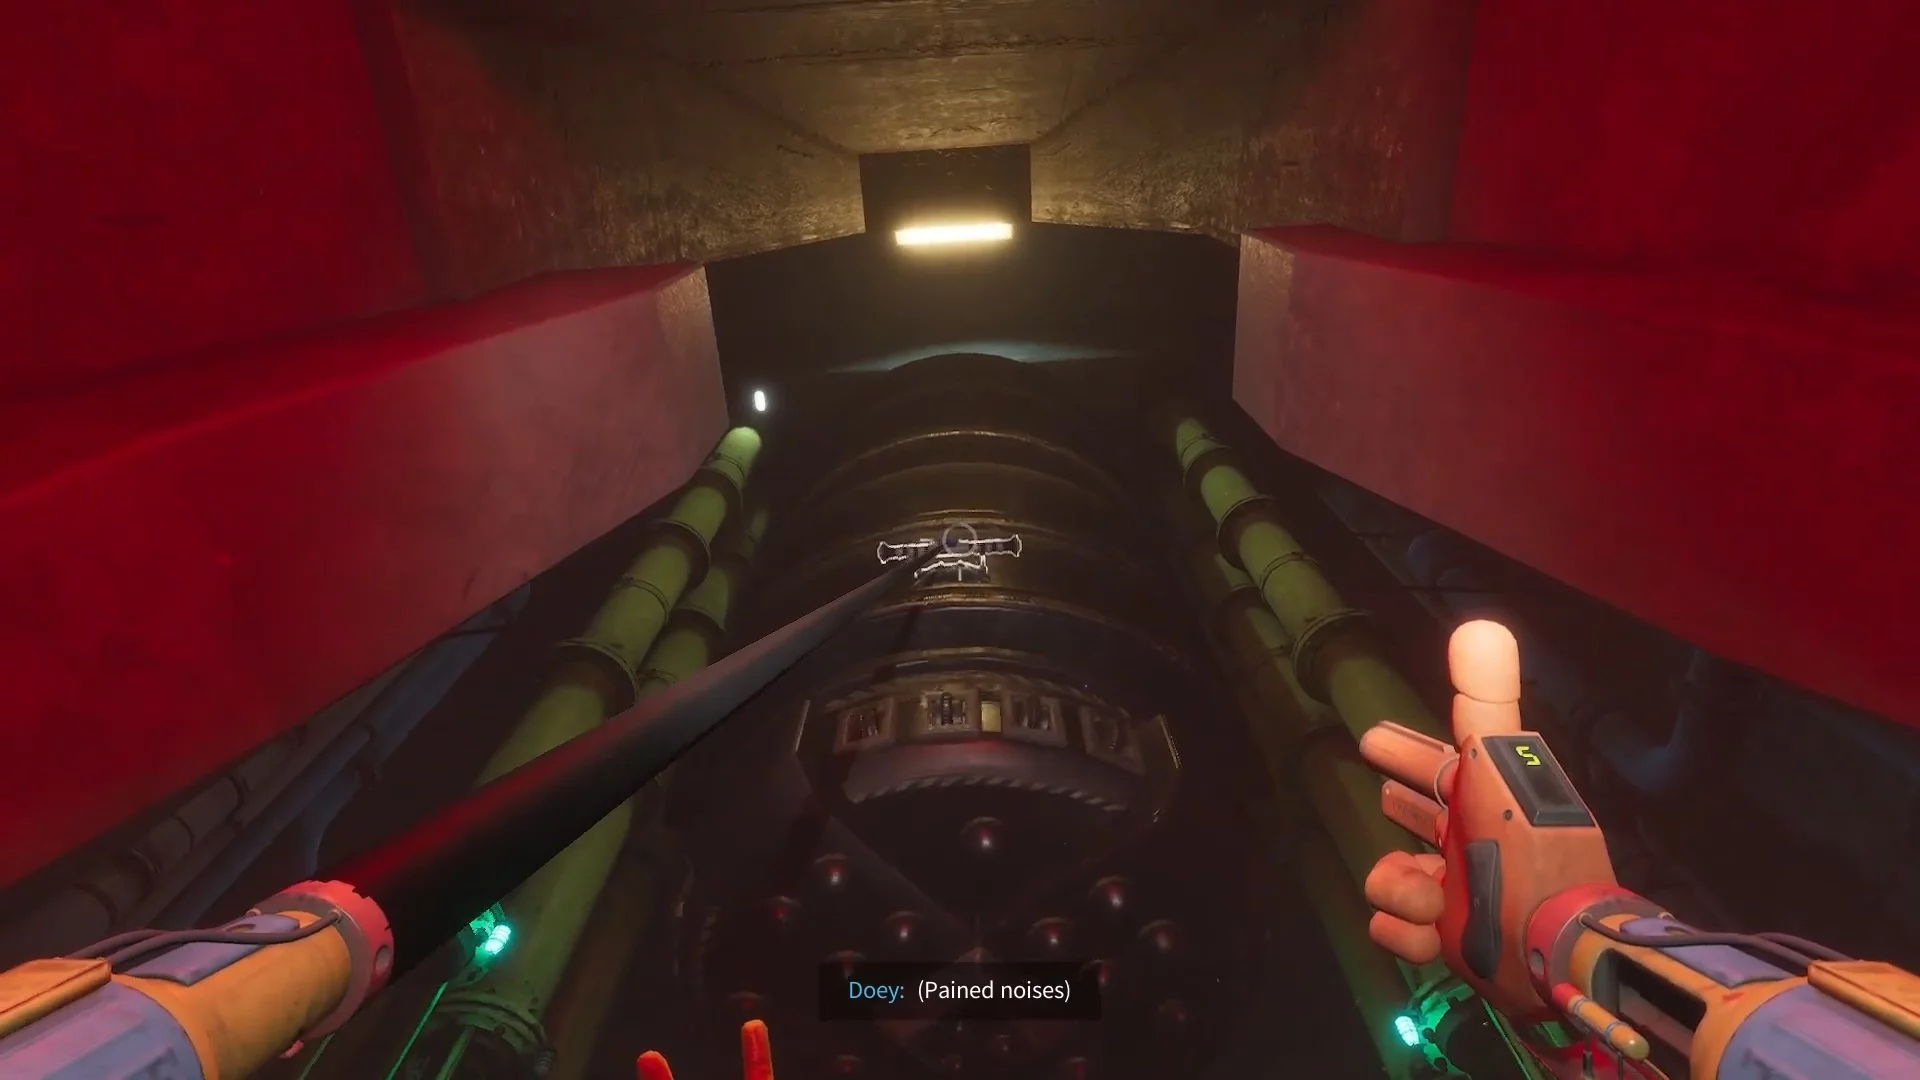
Scan the red glove — the door to the Infirmary will open. Pass by the toys and pick up the document on the shelf under the lamp. At the end of the room, under the bed on the right, there is a videotape. When you're ready, climb into the breach in the wall. In the sewers, follow the only path until you hear your friends' voices. You can stop and eavesdrop on them.
Find the room with the elevator and take the document from the control panel, as well as the videotape on the shelf behind the panel. Get out through the only open door here. If you inspect the first tent on the left, you'll also find a document.
Your task in this area is to move the carts so that all red lights turn green. To do this, go to the dead end and move the cart to the left side. This will open access to the platforms with power holders. Move them forward. Return to the tents and grab the power source with the glove, guide it between the two columns, and aim the second glove at the socket.
Use the chain on the retractable crane to overcome the gap. Scan both gloves and run to the yellow gates. When the monster appears, the latter will slightly open, allowing you to pass through.
Find a Way Out of No Man's Land
In the center of the room, you will see a large button on the floor, but first, you need to supply power from the adjacent room. After doing this, press the button — a passage will open on the left. Don't rush to pick up the key card, as a monster will appear at this moment. First, you need to switch the power using the button to the adjacent gates, and once you get the key card, insert it into the control panel next to them.

After doing this, enter and run to the conveyor. The door behind the hero will close, so you will be in relative safety. Don't fall with the rocks, grab onto the hook and overcome the gap.
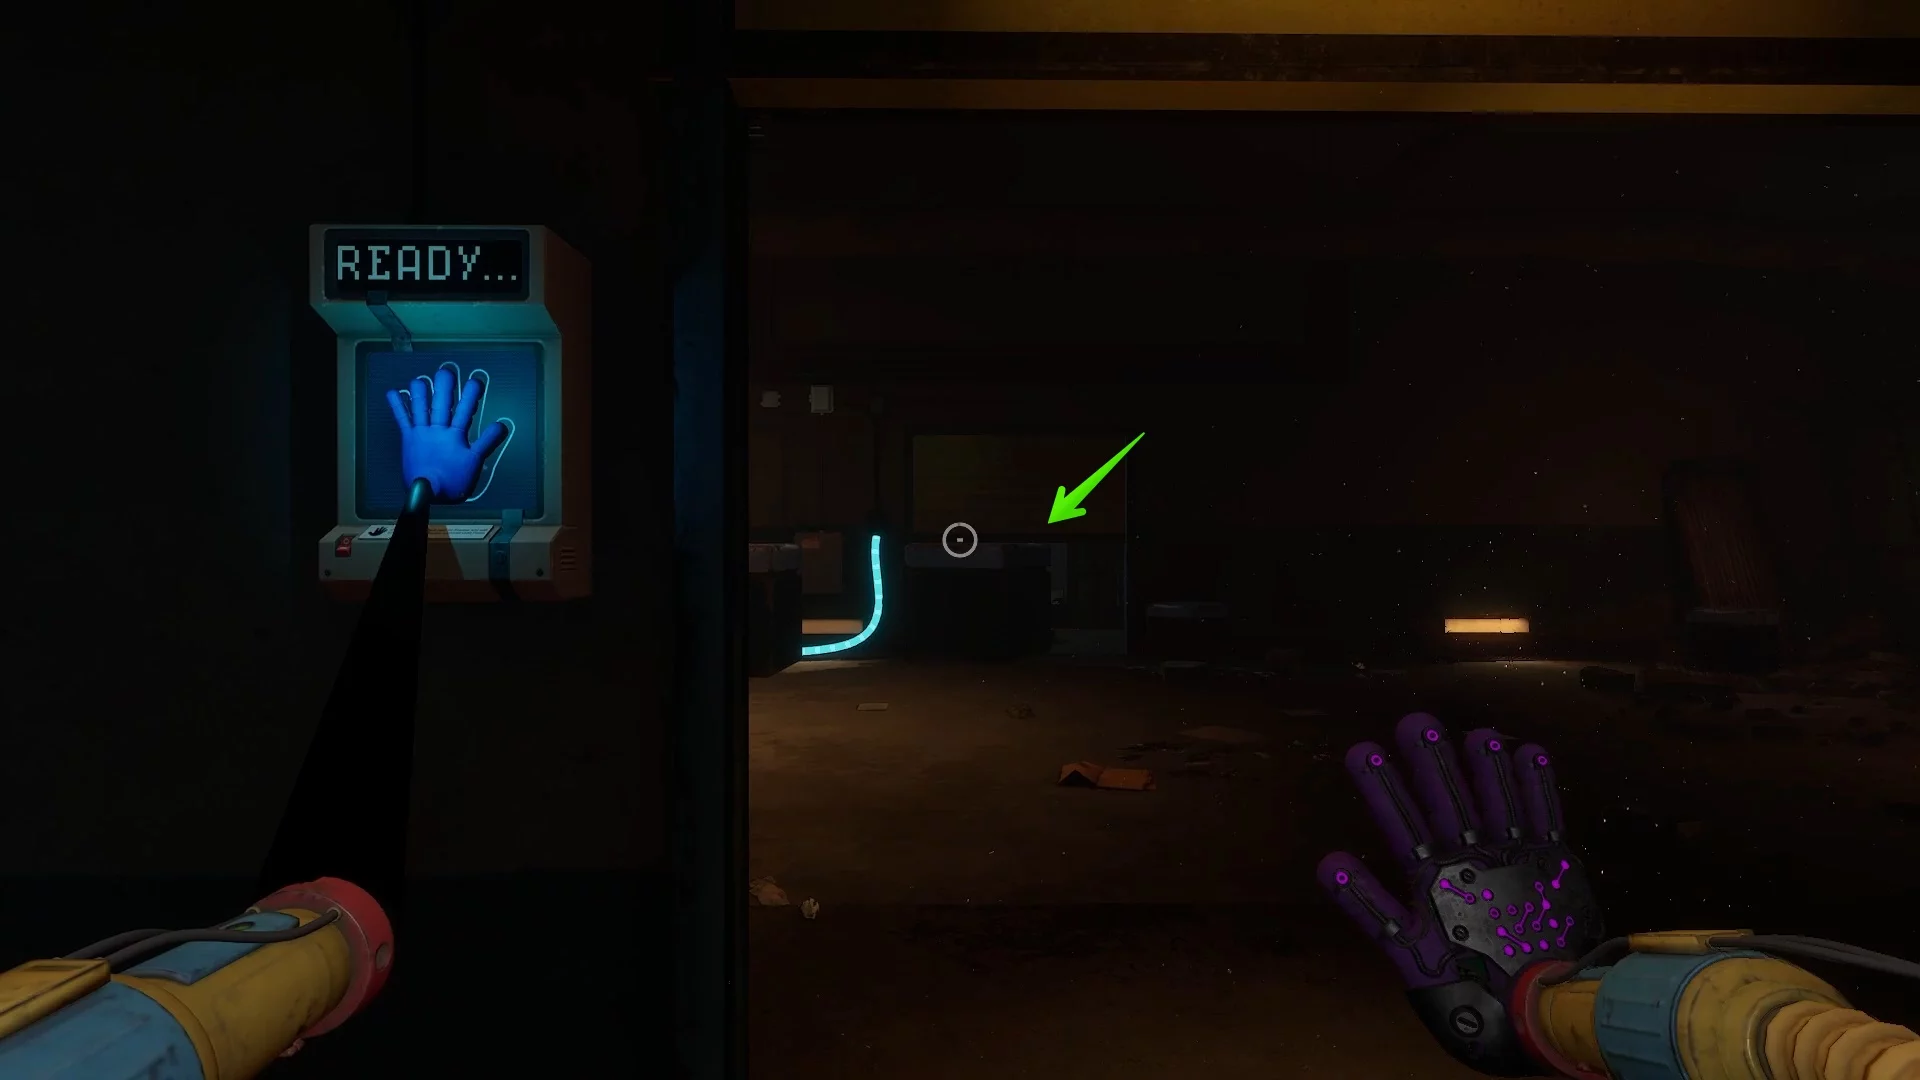
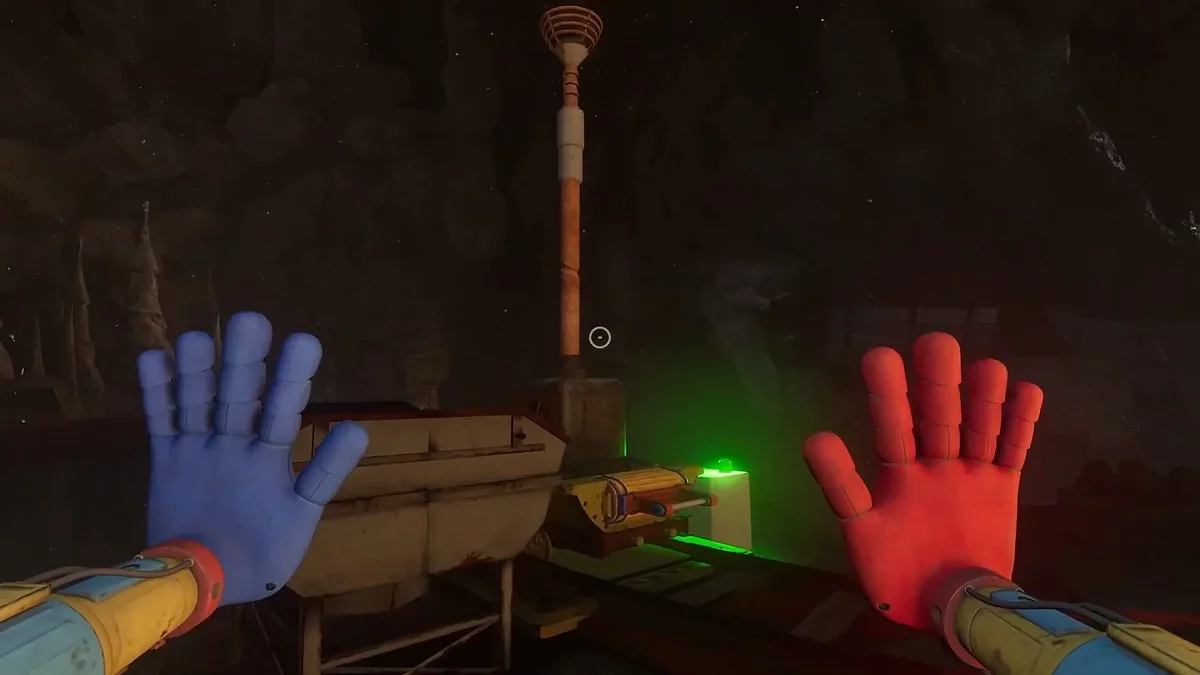
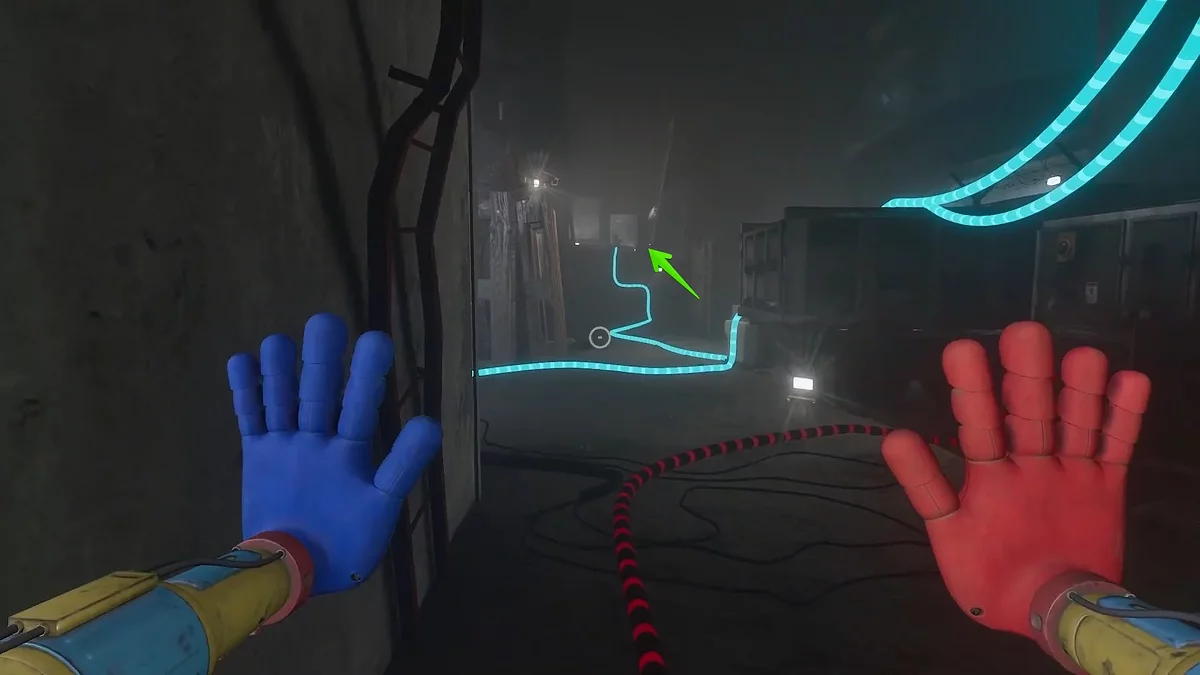
In the new area, run along the red cables and find the device for supplying power. On the wall here, there is a similar switch. Press the button twice and follow the opened passage. Scan the blue glove, then activate the second power source. At this point, the task will update.
Power Up Machine Stations via Hand Scanners
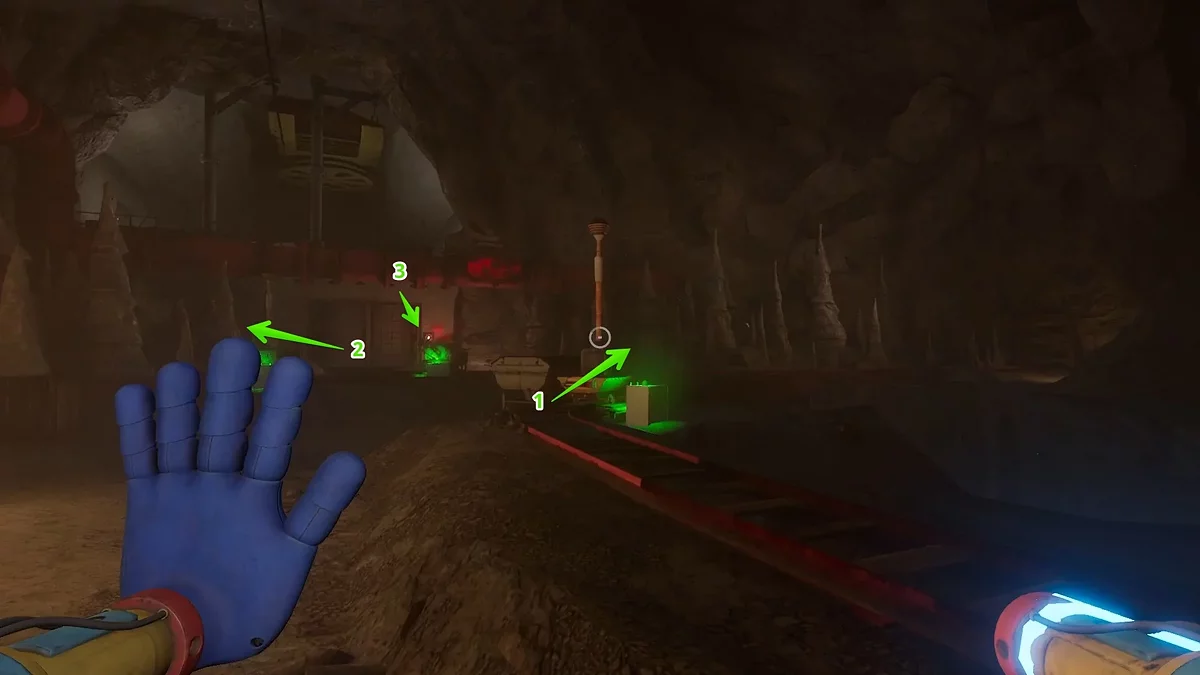
Immediately after supplying power in this area, the monster will start chasing the protagonist. Use the glove on the scanners and hide from the enemy in time using narrow passages. When you use them, the opponent will start to go around and give you a small head start.

The first scanner is located in the main area. The second is hidden on the second floor, accessible via a metal staircase.
The third is in a dead end to the left of the first and second scanners.
After completing the power supply, run back to the large button and press it twice. Follow the blue wire to the computer and click the switch next to it. The terminal screen will start loading, and you need to find a place to hide. When the loading is complete, follow the blue wire from the computer and find two more similar switches on the floor. Activate the power supply to the gates behind which is the next terminal.
Pulling the lever will open the door marked EXIT. Scan both gloves here and escape from the monster. Nothing particularly difficult: just keep running forward, then grab the chain with the glove and immediately scan the blue glove. At this moment, you can watch the monster burn on the chain and fall into the abyss.
Climb into the capsule and inspect the room. On the left, on the boxes, lies a videotape. In the corridor, find Doey and watch the scene with this character. When he is frozen, lift the camera up and use the lever to cut off the gas supply.

Make Your Way to the Doctor
Overcome the gap and head towards the loaders. When the Doctor speaks to the hero, use the cubes to climb higher. Run to the dead end and interact with the valve. Descend down, in one of the tents, take the blue key card, press the button on the floor in front of the tent twice, and insert the card into the reader.
The gates in front of you will open. All that's left is to stop the gas supply. To do this, interact with the highlighted element in the pipe. Climbing higher, players will find themselves in a large room. Scan the blue glove on the door. At this moment, the hero's left hand will be frozen, and you'll have to get out using only the right glove.
Open fridge №2, take the battery and insert it into the circular saw. Move the tool to cut the cable and get the blue glove. Attach it to your right hand, then use it on the scanner at the terminal.
After doing this, the door on the right will open. Don't waste time and use the left hand on the socket next to the terminal where the glove was just scanned, then stretch the cable into the opened room. This way, you will open the passage next to the circular saw.
Climb the stairs and take the mask from the corpse. Press the green button to get an additional filter for the gas mask, then the blue door will open. Move forward to the next operating room, where there is a videotape on the table and another device for dispensing filters.
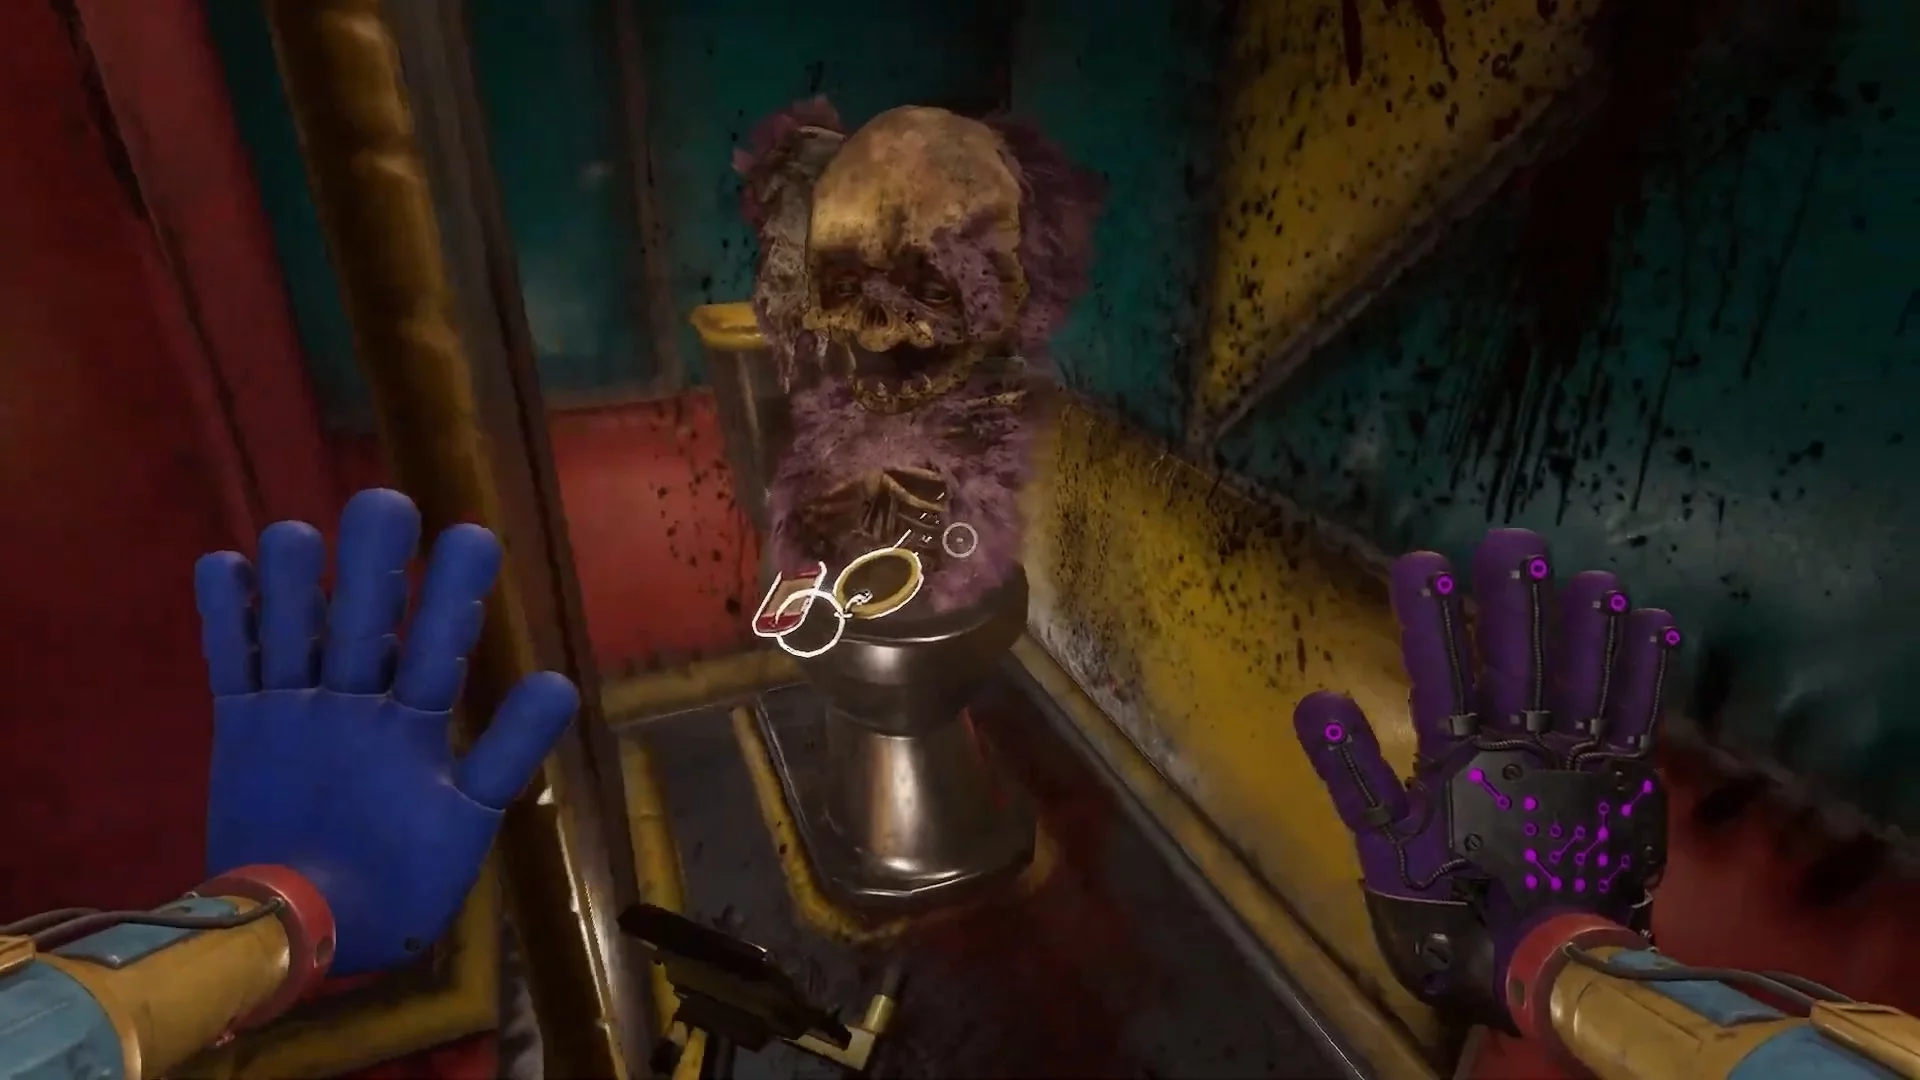
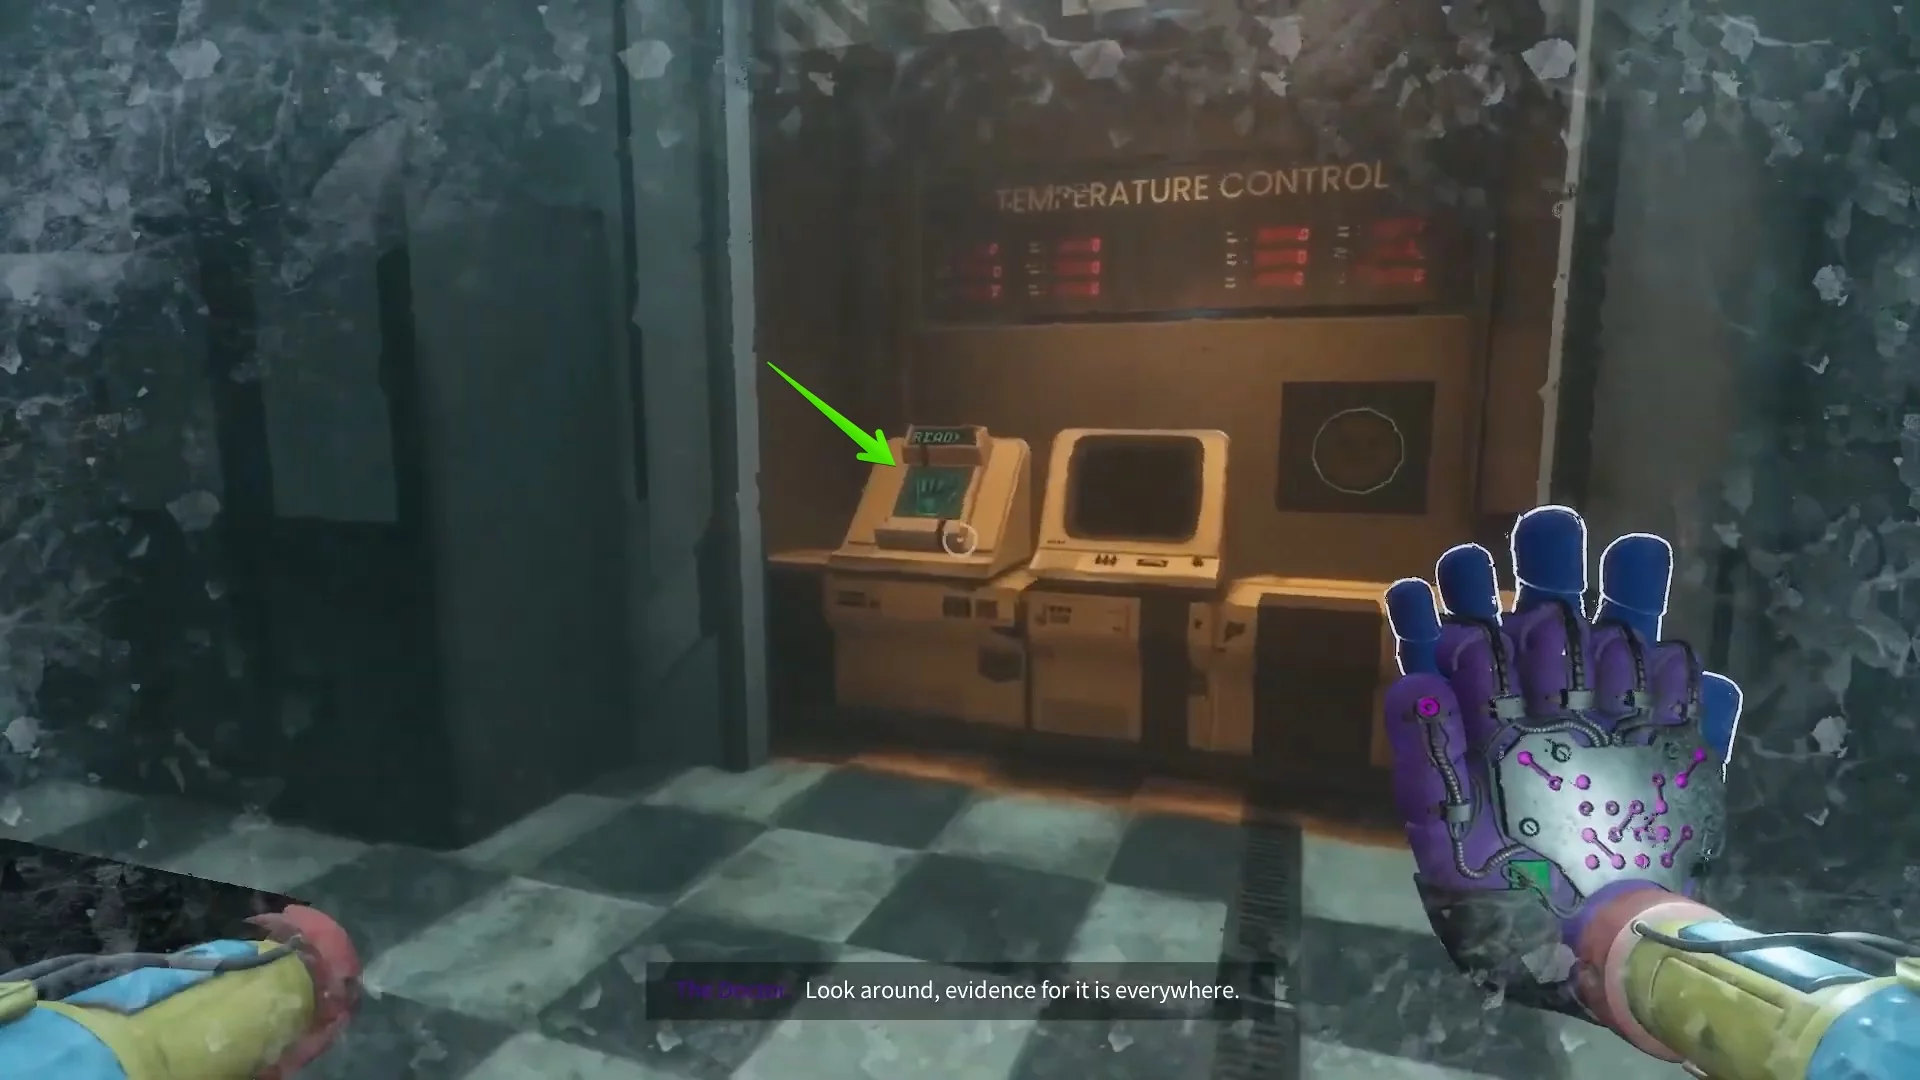
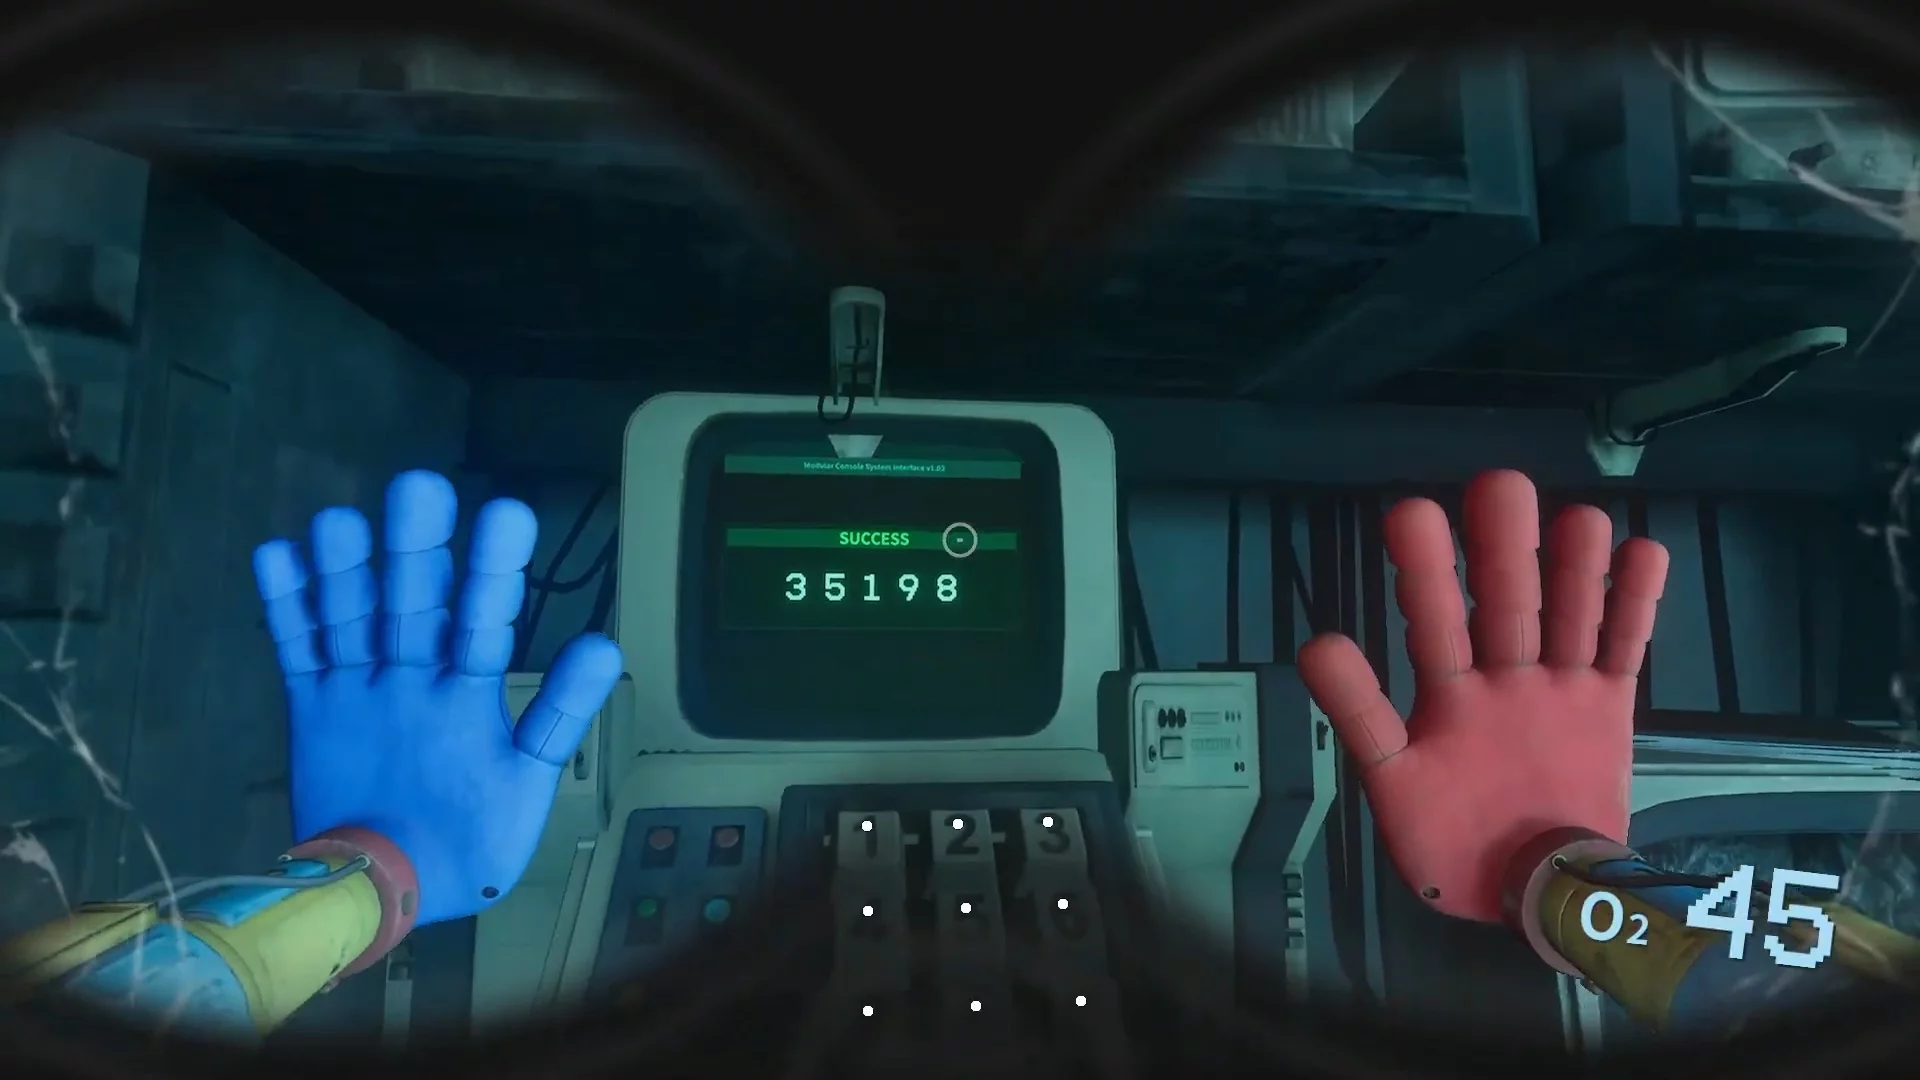
From the previous room, follow the red cable and find the flask with a toy, on the tag of which the code is written. Go back and find the blue cable on the floor — it will lead to the second toy. With each found toy, numbers will appear on the monitors in the central room, from which you can compose a code.
By focusing on the yellow numbers, you can compose the combination 35198.
Now run along the yellow cable to find the ventilation shaft. Grab the bar above it and pull yourself up. You will find yourself on the balcony, and the filter will not consume oxygen at this moment. Take the document on the right, then press the red button in the operating room, which supplies power to the door.
Continue along the platform and since you have already opened the door, grab the cable and insert it into the socket.
To the left of the door, a passage will open, but on the way, a toy will attack you and rip off your mask. Move the large and small cubes closer to the metal platform on the left, climb up. Use the trampoline several times. After overcoming the chasm, you will find yourself in a new area.
Behind one of the cages, you can see a battery. To pick it up, you first need to power the grid using the switches on the floor. But the creature in the cage will also prevent you from taking the battery. Just wait until the monster jumps to the side.
Repeat the actions with other batteries in the cages to restore power to the large door.
After picking up the blue key card, return to the hall with the cages and insert the card into the reader, having powered the terminal beforehand. Listen to the Doctor's monologue and insert the cable into the terminal socket. When the door opens, follow the green wire to the elevator. Find the glove scanner and sit on the platform.
Confront the Doctor
After the cutscene, the protagonist will find themselves under the platform. There are several inactive terminals in the room. Pick up a battery nearby and insert it into the central computer. The doors on the right and left will open. As soon as you go a little further, a new opponent will appear. He will patrol the corridors, so players must avoid his sight.
Continue exploring the area and find another battery. Soon there will be several opponents, but they cannot kill the character with one hit. In one of the corridors, when you pick up a battery, the way back will be blocked (one of the monsters will stand in the passage). You need to find a passage boarded up with a wooden plank, throw the battery out of your hands and break the board.
Restoring power to all terminals, follow the right side along the blue wire and reach the stairs leading to the card reader terminal. Take the key card here, simultaneously dodging monster attacks. Soon the task will update.
Acquire the Omni-Hand Upgrade
Behind the terminal, there is a staircase going up and a locked door with a key card reader, but you cannot open it now. Find the passage on the right leading to another terminal, then insert the previously obtained key card into it. Install the red glove in the fabricator and wait.
Return to Safe Haven
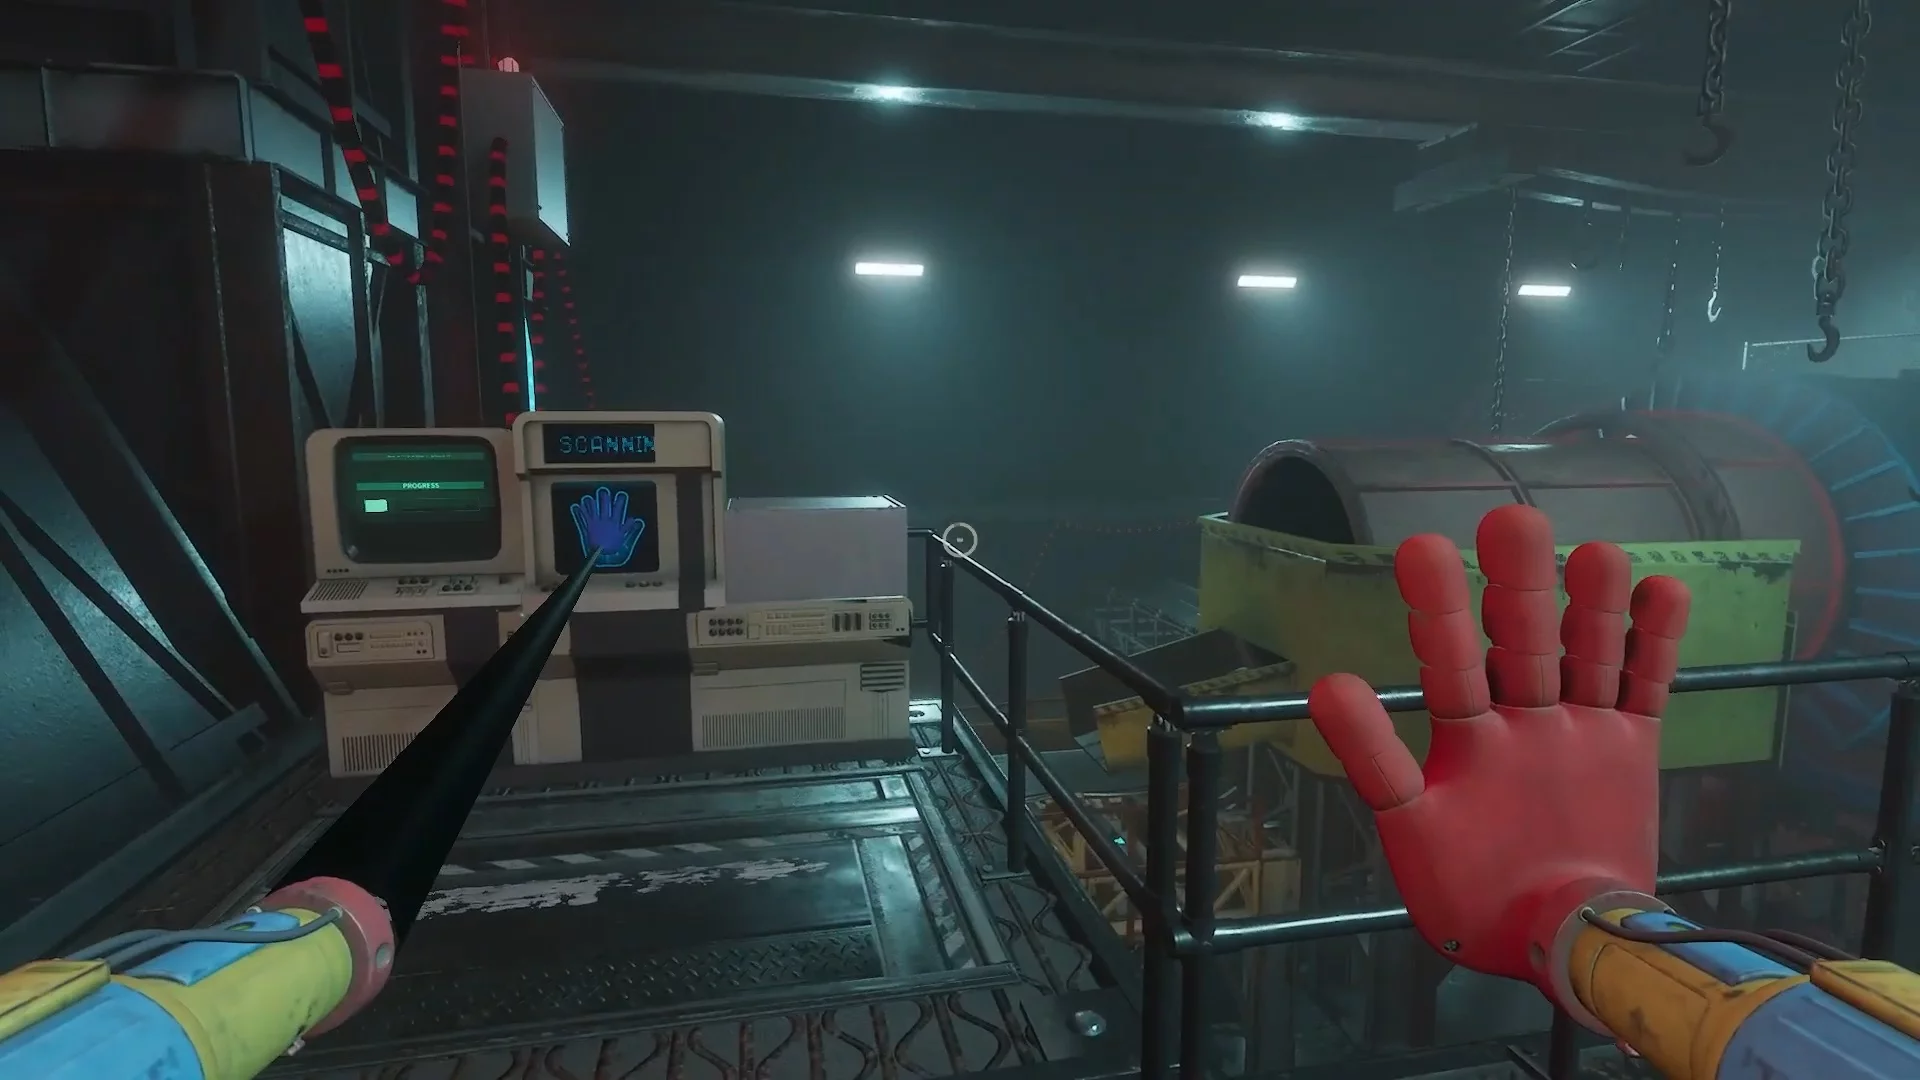
Scan the new glove on the scanner behind the terminal, then in the room with the monitors, turn left and step onto the platform. Run to the yellow gates, grab the lift, and descend lower. Use the scanner to open the door and enter the funicular to your left.
Upon arrival, descend on the yellow platform. This will lead you to a small room. Prepare the purple glove, as you will need to use jumps here to obtain a document and a purple videotape. After doing this, climb into the ventilation.
Repair the Generator
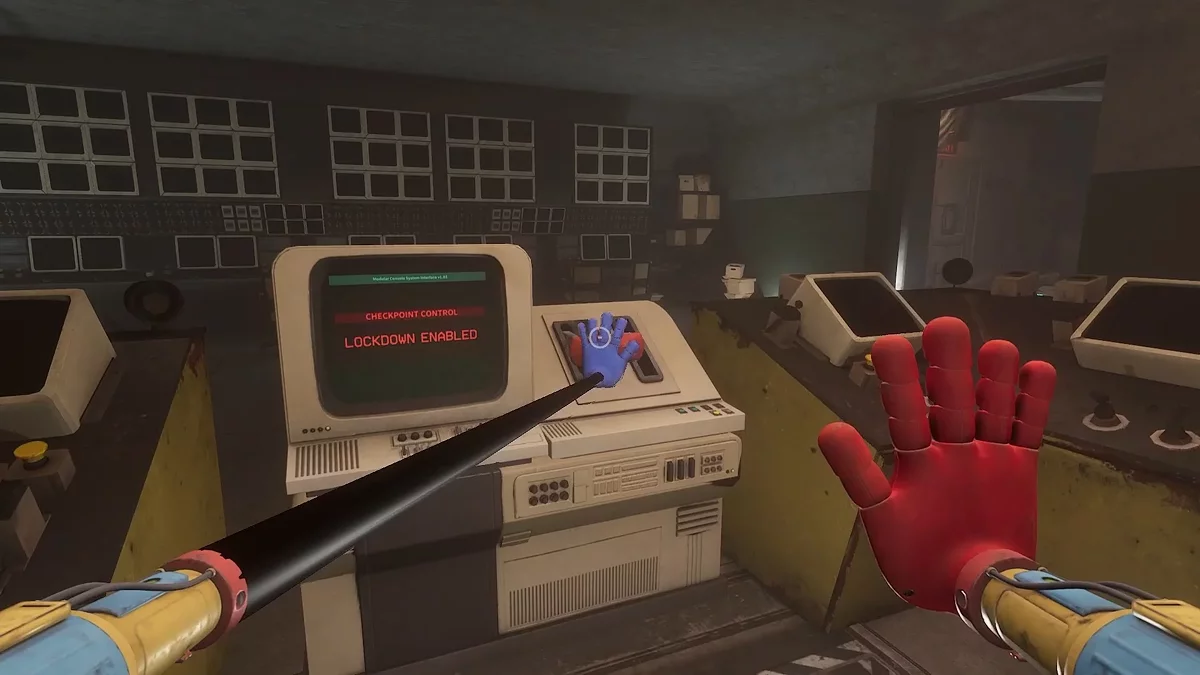
After talking with the girl, head to the room where you last saw Dowie. Upon completing the dialogue, the task will update, and the door to the safe zone will close. Scan the glove — a panel on the right will open. Insert a round element into it and start scanning again. Then replace the burnt-out square-shaped fuse.
Reach the Foundation
Re-enter the door labeled "Infirmary," go through the sewer, and ascend on the platform. Since the mechanism on the wall has started working, find several gears in the room and install them in the mechanisms to open the door on the right. You have been in this area before, but last time you went through the door on the left. Now you need to follow the railroad tracks deeper into the mine.
After doing this, the passage behind the hero will be blocked, and the task will update.
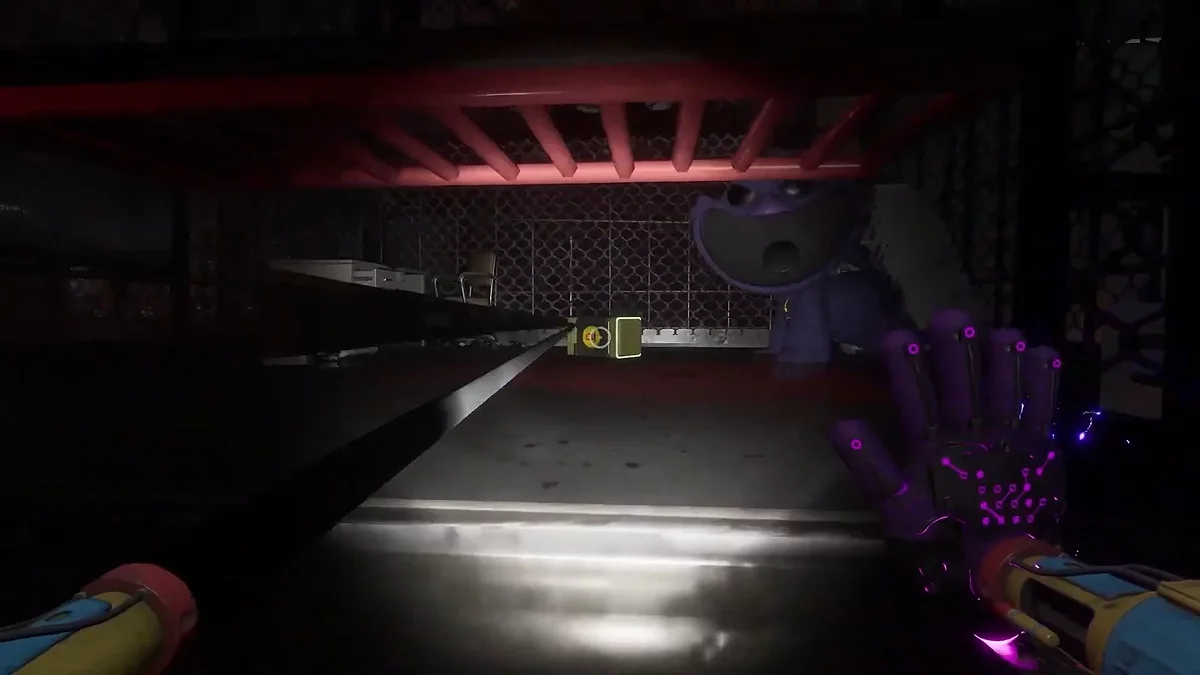
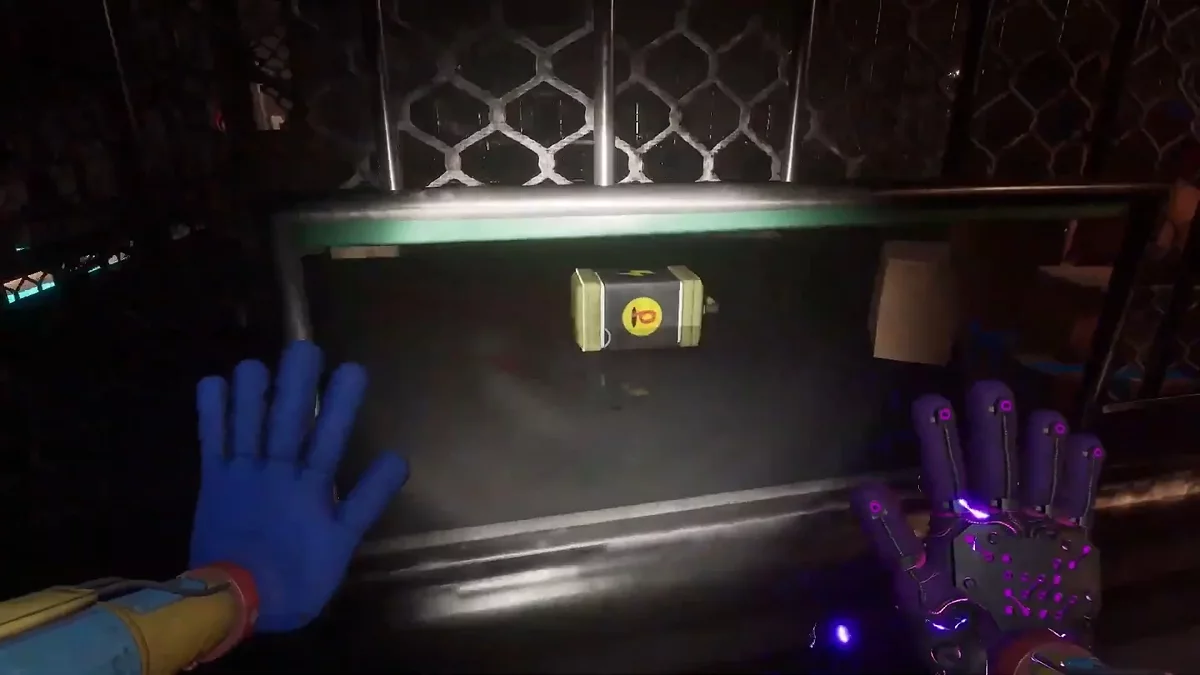
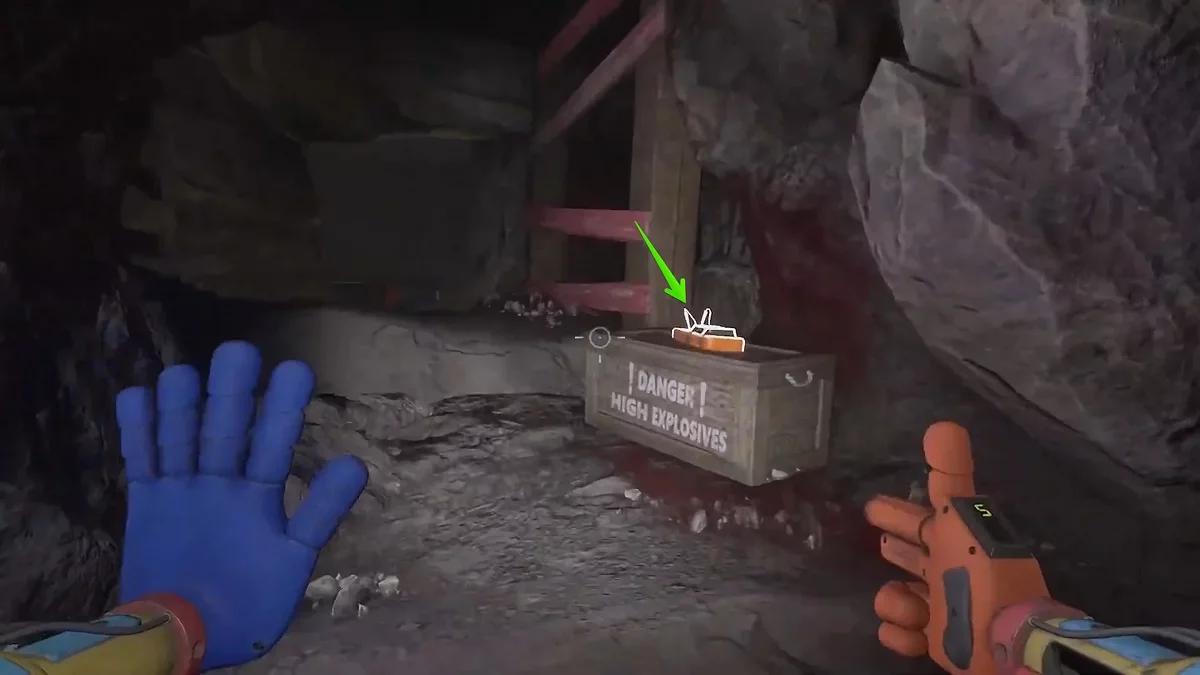
Gather and Plant 4 Explosives
The first explosive will be right in front of you when the player enters the mine. A little further, there is a movable platform. Move it to the dead end where there is an ascent, and then climb higher. Here is the second explosive.

Jump onto the metal platform, and at the end of the path, take the videotape from the barrel on the right. Overcome the gap using the grapple or descend, then place two cubes in front of the broken ladder. This way, you'll reach the video player where you can view the tape's contents and pick up the purple key card.
Return to the main hall and run up the only intact staircase. Insert the key card into the reader, and on the terminal, pick up the note for the operator.
Now run back into the mine and turn right at the fork. On the left, there will be a blocked passage. Go a little further and find a breach in the wall. Shoot the barrel to open the way into this area. This way, you'll get the third explosive.
Return to the tunnel, turn left, and continue until you see a small crawlspace in the wall. Here, a toy will attack you — fend it off, proceed forward, and pick up the last explosive.
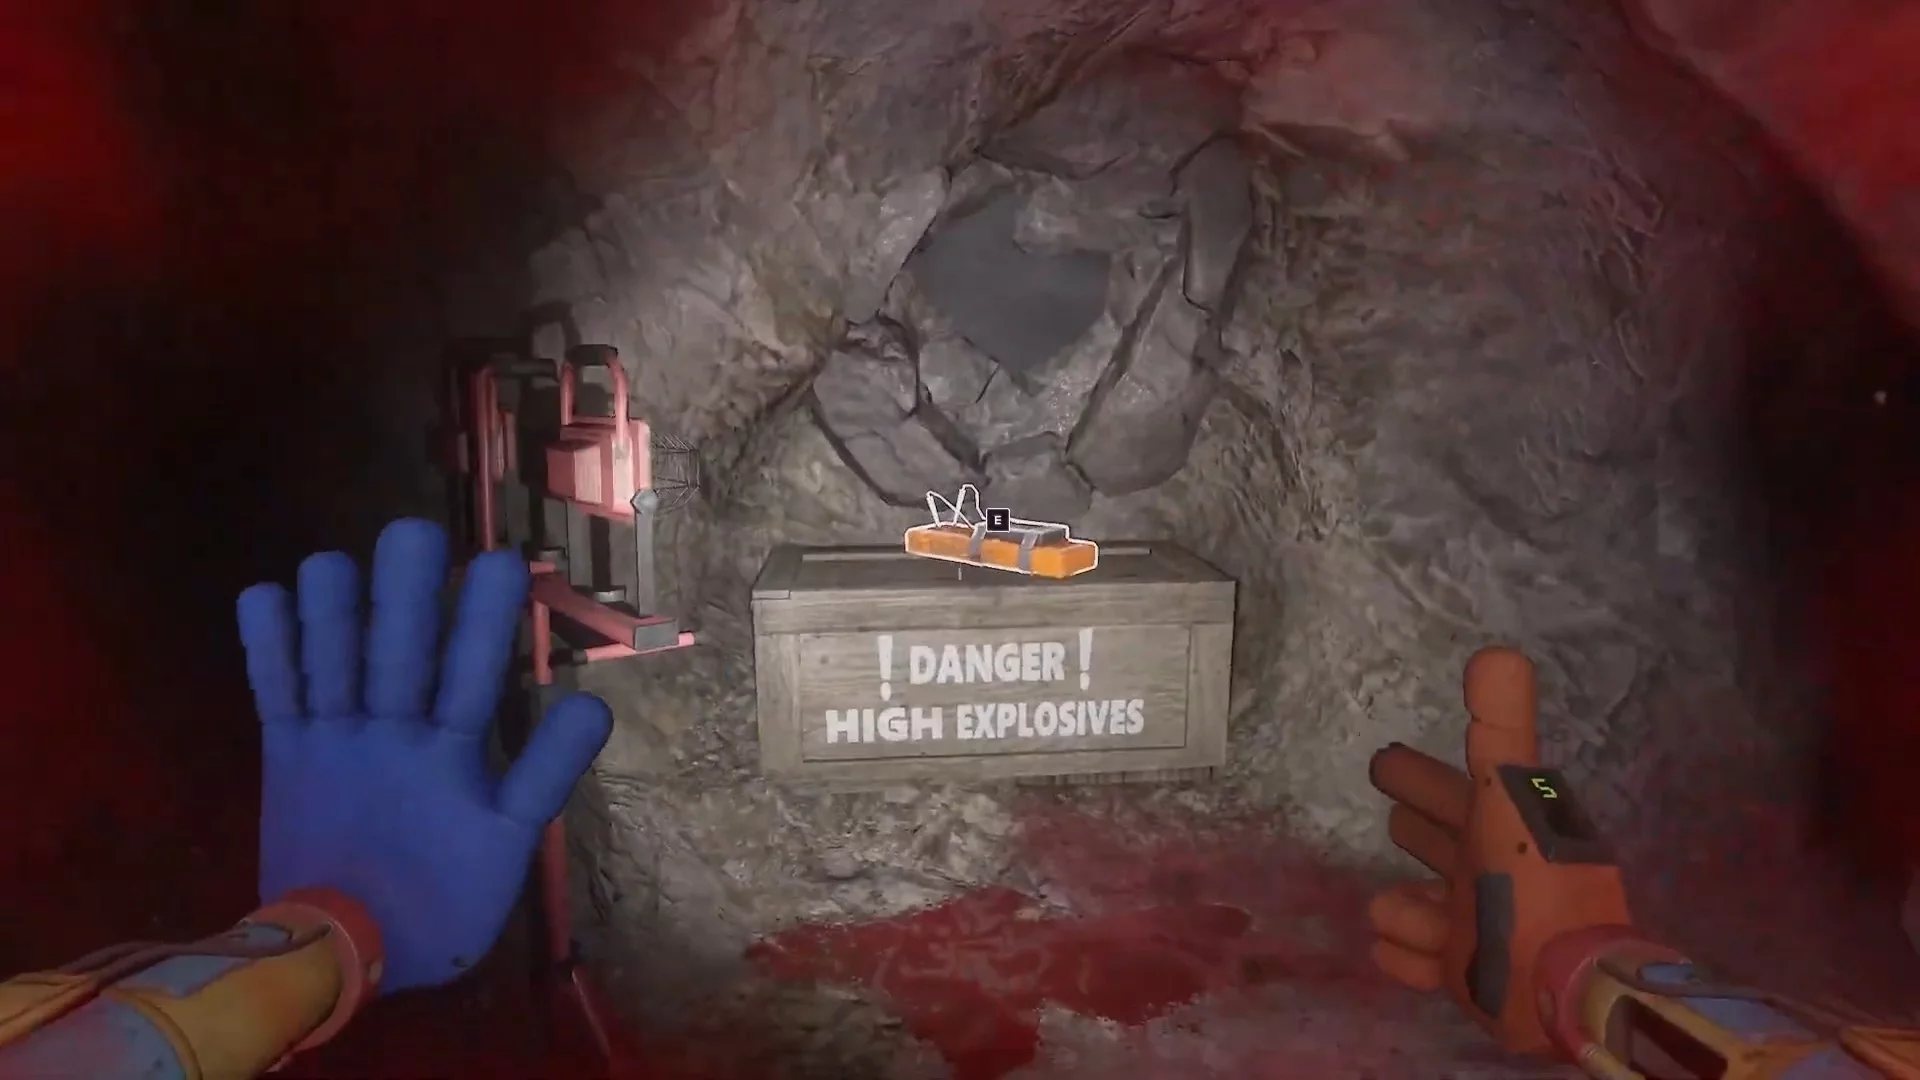
Plant the charges in the main hall on the designated markers, which are marked on two metal supports, a blue pipe, and a barrel.
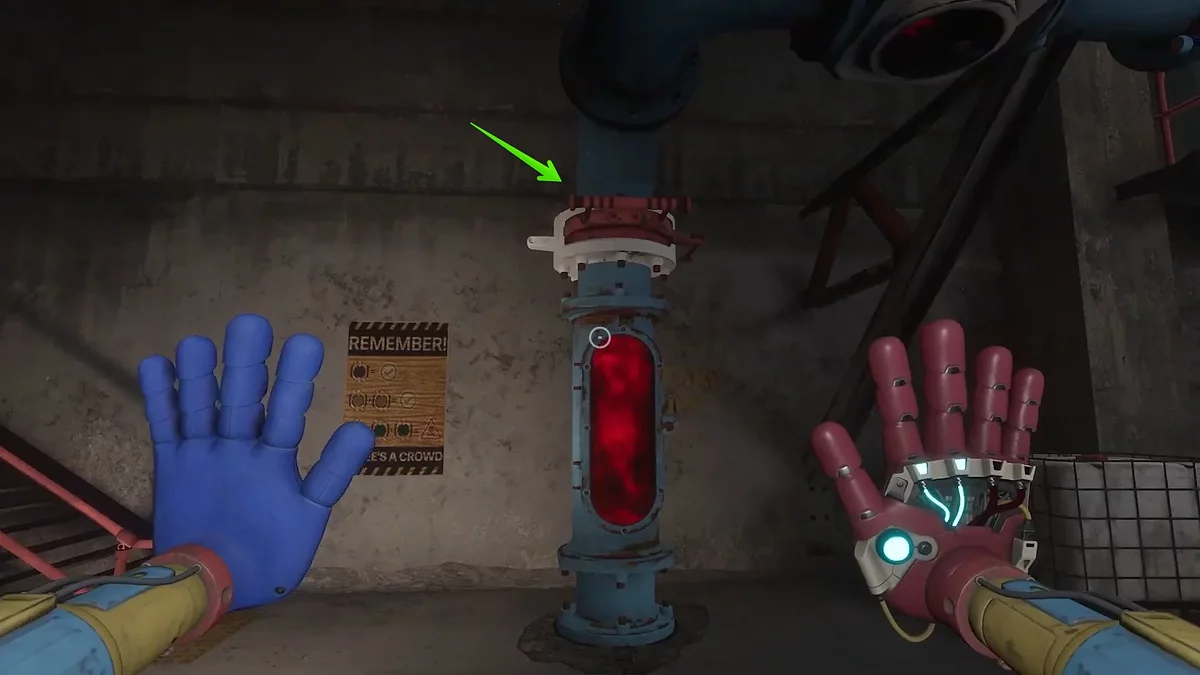
Redirect Gas into the Storage Tank
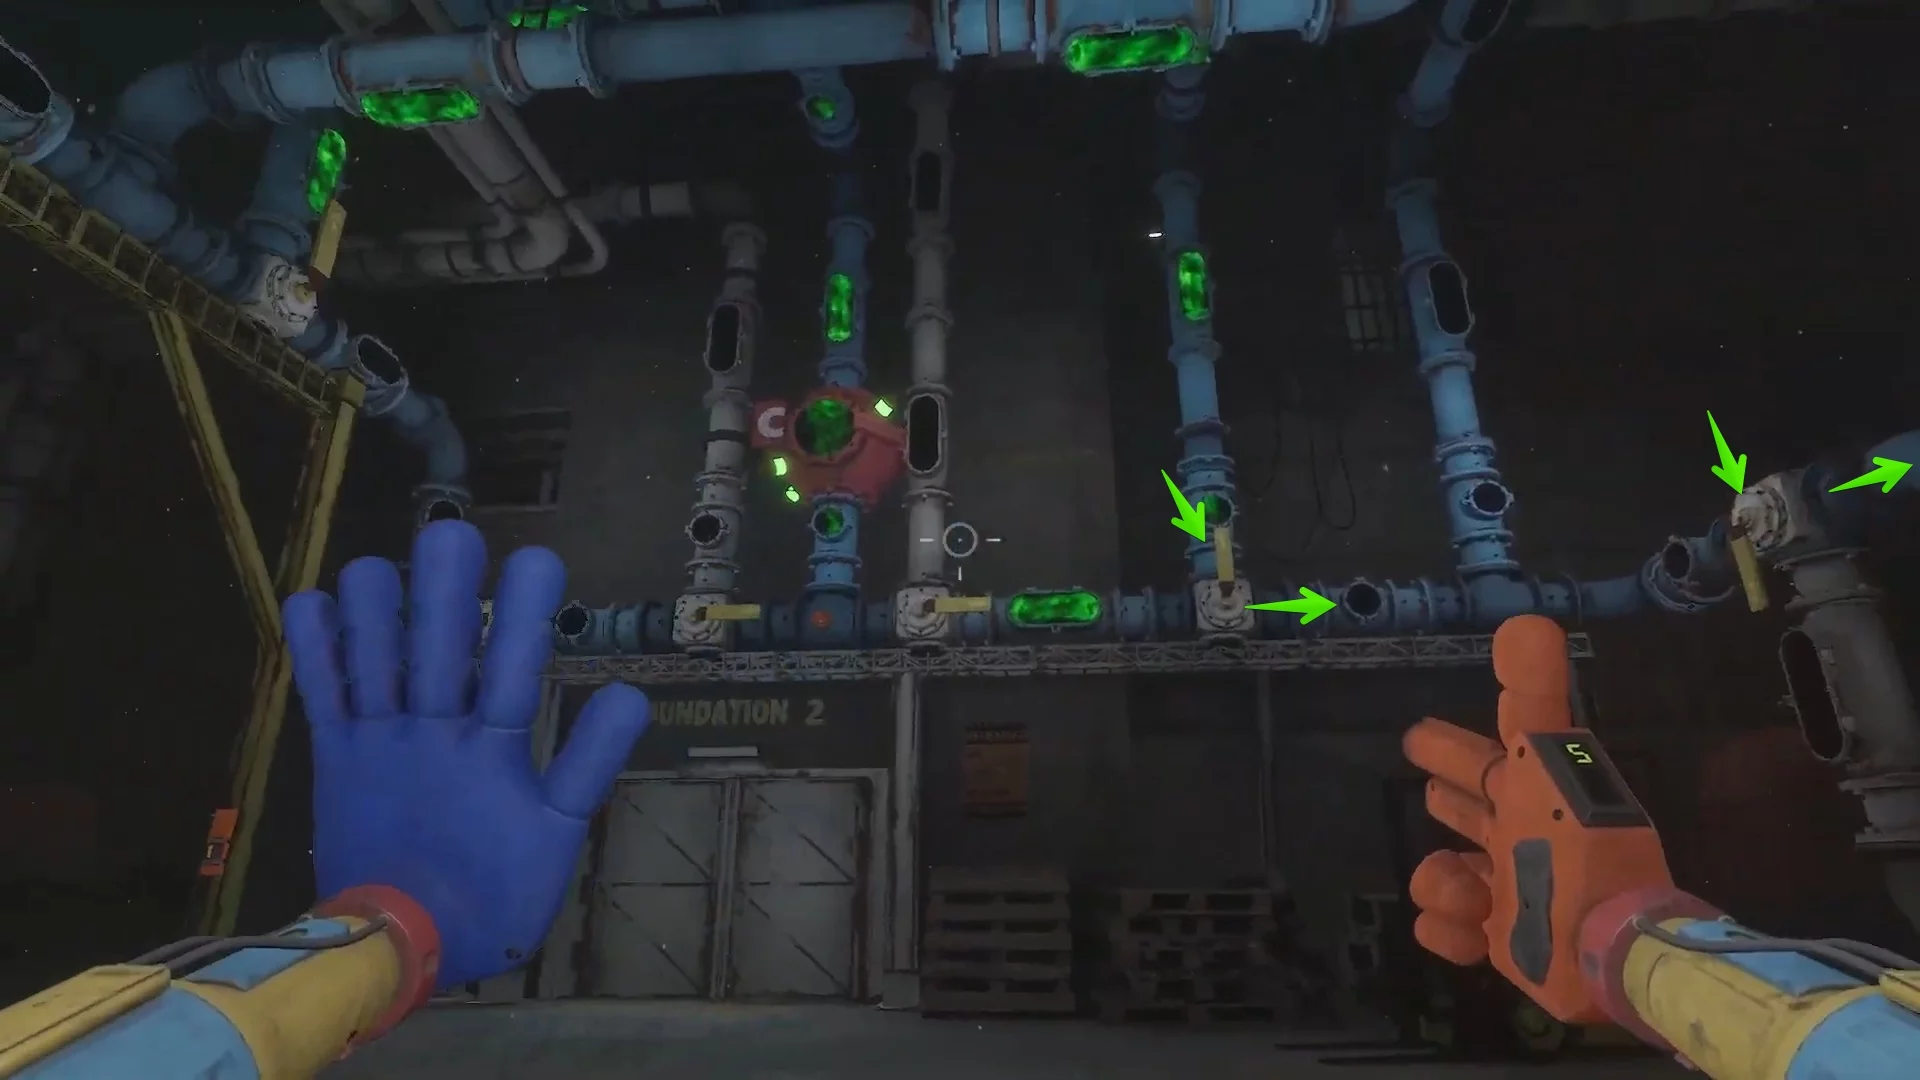
When you activate the gas supply on the main console, nothing will happen. First, you need to redirect the supply to the tank. Descend the stairs and inspect the pipe directly in front of you. Slide the valve — the gas will start flowing through the pipe. The gas should pass through the stations:
- B: turn the first valve upwards.
- C: turn the far-right valve under the ceiling upwards.
- A: turn the middle valve under the ceiling upwards.
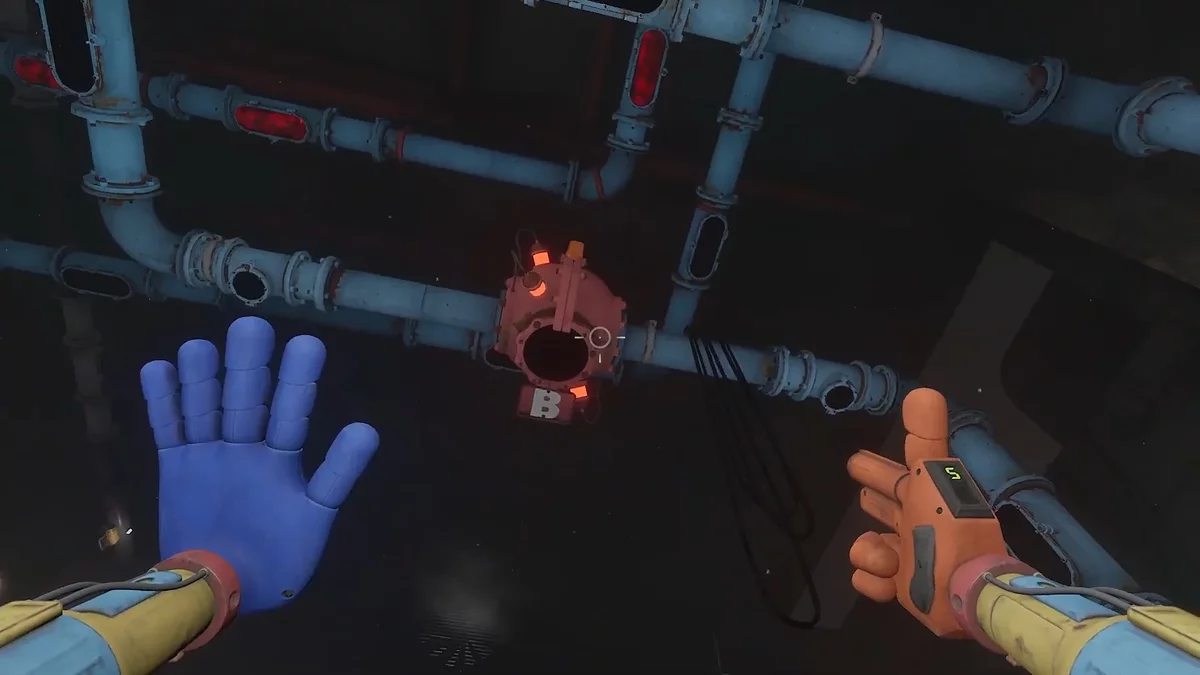
When the gas turns green, direct it into the tank using the remaining valves.
Fix the Door
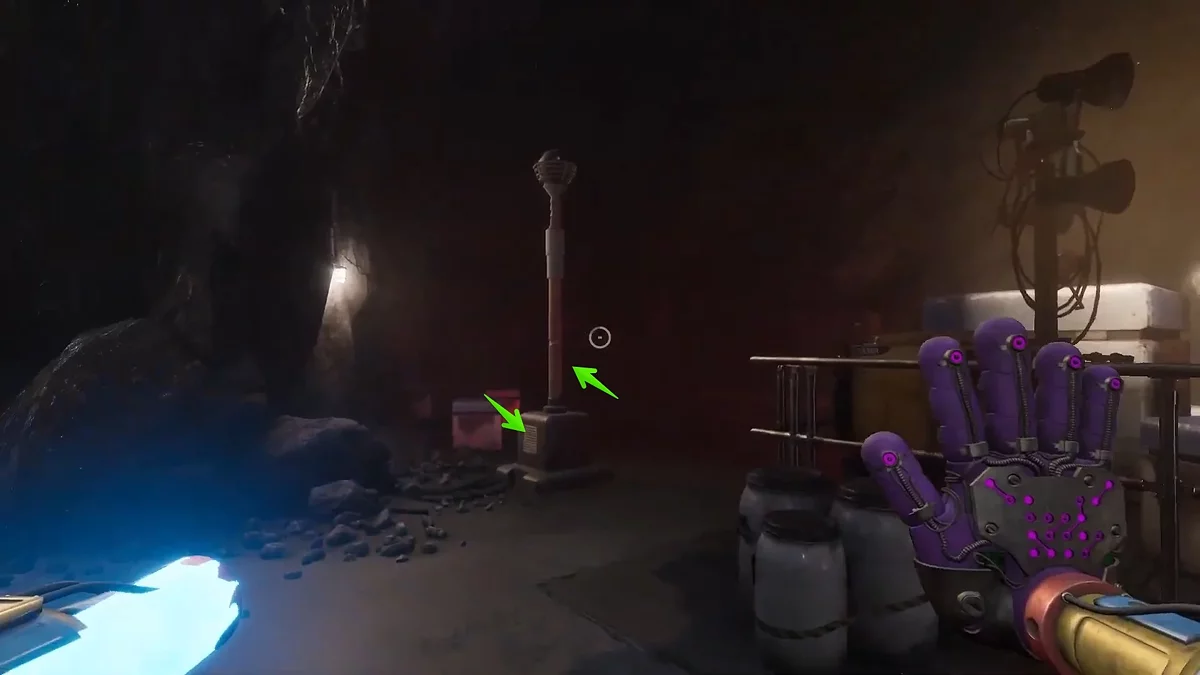
Return to the control point and scan the new glove. Unfortunately, the door behind the hero refuses to open. Grab the gear to the right of it and exit from the other side. On the roof of the building, there is a mechanism where you need to reach with the glove and insert the element.
Escape the Foundation
We recommend preparing the rocket launcher before escaping, as small toys will attack you. Jump onto the conveyor and run to the left. In the dead end, you will find an elevator — call it with the button. On the upper level of the mine, you will meet Dowie.
Return to Safe Haven
Head back to the safe haven through the sewer. But upon arrival, you will witness a sad scene: the haven will no longer be safe, and almost everyone there will be dead. Watch the scene with Dowie, who seems to have developed a split personality. Now, instead of a cute chubby creature, there's a real monster.
Run into the only intact passage and get onto the platform. Descend using the rope, overcome the gap, and roll down the conveyor. Moving the cylinder aside, you will see a glove scanner. Opening the door, the task will update.
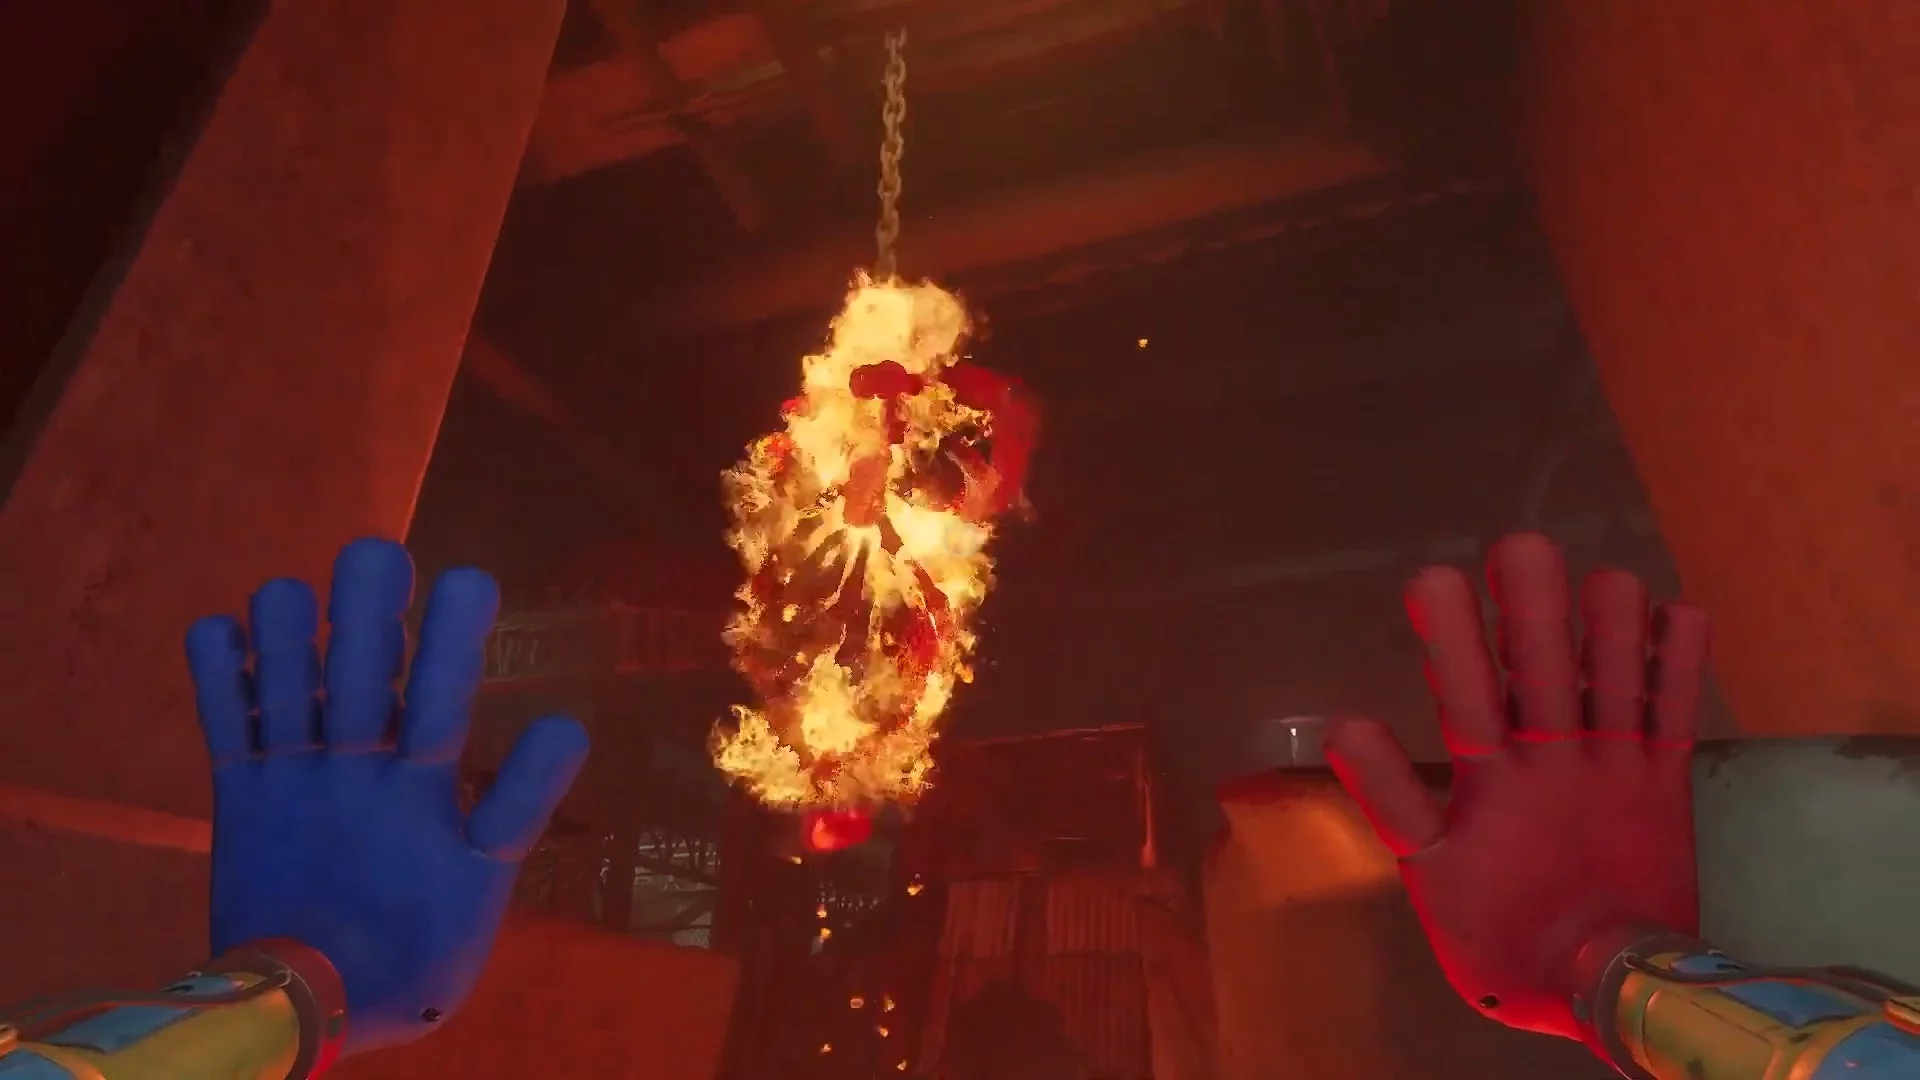
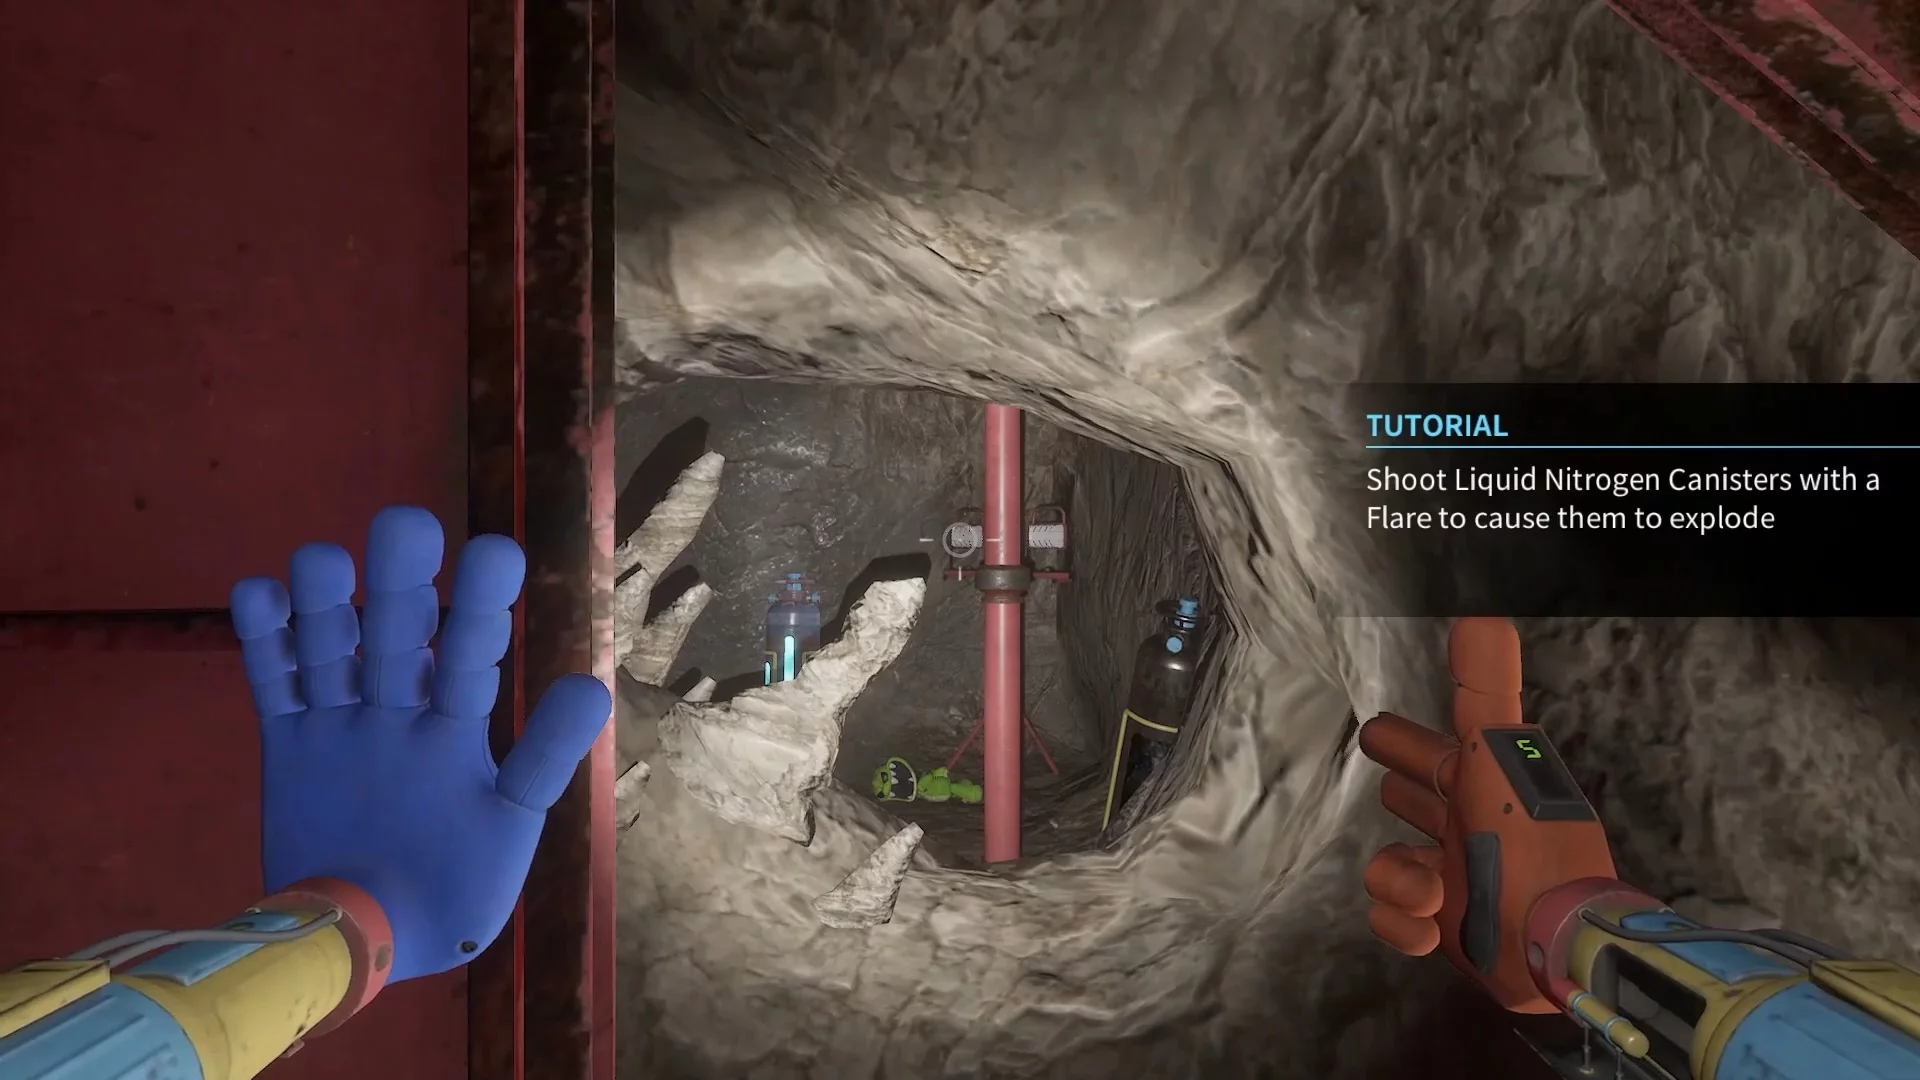
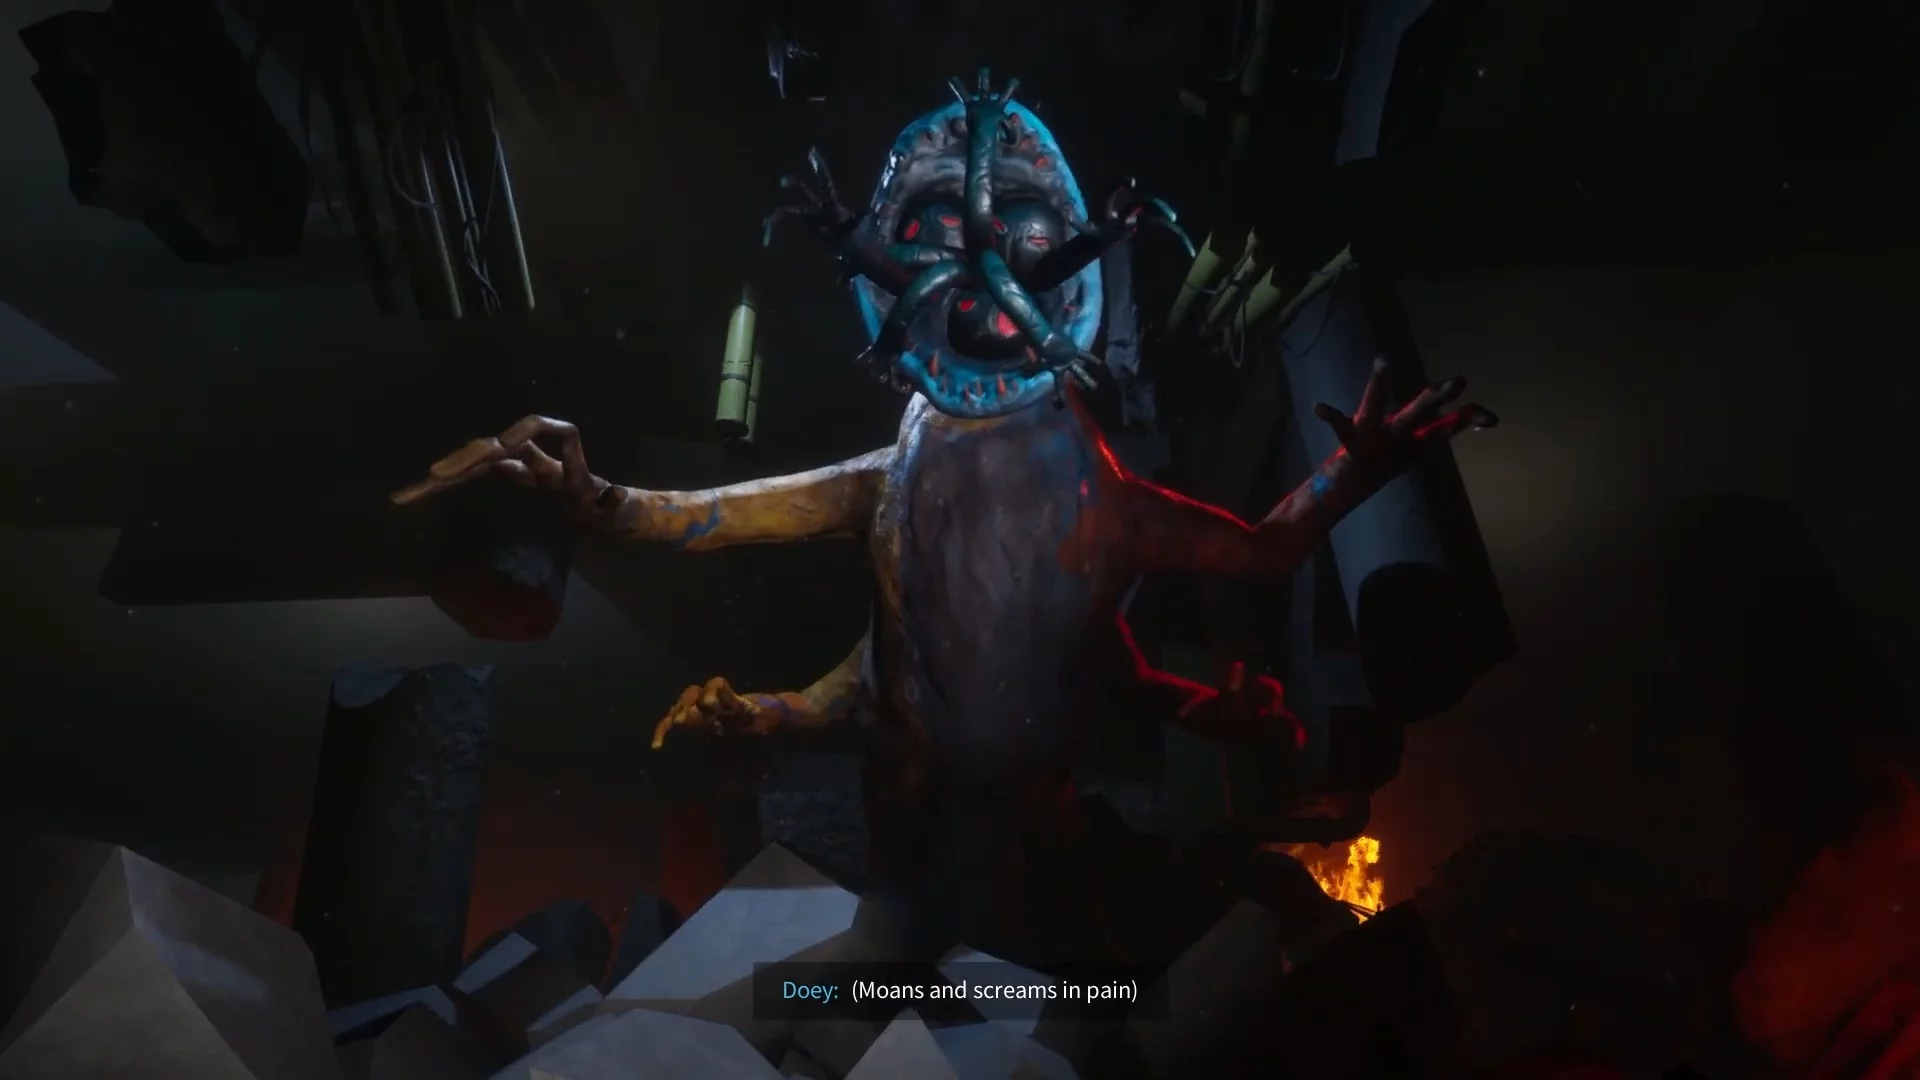
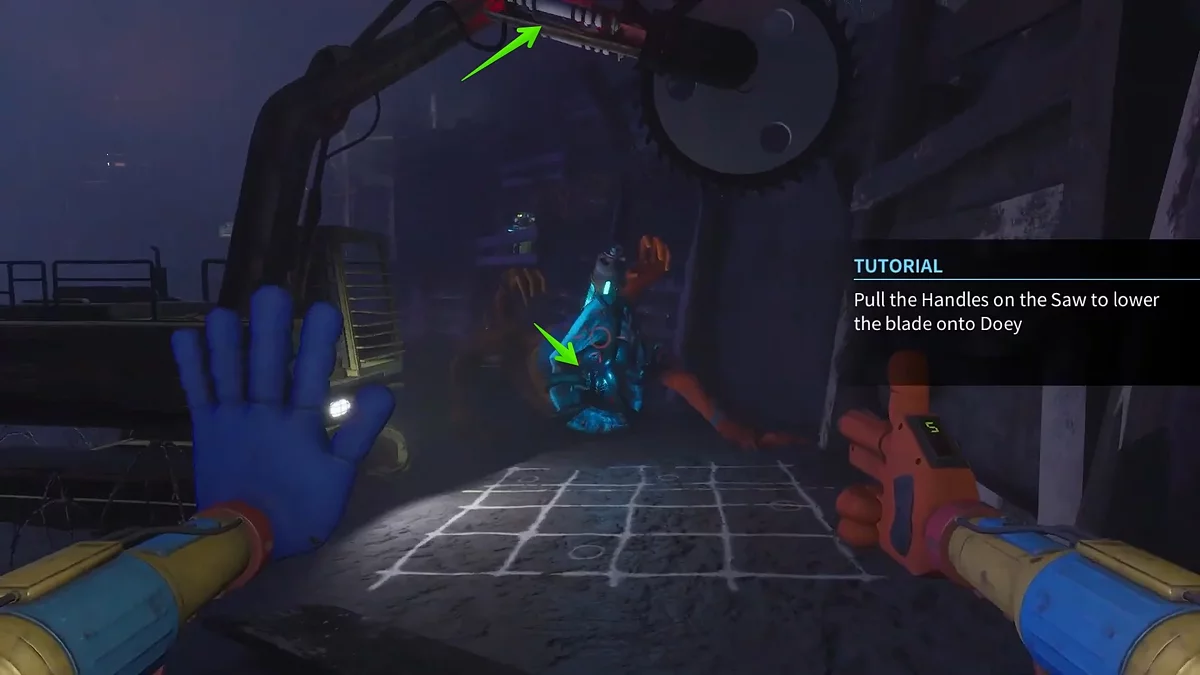
Freeze and Saw Doey to Defeat Him
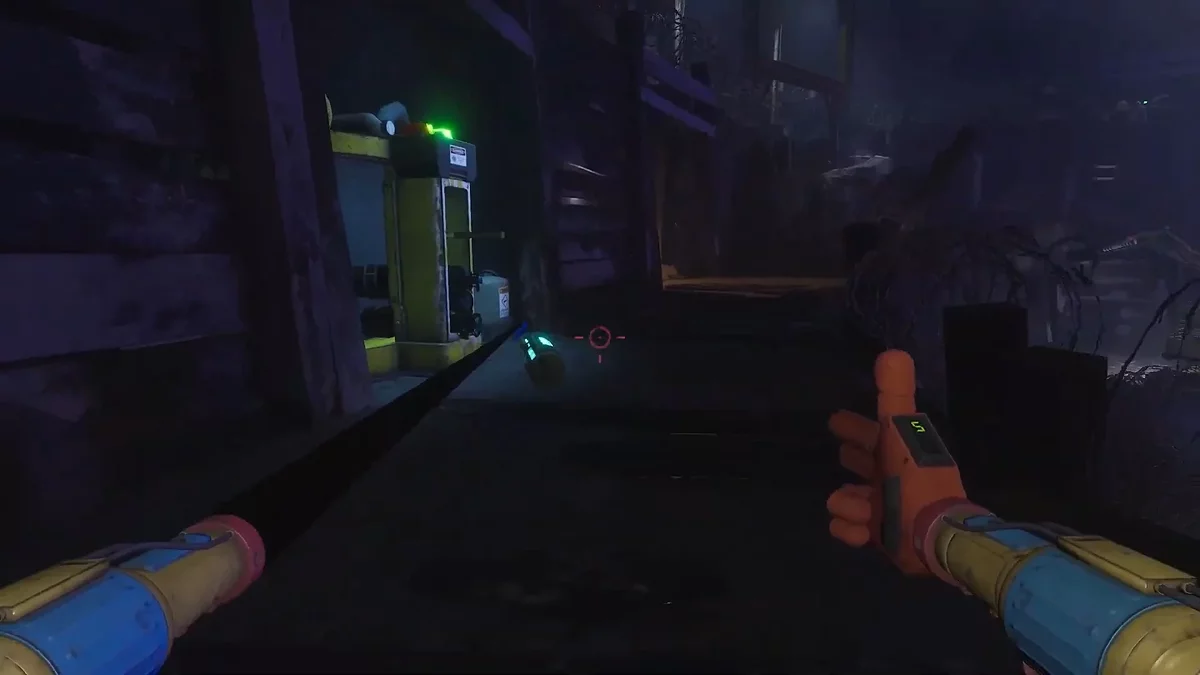
When the monster appears, you will see blue cylinders on the right. Pull one onto the road so he swallows it. However, part of the cylinder will be visible. If you shoot it, it will explode, temporarily freezing the enemy. Don't be in a hurry to do this. First, descend and find the circular saw. When the enemy approaches you closely, shoot the cylinder, and use the saw with your other hand to deal damage to him.
Note that the opponent will develop new attacks. First, he will attack with hands from underground, and then spit at the main character from afar. During the second attack, it's best to be under some cover, such as under the arm of the circular saw. When he starts chasing you again, use the cylinder strategy.
After defeating the enemy, run towards the light of the green lamps and try to scan the gloves. At this moment, the hero will be grabbed again by the revived monster, behind which there are several cylinders. Shoot them, then grab the lever and lower the giant press.
Search for Survivors
Open the doors using the scanner and find the room with the cassette and video player. From the recording, you will learn some information about Doey. Move the large cubes and jump into the ventilation, where you will find the survivors. However, after a brief conversation, a collapse will occur. Continue moving forward and find the room with the video player. Watch the recording, after which the episode will be completed.