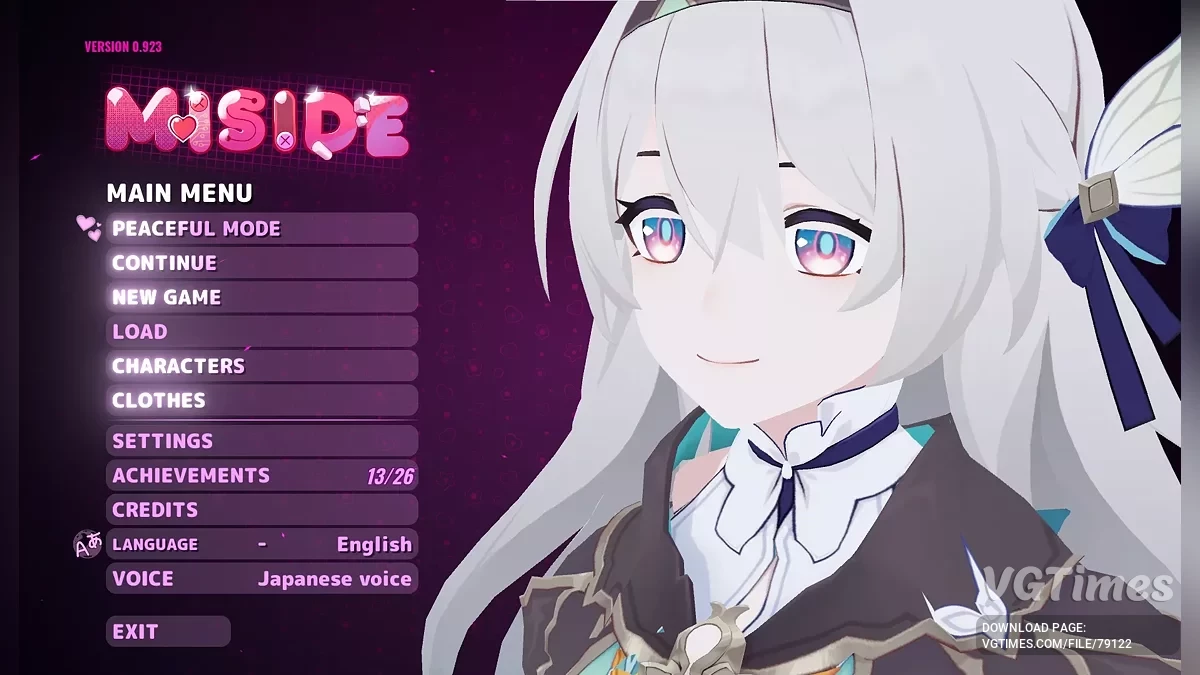
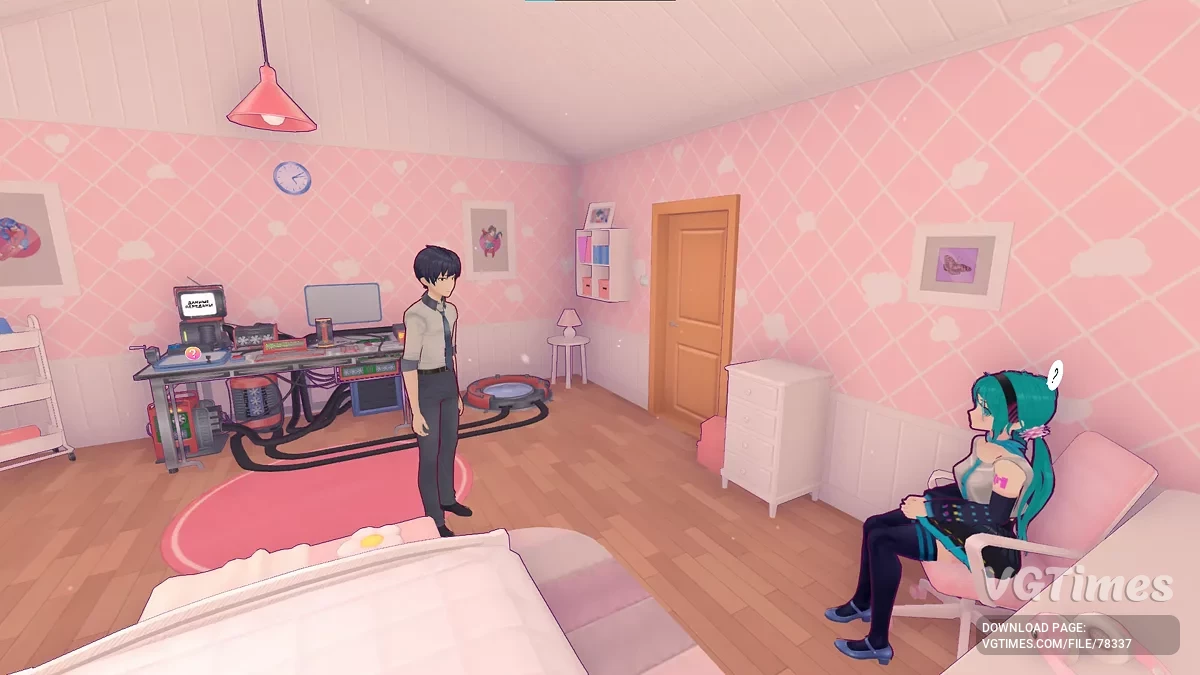
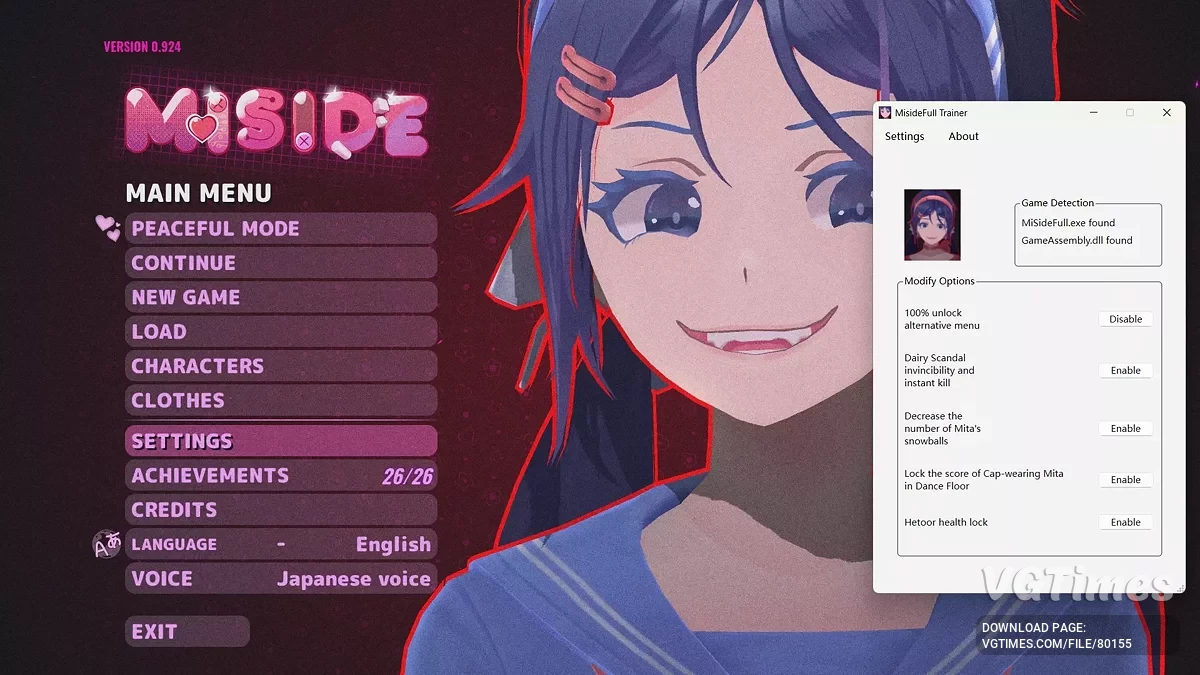
A hybrid of horror and dating simulator, MiSide offers a kaleidoscope of multi-genre mini-games — from classic puzzles to shooter elements, along with a variety of... Read more
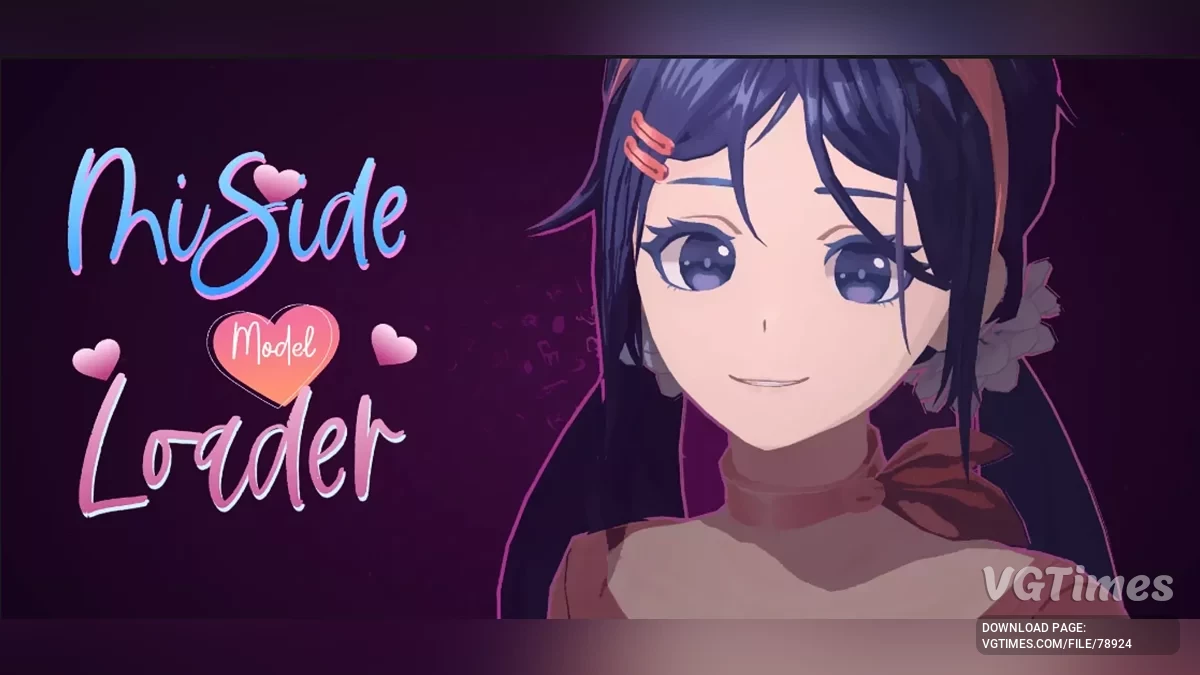
Custom Models Loader — Custom Model Loader


-
Download (2.76 MB)January 10, 2026, 09:03 AMv4.0.4 HotFixcustom-models-loader-zagruzchik_1768025005_999621.zip
-
Download (4.83 MB)January 10, 2026, 09:03 AMОригинальные ассеты Милыcustom-models-loader-zagruzchik_1768025005_552786.zip
-
Download (4.52 MB)January 10, 2026, 09:03 AMОригинальные ассетыcustom-models-loader-zagruzchik_1768025005_313493.zip
-
Download (2.02 MB)January 10, 2026, 09:03 AMОригинальные ассеты игрокаcustom-models-loader-zagruzchik_1768025005_941110.7z
A program for MiSide that simplifies working with models for both players and modders. This tool allows you to create and upload custom models that replace any versions of Mita.
Features:
- Dynamic Bones Config Export: a script that adds the ability to create a text configuration file for dynamic bones. To do this, right-click on the object in the scene;
- Original Assets: includes FBX format files and textures;
- Miside Custom Models Loader: a convenient tool for loading custom models.
Installation and Usage Instructions:
- Place the downloaded mods in the BepInEx folder -> plugins -> models. If the folder does not exist, create it;
- Use the keys F1 and F2 to switch between models (next/previous).
Additionally:
- Hotkey settings for F1/F2 can be changed in the file BepInEx\config\MS_CustomModels.cfg;
- Also requires the latest version of BepInExPack .
Guide to Creating a Custom Model for MiSide
Step 1: Preparation
- Download the following programs:
- Unity 2021.3.35;
- Blender;
- Git.
- Download the original FBX file from the game and unpack it to a convenient location.
Step 2: Working in Blender
- Import the Mita.fbx file into Blender (found in the downloaded archive).
- Uncheck Animation;
- Set the scale to 100.
- Move the model to coordinates (0, 0, 0).
- Make any changes:
- Model, modify textures or mesh, but keep the rig (bones);
- You can add new bones, but you cannot delete or rename existing ones.
- For proper facial animation:
- Rename the head/face shape keys the same as in the original model;
- Name the head object "Head";
- Export the model to FBX with a scale of 0.01.
Step 3: Working in Unity
- Create a Unity 2021.3.35 project and import the exported FBX.
- Uncheck Convert Units in the model settings and click Apply.
- If necessary, fix the textures:
- If they are messed up, manually reconfigure the materials.
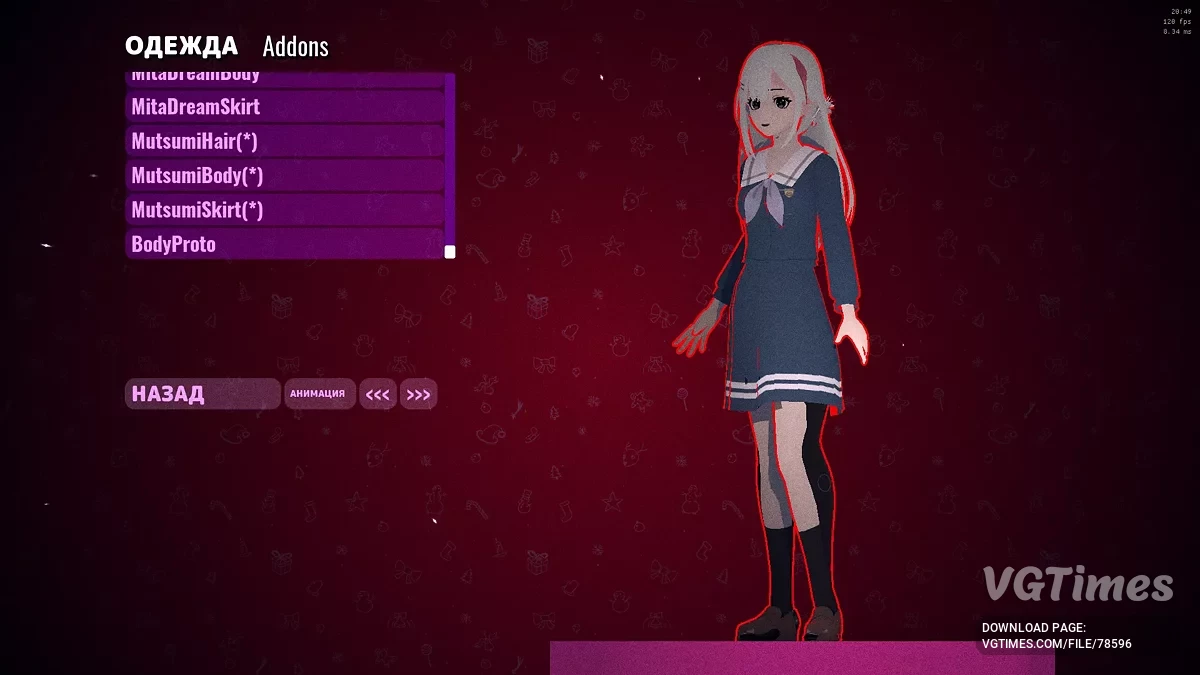
- Add the model to the scene.
- Ensure that all game objects have position and rotation (0, 0, 0).
- For partial replacement (e.g., only the body):
- Create an empty object named KEEP_x to preserve original elements (e.g., head).
- Use REPLACE_SHADERS for automatic material replacement.
After making changes, move the model from the scene hierarchy to the assets window and select Original Prefab.
Step 4: Building AssetBundle
- Install AssetBundles-Browser in Unity.
- In the Window -> AssetBundle Browser menu, drag the prefab into the build area.
- Set the output path to BepInEx/plugins/models and build.
Now the model should be available in the game by pressing F1/F2.
Step 5: Adding Physics (Optional)
- For dynamic physics, use a JSON configuration file. Example:
[
{
"root": "Chest",
"exclusions": ["Left shoulder", "Right shoulder"],
"damping": 0.2,
"elasticity": 0.1,
"stiffness": 0.1,
"inert": 0.85
}
]
- Drag the .txt settings file into the same package as the prefab.
Done! Now your model is fully ready for use and can be loaded into MiSide.
Программа для MiSide, которая упрощает работу с моделями как для игроков, так и для мододелов. Этот инструмент позволяет создавать и загружать пользовательские модели, заменяющие любые версии Миты.
Особенности:
- Dynamic Bones Config Export: скрипт, добавляющий возможность создания текстового файла конфигурации динамических костей. Для этого нужно щелкнуть правой кнопкой мыши на объекте в сцене;
- Original Assets: включает файлы формата FBX и текстуры;
- Miside Custom Models Loader: удобный инструмент для загрузки пользовательских моделей.
Инструкция по установке и использованию:
- Поместить загруженные моды в папку BepInEx -> plugins -> models. Если папка отсутствует, создать ее;
- Использовать клавиши F1 и F2 для переключения между моделями (следующая/предыдущая).
Дополнительно:
- Настройки сочетаний клавиш для F1/F2 можно изменить в файле BepInEx\config\MS_CustomModels.cfg;
- Также требуется установленный BepInExPack последней версии.
Руководство по созданию пользовательской модели для MiSide
Шаг 1: подготовка
- Загрузить следующие программы:
- Unity 2021.3.35;
- Blender;
- Git.
- Скачать оригинальный файл FBX из игры и распаковать его в удобное место.
Шаг 2: работа в Blender
- Импортировать файл Mita.fbx в Blender (находится в скачанном архиве).
- Снять флажок с Animation;
- Установить масштаб на 100.
- Переместить модель в координаты (0, 0, 0).
- Вносить любые изменения:
- Моделировать, изменять текстуры или сетку, но сохранить арматуру (кости);
- Можно добавлять новые кости, но нельзя удалять или переименовывать существующие.
- Для корректной работы лицевой анимации:
- Переименовать ключи формы головы/лица так же, как в оригинальной модели;
- Назвать объект головы «Head»;
- Экспортировать модель в FBX с масштабом 0.01.
Шаг 3: Работа в Unity
- Создайте проект Unity 2021.3.35 и импортируйте экспортированный FBX.
- Снимите галочку с Convert Units в настройках модели и нажмите Apply.
- При необходимости исправьте текстуры:
- Если они сбились, вручную перенастройте материалы.
- Добавьте модель на сцену.
- Убедитесь, что все игровые объекты имеют положение и вращение (0, 0, 0).
- Для частичной замены (например, только тела):
- Создайте пустой объект с названием KEEP_x для сохранения оригинальных элементов (например, головы).
- Используйте REPLACE_SHADERS для автоматической замены материалов.
После внесения изменений переместите модель из иерархии сцены в окно активов и выберите Original Prefab.
Шаг 4: Сборка AssetBundle
- Установите AssetBundles-Browser в Unity.
- В меню Window -> AssetBundle Browser перетащите префаб в область сборки.
- Установите путь вывода на BepInEx/plugins/models и выполните сборку.
Теперь модель должна быть доступна в игре при нажатии F1/F2.
Шаг 5: Добавление физики (необязательно)
- Для динамической физики используйте конфигурационный файл в формате JSON. Пример:
[
{
"root": "Chest",
"exclusions": ["Left shoulder", "Right shoulder"],
"damping": 0.2,
"elasticity": 0.1,
"stiffness": 0.1,
"inert": 0.85
}
]
- Перетащите файл .txt с настройками в тот же пакет, что и префаб.
Готово! Теперь ваша модель полностью готова к использованию и может быть загружена в MiSide.
Useful links:


![MiSide — 100% completed game [0.93L]](https://files.vgtimes.com/download/posts/2025-05/thumbs/100-prokhozhdenie-0-93l_1747597454_181224.webp)