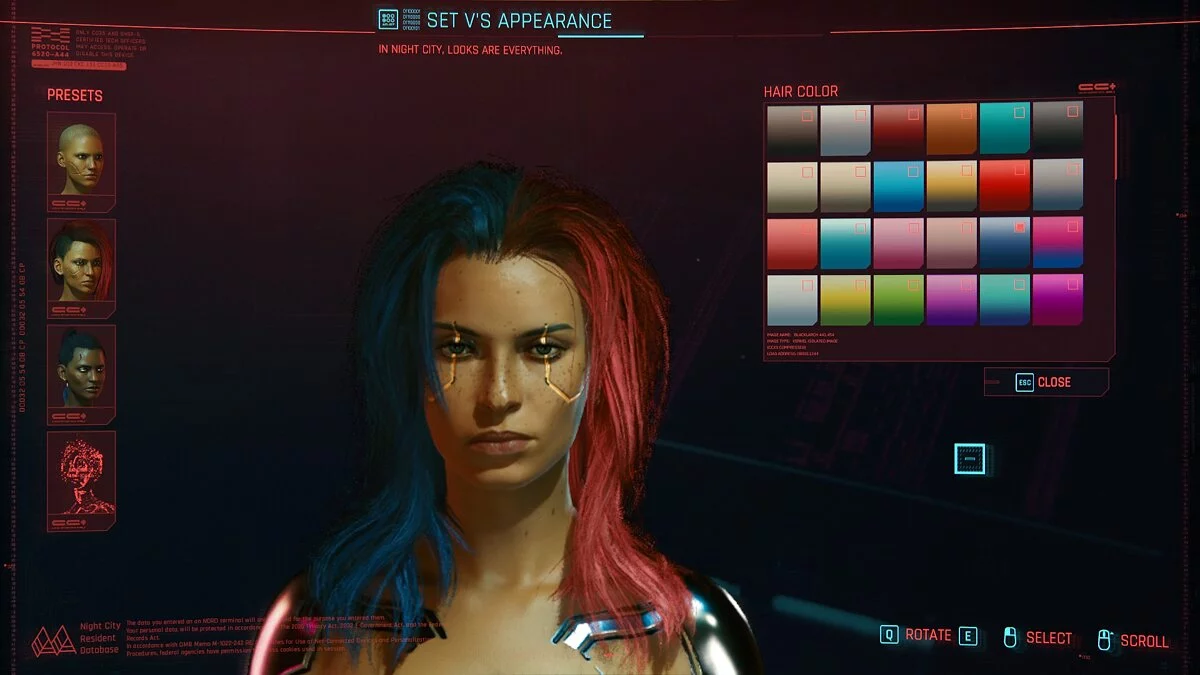
Cyberpunk 2077
The game from CD Projekt RED, the creators of The Witcher, inspired by the tabletop game Cyberpunk 2020 by Mike Pondsmith. The player is sent to the year 2077... Read more
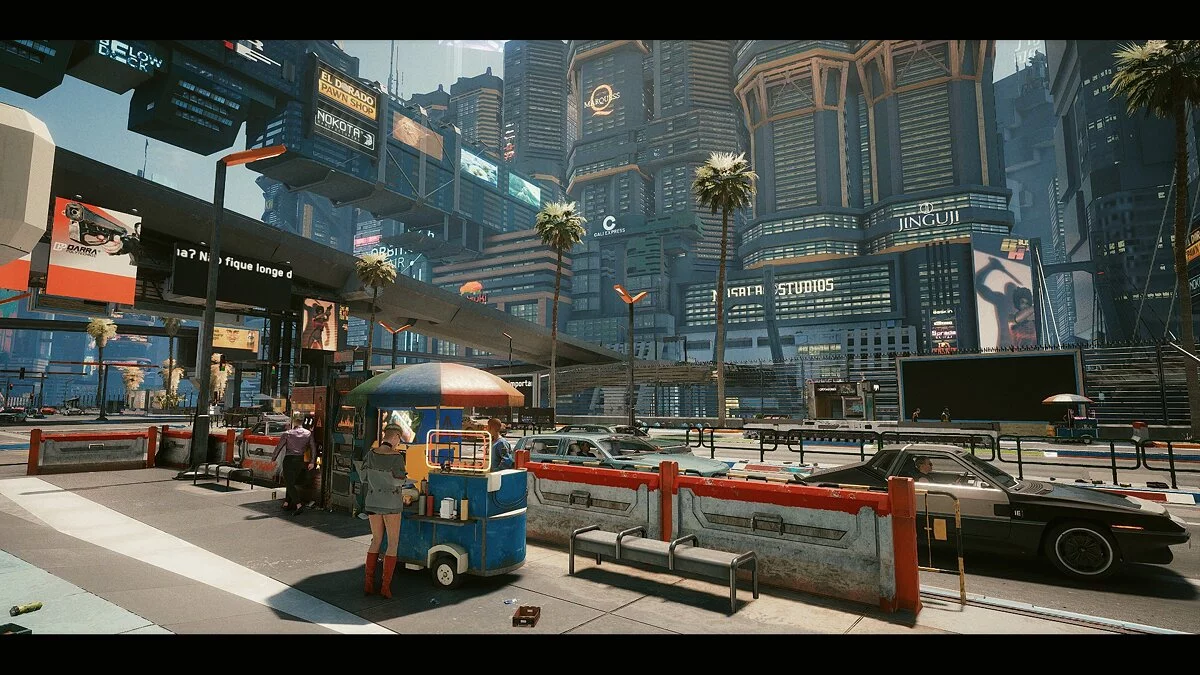
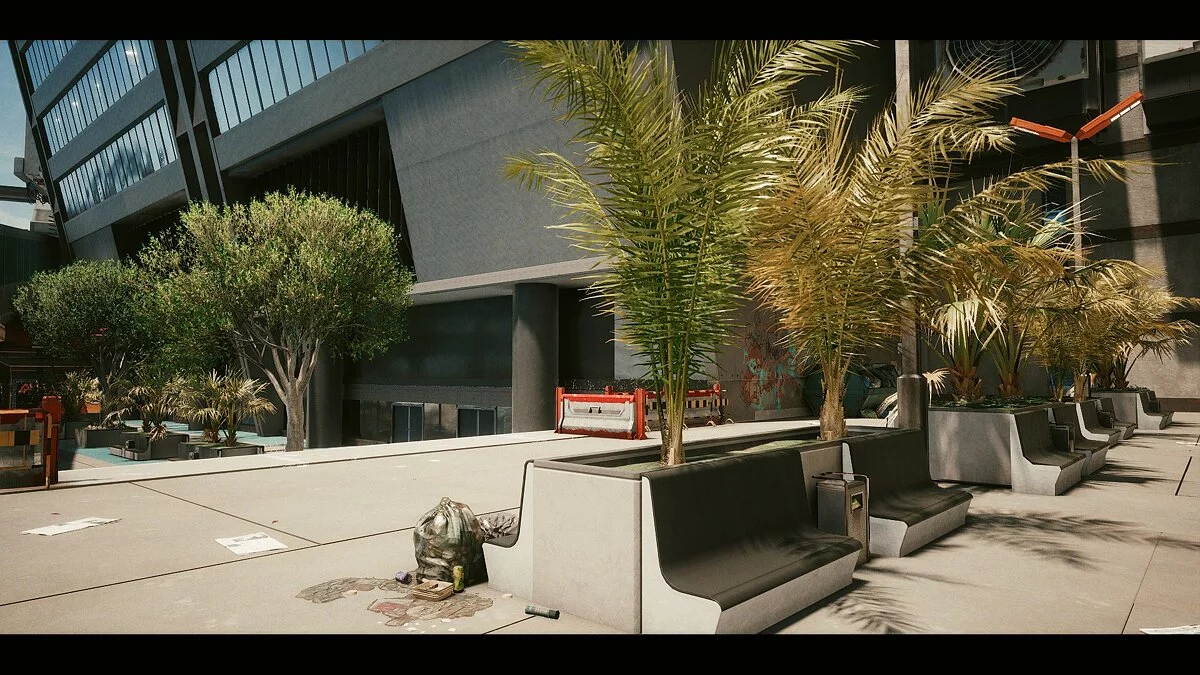
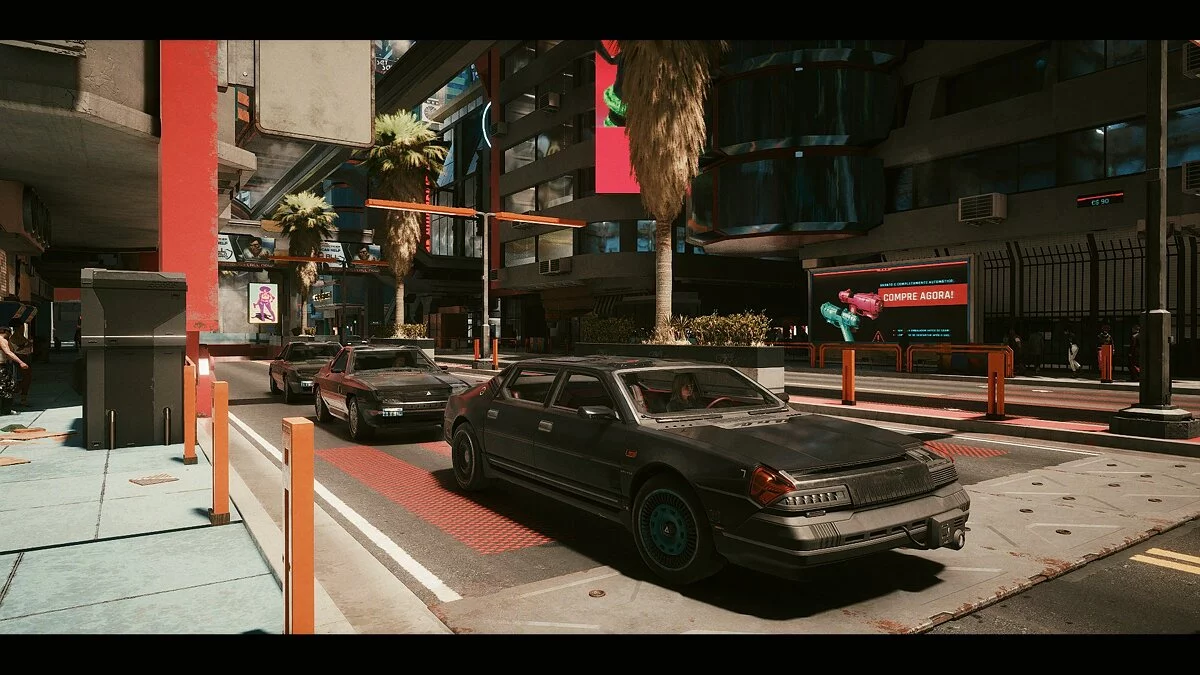
Realistic color enhancement

-
www.nexusmods.comDownloadArchive password: vgtimes
Night City Enhanced Reshade.
This is a Reshade preset that will enhance the game's original graphics with little or no performance impact, depending on your system. This will give a cleaner atmosphere, a slightly more realistic look, better color balance, better sharpness and contrast. Reshade assets used: Curves, HDR, LiftGammaGain, LumaSharpen, Technicolor2, Tonemap and Vibrance.
NVIDIA users only: If you are using an HDMI connection, it is very important to set Full Dynamic Range in the graphics card control panel. For AMD users: Open the AMD control panel, go to Gaming tab > Gaming > Global Graphics > Display > Pixel Format and set the value to: PC Standard 4:4:4 RGB Pixel Format (Full RGB).
Installation:
1. Download the latest version of Reshade from: https://reshade.me/
2. Run the executable to install Reshade ----> select the game or browse until you find the game executable .exe folder (usually /Cyberpunk2077/bin/x64 folder) and click the game .exe file ----> 3. In the shaders collections window, click "Uncheck all", you will see that the first option cannot be unchecked, no problem, scroll down and select only the last option (legacy standard effects) ----> confirm and wait for the shaders to load ---> In the shaders window, you can click "Uncheck all" and check only these .fx files: Curves.fx, FakeHDR.fx, LiftGammaGain.fx, LumaSharpen.fx, Technicolor2, Tonemap.fx and Vibrance.fx - --> Confirm and close the small window when you see the message “Color change setting was successful.”
4. Download my mod from the files tab on this page and extract the NightCityEnhanced.ini file into your Cyberpunk2077/bin/x64 folder;
5. Launch the game, use the "Home" key to open the Reshade menu, click "Continue" and in the red bar at the top, select the NightCityEnhanced.ini file and click "Select" (you will definitely see a visual change when you click on "Select") After that Click on the Continue and Done bars at the bottom of the menu, then Home.
Night City Enhanced Reshade.
Это предустановка Reshade, которая улучшит оригинальную графику игры с минимальным влиянием на производительность или без него, в зависимости от вашей системы. Это даст более чистую атмосферу, немного более реалистичный вид, лучший цветовой баланс, лучшую резкость и контраст. Используемые ресурсы Reshade: Curves, HDR, LiftGammaGain, LumaSharpen, Technicolor2 , Tonemap и Vibrance.
Только для пользователей NVIDIA: если вы используете соединение HDMI, очень важно установить полный динамический диапазон на панели управления видеокартой. Для пользователей AMD: откройте панель управления AMD, перейдите на вкладку «Игры»> «Игры»> «Глобальная графика»> «Дисплей»> «Формат пикселей» и установите значение: Стандарт ПК в формате пикселей 4: 4: 4 в формате RGB (Full RGB).
Установка:
1. Загрузите последнюю версию Reshade с: https://reshade.me/
2. Запустите исполняемый файл, чтобы установить Reshade ----> выберите игру или просмотрите, пока не найдете папку .exe исполняемого файла игры (обычно / Cyberpunk2077 / bin / x64 folder) и нажмите файл игры .exe ----> выберите Direct3D10 / 11/12 (и щелкните внутри этой же панели)
3. В окне коллекций шейдеров нажмите «Снять отметку со всех», вы увидите, что первый вариант не может быть снят, без проблем, прокрутите вниз и выберите только последний вариант (устаревшие стандартные эффекты) ---- > подтвердите и дождитесь загрузки шейдеров ---> В окне шейдеров вы можете нажать «Снять отметку со всех» и проверить только эти файлы .fx: Curves.fx, FakeHDR.fx, LiftGammaGain.fx, LumaSharpen.fx, Technicolor2 , Tonemap.fx и Vibrance.fx ---> Подтвердите и закройте маленькое окошко когда увидите сообщение «Настройка изменения цвета прошла успешно».
4. Загрузите мой мод из вкладки файлов на этой странице и извлеките файл NightCityEnhanced.ini в папку Cyberpunk2077 / bin / x64;
5. Запустите игру, используйте клавишу «Home», чтобы открыть меню Reshade, нажмите «Продолжить» и на красной панели вверху выберите файл NightCityEnhanced.ini и нажмите «Выбрать» (вы точно увидите визуальное изменение при нажатии на «Выбрать») После этого нажмите на панели «продолжить» и «Готово» в нижней части меню, затем «Домой».
Useful links: