Fallout 4: Game of the Year Edition
Fallout 4: Game of the Year Edition is a special edition of the role-playing game in the post-apocalyptic world of Fallout 4. The game includes all the latest... Read more
AWKCR - armor editor
-
www.nexusmods.comDownloadArchive password: vgtimes
Armor and Weapon Keywords Community Resource (AWKCR).
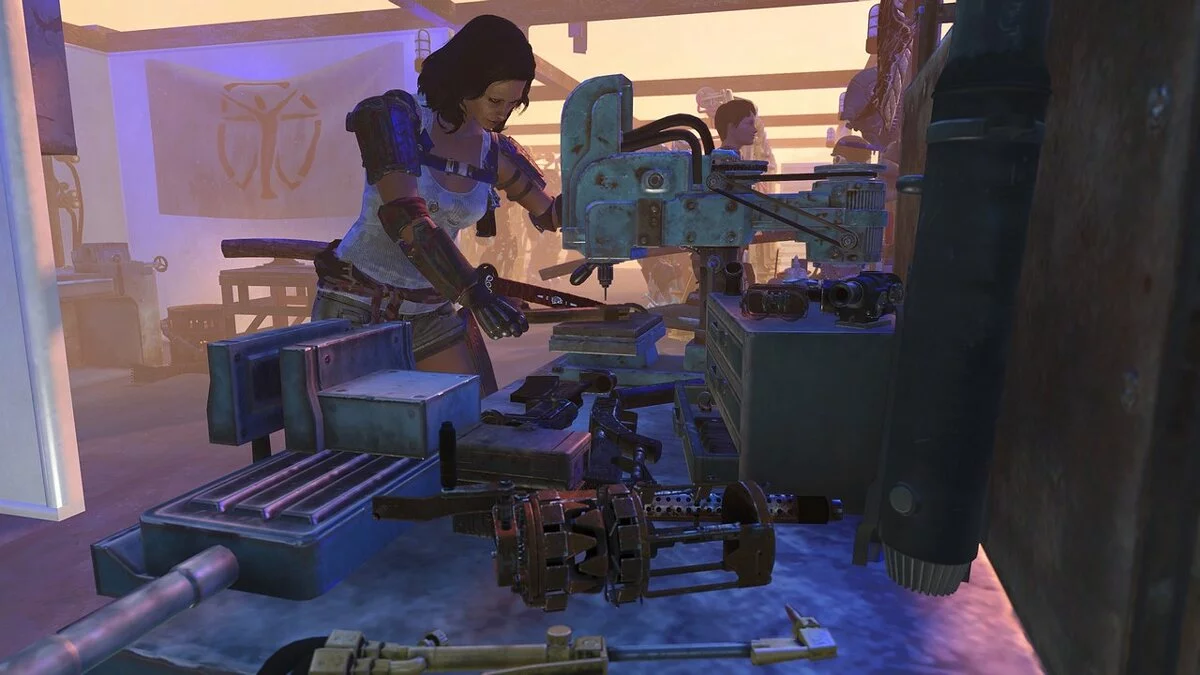
This mod adds 3 workbenches to the game that modders can add items to for players to craft.
This resource does the following things:
1 Creates a standardized framework for modders to prevent armor and cosmetic keyword conflicts.
2 Standardizes the use of armor and cosmetic slots to prevent conflicts (developers of major cosmetic modifications contributed).
3 Adds standardized workbenches for creating armor, weapons and ammunition that will be used to craft items added by mods.
4 Adds standard keywords that modders can use for weapons; a set of modifications to increase the damage of bladed weapons; keywords for tactical flashlight, laser sight, combination of tactical flashlight and laser sight. This was done so that people could use a lot of weapon mods without having to use a bunch of the very limited number of keywords that we have at our disposal before the overflow causes glitches in the form of invisible robots or long opening of workbenches.
5 Adds keywords for sorting weapons by caliber, to facilitate the work of modmakers who create modifications that add weapons so that the weapon supports sorting.
6 Adds keywords to sort melee weapons by type.
7 Adds a framework that provides a system for changing colors and decals on armor and clothing.
Installation:
Preparatory stage:
1 Open the folder C:/Users/Username/Documents/My Games/Fallout4/, it should contain several ini files.
2 Select Fallout4Custom.ini and Fallout4.ini, open properties and make sure that the files are NOT read-only.
bEnableFileSelection=1
4 Save the file and close.
5 Open the Fallout4Custom.ini file and add the following lines
[Archive]
bInvalidateOlderFiles=1
sResourceDataDirsFinal=
6 Save the file and close. At this point the preparatory stage is over, you can proceed directly to the installation.
Using Nexus Mod Manager:
1 Open NMM.
2 Go to the Mods tab.
3 Click on the green plus sign on the left.
4 Select the archive with the modification.
5 Activate the mod that appears by double-clicking.
Manually:
1 Copy the file ArmorKeywords - Main.ba2 from the Data folder in the archive to the Fallout 4/Data/ ! folder! 2 Copy one of the following plugins (DO NOT copy both!) to the Fallout 4/Data/ folder:
• AWKCR-NoDLC/ArmorKeywords.esm - if you do not have any add-ons installed.
• AWKCR-AllDLC/ArmorKeywords.esm - if you have DLC Automatron, DLC Far Harbor, DLC Contraptions, DLC Vault-Tec and DLC Nuka World installed.
3 Open the file at the path C:/Users/Username/AppData/Local/Fallout4/plugins.txt and add the line to it (note: in the new version Bethesda changed the way they activate plugins, and now you need to add an asterisk before the name of the plugin):
ArmorKeywords.esp and if you installed patches, then add the line AWKCRPatch-UFO4P.esp. 4 The correct loading order is as follows:
Fallout4.esm
Unofficial Fallout 4 Patch.esp
ArmorKeywords.esm
Armor and Weapon Keywords Community Resource (AWKCR).
Эта модификация добавляет в игру 3 верстака, в которые разработчики модификаций могут добавить предметы, чтобы у игроков была возможность создать их.
Этот ресурс выполняет следующие вещи:
1 Создает стандартизированный фреймворк для модмейкеров с целью предотвратить конфликты ключевых слов брони и косметики.
2 Стандартизирует использование слотов броней и косметикой для предотвращения конфликтов (свой вклад внесли разработчики крупных косметических модификаций).
3 Добавляет стандартизированные верстаки для создания брони, оружия и боеприпасов, которые будут использоваться для крафта предметов, добавленных модами.
4 Добавляет стандартные ключевые слова, которые модмейкеры могут использовать для оружия; набор модификаций для увеличения урона оружия с лезвиями; ключевые слова для тактического фонарика, лазерного прицела, комбинации из тактический фонарика и лазерного прицела. В модификации Weaponsmith Extended продемонстрировано как менять фильтрацию ключевых слов для модифицированного оружия в снаряженном состоянии. Это была сделано для того, чтобы люди могли использовать много модификаций оружия без использования кучи очень ограниченного количества ключевых слов, которые мы имеем в распоряжении до переполнения, которое вызывает глюки в виде невидимых роботов или длительного открытия верстаков.
5 Добавляет ключевые слова для сортировки оружия по калибру, для облегчения работы модмейкеров создающих модификации добавляющие оружие, чтобы оружие поддерживало сортировку.
6 Добавляет ключевых слова для сортировки оружия ближнего боя по его типу.
7 Добавляет фреймворк обеспечивающий систему смены цветов и декалей на броне и одежде.
Установка:
Подготовительный этап:
1 Откройте папку C:/Users/Имя пользователя/Documents/My Games/Fallout4/, она должна содержать несколько ini-файлов.
2 Выделите Fallout4Custom.ini и Fallout4.ini, откройте свойства и убедитесь, что файлы доступны НЕ только для чтения.
3 Откройте файл Fallout4Prefs.ini с помощью текстового редактора и найдите категорию [Launcher] прямо под этой строкой добавьте следующую:
bEnableFileSelection=1
4 Сохраните файл и закройте.
5 Откройте файл Fallout4Custom.ini и добавьте в него следующие строки
[Archive]
bInvalidateOlderFiles=1
sResourceDataDirsFinal=
6 Сохраните файл и закройте. На этом подготовительный этап окончен, можно приступать непосредственно к установке.
С помощью Nexus Mod Manager:
1 Откройте NMM.
2 Перейдите на вкладку Mods.
3 Нажмите на зеленый плюсик слева.
4 Выберете архив с модификацией.
5 Появившийся мод активируете двойным щелчком.
Вручную:
1 Скопируйте файл ArmorKeywords — Main.ba2 из папки Data в архиве в папку Fallout 4/Data/
2 Скопируйте один из следующих плагинов (НЕ копируйте оба!) в папку Fallout 4/Data/:
• AWKCR-NoDLC/ArmorKeywords.esm — если у Вас не установлено ни одного дополнения.
• AWKCR-AllDLC/ArmorKeywords.esm — если у Вас установлены DLC Automatron, DLC Far Harbor, DLC Contraptions, DLC Vault-Tec и DLC Nuka World.
3 Откройте файл по пути C:/Users/Имя пользователя/AppData/Local/Fallout4/plugins.txt и добавьте в него строку (примечание: в новых версия Bethesda поменяла способ активации плагинов, и теперь перед названием плагина нужно добавлять звездочку):
ArmorKeywords.esp и если Вы устанавливали патчи, тогда добавьте еще строку AWKCRPatch-UFO4P.esp.
4 Правильный порядок загрузки выглядит следующим образом:
Fallout4.esm
Unofficial Fallout 4 Patch.esp
ArmorKeywords.esm
Useful links:



![Fallout 4: Game of the Year Edition — Trainer (+18) from 08/08/2024 [WeMod] — Fallout: London](https://files.vgtimes.com/download/posts/2024-08/thumbs/trejjner-18-ot-08-08-2024-wemod-fallout_1723110185_772921.webp)
