A New Godsway: Dragon's Dogma 2 Walkthrough
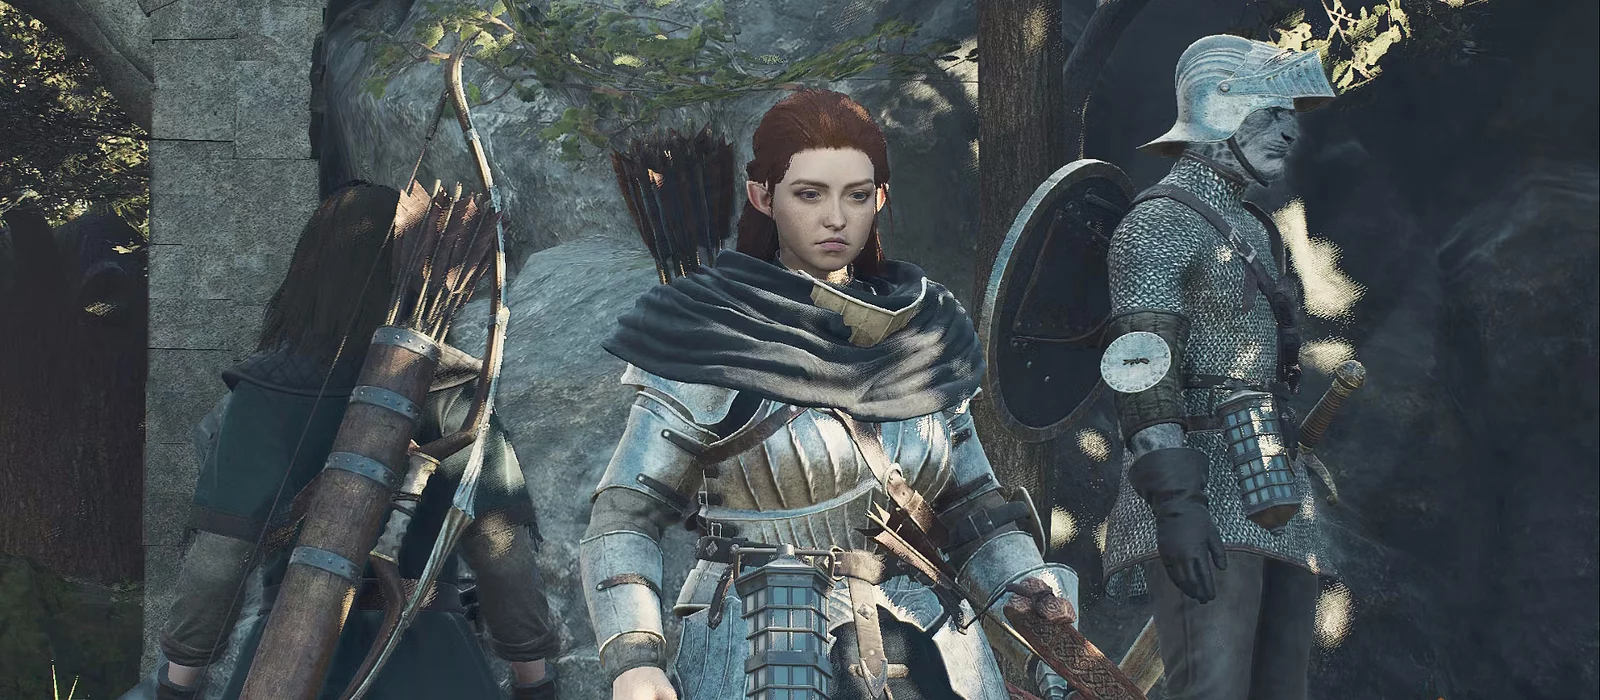
In Dragon's Dogma 2, the quest «A New Godsway» is a pivotal moment that unfolds after players discover the Sunken Temple. This mission not only promises adventure but also holds the key to a treasure trove of valuable loot, including numerous chests filled with rare items and the opportunity to collect dragon crystals crucial for Ambrosius. We will provide strategies for overcoming this formidable foe, tips on where to find crystal shards, and a comprehensive list of rewards awaiting those who successfully complete the quest.
Through detailed insights, players will learn how to maximize their haul of dragon crystals and unlock the potential rewards, ensuring a fruitful journey through the Sunken Temple in Dragon's Dogma 2.
How to complete the quest A New Godsway
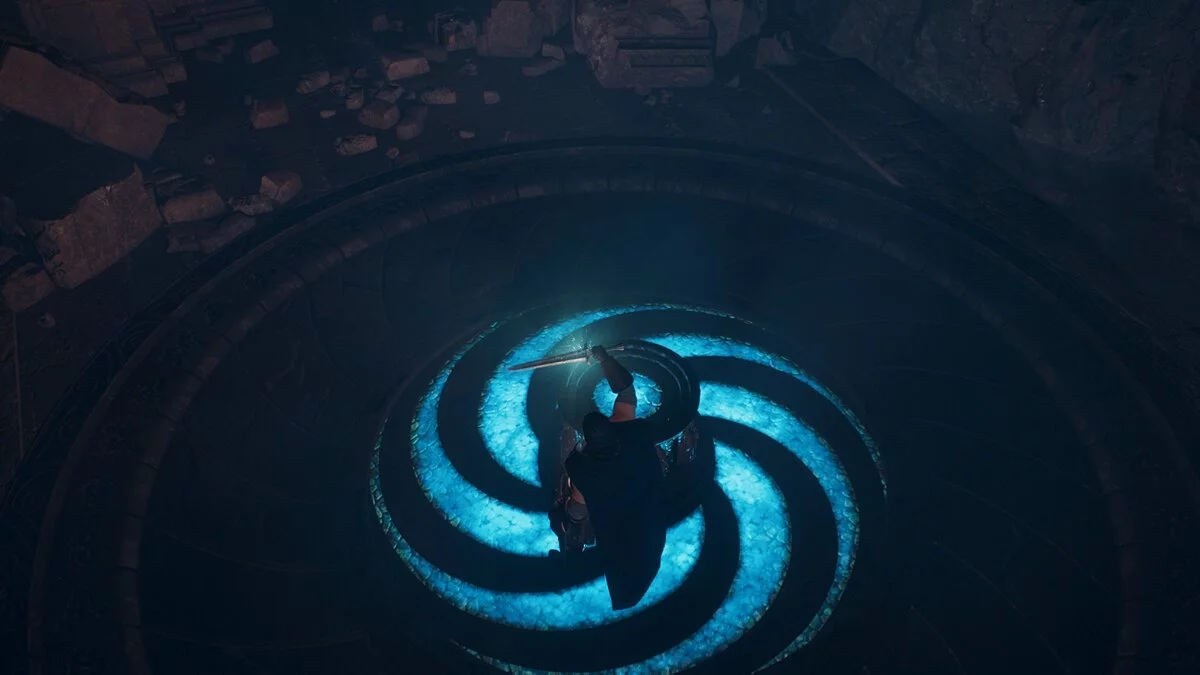
The mission will start after you infiltrate the Flooded Temple and converse with another Risen named Rotis. Right after the cutscene, the protagonist will look at the door leading to the elevator — follow there and interact with the mechanism to find yourself amidst the ruins.
How to Find All Chests in the Ruins
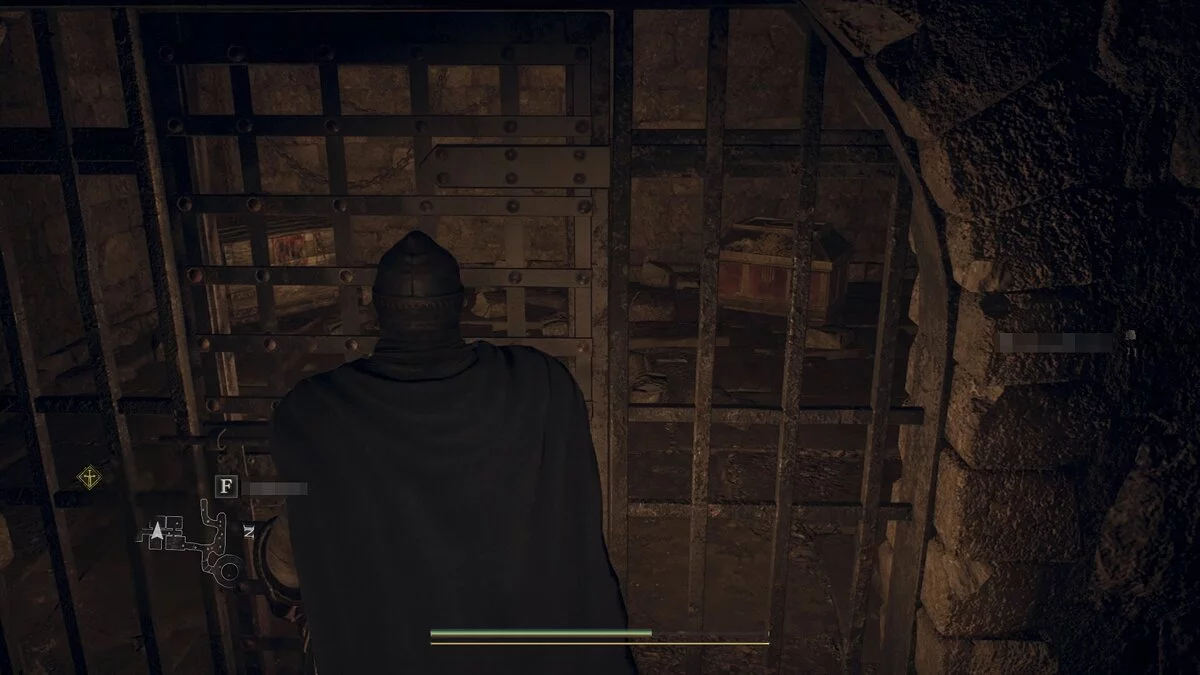
In the cave at the fork, turn right to find a painted chest with the Sorcerer's Robe. Next, you will enter a block with cells, one of which will be locked. The key to it lies next to the staircase. There's nothing valuable in them, but if you enjoy collecting, we won't dissuade you.
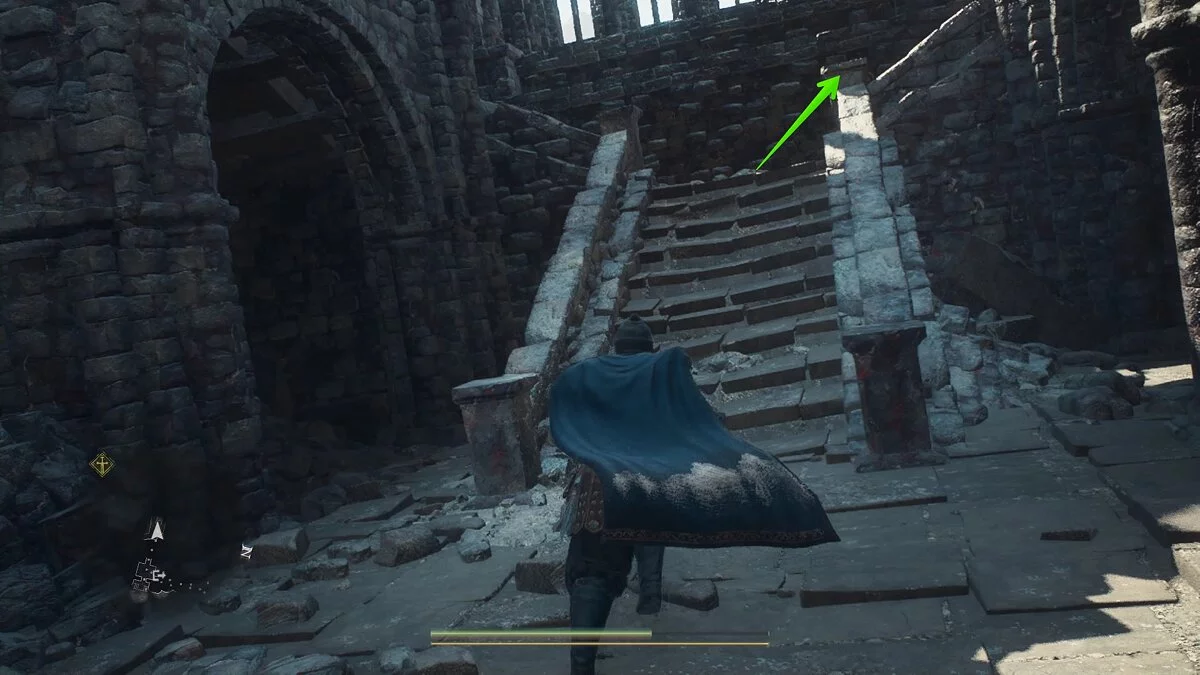
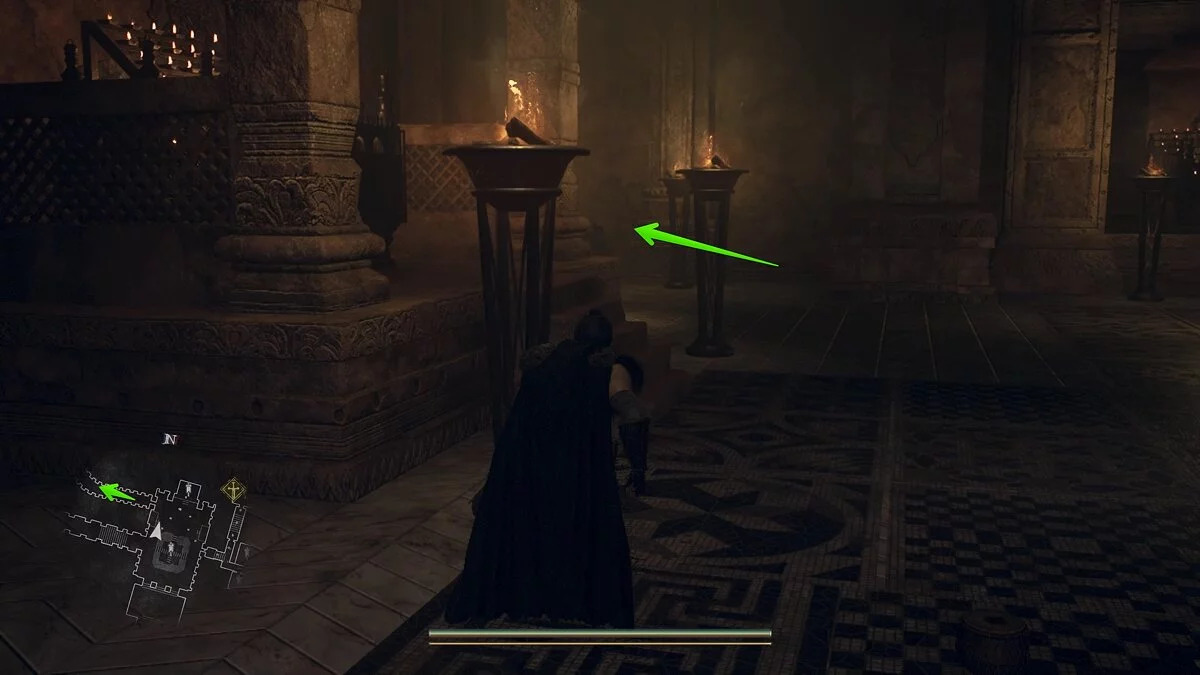
Once outside, walk through the ruined hall to the staircase and first run to the right. On the balcony, there will be another chest with the Unifier's Mantle.
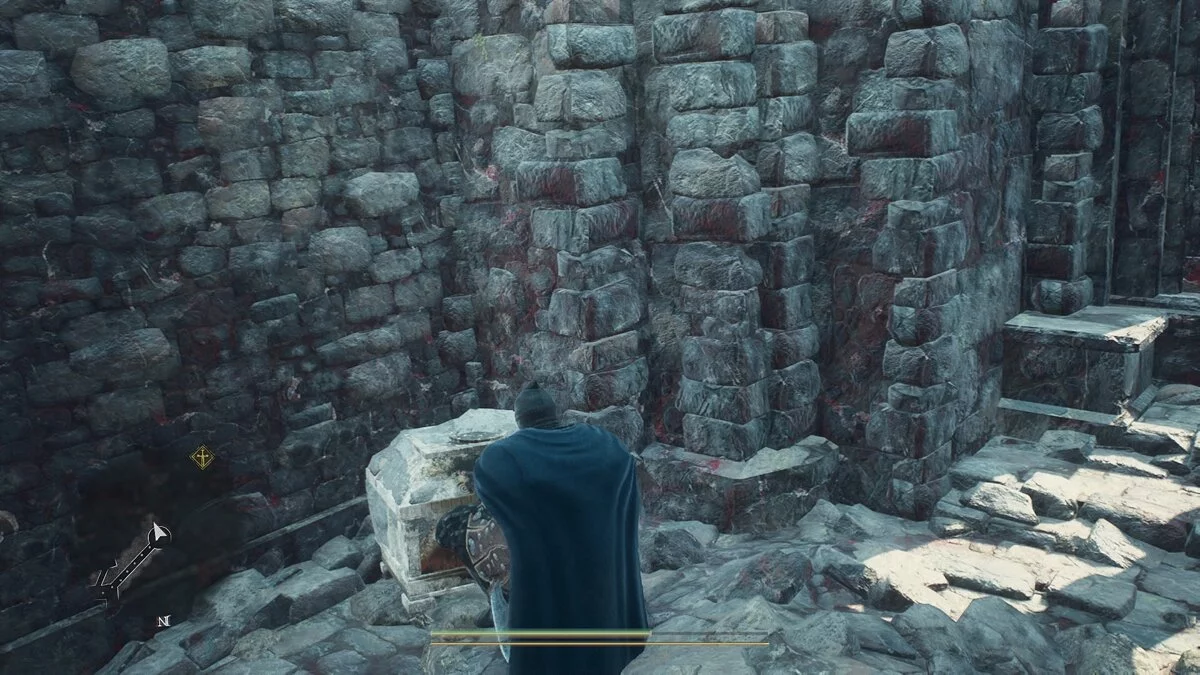
Return to the same staircase and run in the opposite direction. On the upper level, you can get rid of the barrels and inspect the penultimate chest in this area. Here lies a Shard of Awakening Stone. The last chest is hidden in the following ruins, from which you will retrieve the Astrologer's Robe.
How to Enter Ambrosius's Laboratory
Continue running forward to reach the place of the first encounter with Ambrosius. The path lies in the Flame Castle, where Menella will be waiting for you with the optional assignment «Prayers in the Shadows» (Shadowed Players). We recommend not refusing it and completing it as soon as possible.
Proceed to the main hall and turn left, then left again down the long corridor.
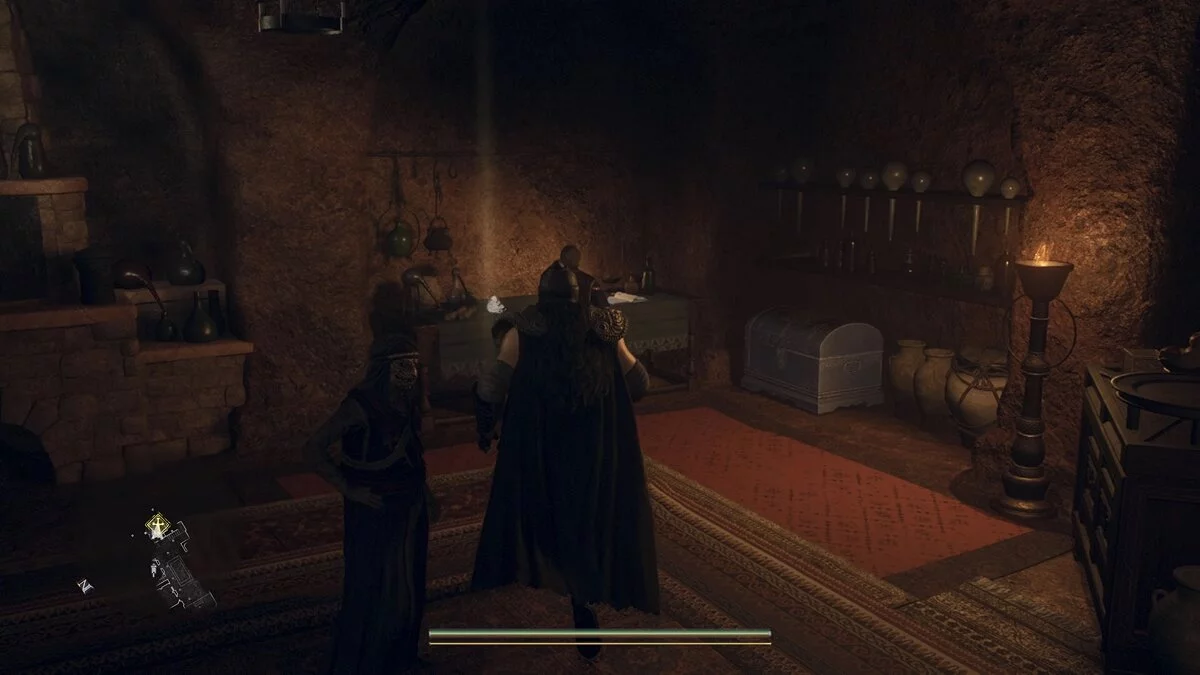
Follow past the dragon statue and enter the office on the first floor, where Ambrosius will be waiting. Hand him Rotis's blade and don't forget to inspect the room. There are valuable items and a chest here, and in the adjacent rooms, you can also find several chests.
The mission will continue during the conversation with Ambrosius, right after you give him the blade. To restore the item, he will require you to obtain 15 dragon crystals.
How to Obtain 15 Dragon Crystals
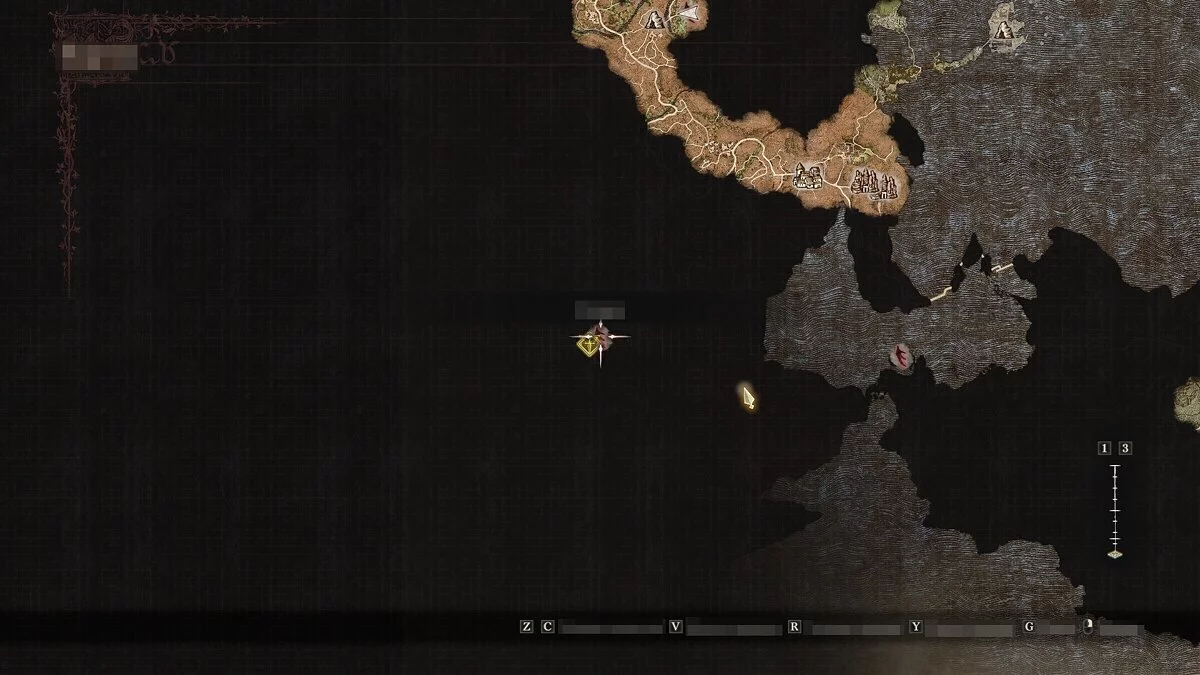
To continue the mission, you need to find out where the lesser dragon hides. Head to the Oracle's sanctuary and ask him this question — a marker will appear on the map indicating where you can search for the creature.
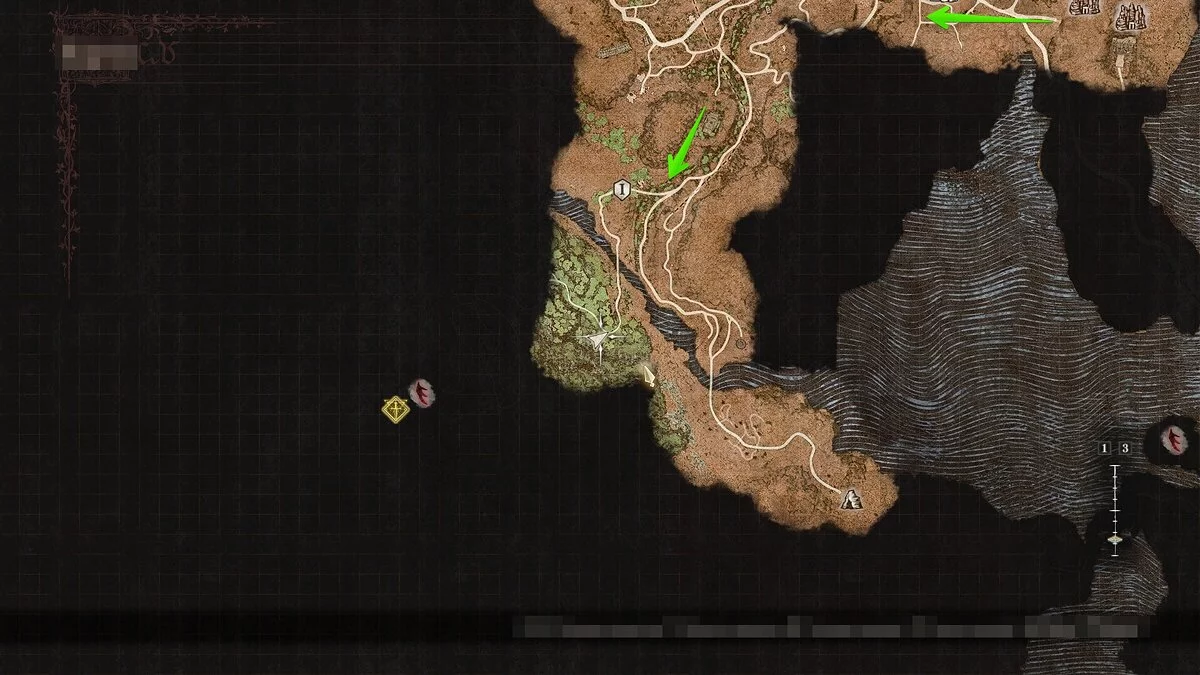
Your path lies in the Dragonblood Forest, to the tower where the Lesser Dragon resides. Defeating this boss is necessary to obtain the dragon crystals. However, the journey there can be challenging, especially if you have a low level of progression. We recommend first focusing on leveling up your hero and your pawn, as well as picking strong fighters for your party before setting off.
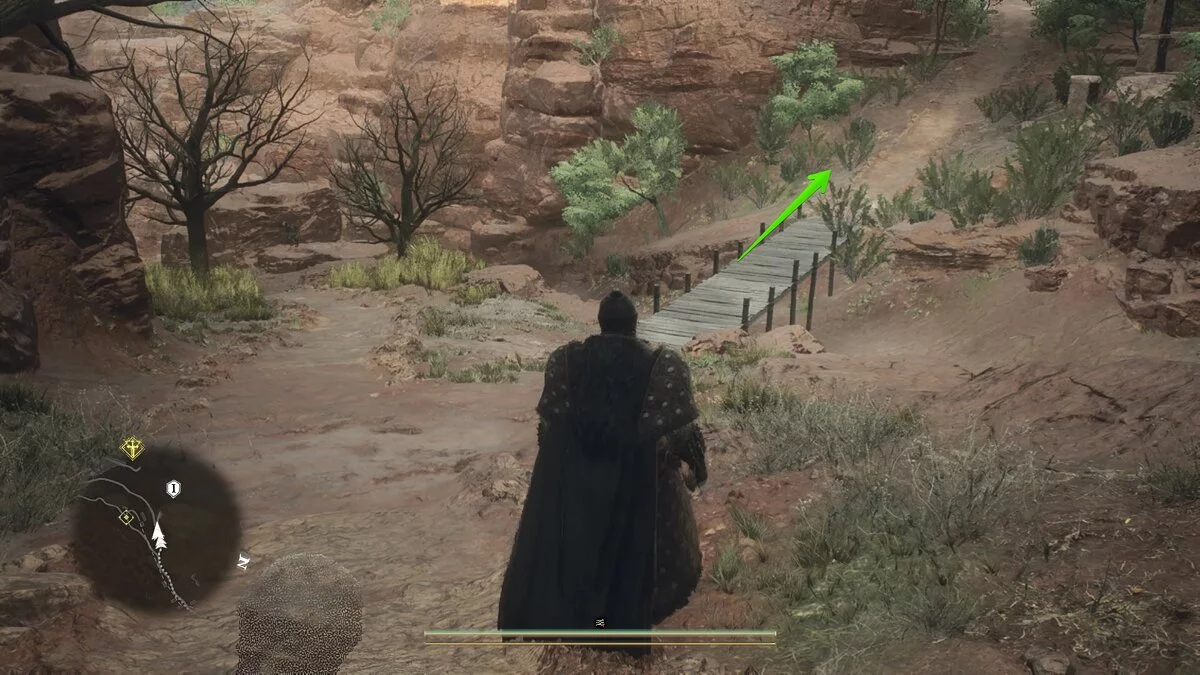
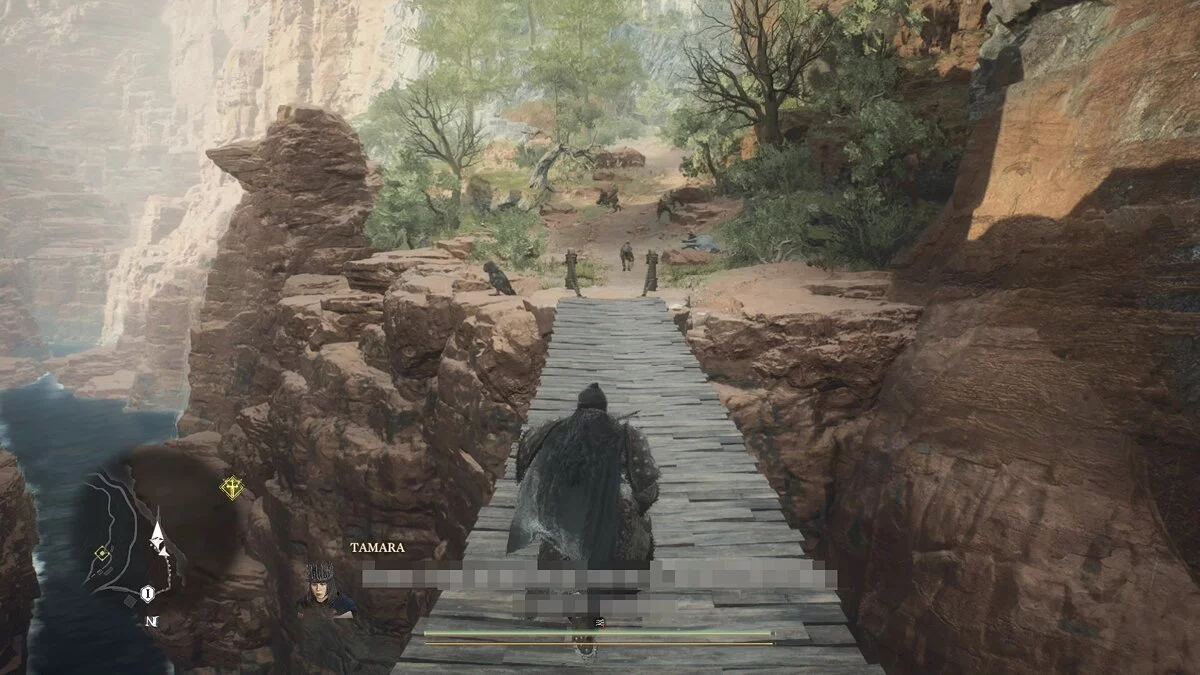
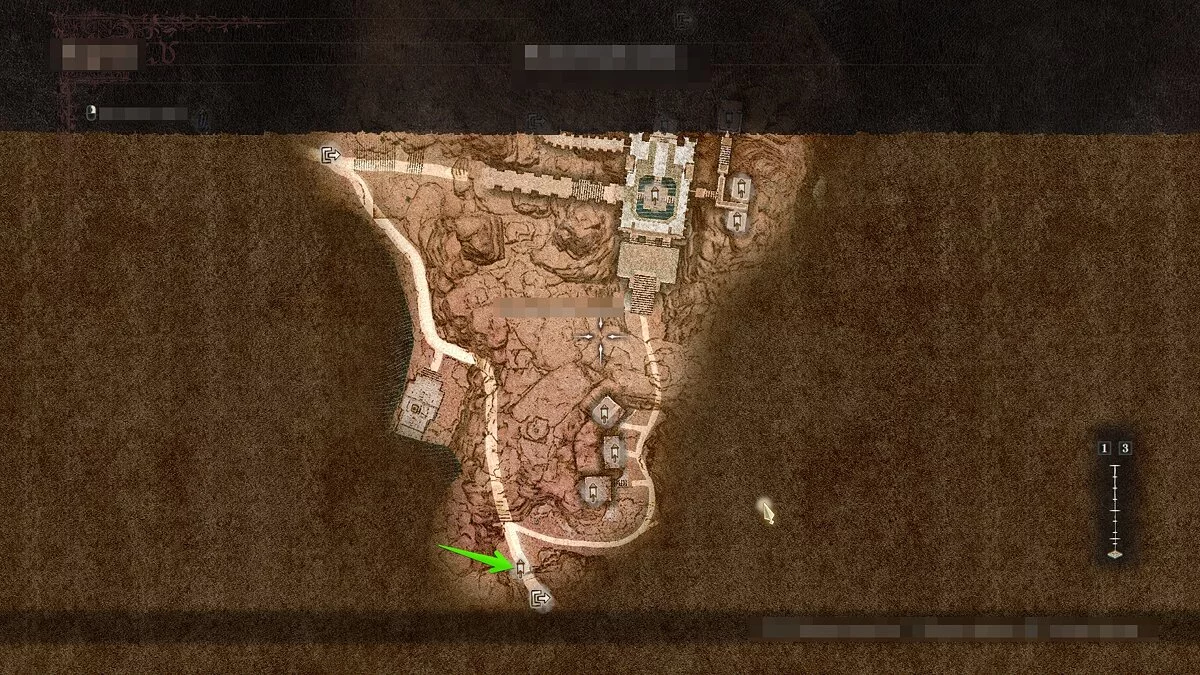
From Bakbattal, run west down the road, then at the fork, turn south. Soon on the path, there will be a branch to another region — you will need to cross a small bridge, and then another bridge over a chasm. If you accidentally destroy the second bridge, you will have to return to camp and wait a few days, as there will be no other way to cross.
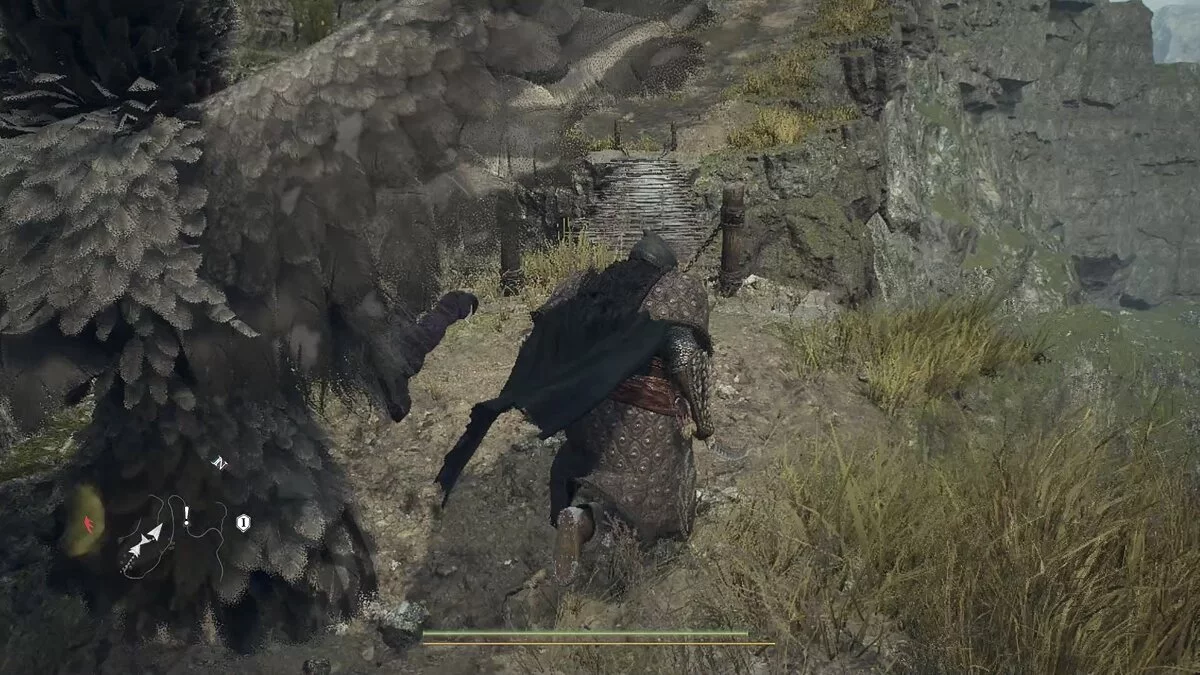
Ahead, harpies, wolves, and goblins will be waiting for you. The first are especially dangerous as they will try to grab the hero and throw him off the cliff. The higher you climb, the more enemies you will encounter on the way. Soon you will come to another wooden bridge, which you should not destroy.
Upon reaching the summit, be sure to rest at the campfire and save your progress. You can set a return crystal here, as getting 15 dragon crystals from the first battle will be almost impossible. Here you will also meet a guy named Sigurd, who will join your squad in the battle with the Lesser Dragon.
How to Defeat the Lesser Dragon
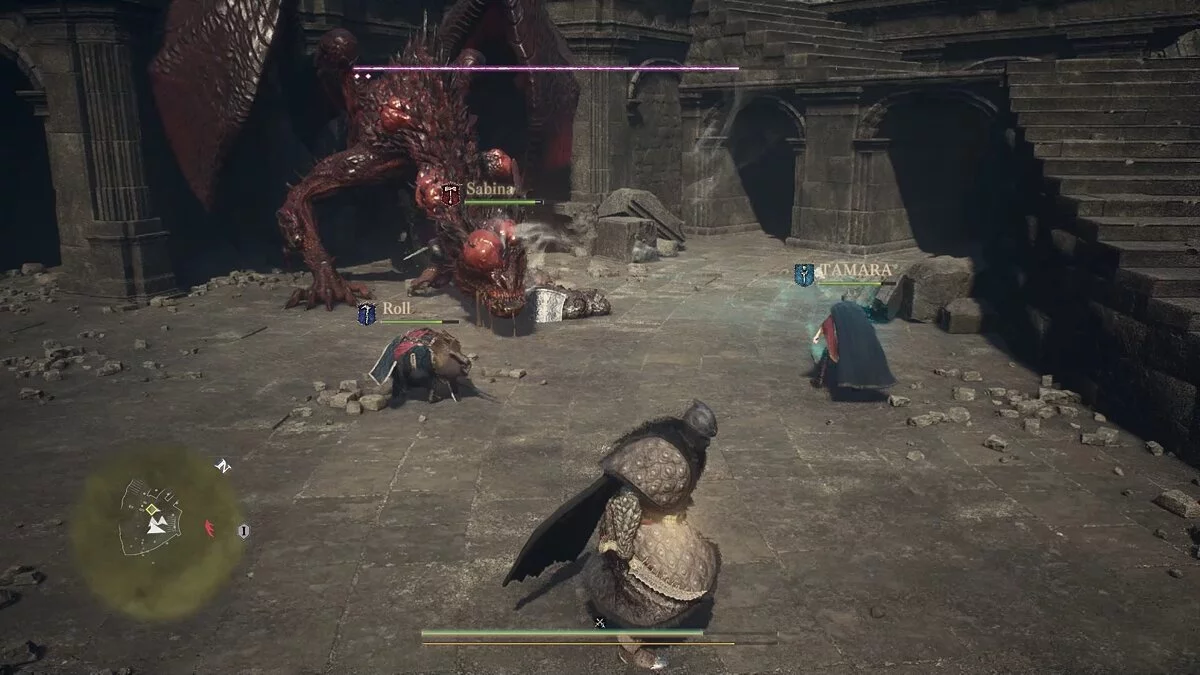
Before facing the monster, you can explore the tower and find chests with valuables. Also, for instance, on the first floor in a pile of debris lies the best hiking backpack. There will also be strong goblins, which you will need to deal with. When you are ready, climb the stairs to the third floor and wait for the dragon to descend to the improvised arena.
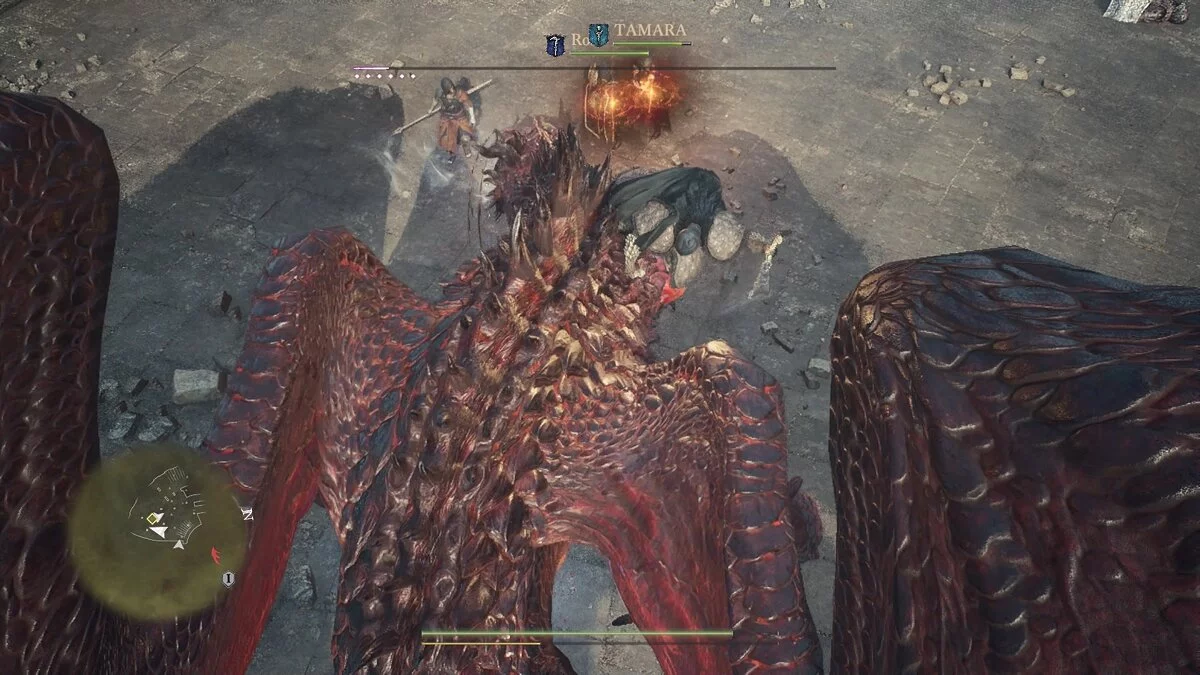
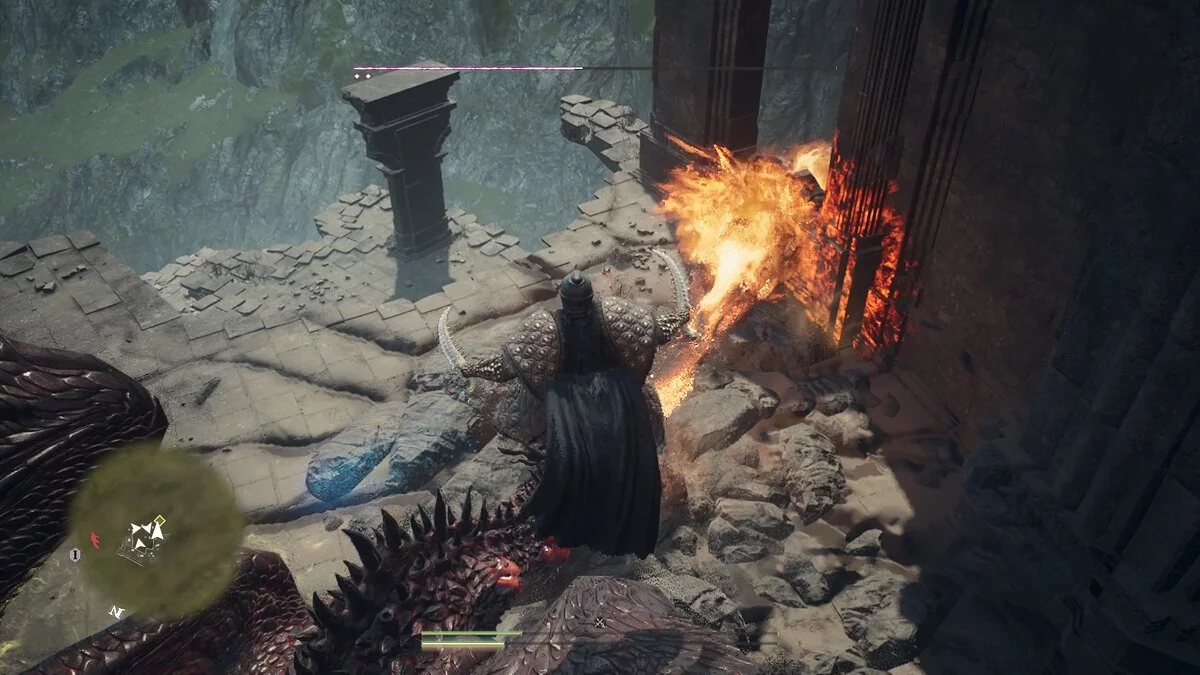
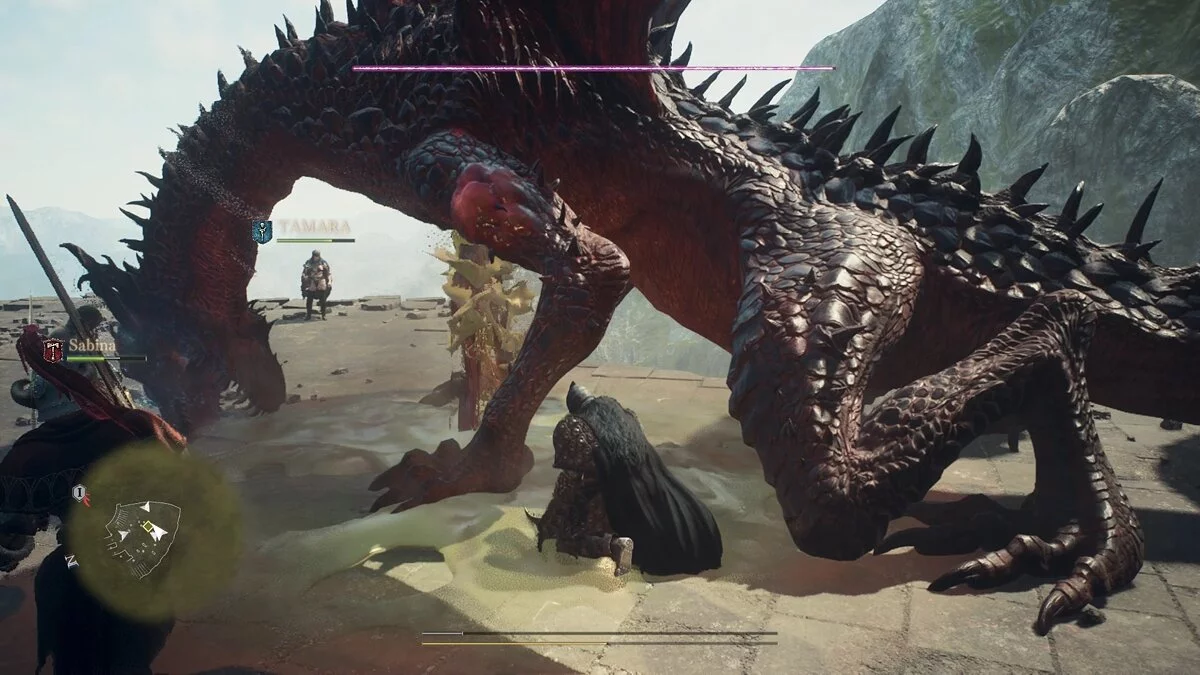
Initially, you will see several sores on the boss's body — weak spots that need to be attacked for maximum damage. We, for example, used a thief: climbed the ladder to the upper floor, jumped on the dragon's back, and hit the vulnerable spots. If you play other classes, such as a mage or archer, just aim for the sores.
From time to time, the boss will try to burn squad members with fire, release acid from its chest, as well as fly up and crash down onto the arena, causing huge damage. Occasionally, it may fly a great distance from the arena, but you should not run after it. Take a breath, replenish health if necessary, and wait for it to fly back.
It will also be useful to have several awakening stones, as the fight will be prolonged, and you may die.
By defeating the dragon, you will receive some crystals. Different players get different amounts: we got 13 pieces. After the battle, you can inspect the fortress again and look for a few hidden crystals here. But if you don't find all 15, you will have to return here later and fight the monster again.
However, in the rematch, the enemy may not have as many sores. When we fought the second dragon, its only weak spot was on the chest near the heart. Moreover, the rematch will be slightly easier than the main battle. In any case, you need to collect 15 crystals and bring them to Ambrosia in the laboratory.
After doing so, watch the cutscene, after which you will receive the New Voice of the Sovereign. By the way, with its help, you can open the sealed door in the Flame Castle to continue completing the story quests.
For completing the quest, you will receive 6000 experience, 35,000 gold, an awakening stone, and the enhanced blade Godslayer.
Other guides
- Dragon's Dogma 2: All Bugs, Known Glitches and Problem Solutions
- Optimizing Dragon's Dogma 2 Graphics for Low-End PCs: How to Increase FPS
- Best Pawns in Dragon's Dogma 2: Which Traits to Choose for Each Class
- The Stolen Throne: Dragon's Dogma 2 Walkthrough Guide
- The Nameless Village: Dragon's Dogma 2 Walkthrough Guide
- A Beggar's Tale in Dragon's Dogma 2: How to Start and Who to Give the Garment To
- Romances in Dragon's Dogma 2: Is There Sex and How to Start Relationships
- Dragon's Dogma 2 crashing at startup? Black screen? Character creation error? — Troubleshooting
- Tips for Beginners on Dragon's Dogma 2 — Guide
- Interactive Map of Dragon's Dogma 2: Key Locations and Places in the Game
- Neuer Patch für Dragon's Dogma 2 wird zwei der größten Probleme der Vasallen beheben
- Beste Mods für Dragon's Dogma 2: für Grafikoptimierung, Gewicht, Rüstung und mehr
- Wo man Wakesteine und Splitter in Dragon's Dogma 2 findet
-
Best Pawns in Dragon's Dogma 2: Which Traits to Choose for Each Class
-
Optimizing Dragon's Dogma 2 Graphics for Low-End PCs: How to Increase FPS
-
Dragon's Dogma 2: All Bugs, Known Glitches and Problem Solutions
-
Tips for Beginners on Dragon's Dogma 2 — Guide
-
Romances in Dragon's Dogma 2: Is There Sex and How to Start Relationships
-
A Beggar's Tale in Dragon's Dogma 2: How to Start and Who to Give the Garment To
-
Multiplayer in Dragon's Dogma 2: Will There Be a Cooperative Mode?
-
How to Farm Experience in the Early Stages of Dragon's Dogma 2
-
The Sphinx in Dragon's Dogma 2: Where to Find and How to Solve All Puzzles
-
Best Professions in Dragon's Dogma 2: Which to Choose and How They Work
-
Tale's Beginning: Dragon's Dogma 2 Walkthrough Guide
-
Seat of the Sovran: Dragon's Dogma 2 Walkthrough Guide
