Complete Silent Hill 2 Remake Walkthrough at 100%

Silent Hill 2 Remake is a modern version of the cult horror game from 2001, developed by the Polish studio Bloober Team. Fans of the original will easily play through the game from start to finish, but newcomers will have to sweat a lot, as the remake has inherited not only the atmosphere and plot from Silent Hill 2, but also the intricate gameplay with multiple endings. Therefore, we have written a detailed walkthrough that will help you defeat difficult bosses and not get lost on the streets of the foggy town.
Silent Hill 2 Guides
- Full Silent Hill 2 Remake Walkthrough at 100%
- All Riddles and Puzzles in Silent Hill 2 Remake
- All lock and safe codes in Silent Hill 2 Remake
- How to get all weapons in Silent Hill 2 Remake
- How to find all scenes from the past in Silent Hill 2 Remake
- Boss Guide for Silent Hill 2 Remake — How to Win
- How to Find All Strange Photos in Silent Hill 2 Remake
- How to find the flashlight in Silent Hill 2 Remake
- All endings of Silent Hill 2 Remake — how to get the secret endings

This walkthrough is intended for players who set the difficulty of battles and puzzles to standard. In separate guides, we will detail the puzzles at all difficulty levels and provide a detailed description of the enemies with combat methods.
Warning: this guide contains spoilers!
Prologue
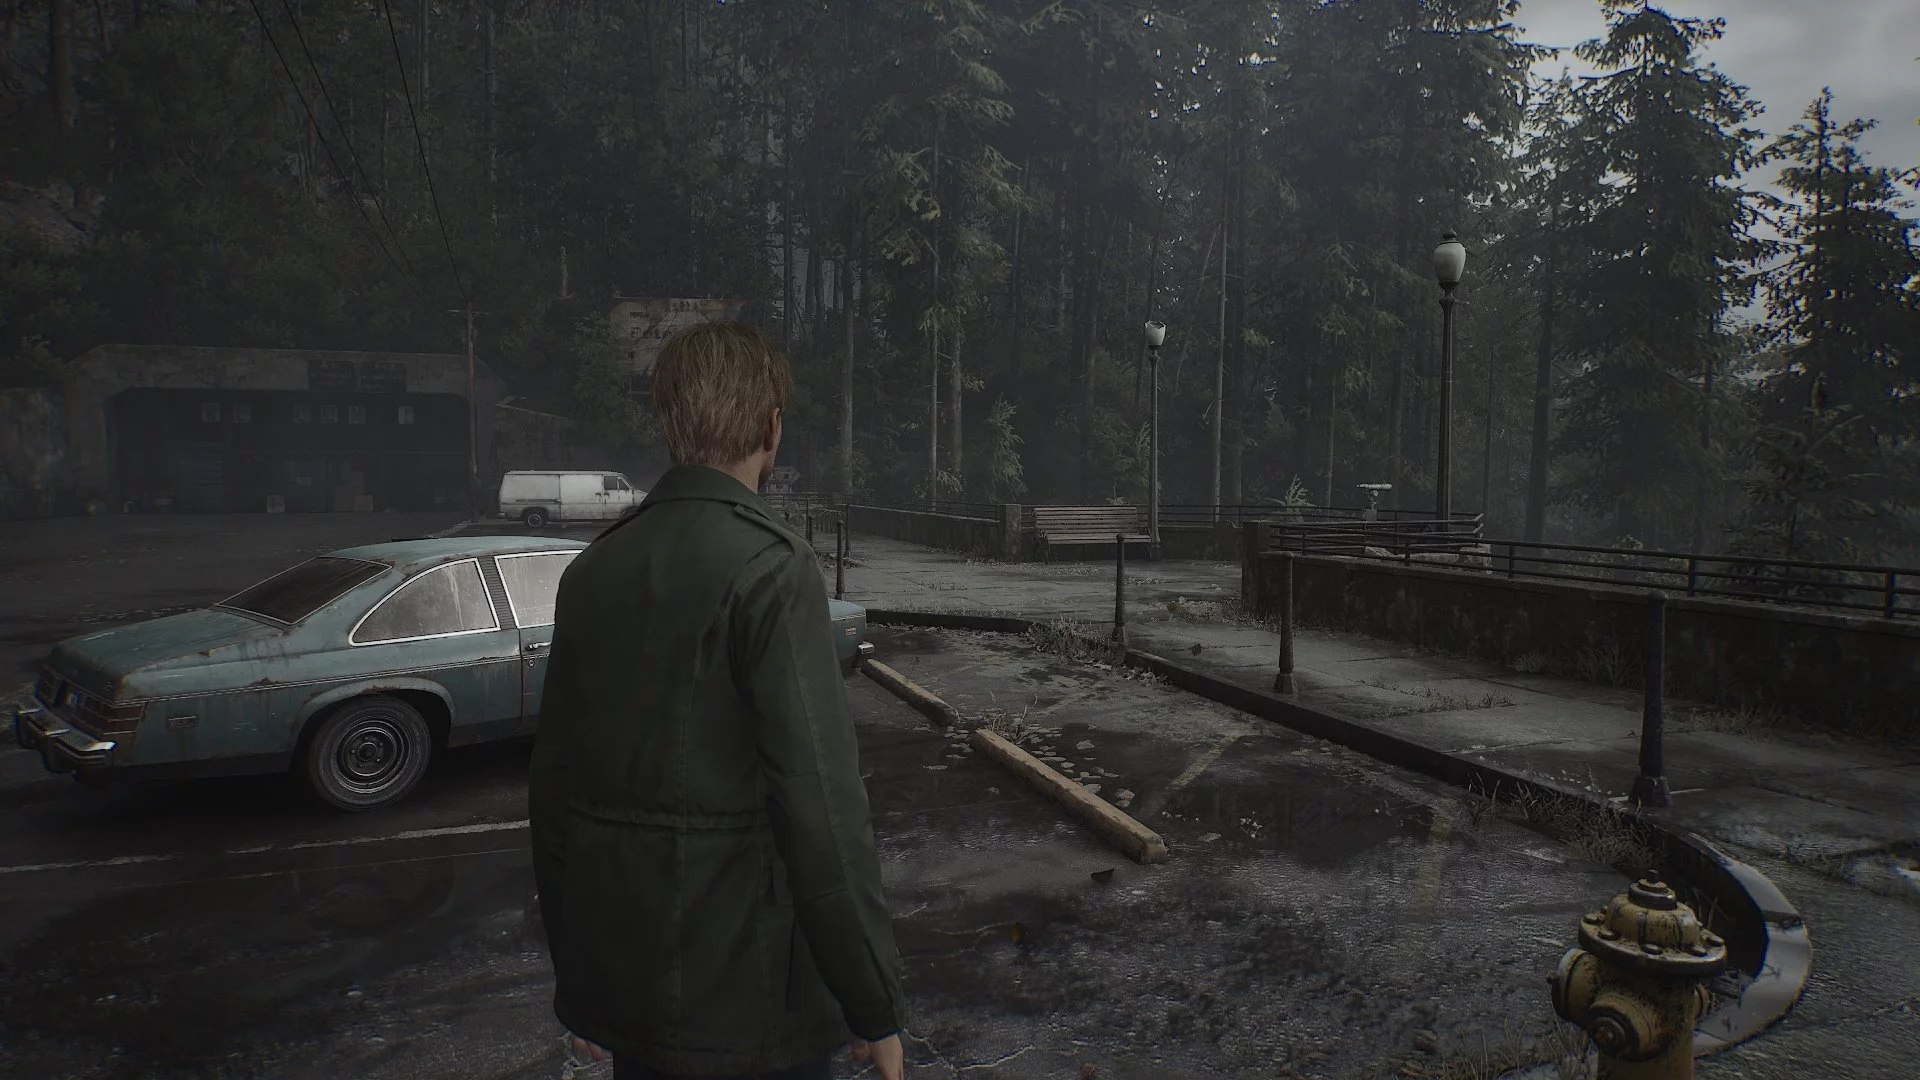
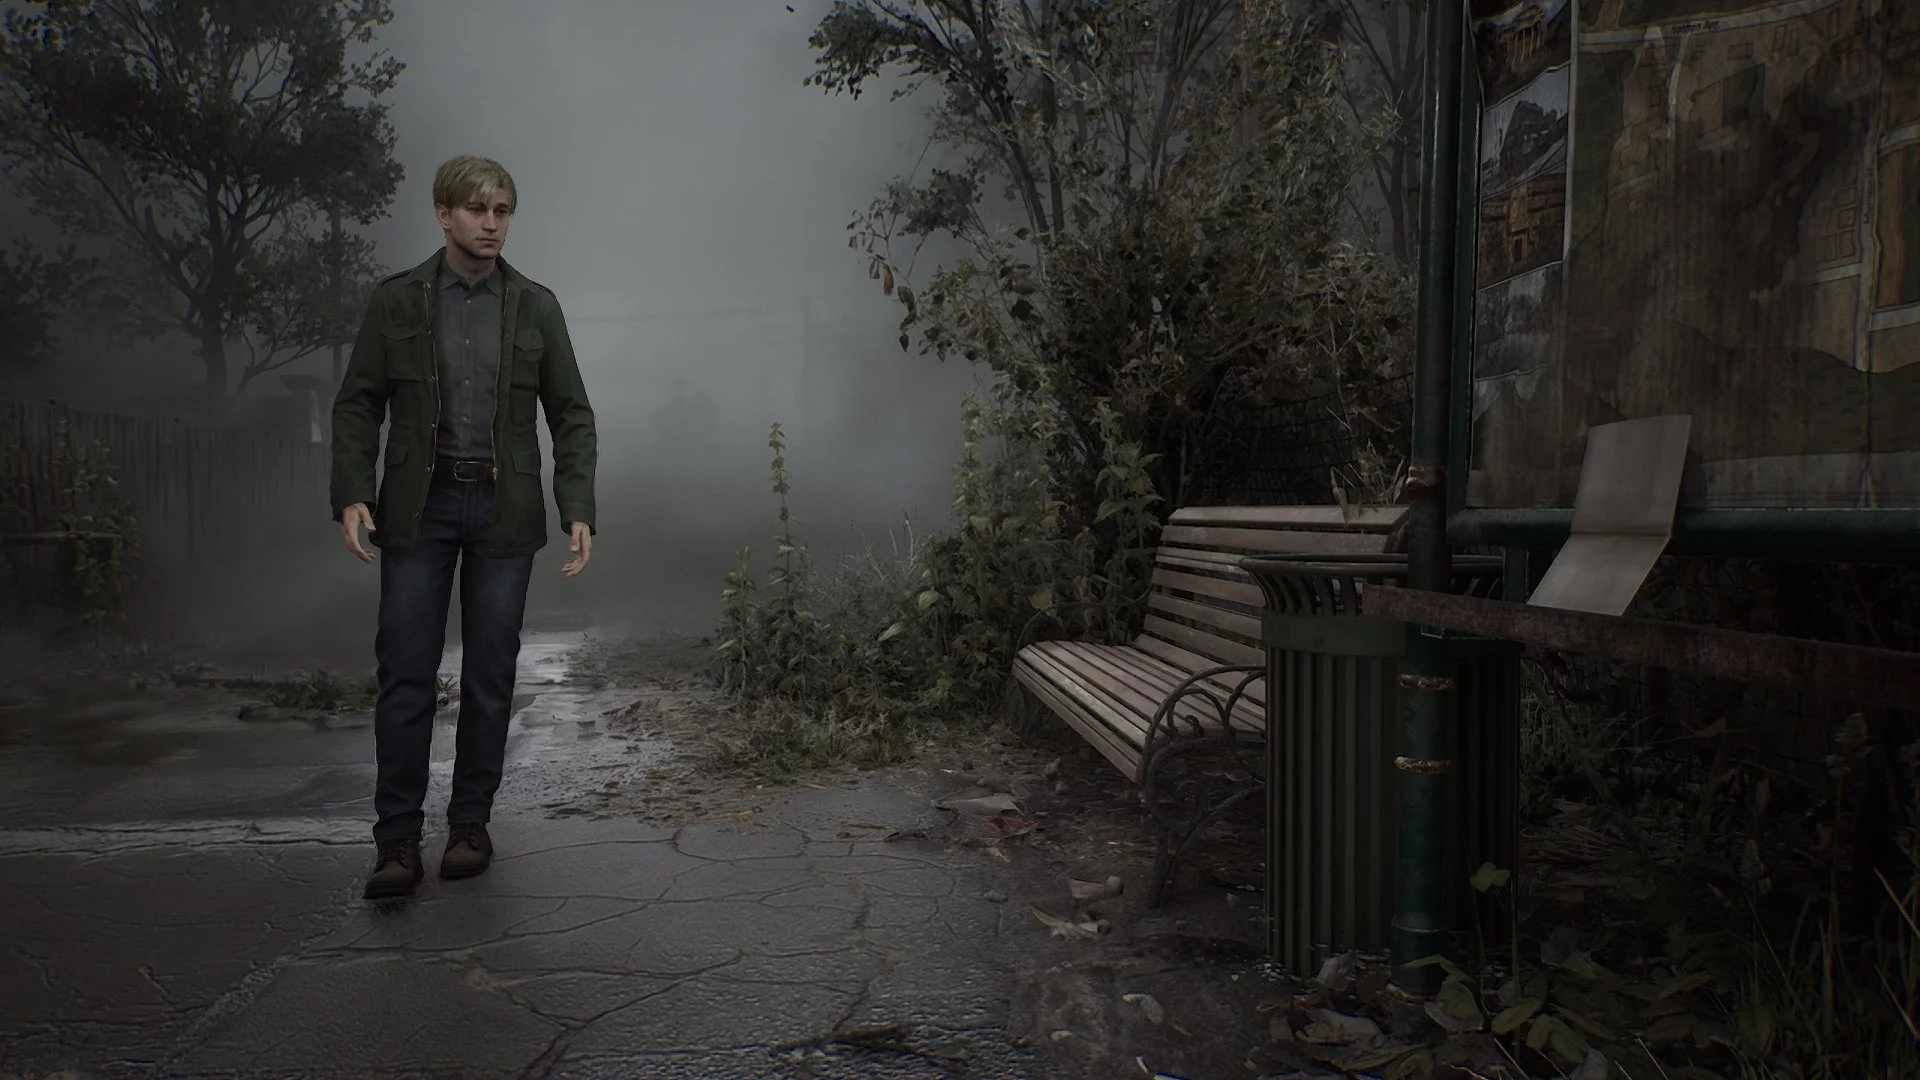
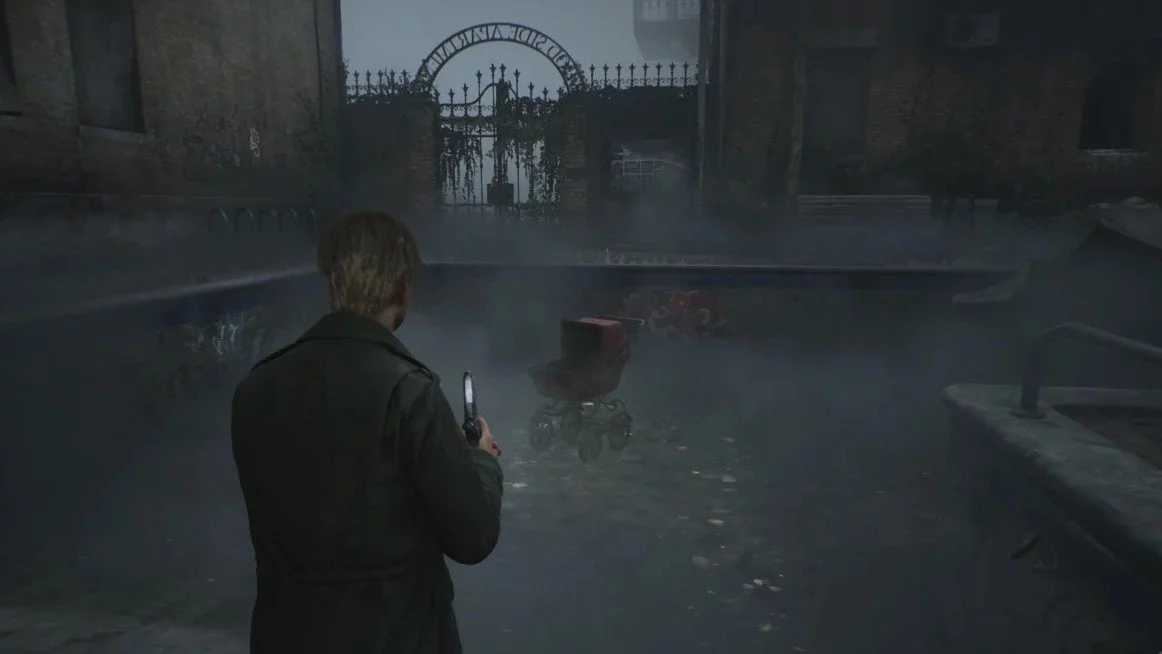
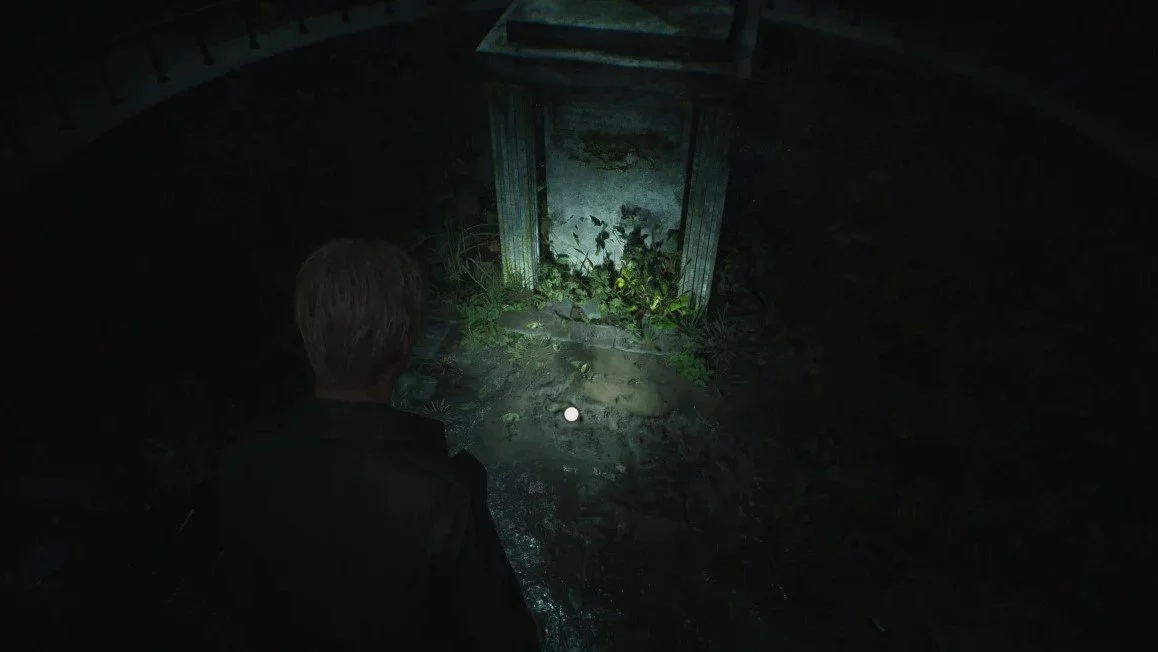
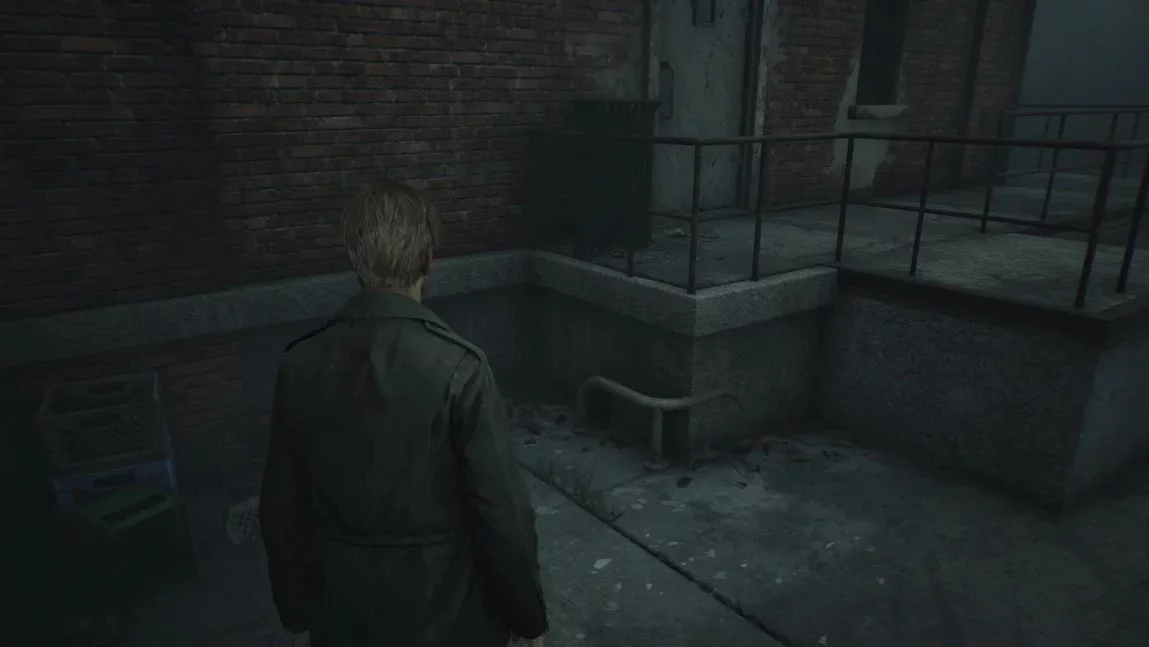
The game begins with a cutscene where players are introduced to the main character and learn the reason for his trip to Silent Hill. After the monologue, control of the character will pass to the user. First, approach your car and take the map from the seat. Now go out onto the roadway and head left until you reach the end to get an achievement. Return back to your car. Next to the parked van, there is a staircase leading down. Descend. Walk straight until you see a well. Approach it and activate the save point. Continue moving towards the cemetery.
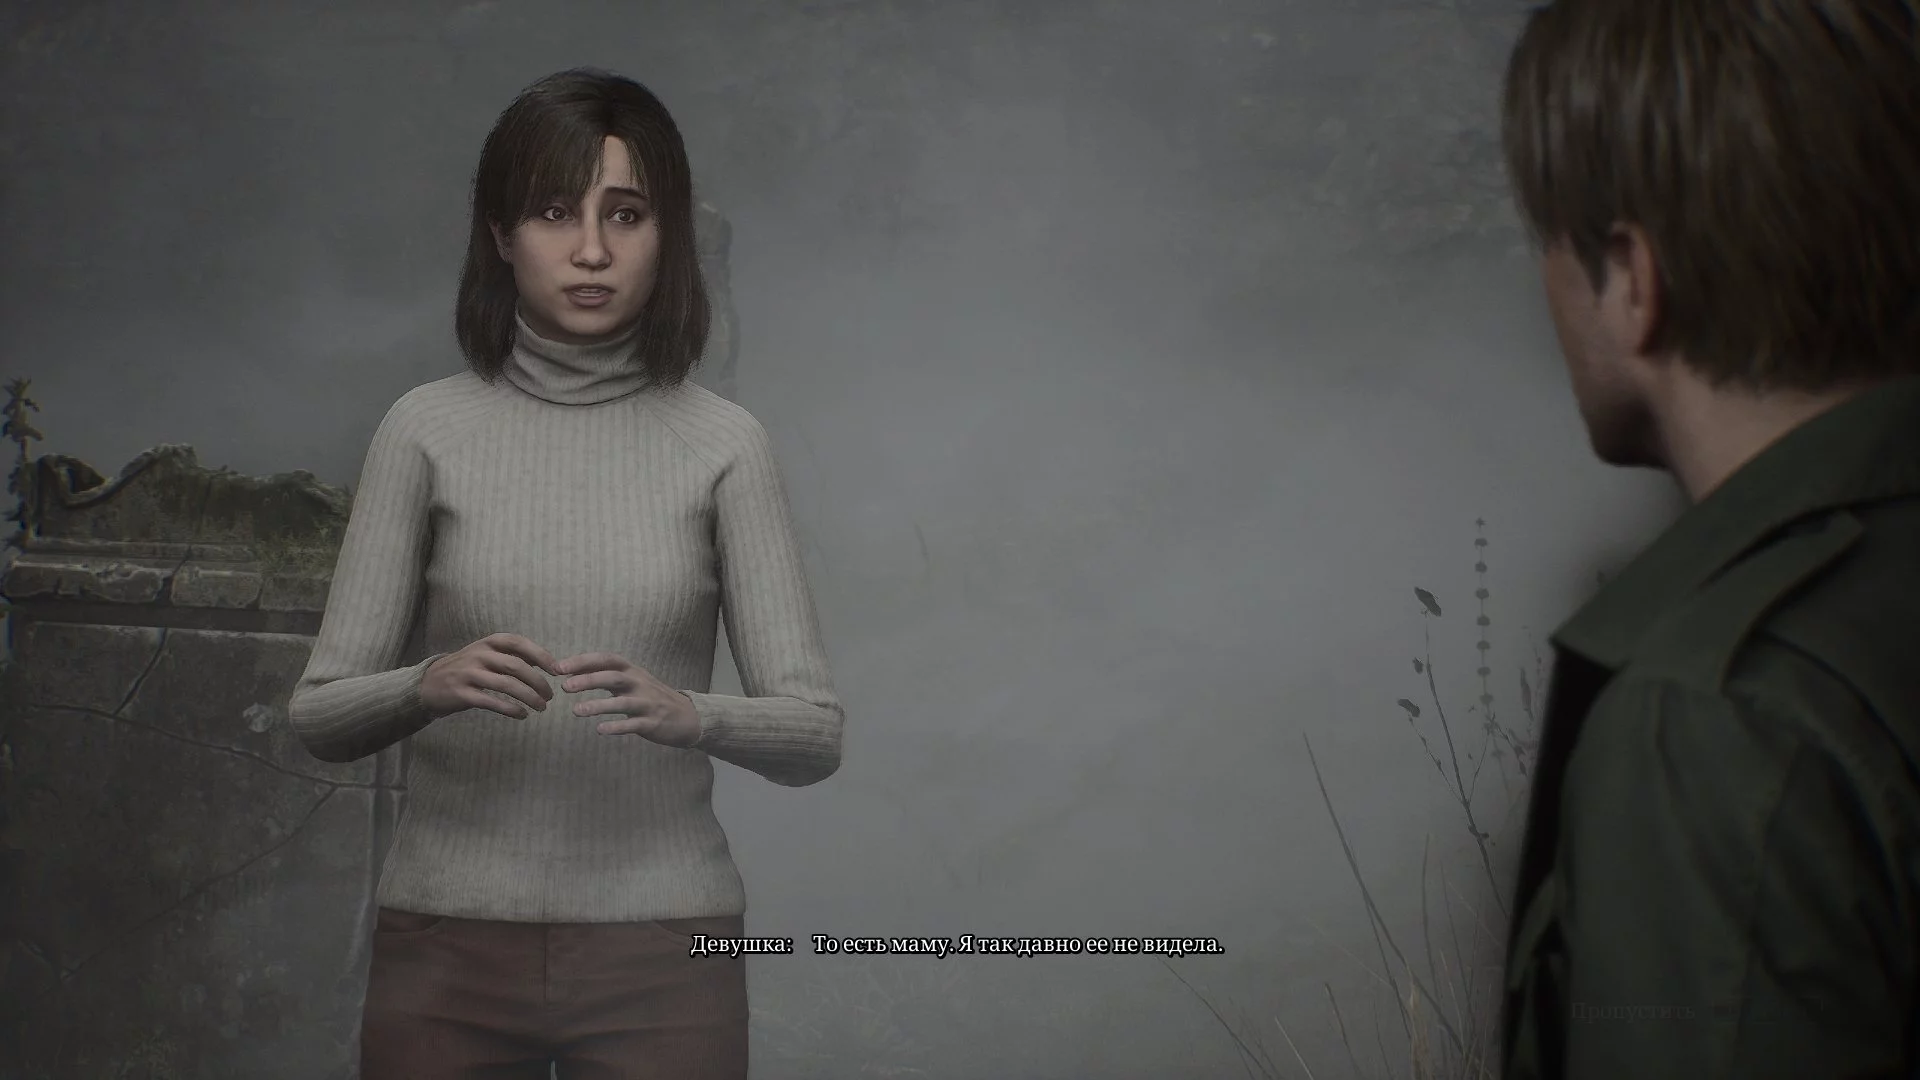
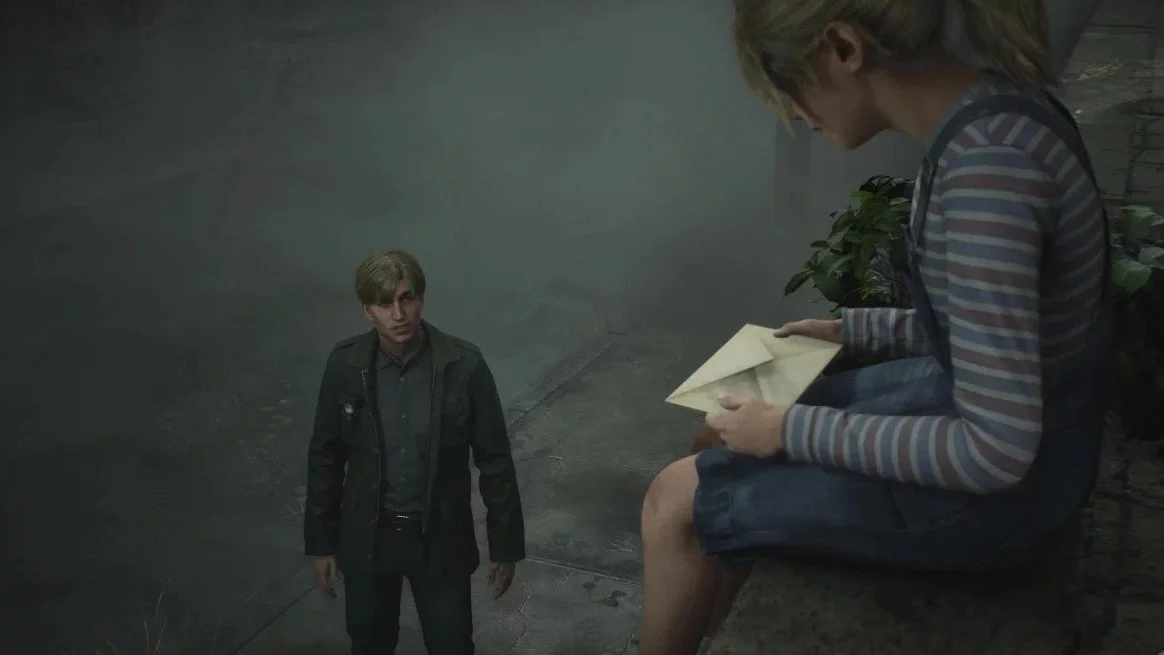
As soon as you enter, a cutscene with a woman searching for her relatives will begin. After the cutscene, approach the character and listen to all available lines. Now you can move on. Head west past the chapel. The path will be strictly straight, so you can run through it.
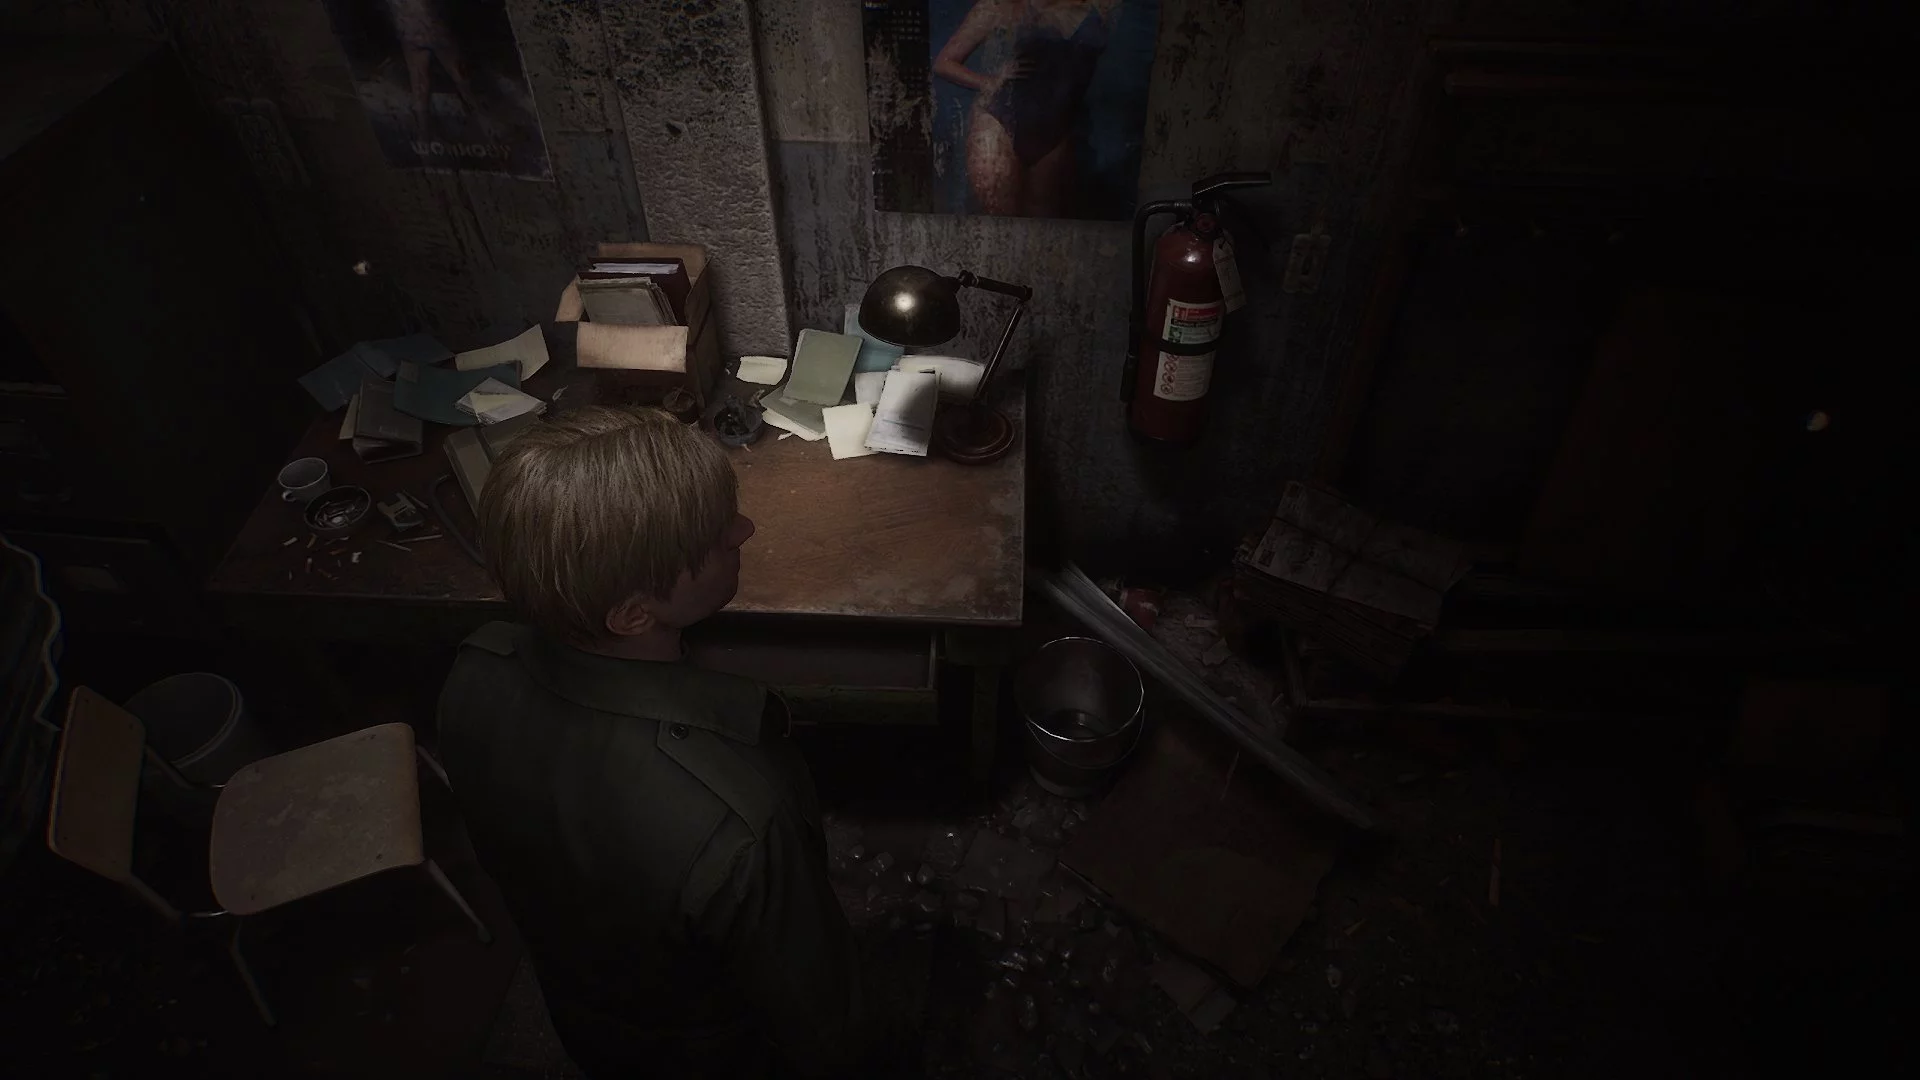
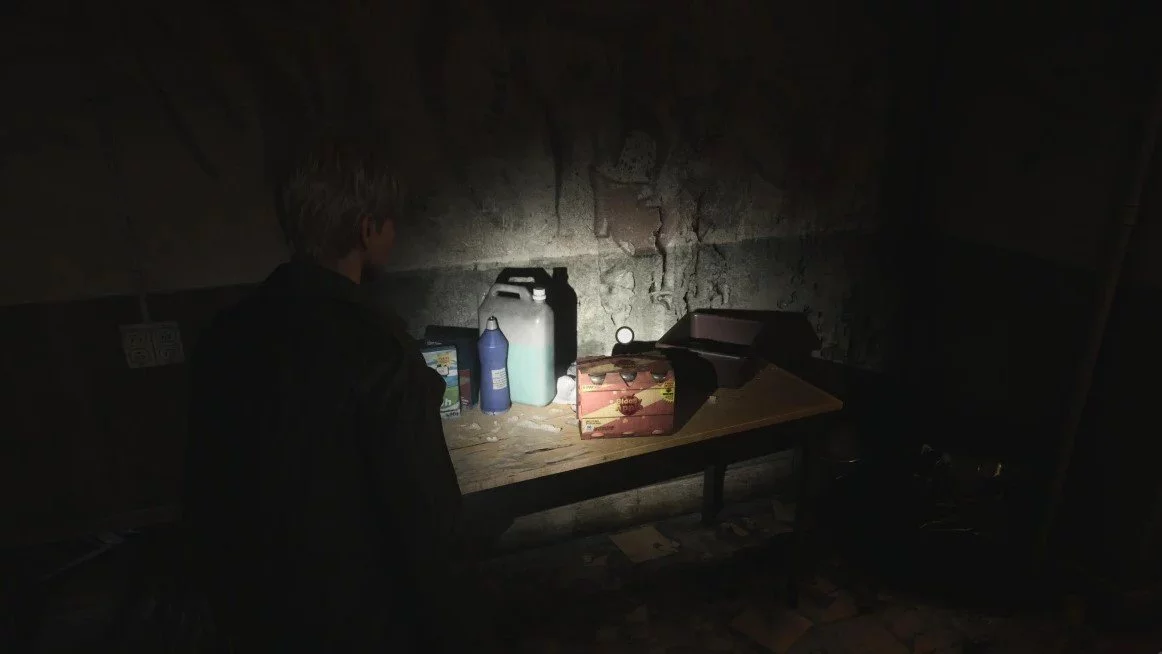
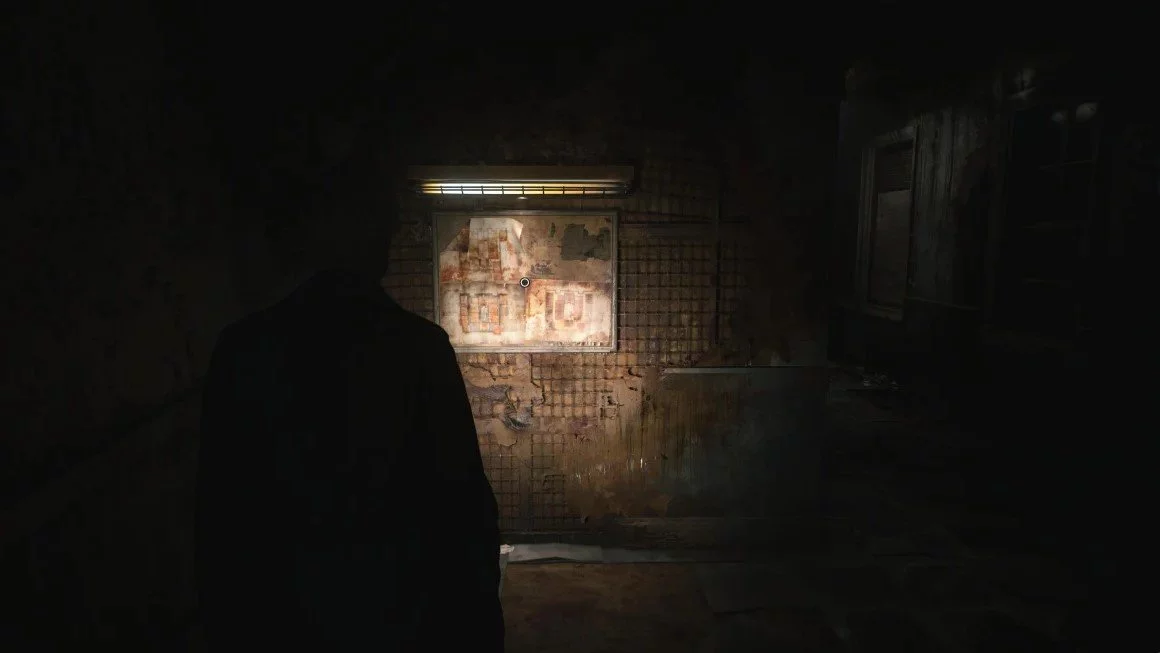
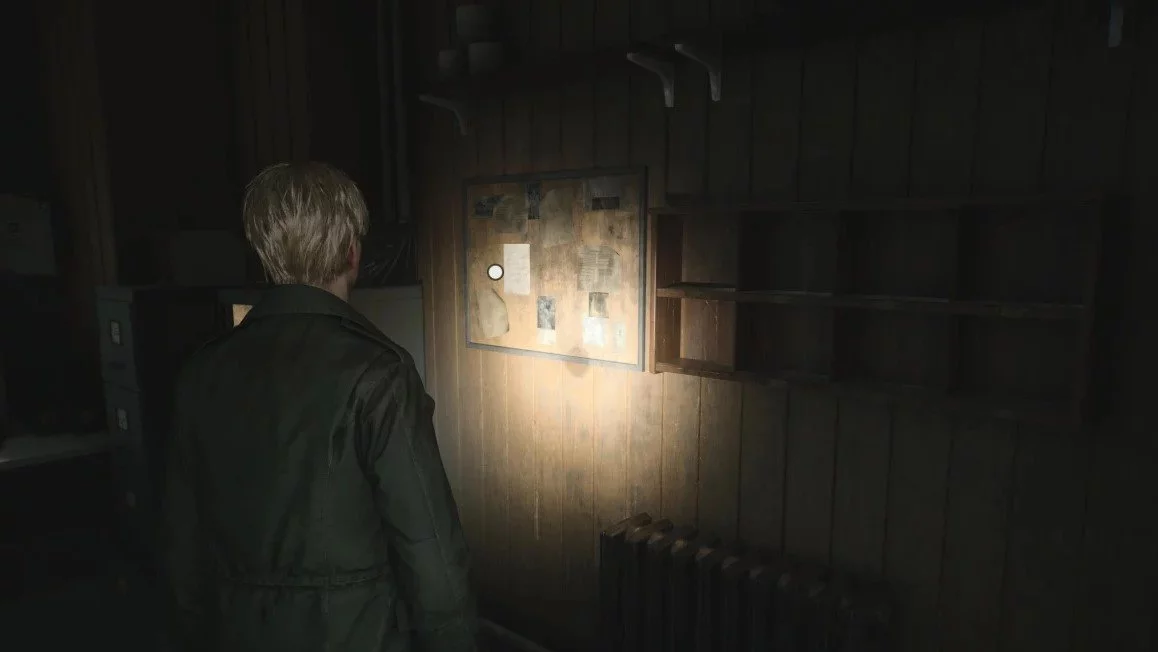
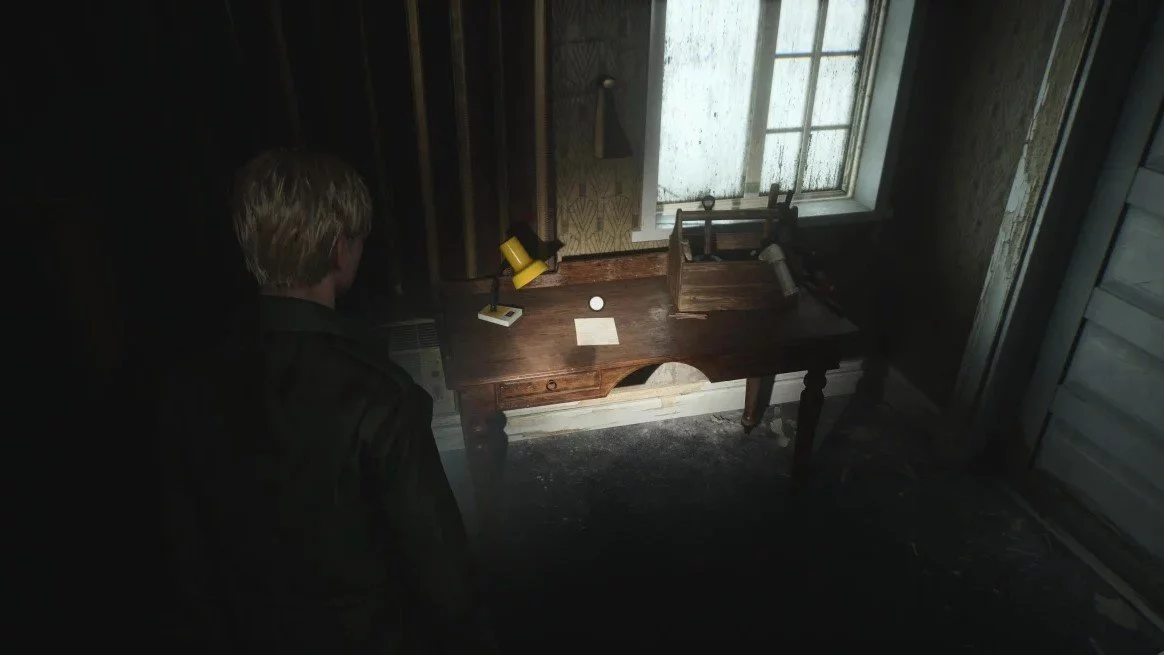
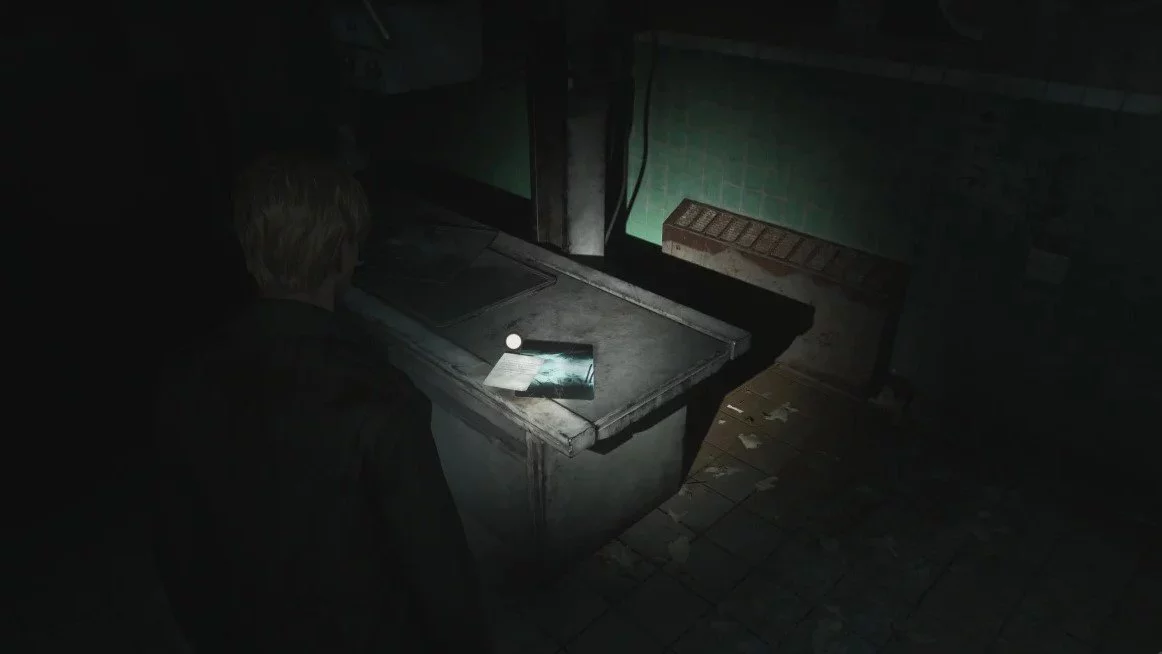
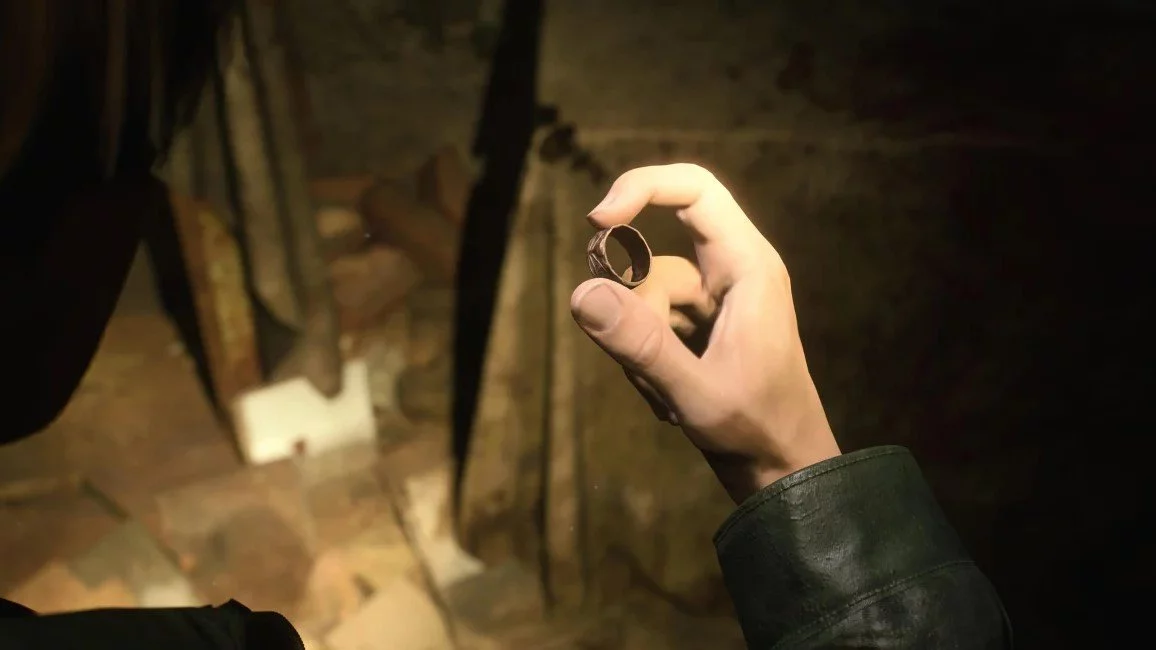
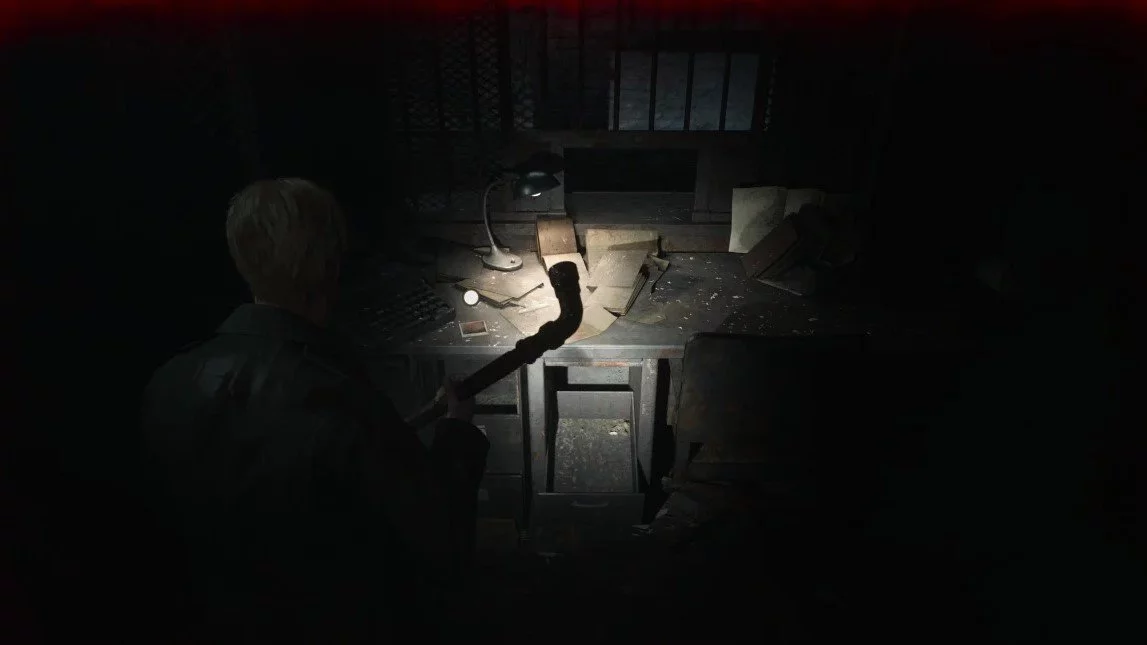
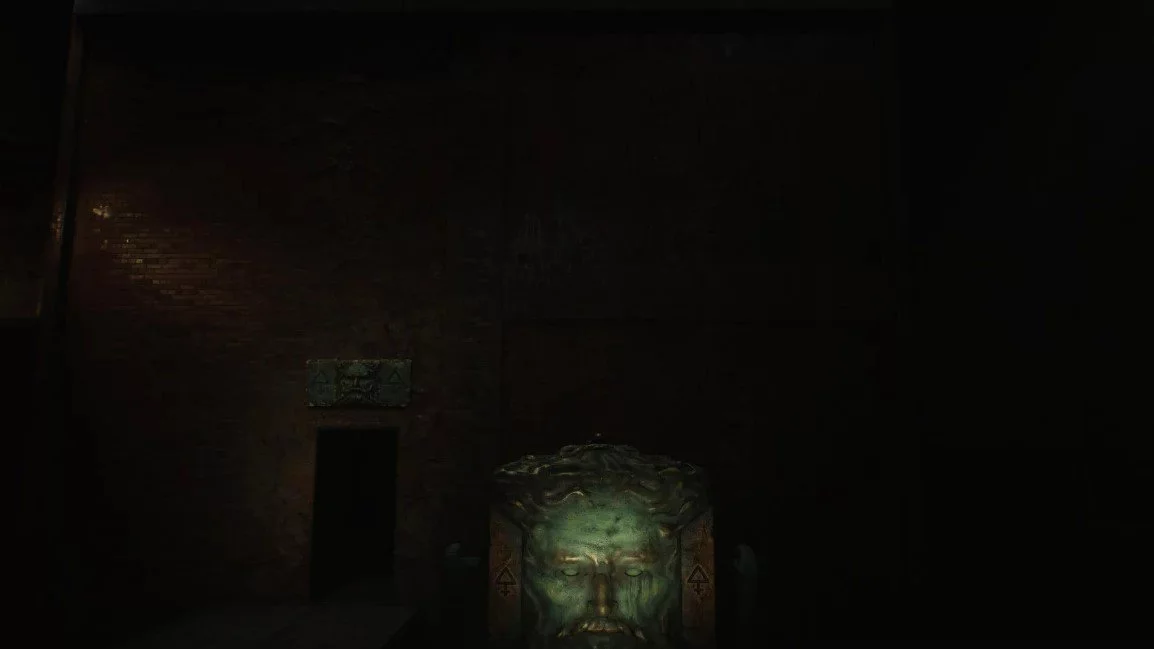
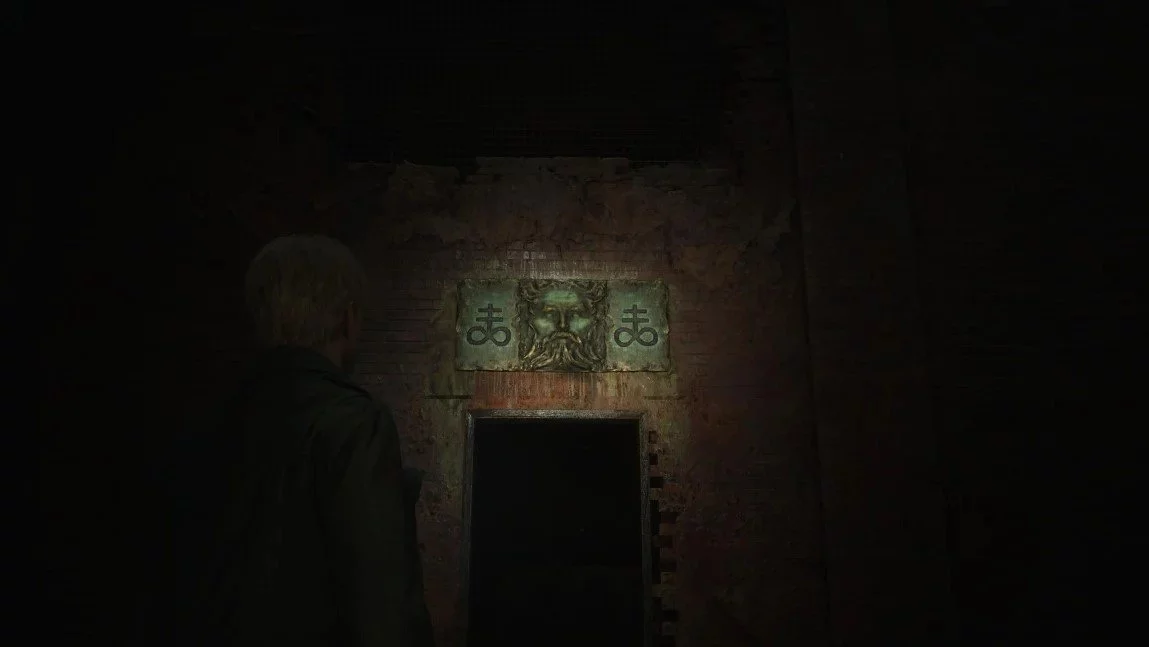
Upon reaching the fence, take the note from the door. Turn left and go through the gate. There will be another note hanging on the wall of the auto repair shop. Take it. Then go around the building on the left side. Jump through the window. Approach the table with the desk lamp and open the drawer. Take the key. To the right will be the entrance door to the auto repair shop. Use the latch and go outside. Return back to the gate and open the door with the found key.
Continue down the road and, before turning right, approach the barricaded tunnel. Press the action button to activate the Memory. Turn right and walk straight along the wall with pipes until you reach Wiltse Road. Go through the metal gate. Another cutscene will begin, in which James will take the second map. Now the eastern part of the city is available for exploration. First, we will visit the flower shop. After the cutscene, cross the road and enter the first building you see. Approach the counter and take the note.
Walkthrough of the Eastern Part of South Vale
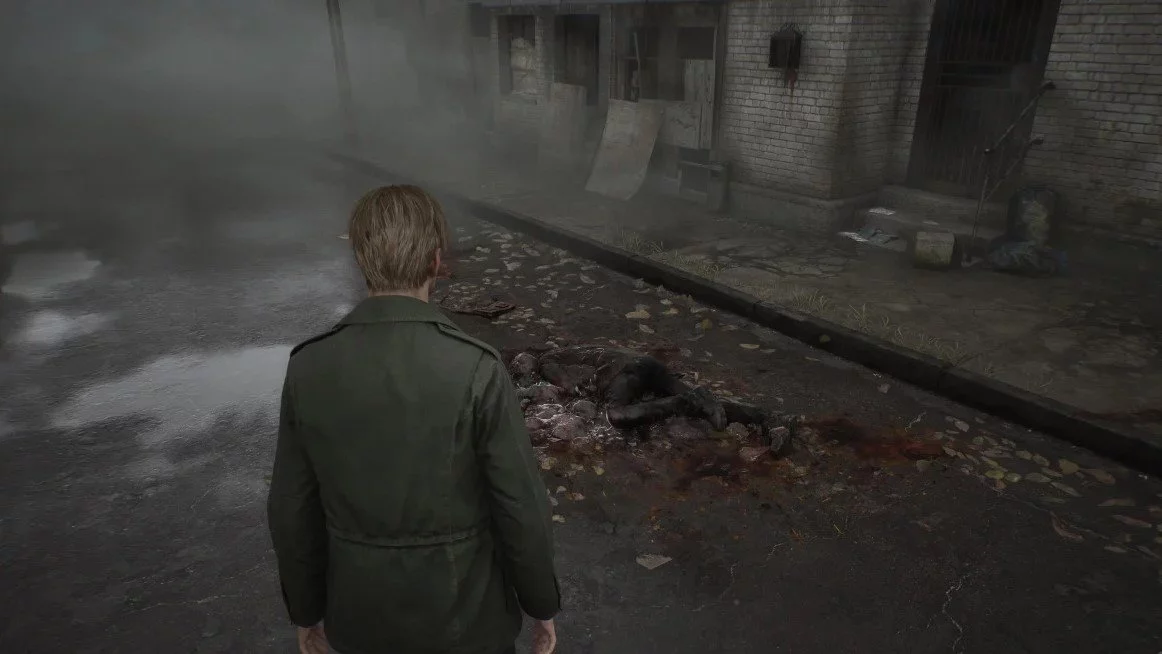
From the counter, turn right and go straight. Inspect the bloodstain and exit the building. Now head to the intersection of Sanders and Lindsey streets. You will see another bloodstain on the asphalt. Continue straight until a cutscene starts where the hero notices a strange creature. Keep going straight until you see cracks on the asphalt. Ahead of you will be another intersection with Vachss Road. Approach the gate with the Do Not Enter sign and interact with it. You will receive another memory.

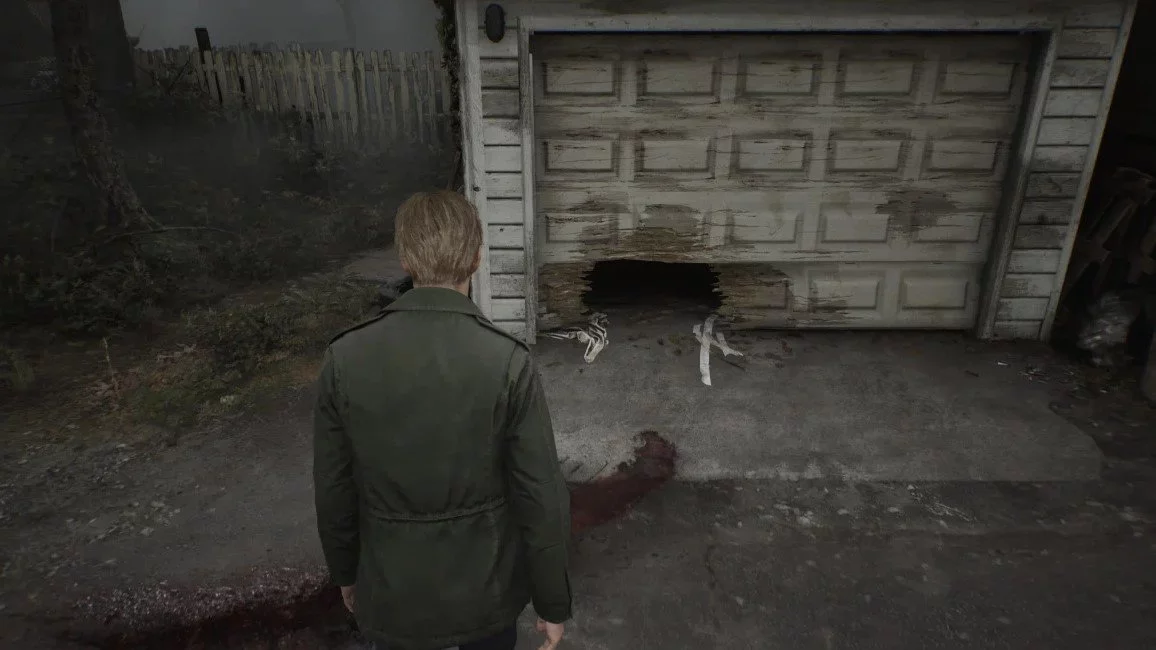
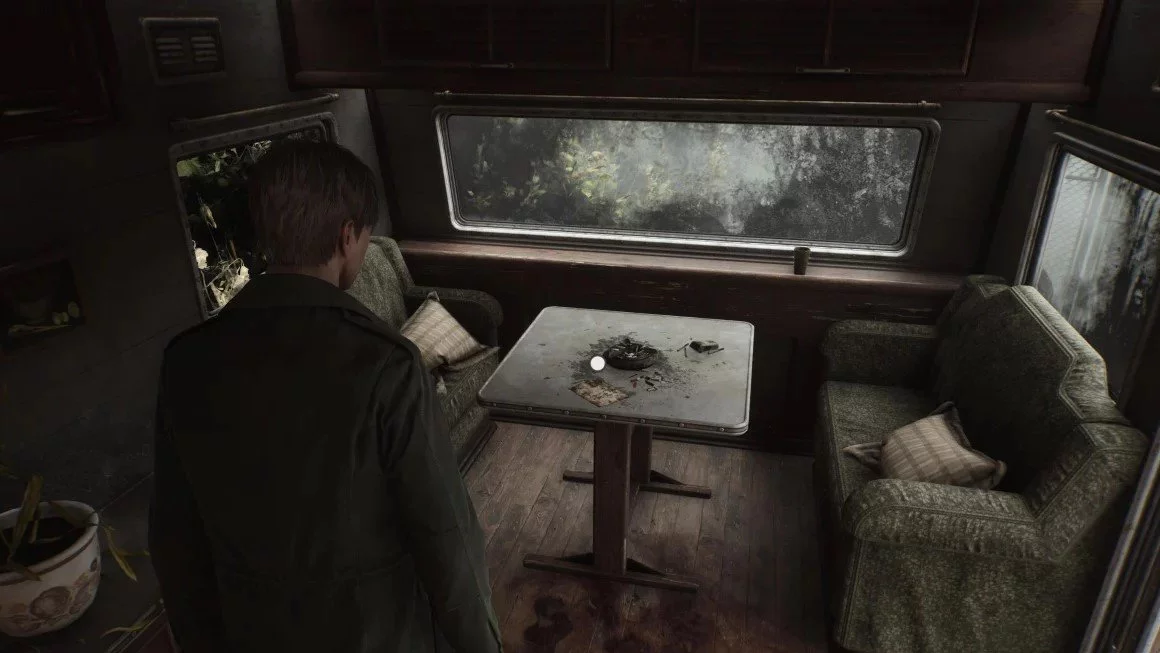
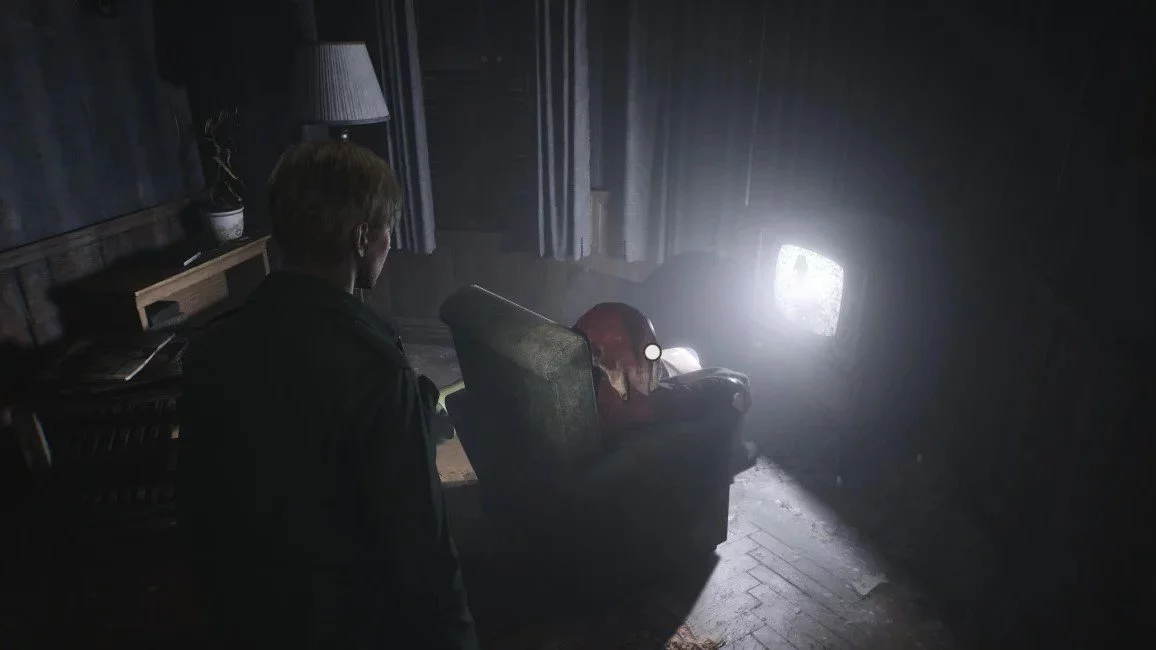
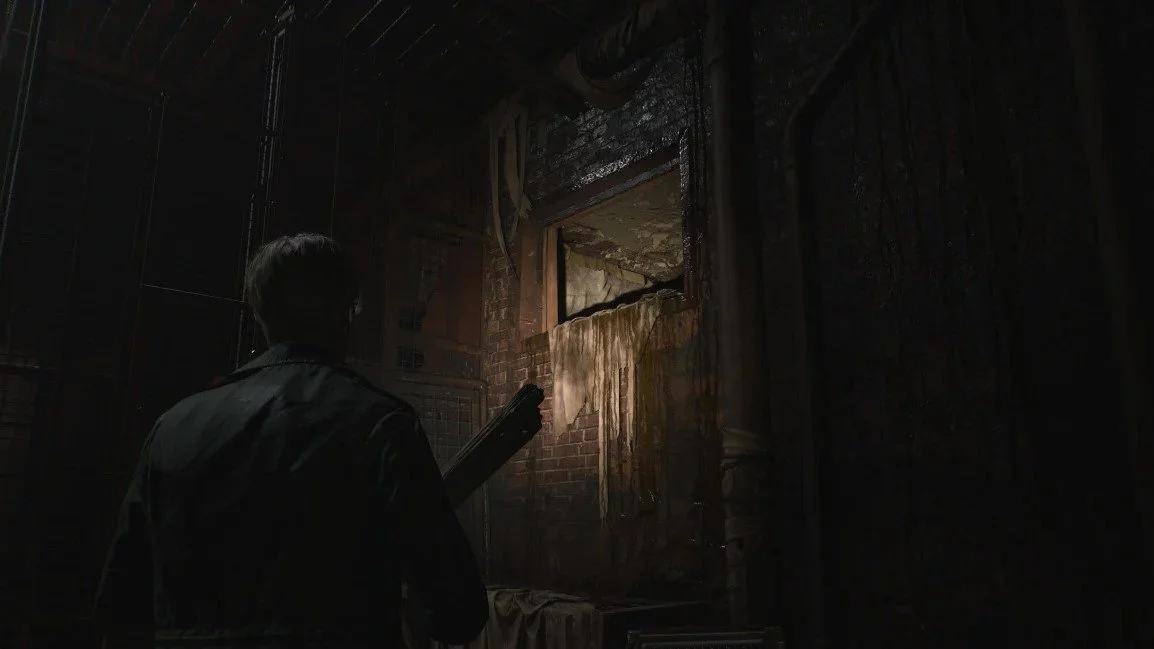
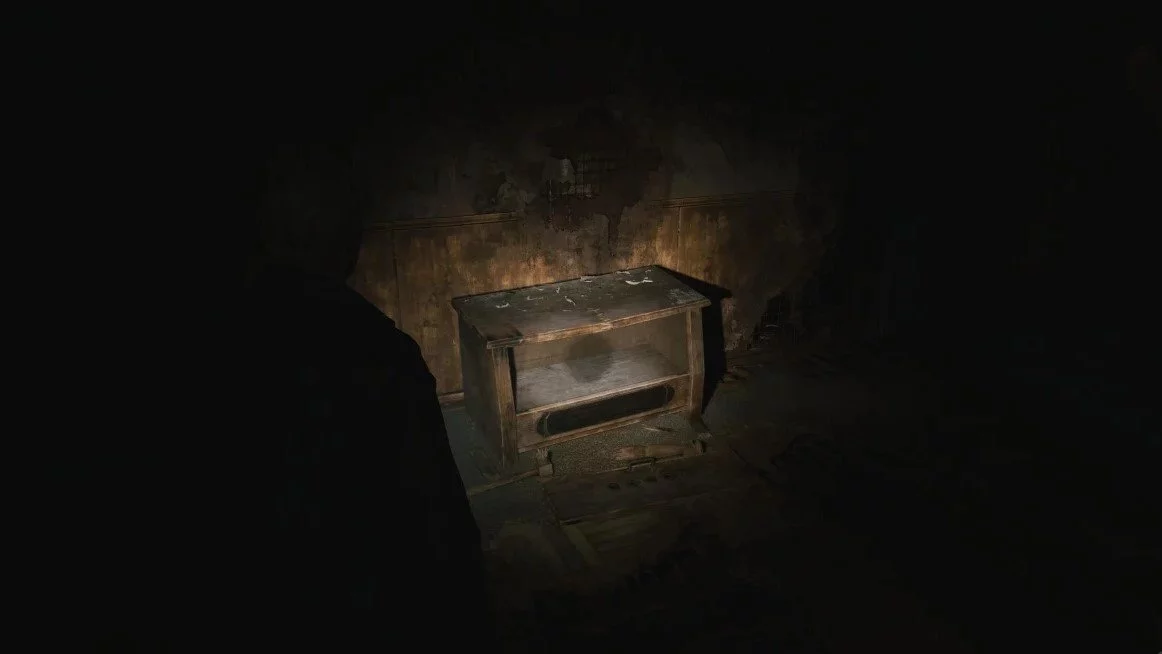
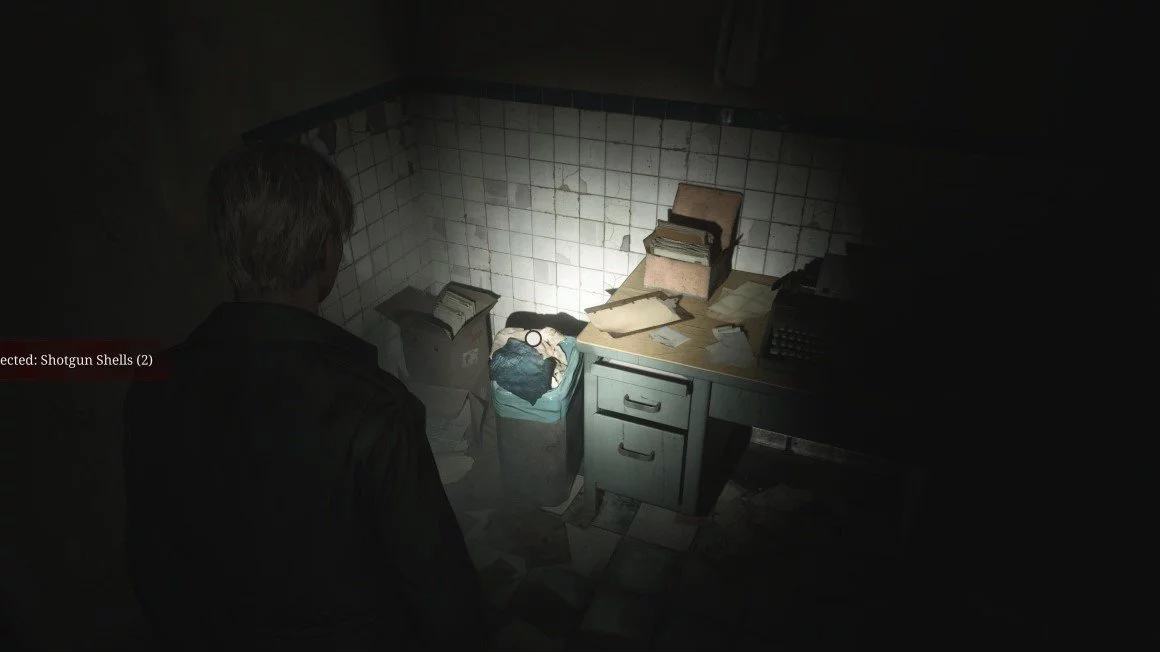
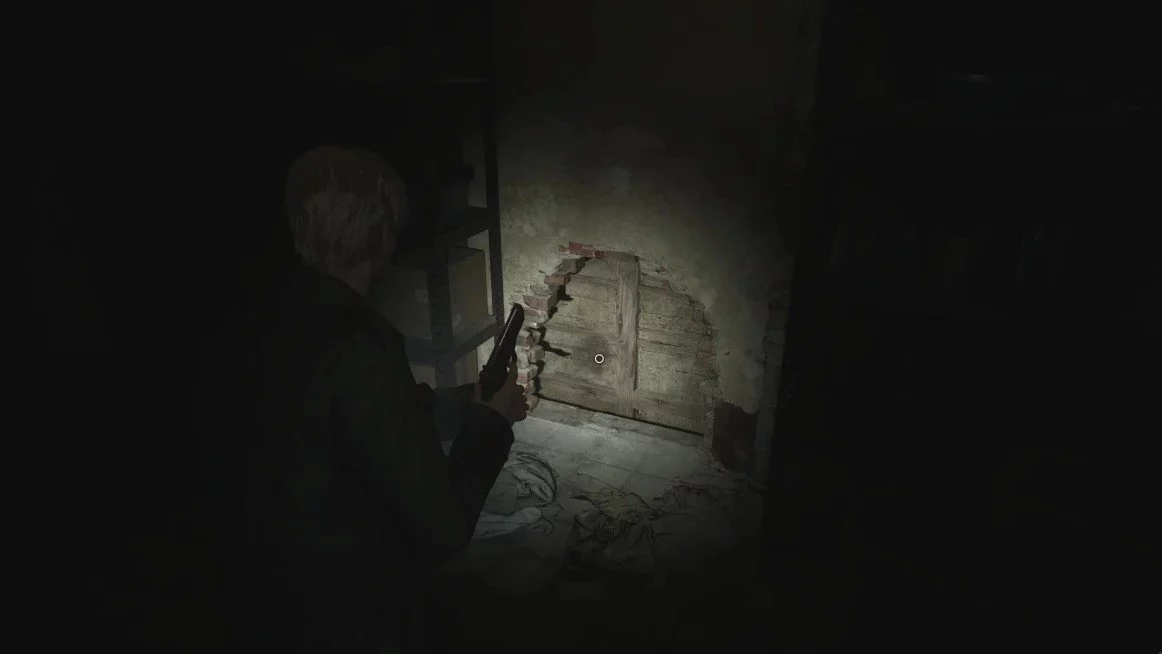
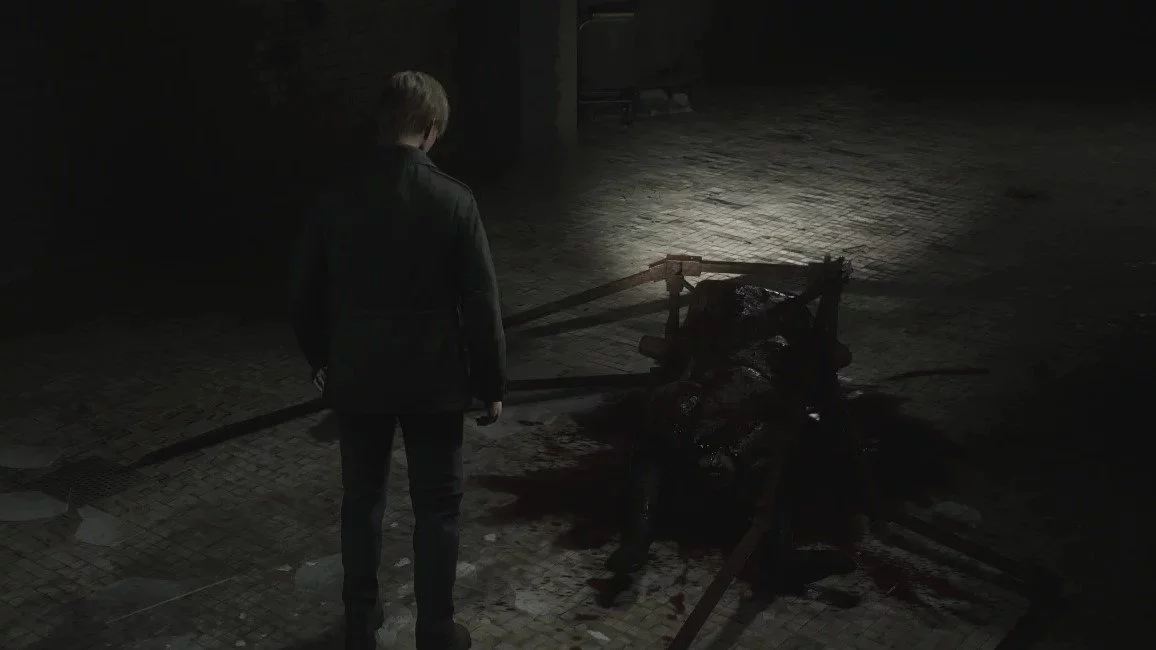
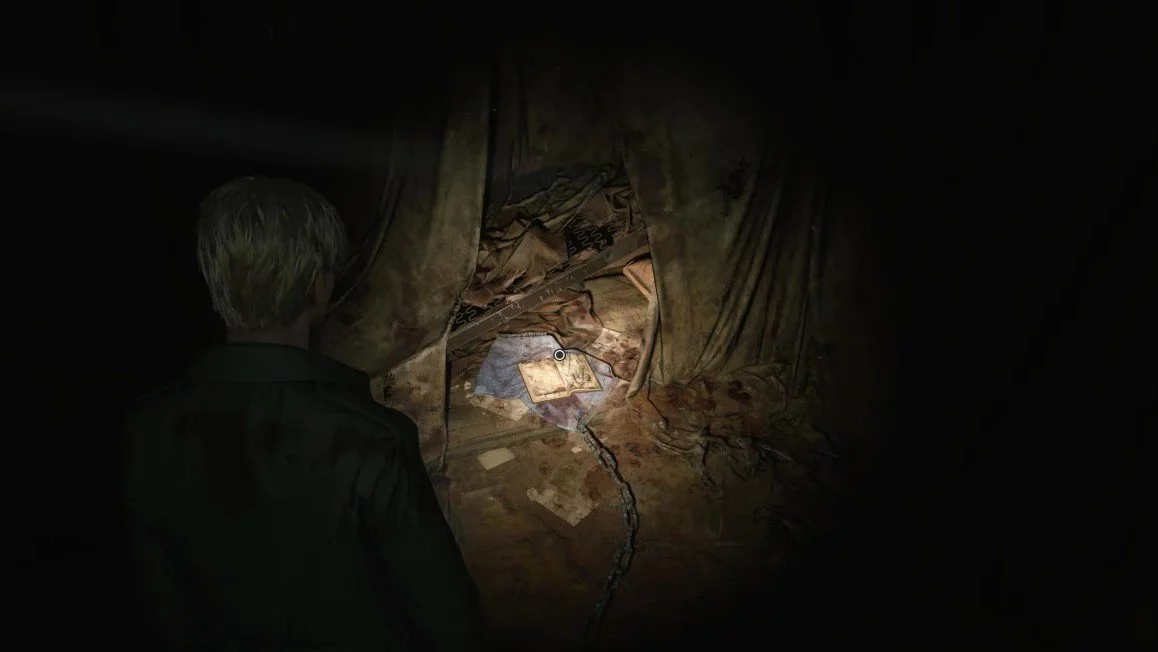
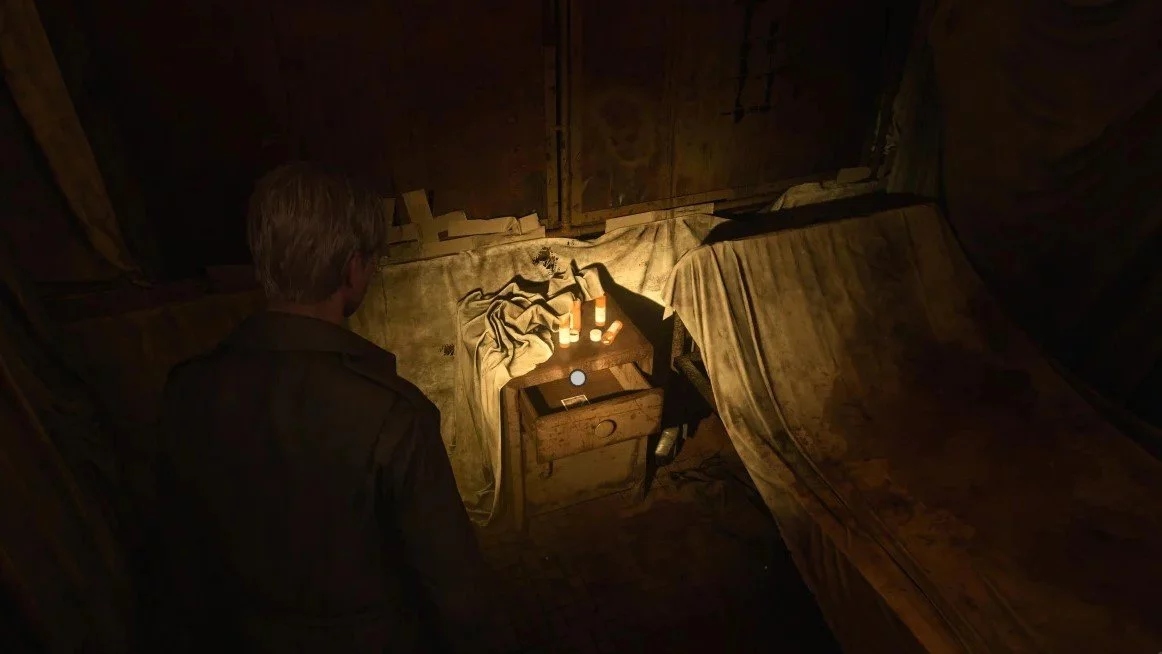
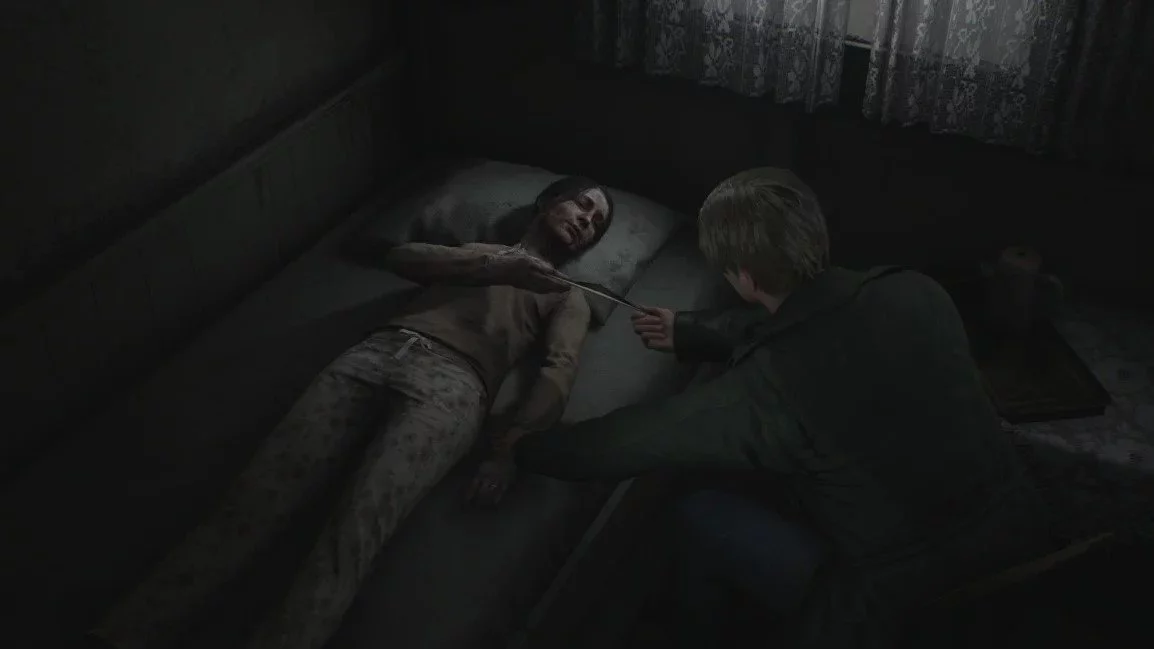
Now turn around and return to Lindsey Street. Turn left. You will see a passage between the houses. Go through two courtyards to the fence from which eerie sounds are coming. After the cutscene, approach the garage door and press the action button. The hero will crawl inside. Go to the gap in the wall. Pass through it and save at the red square on the wall. Search the kitchen drawer to get the first healing potion.
Enter the next room through the door. Approach the radio. After the cutscene, a battle will begin. Strike the creature until it swings. At that moment, press the dodge button. The fight is very simple. After the victory, approach the monster and press the interaction button.
Where to Go After the First Battle
Take the medicine syringe from the table and break the window with the stick. Climb out. After the video insert with the radio message, head to Martin Street. Once you reach the place, turn right. You will see another bloodstain. Approach it to activate the memory. You will see a dead body. Take the matchbox. Next to the matchbox, there will be a note. Take it. Save the game in the courtyard on the right side. Exit onto Katz Street. You can visit the dry cleaner and the bookstore. Just break the window to get inside. There you will find several text clues.
Now we need to go to the bar. Head west on Katz Street. Then turn south on Neely Street. You will encounter enemies along the way. You can run past them to save health points. Once you reach the bar, enter through the front door. Take the note from the counter.
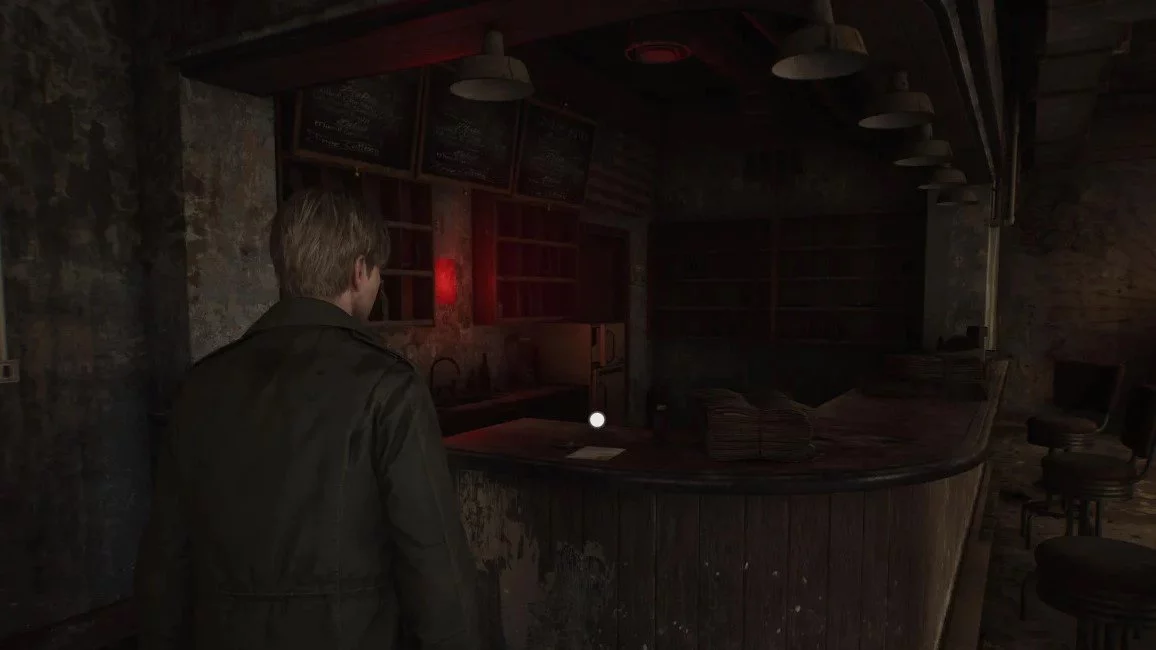
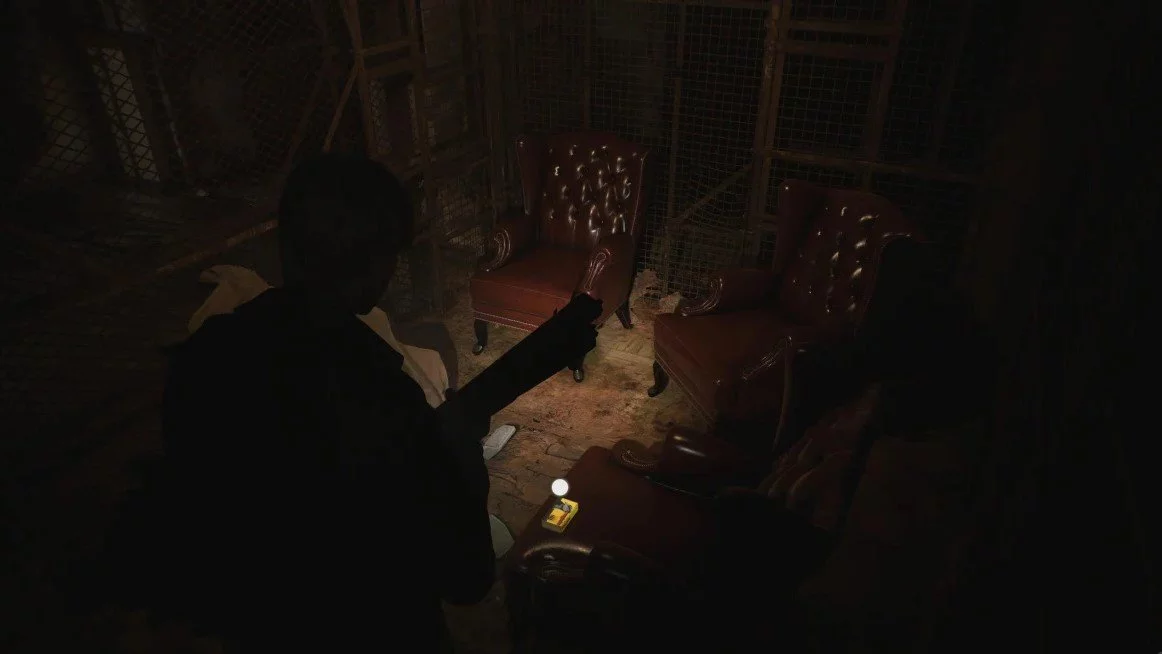
Behind the bar counter, there is a save point. Approach the jukebox standing in the corner. Press it to get a piece of vinyl record. You will need to solve a puzzle. In a separate guide, we will explain how to complete it at all difficulties. You need to collect the pieces.
Where the Jukebox Parts Are Located
Head to the Residential Complex on Saul Street. On the first floor, move the cabinet that blocks the path to the left part of the building. Go to the office and take the note from the table. Exit the room and head to the 2F floor. Near the seventh room, there will be a crawlspace. Go through it and take the tenant's note from the table near the open window. Search the back areas and collect useful items. After that, exit to the street. Behind the apartments, there is a small courtyard. Behind it, there will be a dead body. Take the old map from it. Nearby, there will be a note with a photograph of Saul Street. There will also be a second letter here. In front of the door of the tourist trailer, you will find another note. Enter inside and take the RV memo.
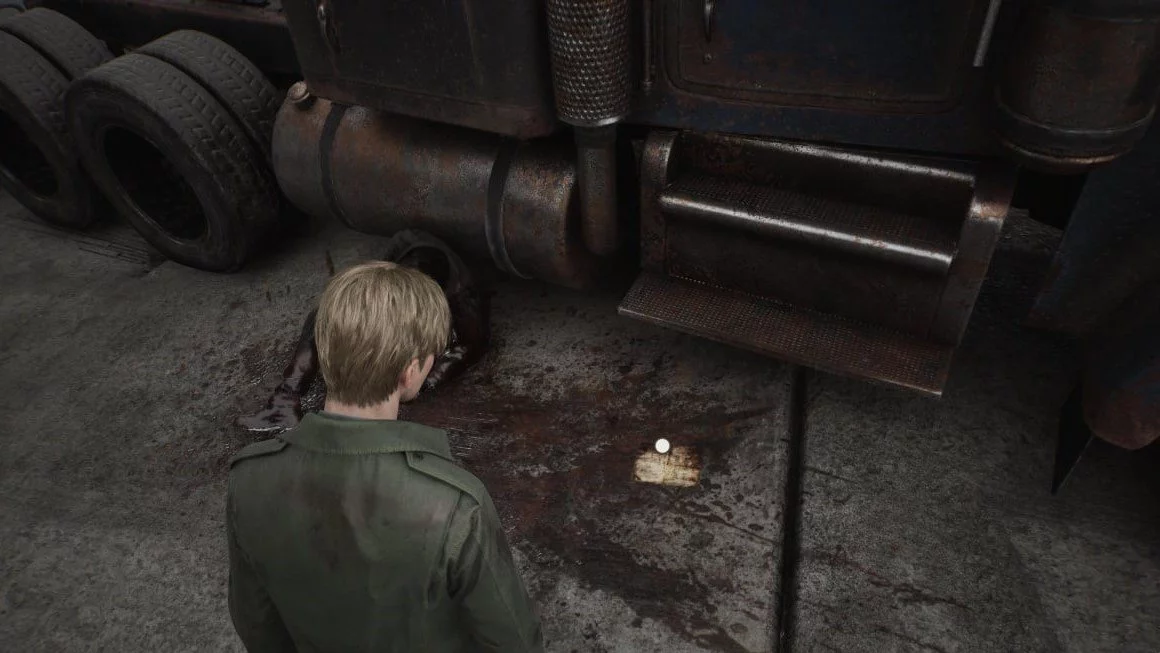
Head to the intersection of Sanders and Neely. On the left side, there will be a butcher shop. Break the display window to take the photograph. Go straight on Sanders Street. You will see an abandoned truck. Next to the cabin, there will be a dead body. Take the note from it. Nearby, you will find a note with a combination lock code, which will be useful for the puzzle in the shop.
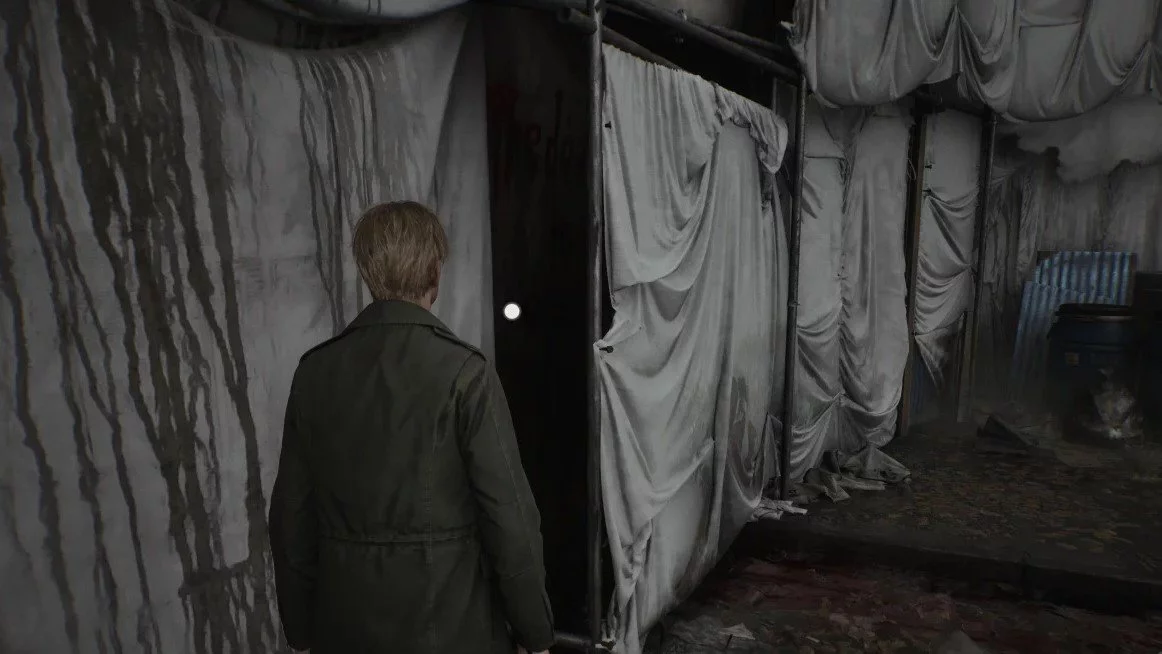
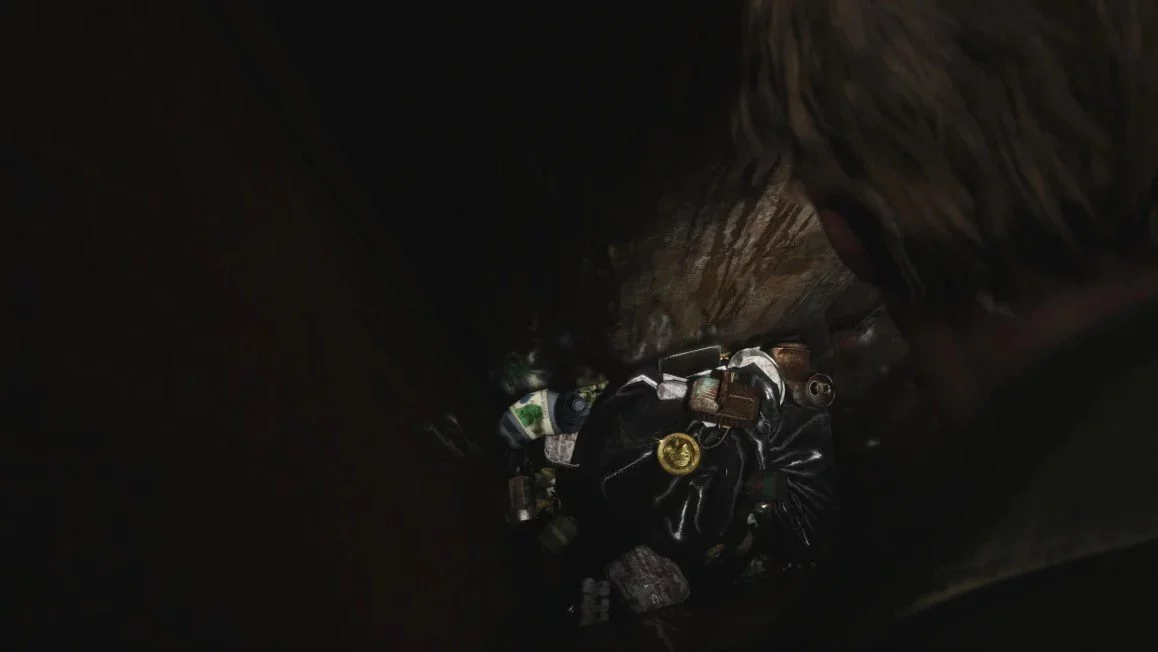
Now we need to get to the Woodside Apartment Complex. It is located on Katz Street. At the entrance of the building, take the flyer from the Texas Cafe. To the right of the entrance, there is a trash container. Approach it to activate the memory. To the left, next to the pile of trash and wooden boards, there will be a photograph. Go to the end of Katz Street to pick up the note about the barriers. Be careful; the enemy next to the note will come to life after interaction. Kill the enemy and approach the white sheets on the huge fence. You will see a small gap that you can peek through. Press the action button to get another memory. Turn around and go back. On the left side, you will see the Big Jay's Diner. Enter inside and take the note from the table.
Now you need to head to the Texas Cafe, which is located at the very end of Katz Street. Enter inside. Take the healing potion from the fridge behind the bar counter. Interact with the cash register. Turn the key and press the down button to get the coin. An enemy will appear. Kill it and head to the Groovy Music Vinyl Record Shop. It is located on the north side of Neely Street. Take the note from the table. Kill the two enemies that will attack your hero. Break the glass along the back wall. Climb into the new room. Take the glue and broken record. Open the inventory and combine the found items.
Where the Key to the Woodside Apartment Complex Gate Is Located
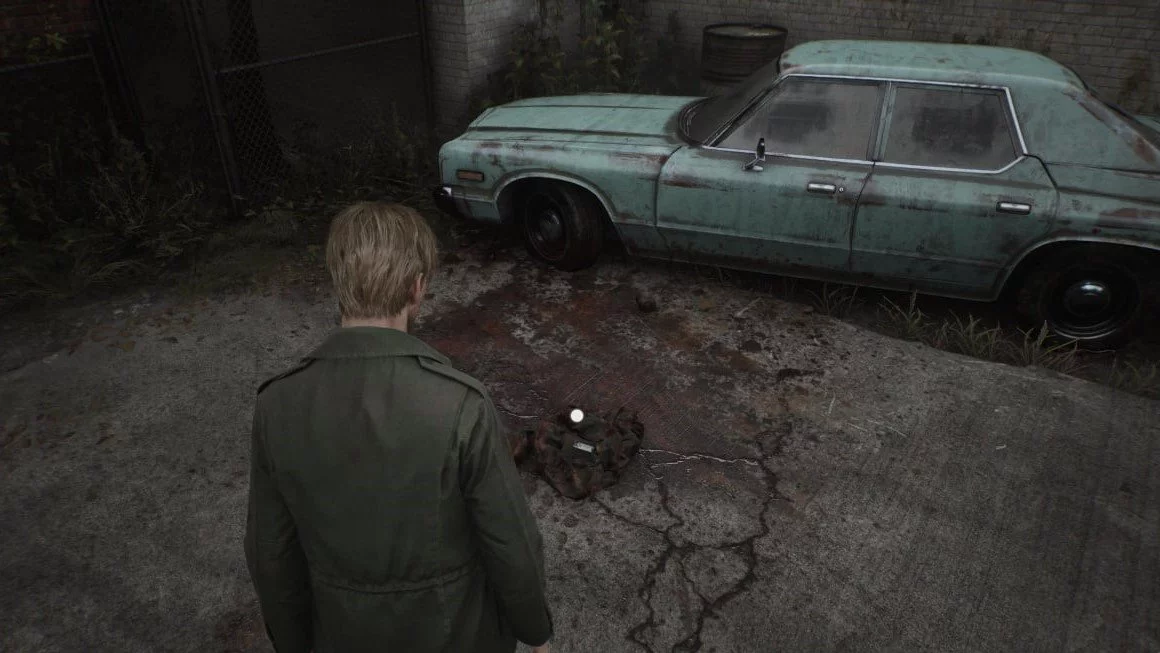
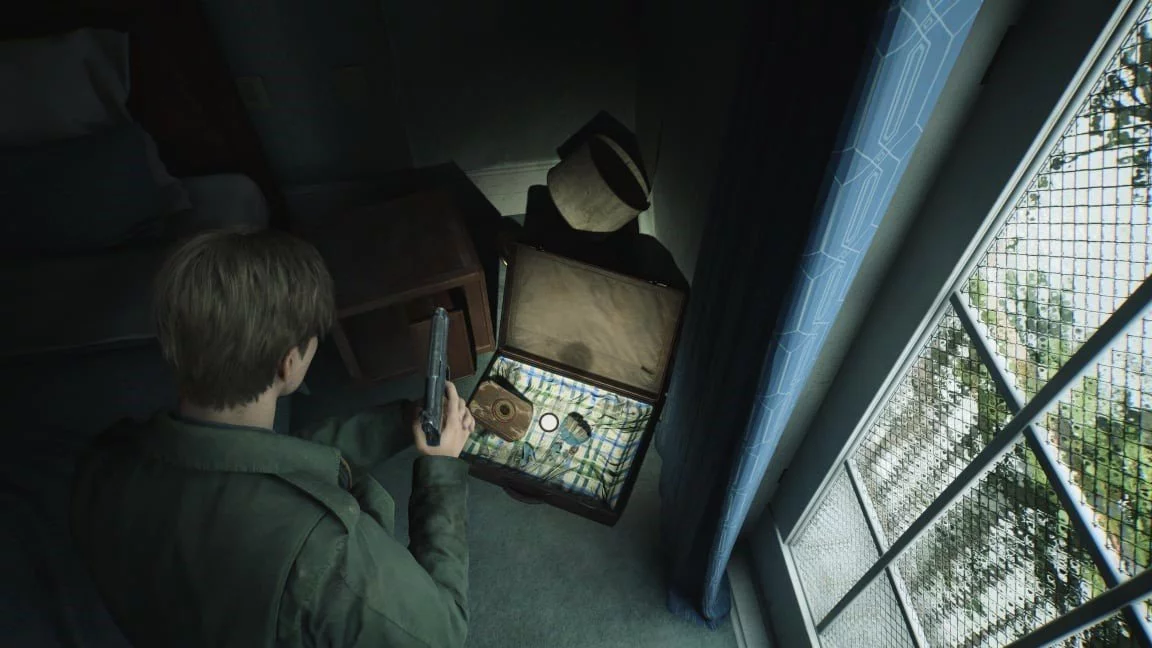
As soon as you collect all the items to solve the puzzle, return to the bar. After interacting with the jukebox, you will get the key. Approach the door next to the save point. Use the obtained key. Push the cart against the wall so you can crawl into the ventilation shaft. Take the medicine in the bathroom. There will be a note on the table in the office. After reading it, a car mark will appear on your map. Exit through the white door to get to the street. Head to the place marked with a question mark on the map. Climb into the green car on the right side to take the healing potion. Then go to the open gate. The car you need is on the right. There will be a bloody shirt nearby. Interact with it to take the Woodside key. A group of enemies will immediately attack you. Try not to fight, but just run into the gap between the trash cans.
Now you need to get to the Woodside residential complex. We have already been there before. It is located on Katz Street. Once you get to the place, use the key. You need to go through the residential complex.
Woodside Residential Complex Walkthrough
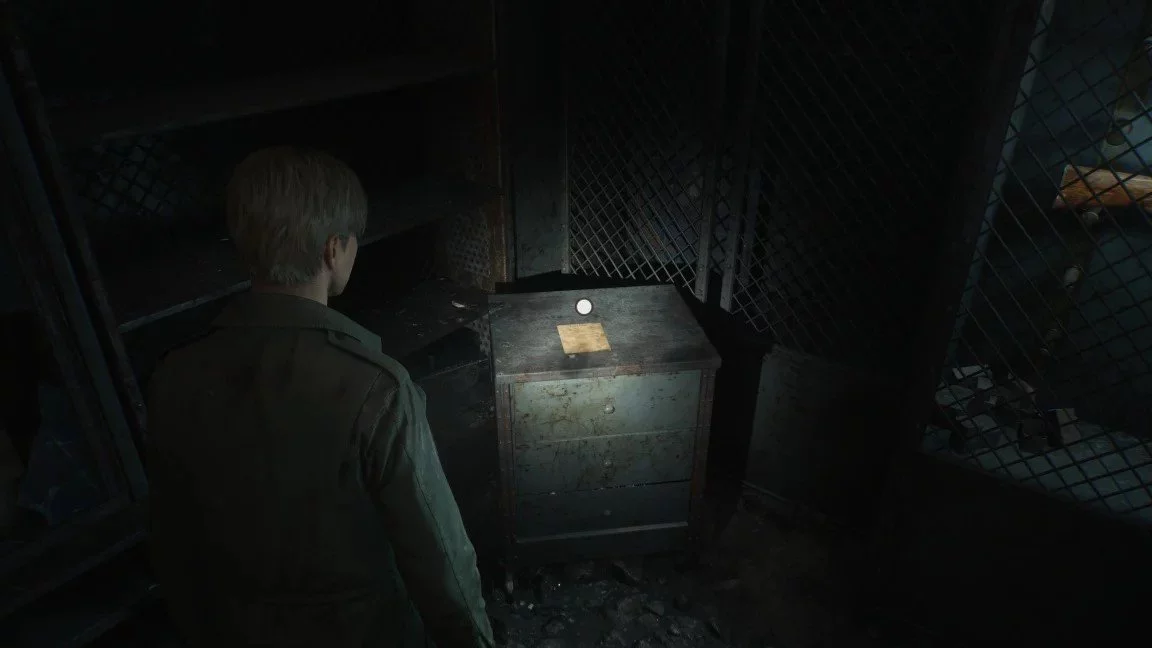
The Woodside residential complex looks more presentable than the rest of the game world. First, inspect the bulletin board. Take the maps of the first, second, and third floors. Enter the reception and save the game. At the end of the office, you can find ammo in the closet. Remove the cover from the furniture to find a dresser with coins. This is the main puzzle of this location. Exit to the corridor and turn left towards the stairs. Go under it to get a healing drink. Inspect the mailbox to get an administrative note.
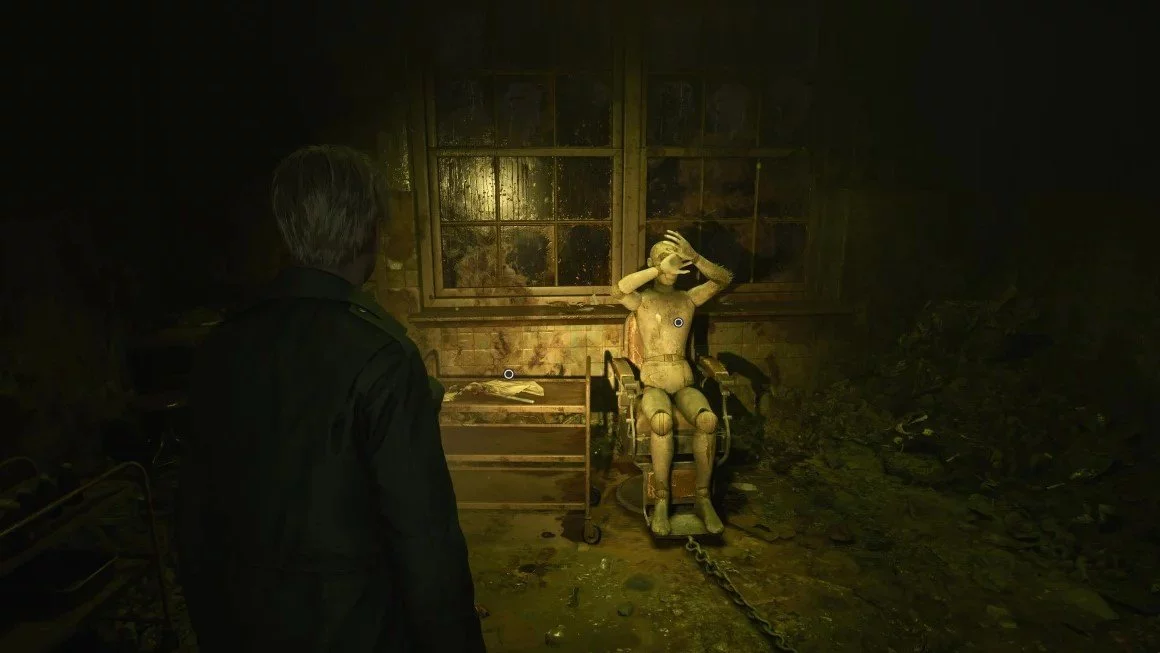
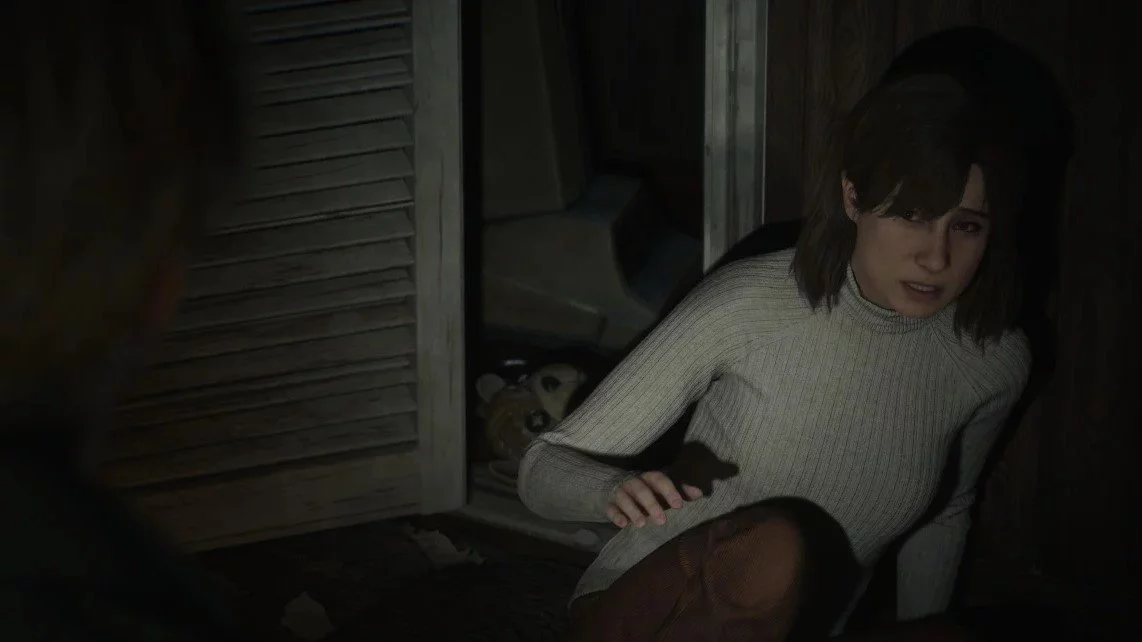
All the main doors on the first floor will be locked, so you need to go to the second floor. As soon as you go up, approach the door from which light is leaking. Enter inside. Inspect the kitchen drawer to find a healing potion. Inspect the mannequin and take the flashlight. After this, an enemy will attack you. So be careful. Once you kill it, inspect the small table to find the courtyard key. Exit the room and go down to the first floor. Use the key on the double doors in the reception. Go outside. In the courtyard, push the cart against the window on the right side. This way you can climb inside. In the room, you need to enter the bedroom. There you will find pistol ammo. Leave this area. Now you need to visit room 109. Kill the enemy and take the ammo from the bedroom. Exit the room and walk down the corridor. On the floor, you will see a key behind the railing. When you try to take it, a girl will appear and kick it away.

After the cutscene, return to the courtyard. Head to the hallway where you can save the game. As soon as you enter, you will hear a woman's voice. If you look to the left, you will see a slightly open door. Go there to find the key discarded by Laura. Then visit room 107. There you will find a healing potion. Now enter the neighboring room number 108. Interact with the wardrobe. The Golden Apple handle will fall to the floor. Pick it up and add it to your inventory. After this, head to room 106. There you will find pistol ammo.

Return to the hallway. You will see that the shutters on the first floor are open. There will be two enemies lying nearby. They will wake up as soon as you approach. Kill the enemies and enter the room on the left side. Take the photo from the tray near the TV. There will be medicine in the bedroom. The room at the end of the corridor will be locked, so go up to the second floor. Use the key on the double doors to the left. Enter the door on the right. Pay attention to the back wall with the garbage chute. There you will find a coin in the pile of trash. We will need it for a puzzle.
Where to find the gun
Return to the corridor and head to room 213. Go to the bedroom and interact with the scratched wall. This will unlock a memory. Now go to the living room and crawl through the gap in the wall. This way you will bypass the locked door. To your right will be another door leading to the third floor. Go down the left corridor and enter room 217. Inspect the pantry and the kitchen drawer to pick up ammo. Look into the red cart to find the gun.
Where is the key to room 212
Exit the room and return to the corridor. You will hear a scream. Go back to the gap in the wall. You will see a TV with static and a body sitting nearby. Press the action button near the body to start a cutscene. After that, take the key to room 212 from the table. Exit to the corridor through the door. The needed room will be opposite. Pyramid Head will not be here yet. Inside the room, you will find medicine. It is in the kitchen cabinet. Go out to the balcony and enter room 210. An enemy will be waiting for you there. After the battle, inspect the refrigerator. Inside, you will find ammo. At the left boarded-up window, there will be a photo. Pick it up.
Exit the room through the door. You will find yourself in the corridor where you met Pyramid Head. Go to the right until you reach the stairs leading to the courtyard. There will be a lever on the right that lowers the stairs. Return inside and continue to room 207. There you will be waiting for two enemies. After the battle, take two packs of ammo. Shoot the balloons to get an achievement.
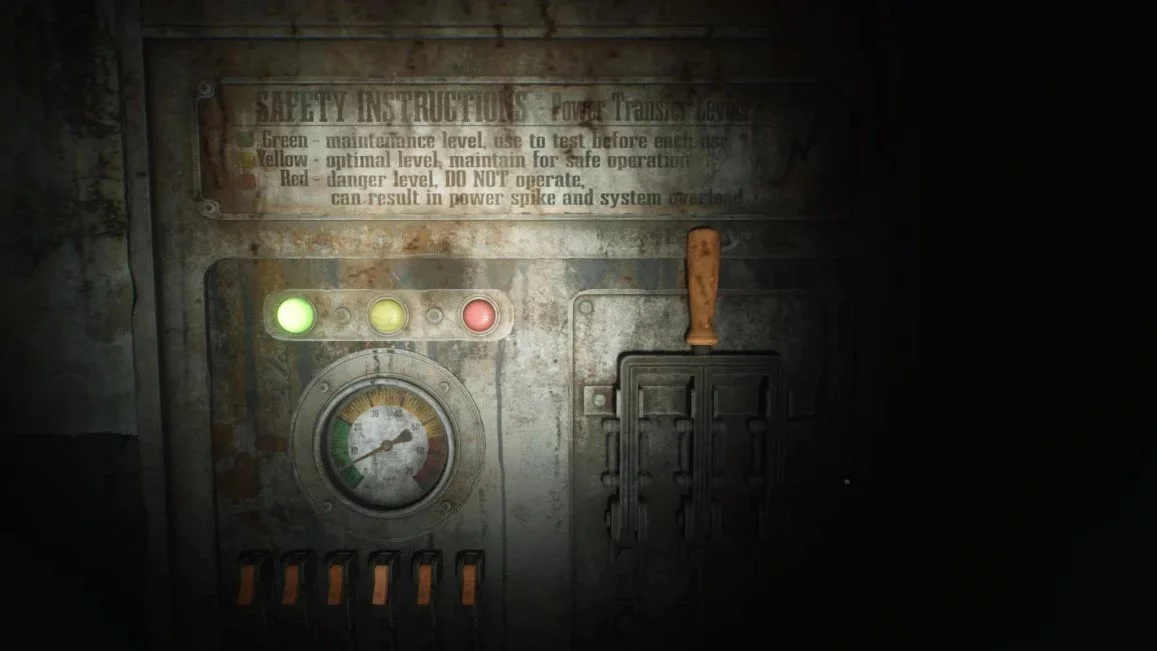
How to open the safe
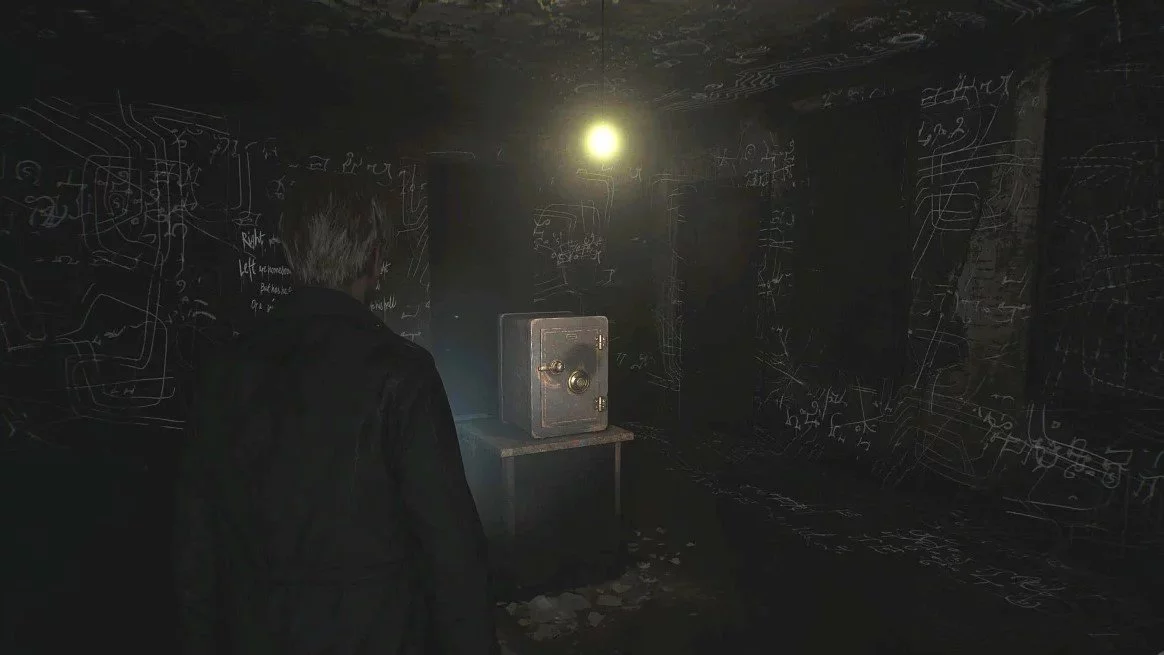
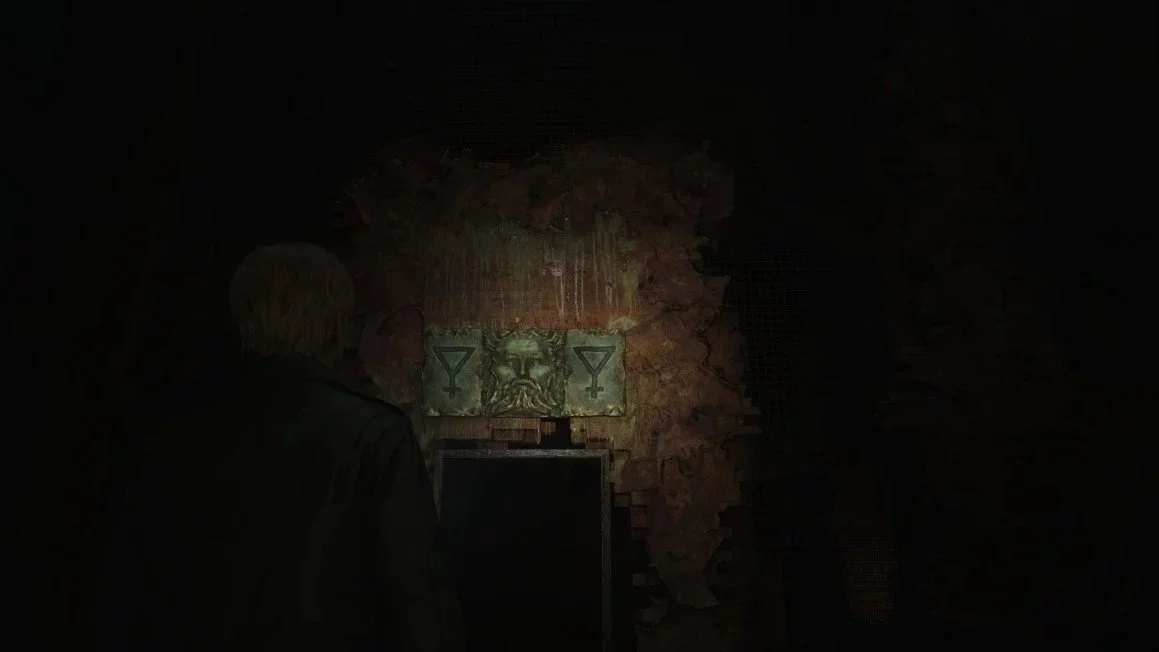
Return to the corridor. Go to room 208. Take the pistol ammo in the kitchen. Approach the cabinet and insert the previously picked up golden handle into the left hand. It will open. You will have access to a peephole that allows you to look into the neighboring room. Push the cabinet from the left side to open the passage. Once you get inside, you will be locked from the inside. There will be a safe in the middle, and inscriptions on the walls. You need to figure out the safe code. There is a hint on the wall in the form of a riddle. It tells you the order of entering the safe code. You will find the numbers on the walls. The number 11 is in the corner. The number 13 is near the houses. The number 7 is with a set of steps. Now you have a set of values. In a separate guide, we will explain the order in which to arrange the numbers. Below under the spoiler is the answer.
Right — 13, left — 7, right — 11.
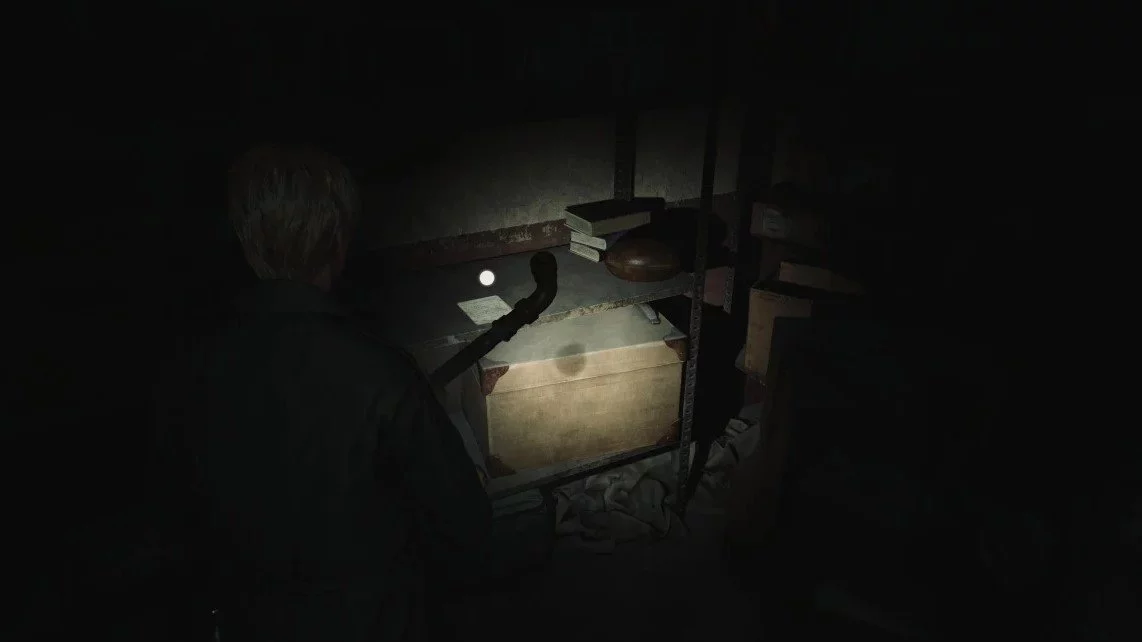
Inside the safe, you will find a coin and a steel key. The latter can be used to open the locked door and leave the room. Once in the corridor, you need to visit room 205. There you will find: a healing potion, ammo, and a key to the small staircase on the second floor. The latter is on a chair. You need to use it on the door next to room 215. Behind it is the staircase. Save at the save point. Now you can go down to the first floor or up to the third. Let's go up first. At the end of the left corridor, there will be a gap to room 311. Kill the group of enemies and take the first aid kit with ammo. Move to room 309 and exit through the large hole in the wall. Don't rush to go further. Turn right and enter the small room near the generator. Pick up the note and ammo.
How to pick up the coin with the woman
Now you can crawl through the gap. You will end up in room 310. Kill the enemies and go out to the balcony. Go through it to room 312. Inside, there will be another enemy. Kill it and take the healing potion. Take the note from the wall. Return to the kitchen and go to the small room opposite. There will be a syringe on the balcony. Inspect the floor. You will see a path to the laundry room. Go to this area and take the pistol ammo. Also, pick up the juice pack and use it on the garbage chute nearby. You will see a cutscene where the juice pushes out the coin we saw earlier in the pile of trash. Exit the laundry room and return to the server staircase to go down to the first floor. There are some ammo under the stairs. Go out to the courtyard to pick up the coin. Return to the foyer and save your game.
Where to find the third coin
Now you need to return to the staircase where you previously picked up the coin. Turn left and enter room 116. You will hear sounds from the bathroom. Enter it to trigger a cutscene. After it, inspect the kitchen drawer. Take the pistol ammo. Climb out through the window to get to the pool. You need to kill a group of enemies. Once you deal with them, go down and take the coin with the snake engraving from the red stroller. Now you have all the coins for the puzzle from the office on the first floor. Return there. Before inserting the coins, rotate them to see the other engravings. You will need them. Now insert the coins.
How to solve the coin puzzle
You will hear the first riddle. You need to arrange the coins so that they match the solution. A detailed description of the puzzle will be in a separate guide. The ready-made solution is below:
Place the coin with the man in the first slot. The woman in the center. The bronze one with the sunflower in the far right slot.
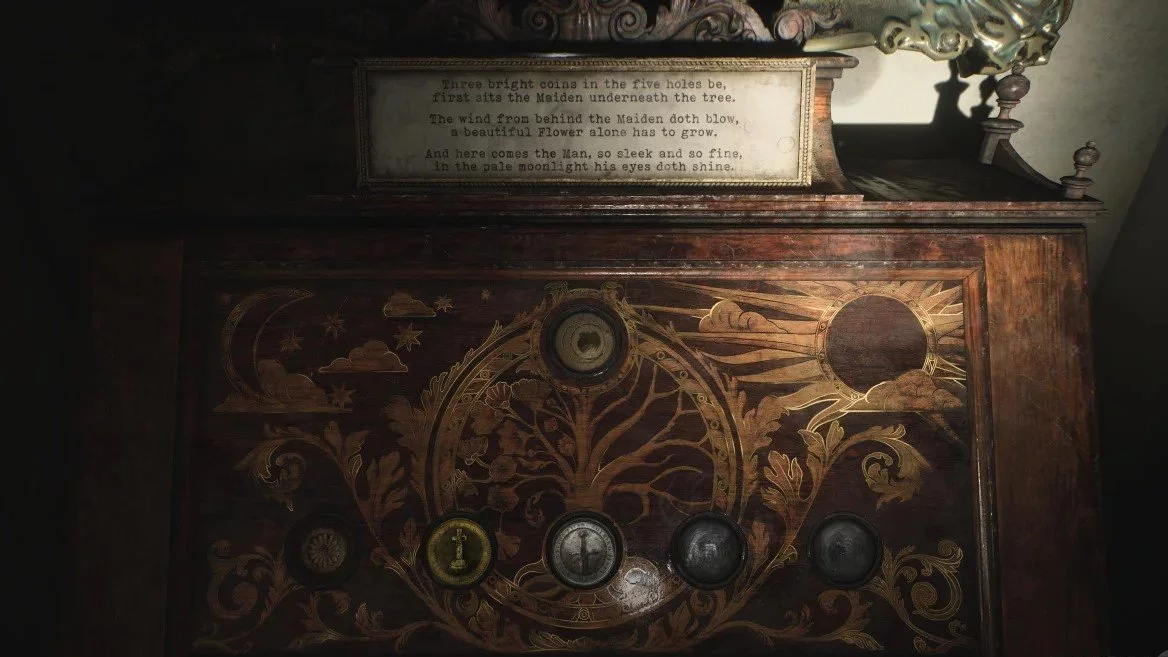
After the correct solution, the second riddle will begin. Do not touch the coins, as their position affects the solution of the next task.
Place the coin with the man in the second slot and flip it. Place the gold coin with the woman in the fourth slot. Place the sunflower in the fifth slot.
The third riddle will follow.
Turn the silver coin to the side with the man and place it in the third slot. Flip the gold one to the side with the tombstone and leave it in the fourth slot. Flip the bronze one to the snake and leave it in the last slot.

There is no correct answer for the last riddle. You can place any coin in the top slot. After solving the puzzle, you will get the key to room 201. Return to the reception and save. Go to the north staircase, which is on the other side of the house, and go up to the second floor. Unlock the room. In the bathroom, you will find a healing potion. Take the note from the table. As soon as you pick it up, a cutscene will start.
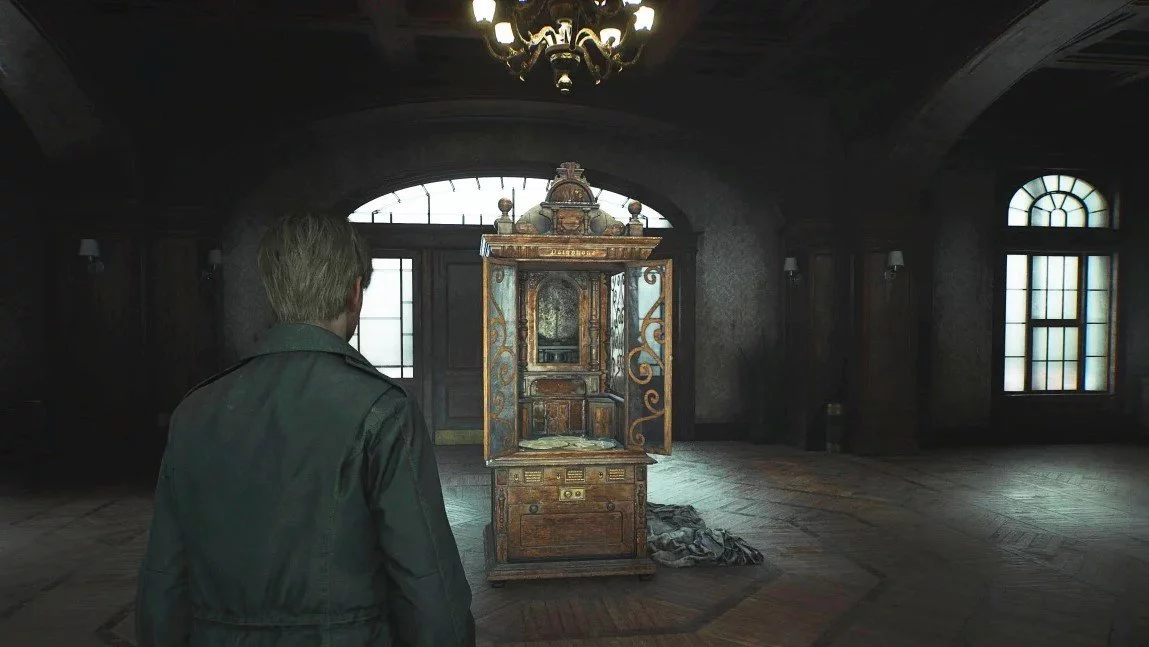
After the cutscene, take the handkerchief and open the red steel door. You will enter the otherworld of another apartment complex.
Blue Creek Apartments walkthrough
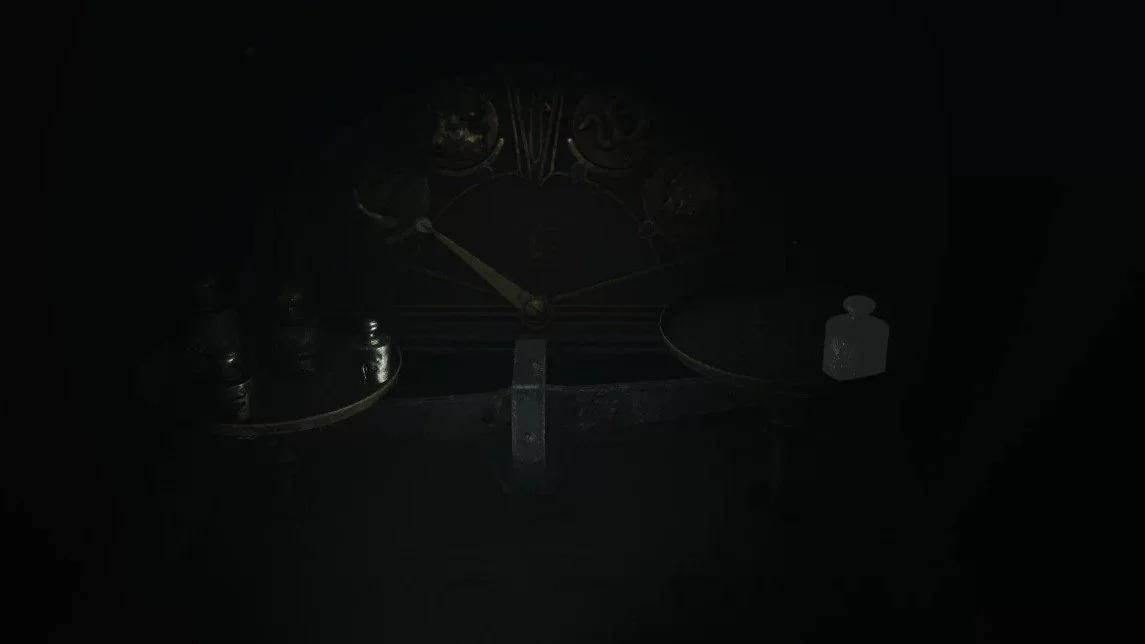
After the cutscene, exit into the corridor. Take the ammo from the chair on the right side. Now go straight and take the floor maps of the apartment complex from the wall. Most of the doors will be locked, so go straight to the cracked wall. Hit it with the board to open the passage to room 206. Two enemies will attack you. Kill them and take two packs of ammo with a healing potion. Exit through the blue door and press on the locked passage of room 202. You will get a hint on the door. Go to room 212. There you will find a healing potion, a note, and a save point. On the left, you will see a clock. Remove the cover. This is the main puzzle of this area.
Exit to the metal balcony and go to the right. You will hear a knock. James will leave a mark on the map. Take the ammo from the boxes and enter room 203. Go to the hall with the TV. Kill the enemy and take the syringe from the kitchen. Nearby there will be a wall that can be destroyed. You will enter room 205. Inspect the bunk and take the ammo. In the hall, there will be another enemy. Kill him and take the ammo from the bathroom. Exit to the balcony and climb the stairs. Enter room 303. In the kitchen, you will find ammo and medicine. Exit to the left corridor. Turn left and go to the end. In room 303, there are pistol bullets.
Now go north. You need to get to room 307. There you will find a radio chained up. In the kitchen, there are bullets and a healing potion. In the right room, there is a pipe without a handle. Enter outside through the propped open door and climb through the window into room 305. Once locked in, pick up the key to room 306 and press the action button on the pipe. After this, two enemies will attack you. Kill them and head to room 306. It is located in the northwest corner of the third floor.
Where to find the clock hands
In the room, you will find two enemies. Kill them and pick up the ammo with the medicine. Near the sofa, there is a crawl space through which you can get to the kitchen. There is a hole in the wall that leads to room 304. Kill two monsters and take the pistol ammo from the kitchen. Press the action button on the pipe valve in the living room. The pipe will explode, and you can take the valve. Leave the room through the blue door. Several enemies will attack you. Deal with them and head to room 307. There you can use the valve on the pipe. After this, the radio in another room will lower. You can interact with it and take the clock hand.
After you lower the radio, the door will unlock. Exit to the balcony and use the lever on the left to lower the stairs to the second floor. Go down. Enter room 212 and insert the clock hand into the mechanism.
Turn the hand to the number 9.
After this, the door marked on the map will open. You can quickly reach it through the right balcony. Take the pistol bullets from the kitchen. There you will also find a piece of the wall that can be broken. Search the toilet three times to find the minute hand. Exit the room and take the dove figurine for another puzzle. Open the blue door to get into a new area of the apartment complex. At the end of the corridor in the north, there will be pistol bullets. Go to room 209. Inside, turn right and enter the door. Crawl through the hole to get to the bathroom. Break the glass and take the part of the figurine.
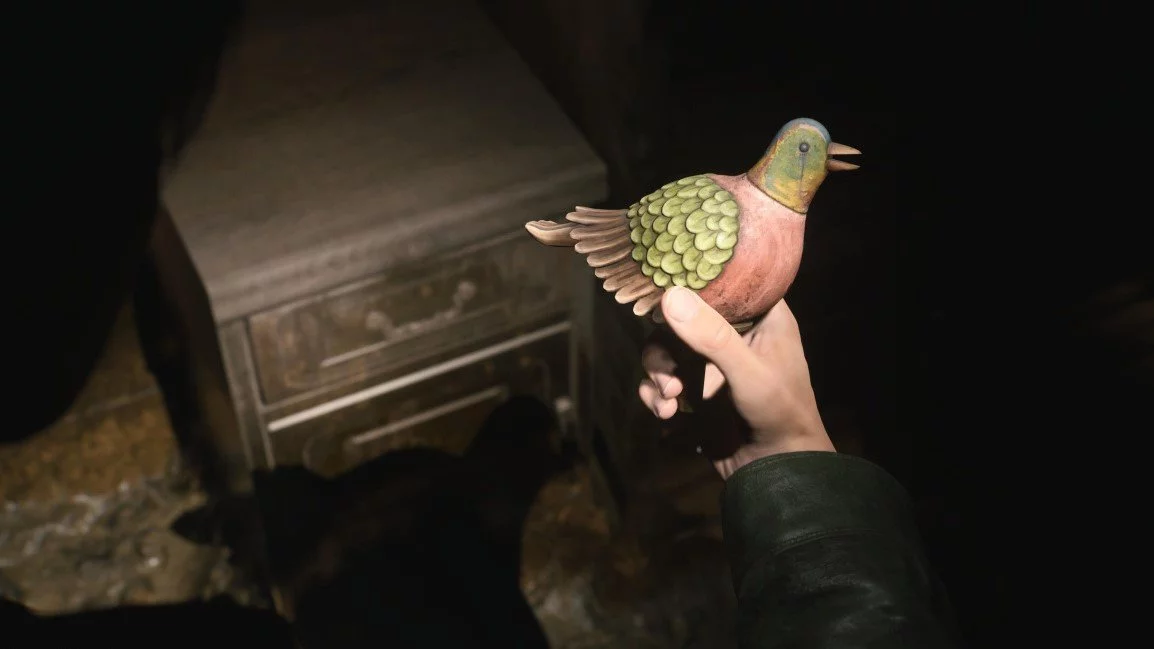
How to solve the seesaw puzzle
Return to the corridor. Now we need to get to room 211. Kill two enemies and take the ammo from the kitchen. Remove the swan head from the hook and combine it with the previously found part of the figurine. Return to room 210 and place the figurines on the seesaw. You need to find the balance so that they stand evenly. Leave the dove in place, and move the swan figurine two positions to the left. After this, you will receive a key. It can be used on the door located to the left of the puzzle. Jump down. You will find yourself on the first floor. Inspect the furniture to get a memory. Go to the kitchen and pick up the ammo and first aid kit. Exit to the corridor and go to room 109. Go to the kitchen and take the ammo. A cutscene will start in the hall. At the end, you will receive a knife. Don't forget to take the key from the table. It needs to be used on the doors at the end of the southern corridor. Approach the doors on the other side so that the main character marks them on the map.
Pick up the ammo and exit through the doors. You need to go to room 101. There you will find a syringe and pistol ammo. Now go to the stairs. Before going up, turn right and pick up the photograph from the floor. Go upstairs and unlock the doors leading to the second-floor corridor. Return to room 212 and insert the minute hand into the clock.
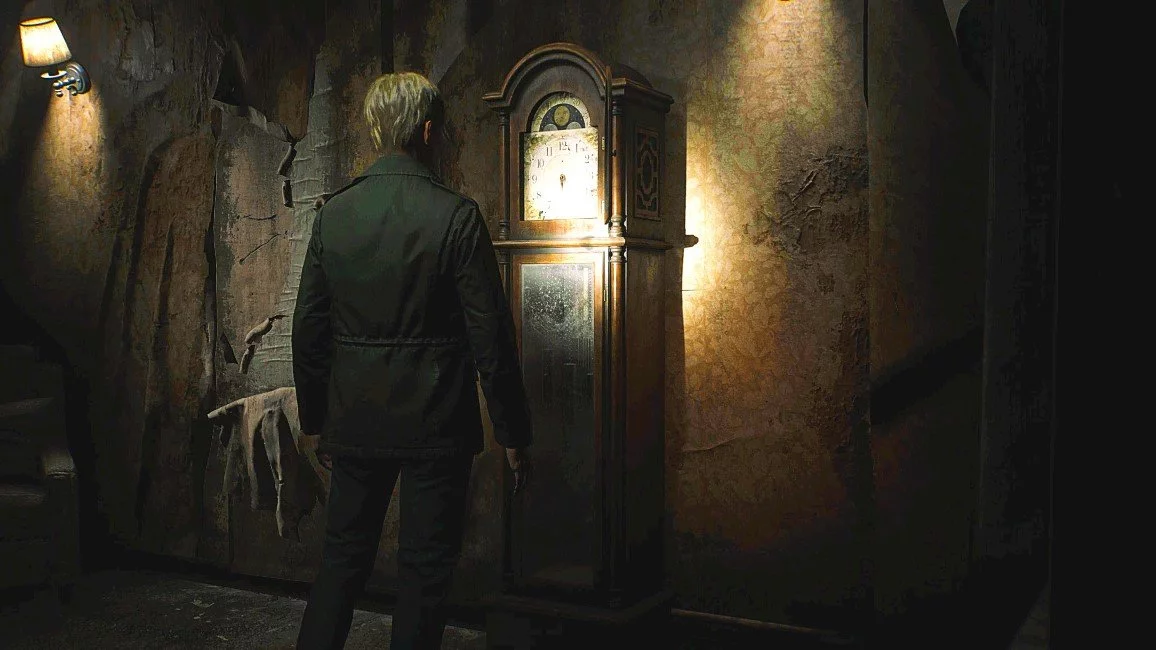
The minute hand should be set to 2.
Solution to the combination lock puzzle
The door marked with the letter M on the map will be open. Head to room 202. Inside, there will be a swarm of flying moths. Interact with the lock to see the clues with the three numbers that need to be entered. To get the correct combinations, you must follow the conditions of the clue. The symbols refer to the moths found in the frames and wooden boxes. Look at them carefully to see the symbols from the combination lock. Move the cabinet so you can get to the second room. Now you need to count how many symbols are in both rooms.
Crescent — 8. Bones — 5. Skull — 2.
Insert the values into the clue near the lock. Solve the examples and enter the answer into the combination lock.
The answer is 373 (on standard difficulty).
You will see a bedroom with a small hole in the wall. Press the action three times so the hero can grab the second hand. Return to room 212 and finish the puzzle.
Turn the second hand to 3.
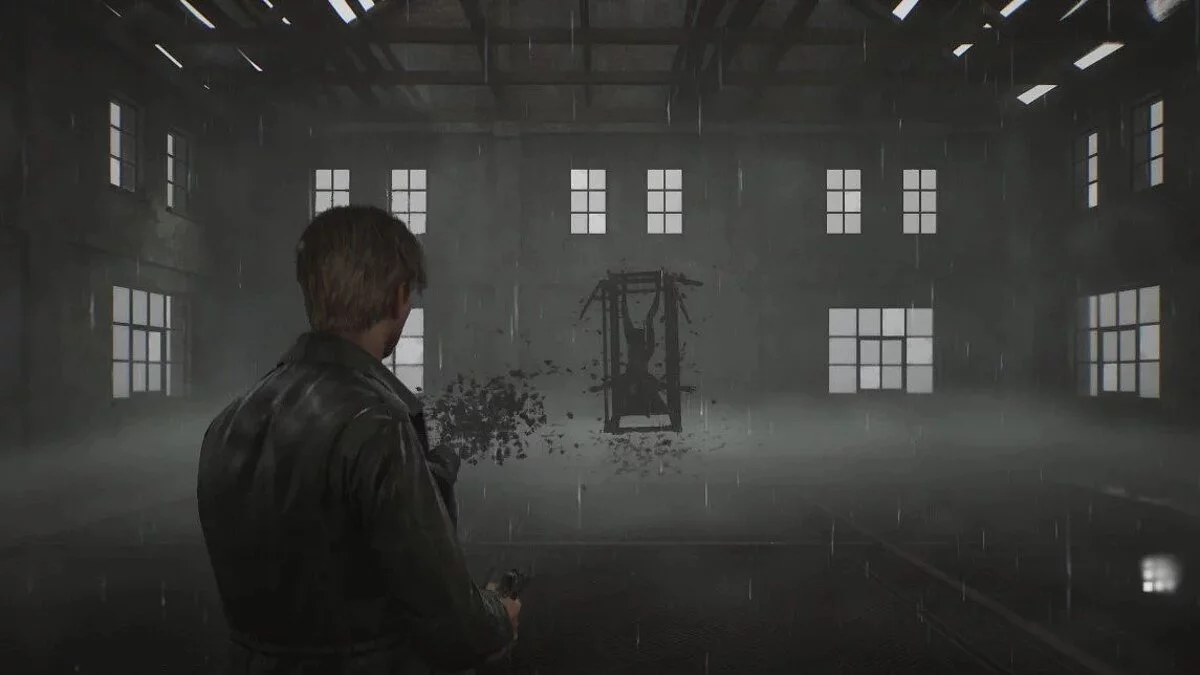
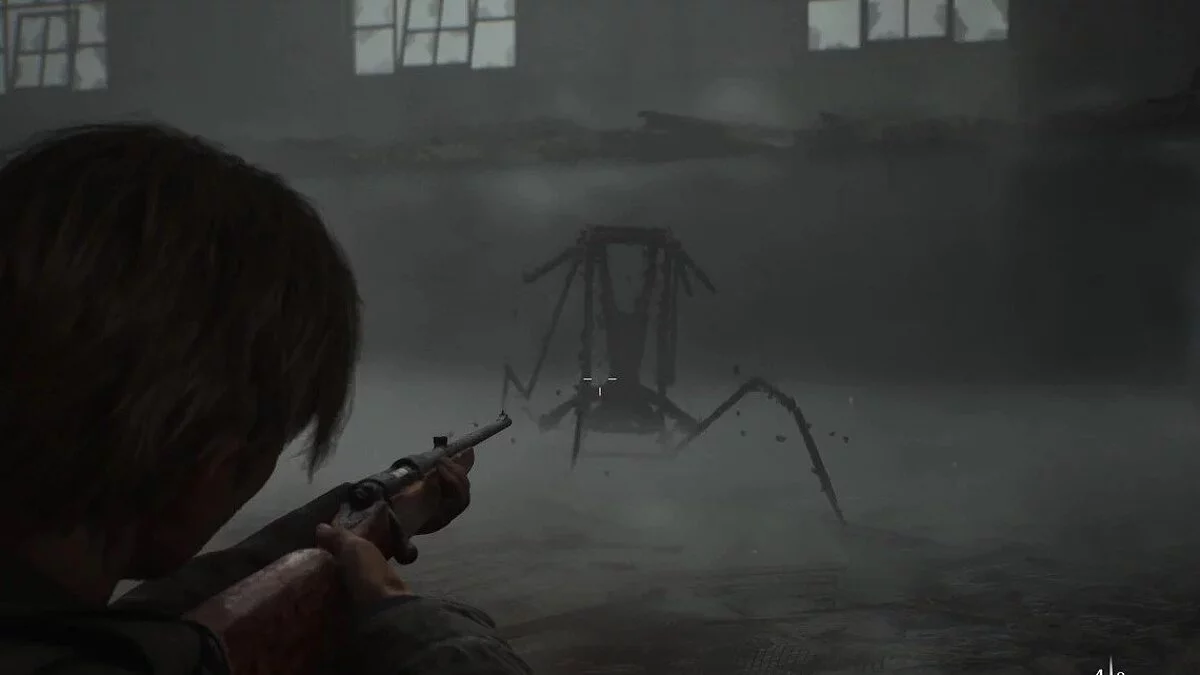
How to kill Pyramid Head
After solving the clock puzzle, the doors on the first floor will open. In the small area behind the clock, there will be a photograph. Take it. Head to the staircase leading to the first floor. Press the action button on the dead enemy to get a memory. Go down to the door. A battle with Pyramid Head will begin. He is very slow, so keep your distance and shoot at his head. After a certain amount of damage, the second stage of the fight will begin. The boss will become slightly faster, so he can quickly close in on the main character. Try not to stand still and move to a safe distance. Continue shooting until the siren sounds. Pyramid Head will stop attacking and leave, leaving behind open metal doors. You can now leave the residential complex.

At the end of the path, you will exit to the street, but only from the west side. The road will be straight, so walk until a cutscene begins.
After talking with the child, you will be able to enter the park. Along the way, collect ammo and syringes. At the end of the path, you will reach a pier where you will meet Maria. After the cutscene, you will have an ally and access to a new part of the park. Head there.

Upon reaching the new area, turn right. Go down the path. Take the photograph from the rest area. Return back. In the right corner, you will see several chess tables. Behind them is the exit.

Exit the park. You will find yourself on Nathan Avenue. You need to get to the motel. Once inside, turn left. There will be an office in front of you. Under the cash register, there is a safe. On the bulletin board, there is a note that you need to pick up.
Where to find the safe code
Exit the office and go up the stairs. Break the glass next to room 108. Climb inside. On the left, you will see a clock that can be broken. This will get you into room 107. In the nightstand by the bed, there is a healing potion. Nearby in the closet, there will be ammo. Inspect the table to take the memorandum. Study it to get the safe code that we found earlier in the office. In our puzzle guide, we wrote down the safe code if you don't want to find the solution yourself.
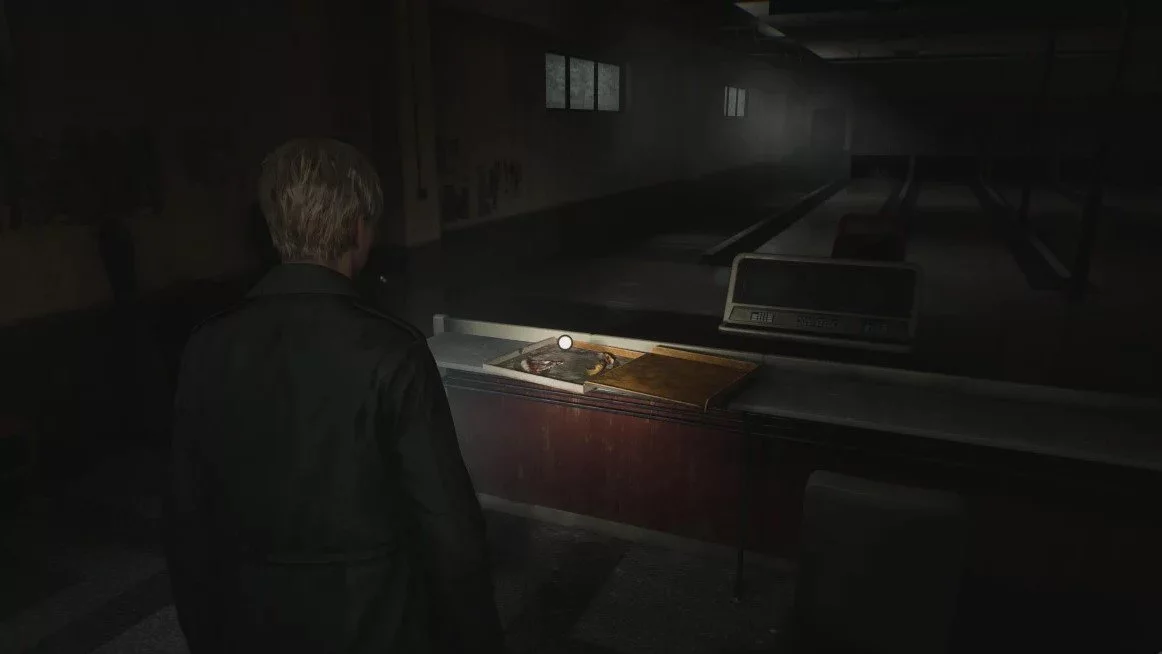
After getting the new key from the safe, exit the motel. First, we need to visit the gas station. Go into the garage to take the jack lever. After that, go outside and cross to the other side. We need to visit the bowling club. But before that, walk straight down the street to the white wall. Approach the staircase leading to the door. Interact with it to get a memory.
Head to the bowling club. To the left of the lanes, you will see an open pizza box that you need to interact with. Exit outside and walk to the very end of Nathan Avenue. There will be a note lying next to the dead body.
Return to the motel. Opposite it, there is a building with a garage. Use the jack lever to open the hatch. Crawl inside. Take the pistol ammo, healing potion, and the photograph lying next to the car.
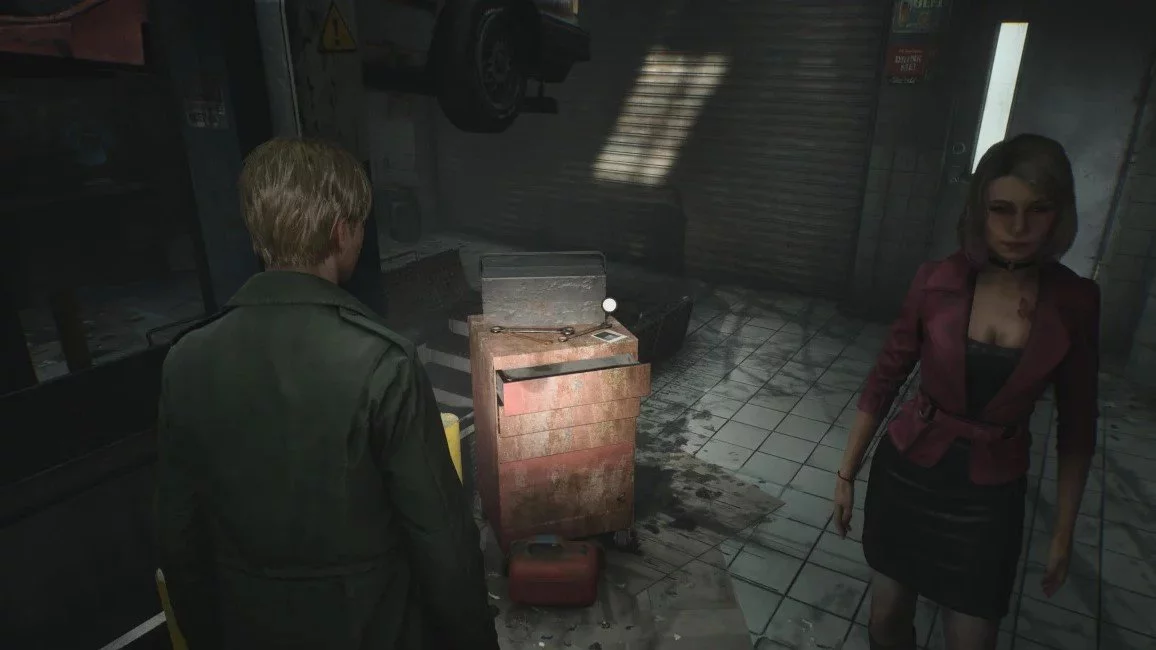
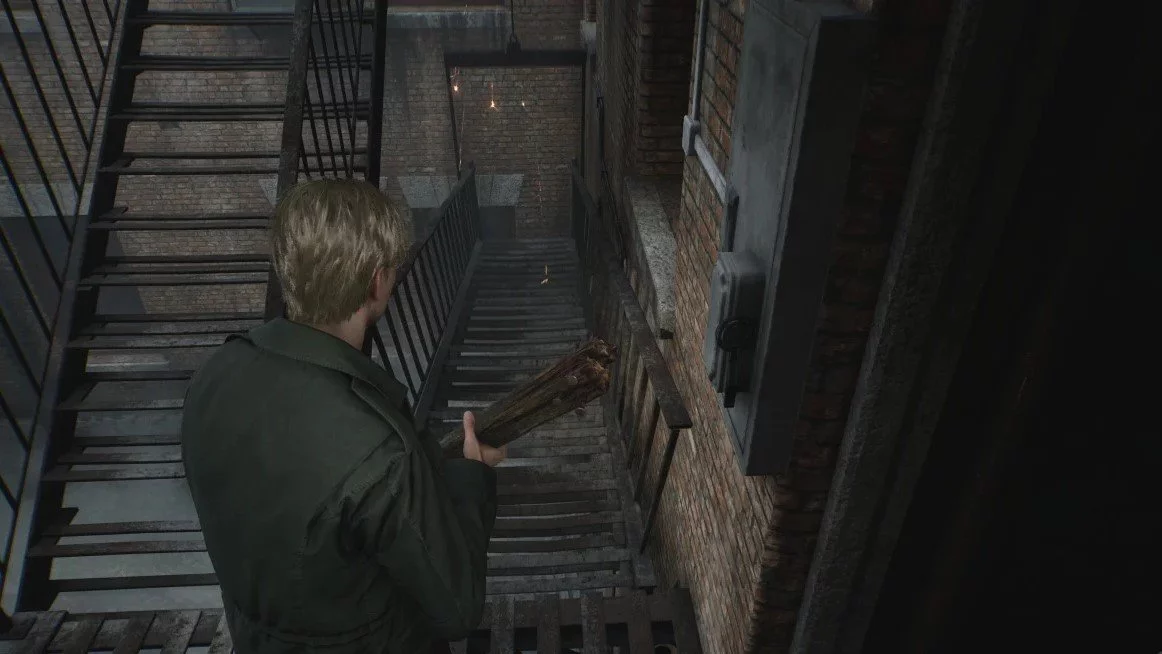
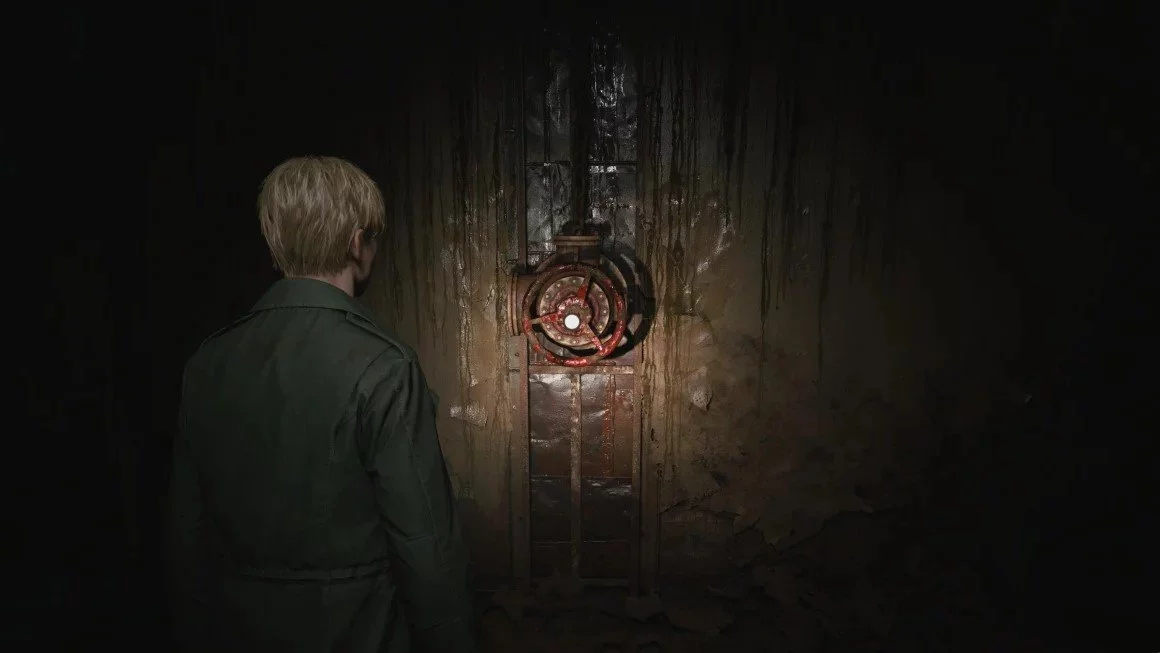
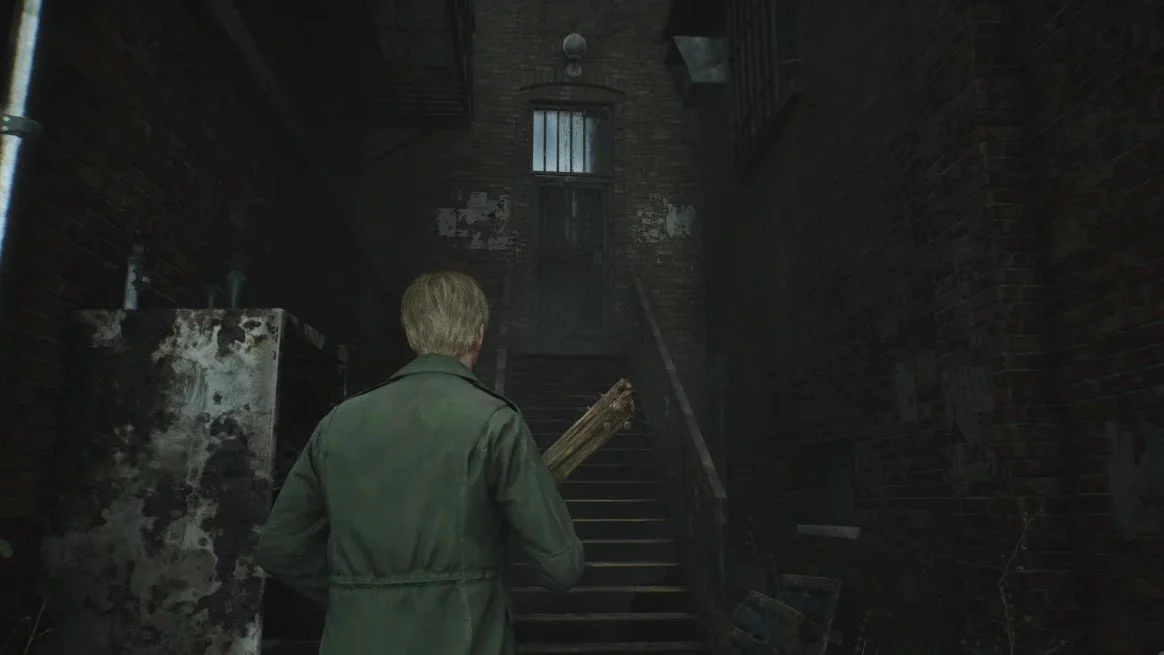
We need to open the gates leading to Manson Street. The key we took from the safe will help us with this. Visit the mansion for Maria to share her memories. Exit the building and head south down the street. Turn onto Katz Street. Walk along it until a cutscene begins. You will receive a steel pipe instead of a wooden stick.
How to get to the cinema
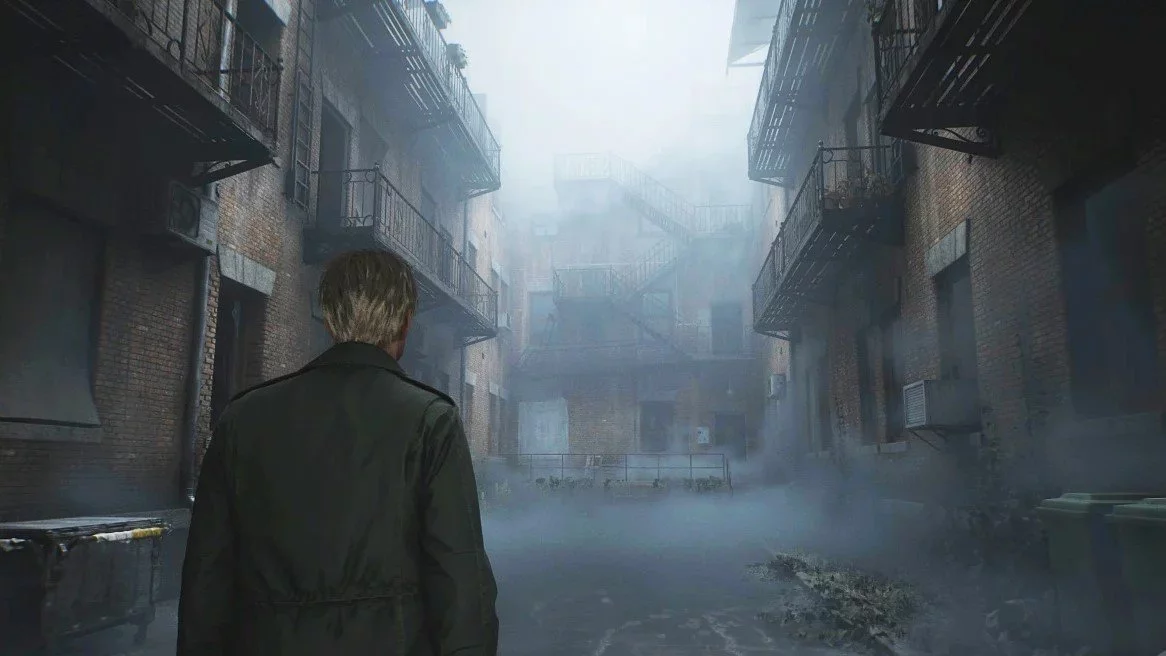
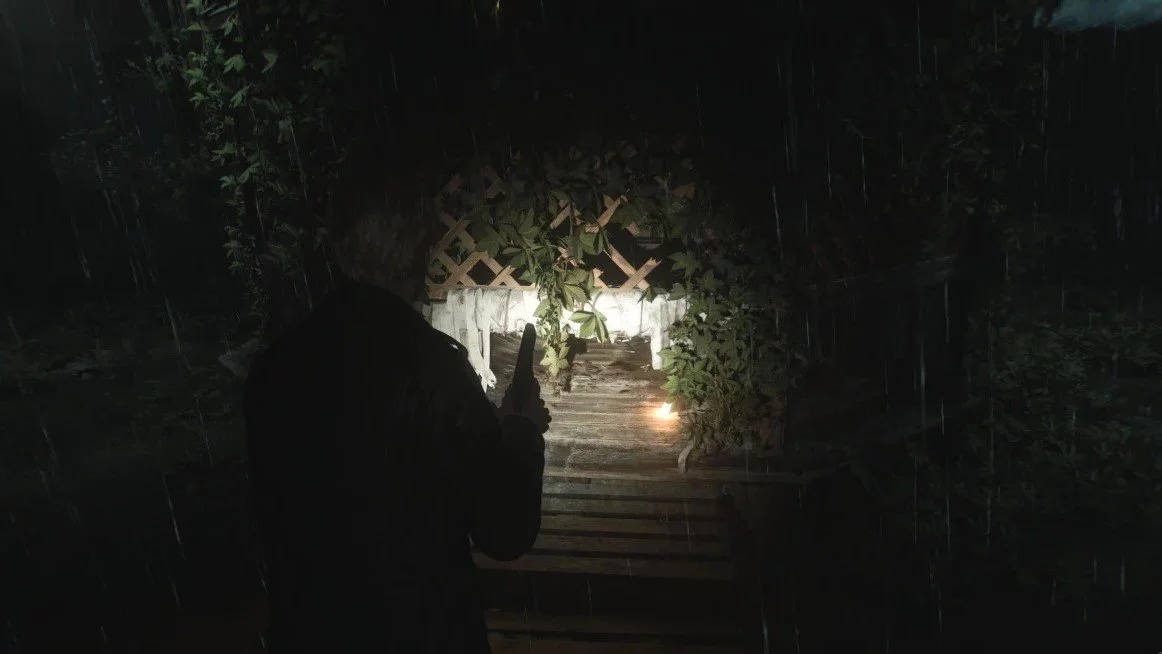
After the video, you will find yourself in an alley between houses. The place is swarming with enemies, and it's hardly possible to pass by them. Walk between the buildings until Maria points to a gap in the fence. Crawl through it to leave the dangerous area.
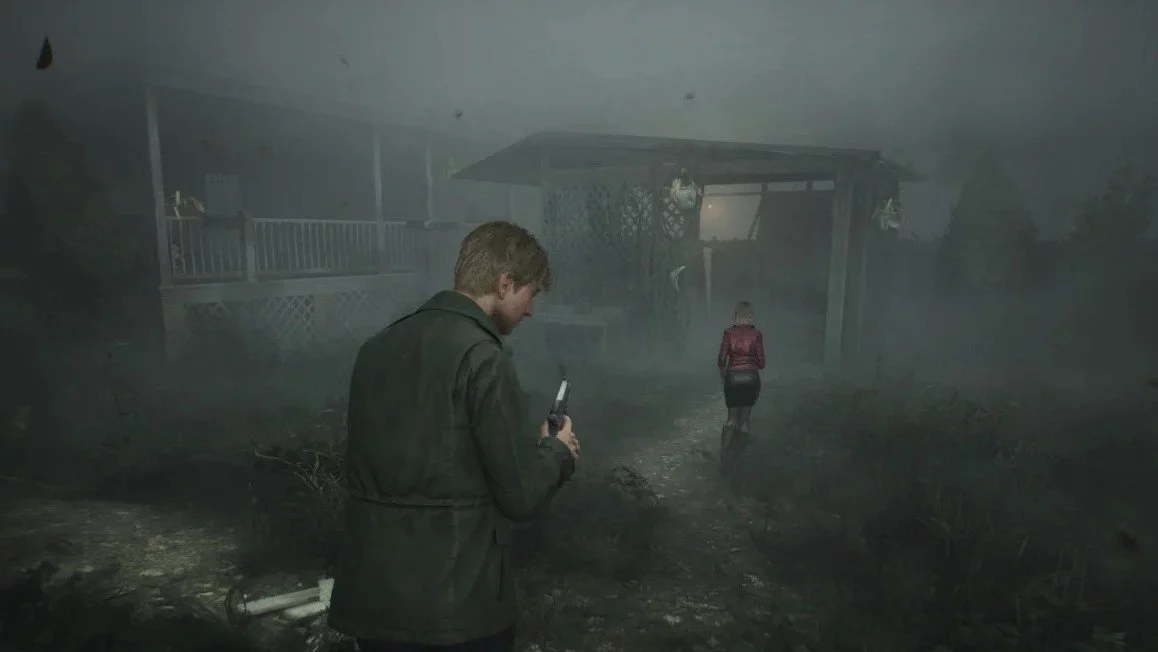
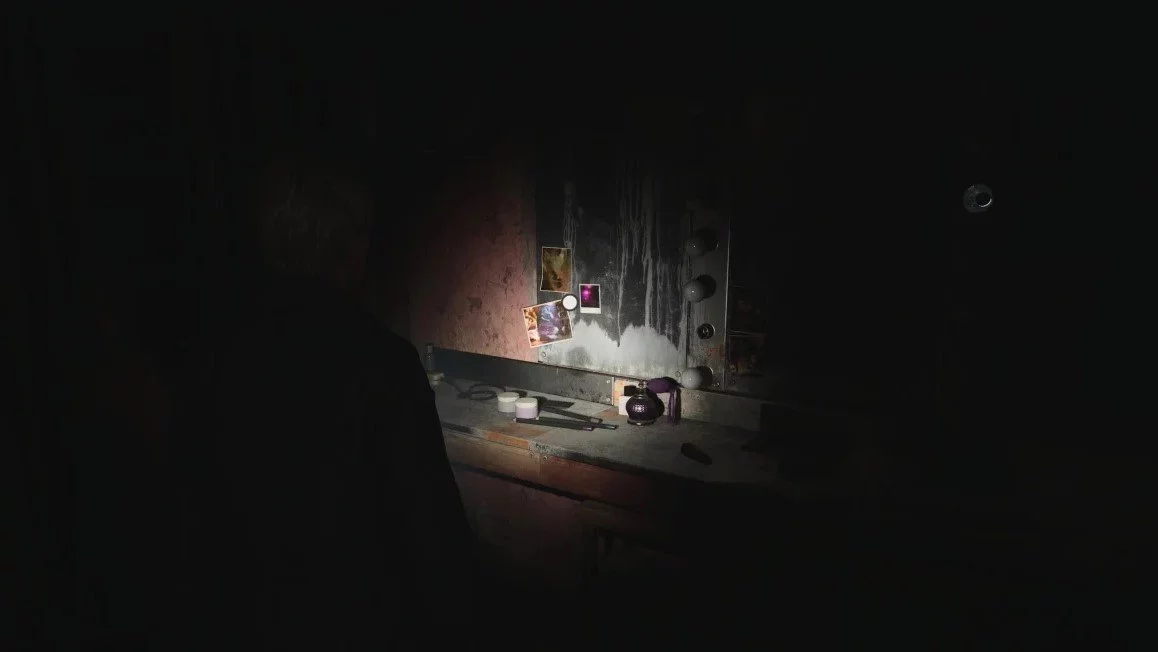
On the other side, you will see a red door. Open it and go inside. Walk through the kitchen into the dressing room. Take the strange photograph from the mirror. On the right side, you will see ammo. Turn right again to exit into the backstage area. Take the healing potion and pistol ammo. Head to the main hall to watch a cutscene.
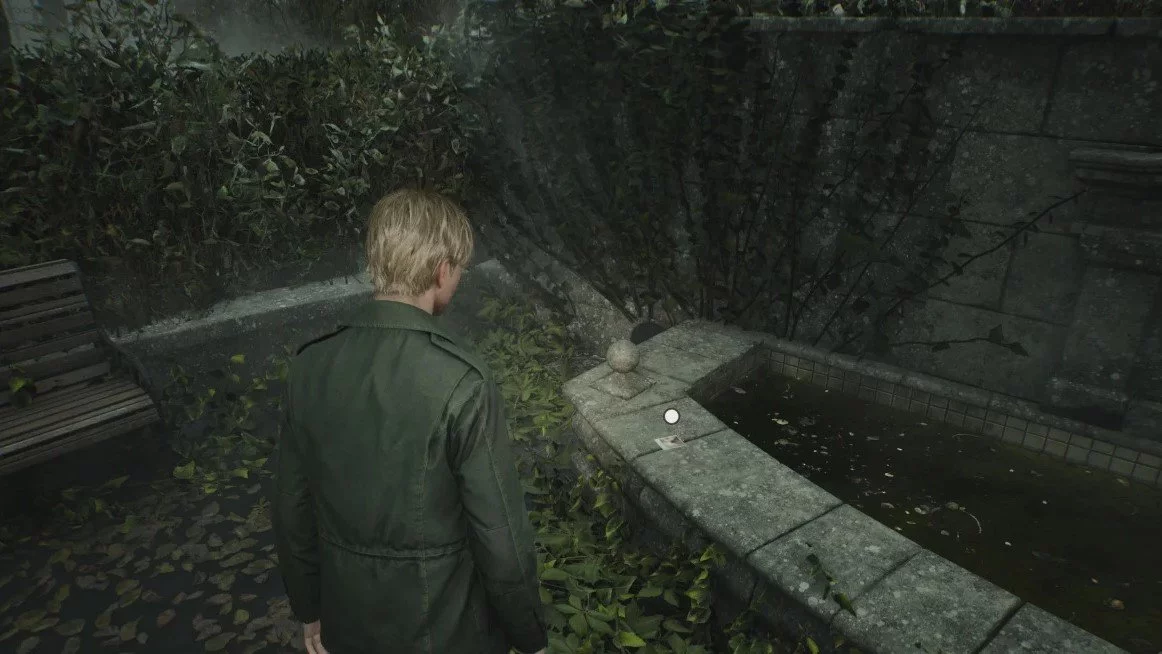
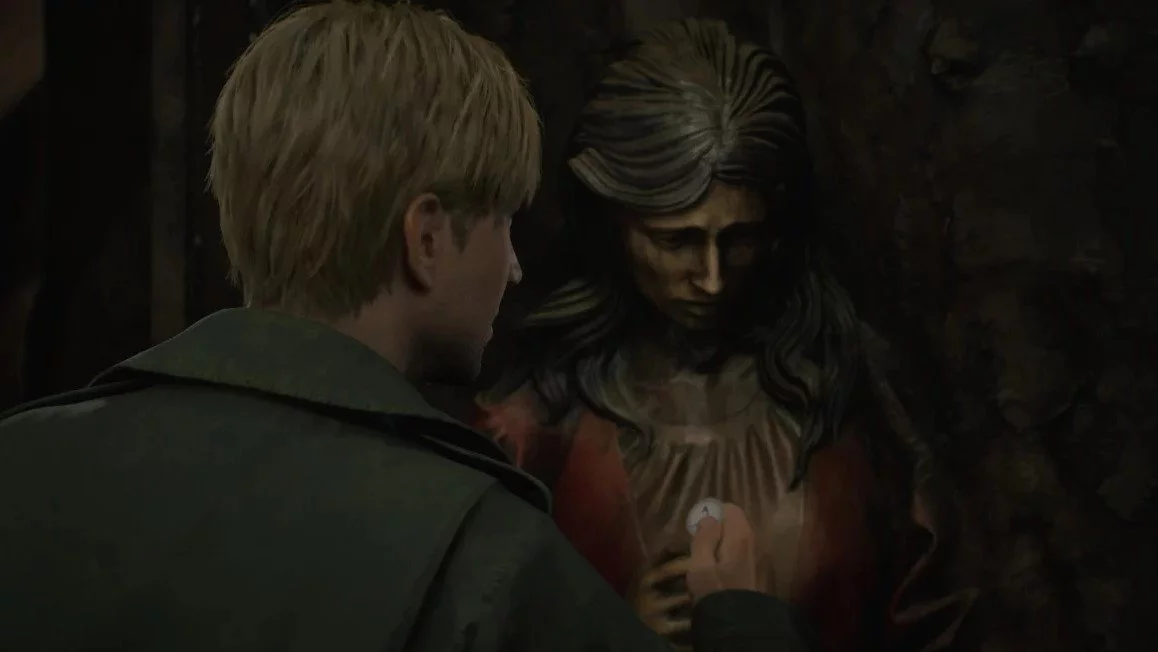
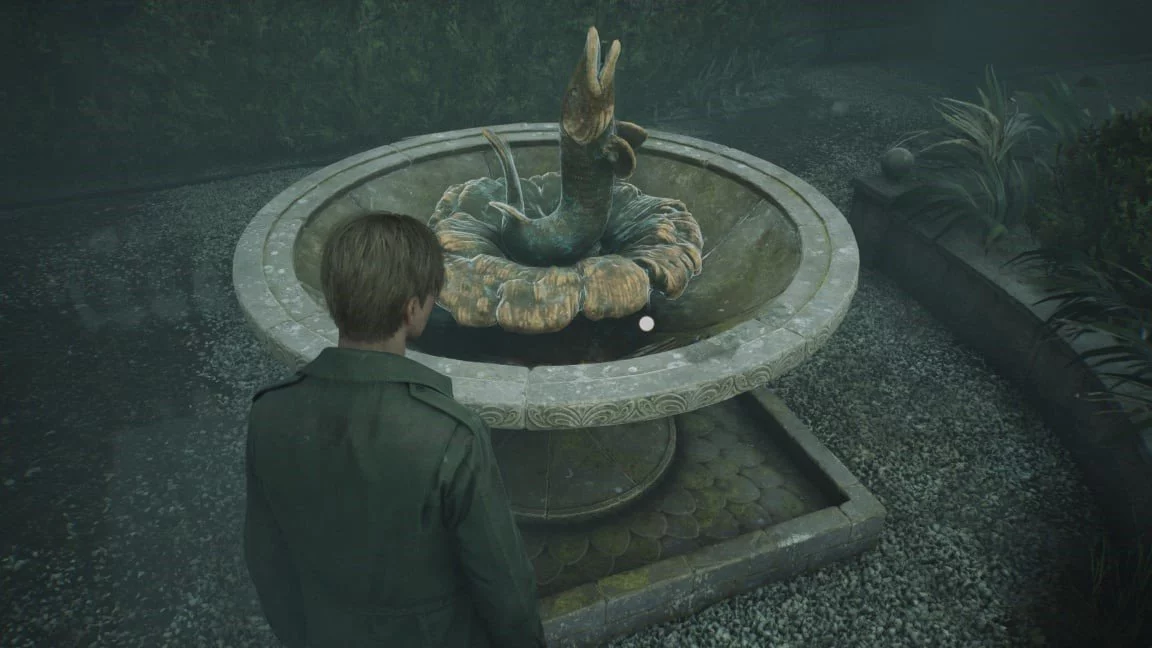
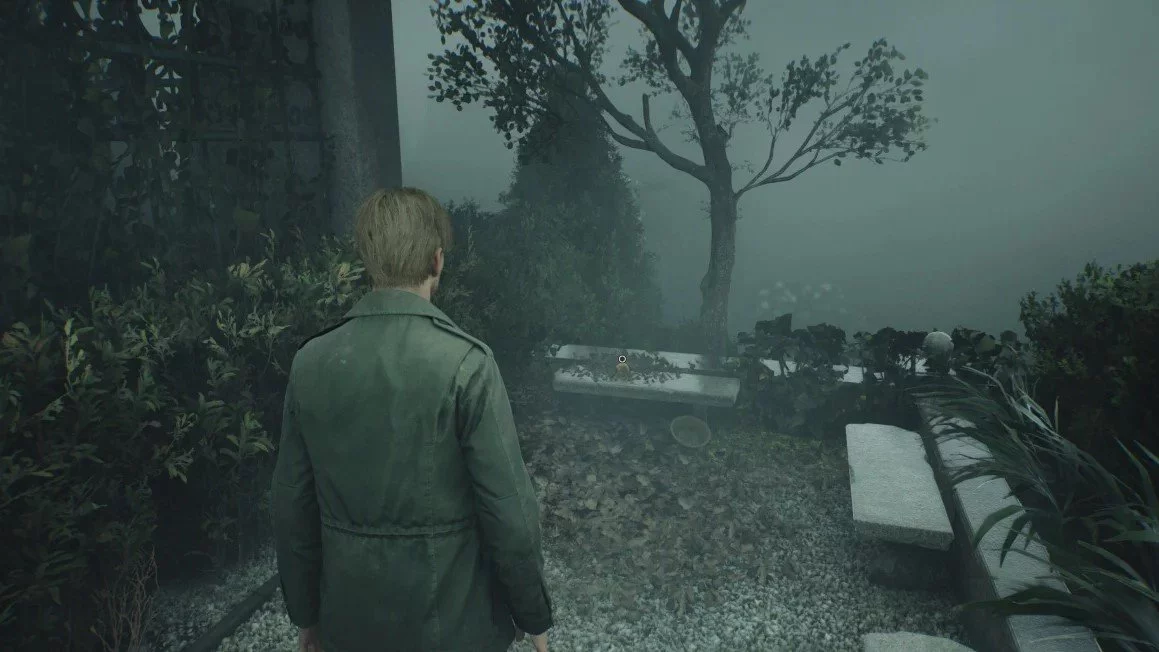
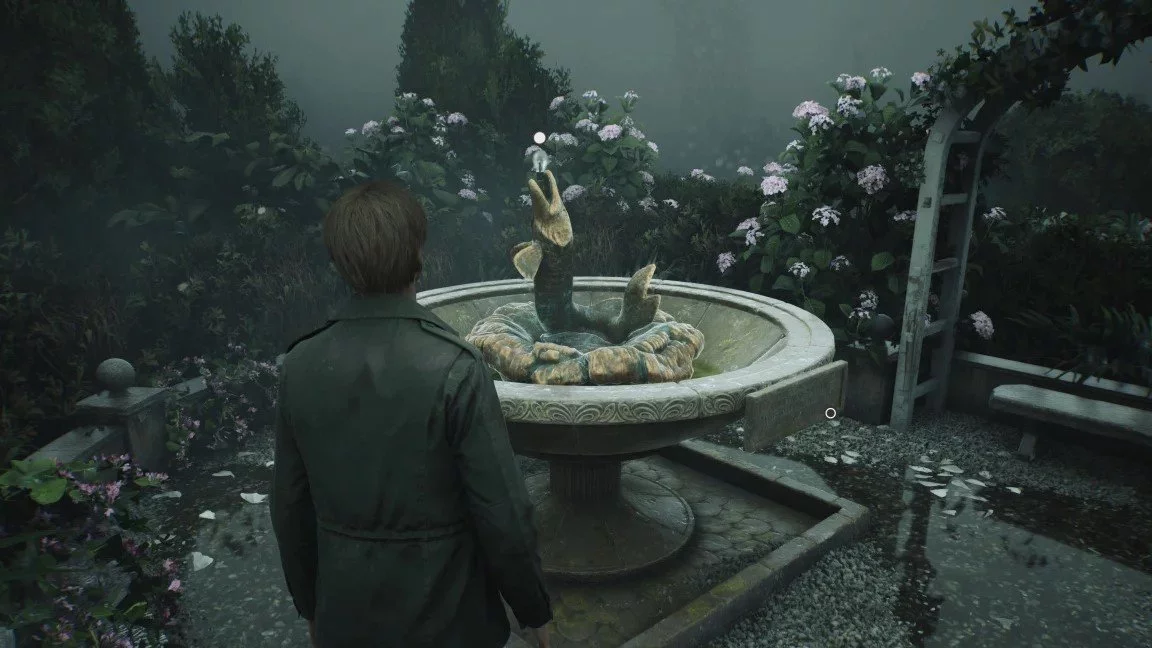
After the video, inspect the hall and collect useful items. Talk to Maria to leave the room. Once outside, you will see that most paths are blocked. You need to return to Katz Street. Pass through the narrow gap between the buildings. Walk straight to Moon Grove. Approach the statue to activate a cutscene. After it, turn around and walk along the path to the fountain. Pick up the photograph.
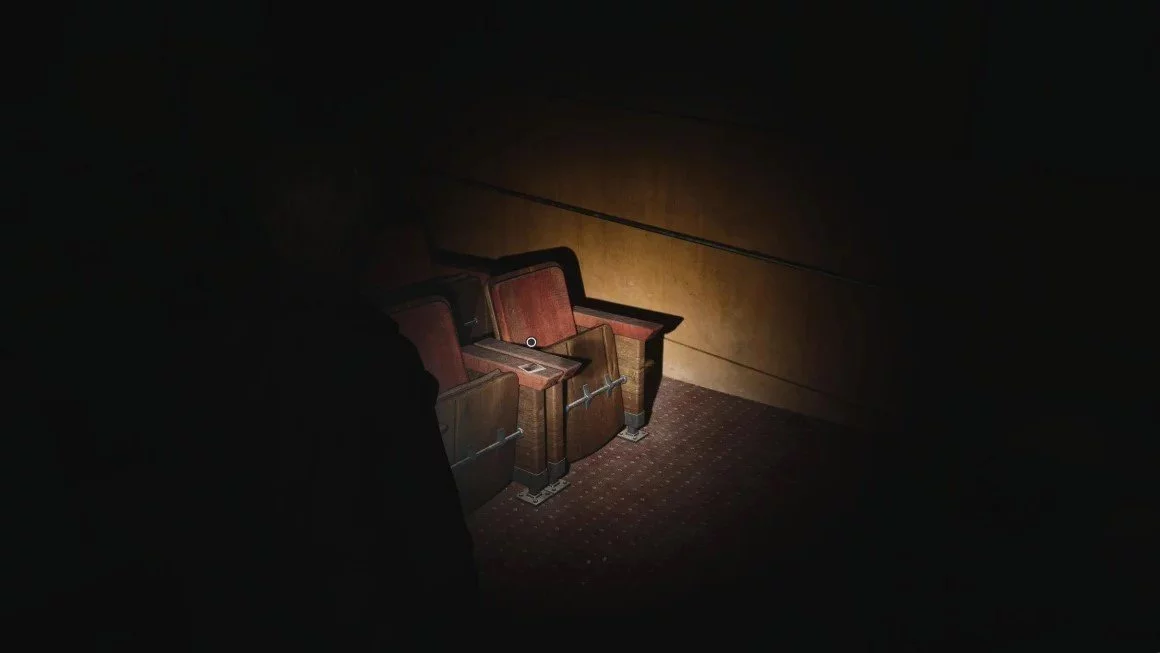
Next, you need to get to the theater. Simply walk through Moon Grove. You need to climb onto a box to reach the window. Maria will be waiting for you outside. You will find yourself in a small room. Take the ammo from the table and look into the hole in the wall. Move the cabinet standing against the wall. You will gain access to a corridor leading to the main entrance. Visit the restroom to pick up pistol ammo. Now you need to enter the main hall of the theater. Go through the door with the green sign. Approach Eddie, who is sitting in the front row. A cutscene will begin. After it, inspect the chairs near Eddie. Pick up the photograph.
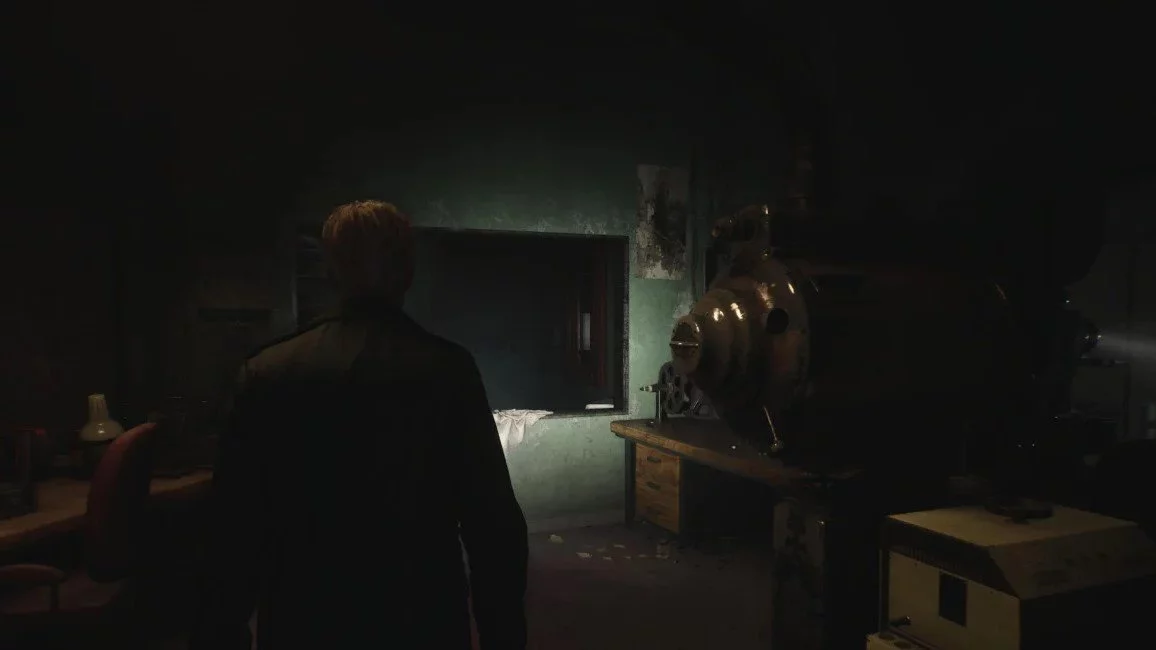
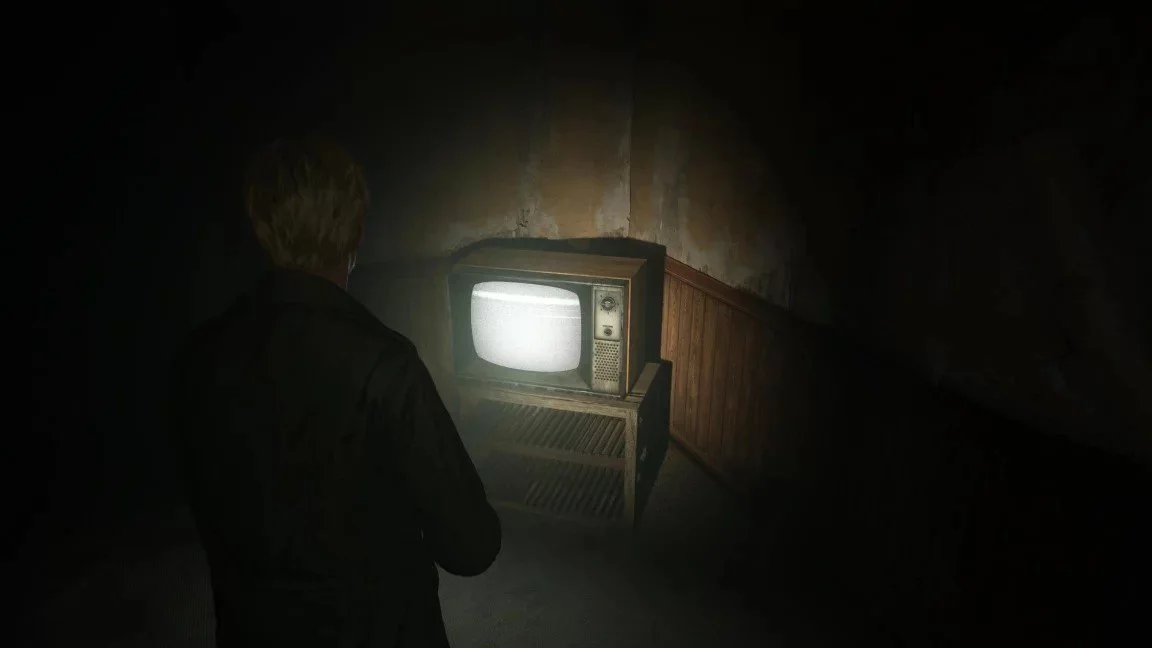
After this, head to the front of the cinema hall. On the right, there will be double doors. Go through them to enter the room. Laura will turn on a video during your visit. Exit through the door with the green sign. Climb the stairs to the projection room. Crawl inside through the window. You will see reels with tapes. You need to find a gap to squeeze through. Press the interaction button to trigger a cutscene.
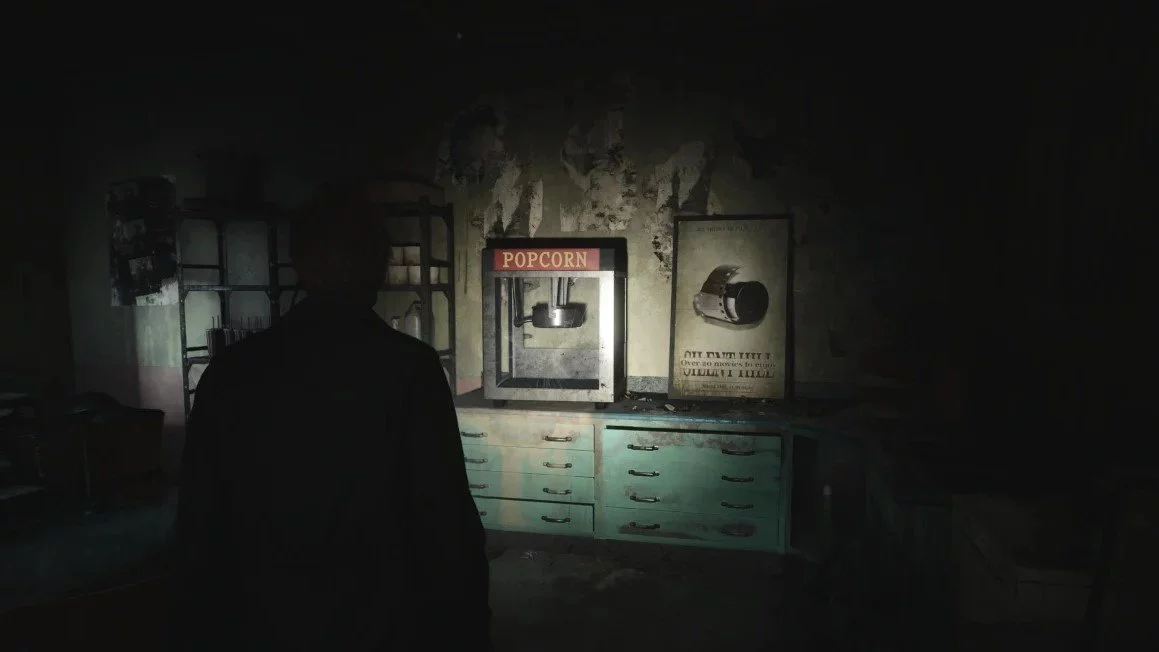
Follow Laura through the second projection room. Go down the stairs. You need to reach the main entrance, where the popcorn machines are. Laura will run away, and Maria will say that you need to go to the hospital.
Brookhaven Hospital Walkthrough
Where to find the shotgun
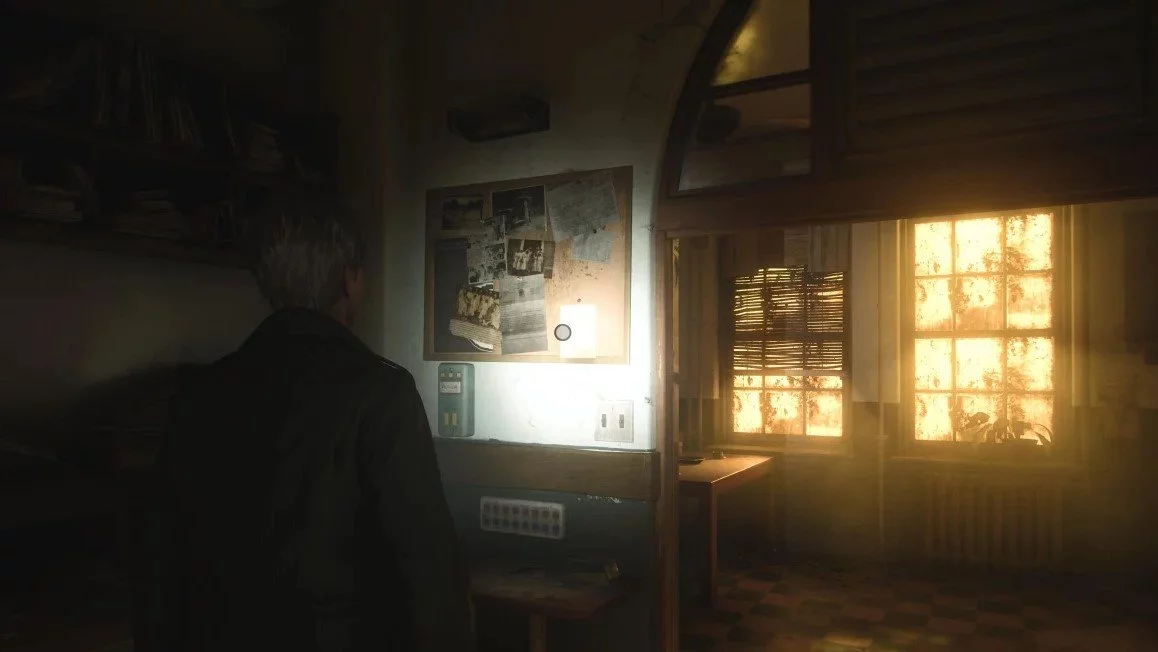
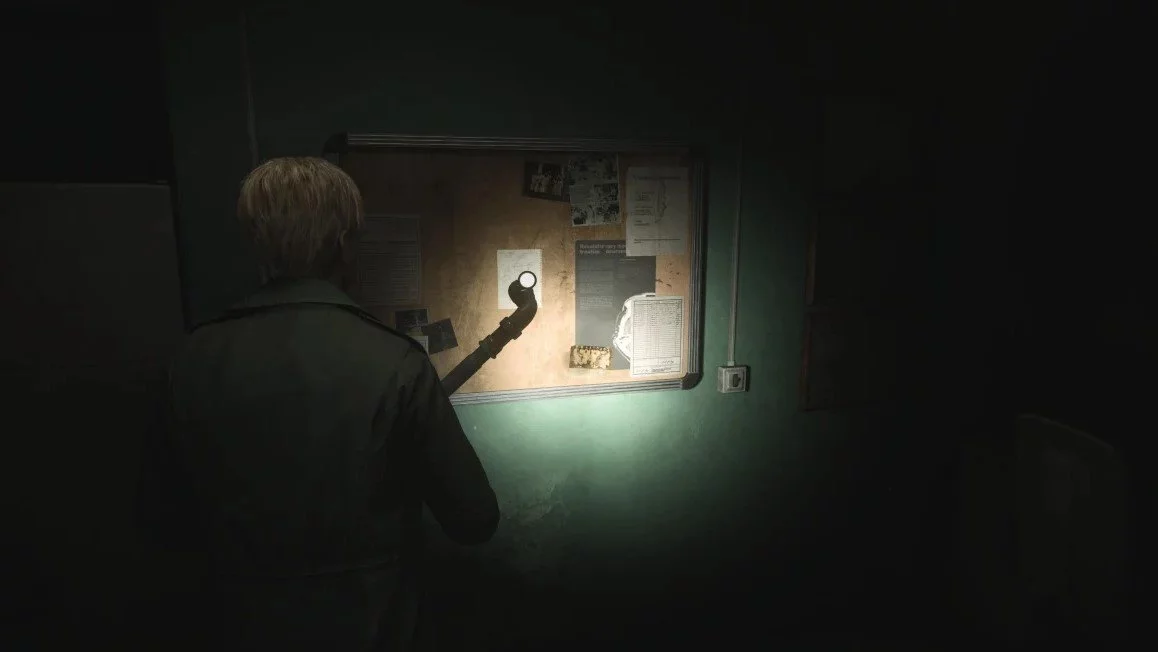
Head to the main entrance of Brookhaven Hospital. Approach the double doors and turn right. You will see a small office. Enter it. There you will find some ammo. Inspect the wall. There is an open cabinet with instructions, indicating the location of the shotgun. Exit into the main corridor. Walk straight to the lobby. Take the hospital complex maps. Then enter the reception. In the drawer, there will be pistol ammo. You will also find a note about the locker with keys.
Now we need to head to the reception department. There you will find a save point and a lock that requires a key. The hero will mark the location on the map. There is a restroom nearby. Visit it to take a healing potion. Exit the restroom and turn east towards the lobby staircase. You will see Laura drawing on the wall. She will run behind the double doors, which we cannot open right now. Return to the lobby and turn right.
How to get to the examination room
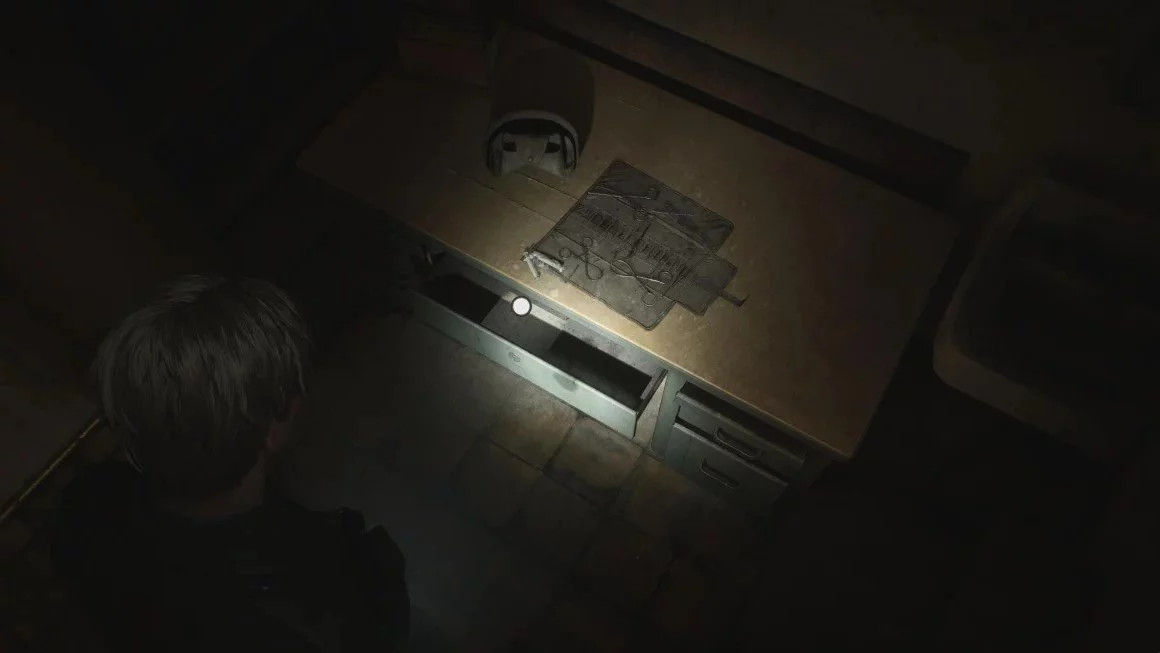
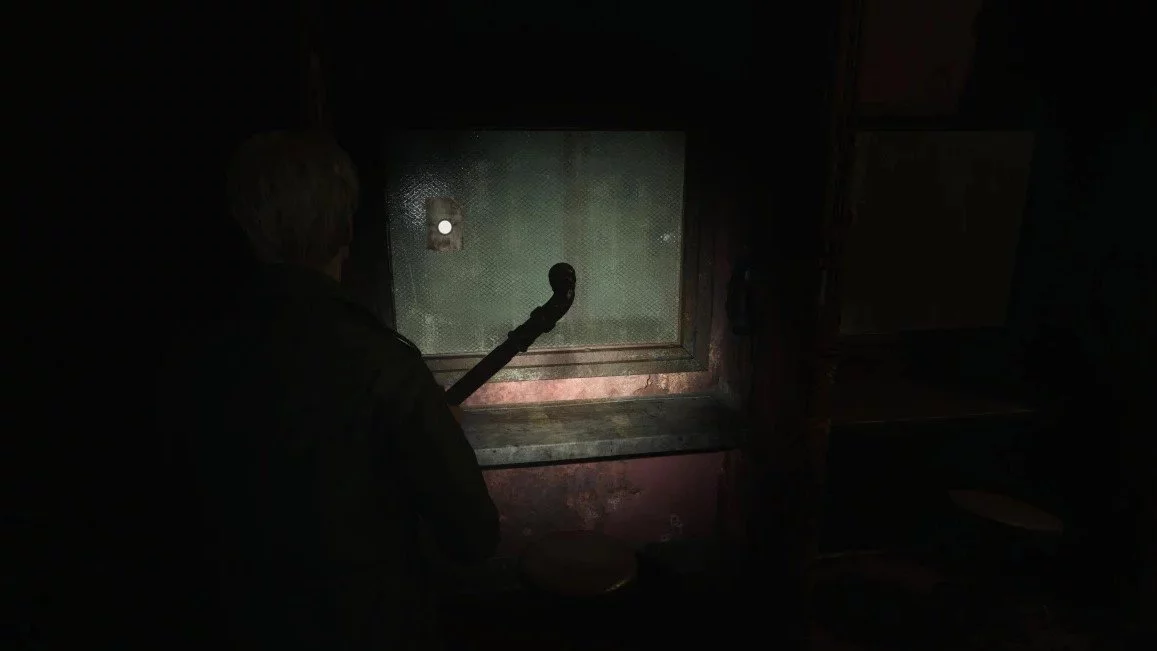
To enter the examination room, you need to break the window with a steel pipe. Take the syringe from the bed. In the adjacent rooms, there will be ammo and a nurse's memo. From it, you will get information about the code lock in the reception.
How to open the code lock in the reception
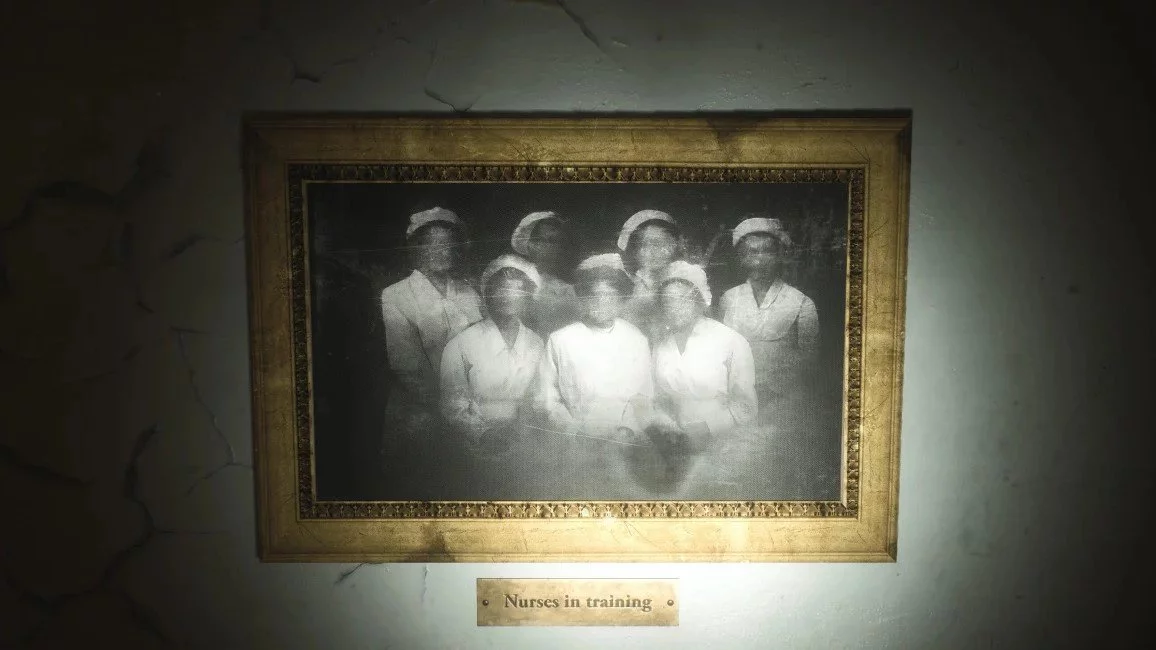
Head to the lobby. Approach the paintings on the wall. One painting will depict 7 nurses. Another one — 2 doctors. The third one — 4 trees. Now we have the information to solve the puzzle.
Head to the reception. Enter the code: 724 (or 152 on hard difficulty). Take the basement key. Return to the staircase where you met Laura. Go down one floor to unlock the double doors. Take the hospital basement map from the opposite wall. You need to go through the pump room to find the generator.
How to start the generator
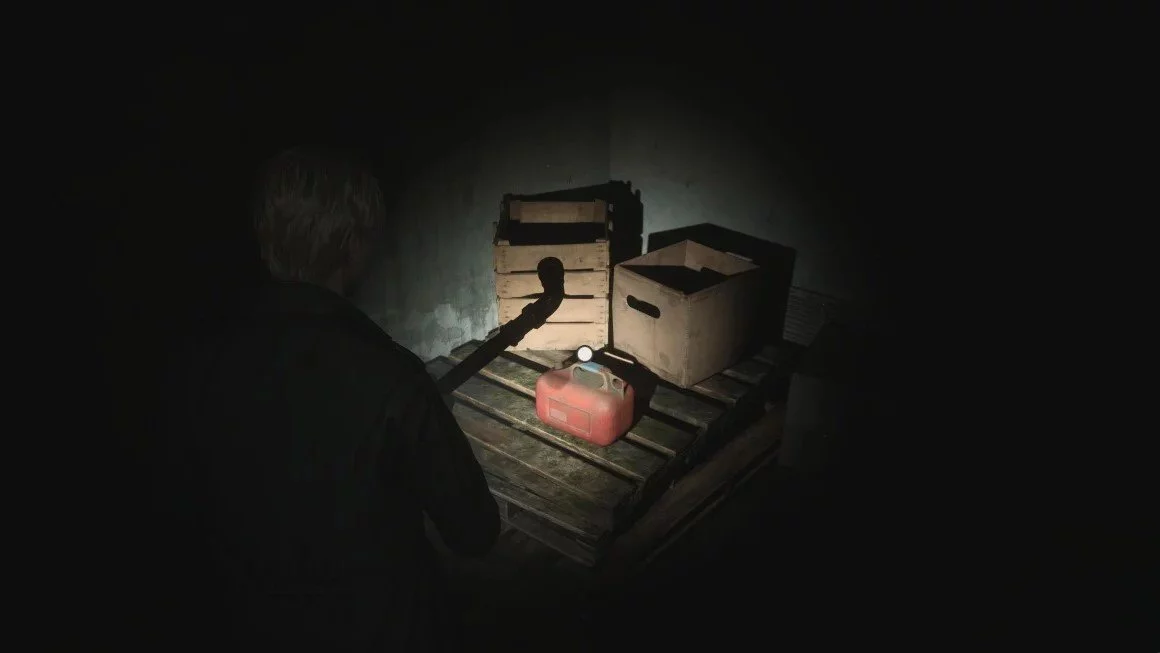
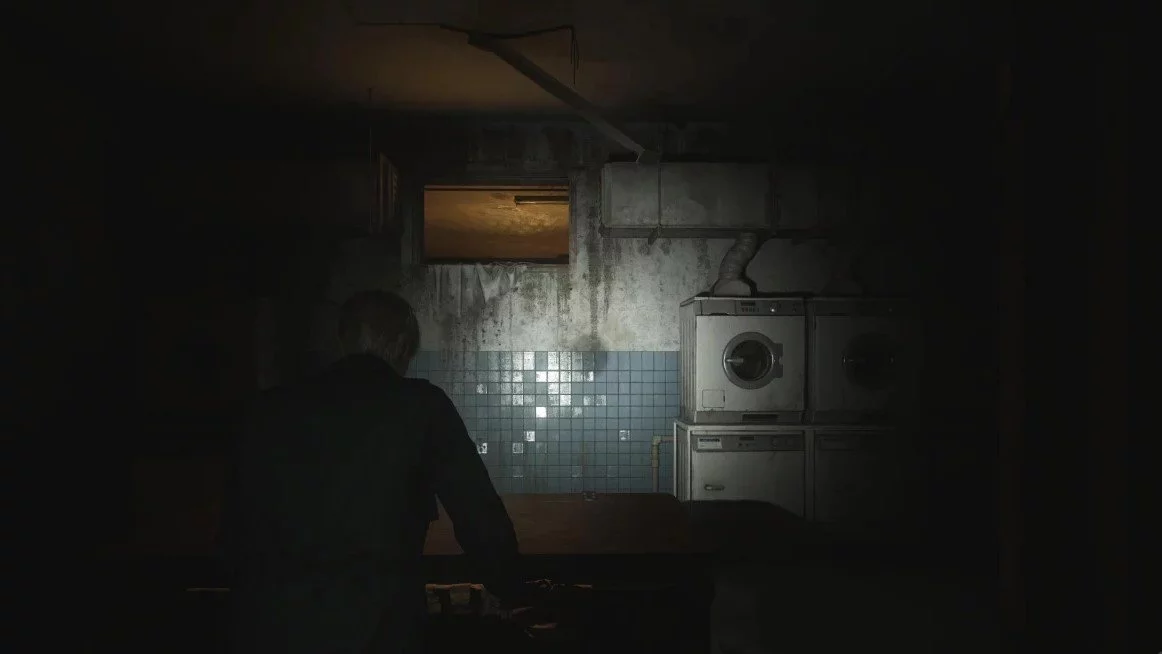
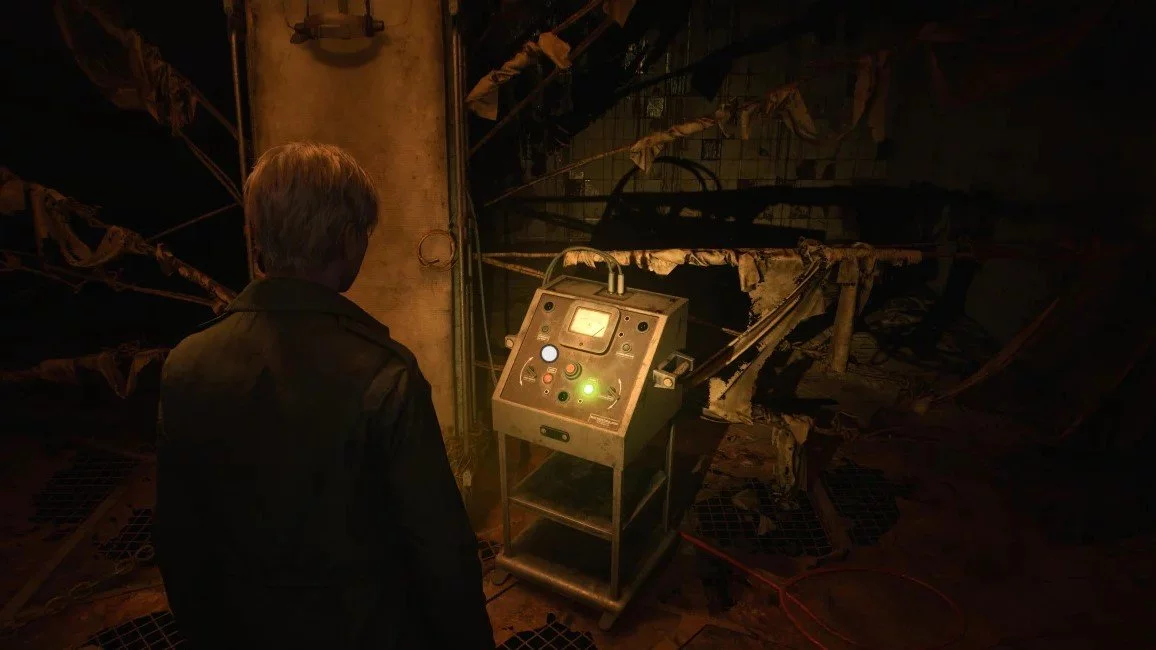
Head south down the corridor. Enemies will attack you, so keep your weapon ready. Enter the boiler room and search the far corner. Take the fuel canister. Now head to the laundry room. There, you need to push the clothes cart to the wall. This will allow you to reach the ventilation duct. On the other side, you will find pistol ammo, a syringe, and a fuel pump. Connect the latter to the canister. Return to the generator and add the fuel. Start the unit. Now you can use the elevator located near the basement entrance. It will take you to the second floor. Head to the elevator.
Second section of the hospital ward
After the cutscene, you will be separated from Maria. Visit room S3. There you will find a healing potion and a save point. Enter the bathroom to pick up ammo. In ward S2, there are some pistol bullets. Exit into the corridor and head north. The hero will encounter an arena with nurse enemies. After dealing with them, visit their separate room. Inspect the strange keyboard and take the staff memo from the window. Remember this room. We will return here later.
Exit the room and turn around. You need to head to the far corner of the area. There you will see a hidden passage leading to room L3. Through it, you will reach the observation room. Take the photo from the white table. Return back. Head south to the laundry room. There you will find shotgun shells. Approach the trash bin and press the action button. You will get another memory. Exit the laundry room and continue moving south. This will lead you to ward C1. Inspect the poster and press the action button. You will get the interview transcript. A mark will appear on the 1F floor map.
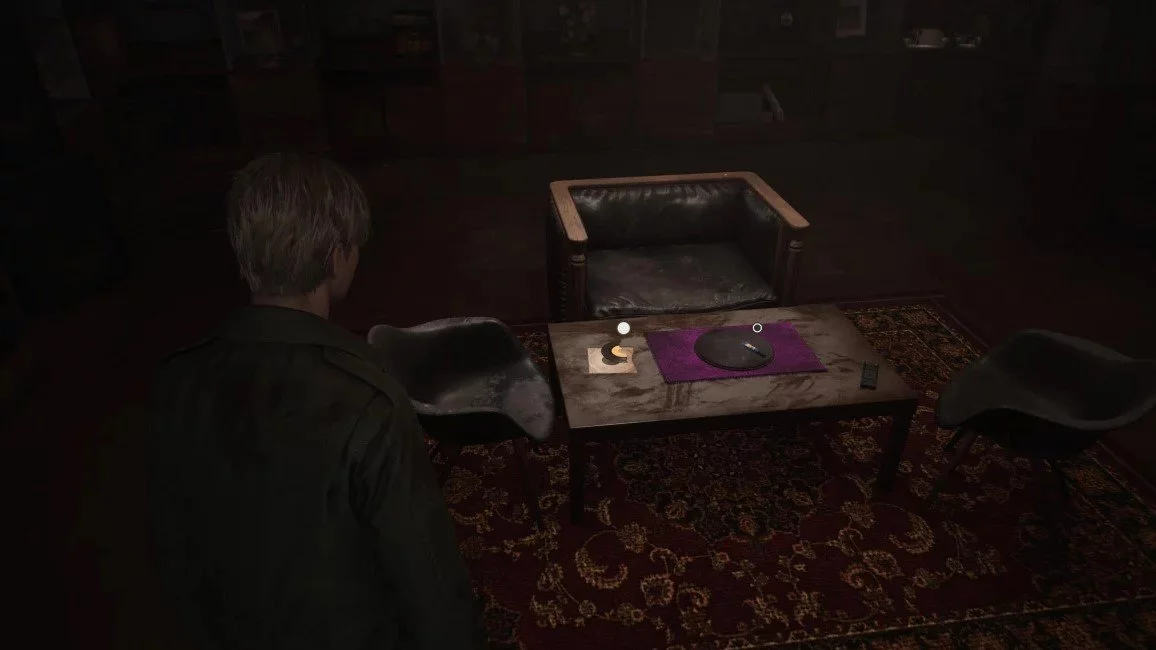
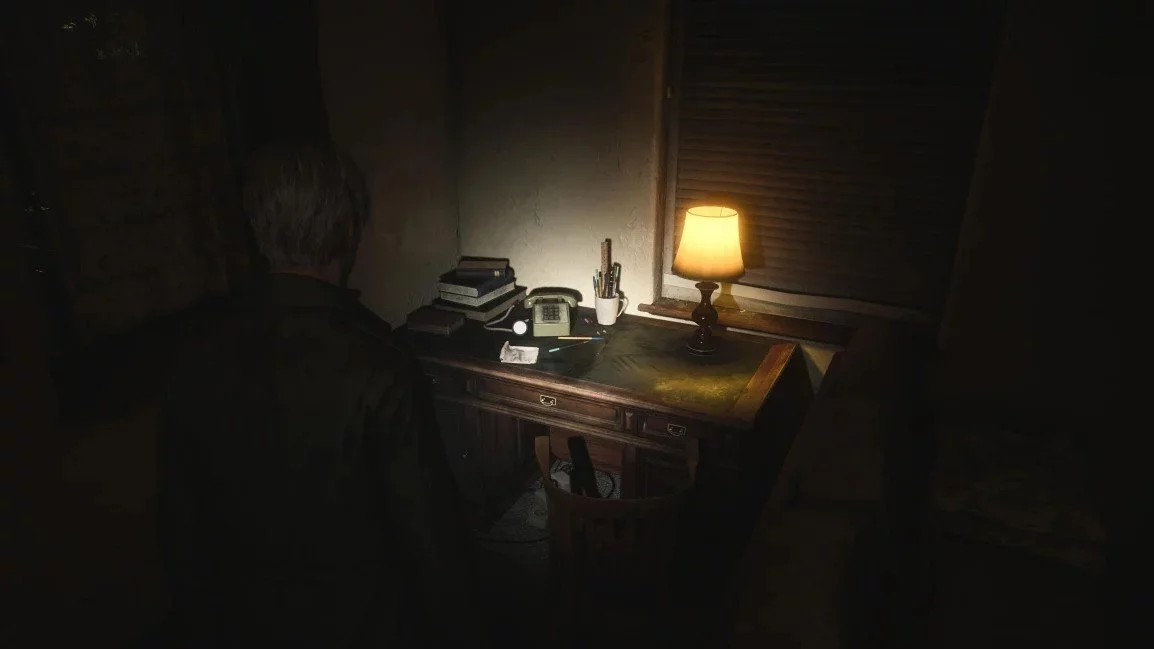
Exit the ward and head to the director's office. In the small right room, you can save your game. On the table, there will be a hand puzzle. On the dresser in the right corner, you will find three patient evaluation cards. Listen to the audio recording on the tape recorder. It's next to the lamp. Approach the red curtain and pull it aside. You will see another safe puzzle. The code for it will be found during your exploration of the hospital. Exit the office and go left. Kill the nurse running towards you. Now go straight down the corridor to ward M1. There you will find ammo and a hospital bed. Interact with it to unlock a memory. Exit the ward and head to the women's locker room. There you will find a healing potion, pistol ammo, and a shotgun. Inspect the teddy bear. You will get a bent needle. Exit the locker room and head to the break room. Approach the table with the TV. Pick up the key to ward L1. Exit the room and go to the ward for which we found the key. Unlock the door and go inside.
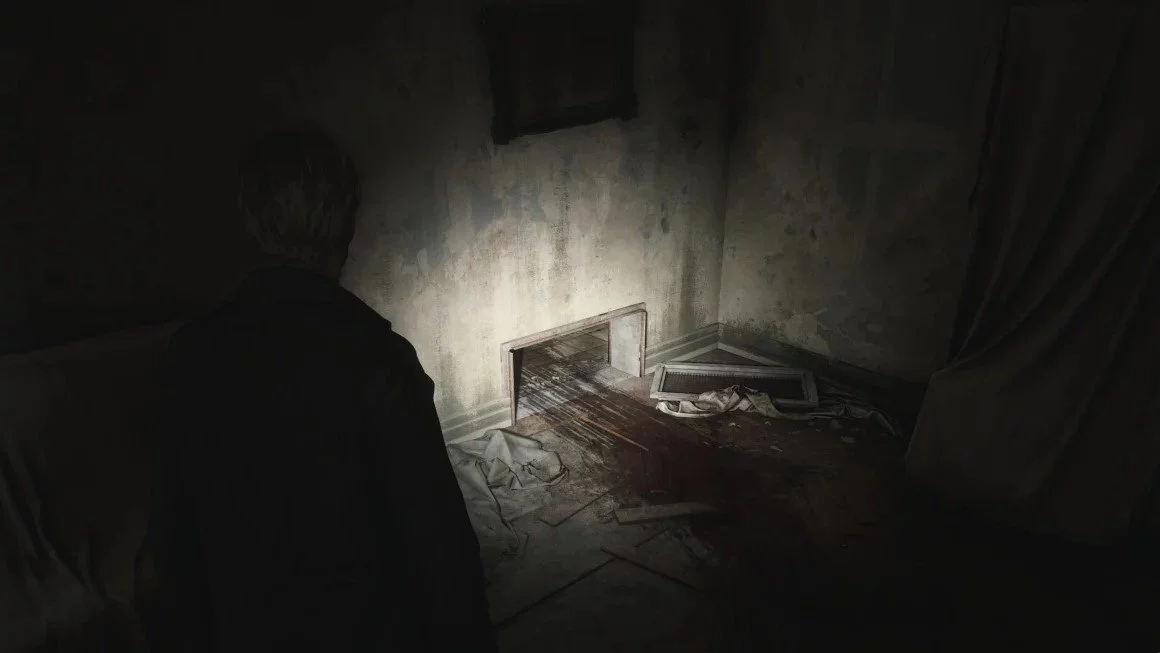
Push the metal cart on the right side to the ventilation duct. Crawl through it into a new room. Inspect the table with the diary. On the right, you will see a window leading to the storage room. On the floor, you will see a small hole through which you need to crawl. A cutscene will play, after which James will fall to the first floor.
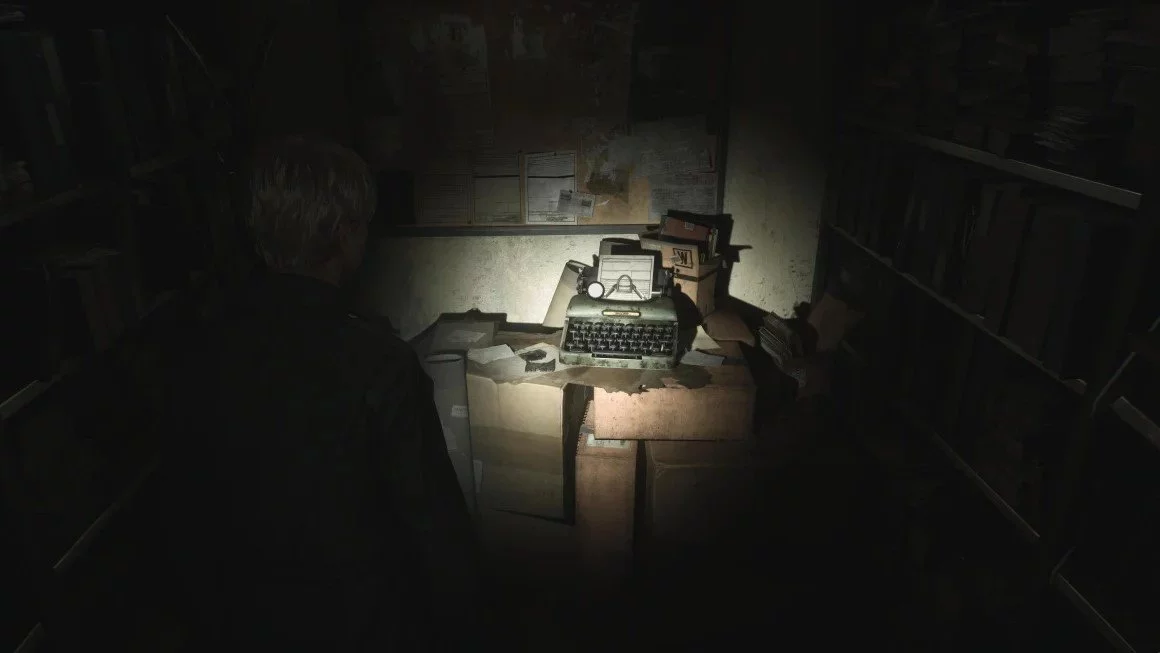
Crawl through the hole in the wall into the room. On the floor to the left, you will see a scratched note. Nearby, you will find a healing potion and a bracelet for the hand puzzle. Approach the typewriter and press the action button. You will activate a memory. Inspect the room once more and exit. Now we need to return to the second floor. Head to the eastern staircase if you previously opened the door upstairs. If not, then use the elevator. Return to the director's office and place the bracelet on the hand puzzle.
Exit the room and head northwest. In the corner, you will see a staircase leading to the third floor. Inspect the metal grille to see Laura. Then go down the left corridor. Enter ward D2. Interact with the typewriter and break the glass leading to the observation room. Climb inside. Take the key from the table for the ward. Now go to the X-ray room. Pick up the memo and the pelvic X-ray. Place it on the machine.
Return to the first floor of the hospital ward
Return to the first floor and use the ward key we found earlier. It is located in the central corridor from the lobby. Once you enter the ward, go left to the bathroom. Take the pistol ammo. In the pantry, you will find mold remover. Exit the bathroom and visit the cafeteria. Take some more pistol ammo. Return to the double doors and open the break room. Kill the nurse and proceed to the pharmacy room. Inspect the drain. You will need an item to drain the water and retrieve the item. The hero will mark the spot on the map. There is a window in this room that leads to the garden. There, several enemies will be waiting for you. Kill them and inspect the basement behind the wooden cabin. Inside, you will find ammunition, a healing syringe, and a monster guarding them.
Now we need to get to the greenhouse. Through the window, you can enter the pool. In the far right corner, there is a grate behind which is a pump. We can't unlock it yet, so head to the shower room. Pick up the medical device and exit through the doors into the corridor. You need to get to the doctor's room. There you will find a note with a combination hanging on the bulletin board. Don't forget to visit the examination room 1 to take the photo from the box on the back wall.
How to Get the Access Code to the Control Panel
Earlier on the second floor, we found a panel that required a code. Now we have a clue that will help us unlock access to new rooms. You need to go back to the nurses' station. Study the note with the memo. Try to determine the required code yourself. If you can't figure it out, here is a hint:
3578
Take the pistol ammo on the left and enter the procedure room. To the right of the entrance, there is a note about the procedure room. Approach the tub with bugs. Take the moldy X-ray. In the inventory, combine the mold remover with the found item. Now you have another X-ray.
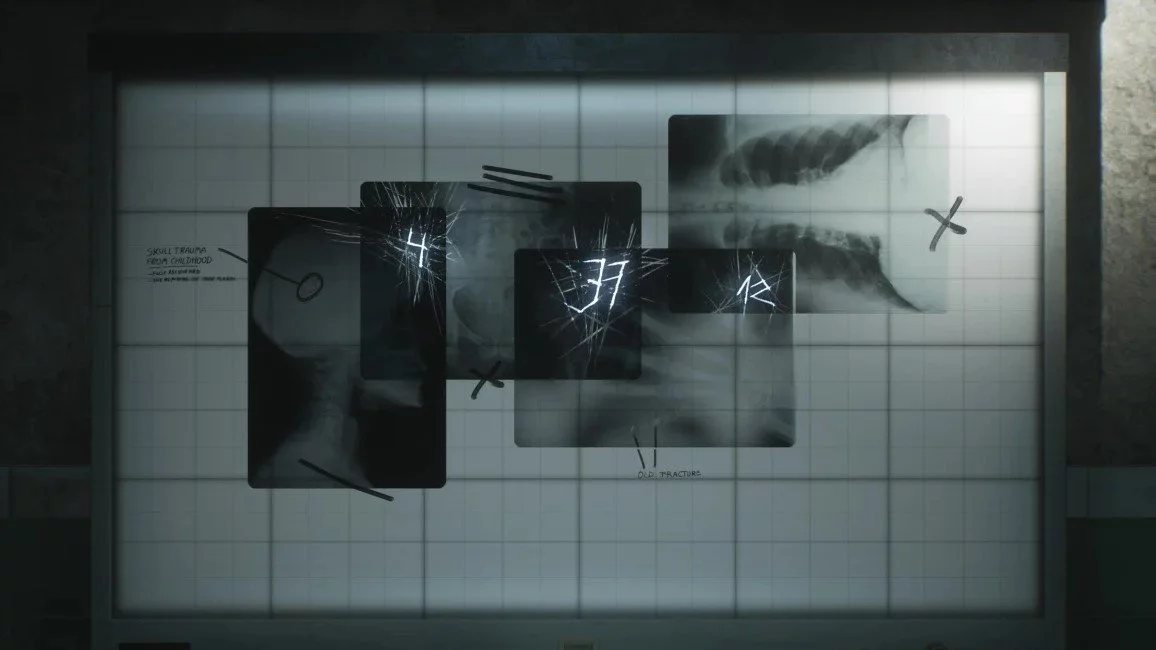
How to Get the Code at the X-ray Machine
Return to the third floor to the X-ray machine. Place the new X-ray. Solve the puzzle to get the code for the ward D1 lock. If you can't solve the puzzle yourself, then perform this operation: right — 4, left — 37, right — 12. With the obtained code, go to the room with the lock. Open it and approach the bed. Take the dirty bracelet. Now return to the second floor. Enter the director's office and place the bracelet on the hand puzzle.
How to Get the Third Bracelet
Open your inventory and combine the medical item from the locker room with the bent needle. Now go down to the first floor and visit the pharmacy room. Use the new item to clean the drain and retrieve the key. Now we can unlock the grate in the pool. Let's head there. Unlock the lock and drain the pool. Go down and approach the wall from which black liquid is seeping. Break it to get the bloodied bracelet.

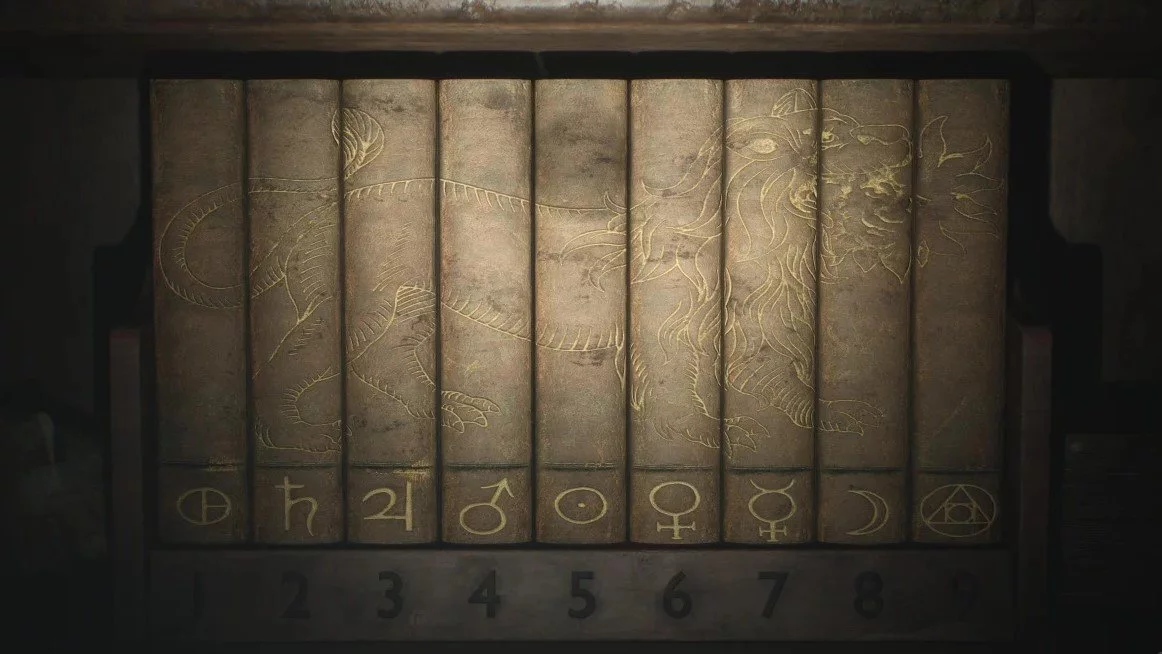
Return to the director's office on the second floor. Place the third bracelet on the hand puzzle. Pay attention to the sculpture itself. It has marks that match the outlines of the found bracelets. From top to bottom, place: the bloodied with marking and the dirty bracelet. Now align them with the marks on the hand. Solving the puzzle will give you the storage key. You need to use it on the door opposite the save point. There you will find the safe button and the shelf with books that need to be arranged in the correct order. Pay attention to the lion pieces on the book spines. After arranging them correctly, you will get the numeric cipher. Write down the symbols with the numbers: 92, 45, 71. After that, return to the safe and enter the symbols.
Open the safe in the director's office and take the roof key. Also, take the note lying next to it. Exit the room and head to the northwest staircase. Go up to the next floor. Then walk down the corridor to the right corner. Use the obtained key and exit to the roof. Take the shotgun ammo. Approach the small ladder near the double doors. Turn left and get another memory. Now open the door and pick up the page from the diary from the floor.
When you try to leave, you will be caught by the Pyramid Head. He will throw the main character through the floorboards. We will end up on the third floor, but in the place where we previously saw Laura. You will hear her singing. Go straight to the hydrotherapy room. Take the shotgun ammo, healing potion, and syringe. Unlock the door leading to the rest of the hospital complex. Return back to the corridor. You need to get to ward number 13. Inspect the bloodstain to get another memory.
How to Kill the Boss in the Hospital
Go back to the corridor and head to Laura. She will lure James into the room with the boss. In the first stage, he will attack you from the ceiling. Focus on the noise he makes while moving.

When you deal damage to the boss, the surrounding cage will gradually break. Once three sides start protruding in the form of claws, the boss will fall down. Continue shooting at him with your weapon. Pay attention to the corners near the walls of the arena. There will be ammo and medkits. After killing the boss, a cutscene will begin. Another boss will appear, dragging the hero into the otherworldly version of the hospital. Enter the rest room and take the note from the wheelchair. You will also find a syringe and pistol ammo. You can exit down through the slightly open door on the left side. Save and use the elevator to get to the second floor. All other rooms will be locked or inaccessible.
Walkthrough of the Otherworldly Version of the Hospital
You will see a chained box that forms a puzzle. To solve it, you need to perform several actions. First, return to the left part of the second floor. You need to get to the nurses' office. There you will find ammo for the pistol and shotgun. In the hall, there will be additional ammunition and a healing potion. In the far part of the room, there is a restroom. There you will find even more ammo and medicine.
Return to the corridor and go up the stairs to the third floor. Enter the X-ray room and inspect the table in the operating room. Take the note. In the observation room 4, there is a Power Tool. Take it and use it on the left mannequin hand standing nearby. Now jump through the window and kill two enemies. Then go straight down the corridor to the stairs. In reality, it's an illusion. Look at the northern wall of ward D2. You will notice a place that can be broken. Hit it with a pipe to create a passage.
Entering ward D1, you will see a ladder that you can use to go down to the kitchen on the first floor. Here you will find ammo and medicine. Through the kitchen, go straight to the medical records storage area. You can enter it through a gap in the wall. Now inspect the small hole in the wall. Inside, there will be a key. You need to use it on the mannequin standing on the second floor. On the map, this place is marked as Surgical Chair. After that, return to the kitchen and go up the stairs. Insert the key into the mannequin to get another key. You need to use it on the lock of the chained box.
Head back to the starting point. Now you need to inspect the remaining part of the second floor. Inspect the right corridor. Enter the restroom to take the medicine from there. Also visit ward C2. There you will find ammo. Return to the chained box. Enter the restroom located in the south. There you will find a metal cart that you can use to climb into ward L1. Inside, you will find additional ammo. Get out of the ward through the west window. Go to ward M1. There you will find a clock. Press the action button to straighten the hand. Now we need to find out what time should be set on the clock.

Exit the ward and go to room M4. Inside, you will find a hole leading to the adjacent room. Inspect the eastern wall to get a memory. Return to ward M3. Through a crack in the wall, you can get to room M2. In the tent, there will be a calendar page that will help us with the code lock on the box chained up. Return to the box and enter the code. Now the last area of the puzzle will be accessible to us.
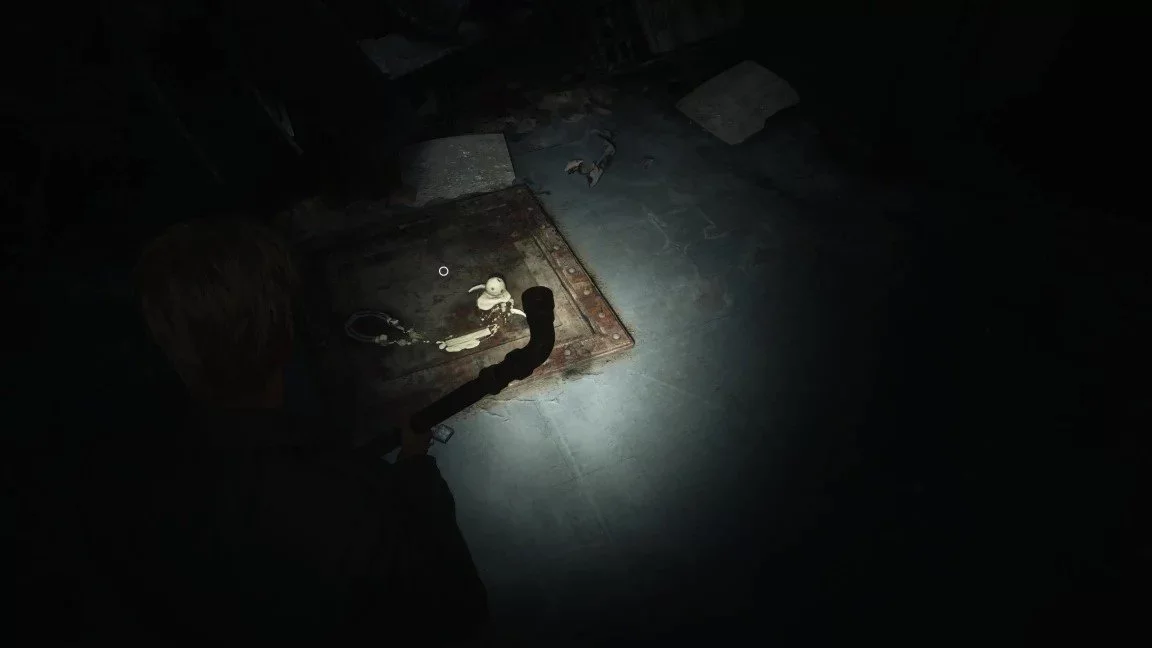
1622
Exit to the eastern corridor and go to the director's office. It will be locked. Turn around and break the wall leading to the laundry room. Kill the enemies and collect the ammunition. Now move the wardrobe on the northern side. You will have the opportunity to push the metal cart into the corridor. Move it to the wall with the hole. Climb up and crawl into ward L3. Kill three enemies and go to the observation room. Inspect the bed on the left side. Take the patient memo. On the nightstand in the bedroom, there will be a photo. Approach the TV and inspect the table. You will get the key to the director's office. Exit and head to the office. To the right of the stairs, there will be a scribbled note. On the left, you will find shotgun ammo and healing potion.
Climb the stairs to the third floor. Enter ward 17. In the far corner, there will be a nurse's note. Take it. Exit to the corridor. Enemies will be waiting for you there. Deal with them. Follow the red wire lying on the floor. You will reach a crack in the wall that you can squeeze through. Turn on the generator in the bathroom. Use the hole in the floor to get to the restroom. Pick up the director's note. Get back out and then crawl through the hole opposite to quickly return to ward 17. Activate the gurney to get the code. Return to the chained box and enter the obtained numbers.
9659
There will be nothing inside the box. A statue of a woman will appear. The hero will retrieve an elevator button from her mouth. Head to the elevator and place the find on the panel. Descend, listening carefully to the announcer who speaks on the radio. He asks three questions that will need to be answered later. Upon reaching the basement, search the disposal room in the kitchen. There you will find ammunition and medicine. Then head east to the maintenance room. Go through the gap in the wall to the generator room. From there, you can reach the laundry room, where there is pistol ammo. To the right, an enemy will be waiting for you. Kill the enemy and get to the storage room. Continue to the end of the southern corridor.
You will enter the boiler room. You need to get to the second room where there is an open vent. Climb into it to reach the pump room. Inspect the table near the hole in the wall. Take the copper ring. After this, you will see Maria. She will join you. Exit to the corridor and climb the stairs to the first floor. In the third observation room, there is a healing syringe. Go down the corridor to the pool. Next to the lifebuoy, there is a photo that needs to be picked up. To the south, there is a passage to the lounge. Go there. A cutscene will start. After it, use the door on the right to exit into the locker room. Take the note from the bench. Open the door and save the game.
Decorative Box Puzzle
Enter the pharmacy department. You will see a decorative box. You need to enter the answers that the announcer in the elevator previously mentioned.
Second button — 67 Victims. Third button — Witz Road. First button — Miriam Locaine.
As a reward, you will receive 2 packs of shotgun shells and 2 healing syringes. After this, return to the corridor and call the elevator to go up to the second floor.
Approach the statue that appeared opposite the chained box and place the copper and lead ring on it. It will turn into a door and swing open. A note will appear on the stairs. Take it. Go down. You will enter a corridor lit by red light. Pyramid Head will start chasing you. Run away from him towards the elevator at the end of the corridor. A cutscene will start. After the video, go to the reception to find the key to the hospital entrance. The hero will notice Laura running outside. Follow her. Unlock the double entrance doors and go outside.
Dark Side of South Vale
Outside, you will see a grim version of Silent Hill. The path to the southwest part of the valley is completely linear. You will have to fight groups of enemies all the way. When you reach the southeast part of the valley, enter the van. Save the game and take the note. You will get a hint on the map. Follow the straight path to the question mark on your map. Near Neely's Bar, interact with the map to get a memory. When you reach the mark on the map, you will see a ringing phone. Approach it. After the cutscene, you will receive a letter. After these events, approach the car near the Happy Jade Restaurant. Break the window and take the photo.
Now head north on Neely Street. Use the wrench on the gates. There will be a save point nearby. Walk straight through the long dark tunnel to the park. You need to get to the other side. There you will meet Angela again. After the cutscene, use the interactive hint at the base of the statue to get the key to the Historical Society. Leave Rosewater Park and head west on Nathan Avenue. Enter Jack's Inn and go to Room 106. Press the action button at the back wall. You will receive a secret achievement. Exit the building and continue down the street. Soon you will reach the Silent Hill Historical Society building. Use the key to open the front door. Enter inside.
Silent Hill Historical Society Walkthrough
Leaving the grim streets of South Vale, you will find yourself in the Historical Society house. There will be a save point on the left side near the entrance. Open the room opposite the locked staircase. There you will see a piano and display cases. Inside, there will be a door that is locked. Next to it, there is a glass cabinet. Break the glass and take the photo.
Return to the corridor. Walk straight to the painting of Pyramid Head. Pass through the gap in the wall and go down the stairs. It is very long and will lead you to another location. At the bottom, there will be a syringe with medicine on the table. Walk down the corridor to the room with a hole in the middle. Jump down.
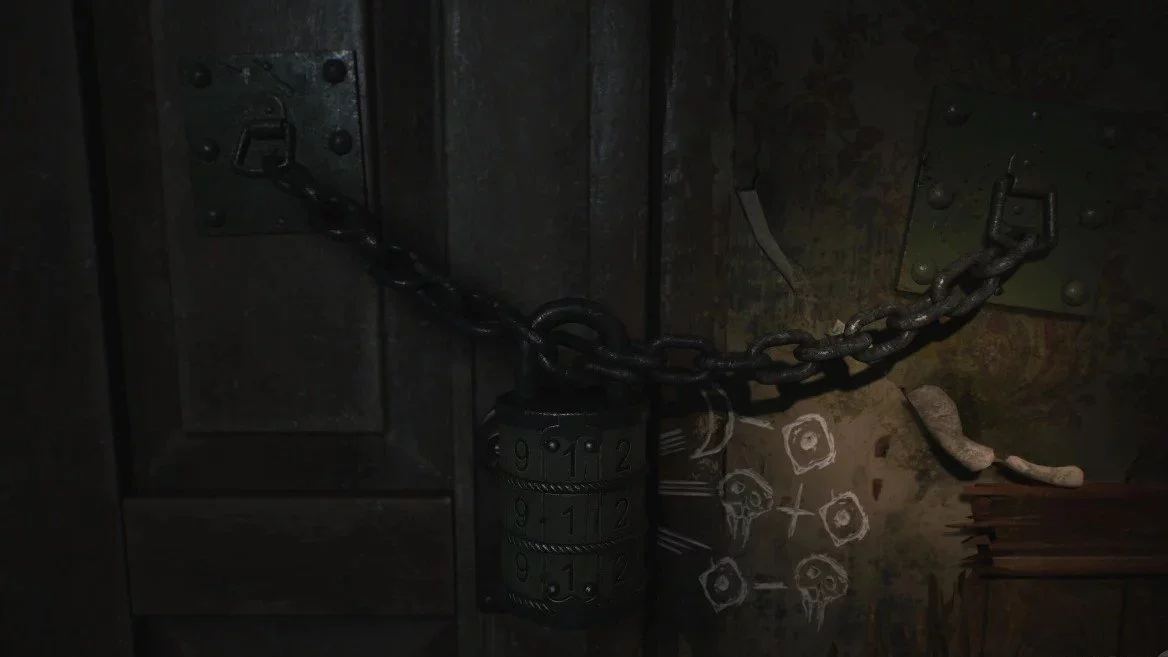
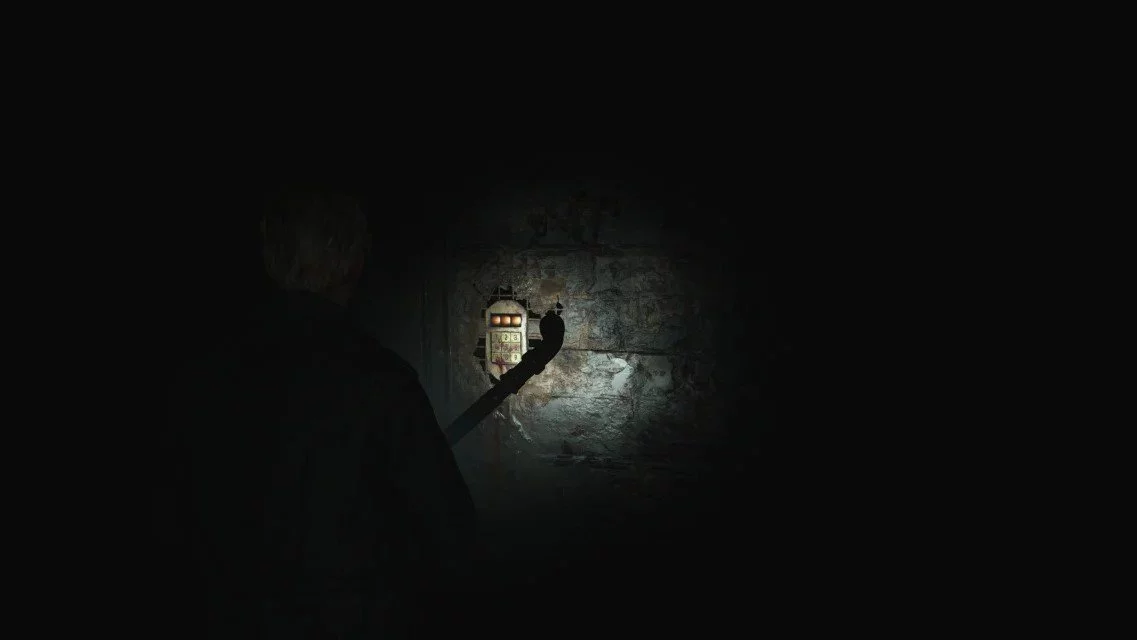
How to Open the Door with the Combination Lock
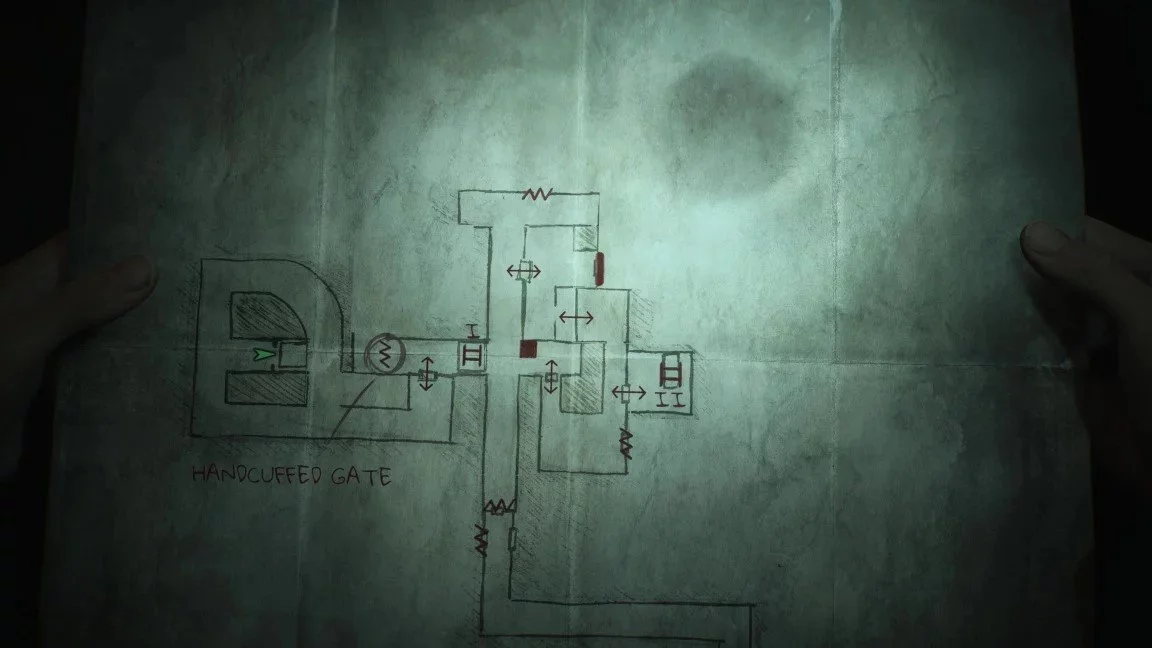
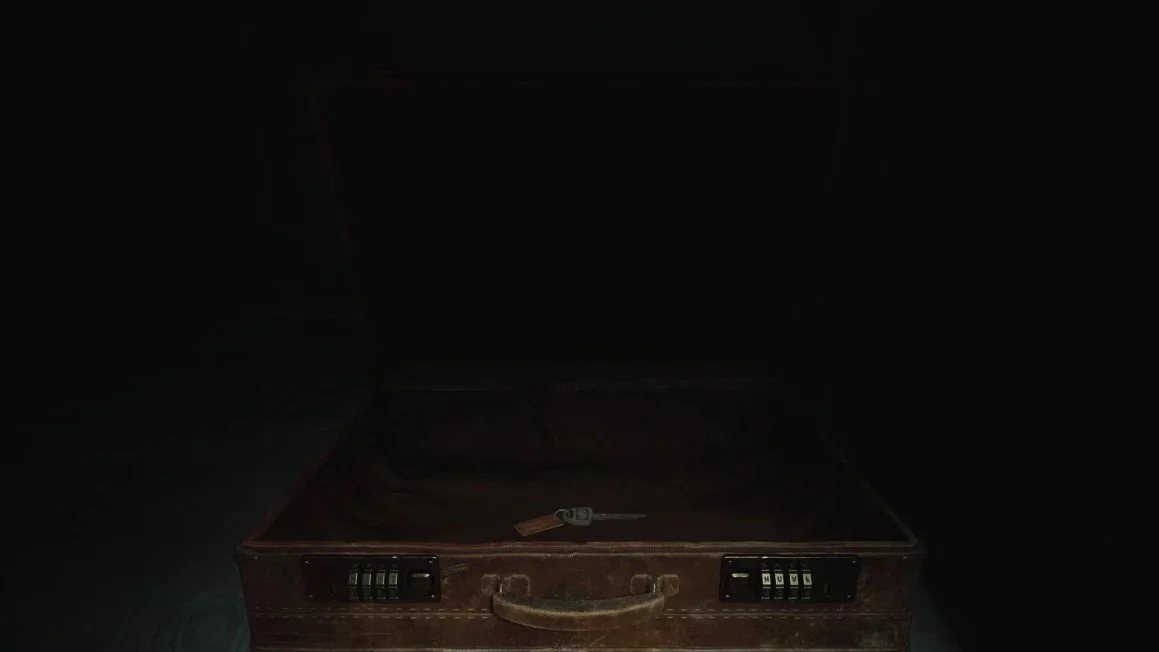
After landing, break the wall and walk straight to the rusty door. Open it and take the key from the floor. Once you pick up the item, the door will automatically close. The room will fill with insects. Run to the digital lock and enter a random code consisting of the numbers: 2, 3, and 9. Try different combinations, as the order of values changes in each playthrough. Our puzzle guide has a complete list of all available options.
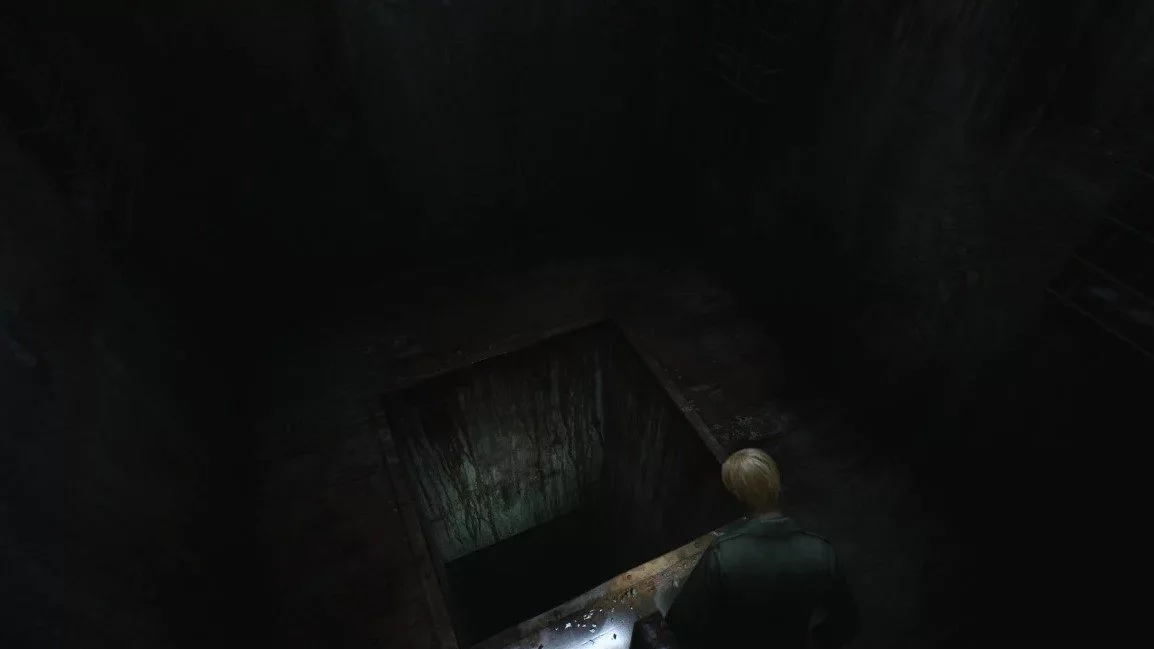
After opening the door, exit outside. Use the key on the grate in the floor and agree to jump down. You will find yourself in the prison.
Toluca Prison Walkthrough
You will appear in the prison cafeteria. Behind you will be a bottle of medicine. Head to the wooden tables on the right side. Interact with the wooden board to unlock a memory. Approach the illuminated corpse to discover Eddie. After the cutscene, go through the double doors. Walk straight to the room with a save point. Take the prison complex map. Nearby, there will be rifle and pistol ammo. In the cabinet, there will be a shotgun, but you won't be able to take it now. Pick up the notification note.
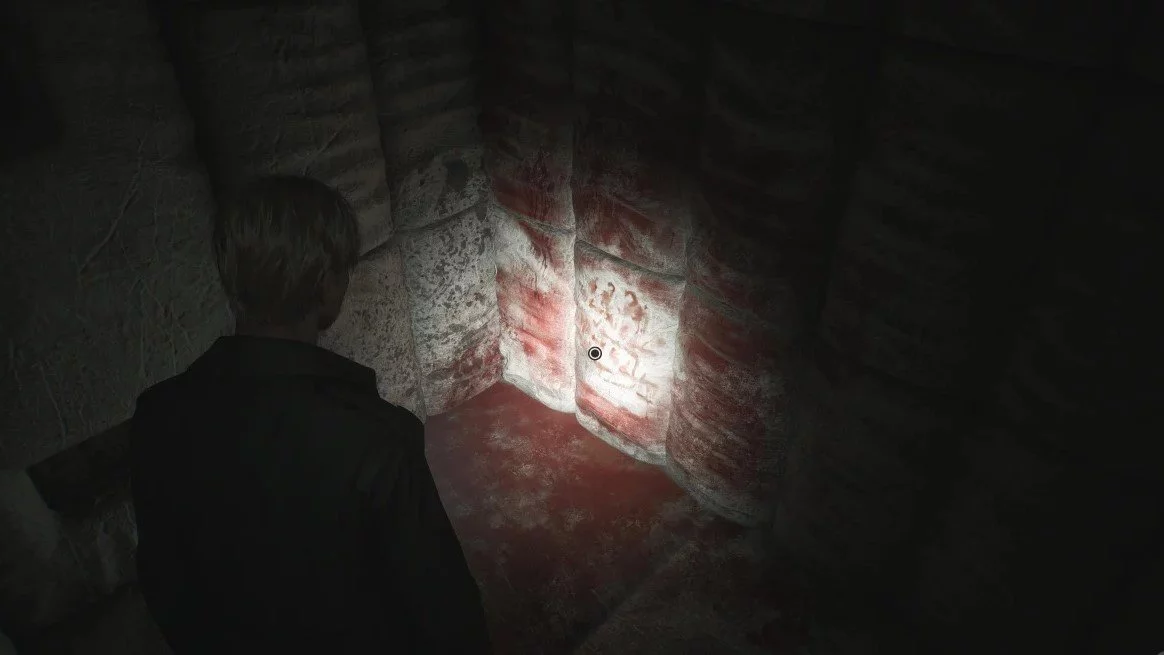
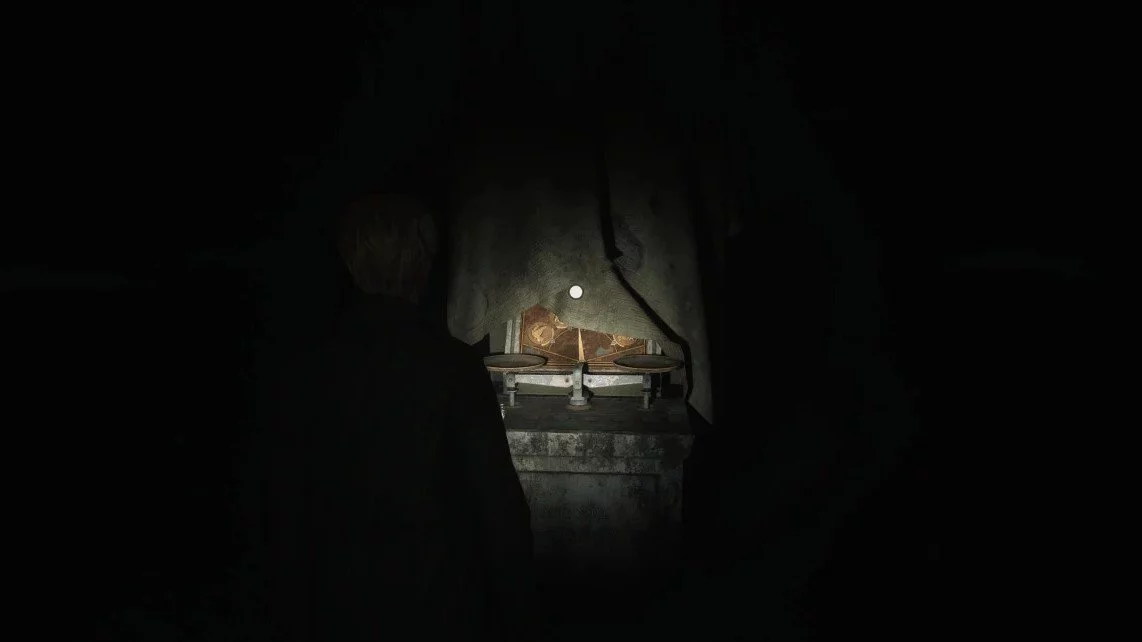
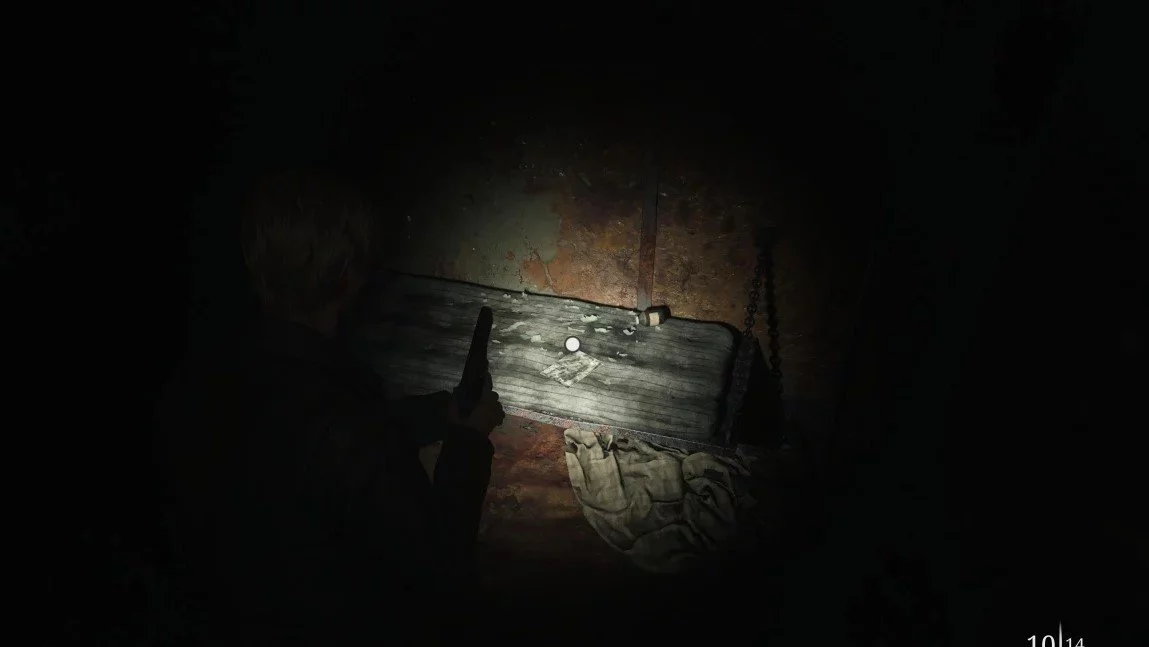
Return to the corridor. Head to the chapel and approach the altar. Pick up the weight. Nearby, there will be a book excerpt. After reading it, you need to explore the prison blocks: A and B. At the beginning of each row of cells, there are levers that can temporarily turn on the light. This will help you find useful items. In cell A3, you will find a note and a memory. Just interact with the altar in the far corner.
In cell A5, there are pistol bullets. In B1, you will find medicine. In section B3, there is a fragile wall that can be broken. Through it, you will open a passage to cell A8, where shotgun shells are located. After inspecting all the cells, head to the eastern courtyard. There, you will hear someone rummaging in the dark. Approach the scales and place the heavy weight on them. Do you remember the sculptures of the boar, bull, snake, and dove? Well, you need to place the weight on the scales in such a way that they open the doors with the engraving of these animals. A more detailed walkthrough of this puzzle can be read in our guide.
First, we need to open the door with the snake. Place the heavy weight on the right pan. And the light one on the left. Open the map and find the place James marked. You need to go to the Death Row Cell on the first floor. Go through the guardhouse. You will enter another prison block. Search cell E4 to find a family photo. All other cells will be locked, so go to the northwest door, which leads to the witness room.
Where to Find the Medium Weight
Once you reach the place, save your game and interact with the generator. You need to pull the levers in the correct order. A complete walkthrough of this puzzle is in our separate guide. After you open the door, go inside and take the weight from the chair. Return to the prison block. You will notice that all previously locked cells are now open, and the door leading back to the guardhouse is locked. Go to the end of the prison block to cell E1. Break the wall to get into E13. Take the strange photo from the shelf.
How to Get the Rifle
Return back to the corridor. Head to cell E10. Go through the gap in the wall to enter the left room with the arsenal key. There you will also find bullets and medicine. Open the door to the checkpoint and go straight to the main section of the first floor. Now you can unlock the cabinet with the rifle inside. Use the arsenal key. Return to the scales in the courtyard. Place the heavy and light weights on the left pan. Place the medium weight on the right. This will open the bull door in block A. Head there. Climb the stairs to the second floor.
Take the guard's letter from the wall. Turn right and walk along block C. Enter the guardroom. In the drawer, you will find the key to block D. Use it on the door to enter a new area. Go straight down the corridor to cell D5. There you will find a sharpened key and a threatening message. Use the found key on cell C4. Through it, you can access the prison's internal mechanisms. On the pipe, you will find a paranoid note.
How to Get to the Shower Room
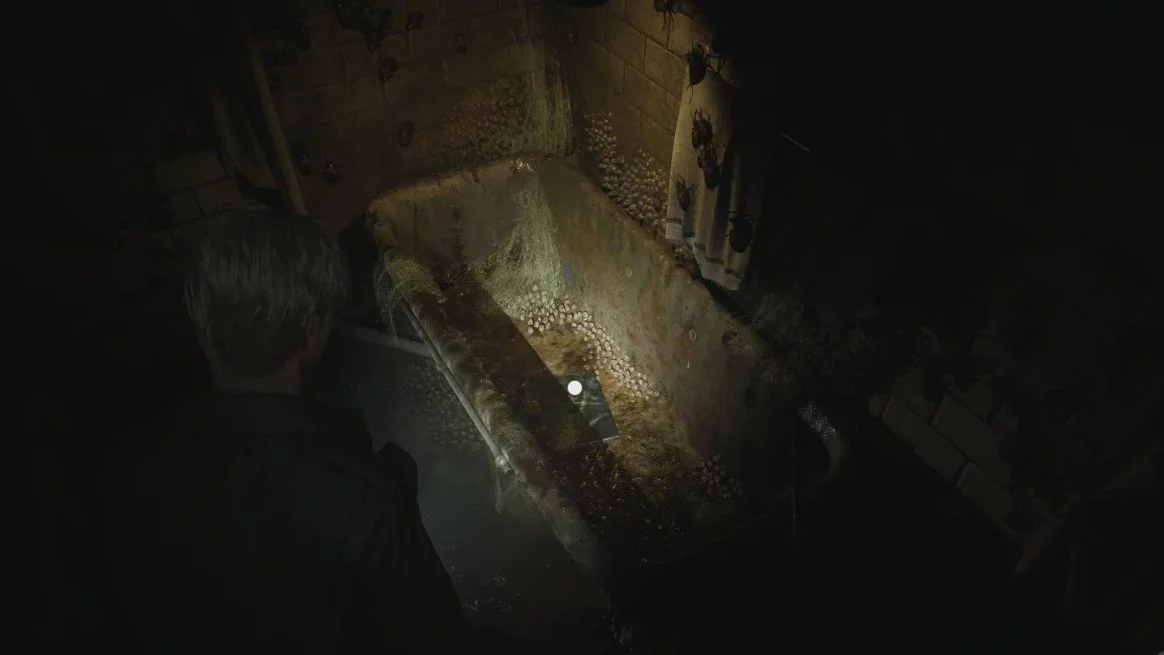
Go through the pipes on the left side. You will see another passage on the right on the floor. Go down to enter the restroom. You need to get to the locker room where supplies and a crumpled note are on the bench. Now head to the shower area. Search the location and collect the bullets. Press against the right wall from the shower entrance and walk straight to the moldy part of the wall. Interact with the item to get a memory. There will be a hole on the side where you must put your hand. Do this three times to get the heavy weight. After this, the location will fill with enemies. Leave the area or fight the opponents.
How to Open the Boar Door
Return through the restroom to block C. Go down the stairs to the first floor. Head to the scales in the courtyard. You need to open the boar door. Place the lightest weight on the left pan. Place all the others on the right. Go to the place marked by the hero on the map. It is on the first floor. Then go down the corridor to the right to enter the storage room. Kill two enemies and pick up the photo with ammunition from the table.
Exit the storage room and head to the visiting room, where in the last booth you will find a prisoner's letter. Nearby will be a window leading to the other side. Go to the southwest corner, where there are chairs with beds near the door. On the floor, there will be a memory. Press the action button. Then enter the small room to take the note and ammunition. Now we need to go to the infirmary. There you will find bullets and medicine. Kill all the enemies and search the location. Take the key and note from the table. Exit to the corridor and use the key on the locked door. You will gain access to the staircase leading to the second floor. Now you have a shortcut to blocks C and D.
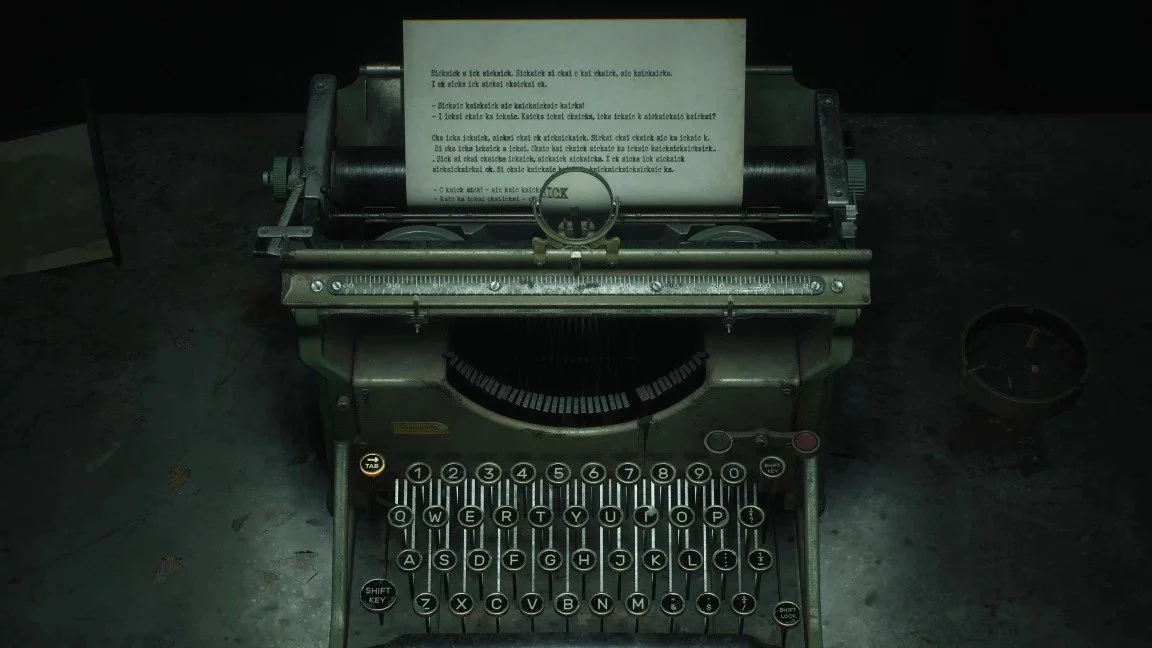
Climb to the third floor to the warden's office. On the left side, there will be a save point. Use the typewriter. Type the word SICK to open the drawer with the light weight. Now return to the scales in the courtyard. Place the medium weight on the right side. Put the others on the left. You will open the door with the pigeon. Head to the new area.
The Pigeon Door
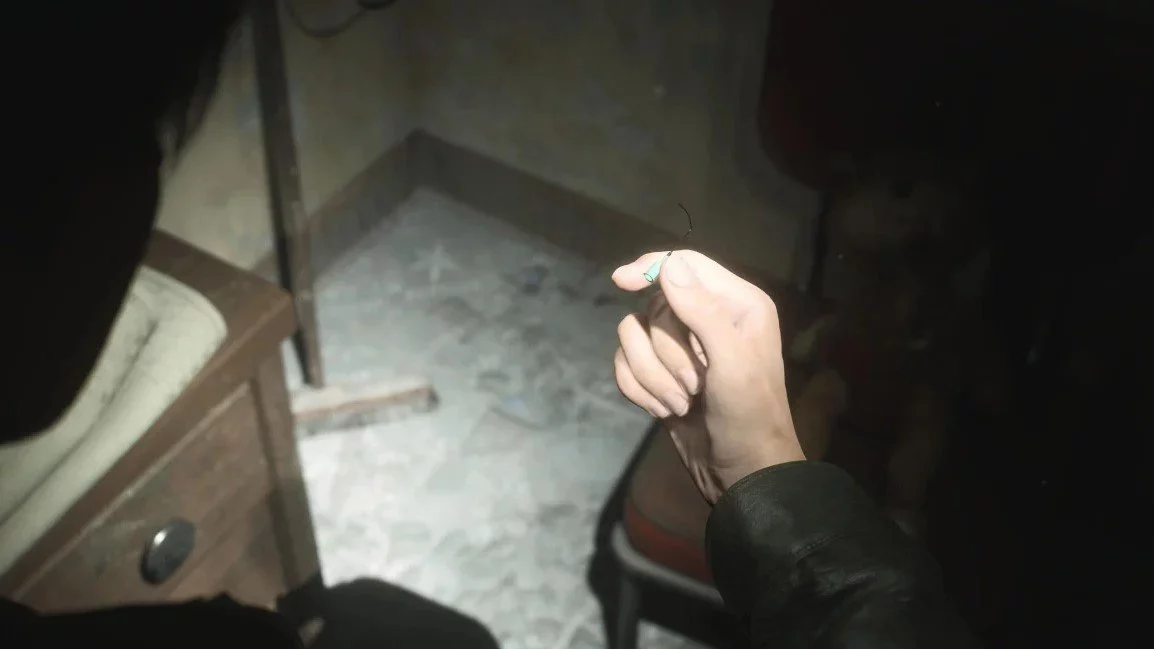
Go through the gap in the cell to enter the basement. Collect bullets and first aid kits from the neighboring rooms. Go straight down the corridor to cell F15. Crawl through the hole in the floor. On the right, there will be a panel that powers cells F5 and F6. Make sure both lights turn green. Now explore these areas. Inside F6, you will find a light weight on the floor. Once you take it, the door behind you will close. Take the note off the wall to stop the knocking and open the door.
Exit F6 and head to cell F9. Break the wall to access the stairs. Climb them to the first floor. Return to the scales. A gallows will appear behind the puzzle. You need to arrange the weights so that the pointer points to the sword. Place the light, medium, and heavy weights on the right side. On the left: tiny, light, and heavy.
Now you need to solve the gallows puzzle. A complete and detailed walkthrough on all difficulty levels is described in a separate guide. Once you do this, you need to pull the rope to fall into the morgue. Go through the new area and jump into the hole. Then dive into another hole. Enter the elevator and go down to the bottom. There will be a save point next to the doors. Go down the corridor to the room. Then go through the door. You will meet a familiar character. Watch the cutscene, after which the boss fight will begin.
How to Defeat Abstract Daddy
The boss fight takes place in narrow spaces. He will chase you throughout the fight. Always try to keep a large distance. Run away to a safe place and shoot at the body until the boss gets close. If he gets too close, he will catch the main character and deal massive damage. Overall, the tactic is very simple: run and shoot. Repeat this until a new corridor with lamps on the walls opens up to you.
You will see Angela ahead. Run after her while the boss destroys the location behind you. Break the TV with a melee weapon. After this, Daddy will catch you for a while. As soon as you regain control of the hero, run towards the window. Climb into the new room and make your way to the closet with newspaper clippings. Walk along the left side until the boss appears. Shoot him while he is at a safe distance from you. Then continue down the corridor. Next to the fan, there will be another TV. Break it.
After this, you need to destroy another TV. After that, you will appear in a new location. Crawl through the ventilation duct. You will find yourself in the final arena. Shoot the boss and dodge his attacks. Eventually, he will die, and another cutscene will begin. Once it ends, return back to the place where the boss fight started. The main character will take out a map and mark a new place you need to go.

Labyrinth Walkthrough
The new chapter begins with the main character filling in the map on his own. Turn the corner to find a creepy wall. Turn right and activate the save point. Go down the stairs. Use the door and watch the cutscene. After this, return to the large chasm. You will see a cube that rotates the building in front of you. Rotate it until a doorway with a symbol appears. It should depict a triangle with an inverted cross. Enter the building.
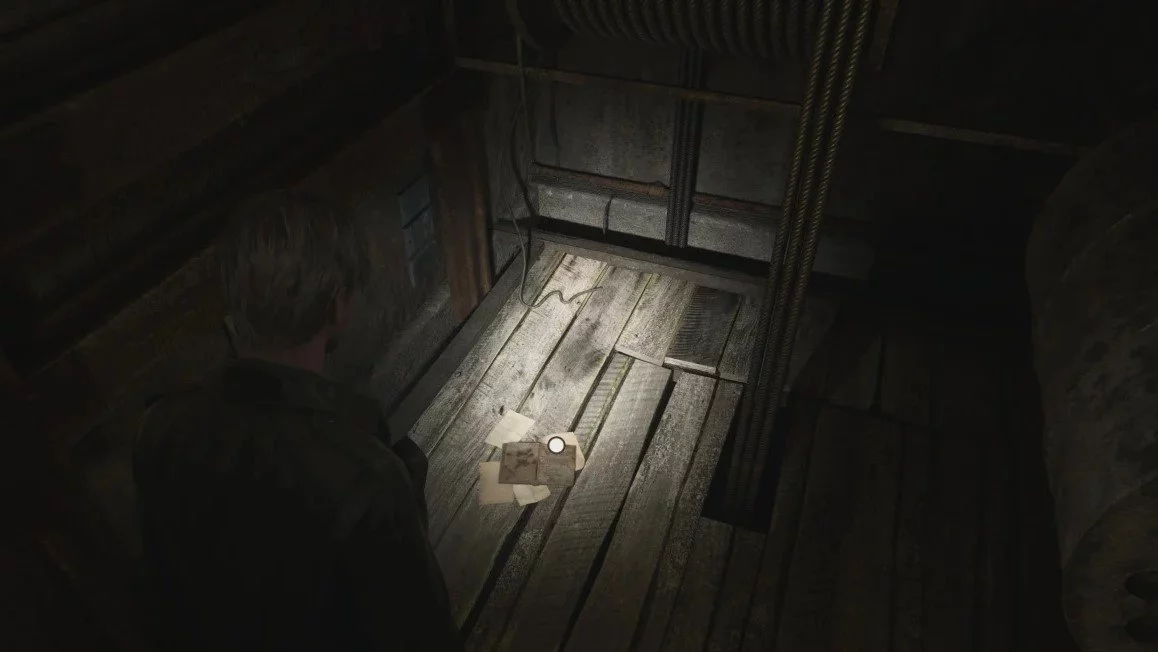
Climb the stairs to the three doors. Enter the left one to get to a special zone. Walk down the corridor with the hanging cage. At the end, you need to turn left. There is a wall on the side that can be broken. Break it and use the memory. Return to the hall with the cage. Go east to the exit to the crossroads room. Move the cart to the hole in the wall. Crawl through the hole and go down to the basement. Approach the refrigerator. After the cutscene, you will find lighter fluid.

Return back to the hall with the cage. Now use the southern passage. Go down until you reach the crate. Jump over it and go through the door. Ahead will be a room with bookshelves. Find a crack in the wall. Go through it into the new room. Reach your hand between the broken beds. You will get a wick. Exit through the corridor into the area with the table. Open its drawer to get a key. Return to the room with the cage. Open the eastern door. You will enter a zone with a bathtub. First, go through the crack in the wall and go down the corridor. Turn the valve to drain the bathtub. Return and take the lighter from the bottom.
Assemble the lighter from the found parts in your inventory. Return to the hanging cage and light the rope. The structure will fall and create a hole in the floor. Jump down. You will return to the cube. Start rotating it until a new path appears. Above the door should be a symbol of infinity with protruding lines. After that, enter inside. Go upstairs and walk down the corridor to the three doors. Go through the middle one. Save at the entrance.
Enter the right door. There is a crack in the closet. Crawl through it. Take the ammo and medicine and kill the enemy. To the left of the overturned closet is a door. Go through it and go down the stairs. Go straight to the hole where the key lies. Now head south to the stairs. You will see closed gates. Nearby will be a door. Enter it and go west. Then turn right and right again. Go down the stairs. Go straight through the cave and pick up another key. Return to the gates and unlock them with the found key. Turn the valve to gain access to the new location.
Go straight through the corridor. Push the metal cart to the hole so the hero can reach it. Crawl into the new zone. Go down the stairs to the flooded location. Go right to the corridor with bugs. Pyramid Head will appear. Run away from him to the left. Run past the stairs towards the double doors. You will get an achievement. Climb the stairs. Go straight to the room with the fuses. Open the box and take the pliers. Return to the zone where you met Pyramid Head. Use the stairs you ran past at the start of the chase. In the new zone, you will find ammo, medicine, and a photo.

Return to the wall with wires. Use the pliers to unlock the passage. Go straight to the stairs and go down. At the bottom, jump into the small hole. You will return to the cube. Rotate it until the symbol of an inverted triangle with a cross sticking out from the bottom appears. Enter the red door. An alarm will sound, and all enemies in the location will start converging on you. You need to kill them all to open the red door. Go down the corridor to the new area. Kill all the enemies there. Then there will be a room with bugs. Deal with them and kill the enemy standing behind the metal grate on the floor. After that, a save point will appear.
Proceed further down the corridor and turn the corner to encounter Pyramid Head. Turn around and run back to the creepy wall you saw at the very beginning. Eventually, the boss will retreat. Enter the room to start a cutscene. After it, leave the cell and return to the cube. It will be destroyed by Pyramid Head. Interact with the sword so that James drags it along the floor. Take the item to the creepy wall and open a new passage. The hero will drop the sword when you reach the stairs. Climb up to reach the cemetery. In the left corner, there will be a dug-up grave that you need to jump into. Walk down the corridor to the blood-soaked door. Open it and watch the cutscene with Eddie.
Battle with Eddie
After the cutscene, you must chase Eddie. The main battle will start in the freezer room. The boss has a revolver that deals a lot of damage. Try to use the animal carcasses as cover. Shoot the enemy with the shotgun and rifle to quickly trigger the second phase of the fight. Eddie will start shooting at the pipes. Fog will appear, reducing visibility. Listen carefully to the footsteps and shoot in the direction where the boss will be running. Once you deal enough damage, Eddie will turn on the factory equipment. The carcasses will start moving and obstructing your aim. Get close to the boss and finish him off with the shotgun. After the cutscene, exit the area through the doors.
Leave the building and head to the lake. Approach the stairs. Behind them lies a photo. Approach the boat and use it. Row towards the light. If you spend 10 minutes on the lake, you will get an achievement. Eventually, you will reach the hotel.
Lakeview Hotel Walkthrough
After the cutscene, head to the wall behind the stairs to take the garden map. Go upstairs and head to the stone staircase. Turn right from the fountain and follow the path to the wall. Next to the tree, there will be a rotten apple. Take it. Now go straight to the fish pond. On the opposite side, there is a board with text. Look into the bowl to unlock a memory.
Head to the main entrance. You need to get to room B12 on the third floor. Go down the stairs to reach the utility room. Take the cleaning staff memo. Return and head to the registration hall. Take the key to room 312 and the decorative key from the reception. Also, examine the note next to the bell.
Go to the lobby. Use the music box key. You will need to find three items hidden throughout the hotel. Head to the restaurant to meet Laura. She will give you a letter written by Mary. Return to the lobby and go to the Toluca Café. There you will find the key to room 102 behind the bar counter. Break through the wall to create a passage to the lost and found office. Take the pistol ammo and note from the shelf. Follow Laura down the right corridor. Kill the enemies that will chase you. Open the door with the key and take the useful supplies. Enter room 104 to take a strange photo from the bed.
Enter room 106. Go through the balcony to room 103. In one of the drawers, there will be medicine. In the utility room, there are pistol ammo and a key. You cannot enter room 107 yet. Return to the lobby and go upstairs. Use the key on the double doors. Enter the reading room. Solve the puzzle with the books. The complete solution is in a separate puzzle guide. Exit through the wardrobe into the hall filled with mannequins and enemies. Kill the opponents and take the key to room 202 from the sofa. In the corner, you will find a ripe apple. Solve the puzzle with the broken mirror. Detailed walkthrough is in our separate guide. Exit outside through the porch and climb into the medical office through the window. Kill the nurse and take the medicine. Open the door and turn left. Open the shortcut through the stairs.
Go up to the second floor. Examine room 209 and take the ammo. In room 206, there is a hole in the floor through which you can enter the adjacent room. There you will find rifle ammo. In room 204, there are pistol ammo and medicine. Use the key on room 202. Return to the nurse's office and go up the stairs to the second floor. In room 212, interact with the suitcase on the floor to unlock a memory. Go up the stairs to the third floor. Approach the fireplace and take the note with the key to room 107.
Exit the conference room and visit the utility room. There you will find ammo and bolt cutters. Head to the south staircase leading to unexplored rooms. Enter room 215 and break the wall to access room 214. Unlock the door to create a shortcut. Go to room 217. Exit to the porch. Shoot the glass with the book. Go down to the first floor. Use the key to open room 107. Take the note and exit to the garden. Take the fireplace key from the gazebo. Return to the restaurant. Pick up the book you knocked down earlier. Take the can opener with you. Return to the garden and use the bolt cutters on the gate. In the new area, you will find a light bulb.
Go to the third floor to the fireplace. Use the key and open it. Take the Cinderella figurine. Kill the enemy and move the cabinet aside. Break a hole in the wall with a melee attack. Exit to the porch and jump to the neighboring balcony. Pick up the paint can. Open it with the can opener. Then paint the light bulb. Return to the second floor. Enter the reading room and place the books from your inventory into the bookshelf. Take the three notes. Insert the light bulb into the mirror socket. A phrase will appear that you need to enter into the suitcase lock. Inside, there will be a key to the staff elevator. It is located in the west wing of the second floor. Before entering, put all your belongings in the cabinet.
Go down. Take the map from the bulletin board. Avoiding enemies, run to the cafeteria. Pick up the medicine and crawl through the gap into the room with the dishes. Take the green gem in the kitchen. Enter the pantry and activate the memory. Enter the freezer section and take the blue stone from the refrigerator. Head to the manager's office. There you will find ammo and medicine. Move the cabinet to enter the room. Take the red stone from the box. Return to the manager's office and insert the stones into the box. Arrange them according to the scheme depicted on the box. Our puzzle guide has the ready solution. You will get the safe code: 7414.
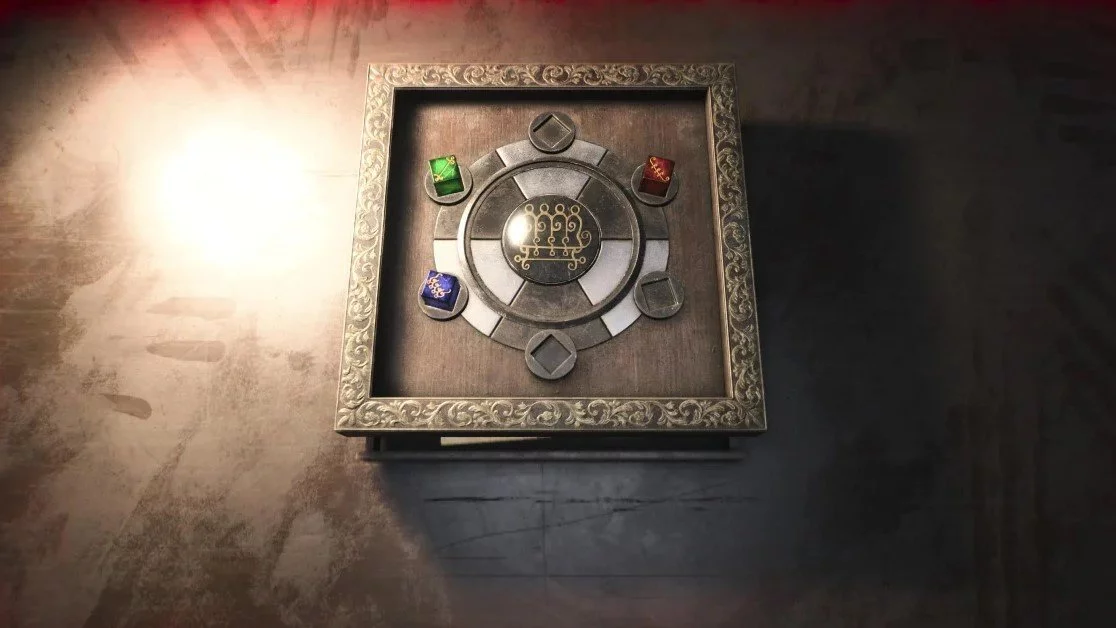
Head to the lounge and enter the code on the safe panel. You will get a videotape and a key to the basement. Use the key on the last locked door north of the lounge. Inside, there will be many monsters. Use the valve on the pipe to shut off the gas. Enter the boiler room and take the bar key. Return to the valve and use it again. Now open the door with the found key. On the bar wall, there is a photo you can take. Go to the music machine near the broken aquarium and pick up the Mermaid figurine. Go through the door leading to the main part of the hotel. Return to the elevator and take your gear. Now we have all three figurines, and we can solve the music box puzzle. Detailed instructions are in our puzzle solution guide.
After solving the puzzle, you will get the third-floor corridor key. Head upstairs and use it. Enter room 312 and insert the videotape into the VCR. Watch the cutscene. After it, the hotel will change. Return to the corridor and go through room 313 to the east wing. To the south, there will be a metal cart. Move it and crawl through the gap. In the bathroom, you will find a photo lying in the sink. Go down to the reading room. Use the book on the sofa to open a memory.
Exit to the corridor and go to the wardrobe. Through it, go to the nurse's office. Go through the gap and head to the elevator. Behind it, there will be stairs to the basement. It will be flooded. Go straight to the bar. Then turn to the kitchen. Go to the door with fire behind it. Watch the cutscene. After this, go up the stairs to the staff section. In the office, you will find a note. Open the red door and go straight to the save point.
Battle with Pyramid Head
Go through the double doors to start the battle with two bosses simultaneously. The enemies will have spears instead of swords. Try to keep your distance and shoot. Sometimes Pyramid Heads will throw spears, so try to keep the dodge button ready. The fight is very simple. The main thing is to try not to miss and not let the bosses get close to you. After the battle, a cutscene will start. Take the eggs from Pyramid Heads' hands and insert them into the door. A passage will open, leading to a long corridor. At the very end, there will be an area with a lot of ammo and medical supplies. Take everything you can carry. Turn right and go straight. Take the strange photograph.

Final Battle
Climb the left staircase. You will meet a flying boss that turns into moths. Shoot at it until it falls to the ground and breaks the floor. You will end up in a flooded area. The boss will attack you from the upper metal trusses. Sometimes it will come down so you can deal damage to it. Watch for sparks on the ceiling to know the exact position of the enemy.

On the sides of the arena, there are additional ammo and medkits. Pick them up if you haven't accumulated enough throughout the playthrough. Shoot at the boss and dodge its attacks until it falls to the ground and becomes immobile. Approach it and finish it off with a shot. After this, the ending will be played, which depends on your playstyle. A full guide to the endings is available on our website.
Other guides
- Wie man alle Waffen in Silent Hill 2 Remake erhält
- Gamer zeigt Silent Hill 2 Remake mit fester Kamera — jetzt sieht es aus wie die ersten Resident Evil Spiele
- Die besten Mods für Silent Hill 2 (2024) für Grafik, Optimierung und Änderung des Aussehens