The Stolen Cat Mummy: Indiana Jones and the Great Circle Quest Walkthrough
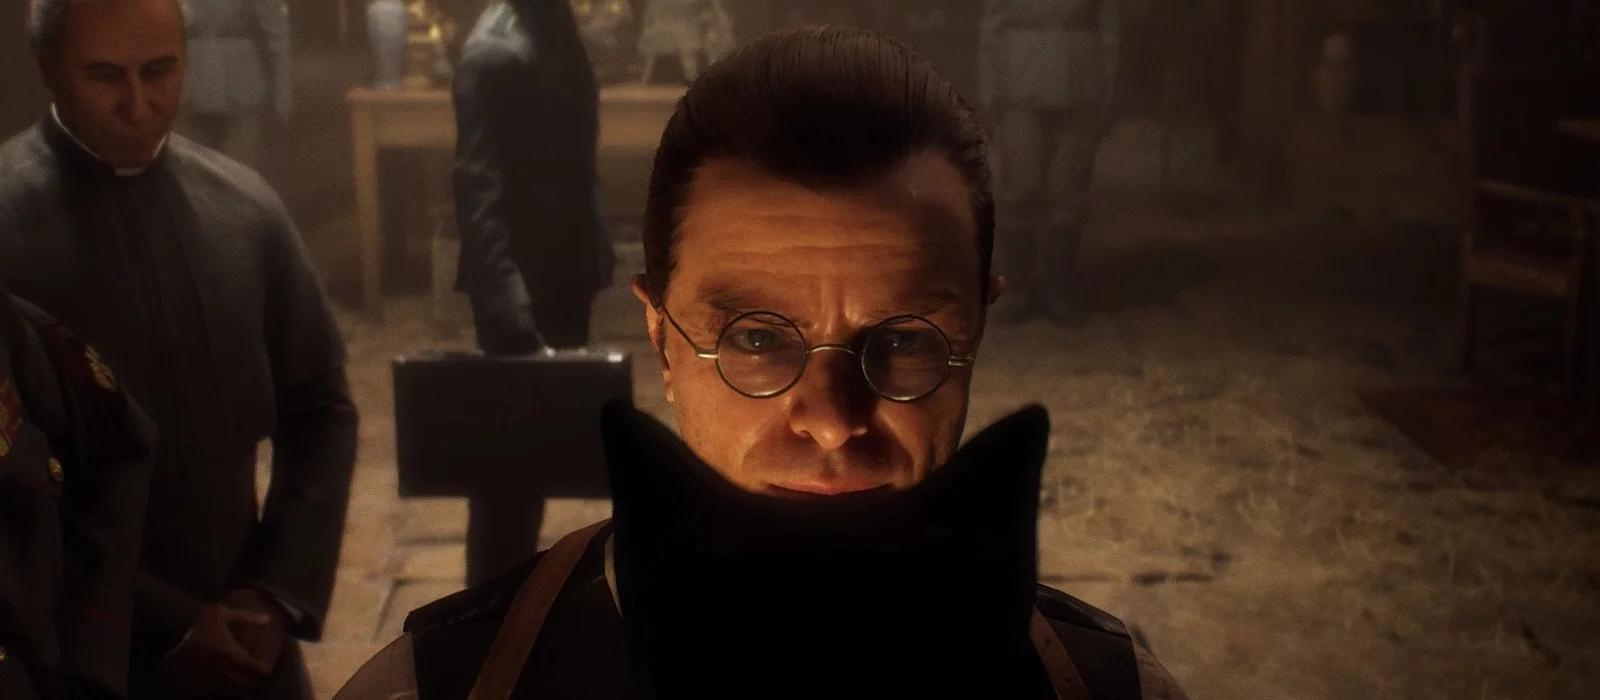
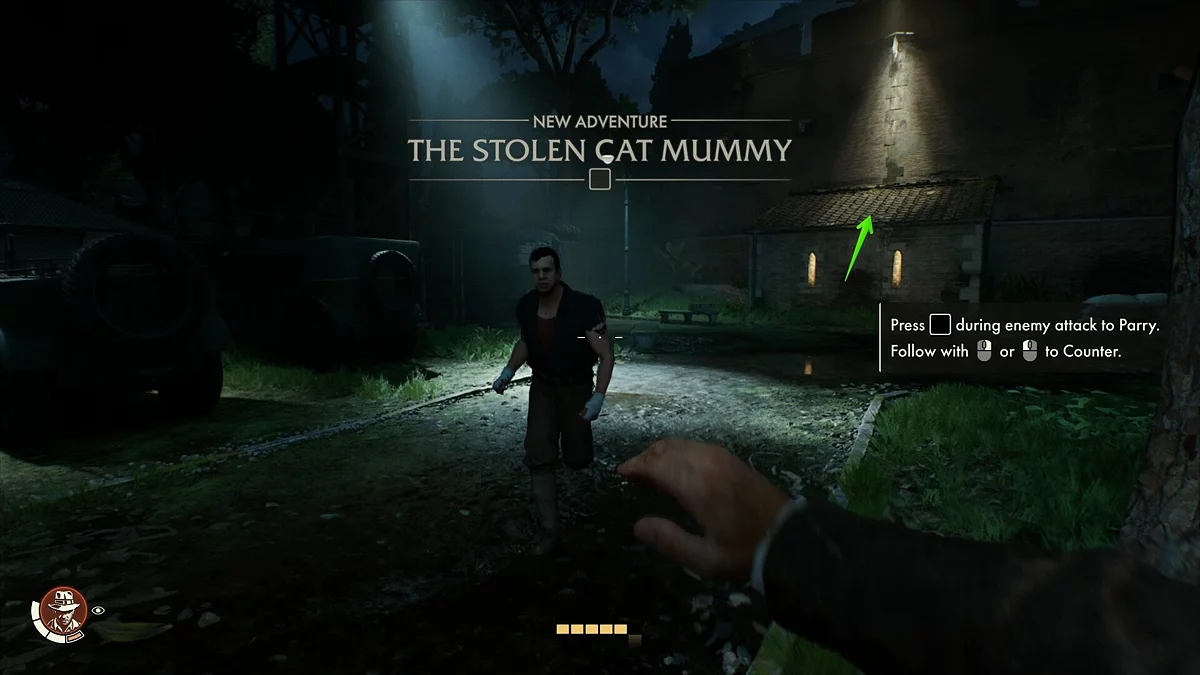
After the theft of an ancient relic in Indiana Jones and the Great Circle, Indiana plans to visit his old friend Father Antonio, but for this, he will have to sneak through the Vatican past crowds of guards. In this guide, we describe the walkthrough of the first major story adventure, The Stolen Cat Mummy.
The Stolen Cat Mummy
The first part of this chapter is focused on stealth. We recommend proceeding through the following locations in this manner, as otherwise, you will face a large number of enemies, and you are unlikely to manage them alone.
How to Reach Father Antonio
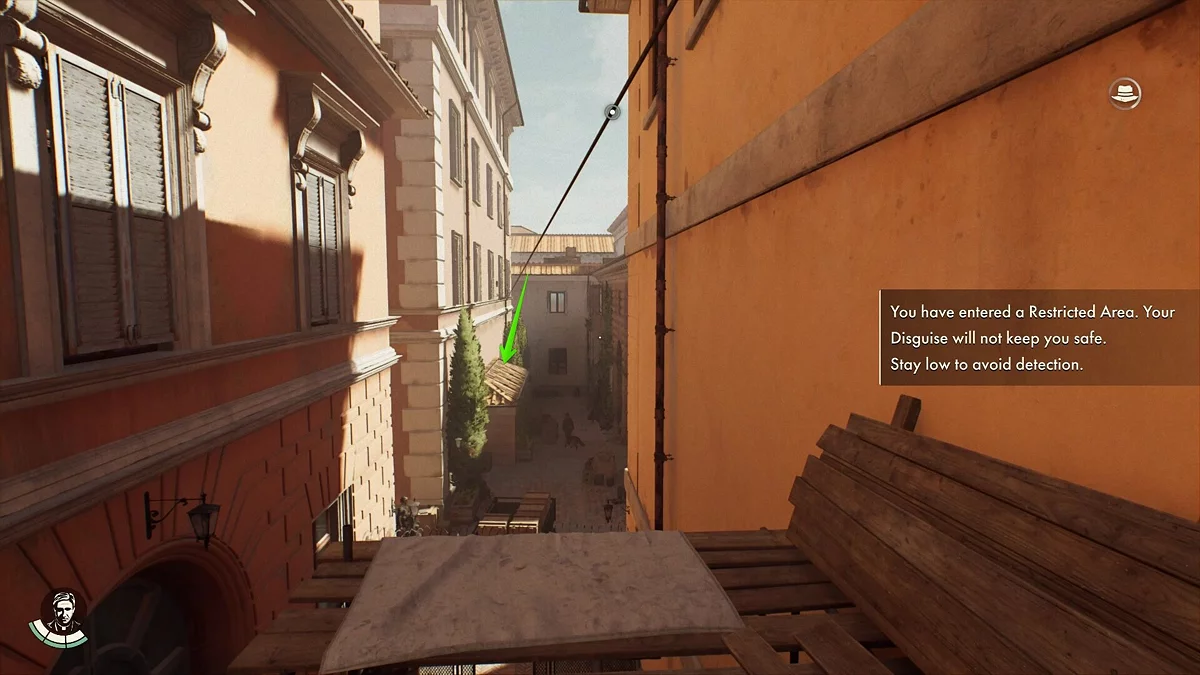
The first guard can be ignored, as he won't reach you if you quickly run to the lit annex and jump onto the roof. However, he might raise the alarm, so the decision is yours.
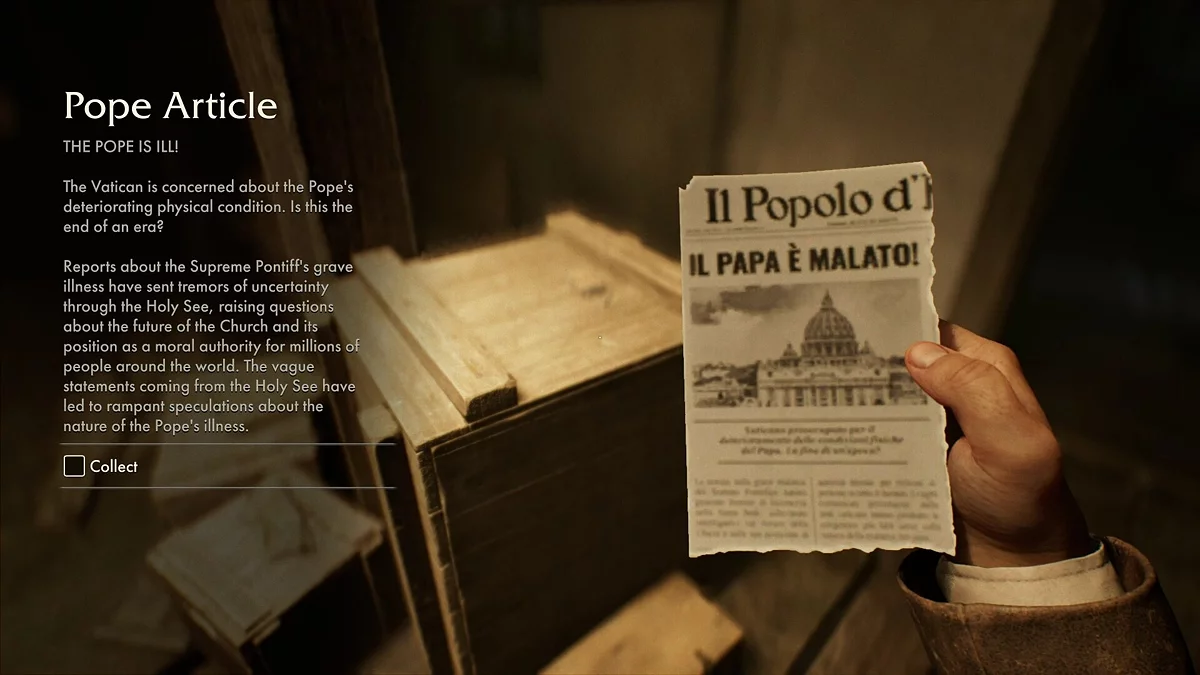
On the roof, use the whip and knock out two enemies. In the small room, on a wooden crate, take the News Article (Pope Article).
Descend the stairs and in the next room, take the territory map and the key (Rampart Key). Go through the chapel, find the Caruso's Letter there, and exit outside. Soldiers are patrolling here. Whether to knock them out or bypass them is up to you.
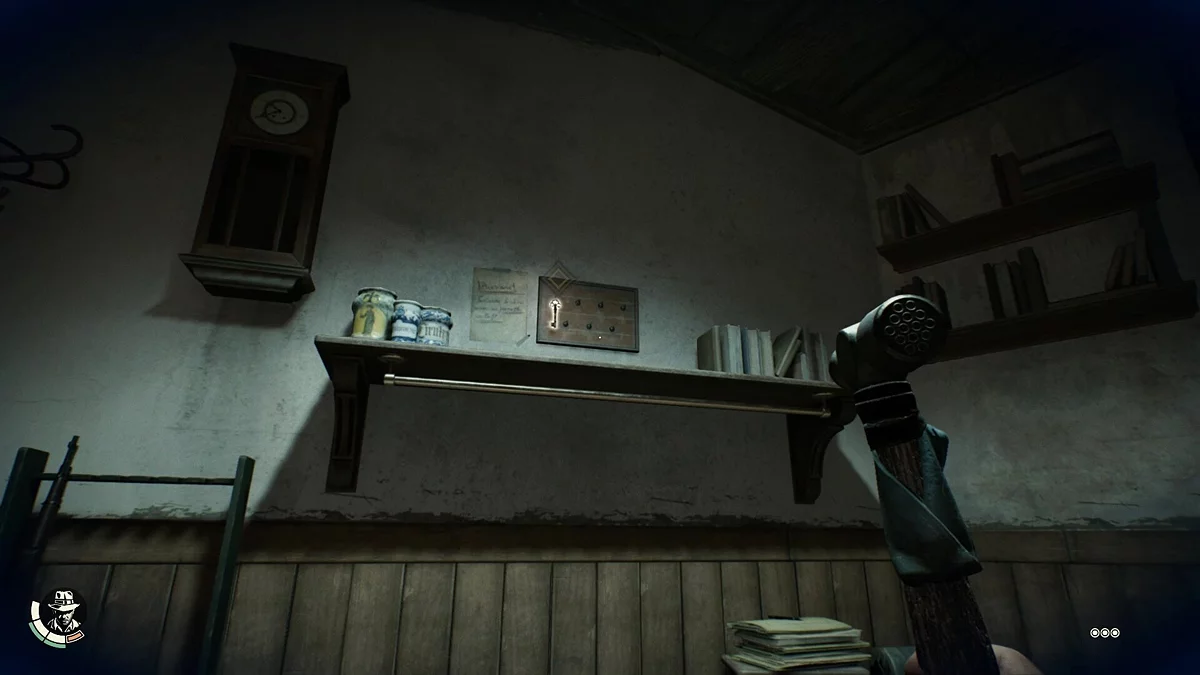
In a small room on the left, there is a guard. Knock him out, take the key from the board, as well as the book (Punch Out I). There is also a pouch of money on the table. Later, you can use the money to purchase additional items and materials.
How to Find the Captain's Key
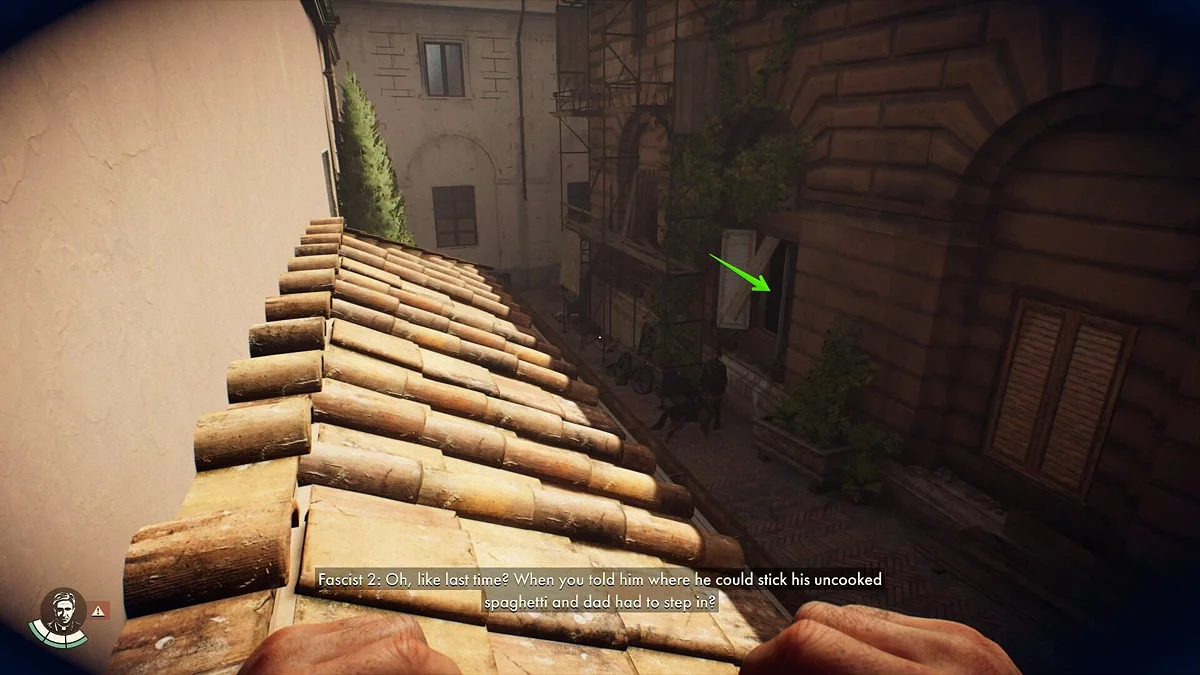
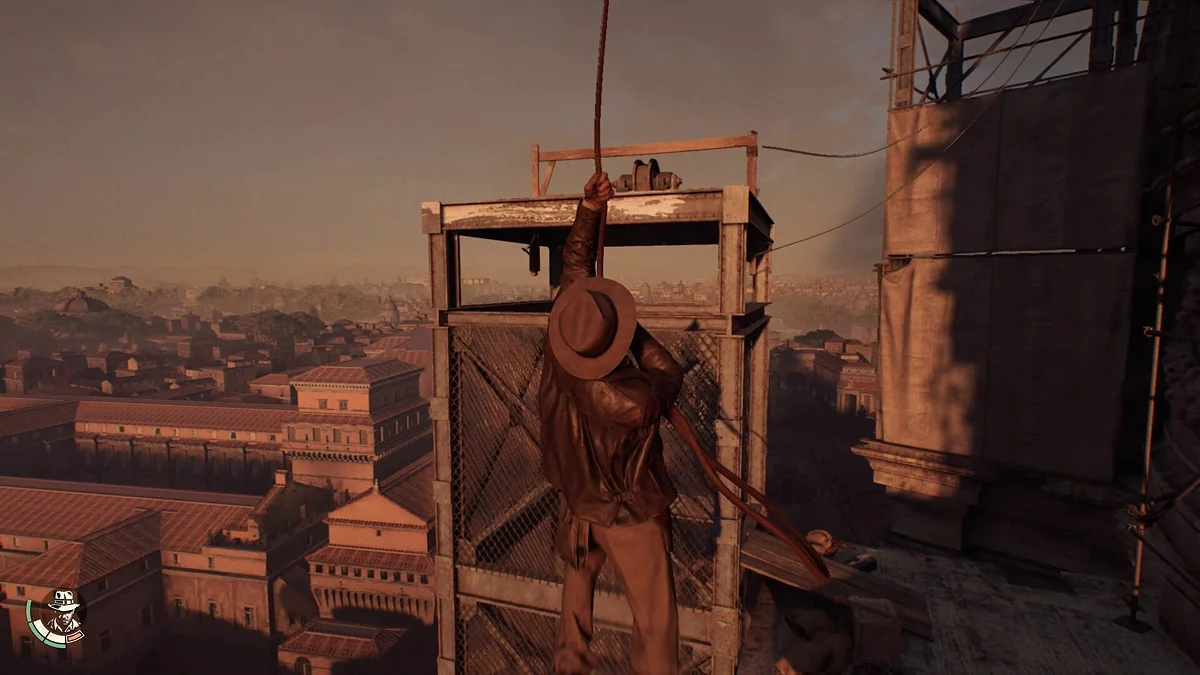
Using the whip, climb the scaffolding to the roof and enter through the window. To the left of the stairs, on a barrel, there is money. In the next room, get rid of the worker and take the comic on the table. Here you can also open the money box.
Go up to the second floor and knock out the patrol. A soldier with a dog will come to the noise — follow into the adjacent room and explore it. On the table near the exit, take the book (Lucky Hat I), several bandages, and the Captain's Key.
Since the officer with the dog is on the second floor, casually jump out of the window and open the grate to your left. On the wall next to it, you can pick up Mario's Note.
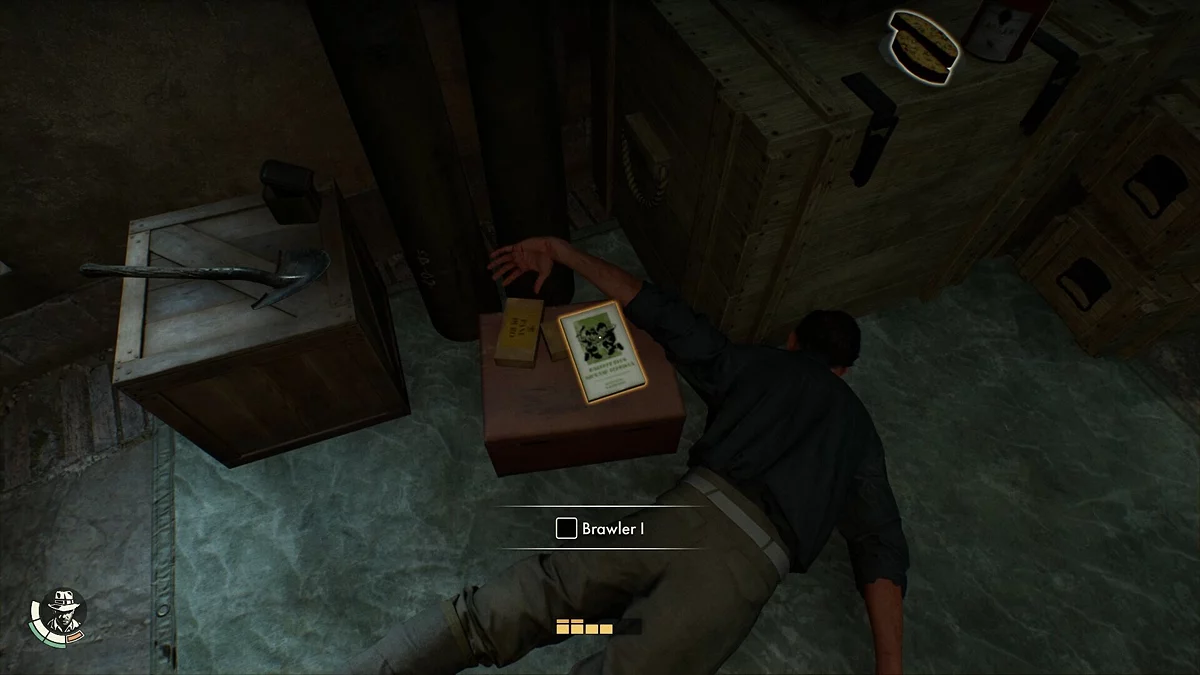
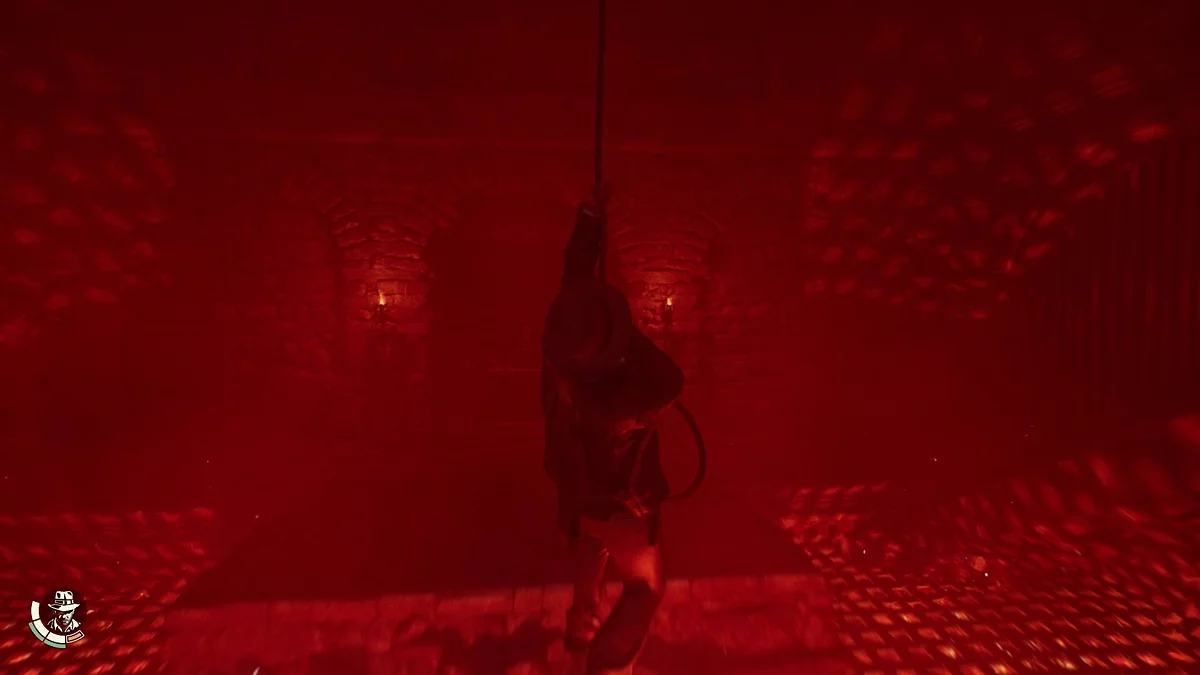
Use the rope to get to another part of the location. Lure one enemy from the cellar and knock him out, then deal with two more. Next to the last one, there will be a book (Brawler I).
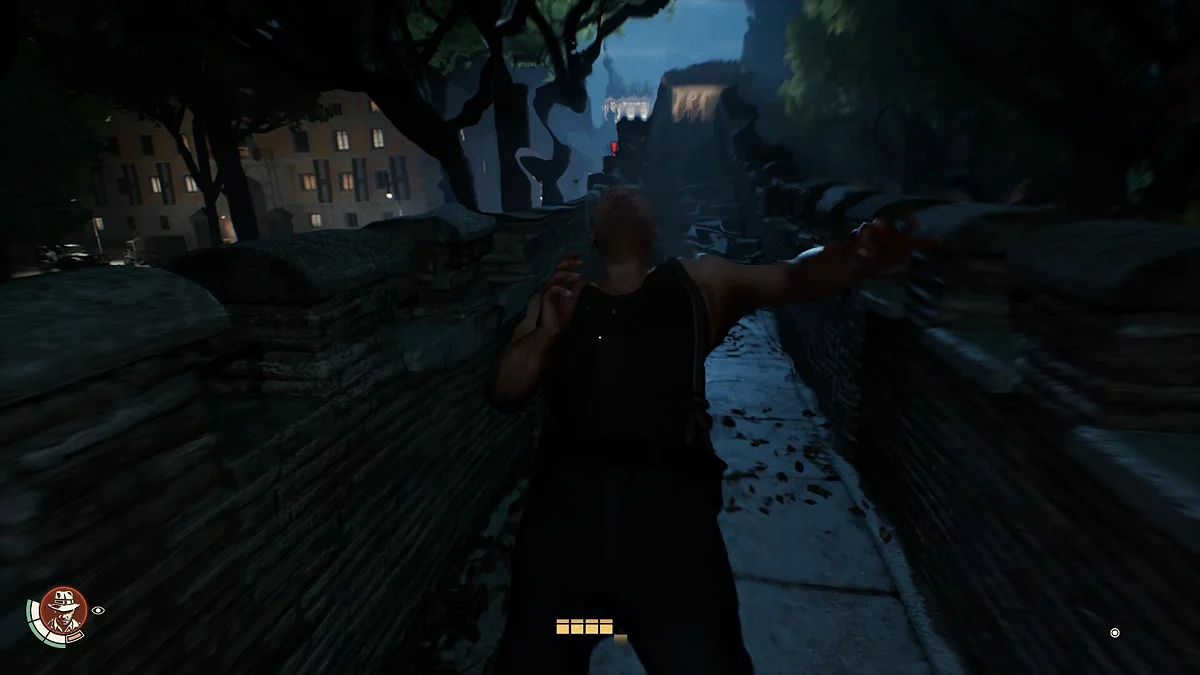
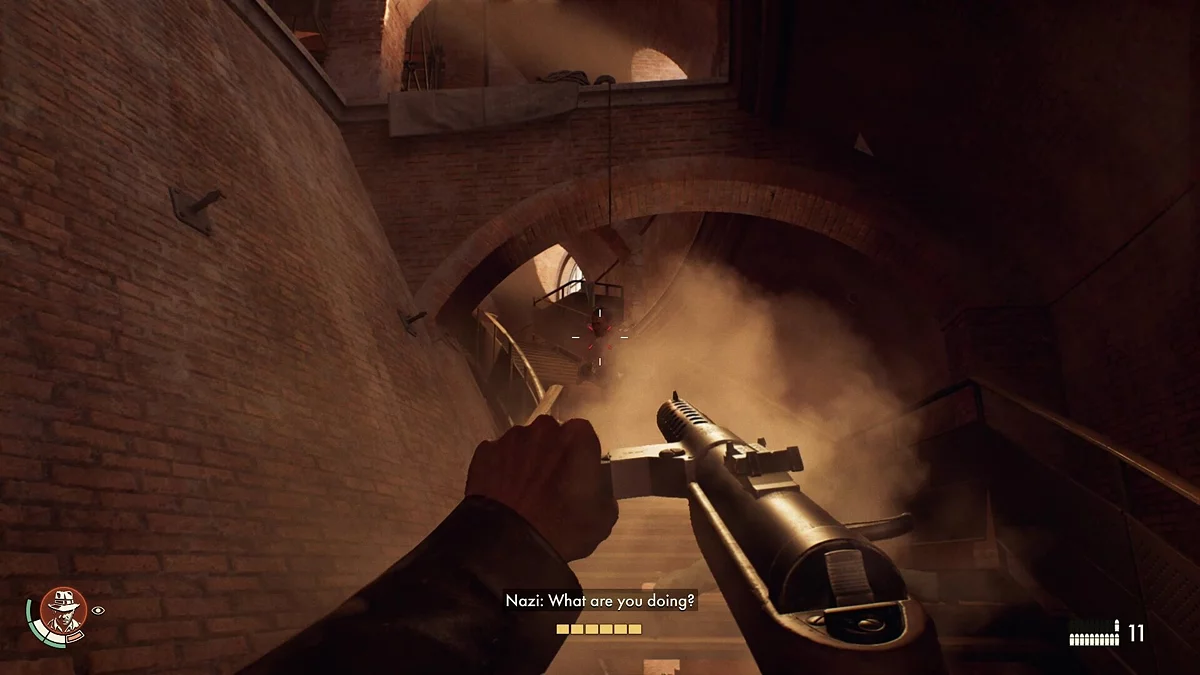
Exit onto the castle wall and close in on the enemy. To avoid wasting time on hand-to-hand combat, move from cover to cover, then approach and quickly attack him.
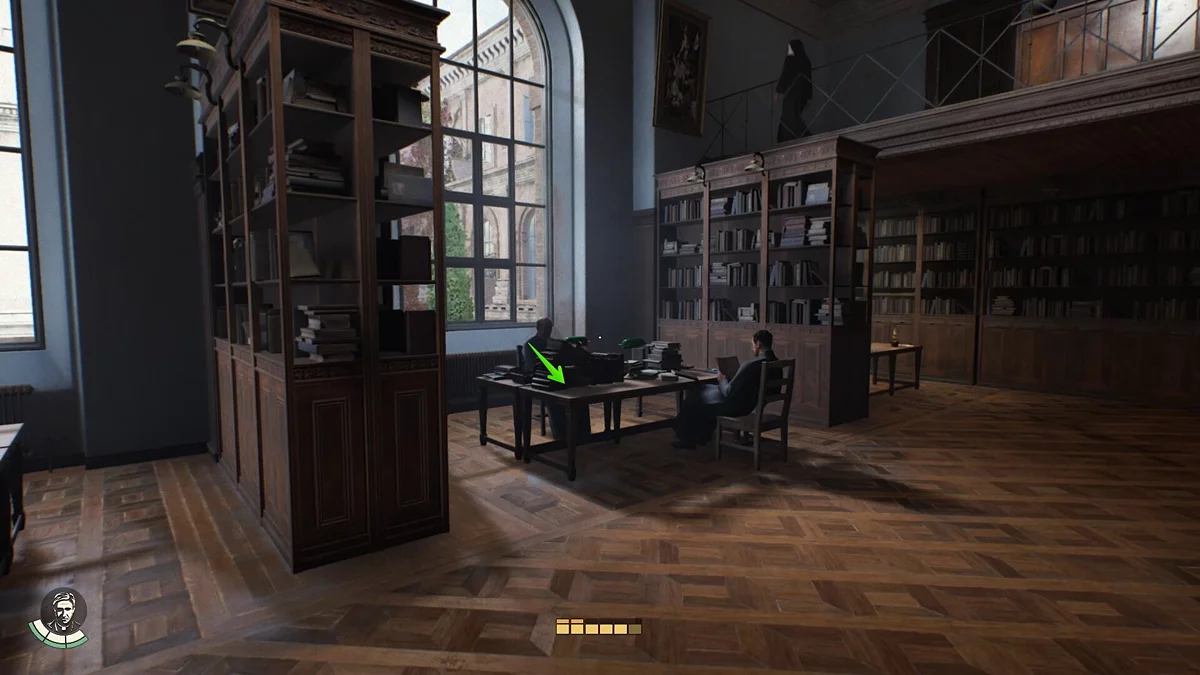
After an extended cutscene, you will receive priest's clothing, and the task will change. You can select the new outfit from the inventory menu. Change clothes and head down to the first floor of the library. On the far table with two priests, you can find a note (Briscola Flyer).
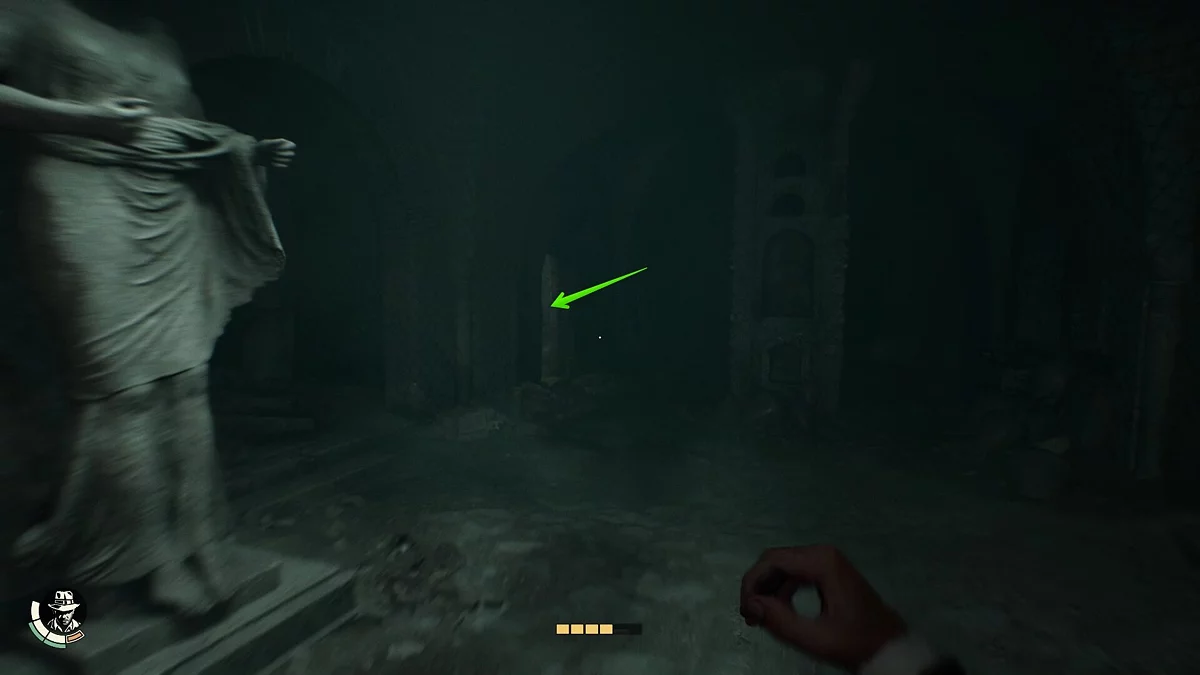
We are interested in the door where the electrician stands. Approach the strange symbol on the wall and use the giant's amulet to open the passage. Antonio will appear behind you. Move a bit forward and inspect the darkness. Then return and take the candle from the table.
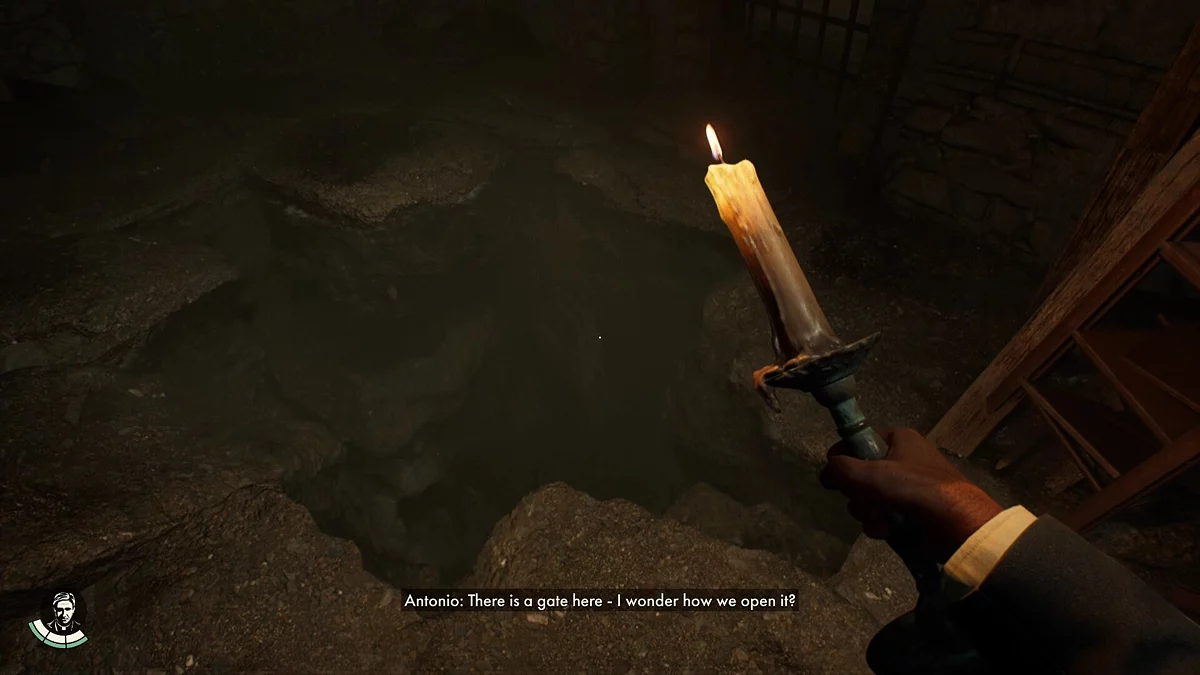
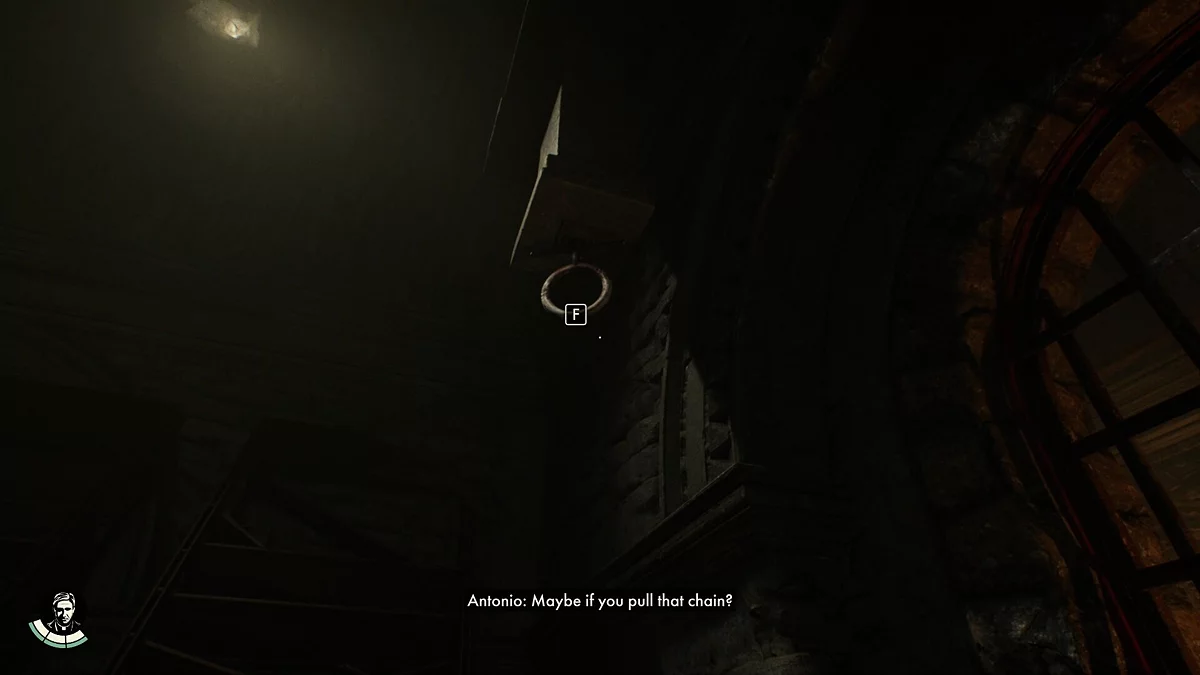
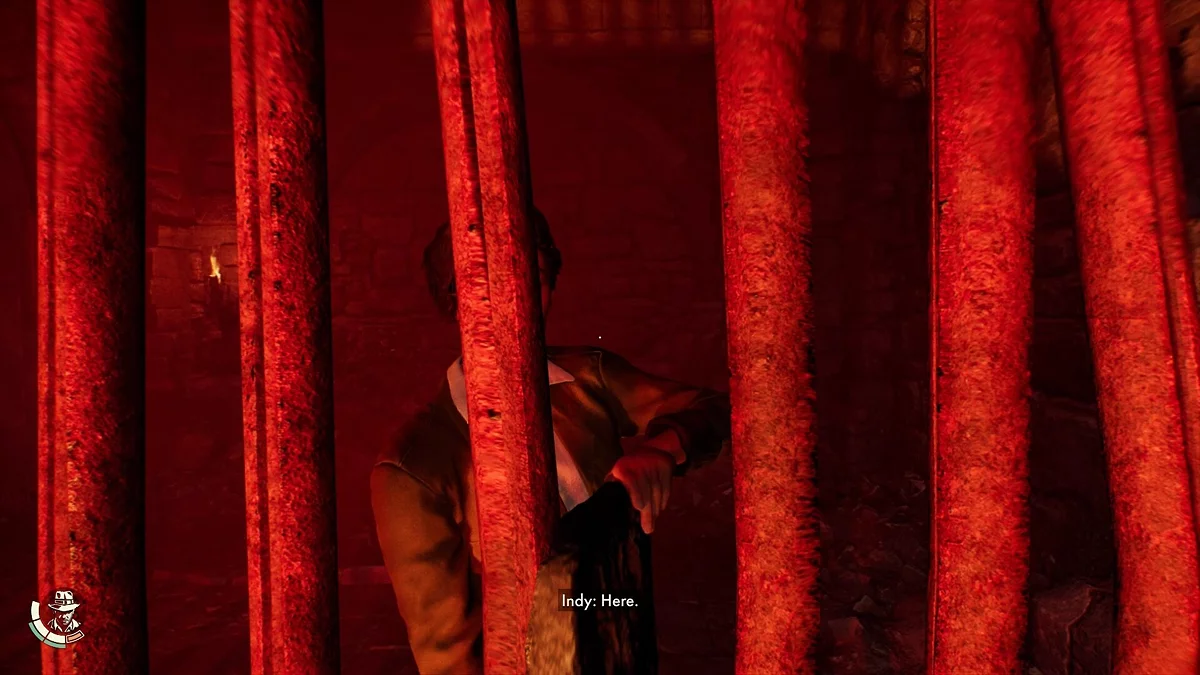
Proceed to the locked room and find the hole in the floor. Dive into the water and swim to the other side. You can open the grate for Antonio by using the whip on the chain under the ceiling.
Here, on the table, pick up the ancient relic and inspect the letter (Mad Scribbles), and beneath it the map of the dungeons under the Vatican. At this moment, Antonio will hand over his key, which will help you navigate the area.
How to Get to the Post Office
Antonio will task you with going to the post office to meet his acquaintance who can help with the camera. The challenge is that the location is currently closed to visitors by the Germans.
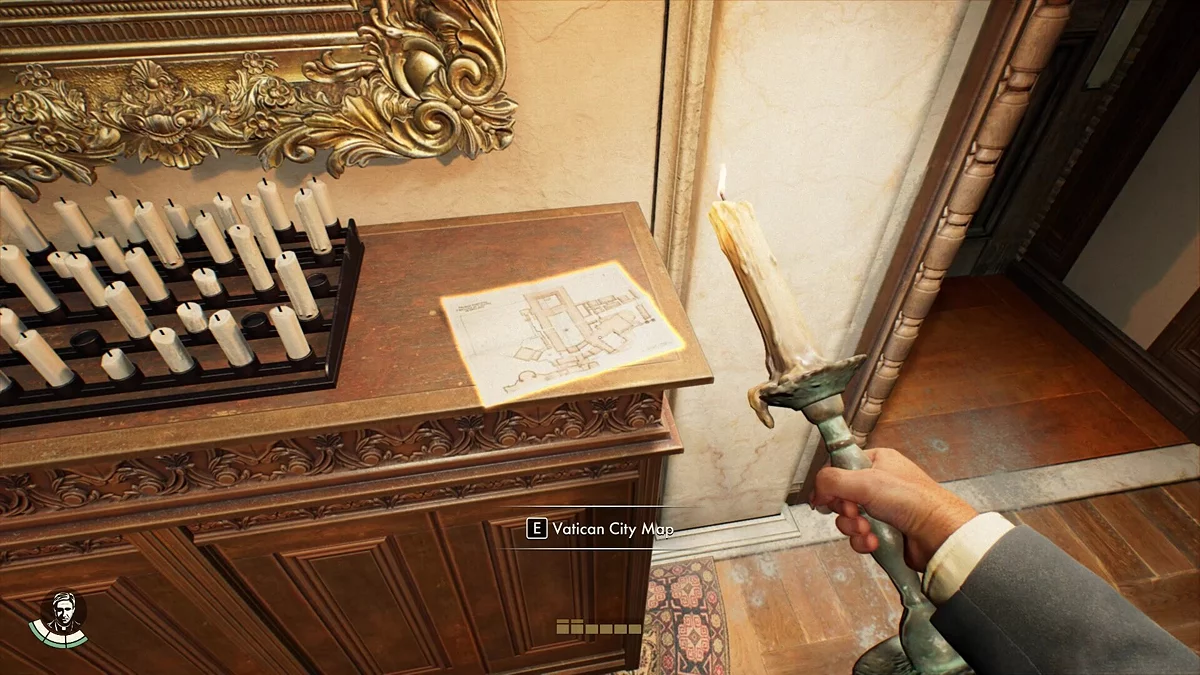
Use the key on one of the two doors in the library and descend to the courtyard. Before the exit door, don't forget to pick up the Vatican map.
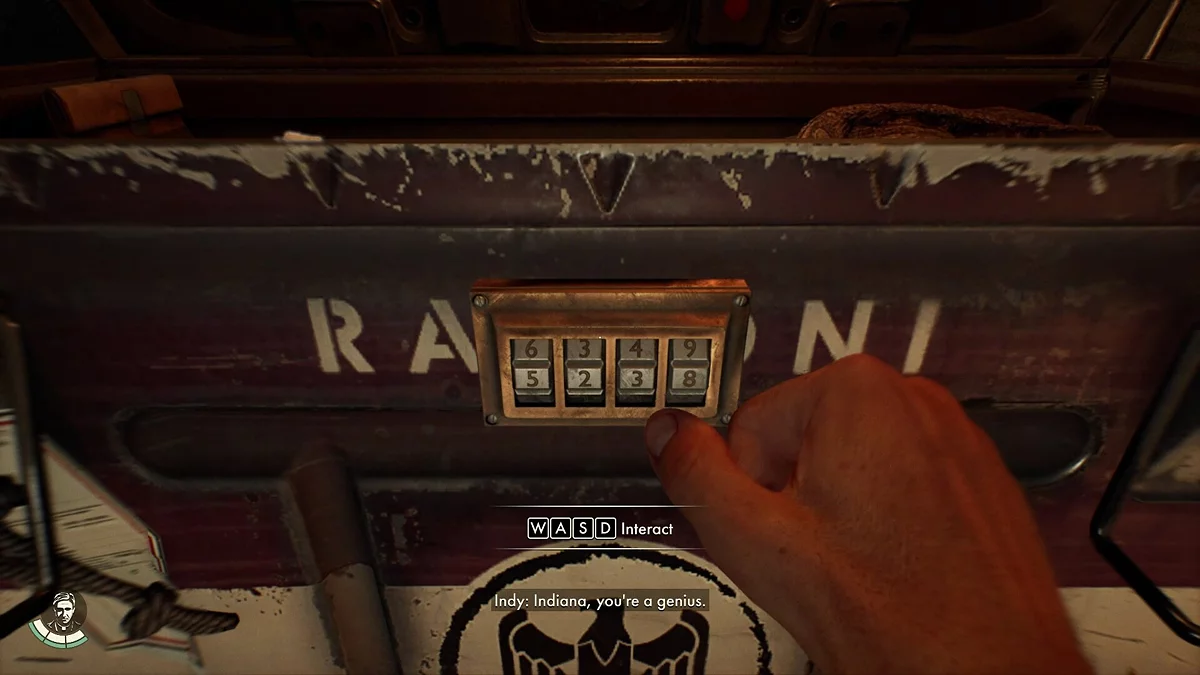
In the first military tent, take the money, the theft report, and the ticket in the desk drawer. The ticket has a combination — it will fit the locked suitcase nearby (5238). Inside, there will be money and a book (Splinter Smash).
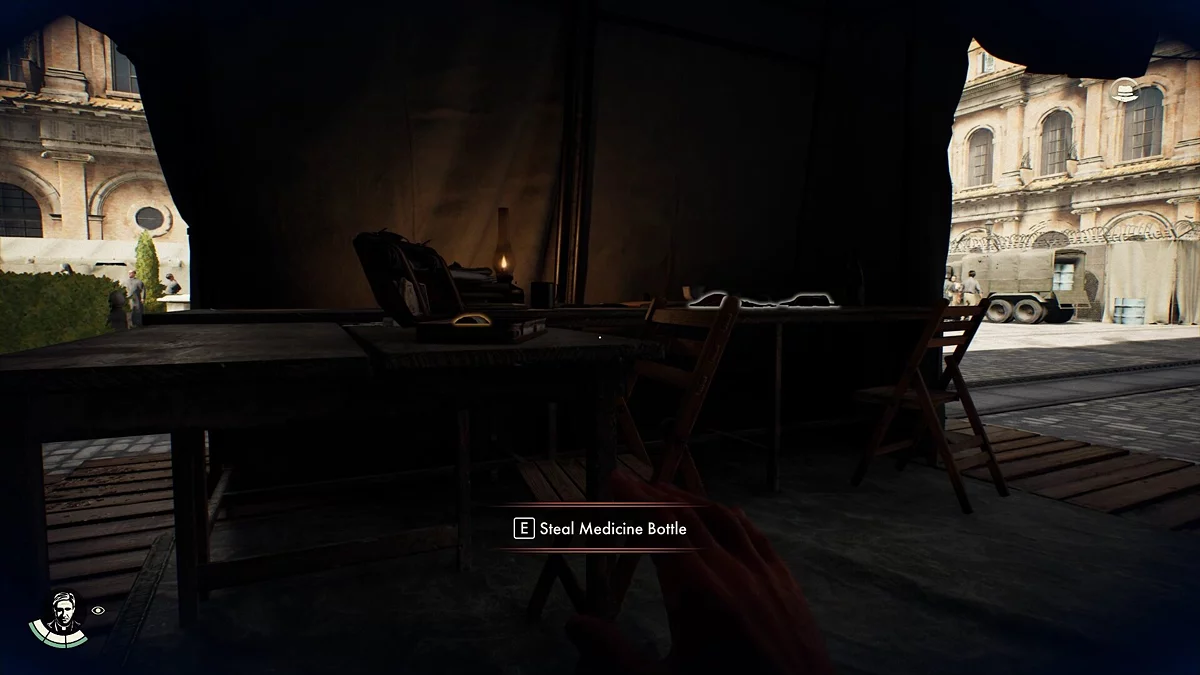
To steal money and medications (needed to complete a side quest) from the neighboring tent, you will need to distract the guard in a small booth. To do this, simply throw a bottle behind him.
In the third tent on the square, you can find some money and a book (Pep I).
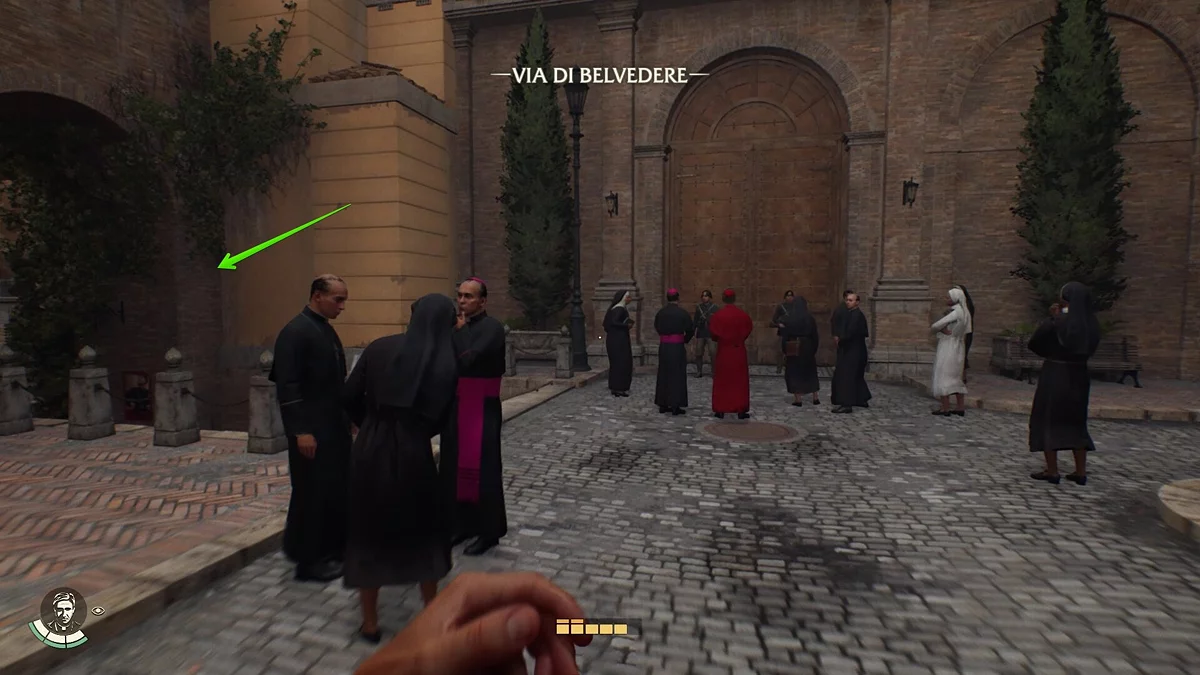
So, upon reaching the locked gates to the neighboring district of the city, you will need to find a detour. There are two here, but we recommend choosing the path on the left, as it is the fastest and safest.
Climb the drainpipe to the balcony, then to the roof of the building. Use the rope to reach the roof of another building's balcony. Hide from the German and wait for him to leave, then climb into the post office window.
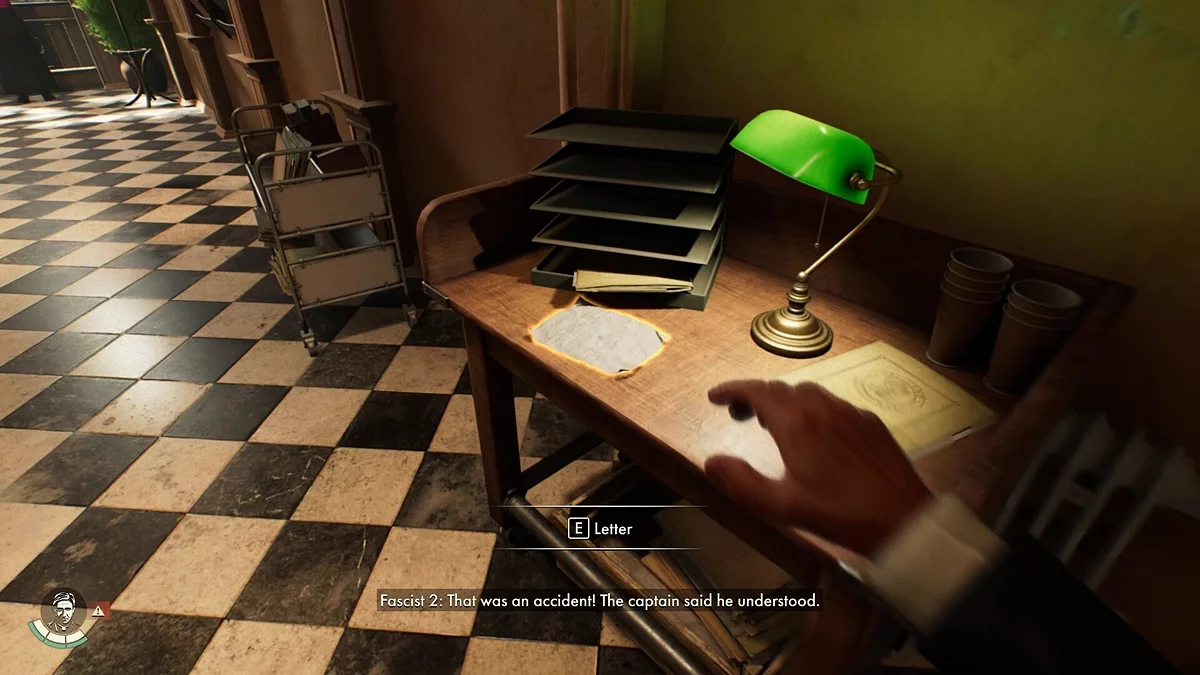
To the left of the window on the table, there is another part of the Vatican map, and the required character is waiting in the next room. Opposite the door to his office on the desk, take Caterina's letter.
If you previously explored at least the first two military tents and found money in the places described in this guide, you can immediately purchase the camera for 379 lira.
How to Take Photos
Once you have the camera, photograph Ernesto and go outside. The Germans have lifted the travel restriction, so there is no need to worry.
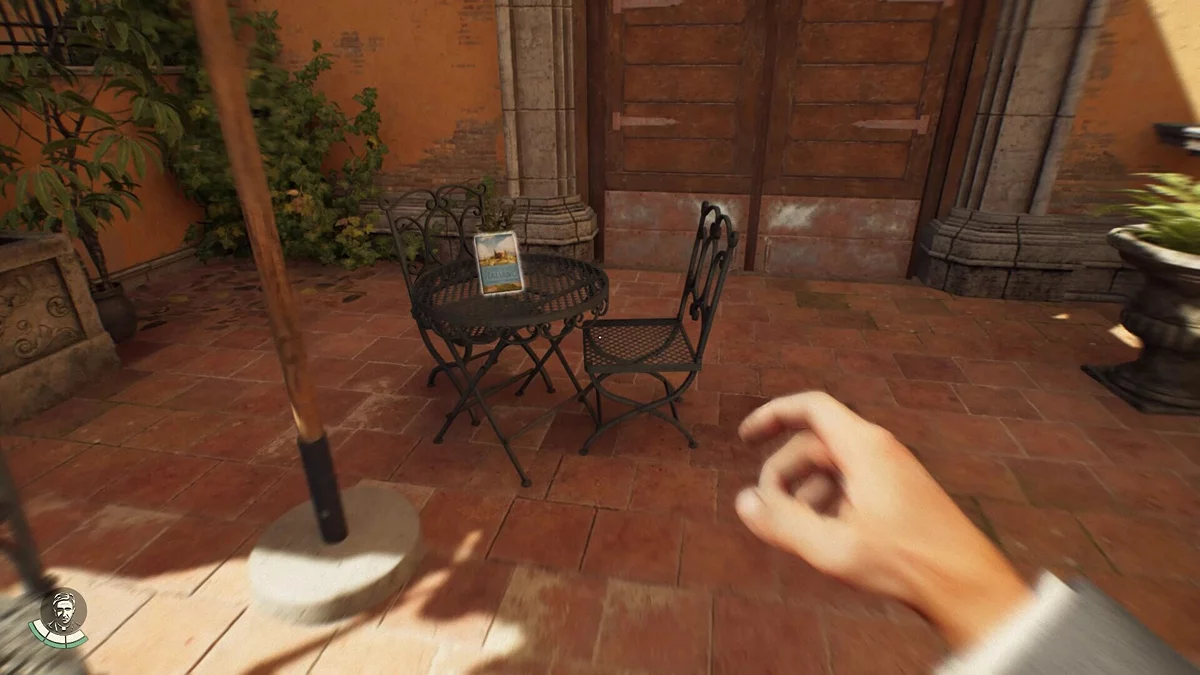
Upon exiting, turn right and run to the first arch with a small courtyard. Here you can take another photo and also talk to Sister Valeria and take on an additional task.
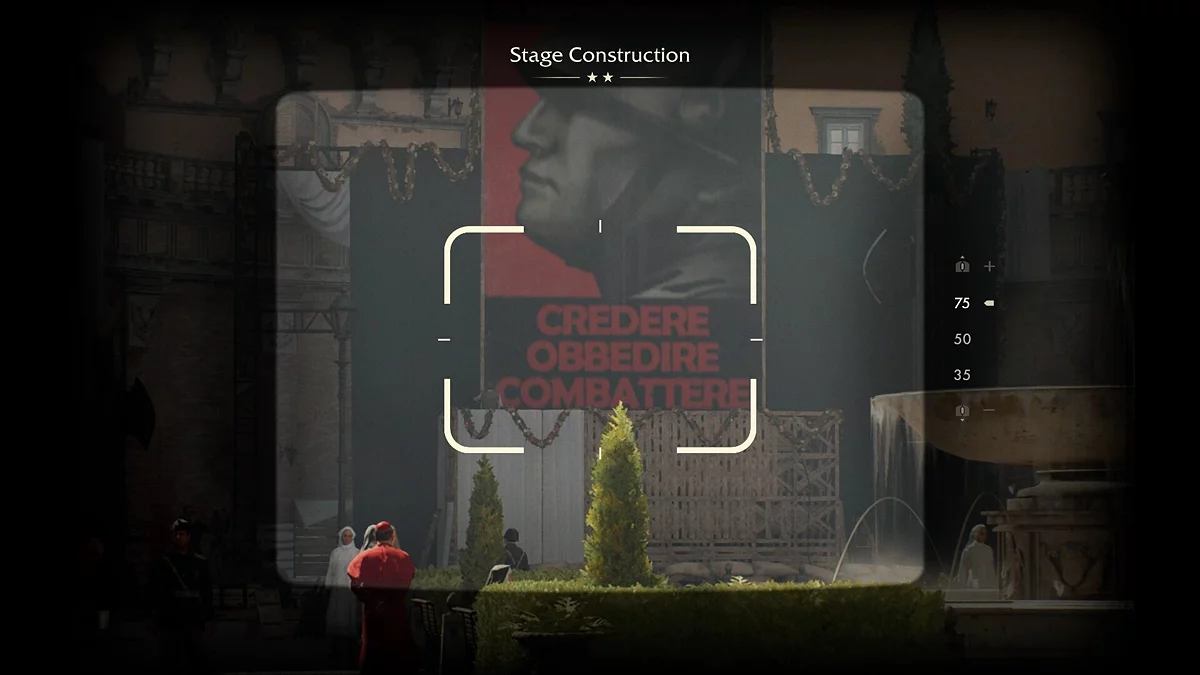
Upon reaching the main square, photograph the propaganda poster.
First Photo
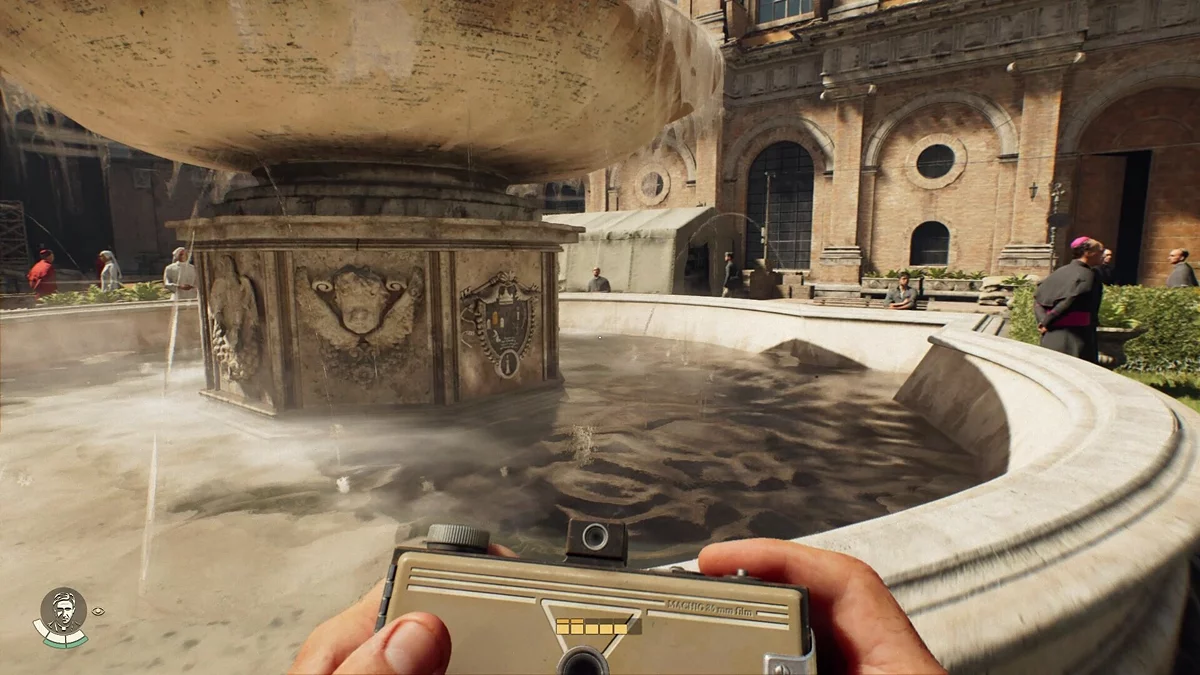
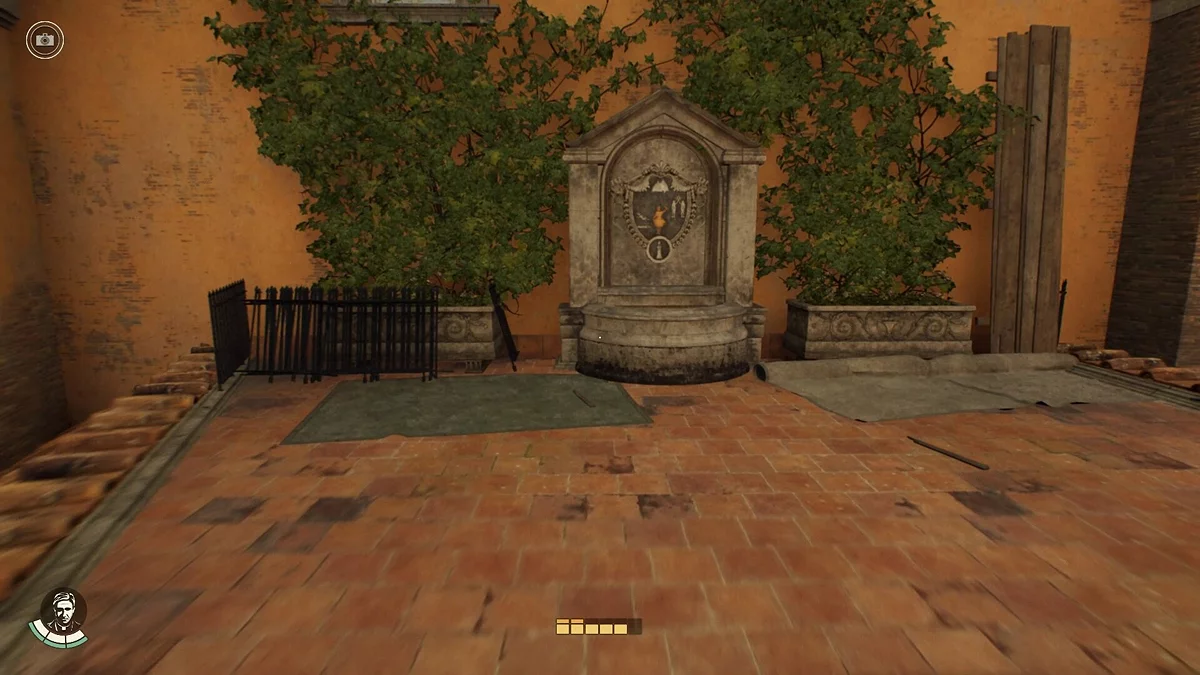
However, now we recommend moving on to the story photos. The first one can be taken in the main square if you examine the fountain.
Second Photo
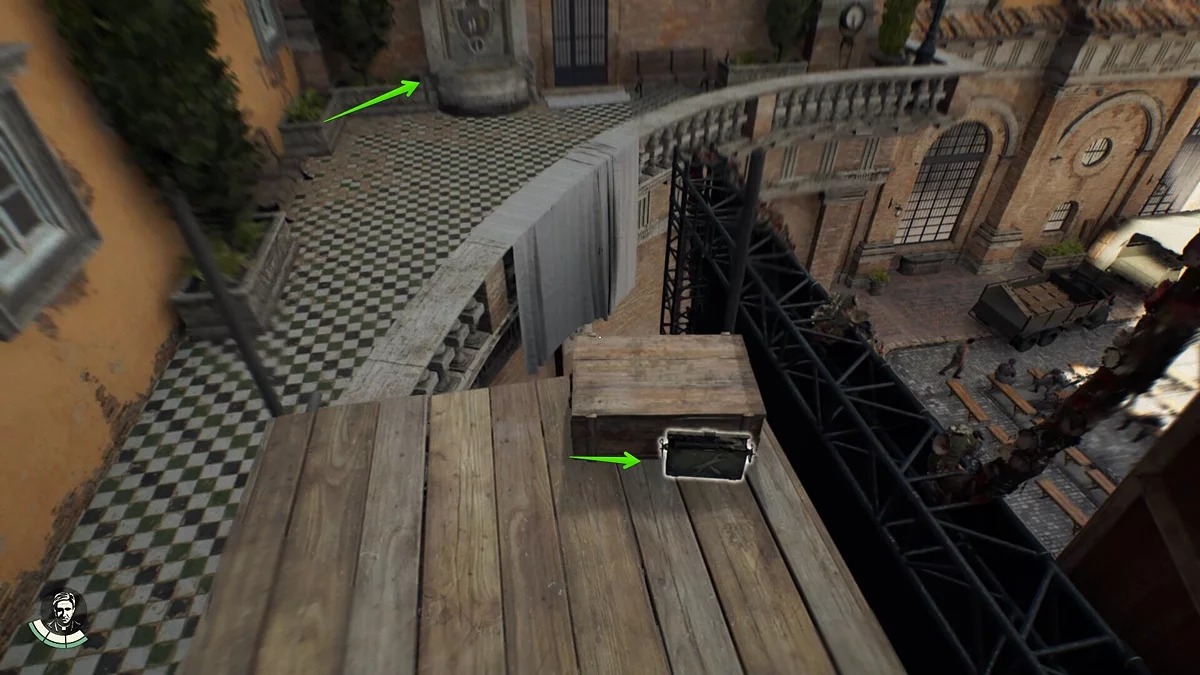
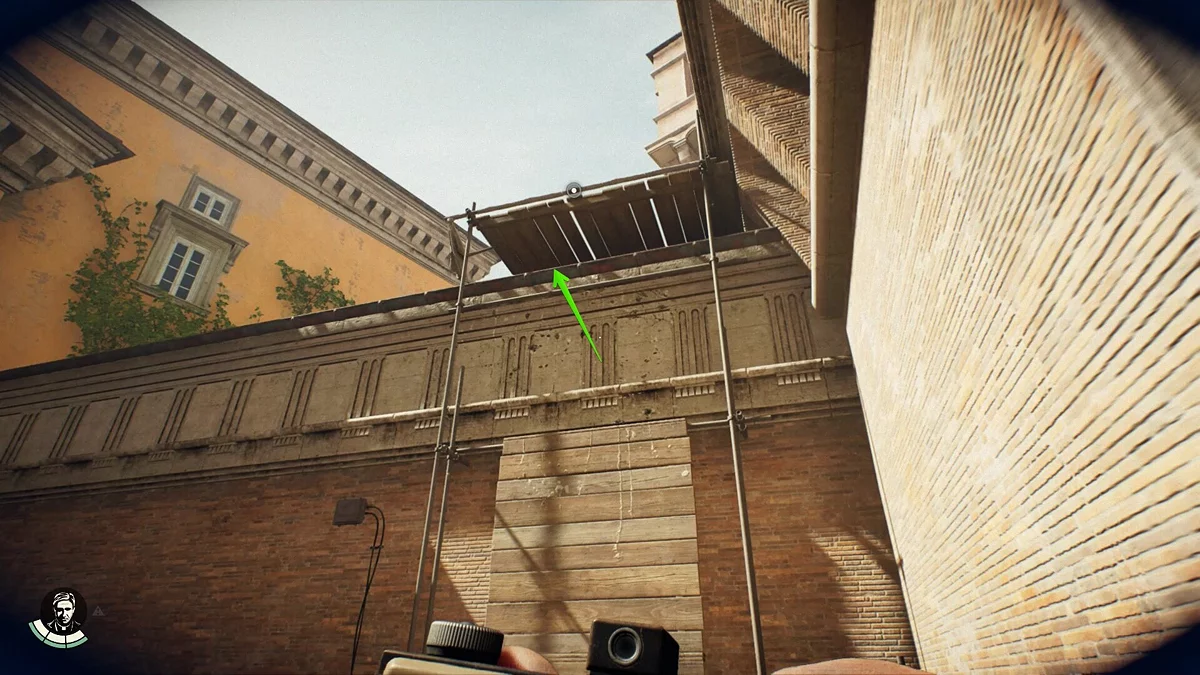
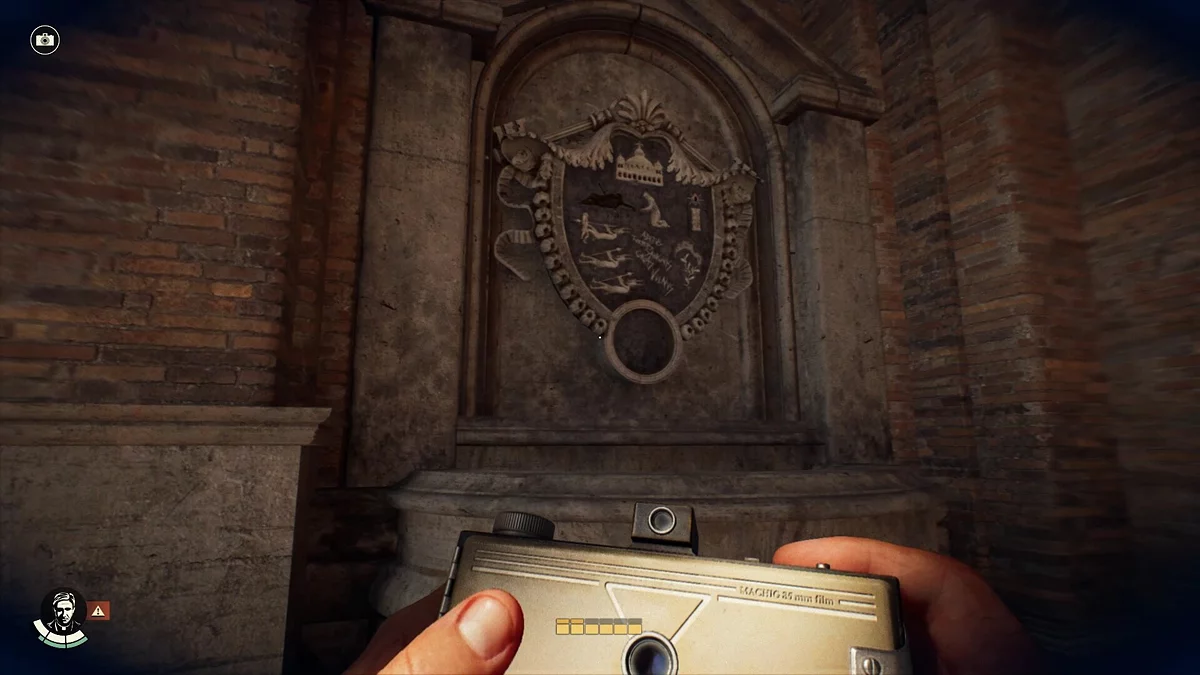
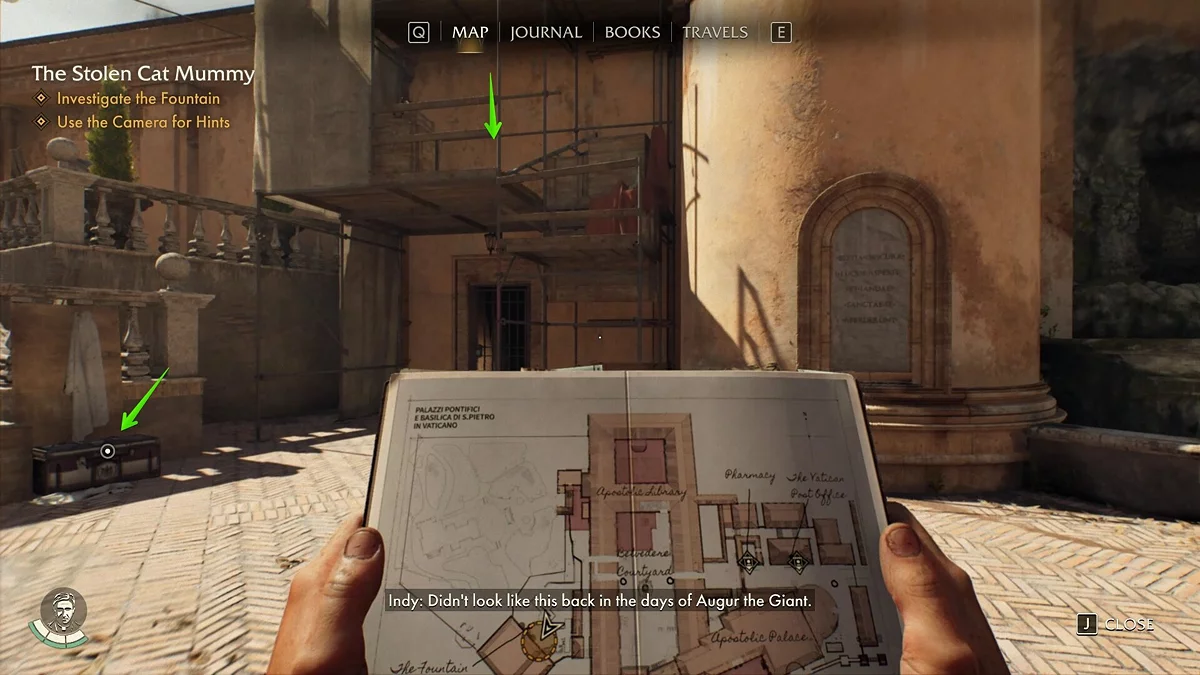
Head to the large stage and go around it. Climb the scaffolding, take the repair kit, and examine the monument in the wall to photograph it.
Third Photo
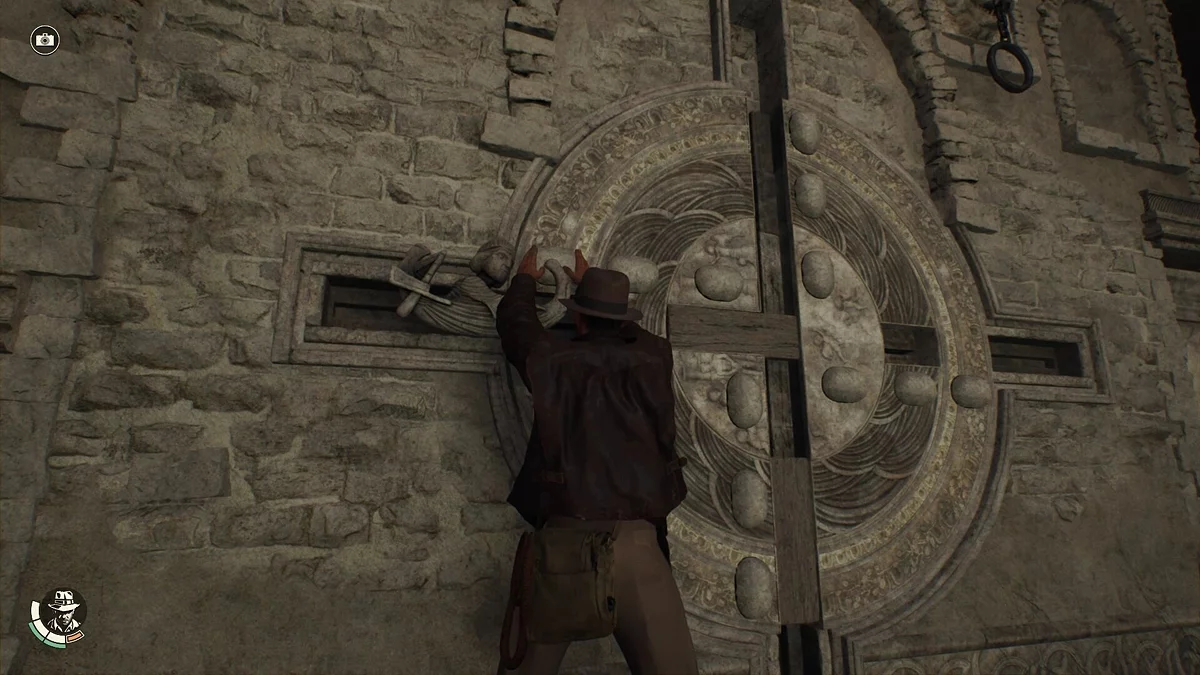
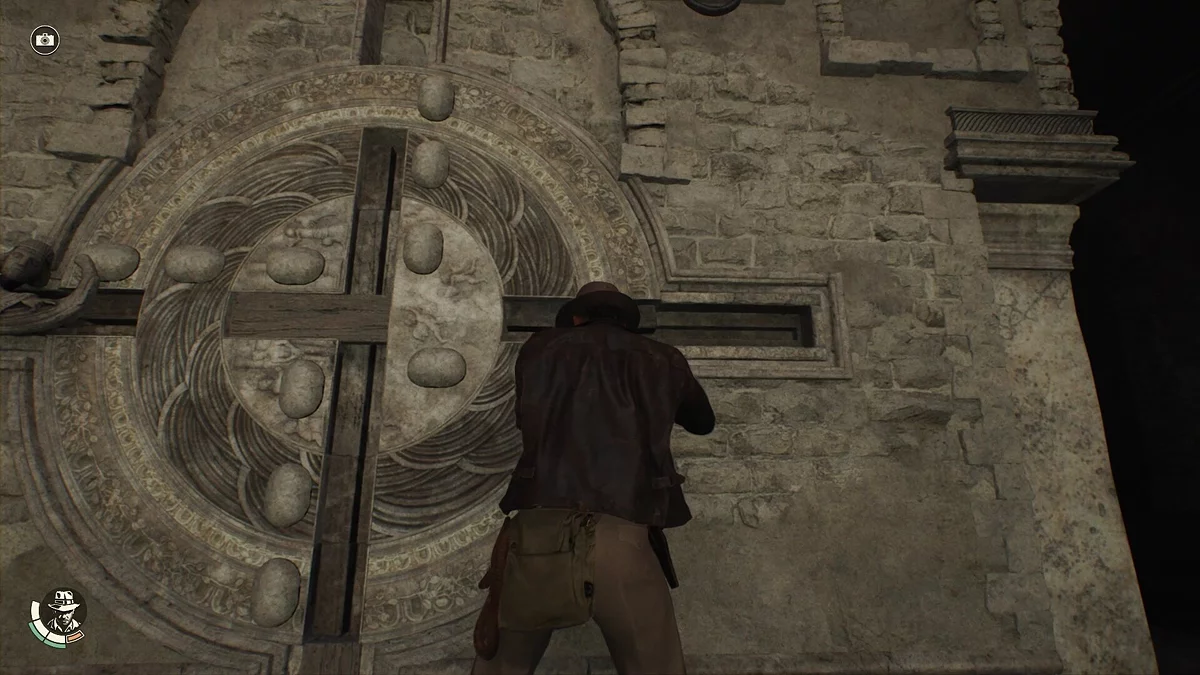
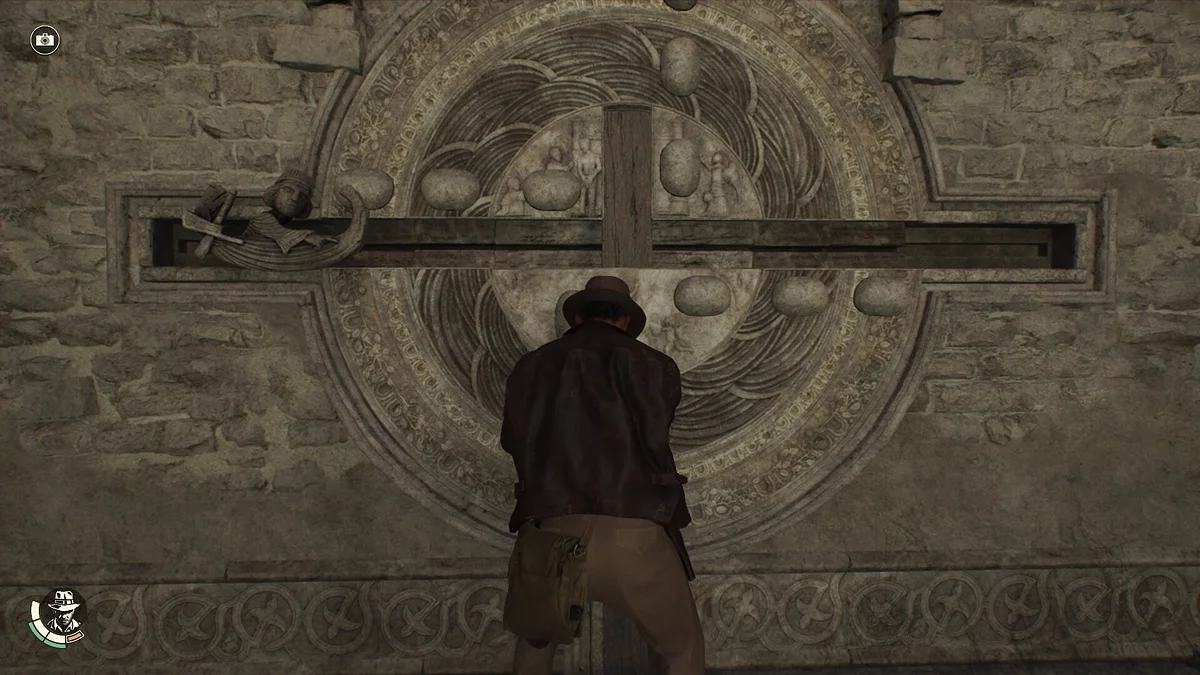
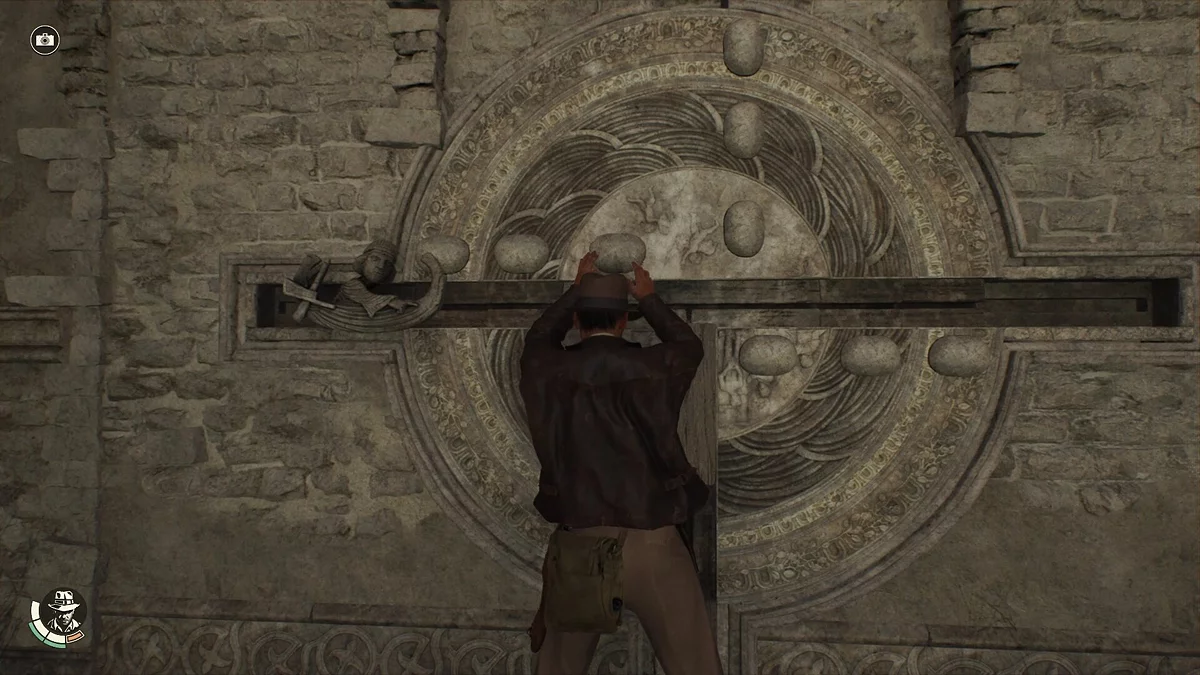
While on the same balcony, get rid of the German. If you don't, he will raise the alarm as soon as you use the whip. Climb even higher on the scaffolding and jump into the window. Here is an additional House of God puzzle, the solution of which we will cover in a separate guide.
But now, exit through the opposite window onto the scaffolding and find the next pedestal on the roof to the right, which needs to be photographed.
Fourth Photo
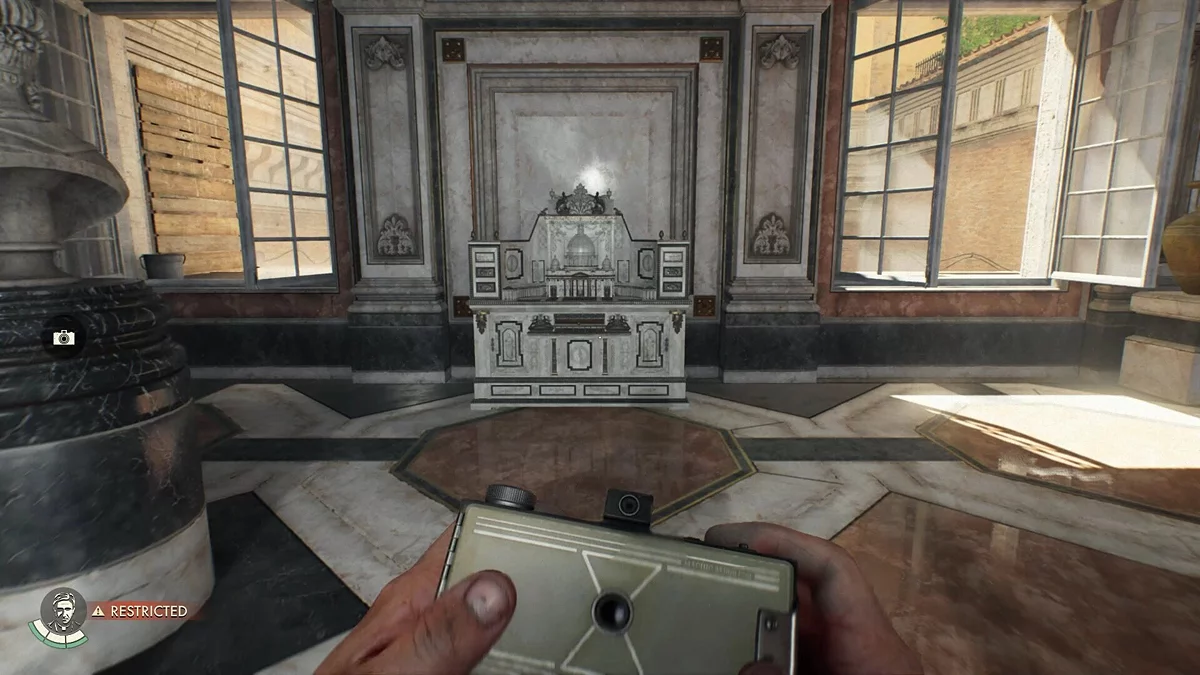
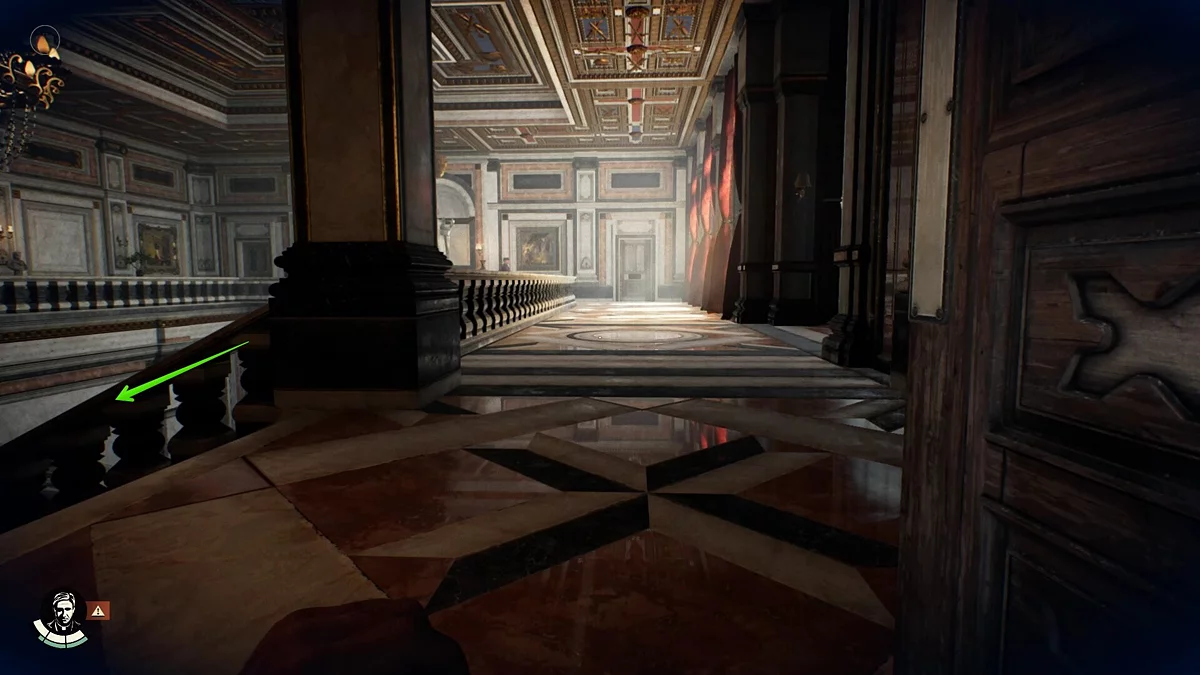
Climb back into the hall with the optional puzzle and proceed to the hall. There are several Germans here, but you can descend the large staircase down before one of them starts patrolling. By the way, you can also take a photo of this hall to gain adventure points.
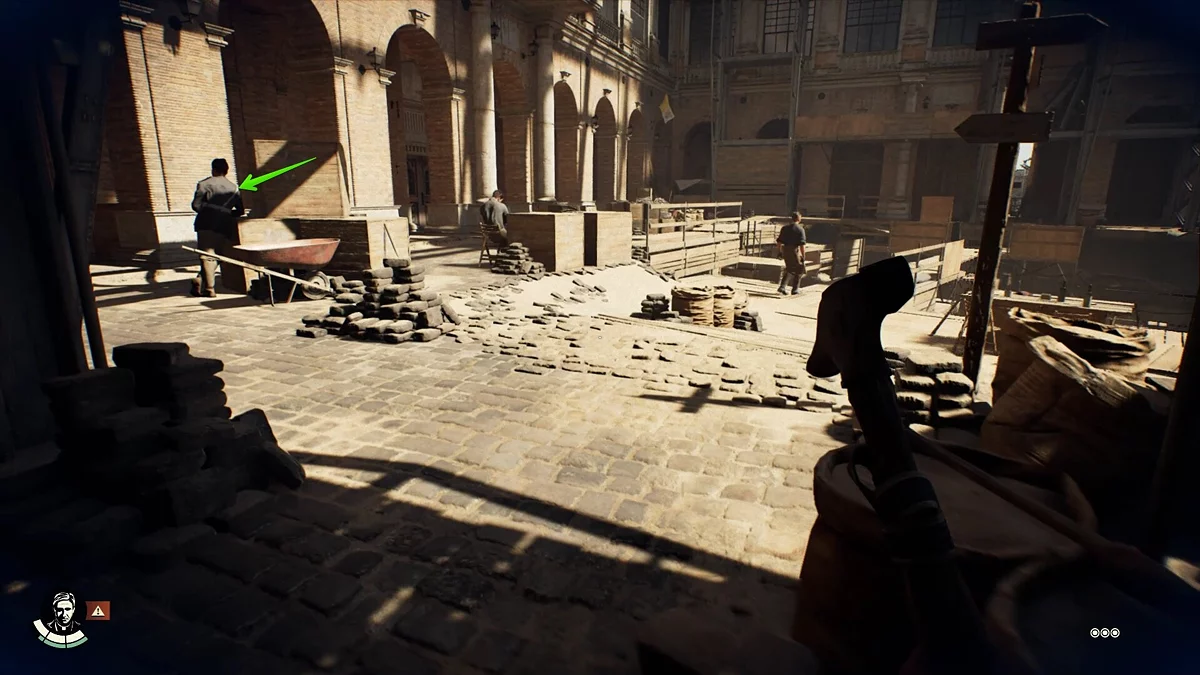
You need to get down and find a lone soldier. Knock him out and hide the body under the scaffolding. Here on the left, find the last pedestal in the wall and photograph it.
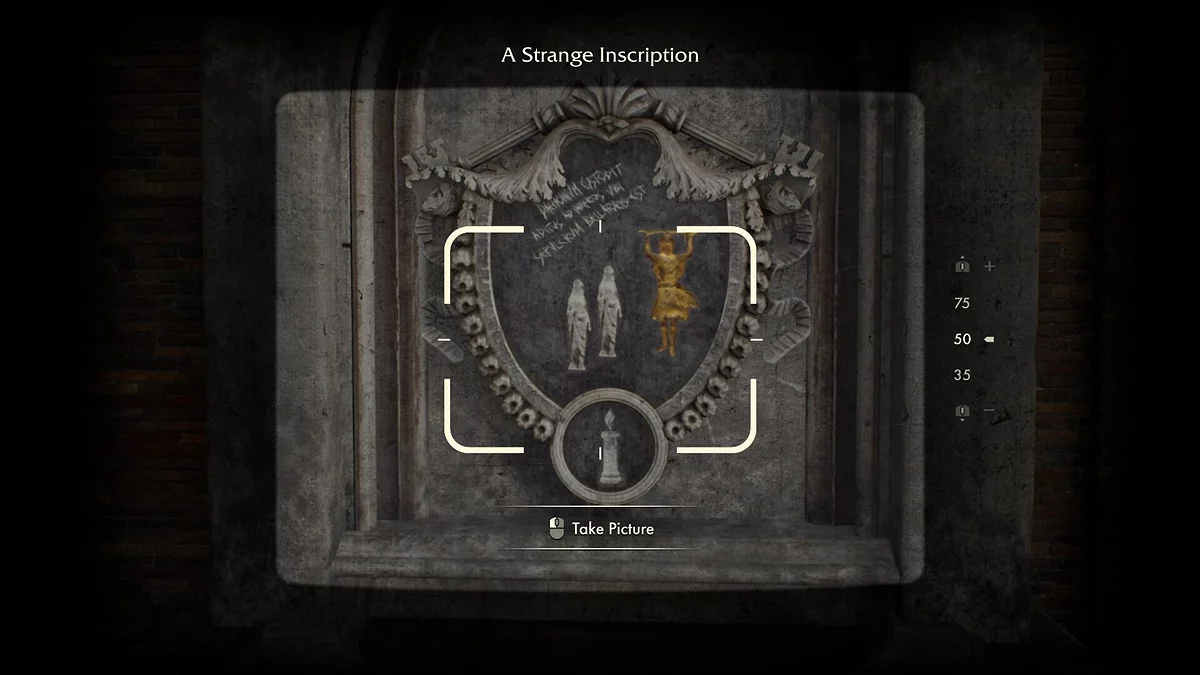
All that's left is to return to Father Antonio and show him the photographs. Examine each shot, and on the last one, note the inscription in Latin.
Enter the Tower of Nicholas V
You will receive a bottle of wine for solving puzzles in the dungeon. Don't forget to take a photo of Antonio before leaving, as well as several other available shots in the library.
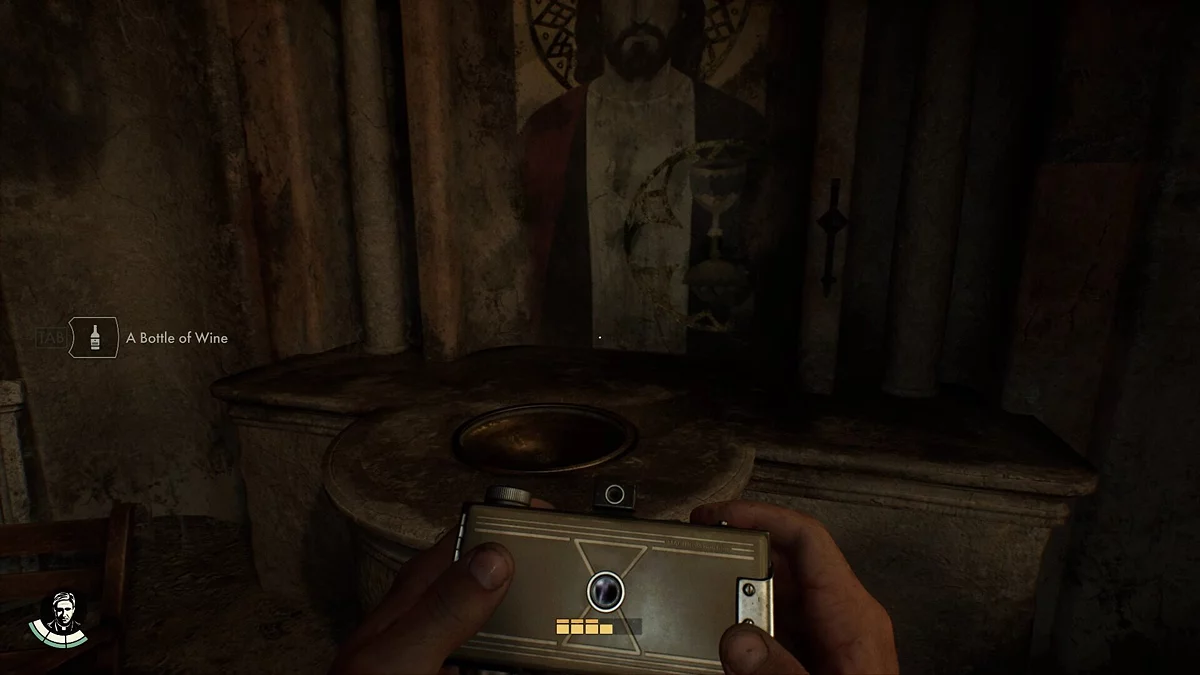
Follow the marker on the map to the tower and examine the bowl at the altar. Use the bottle of wine you received from Antonio on it, then interact with the lever that appears. Don't forget to take pictures of the landmarks!
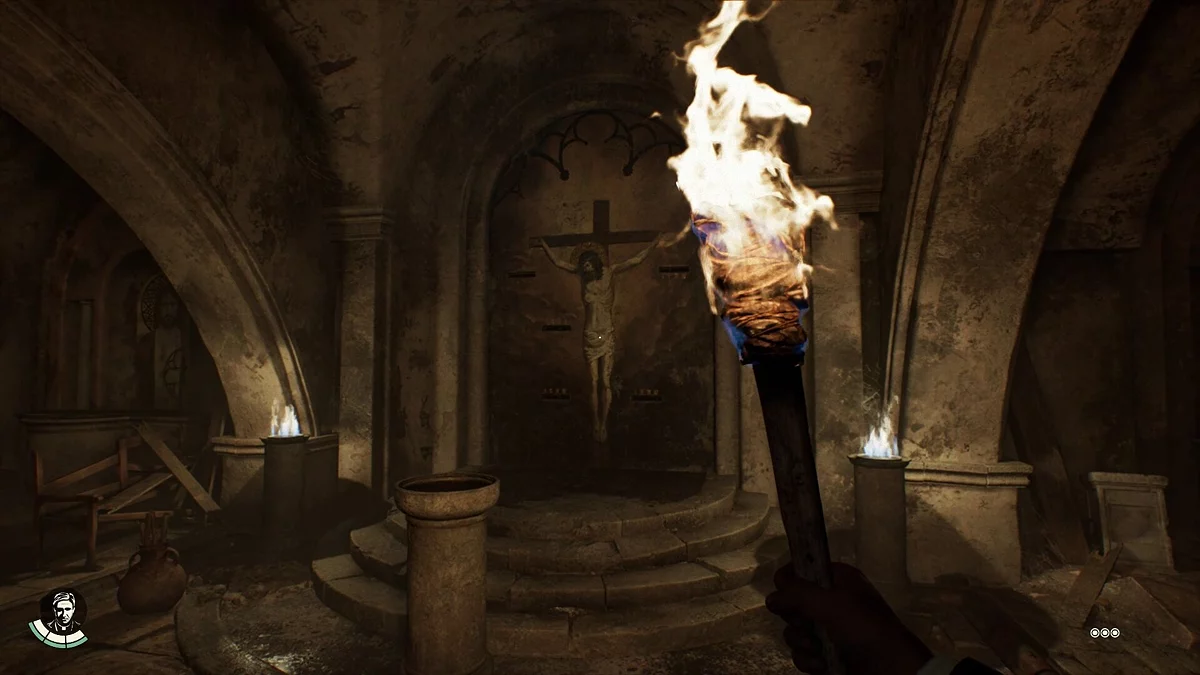
Take a candle with you, which you can later replace with a torch. Very soon, you will find yourself in the hall with the puzzle.
The Sacred Wounds Puzzle
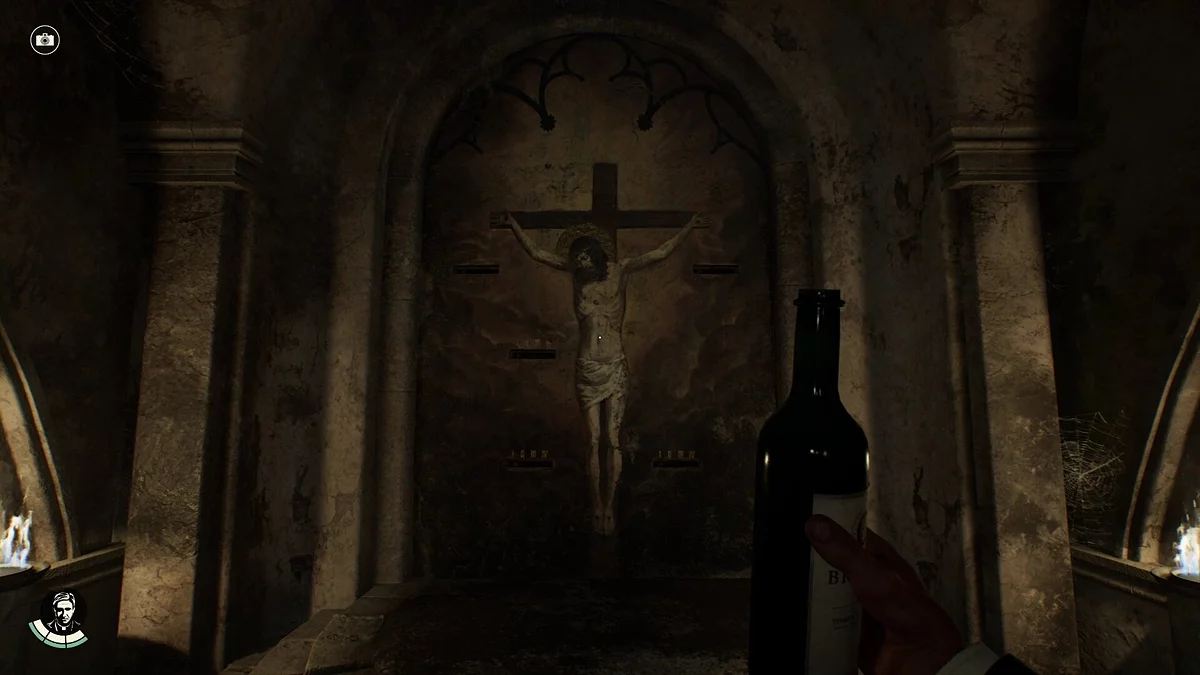
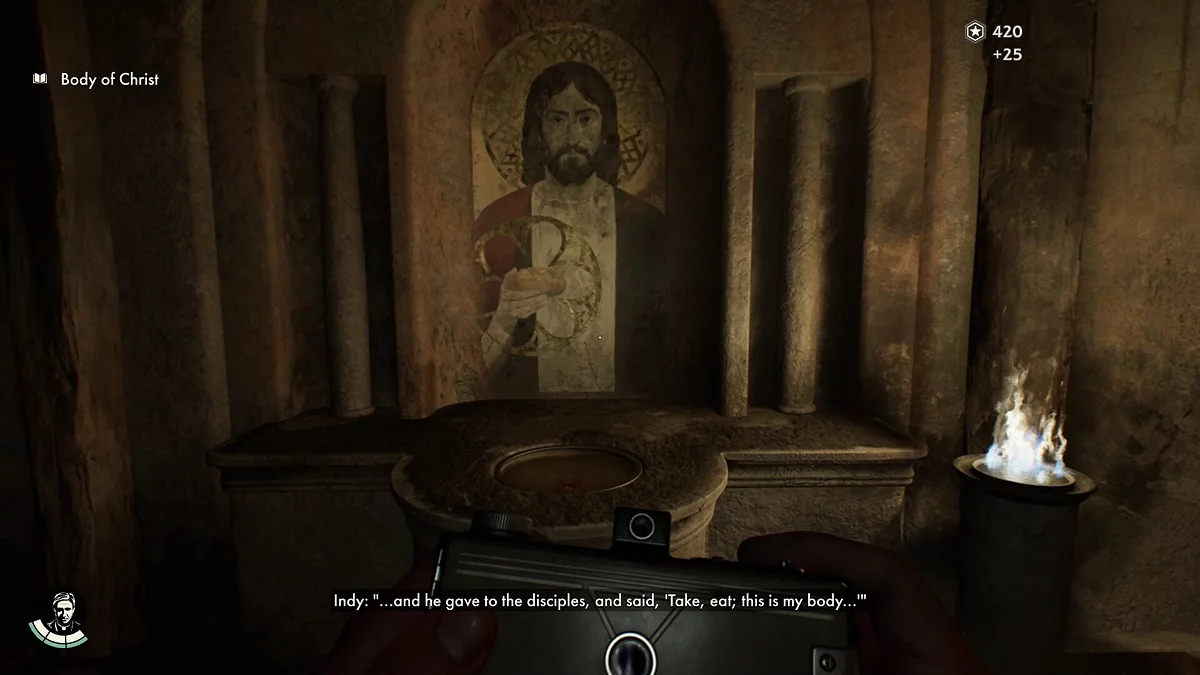
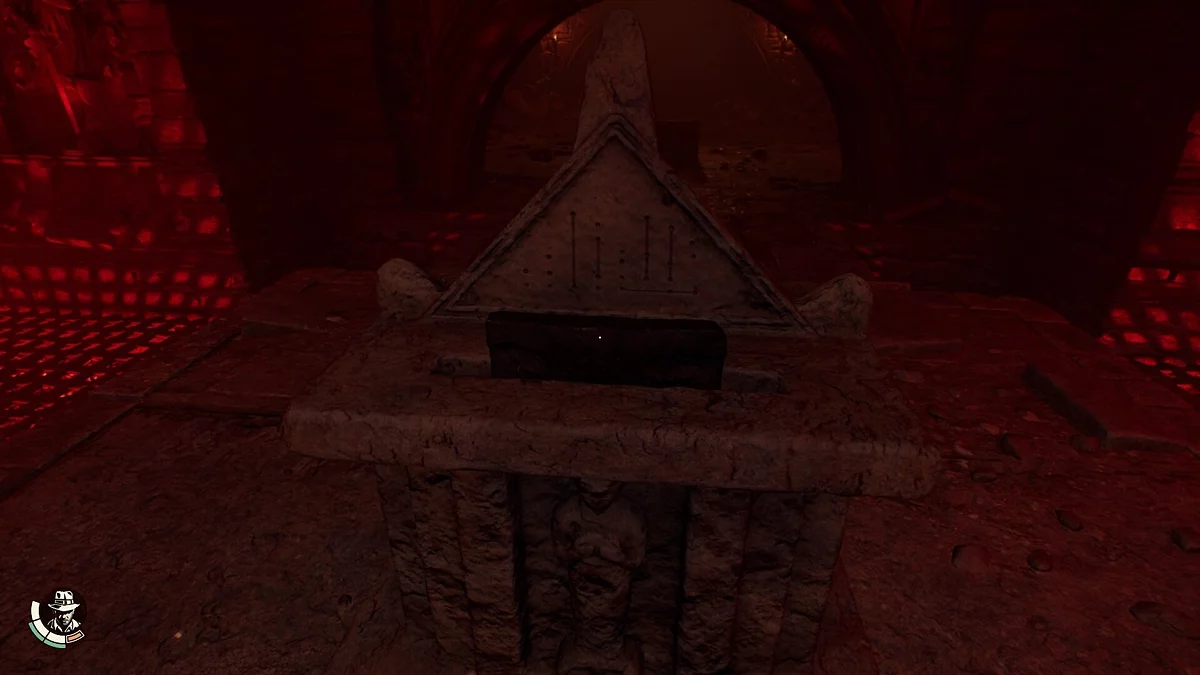
To start solving the puzzle and advance the storyline, use the bottle of wine on the bowl in the center of the location. Levers will appear around the image of Christ — you'll have to set them in the correct positions, but how to do it?
There are two similar bowls on the right and left in this hall. Another one is in the room on the right, if you go through the crack in the wall. And the last two are in rooms on the left — just go through the open passage.
Right Hand
Go through the passage on the right and apply the wine to the bowl. After this, a view of the Roman numeral II will open before you, which may be the key to the puzzle.
Ribs
When the grate behind the protagonist closes upon entering the previous room, head through the narrow tunnel to the statue of the spearman. Use the wine to find out that opposite Jesus' ribs, you need to set the Roman numeral III.
Grab a two-handed weapon and break the fragile wall located to the left of the statue to return to the main hall.
Right Leg
To the right of the main fresco is a bowl highlighting the deity's right leg. By applying wine, you'll find that the Roman numeral III fits this lever.
Left Hand
To the left of the image of Jesus is another painting, focusing on the left hand with a bowl. Using the bottle, you'll see the Roman numeral II.
Left Leg
Squeeze through a small gap in the wall and reach the last bowl. If you apply the bottle of wine, you'll see the numeral IV.
Now that you've discovered all the numbers, you can place the levers in the following order:
- Right Hand — II
- Left Hand — II
- Ribs — III
- Right Leg — III
- Left Leg — IV
How to Open Secret Door #1
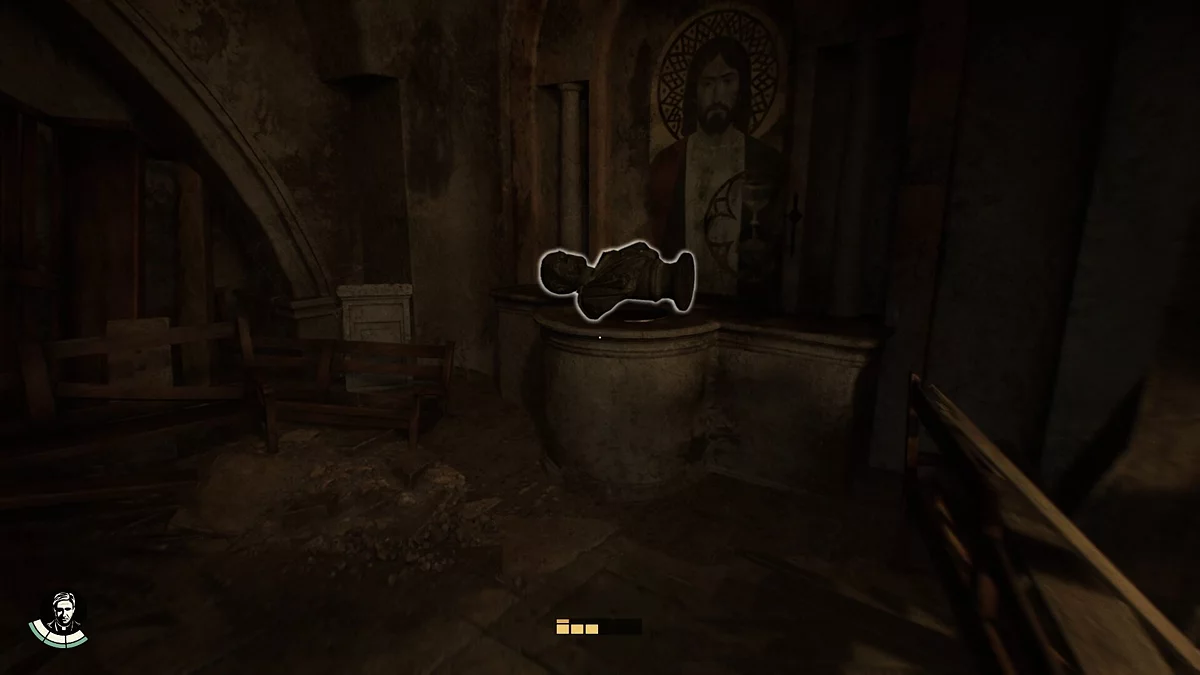
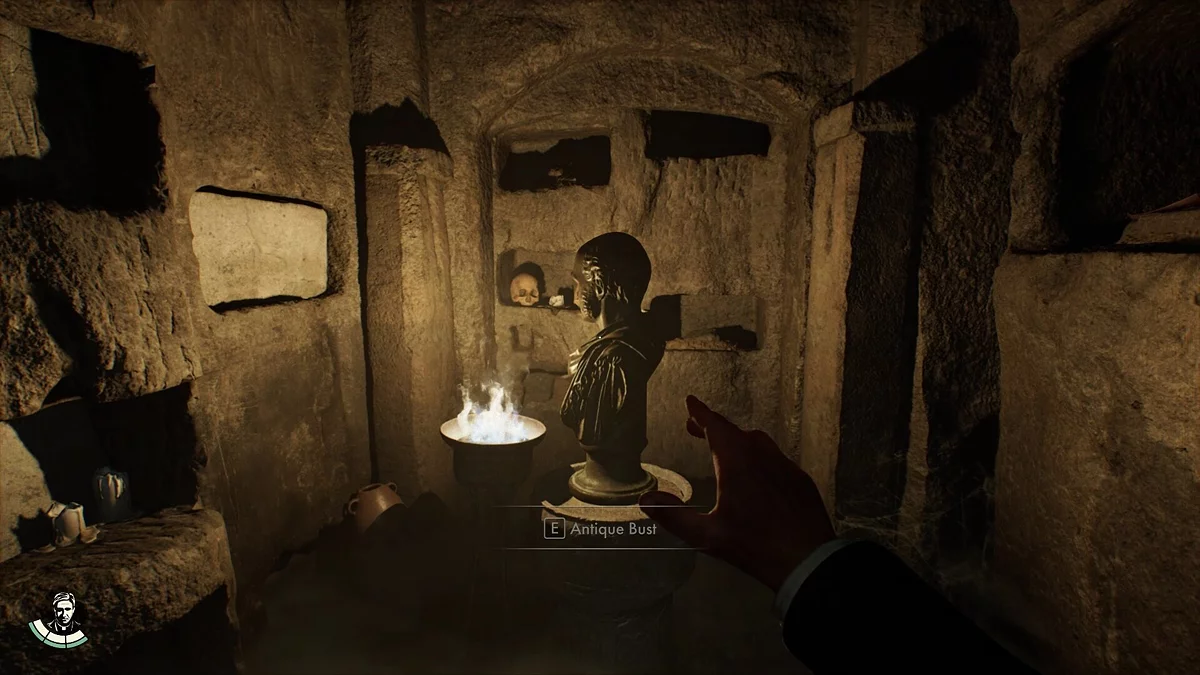
Don't rush forward, because if you want to open the secret passage, you'll first need to pick up the bust lying next to one of the bowls. If you moved it before, it will now respawn in its standard place — next to the image of Christ with the cup.
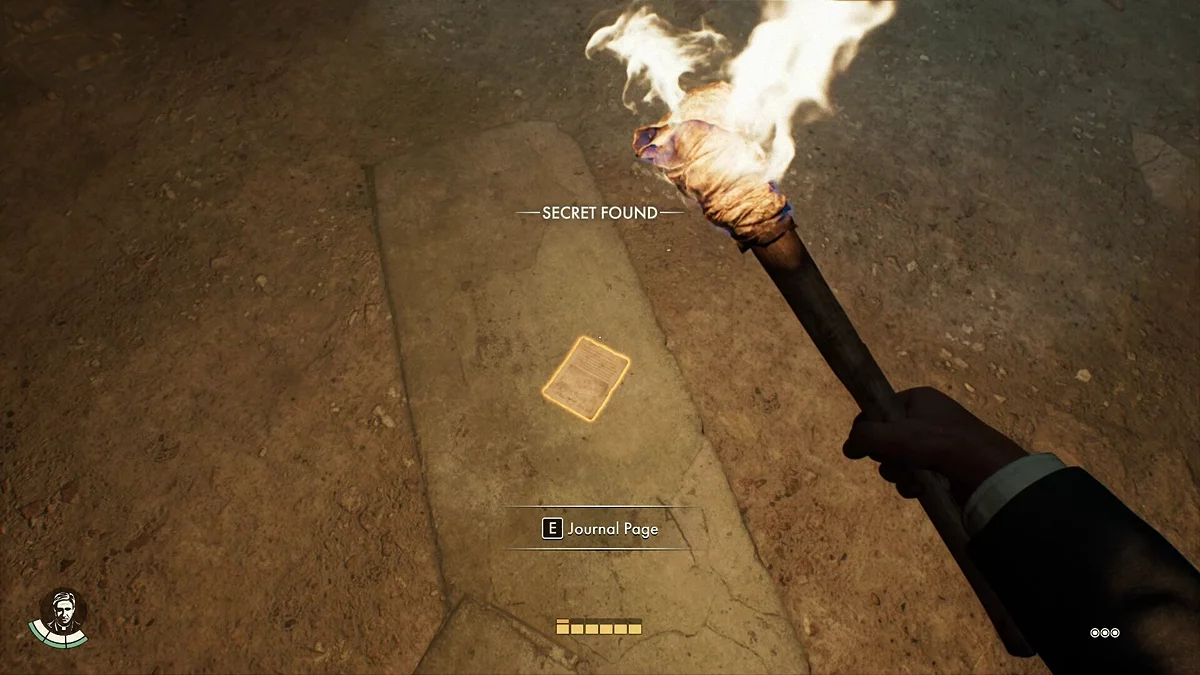
Take it and proceed to the fork, then turn right. Place the bust on the pedestal to open the door and collect the journal page (Trapped Account).
How to Open Secret Door #2
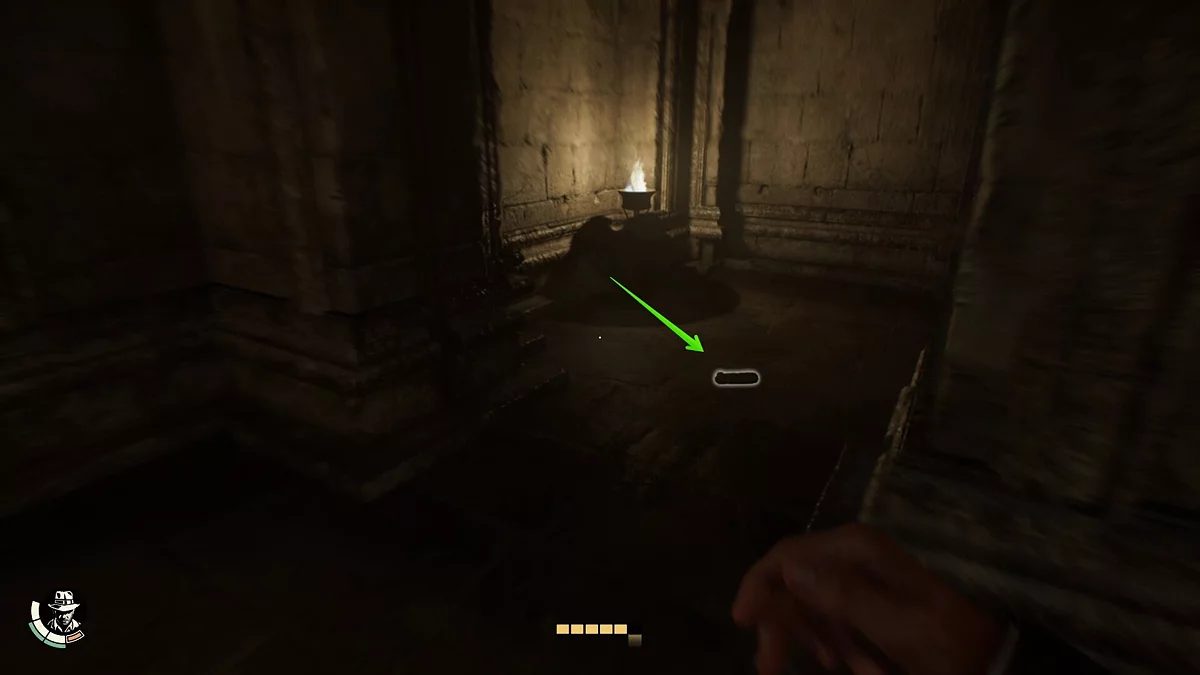
Follow the only path until you reach the burial hall. Take the key (Burial Chamber Key) near the nearby skeleton and descend. Here you can take a photo of the inscriptions on the wall.
Return upstairs and at the fork, turn left. Going down, you'll uncover the secret and can pick up the second journal page (Paranoid Writing).
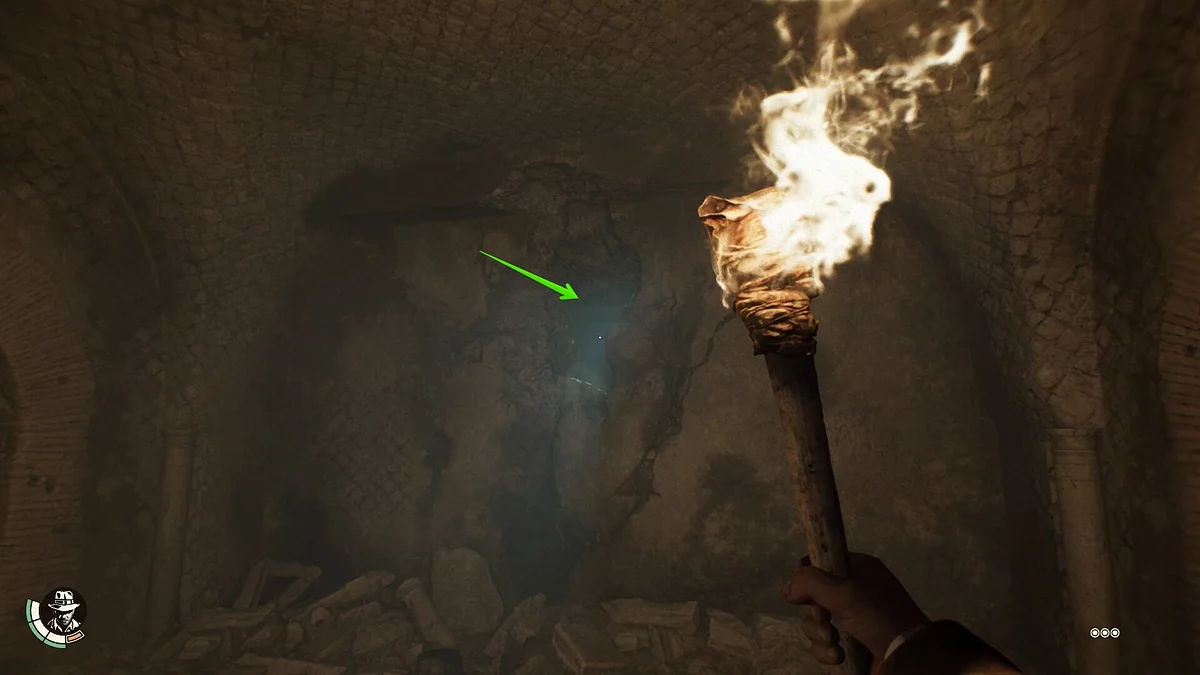
In the same room, there's a crawl space, but using it is pointless. It will be needed if you fall while trying to cross the chasm. Return upstairs and throw the torch to the other side (hold RMB, then press LMB). Use the whip, pick up the torch, and direct it to the locked passage. Inside, you'll find the ancient relic.
How to Open the Tomb
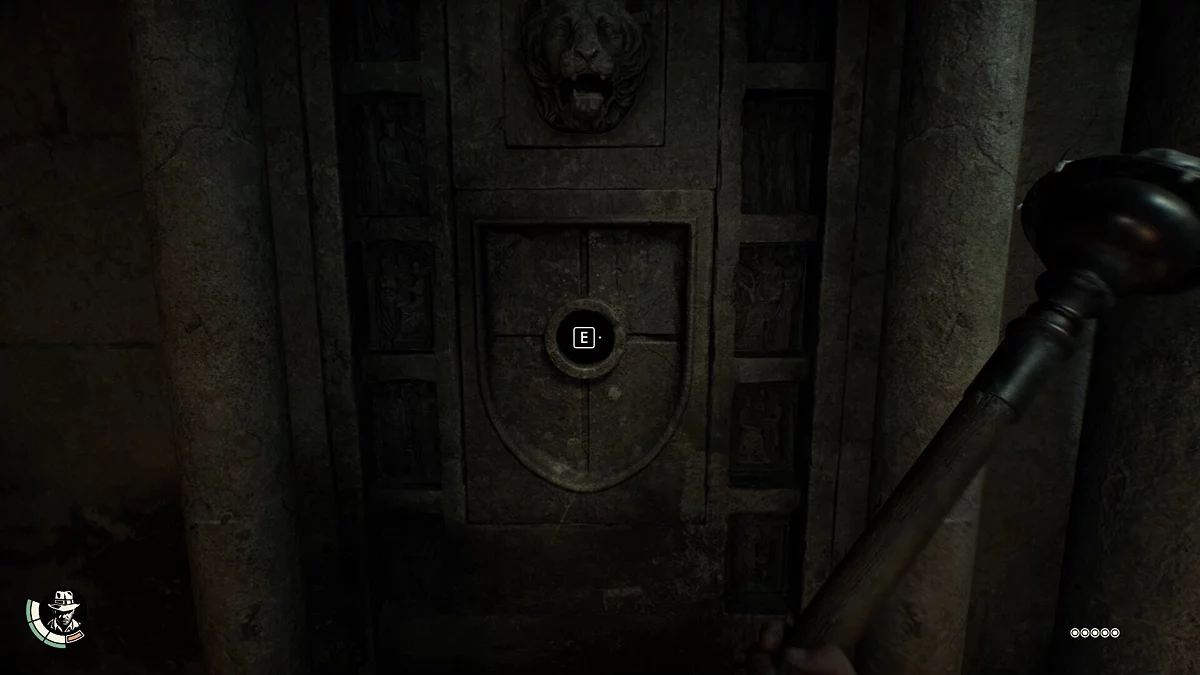
Use the previously found key and examine the tomb in front of you. Indiana will try to move the stone slab, but nothing will happen. Climb the stairs on the left and interact with the hole in the wall. Do the same with the second hole on the left staircase, then watch the cutscene.
How to Open the Secret Room
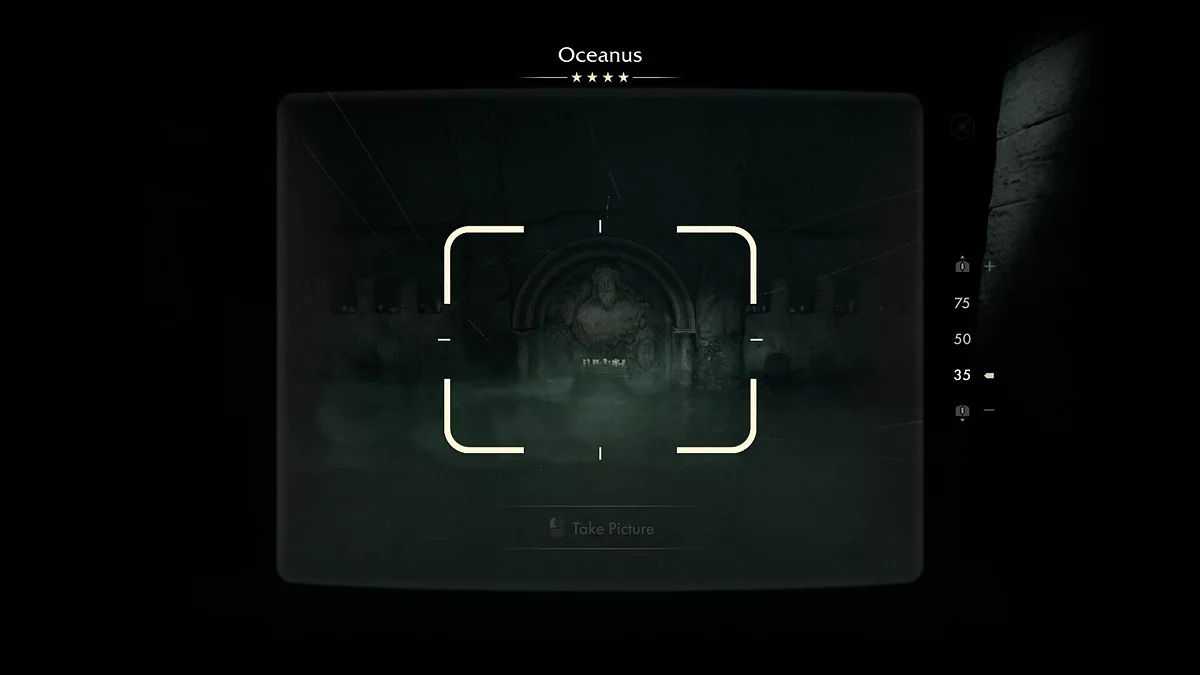
Reach the cliff and jump into the water. Swim to the large room where you can climb onto the stone platform and take a photo of this place.
Dive again and you'll hear the voices of the Germans. Get rid of the two soldiers and then you can open the secret room.
In the first room, you can notice a narrow passage in the wall. You need to go there with a torch, but if you try to do this, the lantern will be extinguished by water dripping from the ceiling.
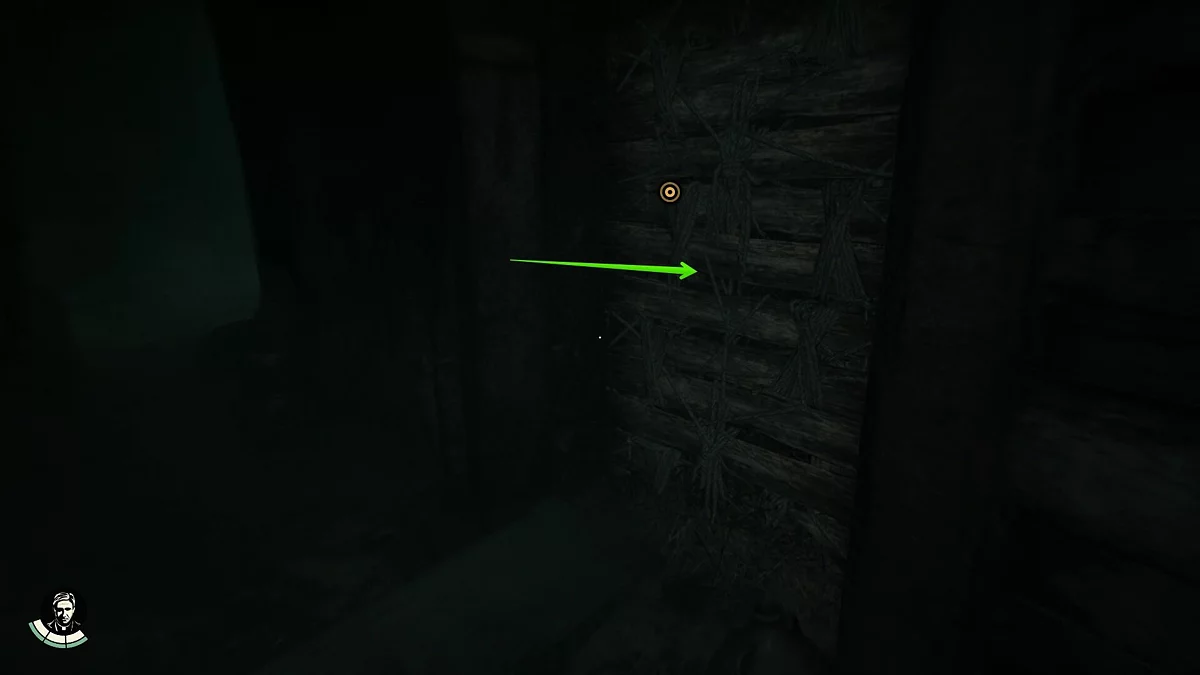
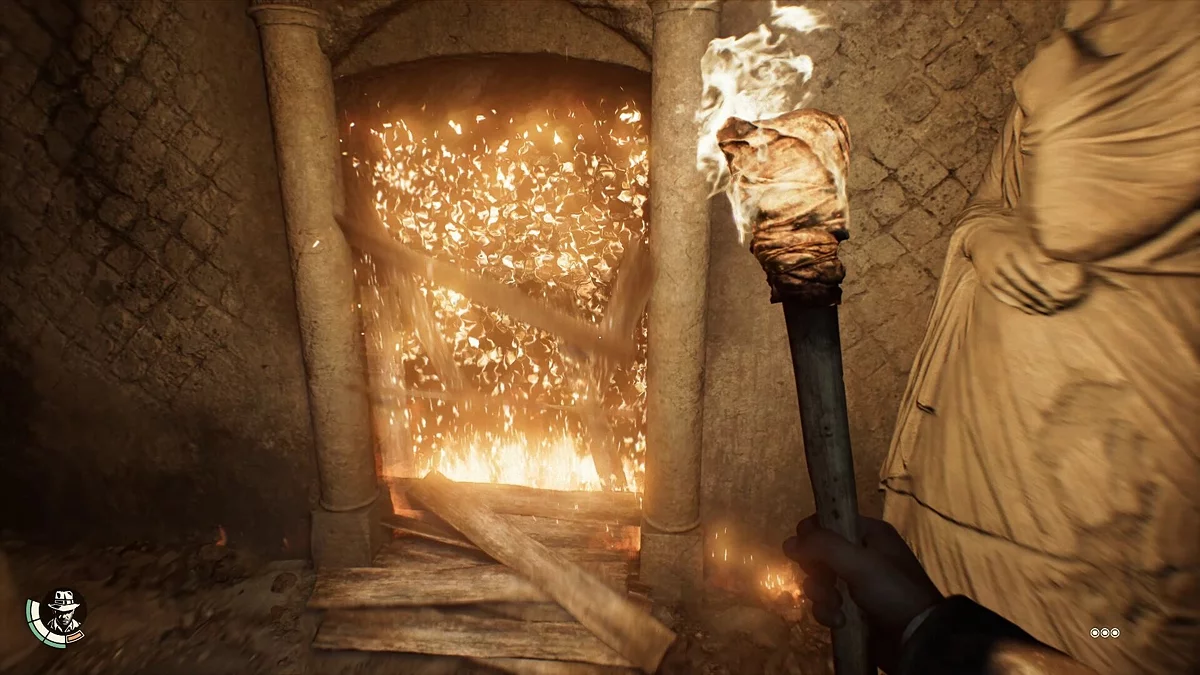
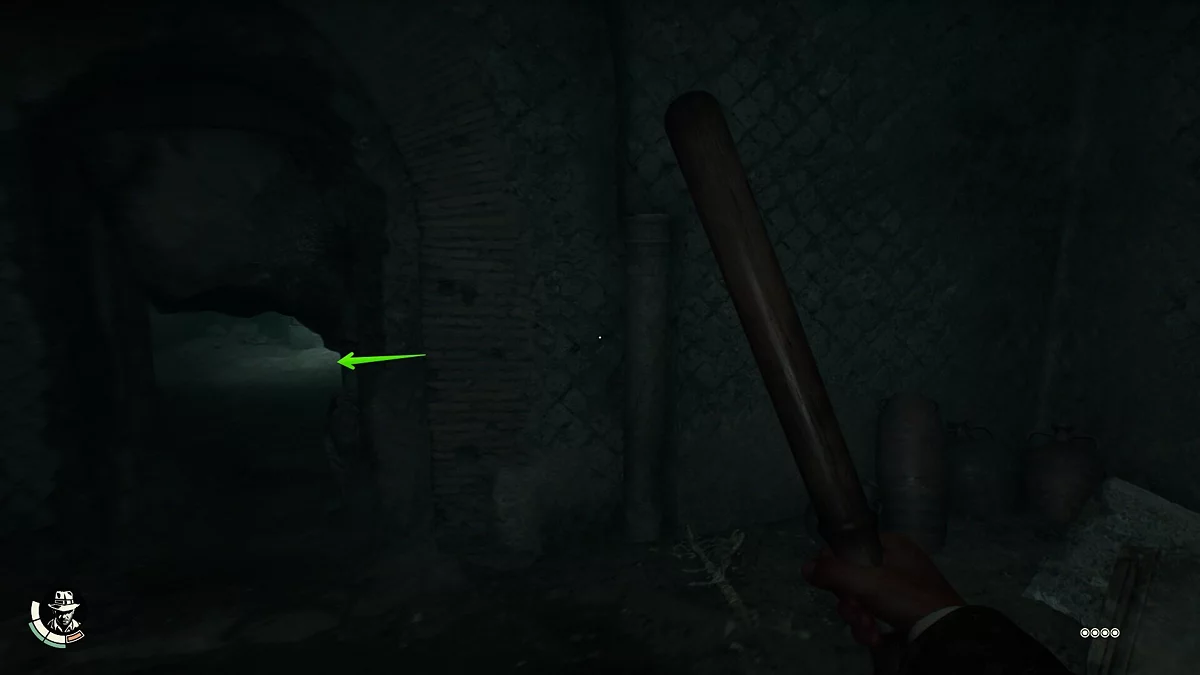
For this, follow the corridor from where the Germans came and find a small hole in the wall. Throw the torch into it and return to the narrow passage. Burn the wooden barrier and take the ancient relic.
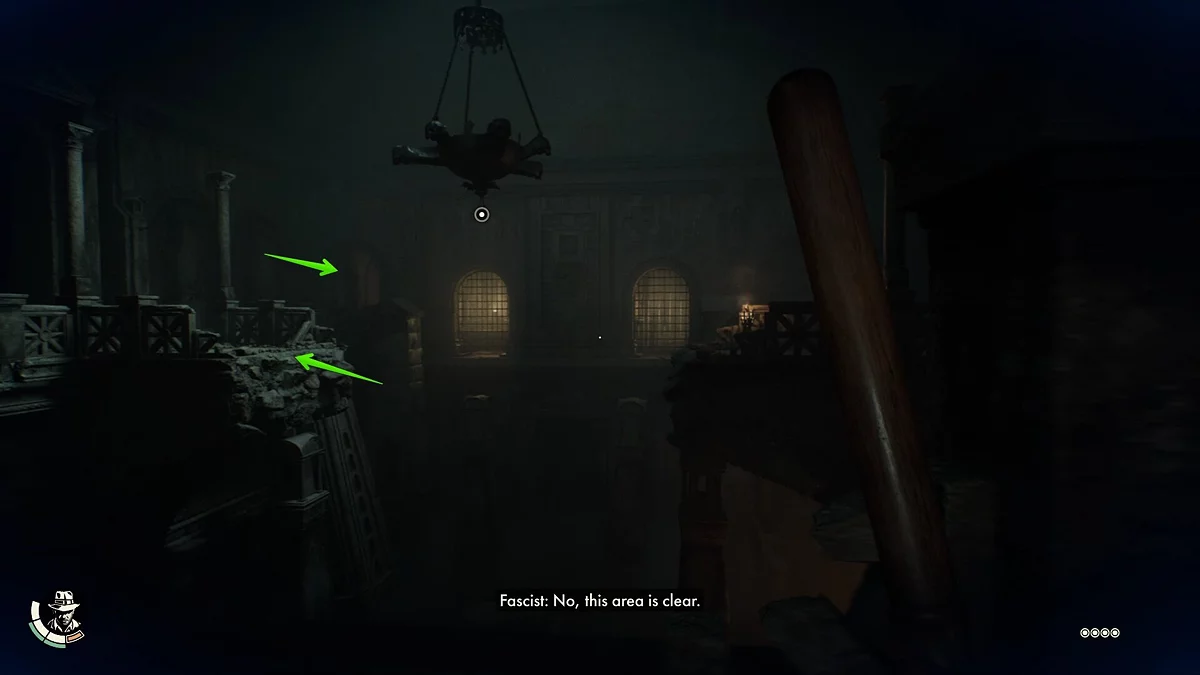
The next crawl space will lead you to a huge hall currently patrolled by soldiers. To give you an idea of what needs to be done here, here's a brief plan:
- Climb to the upper level on the right side.
- Cross the bridge or use the whip on the chandelier to get across. In the second case, you'll have to wait until the soldier moves to a safe distance.
- Run into the room with two soldiers.
You can also try to swim through the flooded passage, but you'll see the message Diving equipment required.
In the room with the two soldiers, get rid of them and take the bust, but first place it at the grate on the right and collect the ancient relic. Then place the bust at the central passage and continue forward.
In the next room, there's a crawl space on the left side. Be sure to check it out to take a photo.
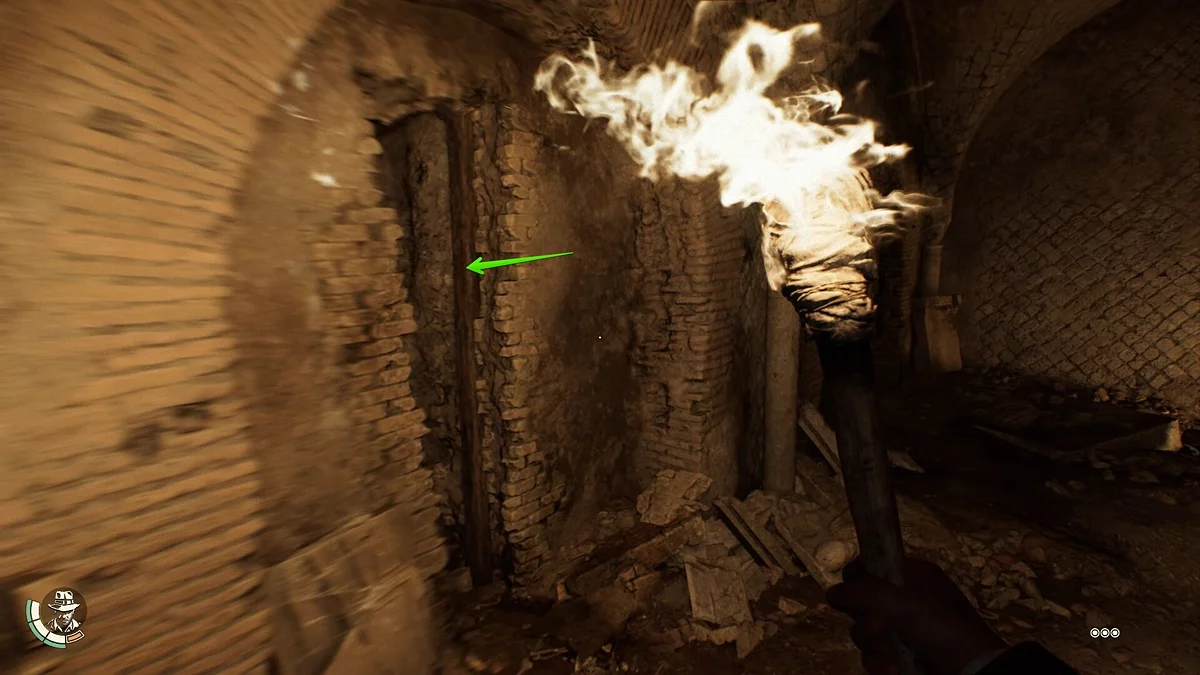
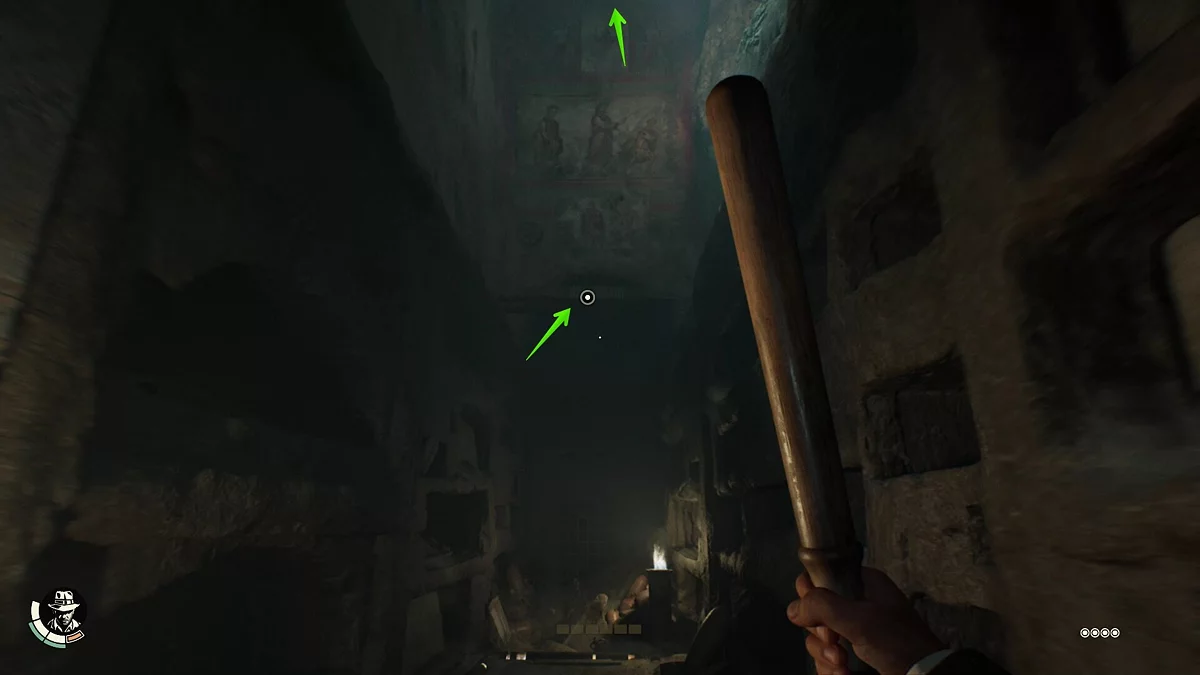
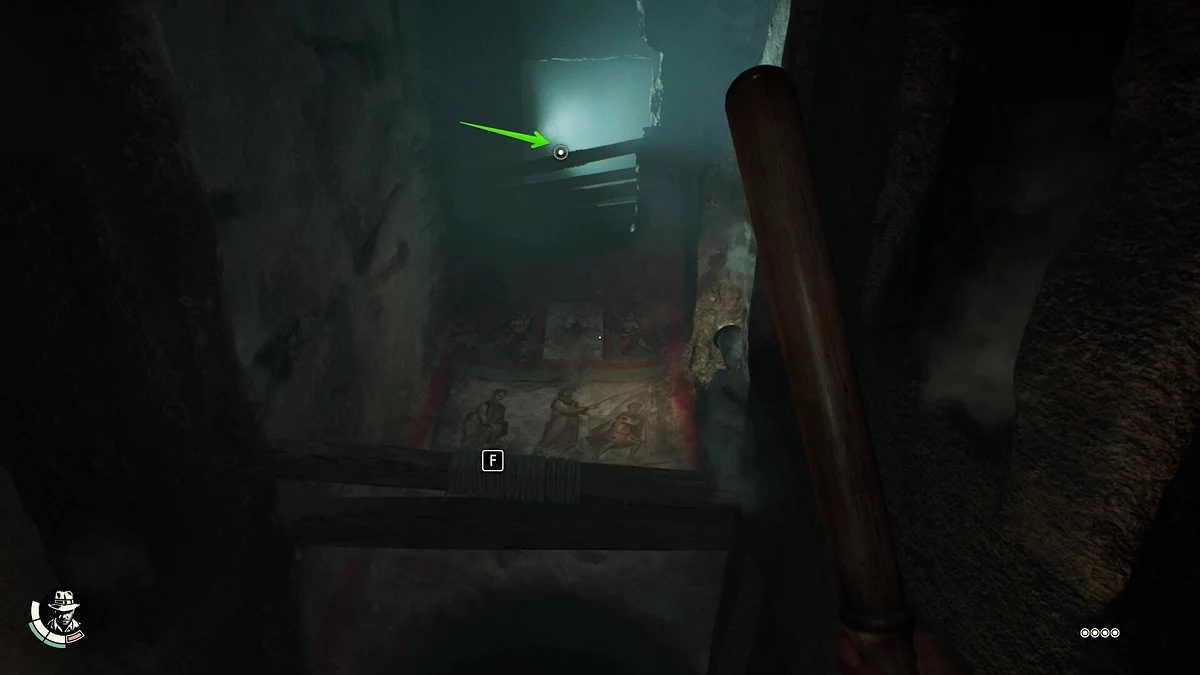
Open the grate and look around. In this corridor, you need to use the whip to climb to the upper floors. However, if you want to open the secret room, you'll have to climb to the very top. First, climb to the first wooden beam, then even higher. Once done, from the statue, move right and collect the ancient relic.
Now you can descend and use the crawl space to the next corridor. Here, you'll immediately find a secret locked room with another ancient relic. The puzzle is quite simple and revolves around the busts.
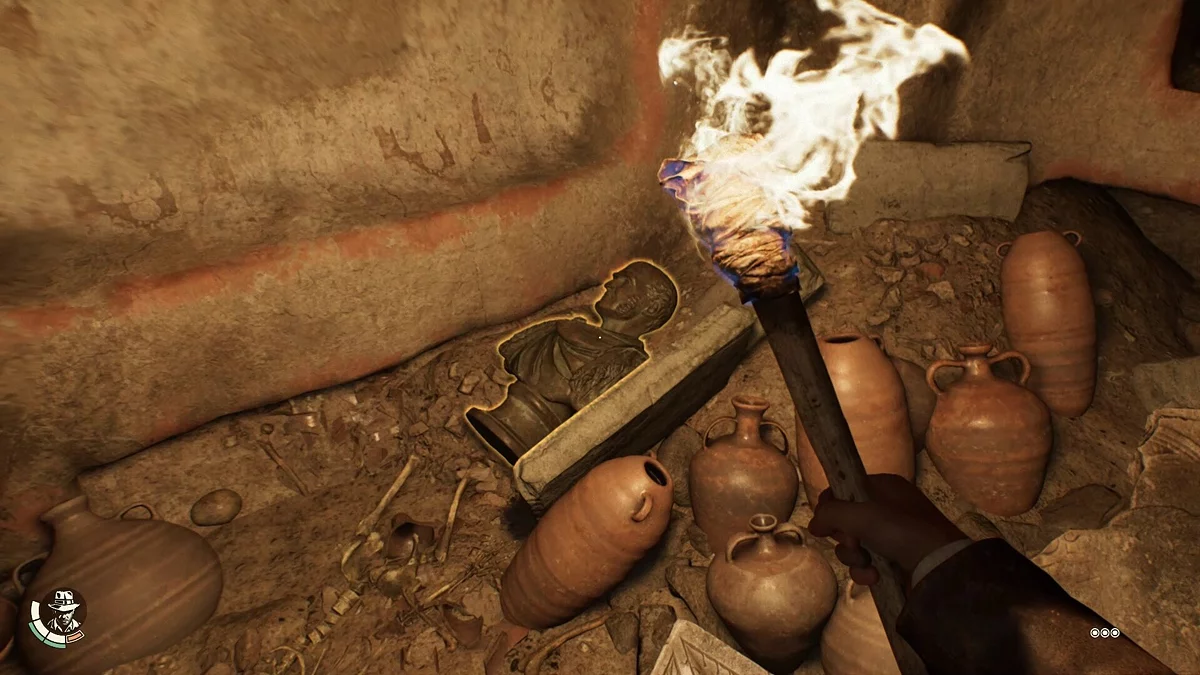
In the first room, find the bust among the jugs (no need to remove the bust from the pedestal, as the door to the room will close) and take it to the pedestal in the corridor.
Move to the second room, which you just unlocked. Take the two-handed weapon here and break the fragile wall. Transfer the bust from the first room and collect the relic.
How to Climb into the Hole
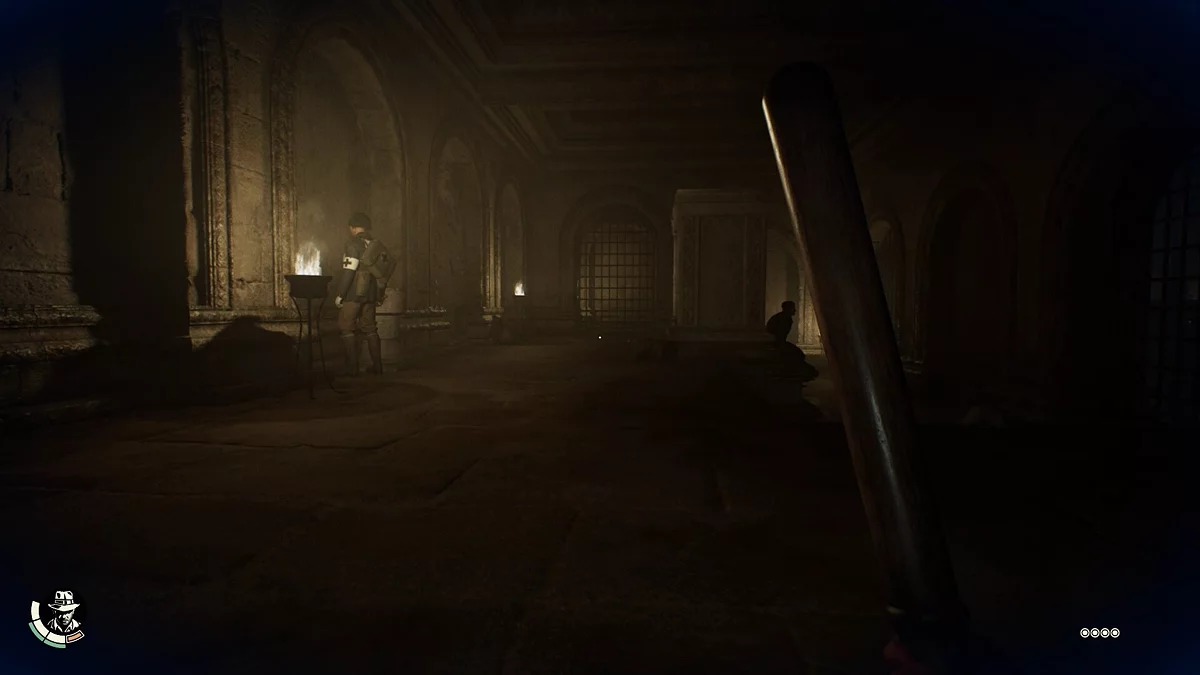
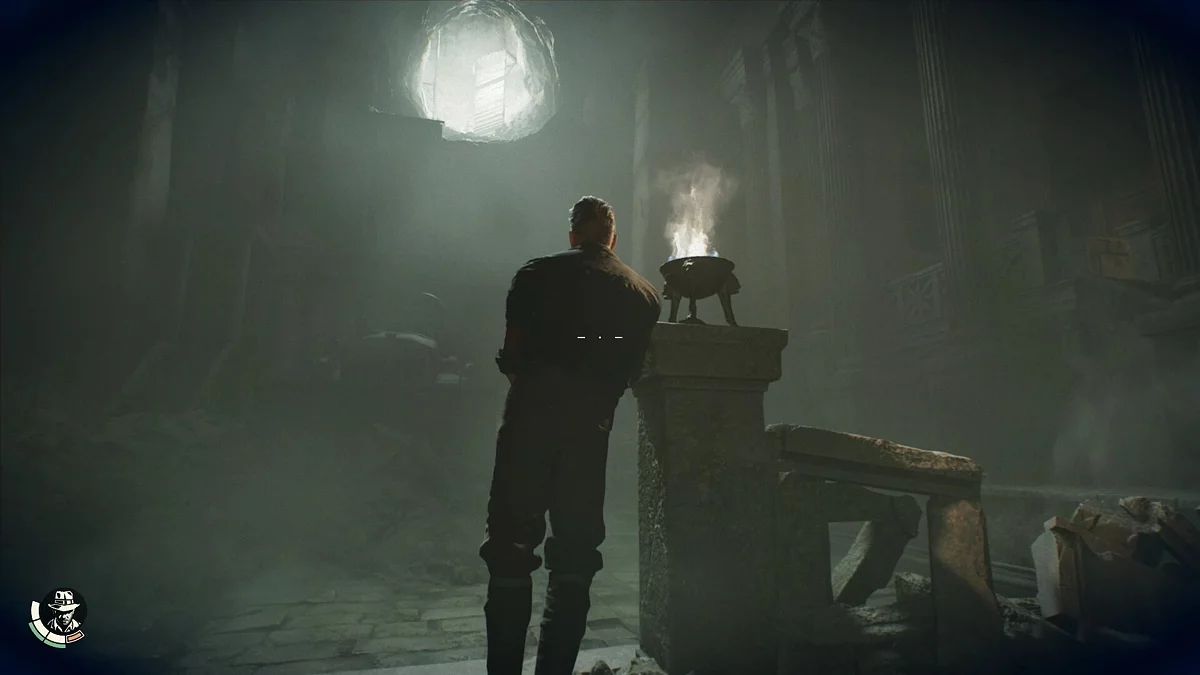
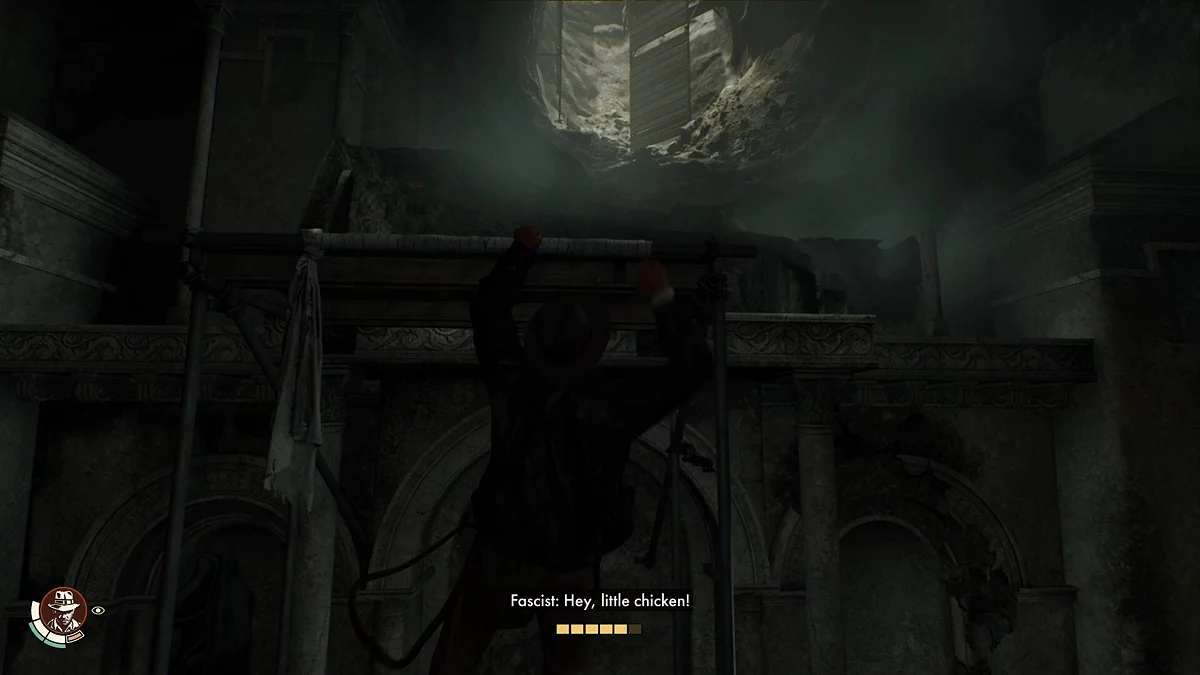
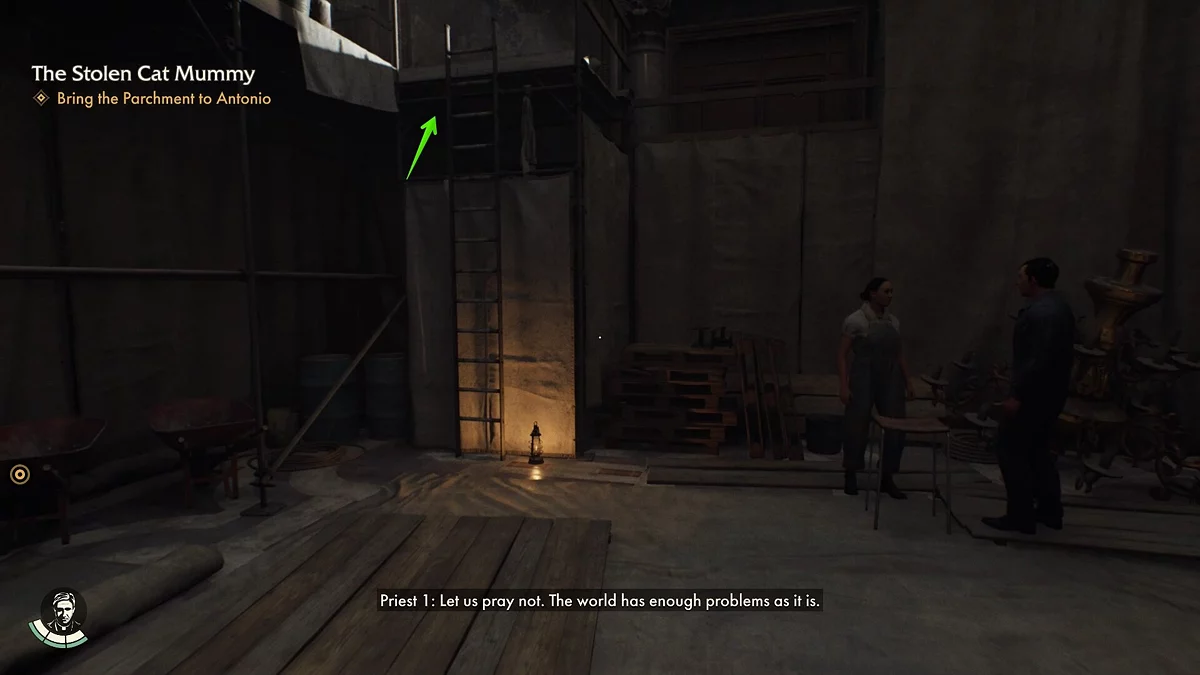
Just a little more to go. You only need to reach the car that fell into the temple and escape the dungeon. Wait until the patrol moves to a safe distance, approach the lone guard in the center of the room next to the car, and knock him out with your fist. Climb onto the car, then use the whip on the scaffolding.
Follow the Nun
Since this place was swarming with soldiers last time, you can now safely explore it and find useful items. In the nearby building, you'll find a postcard (Swiss Guard Postcard), some food, bandages, and a jar of medicine for a side quest.
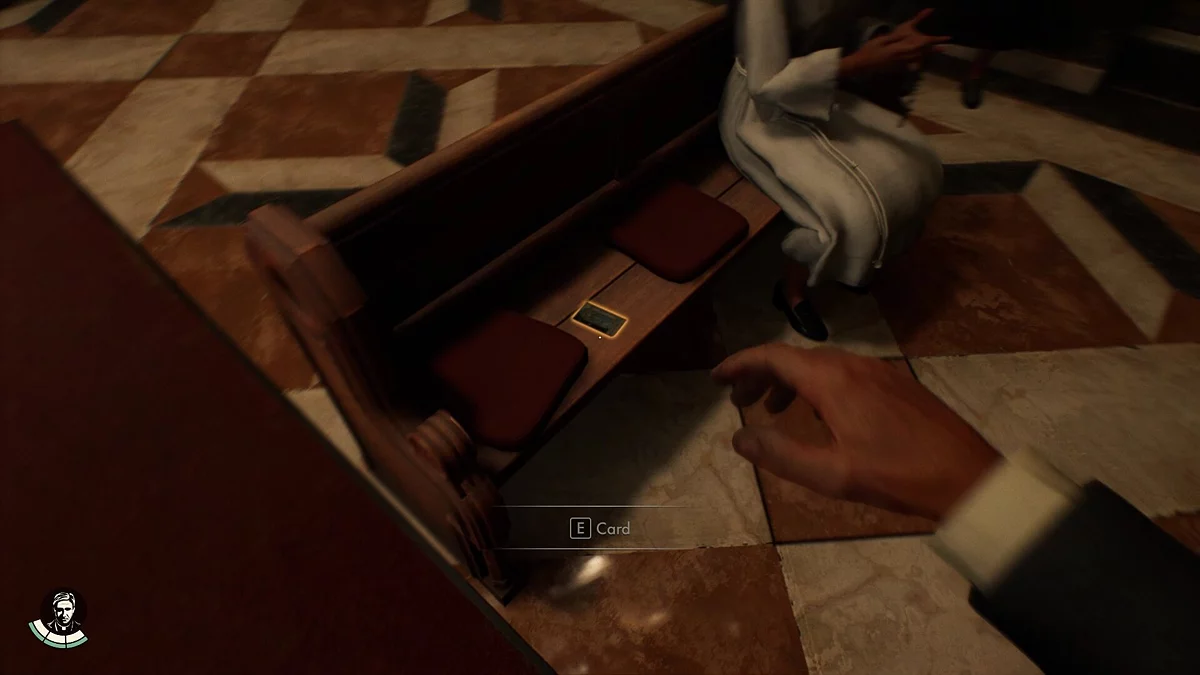
To proceed further, don't forget to change the skin in the inventory to a priest. Enter the door where the nun went. On the workbench to the left, take the newspaper clipping, go up to the upper floor, and collect the repair kit near the door. In the chapel, on the bench, you can find the Priestess Card. Go out onto the balcony and watch a long cutscene.
Return to Father Antonio
On the same balcony where the cutscene ended, use the rope and take the journal.
Go down the stairs. This will lead you to a building under renovation. Climb the large staircase to the balcony and take the repair kit.
Return to Antonio's library in any convenient way and show him the papers found in the tomb.
How to Solve the Fountain Puzzle
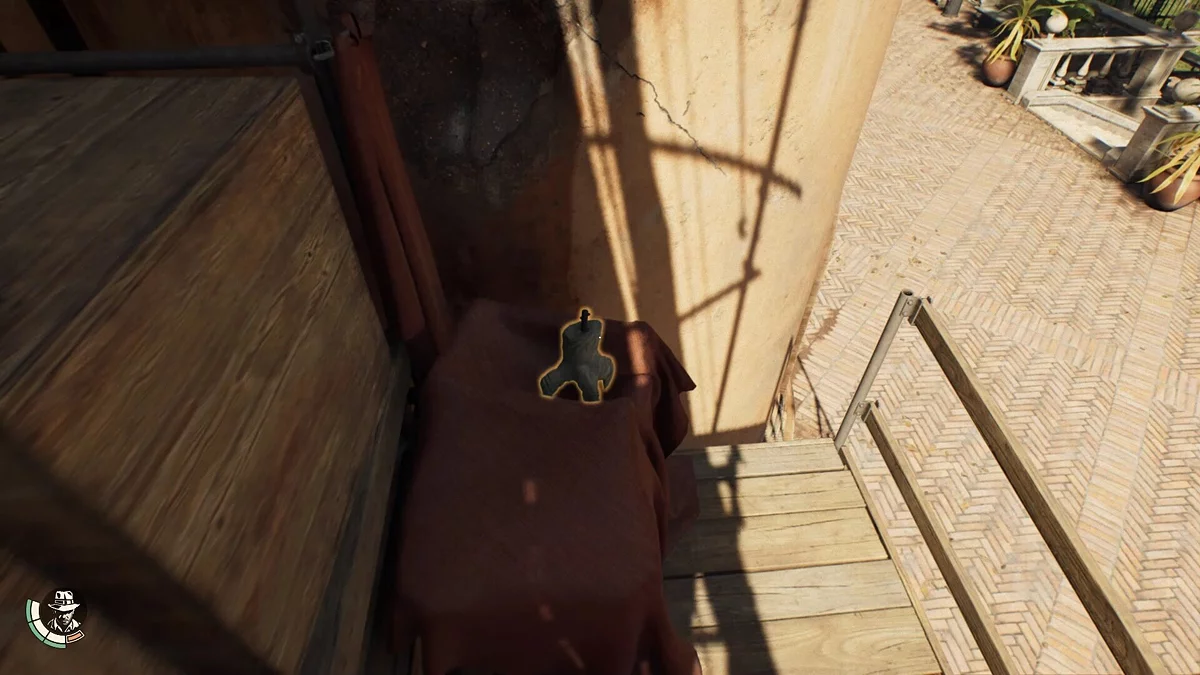
Getting into the building with the fountain is quite simple: examine the suitcase to the left of the entrance and take the key. Run to the upper levels and go out onto the balcony, then jump onto the scaffolding. Here lies a story item — part of a statue.
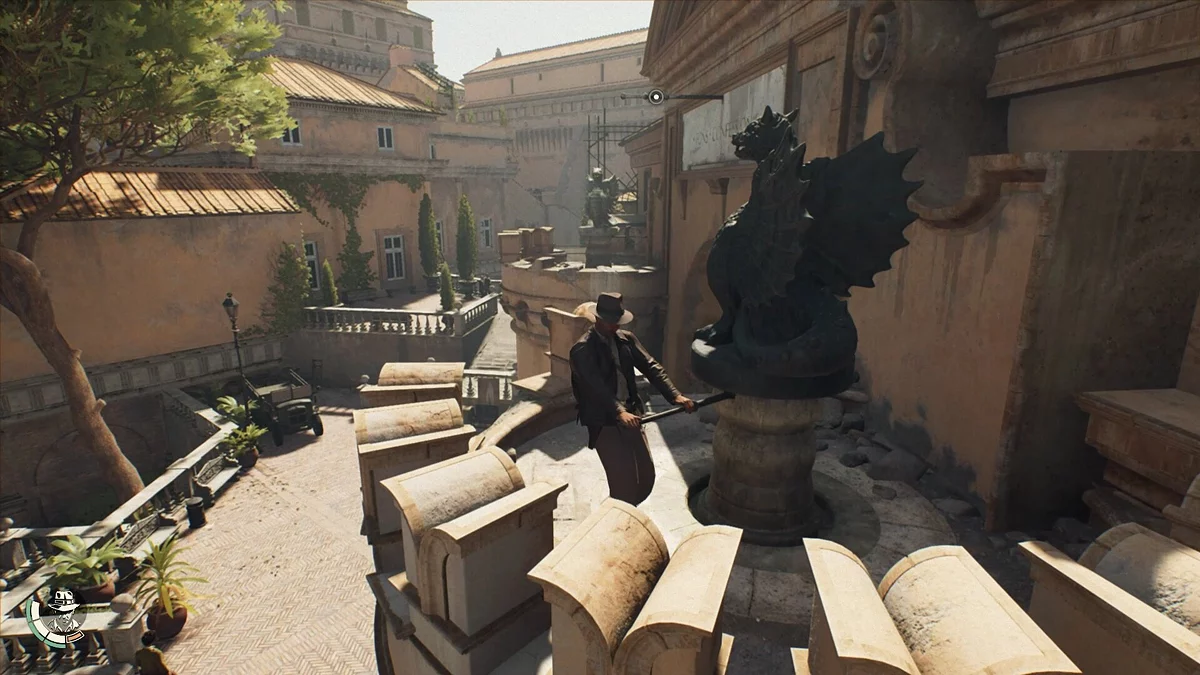
After the cutscene, climb the scaffolding again and insert the statue part, then turn it. A lever will appear, which can be used to rotate the statue. Both dragons should face each other.
Interact with the chain at the main statue of the fountain. Go down to your new acquaintance and examine the lever — use it to start solving the first puzzle.
How to Solve the First Puzzle
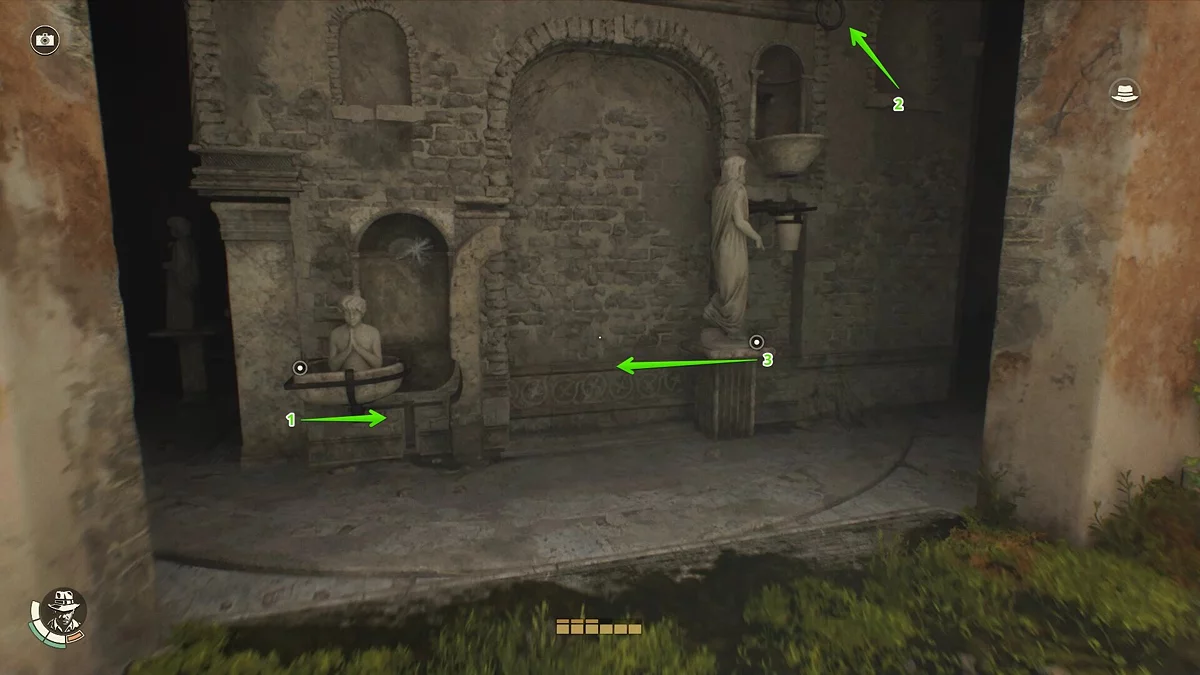
This is quite simple. First, move the pedestal with the boy to the left, use the whip on the chain to pour water into the bucket, and finally move the statue of the man to the statue of the child.
If you did everything correctly, return to the lever under the fountain and open the second side of the puzzle.
How to Solve the Second Puzzle
The next puzzle is a bit more complicated, but still not challenging enough for us. In the middle part of the rotating plates, you can see two wooden boards. Turn the lower plate so that the upper board falls down.
Now it's important not to make a mistake, namely — don't push the remaining board to the large and medium plates. If you did this, reload the game from the last checkpoint, as solving the puzzle requires moving the central circle separately from the outer one.
Then turn the central plate, opening the passage for the boat.
Finally, move the inner circle so that the wooden board falls down, jamming the central and outer plates, but freeing the path for the boat.
Don't forget to interact with the chain on the right side to start the boat's movement and open the passage.
How to Reach the Locked Gates
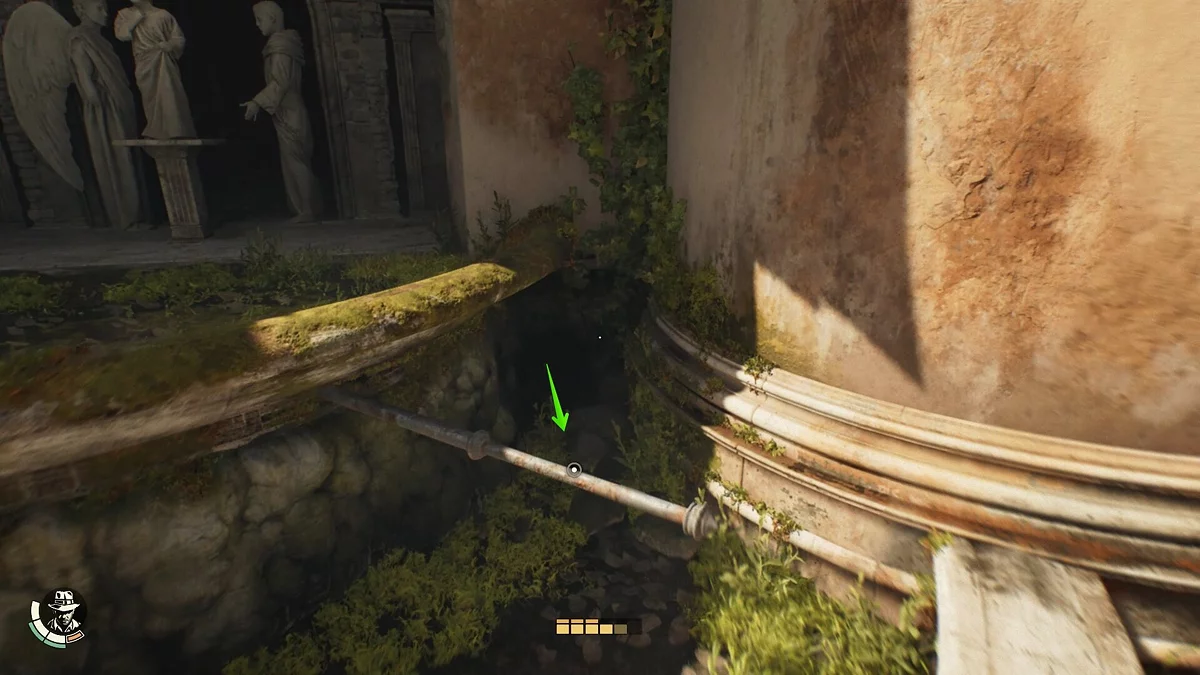
Descend into the dungeon and follow the only road forward. When Indiana falls down, climb the metal columns and overcome the huge swinging pendulums.
How to Solve the The Gold Trial Puzzle and Obtain the First Key
Examine the locked gates and climb the elevation where there are two levers. Activate both at once — two passages will open. To solve this puzzle, run into the passage on the right.
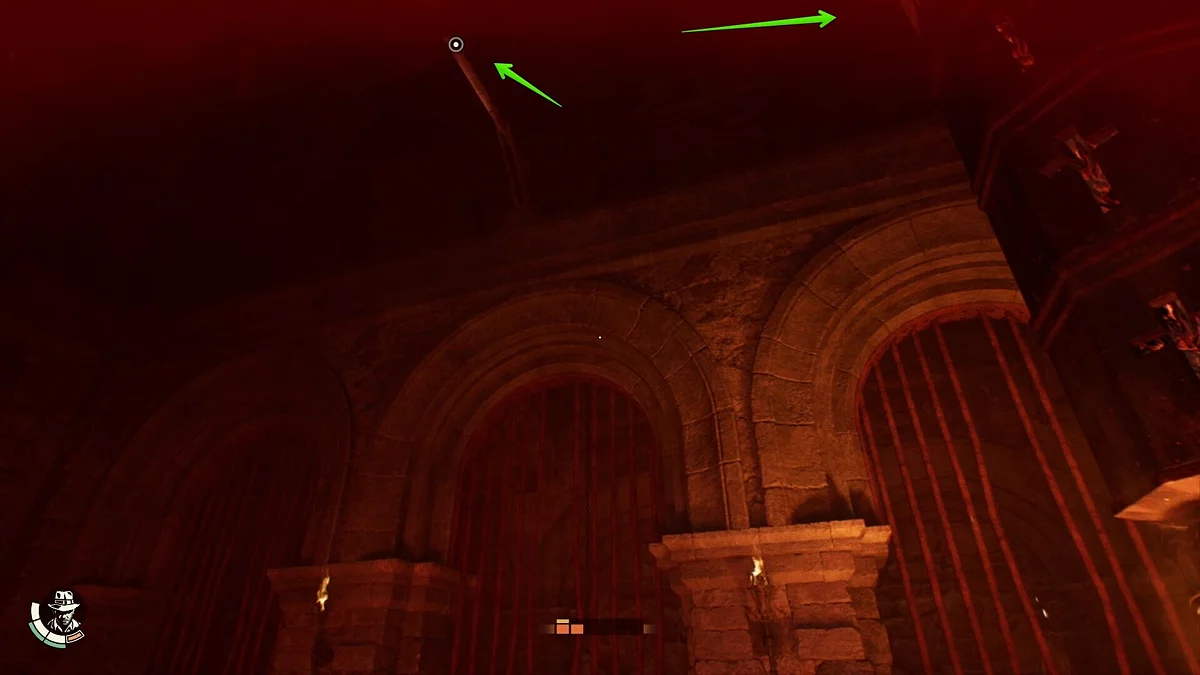
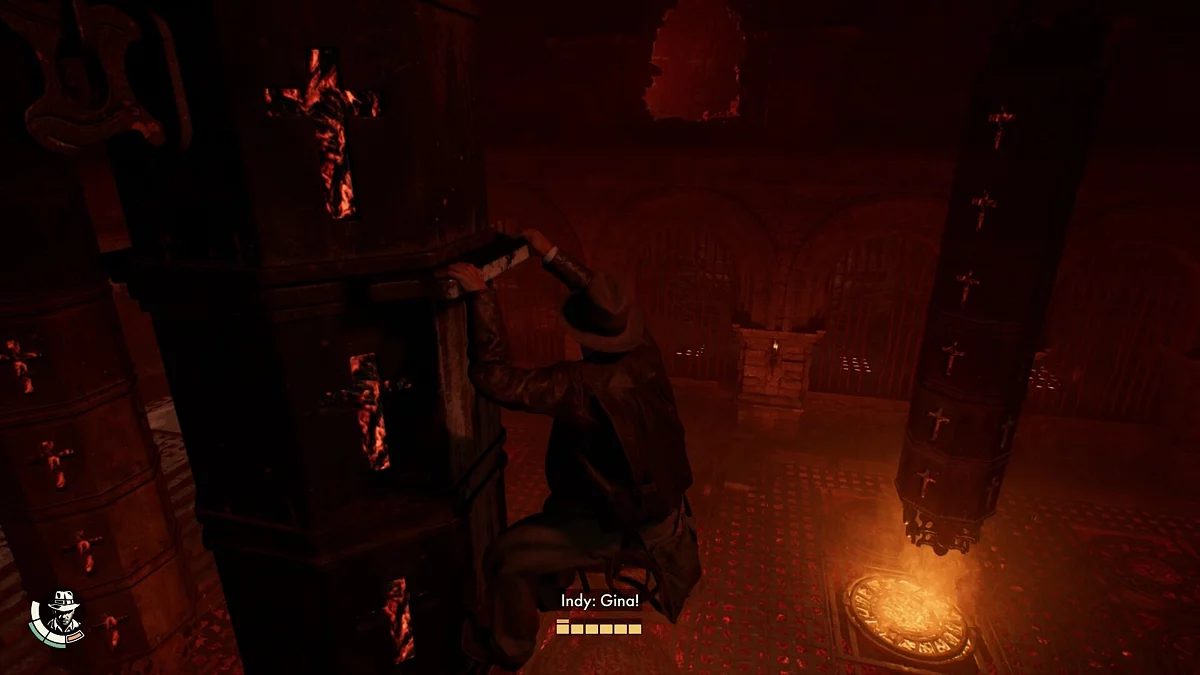
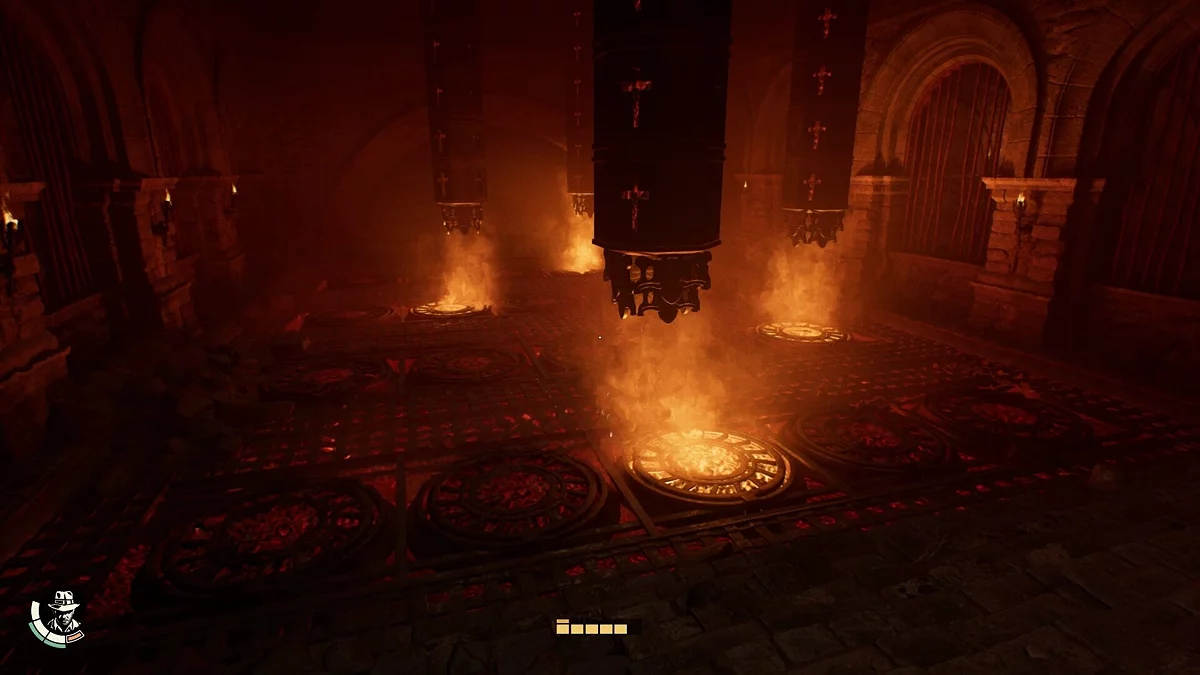
The puzzle is to correctly position the columns above the braziers. However, there are four columns, and we only have access to two. You can reach the other two levers by moving the second column closer to the place where Indiana can use the whip, then climb up and grab it. When you are at the top of the column, your companion will move it in the opposite direction.
You can tell the columns are above the correct braziers by the characteristic burning of the fire. All four braziers should burn brightly.
After exiting into the central hall, use the whip to pull the chain that supplies water to the hot metal.
How to Solve the The Silver Path Trial Puzzle and Obtain the Second Key
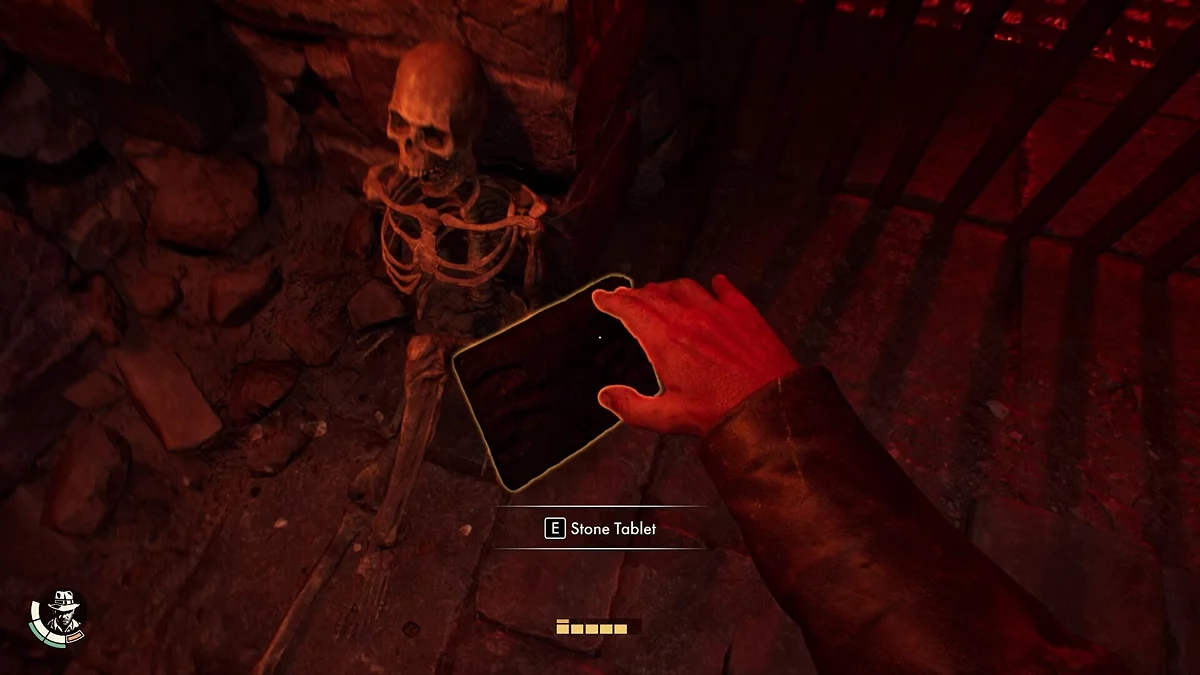
The next puzzle is also not particularly difficult. Go through the hall with braziers and turn left at the fork. Here lies a stone tablet. Bring it to the central pedestal to start the trial.
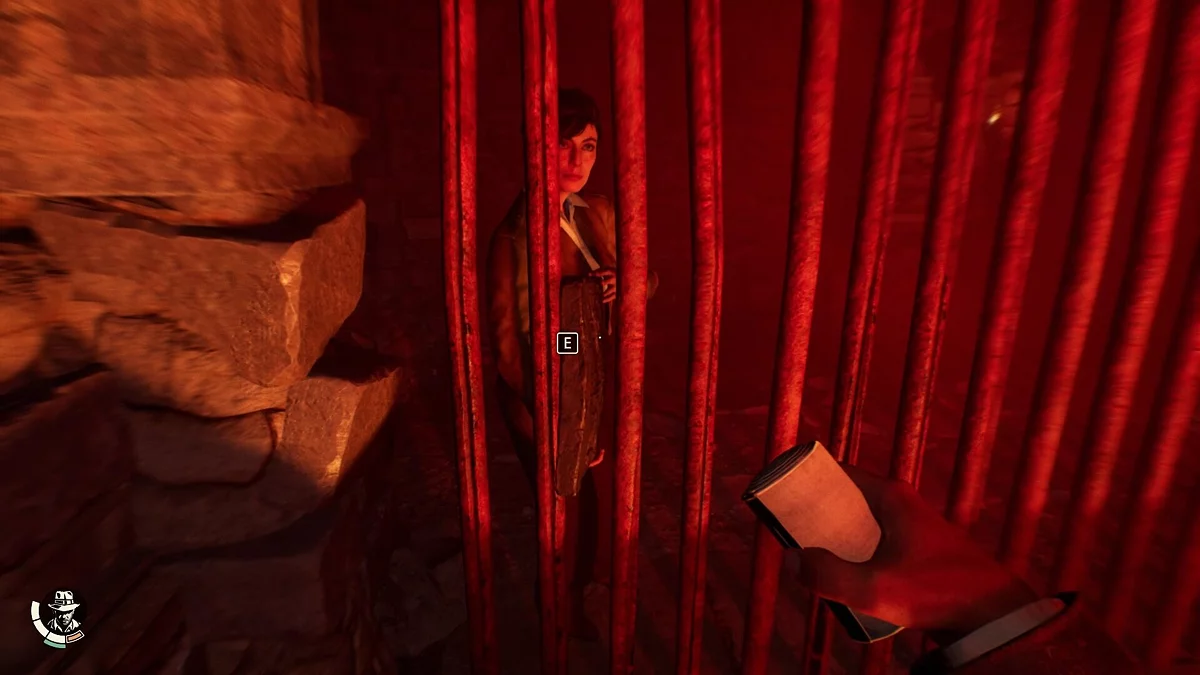
On your left, you will see a beam that you can grab with the whip. Jump over the braziers and pick up a similar tablet in the opened passage. Pass it to Gina through the grate.
Move to the other side, take the tablet, and insert it into the same pedestal. The puzzle is solved.
Return to the main hall, take the keys, and insert them into the gates.
Listen to Gina's monologue and go up to the second floor. Use the whip to get to the opposite side of the balcony. This way, you will find the secret note (Atonement Prayer). By this time, your companion will open the door on the second floor, allowing you to pass through.
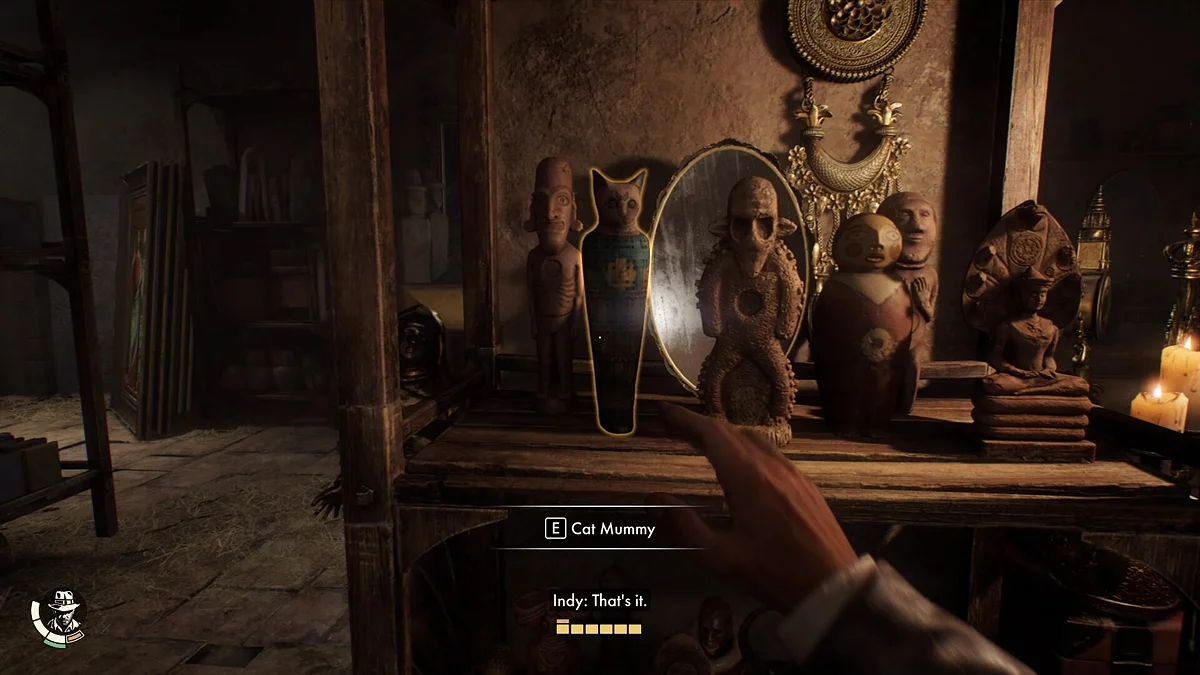
Examine all the notes here, then climb into the passage behind the painting. Use the giant's amulet and find the missing cat mummy on the shelf to the right.
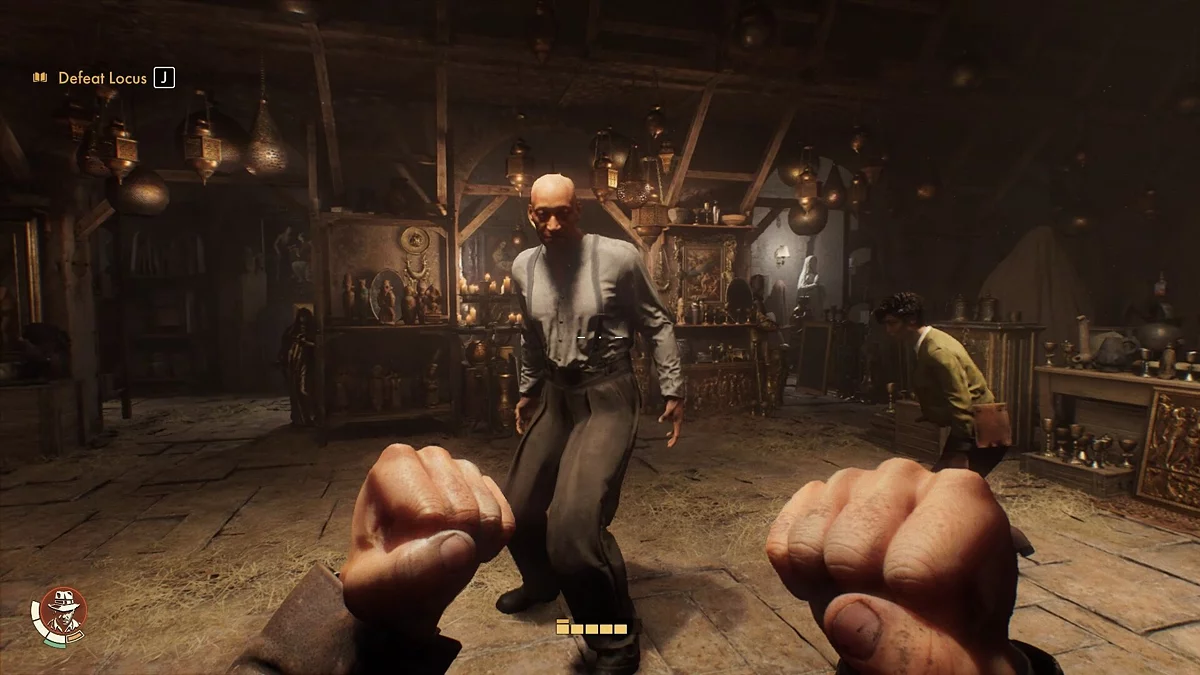
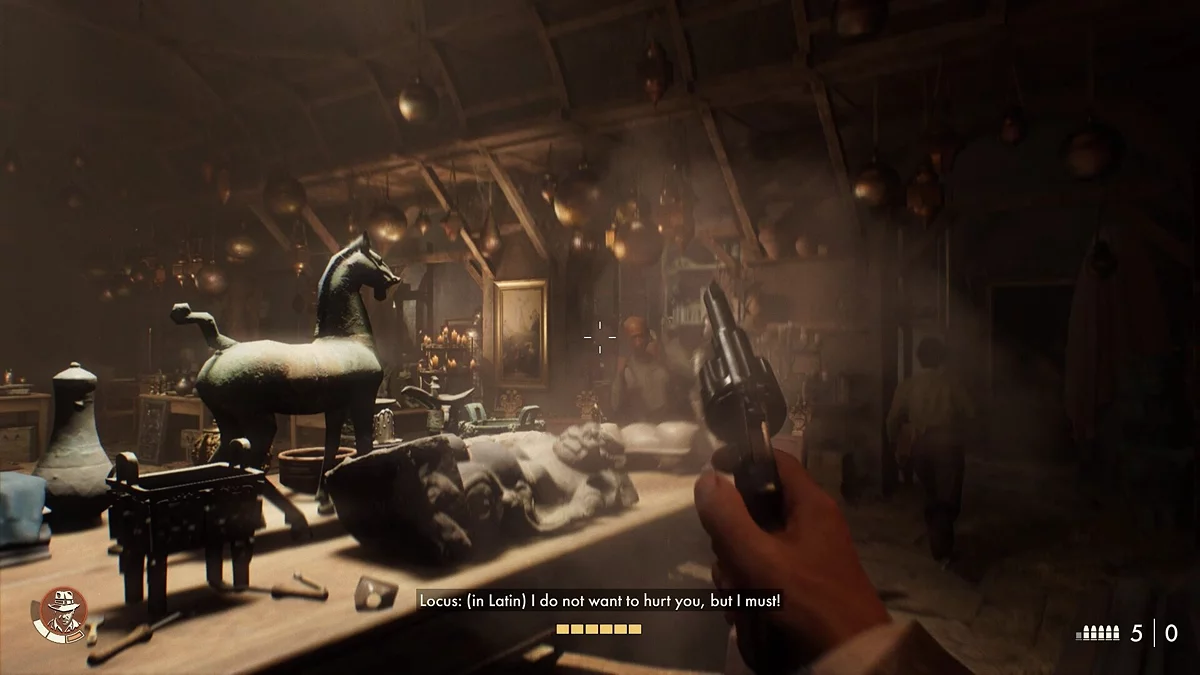
After the cutscene, a giant will appear, whom Indiana must fight again. Move around the table to restore stamina, as it depletes quite quickly. When the giant starts losing strength, he will attack more actively. You can use the revolver — first shoot at the enemy, then hit with the handle.
Reach the Airship
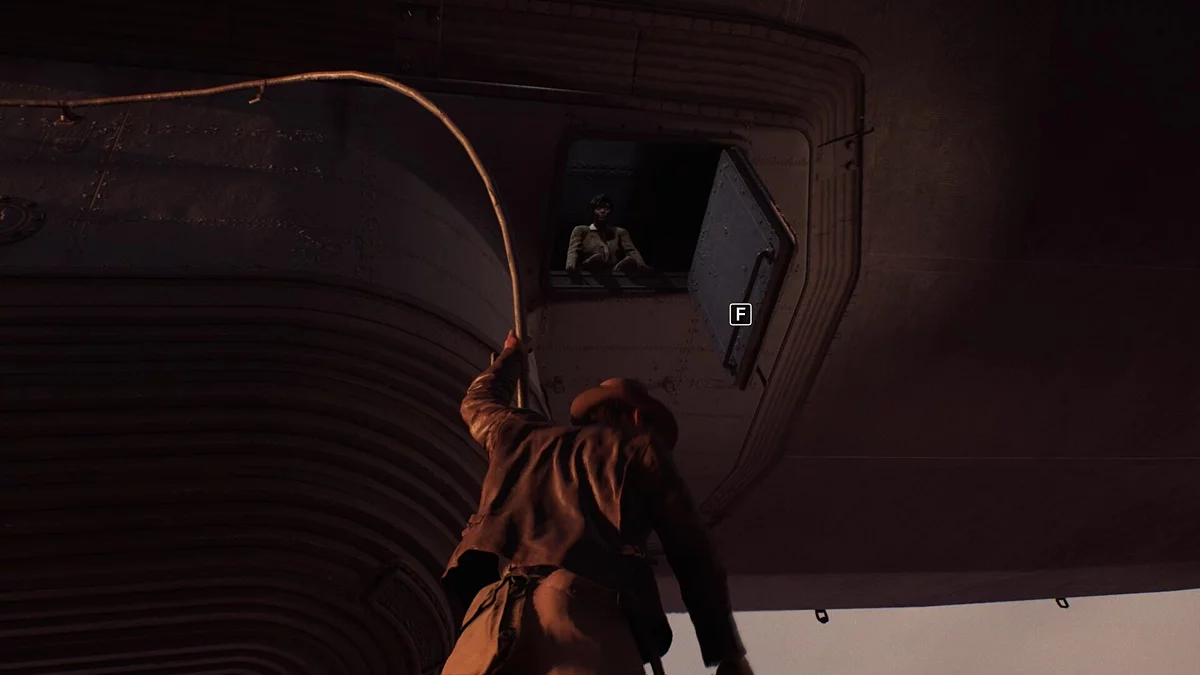
After the cutscene, examine the adjacent room and take the document (Ziggurat Dig Report), letter (Rossi's Letter), and bandages. To get to the airship, jump off the lift upon arrival and keep to the left side. Once you reach the window, get rid of a few foes and enter the only door here. Indiana will manage to hook onto the flying vessel with the whip, but you'll have to climb inside on your own.
Once on board the airship, the quest will be completed.
Other guides
- The Idol of Ra: Indiana Jones And The Great Circle Quest Walkthrough
- Indiana Jones and the Great Circle: All Giza City Chest & Safe Codes
- The Blessed Pearl: Indiana Jones And The Great Circle Quest Walkthrough
- How to Open the Safe in the Vatican Museum in Indiana Jones and the Great Circle
- Indiana Jones and the Great Circle: Complete Walkthrough, Puzzles & Collectables Guide
- All Vatican City Codes and Passwords Revealed: Indiana Jones and the Great Circle
- Best Skill Books for Leveling Up in Indiana Jones and the Great Circle
- Indiana Jones and the Great Circle: Ultimate Guide to Finding All Ancient Relics
- A Thief's Promise in Indiana Jones and the Great Circle: How to Find the Missing Nazi
- A Nun in Trouble: Indiana Jones And The Great Circle quest walkthrough
-
Indiana Jones and the Great Circle: Complete Walkthrough, Puzzles & Collectables Guide
-
All Vatican City Codes and Passwords Revealed: Indiana Jones and the Great Circle
-
How to Open the Safe in the Vatican Museum in Indiana Jones and the Great Circle
-
A Nun in Trouble: Indiana Jones And The Great Circle quest walkthrough
-
Best Skill Books for Leveling Up in Indiana Jones and the Great Circle
