Complete Path of Exile 2 Walkthrough: All Acts Guide & Gameplay Tips

Path of Exile 2 is the highly anticipated sequel to the iconic action/RPG, offering new story acts, mechanics, and exploration opportunities. In this guide, we will thoroughly examine all stages of the game's walkthrough, from the first steps to the most challenging battles, with useful tips on skill selection, equipment, and combat strategy.
Mercy for the Miller
Before the start of the first act, you'll witness an exciting cutscene where your character escapes from the gallows. After this, you'll have to run along the riverbank, fighting off appearing monsters. Overcoming all obstacles and defeating the boss, you will finally reach the Clearfell camp. This allows players to learn the basic mechanics of the game, which is especially useful for those unfamiliar with the first part.
How to Defeat the Swollen Miller
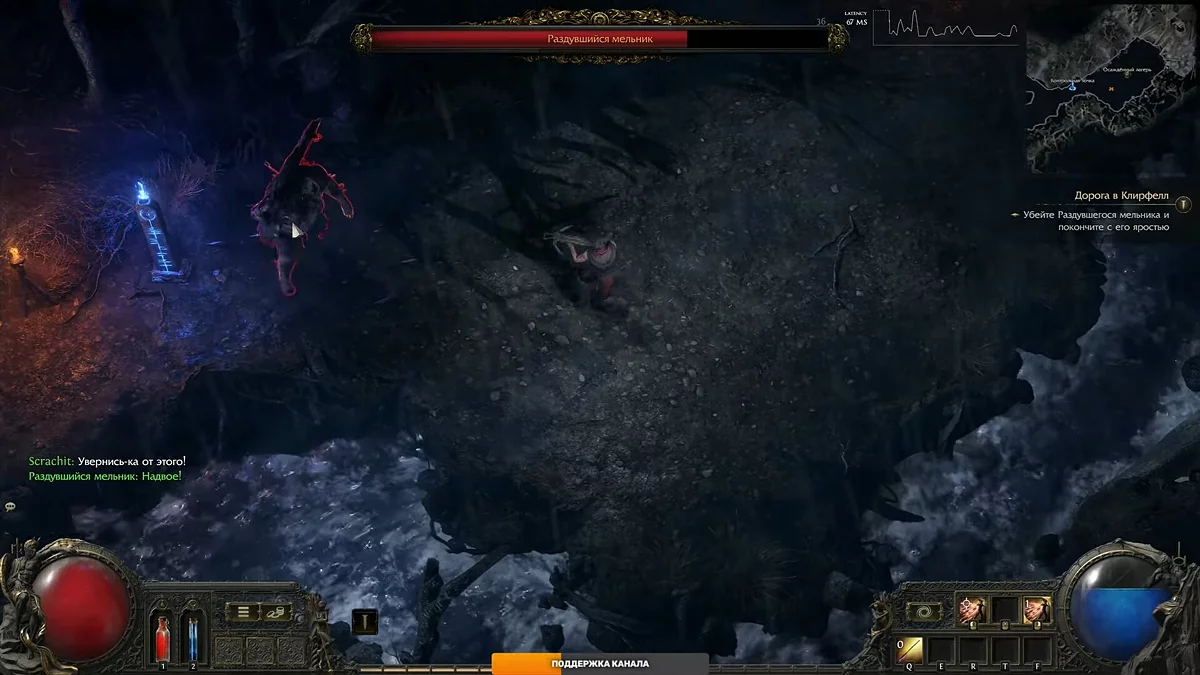
After the second checkpoint, at the entrance to the camp, you'll encounter a giant creature—the Swollen Miller. The fight with him is not particularly difficult, but it will take some time to achieve victory. This boss, in addition to his blade strikes, summons the undead, adding extra challenges. Use the spacebar to quickly dodge the Miller's attacks while continuing to deal damage to him.
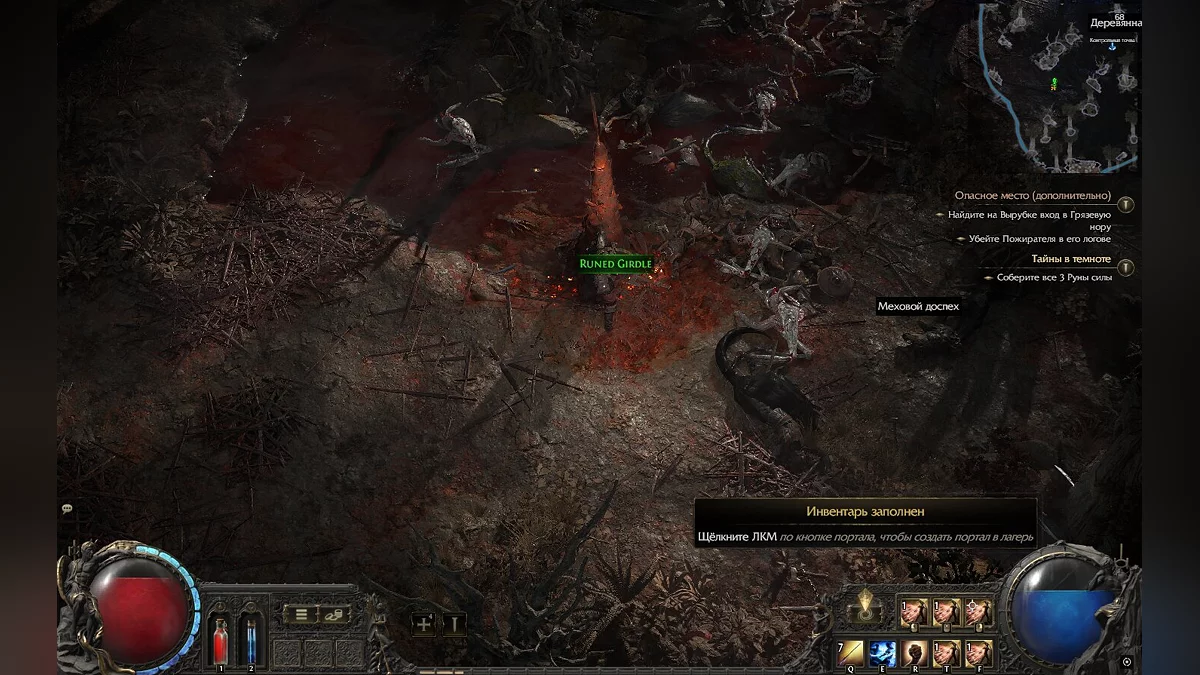
Additionally, you have the option to infinitely use potions to replenish mana (key 2) and health (key 1). After defeating the Miller, you can examine the site of his death and find several bars of gold, scrolls of wisdom, and armor.
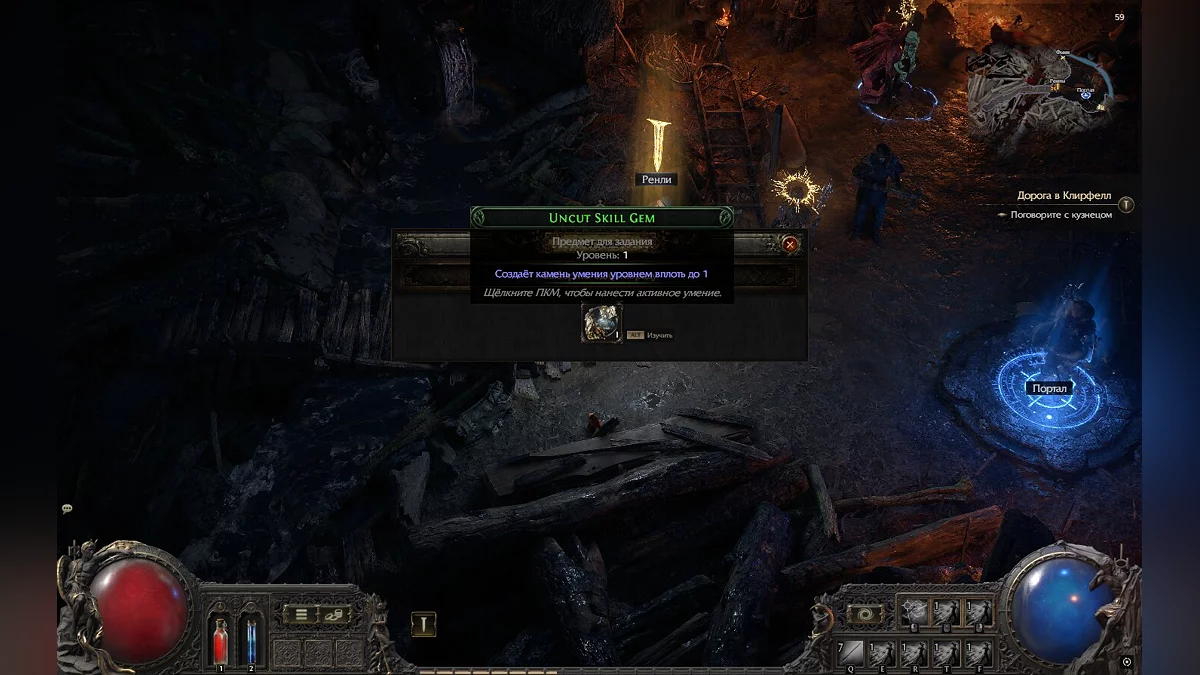
Now enter the settlement and talk to a man named Renly. As a token of gratitude for defeating the boss, he will offer to forge a weapon for you and give you an item for a side quest—Uncut Skill Gem.
Secrets in the Dark
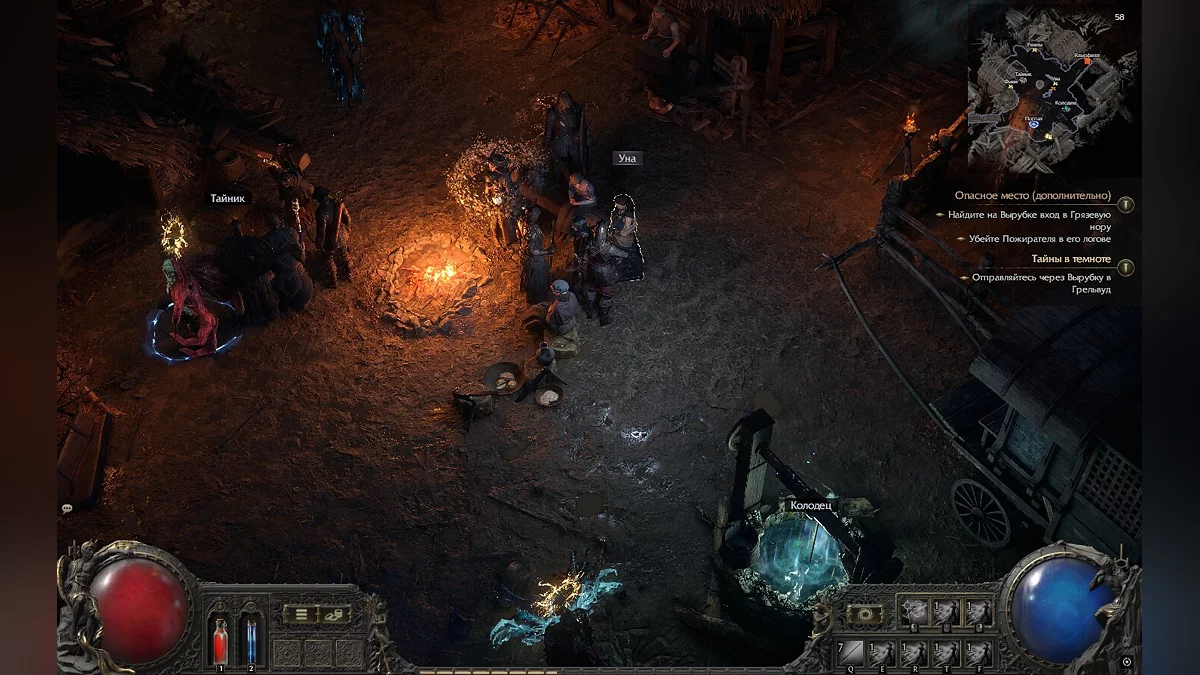
After talking to all the NPCs in the camp, you can start the second quest of the first act. To do this, approach a girl named Una, who is sitting by the fire.
Your goal is to reach Grelwood. Approach the gates on the opposite side of the camp and interact with them to continue your journey. Initially, you will find yourself in the dangerous areas of Clearfell. This location is inhabited by imps, wolves, and other creatures that will hinder your progress. Additionally, you'll frequently encounter witches, which pose a particular threat to newcomers. We advise keeping a distance from these NPCs and attacking them from afar.
How to Defeat Beira of the Rotten Pack
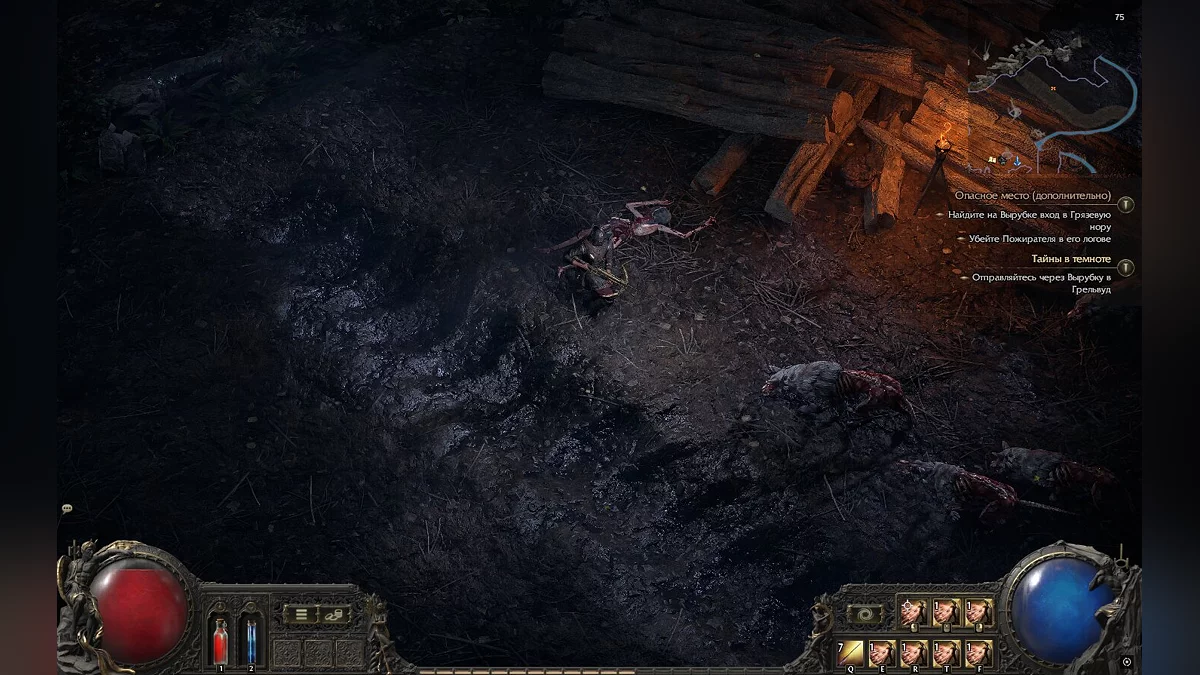
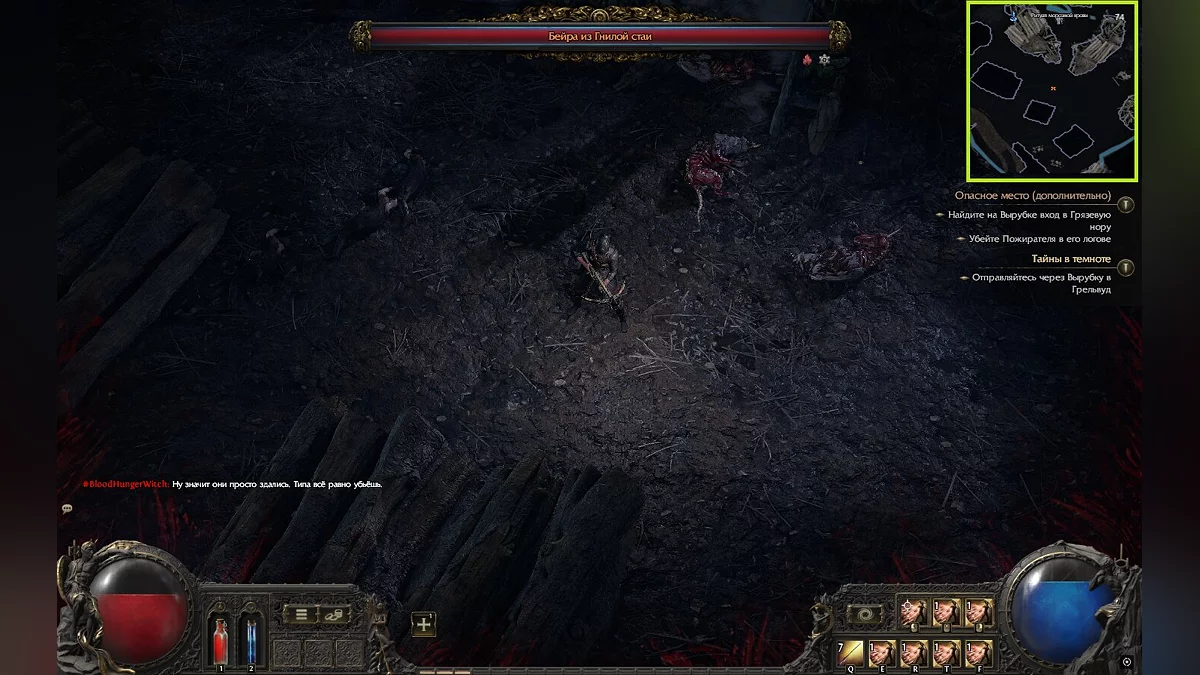
While exploring the Clearing, you'll encounter various opponents. However, if you explore the area more thoroughly, you'll find Beira, the second boss.
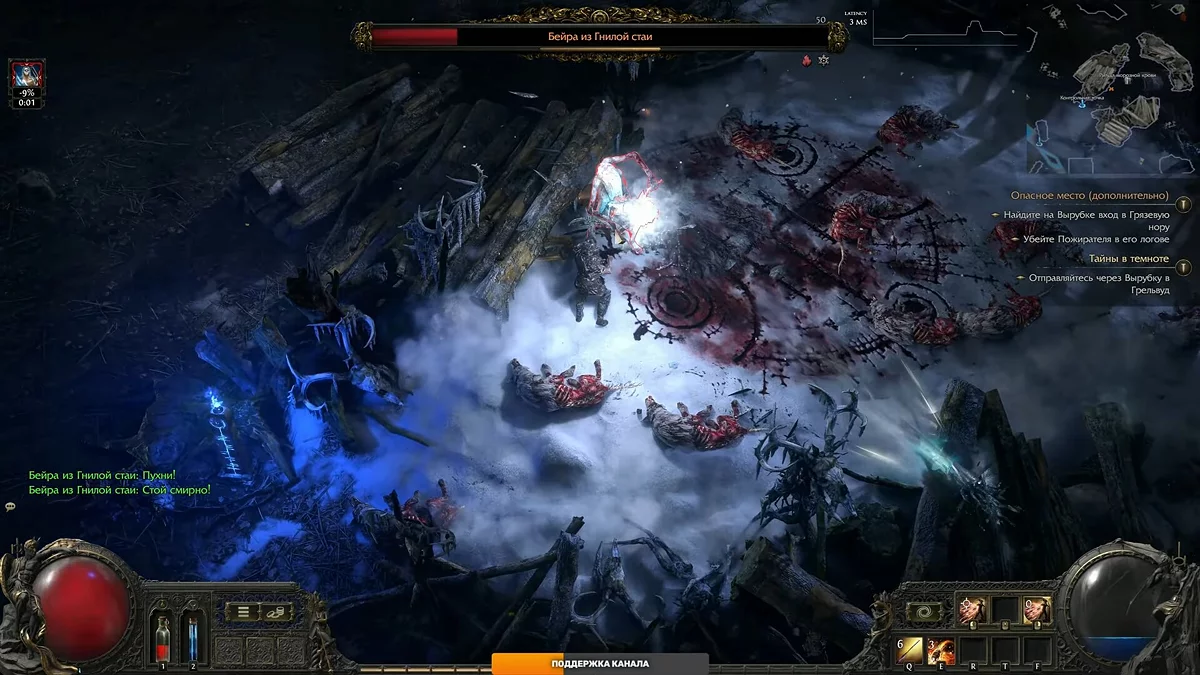
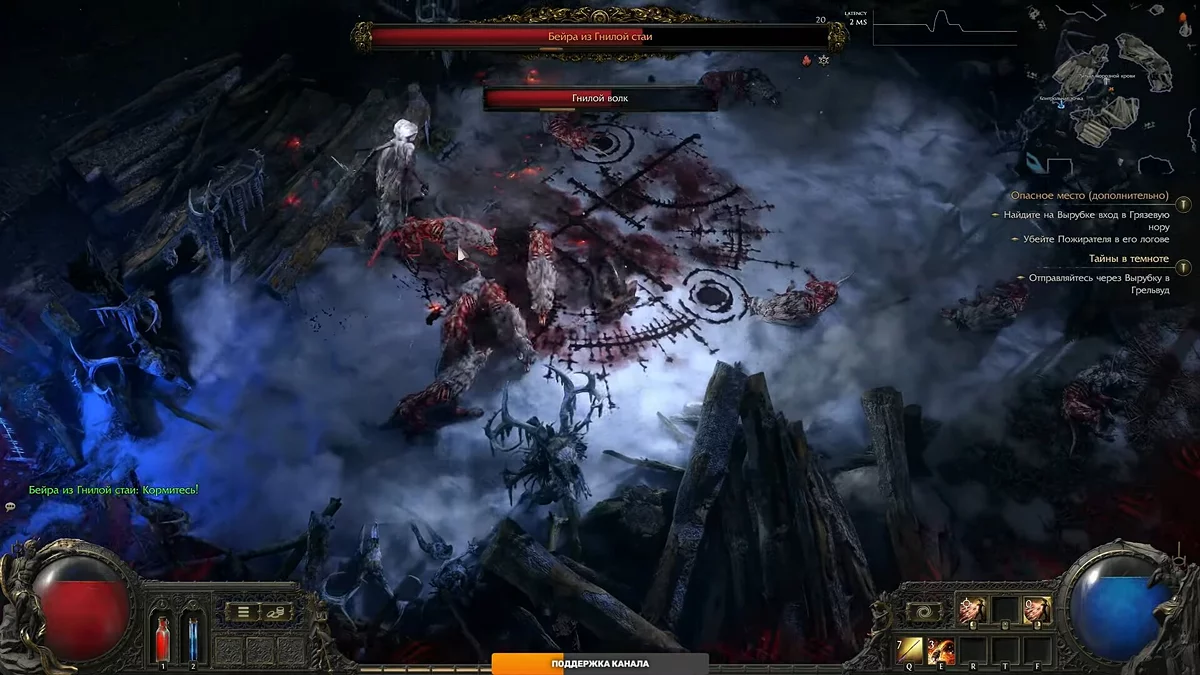
One of the main challenges in the fight against Beira of the Rotten Pack is not only her ability to inflict icy effects on you but also the limited size of the battle area. It's a small circular zone with minimal space for maneuvering and dodging. After several attempts at this boss, we noticed that she occasionally gets stuck in the center of the arena, complicating the fight significantly.
Beira's abilities can surprise newcomers, especially after such an easy victory over the Miller. First and foremost, you need to deal with her health—you won't be able to damage her until you break the icy shell that protects her health. Once you break this defense with a few hits, you can start depleting her health.
Beira's attack is also quite specific and can create significant difficulties. Sometimes she will launch icy boulders at you, dealing massive damage. Additionally, she uses a second attack—summoning sharp stones that emerge from the ground in a specific area. These stones must be avoided to prevent unnecessary damage.
Beira's final ability is a powerful explosion that creates five wolves attacking the player. These creatures can significantly complicate the fight if not dealt with promptly.
To achieve victory, stay closer to the outer walls of the arena and avoid overconfidence. As soon as you notice her spells starting to charge, prepare to dodge and move out of the area of effect. Avoid taking risks by trying to land extra hits to finish the fight—focus on survival and gradual victory.
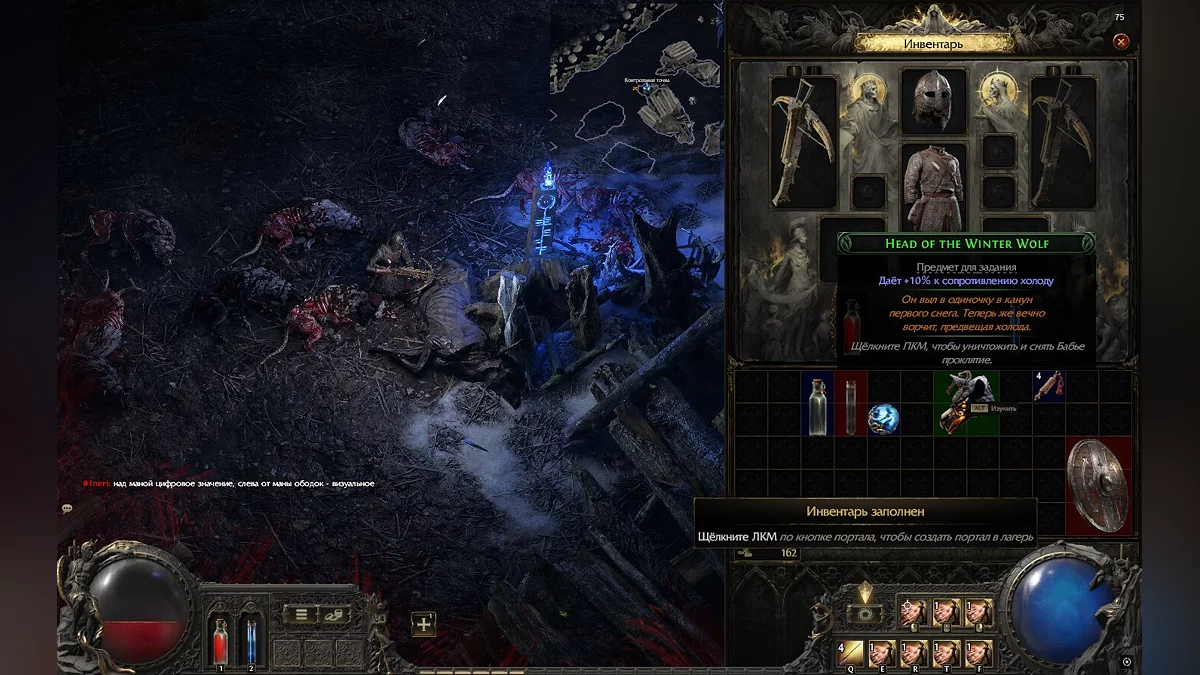
Successfully defeating Beira will yield the Winter Wolf Head. To use this item, open your inventory (key I), hover over the item, and right-click it. This action will grant you +10 to cold resistance. Additionally, you'll receive random items that may prove useful in further progression, as well as coins and gear.
After spending some time exploring the Clearing, you'll eventually find the entrance to the Grelwood location and can continue the quest.
Find Evidence of the Count's Deeds in Grelwood
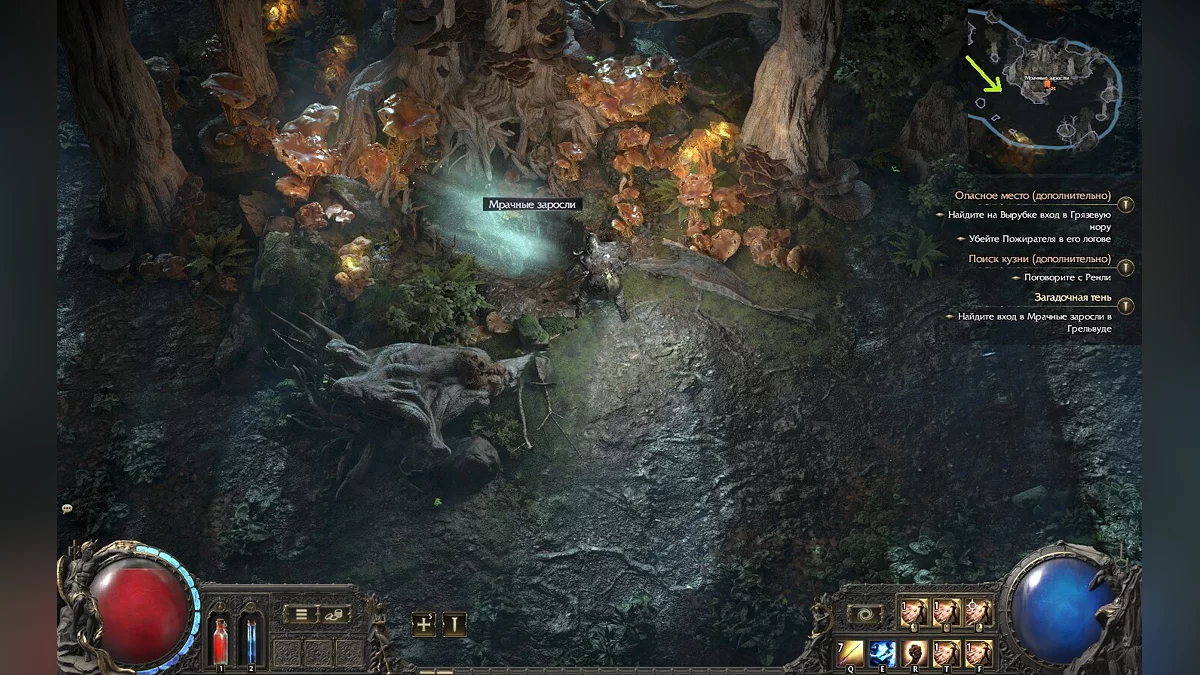
You need to explore Grelwood in search of signs of corruption. Throughout the location, you'll encounter various opponents—werewolves with significant health, fungal zombies that explode upon death, and imps.
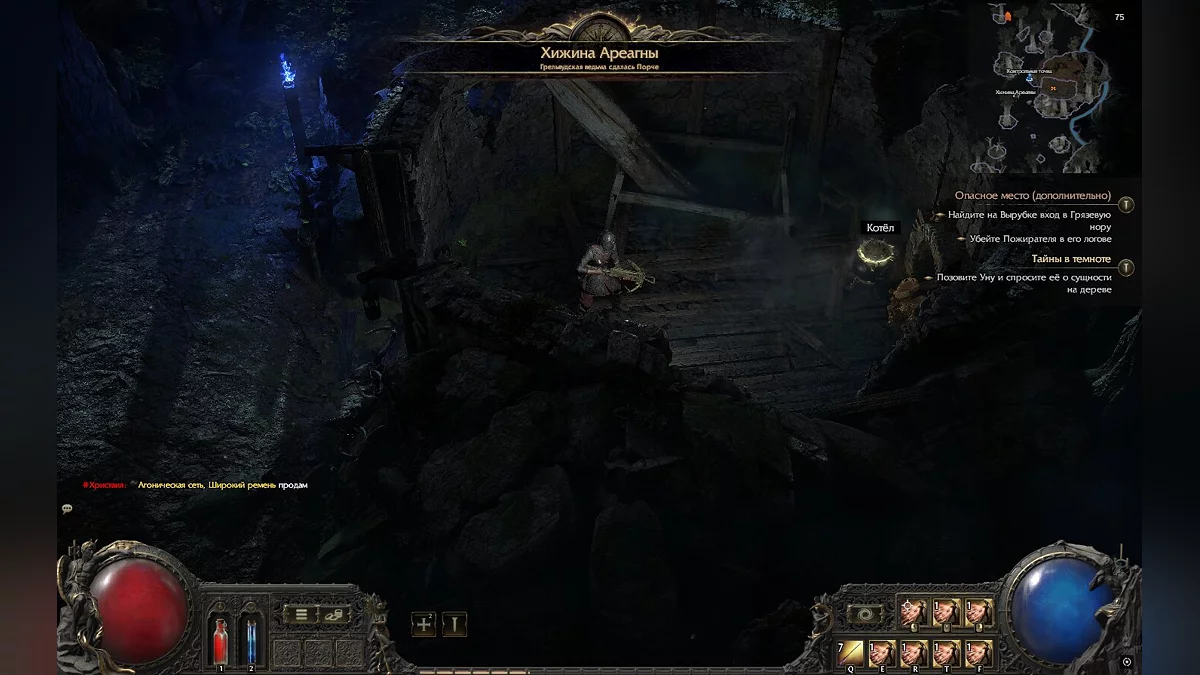
Heading to the southern part of the location, you'll find a hut where Areagna has settled. This boss is a forgotten witch guarded by wolves and werewolves. Enter the building to start the fight. We recommend clearing the area of all opponents that may interfere during the battle beforehand.
There is no specific arena for fighting the witch, so you'll have to move around the entire location, trying to avoid her attacks. Like all bosses, she has several powerful attacks and abilities that you will have to deal with.
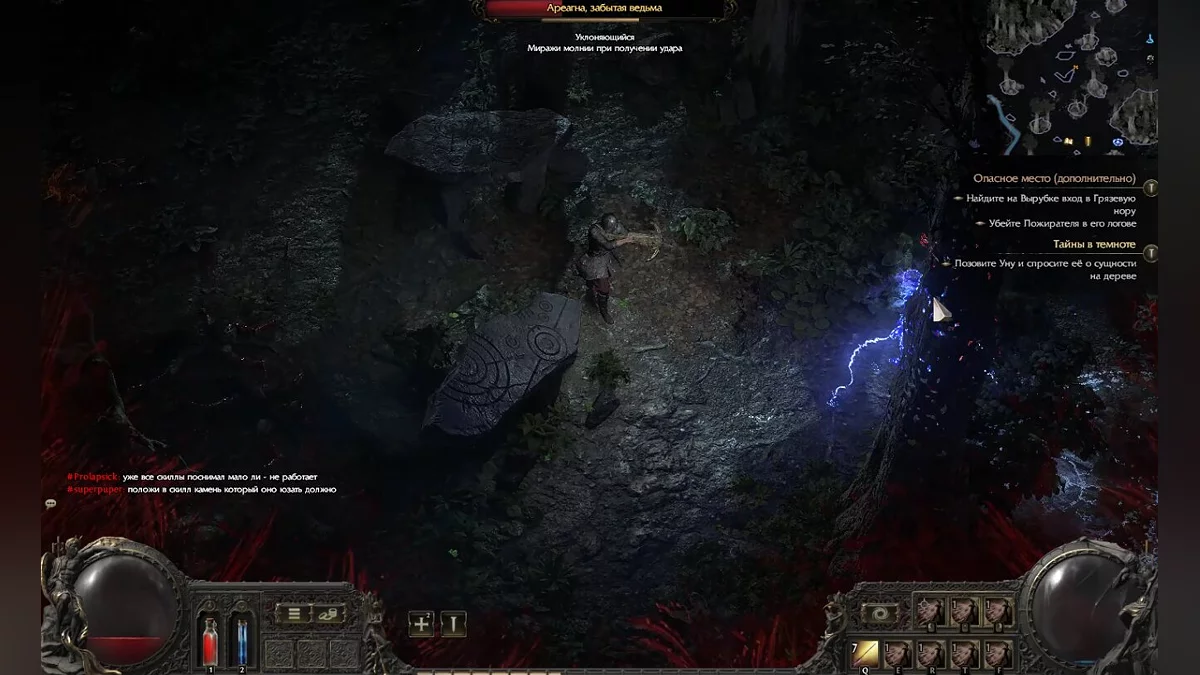
The witch will constantly summon phantoms that will try to approach the hero and explode, turning into lightning. In addition, she will teleport to random places, and sometimes right in front of you, dealing quick damage. We do not recommend hitting her more than twice or shooting at her at a time, as her teleport timing is faster than your attacks. Defeating the witch will give you several useless items, gold, and most importantly, a raw skill stone.
Summon Una
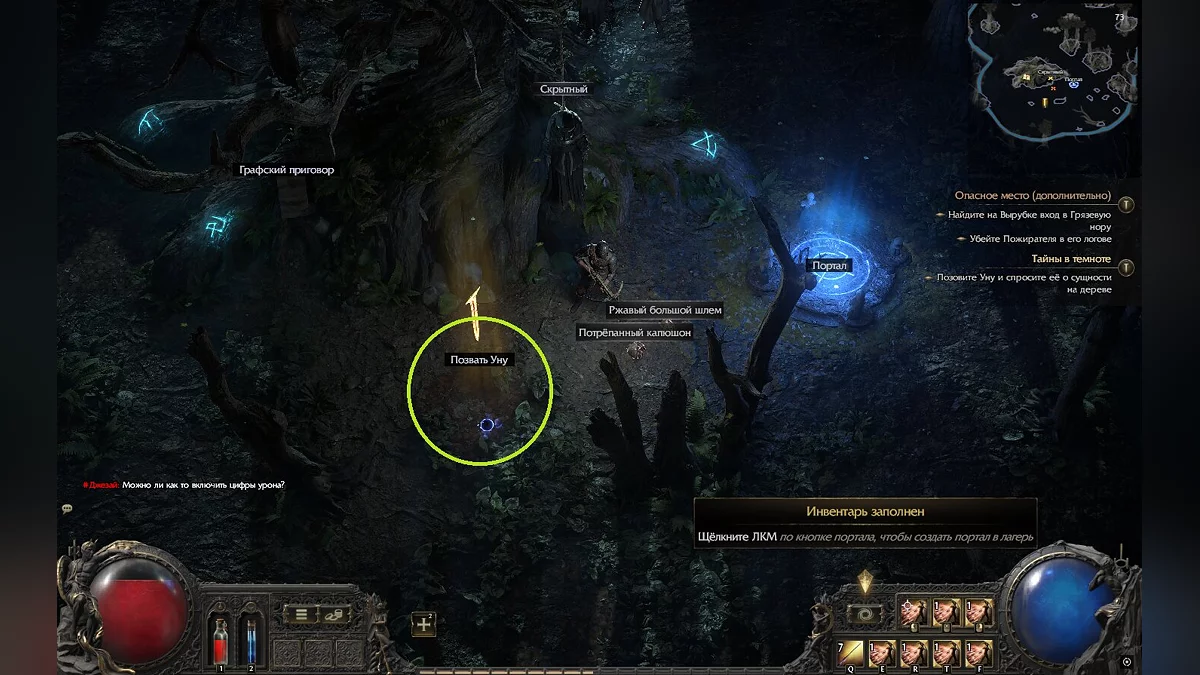
Now you need to explore the southeastern part of Grelwood, where you can find the Sneaky NPC, featured in the final quest of the first act and the Count's Verdict. Approach the black circle and interact with it to summon a girl named Una. Talk to her to continue.
Una will explain that to free the soul of the hanged man from the Tree of Souls, you will need Power Runes, which can break the connection between this world and the one where his soul is located. These magical symbols can be found in the nearby area known as the Red Valley. Head there to continue the quest. The entrance to the Red Valley can be found in the forests of Grelwood.
Find the Rusty Obelisks with Power Runes
Once in the Red Valley, you will need to thoroughly explore this area, as you are here for the first time. Unlike other locations, the local mobs are significantly stronger. They can poison you, deal electrical damage, and even pull you in.
After dealing with the enemies, find the obelisk in the southwestern part of the region and interact with it. As soon as this happens, Esomites will appear around the obelisk, ready to stand in defense. You will also need to eliminate them and take the rune.
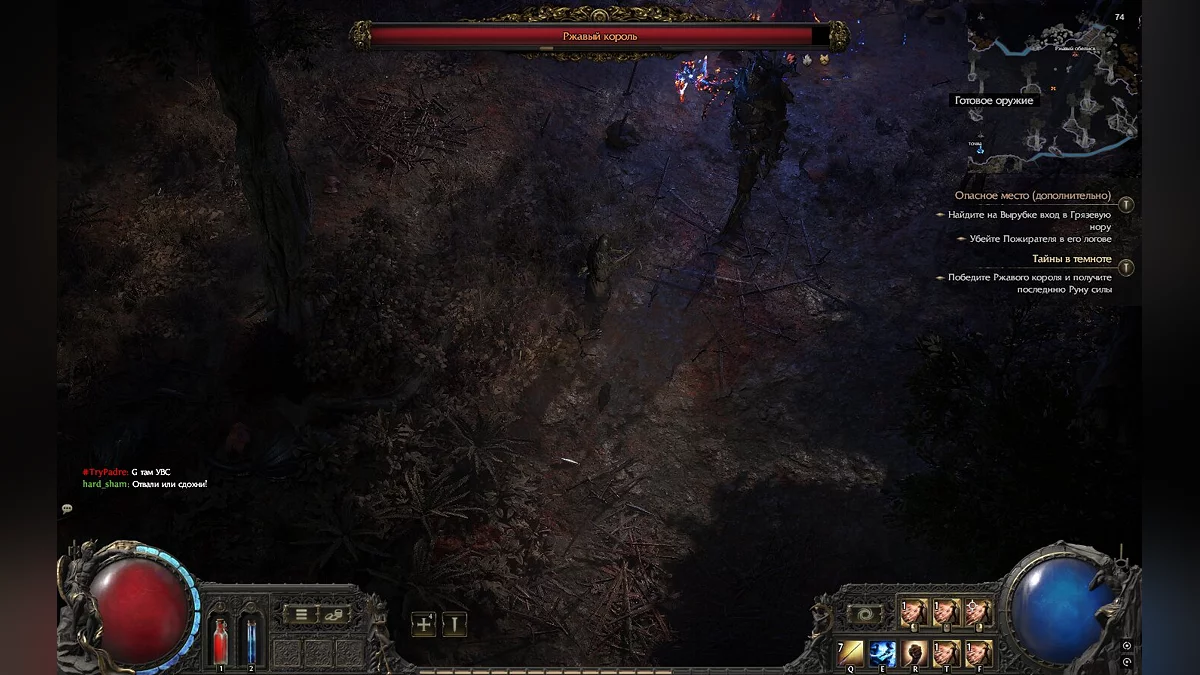
Continue exploring the region until you find the last obelisk. If the previous ones were guarded by the undead, this obelisk will be protected by the Rusty King—a serious opponent who will immediately attack the hero.
The Rusty King is almost immune to fire attacks but vulnerable to lightning. If by this point you have found the appropriate build, use it to its full potential. All of the Rusty King's attacks are powerful area strikes. He summons blades that either shoot straight or fall from above. To avoid these attacks, simply use the spacebar to dodge or hide behind some object.
This boss can also summon reinforcements—ancient esomites that will interfere with you during the battle. We recommend getting rid of these enemies first and then continuing the fight with the Rusty King.
After defeating the Rusty King, you will be able to pick up the dropped items and some gold. However, the most important one is the Runic Skull Cap, which is necessary to complete the quest.
Take the Runes to Renly for Reforging
Take the last Power Rune and head back to the Clearfell camp. You can use a special button to create a portal to the camp from anywhere in the game world.
Now approach Renly, who is located in the northern part of the camp, and talk to him to have the found runes reforged into spikes. Once you've got what you need, return to Grelwood. The waypoint should teleport you to the Tree of Souls.
Embed the Runic Spikes into the Tree of Souls
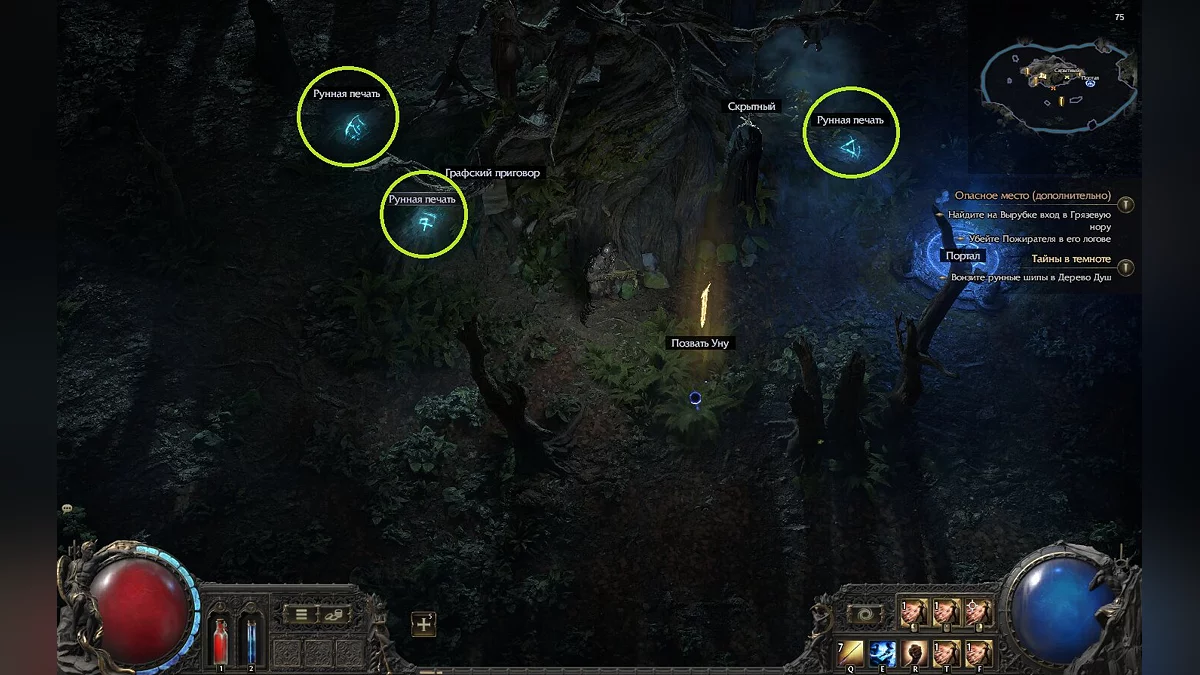
Interact with the three runic signs to trigger the appearance of the spikes. As soon as the process is complete, an instant reaction from external forces will occur, and Una will appear before you, with whom you need to talk. She will suggest meeting her at the camp.
Return to the Clearfell camp and talk to Una
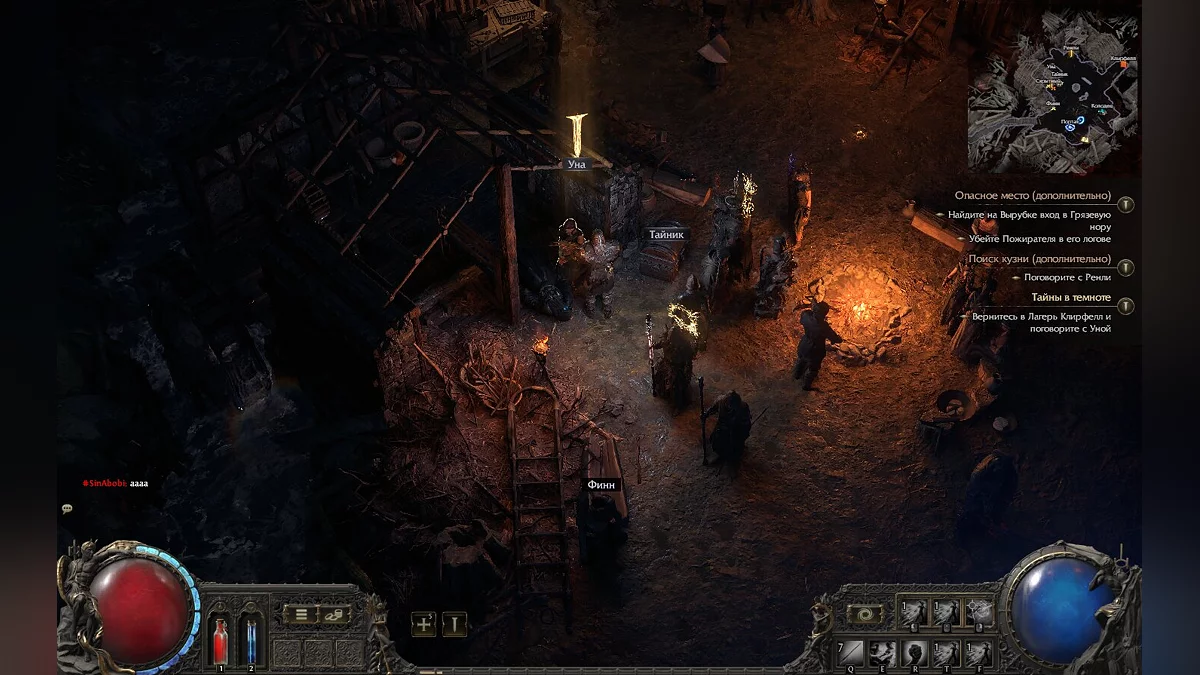
Use the portal again to return to the town. Upon arrival, head to Una, who is waiting for you in her hut located next to the Stash. There she takes care of an injured NPC. Only the Count possesses the power capable of lifting the curse, so Una tasks you with finding a unique ring to activate the next stage of the quest. Additionally, you can start another side activity by talking to Renly. However, to complete it, you first need to finish the current story quest.
The Mysterious Shade
The quest "The Mysterious Shade" begins with Una asking you to give her Count Lachlan's ring to resurrect the Sneaky. Upon learning that the Count stole something important, she sends the player to the Hunting Grounds, where you need to find a village and solve a puzzle related to the "seed." During the quest, you will have to fight cultists, witches, and the Executioner. After defeating the Executioner, the player frees Leitis, who vows to take revenge on the Count and rewards the hero with a Skill Stone.
Find the Entrance to the Gloomy Thickets in Grelwood
The entrance to the Gloomy Thickets can be found by teleporting to the Gloomy Tree and exploring the location from the southeast side. Continue destroying mobs until you come across a dungeon.
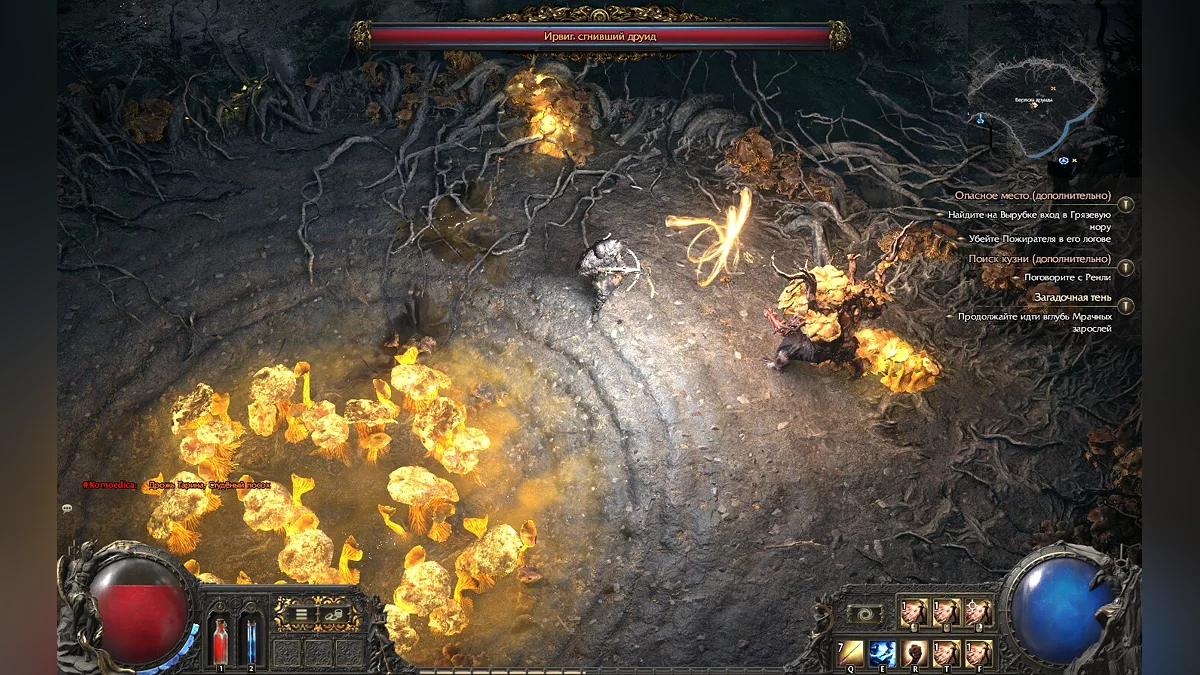
Around this place, you can also find golden mushrooms that will emit a bright glow. If you step on them, they will explode after half a second, dealing damage to your health, so be careful. Interact with the button and enter inside.
Ask for Help Clearing the Roots
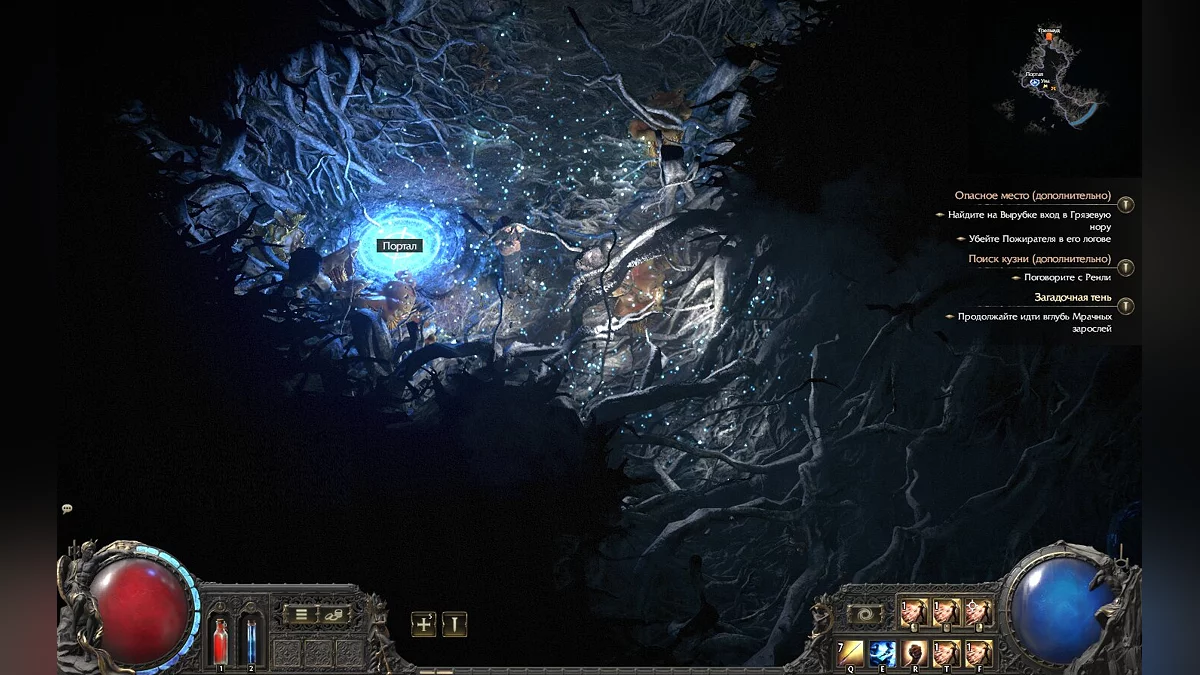
This dungeon is completely overgrown with roots that block your path. To continue, use the sphere to summon Una. When she appears, ask her to clear the roots. Una will begin to chant her haunting song, and the roots will retreat.
Continue Deeper into the Thickets
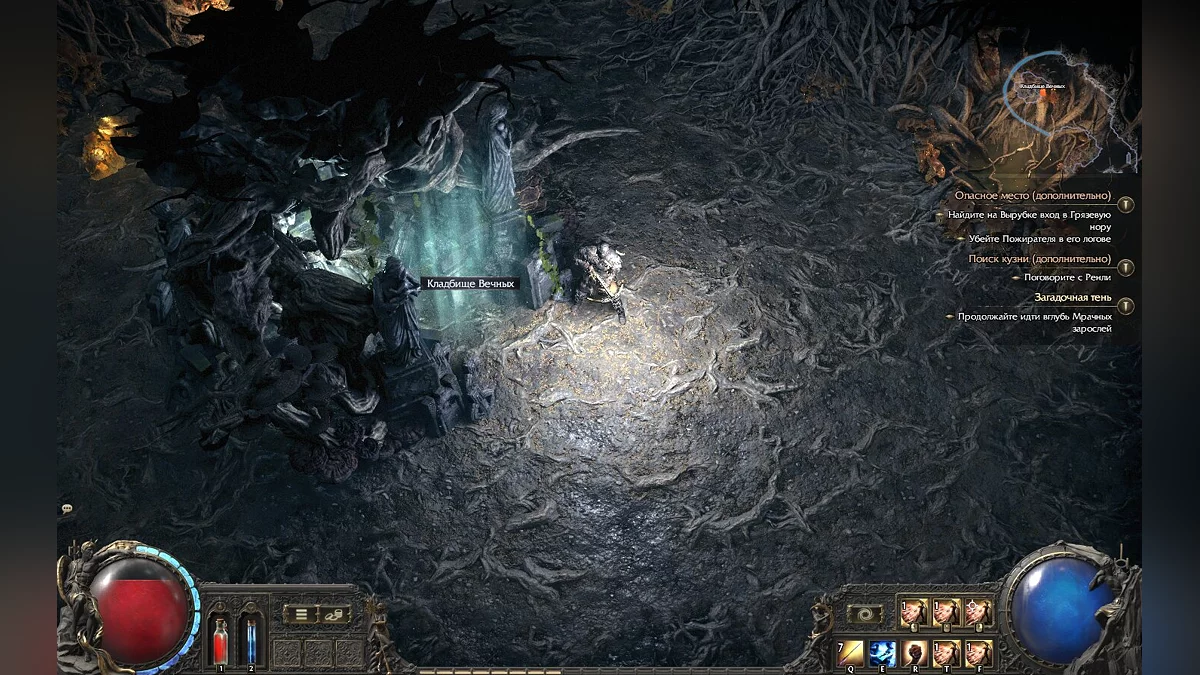
You need to explore the premises in search of the Cemetery of the Eternal. Be extremely cautious, as there are mobs here that you haven't encountered before. Most of them are fungal creatures. Upon destruction, they will explode, poisoning you, so keep your distance.
The cemetery itself can be found if you turn south immediately after starting the path, and then head west upon reaching the end.
Additionally, with a bit of exploration, you can find a boss — Irvig, the Rotten Druid. Fighting him is optional, but if you want to obtain additional resources, you can try to battle him.
His main ability is teleportation, especially after taking damage. Irvig can also trap you in roots from which he teleports.
When attacking, this druid summons whirlwinds that head to the spot where you are standing. That's why you'll have to constantly move around the improvised arena. Irvig's main attack is not as dangerous as his ultimate ability. When he uses the second, more powerful attack, he releases dozens of whirlwinds that swiftly fly towards you. Your task is to quickly react and leave your position, or you will inevitably perish.
Cemetery of the Eternal
Interacting with the entrance to the cemetery will bring you to the surface. Here you can talk to a man named Lanklan the Lost, who will give you another storyline quest that will unfold in parallel with the current one.
Sorrow Among Stones
Completing this quest involves exploring the cemetery and dungeon, fighting monsters such as ice witches and knights. You will need to find the Marital Tomb and the Mausoleum of the Praetor, defeat Praetor Draven and his wife Azinia, battling their magic and soul summons. At the end of the quest, you will open the Memorial Gates and fight Lanklan, who transforms into a giant zombie to obtain his ring.
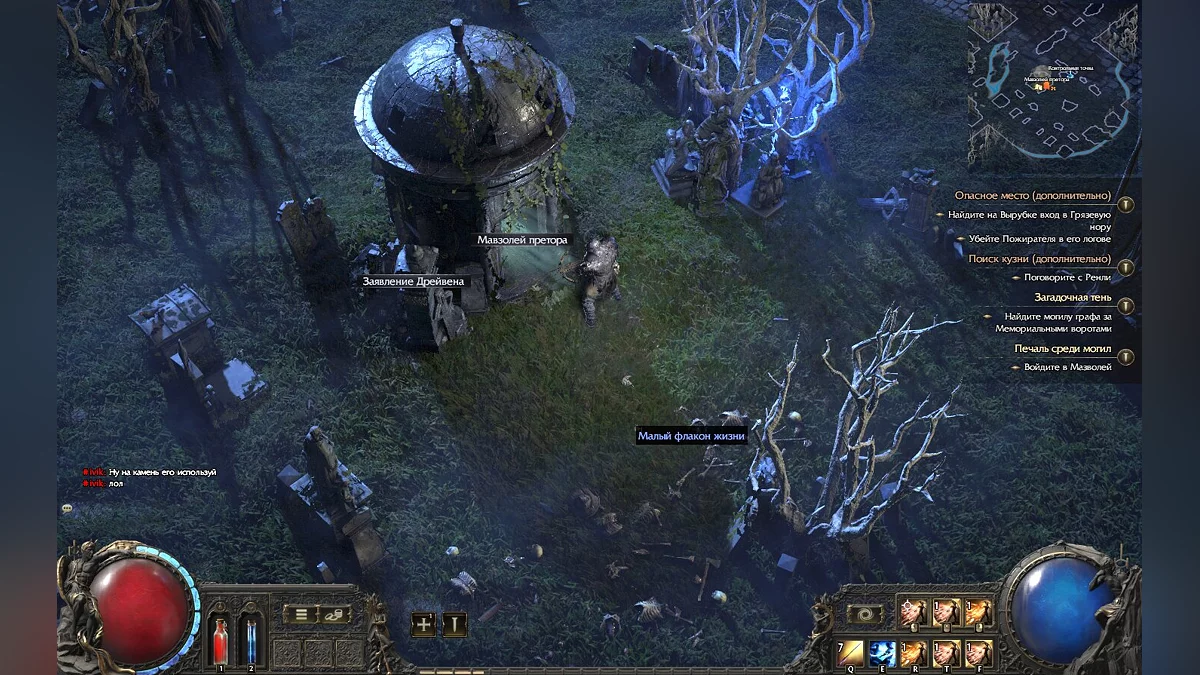
Find the Marital Tomb and Mausoleum
While exploring the location, you will encounter many new monsters. Among them, the ice witch stands out, capable of freezing, moving quickly, and dealing massive damage. You will also meet ravenous hunters, who move at high speed but only pose a threat when attacking in groups.
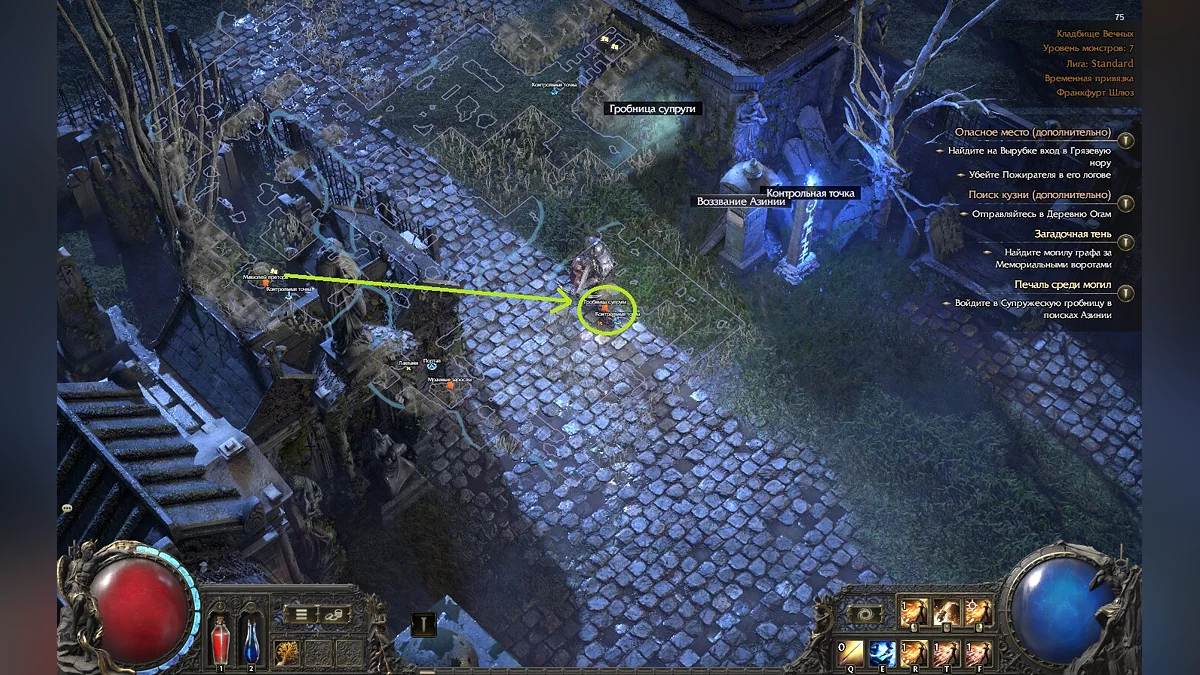
You need to find the Mausoleum of the Praetor. To do this, head northeast from the place where you spoke with Lanklan.
Explore the Mausoleum
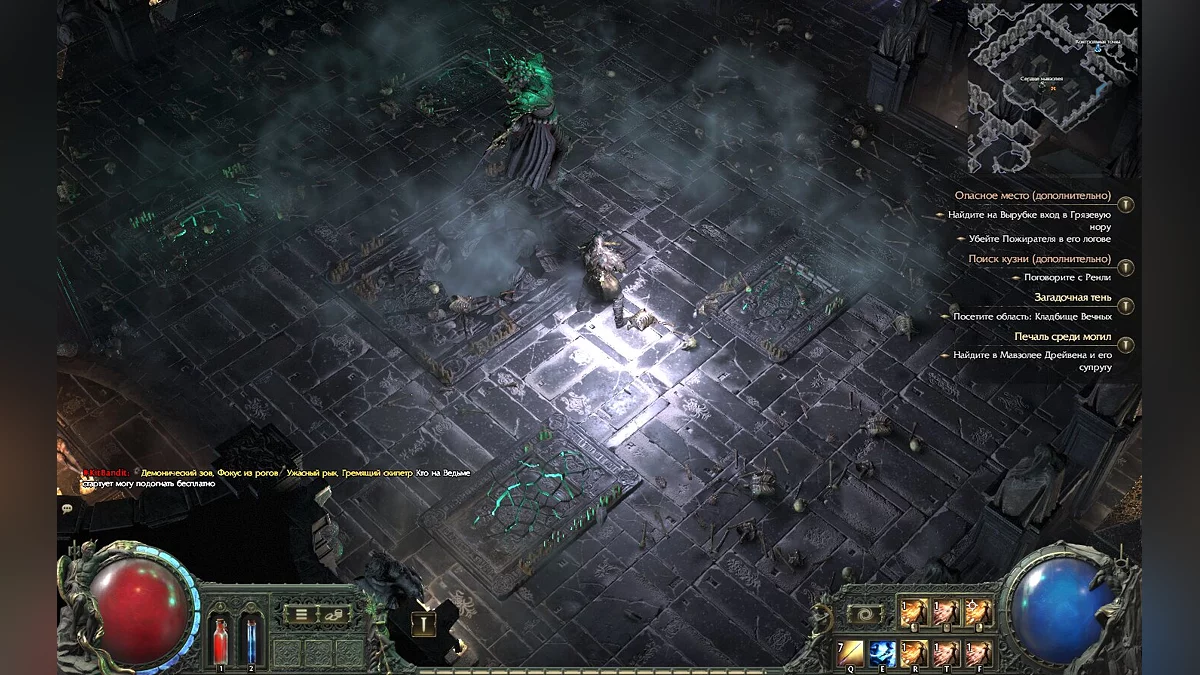
Upon entering the tomb, your main task will be to find the Praetor — a powerful boss, whose battle may present certain challenges. However, before you can start the fight, you will have to go through the entire tomb, where you will encounter many new mobs. Some of the most challenging in battle are the Knights and Courtesans. Attacking the Knights from the front will deal no damage, as their shield deflects your attacks. You will have to use a stun ability or roll behind them using the spacebar while they are attacking. The Courtesans, in turn, leave large pools of blood on the floor, stepping into which will deal an incredible amount of damage.
How to Defeat Draven — Praetor of the Eternal
The battle with the Praetor will be long and intense, especially if you are leading the charge. Before starting the fight, enhance your skills, use upgrade stones dropped from enemies to strengthen your weapons and armor. Also, don't forget to replace small health and mana flasks with more powerful medium ones.
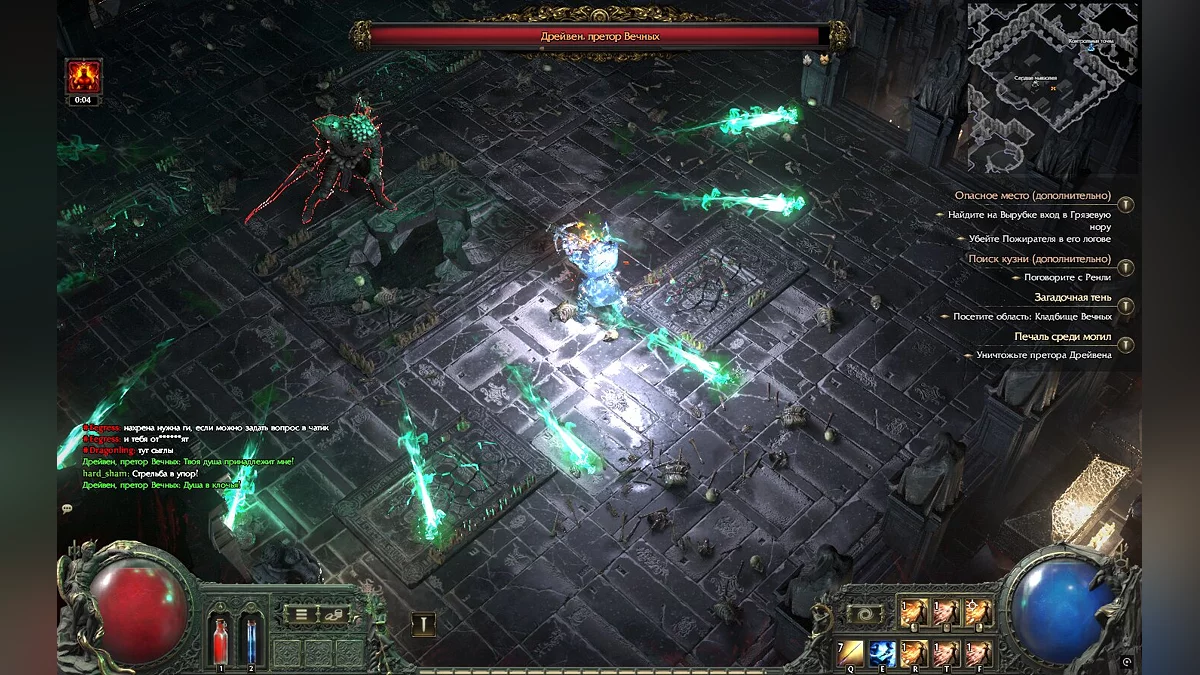
Interact with the checkpoint, and you need to enter the arena. Upon doing so, a huge soul will fly out of the stone behind you and embed itself in the ground, triggering Draven's emergence from the depths of the earth. First, he will show his displeasure and immediately start shooting lightning. These attacks do not pose a serious threat, try to dodge them using the spacebar. A much bigger problem is the souls that this boss attracts from all sides of the arena. Stepping on a soul will prevent it from reaching Draven and it will disappear. However, if the soul is in the grave zone and you step on it, it will spawn a Knight, which you have encountered before. The best solution against this attack is to move Draven around the arena so that the souls follow him into the area between the graves.
Throughout the battle, you will need to control the souls and avoid Draven's attacks. He is resistant to fire and has heavy armor. If you have managed to upgrade a skill capable of penetrating enemy armor by this point, don't hesitate to use it immediately. We also recommend not missing any opportunity to deal damage to this boss. If your weapon can ignite the enemy, it will provide a small but extra damage boost and significantly aid you in the battle.
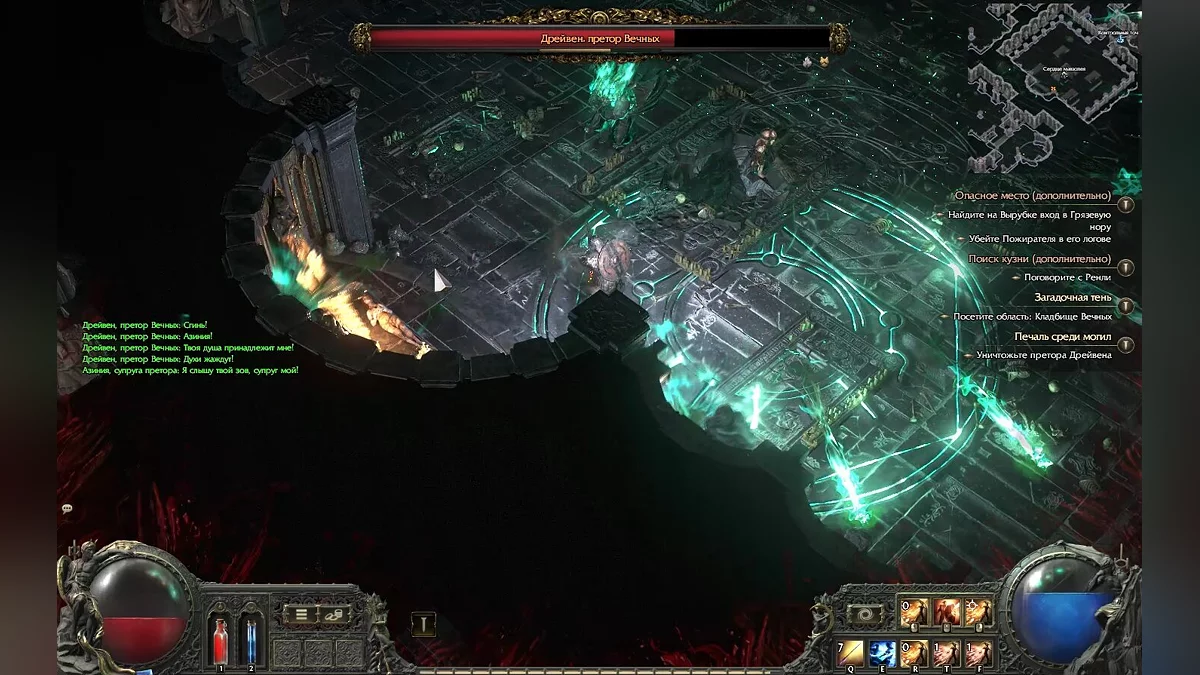
Additionally, from time to time, Draven will summon Azinia — a girl whose ability creates mystical signs on the floor around you, dealing damage. After defeating the boss, you will receive the necessary part of the memorial key, which is required to complete the quest. Then return through the portal to the cemetery.
Find the Marital Tomb
Return to the Cemetery of the Eternal and continue exploring to find the Marital Tomb. It is located to the east of the place from where you emerge. On the way, don't forget to find Lanklan the Lost to share the news of your success with the Praetor.
Descending into the Tomb, you will encounter familiar opponents and several hidden treasure chests. You will also find a ghost chest that summons a rare enemy — the Eternal Knight. To inspect the chest, you will need to first defeat this formidable opponent.
How to Defeat Azinia, the Praetor's Spouse
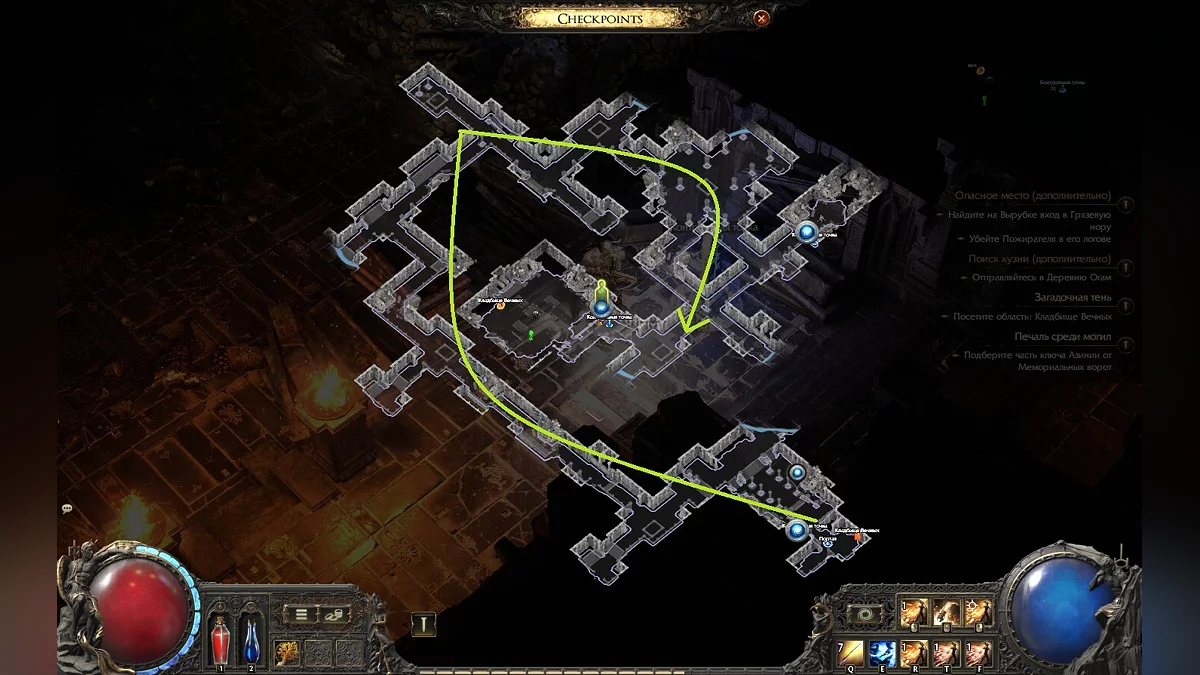
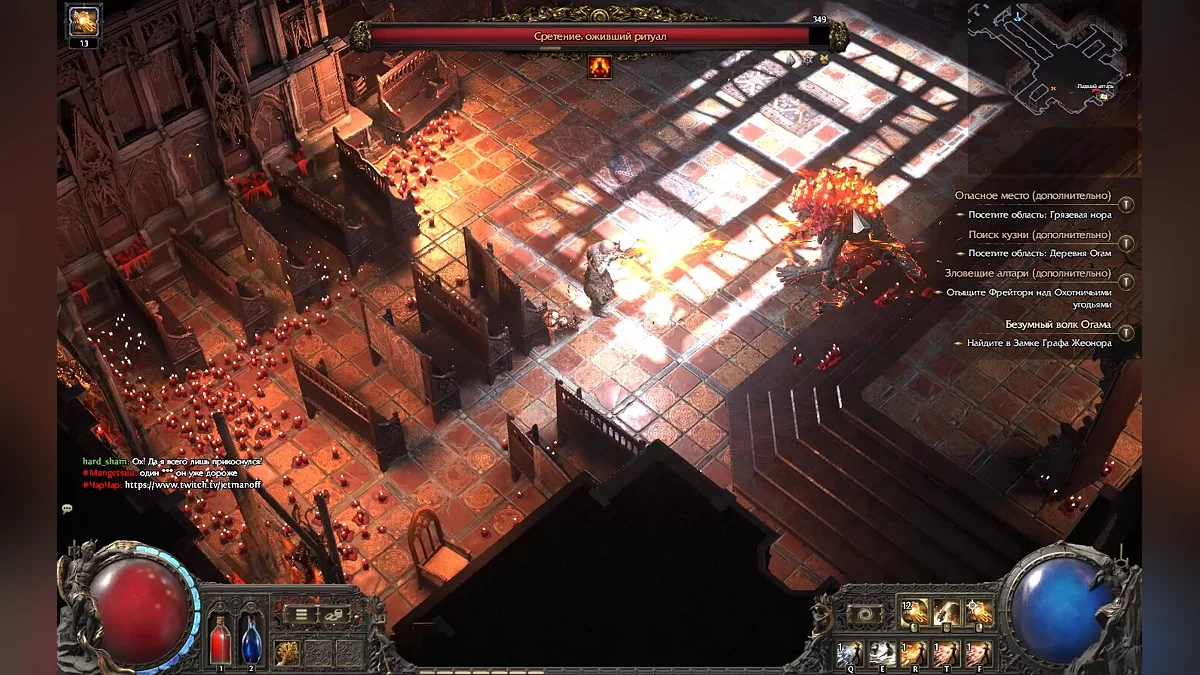
To find Azinia, the very woman who created the burning circles on the floor, you will need to navigate almost the entire tomb. Use the screenshot below to avoid wasting time and find her.
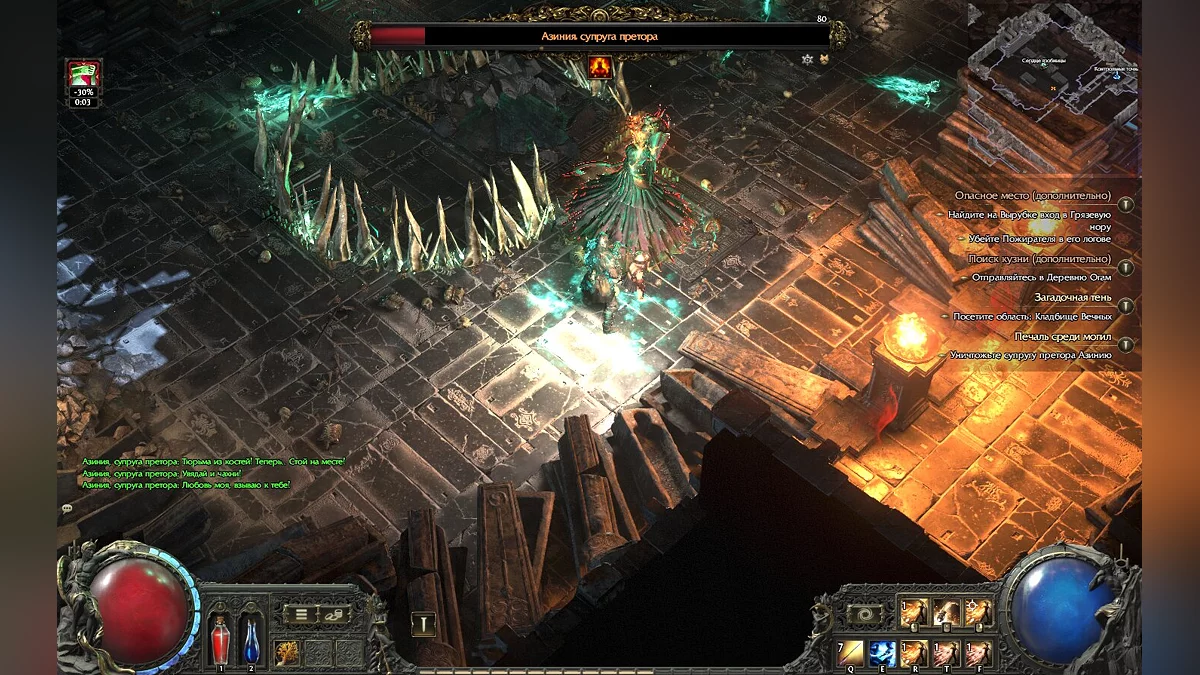
Upon entering the arena, you will see the same animation as with the Praetor, which will trigger Azinia's appearance. In fact, this fight is almost similar to the previous one: souls will appear from all sides of the arena throughout the battle for Azinia to absorb them. Try not to let the souls reach Azinia, as they make her attacks stronger. Stepping on a soul flying towards the boss when it is over a grave will resurrect the Eternal Knight. This hindrance during the battle will be incredibly obstructive, so try to eliminate the Knight before Azinia uses her strongest attacks.
However, even if you kill the Knight, you still need to be cautious, as he can respawn if you step on a soul in the area where his body is located again. The best way to deal with this is to destroy the souls immediately after they appear, as there are no graves around the perimeter of the room, preventing unwanted resurrections. When Azinia absorbs souls, a flame ignites above her head. The next time she casts a spell, this flame uses the accumulated power to deal additional damage.
During the battle, you will surely notice that Azinia, for some reason, becomes stronger even without absorbing souls. It's all due to her health percentage: when you reduce it by 34% or more, she will use new attacks. One of these is summoning her spouse. Draven will occasionally appear on the battlefield and use the same attacks as in the fight against him. Besides this, Azinia will create a bone cage in a specific area. If she manages to trap your character inside, you need to destroy any part of the cage by shooting or striking it. This must be done before she completes her ritual, which will summon a rain of swords inside the cage.
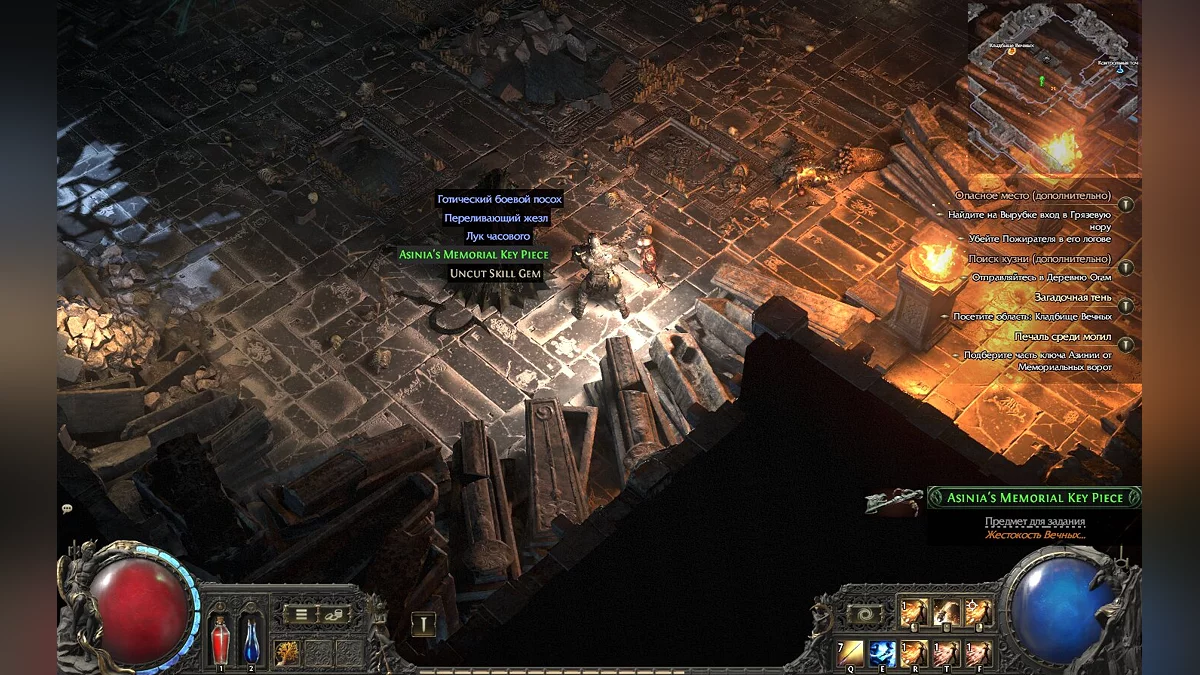
When you defeat Azinia, she will drop random loot and a part of the memorial key, which you will need to complete the quest.
Open the Memorial Gates
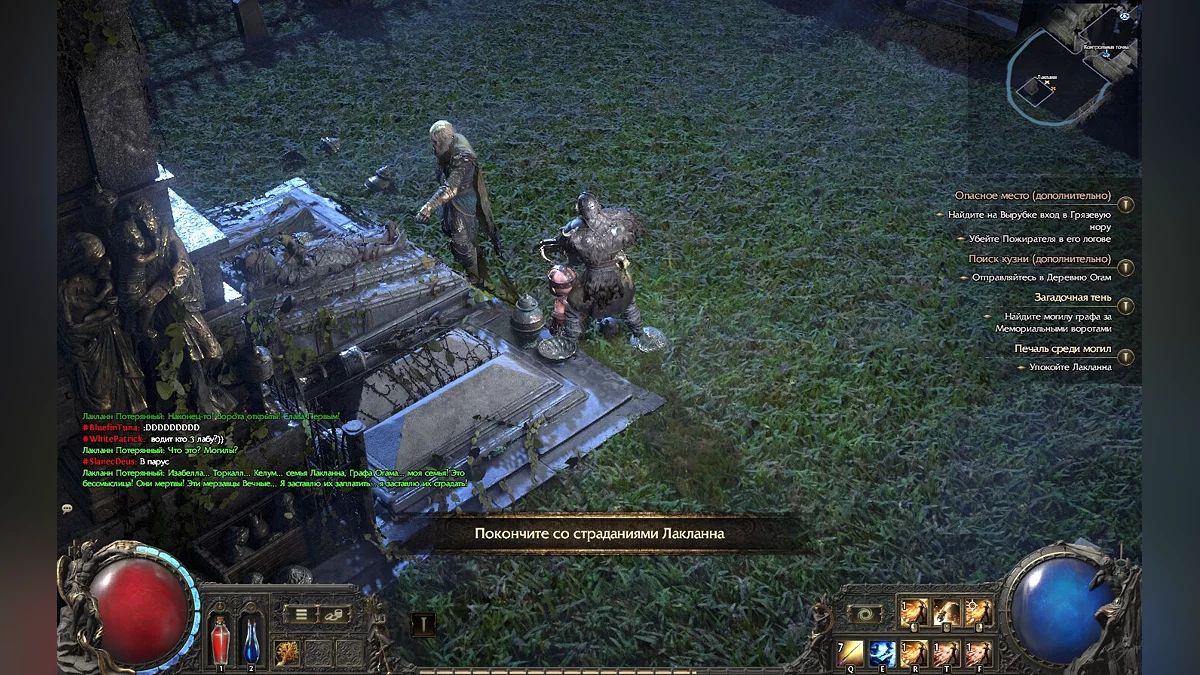
Now you need to return to Lanklan and have a conversation. Once you do this, you will need to open the gates located to your left. After doing so, follow Lanklan to the Memorial of the Departed, where he will find his family's graves. This will enrage him, and he will transform into a giant zombie. To take his ring, you will need to defeat him.
How to Defeat Lanklan the Eternal Wailer
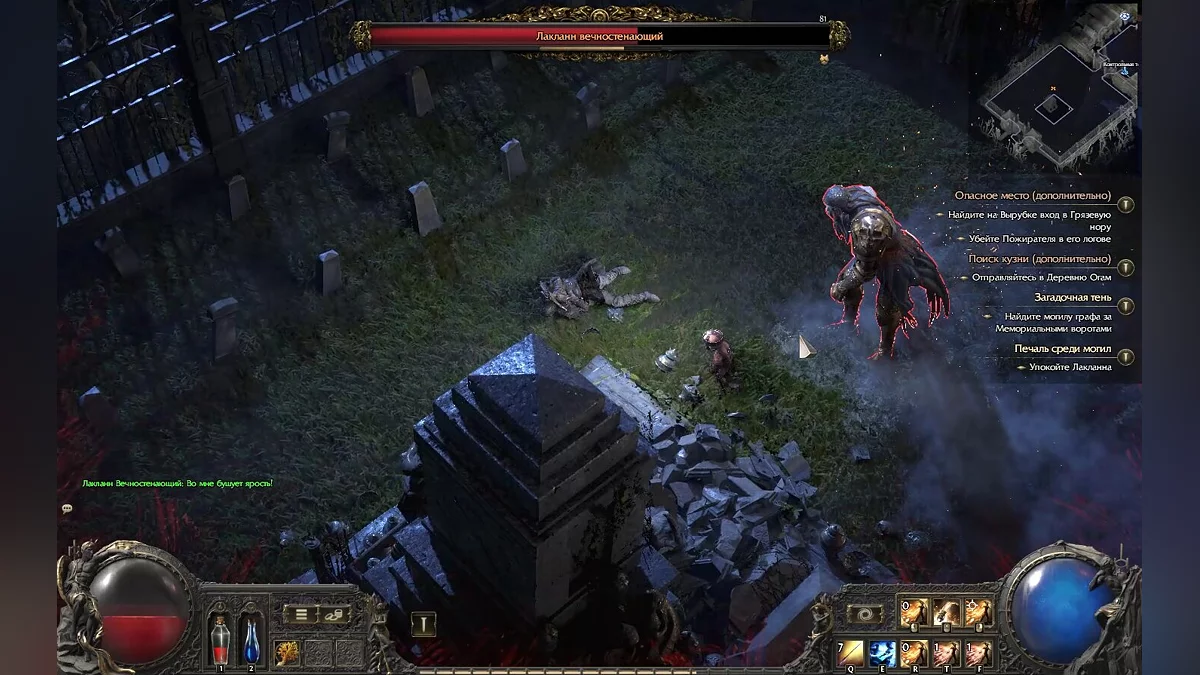
The battle with Lanklan requires patience and caution. The fight takes place in a confined area, so it's important to be attentive and confidently dodge attacks that leave trails of frozen ground. If you're not careful, these areas can occupy a large portion of the arena, slowing your movements and making it difficult to dodge his powerful strikes.
When Lanklan's health drops below 66%, he will start using new moves that leave even more frost on the ground. These attacks cover a much larger area and are difficult to avoid if the arena is already covered in frost. Constantly guide the fight to the center of the map to create a clear path along the edge, free of ice. Use this zone to maneuver around Lanklan and strike when the opportunity arises.
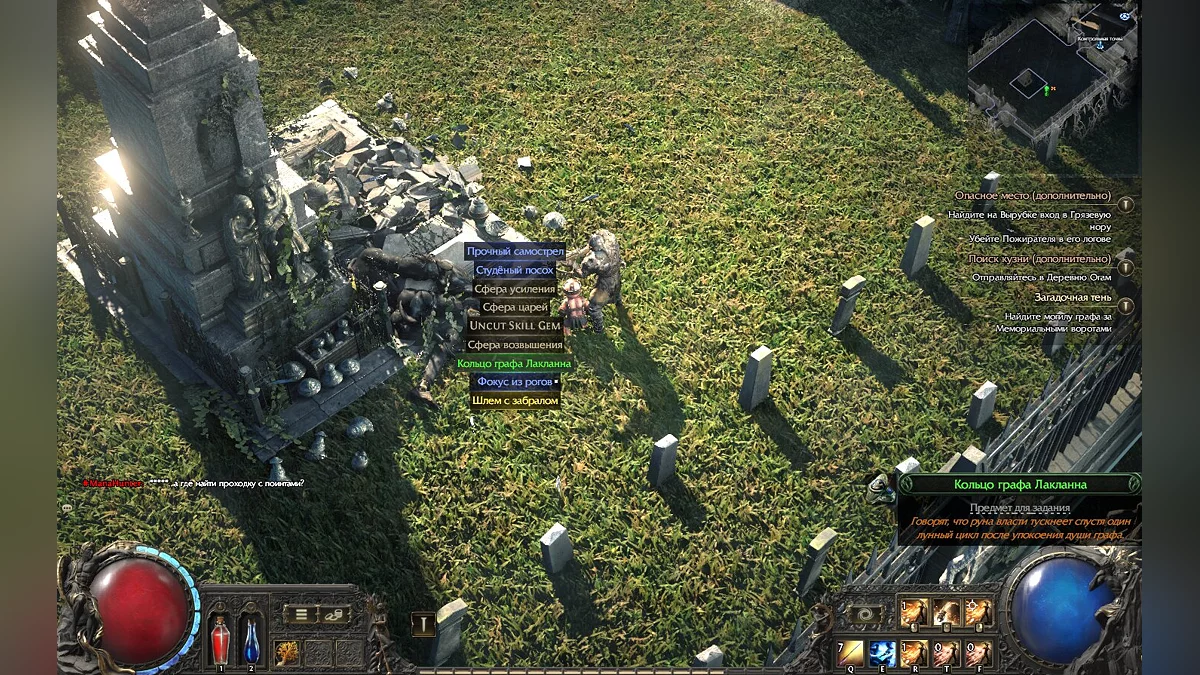
After defeating Lanklan, you will receive random loot and the Ring of Count Lanklan. Then return to the portal, which you can use to go back to the Clearfell camp.
The Mysterious Shade
Since the quests "Sorrow Among the Stones" and "The Mysterious Shade" intertwine, and the second requires the completion of the first, we have prepared a chronology. This is the final part of the "The Mysterious Shade" quest.
Take Count Lanklan's ring to Una
Returning to the camp, talk to Una to give her the ring for the revival of the Stealthy. He will tell you that Count Geonor stole something from him and mention a "seed" that needs to be "returned." Una will decipher these words and instruct you to head to the Hunting Grounds.
The Trail of Corruption
- Visit the area: Hunting Grounds.
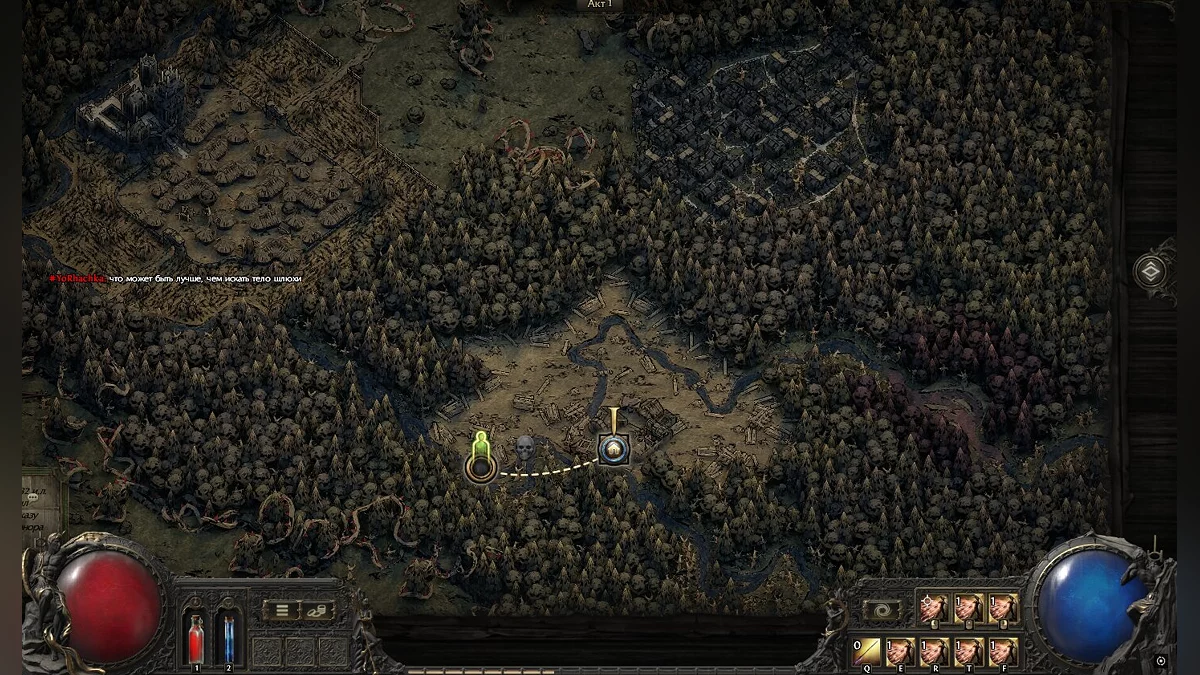
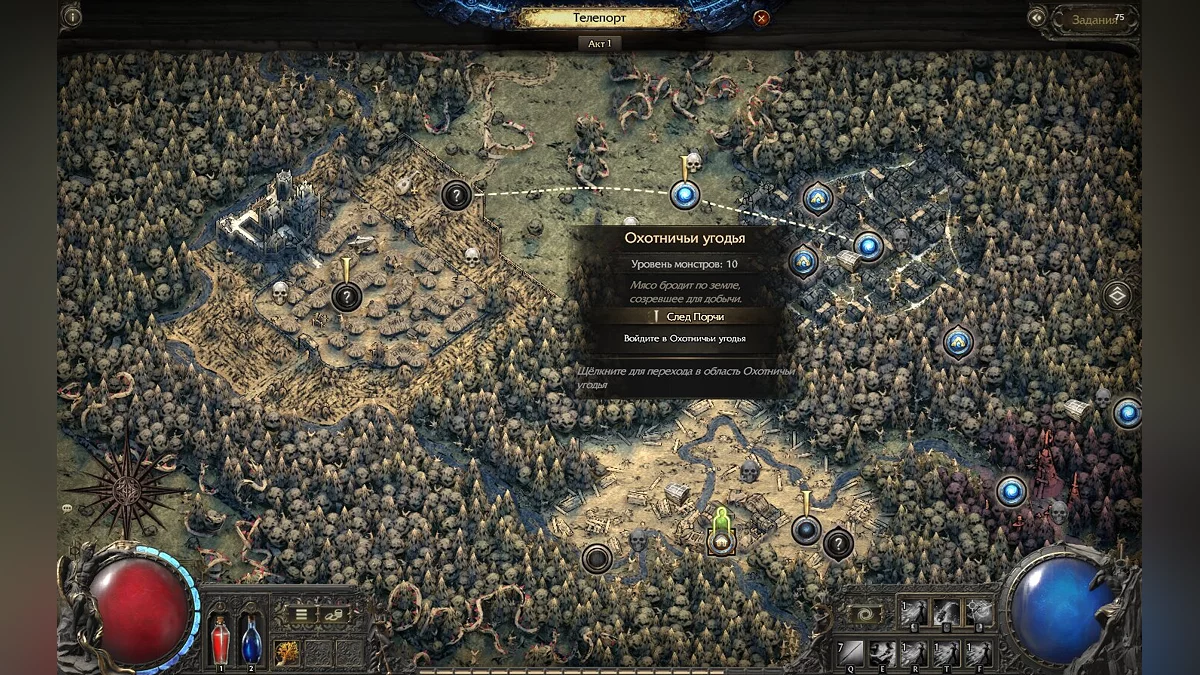
The Hunting Grounds will be available for teleportation from the camp. Approach the portal and select this region, located to the left of the cemetery. Be careful: if your level does not match the region's level, we advise you to complete several side quests and level up first.
Find the Way to the Village
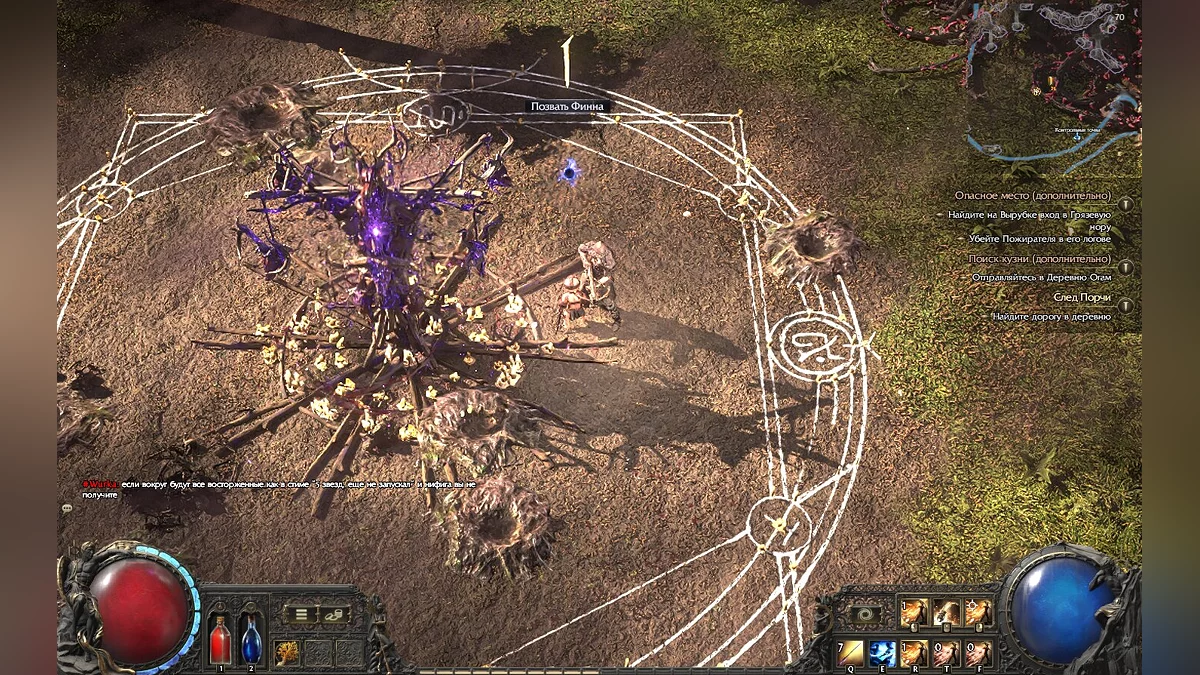
Exploring the Hunting Grounds, you will be able to discover the Ritual Altar, which is part of the side quest "Sinister Altars." First, you will need to get rid of its guardians, after which you can start the ritual. The essence of the ritual is to kill cultists, witches, and other evil beings to obtain a skill stone. When you defeat all the enemies, summon Finn and talk to him to accept the quest.
Another location you can find is the Entrance to Freythorn, where you will need to go to complete the same side quest.
Additionally, you will find the Beastmaster's Trial, where you will have to fight the Raven Bell. After winning, you will receive a Specialization Book, granting two passive skill points for a weapon set.
Ogam's Farmlands
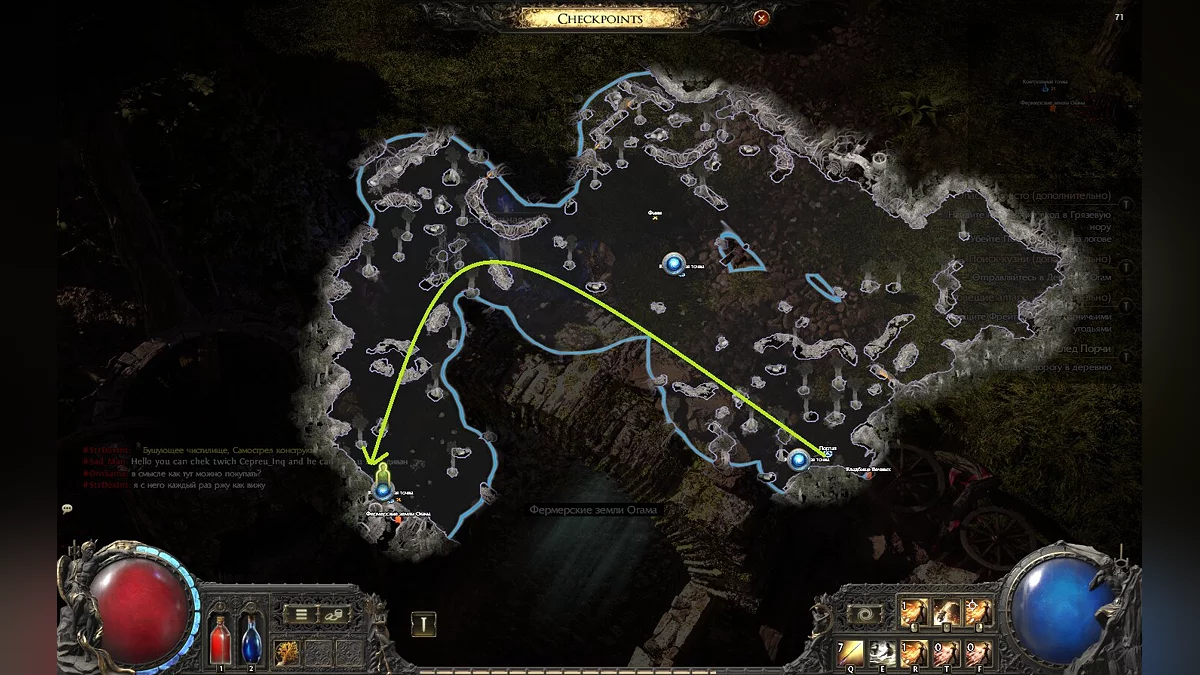
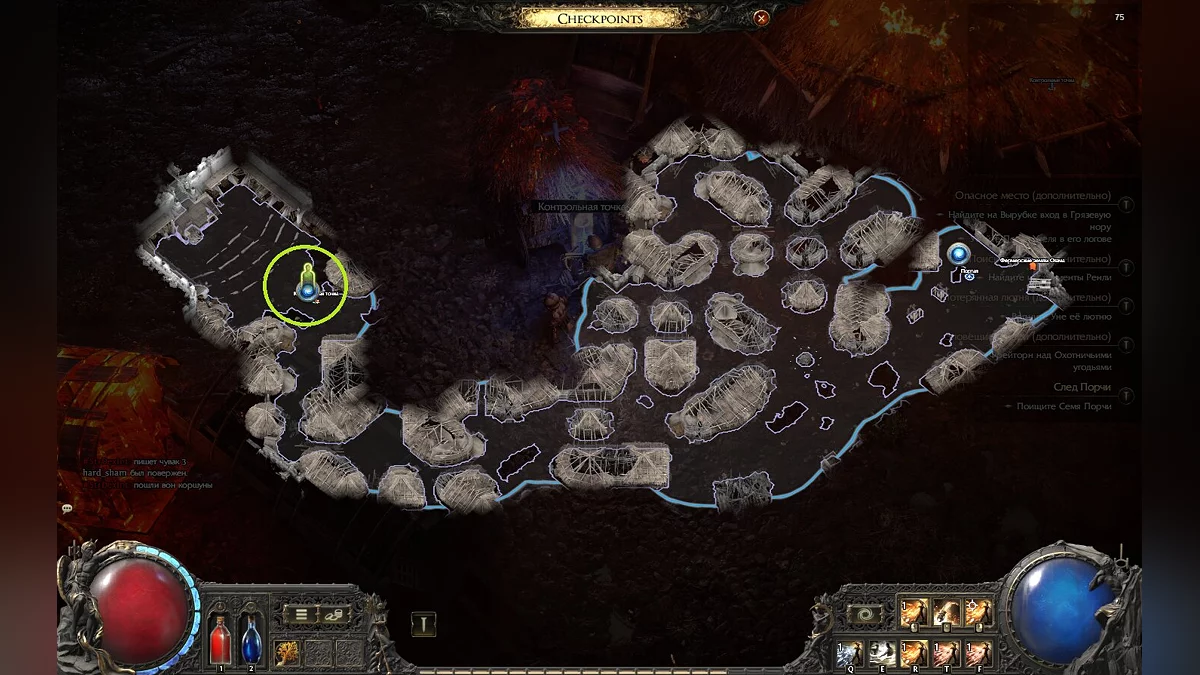
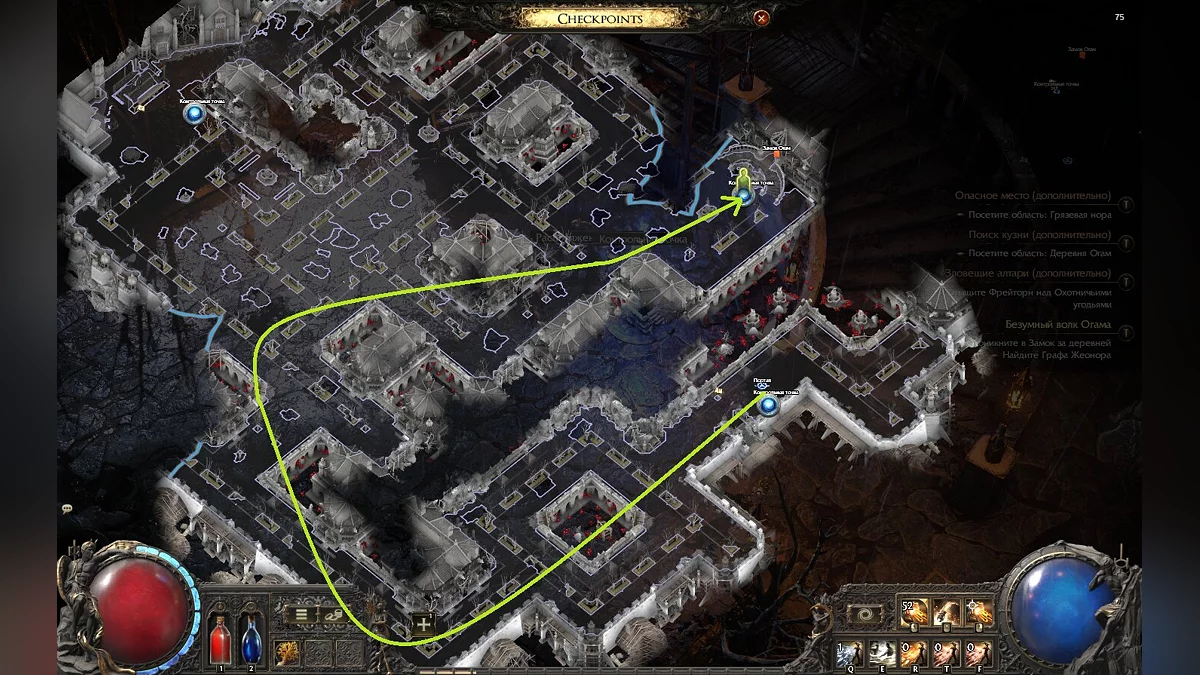
However, your main task in this place is finding the village, specifically Ogam's Farmlands. To successfully find them, we advise using the path indicated below. When you pass through all the enemies, interact with the gates to Ogam.
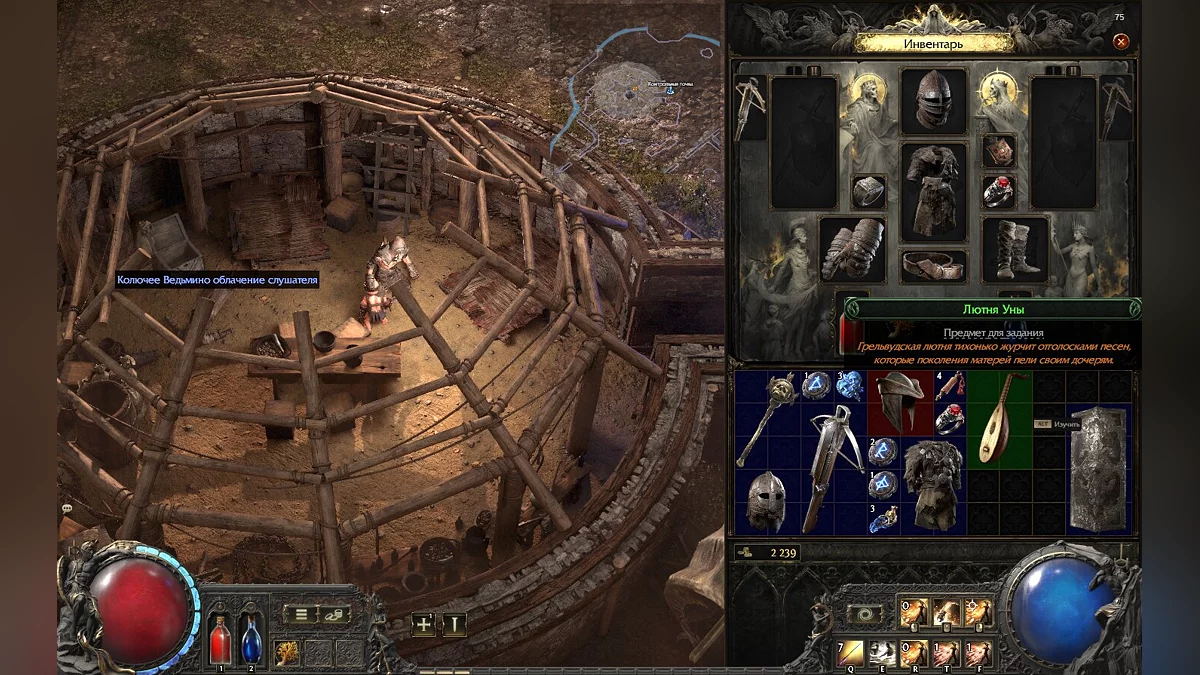
In this location, the monsters are already level 12, so make sure your strength and preparation allow you to handle them. Here you will encounter fierce dogs, scarecrows, and mercenaries who will attack if you are not careful. While exploring this area, pay attention to Una's cabin, where you can find her lute for completing the side quest "The Lost Lute".
Finding the village took us about 30 minutes, as the location is quite extensive, especially considering the number of mobs present and their power level. To help you get through this a bit faster, we have shown you the optimal path below. Upon arrival, enter the village.
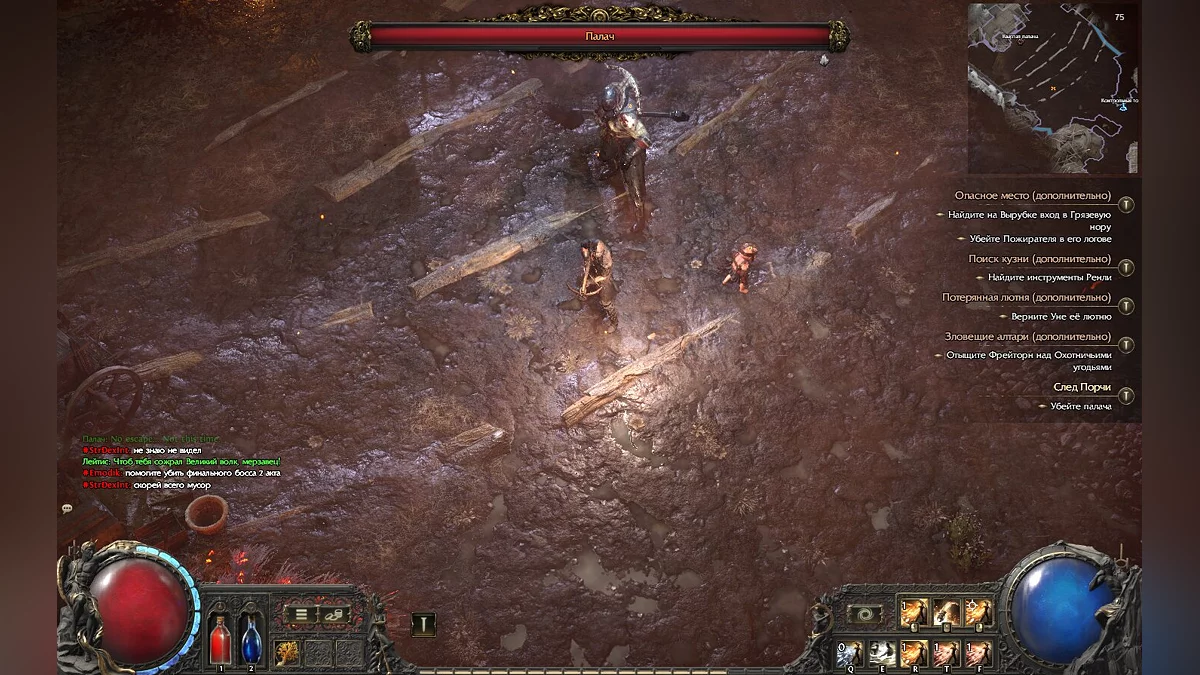
How to Defeat the Executioner
Upon reaching the village, a horrific scene unfolds before you — the count's minions are burning it to ashes and eliminating the settlers. You need to hurry and head to the opposite edge of the village, to a large courtyard where you will encounter the Executioner. Along the way, you will have a chance to find Renly's tools in a burning building, which are needed to complete a side quest.
The Executioner is slow but determined in his attacks. Each of his movements is clearly predictable, with long preparation, giving you enough time to dodge. We recommend using a shield, as it will protect you if one of his attacks is successful. His guillotine attack is especially dangerous and can knock you out with a single blow if you are in the center when it lands.
The main difficulty in the battle with the Executioner is the mobs he summons from time to time. They can deal both ranged damage using bows and melee damage. The optimal strategy is to lead the Executioner to the entrance of the courtyard, and then quickly return to the area where the enemies gather. This should give you enough time to take out a few foes before the Executioner arrives. Repeat this maneuver until all reinforcements are destroyed, and only then focus on the Executioner to prevent him from summoning new opponents.
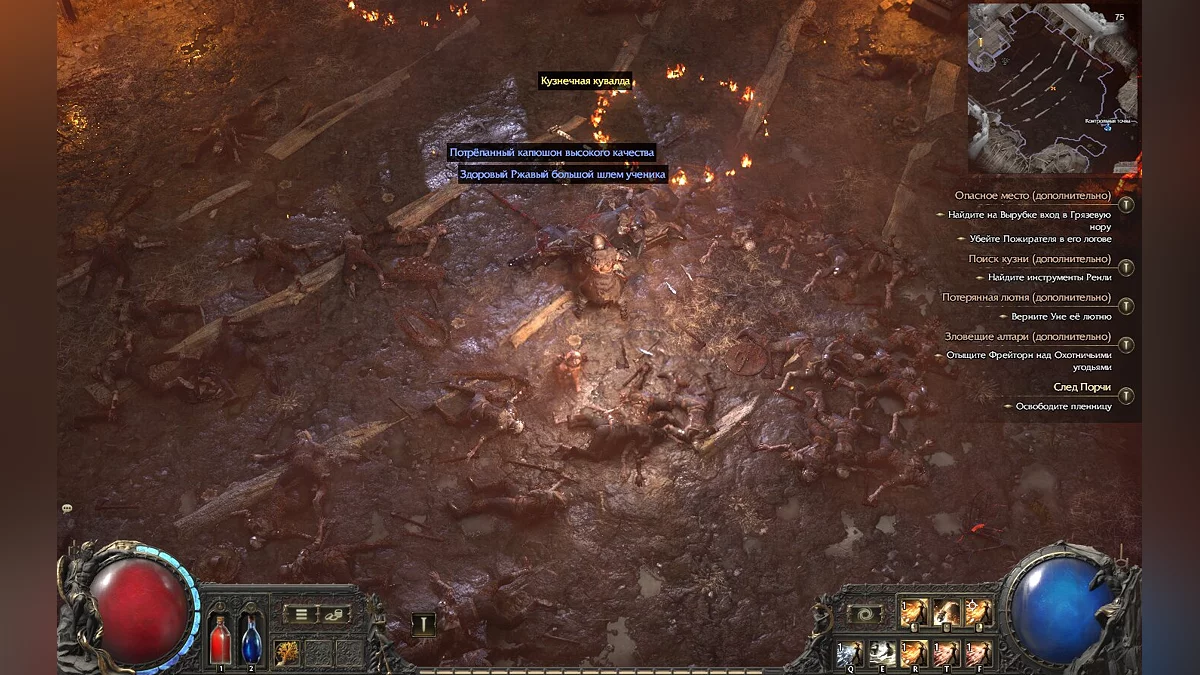
After defeating the Executioner, collect all the loot that dropped from him and head upstairs to the gallows. Here you will see a girl named Leitis. Interact with her to free her wrists and have a conversation. The girl is horrified by what is happening, and after a brief dialogue, she will open a portal leading to the Clearfell camp. We do not recommend following Leitis immediately. It's better to enter the castle and activate the checkpoint so you can teleport here later, and only then head to the camp. Once in Clearfell, talk to the girl again. She is distraught because her husband has died and wants to take revenge on the main boss — Count Geonor. In gratitude, Leitis will give you a Skill Upgrade Stone of the fifth level.
The Mad Wolf of Ogham
Completing the Trail of Corruption quest begins with a journey to the Hunting Grounds, where you need to find the way to the village and deal with enemies. During the quest, the player completes side quests, such as destroying the Ritual Altar's guardians and battling the Raven Bell in the Beastmaster's Trial. The main goal is to find Ogham's Farmlands and navigate through the extensive location to defeat the Count.
Infiltrate the Castle Beyond the Village
After teleporting to the Castle Walls location, you will need to find the entrance to the castle. While exploring the area, you can find the gallows — previously, you chose a character to play on it. Once you climb up, you will see a hanged man. Interact with him to free him, which will earn you an upgrade stone. We strongly recommend heading to this place first, as any upgrade before the boss fight will be beneficial.
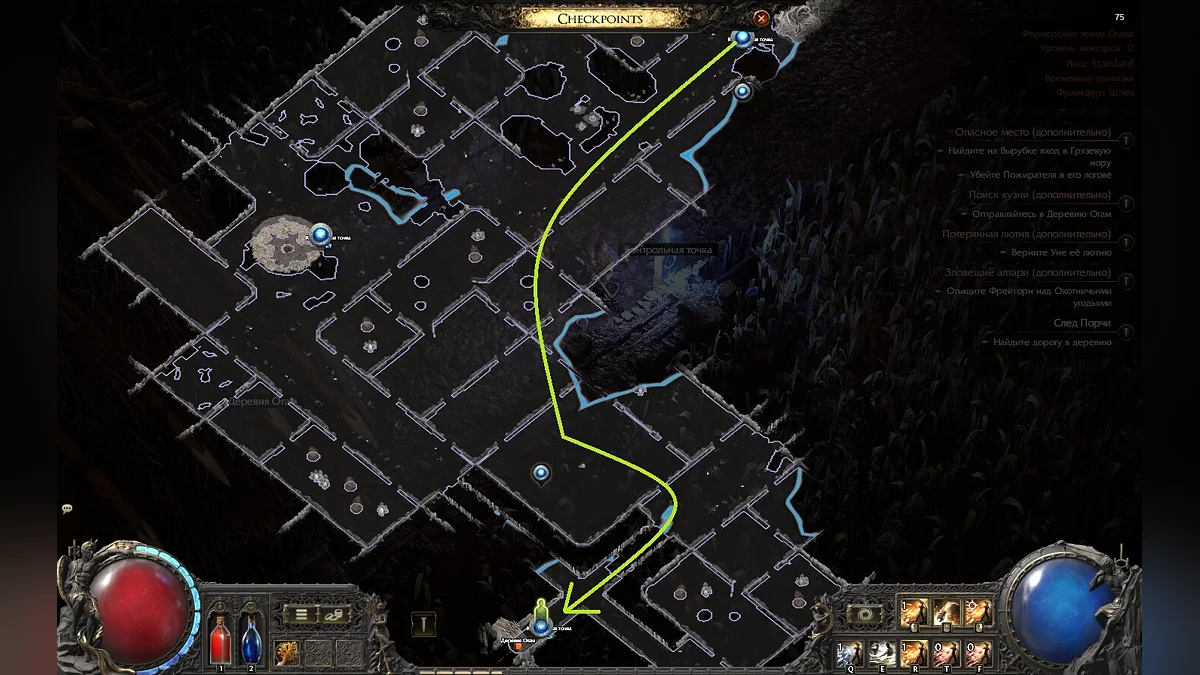
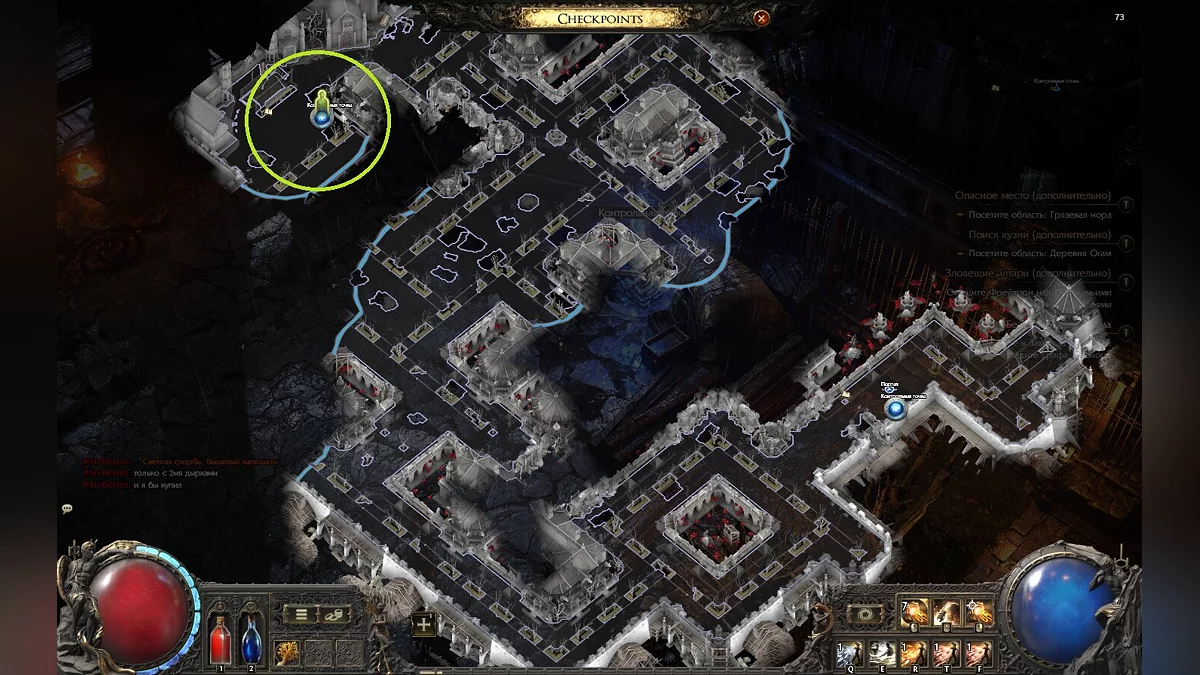
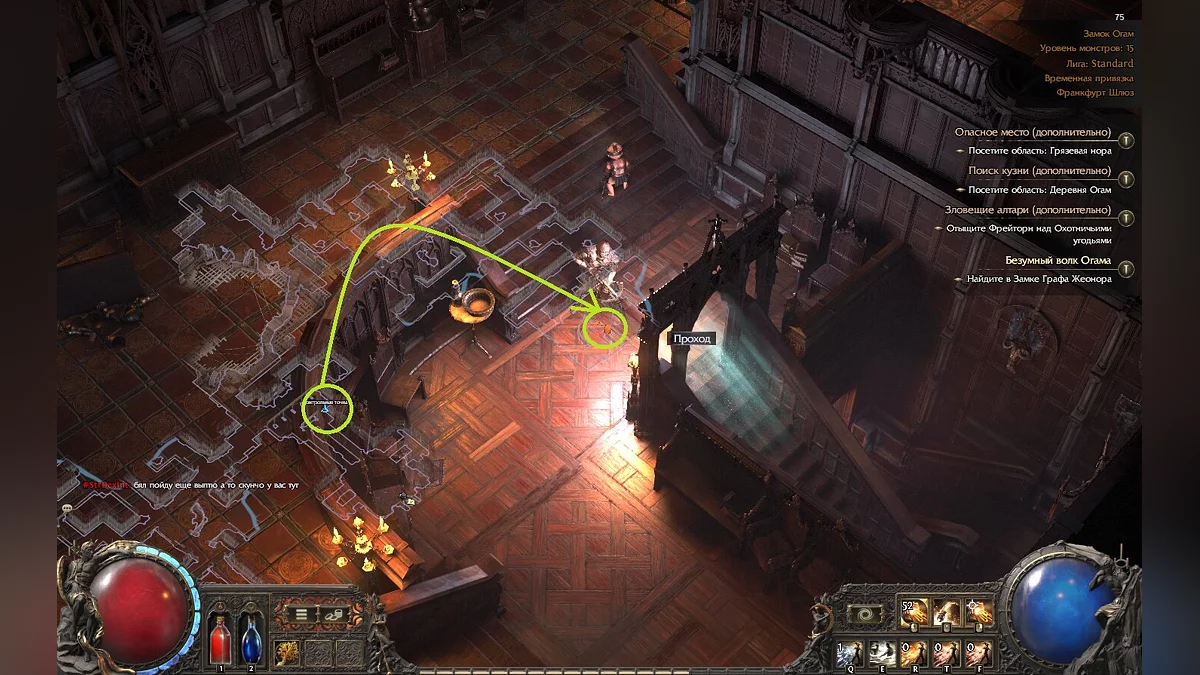
The estate itself is not as far as it might seem due to the vastness of the territory. Below, we have provided a map of the shortest path to it. Once you arrive, interact with the gates to enter.
Find Count Geonor in the Castle
Once inside the estate, you will need to descend three floors to successfully find Count Geonor. Pay special attention to the first floor, as this is where you will encounter an optional boss with no specific name. If you decide to engage in battle with him, defeating him will grant you +20 points to your character's maximum health.
Then, you will need to explore the eastern part of the corridors to find a passage leading further down.
On the second level, you will find the count's bedroom with his diary and chest, and on the third level — a torture chamber with a log and gold coins.
How to Defeat Count Geonor
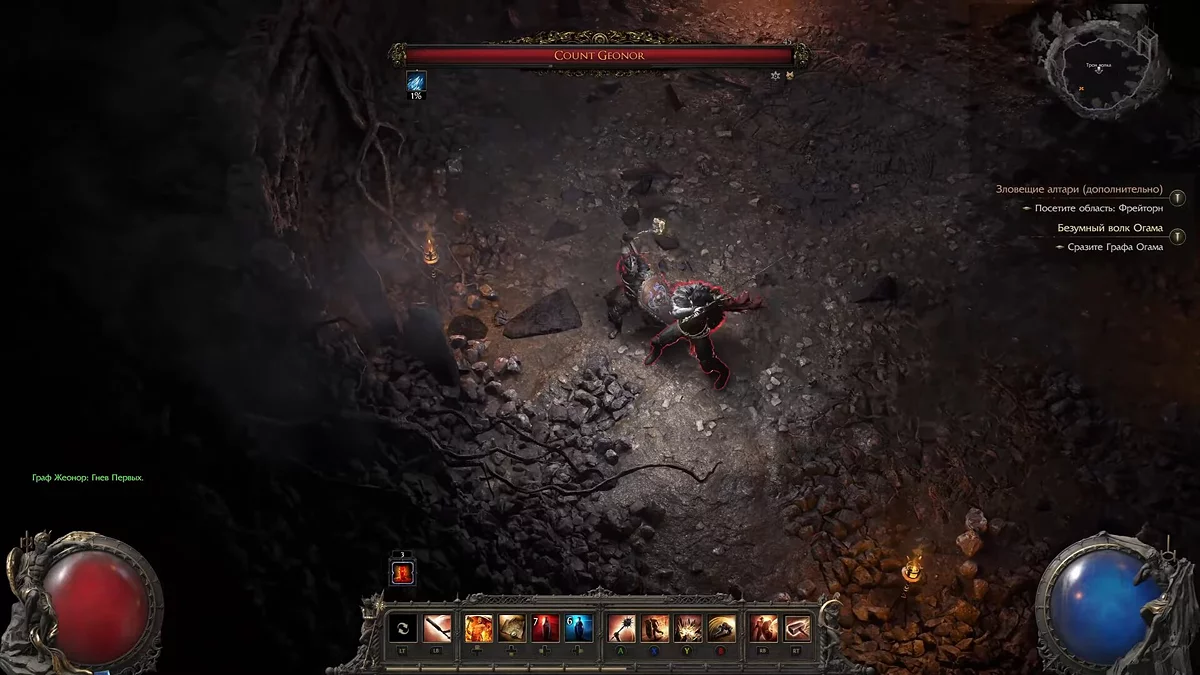
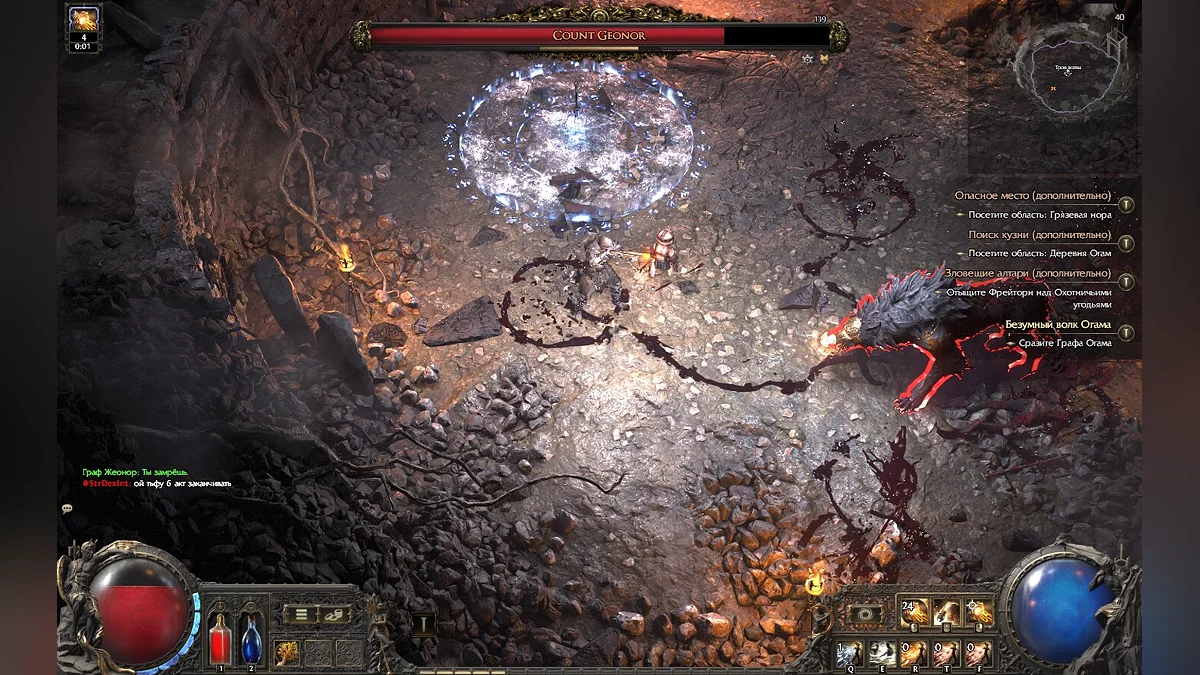
Interacting with the arena, you will find yourself in the ring with the final boss of the first act. The Count has several battle phases: he can change his form, transforming from a werewolf to a human, and then from a human to a monster.
First Phase
The first phase is the easiest. You will need to avoid simple attacks while simultaneously striking Geonor. This boss uses icy weapons that can freeze your character. To avoid this, simply leave the area that is about to be covered in ice on time.
After dealing significant damage, the Count will activate a new ability — a swift dash with a powerful attack and a wide radius. This attack is only effective at short range, so if you are playing as a Mercenary or a Witch, try to keep your distance. He will also try to trap you between two ice barriers before delivering a strong blow. To avoid this, simply run out of the attack's range. Attack during the pauses between his strikes and use all available abilities for maximum damage. His heavy armor will complicate the task if your character deals physical damage, so try to break the armor.
Dealing some more health damage, the Count will take on the form of a wolf. First, he will plunge his sword into the ground, summoning small wolves for support. He has two main attacks: a forward dash with blood splatter, dealing moderate damage, and an overhead strike that deals heavy damage.
When you notice his wolf form starting to burn, quickly run away as far as possible. The boss will land on the ground where a blood circle appears. Being in the center of the circle at the moment of his landing will result in death. While Geonor is in wolf form, focus on eliminating reinforcements and avoiding attacks. In human form, he is much more vulnerable to attacks.
Second Phase
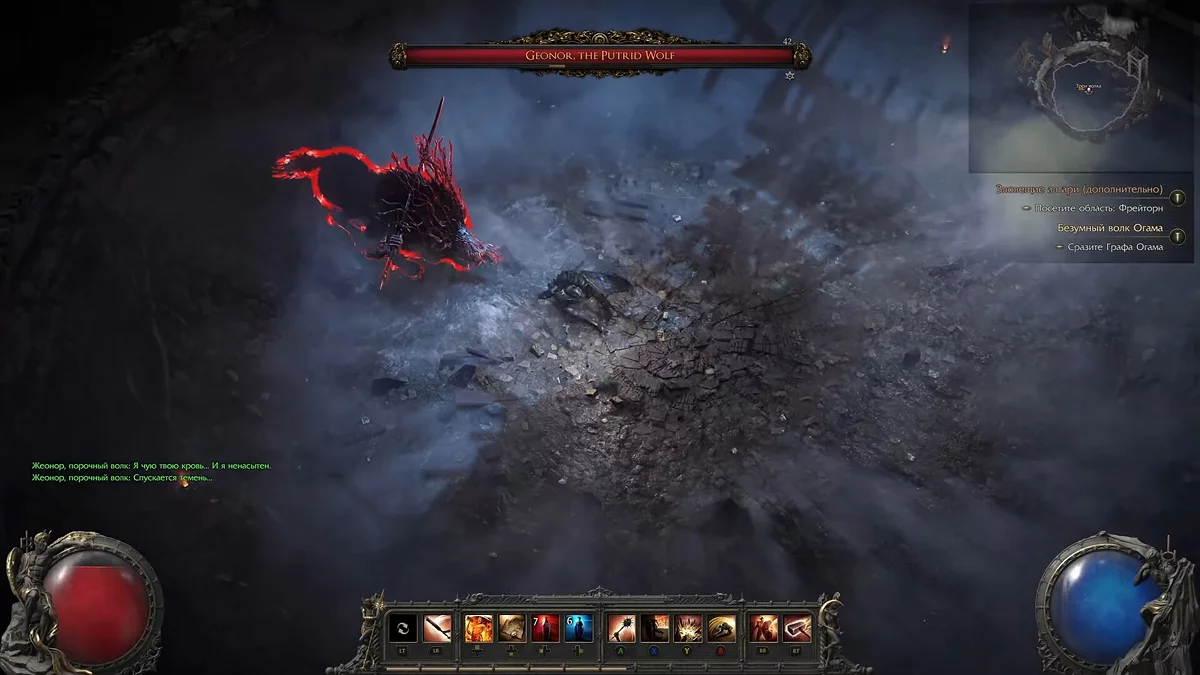
When Count Geonor's health drops to half, he will summon Oriana to release the writhing tentacles in the cage on the right. However, instead of helping, Oriana will betray him and escape with her pet. In rage, the Count will transform into a monster with a sword.
This transformation has several attacks that he does not execute instantly, giving you time to dodge the damage:
- "Freezing Storm/Freezing Frost": he unleashes an icy wave that not only freezes you but also significantly slows your melee attacks.
- "Solstice of Pain": raises his blade, and icy beams start falling from the ceiling, knocking everything in their path.
- "I Smell Your Blood": he strikes with his sword, and sharp spikes emerge from the ground where the icy patches appear.
Between these attacks, he will also use the same technique as in wolf form. When you see his form starting to burn, run immediately. Beware of the red circle that appears on the ground.
Geonor will periodically disappear, summoning a foggy cloud that leaves only a narrow circle in the center of the battlefield. From this fog, reinforcements will appear, and the Count will break through the circle every few seconds. Use crowd control abilities to weaken the wolves.
When the boss's health drops below 25%, he will activate a new ability, summoning red beams that will rise from the floor. He can use this attack even during the foggy cloud. You need to quickly deplete his remaining health; otherwise, you won't be able to handle these attacks. Even if you have to take a few hits, deliver powerful and fast strikes to stun him. While the boss is stunned, use your strongest attacks to quickly finish the fight.
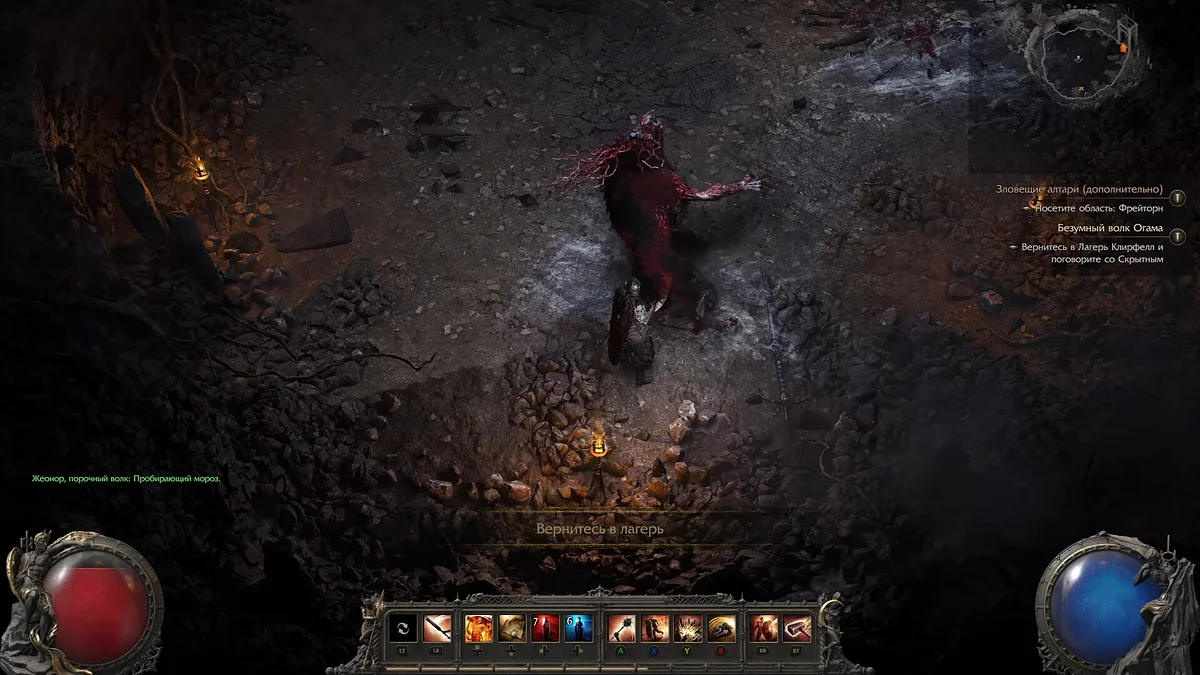
Defeating the Count will reward you with random but useful items, such as transformation or enhancement orbs. However, before that, you will be able to read a dialogue where you will understand that Oriana has actually taken control of Geonor's mind.
Return to Clearfell Camp
Enter the portal opened by the hooded man and talk to the two NPCs — Renly and Una. They talk about the Count's death. Then speak with the Stealthy to proceed to the second act.
