Breathedge 2 Walkthrough Guide: Collectibles and Achievements
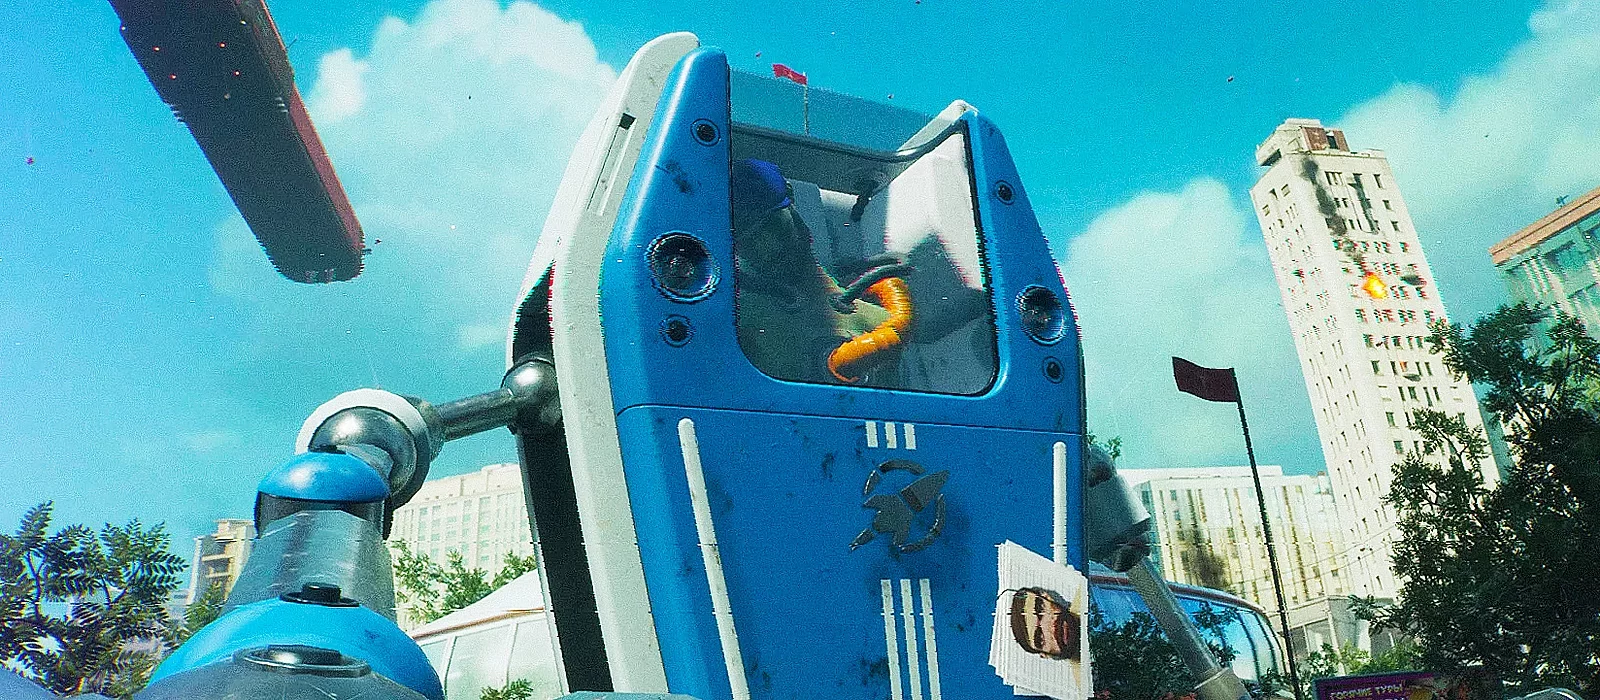
Breathedge 2 is an exciting continuation of the space simulator, where the astronaut once again finds himself in the vast expanses of space, trying to survive and uncover the mystery of his shuttle and its crew. In the first part, the hero successfully overcame challenges but made enemies in the form of coffins that won't leave him alone in the second part. In this guide, you will find a step-by-step walkthrough of the game, as well as valuable tips on game mechanics and resource gathering.
Tips for Breathedge 2
As in the previous part of the game, all resources can be gathered directly in open space. The simplest ones can be found as small debris, while some will need to be broken down with a crowbar. Mineral resources such as iron, titanium, or aluminum are also extracted from asteroids using a drill. In this section, we will describe in detail all available and even not-so-obvious ways to gather resources to help you survive in space.
How to Replenish Oxygen
At the beginning of the first part of Breathedge, gamers could replenish their oxygen supply for spacewalks only in the undamaged shuttle compartment. However, in Breathedge 2, players are immediately provided with several truly useful ways to replenish oxygen. This is especially important since the starting location is significantly larger, and exploring it will take considerable time.
Air Stations
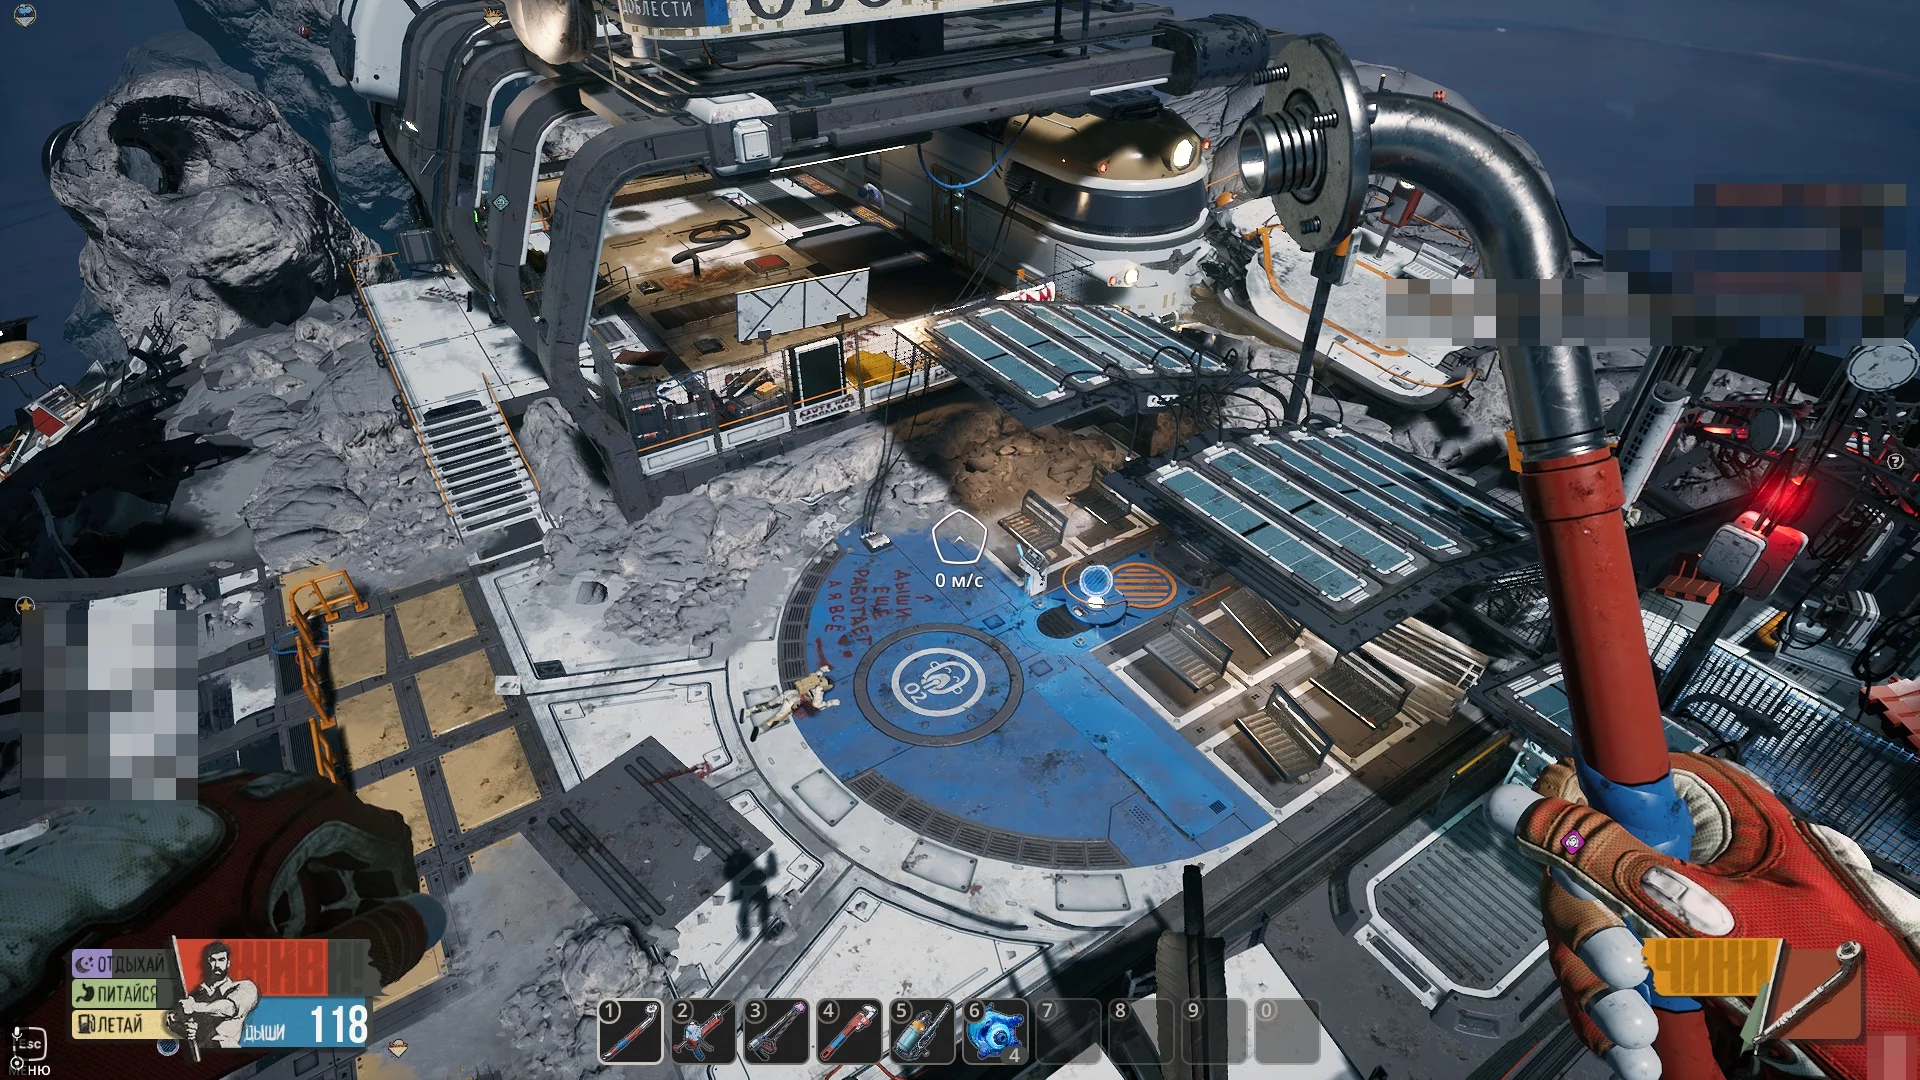
On some objects, you will find blue platforms indicating the presence of air stations. The first such device is located near Detka, not far from the entrance to the train car. A little later, you will be able to find oxygen flows in asteroids where you can install your own air stations, assembled in the inventory.
Each such station, including the train car, has a certain oxygen supply. To slightly restore it, simply use water bottles.
Worm Nests
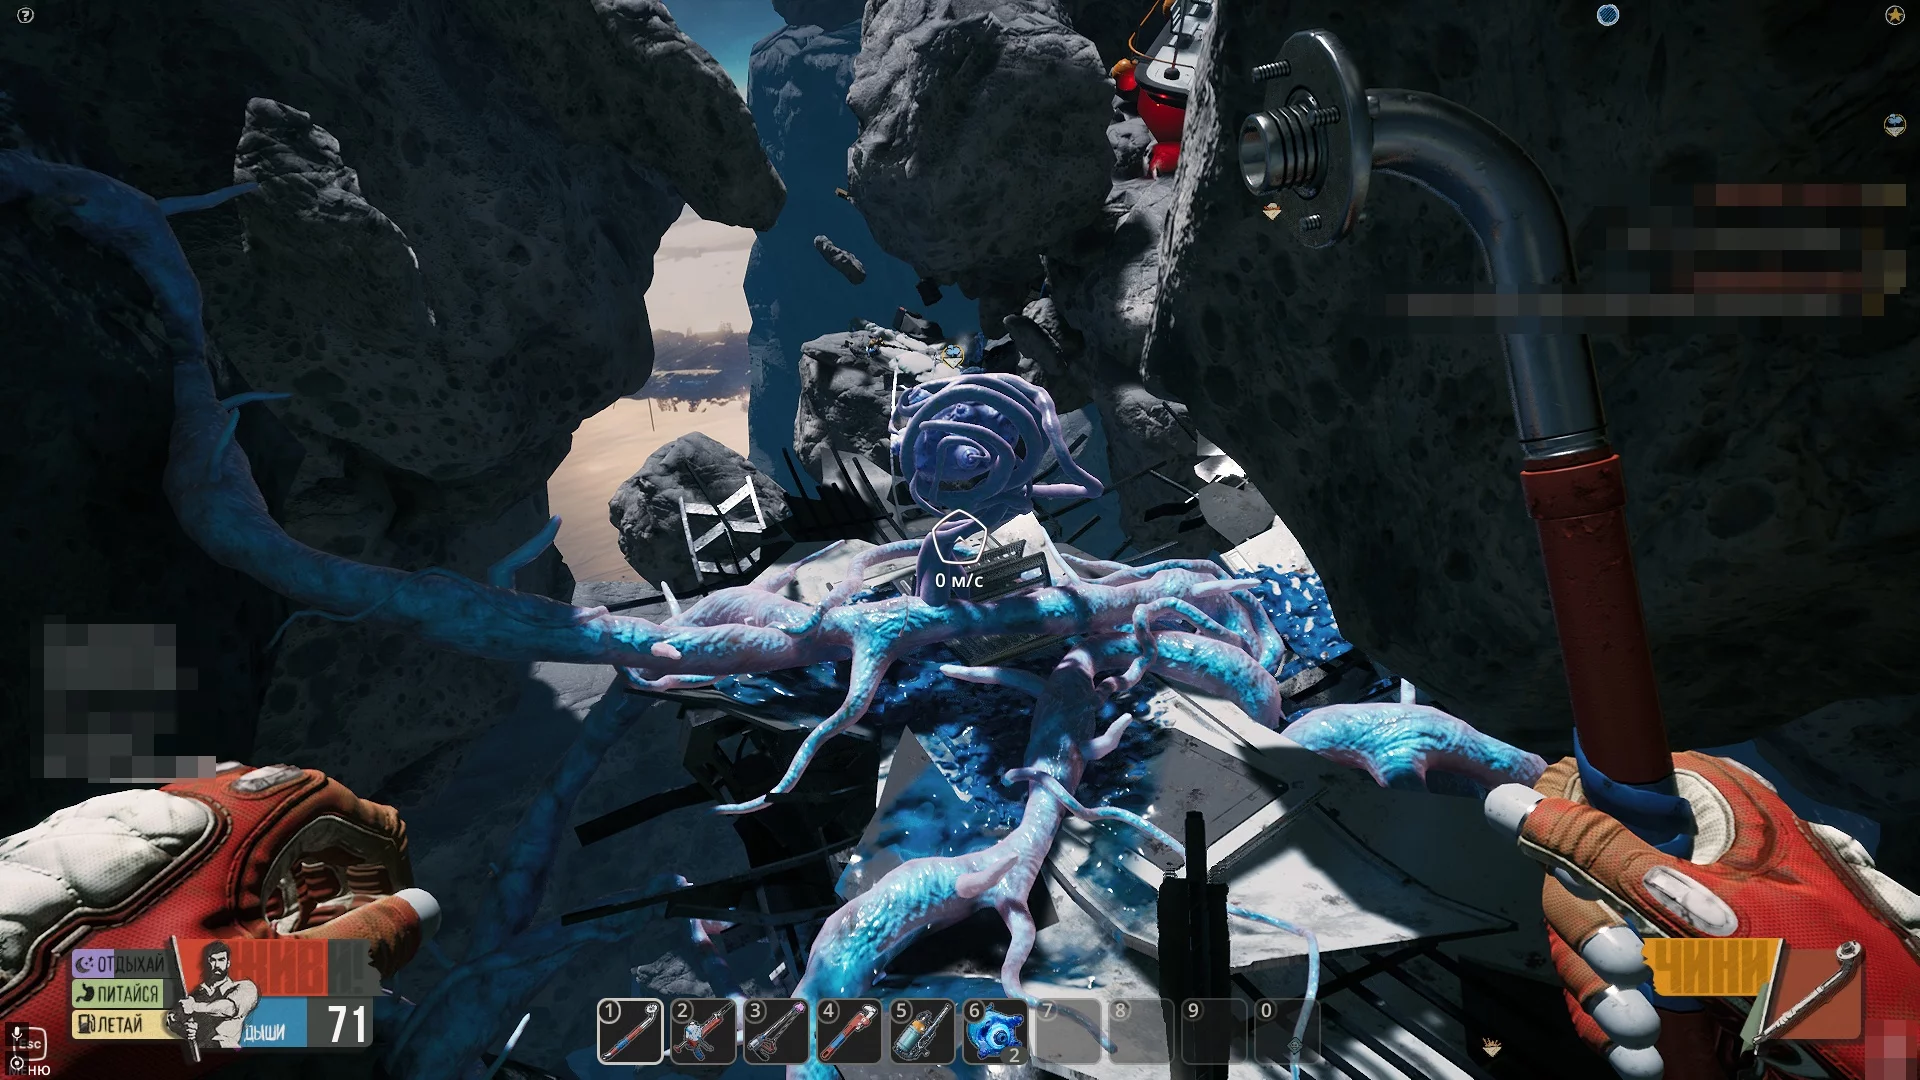
Exploring the first location, you will encounter unusual formations on asteroids — these are worm nests. Approach the nest, hold the key indicated on the screen, and wait for your hero's oxygen tank to fill up. Although the air supply in the nest may run out, you can return here later when it replenishes.
Oxygen Worms
Typically, near worm nests, you will observe blue oxygen worms floating in space. After catching them, they can be consumed to replenish a small supply of air or crafted into other items such as purified oxygen or an air candle. For this, of course, additional resources will be required.
Where to Get Water
Water is a very common resource in Breathedge, as it is needed to create water bottles, which can then be processed into oxygen at air stations. In its pure form, it is almost impossible to find, but in each area, you will discover large and small pieces of ice. Use a crowbar to extract the resource.
How to Find Metal
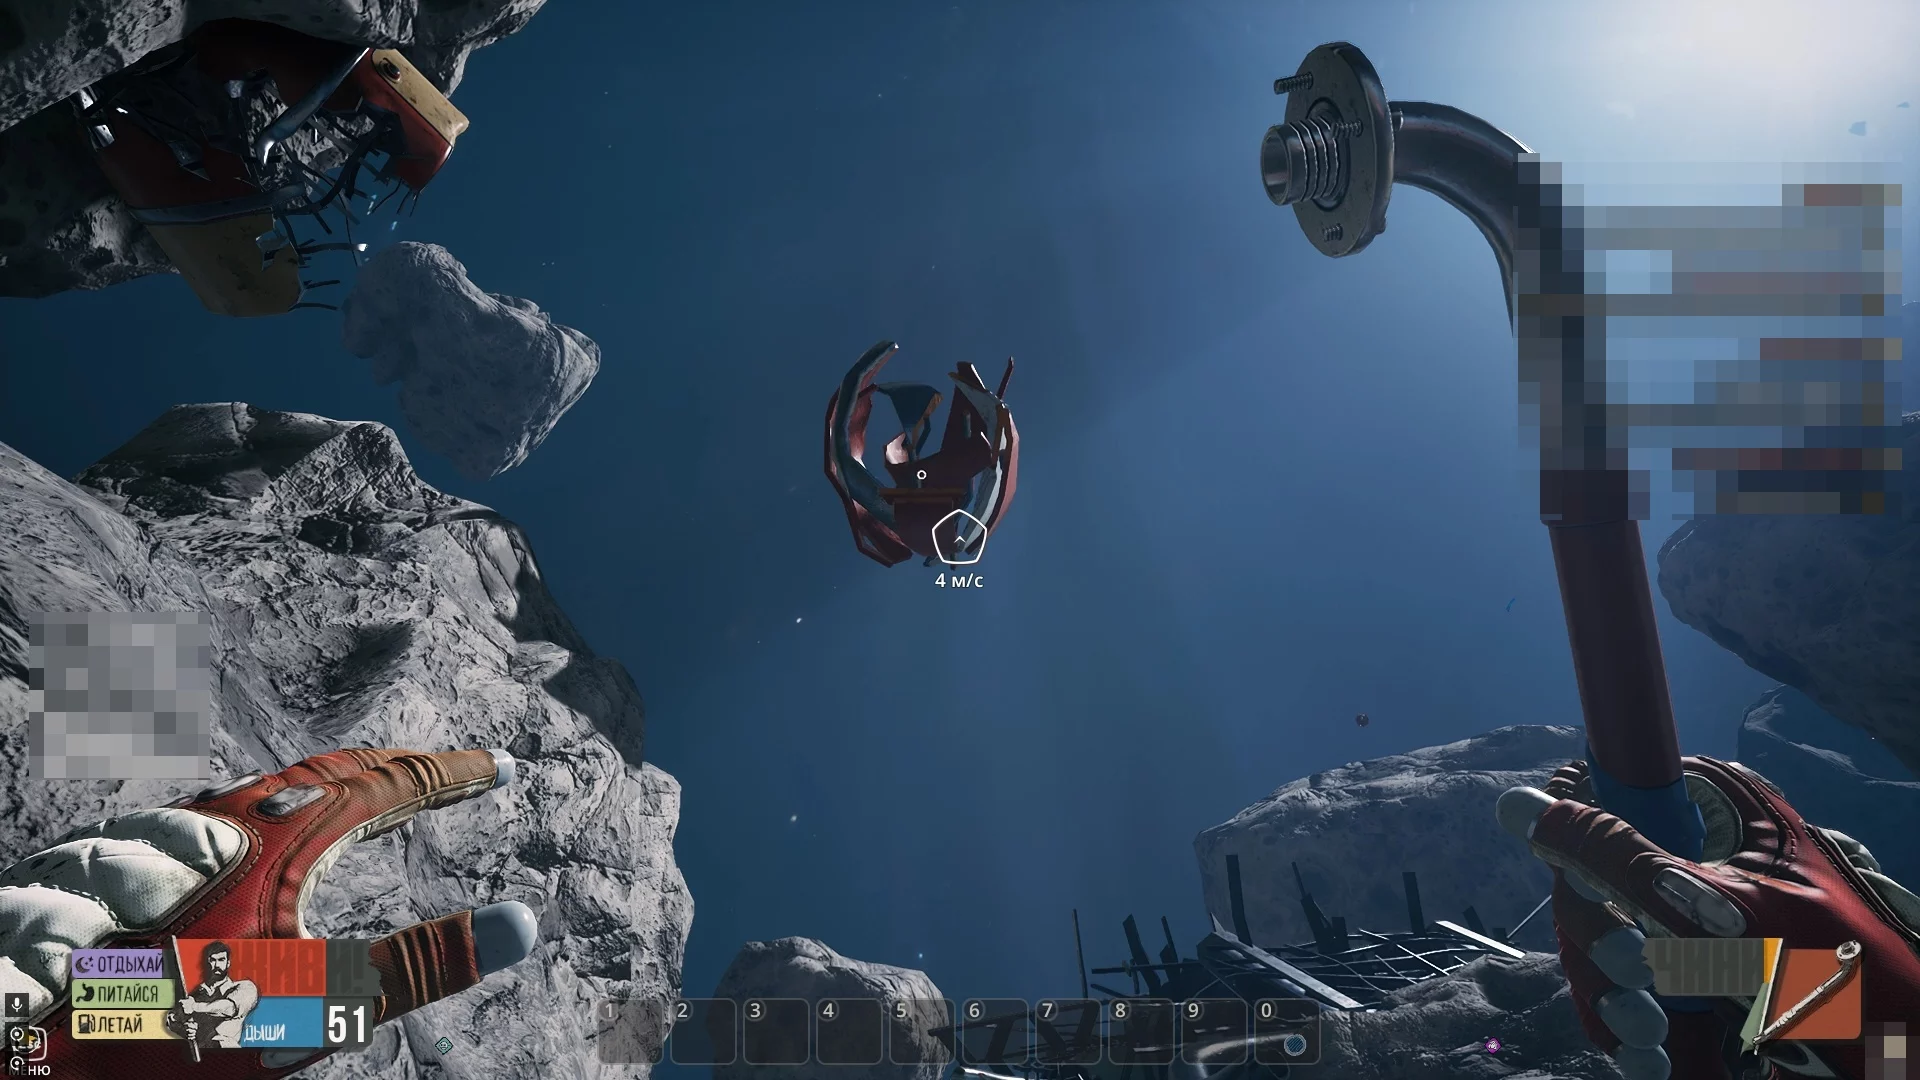
Large metal debris is scattered throughout the research area. They are orange in color, so these debris are visible from afar. You can also use a crowbar to break down metal objects such as barrels and canisters to obtain metal.
Metal is very easily processed into refined metal. This can be done in the item creation section — it costs four units of regular metal to obtain one unit of refined metal.
How to Find Alkali
Unlike other resources in the game, at the initial stage, alkali can be obtained in only one way — eliminate alkali moles that release alkali charges at the main character upon approach, then use a probe to extract the resource from the hole. Make sure you have enough health beforehand, as the enemy will definitely hit the hero at least once upon approach.
How to Find Titanium
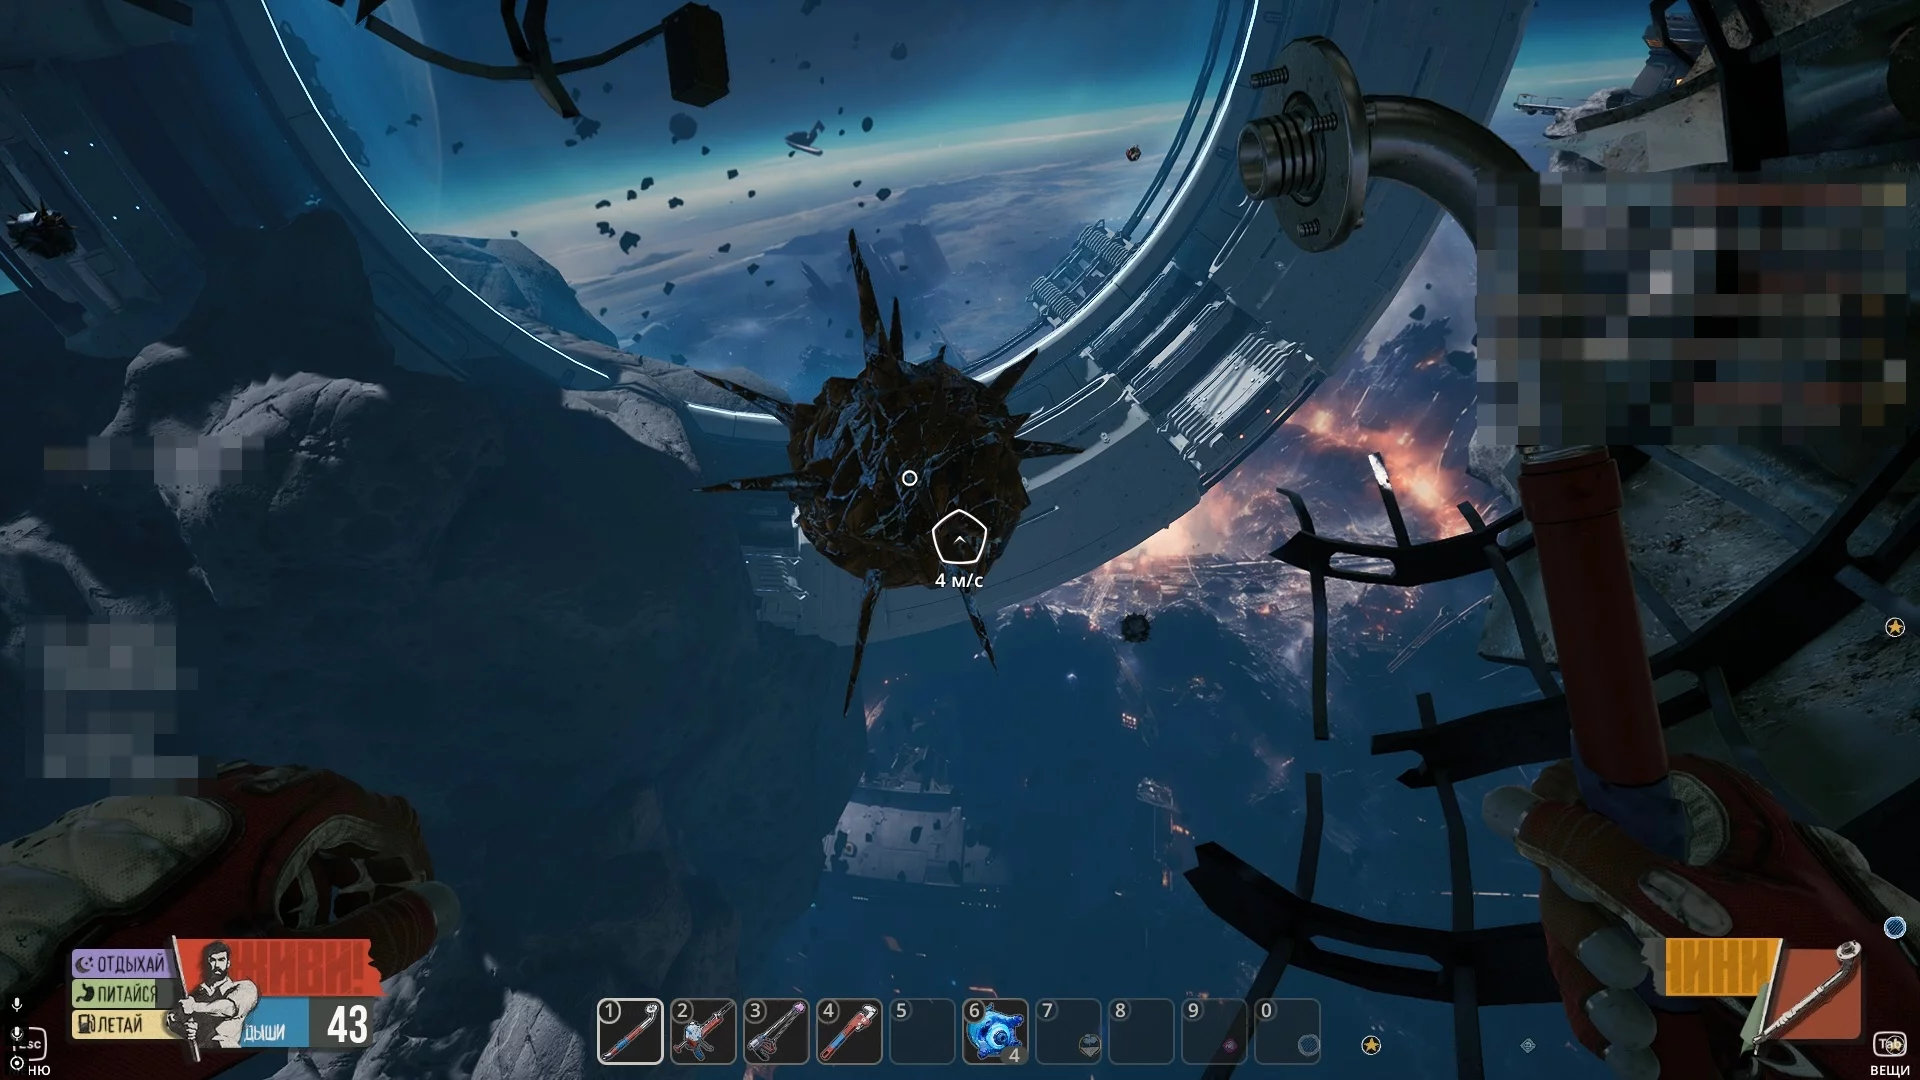
If you don't yet have a drilling rig to extract titanium from the depths of asteroids, you will have to search for it in open space. Titanium ore often floats in large chunks with spikes characteristic only of this resource. Use a crowbar to break the chunk and obtain the ore.
How to Find Plastic
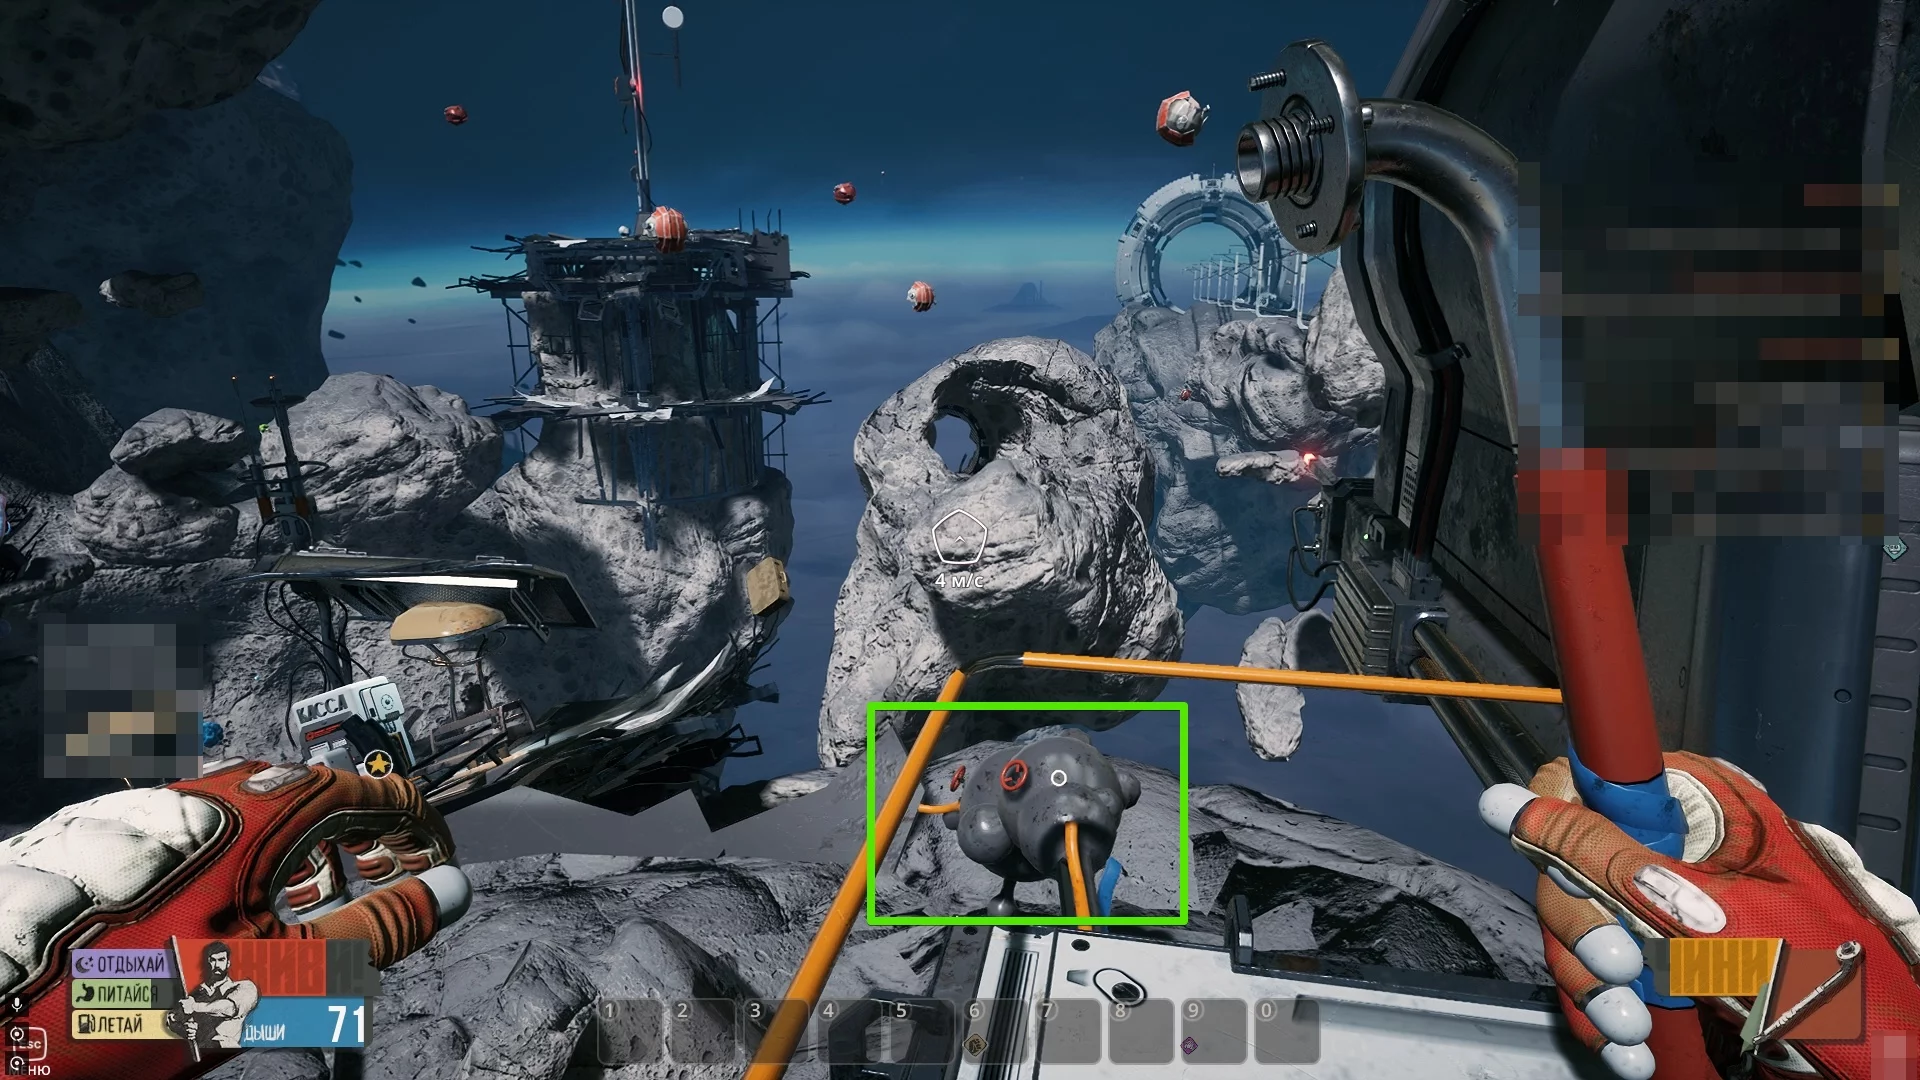
Plastic in solid form can be found at the ends of wires. The resource looks like a dark formation. Hit this formation several times with a crowbar and take the resource.
Where to Get a Battery
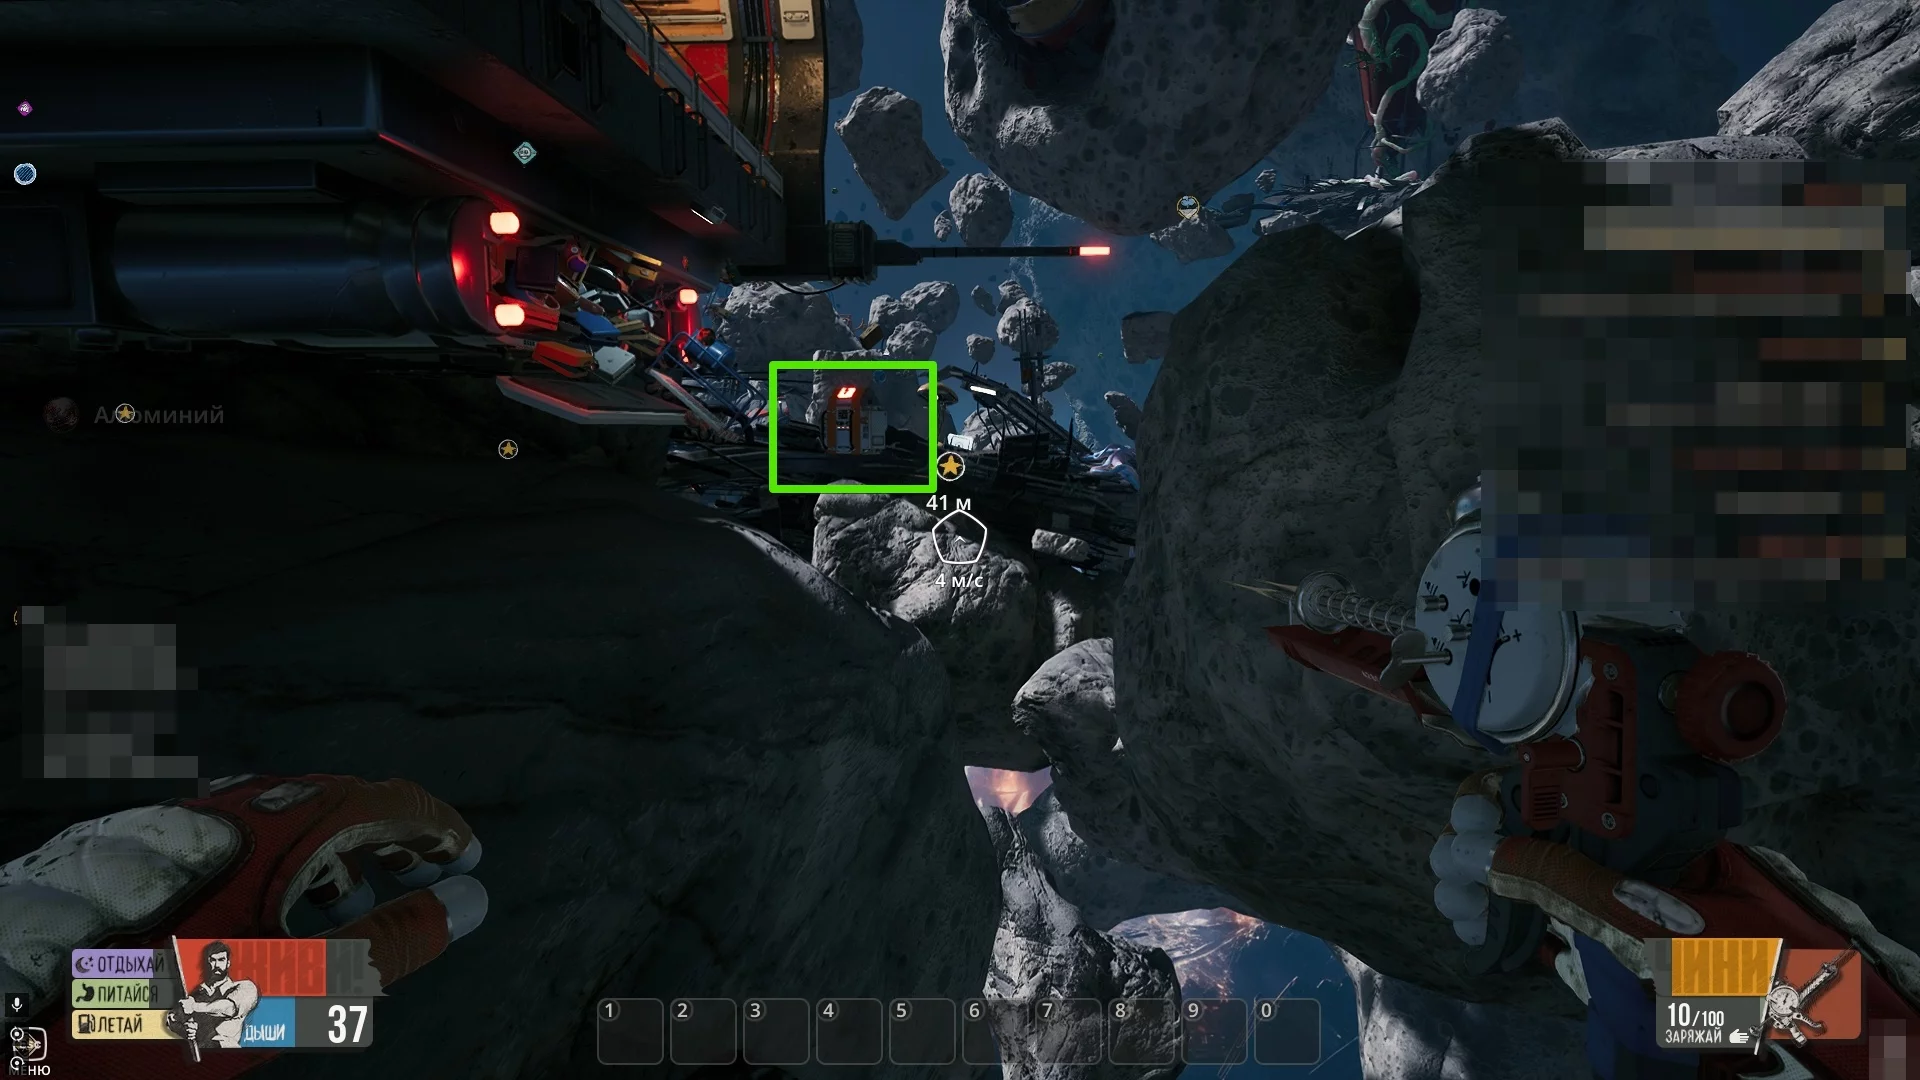
One of the necessary tools at the start is a large battery, which will be needed to supply electricity to drilling rigs, towers, and to open some compartments. You can find one at the beginning of the game near your wagon: go into open space and fly to the right, then turn right again and look down. There is a small luggage compartment, completely destroyed. A battery floats next to this place.
How to Obtain Wires
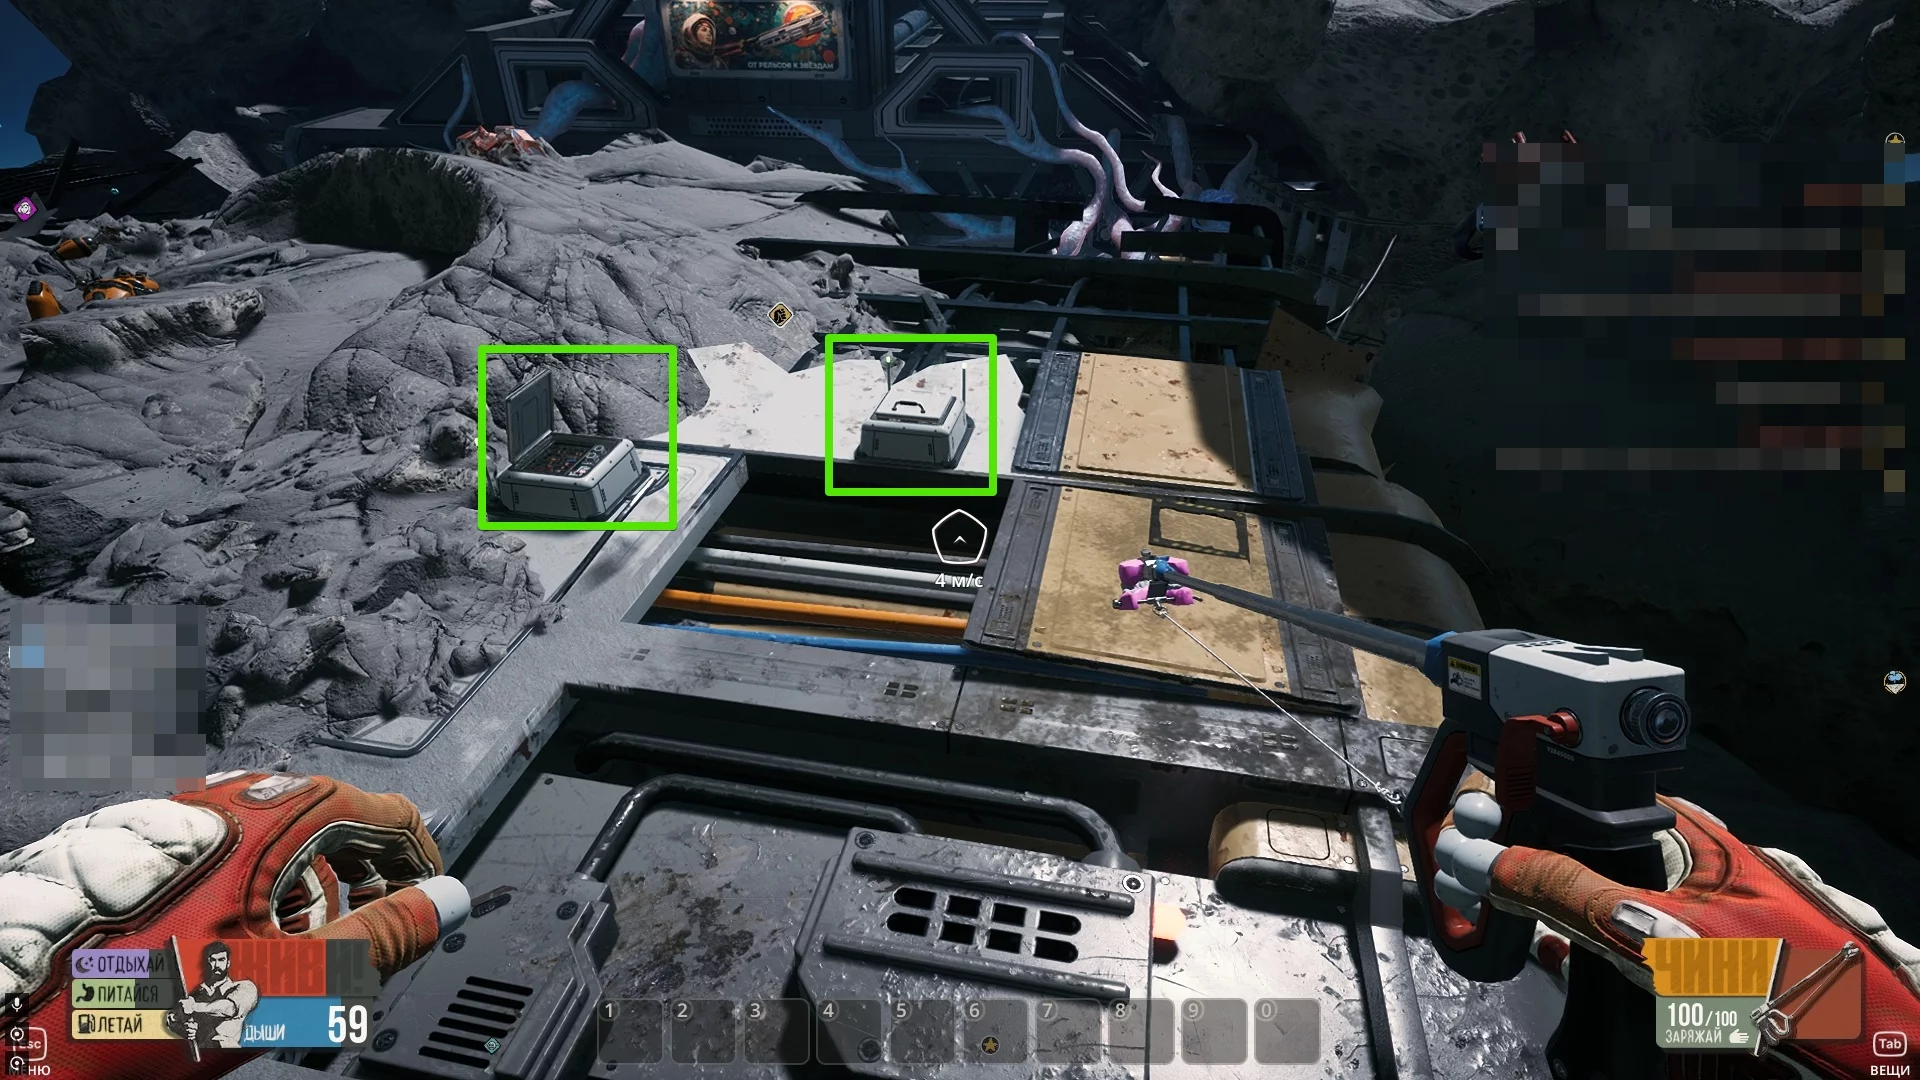
Wires are obtained from special electrical panels using a probe. You will find quite a few such objects when exploring the starting location.
Walkthrough Breathedge 2
In this section, you will find a detailed walkthrough of all the story and optional quests in Breathedge 2.
Dress Up and Go Out
After the introductory cutscene, inspect the wagon. Your hero is completely naked, so find a spacesuit and helmet here — essential elements for safe space travel. You can also discover various finds such as posters, letters, and other items. On the table lies a letter with Mary's address (1/48) and a TV (2/48).
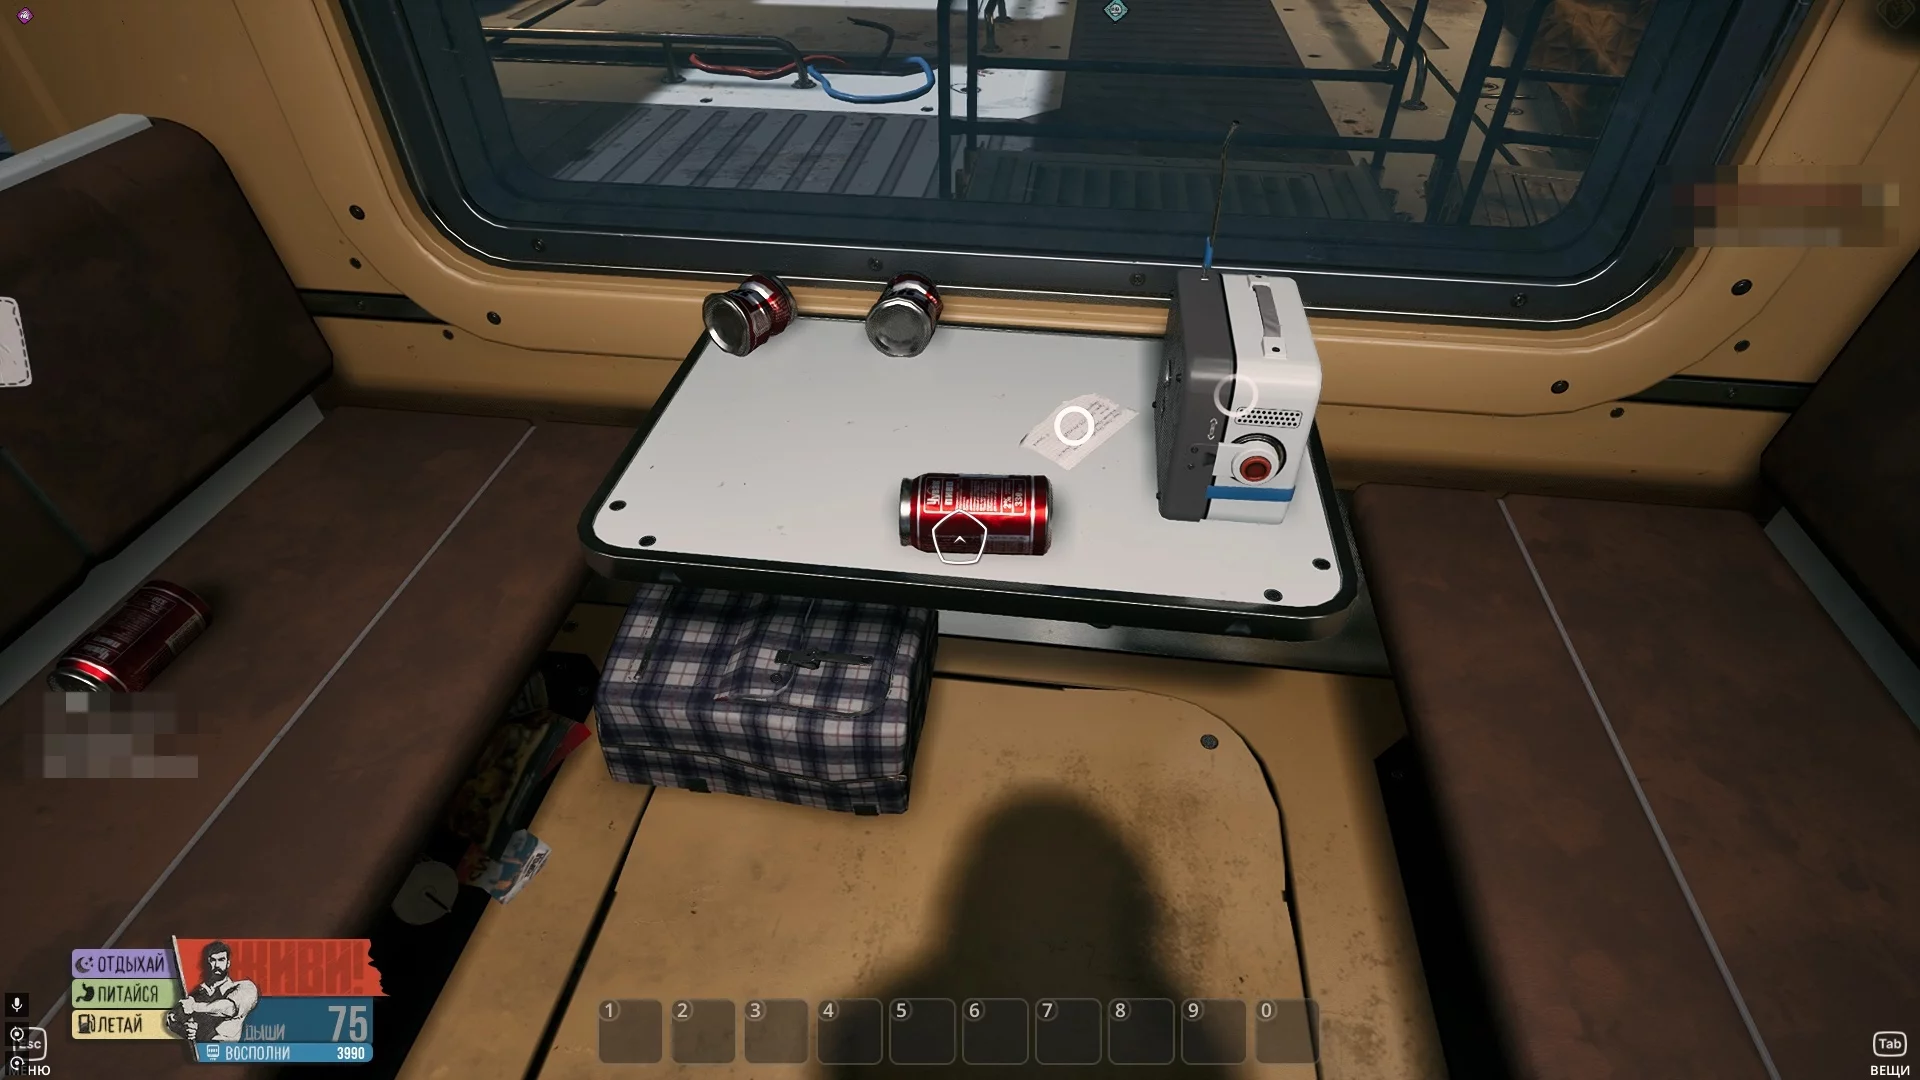
In the far part of the wagon, there is an urn with ashes (3/48). Also, find a coffin luggage (4/48) here. If you open the bathroom door, find a hat with a pompom (5/48).
Inspect the floor next to the luggage and find a piece of newspaper (1/4) — (6/48). A map (7/48) hangs on the wall next to the bathroom. On the bench where the main character was sitting earlier, there is a read (8/48).
Go outside and immediately turn right. Here you will see a small hole with a loot box. You can retrieve it later using a probe and get the loot box (9/48). On the opposite side hangs a poster (10/48). In the central part of the station, find an exclamation mark (11/48) on the floor. Also, take the city map (12/48) to the left of the exit. After doing this, you can read the text with the code B5-8192 on the board where the map was hanging.
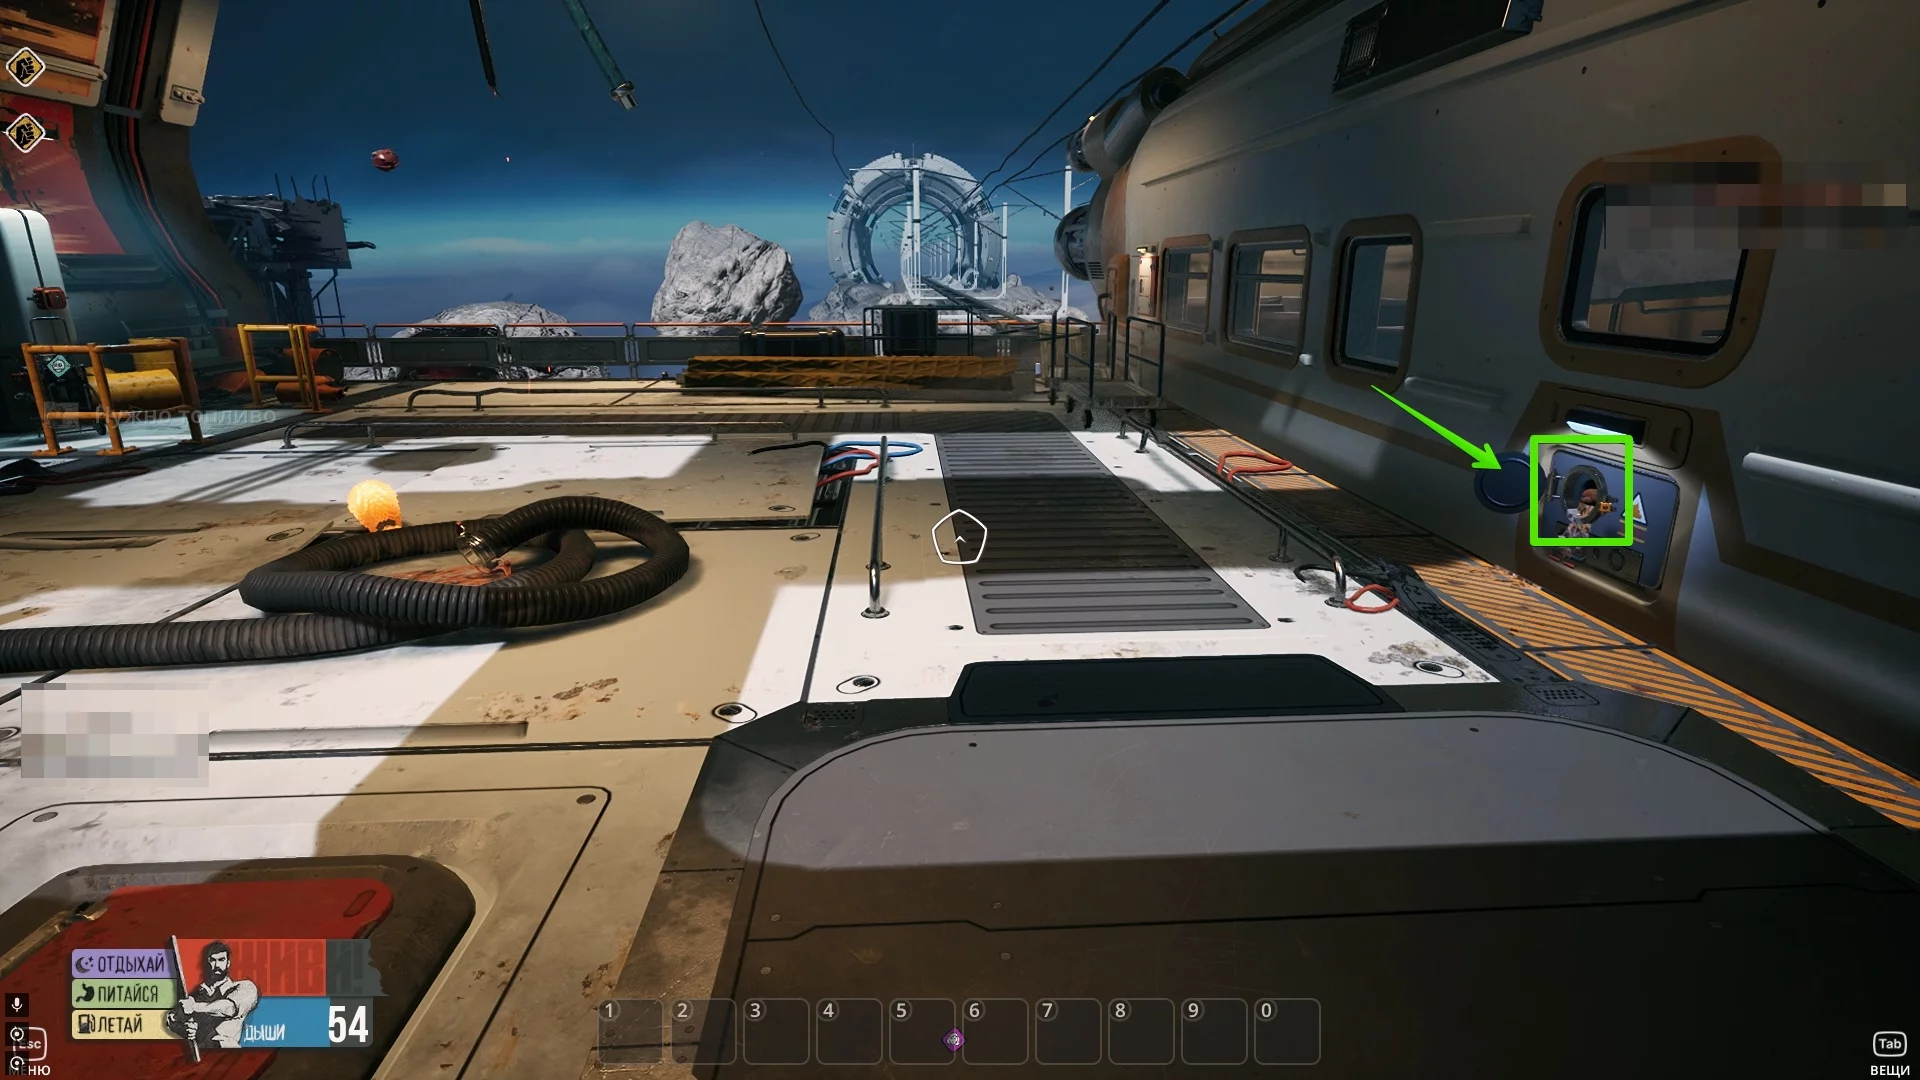
How to Find Metal
Go into open space and look around. Look for small orange debris. Once you collect them, craft a crowbar in the inventory on a separate tab. With this item, you can extract metal and other simple resources in unlimited quantities. In addition, don't forget to return to Scaf and break the lock on the telephone. To get the achievement “Prankster”, we listened to the answering machine and chose the last option by pressing button 3.
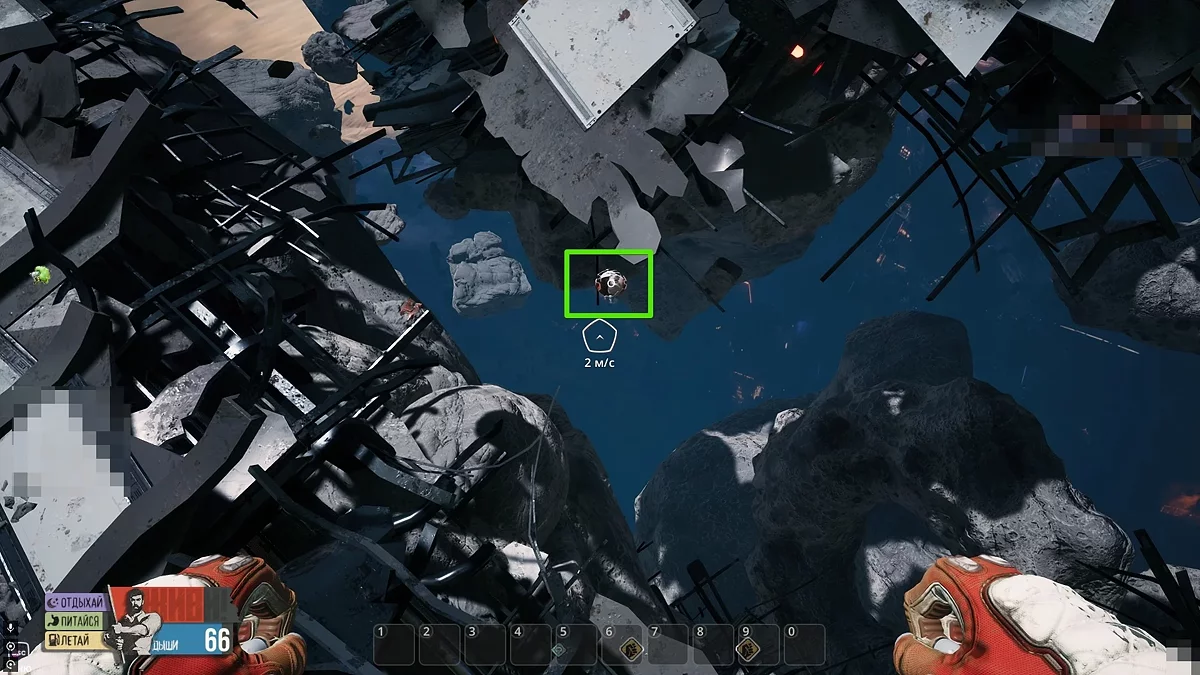
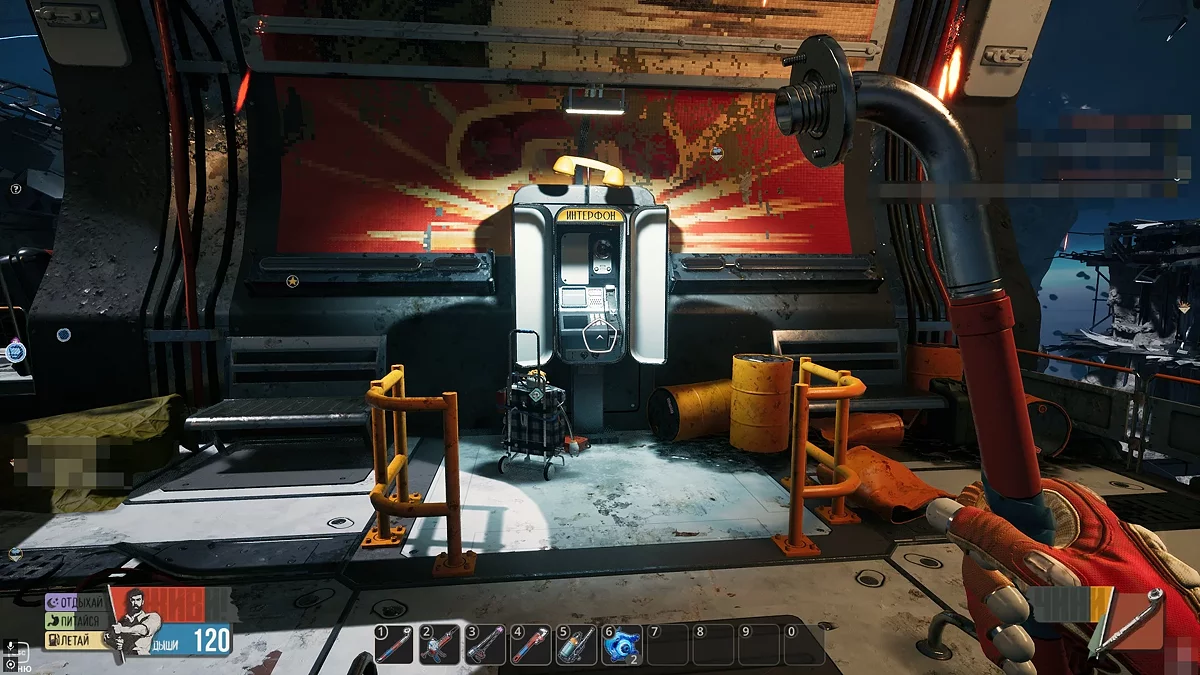
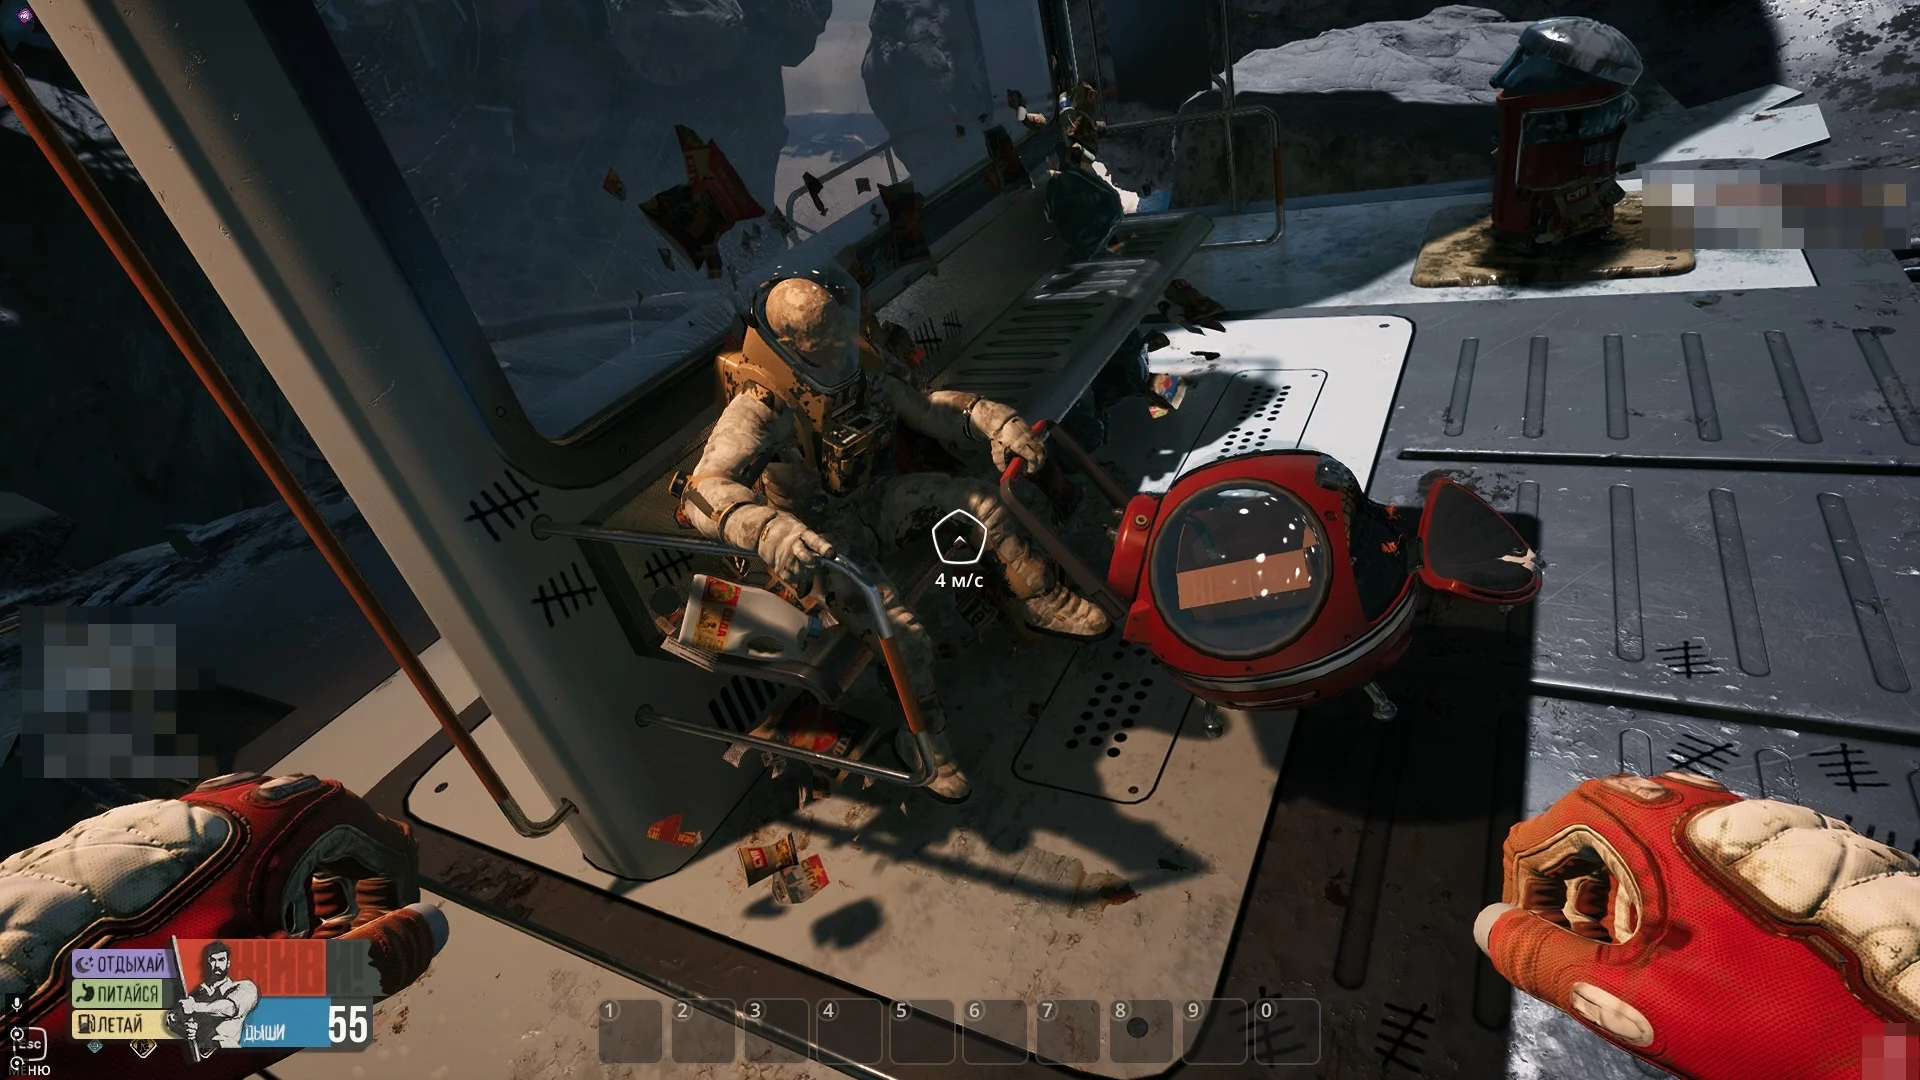
As you may have noticed, the main characters found themselves on a destroyed intergalactic station. Go a bit below your current location and find a stop with a corpse. In front of it lies a pet carrier (13/48). There is also a bus schedule (14/48) at the stop.
Supplies
In this task, you need to gather the necessary supplies and create the basic tools for resource extraction. Here's a brief list, everything you need can be found in space.
Drill:
- Metal (4) — you already know how to find the resource.
- Plastic (2) — look for dark formations at the ends of cables.
Probe:
- Aluminum (4) — can only be found in deposits on asteroids and with a drilling rig. Manually extracted with a drill.
- Plastic (2).
- Tape (1) — create using rubber, which can be found by breaking old suitcases.
Wrench:
- Aluminum (4).
- Tape (2).
- Refined Metal (2).
Food can be made using green-colored nutrient minerals and ice. Create oxygen using oxygen worms.
Cash Register
To repair the cash register, you first need to gather 10 units of aluminum. It can be extracted using a drill by drilling deposits on asteroids. Secure the resources near the malfunction, then use a wrench.
Before leaving this location, don't forget to inspect the lucky ticket (15/48) in the astronaut's hands. Besides the collectible item, you will receive a code on the back (0613).
Toilet
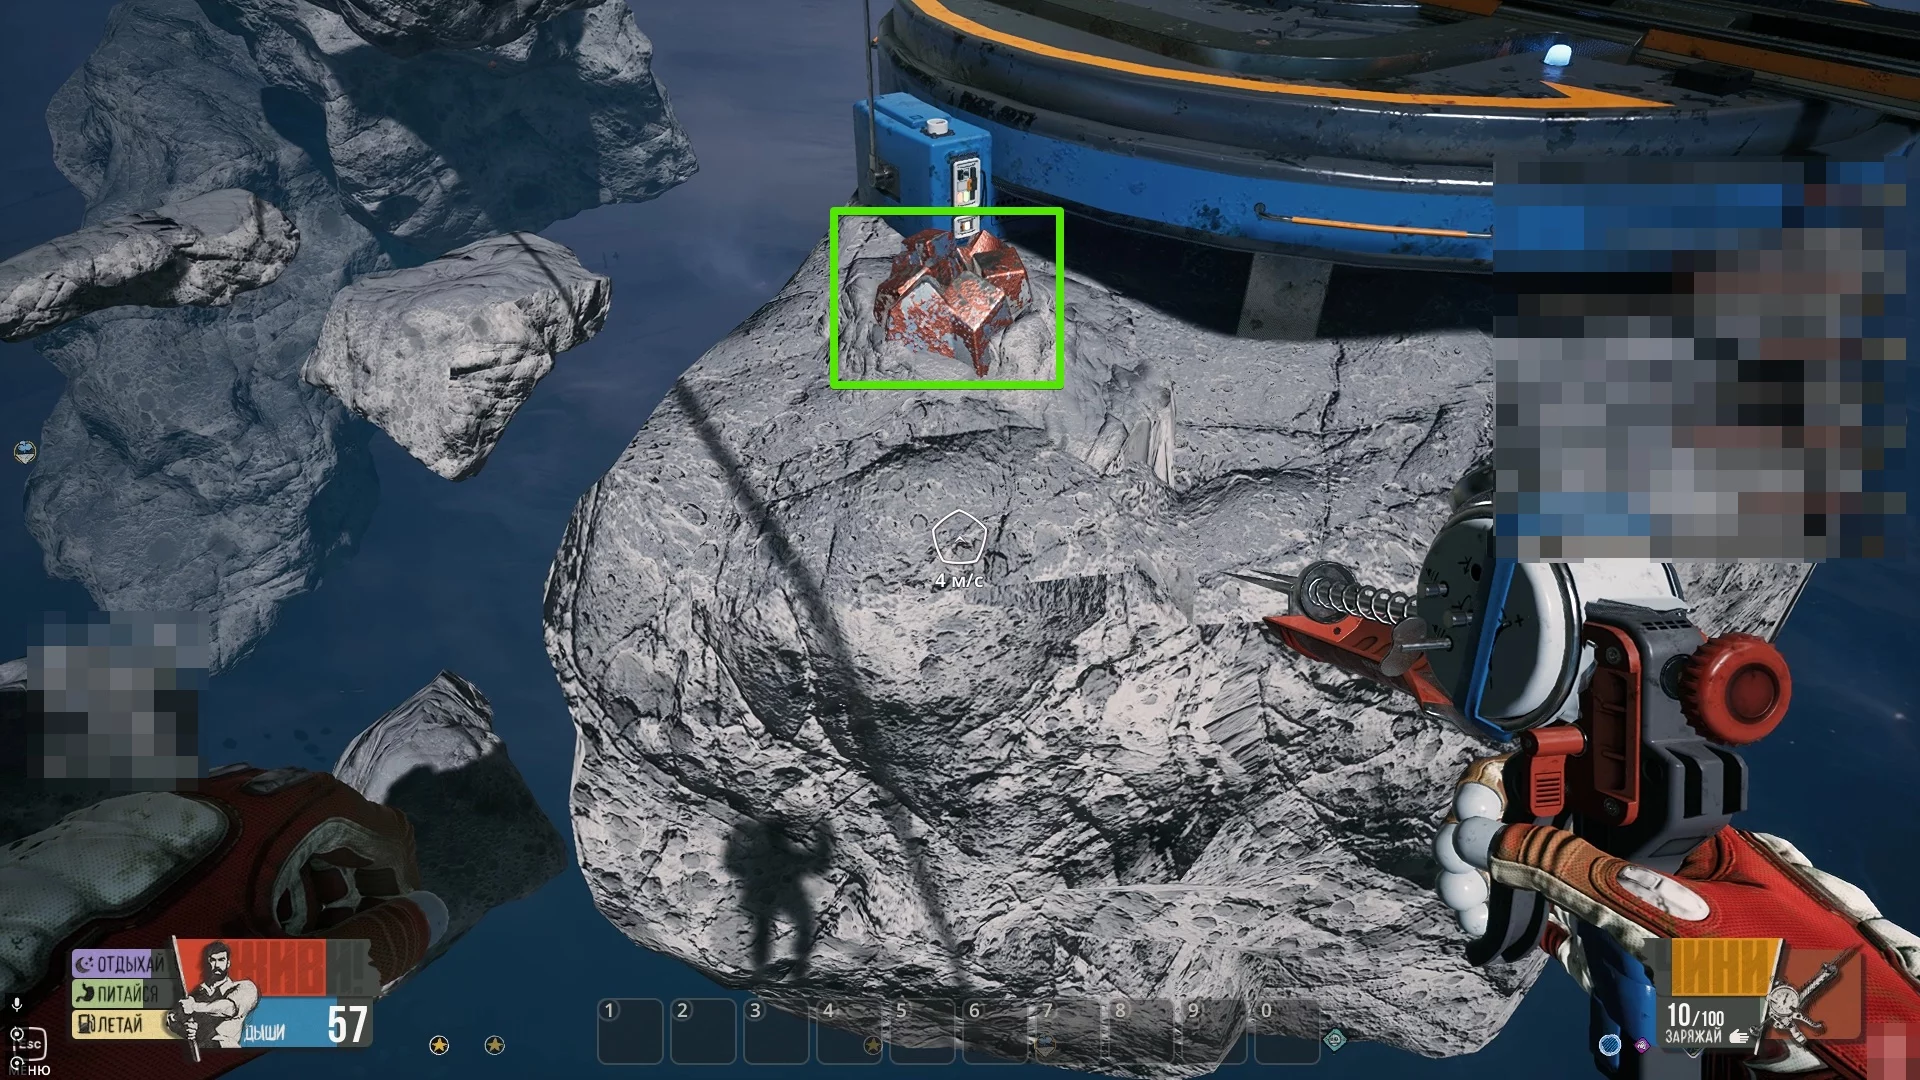
After inspecting this object, first break the metal rods on the door, then examine the malfunctions to the left and right of it. To repair the panel, you will need 10 units of aluminum, and to break the wire connection, you need to find 15 units of titanium. The latter task is a bit more challenging since titanium is quite scarce in open space.
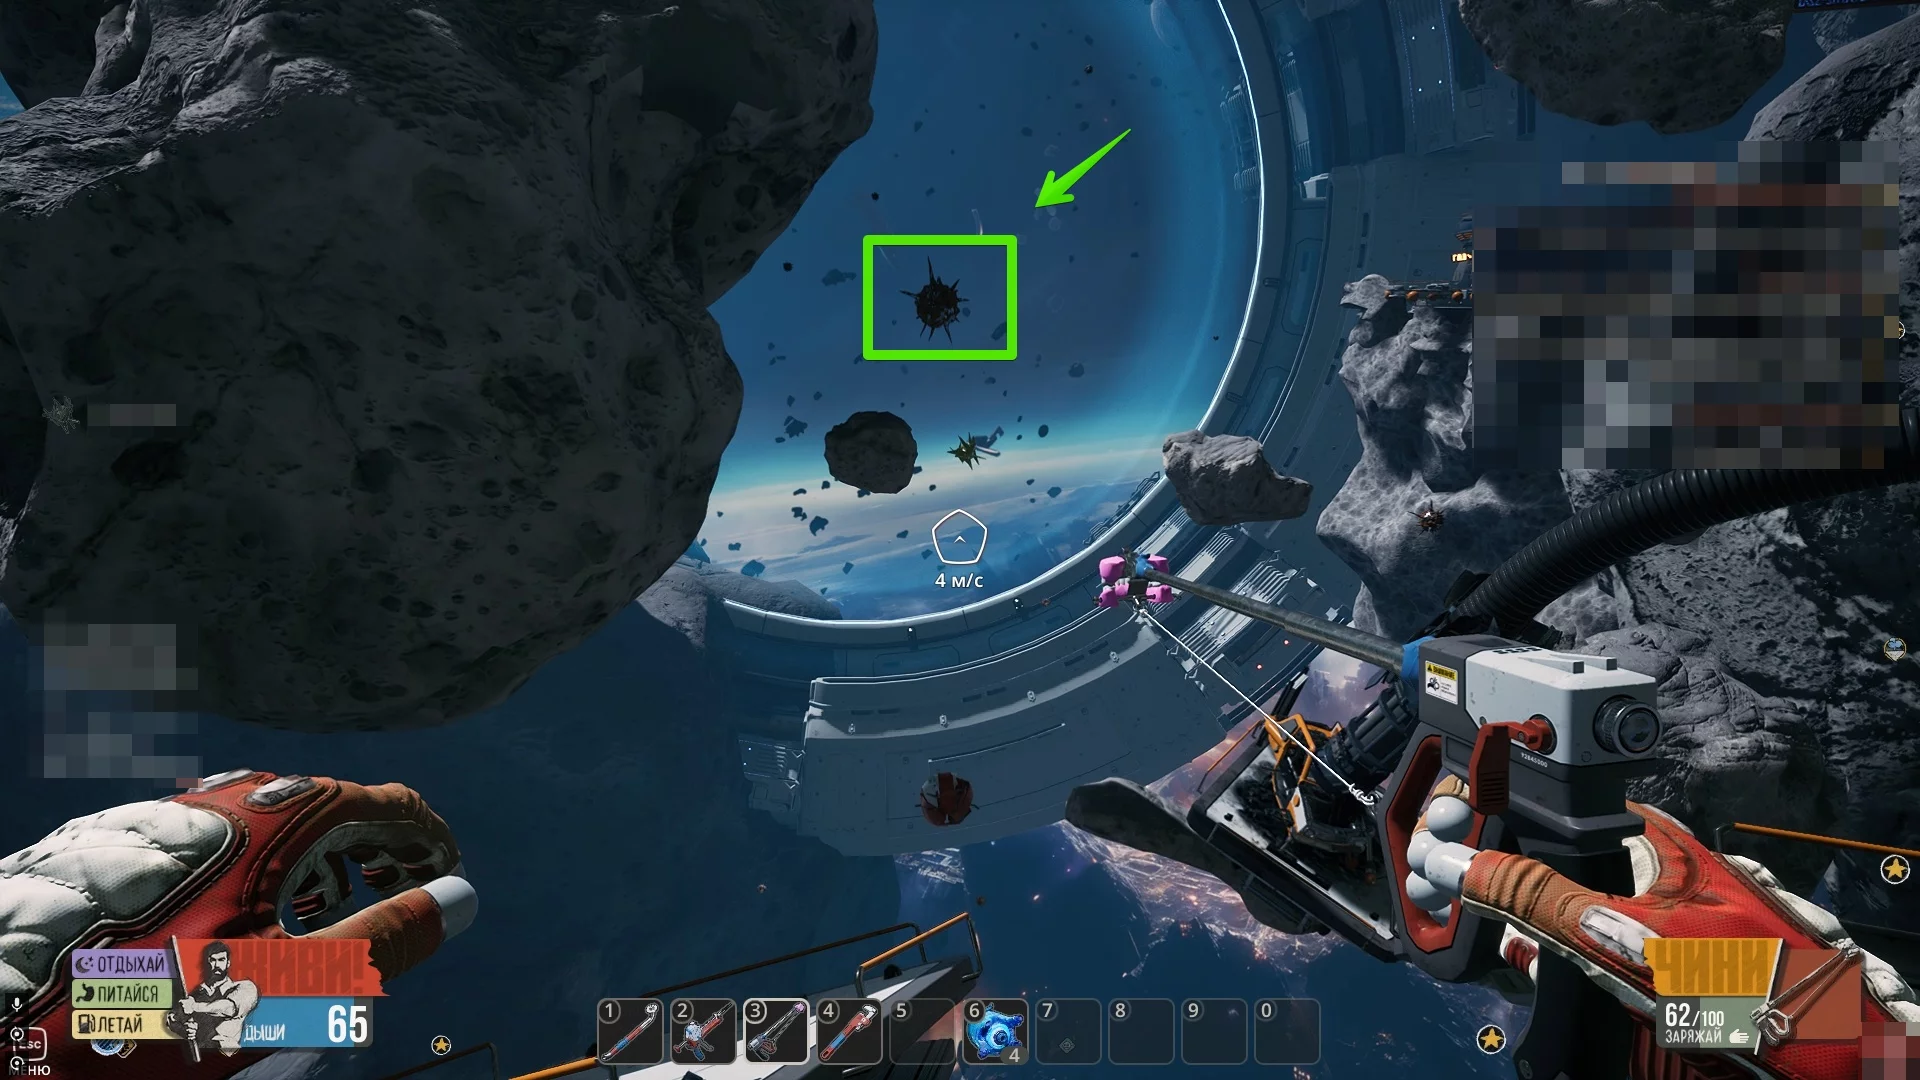
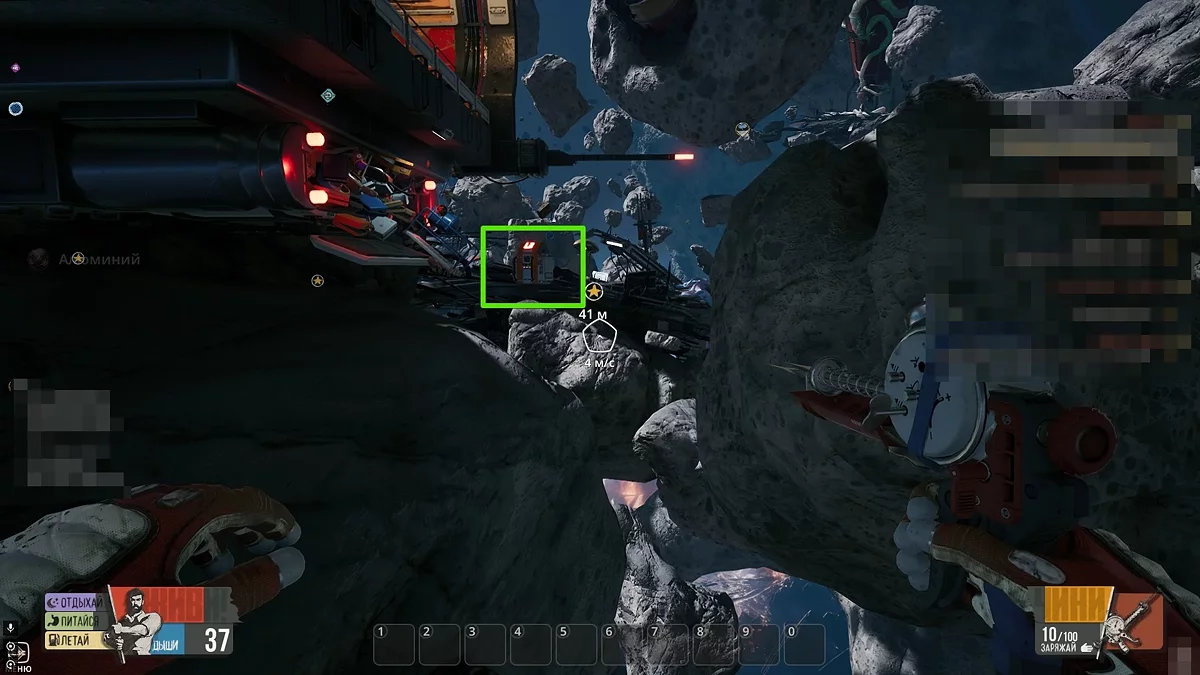
However, you can still find a small amount behind the asteroid with Chuck's Taxi (you need to break a few titanium shards), then repair the pump and open the passage to the capsule according to the task. Inside the capsule, you will find a few more units of titanium, which will help complete the task. Below, we have detailed how to do this.
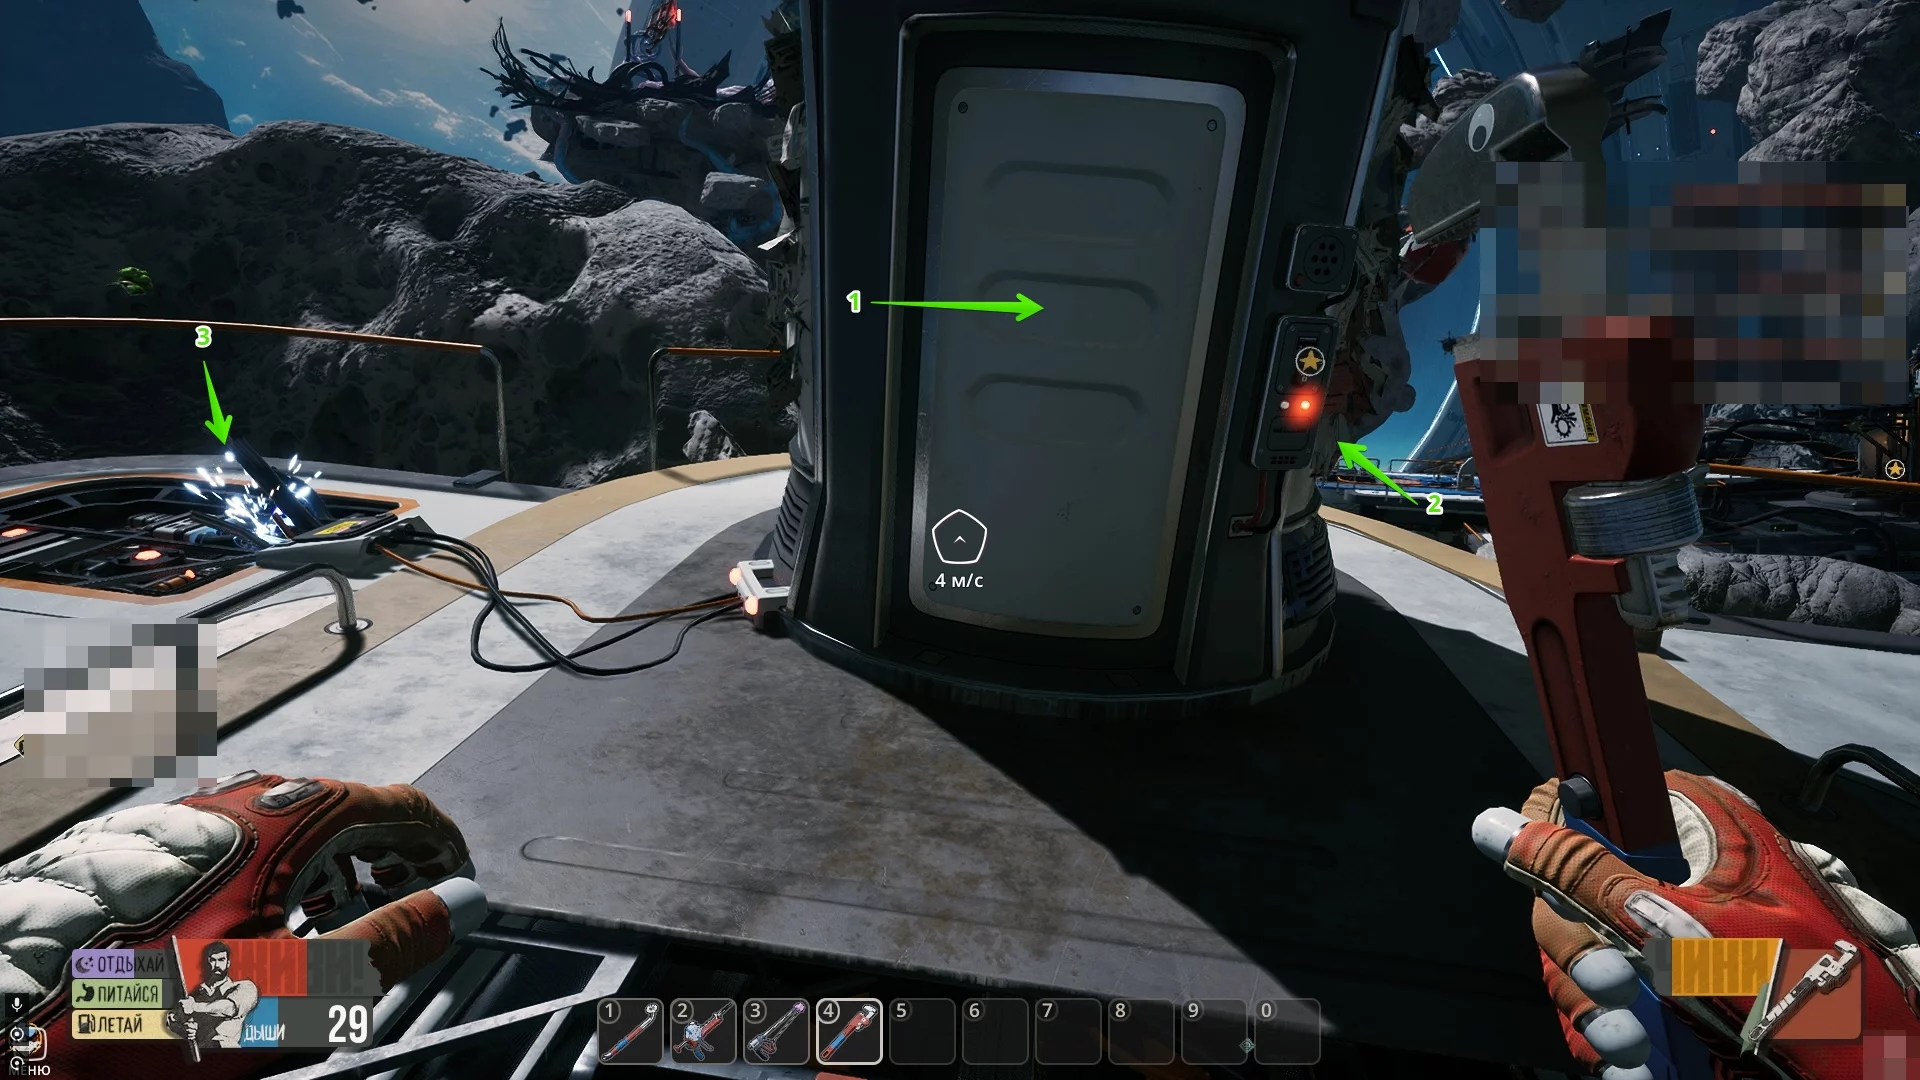
However, the task will not end there. Once you repair the two damaged nodes, you will need to install a battery. One such battery can be found under the platform where your train is located. Another battery is floating on the asteroid with Chuck's Taxi, behind one of the taxi cars.
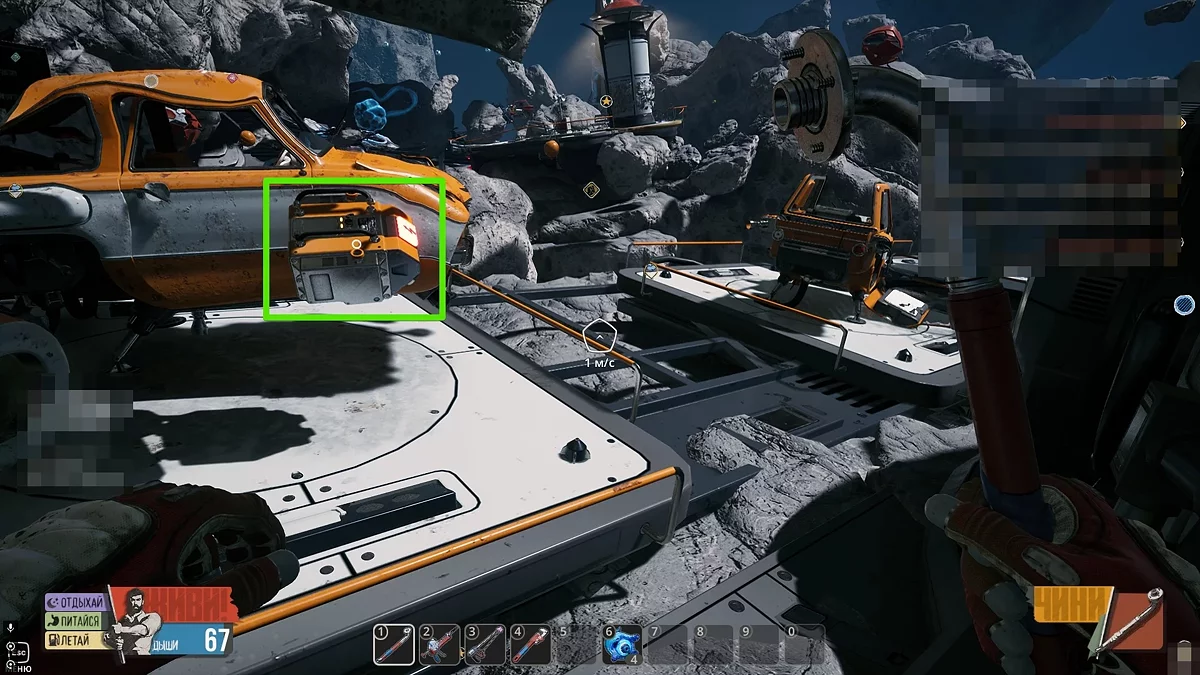
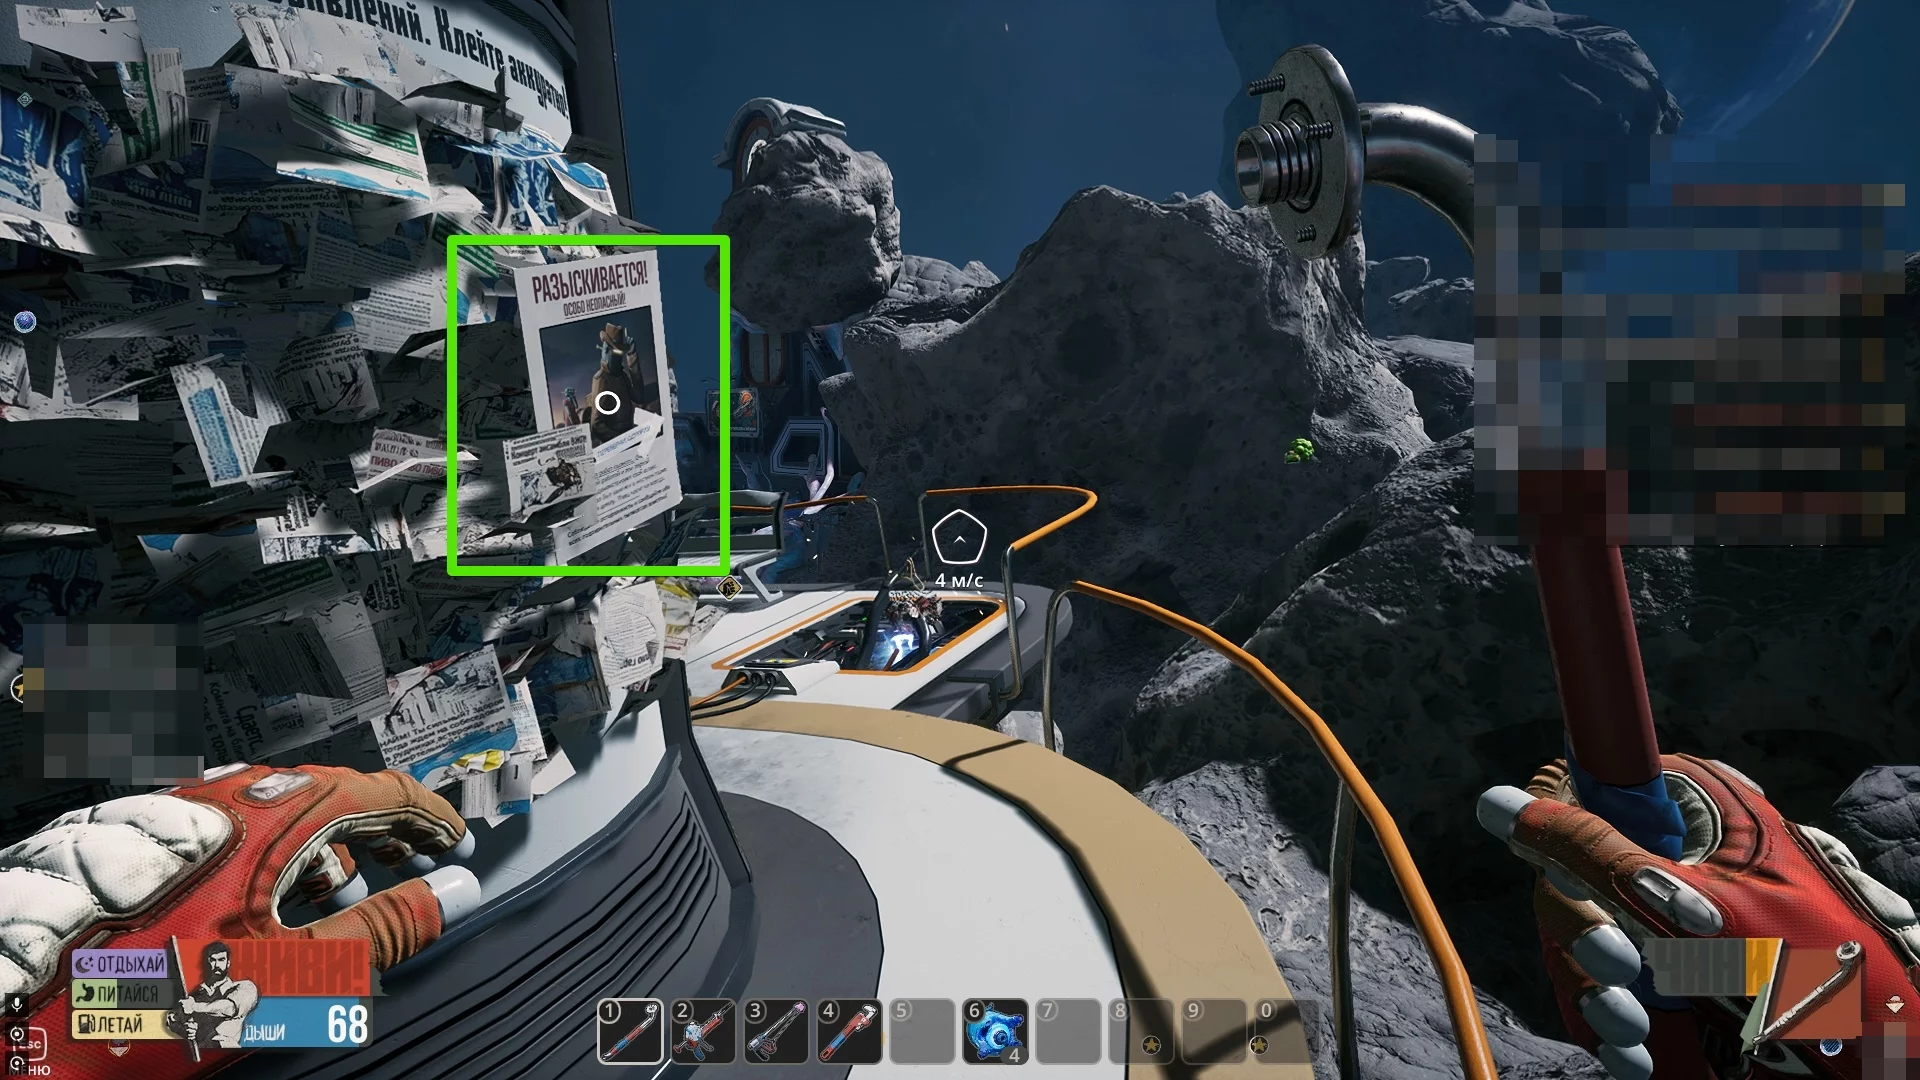
Opening the toilet door will earn you the achievement “Strange Toilet”, and you will be able to pick up a hamster toy (16/48). Behind the toilet, don't forget to take another announcement (17/48).
Chuck's Taxi
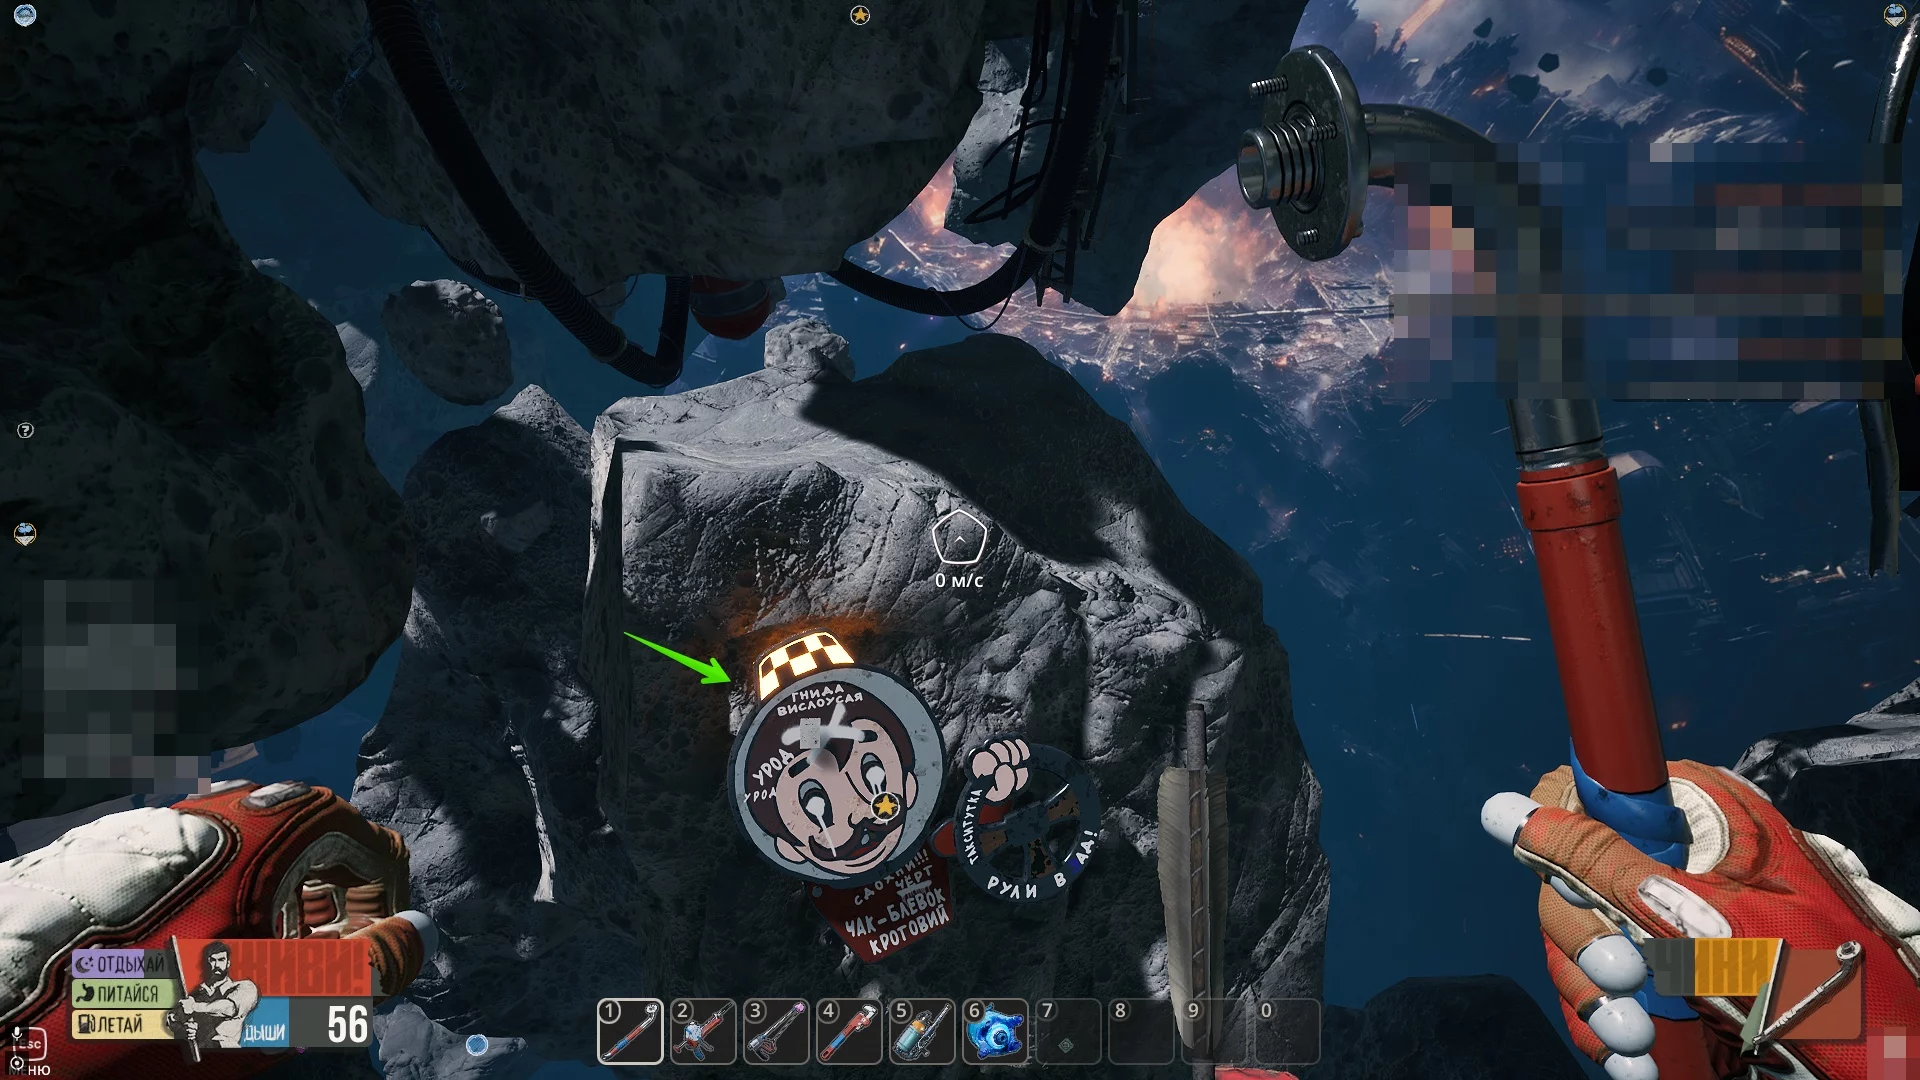
When heading to this area, be sure to inspect the lower asteroid and find the sign with Chuck's face. Right on it will be Chuck's Fine (18/48).
Now head to the asteroid with the taxis. First, we recommend collecting all the collectible items before completing the story tasks. On the platform, you will see two cars. Inspecting the right one will get you a poster (19/48). In the cabin of the left one, you can find checkers (20/48).
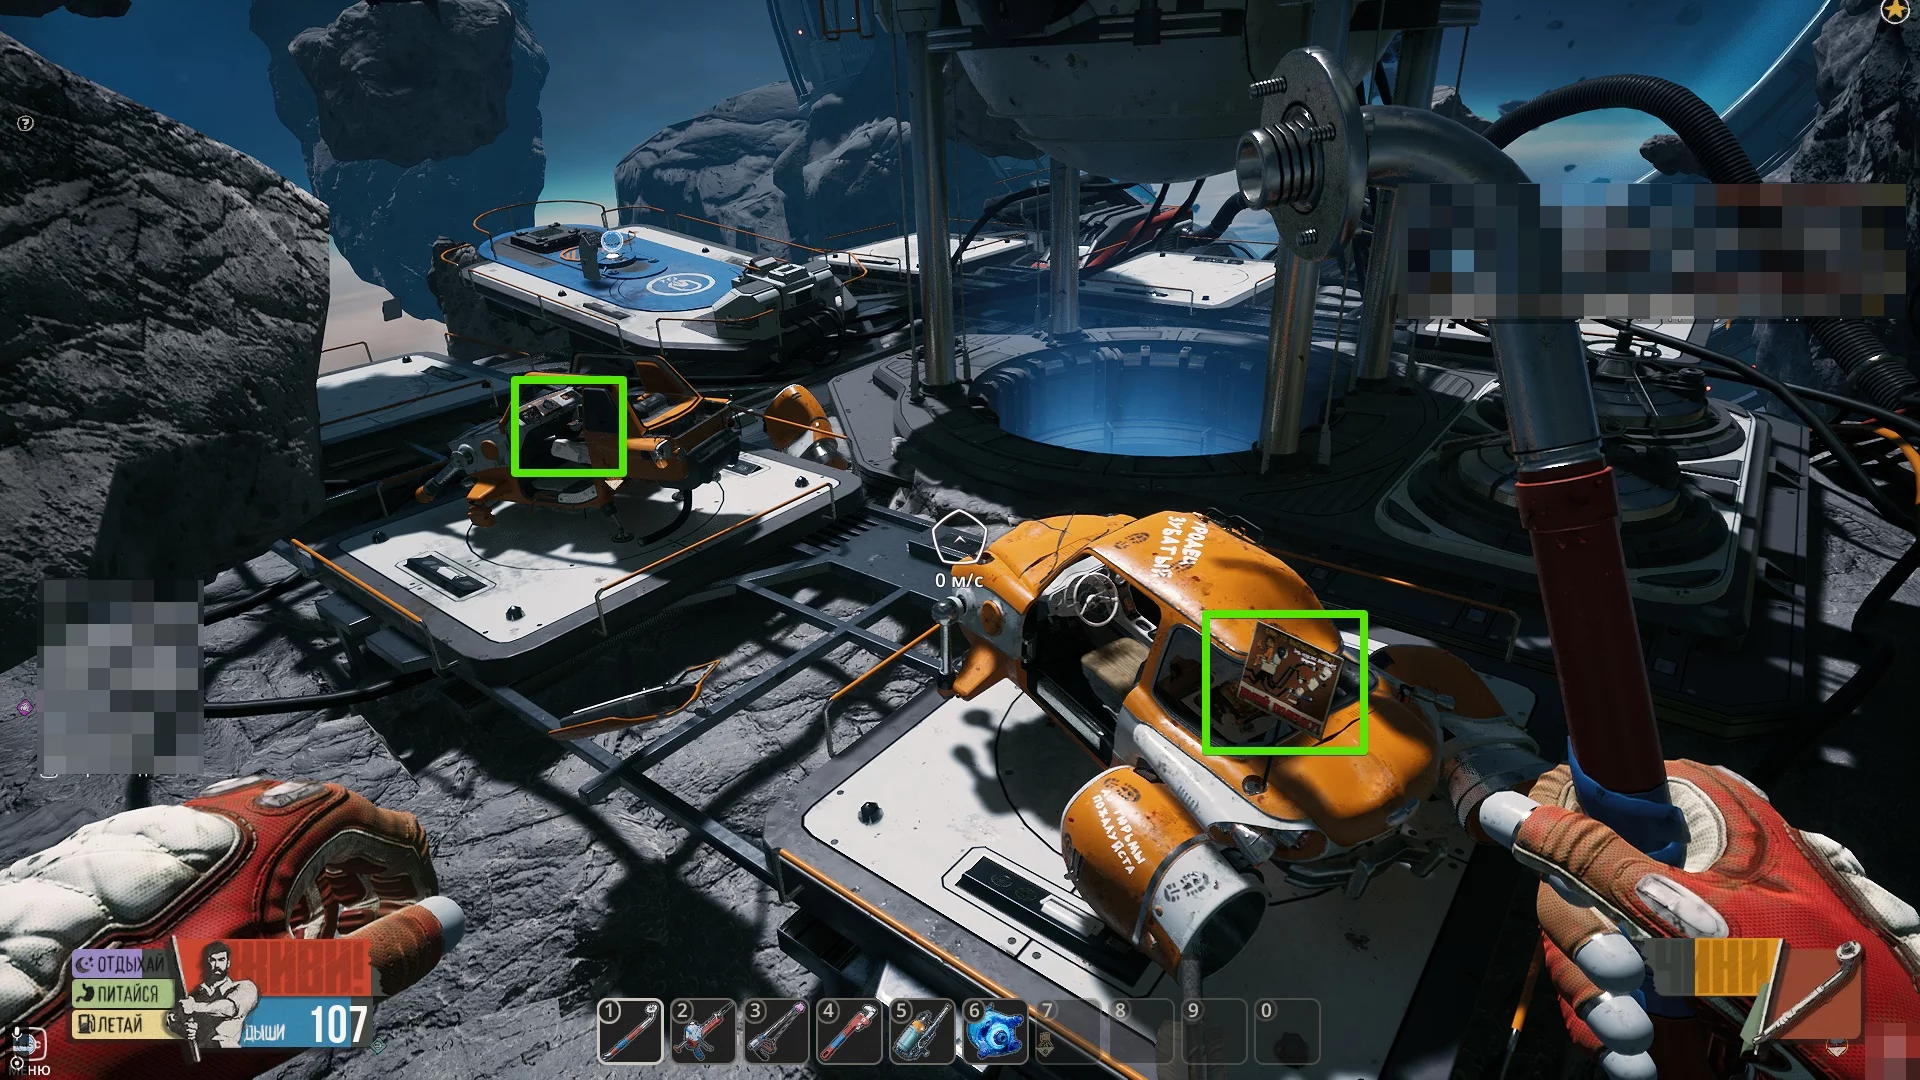
Also, inspect the car on the right to complete a sub-quest and get Chuck's Photo (21/48) from the glove compartment.
Inspect the Logo
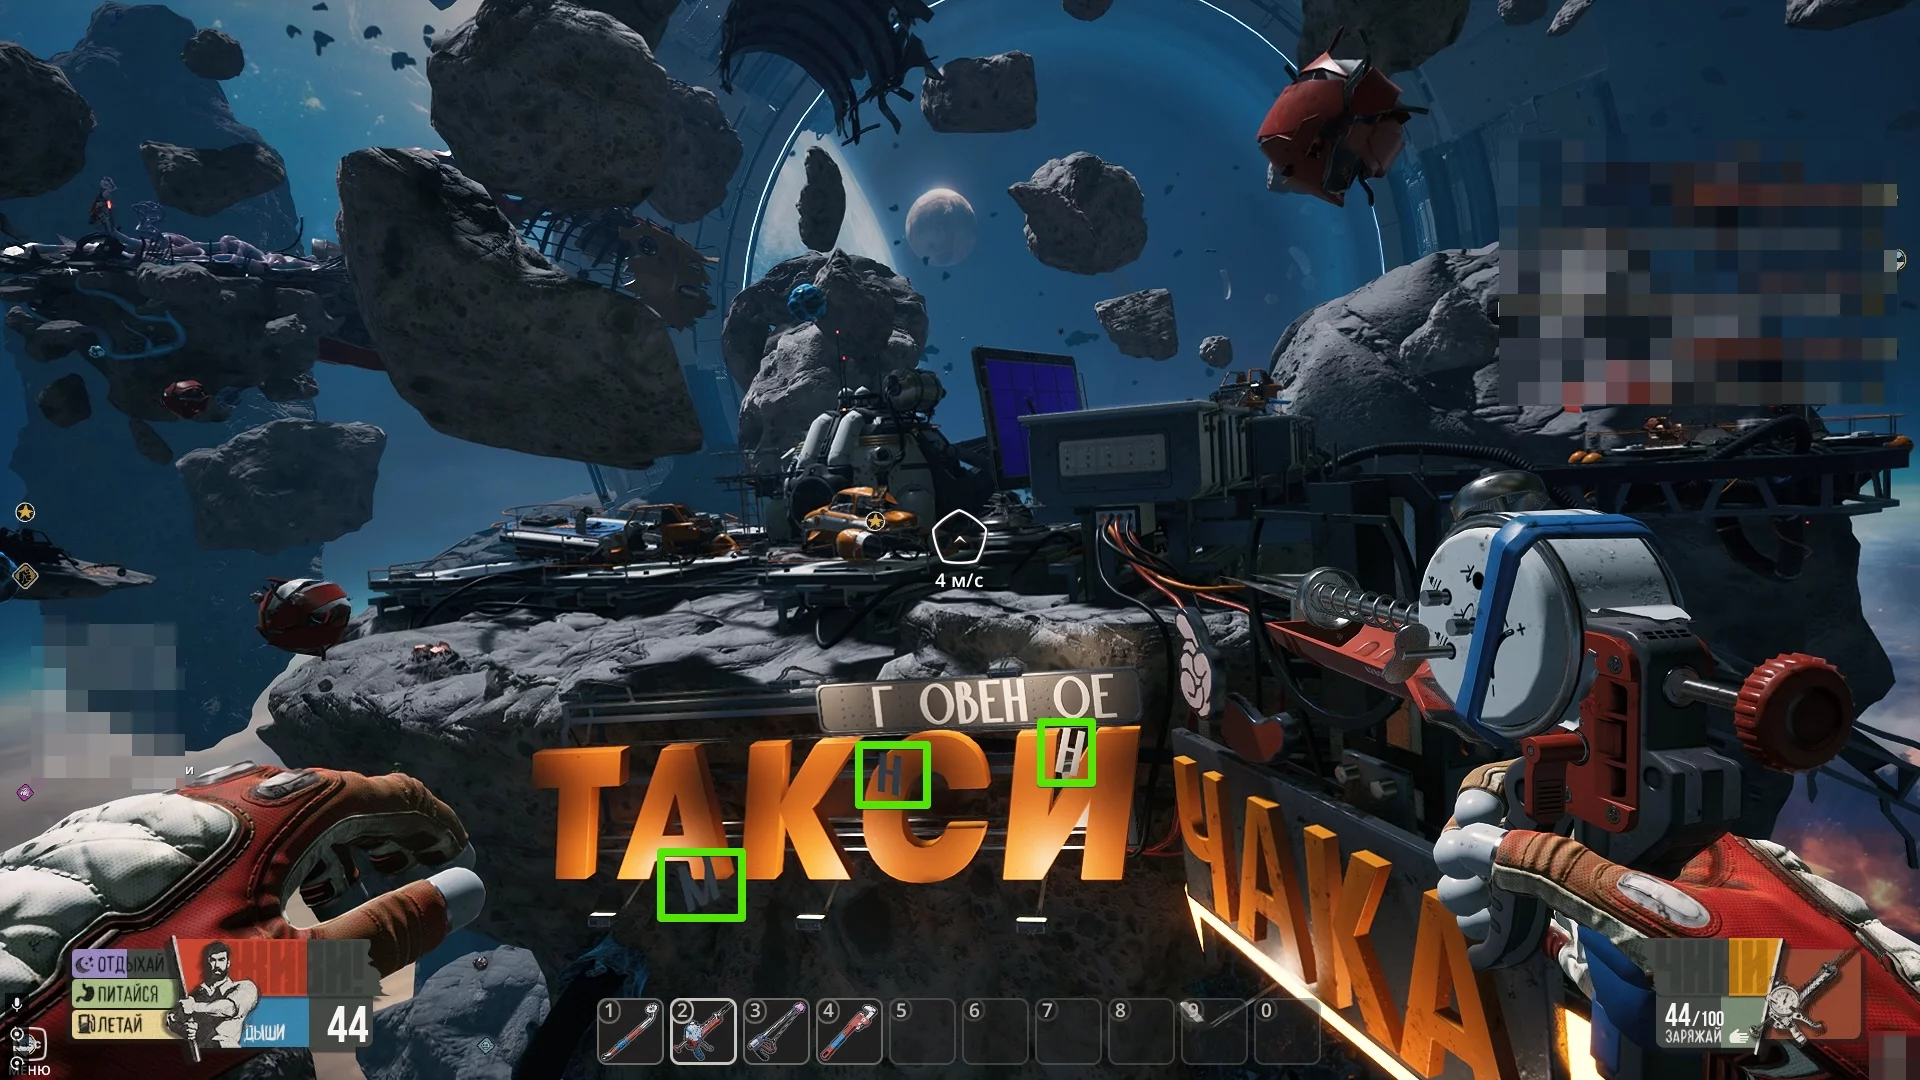
On the logo, you can notice missing letters, making the inscription indecent. Gather them nearby and insert them in the correct order to form “Instant Taxi.” Players will also receive the achievement Aphlaebt.
Repair the Panel
The solar panel on the right is faulty. First, get rid of the metal debris in the panel using a crowbar, then create a hinge in the inventory and replace it with a new one. Finally, interact with the console to deploy the panel.
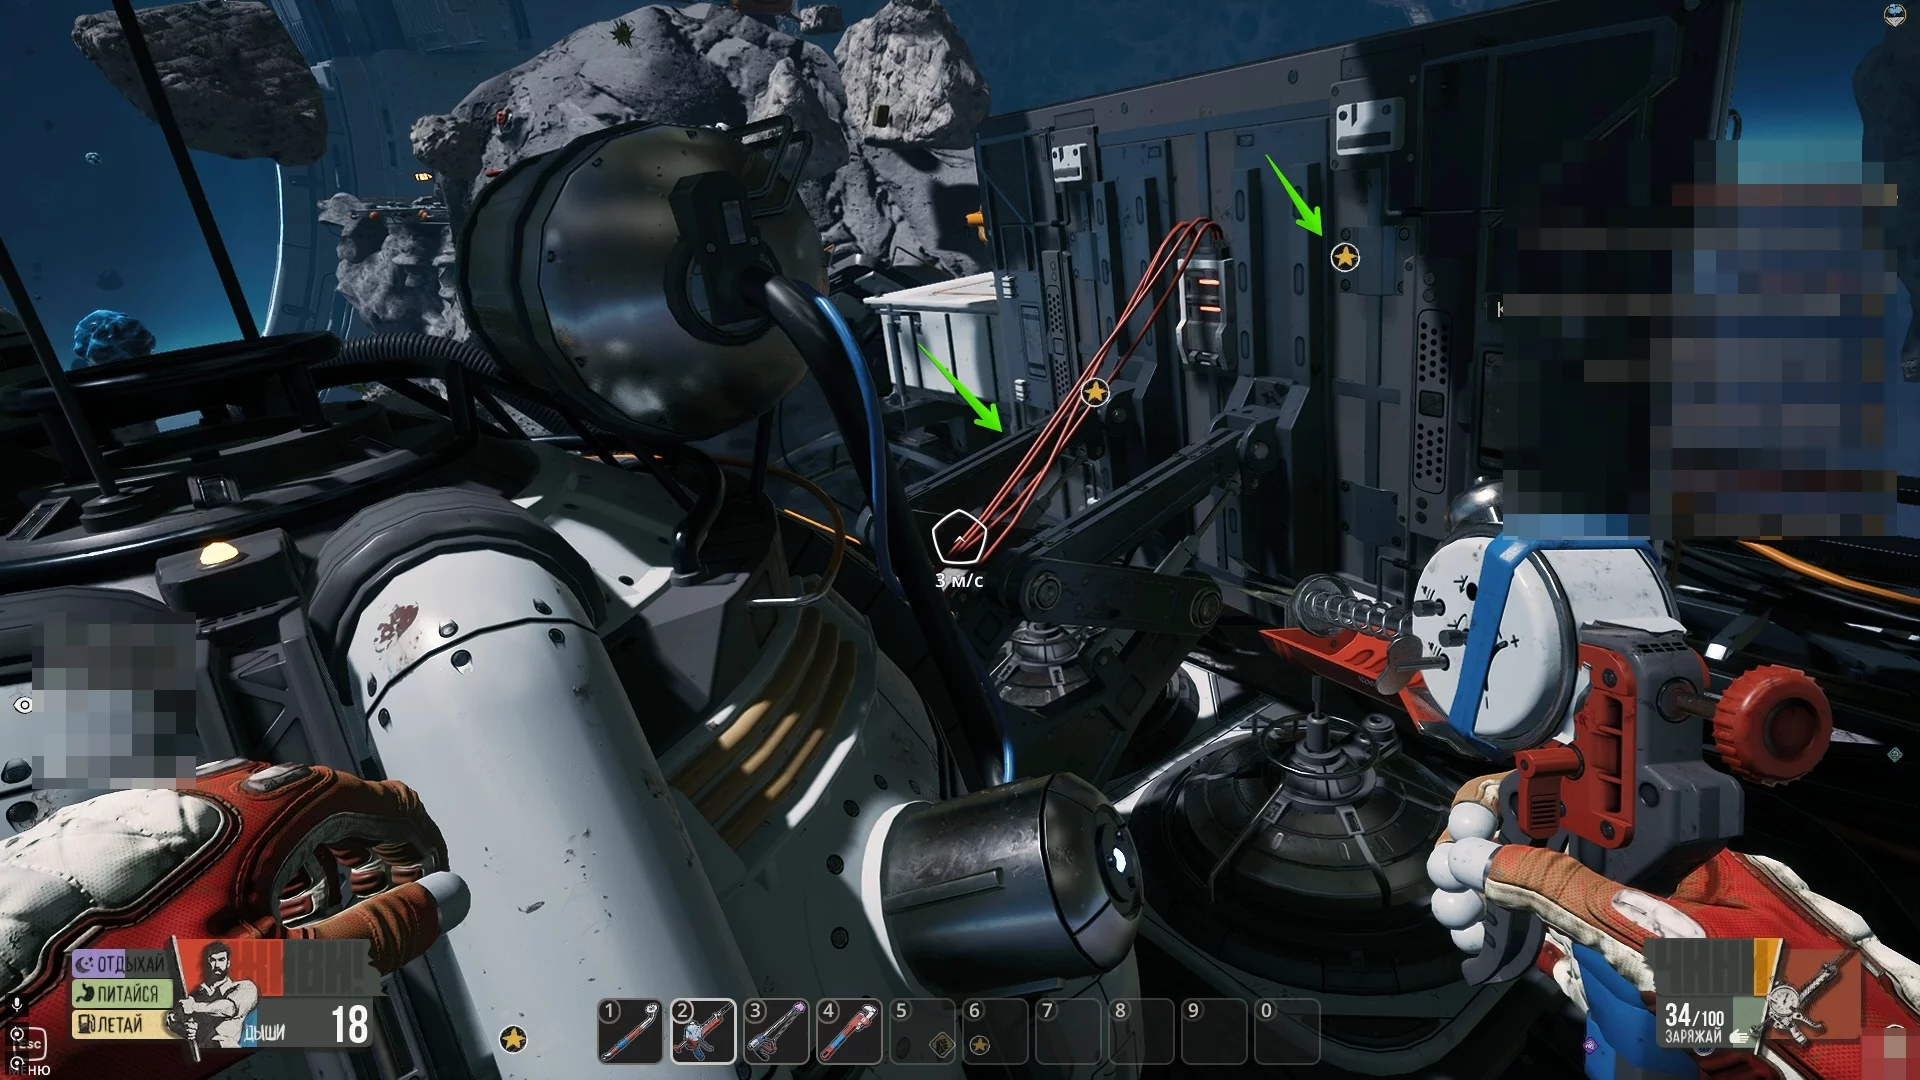
A little to the right of the panel, there's another taxi car completely covered in fines (22/48).
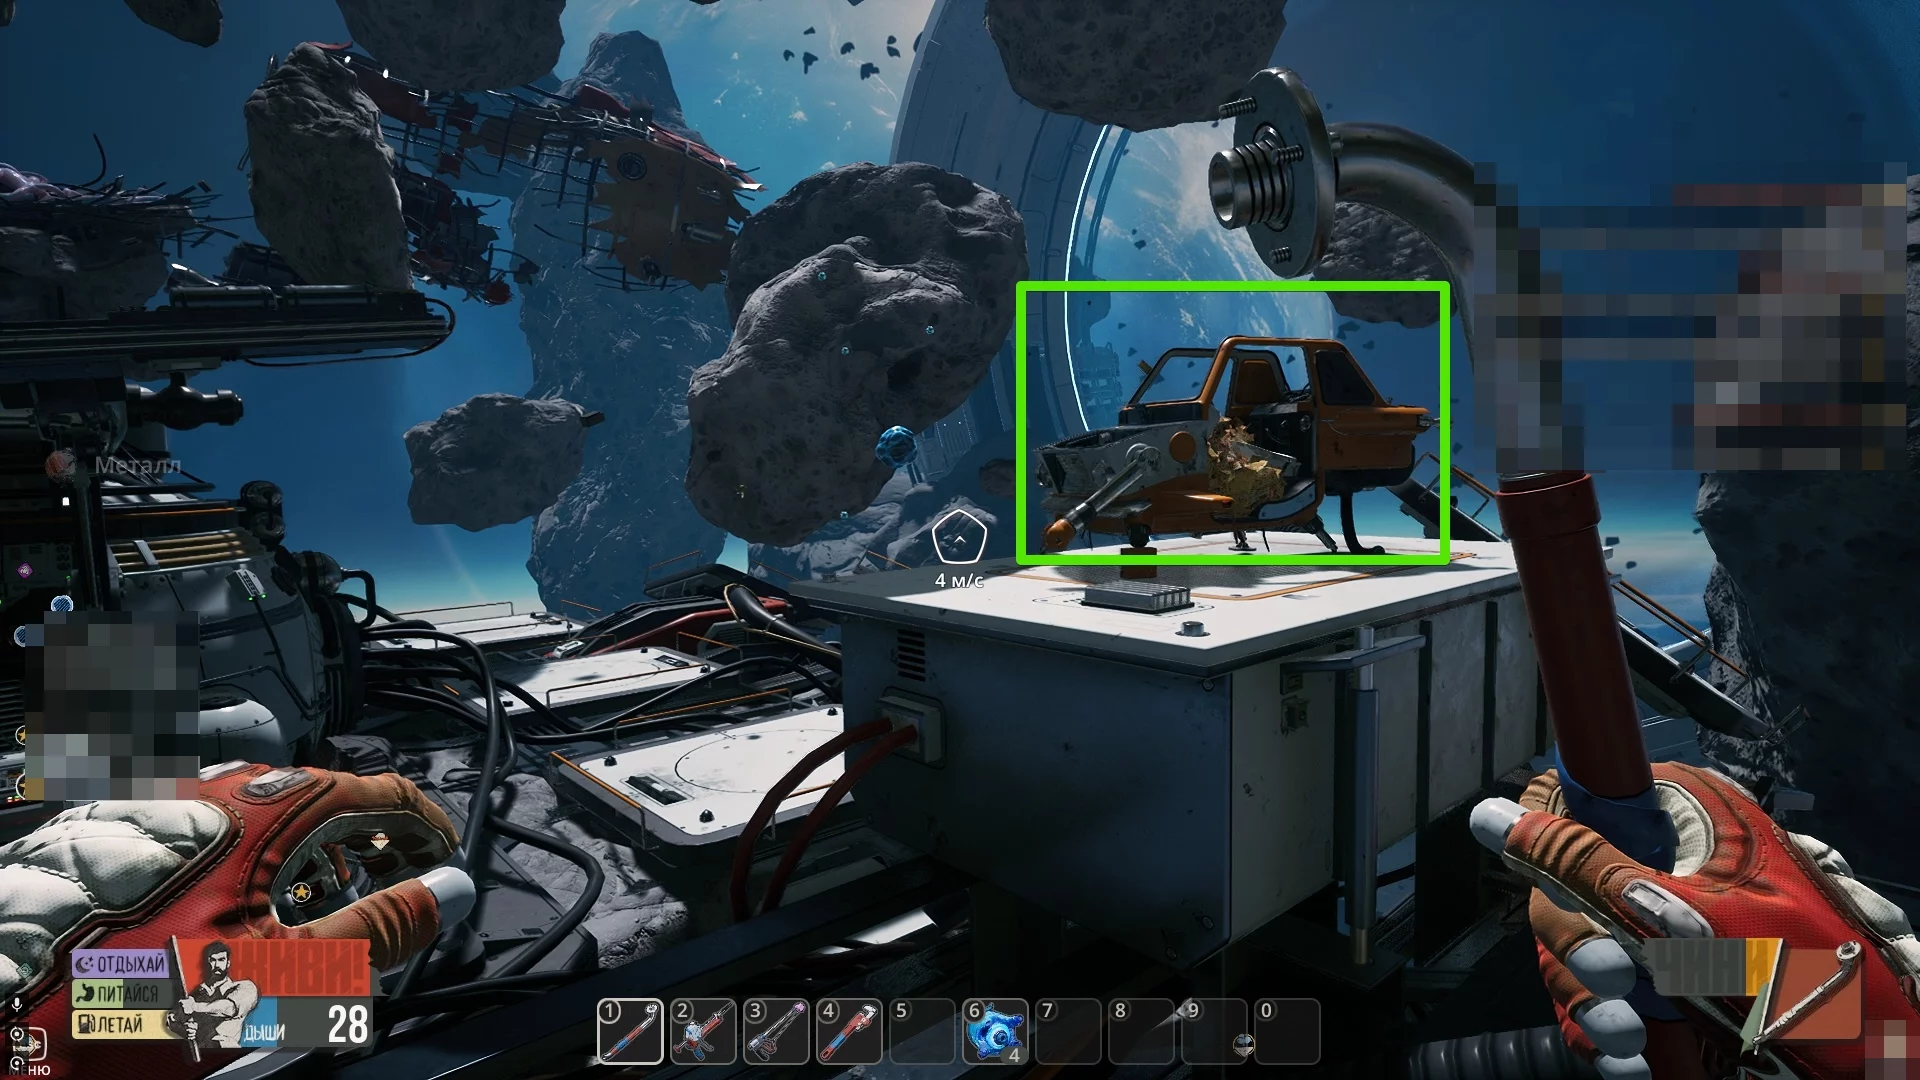
Repair the Radiator
The broken radiator is located on the roof of the installation. To repair it, simply use a wrench.
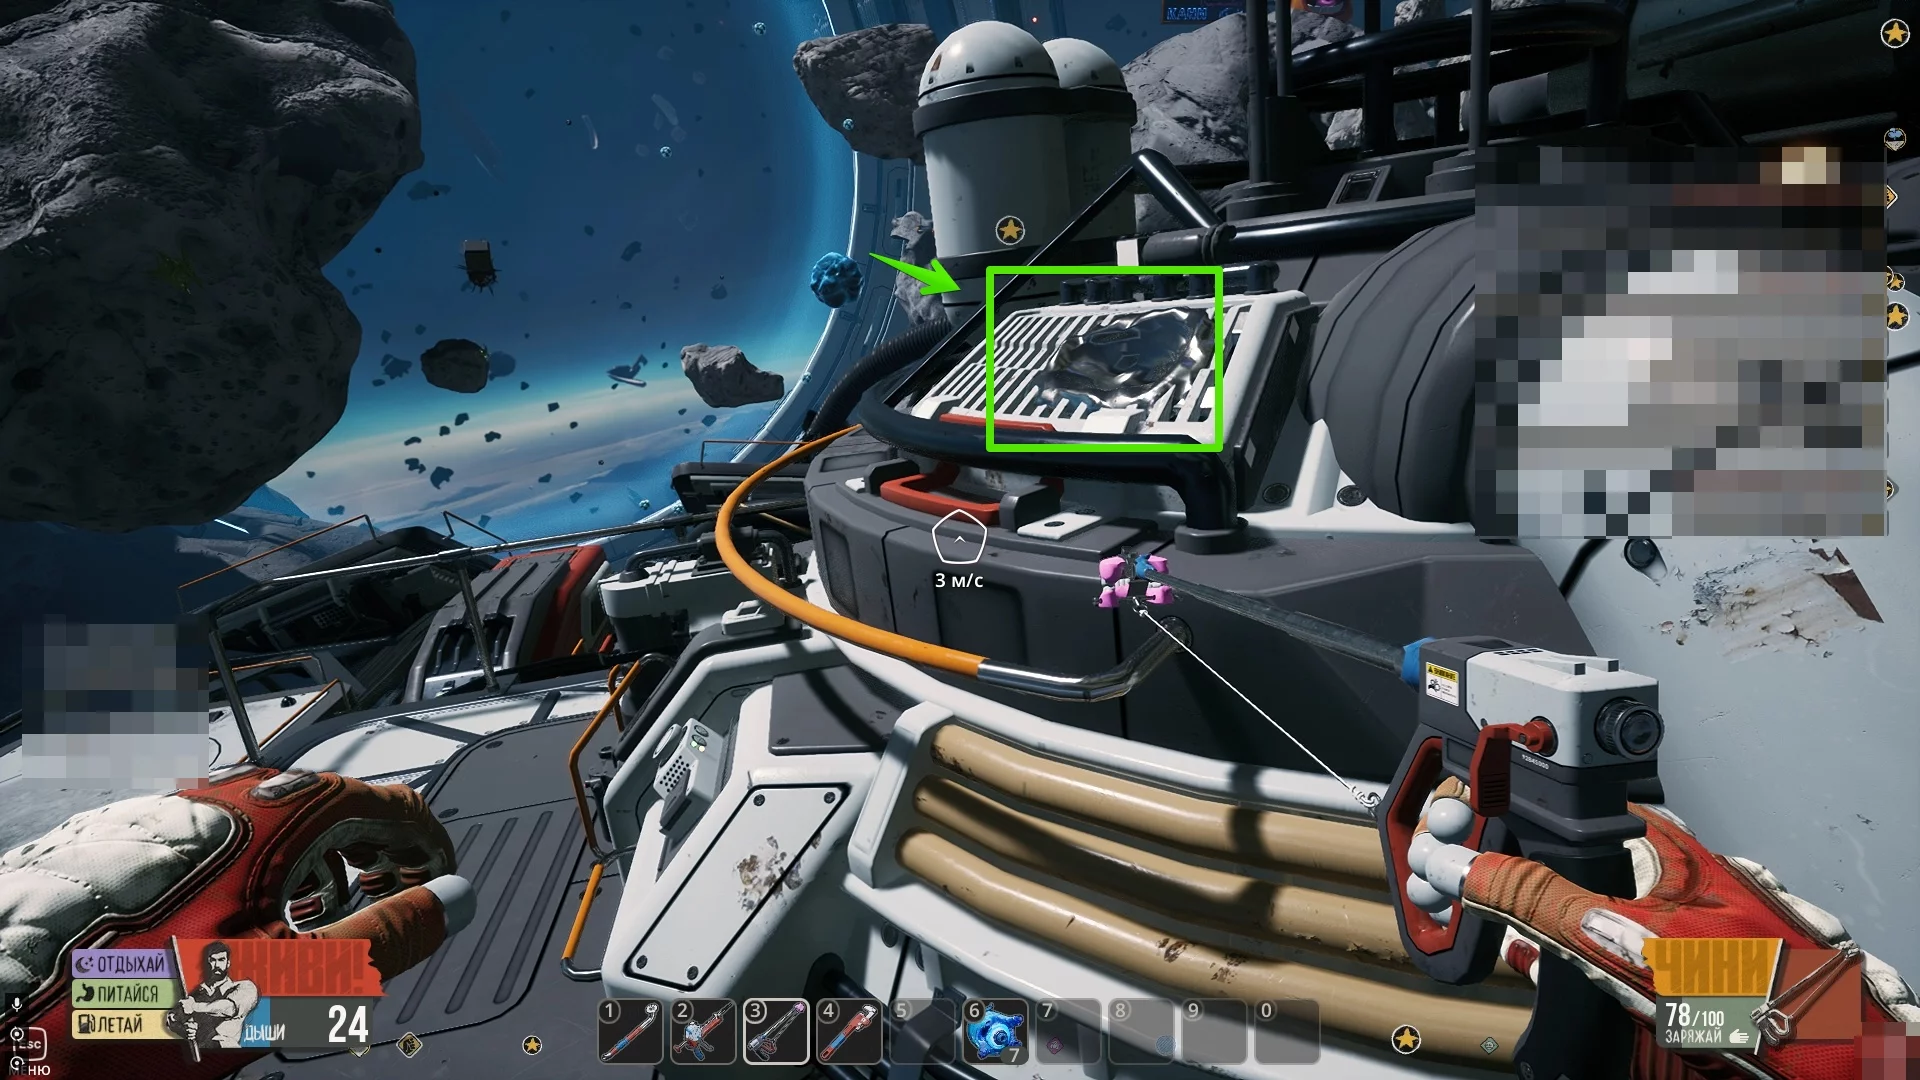
Start the Drill
Under the main platform, you will find a broken drilling rig. Interact with it to get the drill blueprint, then insert 10 units of refined metal and insert a battery. One such battery is waiting on Chuck's Taxi platform, behind the car.
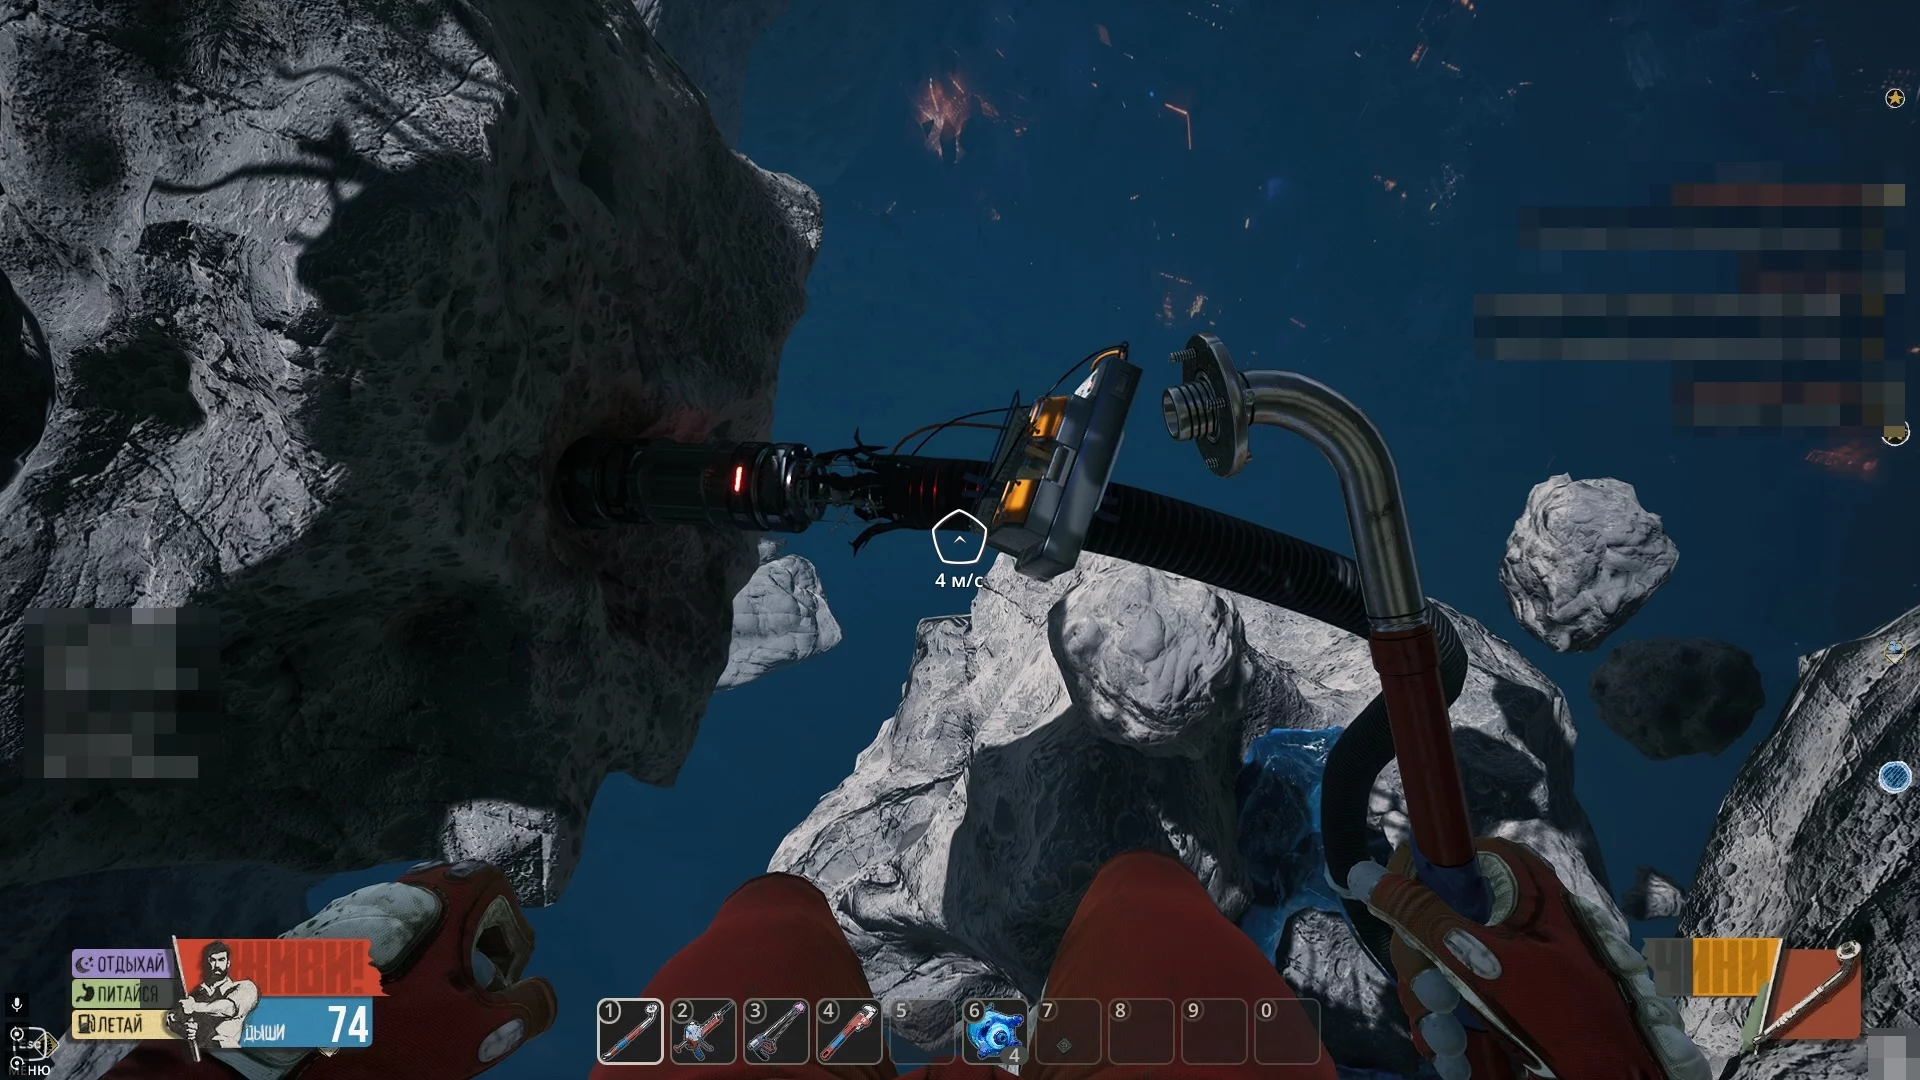
A bit further from Chuck's Taxi oxygen station, there is an asteroid wreck with a burnt-out car. Take the green barrel (23/48) here.
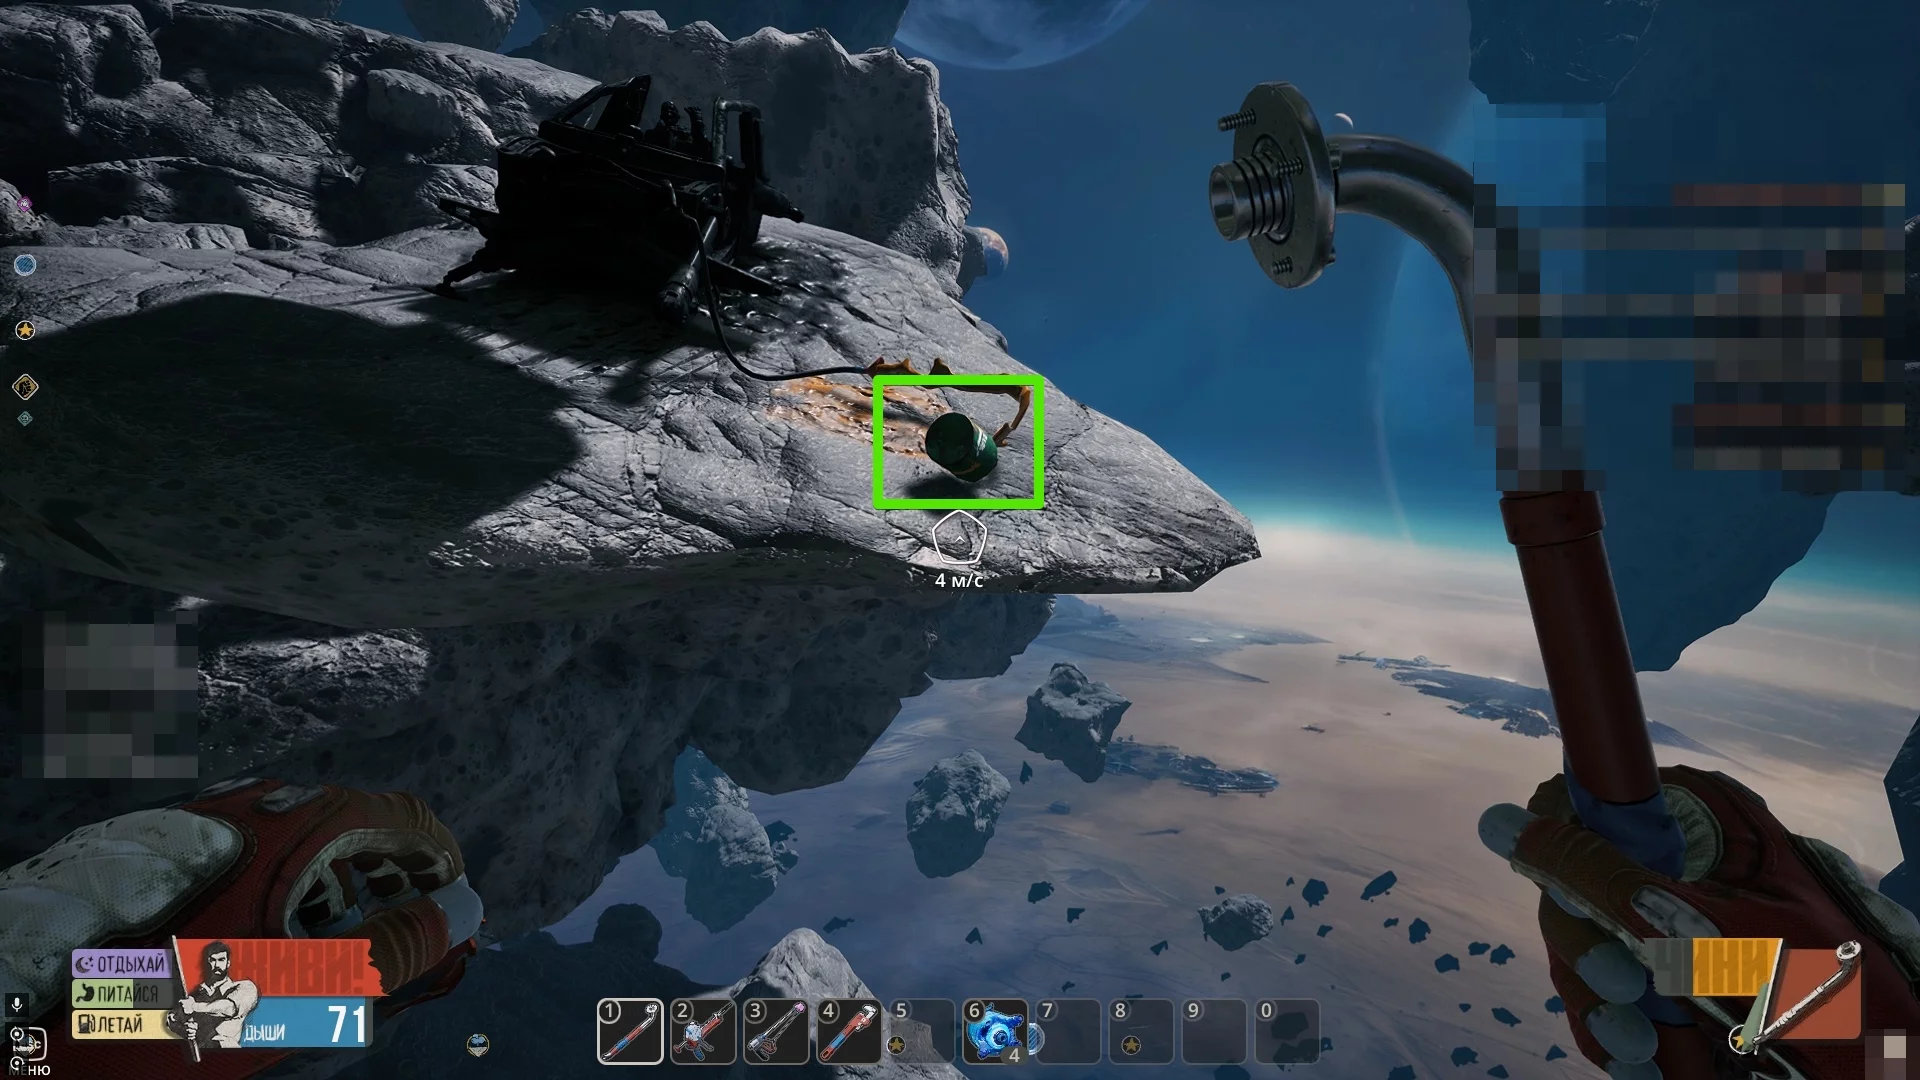
Start the Pump
After starting the drill, follow the cable to the lower part of the asteroid and break the ice.
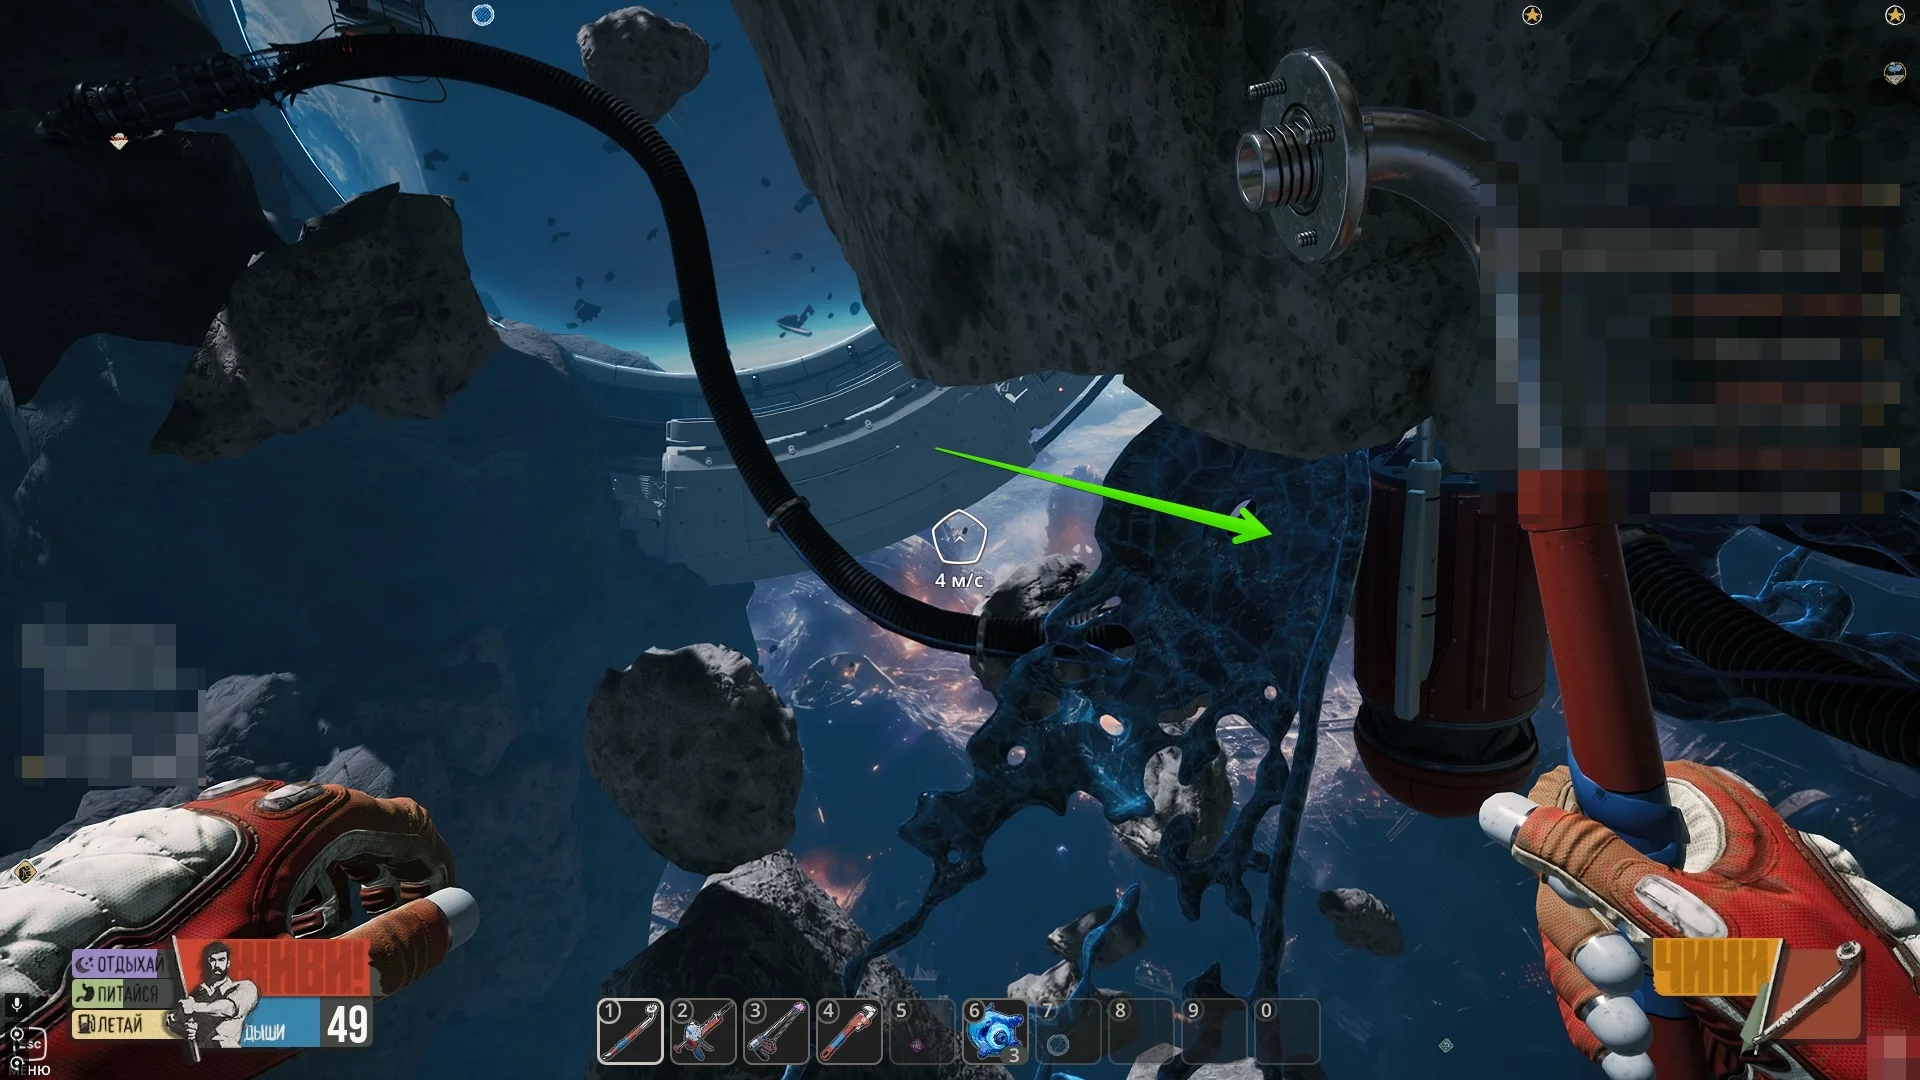
Talk to the Robots
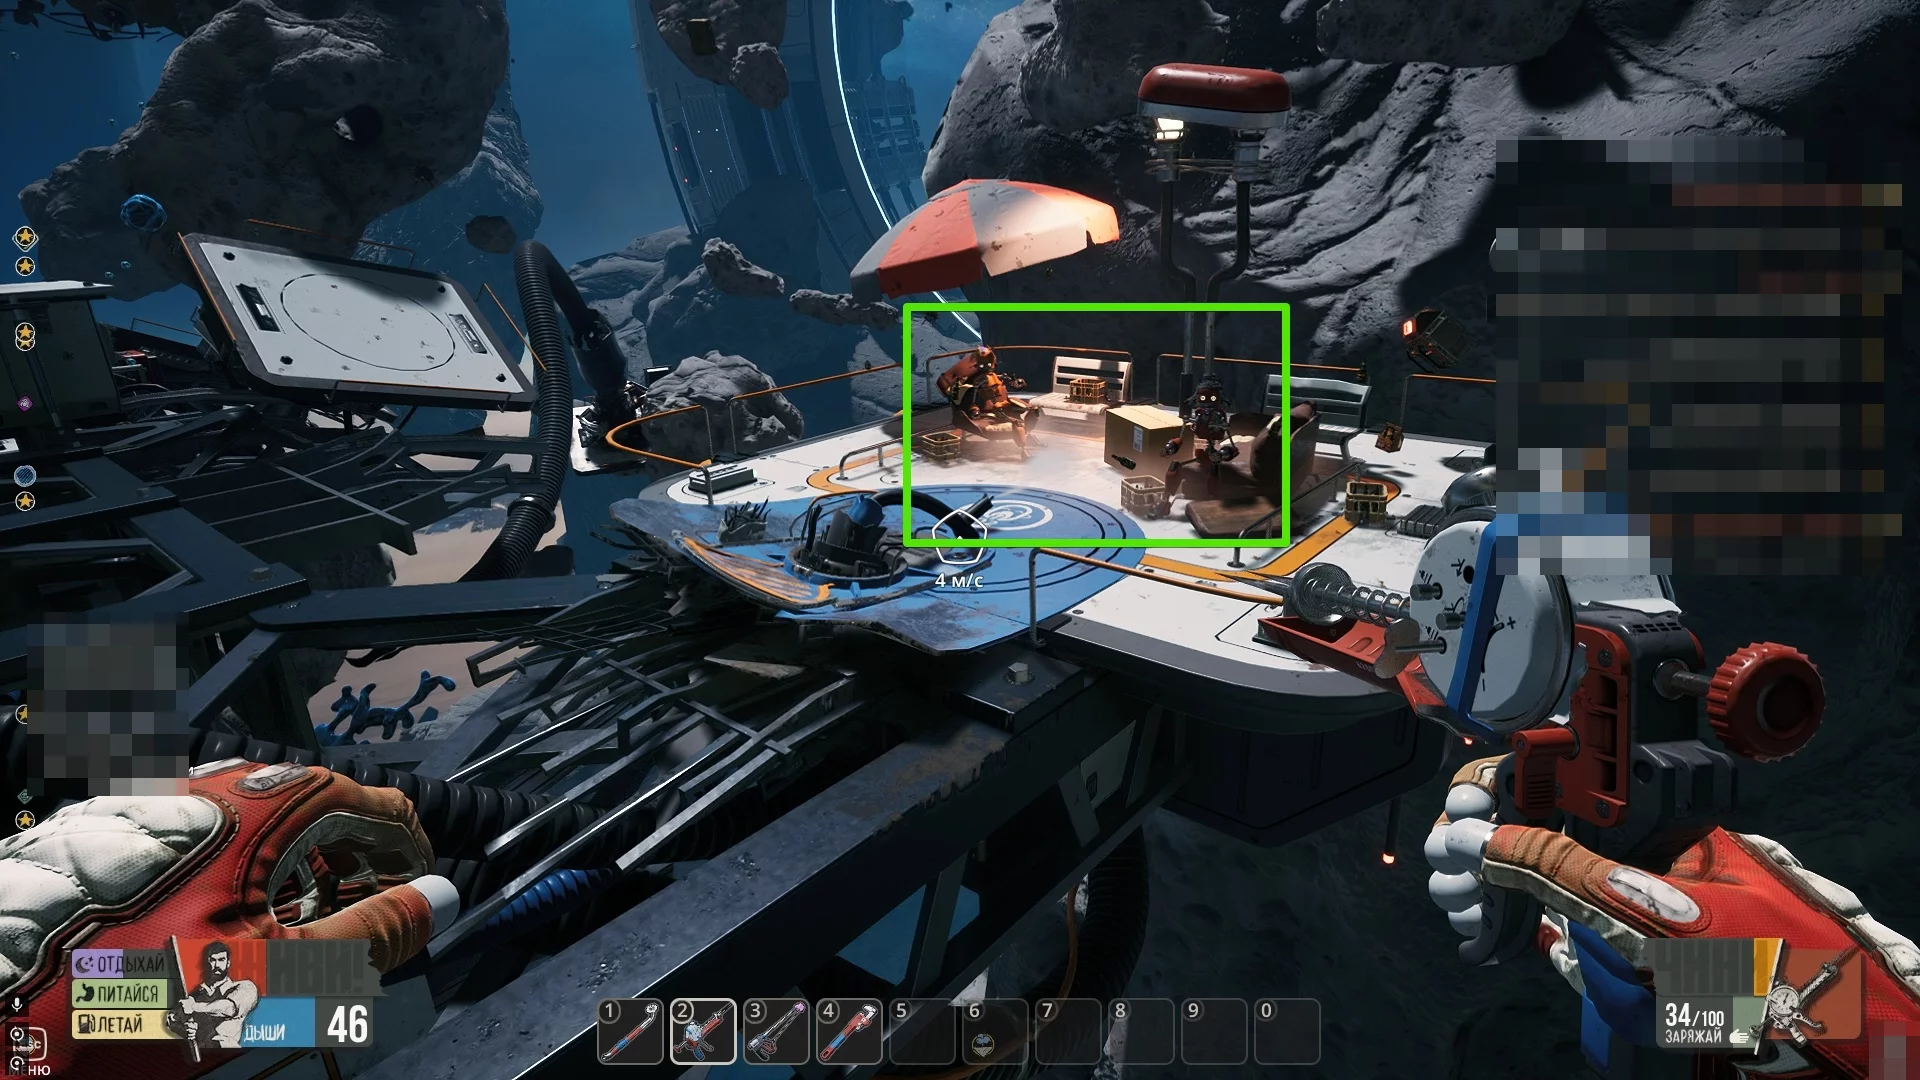
In the far right part of the location, you will find two drunken robots relaxing on sun loungers. Interact with them and choose whether to drink alcohol or not. If you agree, you will gain the respect of the drunks +60%. You will also learn that they need alcohol. The recipe for creating it is simple:
- Ice (2).
- Alkali (1) — obtained after killing alkali moles.
- Nutrient mineral (1).
Create a canister of alcohol and hand it to one of the drunks. As a reward, they will share an item with you that will help open the compartment.
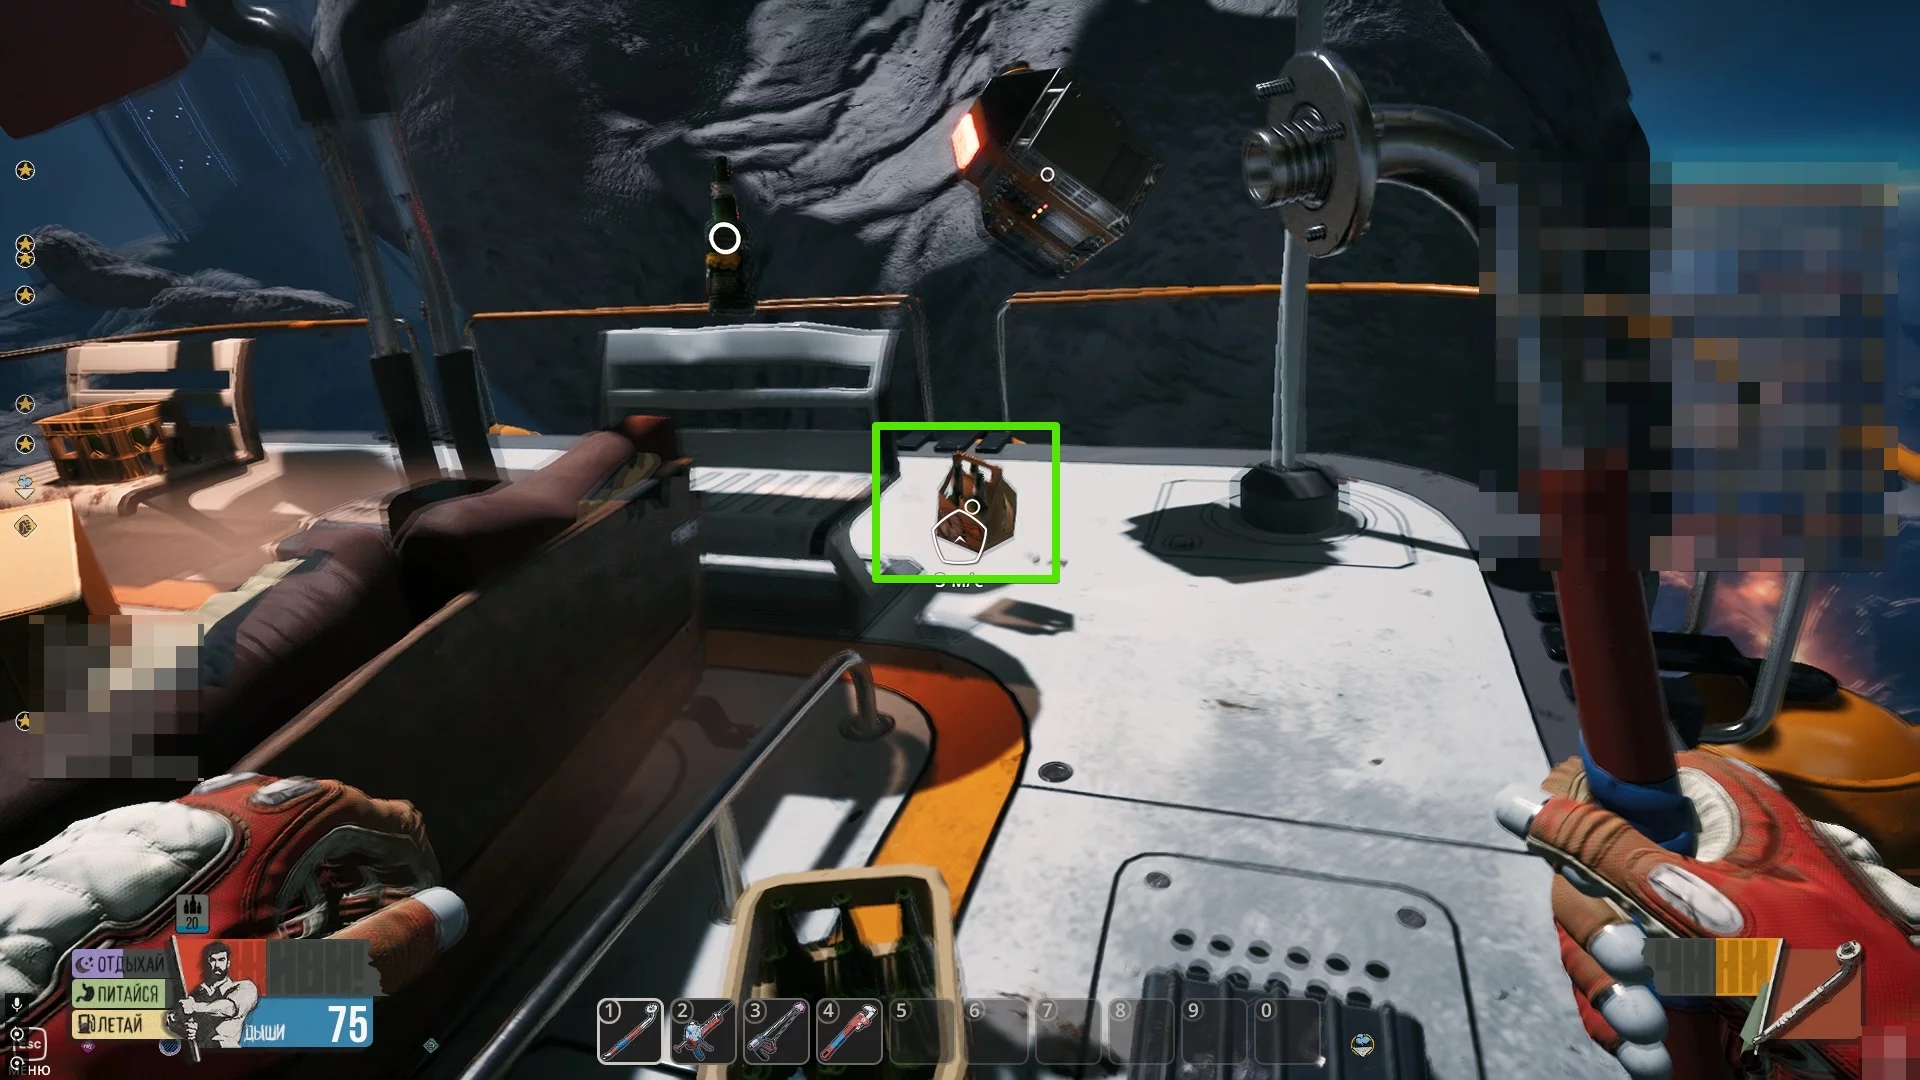
On the same platform, don't miss the collectible item — a crate of beer (24/48).
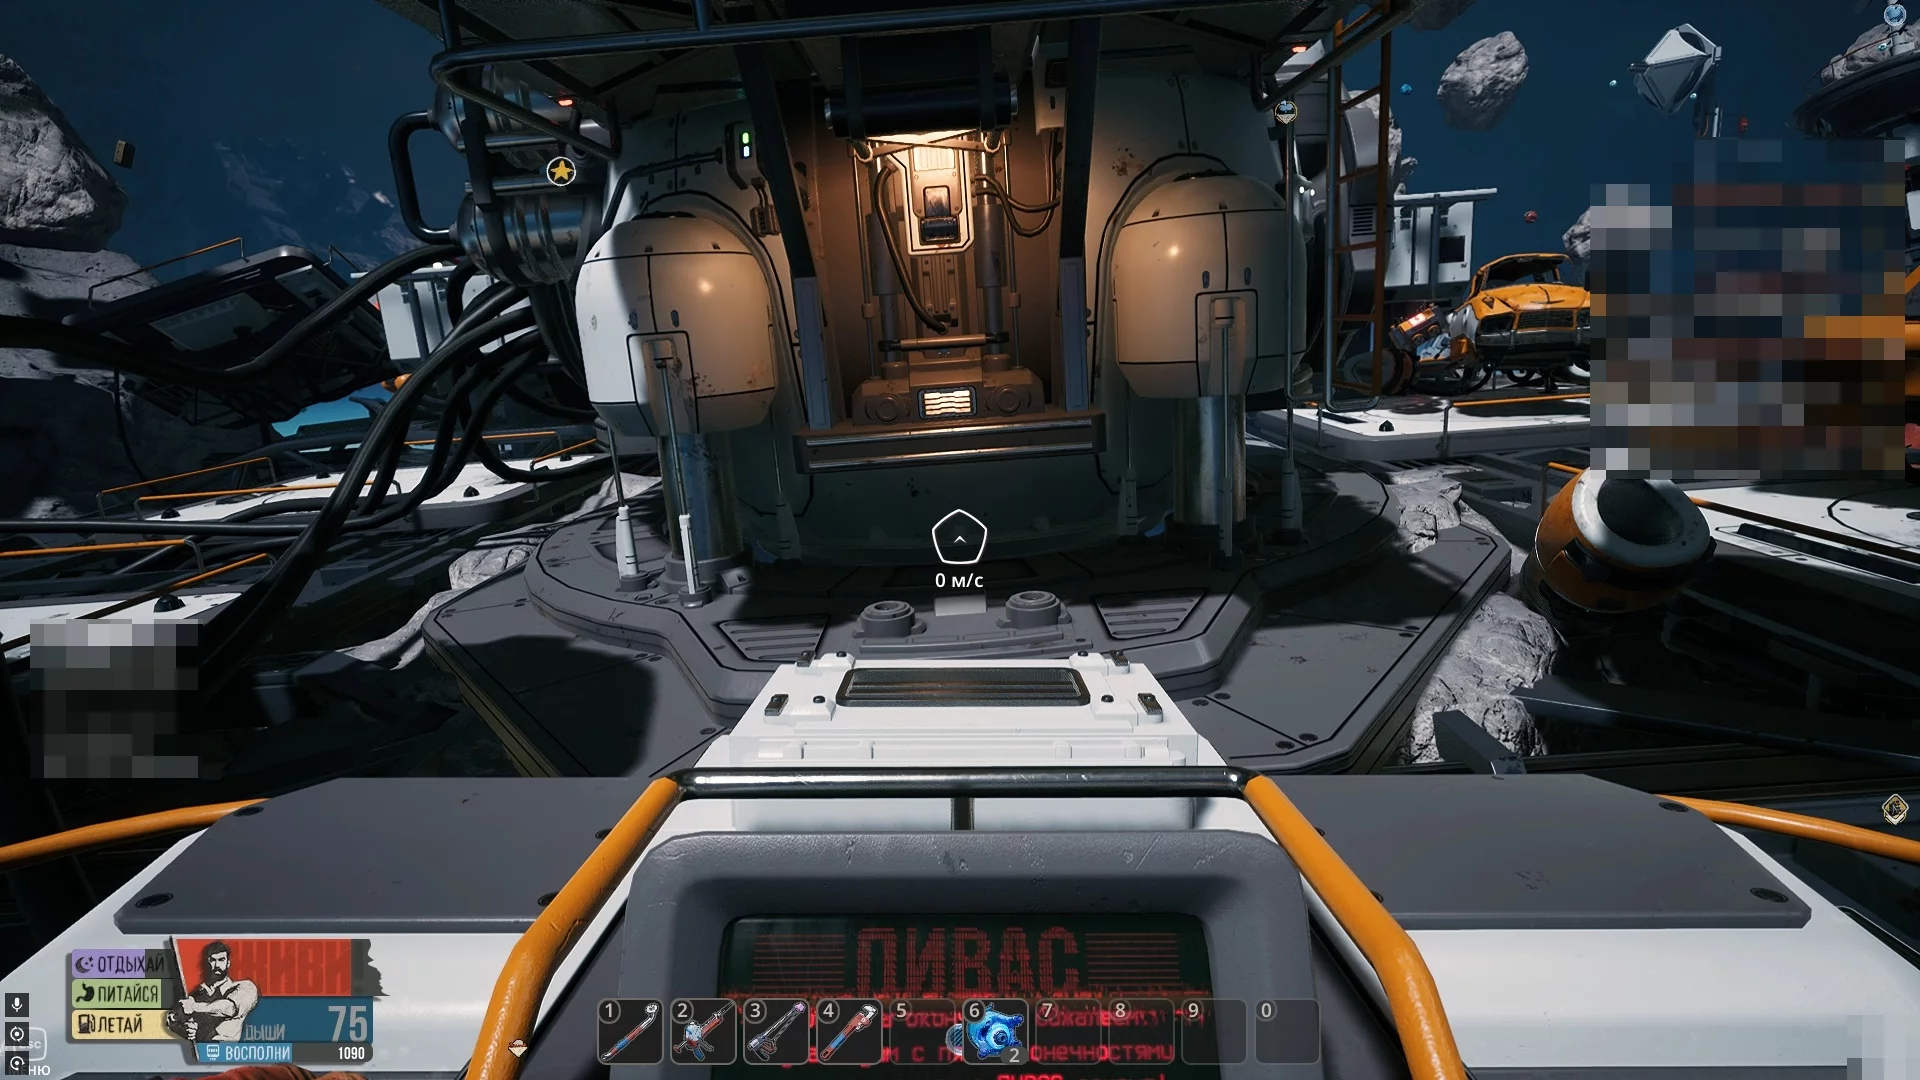
Activate the Unit
Insert the element obtained from the robots into the socket and activate the unit using the console next to the air station.
Enter inside and take all available resources, including the titanium needed to repair the toilet. Here you will also find a collectible item (25/48). To get outside, take a crowbar in hand and hit the cover until your companion opens the passage.
Spooky Station
Head to the asteroid with the big clock and the airlock door. To the right of the door, connect two contact plates to enter. Search the corpse to the left of the entrance to the main compartment to obtain the blueprint for the weapon Spraytron. Assemble it in the inventory — it will make completing the next task easier.
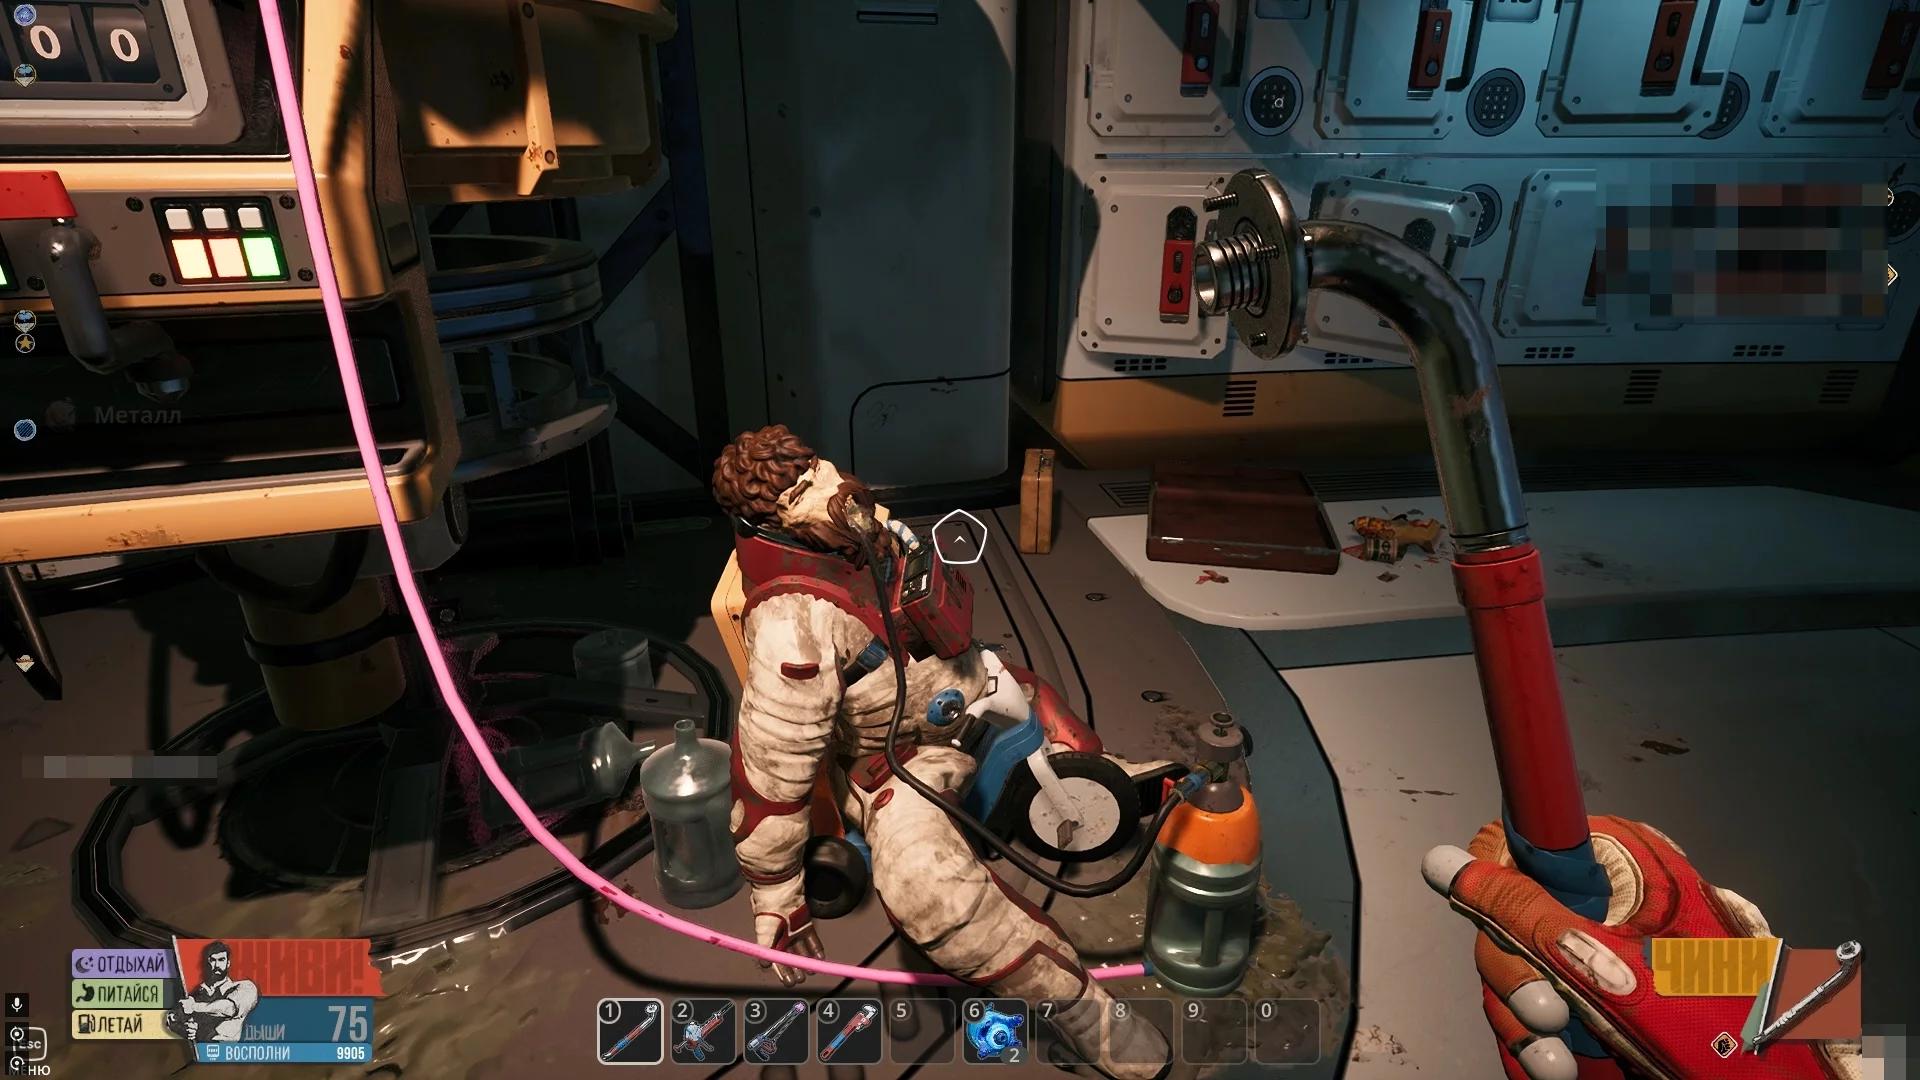
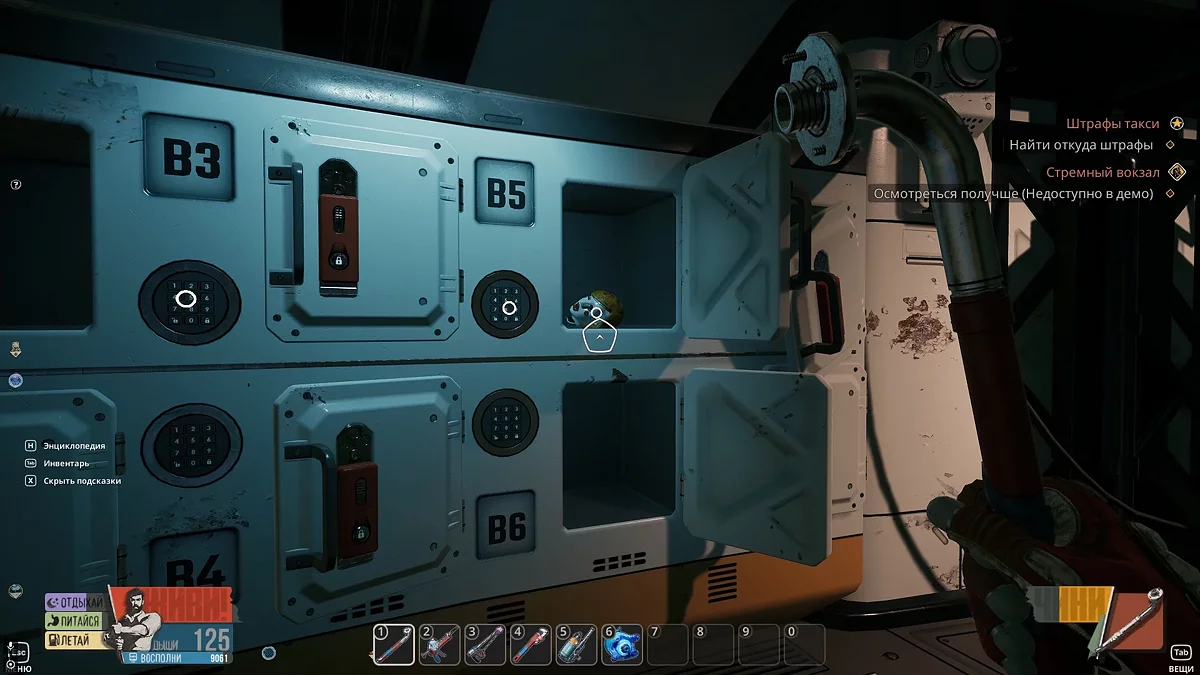
A little further to the right, you will see boxes with combination locks — they can be discovered when finding various items. For example, if you followed the guide, you can open boxes A6 and B5 right now and take a few units of duct tape and the watchman's head (26/48). The latter item is not only considered a collectible but is also needed to obtain the "Watchman" achievement. To do this, return to the platform with Baby, find the torso and arm of the watchman (usually located to the left of the pedestal), then insert all the items.
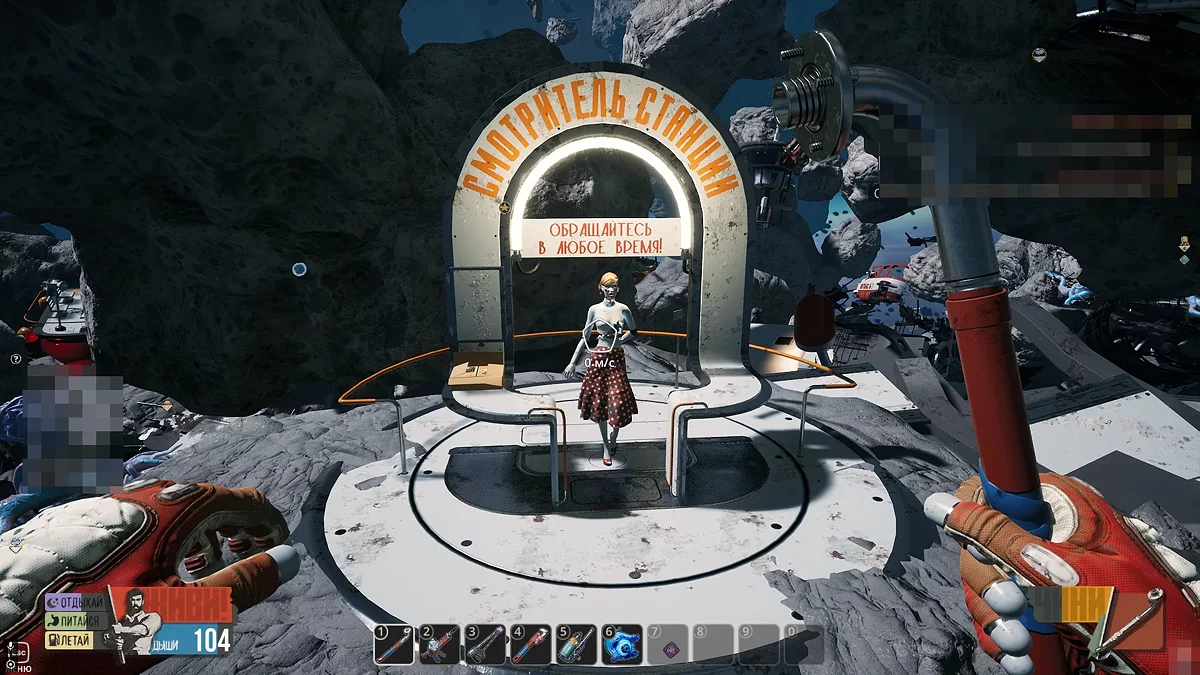
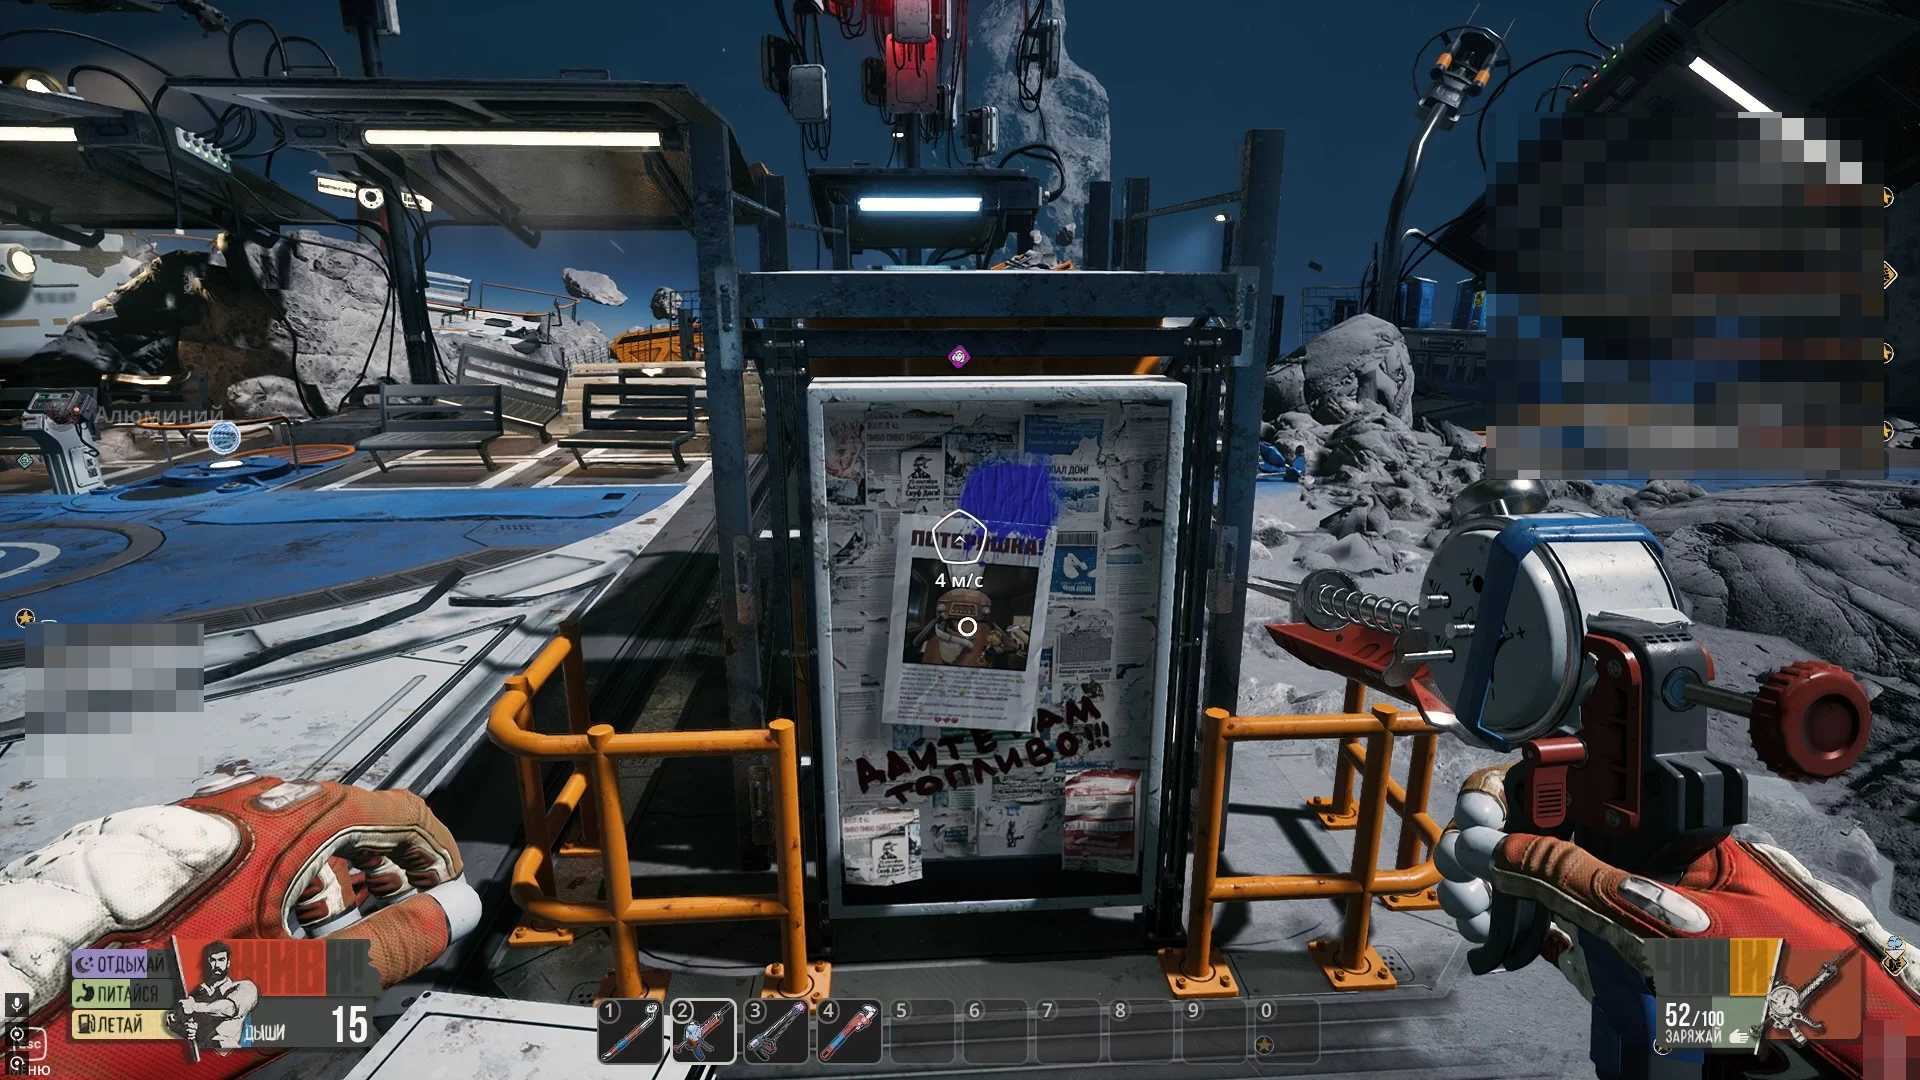
By the way, to the left of the watchman mannequin, there's a box where you can find the Chuck's Taxi brochure (27/48). Opposite the pedestal, there's a bulletin board with a missing nanny message (28/48).
Examine the terminal between sections A and B at the strange station, and take the announcement (29/48) here.
Launch the Shuttle
Inspect all the damage. Insert aluminum into the breach, then clean the engine nozzles using a probe, then repair the engine with metal and the breach in the nose with plastic. Finally, use the Spraytron to clean the glass.
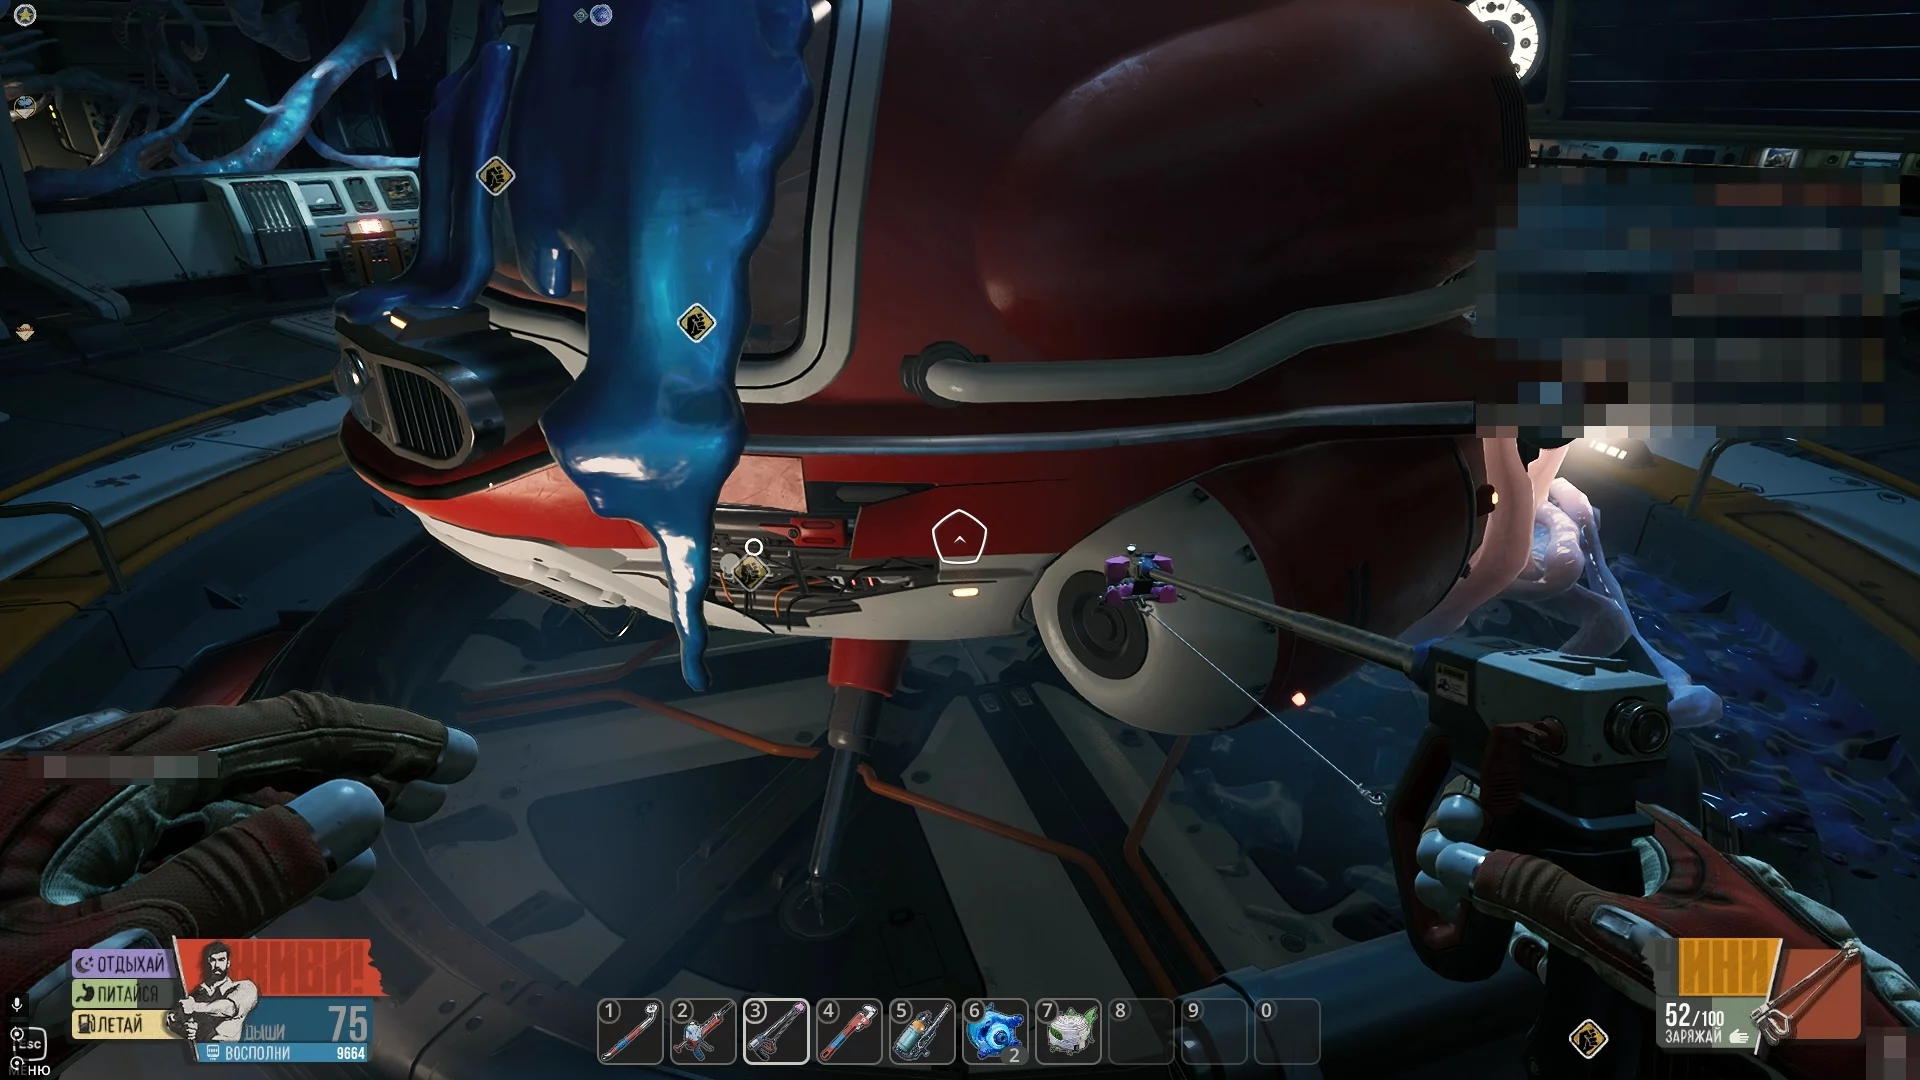
All that's left is to walk around the room and find a few cables that need to be plugged into the appropriate sockets, then insulate the wires in front of the console.
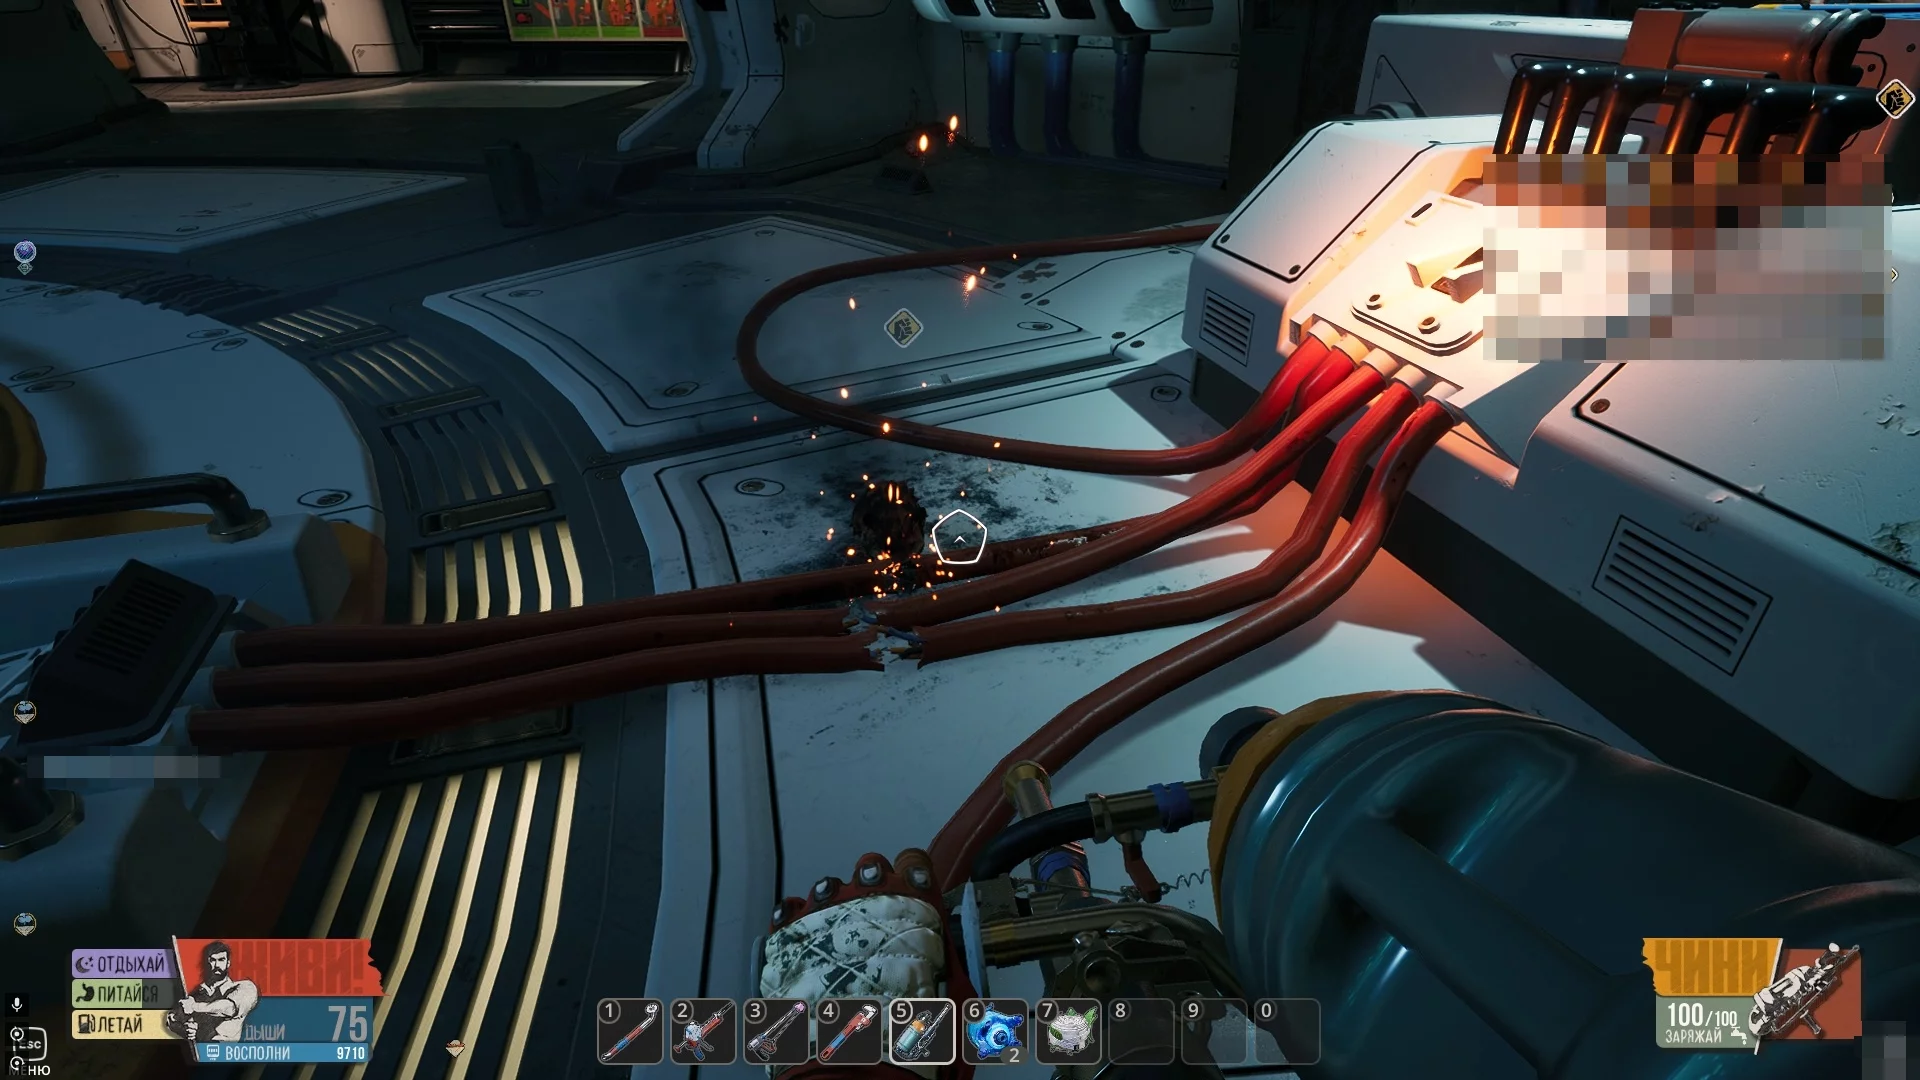
In one of the open drawers on the table, take the antipray (30/48). When you're ready, interact with the terminal in front of the shuttle and watch the cutscene.
Help the CZNX
A giant mutant hamster will appear in place of the ship. To help it, you need to get rid of the larvae. For this, use the Spraytron: shoot the larvae and move away, as they will immediately attack. After a single attack, the larvae will flee — catch up with them and kill them. Repeat the actions with all the parasites.
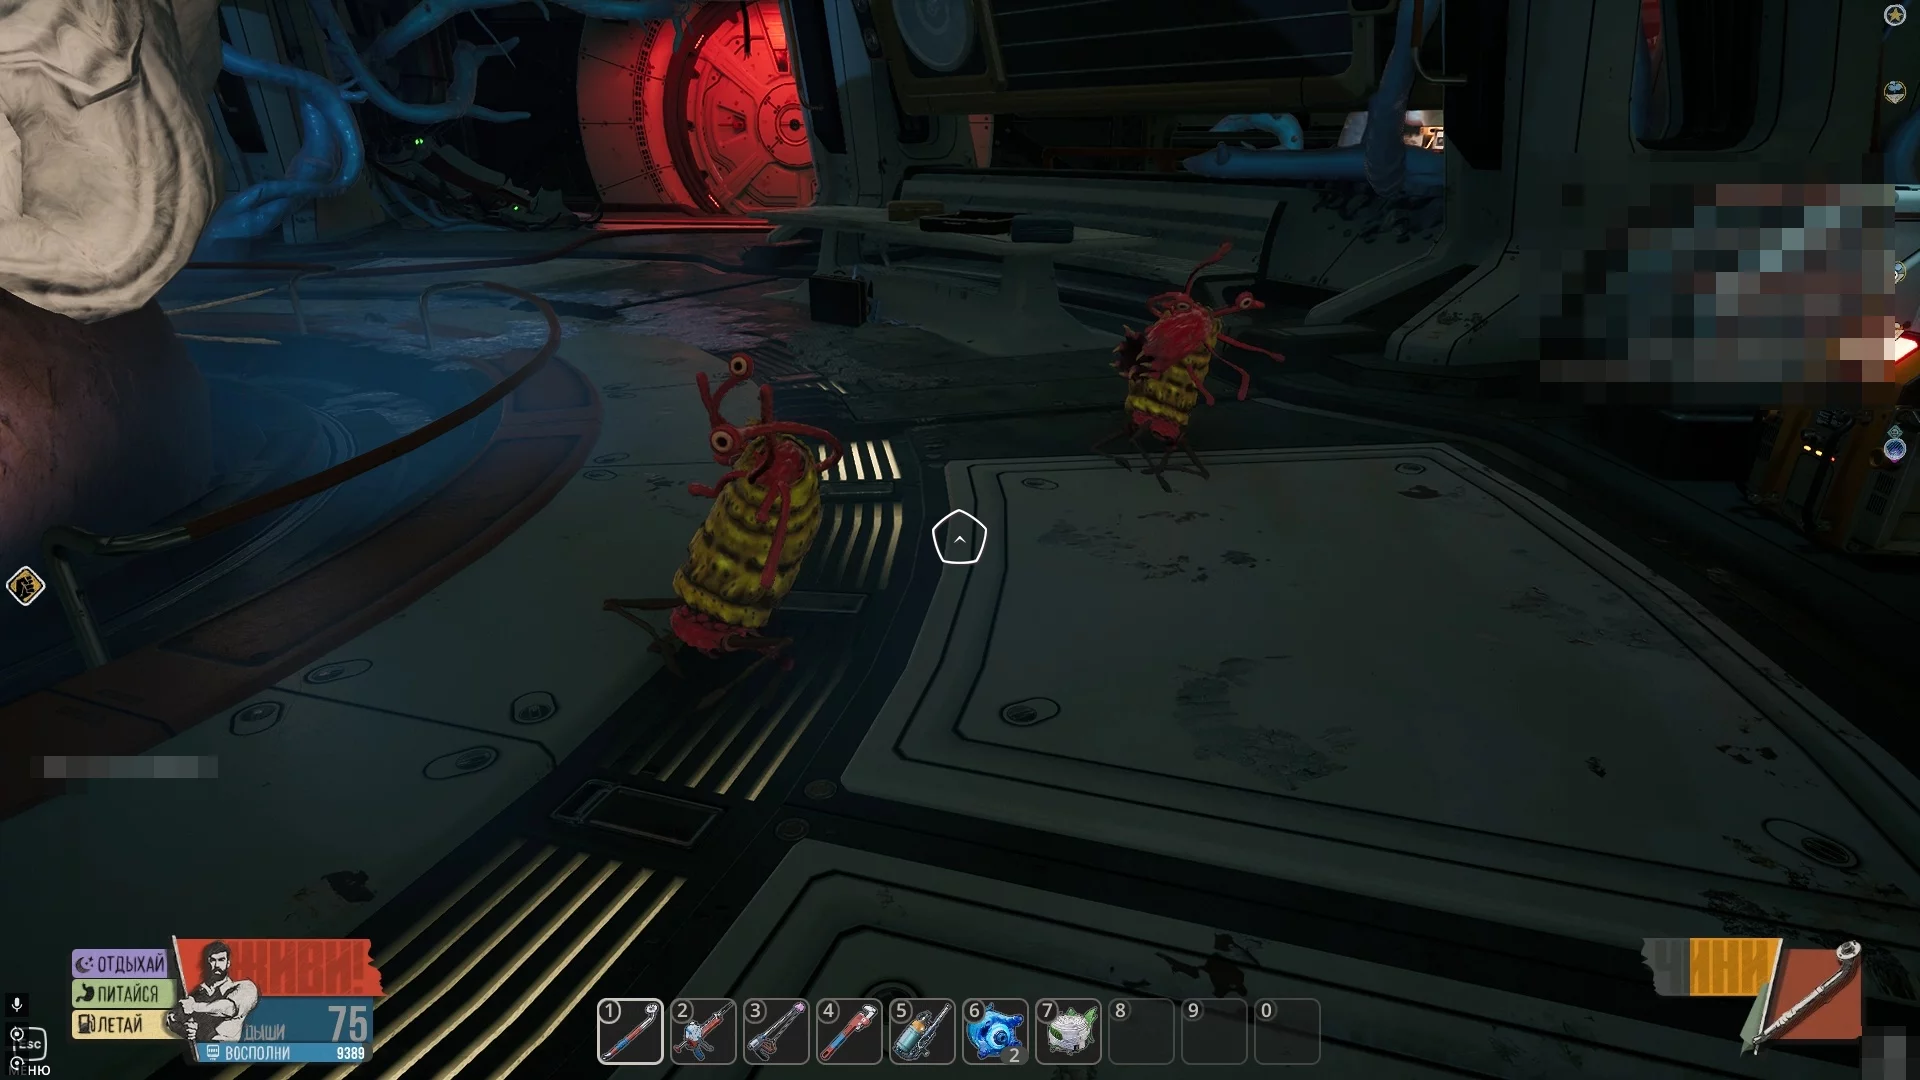
At the end of the quest, you will receive the blueprint for an enlarged oxygen tank, which will simplify space exploration. Immediately after creation and equipping, Baby will ask to make one for her as well.
Blueprint:
- Bellyplastic (1) — you will get it by killing larvae from the body of the mutant hamster.
- Refined metal (2).
- Duct tape (2).
- Wires (2).
10G Antenna
In the northern part of the location, you can find an asteroid with an antenna. To activate it, simply install a battery in the appropriate compartment.
Other Collectibles
When you head to the baggage compartment under the train platform for the battery, you will be able to find the roly-poly toy (31/48) here.
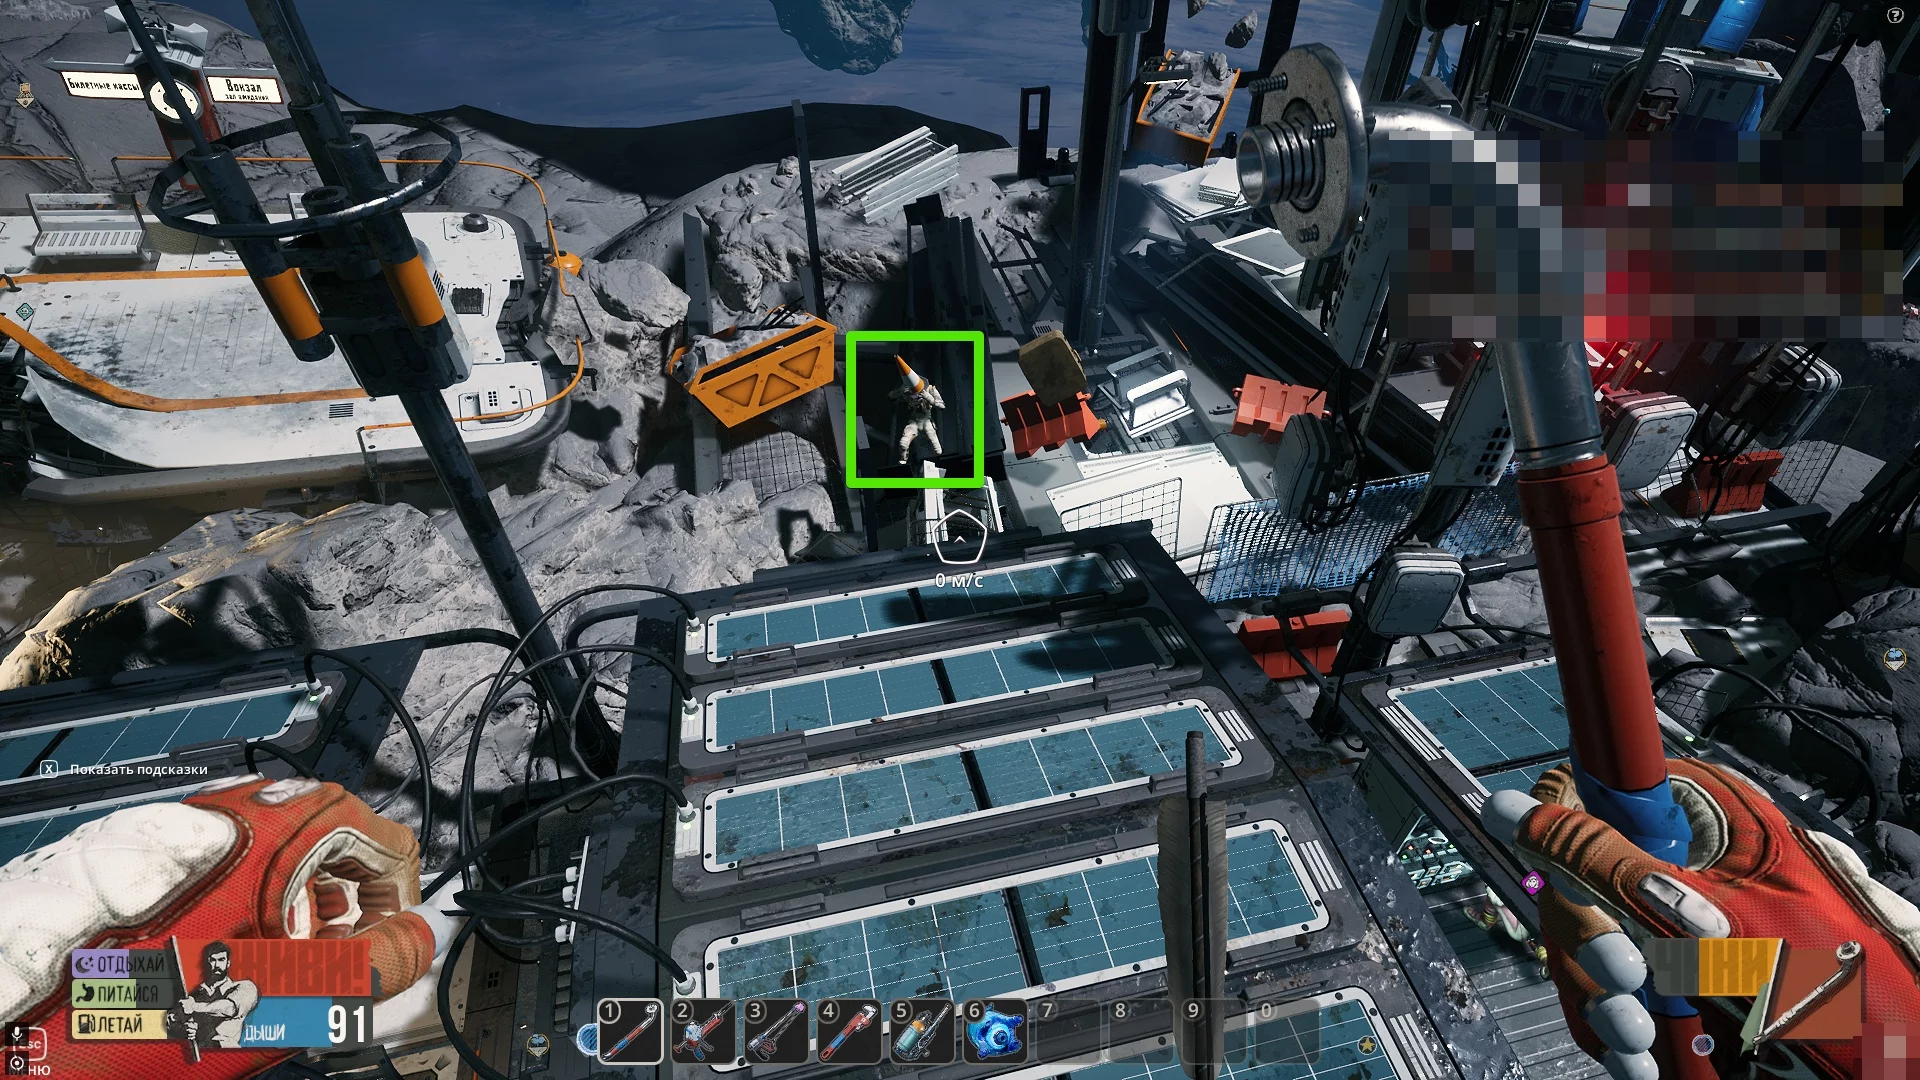
On the platform next to Baby, take the space sign (32/48). Additionally, if you fly a little higher, you can find an astronaut with a cone sign on his head (33/48). If you put the cone on your head, you will receive the "Cone Head" achievement.
Inspect the broken red car in front of Chuck's Taxi asteroid. Inside, you can find a Dude beer pack (34/48).
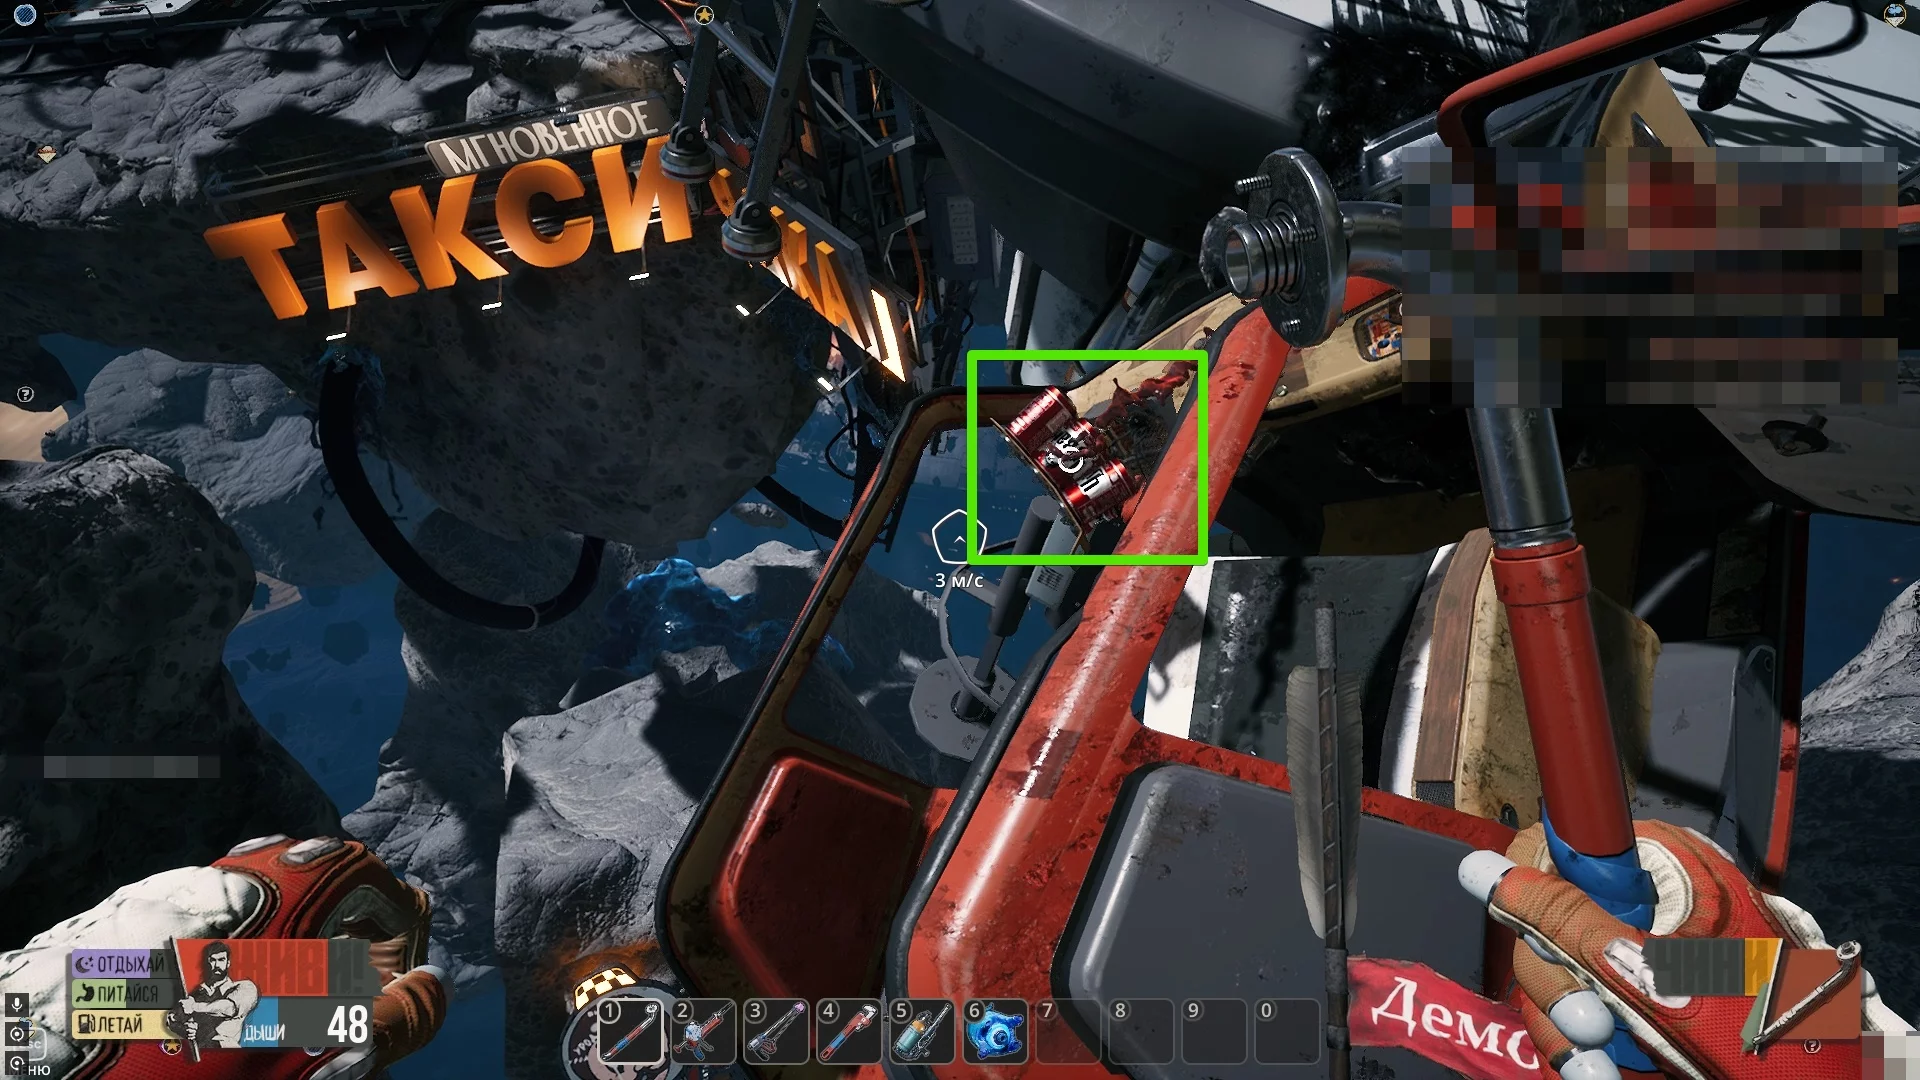
Behind Chuck's Taxi platform, there is a broken taxi car with a drill cable sticking out. Find the poster (35/48) here.
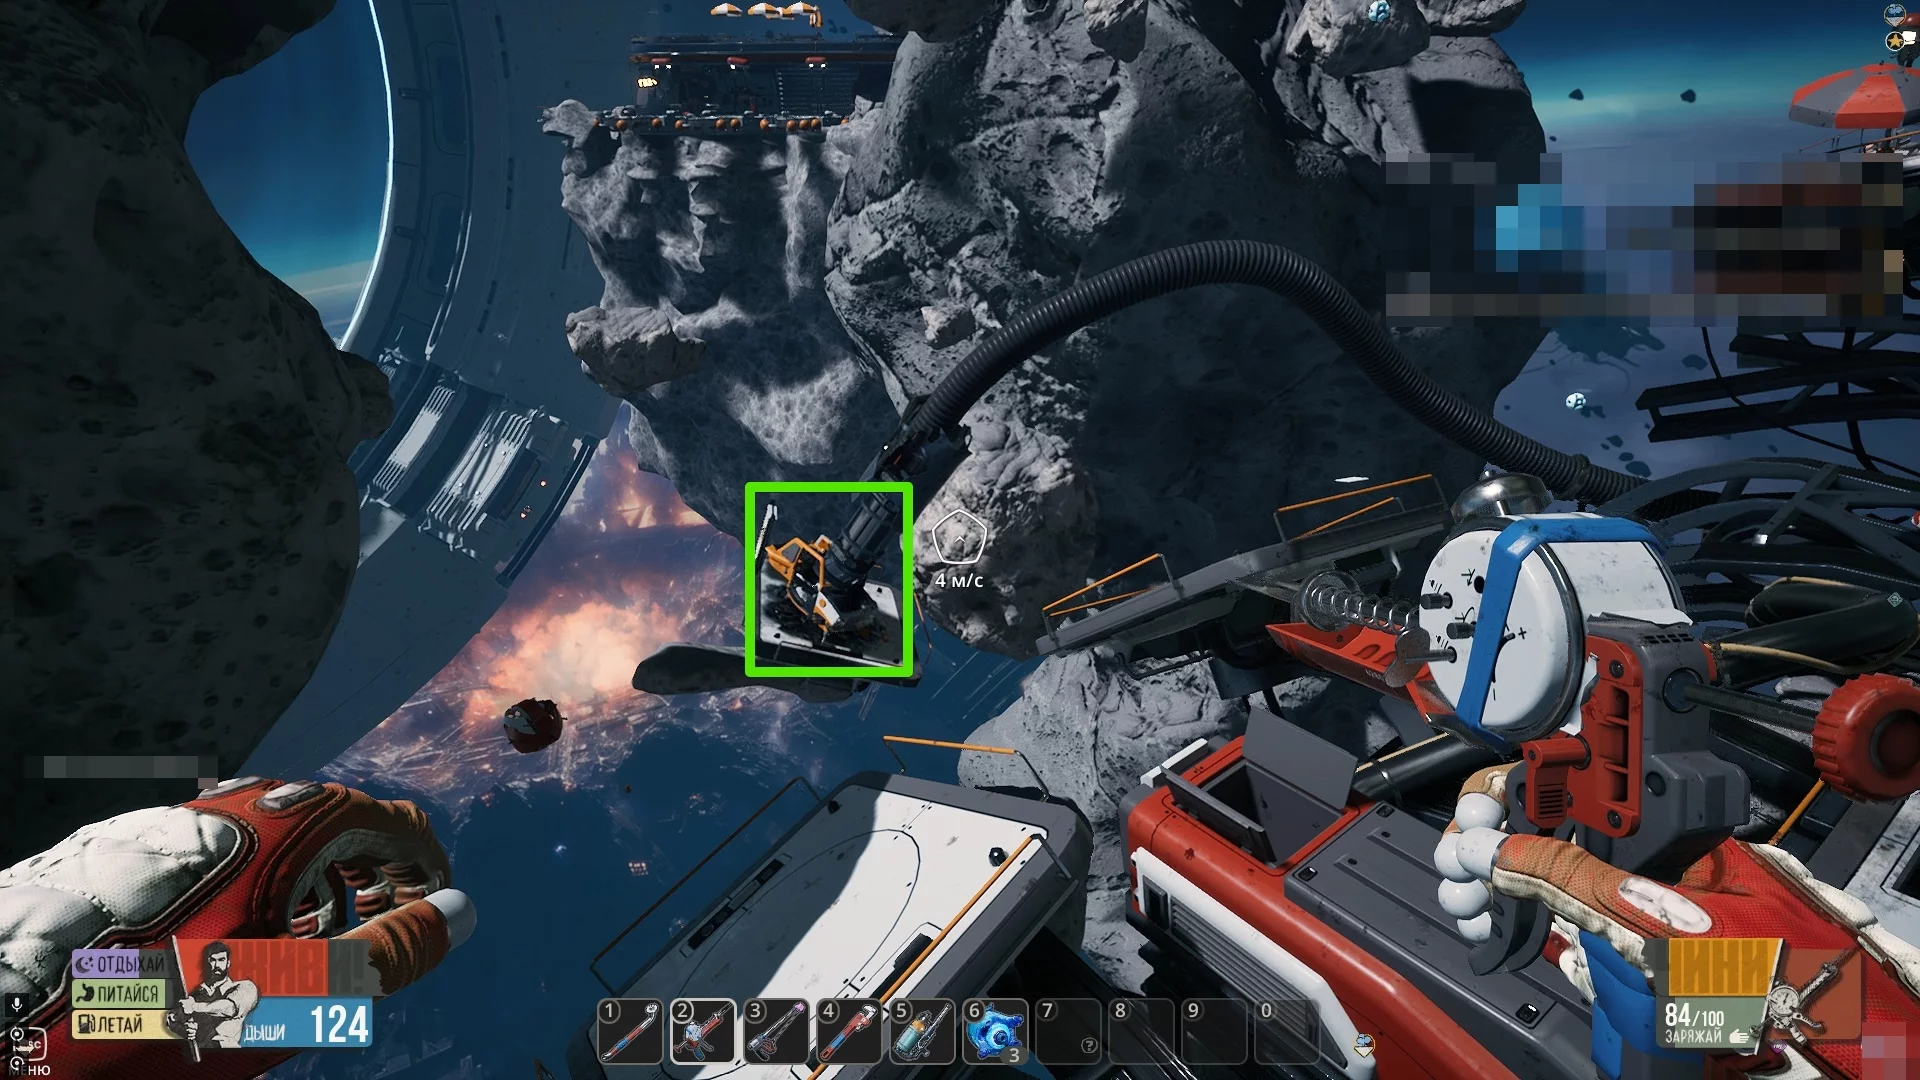
Earlier on the platform with Baby, you could find a missing nanny announcement. If you head to the asteroid with the worm nest between the toilet and Chuck's Taxi asteroid, you'll find a similar message (36/48).
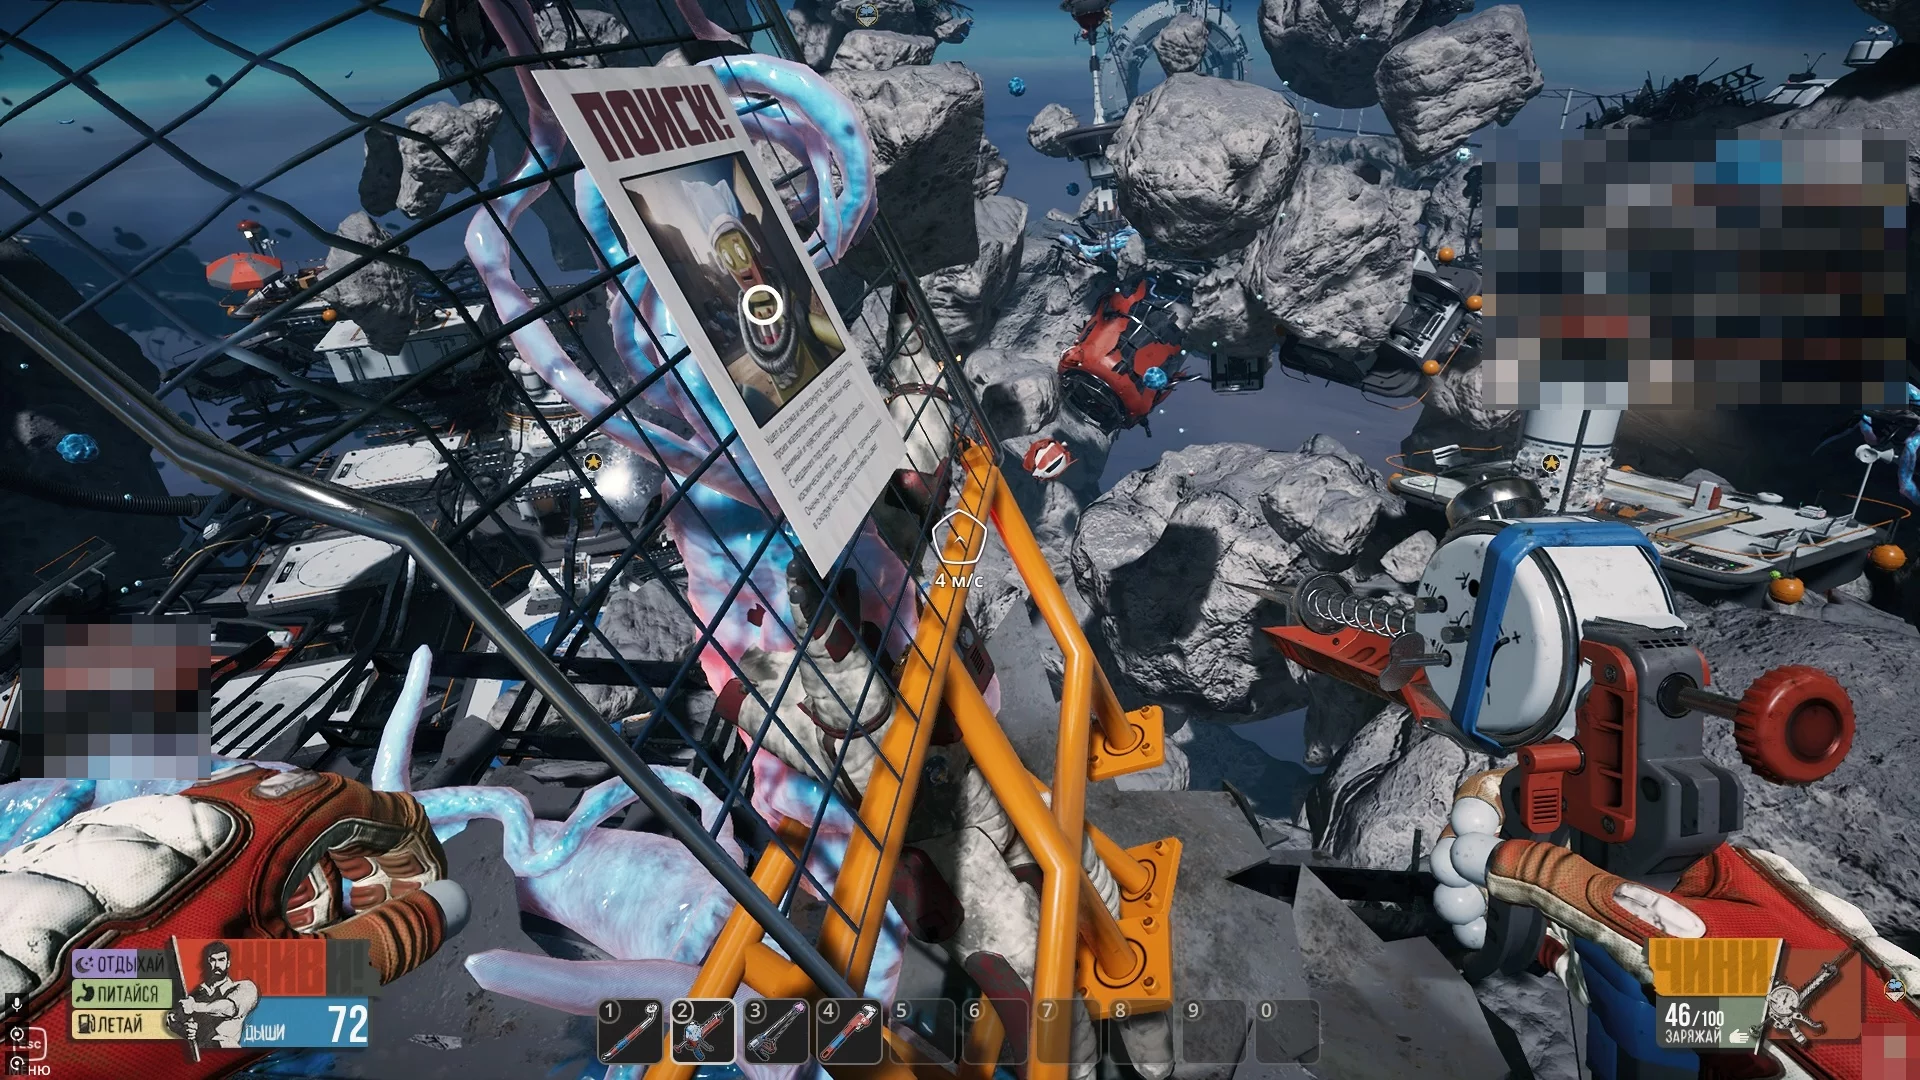
Another announcement (37/48) can be found on the asteroid with the large red tank leaking green liquid. It is located in the northwest of the location.
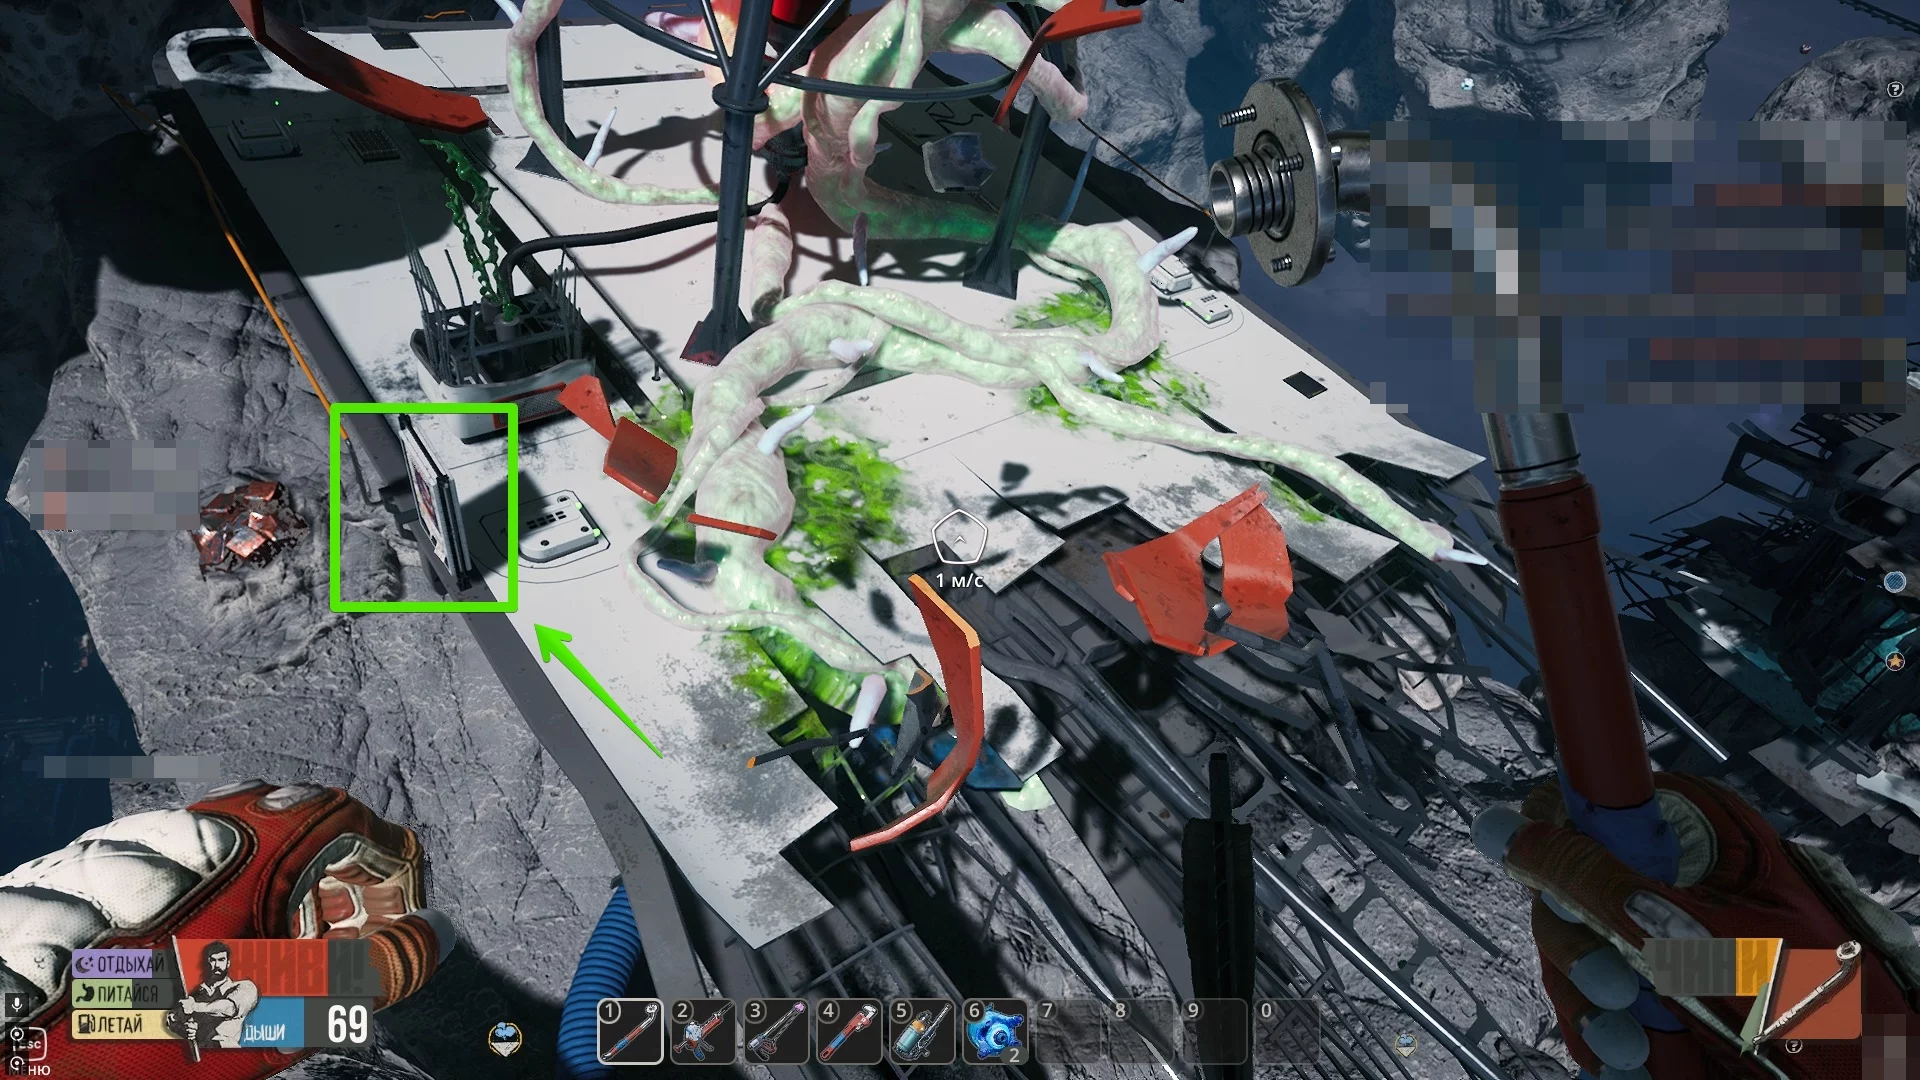
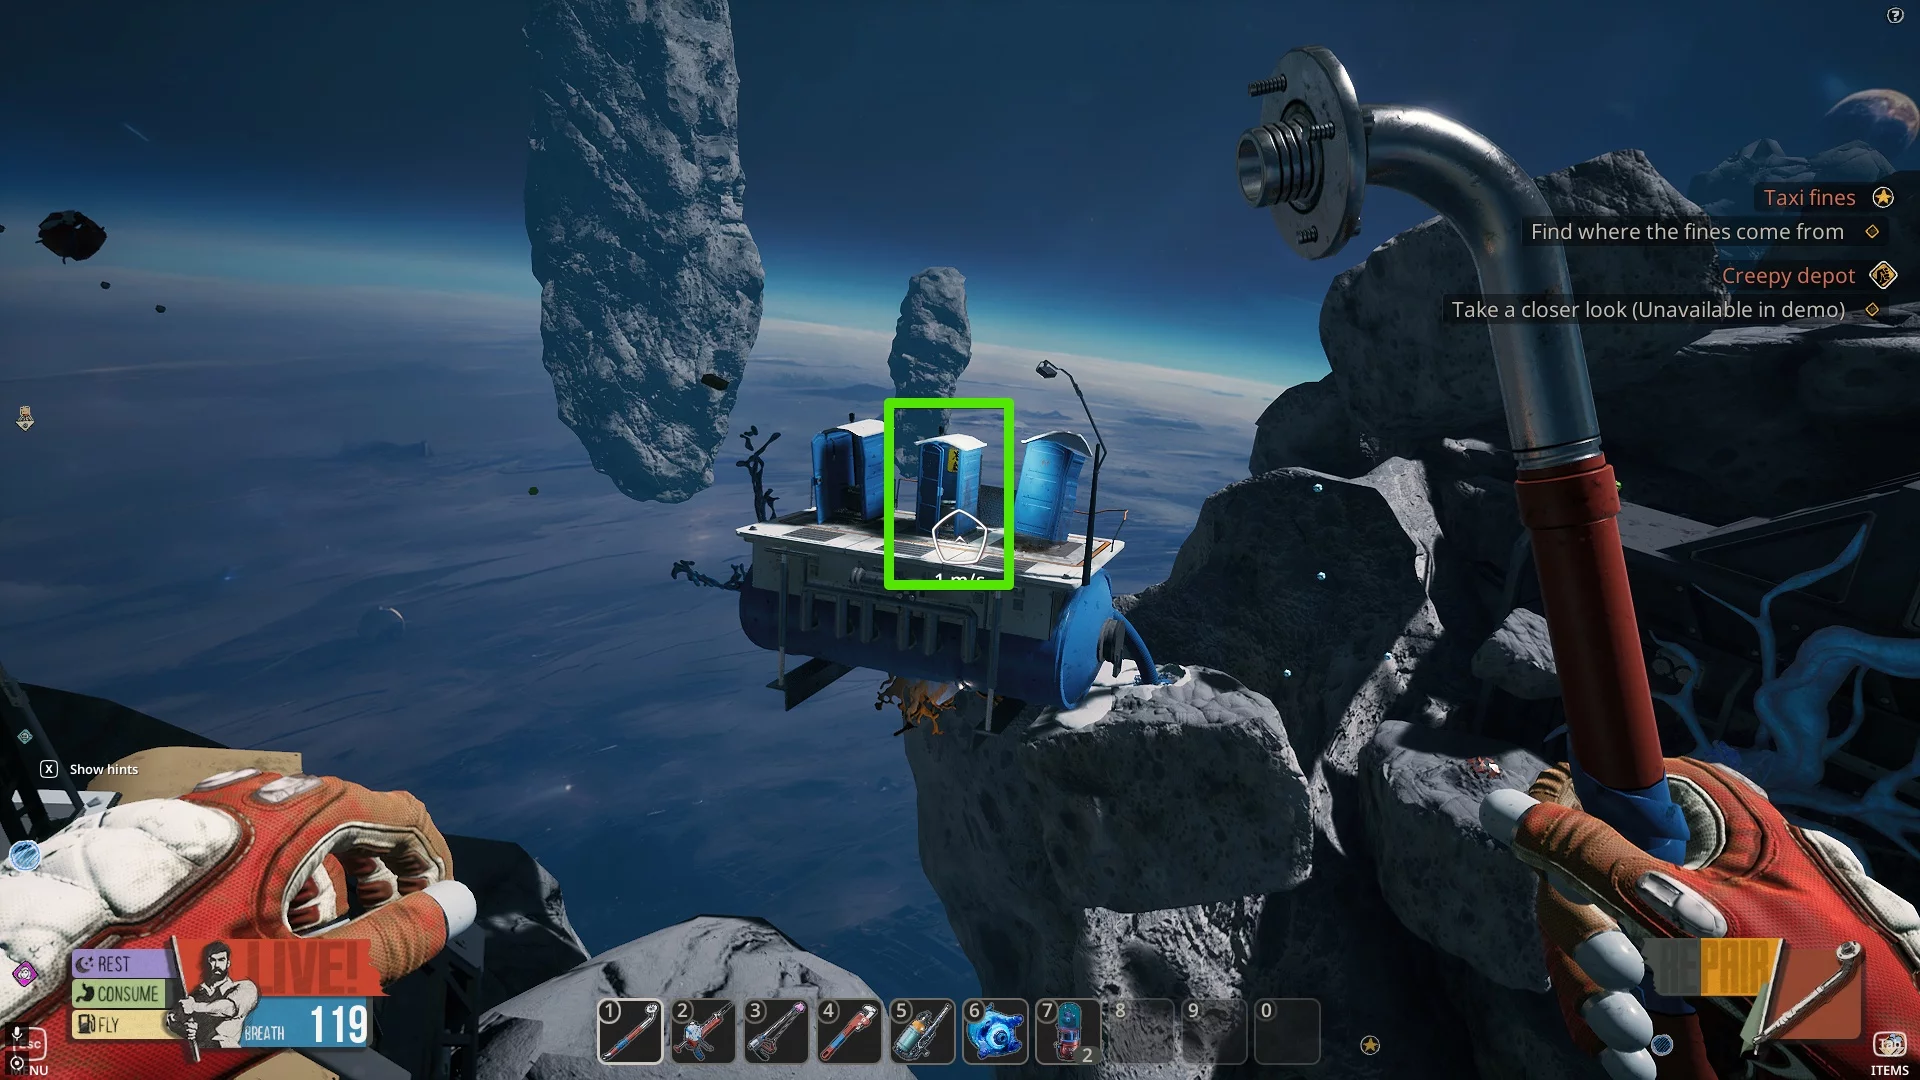
Behind the platform with Baby, you will see several toilets. Look into the middle one and take the sign (38/48).
Nearby, in front of the airlock door, there is a broken red car and another announcement (39/48).
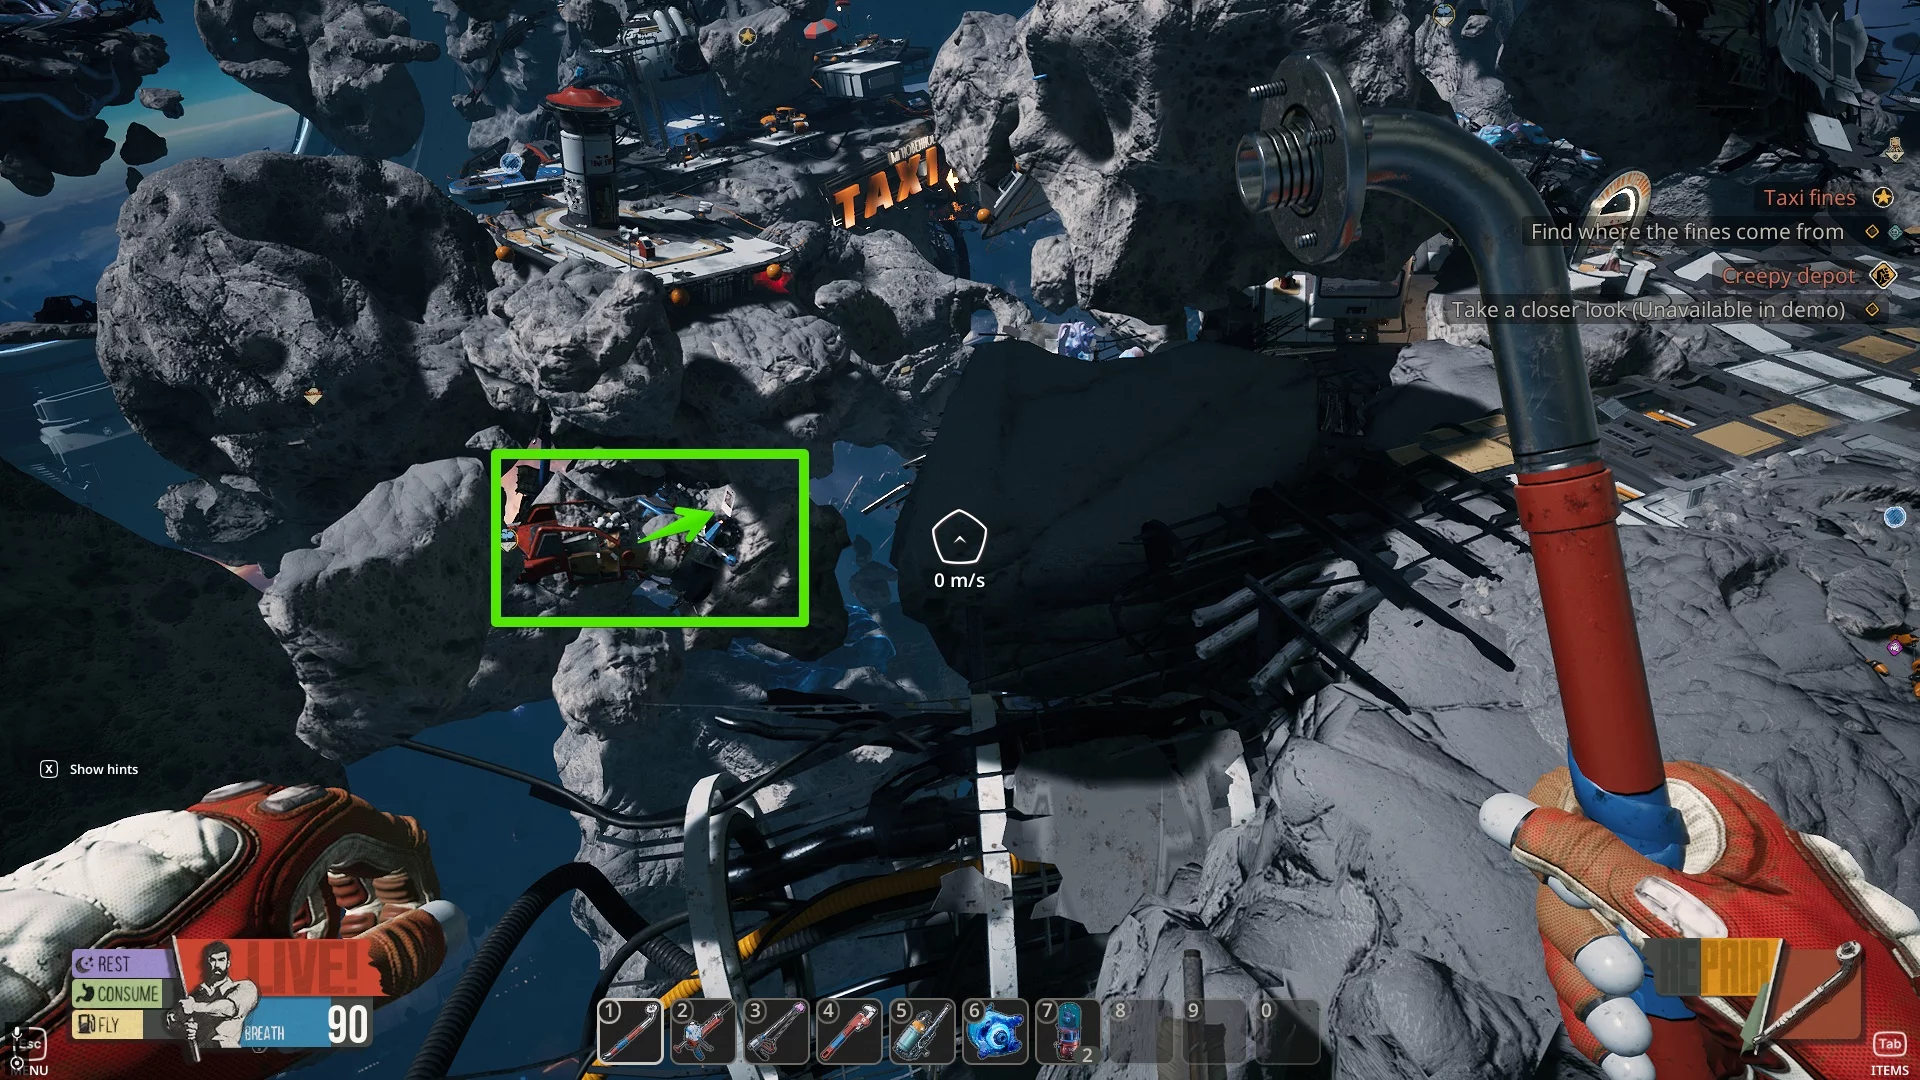
In front of Chuck's Taxi asteroid, there is a broken bus. Look inside and take the themed toy (40/48).
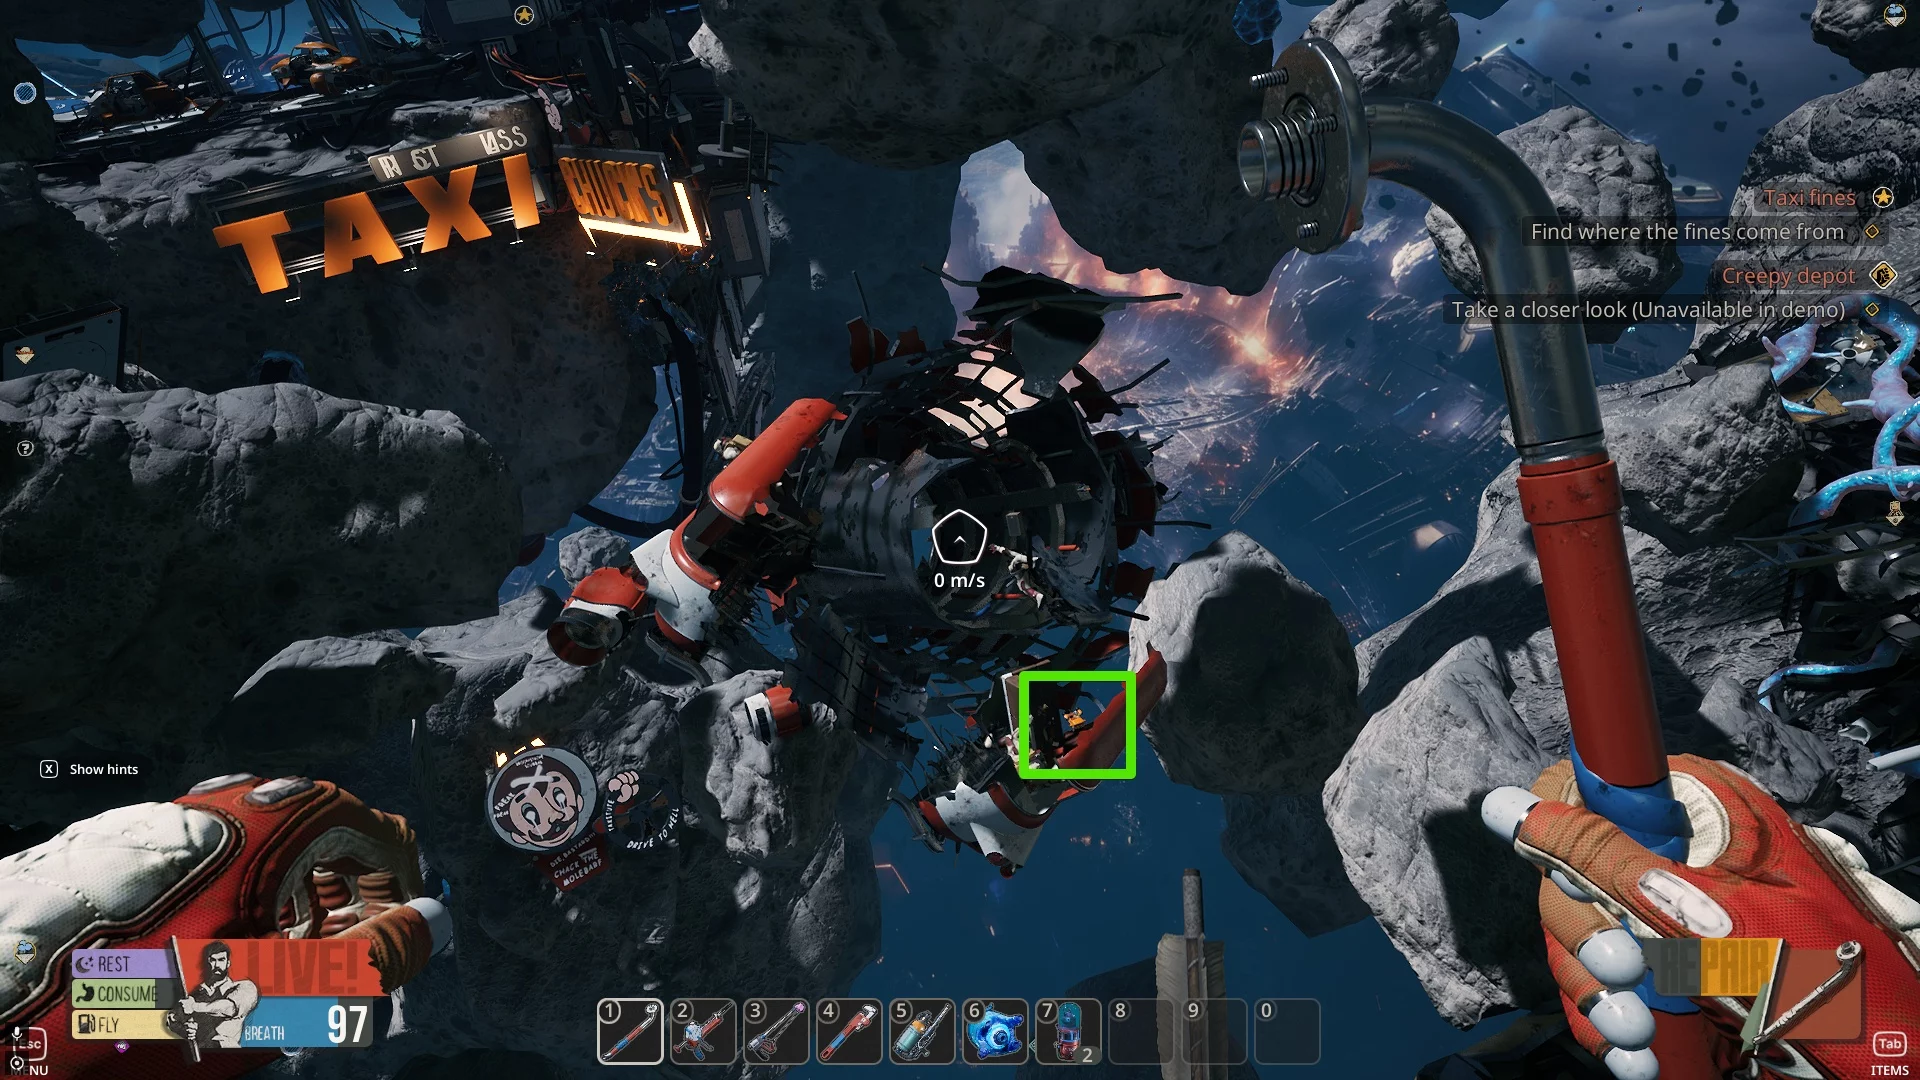
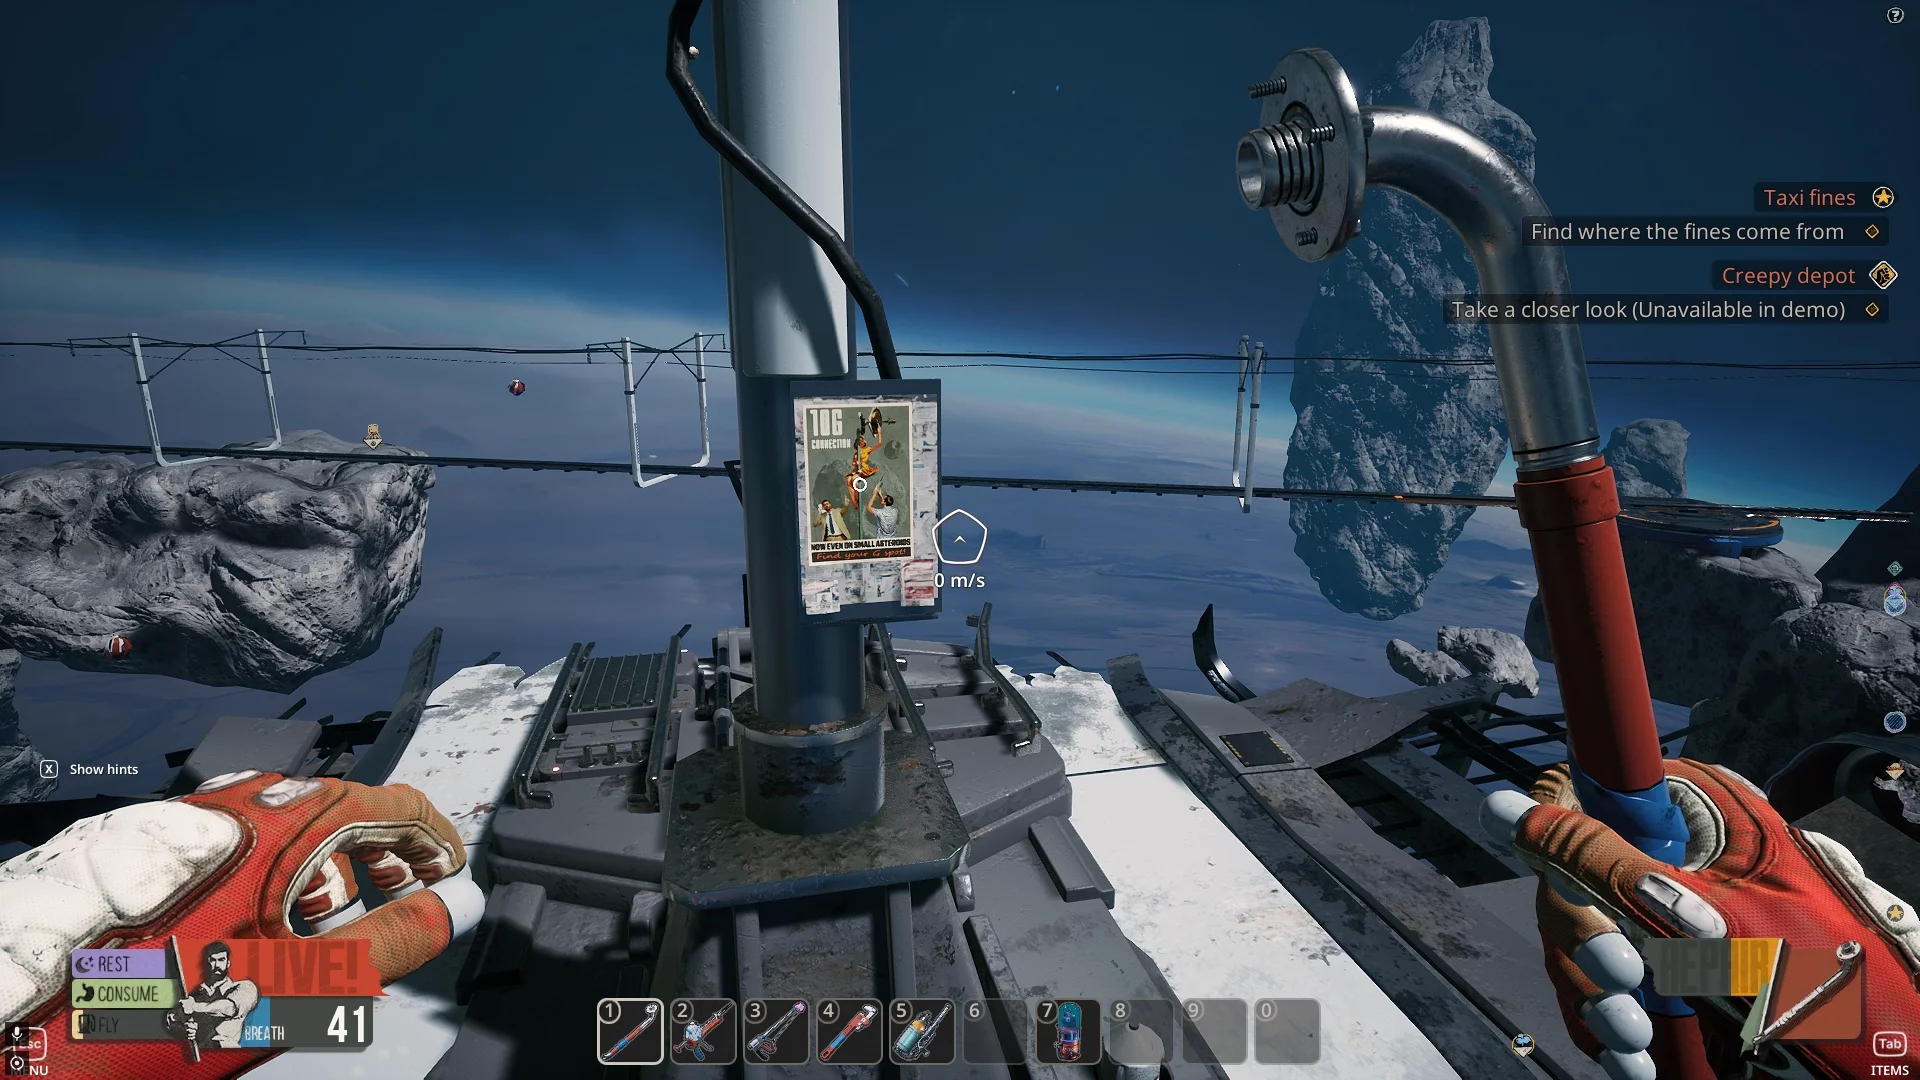
While inspecting the 10G tower, you can find a poster (41/48) at its lower part.