KARMA The Dark World Walkthrough: All Riddles and Puzzles
Karma: The Dark World transports players into a cinematic first-person psychological thriller set in a dark dystopian world ruled by the all-powerful Leviathan Corporation. In this guide, we have prepared a detailed walkthrough of the game, described puzzle solutions, and answered all possible questions.
Act 1. The Chamber
- Notes: 1
Upon waking, pay attention to the note on the table and examine the photograph on the nightstand. Don't forget to interact with the mirror. Once the curtains on the window are drawn, you can look outside. At this point, the door to the chamber will open. Proceed through the following rooms to adjust the in-game options. After completing the tour of the last room, the level will be completed, and you will receive the achievement Missions? What Missions?.
Cultivation
- Notes: 1
- Collectibles: 1
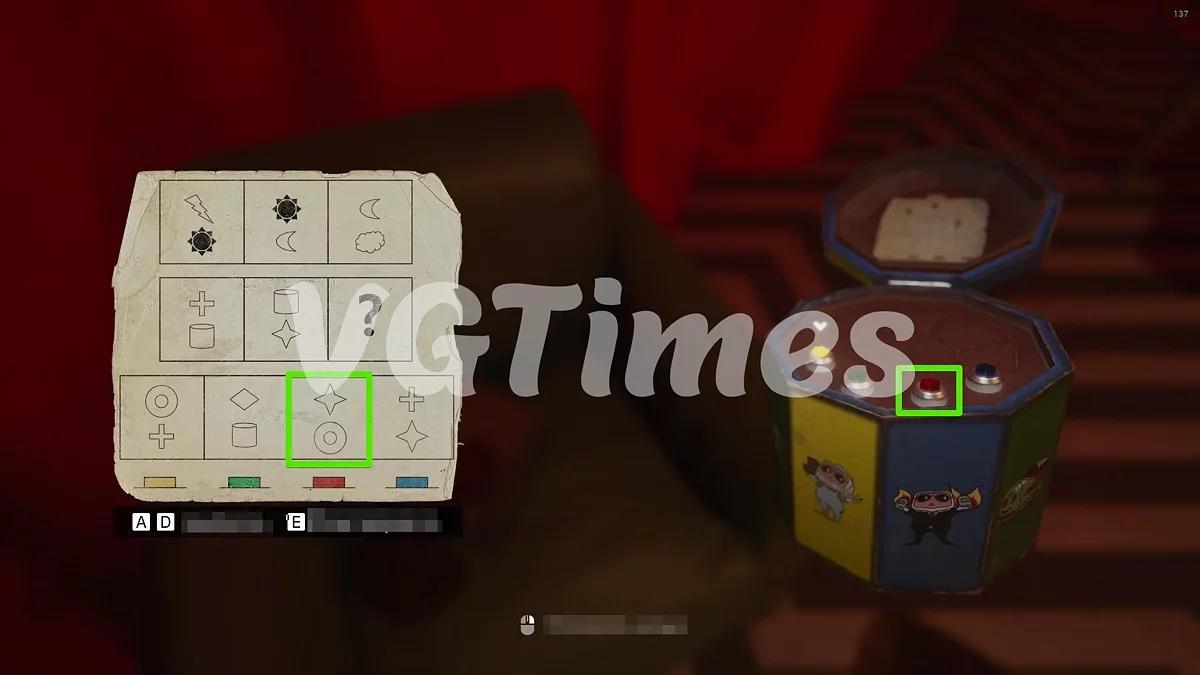
Head to the spacious cultivation hall. On the right, find and read the note on the table, then approach the only door. A voice behind the door will ask you to carry the body to the other dead bodies. Fulfill the request and return. After a short dialogue, don't rush to sit in the chair: first solve the puzzle and obtain the collectible item.
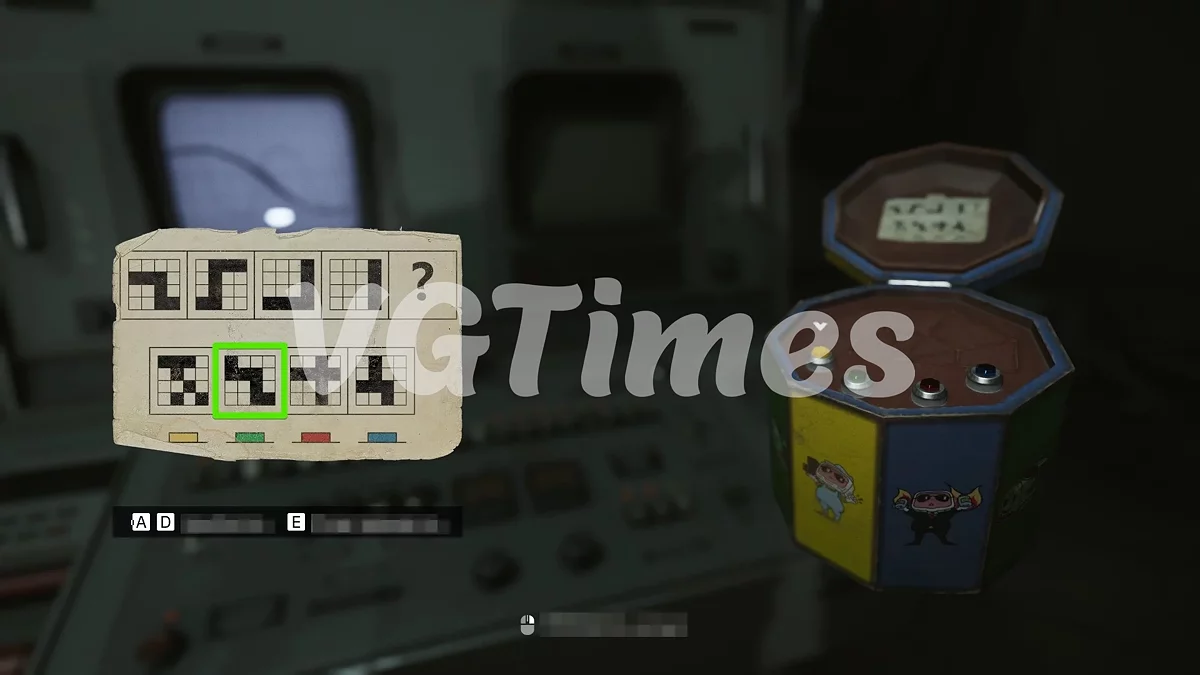
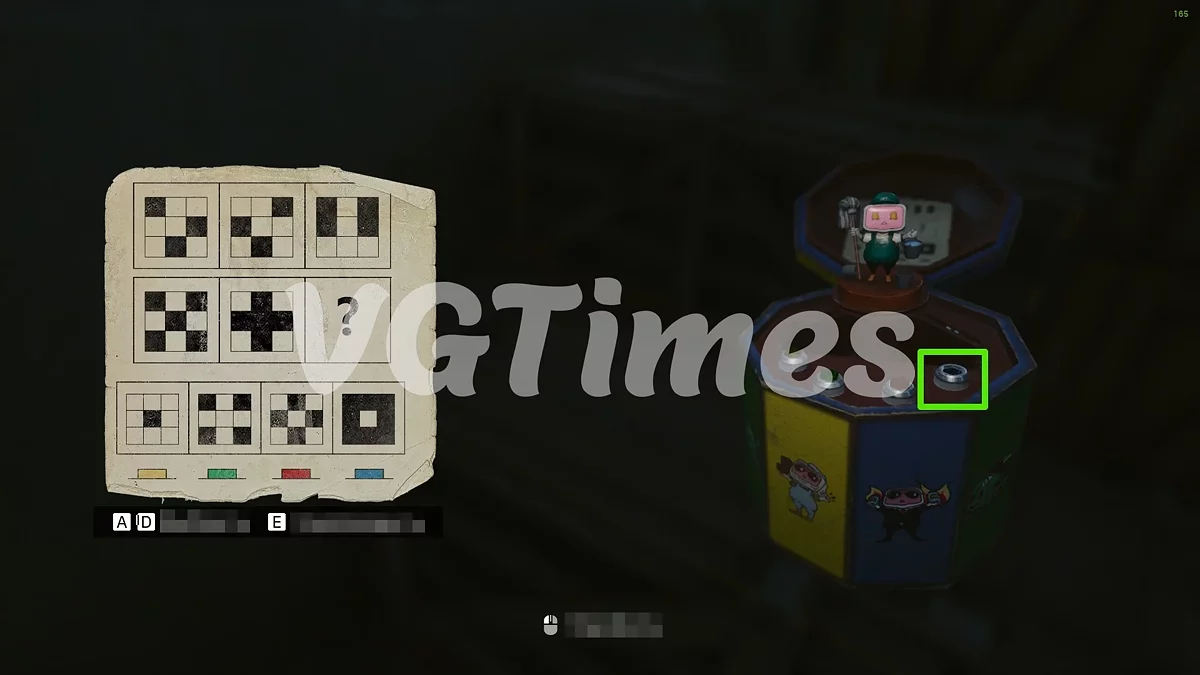
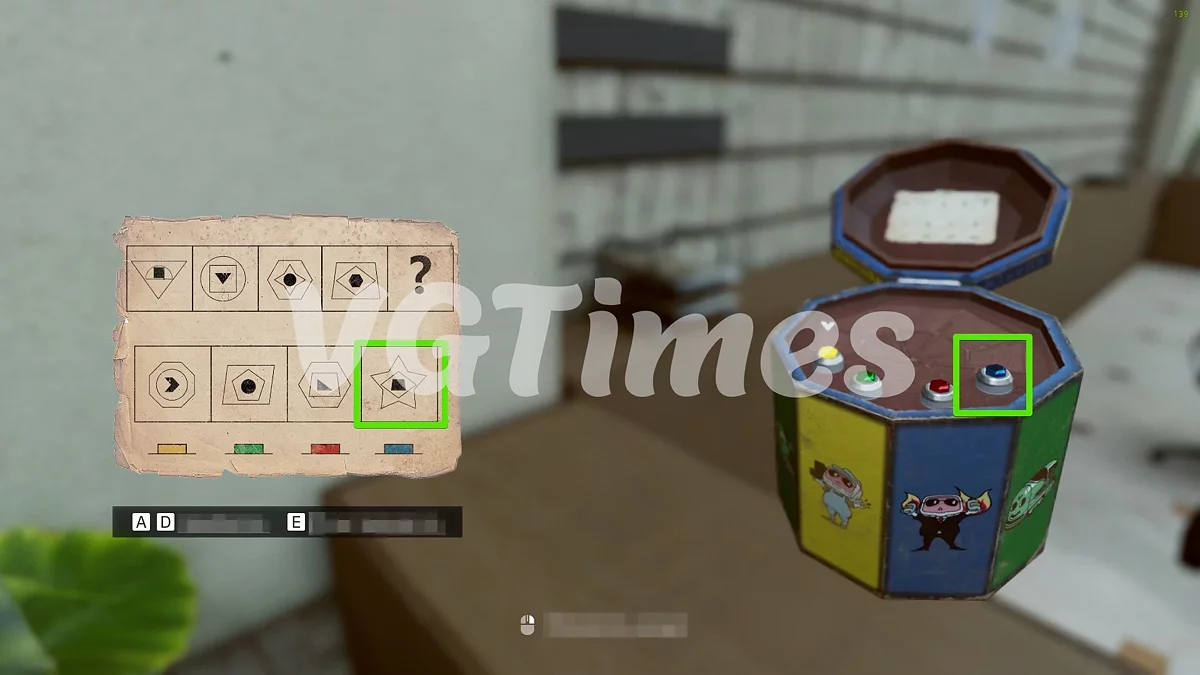
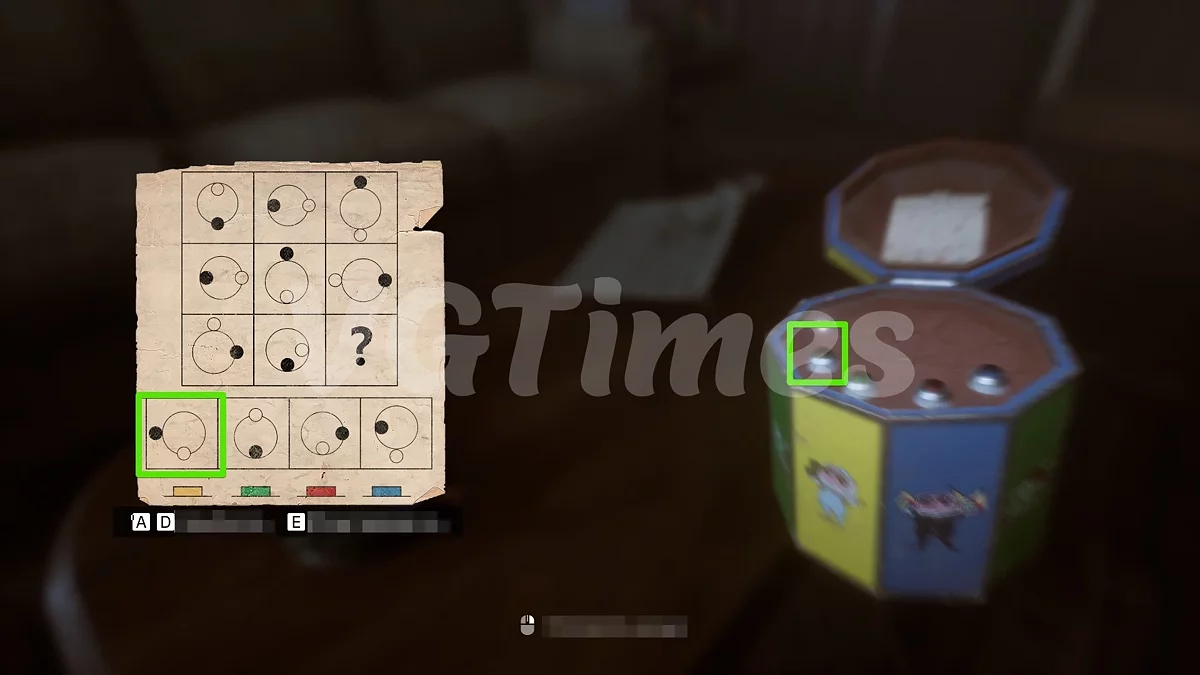
To the right of the old man, take the puzzle box. Press the green button. After that, you can interact with the chair.
Black Water
Follow straight along the stone slab. When it turns into a staircase, approach the pedestal and pick up the audio cassette. Next, you'll have a brief introduction — you can choose any options, it won't affect the plot. Once the level is completed, you'll receive the achievement Nightcrawler.
Act 2 — Part One. Research Institute
- Notes: 6
- Collectibles: 1
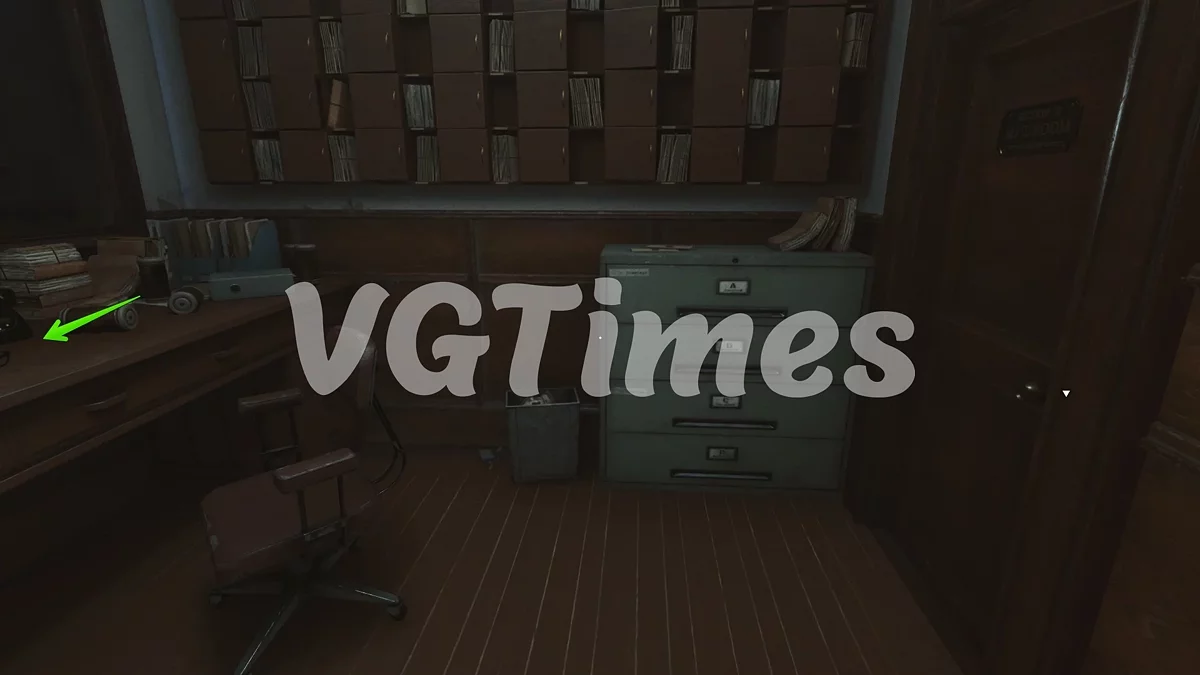
Proceed to the staircase and talk to the institute director. He will point to the postal device in the adjacent room. On the wall to the left of the door, read the note (1/6). In the small room, there is also a document (2/6) on the table.
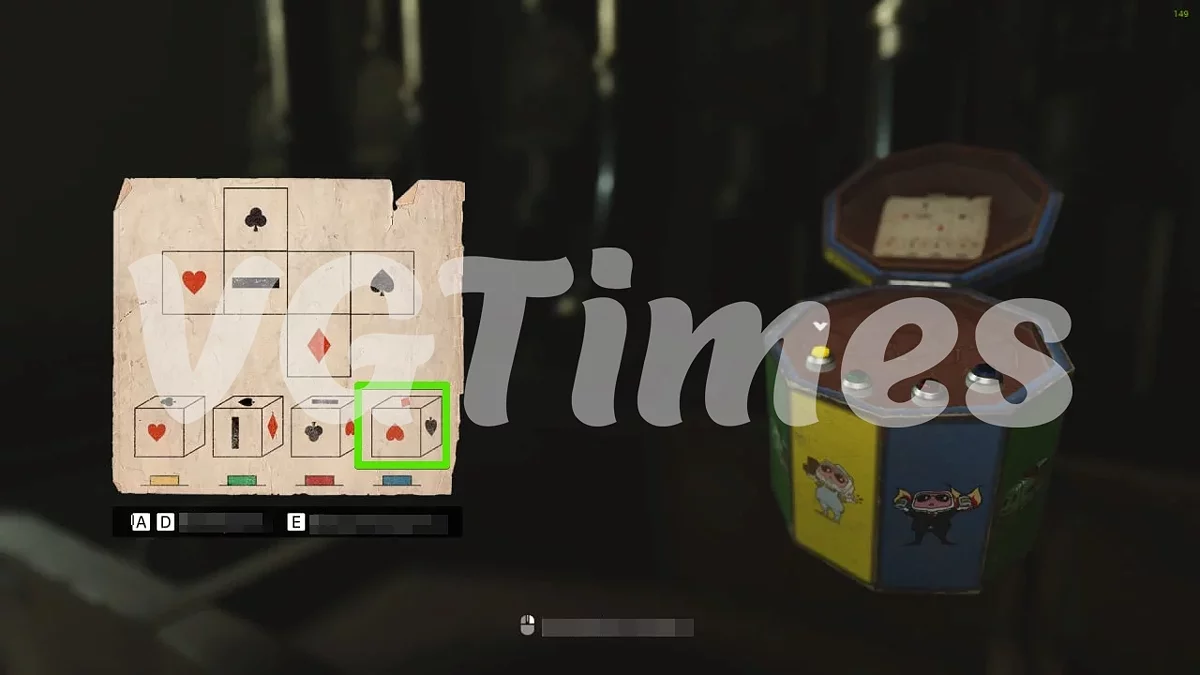
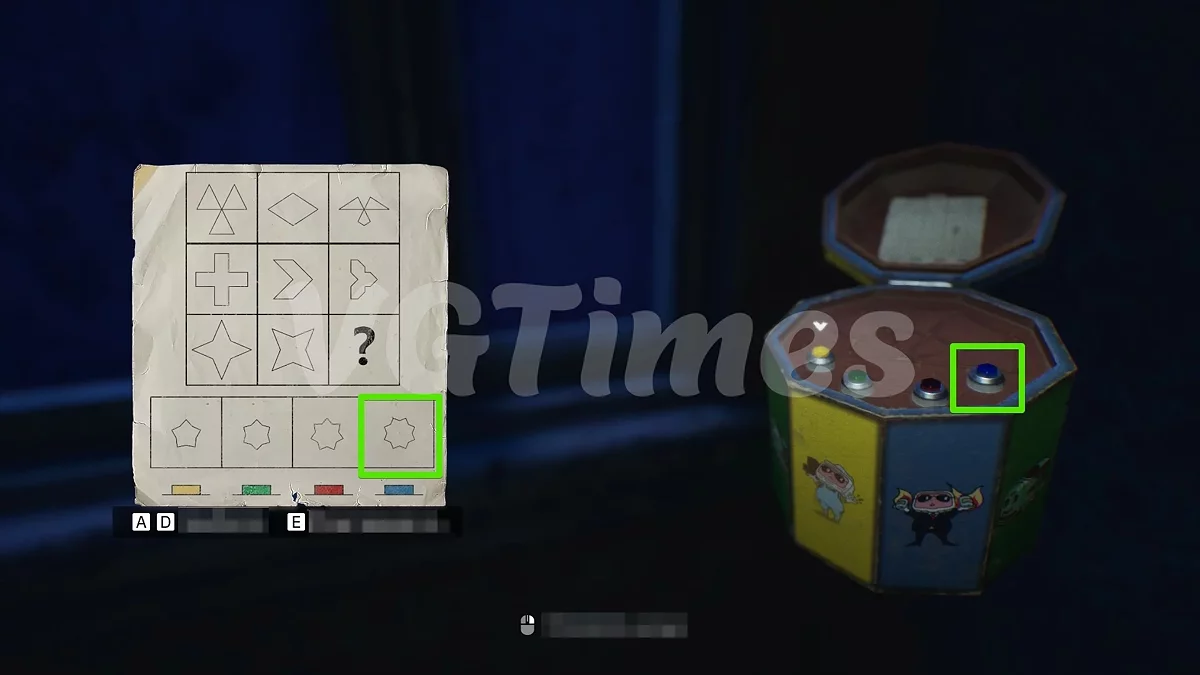
When passing between the shelves for postal capsules, read the letters (4/6) on the right and left. On the right side, in one of the tubes, you will find a box with a puzzle. Press the blue button to obtain the collectible item (1/1). This will unlock the achievement Rule Follower.
Sit at the table, use the card, and interact with the levers. Read the dossier from the capsule (5/6). Upon returning to the corridor, the director will not be there. Ascend one flight of stairs and read the employee list (6/6) here. Open the door on the second floor.
Investigation
- Notes: 6
- Collectibles: 1
Interact with the switch to trigger the first jumpscare. Proceed forward down the corridor and read the note on the table (1/6), which states that the dial on the clock in the painting is the password. Enter the code 0815 and take the Class E pass. Insert it into the door to open the utility room.
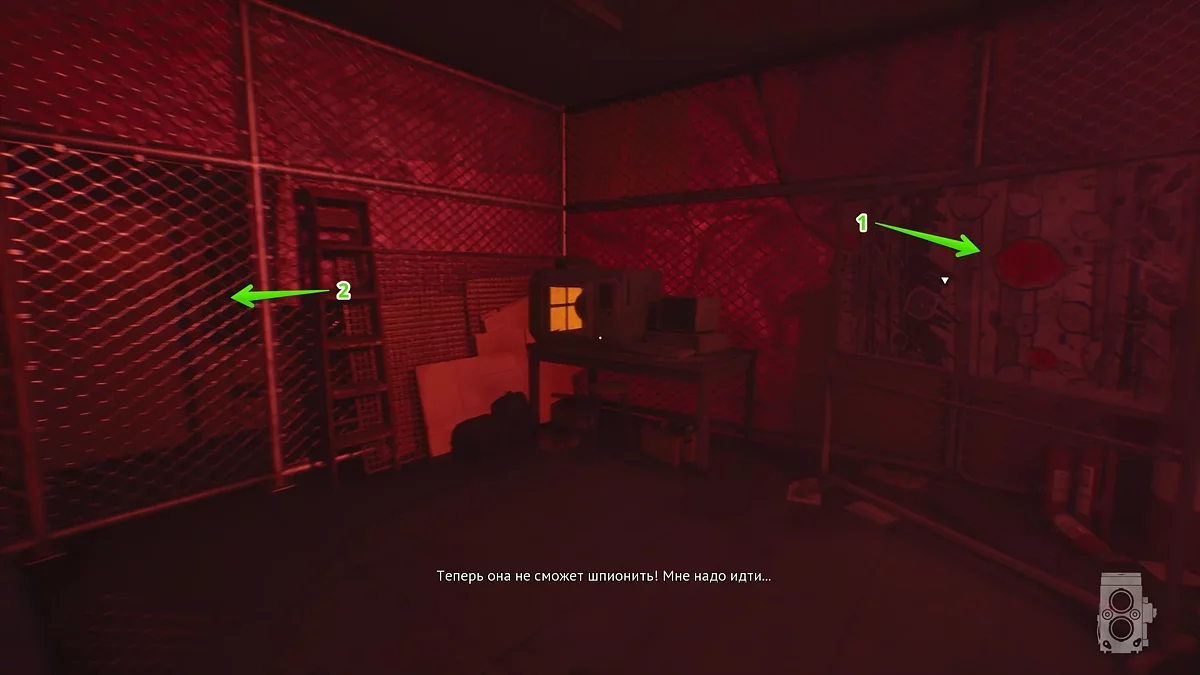
Pick up the lipstick with card symbols, examine the note next to the locked fuse box (2/6). At the end of the room on the left, interact with the ventilation shaft.
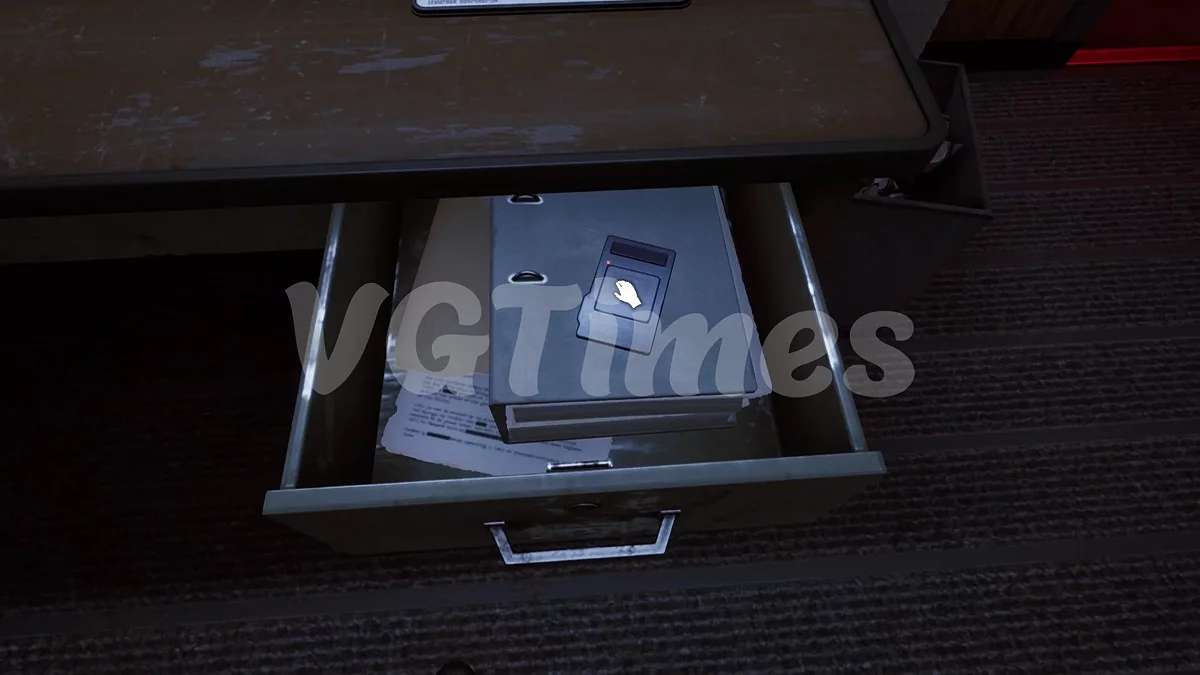
Enter the large hall and immediately inspect the table to your left. On the table lies a diary (3/6). The key to the box with fuses is in the table's drawer. Run to the utility room and replace it to restore electricity. In the same drawer, there is a puzzle; solving it will give you the code for the second drawer and another collectible item. The code is 7742.
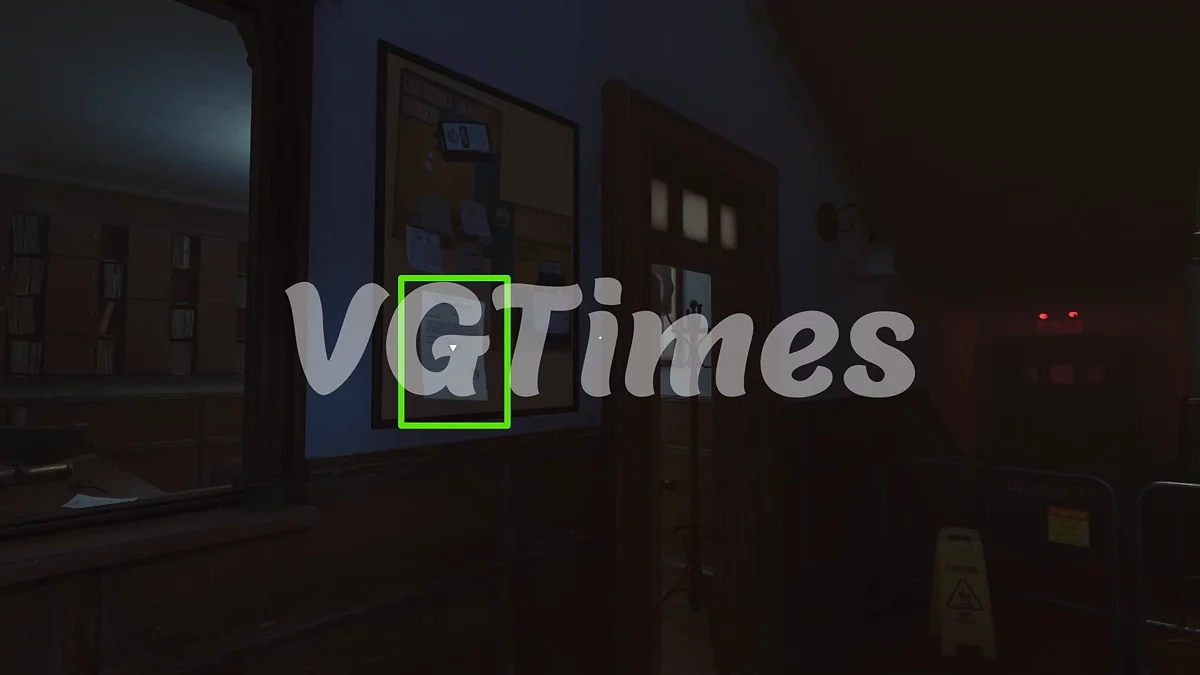
Turn away from the table and move along the right side. On the board, you will notice a document (4/6), and at the table in the far right corner, you can familiarize yourself with the combinations of numbers and card symbols (5/6). Using the symbols depicted on the lipstick, you will get the code — 6843. Read the last document (6/6), which indicates the password for Sean's drawer — 0430. Take the evidence from his table and try to return back.
Guilt
- Notes: 12
- Collectibles: 1
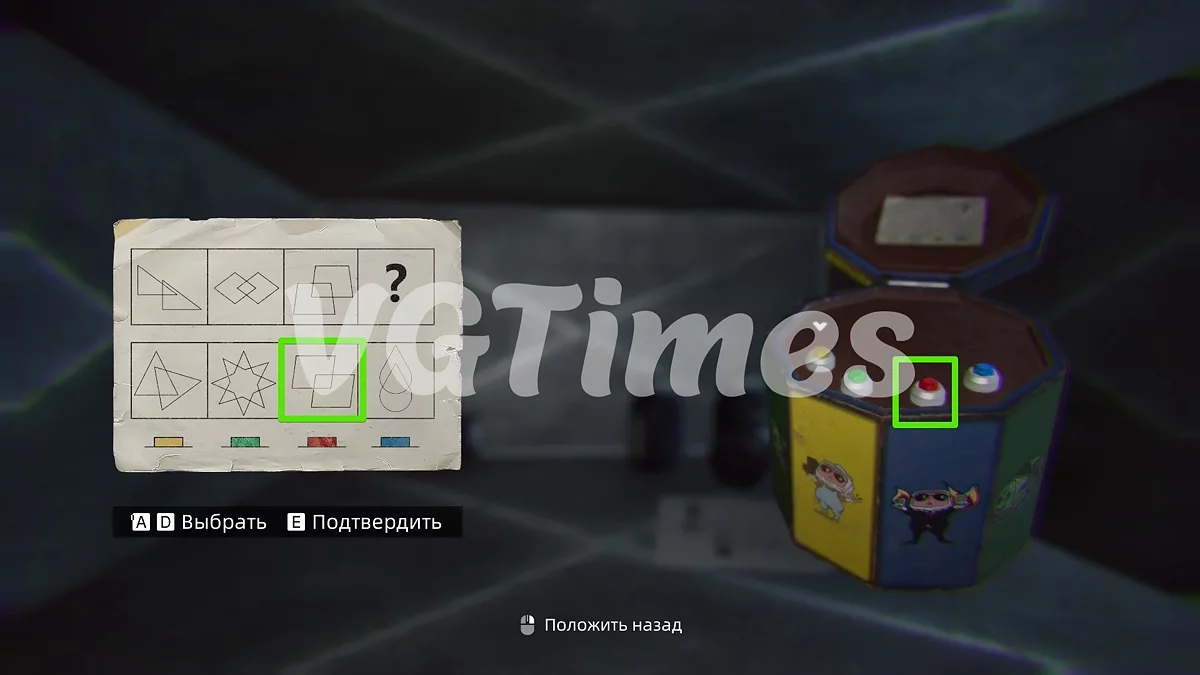
When you reach the door leading to the staircase to the first floor, it will be locked. However, another door nearby will open, leading to Sean's subconscious. Examine Sean's daughter's diary #1 and postcard with a wish, after which an elevator will appear in the previous room. Don't rush to go there immediately. On the distant chair, you will find a puzzle box. Press the red button, selecting the third option, to obtain the collectible item.
Take the recorder and cassette from the table, open the door and keep moving forward. On the right, you will see a flickering flashlight — take it. You will be passing the same levels with changed decorations. In subsequent rooms, take the cassettes from the table until you see the scene with the leg being torn off.
Interact with the lever on the console and jump down. You will find yourself in a looping location again. In the first room, take the document from the table on the left and exit through the door on the left. Now the opposite door will open, leading the hero to Sean's improvised apartment. Read Sean's daughter's diary #2 and take the Papa teddy bear.
Go through the workers' office and return to the man's apartment. On the couch lies Sean's daughter's diary #3, and next to the children's room, a place for three bears has appeared. Insert the first found bear and look into the opening of the children's room. A girl will appear and hand you the Daughter teddy bear. The last bear can be found in the living room behind the dining table. There is also another document here.
Returning to the office room, pick up the phone receiver. You need to choose the doors next to which the voice from the phone repeats words in the same sequence as the first:
- War.
- Peace.
- Freedom.
- Slavery.
- Ignorance.
- Strength.
The closer you get to the exit, the more the picture on the screen will blur. Eventually, you will find yourself at Sean's family table. Go to the end of the envelopes and jump into the opening.
You are back in Sean's apartment. On the table lies a debt notice, and in the children's room, Sean's daughter's diary #4.
Follow the only path until you find yourself in front of a door with an abyss. Pick up the receiver and approach the door. You will receive the achievement Déjà-vu, and the level will end.
Night Street
- Collectibles: 1
Use the postal machine to send the evidence to the Bureau of Thoughts, then head outside. Follow the only path, and after three agents near the car, turn right. Here in the corner sits a lonely man, to the left of him is a puzzle box.
Select the last figure and press the blue button to get the collectible item.
Continue down the road and turn left at the stage. After passing the check at the entrance to the Bureau of Thoughts, the level will end.
Bureau of Thoughts
- Collectibles: 1
After the cutscene, enter the small room and take the test on the console to the left. Regardless of your options, the test will be positive, but you can earn the achievement Velveteen if you choose the following options:
- Continue immersion.
- Examine the room.
- Ask MOTHER for help.
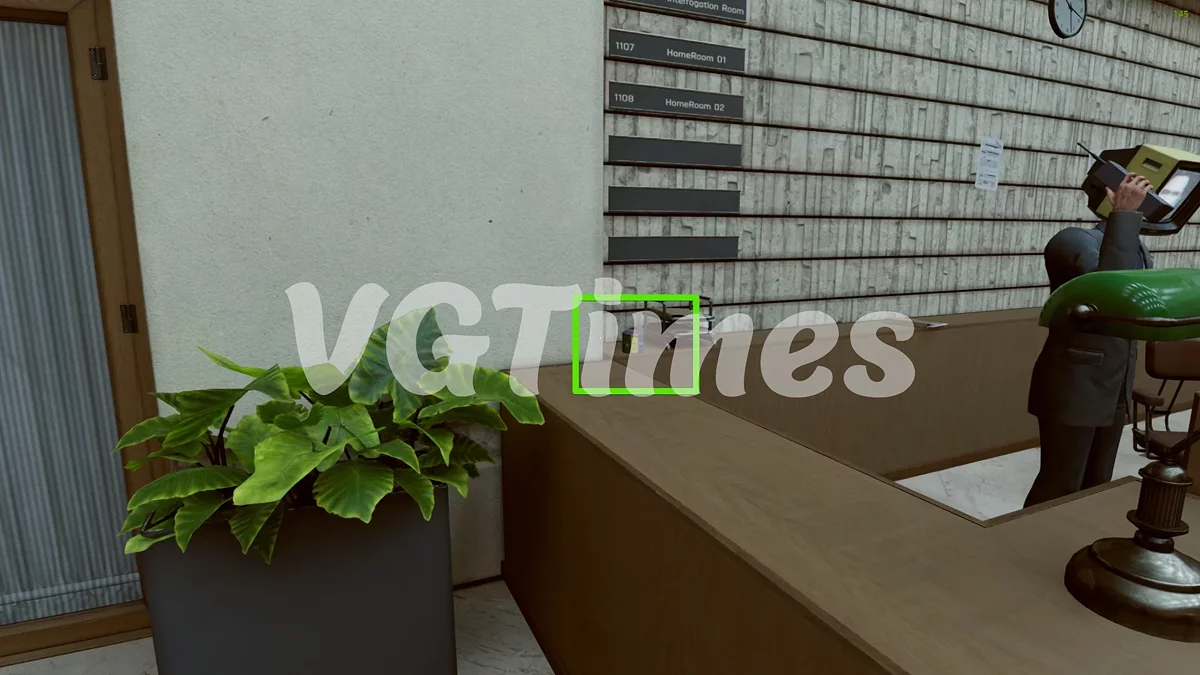
After doing this, proceed to Sean's interrogation room. On the way, you can find another puzzle box and try to solve it yourself or use our hints. The correct figure is the last one (blue button).
Enter the required office, ask the computer all the questions (optional), and start the immersion. Approach the counter on the left and interact with the box for Sean's daughter.
Monster
- Notes: 5
- Collectibles: 1
You will find yourself in Sean's body at his desk. In the drawer, he will find his recorder, and at this moment, the monster will appear. Get out from under the desk and head for the exit. The protagonist will drop the box, attracting the monster's attention — run left down the corridor and descend the stairs, then dive into the ventilation shaft.
Crawl forward, guided by the garlands. At the fork, when Sean mentions his daughter, turn left. At the dead end, you will find a newspaper clipping and a puzzle box. Press the red button to get the collectible item.
After getting out, inspect the office and read all available notes. Pay special attention to the documents in the mouths of the three Dobermans. Remove the broken TV from the makeshift tree and throw it into the container with other non-working devices. After this, text will start appearing on the terminals. Read all the notes from the office workers, then go through the Christmas tree where the exit will open.
Work
- Notes: 1
- Collectibles: 1
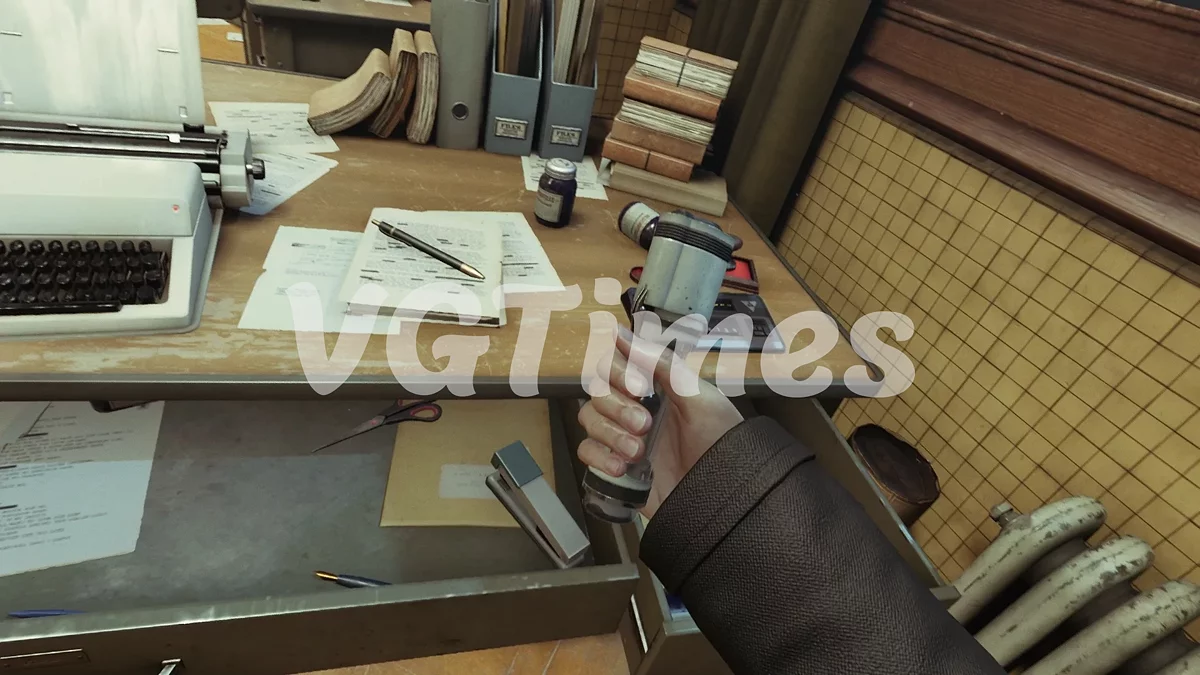
Walk down the corridor and sit at the desk. Your task is to stamp documents, wetting the seal once every three sheets. Soon, the protagonist will feel tired, place the stamp on the table and drink the liquid from the bottle.
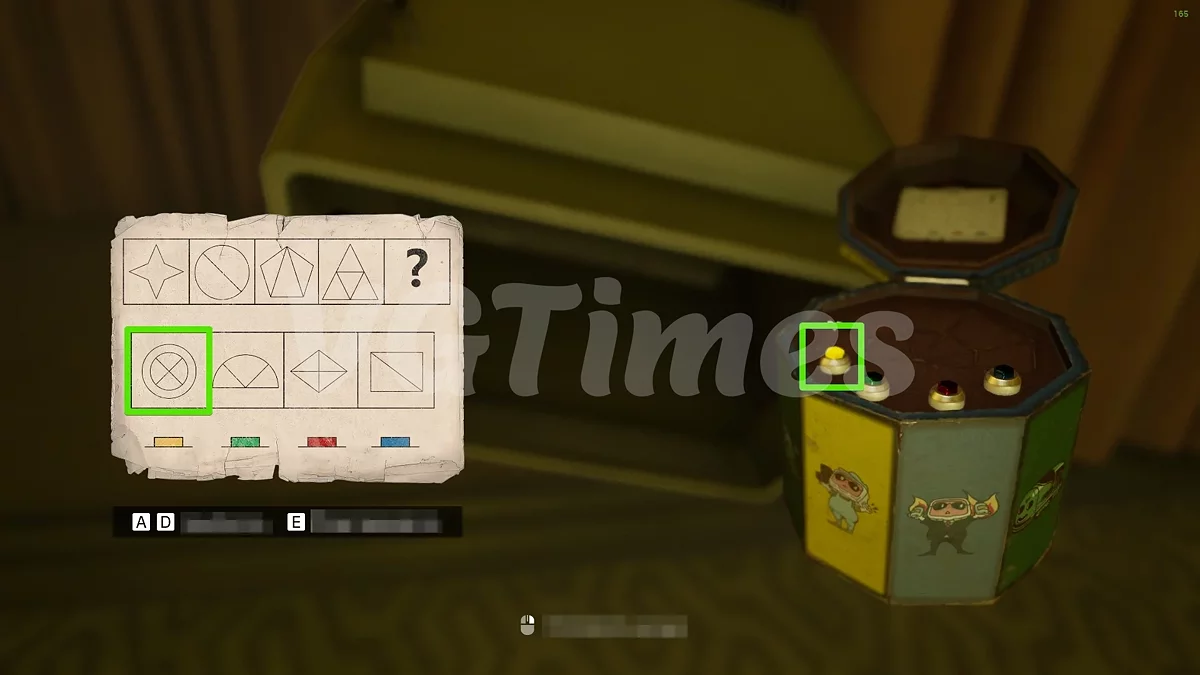
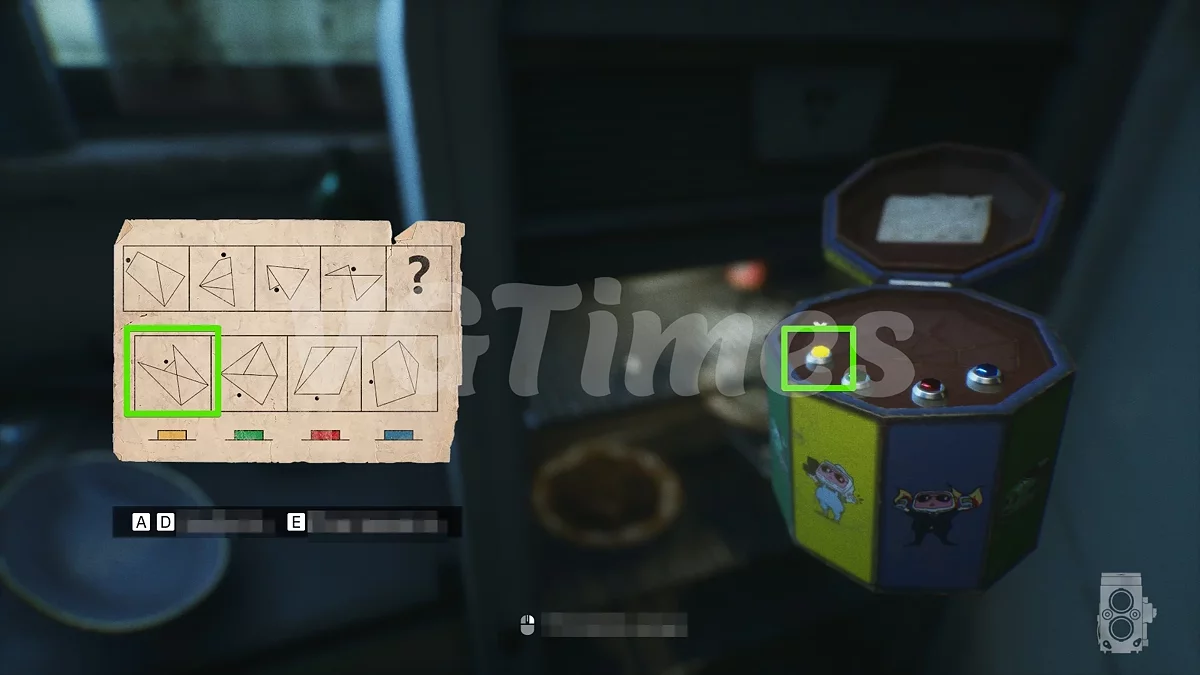
Soon the monotonous actions will cease, and a document will appear on the TV screen. Read it and go back to the previous room. On the right side, find the broken TV with a box inside. Choose the first figure using the yellow button.
Reach the end of the corridor, take the TV-head from the fridge, and place it on the person. When the passage appears, run the only path until you find yourself in the room with water again. Pick up the box key and insert it into the toy house on the pedestal to the right. At the end of the level, you will receive the achievement BlueBottles! More BlueBottles!.
Exchange
- Notes: 9
- Collectibles: 1
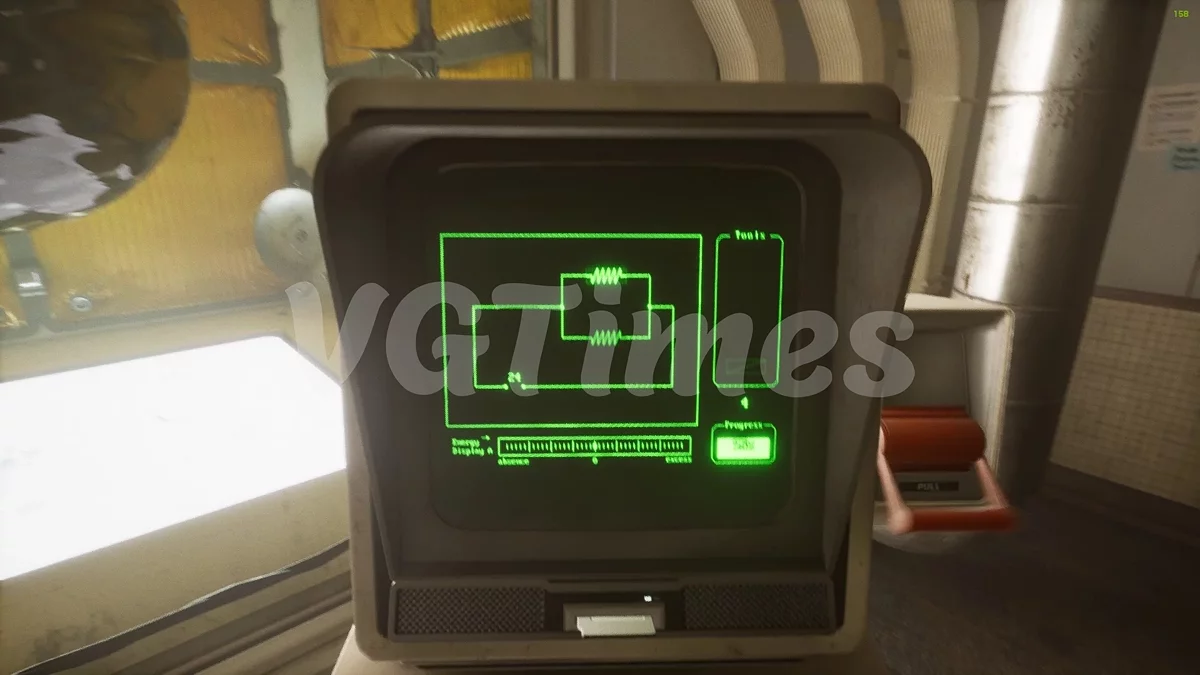
Use the icons on the right in different combinations until the experiment stops. At the end of the experiment, you must place two spiral icons in the square on the right.
When the light goes out, read two documents on the terminal, then open the door. Read another two documents — on the wall and on the table. Approach her and watch the cutscene, then follow the scientist in the biological suit. If you don't want to miss the puzzle box, find it to the right of the terminal where you activated the door.
When the lab workers leave, enter the room. On the table to the left will be a note, and next to the computer, you can pick up an audio recording. It will mention the birthday of the person the message was intended for, enter the code into the console on the right — 0721. This will give you a C-level access card.
Further to the left, you can find another document and an audiocassette. Use the card to read several documents and open the elevator doors.
As soon as you exit the elevator, read another note in the corridor on the left, as well as a note on the wall to the right, and move forward. Climb into the ventilation shaft and crawl to the morgue. Go around all the trolleys with corpses and take the axe. Chop the corpse, open the door, and repeat the actions with the corpse in the corridor.
Soon you will find yourself in a large hall. Sean will start to resist, so you will have to calm him down. To do this, hide behind large covers and wait out the strong wind, then run to the next cover. Once you reach the corpse on the couch, the level will end, and you will receive the achievement We Made a Deal.
Nightmare
- Notes: 1
At the beginning of the level, pick up the audio recording on the console to the right and head to the complex in front of you. There is nothing to do here: watch the lengthy cutscene that concludes Sean's story. This will unlock the achievement Sean.
Childhood
- Collectibles: 1
Exit the room and inspect the table in front of the TV. There is a puzzle box on it. Choose the first figure with the yellow button and sit at the table. Watch the lengthy cutscene that concludes the chapter.
Act 2 — Part Two. Home Hall
- Notes: 1
Talk to the suspect in the home hall, and when you go to the interrogation room, ask all the questions to the MOTHER to start the immersion. You see the scene right after Rachel found Sean in the lab. The professor orders to get rid of the recorder and evidence — so we will. Approach the mail tubes, insert the recorder, and send it to the professor.
Launch the terminal next to the phone, read the emails, and delete the second file numbered PMO1576. Nearby, slightly to the left, read the paper document. On the table to the right, you can find Lucas's experiment records. Once you do this, you will return to the interrogation room, but Rachel will intercept the immersion control, and now the protagonist will find himself in his memories.
Mother
- Notes: 4
- Collectibles: 1
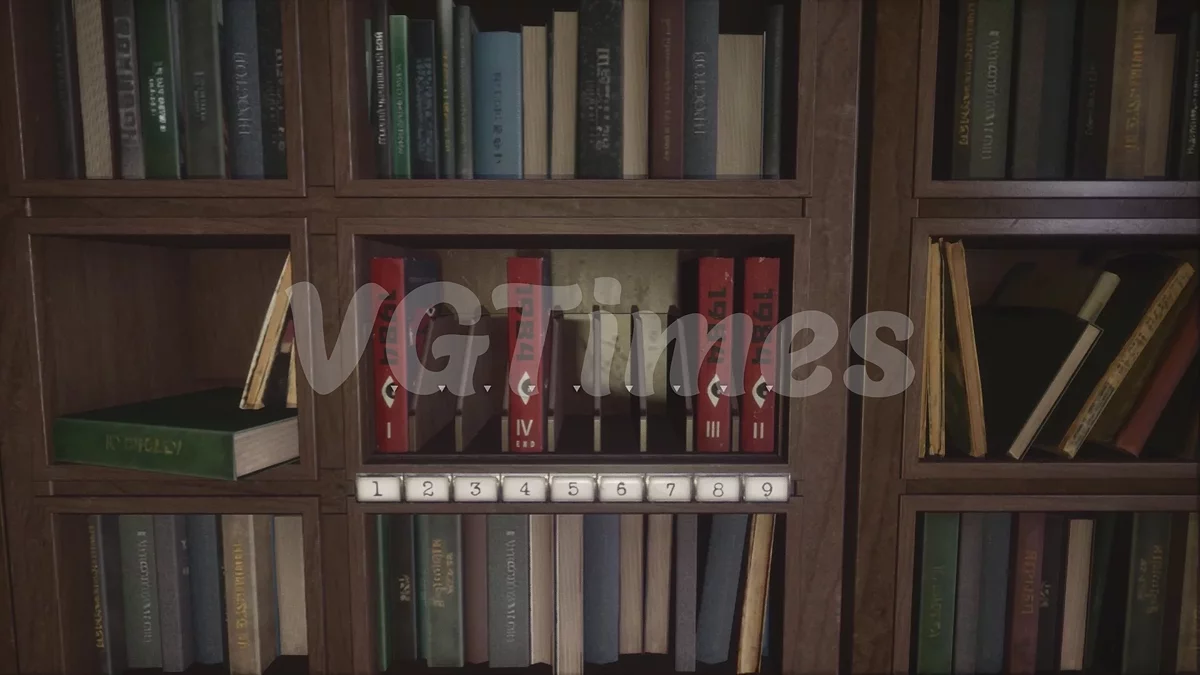
Inspect the room and help your mother set the table. Take the plates and arrange them in any order. After a while, your mother will ask you to turn off the radio in your father's office. Do this and pay attention to the red books on the shelf. One is missing now, but to make it appear, you will have to repeat the cycle of actions. Bring your mother a bottle of pills from the bedroom nightstand and place it on the shelf to the left of where she is cooking. Soon all actions will start repeating.
As soon as she asks to set the table again, run to the office and pick up the third volume of the book under the bookshelf. Arrange them in the following order:
- First volume — 1;
- Second volume — 9;
- Third volume — 8;
- Fourth volume — 4.
Once you do this, you will receive the achievement Naughty Boy.
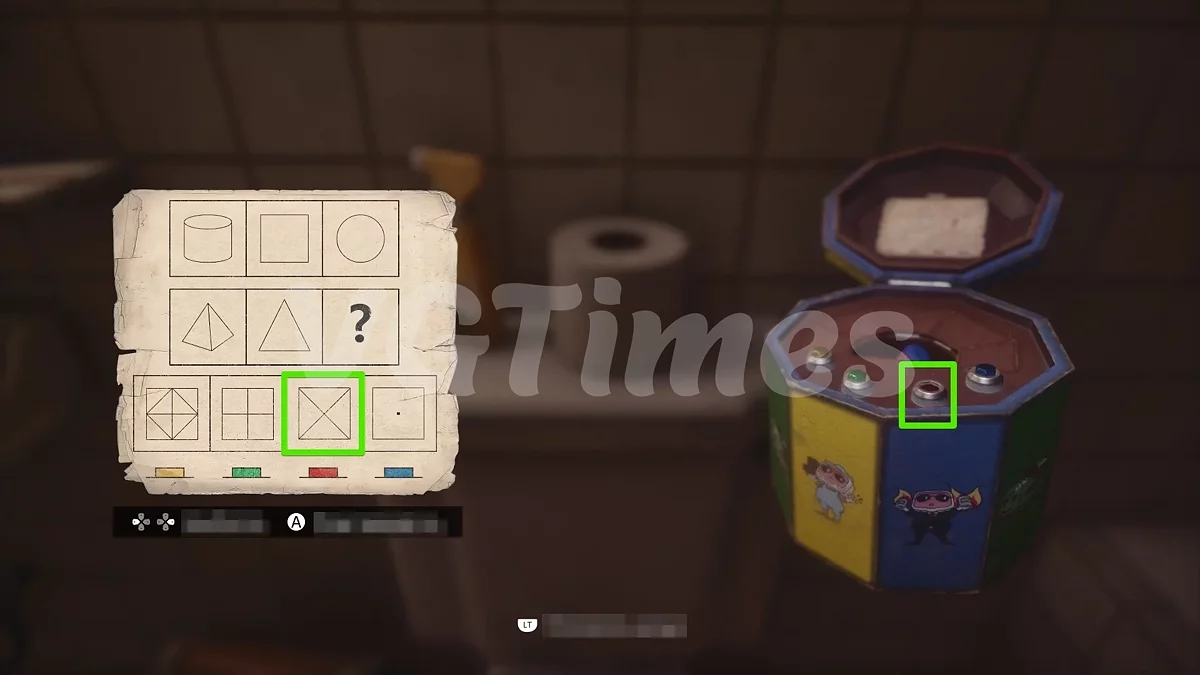
We recommend going to the children's room first and reading the note in the desk's pull-out drawer. It's also worth checking the bathroom and finding the puzzle box on the toilet tank. Press the red button to select the third figure. When you're ready, head to the opened passage in the office.
Illusion
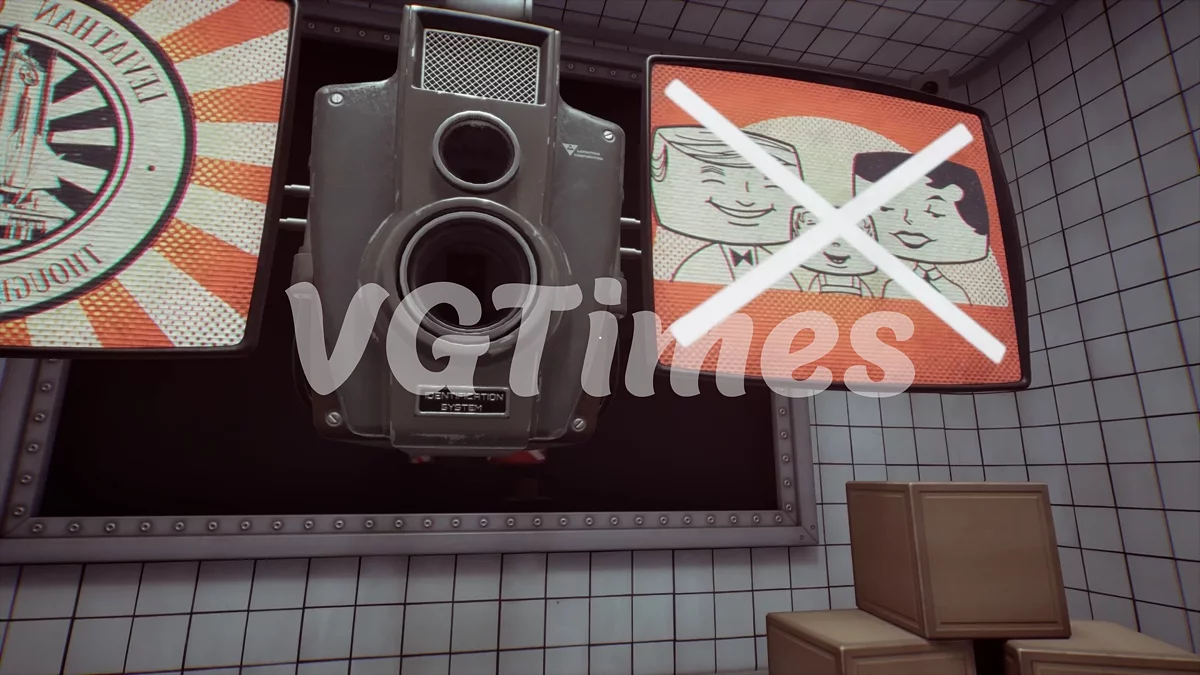
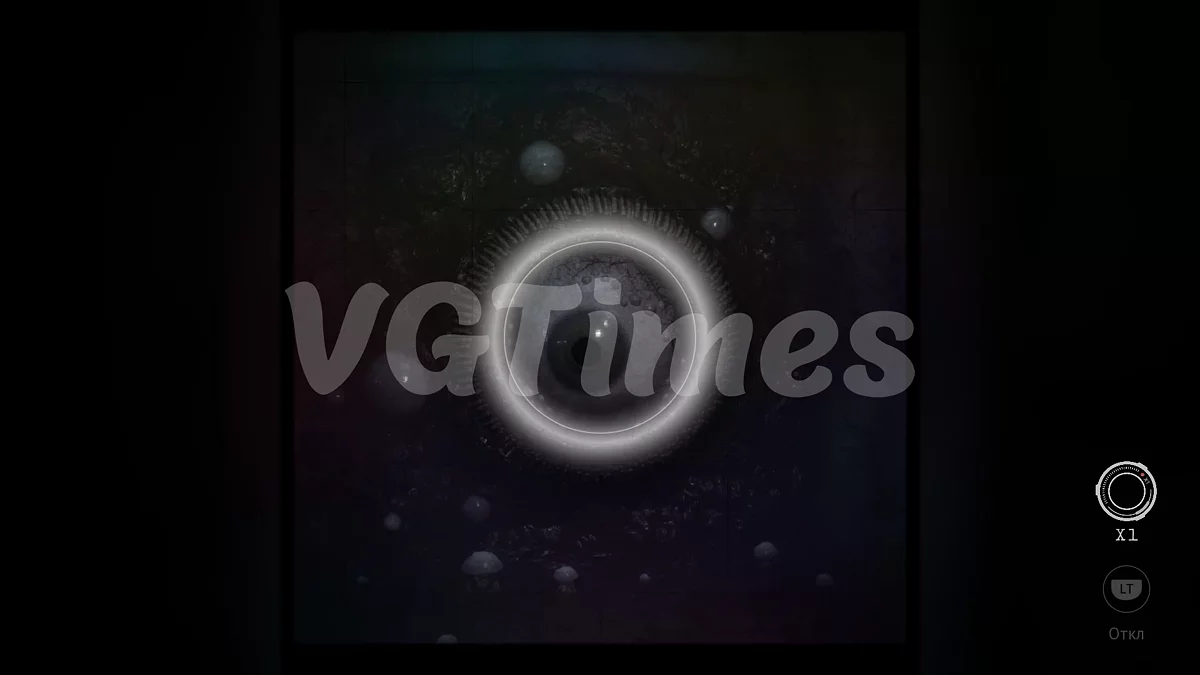
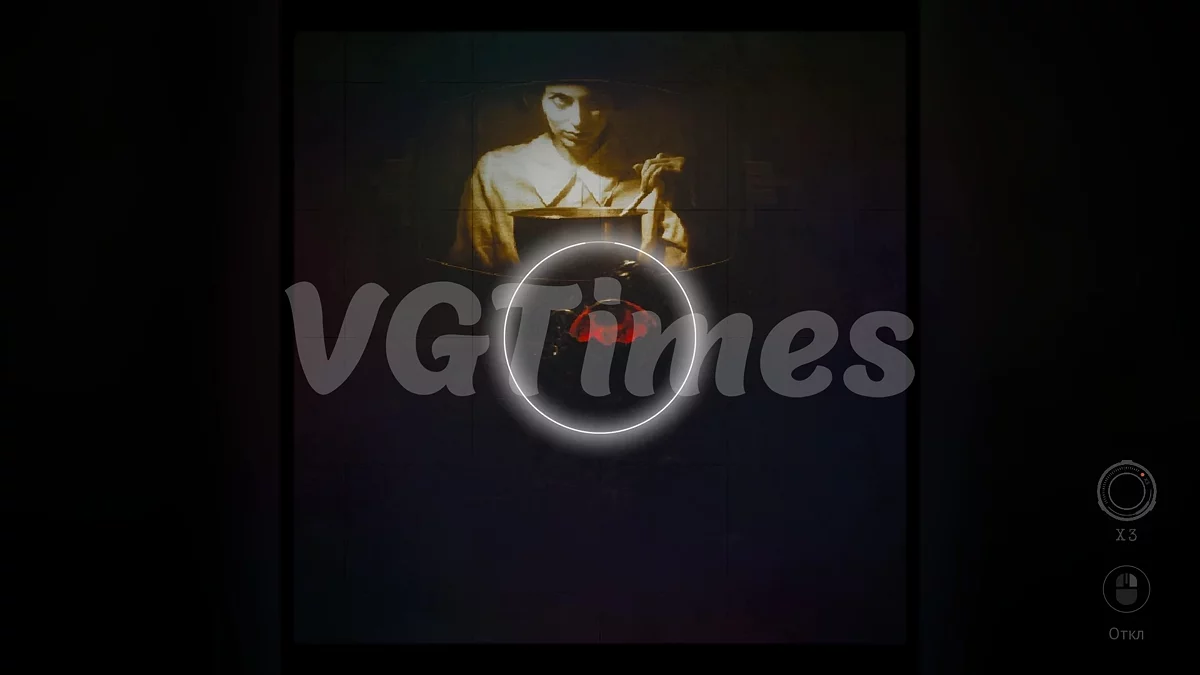
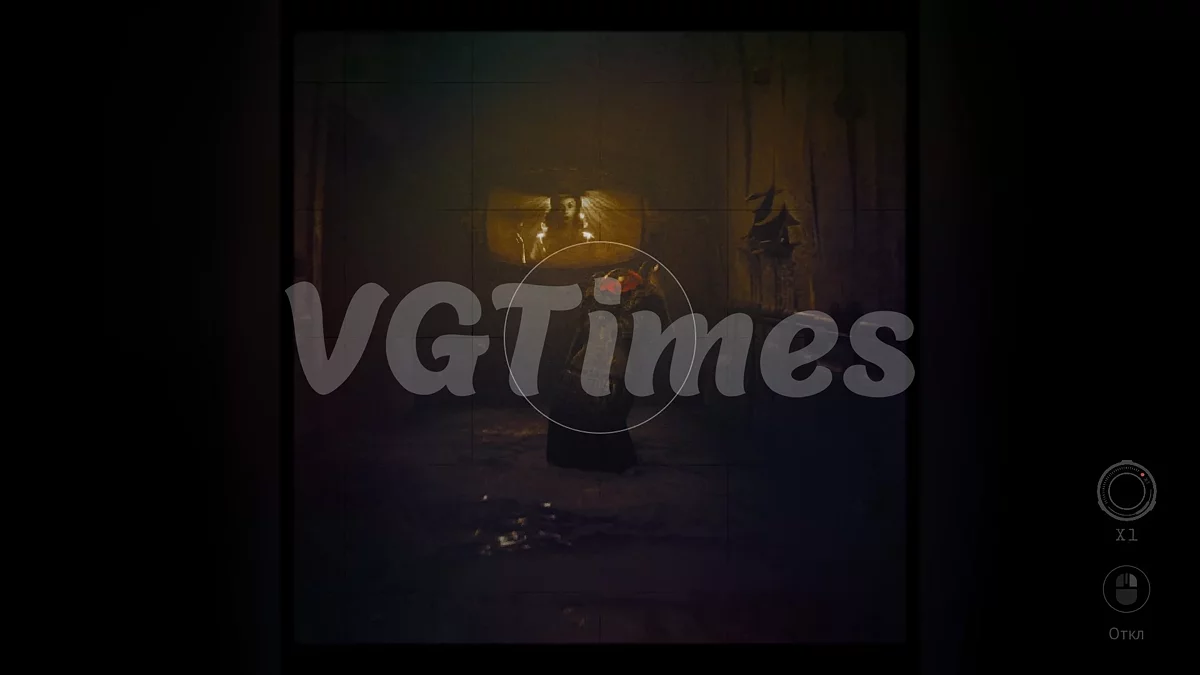
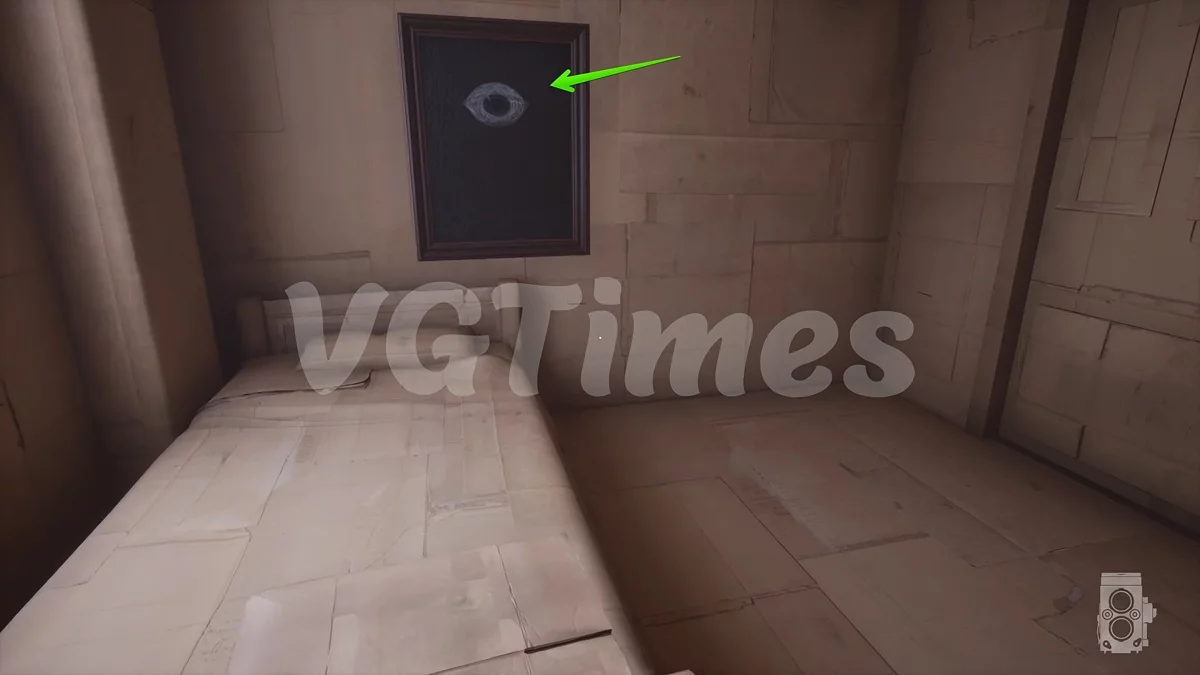
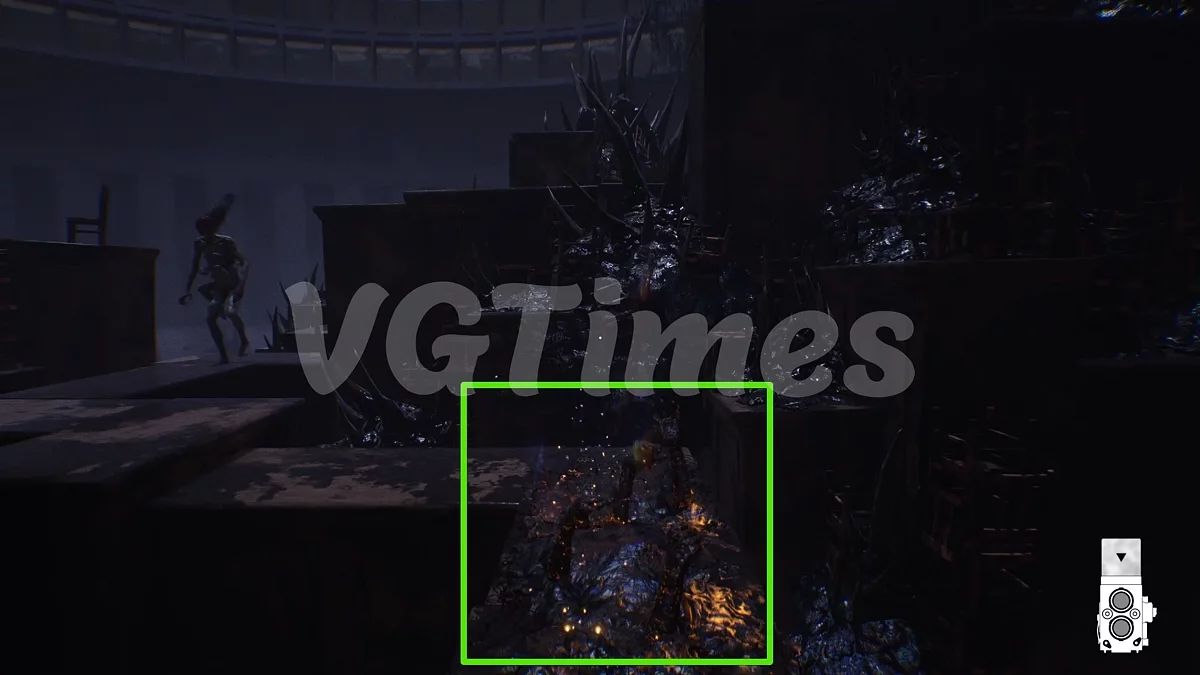
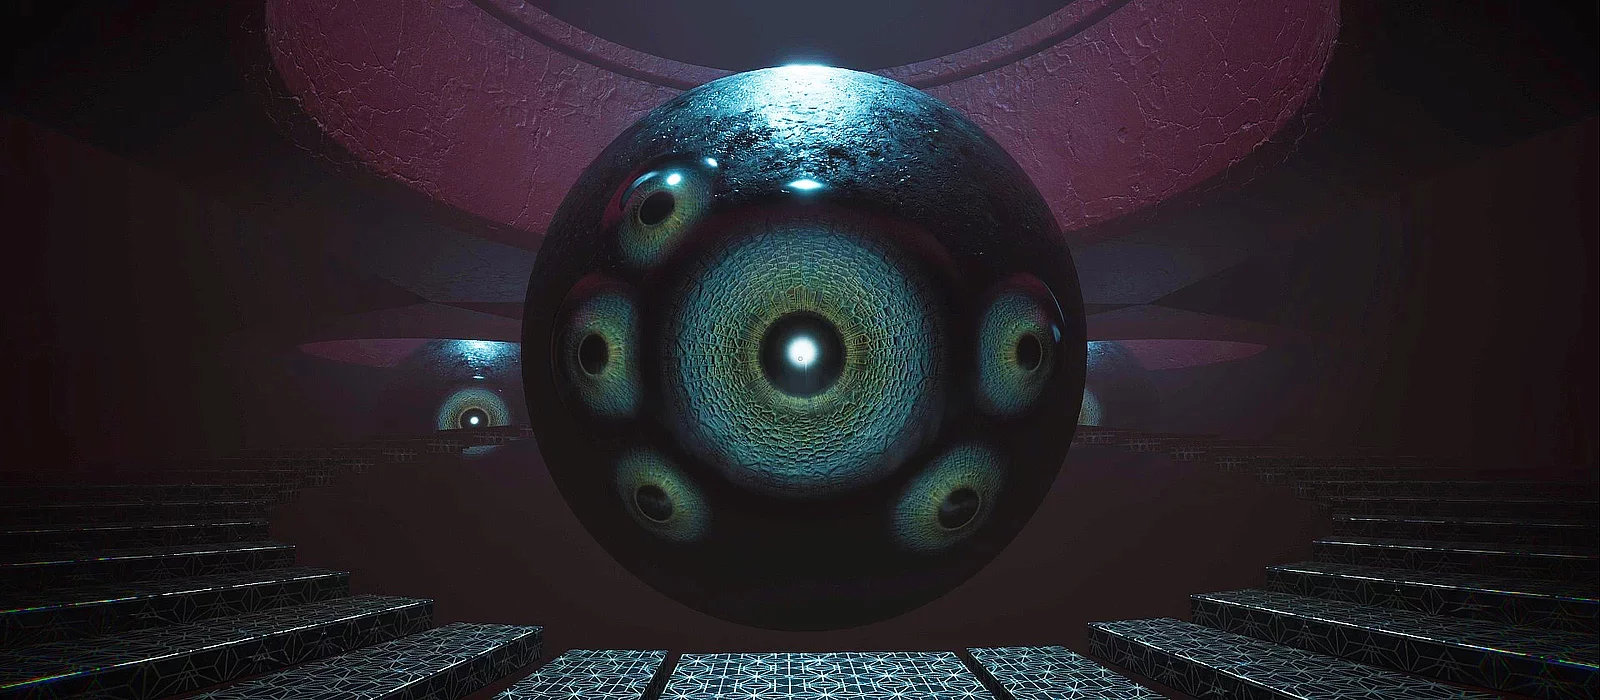
Descend into the basement and immediately flip the board to the side with the eye image — this will help you not get confused later. In the adjacent room, read the note on the table and walk around the table on the left side. Take the camera and take a picture as the voice in the protagonist's head commands. When you try to return, a wall will appear where the passage was. Point the camera at this wall and photograph the giant eye.
The principle is clear: we search for eyes and destroy them with the camera. By the way, earlier we recommended flipping the board to the other side with the eye image — photograph it to be able to open the passage from the basement.
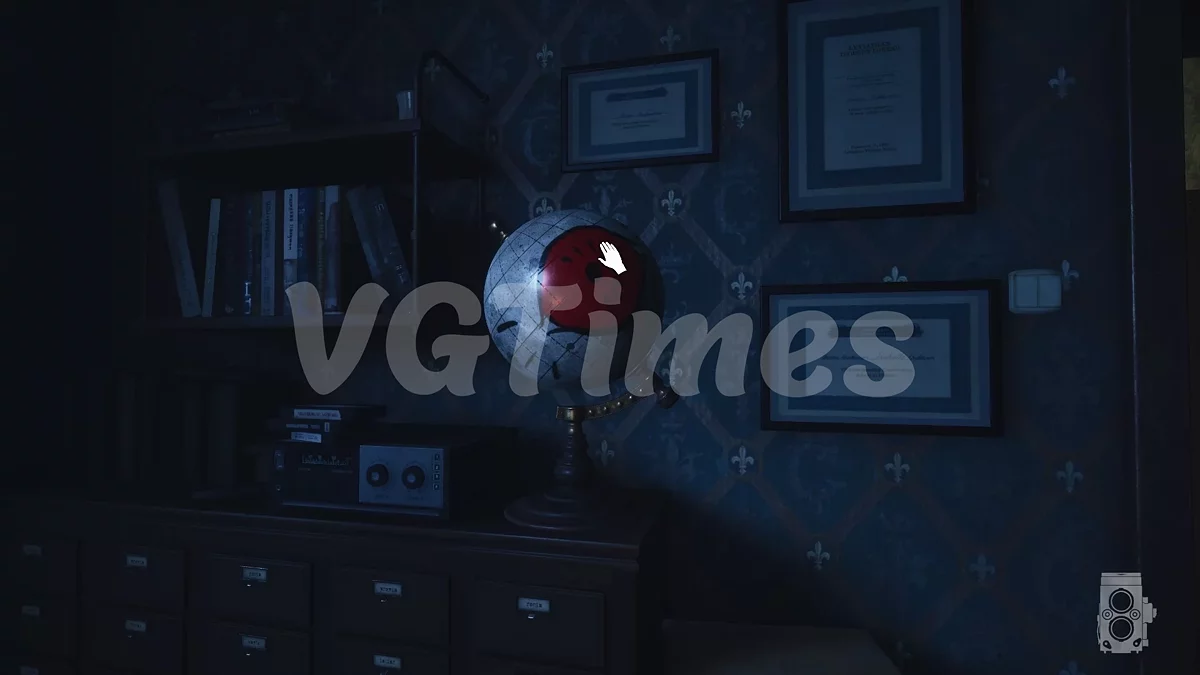
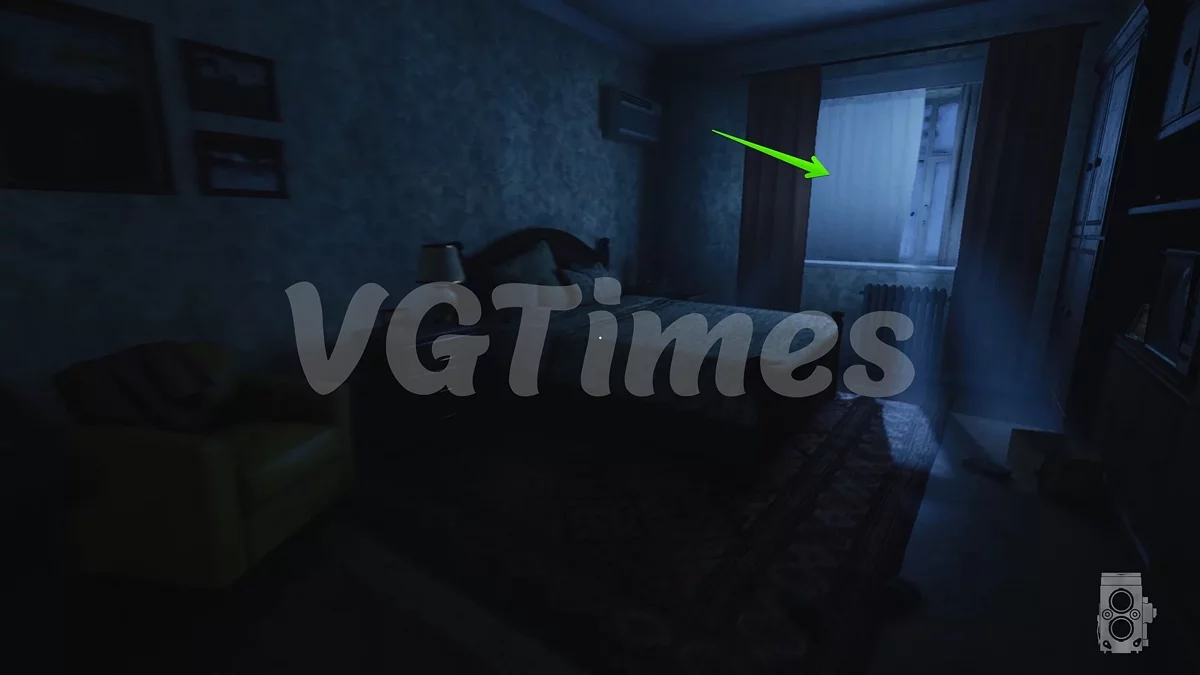
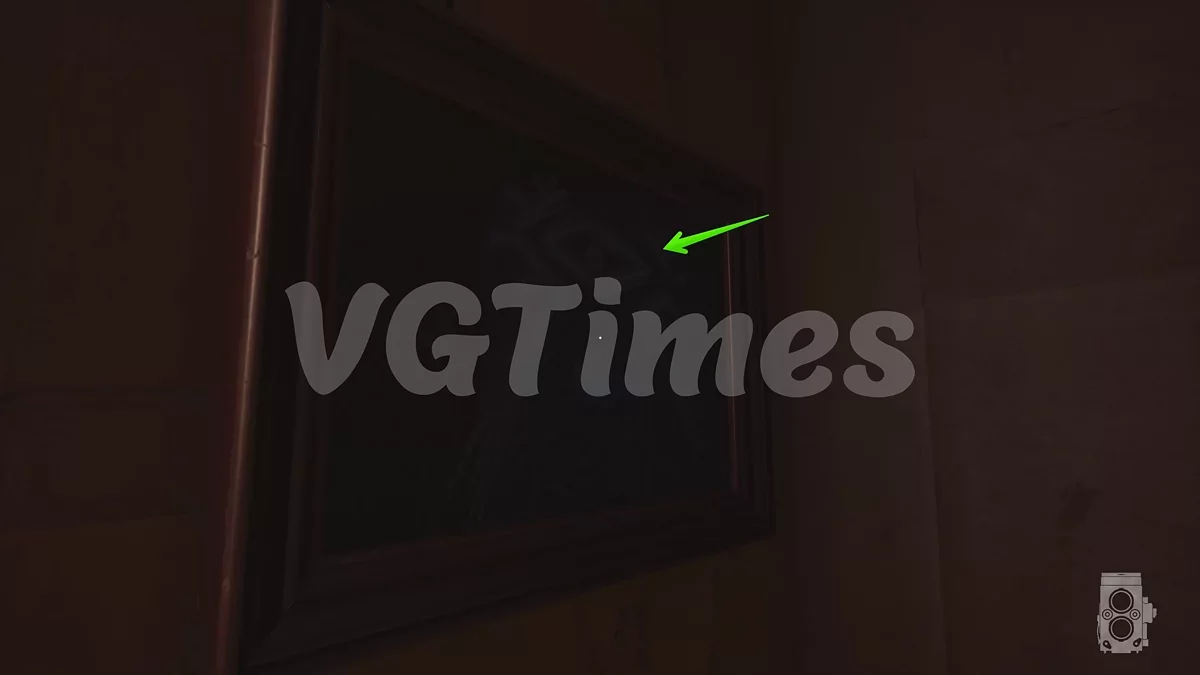
Upon ascending, turn the globe and find another eye here. Now go to the bedroom and interact with the curtain on the window, behind which another one is hiding.
Since you destroyed the eye outside the window, you can now open the passage to the living room. To do this, switch to camera mode and enter the bathroom (in the normal world, the door will be closed). When someone knocks on the door, approach it and turn around. You will see the protagonist's mother — she will start hunting her son.
You will find yourself in a long square corridor with TVs. The enemy cannot reach you when you are not looking through the camera and circulates from TV to TV. You need to wait until the enemy reaches a working device and stops. Players can observe the monster's movement by the circles on the water. Once it stops, step back a little, turn on the camera, and photograph the eye on its back.
Repeat the actions twice, after which the corridor will start filling with water. However, you can delay your demise with the camera. Move away from the monster to a safe distance and enter shooting mode — the water will recede on its own. Perform the same actions a third time to escape the loop.
At the end of the level, you will unlock the achievement It Wasn't Real.
Mud
- Notes: 9
- Collectibles: 1
While in Rachel's memories, open the bedroom door and get rid of the eye on the wall, where the painting hangs. Walk around this room and see another image outside the window — photograph it as well. Go to the parents' bedroom, here get rid of the third painting, which blocks the passage to the utility room.
In the utility room, take the scrap of paper and attach it to the similar sheet on the wall to the right. This will reveal the time 05:17 — set the clock to this time and look into the girl's bedroom. When the scene concludes, you'll be able to move around the apartment. In the kitchen, read the handwritten note, and in the fridge, you can find another puzzle. Choose the first option using the yellow button to solve it.
In the hallway, read the newspaper, and in Rachel's room, take the document from the institute. Give the document to the cloakroom attendant to receive a scrap of the second note. It will fit the sheet on the wall. This will reveal the time — 07:31.
Rewind the clock to this time and watch another scene in the daughter's bedroom. This time you will find a note in the kitchen and a document by the TV, and in Rachel's bedroom, a guest list. Hand the last document to the cloakroom attendant.
In return, you will receive the last missing part of Rachel's manuscript. Hanging it on the wall will give you the time 09:43 and allow you to get outside.
Freedom
- Notes: 1
- Collectibles: 1
Keep moving forward, and after descending the stairs, read the letter and take the room key. If you follow the corridor to the end, you can find another box on the windowsill. Its solution is quite simple — press the blue button, selecting the last option.
Open the room door and watch a lengthy cutscene. At the end of the level, you will receive the Freedom achievement.
Love
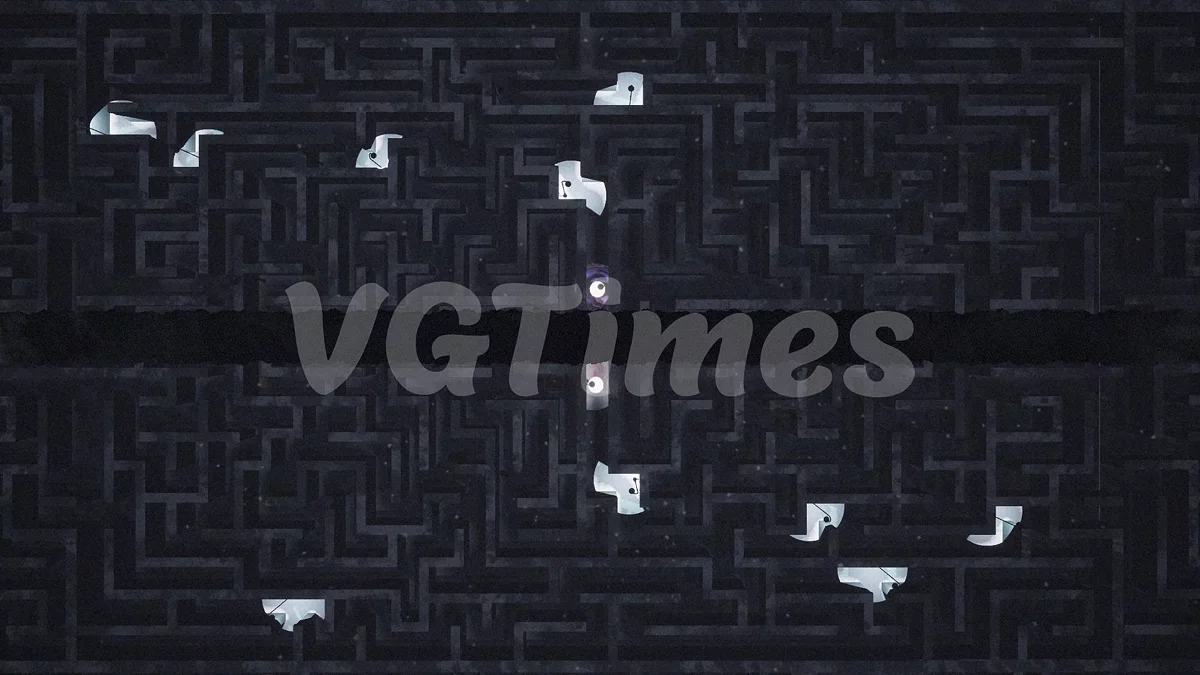
Now you will control a cube. If you don't know where to go, press the action button (R2/RT on the gamepad or LMB on the mouse). Just follow the prompts until you transform into a paper airplane. You can use the game's hints in the same way and land in marked places. Eventually, you will find yourself in a maze. Navigate from one memory to another to finally meet in the center. At the end of the chapter, you will receive the Love achievement.
Heart
Give the cloakroom attendant the ribbon found at the church entrance to continue. Pay attention to the hands protruding from the ground. You will use them later to get rid of Lucas-monster, who will start appearing in locations.
First, approach the body and take the heart. Wait for Lucas to be grabbed by the hands, then use the camera to temporarily drive him away. Give the first heart to the cloakroom attendant.
In the second location, Lucas will appear immediately. Find a similar trap and get rid of him, and when you pick up the heart, the arrangement of closets and passages will change. You will have to first move a little forward to activate the script for the enemy's appearance, then return and hide behind the hands protruding from the ground.
In the third location, there won't be anything new: find traps, eliminate the enemy, take the heart, kill Lucas again, and give the item to the cloakroom attendant. When you are in front of the huge heart, use the gun to shoot (we found no other options).
After a lengthy scene where Rachel is wheeling Lucas on a stretcher through the building, you will receive the achievement Two Souls, One Body.
Lamb Family
In this segment, there is almost no gameplay. Interact with the photo of the main character and watch the cutscene, and when you exit Rachel's memories, the Rachel achievement will unlock.
Act 3. Facade. Amber Blood
- Notes: 4
- Collectibles: 1
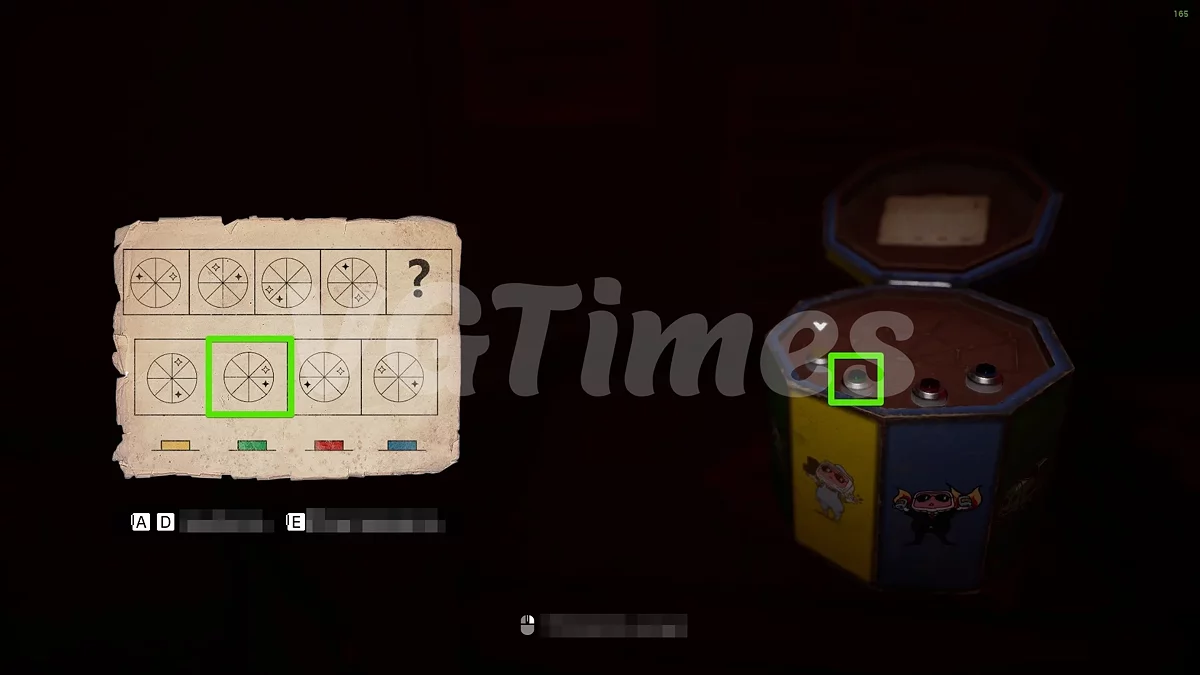
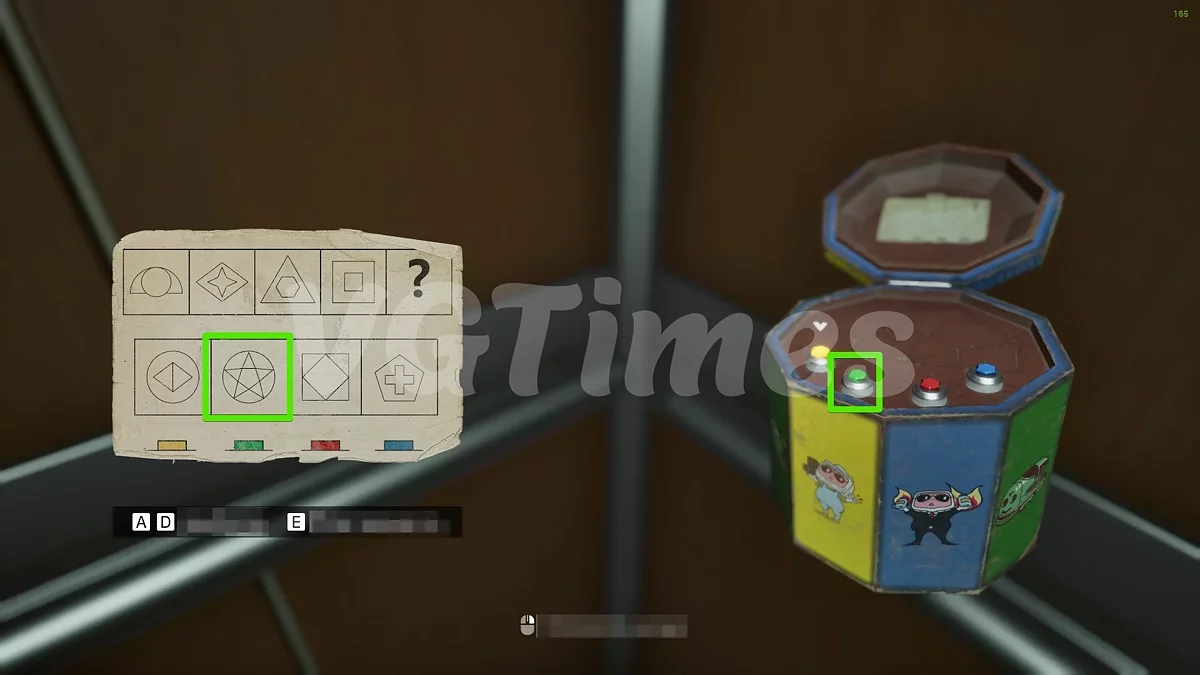
At the very beginning of the level, without leaving the elevator, turn around and find the puzzle box. If you exit the elevator, solving the puzzle will be impossible. Choose the second figure with the green button.
Examine the office. On the table in the center, read the newspaper. On the right side, take the photo from the frame, read the documents on the table and in the drawer. On the right, you'll find a clock without hands, but it is the code for the panel under the clock. To find out the password, take the book on the table opposite, insert it into the shelf, and press. You will hear the following signals:
- One thin chime — 1 hour;
- Three double bell chimes — three times 15 minutes (45 minutes);
- Five thin bell chimes — 5 minutes.
In total, we get 01:50 minutes, which is the correct code for the panel.
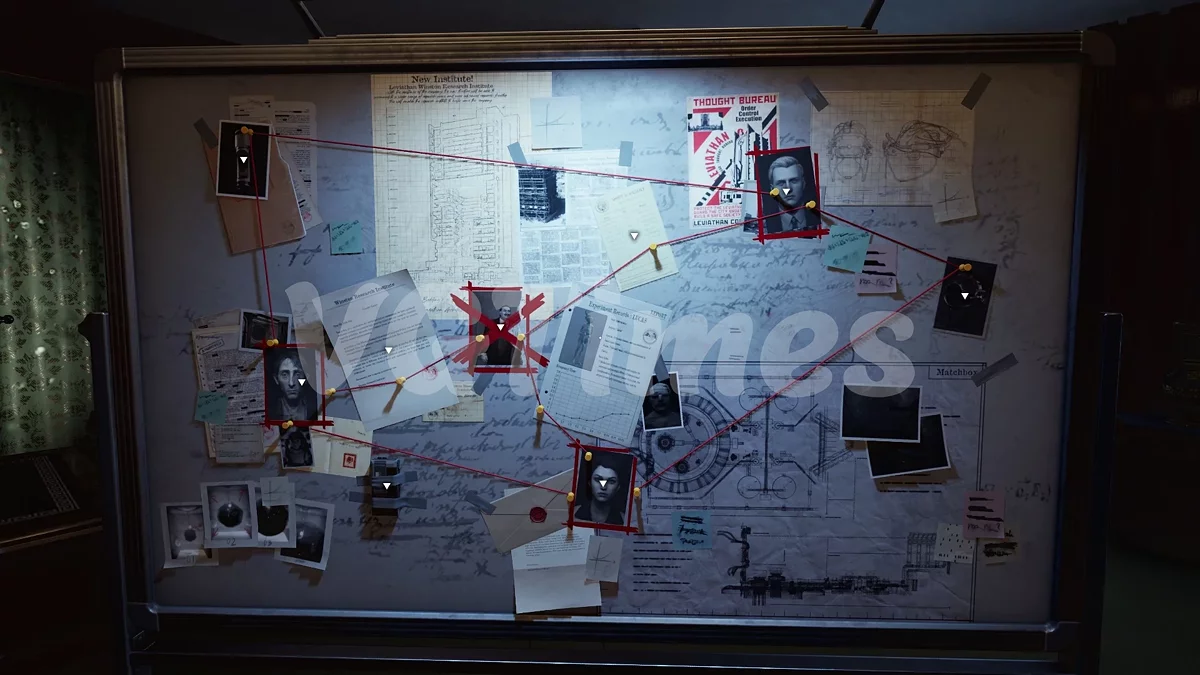
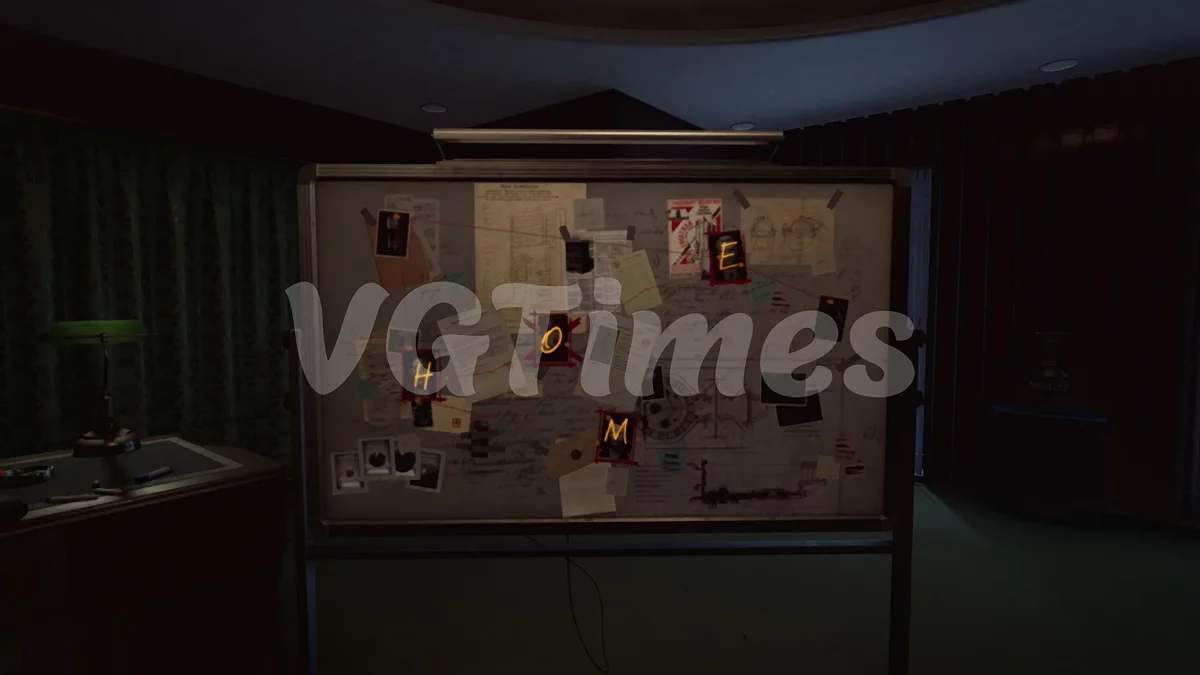
On the table to the right, take the photo of the main character and read the document on the director's table, as well as three documents on the board. In the hands of the dead director, there is a photo of an unknown person, but it's not worth taking yet, and on the board, take Sean's photo. Arrange the photos in the following order:
- Main character — in the upper right corner, next to the image of the device for penetrating people's memories.
- Sean — on the left side, above the image of the little girl.
- Rachel — in the central lower part of the board.
- Fred — in the center of the board.
Now take Fred's photo and replace it with the photo of the unknown person in the director's hands.
Head towards the elevator, but as soon as everything starts collapsing, run in the opposite direction and interact with the door.
Truth
Watch a lengthy cutscene where you learn the truth about the protagonist's family. You will also receive the achievement I Will Keep the Secret Safe.
