Alone in The Dark (2024) Walkthrough: All Puzzles and Collectibles
 Walkthrough: All Puzzles and Collectibles")
Alone in the Dark is a reimagining of the original 1992 game, where gamers take on the roles of Emily Hartwood and detective Edward Carnby. Together, they attempt to unravel the mysteries of the Derceto mansion and rescue Emily's relative from a parallel reality. In this guide, we will describe a detailed walkthrough of the game, the solution to all the puzzles and riddles, as well as reveal the locations of all collectible items.

Please note that in our walkthrough, items are marked with specific colors:
- Key items — green;
- Notes and hints — yellow;
- Presents (collectible items) — blue.
Chapter 1
Before starting the game, you need to choose your protagonist. It's important to note that the main actions and puzzles will remain the same, but you will learn an alternative backstory for your character. Also, playing as different characters may allow you to find some unique collectibles.
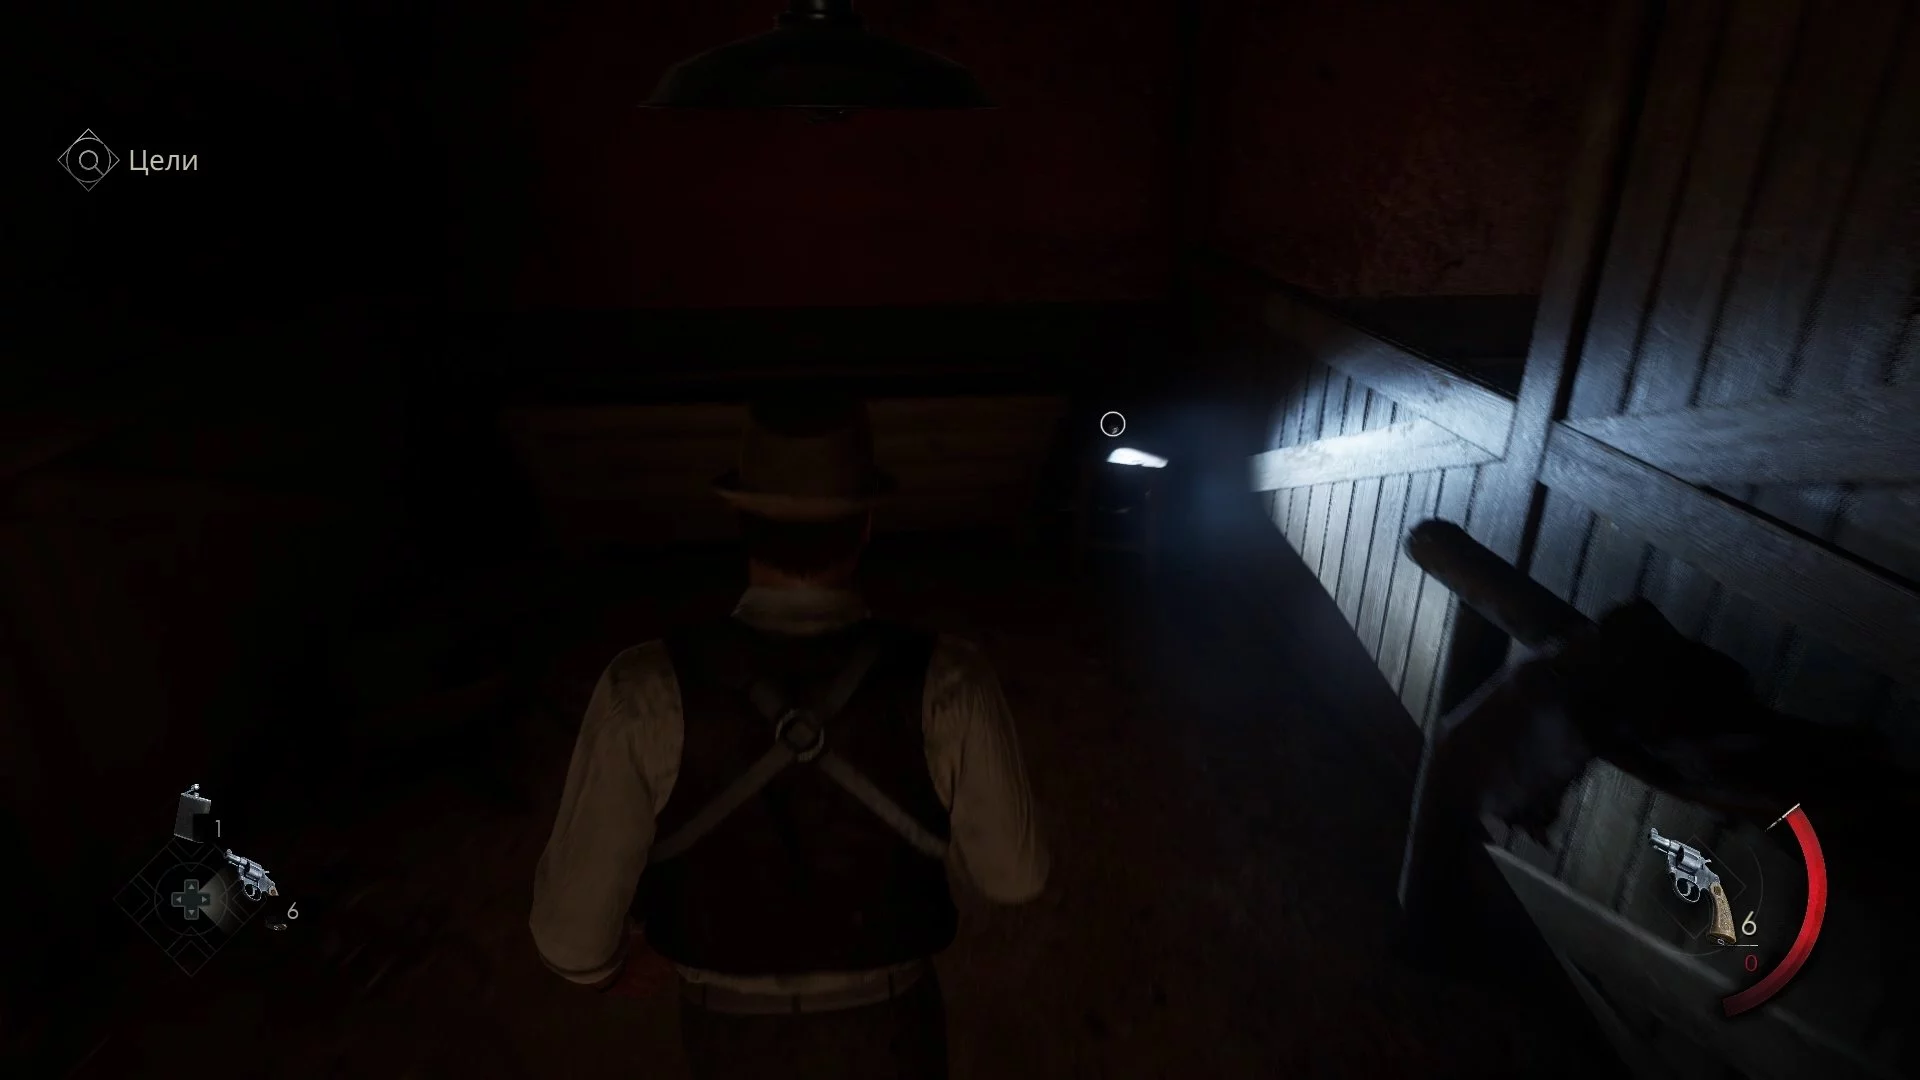
Once the control passes to the player, go forward and enter the first pen on the left. On a chair in the corner, there will be a lantern and a key.
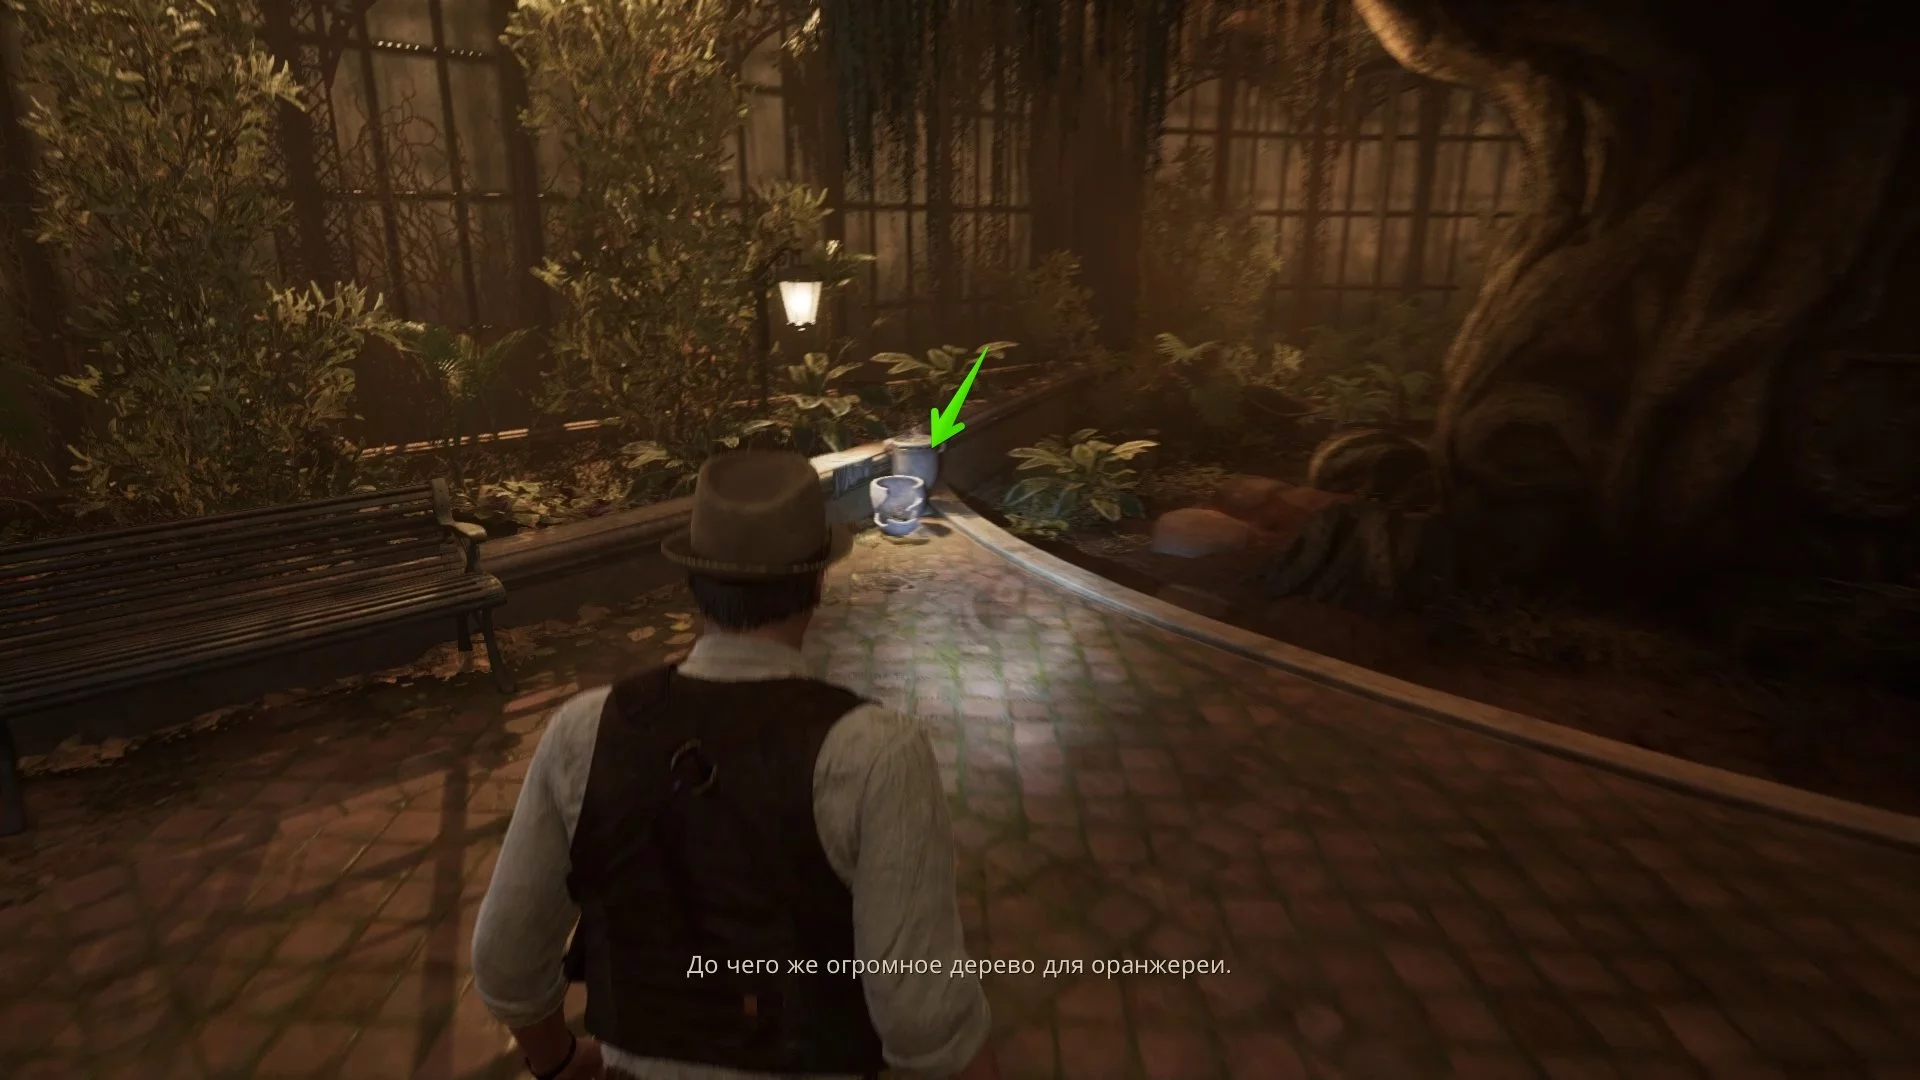
Use the key you've obtained to open the door to the greenhouse. There's no need to do anything in the garden yet. To the left of the giant tree, there's a broken vase — pick up the housekeeper's key from it.
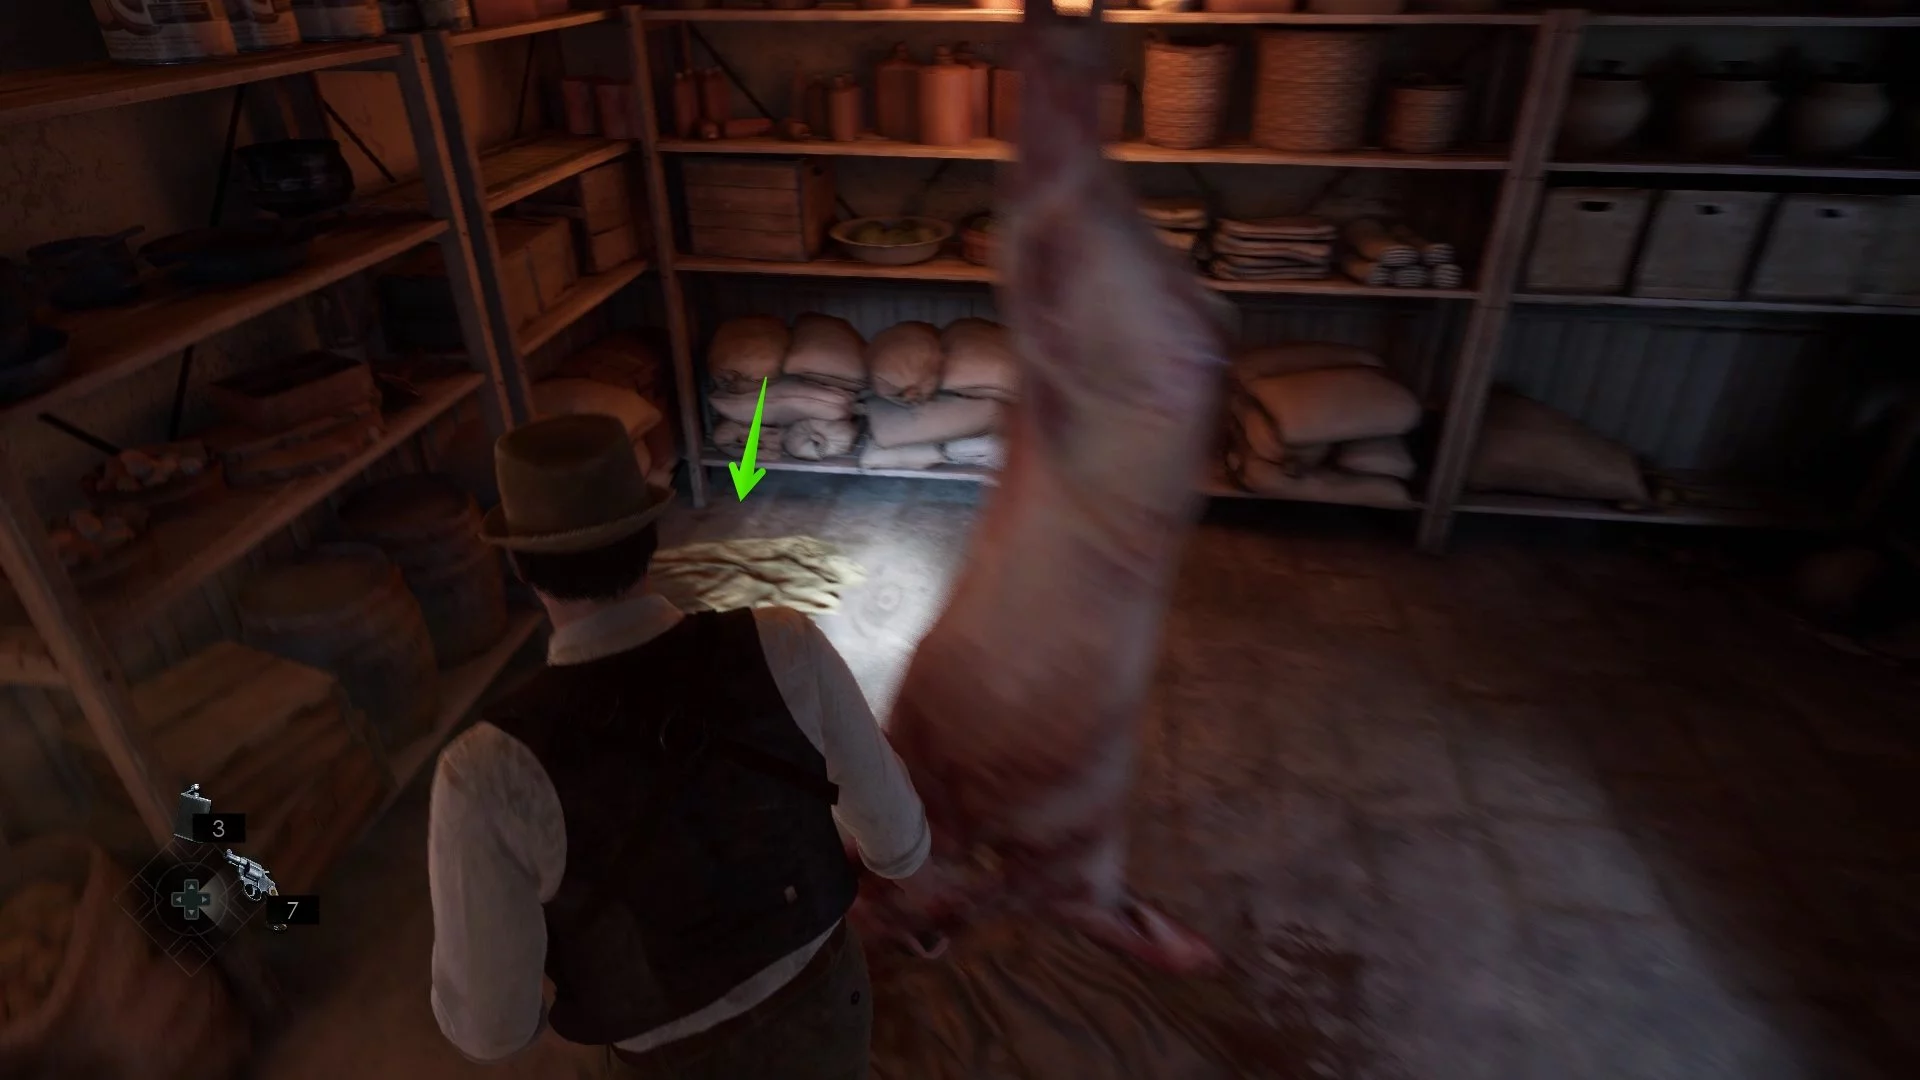
From this point on, you will encounter consumables: ammunition and drinks (first aid kits). We advise you not to miss them. In the further room with the bed, you will find a note «Family Bible». In the kitchen, enter the door on the right and in the far left corner, take the first collectible item «Rat Poison».
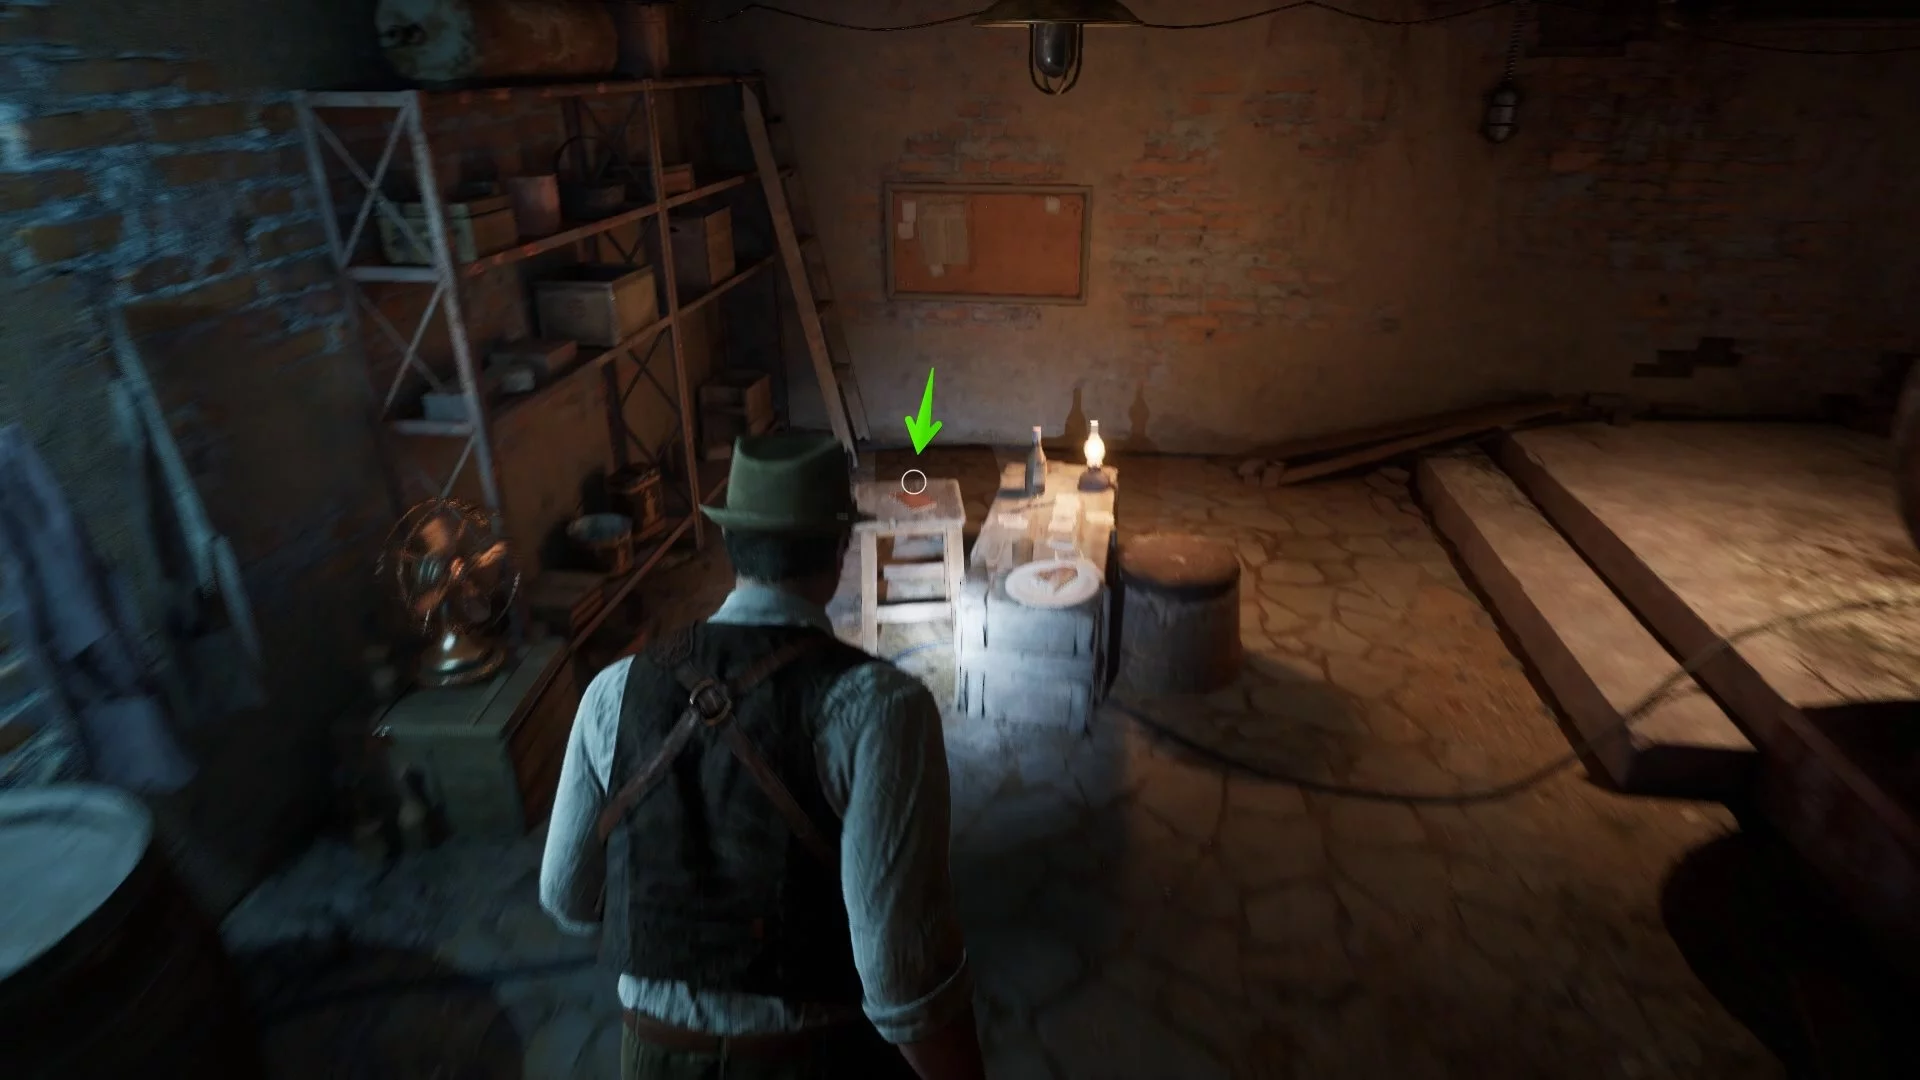
Inspect the kitchen for ammunition and exit into the corridor. If you go right, you will reach the cellar. Here, there is a locked door, consumables, and the collectible «Tram Ticket». Return and open the boiler room. Examine the two puzzles to mark them on the map. Also, take the note «Sabotage».
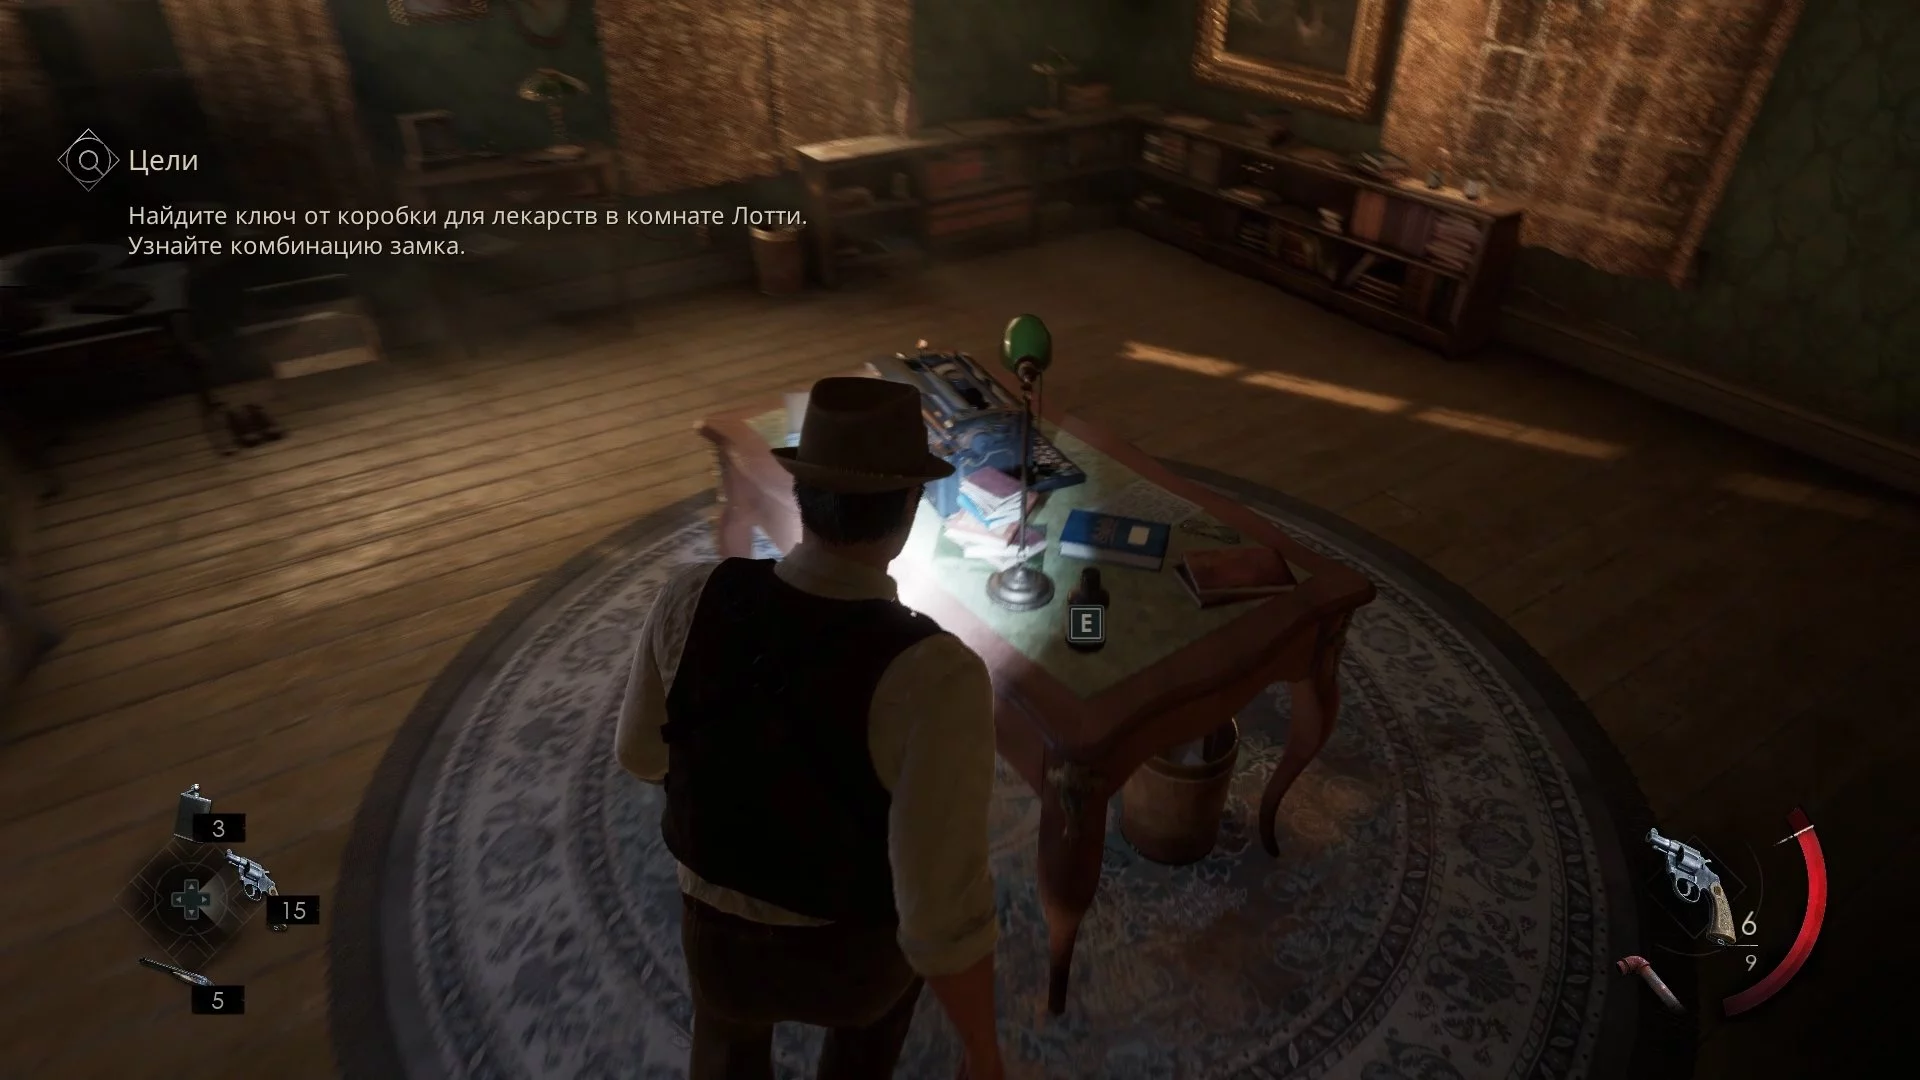
Climb to the first floor by the stairs. In the bathroom, you can pick up consumables, and in the room immediately after it, on the wall, there is a map and a key to the platform. There is also a locked medicine box here — it can be opened later in the story, so don't focus on it for now. In the opposite corner of the room lies Lottie's diary.
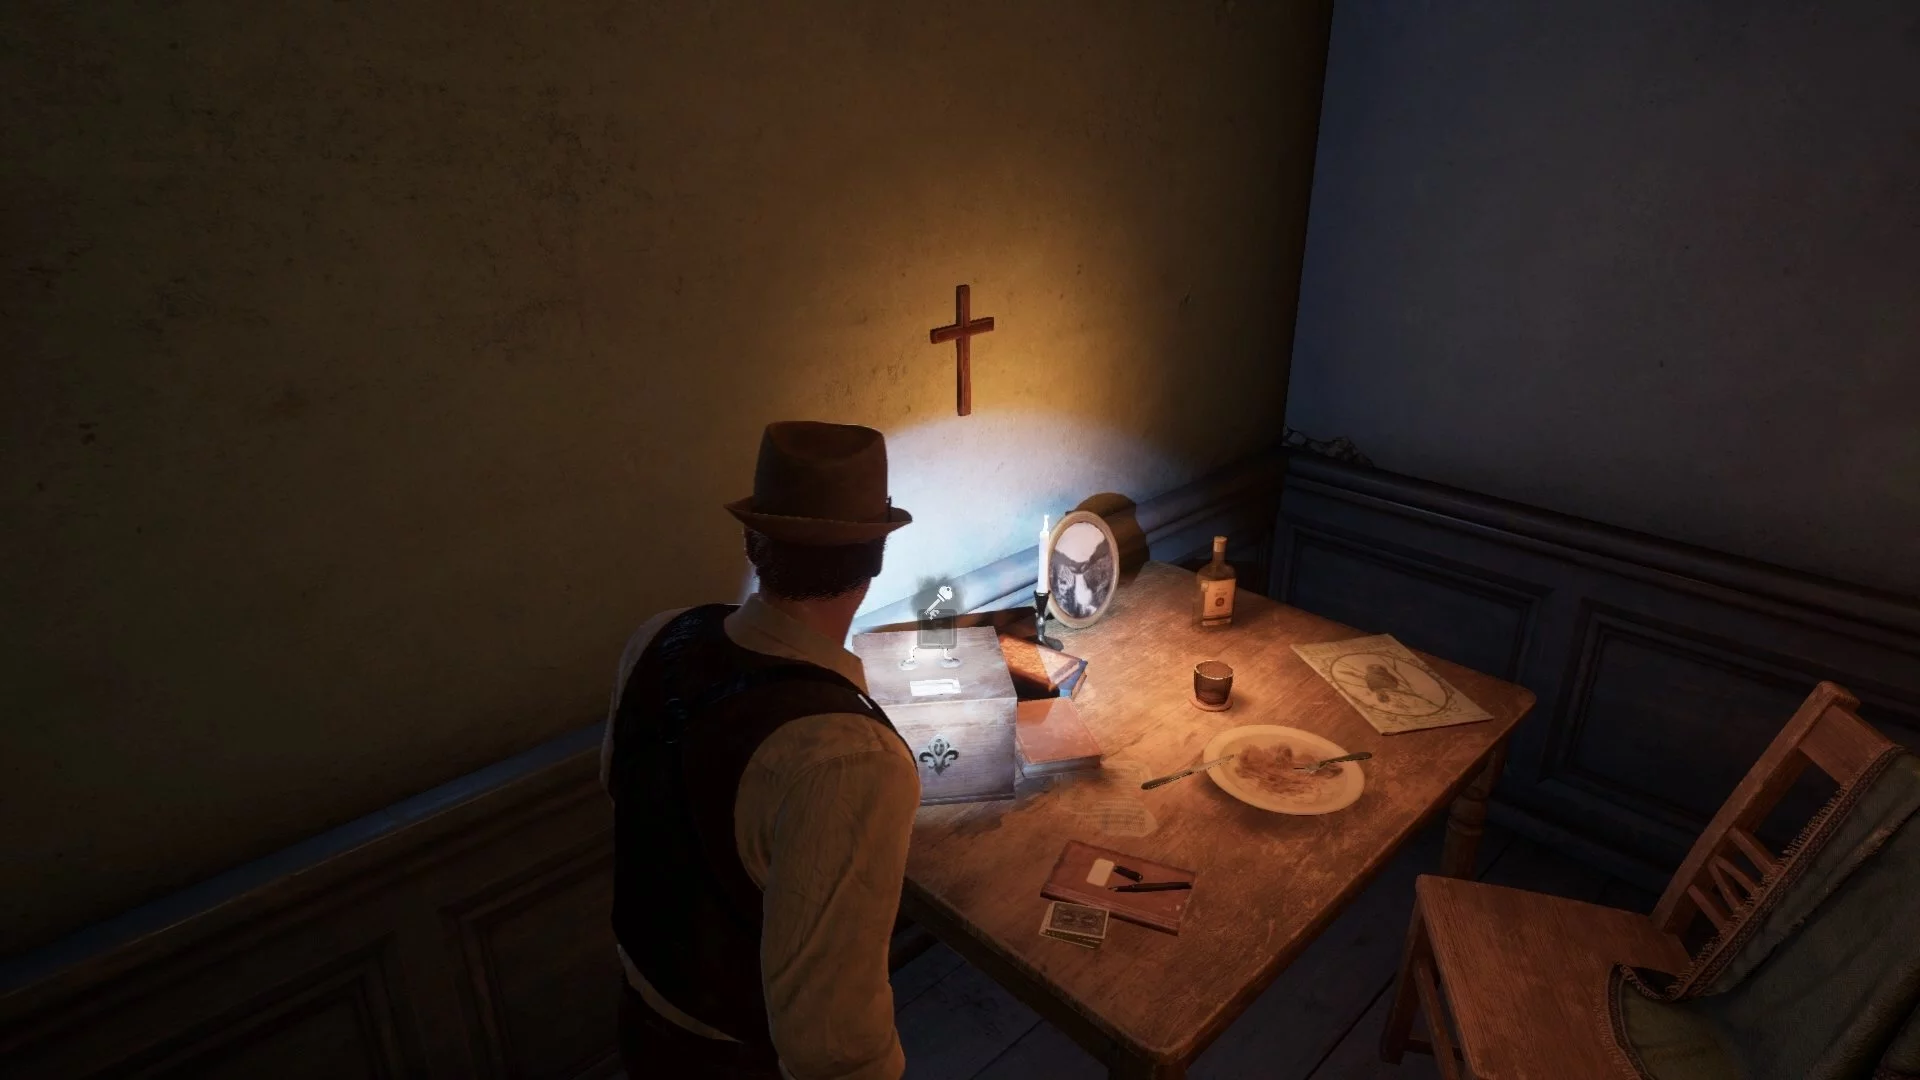
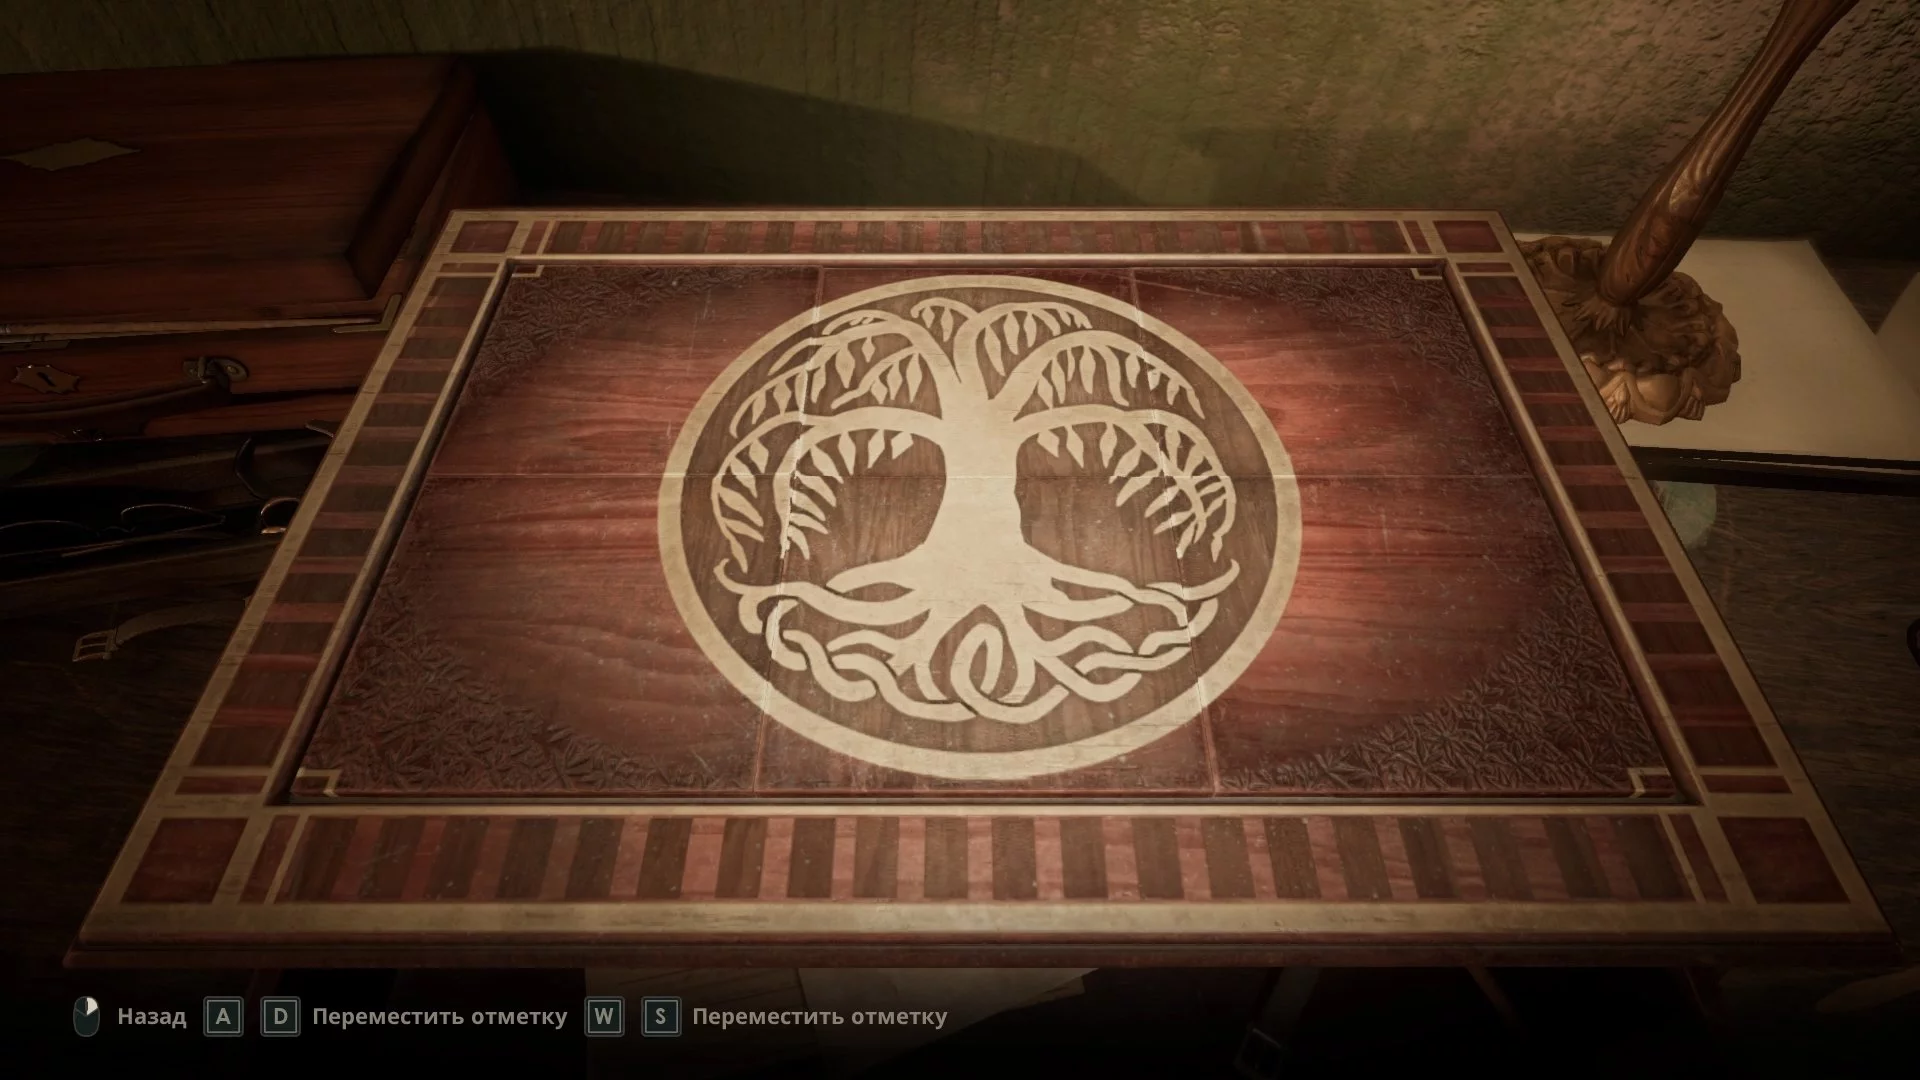
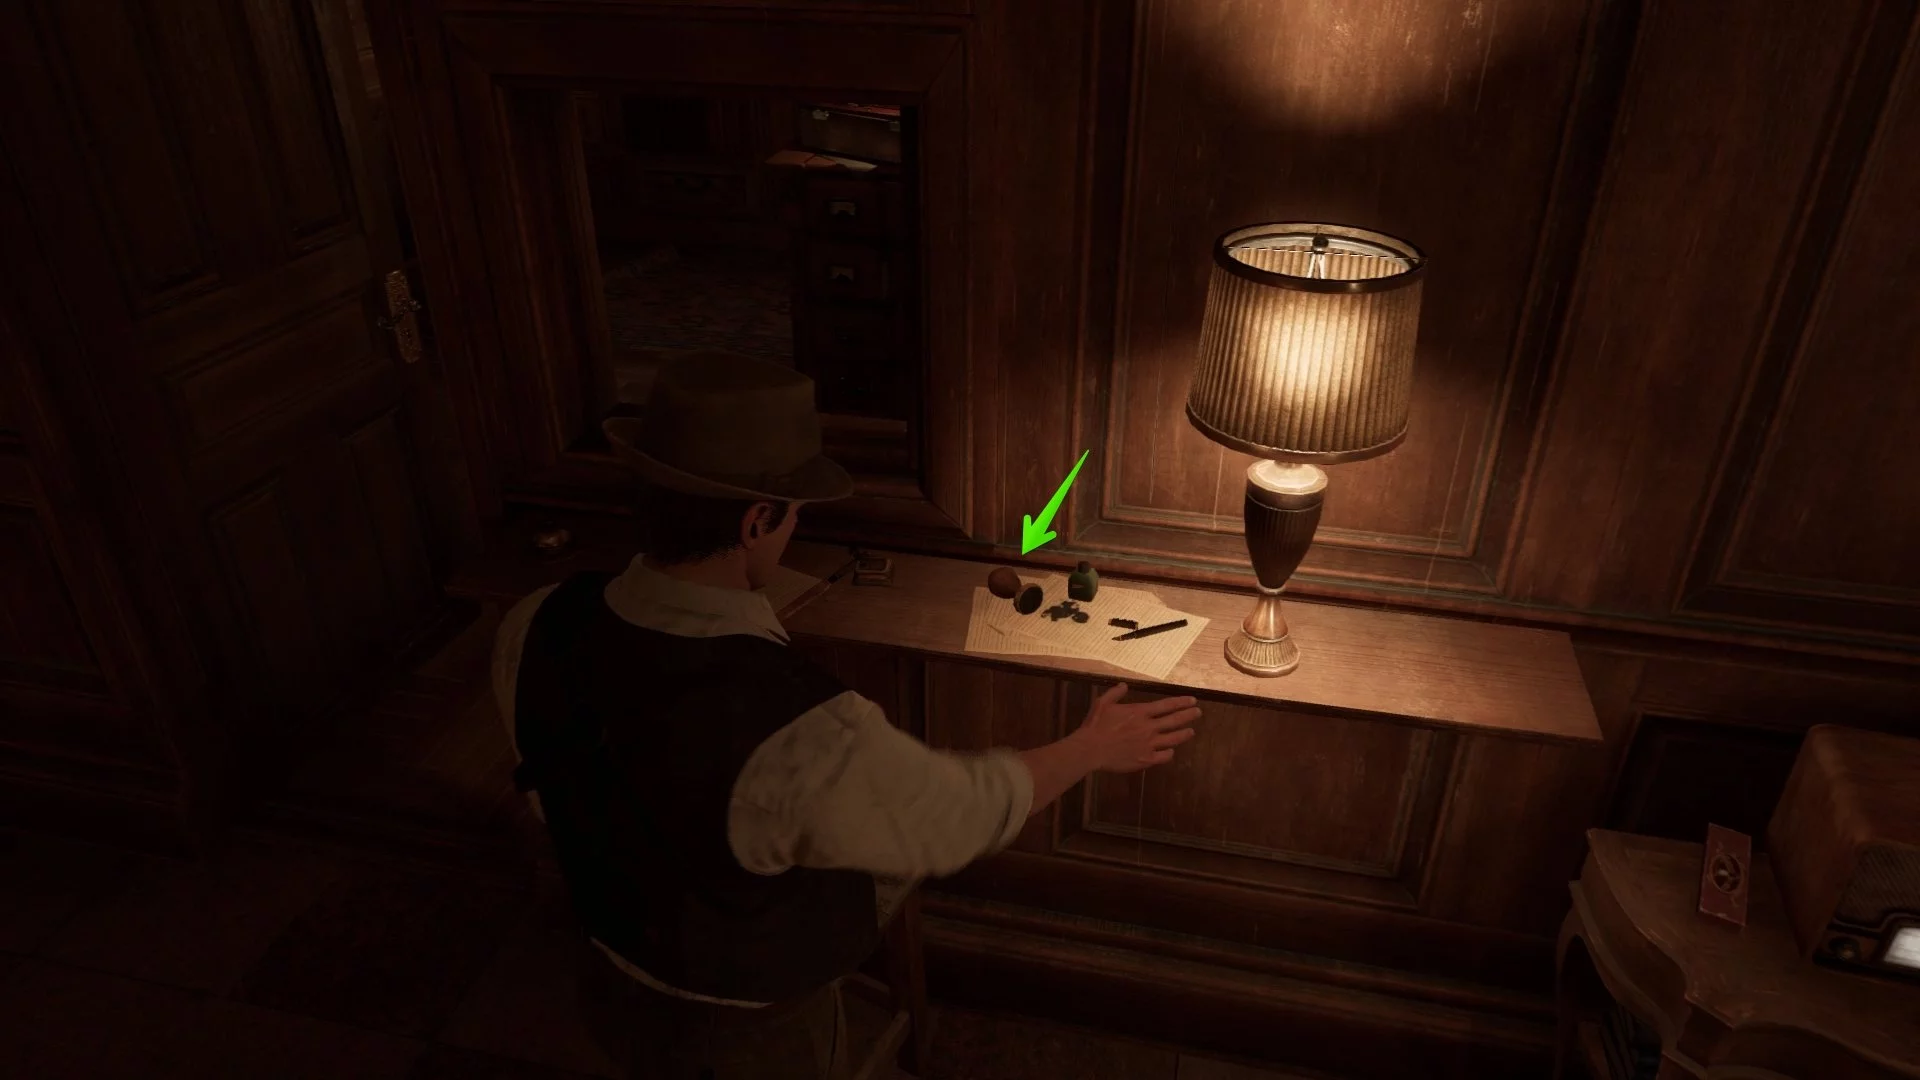
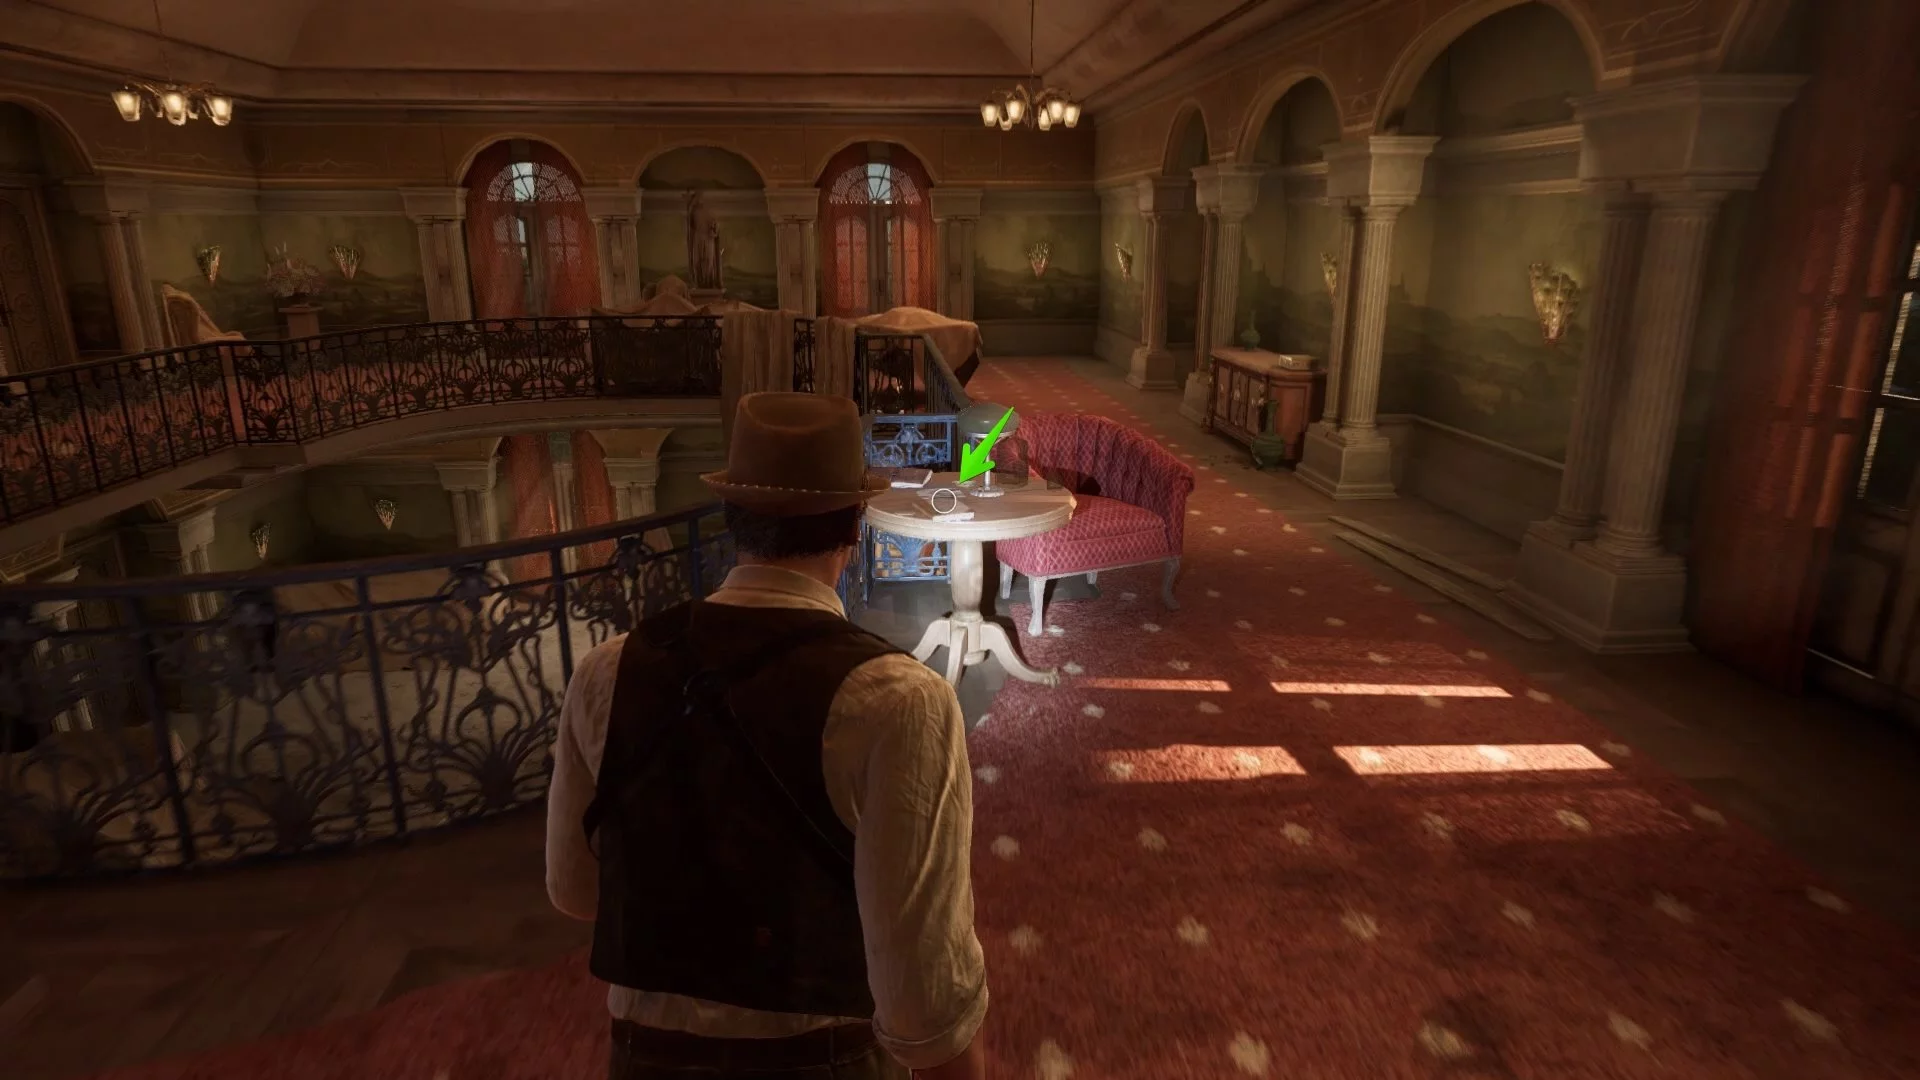
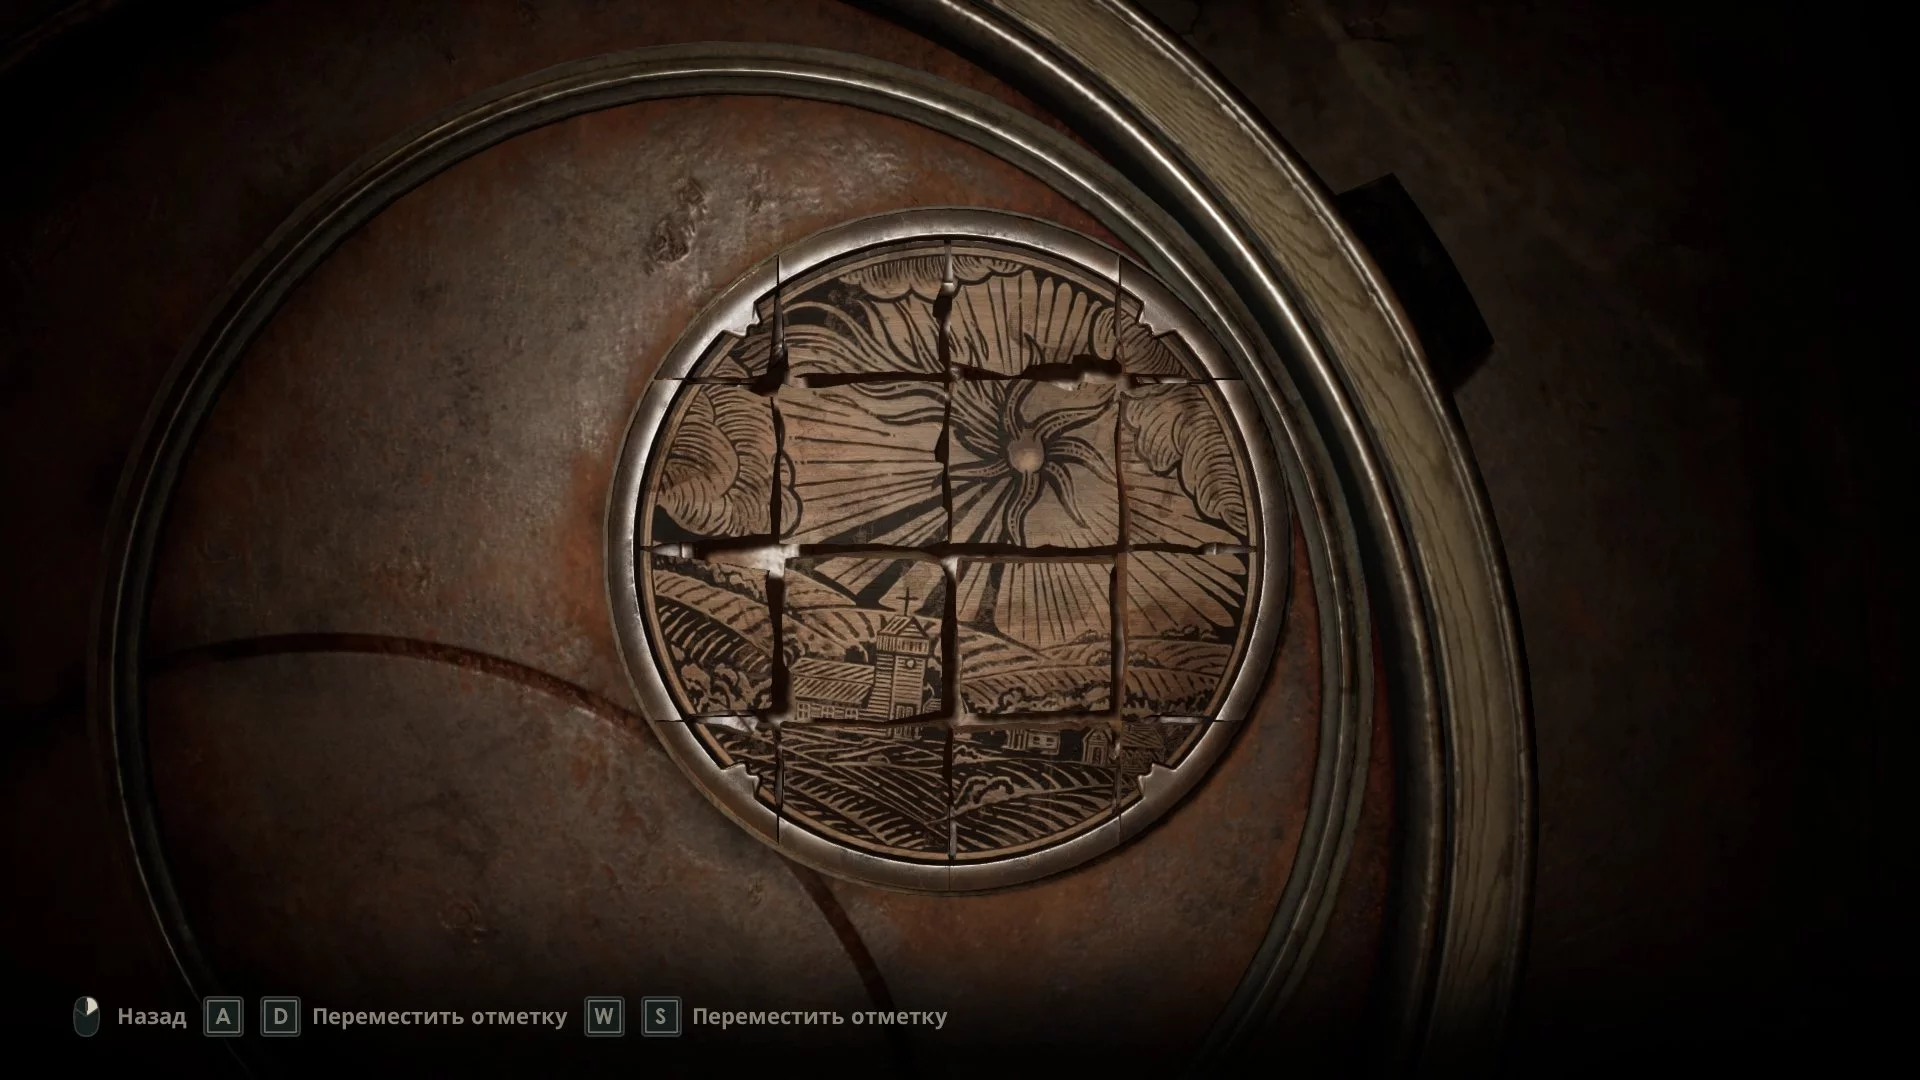
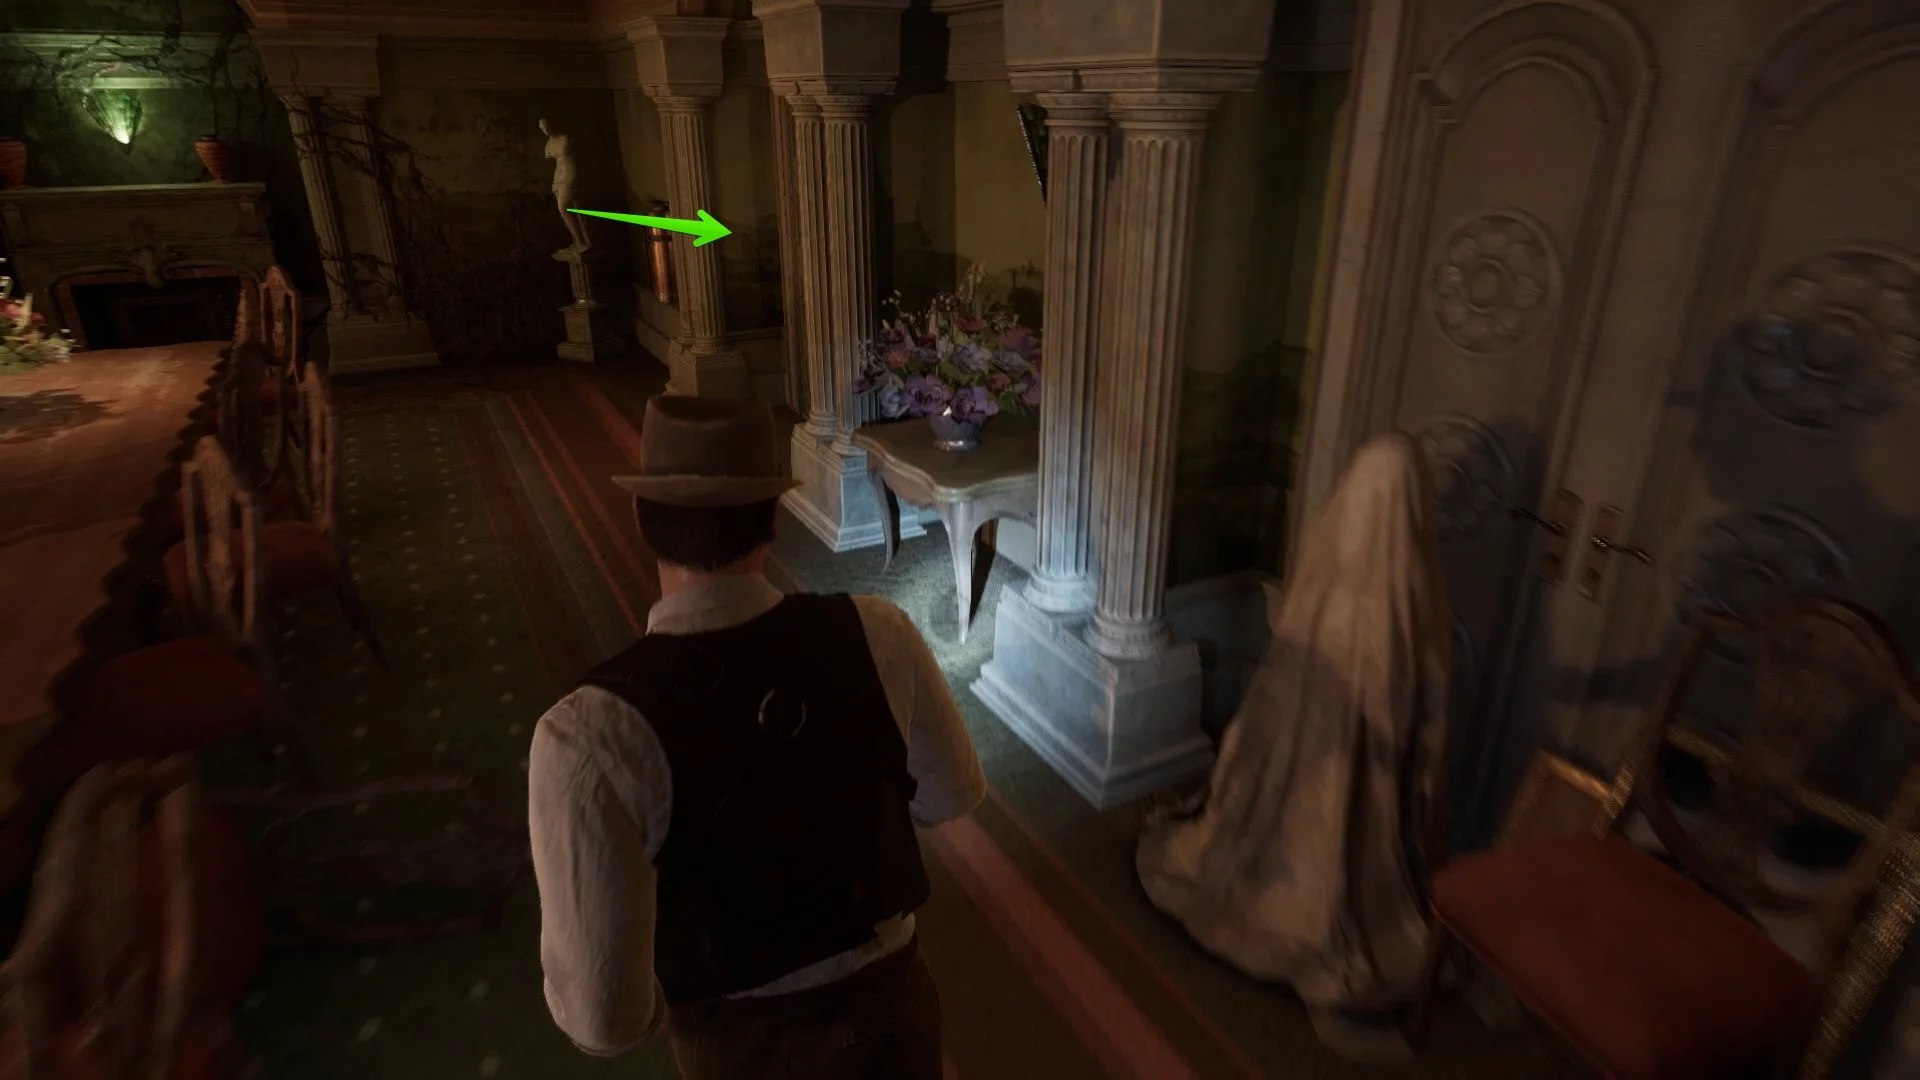
To the left of the stairs to the second floor, open the door and proceed to the main house. Approach the front door, watch the cutscene. After it, you will be in Jeremy's room. Inspect the table to the right of the chest. Take the notebook with records and the ornate tile. Place the last item in the box and assemble the correct image.
How to Find the Talisman and Return to Derceto
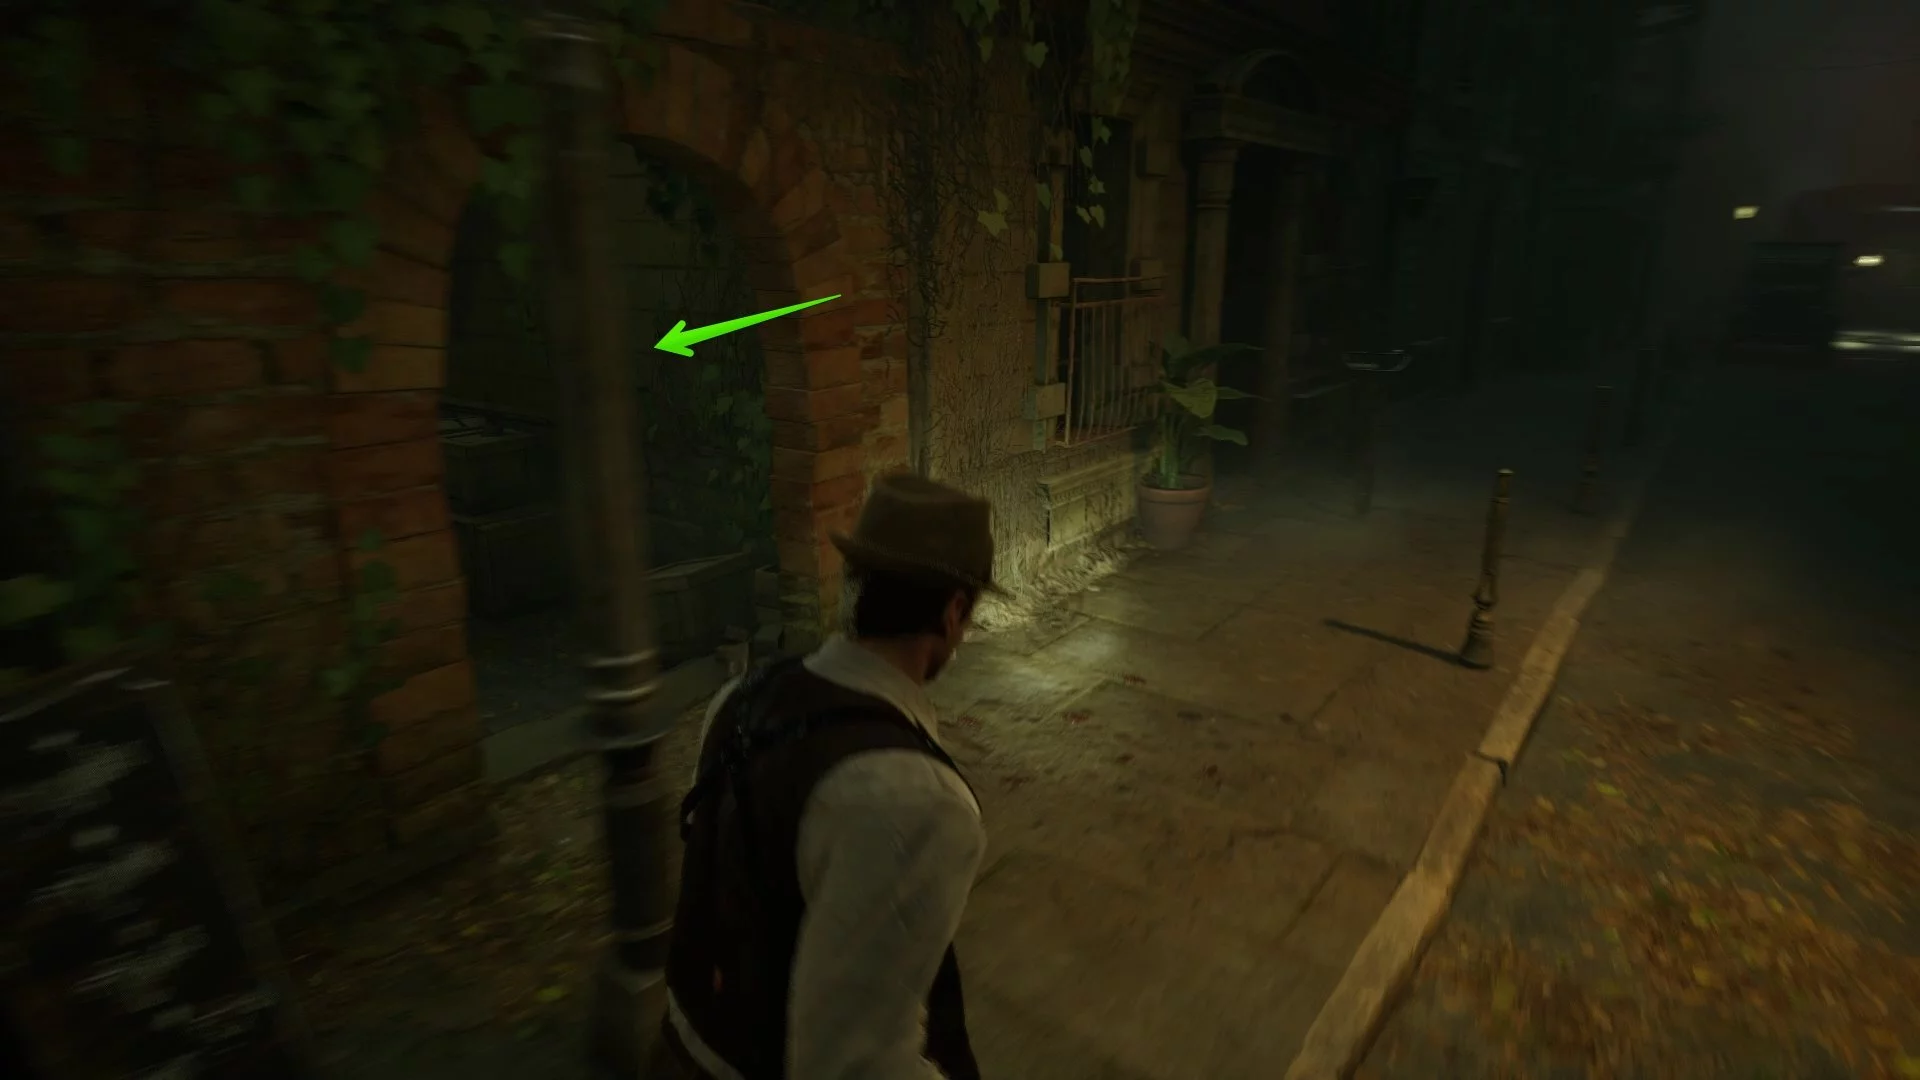
You will appear in a parallel reality. Go outside, pick up the ammunition to the left of the entrance door, and prepare to encounter two enemies. At the intersection, turn right and enter the alley behind the building. Here you will find the first melee weapon, but at the same time, a monster will attack.
Return and enter the establishment on the corner. Watch the lengthy cutscene, after which you will receive Baptiste's keyring, and also be able to pick up the collectible «Preserved Reptile» on the table. Don't forget to search the room for ammunition.
In such segments, players can use stealth to avoid direct confrontations with monsters. Act at your discretion. Exit the establishment and run left at the intersection, then right after the encounter with the monster. At the end of the street, you will see a locked grate that can be opened with Baptiste's keys.


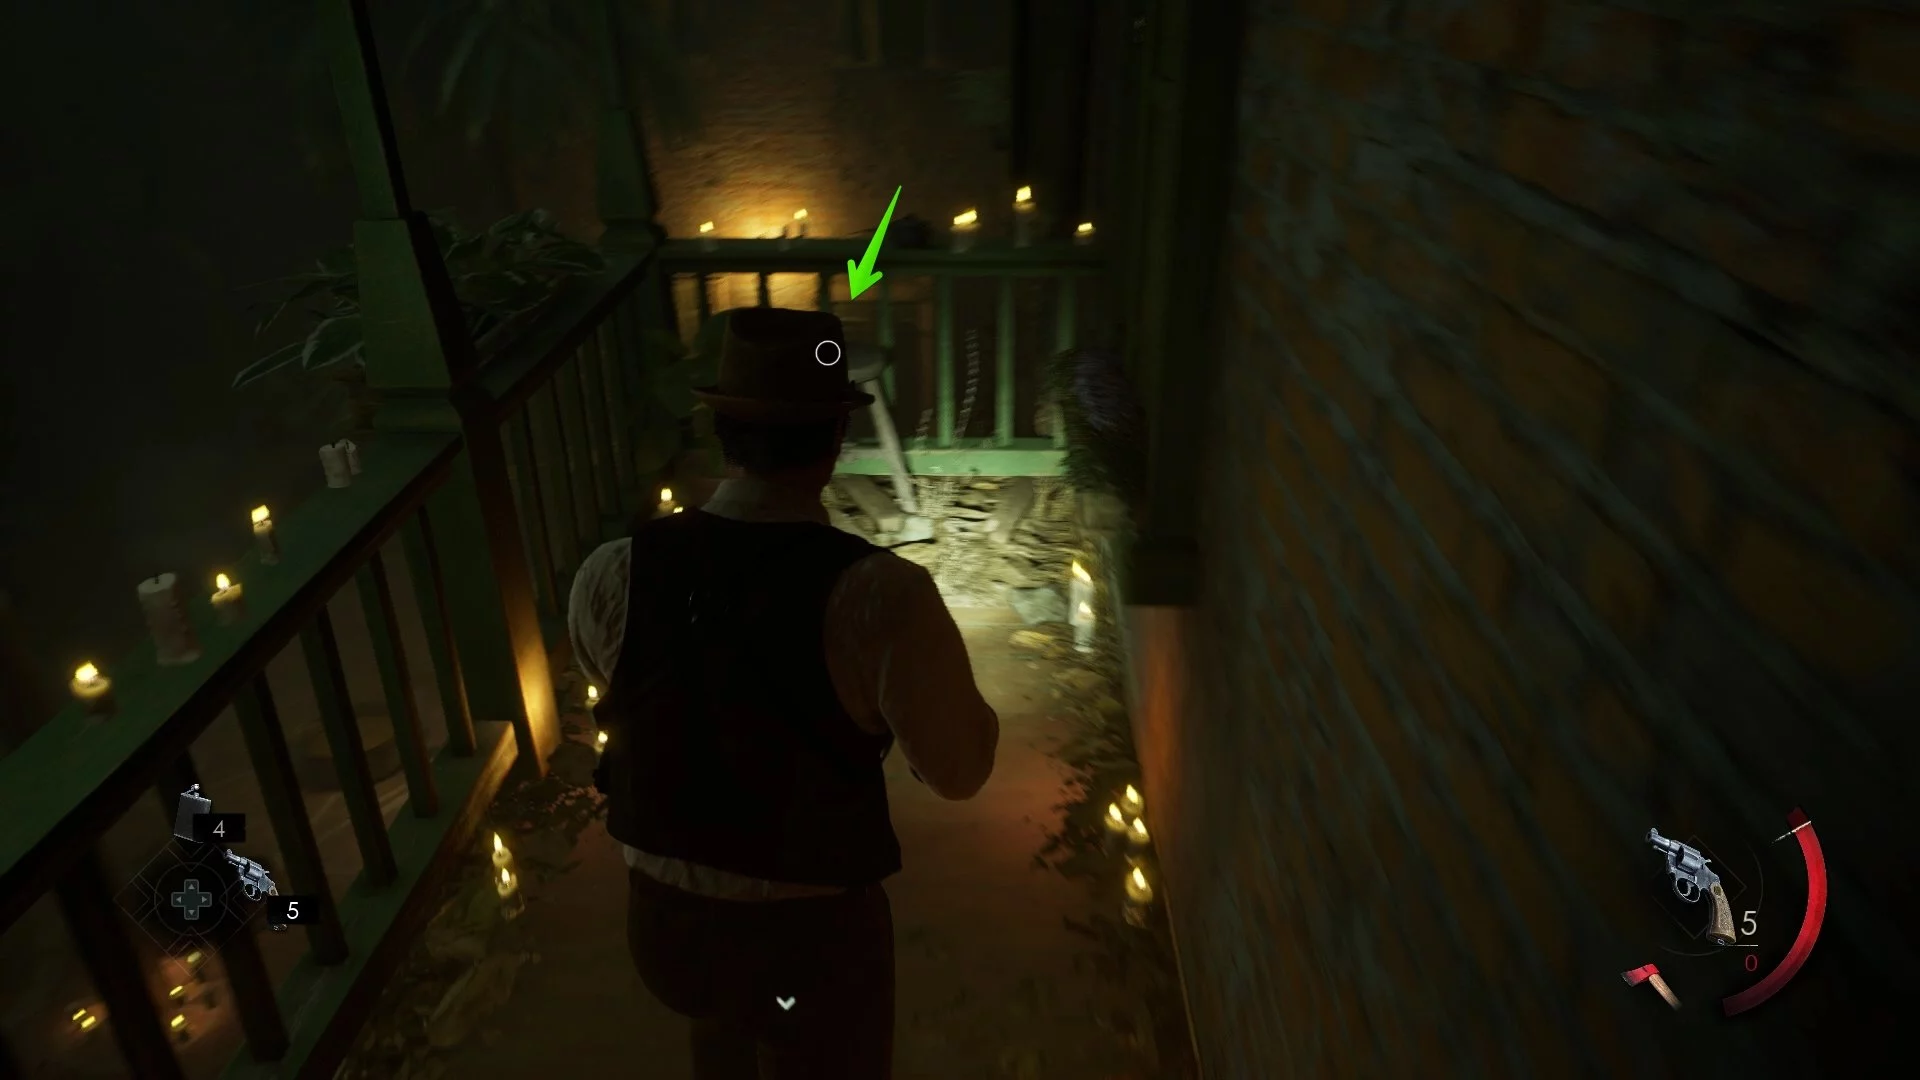
When you enter the courtyard, an enemy will jump out from the far door on the left. Two more monsters will be waiting on the second floor. Deal with them and go upstairs. Immediately after the stairs, turn right and pick up the collectible «Juju» on the chair.
On the table in the room, take the talisman — a key item that will be needed almost until the very end. Place it on the board and enter the numbers (from top to bottom): «358». This combination can be seen in the note «Talisman Scheme».
Chapter 2
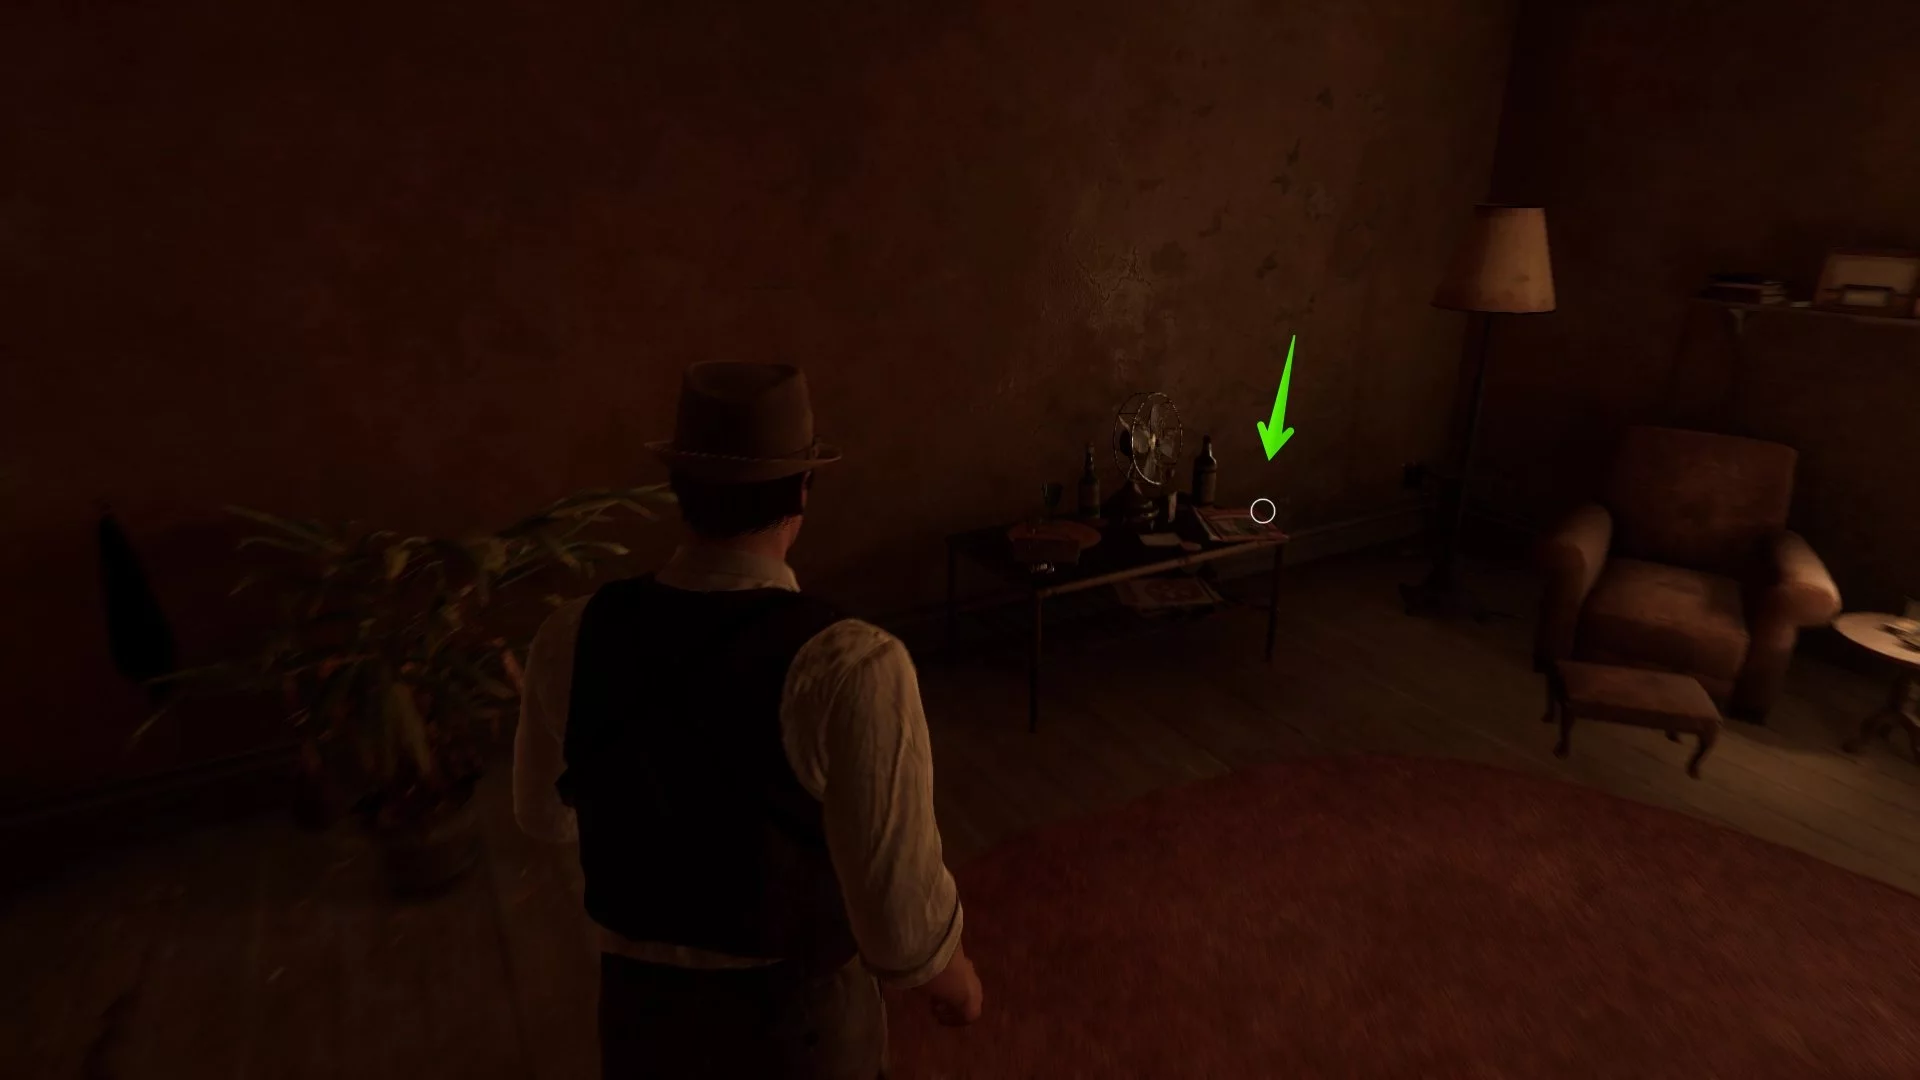
After the lengthy cutscene, inspect the table near the administrator's room and pick up the collectible «Seal».
Open the door with Baptiste's keys and look around. Find the notes «Boiler Repair», «Broken Plates», and «Information on Staff and Patients» on the table, as well as the key to room #6, which will be lying under the last document.
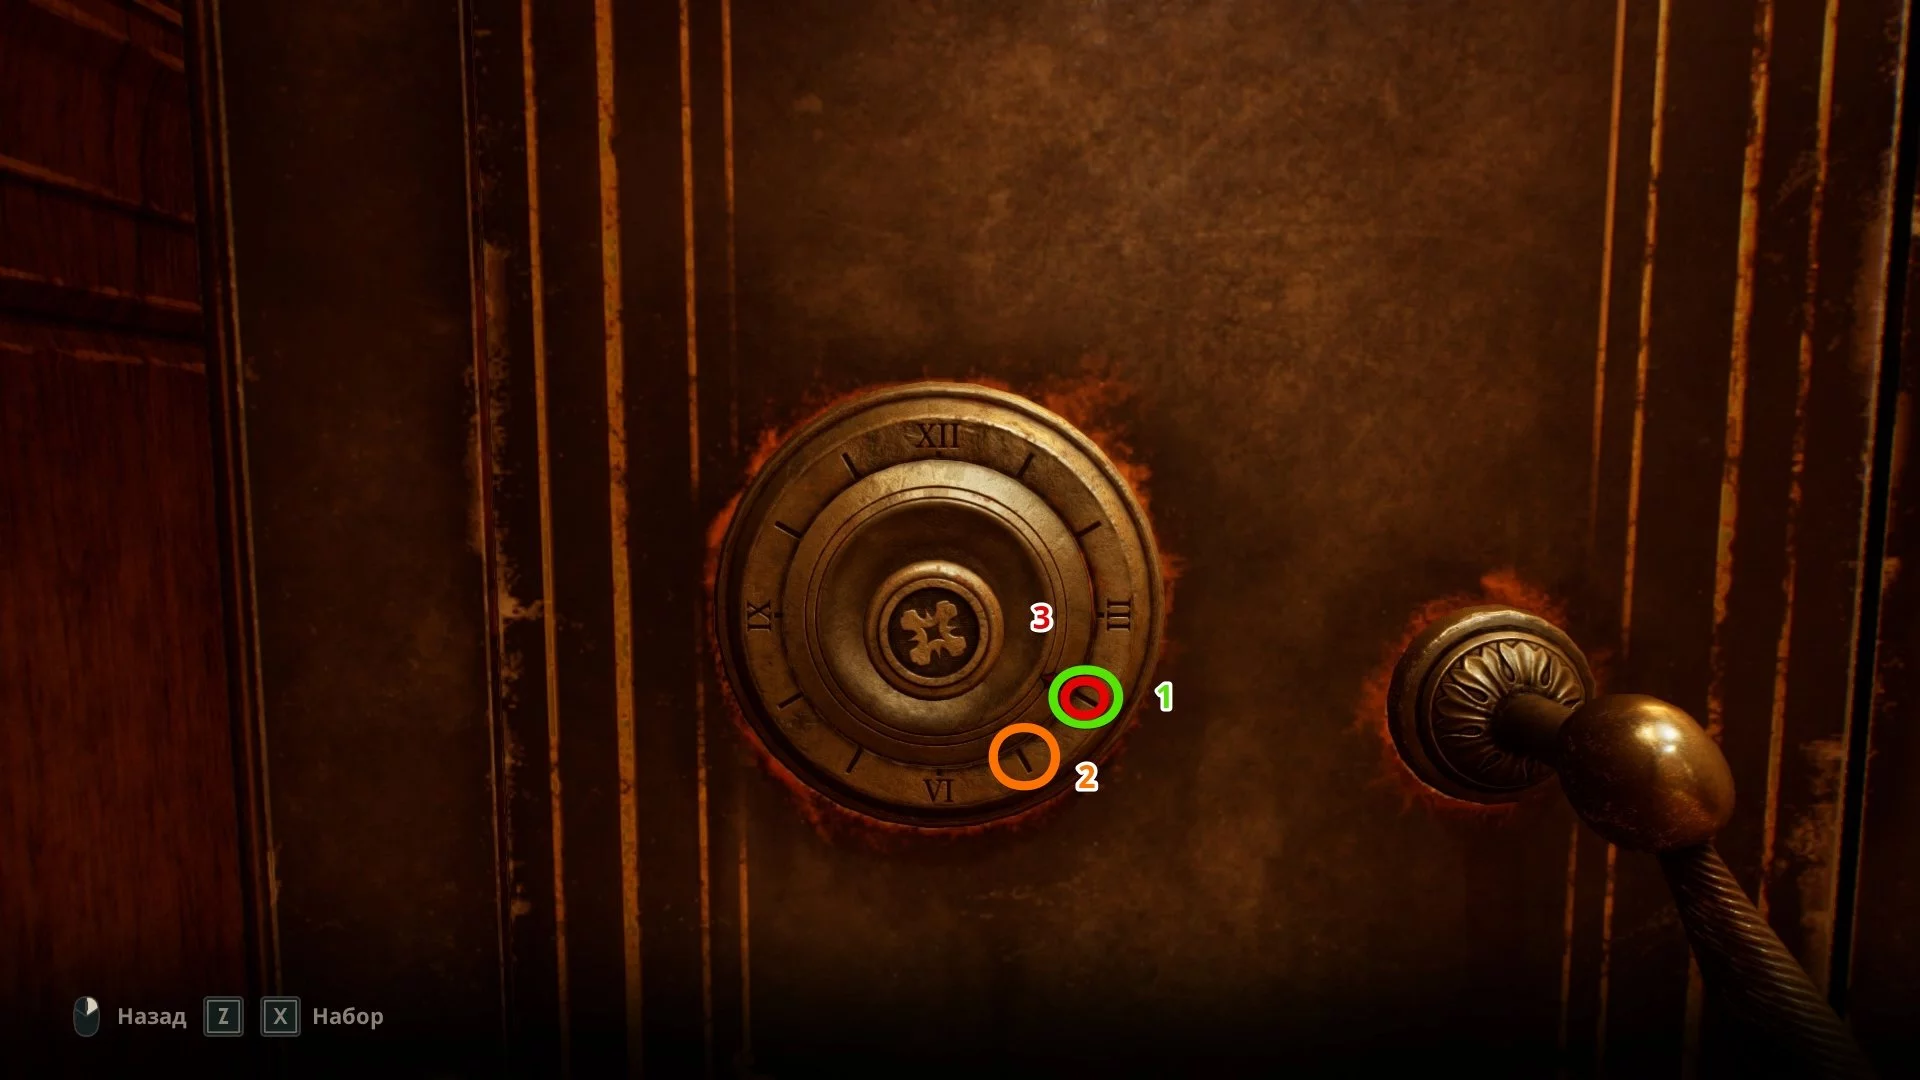
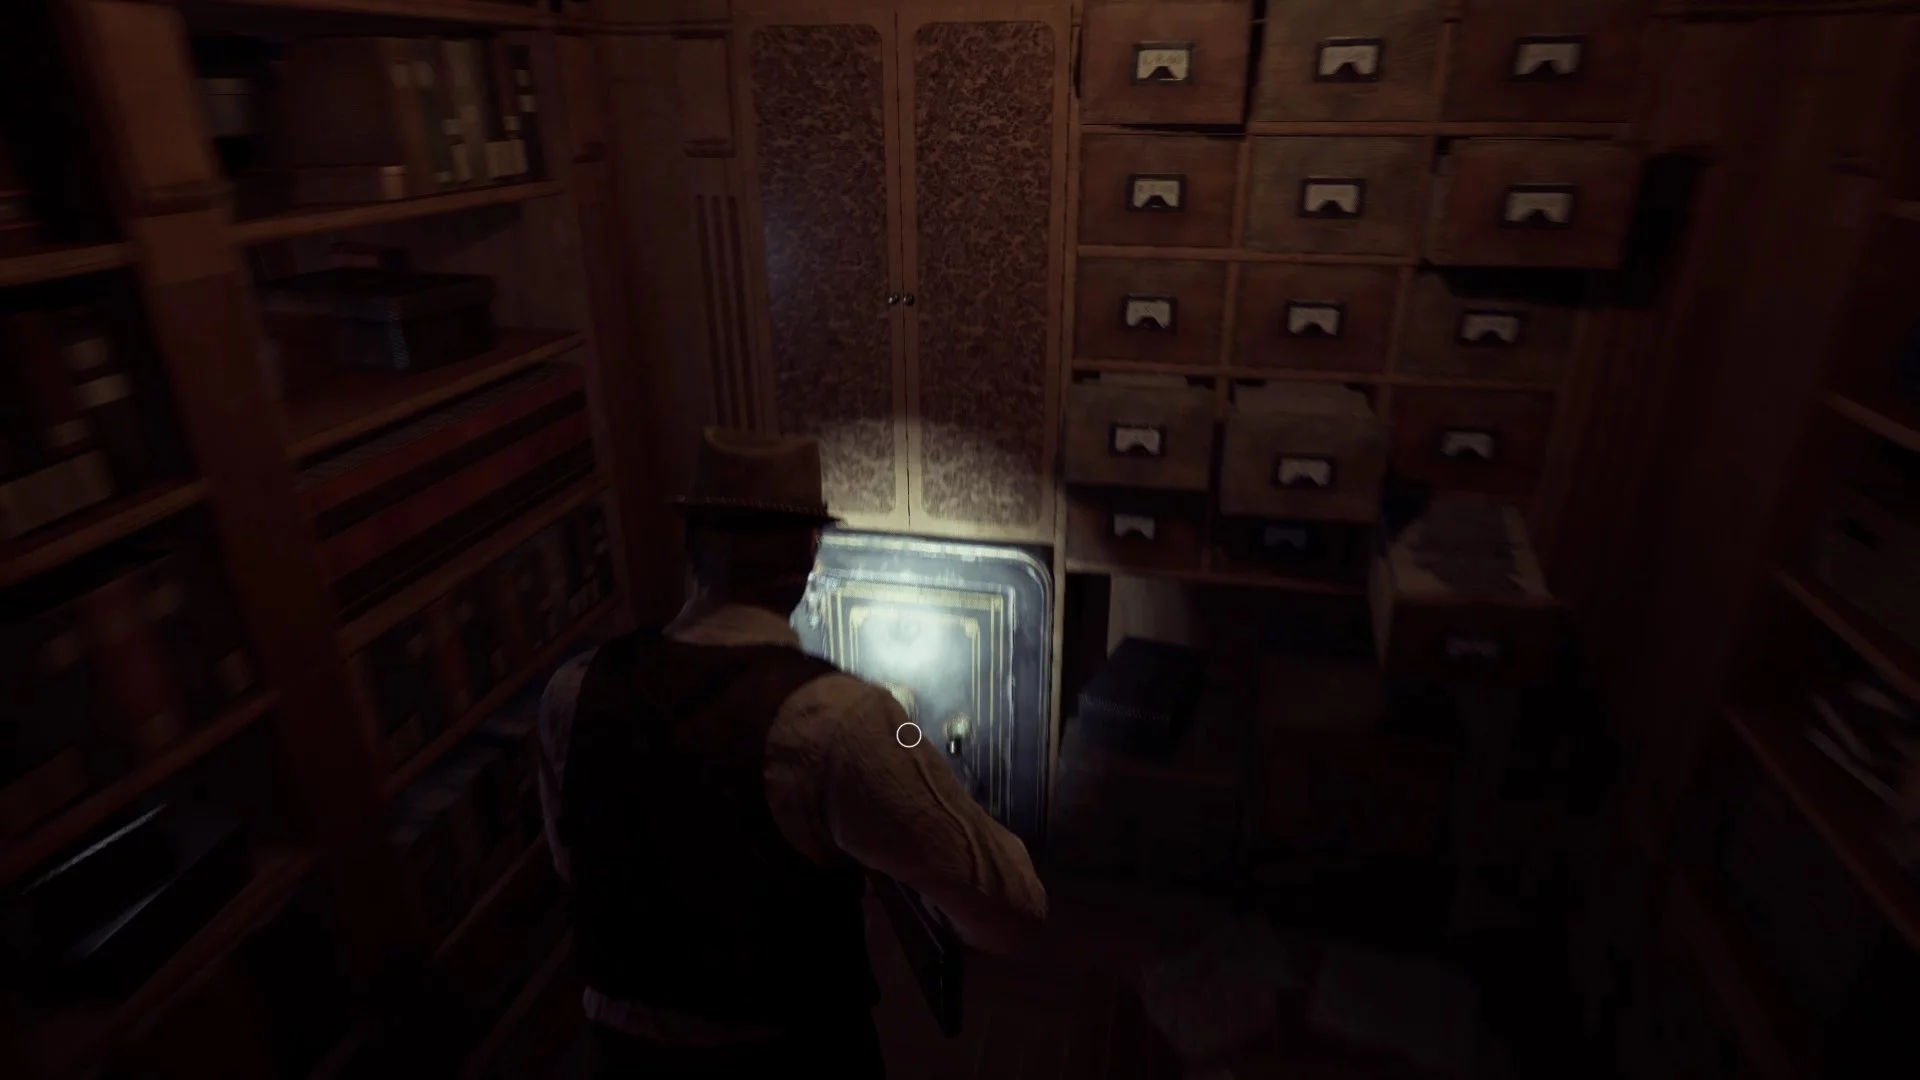
Behind the cabinets, find the collectible «Rorschach Test», the note «Patient Files», and examine the safe. During the first playthrough, you cannot know the correct combination, but if you use it and open the safe now, you will receive a unique collectible «Alone in the Dark».
The safe code is:
- 9 left;
- 1 right;
- 3 left.
Note that to open the safe, you need to select the correct numbers, not count the number of turns in either direction.


How to repair the decorative plate on an astronomical clock
Rise to the second floor and enter the corridor on the left. After the in-engine cutscene, enter Jeremy's room — a note «Emily is here» will appear on the table. In the next patient's room, you will find the gift «Ink pen».
The first shard of the plate
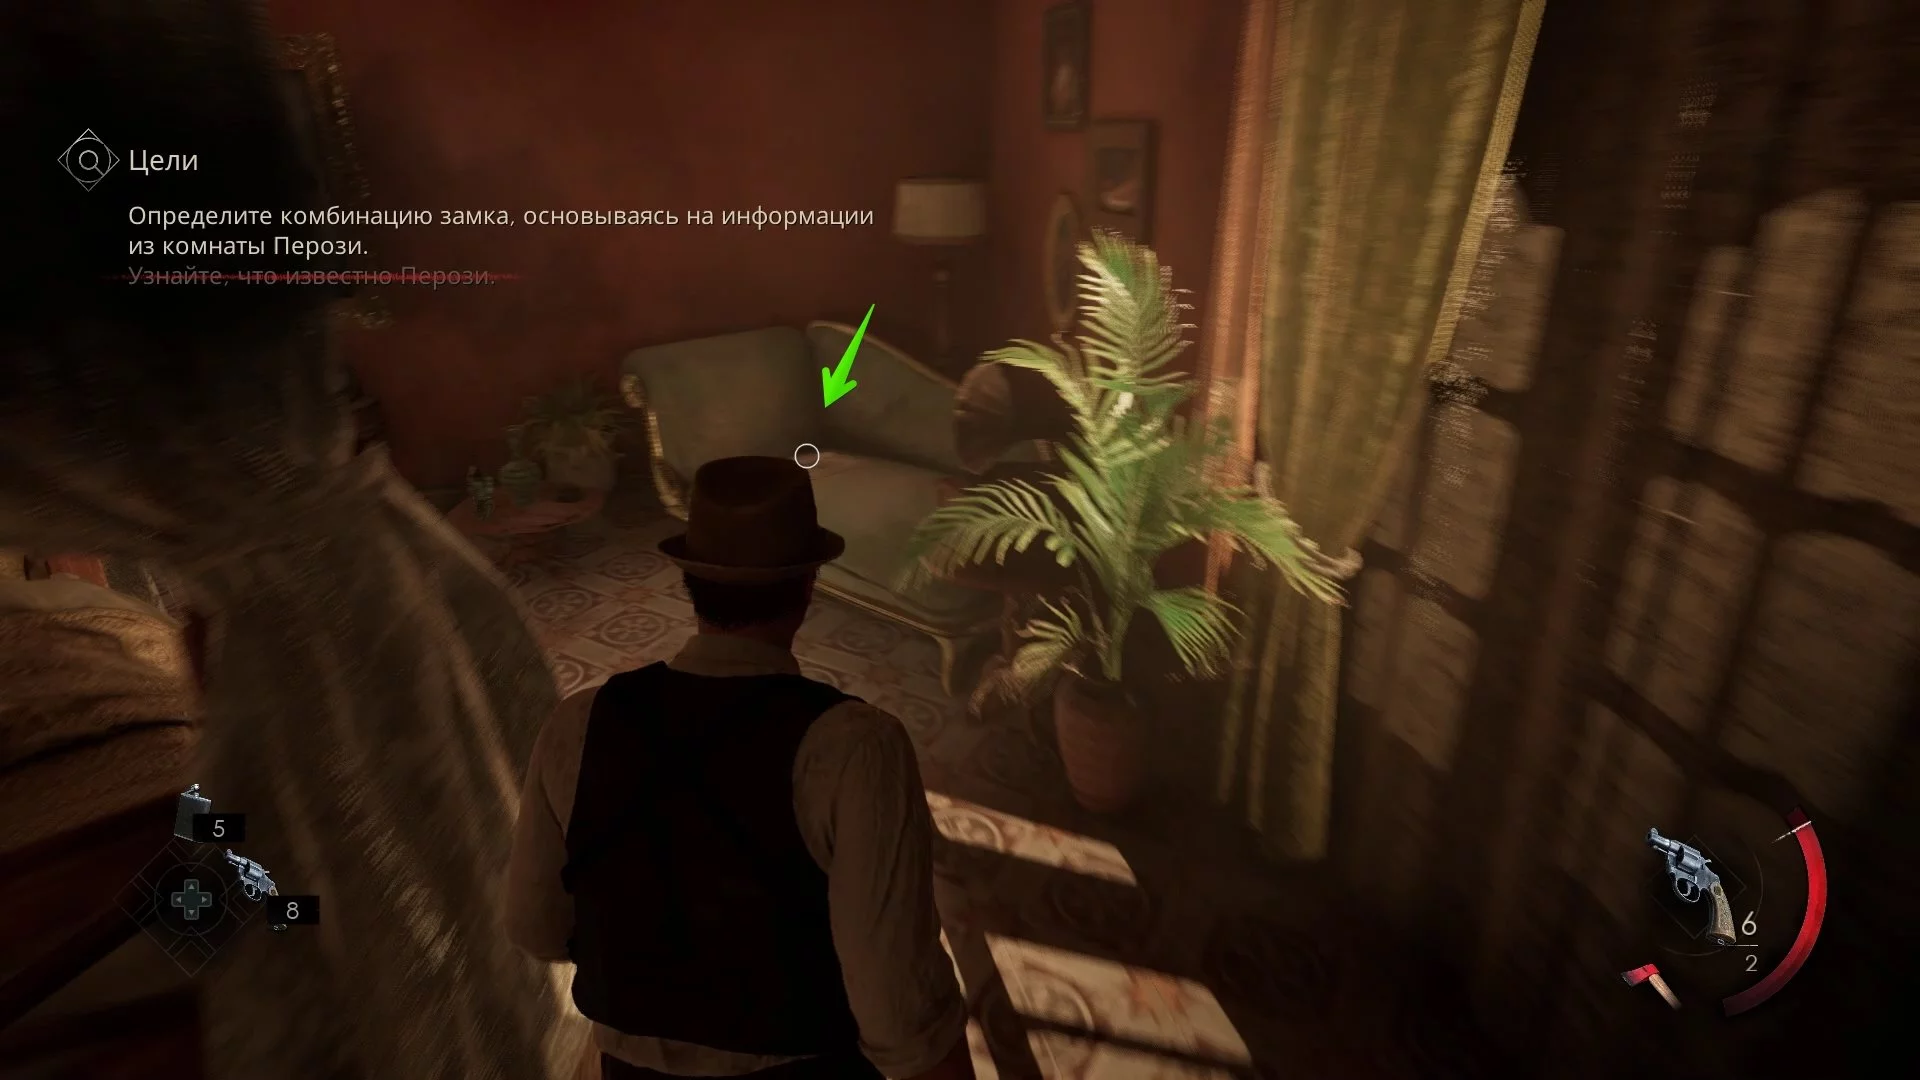
Since you picked up the key to room No. 6, you can open it and solve another puzzle to get the first shard of the plate. To do this, first examine the room and find the note «Perosi's Journal». With its help, you can pick up the code from the locker independently.
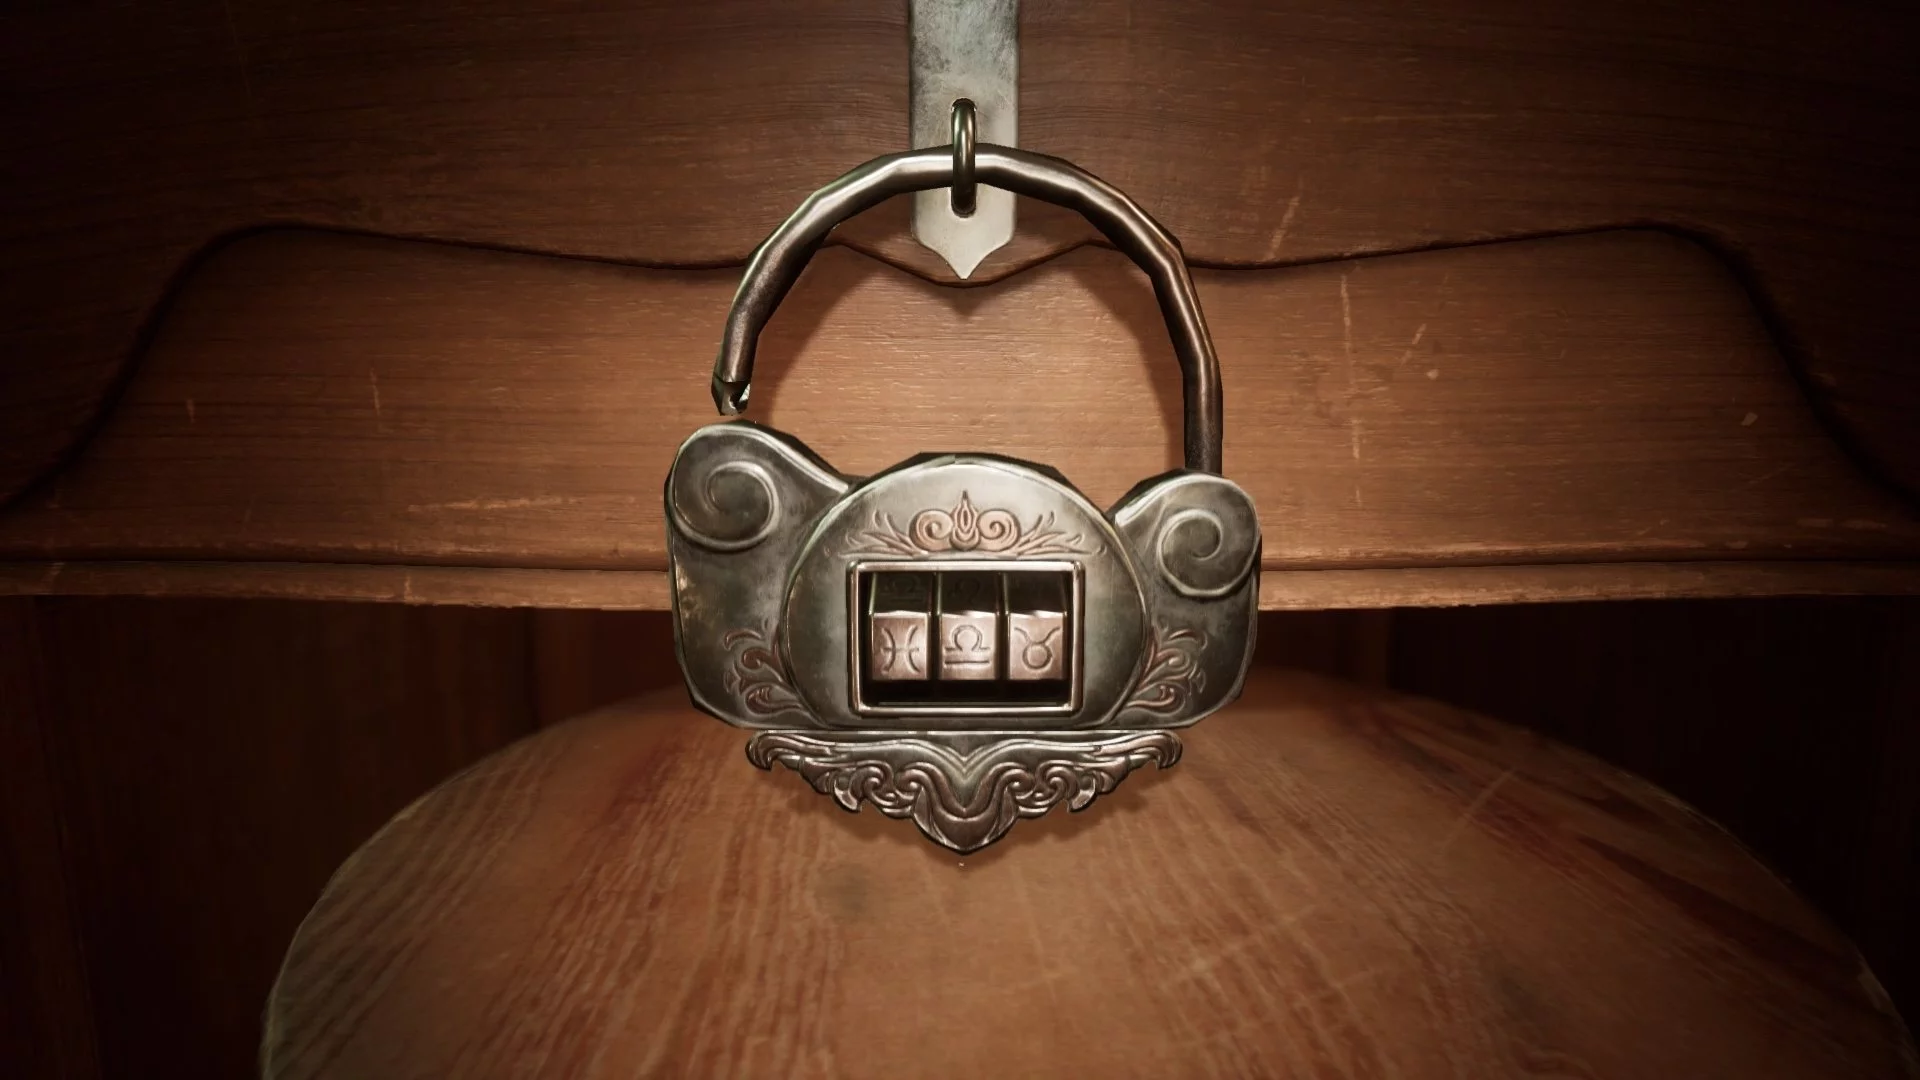
For this, you will first have to turn over three paintings, remember the names and find out on the painting behind the bed which numbers correspond to them. But it's easier to use the ready-made combination for the locker (from left to right) and take the first shard of the plate:
- Pisces;
- Libra;
- Taurus.
Second shard of the plate
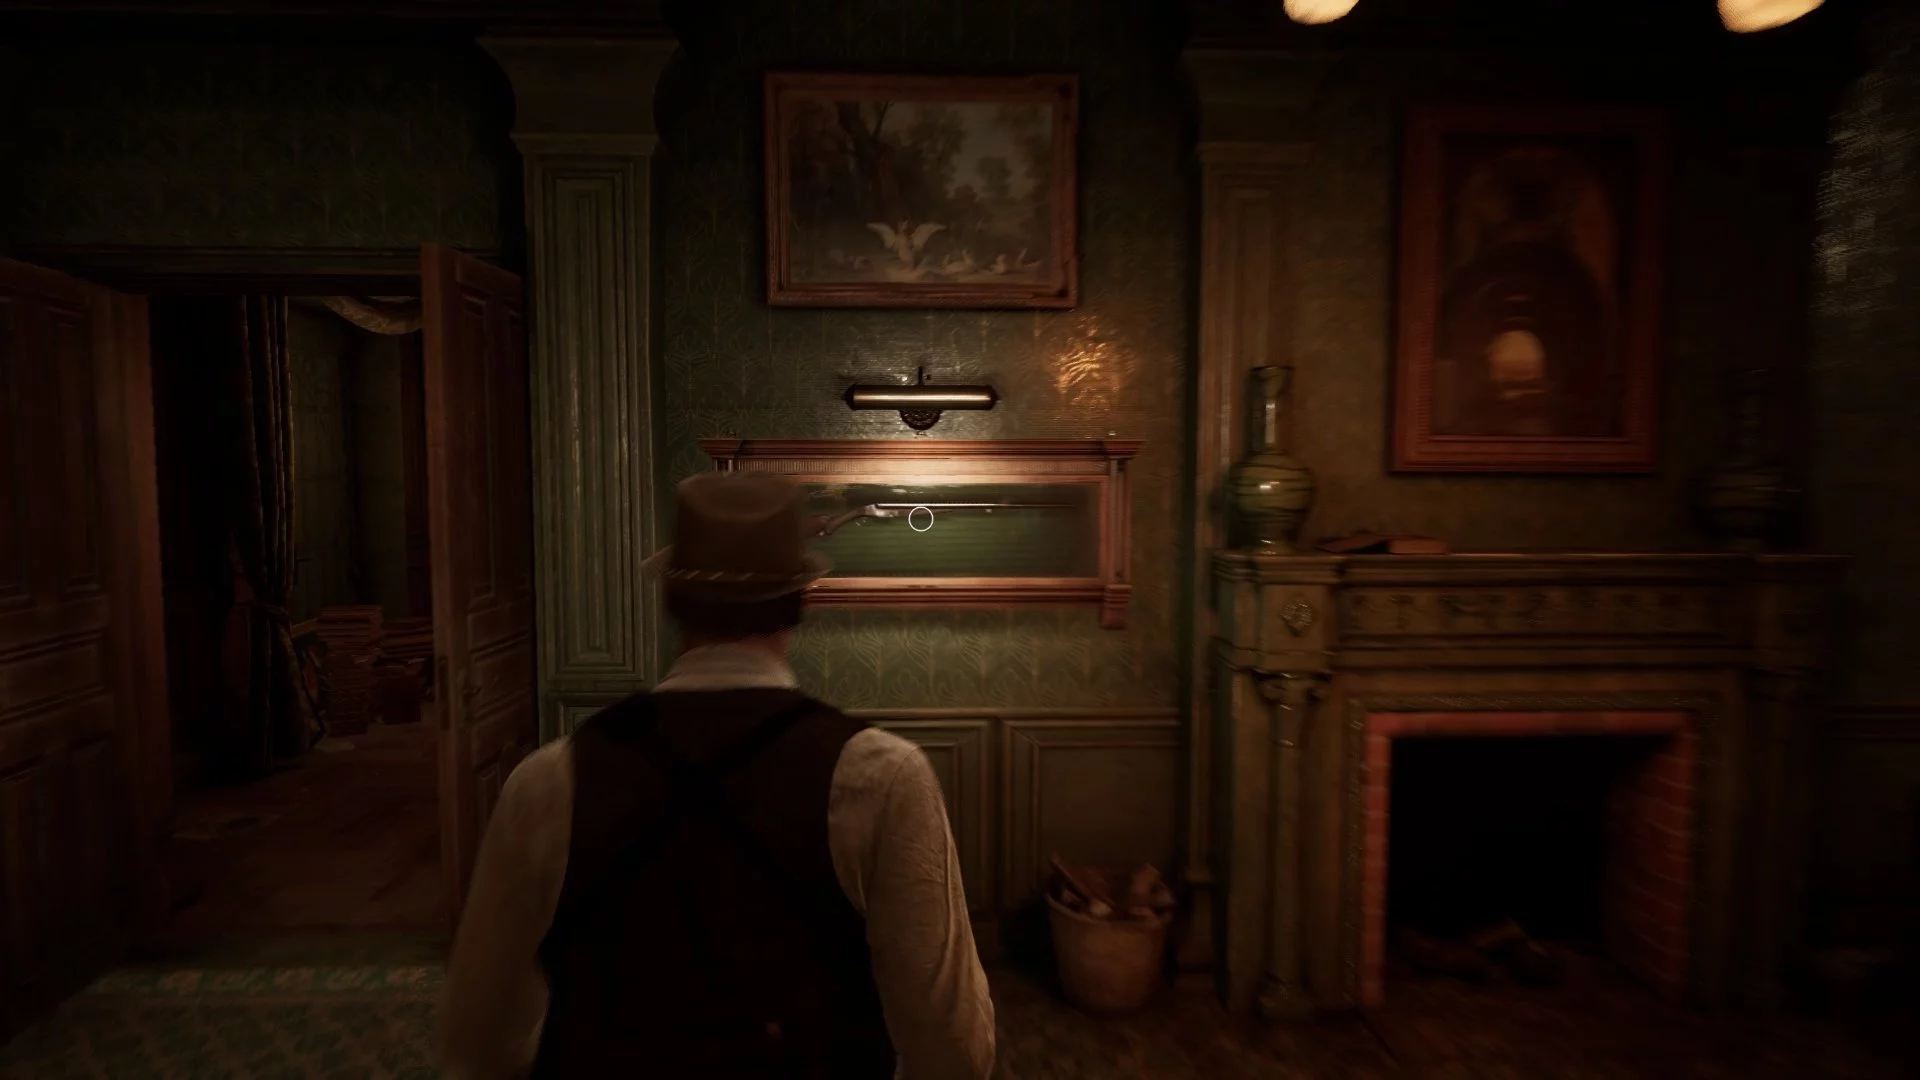
Now it's time to find the second shard. This is a bit simpler. To do this, return to the additional part of the house through the passage on the street and open the door to the right of the stairs with the Baptiste key. Right behind the door, take the note «Forgotten Plantations of Louisiana» and move to the next room. On the wall to the left, you will see a locked cabinet with a double-barreled shotgun, which cannot be opened yet.
Interact with the door to the greenhouse — the room will change. Go to the opposite part of it and find the bolt cutters. Cut the chain with the lock and go outside.
Here, find a locked cabinet that can be opened with the bolt cutters to get a hose. On the opposite side of the yard, connect it to the main hose and turn on the water to retrieve the second shard. Next to the statue, don't forget to pick up the collectible «Mummified Cat».


To avoid going around, behind the cabinet with the hose, you can set up a ladder and immediately climb to the first floor.
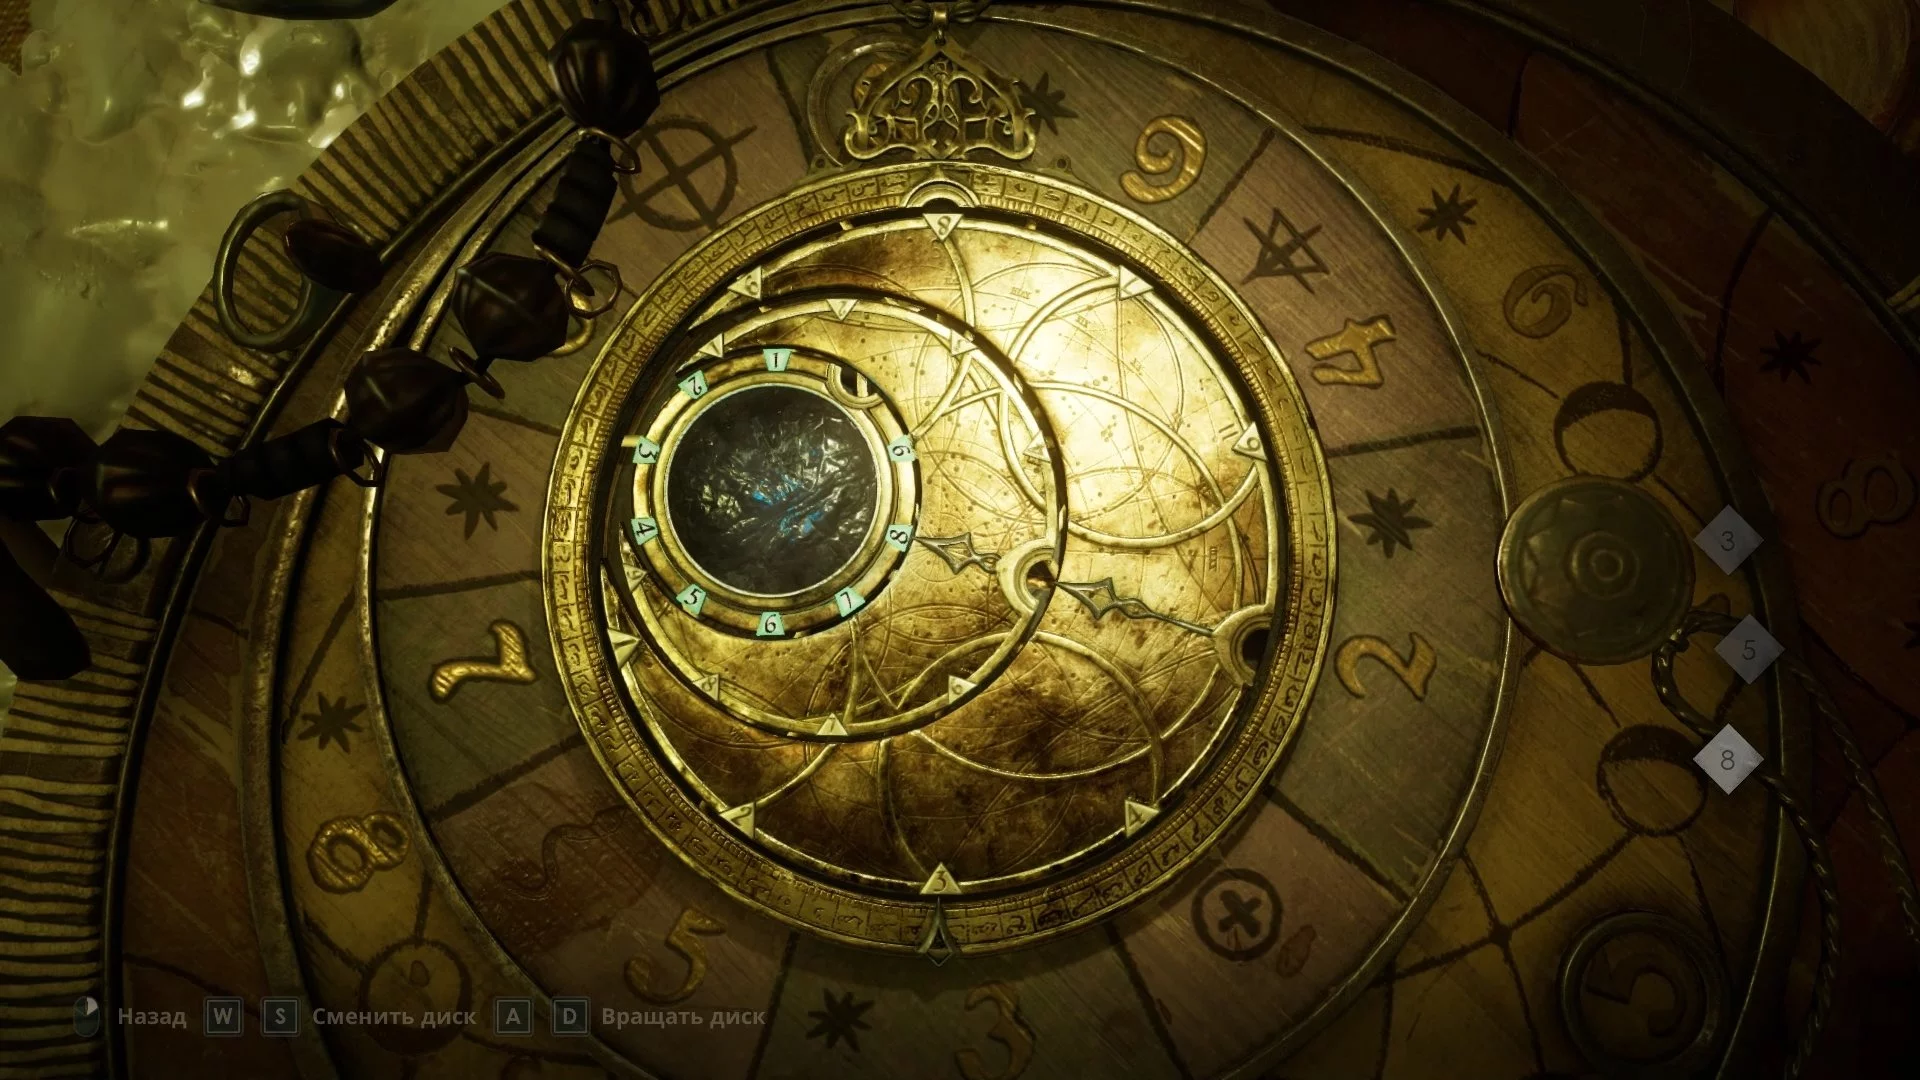
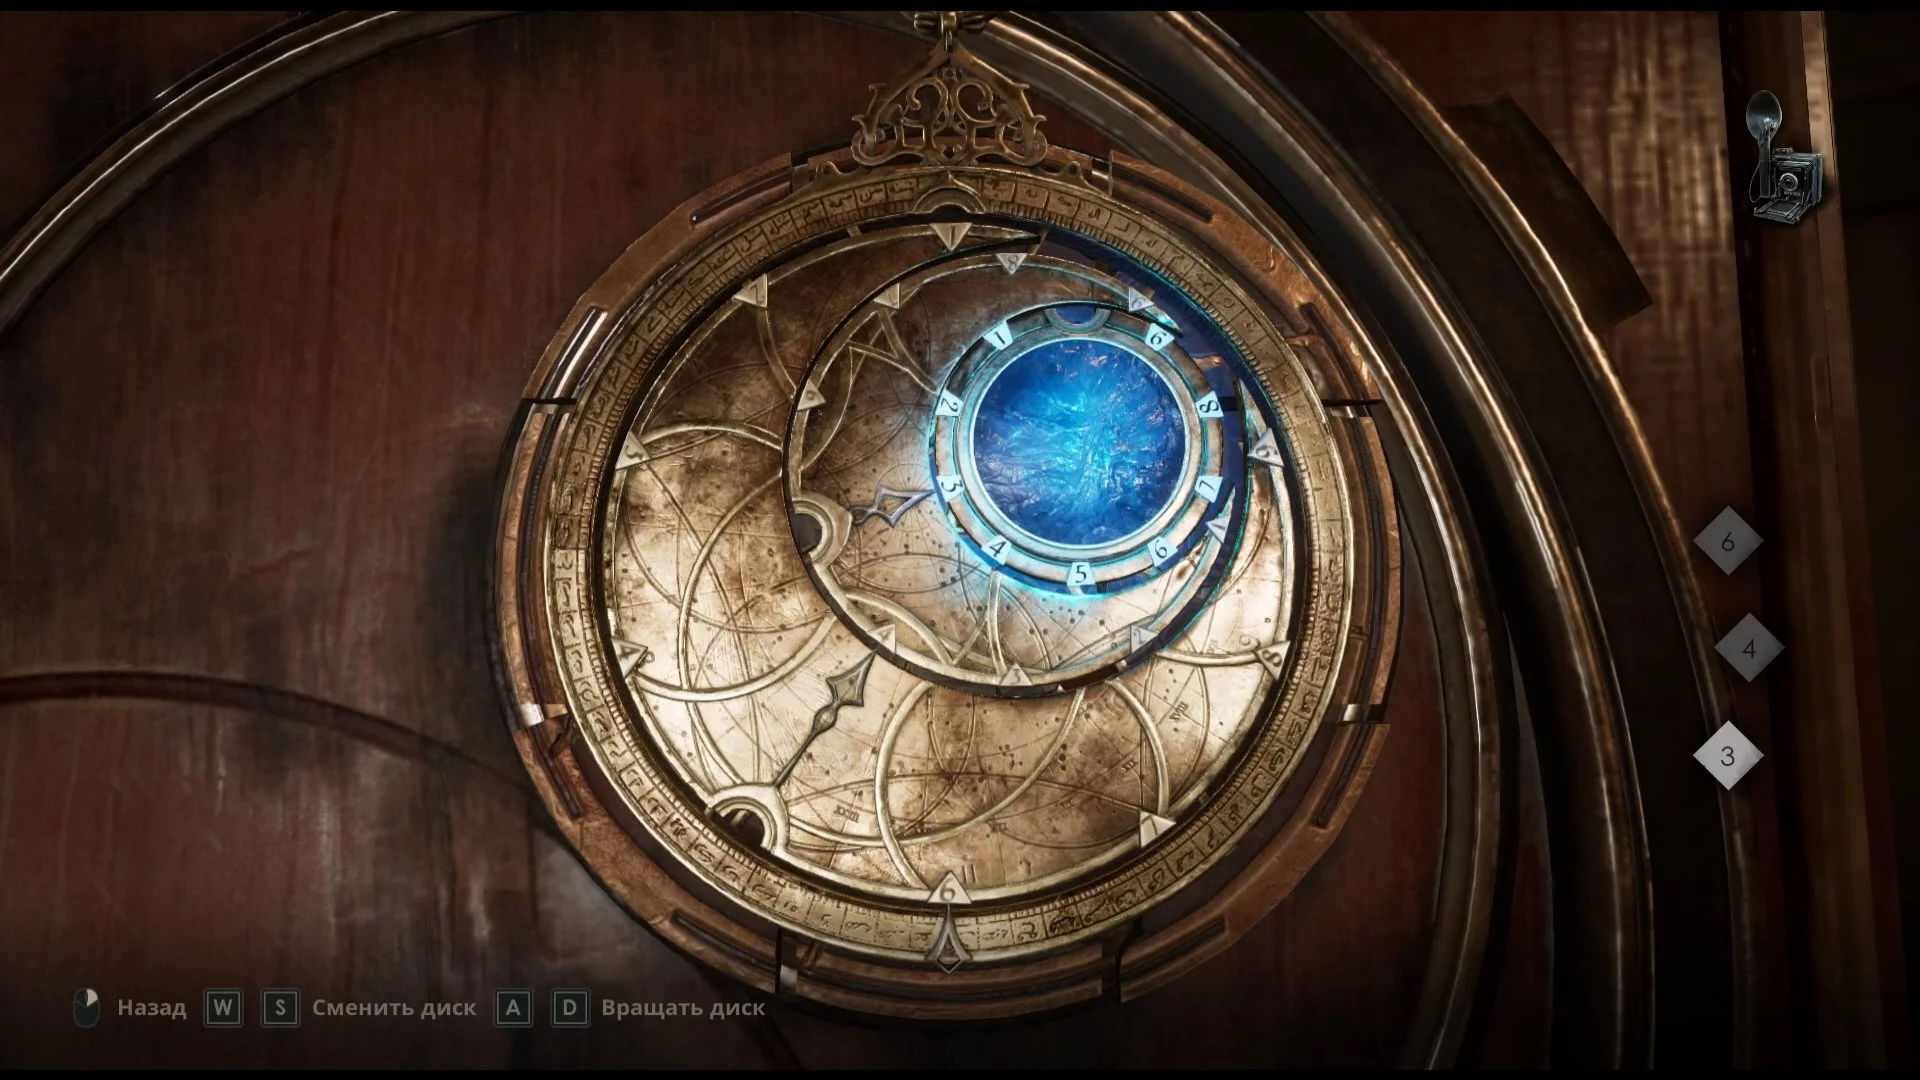
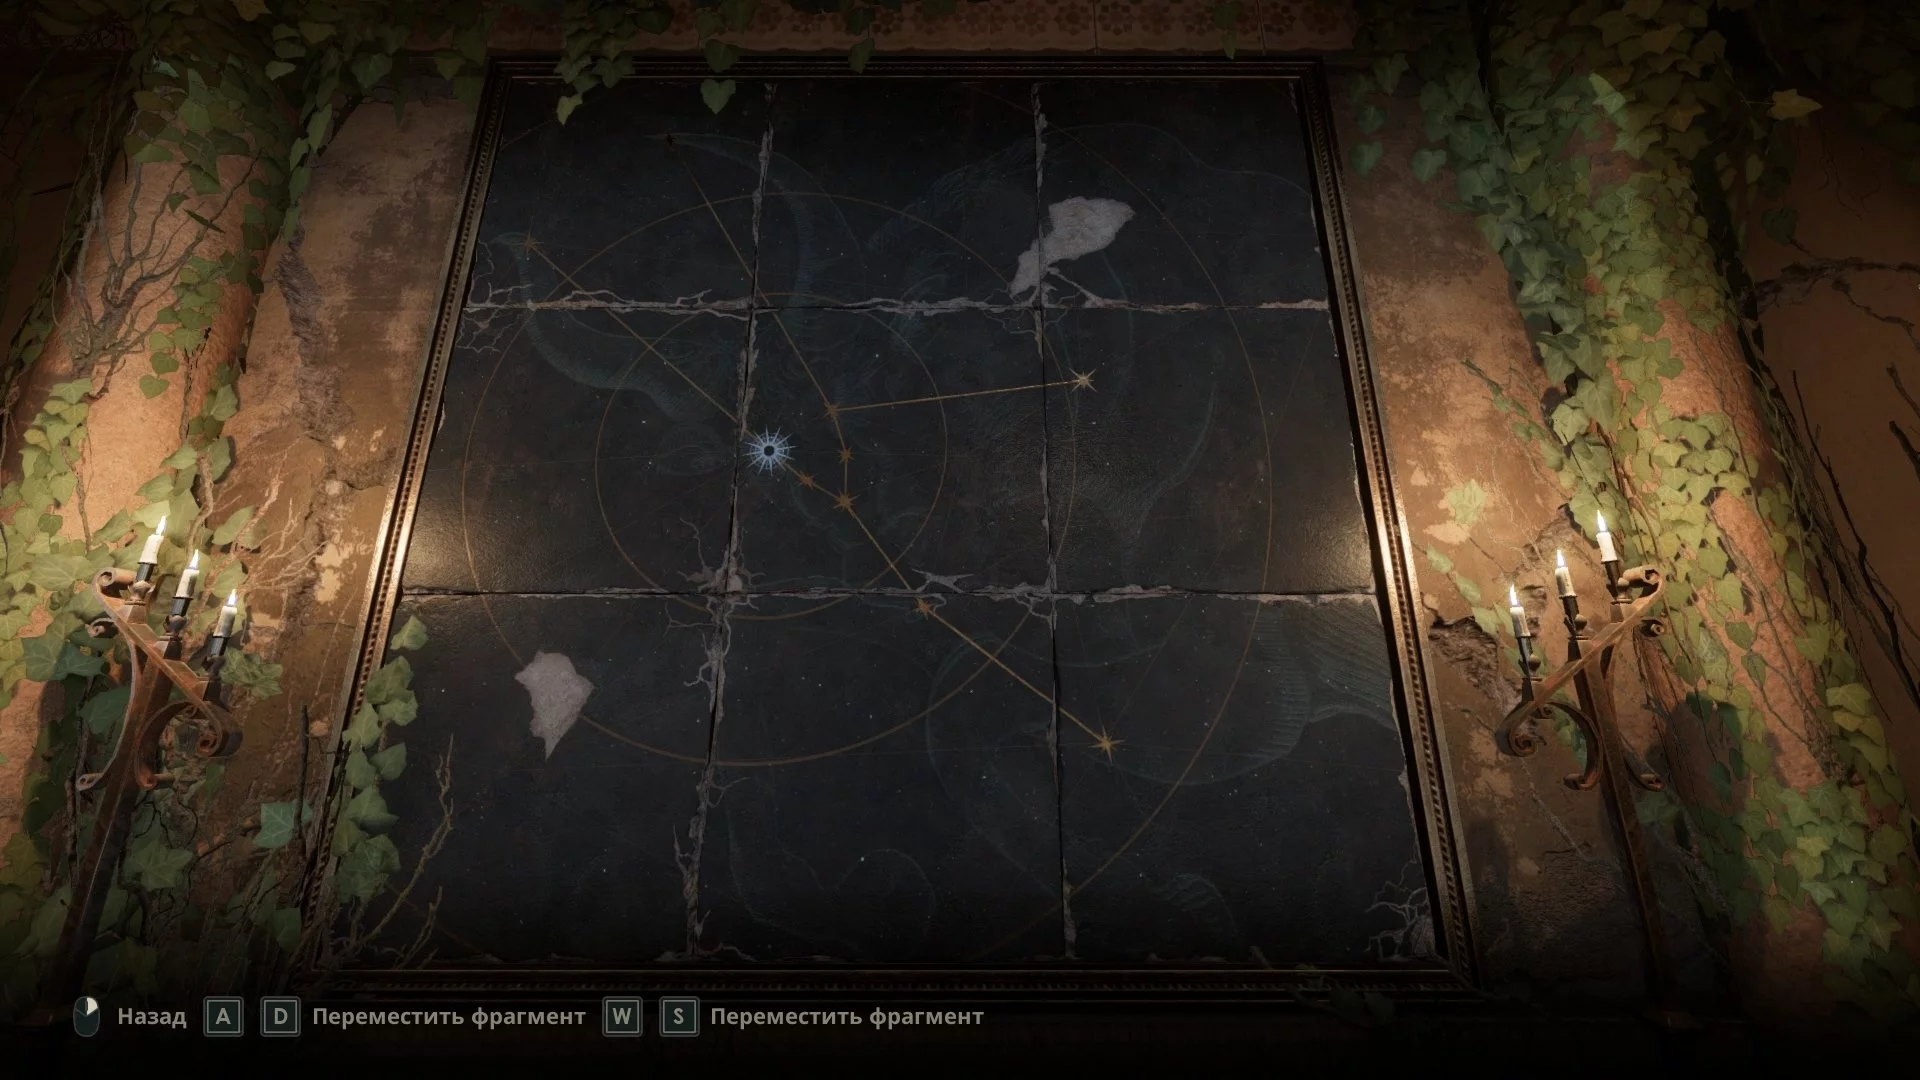
How to Place the Plate Shards on the Clock
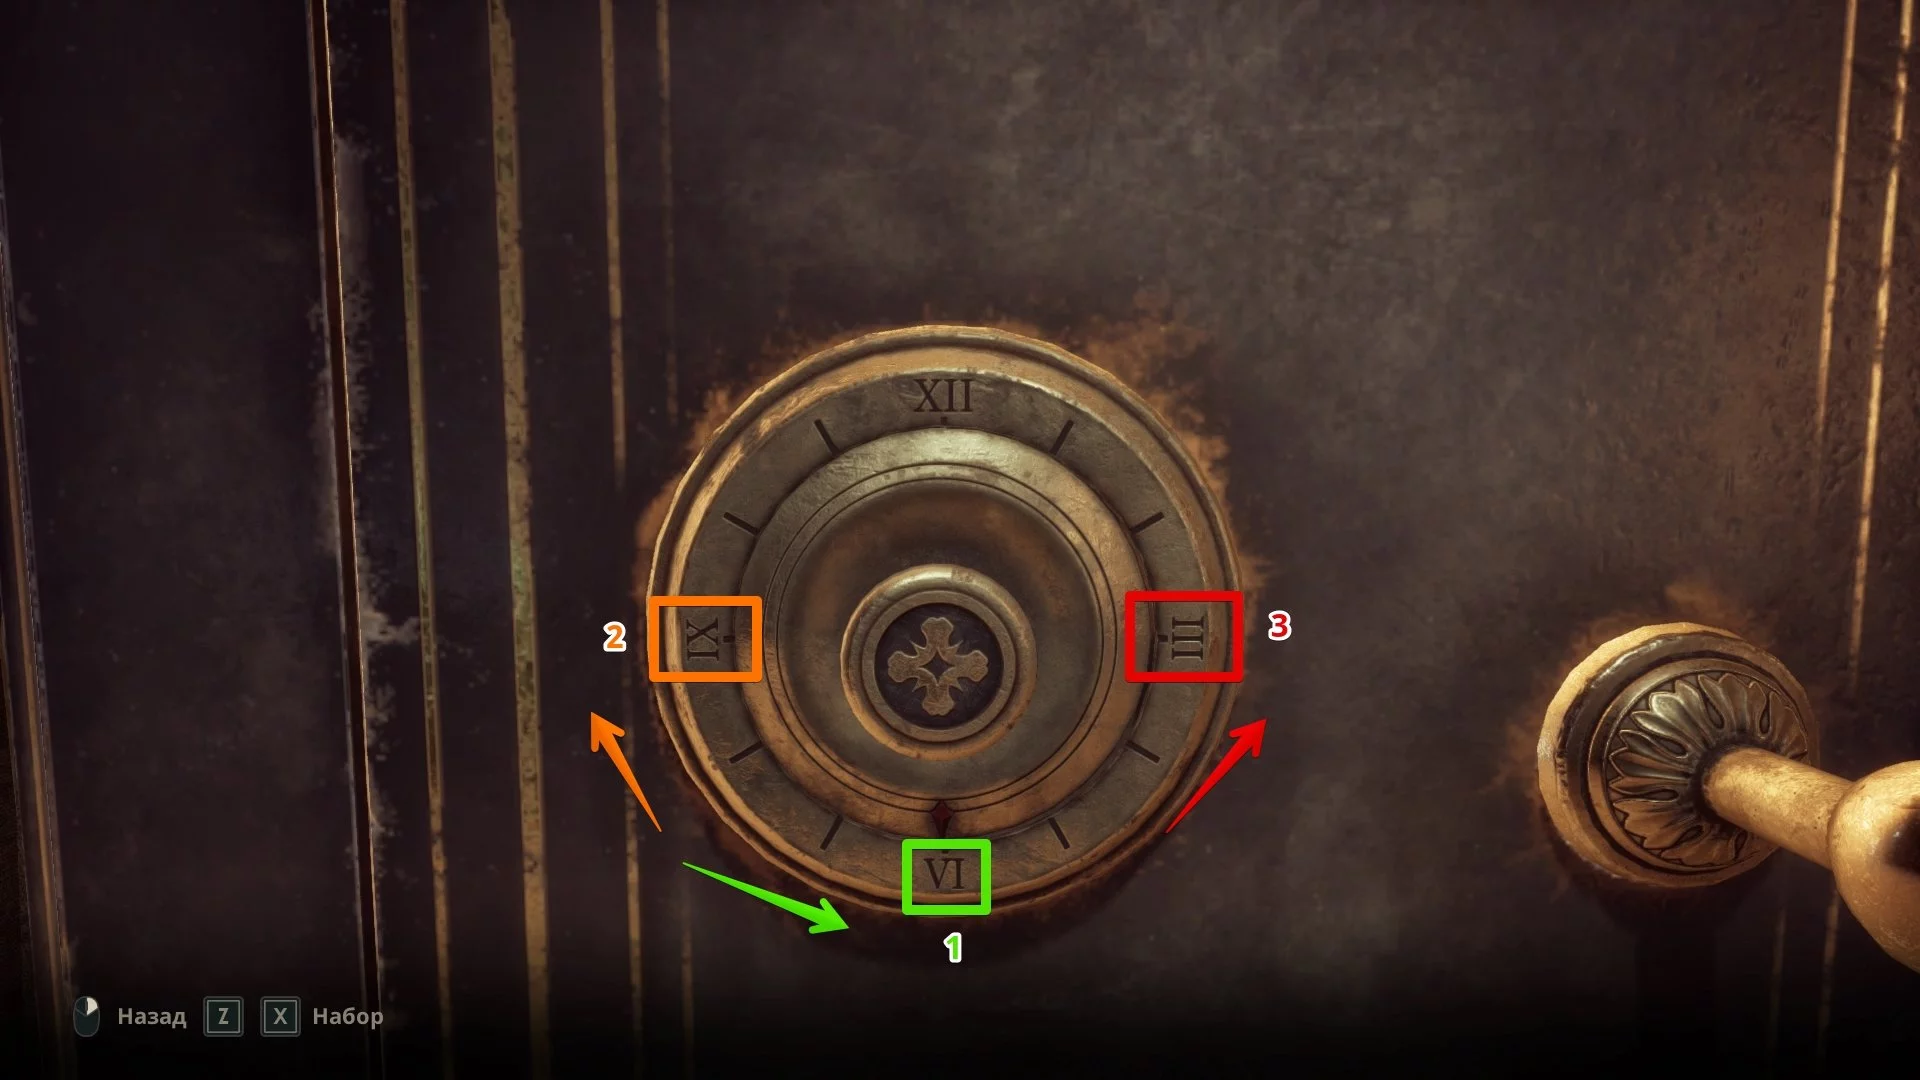
In Alone in the Dark, you will constantly encounter similar puzzles. The central part of the plate is immovable, so players need to start from it and correctly place the remaining shards of the plate so that all the lines converge together. Use the screenshot below for guidance.
Now all that's left is to enter the correct combination of numbers, which can be peeked at on the clock face:
- 6
- 4
- 3
How to Find Jeremy at the Hated Mound Behind the Oil Rig
The talisman will point to the corridor with rooms on the second floor. Run there and enter Jeremy's memories. To your right will be a building — skip it for now and run to the house on the left. On the first floor, find a small pantry with cabinets. In one of them, you will find the key to the first house, which you just passed.


Go back to the first house, read the document «Oil Rig Report» and open the door behind the table with the found key. This will give you the bridge lever. It can be used in the same place where you found the key. However, on the way back, new types of monsters will attack the hero.
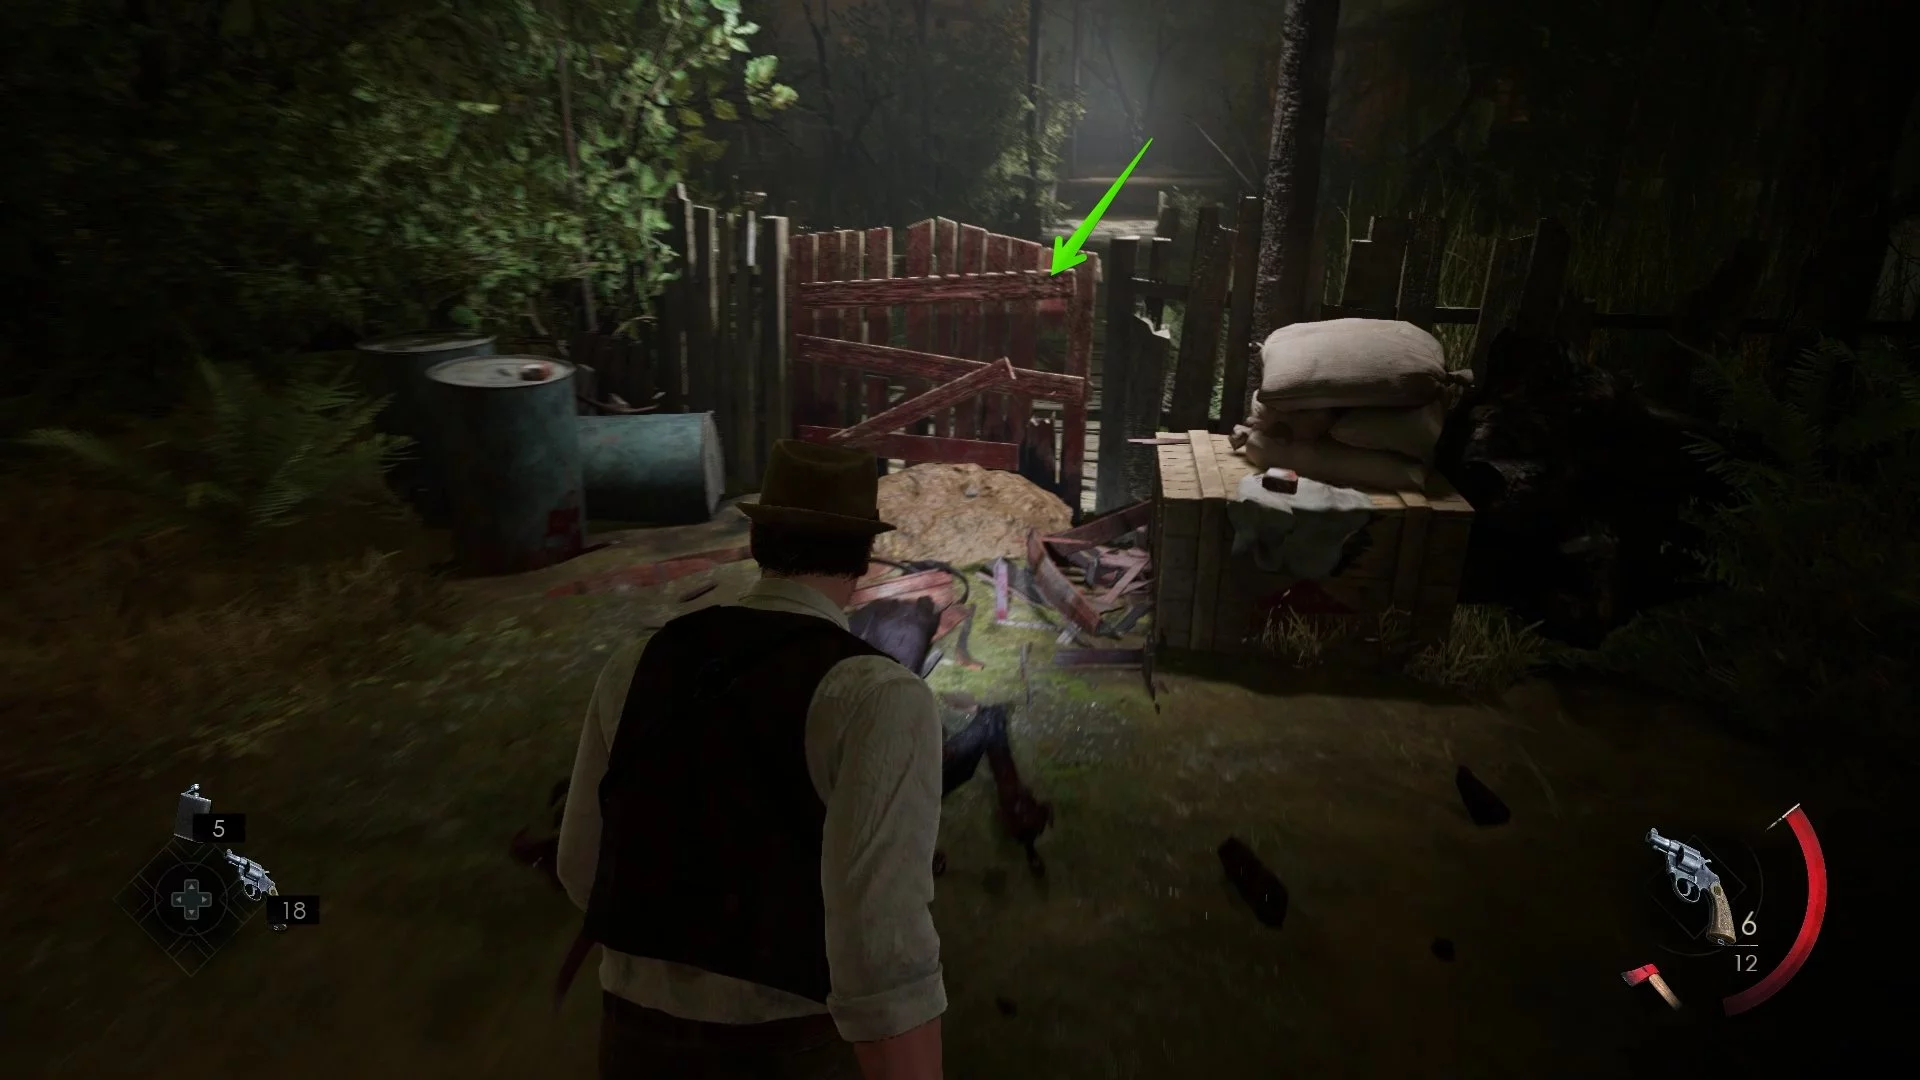
Walk through the second floor, but don't get too close to the window (as this will trigger a cutscene). Instead, examine the barrels, between which you can squeeze through and find the gift «Magic Palette». Return to the window to find yourself in a spacious courtyard with several houses. Kill the enemies and examine the buildings. To get out of there, destroy the wooden fence.
Here you will also find three houses. In the hut on the right, an enemy will appear, but there are no valuable items except for consumables. However, in the far house on the left, you will find the gift «Watching Statuette».


Next, you can either opt for stealth or deal with all the monsters on your way. When you reach the tower, pull the lever and climb up the ladder. Walk across the plank, at the top of the tower find a strong fabric and descend down the rope.


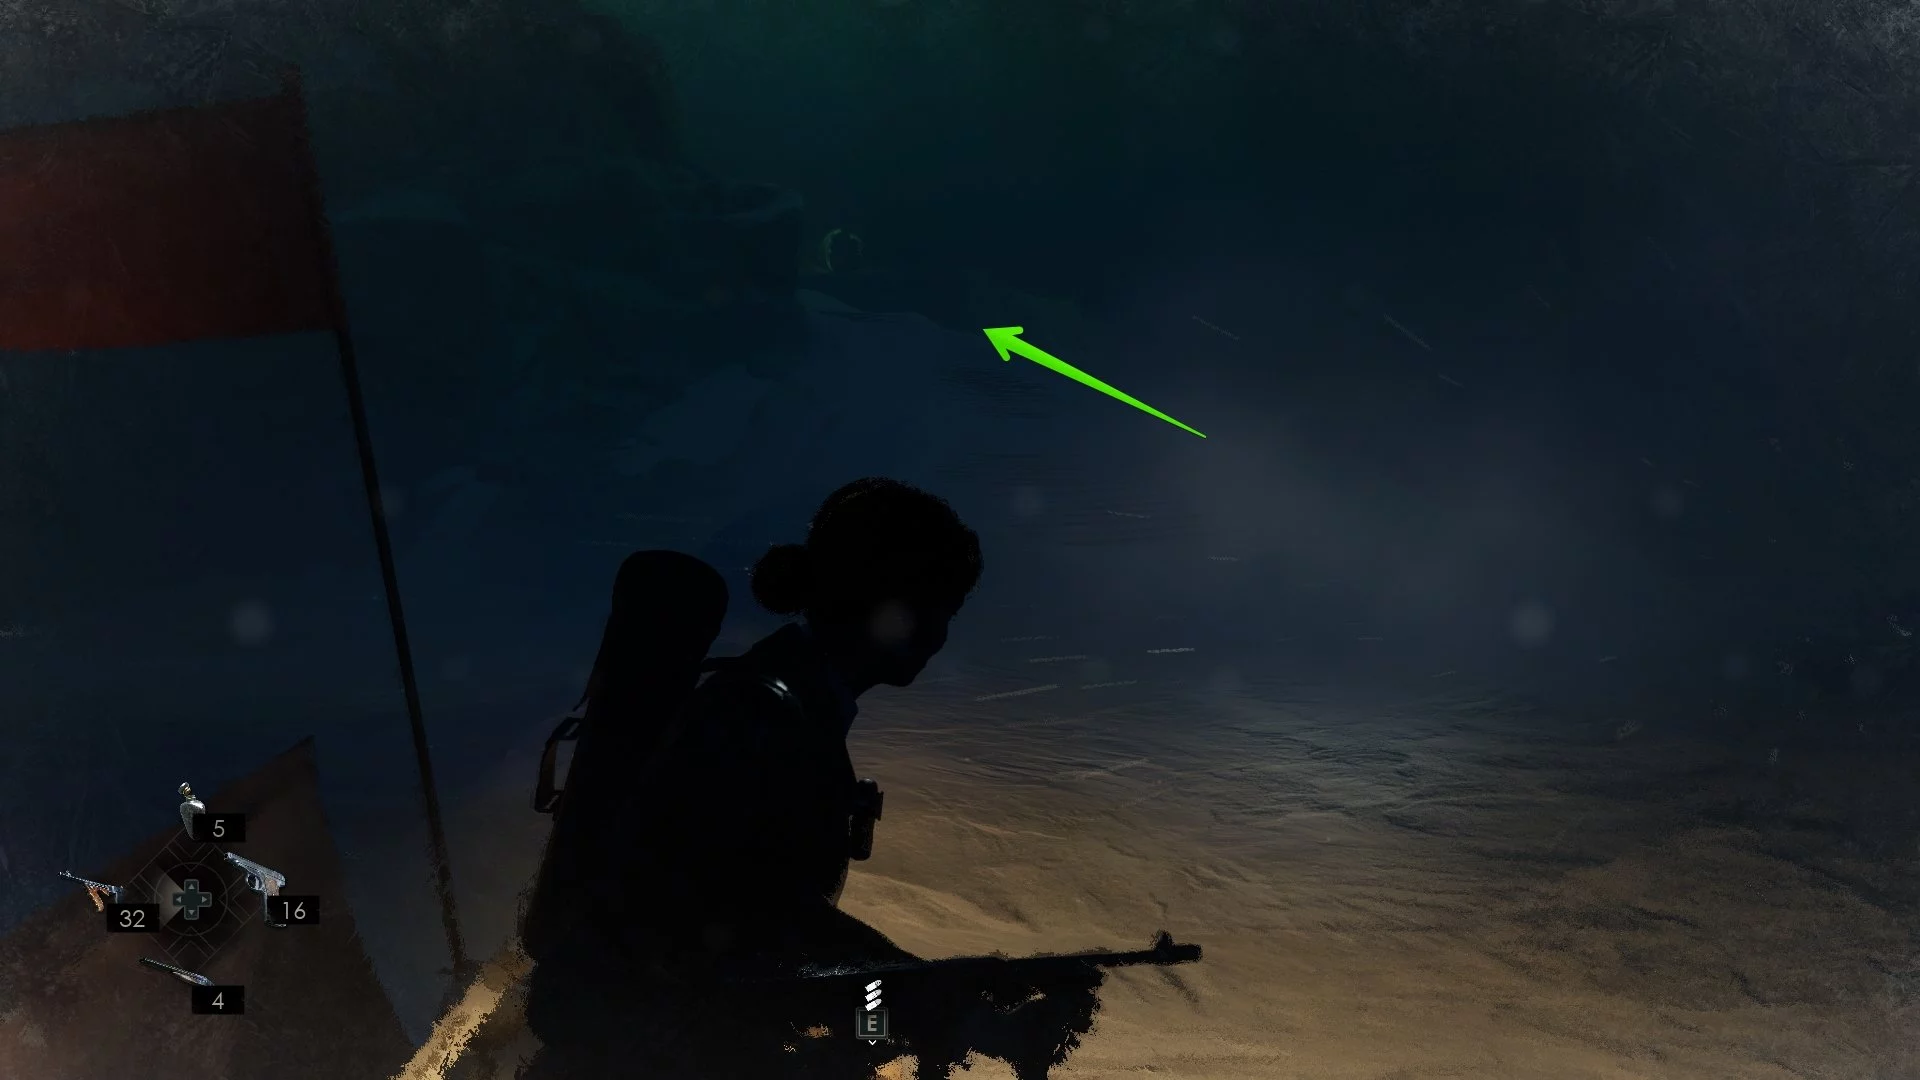
All that's left is to run through the swamps and enter the cave, where a cutscene will start, after which the main character will find himself in the sanatorium.
How to Open the Shotgun Cabinet
First, examine the red bag on the floor that the protagonist found in the cave. You will receive the key to the living room and a key item «Palette Knife» — it will be needed to open two doors in the sanatorium.


However, there is also a door in the same room that you can open right now. Use the palette knife on the door and enter inside. On the table, take the note «Instructions for the Barlow Lens», the key to the cellar, and the collectible item «Dog Collar». As soon as you do this, the cabinet with the shotgun will open on its own, provided that you have found the two previous items for the «Missing Children» collection (Seal and Ink Pen).
How to Find the Broken Boiler Plates
As soon as you attempt to go to the stairs, reality will change, and two monsters will appear in front of you. Go down to the basement. You can interact with the door to the kitchen to watch a cutscene, after which this area will be locked until the end of the game (the video is activated only in the detective scenario). You need to go to the wine cellar to unlock the locked grate with the key you obtained.

On the shelf next to the bottles, take the switch and insert it into the electrical panel on the left to de-energize the basement. Having done this, take the valve from one of the barrels.
Since reality is still altered, you will not be able to go up to the first floor — you will have to first apply the valve to the boiler and examine the small room behind it. In one of the records, you could read a hint that it is here that one of the lost parts of the plate for solving the boiler puzzle is located. By the way, this note will appear on the table next to the boiler as soon as you return.


However, you still need the second broken plate, which is locked in the living room cabinet on the second floor. Return to the main part of the house, go upstairs and enter the door on the right. Also examine the first room on the right — on the table there is a note «A Small Request», and a little further you can interact with a children's toy. Note that after interacting with it, you can exit to the corridor and re-enter to pick it up and receive the gift «Jack-in-the-Box».


Now enter the second room and watch the cutscene. On the table will be a hint «Your Medicine» and a vial. The only thing missing will be the second medicine, which is hidden in a box on the first floor in the additional part of the house (we wrote about it earlier). But to open it, you will have to visit the main hall — access to it can be obtained using the palette knife.
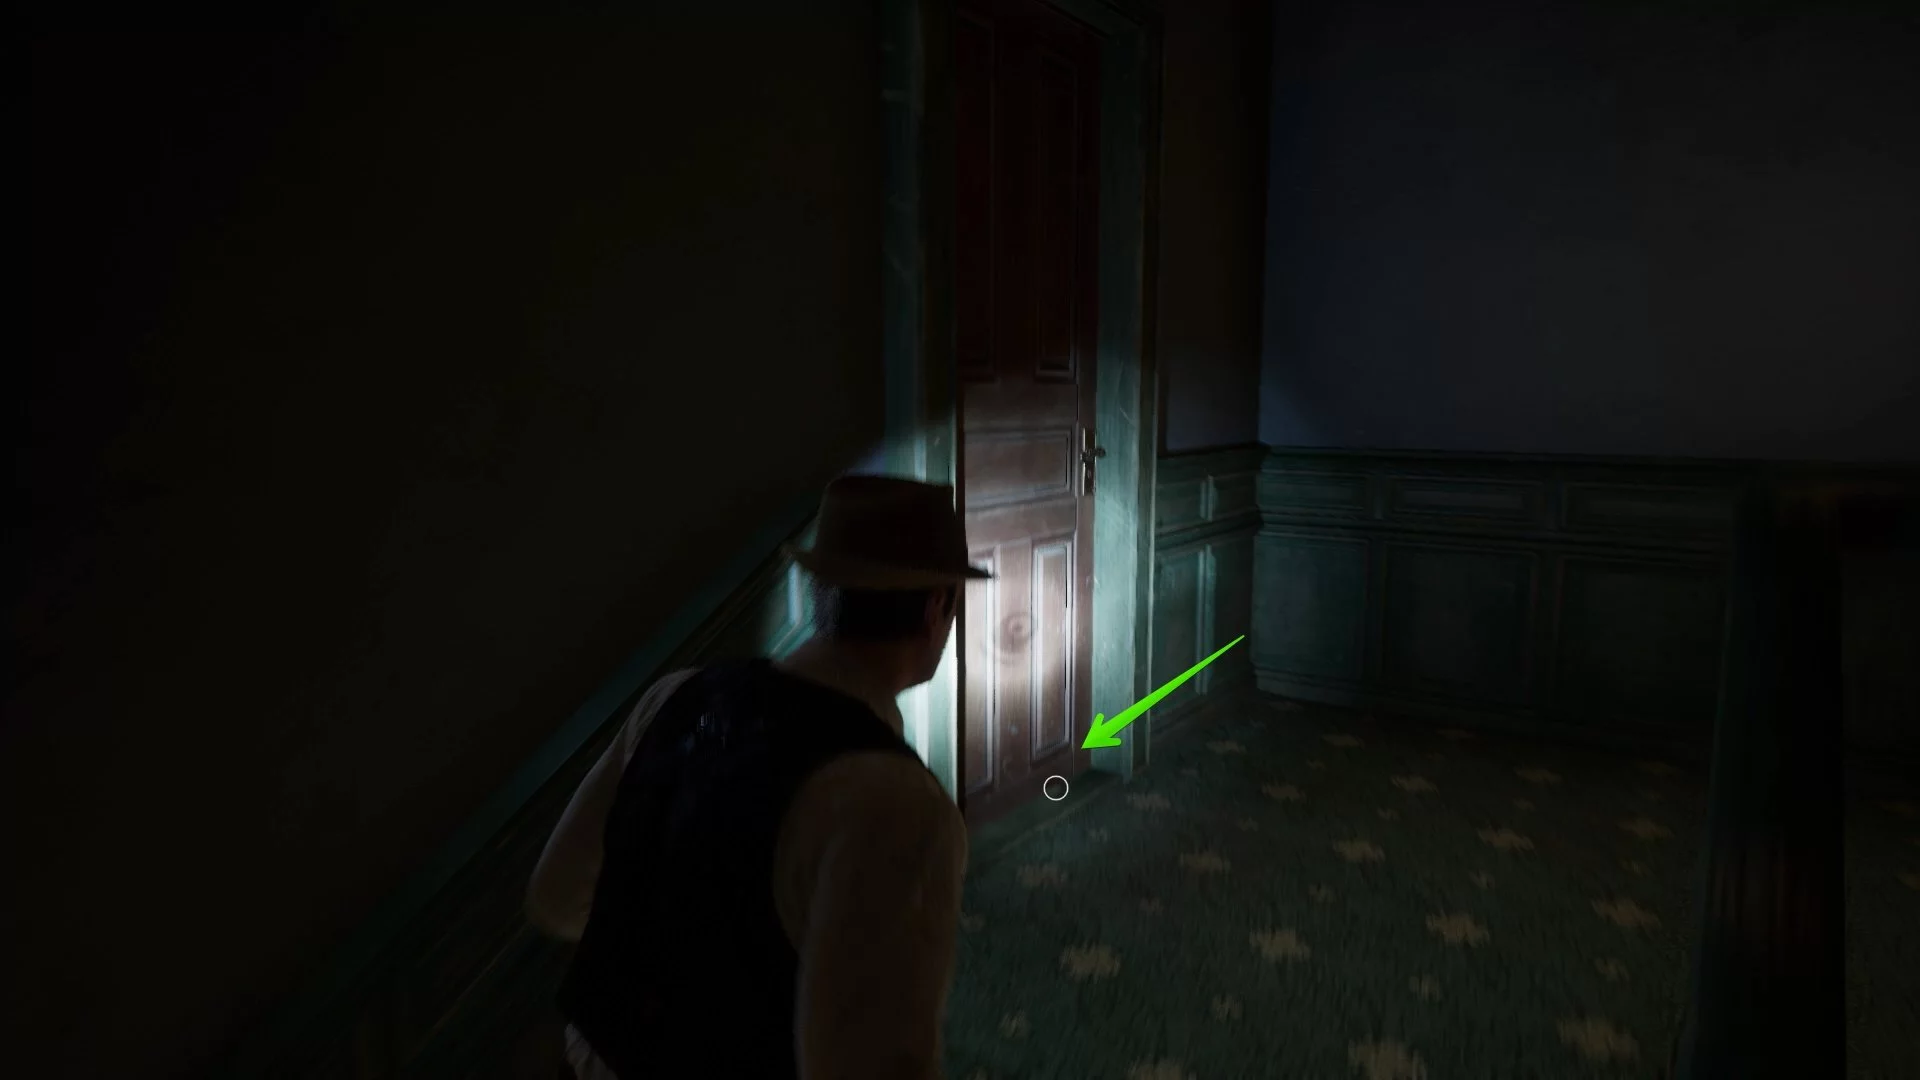
Run to the additional part of the house and go up to the second floor. There will be a jammed door here — use the palette knife.
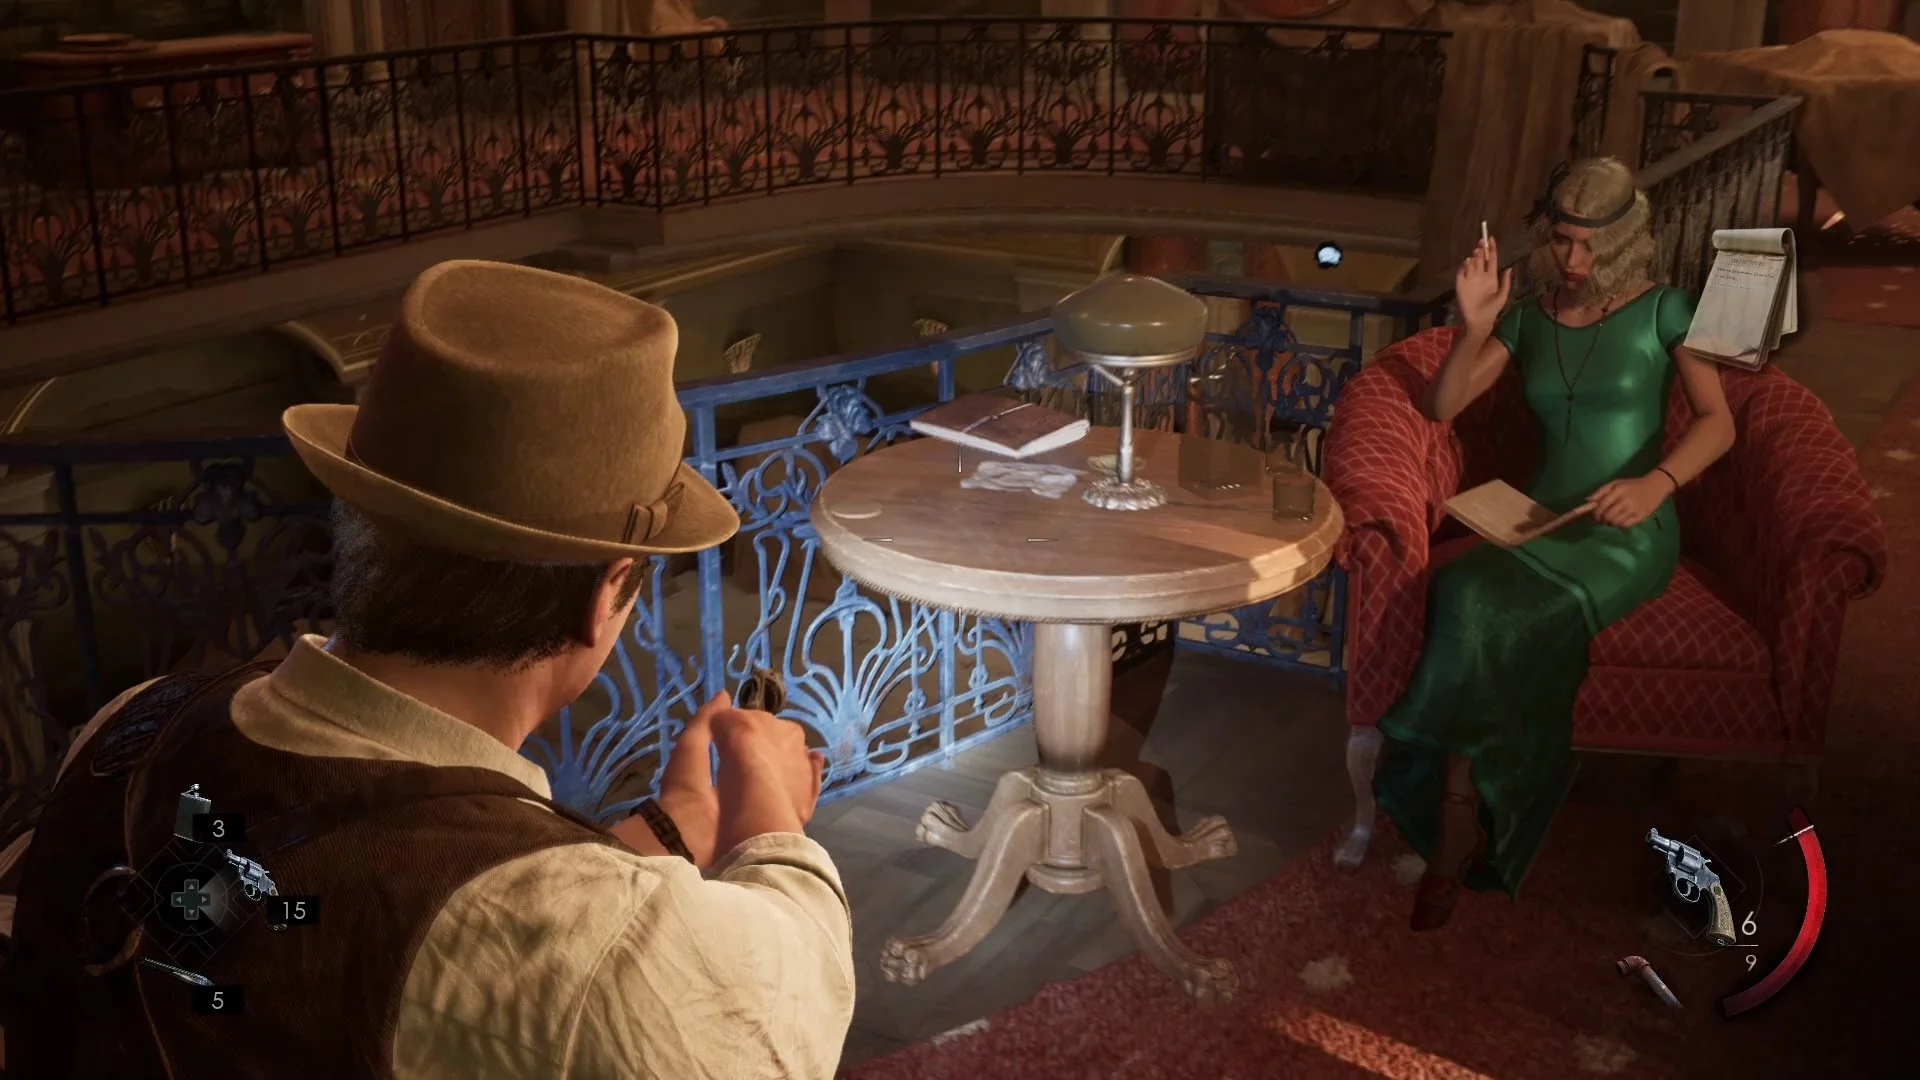
Enter the second floor of the main hall, where an in-game cutscene will begin. Remember the table next to which a woman is sitting — later on, when she leaves, a collectible item will appear here (only in the detective scenario).
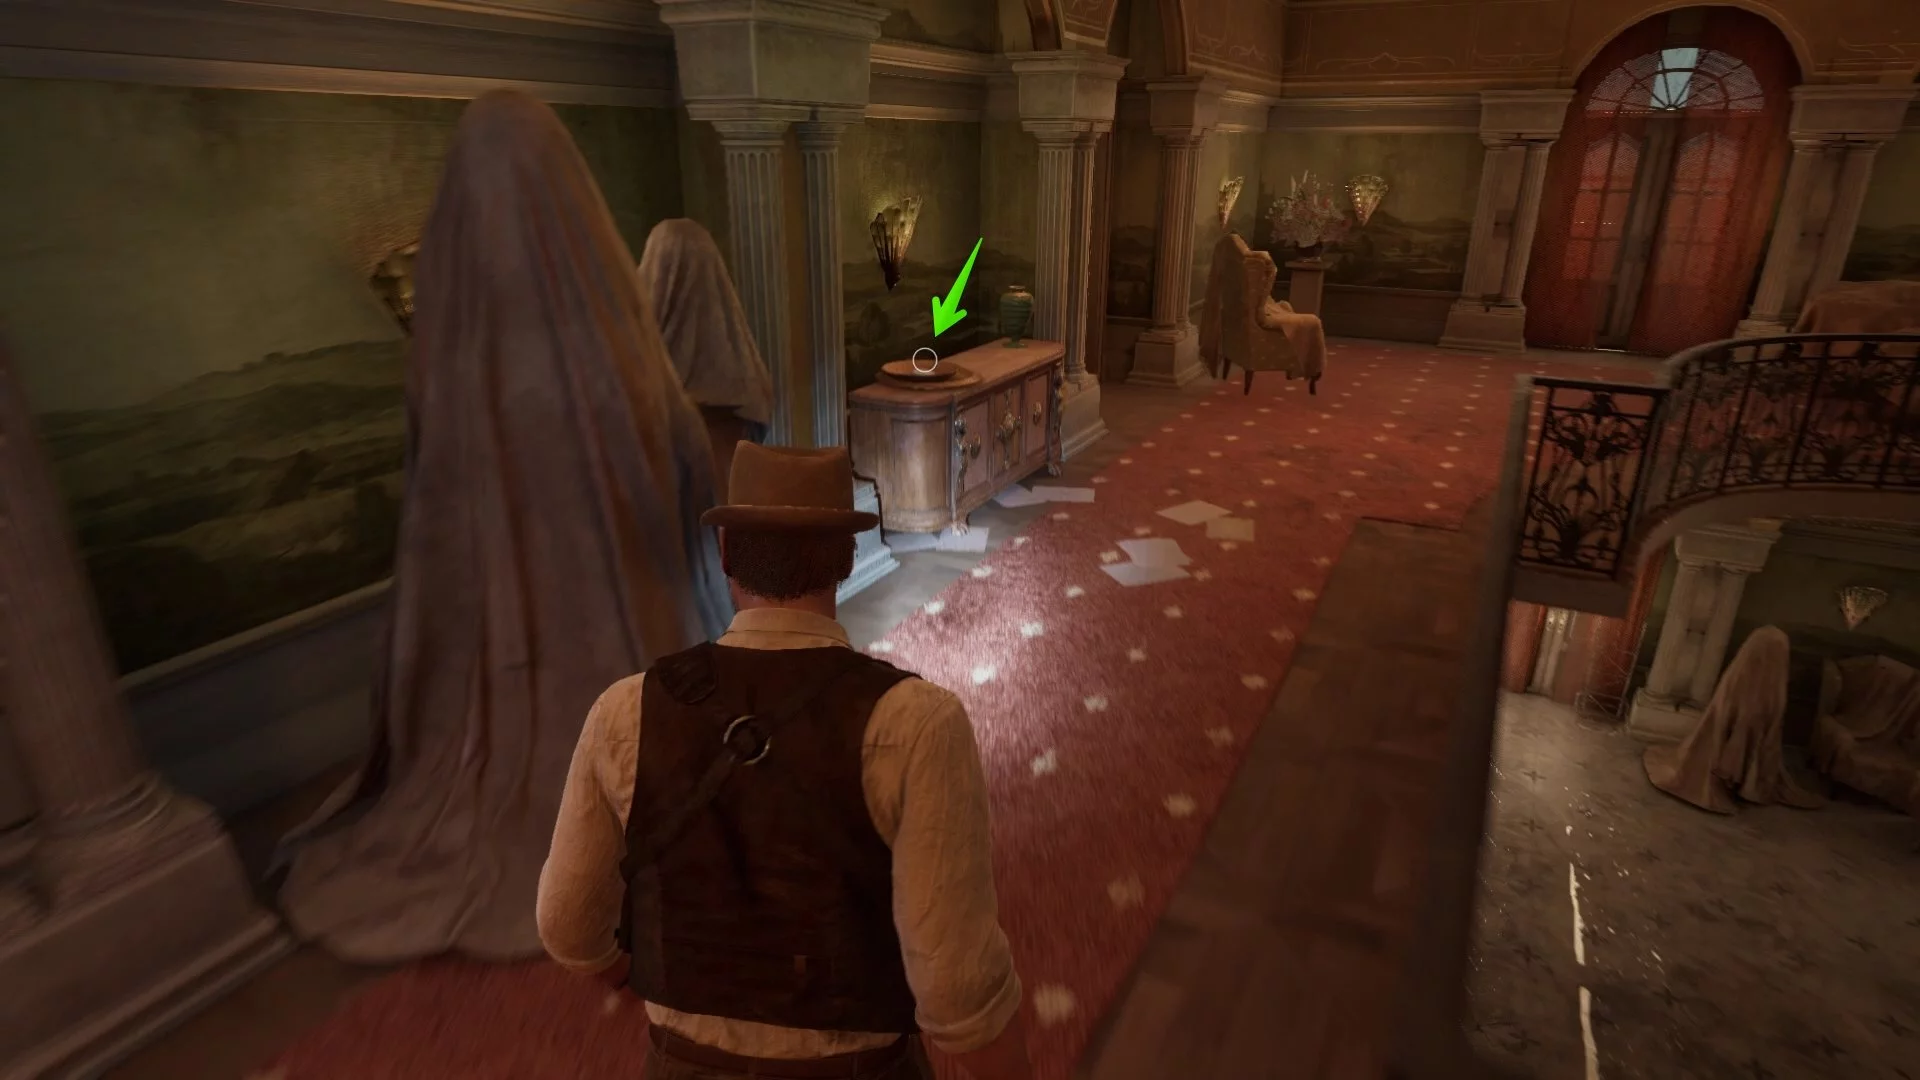
However, right now you can pick up another collectible «Beignet». It lies in a dish on the stand to the left.
Go down to the first floor via the staircase landing and among the debris of the piano, find the key to the medical box. Also on the floor lies another gift «Syringe».


You can walk around the first floor and open the doors that were locked from the other side. By the fireplace, take the clue «Banality of Evil». Also, we advise you to immediately go up to the second floor and take the gift «Light in the Distance» on the table where the woman was sitting.
Open the box and take the second vial of medicine. Return to the living room, place the vials in the correct order and track the three numbers: «257». With their help, select the zodiac signs from the diary, which will be the code to the cabinet:
- Pisces;
- Gemini;
- Leo.


Take the second plate and run to the basement to the boiler. Arrange them as shown in the screenshot below.
Interact with the gauges on the boiler — here the numbers are «975» (in the second scenario the number may change). Apply the talisman to the plate and enter this combination. A passage will appear in the wine cellar, and the hero will again find himself in Jeremy's memories, but this time on the territory of the cemetery.
Cemetery. How to find three plates and find Jeremy in the chapel
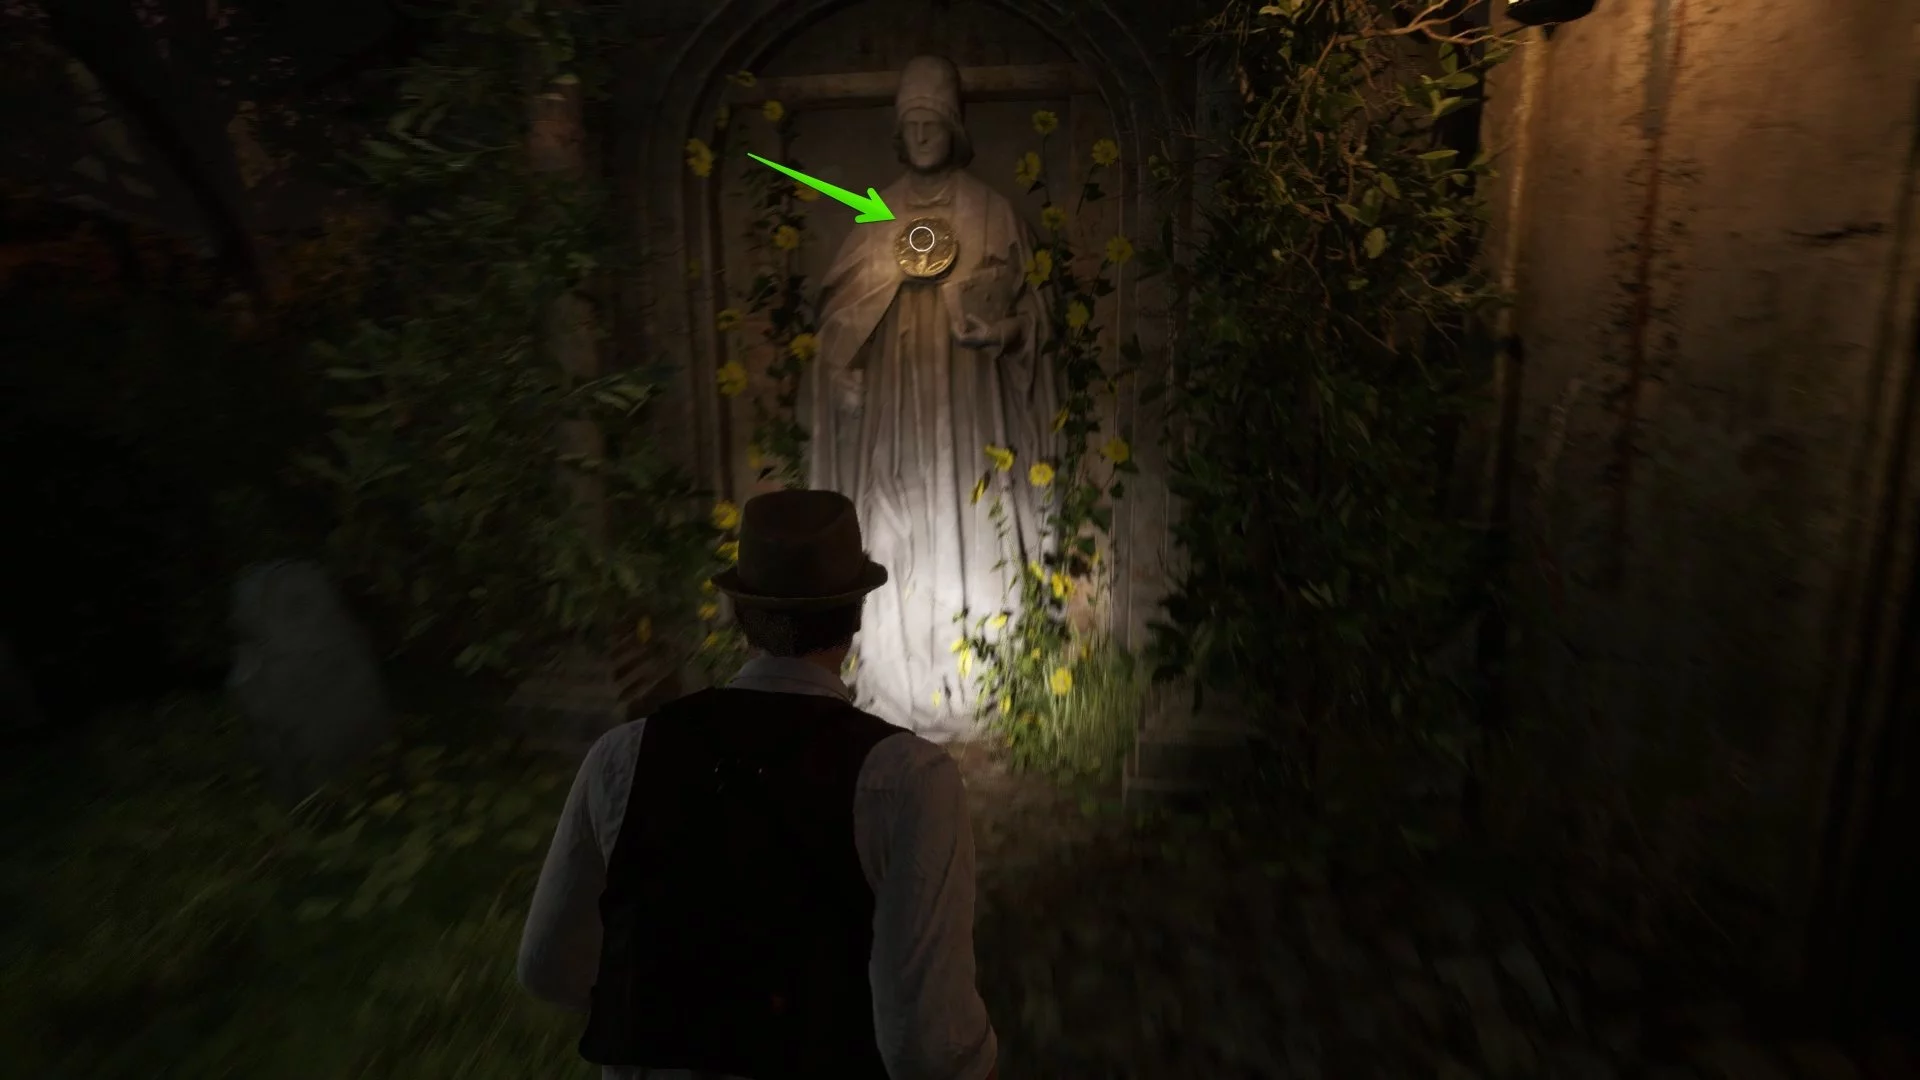
Run forward to the locked door. To the left is a statue with the first disc. Take it and insert it into the door, then turn it so that the hand is turned upwards.
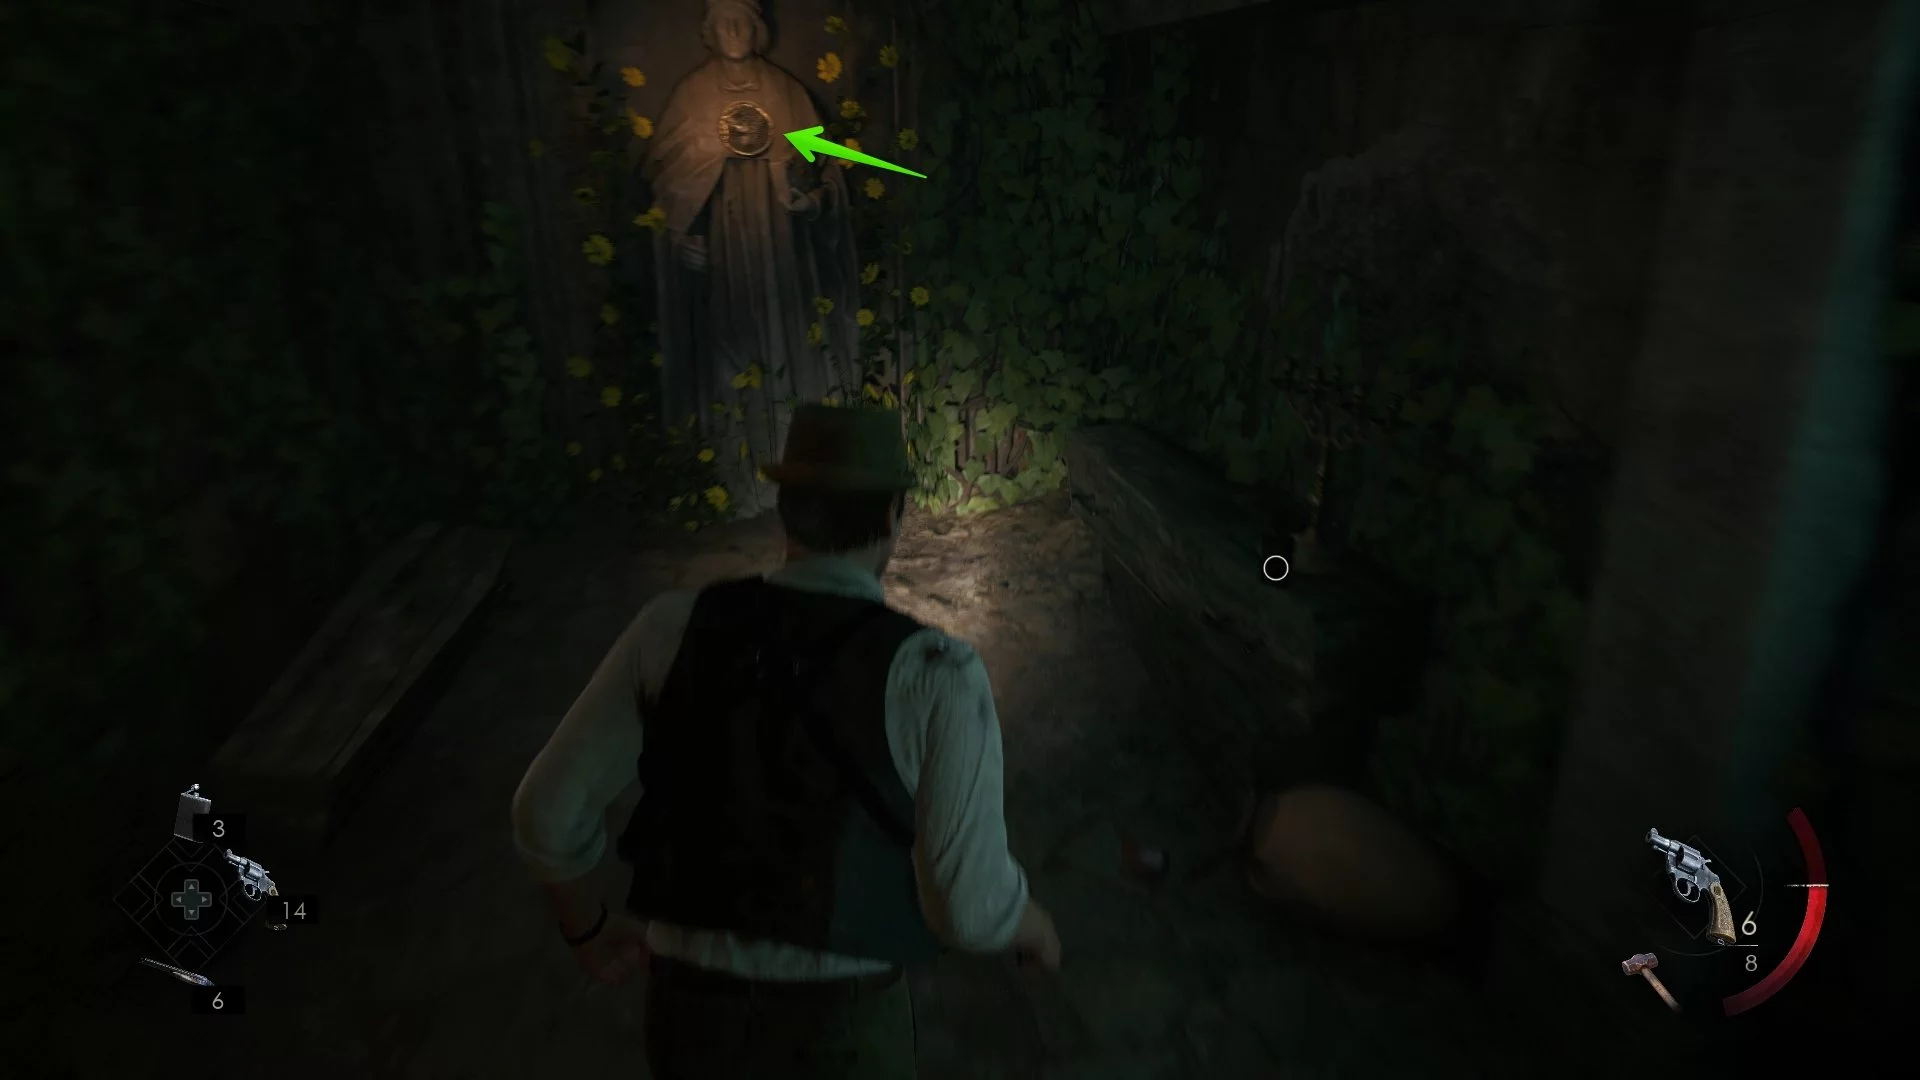
Next, monsters will start to appear, and you will find yourself at the chapel. To get inside, you need to find two more similar discs. From the entrance to the chapel, run to the left and go through the cemetery (there will also be enemies), then enter the only open crypt. Near the entrance, there will be a statue with the second plate.
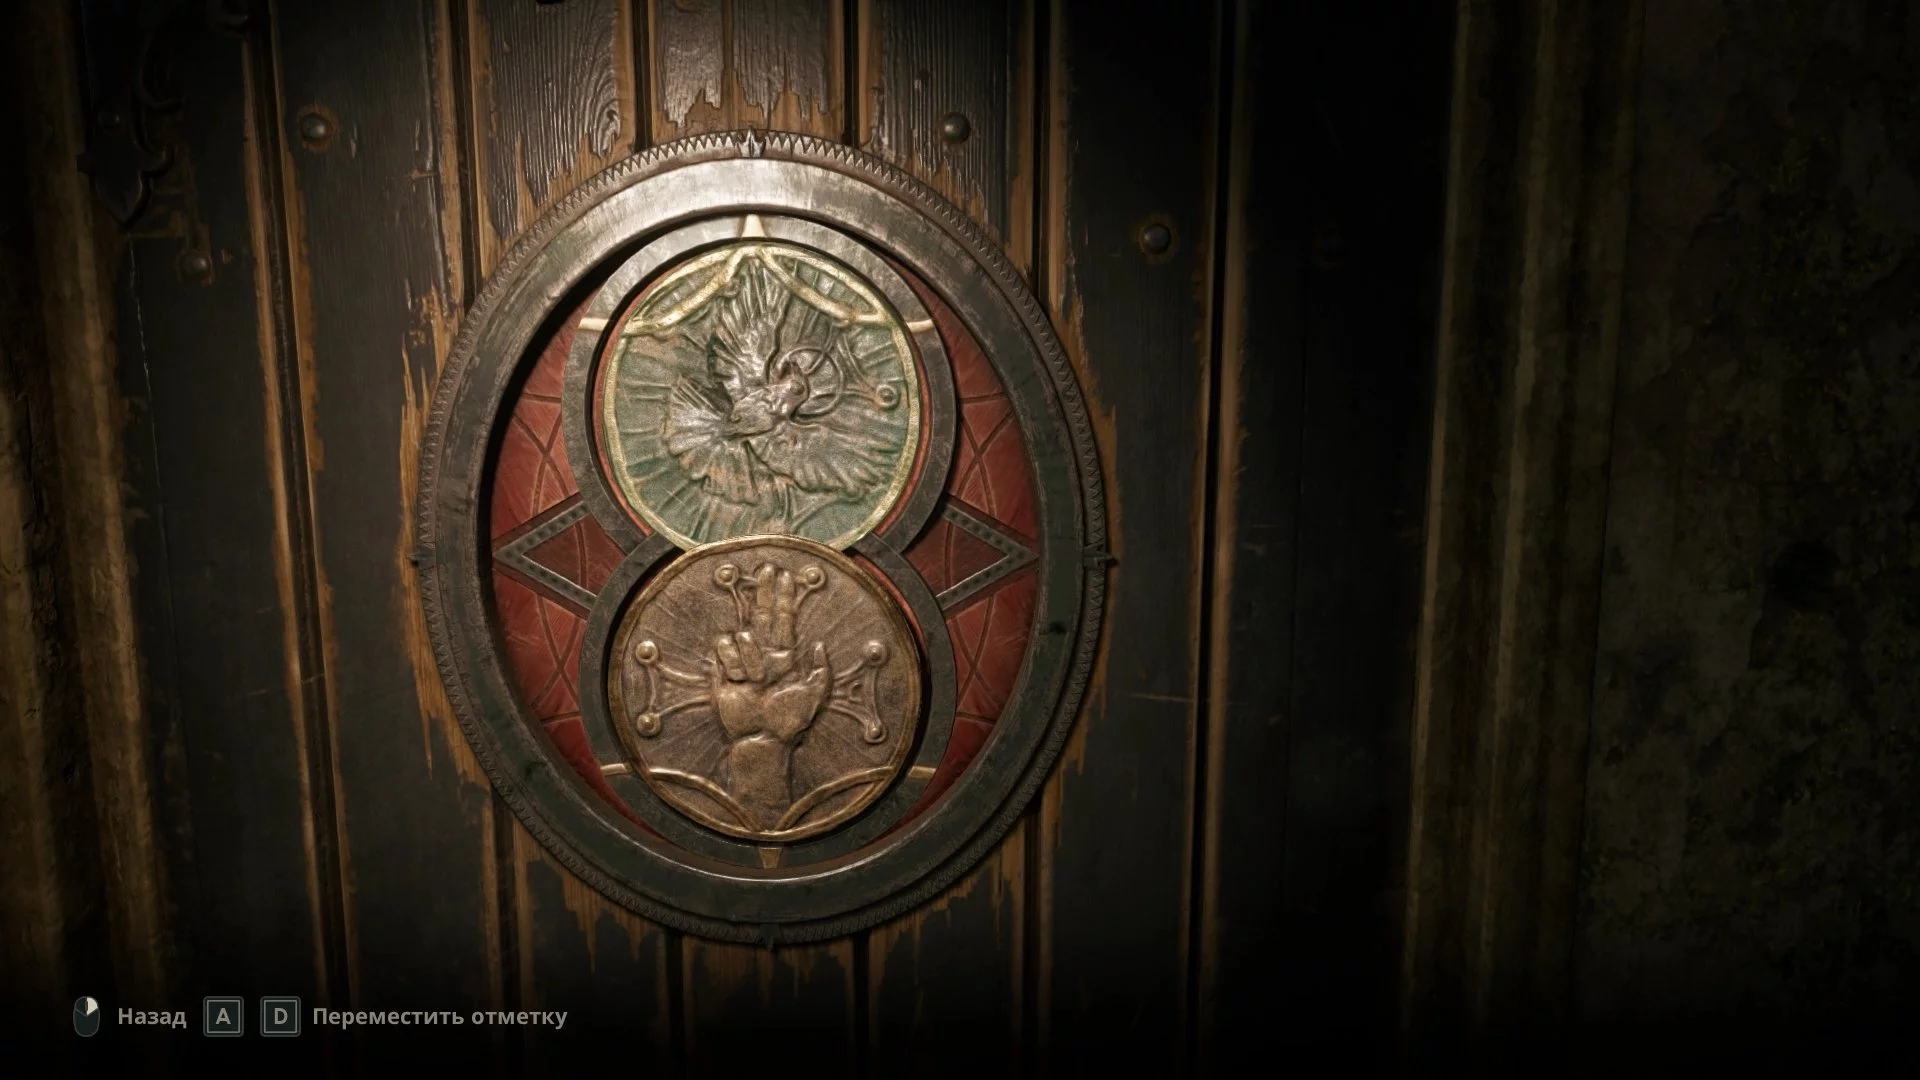
Exit to the street and kill another group of enemies that broke out of the central crypt. After that, you will be able to enter and go down the stairs. Here is a locked door: place the plate with the bird on top and with the hand down as shown in the screenshot below.
Now run forward without stopping. There will be a lot of enemies, so there is no point in fighting them. The only thing you need to do is to shoot several times at the appearing monsters in the narrow passage to unlock the way. At the end of the cave, you will come across the third statue and will be able to take the last disc.
Note: In the chapter for Emily, nearby you can find a small passage right in the cave and find the gift «Notes», which will be needed to open an alternative ending.


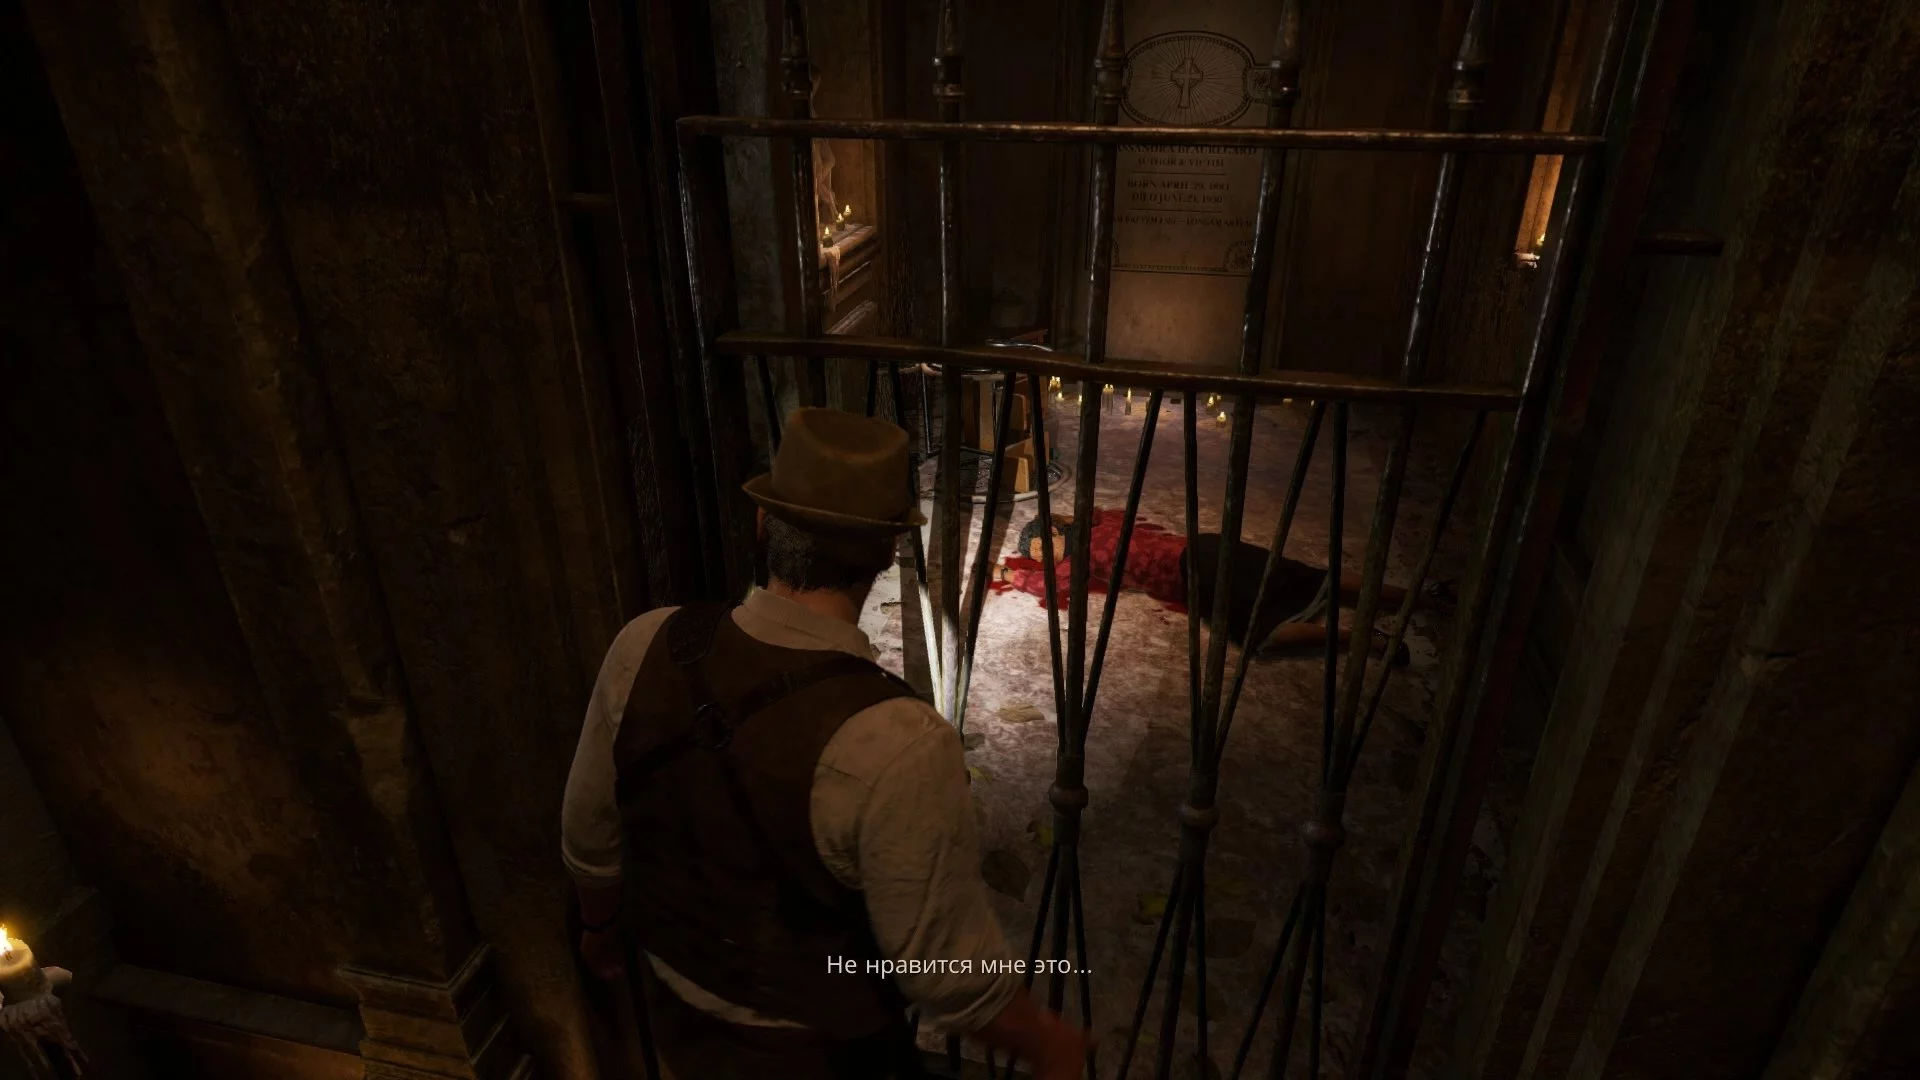
Having emerged at the chapel, you can go to the right side and find a woman's corpse. We did not receive any hidden achievement for this action, but if you managed to — write in the comments.
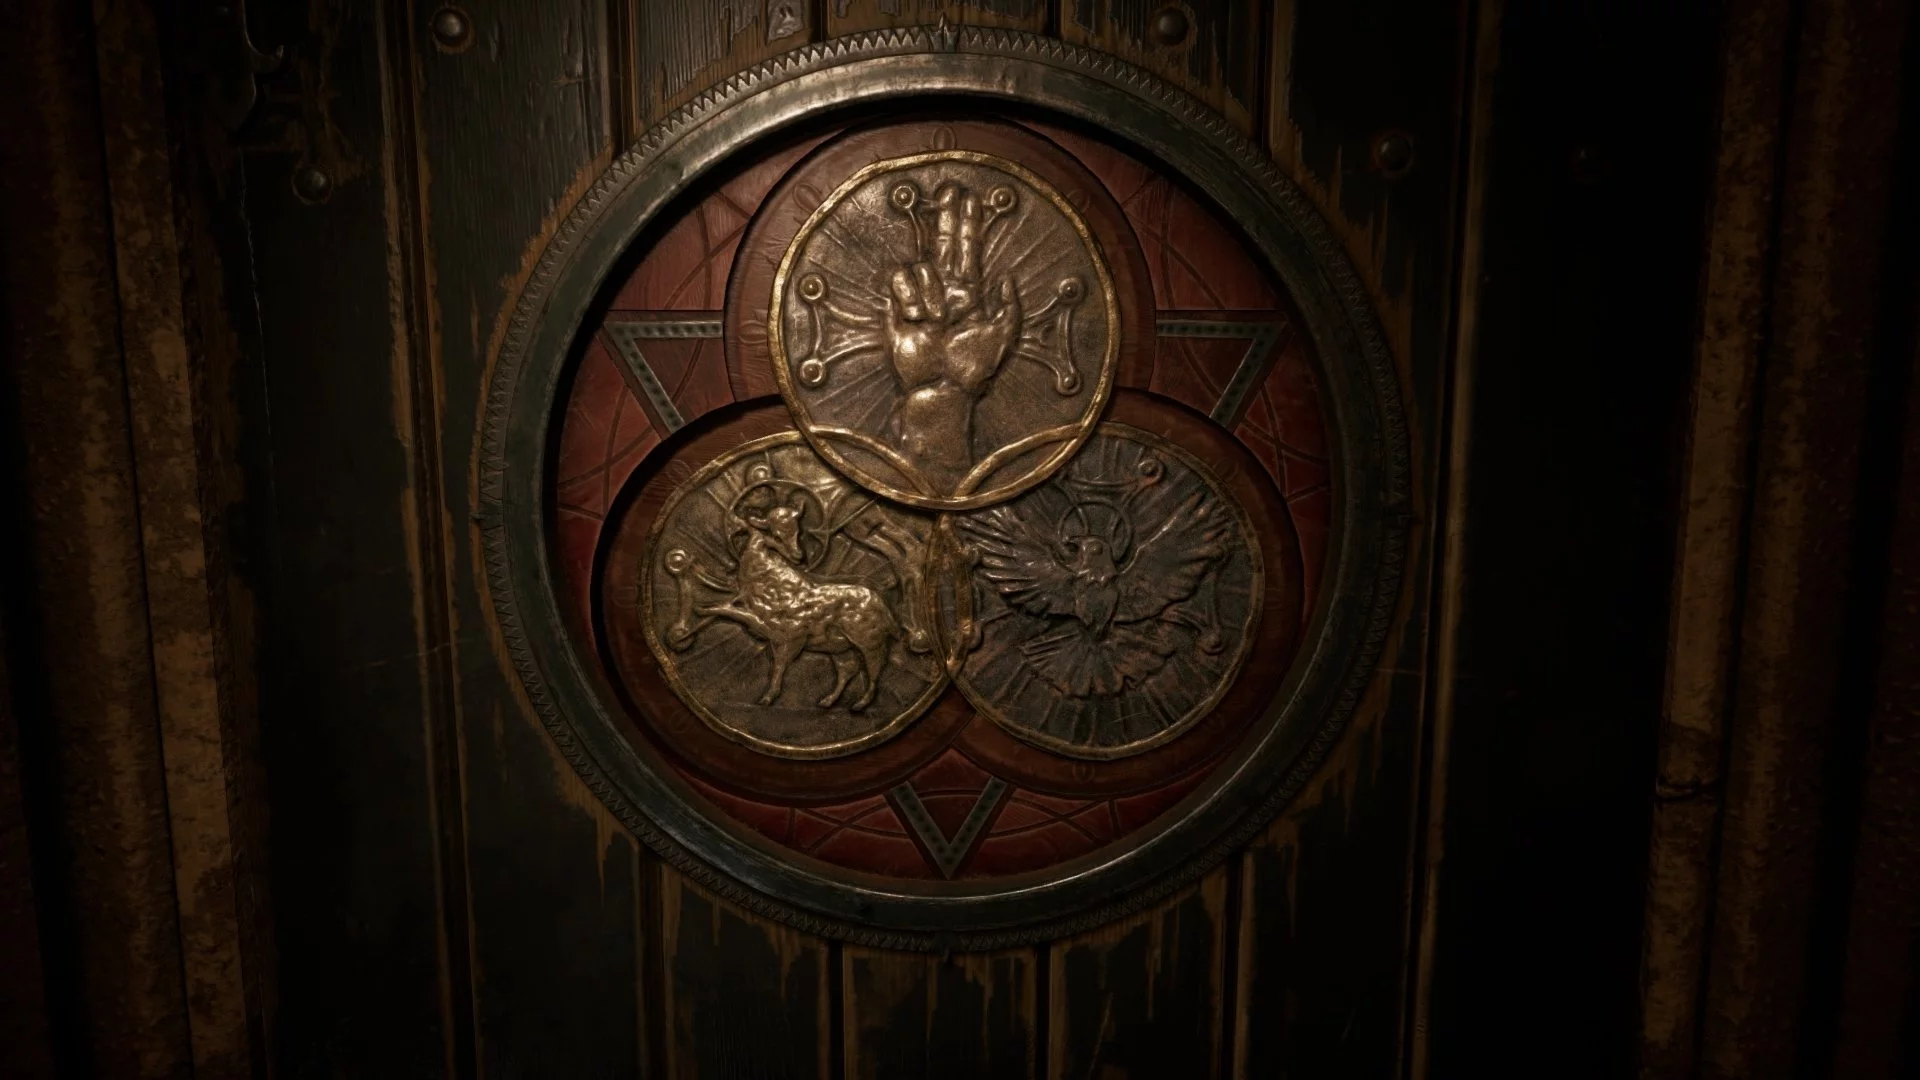
Place the three plates on the chapel door as shown in the image below and watch the cutscene.
How to use the Barlow lens
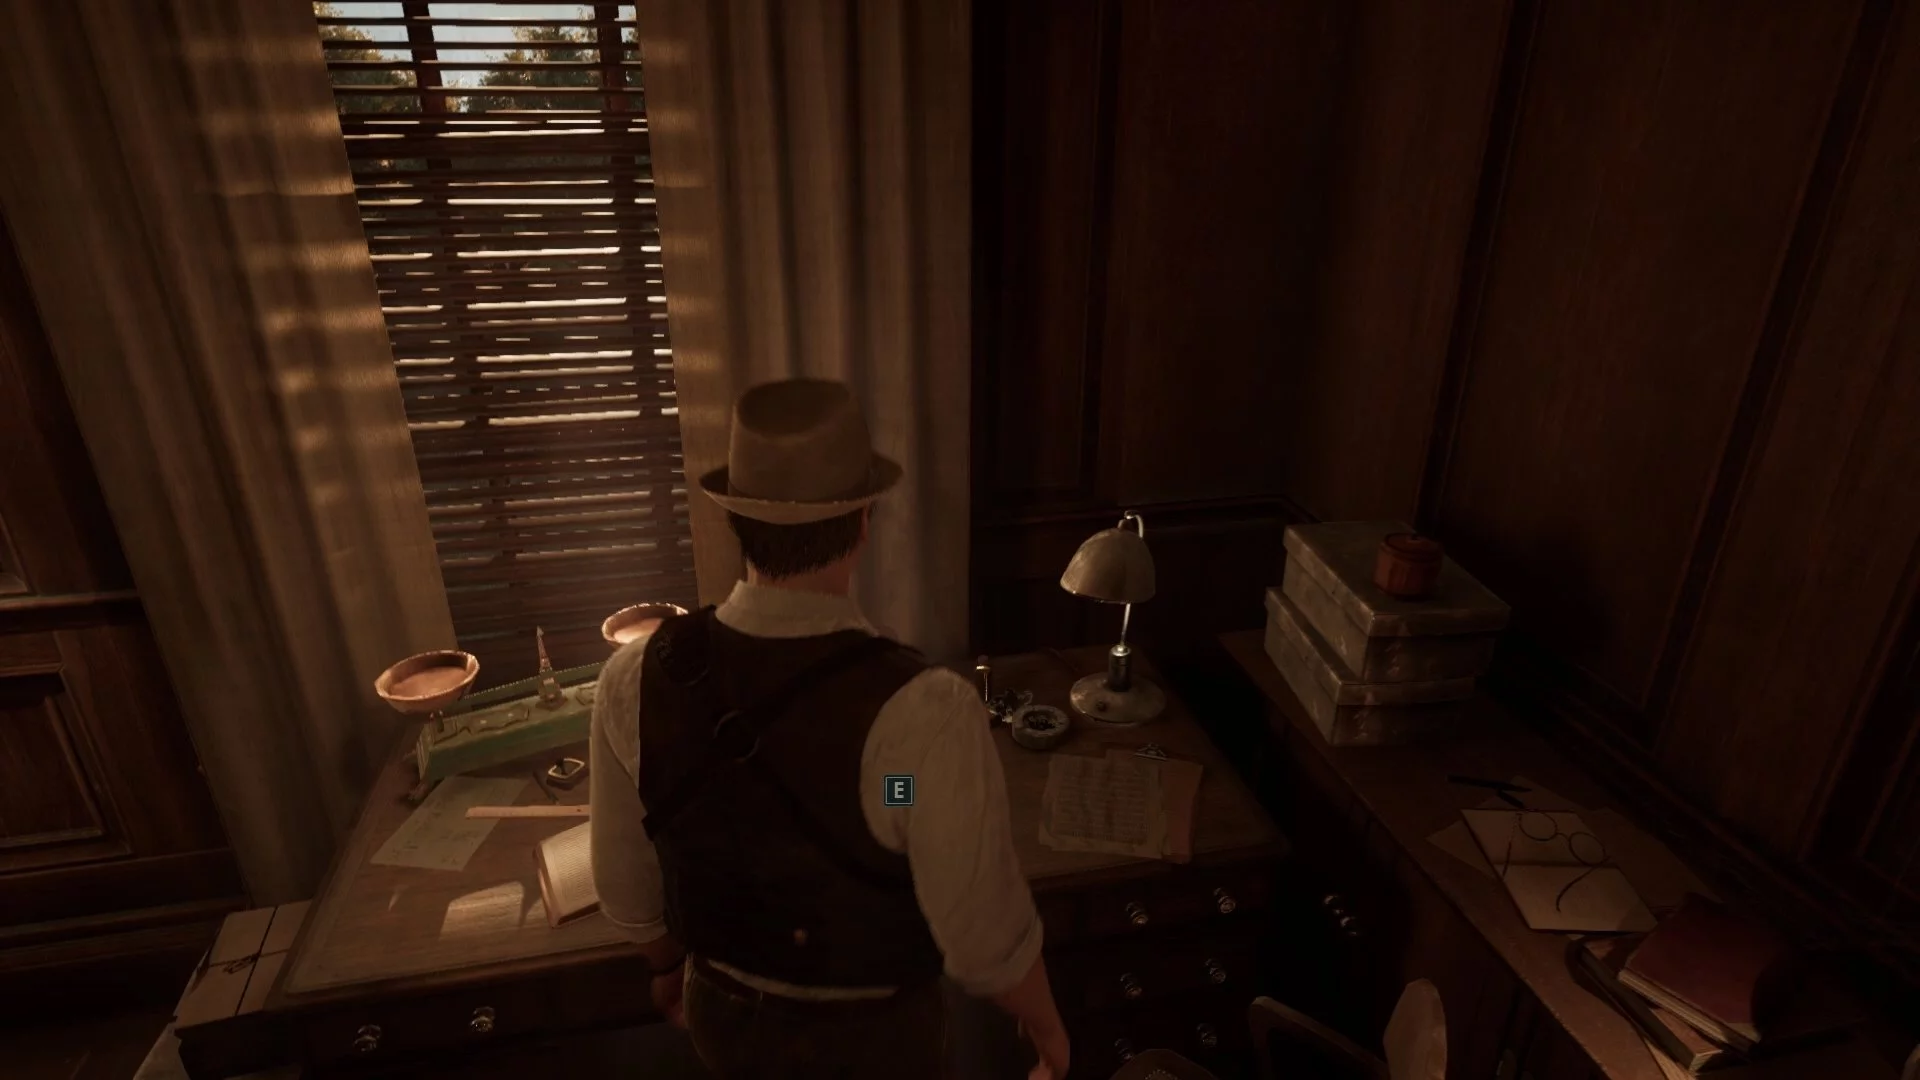
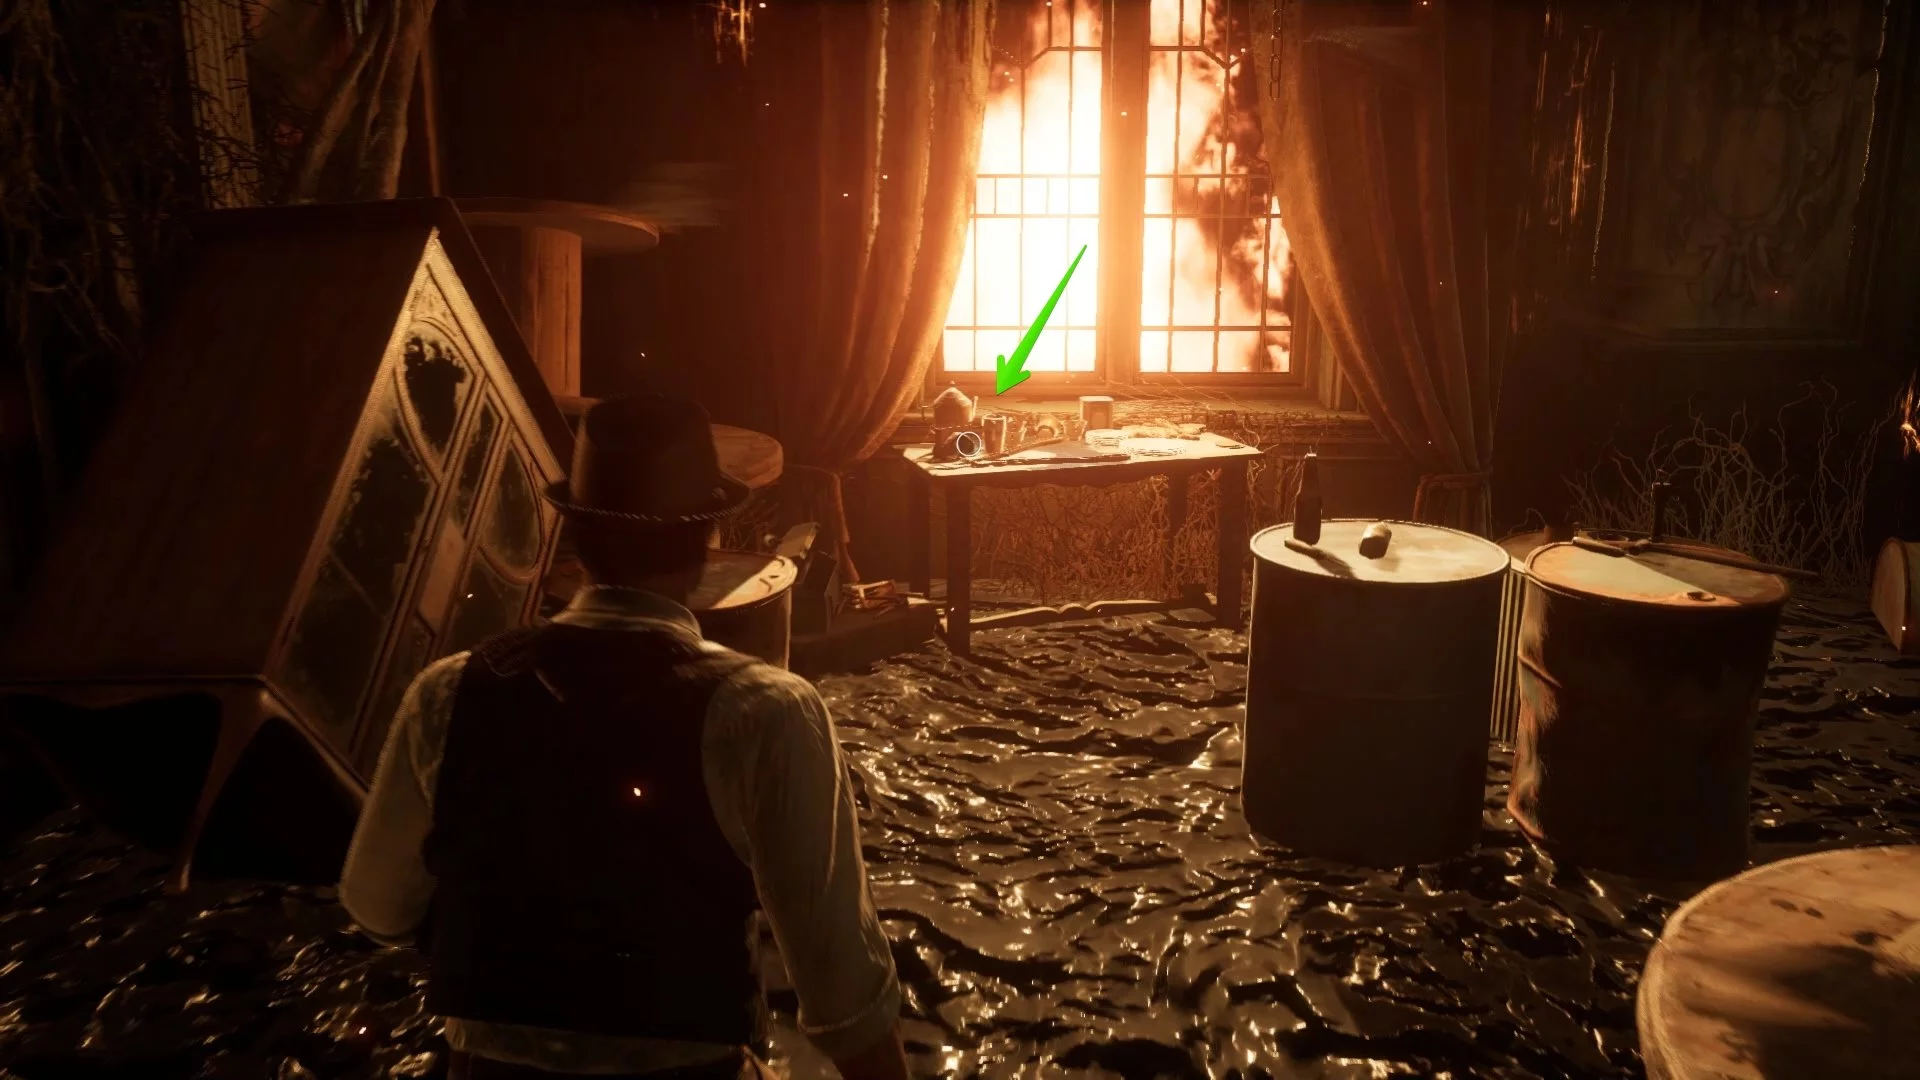
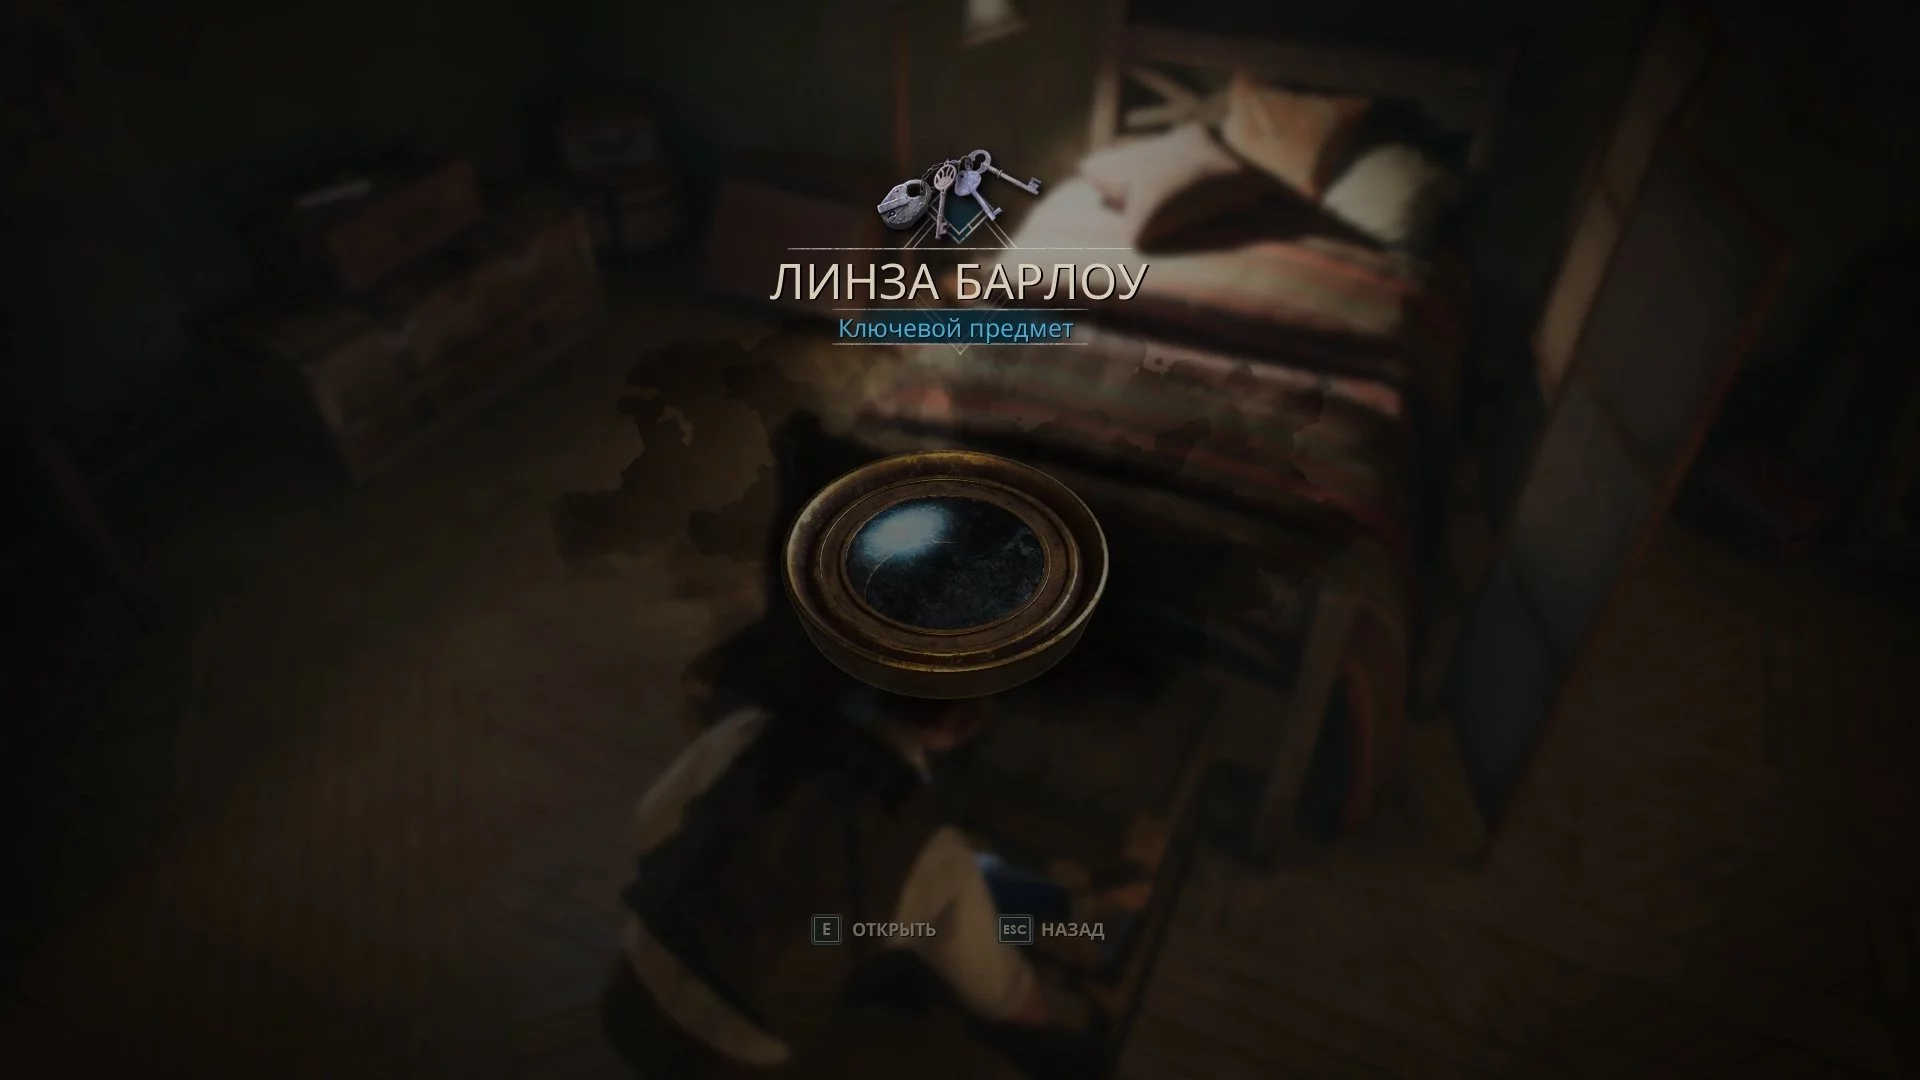
Immediately after the hero finds himself in the clinic, you will receive the clue «My Everything» and the key to the luggage (you can open the locked chest in Jeremy's room). In the room with the dead girl, take another note «I must return» and head to Jeremy's room. From the drawer, you will take out the Barlow lens, which can be applied to the telescope.
You need to adjust the lens so that a bright star appears on the right side. When this happens, stop interacting with the lens and wait.

For a moment, you will find yourself in another room. Examine the plates on the wall and assemble the constellation image. Three numbers will appear, but you don't need to enter them into the talisman.
The talisman will point to the pass-through room between the additional section of the house and the main hall (the room with the fireplace).
Chapter 3. How to find answers in the great library of Tarotella
After a lengthy cutscene, enter the library building and go up to the very top level. Along the way, you can find a small hidden passage in the wall, behind which there is a collectible «Exposed Evil». Here in the hands of the statue, take the cross-key, after which a new enemy will appear. It's pointless to fight him: if you try to aim and shoot, the hero will shoot himself in the head.
Turn around and apply the cross to the stand to extend the ladder. Go down and wait until the enemy approaches closer, then bypass him using the bookshelf.


Go down to the first floor and also apply the cross to the stand here. Climb higher, bypass the enemy and enter the only room. If the enemy appears on the left, run to the right and hide around the corner.
When he leaves, return to the entrance and apply the cross for the third time to rise to the elevator. In the elevator, take the book and watch several lengthy cutscenes, after which you will automatically receive the gift «Matchbox».
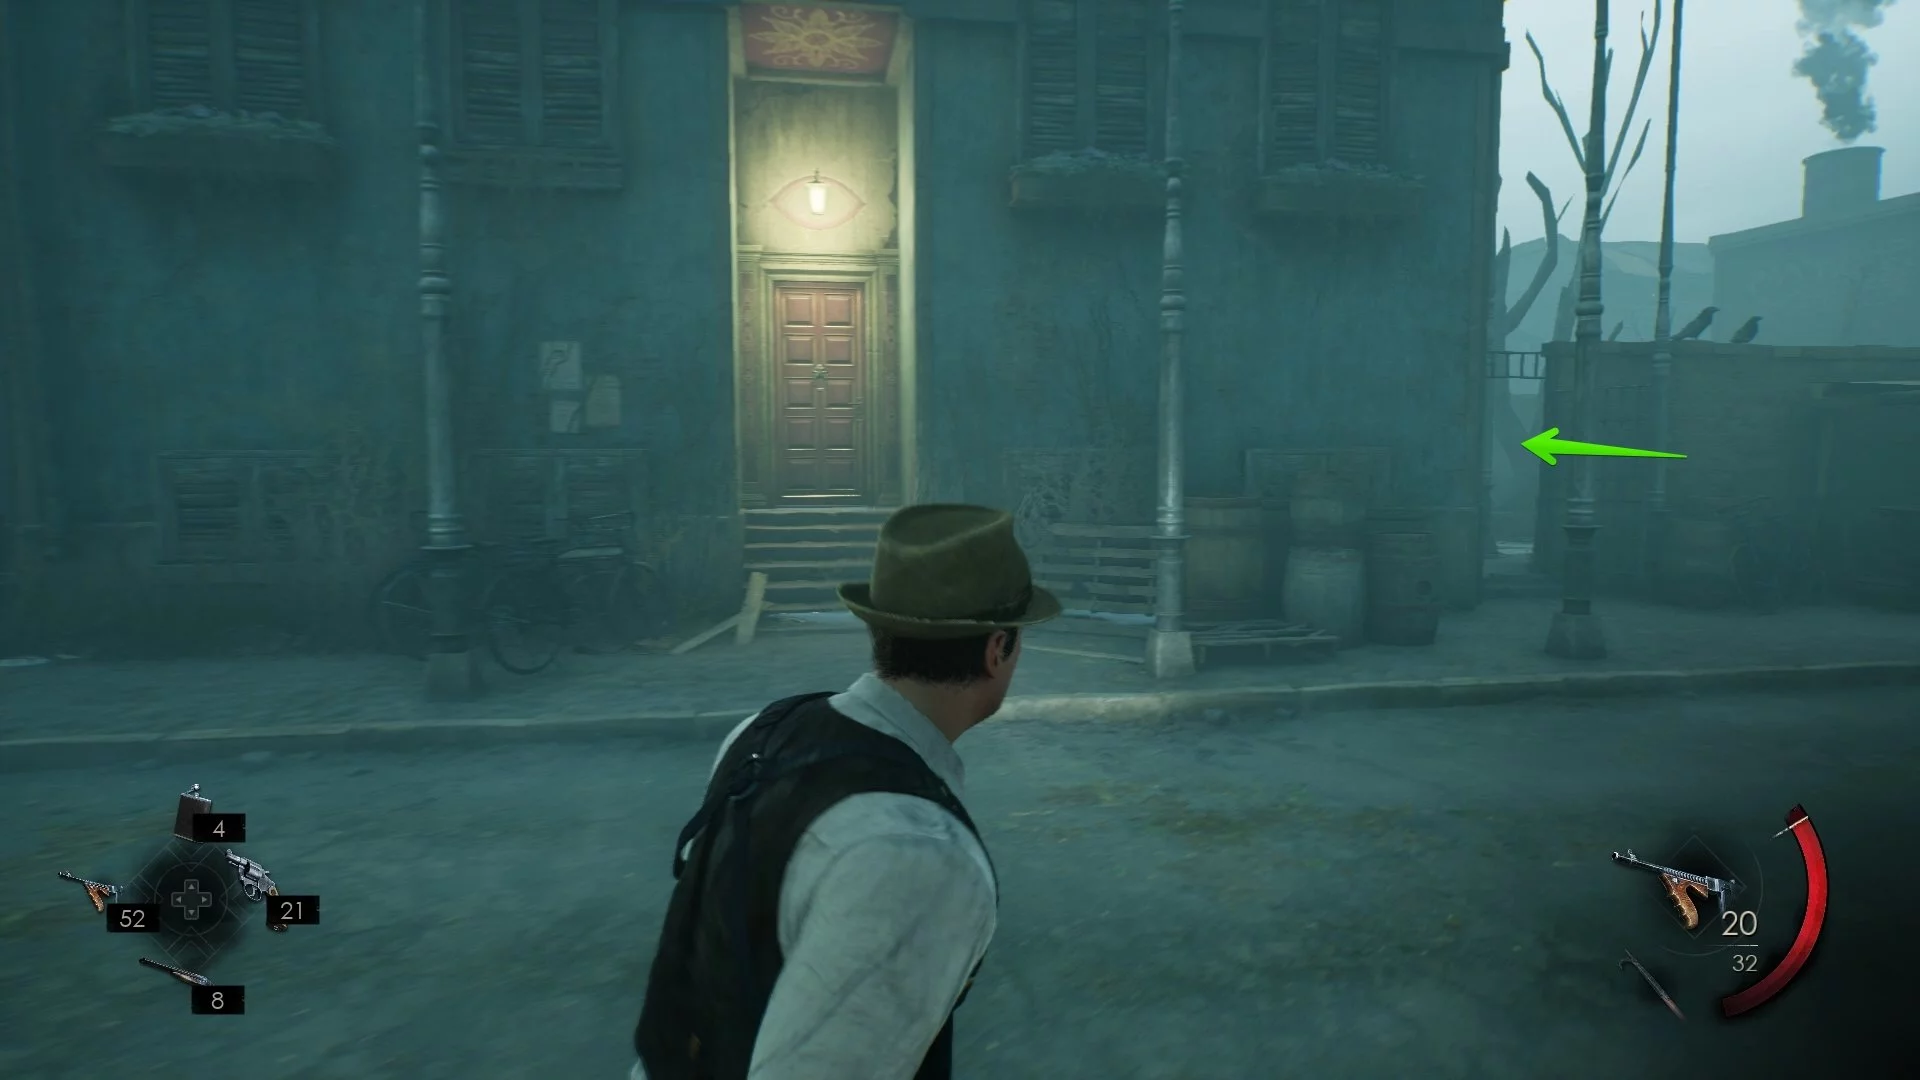
Walk around the building to the right — enemies will appear here, and you can also pick up bullets for the machine gun (you will find the weapon itself a little later). Return and run between the barrels and sacks to the small house on the left. Both doors are locked, so go around it and climb onto the roof.
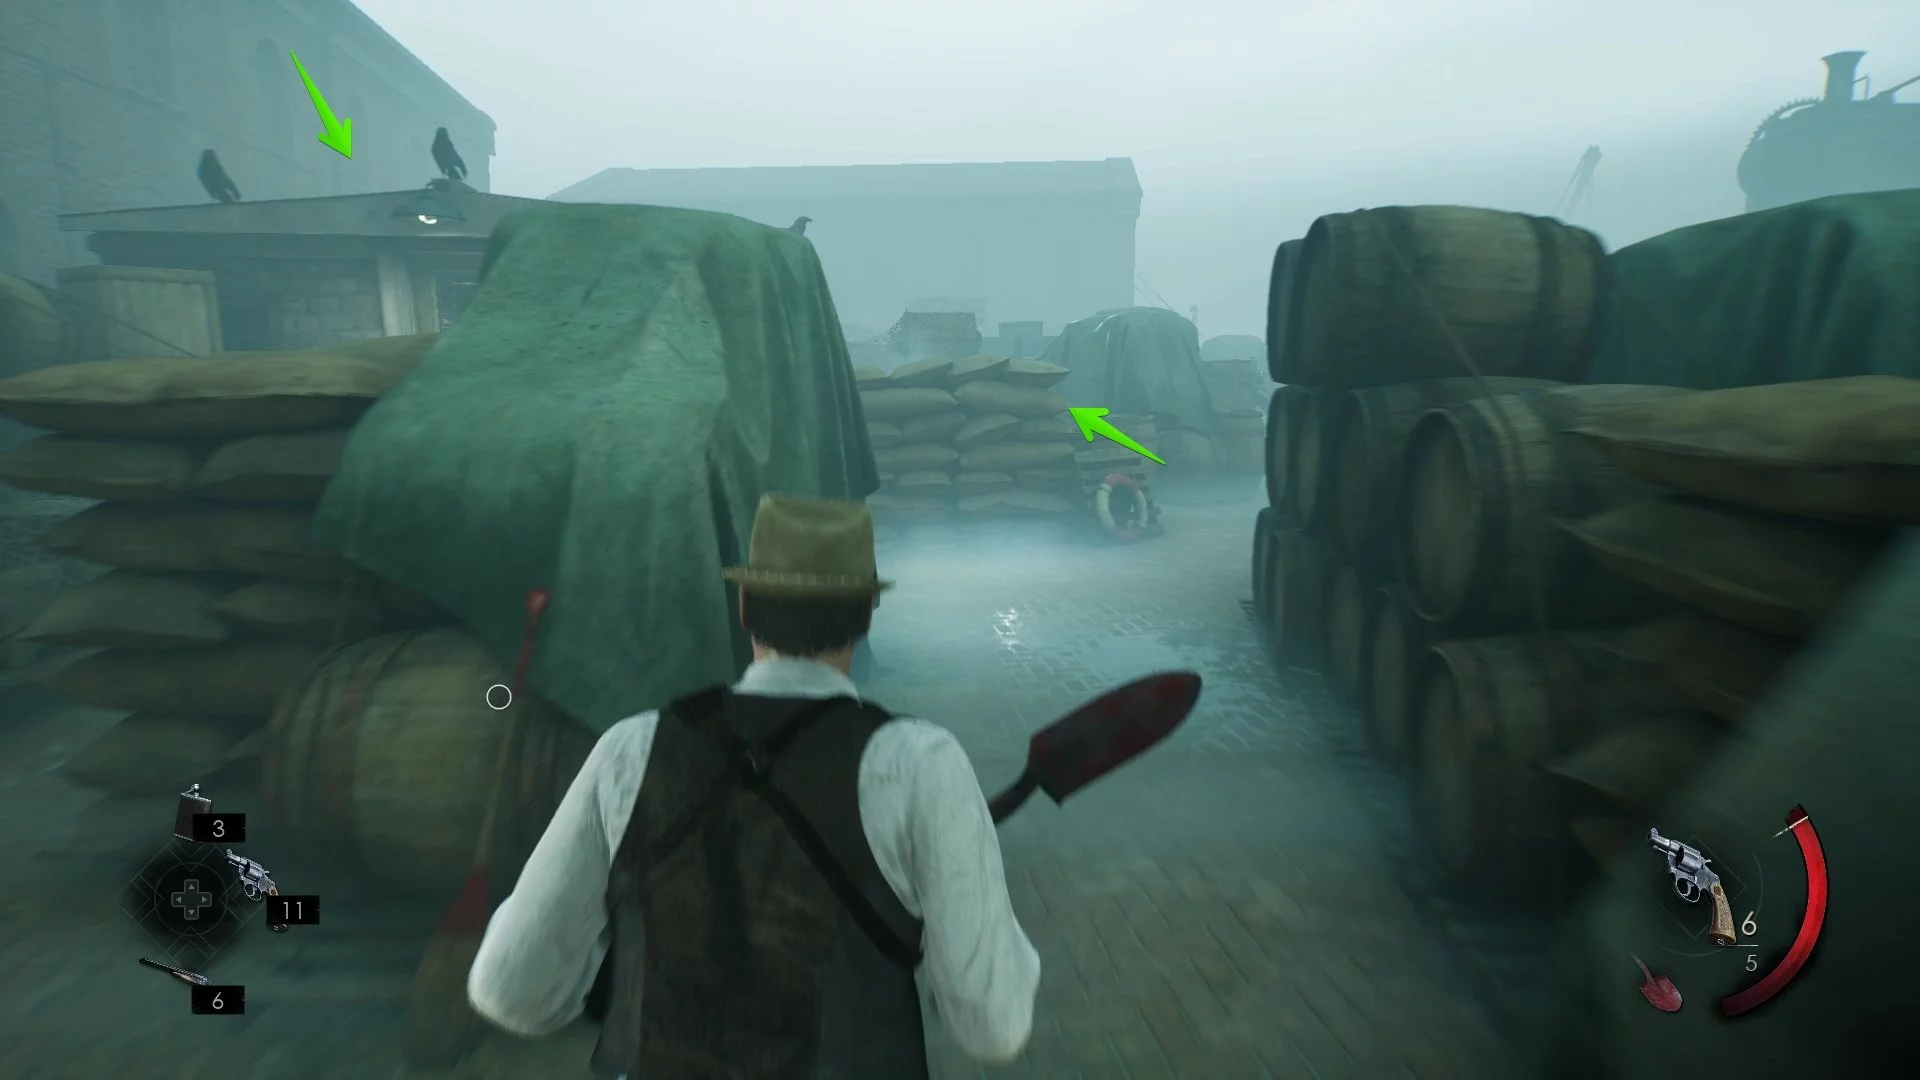
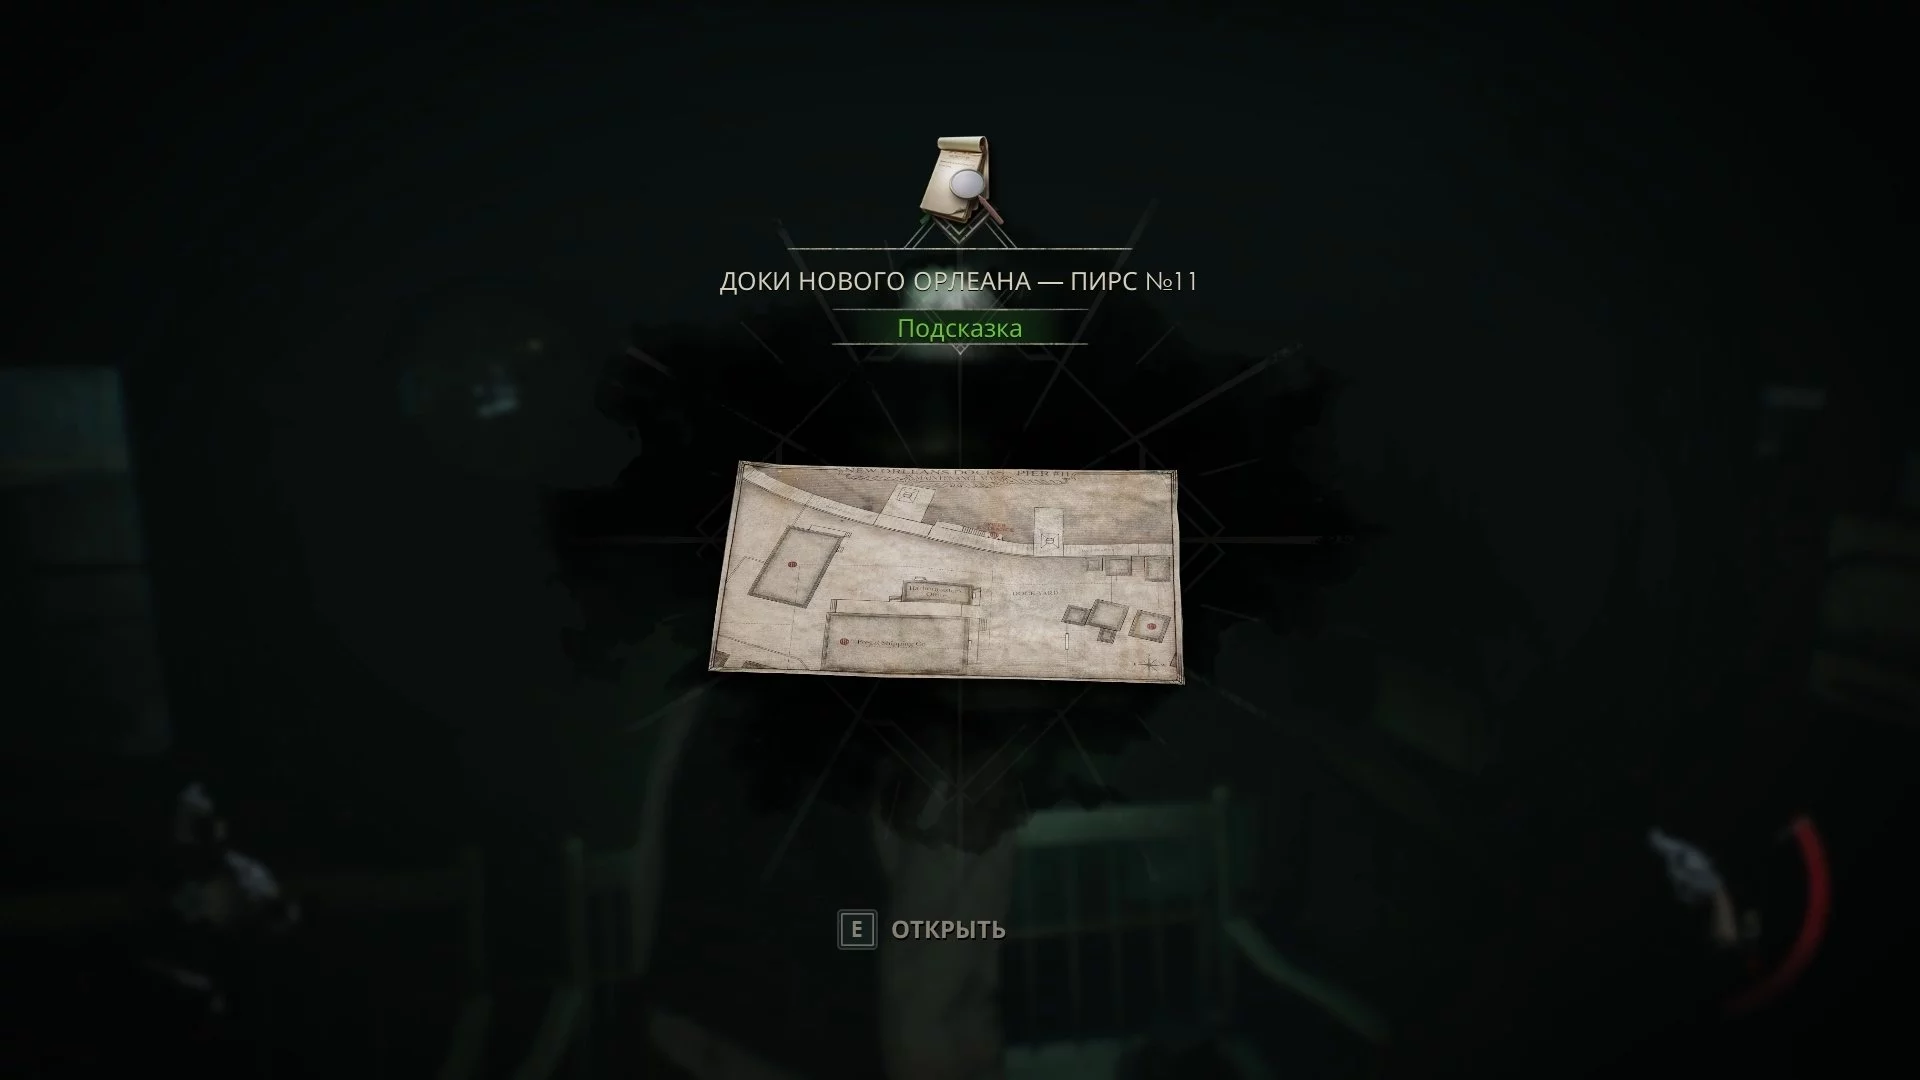
In the cabinet by the door hangs a key to the faucet. When you return back, a monster will jump out of the second door — enter and take the map. Also, return to the fork where there is a crane on the right and a path to the water on the left. Run to the left and find the gift «Ink Ribbon».
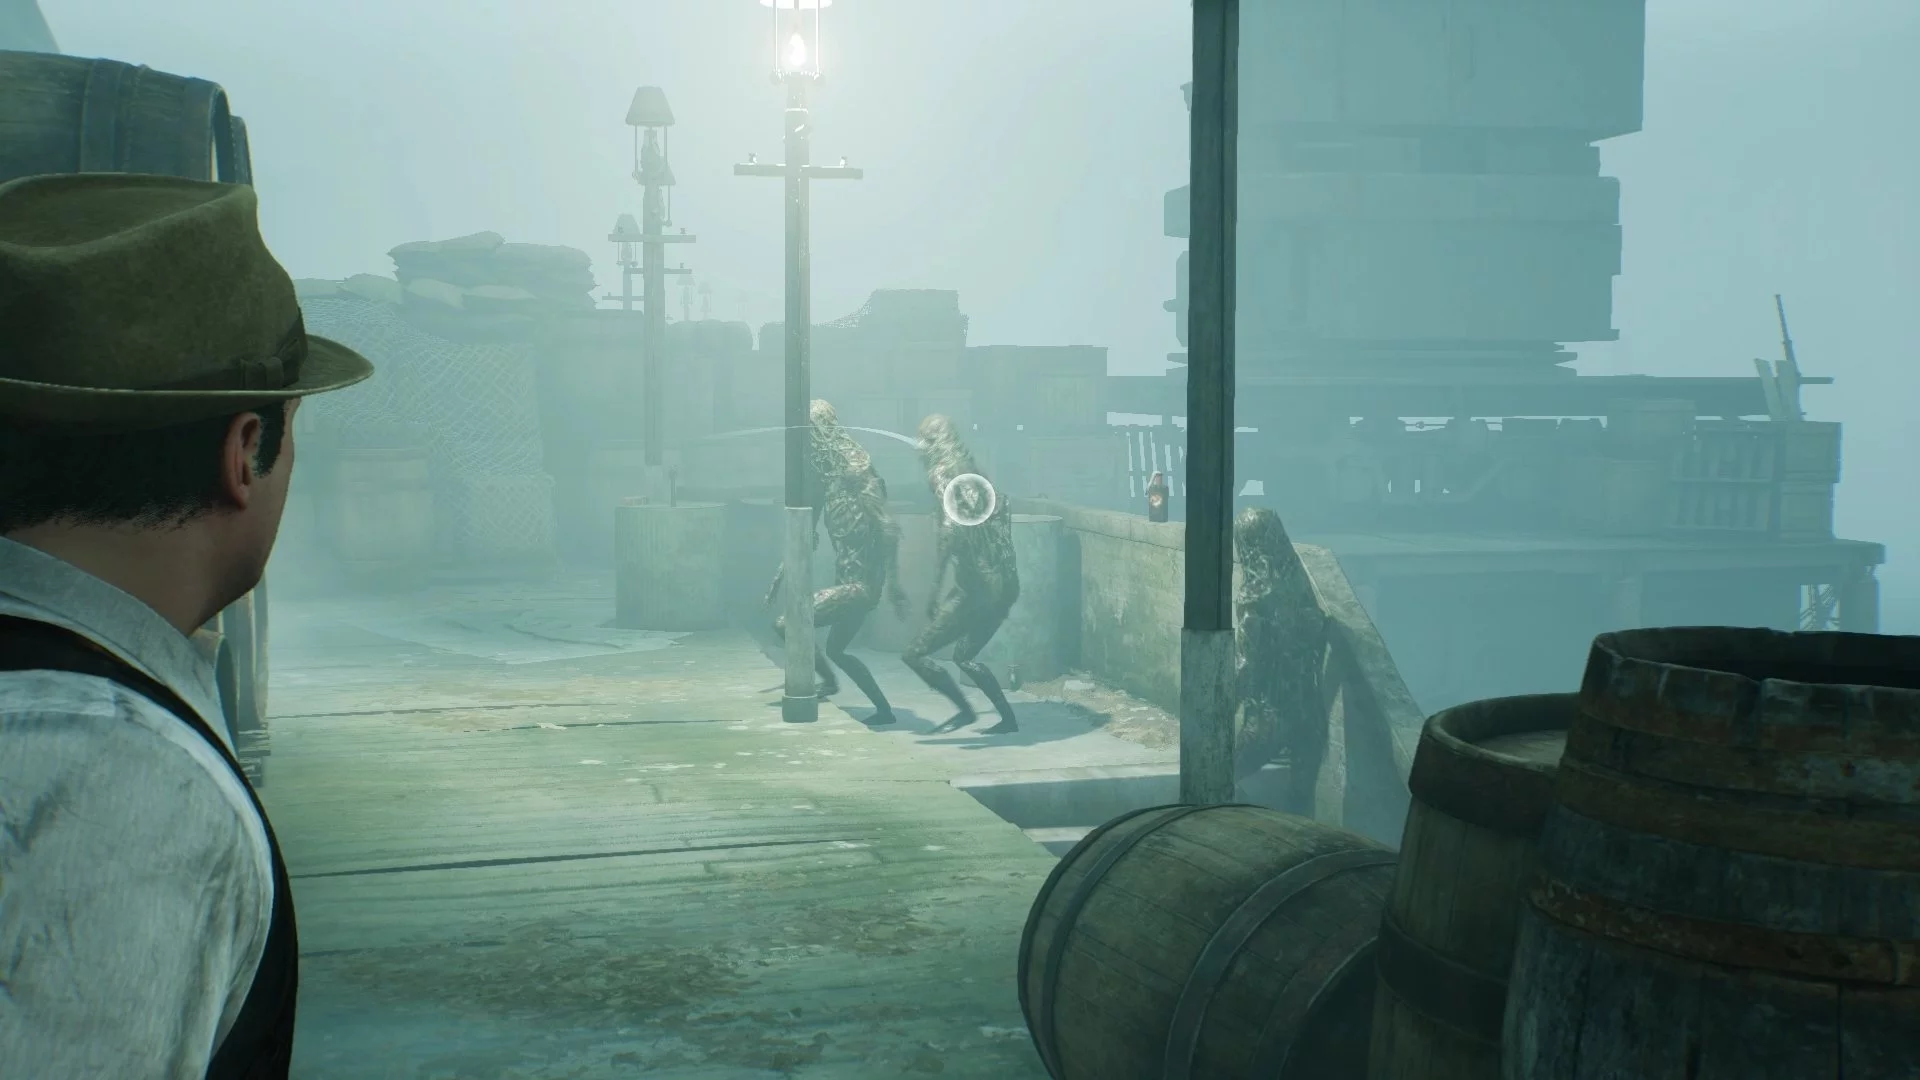
Go to the pier and use the key on the crane to move the cargo. At that moment, three monsters will come from below, and when you approach the stairs, three more will appear behind the hero. We recommend killing only the first two enemies, as they block the way, and then descend into the sewer, ignoring the rest.
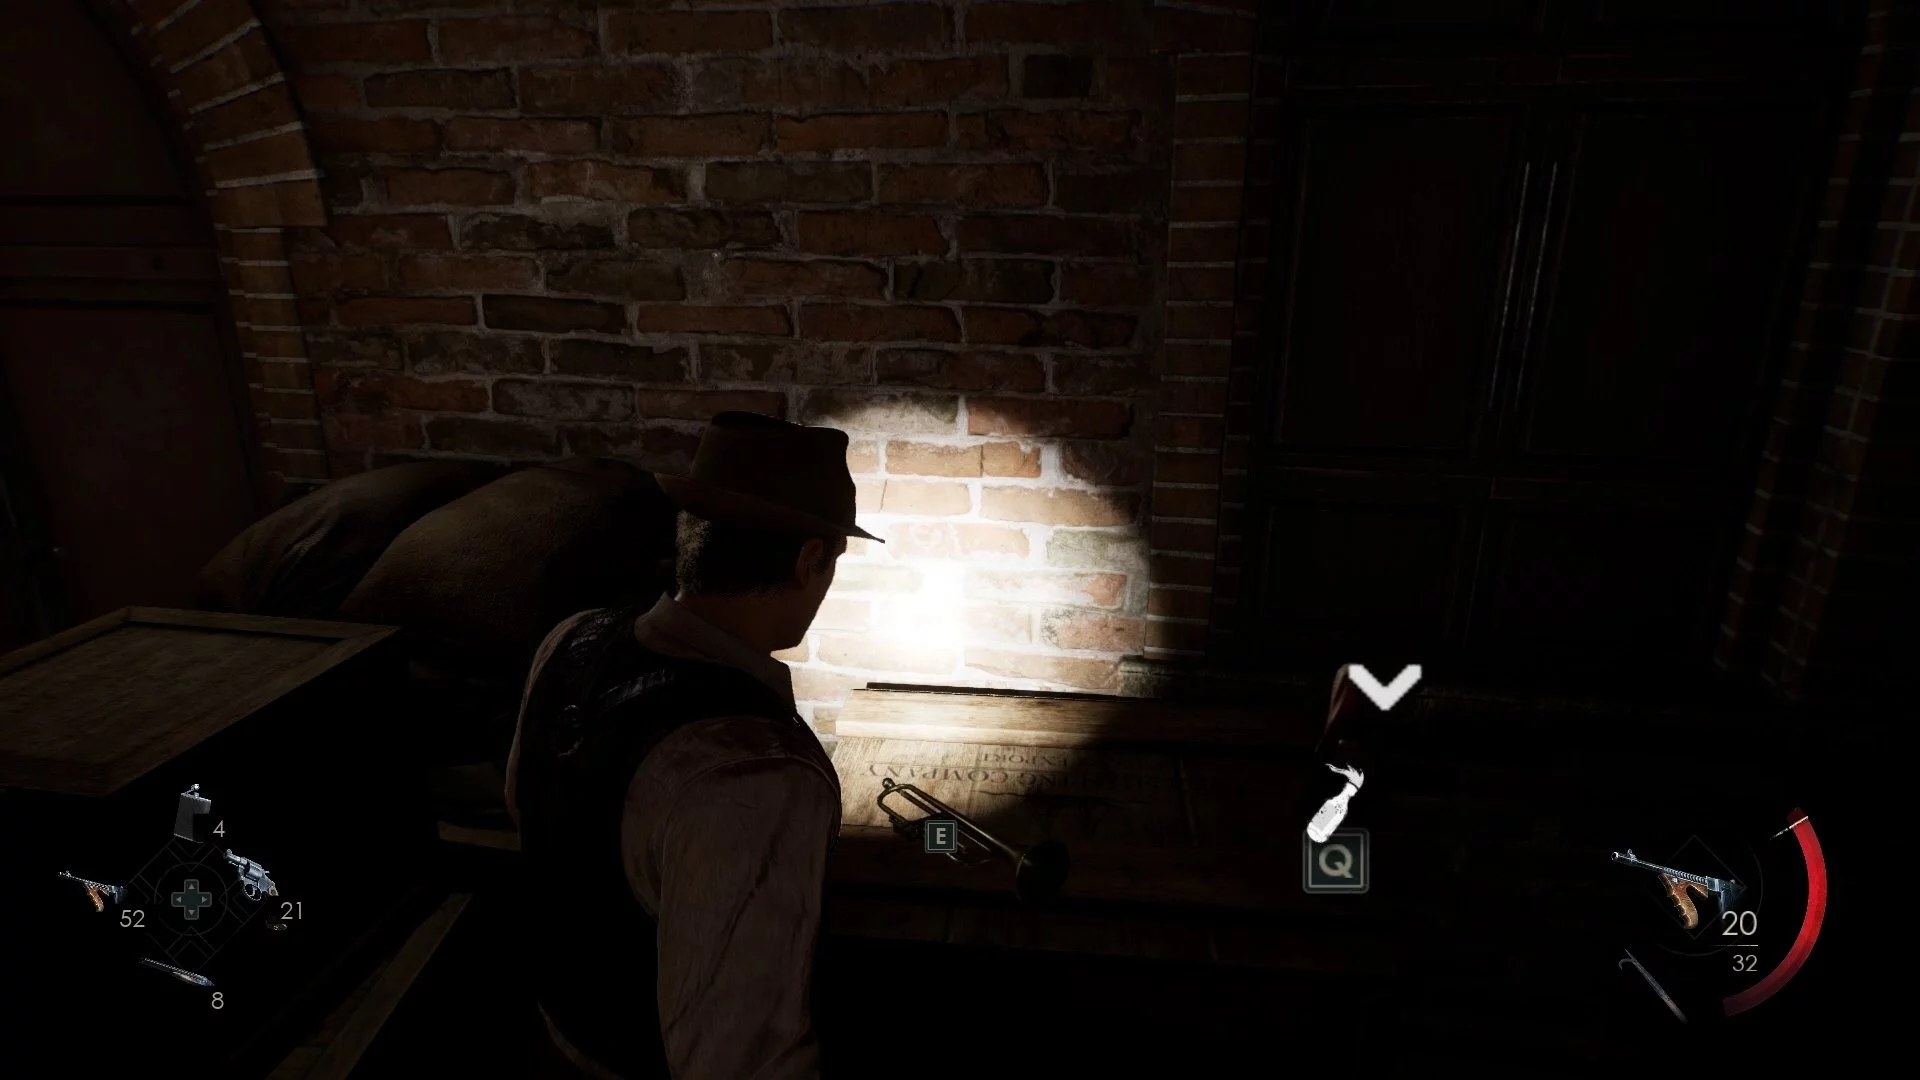
There will also be several enemies in the tunnel, but you can pass by them and quickly run to the ladder. Once inside the building, on the first floor, examine the boxes to the left of the entrance door — there you will find the gift «Severed Horn».
Go up and enter the manager's room. Read the note «All His Things», take the Tommy gun, and open the safe — 4 left, 5 right, 4 left. Remember, you need to select the correct numbers!
As you descend, prepare to meet a large group of monsters. However, here you can use Molotov cocktails to quickly get rid of them and not waste your ammunition.
The fog in the neighboring area will clear, but don't rush to enter the only door. To the right, there is an inner courtyard — collect the ammo and the collectible «Behold the Black Pharaoh» there.
Climb to the top floor and watch the cutscene with Jeremy. When he leaves, interact with the sarcophagus and enter the numbers (from top to bottom): «258». Step back and wait for the sarcophagus to open. Go through it.
How to solve the puzzle in the buried temple
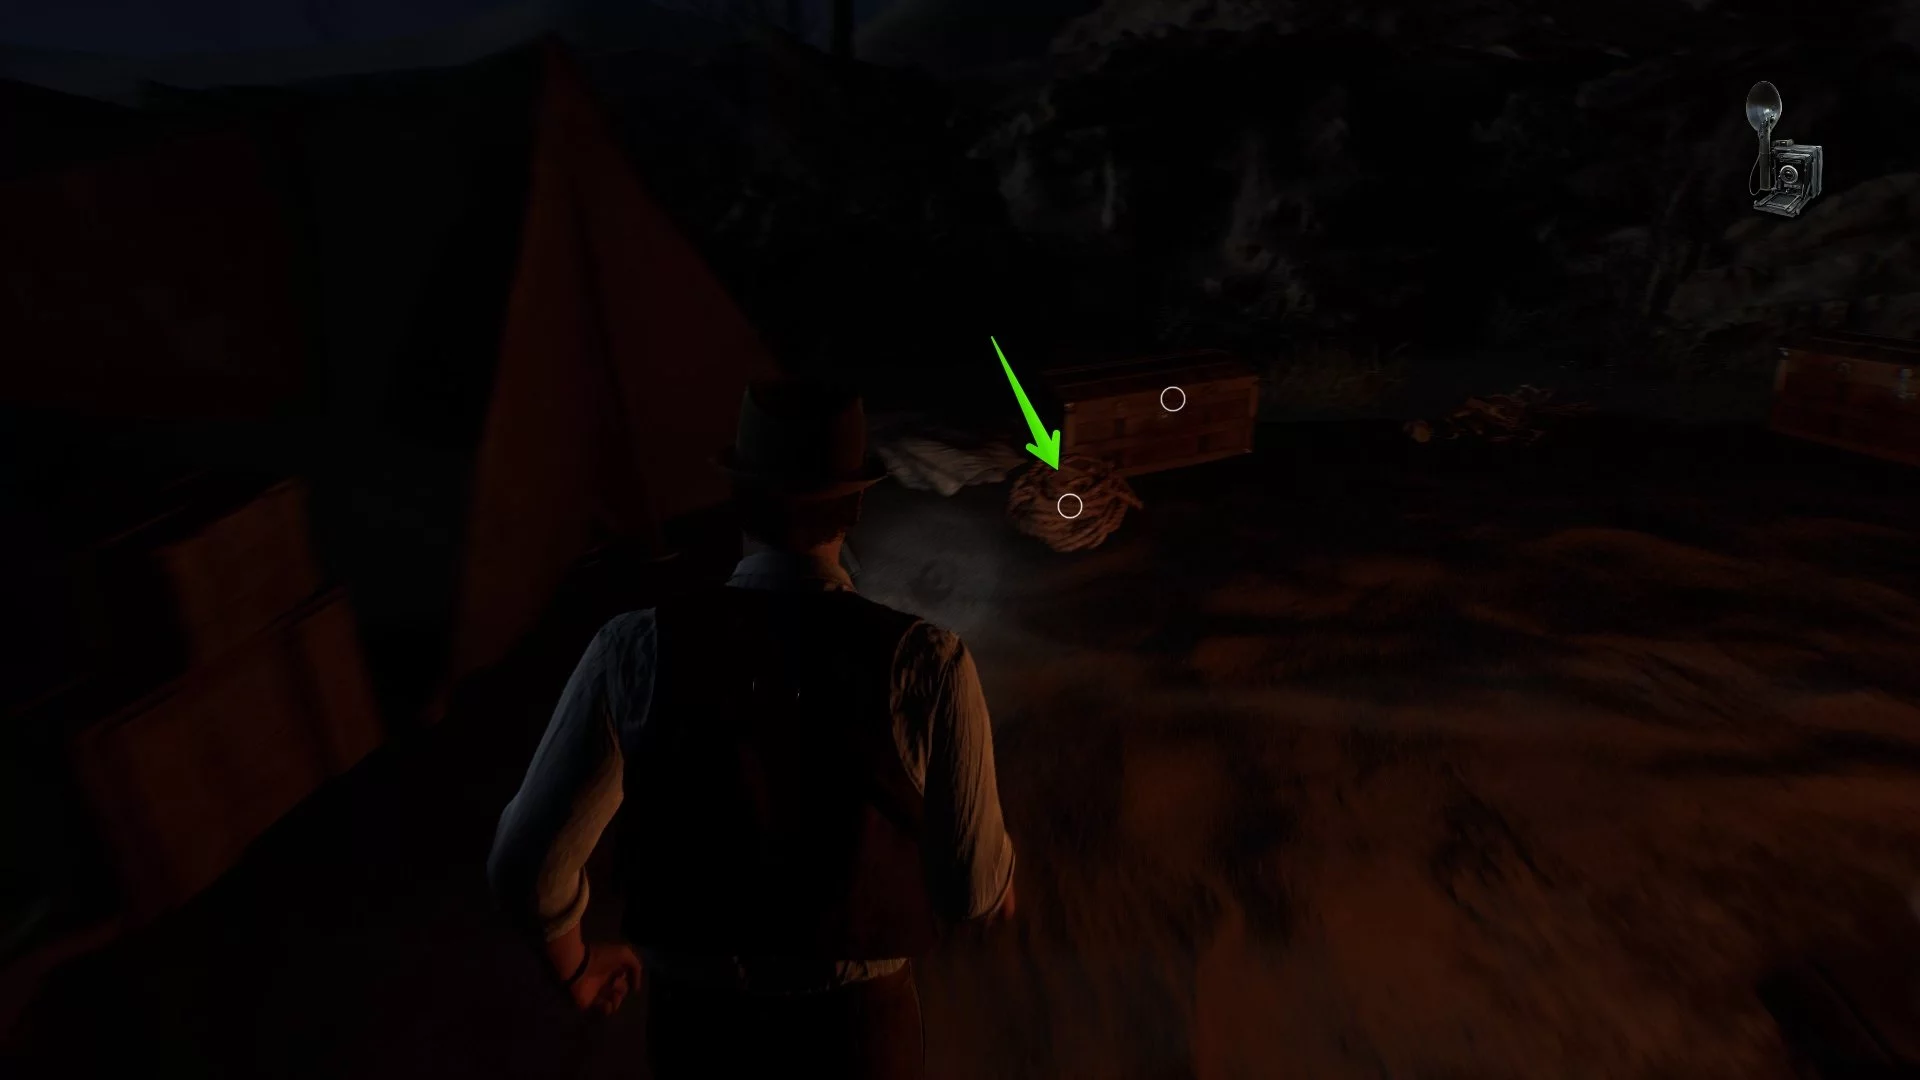
You will find yourself in a new location. To get into the temple, first inspect the far part of the map and find a rope. It lies next to one of the boxes. Here you will also find the clue «Beyond the Valley of the Nile». Return, tie the rope, and descend into the temple.
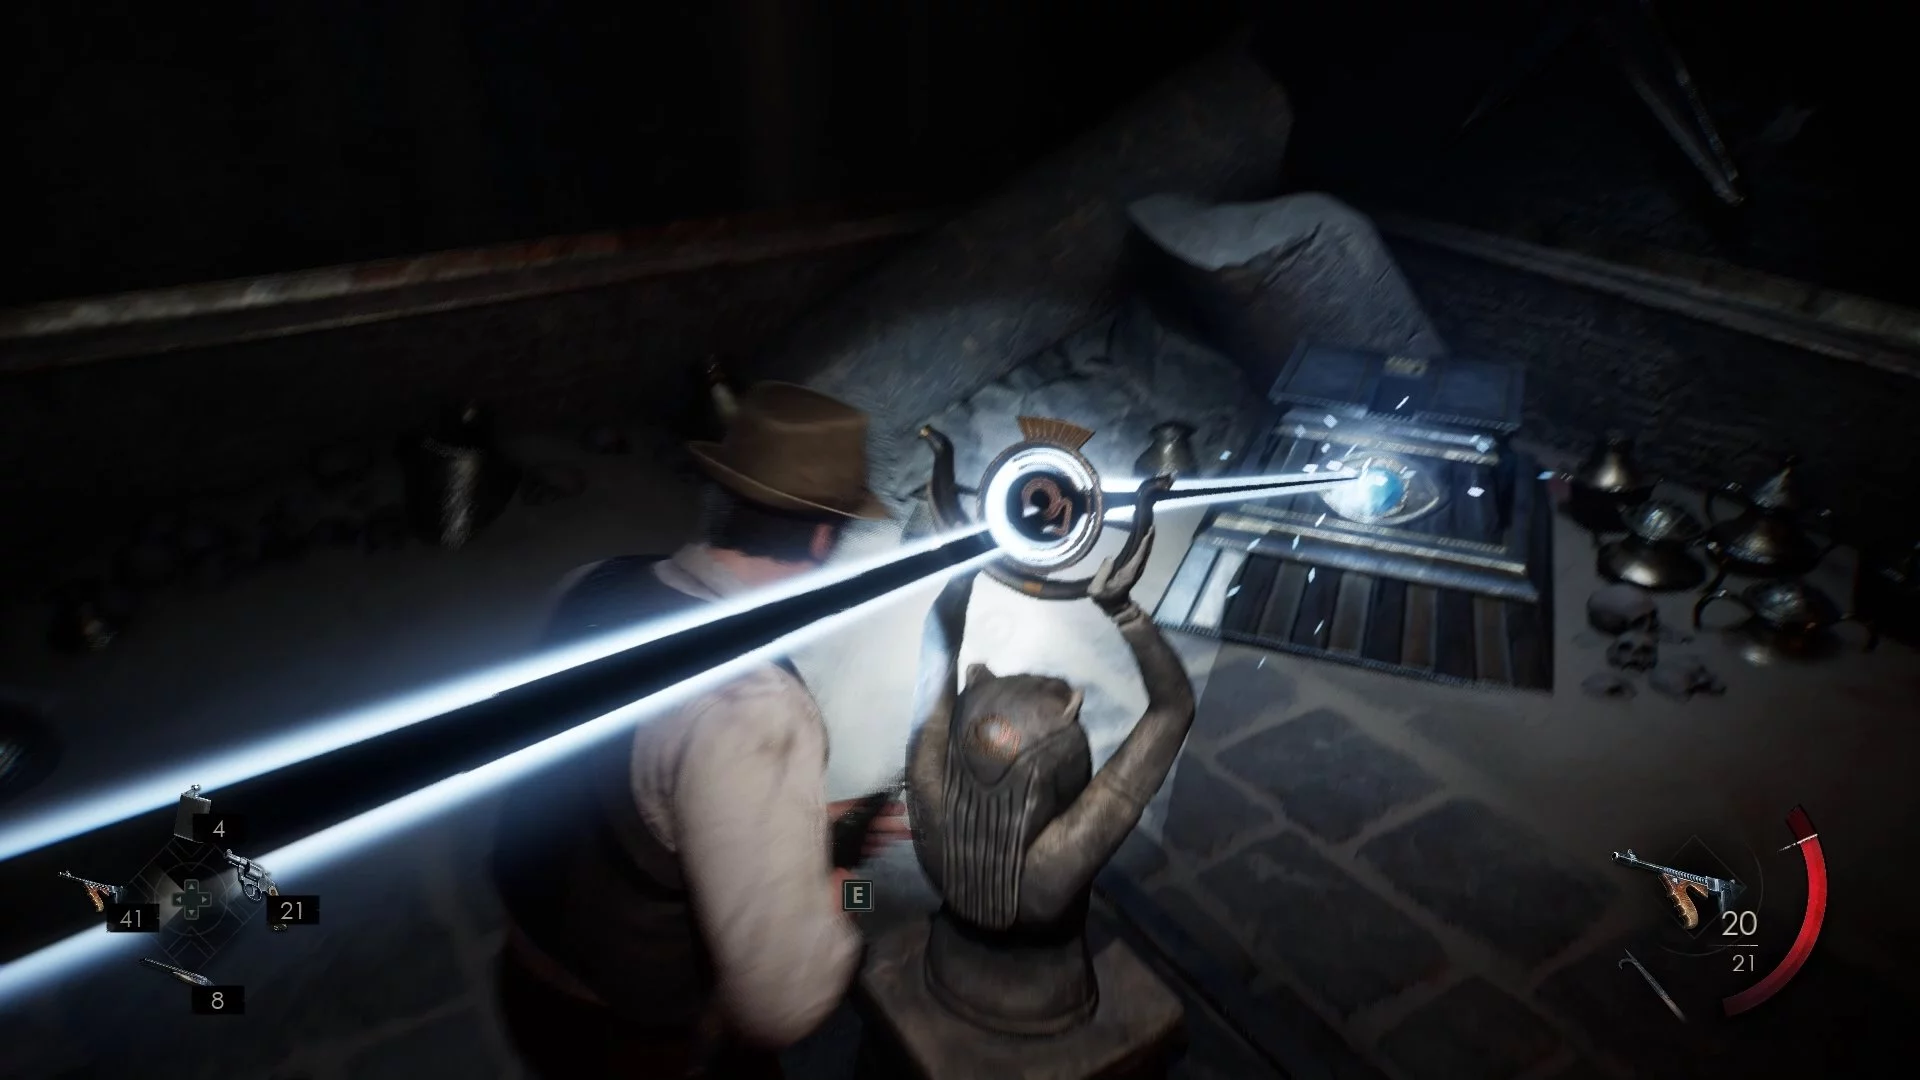
The puzzle is linear, so you won't have any problems. First, pick up the collectible «Canopic Jar» in front of the statue, then activate the lever to the left of it. Some lenses that refract light will become active, and bats will appear. A passage will also open on the left side of the statue — run there.
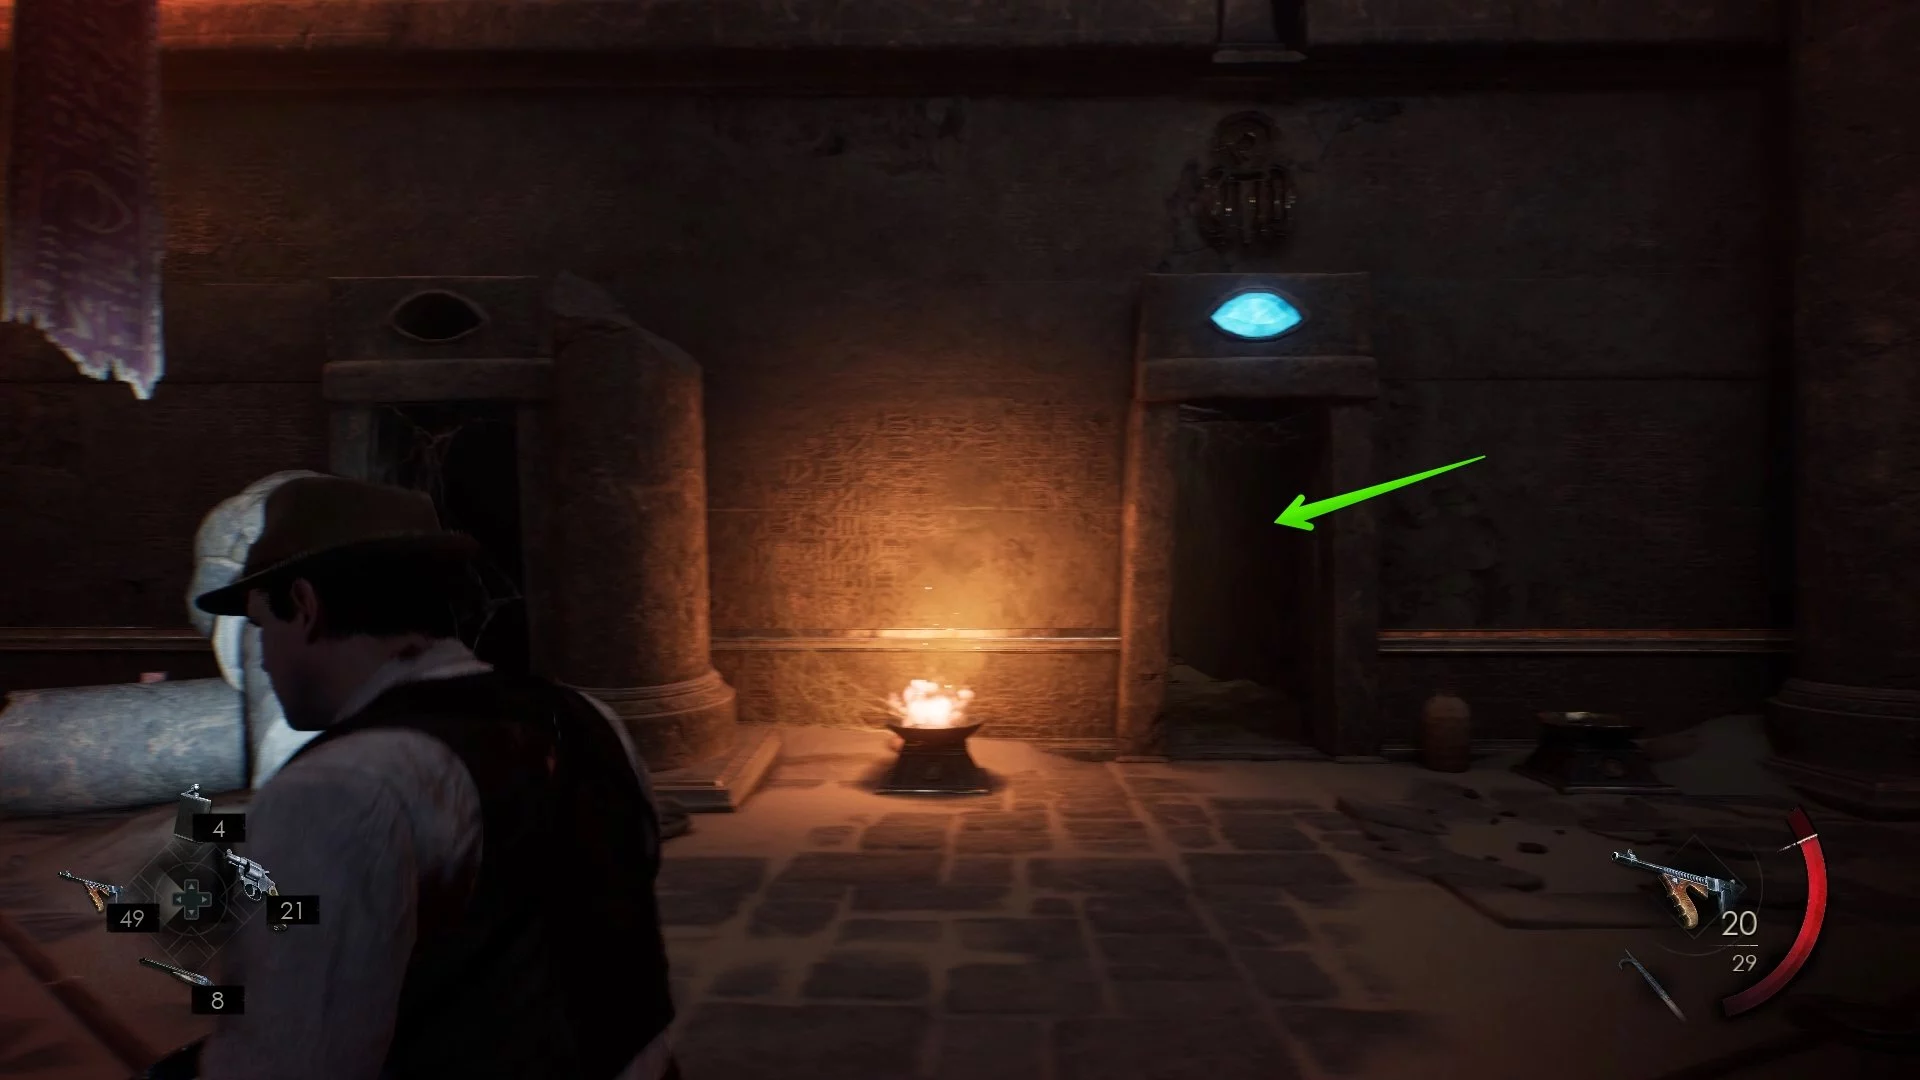
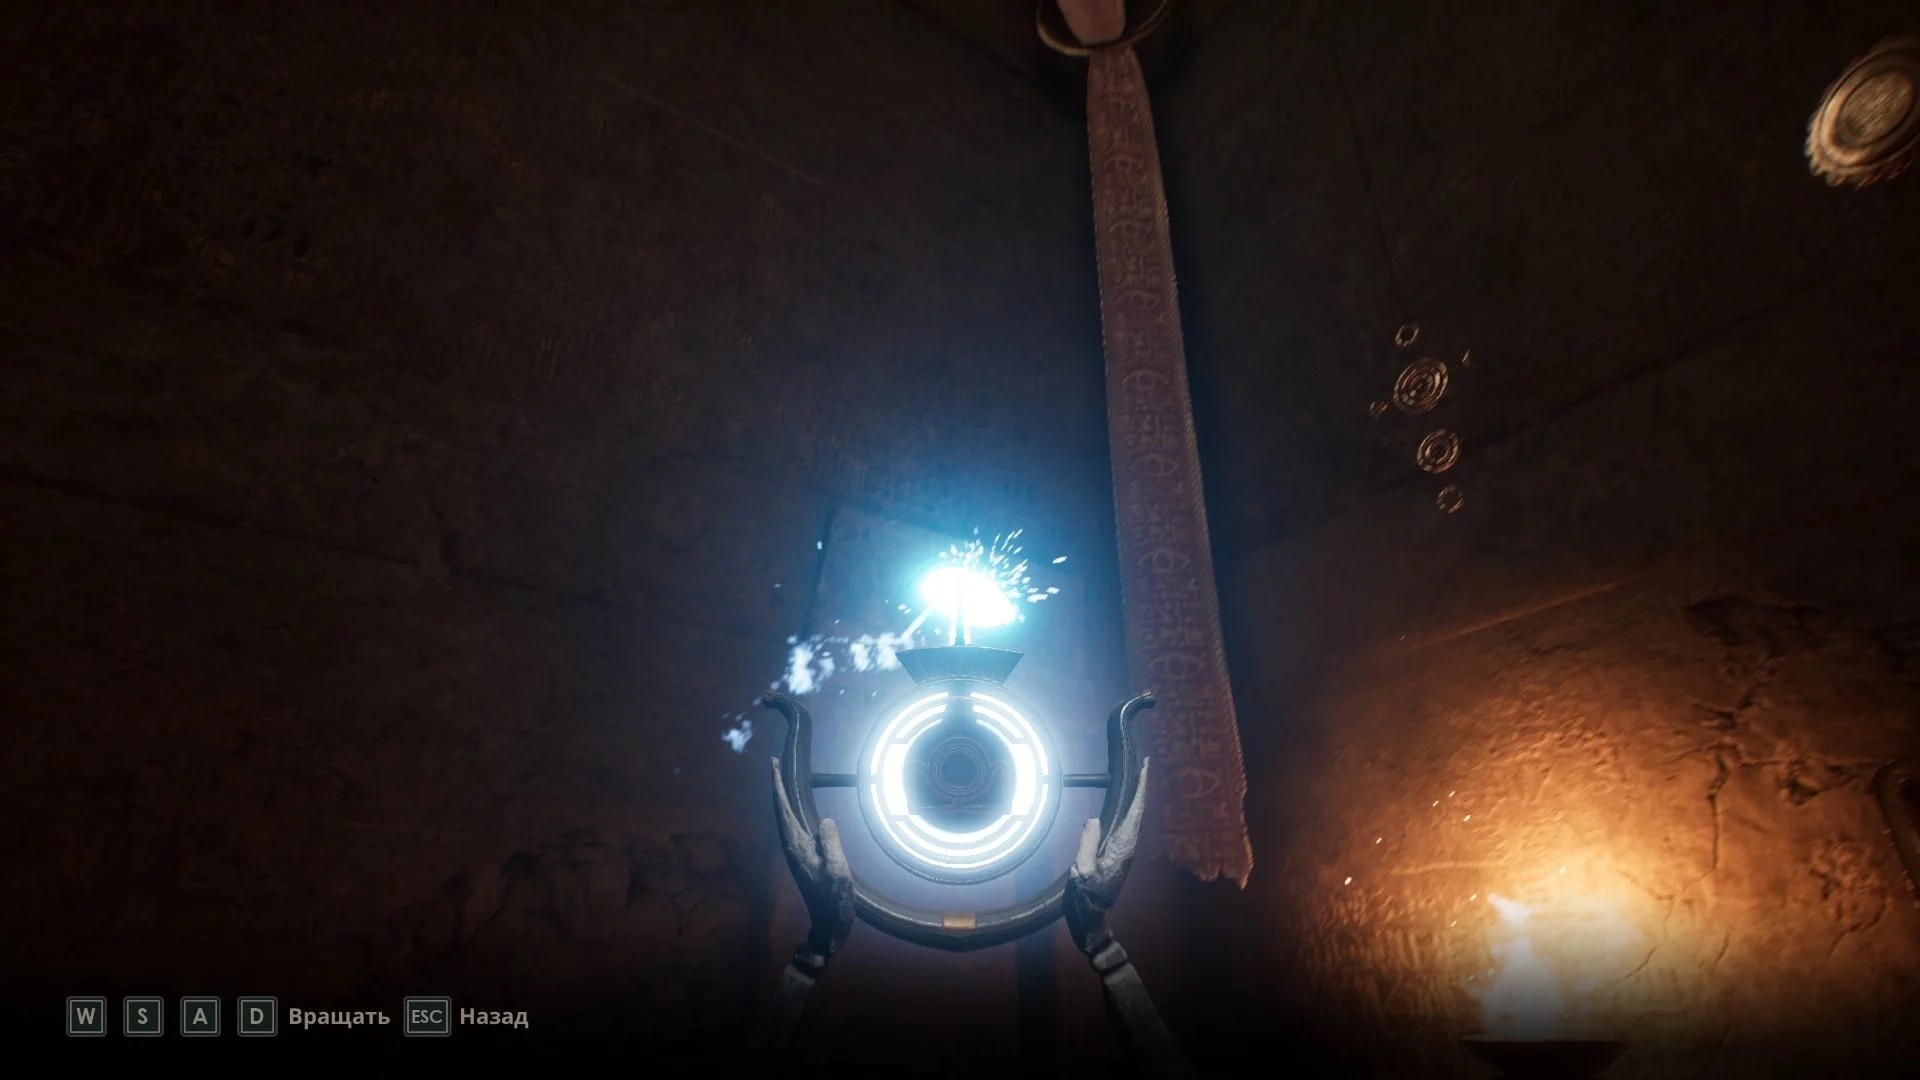
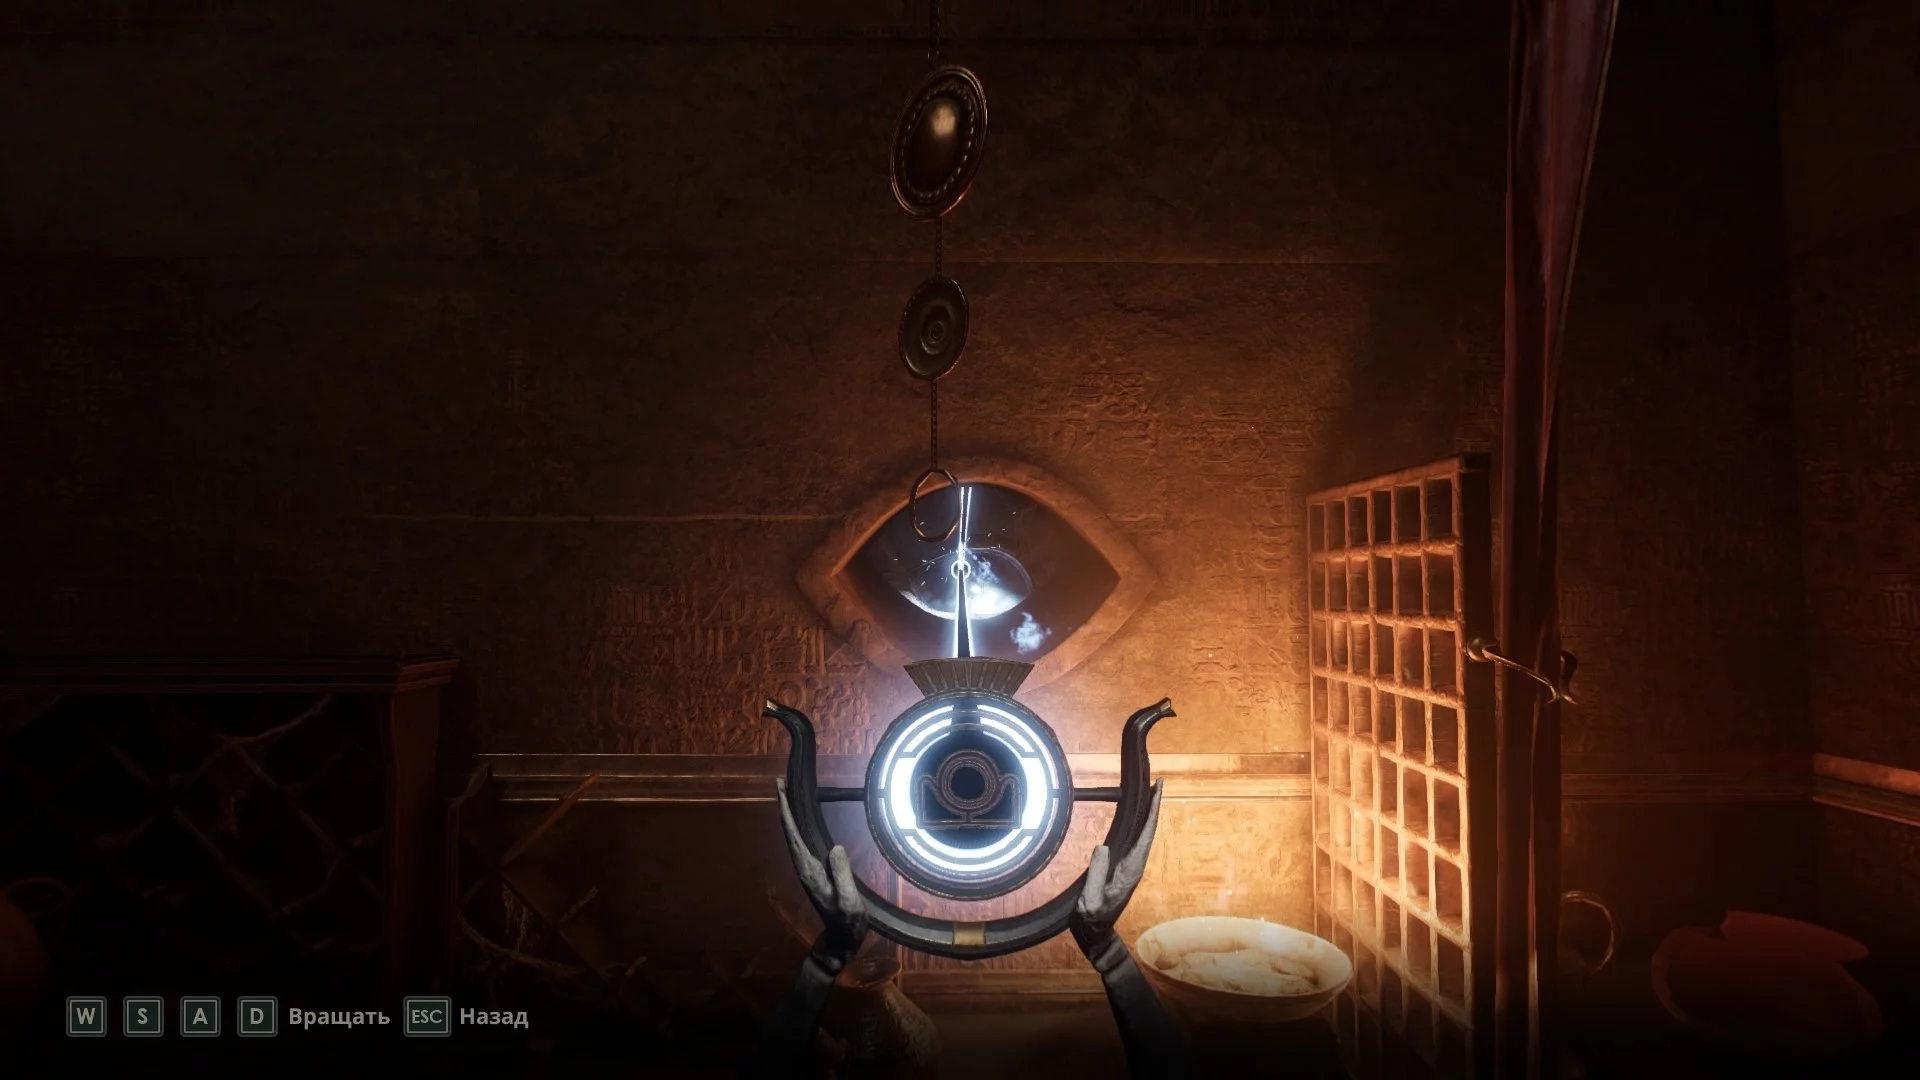
You will enter a room with a pedestal and a lens. Interact with the lever, take the last lens from the box, and place it on the stand, then direct the light onto the blue object above the door.
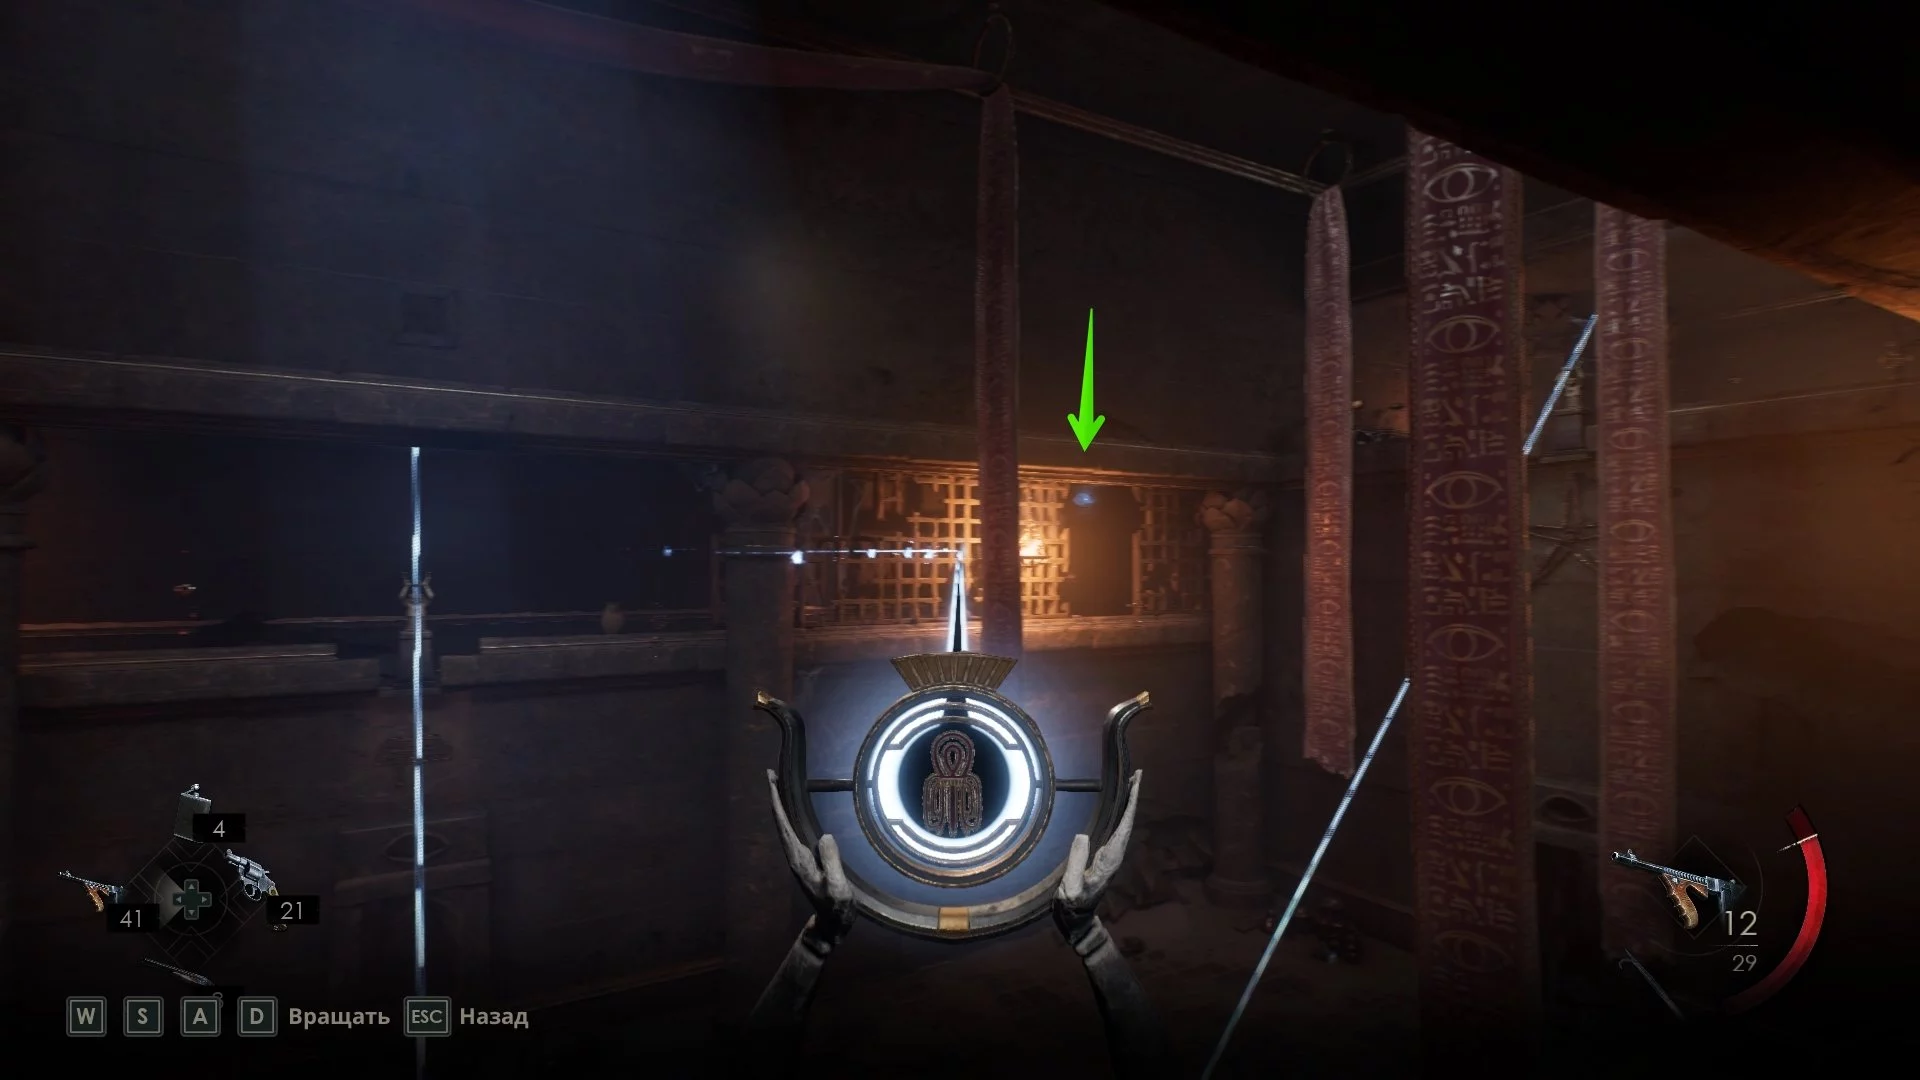
Climb higher and immediately turn left. Bats will appear here as well. To move further, shift the lens to the right side to open the distant door.
Note: You can burn any enemies with the beam from the lens, including the bats.
First, we recommend going to the left towards the stairs and climbing higher to find the collectible «Children of the Dark Sun». It is located in a small urn.
Run there and get rid of the wooden planks holding the doors. In the small room with the stand, activate the lever, direct the light onto the box, and take the star-shaped lens.
Return to the top and in the central part of the balcony, find the necessary carrier for the lens. Direct the beam at the door to the left of the large statue on the first floor.


Several enemies will emerge from the opened door, so be on alert. In the lower part of the temple, break the planks, activate the lever, and direct the light into the adjacent room. Then use the carrier in the next room to open the box and take the underworld-shaped lens.
All that remains is to direct all the beams onto the headdress of the large statue, then climb up there and aim the beam at the glowing object on the floor.


Descend and collect the Dark Man's contract to complete the chapter.
Chapter 4. How to complete the chapter as Edward and Emily
The main character will appear on the staircase landing near the attic. Descend to the first floor and run to the additional part of the house. Head towards the greenhouse — in the last room, take a look around. Here, the collectible «Opera Poster» often appears.
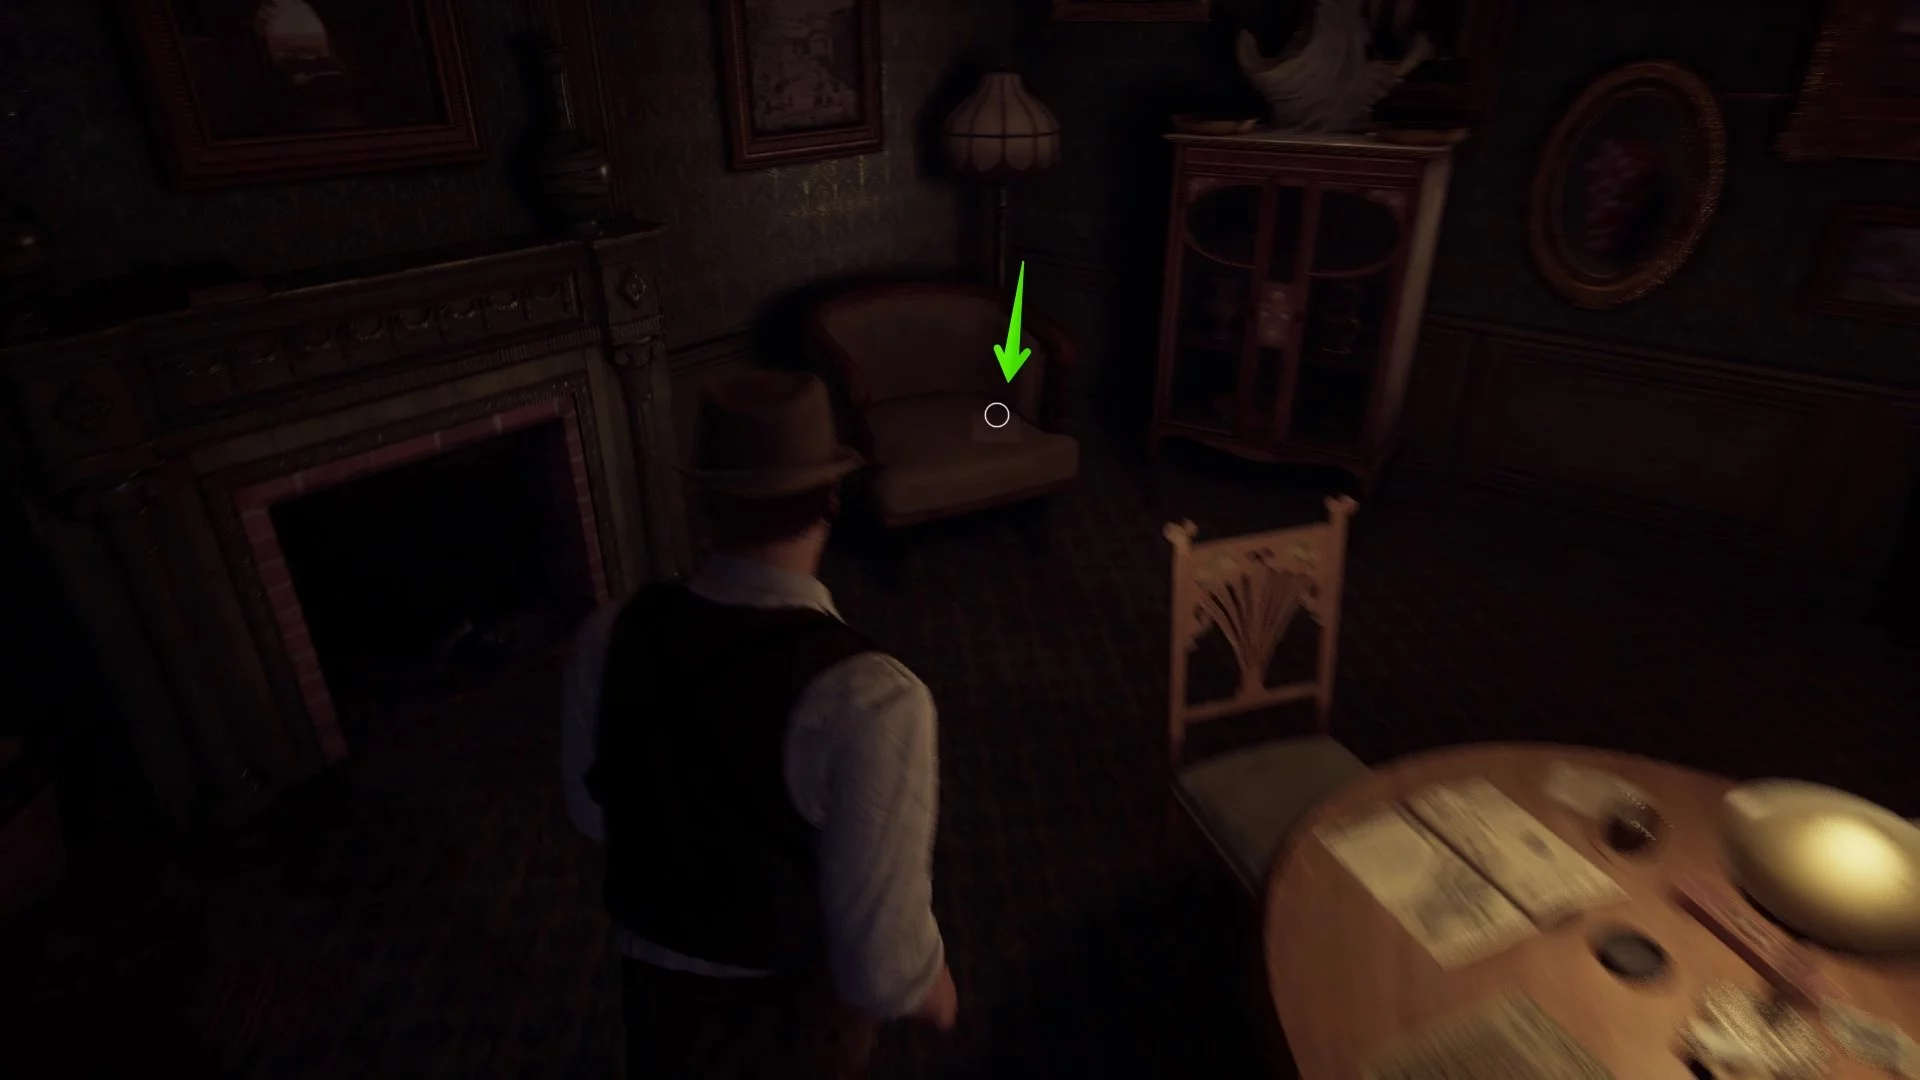
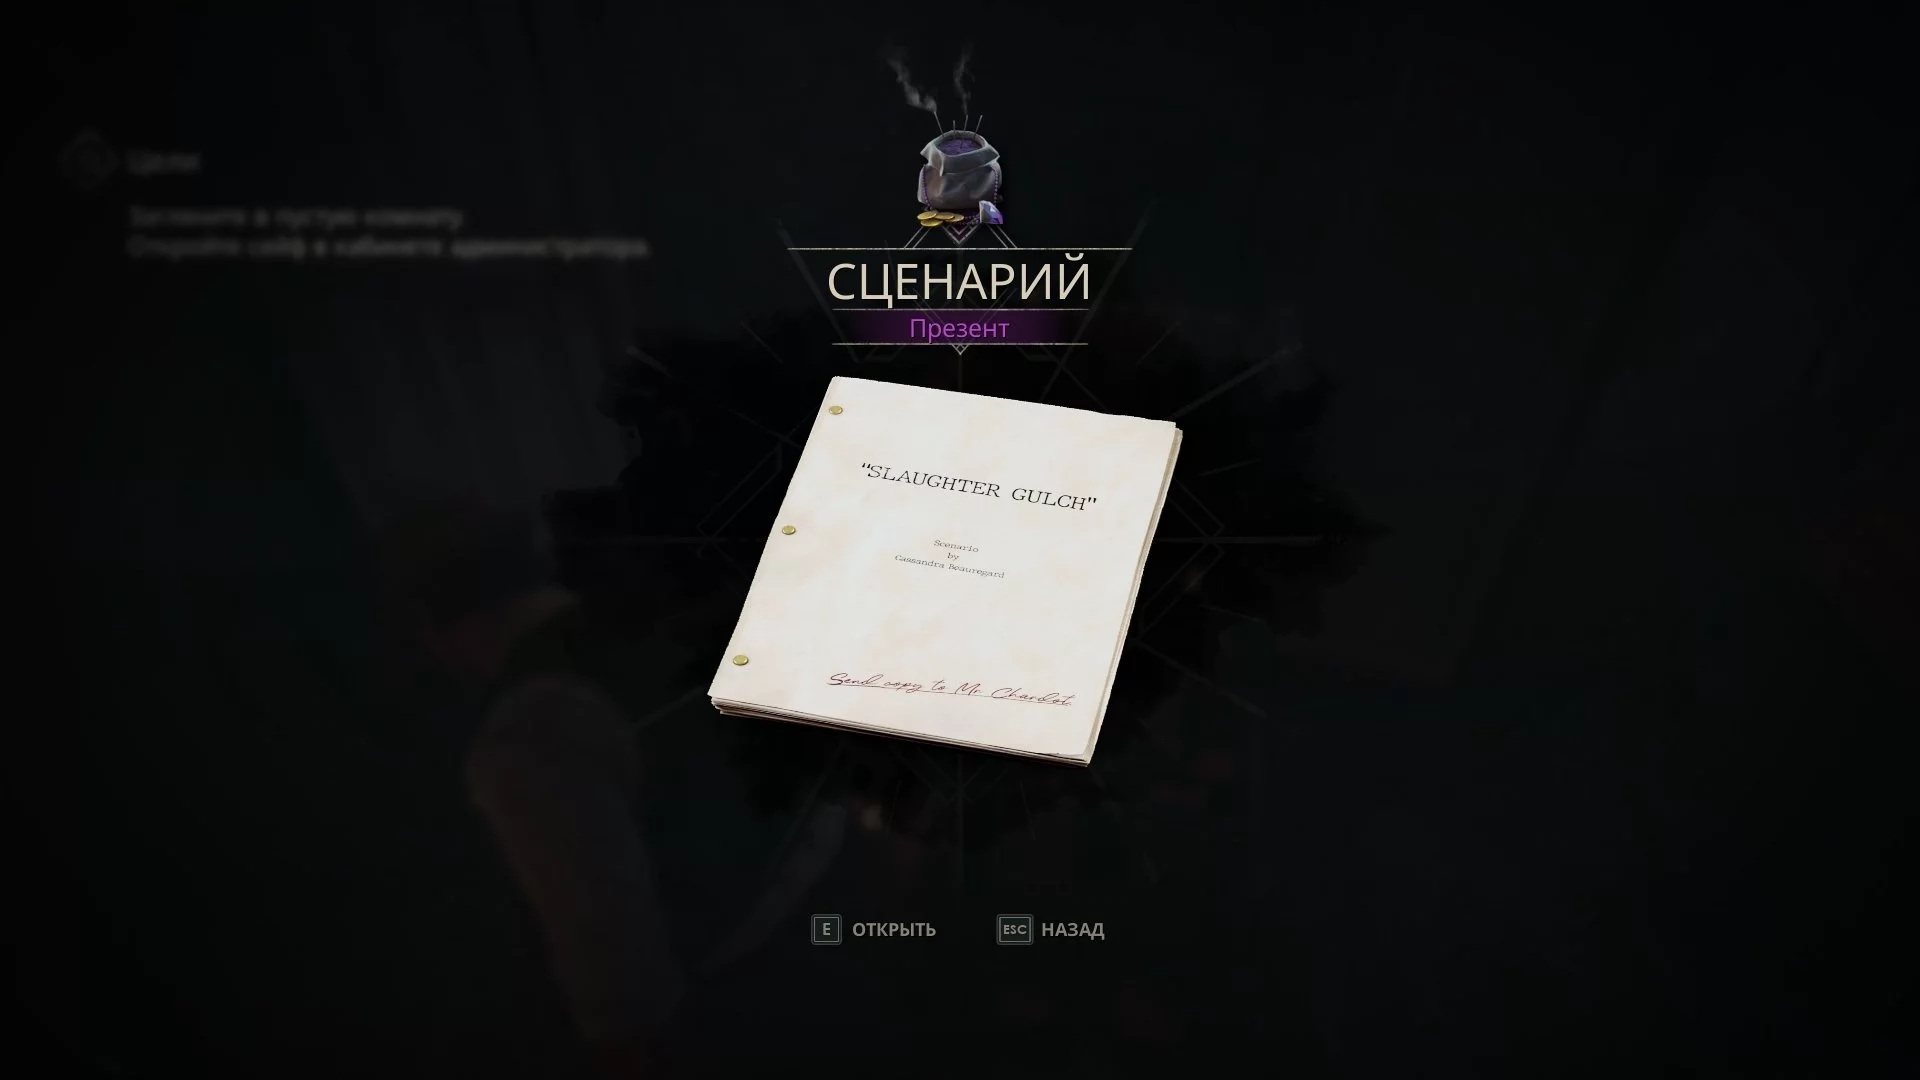
In the inner courtyard, use the ladder to climb up to the balcony and reach the main building. Go up to the second floor and head to the living room. If you are playing as the detective, a cutscene will start now, after which a key to the 1st-floor hall will appear on the floor. In Cassandra's room, you can also pick up the clue «Cassandra's Last Page» (it contains the code to the administrator's safe on the first floor) and the collectible «Script».
Head to the first floor and open the hall door. There will be three rooms available for inspection. We recommend heading straight to the far room, from which a magician will emerge upon opening the door. Here, examine the wall and open the safe:
- In Edward's scenario: turn 6 left, 9 right, 3 left.
- In Emily's scenario: turn 9 left, 1 right, 8 left.
Remember, to open the safe, you need to select the exact numbers!
Edward's scenario. How to complete the investigation
In Edward's scenario, you will receive a key item, a picayune (coin), as well as a note «Seek the Girl». In the same room, don't forget to pick up the present «Indigo Ashes».
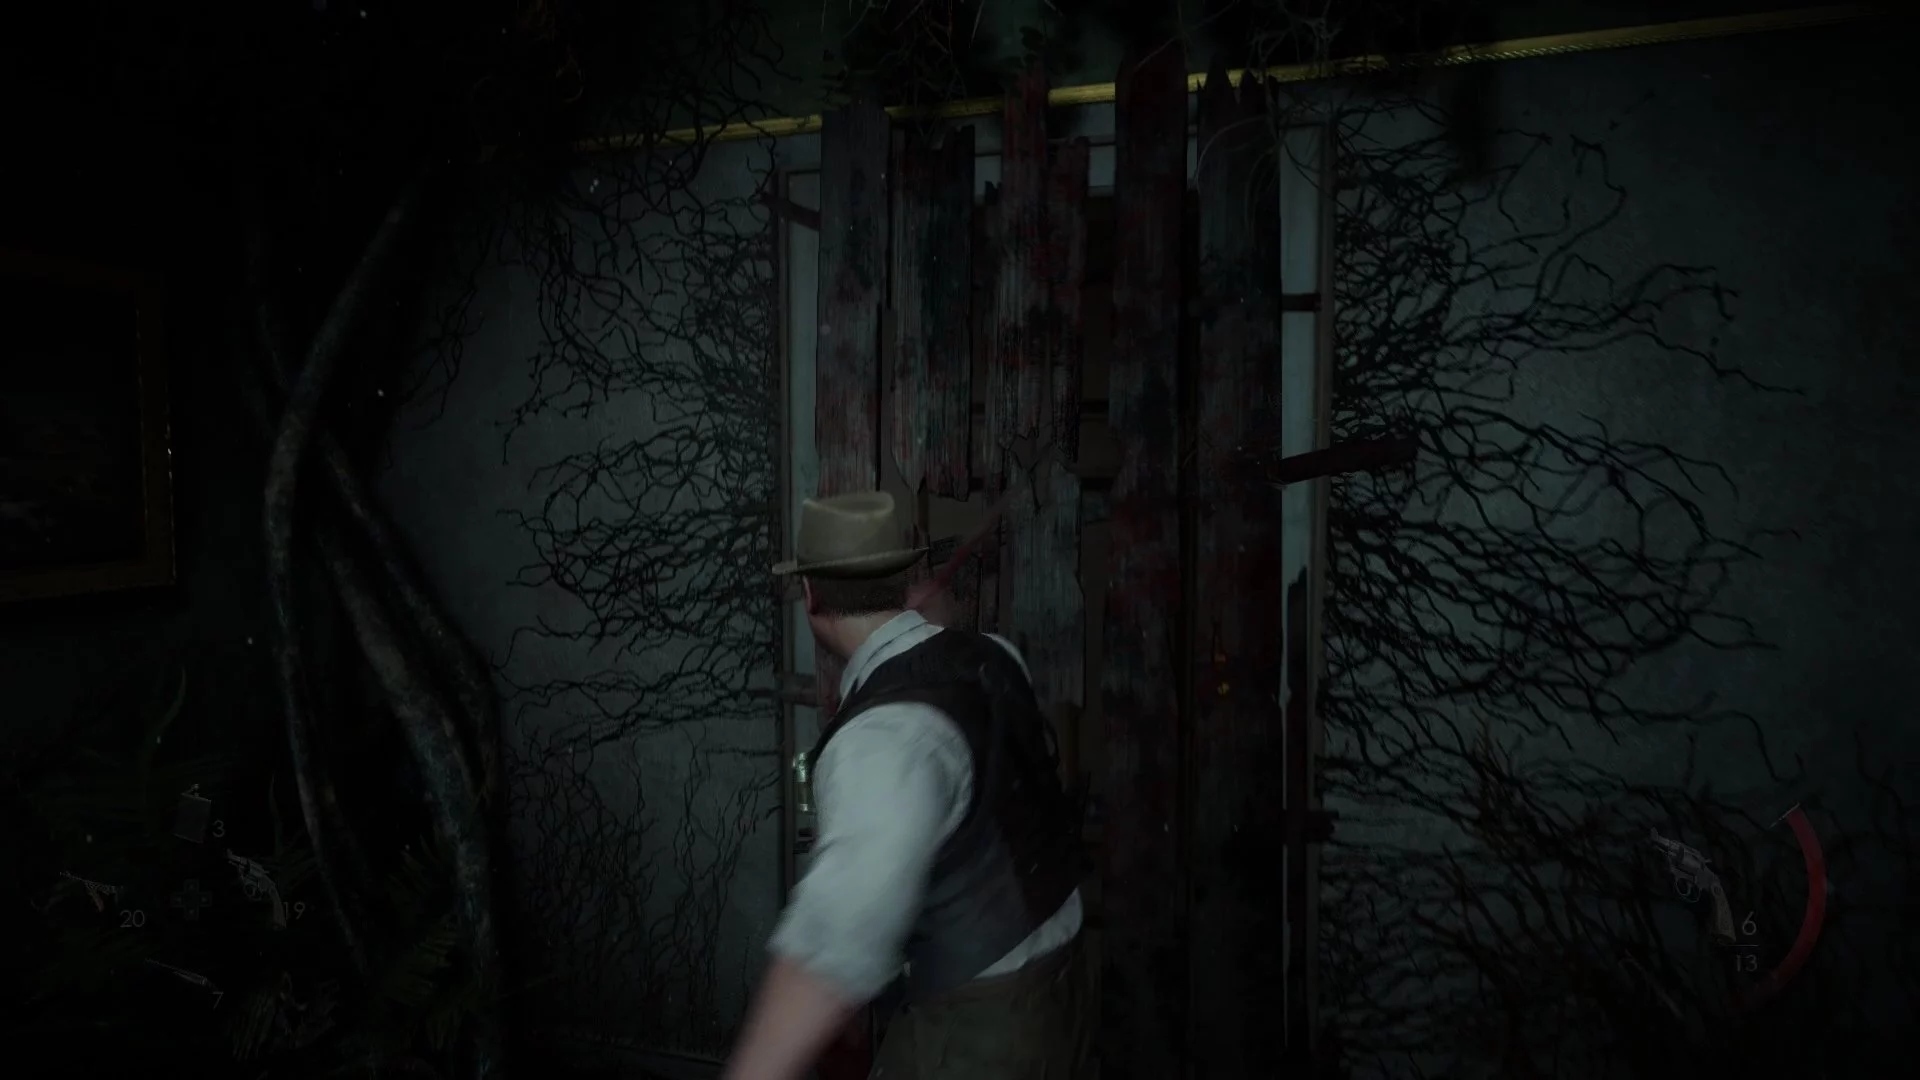
Run to the first room from the entrance to the hall and use the coin on the ventilation grate in the far right corner of the room. Take the missing painting. Reality will change again. On your way to the living room, you will encounter several monsters — you can avoid them and run straight to the door. You will have to free the door from the wooden planks.
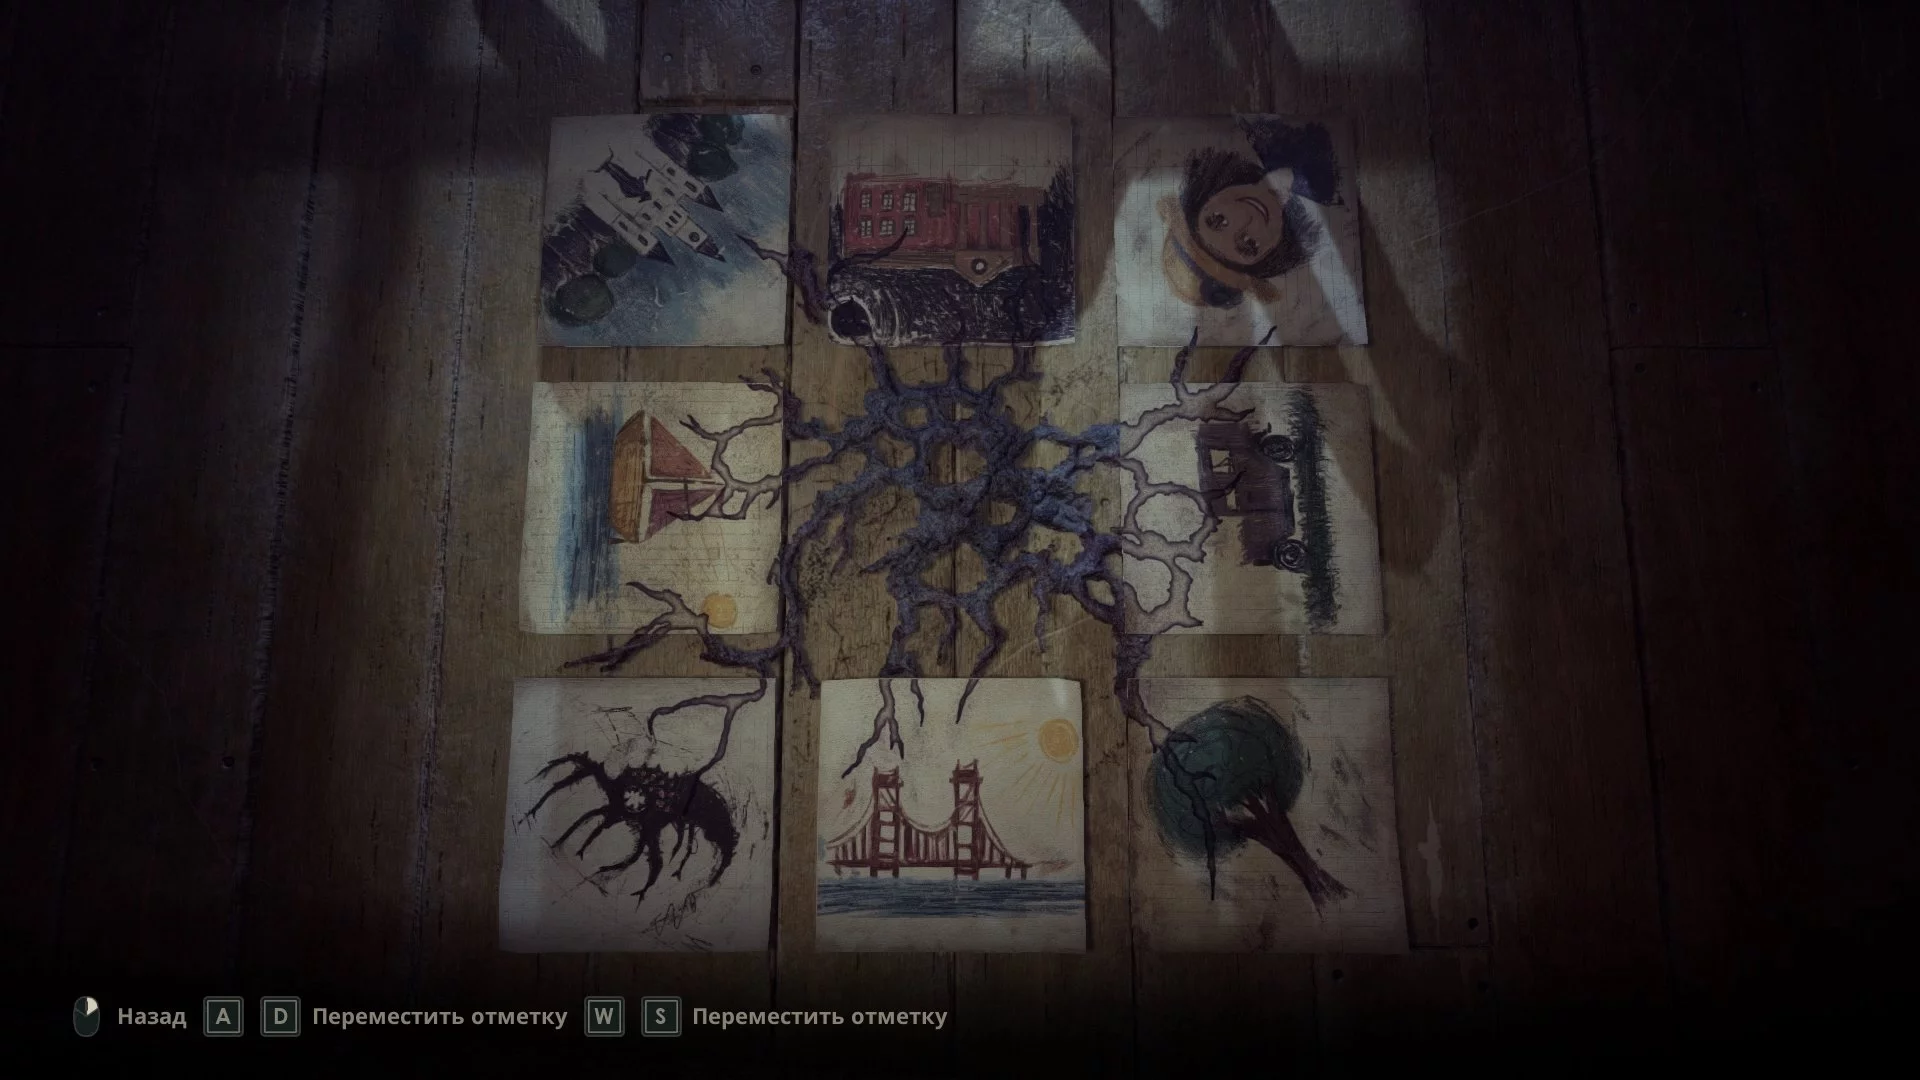
City
In the girl's room, you will see scattered drawings on the floor. Place the found picture here and arrange them as shown in the screenshot below.
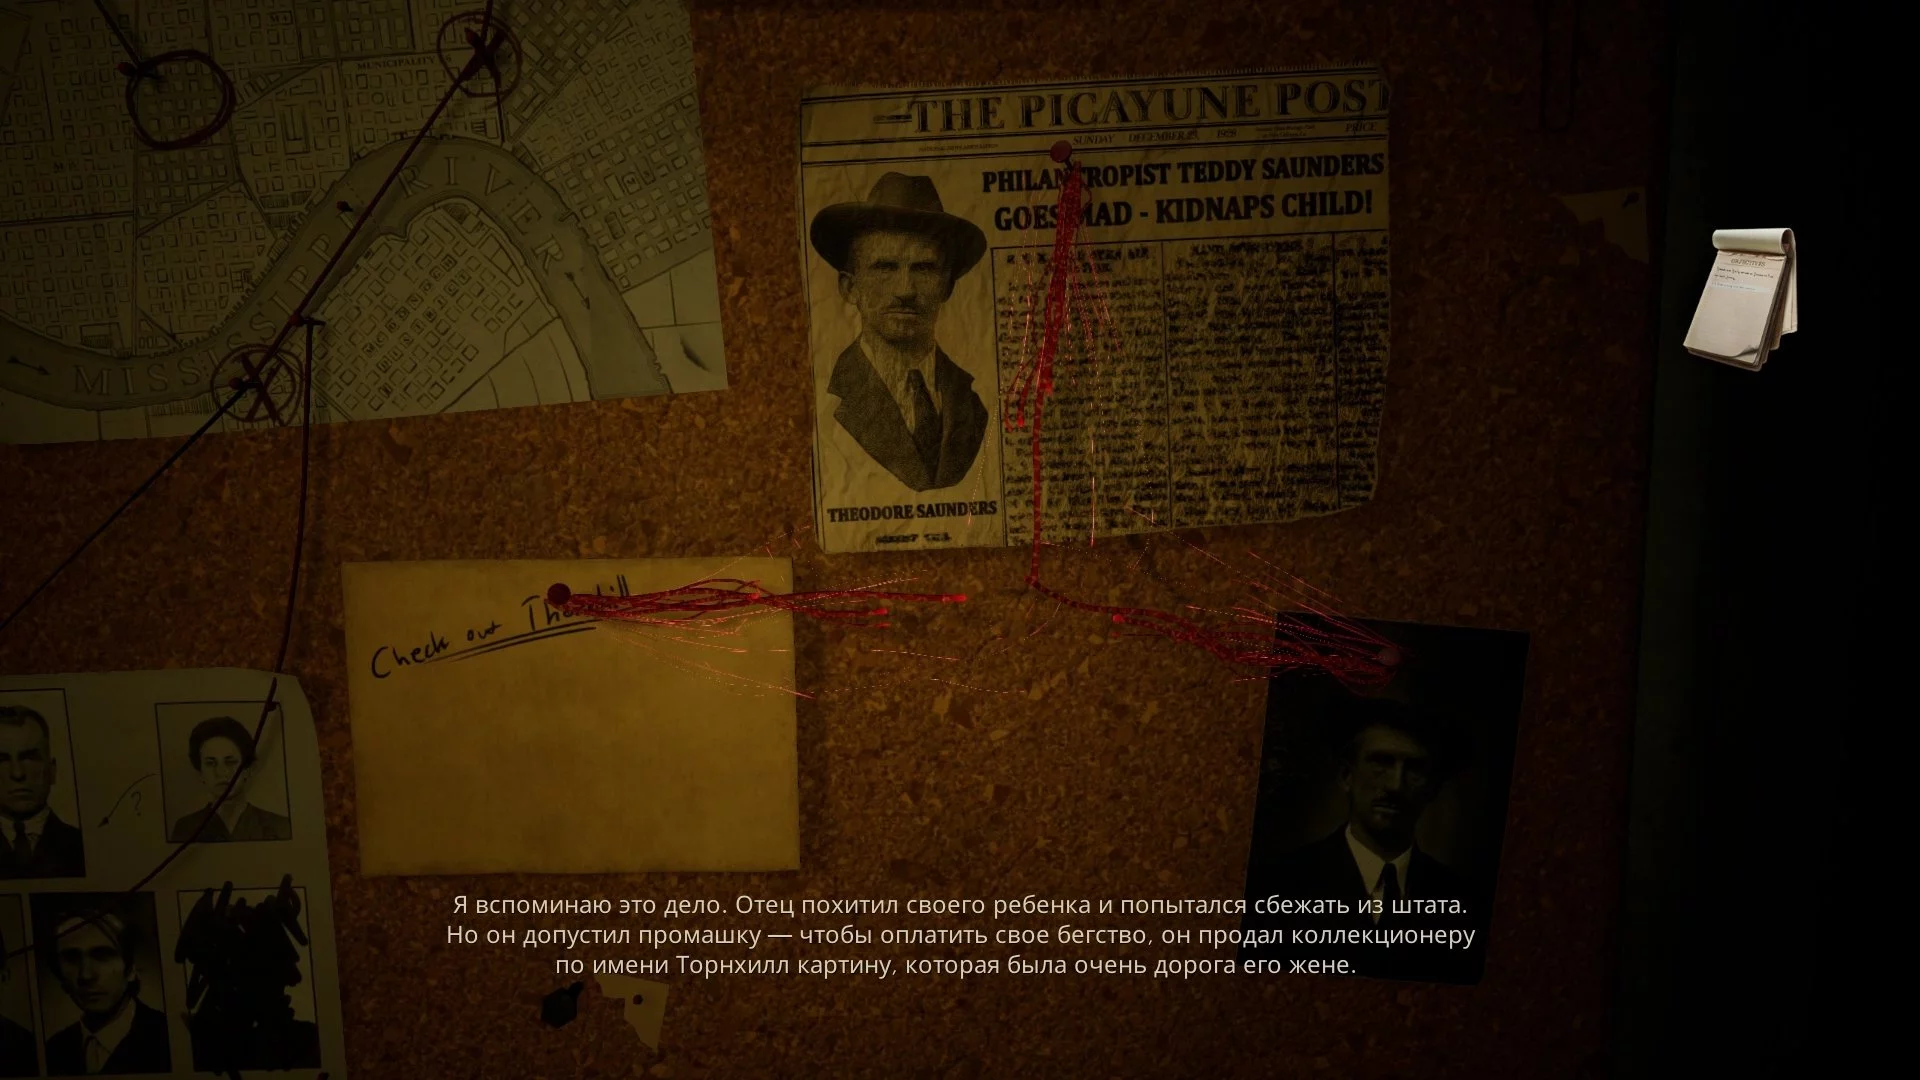
When you leave the room, you will find yourself in another location. Examine the silhouette of the detective at the table, take the key from the table's drawer, and collect three clues. Place them on the board and match them as shown in the image below.
Head outside and run through the lit areas. Enter the building where Edward's silhouette is seen. On the second floor, examine the painting and try to return back. At this moment, a passage will appear in the wall to the adjacent room. Kill the monster and go back down to the street. There will also be several enemies here. You can choose not to fight them and run straight to the tram, then close the door behind you.
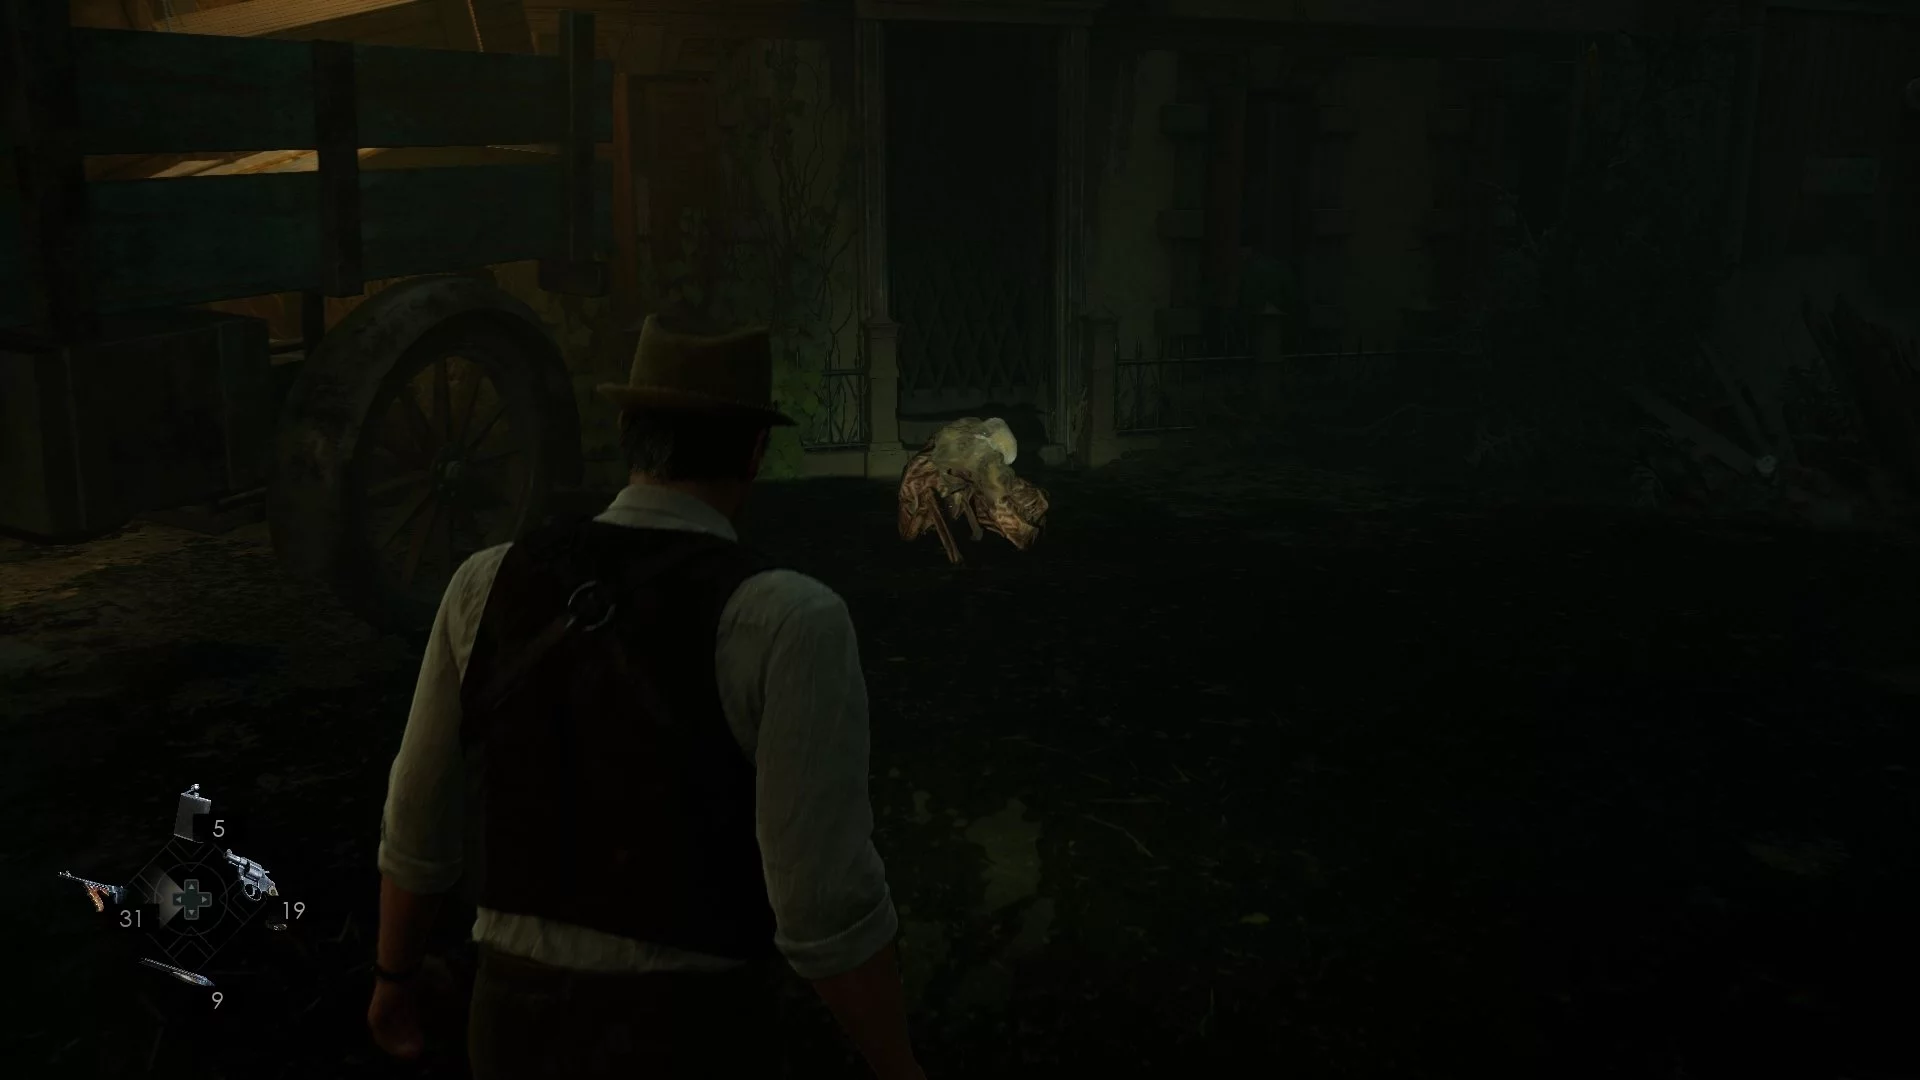
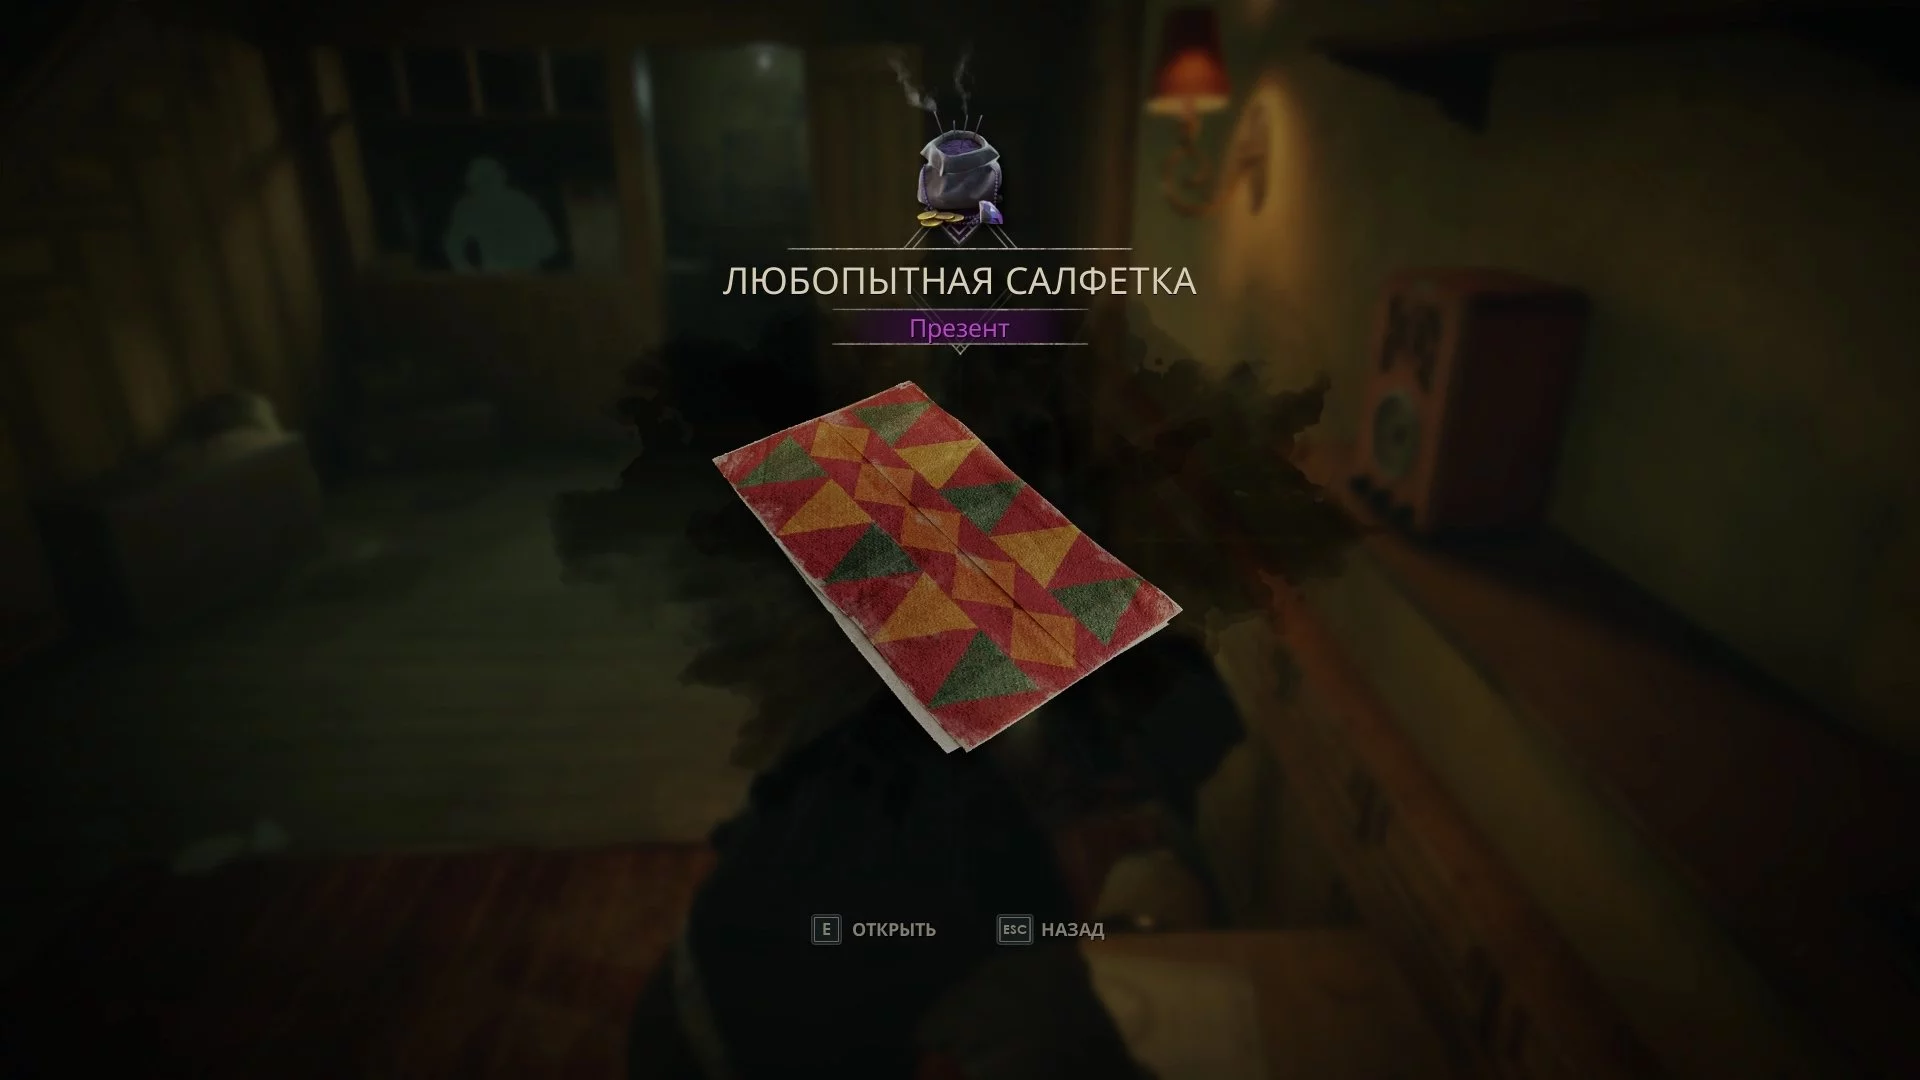
In the park, examine the car with the detective's silhouette, then approach the gates. Monsters will break out from there — dispose of them and enter the building. On the table to the right, there is a gift «Curious Napkin».
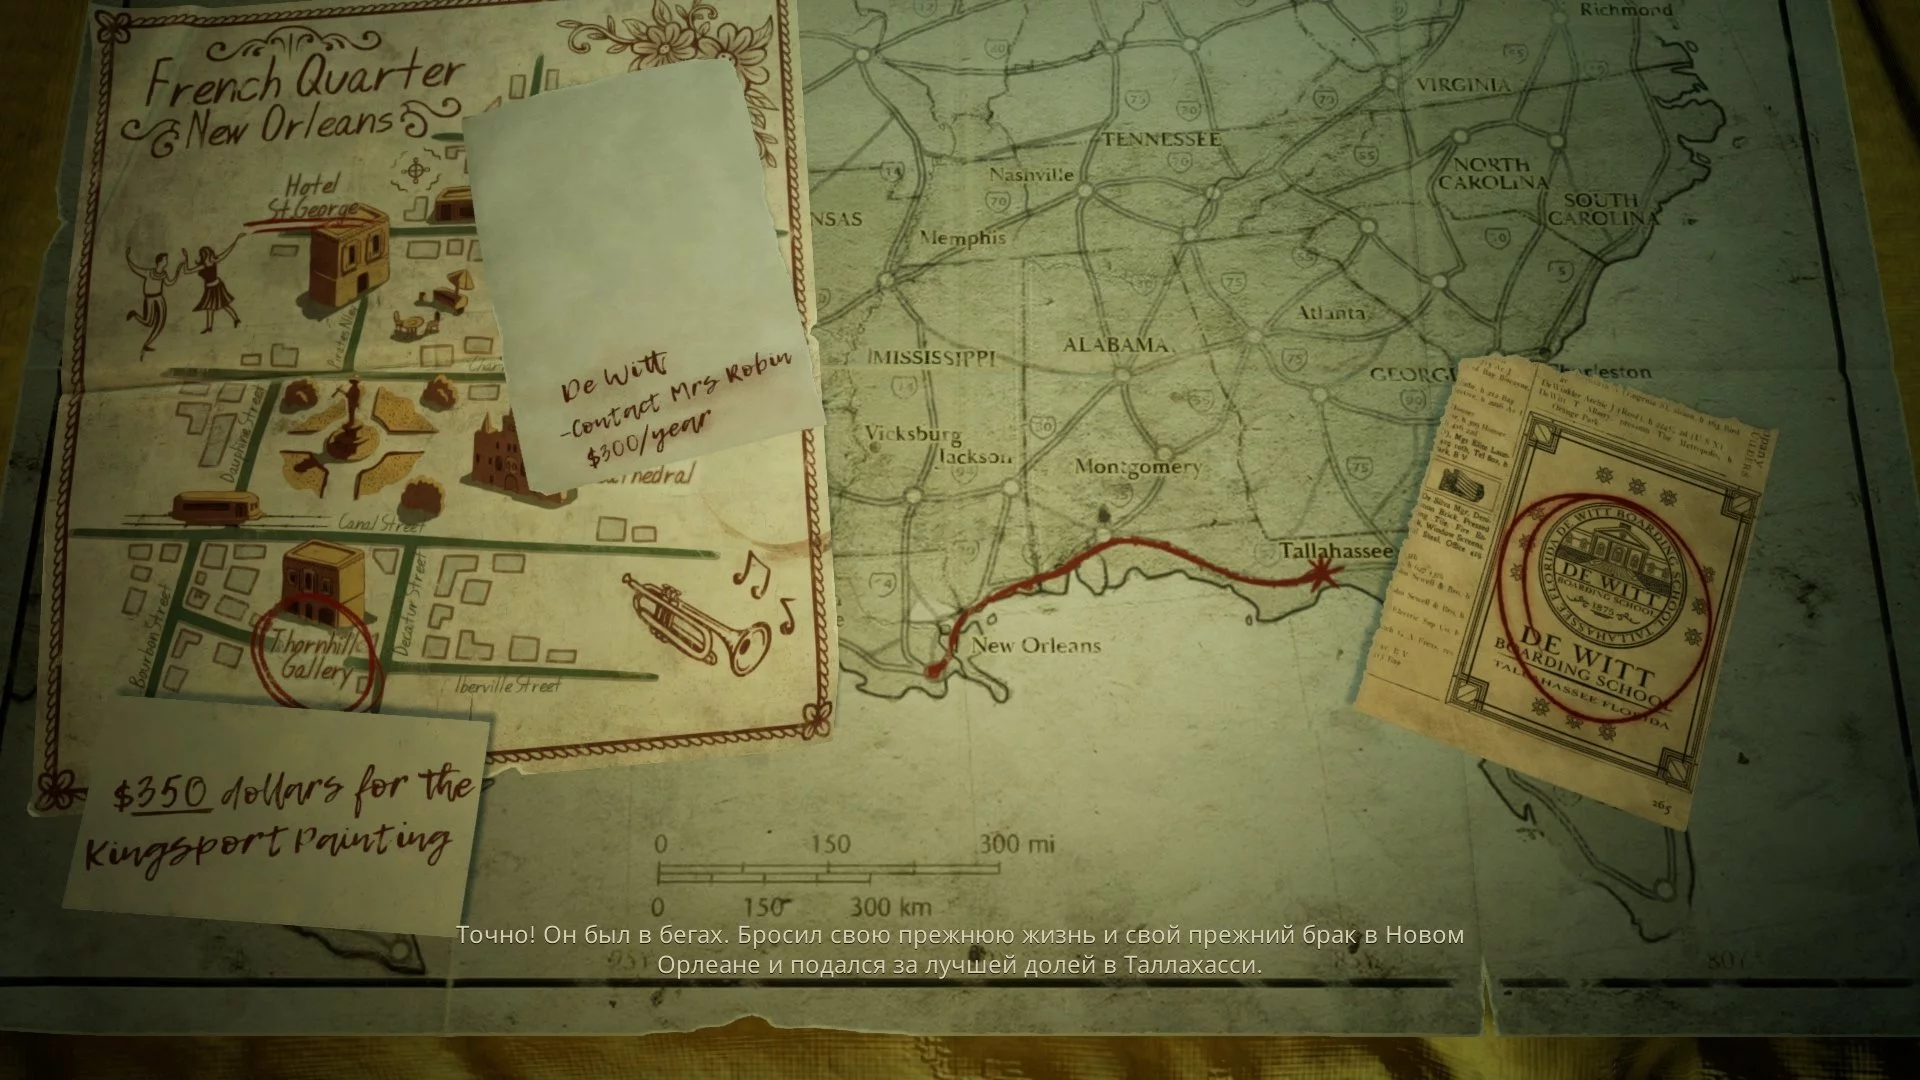
Go up to the top floor and solve a similar puzzle. Collect three items, then place them on the map in a specific sequence.
Pearl River
Follow the only path past the bridge, and at the fork, turn left. In the dead end, there is a small abandoned building, inside of which are a chest and a collectible «Blasphemous Totem».
Note: The «Blasphemous Totem» is the third collectible in the «Hornless Goat» set. By collecting all items according to this guide, you will achieve an additional goal. In your free time, return to the tree in the conservatory and make an offering. In the pre-release version of the game, there was a bug: nothing happened after the offering. We will update the guide later.
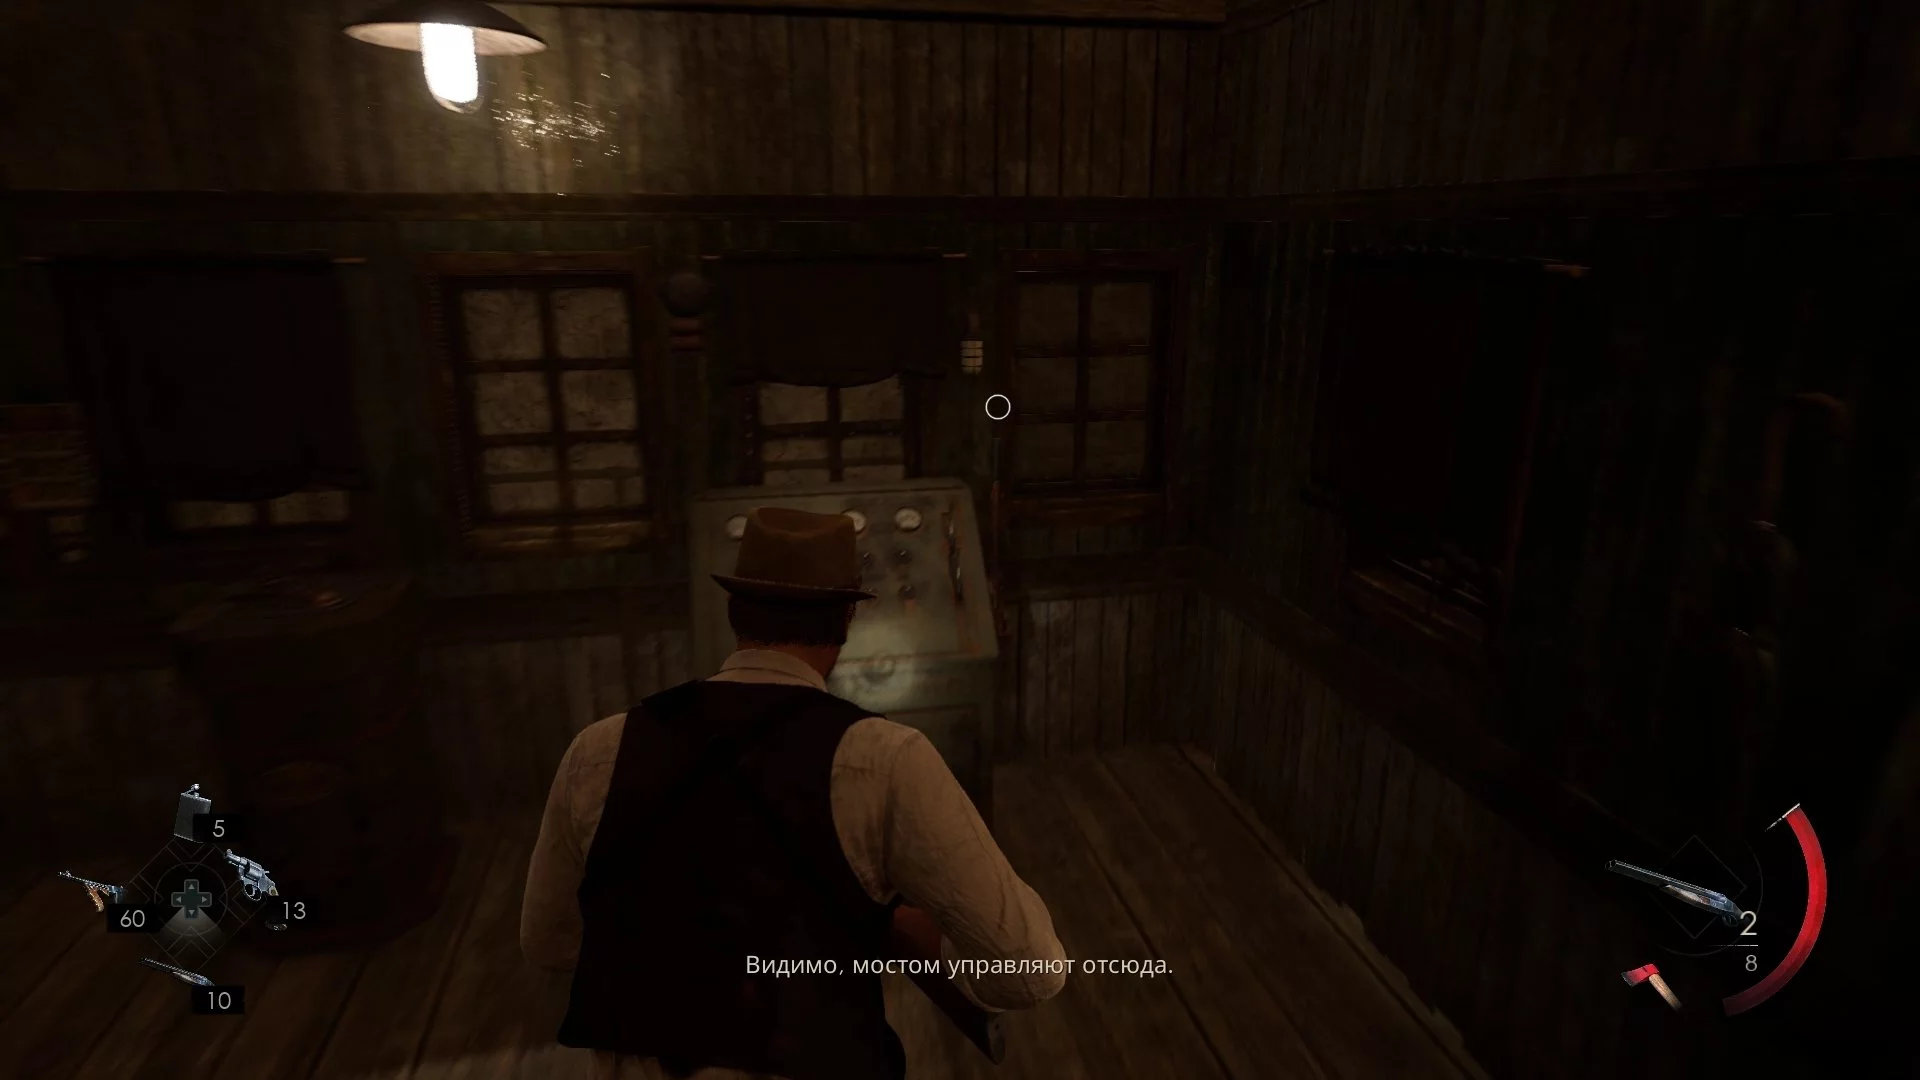
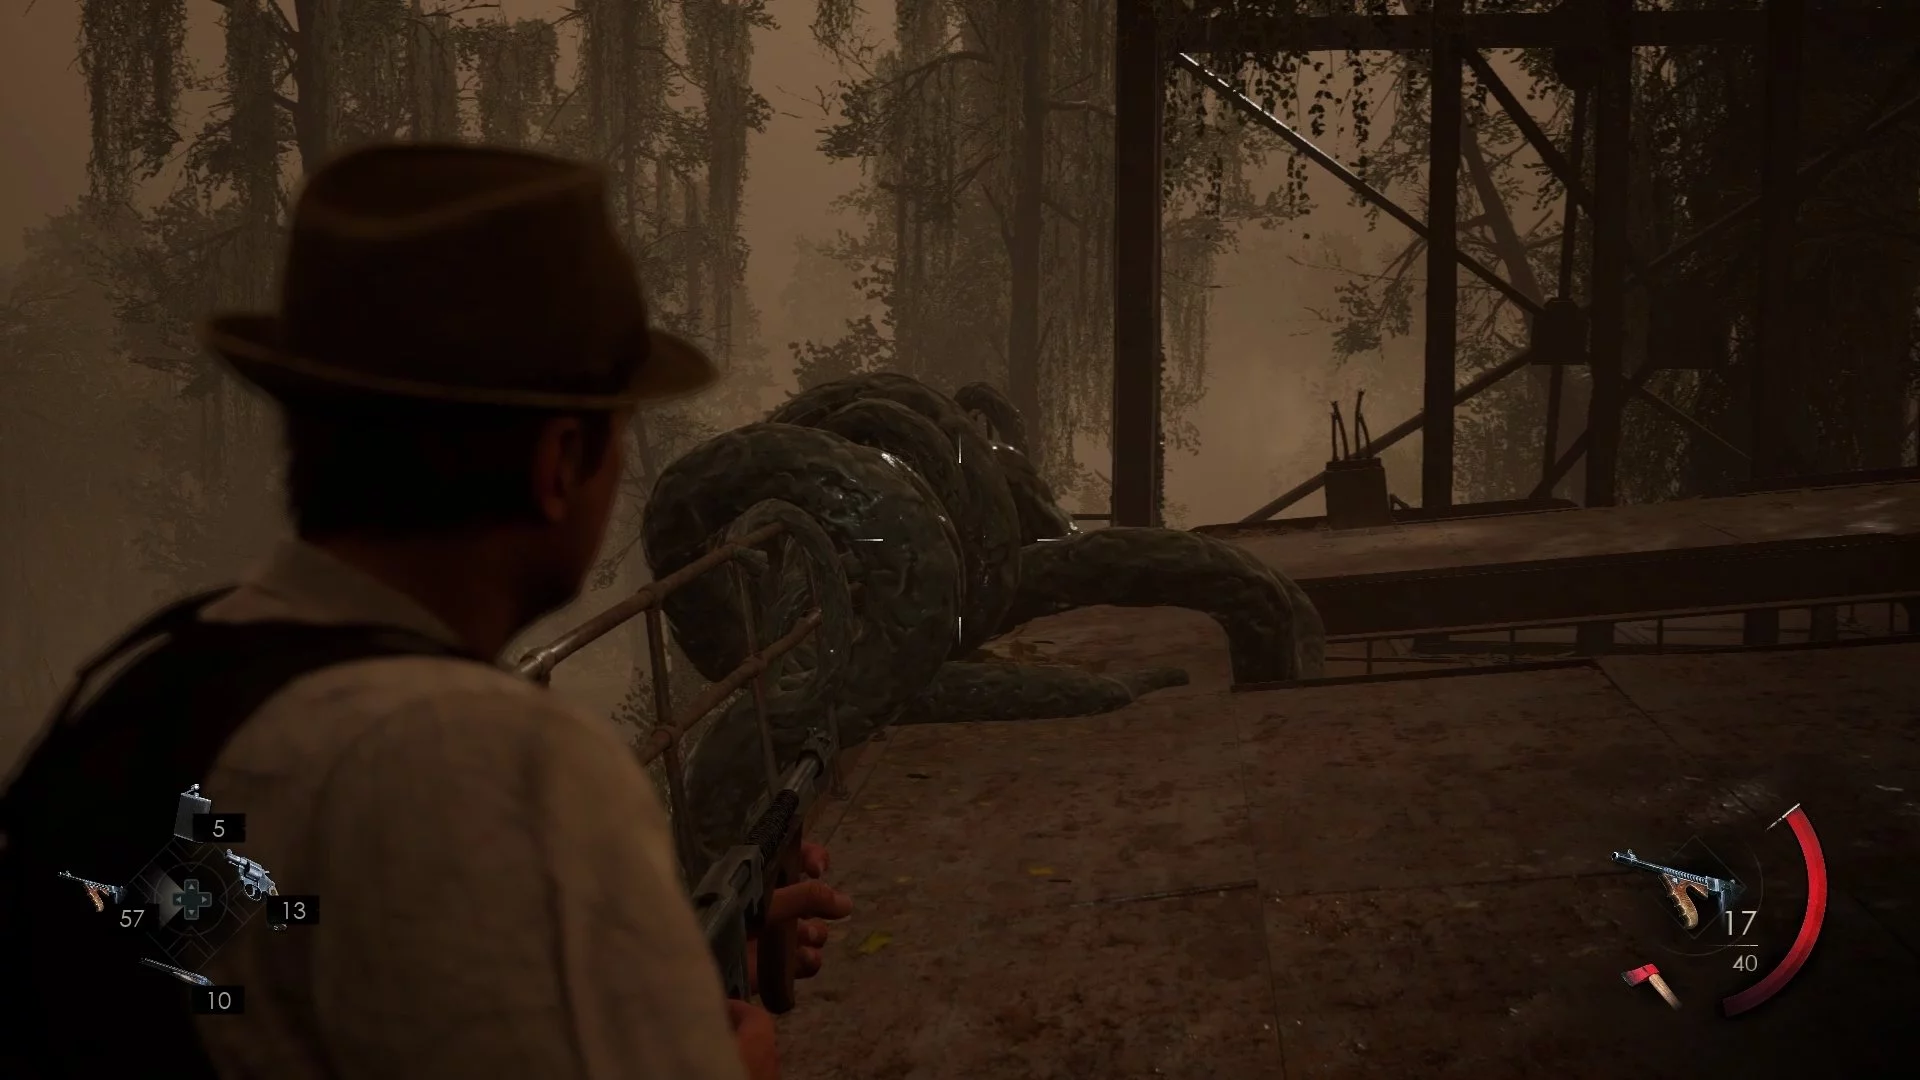
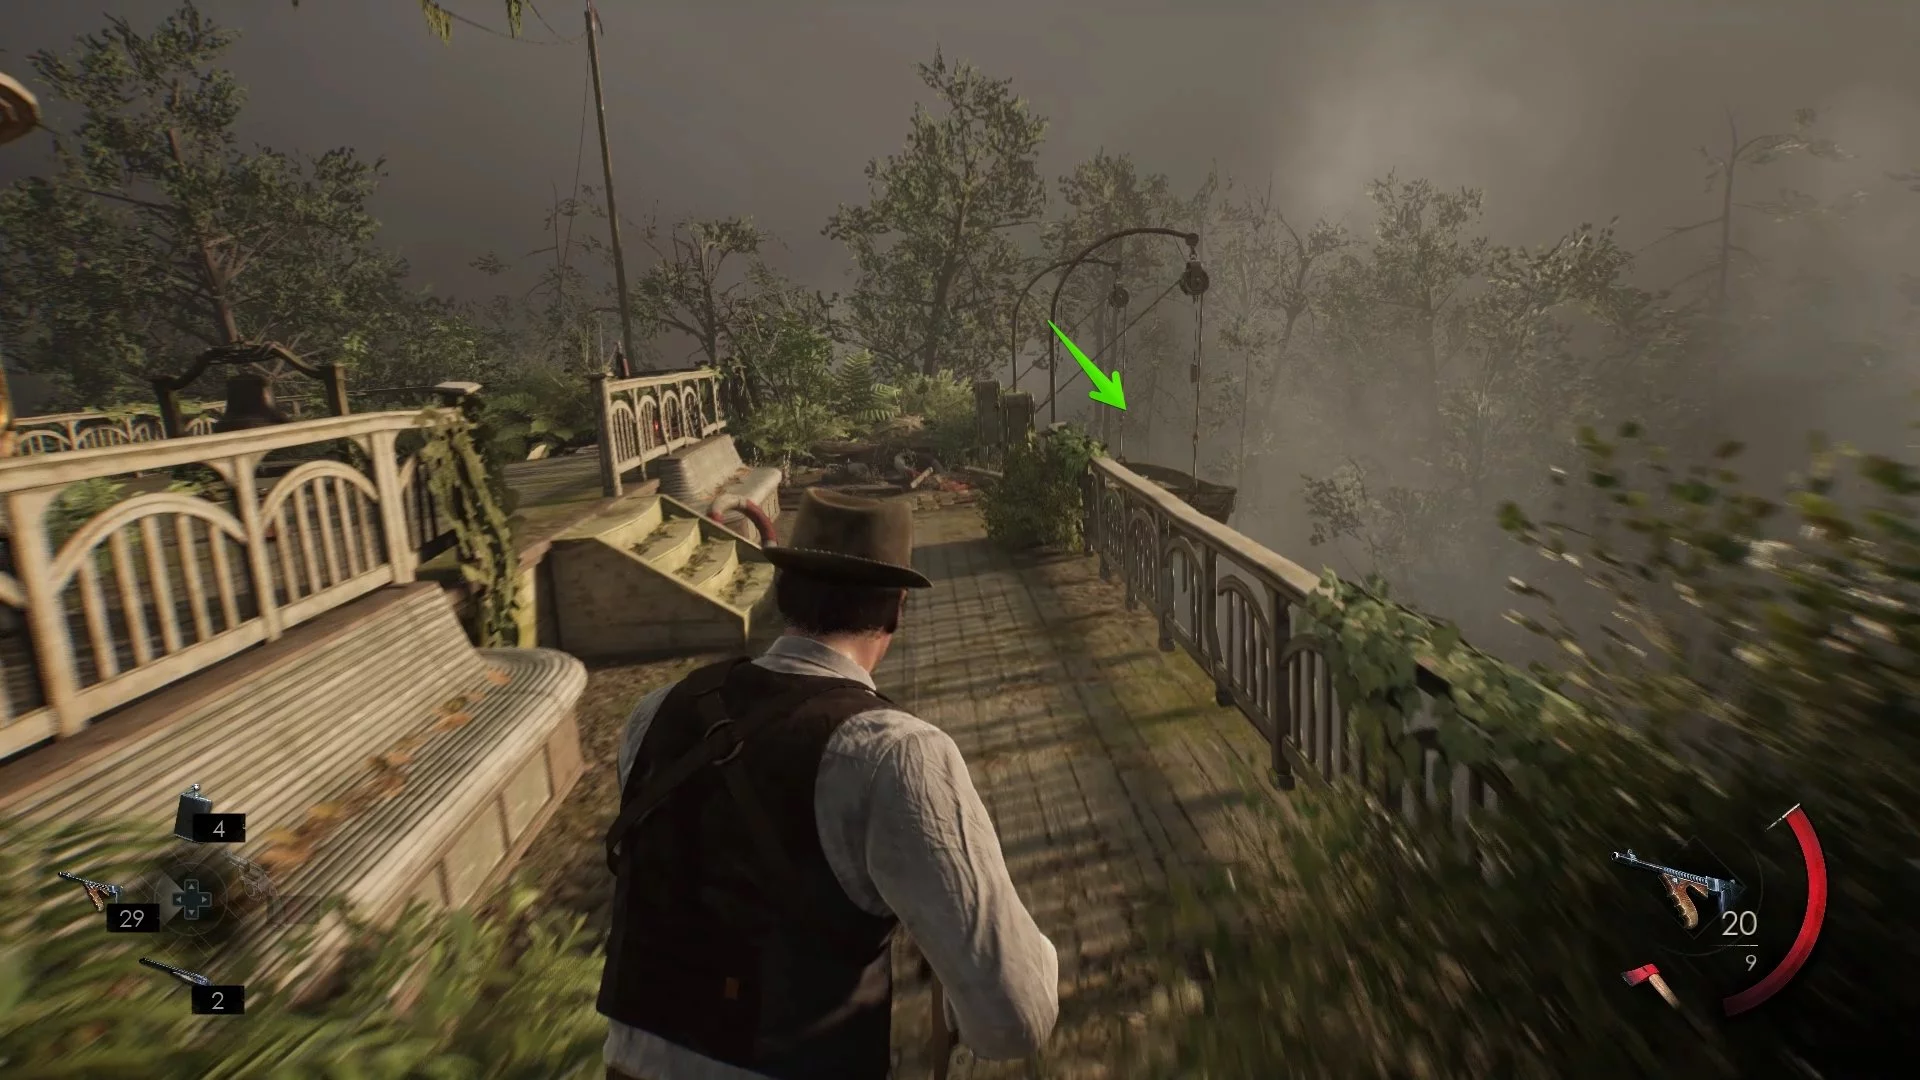
Return to the bridge, at the fork, turn left. On the bridge itself, you will see a girl — approach her and watch the cutscene. The detective decides to raise the bridge and help the drowning. To do this, go up to the upper level of the bridge by the stairs and use the switch in the small guardhouse.
Leave the guardhouse and examine the railings on both sides. They are entwined with tentacles of an unknown monster — shoot at them. At the same time, bats will appear, which need to be destroyed.
Return to the dock where you appeared at this location and get into the boat. The hero will reappear in the sanatorium. To continue the story, you will have to open the safe in the administrator's room. Combination: 9 left, 1 right, 3 left.
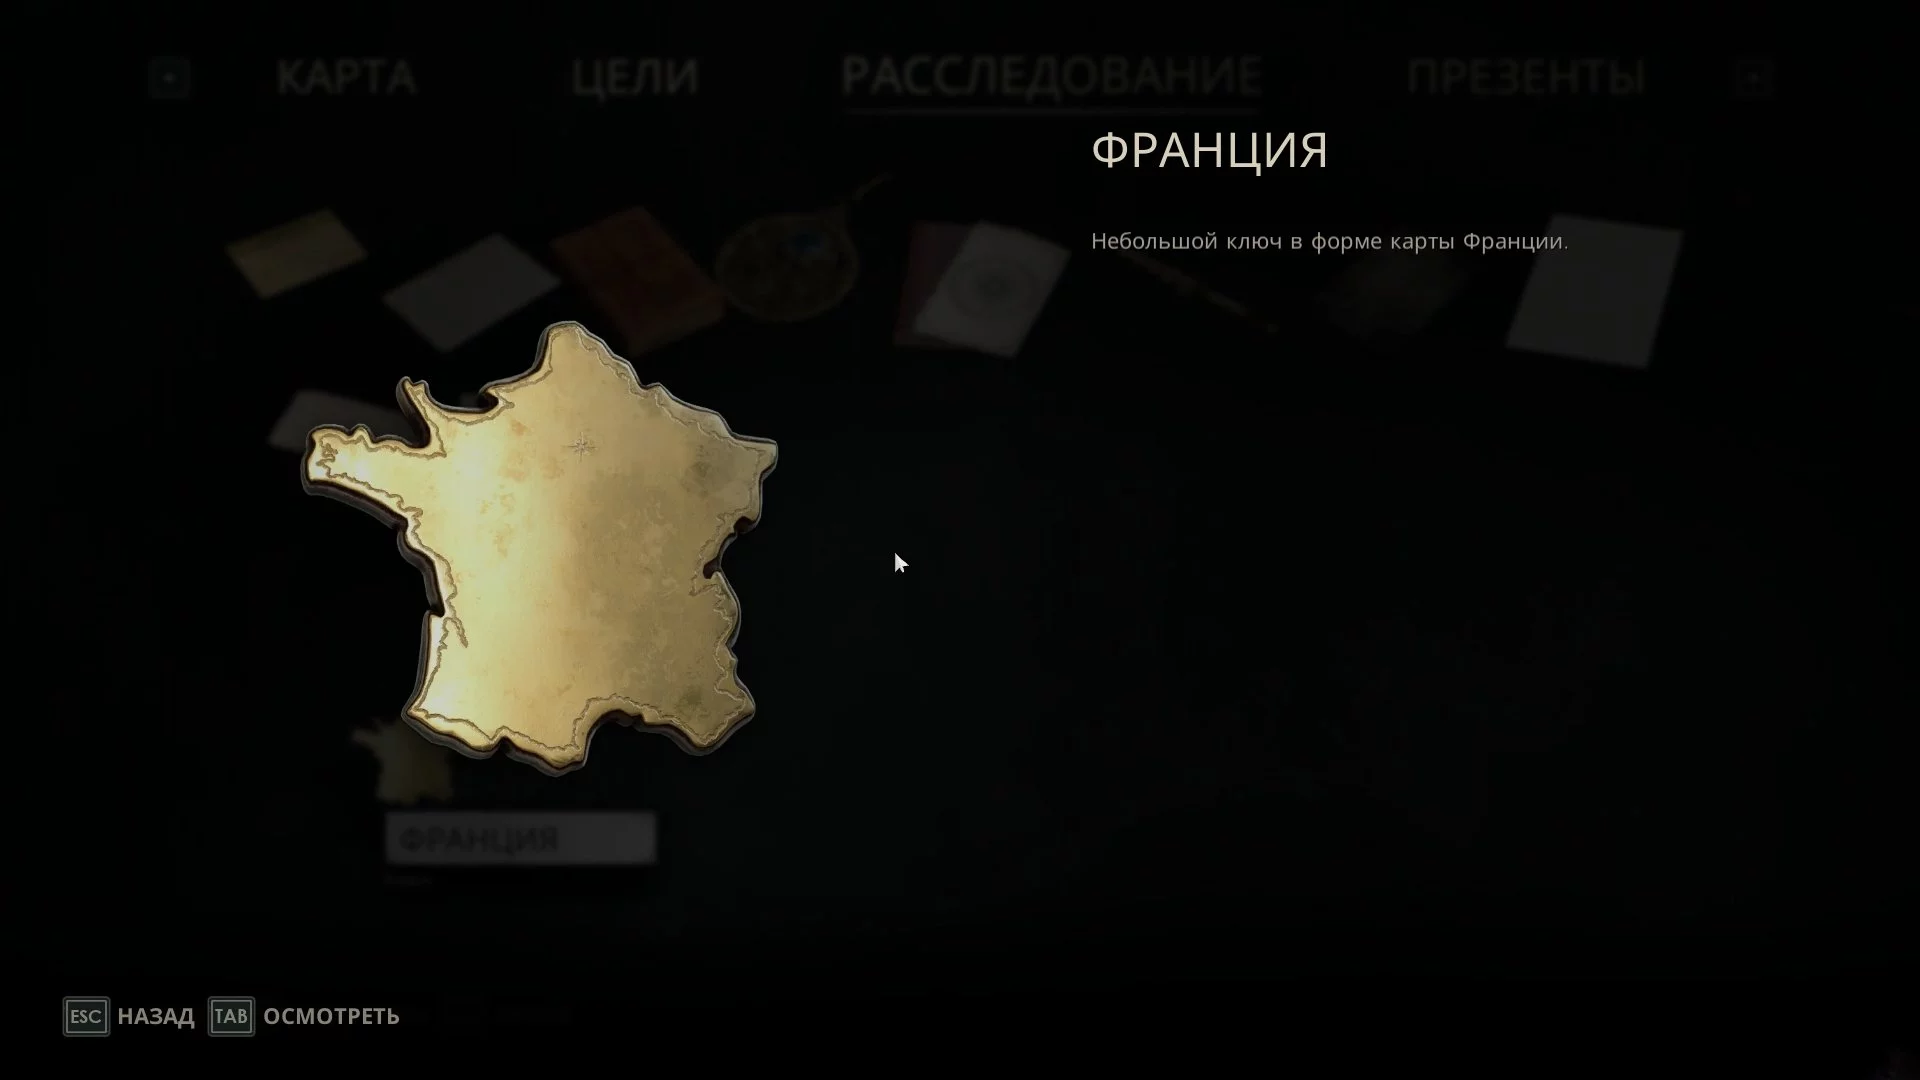
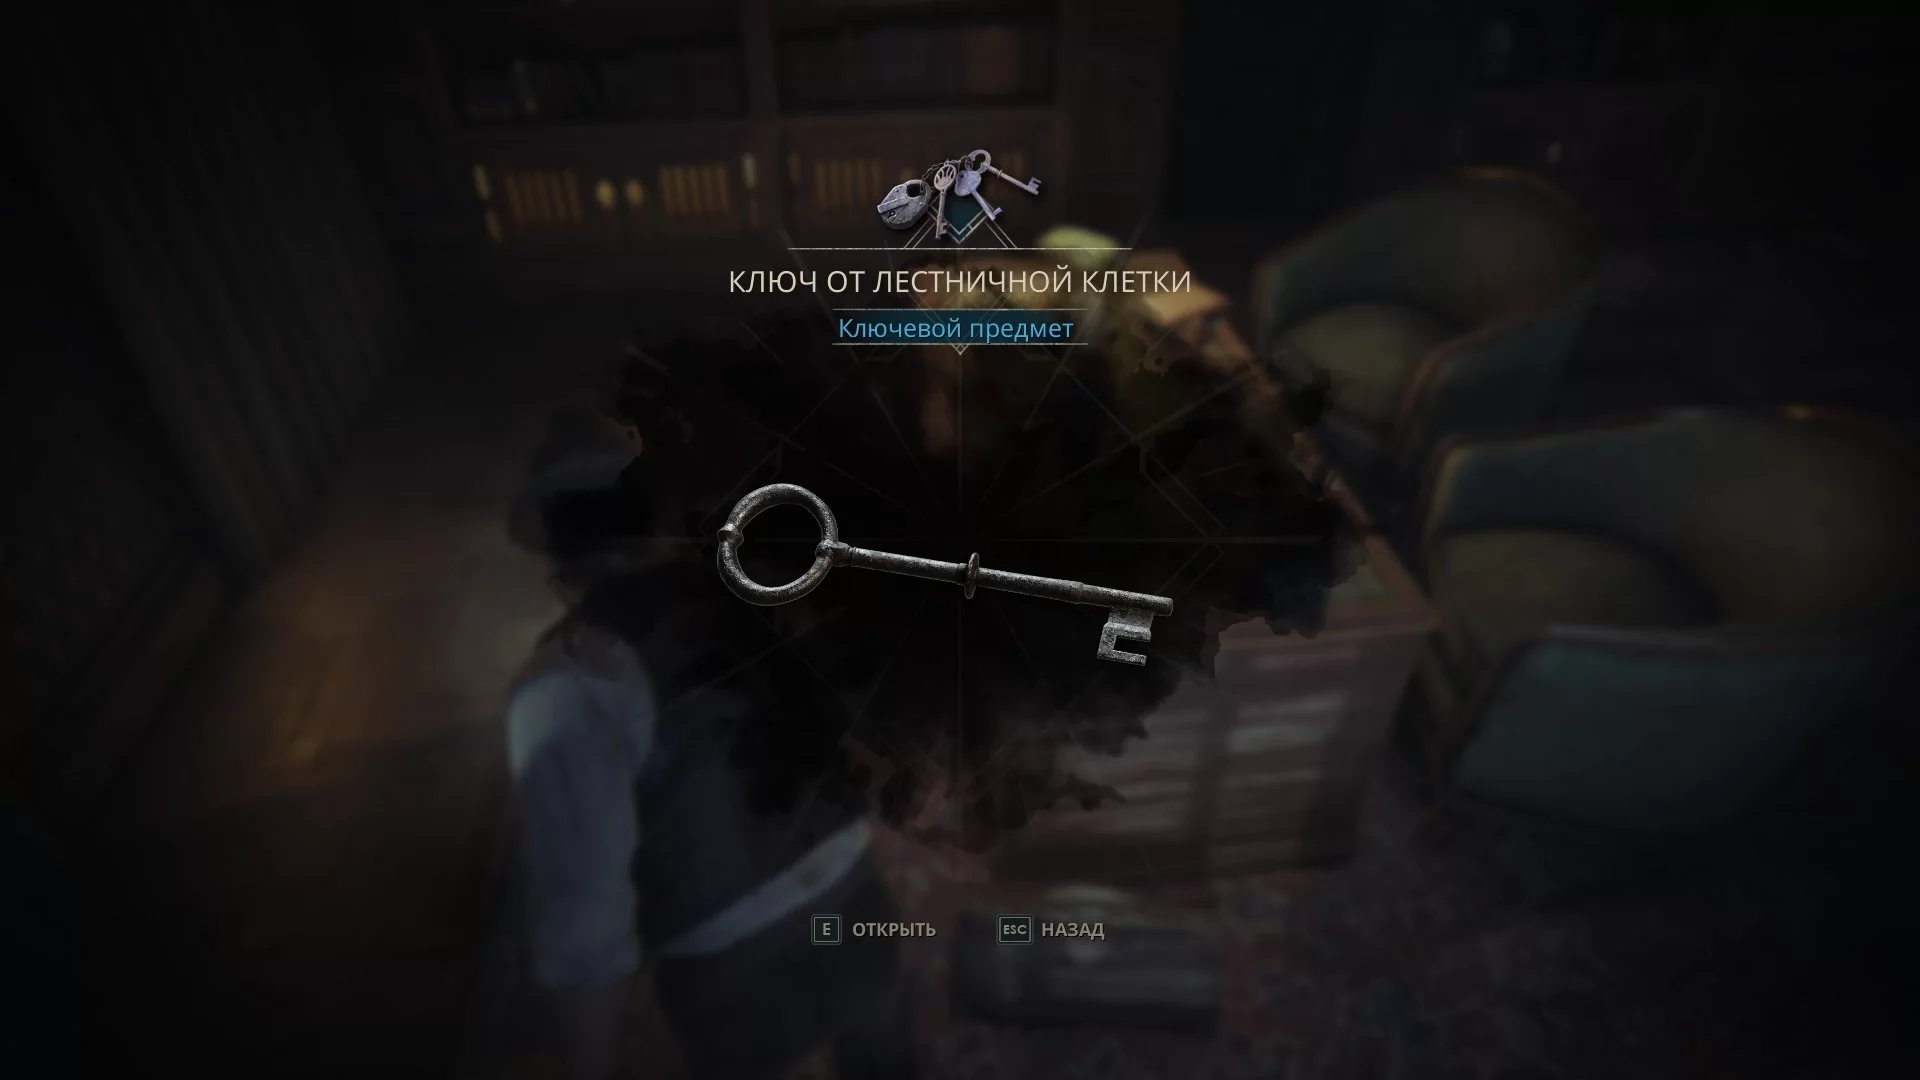
You will receive the key to Dr. Gray's office. Enter and immediately open the door on the left. In the room behind it, you will find the gift «Flying Dutchman». In the office itself, there is a clue «Cassandra's Things», the key «France» (which can be used in the living room on the second floor to get the collectible «Map of the Caribbean»), the clue «McCarthy's Pirate Treasure», the note «Jeremy's Treatment» and the key to the stairwell.
The found key must be used on the grate in the stairwell to get into the basement. Now you need to solve the puzzle with the X-ray images (described in the next section).
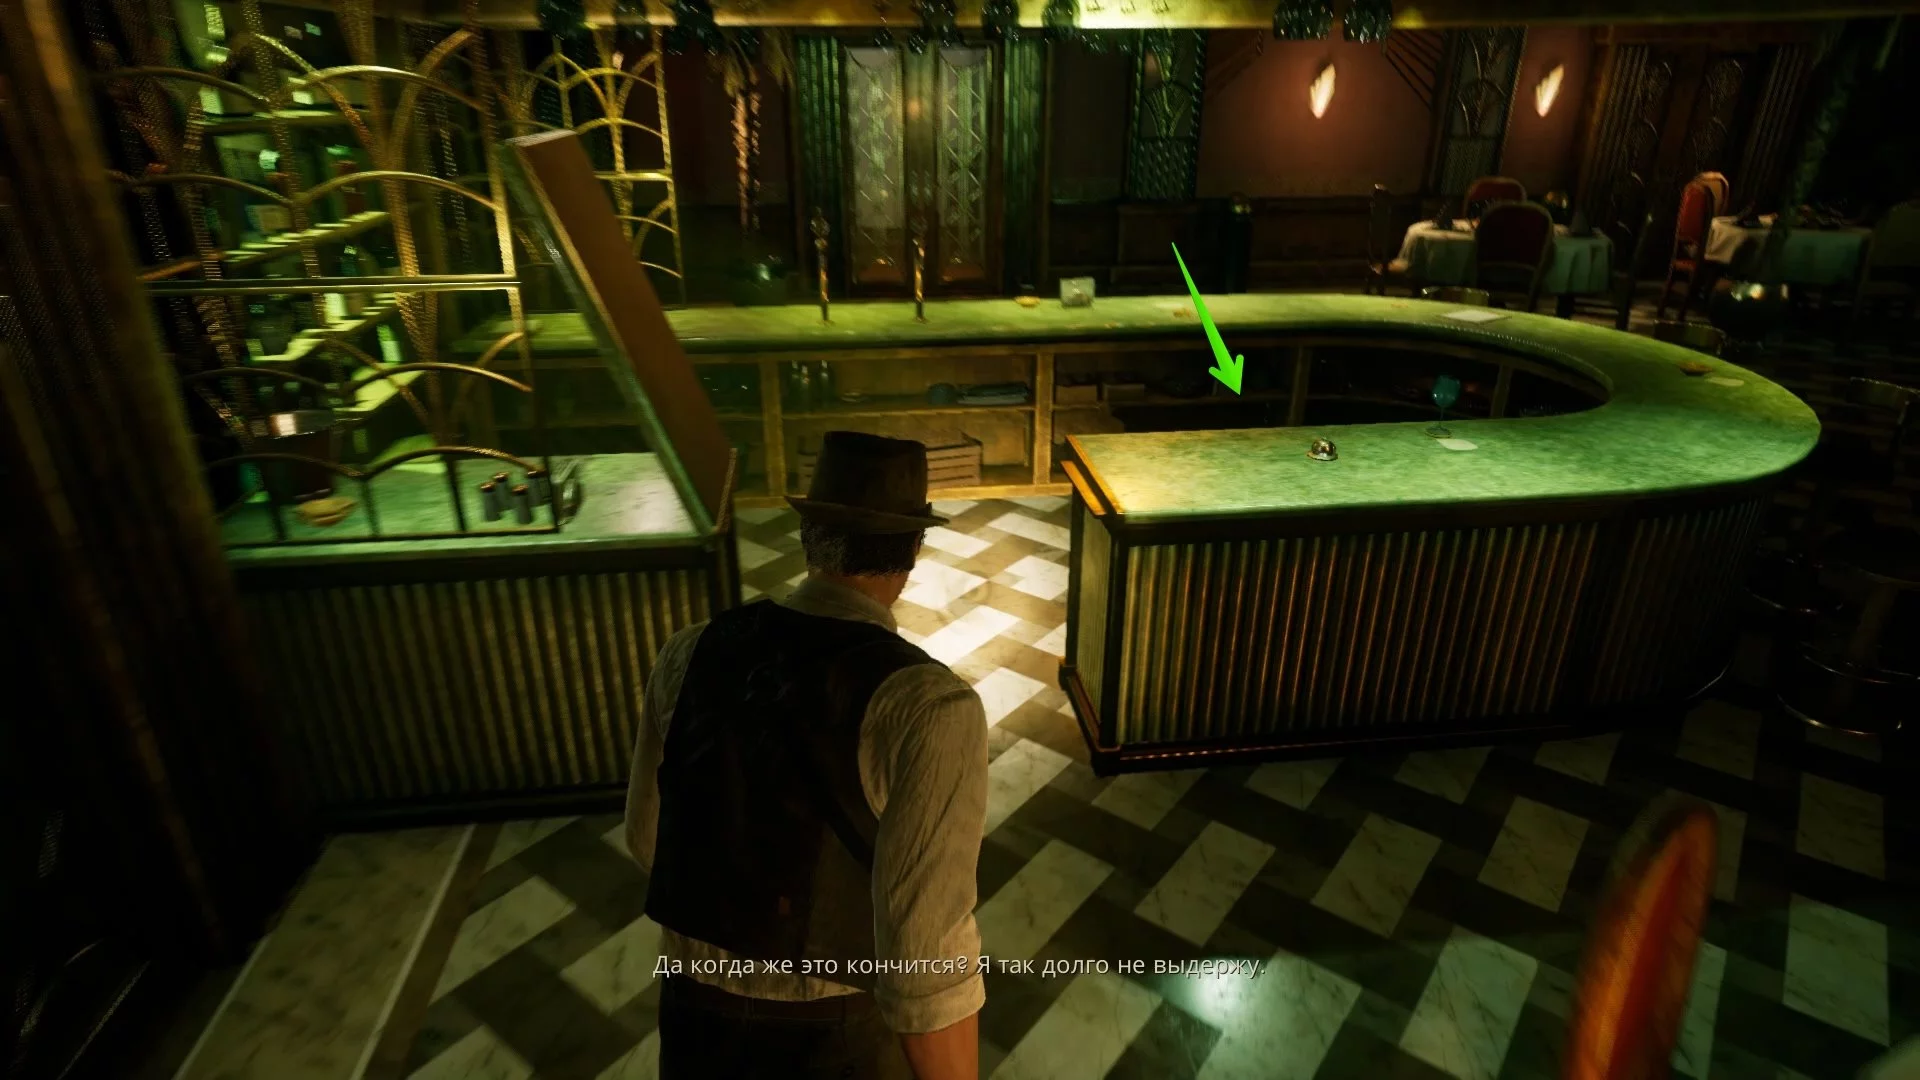
On the way to the stairwell, the hero will find himself in different locations several times. For example, a bar counter will appear in the main hall, behind which you can find the collectible «Ringing Shaker».
Emily's script. How to find a groom
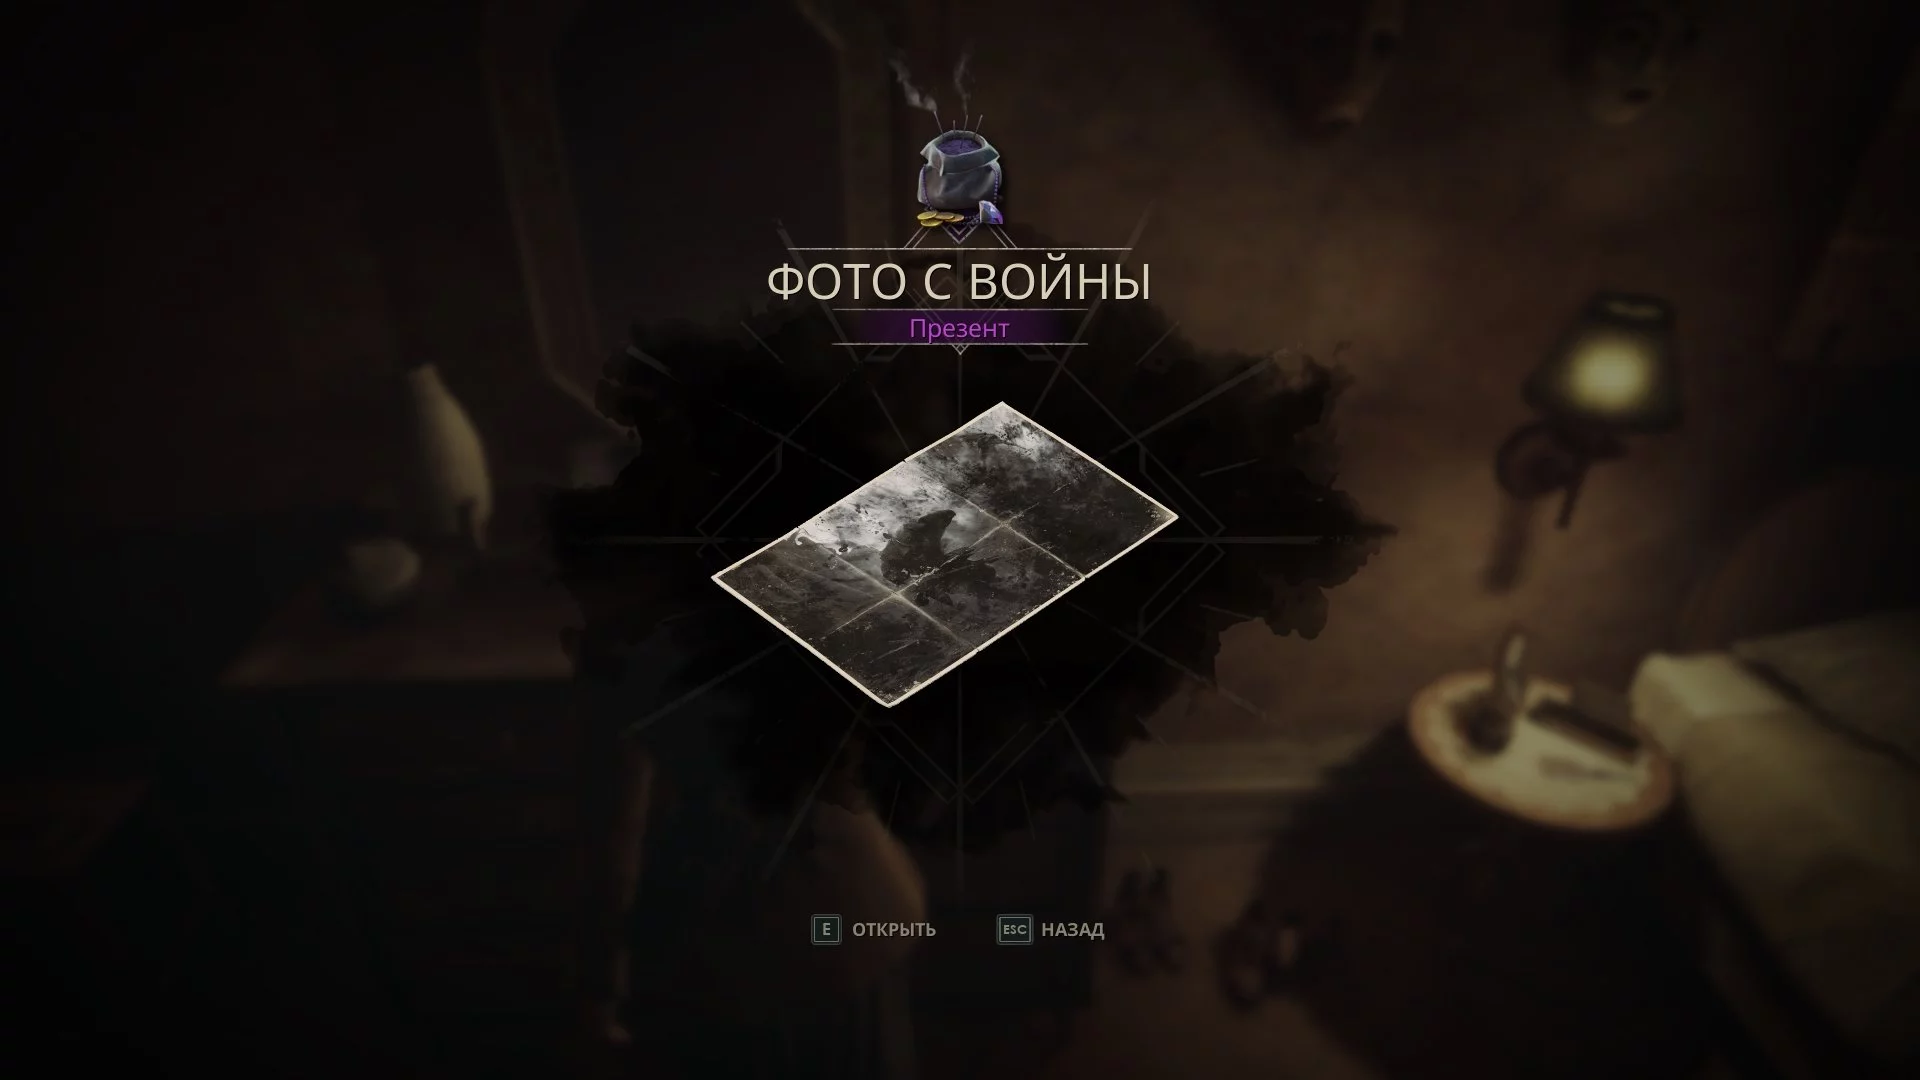
In Emily's scenario, from the safe, you will receive the key item «Flash», which needs to be used in the adjacent room. In the same room, you will find the gift «War Photo», available only in the girl's scenario.
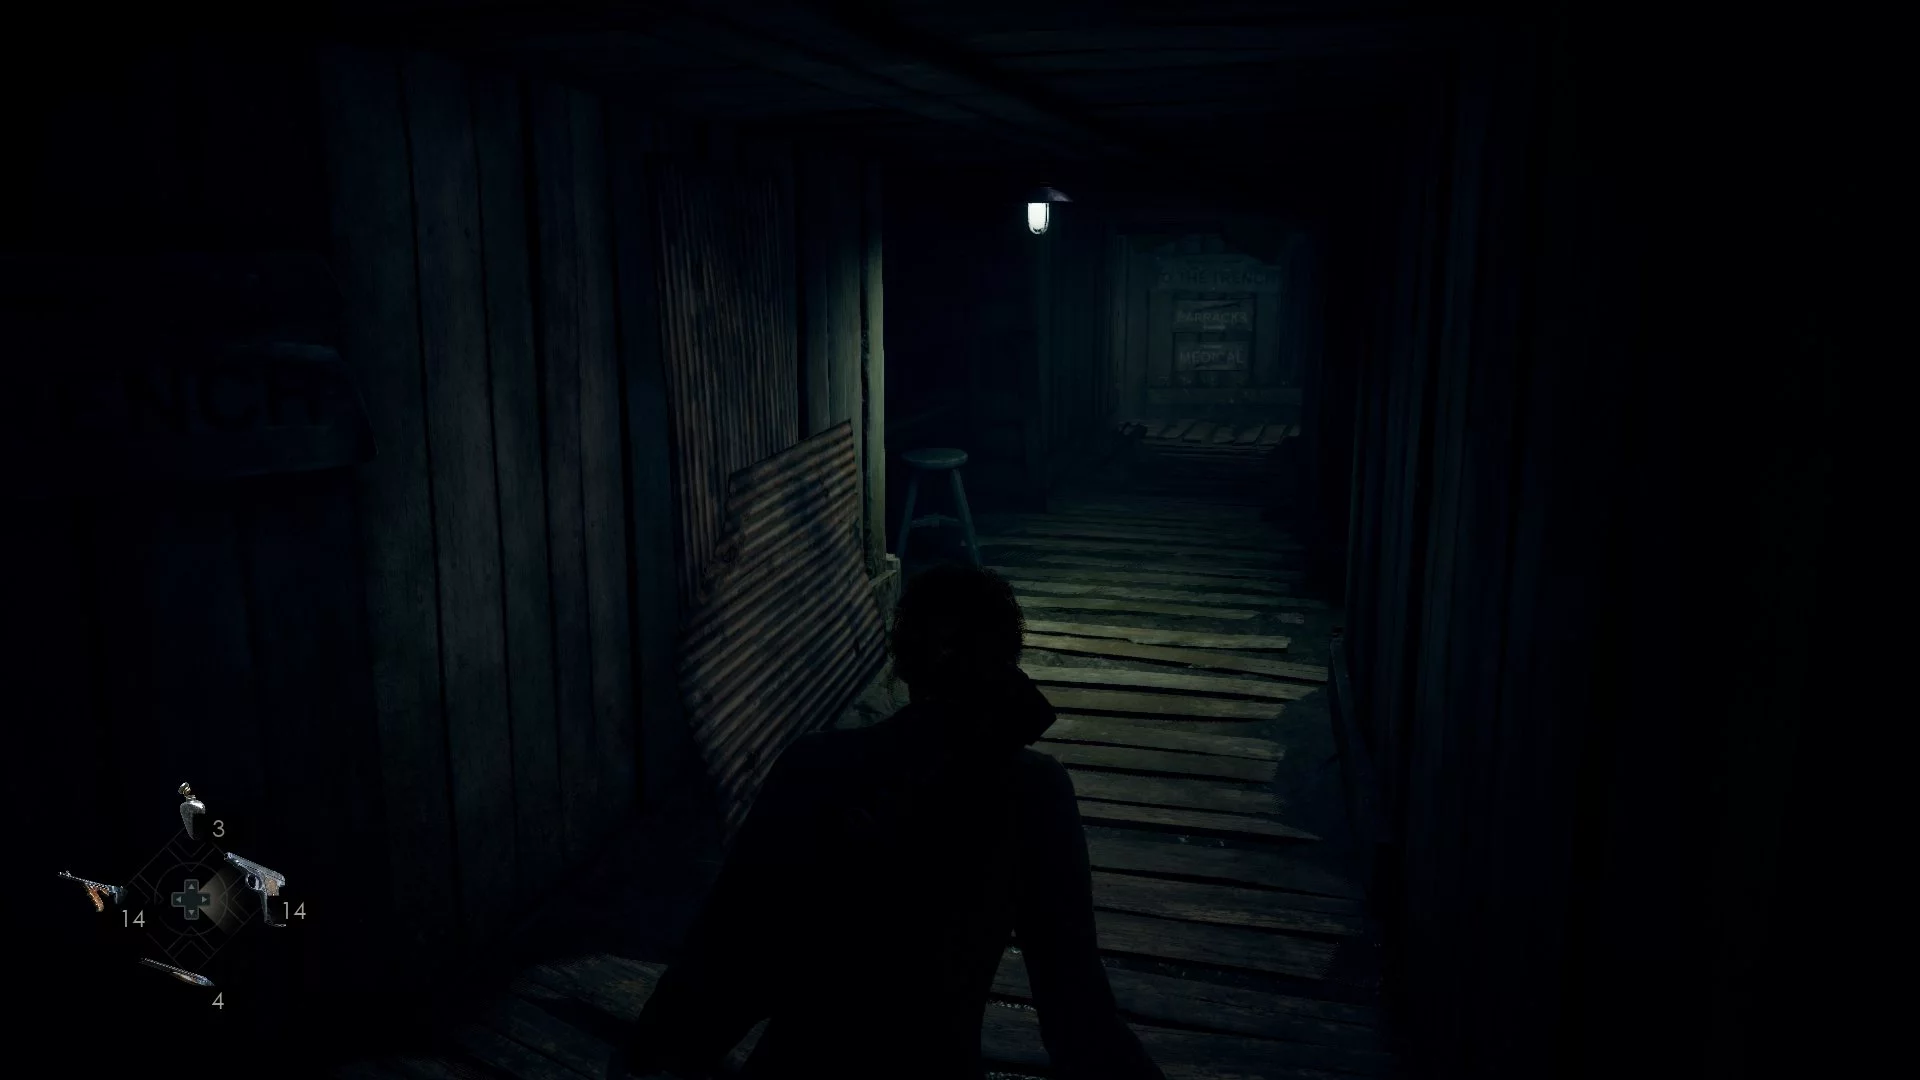
Using the flash on the camera, you will find yourself in a new location, and the task will be updated. Run through the trench until you reach a fork — to the right will be a dead end. Continue running forward until you come across a large monster. On the left and right, you will see small indentations where you can hide. Move stealthily, otherwise, the creature will notice the heroine and kill her.
After getting out of this trench, you will find yourself in a small location with a regular monster. Right after that, the big bogeywoman will appear again — bypass her. Of course, you can deal enough damage to make her run away, but in our opinion, this is a waste of ammunition.
When the heroine screams that she needs to run, approach the door and try to open it. The door will be locked — take any weapon in your hands and unload the magazine into the monster. Crawl forward and watch the video, after which the location will change.
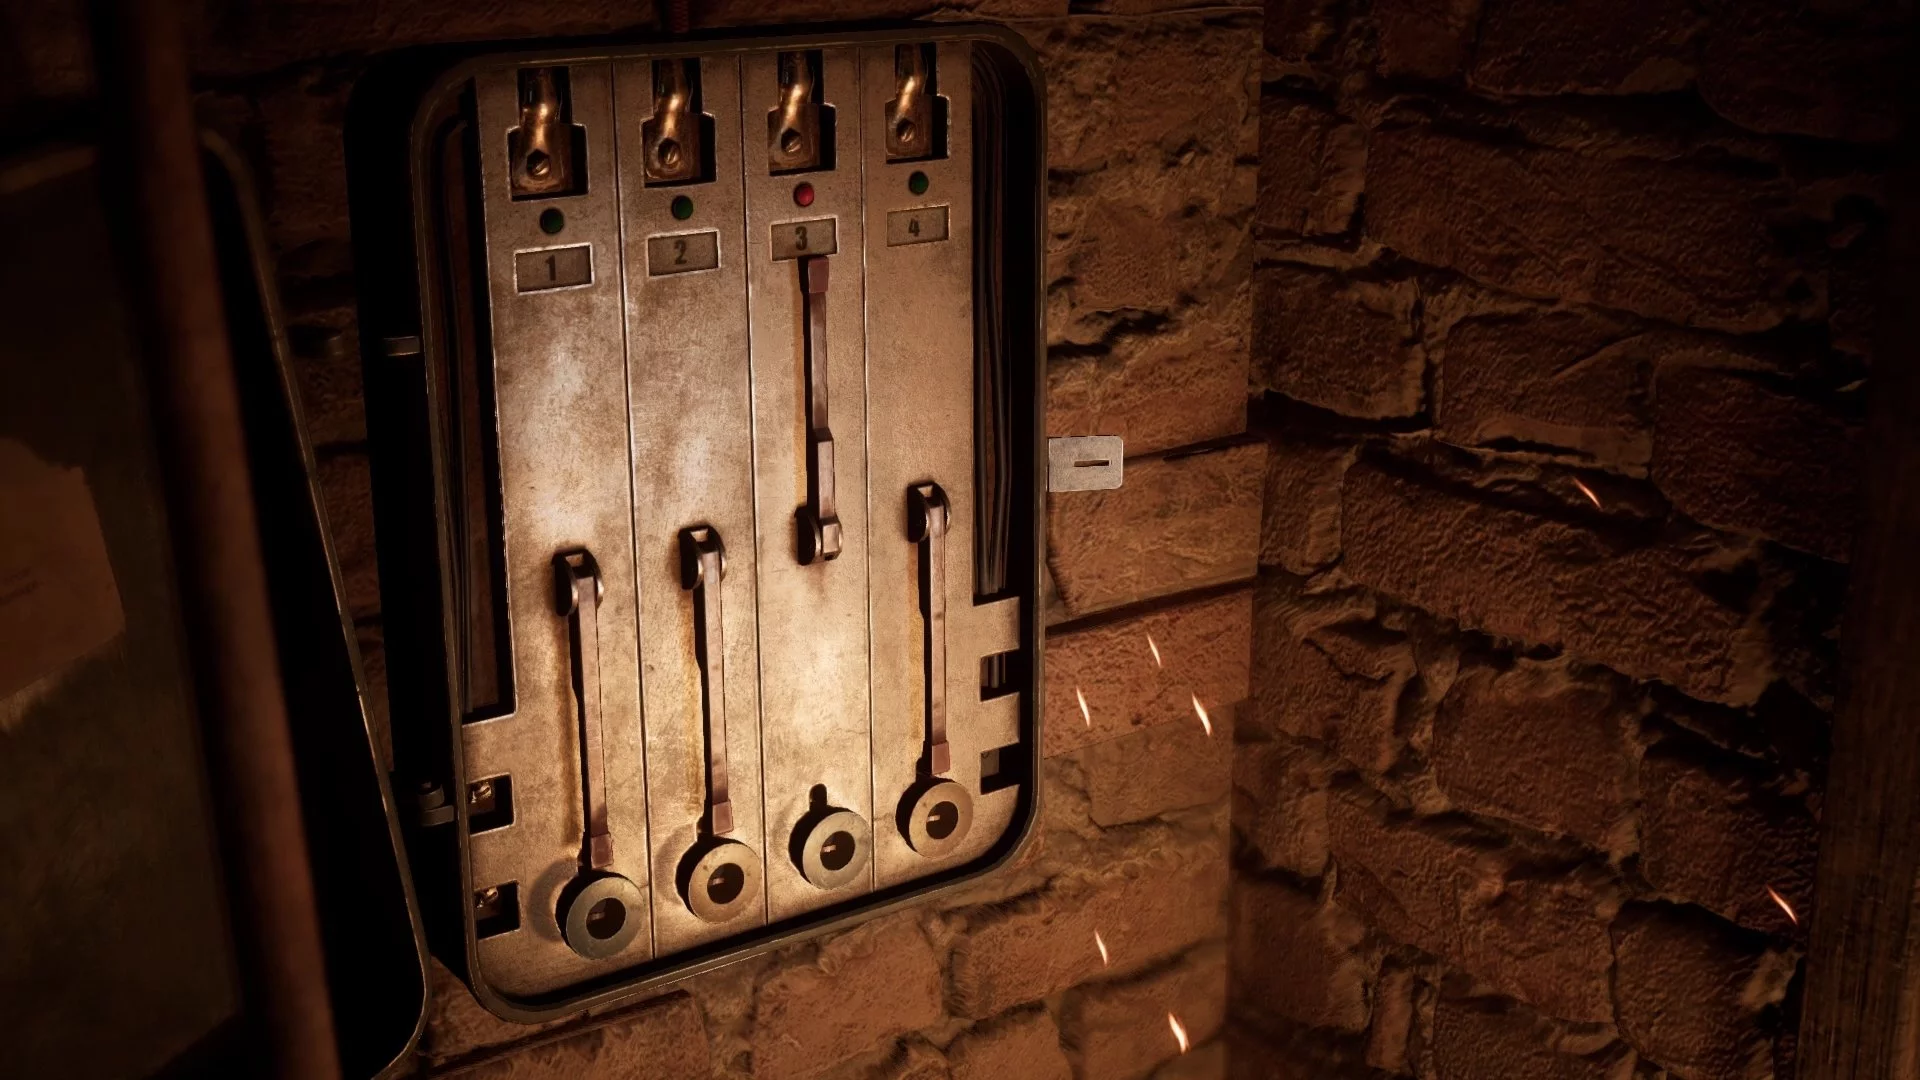
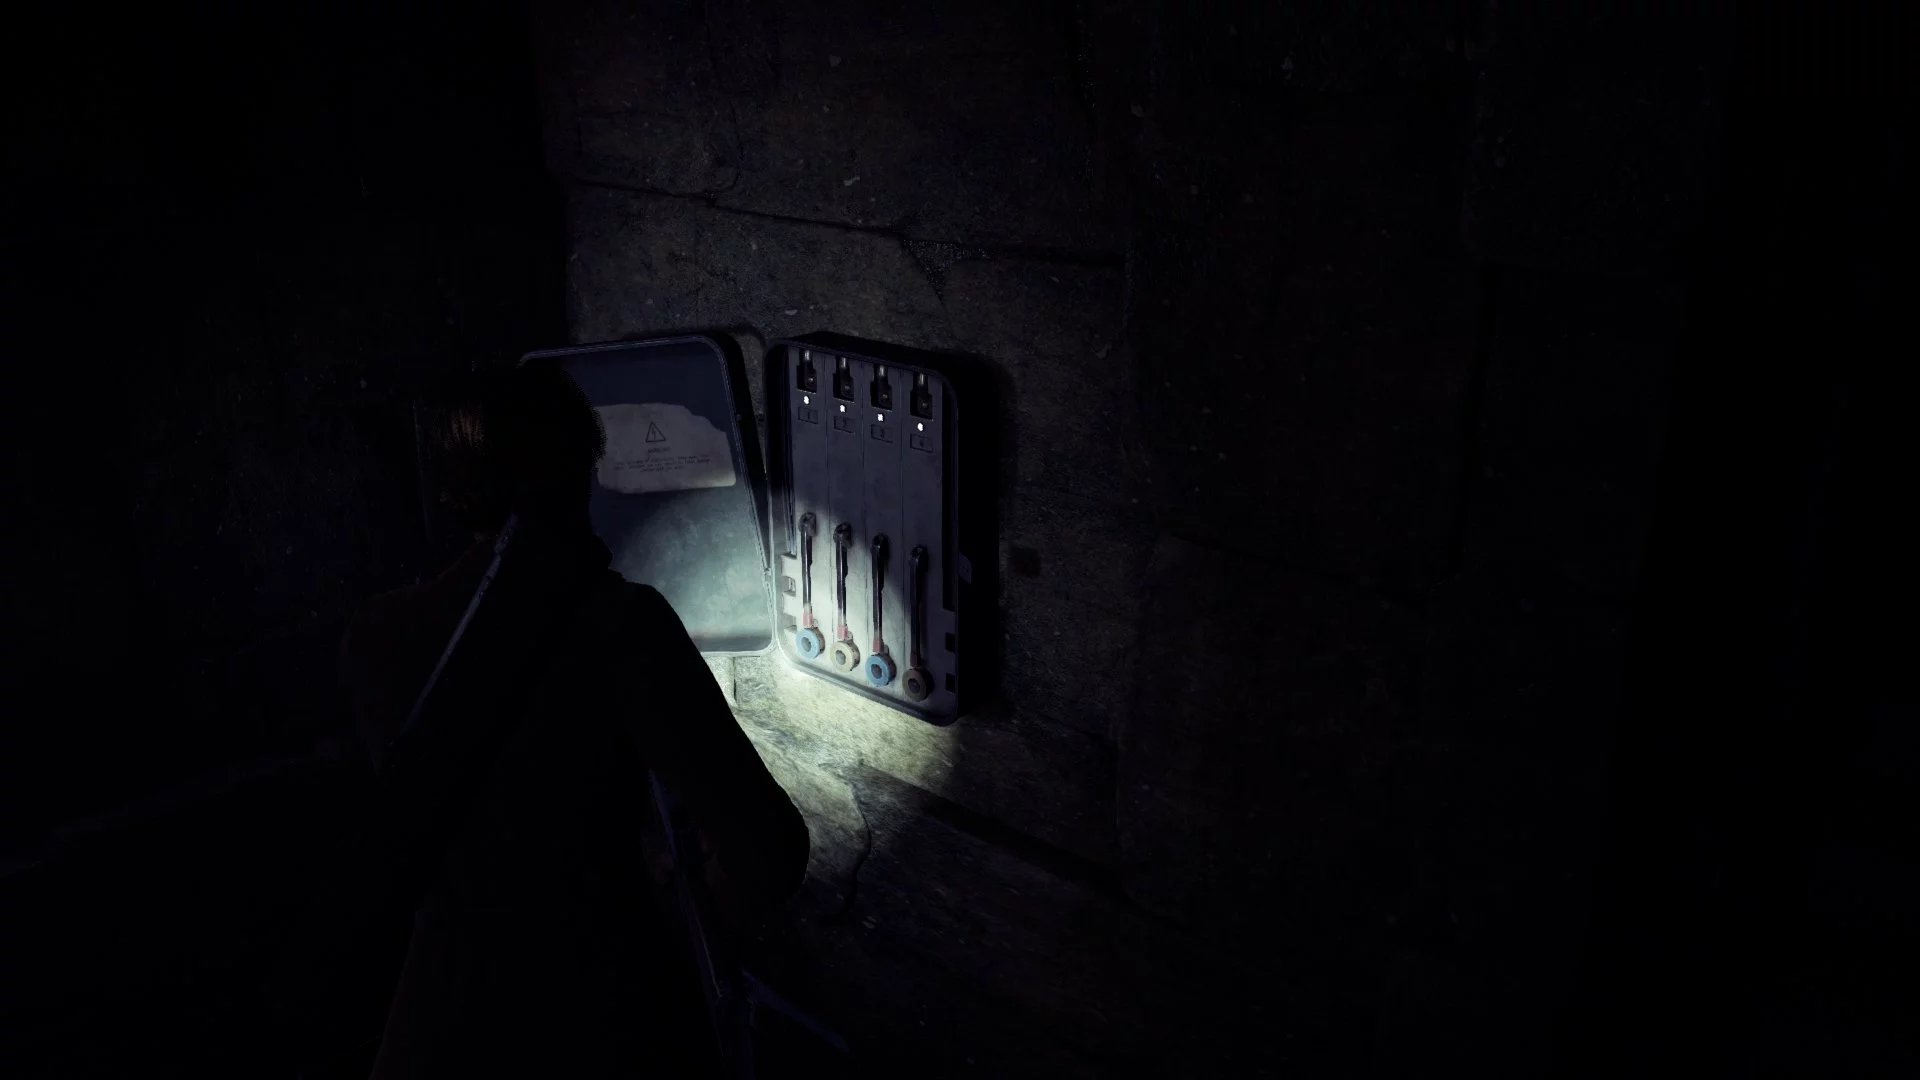
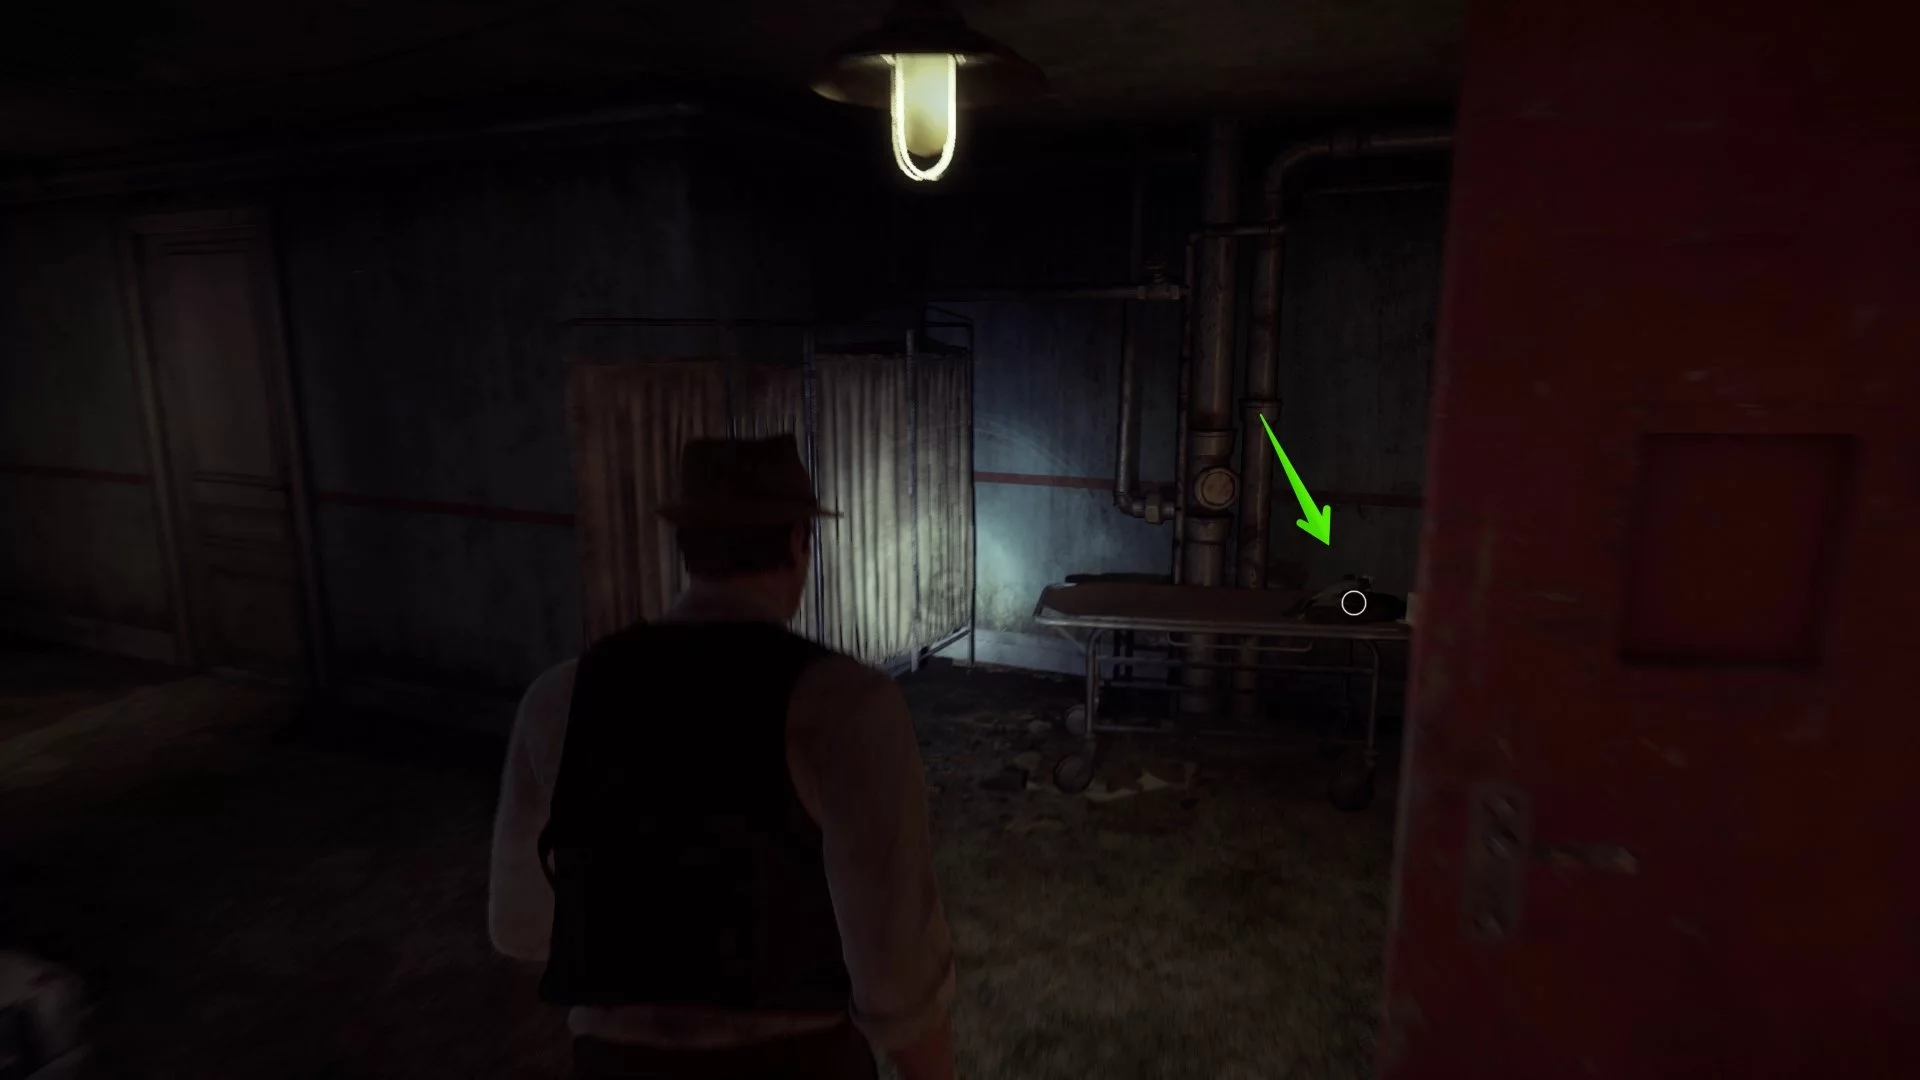
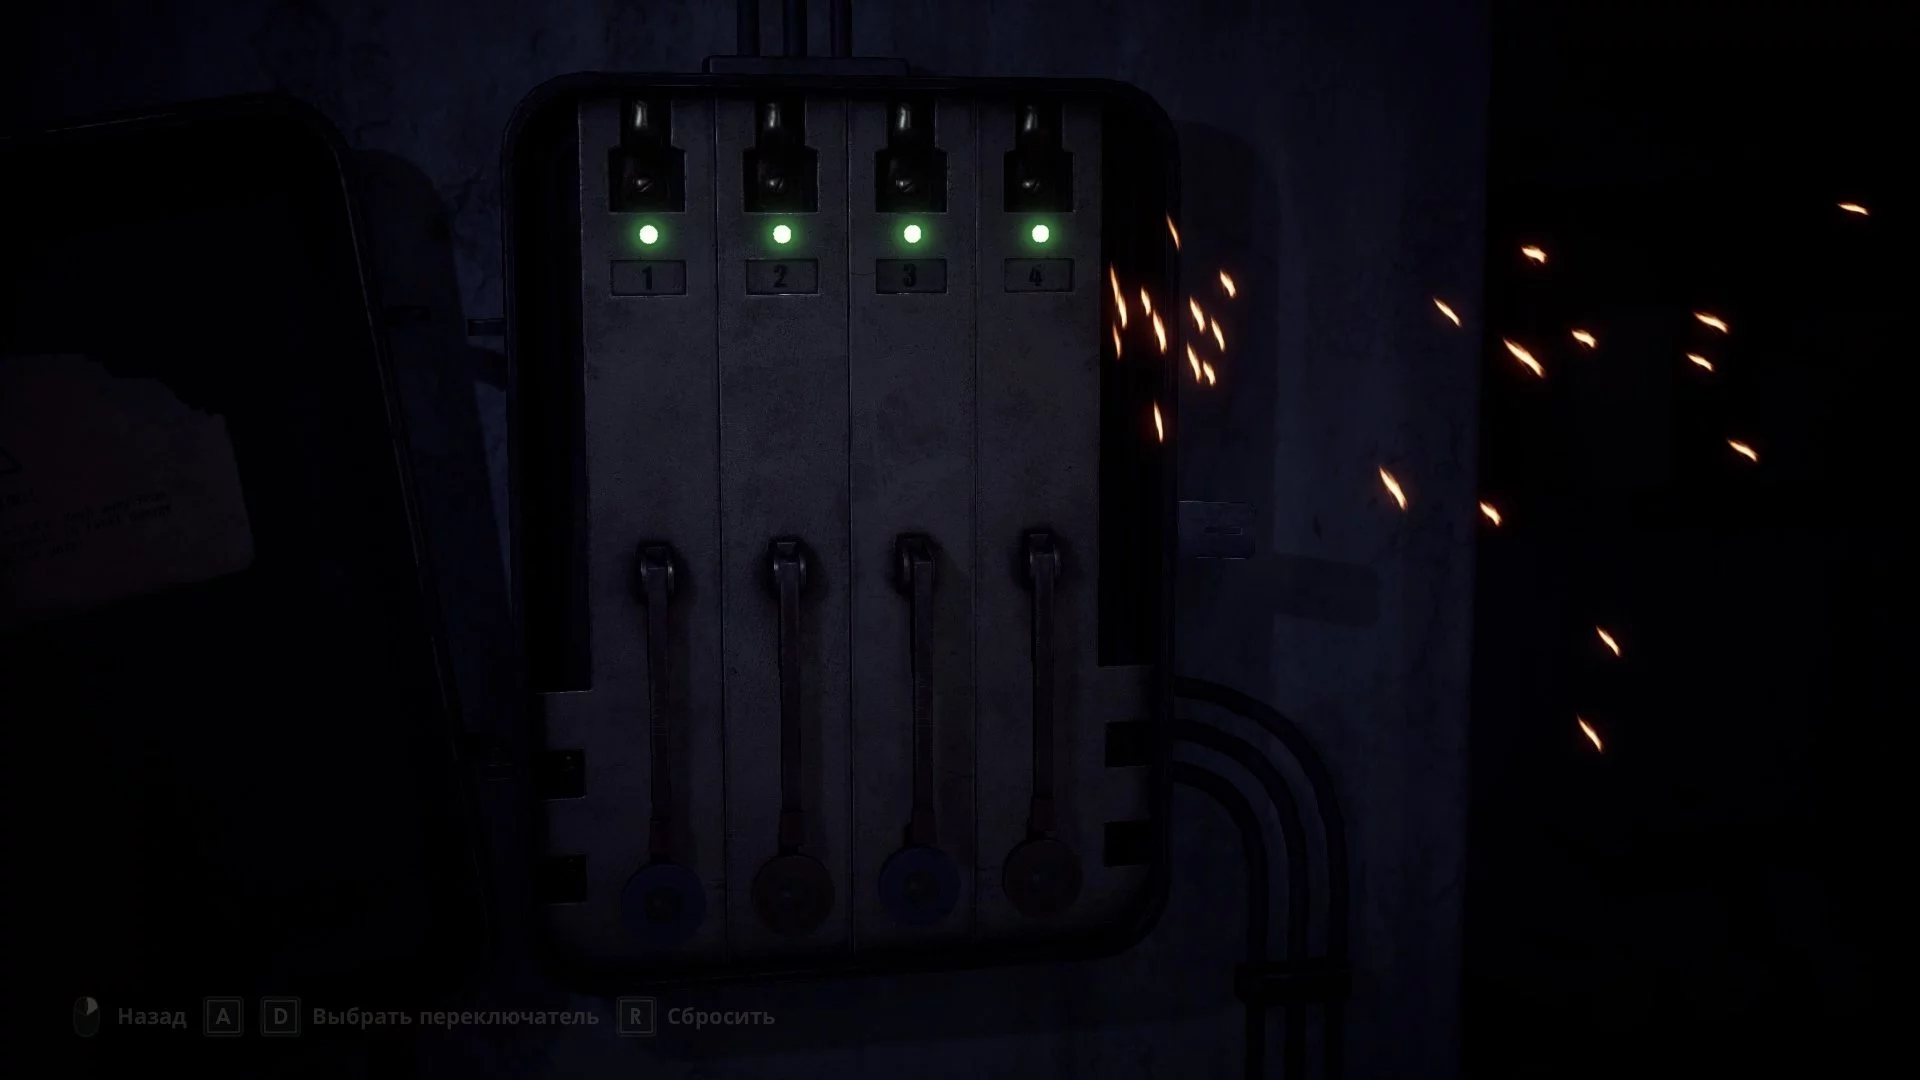
Emily will appear in the basement of the sanatorium. To the left will be a locked door, and you will have to find the key to it. Run in the opposite direction and wait for the lantern to turn on — it's very dark here. To turn on the light, you will have to solve the puzzle with the electrical panel:
- Raise lever 4.
- Raise lever 2.
- Lower lever 4.
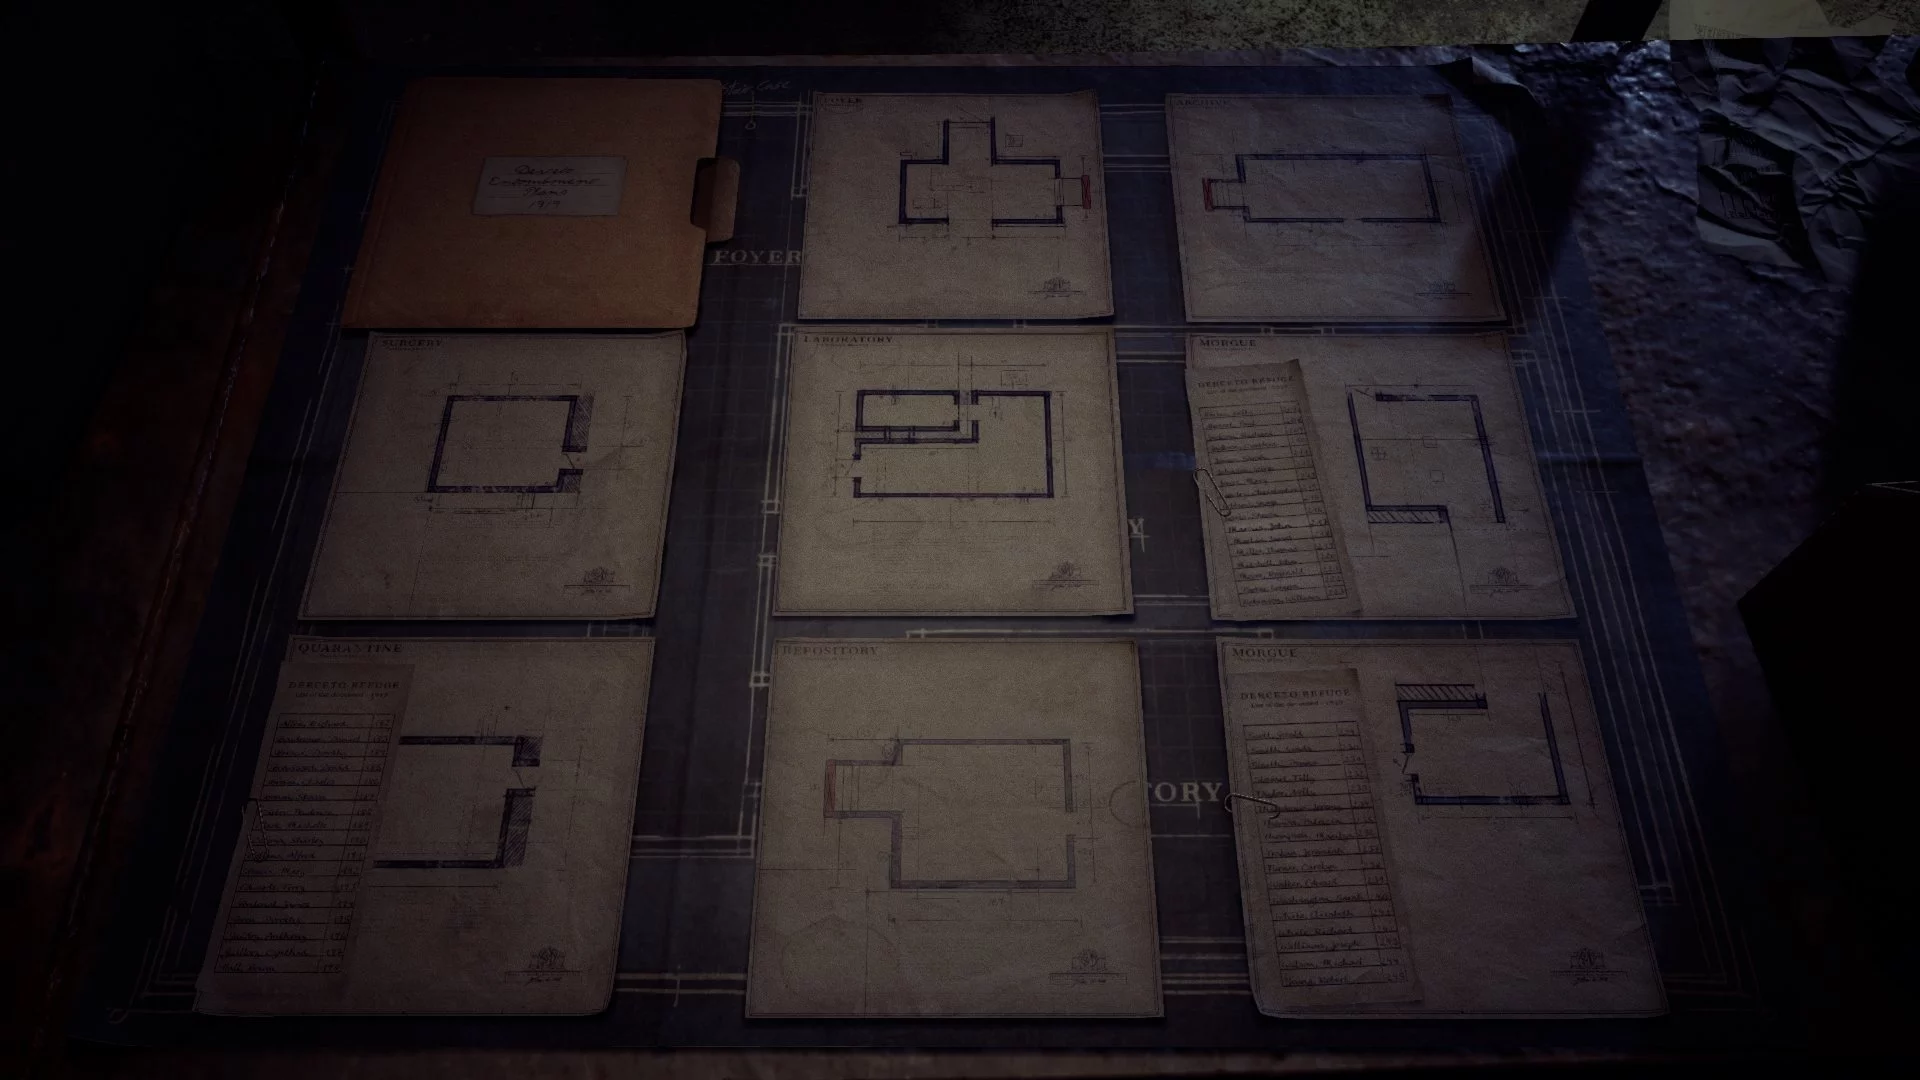
Now that the light is on, you can examine the room: take the plans for the burial of Derceto (B) from the cabinet, the gift «Cookie Box» from the table, and the clue «Closing the Shelter» from the desk drawer. Next to the large map, there is another part of the plan (A). Place the plans on the map as shown in the screenshot below.
After the lengthy cutscene, don't rush to leave the room. Return to the corpse and take the collectible «Toe Tag» — it is needed to unlock an additional ending. You will find yourself in the basement where you need to solve the puzzle with the X-ray images.
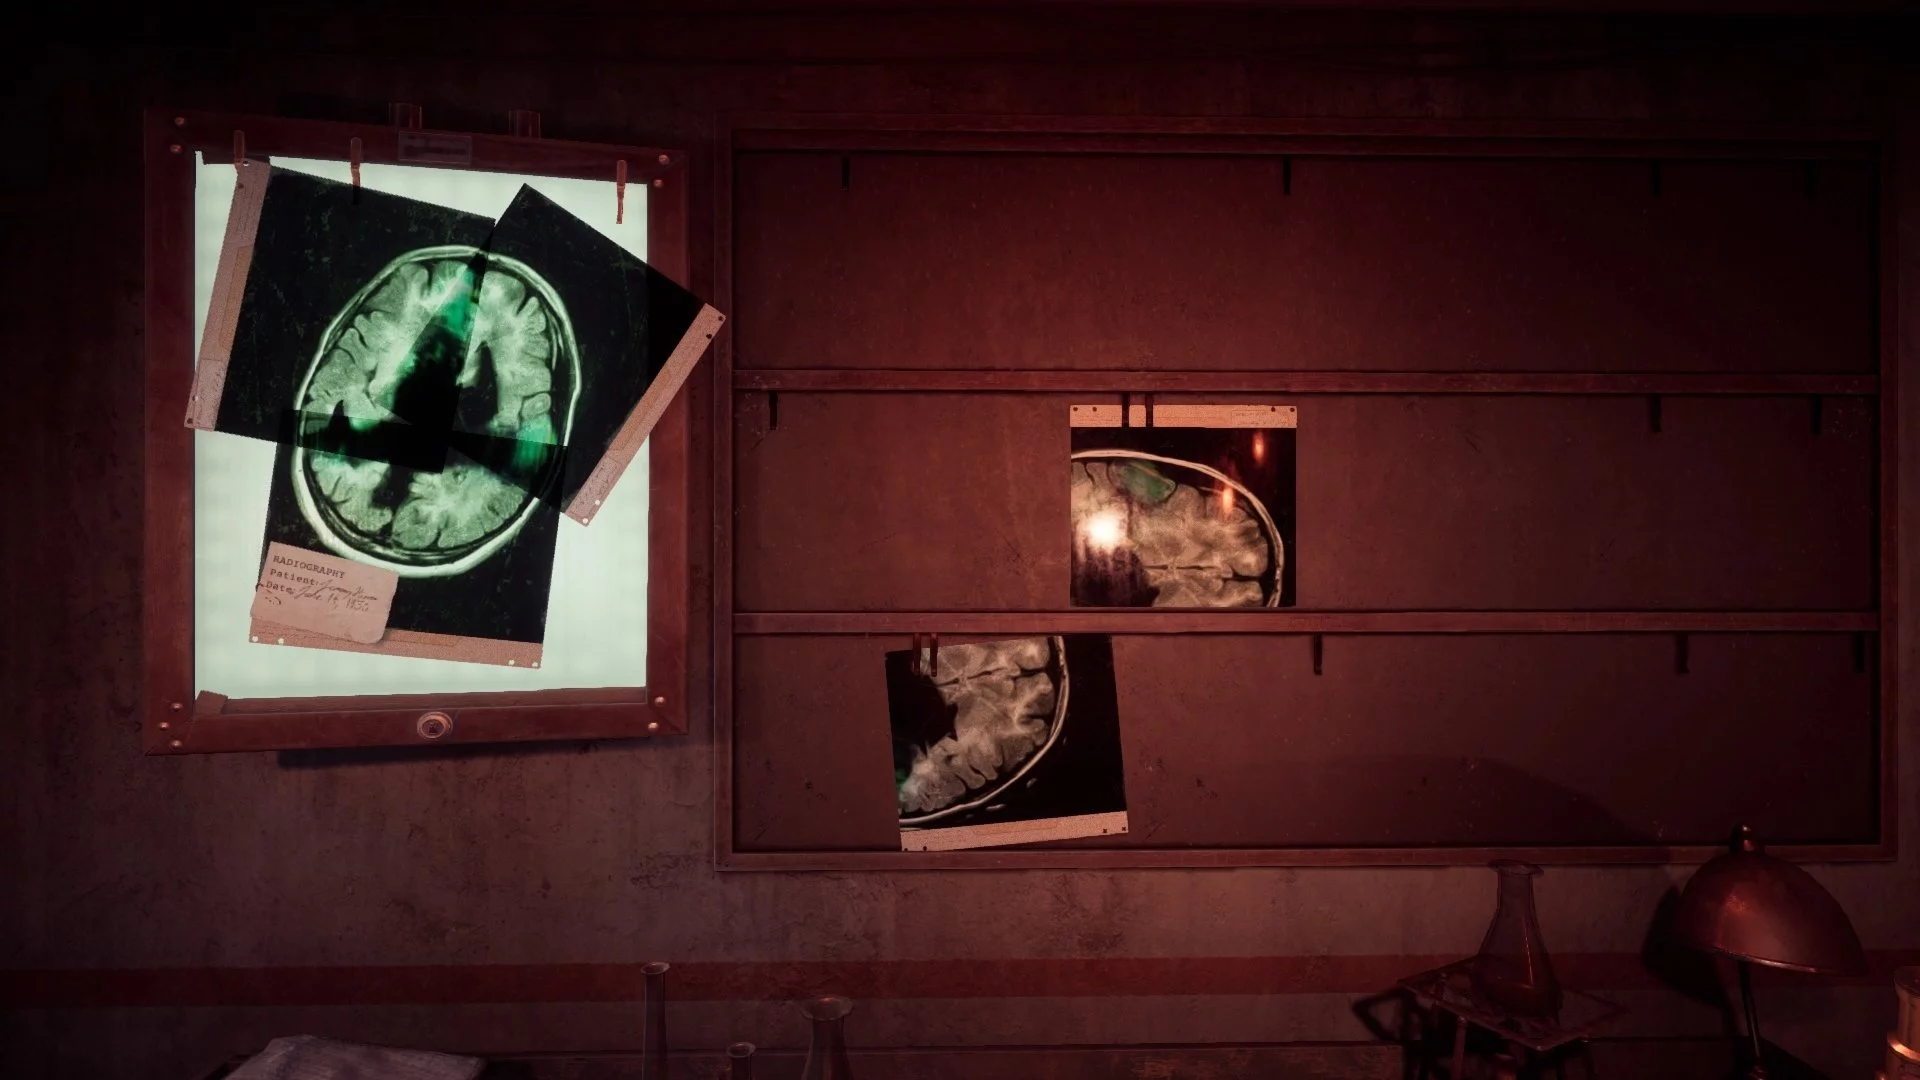
How to solve the puzzle with the X-ray images
Regardless of who you are playing as, in the basement corridor, examine the couch and pick up the collectible «Scapegoat».
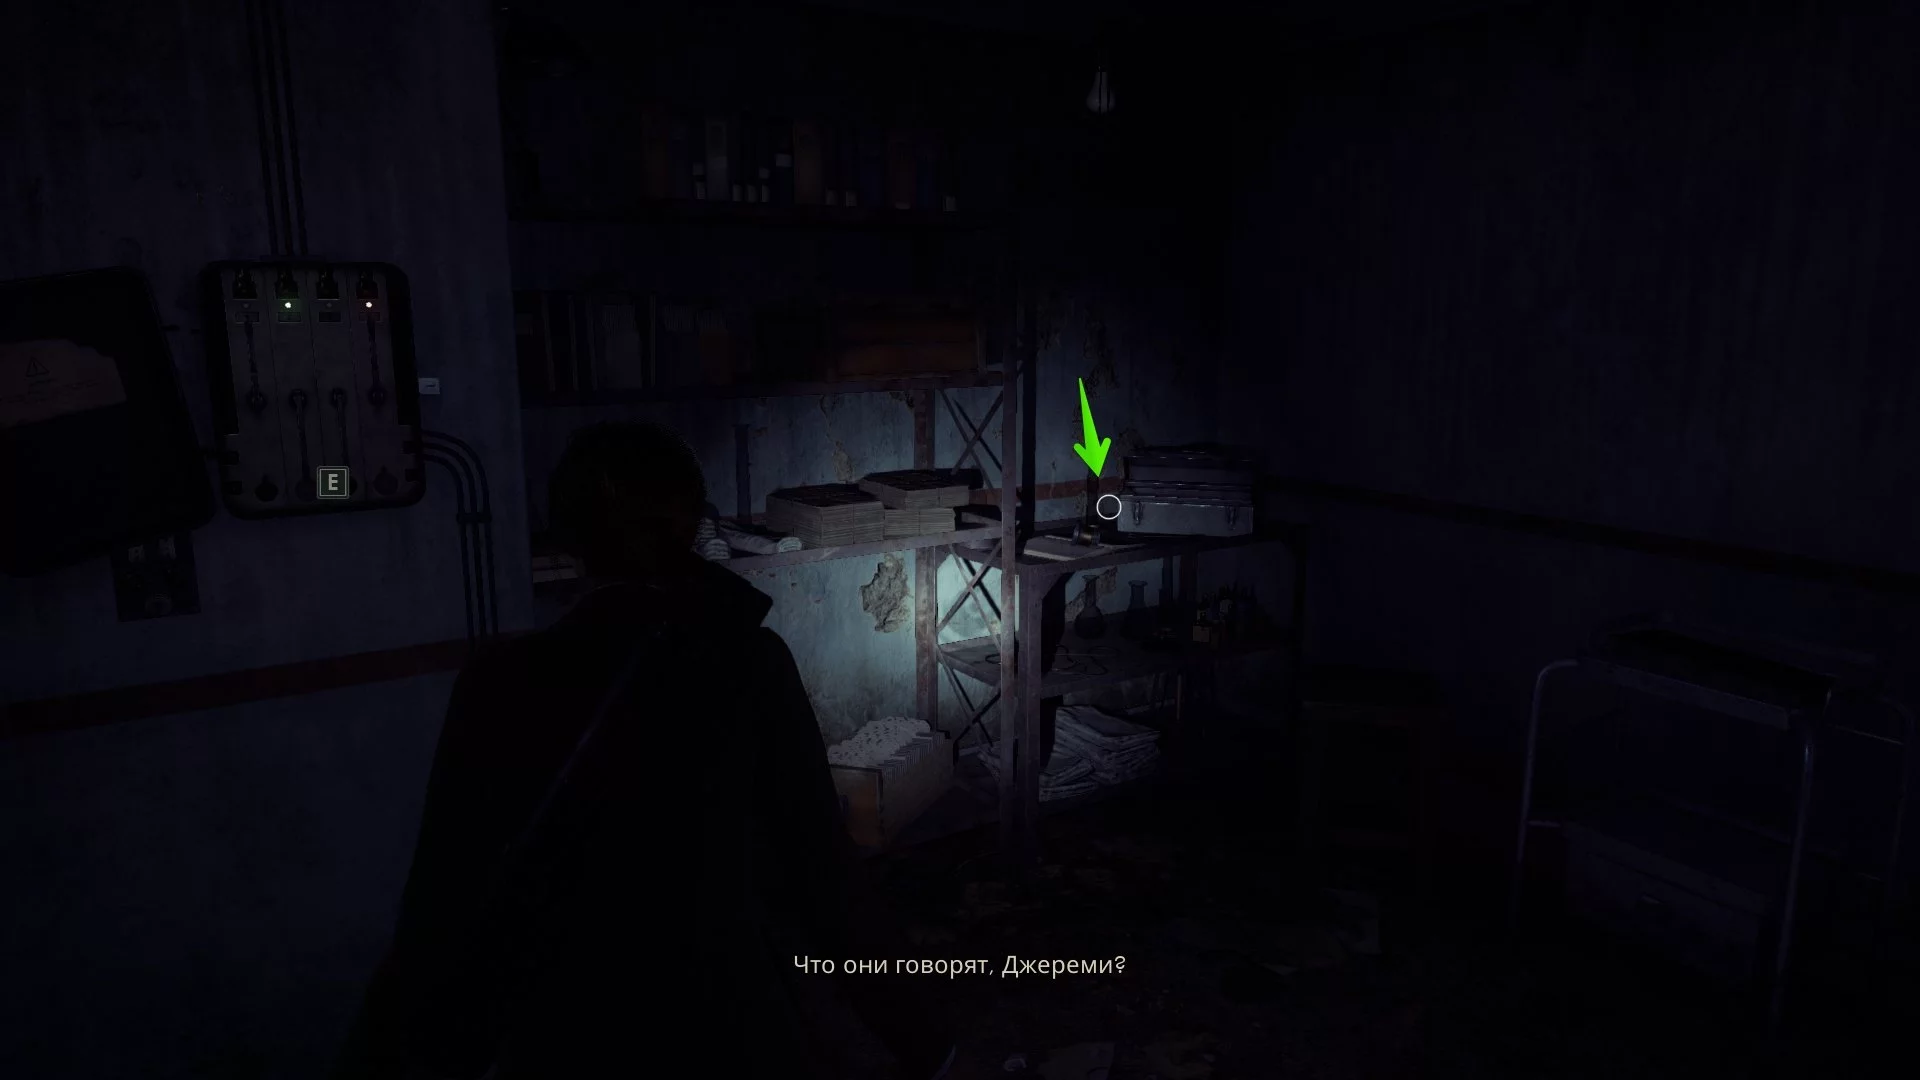
Go to the only open room, collect the clues «X-ray Notes», «Last Resort» and pick up the key to the operating room from the table. Here you will also find X-ray №2 and a fuse (1/2).
Open the operating room and take the fuse (2/2) from the device. Insert both fuses into the electrical panel, then activate the switches in the following sequence:
- Lower the 4th lever.
- Raise the 2nd lever.
- Lower the 1st lever.
Go down the corridor and open the farthest door on the right. Here you will find the X-ray №1. Return to Dr. Gray's office and place both images on the stand. Select three X-rays and arrange them as shown in the picture below.
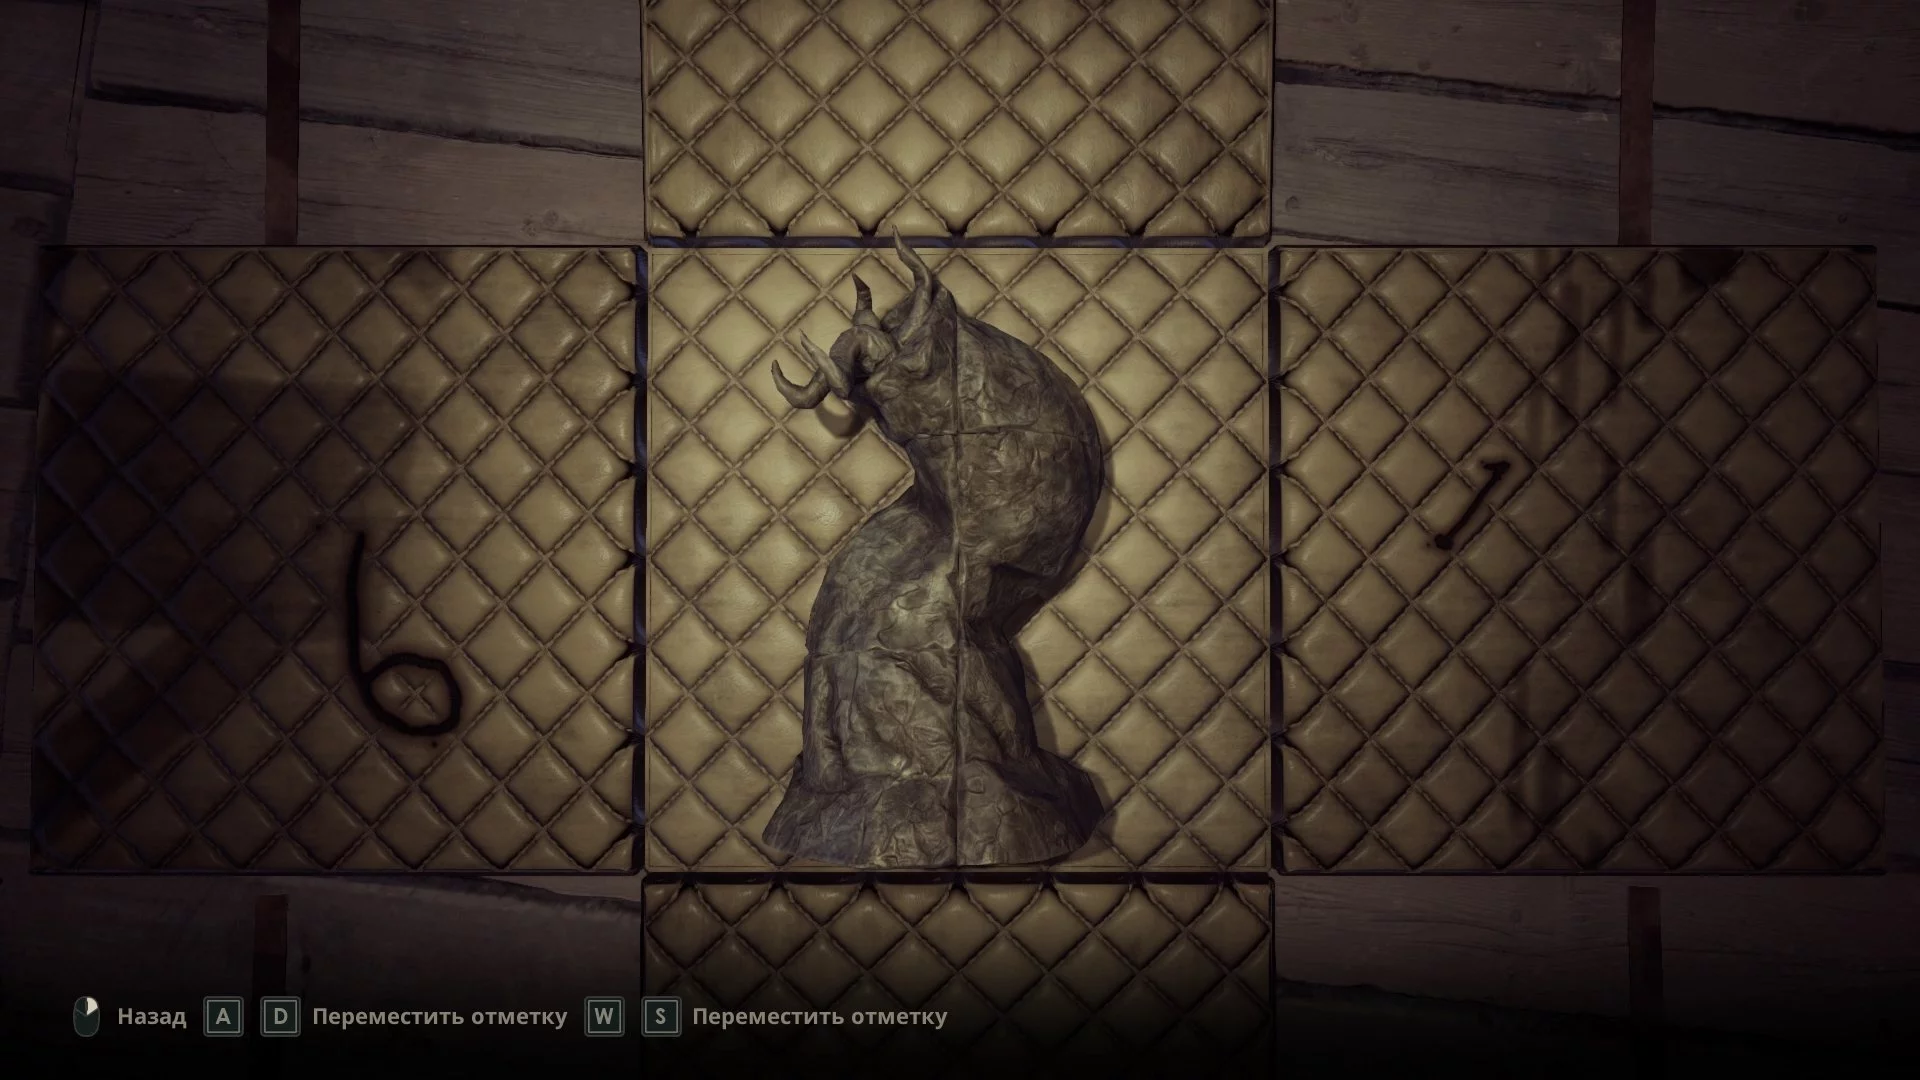
You will receive the key item «Jeremy's Darkness». Leave the basement and run to the very top to get to the attic. First, we advise you to inspect the far right corner of the room to find the collectible «Piece of the Mosaic». Open the chest here, place the previously found item, and assemble the shards. Apply the medallion and enter the code «641». Behind the hero, a place will appear where you can descend. Here the game will not separate the scenarios for Edward and Emily, so the further passage for these characters will be identical.
Note: If you have previously collected three gifts for the «Curse of the Hartwoods» set (One in the Darkness, Magic Palette, and Behold the Dark Man), then now on the attic you can approach the noose and interact with it. You will get the achievement «Meta-ending».
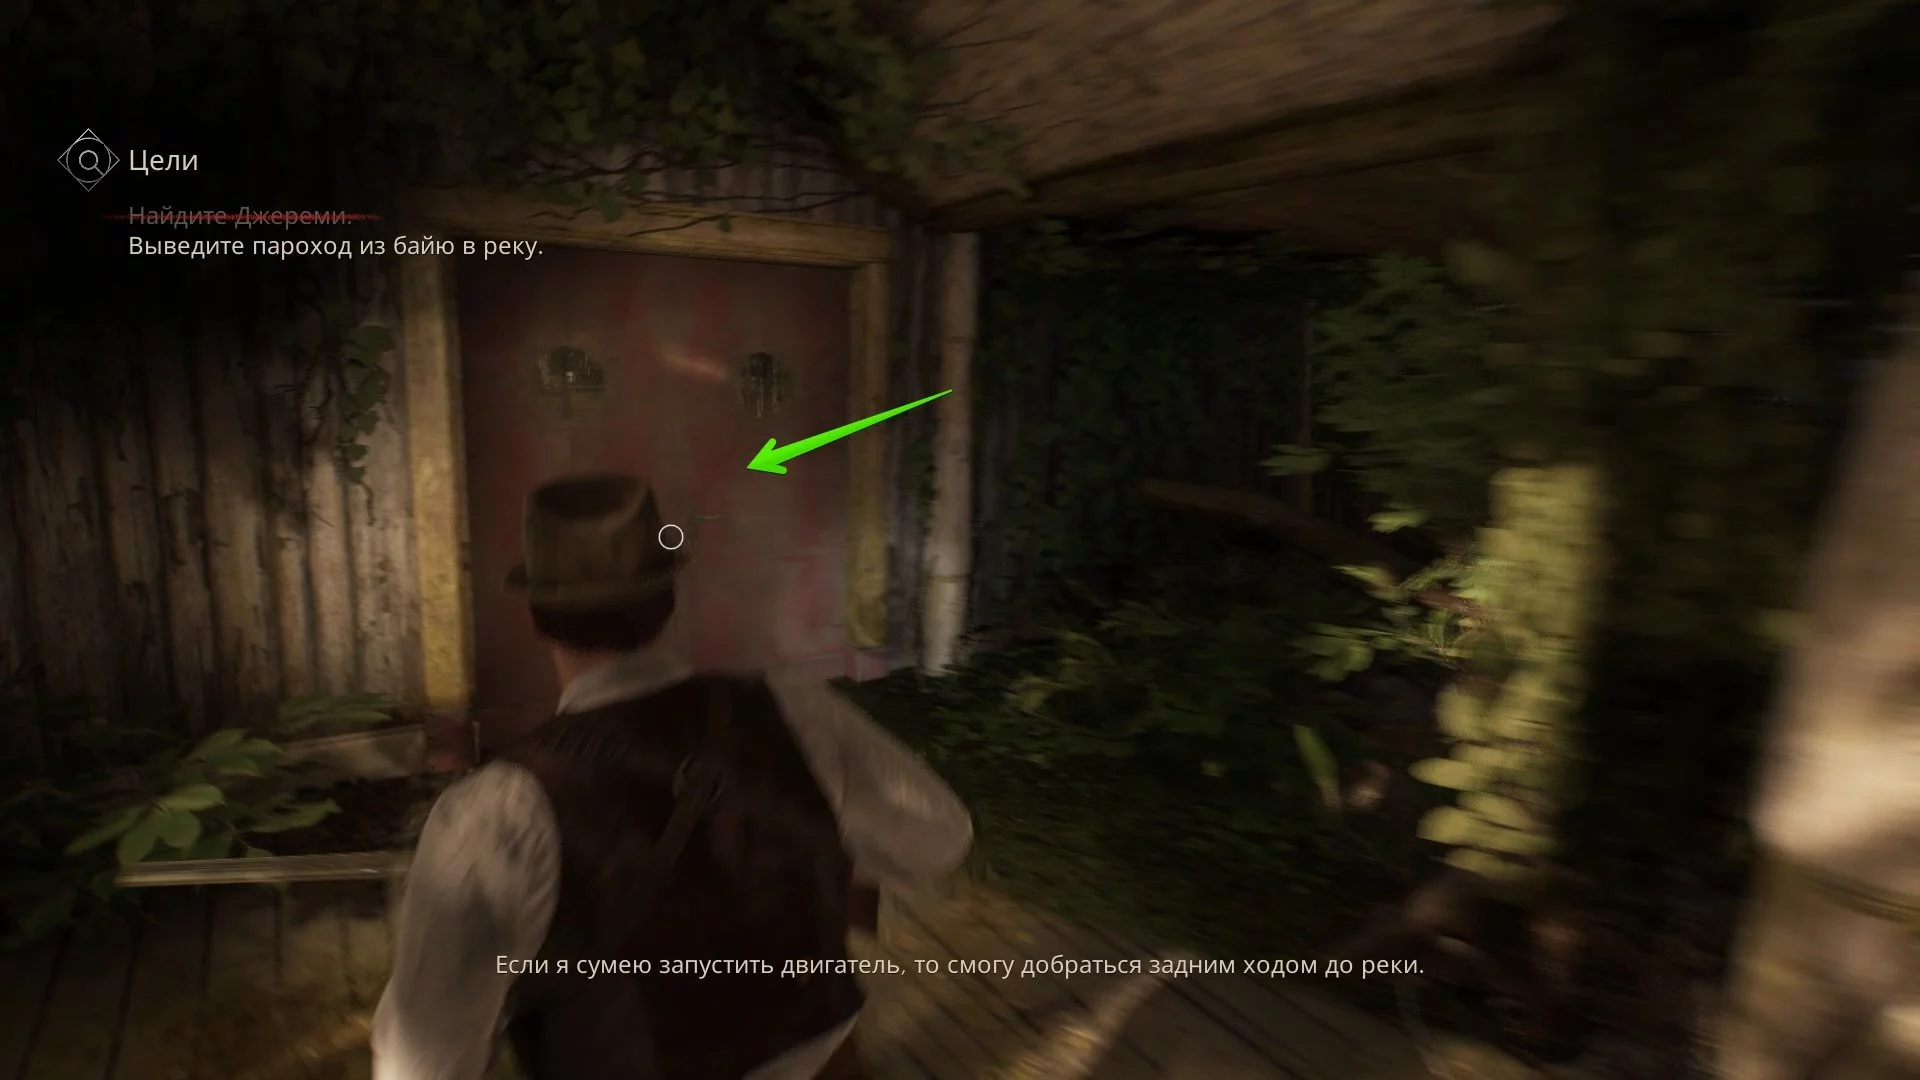
How to Start the Steamboat Engine
Enter the only door and move deeper into the liner. Here you will encounter a new type of monsters — we advise not to approach them closely, but to kill them from afar. At the stairs, first go down to the lower level and inspect the cargo hold. You'll find ammunition and the collectible «Broken Compass».
Climb onto the deck, but do not rush to inspect the cabins. At the bell, you will see a hatch to the lower floor — jump down and inspect the red chair to get the collectible «Pale Mask».
Return and run to the opposite side and destroy the rotten planks to open the passage to the engine room.
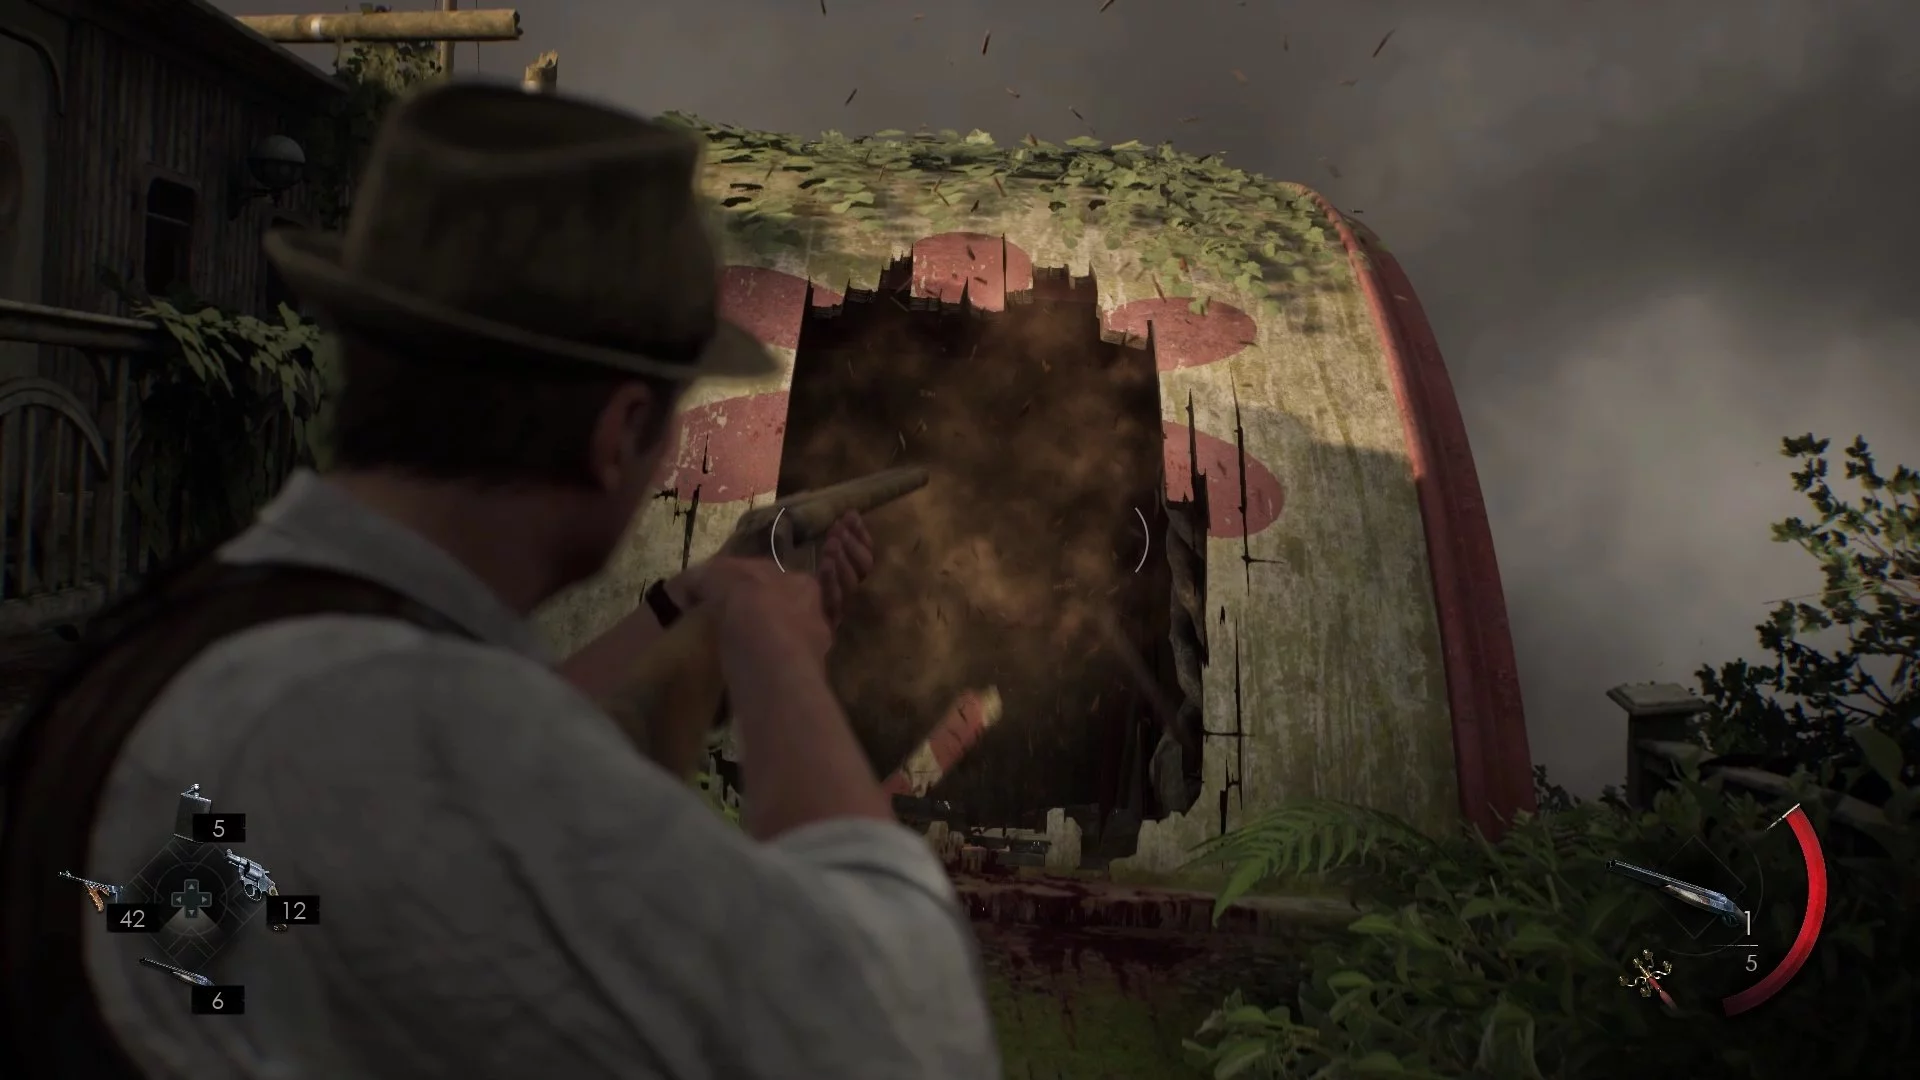
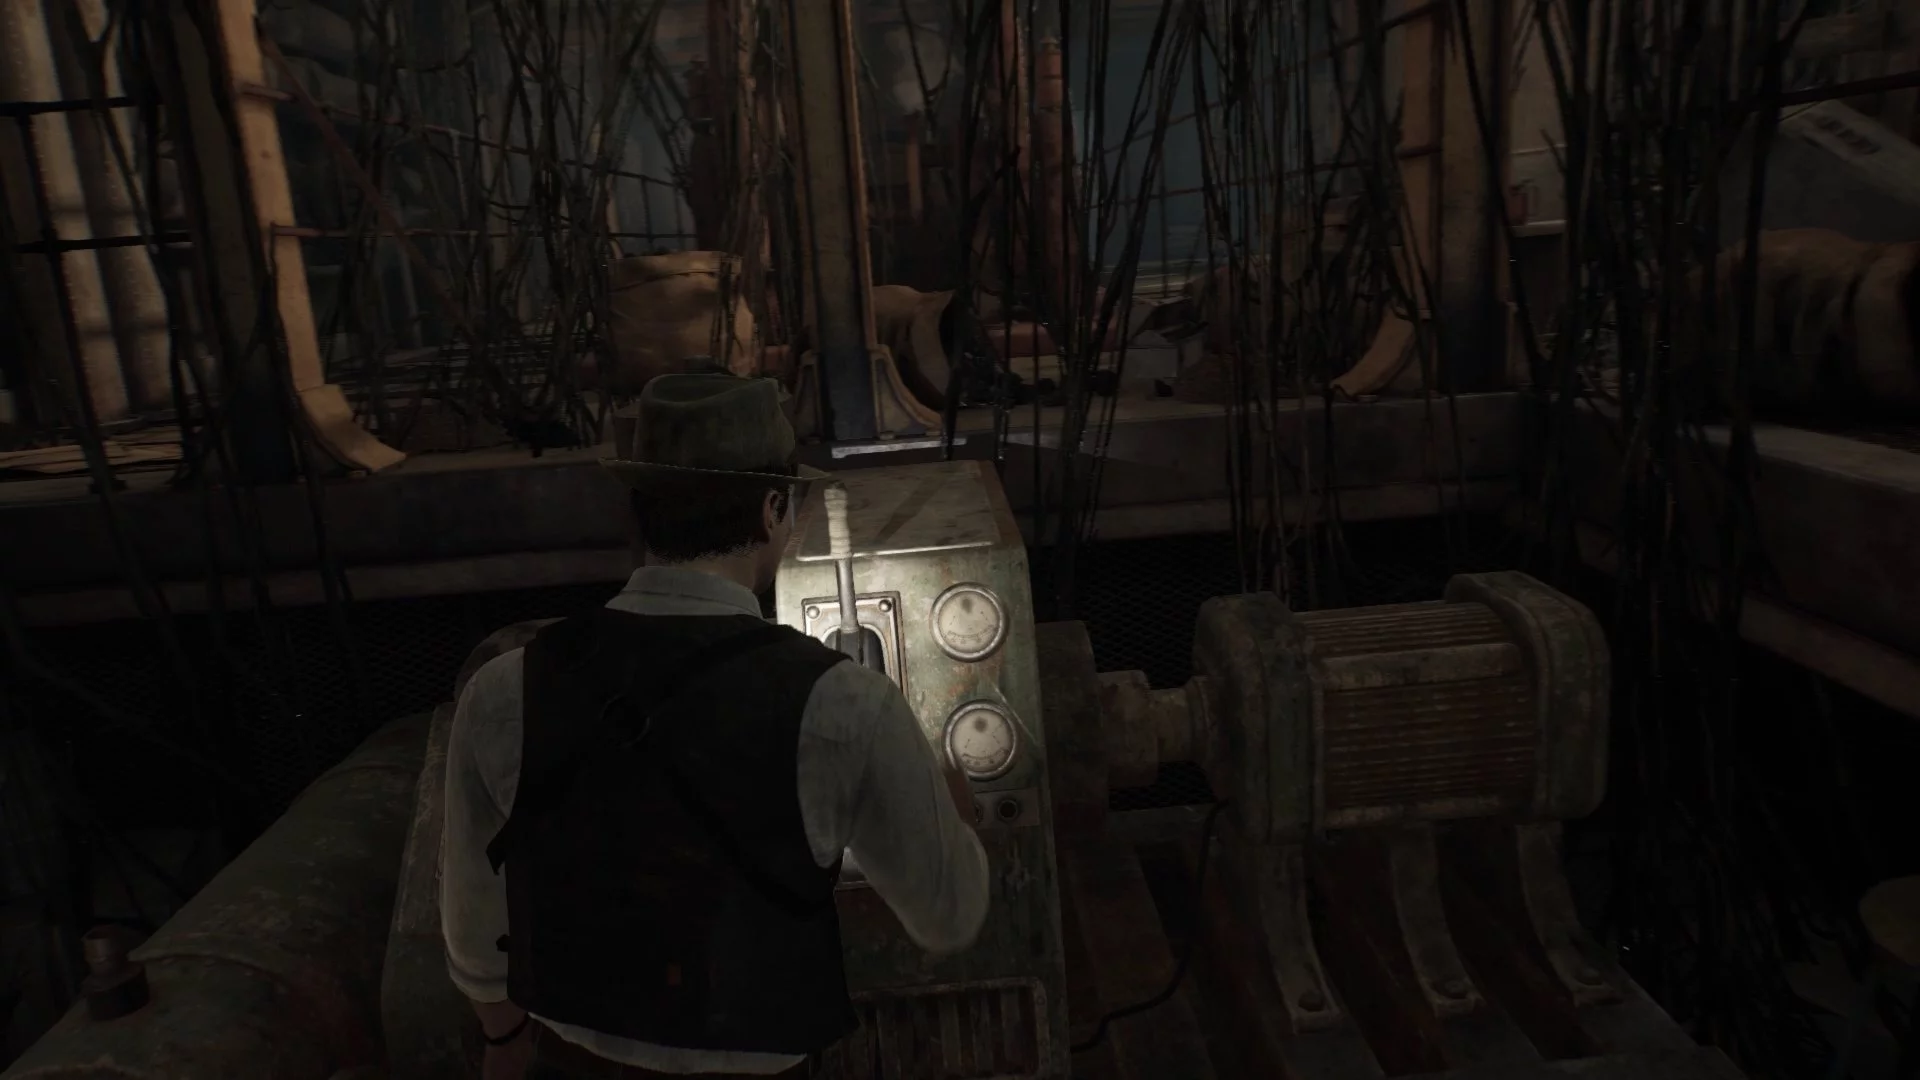
Go down further, turn the valve and take the empty canister. Fill it with fuel, pour it into the engine, and then interact with the lever.
When you return to the deck, there will be a whole swarm of enemies waiting for you. Quickly run to the opposite side and get into the lifeboat, then press the button and watch the cutscene.
The objective will be updated. Now you need to visit Dr. Gray in his apartments. They are located on the second floor in the additional part of the house. From the administrator's room, run to the hall, then to the second floor and into the corridor on the left. Immediately open the door on the right and bypass the staircase. At the first interaction with the door, you will receive the gift «Do Not Disturb».
Take the fake book from the table and place it on the bookshelf. A door to the bedroom will open, and the gift «Toy Talisman» will appear on the floor (it will be lying behind the hero at the exit). With its help, you can get an alternative ending if at the very end of Chapter 5 you give it to Grace.
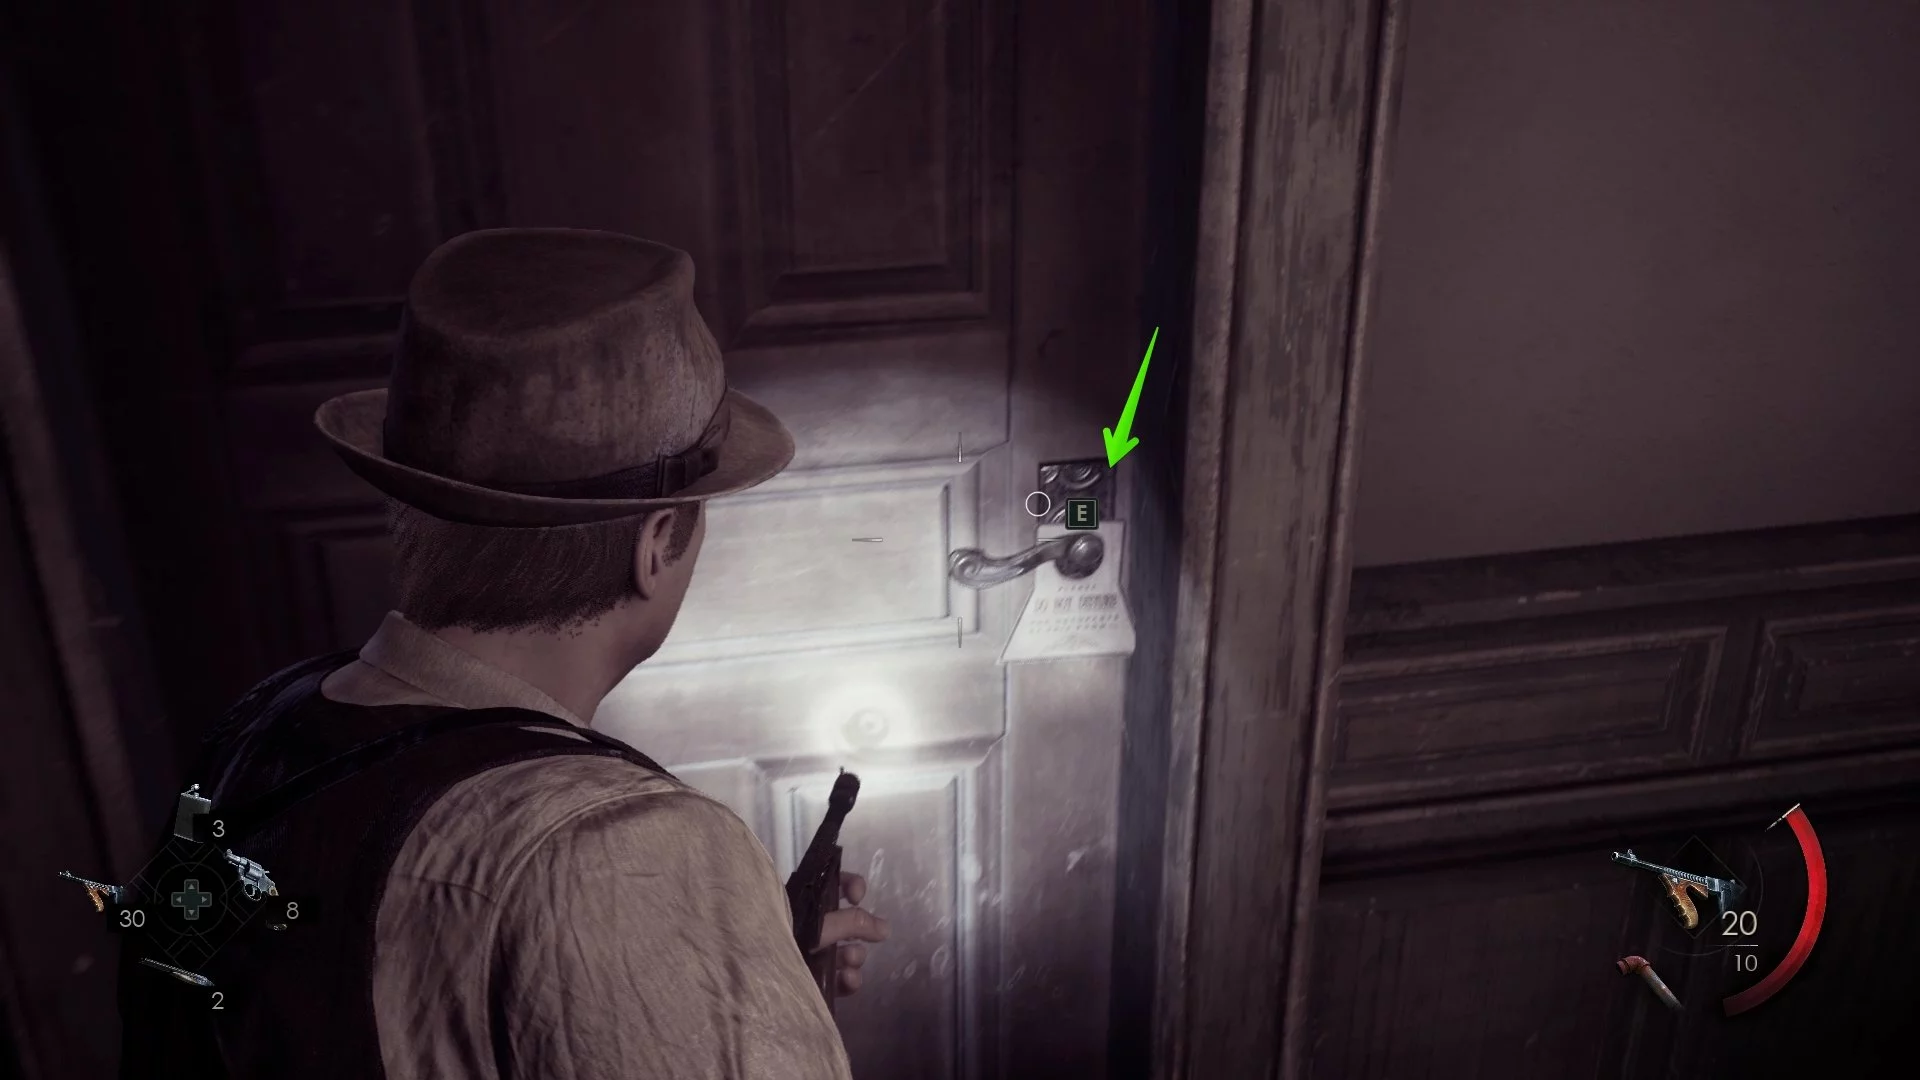
Go back a little and enter the pantry. Here, interact with the mirror to get the key to the cabinet. When you open the cabinet, the phone will ring. Also, don't forget to open the chest and read the note «First Meeting — Transcript». On the chair in the lower-left corner of the room, there is also a clue «Serpent Dagger».

Note: If you have collected the «Honorable Death» set of collectibles, then playing as Emily in the pantry with the mirror (where you found the cabinet key), you will be able to complete an additional objective and wash the paint off the painting.
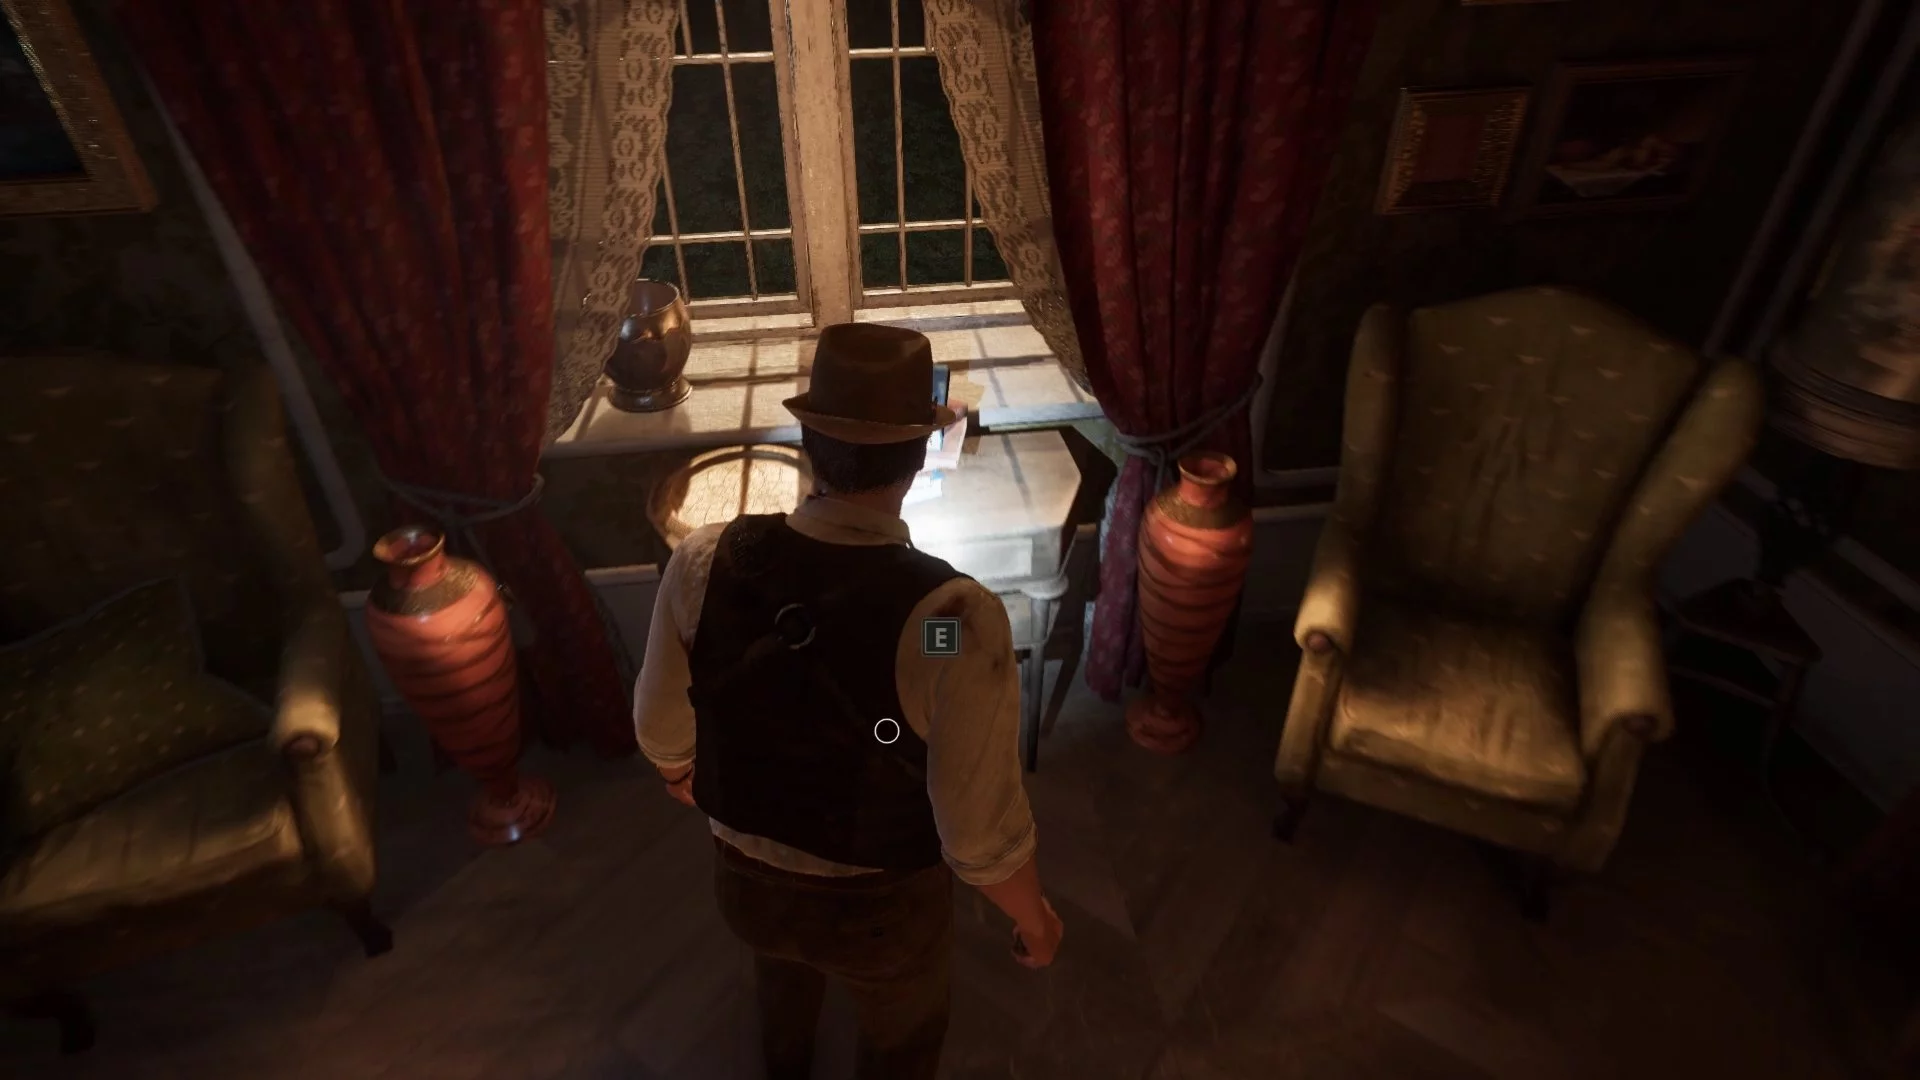
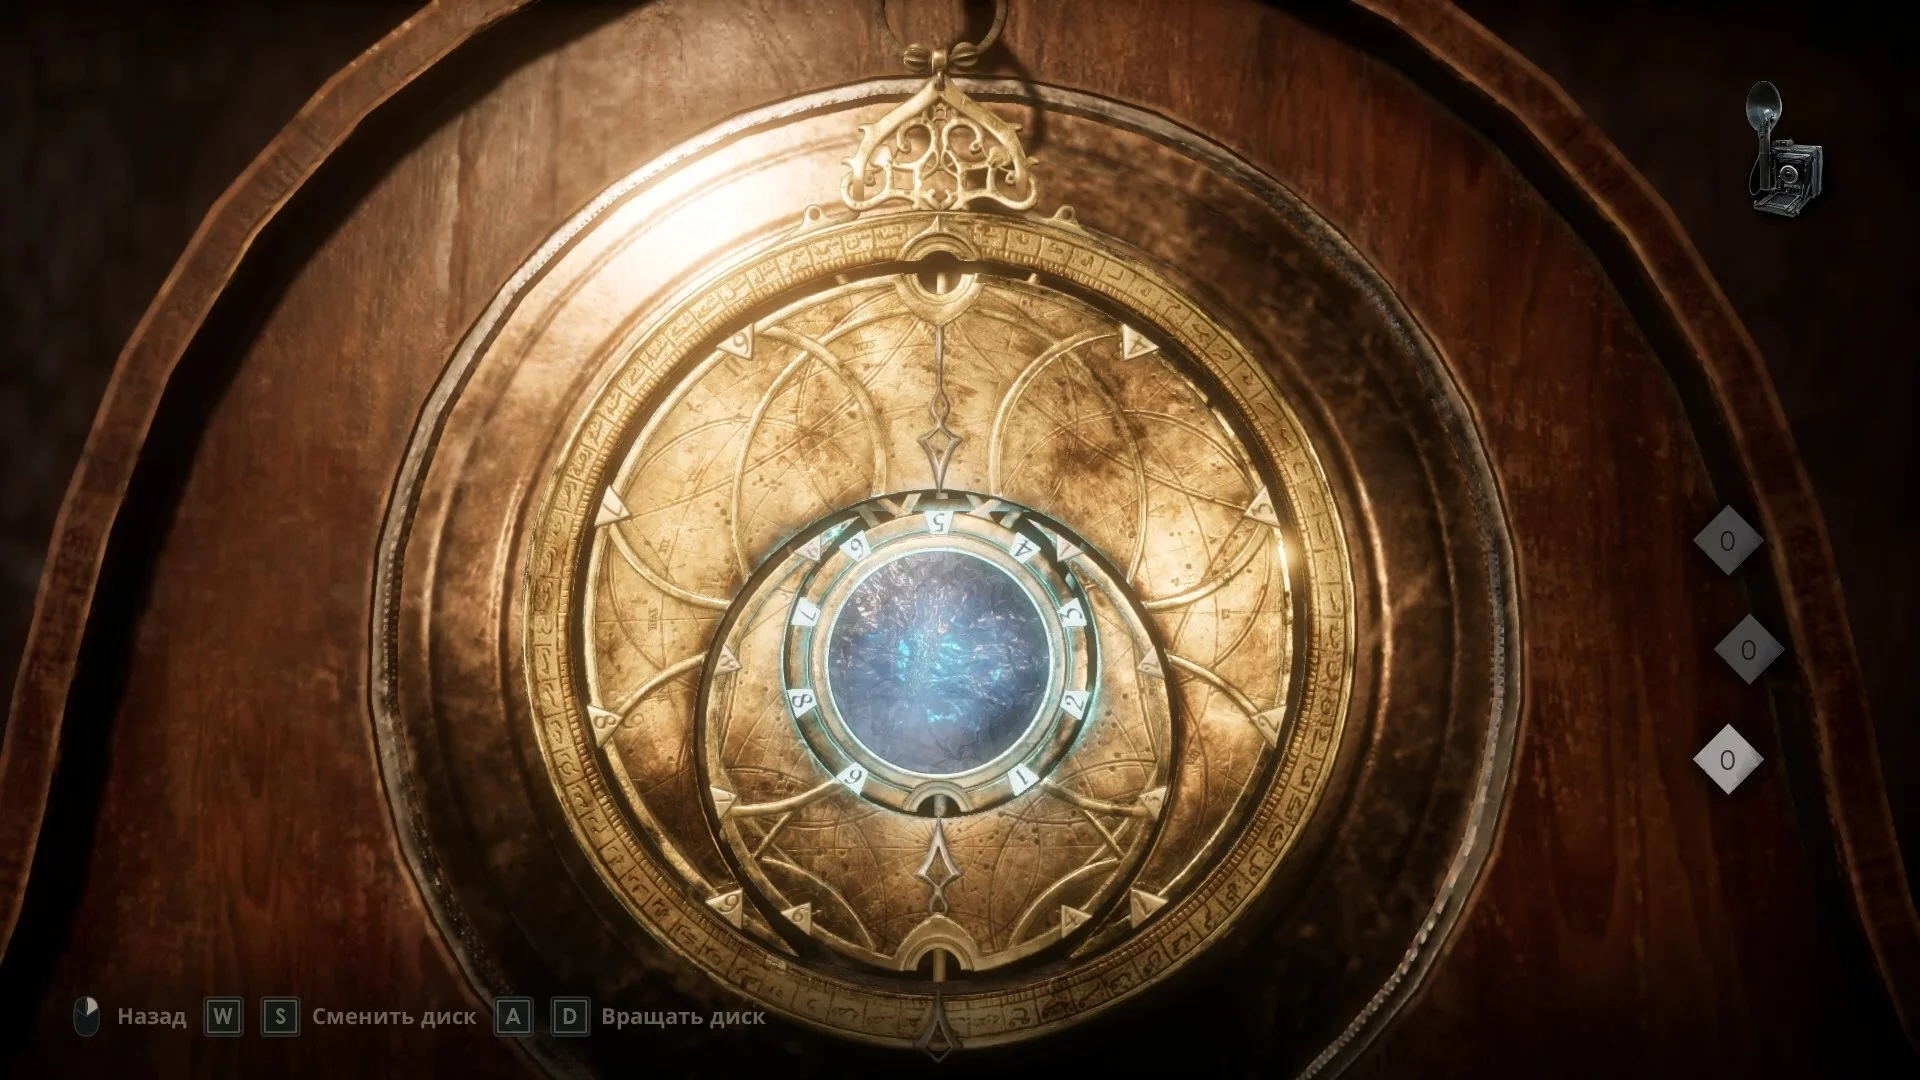
Watch the scene with the phone, after which you can use the talisman on the nearby clock. Insert the item and set the value to «000». Return to the room with the cabinet, after which you will find yourself at a new location.
How to Solve the Puzzle in the Other World
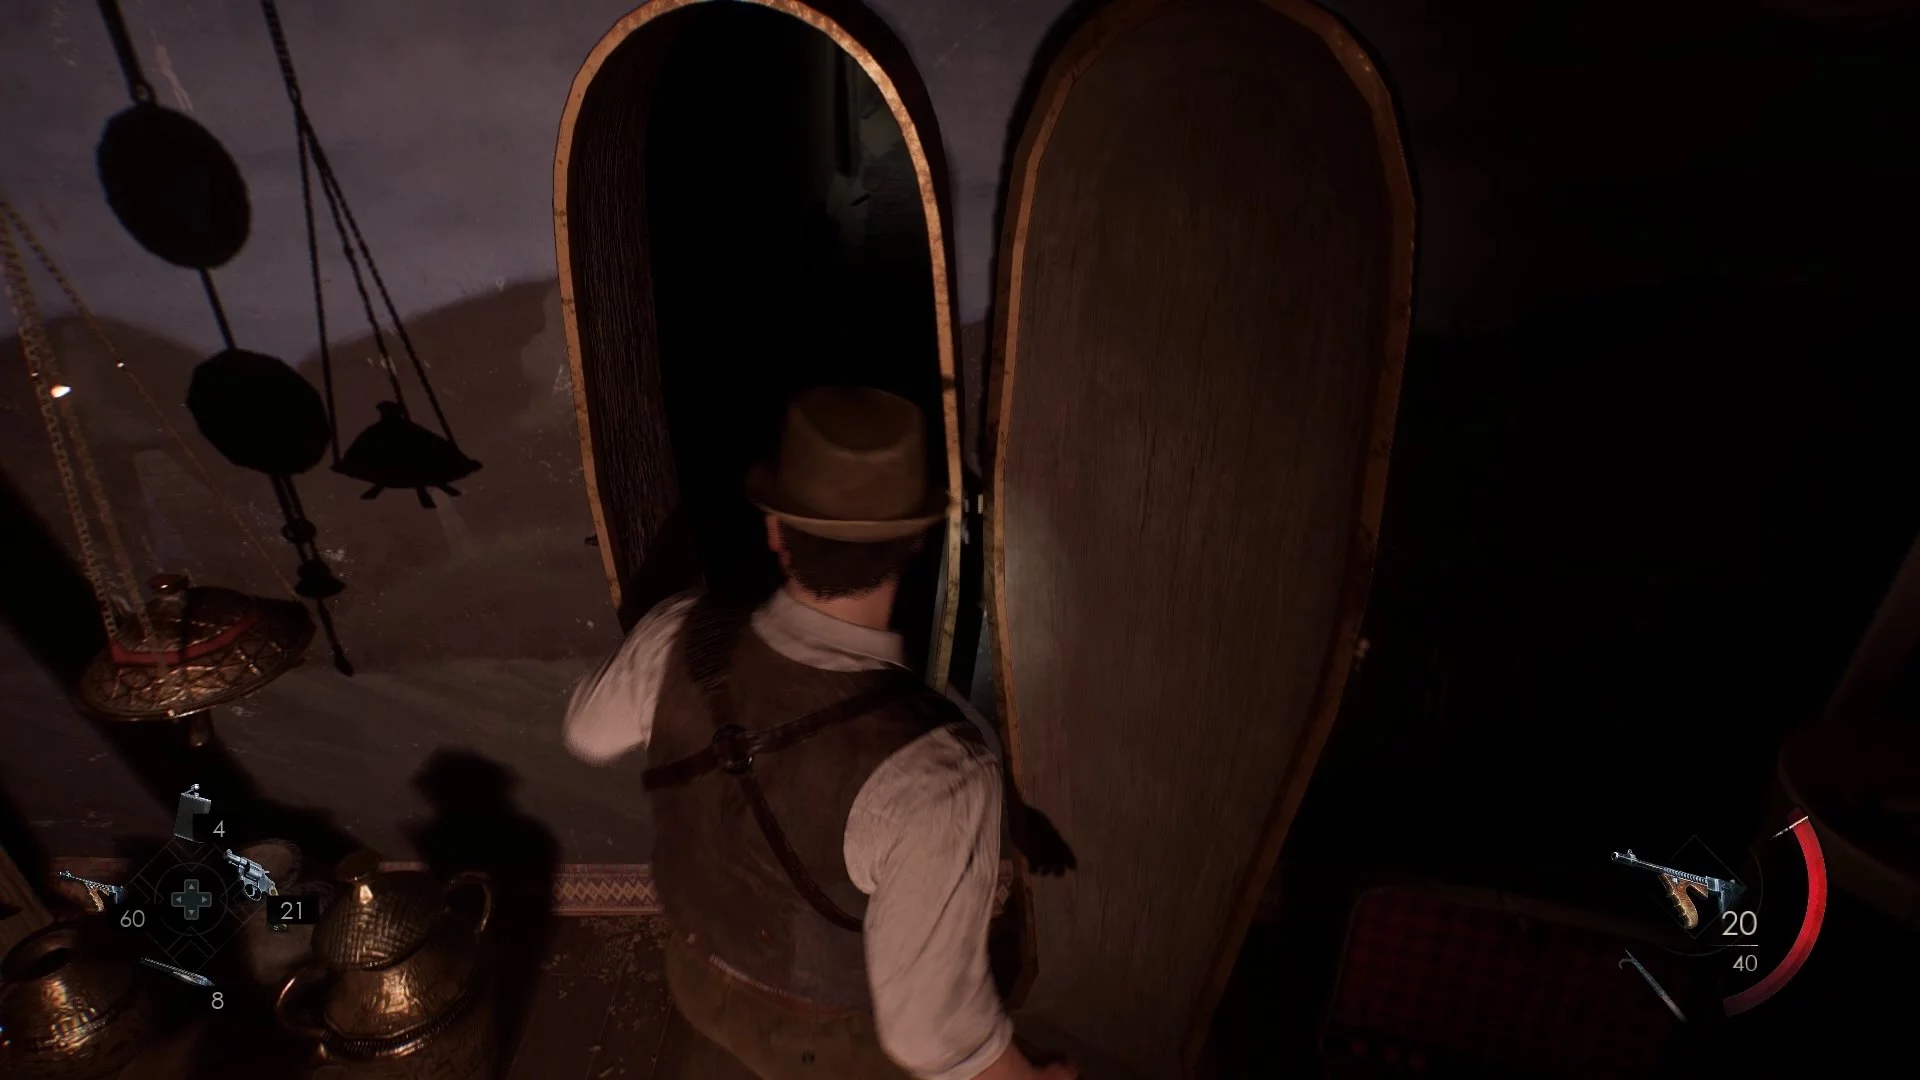
After the hero crawls through the wardrobe, you will find yourself in another world. You can pick up a flare gun to light your way, but you can simply follow from the bonfire forward and slightly to the right. Soon you will see the only path leading up to the hill.
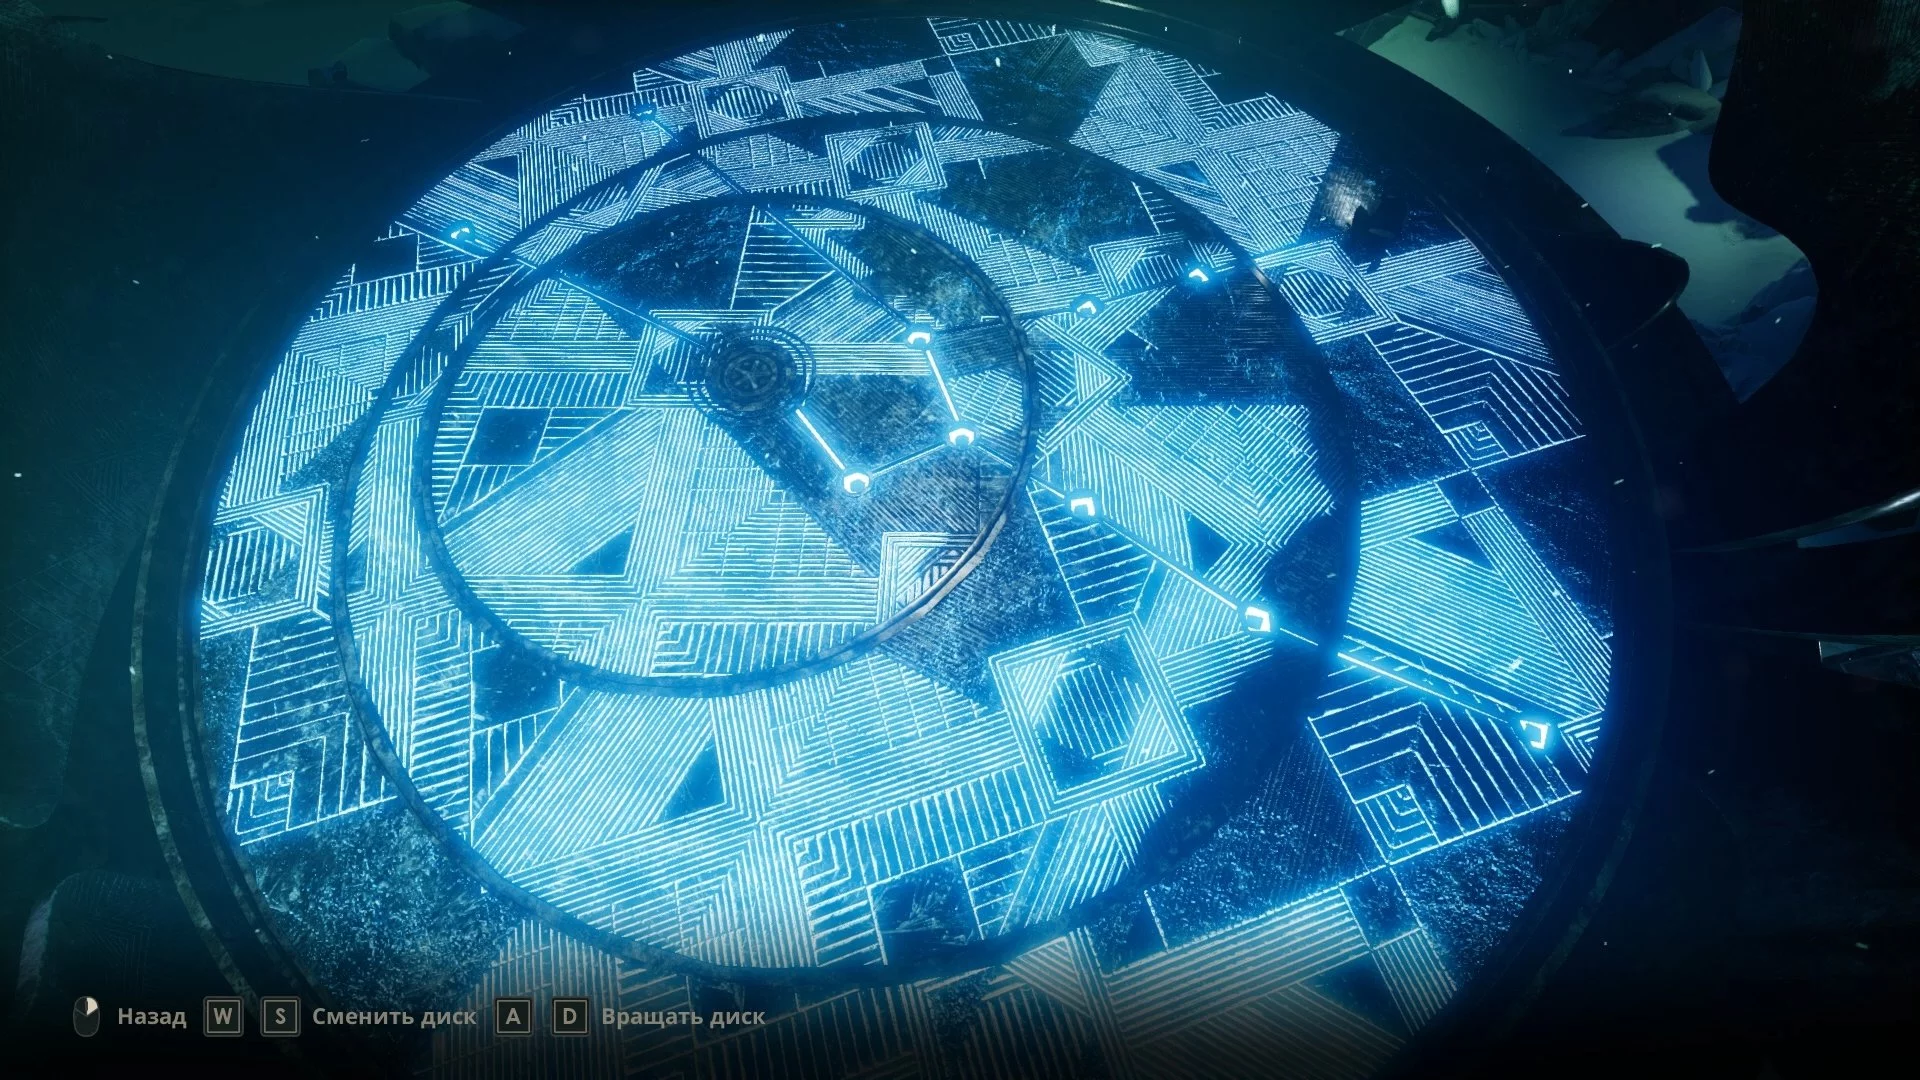
When you reach the top, be ready to fight an armed enemy. After that, climb up the ladder and rotate the discs to form the constellation as shown in the picture below.
The enemy you just killed will mutate and attack the hero again. Shoot him with any weapon until he falls, then strike with the blade. Repeat the actions three times and watch the video clip.
How to Defeat the Final Boss
After a long cutscene, you will appear in the greenhouse. You can talk to each of the present characters, then approach the fountain and press «Wait [for partner]». Another video clip will start, after which you will have to fight the final boss.
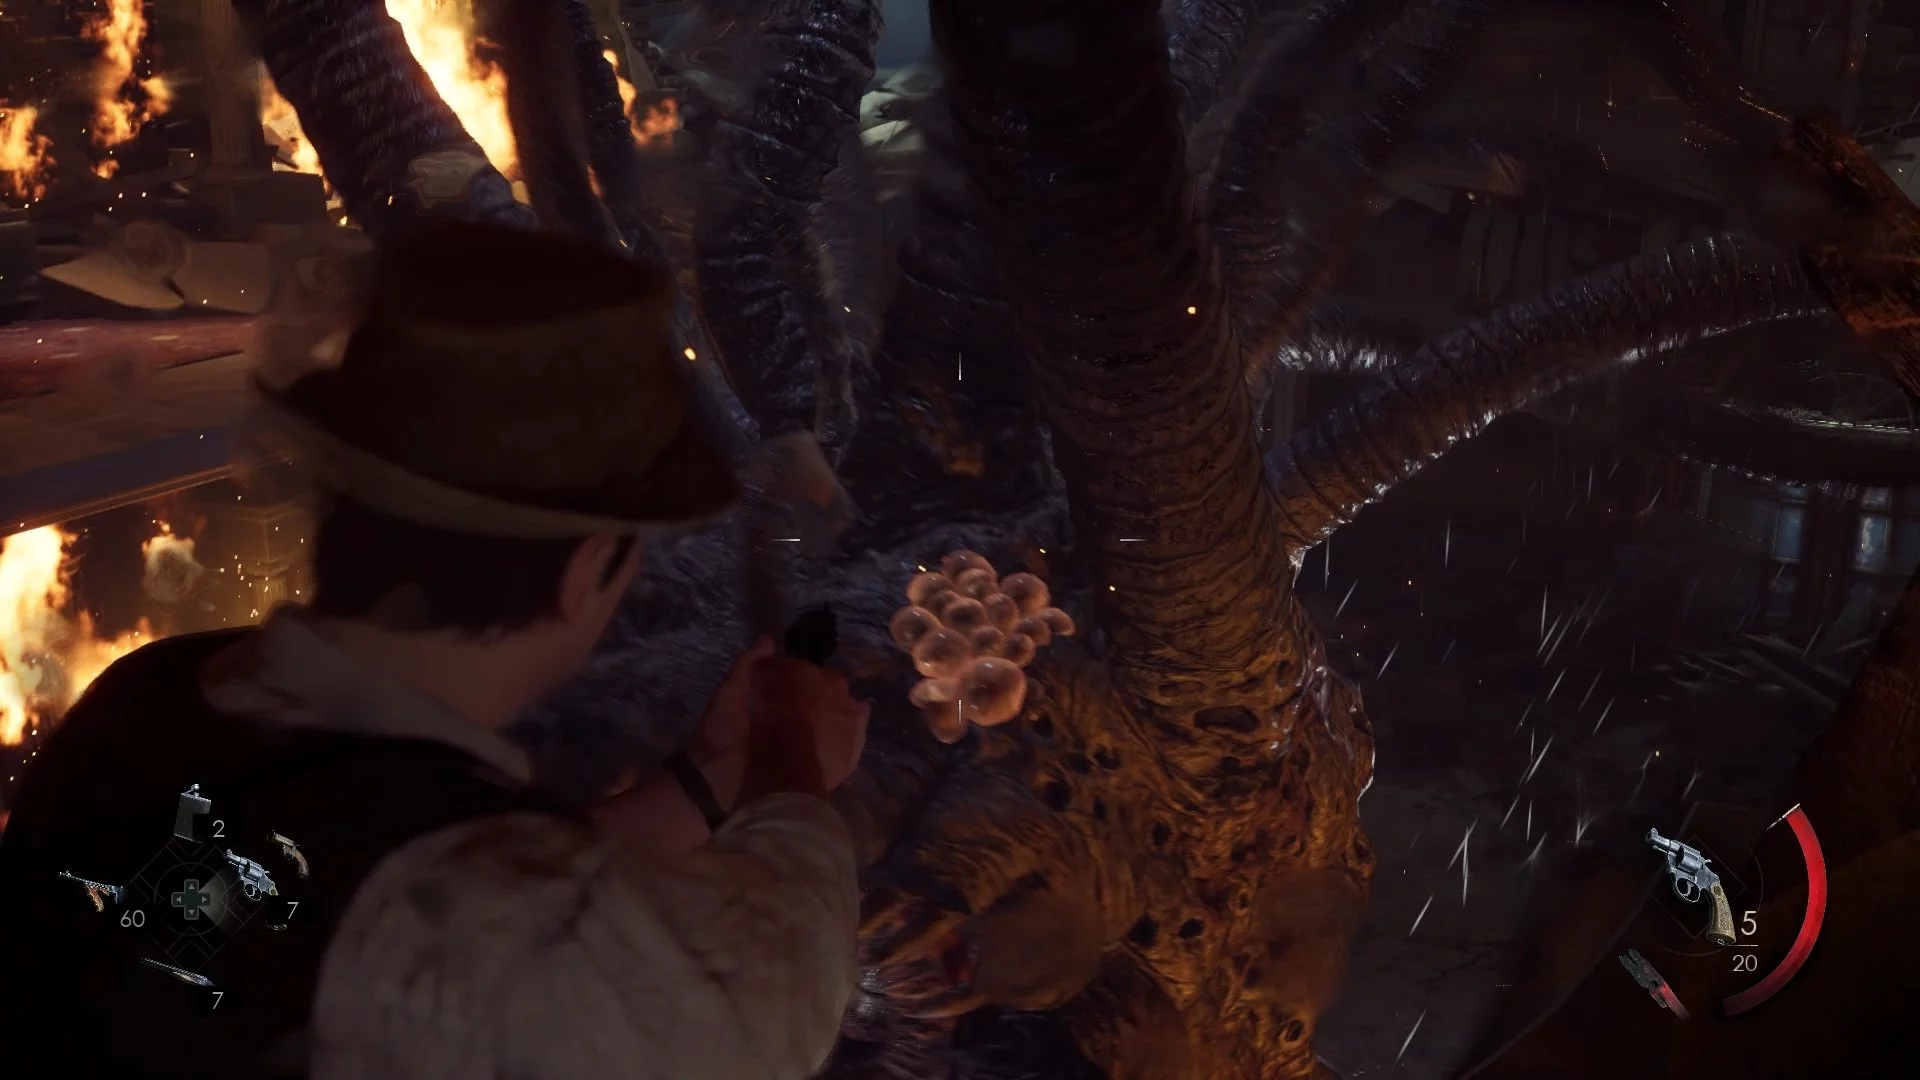
Run out of the greenhouse on the right side to the roof, collecting ammunition. When you find yourself in the main hall on the second floor, do not waste bullets on the boss. Shoot only at the bubbles that appear on his body, and dodge in time. After a while, the hero will fall to the first floor.
The tactic here will be a bit different. First, shoot the bubbles on the enemy's legs, then on the head. When he stops, he will start releasing monsters. Make sure to get rid of them first, as they will block your path and likely overwhelm you with their numbers. When there are no more regular enemies left, shoot the legs again, then the head.
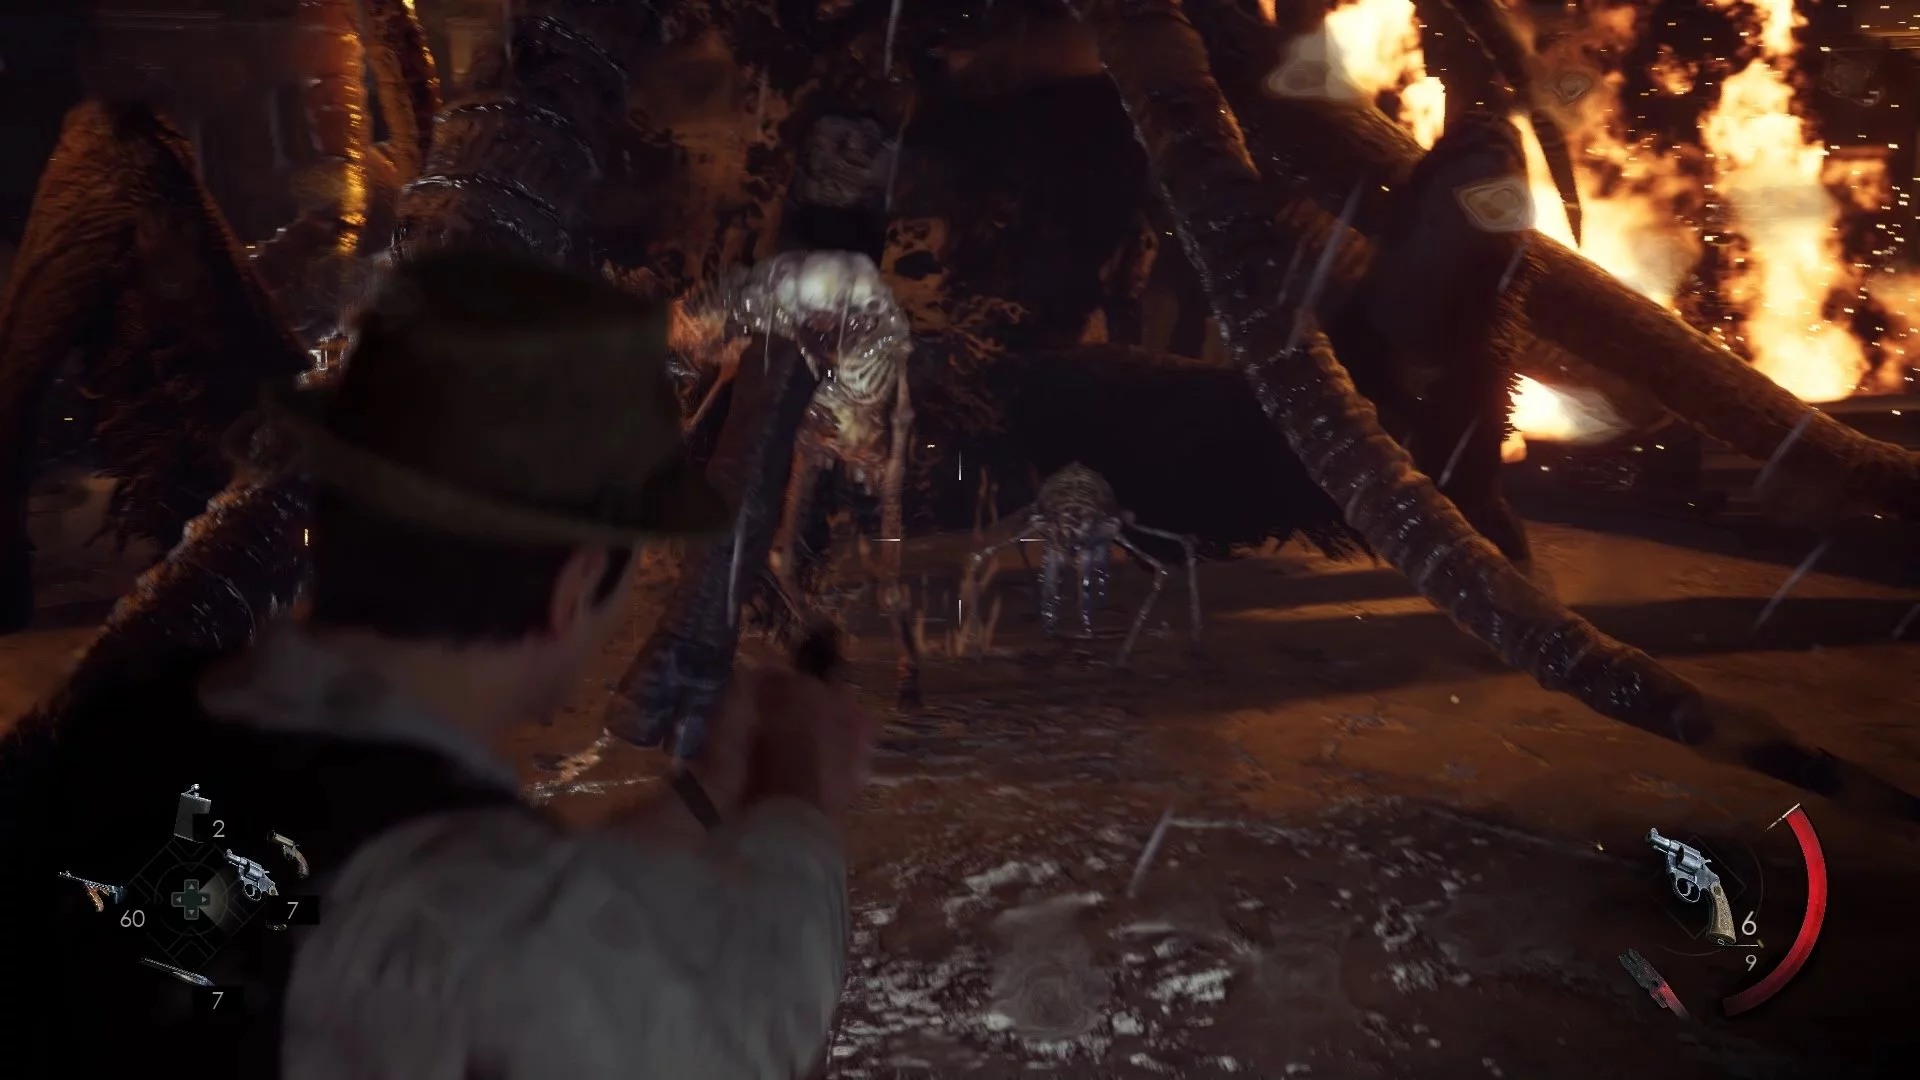
Continue repeating these actions (on medium difficulty, it will take 2-3 attempts), after which the game will end.
Other guides
- All Codes for Safes and Lockers in Alone in the Dark
- All Endings of Alone In The Dark (2024): How to Get Them
- How to Find All The Collectibles (Lagniappes) in Alone in the Dark (2024)
- All actors in Alone in the Dark (2024): who played Edward Carnby, Emily Hartwood, and others
- Alle Enden von Alone In The Dark (2024): Wie man sie bekommt
- Alle Schauspieler in Alone in the Dark (2024): wer spielte Edward Carnby, Emily Hartwood und andere
- Alle Codes für Safes und Schließfächer in Alone in the Dark