How to Solve All Riddles and Puzzles in Hogwarts Legacy

Hogwarts Legacy is an open-world adventure role-playing game inspired by the Harry Potter books and movies. Throughout the game, you will encounter various riddles and puzzles. To solve most of them, you will need to use the correct spell. In this guide, we will tell you how to solve all the minor riddles in the game.
While exploring the school of magic, you will find locked chests, statues that can be lit, strange mirrors, flying keys, and locked cabinets. As we've already noted, to solve most of these puzzles, you will need to use a specific spell.
How to solve all puzzles in Hogwarts. Which spells to use
Tip: To access new spells, simply follow the main story quests. If you don't have the necessary skills to solve a puzzle in your path, skip it and return later.
Flying Pages
Simply pick up the page by hand if it is close to the hero. Otherwise, use Accio to attract flying pages to yourself.
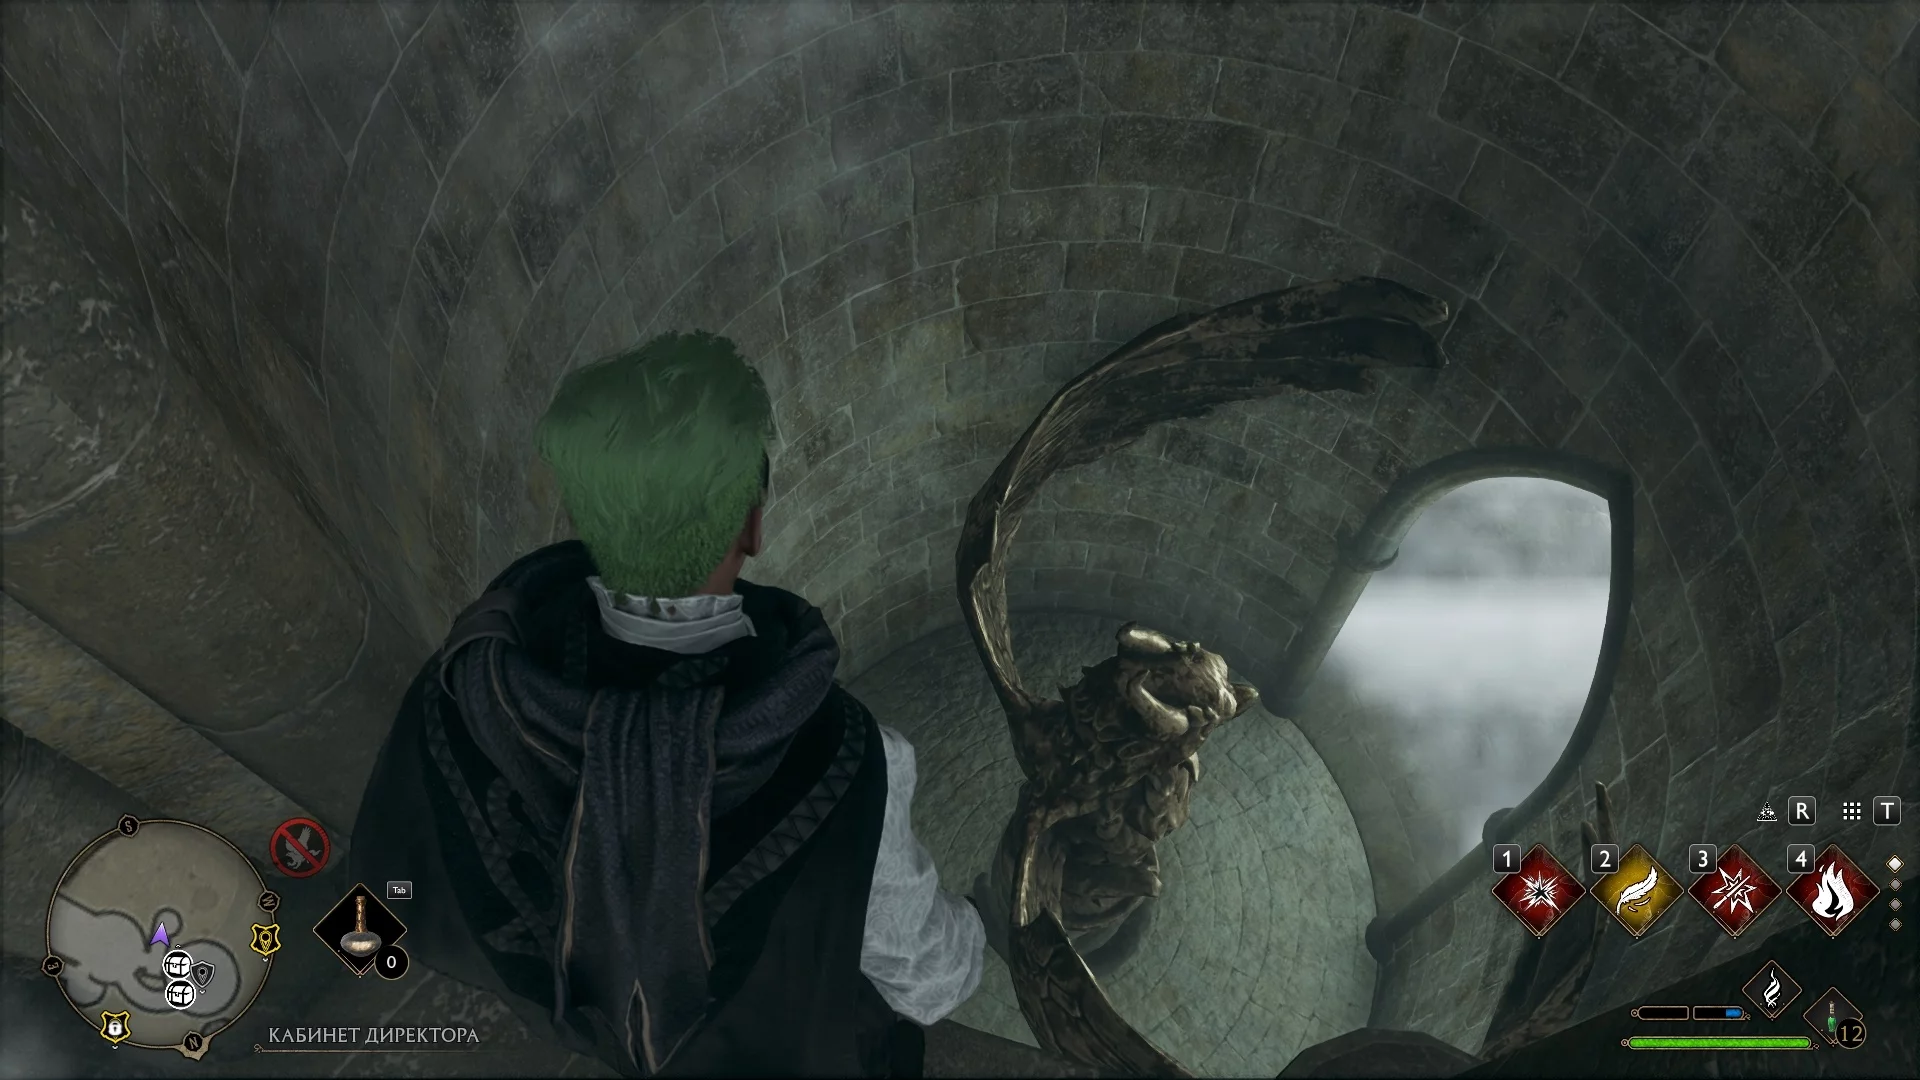
Moth Mirrors
Approach the mirror and use the Lumos spell. At this moment, the player will be shown a random place located somewhere nearby. Find this place, then find the moth using the same spell and lead it to the mirror to obtain Guide Pages.

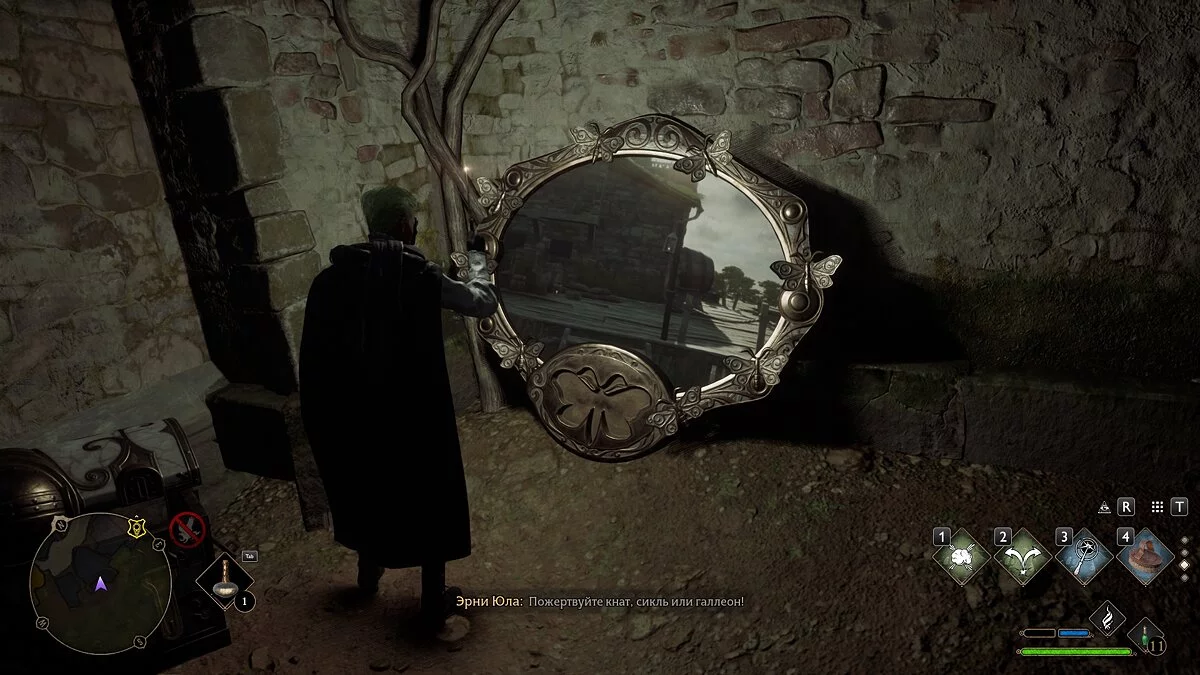
Note: You will be able to use the mirrors only after completing the side quest Like A Moth To A Frame. It will be available in the library of the central building.
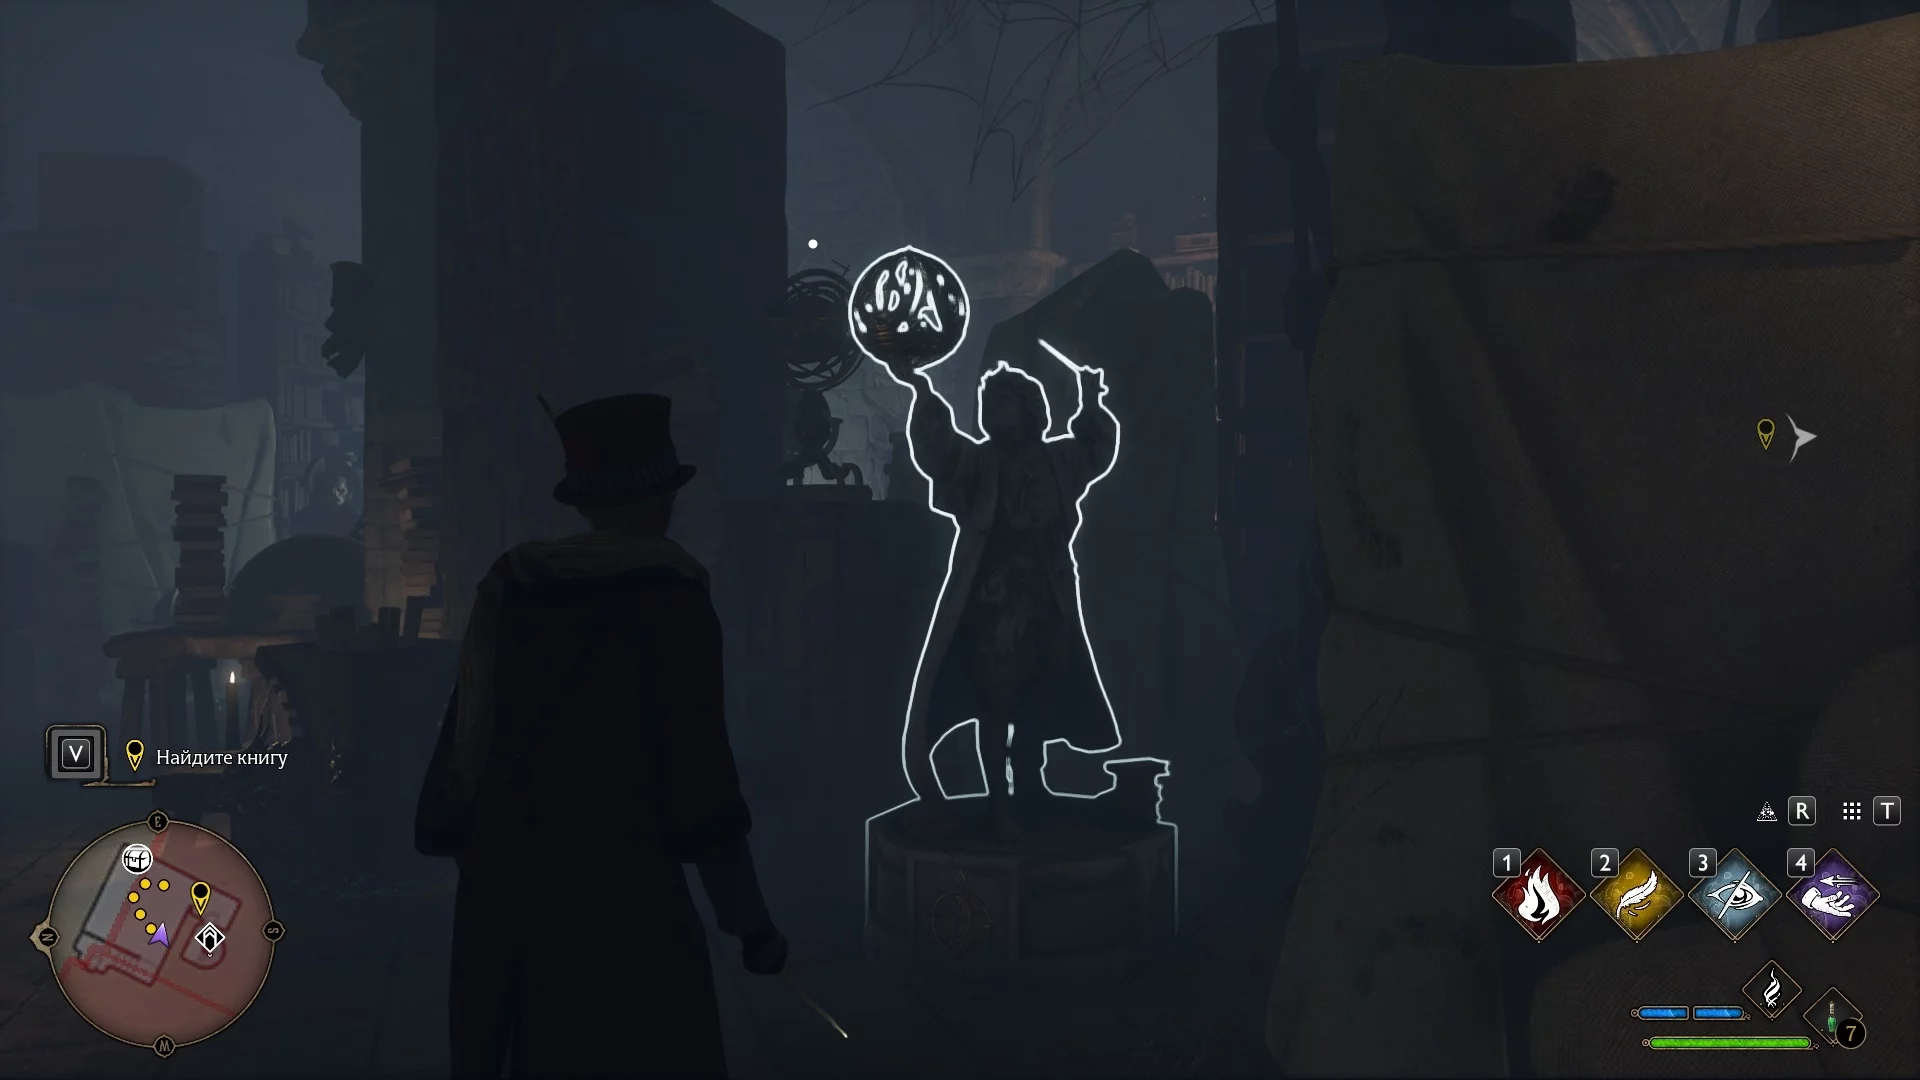
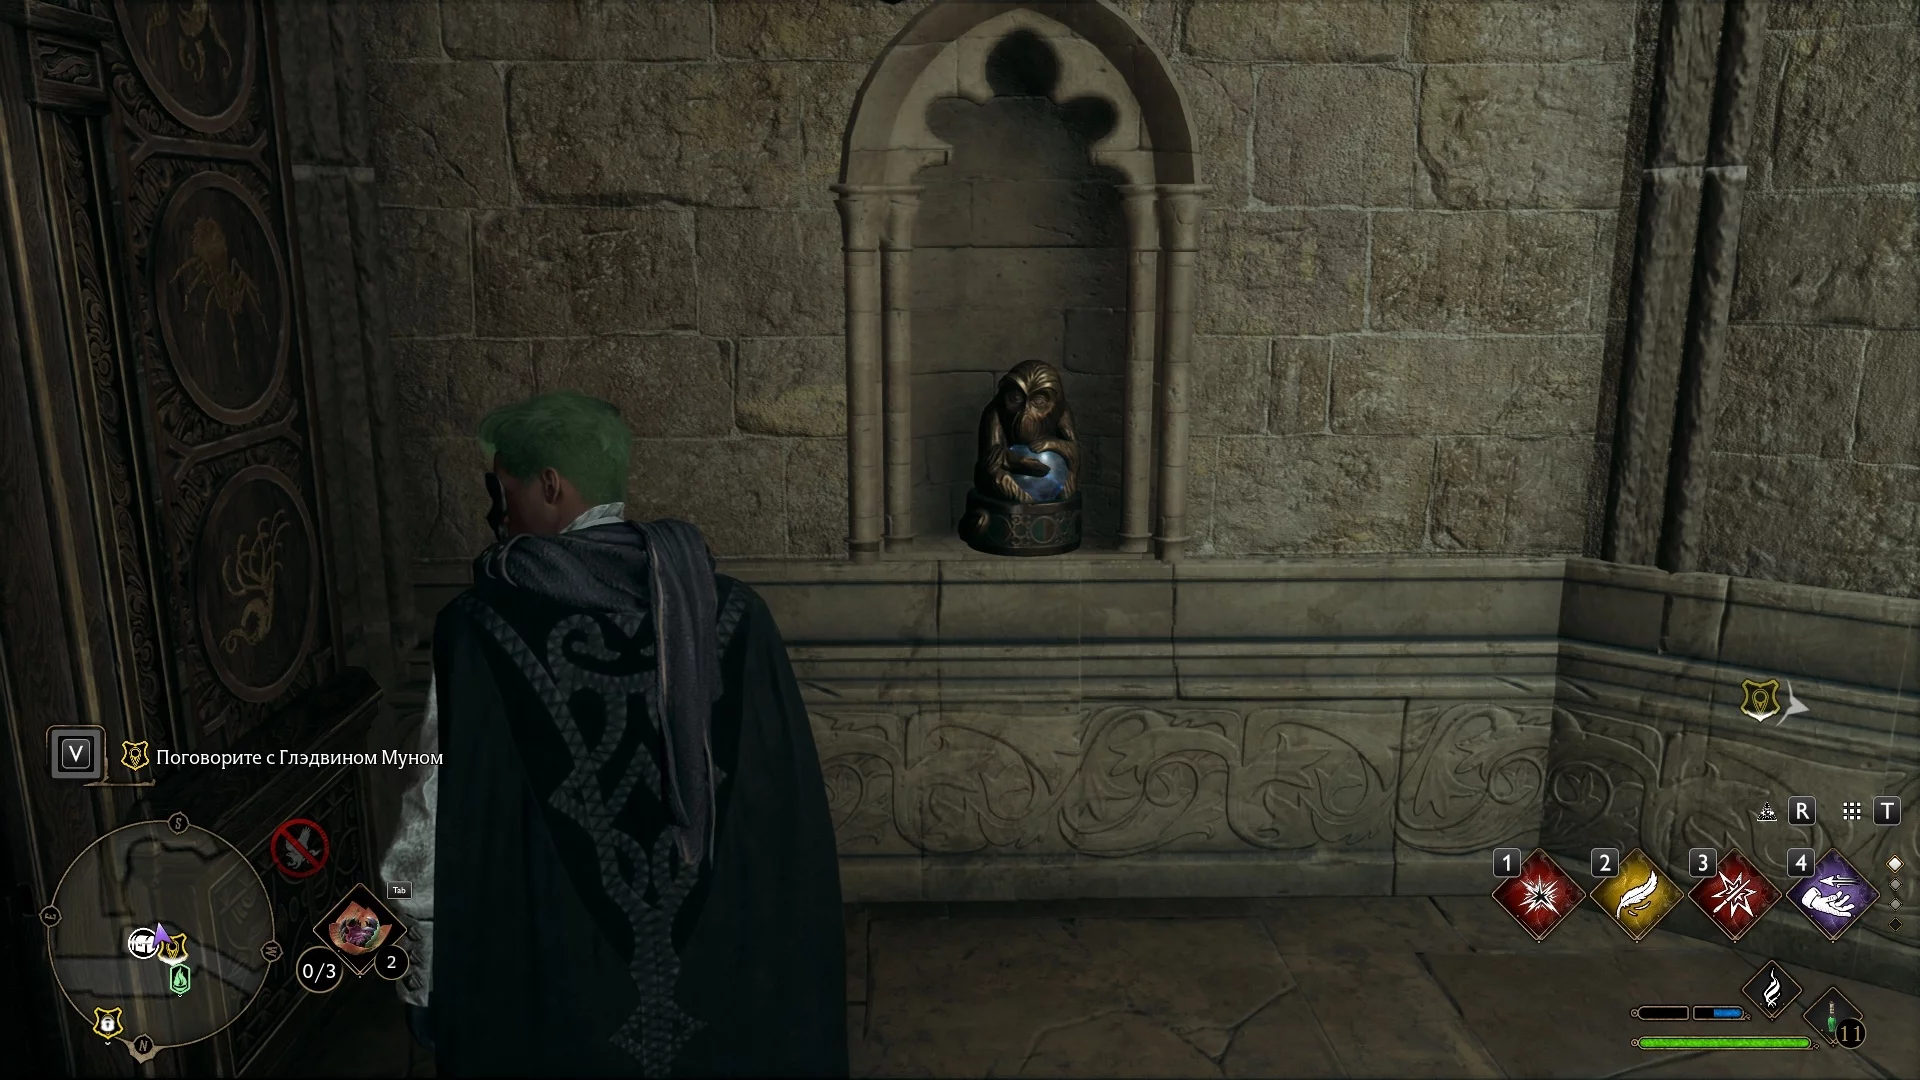
Orb Statue
Use Leviosa on stone statues holding a sphere in their hands to obtain Guide Pages.
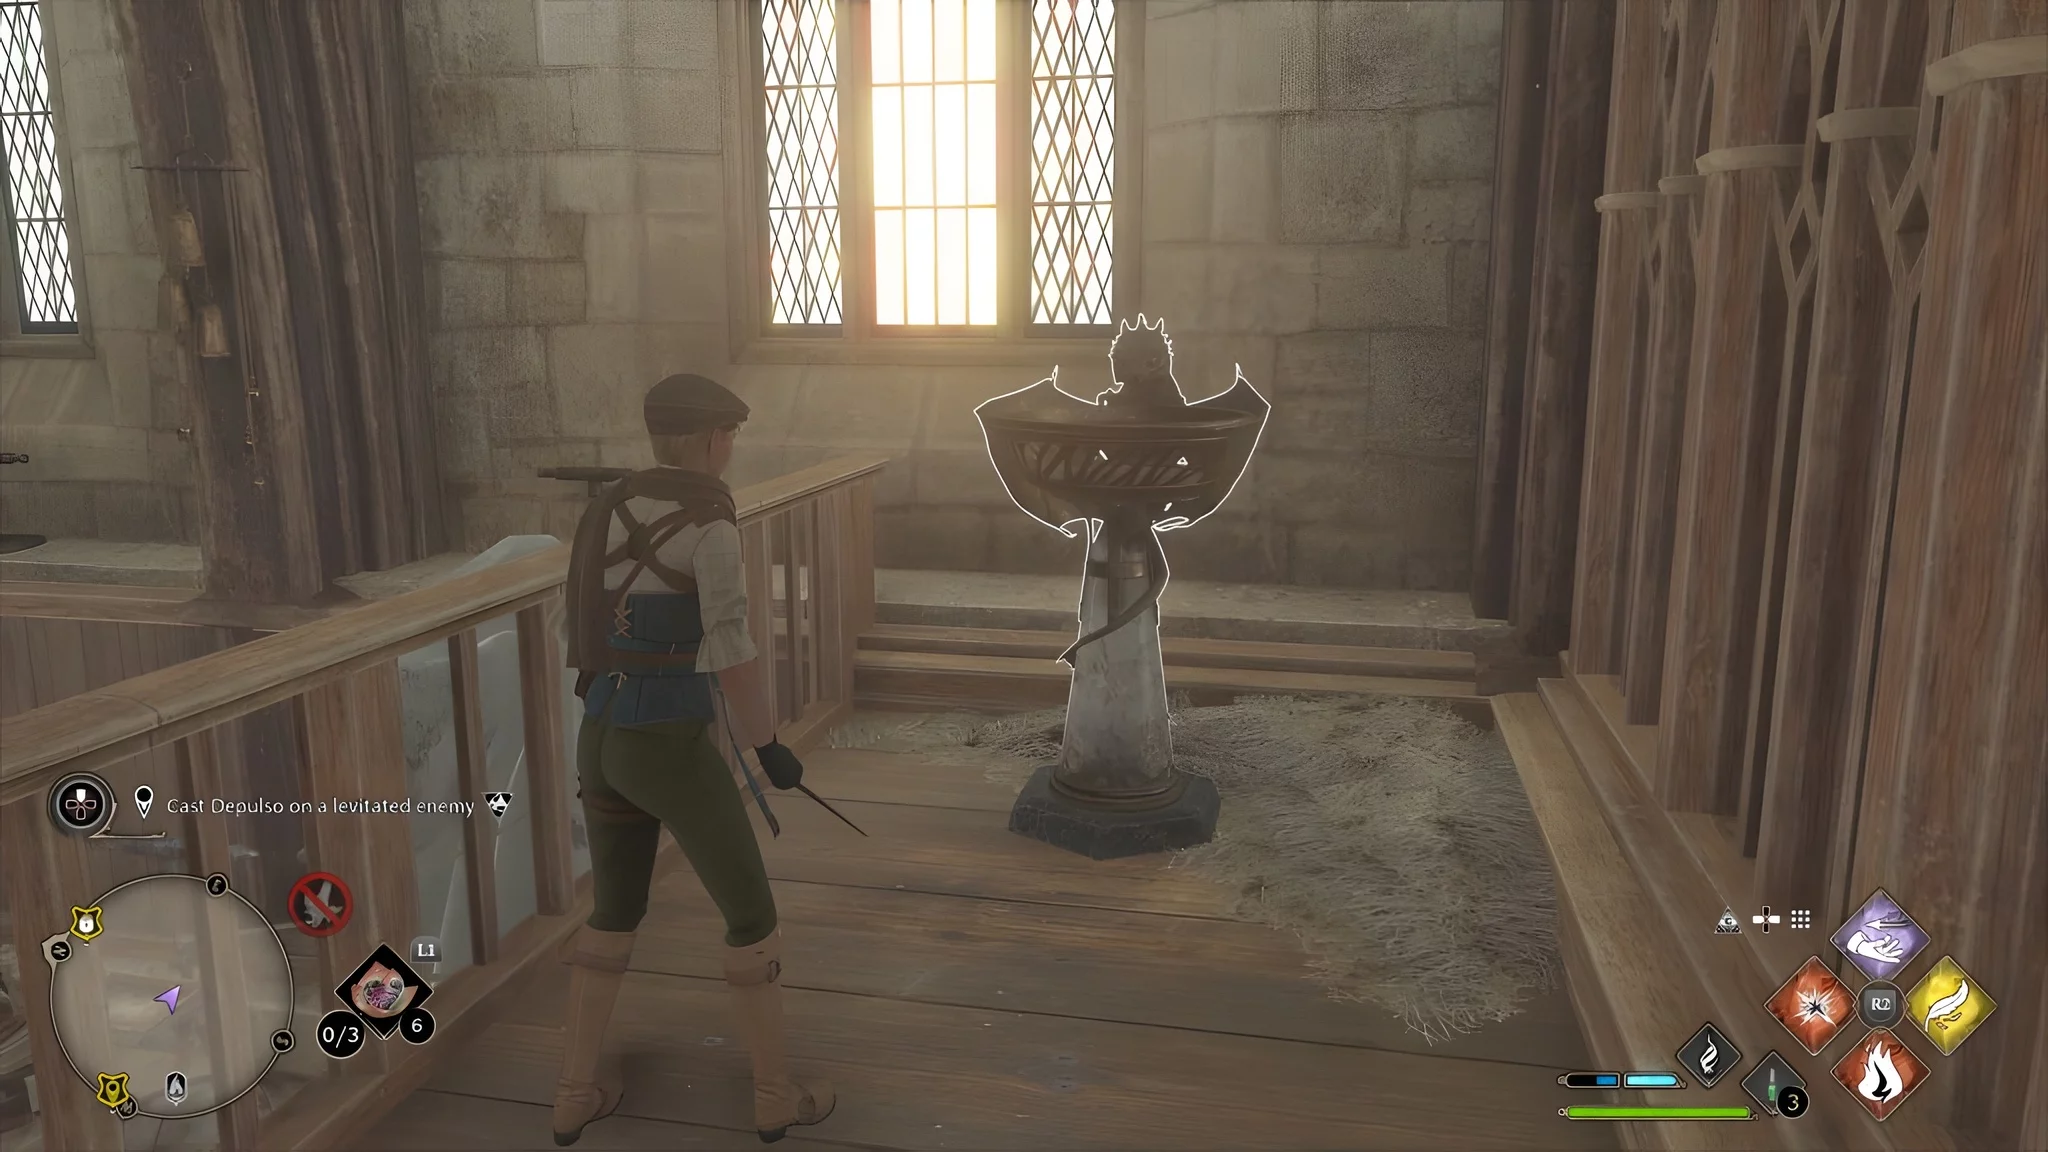
Dragon Brazier
Approach the brazier and use the Incendio spell to light it. You will receive Guide Pages.
Gargoyle Brazier
Just like the dragon braziers, these statues can be lit using Incendio. If the brazier is too far away from you, use the Confringo spell instead.
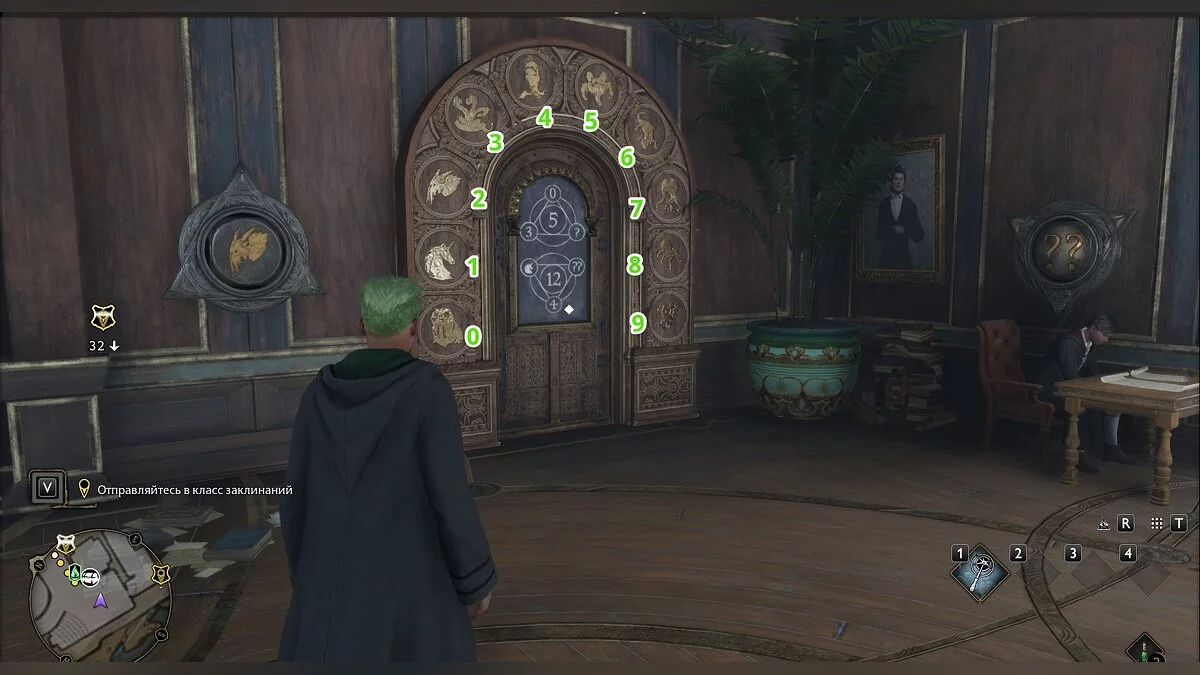
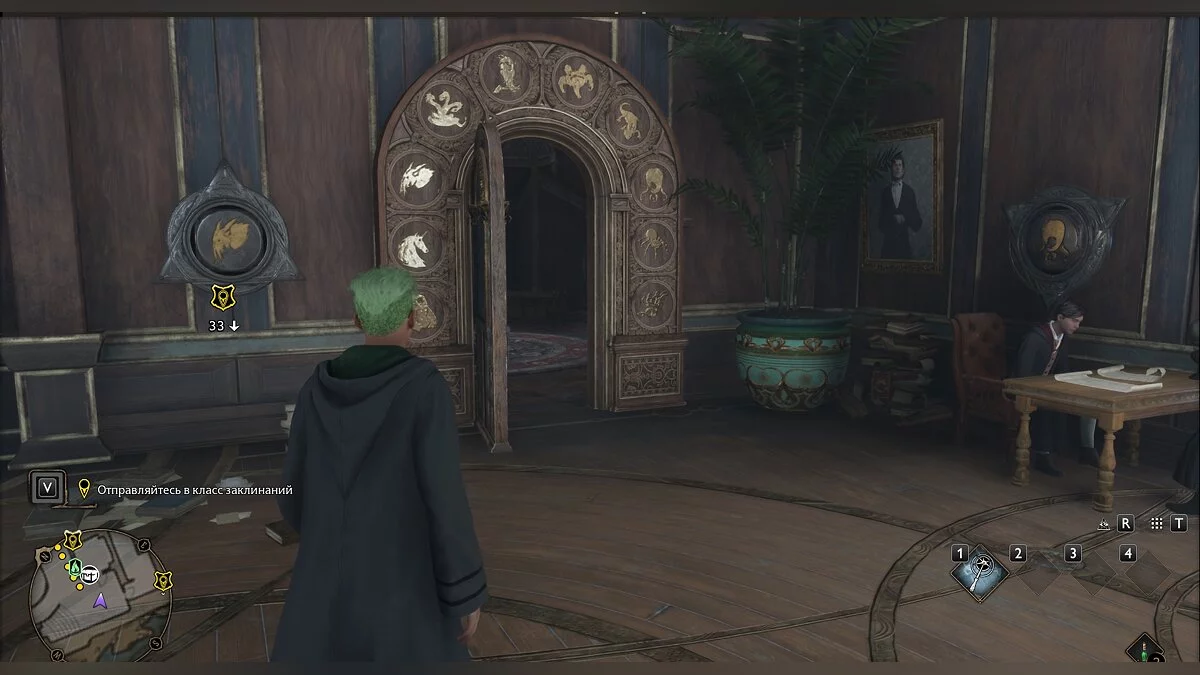
Symbol Door
You won't need spells to solve these puzzles. They are small mathematical problems in which you must correctly arrange numbers. Below we will indicate what the symbols mean:
- Demiguise (a herbivorous animal resembling a monkey with large eyes) — 0;
- Unicorn — 1;
- Kelpie (water demon) — 2;
- Hydra (snake-like creature with several heads) — 3;
- Fwooper (African bird) — 4;
- Quintaped (predator with five legs) — 5;
- Niffler (lizard) — 6;
- Marmite (cross between a dust mite and a squid) — 7;
- Acromantula (poisonous spider) — 8;
- Giant Squid — 9.
House Cabinet
If you come across a locked cabinet, you need to find a flying key nearby. Only with its help can you unlock access to the house room. The key itself is quite noticeable — you will hear a distinctive sound when you are near it. Escort the key to the cabinet, then, when it flies by, hit it. This way, you will receive a House Token.
Note: Such cabinets can only be opened after completing the side quest The Daedalian Keys.
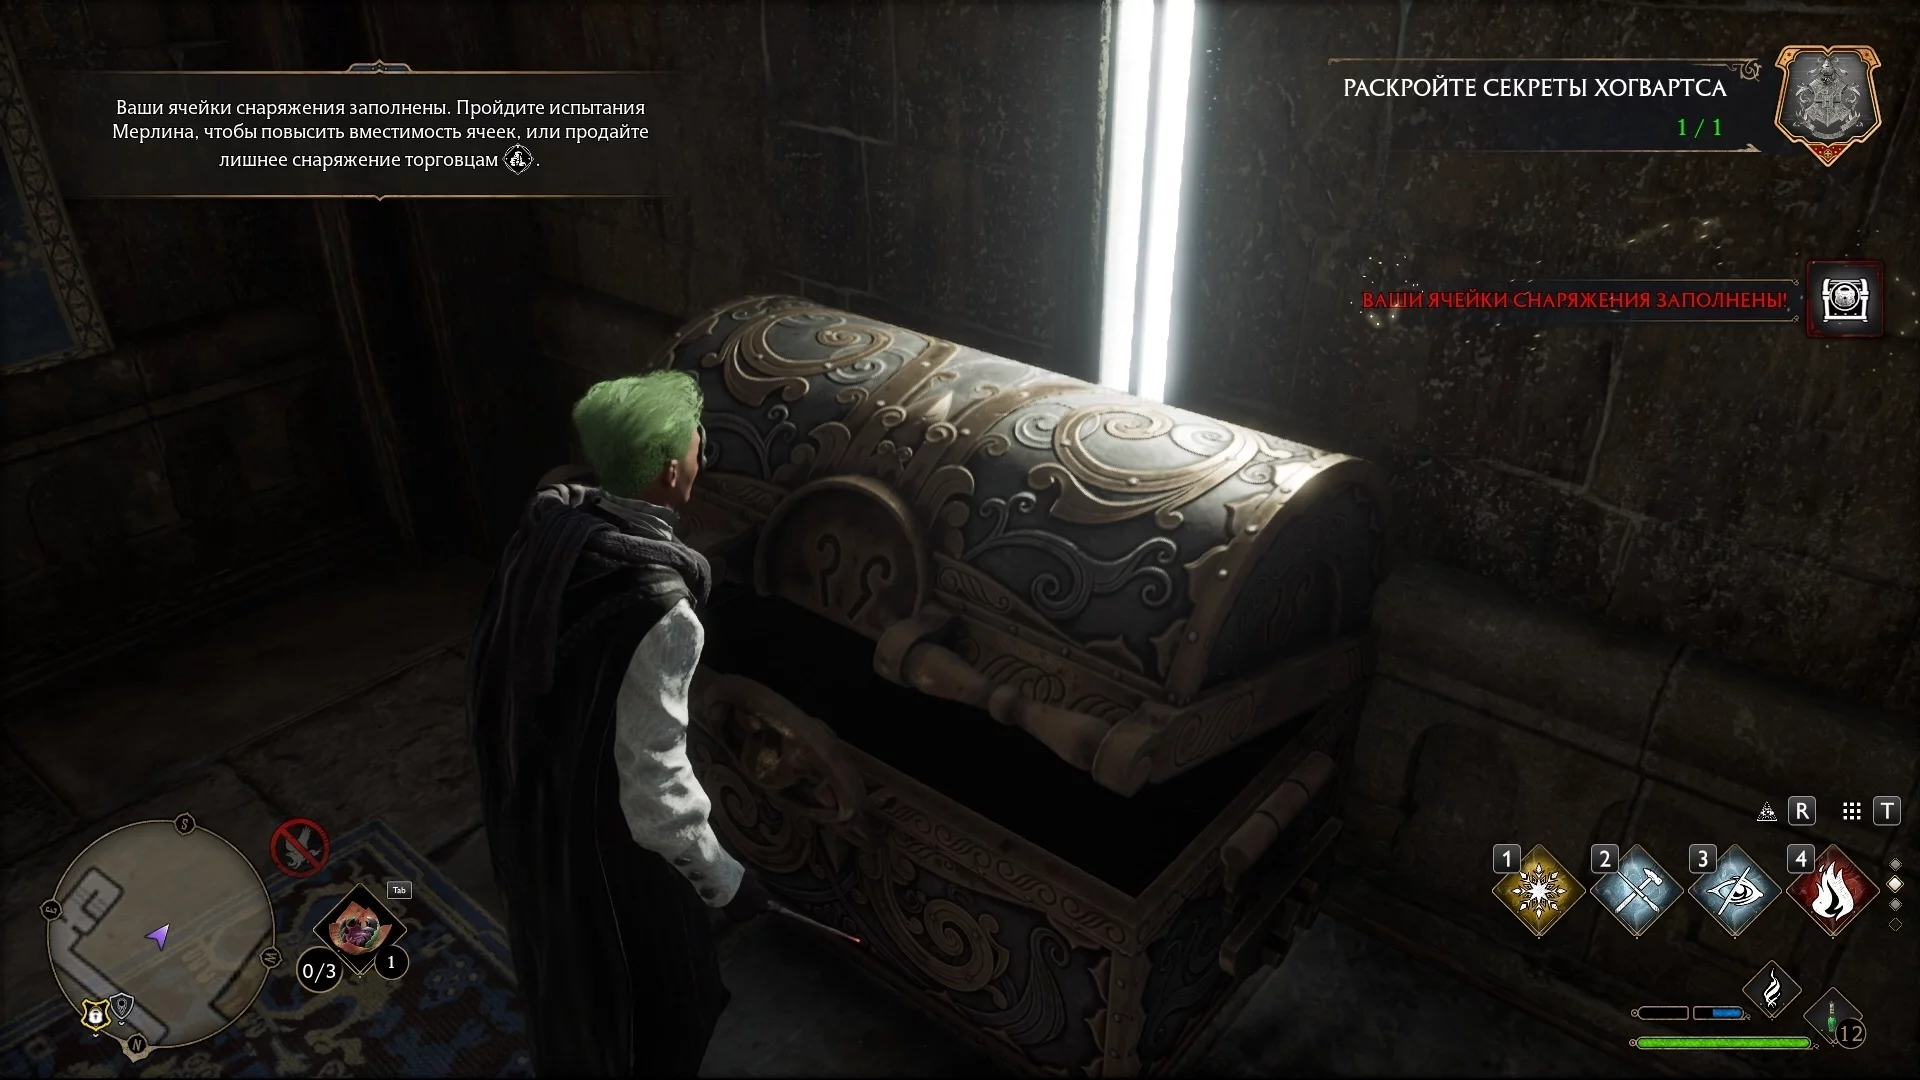
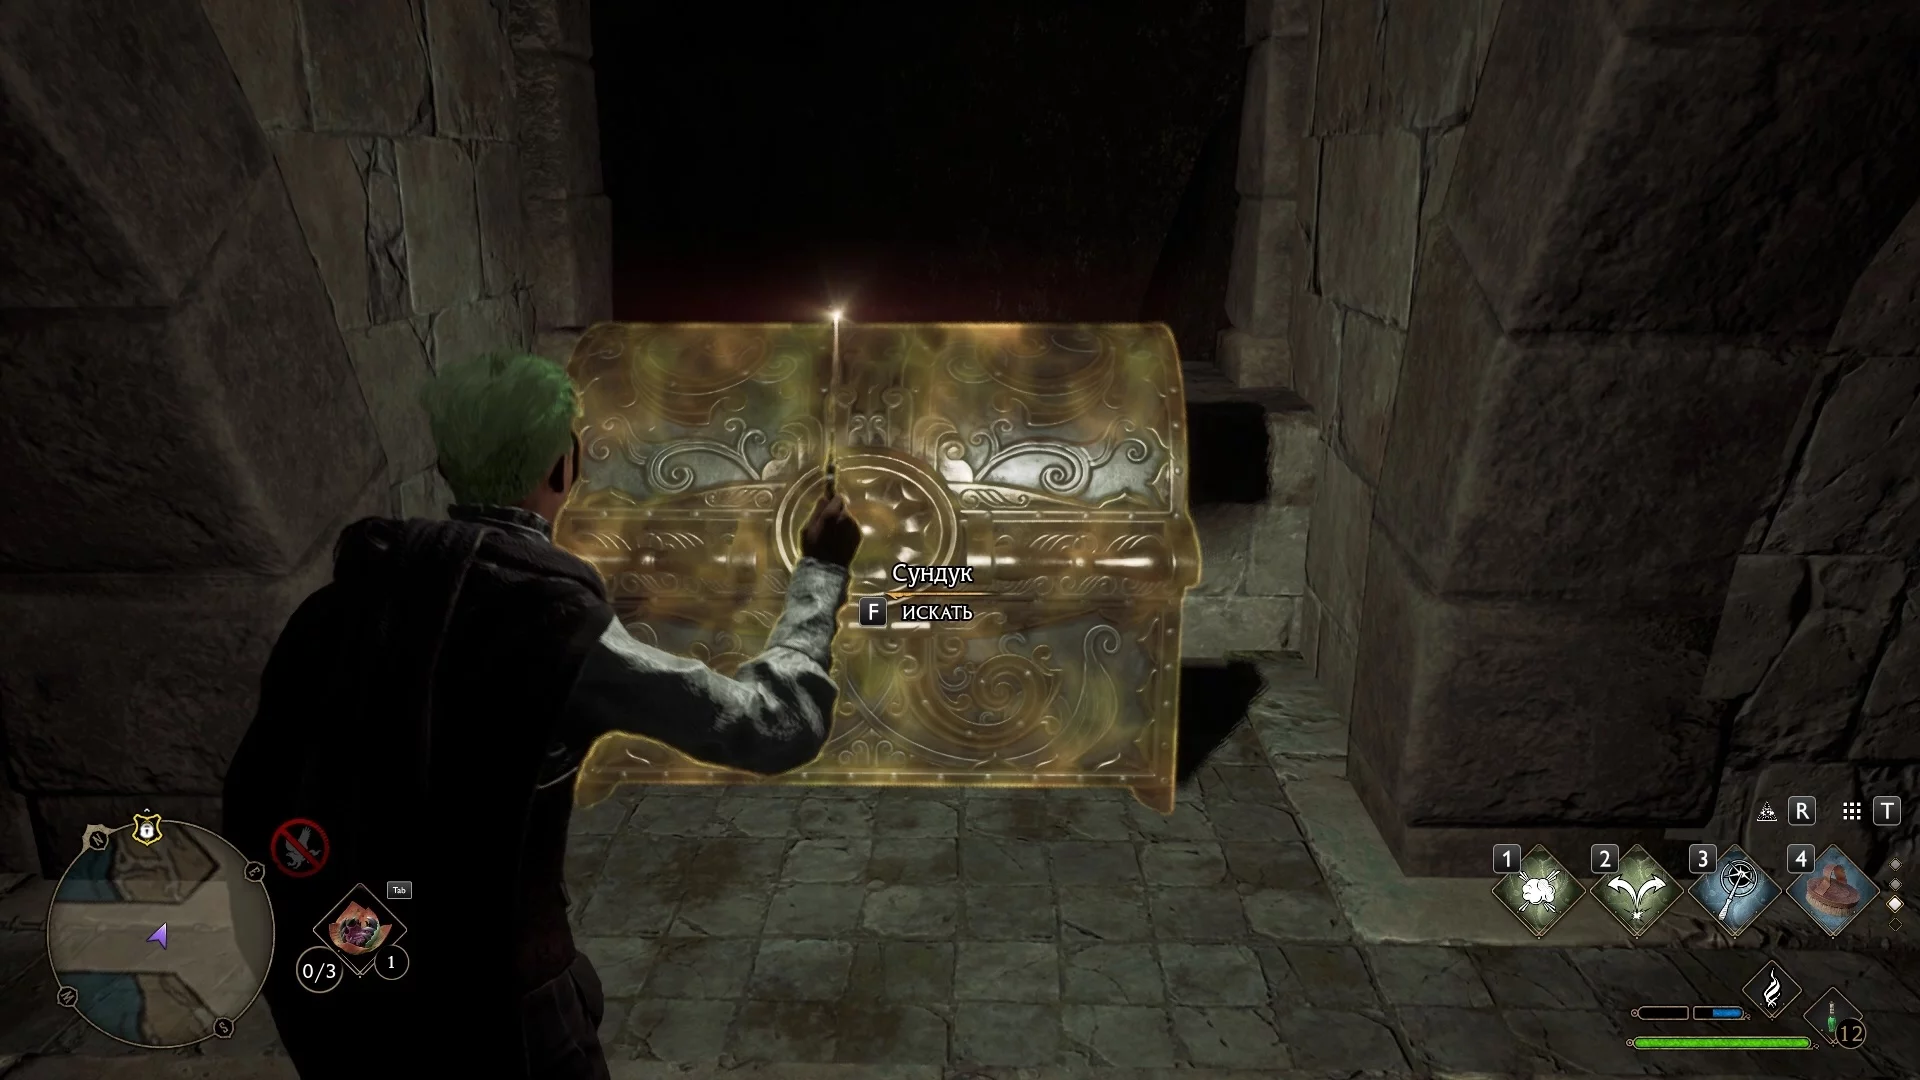
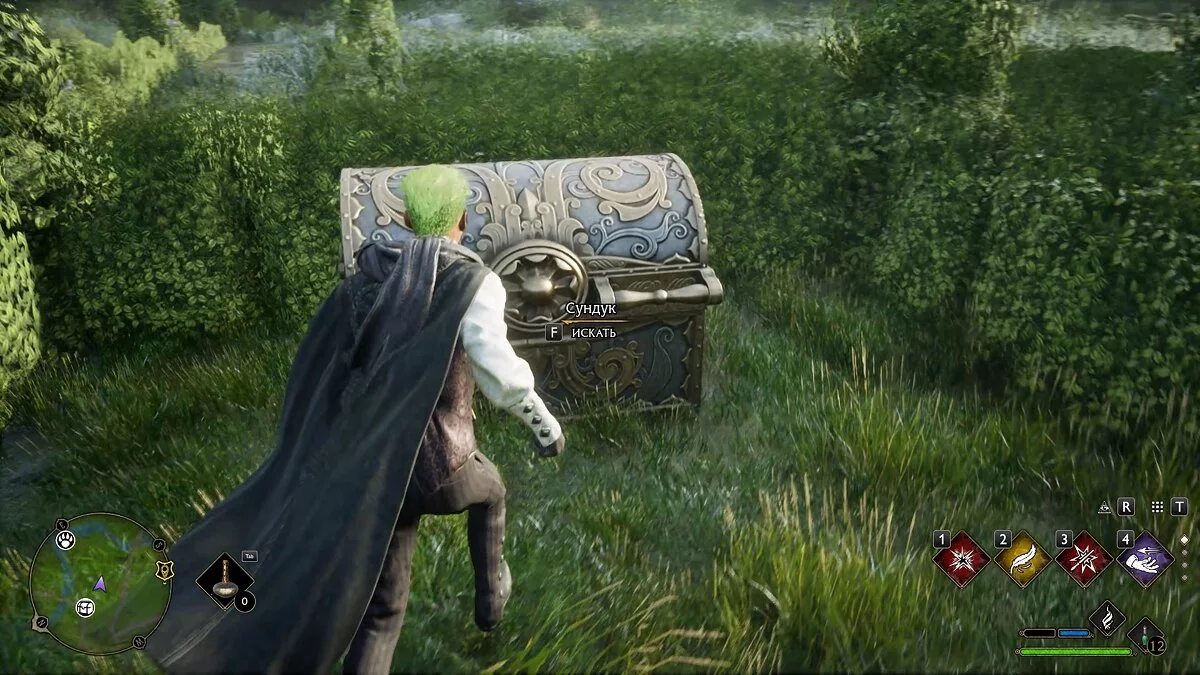
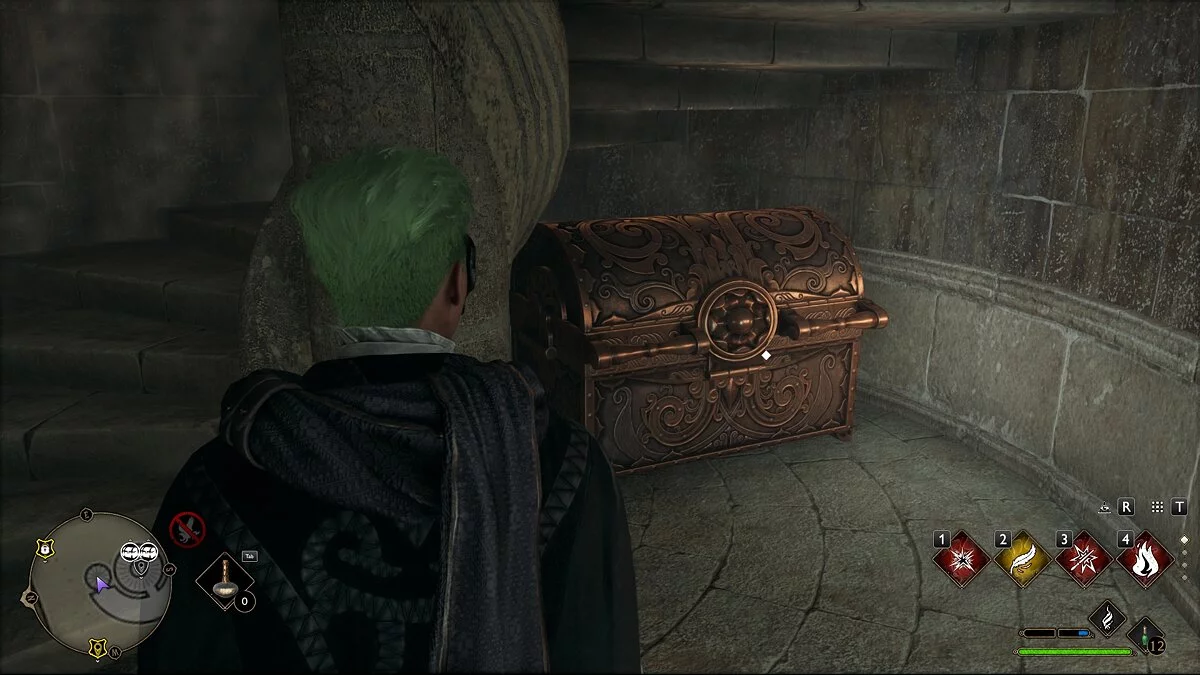
Eye Chest
Chests with eyes will be found literally everywhere: in Hogwarts, Hogsmeade, and other regions. When approached, the chests will be locked, so initially, you won't be able to open them. When you find such a chest, use the Disillusionment Charm to become temporarily invisible and approach the chest. This way, you can open it and receive 500 coins.

This spell can be obtained by completing the story quest Secrets of the Restricted Section. After completing the quest, you will easily approach the chests.
Owl Wall
While exploring the castle, you will surely come across walls in which owl statues are carved. Simply approach the owl and turn it several times. This will grant you access to a hidden chest.

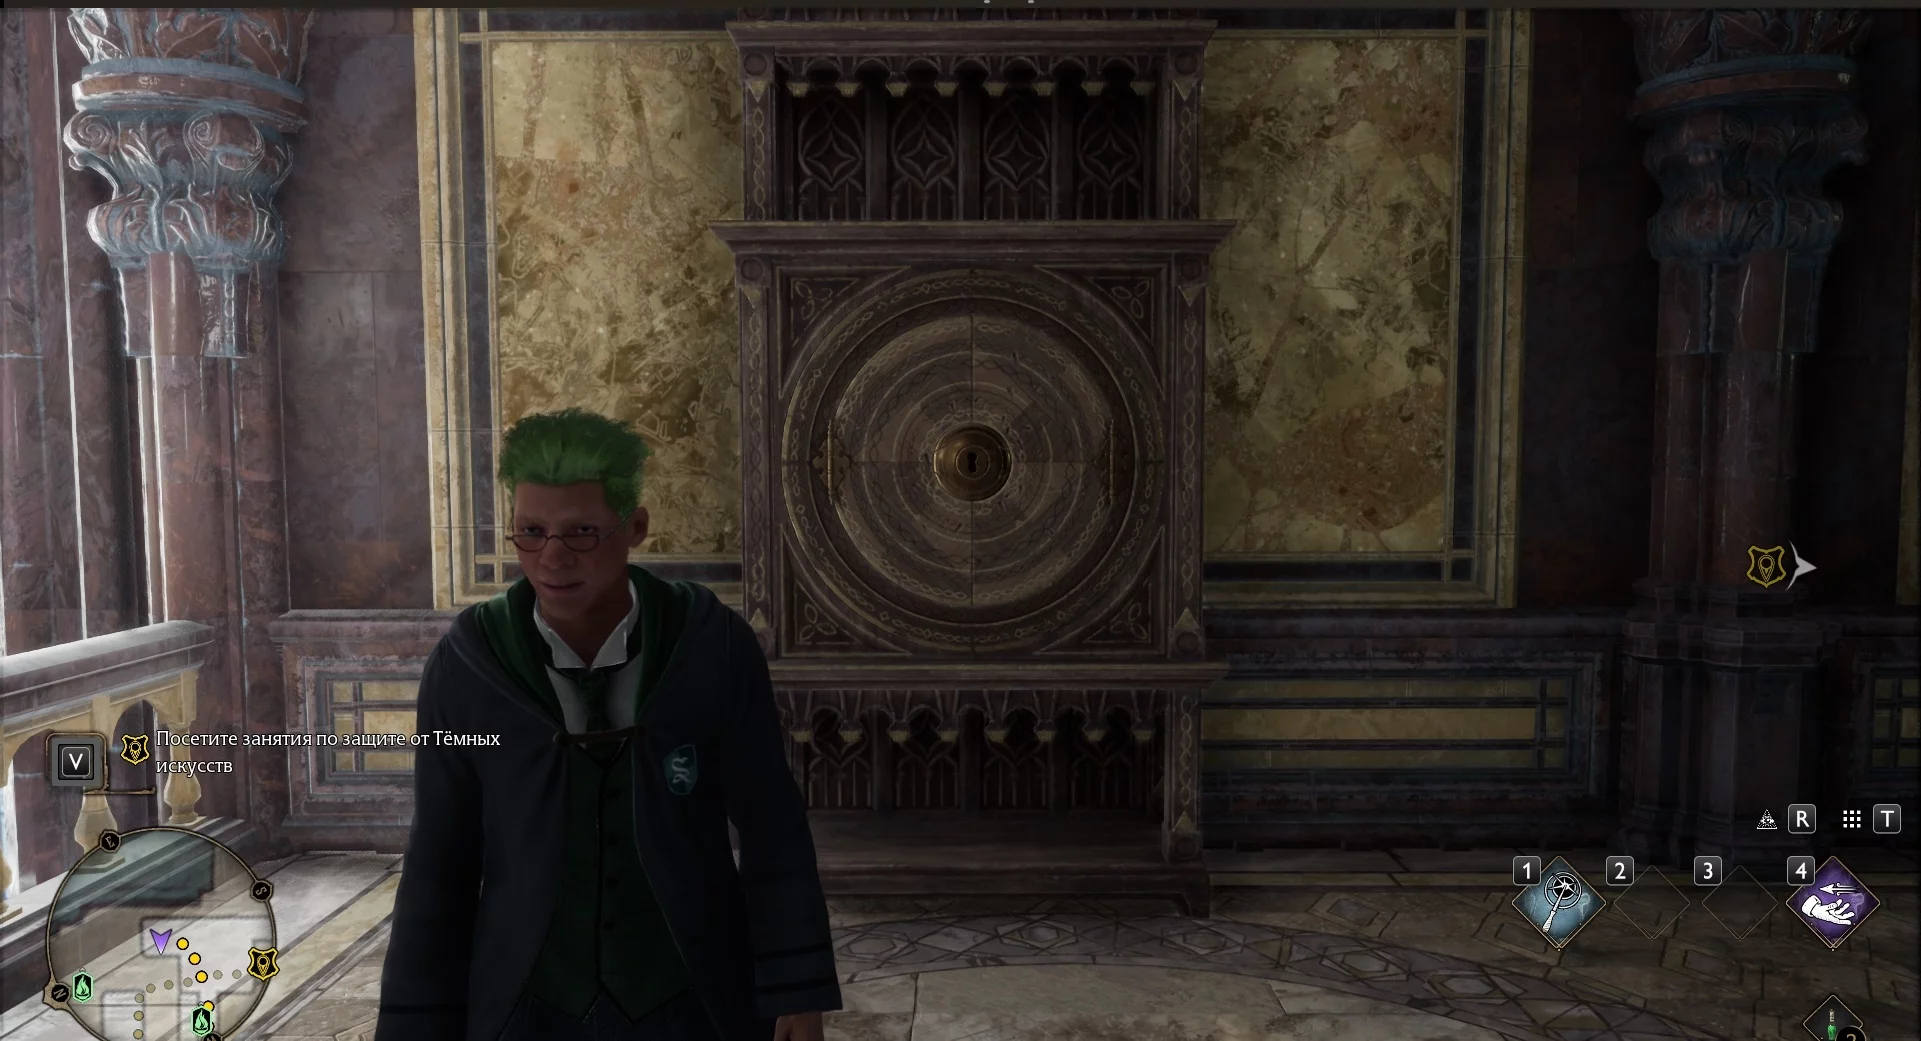
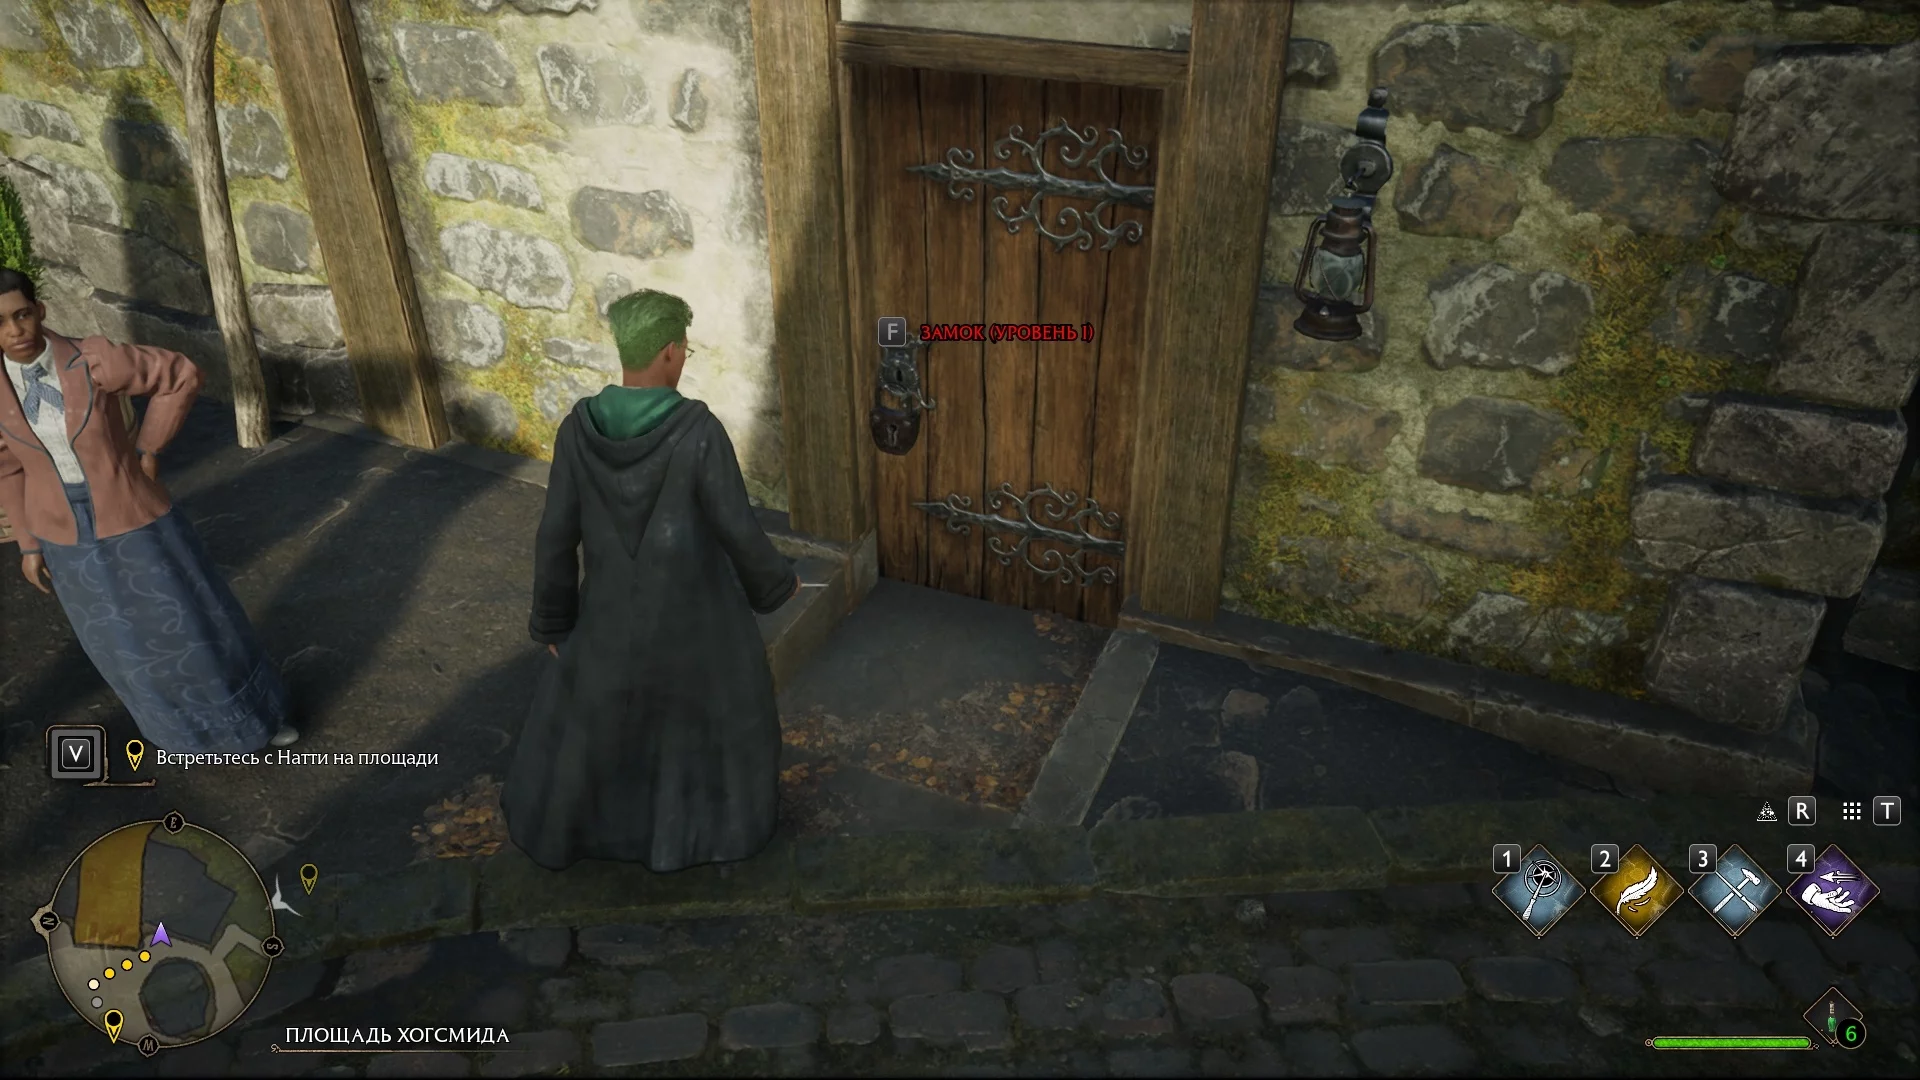
Locked Door
Locked padlocks and other doors can be opened using the Alohomora spell. It should be noted that higher-level locks can only be opened after finding a certain number of Demiguise Statues, which appear only at night:
- Level 2 doors are opened after finding 9 statues;
- Level 3 doors are opened after finding 13 statues.
Demiguise Statue
Such statues can only be found at night. Use the Revelio spell to detect them. Also, these statues become available after completing Mr. Moon's quest, after the season changes to autumn. It's called Moon Keeper's Complaint.
If you do not know where to look for these statuettes, you can check out our separate guide.
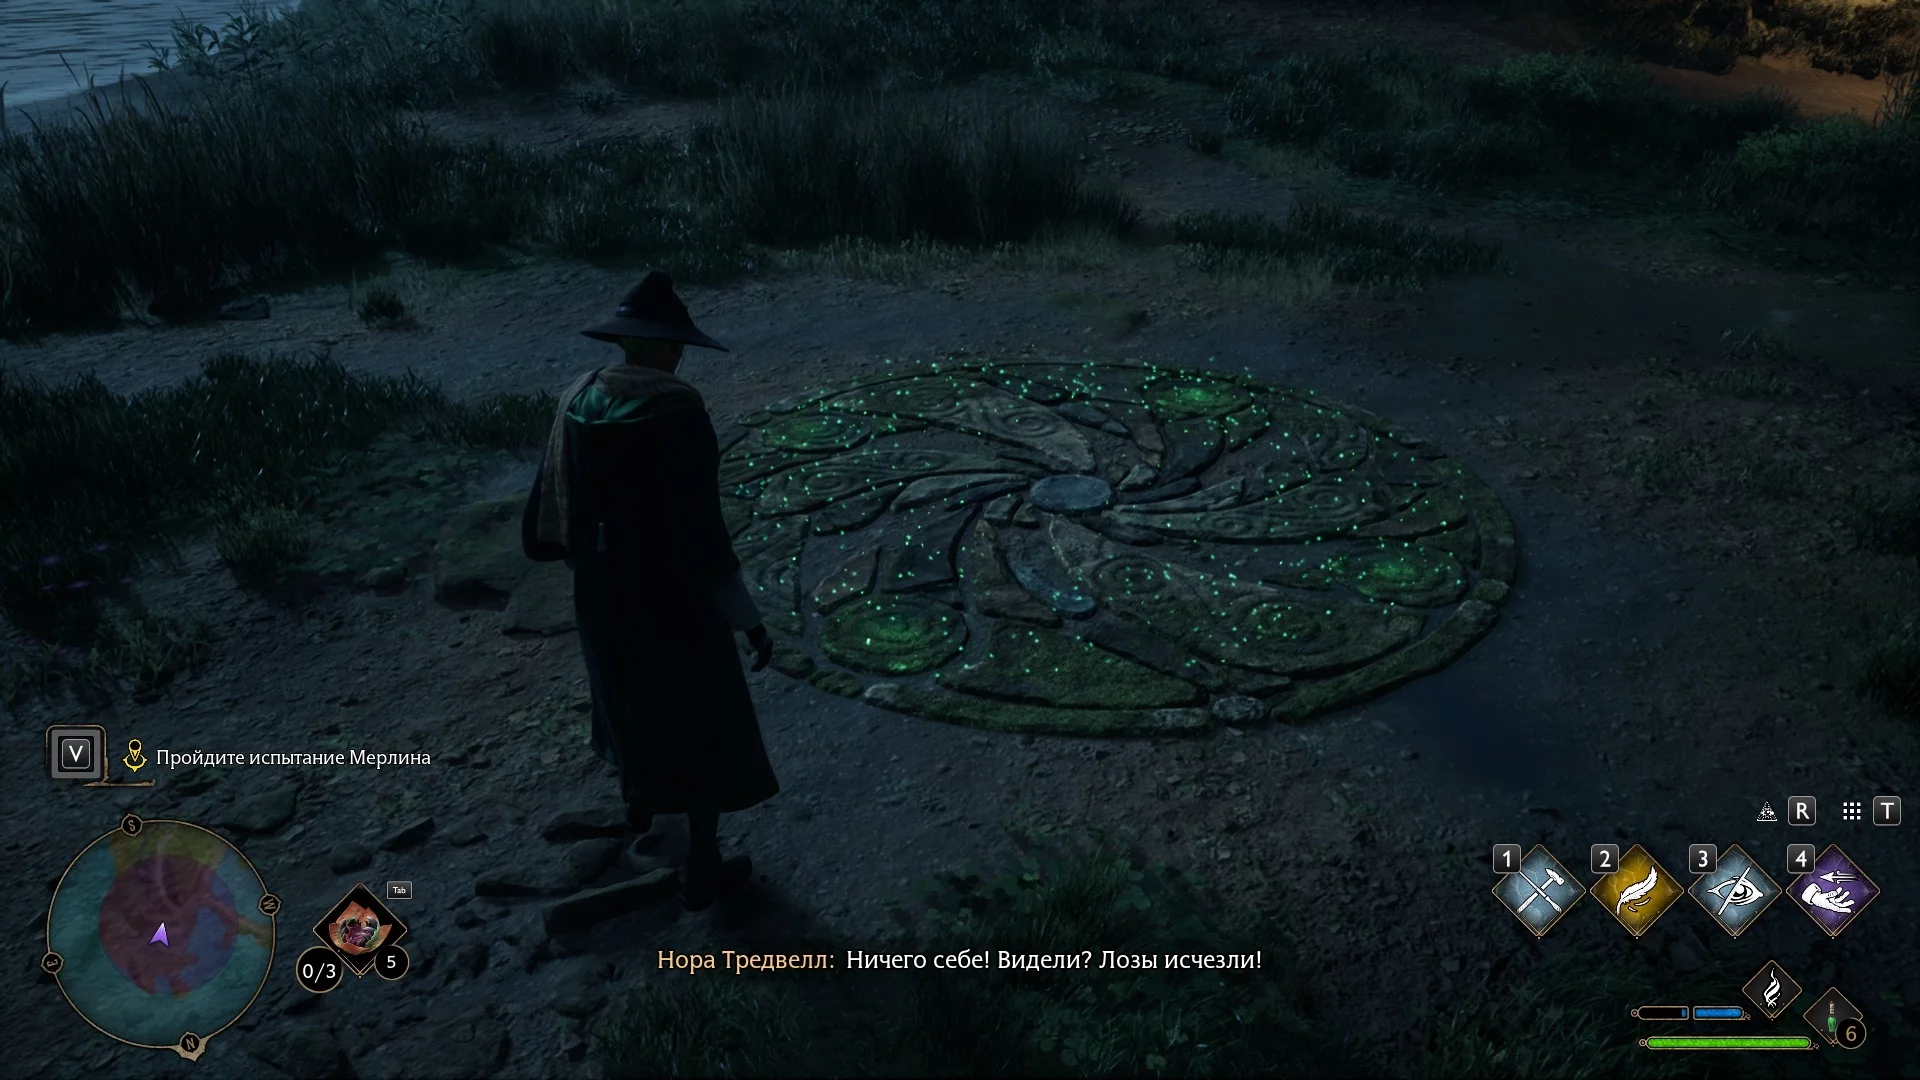
Merlin Trial
Use the Mallowsweet ingredient on the stone circles on the ground to activate a small puzzle. Each puzzle will be unique — you need to use magic, light fires, move balls, and perform other actions using spells. By completing them, you will increase the inventory size of the main character.
You can learn more about all the trials from our separate guide.
Astronomy Table
It becomes available only after completing the Astronomy class — it appears after the season changes and completing a series of story quests.
Hogwarts Secrets Challenge — How to Solve the Puzzle in the Clock Tower and Open the Grated Doors
Upon inspecting the clock tower, you may notice a locked door with a grate on the first floor. If you look closely, the grate will occasionally open but then immediately close. Besides it, there are also three other similar locked doors in the clock tower. To solve the puzzle and achieve the Hogwarts Secrets achievement, you need to learn two mandatory spells:
- Alohomora — you need to learn at least the first level of the spell to open the door to the staircase leading to the top of the clock tower.
- Glacius — will allow you to freeze the pendulum of the giant tower clocks.
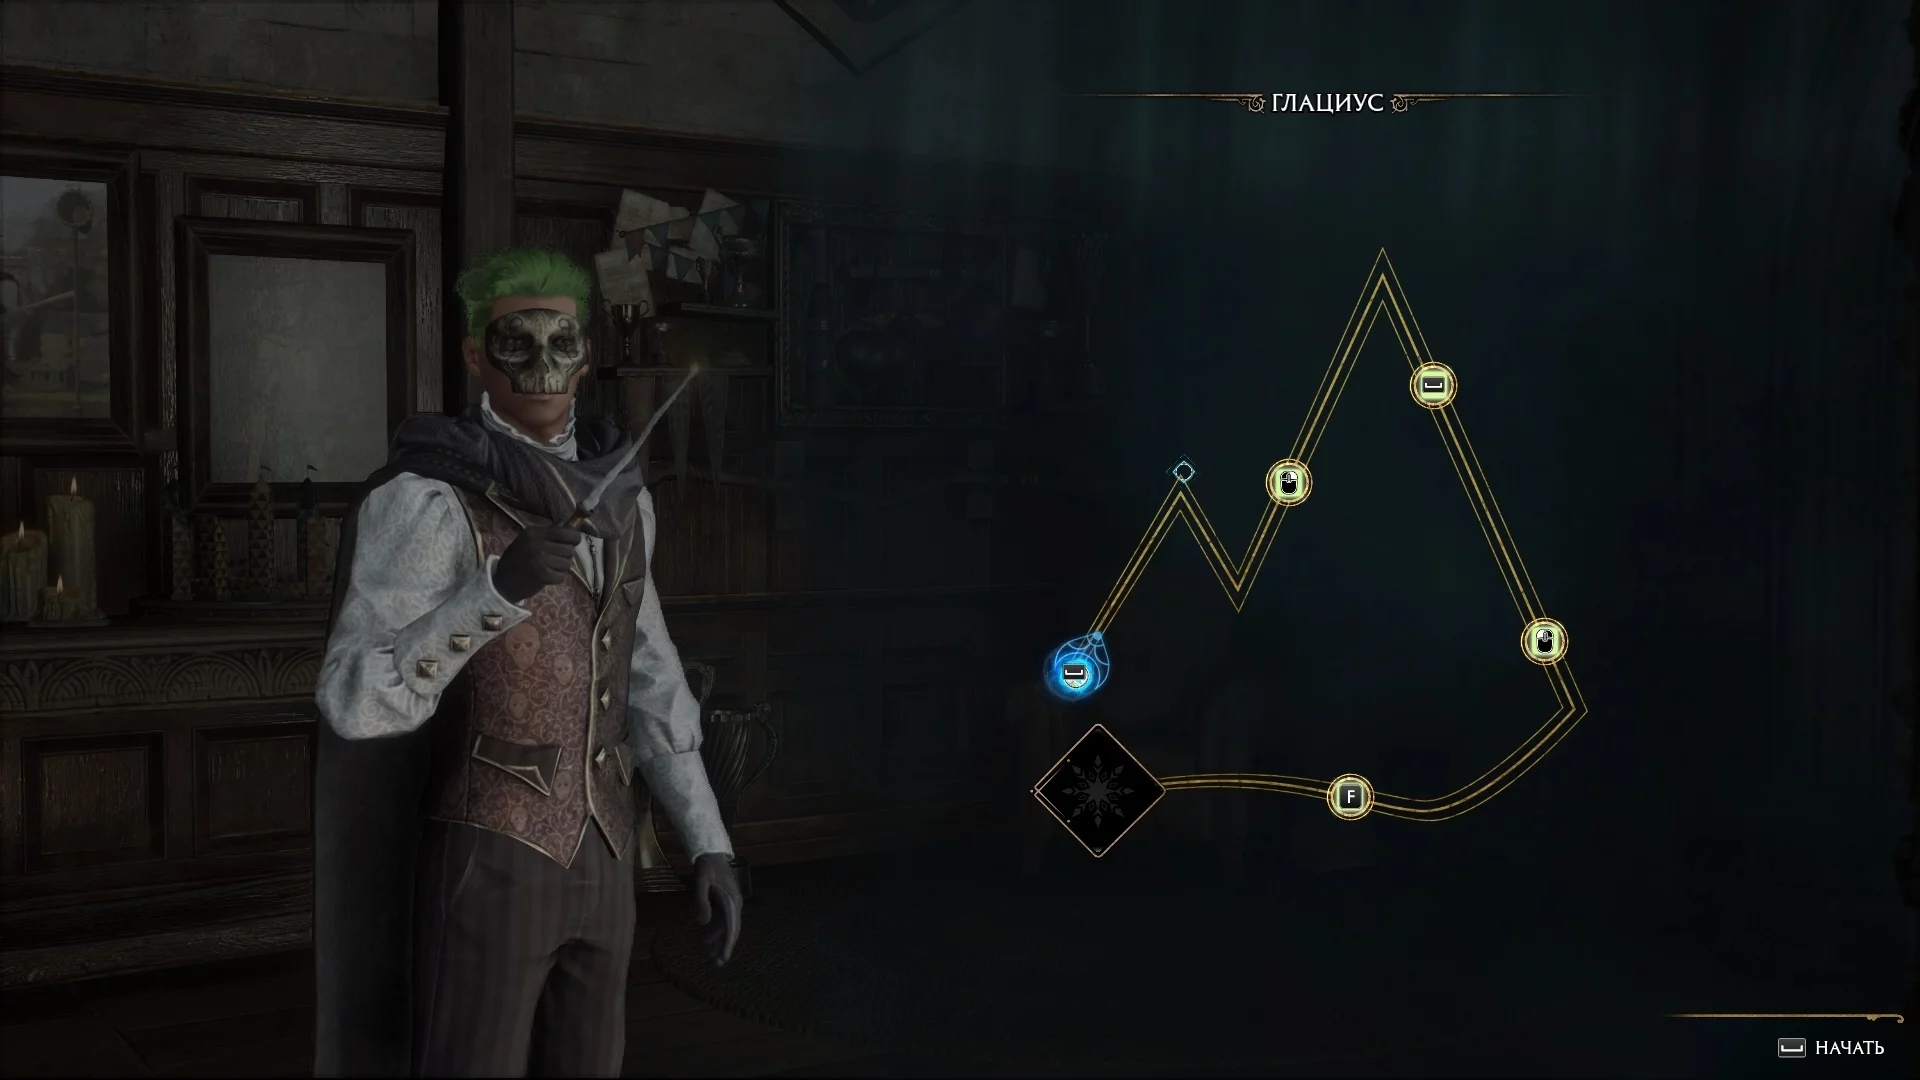
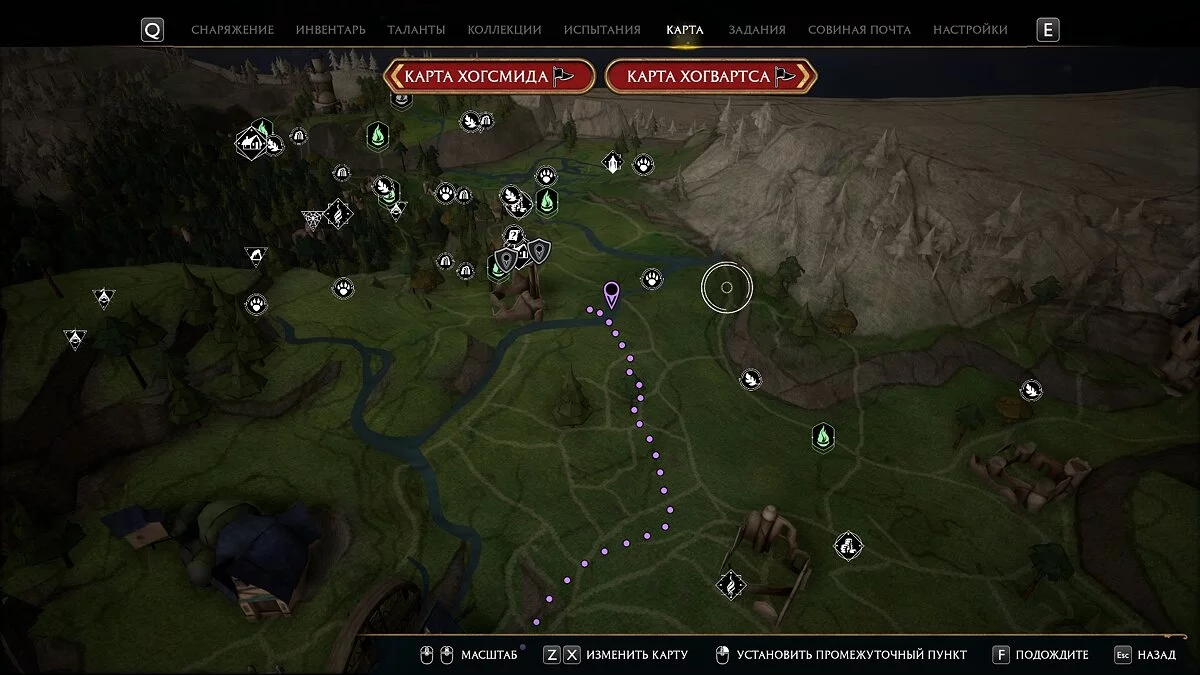
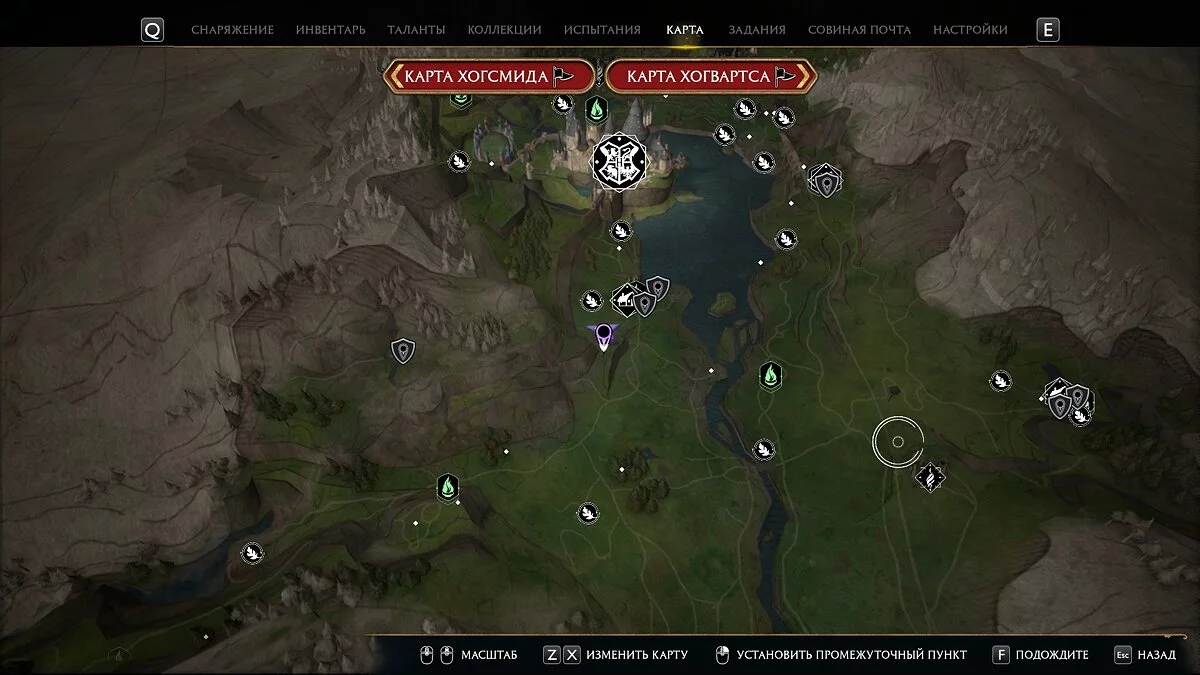
If you have the required spells at your disposal, head to the clock tower. You will get here as part of the storyline when you need to hone your combat spell skills. Here you can also practice on a dummy if you talk to a guy named Lucan. We have indicated its location on the map below.
Opposite Lucan, there is the first door with a grate. To open it, examine the clock mechanism. Here you will see four symbols, which are also depicted on each of the grates. Use the Glacius spell when the pendulum is in the far left position to open the door on the first floor.
By the same principle, you can unlock access to the other doors located on the upper floors. Inside them, you will find the following items:
- Decor item Huge Decorated Table;
- 500 gold (you will have to open a chest with an eye using the Deluminator spell);
- Decor item Cat Plates;
- Wand handle Royal — black;
- Random equipment item from a large chest.
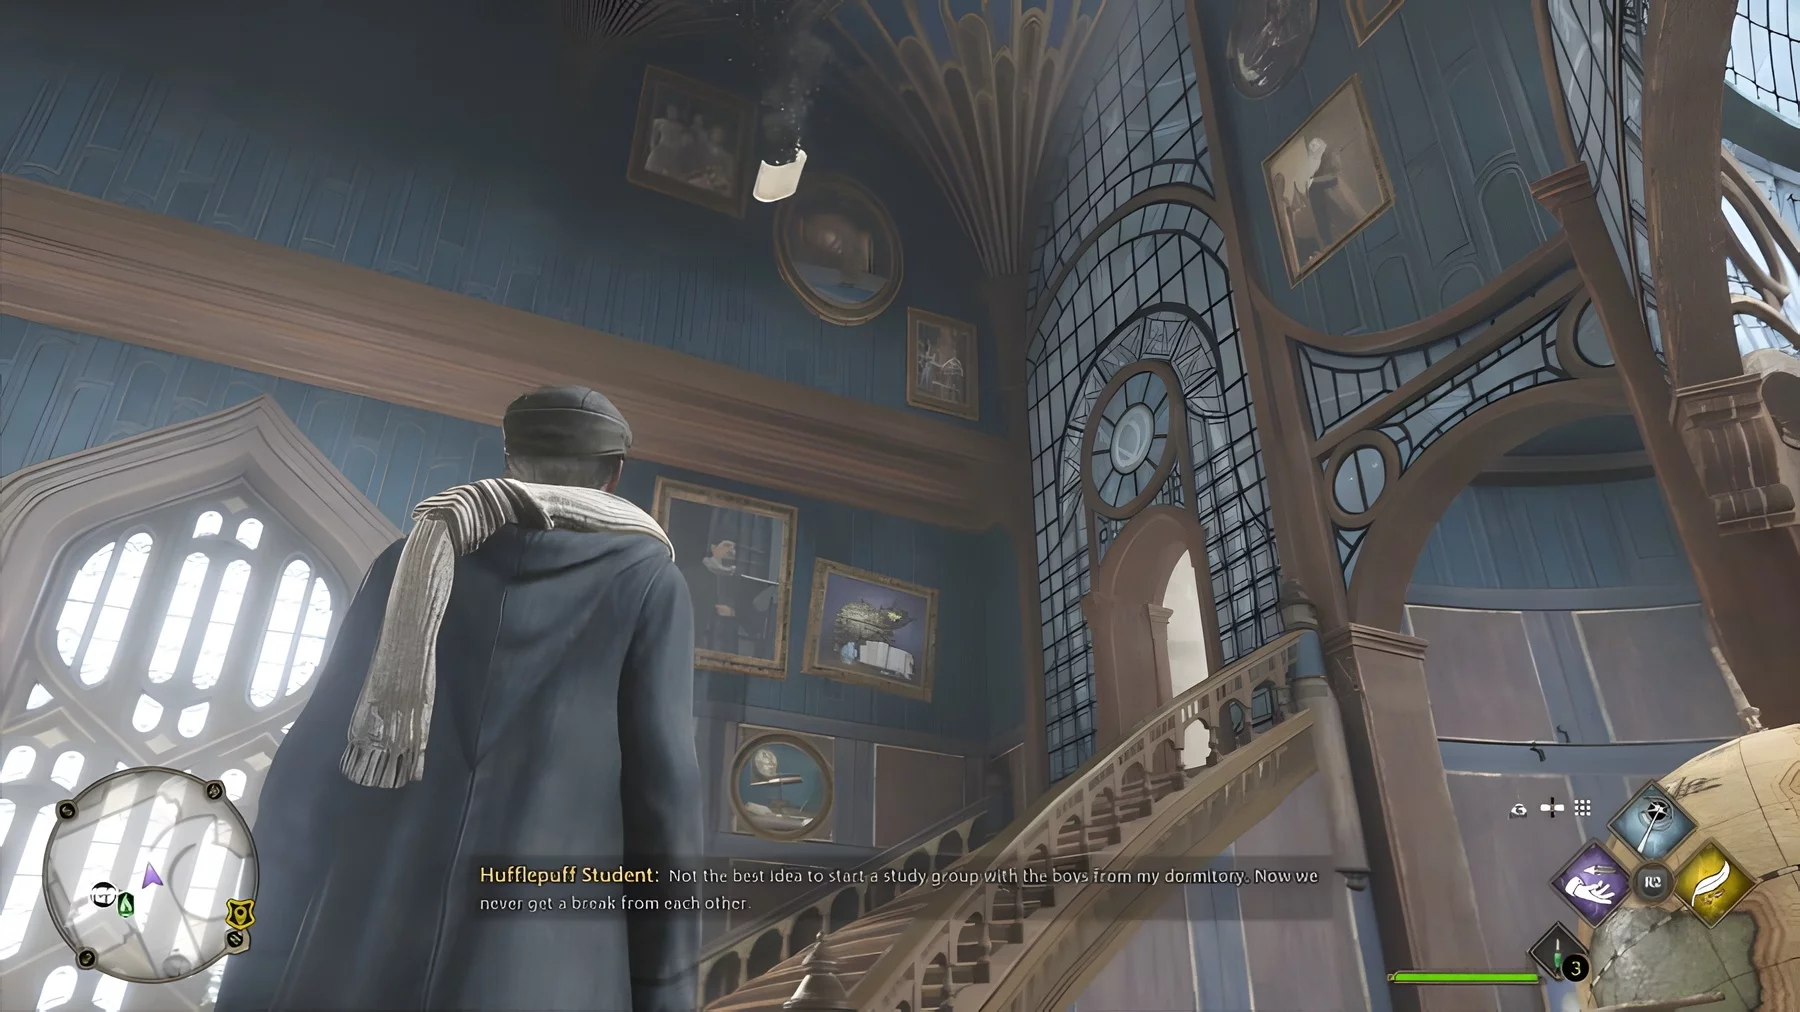
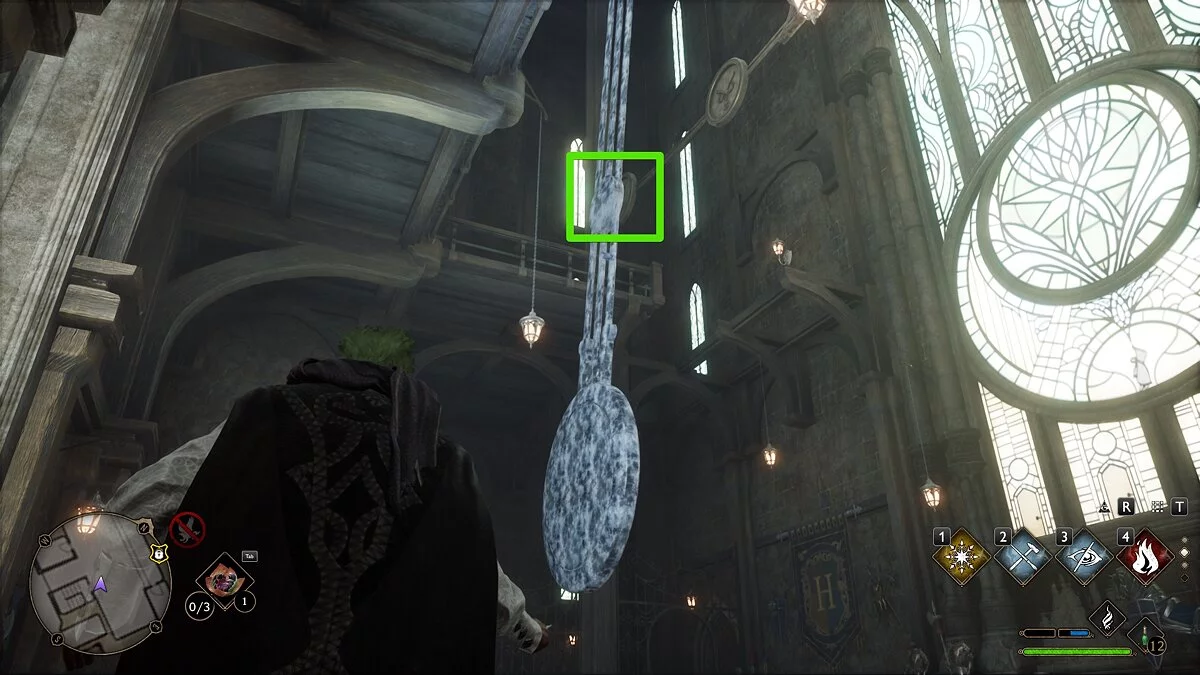
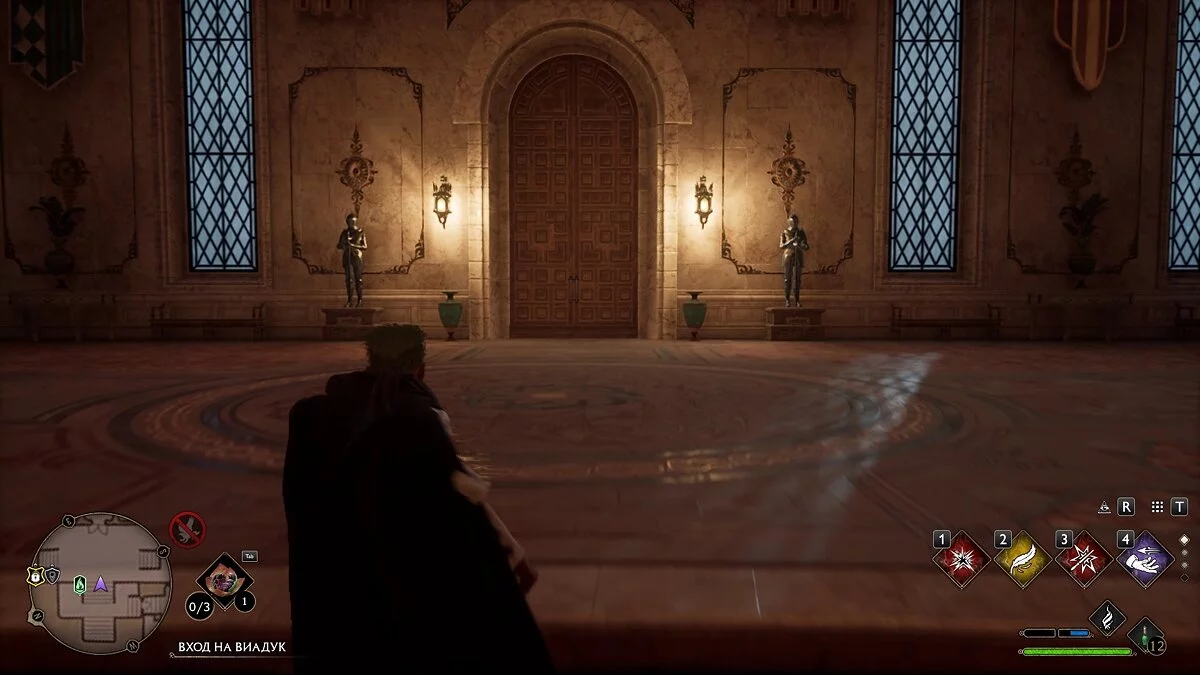
How to Solve the Puzzle with Torches on the Bridge in Hogwarts' Central Hall
The next puzzle can be found in the location Library Annex. Use fast travel to the Central Hall, then climb the staircase two flights up and exit through the double door to the bridge.

Here you will notice four braziers, one of which will be lit. You need to light them all using the spells Incendio or Confringo (the sequence does not matter).
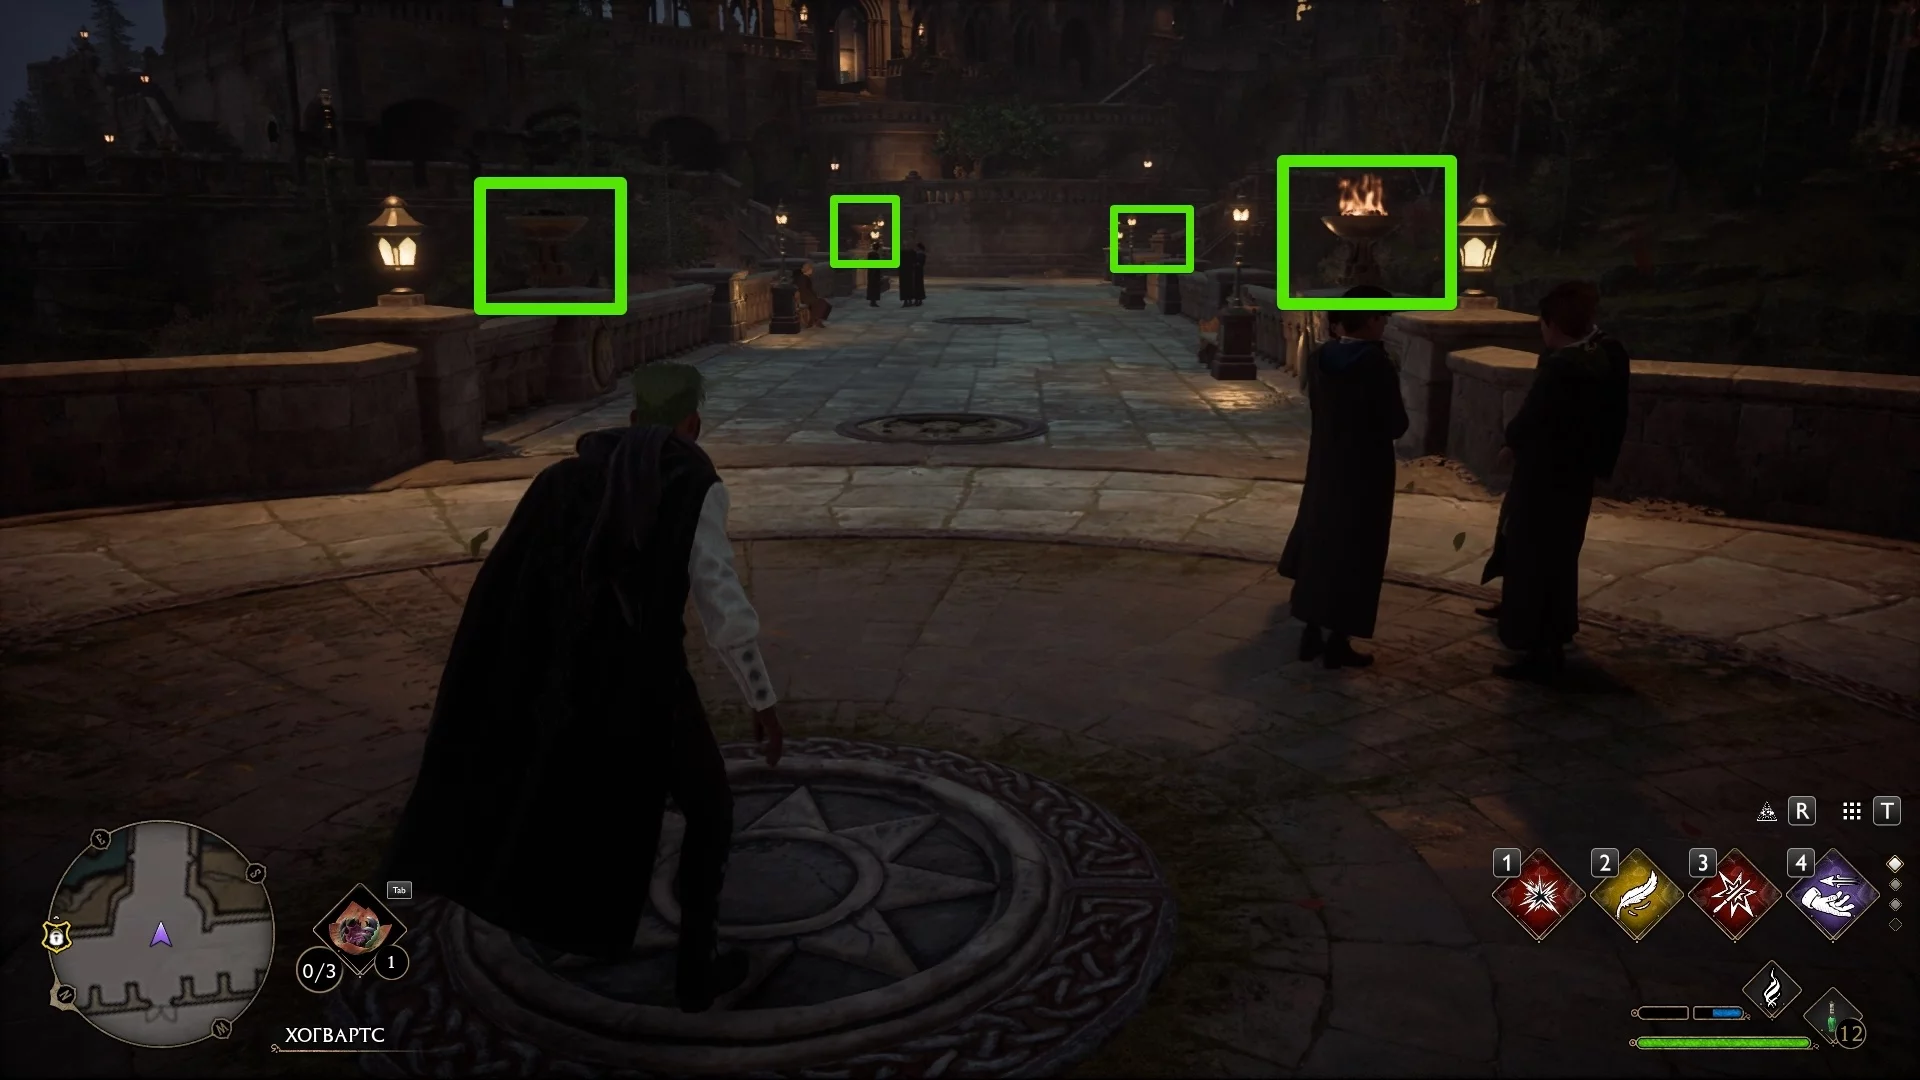
Pay attention to the Roman numerals and symbols indicated under each torch. There is a small platform on the bridge where they are also marked. Set the correct sequence of numbers on the torches to open the passage under the bridge.
If you exited from the Central Hall:
- I — the far torch on the left;
- II — the near torch on the right;
- III — the far torch on the right;
- IV — the near torch on the left.
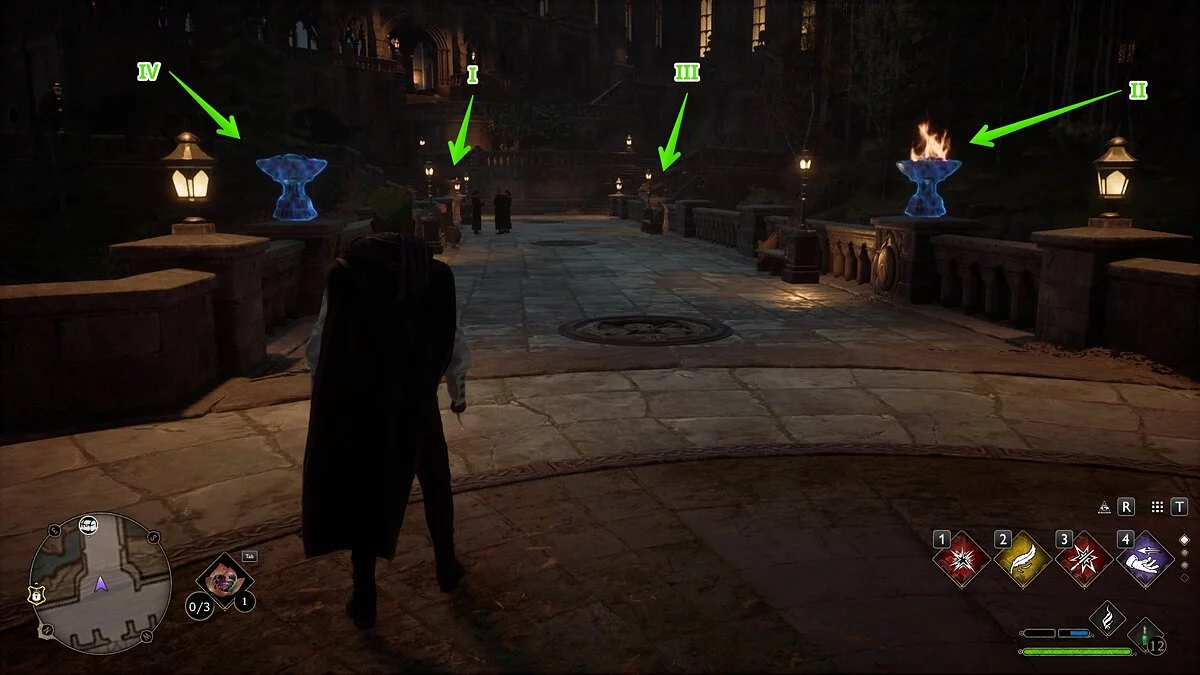
In the passage under the bridge, you can find one small chest with gold, as well as a huge chest with random equipment. We found an unknown legendary item for hands in it.
Note: Unknown items can be taken to the Room of Requirement and have their characteristics revealed on a special table.
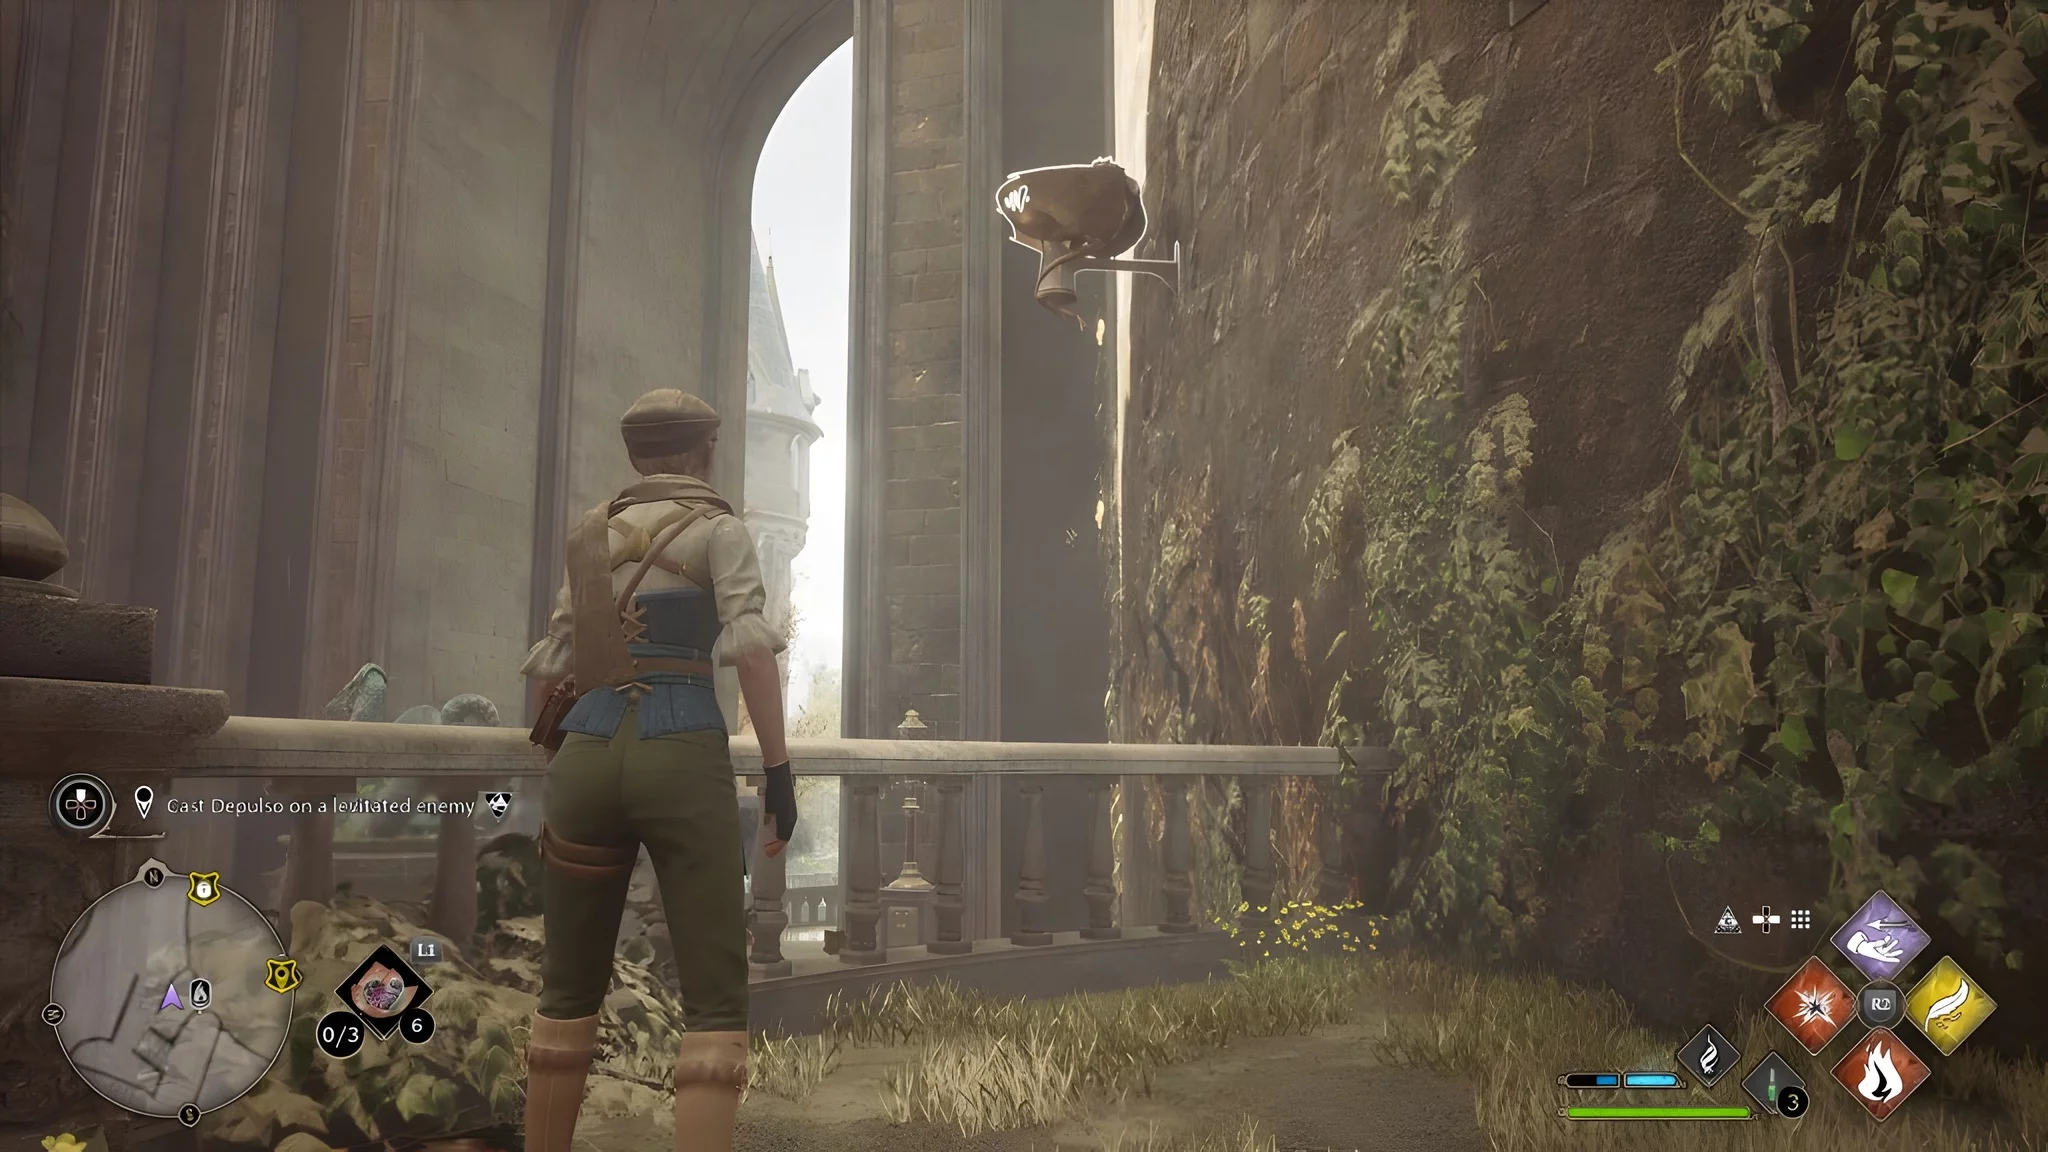
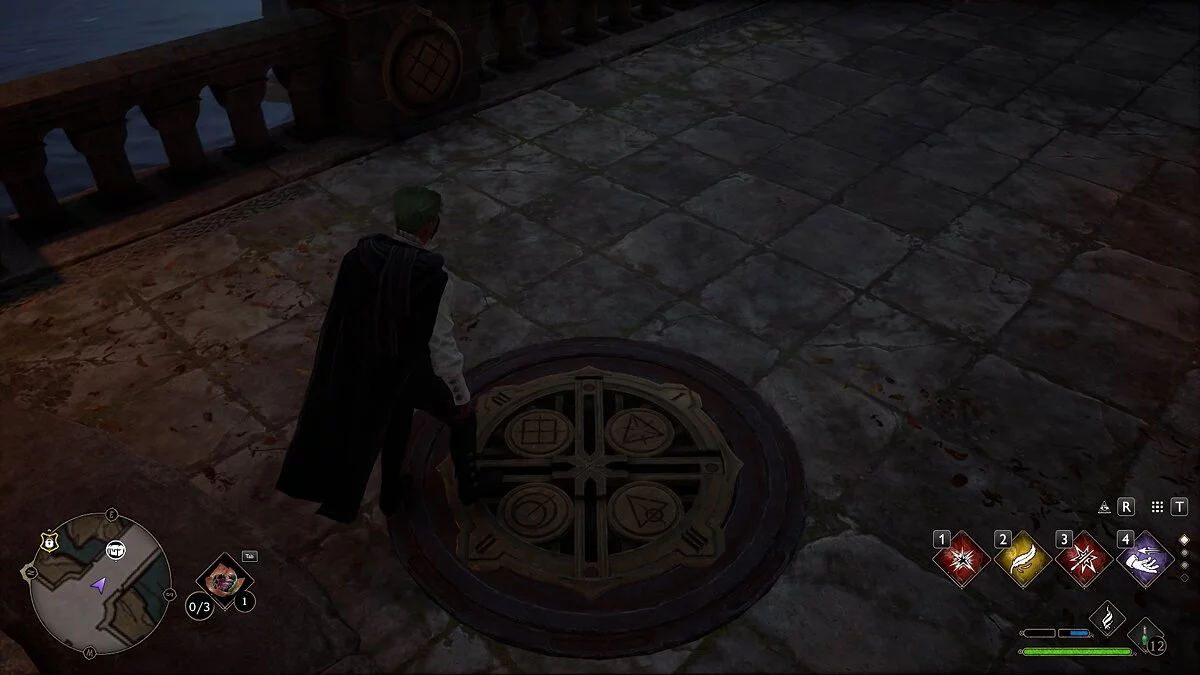
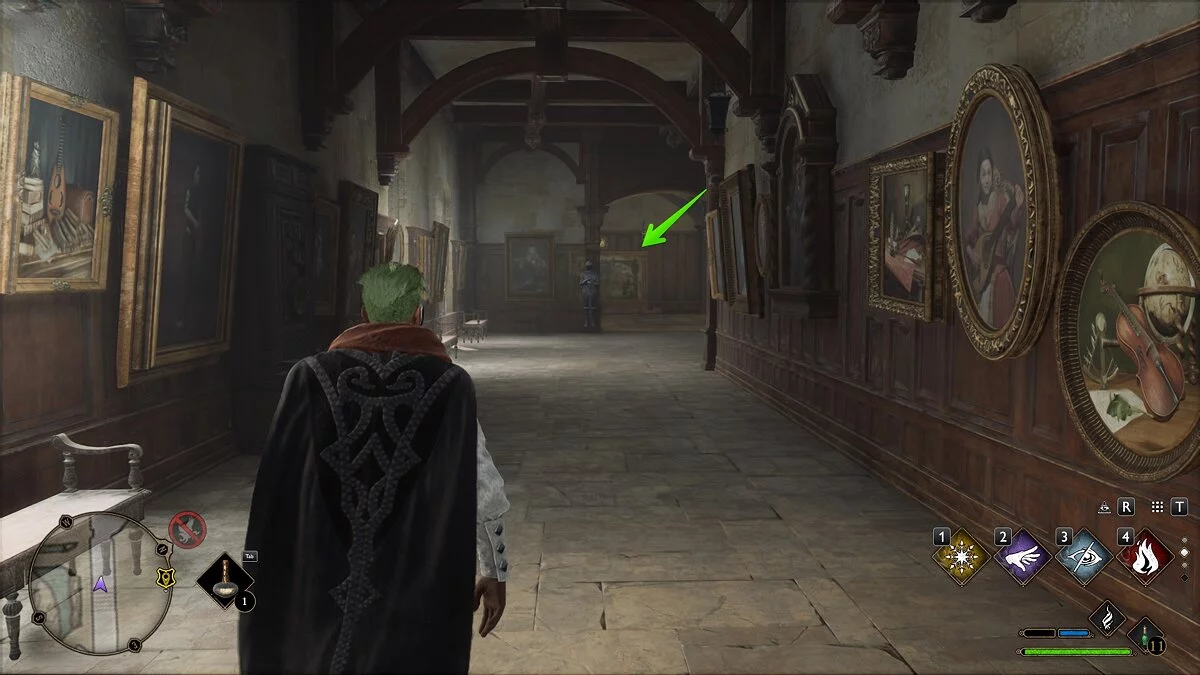
The Puzzle with the Map on the Wall in the South Wing
While exploring the Hogwarts Staircases, you may notice a large map on the wall. Attempting to use the starting spells on it will yield no results.
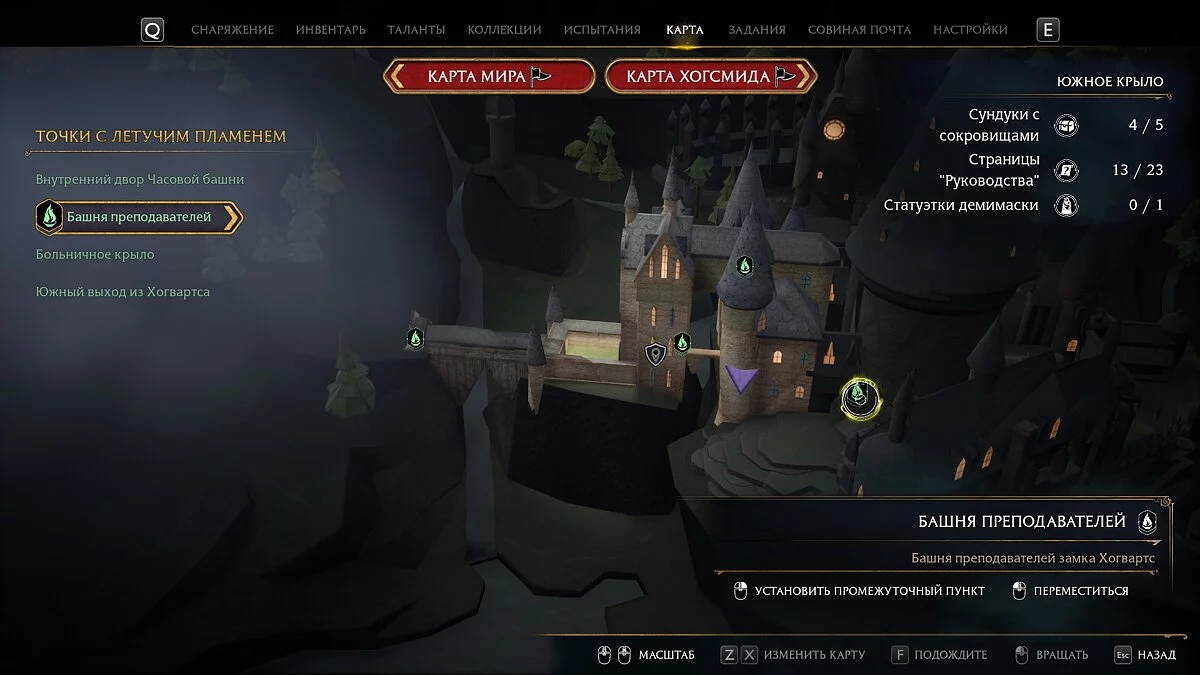
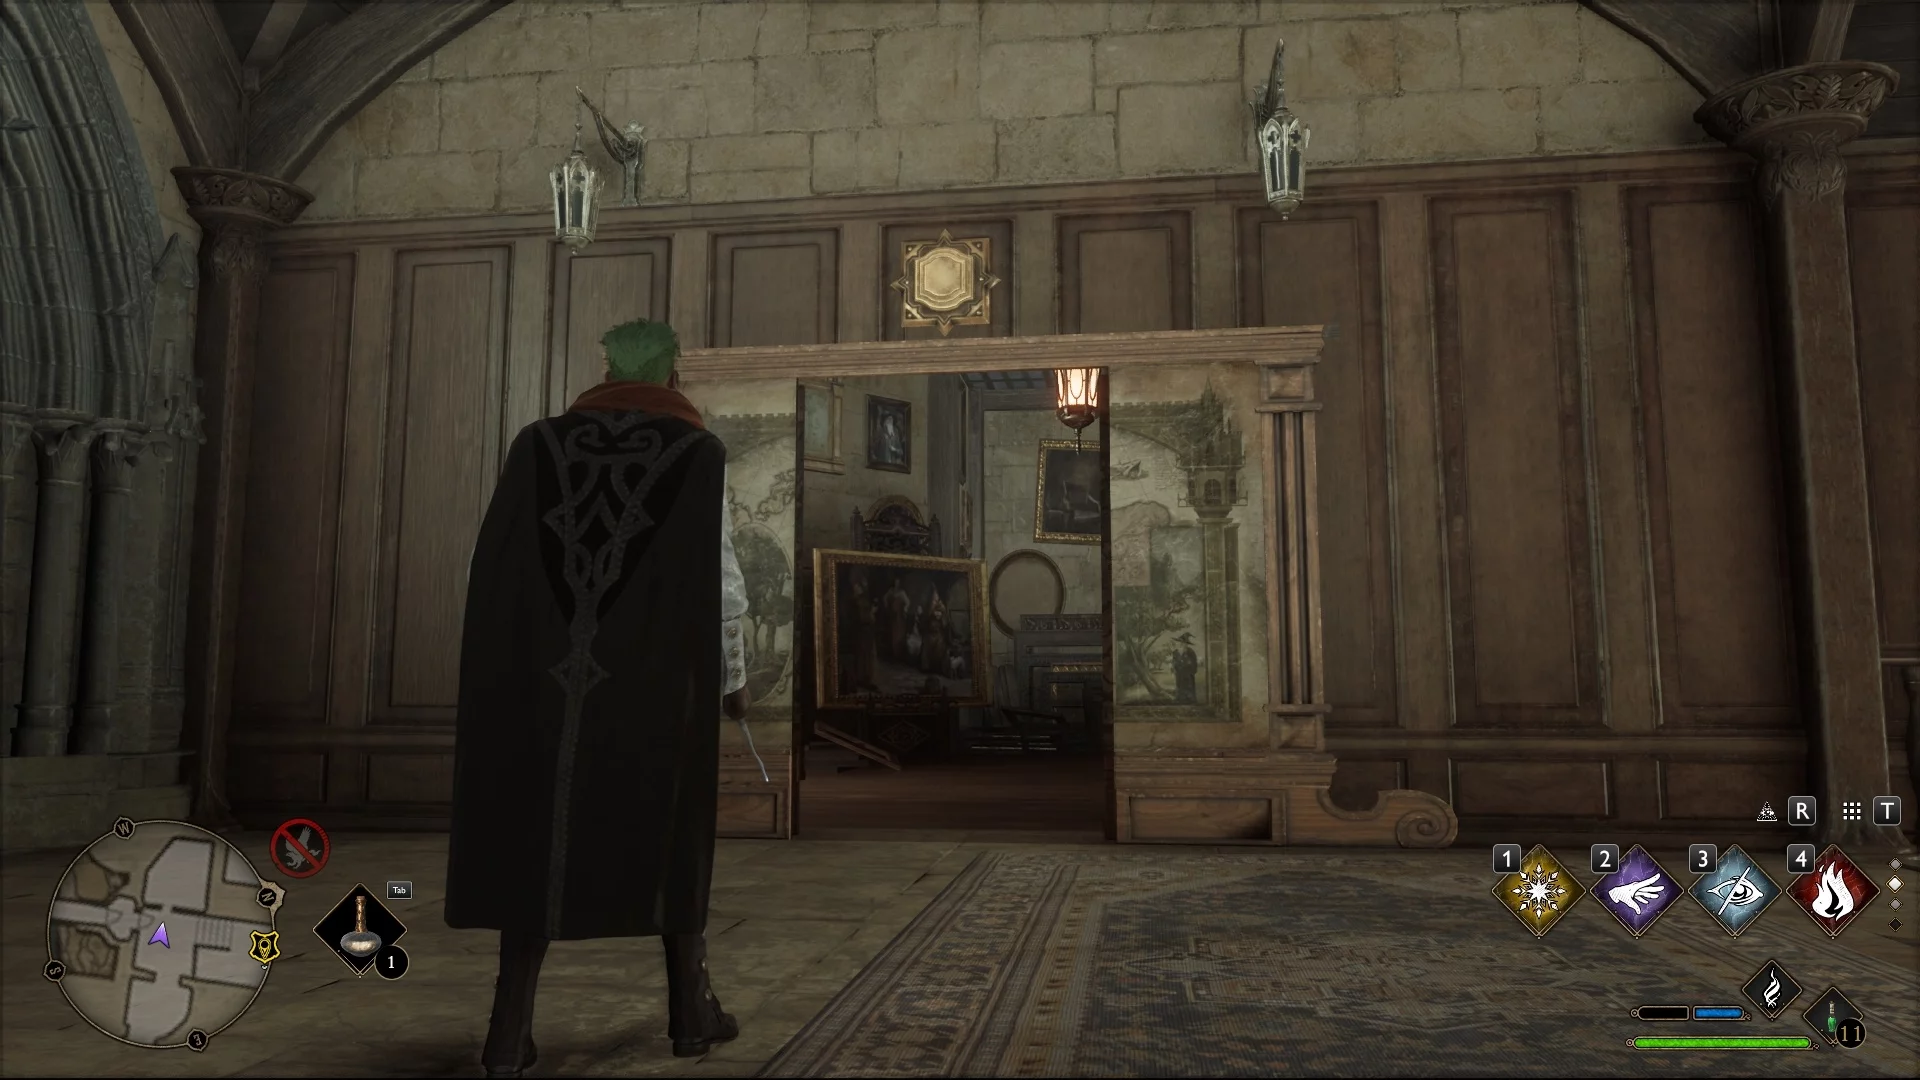
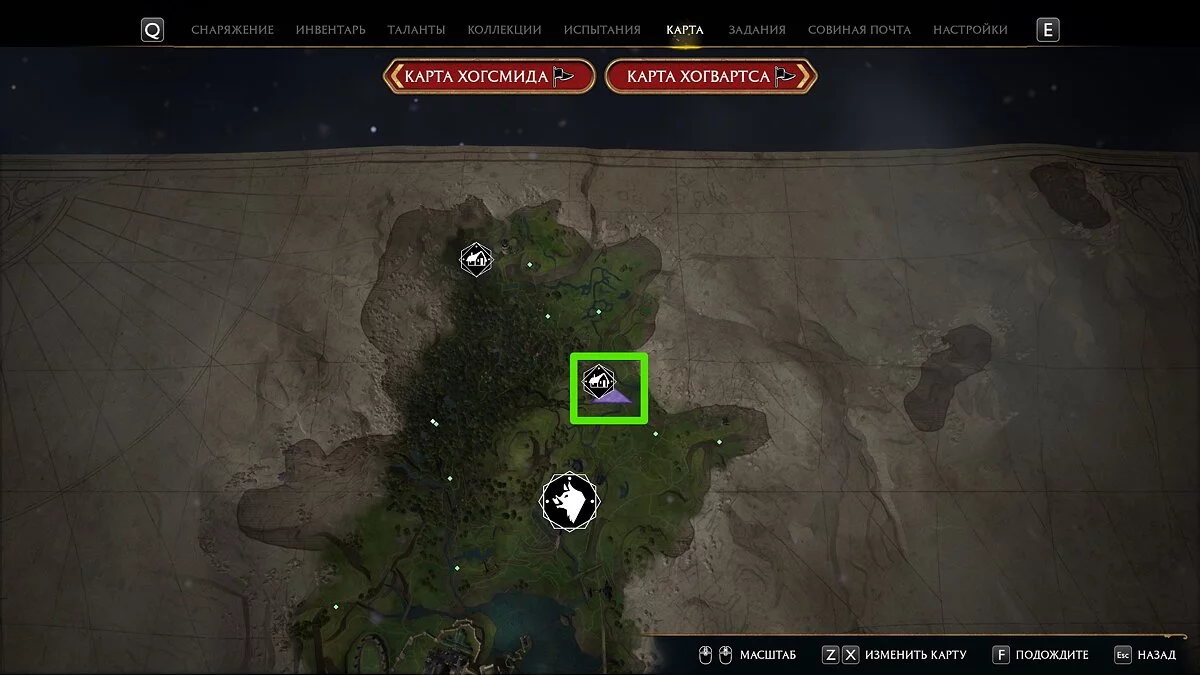
The nearest fast travel point to this area is the Teachers' Tower in the South Wing. Use the teleport and follow the corridor to a small spiral staircase on the left. Go down and run straight. Before the turn, you will see a large map on the wall.
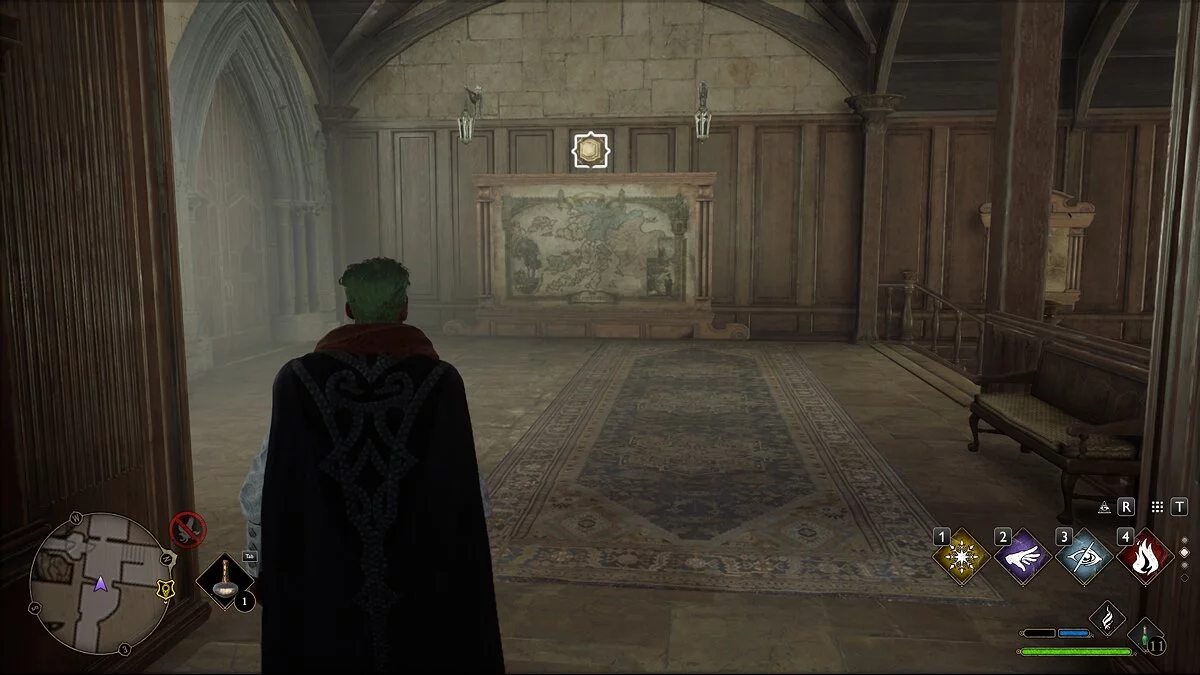
Return here after completing a series of storyline and side quests to acquire the spell Depulso. Applying it on the map will open a passage. Inside, you can find a small chest with gold, as well as a chest with random equipment.
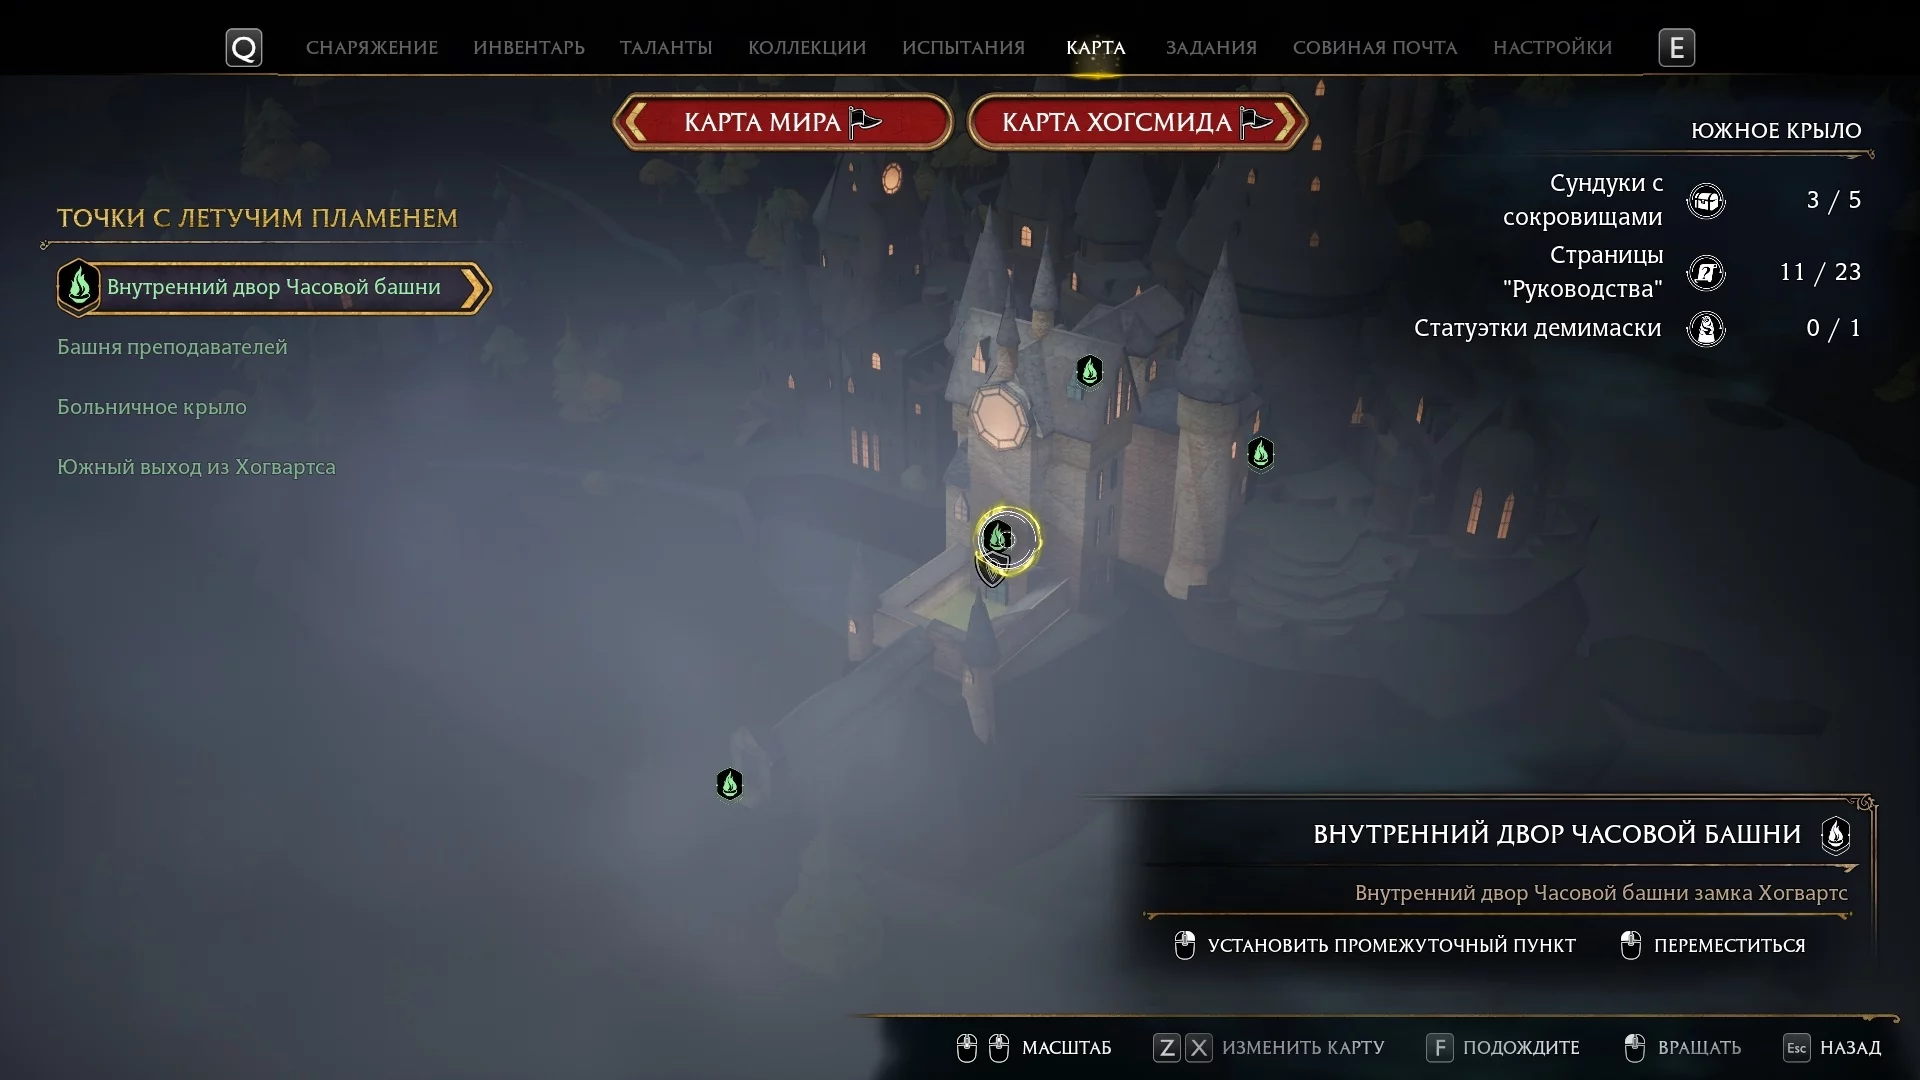
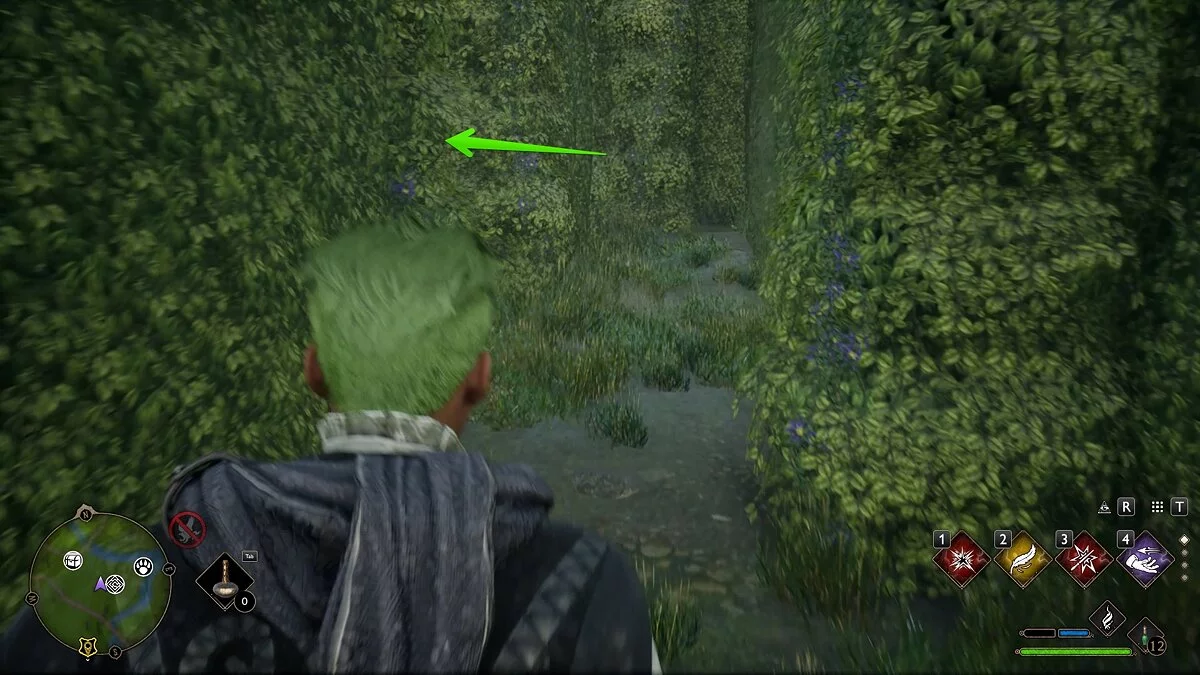
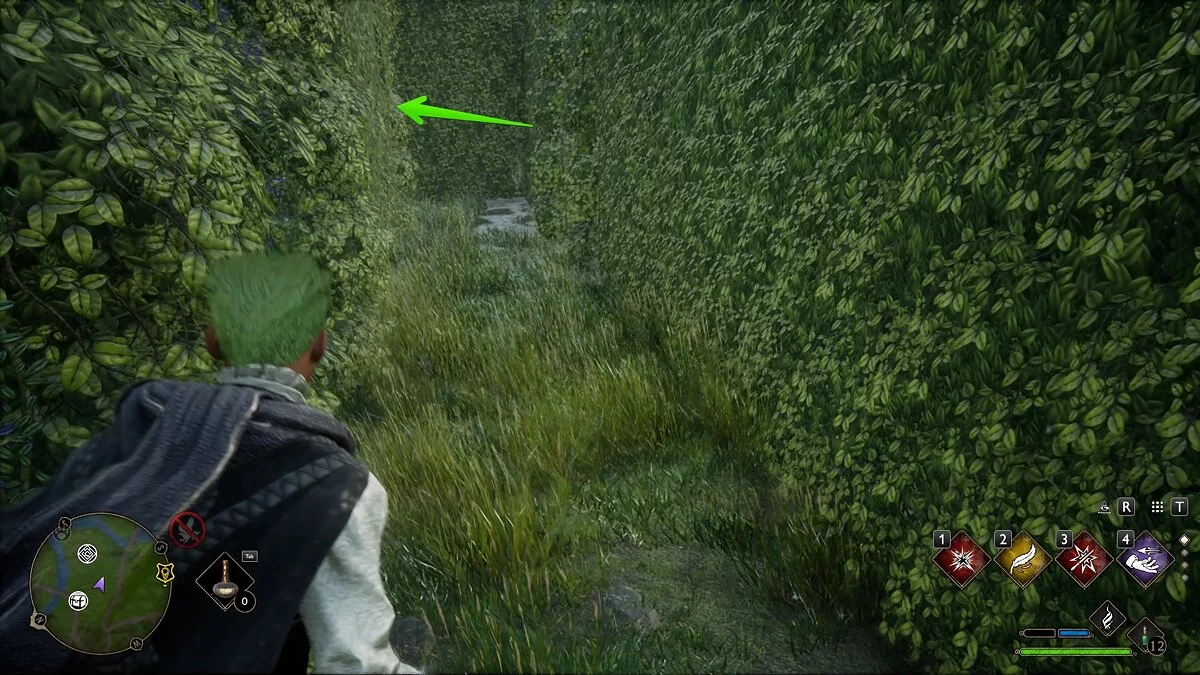
How to Navigate the Hedge Maze in Upper Hogsfield
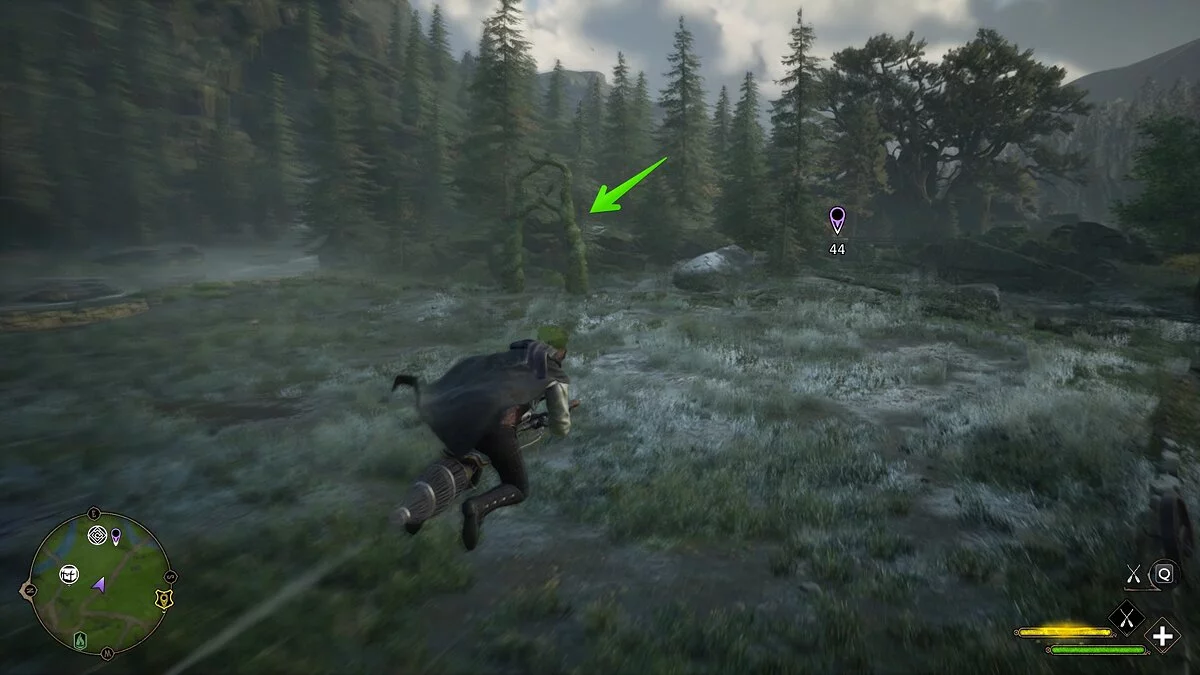
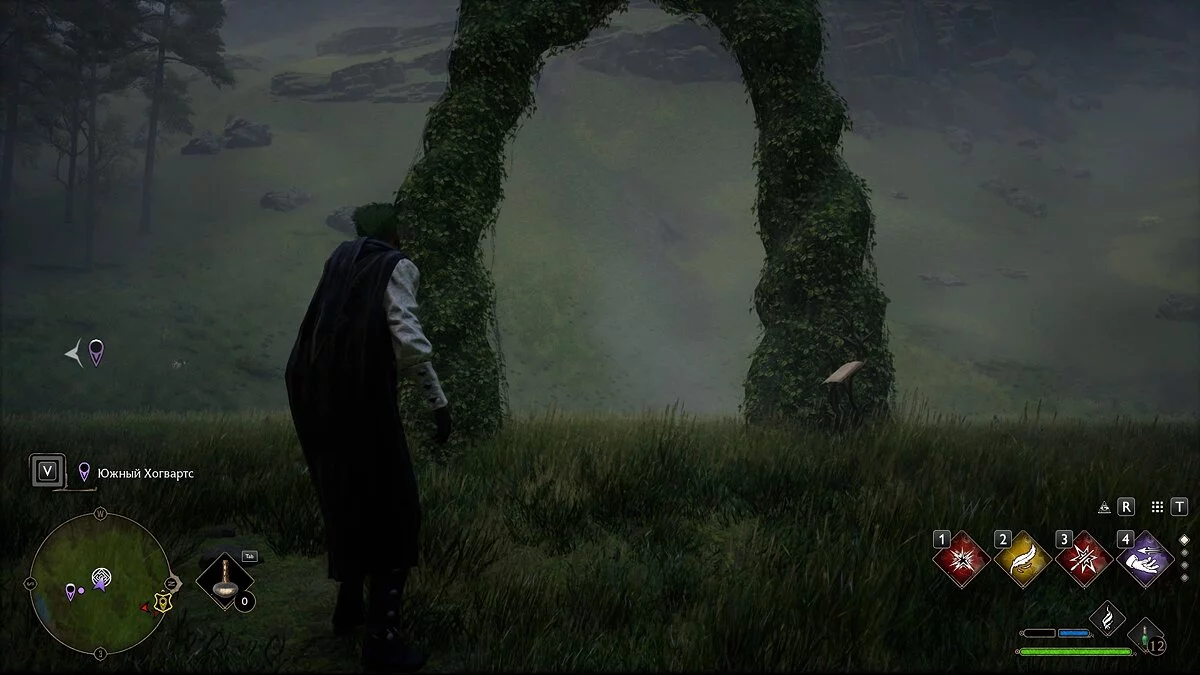
Exploring the surroundings of Hogwarts, you will encounter various puzzles and challenges. Among these challenges are hedge mazes. Currently, two such puzzles are known. One of them is located near Upper Hogsfield, in the southern part of the settlement.
Reach the marker on the map and find the arch made of tree trunks. Read the note and go through it. A maze will appear on the field. Your task is to make your way to its center and open the large chest with random legendary equipment.
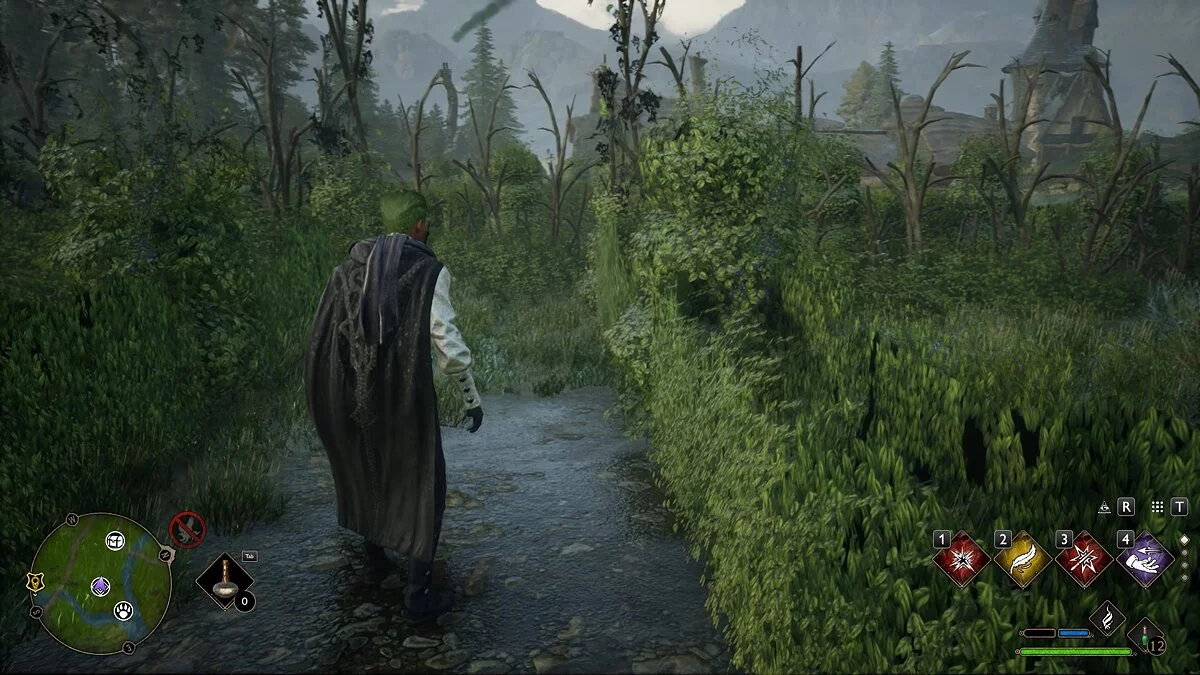
Actually, finding the correct path is quite simple. Run straight ahead, then turn right. At the first fork, turn left, then ignore the passage on the right and turn left again.
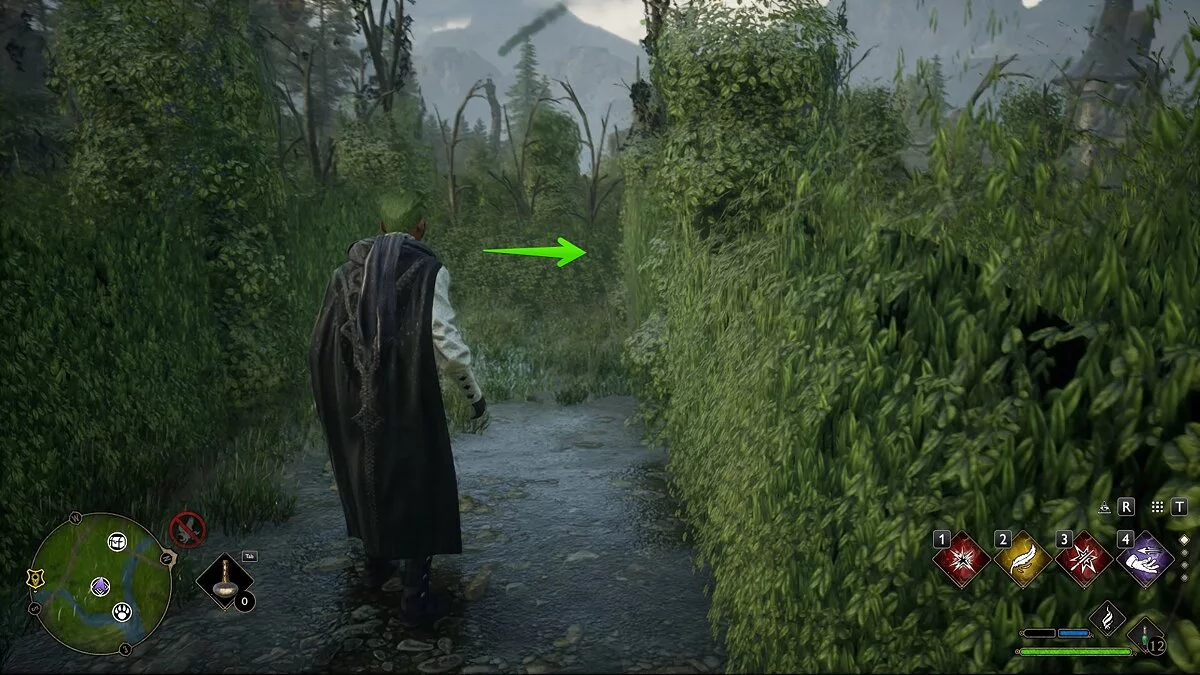
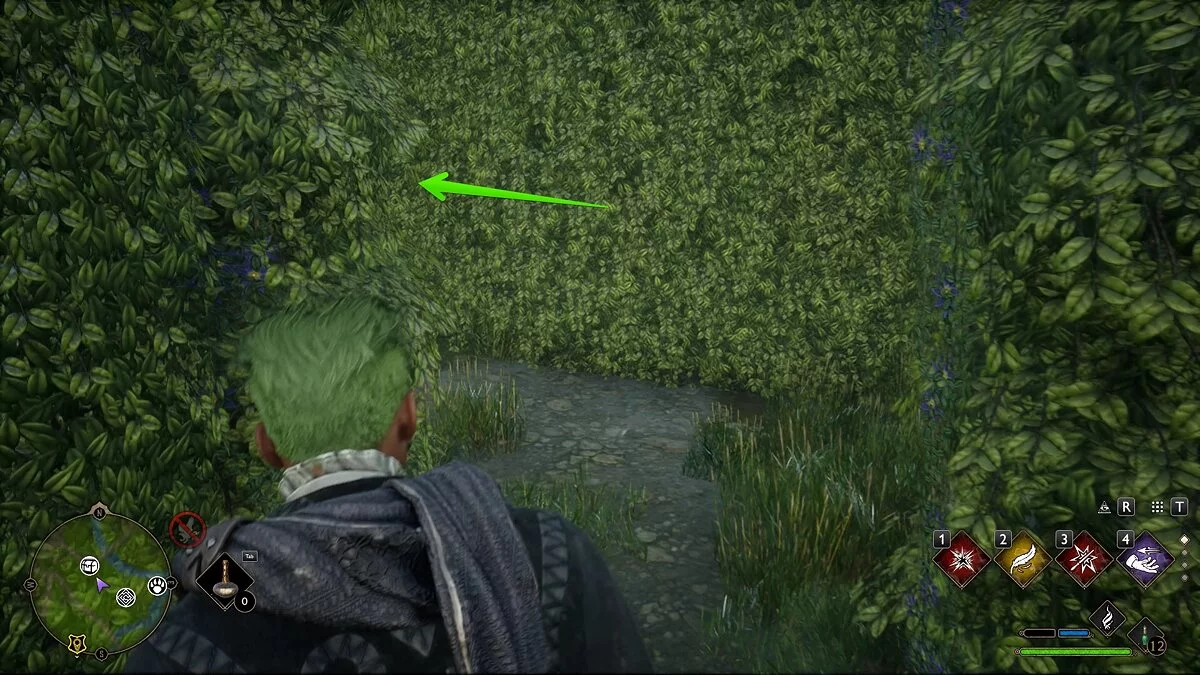
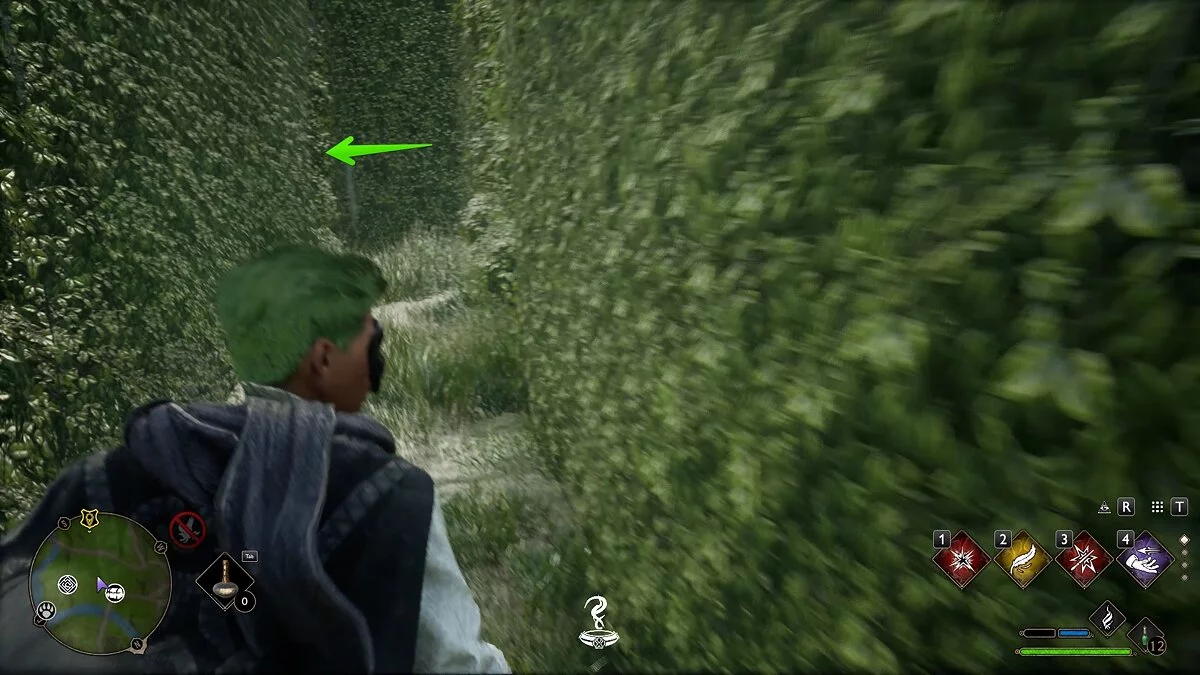
Immediately to the left, there will be another turn — do not go there. Instead, move straight ahead and turn left twice. You will find yourself next to the chest.
How to Navigate the Hedge Maze in Lower Hogsfield
The second challenge can be found in the southern part of Lower Hogsfield. As usual, reach the marker and read the note. Go through the arch to start the challenge.
Actually, we cannot describe the correct path to the chest, as our hero easily walked through the hedge. We took advantage of this glitch to obtain the legendary item. If you have found the correct route, please share it in the comments, and we will definitely update this material.
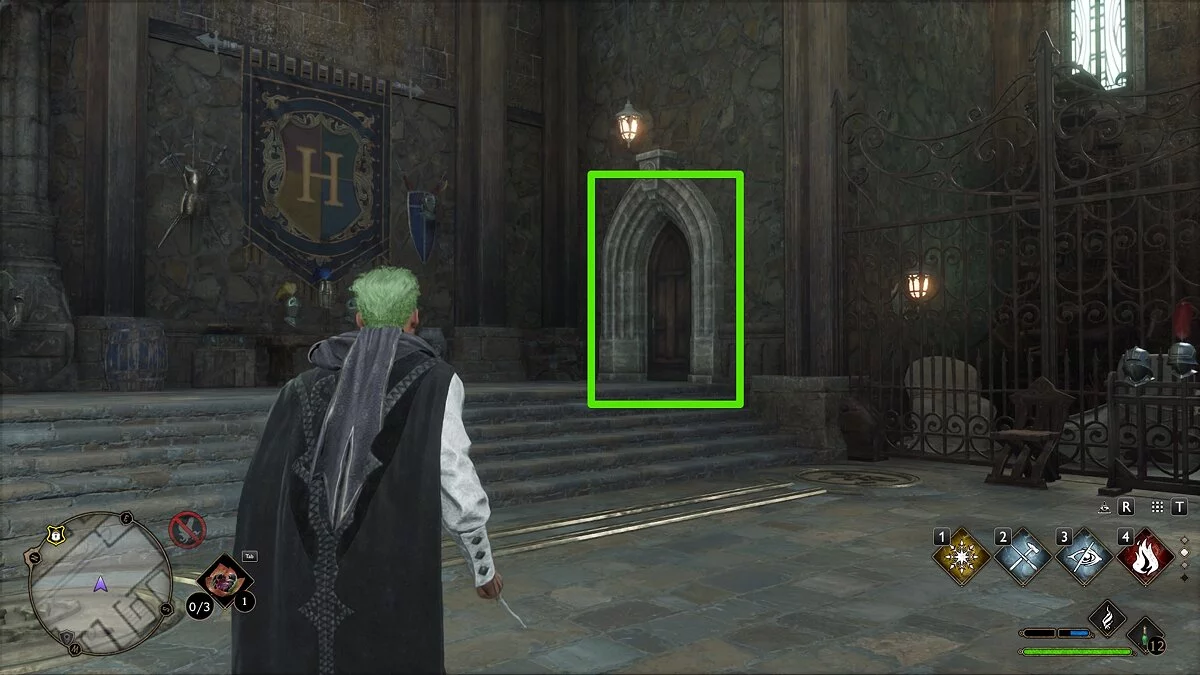
How to Access the Headmaster's Office in Hogwarts and Obtain the Access Key
The Headmaster's office is located in the tallest tower of the South Wing of the school. But accessing it is not as straightforward as it might seem at first glance. If you're not in a hurry, simply follow the plot until the quest Polyjuice Potion Effect begins. This will give you the password that needs to be spoken near the phoenix statue. However, there is a way to access it much earlier.
For this, you will also need to learn the spell for picking locks, Alohomora, and then upgrade it to at least the second level. If you want to find the key and get an additional achievement, we advise upgrading the spell to the third level. Be sure to check out this guide, where we described how to find all the demiguise statues and upgrade the spell.
When you're ready, use fast travel to the Bell Tower Wing, Broom Flying Lawn.

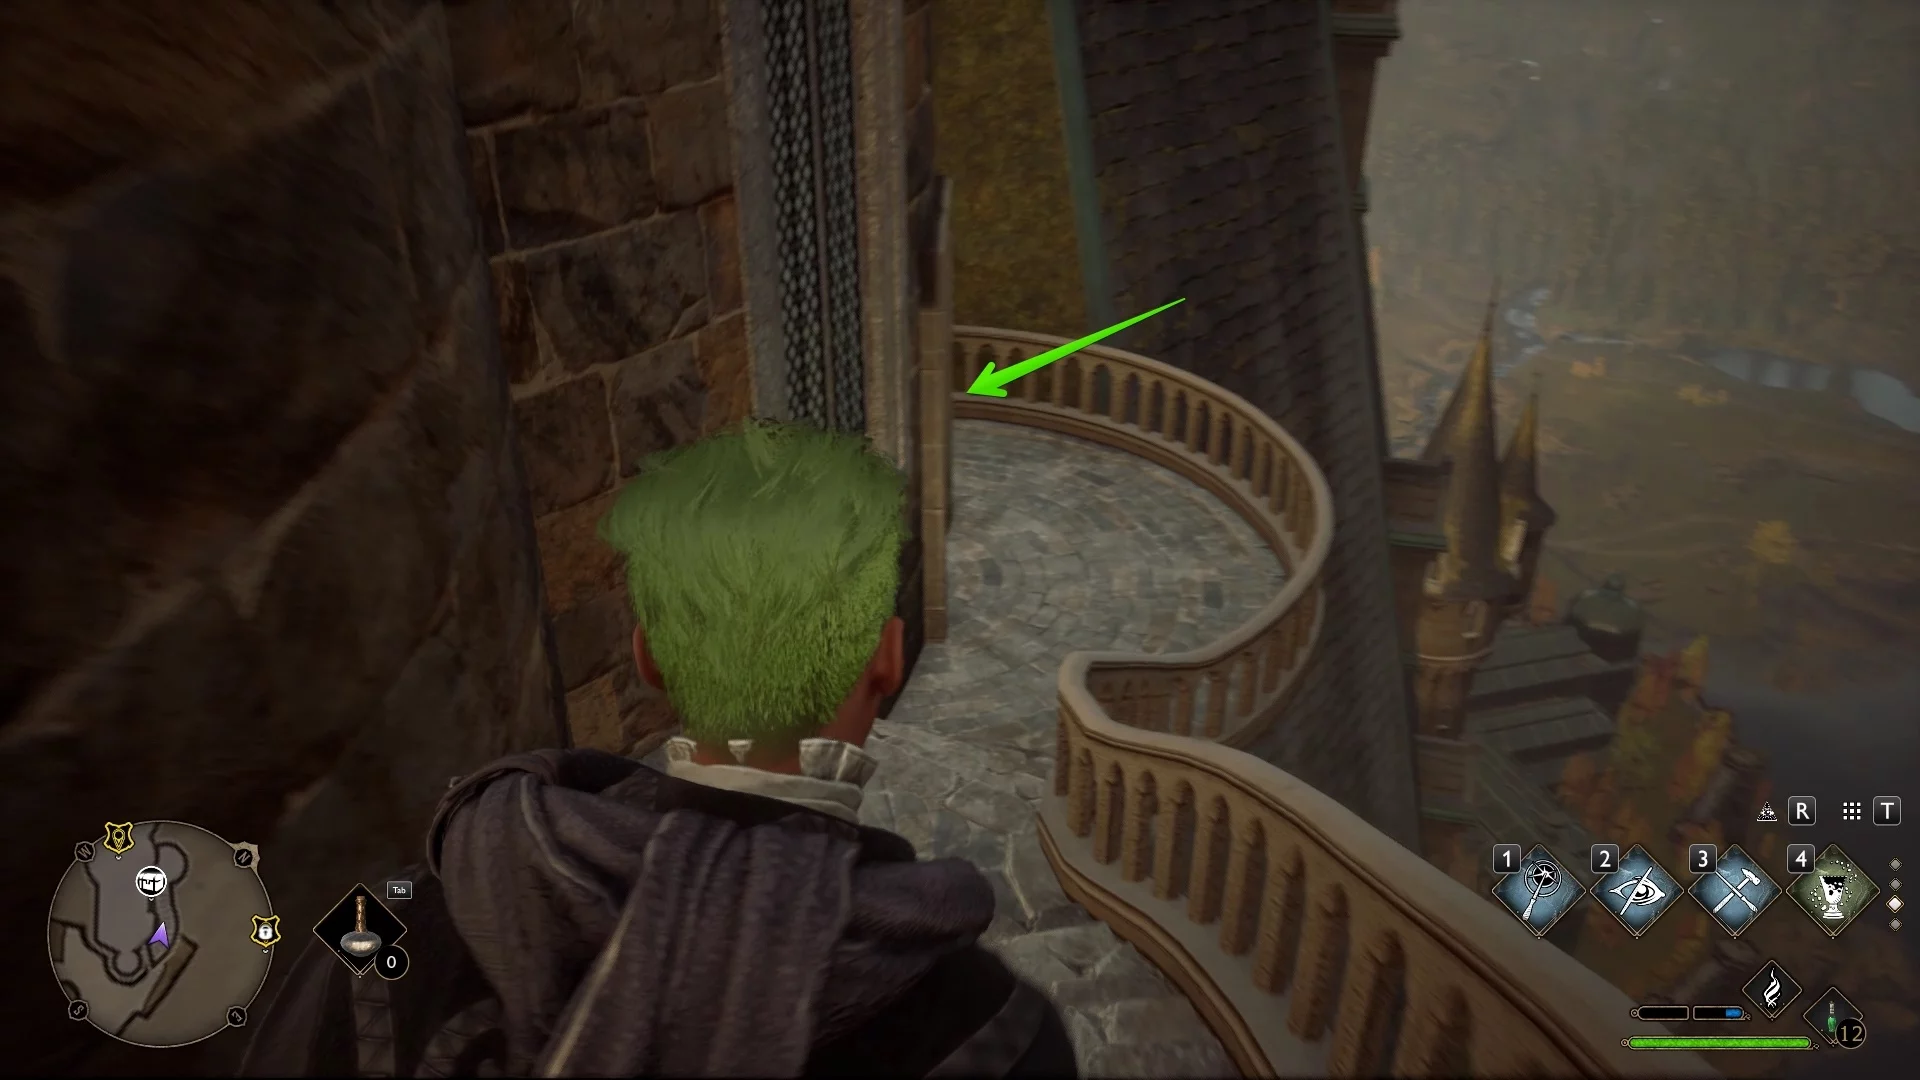
Mount your broom and take off upwards. It's best to circle the school to the left to reach the tower in the South Wing.
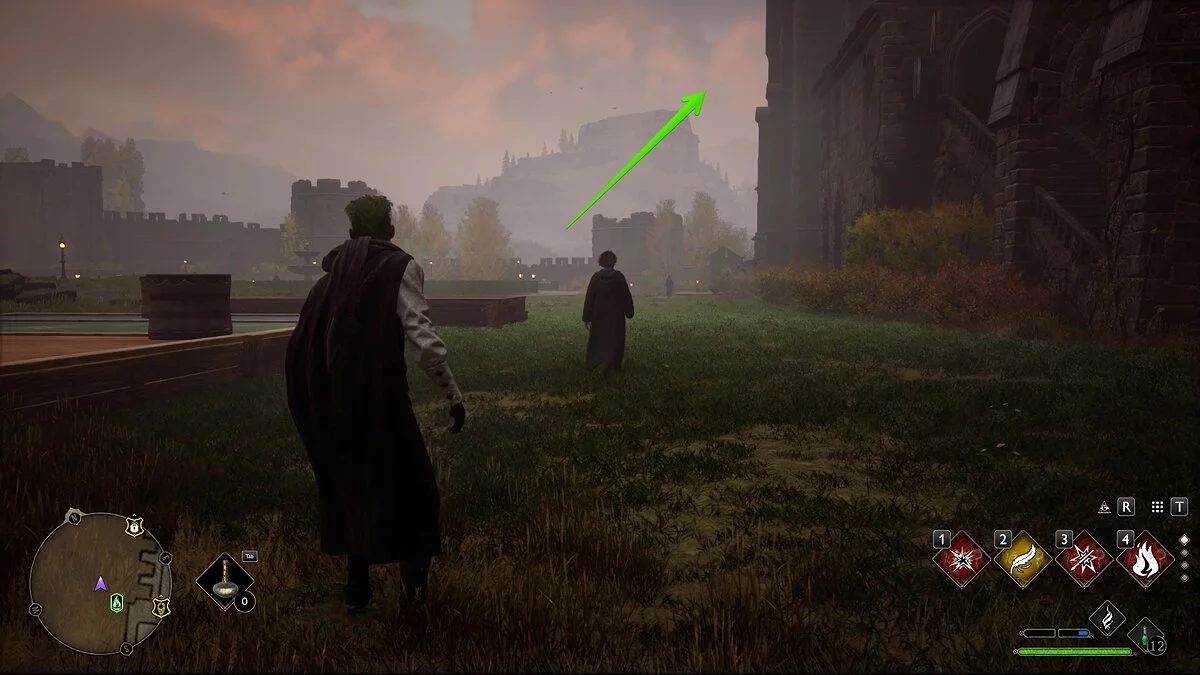
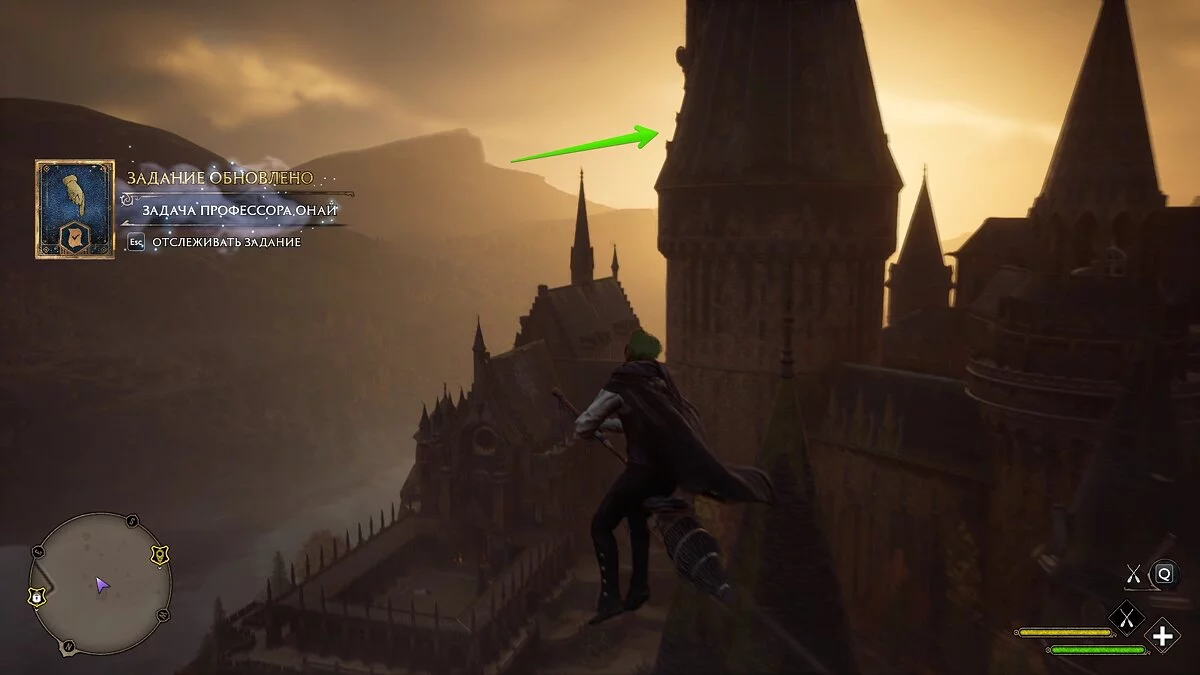
Here, you will see a balcony, a staircase, and two locked doors. You cannot dismount from the broom at the lower door — you'll have to go higher.
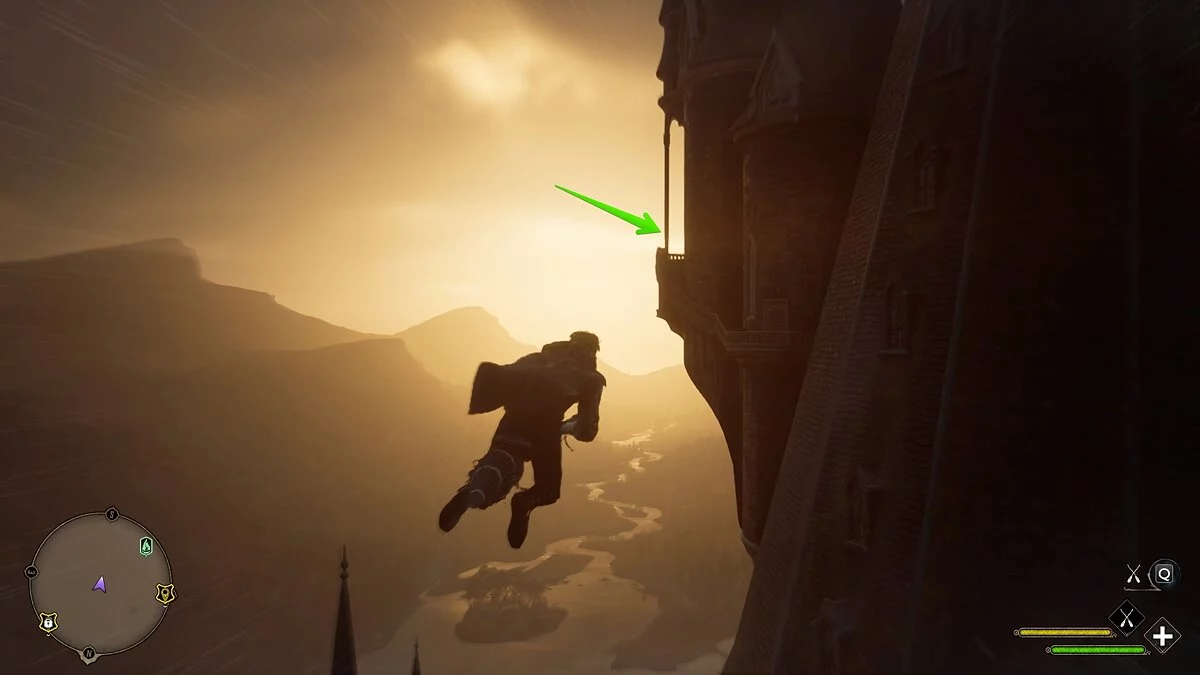

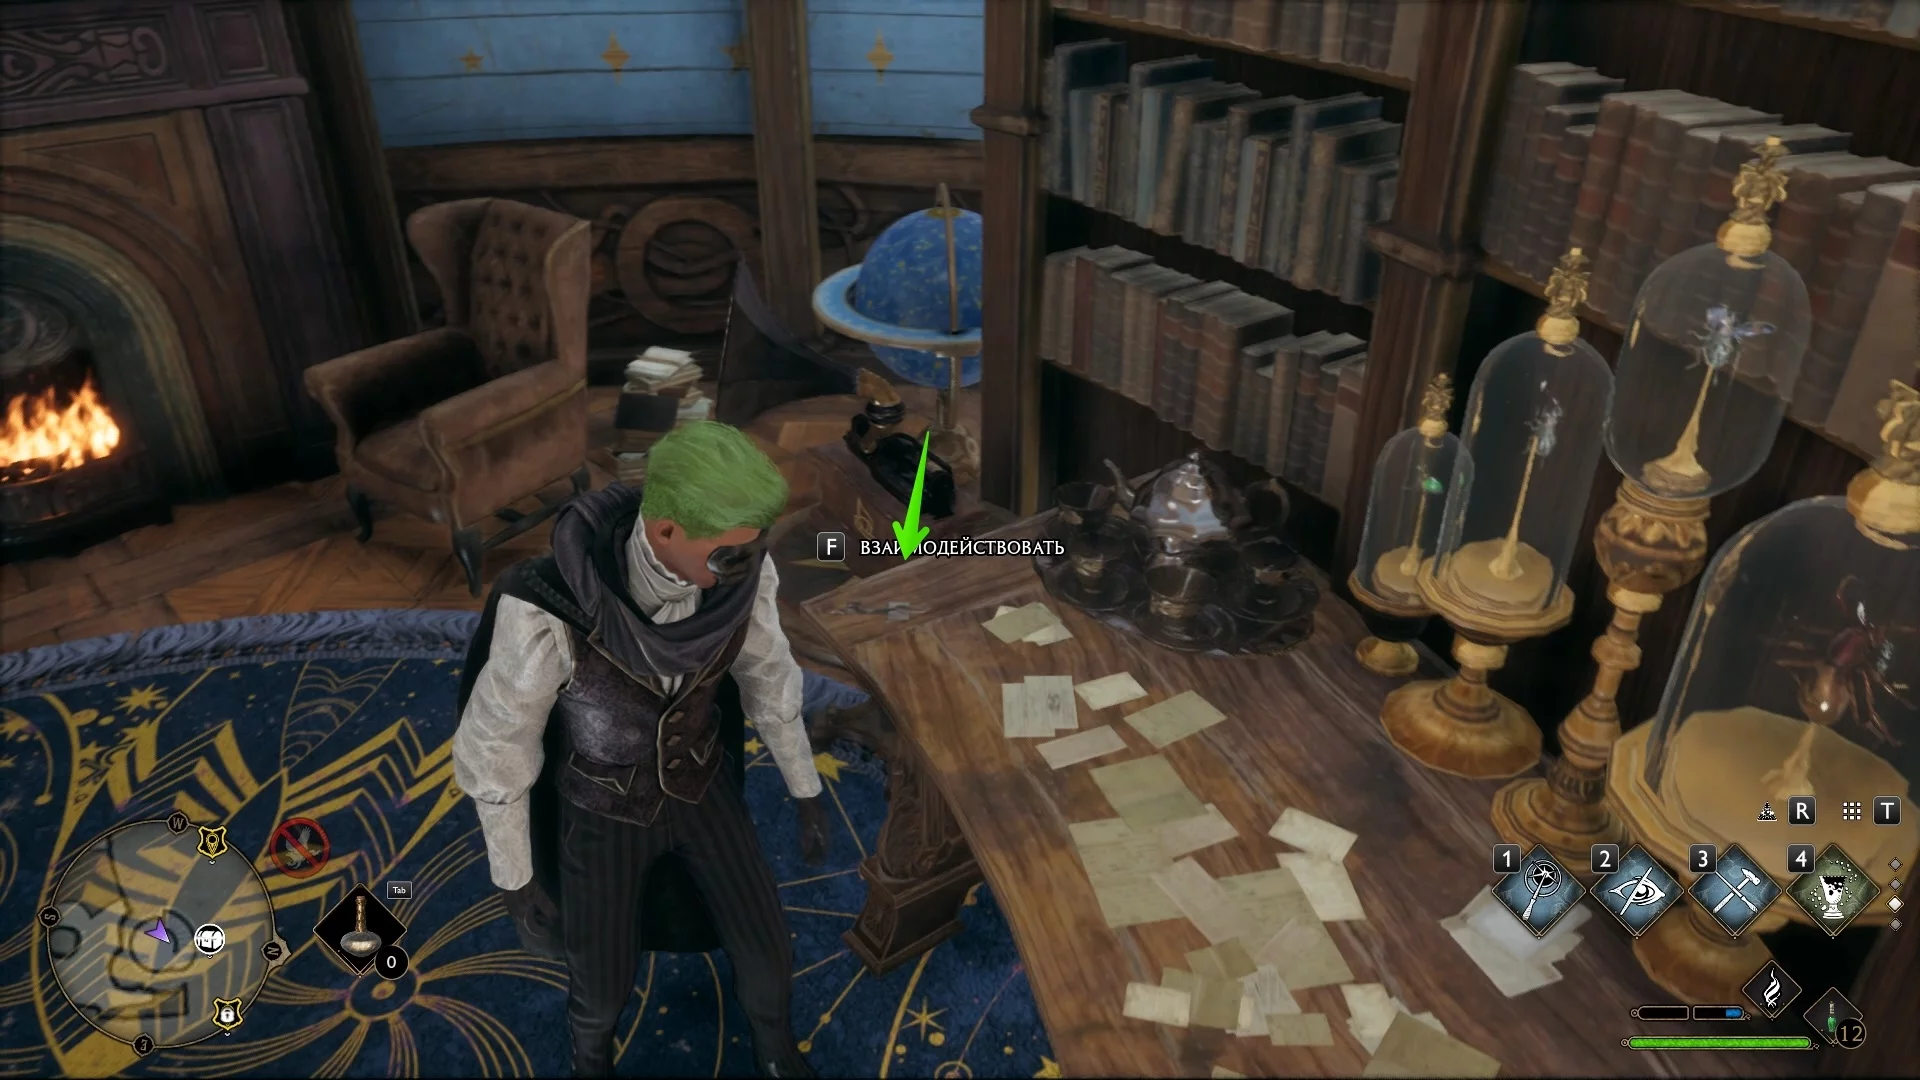
The door at the top opens with a third-level spell, and the door below with a second-level one. First, open the upper door and go up to the Astronomy Room. You will immediately receive the achievement Room with a View, and you can also find a note to Professor Black from Ferris Spavin and an access key. We will explain its use later.
Now return to the balcony and descend the staircase to the lower door. Open it to enter the Headmaster's office of Hogwarts.
Here you will find several small chests, a note, and another locked door. It leads to the Headmaster's bedroom. Be sure to open it, as inside you can find a letter and a large chest with a random piece of clothing.
Where to Use the Access Key
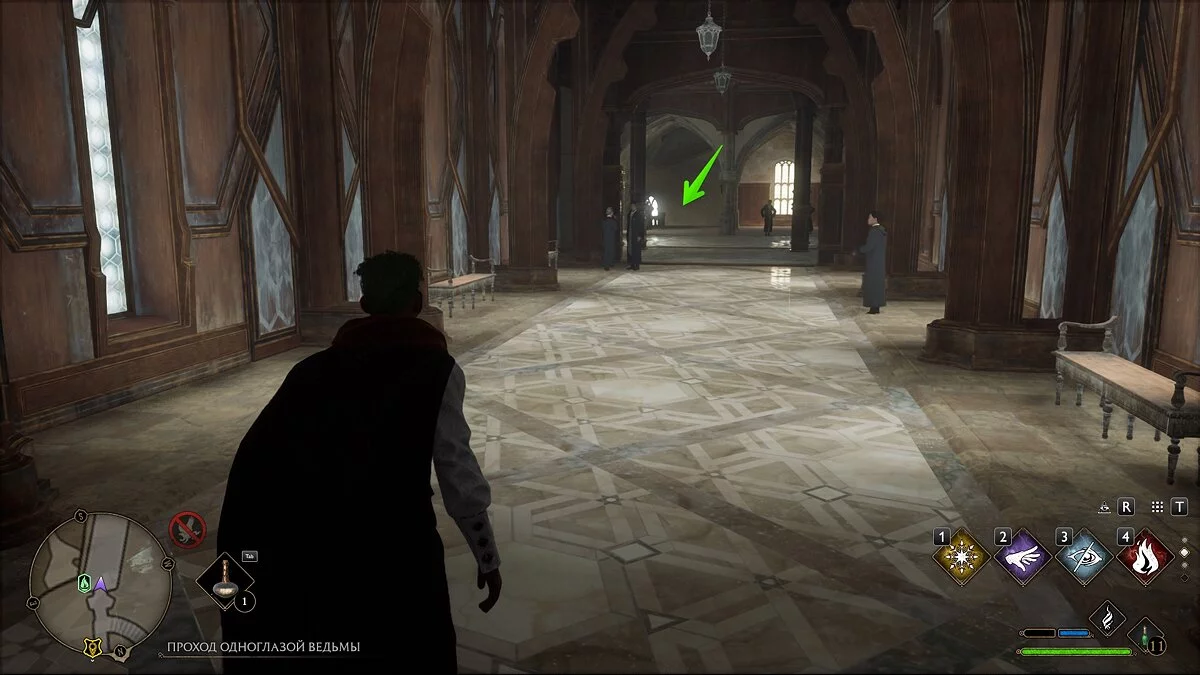
Now, to use the key, you need to return to the Hogwarts Staircase. If you entered the Headmaster's office by the method we described, descending the staircase will be impossible, as the statue is located below. Teleport to the nearest Floo Flame Point and reach this statue from the other side. For example, teleporting to the Trophy Room works well.
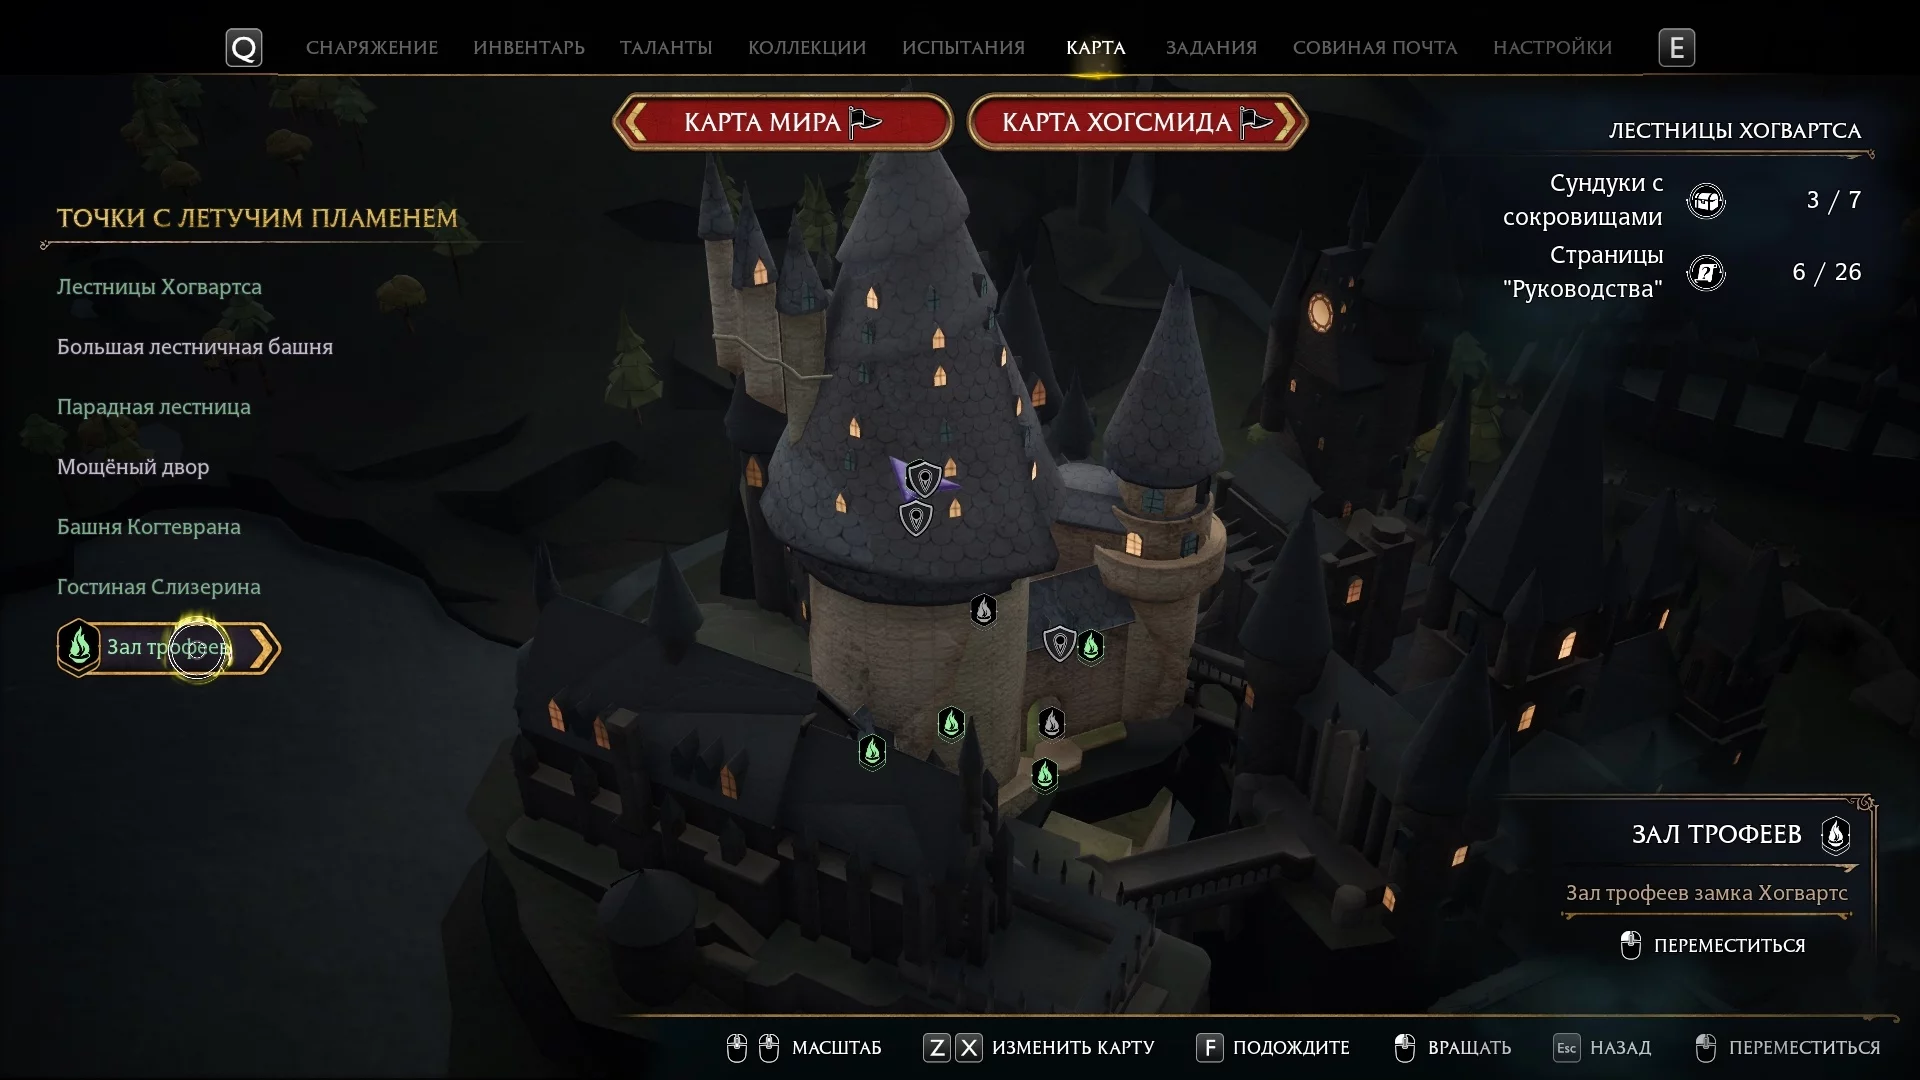
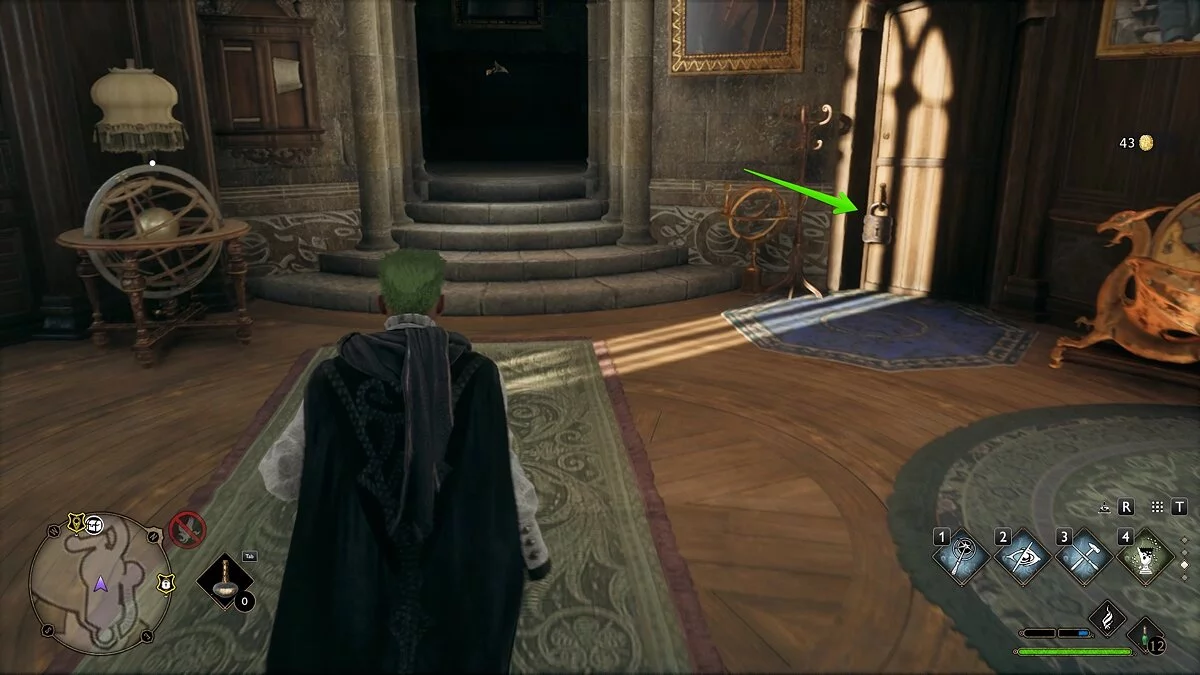
Pass through the hall and reach the staircase behind the grille. The passage will be open. Climb to the very top, ignoring all doors and passages. You will find yourself in a corridor with statues. To the left will be the statue that can take you up to the Headmaster's office, but you don't need to go there.
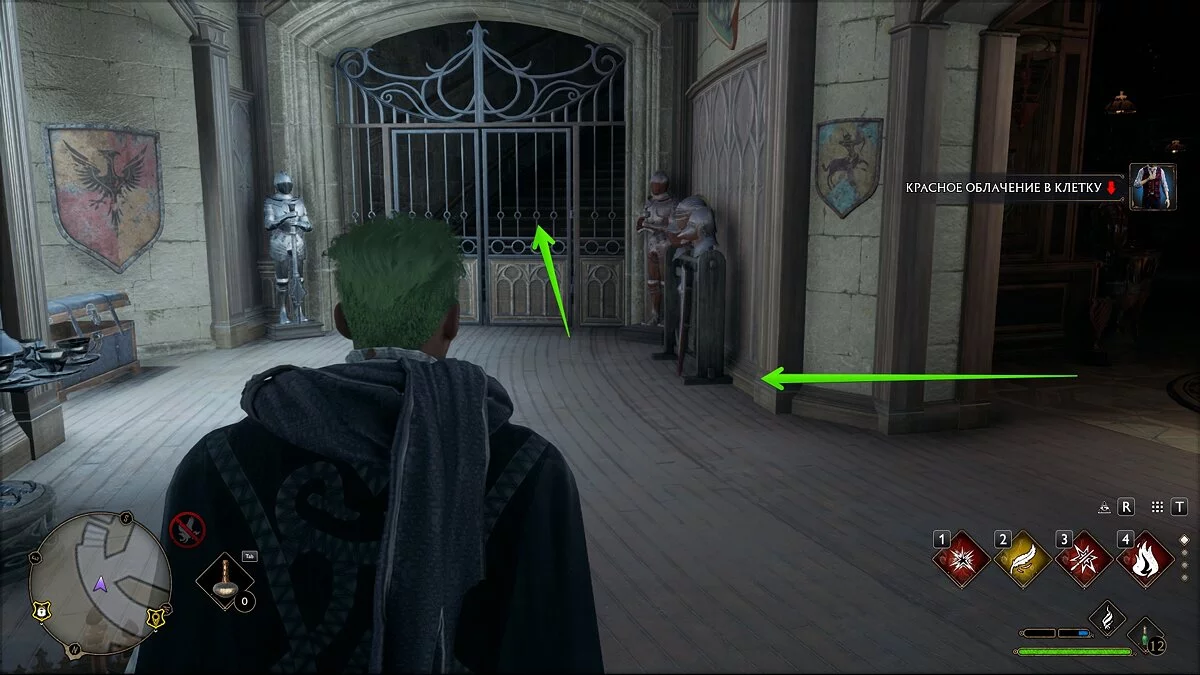
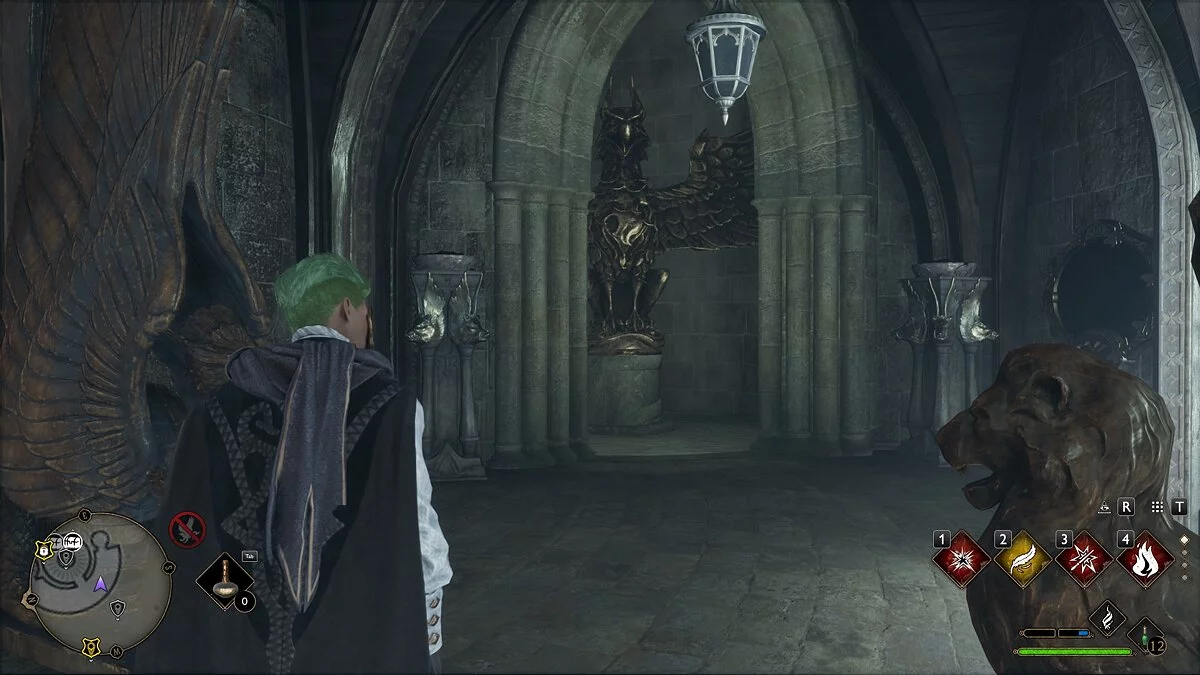
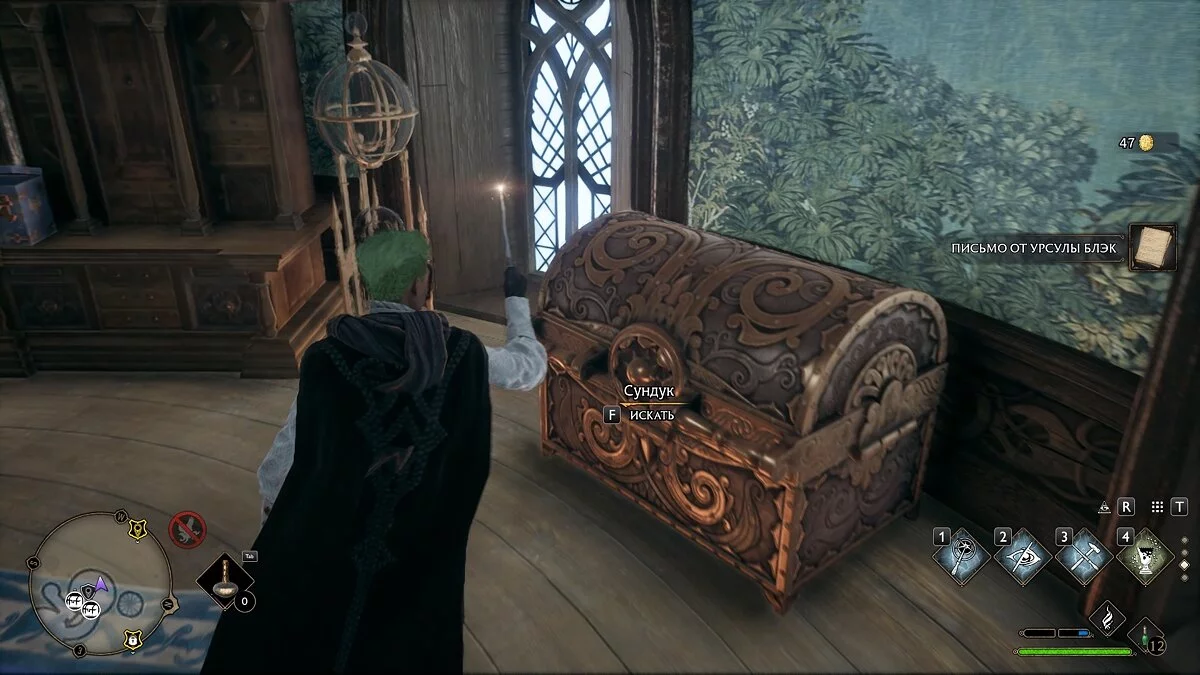
Run in the opposite direction and reach the locked door with a huge keyhole. This is the door that can be opened with the key obtained earlier. Wait for the four locks to open and enter.
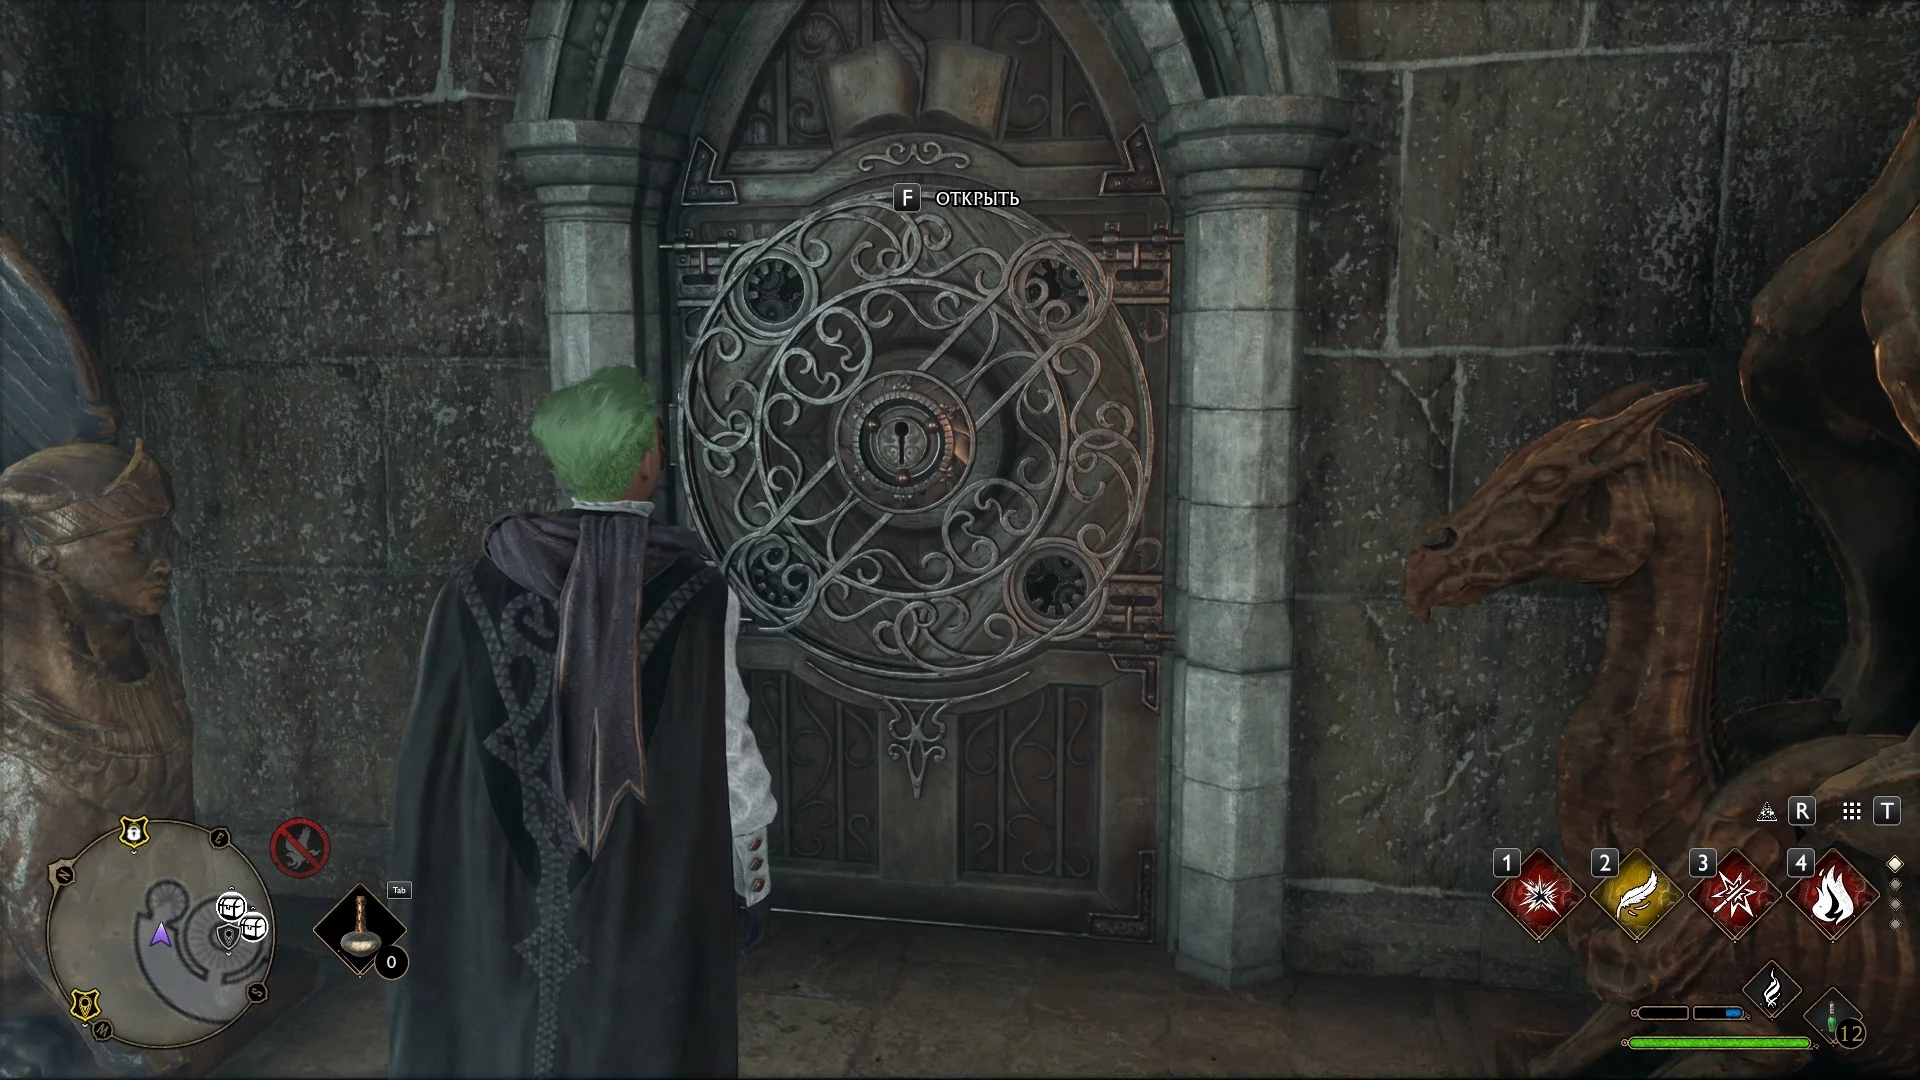
Under the staircase, you will immediately find a large chest with random equipment, and at the top of the tower, you can pick up a page from the Manual.
Other guides
- How to Unlock Locks in Hogwarts Legacy
- Moon Demiguise Statues in Hogwarts Legacy: How to Find All Statuettes
- Mond-Demiguise-Statuen in Hogwarts Legacy: So finden Sie alle Statuetten
- Top 15 Spiele Ähnlich wie Hogwarts Legacy
- Wie man Schlösser in Hogwarts Legacy entsperrt