Guide to Sayu from Genshin Impact 2.0: Skills, Leveling, Ascension and Builds
In the 2.0 update for Genshin Impact, the continent of Inazuma (Inazuma) was introduced, along with a whole series of new playable characters. One of them is Sayu — a tiny ninja. In this guide, we will detail everything known about this hero.
Who is Sayu and how to get her in your team

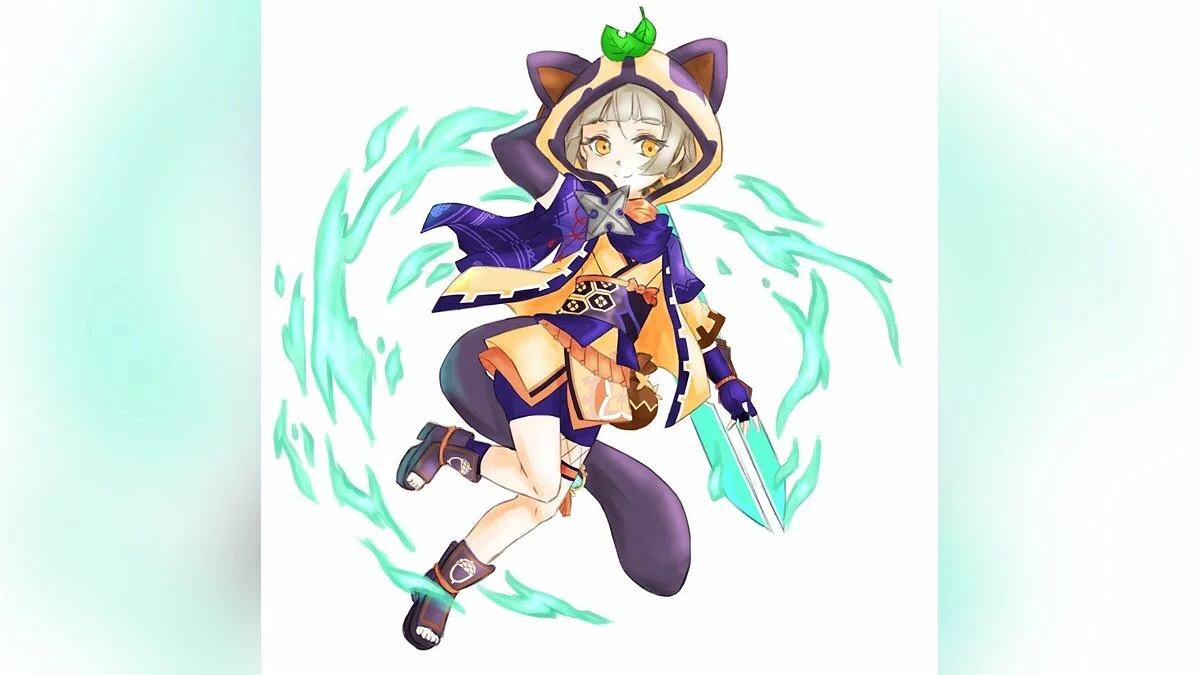
Sayu is an experienced ninja. Do not be fooled by her small stature — the girl is excellent with a large claymore and possesses Anemo abilities.
Sayu believes that sleep restores strength and helps to grow. Following this belief, she tries to hone her ninja skills by expending as little energy as possible. Therefore, regular rest for her is not idleness, but an important ritual.
Not all the content available in the update will appear at the start. Sayu will only become available on August 10-11, 2021. She is a four-star character, which means she can be relatively easily obtained through wishes.
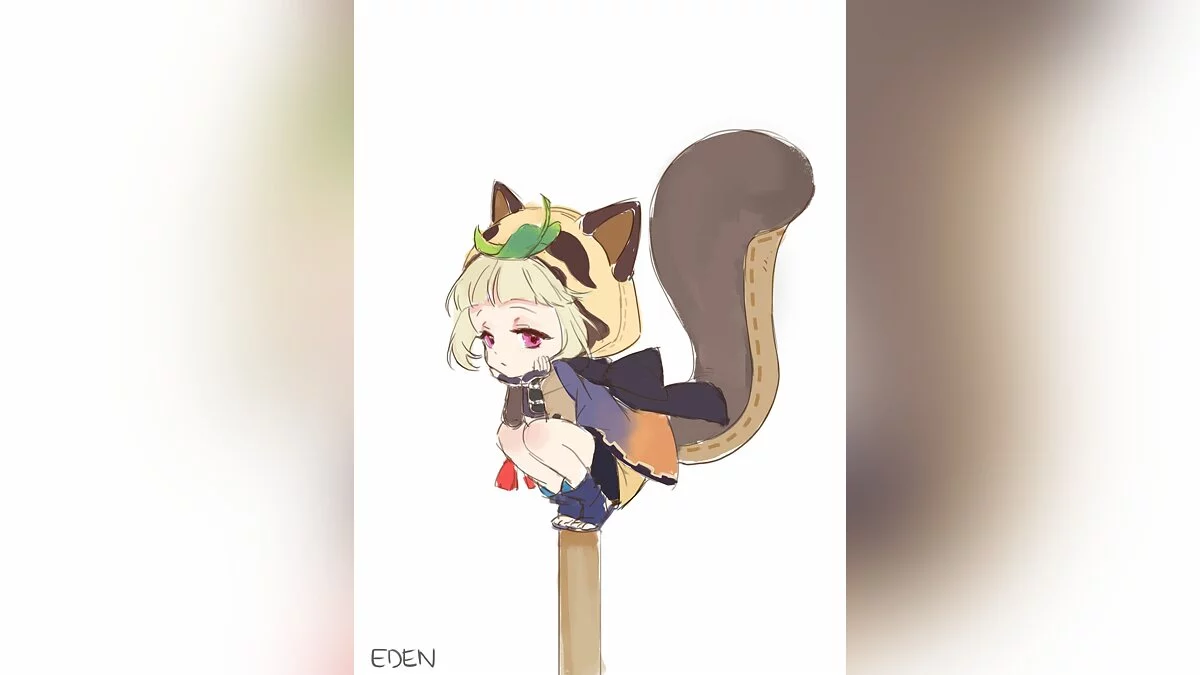
Artworks with Sayu
Sayu's Active Talents
Shuumatsuban Ninja Blade — perform up to four slashing attacks with a normal attack; with a charged attack, Sayu spins with her claymore, continuously consuming stamina, ending with an additional powerful strike.
Plunging Attack — a standard fast landing dealing physical damage to the area around the impact point.
Yoohoo Art: Fuuin Dash (Elemental Skill) — Sayu curls up into the Fuufuu Windwheel. In this form, Sayu dashes into enemies at high speed, dealing Anemo damage. When the skill ends, a Fuufuu Whirlwind Kick is performed, attacking the area.
With a quick press:
In wheel form, the character rolls a short distance, then performs a Fuufuu Whirlwind Kick.
With a long press:
The wheel is used continuously, and the character gains increased resistance to interruption. You can also choose the direction of movement and end the attack early to deal an enhanced Fuufuu Whirlwind Kick.
With a long press of the elemental skill, Sayu can absorb one of the elements. The skill lasts up to 10 seconds, after which it goes into cooldown. The longer the girl uses the skill, the longer its cooldown will be.
Element Absorption:
While in wheel form, the ninja can absorb Hydro, Pyro, Cryo, or Electro elements. In this case, the roll and subsequent Fuufuu Whirlwind Kick will deal powerful additional elemental damage.
Yoohoo Art: Mujina Flurry (Elemental Burst) — deals Anemo damage to nearby enemies and restores health to team members; the level of health regeneration depends on Sayu's attack power; then summons Muji-Muji Daruma.
Daruma has the following abilities:
- if the health level of all characters is above 70%, it attacks the nearest enemy with Anemo damage;
- if the health level of characters is below 70%, Muji-Muji heals the one with the lowest health level;
- if there are no enemies nearby and the health level of the team members is above 70% — health is restored to all team members.
Sayu's Passive Talents
There are three passive talents in total. Initially, only one of them will be available to you, but as you increase the ascension level, the others will unlock.
Yoohoo Art: Silencer's Secret — a basic ability; when Sayu is in the party, characters will not scare away crystal butterflies and some other types of animals, which can be found in the Others list of the Creatures / Fauna section from the Archive;
Someone More Capable — the second phase of ascension; selecting Sayu, activate Swirl to restore 300 health points to all team members near her; also regenerates 1.2 health points for every point of Sayu's own Elemental Mastery; the effect occurs once every 2 seconds;
No Work Today! — the fourth phase of ascension; the Muji-Muji Daruma summoned by the Yoohoo Art: Mujina Flurry skill gains the following effects: when healing any character, it also restores 20% of the received health points to another nearest hero; increased attack radius.
Sayu's Constellations
Constellations are additional abilities that can significantly alter a character's properties. Sayu has six:
- Multi-Task no Jutsu — the Muji-Muji Daruma summoned by the Yoohoo Art: Mujina Flurry skill will ignore health level restrictions and can simultaneously attack surrounding enemies and heal characters;
- Egress Prep — the Yoohoo Art: Fuuin Dash skill gains additional effects: damage from Fufu Whirlwind Strike in quick-press mode is increased by 3.3%; every 0.5 seconds spent in the Fufu Windwheel state increases this Fufu Whirlwind Strike damage by 3.3%, up to a maximum of 66% damage;
- Eh, the Bunshin Can Handle It — increases the level of the Yoohoo Art: Mujina Flurry skill by 3; maximum level 15;
- Skiving: New and Improved — when Sayu, as the active character, triggers Swirl, she regenerates 1.2 energy; this effect can occur once every 2 seconds;
- Speed Comes First — increases the level of the Yoohoo Art: Fuuin Dash skill by 3; maximum level 15;
- Sleep o' Clock — the Muji-Muji Daruma summoned by Sayu's Yoohoo Art: Mujina Flurry skill now benefits from her Elemental Mastery; each unit of Sayu's Elemental Mastery provides the following effects: increases the damage dealt by Muji-Muji Daruma's attacks by 0.2% of the attack power up to a maximum of 400%; increases the amount of health restored by Muji-Muji Daruma by 3 units up to a maximum of 6,000 units.
Constellations are unlocked with Sayu's Fortune, obtained when acquiring character duplicates.
Where to Find (How to Obtain) Materials for Sayu's Ascension
Ascension is a qualitative improvement of a character after reaching a certain level. Different amounts of materials are required for each level.
Level 20 — 1 Vayuda Turquoise Sliver, 3 Crystal Marrow, 3 Whopperflower Nectar, 20,000 Mora;
Level 40 — 3 Vayuda Turquoise Fragments, 3 Marionette Cores, 10 Crystal Marrow, 15 Whopperflower Nectars, 40,000 Mora;
Level 50 — 6 Vayuda Turquoise Fragments, 4 Marionette Cores, 20 Crystal Marrow, 12 Shimmering Nectars, 60,000 Mora;
Level 60 — 3 Vayuda Turquoise Chunks, 8 Marionette Cores, 30 Crystal Marrow, 18 Shimmering Nectars, 80,000 Mora;
Level 70 — 6 Vayuda Turquoise Chunks, 12 Marionette Cores, 45 Crystal Marrow, 12 Energy Nectars, 100,000 Mora;
Level 80 — 3 Vayuda Turquoise Gemstones, 20 Marionette Cores, 60 Crystal Marrow, 24 Energy Nectars, 120,000 Mora.
Vayuda Turquoise — one of the materials needed for Ascension of Anemo characters. As with other gemstones, Vayuda Turquoise comes in varieties such as sliver, fragment, chunk, and the gemstone itself. There are several ways to obtain this material:
- Battling the Anemo Hypostasis. To claim its rewards, 40 units of Original Resin are required;
- Can be obtained from Katheryne at the Adventurers' Guild after completing all daily commissions;
- Participation in various in-game events;
- Purchasing Vayuda Turquoise elements with Anemo sigils and Geo sigils;
- Crafting.
Crystal Marrow cannot be bought. The only way to accumulate it in sufficient quantity is to explore Inazuma (it only grows there).
Whopperflower Nectar can be obtained by killing aggressive flowers — Whopperflowers. They can be found in the vicinity of Mondstadt and Liyue Harbor.
Marionette Core — an ingredient that drops after defeating one of the Inazuma bosses — Maguu Kenki.
Shimmering Nectar — one of the most common resources in the game. It is sold by vendors, or found as rewards during adventures. Collecting several Shimmering Nectars allows crafting an enhanced elemental.
Energy Nectar, like Shimmering Nectar, is fairly easy to find during exploration, but the easiest way to create this ingredient is from less rare materials (Shimmering Nectar).
Where to Find (How to Get) Materials for Sayu's Talent Level-Up
Level 2 — 3 Teachings of Light, 6 Whopperflower Nectars, 12,500 Mora;
Level 3 — 2 Guides to Light, 3 Shimmering Nectars, 17,500 Mora;
Level 4 — 4 Guides to Light, 4 Shimmering Nectars, 25,000 Mora;
Level 5 — 6 Guides to Light, 6 Shimmering Nectars, 30,000 Mora;
Level 6 — 9 Guides to Light, 9 Shimmering Nectars, 37,500 Mora;
Level 7 — 4 Philosophies of Light, 4 Energy Nectars, 1 Gilded Scale, 120,000 Mora;
Level 8 — 6 Philosophies of Light, 6 Energy Nectars, 1 Gilded Scale, 120,000 Mora;
Level 9 — 12 Philosophies of Light, 9 Energy Nectars, 2 Gilded Scales, 450,000 Mora;
Level 10 — 16 Philosophies of Light, 12 Energy Nectars, 2 Gilded Scales, 1 Crown of Insight, 700,000 Mora.
Teachings of Light — a reward for completing the Violet Court domain in Inazuma. Once you collect several teachings, you will have the opportunity to craft a more rare Guide to Light. In turn, collecting several guides allows obtaining a Philosophy of Light.
Gilded Scale — a rare ingredient, available either after defeating the Azhdaha boss or after dismantling valuable items. For crafting, you will need to combine a branch of a bloodjade or a crown of the dragon lord with one dream solvent.
Crown of Insight — one of the rarest yet essential materials for talent leveling. Absolutely every character at the later skill levels will require a crown. Obtaining it is not easy. Most often, the Crown of Insight appears in the reward shop of various events. Another way is to level up the Frostbearing Tree or the Sacred Sakura — this can earn you several crowns at once.
Best Build for Sayu
Since Sayu not only deals significant damage but also heals the squad, it's important to focus on attack power and healing bonus during her leveling. Don't forget about energy recharge, so it would be wise to invest points in elemental mastery.
Additional parameters that may be useful to you include Anemo damage bonus and health level.
The best weapon for Sayu would be the five-star claymore Song of Broken Pines. Thanks to its properties, this weapon not only increases attack power but can also occasionally increase its speed.
As an alternative, consider the Ceremonial Greatsword, which allows you to use the elemental skill much more often.
Another suitable sword would be Wolf's Gravestone. This weapon focuses on increasing damage, allowing you to enhance not only Sayu but also other squad members.
You will also need artifacts:
Viridescent Venerer
- 2 pieces: Anemo damage bonus +15%;
- 4 pieces: Swirl damage +60%; absorbing Swirl with another element decreases that element's resistance by 40% for 10 seconds.
Noblesse Oblige
- 2 pieces: Elemental Burst damage +20%;
- 4 pieces: Activating an Elemental Burst increases all party members' attack power by 20% for 12 seconds.
Maiden Beloved
- 2 pieces: Character healing effectiveness +15%;
- 4 pieces: After using an elemental skill or burst, healing received by all party members increases by 20% for 10 seconds.
If you can't find the right artifacts, focus on those that will enhance Sayu in the desired direction: damage, healing, elemental mastery.
Pros and Cons of Sayu
Sayu is very useful, primarily due to her versatility. She can deal serious damage and restore a large amount of health.
Pros:
- Increased elemental damage;
- Increased combat speed;
- Convenience in exploring locations — breaking ore with a claymore, simplified hunting of various animals.
Cons:
- Unpredictability — Daruma may not always heal the needed character, and in the heat of battle, it's quite difficult to take into account all the skill's nuances and apply it at the most opportune moment;
- Sayu is too weak and cannot compete with other fighters using claymores in attacking positions;
- The character's small stature moves too slowly through the world;
How to play Sayu? Which characters synergize well with Sayu in a team?
To play the little ninja most effectively, dive into the battle, accumulate elemental energy, attack, then retreat and heal the other characters. Despite significant damage, Sayu cannot be the main attacking character, so focus on unlocking all additional properties of her skills to turn the girl into a powerful support hero.
Suitable team compositions with Sayu:
- Xiao, Fischl, Xingqiu, Sayu — fast skill recovery, high attack speed, two types of elements for Swirl;
- Eula, Beidou, Diona, Sayu — focus on defense and constant health recovery;
- Keqing, Rosaria, Xinyan, Sayu — the fire shield provides variability of elemental attacks; a major focus on attack power;
- Diluc, Venti, Sayu, Bennett — significant AoE Pyro damage;
- Hu Tao, Tartaglia, Zhongli, Sayu — good defense and constant health regeneration for Hu Tao; Tartaglia can be used in close combat when recovering skills.
Other guides
- How to Clear the Fog and Break the Seal on Tekoloapan Beach in Genshin Impact
- Secrets, Mysteries, and Puzzles of Natlan in Genshin Impact
- Riddles, Puzzles, and Secrets of Dragonspine in Genshin Impact
- Riddles, Puzzles, and Secrets of Inazuma in Genshin Impact
- All Luxurious Chests in Natlan in Genshin Impact: Maps, Schemes, and Routes
- Riddles, Puzzles, and Secrets of Fontaine in Genshin Impact
- Open Your Heart to Me Quest: Find the Secret Cave in Ochkhanatlan in Genshin Impact
- Walkthrough of Archon Quests in Genshin Impact: Act 4, Chapter 5. The Masquerade of the Guilty
- Dance in the Moonlight in Genshin Impact: how to find а photographer
- Blazing Ode of Resurrection: Volume 5, Chapter 5 — Genshin Impact Walkthrough
- Alles über Yoimiya aus Genshin Impact: Beste Builds, Fähigkeiten, Leveling und Aufstieg
- Der beste Build für Sucrose in Genshin Impact: Wie man einen Helden bekommt
- Alles über Hu Tao in Genshin Impact: Beste Builds, Fähigkeiten, Leveling und Skills