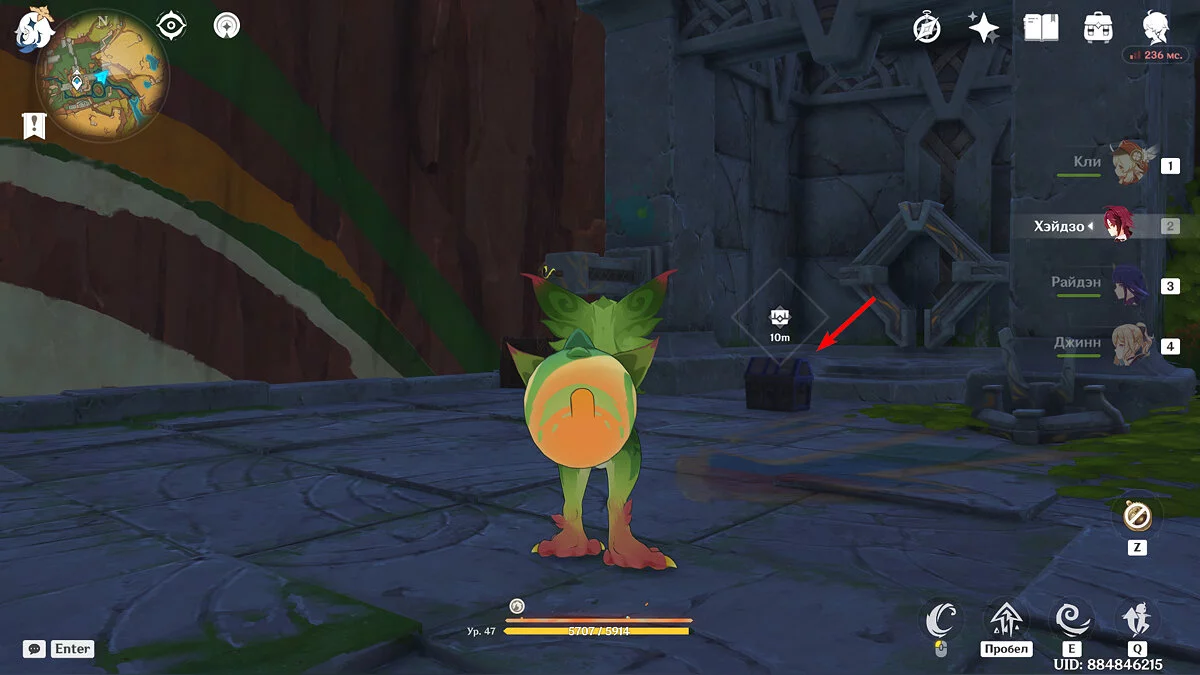
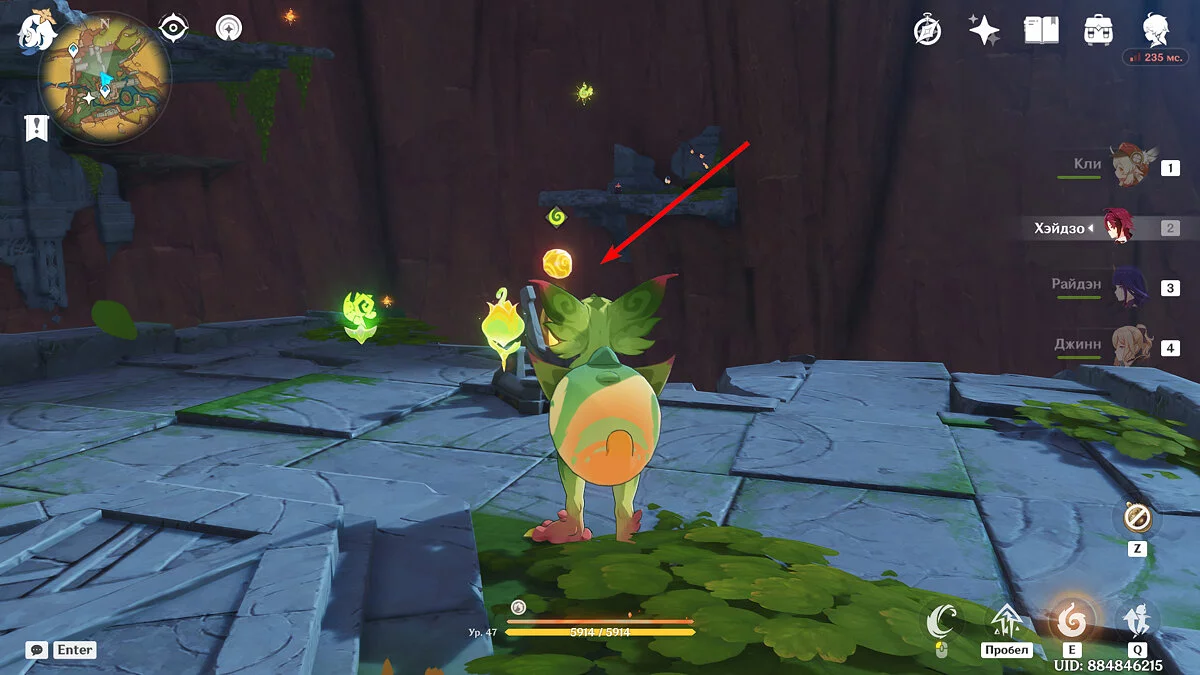
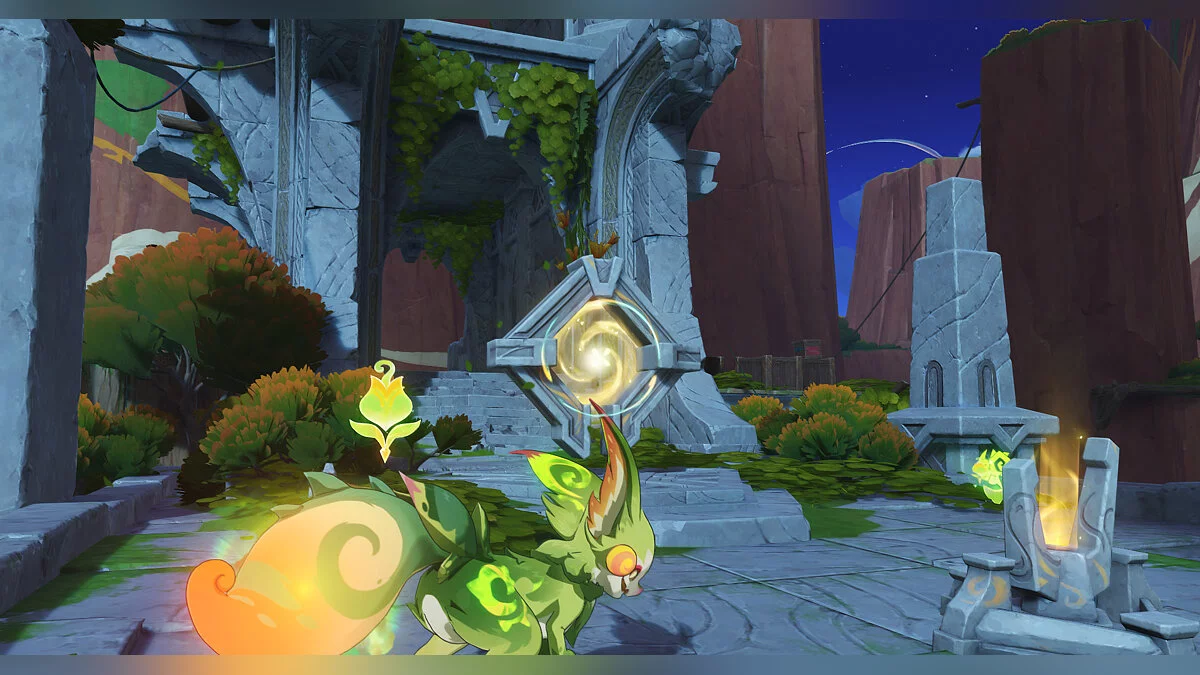
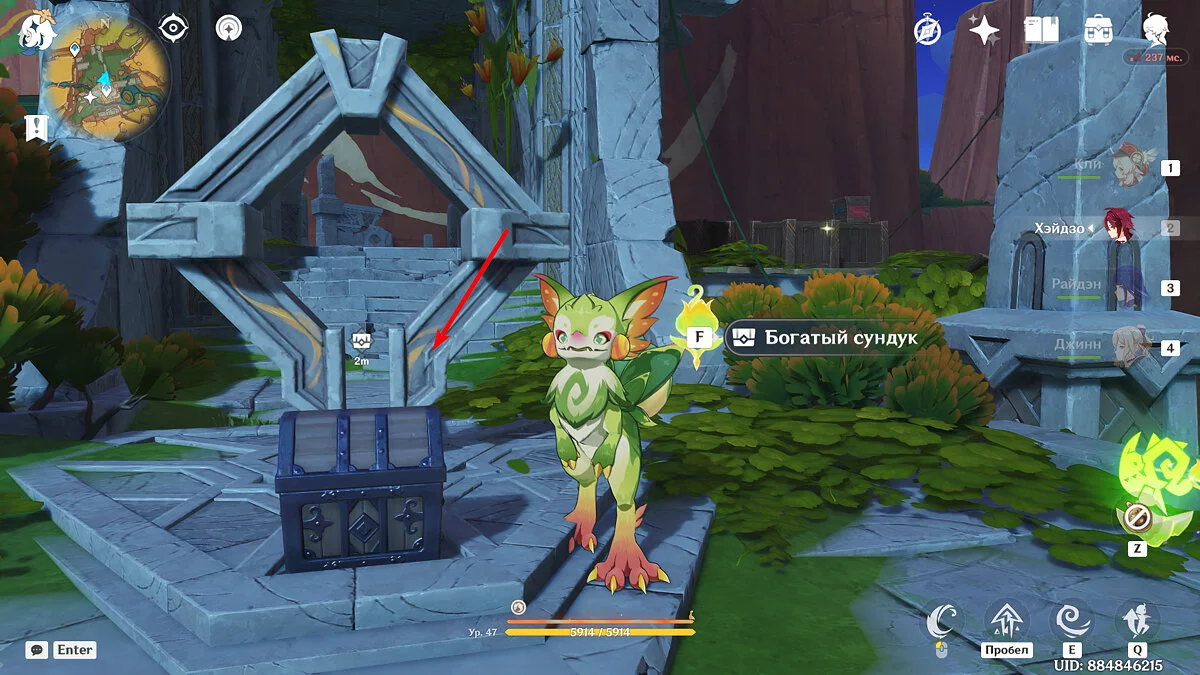
Secrets, Mysteries, and Puzzles of Natlan in Genshin Impact
Not long ago, the sixth region, Natlan, appeared in Genshin Impact. The colorful locations of this Pyro kingdom are not only filled with all sorts of loot and hidden missions but also various puzzles. In this guide, we will tell you what secrets Natlan hides and how to solve its mysterious puzzles.
What is Phlogiston and How Does It Work
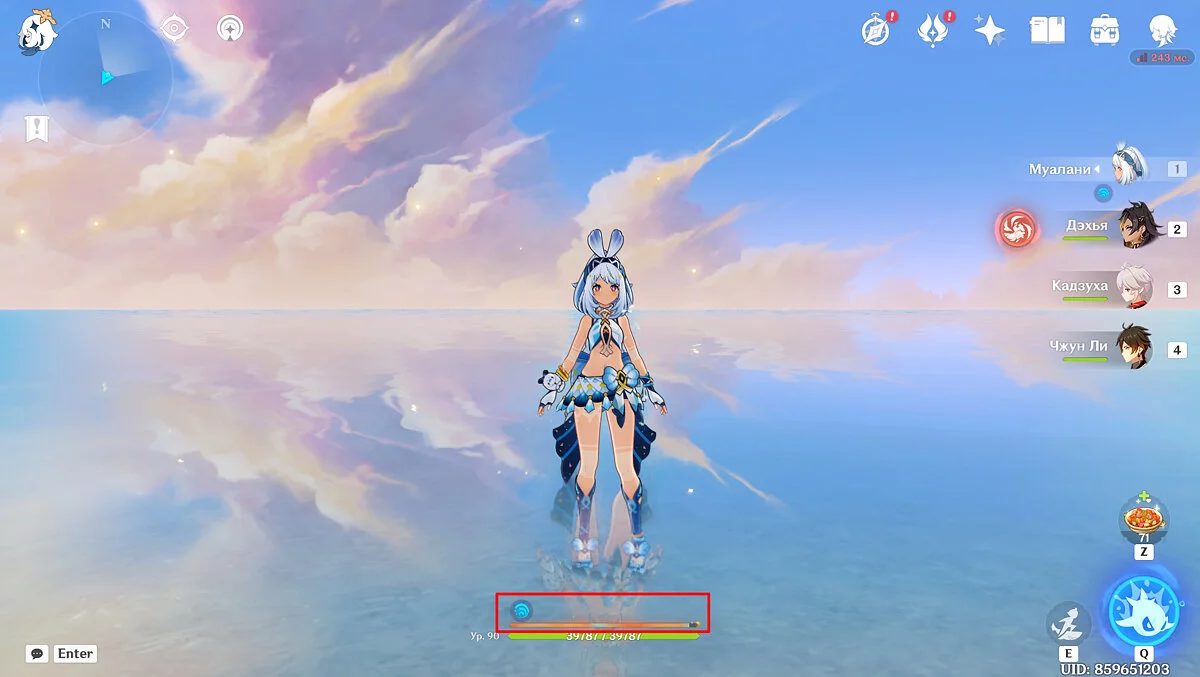
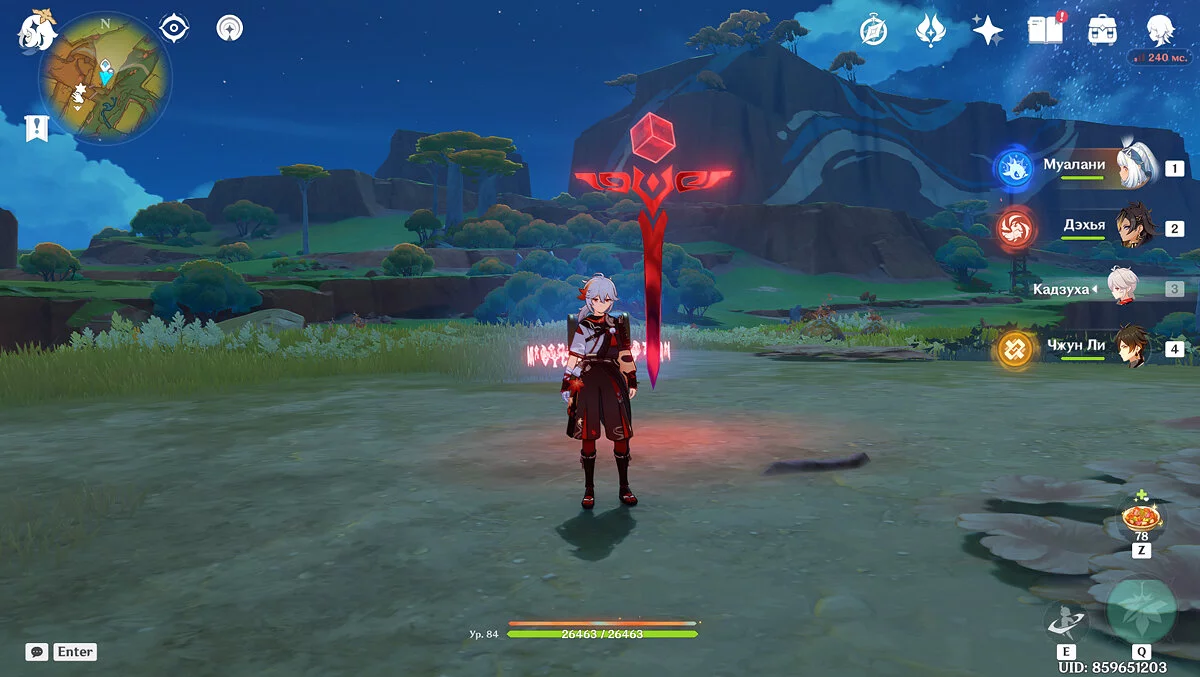
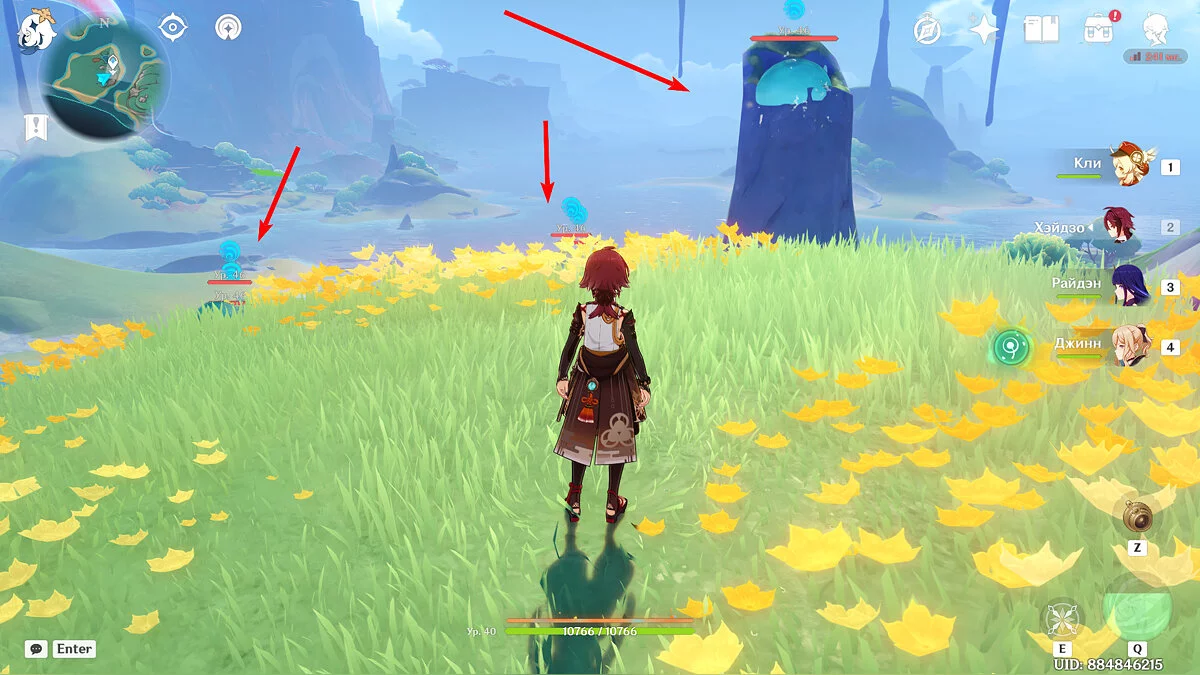
First of all, Natlan boasts a new mechanic based on a mysterious substance called phlogiston. If you enter the territory of the Pyro kingdom, you can see a gauge above the HP bar, which gets filled in areas with a high concentration of phlogiston and is spent exclusively by the inhabitants of Natlan who enter a special stance.
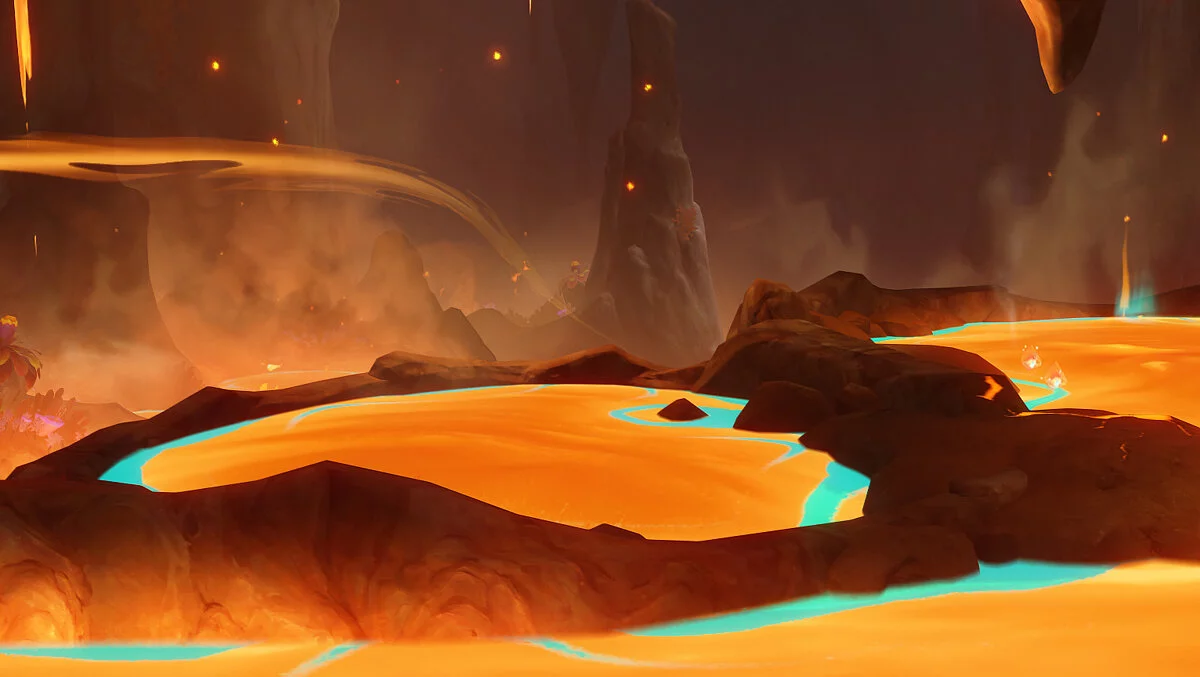
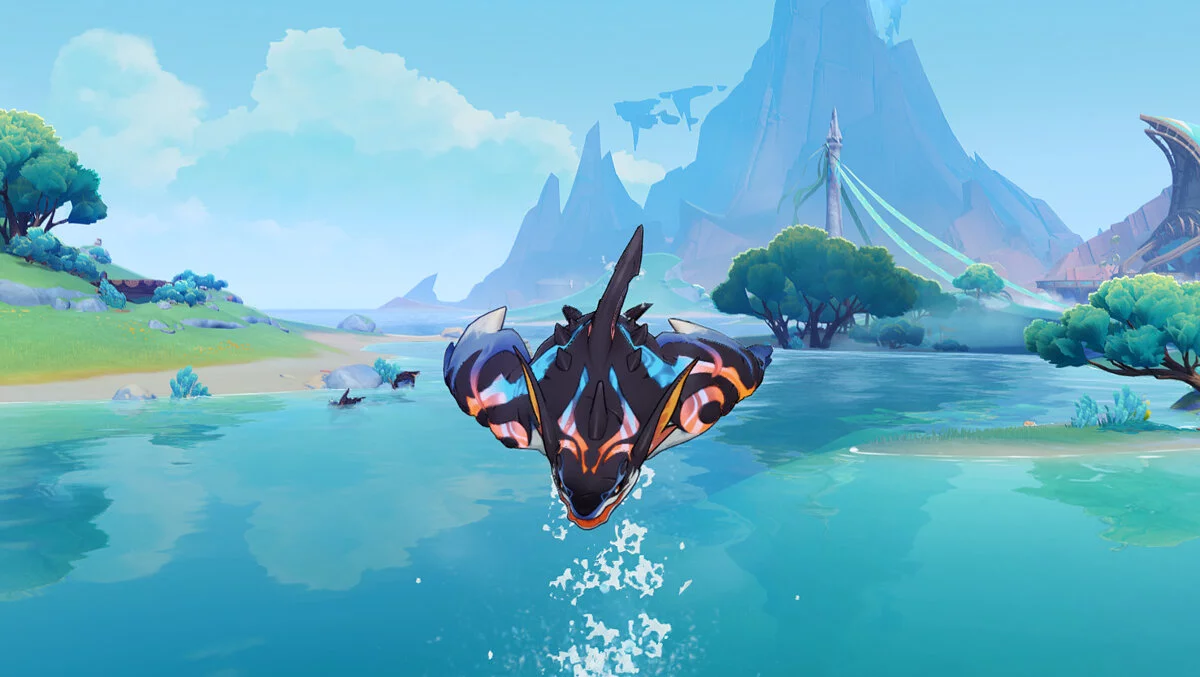
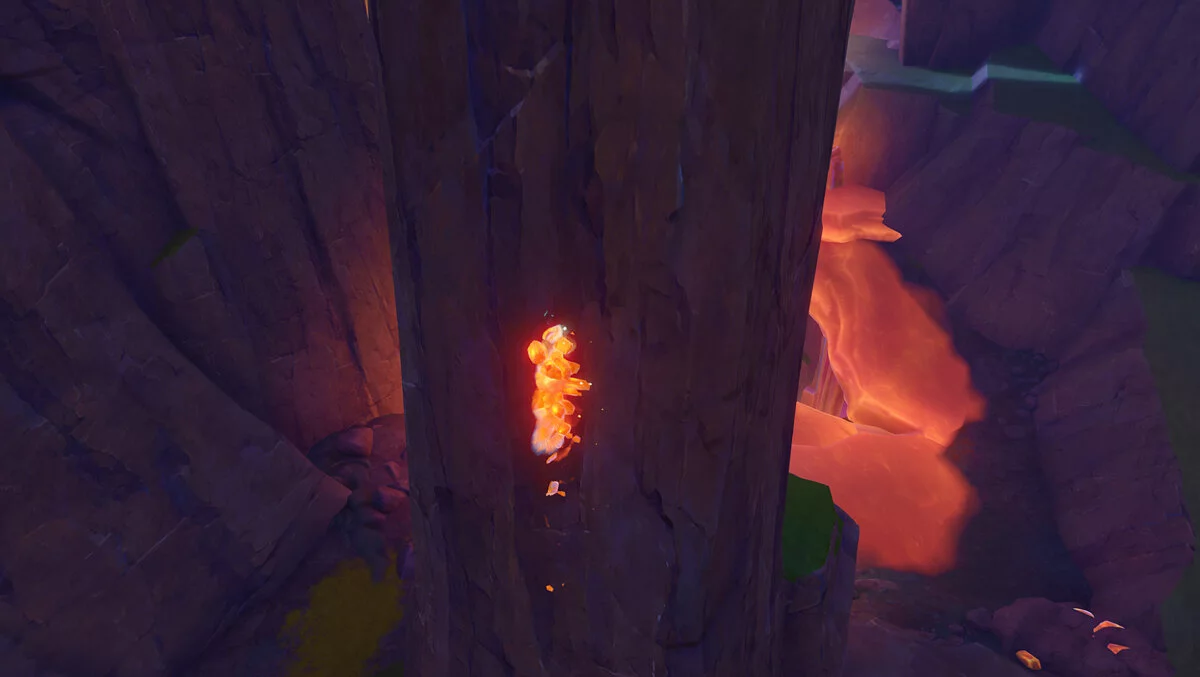
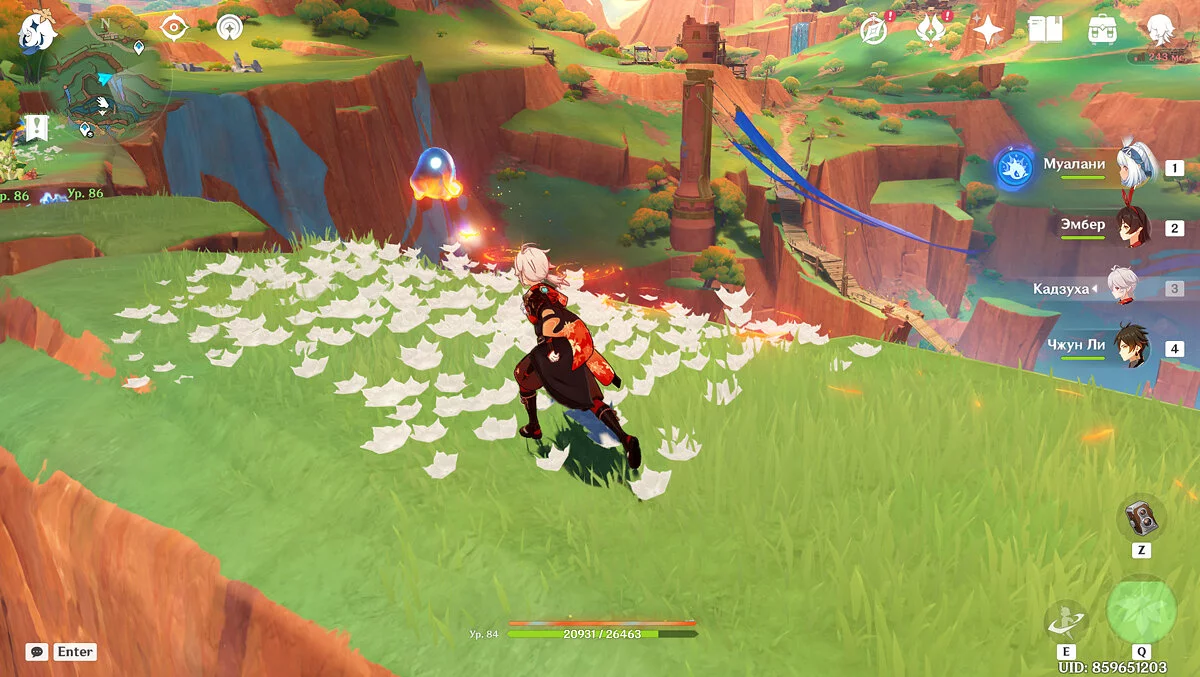
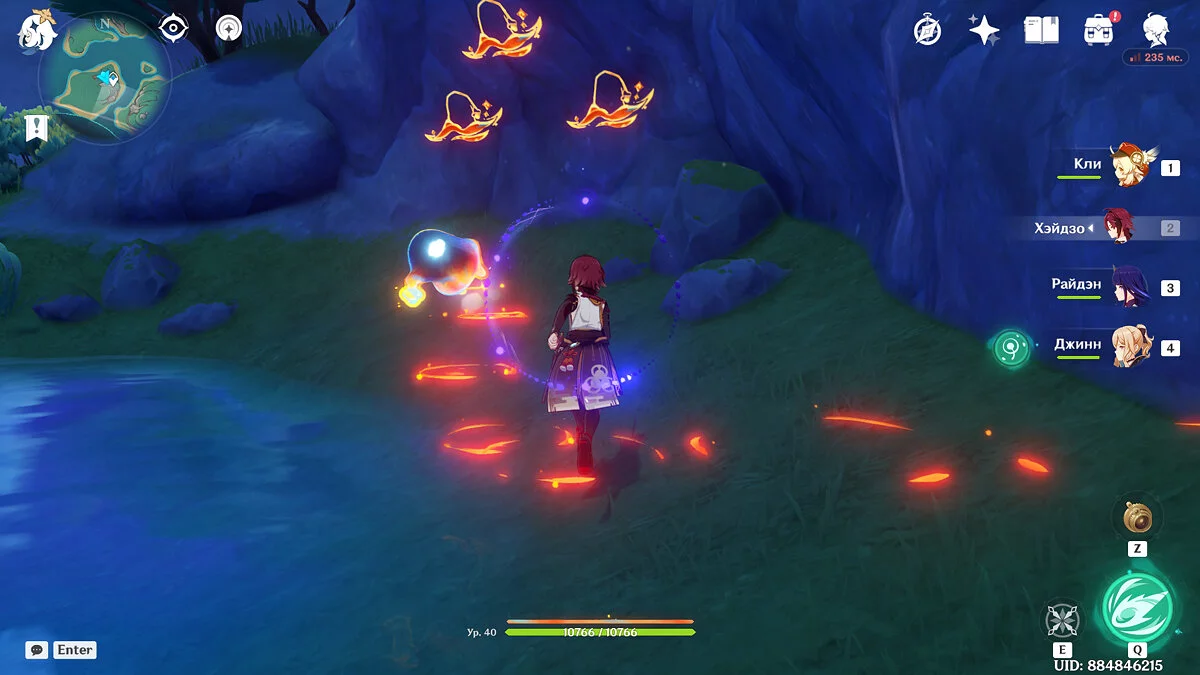
Phlogiston comes in different forms: liquid and particles. In the first case, the substance resembles lava, and if you get into it, the active character's HP will continuously decrease. A similar mechanic exists with water containing high Electro levels in Inazuma and on Dragonspine with its severe cold. However, sea creatures called kolokhozavrs, into which the Traveler can possess, can move through liquid phlogiston. This ability is also possessed by Mualani and other yet-to-be-released members of the Spring People tribe. Entering a special stance, the Hydro catalyst can swim in the lava without taking damage.
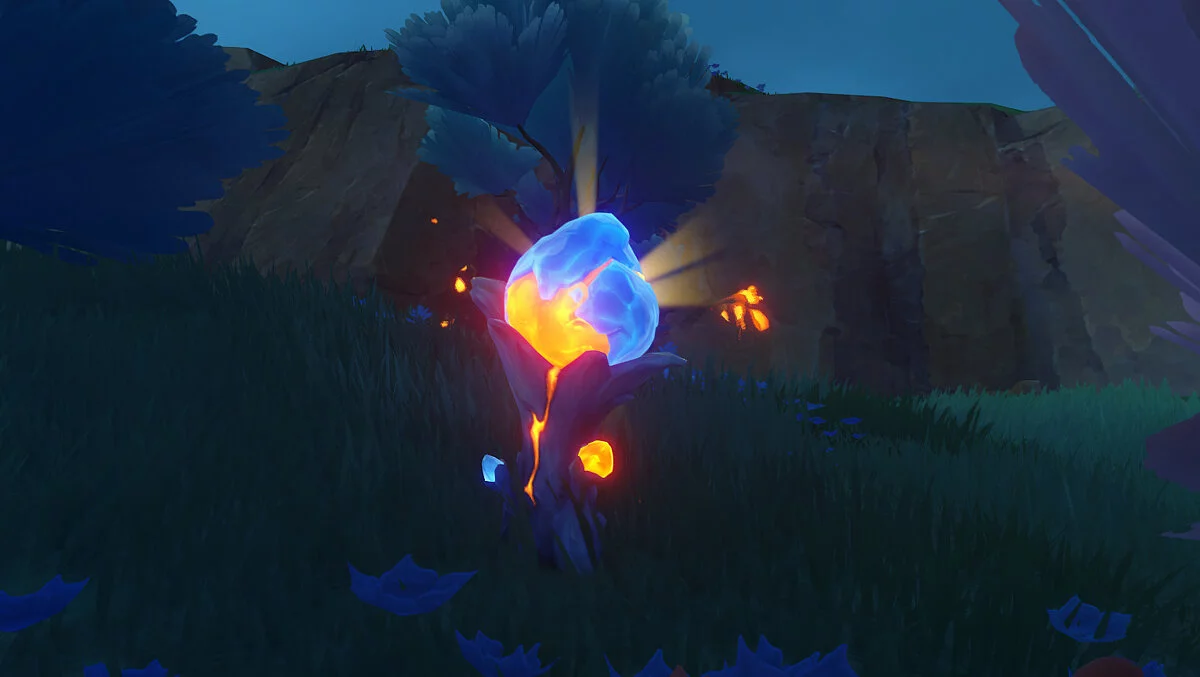
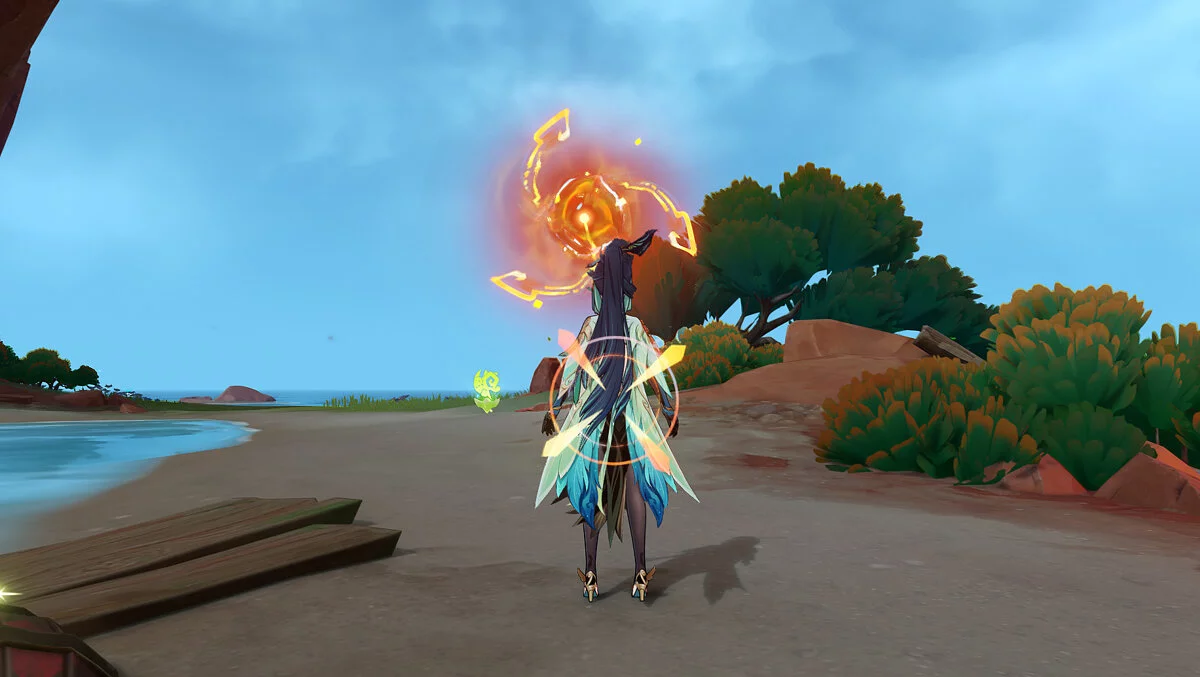
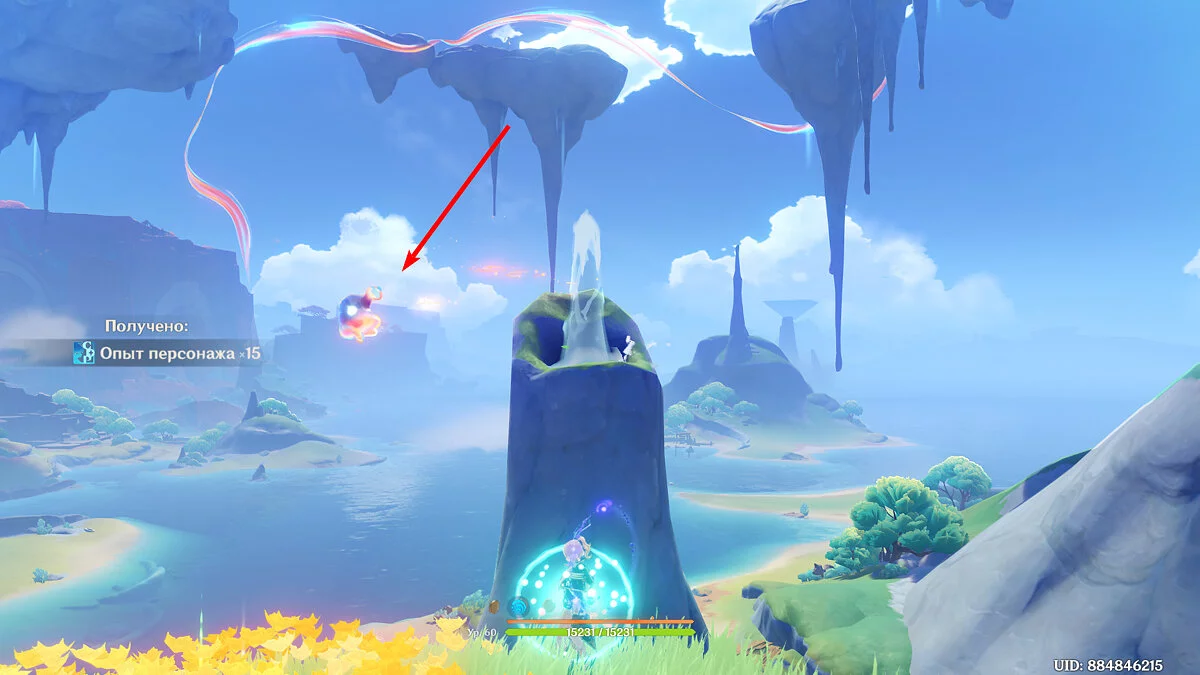
Another form of phlogiston is particles: they look like small spheres in the form of flame sparks. Collecting them can increase the phlogiston level on the gauge. Monuments with this substance work on the same principle. If activated, the phlogiston quickly replenishes.
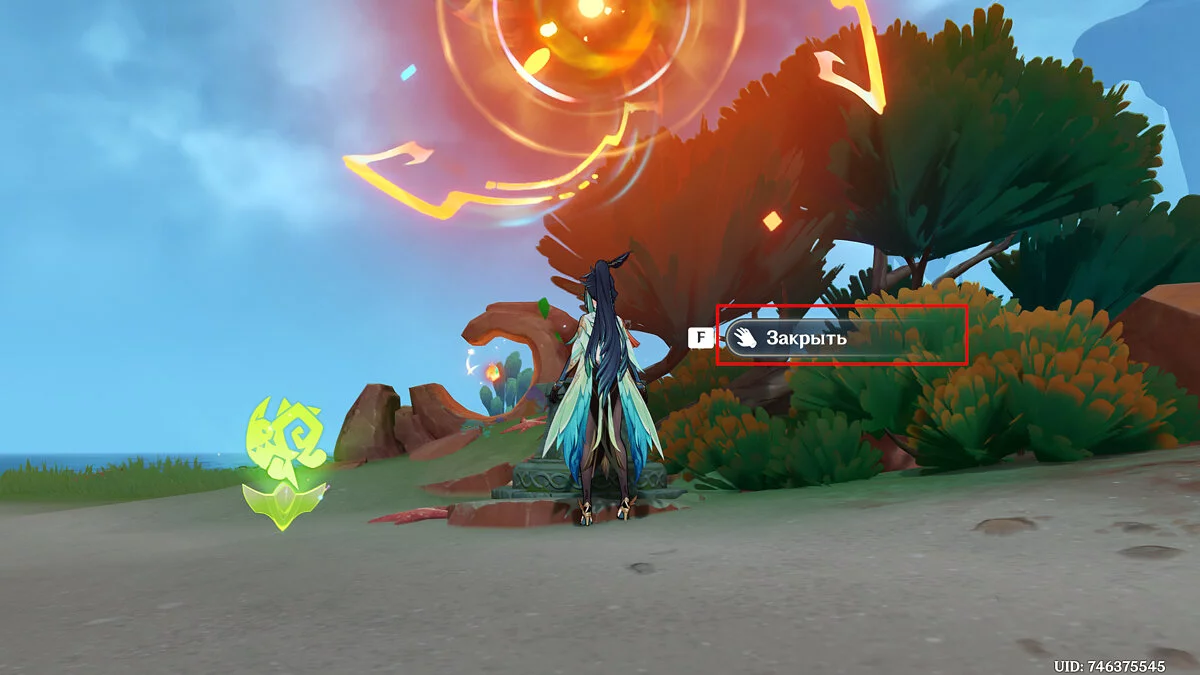
But besides being able to replenish this element, it can also be spent, not only through the skills of playable characters but also in the open world. There is a second type of monument that can be filled with the combustible substance, which can either start a timed challenge or open a new path.
Blessing of the Night Spirit — What It Is and How to Use It
The Blessing of the Night Spirit is a special stance for characters from Natlan, predominantly activated by an elemental skill. These stances allow for easier and faster movement around the world: Mualani can swim in water for a long time, Kachina can climb steep slopes, which are quite numerous in the Pyro region, and Kinich can use his grappling hook to cling and jump in the air. These skills use their own stamina, and when it runs out, they can use the phlogiston gauge to extend the skill's duration.
This helps not only in exploring hard-to-reach areas but also in battling enemies. Mualani can stack and deal powerful blows, Kachina has two versions of her E skill, which continuously deal damage to enemies, and Kinich has a complex gameplay: he clings to the enemy and jumps around them, dealing Dendro damage. In the future, this mechanic will only develop in various forms.
Zavrians: How to Possess and How to Use
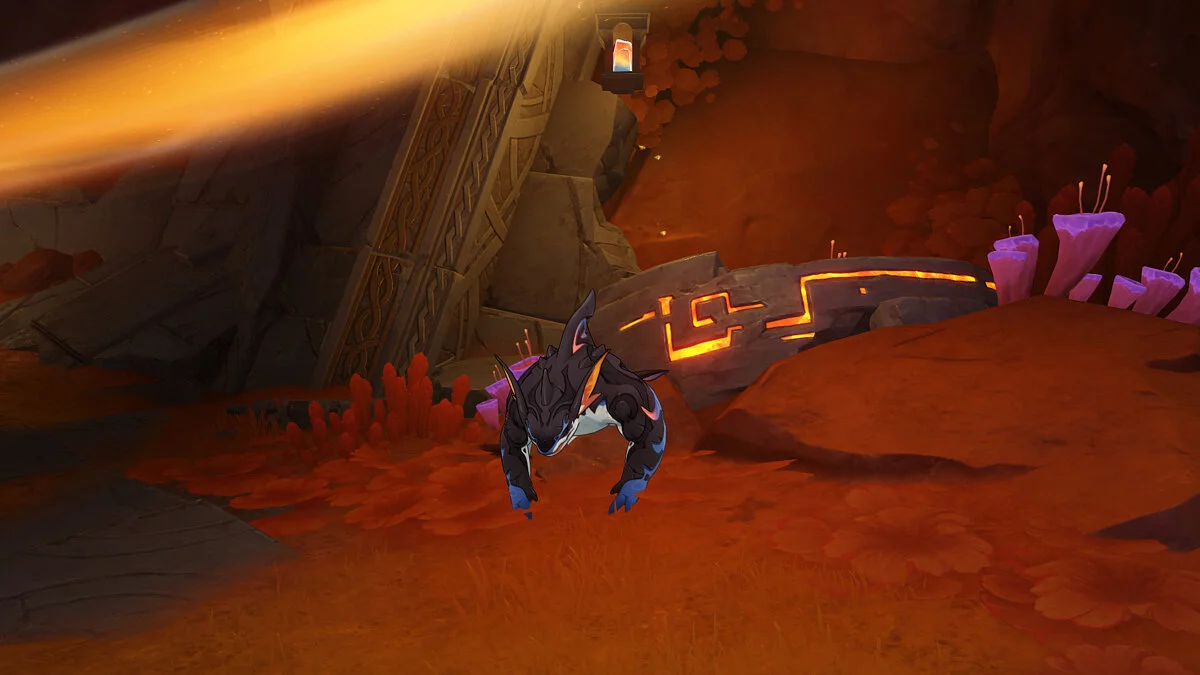
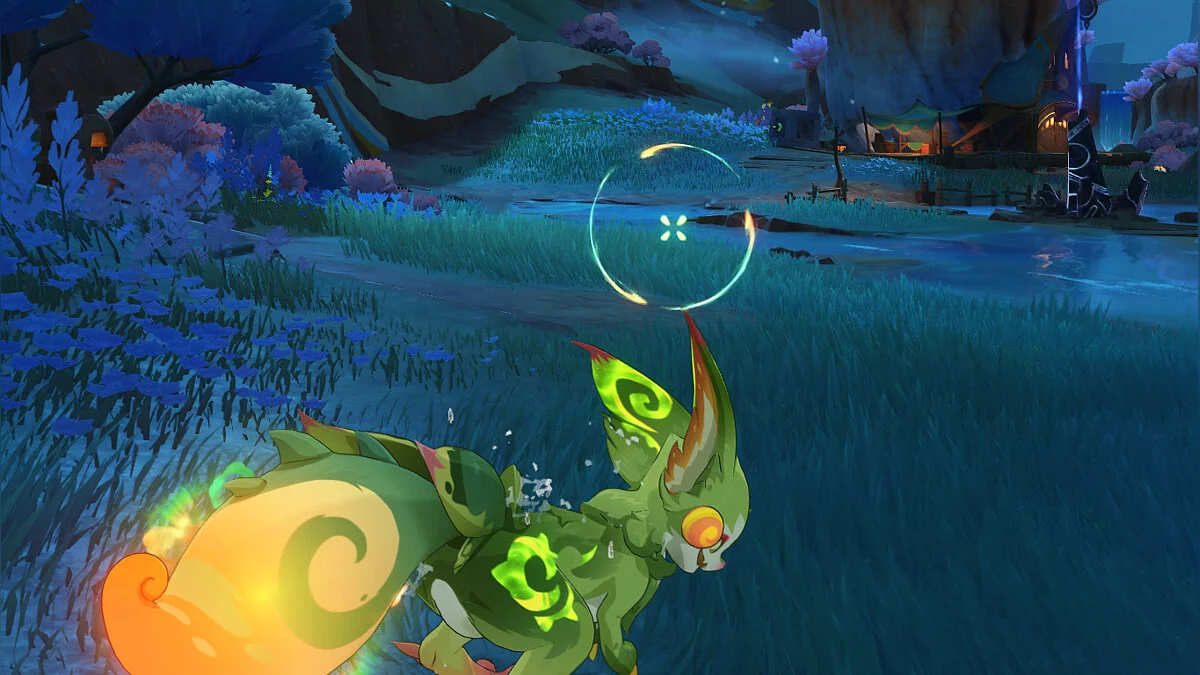
Zavrians are amusing dragons that populate Natlan everywhere. The Traveler has a special connection with them and can possess the animals, using their skills both for moving around the world and solving puzzles. Here we will talk about the skills of all Zavrians:
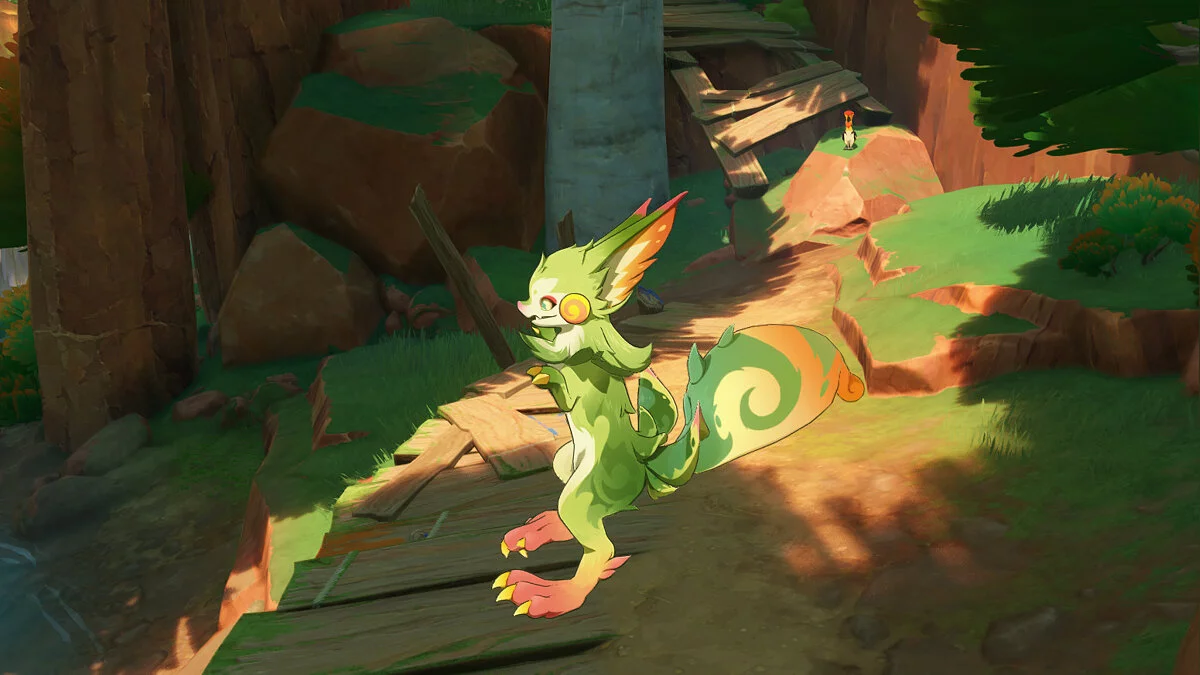
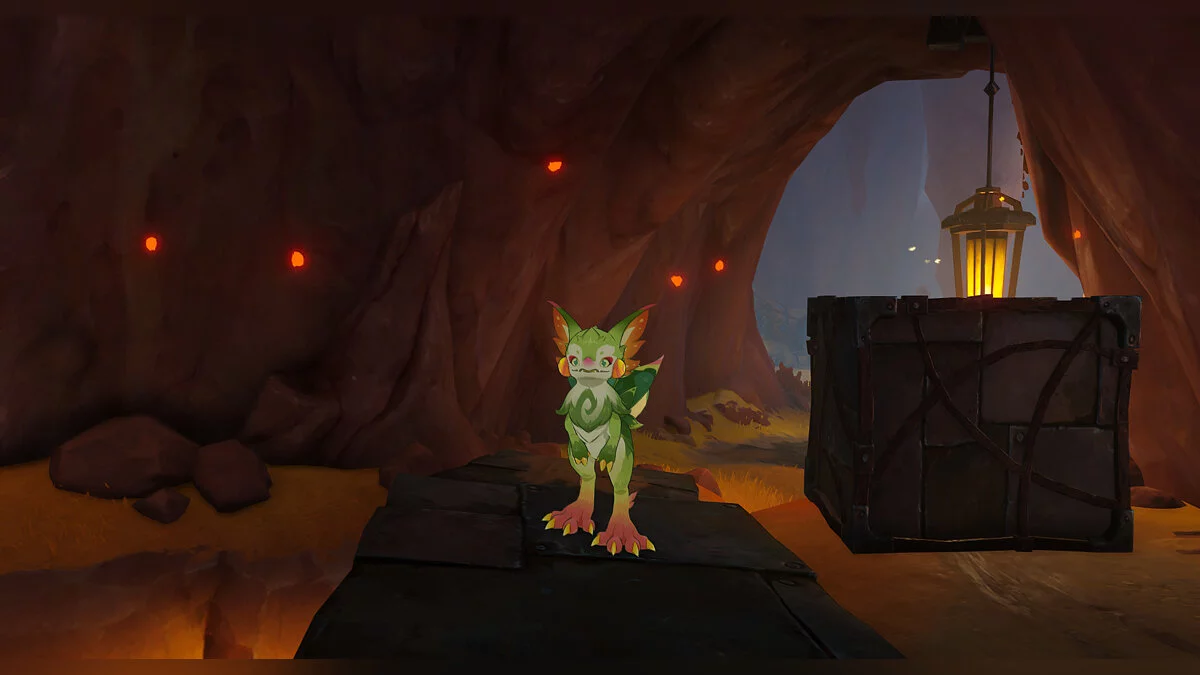
Tepetlizard — can move along sheer cliffs. Using its elemental skill, it can drill ore and dig various items from the ground.
Kolokhozavr — capable of swimming in water, diving, and moving along spiritual paths. The skill allows sprinting, but it consumes the Zavrian's stamina.
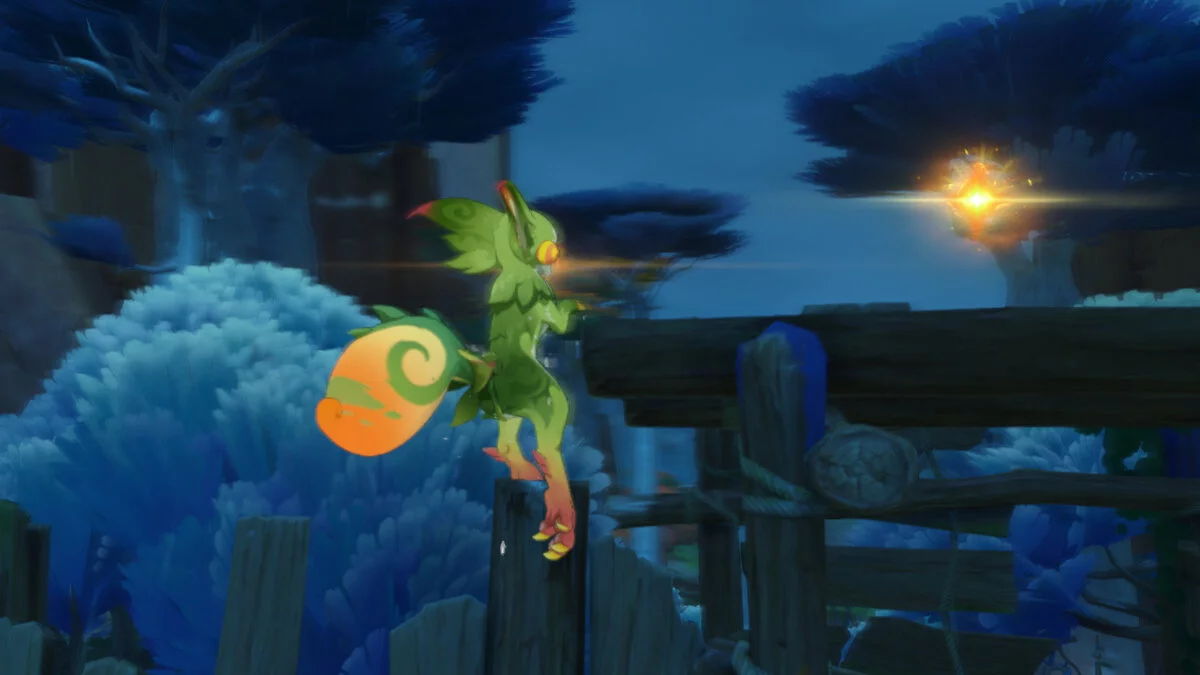
Yumkazavr — thanks to its long tongue, this Zavrian grabs onto marks in the air and pulls itself towards them. This allows it to move through the sky and jump over obstacles.
All Zavrians have their own stamina, which is consumed by their skill. When the stamina gauge runs out, the dragons use the Night Spirit bar.
How to Solve Puzzles in Natlan
In the Pyro region, there are many different puzzles. They are mainly tied to the abilities of Zavrians or the Night Spirit mechanic, which all Natlanians have. In this guide, we will briefly review all types of puzzles in Natlan.
Spiritual Paths — these are phlogiston lines that can be used to reach various hard-to-access places. They look like bright orange lines. Using the paths is not difficult — just possess a Kolokhozavr or use Mualani's E skill to jump onto the path. There are also special lines where you need to catch particles, destroy targets, and jump over cracks while swimming.
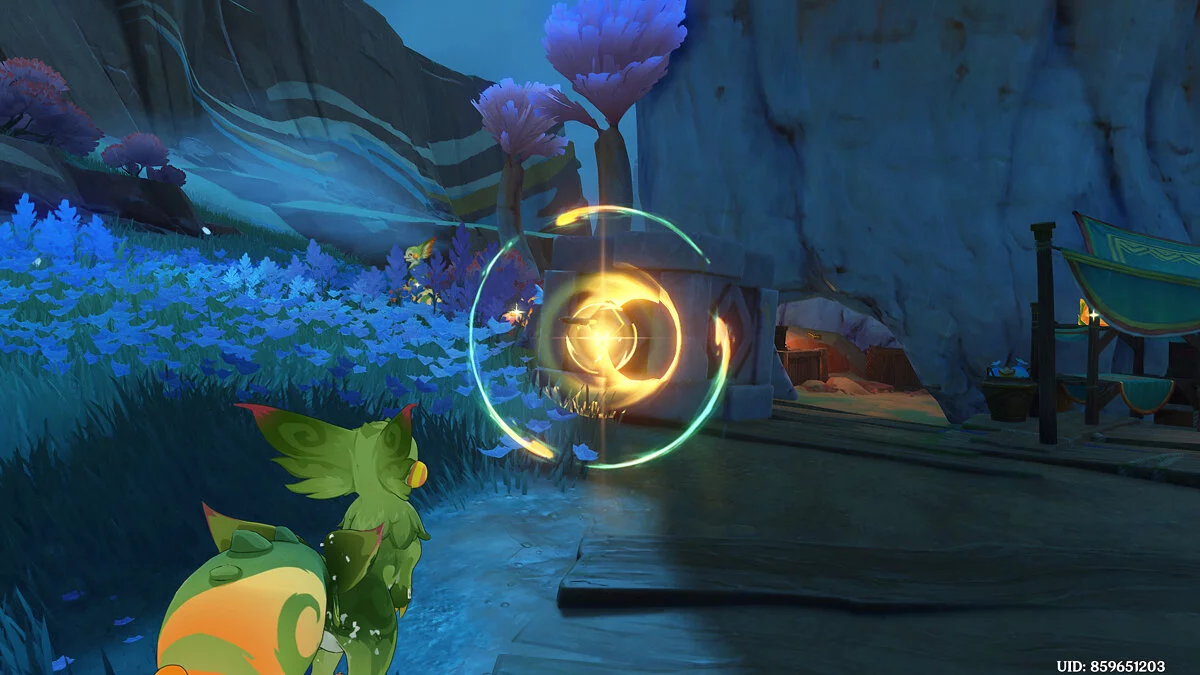
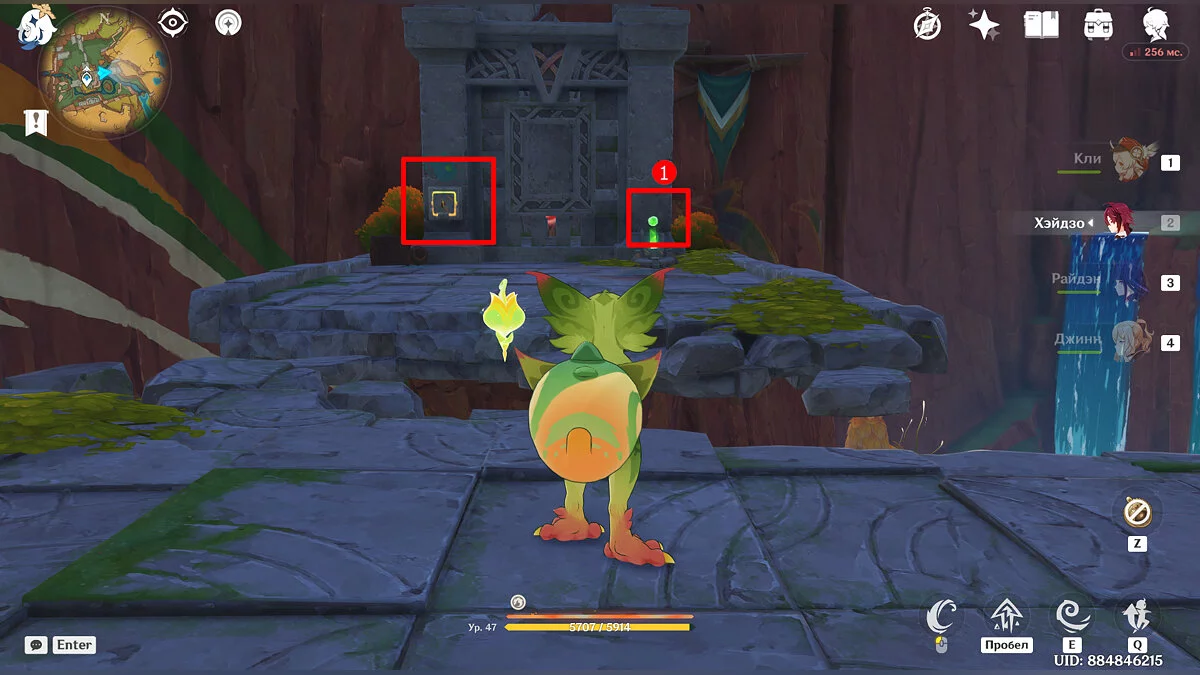
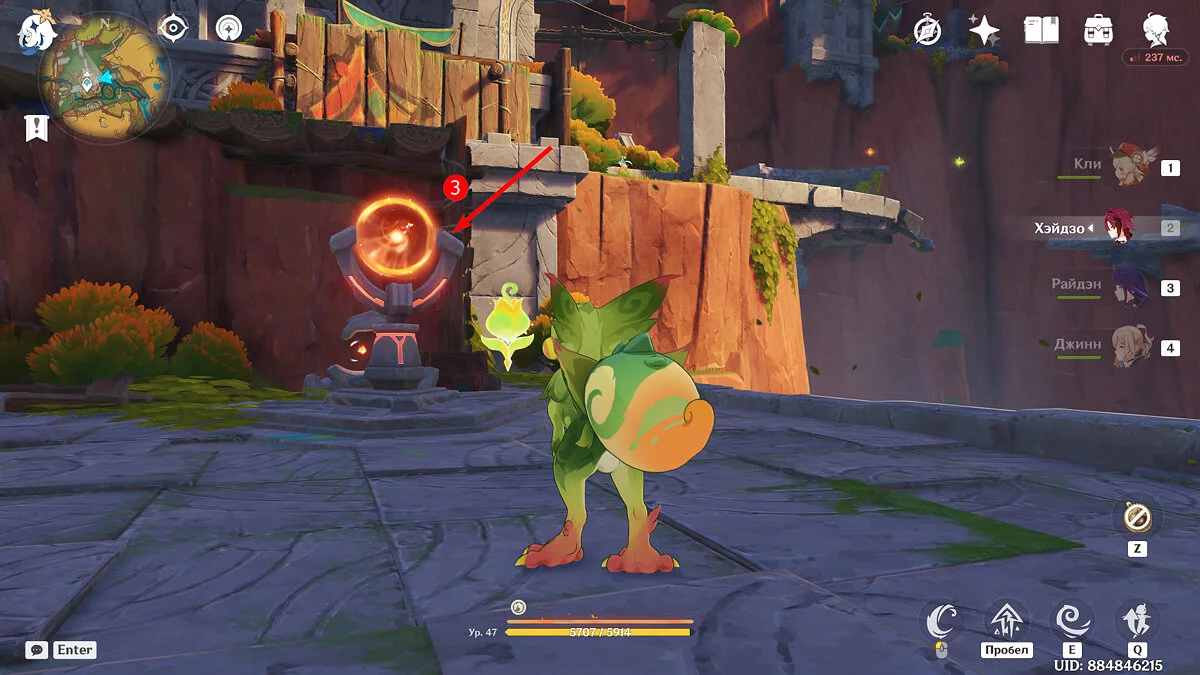
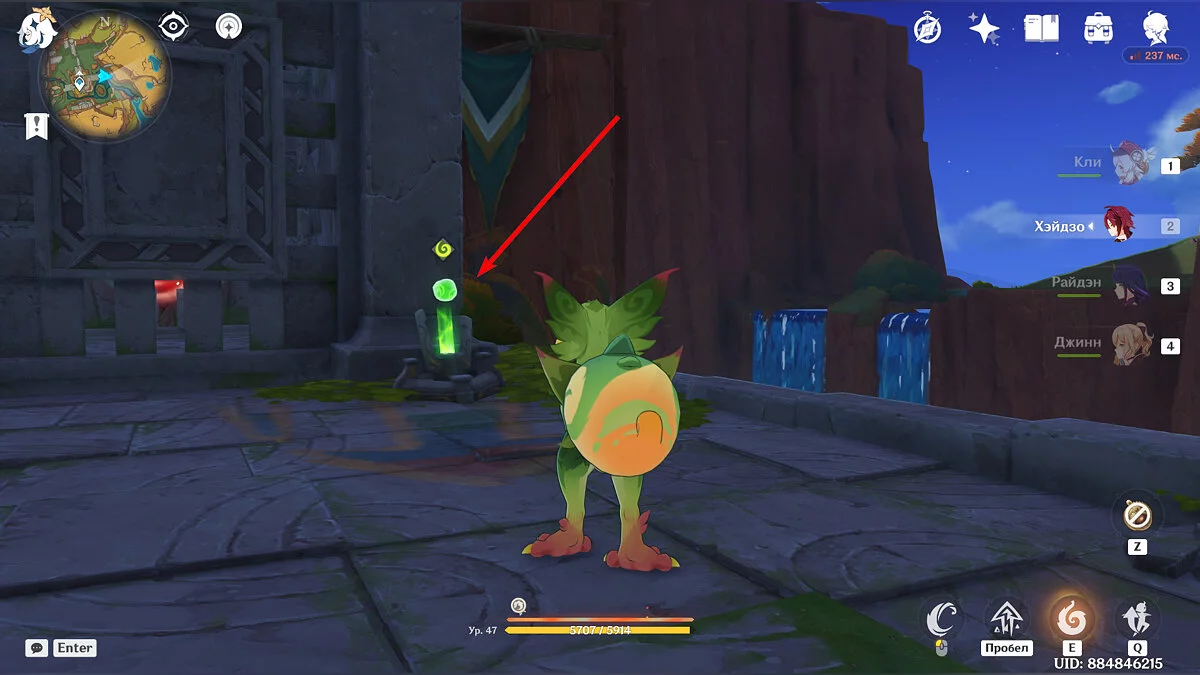
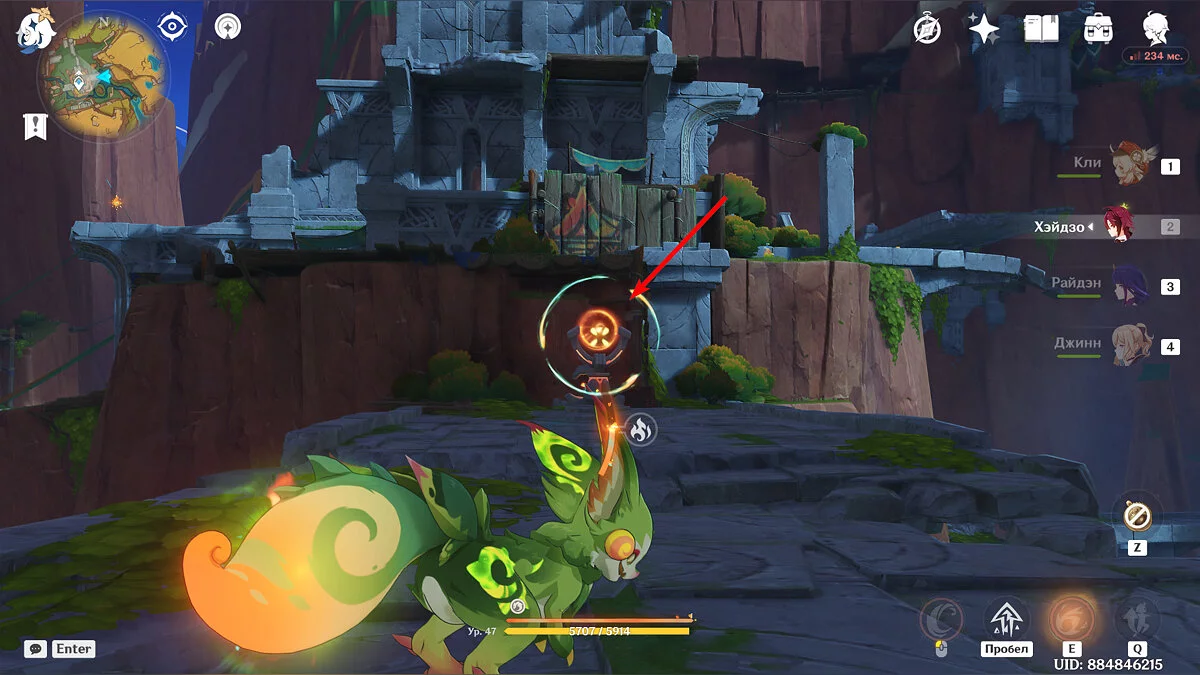
Phlogiston Engravings and Opening Symbols — special signs that need to be matched with each other. Engravings usually serve as a lock that blocks a passage, while symbols are keys that need to be destroyed. Match the two signs and possess a Kolokhozavr to destroy the symbol.
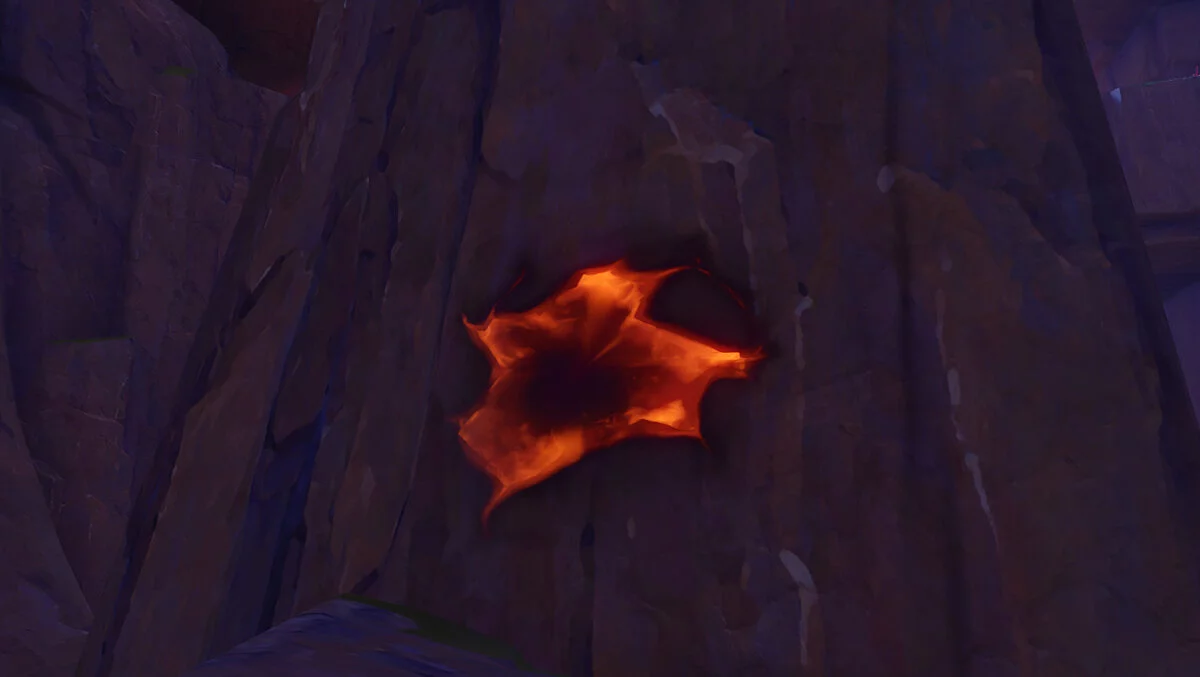
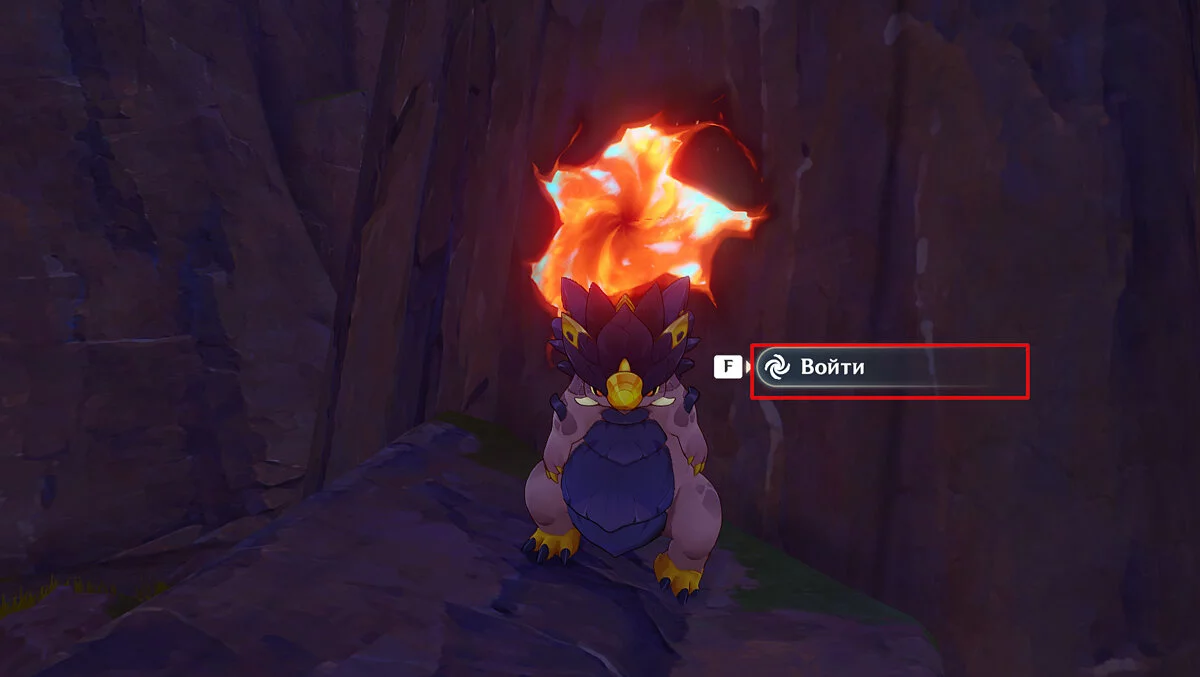
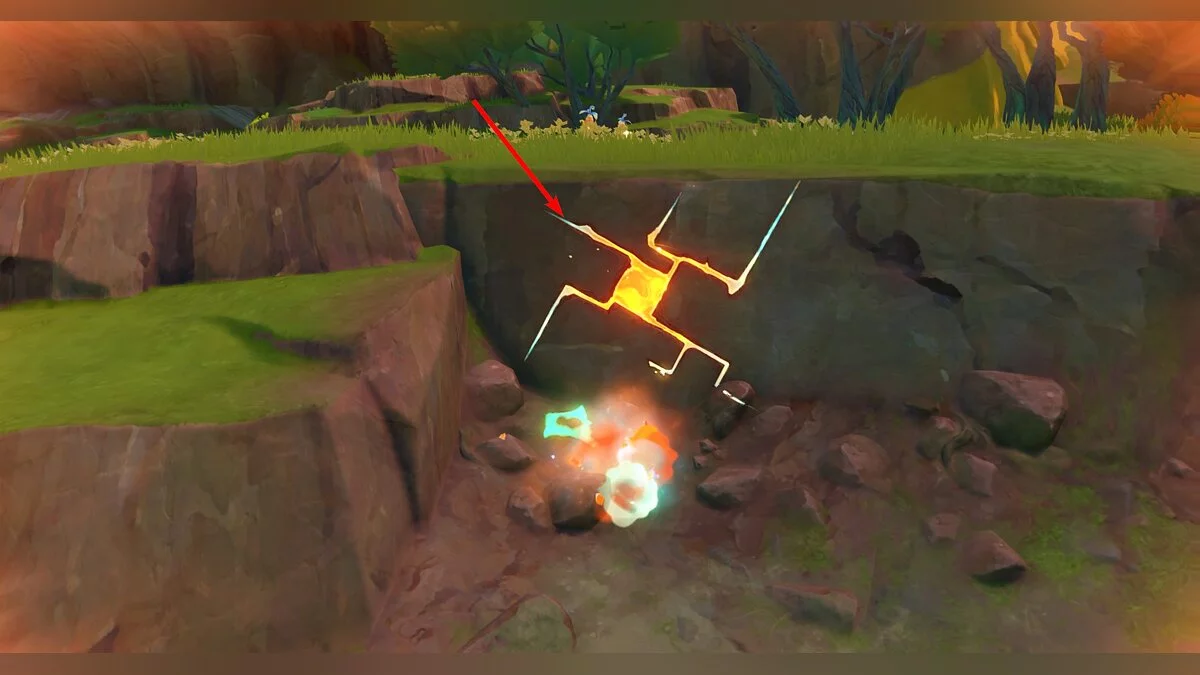
Molten Fissure — looks like a red crack in the mountain rock. If you possess a Tepetlizard and use its skill, you can enter the fissure and quickly reach a specific point. These cracks can be used to solve puzzles or simply reduce travel time.
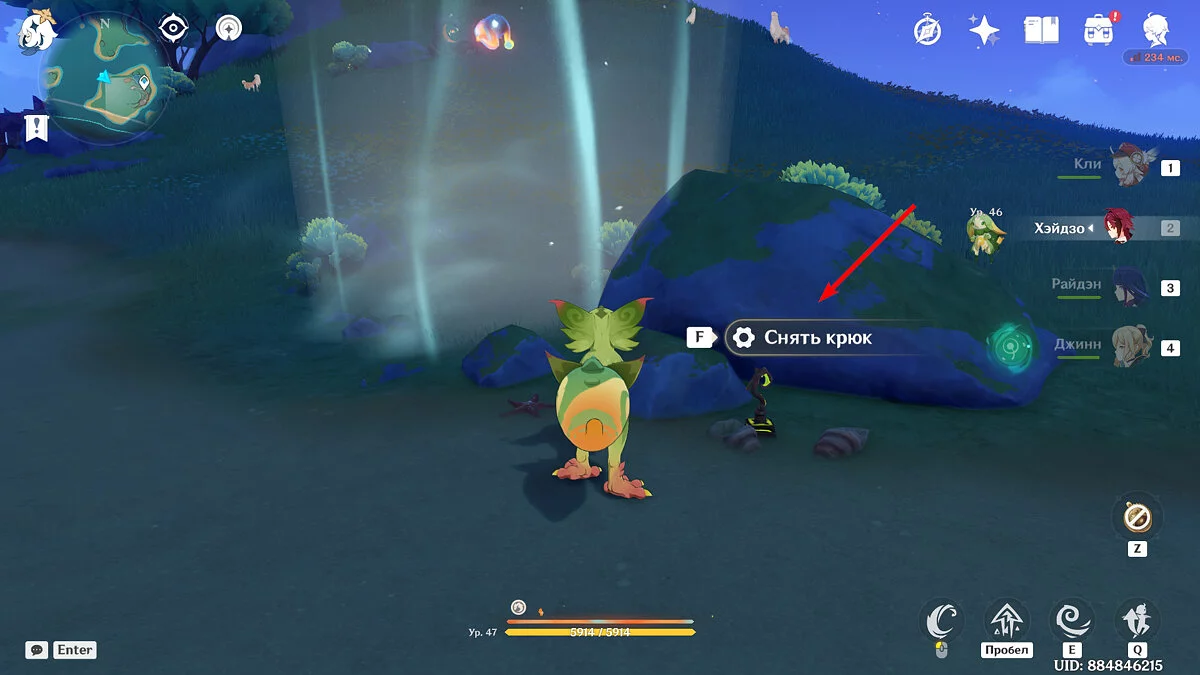
Removable Hooks — wooden devices that help move objects. If you possess a Yumkazavr, you can use its skill to grab onto the hook and move, for example, an iron box blocking an entrance. Additionally, these devices can be removed from one place and attached to another object.
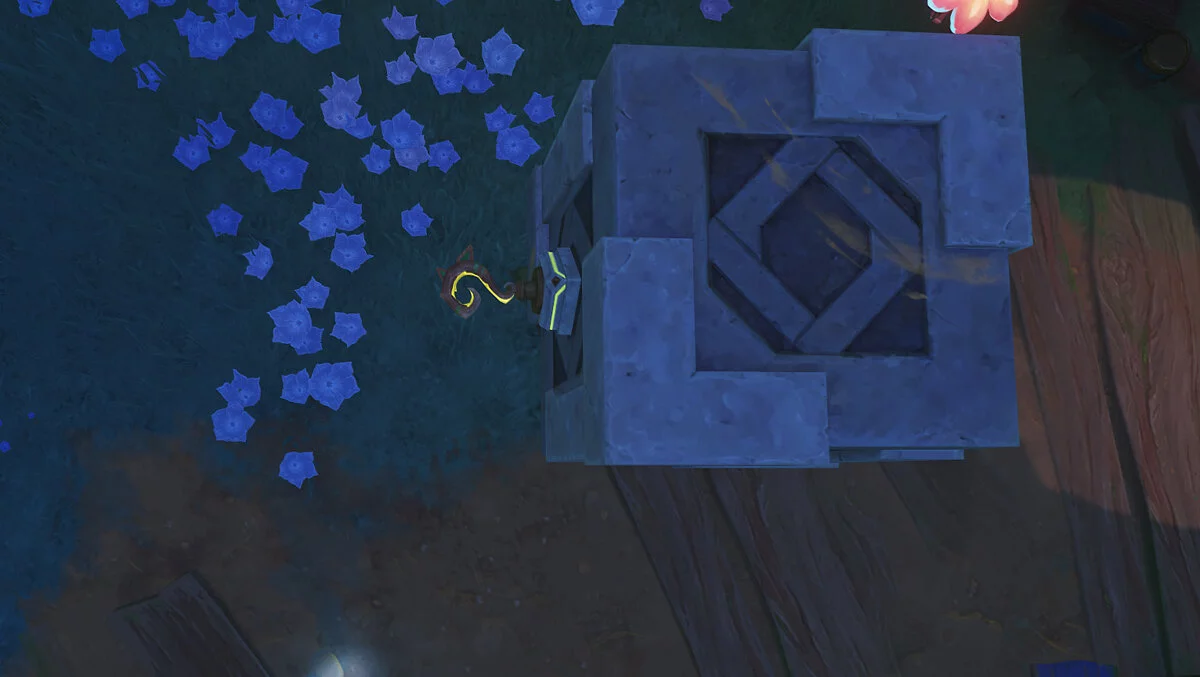
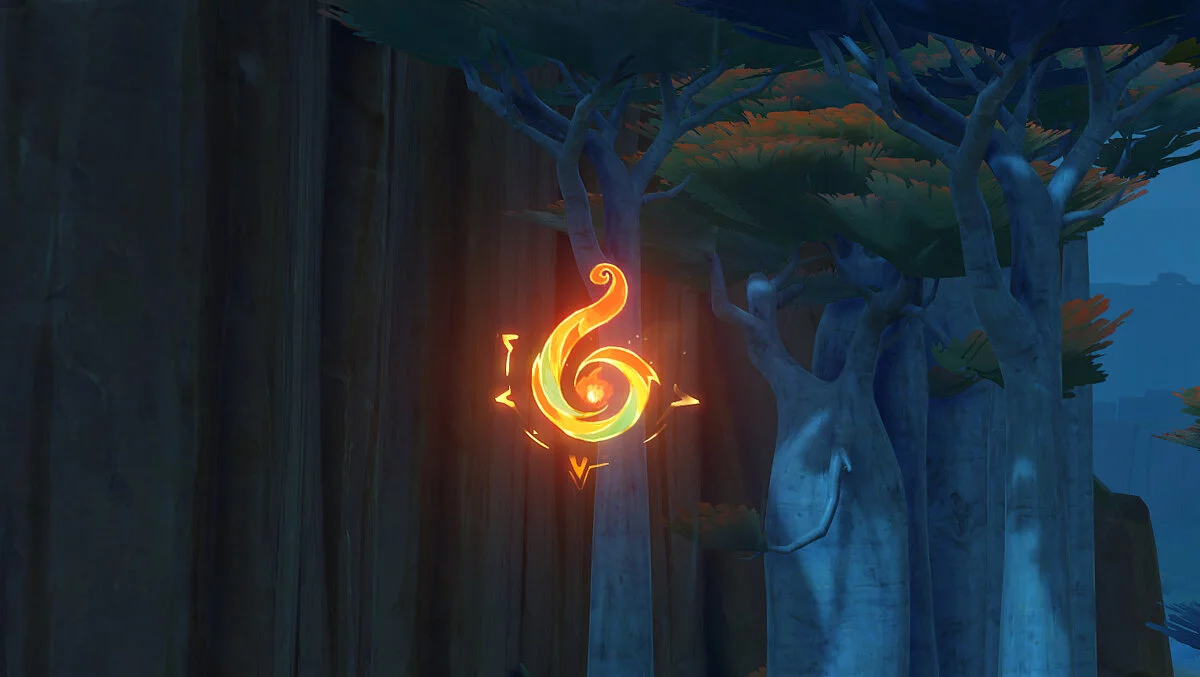
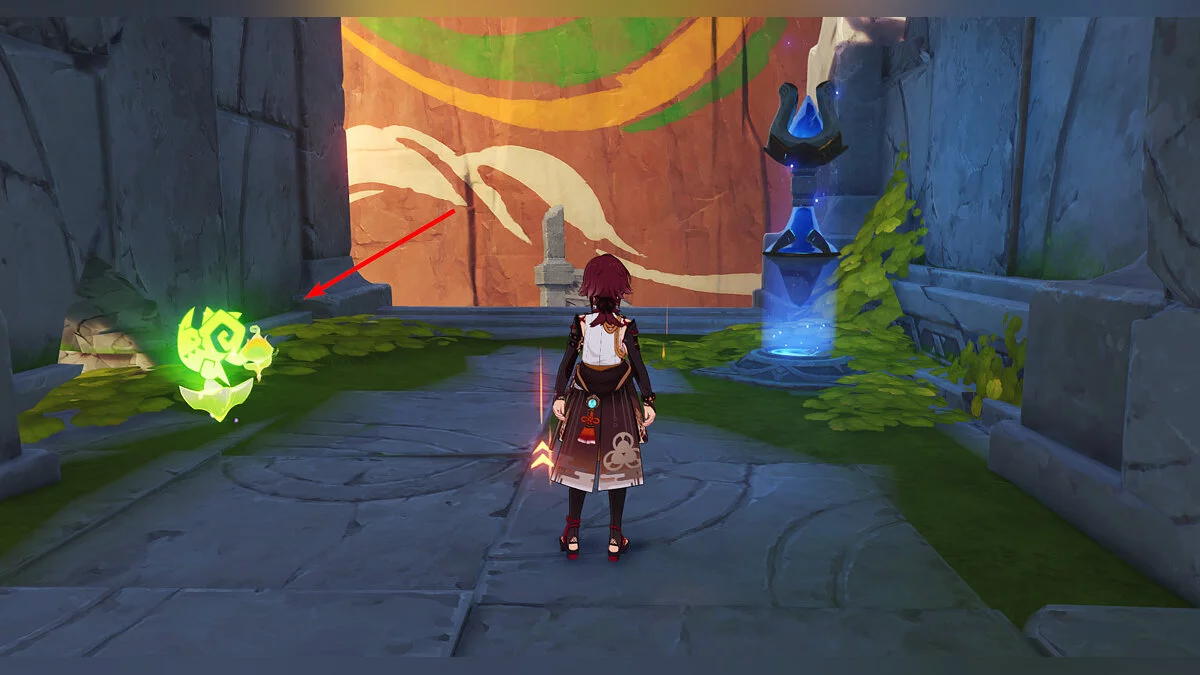
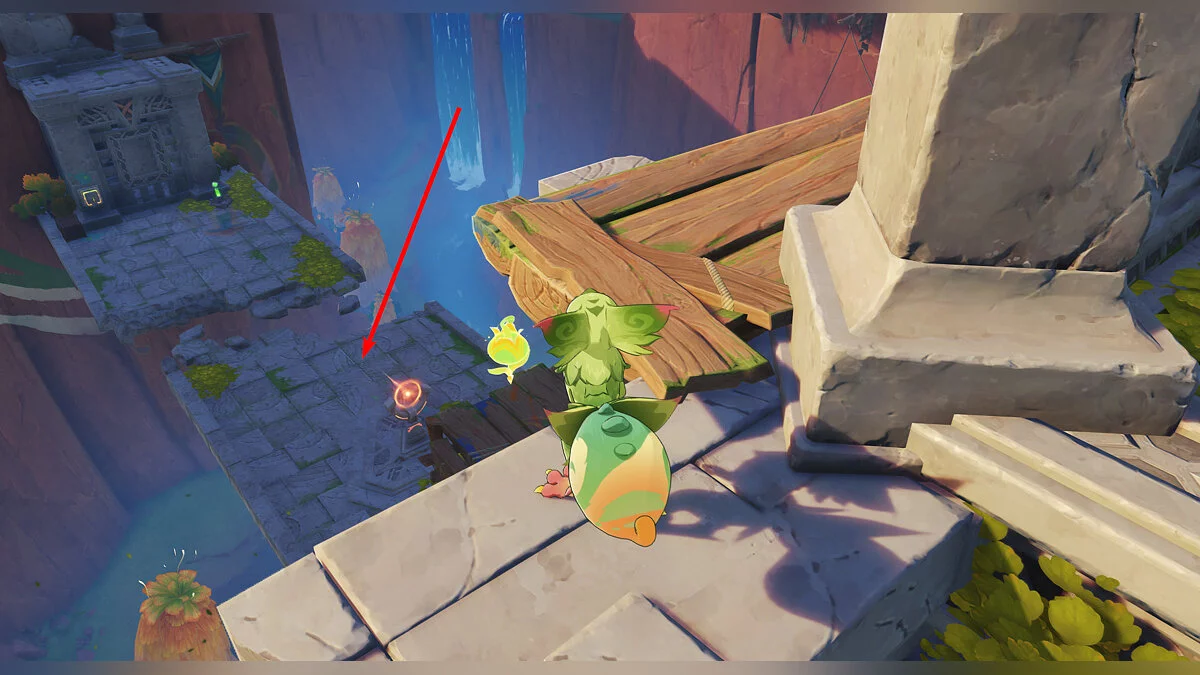
Folded Grass Seal — a symbol that hangs in the air. Such writings are scattered throughout the twilight and resemble twilight scripts. By being in the body of a Yumkazavr, you can latch onto them and move through the air. The seals come in two types — red and green. The former allows simple movement through the sky, while the latter creates platforms where you can stop and rest.
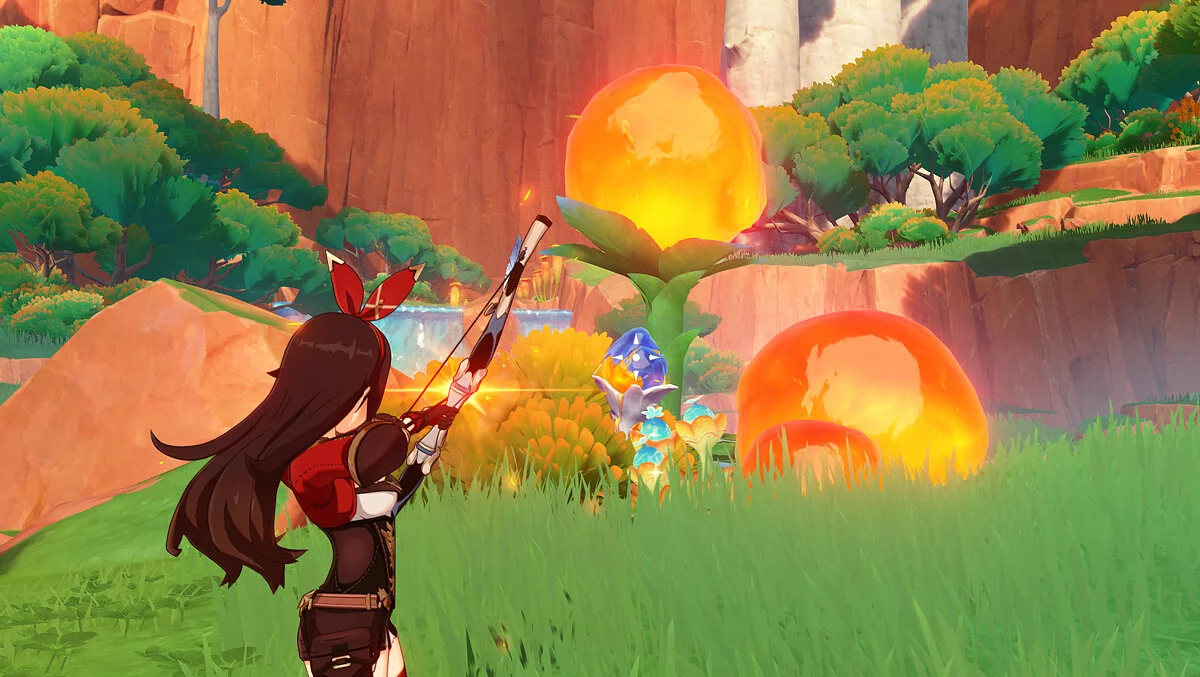
Flamegrenades — highly flammable fruits that grow in Natlan. They are natural explosives and can not only blow up an entrance in a rock but also deal damage to enemies. If you possess a Yumkazavr, you can throw these fruits accurately to solve a puzzle. However, if you apply Pyro to the flamegrenade, it will explode immediately.
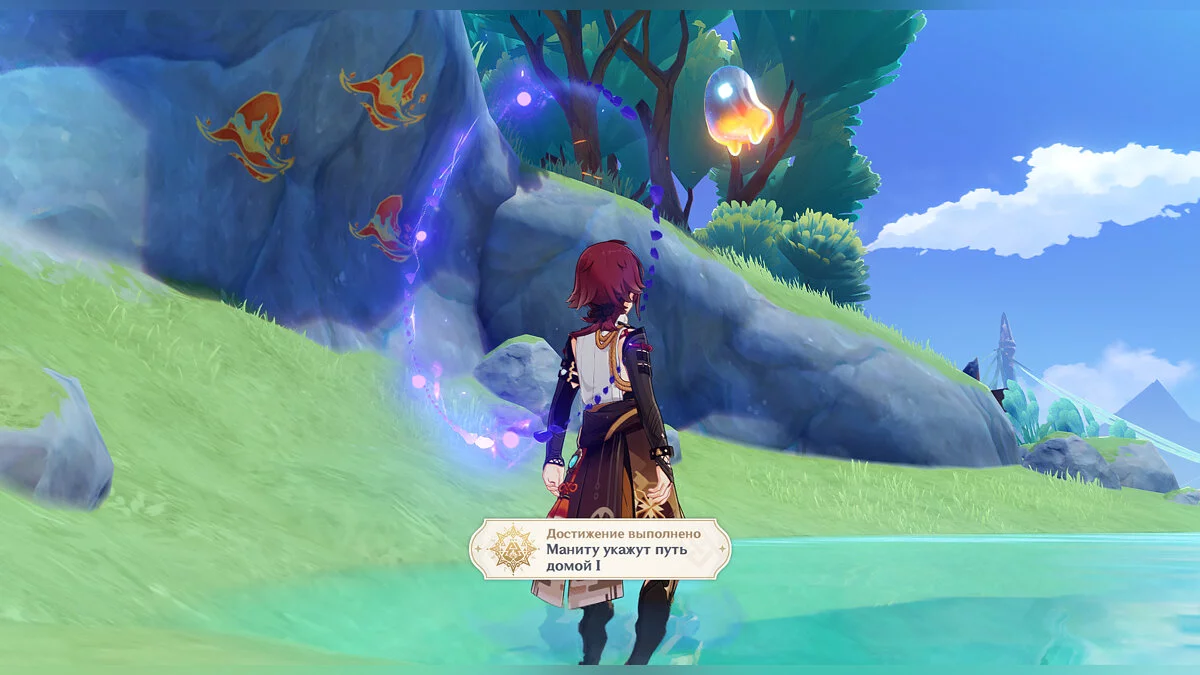
Manitou — the equivalent of fairies in Natlan. Amusing creatures of purple-orange color. If you lead them to their graffiti, you can get a chest.
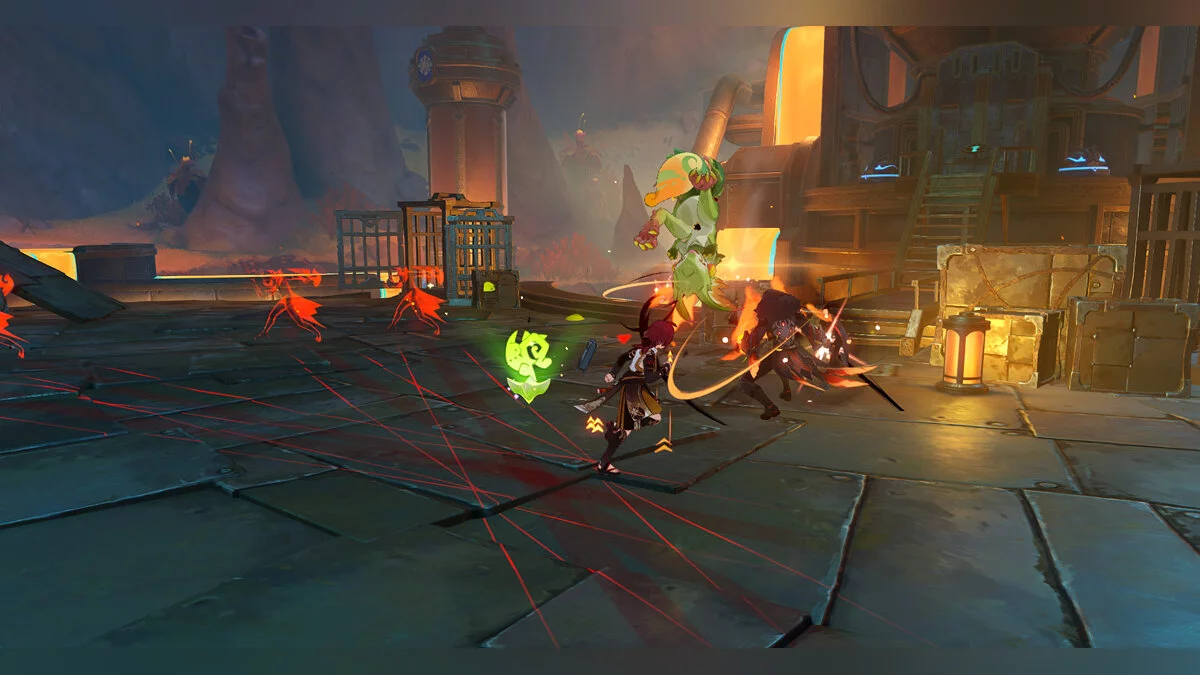
Rainbow Rays — a defensive structure in Natlan that continuously attacks the character, shooting at them and dealing damage. They can be turned off by approaching them closely.
Puzzles and Riddles in Tekvemekan Valley
Tekvemekan Valley is a rather vast area of Natlan, where you can find many puzzles that are not so easy to solve. Below we will talk about the most challenging riddles of the valley and how to solve them.
The Puzzle with Locked Chests in the Sulfur Veins: How to Solve
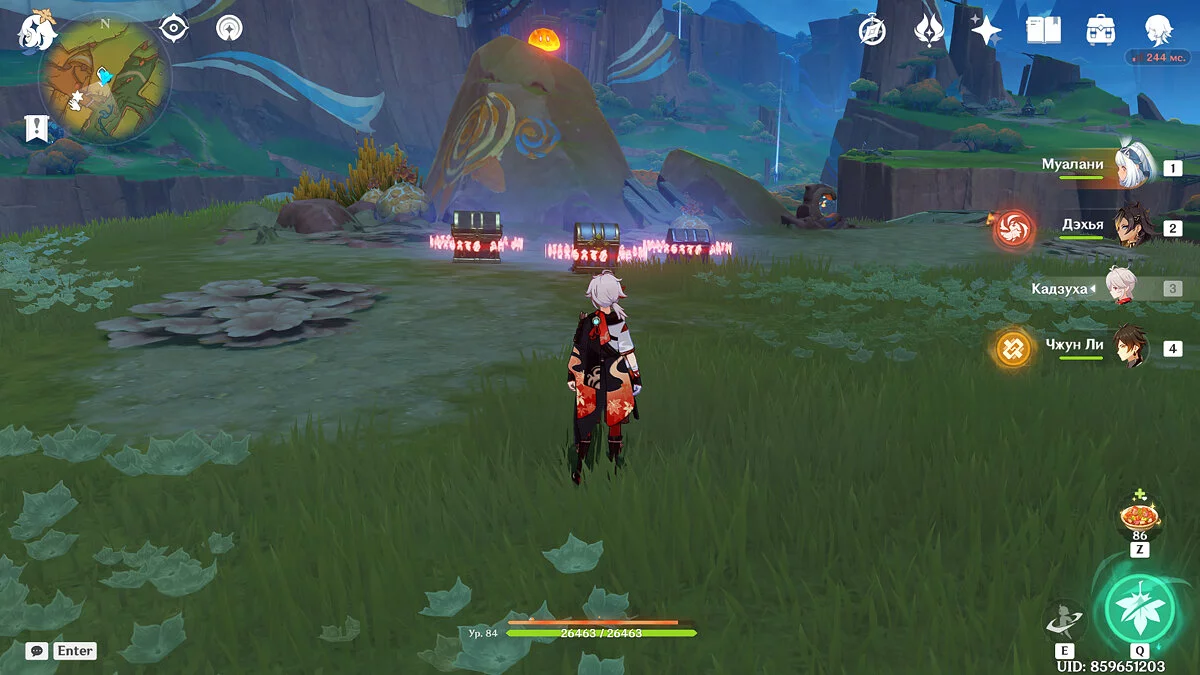
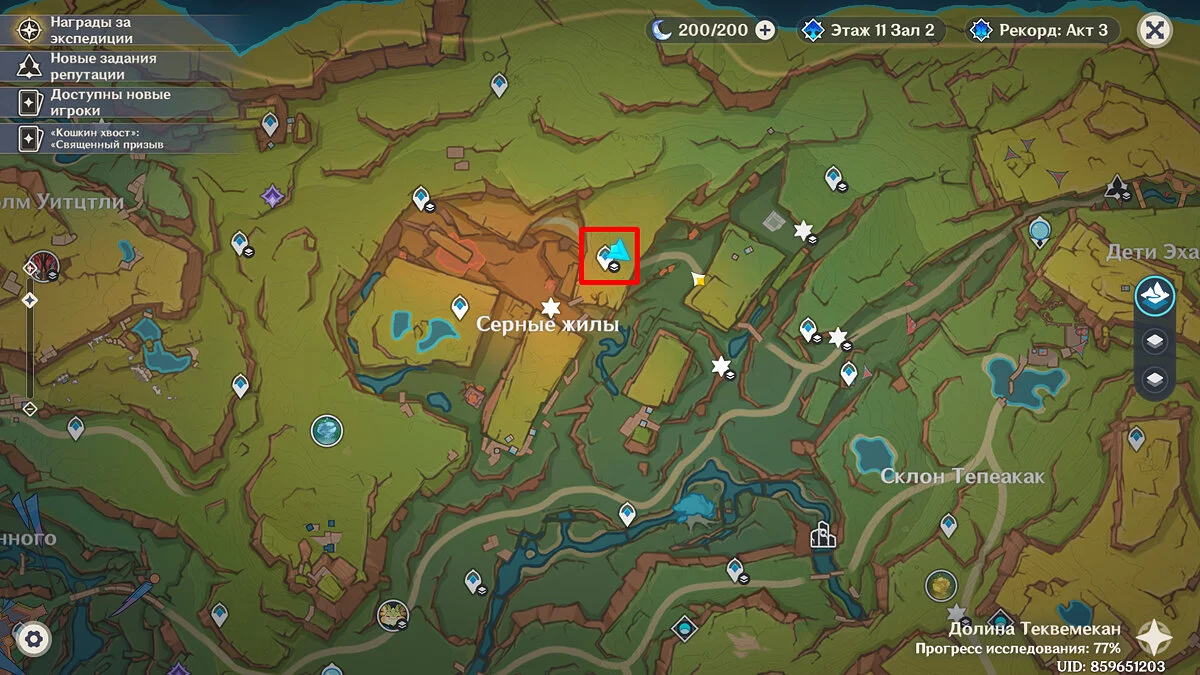
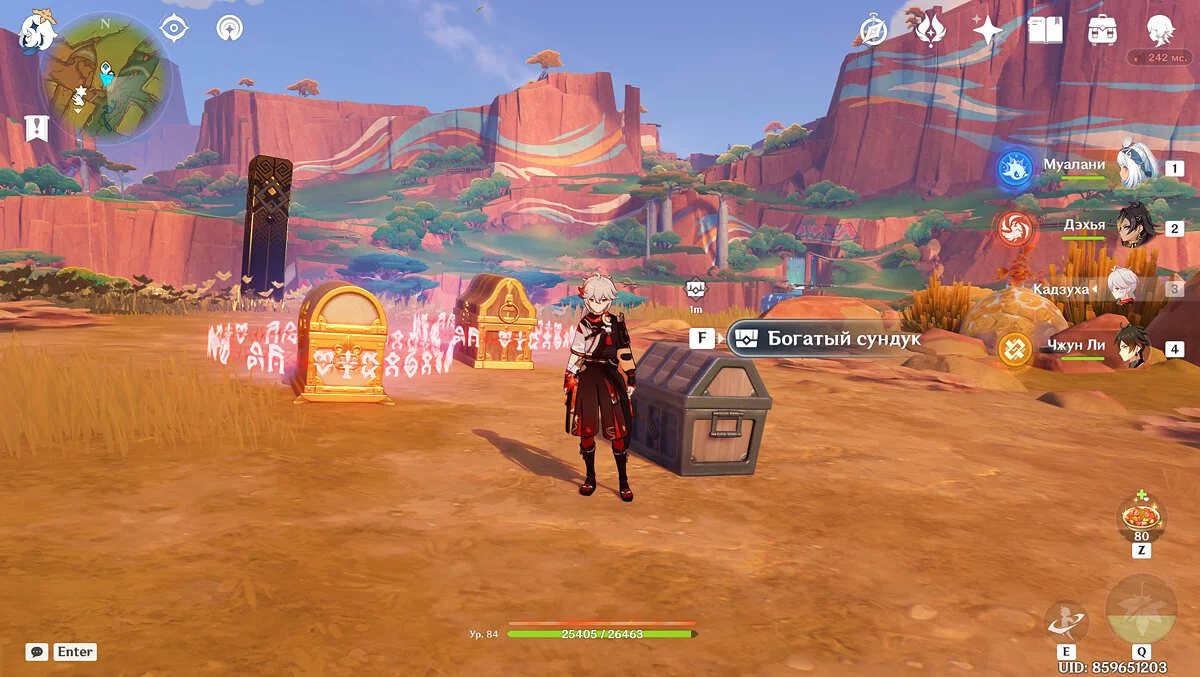
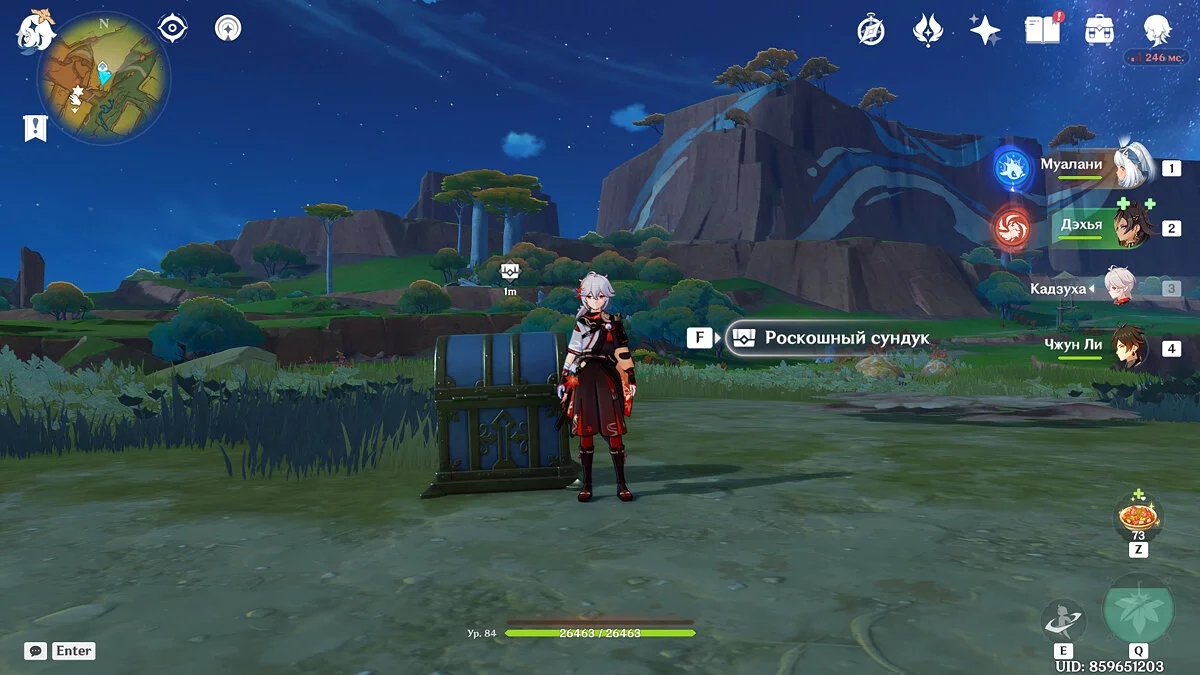
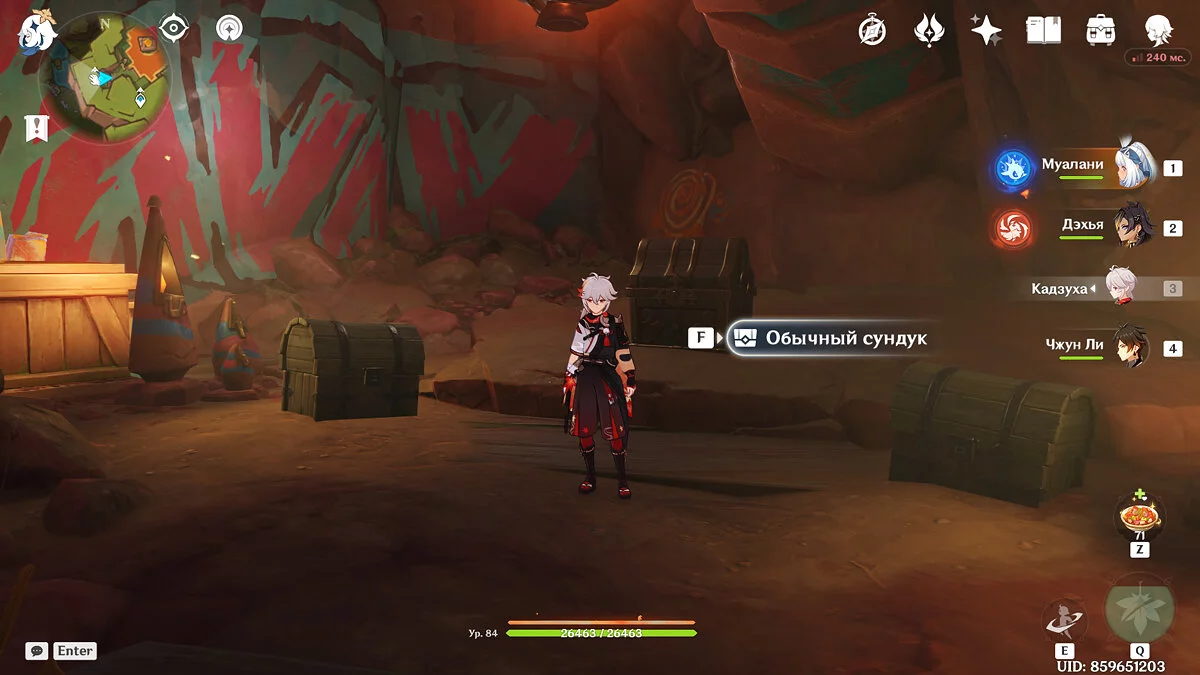
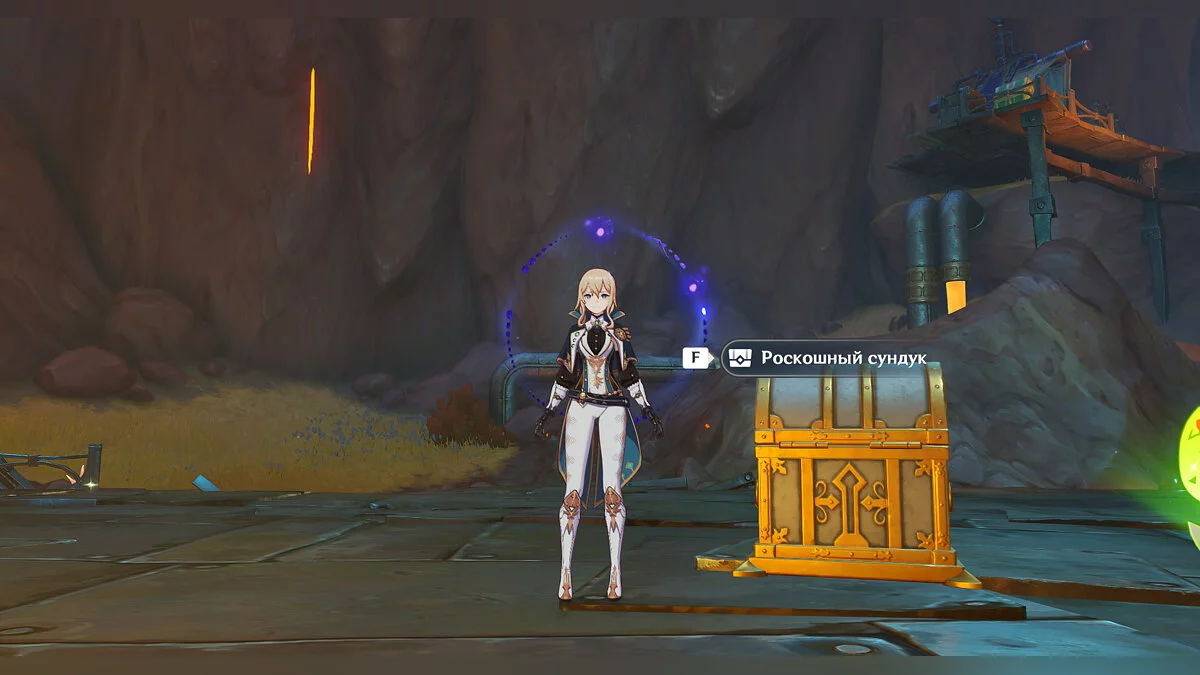
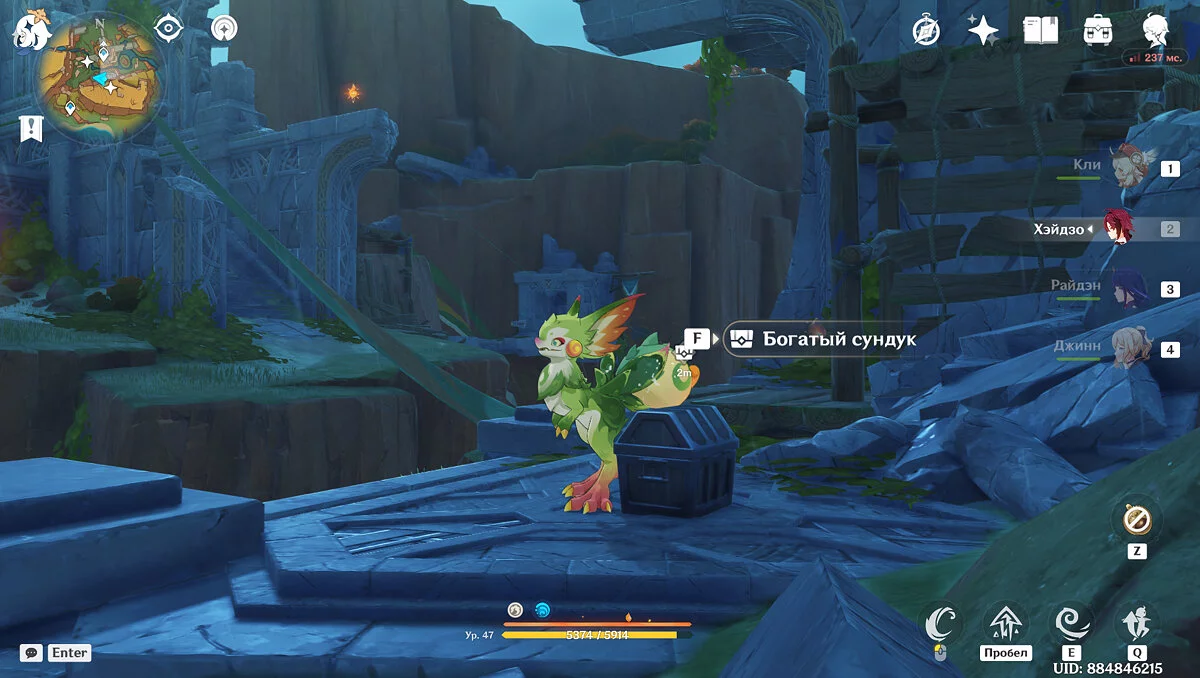
At the top of the mountain near the Sulfur Veins, you can find three chests — rich, precious, and luxurious, which are locked, and there are no clues around. How to solve the puzzle — we will tell you further.
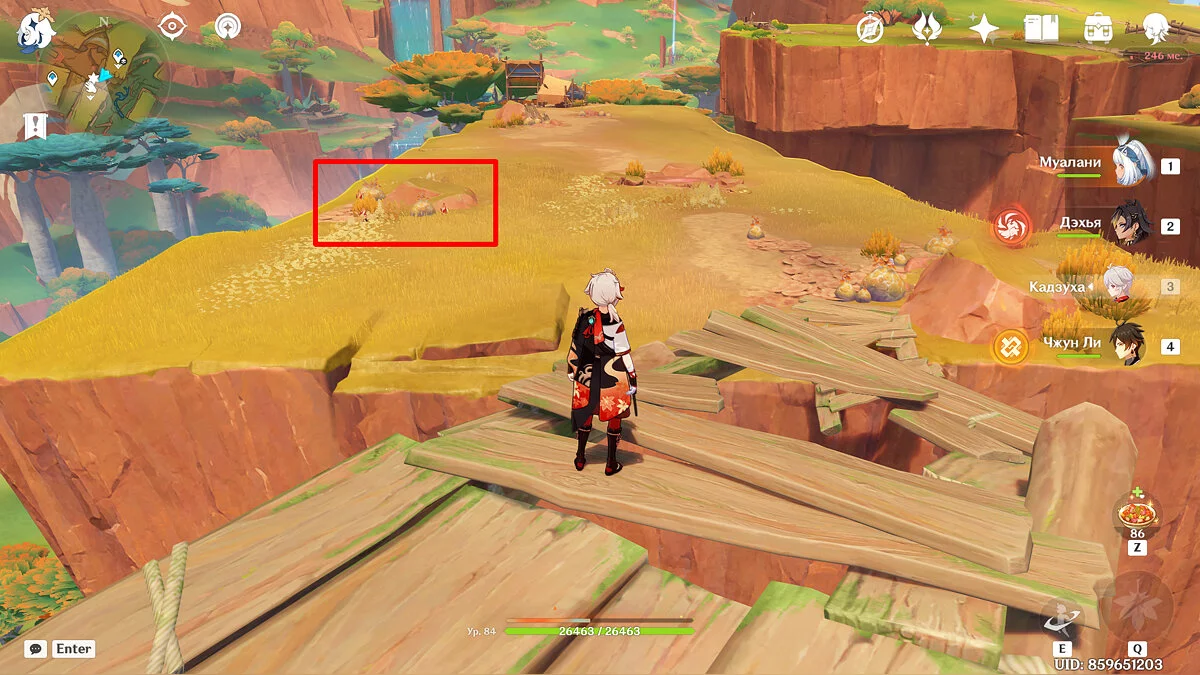
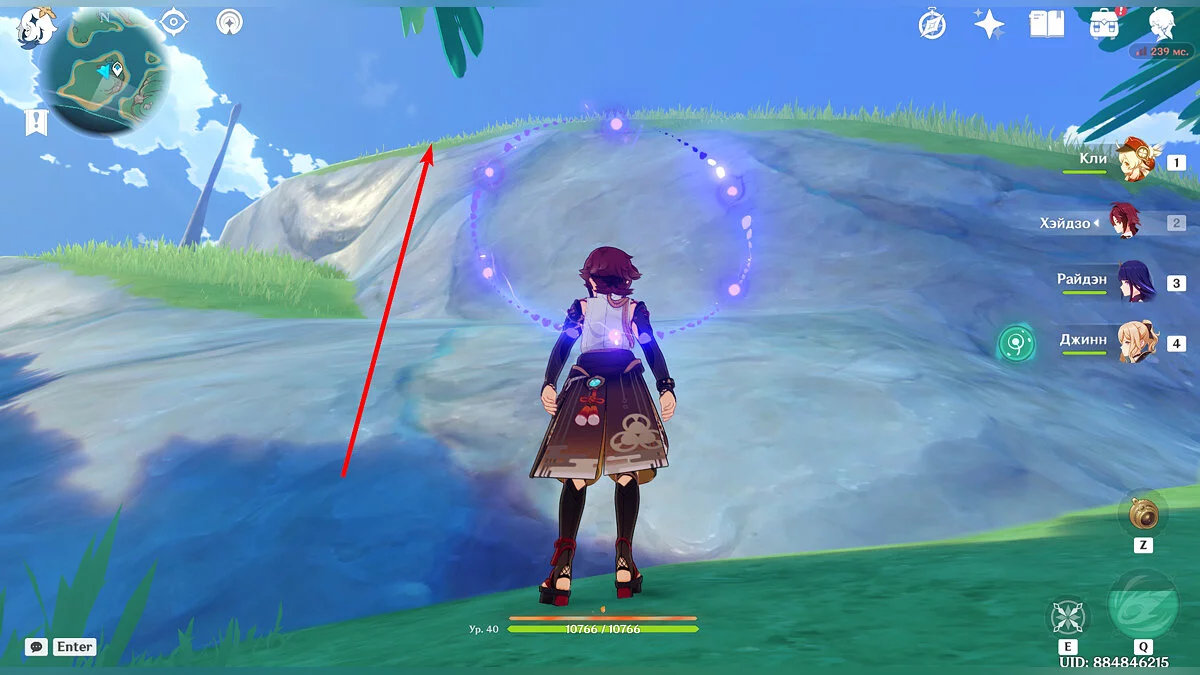
Use the underground teleport of the location and climb to the very top of the rock; for convenience, you can take a Tepetlizard. Near a small stone with a drawing, there will be treasure chests. To open them all, you need to perform several actions.
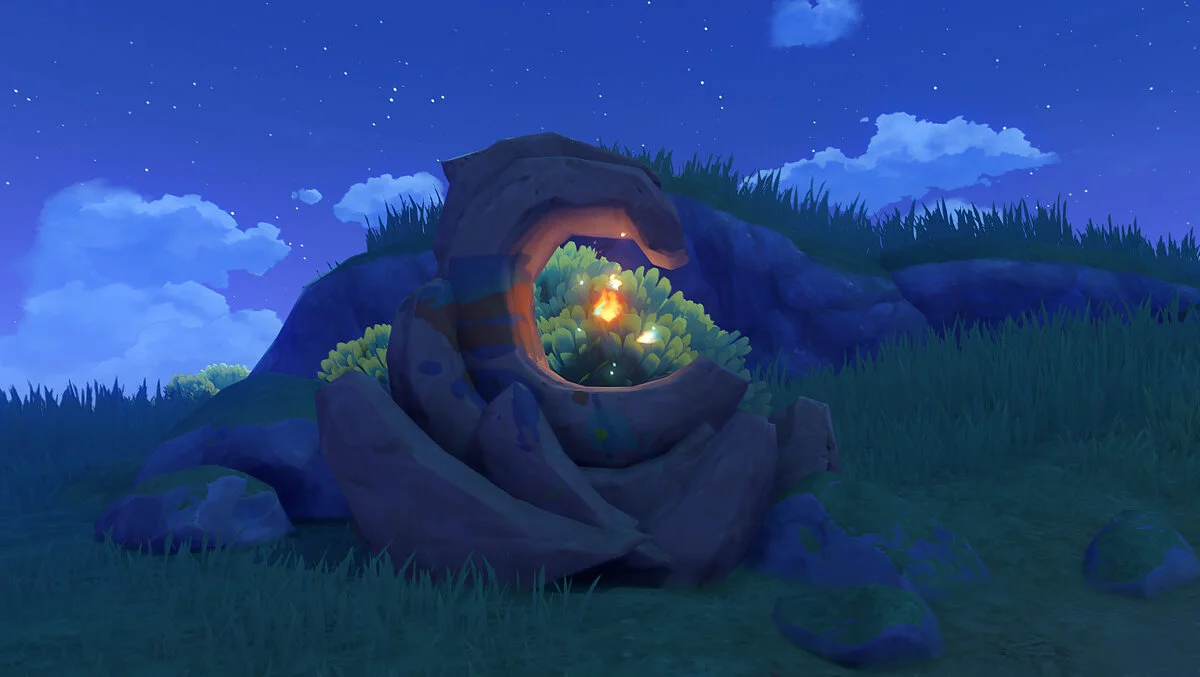
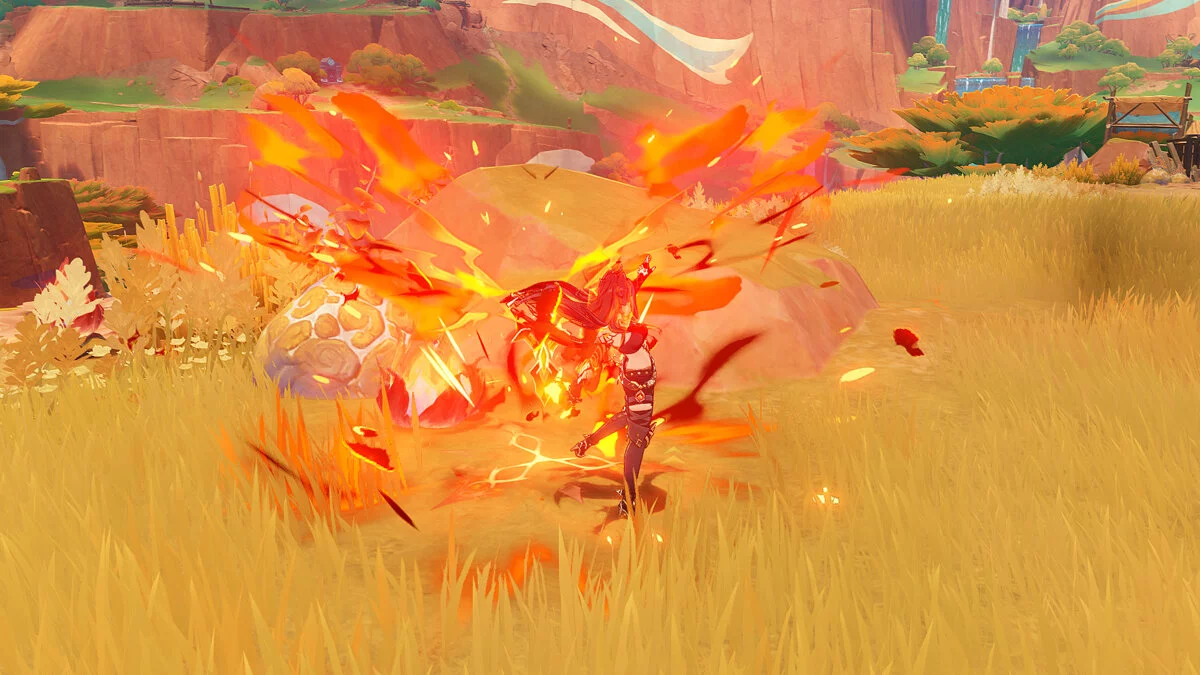
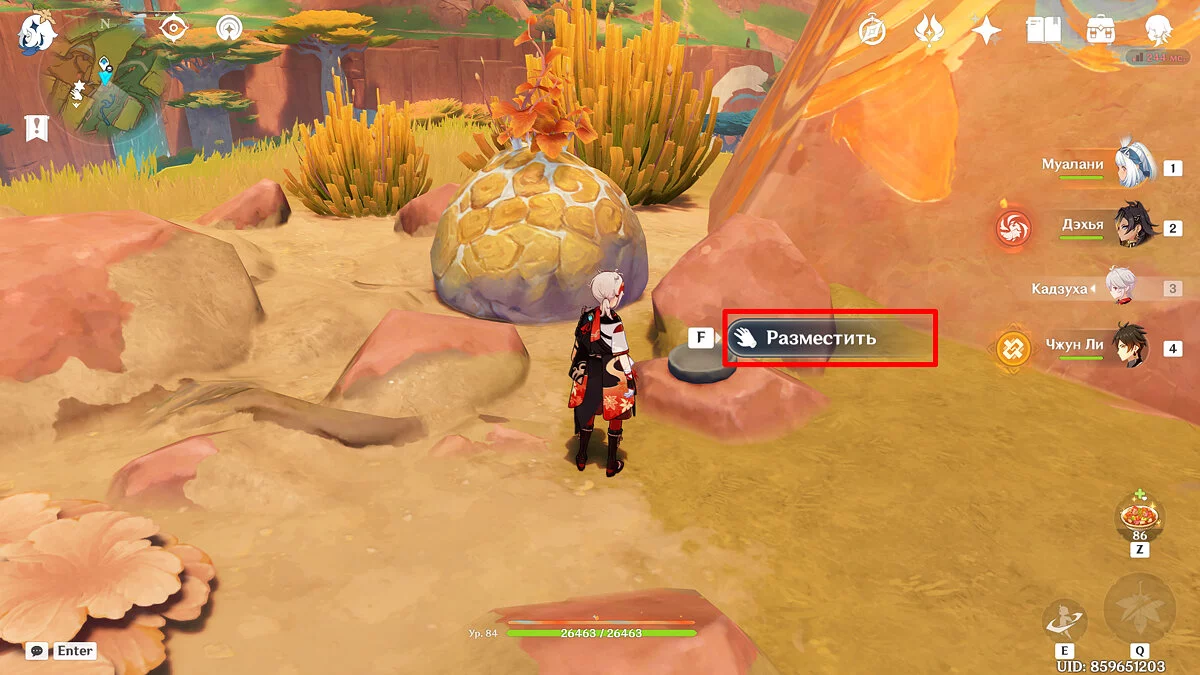
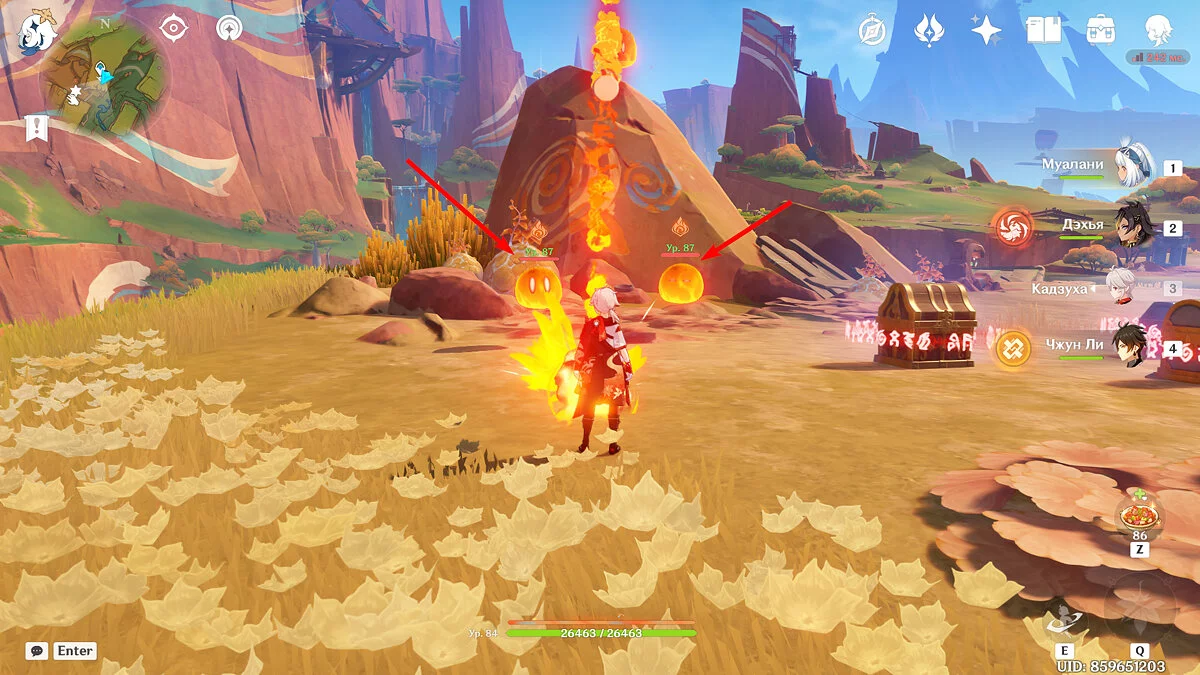
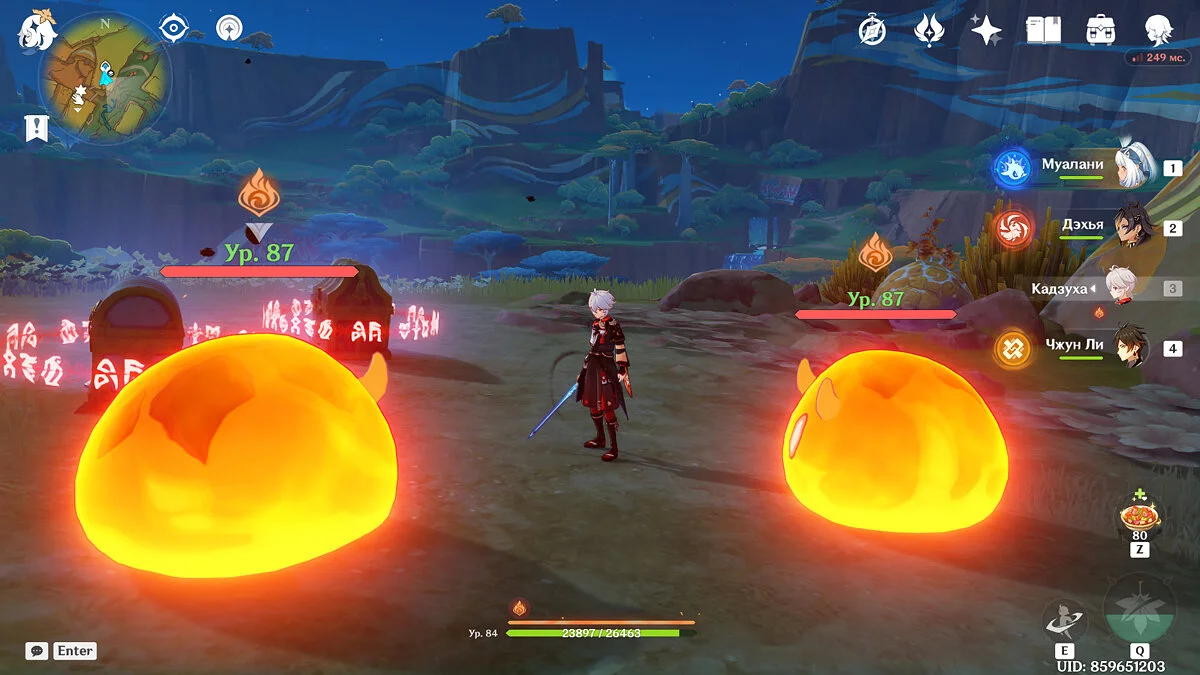
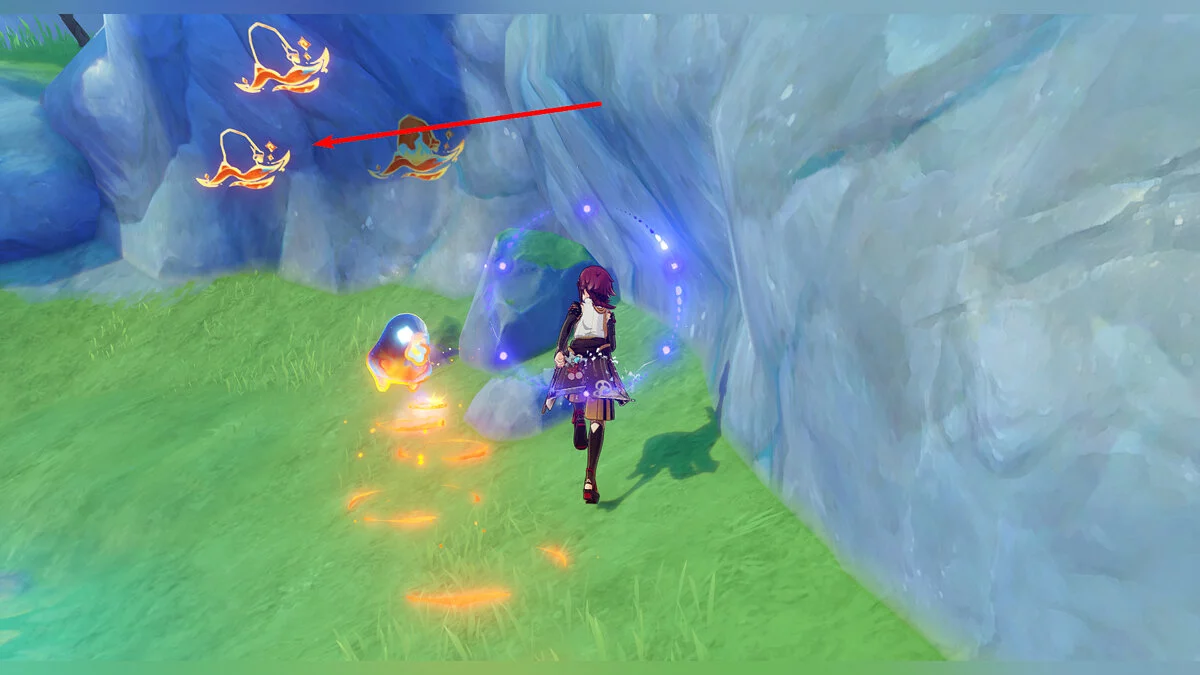
First, collect the local curiosity — the ashtray. These are orange-red buds that bloom when attacked by Pyro. You need just one flower; if you don't have it, go a little further past the chests, and you will find several buds on the neighboring slope. Return to the chests and place one ashtray in the bowl. Pyro slimes will appear, which need to be destroyed, after which the rich treasure chest will open.
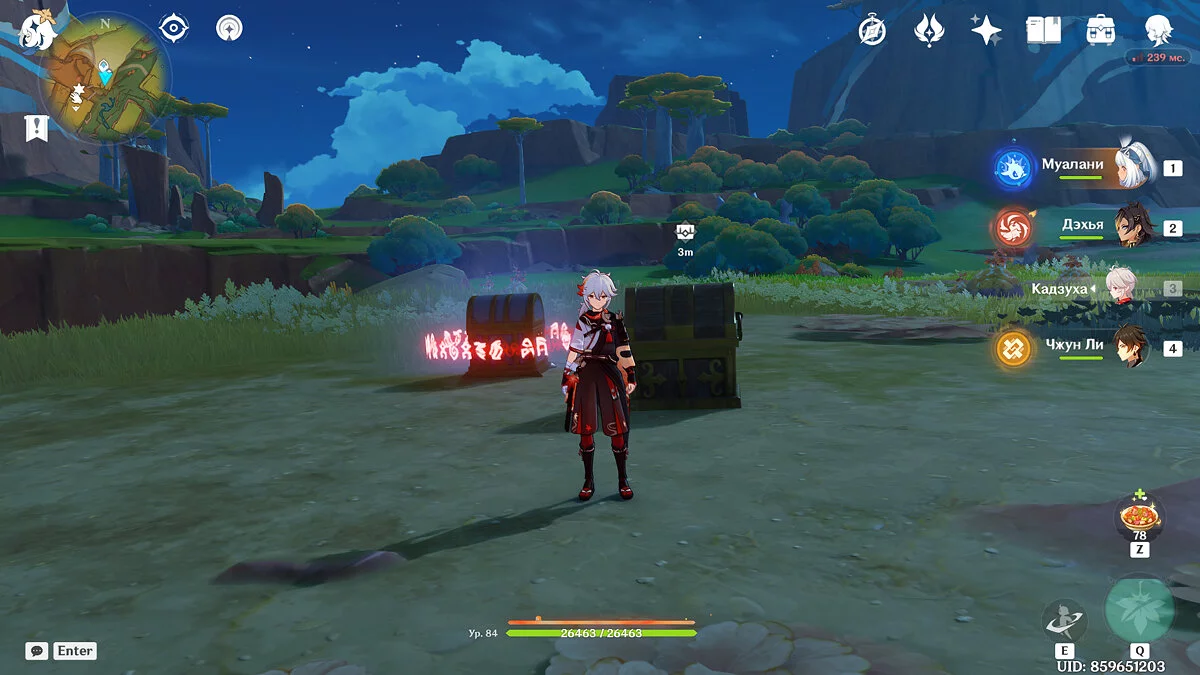
Secondly, deal with the next group of slimes after opening the rich chest. Defeating the enemies will unlock the precious treasure chest. Collect the rewards from it to proceed to the third part of the puzzle.
Thirdly, after opening the precious chest, a timed challenge will appear, in which you need to defeat 9 opponents within a time limit. Activate the pedestal and defeat the enemies, after which the blockade from the luxurious treasure chest will be lifted.
Puzzle with Alpacas in the North of the Sulfur Veins
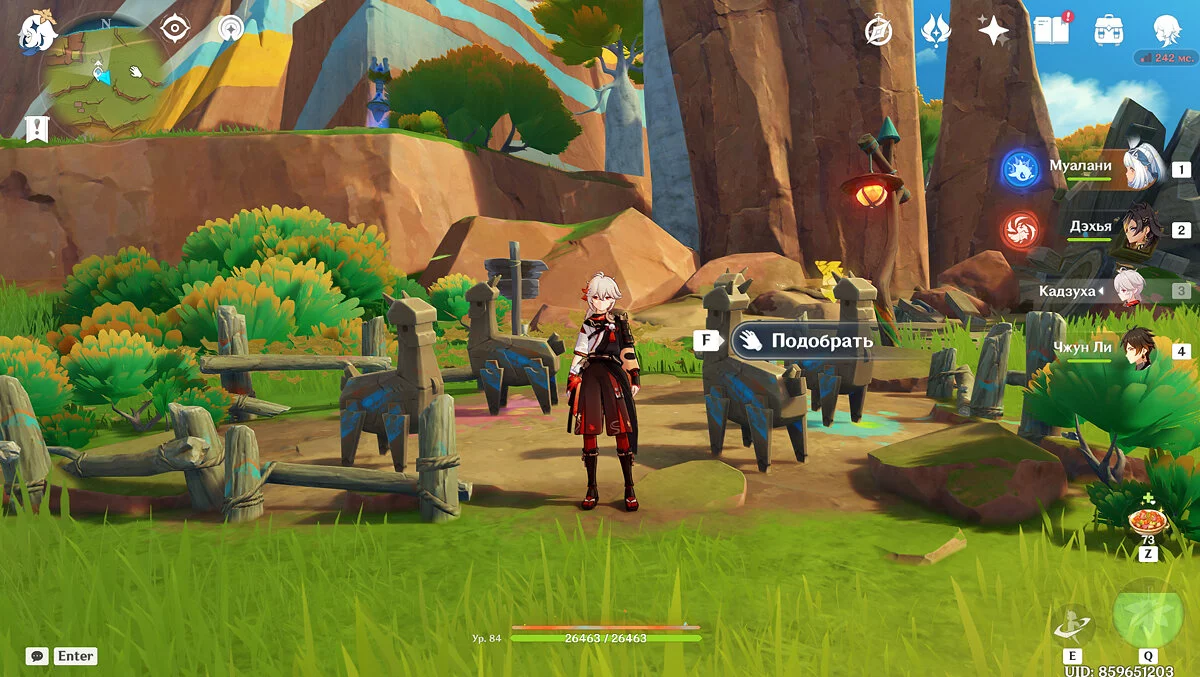
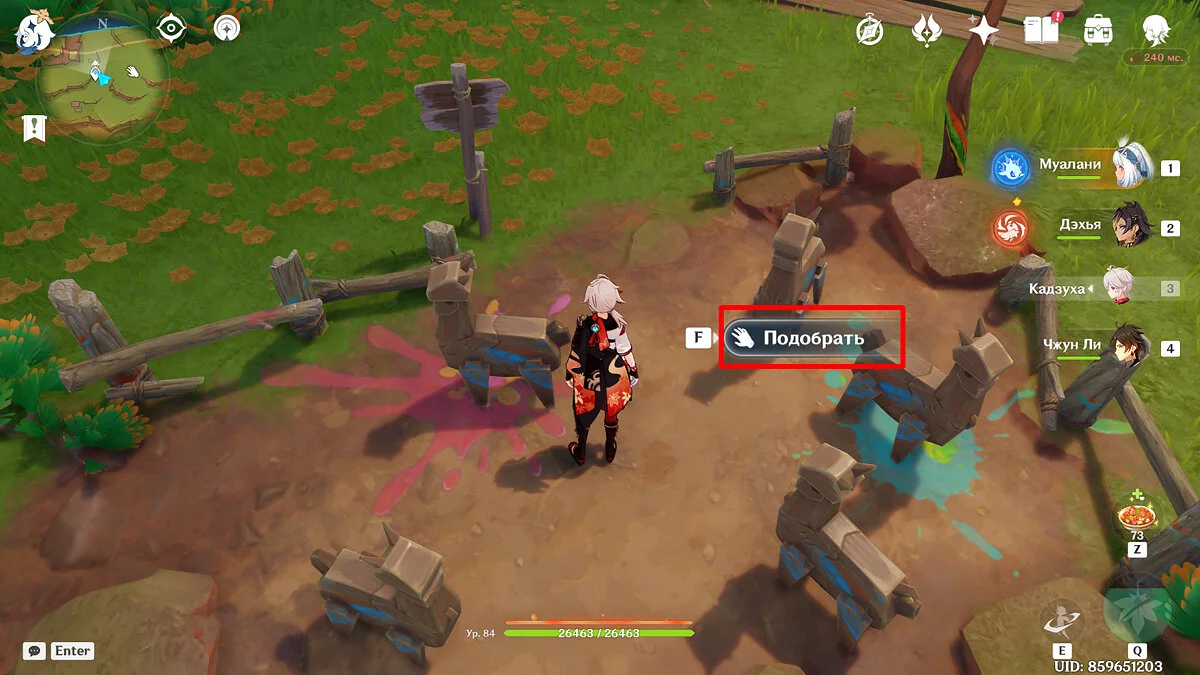
To the north of the Sulfur Veins, you can find a pen where alpacas live. But not ordinary ones, they are wooden. To solve this puzzle, you need to find the missing figurines and return them to their places.
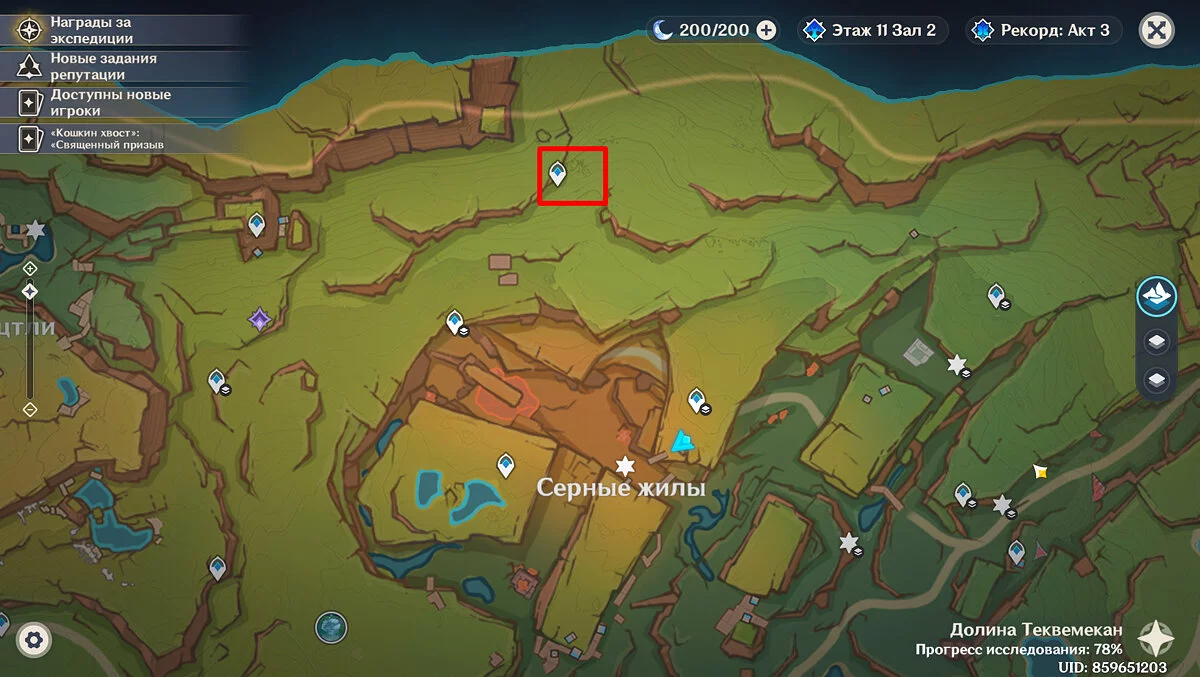
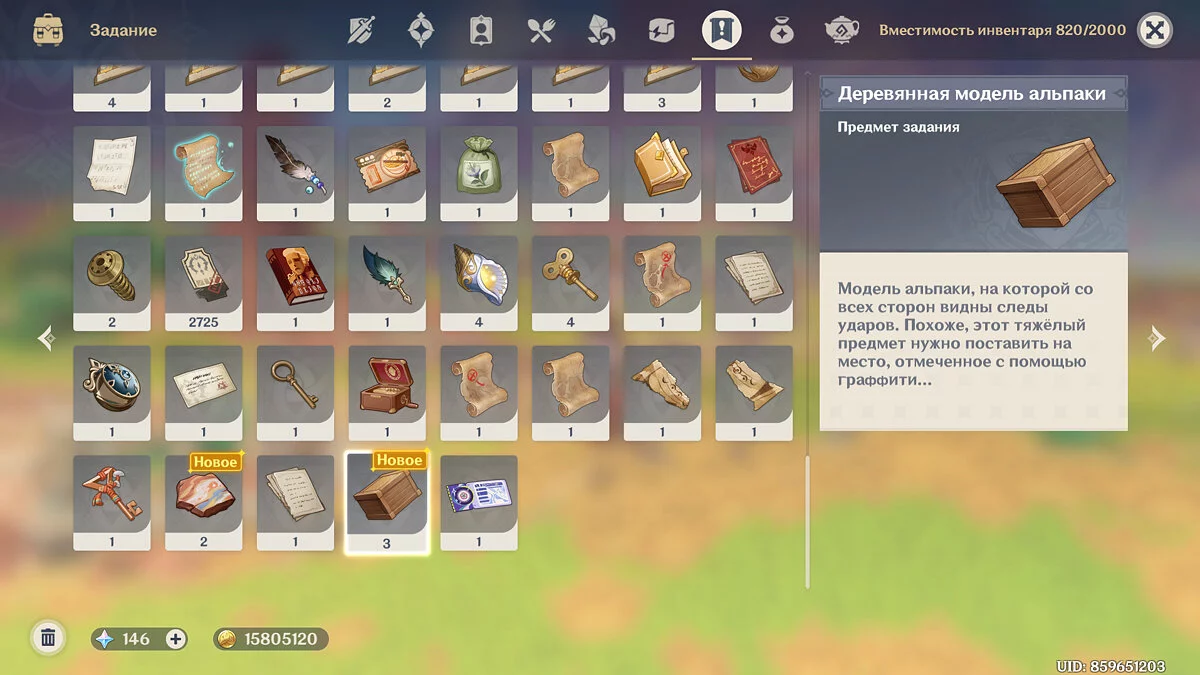
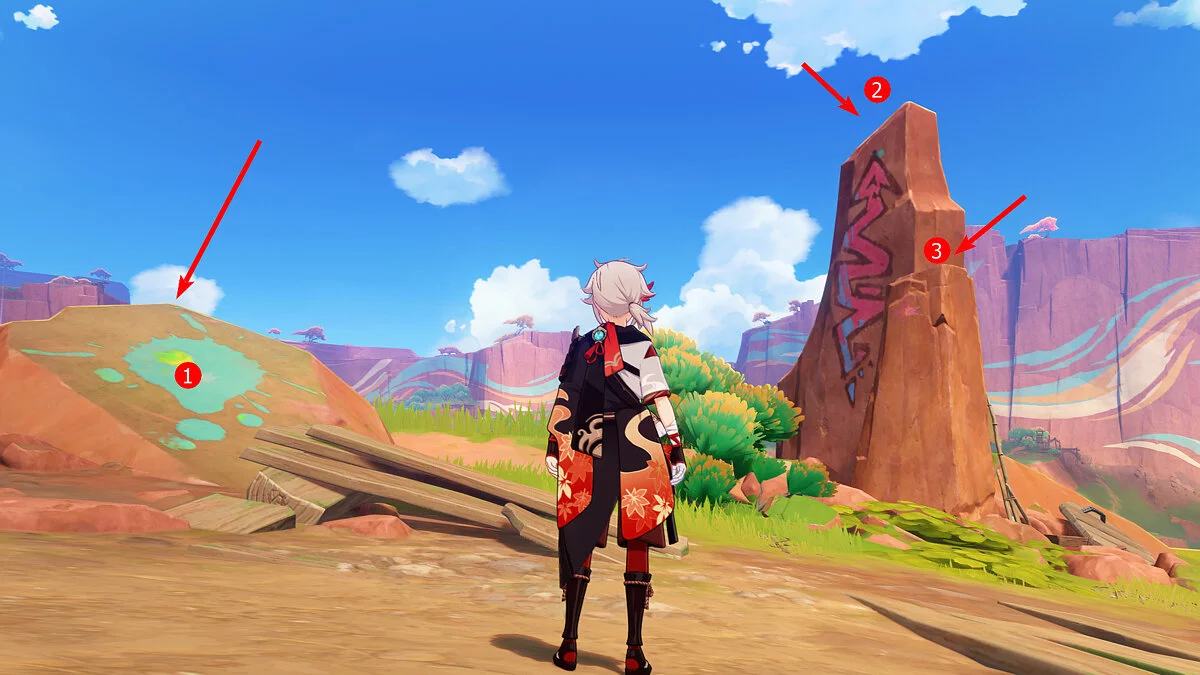
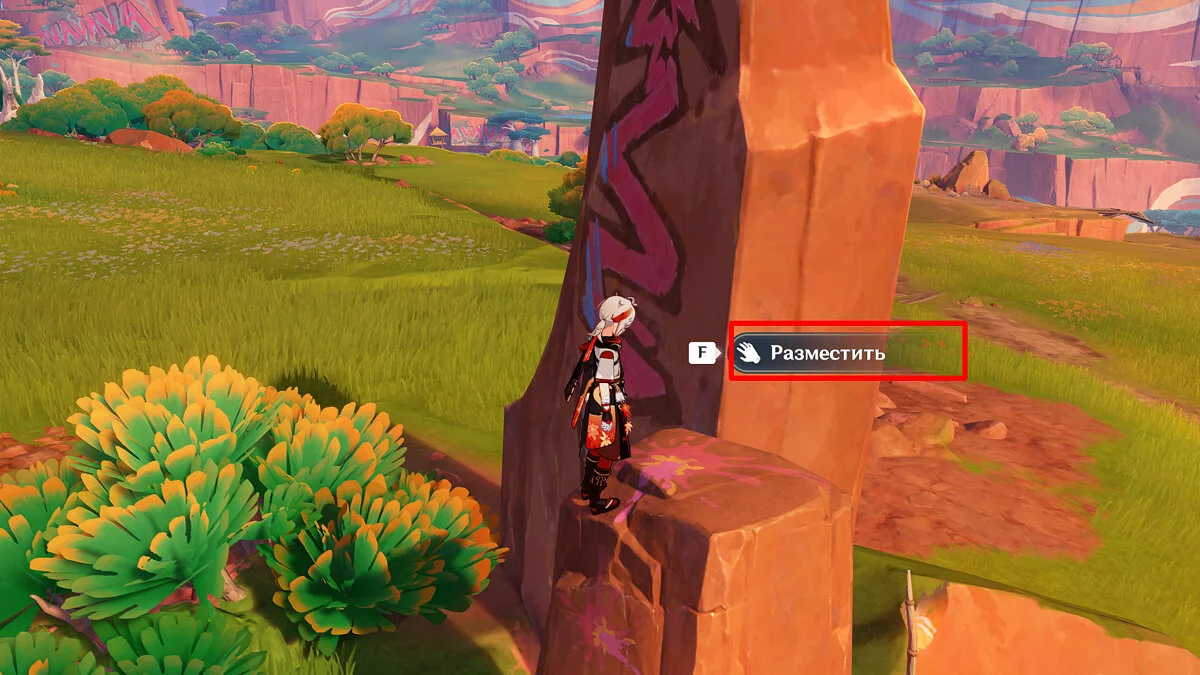
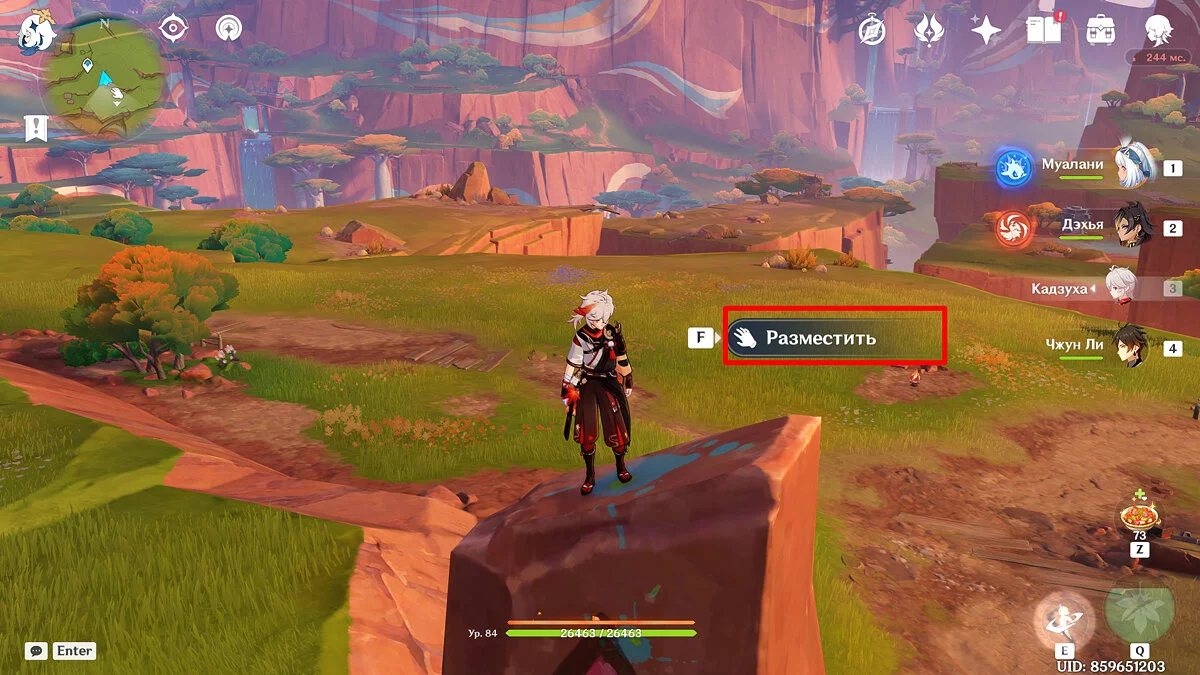
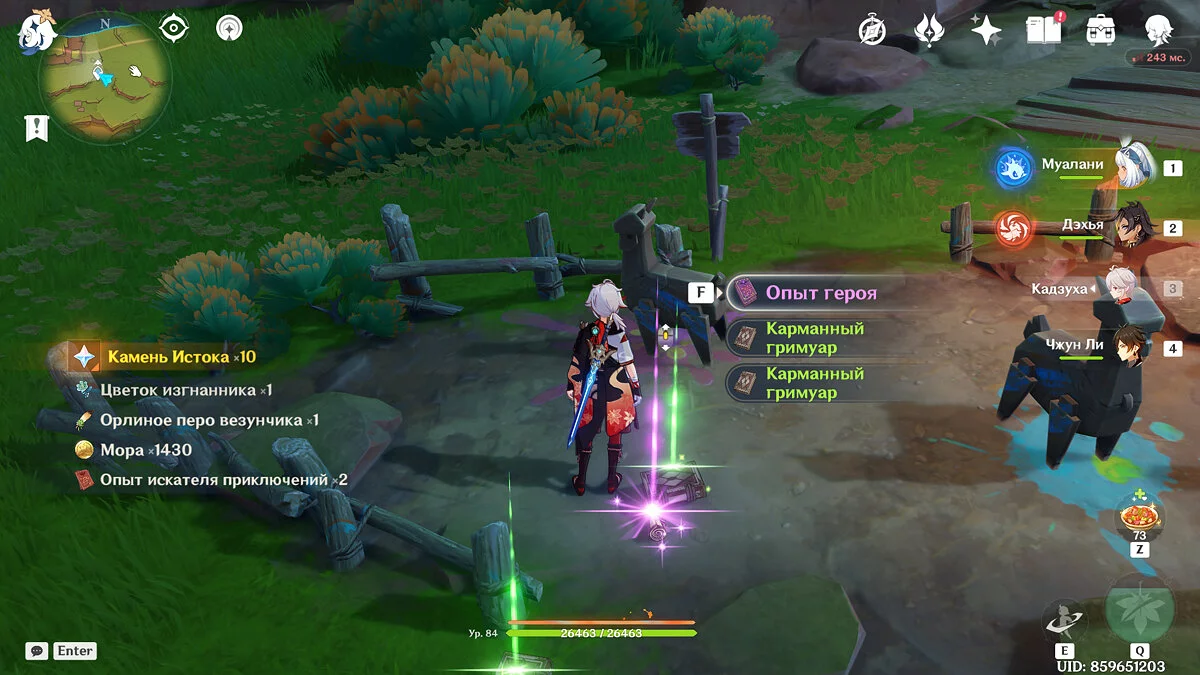
Use the teleport point in the north of Tekvemekan Valley and descend slightly lower to the pen with the figurines. Once behind the fence, pick up all the figurines. Later, you will need to place them in their spots. Read the sign nearby: it turns out that these figurines constantly disappear from their designated spots, and the owner of the alpacas asks to return them. The animal figurines will appear in the inventory as boxes. Walk around the surroundings and return them to the spots marked with paint. Their locations are marked on the map.
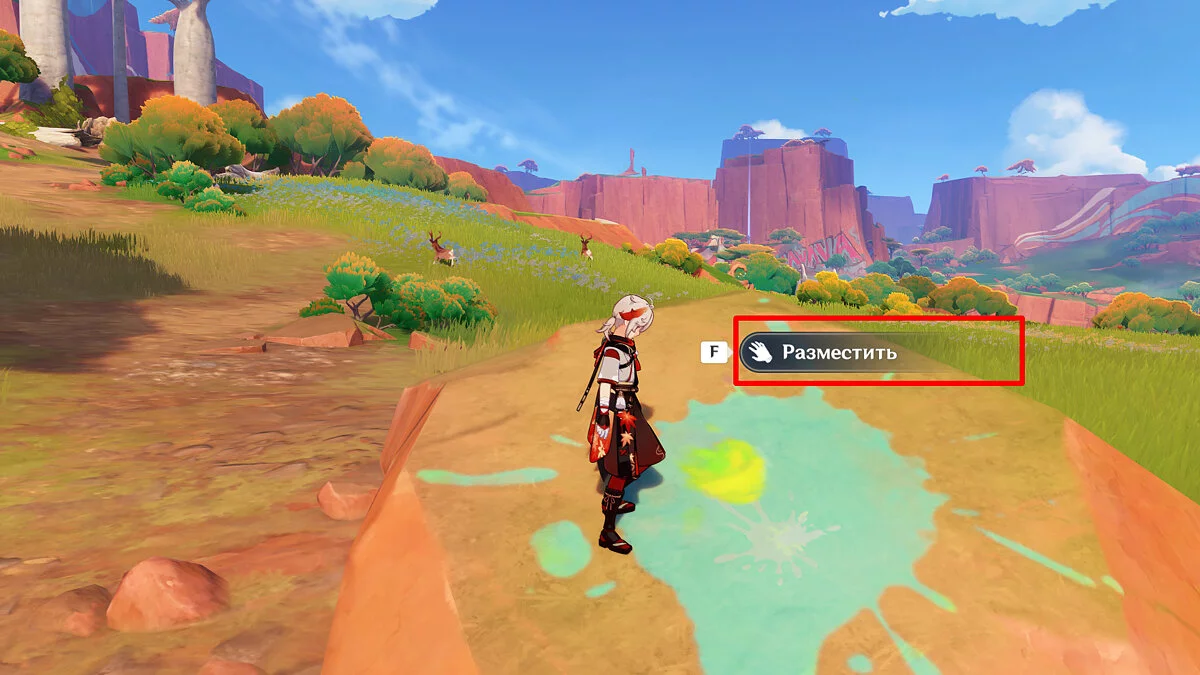
The first alpaca should stand on a stone with blue paint: just approach and press place. The second will be located on the ledge of the stone opposite, and the third on the same pillar but at the top. After returning all the figurines, go back to the pen — a precious chest awaits there.
Puzzle with the Grate in the Flooded Ruins
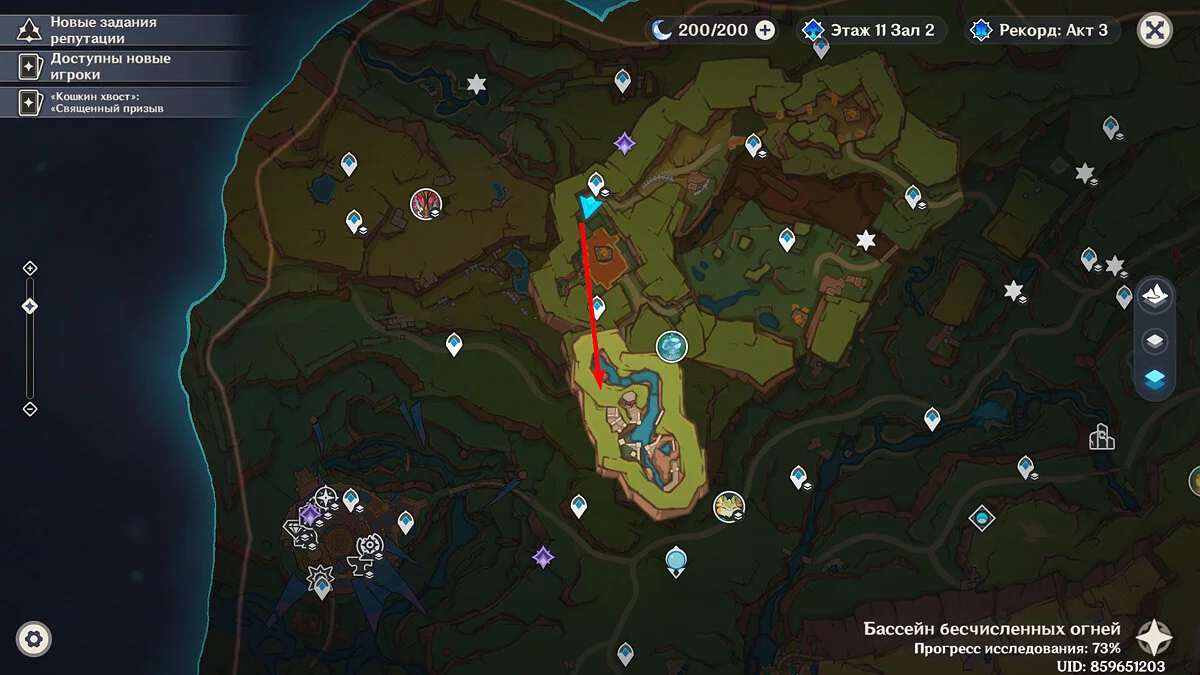
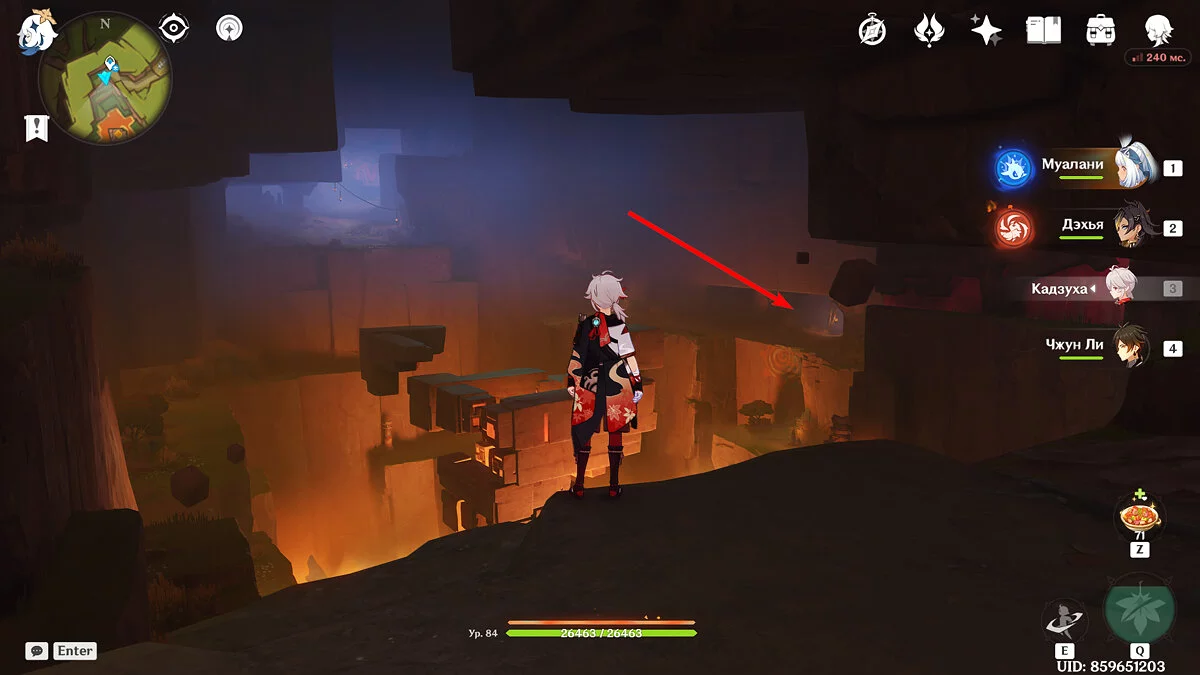
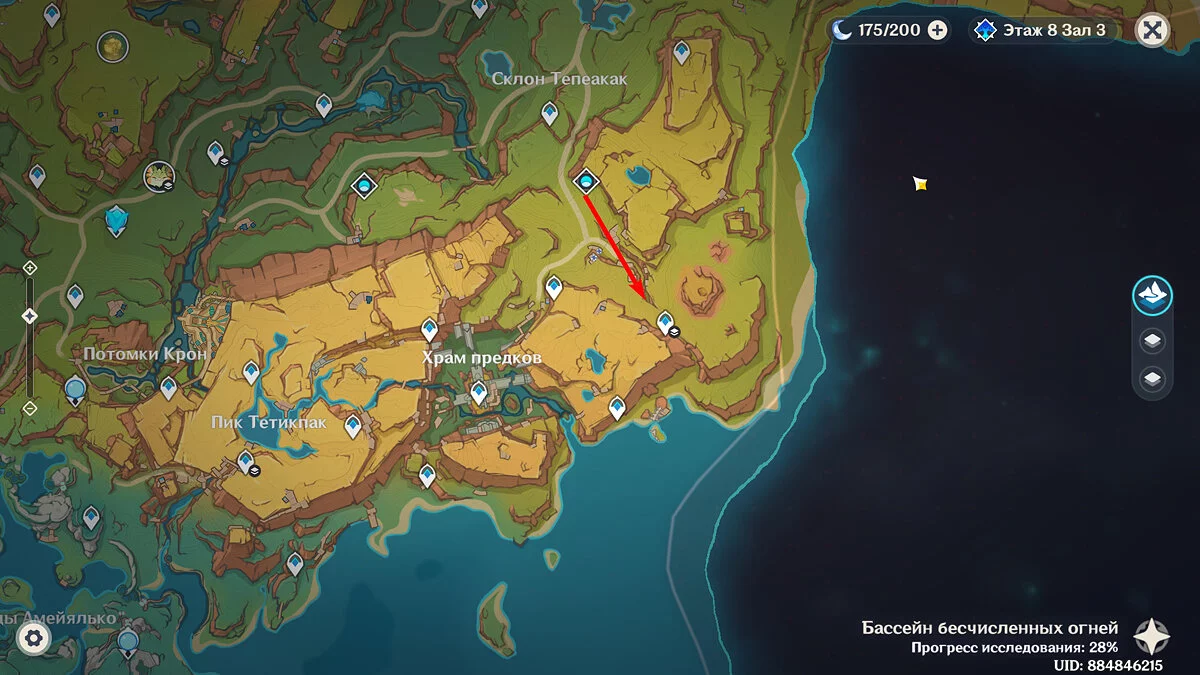
In one of the underground locations of Tekvemekan Valley, there is a grate that opens with a key. The area itself — the flooded ruins — can be accessed during the Under the Crystal quest, but you might have missed the key and the puzzle itself. Next, we will tell you how to open the grate and get the rewards.
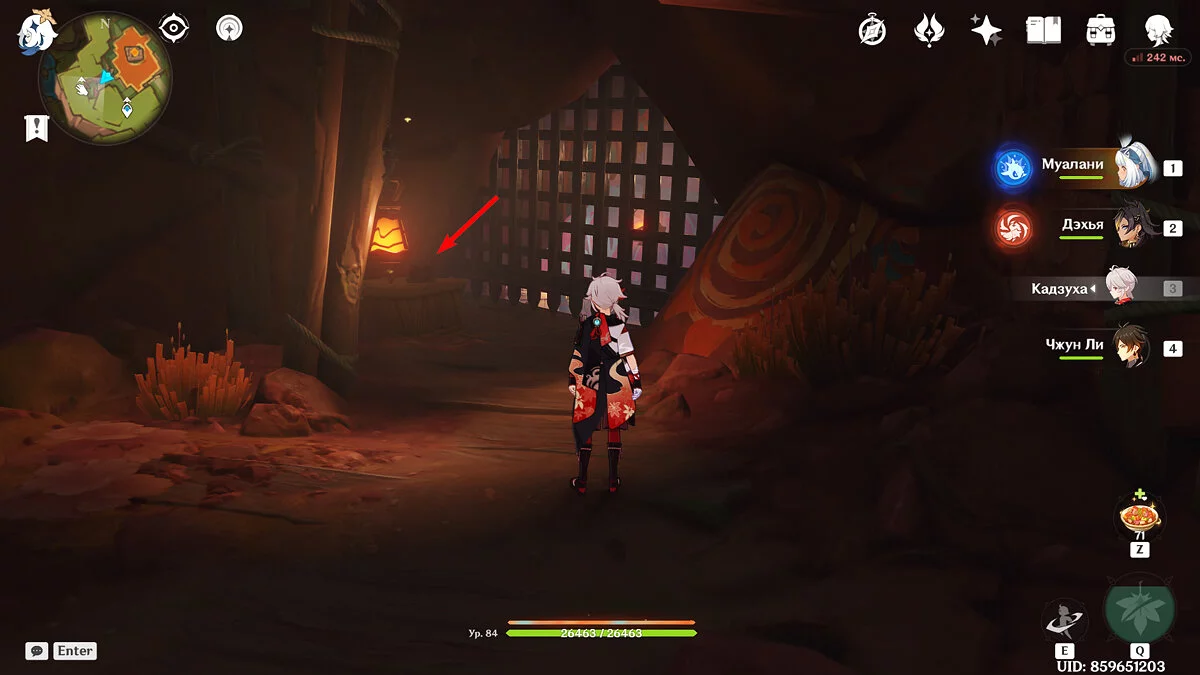
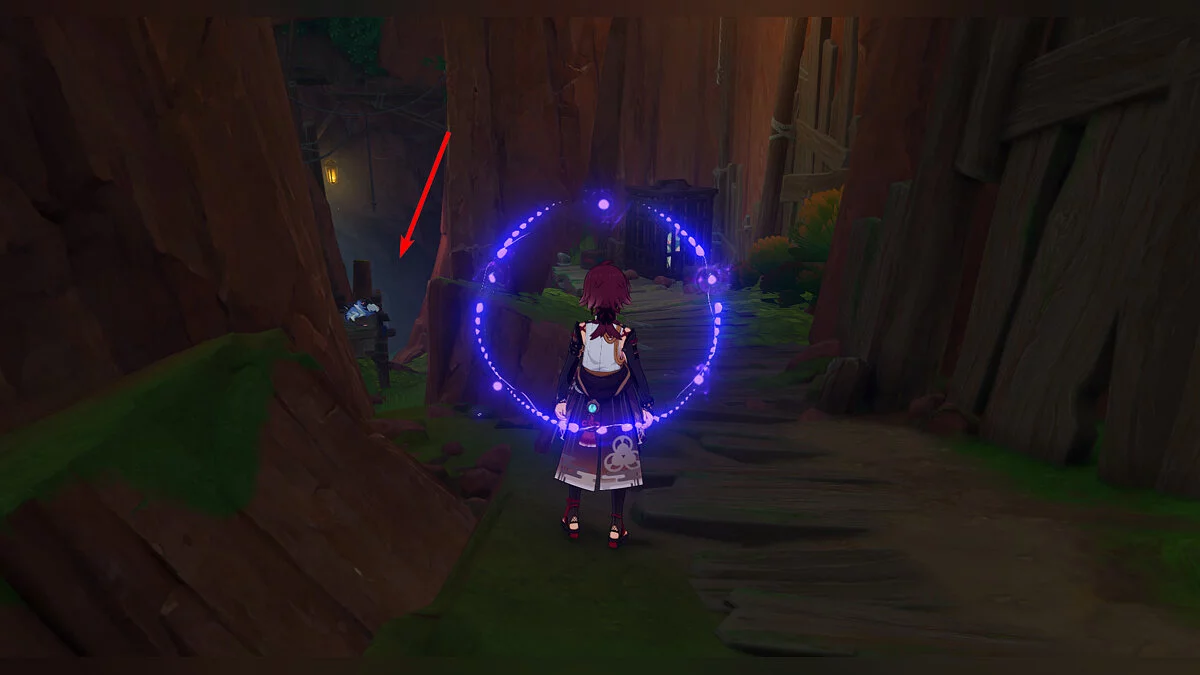
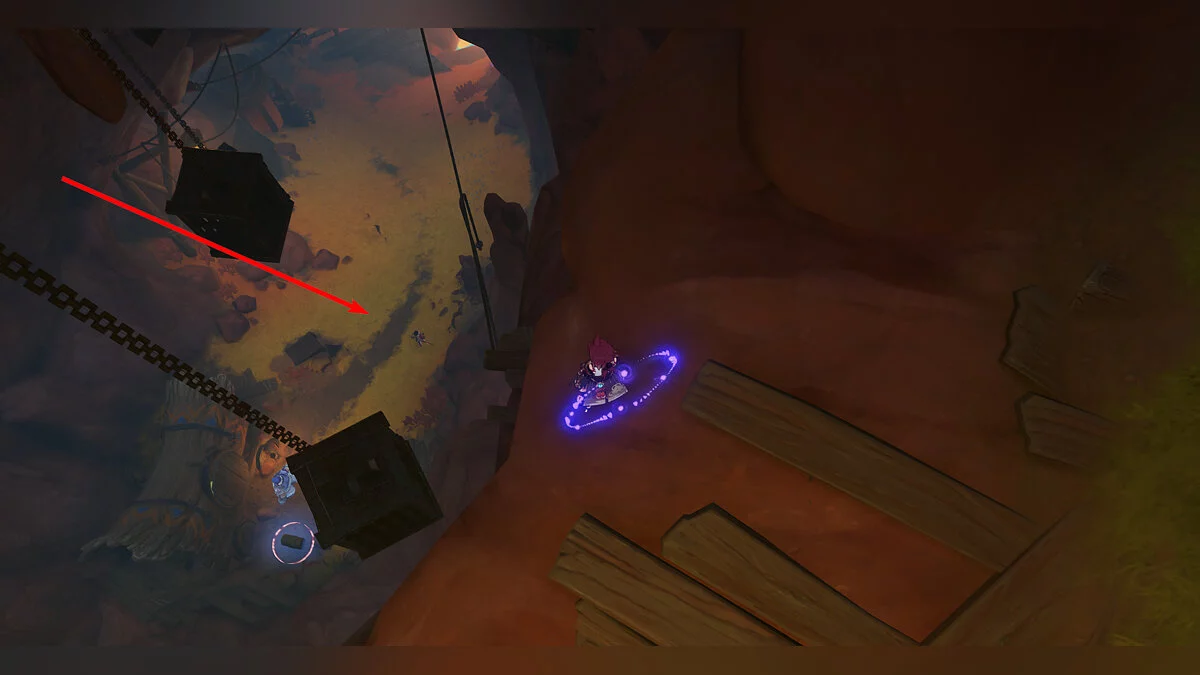
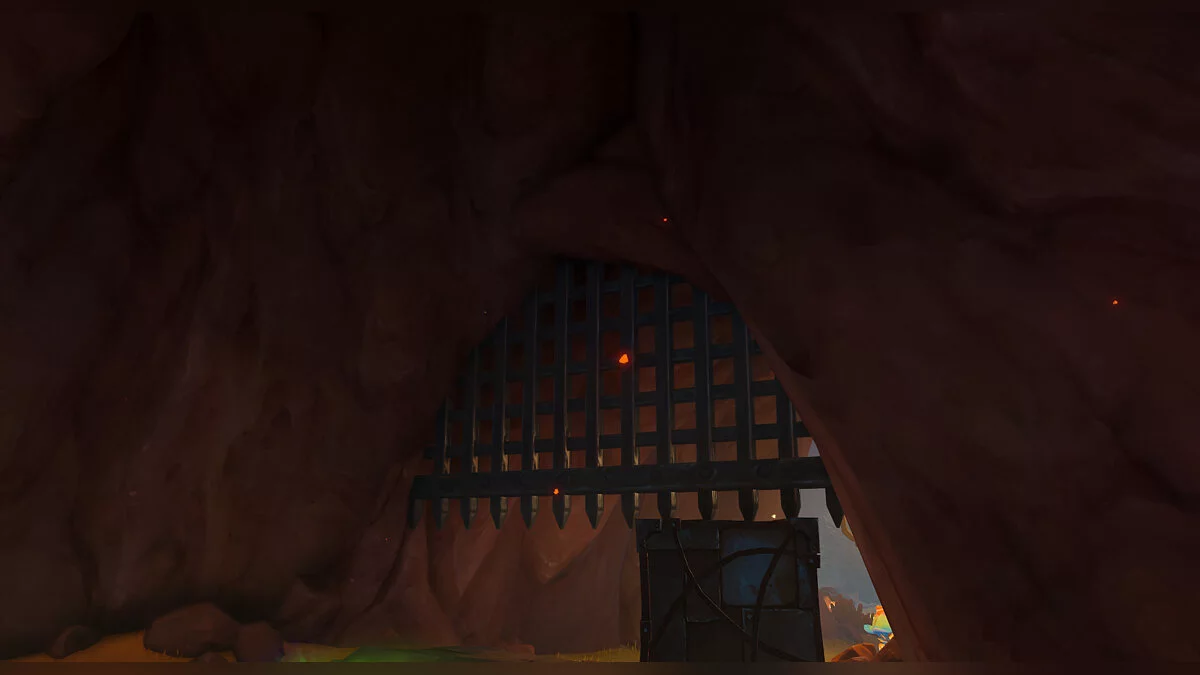
Use the nearest teleport to the indicated point and turn right to a small cave slightly below. You will find yourself at the grate, near which there will be a switch. However, it is activated by a key that can be found nearby.
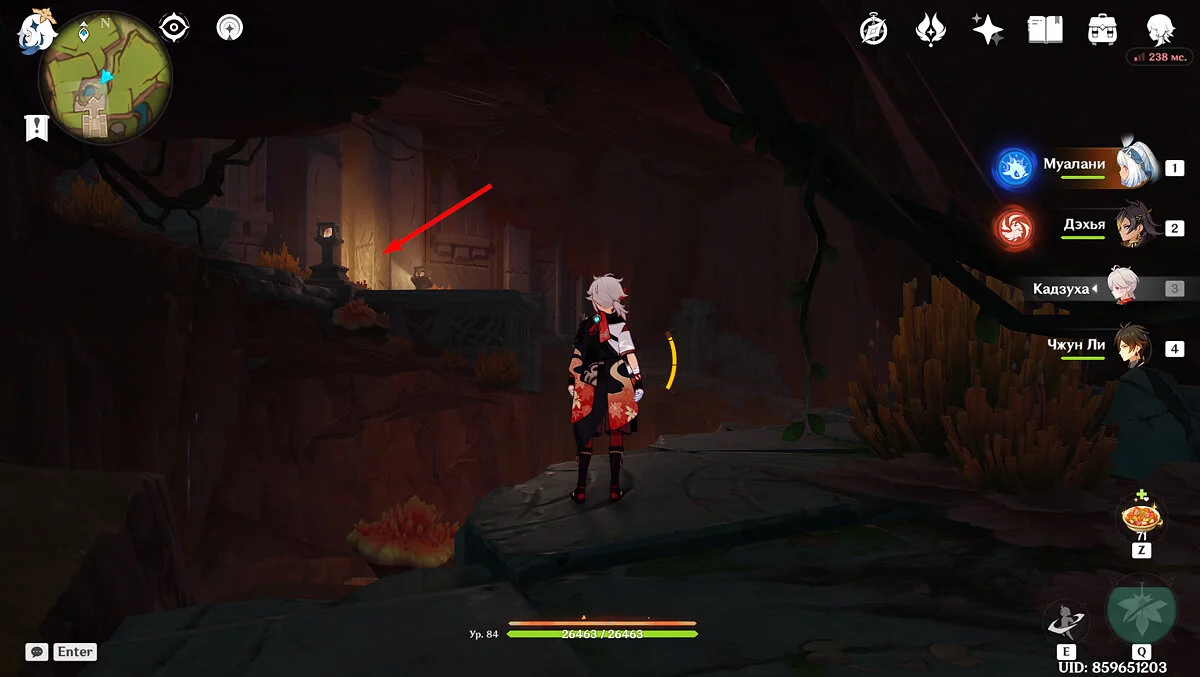
If you didn't take it during the quest, return to the indicated place, and entering the narrow door, take the key on the steps near the half-destroyed statue, then return and lift the grate.
Puzzles and Riddles in the Basin of Countless Flames
In the Natlan region Basin of Countless Flames, you can find only two puzzles that may be challenging to solve, as this location is mostly occupied by the Sacred Flame Stadium, which houses the region's infrastructure. Next, we will discuss how to solve these puzzles and where to find them. (cover 1)
Chests in the Cave
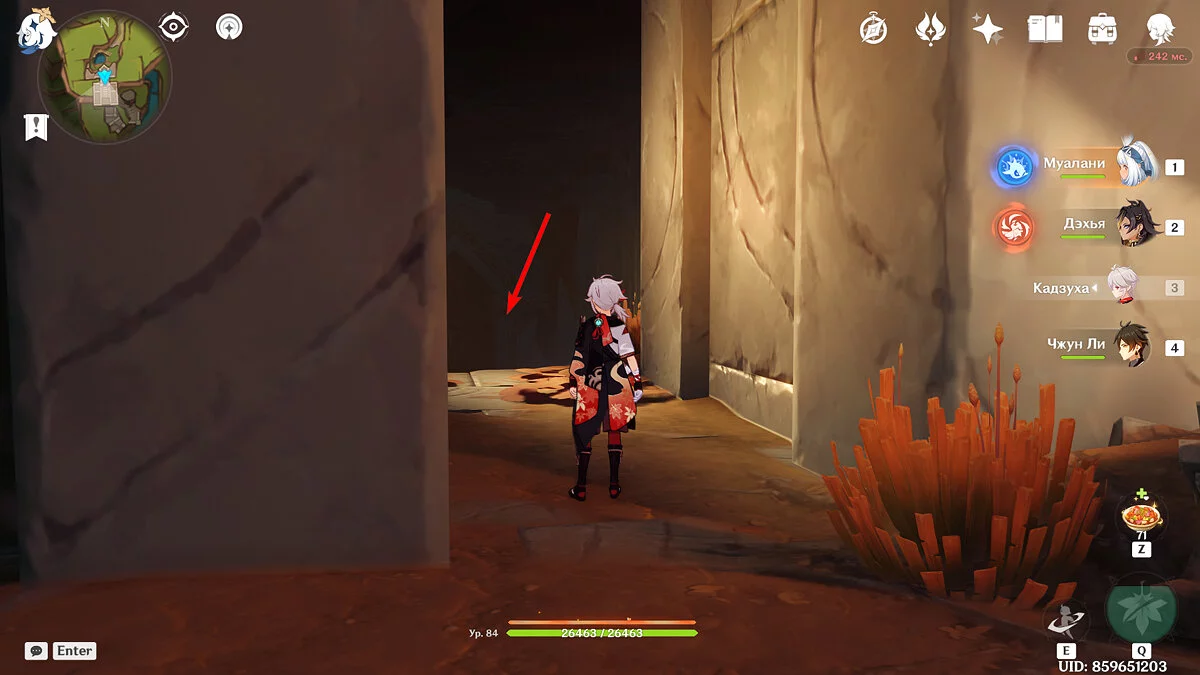
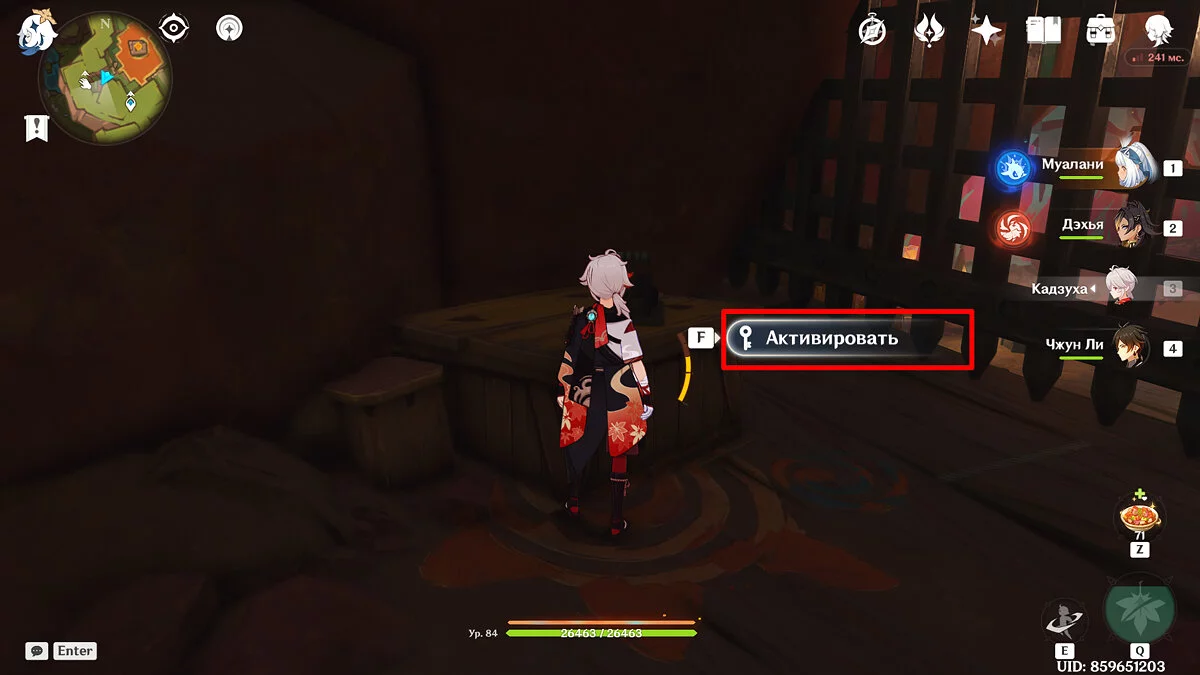
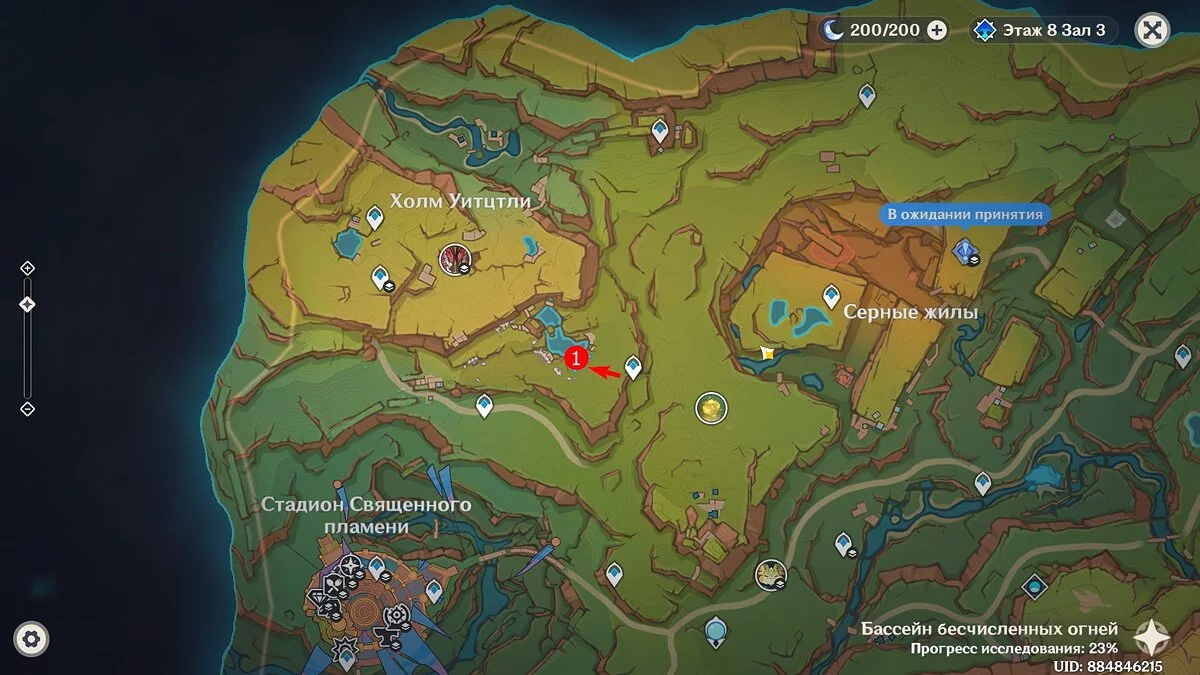
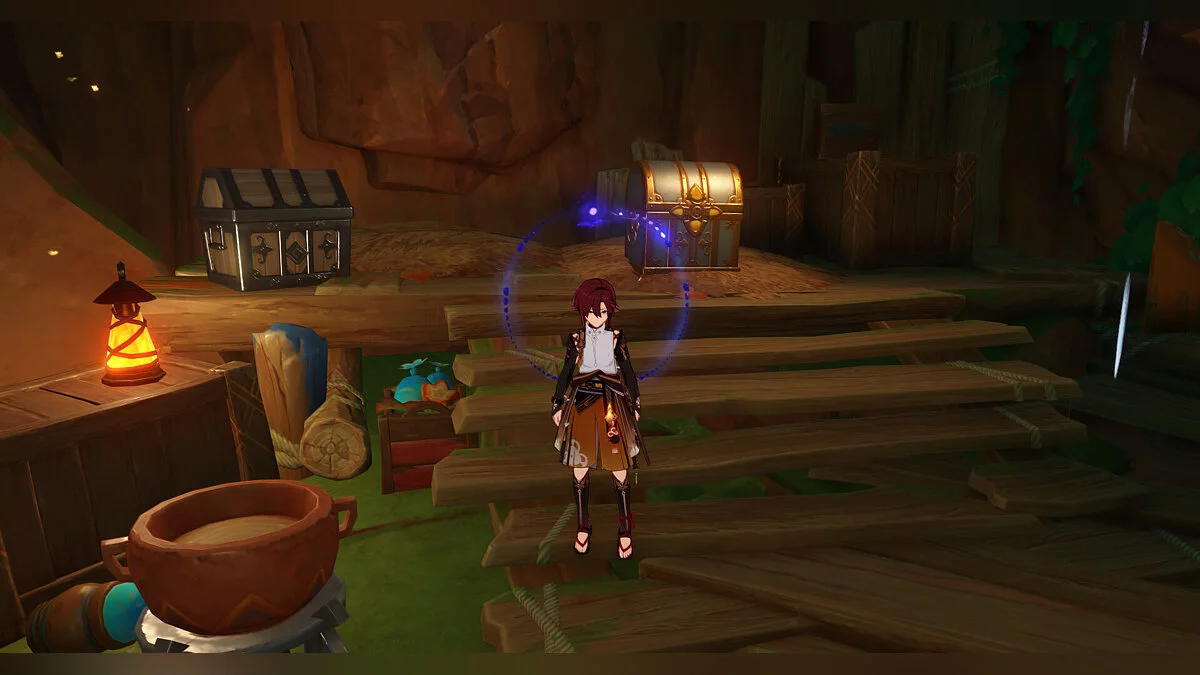
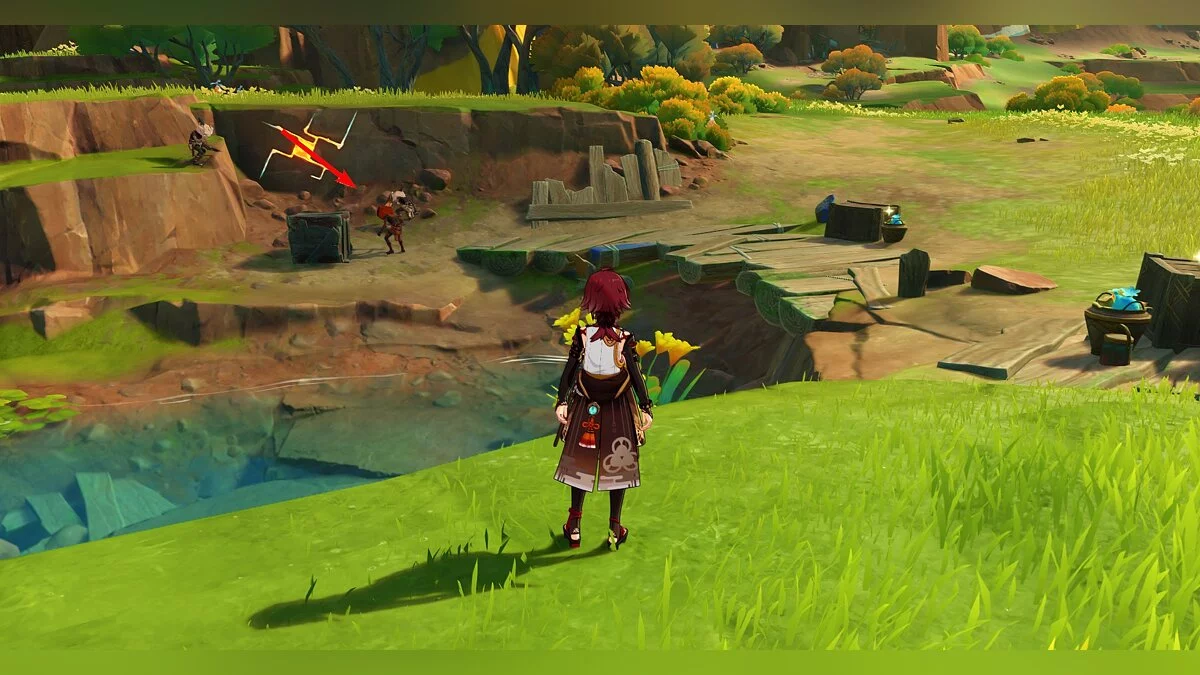
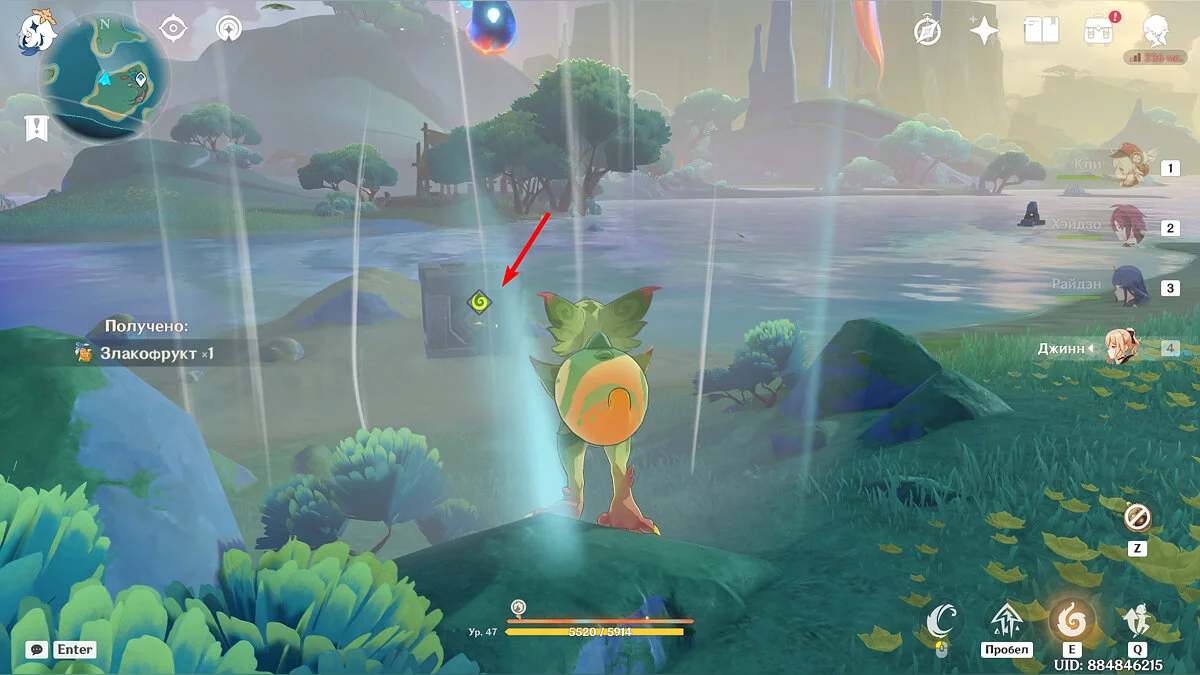
This is a complex puzzle that requires using all three types of Zavrians and leading the Manitu to their drawings, after which a secret cave with treasures will open.
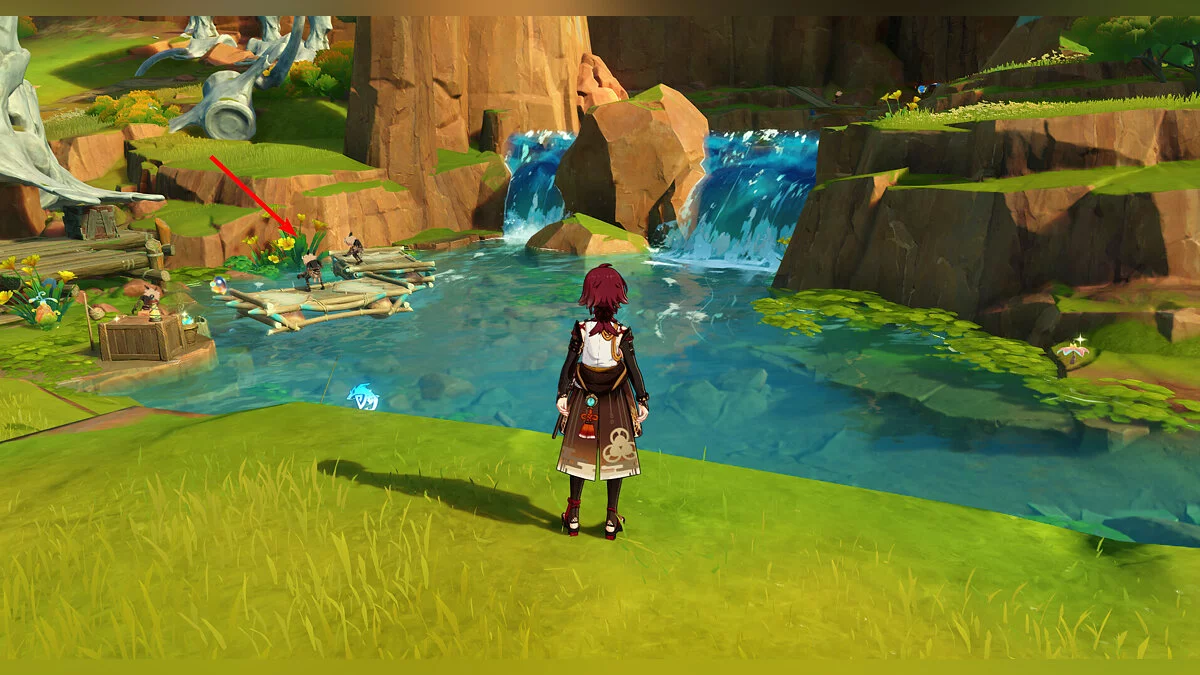
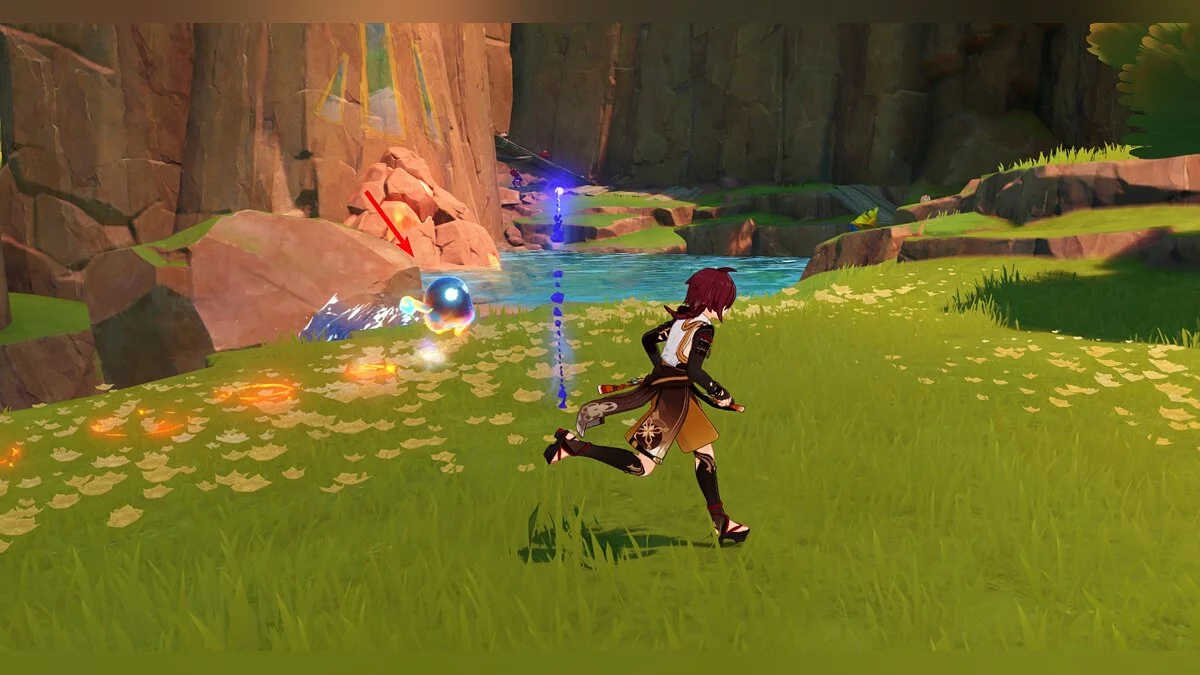
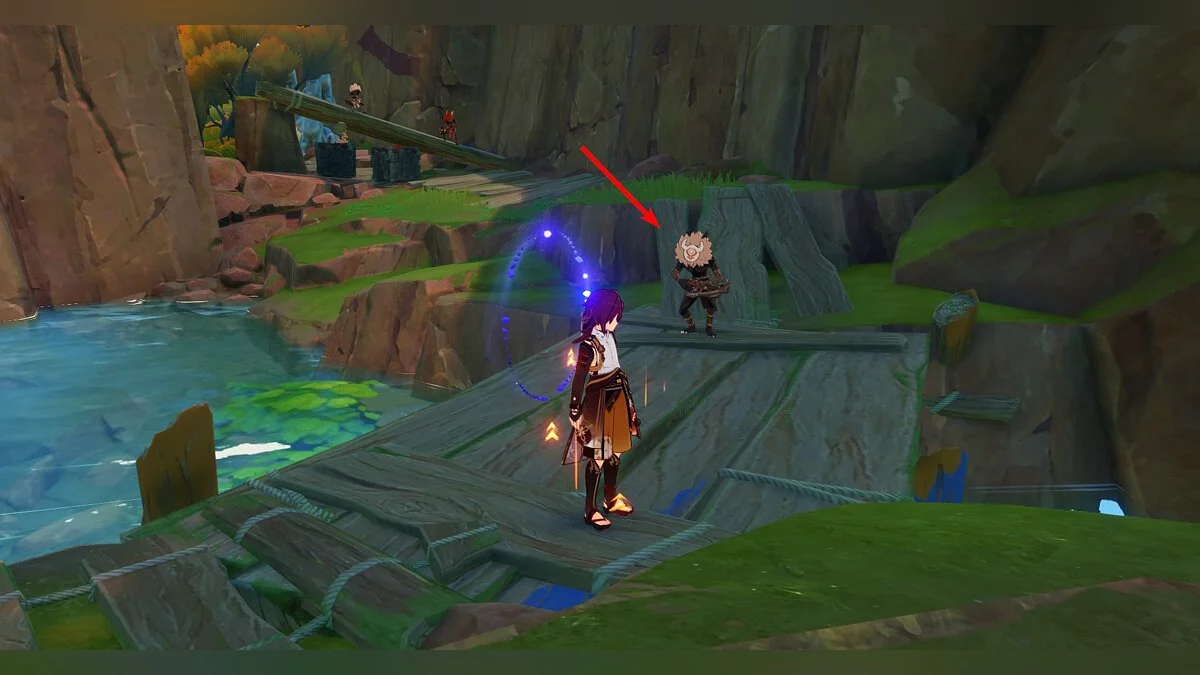
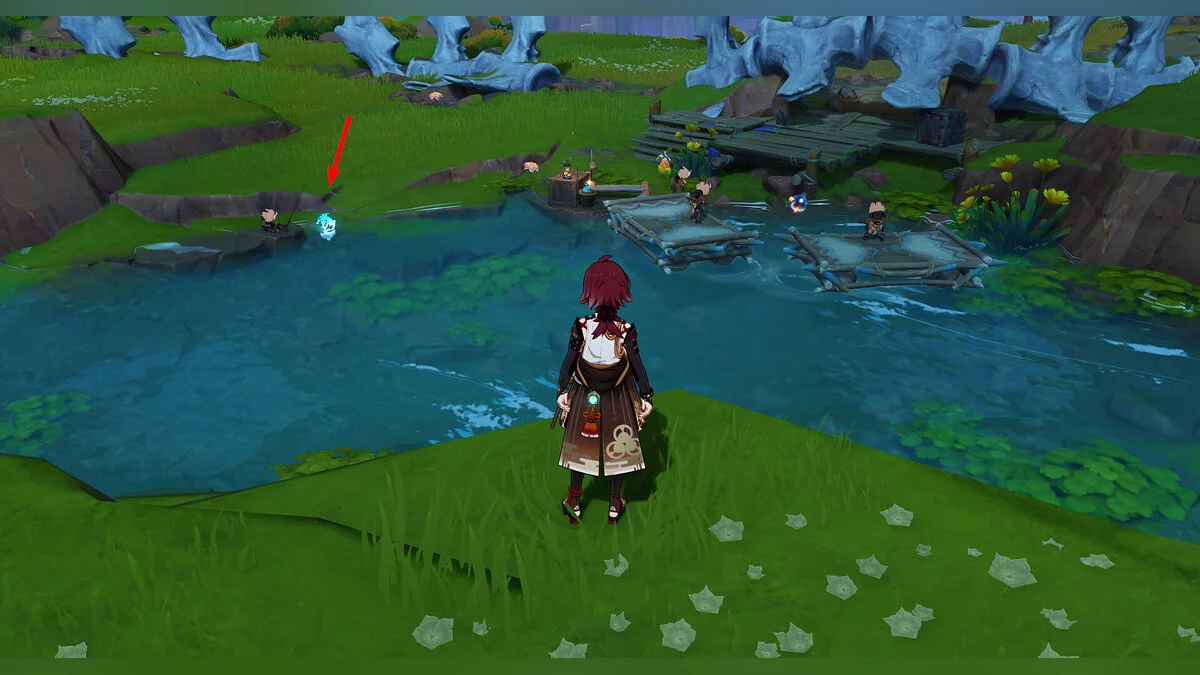
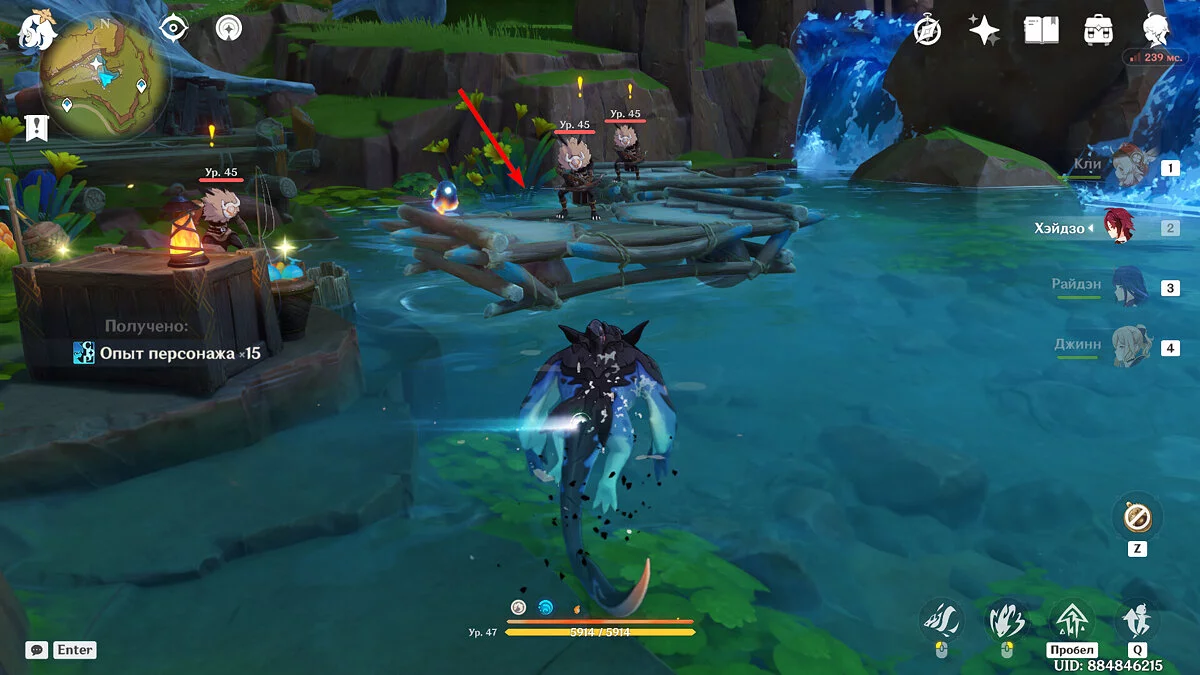
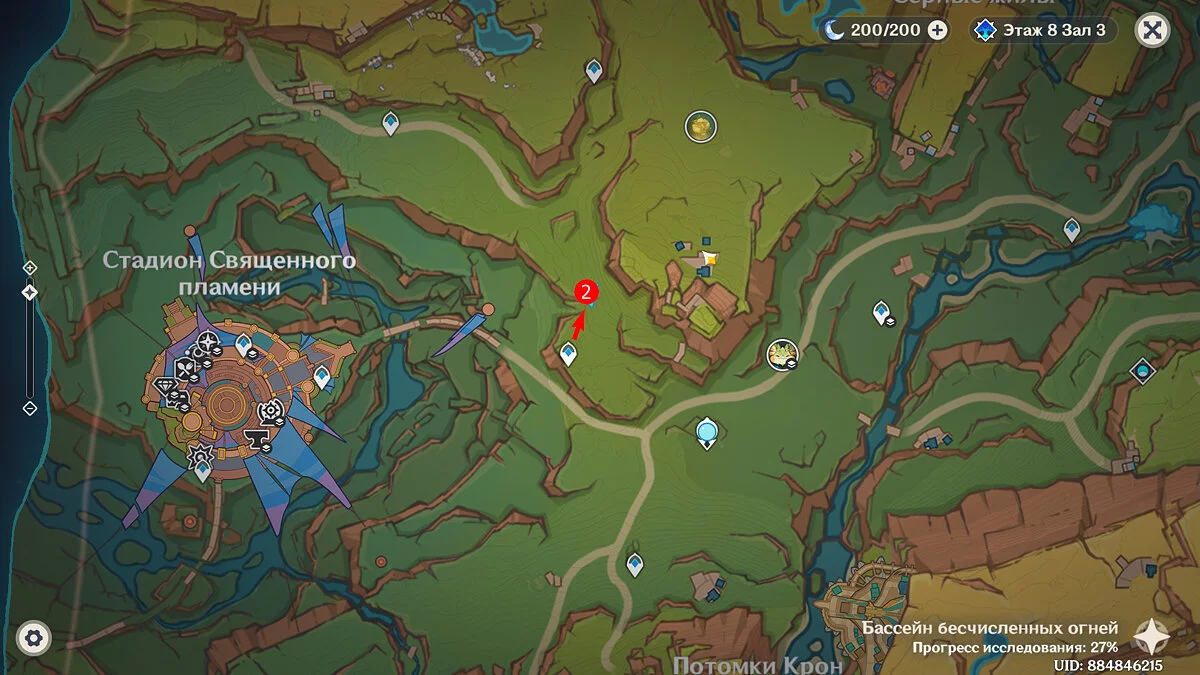
Teleport to the southwest of the Sulfur Veins, below the Hill of Uitzli, and head to a small pond to the north, which is marked on the map. To solve the puzzle, you need to use the Zavrians' skills, but first, eliminate the nearby enemies. Hilichurls standing on rafts can be easily drowned, so deal with the ground enemies first.
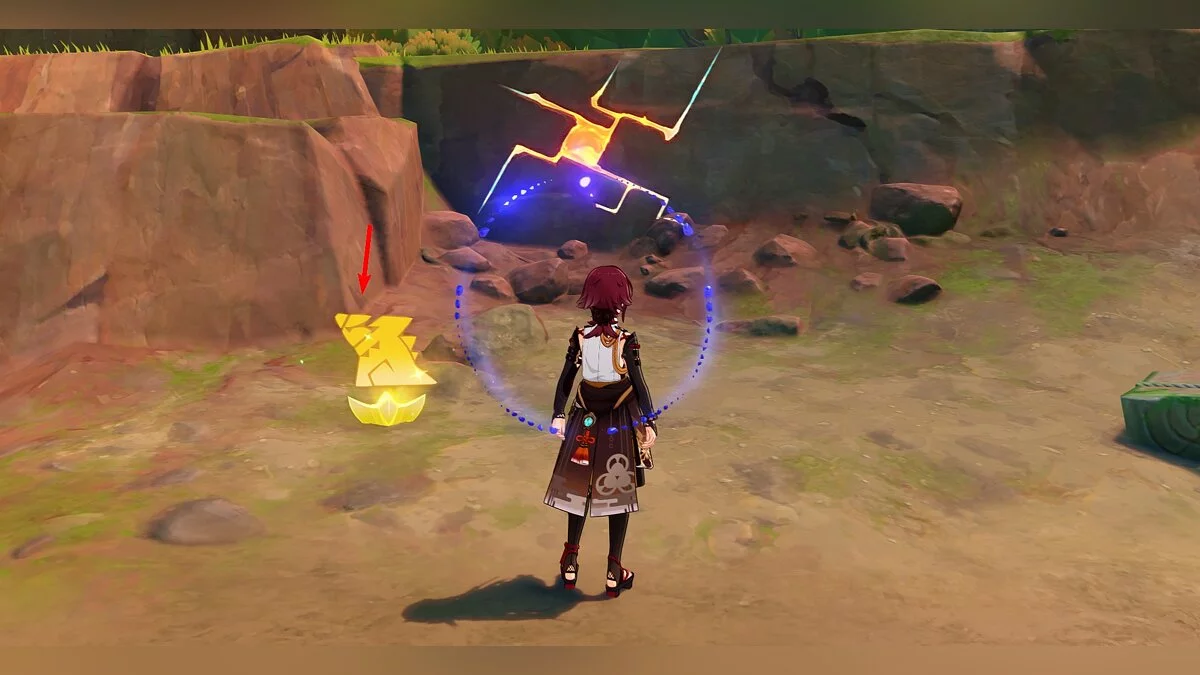
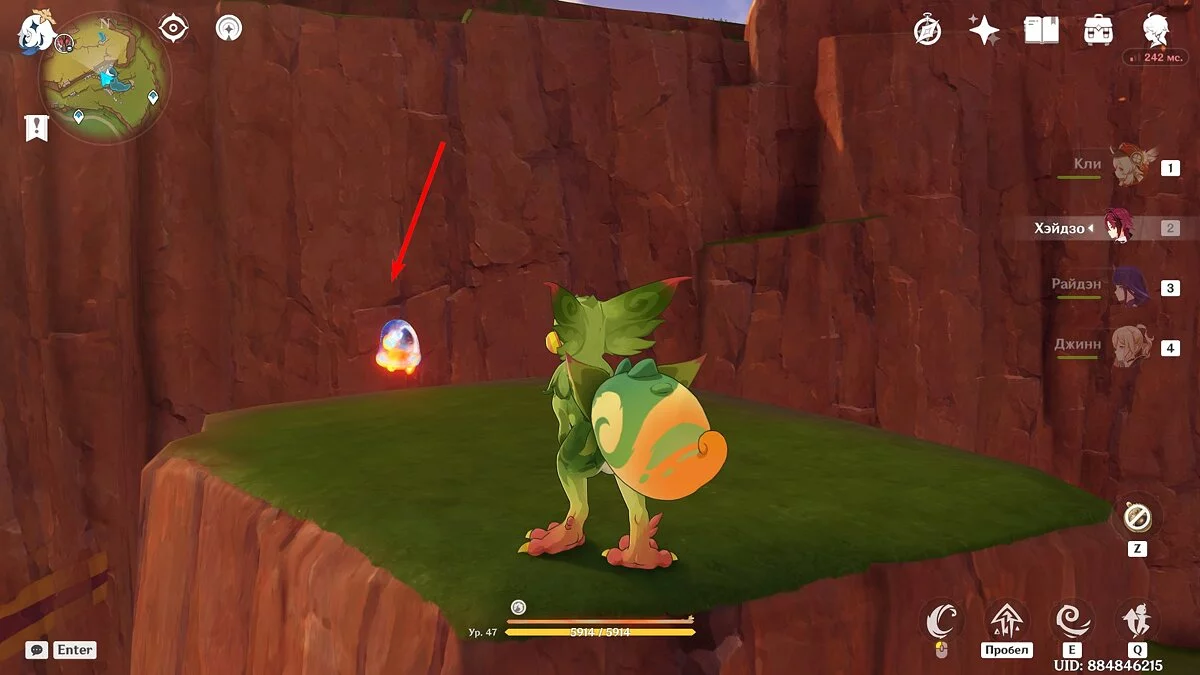
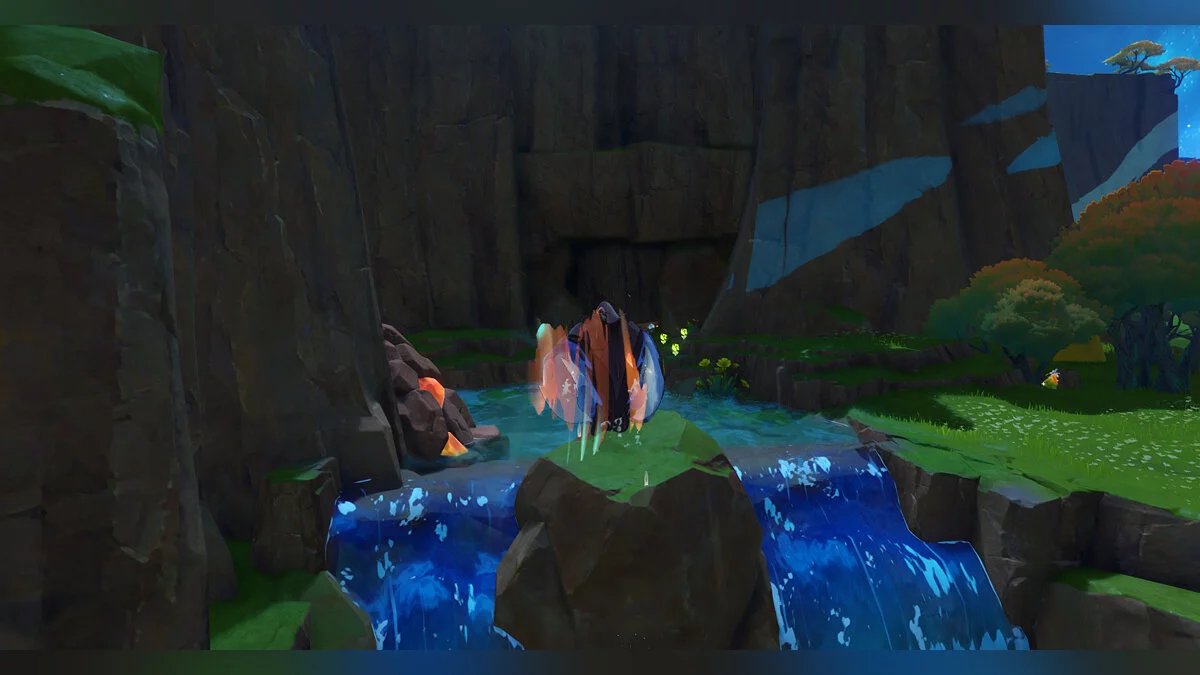
After defeating the Hilichurls near the seal on the stone, possess the emerged monument with Tepetlizard and break the symbol. A Manitu will pop out. Escort the creature to the drawing and deal with another group of Hilichurls along the way.
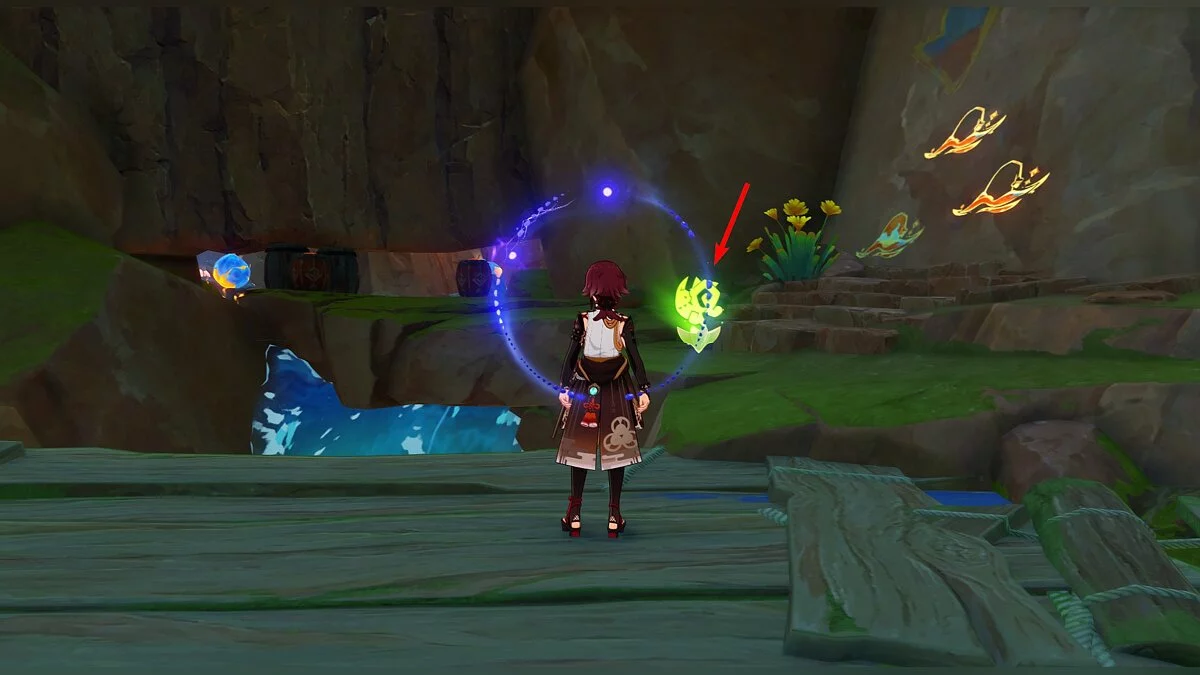
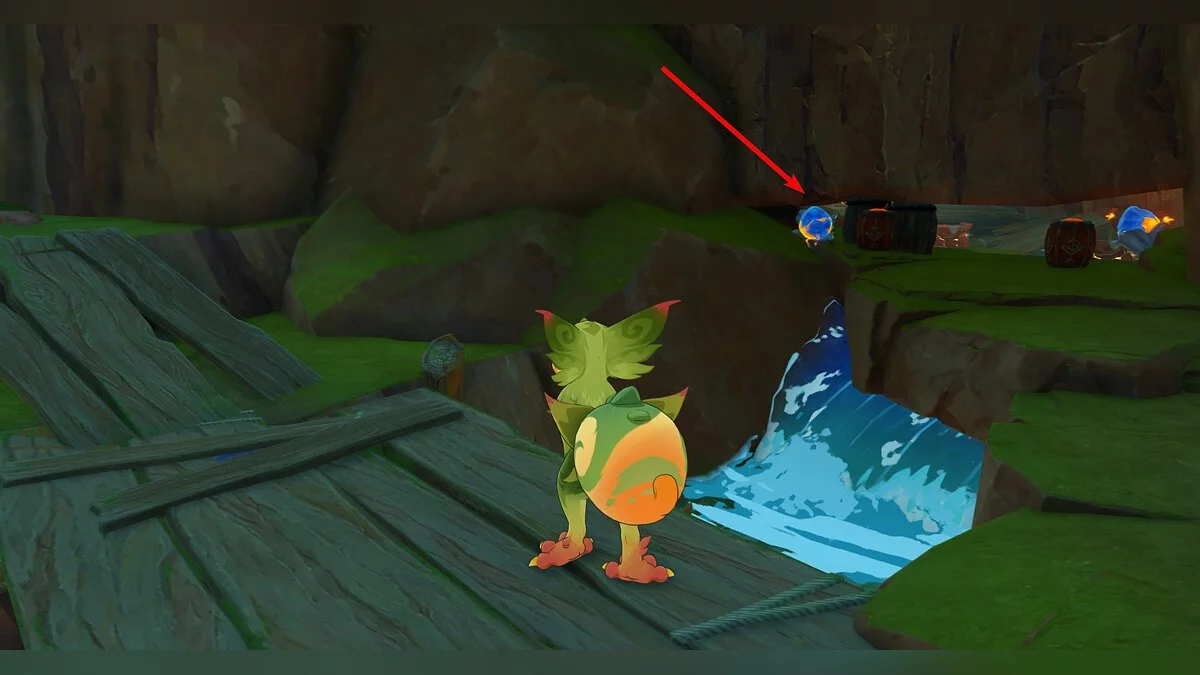
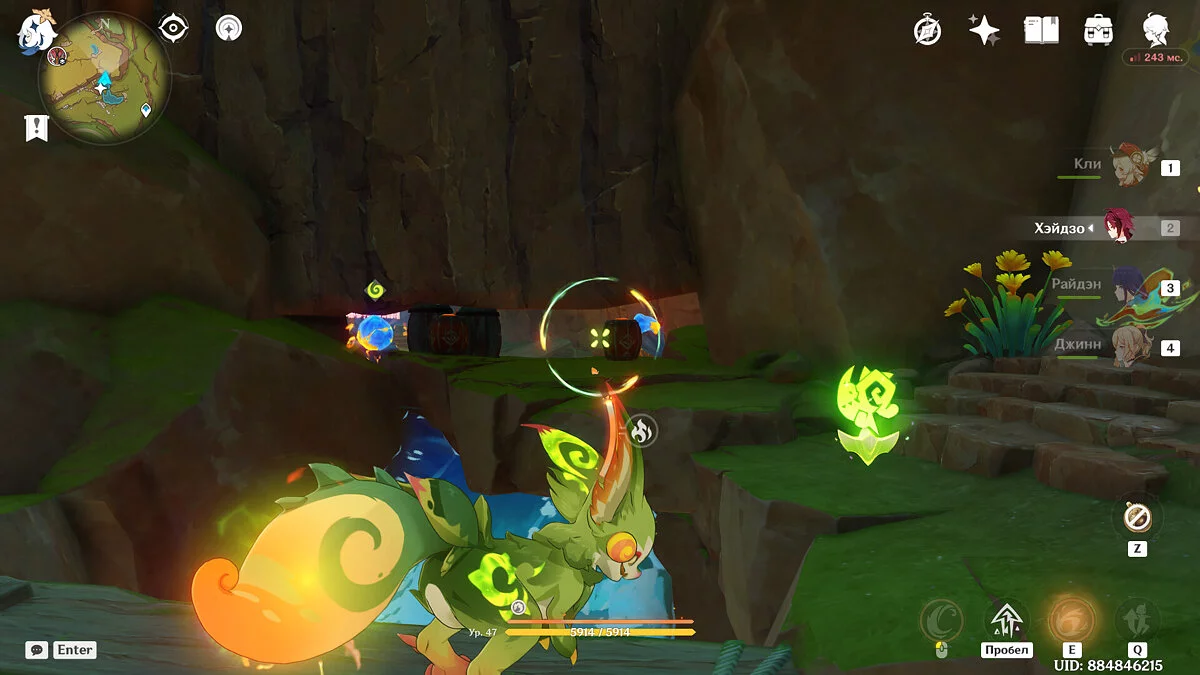
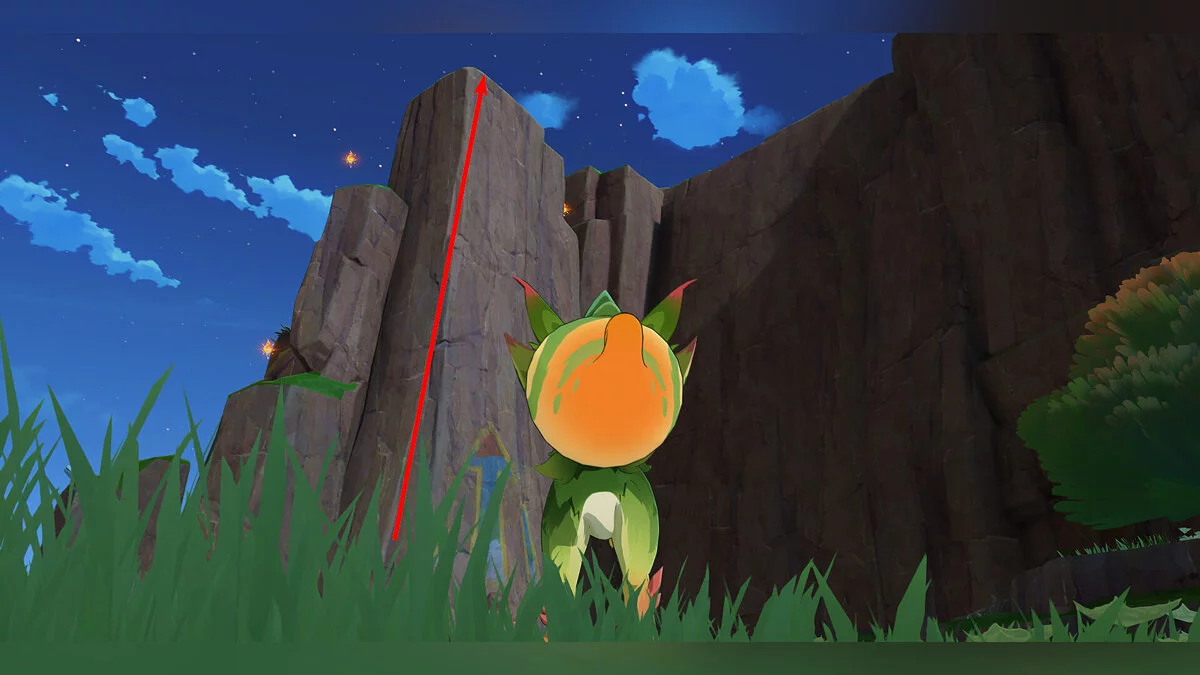
Near the graffiti, you will see a small entrance to a cave, a flame pomegranate, and explosive barrels. Use the monument with Yumkazaur nearby, grab the fruit with the Zavrian's skill, and throw it into the barrels. Then climb the mountain opposite, which has a large arrow drawn on it. There will be another Manitu. Escort it to the drawing.
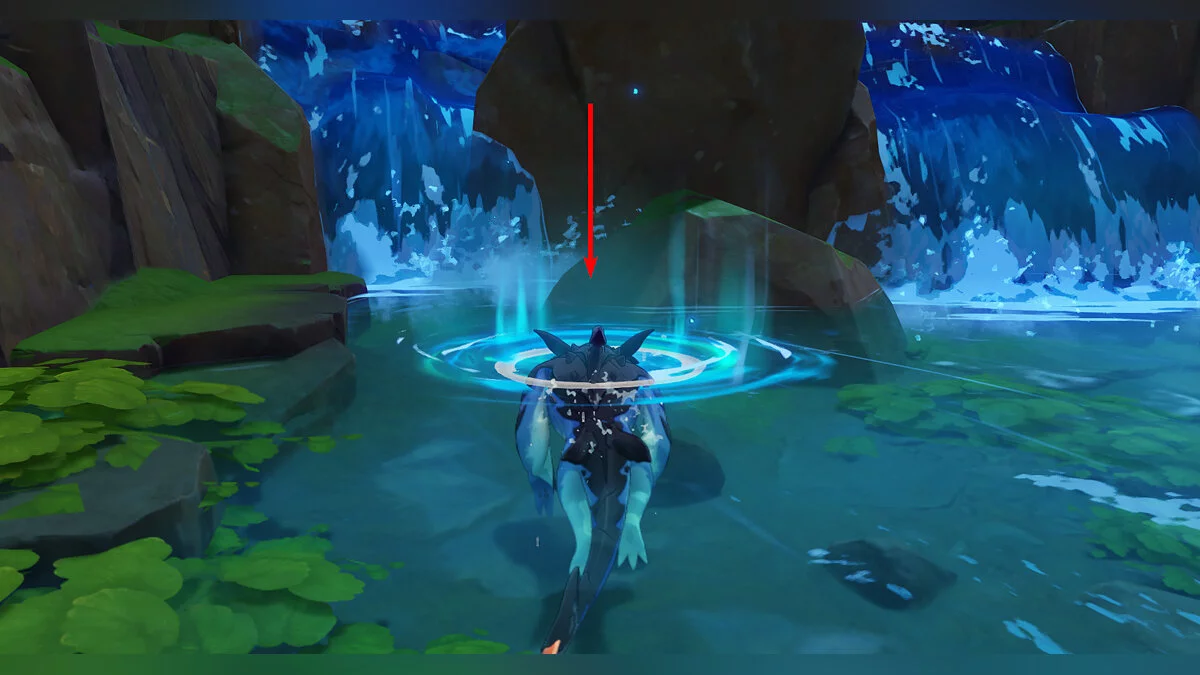
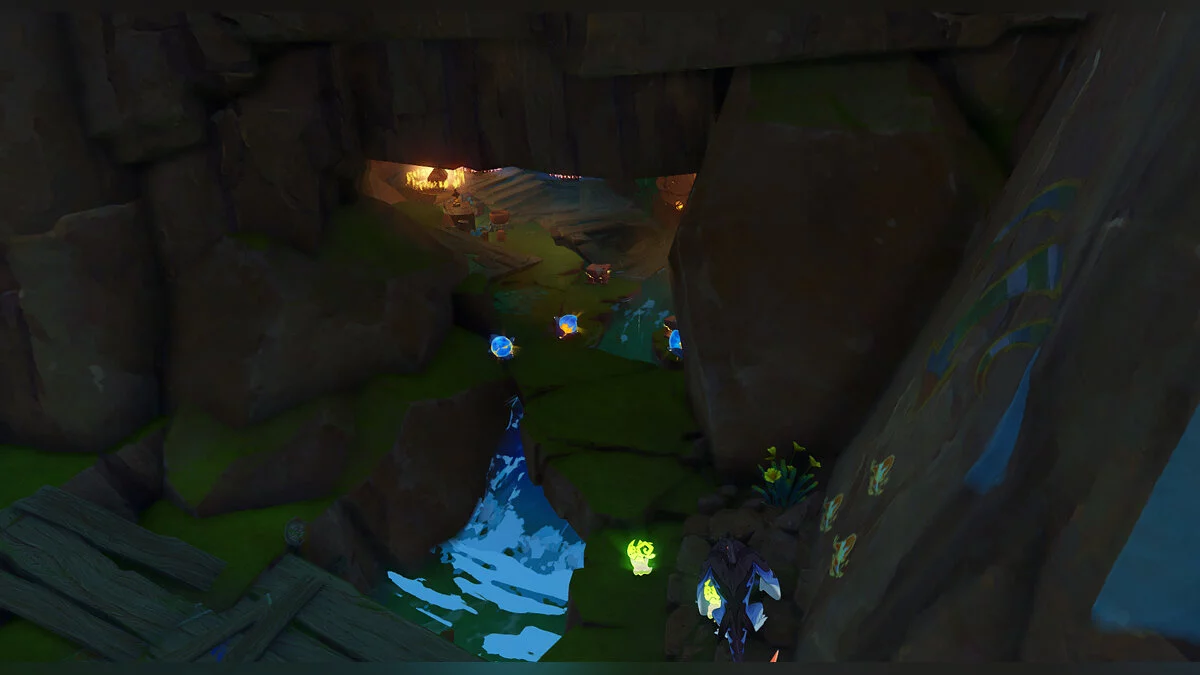
Then descend lower and possess Kolohosaur. Dash and knock down the Hilichurls on the rafts and escort the Manitu to the drawing. The creature will create a vortex on the water, allowing the Zavrian to jump higher. After escorting the last Manitu, enter the opened cave and take the treasures — one luxurious and two rich chests.
Precious Chest and Braziers
This is a fairly easy puzzle, but it has a trick. To solve it, you need to light the fires in a specific order.
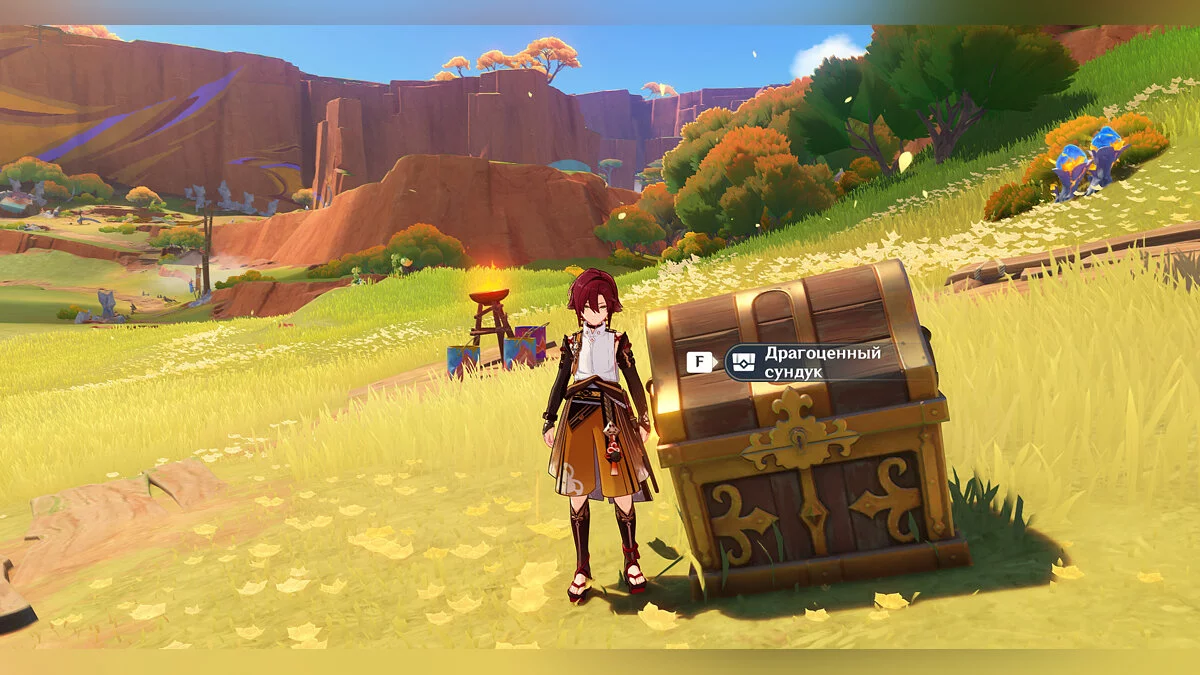
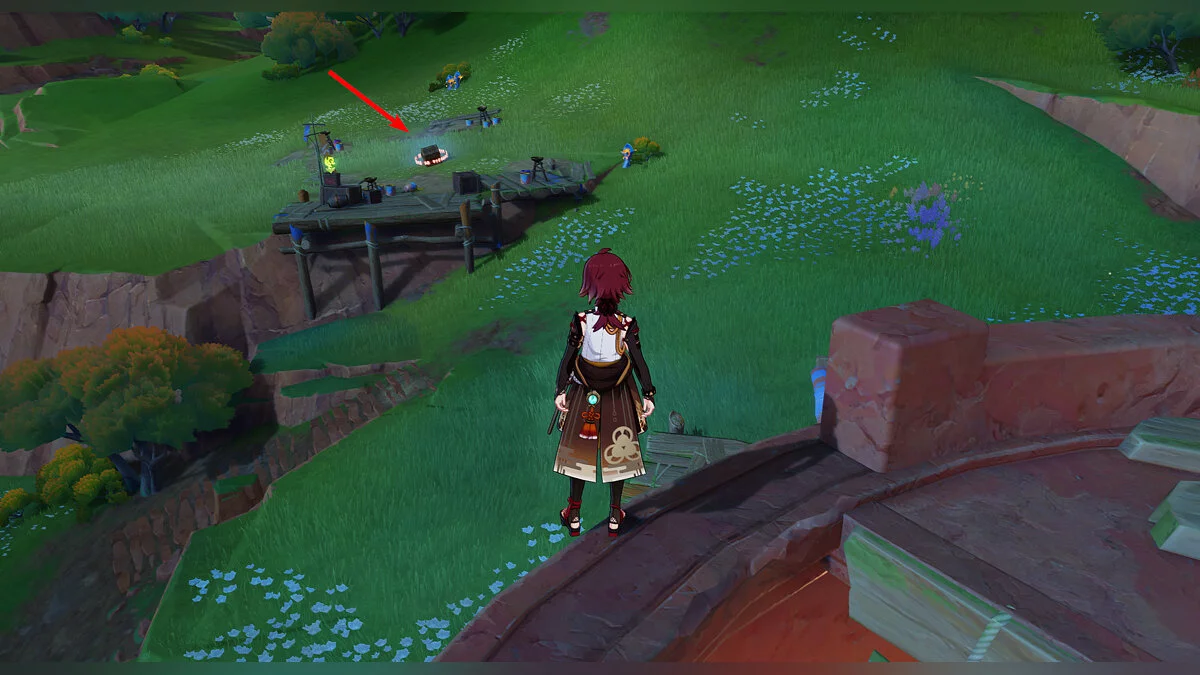
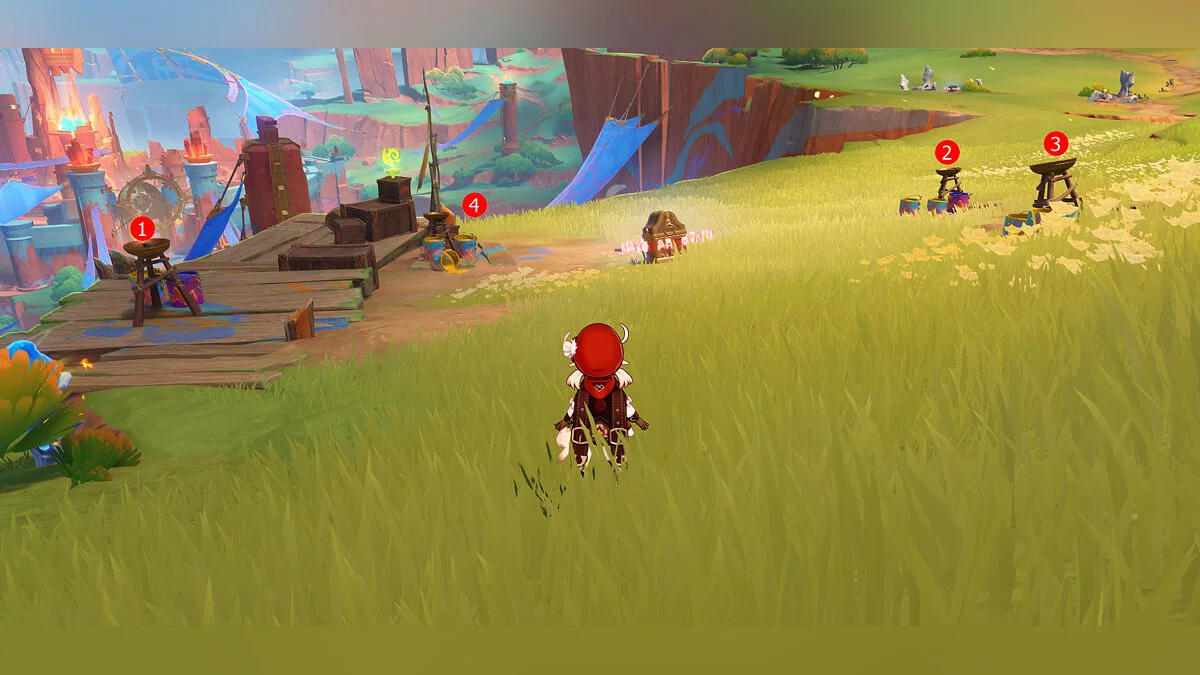
Teleport slightly east of the Sacred Flame Stadium, and right near the teleport, you will see this puzzle and a locked precious chest. To solve it, take a Pyro character (preferably an archer) into your party or possess Yumkazaur and use the flame pomegranates nearby to light the braziers. Additionally, to extinguish a fire if it is lit incorrectly, add a Hydro or Cryo hero to the party — they will quickly extinguish the flame, so you won't have to wait long.
To open the precious chest, simply light the surrounding braziers in the correct order. The clue is the paint cans at each fire: the amount of yellow paint corresponds to the torch's order number. You can also see the solution in the screenshot above. Once all the braziers are lit in the correct order, you can take the chest.
Puzzles and Riddles on Mount Coatépec
There are not many puzzles on Mount Coatépec, but they are quite cunning and can be challenging to solve. Next, we will tell you how to find and solve them.
Phlogiston Extraction Research Center
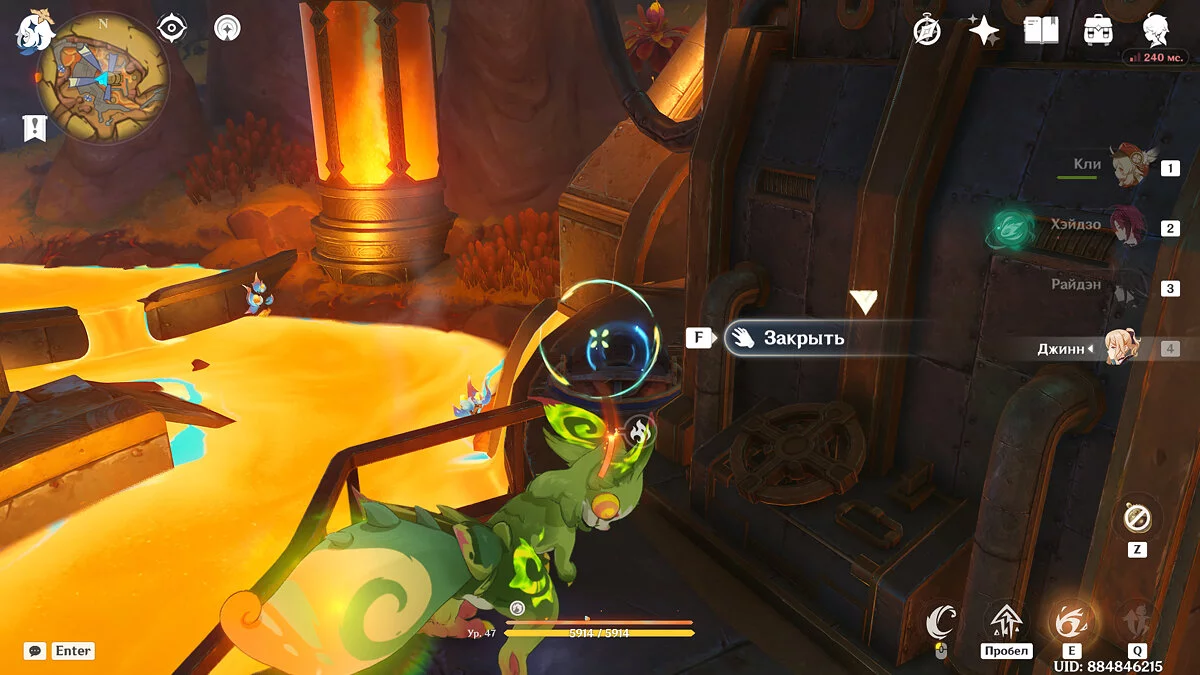
This puzzle allows you to open a small underground location where the Fatui work and study phlogiston. To solve these puzzles, learn to use fake transmission spheres and defeat the soldiers from Snezhnaya.
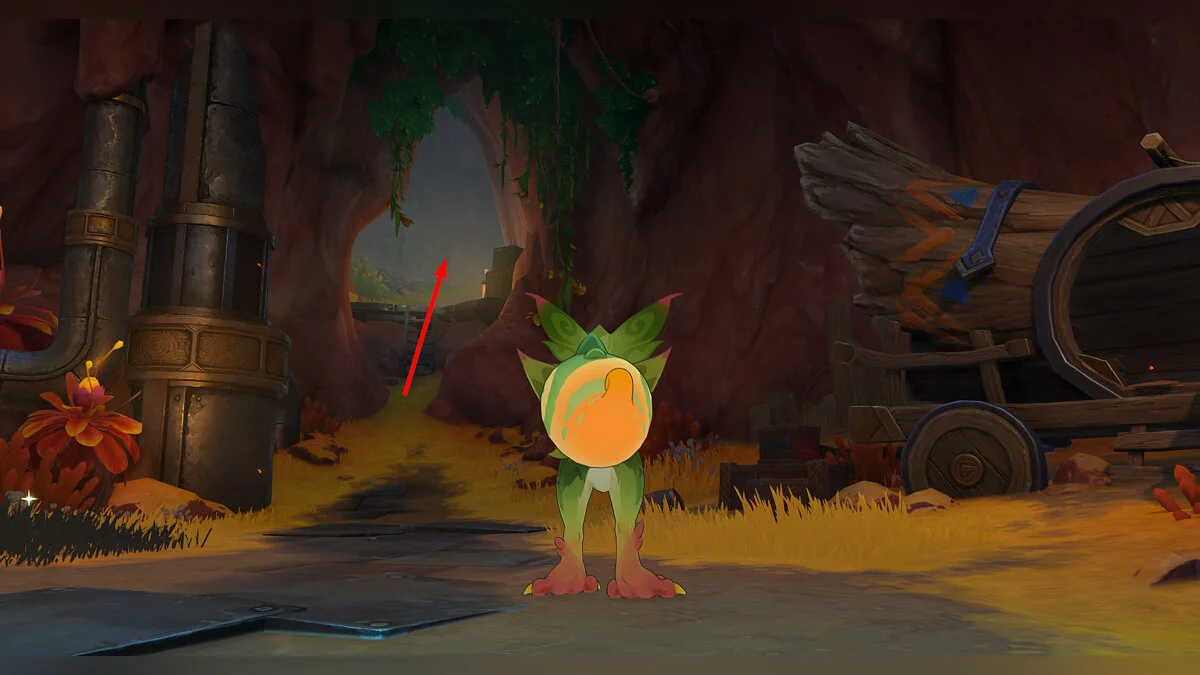
First, teleport to the Fiery Ruins dungeon and run down the path. Along the way, you will encounter Zavrians in cages and Fatui guarding chests. Deal with the enemies and take the treasures, or proceed further without getting distracted by the opponents.
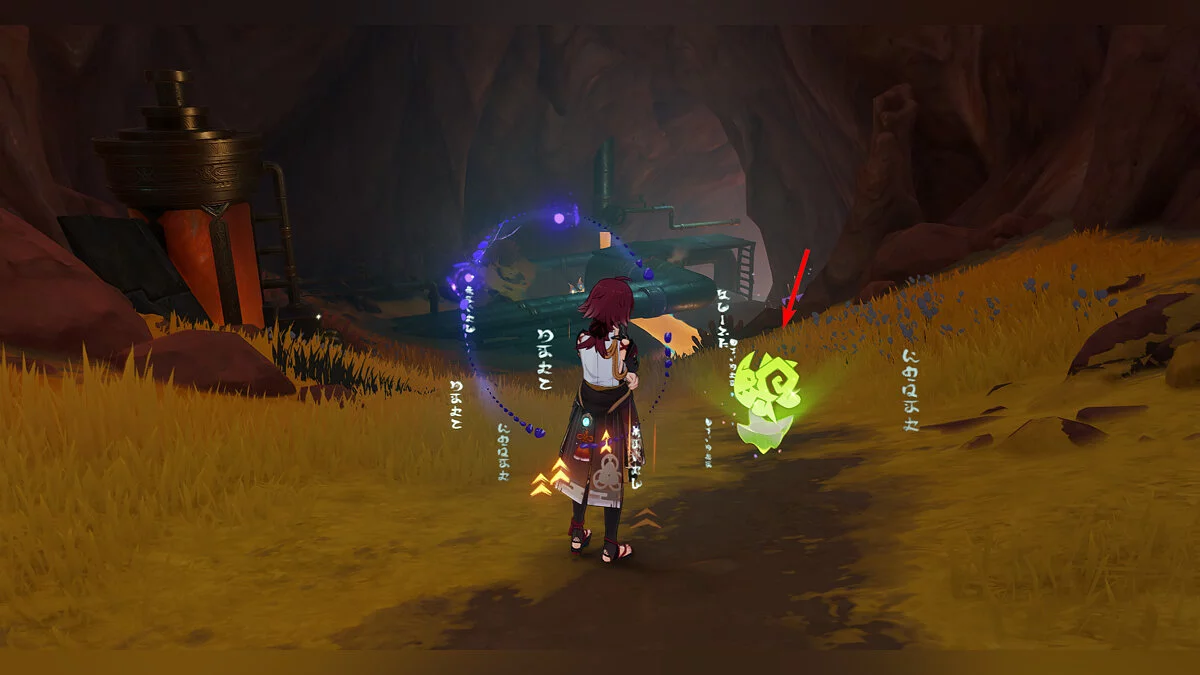
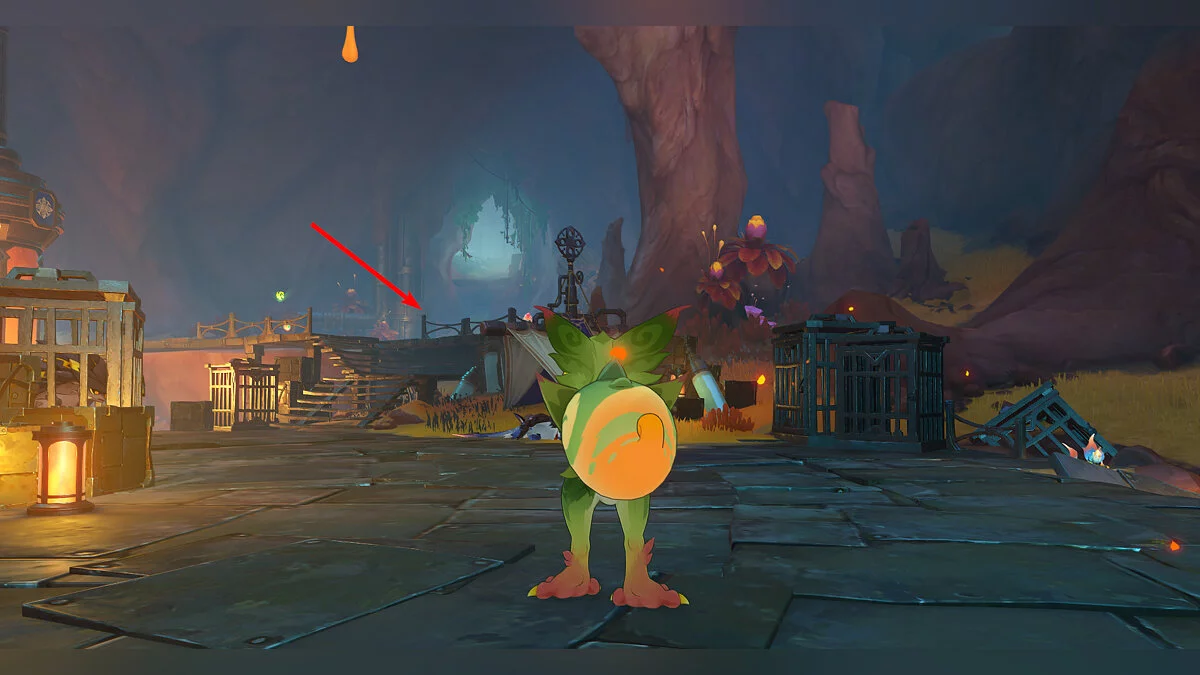
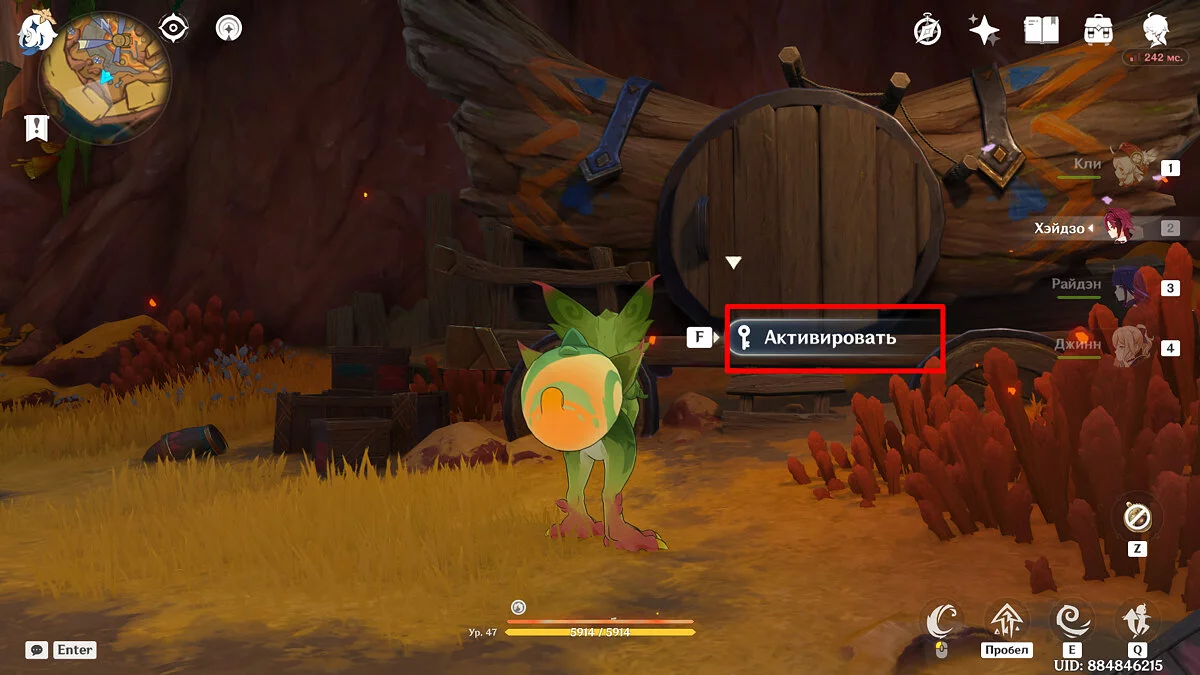
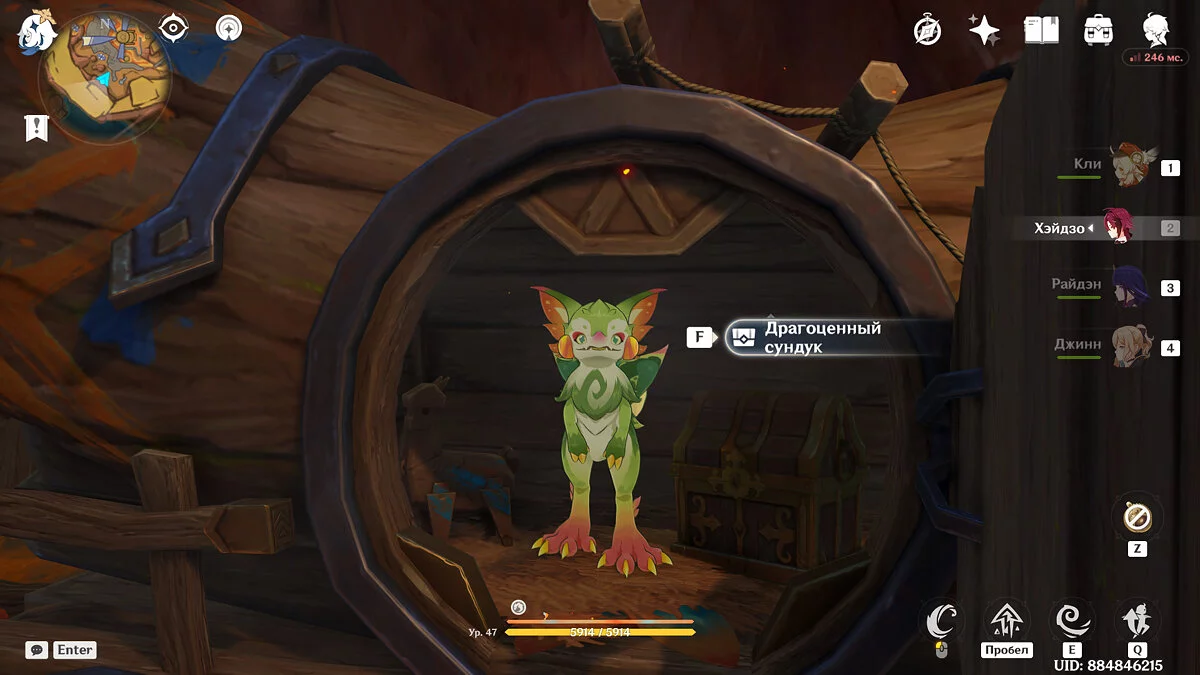
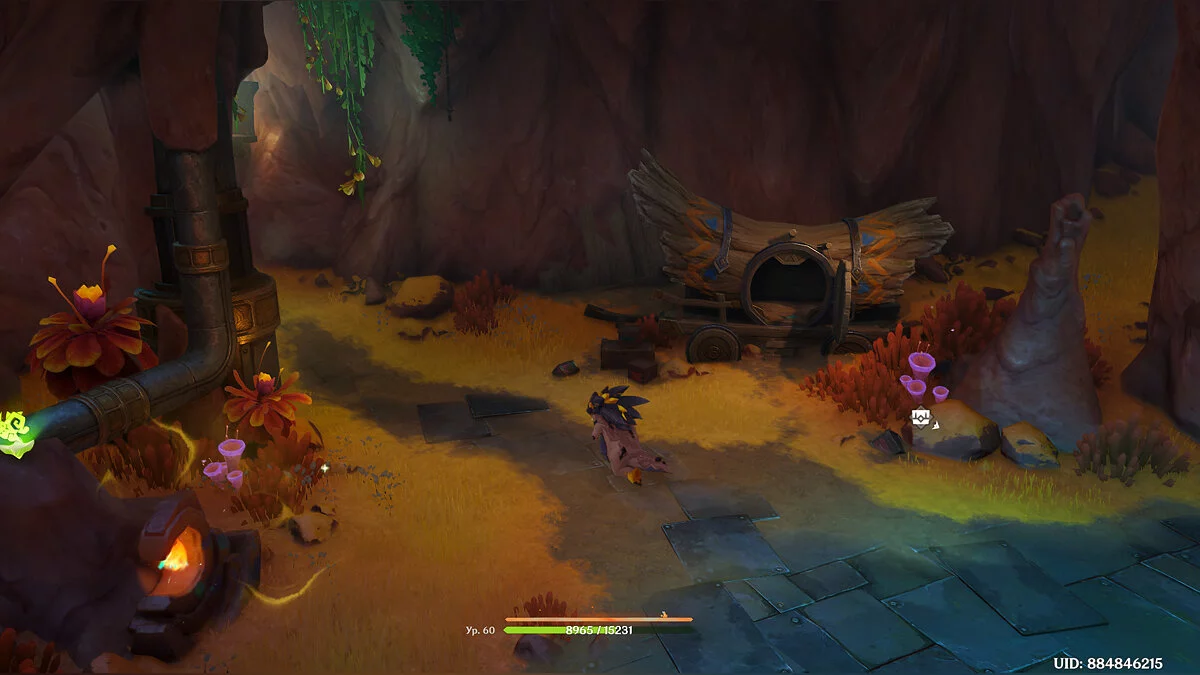
Move deeper into the gorge, past the Zavrians, until you find yourself near a small ravine. At the bottom, there will be a chest guarded by Fatui. Deal with the enemies and open the treasure. Inside, there will be a chest from the cart nearby. Open it and talk to the rescued Yumkazaur, then possess the nearby monument, continuing your movement in the form of a Zavrian.
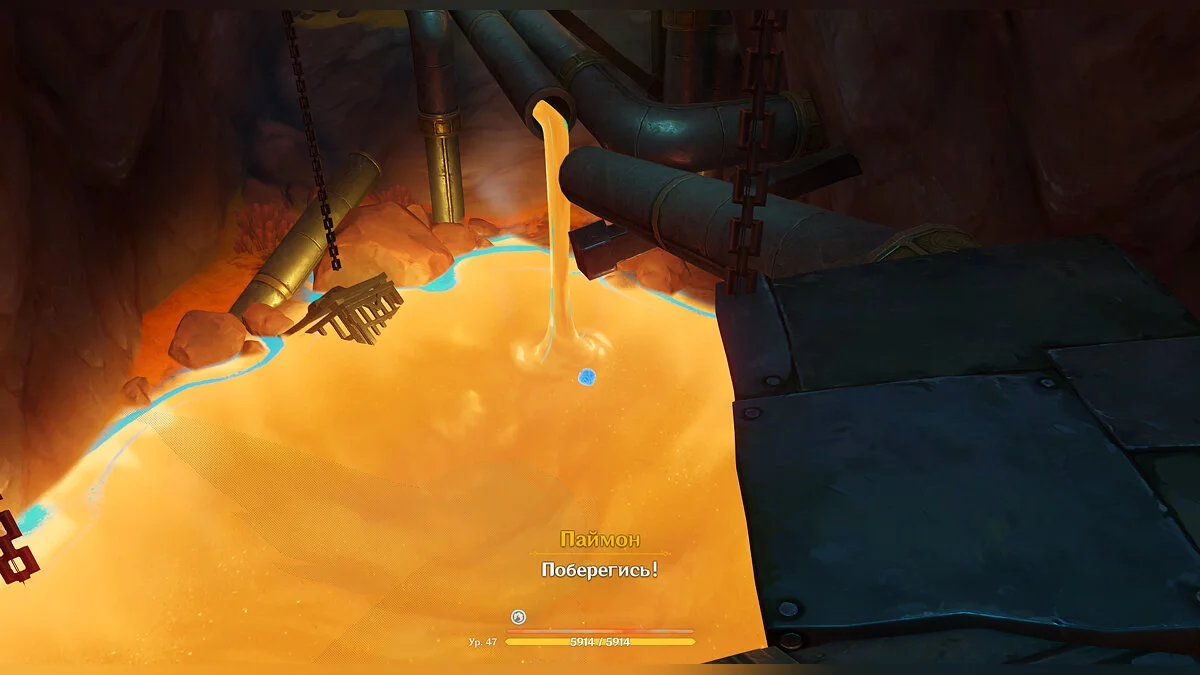
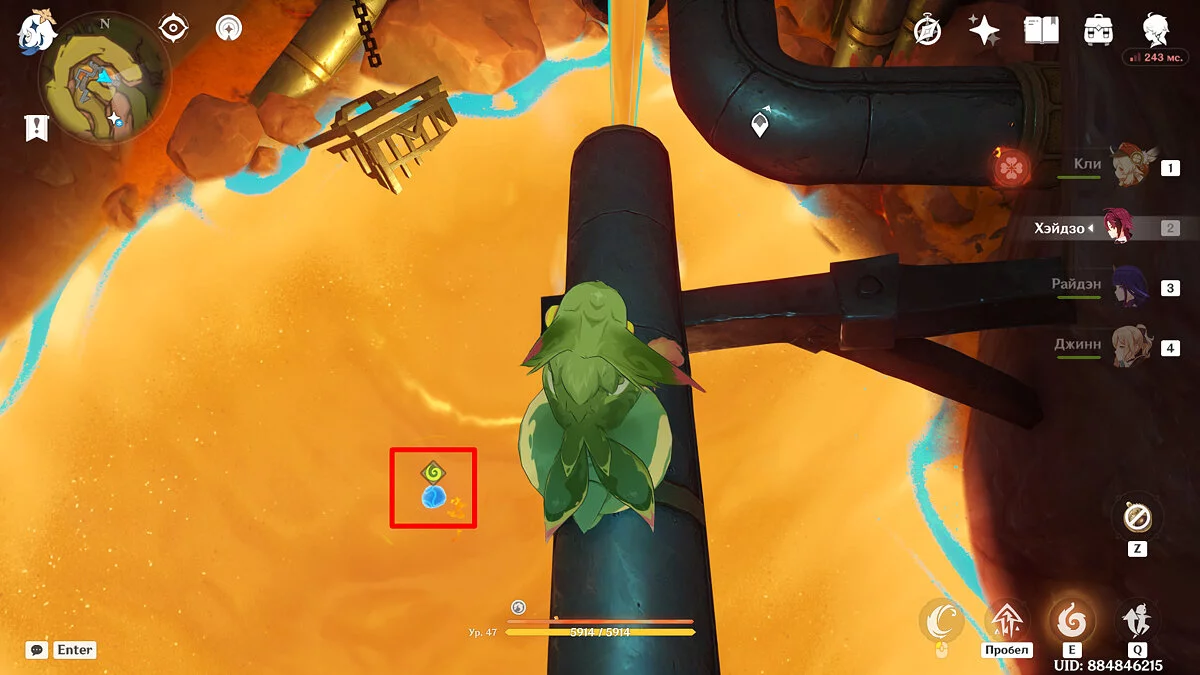
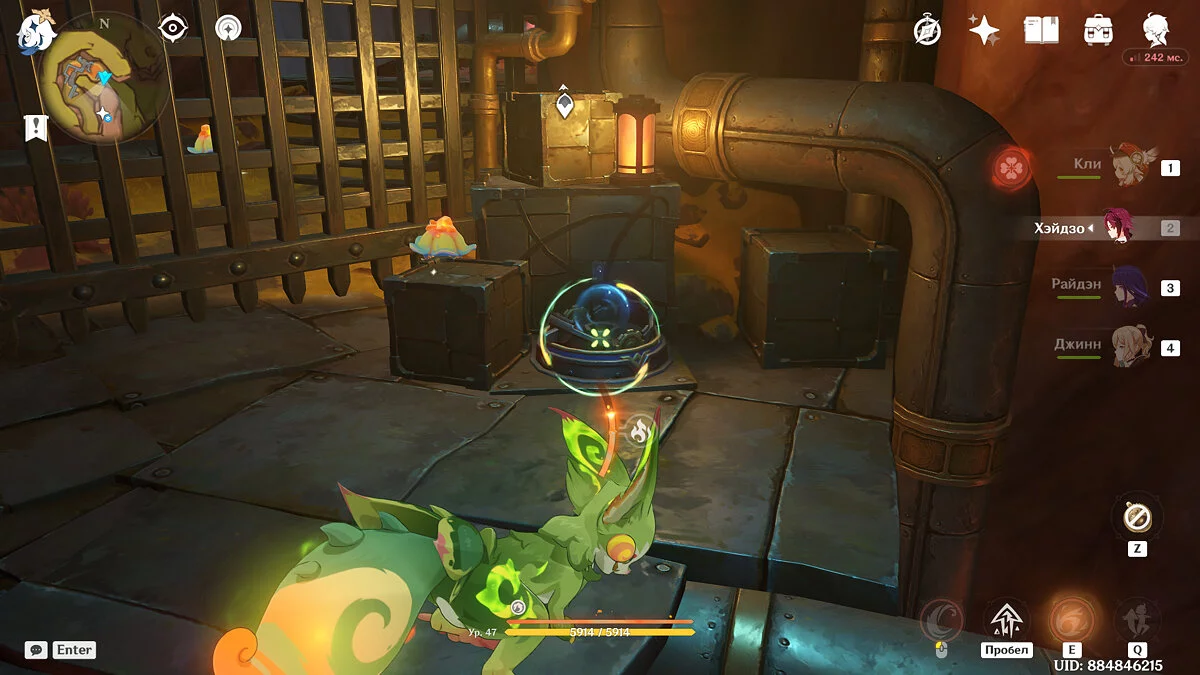
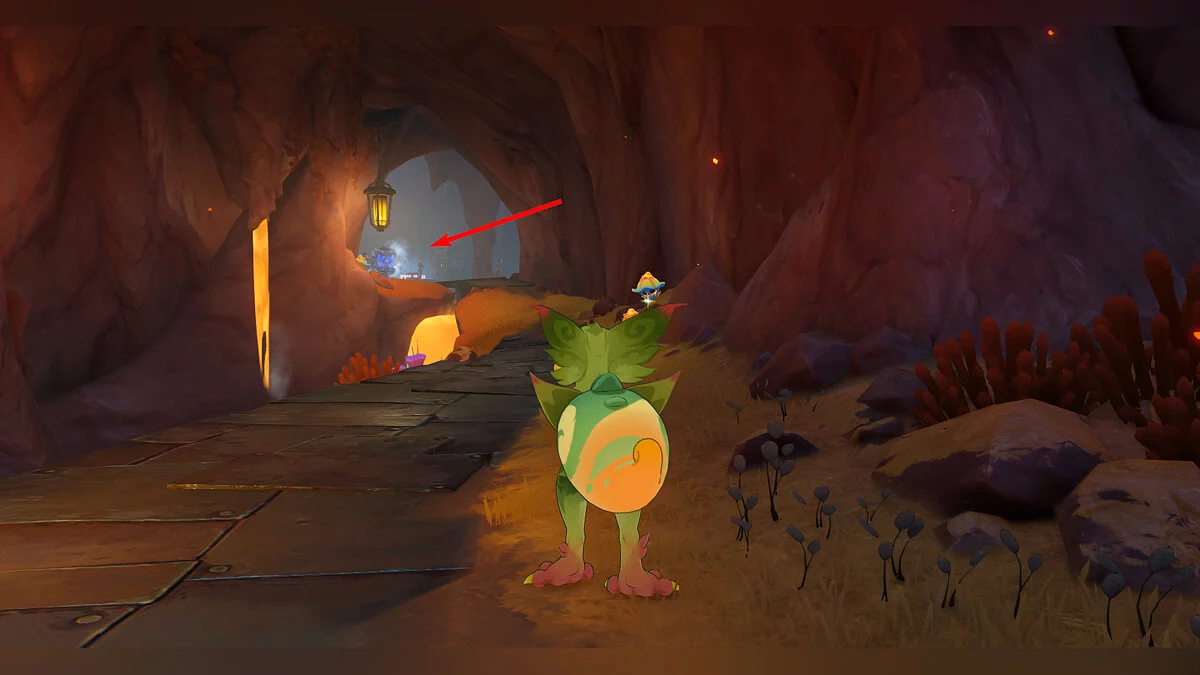
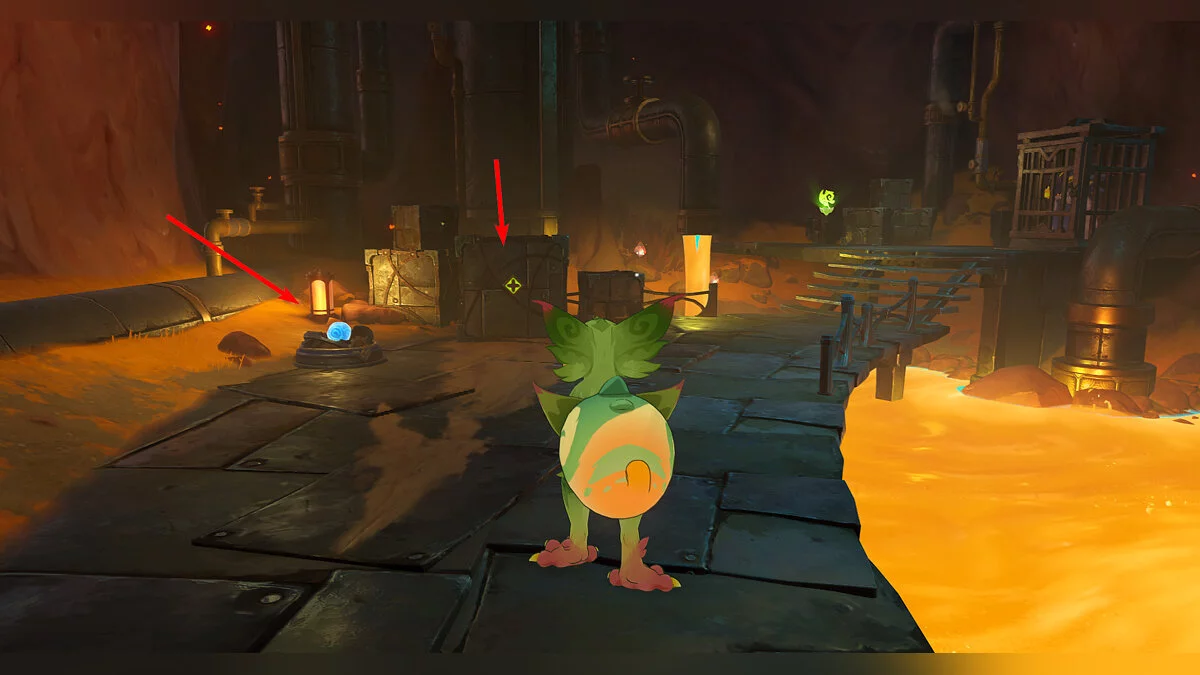
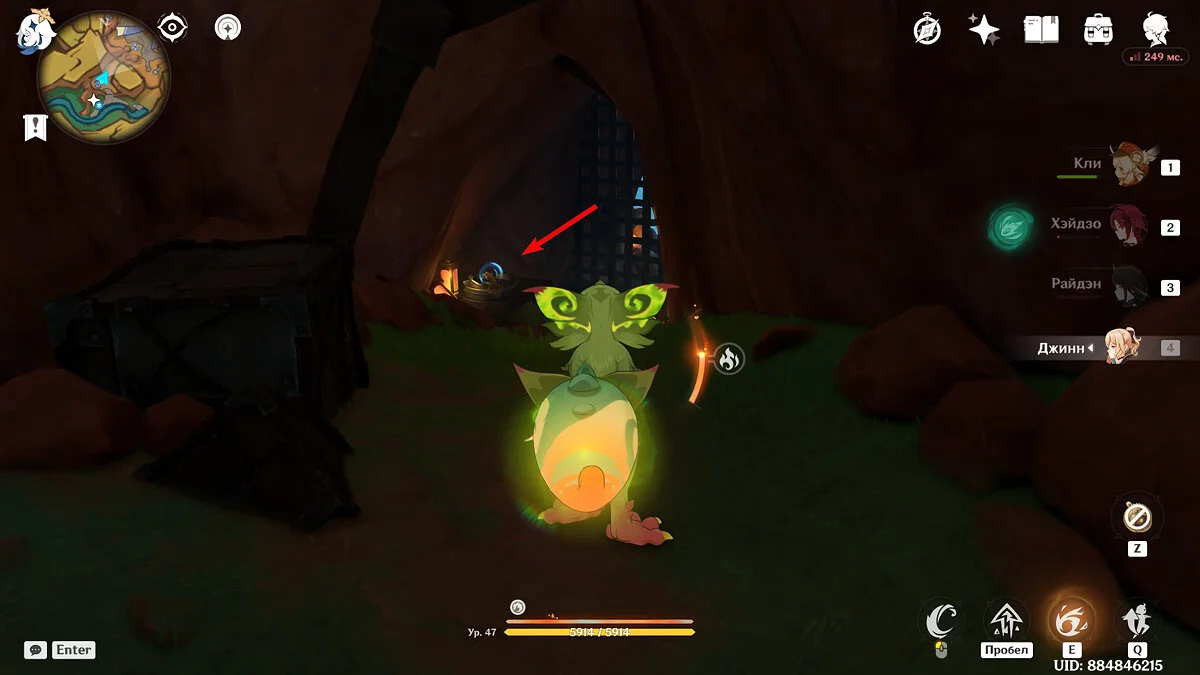
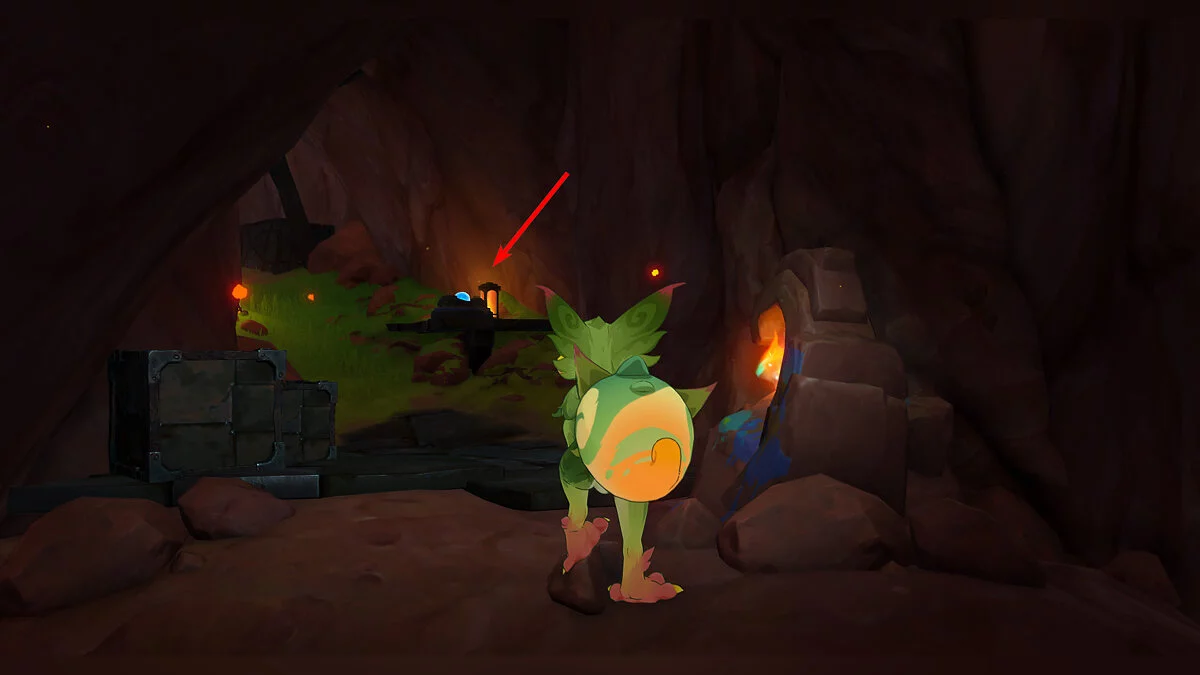
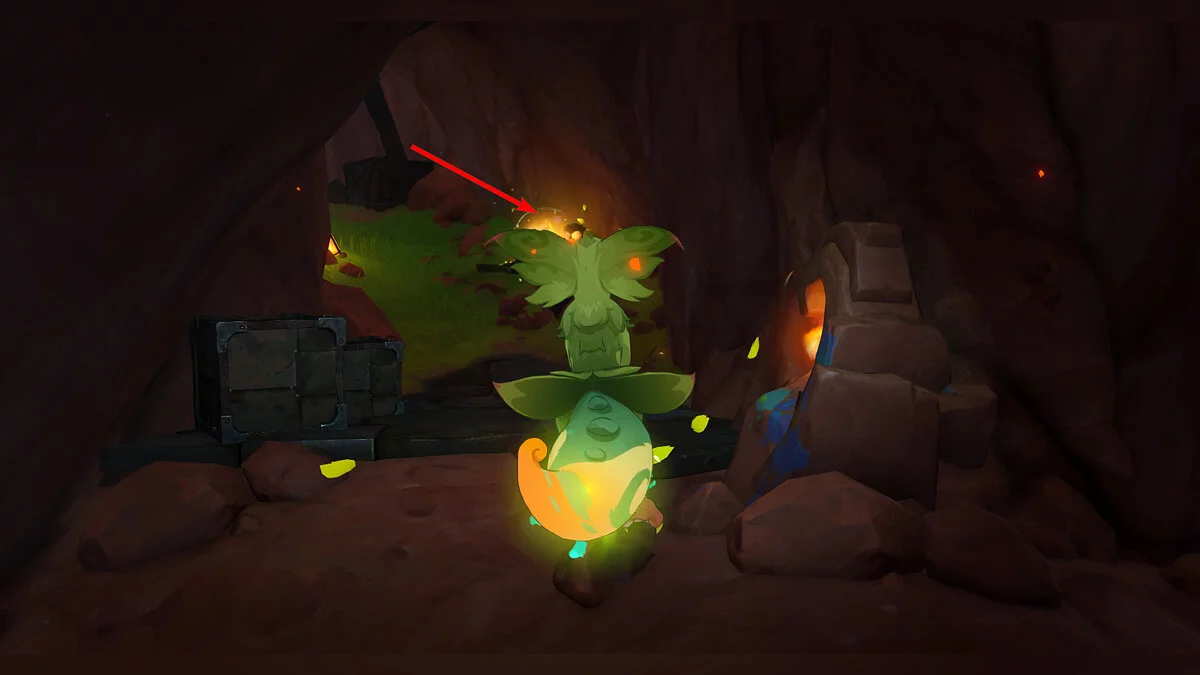
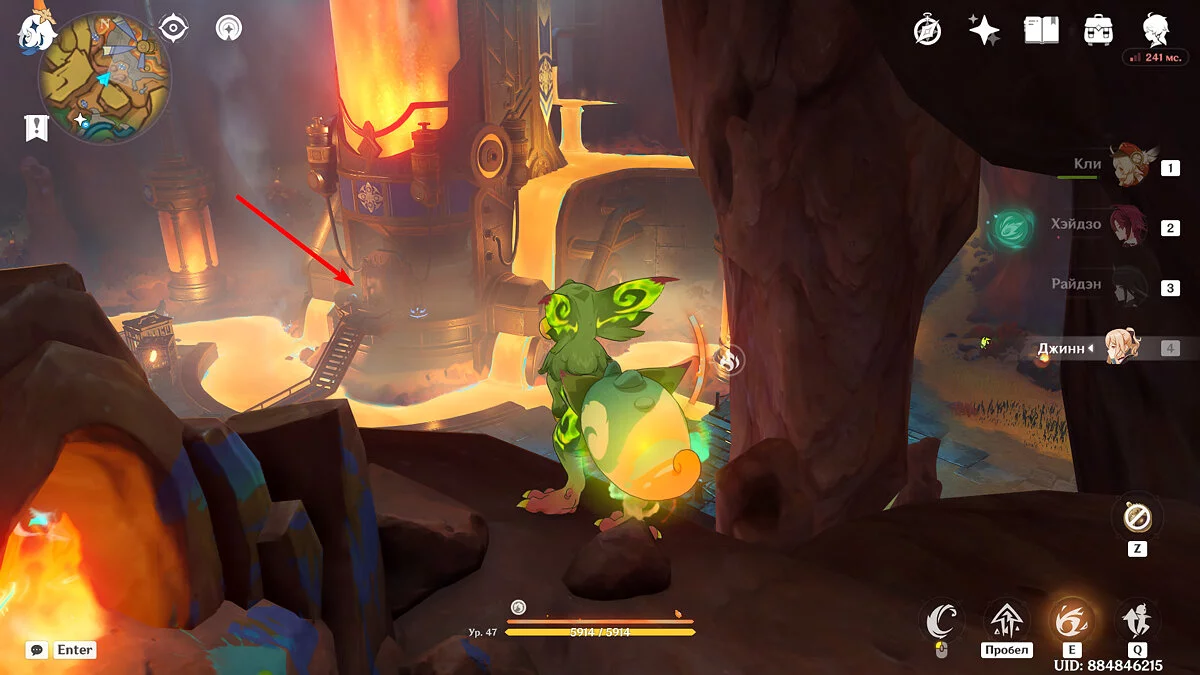
Move towards the liquid phlogiston, cross the pipes until Paimon interrupts you. Take the fake transmission sphere from the lava — a small blue sphere. Cross the pipe and insert it into the small device, dark blue in color. After that, the grate ahead will open, allowing you to enter inside.
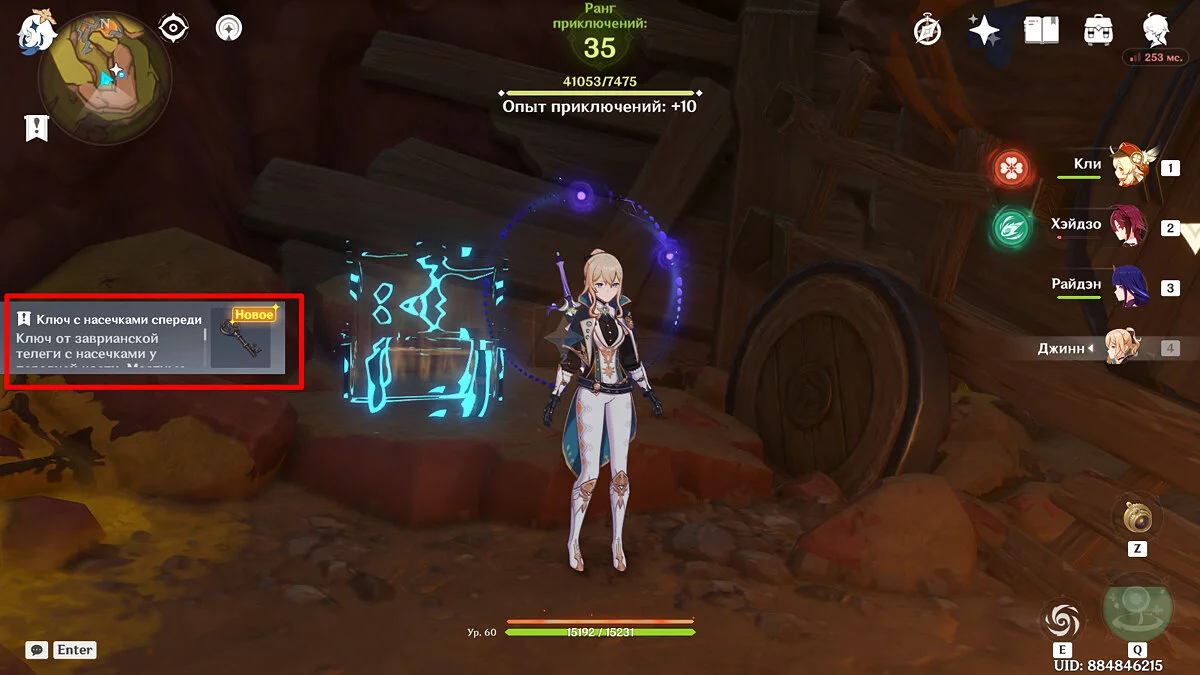
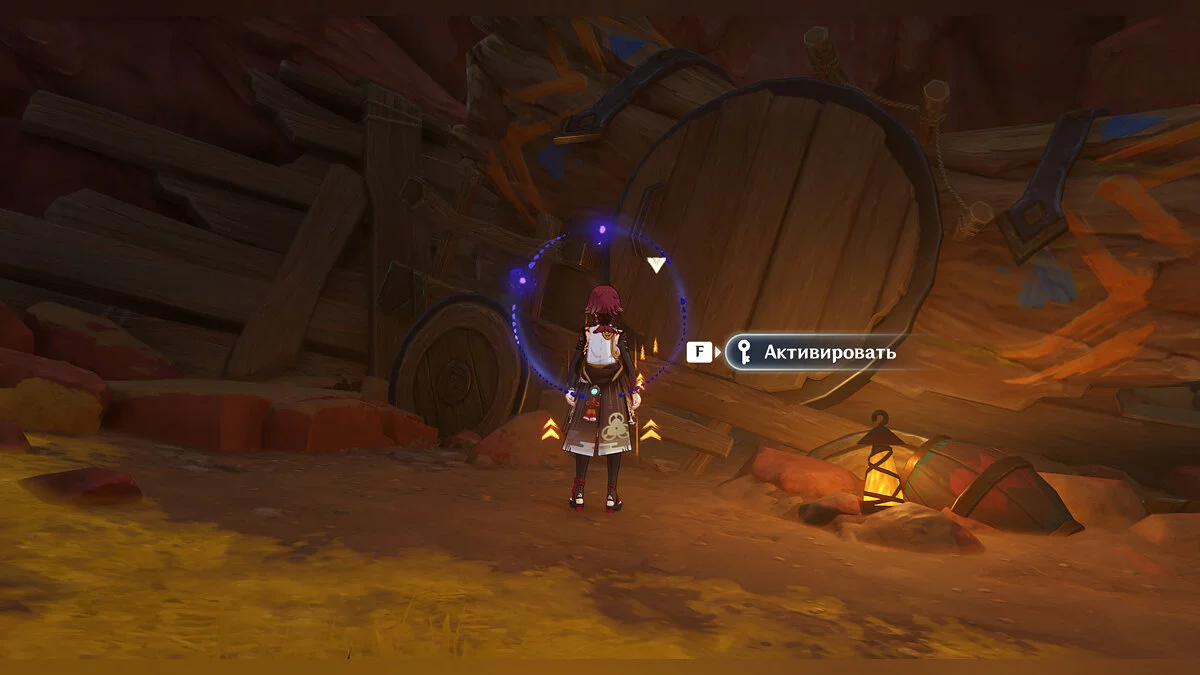
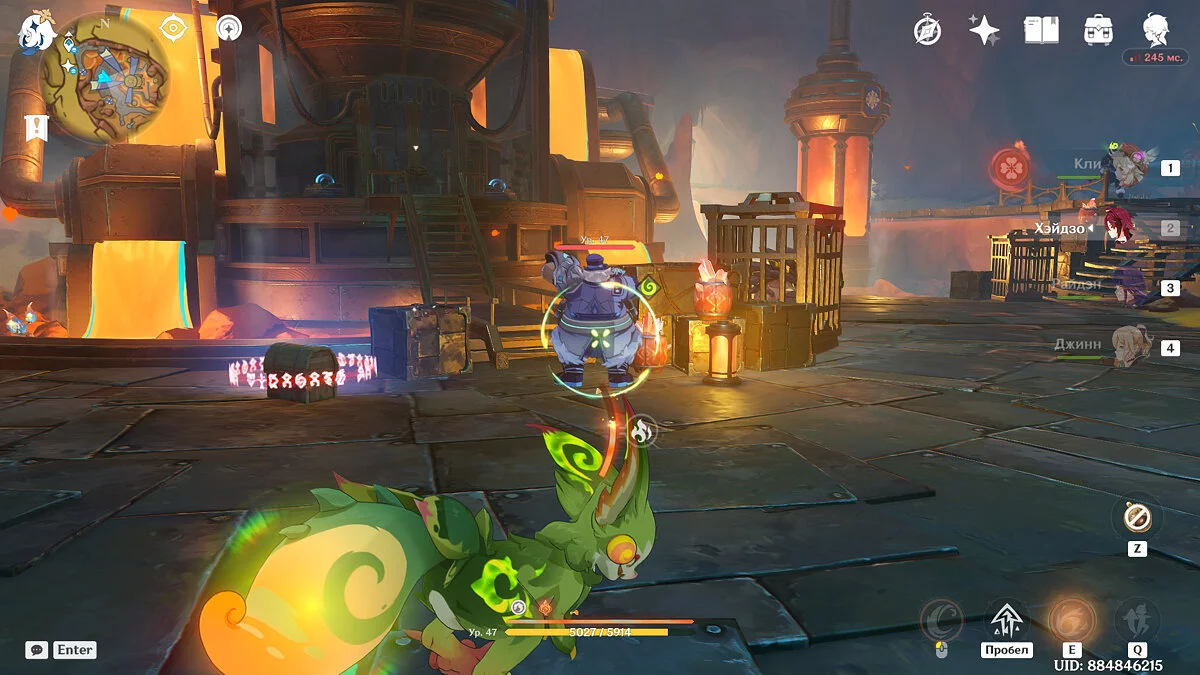
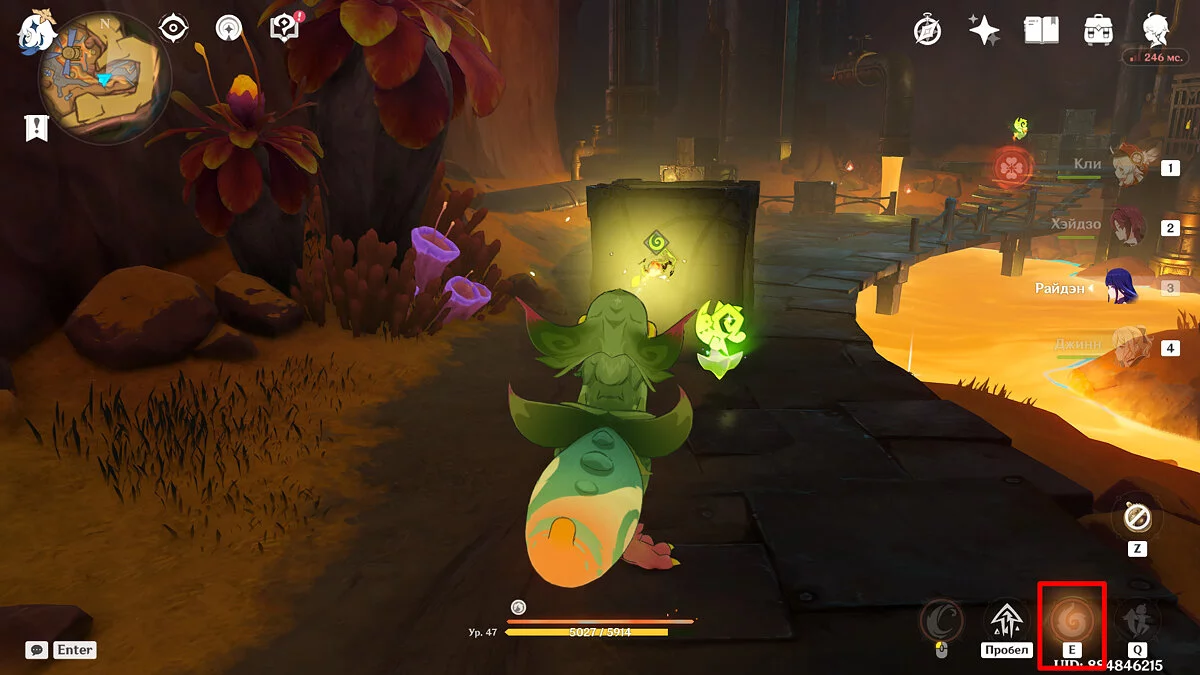
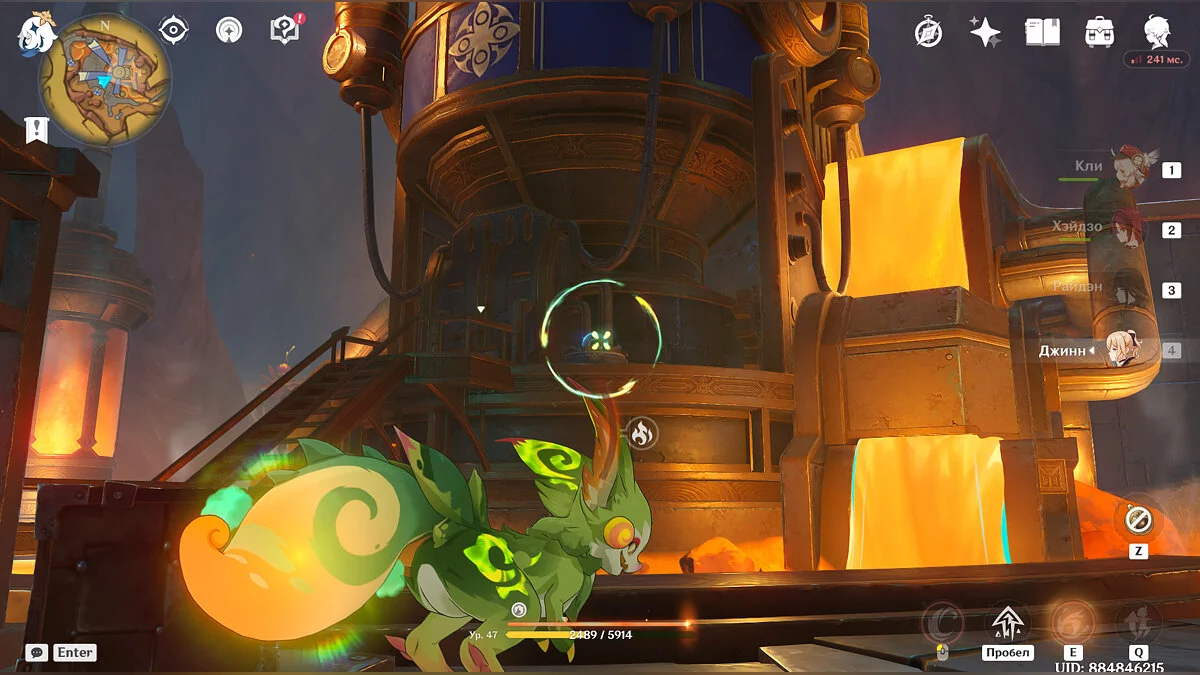
You will enter the heart of the Phlogiston Research Center. In the middle, there will be a large pipe, and Fatui will be scurrying around it. Explosive barrels and flame pomegranates will help you deal with the enemies. While in the body of Yumkazaur, use their skill to grab and launch them at the enemies. Then move a bit forward, climb the stairs, and defeat more Fatui in the same way, then take the rich chest. It will also contain a key that can unlock a nearby cart. There will be a chest inside.
The main purpose of the puzzle is to disable the pipe in the center, for which you need to find two fake spheres. From the cart, move forward to the Cryo and Pyro Fatui. Deal with the enemies and find one sphere, but if you take it, the grate closes the exit. To solve the puzzle, first find the removable hook.
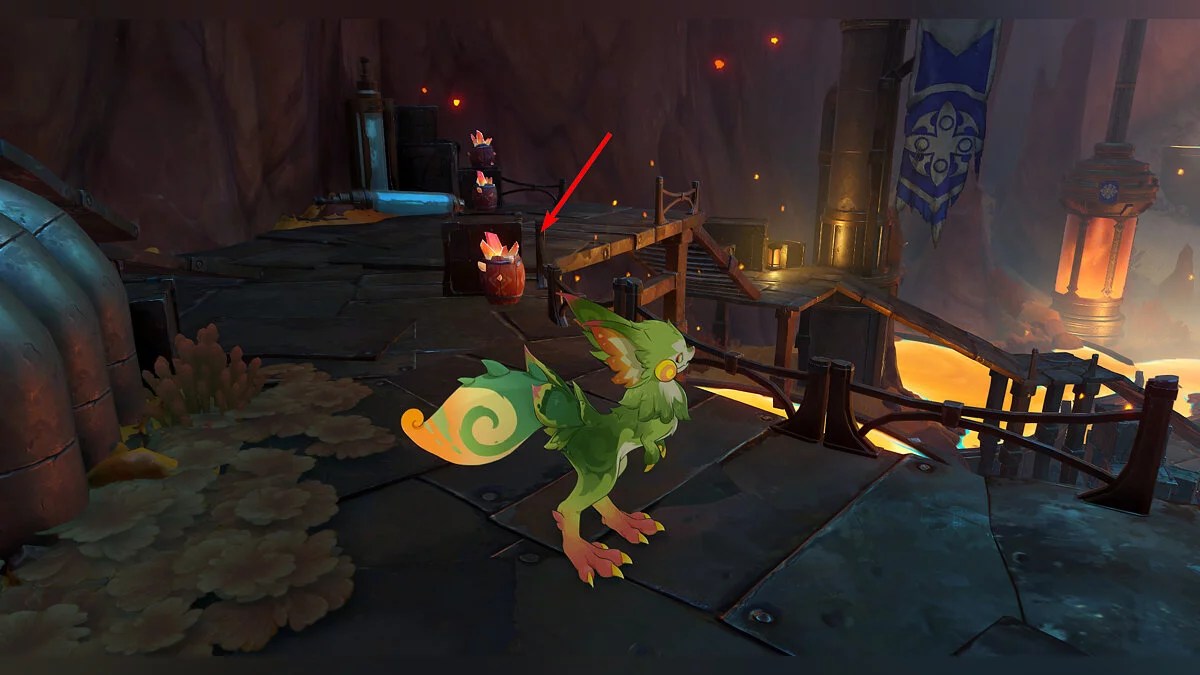
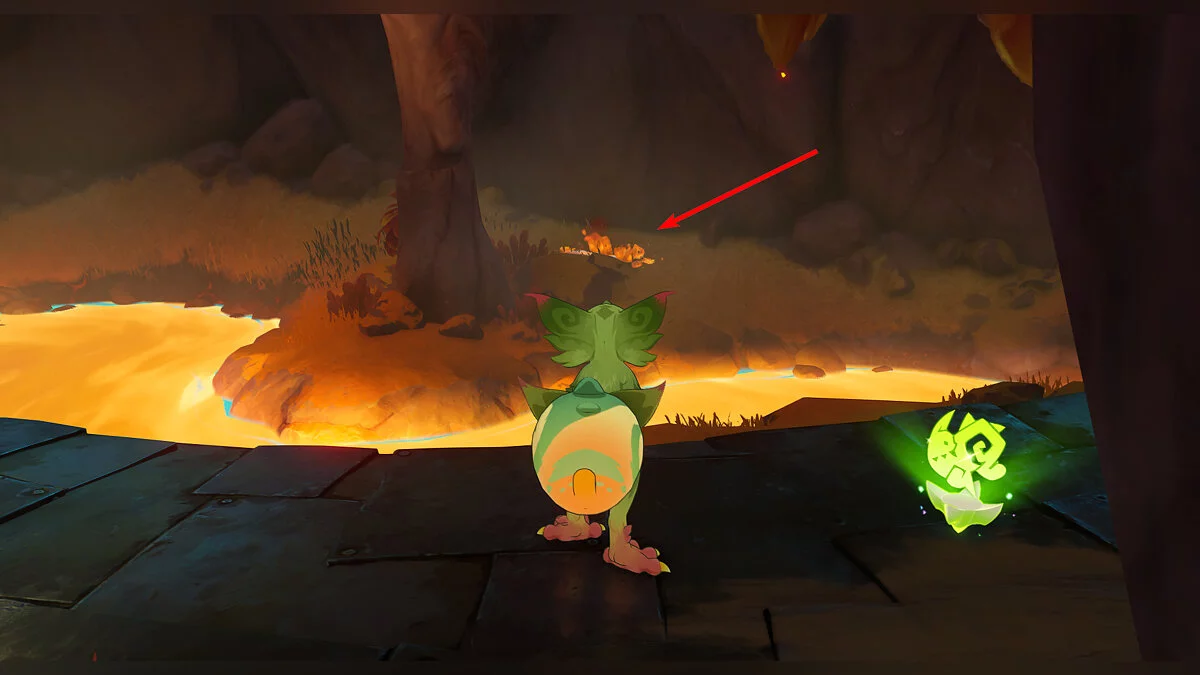
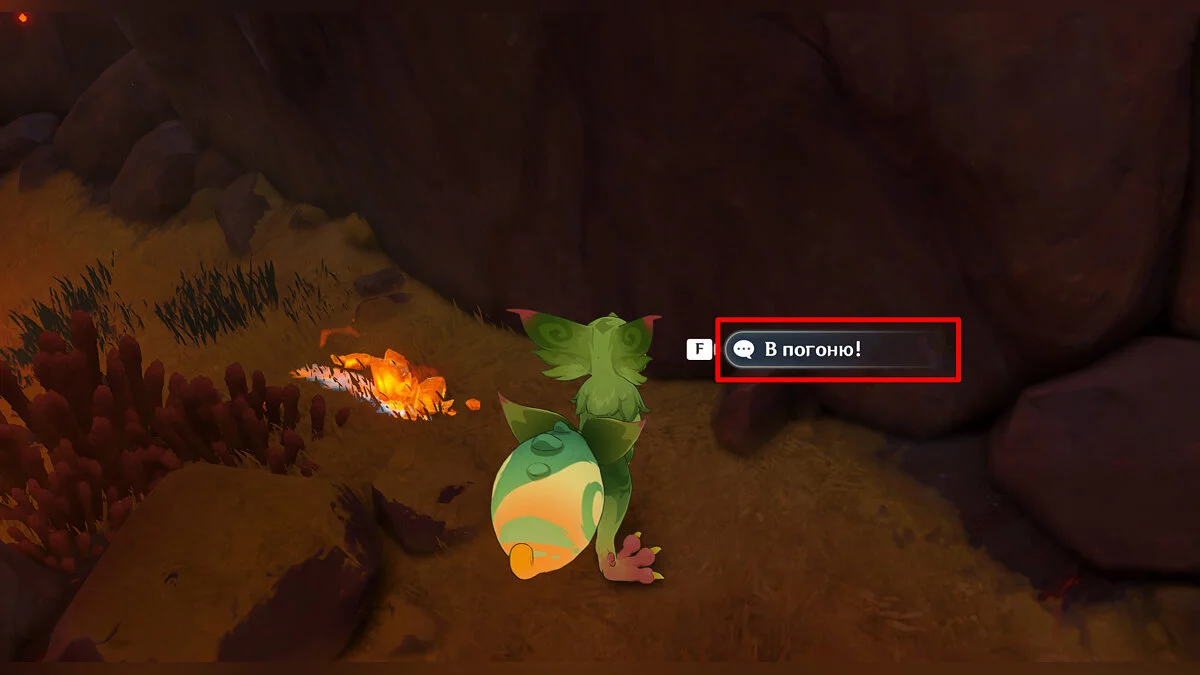
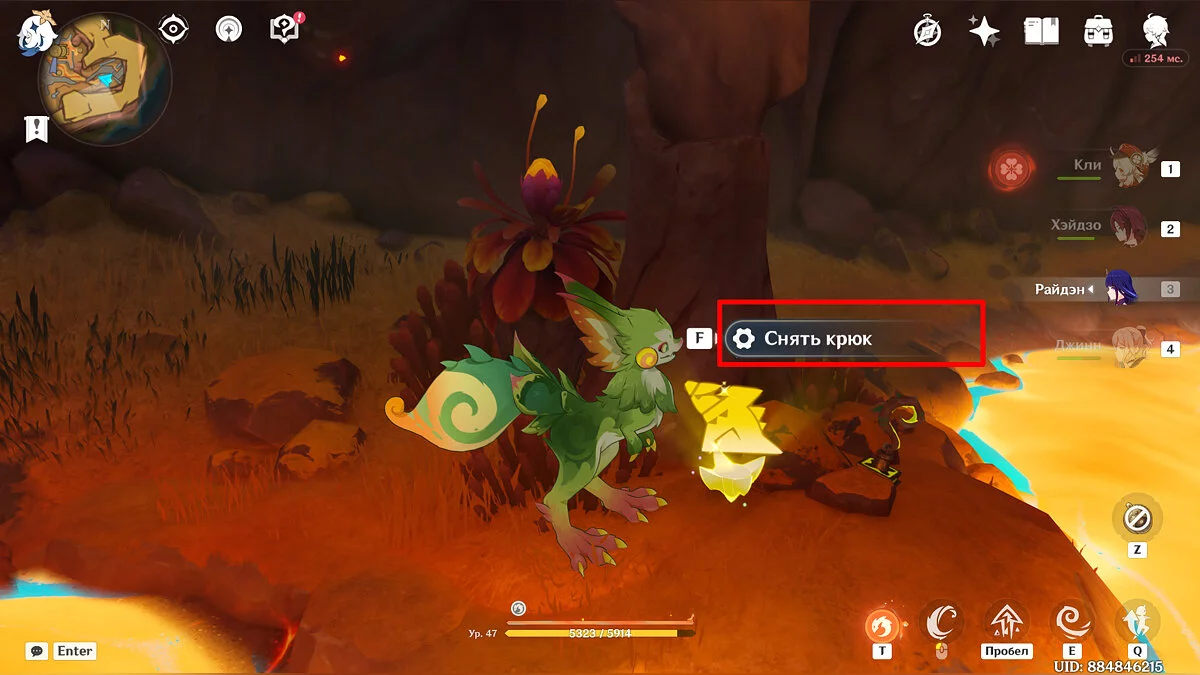
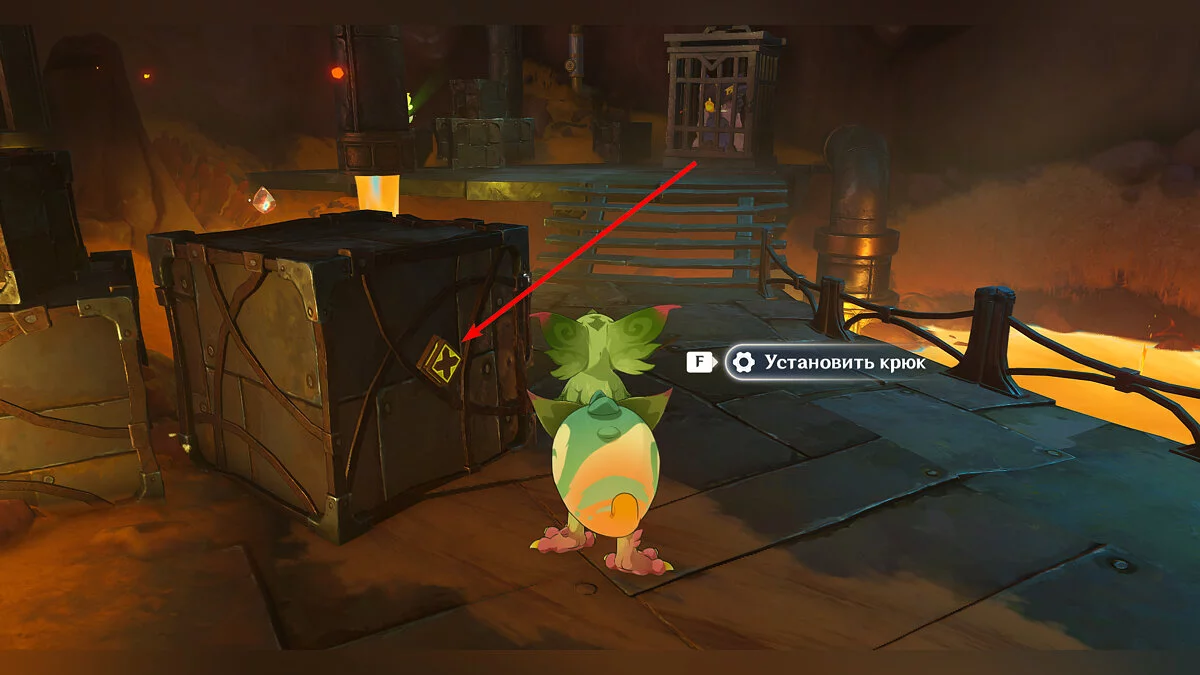
To do this, turn right and find Tepetlizard, tirelessly crawling after a phlogiston stream. Approach the Zavrian and press Chase. A baby will jump out of the lava and dig up the hook. Take the item and return to the device with the sphere. Attach the device to the box and use Yumkazaur's skill to move it directly to the grate.
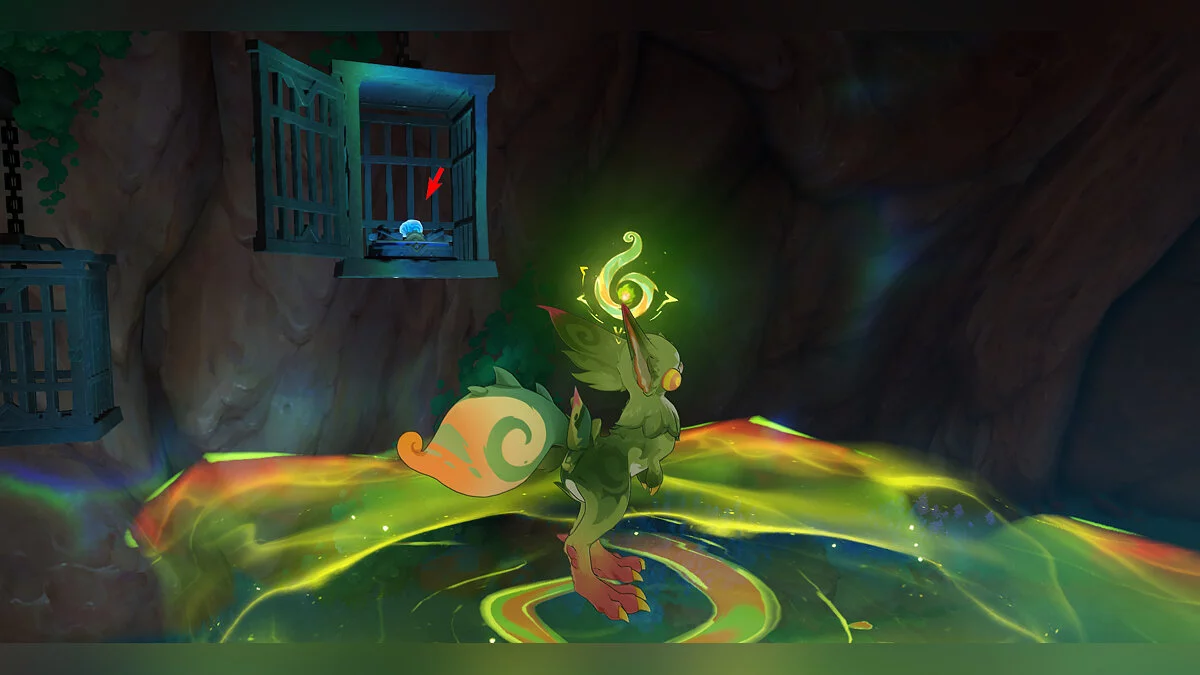
When the box is in place, you can safely take the fake sphere and go to the large pipe. Place the ball in the device and defeat the emerged Fatui. After that, return to the cart and run to the other part of the cave. The sphere is in one of the cages hanging from the ceiling.
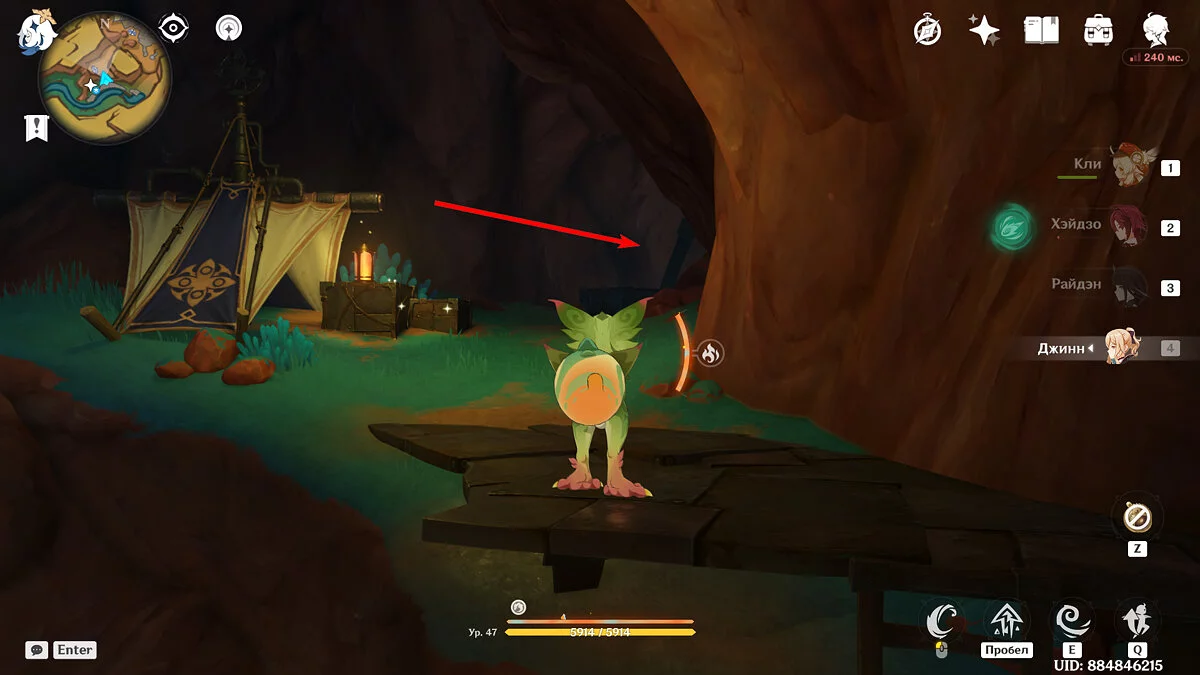
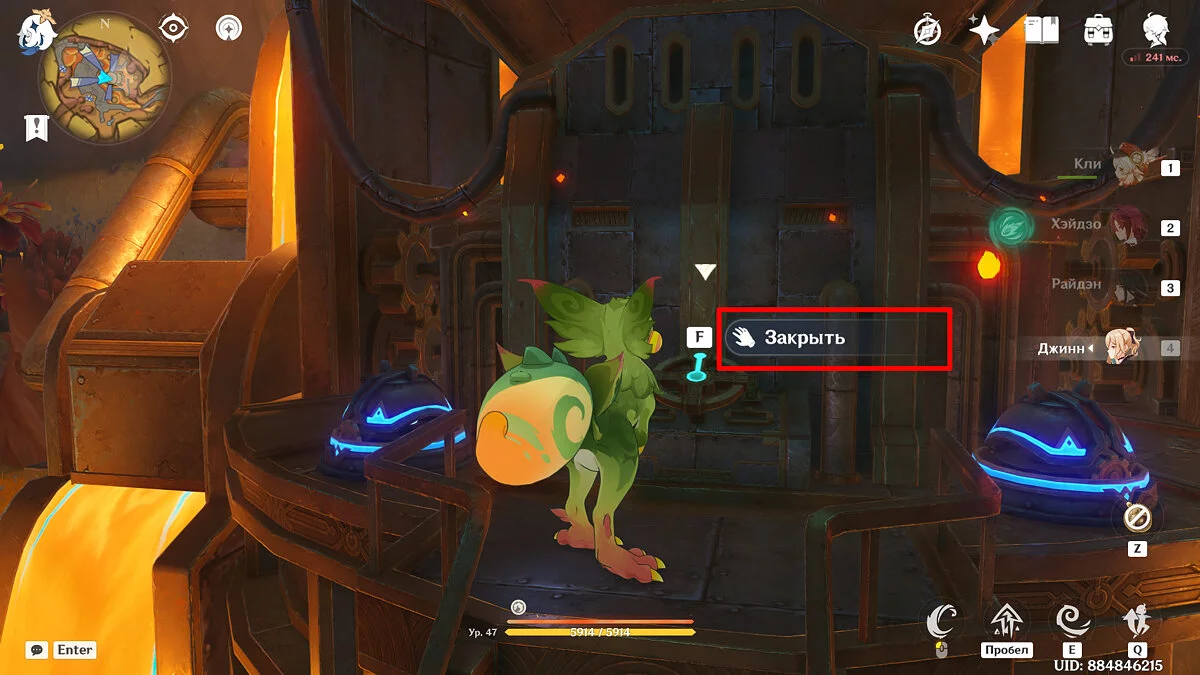
Use the seal of rolled grass to get to the sphere and take the ball with Yumkazaur's skill, then run to the grate: turn right from the cages and follow the passage from the Fatui tent. Insert the ball into the device and step away from the place where the barrier was, then take the sphere. Move to the pipe, insert the mechanism into the device, and close it by turning the valve. Then defeat the enemies within 60 seconds to complete the challenge.
After that, defeat the Pyro Fatui agent with the help of the Zavrians, they will be freed, and you will receive a luxurious chest.
Puzzle with Converters in the Temple of Ancestors
Another complex puzzle is located in the Temple of Ancestors. To solve it, you need to guide the transmission spheres through portals and open the passage inside the Temple.
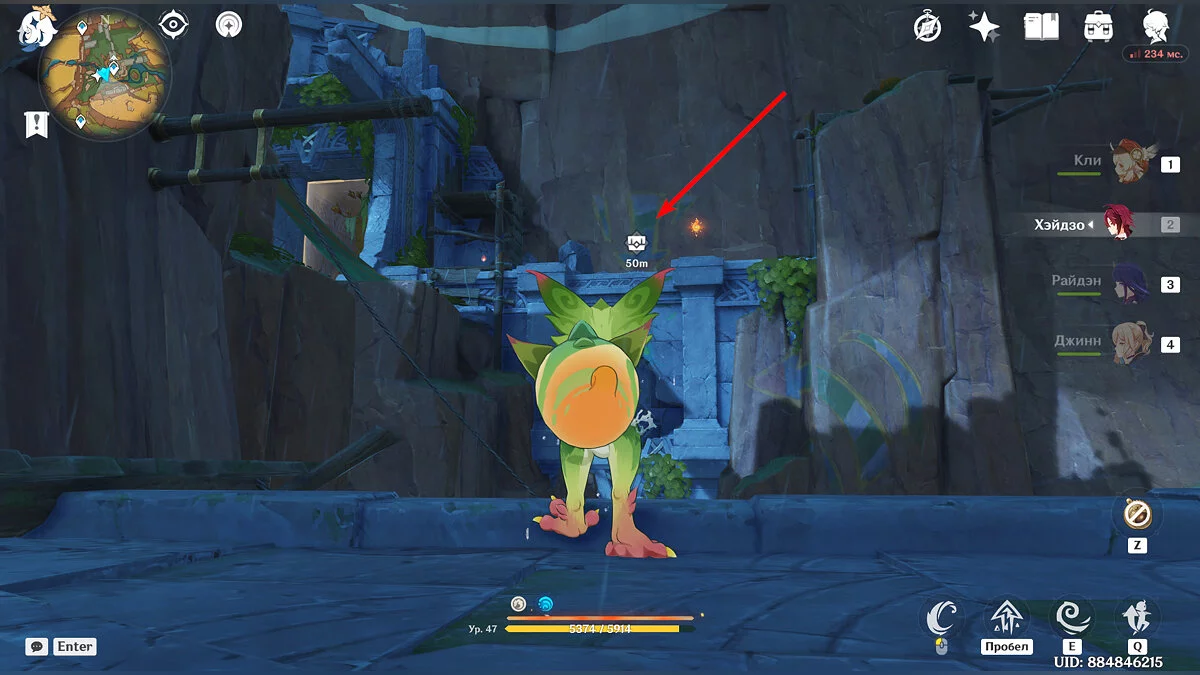
Use the namesake point and immediately possess the Yumkazaur: this puzzle is entirely based on the Zavrian's abilities, and for convenience, it's better to always move in its body. Additionally, in this area, the Yumkazaur gains a special power that allows him to create platforms in the air after moving.
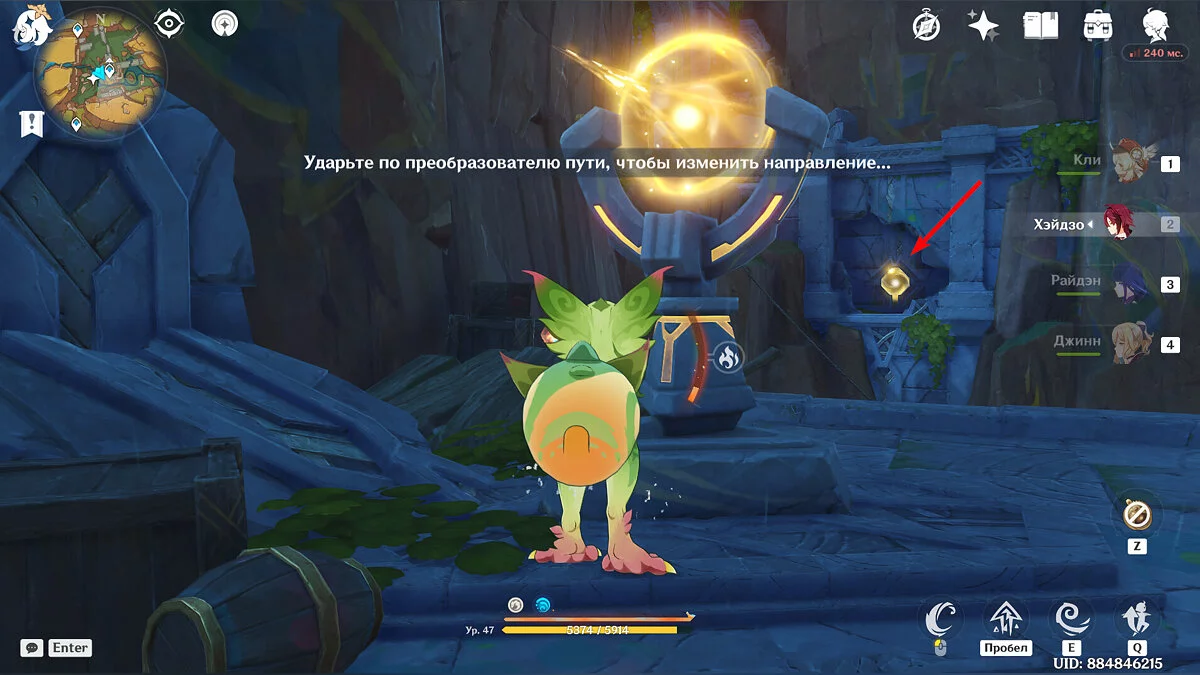
The first part of the puzzle will be to the right of the teleport. Move forward across the wooden bridge and you will see mechanisms below. Go down there and do the following: pull the hook on the right, take the sphere, and send it into the opened portal (these items are marked with numbers in the screenshot). The converter will send the ball into the opened portal. If the passage starts closing — pull the hook again. If everything is done correctly — a rich chest with a stone statue inside will appear. To open the passage to the Temple of Ancestors, you will need two more figurines.
The second part of the puzzle is located one floor below the location's teleport. Move again or reach it with the help of the Yumkazaur to the yellow portal and the yellow sphere. This time, take the sphere and throw it directly into the device without any additional actions. Take the appeared chest and move to the third phase of the puzzle.
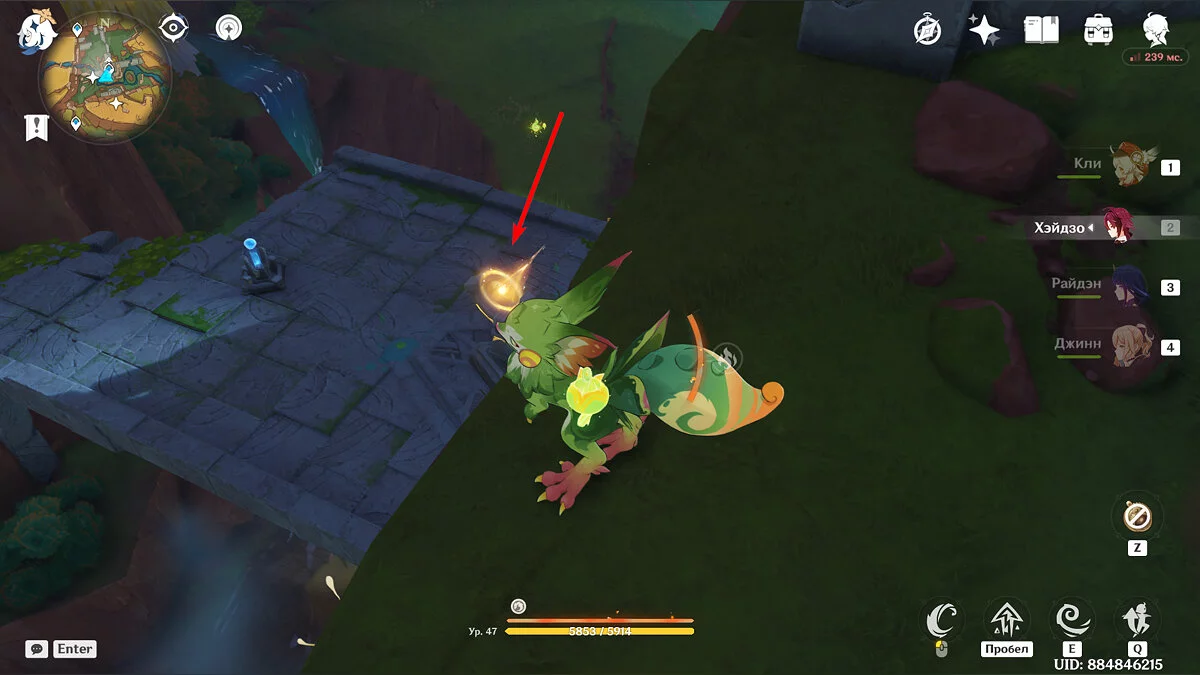
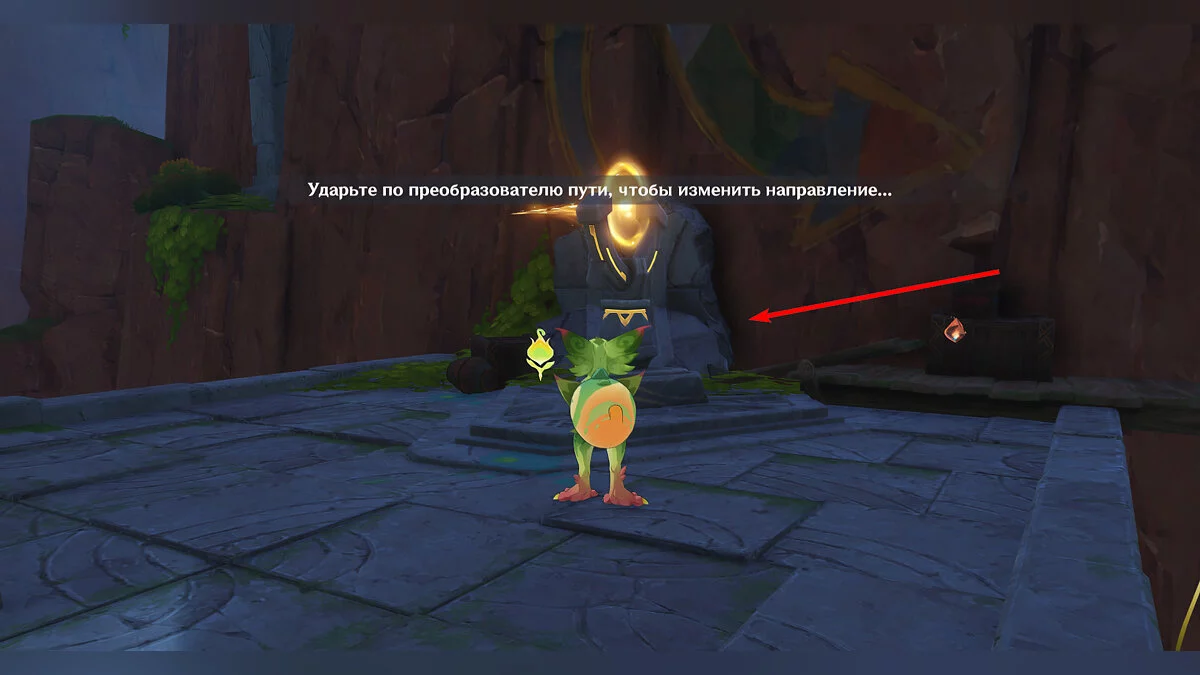
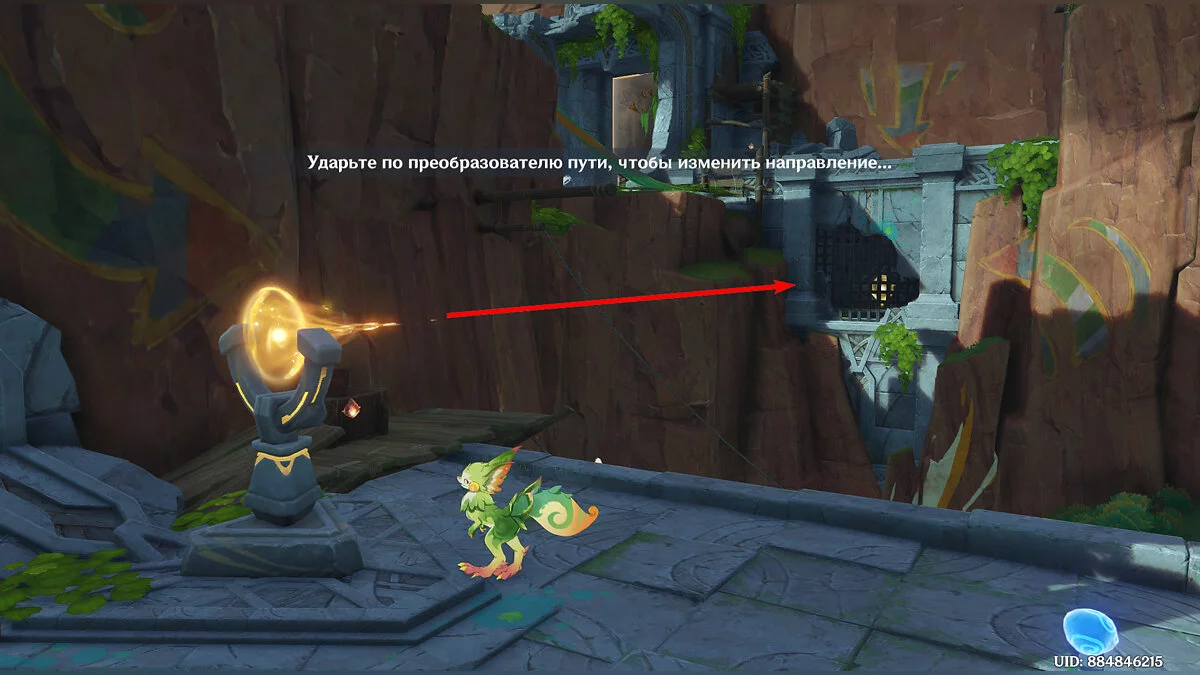
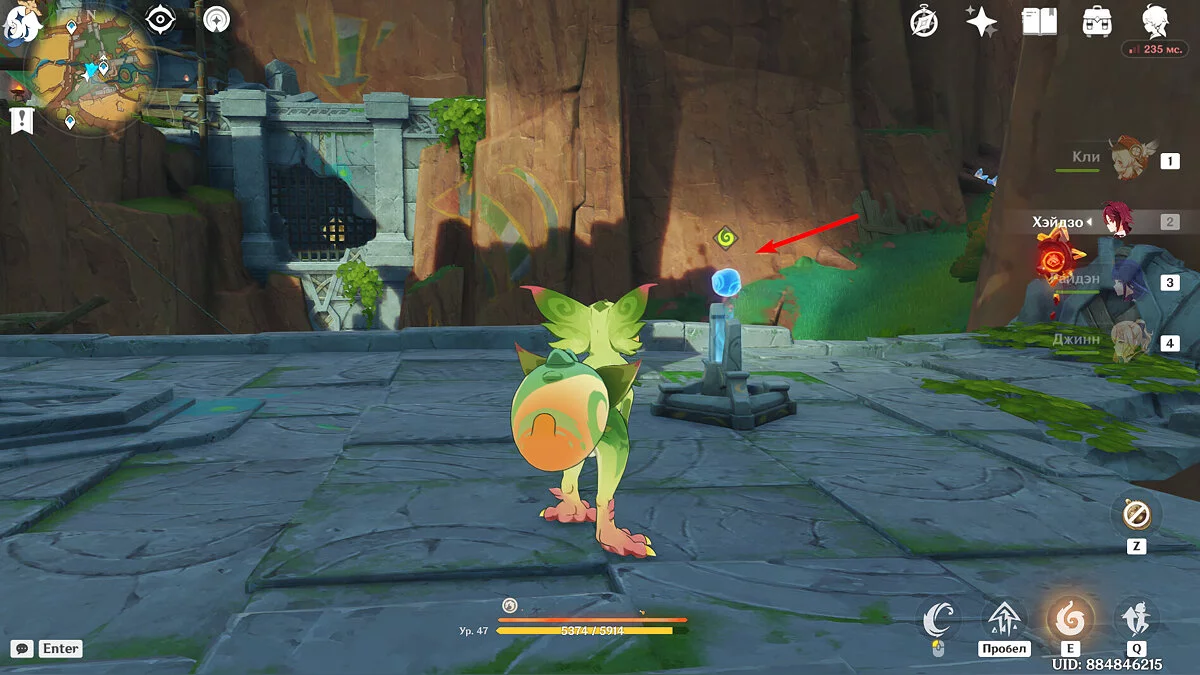
The third puzzle will be to the left of the tower with the teleport. There will be a yellow beam, a blue sphere, and a yellow portal. To solve the puzzle, you will have to get the hang of it, as the ball must reach the portal while it is open. You can change the direction of the beam with the Zavrian's dash, but then the second part of the device will block the sphere's path. Hit the converter to turn it towards the portal, as shown in the picture, take the sphere, send it into the beam, and immediately hit it. It might not work the first time, but keep in mind: the sphere will fly along the initial trajectory, during which you can turn the beam. If everything is done correctly, another rich chest will appear.
After solving all the puzzles, a quest will begin, and further exploration of the Temple of Ancestors will proceed according to it.
Puzzles and Riddles in Toyek Streams
Toyek Streams is a relatively small area in Natlan with few complex puzzles, but even here, there are riddles worth attention. Let's talk about them next.
Underwater Chests
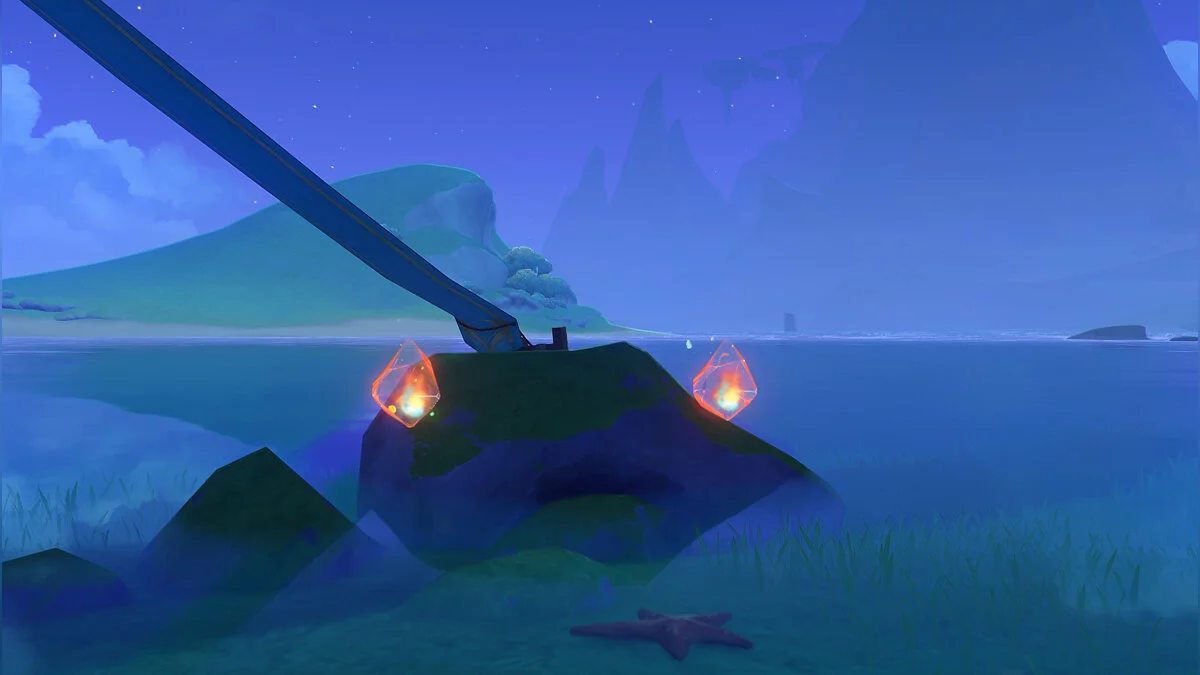
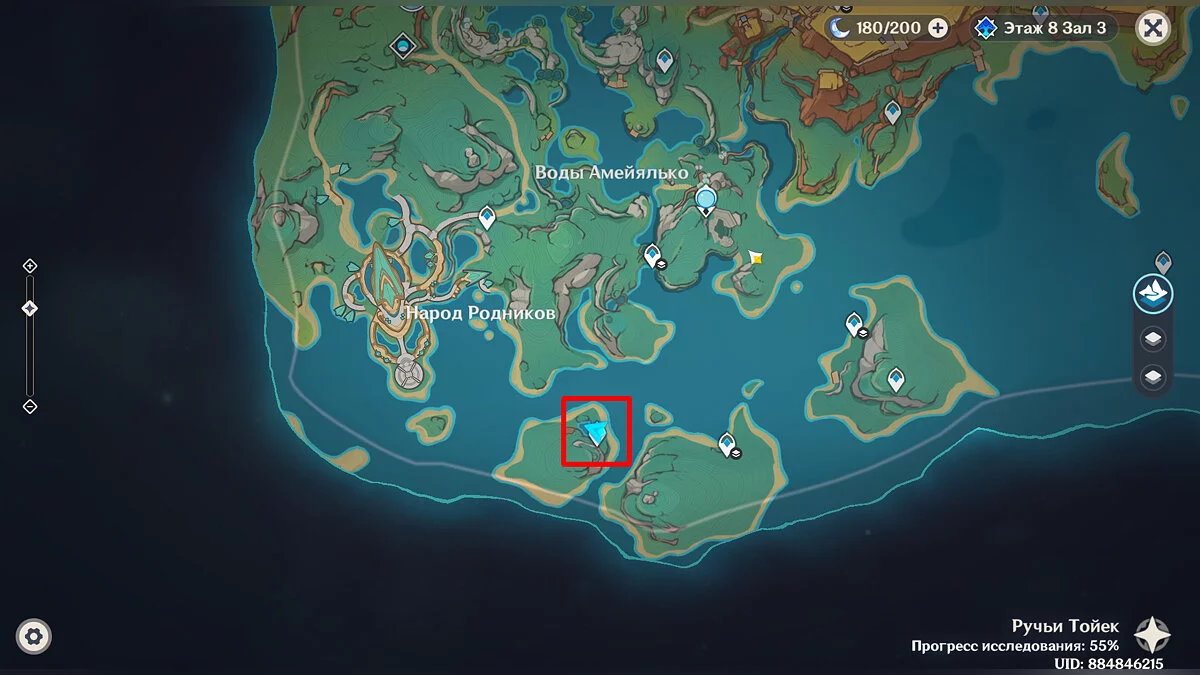
To solve this puzzle and get the submerged chests, you need to find three Manitu and bring them to their drawings.
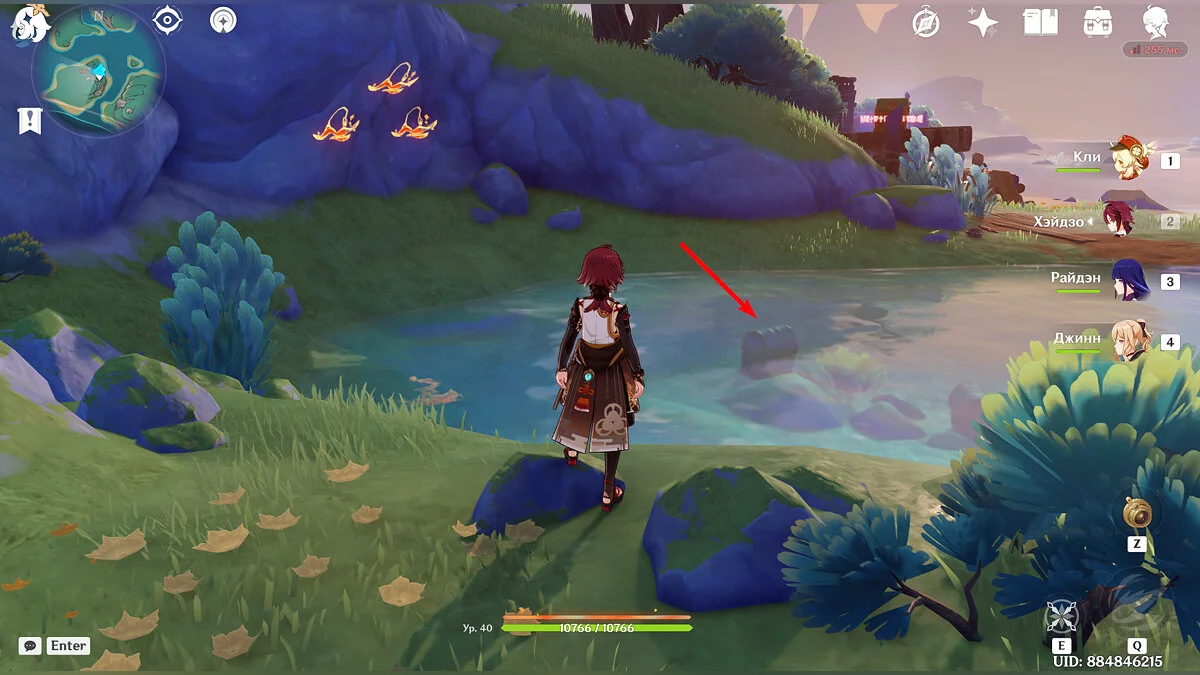
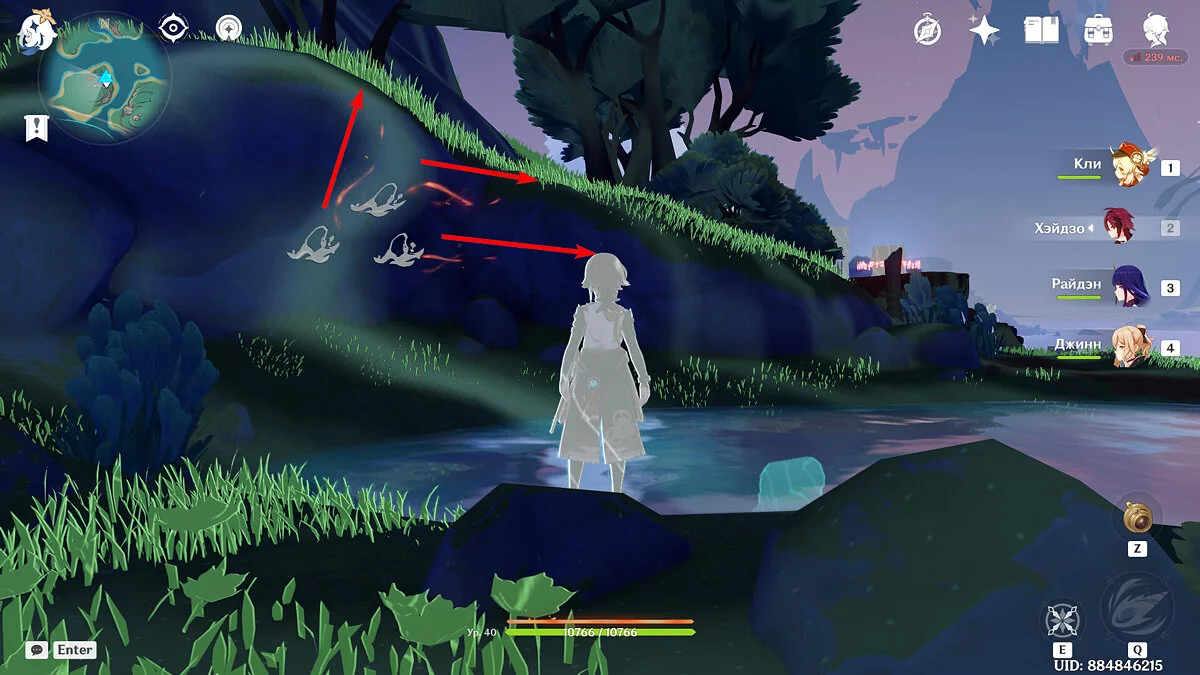
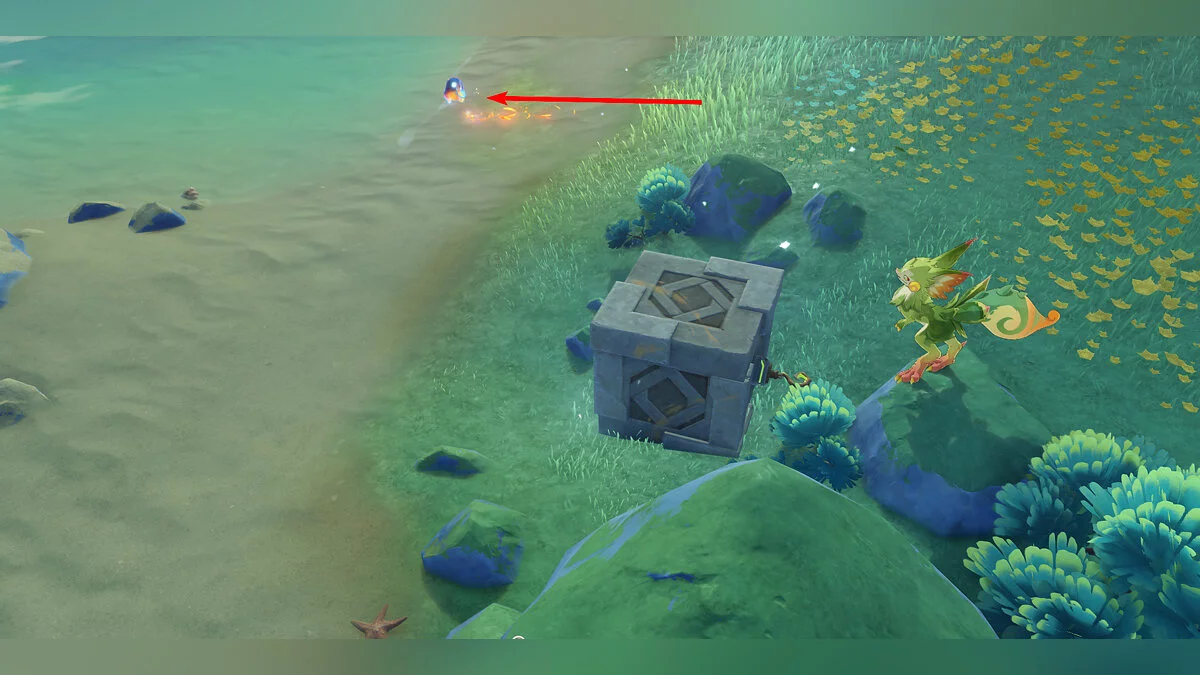
Teleport to a small island northeast of Narod Rodnikov, and right near the teleport, you will see a small water body with luxurious and rich chests at the bottom, as well as an empty Manitu graffiti on the nearby rock. Use elemental sight to track the elemental traces of the creatures and the approximate direction of the search.
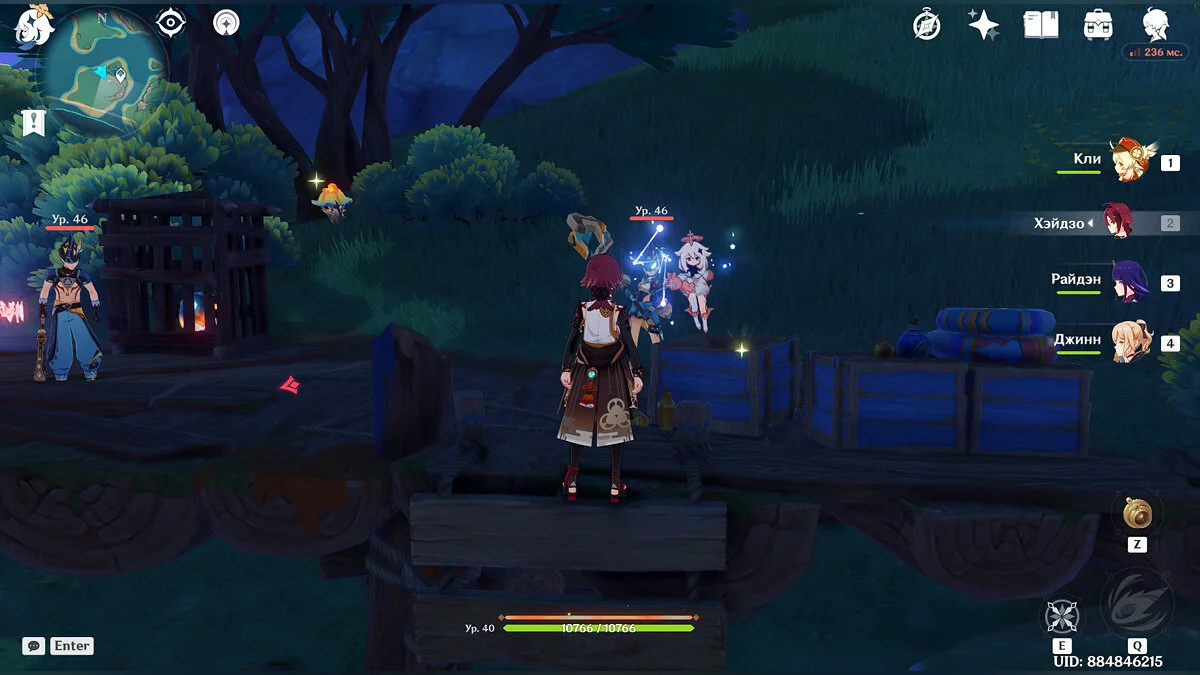
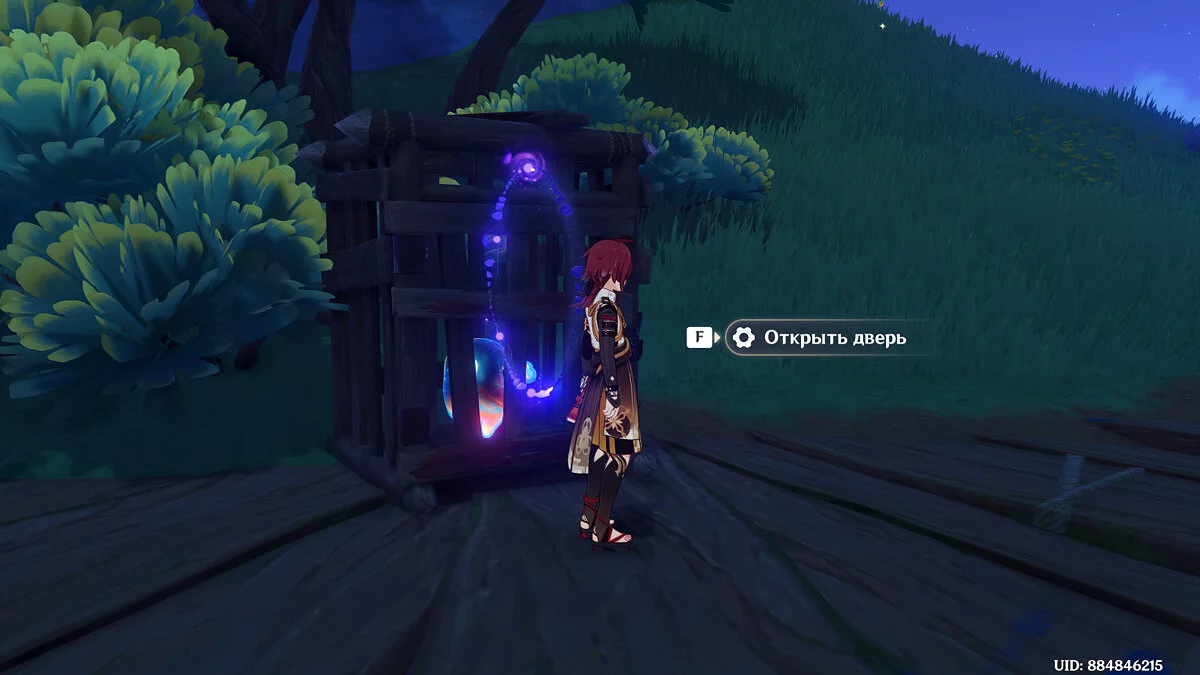
The first Manitu will be sitting in a cage, and next to it are Zavrian-like bandits. Defeat the enemies, take the marvelous chest, and free the creature, then escort it to the drawing.
The second Manitu will be a bit further from the first one. It will be hovering over a wind stream. Possess the Yumkazaur nearby and remove the hook near the stream, then attach it to the box. Drag the cube to the air stream, blocking it and freeing the Manitu. Escort the fairy to its drawing and find the last creature.
Climb the hill above the water body. Kill all the hydro slimes, especially the big one sitting on the rock. After that, water will flow out of the rock and the Manitu will fly out. Escort it to the rock and take the chests, as well as receive an achievement.
Other guides
- How to Clear the Fog and Break the Seal on Tekoloapan Beach in Genshin Impact
- All Luxurious Chests in Natlan in Genshin Impact: Maps, Schemes, and Routes
- Open Your Heart to Me Quest: Find the Secret Cave in Ochkhanatlan in Genshin Impact
- Riddles, Puzzles, and Secrets of Inazuma in Genshin Impact
- Dance in the Moonlight in Genshin Impact: how to find а photographer
- Riddles, Puzzles, and Secrets of Dragonspine in Genshin Impact
- Where to find the Northlander Polearm Billet in Genshin Impact: How to craft the Dragonspine Spear
- How to Get into the Jade Chamber in Genshin Impact
- Walkthrough of Archon Quests in Genshin Impact: Act 4, Chapter 5. The Masquerade of the Guilty
- Spirit Carp in Genshin Impact: What They Are For and How to Find Them All
- Alle Pyroculi in Genshin Impact: Wo man alle Oculus in Natlan findet
- Karte aller Anemoculus-Standorte in Genshin Impact
- Der Baum der Träume in Sumeru in Genshin Impact: wo man ihn findet, wie man ihn aufwertet und welche Belohnungen man erhalten kann
-
Riddles, Puzzles, and Secrets of Inazuma in Genshin Impact
-
Where to find the Northlander Polearm Billet in Genshin Impact: How to craft the Dragonspine Spear
-
Riddles, Puzzles, and Secrets of Dragonspine in Genshin Impact
-
Spirit Carp in Genshin Impact: What They Are For and How to Find Them All
-
How to Get into the Jade Chamber in Genshin Impact
-
All Events in Genshin Impact 4.6 and Available Rewards
-
The Last Day of Remuria in Genshin Impact: How to Break the Chains Binding Scylla
-
The Best Build for Sucrose in Genshin Impact: How to Get a Hero
-
The Best Builds for Ayaka in Genshin Impact: Skills, Leveling and Ascension
-
Kamisato Ayato in Genshin Impact: Best Builds, Talents, Weapons, Constellation, Leveling and Team Composition
-
Collei in Genshin Impact: Best Builds for Weapons and Artifacts, Skills, Talents and Leveling
