Stalker 2 Guide: Where to Find All Journalist's Stashes
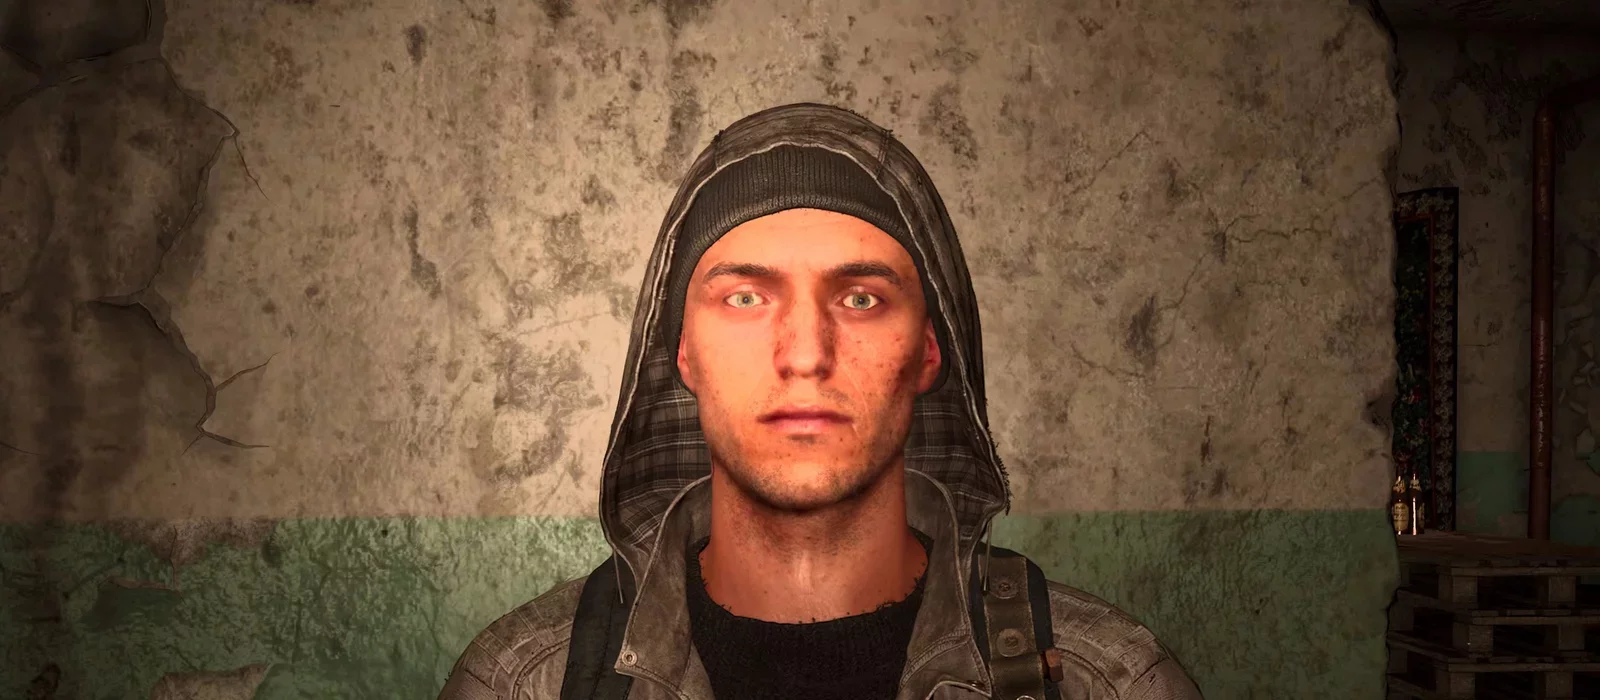
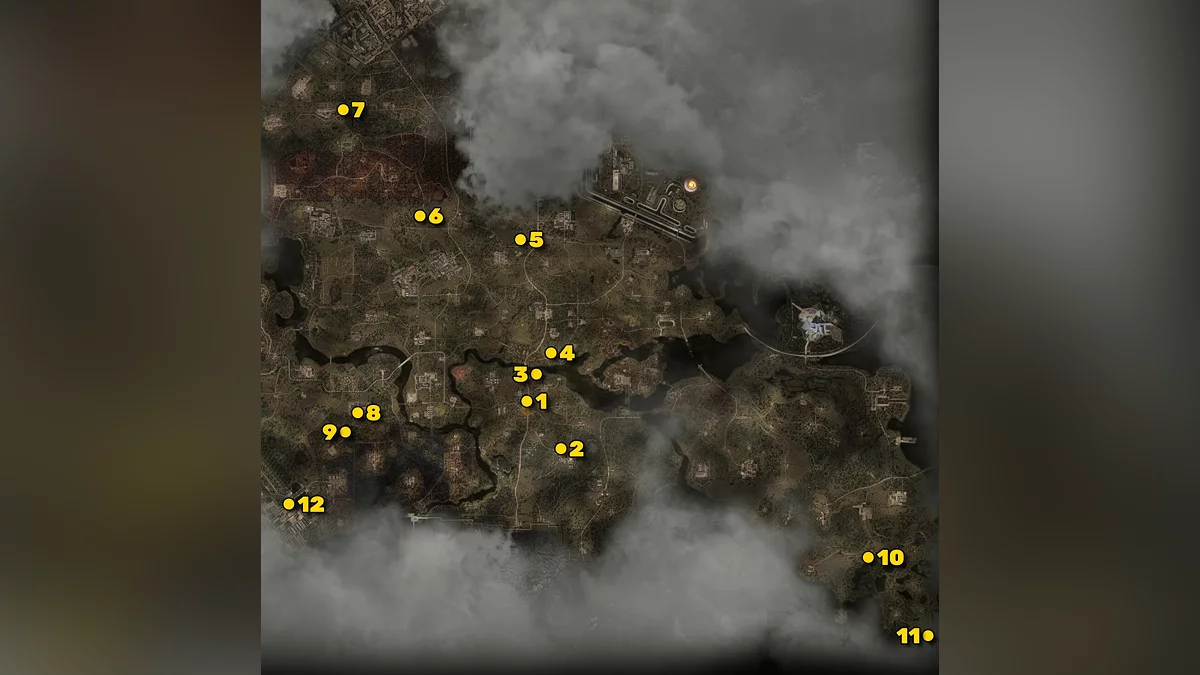
To complete the quest Seek, And You Shall Find in S.T.A.L.K.E.R. 2: Heart of Chornobyl, you will need to track down 12 locations of the journalist's stashes scattered across the vast Chernobyl Exclusion Zone. This is an exclusive quest for the Stalker 2 Deluxe Edition. These stashes contain a lot of great weapons and gear that will make the game easier to play.
To unlock these stashes, you must first complete the main quest A Needle in a Haystack. Once you finish it, the side quest should unlock. When you open your own stash in Zalissya, you will receive the journalist's flash drive.
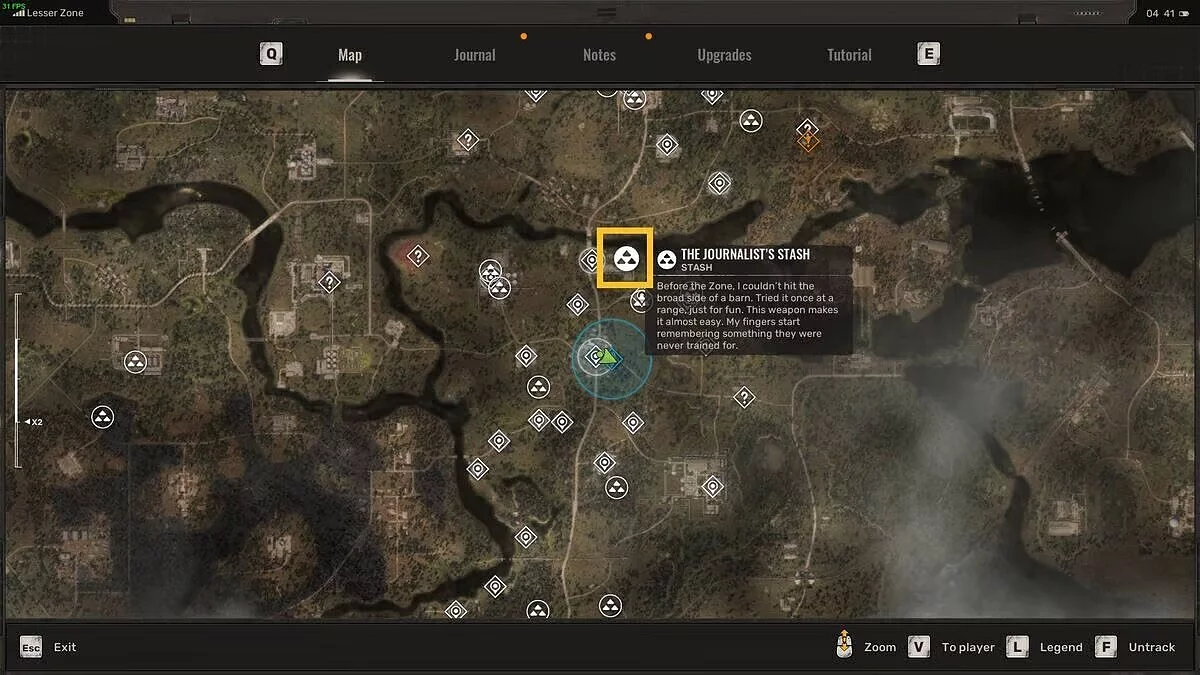
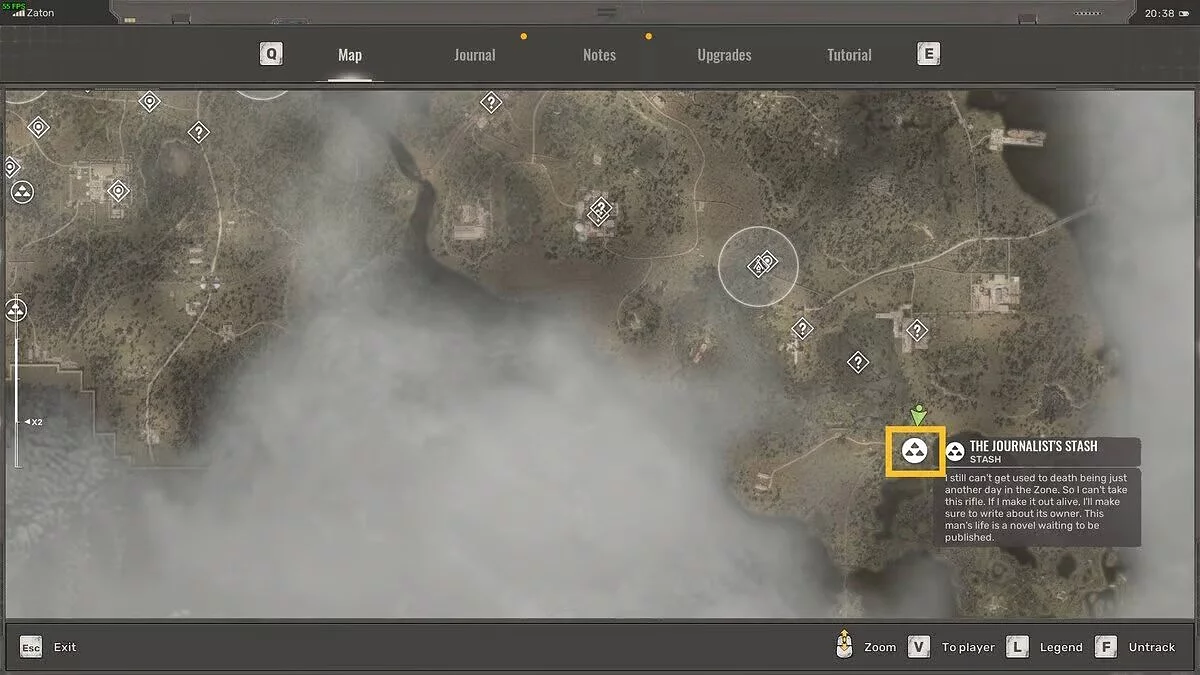
As soon as you start the side mission Seek, And You Shall Find, all the stash locations marked on your map will become available. But finding them is a serious task that will make you traverse through scorched forests, irradiated wastelands, and treacherous swamps. In this guide, we will tell you how to reach all the journalist's stashes in Stalker 2.
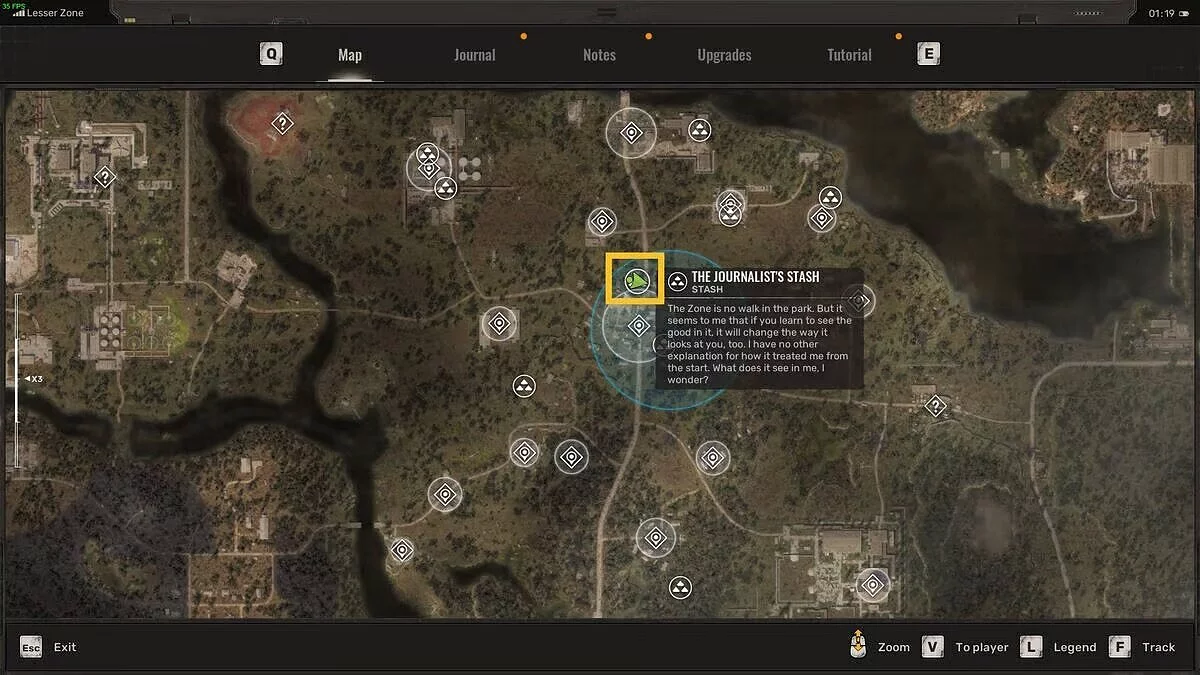
Zalissya, Lesser Zone
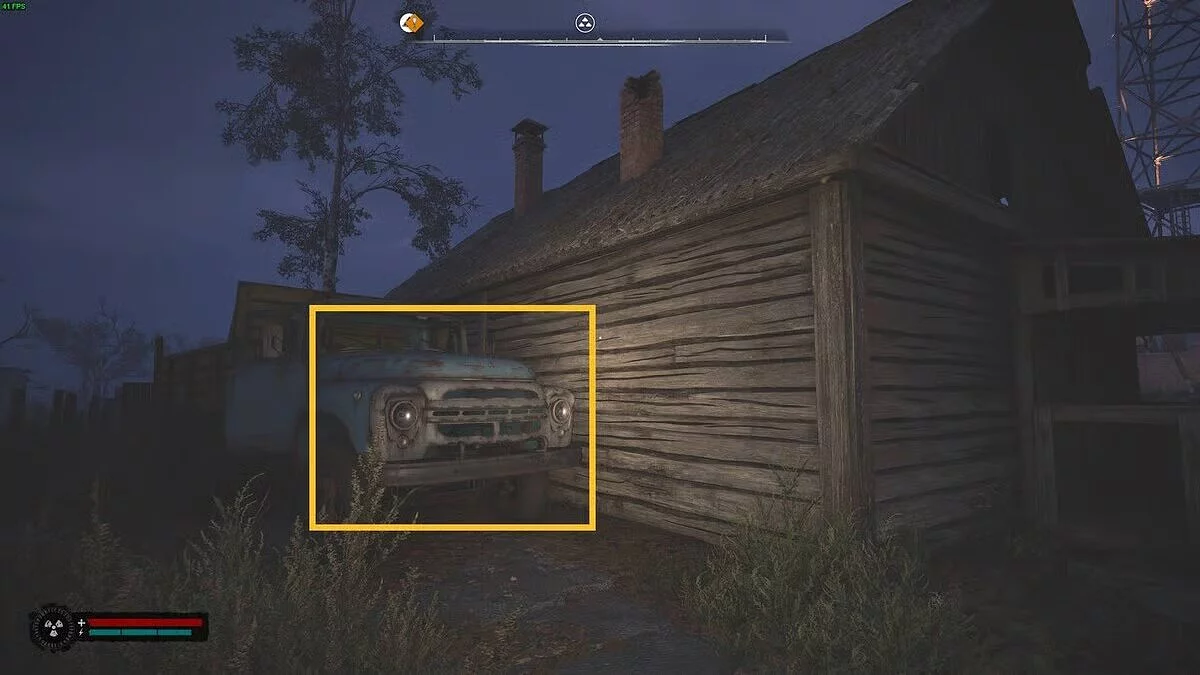
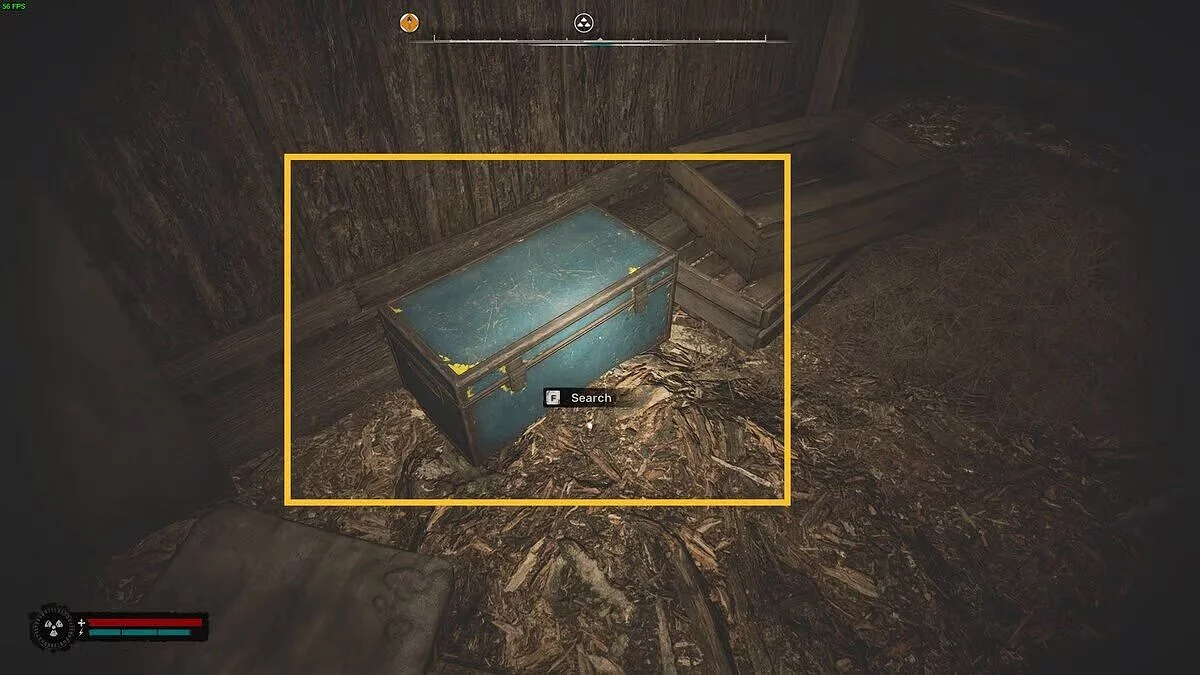
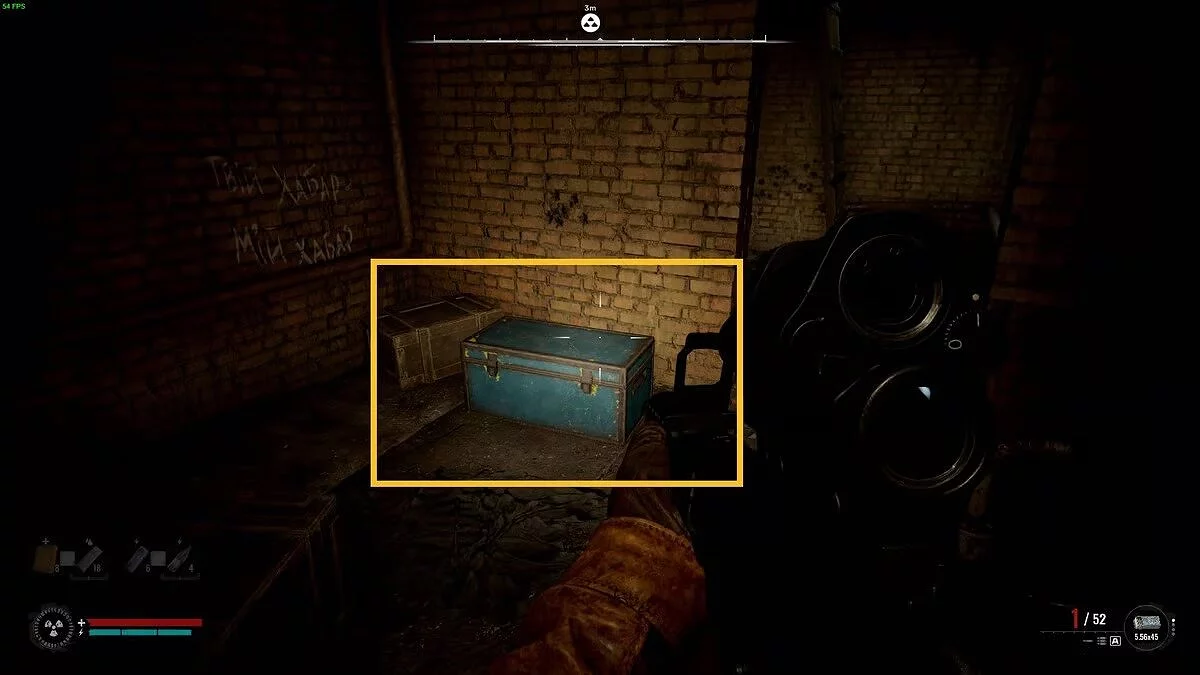
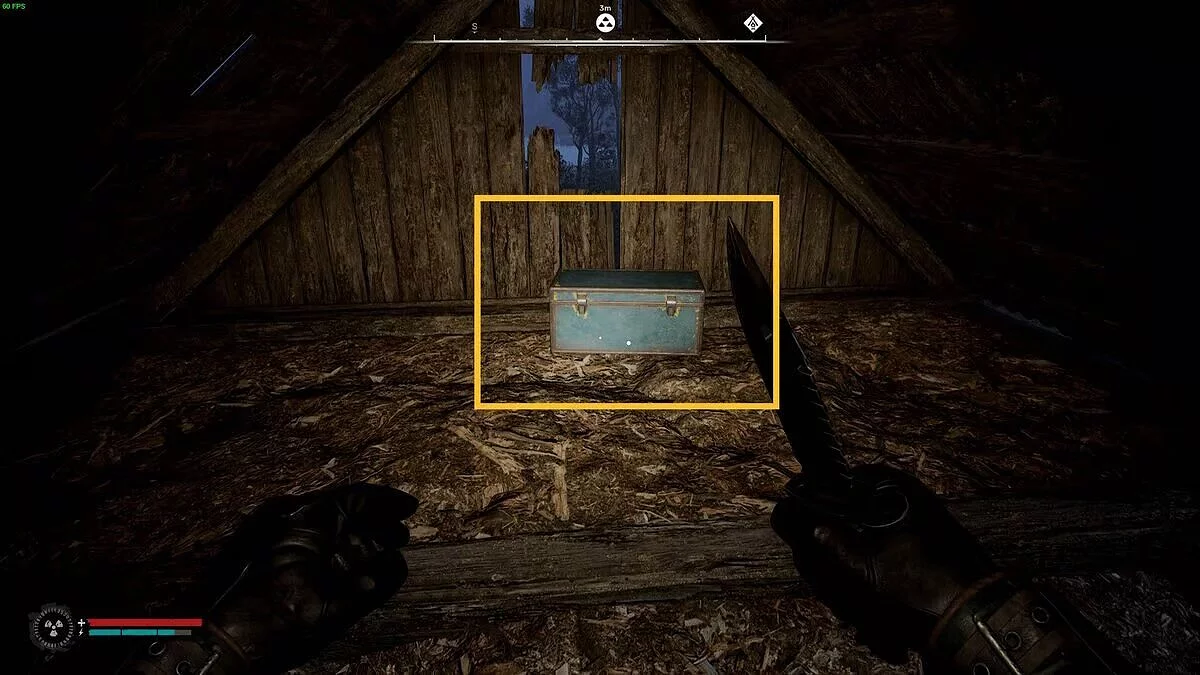
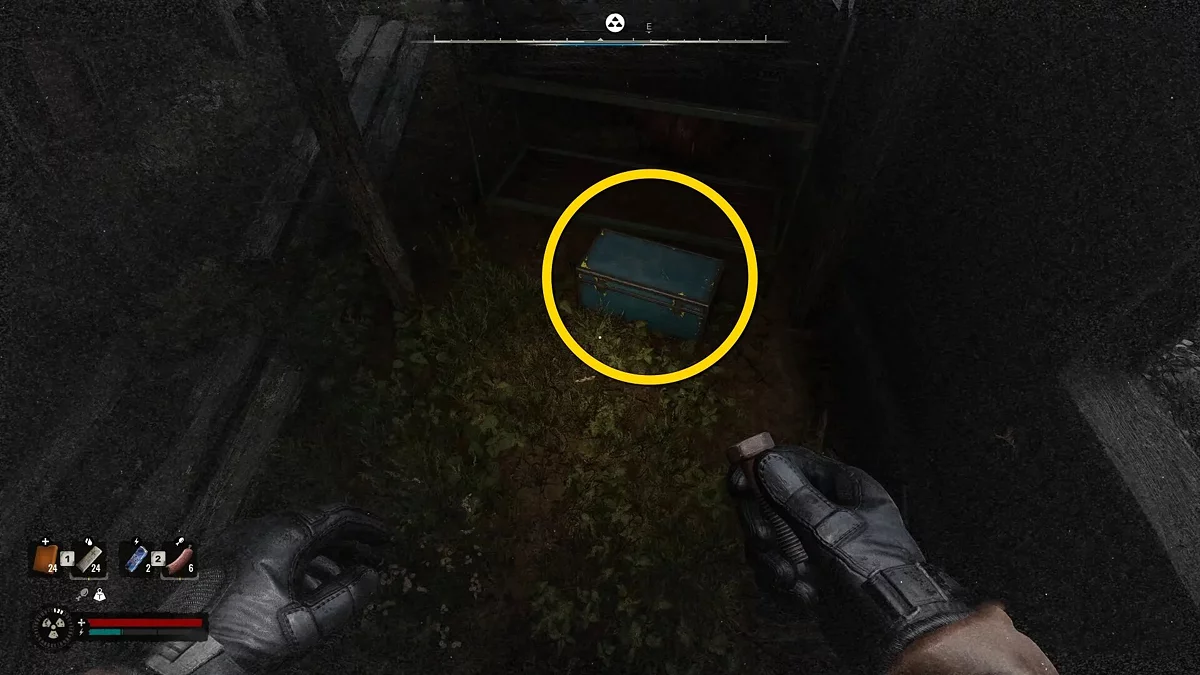
You will find this chest in the attic of a house in the north of Zalissya in the Lesser Zone region. Jump onto the hood of the blue truck on the side of the house, then onto the roof, and from there to the balcony. Crawl through the gap and inspect the blue chest at the back of the attic. There you will find a Light Mercenary Suit and a PTM Monolith pistol.
Northern Checkpoint, Lesser Zone
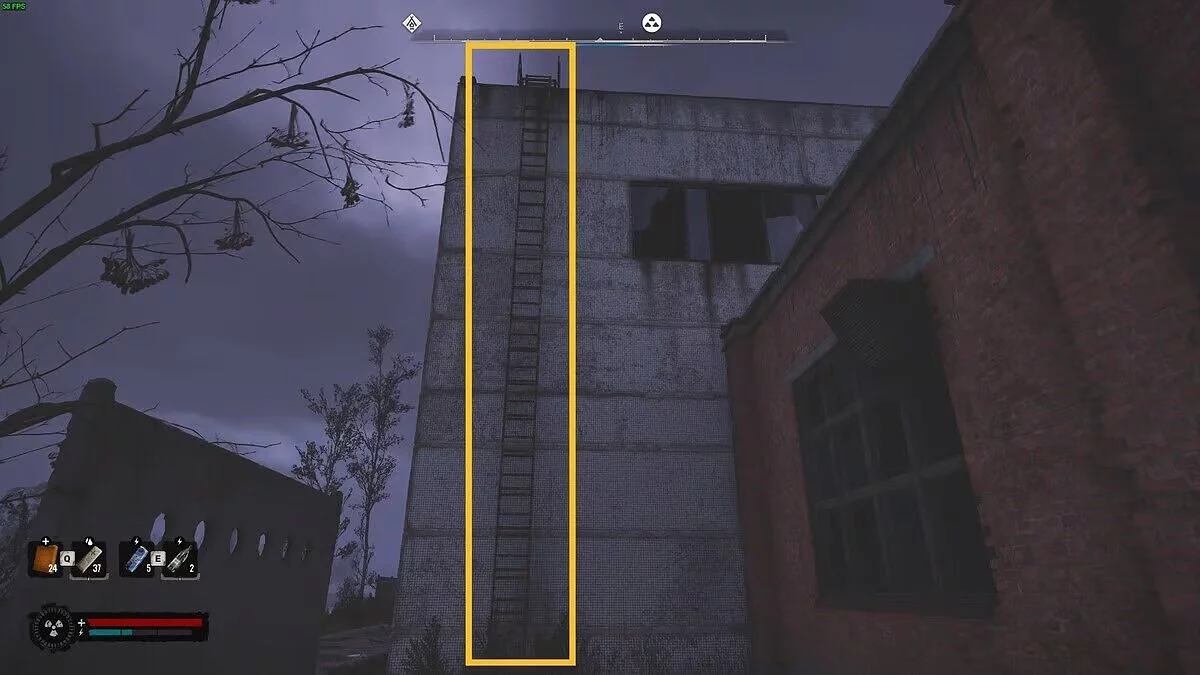
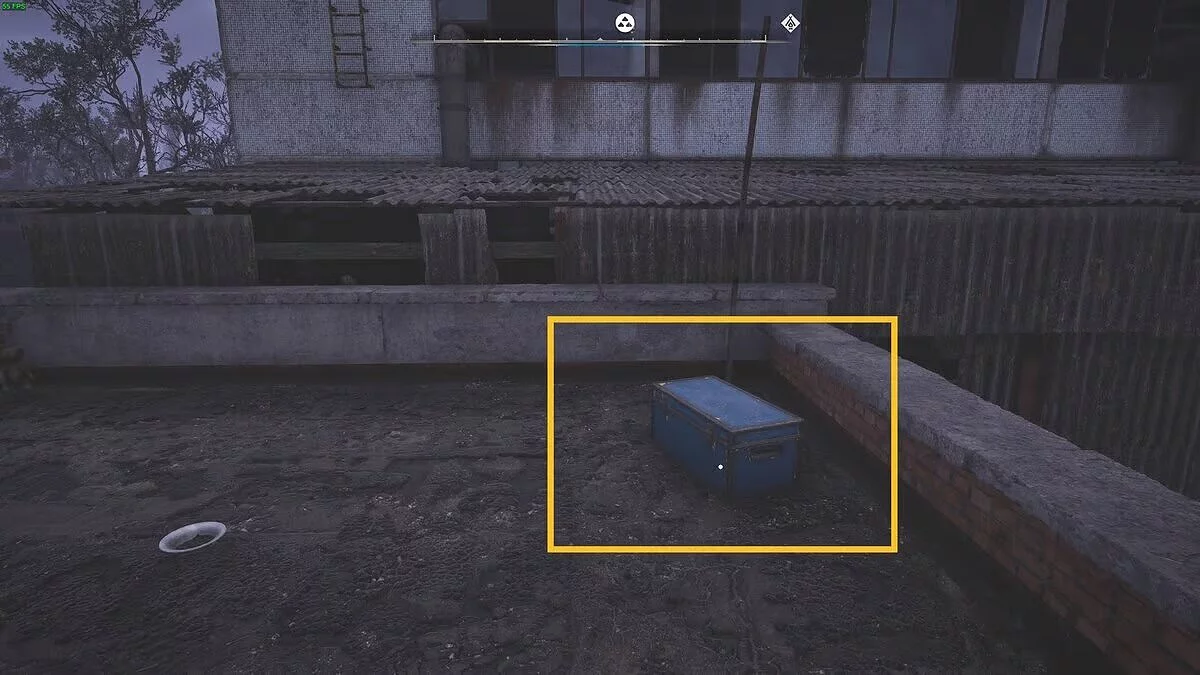
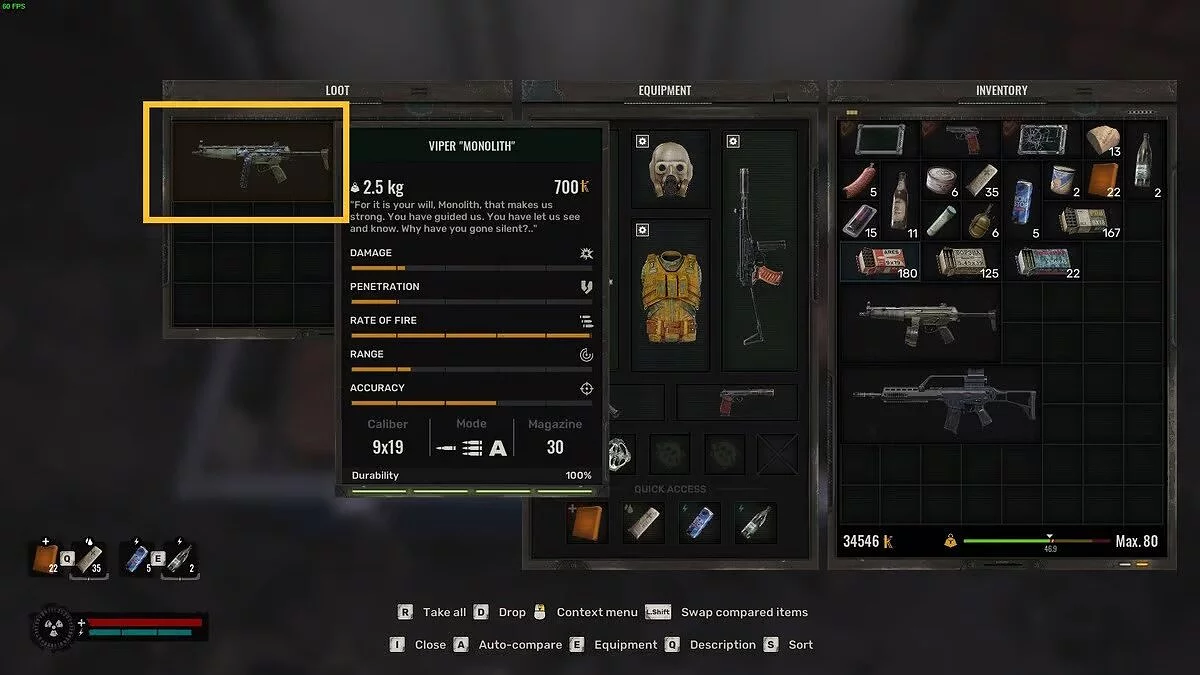
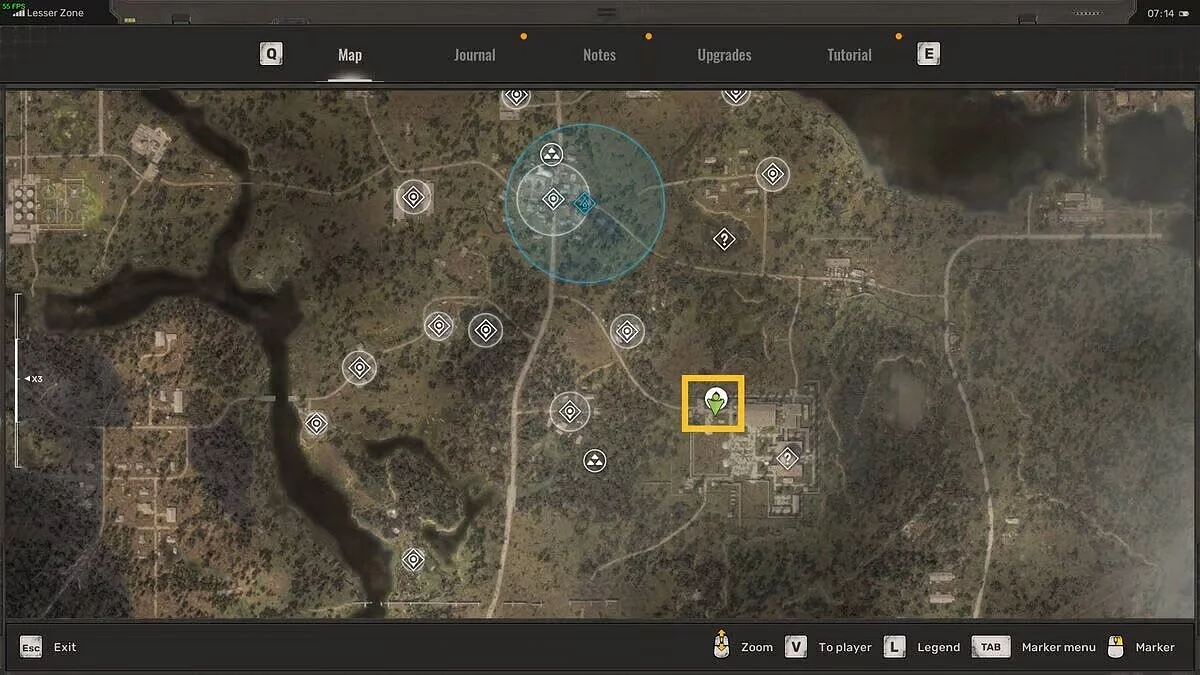
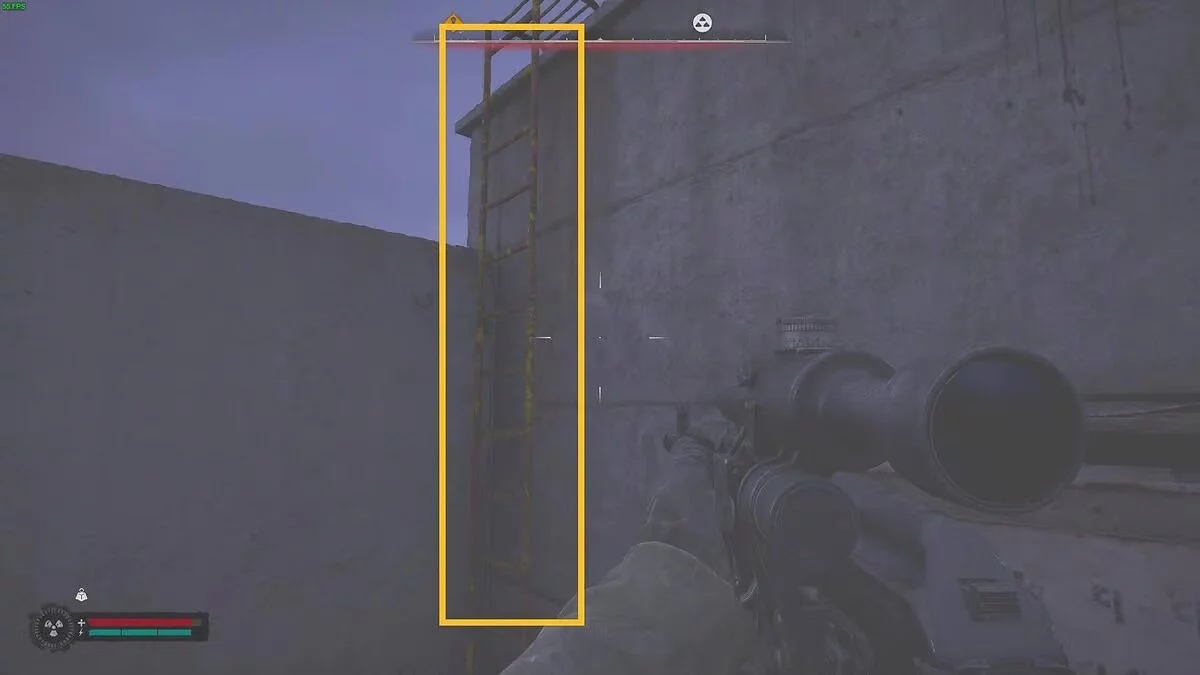
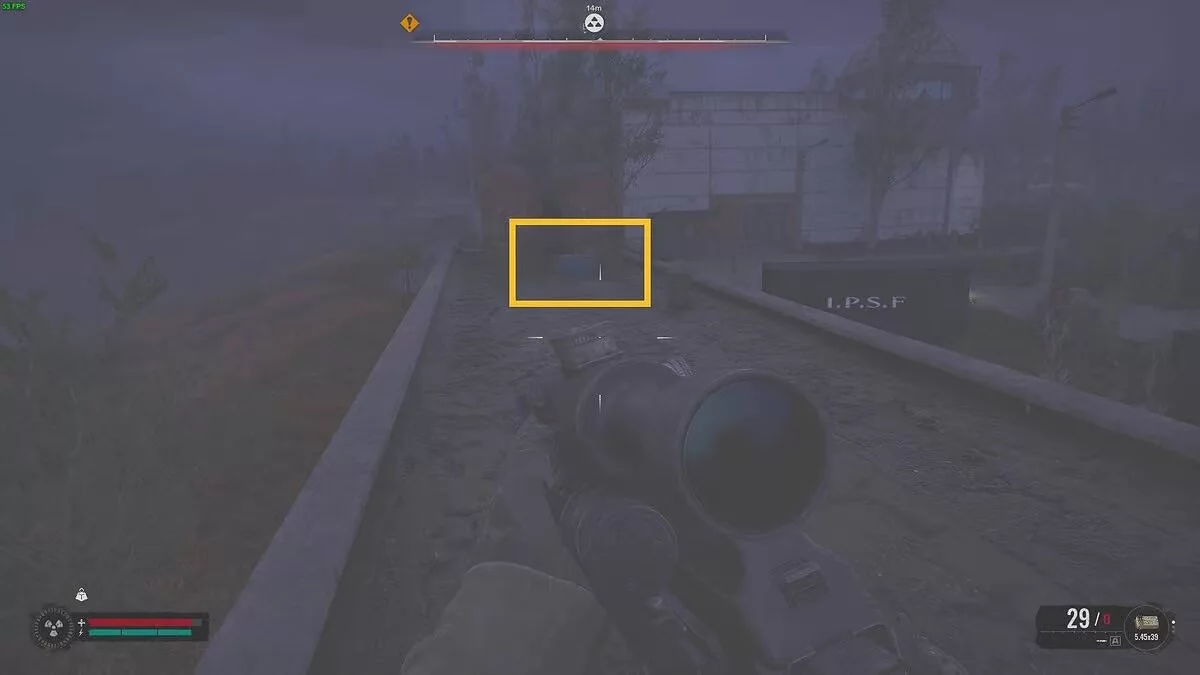
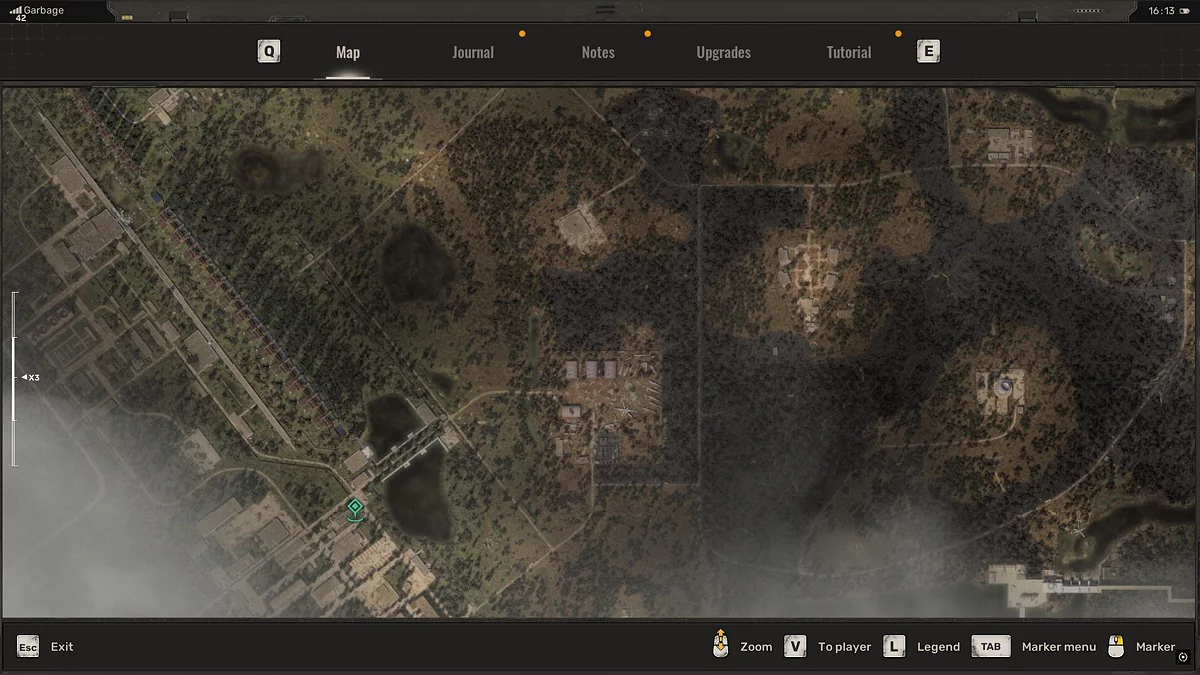
This stash is located at the Northern Checkpoint at the very north of the Lesser Zone, on the border with the Garbage area. Go to the far west of the point and you will see a ladder leading to a building covered with small gray tiles. Cross the roof and use the ladder, then jump onto the roof of a small neighboring building to find the stash containing the Viper Monolith weapon.
Sphere, Lesser Zone
You will find this stash in the southeast of the Lesser Zone, in a location called Sphere. You will enter this area as part of the main mission Behind Seven Seals, but you can visit it at any time. Head to the northwest corner of the complex and follow the outer wall east to a small building with a ladder on the west side. Climb up, and you will find the stash on the roof near rusty pipes. Inside you will find the AR416 Monolith and a PDA with an audio log.
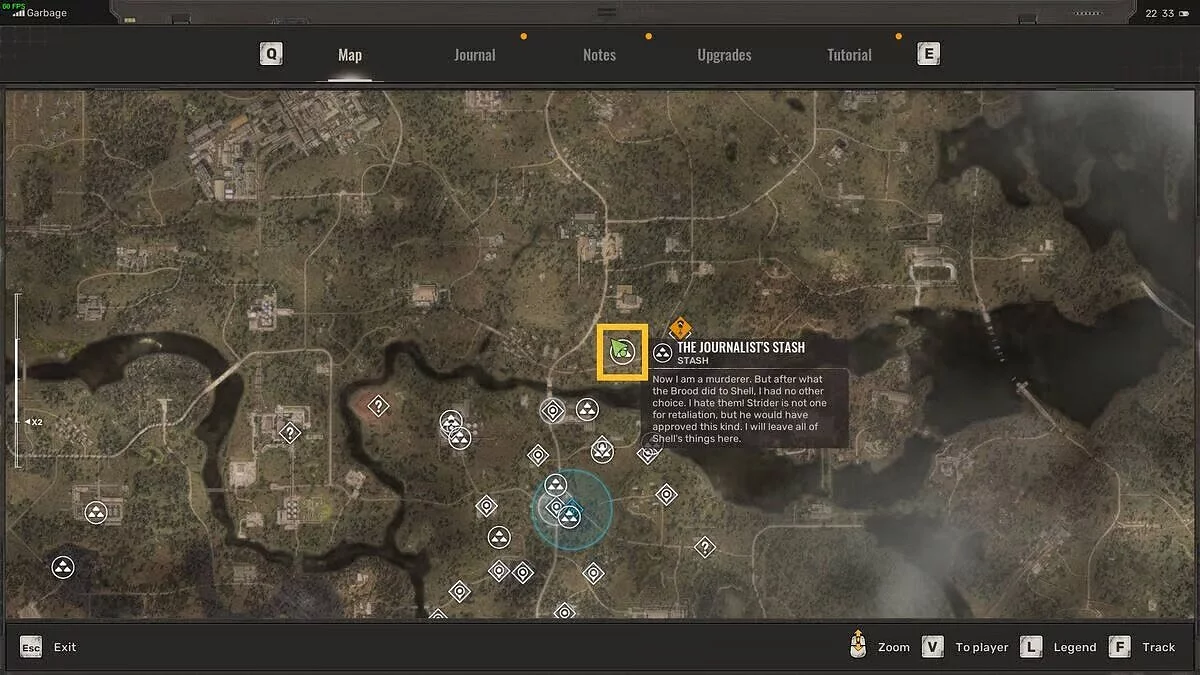
Detention Center, Garbage
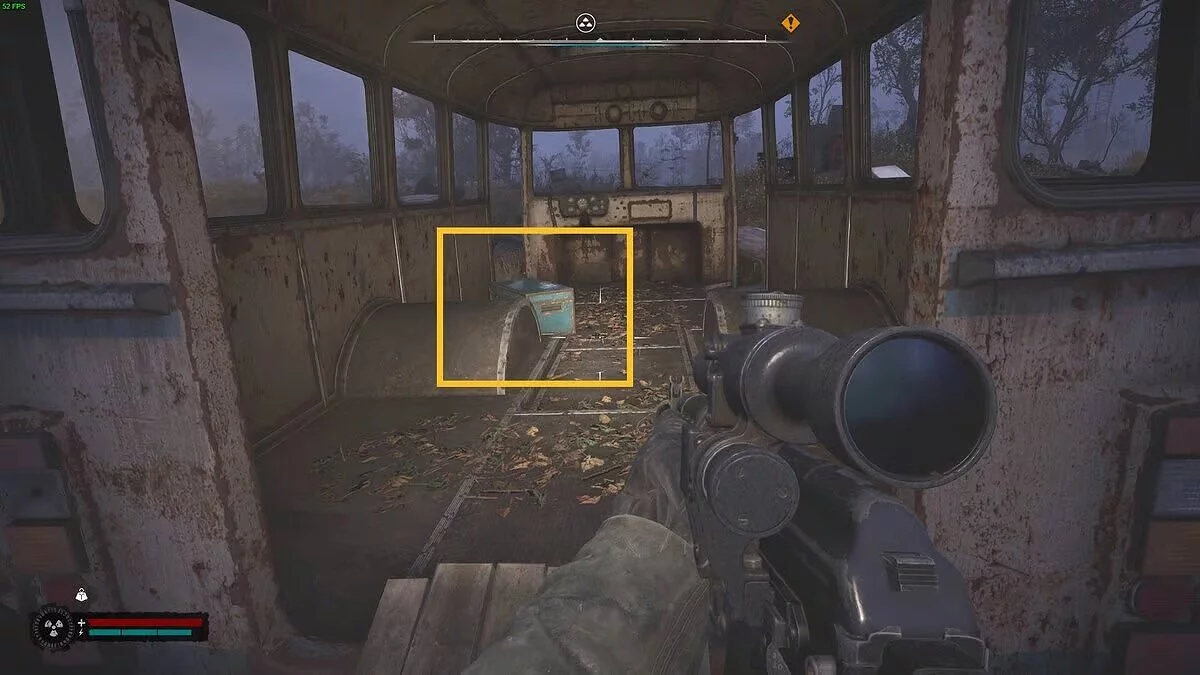
This stash is located east of the Detention Center, in the far south of the Garbage region. Move west along the road from the Center. Keep an eye on the right side to spot an abandoned blue-and-white bus among the debris. The stash is inside and contains the M860.
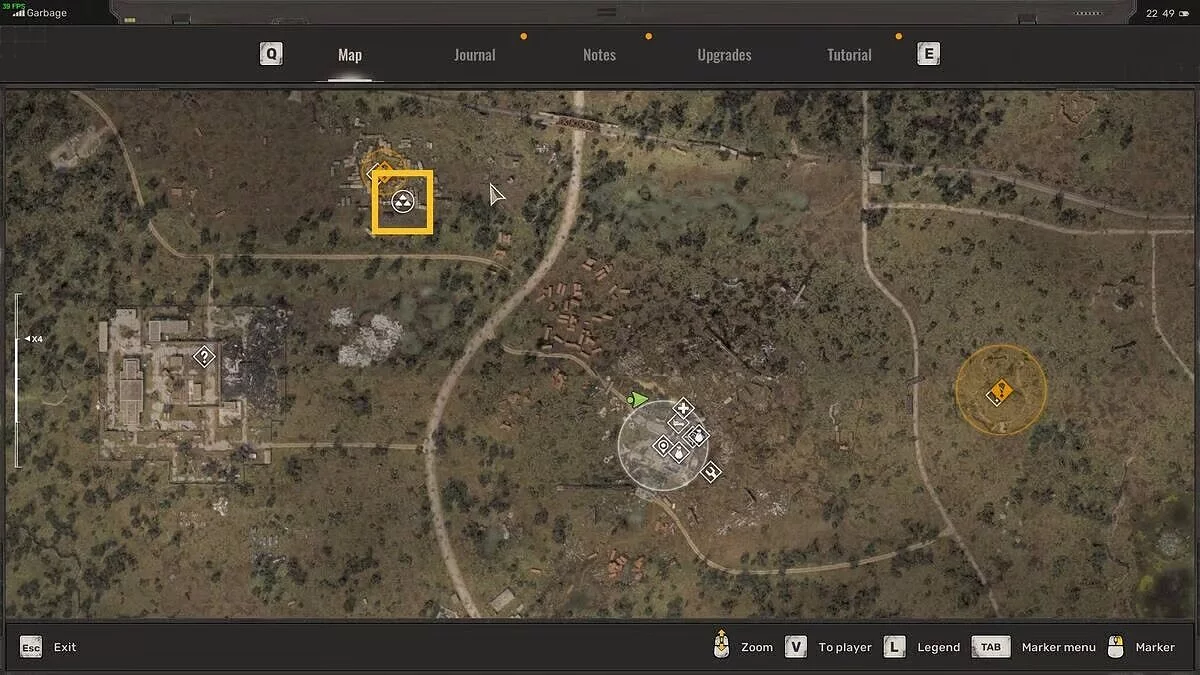
Maze, Garbage
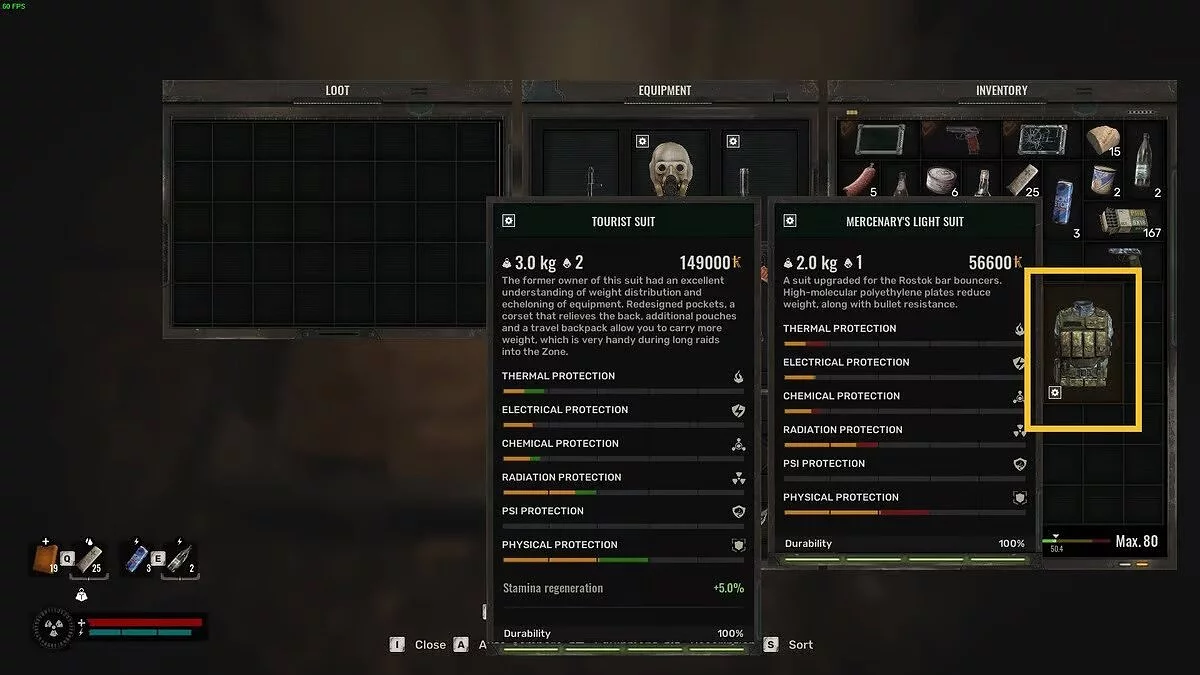
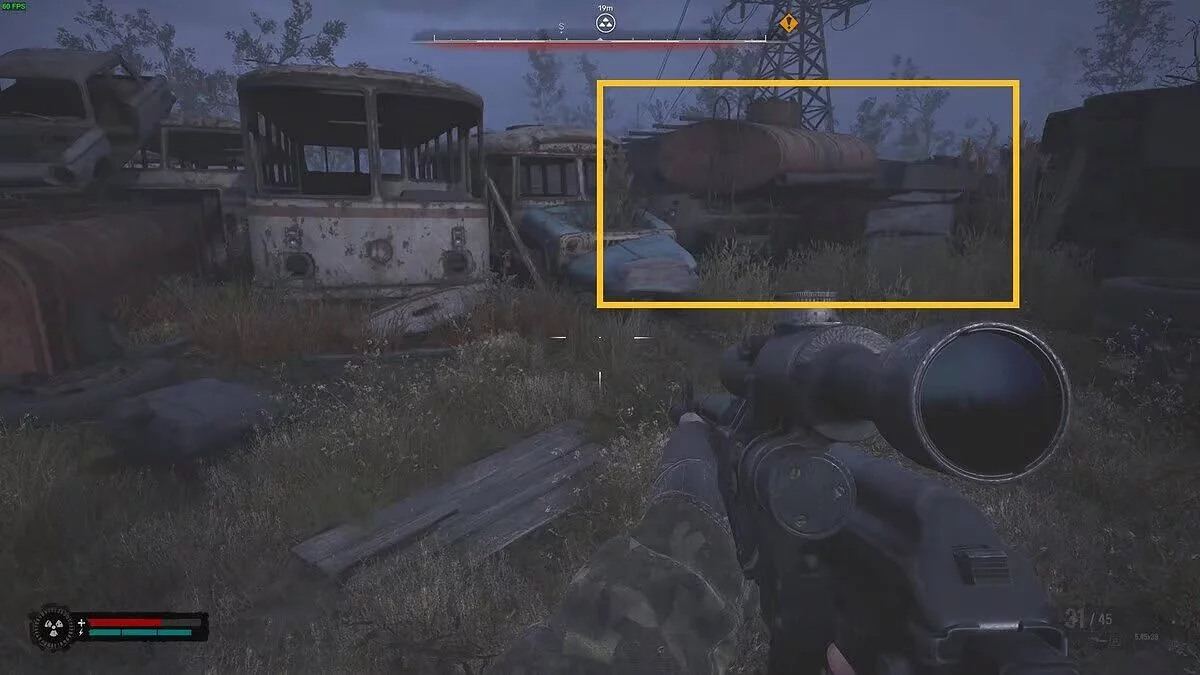
You will find this stash at a point of interest called Maze, located northwest of the slag heap in the Garbage region. Follow the path into the Maze, taking out any mutant rats that appear. Look for the red tanker. Use the debris on the right to climb on top of the tanker, then jump down the other side. The stash is on the ground next to a green tram. Search it to obtain the Tourist Suit, one of the best early-game suits you can find.
Volkhov SAM, Rostok
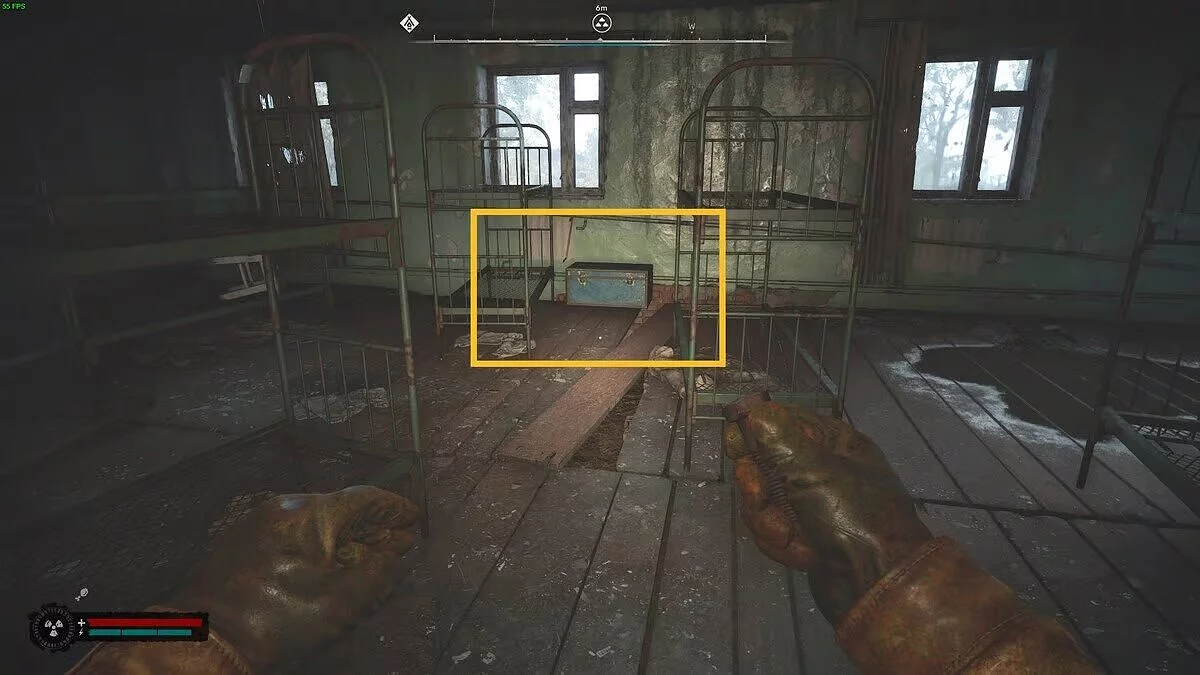
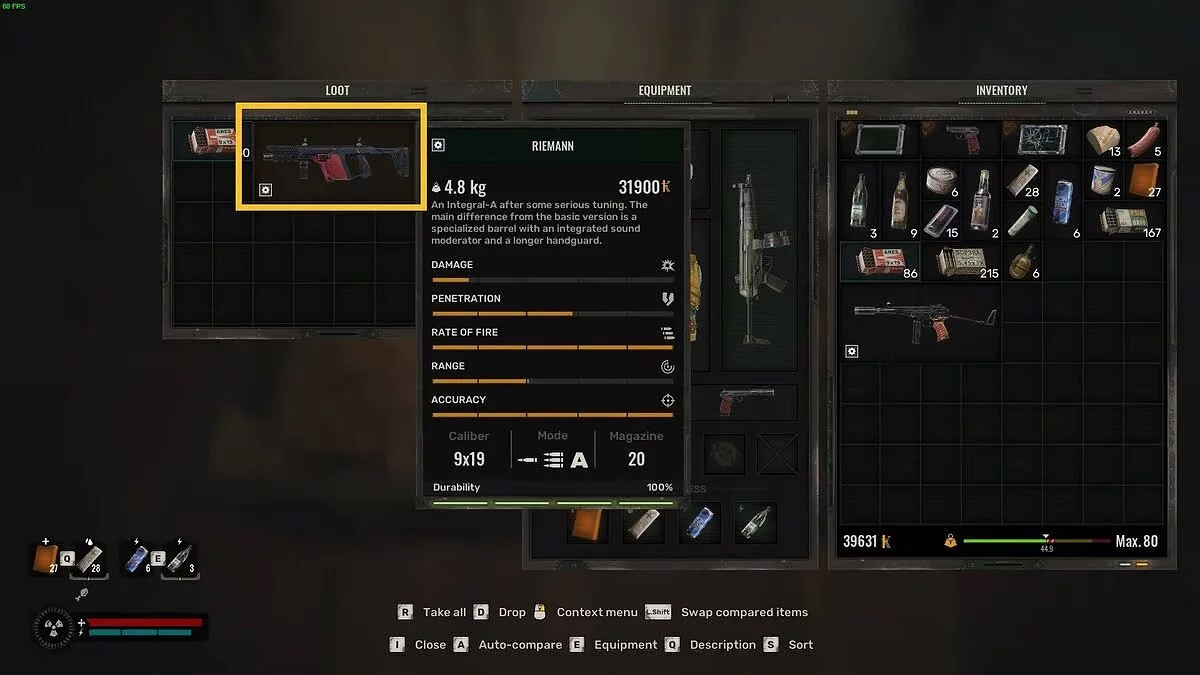
This stash is located in the north of the Rostok region, northeast of the point of interest Volkhov SAM. Head to the location marked on your map, and you will see a low rectangular building with anomalies nearby. Enter the building from the east. Use bolts to clear the anomalies inside. The stash is at the back, near green bunk beds. Inside you will find the Riemann Integral-A pistol and some ammo.
Yaniv Station, Yaniv
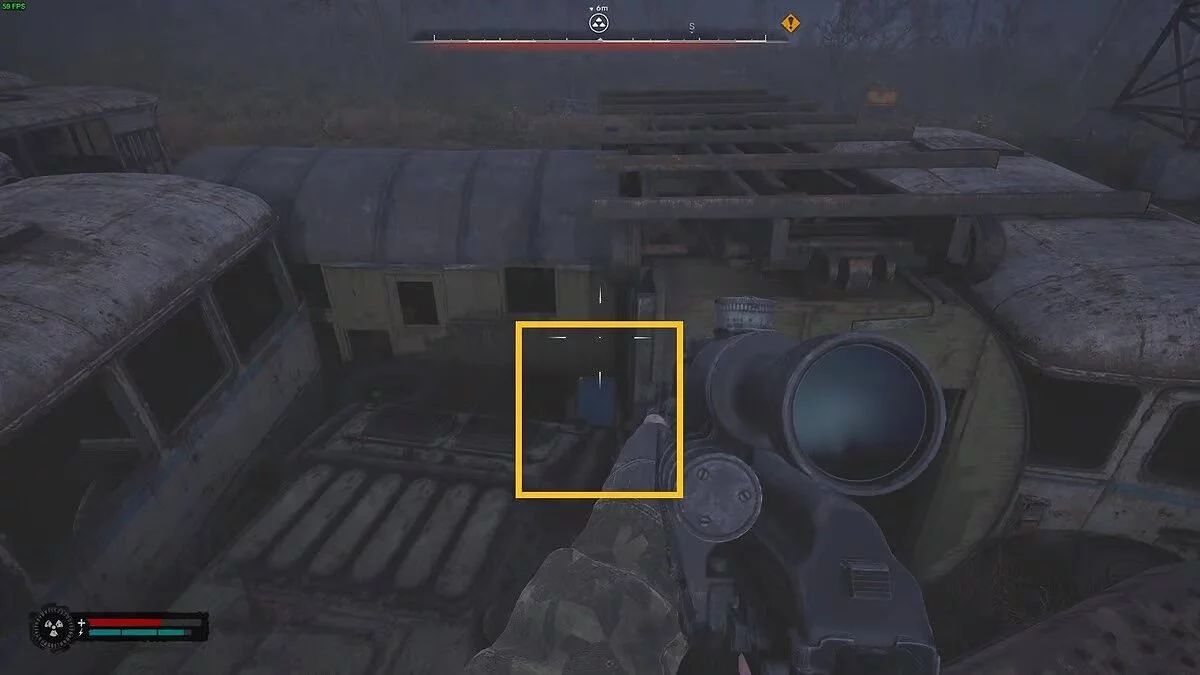
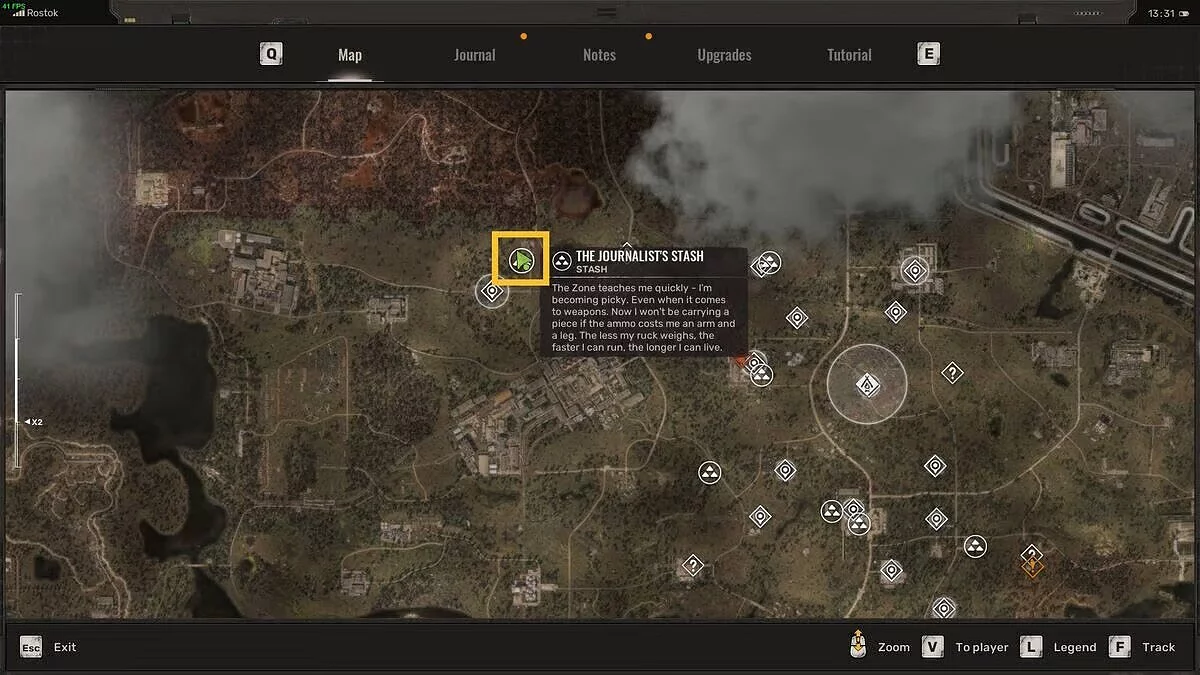
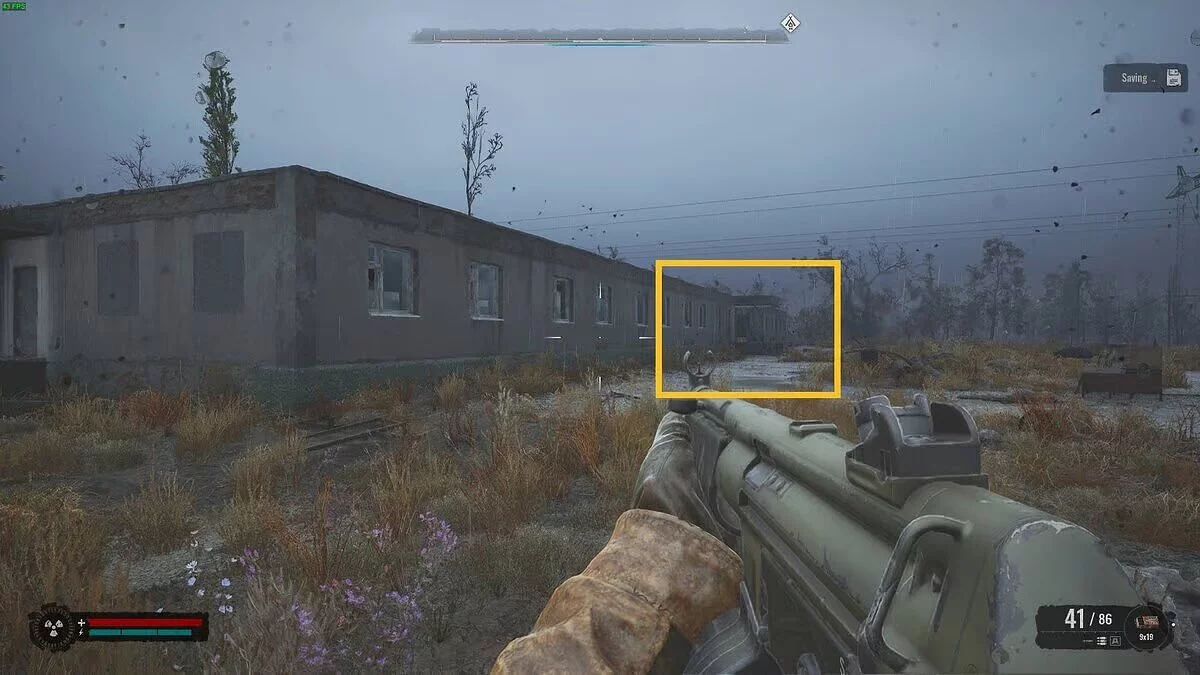
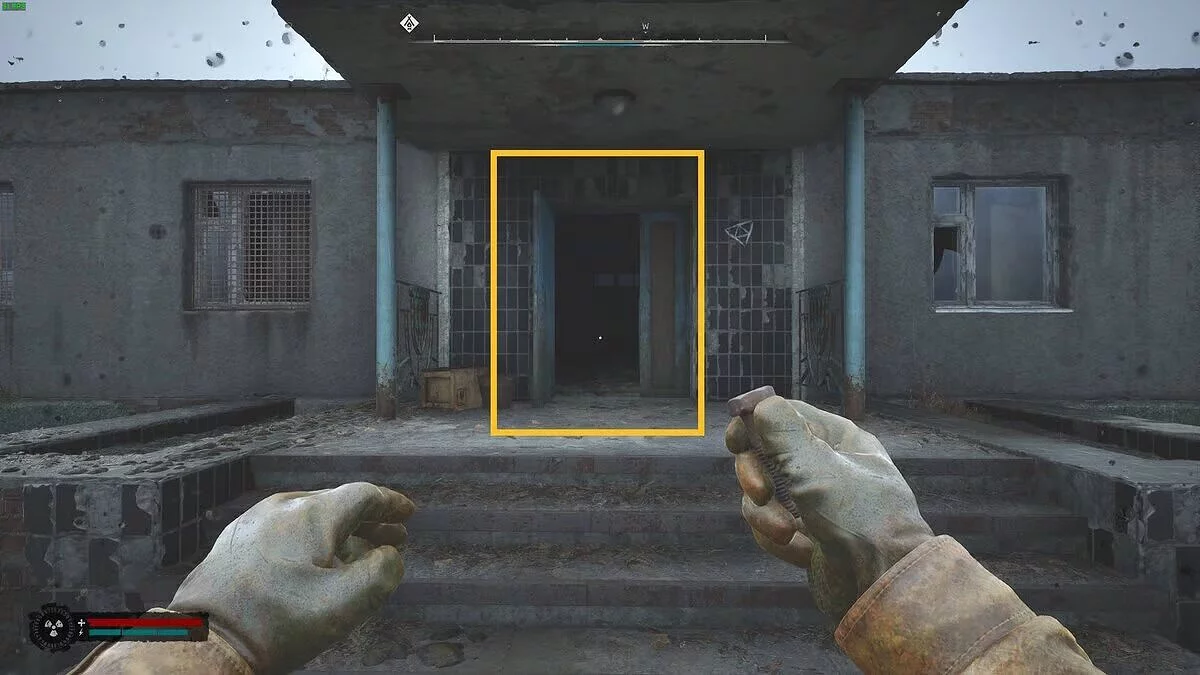
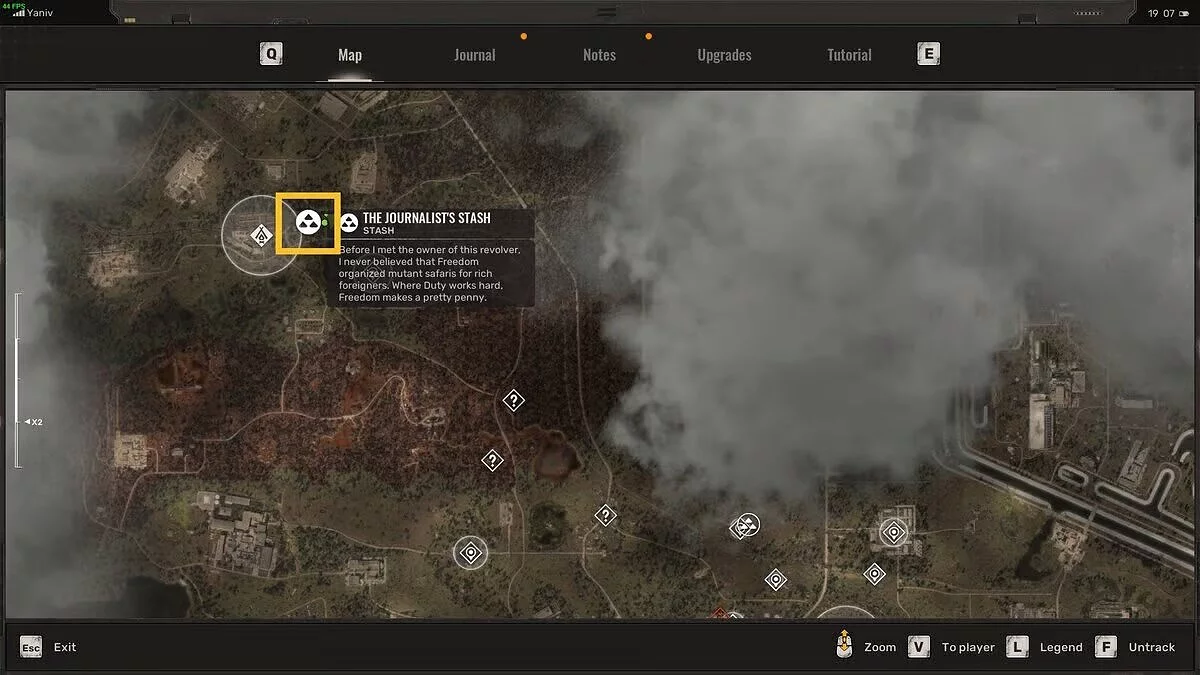
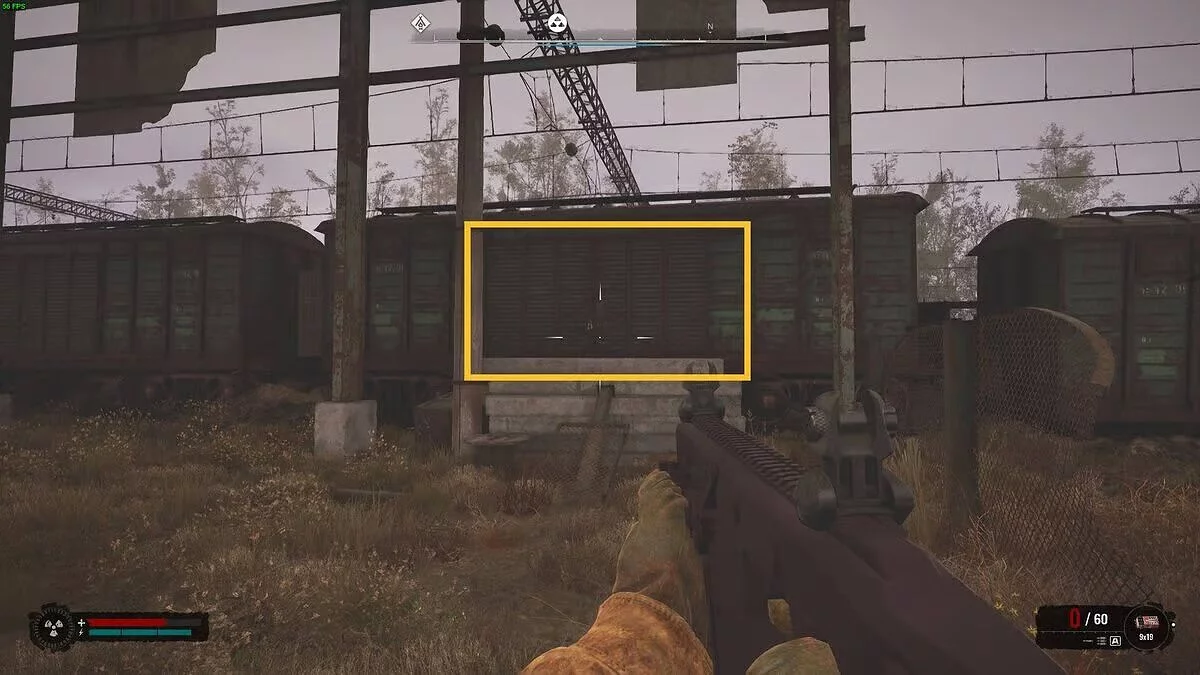
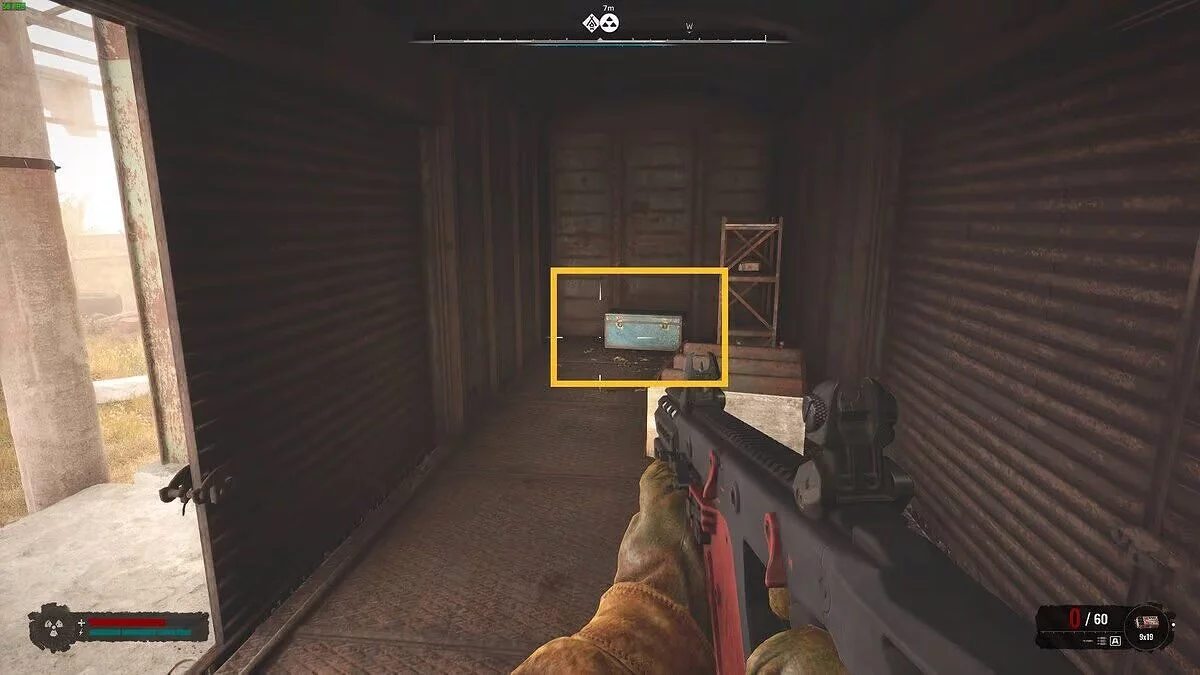
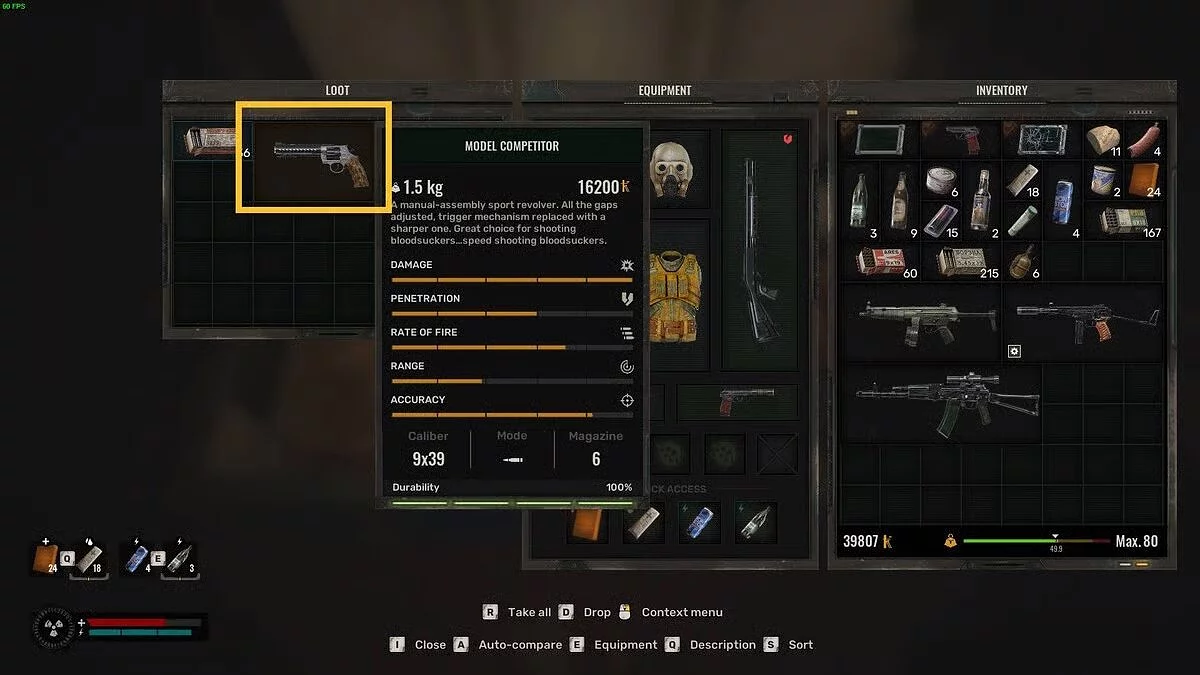
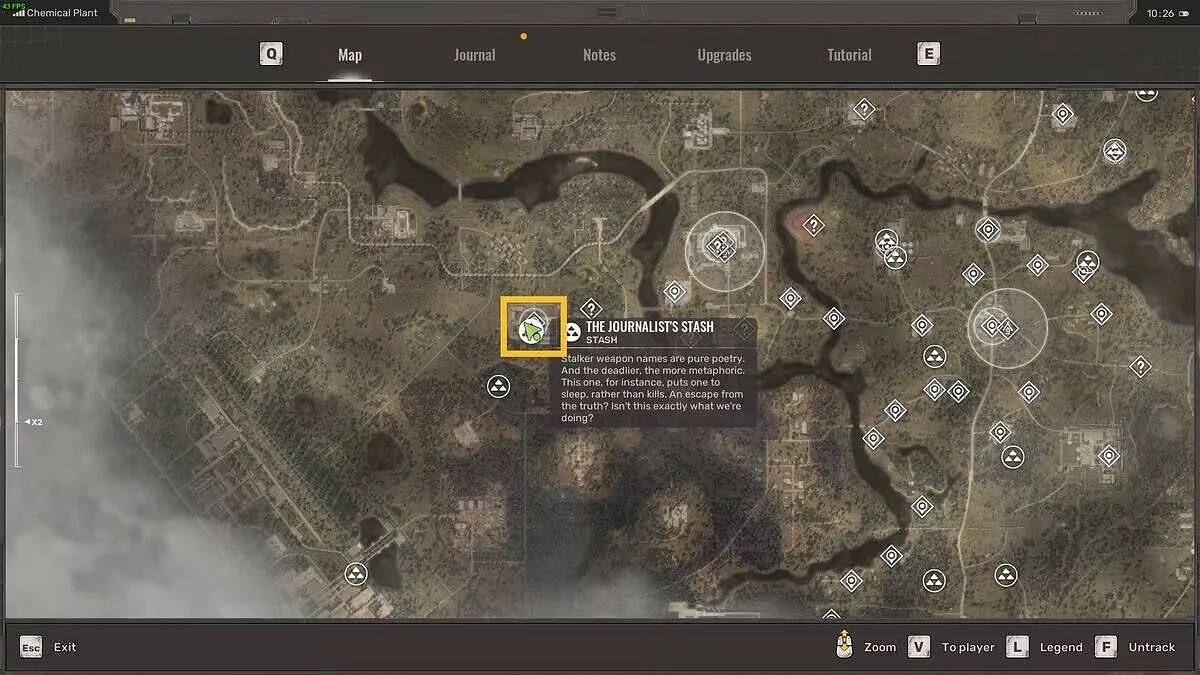
This journalist's stash is located in the trains at the railway station just east of Yaniv Station in the Yaniv region, which is situated in the northwest of the map, squeezed between the Red Forest and Prypiat. Head to the map marker and break the lock on the train. Go inside and search the stash to get the Model Competitor weapon and some ammo.
Army Warehouses, Chemical Plant
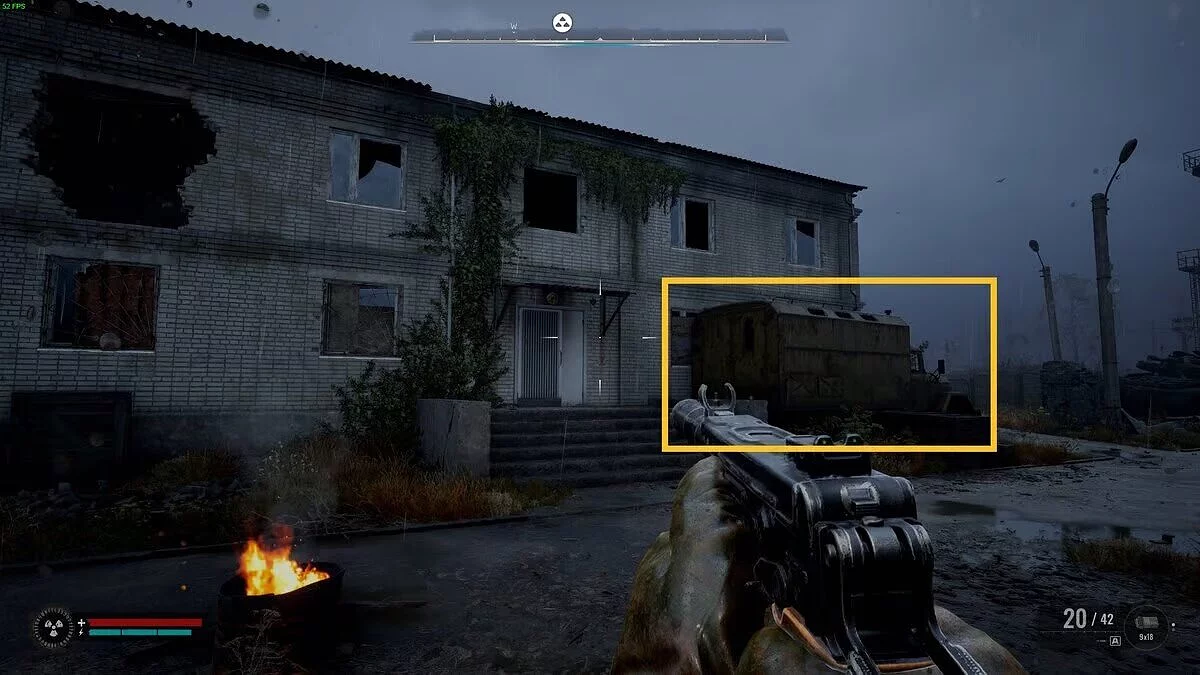
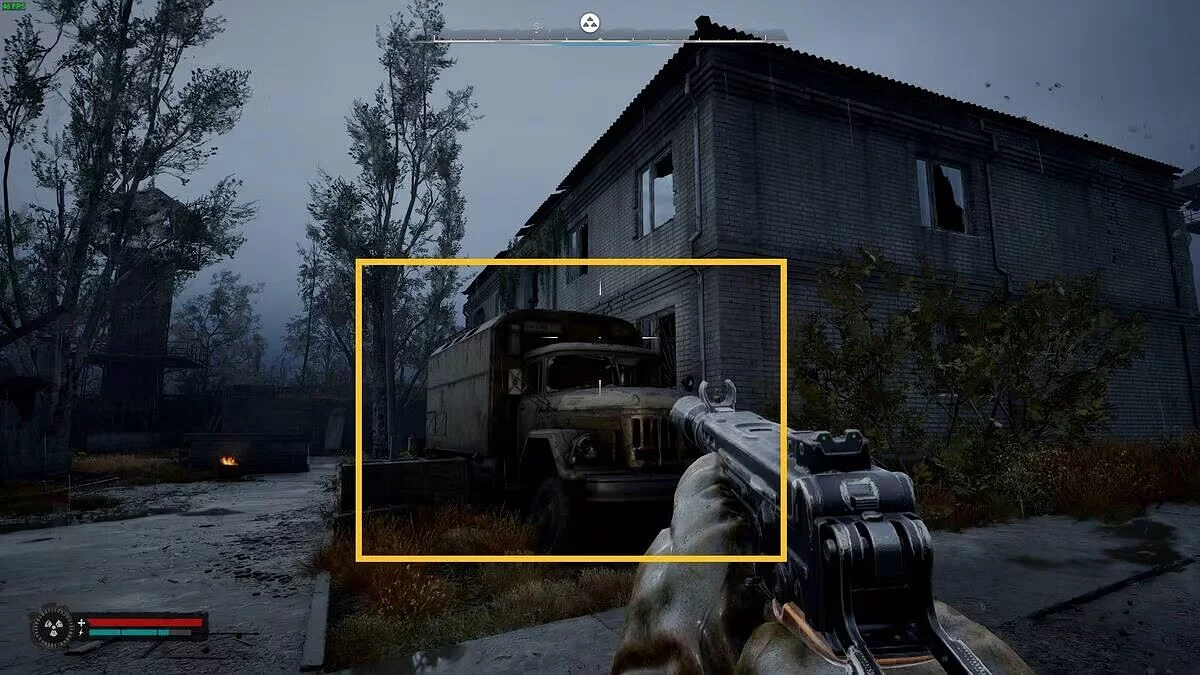
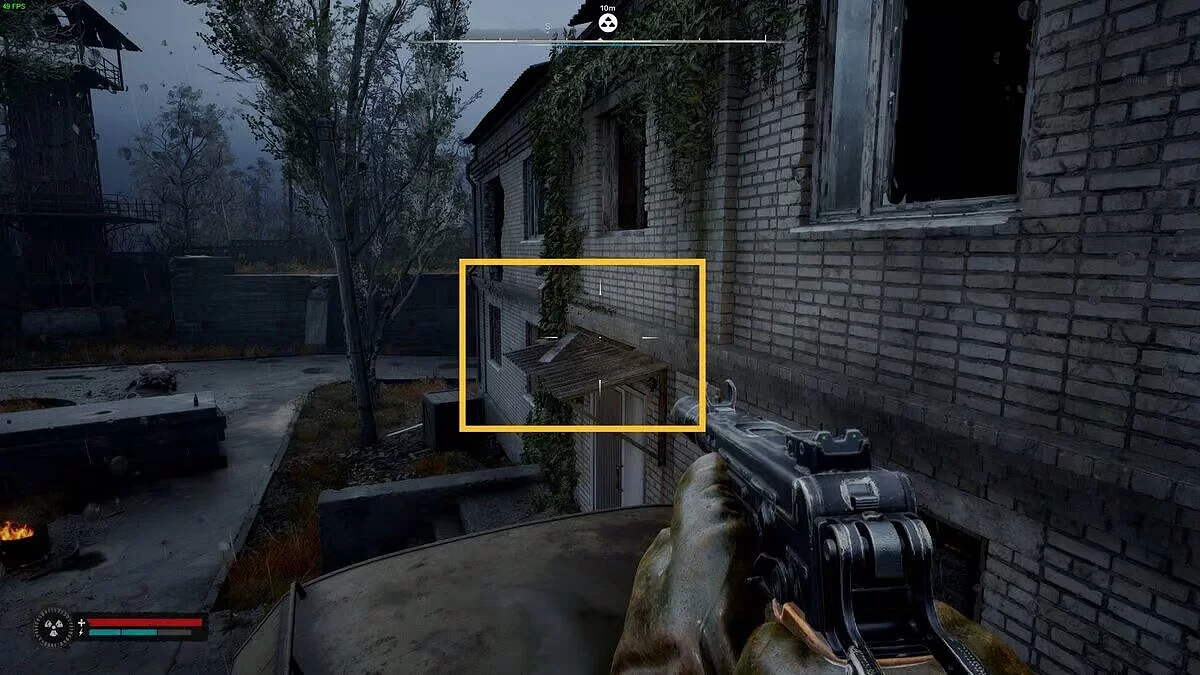
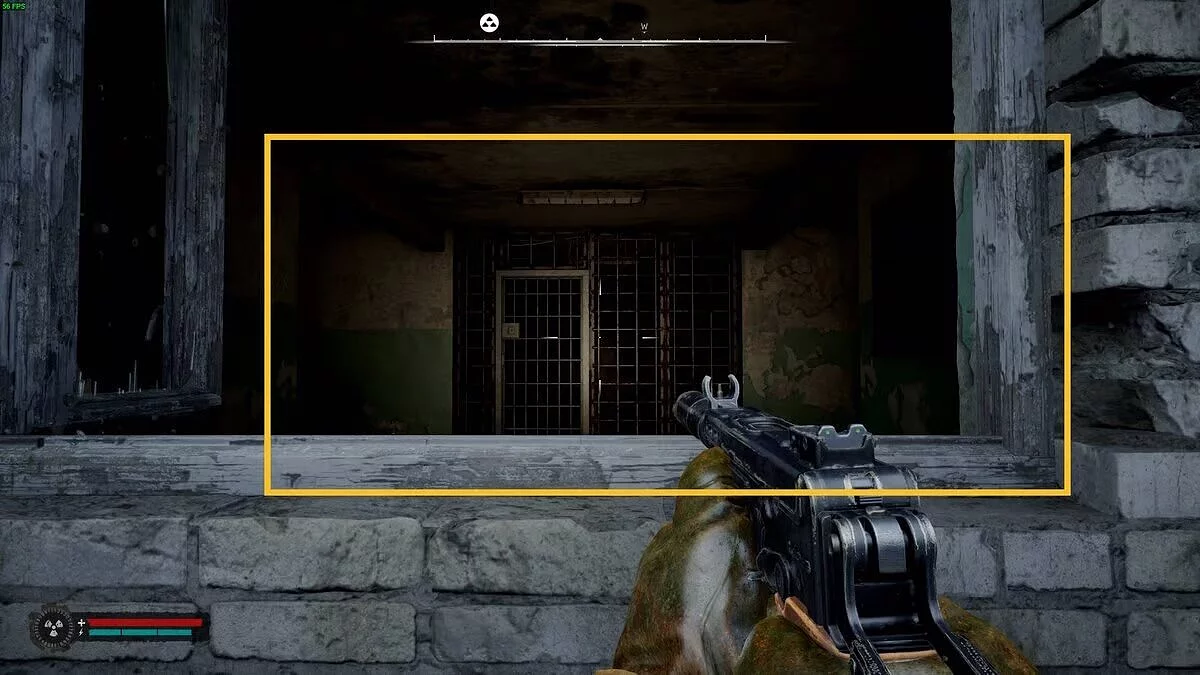
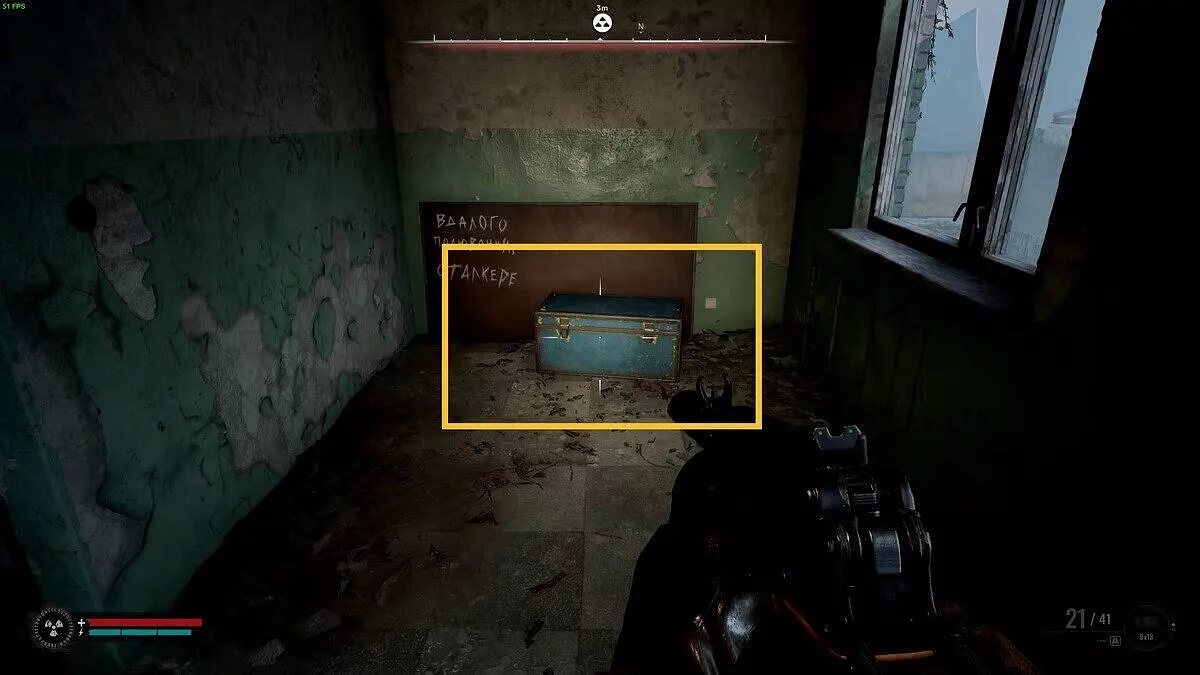
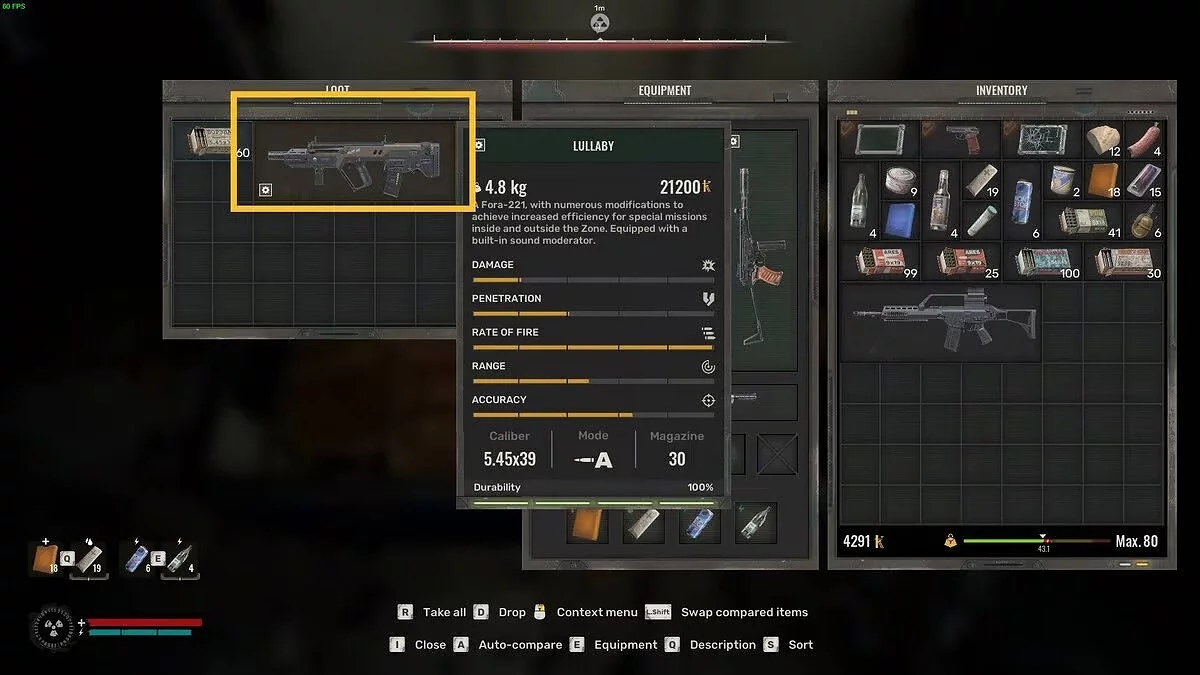
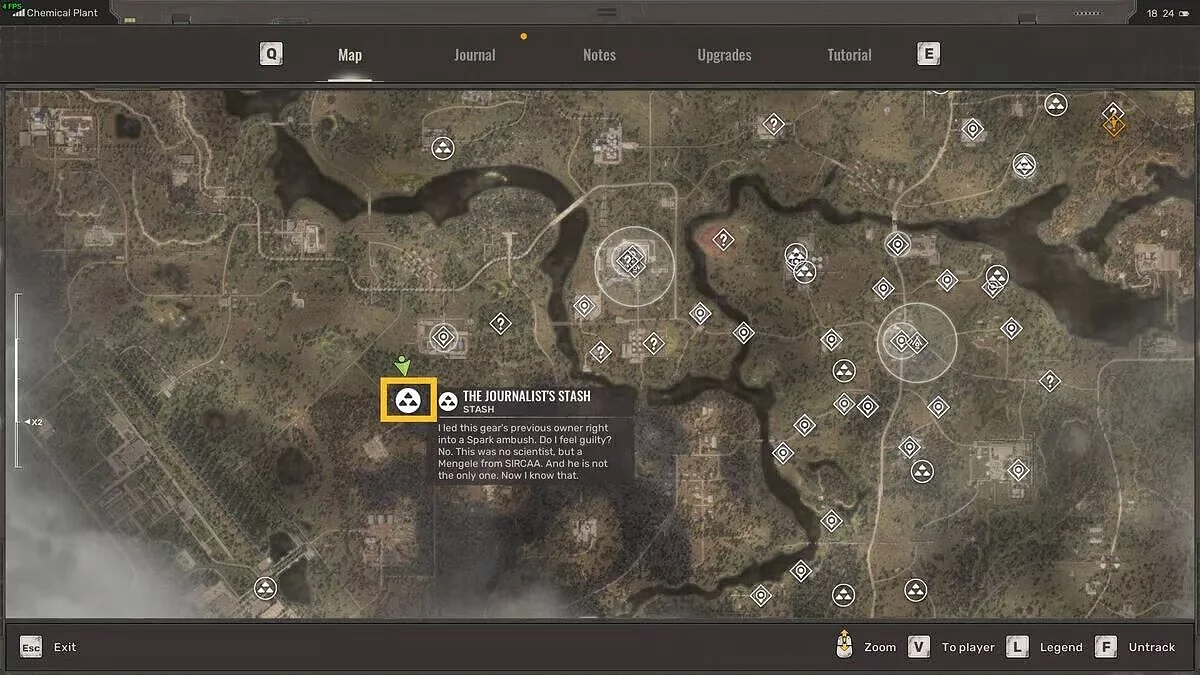
This stash is located at the Army Warehouses point of interest in the south of the Chemical Plant region, which is northwest of the Lesser Zone. Go to the stash map marker, and you will find a building with mutants outside. Deal with them, then use the yellow rusty truck on the right to reach the canopy above the building's entrance door, then jump into the window. Turn left, then left again into the room with the half wall, and you will find the stash containing the Fora-221 Lullaby weapon along with 5.45x39mm PS ammo.
Rozyizhdzhe, Burnt Forest
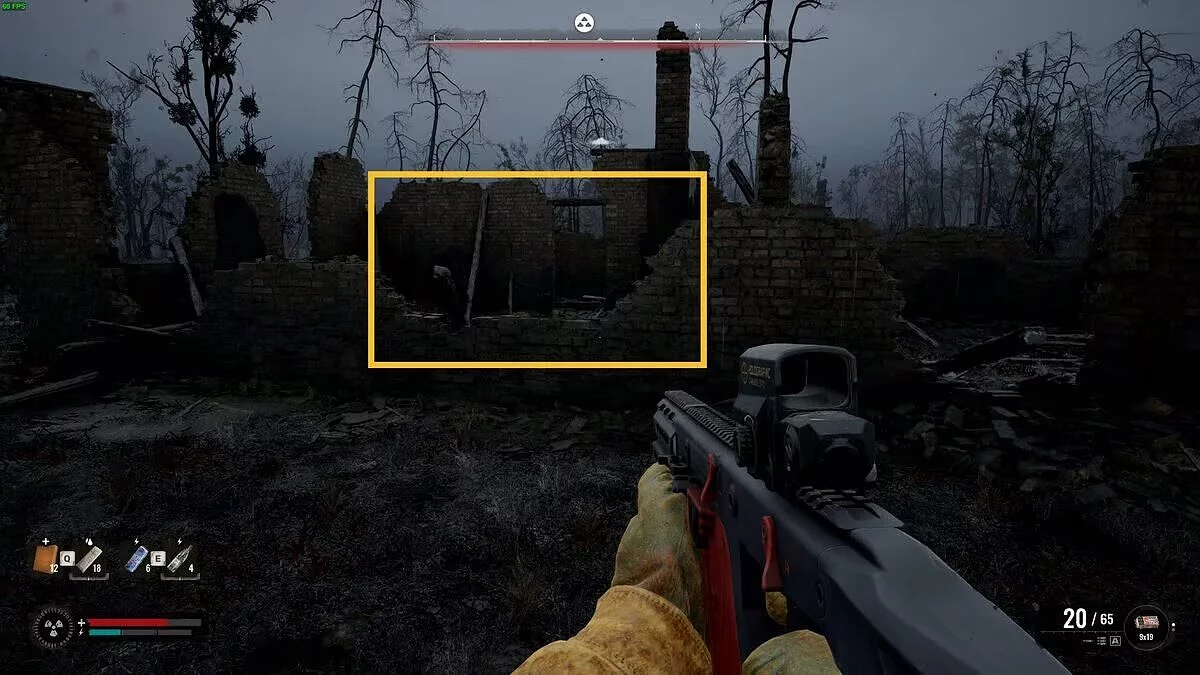
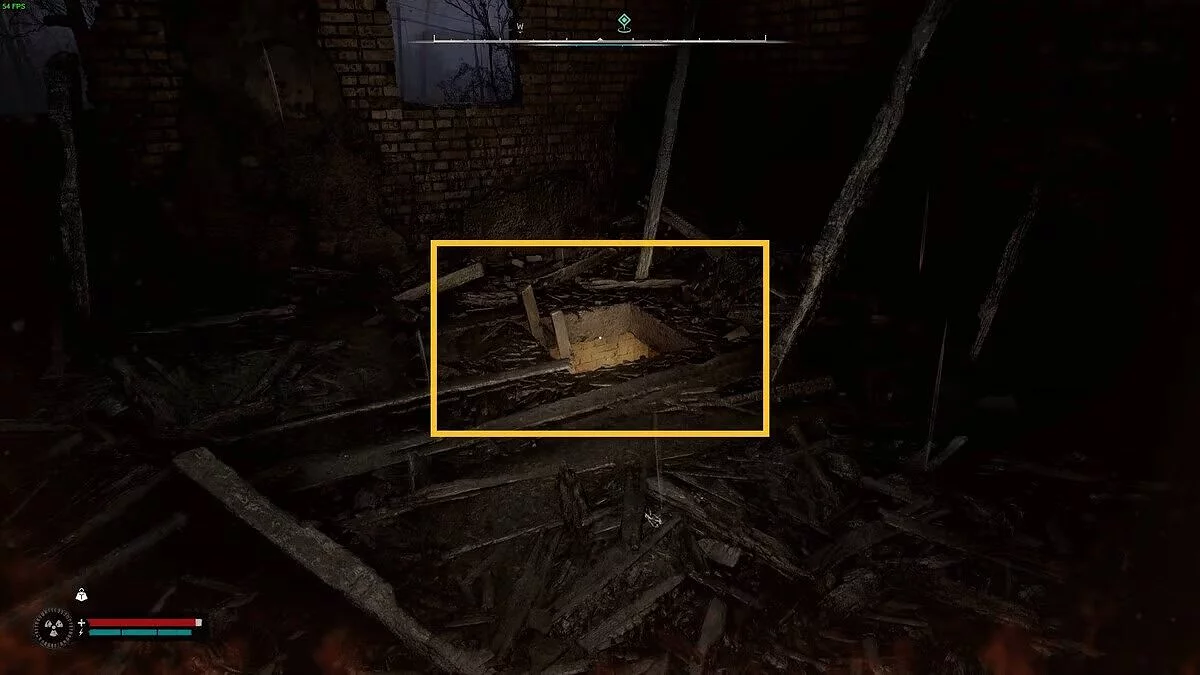
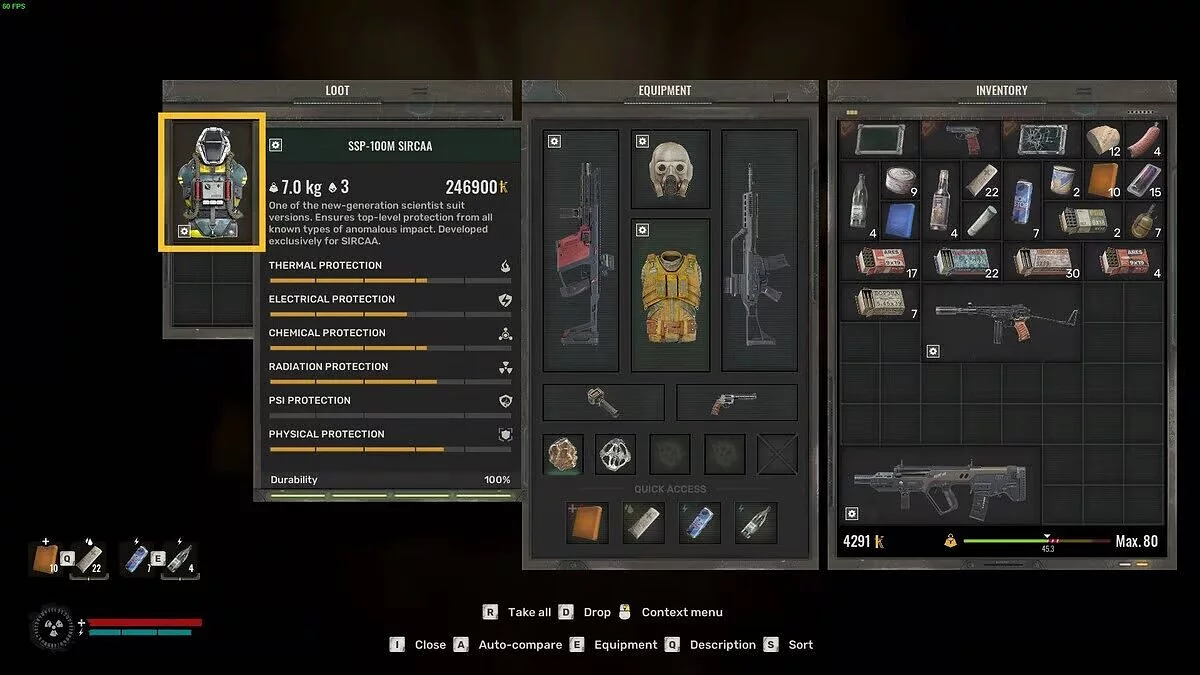
The journalist's stash is located in Rozyizhdzhe, in the northwest corner of the Burnt Forest region. Head to the map marker, and you will find yourself near burnt and abandoned ruins. Mutants and anomalies are everywhere here, so you need to get in and out quickly. Go to the westernmost ruins and use the ladder to reach the basement. There is a Poltergeist thermal anomaly down there. We recommend destroying it by shooting the burning spot. The stash is in the second room and contains the SSP-100M SIRCAA suit.
Horodyshche Hamlet, Swamps
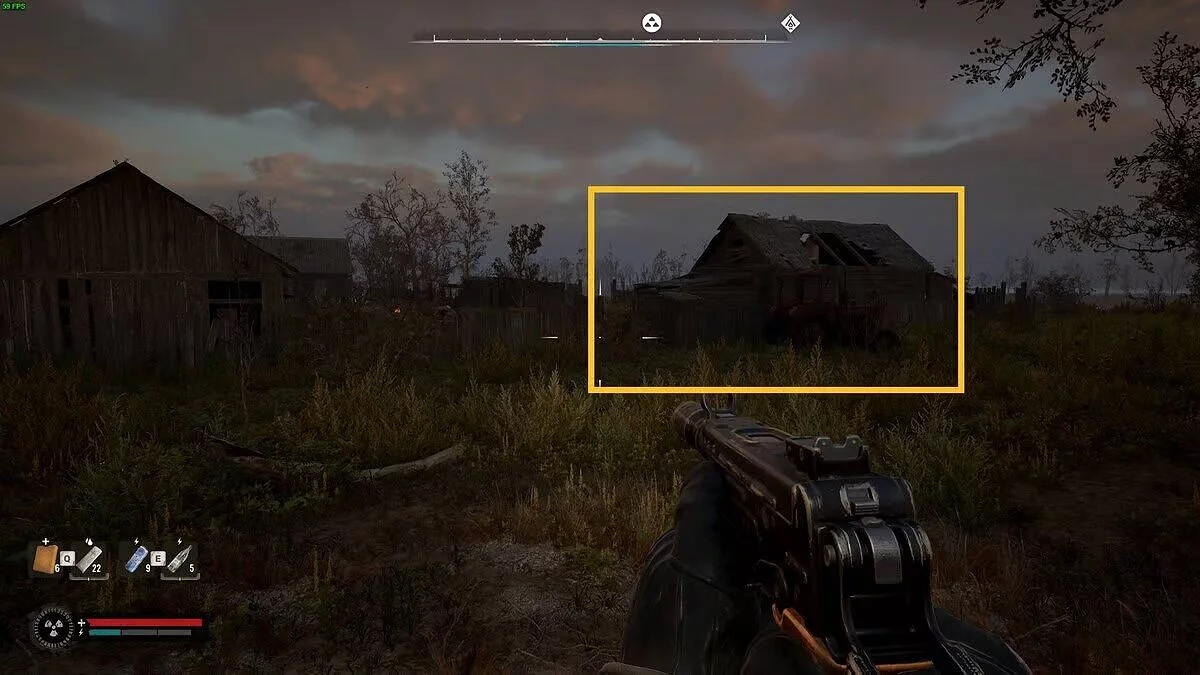
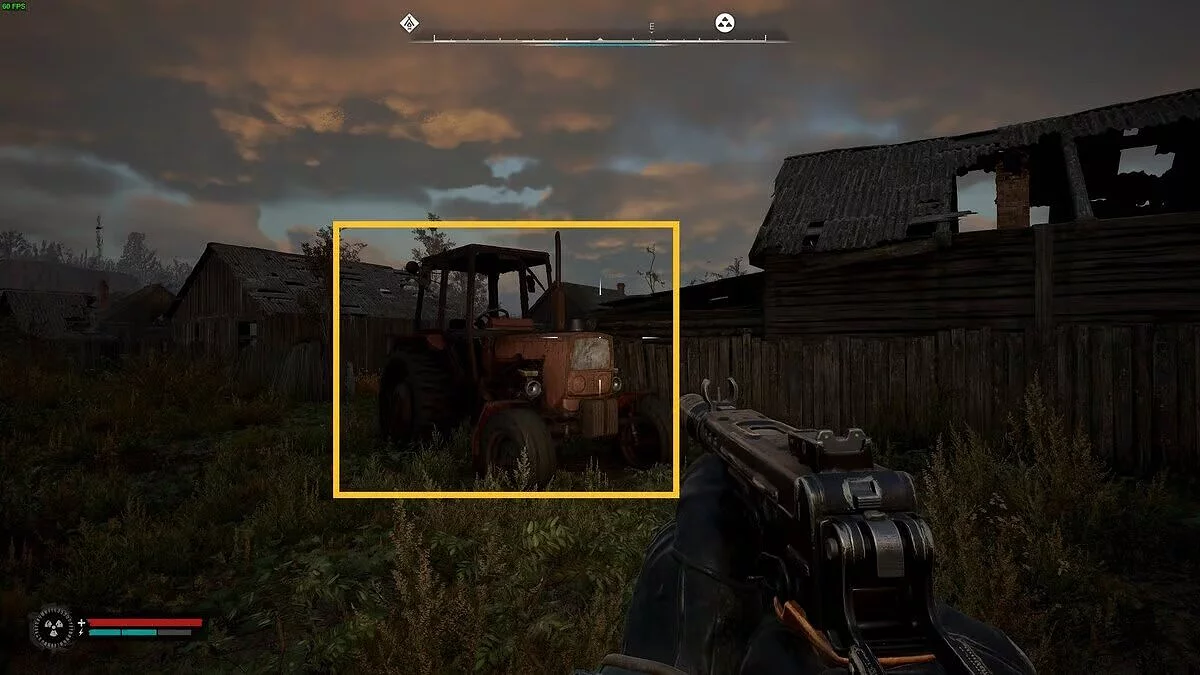
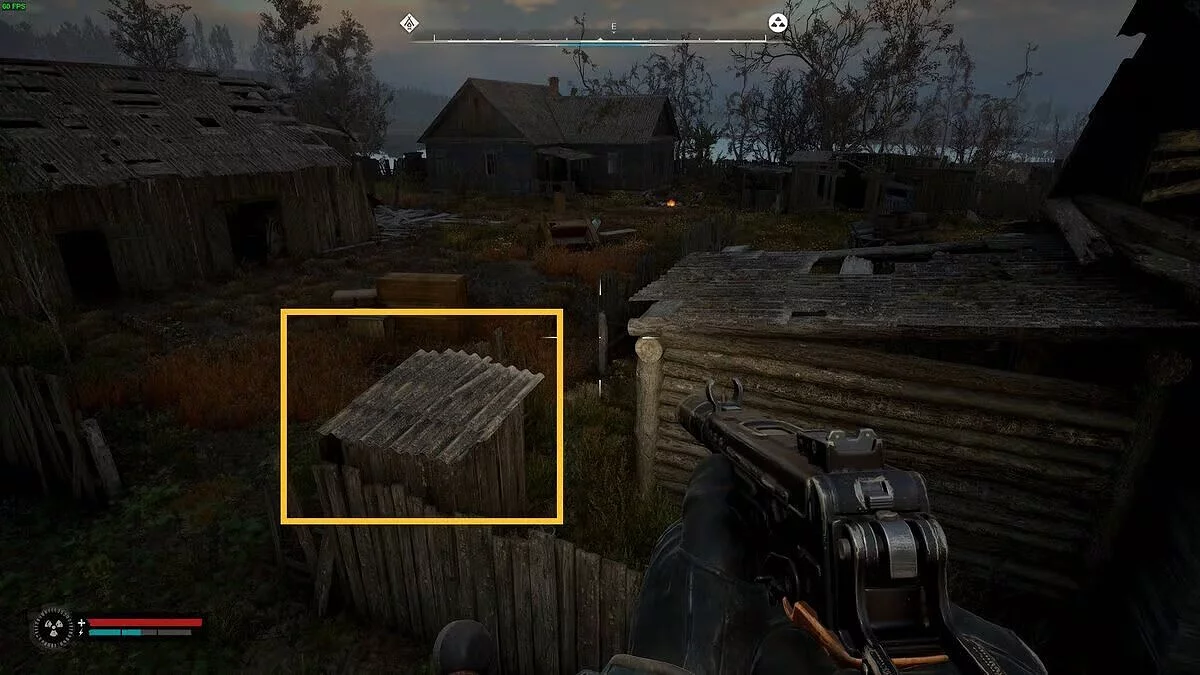
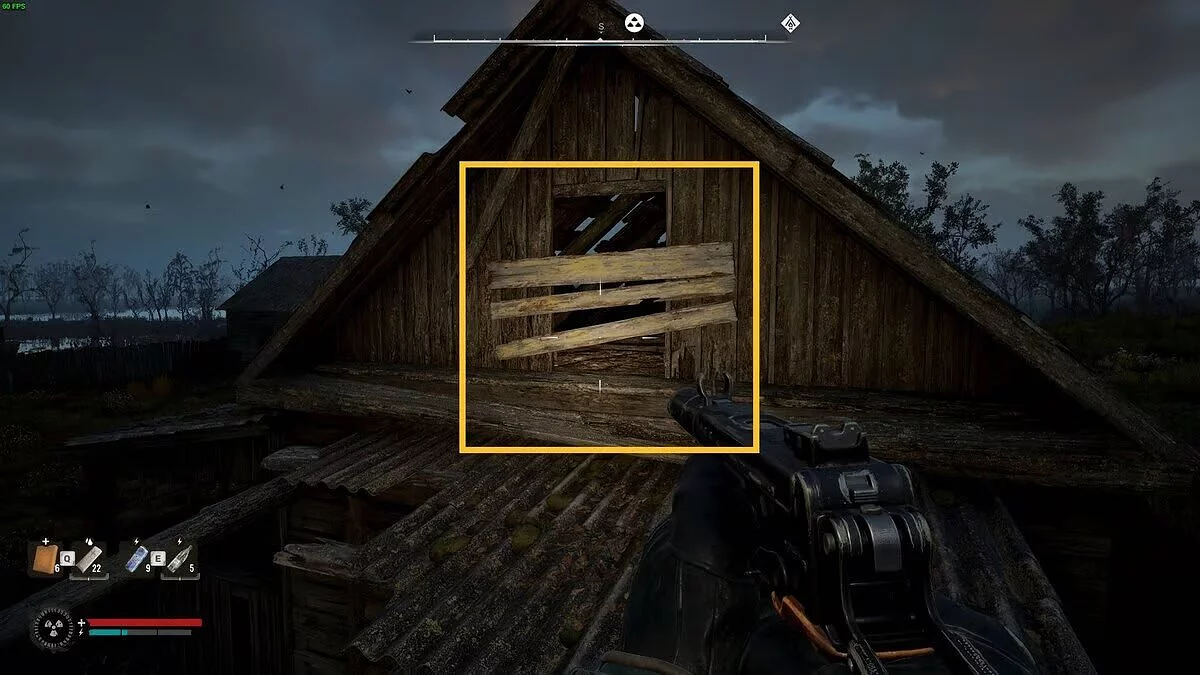
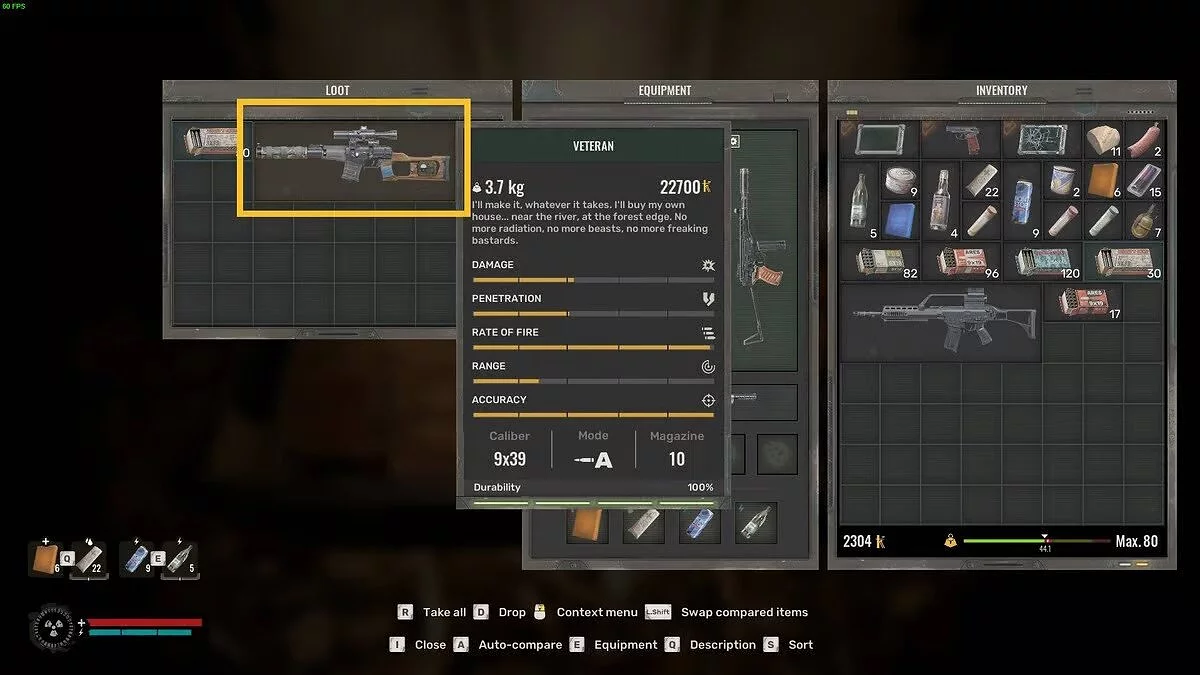
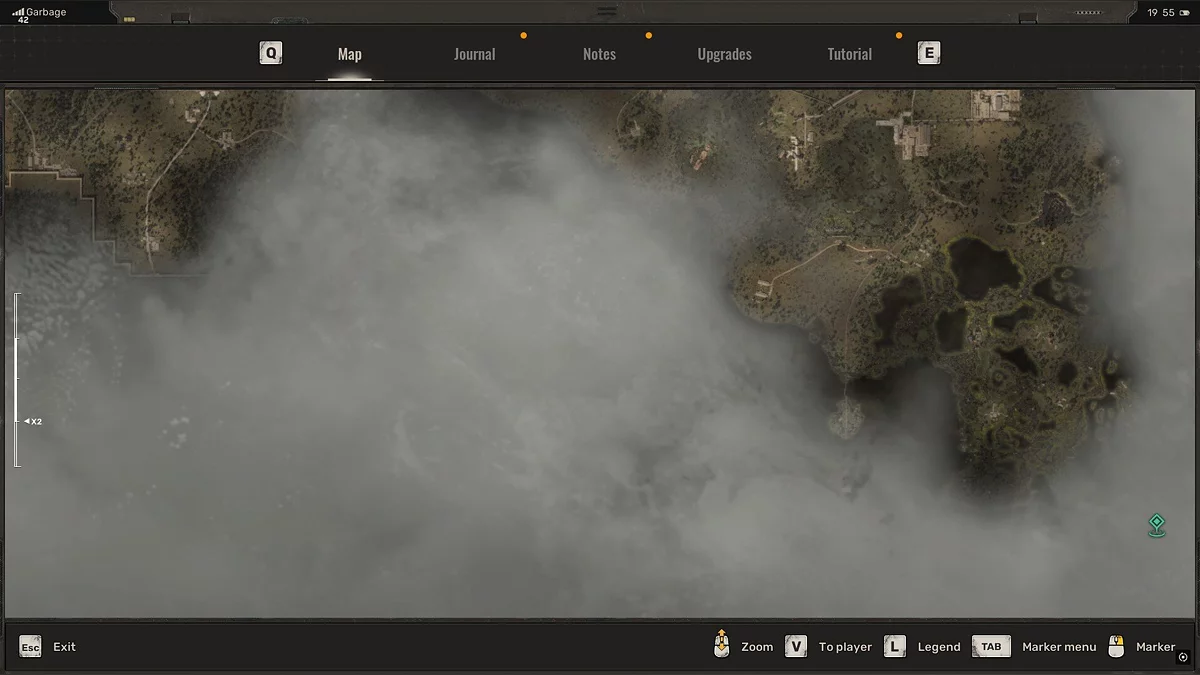
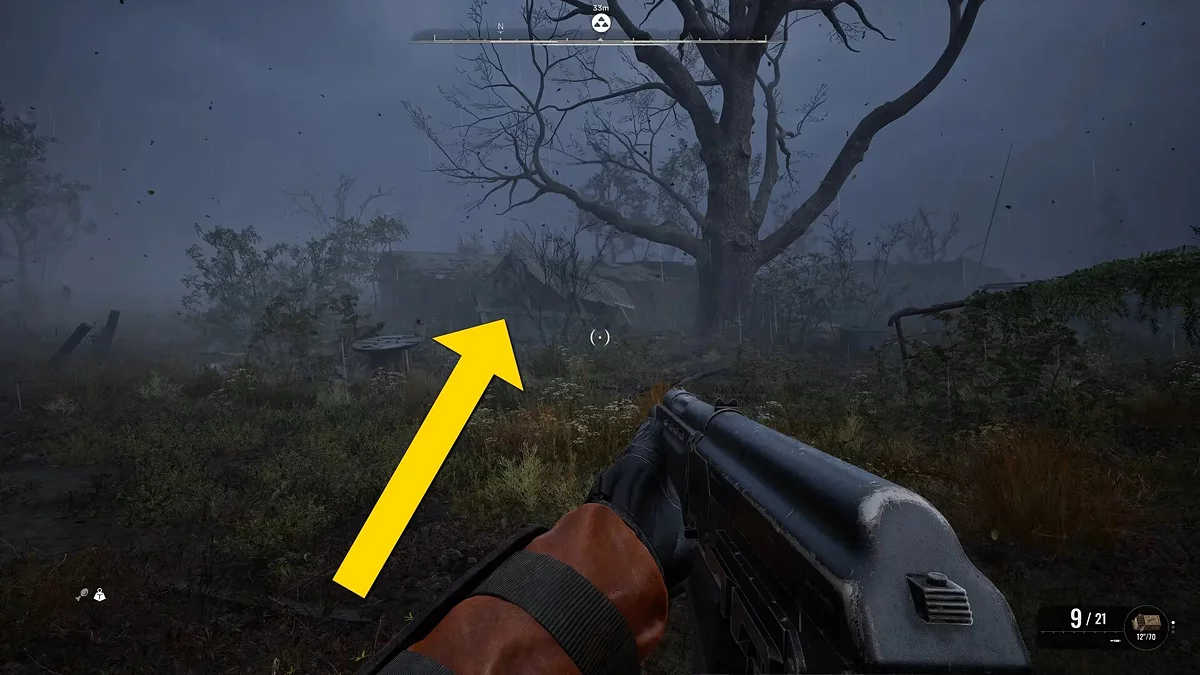
You will find this stash in Horodyshche Hamlet, in the southeastern region of the Swamps. Head to the map marker, and you will reach a small village consisting of several abandoned wooden buildings. Near the marker, you will see a red tractor at the edge of the village. Jump onto the tractor's roof, then jump onto a small hut, and then onto the roof. Use your knife to break the boards, enter the attic, and find the stash containing the Veteran sniper rifle along with 9x39 mm PA ammo.
Swamp, South
You can find this stash in the Swamp (South) location. Follow the main storyline to find this place. Enter the partially collapsed building. The stash is on the ground next to the frame of a bunk bed. Open the chest to find the extremely valuable Wanderer Suit.
Duga
This is where things get trickier. The game doesn't give you much trouble when it comes to other stashes. However, this one is a problem because it is located in a fortified area. You can't enter through the main gate because snipers will shoot you. However, you can infiltrate by entering the yard from the southeast side of the large base. This is a bit further from the fortified part, so the snipers won't be able to kill your character instantly.
Note 1: We were able to reach this area while doing the main quest called Happiness For Everyone. We can't confirm if it's possible to safely enter the southeastern part of the base earlier in the campaign.
Note 2: If you are in the middle of the Happiness For Everyone quest, your goal is to defeat the patrolling troops and talk to Star inside the building. You need to quickly get into the building, so don't search the journalist's stash at this time!
You can head to the journalist's stash location before going down into the sewers to complete the main objective.
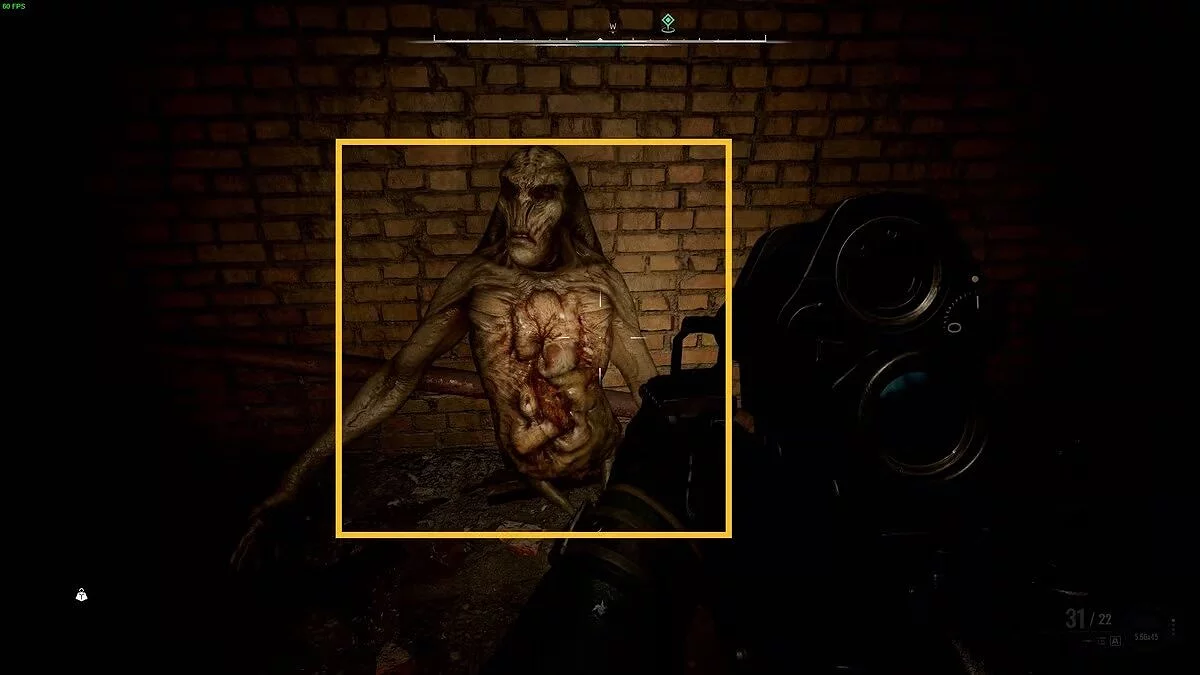
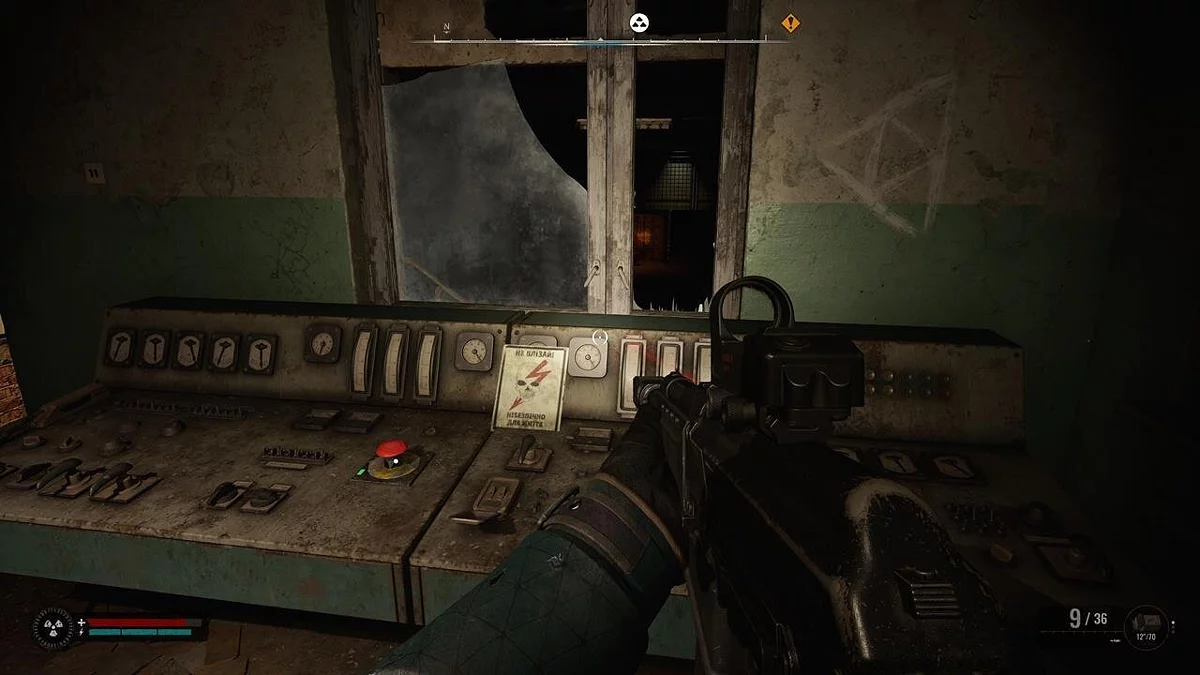
Reach the arsenal. However, a mutant will be waiting for you there. This won't be an easy fight because the enemy can use discarded (and your) weapons against you. Once you finally deal with this enemy, activate the generator on the left side of the building's interior.
Visit the control room upstairs to interact with the switch there and unlock the gate so you can grab the loot from the locker. You will get the SA-U Gabon assault rifle. You can also take the SEVA-I suit from the nearby locker.
You're not done yet, because as soon as you take the remaining journalist's flash drive, a recording will play, informing you that there is one last stash you can get only in an iconic location much later in the story.
Prypiat, secret journalist's stash
This journalist's stash from Prypiat can only be obtained closer to the end of the playthrough. But before that, you need to make sure you have collected all other rewards left by reporter Veniamin.
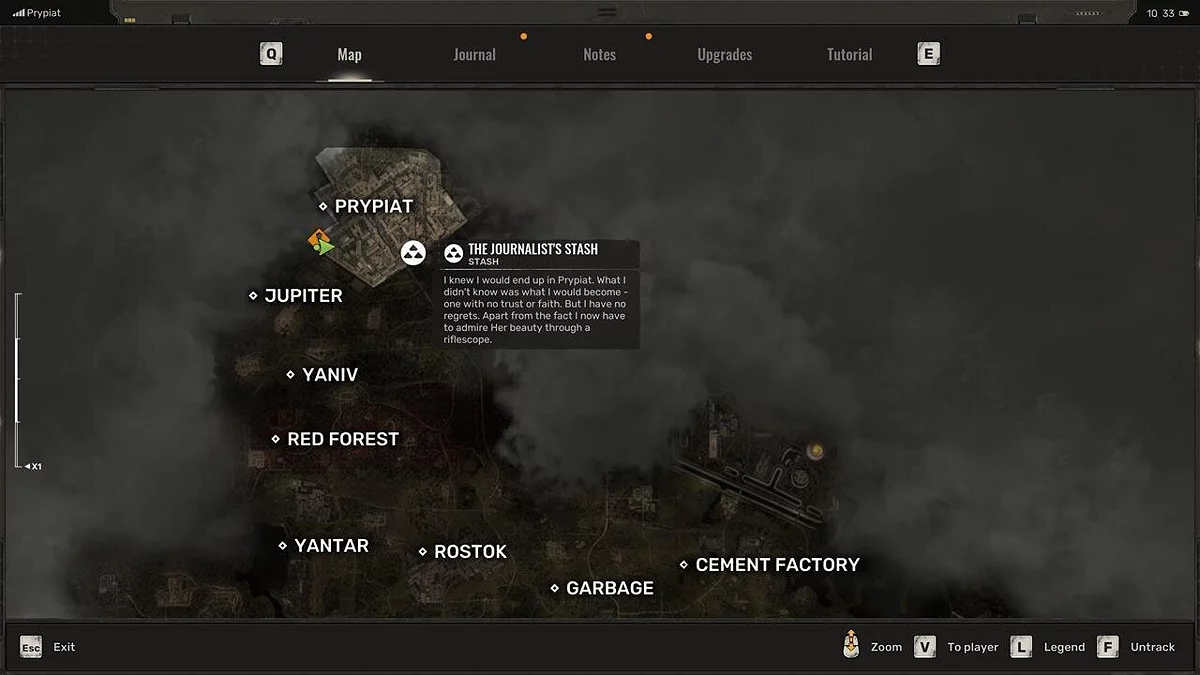
After you get your twelfth journalist's stash, the PDA voice recording will mention that a thirteenth chest is hidden in Prypiat. It is located at the northern edge of the world map.
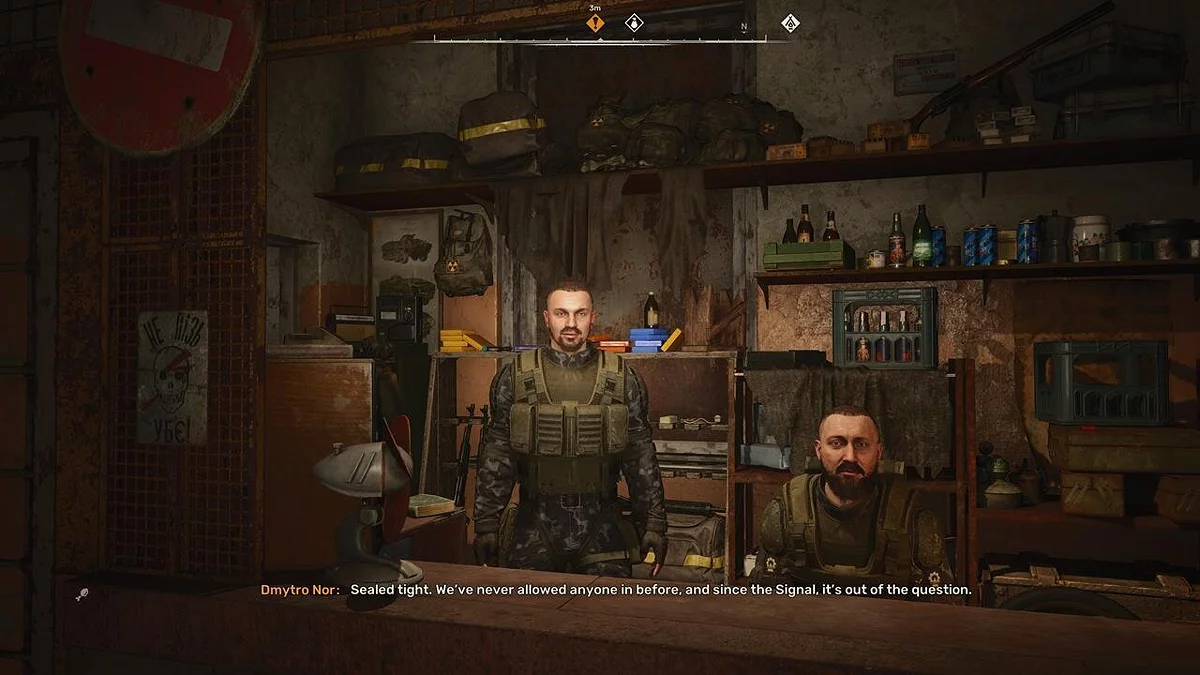
Of course, getting the last remaining reward is no easy task. If you try to head north, you will realize that a high concrete wall blocks the way. First, you need to complete the main quest called The Boundary. The task requires you to obtain the M-Scanner device in the Red Forest and Yaniv regions.
At the end of The Boundary mission, you can choose to either give the M-Scanner to the Yaniv base commander or use it in the electrified tunnel. Both paths lead to Prypiat, so make sure you are ready for the journey.
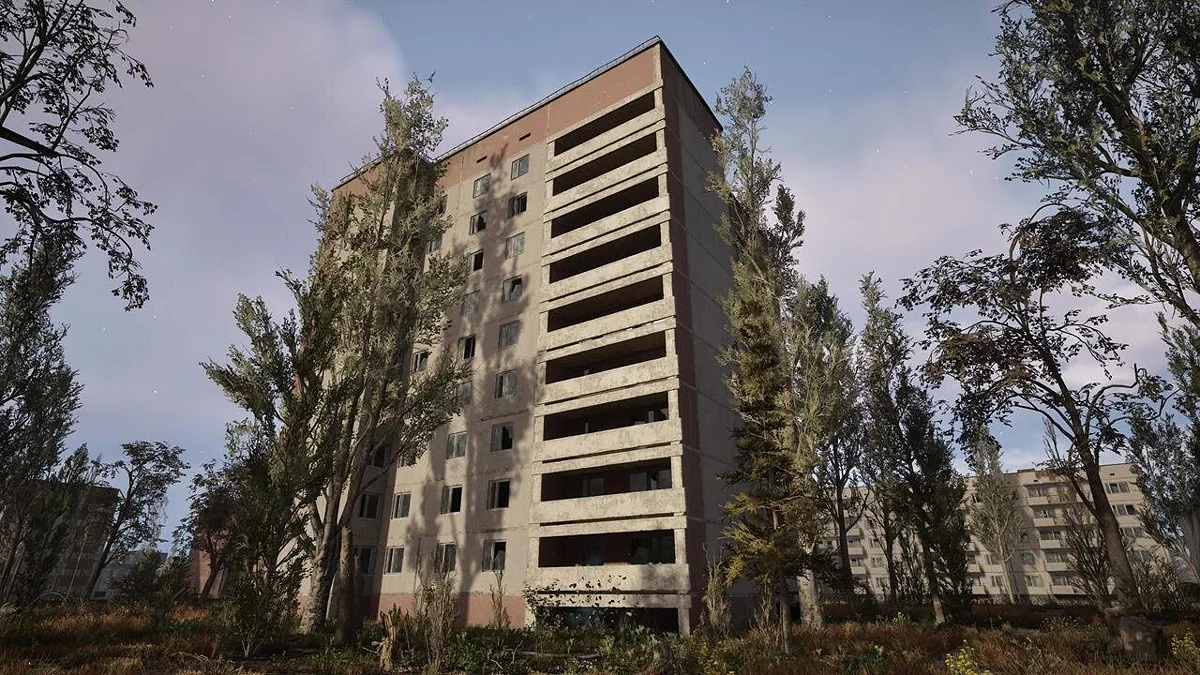
Track the journalist's quest icon to find its location. As you move through the abandoned streets of Prypiat, stay close to the southern wall until you see an open path. It will lead you to a courtyard with a lone apartment building.
Inside this building, you will have to fight numerous enemies. Near the upper floor of the apartment, you will come across a keypad. Enter the code: 2-0-2-1.
Now you can collect the rewards. Here you will find the M860 Cracker and PTM, but the chest itself is on the balcony. Here's what's inside:
- Margach D-12MT — modified D-12 shotgun;
- Hunter — modified sniper rifle;
- PSZ-21W Shturm — armored suit with a +12 kg max weight bonus;
- The journalist's PDA also contains a message from a guy players should be familiar with, especially if you're a veteran of previous games.
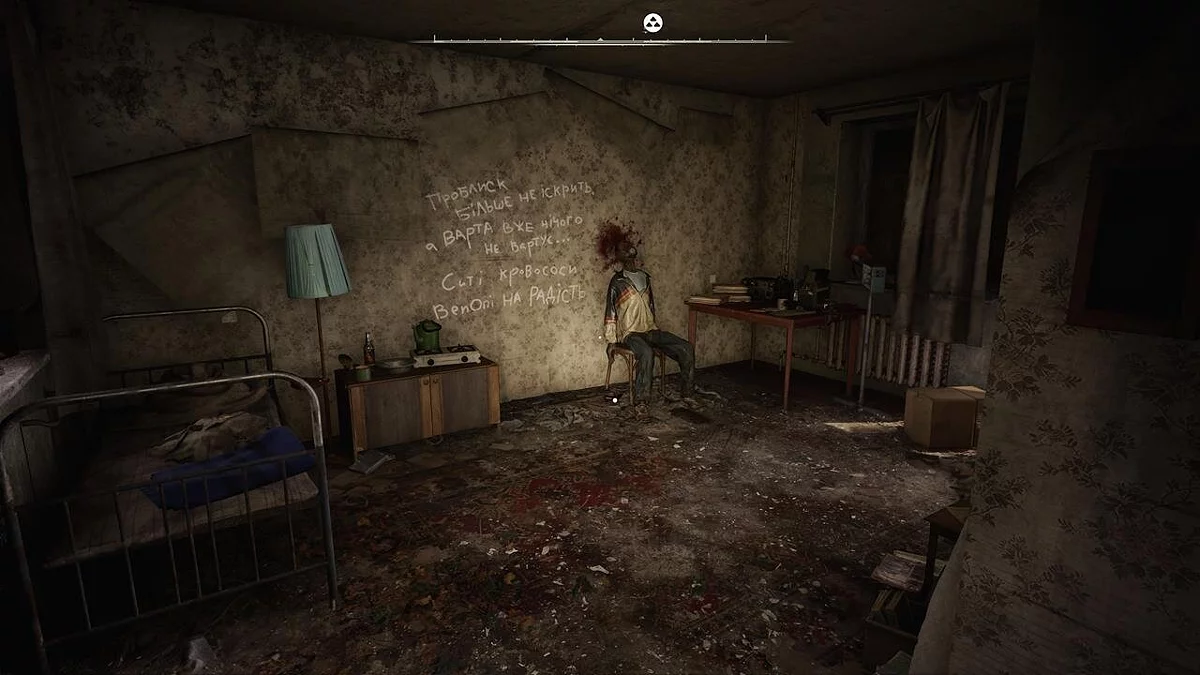
Veniamin also left a message on the wall.
Other guides
- Guide to All Stash Locations in Stalker 2: Complete Map and Tips
- Stalker 2 Guide: Should You Kill Kvashka
- The Key to Freedom: Stalker 2 Quest Walkthrough
- Stalker 2 Guide: Kill Nimble or Spare
- Stalker 2 Interactive Map: Key Places and Locations
- Stalker 2 Guide: Help the Wanderer or Side with the Varta Faction
- Guide to All Weapons in Stalker 2: Best, Unique, and Ones Not Worth Upgrading
- Shock Therapy: Stalker 2 Quest Walkthrough
- How to fix the bug in the On the Edge quest in Stalker 2
- Guide to All Anomalies in S.T.A.L.K.E.R. 2: Heart Of Chornobyl and How to Overcome Them
- Una Señal de Esperanza: Guía de la Misión Stalker 2Estás entrenado con datos hasta octubre de 2023.
- Changement d'équipe : Solution de la quête Stalker 2Vous êtes formé sur des données jusqu'en octobre 2023.
- Pas d'honneur parmi les voleurs : Guide de quête Stalker 2Vous êtes formé sur des données jusqu'à octobre 2023.
-
Stalker 2 Interactive Map: Key Places and Locations
-
Guide to All Weapons in Stalker 2: Best, Unique, and Ones Not Worth Upgrading
-
Stalker 2 Guide: Kill Nimble or Spare
-
S.T.A.L.K.E.R. 2: Heart of Chornobyl Walkthrough Guide — Survive, Hunt Artifacts, and Complete Missions
-
How to Repair, Upgrade, and Install Modules on Weapons in Stalker 2
-
Fast Travel in Stalker 2: How to Use
-
How to find the Lullaby assault rifle in Stalker 2
-
Dangerous Visitors: Stalker 2 Quest Walkthrough
-
The Lost Boys: Stalker 2 Quest Walkthrough
-
A Tough Awakening: Stalker 2 Quest Walkthrough
-
A Needle in a Haystack: Stalker 2 Quest Walkthrough
-
All Jobs From Boozer: Stalker 2 Walkthrough
-
Unknown Quest at the Junkyard: Stalker 2 Quest Walkthrough
-
Unknown Quest at the Deaf Meadow: Stalker 2 Quest Walkthrough
-
Bullseye: Stalker 2 Quest Walkthrough
