Guide to All Anomalies in S.T.A.L.K.E.R. 2: Heart Of Chornobyl and How to Overcome Them
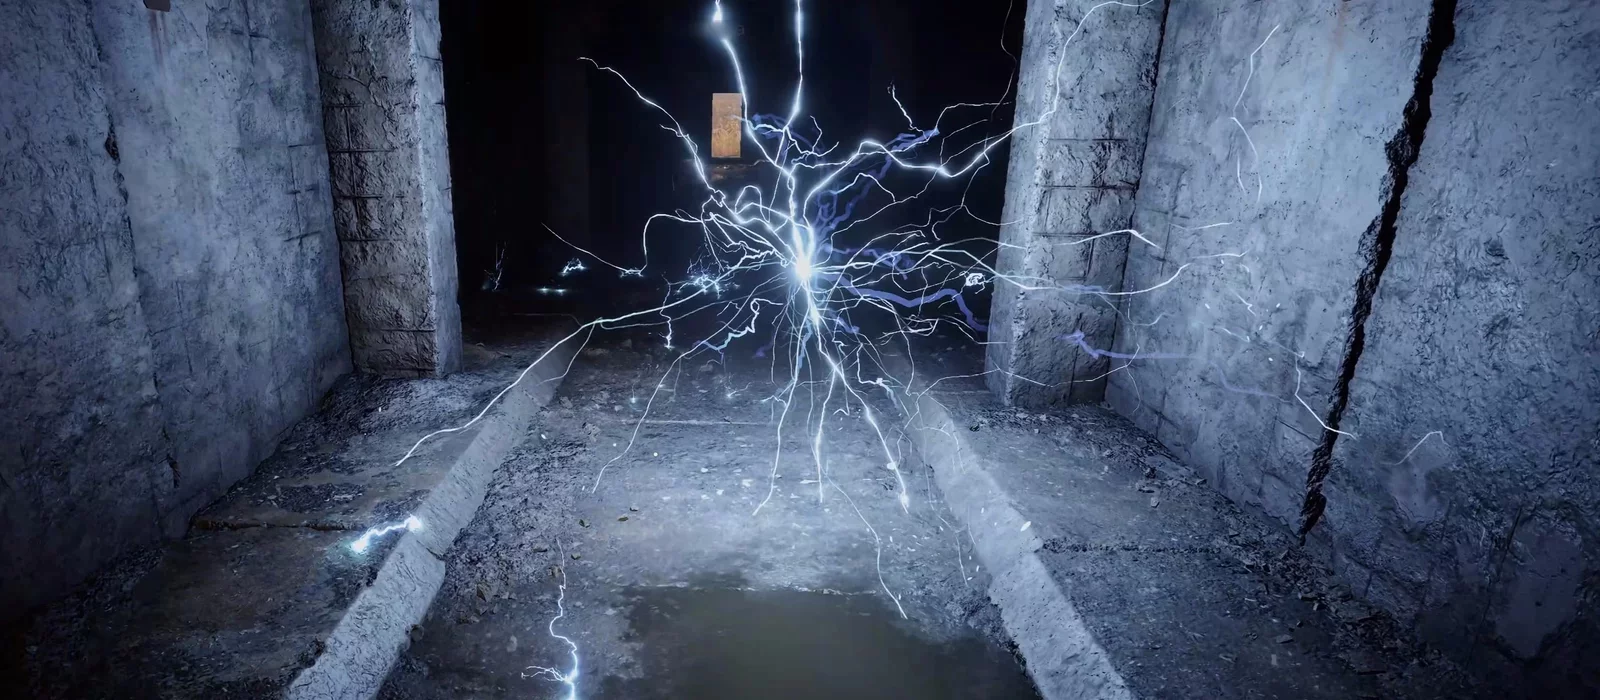
Anomalies are an integral part of the Zone in S.T.A.L.K.E.R. 2: Heart Of Chornobyl. They come in various types and are scattered across the map. There are four main categories of anomalies, but there are several sub-variants with different behaviors. You need to learn how to navigate them to get your hands on valuable loot — artifacts. The powers of such artifacts usually correspond to the element of the anomaly in which they are found. This guide covers all types of anomalies and how to navigate them.
Detection and Neutralization of Anomalies
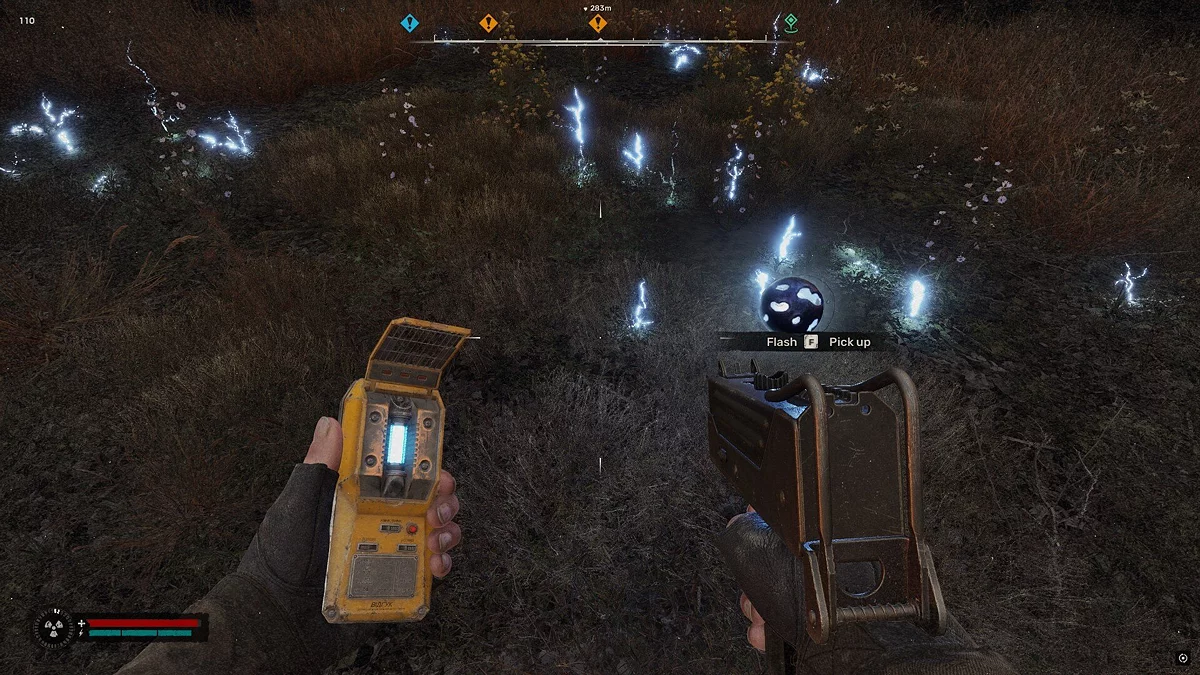
Anomalies can be detected using one of the four available detectors, which can be found in the world or purchased from traders. The initial echo detector is more than sufficient to detect any anomaly, although other detectors may offer improved range or present information differently. Choose the one that is most convenient for you. As you approach an anomaly, the detector will start to beep rapidly, and you should get a direct visual or audio confirmation of the direction you need.
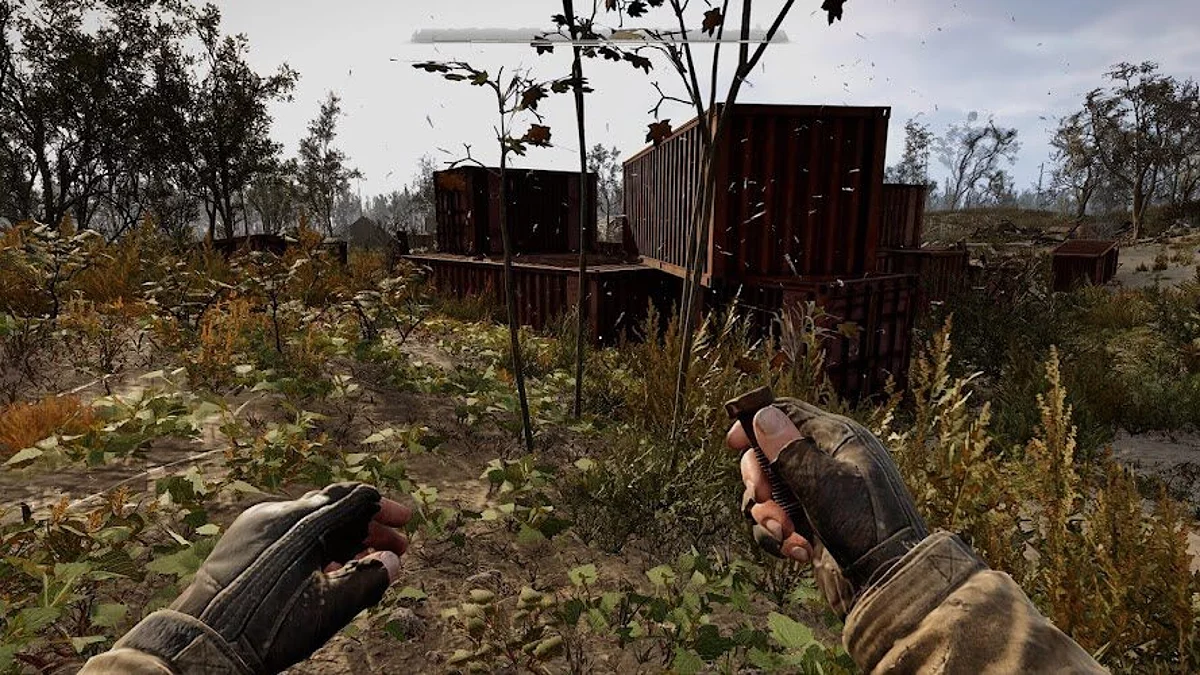
Stalkers also have an unlimited supply of bolts that you can use to throw into an anomaly to deactivate it. Use this short temporary lull to observe the anomaly's behavior and then safely pass through it.
However, some anomalies have minimal pause time, and others may be tightly grouped in a small area. This is where certain artifacts come into play, as they can counteract the elemental damage of a specific anomaly. Such artifacts require a free slot in your armor, and some equipment options offer up to five slots. Unfortunately, artifacts themselves carry the risk of radiation for the character, but this can be mitigated with other counteracting artifacts.
Some suits provide weak protection or none at all but are perfect for exploring anomalies. Consider storing such sets in your inventory solely for absorbing anomaly damage, instead of damaging your primary gear. This will help offset the high repair costs of protective gear.
Thermal Anomalies
All thermal anomalies can be neutralized with equipment and artifacts that have sufficiently high thermal protection.
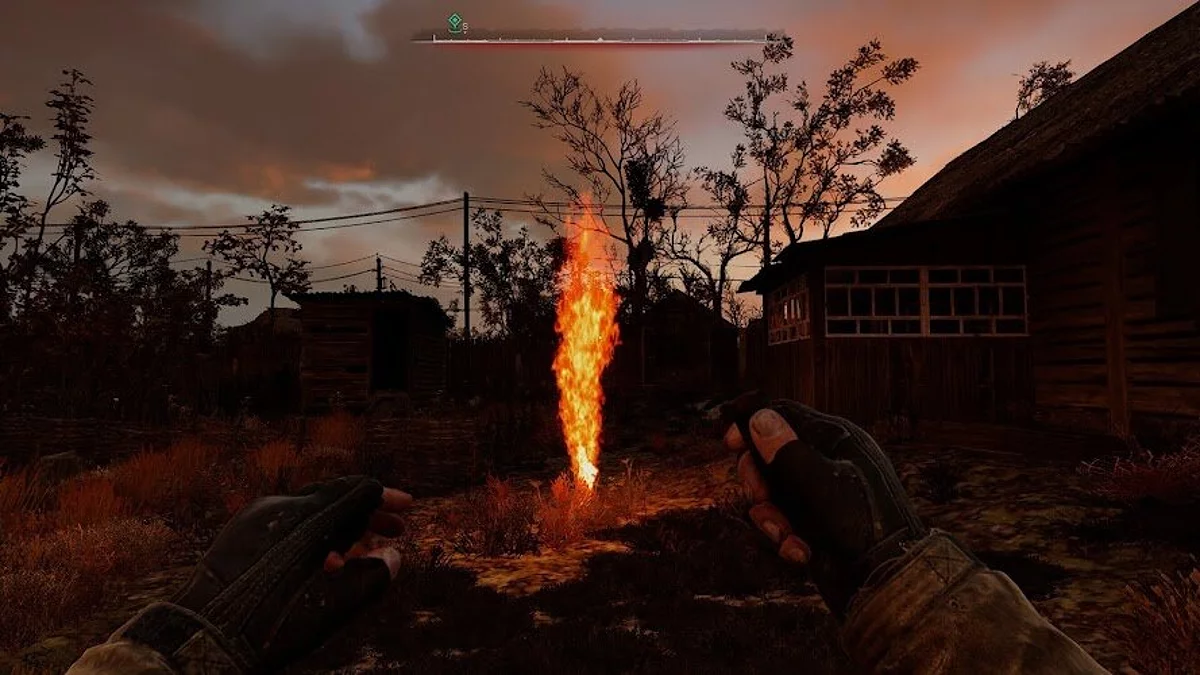
Burner
This single burst of flame suddenly erupts from fiery spots on the ground if you get too close, gradually depleting the protagonist's health. They can be easily seen and avoided both day and night.
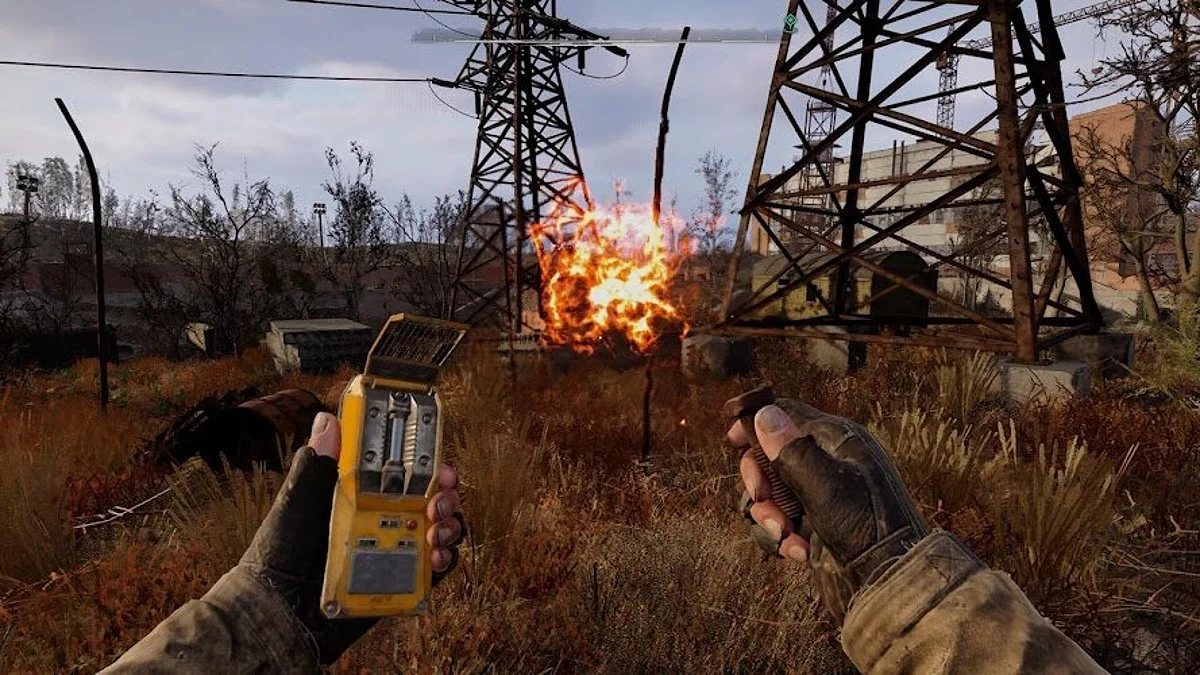
Comets
A variant of the «Burner.» The «Comet» appears as a fireball after the initial jet stream of flame erupts and then starts to pursue you. If it somehow triggers, just try to run away.
Electrical Anomalies
All electrical anomalies can be neutralized with equipment and artifacts that have sufficiently high electrical protection.
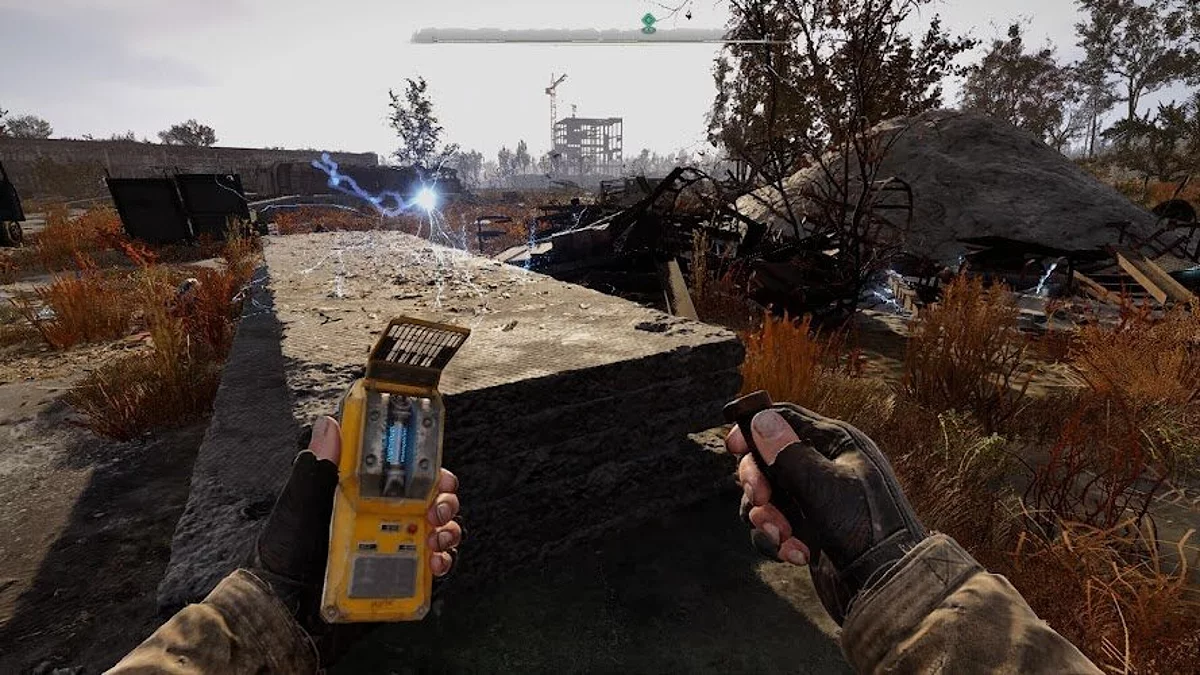
Electro
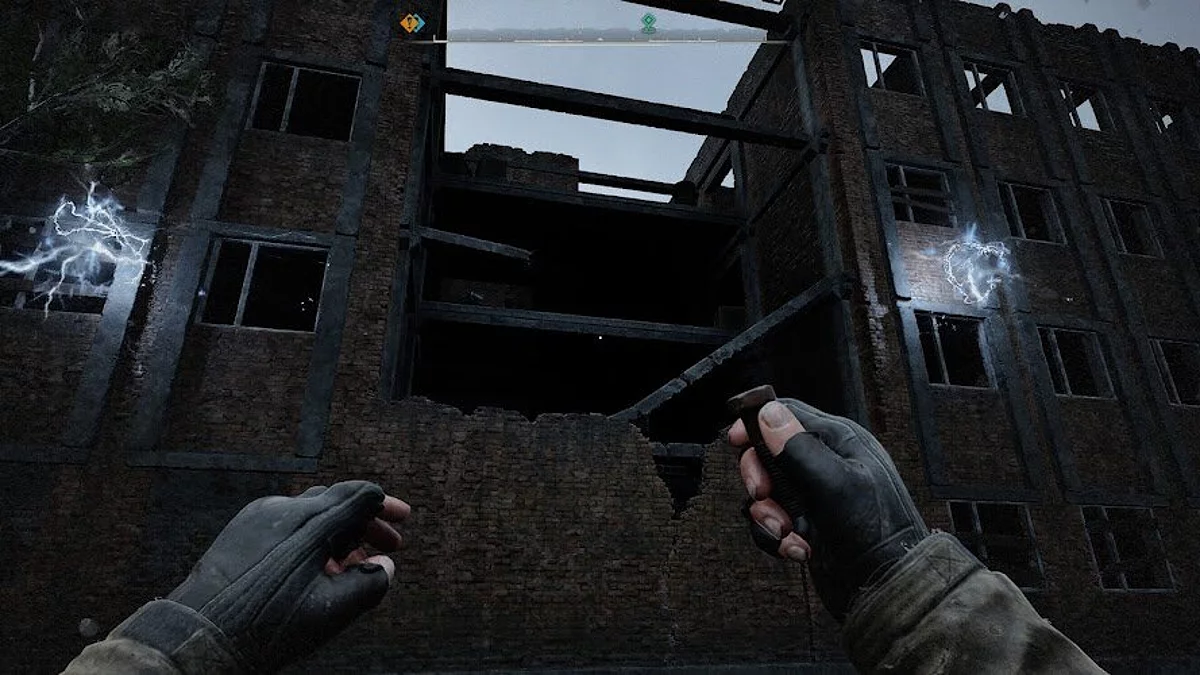
These electric field anomalies are akin to the «Burner» and can be temporarily discharged by throwing a bolt into them. They are visible both day and night, so try to simply bypass them when encountering a small number. If you have no choice but to cross an anomaly, calculate its recharge cycle before moving forward.
Tesla/Electro Orb
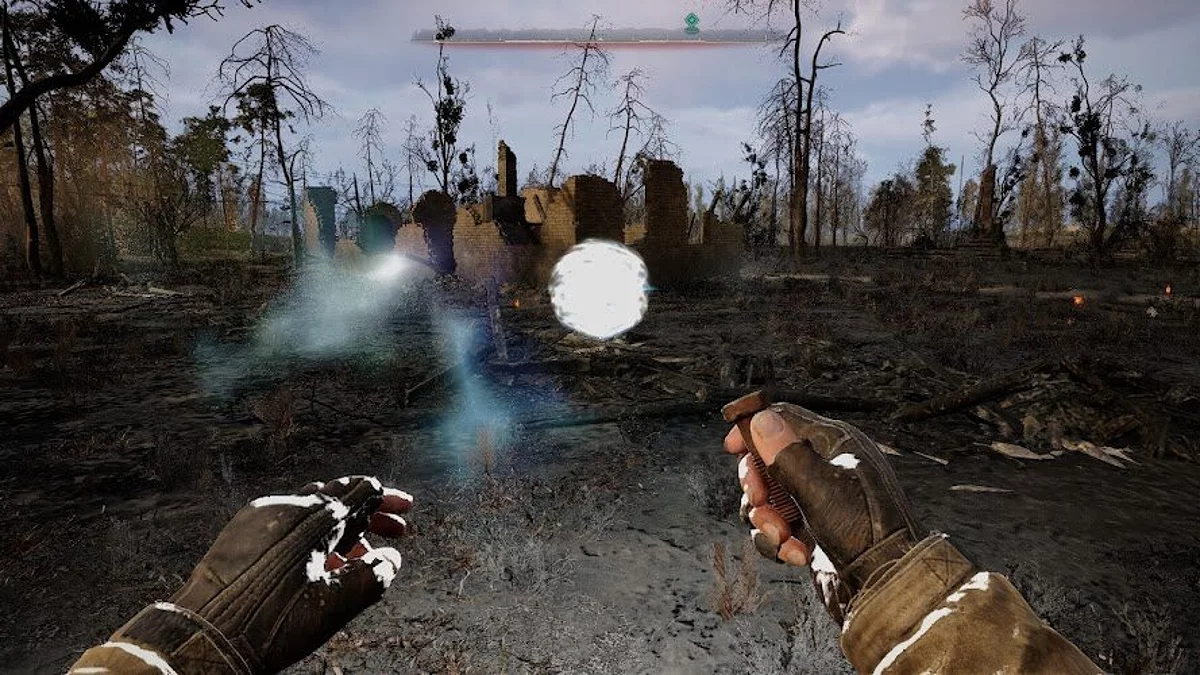
While the previous anomaly has a fixed path and does not track you, «Electro Orbs» are more «intelligent» and will move towards the player. They can be fairly easy to outrun, although ideally, you should use stealth to completely avoid them when encountered in tight spaces.
Flashbang
These anomalies are designed to catch gamers off guard. They appear out of thin air and seem unavoidable, but they can be bypassed. This requires quick reflexes: once you notice the anomaly, you have only milliseconds to escape before a real explosion occurs. The farther you are from the blast zone, the less damage you will take. Armor and equipped counteracting artifacts are the only guaranteed way to avoid health loss.
Chemical Anomalies
All chemical and radioactive anomalies can be neutralized with equipment and artifacts that have sufficiently high chemical and radiation protection.
Fruit Punch
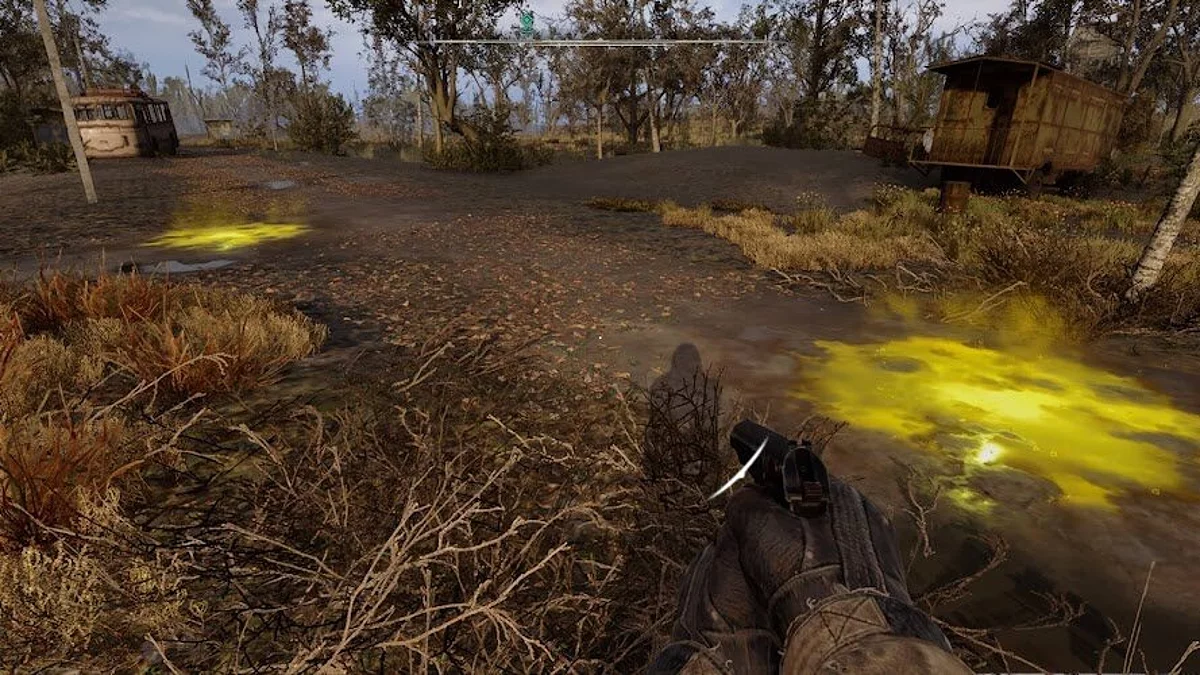
These are easily noticeable neon puddles of toxic green slime. Despite being stationary and easy to avoid, even prolonged proximity can start to inflict toxic damage, making exploration of the area possible only with chemically and radioactively resistant armor and artifacts in hand.
Gas Cloud
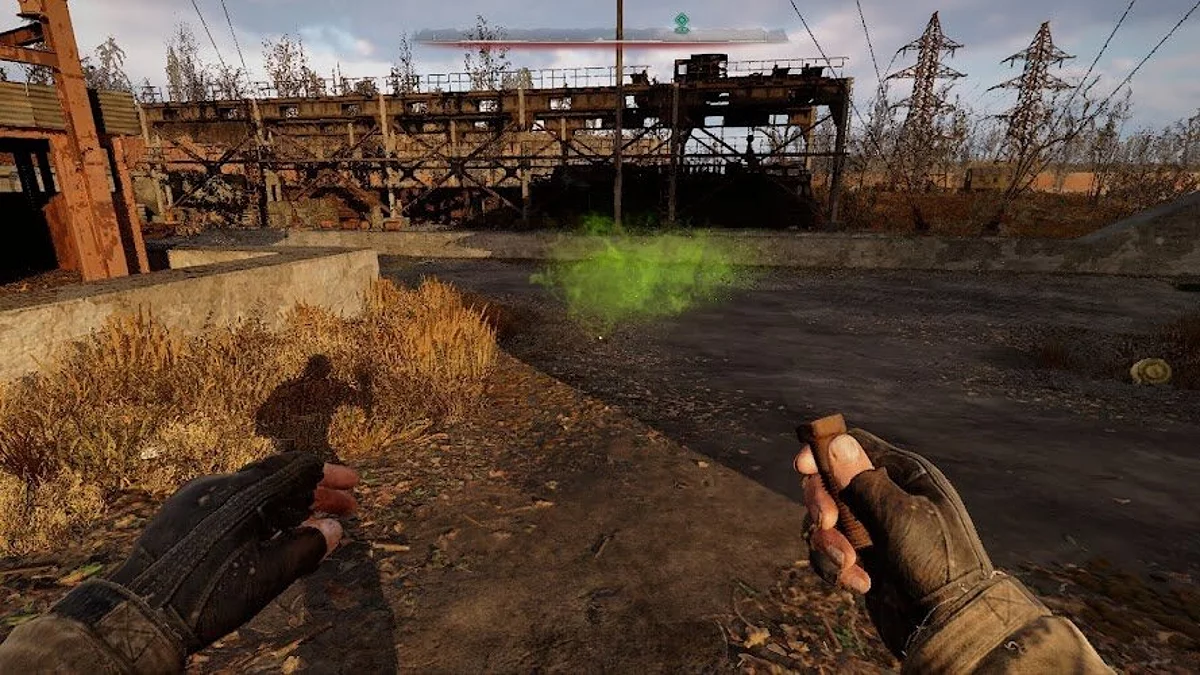
The Gas Cloud looks like a stationary mist of green color and inflicts chemical damage upon interaction. Throwing a few bolts into it can make it dissipate. However, it may soon reappear.
Giant Gas Bubble
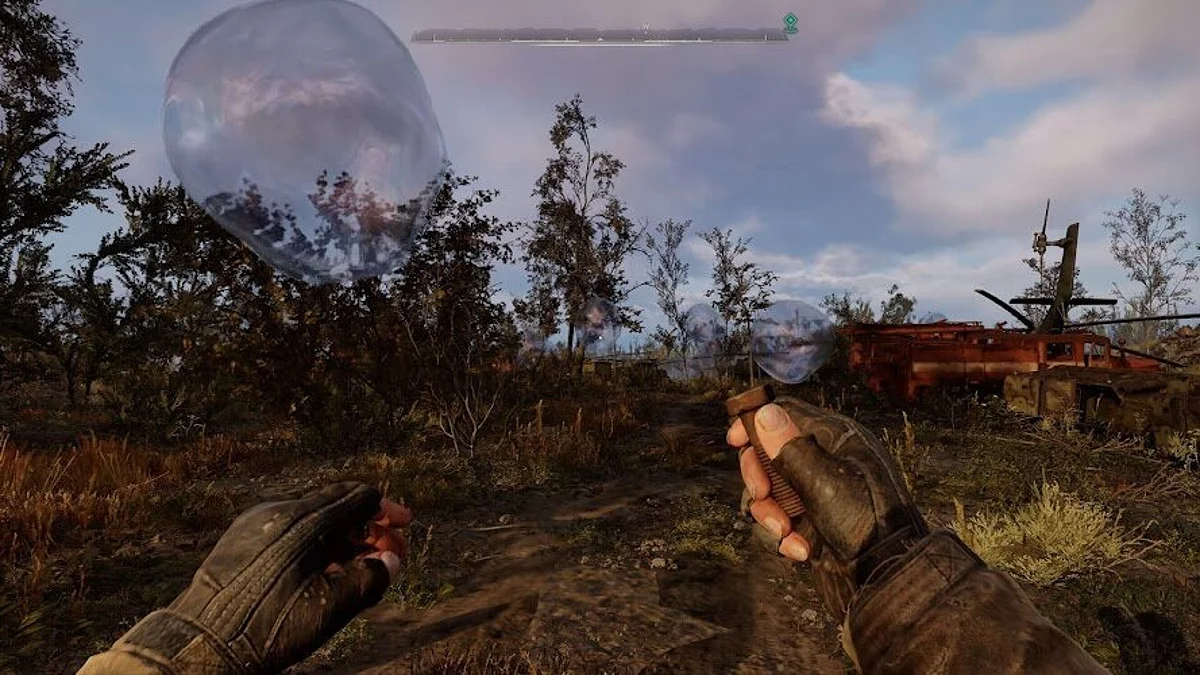
Appears as a large transparent bubble in the air, distorting the background with its rotation and displacement. Often found in the Swamps. As you approach, the bubble will start to «track» you. Ideally, counter it by initiating first contact with bolts, causing it to explode and split into smaller bubbles. But try to do this outside the path you intend to take, as the smaller bubbles are also very dangerous.
Gravitational Anomalies
Springboard
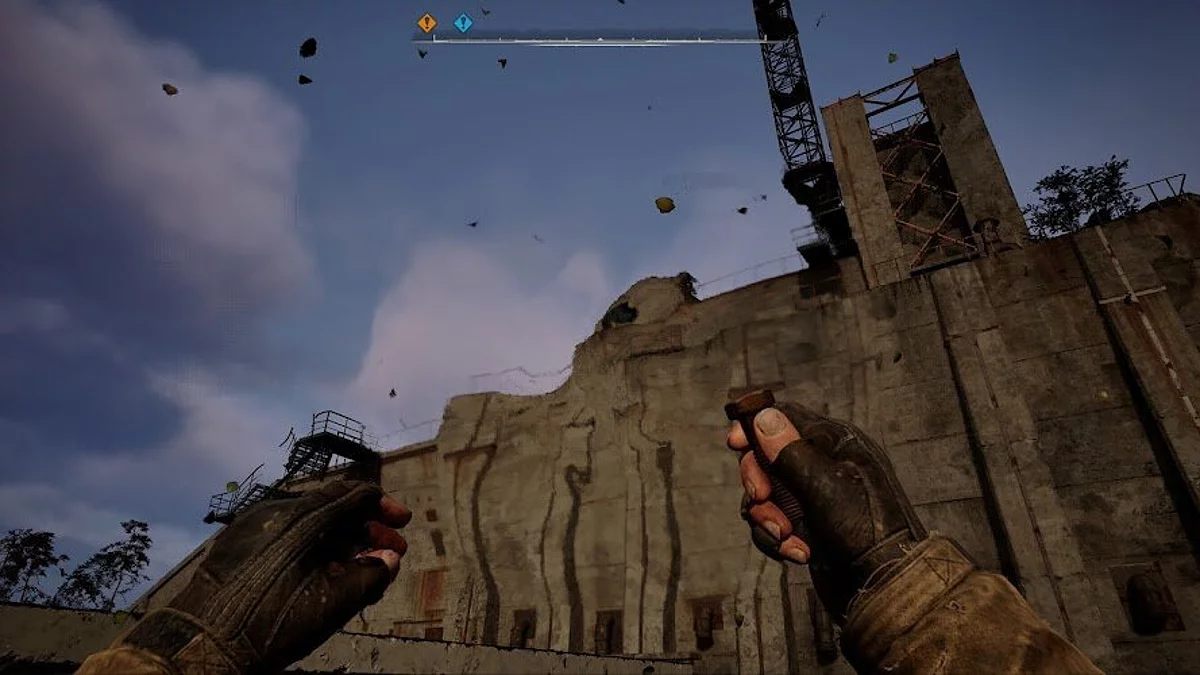
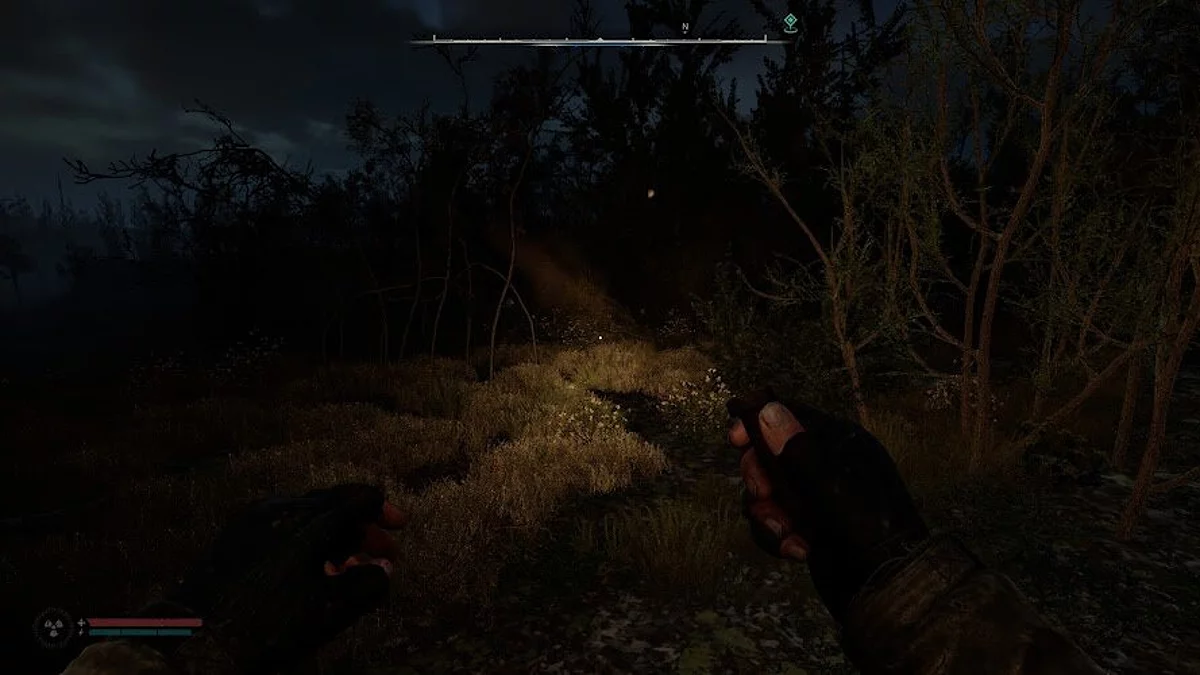
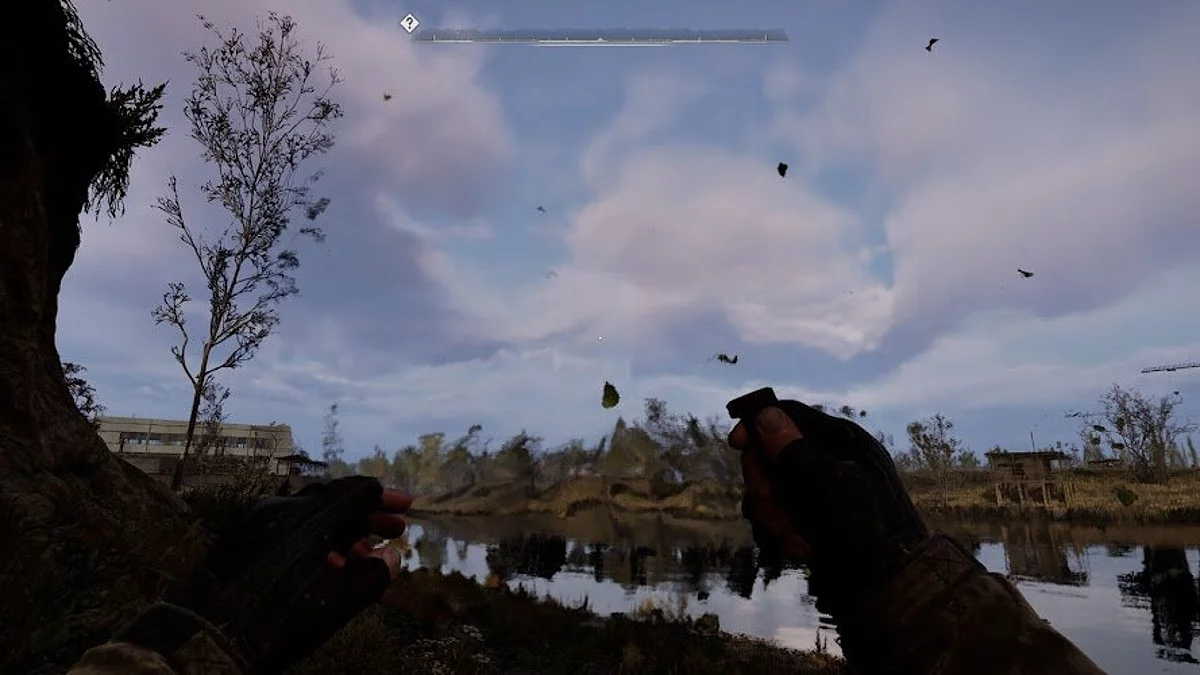
These gravitational anomalies would be practically invisible to the eye during the day if not for the swirling leaves in the air; at night, they are completely unnoticeable. Essentially, it's a force wall that pushes you back if you try to enter it. The «Springboard» also sharply reduces the hero's health if you don't have proper physical protection. They can be temporarily disrupted with bolts, but it's easiest to bypass the anomaly.
Whirligig
A step more powerful than the «Springboard» anomaly, the «Whirligig» is also nearly transparent but behaves like a tiny vortex and can be heard by the gust of air. The «Whirligig» will briefly trap you and deal significant damage if you don't break free quickly by rushing in the opposite direction. Use a bolt if needed to activate the anomaly and pass through.
Vortex
The deadliest of the gravitational anomalies, the «Vortex» is a bouncing whirligig, just as invisible but much more lethal. It's best to avoid the «Vortex» entirely, as even a brief pause from throwing a bolt into it cannot guarantee a safe passage.
Glass Shards
The appearance of the «Glass Shards» anomaly is a variation of the «Springboard,» where instead of leaves, there are sharp pieces of glass. Although it's not easy to see in the dark, it is very audible due to its low ringing sound. This anomaly causes bleeding damage only if you run through it. Crouching or even slow walking through the anomaly will not pose any problems. Using bolts will have no effect. On the other hand, these anomalies are an effective shield against bullets, as they absorb all projectiles passing through them.
Arch Anomalies
Arch Anomalies are unique anomalies or anomalous areas that you will encounter while exploring the Zone. Artifacts that can be obtained from them have the prefix «Weird» and are also unique with various enhancements and drawbacks.
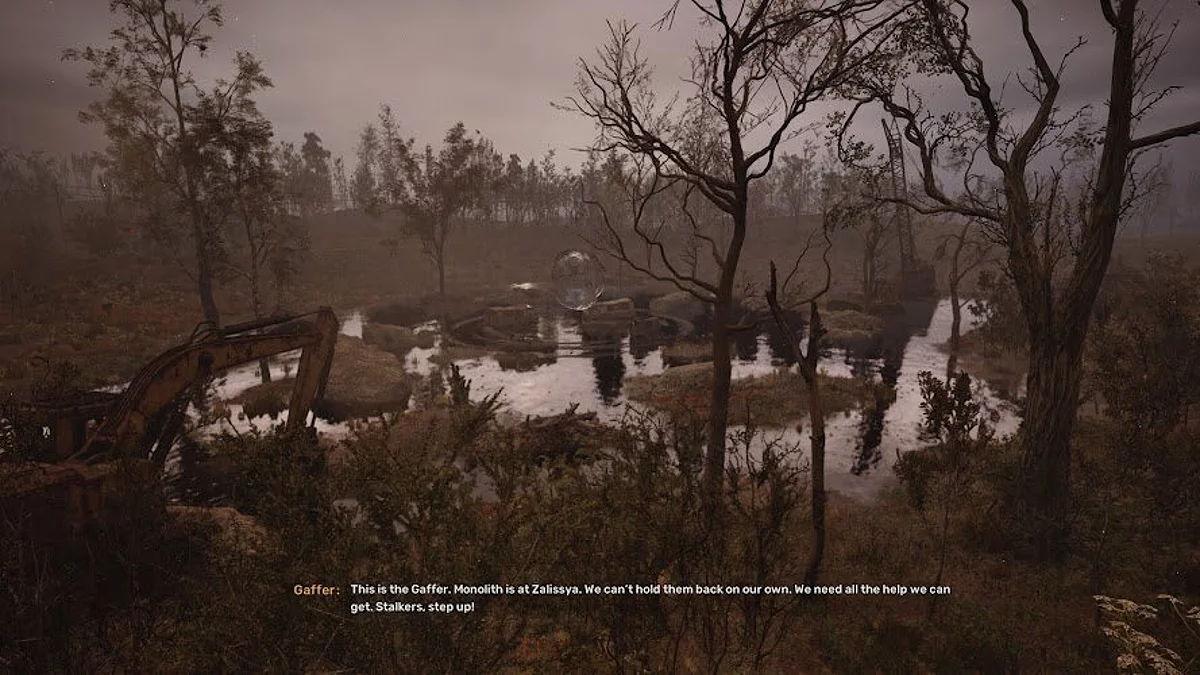
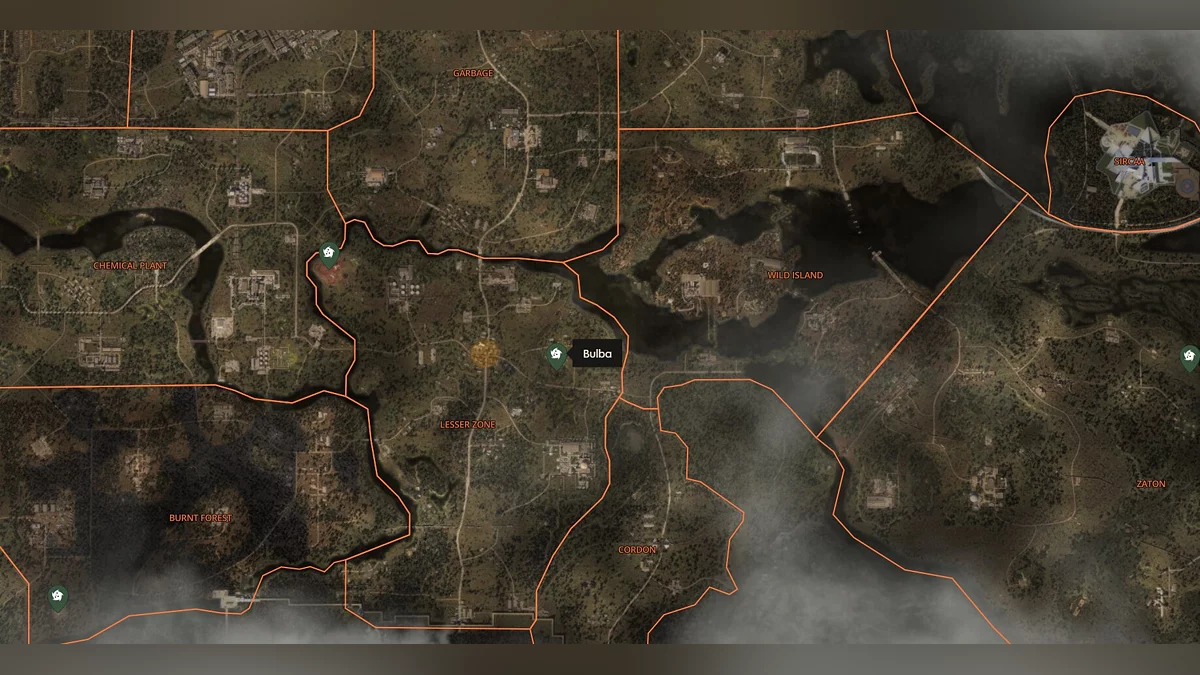
Bulba
The «Bulba» looks like a combination of a «Vortex» and a «Giant Gas Bubble,» but it is stationary and exerts a powerful gravitational effect. The gravitational force itself deals physical damage, and direct contact results in instant death. Escape by crouching and hiding behind cover, then running in the opposite direction.
It can be found in a small lake east of Zalesye, in the Small Zone.
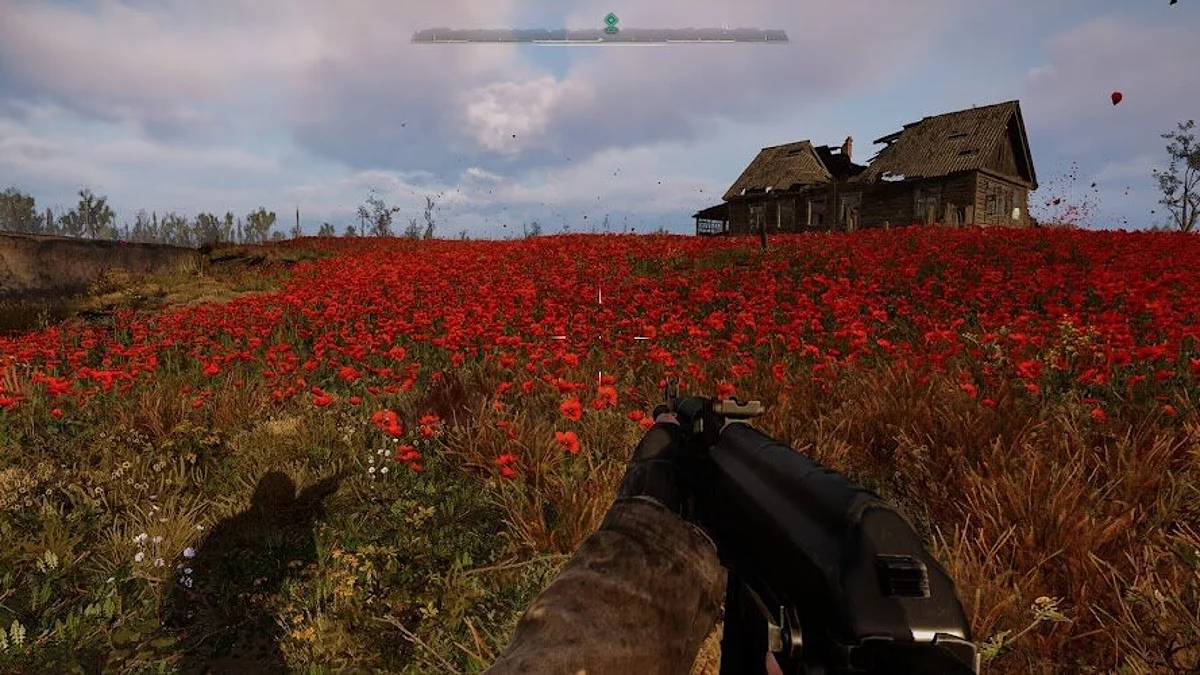
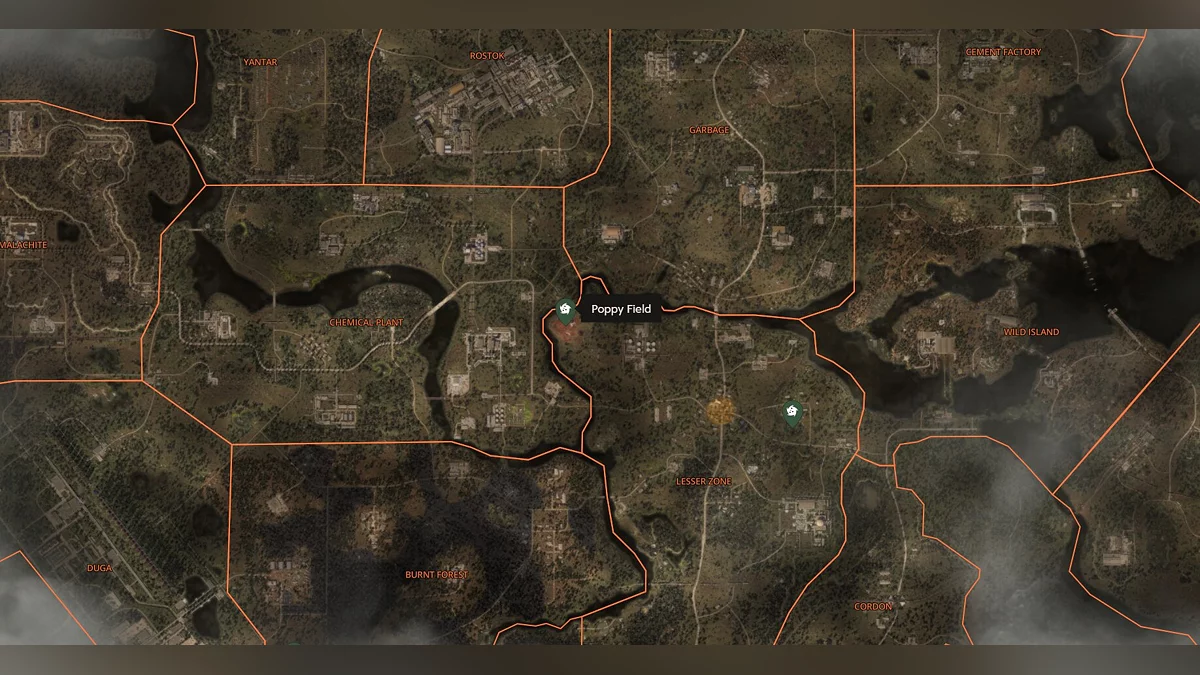
Poppy Field
At first glance, a harmless field of beautiful flowers — poppies. But this anomalous zone is actually quite deadly. If you linger too long in the field, you will become drowsy and then fall asleep forever. The only way to counteract this is to keep moving, use energy drinks, and avoid the floating red petals above the field.
Found on the northwestern edge of the Small Zone, near the river. Nearby, there is an abandoned tanker with a bag of energy drinks.
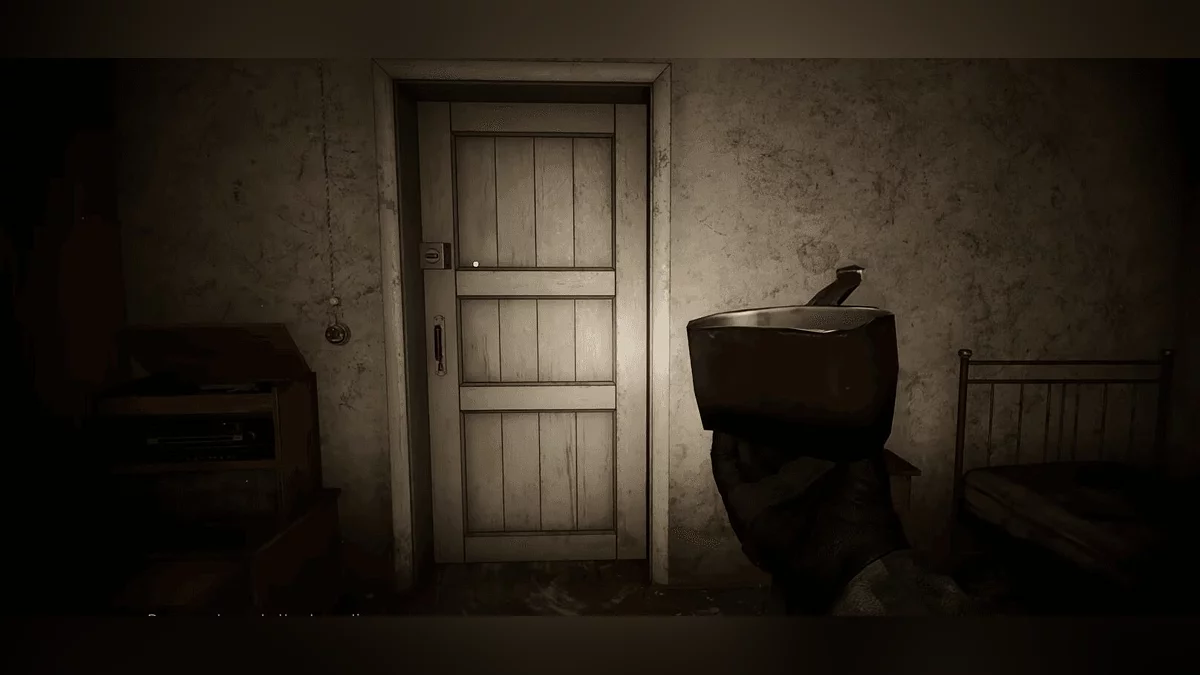
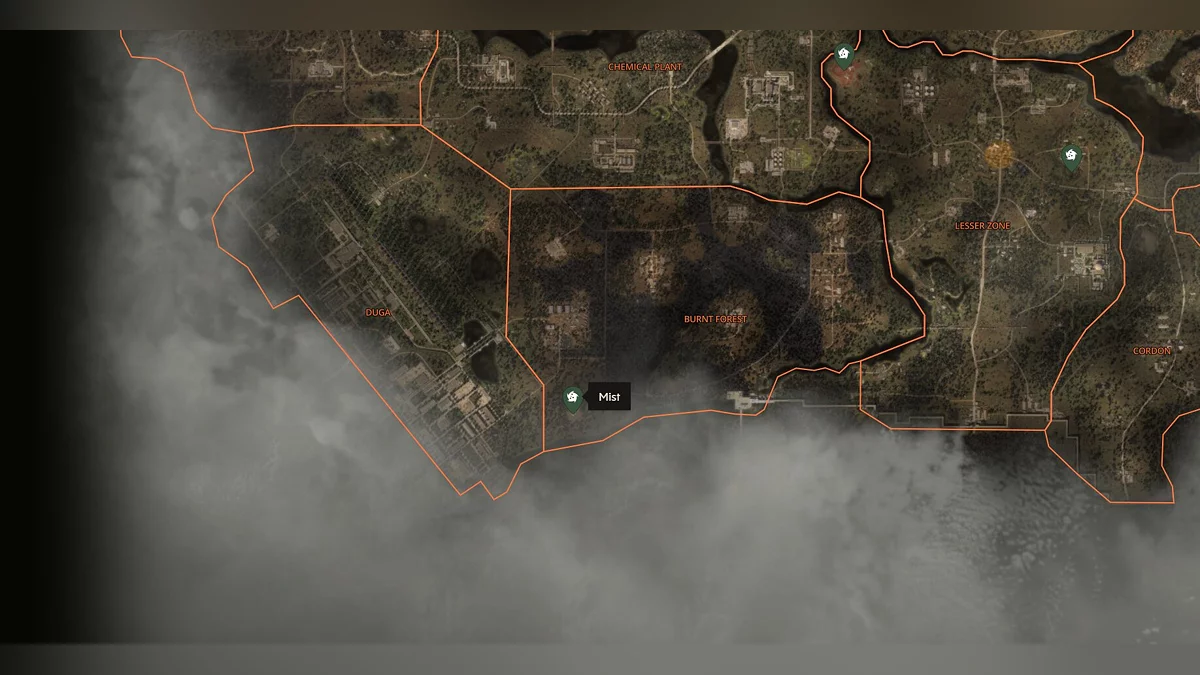
Mist
Enter the mist enveloping this anomalous zone to start a puzzle. It will be impossible to exit this area until it is fully completed. You will have to explore all the rooms and find the artifact.
Can be found around an abandoned house in the southwestern corner of the Burnt Forest region.
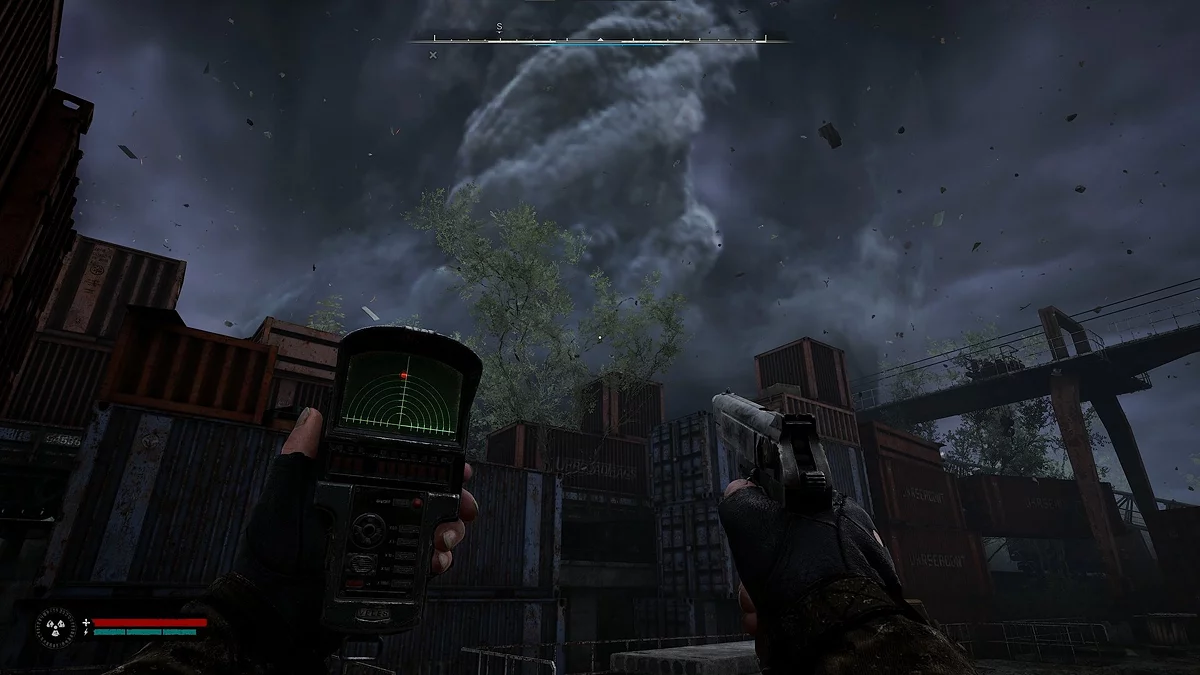
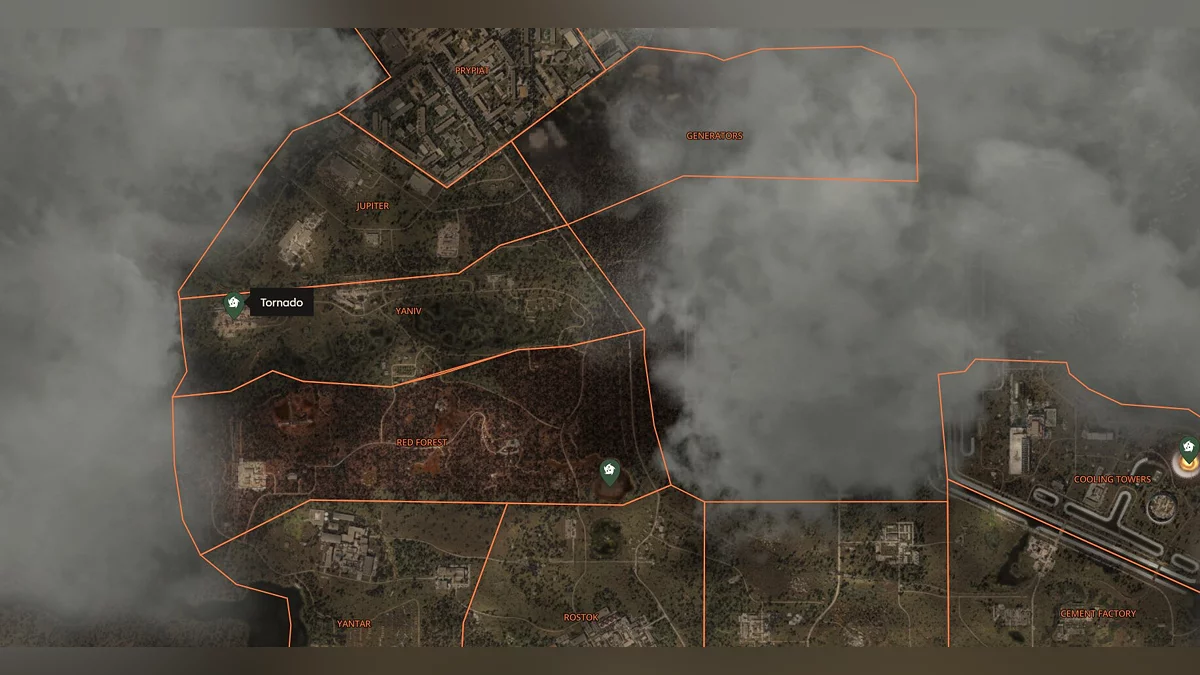
Tornado
A giant swirling «Tornado,» visible from afar. This anomaly moves through the area, and direct contact with it will throw the protagonist a considerable distance. Stick to the edges, trying to climb the structures in the area to reach the center of the anomaly.
Located just beyond Yaniv station in the northwest corner of the Yaniv region.
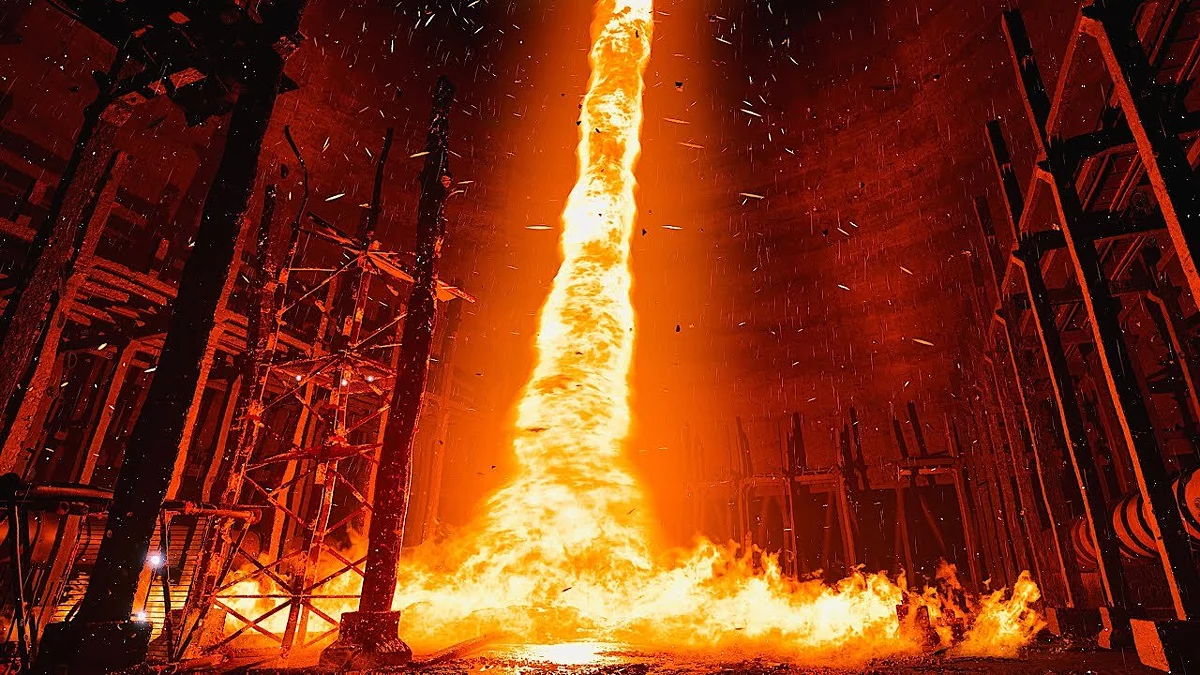
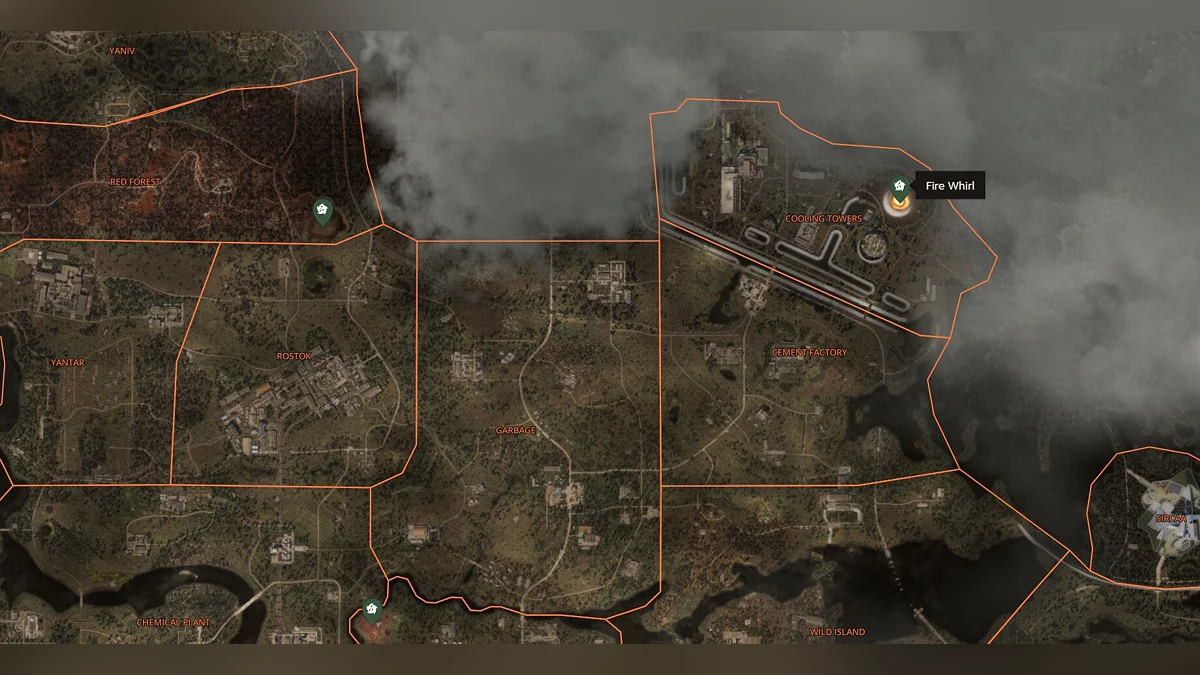
Fire Whirl
This well-visible anomaly is a bright orange fire whirl, trapped inside a cooling tower. The fire tornado pulsates and deals damage when nearby. Climb the scaffolding to reach the artifact. You will need to stop and start again, as the pulse heats parts of the scaffolding, making them impassable until they cool down again.
Located in the northeastern cooling tower of the Cooling Towers region.
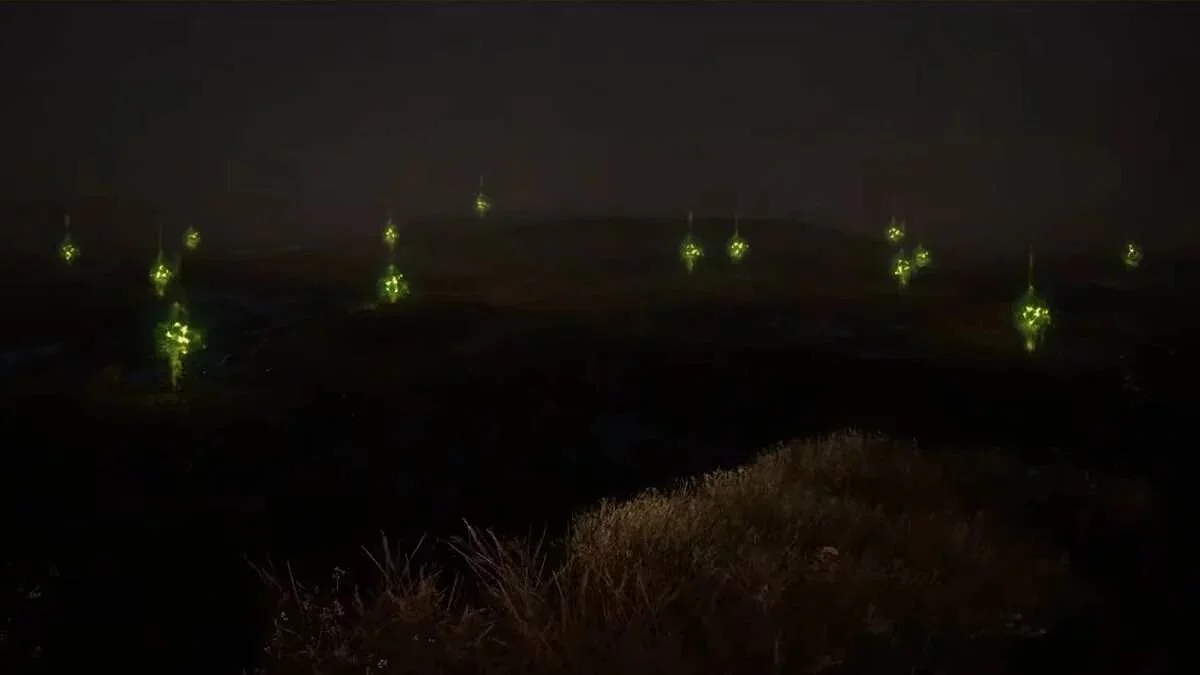
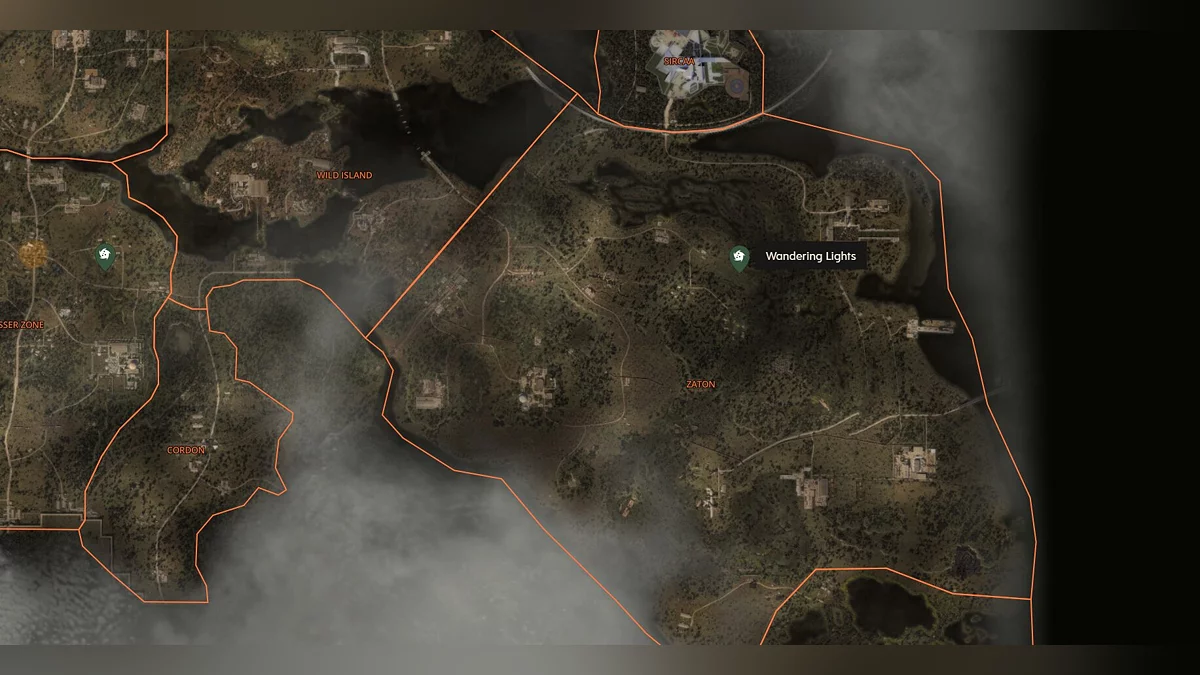
Wandering Lights
This anomalous zone activates only at night and looks like a field of neon green spheres. Entering the zone itself turns everything around into pitch darkness, except for the spheres themselves, and also causes non-lethal hallucinations.
Located in a clearing in the northeast of the Zaton region but activates only at night.
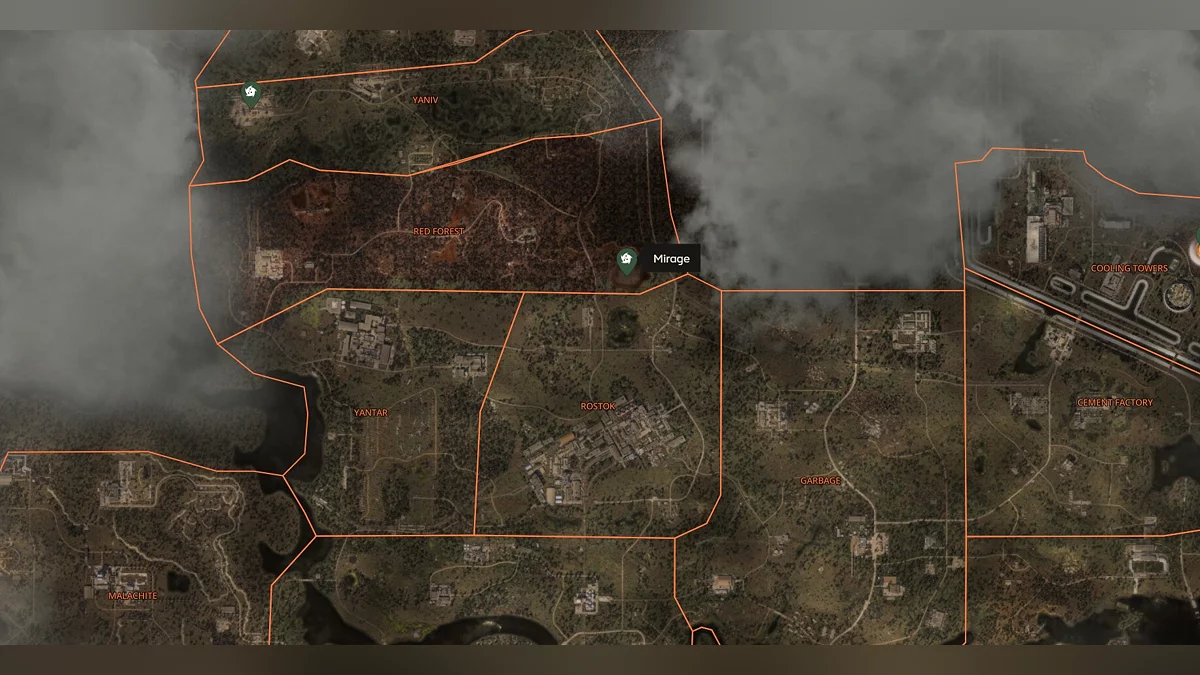
Mirage
A large sphere found on an island in the east of the Red Forest.
Emission
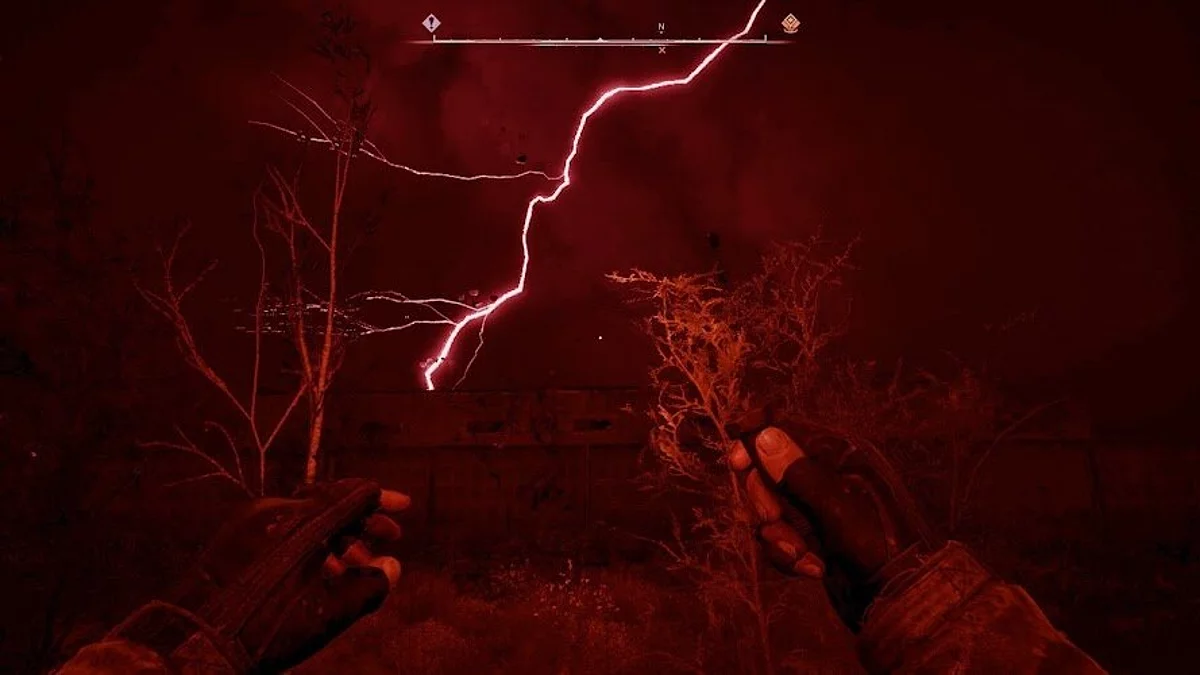
The «Take Cover from the Emission» task will regularly occur as you progress through the storyline and get acquainted with the Zone. This recurring quest requires the hero to find a safe place during an anomalous storm before it kills you. In addition to this, an NPC will also announce over the radio that an «Emission» is coming. Fortunately, considering the fact that «Emissions» happen quite often, taking cover from one is not too difficult. You just need to reach any more or less intact building.
At the very beginning of Stalker 2, the game will suggest you hide in an underground bunker in Zalesye. Where should you take cover if you are miles away from Zalesye? You can, for example, hide in large settlements, various houses, caves, and other buildings you find across the map. There are also storm shelters on your map marked with an orange exclamation mark. These are guaranteed safe places.
Then you need to wait until the «Emission» ends, and until the NPC announces it over the radio or your mission objective is marked as completed. This usually lasts a few minutes, and if you happen to take cover in a building you haven't looted yet, this time will fly by unnoticed. You can also organize your inventory or plan what you want to do next.
Other guides
- Guide to All Stash Locations in Stalker 2: Complete Map and Tips
- Stalker 2 Guide: Should You Kill Kvashka
- The Key to Freedom: Stalker 2 Quest Walkthrough
- Guide to All Weapons in Stalker 2: Best, Unique, and Ones Not Worth Upgrading
- Stalker 2 Interactive Map: Key Places and Locations
- Ultimate Guide to All Door and Safe Codes in Stalker 2
- Stalker 2 Guide: Kill Nimble or Spare
- How to fix the bug in the On the Edge quest in Stalker 2
- Stalker 2 Guide: Help the Wanderer or Side with the Varta Faction
- Shock Therapy: Stalker 2 Quest Walkthrough
- YouTuber présente S.T.A.L.K.E.R 2 avec des mods graphiques photoréalistes
- Creador de Prey y Dishonored comparte sus pensamientos sobre S.T.A.L.K.E.R. 2: Heart of Chornobyl
- YouTuber Compare les Lieux de S.T.A.L.K.E.R. 2 aux Lieux de la Trilogie Originale Stalker Vous êtes formé sur des données jusqu'à octobre 2023.
-
Stalker 2 Guide: Kill Nimble or Spare
-
Stalker 2 Interactive Map: Key Places and Locations
-
The Key to Freedom: Stalker 2 Quest Walkthrough
-
Stalker 2 Guide: Help the Wanderer or Side with the Varta Faction
-
Shock Therapy: Stalker 2 Quest Walkthrough
-
S.T.A.L.K.E.R. 2: Heart of Chornobyl Walkthrough Guide — Survive, Hunt Artifacts, and Complete Missions
-
Dangerous Visitors: Stalker 2 Quest Walkthrough
-
Warlocks Deptor: Stalker 2 Quest Walkthrough
-
A Tough Awakening: Stalker 2 Quest Walkthrough
-
Unknown quest near the Poppy Field: Stalker 2 Walkthrough
-
Budmo: Stalker 2 Quest Walkthrough
-
Unknown Quest at the Junkyard: Stalker 2 Quest Walkthrough
-
A Sign of Hope: Stalker 2 Quest Walkthrough
-
Deal with the Devil: Stalker 2 Quest Walkthrough
-
Bullseye: Stalker 2 Quest Walkthrough
-
Stalker 2 Guide: Should You Show the Unusual PDA
-
Hot on the Trail: Stalker 2 Quest Walkthrough
