

The Black Ice is a third-person psychological horror game about polar researchers in Antarctica. To survive, players must explore an abandoned complex, search for ammo, and solve various puzzles while fending off monsters. In this guide, we’ll explain how to open all doors and lockers, where the shotgun is hidden, and describe the optimal route to survive and uncover all the secrets of the Vostok research complex.
Prologue. Near Vostok Station
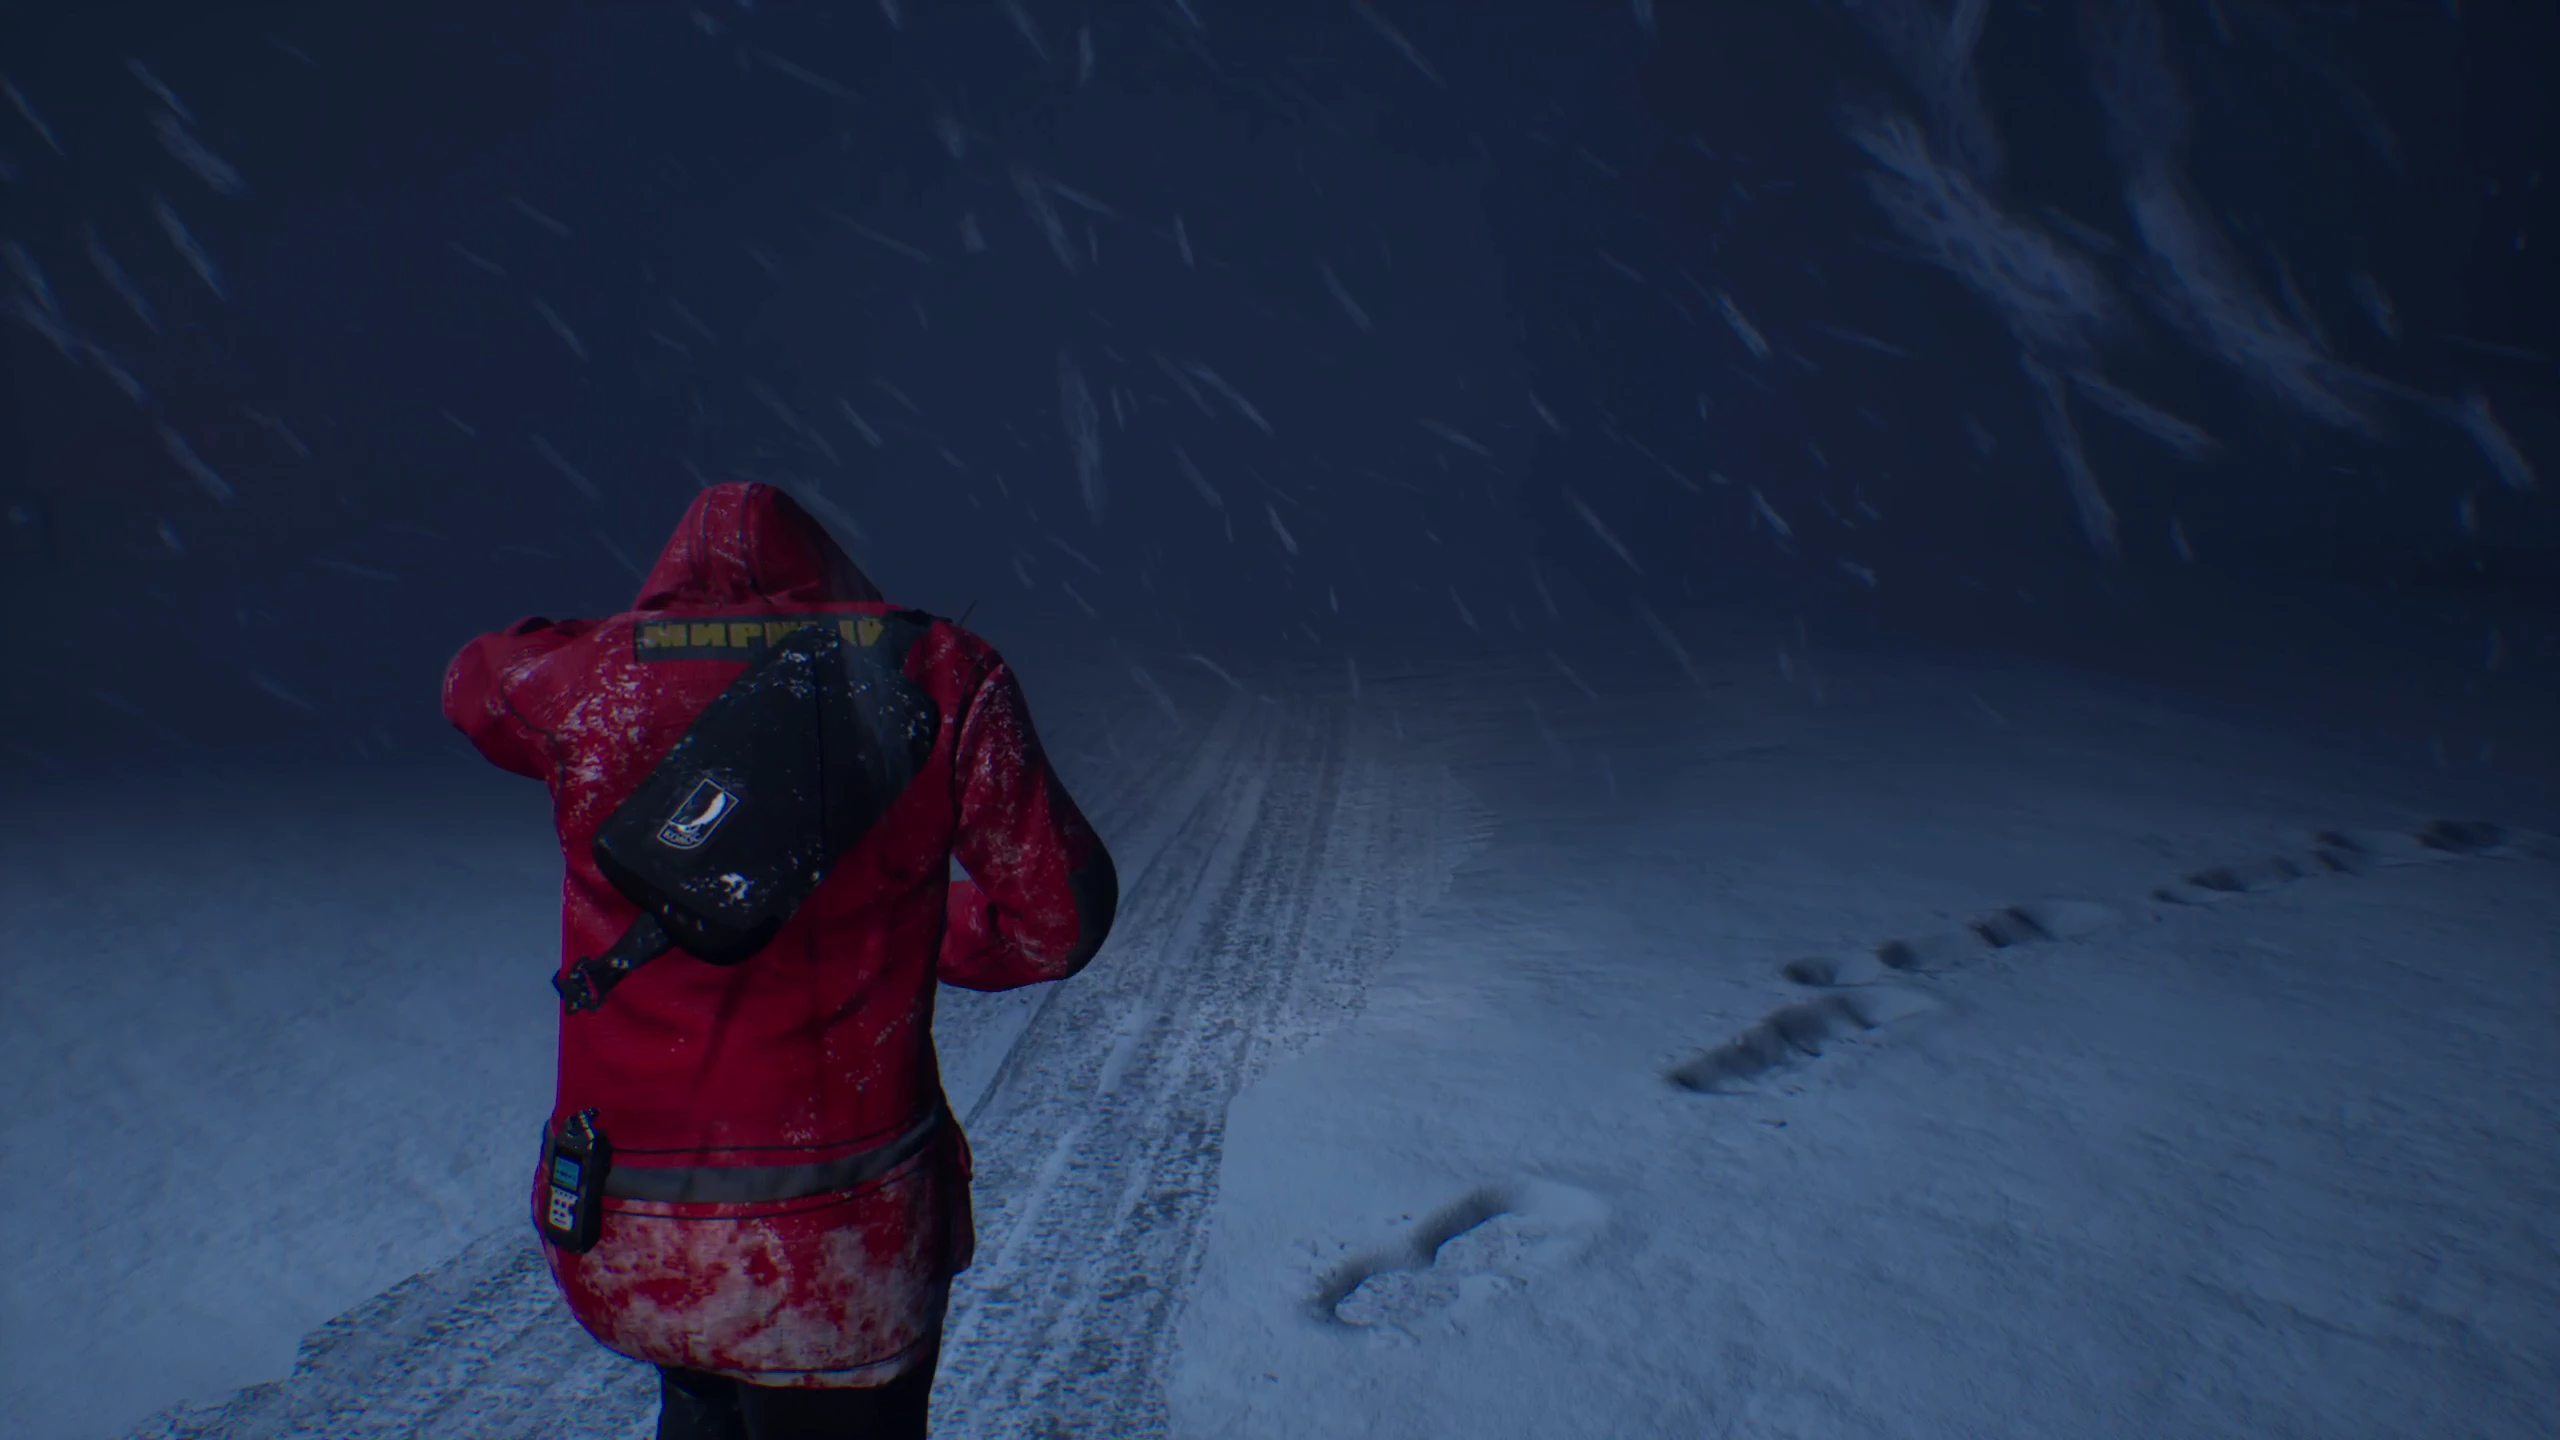
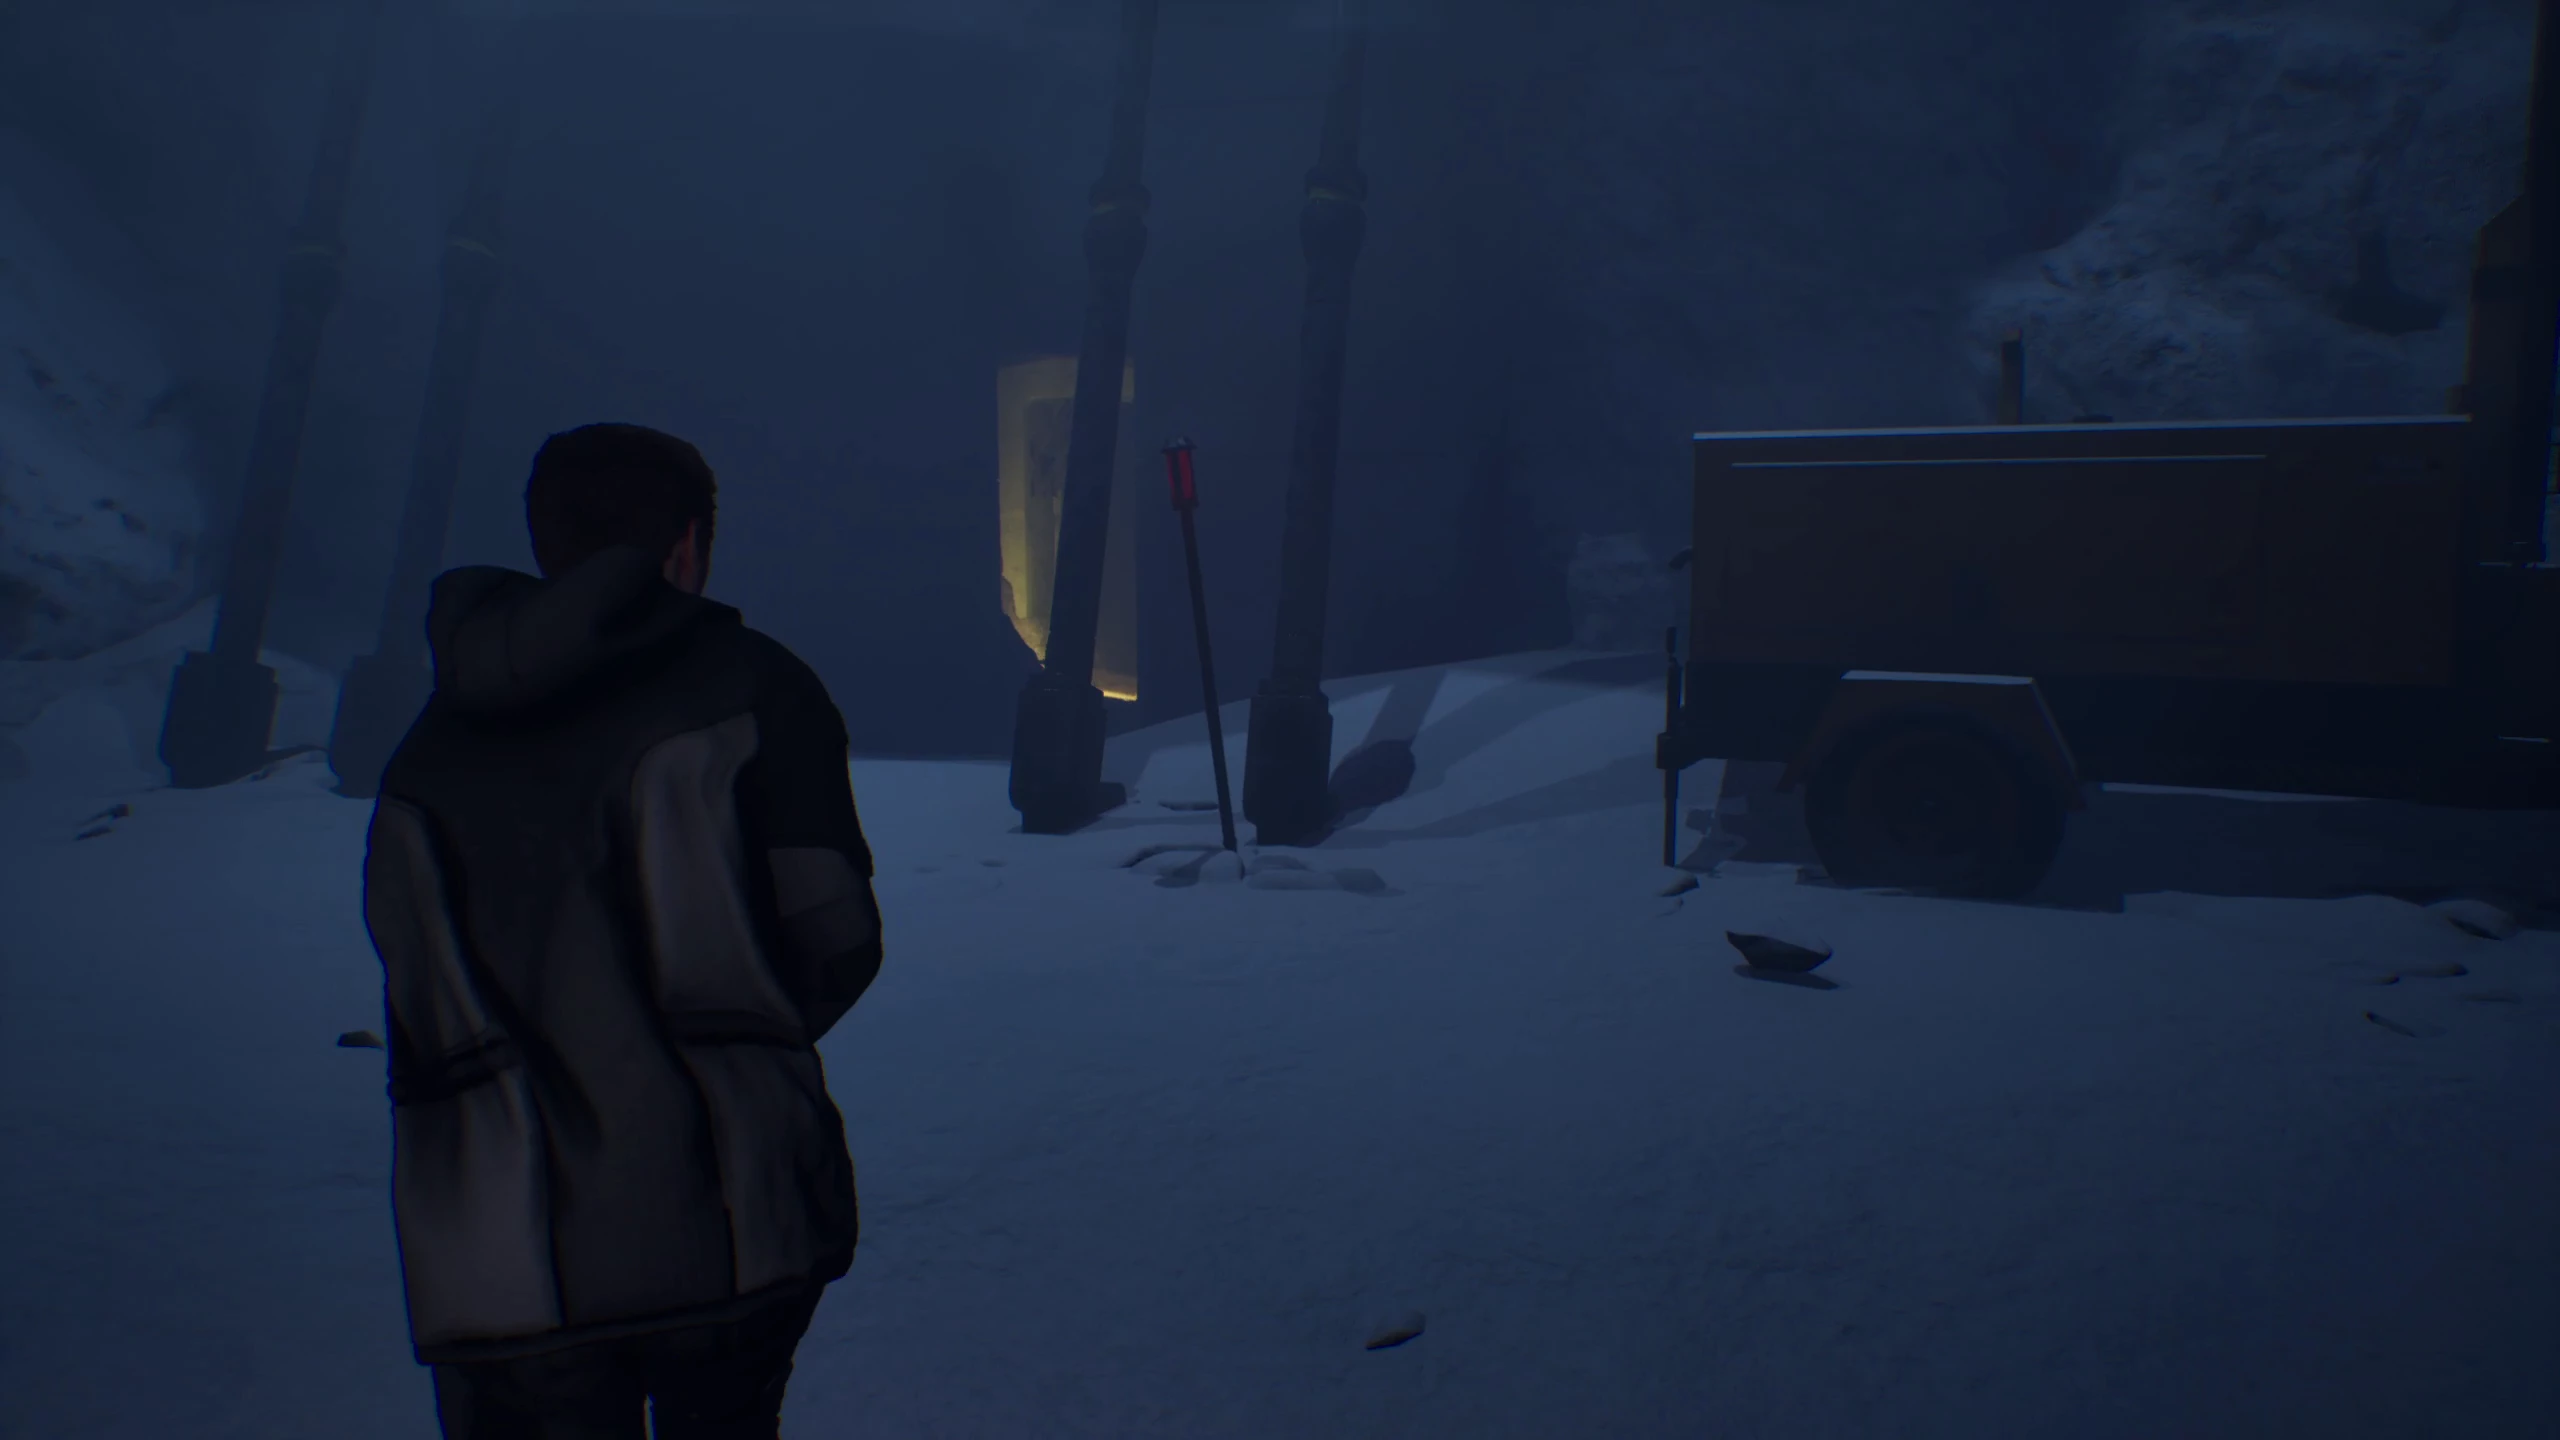
After the cutscene, run straight along the red buoys. Before reaching the huge iron door, turn left into a small building. On the table, pick up the Quasar player, which allows you to listen to messages you’ll find later. Turn right and approach the passage in the rock. Press E for the character to climb over to the other side.
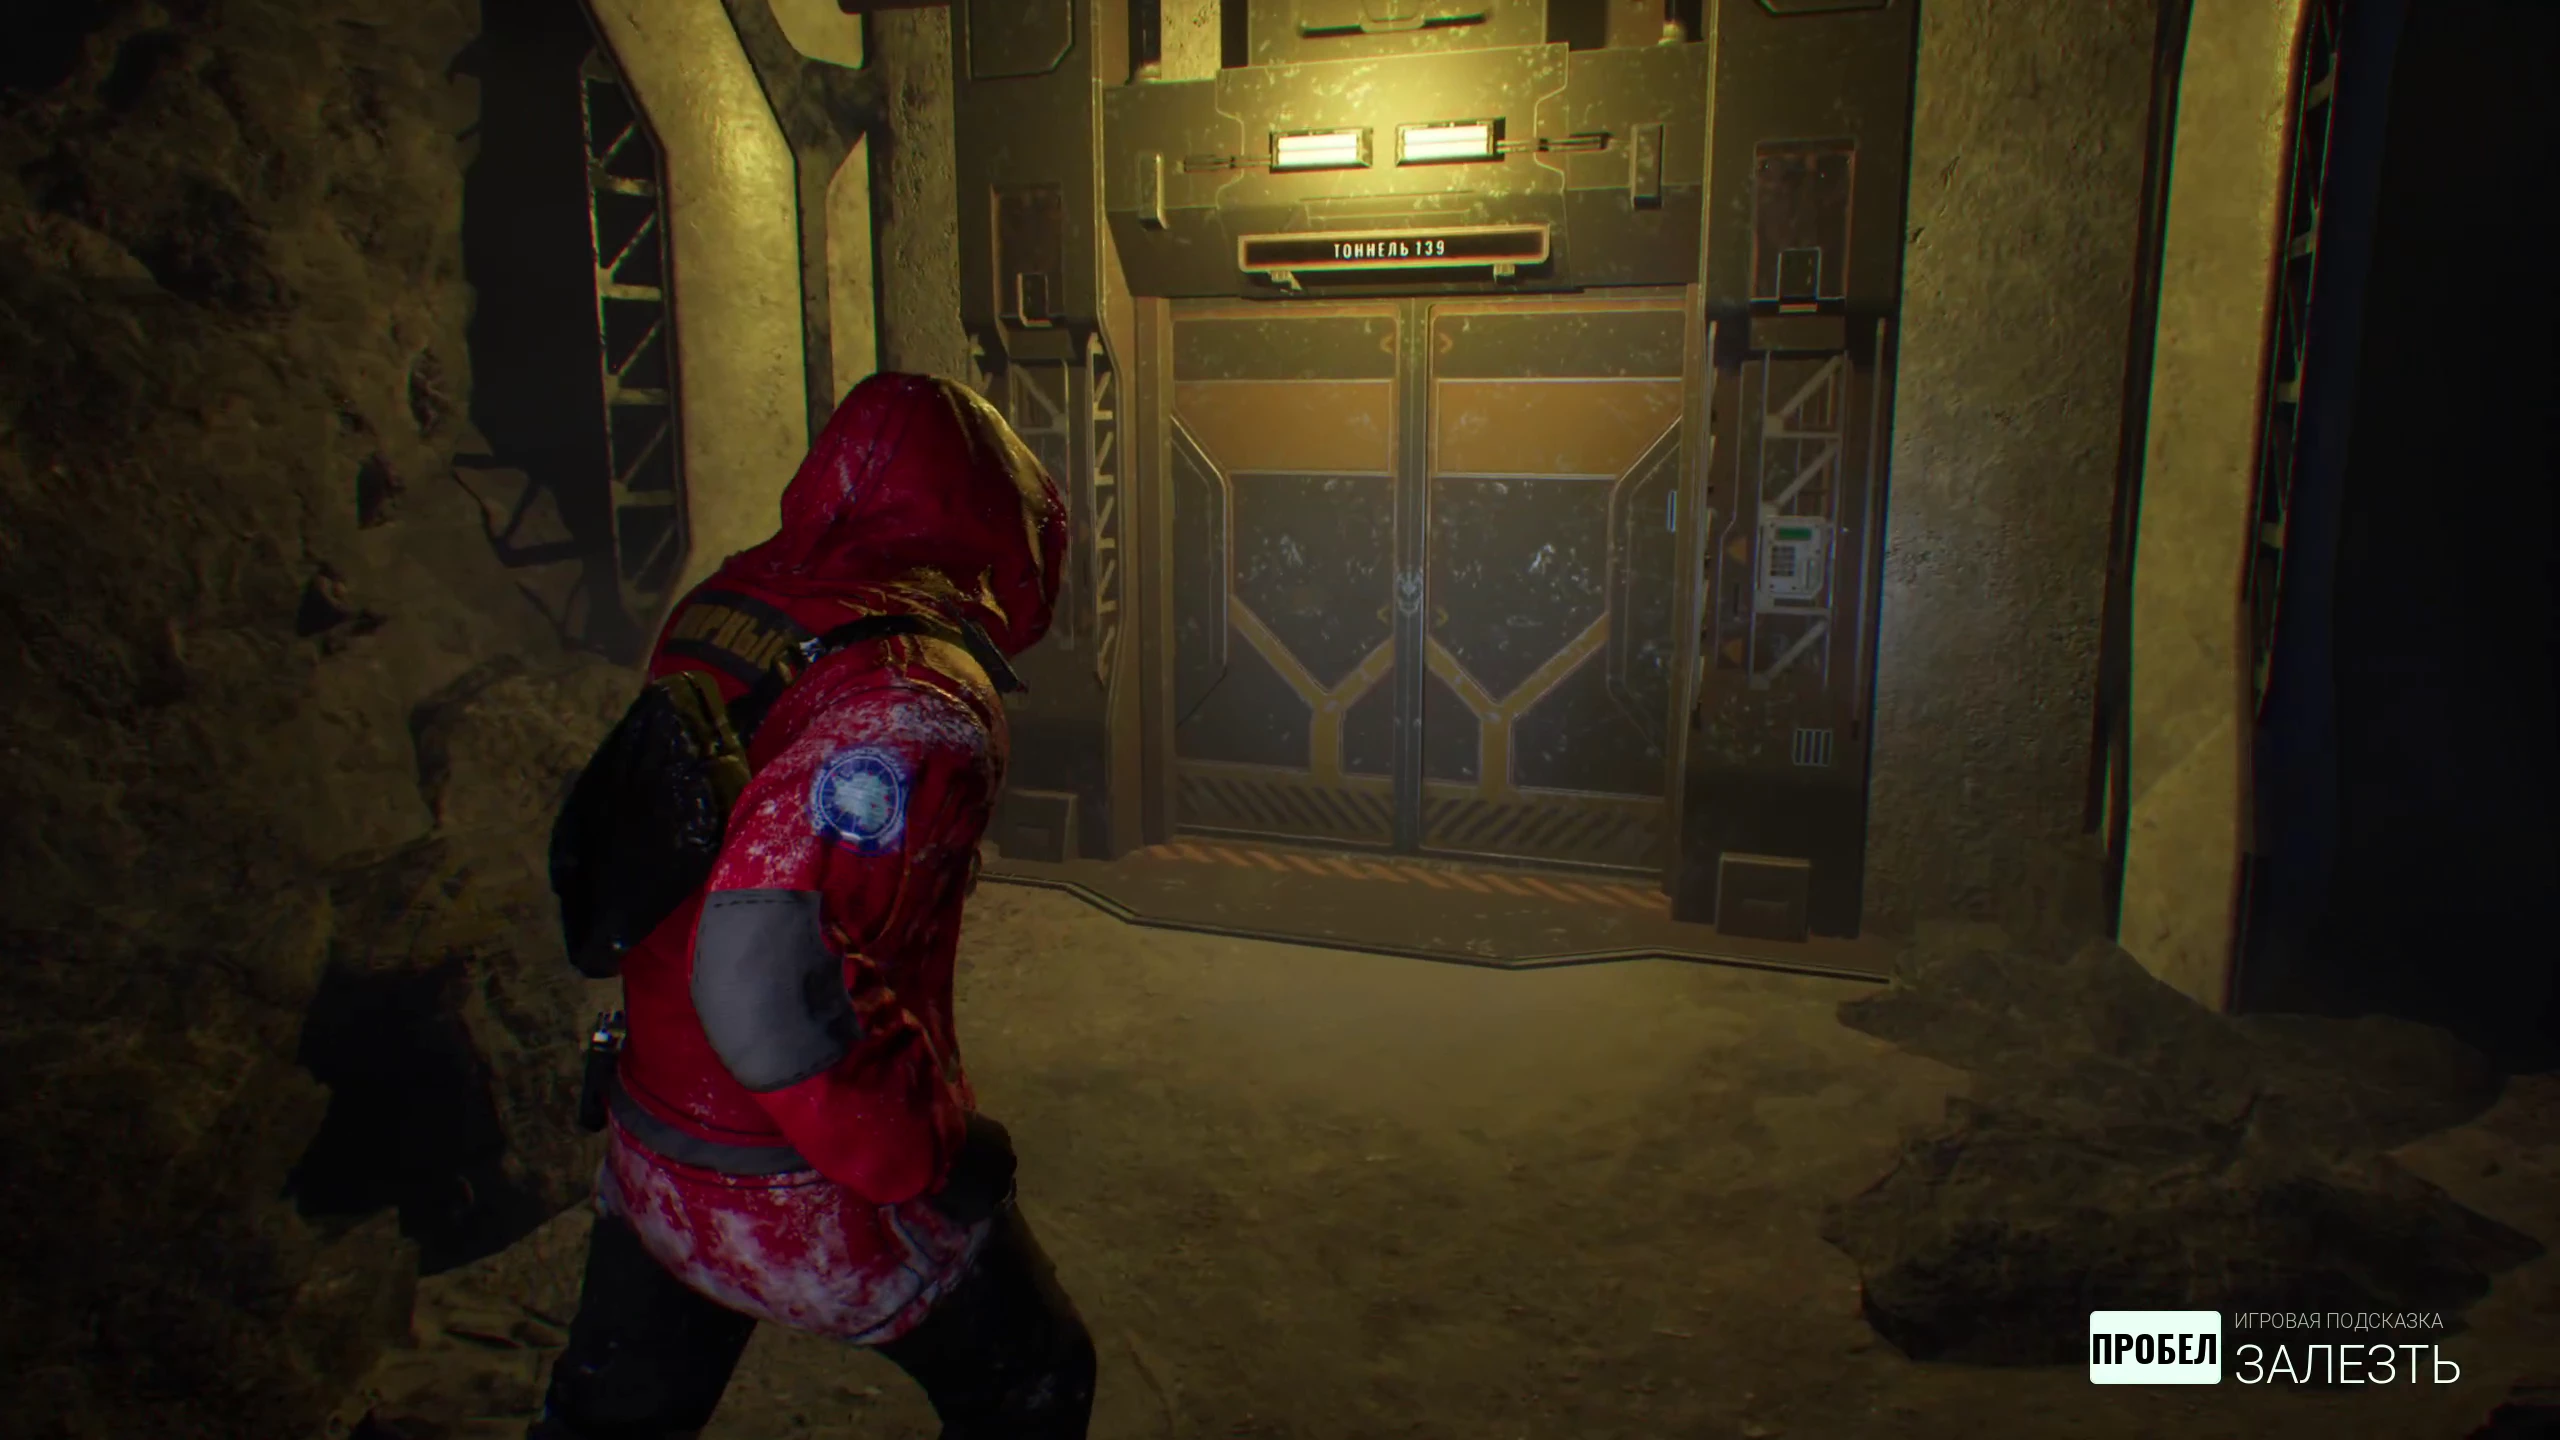
Move straight until you reach a closed building and a road. Turn right and follow the tire tracks until you reach the door marked Vostok. After the dialogue, activate the mechanism near the door and turn into the crevice on the left. On the way, you can examine a stranger’s ice axe. Keep moving forward and climb up the crates. Near these crates, there will be a door to Tunnel 139. The code can only be obtained after completing the game. For now, this room cannot be opened.
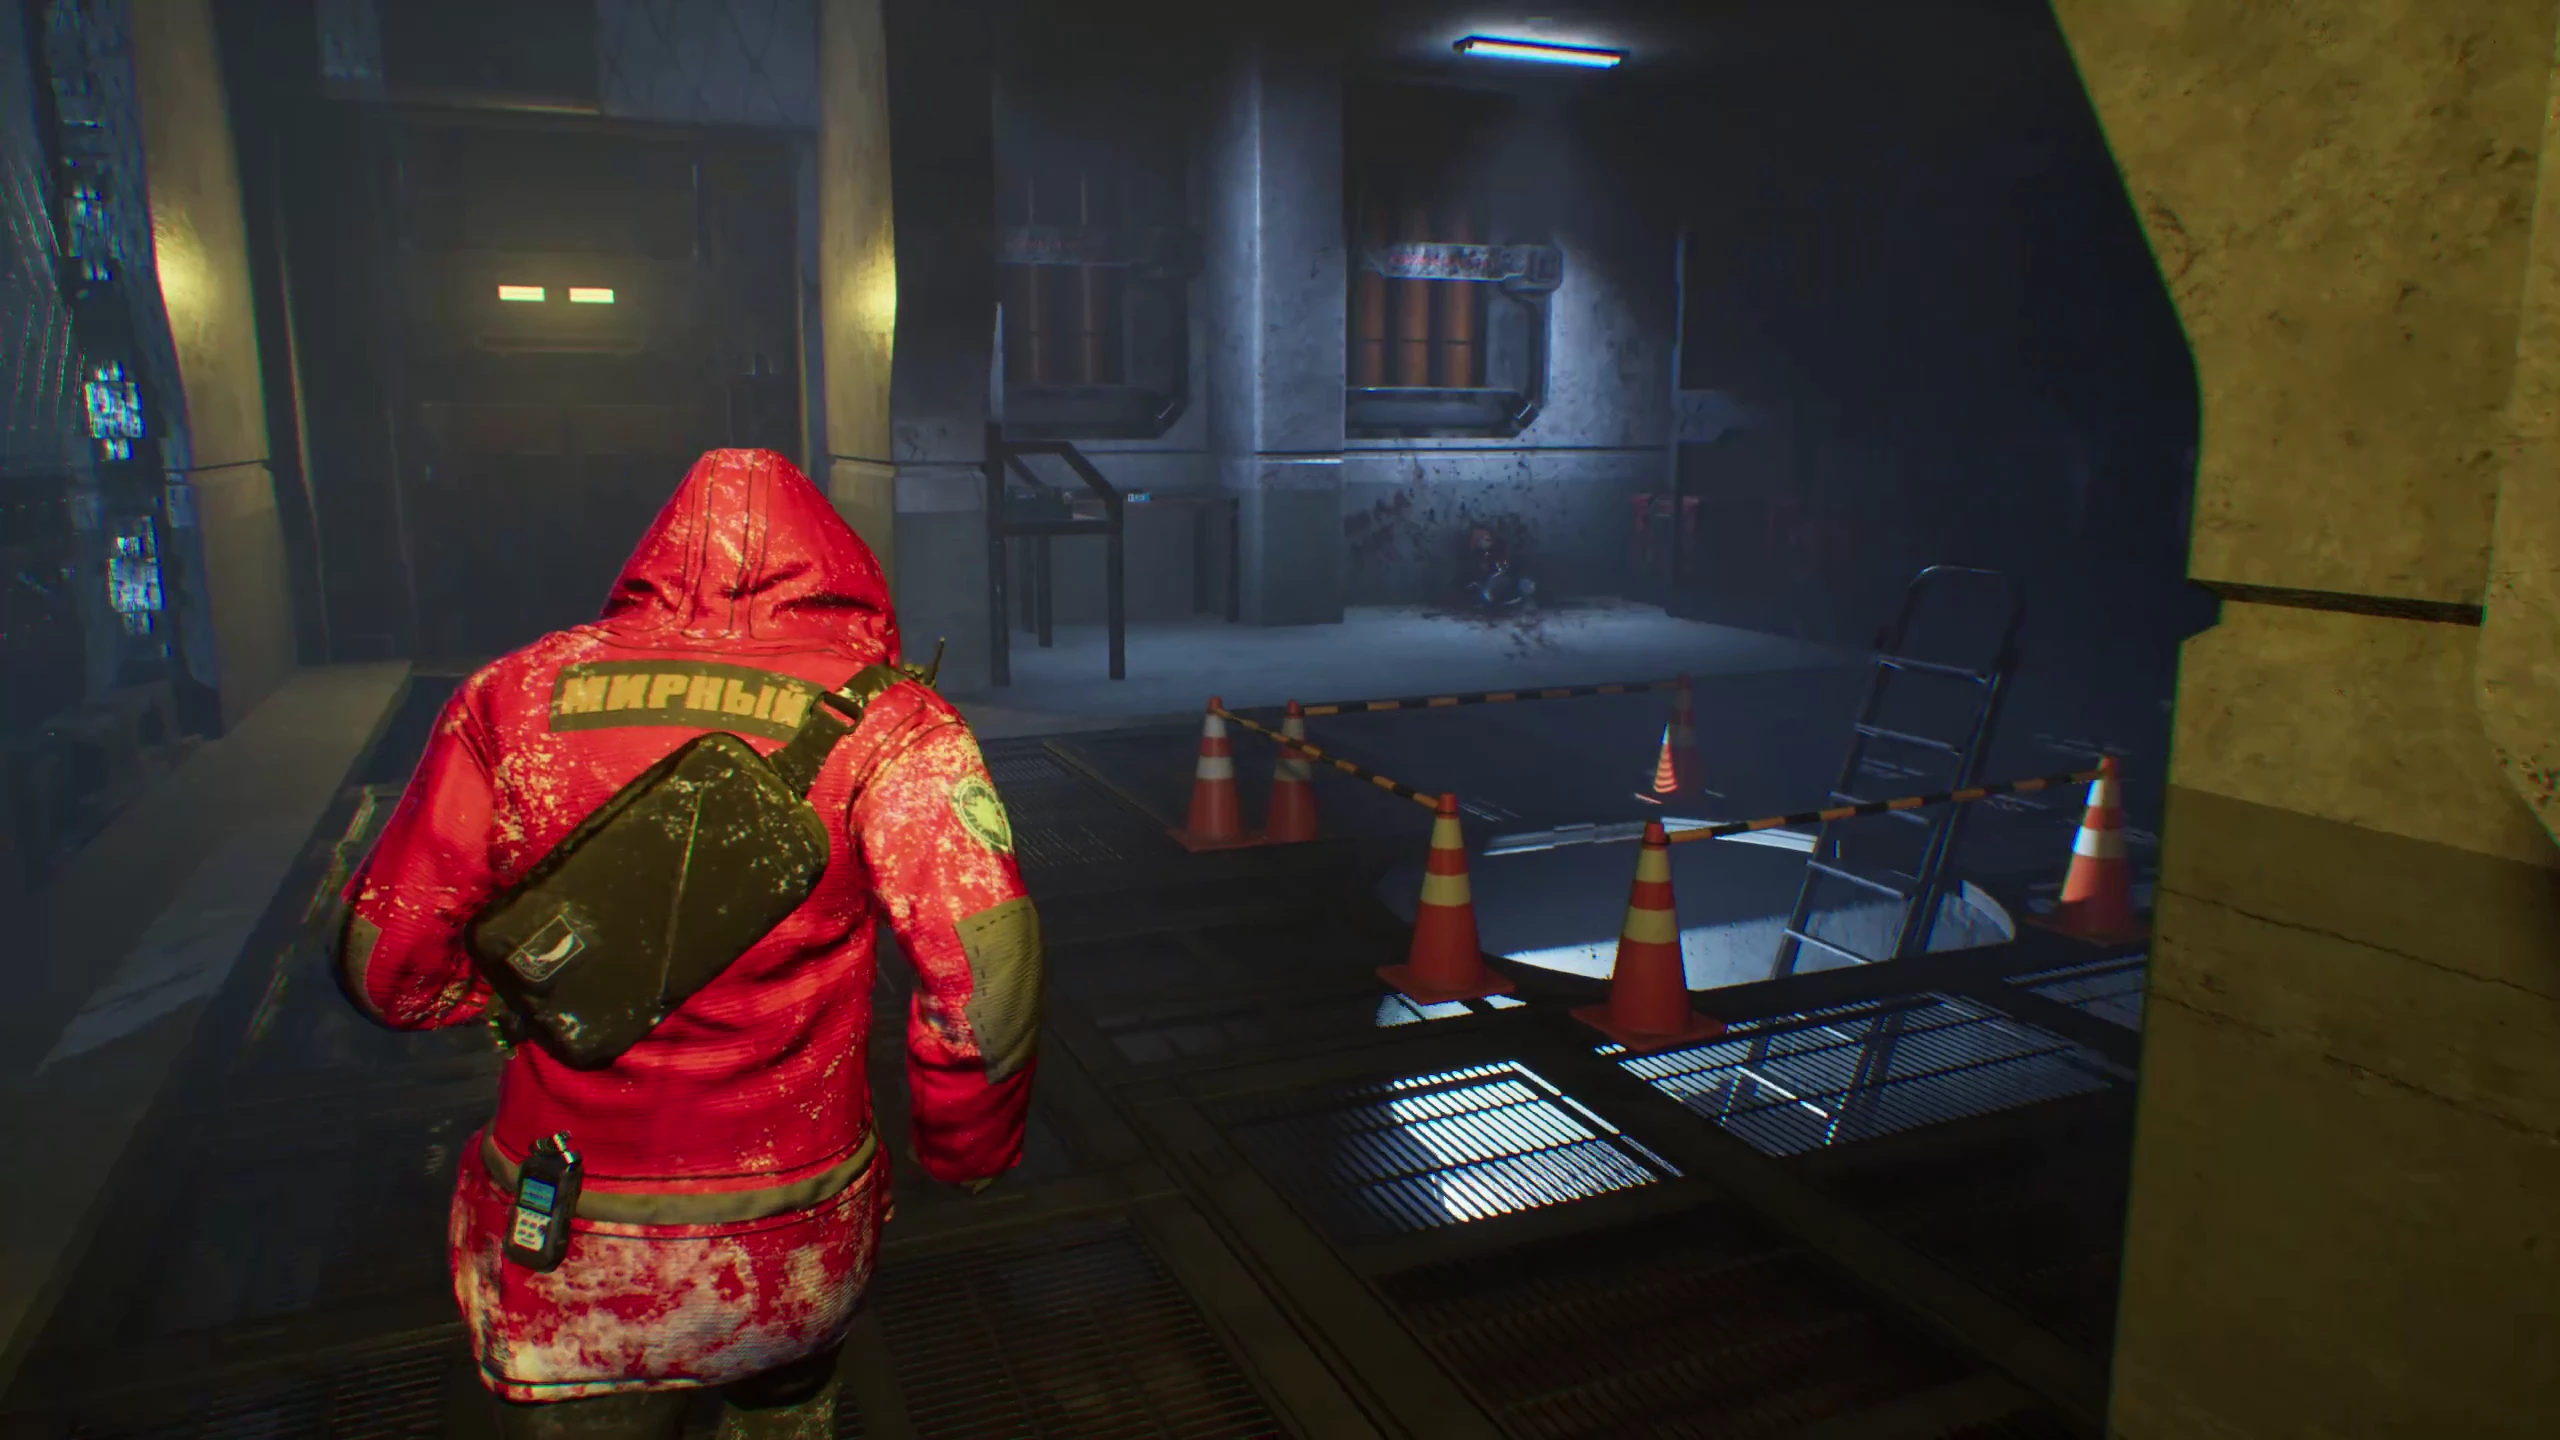
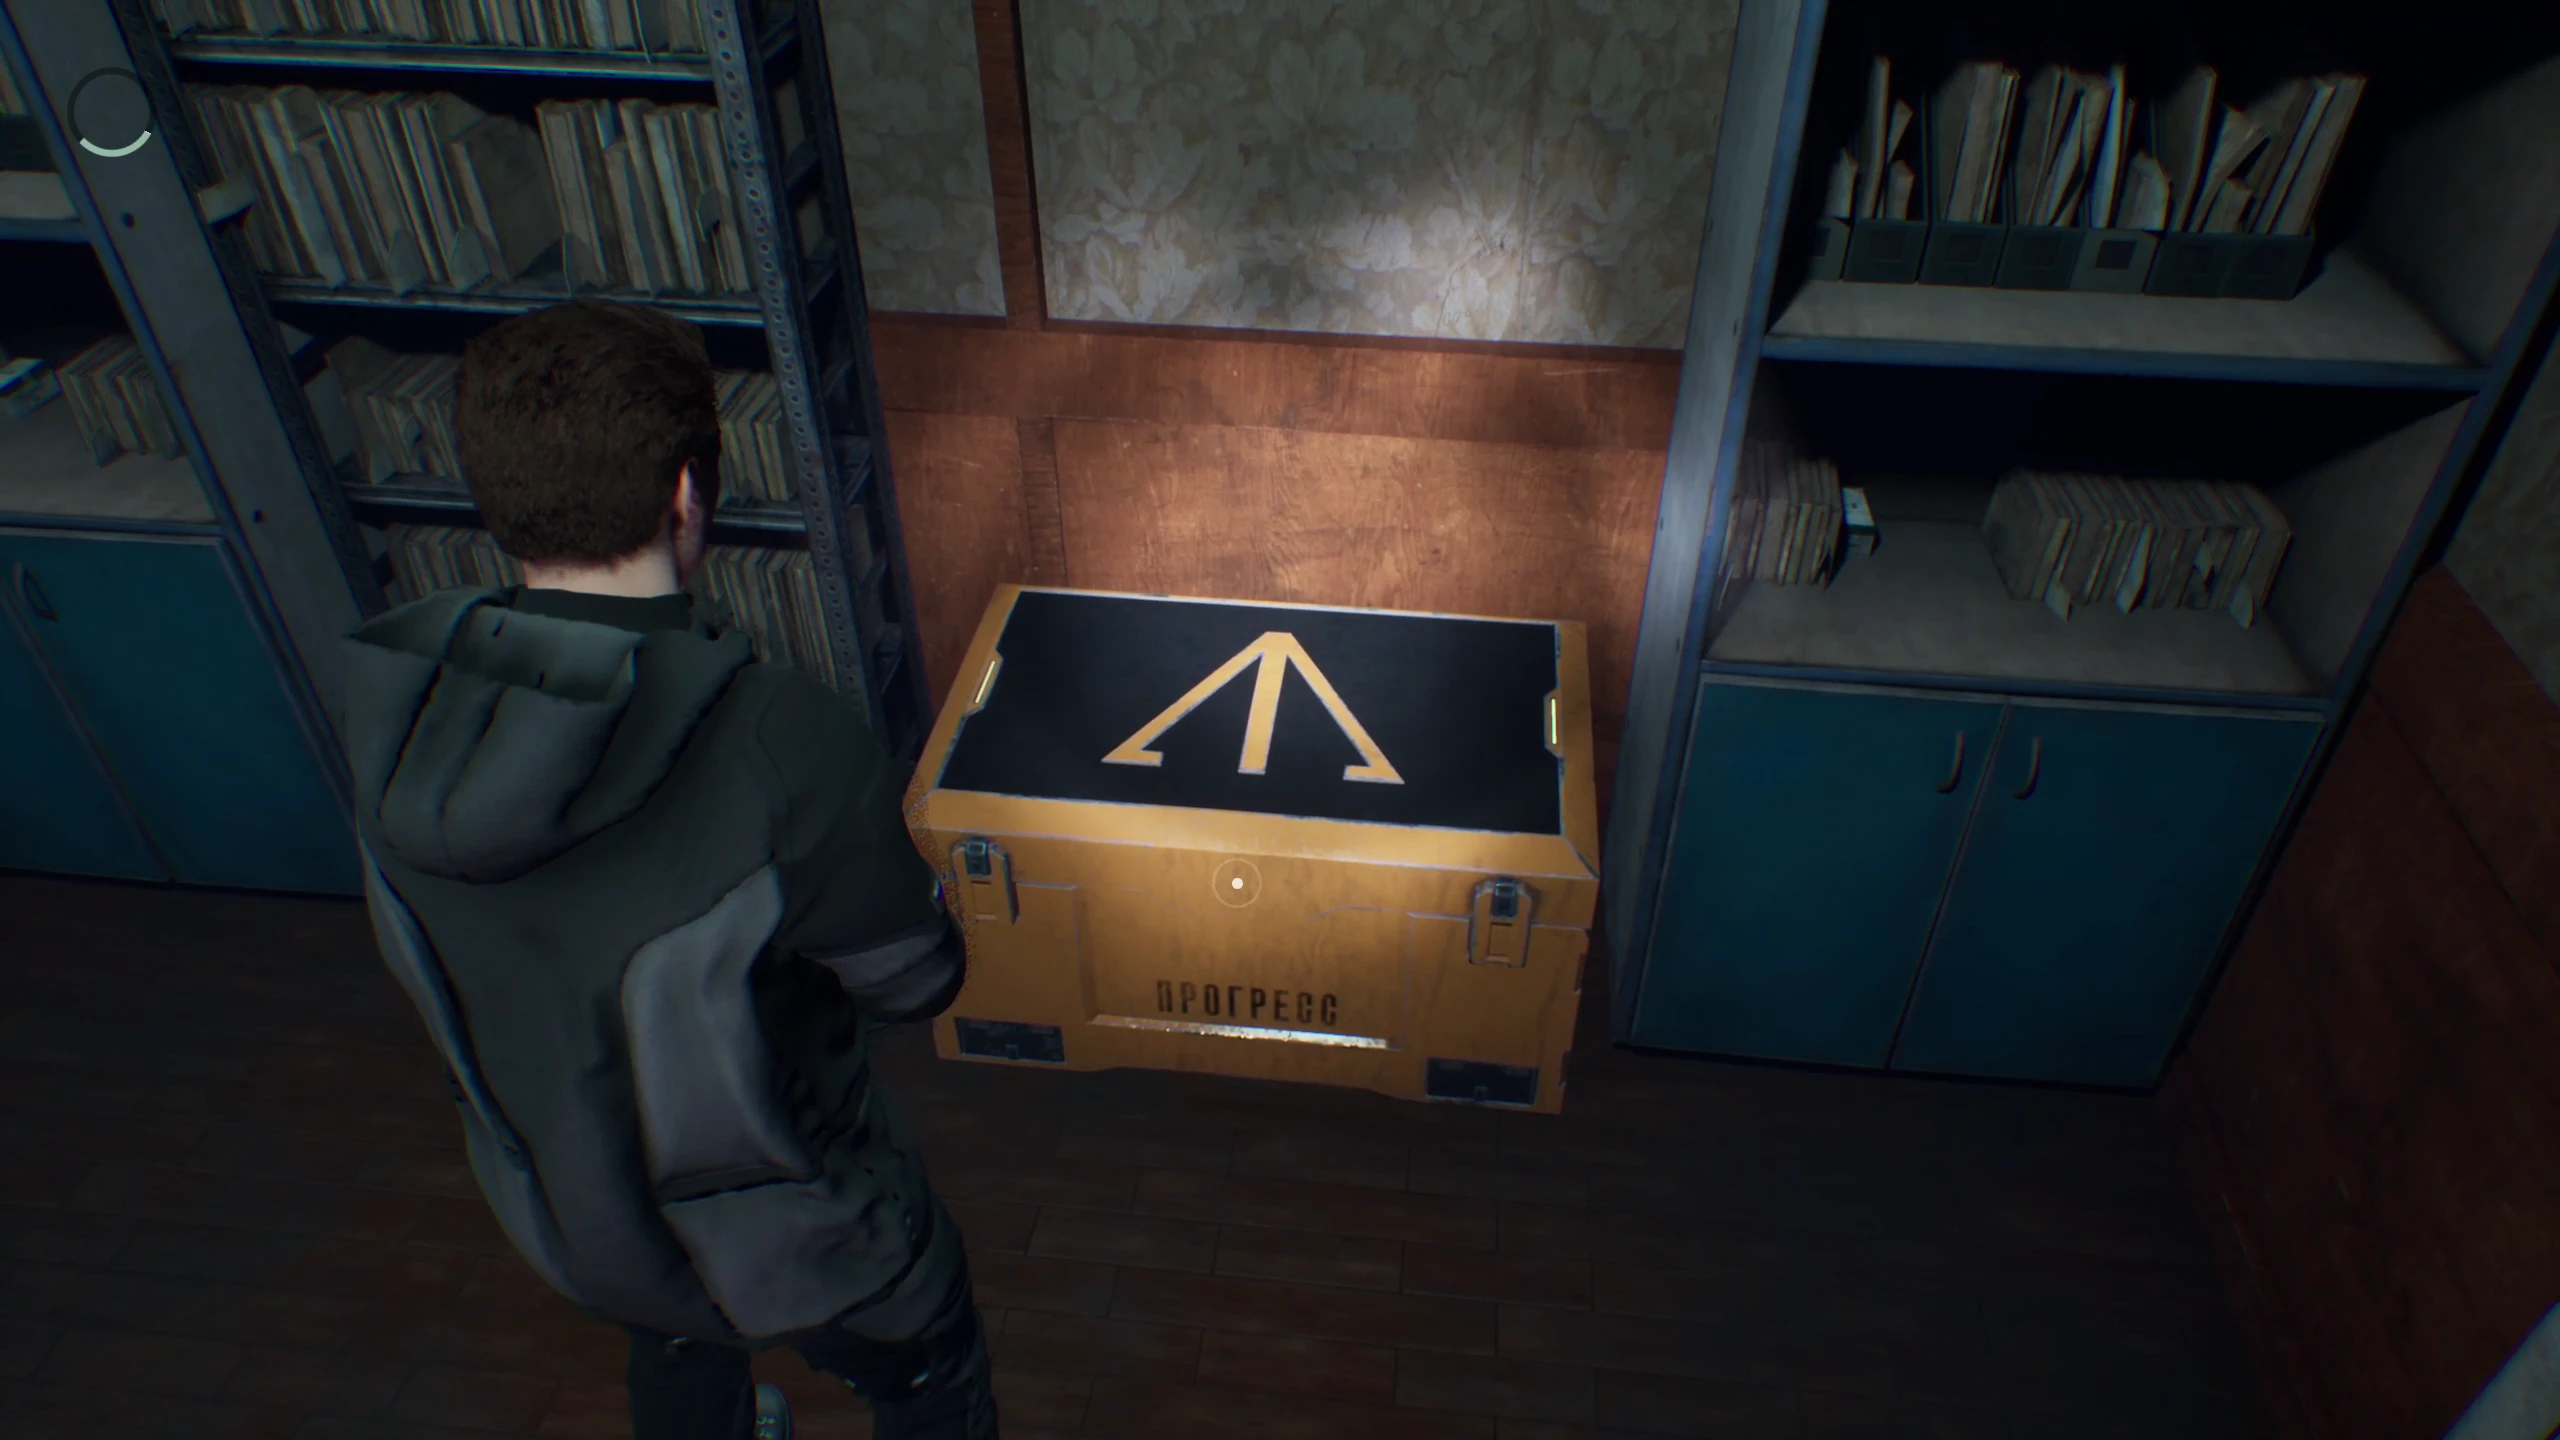
After jumping down, look around—there’s a save point in the nearest building. Near the closed gates outside, you’ll find the Mechanic’s Audio Log, and to the left behind the red car, the secret figurine Cheerful Beaver. Move on and go through the narrow passage between the containers. Enter the building with the green signal and activate the gates. There is also a note with useful information on the table.
Continue forward to reach the storage area. Find the stairs, go up, and run straight to the next staircase. After jumping down, you can pick up the Strong Beaver figurine and the audio log Engineer’s Indignation. Go back and take the other passage. The floor will collapse behind you, but you won’t need it anymore—jump down and leave the building.
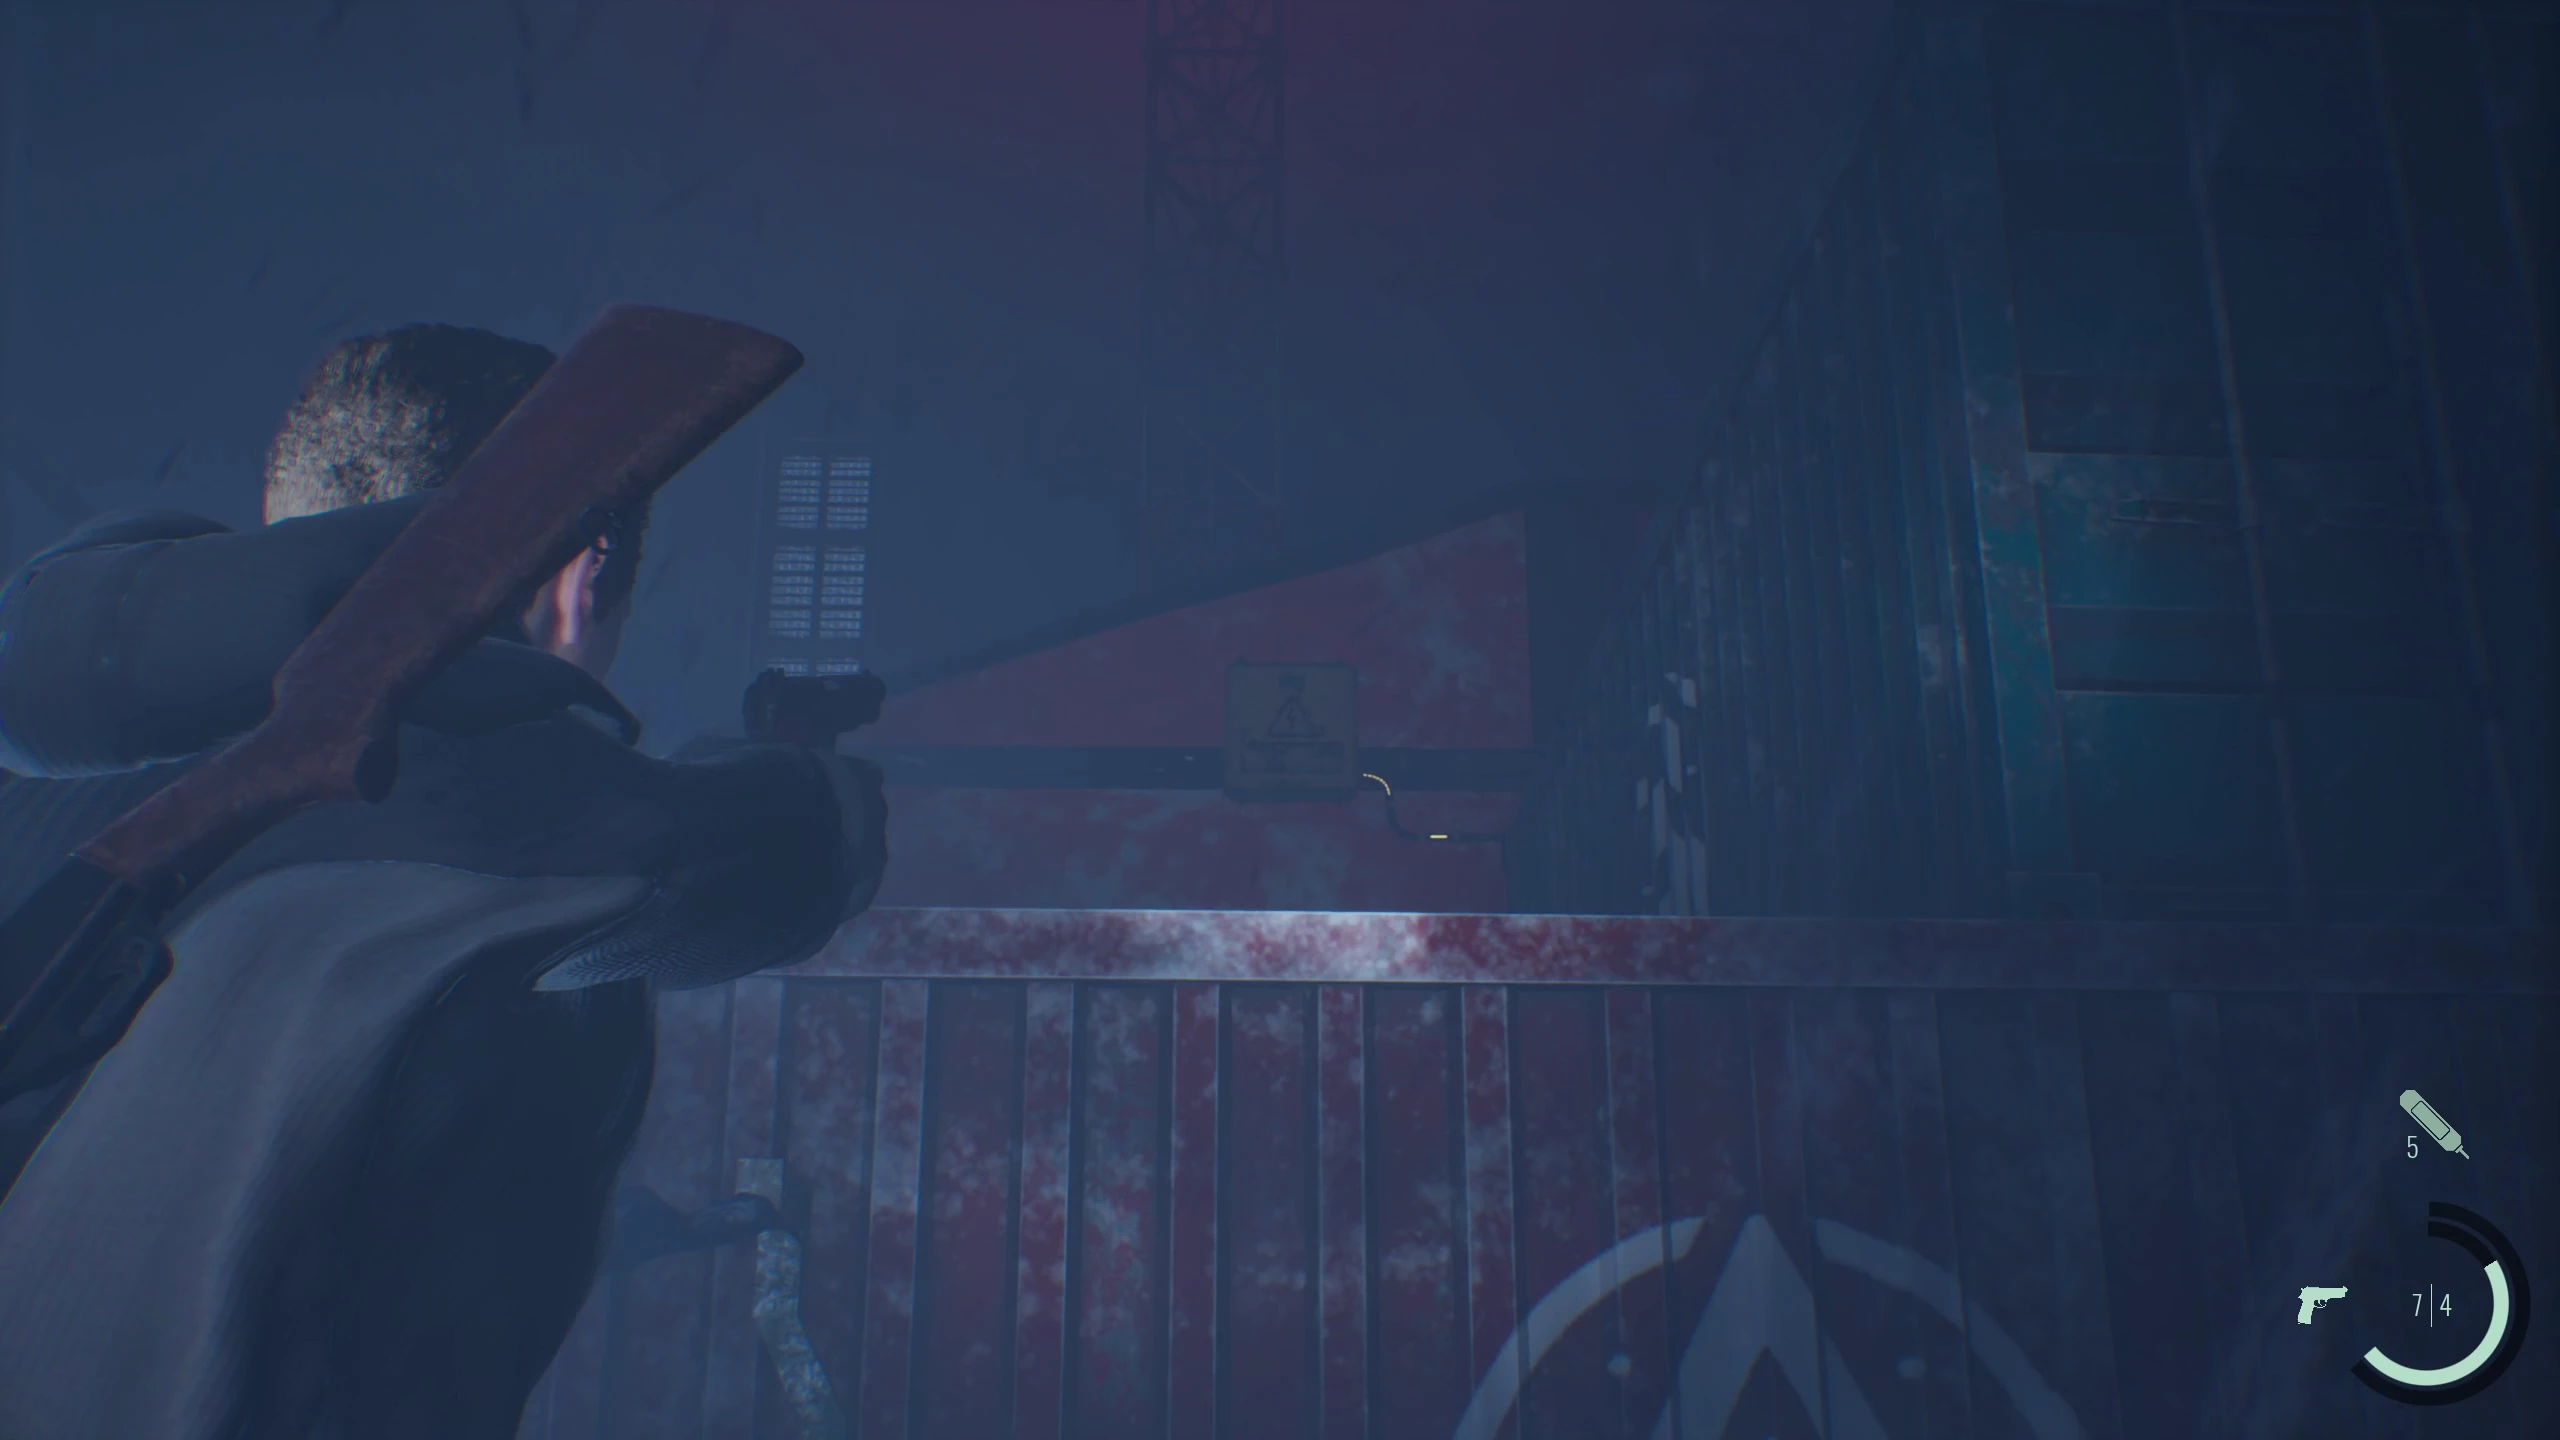
Enter the next room and open the door on the left. You can pick up a TT pistol from the dead polar explorer, and there are bullets on the table nearby. Exit the room and approach the large door on the left. Turn around and shoot the yellow box with a wire leading to the door. After this, a cutscene will begin.
Chapter 1. Citadel
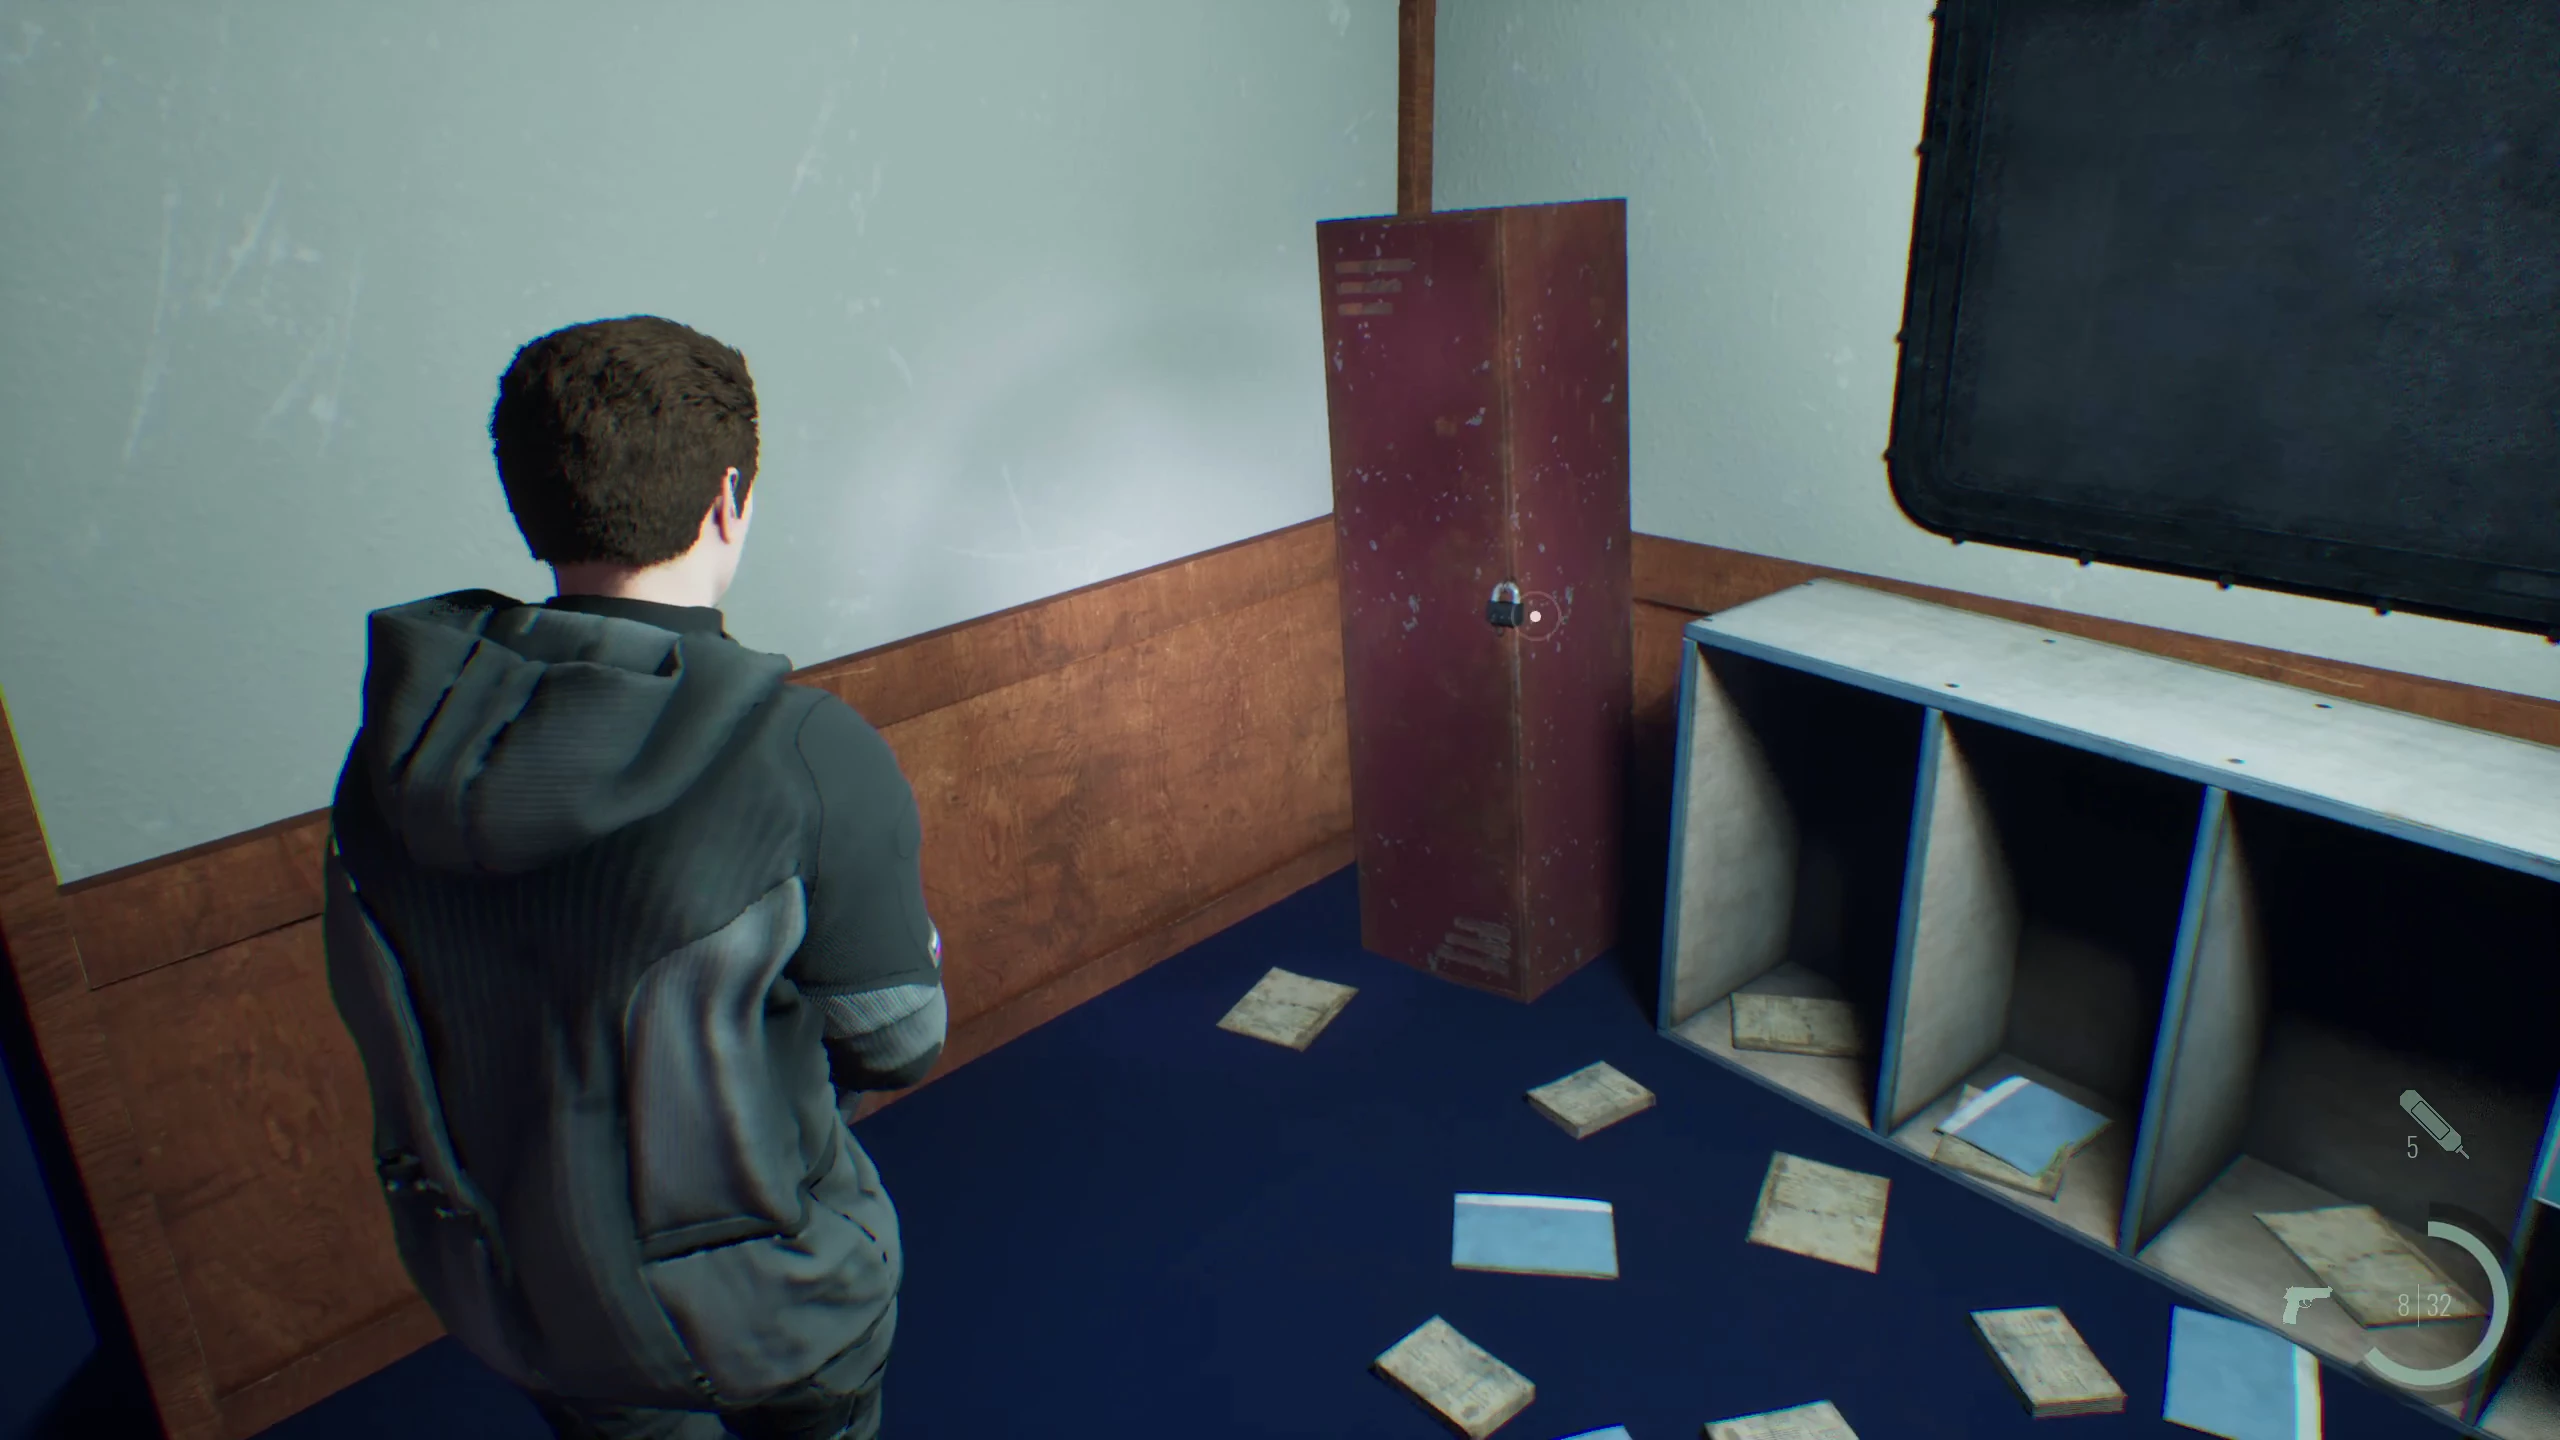
After arriving at the station, go up to the left platform and pick up the ammo on the table. Next, enter the tilted building near the cliff. Inside, there will be a locker with the code 8-1-2. You can find this code in a note at the very end of the chapter, before entering the complex. In the locker, you’ll find shotgun shells, a pouch (expands your backpack by 2 slots), and a medkit (fully restores health).
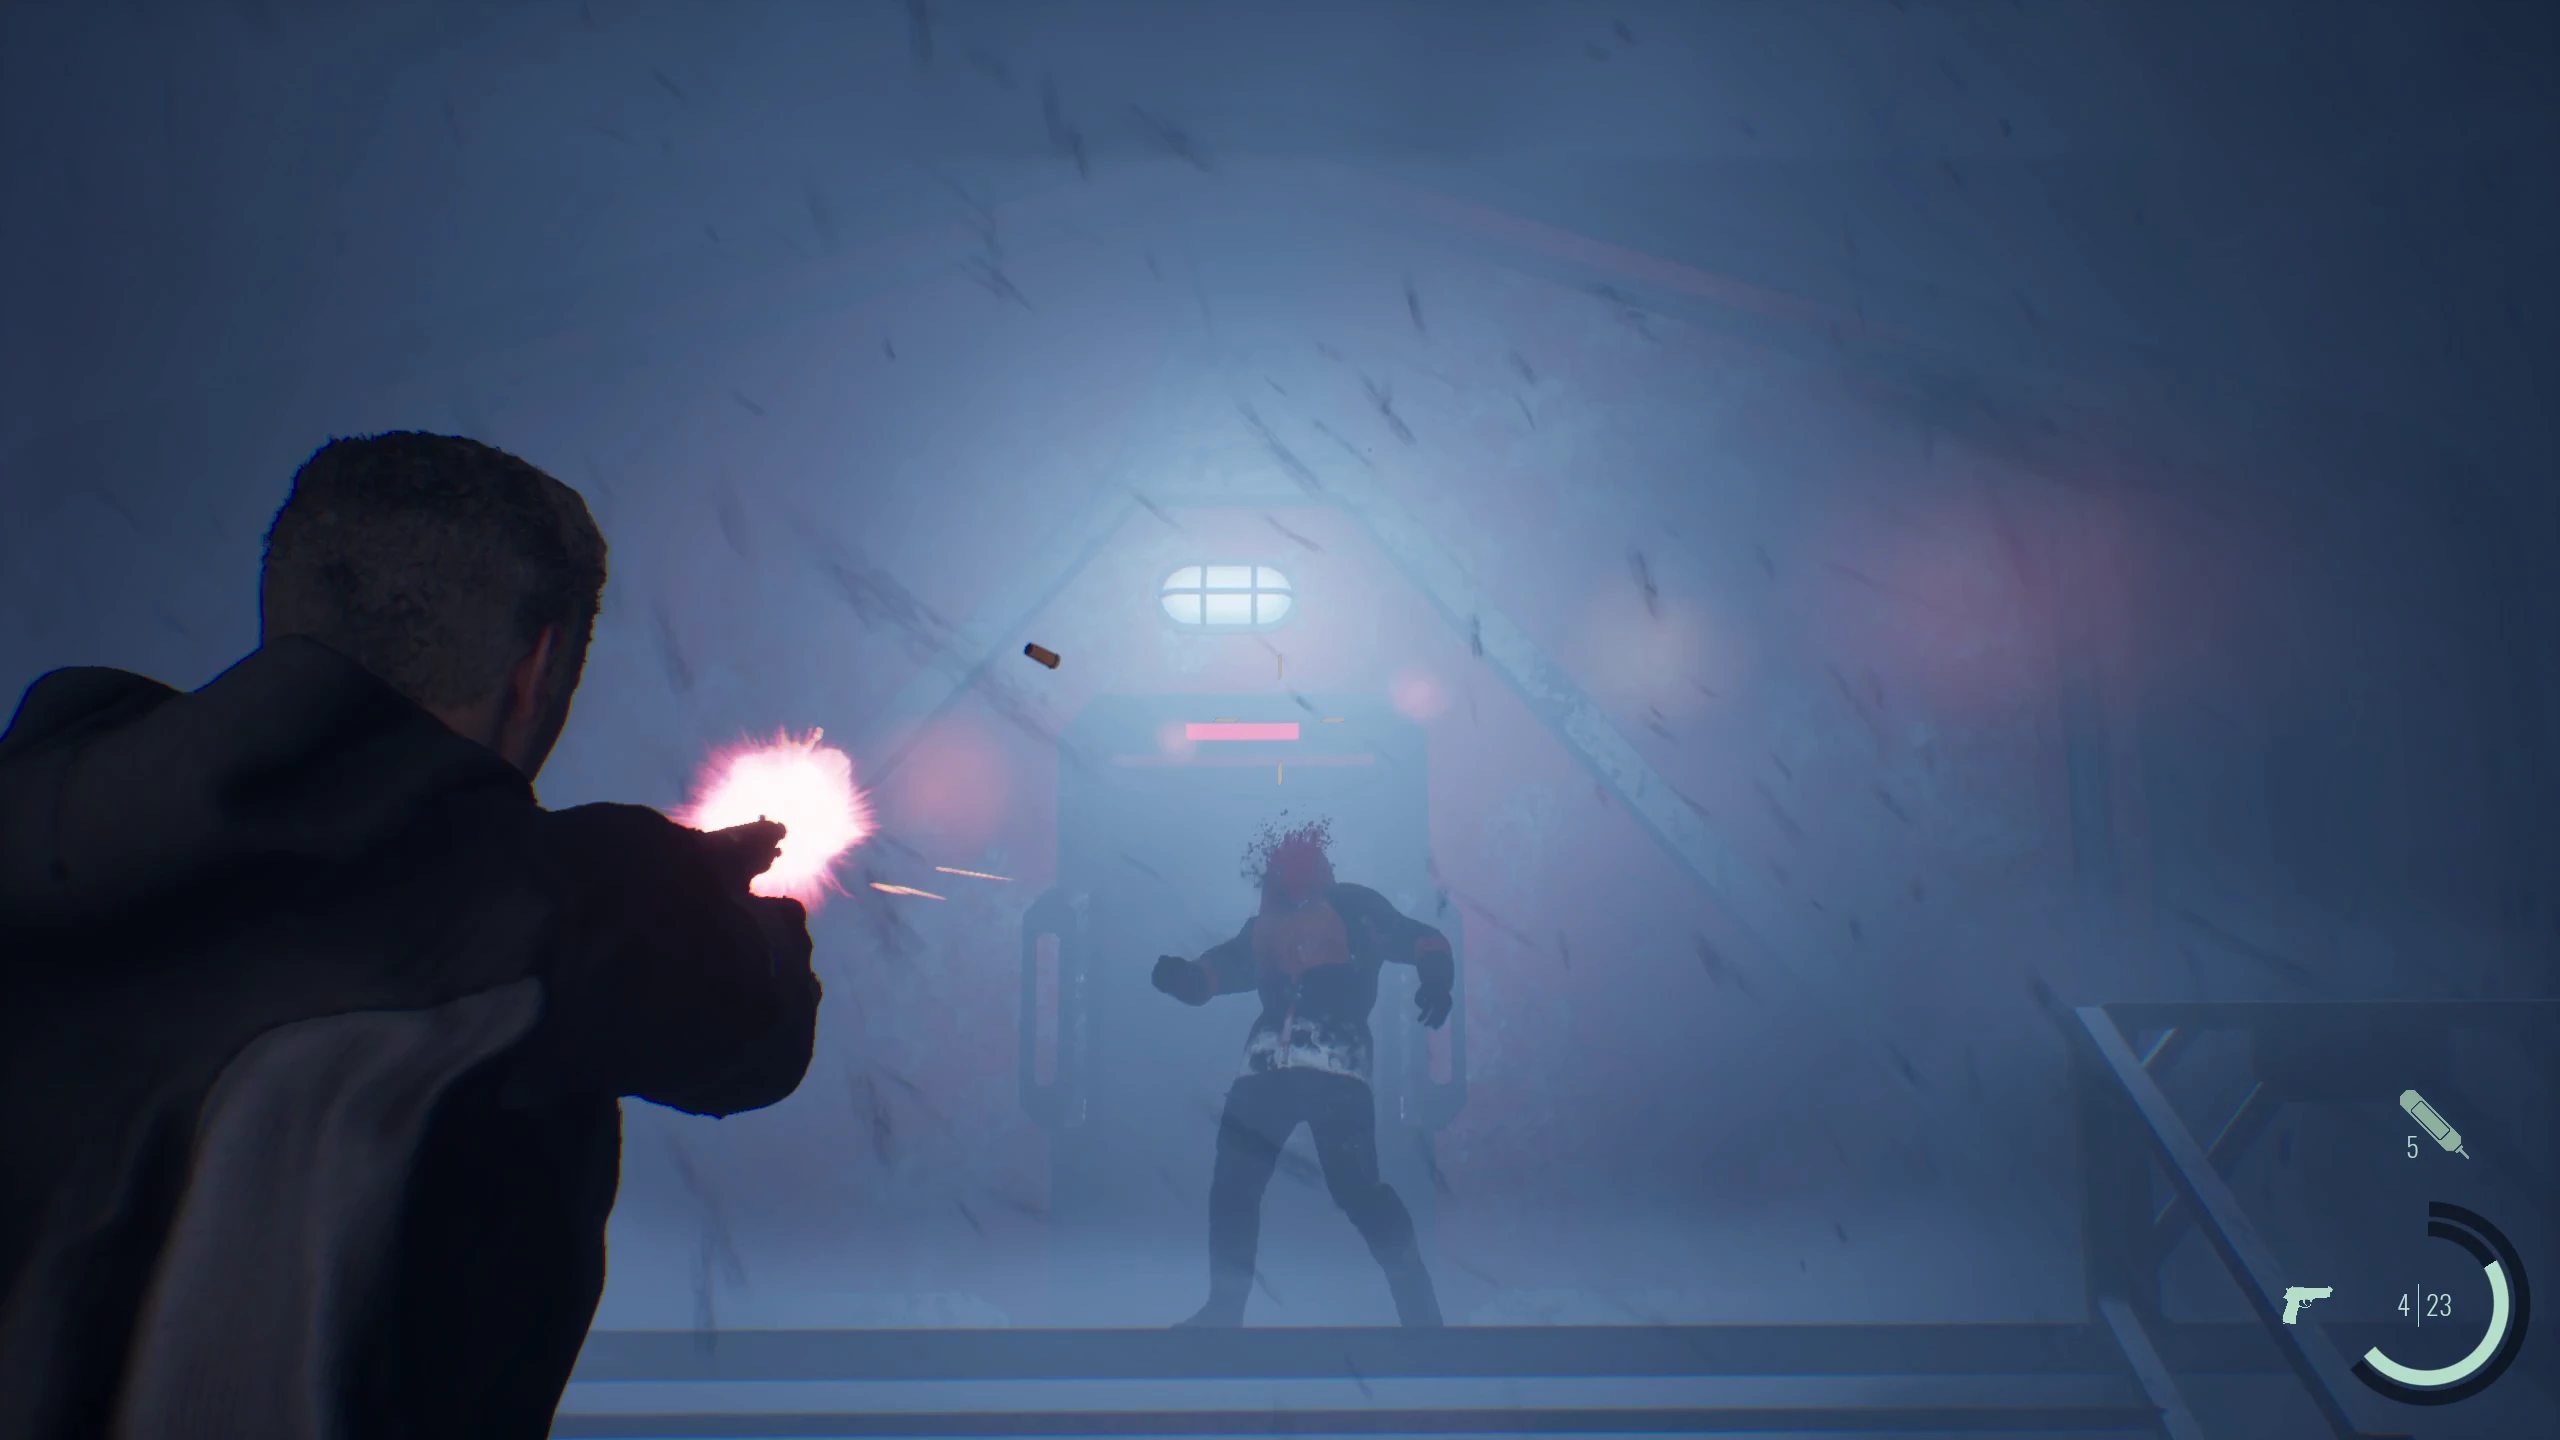
Near this building, on the pipes, you’ll find the Photographer Beaver figurine. A bit further, you’ll be attacked by two zombies, each requiring 4-6 shots. You can do a forward roll in the game by pressing Ctrl twice. In the open area, there will be a painkiller, which can be used for healing or later combined with another ingredient to enhance its effect.
Follow the path and go through the building to get around the red car. Move straight to the wall, where you’ll find pistol ammo. Approach the gate and inspect the mechanism to get a new quest to find a lever. To the left of the gate, there’s more ammo. Nearby, there’s a small room where you can save and drop off extra items in a box. In the locker, you’ll find a bandage, which can be combined with the painkiller to create a medkit.
Where to Find the Shotgun
After leaving the building, turn right into a small mine. At the end, jump down and read the note explaining how to craft various types of ammo, and pick up the old lever for opening the gate. Unlock the shortcut on the right and install the lever. Along the way, zombies will appear and break down the door of one of the rooms. After defeating them, pick up the ammo and the audio log No Funding in the building. Move on to the next gate until a cutscene starts.
You can enter the code 1-0-6-6-1-4 right away, but then you’ll miss out on the shotgun and it will be very difficult to proceed. So, go through the open gate and move straight to the concrete fence. Slightly to the left, there’s a passage and a cutscene. You’ll enter a new area with many blind enemies roaming around. If you start shooting, they’ll all rush to the noise, and you’ll waste a lot of ammo. So, move while crouched along the left wall.
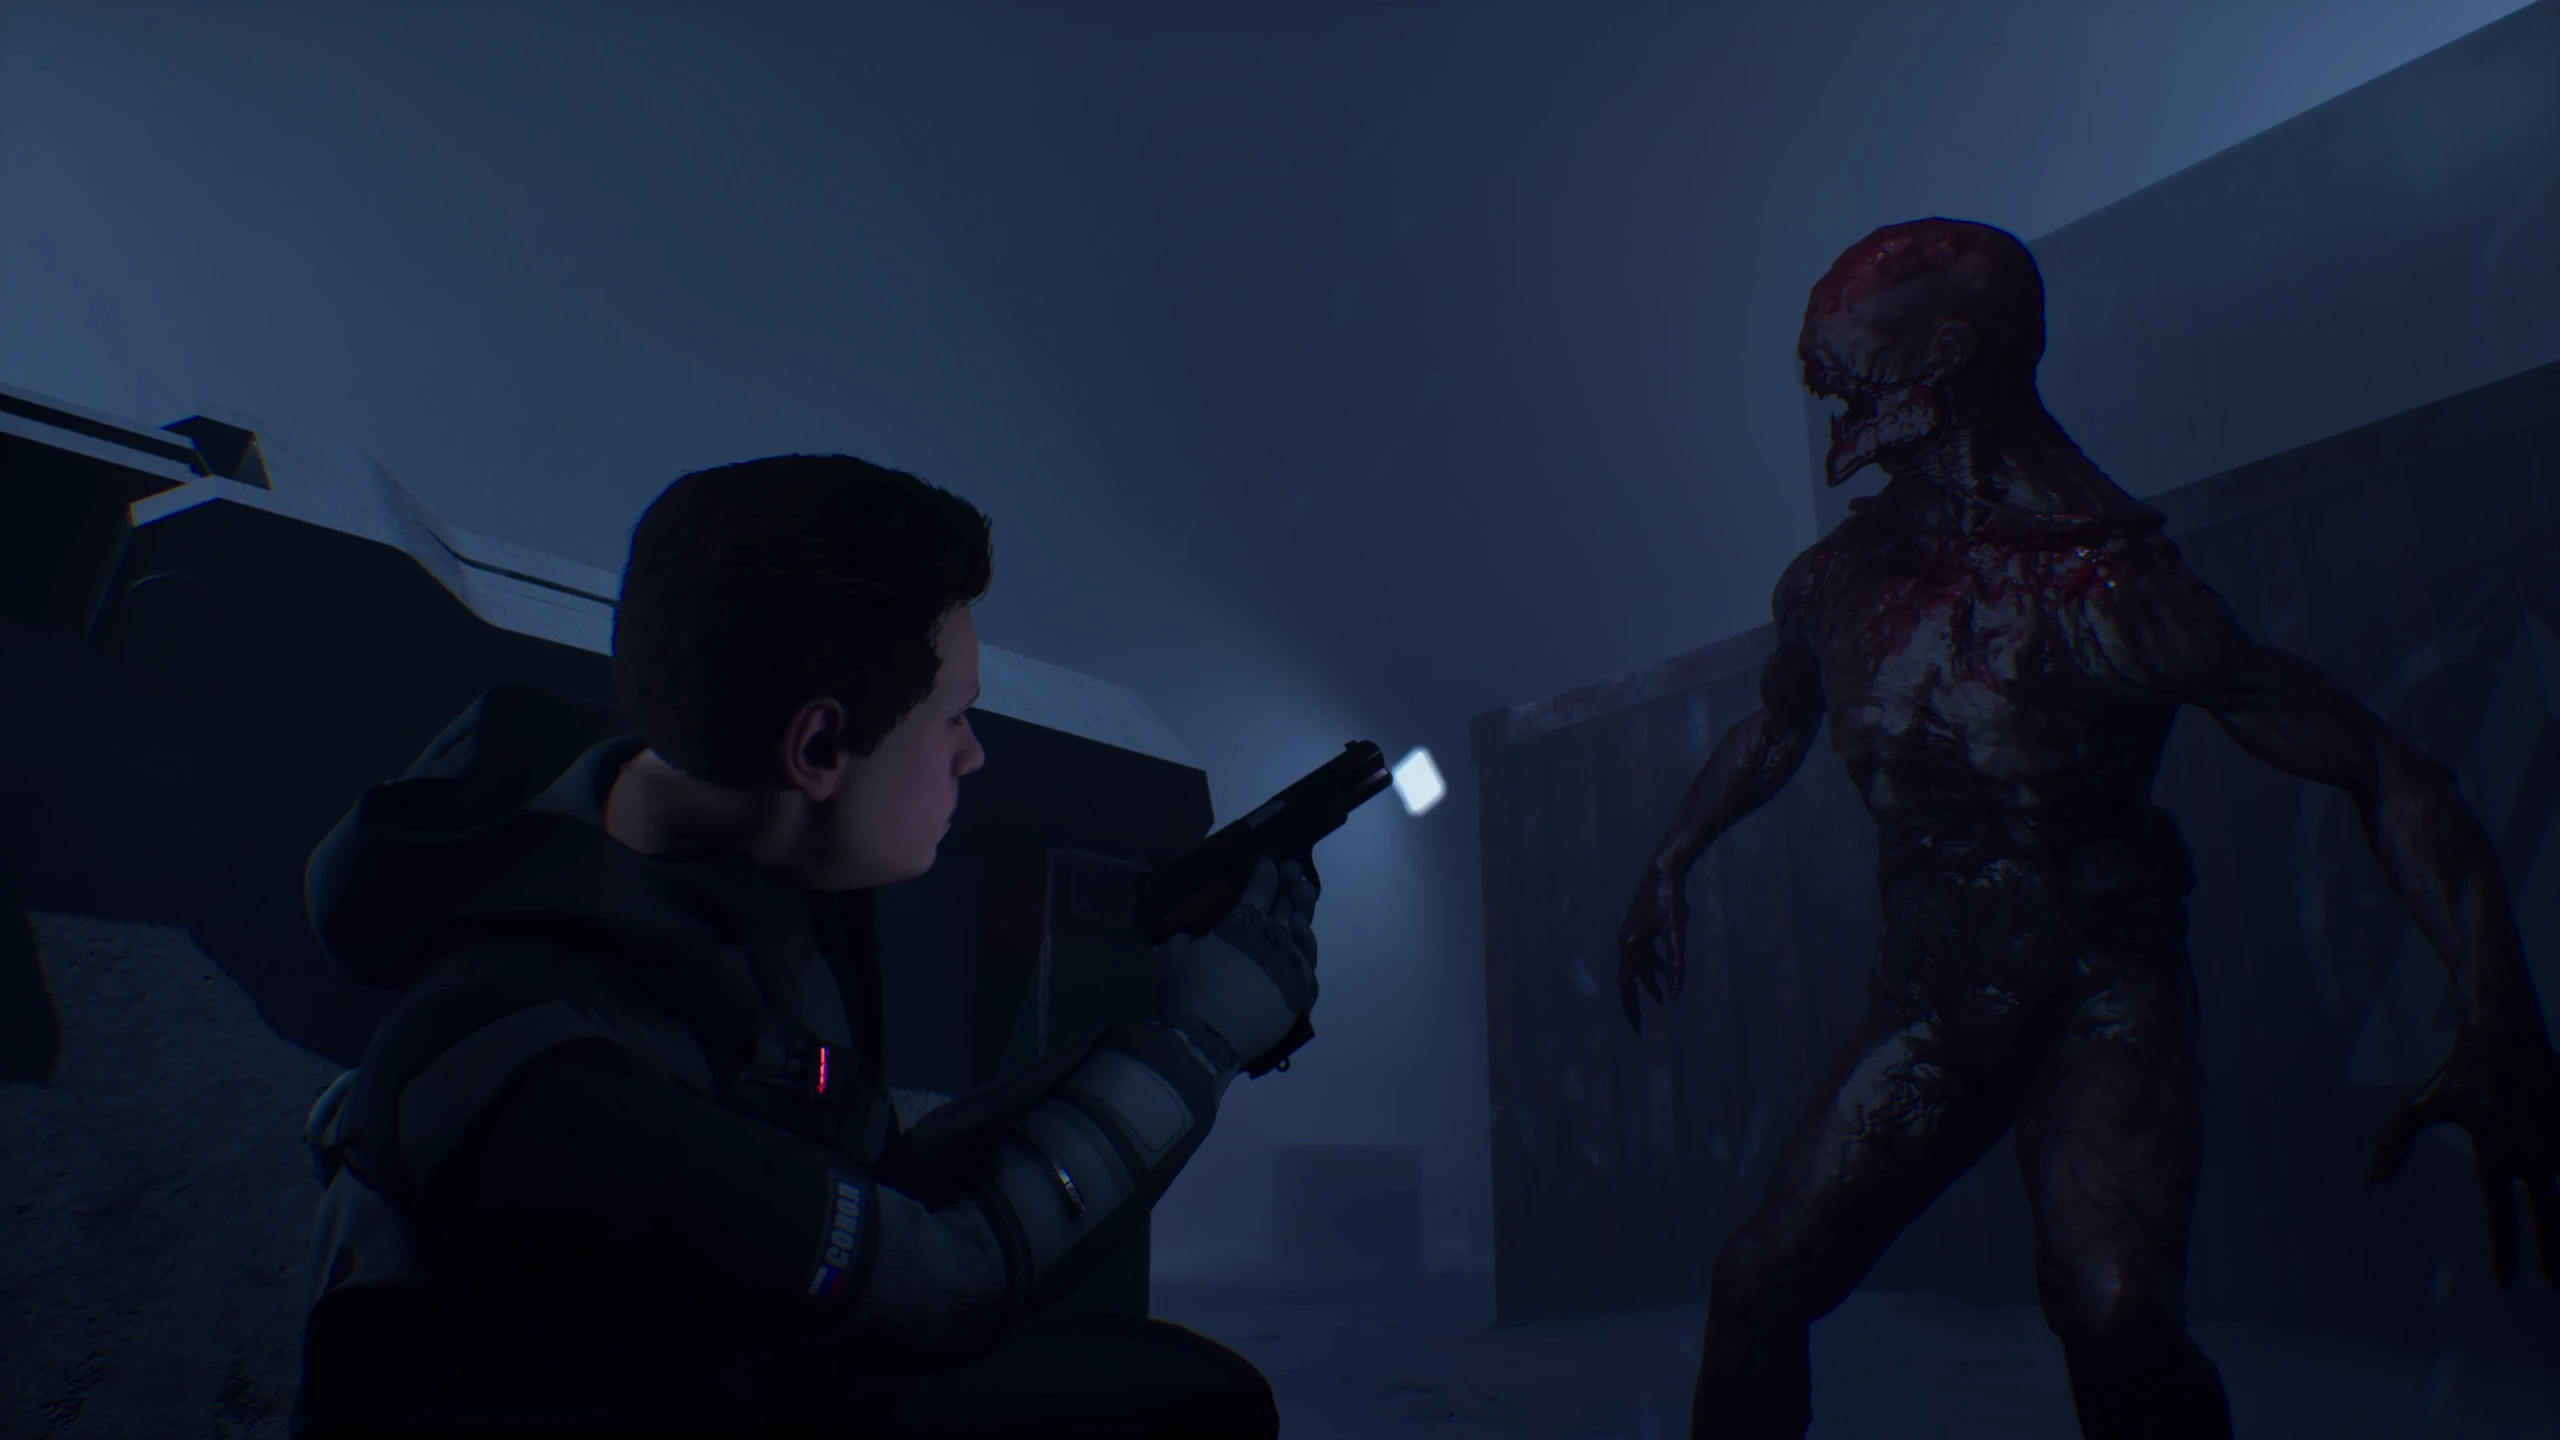
Run down the long corridor and reach the monsters, continuing along the left side. Climb the improvised ladder and jump over the crates. It’s better to kill the next monster so it doesn’t interfere with exploring the room. In the building, pick up the note with the safe code and ammo from the corpse. Unlock the shortcut and enter the tunnel to the left of the open door. Inside, on the crates, you can pick up the Footballer Beaver figurine.
After exiting the tunnel, pick up the gunpowder on the left and enter the next room. Go through the wooden door to reach the save room and the MP-133 shotgun.
How to Open the Safe and Get the Complex Code
Exit the building and go around it. On one side, there will be a blue tarp. From that spot, look at the building and shoot the control box, then go to the other end of the building. Near the blue container, there will be stairs to the second floor. On the table, you'll find the audio log Polar-Therm?, a card with a clue, and a safe. To open it, turn right until the dial reaches 10, then left to 6, and right again to 8, then press Space. Inside the safe, you'll find the code for the complex: 1-0-6-6-1-4. In the room where you were attacked by zombies, there's another note with the code for the red locker (8-1-2). Most likely, the developers will move this locker, so it's important to know where this note is.
On the way back, you can clear the area of zombies and safely collect all resources in the level. When you reach the complex, enter the code 1-0-6-6-1-4 and confirm by pressing the green button on the device. Once inside the complex, go to the room on the left and reach the room with monitors. After the cutscene, activate the lever on the right and take the ammo from the locker. Return to the central corridor and go through the black smoke into the main area.
Chapter 2. Abyss
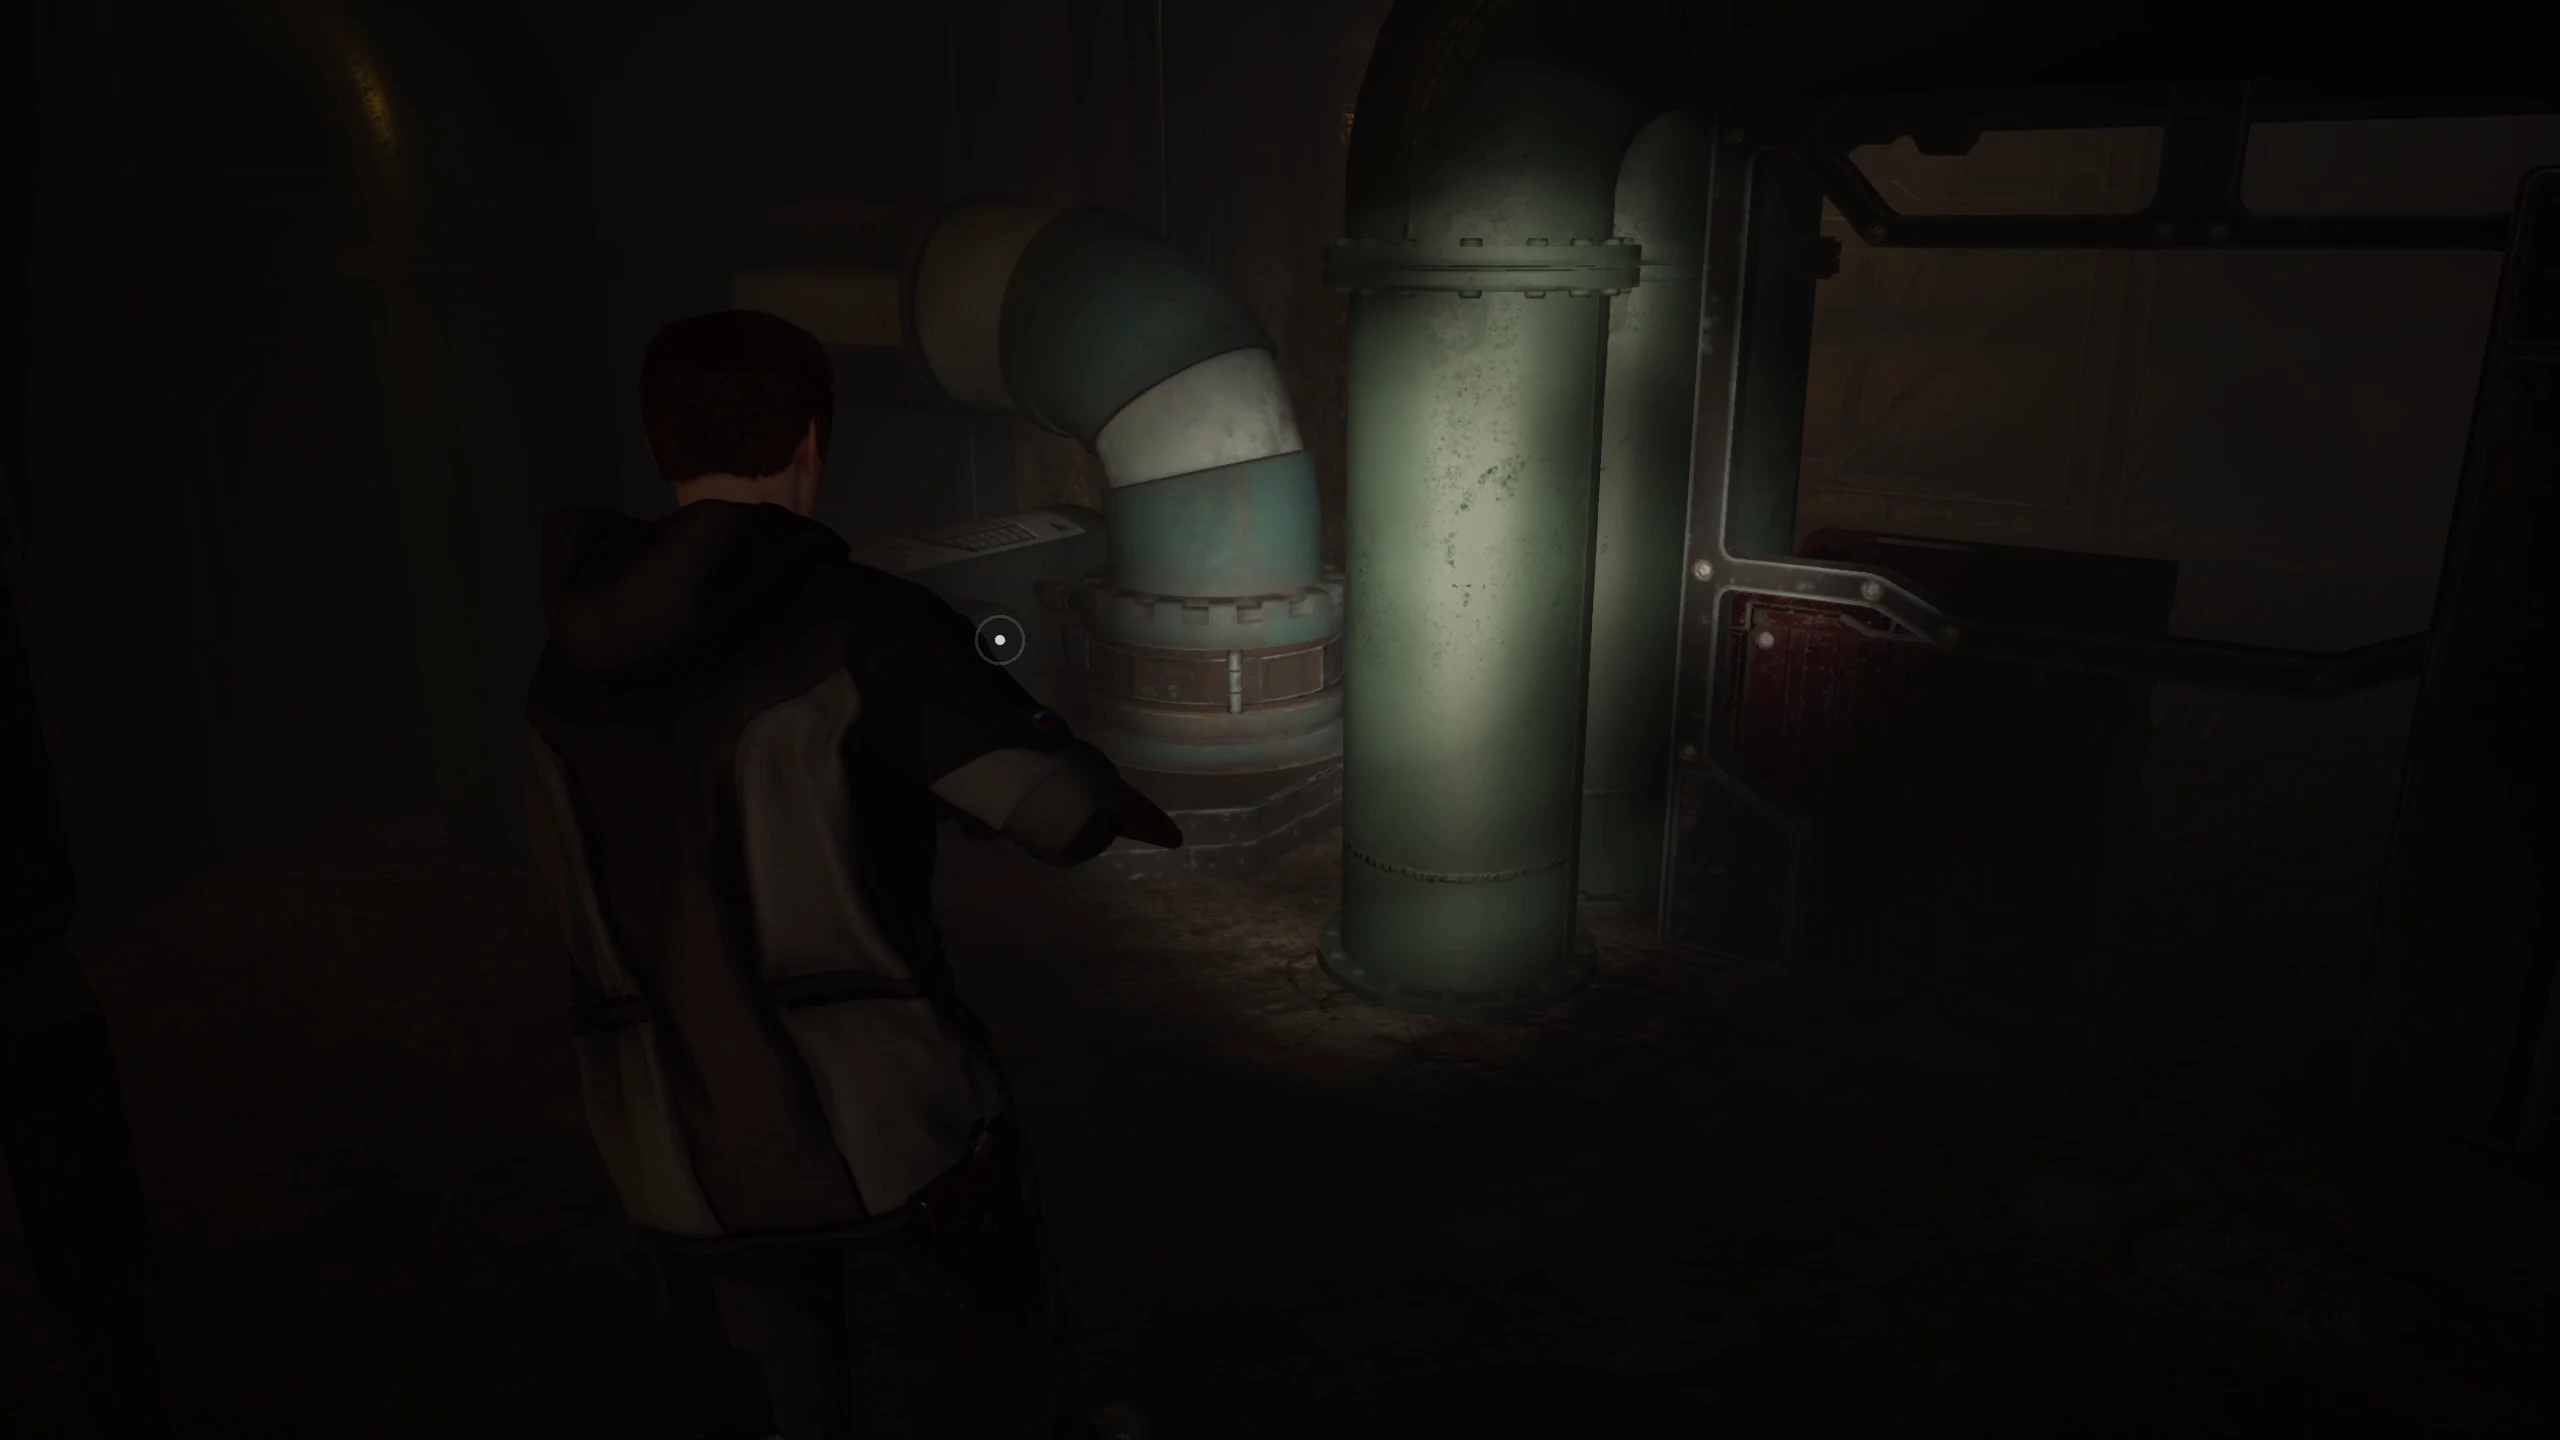
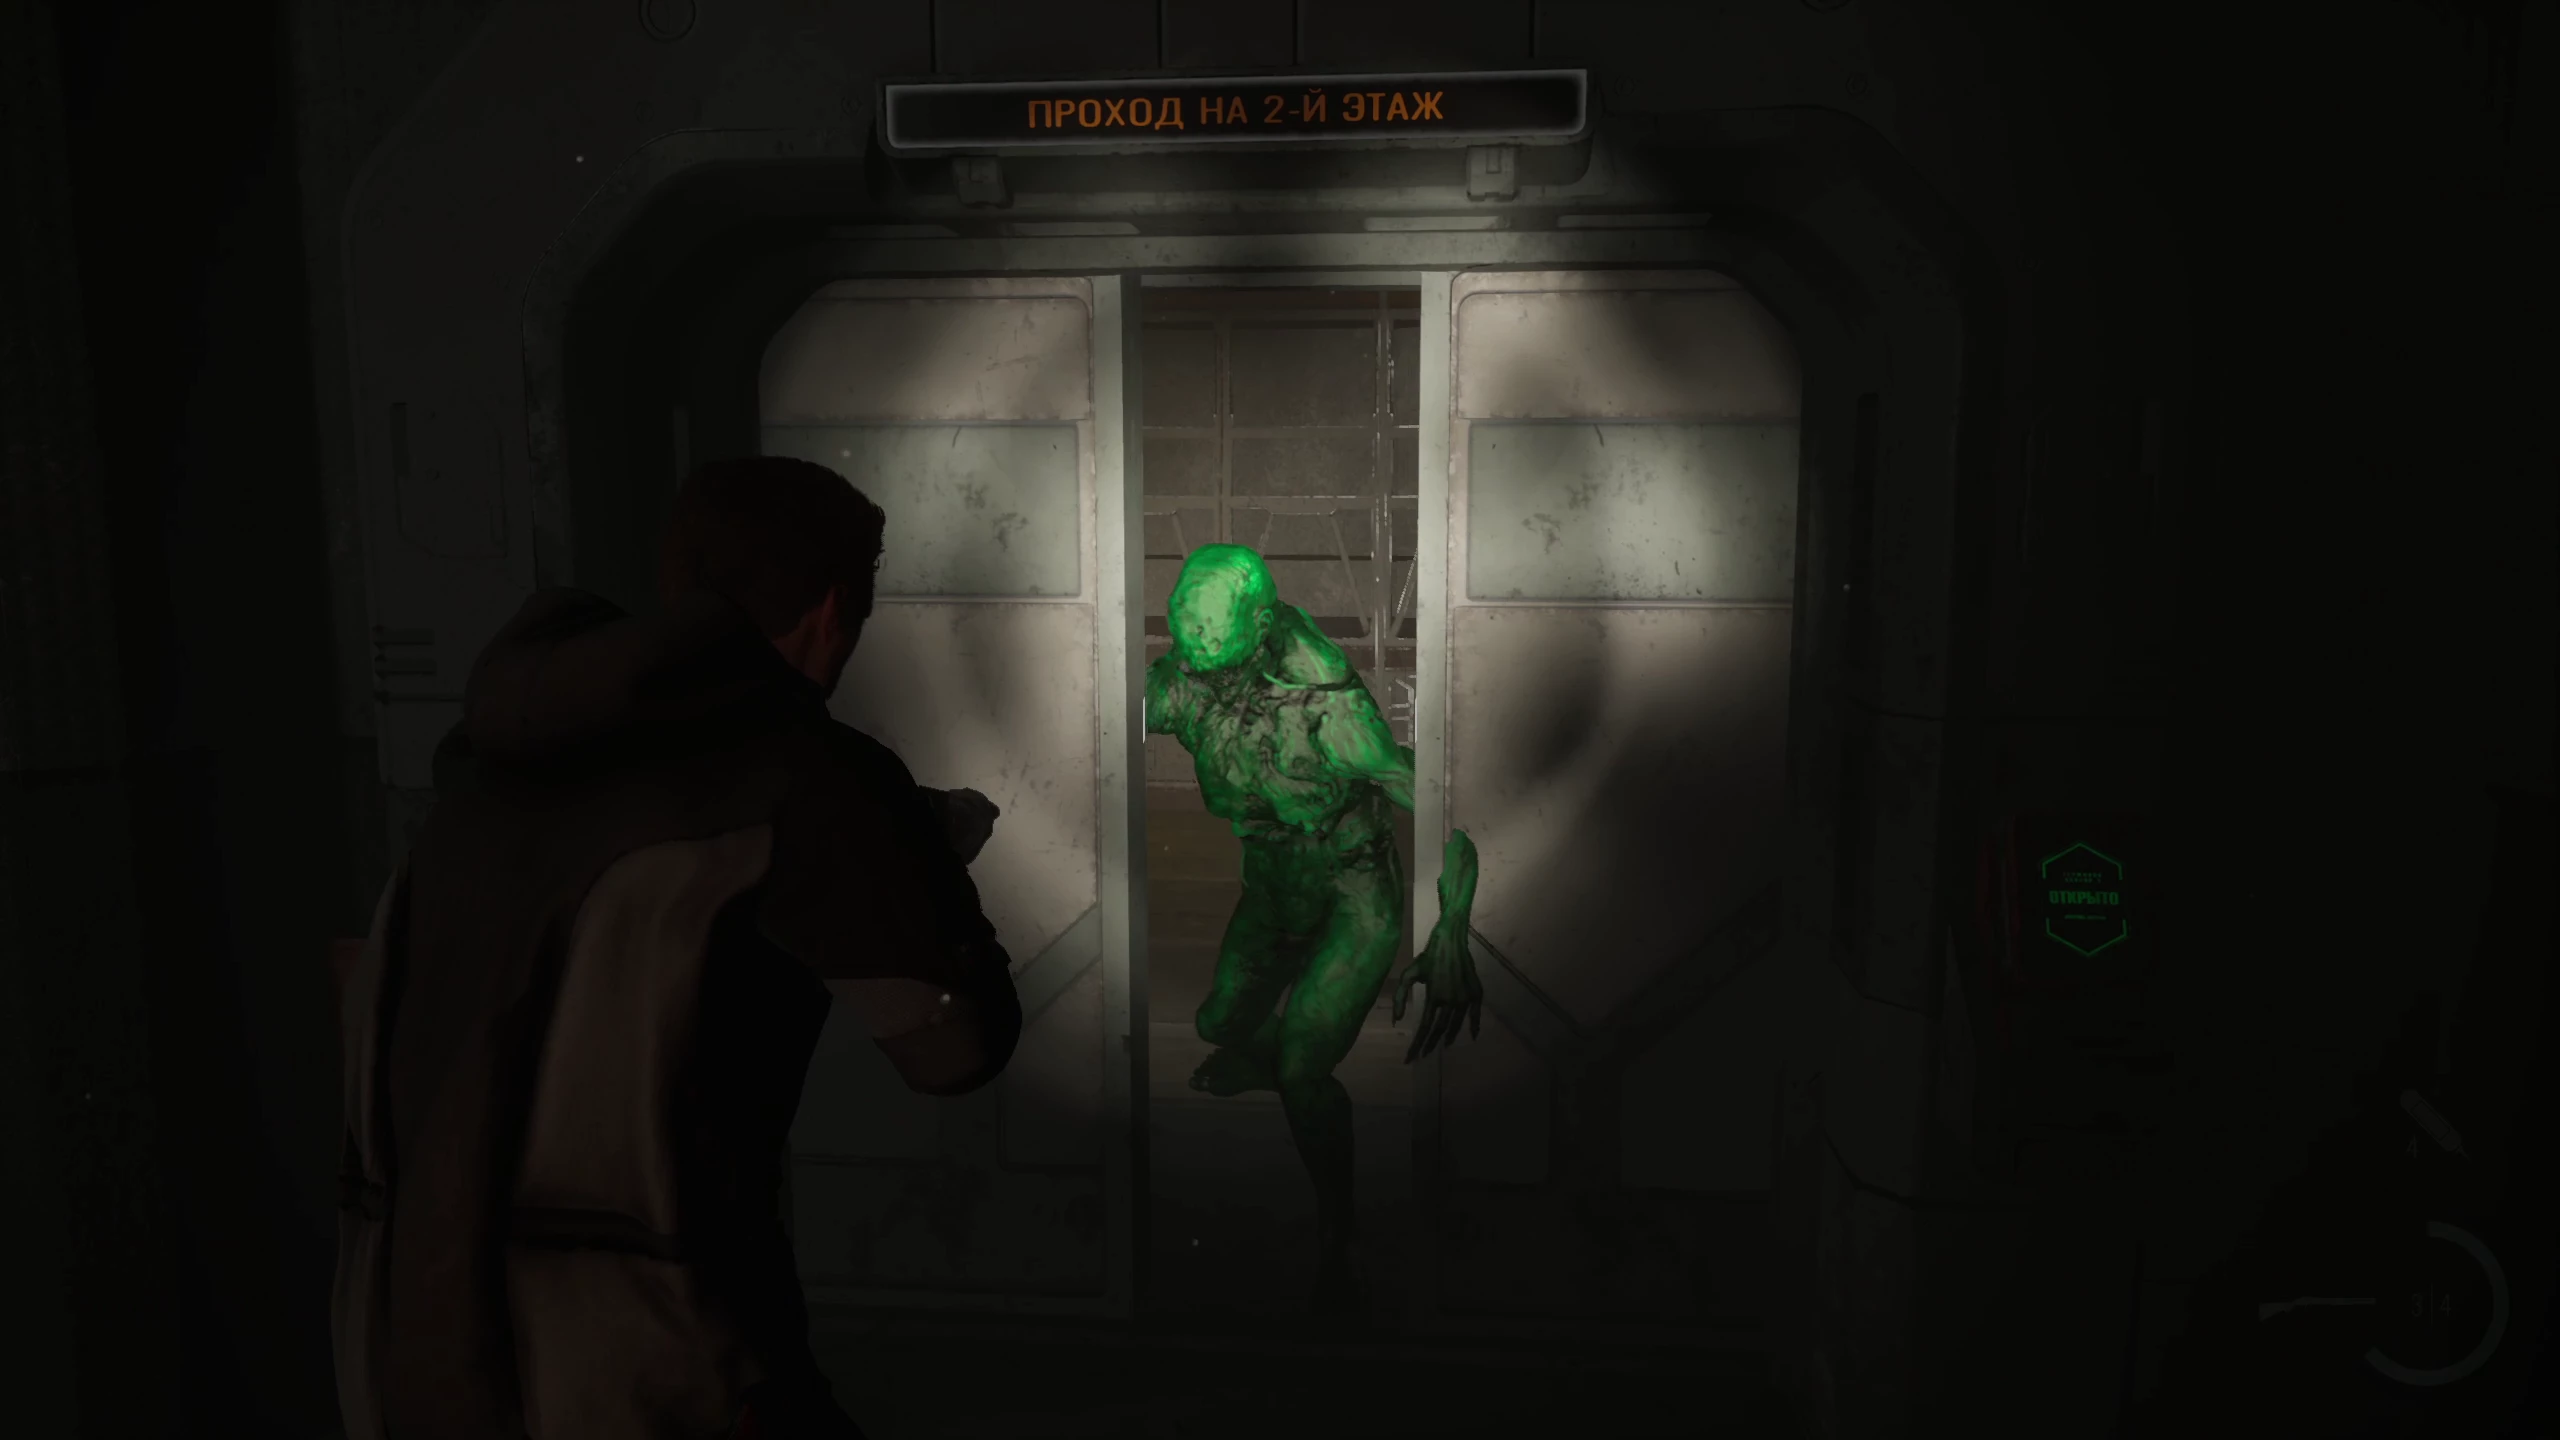
Move along the left wall and enter the door. Following the signs, you'll reach the generator room. On the way, you'll be attacked by a green zombie. These monsters deal not only physical damage but also poison the main character. Fight off the monsters and go to the left corridor following the Warehouse signs. On the right, behind the grate, there will be two green monsters—you don't have to kill them. Behind the door, on the table, you'll find the Van Damme Beaver figurine. Approach the green pipes to activate the animation for moving to the other side.
How to Start the Generator
Behind the next door, pick up the door fuse from the wall and go upstairs. Insert the fuse to open the Electrical Equipment Warehouse. On one of the shelves, you'll find a fuse needed to start the generator. In this room, there will be stairs leading up that will bring you back to the beginning of the location. Pull the lever to open the gates and return to the generator room, where you need to install the fuse.

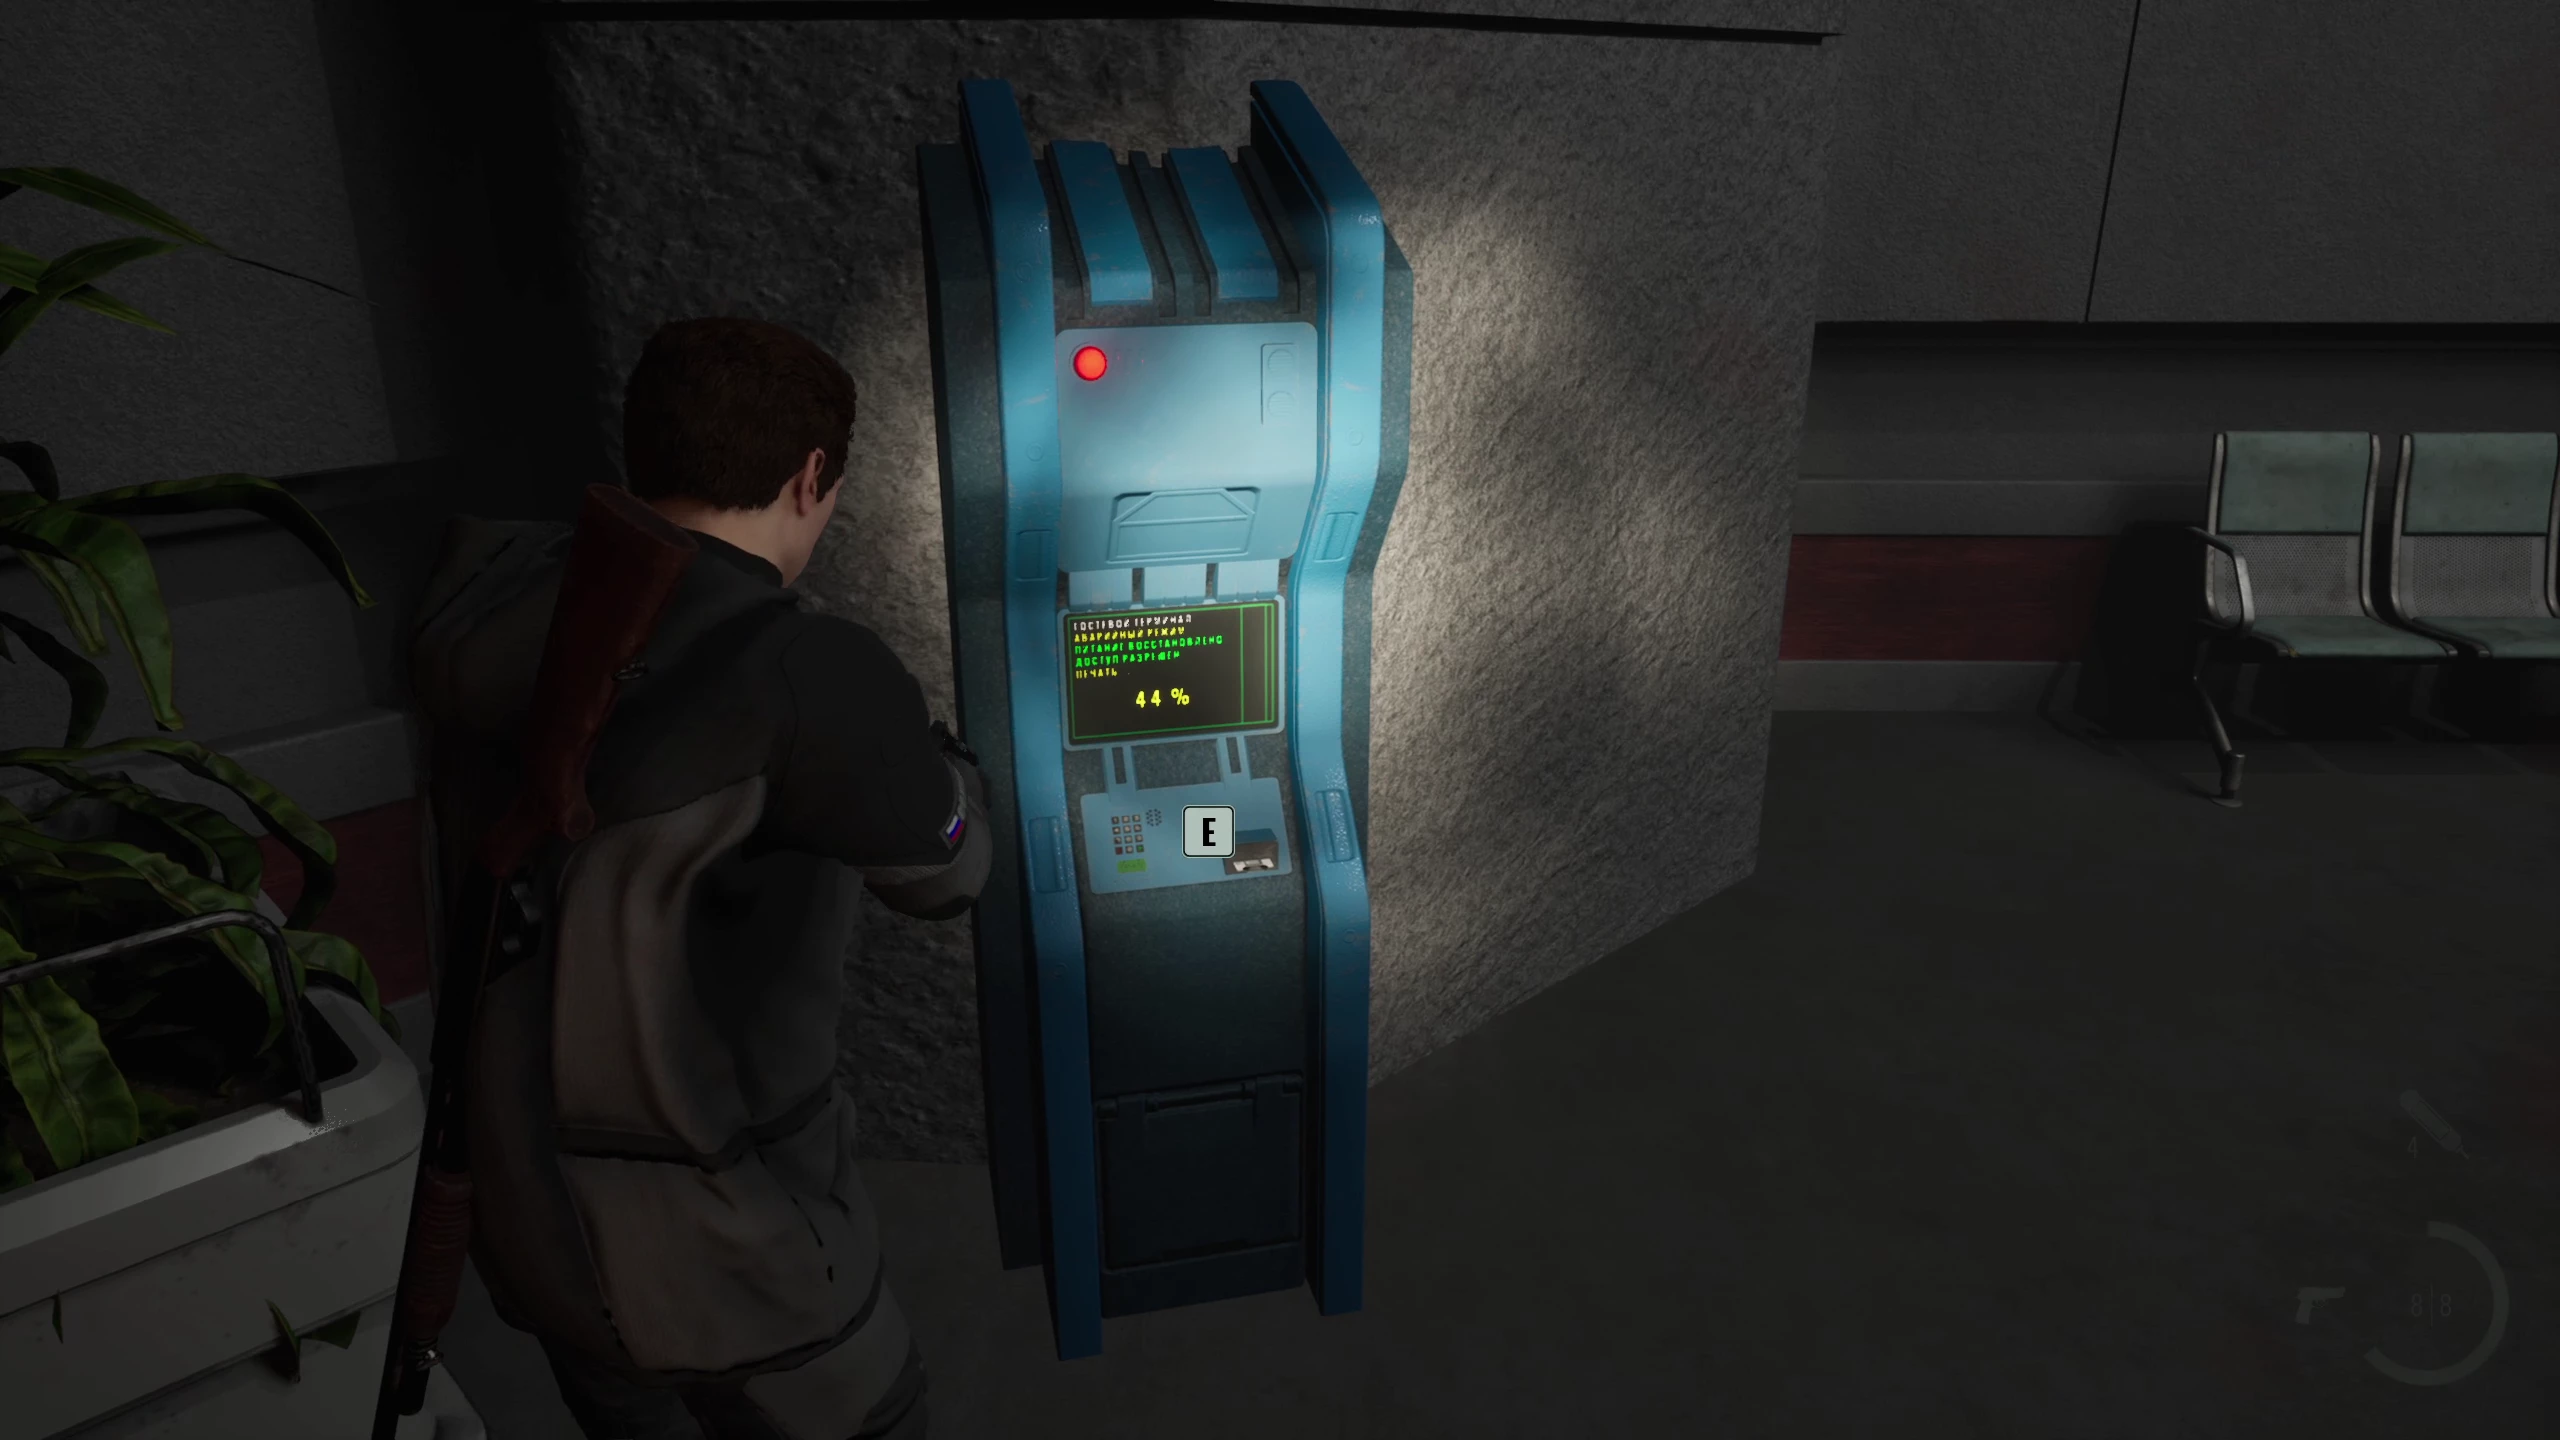
To start the generator, you need to set the switches correctly. Only the second and fourth switches should be on. After activation, return to the central room and go to the pass-issuing terminal.
The mechanism will start and you’ll have to fend off waves of enemies while the pass is being printed. The easiest way is to run around with the shotgun and eliminate everyone while they’re coming one by one. You can also explore the area and pick up ammo and gunpowder. After receiving the pass, go to the right and activate it. On the left, there are toilets where you can find ammo and the Business Beaver figurine in the stalls.
How to Defeat the Boss
Continue down the linear corridor. First, enter the left door, which is marked by a trail of blood. On one of the tables, you'll find the Satisfied Beaver figurine. Enter office № 635 and, fighting off monsters, make your way through the offices. In one of the lockers, you'll find red gunpowder, which can be combined with regular gunpowder to craft 4 shotgun shells.
After going up to the second floor, activate the lever and enter the room on the right to save your progress. In the large room, you'll face the first boss of the game. To defeat him, use dodges (Ctrl) and the red barrels scattered around the area. The barrels explode after a short delay—shooting them multiple times does not speed up the activation. The boss can be stunned if you hit him with 3 shotgun blasts. To win, you’ll need about 150 pistol shots or 20 shotgun shells. After the fight, you’ll get a level 1 keycard.
Return to the save point and open the neighboring door. At the end of the corridor, a cutscene will start and the chapter will end. That’s all that’s available in the early access version of The Black Ice for today. As soon as new chapters are released, we’ll definitely update the guide and revise the walkthrough if anything changes in the process.
-
 A New Horror Game, The Black Ice, Launches on Steam Early Access — Blending Resident Evil and The Thing
 -
 Baldur’s Gate 3 Romance Guide: Every Companion You Can Date
 -
 Baldur’s Gate 3 Adamantine Forge Guide
 -
 Baldur’s Gate 3 Infernal Iron Locations for Karlach
 -
 How to Find All Companion Characters in Baldur's Gate 3
 -
 Baldur’s Gate 3 Moonrise Towers Guide: Defiled Temple Moon Puzzle
 -
 How to Open Selune’s Gilded Chest in Baldur’s Gate 3
 -
 Baldur’s Gate 3 Owlbear Cub Guide: How to Recruit It to Your Camp
 -
 Baldur’s Gate 3 Open Hand Temple Murders Guide
 -
 Palworld 1.0 Best Pals for Early Game, Combat, Bases, and Mounts