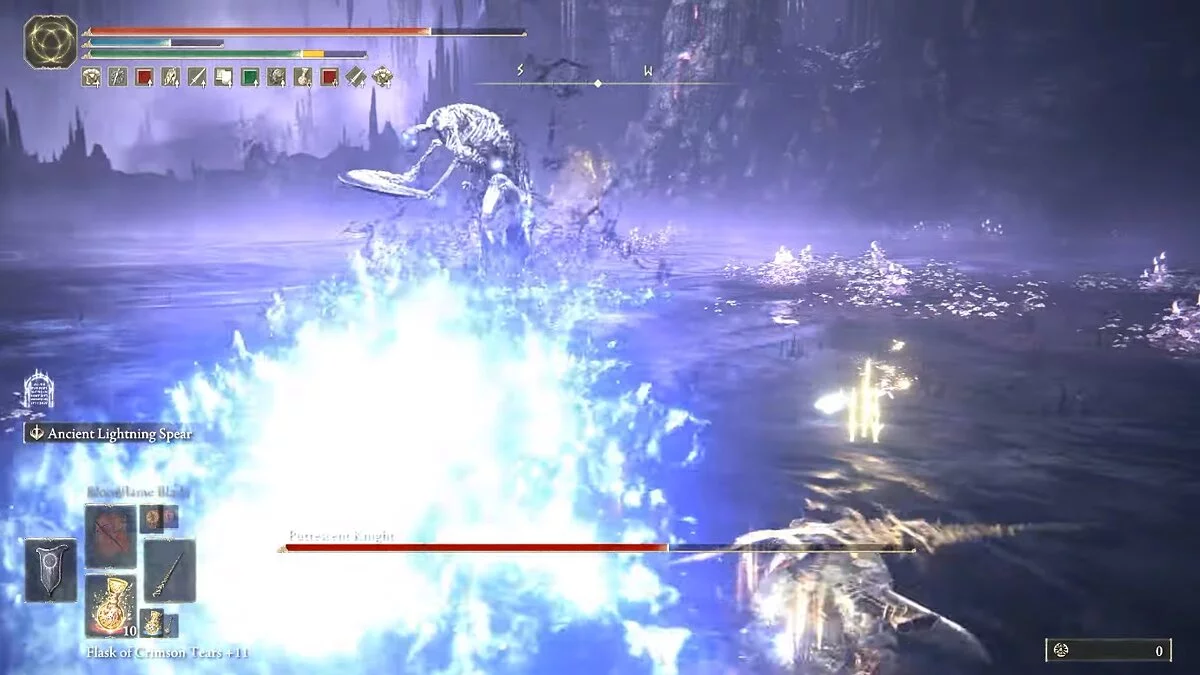
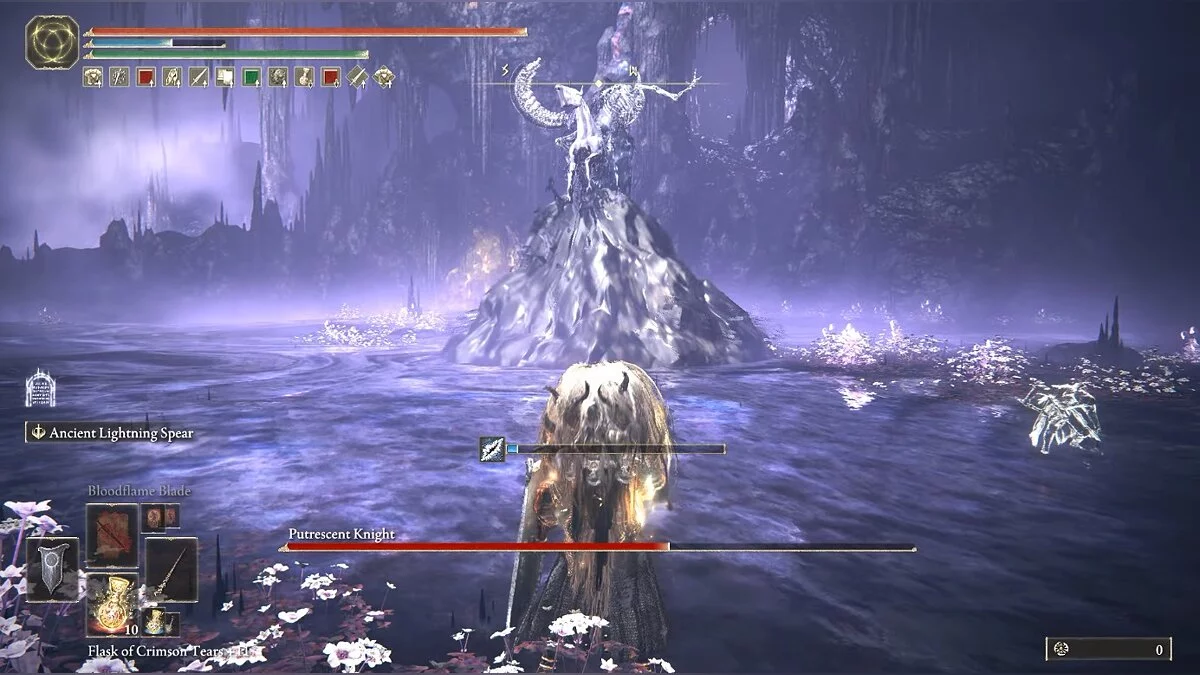
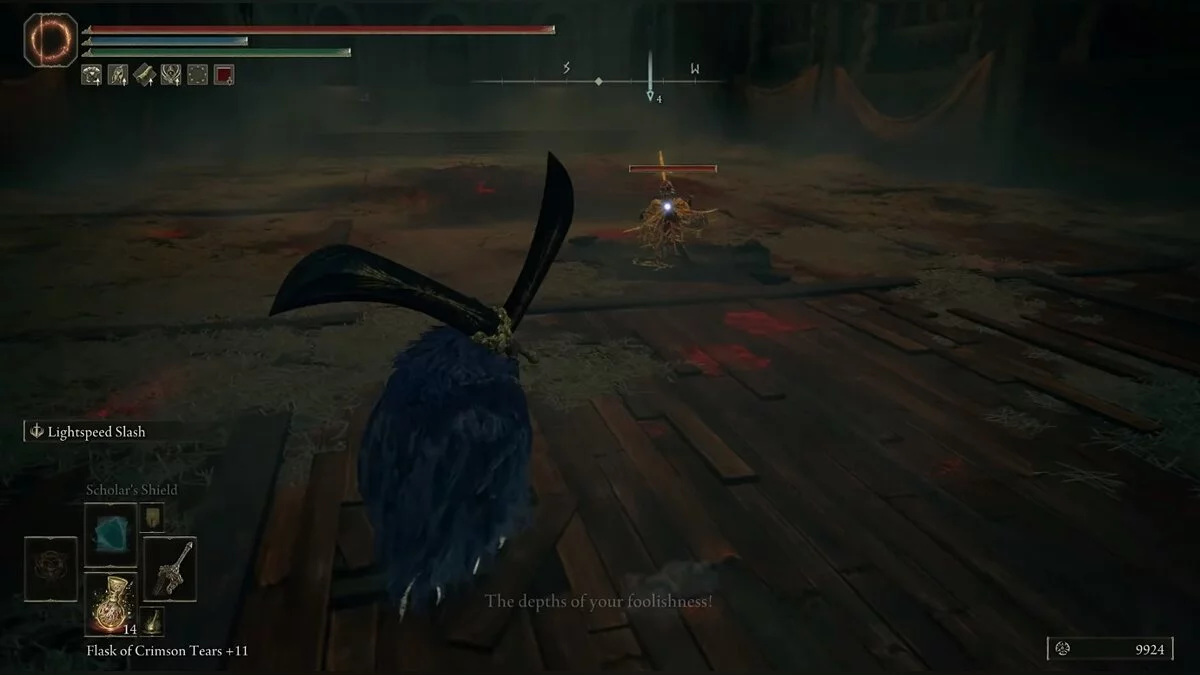
How to Find and Defeat Secret Bosses in Elden Ring Shadow of the Erdtree
All FromSoftware games, starting with Dark Souls, have optional bosses. You don't need to kill them to complete the main storyline. However, they often challenge experienced players. Moreover, defeating such monsters rewards you with generous unique weapons or spells that can be crafted from their souls. In this guide, we will explain how to find and defeat all the secret bosses in the Shadow of the Erdtree expansion for Elden Ring.
General Tips and Facts
- Before starting the battle, it's advisable to find excellent armor and a shield that blocks 100% physical damage.
- Max out your main stats, upgrade your weapons to their maximum level, and get the highest level of blessings from the Shard of the Tree of Decline. This will help during battles.
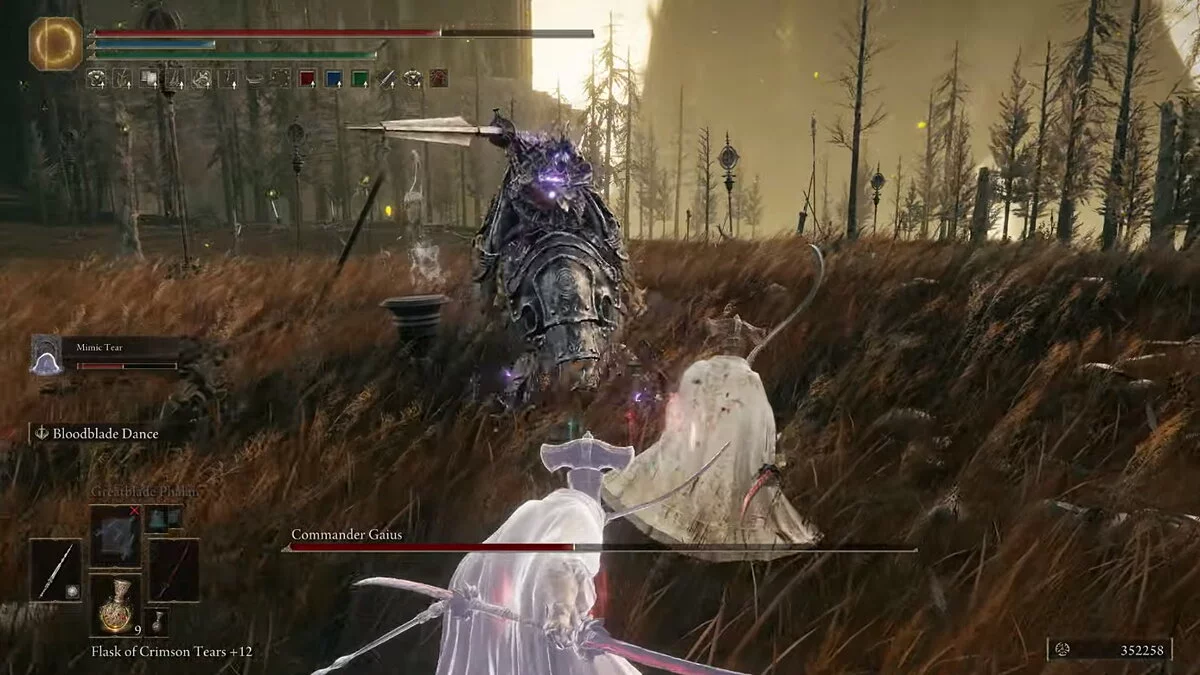
- Among allies, we recommend summoning the Mimic (ash called False Tear). It exactly copies your hero. Thus, you will get a good partner who can distract bosses and deal additional damage.
- It's always better to dodge than to block an enemy attack. It's preferable to dodge not to the side but close to the enemy to quickly transition into an attack. Some boss attacks can be parried. Use this to your advantage.
- We have outlined the tactics for warriors who fight in close combat. Mages and archers should consider the boss's ranged attacks from our guide and keep their distance.
- If the enemy is tough, study their movements. Note that the same abilities may have different durations in the first and second phases of the fight. Closer to the end of the battle, you will need to dodge twice or run further away.
- For defeating each boss, you will receive a certain number of runes, which depends on how many times you have completed Elden Ring. Additionally, you will get a Memory of this monster, which can be exchanged for a weapon or spell. If desired, it can be shattered to get additional runes.
Bael the Terrible
Location
How to Get There
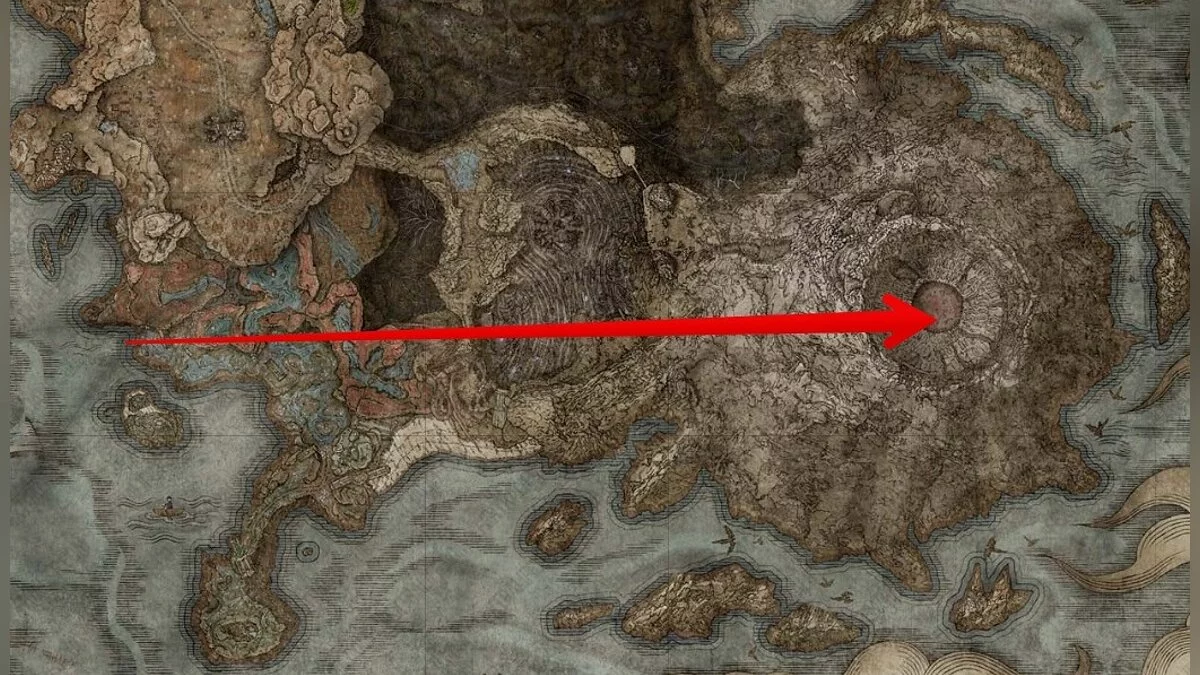
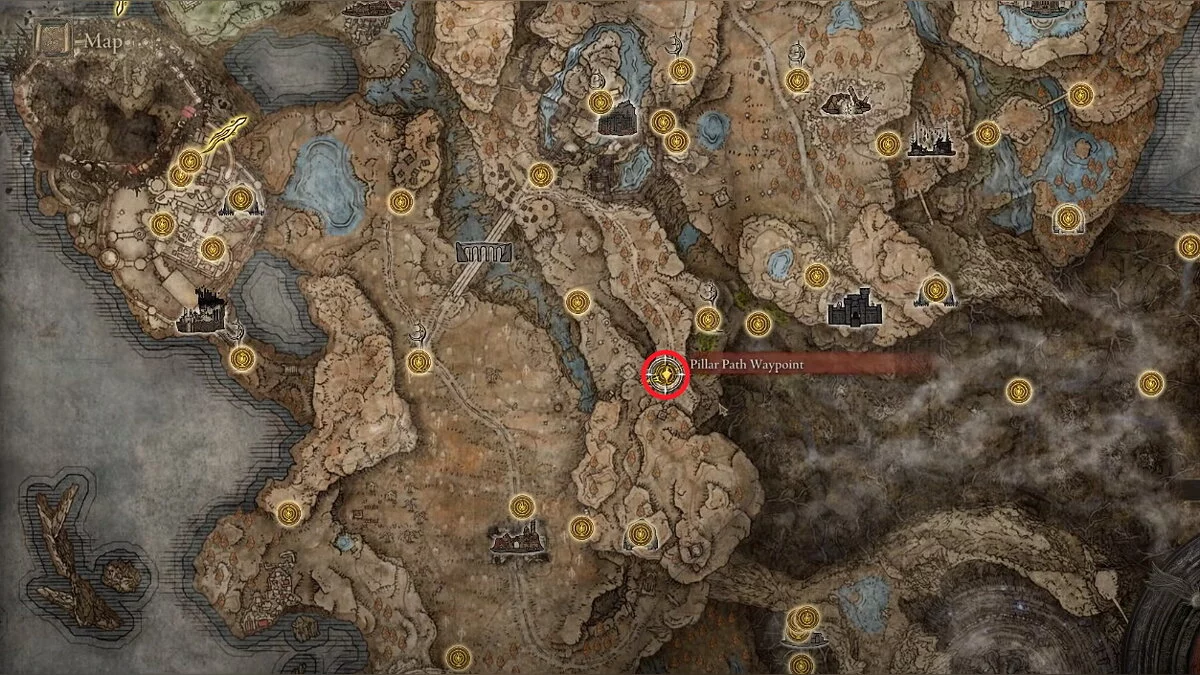
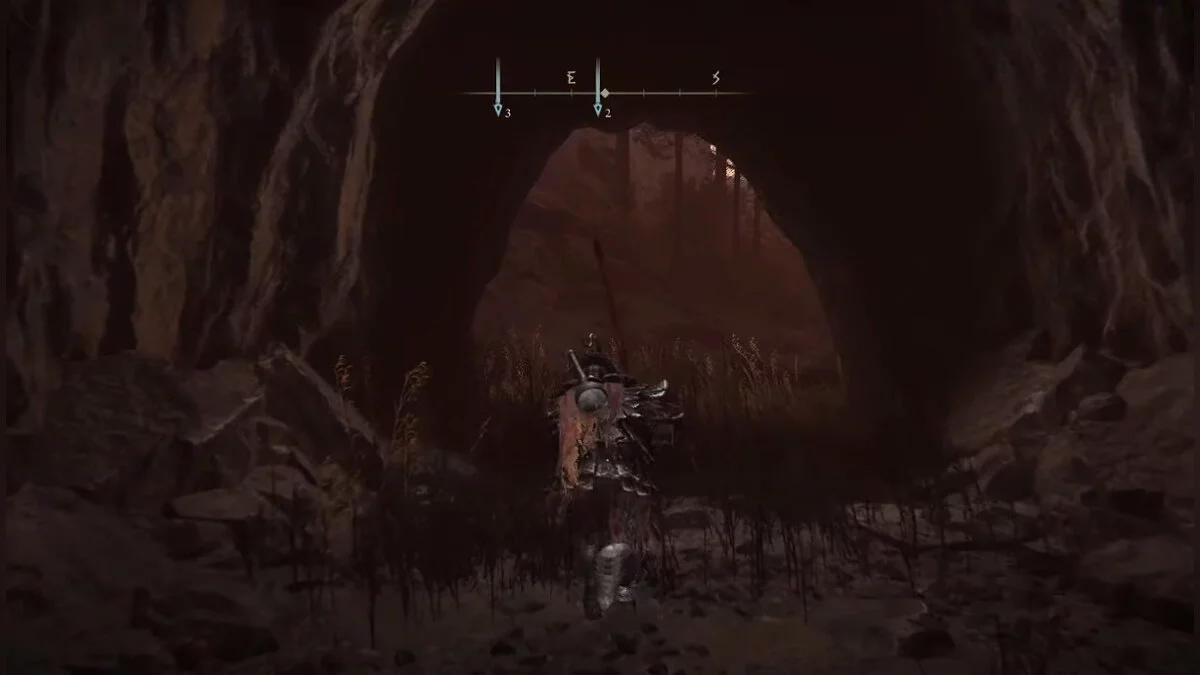
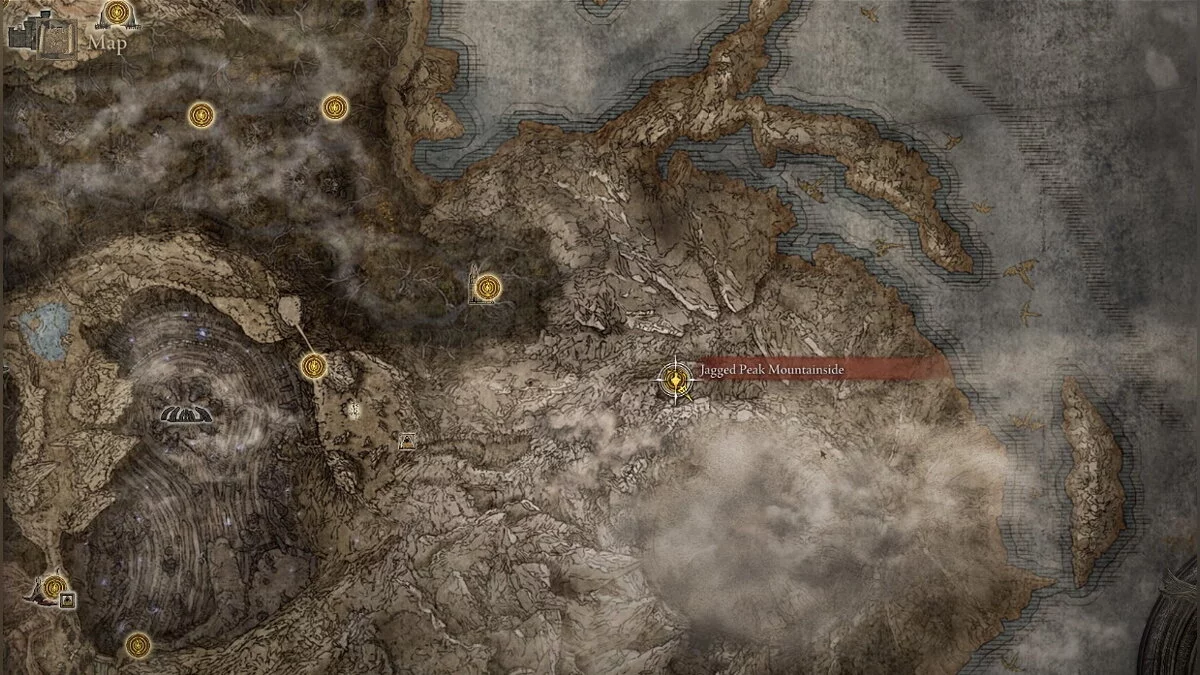
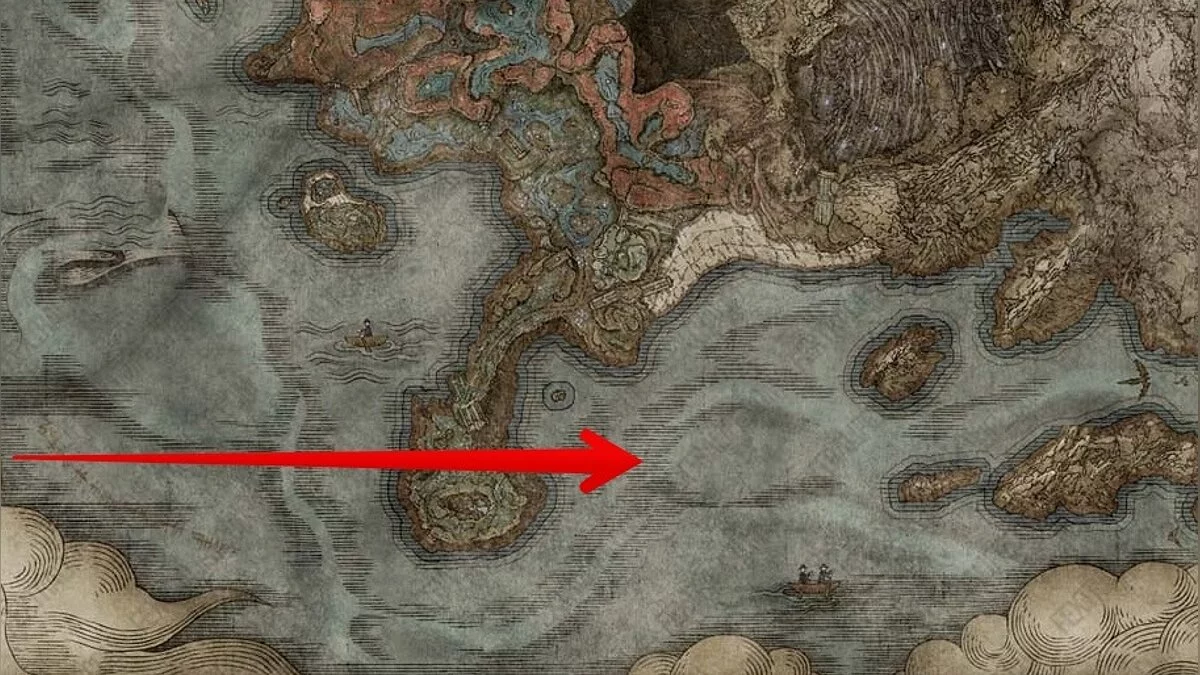
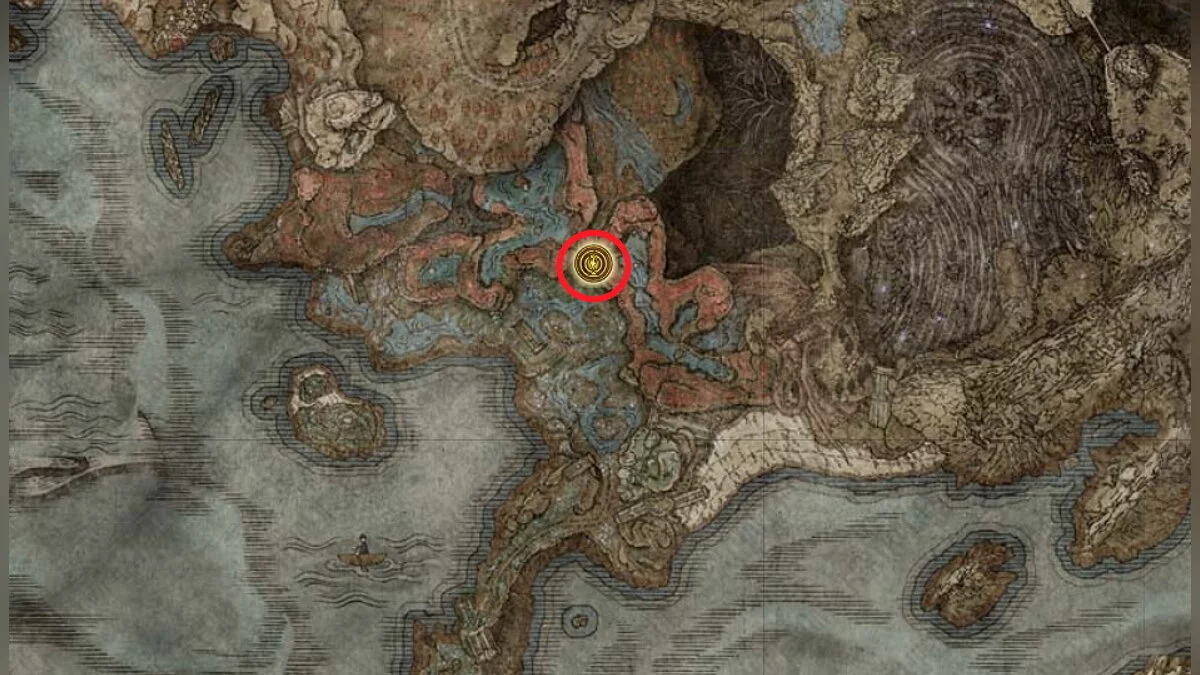
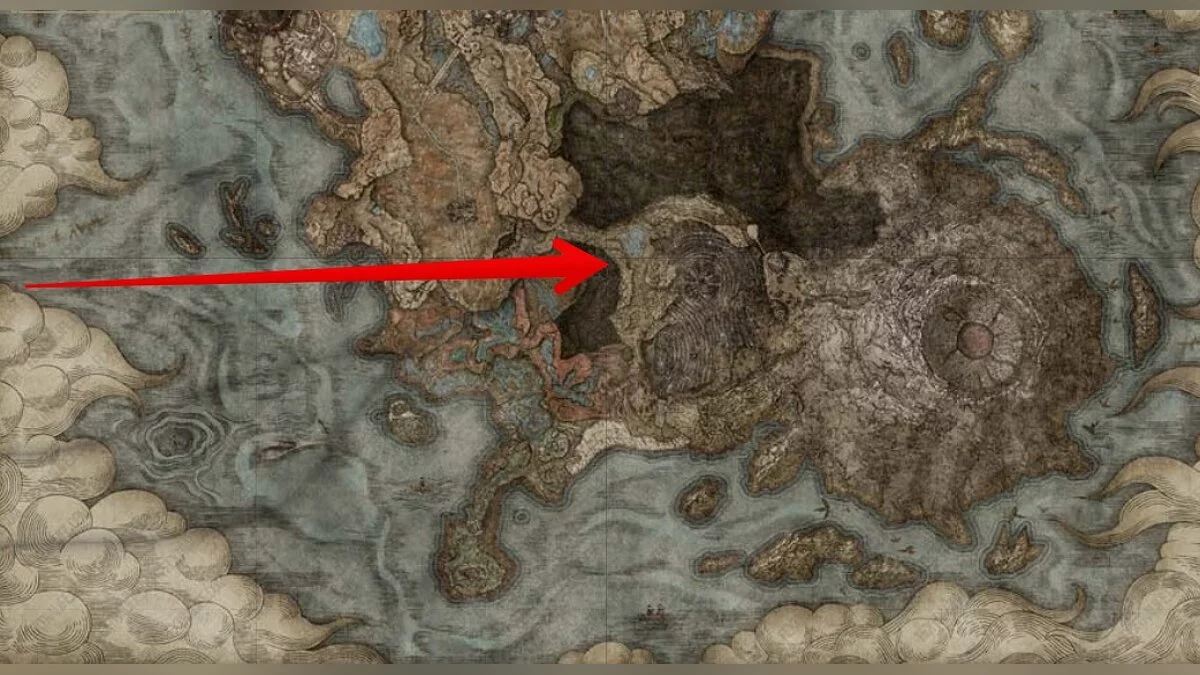
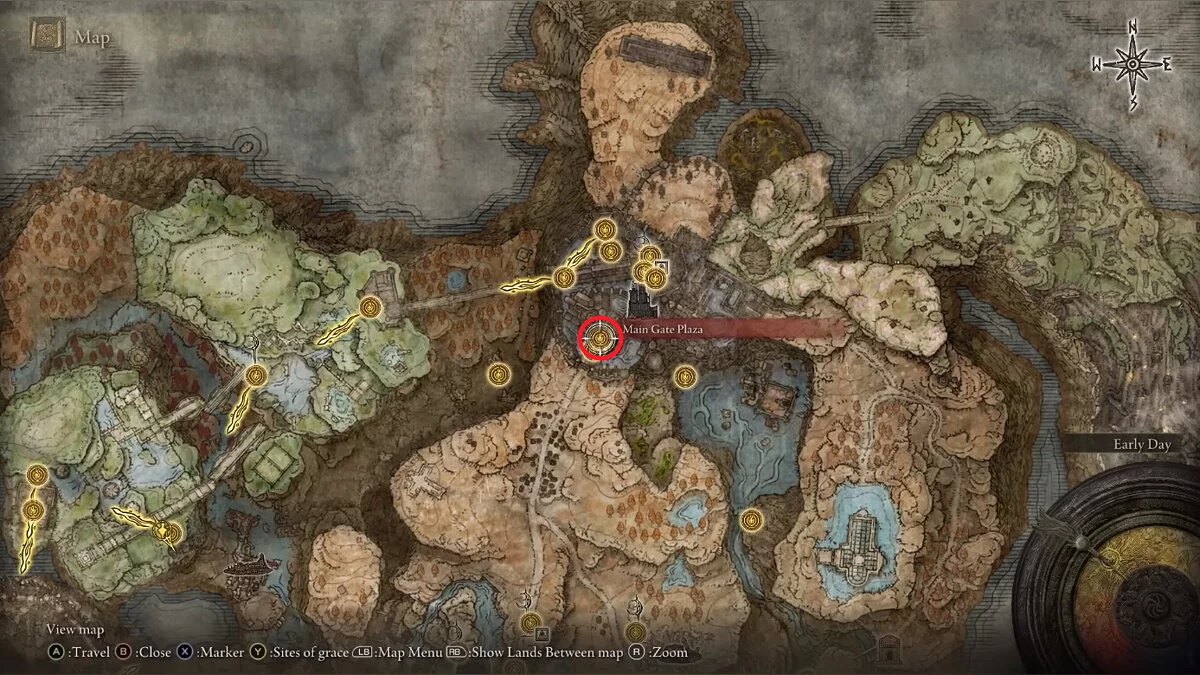
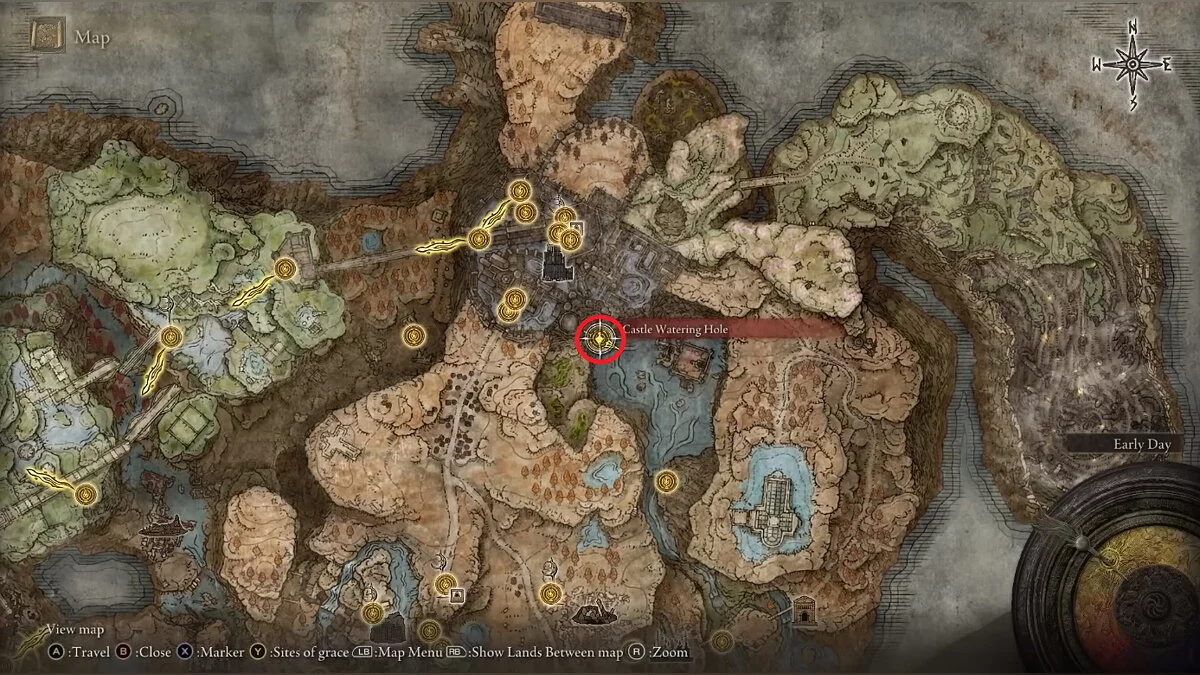
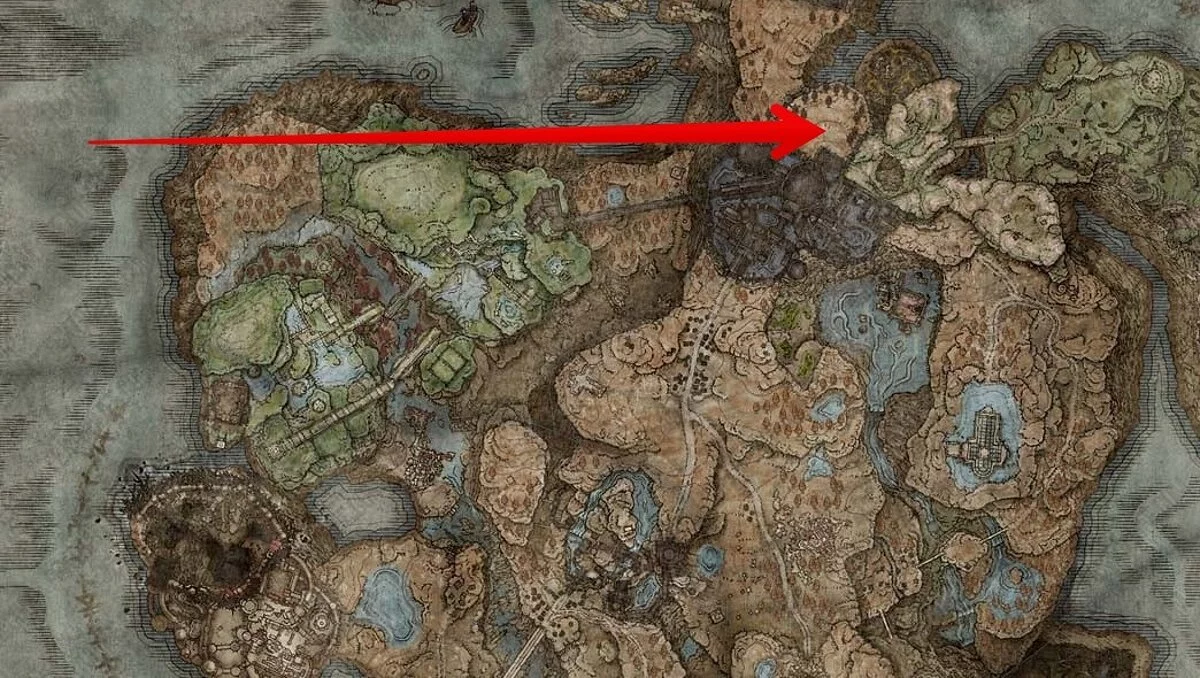
The boss is located in the southeast of the map, near the Jagged Peaks. To the north of the Gravesite Plains, there is the Great Bridge of Ellac. Cross it and enter the castle territory. Then run along the road to the southeast. You should find a grace site called Path of Columns.
To the south of it, there is a dungeon called Dragon's Pit. Descend into it and defeat the local boss.
Then exit from the opposite side of the arena. This way, you will reach a new location.
You will encounter a fork in the road. Take the left path to the Jagged Peaks. It will lead you to the mountain top where Bael the Terrible is located.
How to Defeat
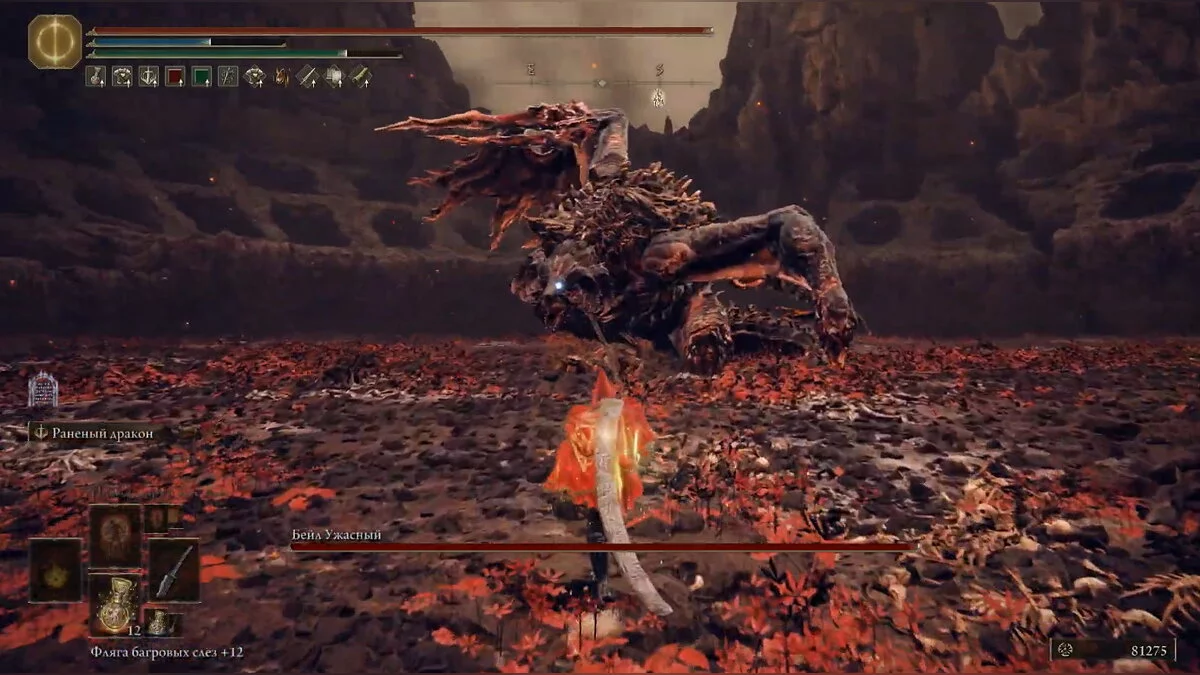
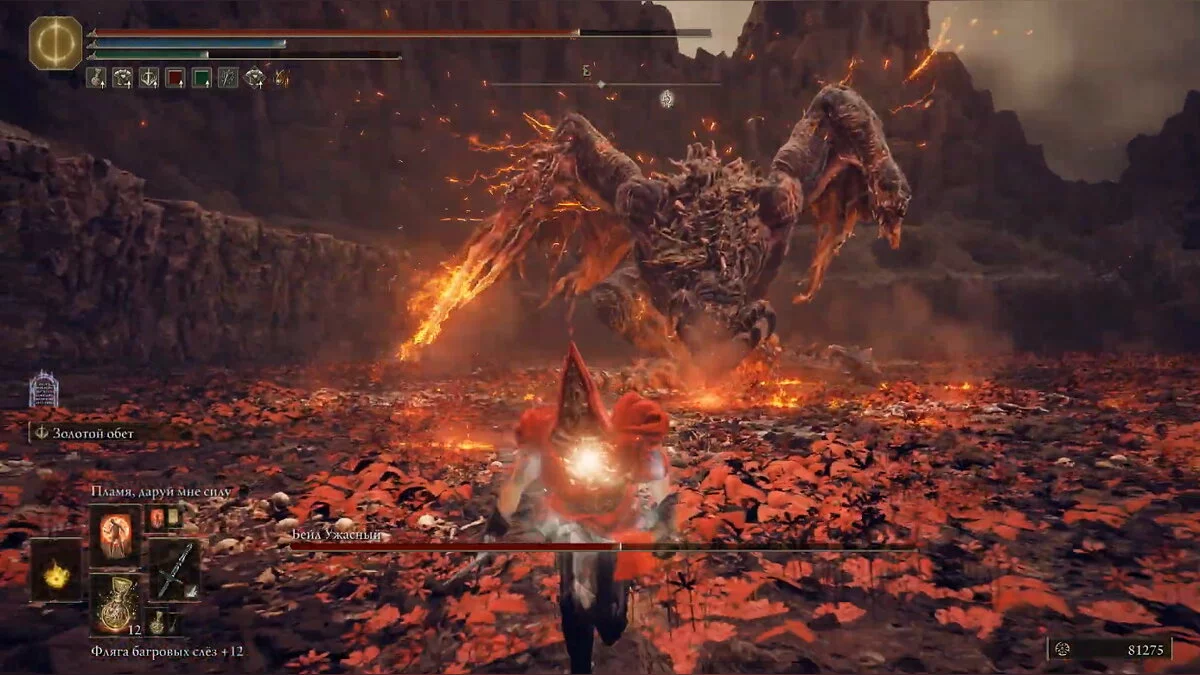
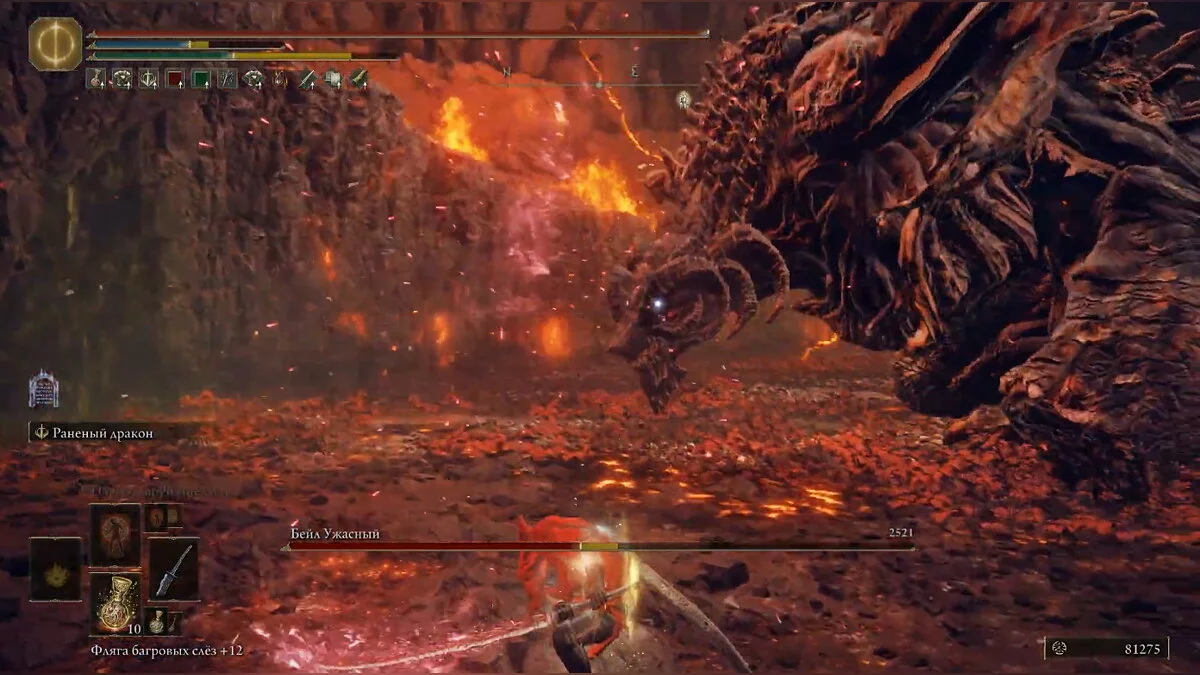
You need a weapon that deals ice damage. Warriors can infuse their blade with frost, use the ash of war called Hoarfrost Stomp or the Icerind Hatchet. For mages, we recommend using the Glinstone Icecrag. Also, don't forget about fire-resistant armor and a good shield. With the latter, you can block tail and head strikes. You'll have to dodge the rest of the attacks.
We recommend getting behind the boss and hitting its tail area. This way, it will be harder for it to damage you. The greatest danger in this tactic is the fire breath. As soon as you see magma approaching, move to the side and approach from a safe angle. When the dragon starts moving, follow it and get behind it again. The main thing is not to rush blindly, but to dodge ranged attacks skillfully.
The most dangerous moment is transitioning to the second phase. At this time, the boss will start gathering energy for a powerful attack. It's better to step aside, wait it out, and then return. Periodically, Bael will take to the air and throw fireballs. Dodge them. Note that the dragon's regular attacks will become stronger due to additional fire damage. Moreover, it will occasionally deliver not one, but two hits at once. Be ready to dodge twice in a row.
Rotting Knight
Location
How to Get There
To access the boss, you first need to shatter Miquella's Great Rune and go through the Dragon's Pit, which we described in the previous section. At the aforementioned fork, you need the right path, which will lead you to the Great Dragon Communion Altar. Near the corpse of the ancient lizard, there is Charro's Hidden Grave, covered with red leaves.
Through it, you can reach the Azure Coast. Run across the bridge, reach the crater, and carefully descend. This way, you will enter the Stone Tomb Rift dungeon. At the very end of this location, you will encounter the Rotting Knight.
How to Defeat
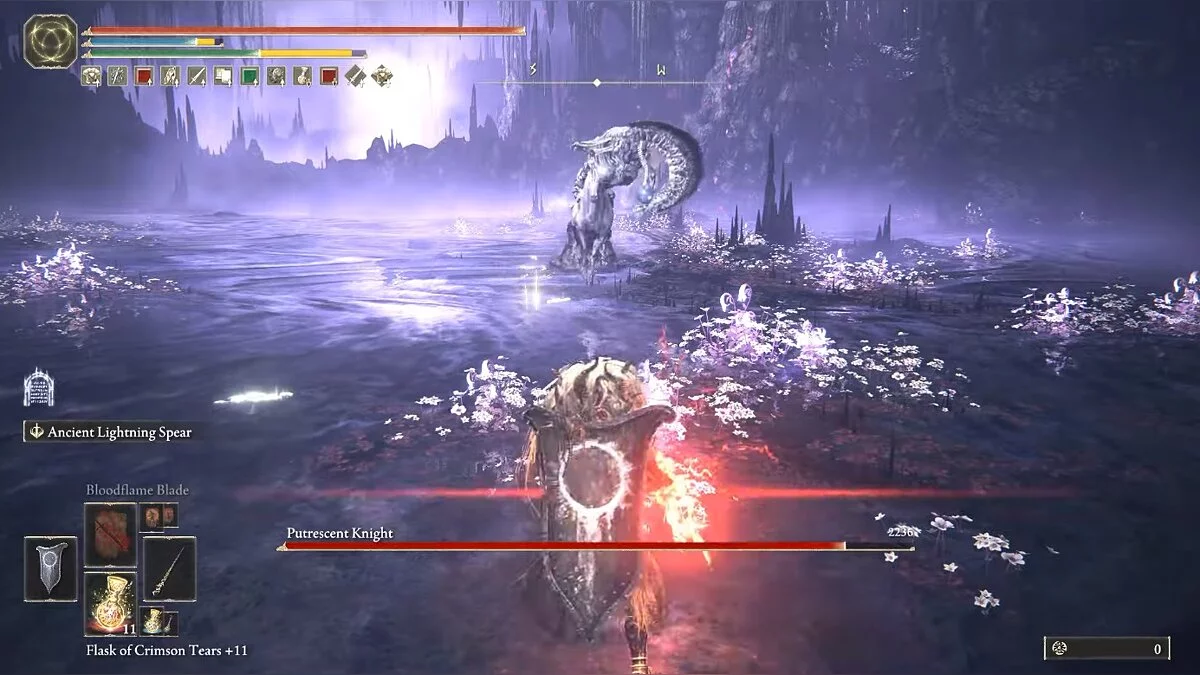
You will need armor with protection against ice attacks. The knight's attacks are most dangerous while he is on horseback. When the boss charges at you with a spear, it's important to dodge to the side. Periodically, the warrior will stop to catch his breath. At this moment, you have the opportunity to perform a series of heavy attacks.
When the knight dismounts, you will have to fight not only him but also his loyal steed. Attacking the horse is pointless as it is immortal. Dodge its attacks and focus on the warrior. For melee fighters, it's advisable not to stray from the boss, otherwise, he will start throwing his sword at you.
As soon as the ground starts to rise around the knight or waves start emanating from him, immediately retreat. You are in for a powerful area attack that deals physical and ice damage. Wait for it to end, and only then return.
Embodiment of the Tree of Decay
Location
How to Get There
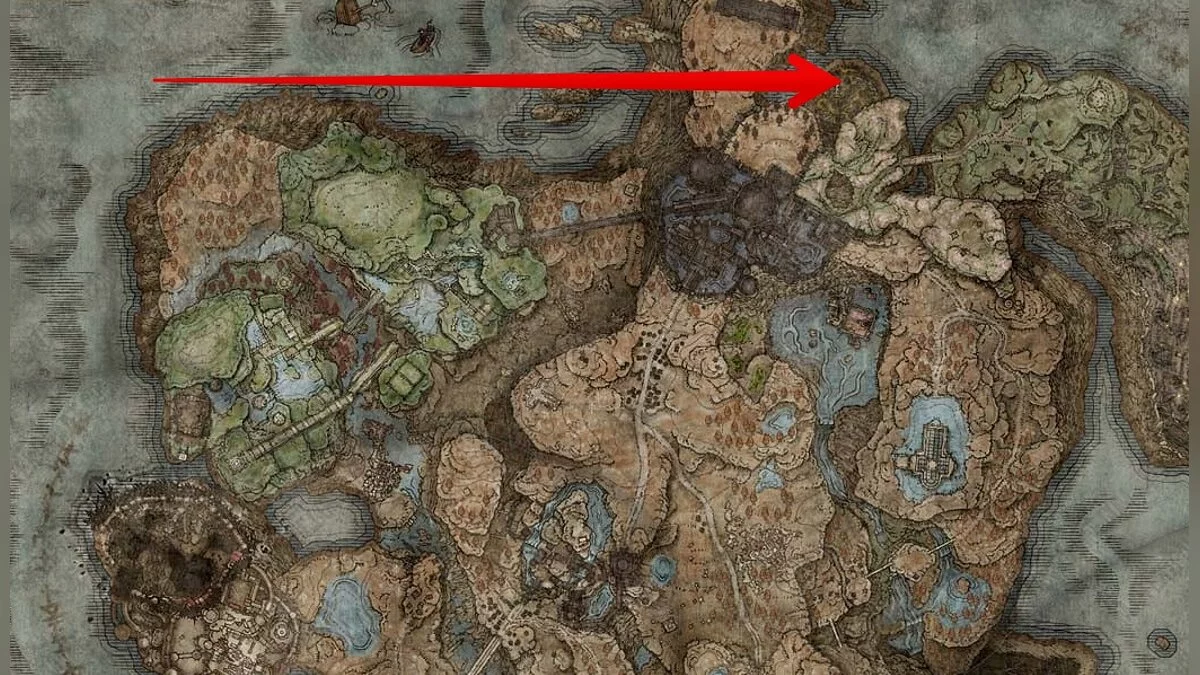
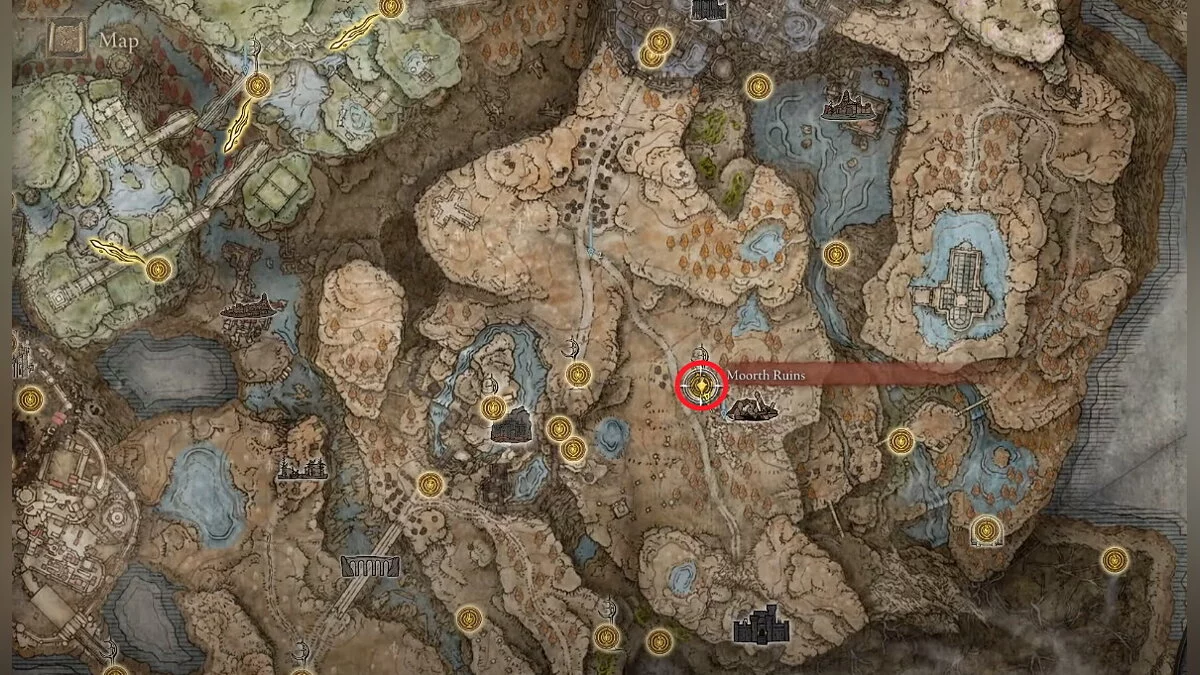
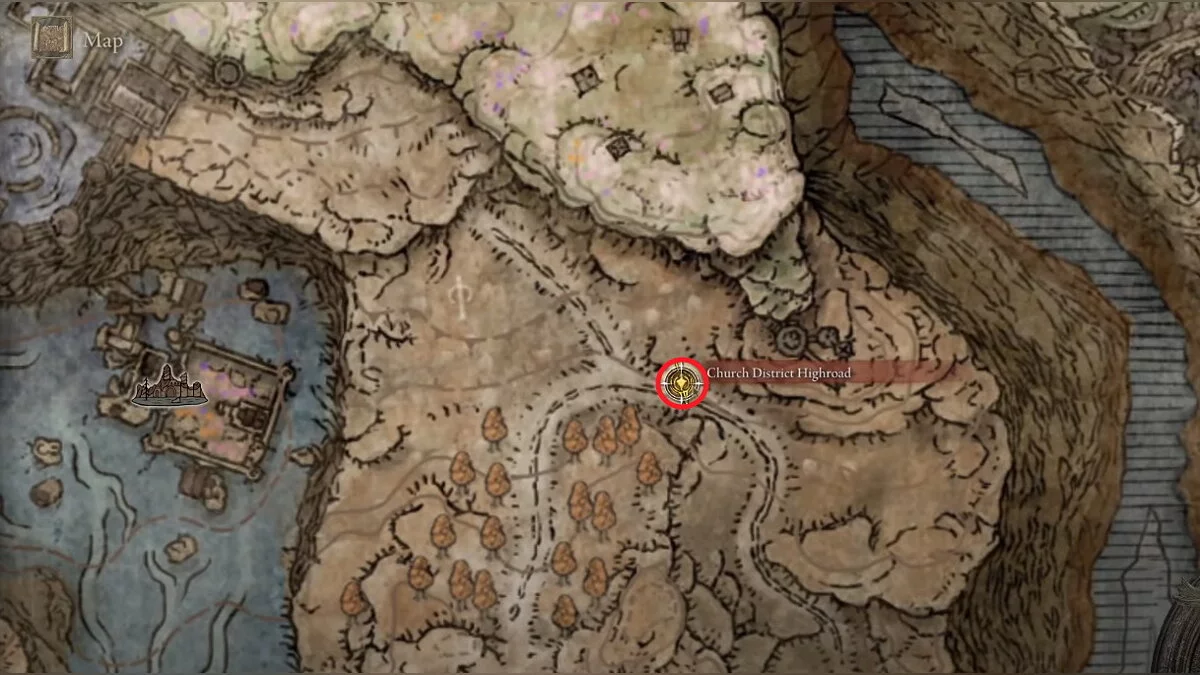
To encounter the Embodiment of the Tree of Decay, you need to progress through the storyline of the expansion. You need to reach the Fortress of Shadows, which is located in the Church District. On the Skadu-Altus Plateau, which is located northeast of Castle Ensis, find an area called the Morta Ruins.
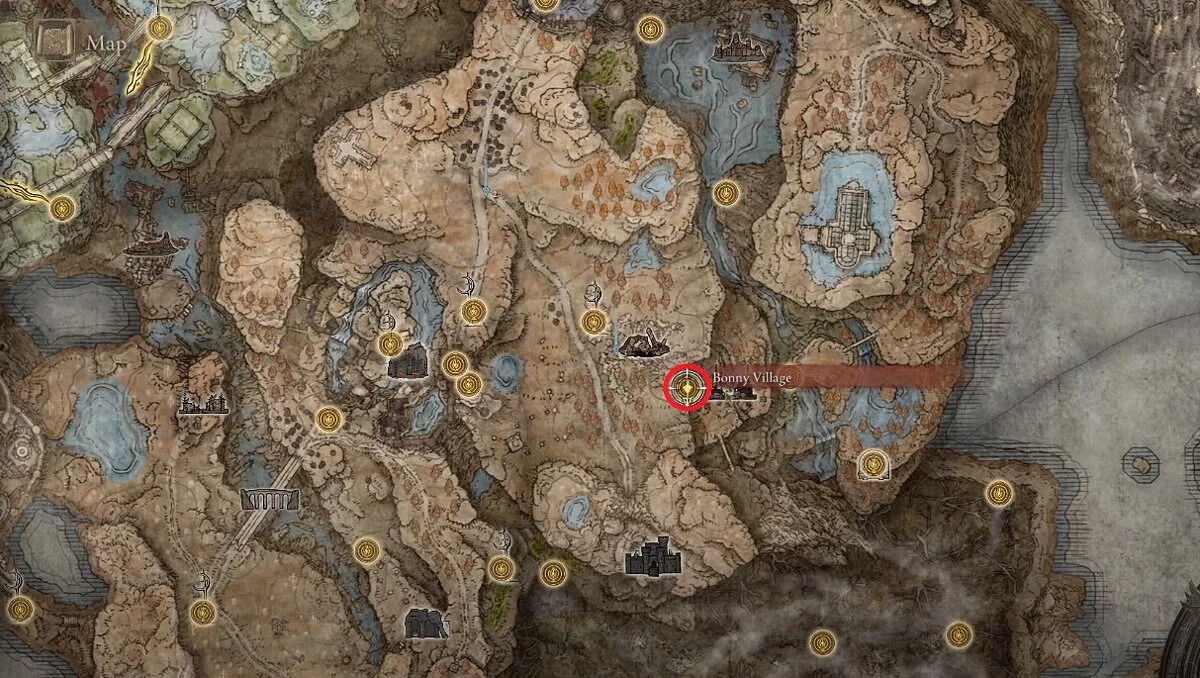
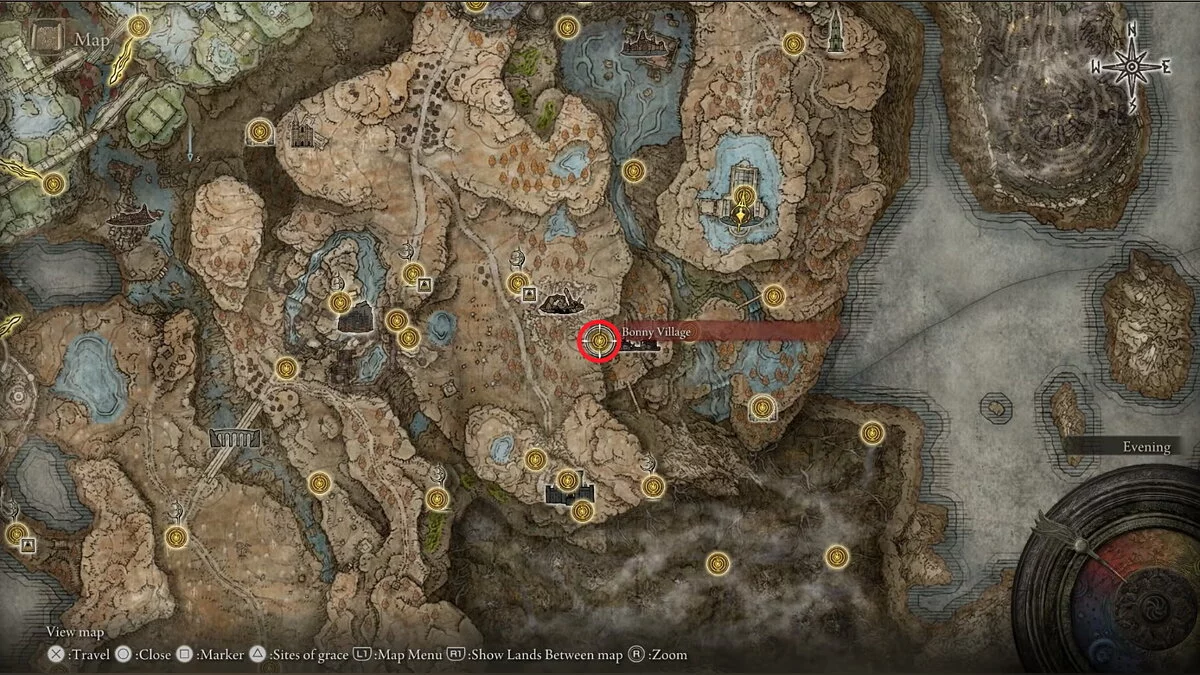
There is a crater there where you need to jump on horseback. Then use the ladder to reach the village of Bonny.
Move north across the bridges until you see a giant cathedral. Remember it. You will need to return to this location later.
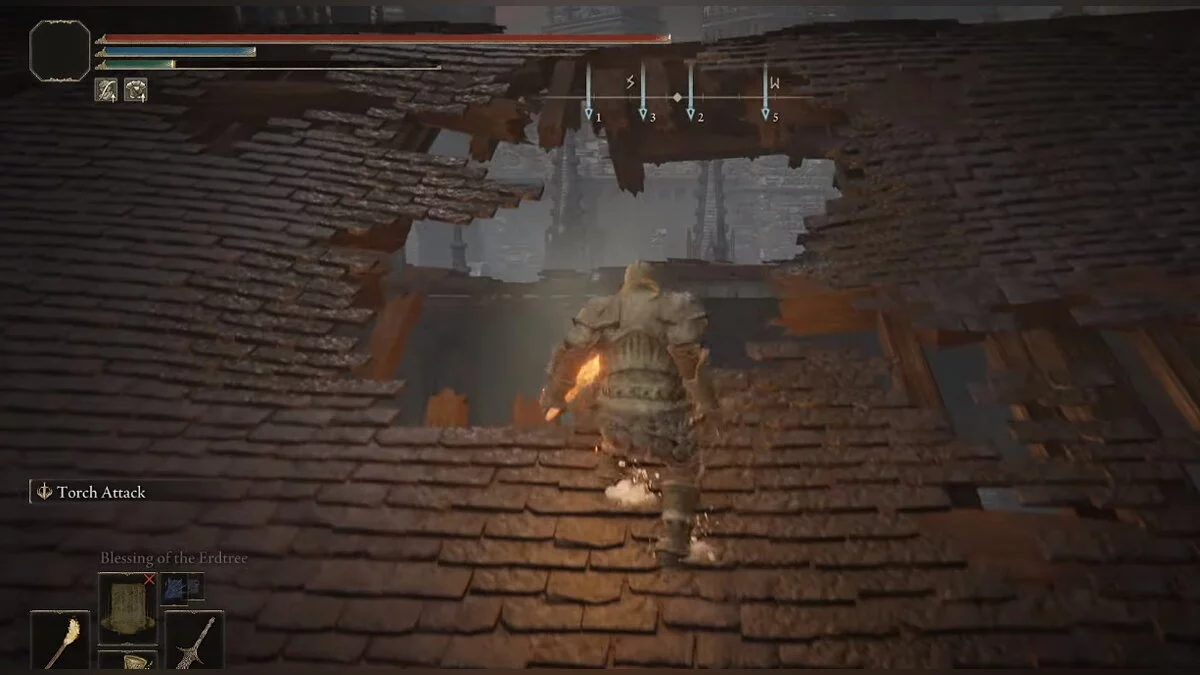
For now, continue down the road until you see a tunnel. It will lead you to the flooded Fortress of Shadows. Find a hole in the roof and jump down.
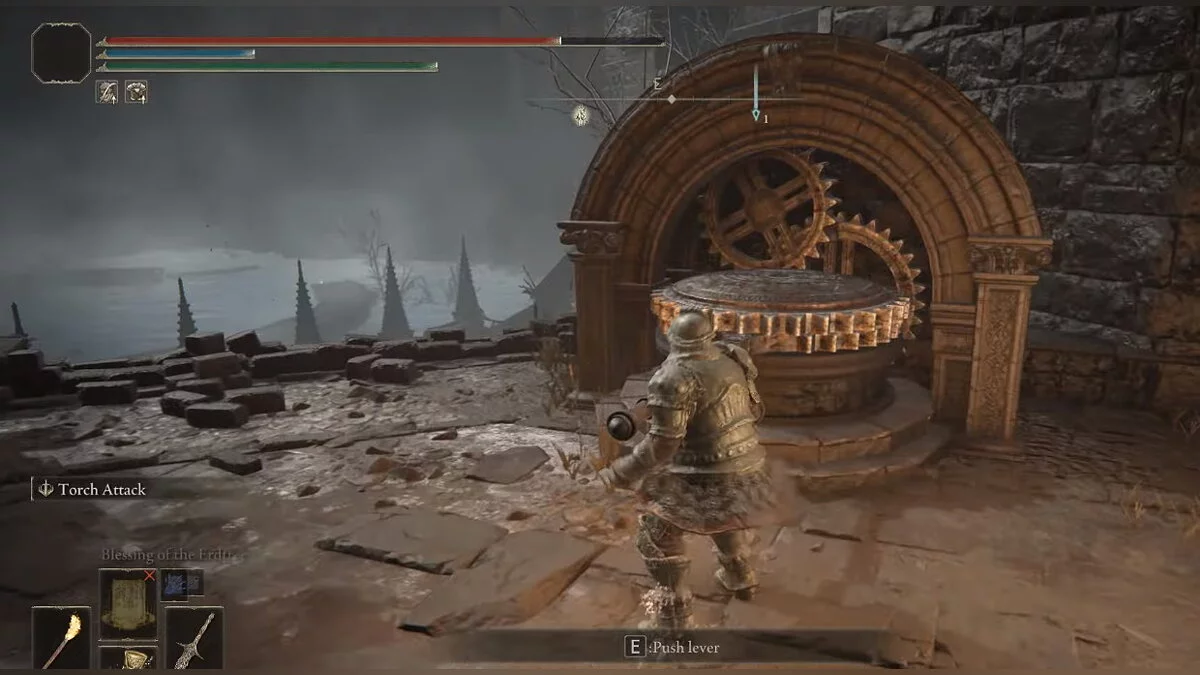
There, find the statue of Queen Marika. From there, run south and use the switch to drain the water.
Return to the cathedral. Beware of corpses that explode when you approach them. Try to avoid them. In the room with two staircases, open the door on the first floor and go down the elevator. The rope bridge will take you to the arena with the Embodiment of the Tree of Decay.
How to Defeat
You will need a weapon that deals fire damage. Apply Mesmer's fire grease to your blade or use the spells Flame, Grant Me Strength and Golden Vow. We also recommend adding an opal drop with a wondrous concoction to your Flask.
As with the dragon Bael, it is advisable to stay close to the boss to be able to strike at point-blank range. Moreover, its root strikes are not as strong as its ranged branch attacks. It is important to dodge these and the sharp spikes at the last moment. Keep in mind that sometimes the second swing may occur with a delay, so do not rush to counterattack. It is better to wait a bit. Periodically, the Tree performs a series of four strikes, ending with a spike attack. It is advisable to retreat in advance, otherwise, you risk not surviving such a combo.
When you are close to the boss, it will start spinning around itself. Wait for it to perform two such moves and lower its head. This is the best moment for a counterattack. And if the Tree raises its head, a strong attack will follow soon. You can dodge it and then perform a series of thrusts. But if the boss tilts its top to the side, it is better to get behind it and start hitting in response. Simple dodging will not help in this case.
When the Tree raises its head high up and starts glowing with golden light, a powerful area attack is coming. Retreat as far as possible. If there is no glow, three lightning bolts will fly at you. Dodge them but do not move far from the boss. After the third bolt flies past you, there will be an opportunity to strike the monster.
The transition from the first phase to the second is accompanied by the Tree going underground. At this time, you can cast spells or apply grease to your blade. The enemy will gain a new attack — a sudden lunge forward. Before this, it extends its branch-hand and slightly waves it, giving you a moment to dodge to the side.
The third phase is accompanied by a powerful explosion. You can avoid damage by drinking from a flask into which you have previously added an opal tear. It is also advisable to move away from it. However, after the explosion ends, the boss will be vulnerable to your attacks for a few seconds, so it is advisable to approach the Tree and strike it with your blade. Keep in mind that the monster will repeat this spell again, so be ready to retreat and then return for a counterattack.
Midra, Lord of Fierce Flame
Location
How to Get There
Above, we explained how to reach the Fortress of Shadows.
There you will find a boss known as the Golden Behemoth. Defeat the boss and proceed further to the Specimen Vault. Descend the stairs.
On the right, there is another staircase that you need to use. There you will see a room with a painting. The right wall is illusory and will disappear if you strike it with a sword.
Descend lower, and then lie in the coffin. You will find yourself on the shore of a body of water.
Run to the other side of the lake.
Run along the edge of the cliff and jump across the chasms with the help of a horse to the southeast.
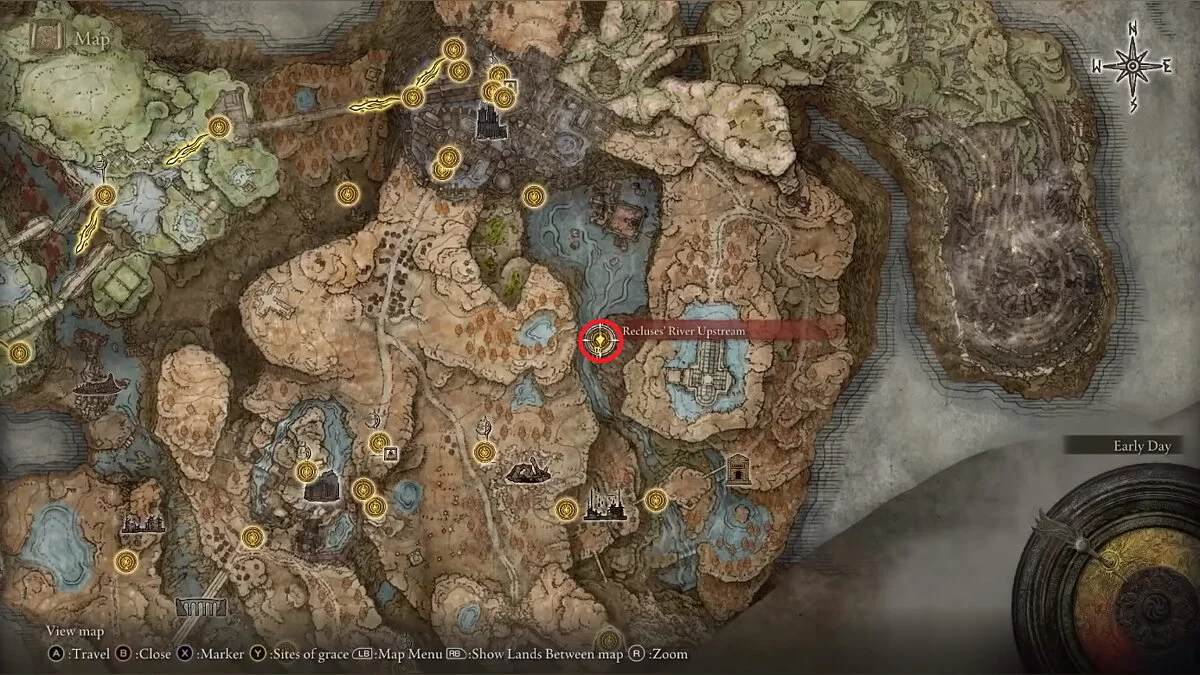
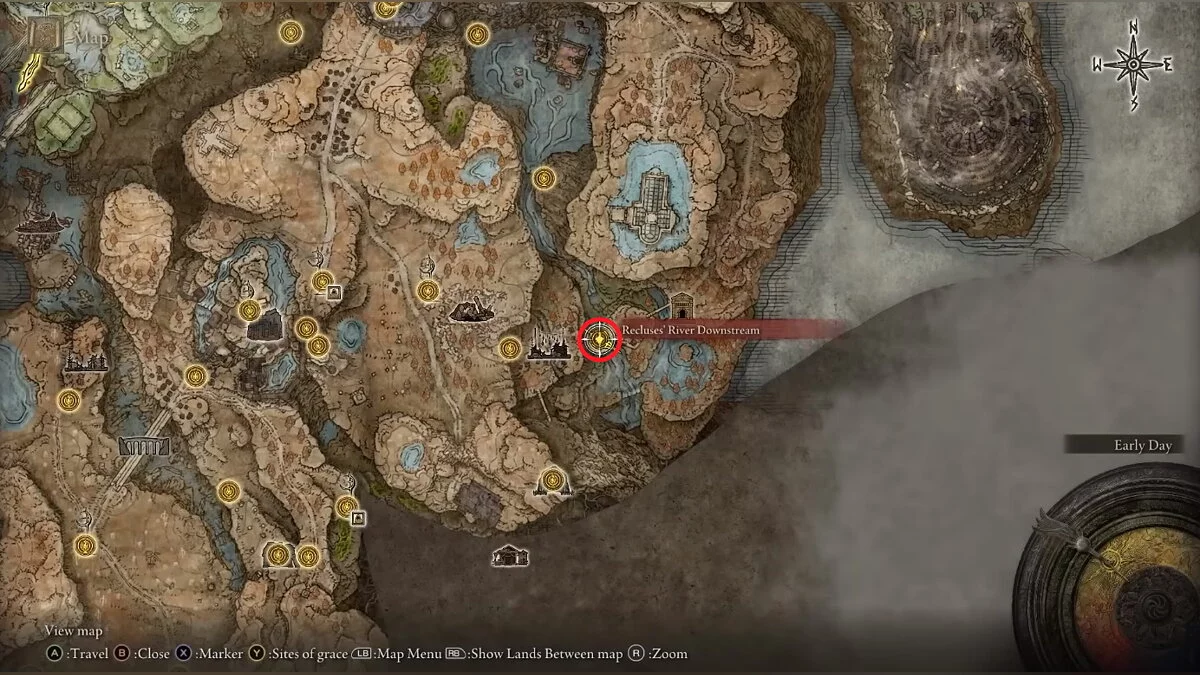
Descend down the slabs to the river. Even lower is the foggy forest. To the left of the descent, you will see a dungeon called the Dark Light Catacombs.
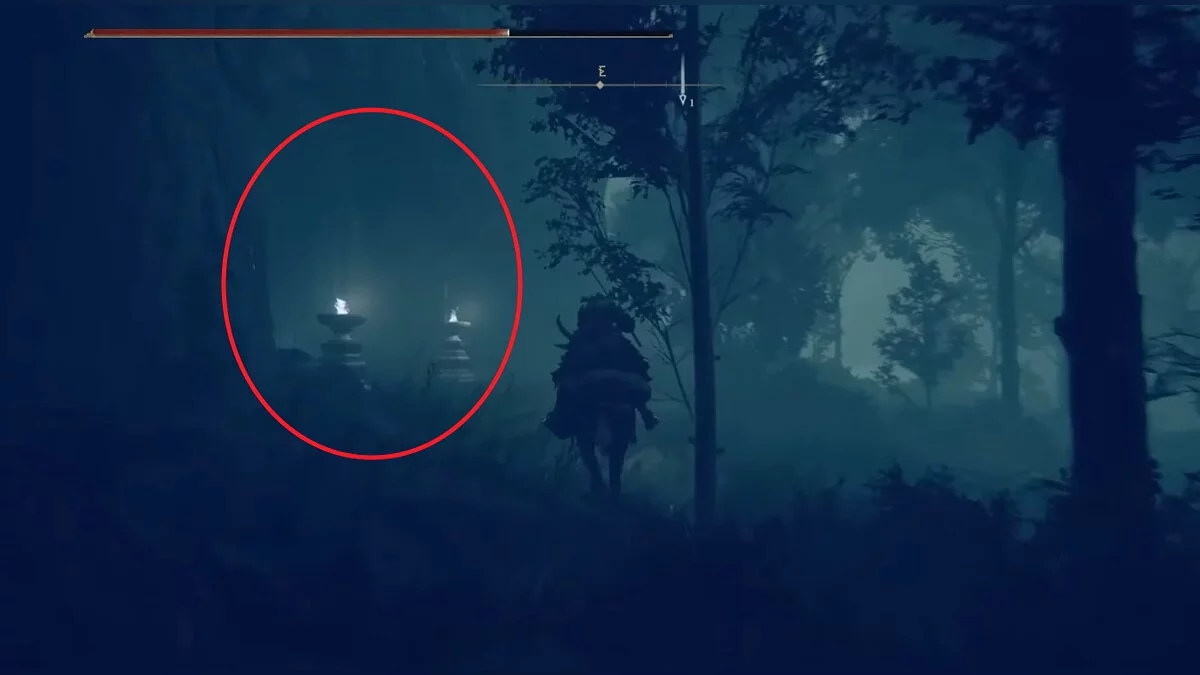
There you will find the boss Jory, the Senior Inquisitor. Defeat him. After this, you will be able to enter the Bottomless Forest. Move cautiously, as there are immortal enemies here that you need to avoid. To the southeast is Midra's Mansion.
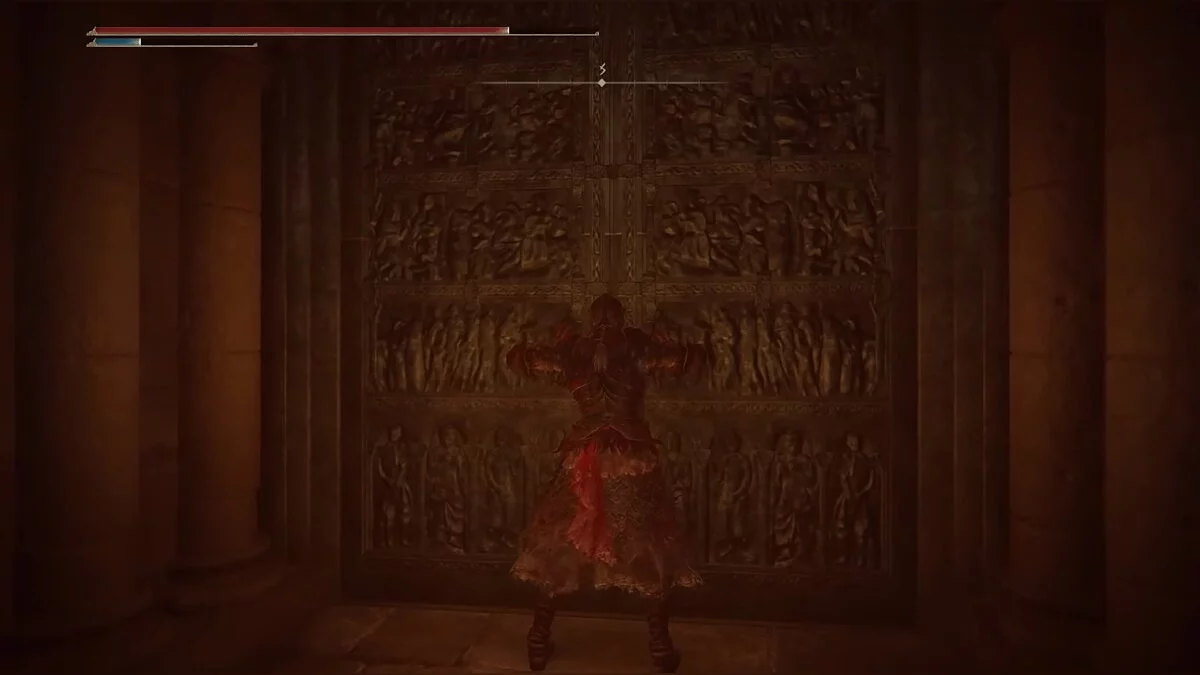
This is where the Lord of Fierce Flame resides. The illusory walls here are paintings that you need to strike with a sword. This way, you will open the path further.
How to Defeat
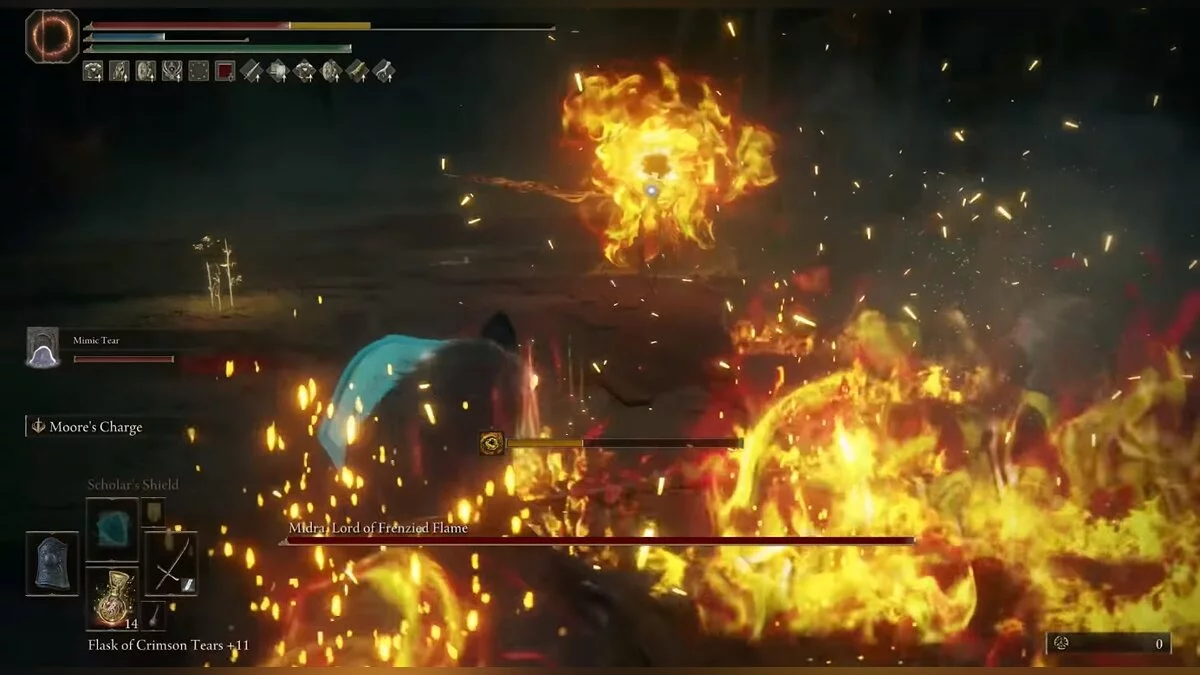
In addition to armor with fire attack protection, you need to increase your resistance to madness. This parameter is influenced by your intelligence value and some equipment items. You can also use Clarifying Pills for temporary immunity. As a weapon, choose a blade that causes bleeding, such as the Bloodhound's Fang.
It is important to manage madness in the early stage when the boss does not attack much but gradually drives you insane. Dodge the first leap and land a few blows on its back.
After this, Midra will have a health bar, and a full-fledged battle will begin. Carefully monitor your hero's madness value. If it fills to the maximum, you will take massive damage and be left open to enemy attacks. Retreat and consume Clarifying Pills if necessary.
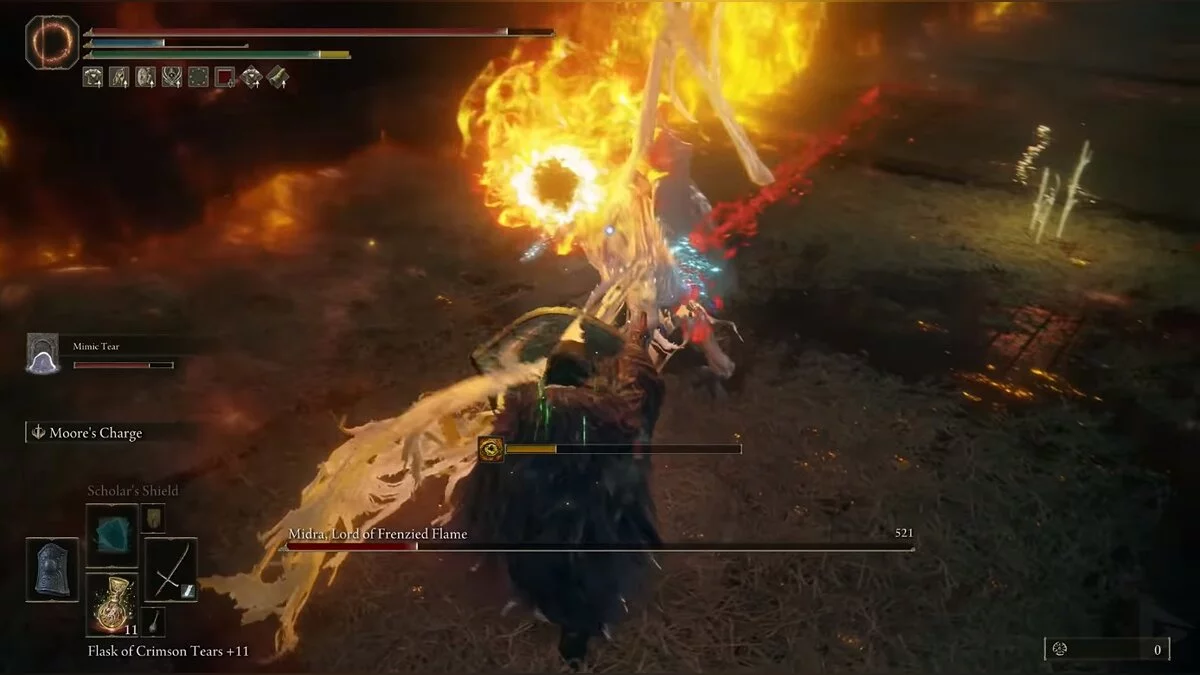
You can block or parry non-burning sword spinning attacks. If the boss spreads its arms, it's best to dodge to the side as a powerful explosion will follow. Similarly, you can avoid damage from aerial strikes. After a spell or a series of sword attacks, you will have an opportunity to counterattack. An interesting point: although the ground around Midra will continue to burn, this flame will not harm you. Run through it to reach the boss while he is vulnerable.
At a certain point, Midra's sword will ignite with bright flames. As soon as the warrior thrusts it forward, retreat, as a powerful lunge will soon follow. If the blade is turned to the side, it's better to dodge; otherwise, you will be hit by an area attack. Between these strikes, you will have an opportunity to deal damage to the boss.
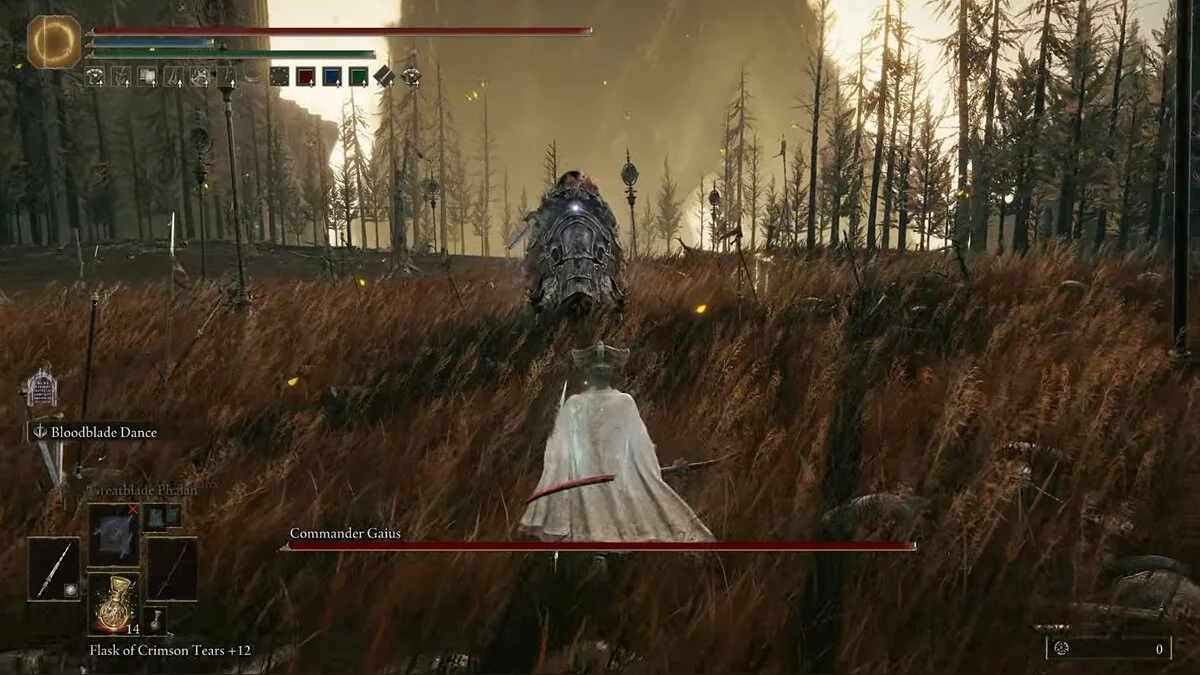
Commander Guy
Location
How to Get There
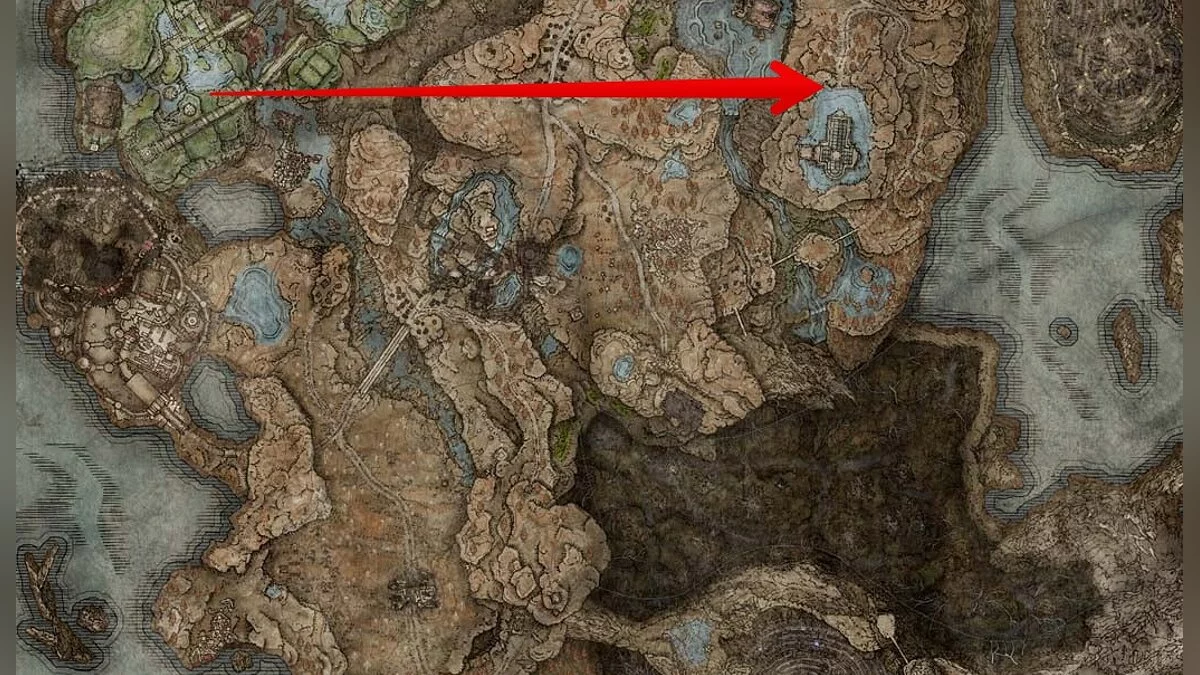
You need to activate the site of grace located behind the Specimen Vault. Climb the stairs and find the broken wall behind the bookshelves. Go through it and descend by the elevator. Pay attention to the chapel. Commander Guy is waiting for you there.
How to Defeat
Like Midir, this knight is vulnerable to bleeding. In addition, you can rely on holy spells. In the early stage of the battle, the boss will pretend not to notice you. But this is a deceptive trick. Do not rush to run to him, but be prepared for an enemy attack. The rider will rear the boar and charge at you. It's important to dodge in time.
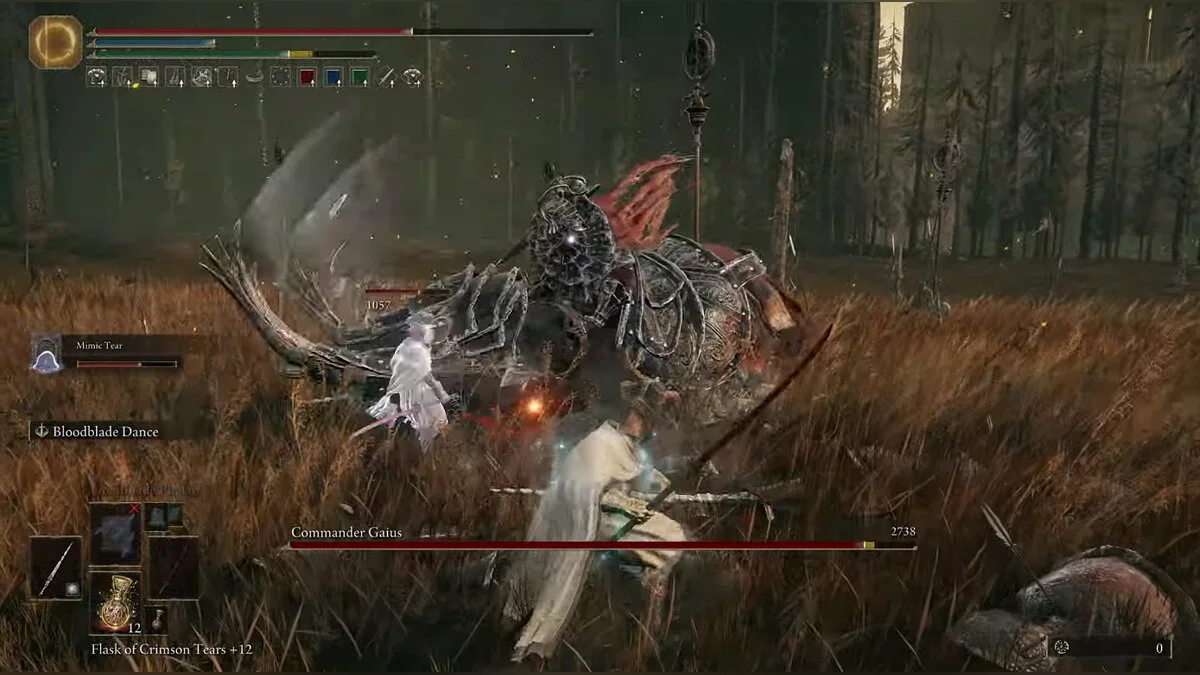
From the front, you will be attacked with tusks, and from the back — with hooves. Therefore, we recommend staying to the side of the knight. The warrior will strike you with a lance. You need to dodge magical attacks charged with lightning. Ordinary strikes are easily parried, allowing you to achieve a stagger effect. This gives you the opportunity to perform a combo.
In the second phase, his attacks will deal additional gravity damage, so even the best shield won't save you. Rely on dodges. Guy's most powerful spell is a sort of black hole that pulls you in and then explodes. Do not get close to it, and if you are caught in its effect, try to run as far away as possible. Another notable boss attack is aerial strikes. Before this, the boar will leap into the air, giving you a chance to prepare. The ideal option is to dodge at the very last moment with a single roll. This way, you will not only avoid damage but also quickly get back to the knight to perform a series of your own attacks.
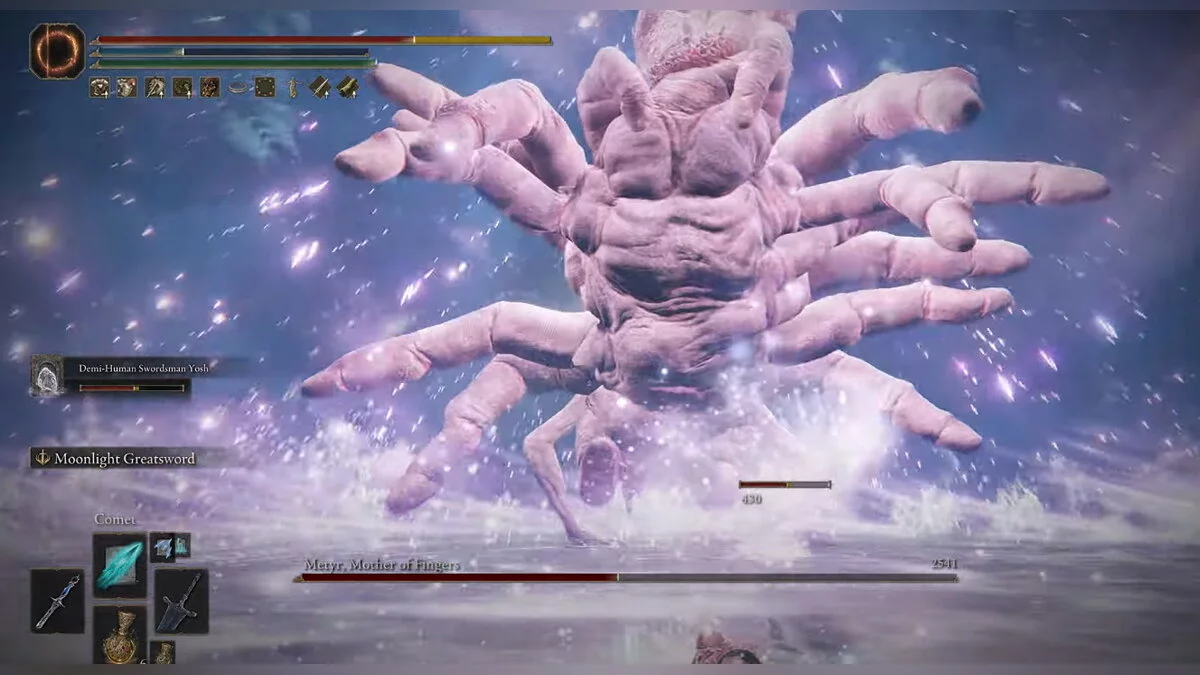
Metir, Mother of Fingers
Location
How to Get There
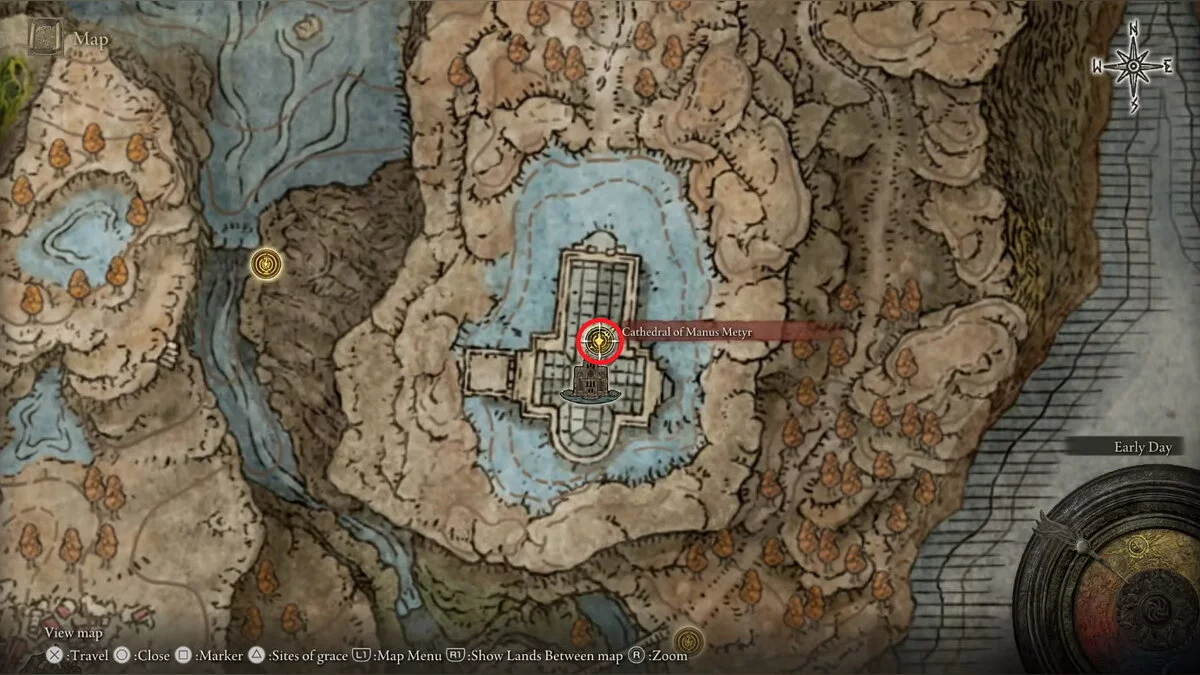
To reach the boss, you need to complete a small quest. First, you need to visit the Manus Metir Cathedral, which is located north of the village of Bonny and south of the entrance to the Fortress of Shadows.
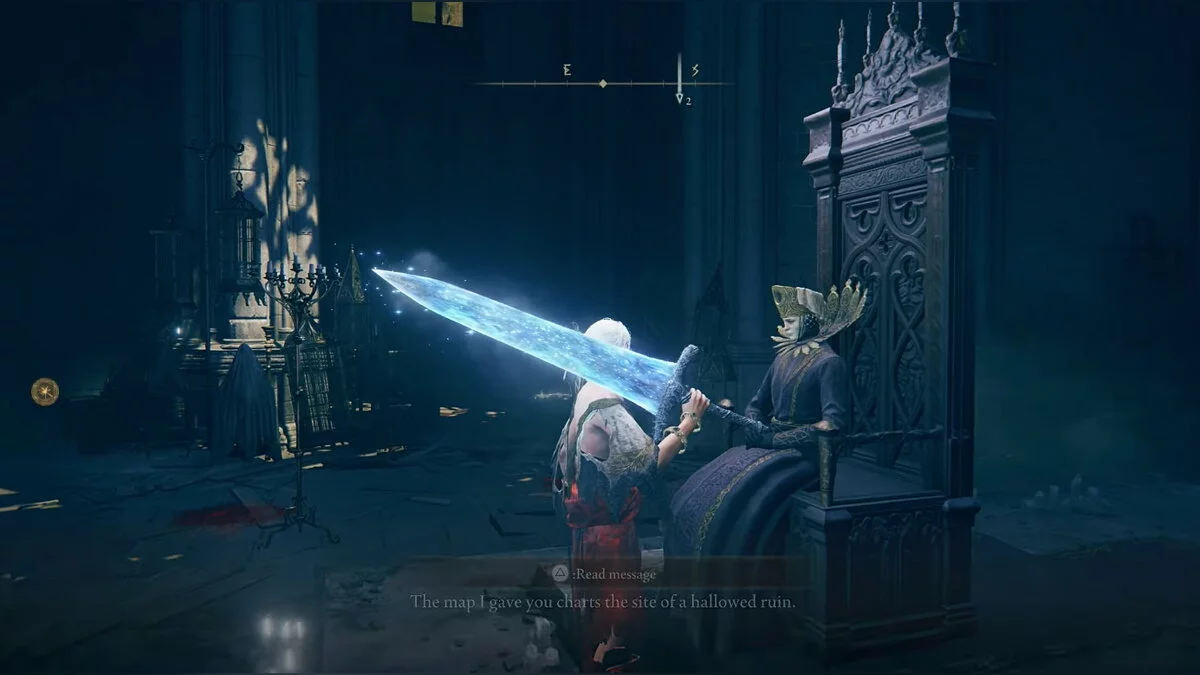
Inside, talk to Imir, who is sitting on a throne. He will give you a map and a quest item.
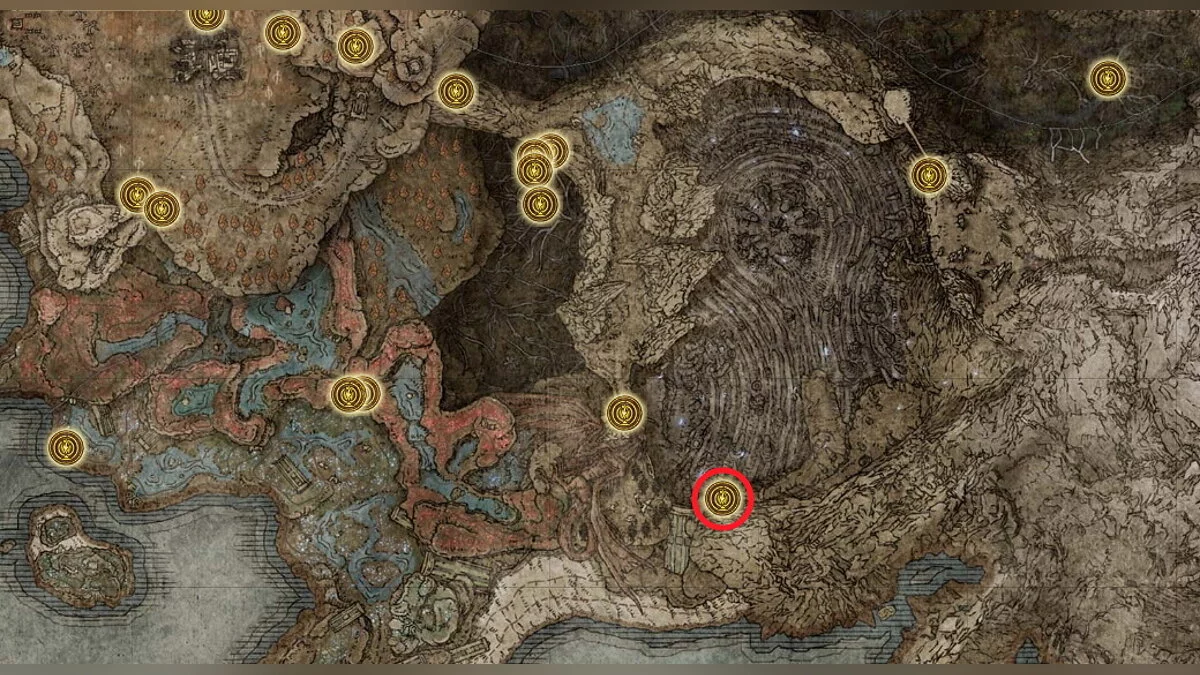
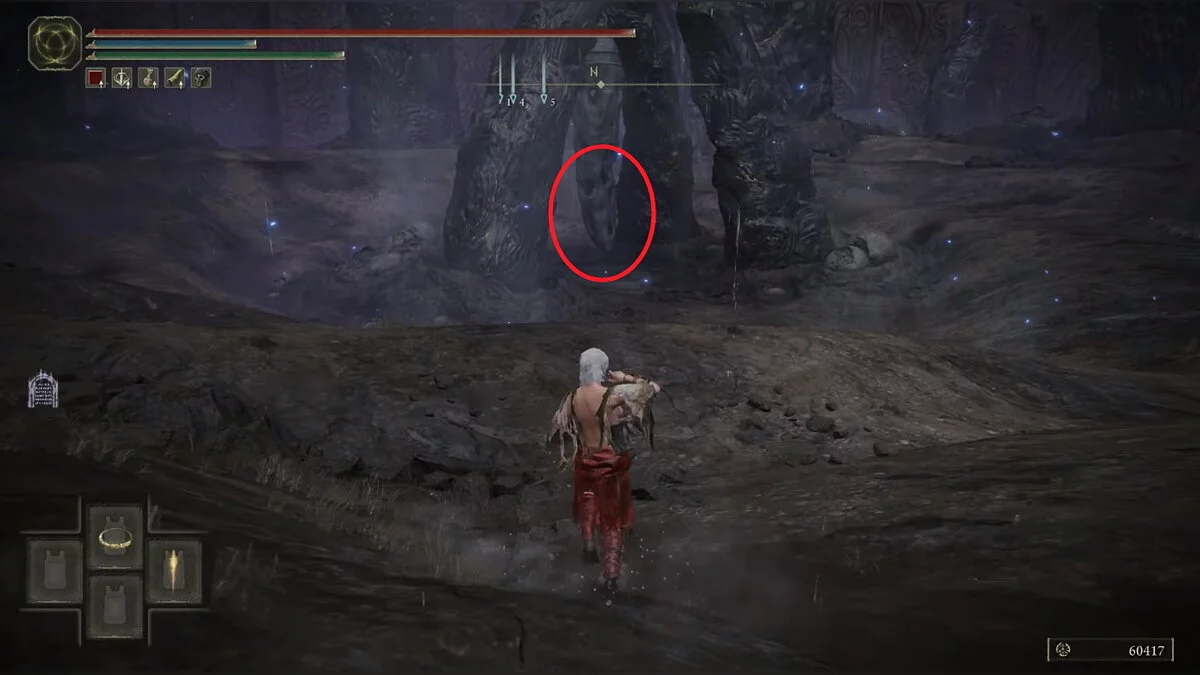
Head to the location where you killed the Rotting Knight. From the Azure Shore, move east until you reach a sandy beach. From there, run north to the Ruins of Ria's Finger. In the center of this location, there is a bell that you need to ring.
After this, return to Imir and receive the second map. First, head to the village of Bonny.
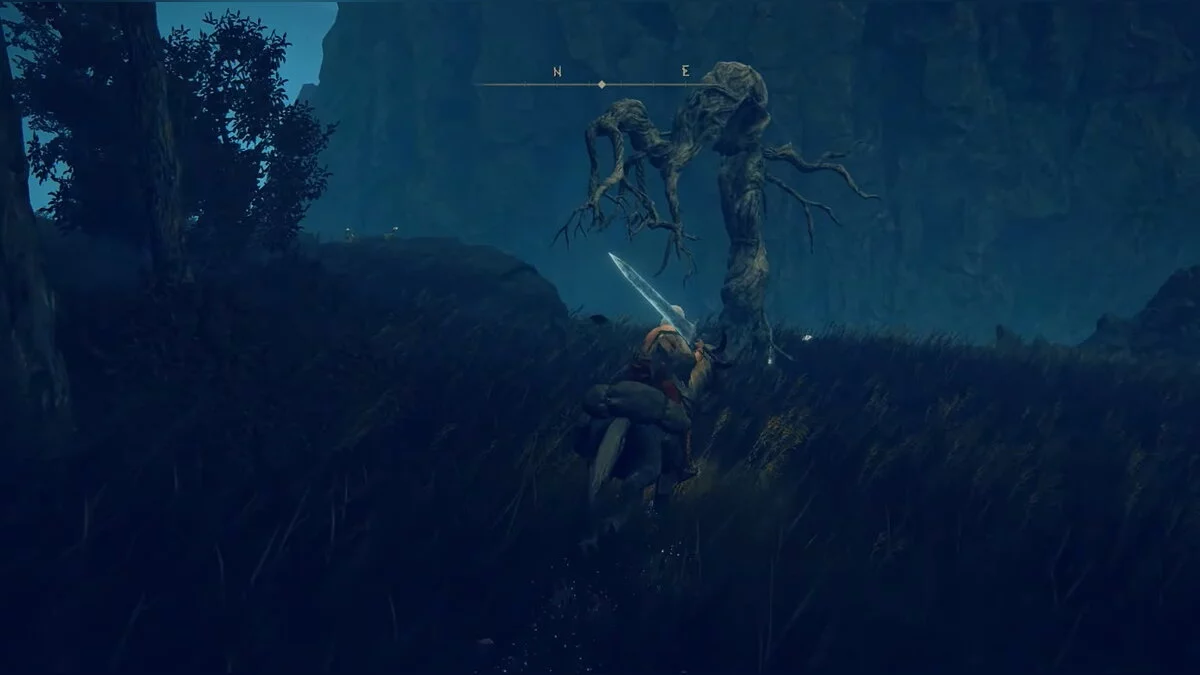
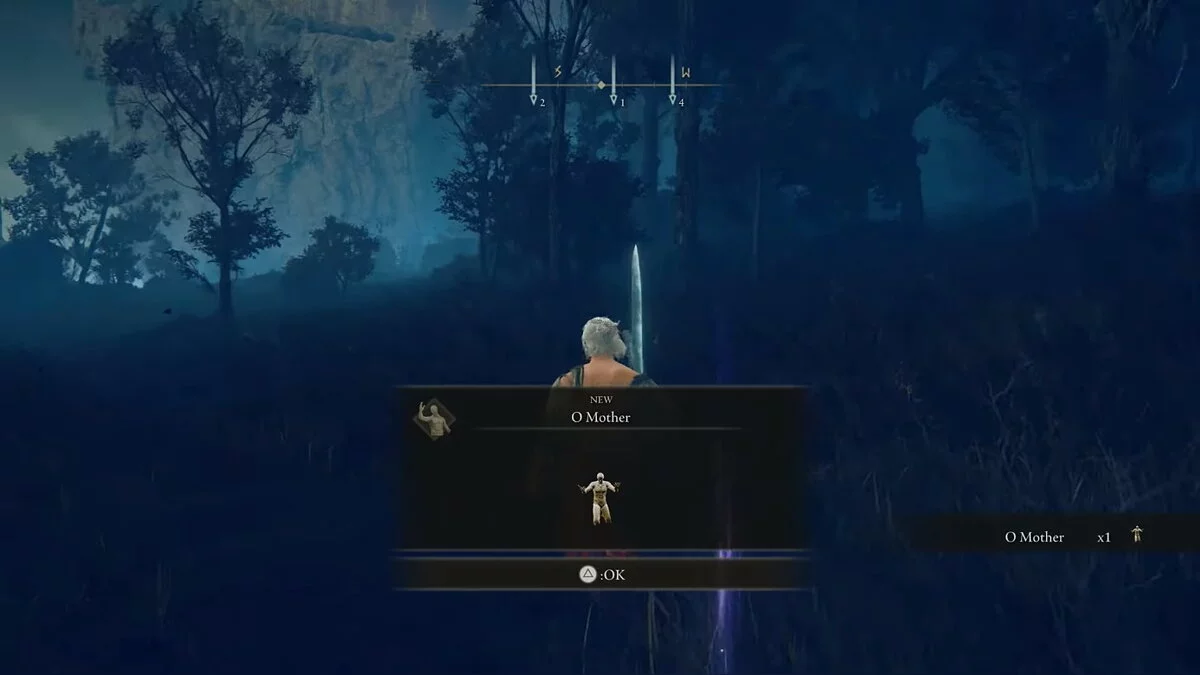
To the northwest, there is a dry tree with which you need to interact. This way, you will learn a new gesture Oh, Mother.
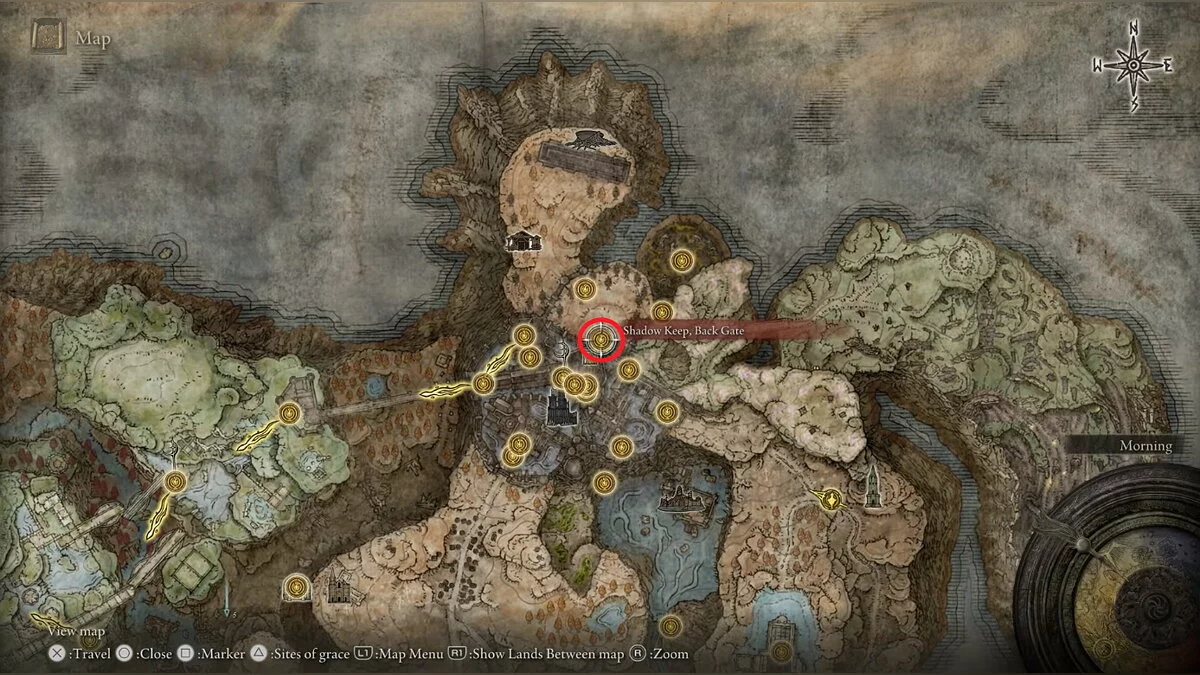
Now you need to return to the place where you met Commander Guy. Move to the back gates of the Fortress of Shadows.
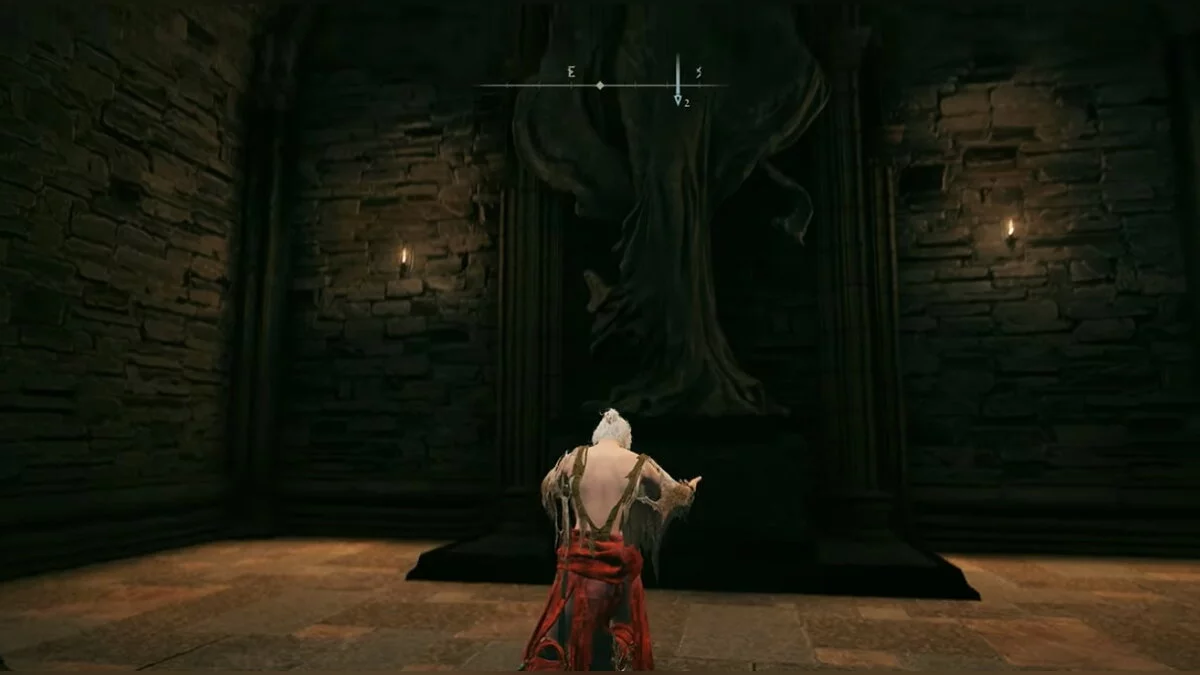
On the right, there is a statue of Queen Marika. Stand in front of it, then use the gesture Oh, Mother.
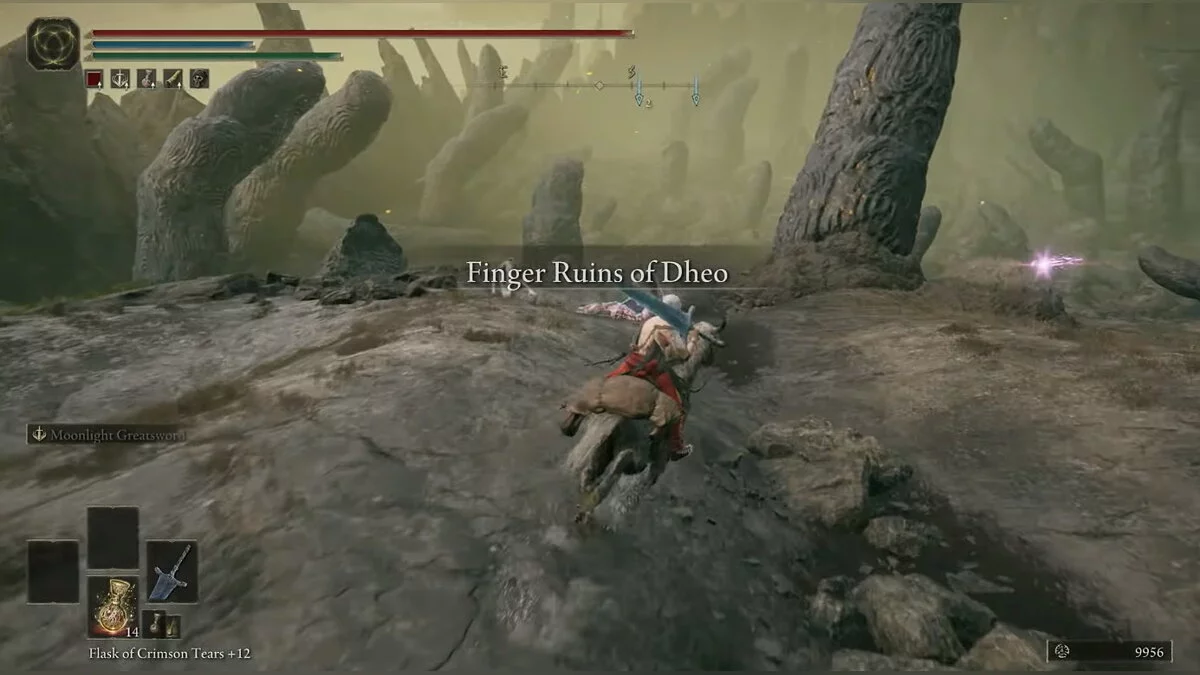
As a result, a secret area in the northeast of the map will open. There, you need to move east to the ruins of Deo's Finger Sanctuary. Reach the center and ring the bell.
Talk to Imir again. Rest near the site of grace, then approach the throne. Behind it, you will find a staircase leading to the third ruins. Use the bell again. After this, you will be teleported to the arena with Metir, Mother of Fingers.
How to Defeat
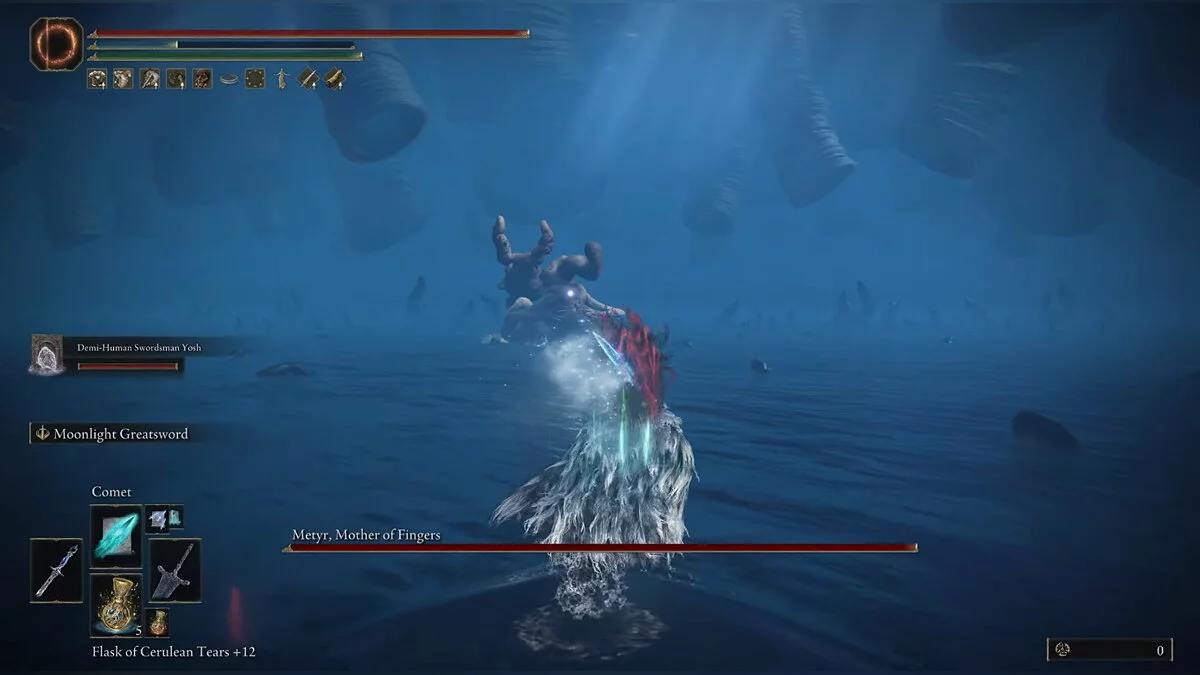
You are in for a really tough fight, as some of the boss's attacks can instantly kill your hero. Before the battle, we recommend increasing your defense against magical attacks. Not only will the appropriate armor help, but also the Talisman of the Magic Dragon. Take with you a weapon that causes bleeding, such as the Bloodhound's Fang.
The boss's first laser beam attack can cut your health bar in half, so it's best to start the fight by dodging to the side. A similar tactic was used by the dragon Midir from Dark Souls 3: The Ringed City.
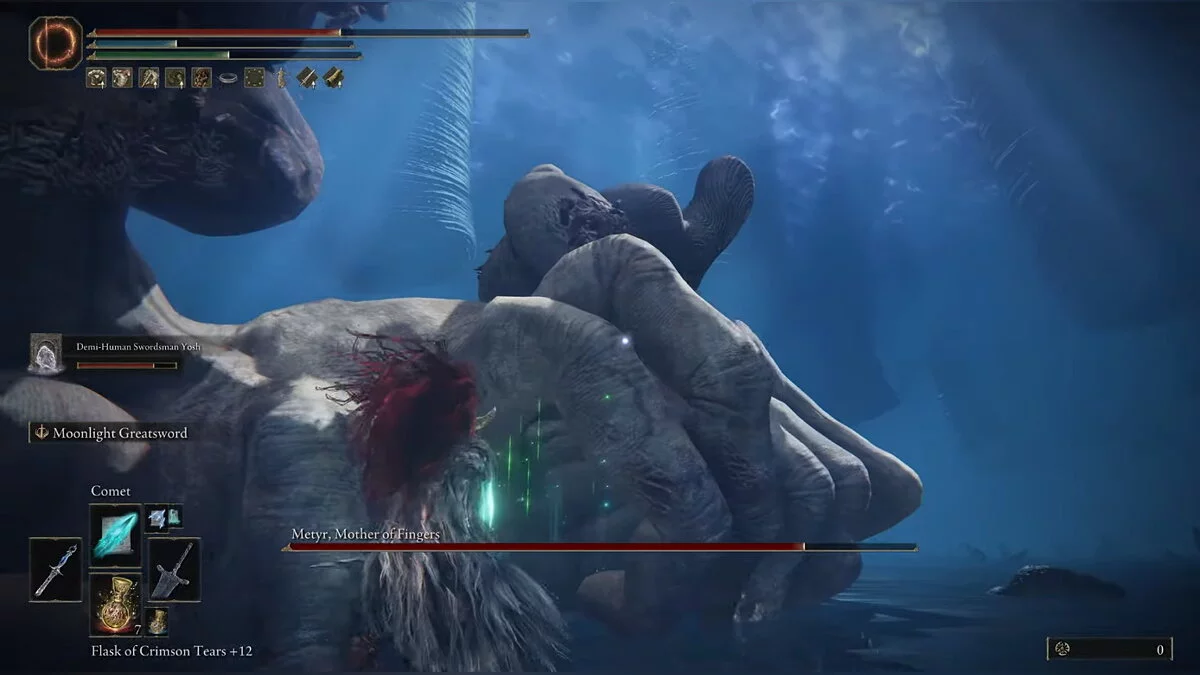
Then run up to the Mother of Fingers and hit her in close combat. It's better not to lock the camera on the boss, but to leave it free. This will make it easier to maneuver. As soon as Metir starts teleporting or summoning a black orb, retreat to avoid damage.
You can easily dodge the spinning attack with two rolls. But do not distance yourself from the boss. As soon as she stops, approach closely and perform a series of attacks. Spells that hit at a great distance are particularly dangerous. Running away from them is useless, so we recommend dodging at the last moment. After the magic effect ends, you can deliver a strong blow.
When the Mother of Fingers has 20% health left, she will start attacking continuously in an area. Keep your distance from the boss until Metir falls exhausted. At this moment, you have the opportunity to approach from behind and strike with powerful thrusts. If you charge them beforehand, you will surely be able to stagger the monster and deal critical damage.
Other guides
- Best Builds for Elden Ring Shadow of Erdtree
- Graphics Optimization for Elden Ring Shadow of Erdtree on Low-End PCs: How to Remove Blurriness and Increase FPS
- How to Find and Use the Prayer Room Key in Elden Ring Shadow of the Erdtree
- How to Get the Sword of Light and Sword of Darkness from the Stone-Sheathed Sword in Elden Ring Shadow Of The Erdtree
- Key to the Pantry in Elden Ring: Shadow of the Erdtree — How to Obtain and Where to Use
- How to Unlock the Entire Map in Elden Ring Shadow of the Erdtree
- Ashes of the Glorious Spirit in Elden Ring Shadow of the Erdtree: Where to Find and How to Use
- How to start the Shadow of the Erdtree DLC for Elden Ring
- How to Defeat Fire Golems in Elden Ring: Shadow of the Erdtree
- How to Find Backhand Blades in Elden Ring Shadow of the Erdtree
- Wie man die gesamte Karte in Elden Ring: Schatten des Erdtrees freischaltet
- Grafikoptimierung für Elden Ring Shadow of Erdtree auf Low-End-PCs: Wie man Unschärfe entfernt und FPS erhöht
- Streamer besiegte zwei Bosse in Elden Ring Shadow of the Erdtree mit der Kraft des Denkens — Video
-
How to Find and Use the Prayer Room Key in Elden Ring Shadow of the Erdtree
-
Key to the Pantry in Elden Ring: Shadow of the Erdtree — How to Obtain and Where to Use
-
How to start the Shadow of the Erdtree DLC for Elden Ring
-
How to Get the Sword of Light and Sword of Darkness from the Stone-Sheathed Sword in Elden Ring Shadow Of The Erdtree
-
How to Defeat Fire Golems in Elden Ring: Shadow of the Erdtree
-
How to Unlock the Entire Map in Elden Ring Shadow of the Erdtree
-
Graphics Optimization for Elden Ring Shadow of Erdtree on Low-End PCs: How to Remove Blurriness and Increase FPS
-
How to Find Backhand Blades in Elden Ring Shadow of the Erdtree
-
Where to Find the Great Black Steel Hammer in Elden Ring: Shadow of the Erdtree
-
Where to Find New Talismans in Elden Ring Shadow of the Erdtree
-
All Paintings in Elden Ring Shadow of Erdtree: How to Find and Solve the Puzzles

