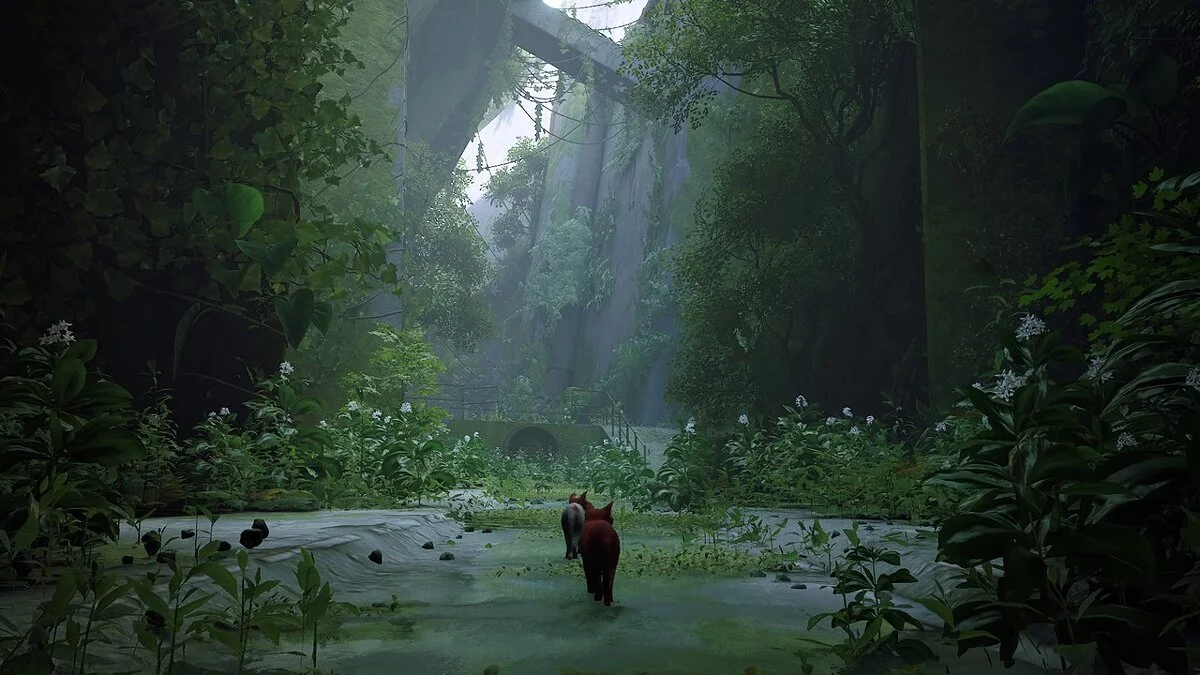
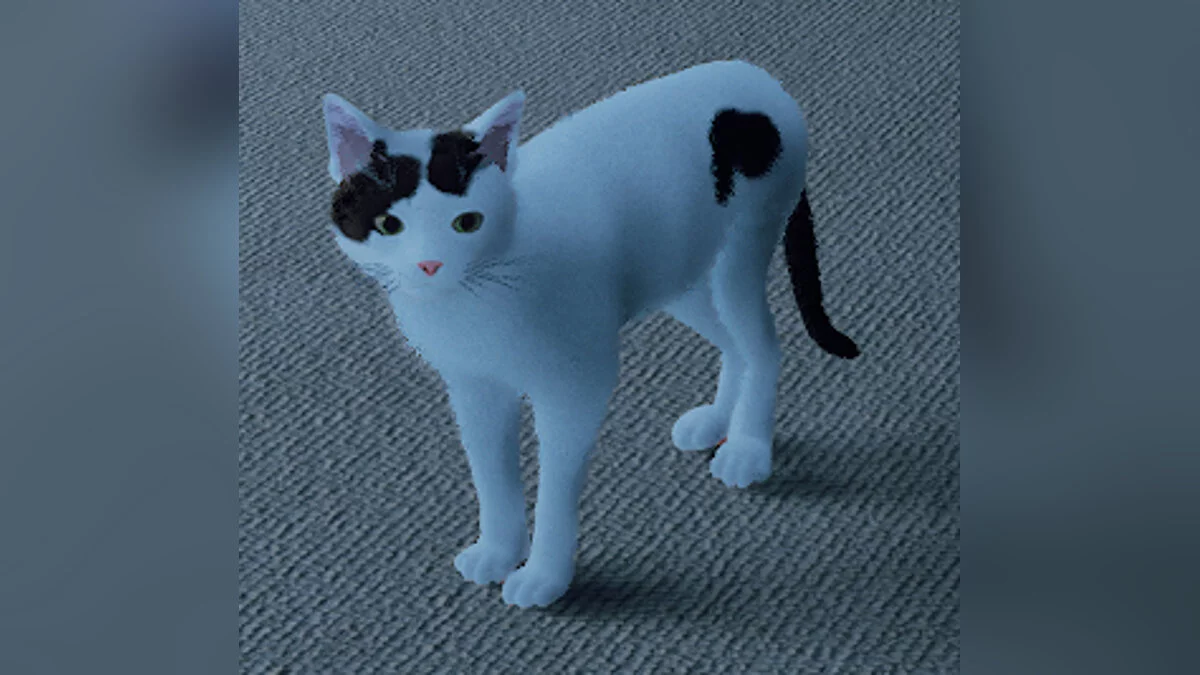
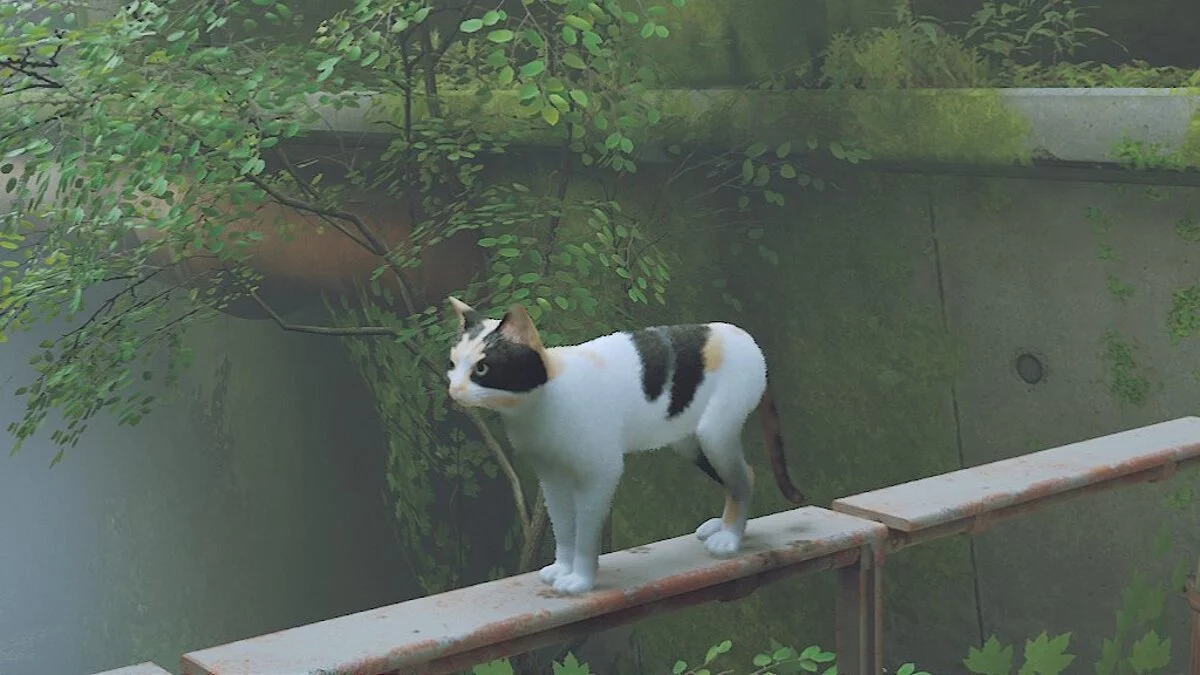
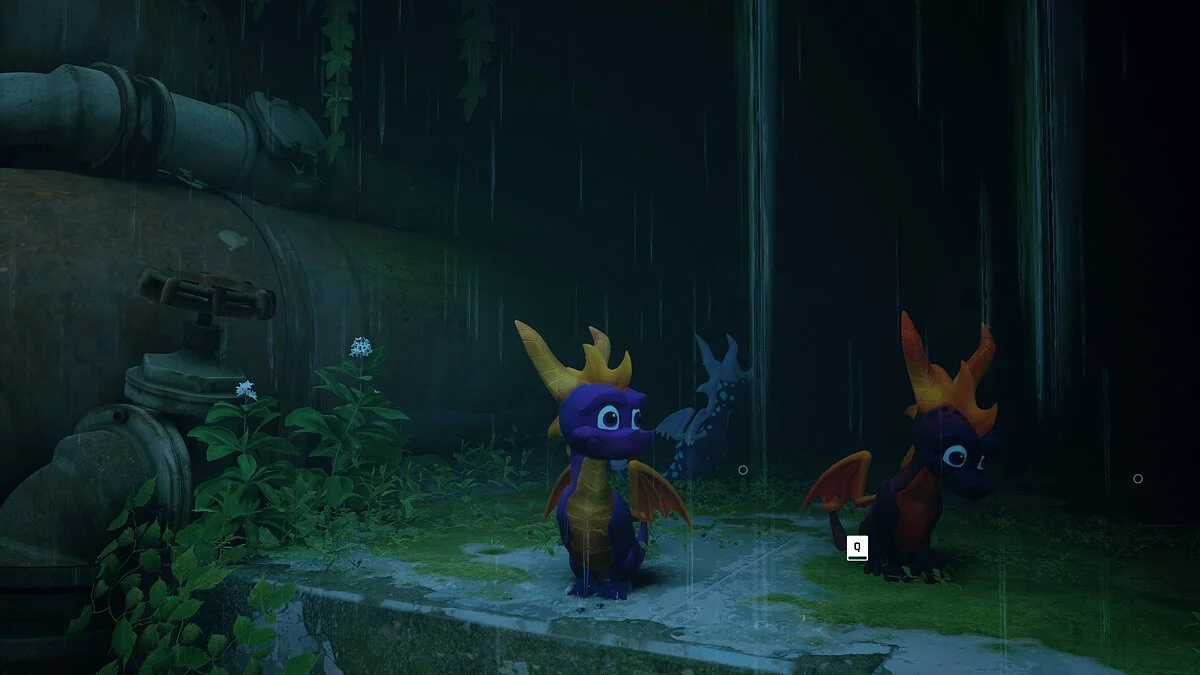
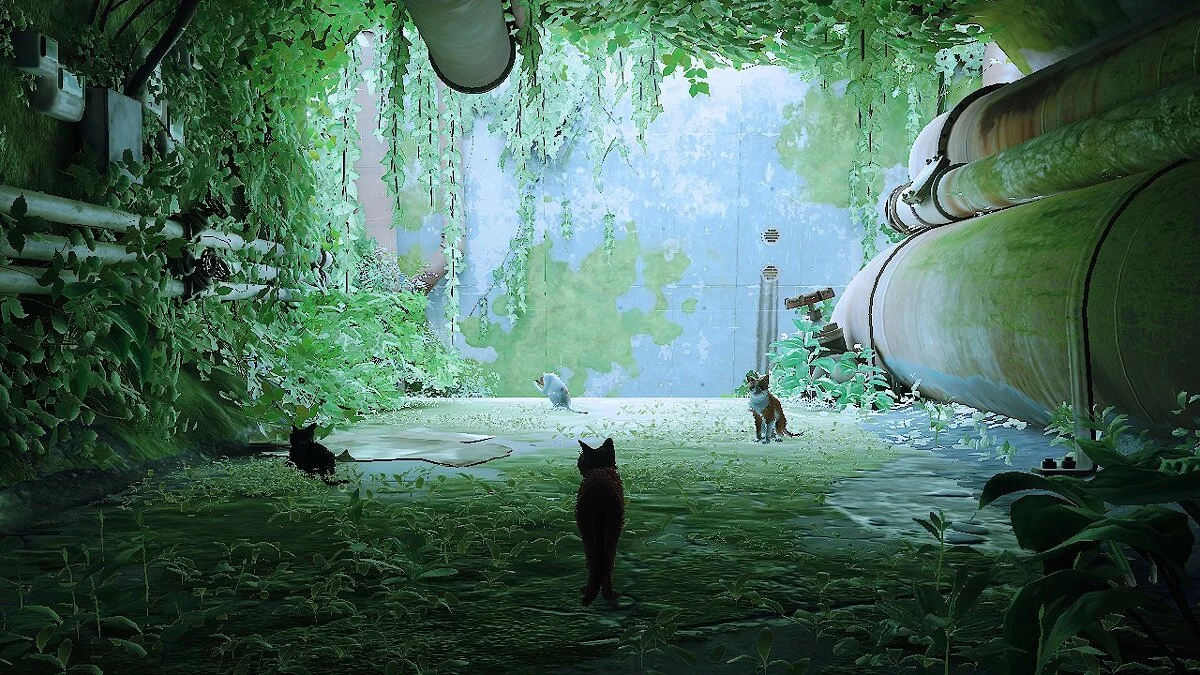
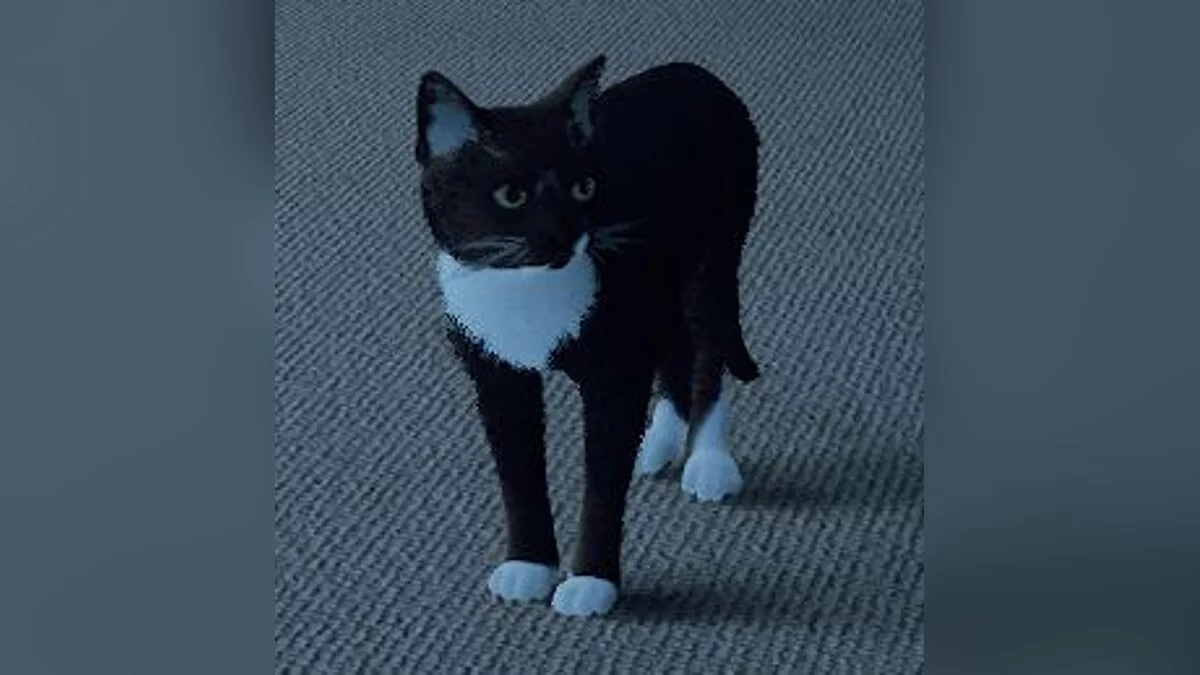
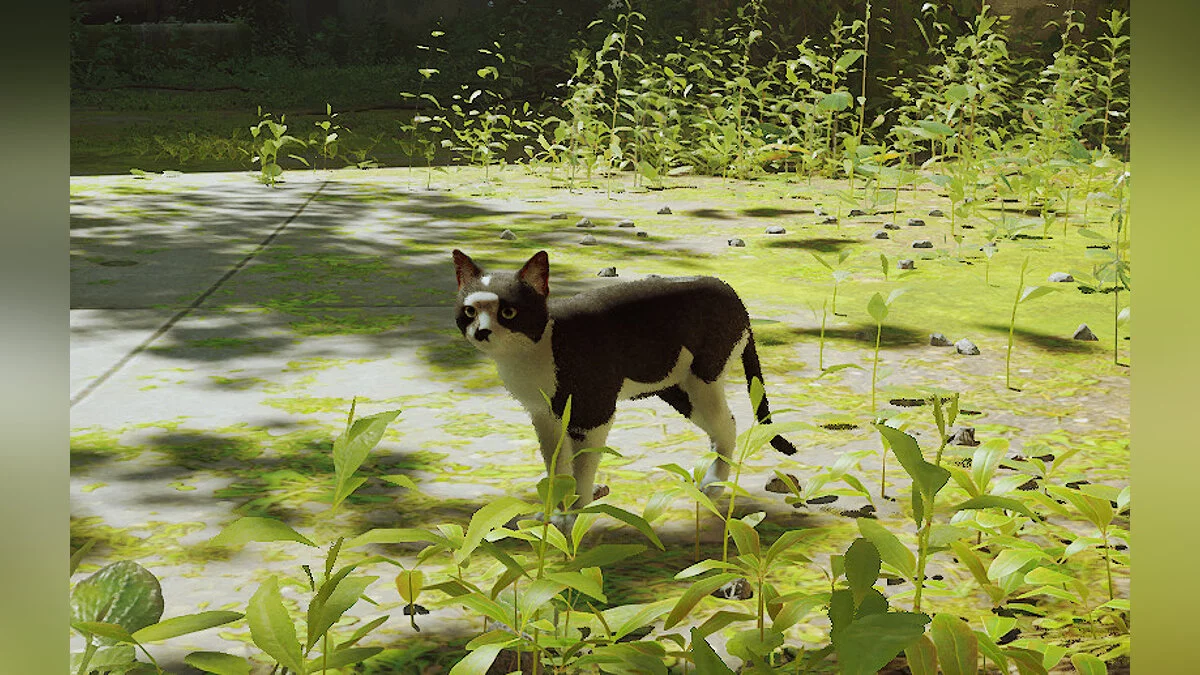
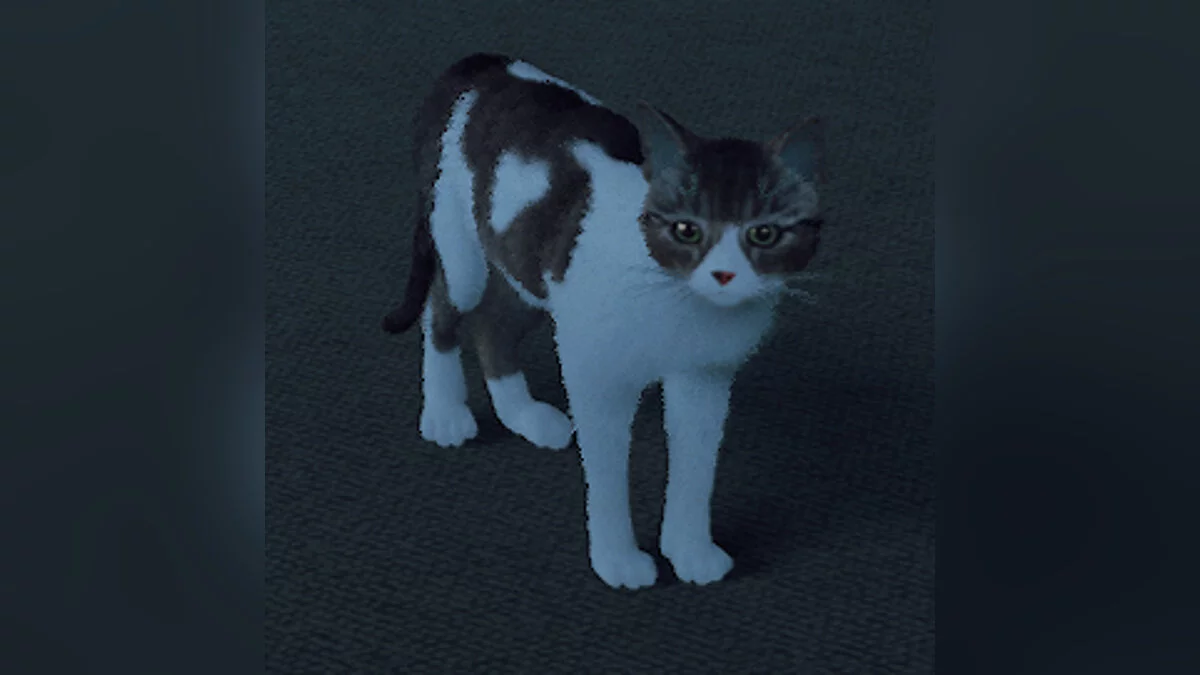
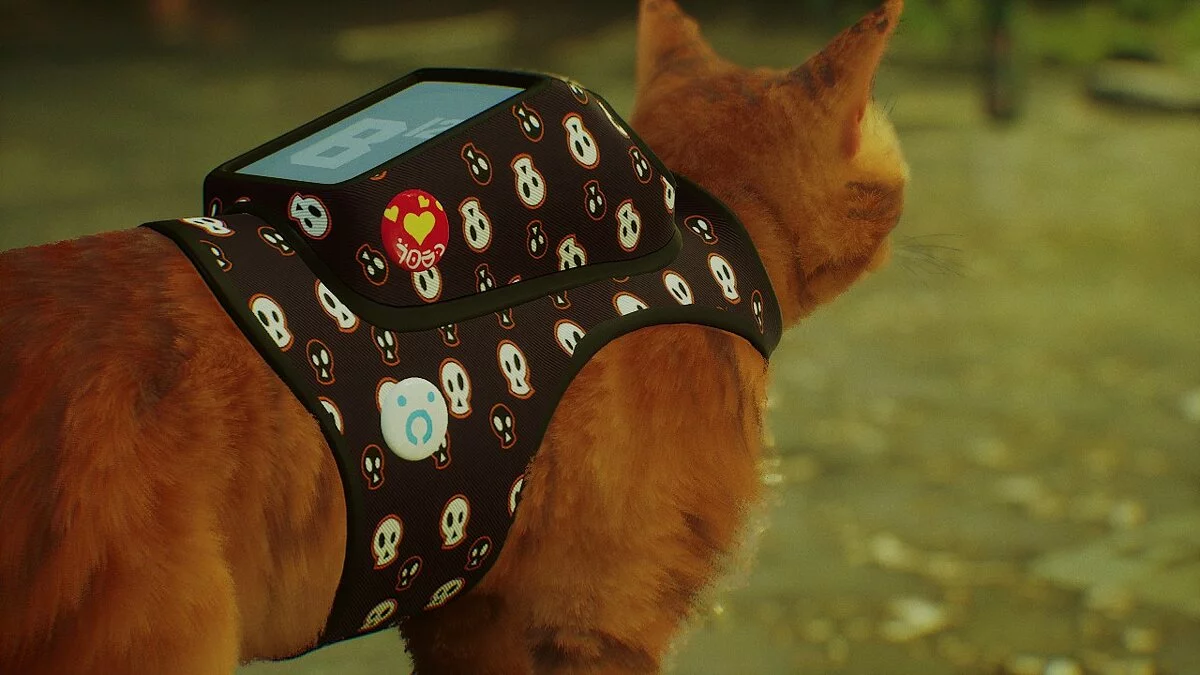
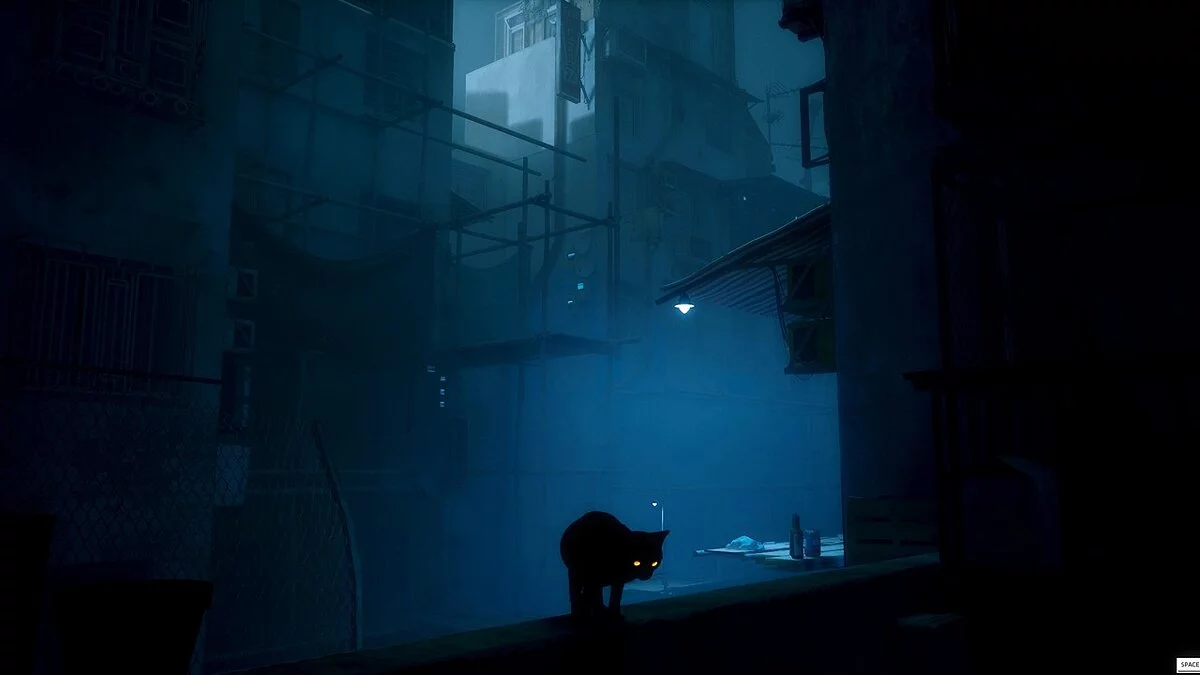
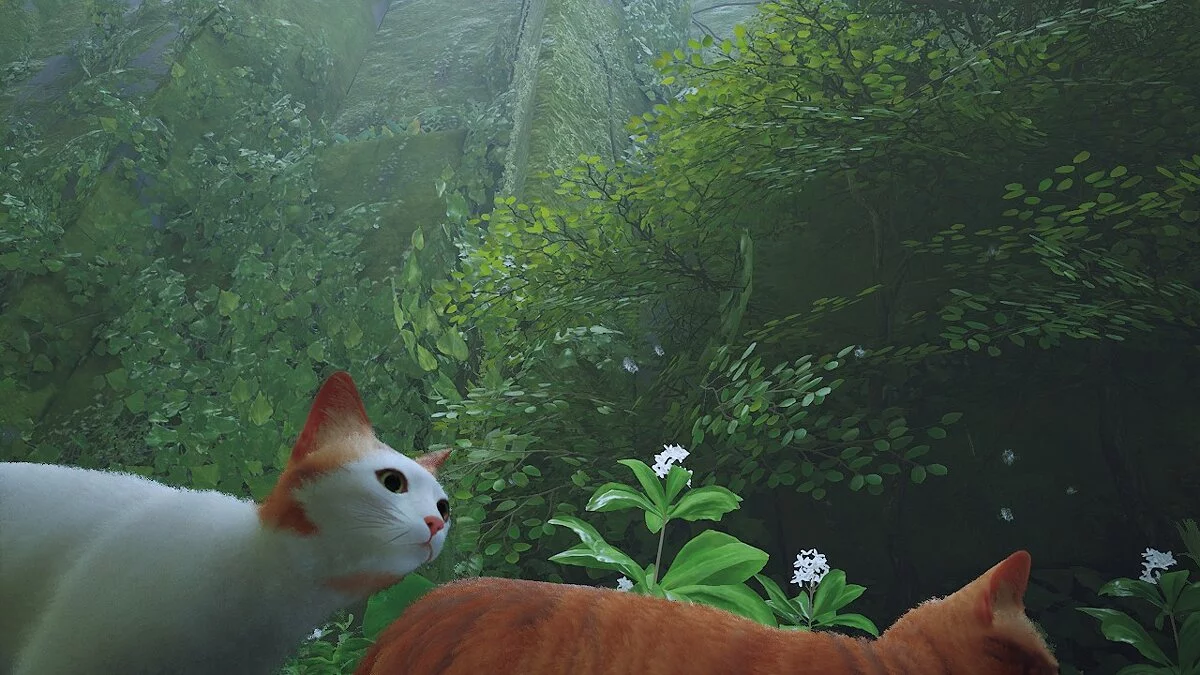
Photorealistic preset
-
www.nexusmods.comDownloadArchive password: vgtimes
Photorealistic Preset v1.0.
This reshade preset will adjust the color correction in the game to make it look better.
Installation:
1 Download Reshade (you can use the latest version).
2 Open Reshade and select the Stray application.
/Program Files (x86)/Steam Client/steamapps/common/Stray/HK_Project/Binaries/Win64
3 Download this preset and paste it into the location shown above.
4 Click Next and select DirectX 10/11/12 (2nd option)
5 Click Next and select the JP Photorealistic Preset.ini file by clicking the browse button (the My Preset file you downloaded)
6 Once you have selected the above preset, click "OK" to set the desired effects.
7 Click "Done" after installing the effects.
8 Launch the game and enjoy!
Photorealistic Preset v1.0.
Этот пресет решейда настроит коррекцию цвета в игре, чтобы она выглядела лучше.
Установка:
1 Загрузите Reshade (можно использовать последнюю версию).
2 Откройте Reshade и выберите приложение Stray.
/Program Files (x86)/Steam Client/steamapps/common/Stray/HK_Project/Binaries/Win64
3 Загрузите этот пресет и вставьте его в указанное выше место.
4 Нажмите «Далее» и выберите параметр DirectX 10/11/12 (2-й вариант)
5 Нажмите «Далее» и выберите файл JP Photorealistic Preset.ini, нажав кнопку обзора (файл My Preset, который вы загрузили)
6 После того, как вы выбрали вышеуказанный пресет, нажмите «ОК», чтобы установить необходимые эффекты.
7 Нажмите кнопку «Готово» после установки эффектов.
8 Запустите игру и наслаждайтесь!
Useful links:

