Where to Find All Shards of the Decaying Tree in Elden Ring Shadow of the Erdtree

In the Shadow of the Erdtree expansion for Elden Ring, a new mechanic has been added, allowing your attacks and the attacks of your phantom helper to deal more damage. Conversely, you will take less damage. To achieve this, you will need to thoroughly explore the realm of shadows. To simplify the task, we have prepared a guide with the locations of all resources to enhance your hero.
What are Shards of the Decaying Tree and Glorious Spirit Ashes
While exploring the shadow world in the expansion, you will find Shards of the Decaying Tree and Glorious Spirit Ashes. Both resources serve one purpose — to make your life easier in the harsh world of the DLC. Shards enhance your attacks and reduce the damage you take, while Glorious Spirit Ashes improve the stats of your phantom helper.
All enhancements work only in the expansion and are not available in the main game. Without them, your life will be significantly harder, as even ordinary enemies deal catastrophic amounts of damage. On average, stats increase by 5% each time you collect enough shards or ashes. Each new level will require an increasing amount of these resources.
By opening the character status, you will see new stats highlighted in yellow. These are the enhancements that will not be available in the main game. We recommend collecting shards and ashes in each new location of the shadow realm first, and only then proceed to fight. Due to numerous player complaints about difficulty, FromSoftware has rebalanced the game, so the shards and ashes will significantly improve your damage and resistance, especially in the early stages.
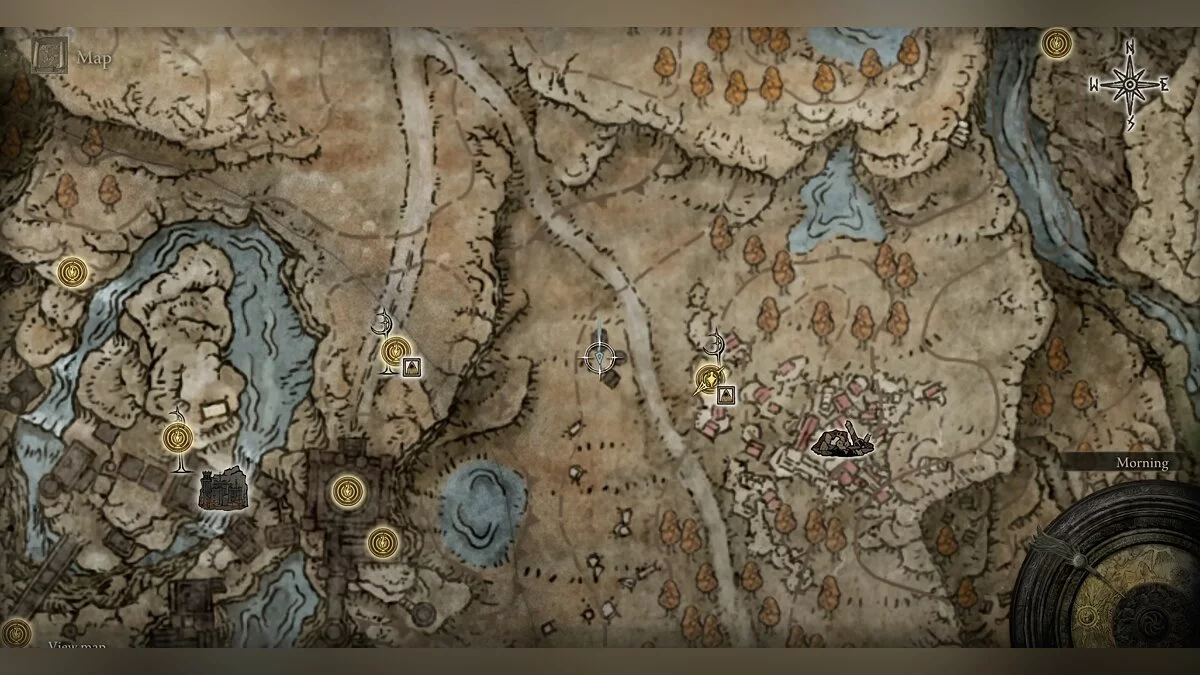
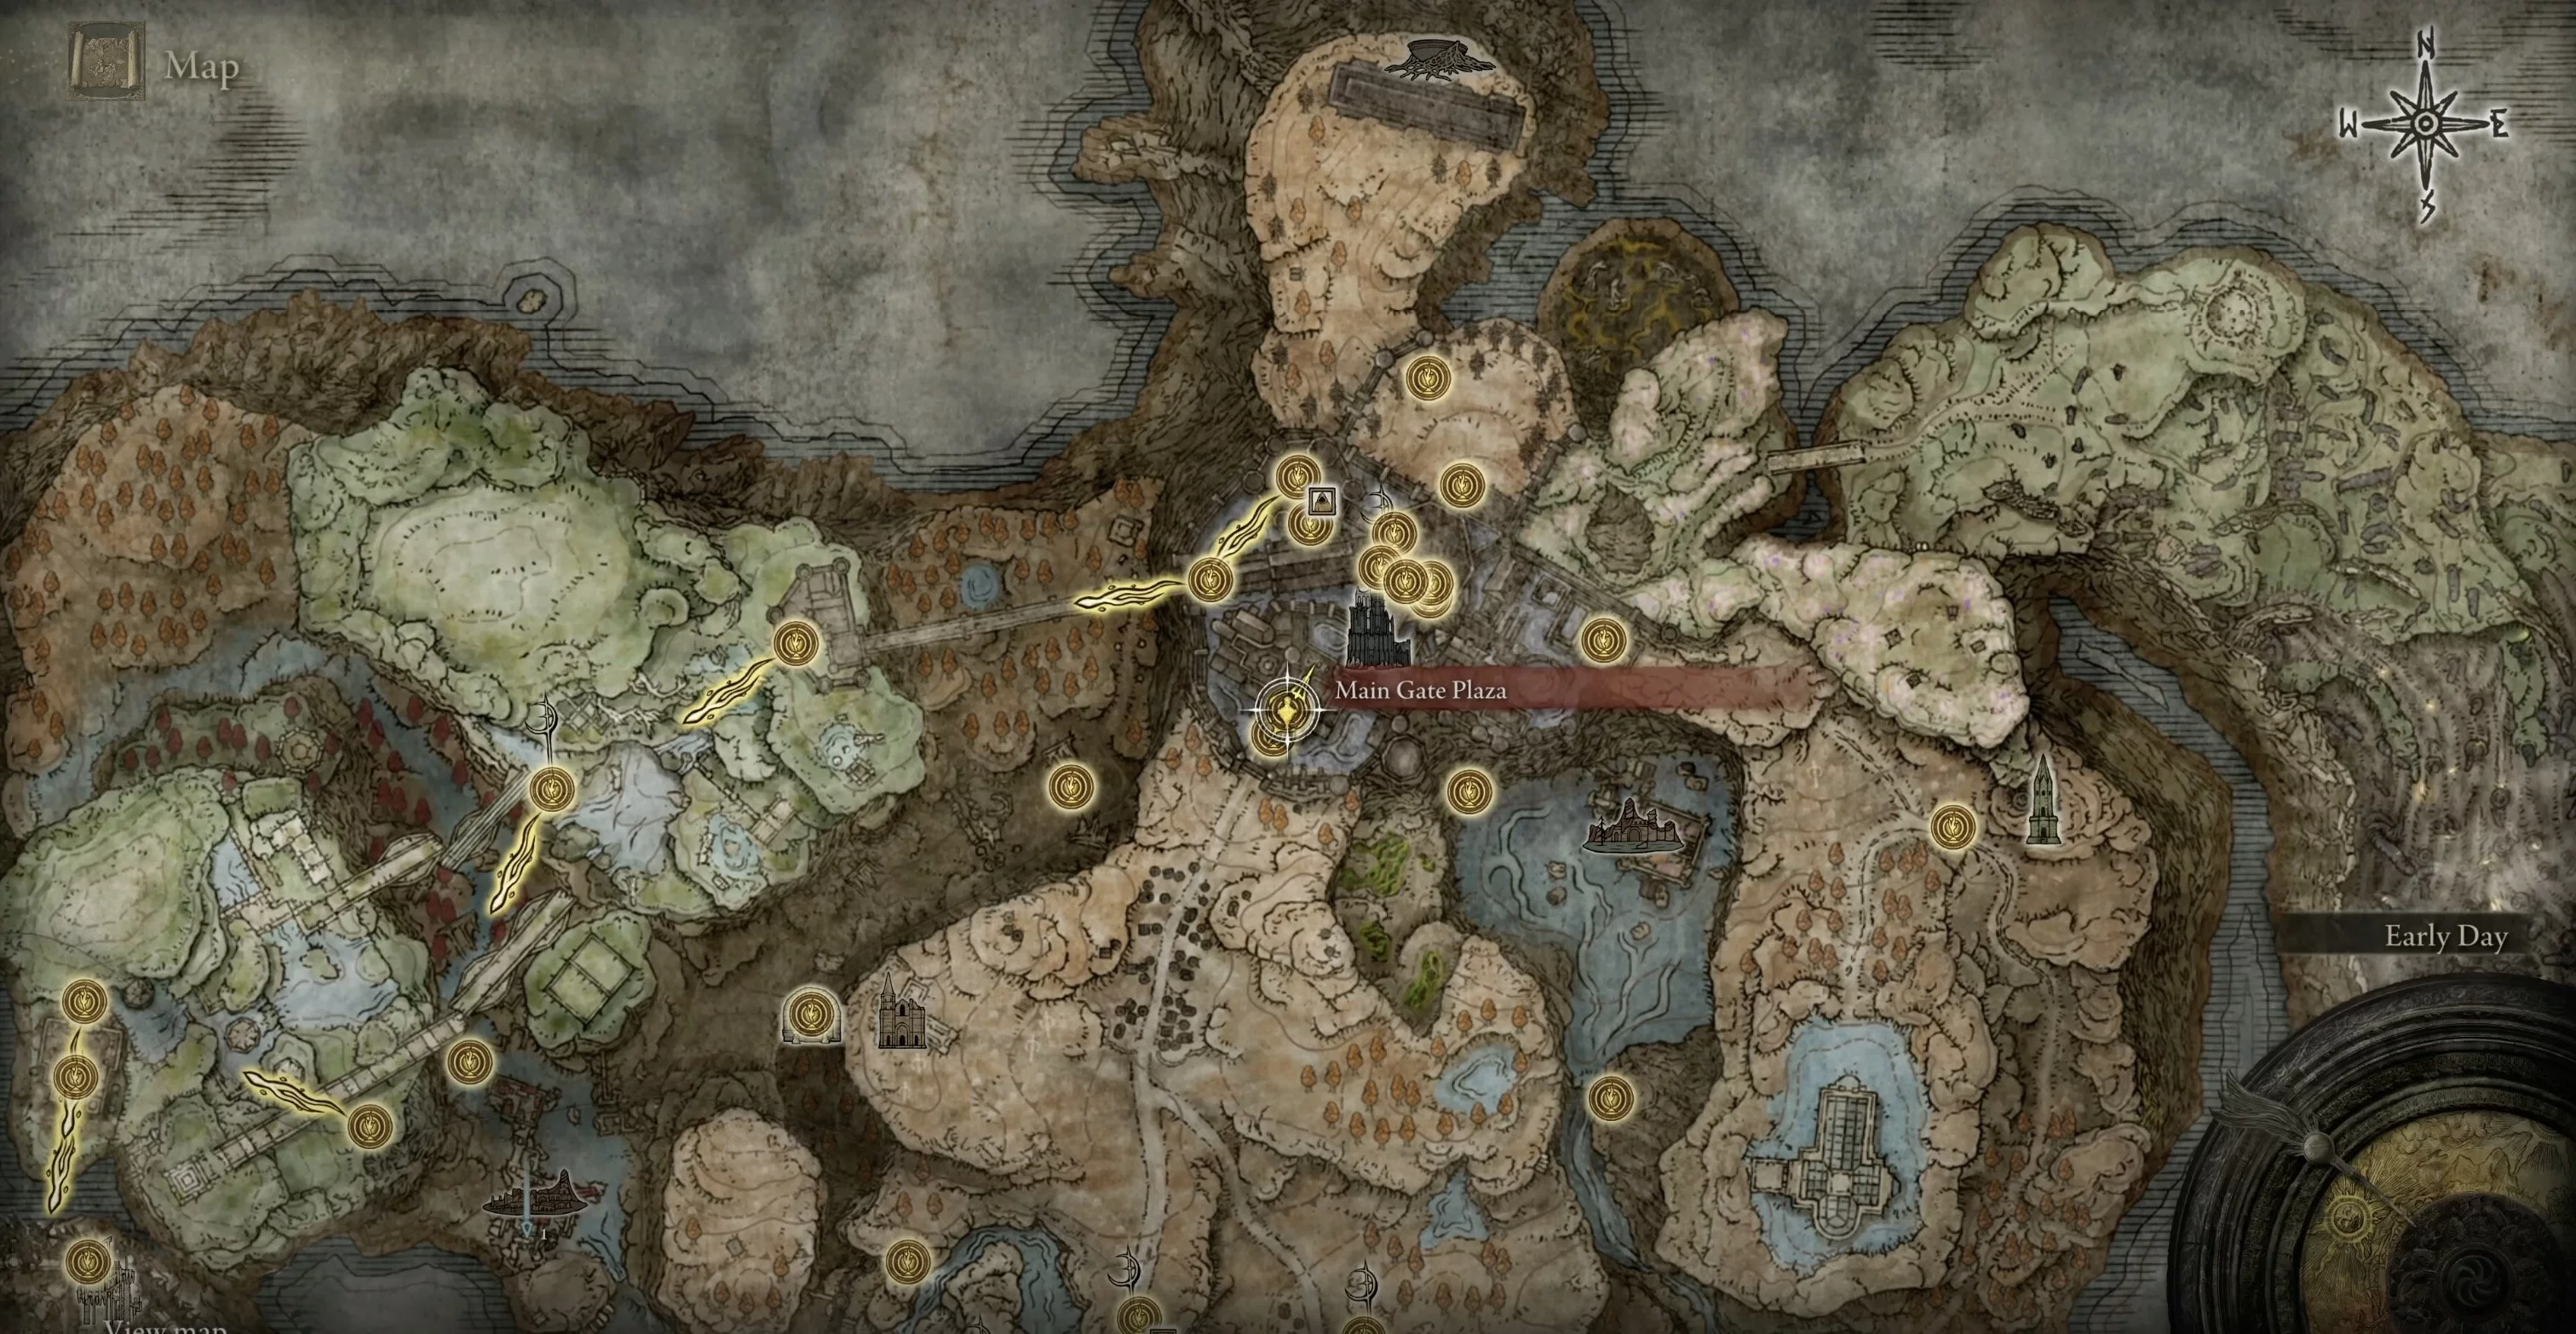
If you encounter difficulties or cannot precisely determine locations from our descriptions, use the interactive map. However, note that it does not show verticality. Some locations may be above ground level or, conversely, below. There are a total of 50 shards and 25 ashes in the game.
Where to Find Shards of the Decaying Tree
All caches can be roughly divided into several large groups:
- Temples and statues;
- Miquella's Crosses;
- Pots in the hands of shadow humanoids;
- Mini-bosses (not all).
How Damage and Resistance Increase
- Level 1 — requires one shard, attack power increase +10%, resistance to all types of damage +11%;
- Level 2 — requires two shards, attack power increase +20%, resistance to all types of damage +21%;
- Level 3 — requires two shards, attack power increase +25%, resistance to all types of damage +25%;
- Level 4 — requires two shards, attack power increase +30%, resistance to all types of damage +28%;
- Level 5 — requires two shards, attack power increase +35%, resistance to all types of damage +32%;
- Level 6 — requires two shards, attack power increase +42%, resistance to all types of damage +37%;
- Level 7 — requires two shards, attack power increase +50%, resistance to all types of damage +41%;
- Level 8 — requires two shards, attack power increase +55%, resistance to all types of damage +44%;
- Level 9 — requires two shards, attack power increase +60%, resistance to all types of damage +47%;
- Level 10 — requires three shards, attack power increase +65%, resistance to all types of damage +49%;
- Level 11 — requires three shards, attack power increase +75%, resistance to all types of damage +53%;
- Level 12 — requires three shards, attack power increase +85%, resistance to all types of damage +57%;
- Level 13 — requires three shards, attack power increase +87%, resistance to all types of damage +58%;
- Level 14 — requires three shards, attack power increase +90%, resistance to all types of damage +59%;
- Level 15 — requires three shards, attack power increase +92%, resistance to all types of damage +60%;
- Level 16 — requires three shards, attack power increase +95%, resistance to all types of damage +61%;
- Level 17 — requires three shards, attack power increase +97%, resistance to all types of damage +61.9%;
- Level 18 — requires three shards, attack power increase +100%, resistance to all types of damage +62.7%;
- Level 19 — requires three shards, attack power increase +102%, resistance to all types of damage +63%;
- Level 20 — requires three shards, attack power increase +105%, resistance to all types of damage +64%.
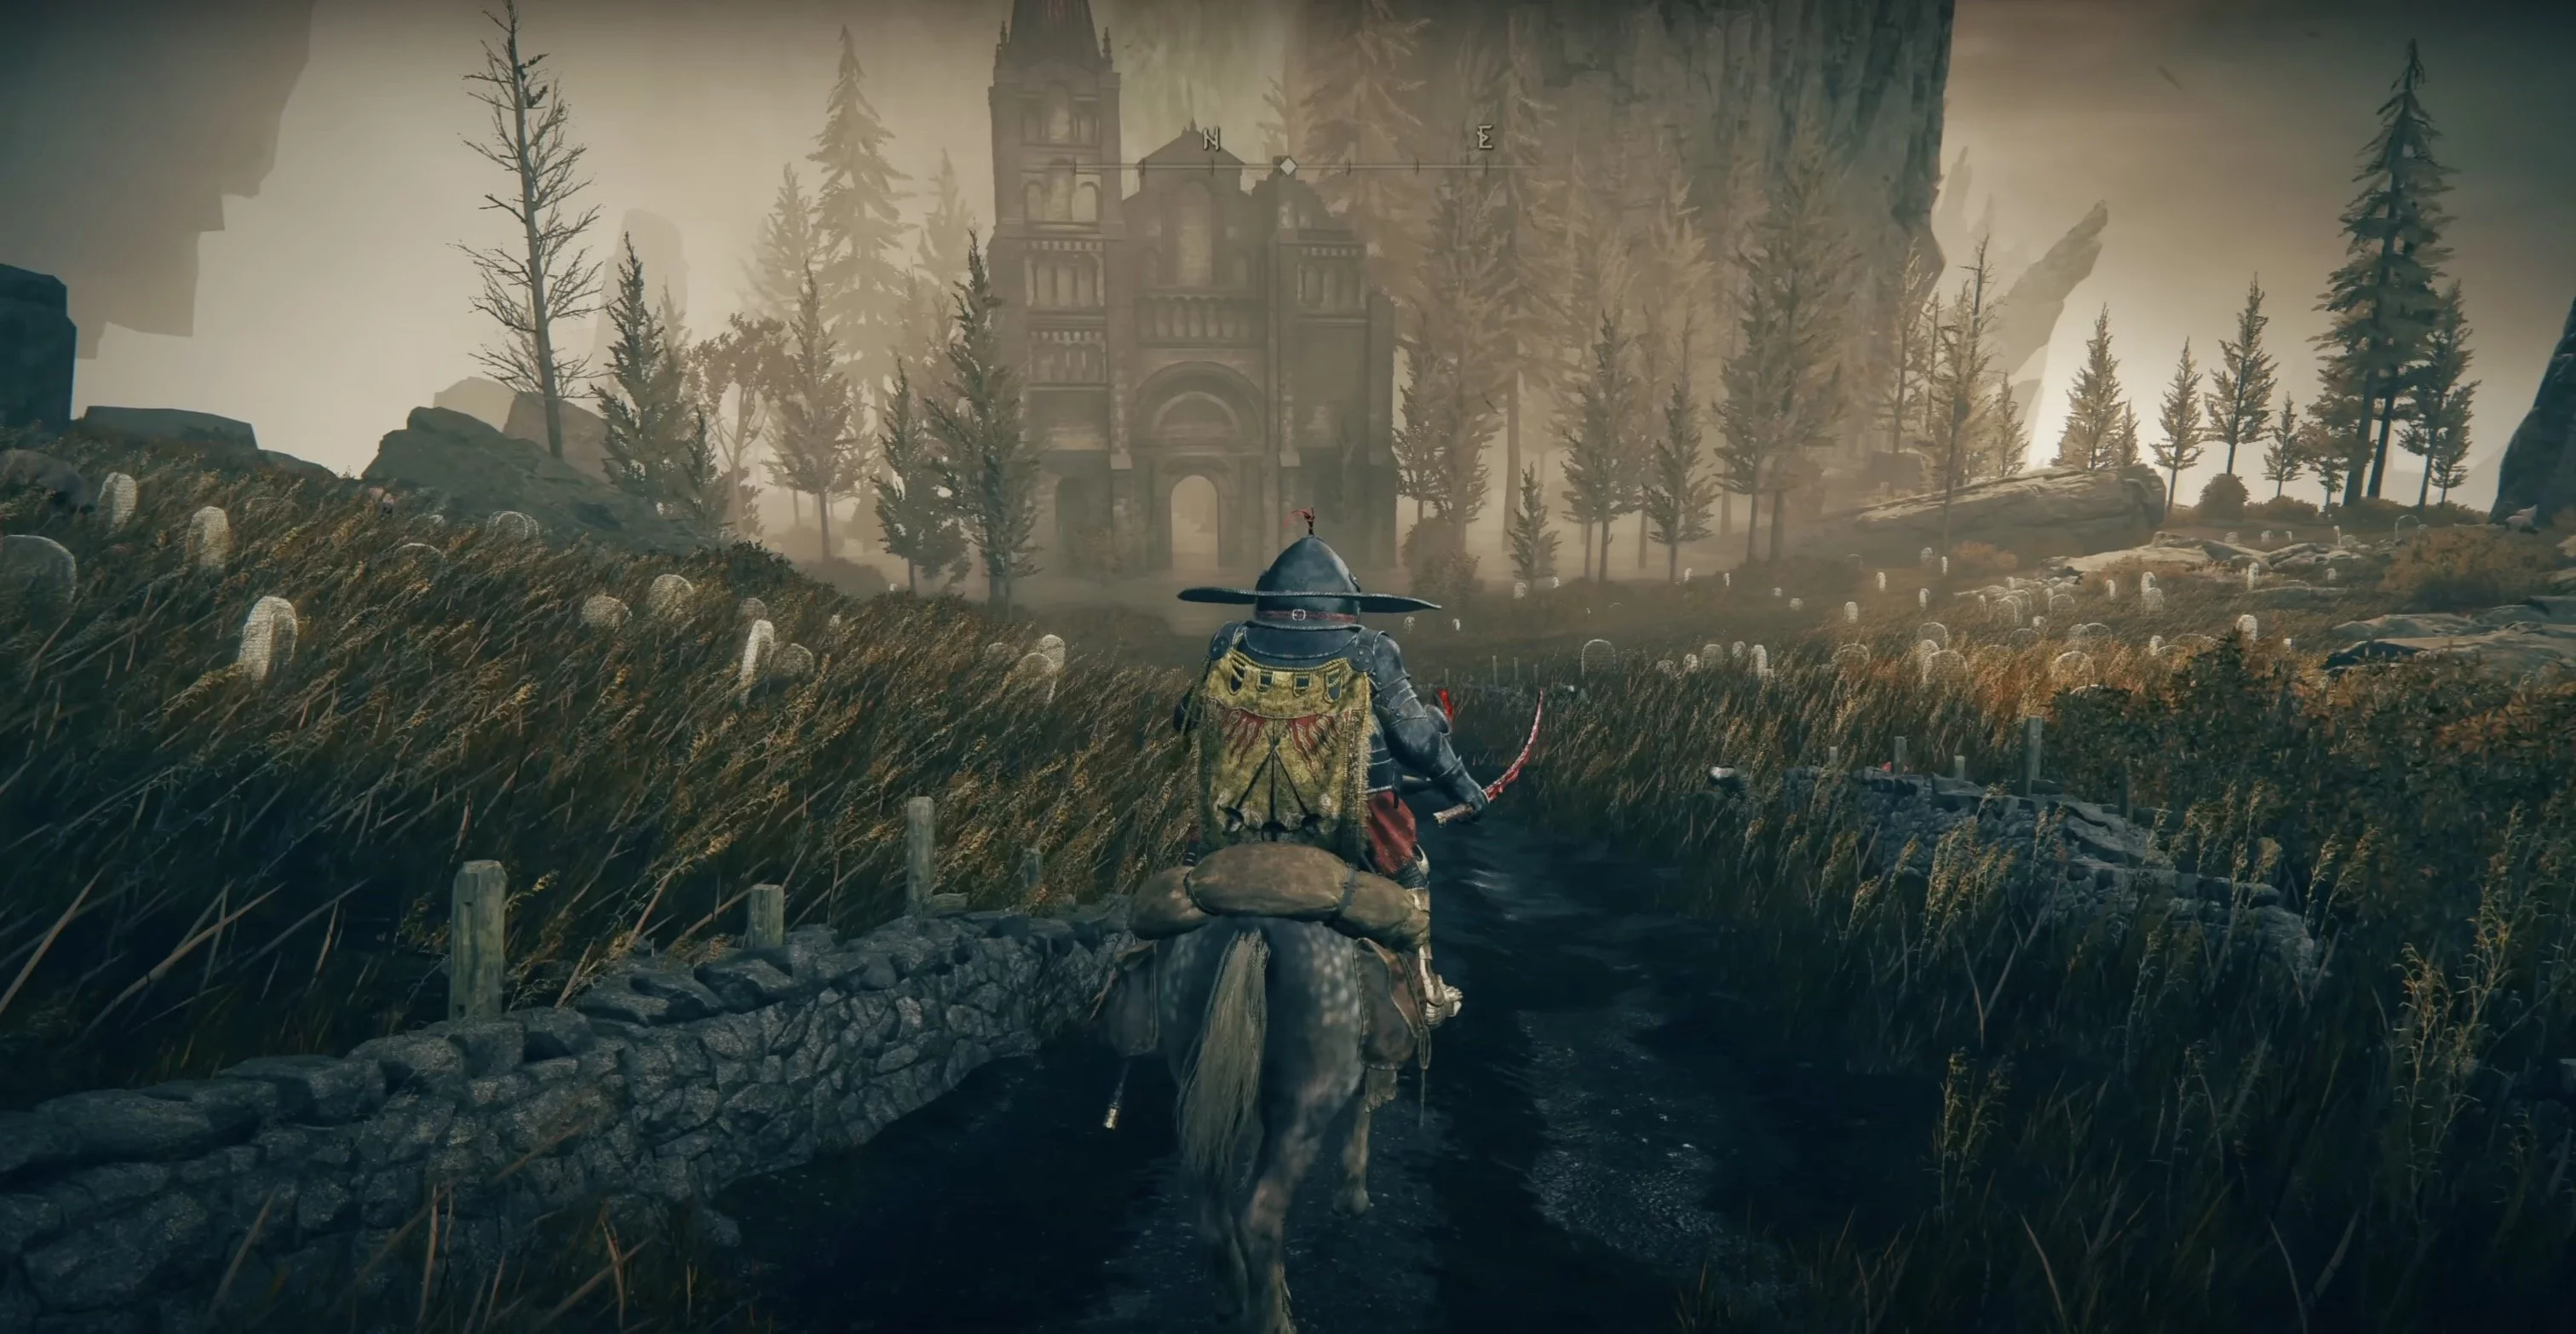
How to Find Shards of the Decaying Tree in the Tombstone Plains
There are a total of 8 shards in the first zone of the expansion.
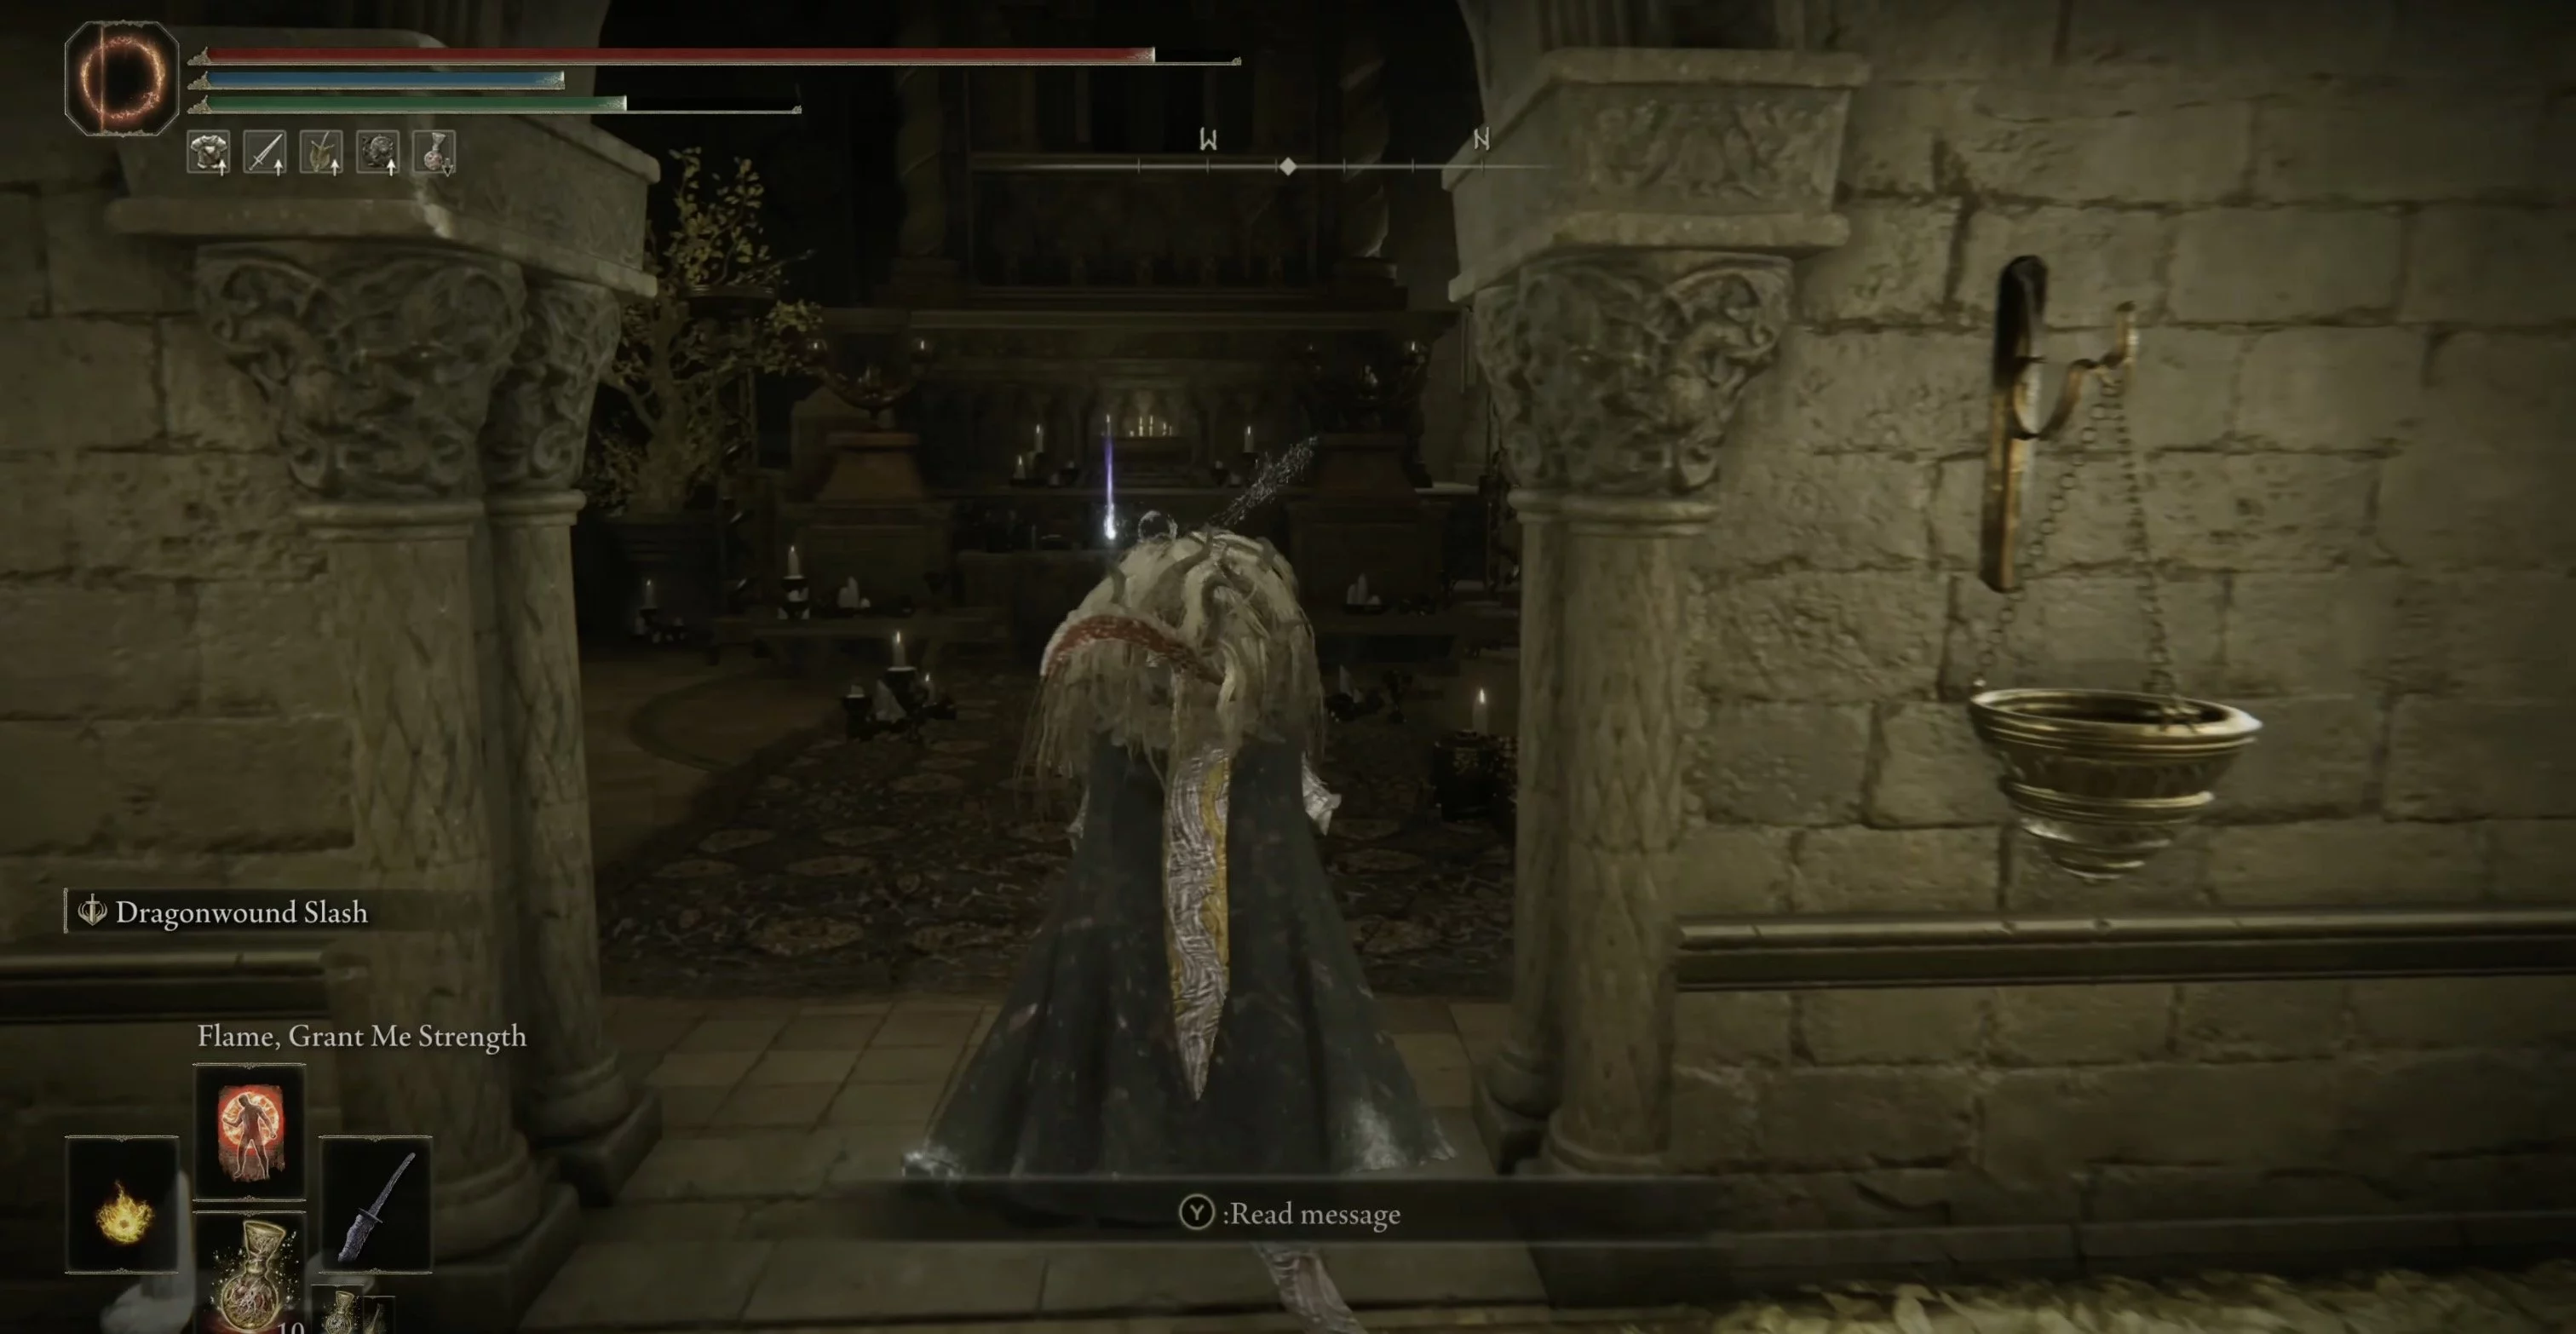
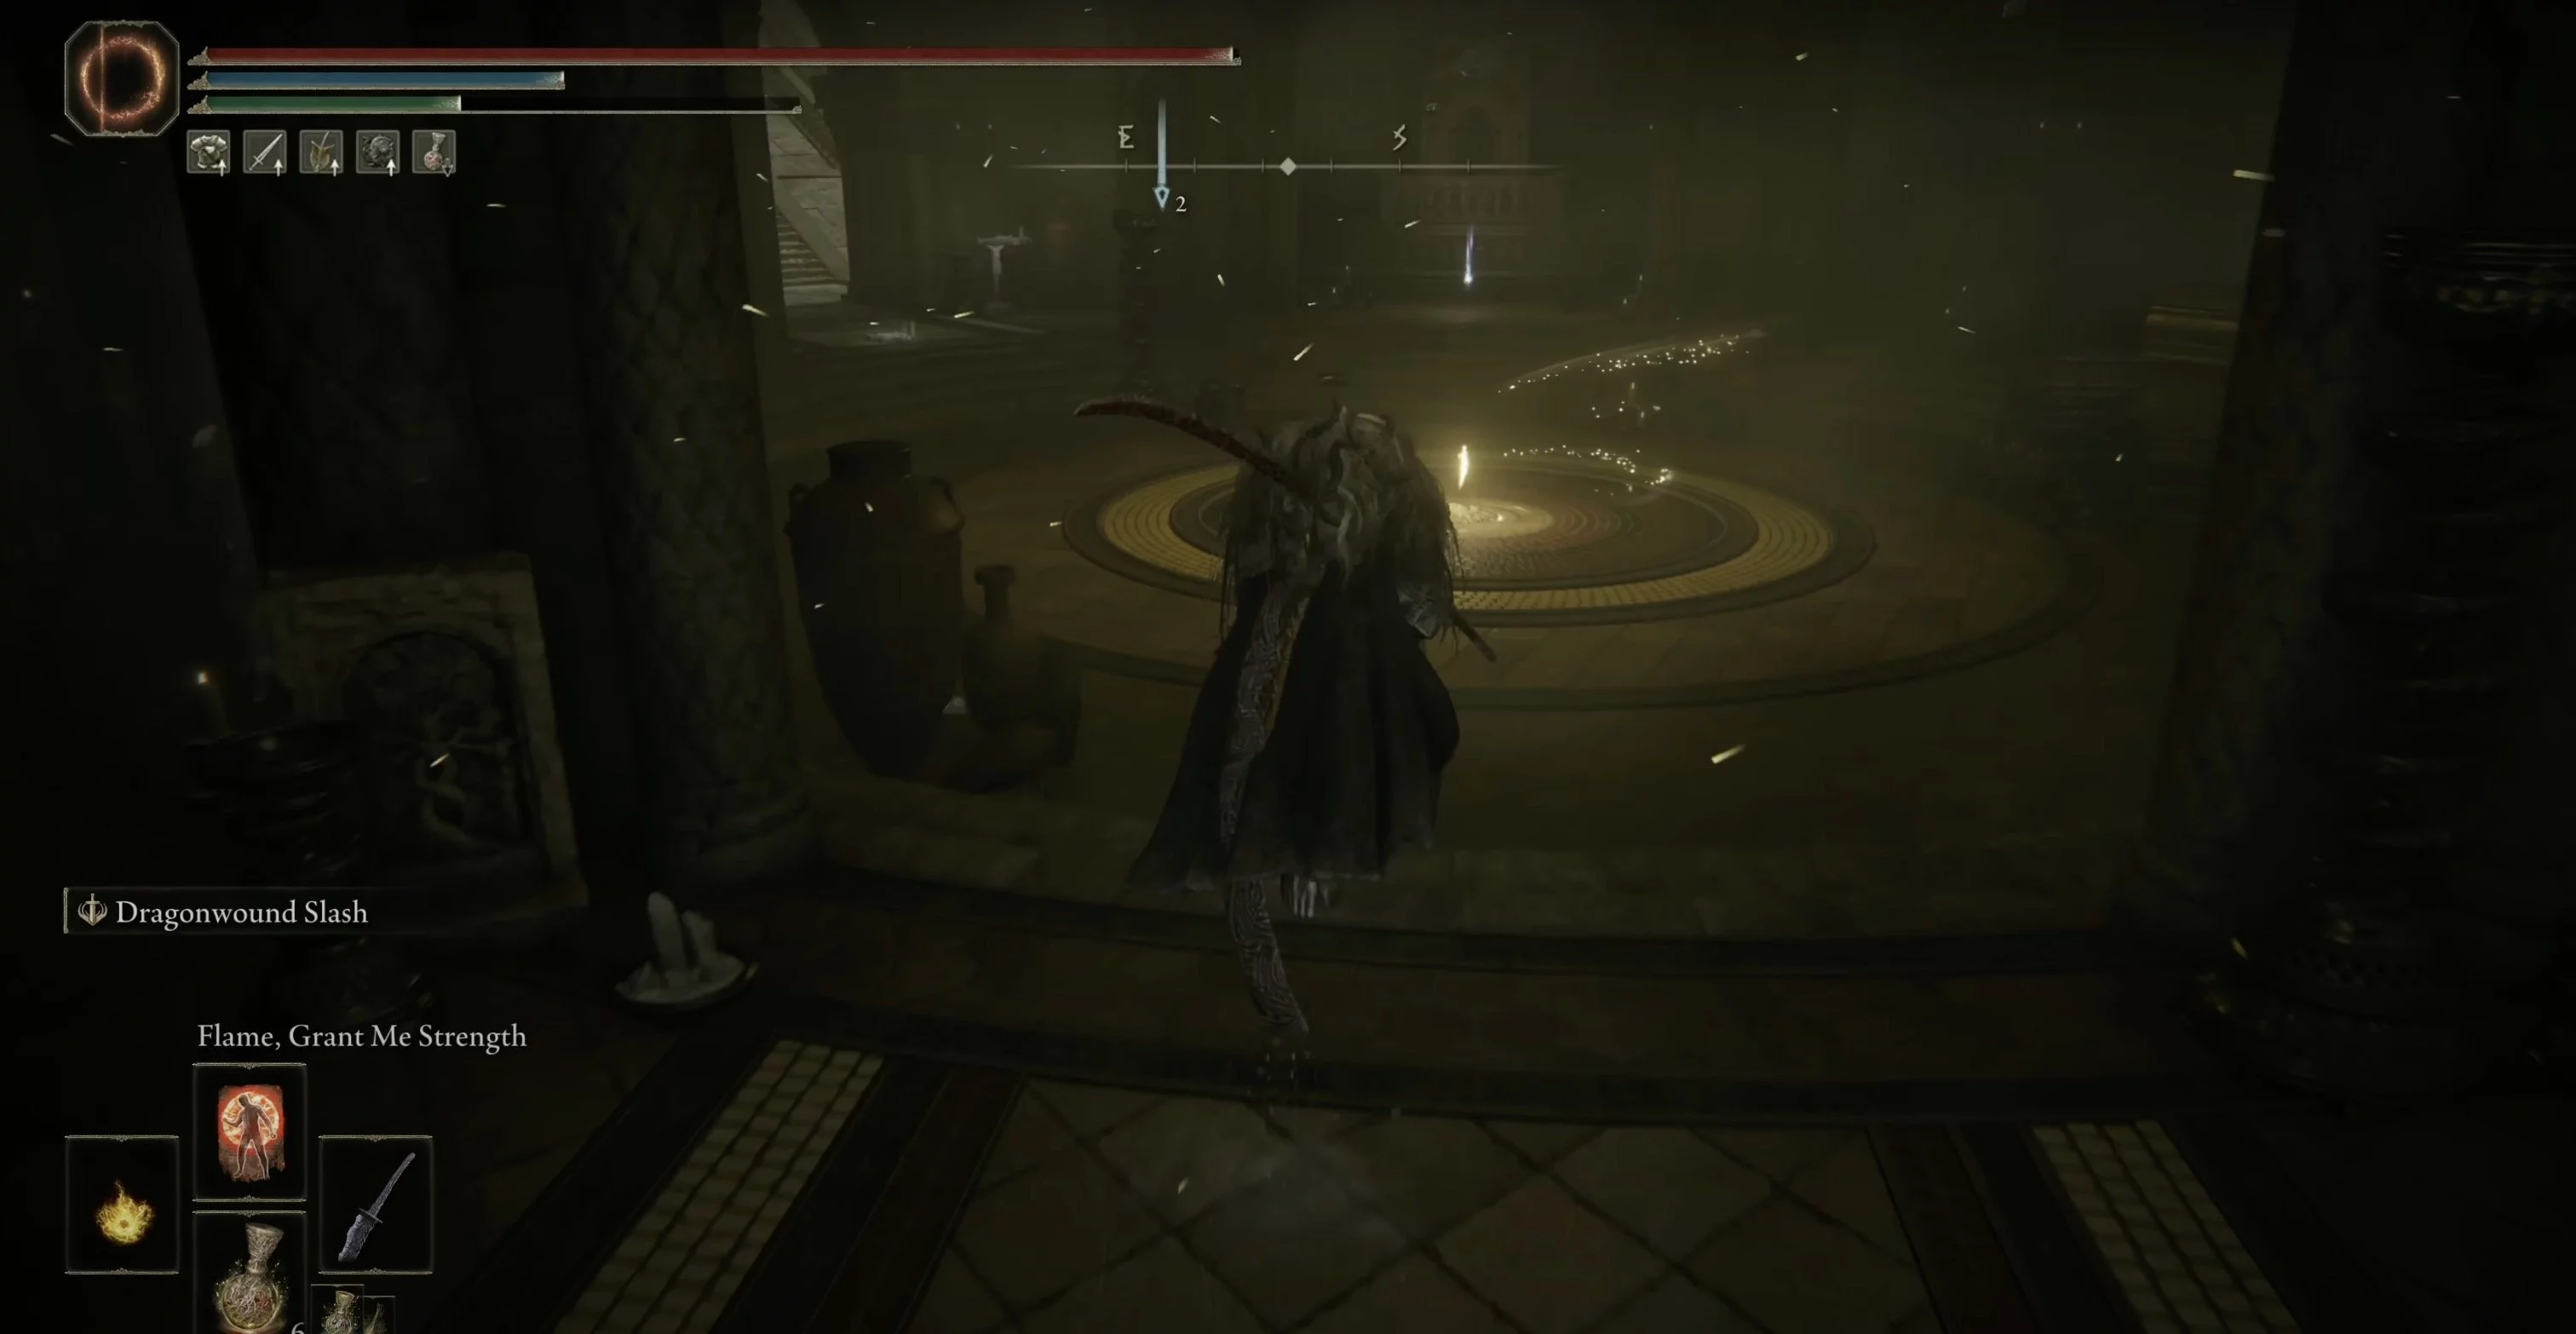
Location: Temple of Solace
Your first two shards will be in the Temple of Solace, which is located east of the Charred Ruins. Getting there is simple. Once you have the map, instead of going up towards the ruins, go down. Stay on the road and you will reach the temple directly. There, you will face a strong enemy — a black knight, and for defeating him, you will receive a new weapon — a black steel hammer.
Location: Charred Ruins
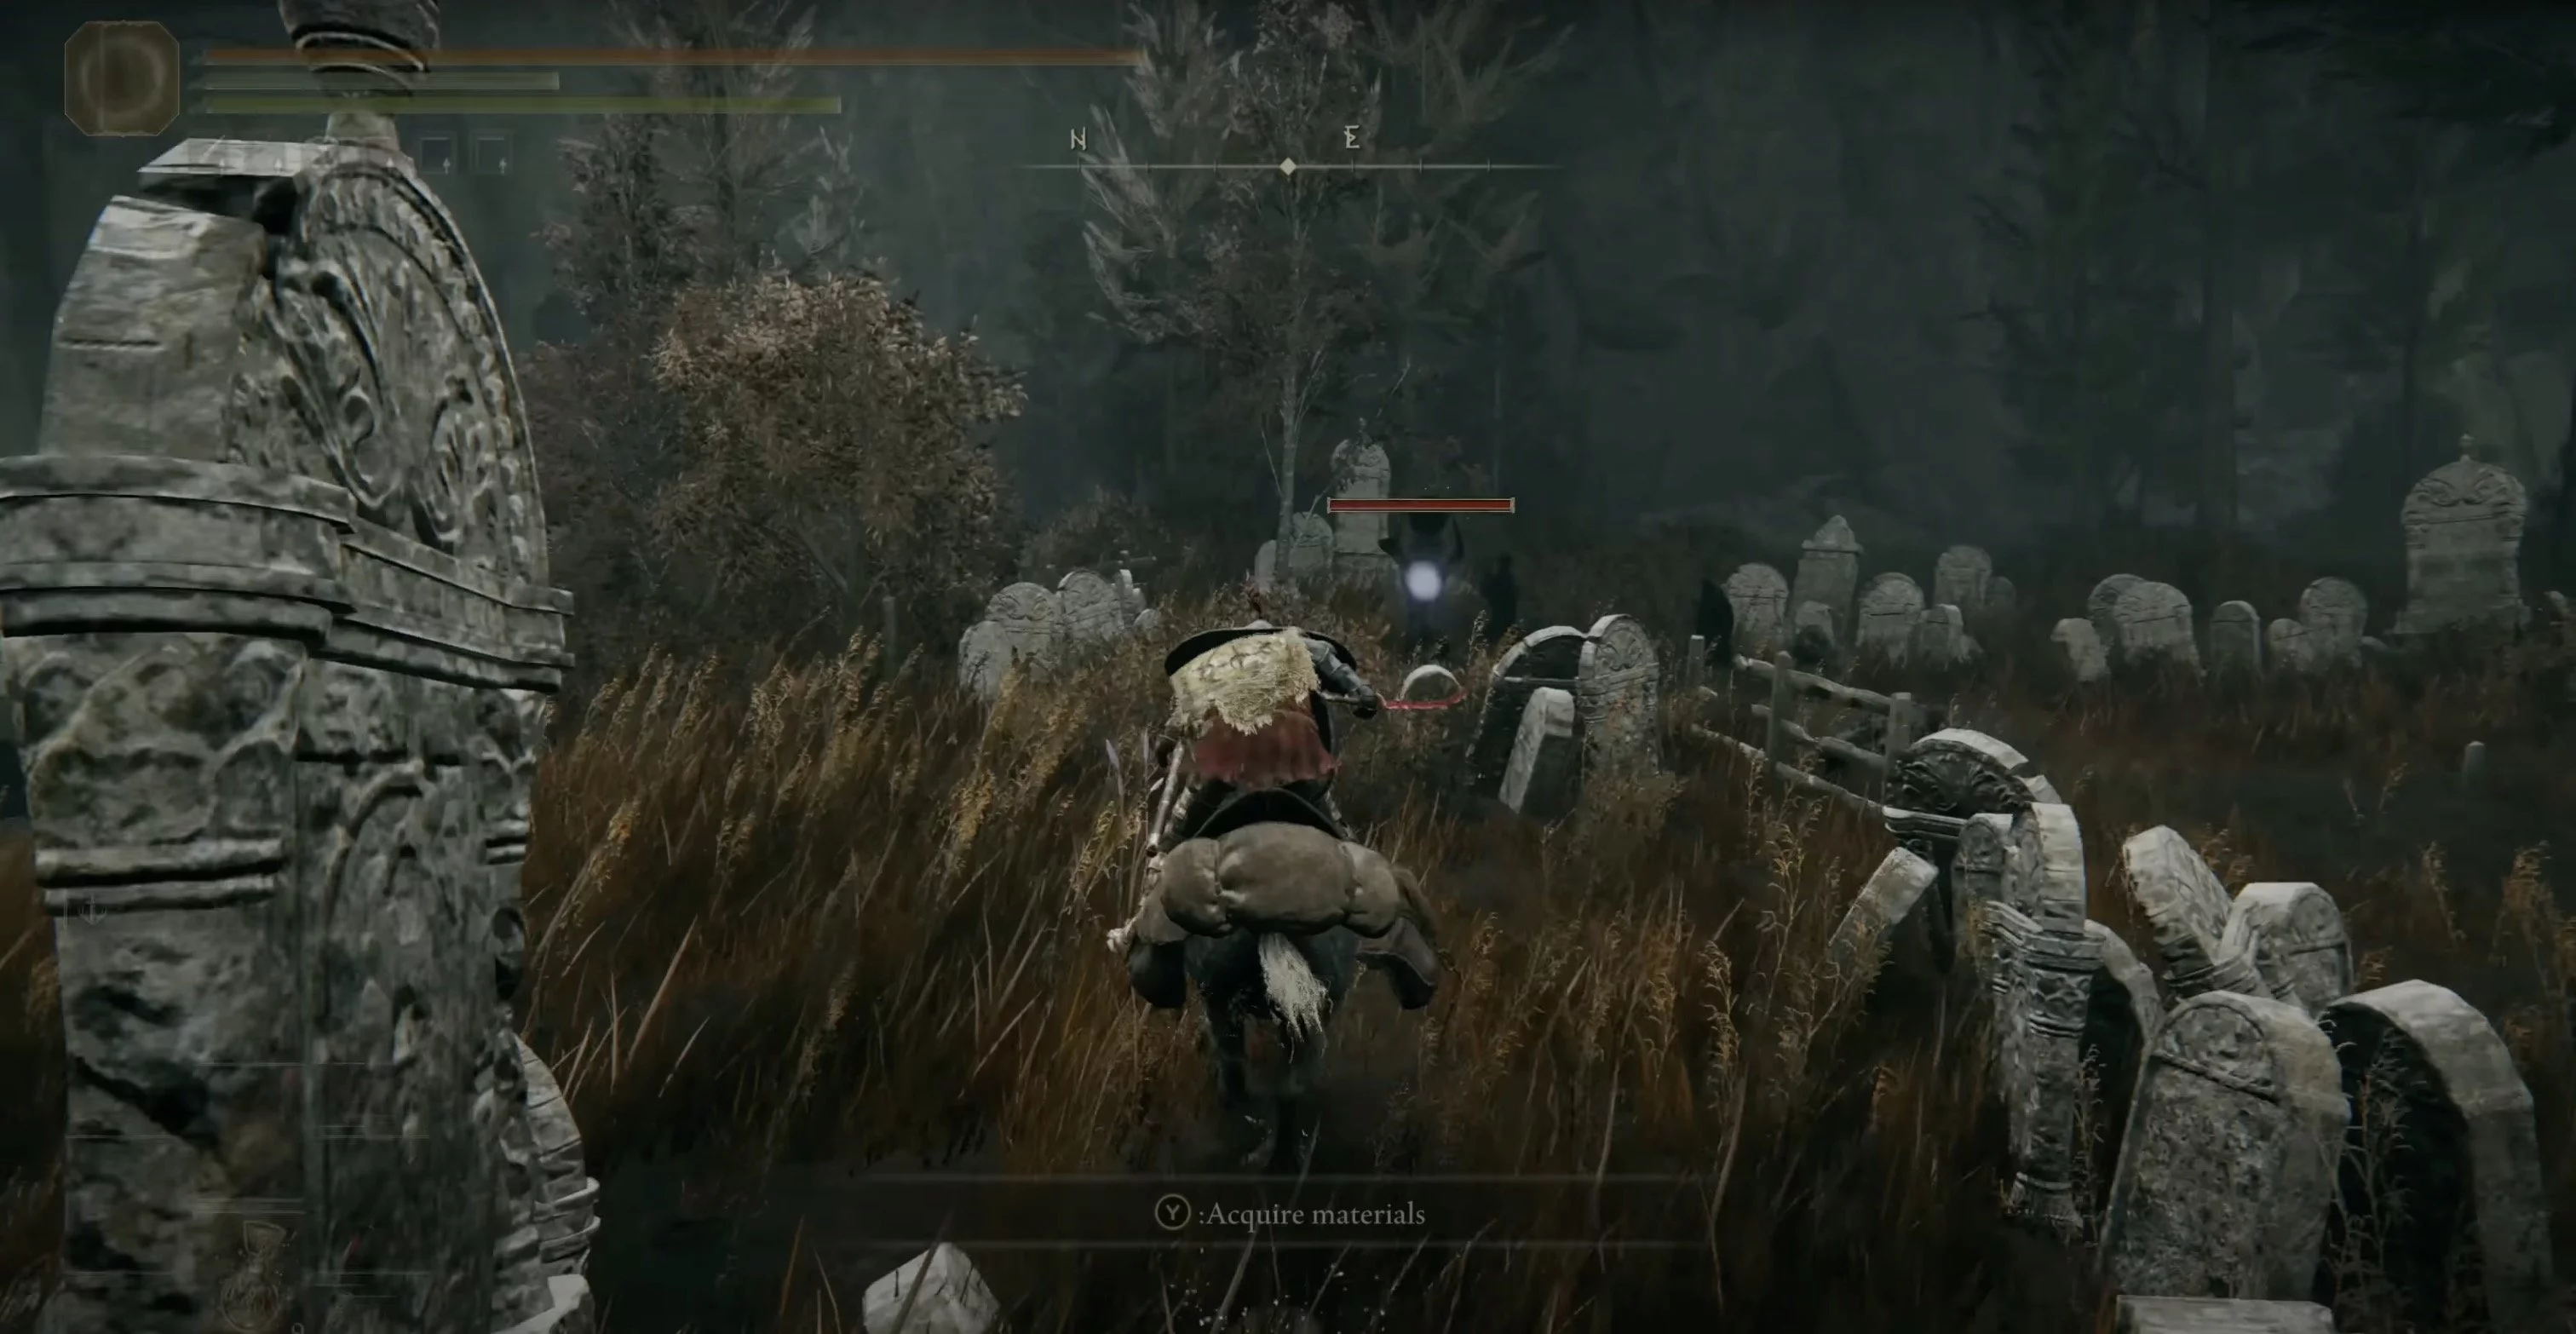
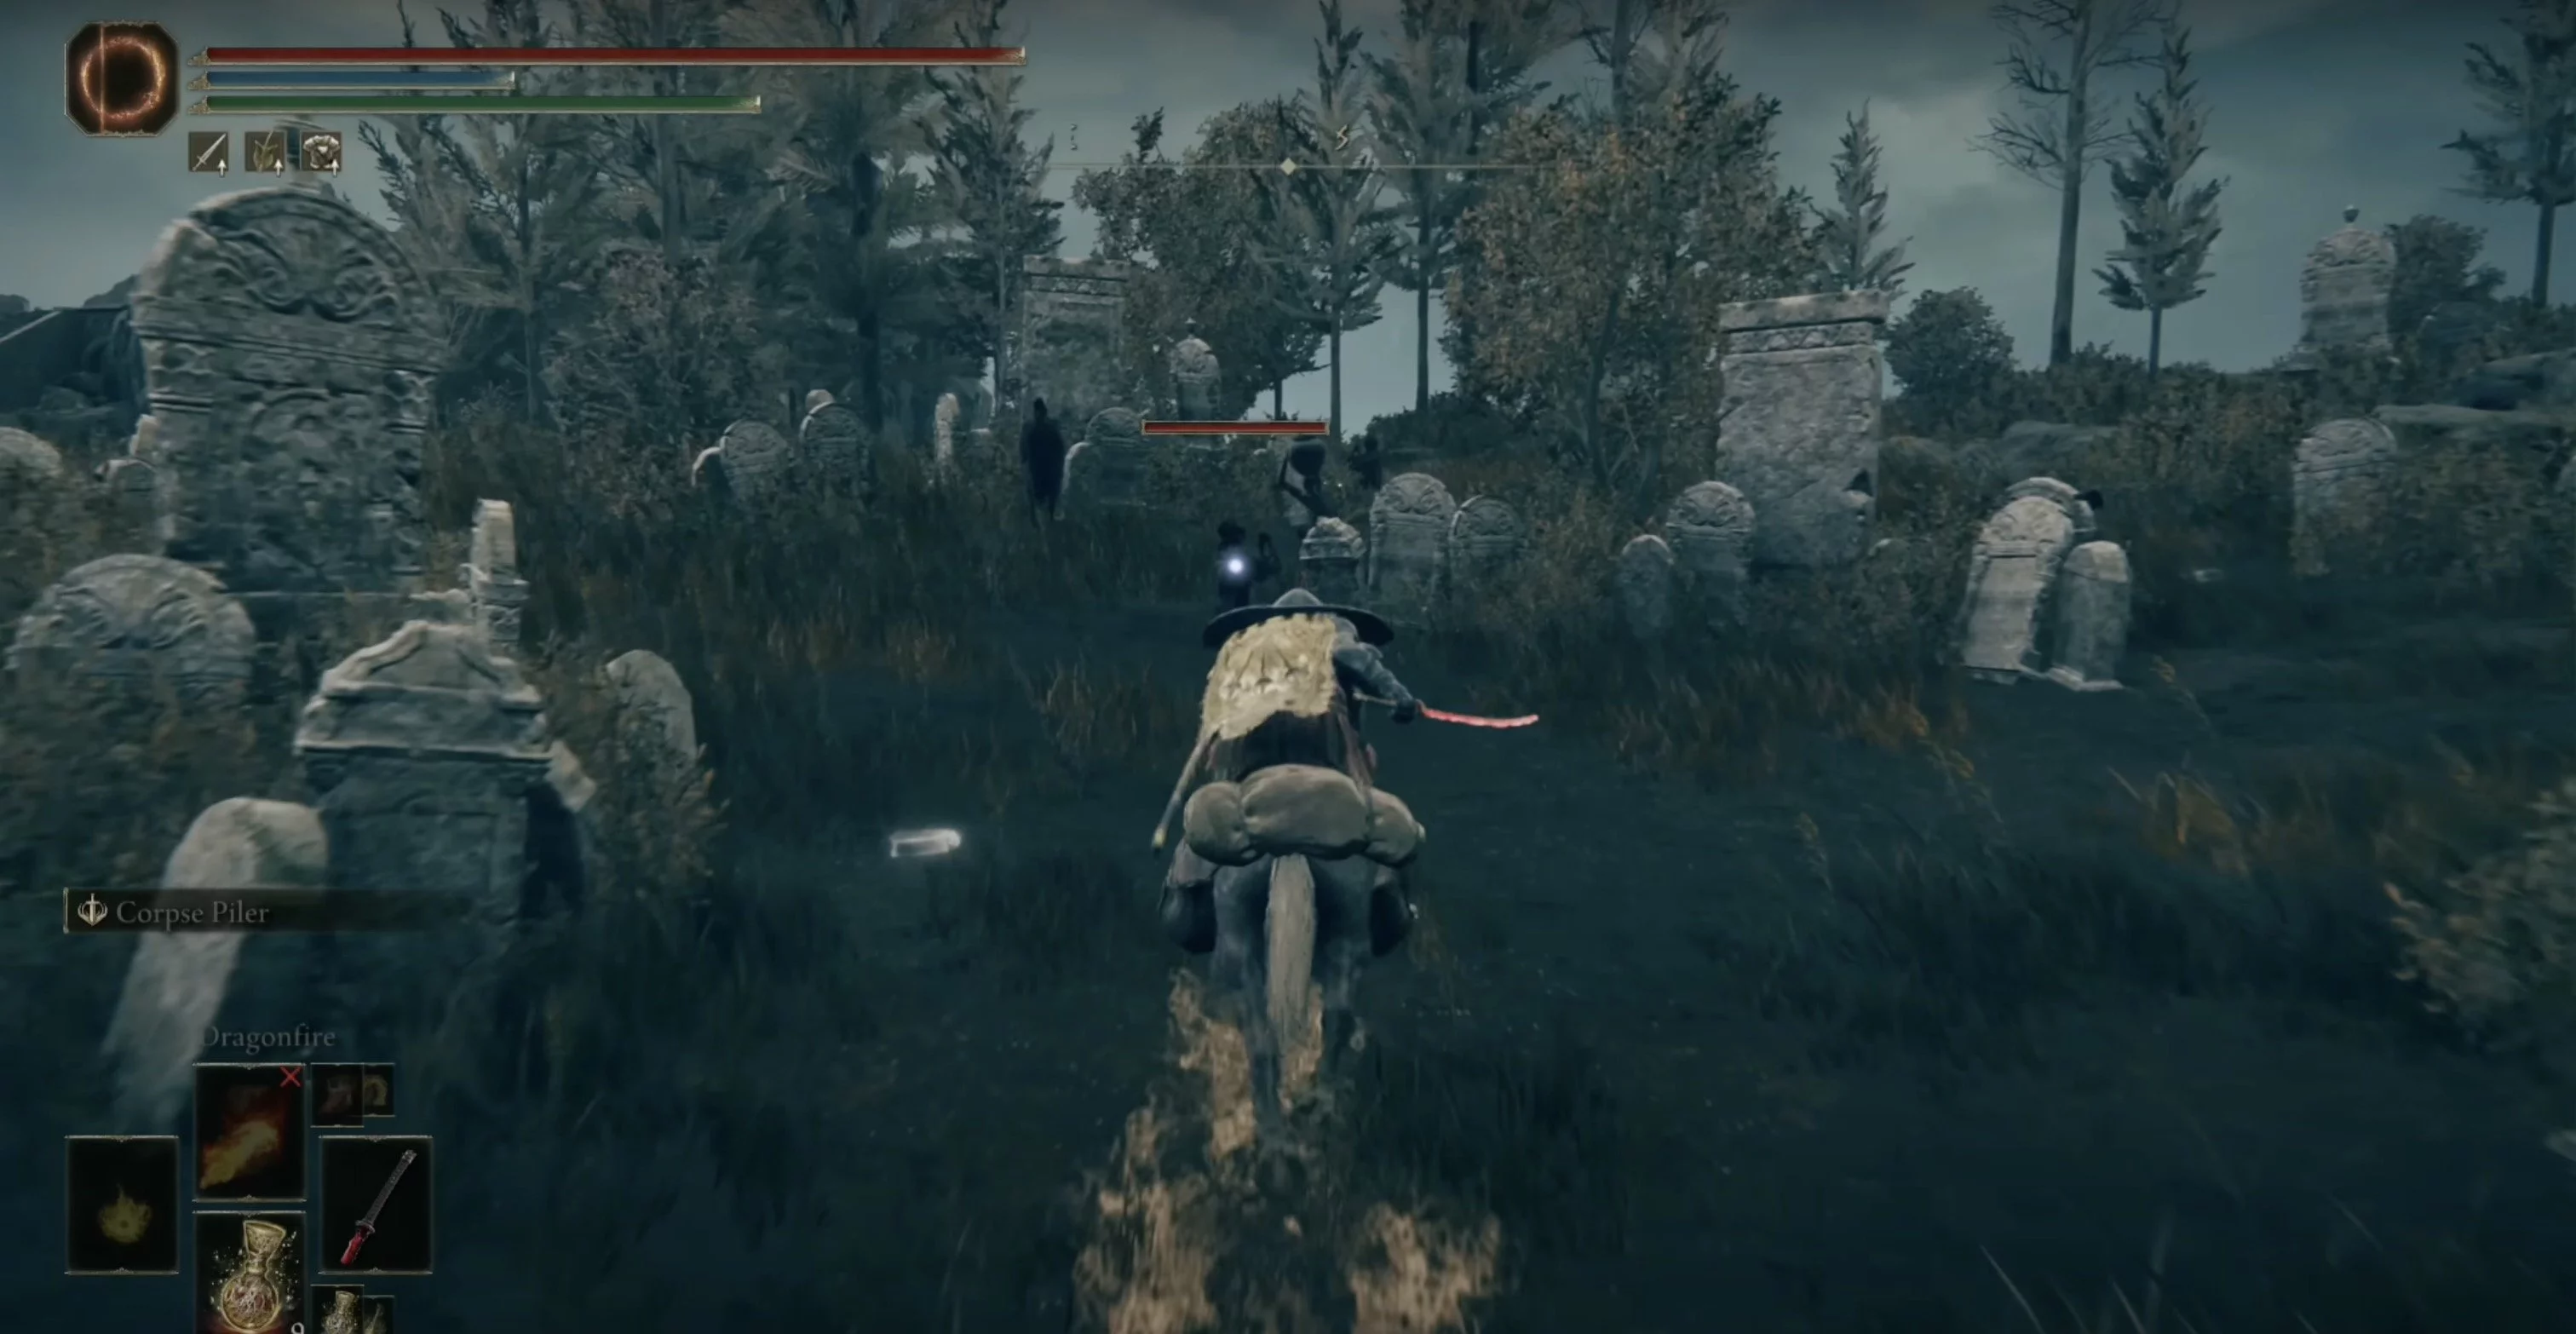
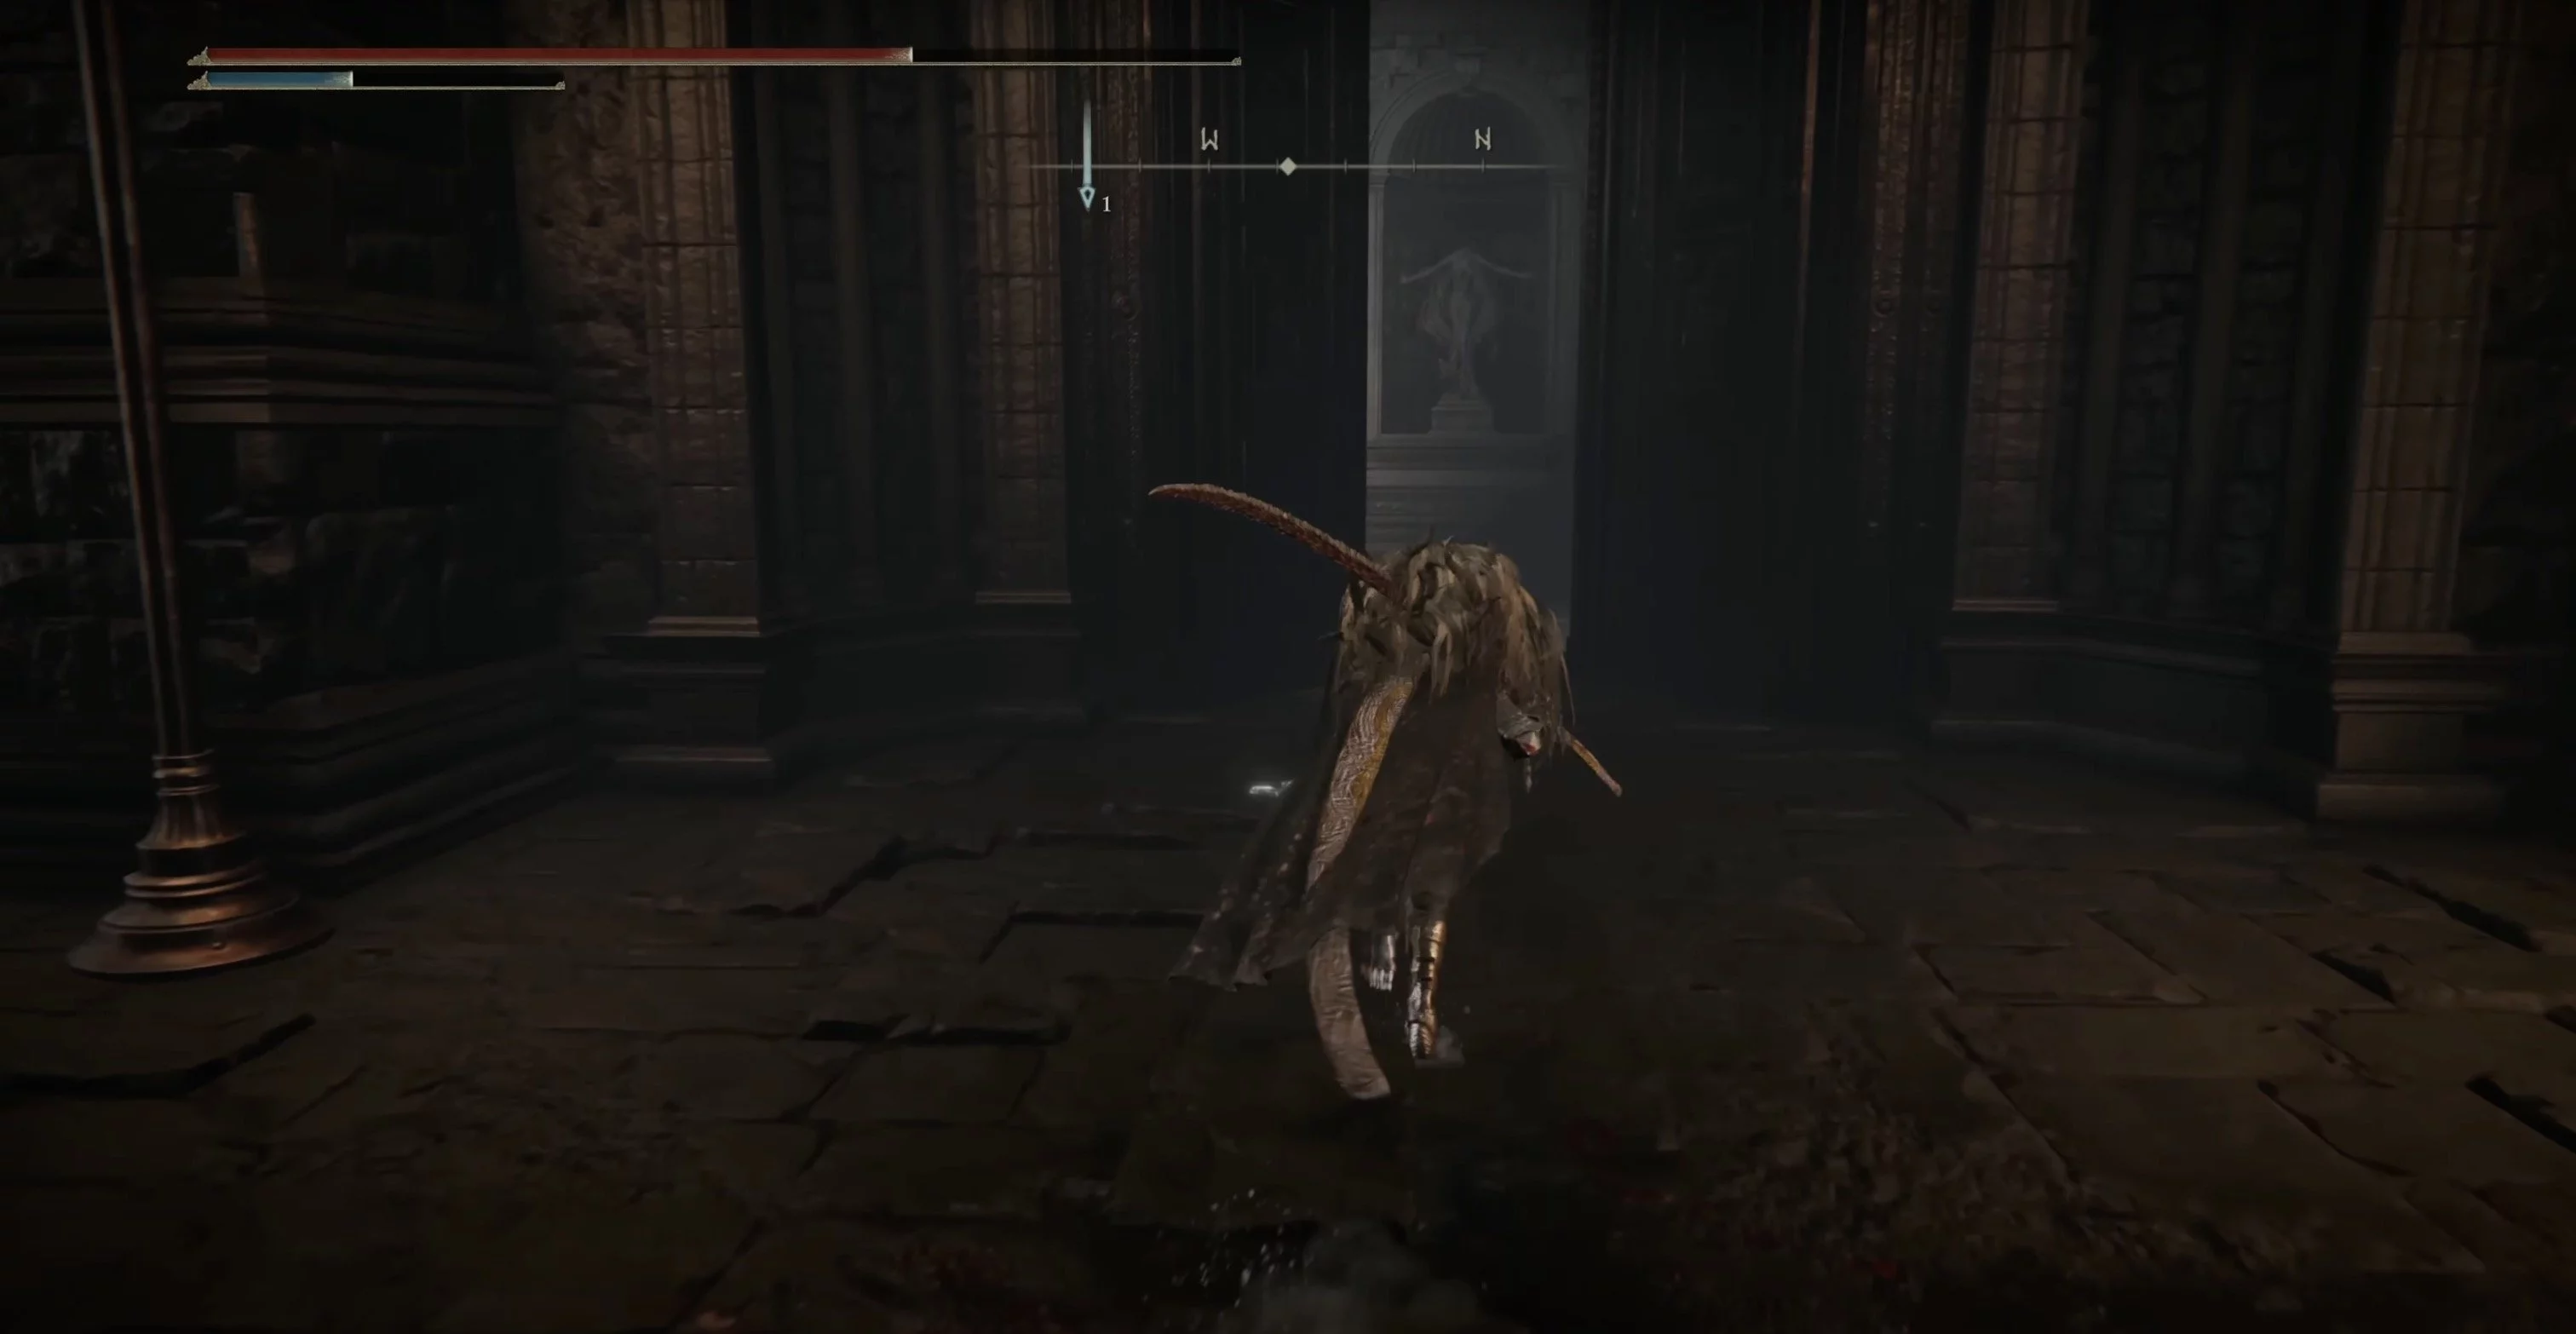
In the expansion, you will encounter shadows. They look like ordinary people but hit quite hard. Some of these enemies will have pots over their heads. This is a replacement for the beetles that needed to be killed before they disappeared. The pots always contain resources, and sometimes shards, but the shadows, like the beetles, will try to teleport, so you need to kill them quickly.
The first such enemy you will find quite soon. Go through the Charred Ruins and activate the grace point of the same name. From it, go to the right and you will see a cemetery. The shadow with the pot is surrounded by other shadows and dogs. The easiest way is to use Torrent — your mount and quickly run up to it to immediately eliminate it. You will get one shard.
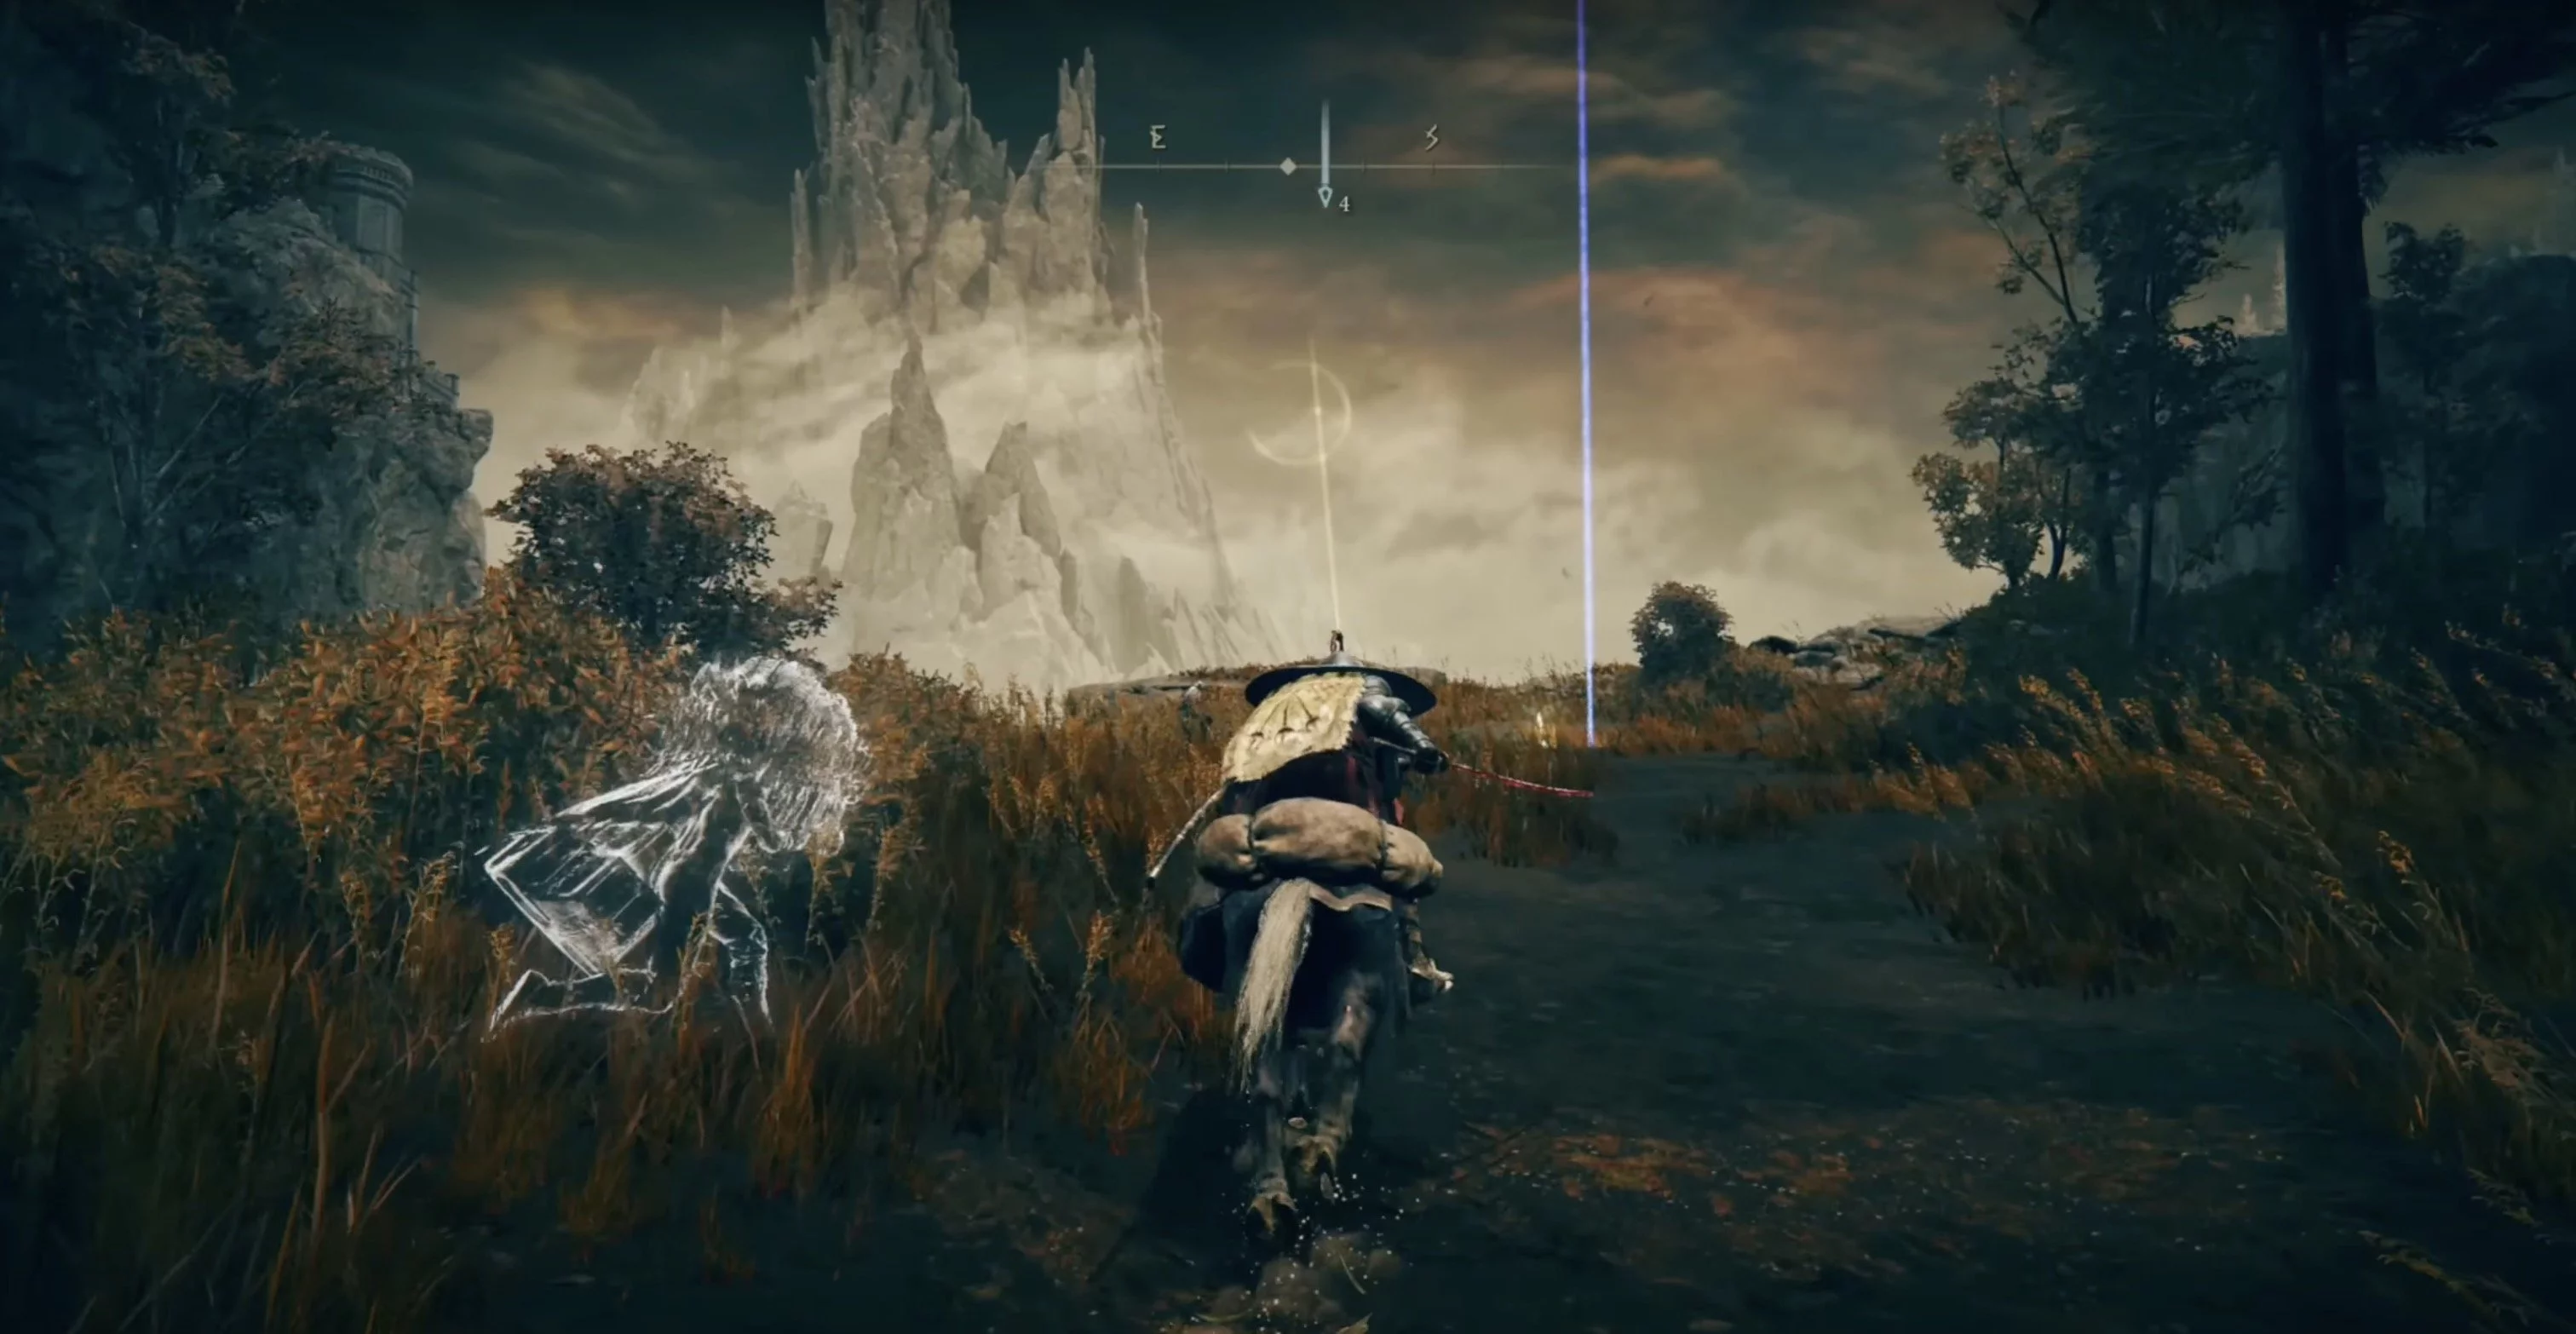
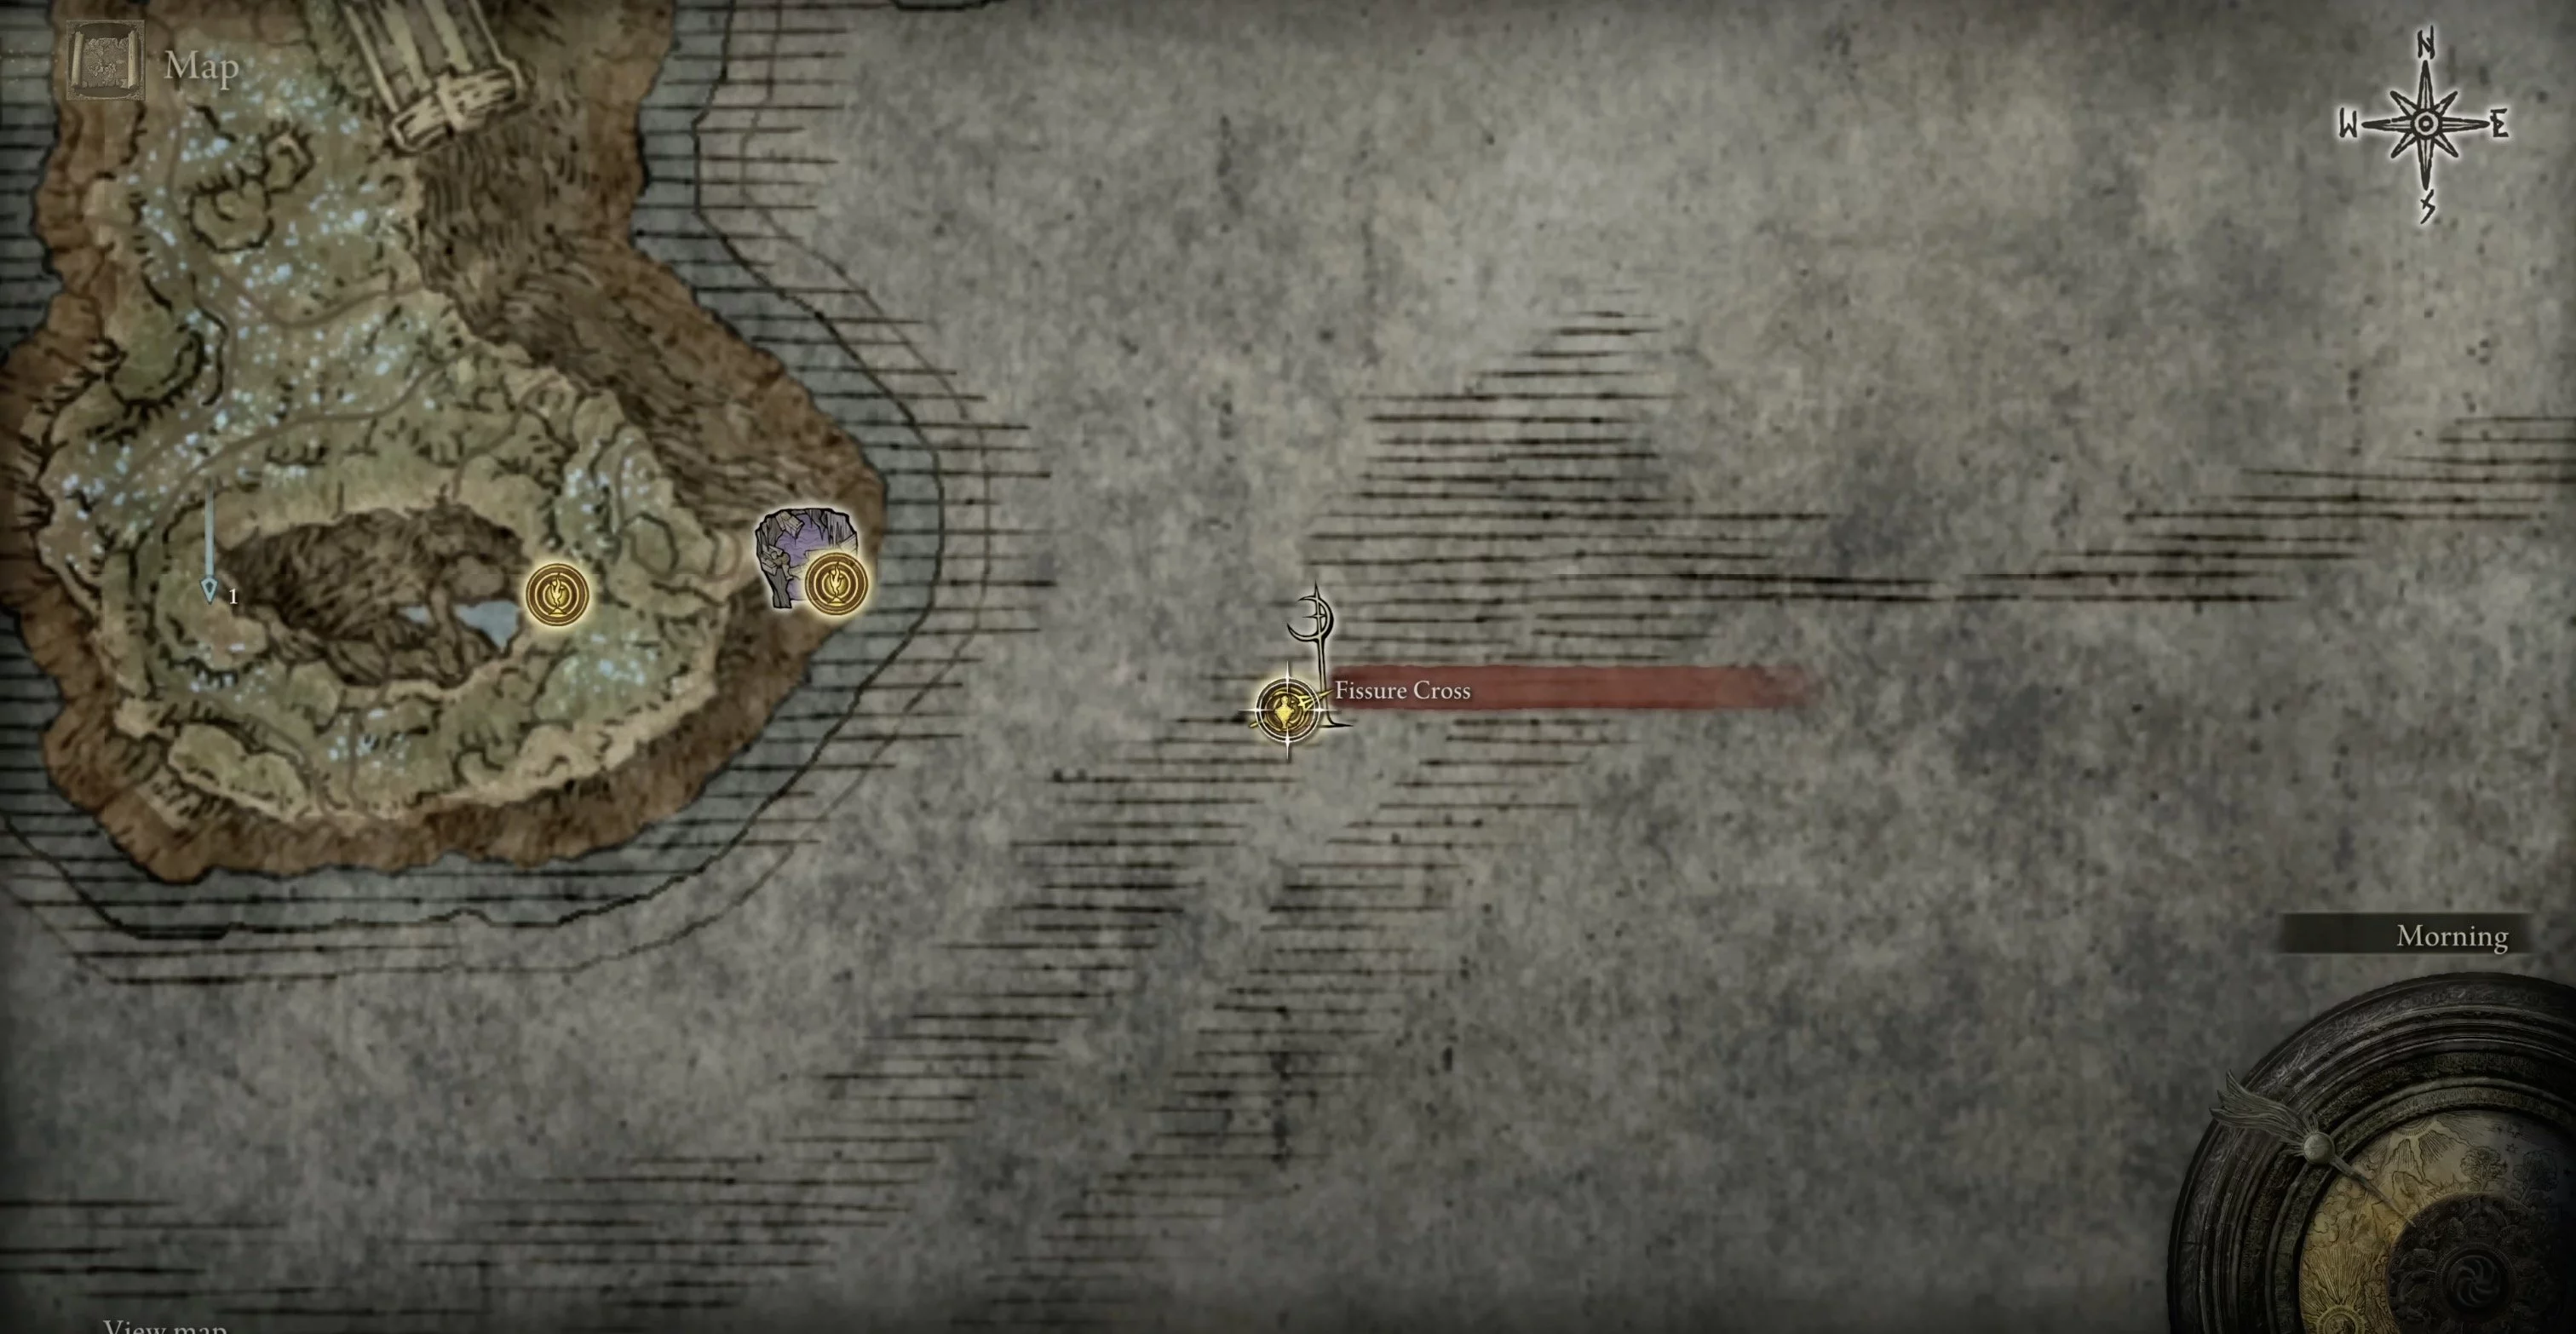
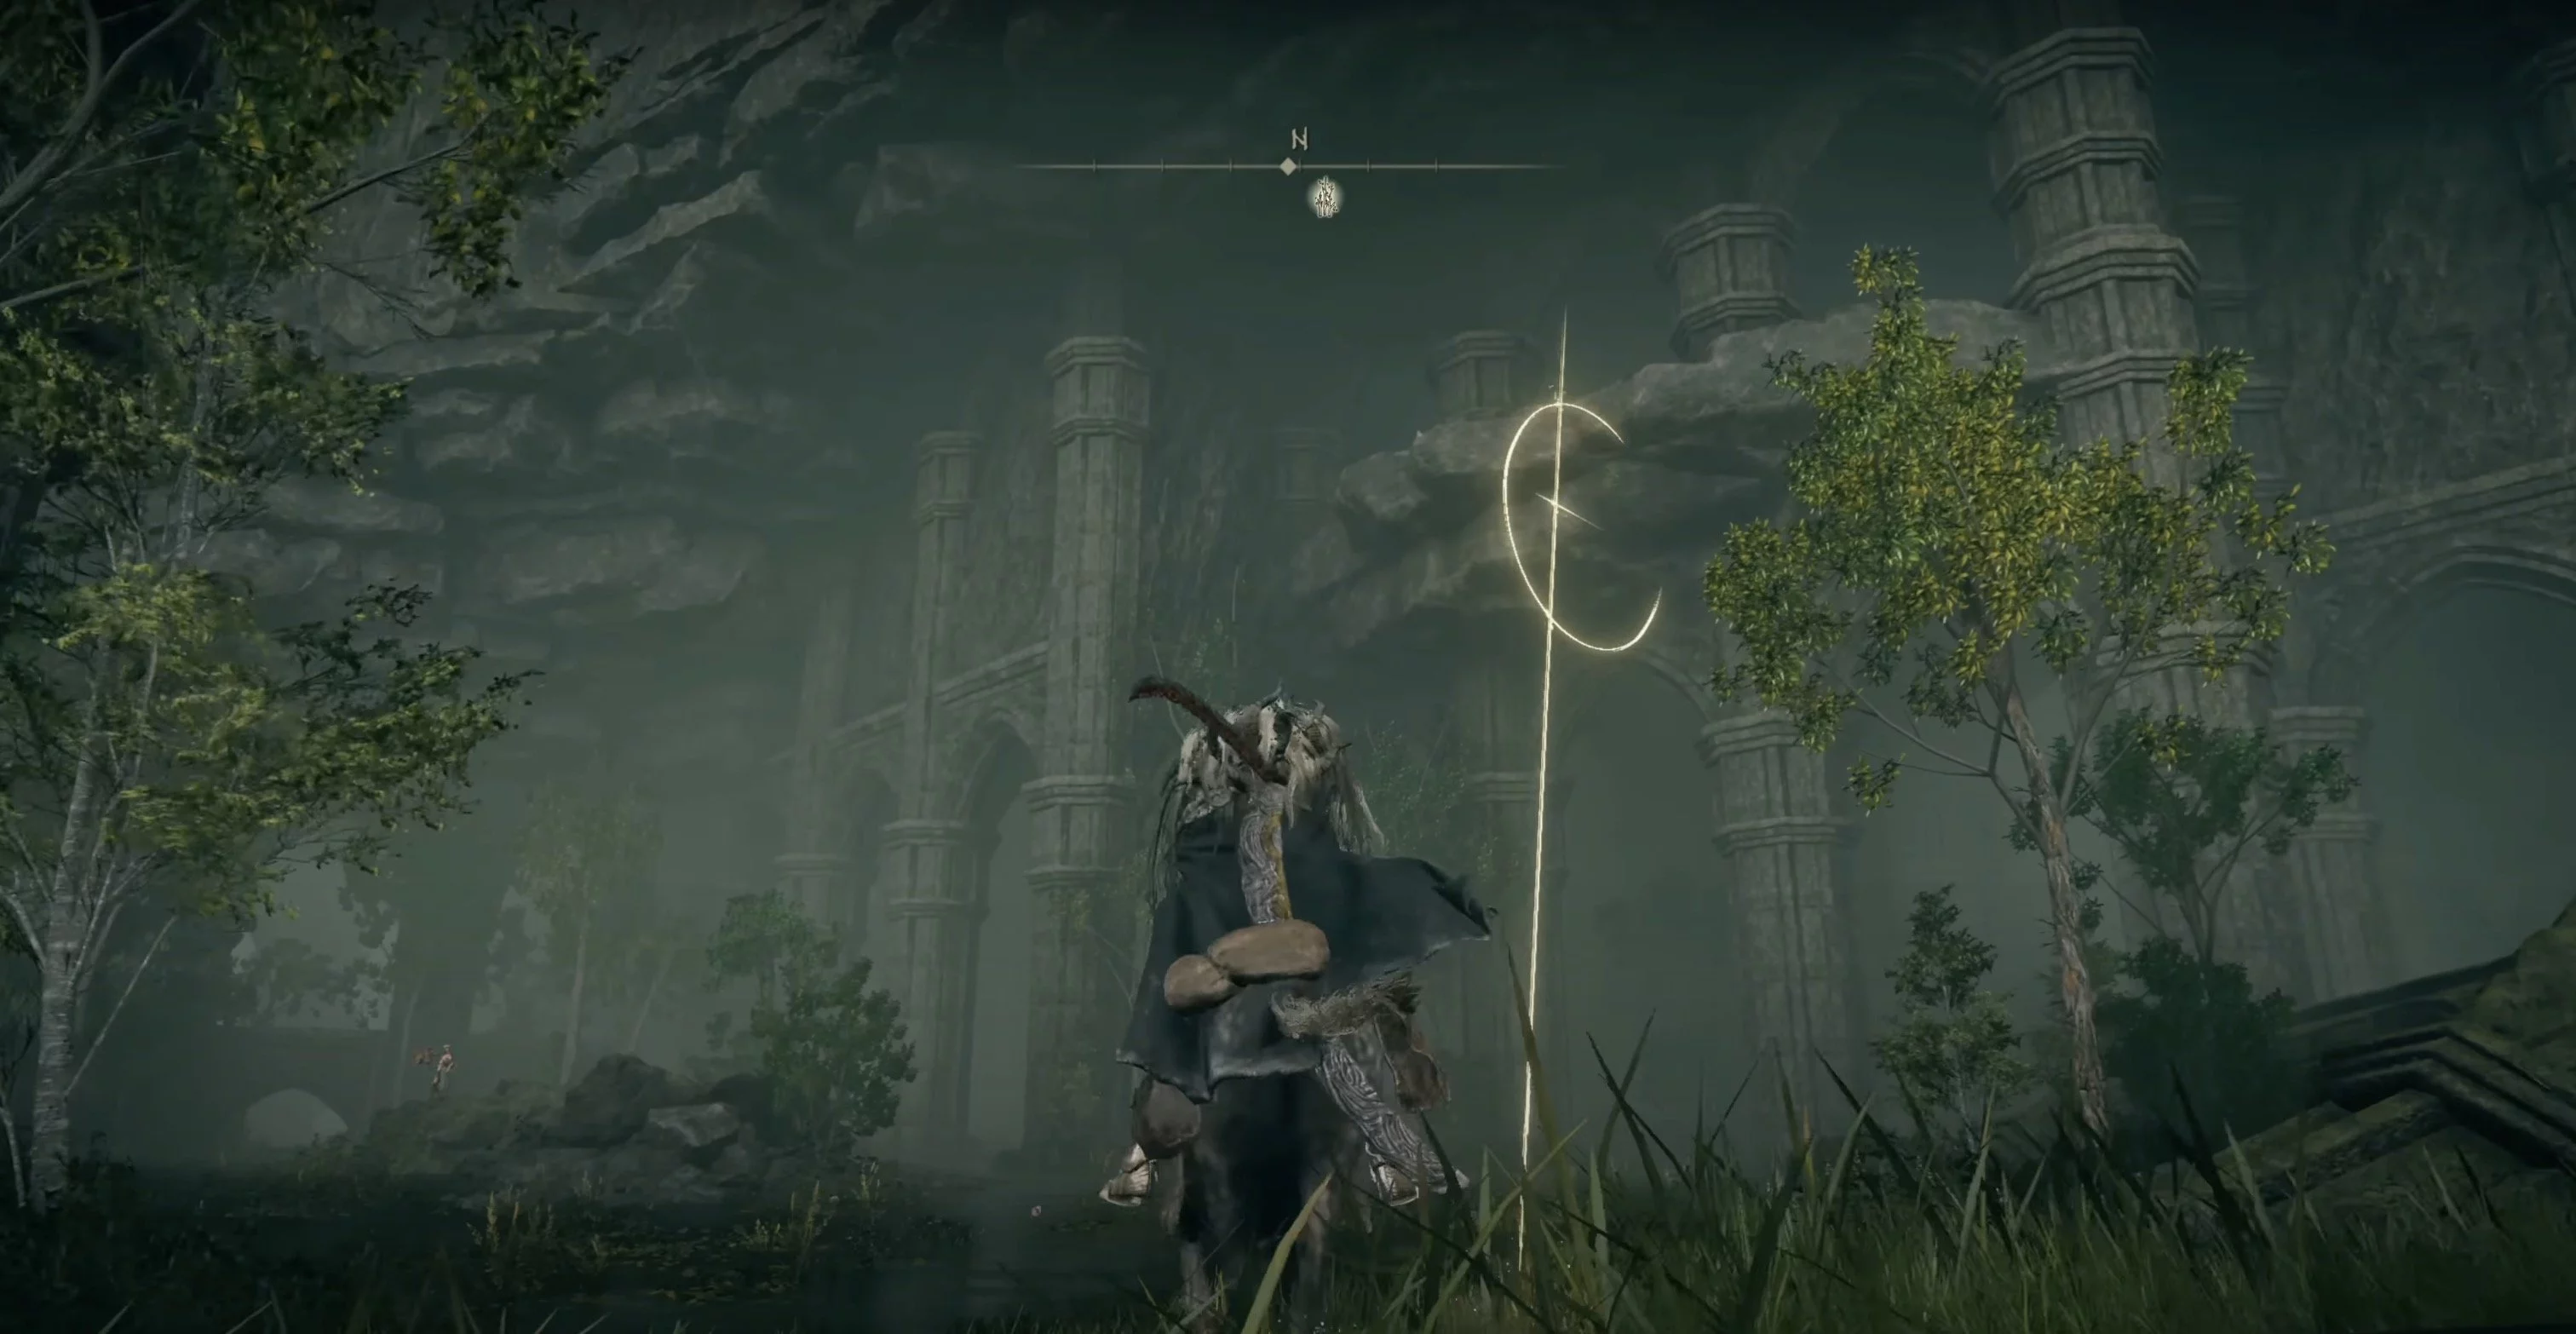
Location: Cross at the Three Roads
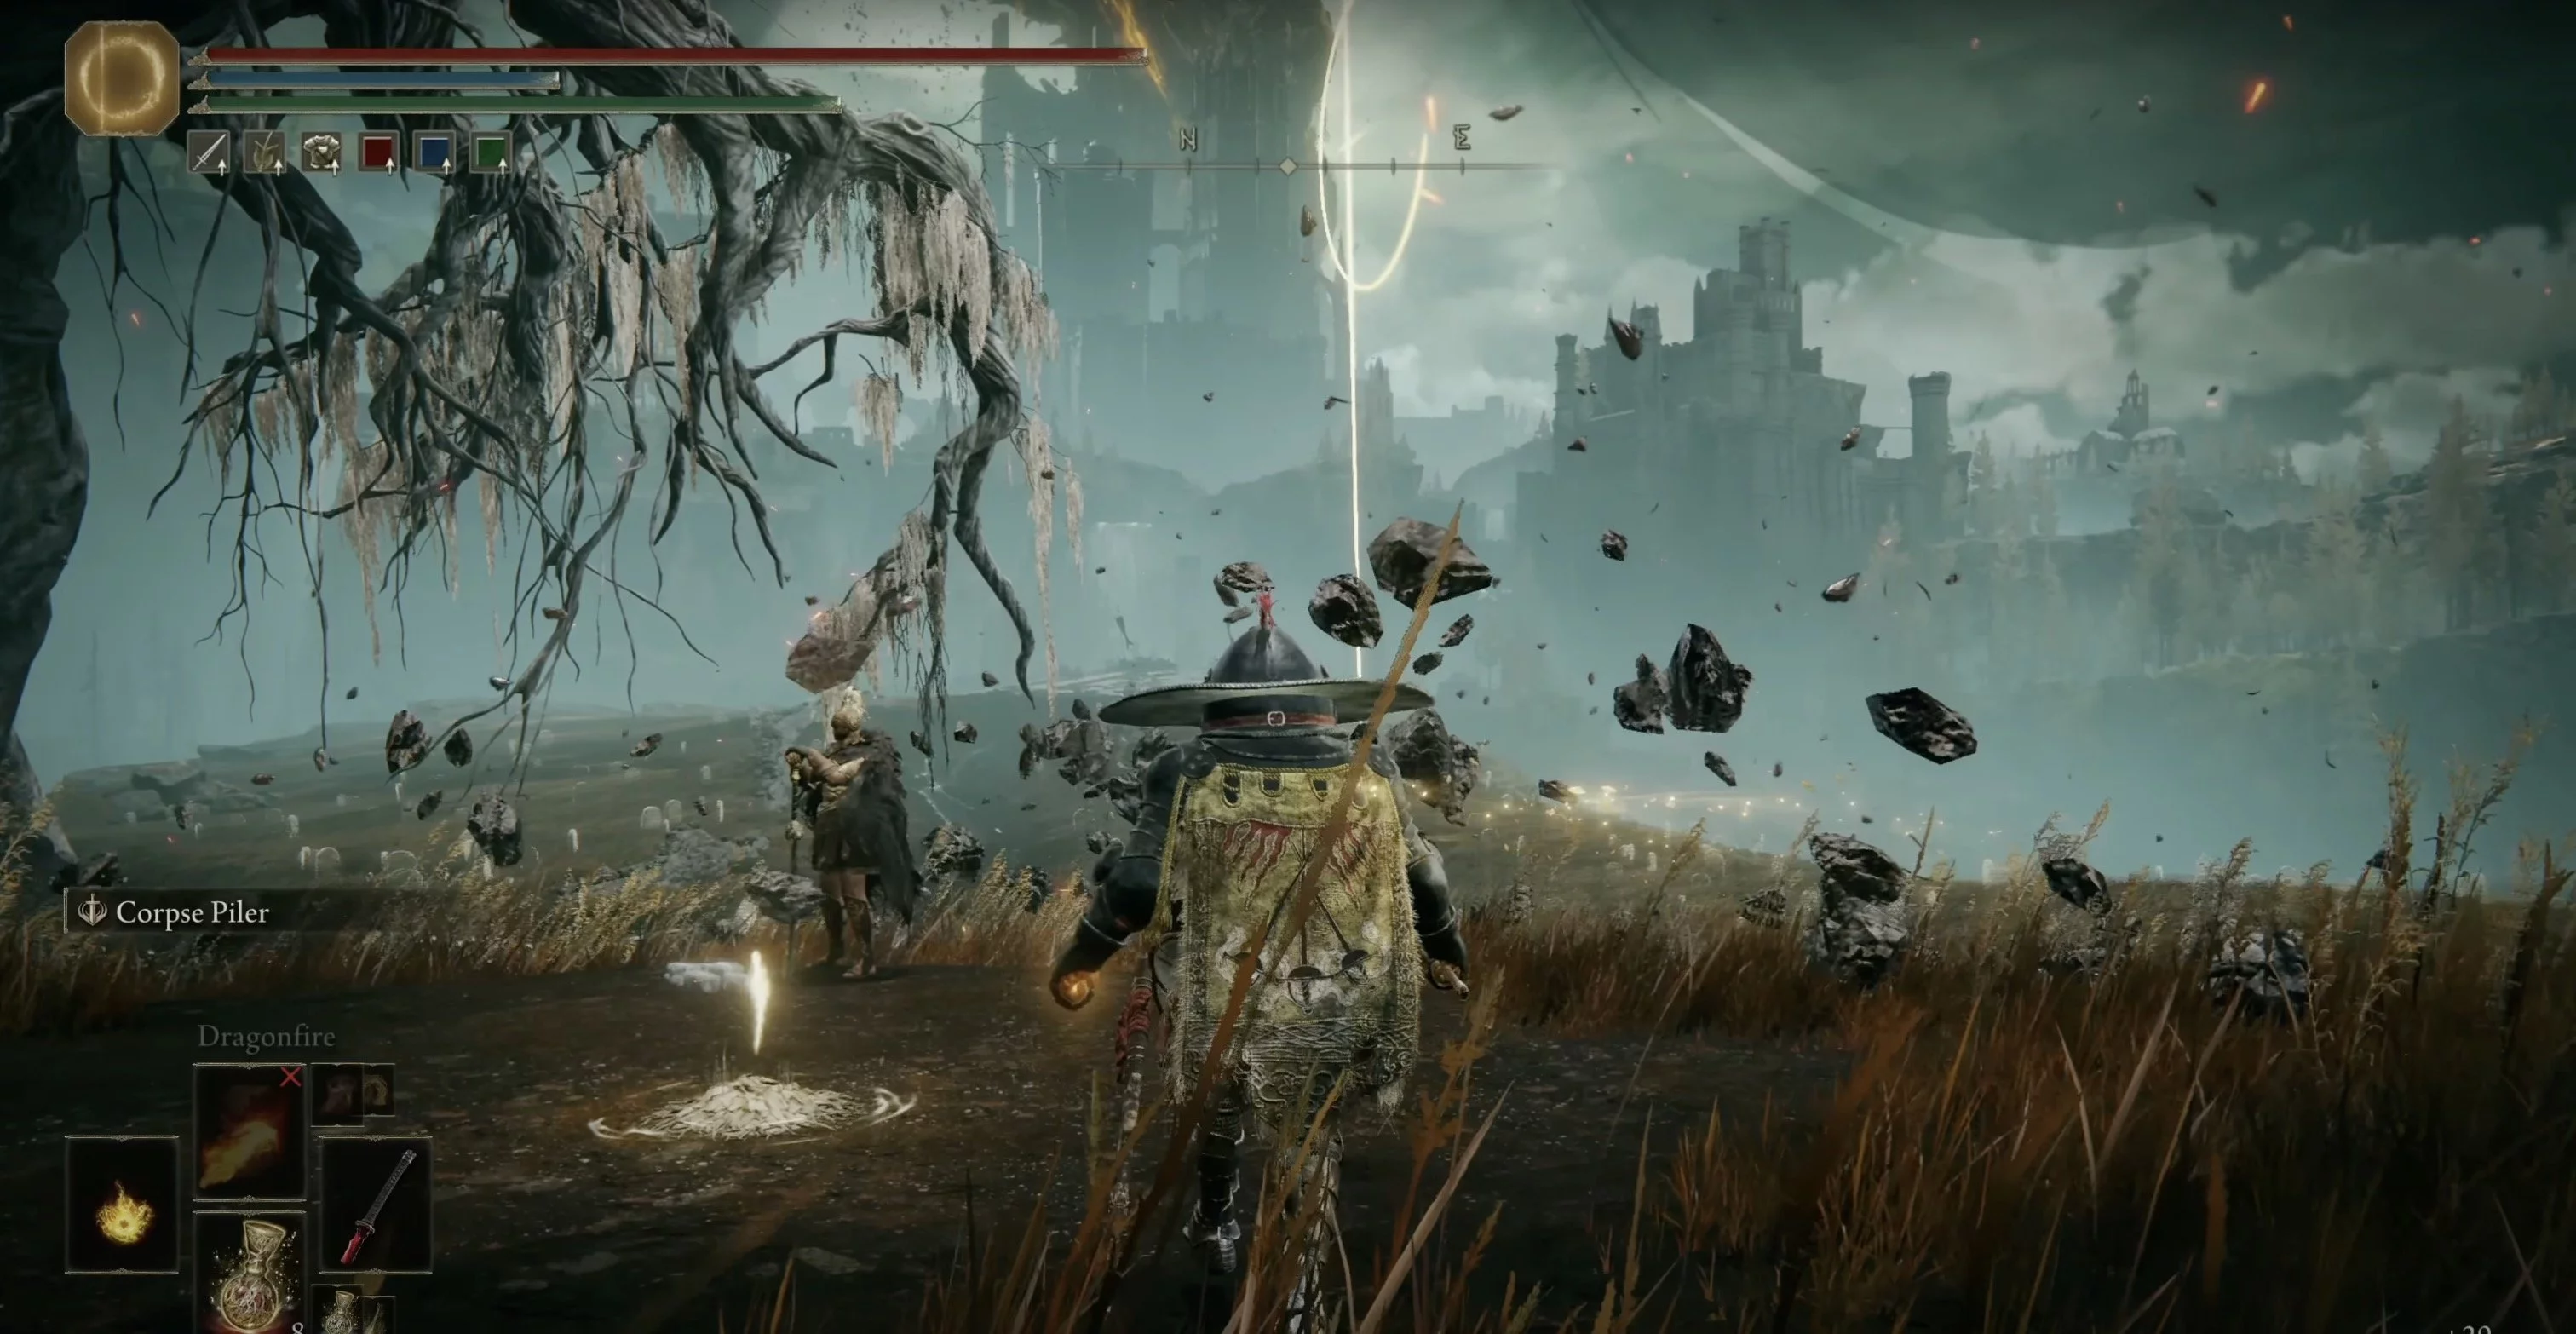
This is the grace point with the cross of Miquella. Getting there is not difficult, ride the road north from the Charred Ruins, passing the optional boss — the walking fire bowl (furnace giant). The shard is just lying near the cross.
Location: Cross at the Main Gate
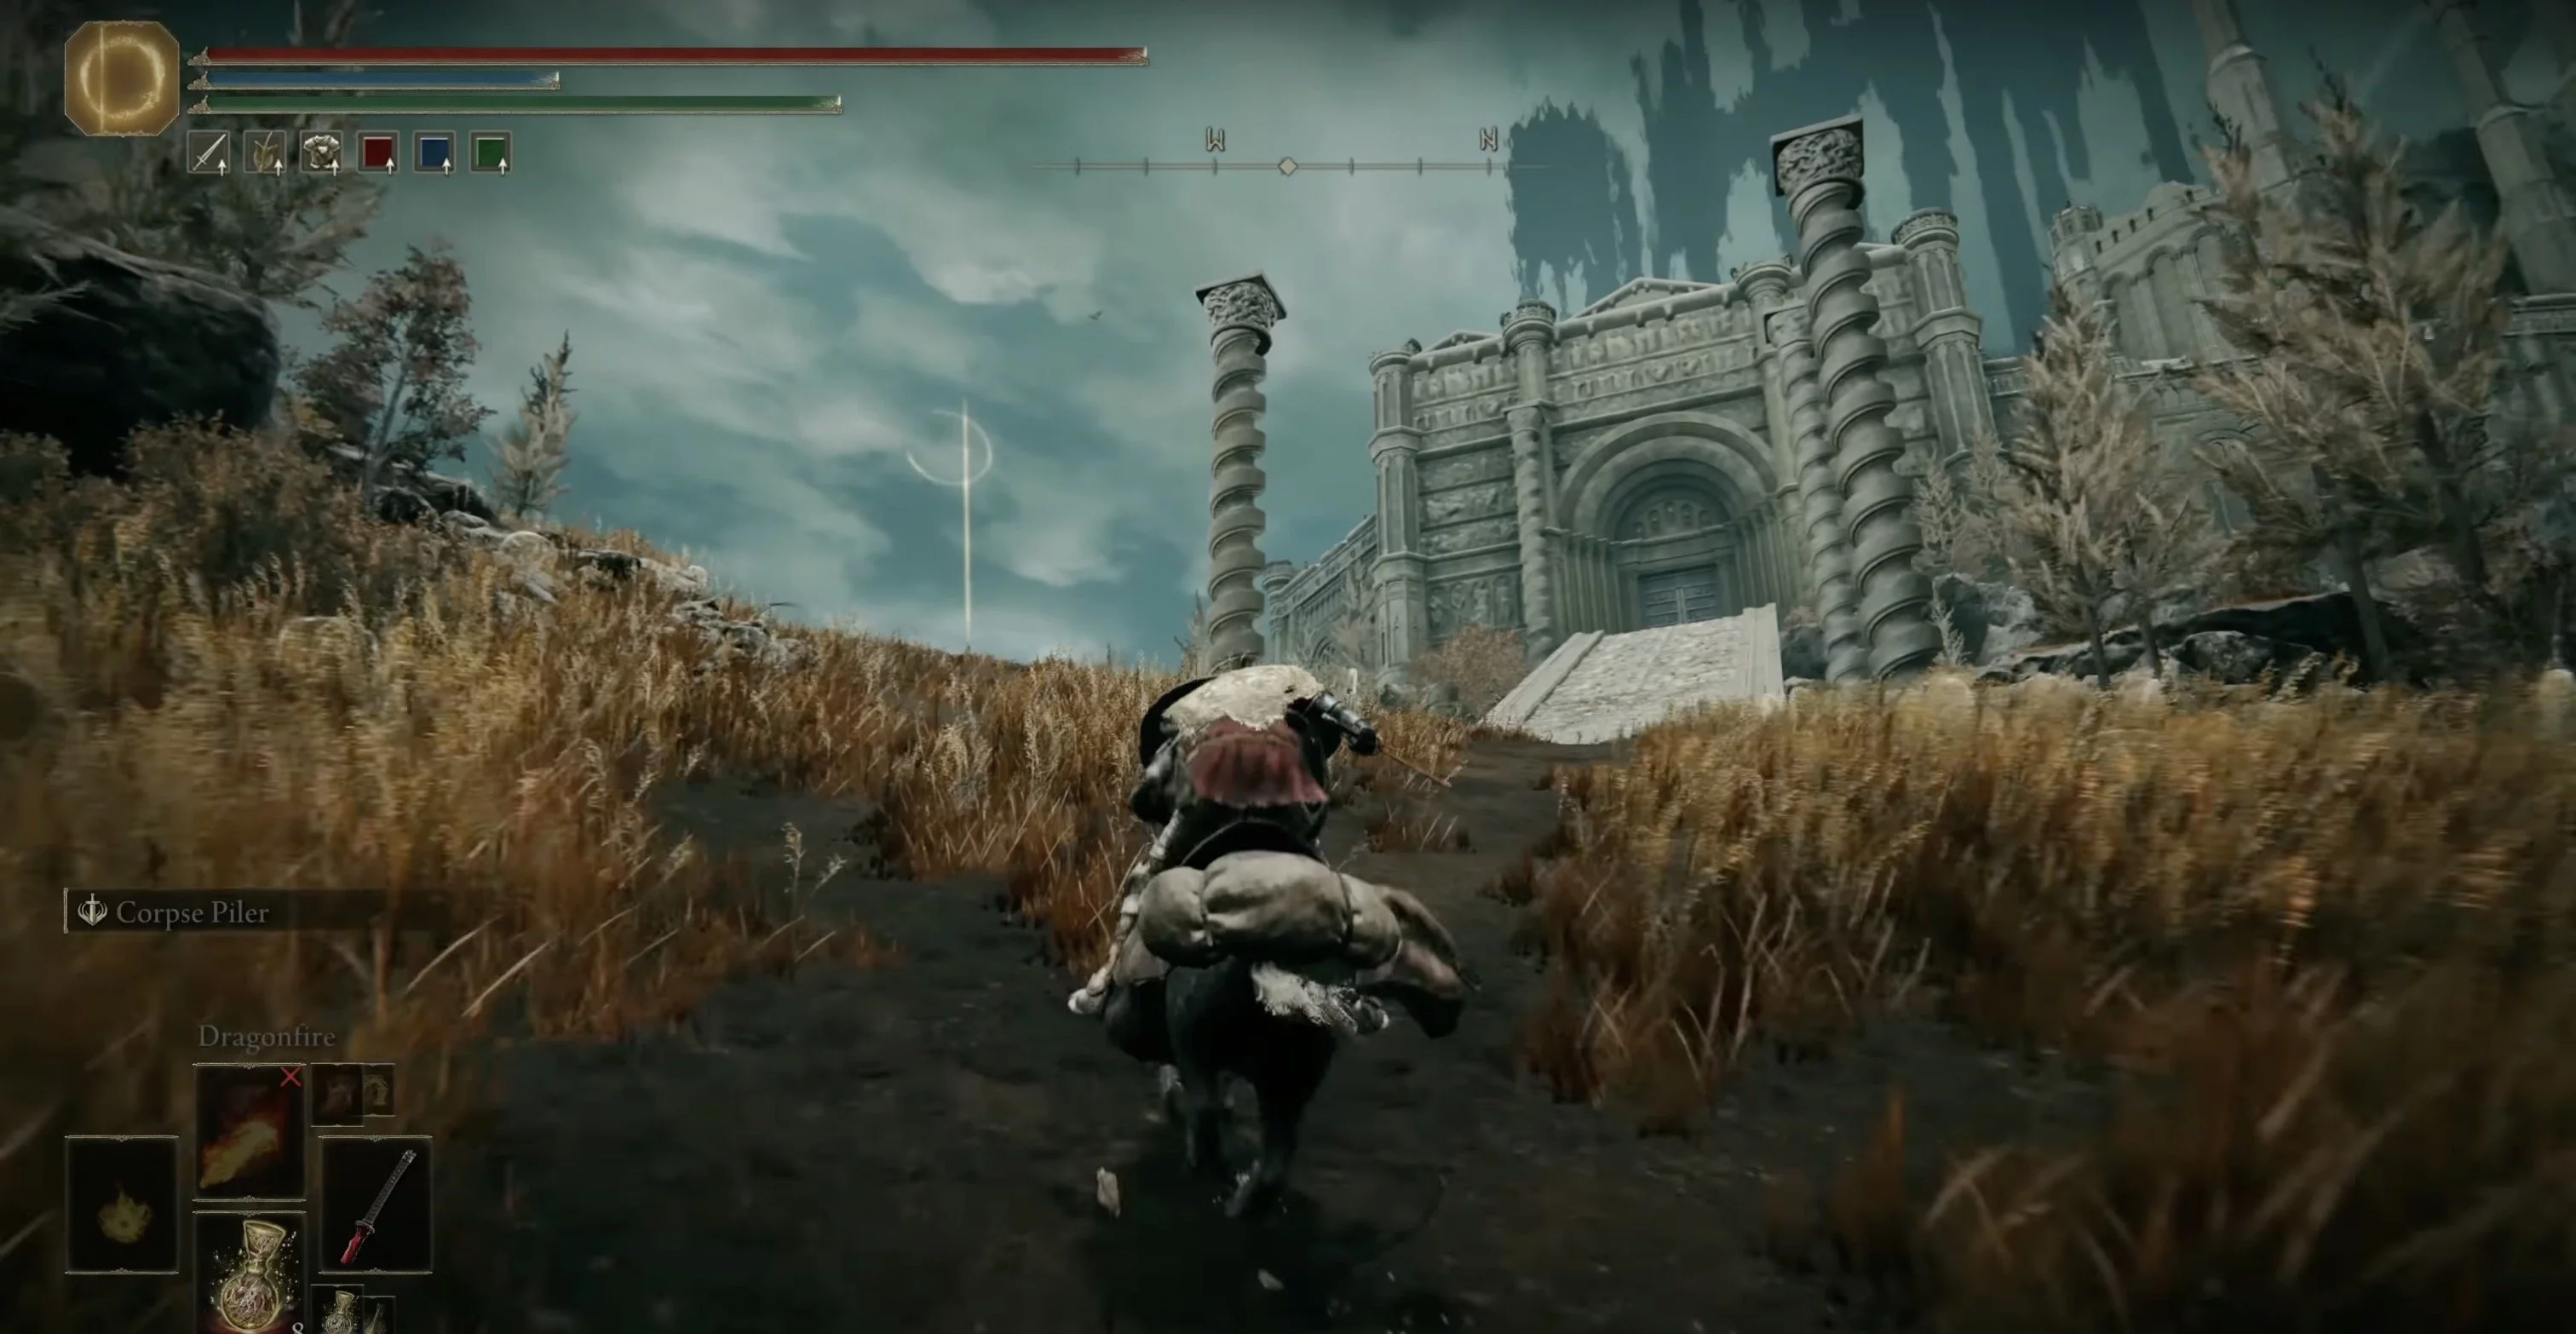
From the previous grace point, ride through the large tunnel, bypassing all enemies. Soon you will notice another cross of Miquella and a grace point. They are located in front of the large staircase to the first story fortress of Belurat. There you will meet two characters — Ansbach and Sir Moor. Another shard.
Location: Prospect City
This is an optional place to visit, but since we are collecting shards, we definitely need to go there. There is a fork in the large tunnel. The main path leads to Belurat, but you need to stay to the left, then you will reach the grace point Last Stop at the Mountain Road. From it, ride straight to the ruins. On the map, it will be west of the Charred Ruins. We don't need to enter Prospect City itself, just turn into the nearby forest. On the map, it will be to the left. There, find the cemetery and another shadow with a pot on its head.
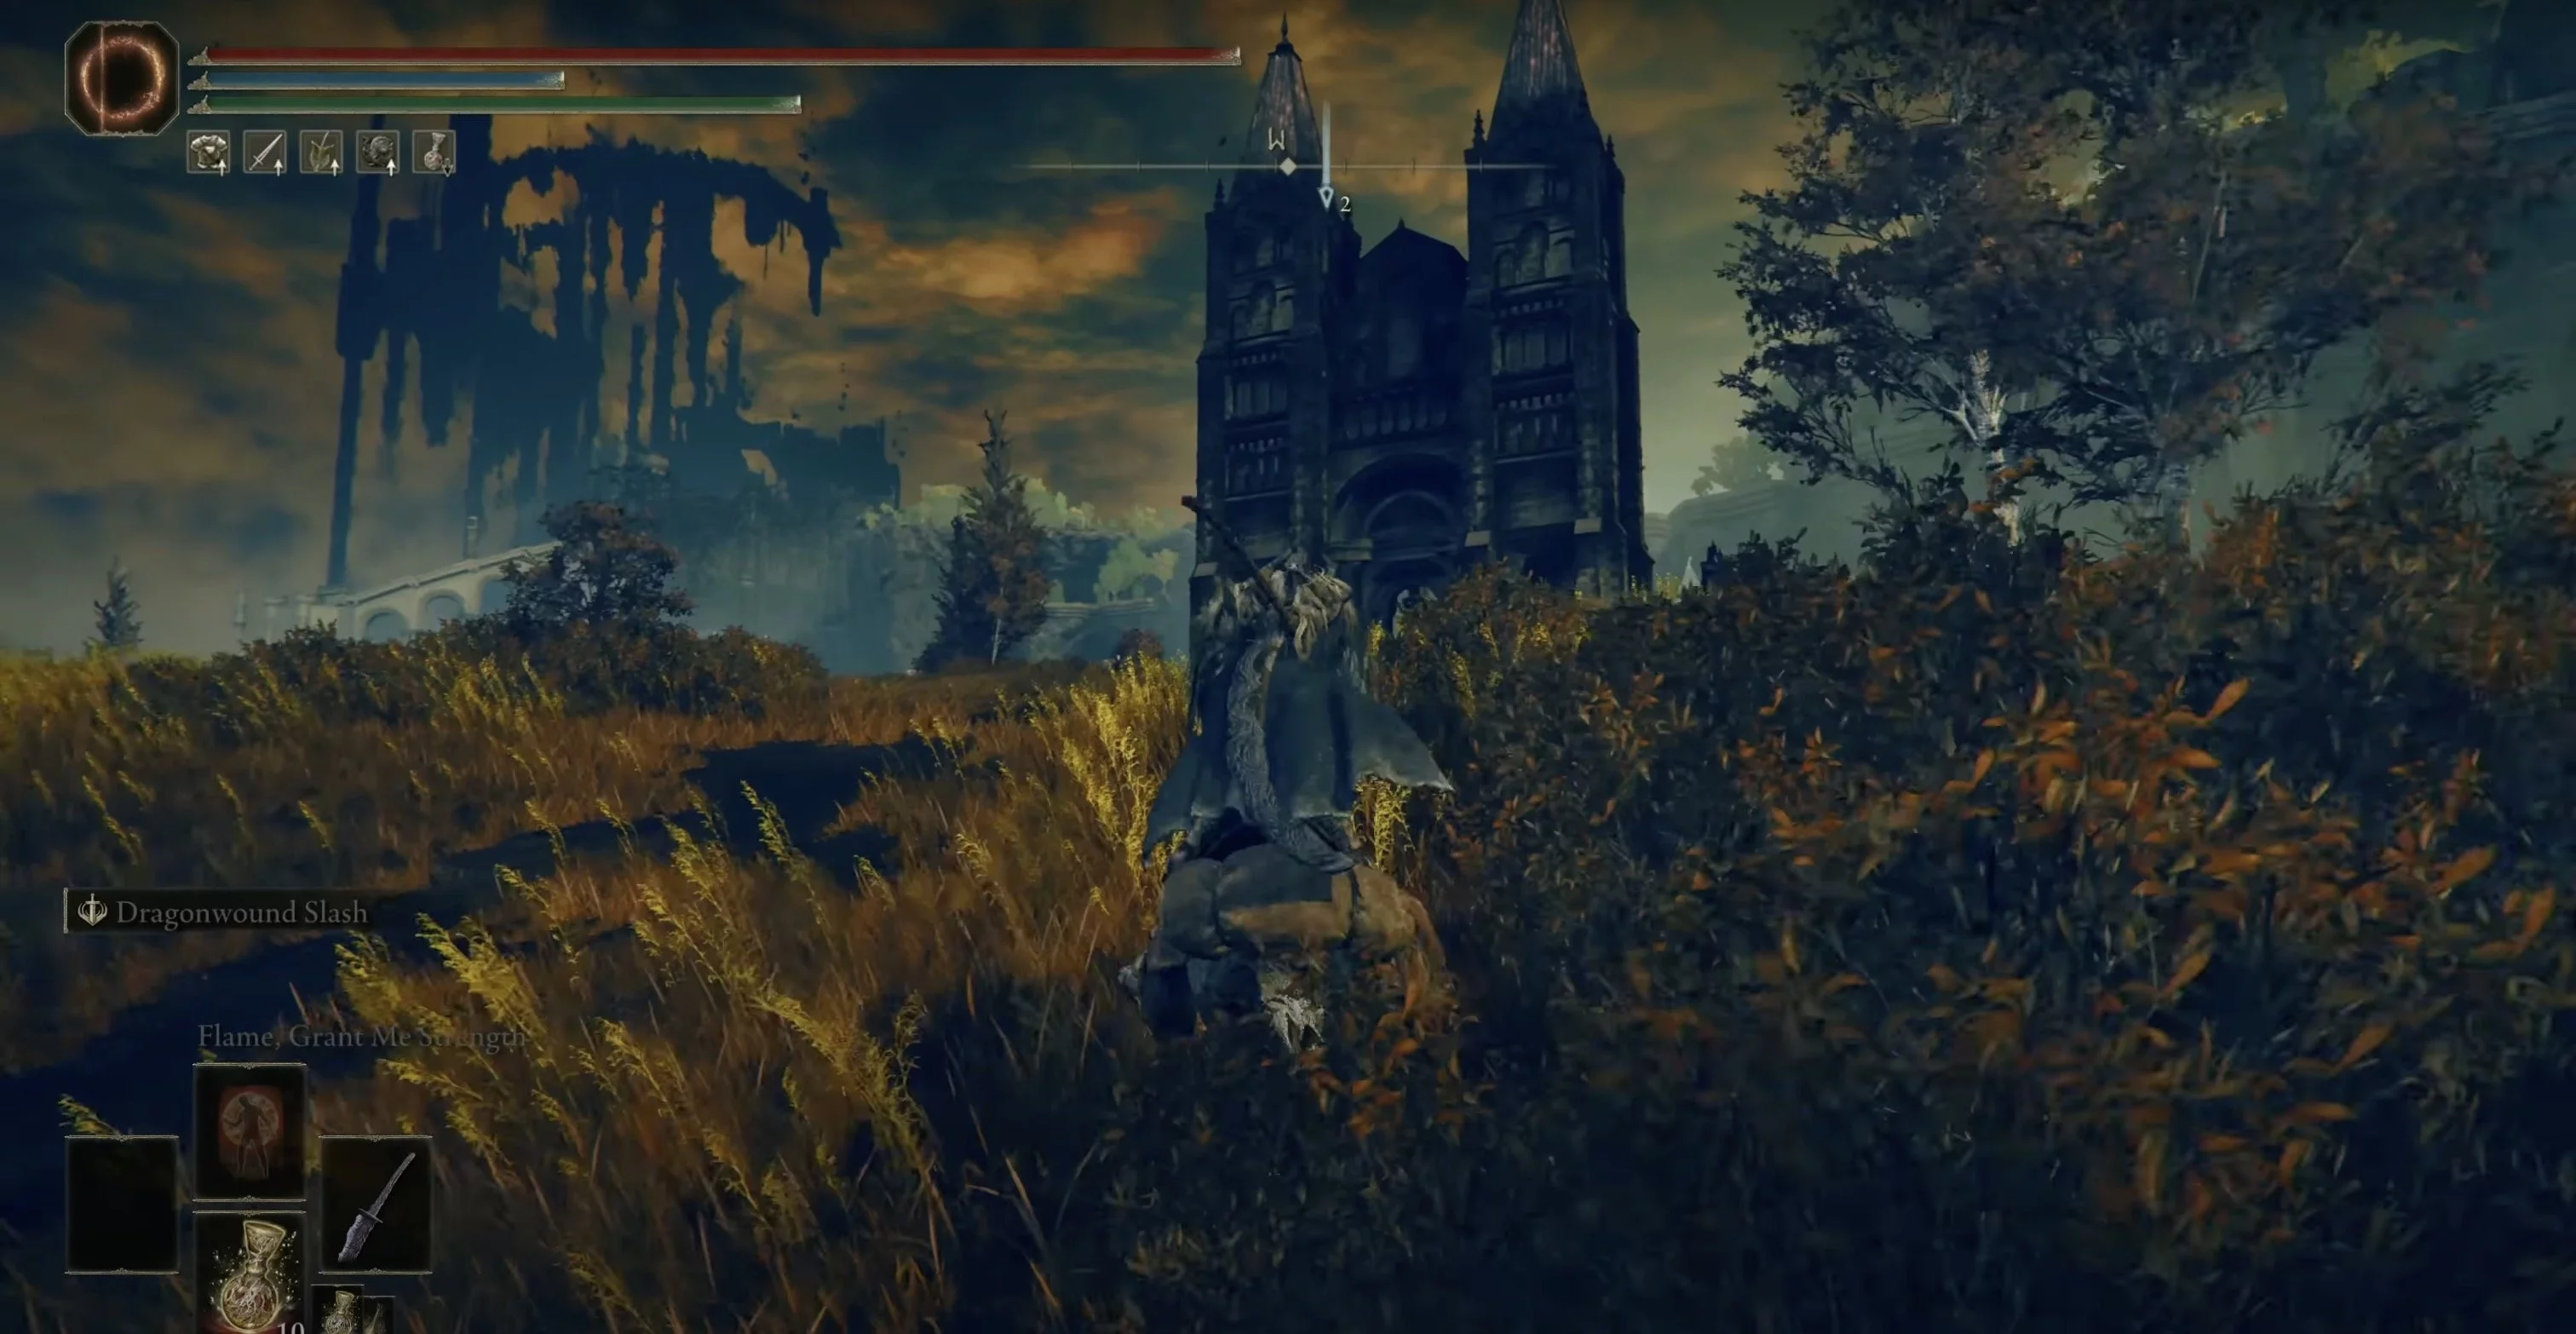
Location: Front Side of Ensys Castle
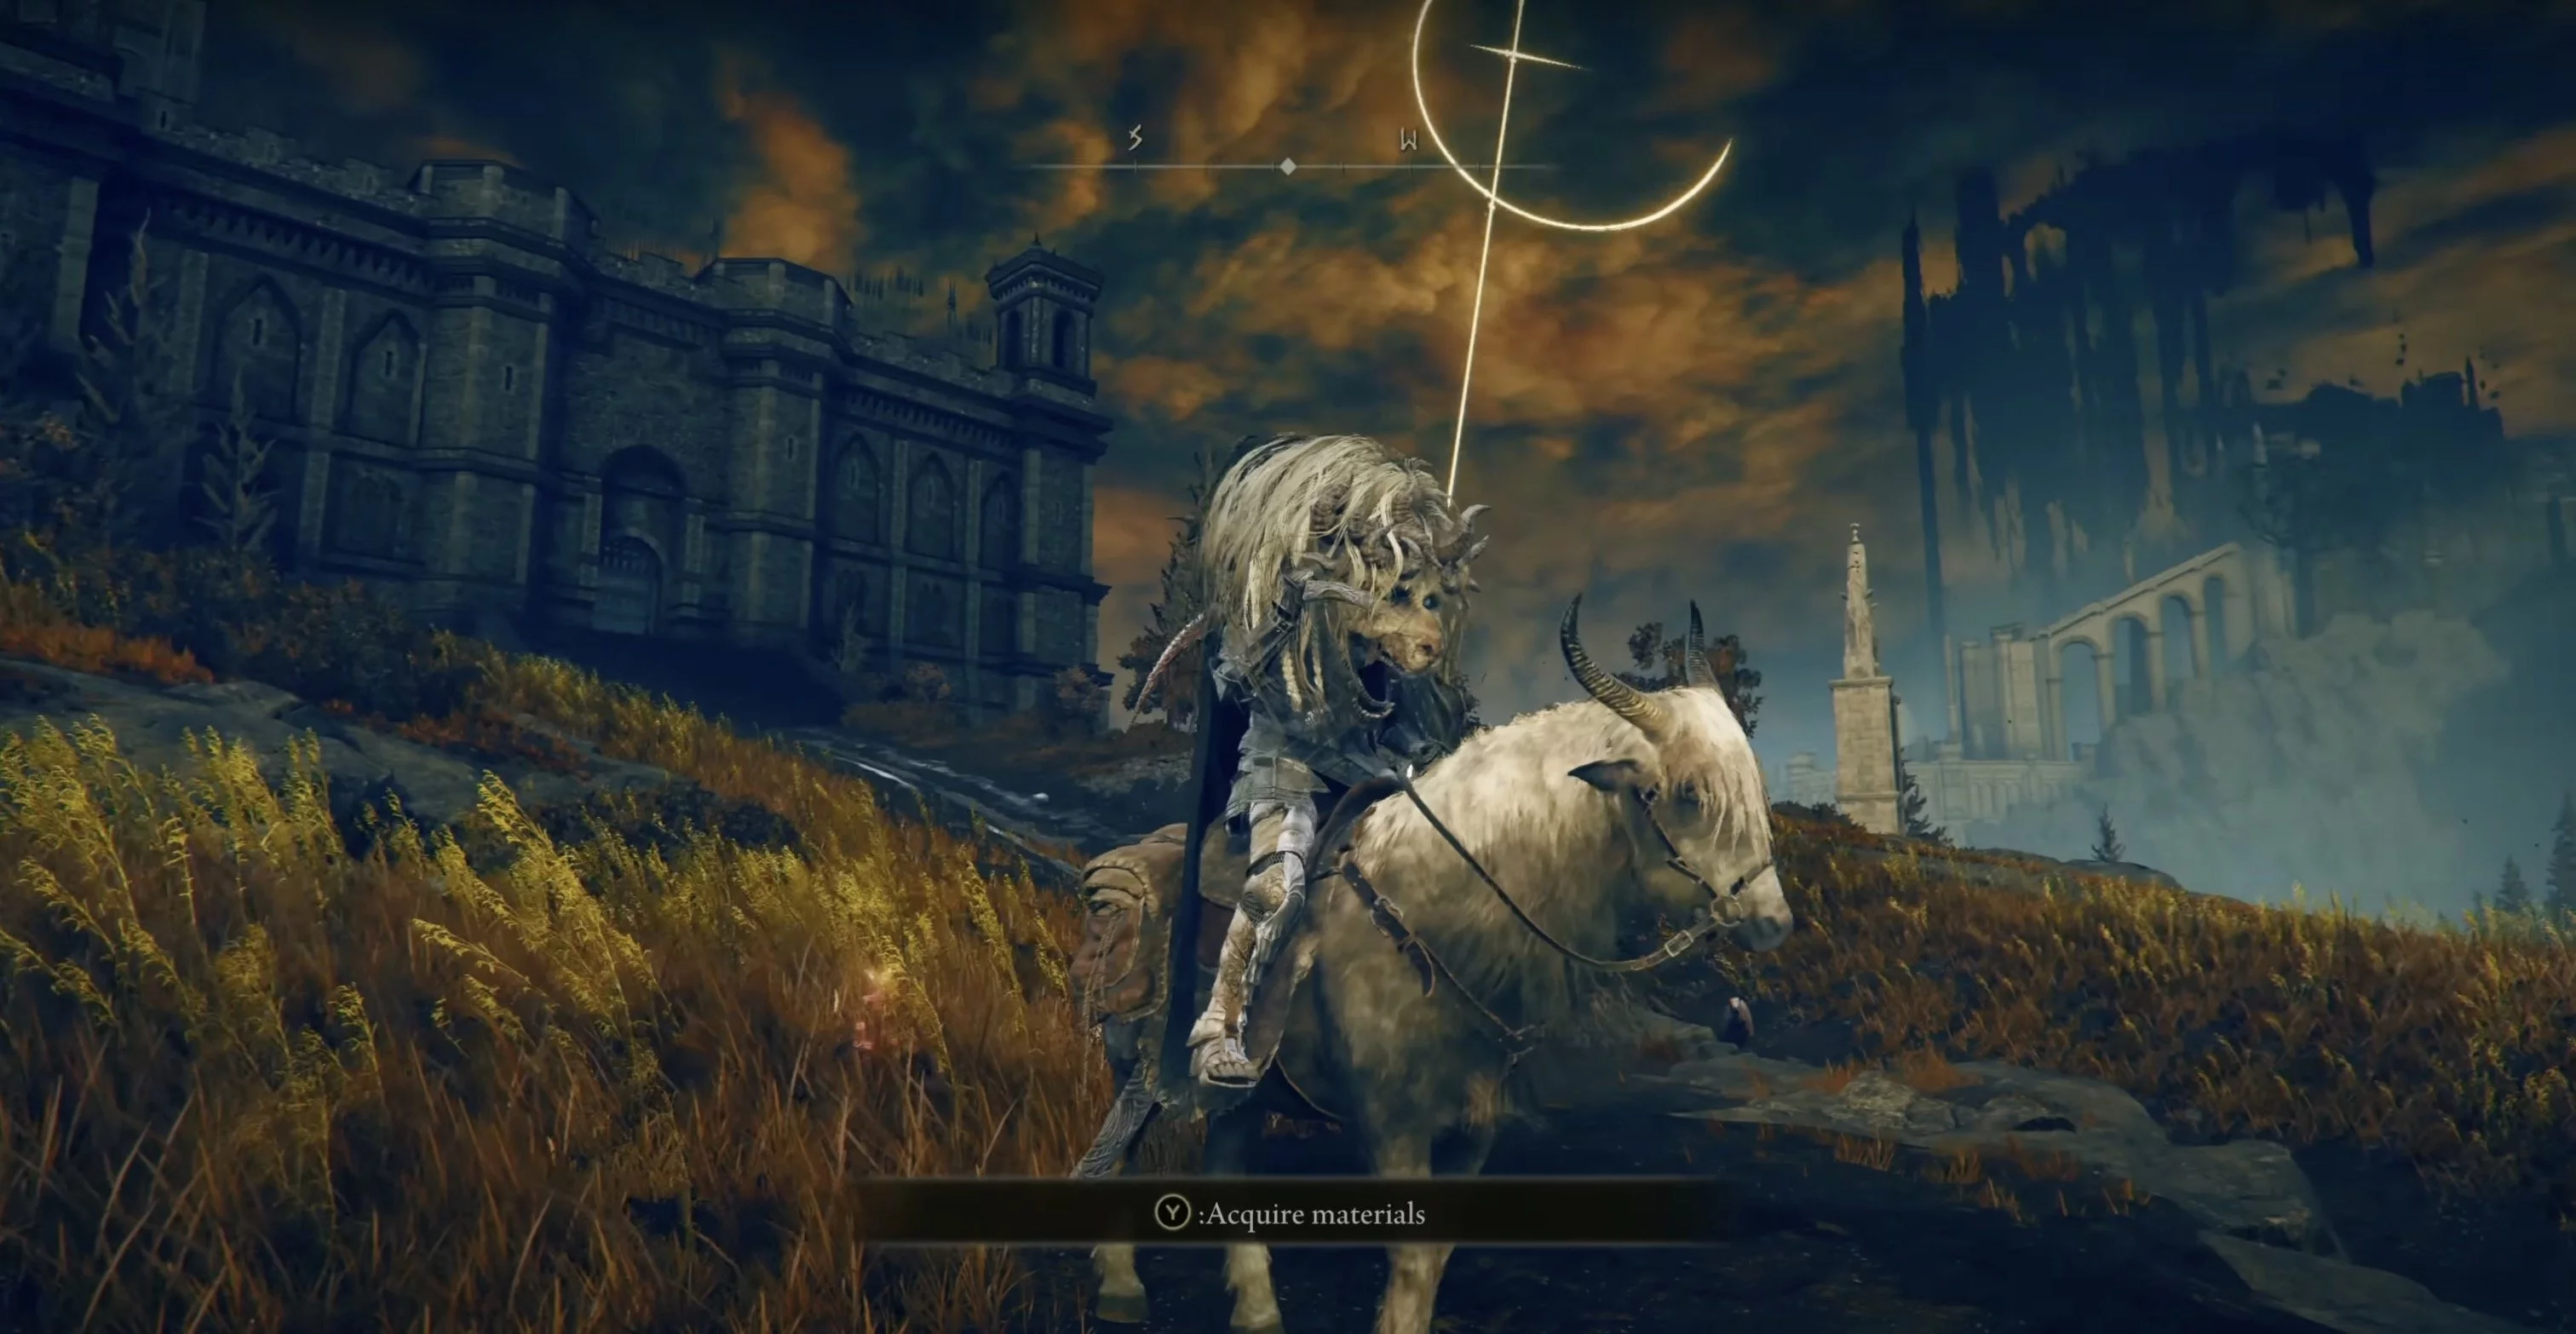
Return to the grace point Cross at the Three Roads, but now move not through the tunnel, but over the bridge. Be careful, at the end there is long-range weaponry that will start shooting at you from afar. After the bridge, you will reach the knights' camp, continue forward and you will see the staircase to the castle. To the right is the grace point Front Side of Ensys Castle. Inside the castle, a second story boss awaits you, but we don't need to go there yet.
Inspect and clear the camp of Messmer's knights to find Marika's statue. There is a shard at its base.
Location: Cross at the Road with Columns
From the Front Side of Ensys Castle, ride to the right and down, that is, to the northeast. There is a road visible on the map. Stay to the left to turn off it and reach another cross of Miquella. There sits the character Tiolie, who sells poisons.
How to Find Shards of the Decaying Tree in Belurat
You will only find one shard.
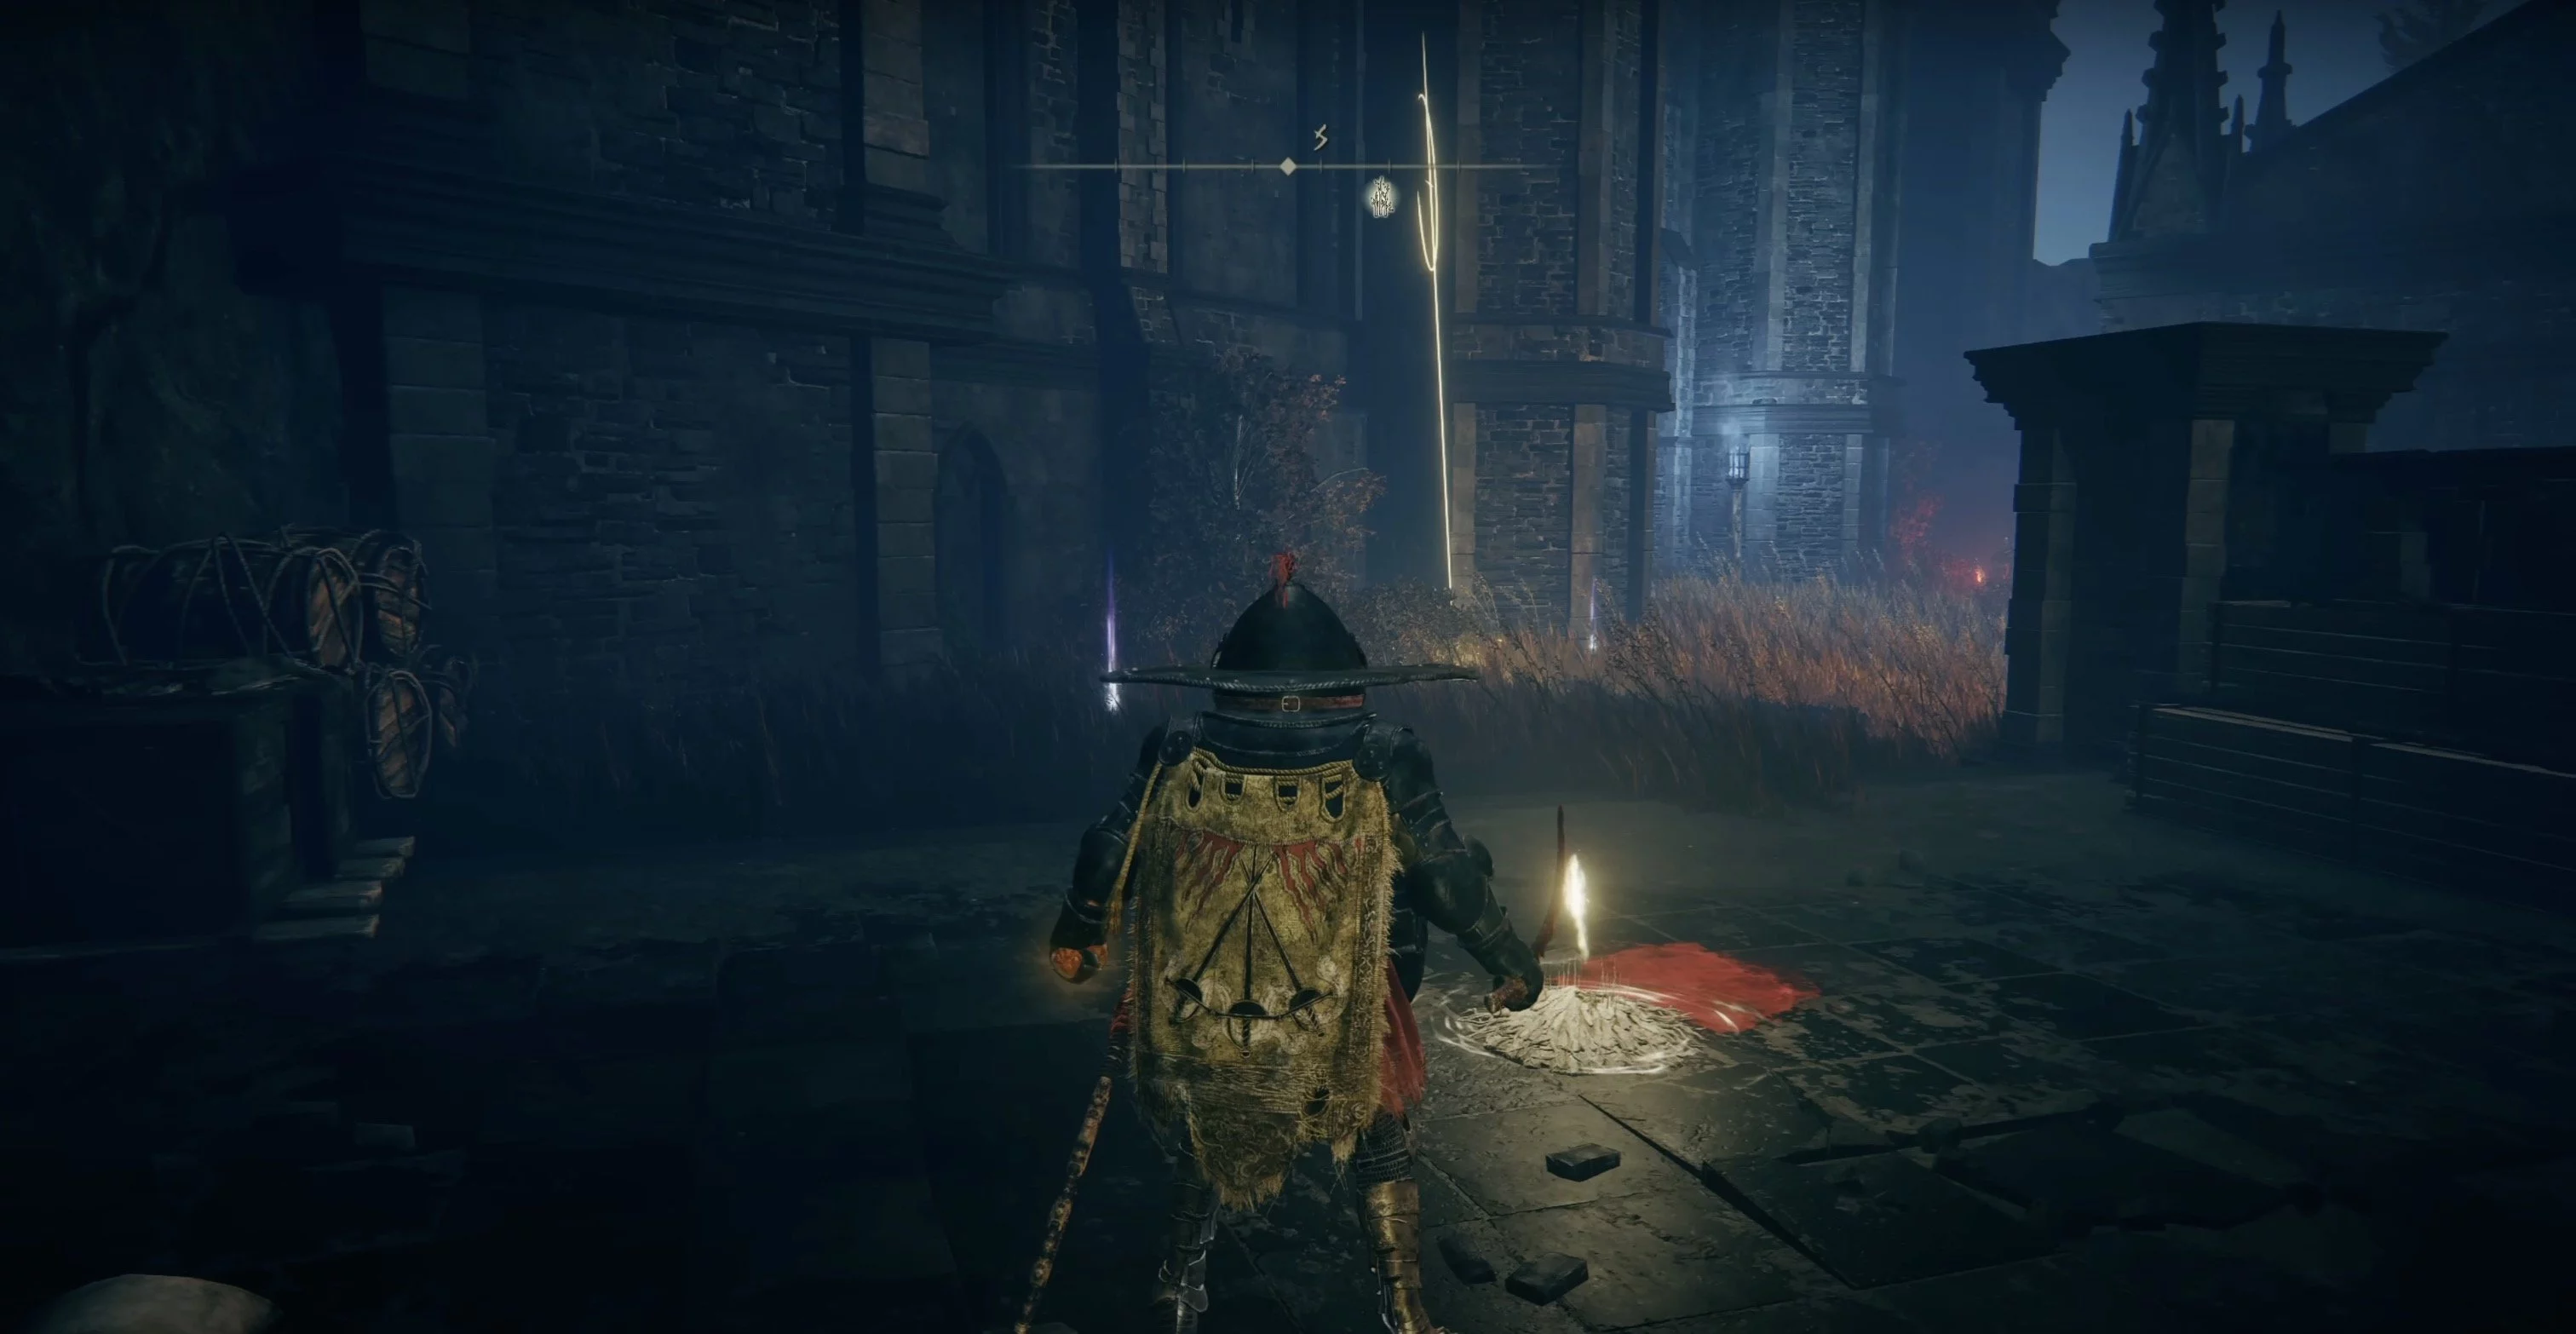
Location: Small Private Altar

First, find the grace point Small Private Altar. From it, you will have to go almost through all of Belurat. Exit through the only passage and turn right. There, a horned warrior patrols, you need to pass him and continue up the stairs and immediately to the right.
Go through the alley, exterminating shadows, and you will reach the sewer. On the opposite side from you, there is an open building. Inside, there is a wooden staircase that you need to climb. Once outside, turn right again up the stairs. At the top, go left but stay to the right side. Deal with the small scorpions. You will see an arch, but that's not where you need to go. A bit more to the right, there are ruins you can jump onto. This way, you will get to a room with flymen and the only cross of Miquella in Belurat. Nearby, there will be a shard.
How to Find Shards of the Decaying Tree in Ensys Castle
In Ensys Castle, the shard is easy to identify due to the cross of Miquella and the grace point — Rest in Ensys Castle.
How to Find Shards of the Decaying Tree in Shadowy Altus
Shadowy Altus is a large and geographically complex location. There are many caves and secret passages. There are a total of 12 shards here.
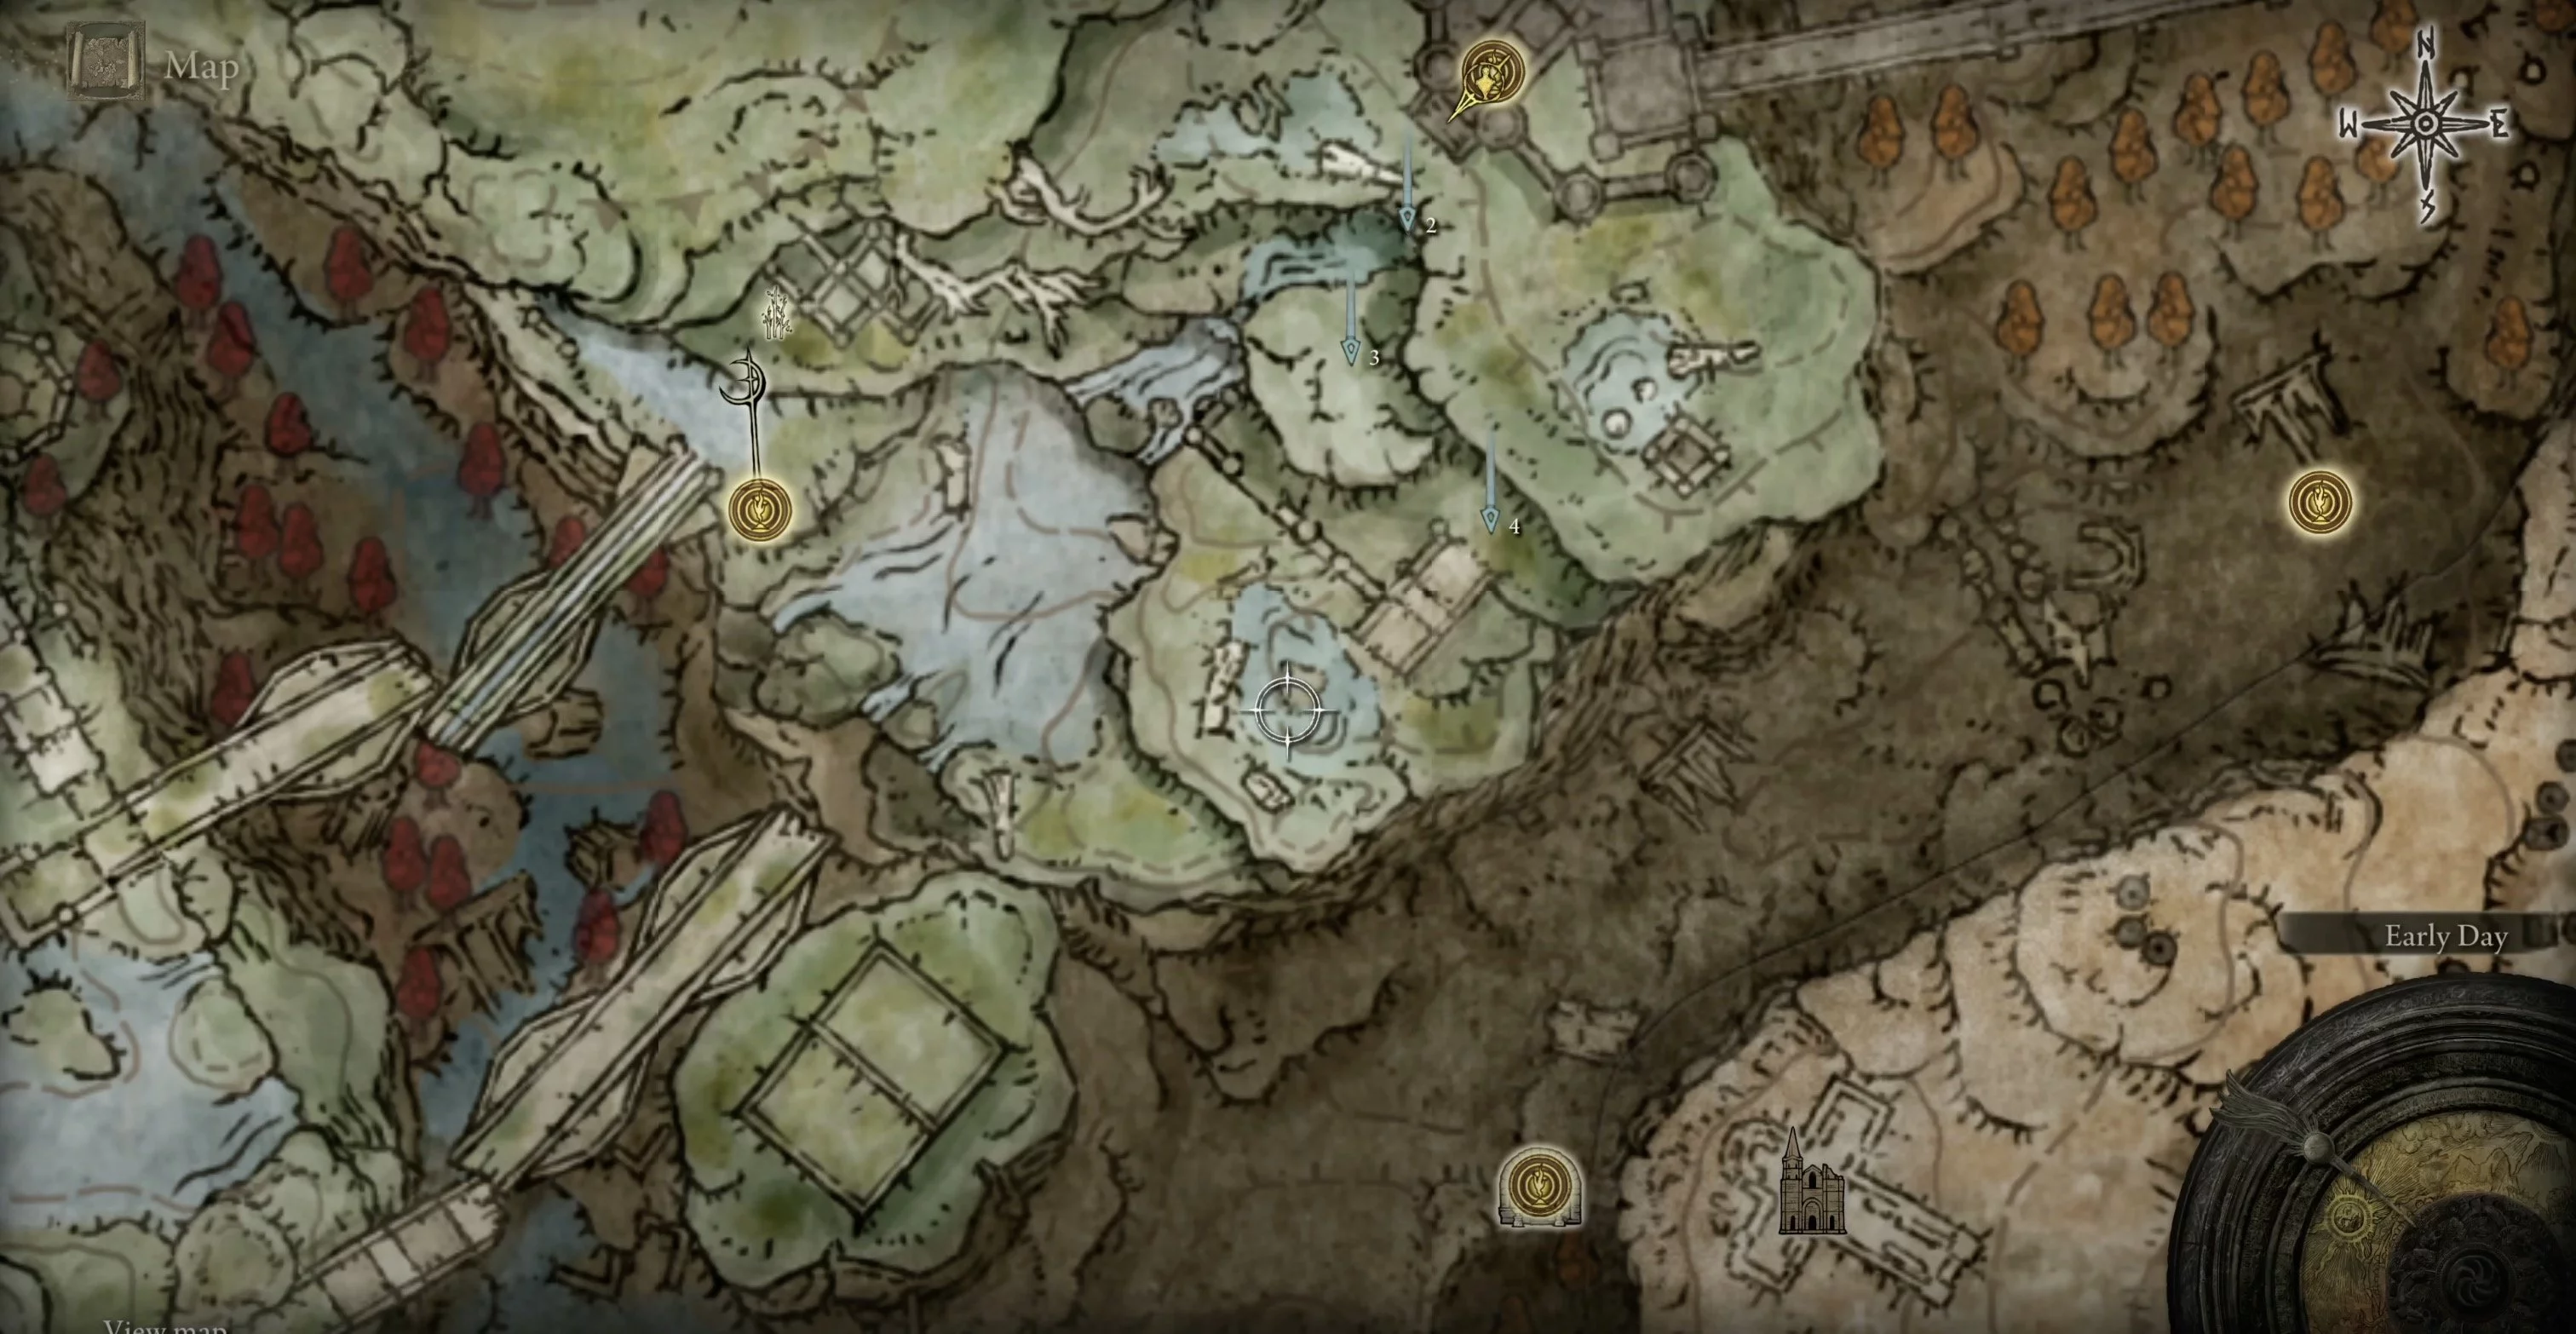
Location: Cross by the Road
The first grace you definitely won't miss in Shadowy Altus is Cross by the Road. There is also a cross of Miquella and a shard next to it.
Location: Temple of the Sacred Crusade
From Cross by the Road, move left to the very end. You will see a temple, which on the map is called the Temple of the Sacred Crusade. Before you can take 2 whole shards, you will have to defeat an invading enemy — the fire knight Quilain. Whether you defeat him immediately or later is not important, just make sure to take the shards near the statue.
Location: Northern Messmer Camp
Return to the grace point Cross by the Road and ride forward to the Shadow Haven. You will see a large camp of knights with guards and a fire-walking bowl. You don't need to fight, just stay to the right side of the main road and you will notice Marika's statue. Next to it is a shard.
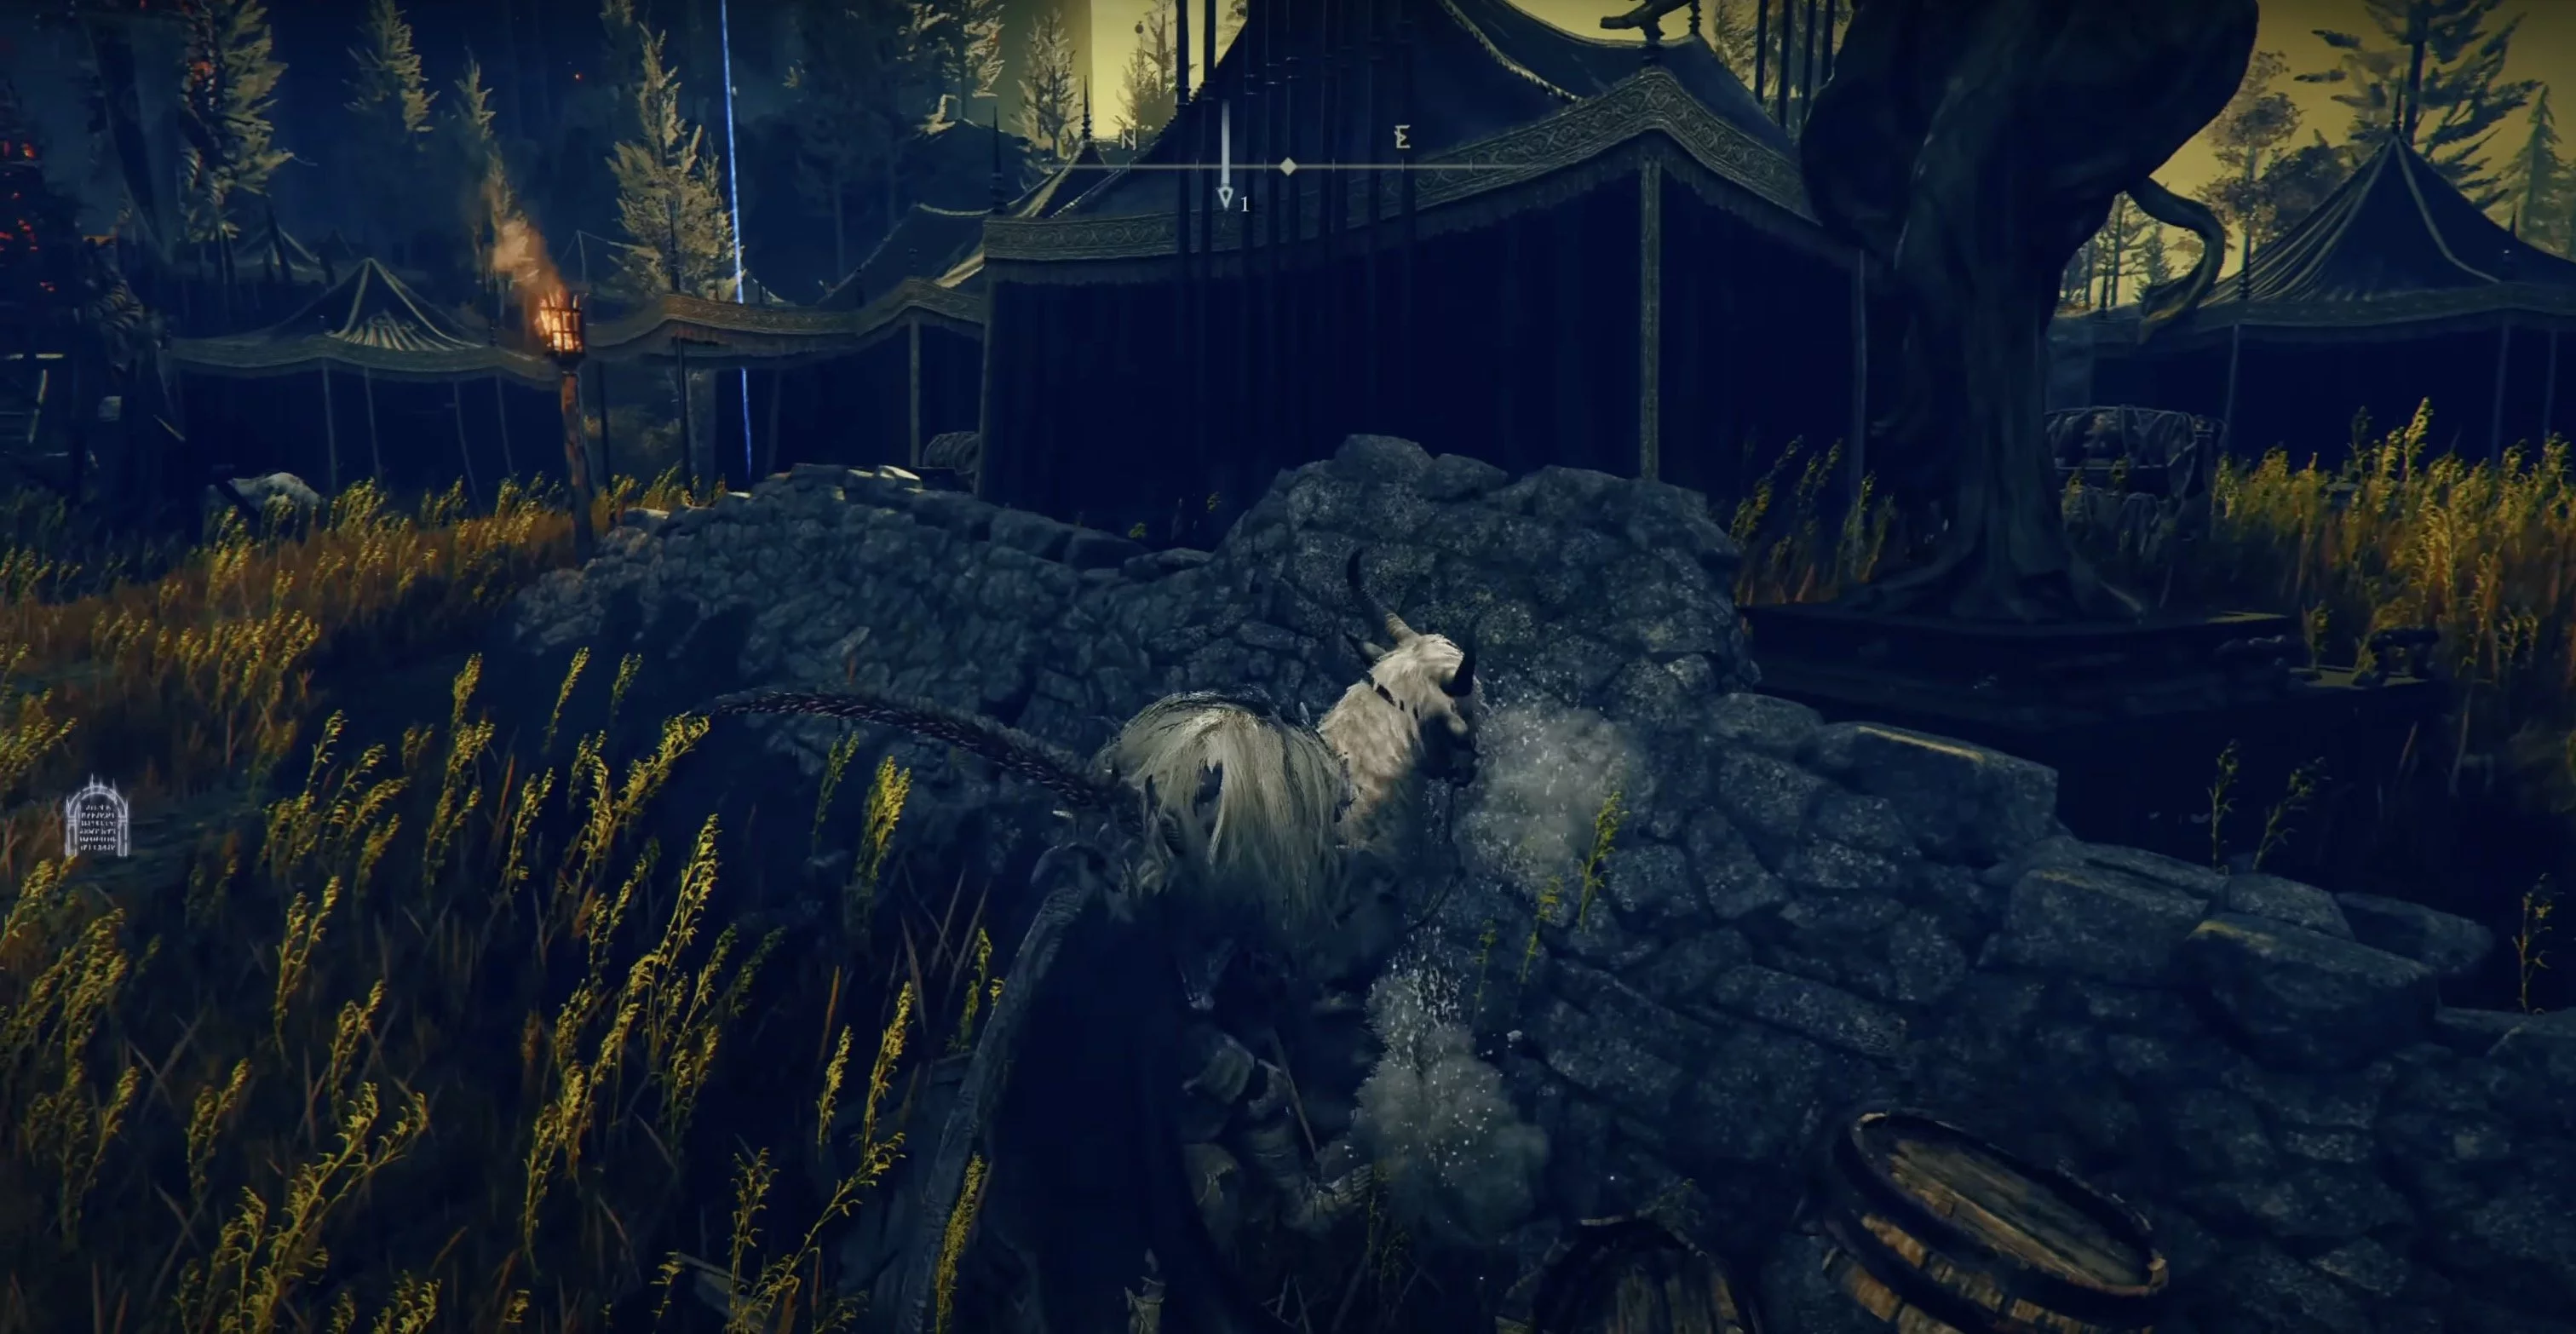
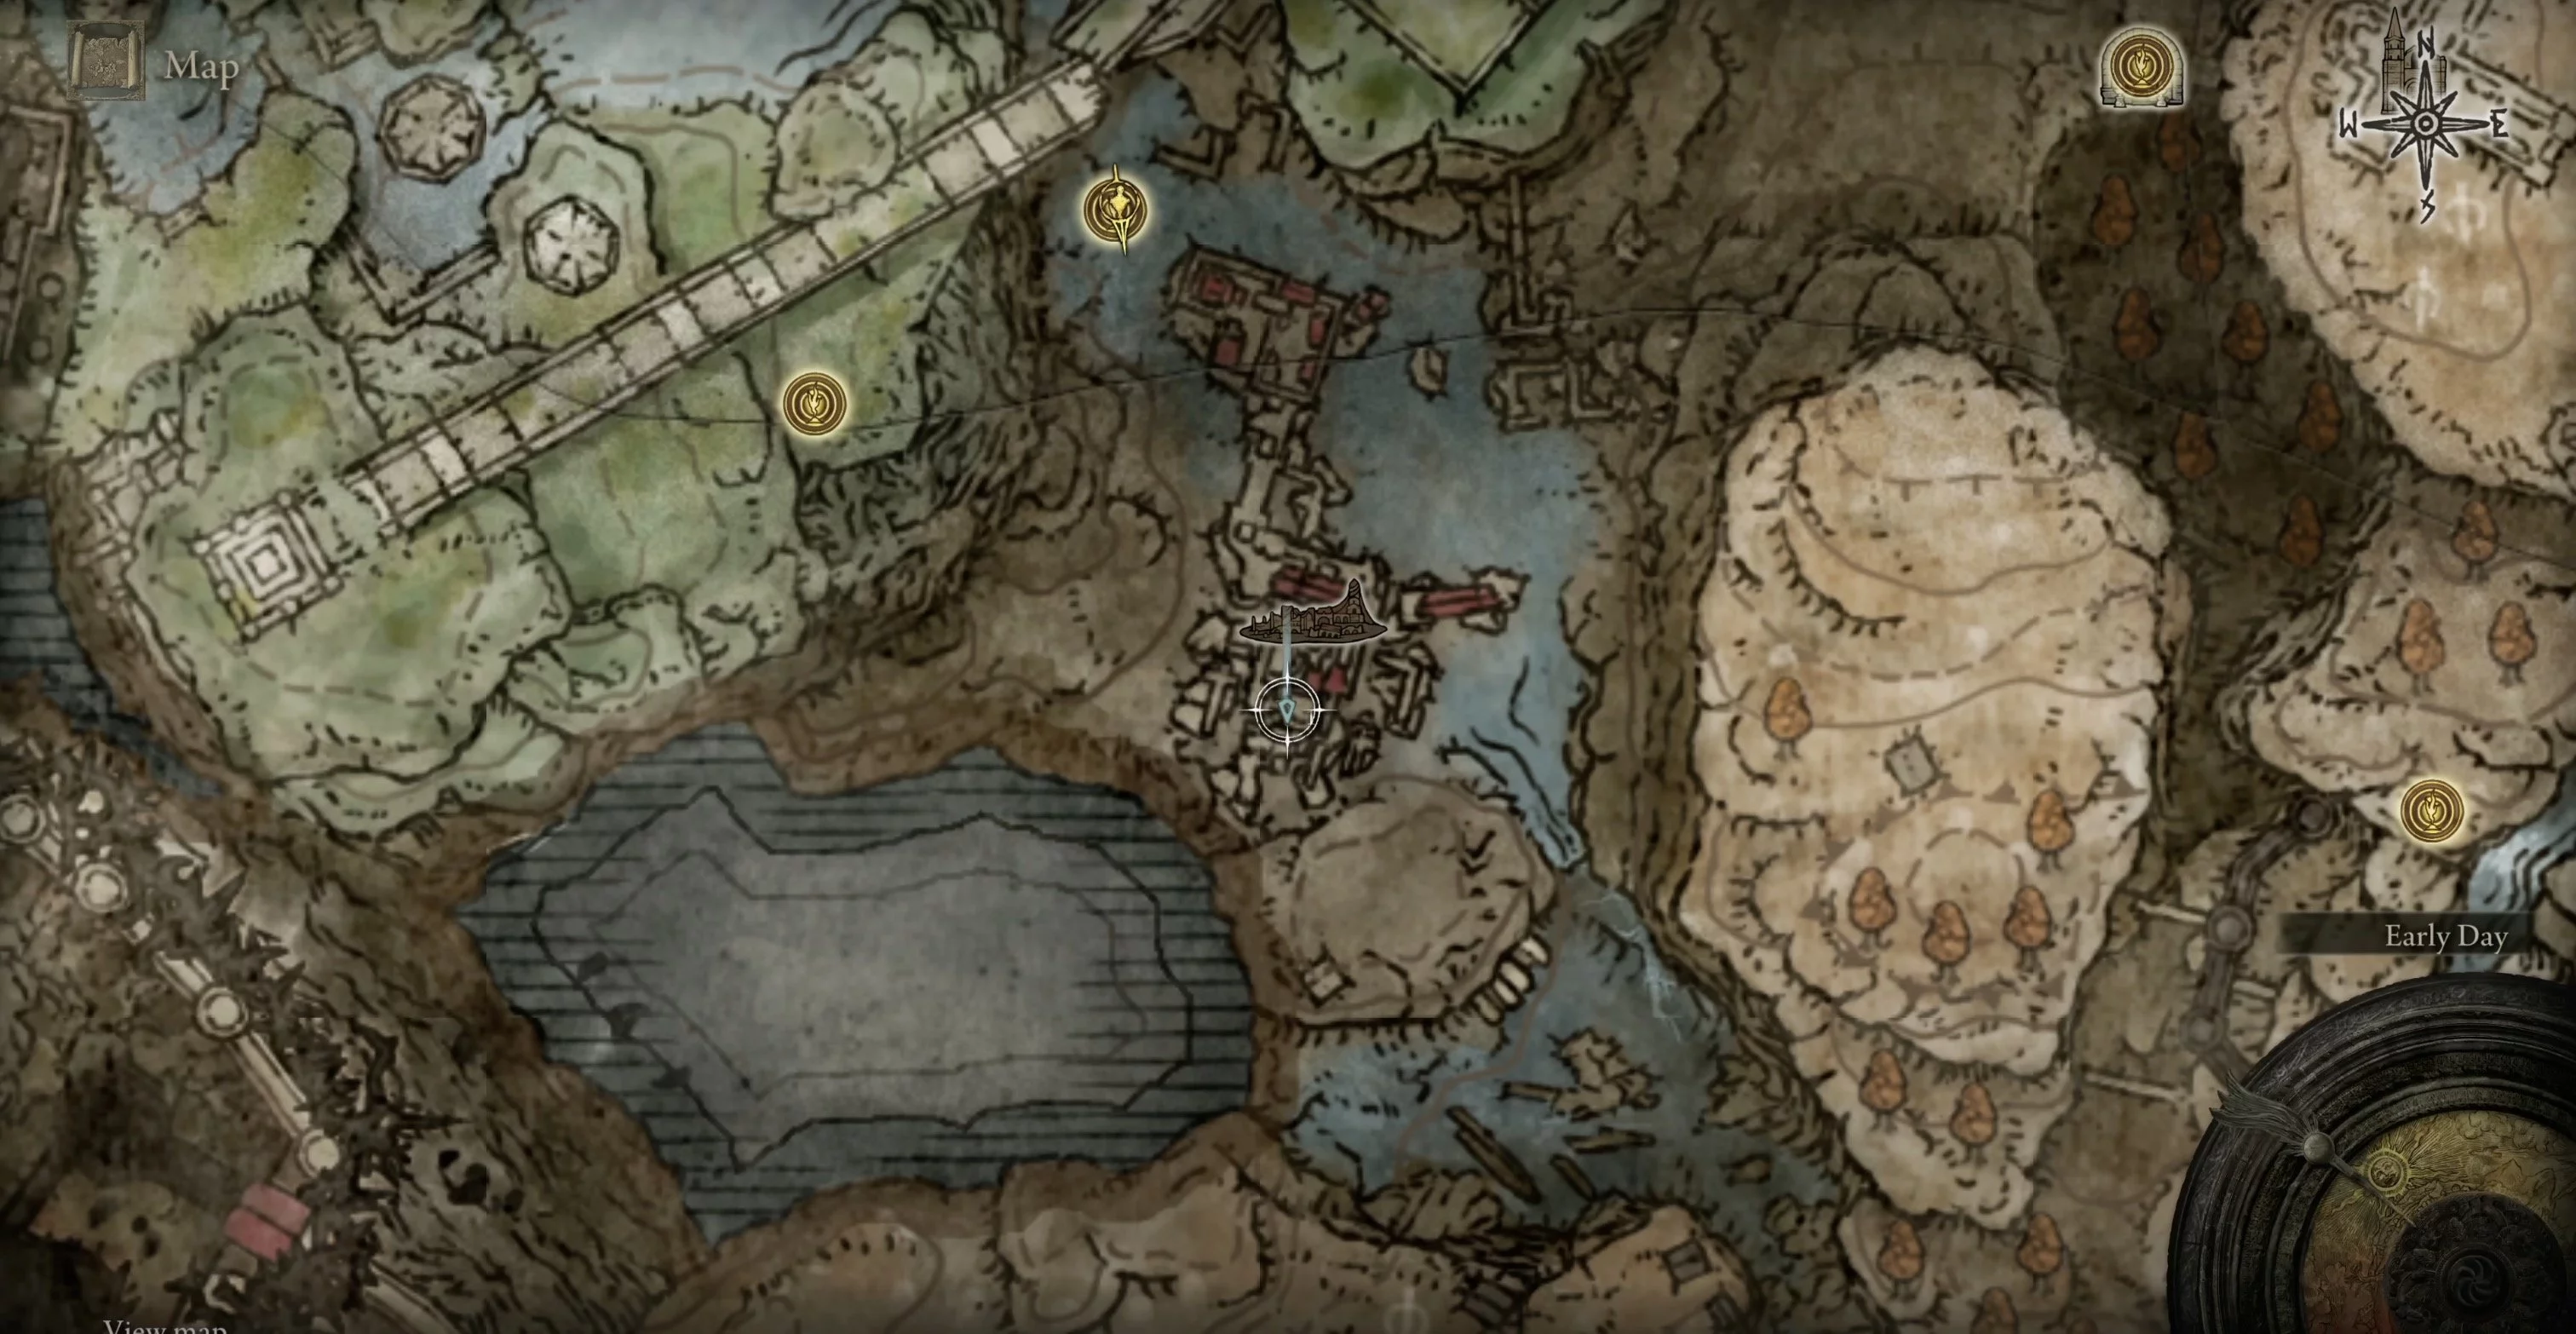
Location: Murta Ruins
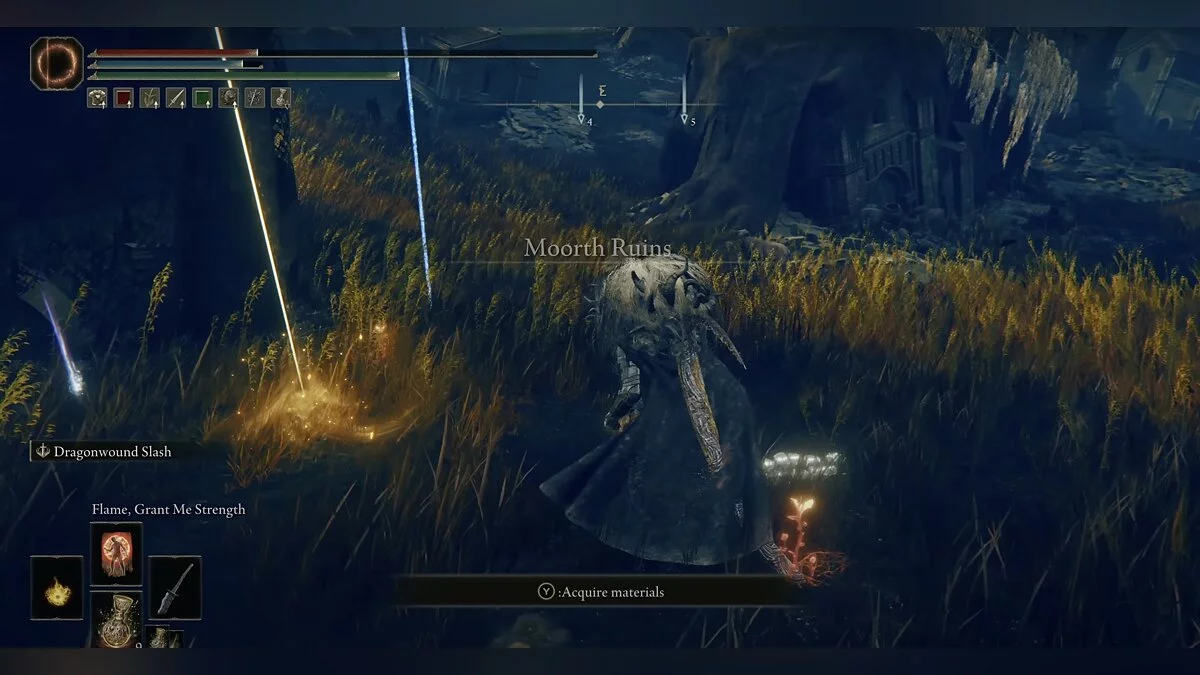
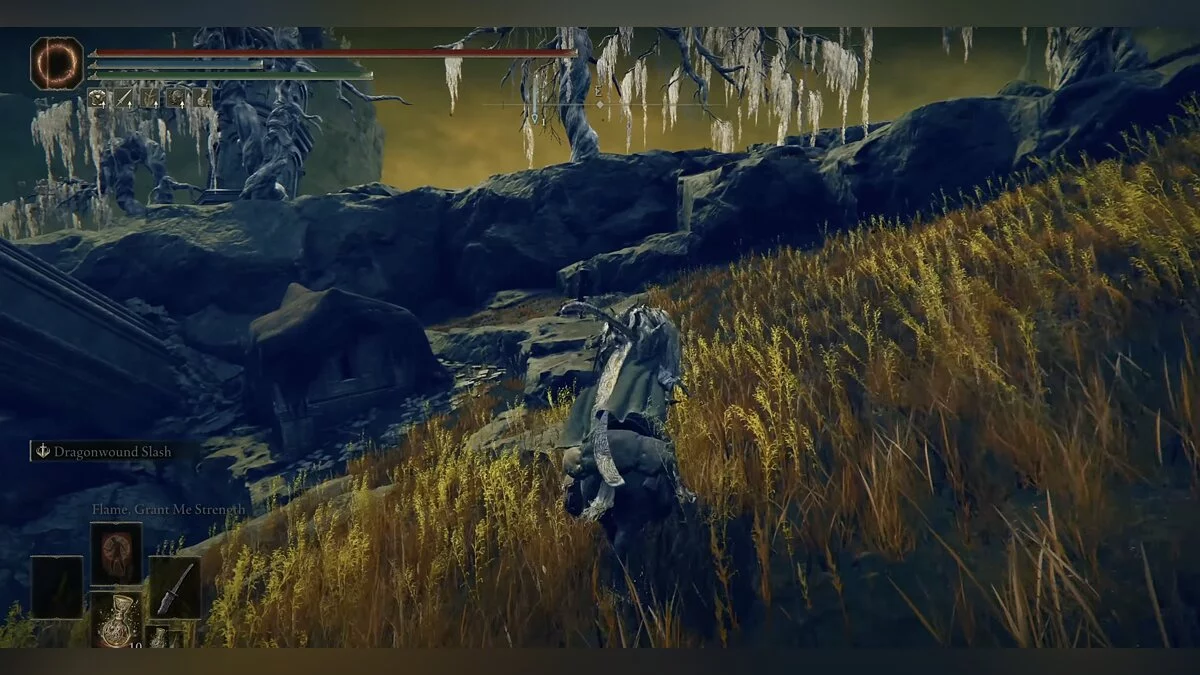
From Cross by the Road, move to the knights' camp as before, but just before it starts, turn right onto another road. Ride forward until you see another Messmer knights' camp. It is much smaller. In the center between the tents, there is another Marika's statue with a shard. A bit further, you can find a grace point — Murta Ruins. It has a cross of Miquella and, of course, a shard.
In this same location, you can find another shard. Most of the settlement has fallen into a crater. Approach the crater and find the southeastern edge. On the edge of the cliff stands a shadow with a pot. As before, it is best to eliminate it from a distance.
Location: Passage to Rauch Haven Ruins
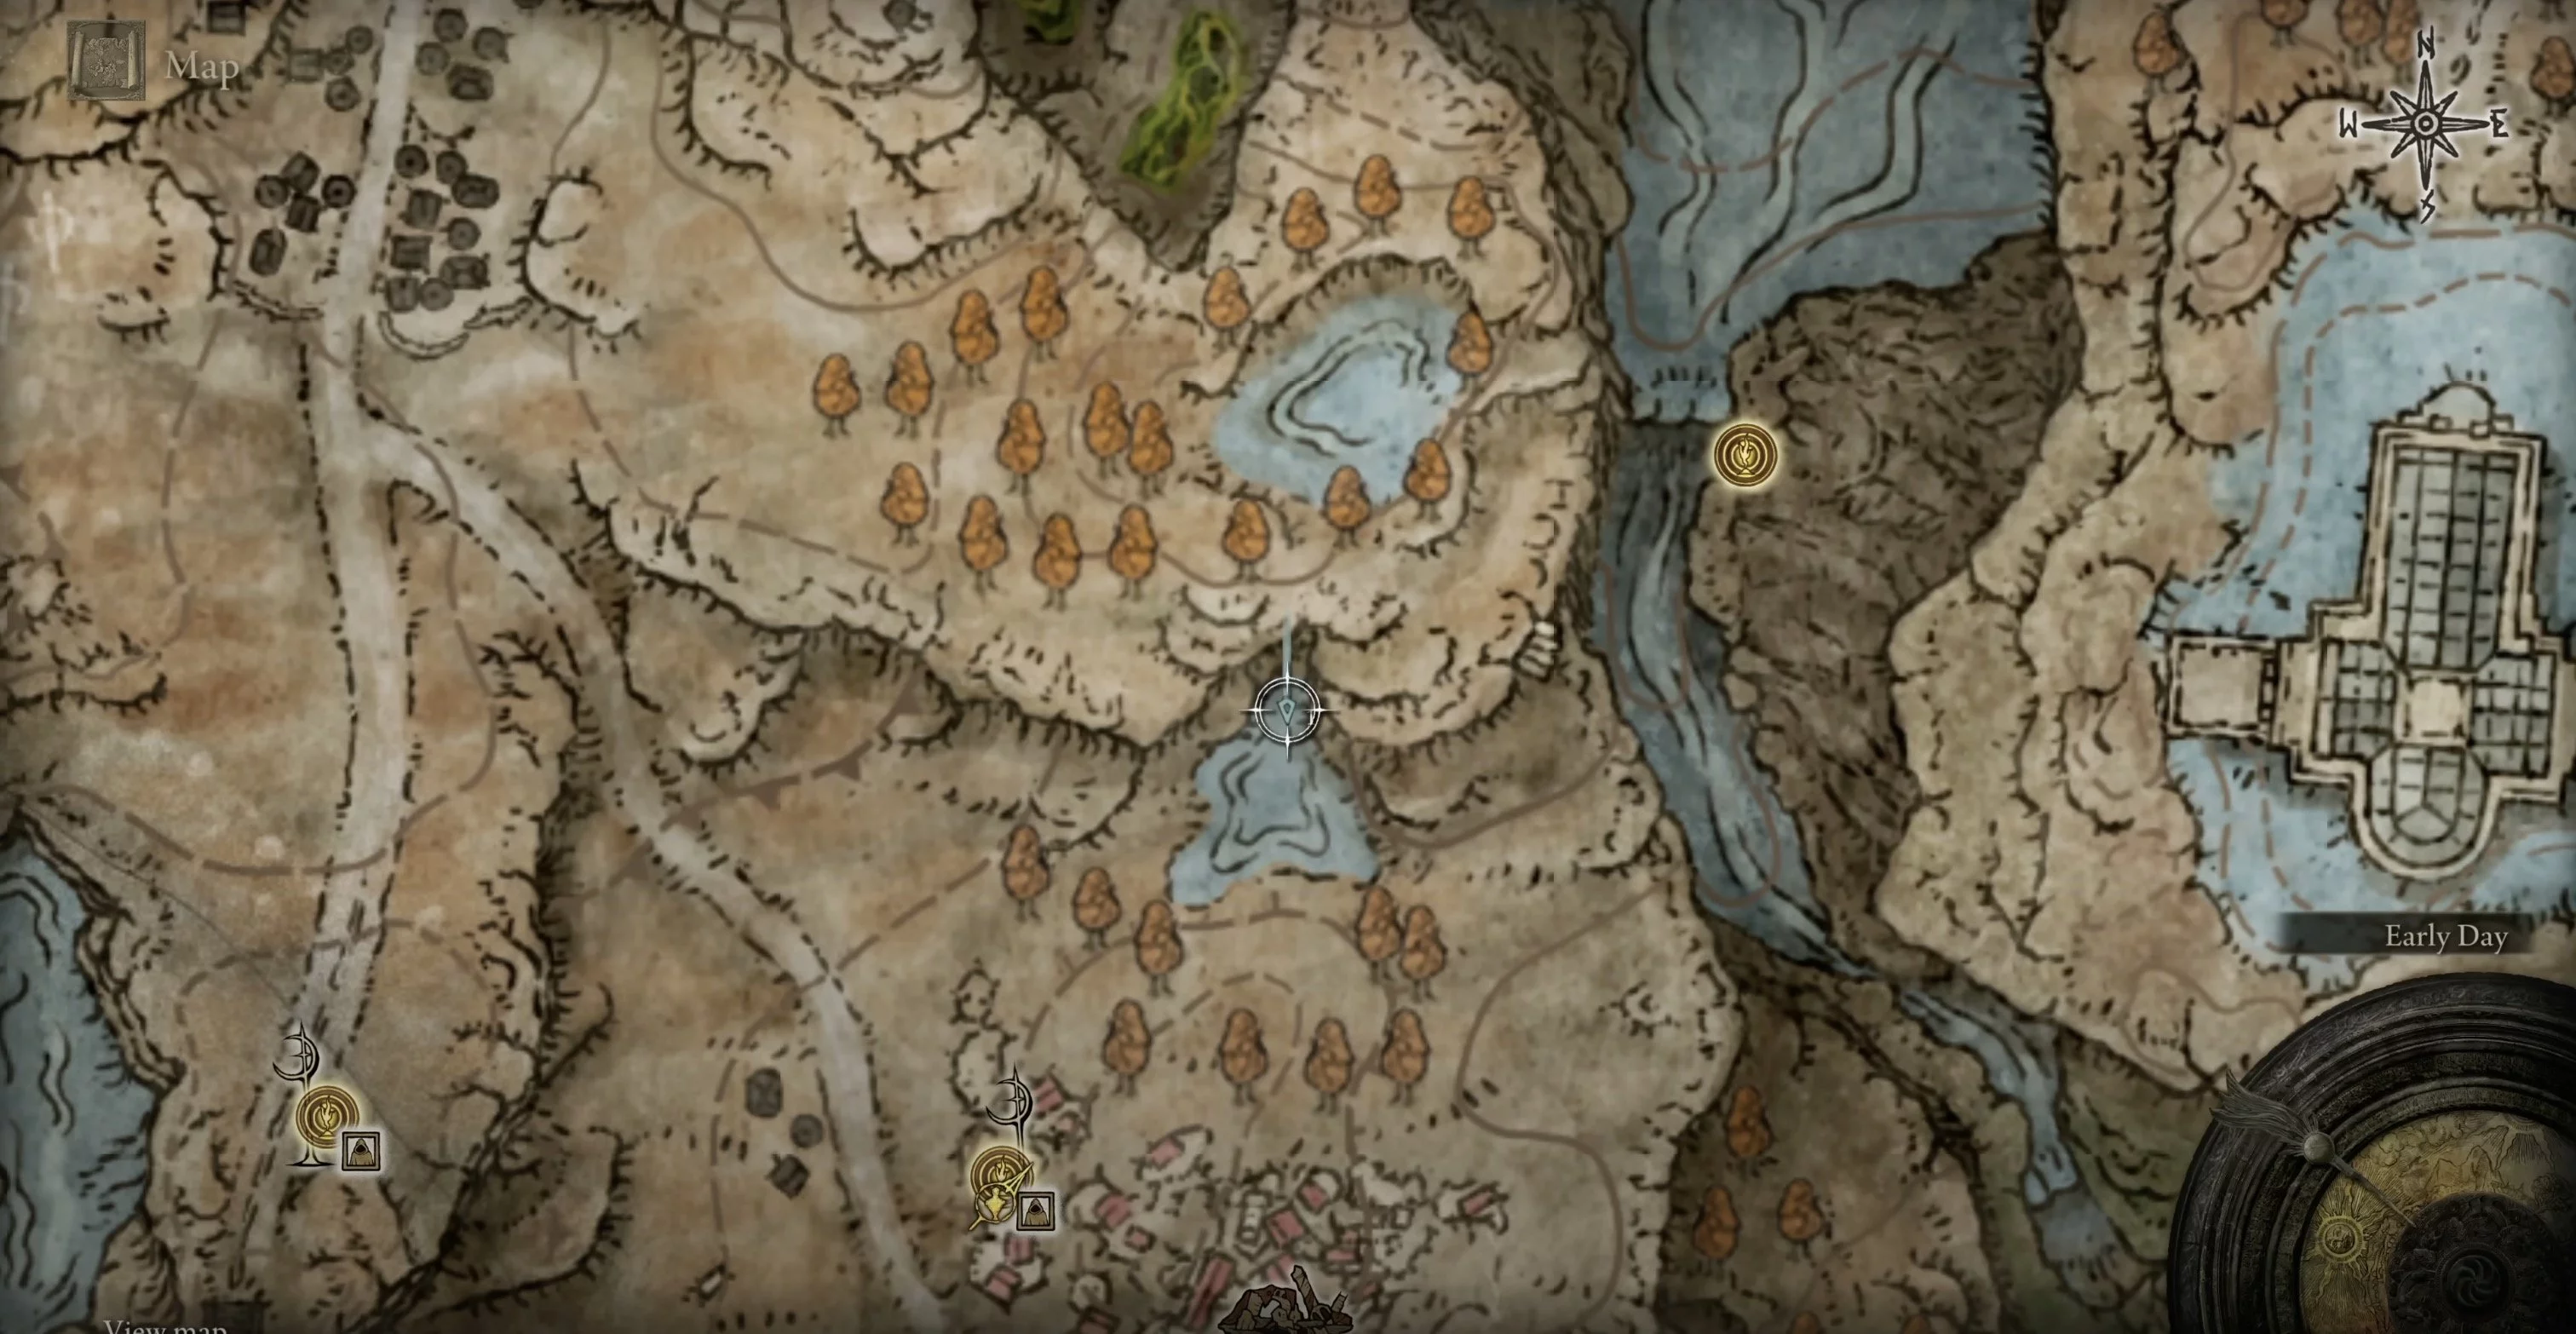
To the north of Murta Ruins, find a lake. On its northern side, there will be a cave with a Marika's statue in front of the entrance. At its base is a shard. Passing through the cave, you will reach a new location — Rauch Haven Ruins.
Location: Cross near the Tree of Decay
From Murta Ruins, ride south along the main road. Passing the battle of knights with a dragon, turn left and you will see a closed spirit spring — a rising air stream. A bit ahead, there are many bats guarding the Pyramid. Hit it and the air stream will activate. Jump and you will find the grace point Cross near the Tree of Decay. There lies a shard.
Location: Upper Stream of the Ascetics' River
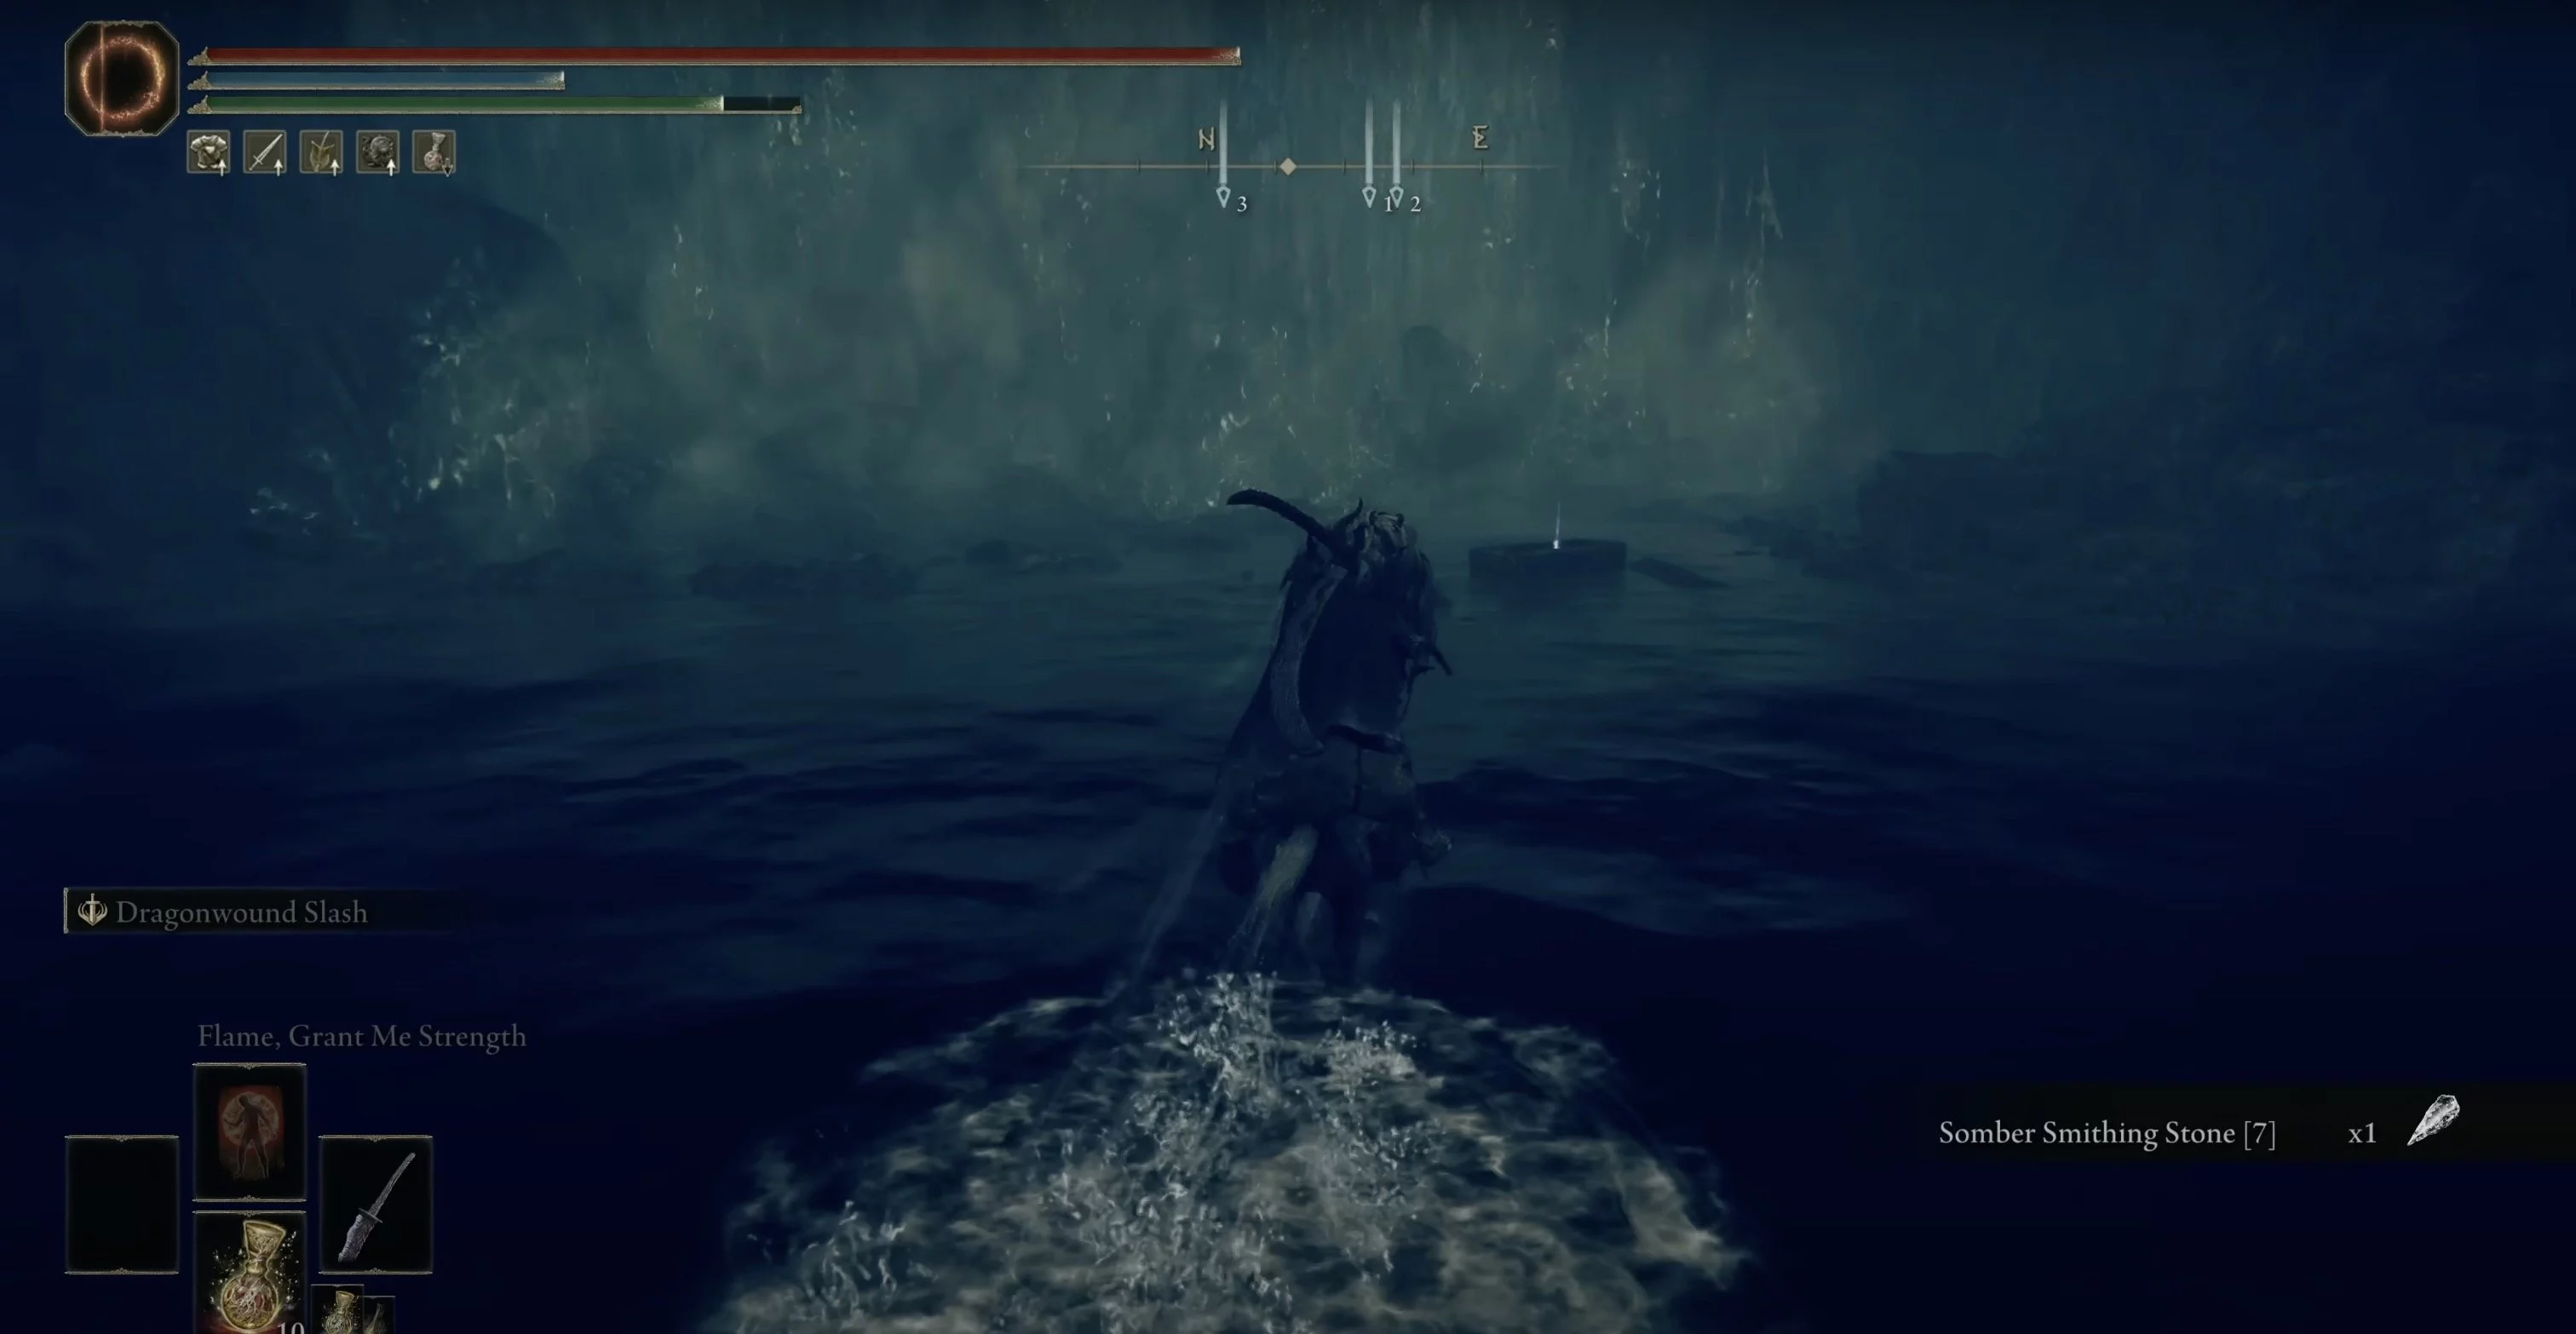
To get to this shard, you will have to tinker a bit. In the Shadow Haven, after defeating the Golden Hippopotamus and activating the grace point Square before the Main Gates, head northwest and climb to the top of the castle. Cross the bridge surrounded by burning boats, and head southeast. Pass the steps to the northeast leading to the castle and find the ladder along the eastern edge of the bridge leading to the water. Follow northeast to the waterfall. Behind it, there will be a small room with another ladder. Descend and move a bit southeast. You will find yourself in a room with a painting. An illusory wall is hidden here. Behind it is a coffin that will transport you to the grace point Castle Watering Hole.
Go through the lake south to the grace point Upper Stream of the Ascetics' River. Stay to the left of the waterfall, then jump across the ledges to the right. You should notice a descent to the left, jump down and move in a circle until you see grave birds. Under the hill where they sit, find the ledges from which you can jump down to the Dry Leaf Seal item. Descend even lower to the top of the nearest waterfall. You need to return through the canyon back to the very first waterfall (where the grace point Upper Stream of the Ascetics' River is at the top). Under the waterfall lies a shard in a stone coffin.
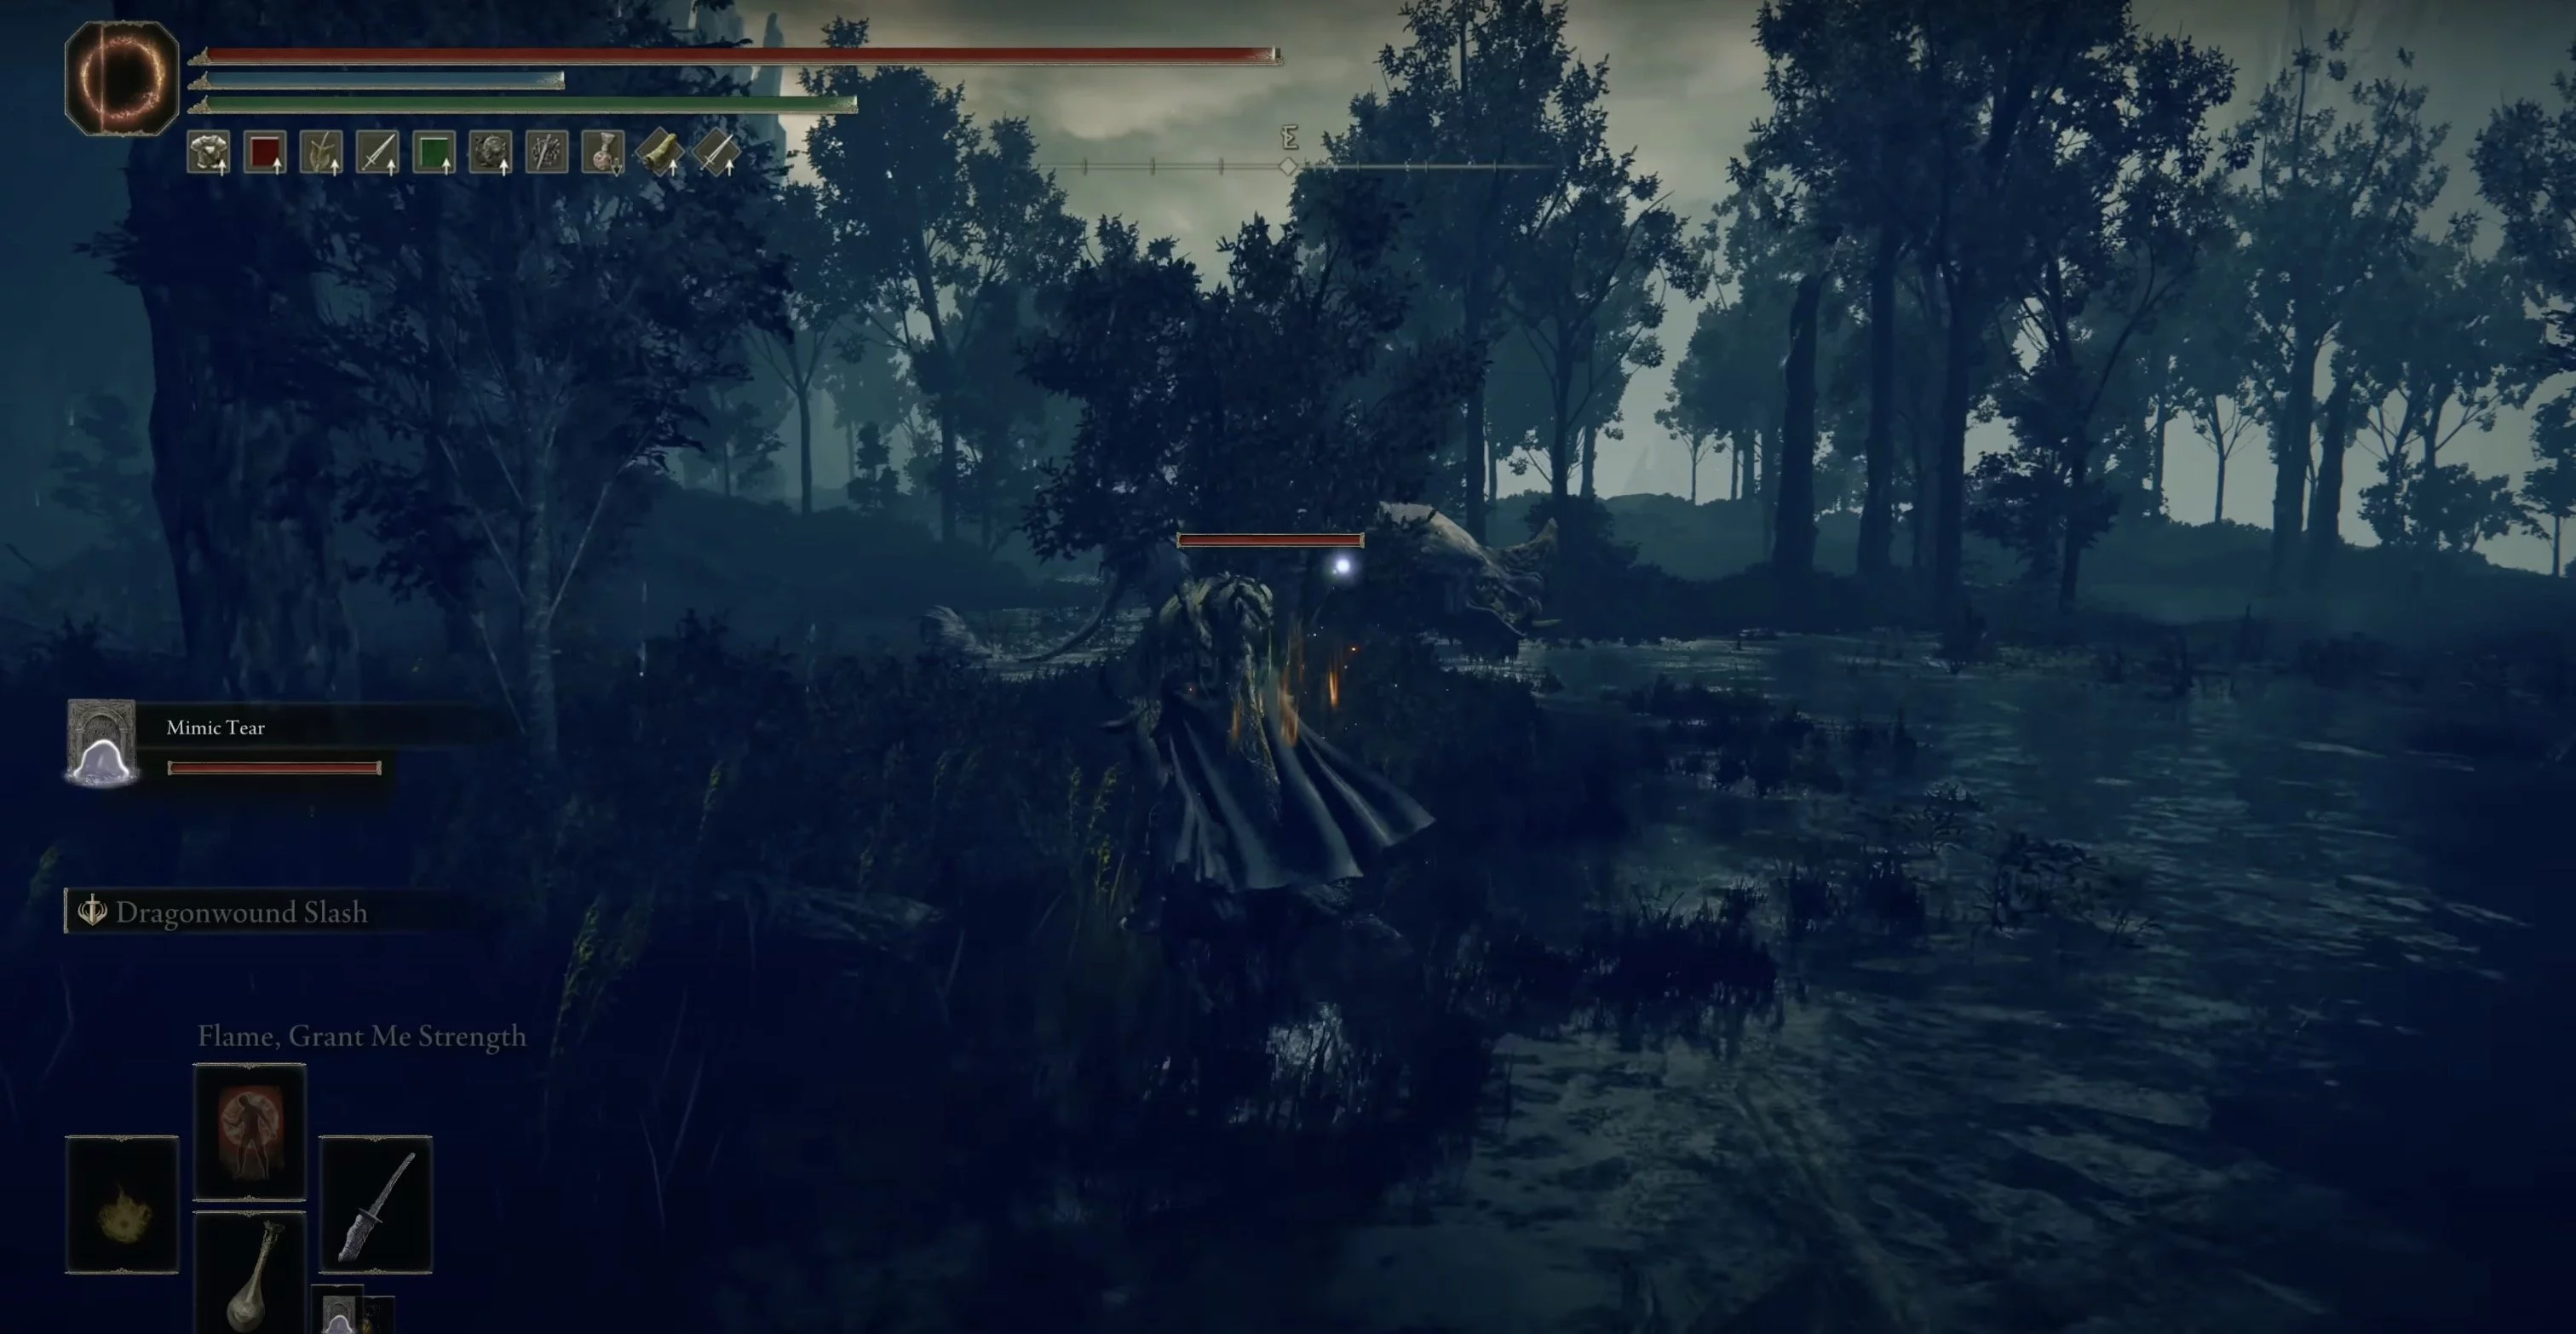
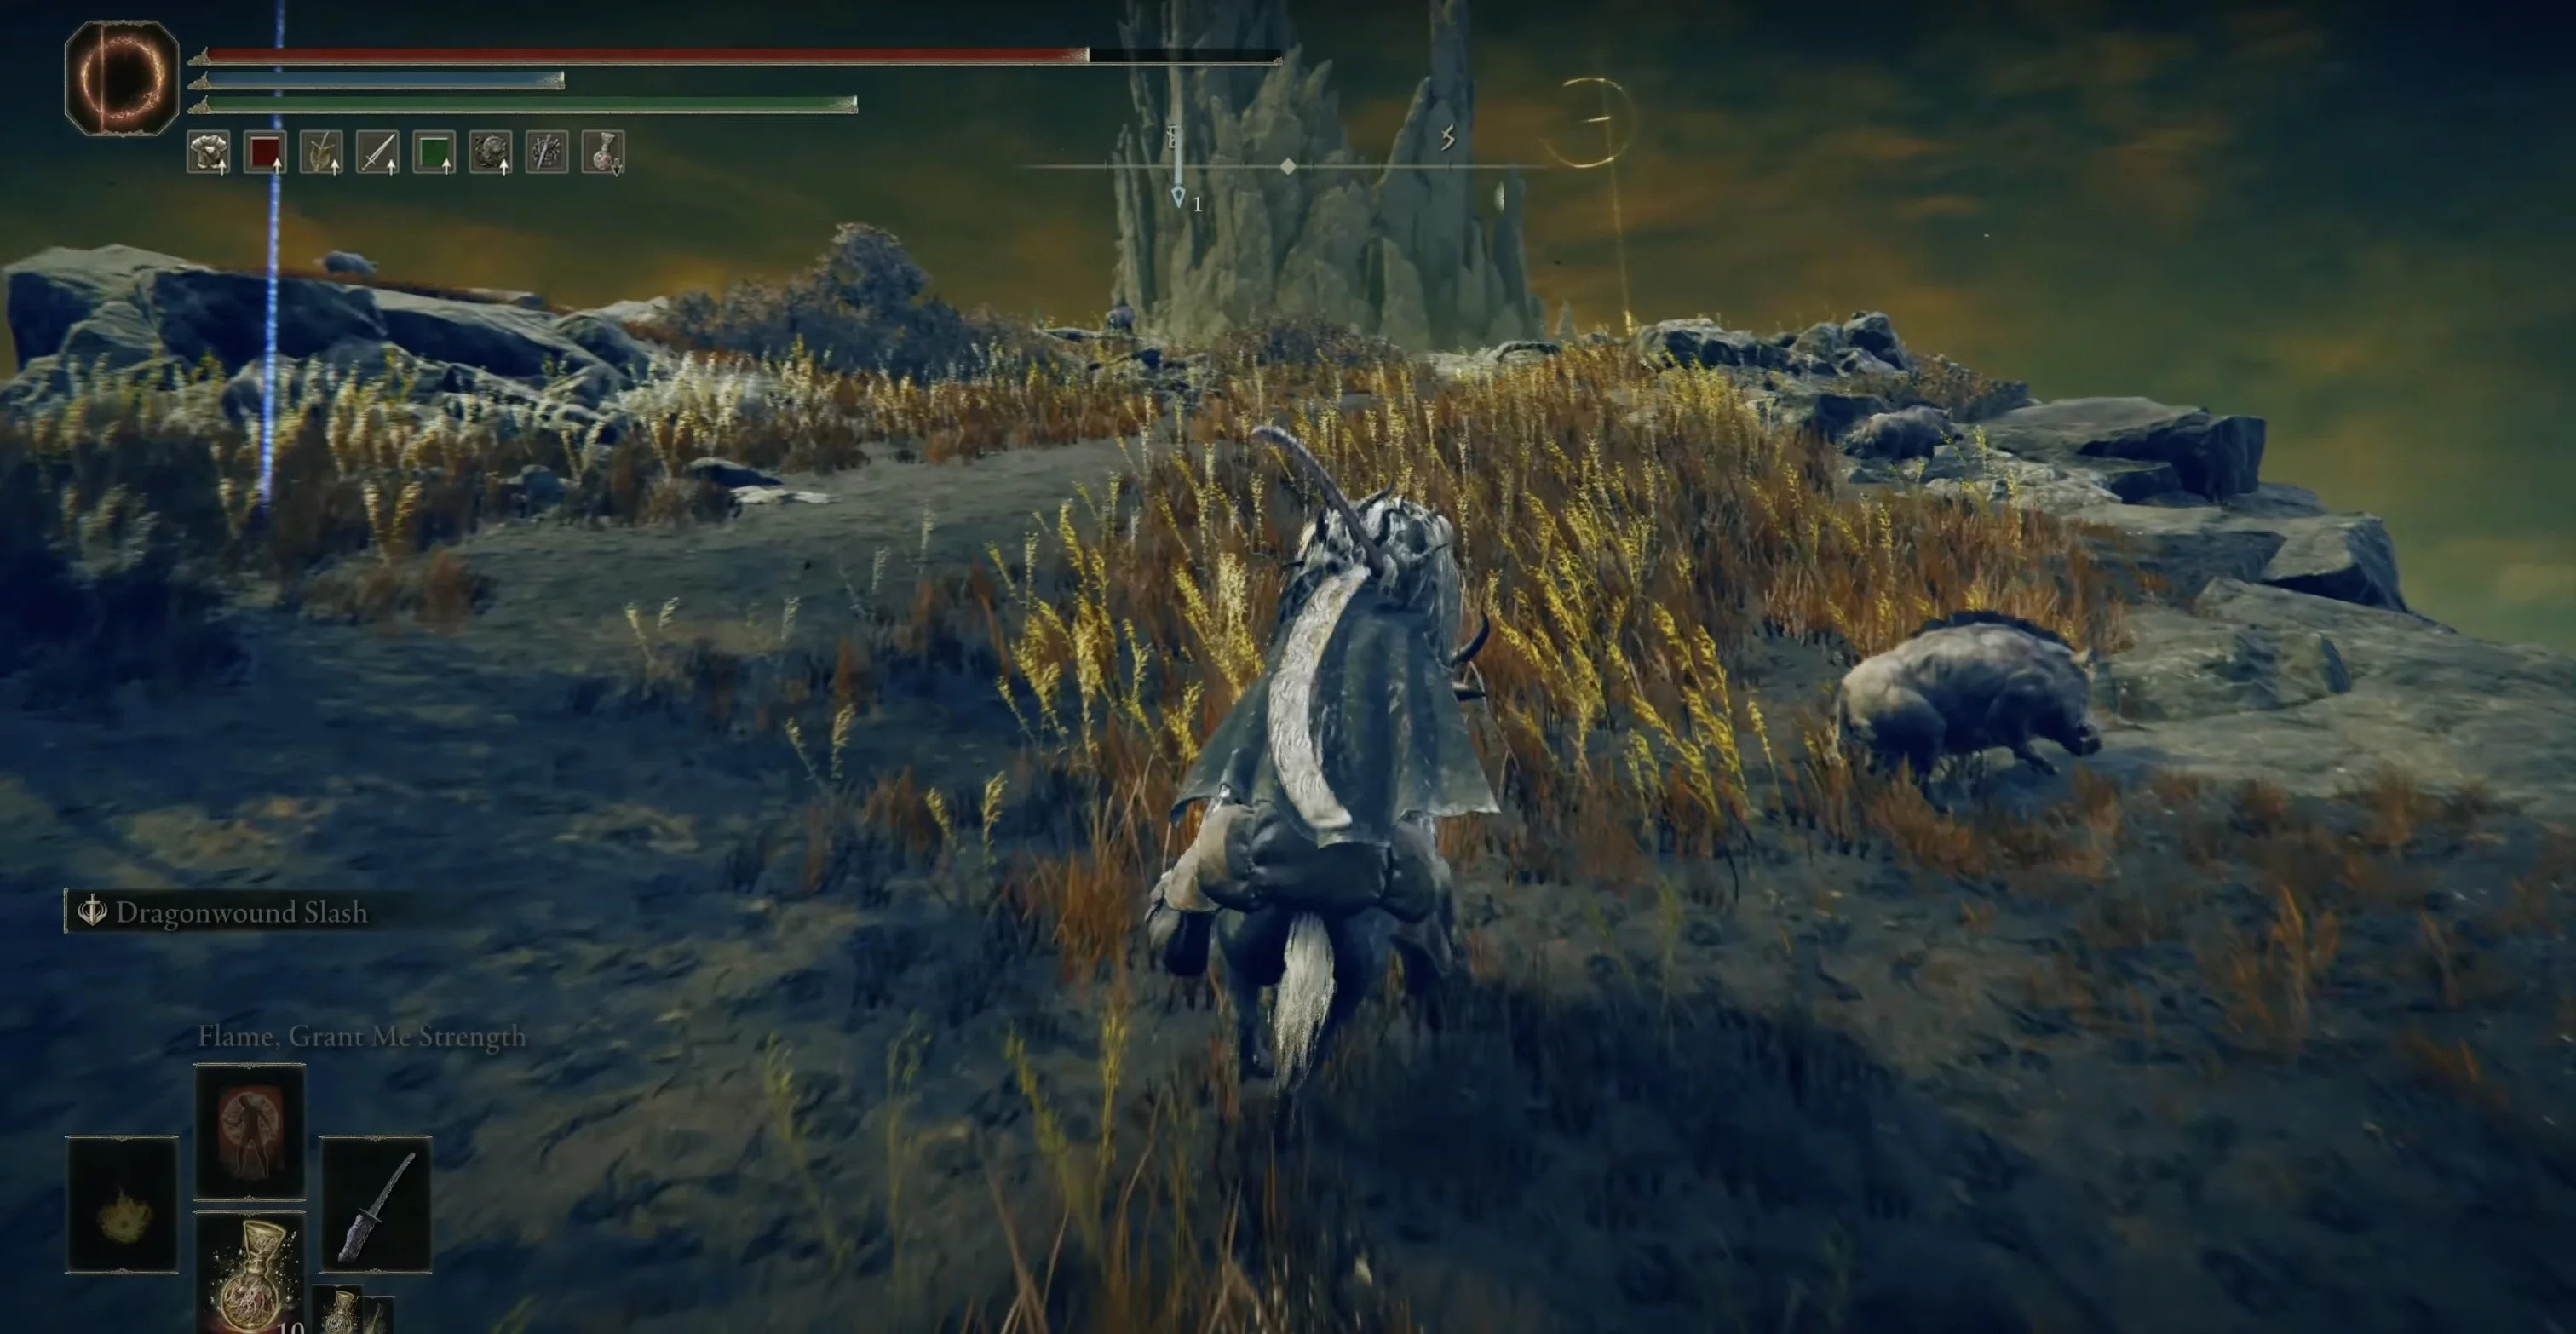
Here you can also find two more shards. From the grace point Upper Stream of the Ascetics' River, go through the canyon along the top and stay on the right side. Move forward to the end, ignoring the ledges, and you will notice slabs below, which you can descend to the lake with trees. There you will be awaited by two hippopotamuses. Each will give one shard.
How to Find Shards of the Decaying Tree in the Shadow Haven
In this castle, you can find as many as 11 shards, so look around carefully.
Location: Square before the Main Gates
As soon as you enter the Shadow Haven, you will encounter a boss — the Golden Hippopotamus. For the victory, you will receive two shards, as well as unlock the grace point — Square before the Main Gates.
Location: Storage, Fourth Floor
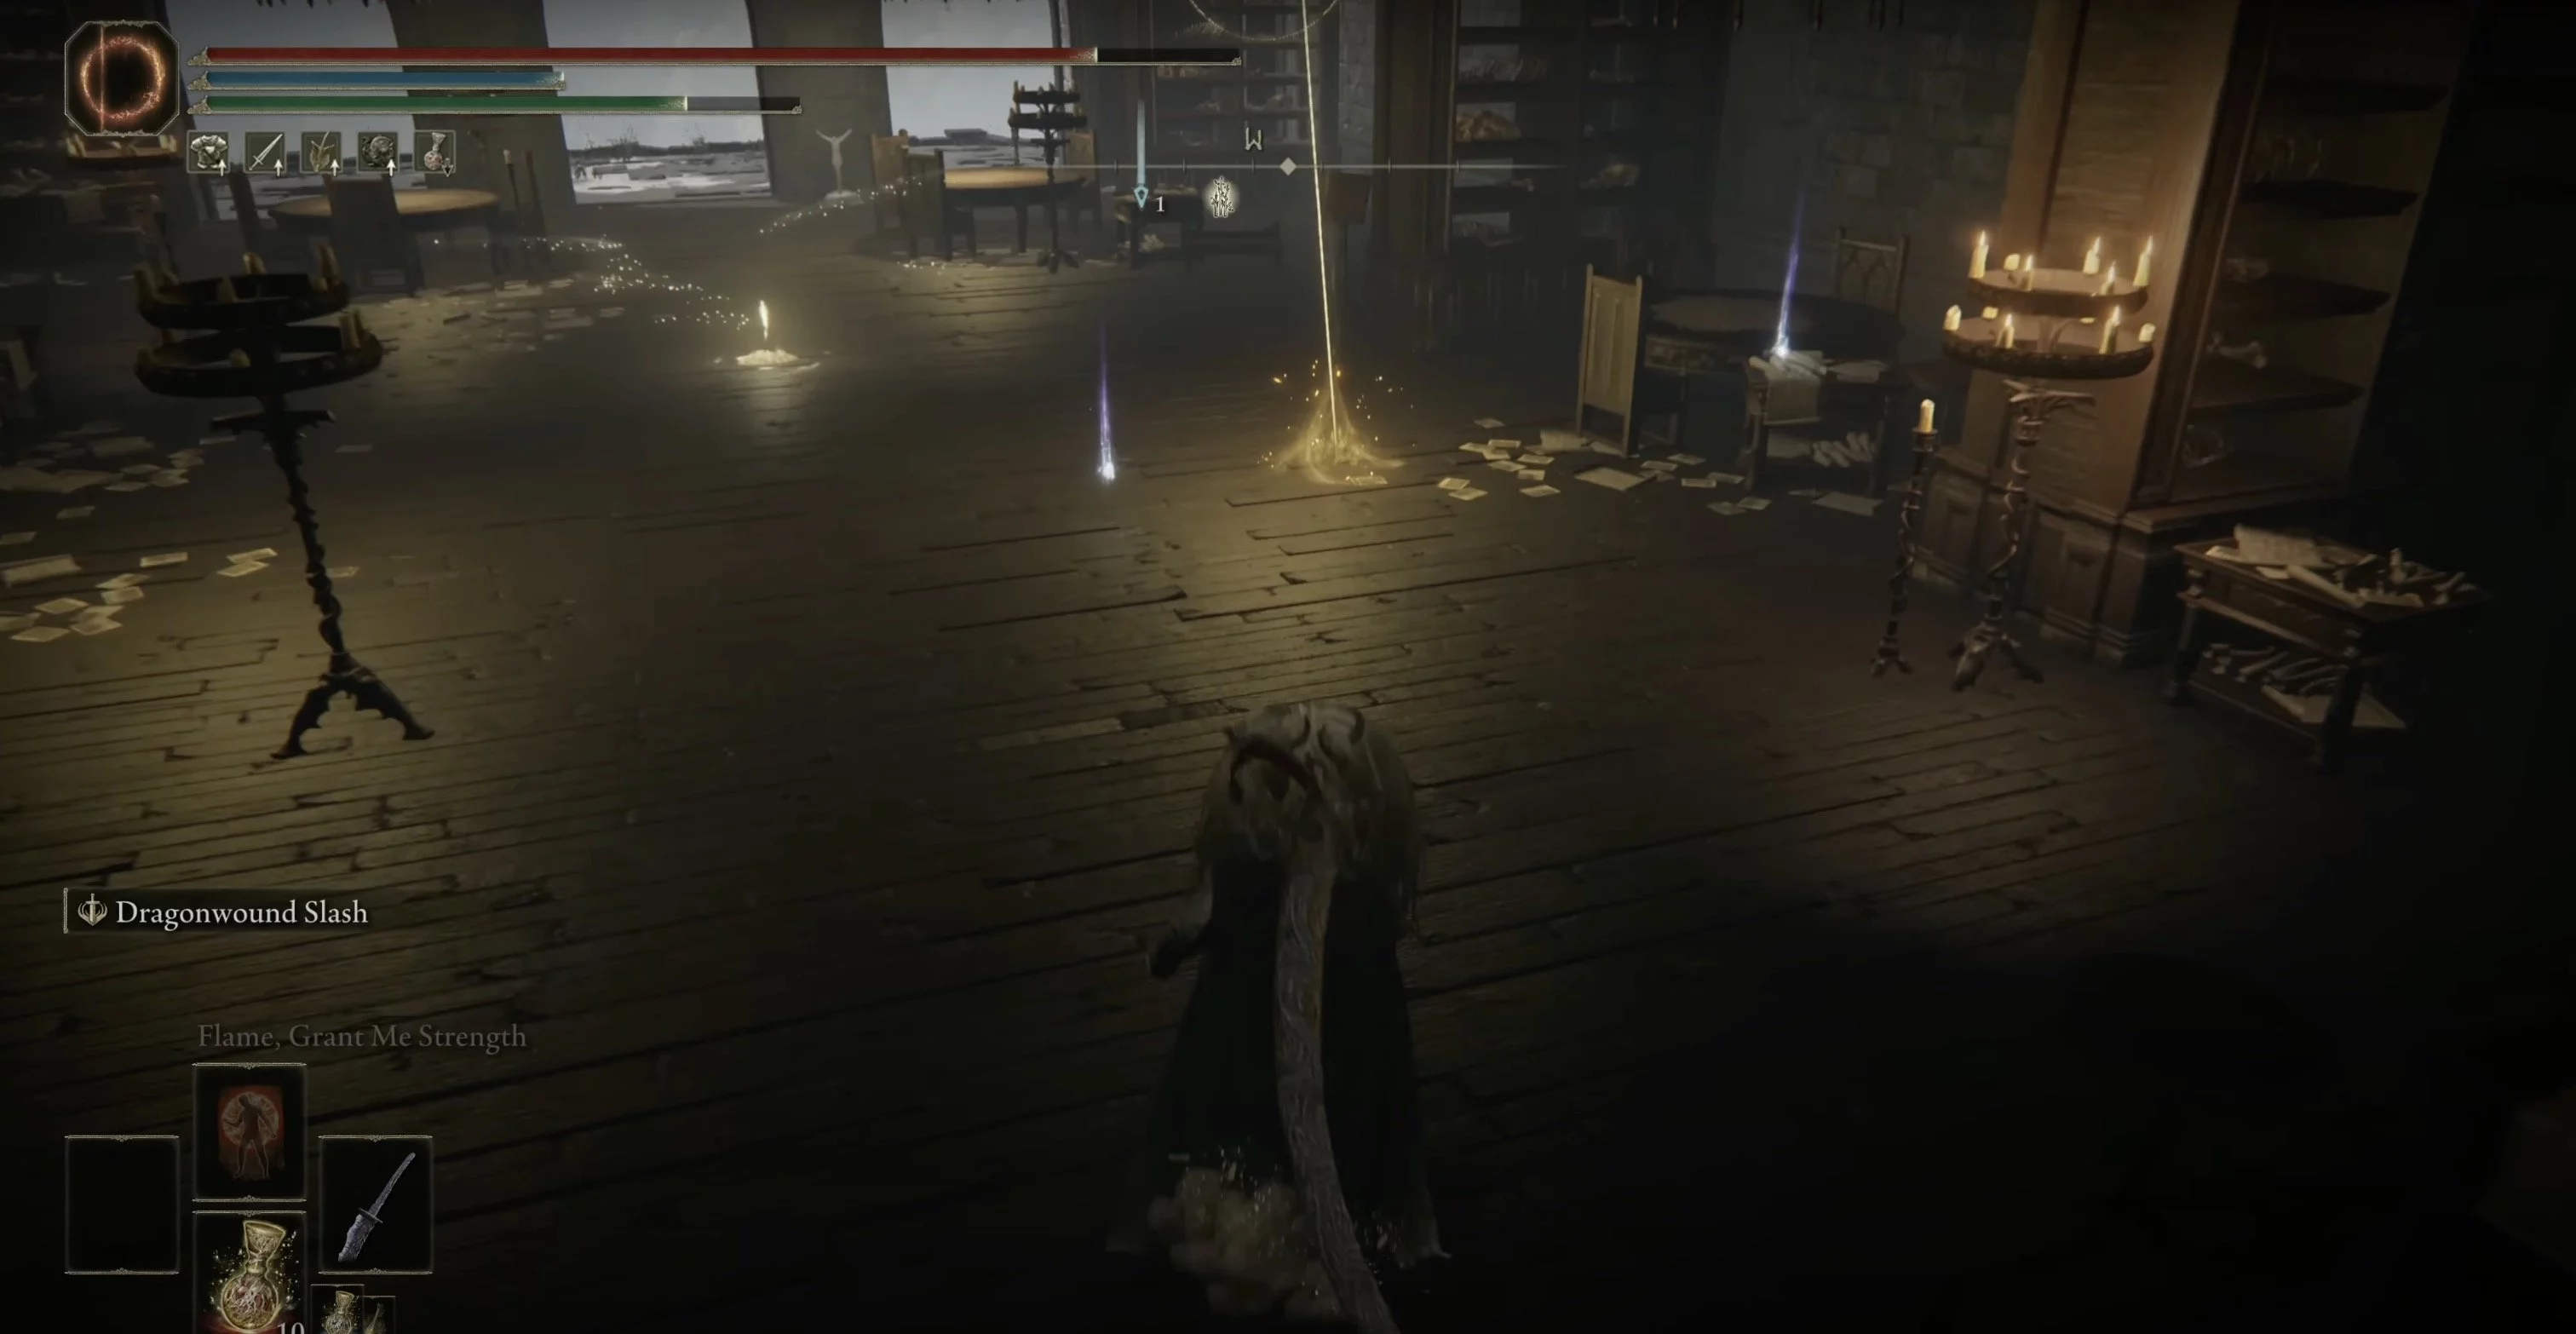
Return to Shadowy Altus and go to Murta Ruins. You need to find a crevice, jumping into which you will reach the village of Bonni. Cross two suspension bridges and you will find yourself in the church district of the Shadow Haven. The lift will take you to the top. Follow the road along the walls of the Haven to reach Miquella's cross near the grace point Storage, Fourth Floor.
Location: Storage, Seventh Floor
In the Shadow Haven, climb to the top floor in the Sample Storage. You will reach a floor with a lever that changes the position of animal models. Also on this floor is Knight Freya. Use the animal models to climb to the seventh floor. Go outside and cross the bridge until you encounter the mighty knight Messmer. After the victory, open the door and take the shard. It is located almost in front of the boss — Messmer the Colossus Keeper.
Location: Flooded Chapel
Open the map and look at the area slightly below and to the right of the Shadow Haven. This is also part of the castle, but flooded. You can't get there from the Haven. By this time, you have likely already opened the village of Bonni and the church district — head there. Following the road, you will pass between the fiery walking bowl and open the grace point Church District Road. Continue moving to pass through the tunnel and reach the flooded part. Here you need to be careful due to the upcoming acrobatics, otherwise, the character will explode or fall into the water. First, take a running jump onto the roof ahead. Small crabs sit in some places, but they are not aggressive.
Go around the right side of the roof and you will see a protruding corner part of the roof above a narrow window. This part is slightly higher and further than the rest of the roof mass, so you can jump to the next area from it. Fiery enemies will appear there. As soon as they see you, they will run towards you and explode. Move right and up along the brick edging. To the right, there will be a wall of the Haven, which you can jump onto. There are also fiery enemies. Deal with them, get to the platform, and then turn left towards the farthest roof. It will be the closest to the fortress. Jump onto it and deal with Knight Messmer.
Next will be a difficult stage. From the place where you landed on the last roof, turn left and go to the end. You will feel something underwater causing a slight tremor of the structures — ignore it. To the left, there will be arched stone lines leading to the main body of the chapel. You need to carefully jump onto the nearest arch and climb it.
You will find yourself on a roof with multiple holes. You need to carefully fall into one of them to land on the slabs below, and then descend to the chapel floor. Stick to the left side (there is nowhere to go on the right). You will encounter two knights in the arched corridor. When you defeat them, inspect the left passages. There will be a long bridge to the fortress wall. On the other side are several bats and a ladder. Climb it to the tower and you will see a mechanism. Turn the handle to lower the water.
As soon as the water level drops, return to the corridor with the knights and inspect the right passages. You should see a hall with a large statue of Marika. A shard lies on one of the hands. You will have to jump very precisely onto the statue. You can do this even before lowering the water, but any mistake will result in instant death, and you will have to repeat the entire process from the beginning. When the water is gone, you can relatively painlessly repeat the jump onto the statue, as in case of a miss, you will land on the first floor but will not die. There are several elevators in the building. If you fall, use them. While the water is high, the elevators will not work.
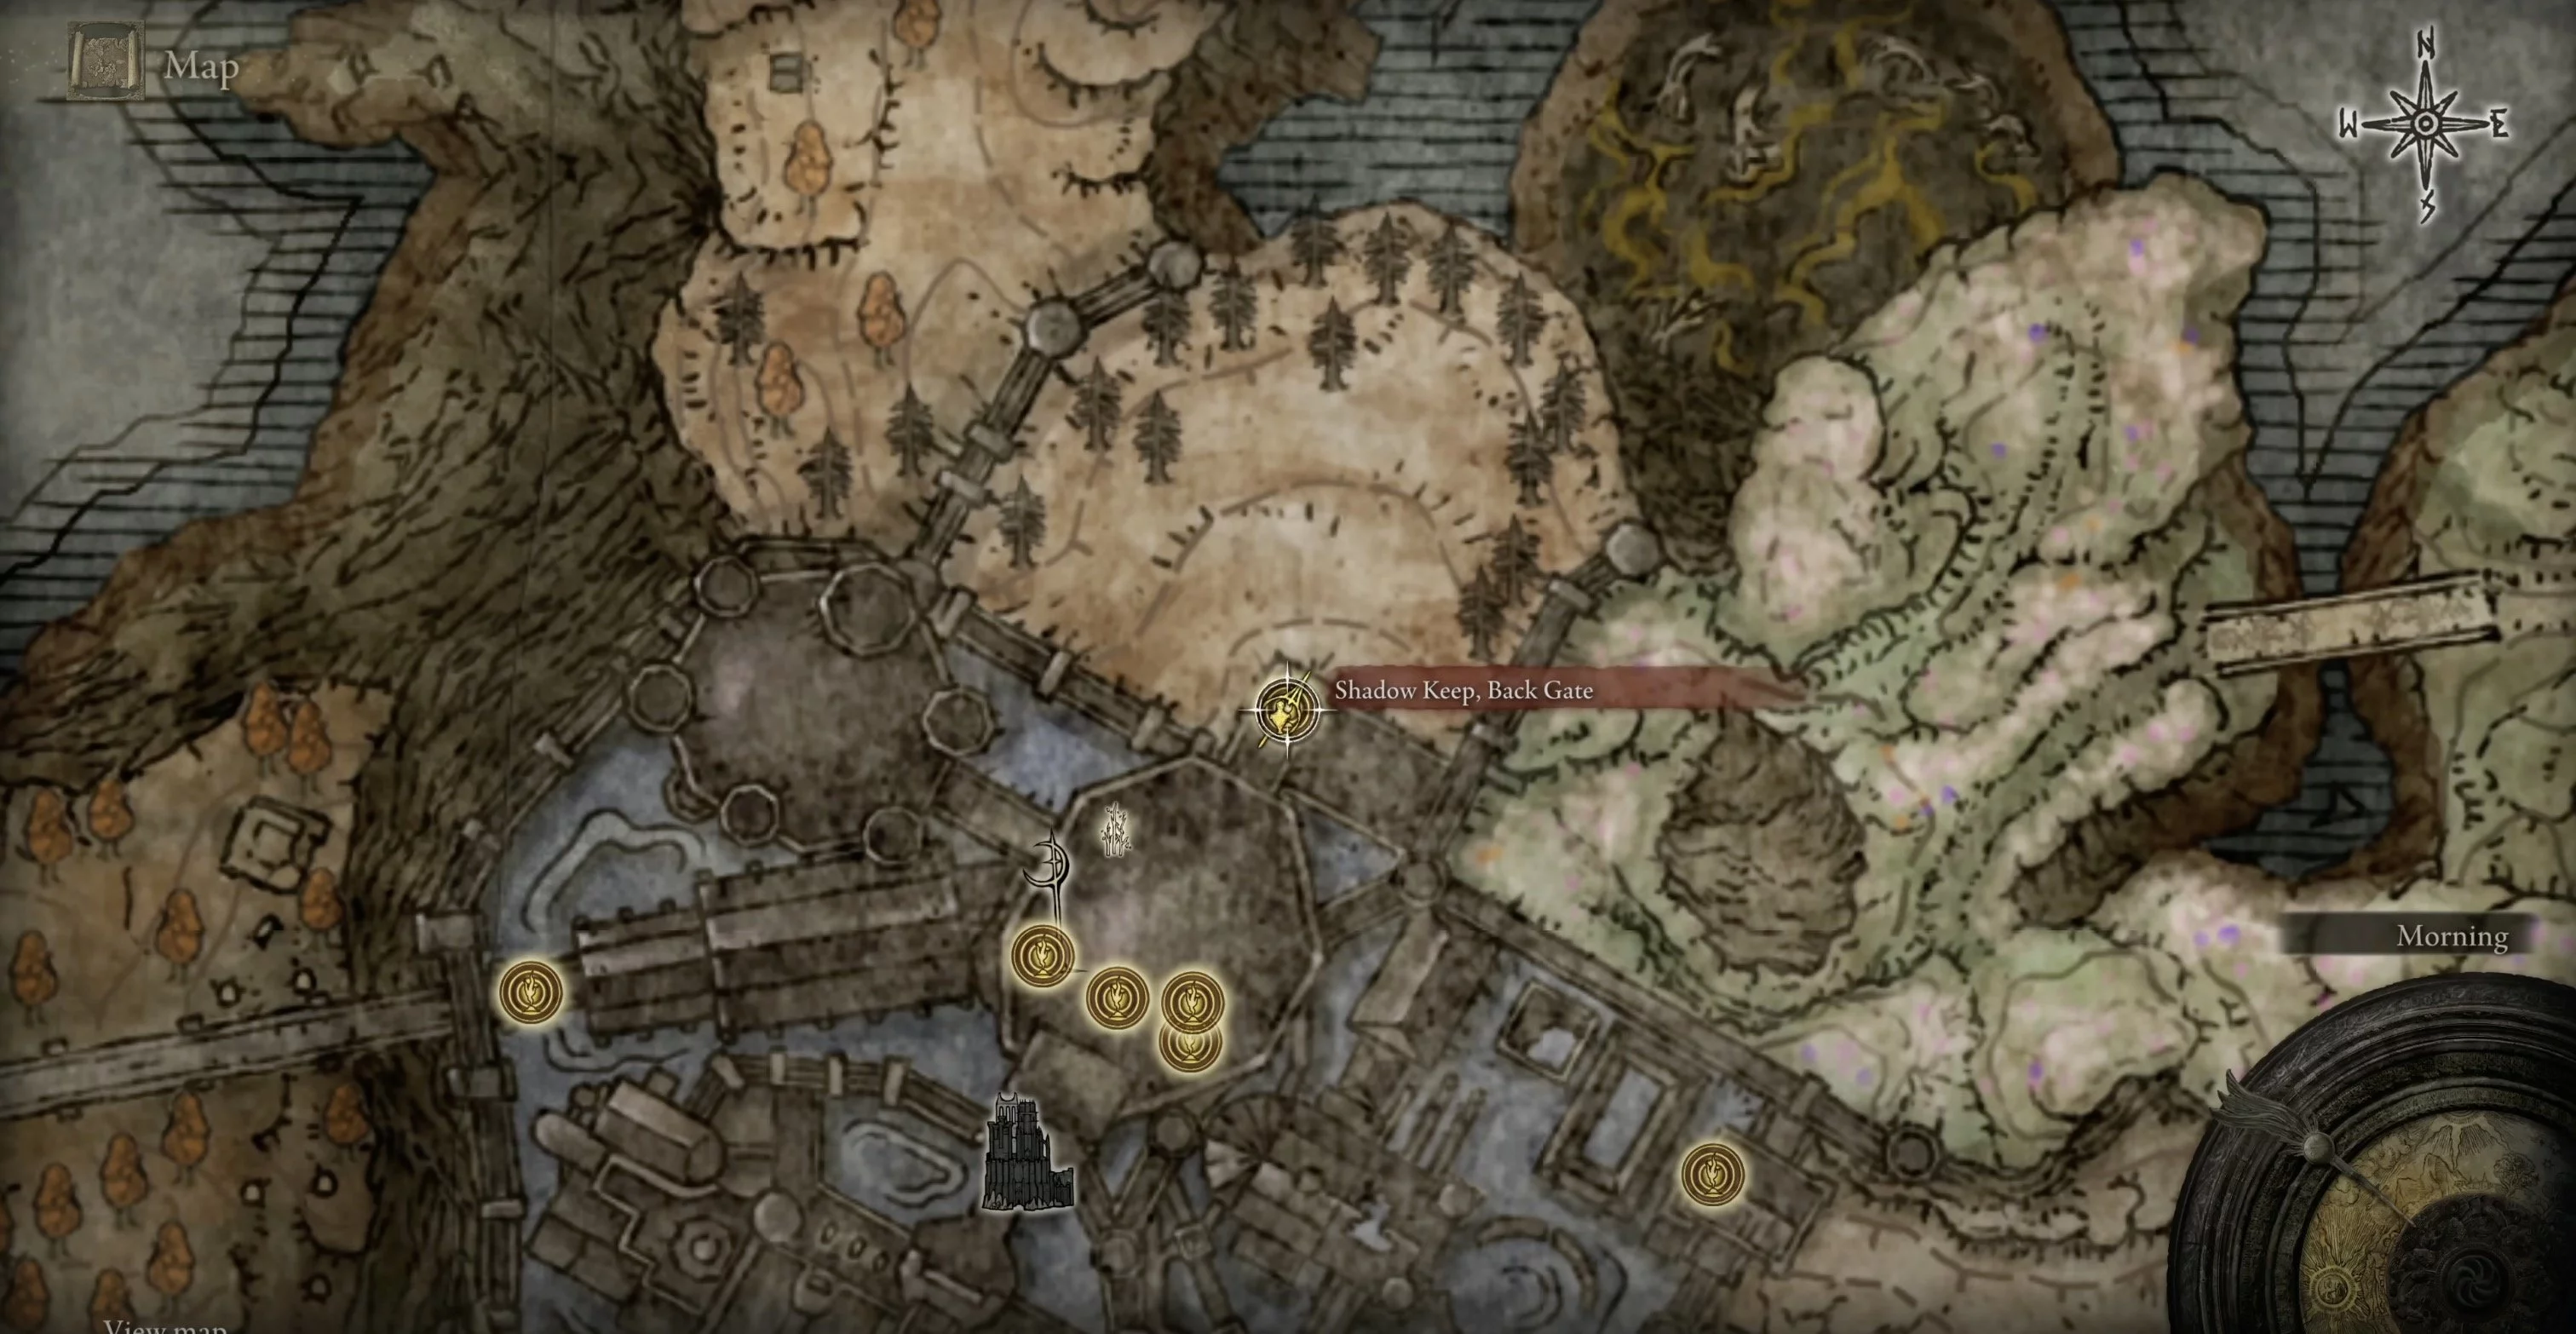
Location: Rear Gate
Return to the corridor with two knights in the Flooded Chapel. Now you can go up on different elevators. Remember the bridge you crossed to lower the water. A little further down the corridor on the left, there will be another one. Cross it and take the elevator up. This will lead you to the Sample Storage in the Shadow Haven. You haven't been to this part of the Storage before. Kill the shadow mage and go left to the grace point Storage, Rear Part. There will be a staircase up on the right.
After ascending, deal with Knight Messmer. Go right, climb the stairs, kill another knight, and then pass through the hall, keeping to the right side. You will see a breach in the wall. Exit through it to the outside and go right. Here is the grace point Storage, Attic. Take the elevator up and move along the beams to the stairs. Once on the upper level, you need to cross to the opposite side and jump from the beam to the balcony. This is the only balcony where you won't die from the fall. From there, you will enter the rear part of the castle. To the right, there will be a statue of Marika and a shard. Note that if you use the gesture Oh, Mother in front of this statue, a secret passage to another location will open. The main corridor leads you to the boss — Commander Guy.
Location: View of the Decay Tree
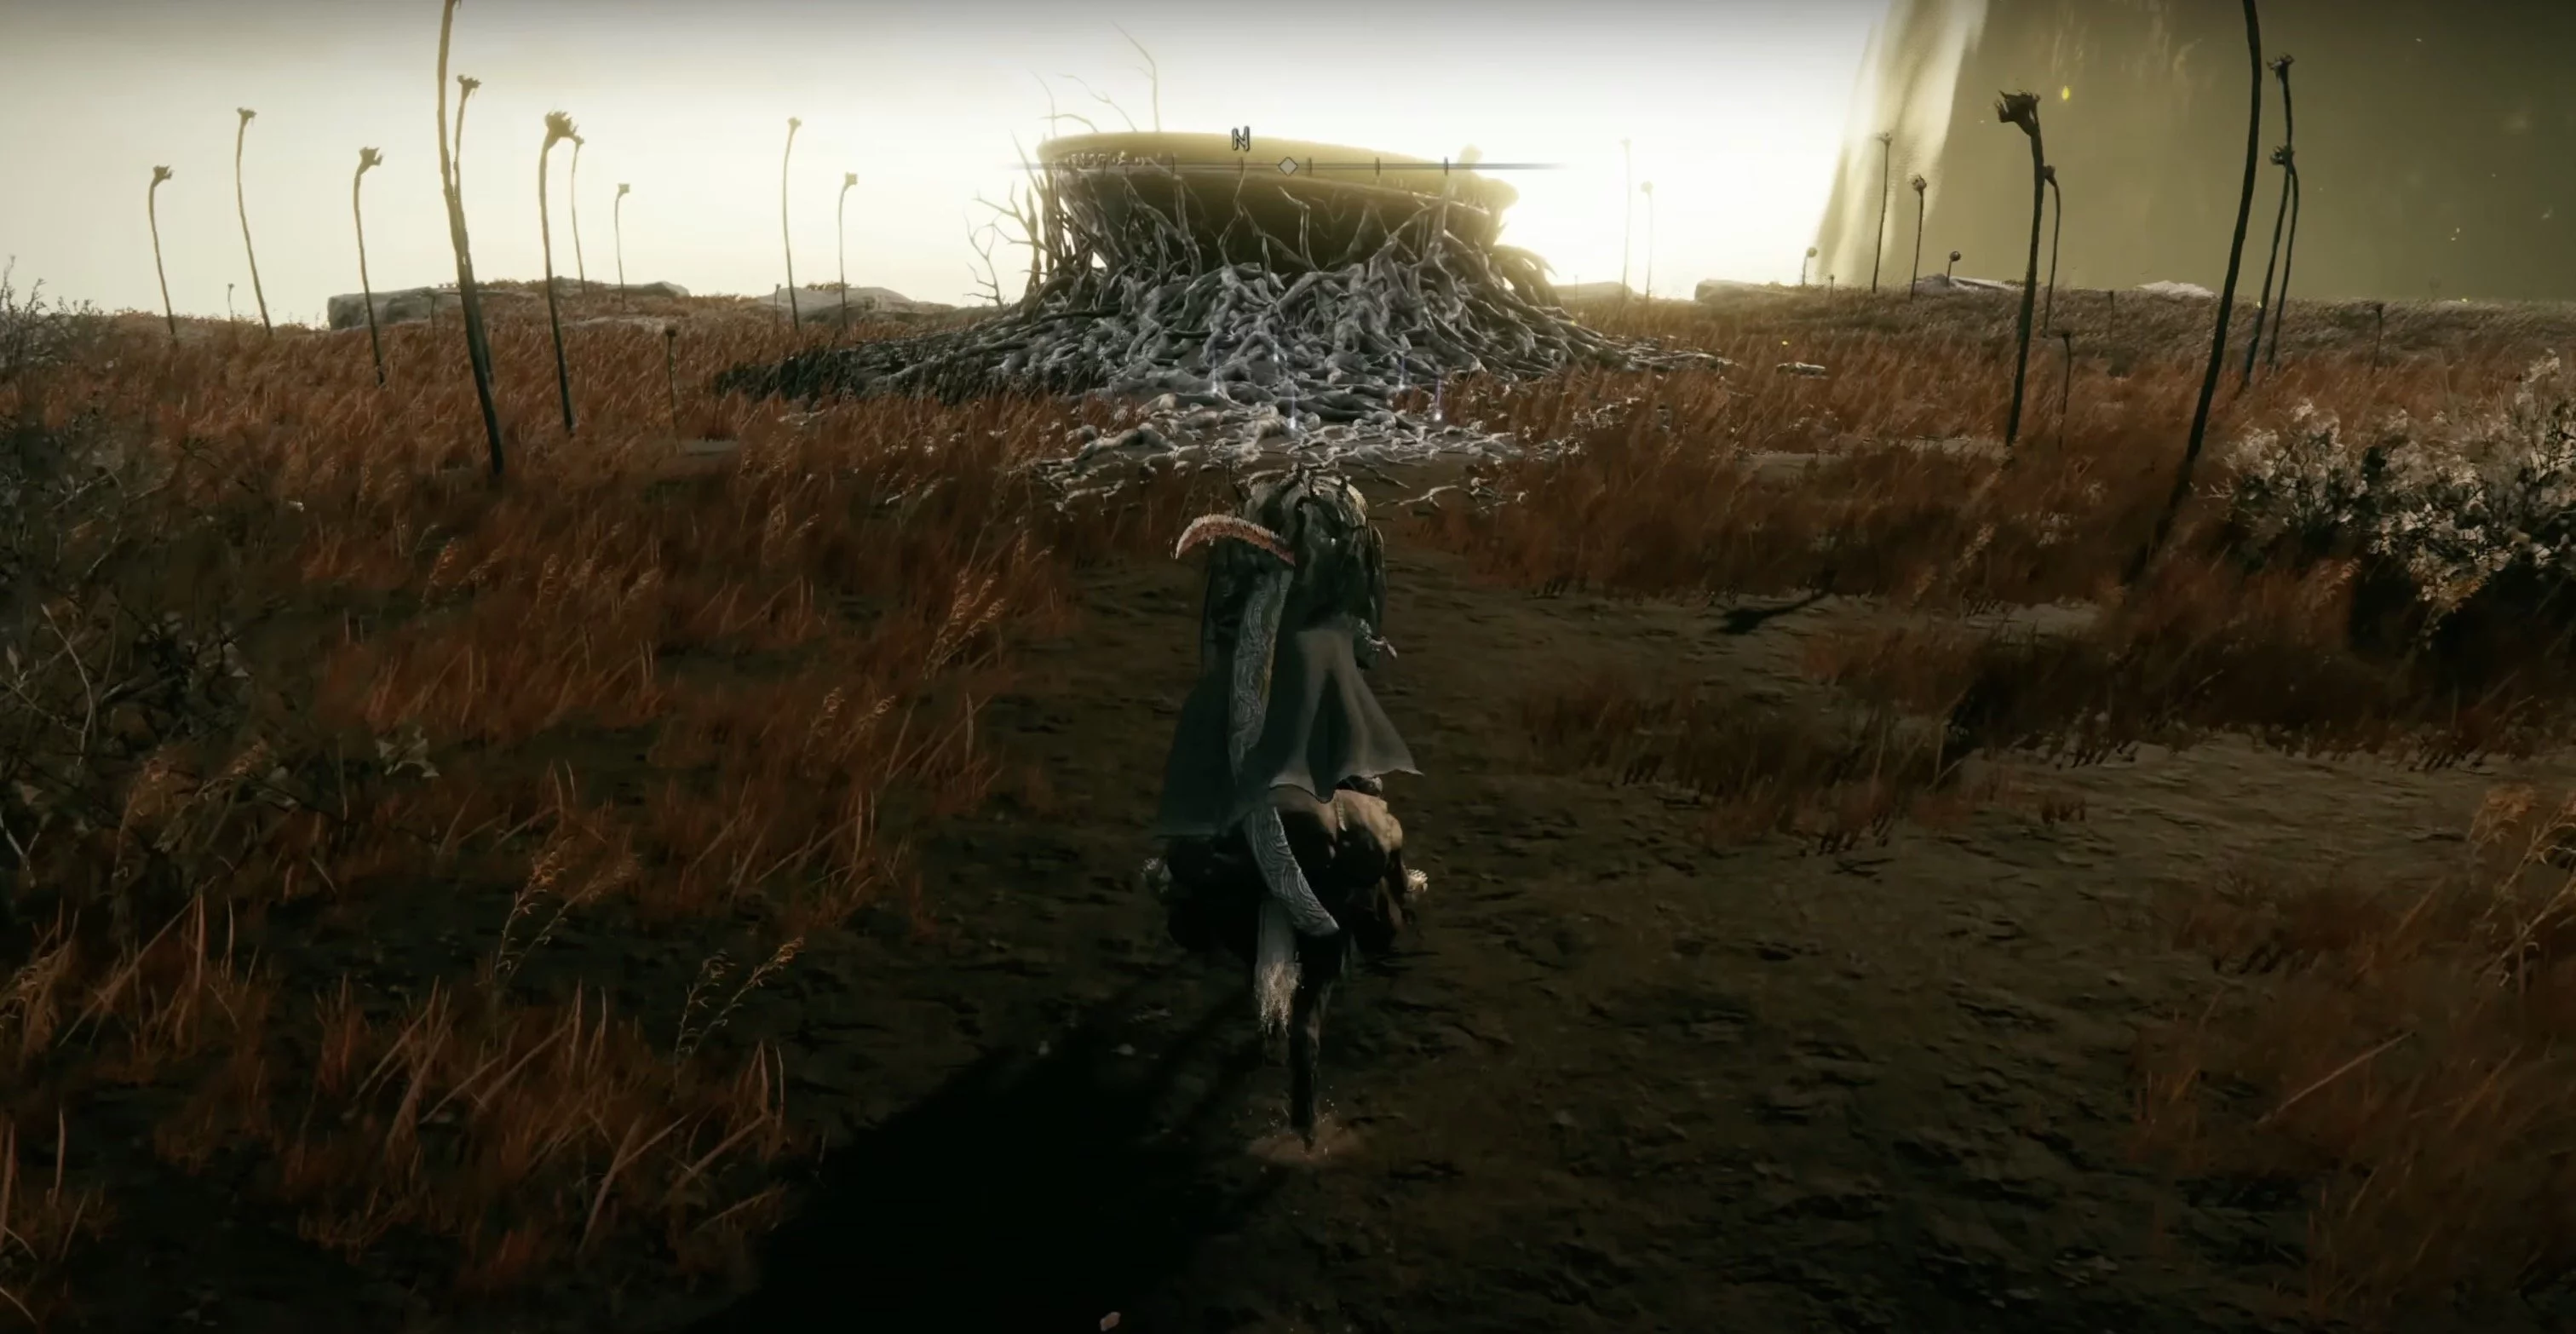
From the previous shard, go down the main corridor to the boss. You will have to defeat him. Then head north. There you will find the grace point View of the Decay Tree. In the northernmost part of the zone stands a large bowl, where you will find five shards at once.
How to Find Decay Tree Shards on the Azure Coast
You will have to find your way to the Azure Coast. This is the southern part of the location, so you need to move right from the grace point Front of the Castle near the Shadow Haven. You have likely already been there, so let's say you need the grace point Cave by the Ellak River. Right after the cave, exit to the left and reach the waterfall. You can descend there via the ledges. A little later, there will be the grace point Lower Flow of the Ellak River. Descend even lower through the cave and move along the river. You will encounter another living fiery bowl. Turn right and find the exit to the Azure Coast. There are 2 shards in the zone.
Location: Cross on the Azure Coast
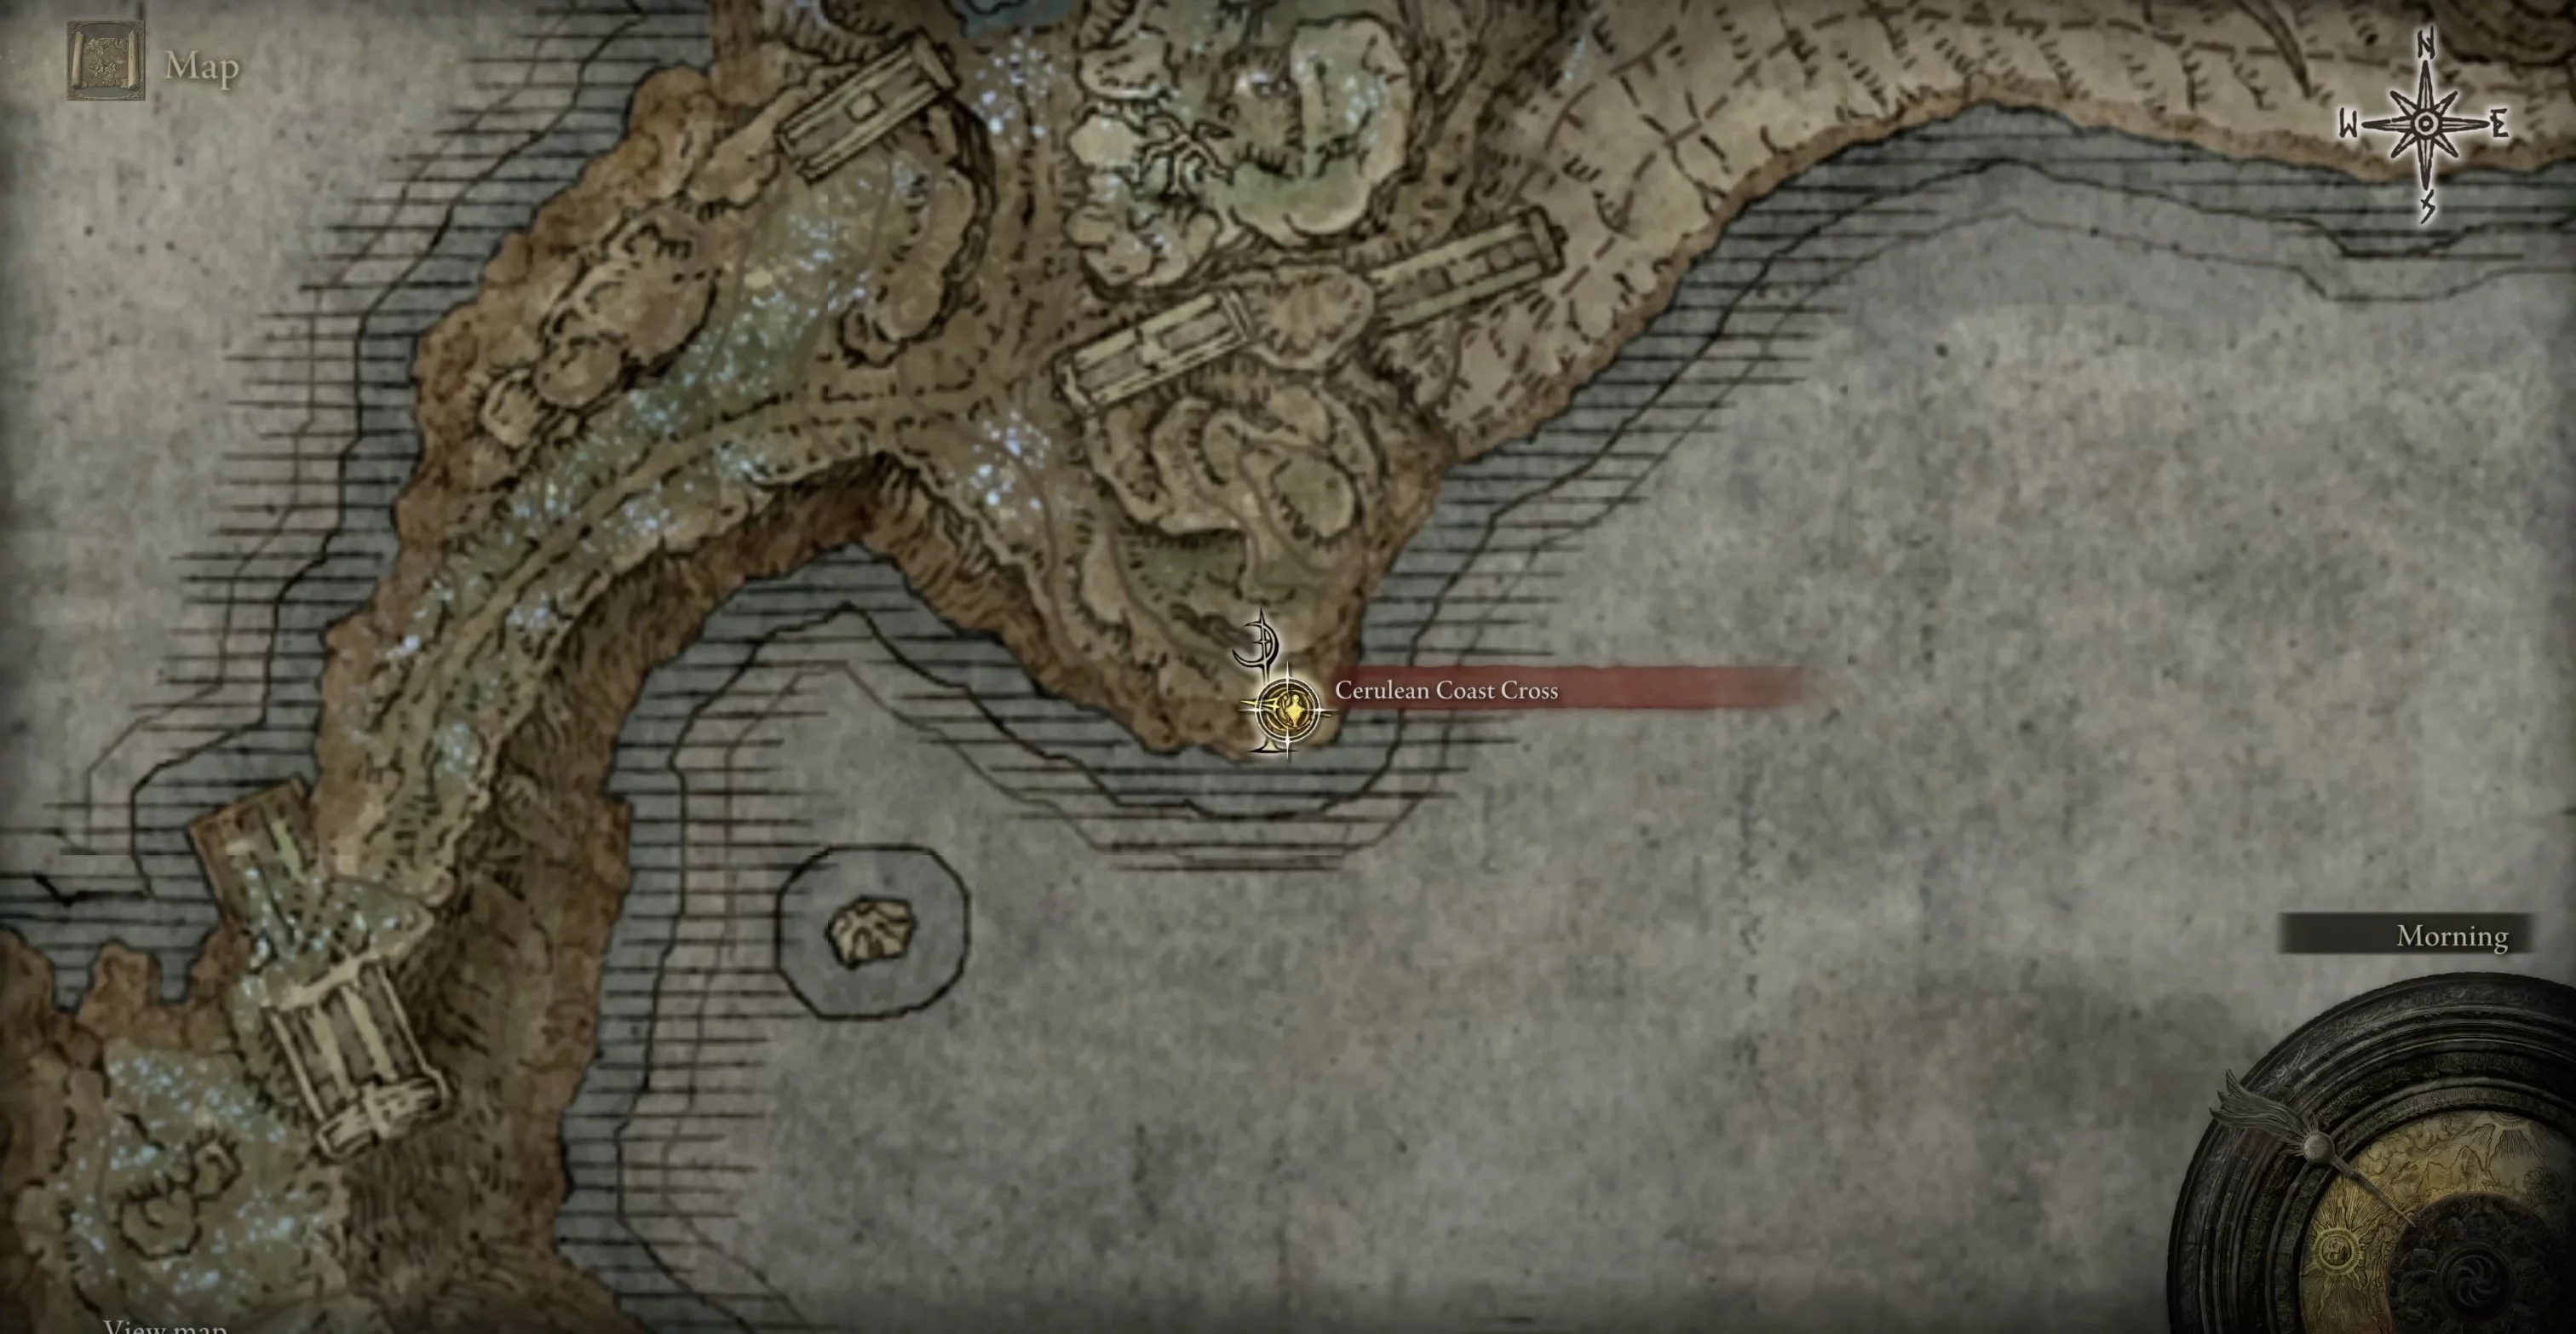
From the first grace point you find right after arrival, move south to the point Cross on the Azure Coast. This is the familiar cross of Miquella.
Location: Azure Coast, West
In the west of the region, find massive slabs; there will be a passage in the rock. Turn left inside and find a barely noticeable entrance to the cave. You will come out to the waterfall and the leader of the demi-humans. There will also be a shard there.
How to Find Decay Tree Shards in Haro's Secret Tomb
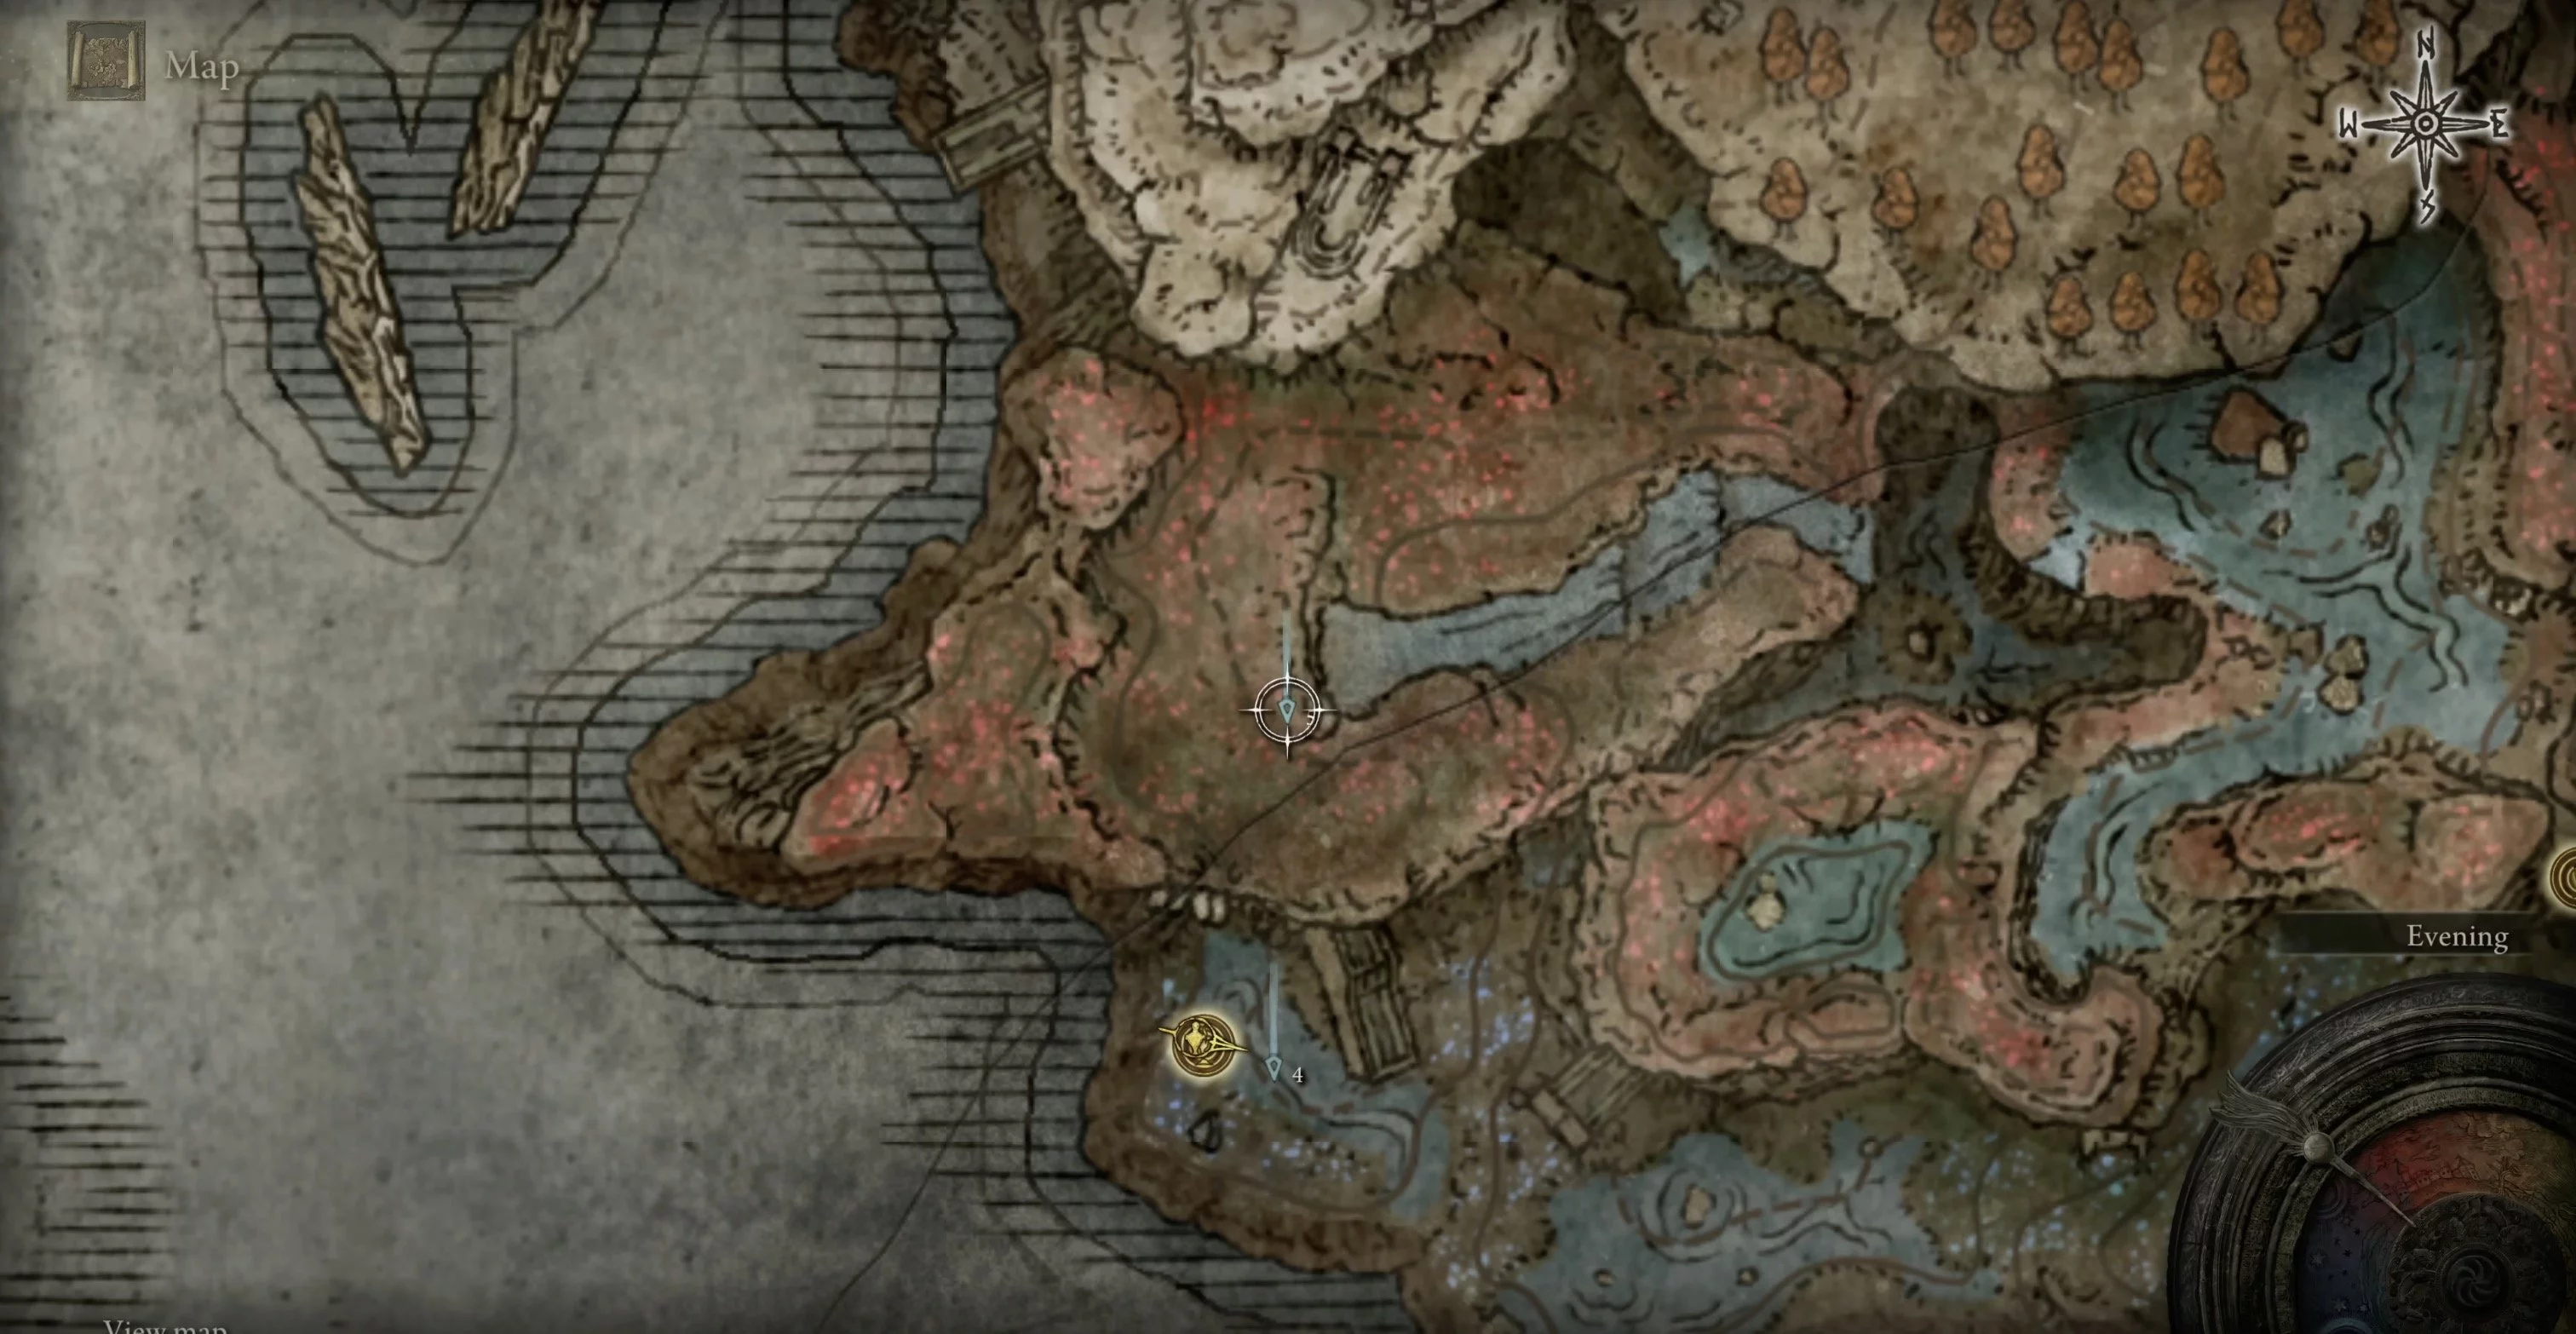
Location: Haro's Secret Tomb
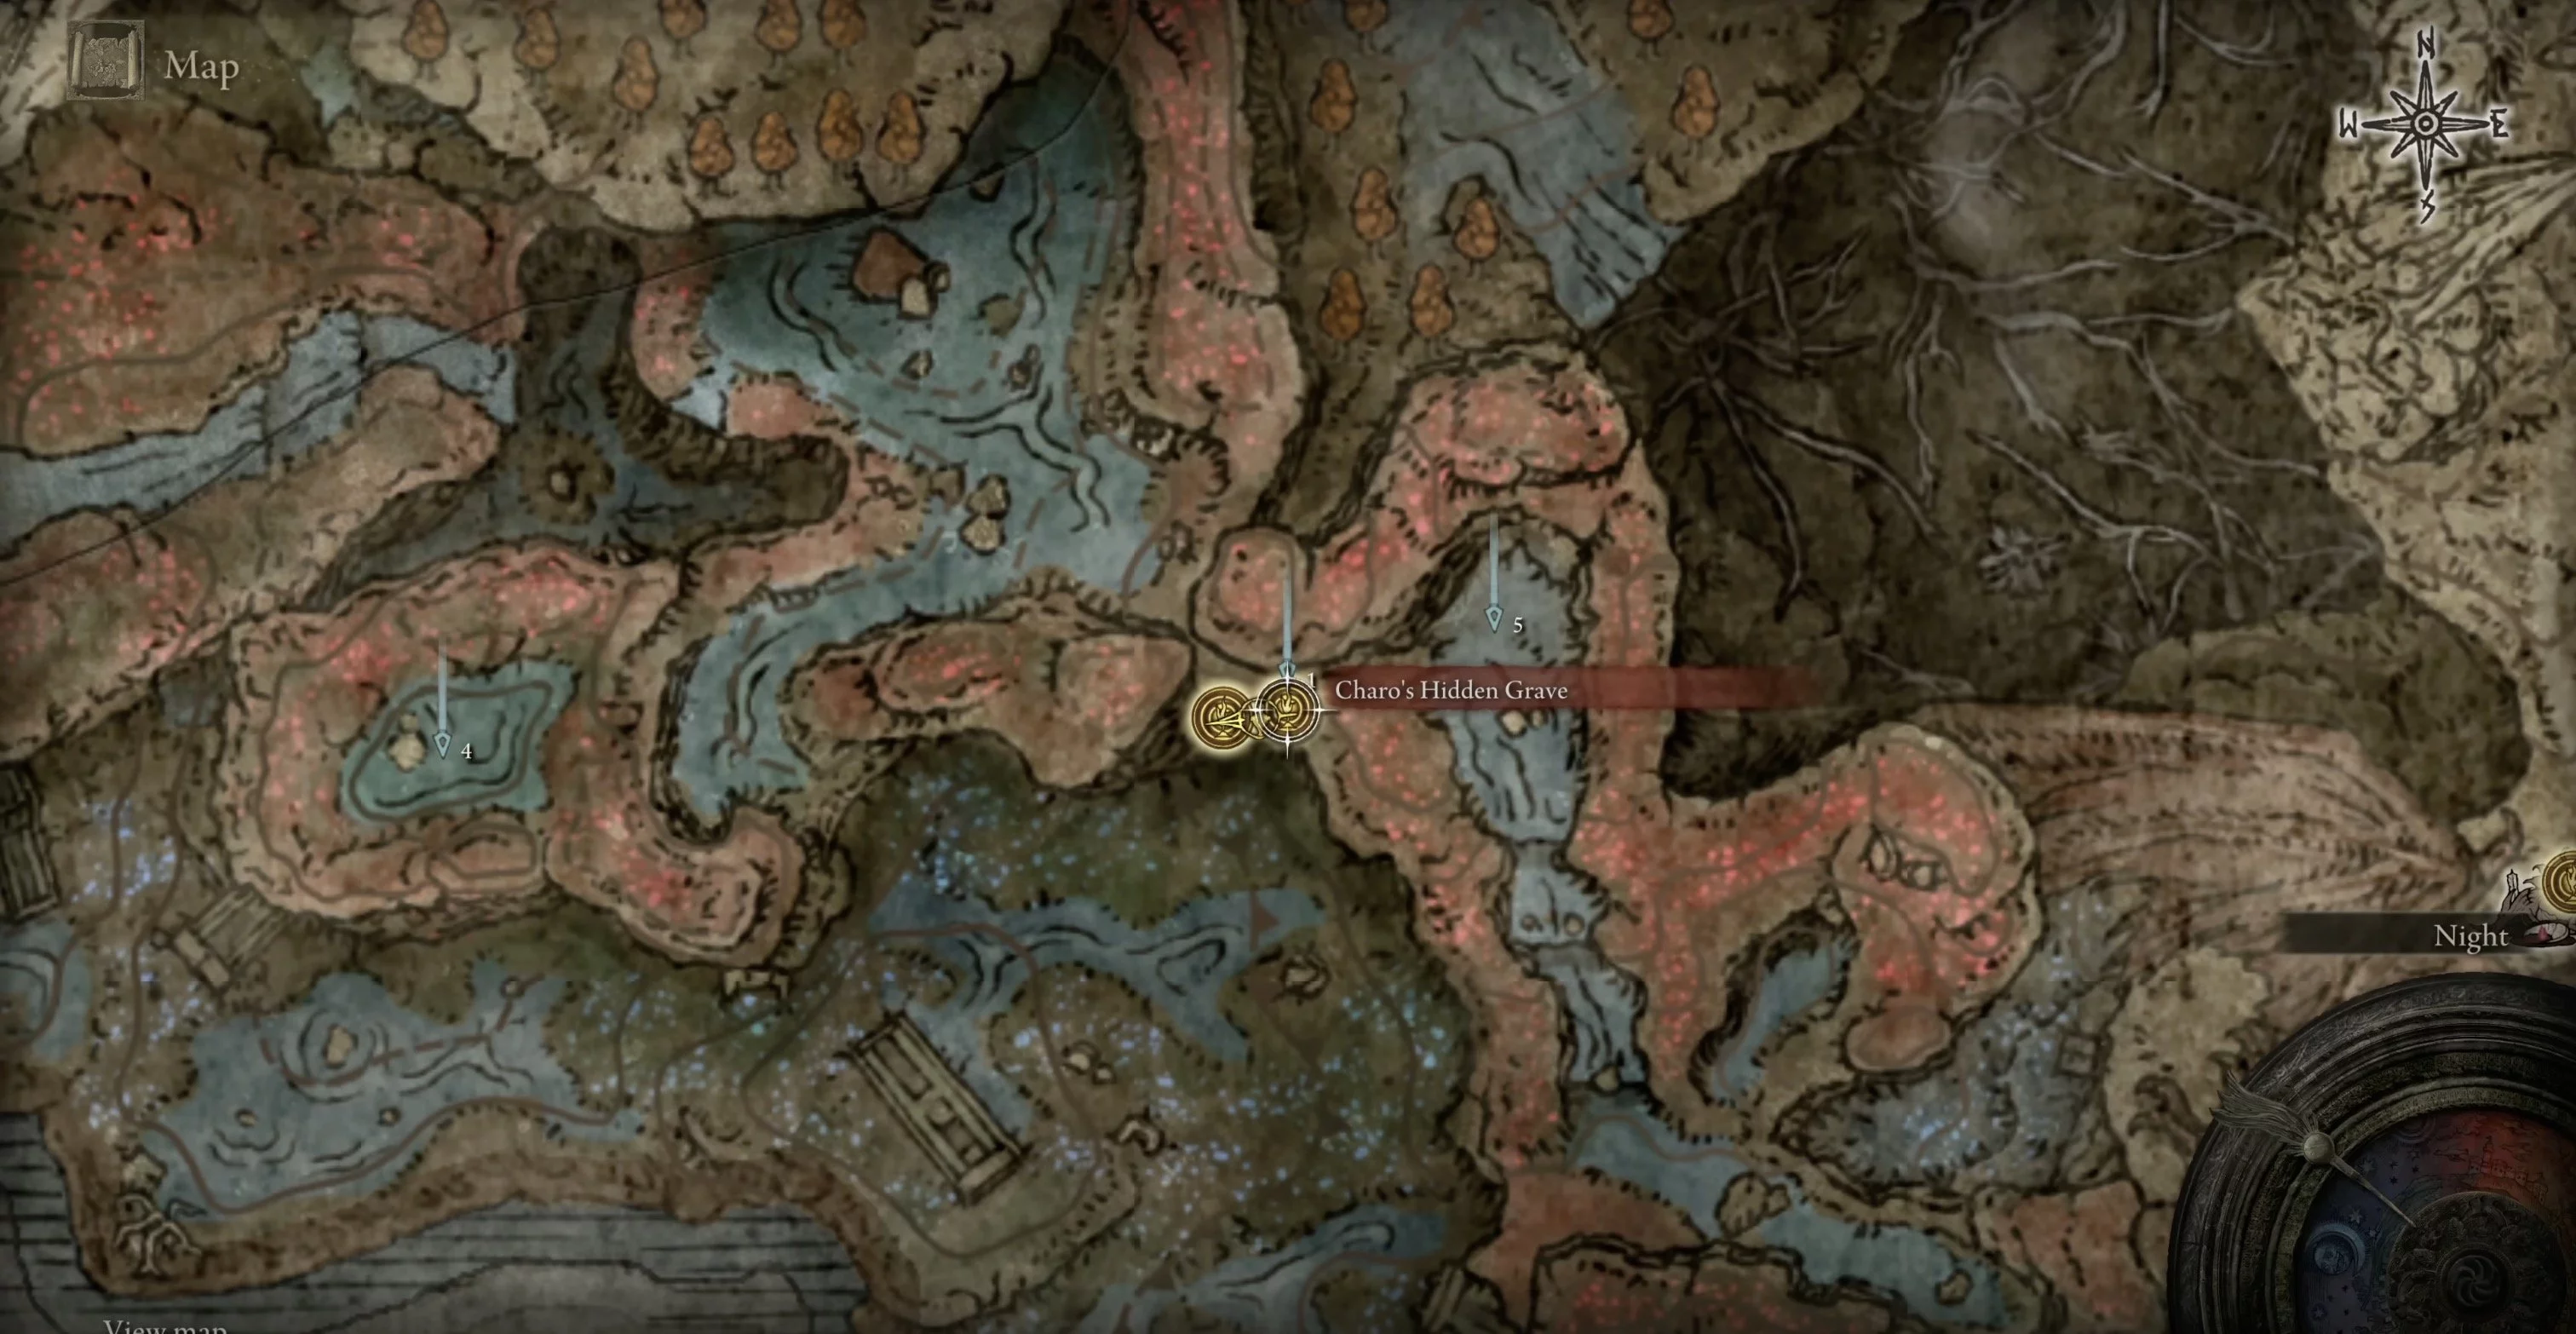
There will be 2 shards here. Haro's Secret Tomb is an additional region above the Azure Coast. You can reach it only from the southern side of Fang Mountain through the Dragon Pit. You need to find the grace point Last Rest in the Dragon Pit. From the exit, head east to the lake. Turn right into the canyon where you will meet the priestess of Fang Mountain. From the altar, where you can exchange dragon hearts for new magic, ride right. You should reach a zone with red grass. Here will be the grace point Haro's Secret Tomb. The shard is there.
Location: Hippopotamus
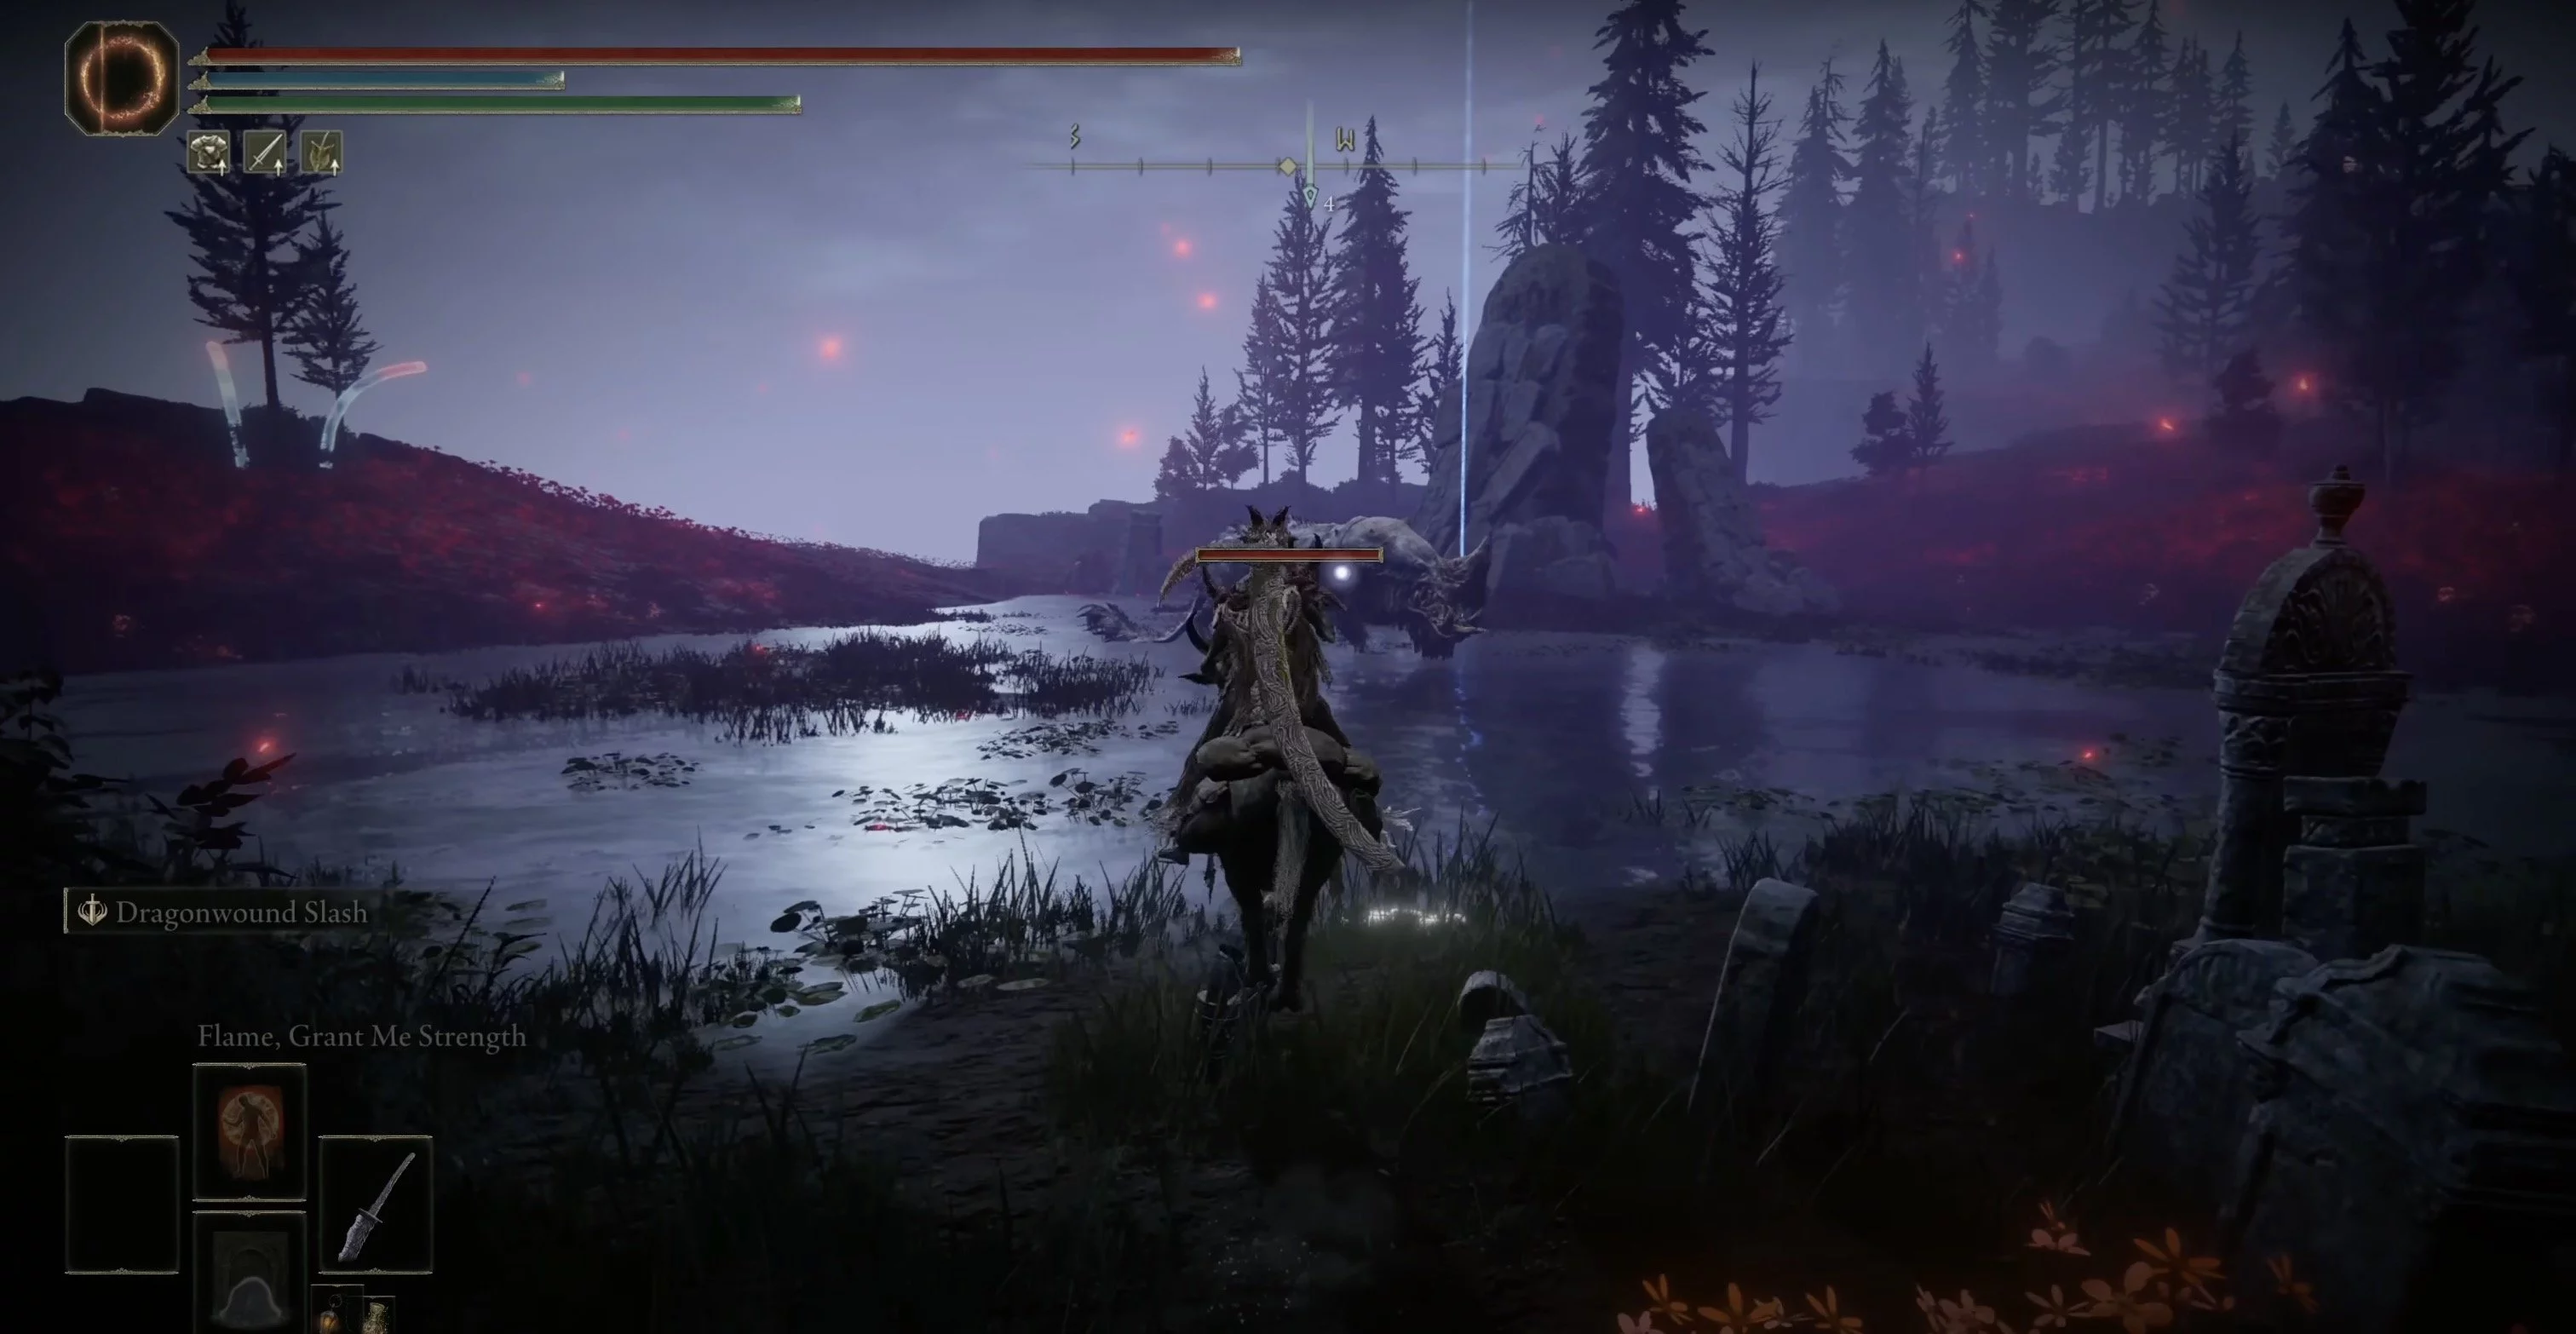
From the previous grace point, head west. You will encounter the mini-boss boatman. On the map to the left of the boatman, a lake will be marked. There awaits another hippopotamus, after defeating which you will receive a shard.
How to Find Decay Tree Shards in the Rift with the Stone Sarcophagus
From the Azure Coast, you can reach another small location, which is even lower on the map. This is the peninsula Rift with the Stone Sarcophagus. A small secret is that the path becomes available after the destruction of the great rune. You will see this message at a random moment, so keep an eye on the messages on the screen. At the very bottom of the Rift, there will be another cross and a shard.
How to Find Decay Tree Shards in the Ruins of Rauch's Sanctuary
The Ruins of Rauch's Sanctuary is a story location that must be visited after defeating Messmer. However, we recommend getting there earlier and collecting the shards for enhancement. There are 5 shards in total in the area.
Location: Ruins of Rauch's Sanctuary, East
Find the bridge that leads from the Shadow Haven to the Ruins of Rauch's Sanctuary. Right after it, there will be ruins on the right side. Go through them to find Miquella's cross and a shard.
You can find another shard here. From the grace point Ruins of Rauch's Sanctuary, East, also turn right through the familiar ruins. You need to go a little forward and to the right. Soon you should see a fork — keep to the right. You will see a spirit spring — ignore it. A little further ahead will be another one. Use it to go higher and find a shadow with a jug. Kill it to take the shard.
Location: Small Tower by the Viaduct
Another fight with a hippopotamus awaits you. Find the grace point Small Tower by the Viaduct and from there follow the path to the left. You should see the elevator shaft. Activate the lift and go down. There, climb the stairs to find the hippopotamus and take the shard.
Location: Ruins of Rauch's Sanctuary, West
From Miquella's cross, which you recently found, there is a bridge nearby. Cross it, passing the walking fiery bowl, and find the grace point Ruins of Rauch's Sanctuary, West. Look for a place with many columns. On the upper level by the statue lies a shard.
Location: Temple City Ruins
Find the cave north of the Murt ruins. Head towards Shadow Altus. Don't miss the grace point Camp at the Ancient Ruins. To the southwest are the Temple City Ruins. There is a hole in the wall on the southern side. It will appear to be a closed area, but don't be fooled. Go through the hole, climb the ledge, and jump down to the lower floor on the right. You should see a corpse with a shard.
How to Find Decay Tree Shards in the Abyss Forest
The Abyss Forest is a hidden location accessible by only one path. Finding it can be challenging, but there are 3 shards there. In the Shadow Haven, after defeating the boss Golden Hippopotamus, you have likely already activated the grace point Square in Front of the Main Gate. Go to the right. Defeat the small enemies, then climb the stairs and go right again to the end.
On the left, there will be an inconspicuous staircase. Descend it carefully, go right and then left. You will enter a room with a painting. There is an illusory wall here. From there, continue until you see a coffin. Sit in it to be transported to a new zone. You will arrive at the grace point Castle Watering Place. Move to the right to pass through the location. You will come to a waterfall. On the left, there are ledges you can descend. You might have killed hippopotamuses here before, but you don't need to now. Move to the right side of the cliffs and descend the ledges until you reach the entrance to the Gloomy Catacombs. Go through them to reach the Abyss Forest.
Location: Church Ruins
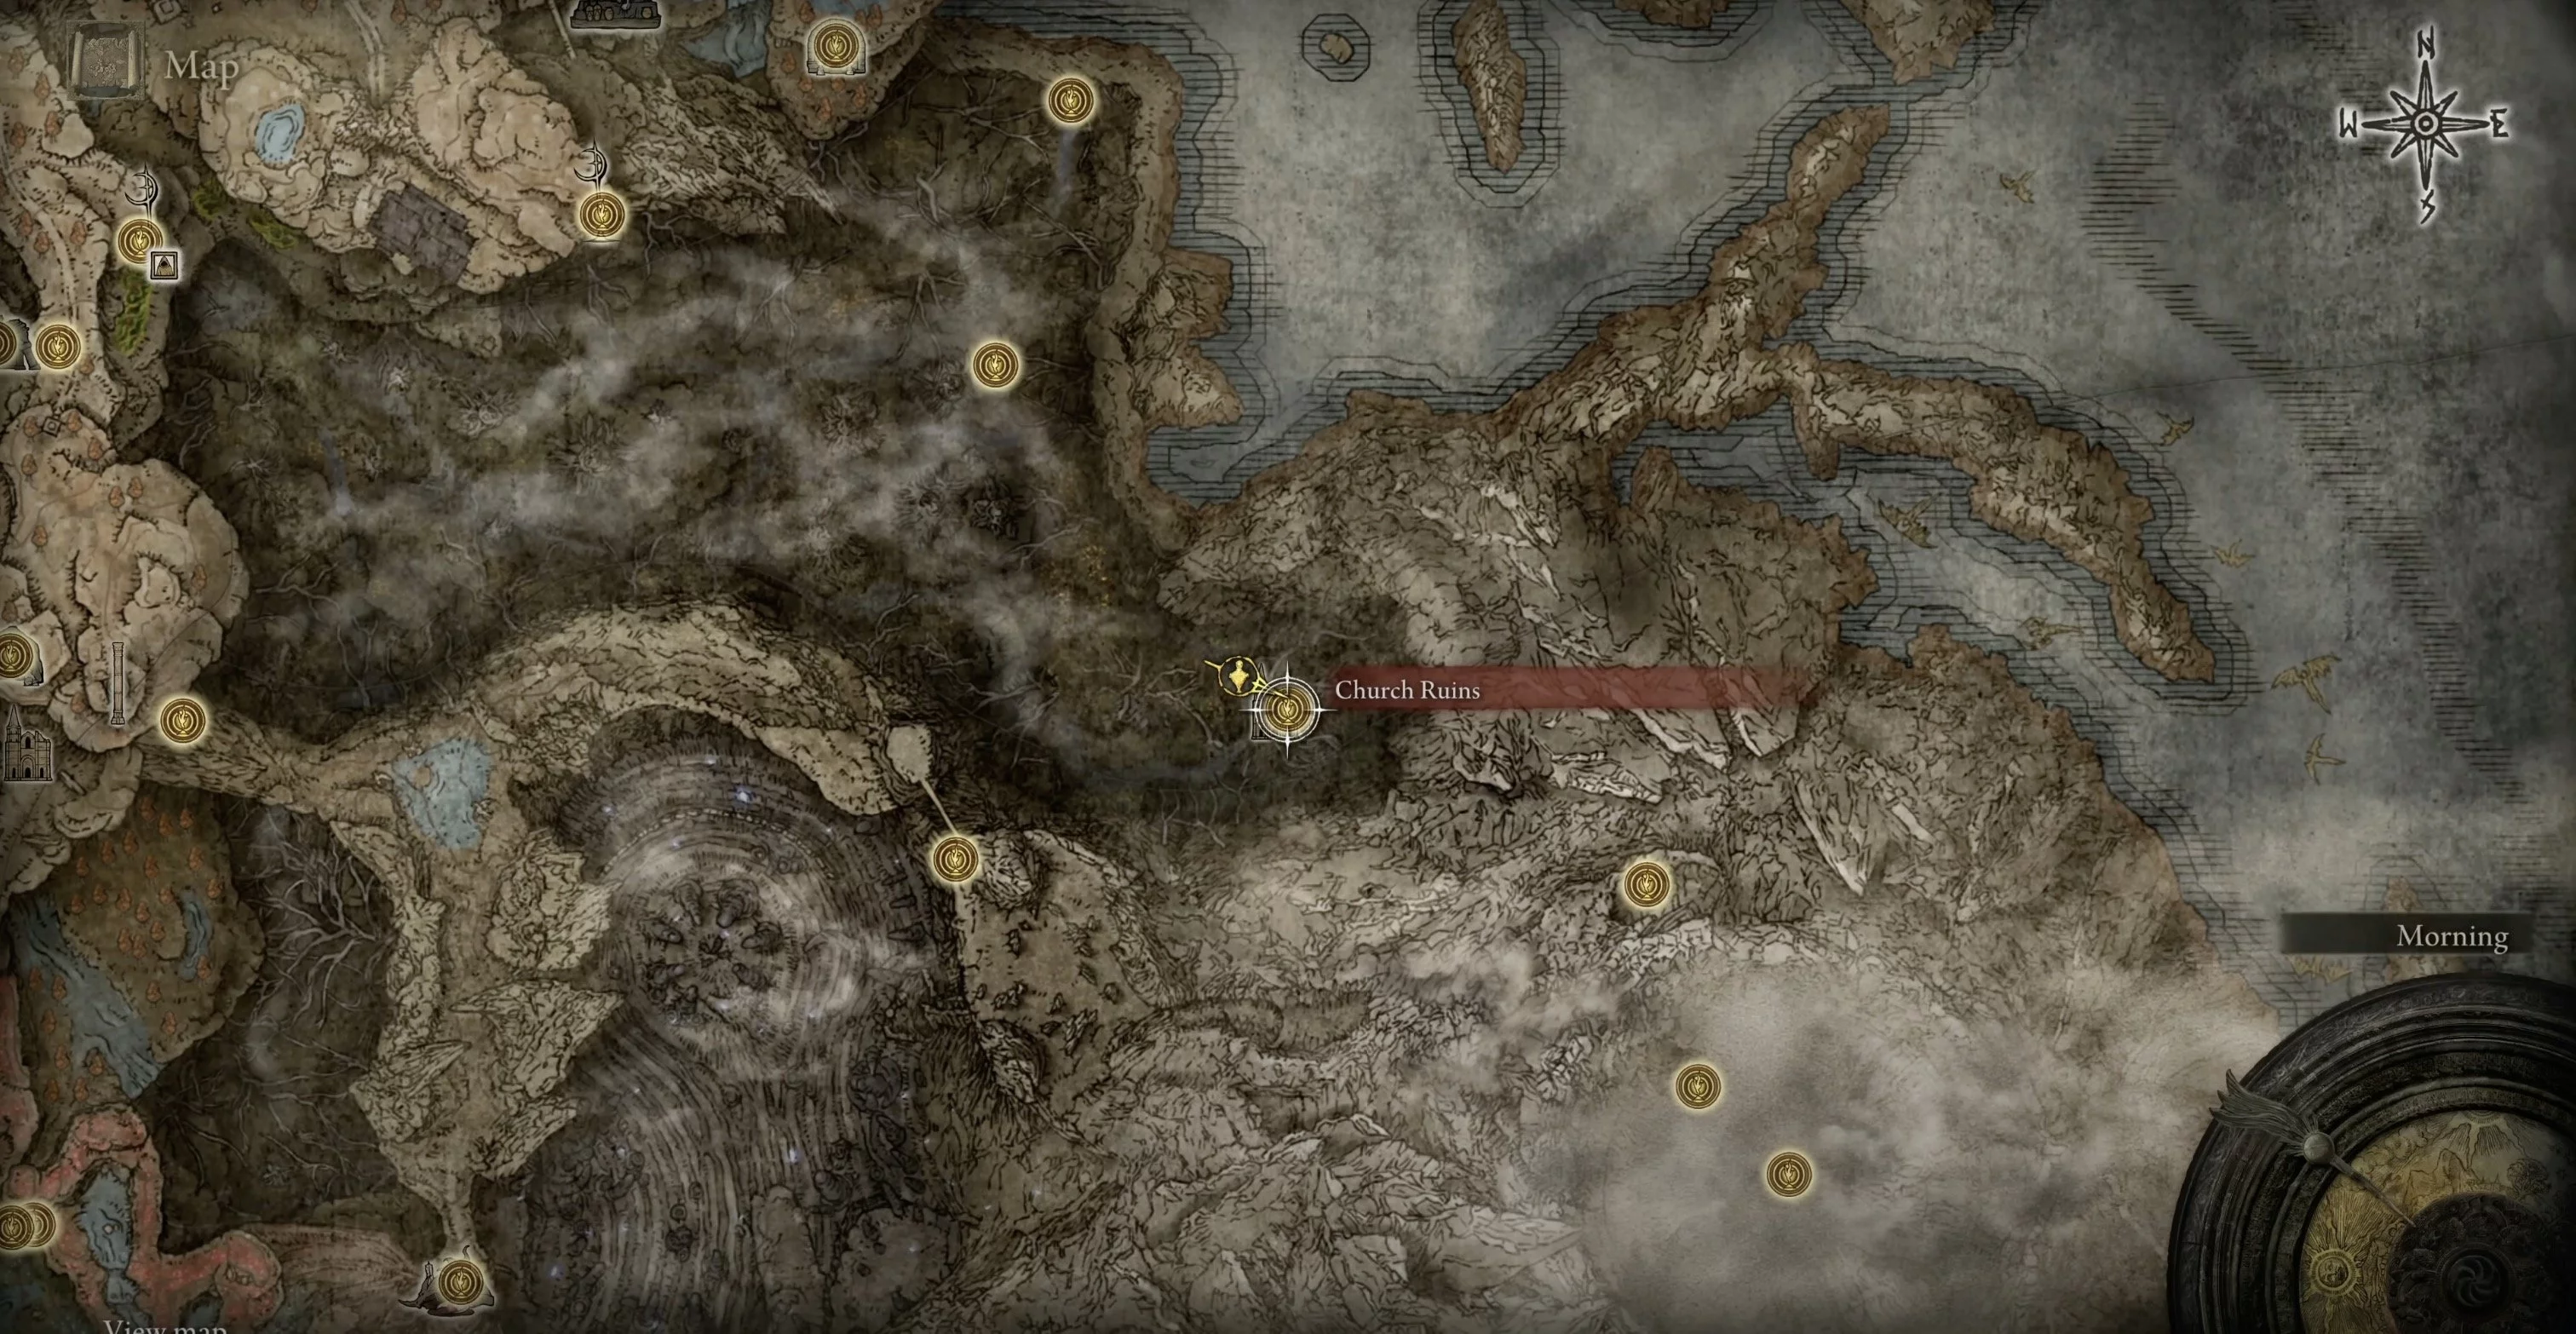
As soon as you enter the zone, open the grace point Forgotten Cemetery. Head south. You should find the church ruins, which are immediately marked on the map. Inside, you will find a statue with two shards.
Location: Abyss Forest
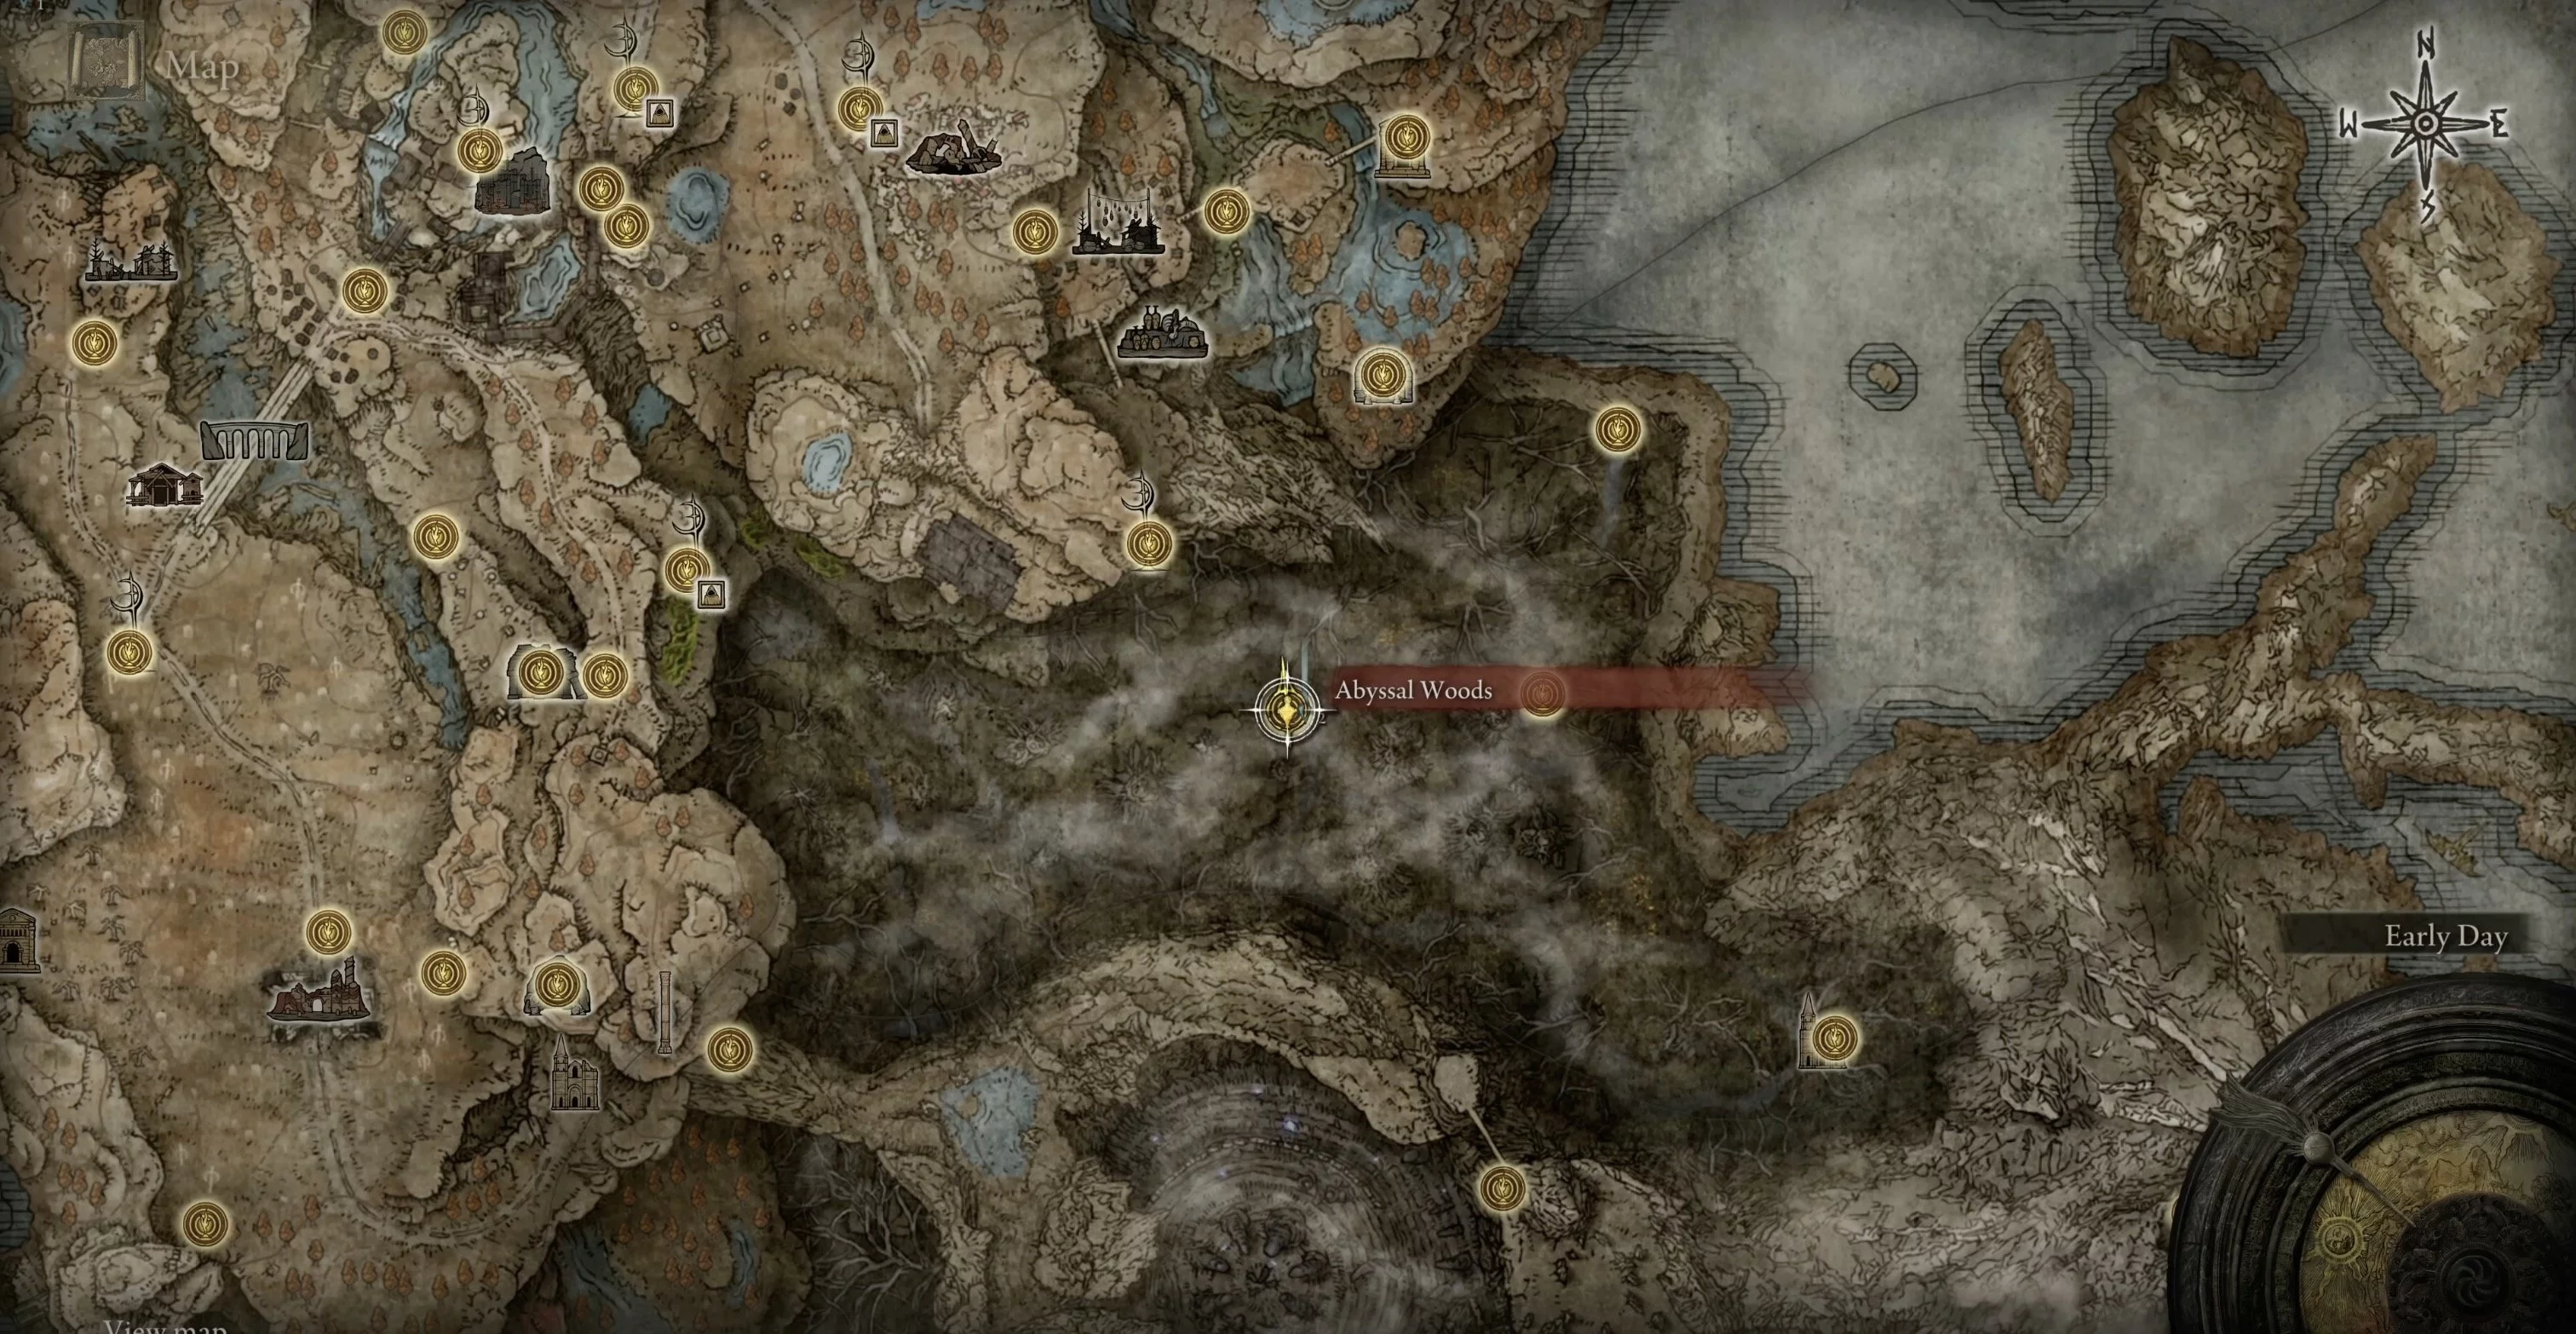
On the way to the church ruins, you need to find the grace point Forest Path. From there, head west to another point Abyss Forest. Now you can head north along the road, and you will see another shard.
How to Find Decay Tree Shards on Fang Mountain

Dragons inhabit this zone, and there is only one shard here. To the south of the Tombstone Plain, find the dungeon Dragon Pit. When you defeat the boss, you will gain access to the location. Be sure to activate the grace point Last Camp at Dragon Pit. In the location, head east to the Fang Mountain dragon.
Turn northeast to see the road into the mountain. Follow it to the spirit spring and use it. At the top, head southeast across the bridge. You should reach the grace point Foot of Fang Mountain. Head south, then east. You will see two dragons. Bypass them and use two spirit springs. You will have to go through a cave and then reach a zone with falling boulders. Reach the turn to the left, and there will be the shard.
How to Find Decay Tree Shards in Enir-Ilm
The last location before the final part of the expansion, where you can obtain 4 shards. Access to Enir-Ilm opens in Belurat after the battle with the lion. However, when you climb the large staircase, the passage will be blocked by shadows. To proceed, kill Messmer, and then find the priestess Romina, the saint of Flower Buds. Kill her and burn the tree behind the Buds' temple.
Location: Winding Ascent
On the main road through the location, you will almost immediately find the first shard, but there will be strong enemies everywhere. From the first grace point, head southwest to the square full of inquisitors. Climb higher there and head west up the large staircase. Be careful, the path will be guarded. Once you reach the end, open the doors and activate the grace point Winding Ascent. Nearby will be Miquella's cross with a shard.
Location: Path to Belurat
From the grace point Winding Ascent, return back. Find the gazebo with an enemy on their knees. Nearby will be a small staircase; descend it. Move forward and jump down to the corpse, there is no railing. Turn right and jump down again, continuing to descend. Eventually, you will see a building window. You will have to run and jump into it. Exit the building to the street and you will see the shard near the statue.
Location: Tower with Altar
From the same grace point Winding Ascent, climb even higher. Exit onto the roofs, bypassing the grave birds, and then climb the steps to the tower. Once inside at the top, pay attention to the altar with the shard.
Location: Purification Room Antechamber
The last shard awaits you almost before the final boss. There will also be the last grace point. Also, from Winding Ascent, run up to the last ascent. Eventually, you should reach the purification room antechamber. There you will find the grace point and the shard.
Other guides
- How to Create Female Characters in Elden Ring Resembling Triss, Ciri, and Harley Quinn
- Co-op in Elden Ring: How to Play Multiplayer with Other Players
- Scarlet Rot in Elden Ring: How to Use and Remove the Effect
- Where to Find Malenia in Elden Ring and Defeat the Secret Boss
- Fast Leveling Guide in Elden Ring: How to Infinitely Farm Runes at the Beginning of the Game
- How to Get the Sword of Light and Sword of Darkness from the Stone-Sheathed Sword in Elden Ring Shadow Of The Erdtree
- How to start the Shadow of the Erdtree DLC for Elden Ring
- All Endings of Elden Ring: Good, Bad and Secret
- How to Defeat All Main Story Bosses in Order in Elden Ring
- Best Spells in Elden Ring Shadow of the Erdtree
- Wie man Igons und die Quest der Drachenpriesterin in Elden Ring: Schatten des Erdtree abschließt
- Wo man die Euporia Twinblade in Elden Ring Schatten des Erdtrees findet
- Wie man den Gnadenregenbogen und den dunklen Regenbogen in Elden Ring Schatten des Erdtrees findet
-
Co-op in Elden Ring: How to Play Multiplayer with Other Players
-
All Endings of Elden Ring: Good, Bad and Secret
-
How to Create Female Characters in Elden Ring Resembling Triss, Ciri, and Harley Quinn
-
How to start the Shadow of the Erdtree DLC for Elden Ring
-
Fast Leveling Guide in Elden Ring: How to Infinitely Farm Runes at the Beginning of the Game
-
Where to Find Malenia in Elden Ring and Defeat the Secret Boss
-
Scarlet Rot in Elden Ring: How to Use and Remove the Effect
-
How to Defeat All Main Story Bosses in Order in Elden Ring
-
Where to Find the Great Black Steel Hammer in Elden Ring: Shadow of the Erdtree
-
Key to the Pantry in Elden Ring: Shadow of the Erdtree — How to Obtain and Where to Use