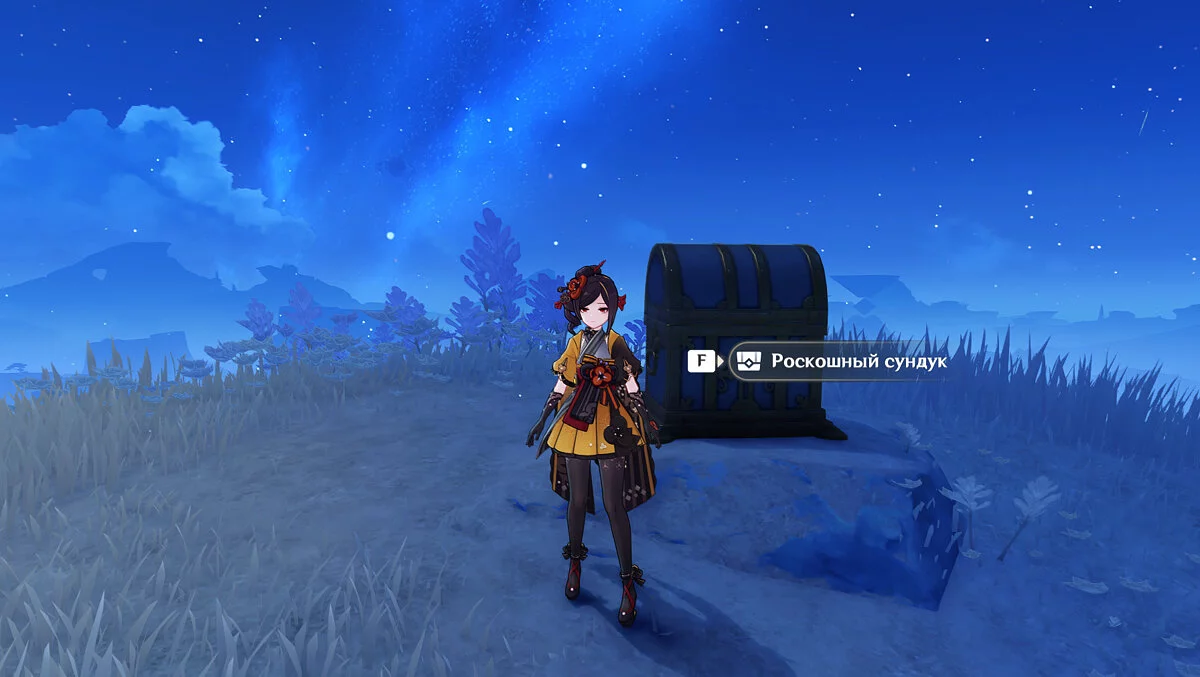
All Luxurious Chests in Natlan in Genshin Impact: Maps, Schemes, and Routes
With the release of the new region — Natlan — Genshin Impact players have been showered with various rewards: from a standard legendary choice to additional rewards after completing the storyline. It is not surprising that the fertile lands of the Pyro region also did not skimp on gifts, including primogems. And of course, the largest amount of primogems can be obtained from luxurious chests. In this article, we will talk about them and explain how to find the treasure chests and solve the puzzles that hide them.
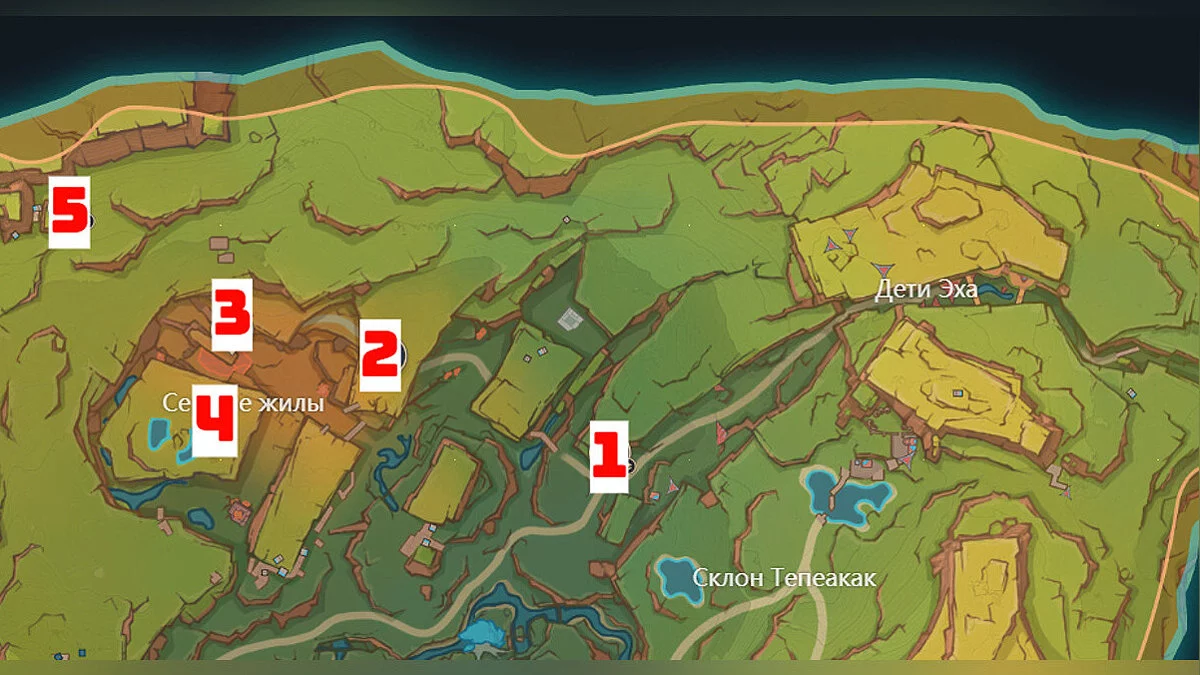
All Luxurious Chests in the Tekwemekan Valley
There are a total of four luxurious chests and one Depths Shrine in the Tekwemekan Valley. Below, we will detail each treasure chest and how to find them.
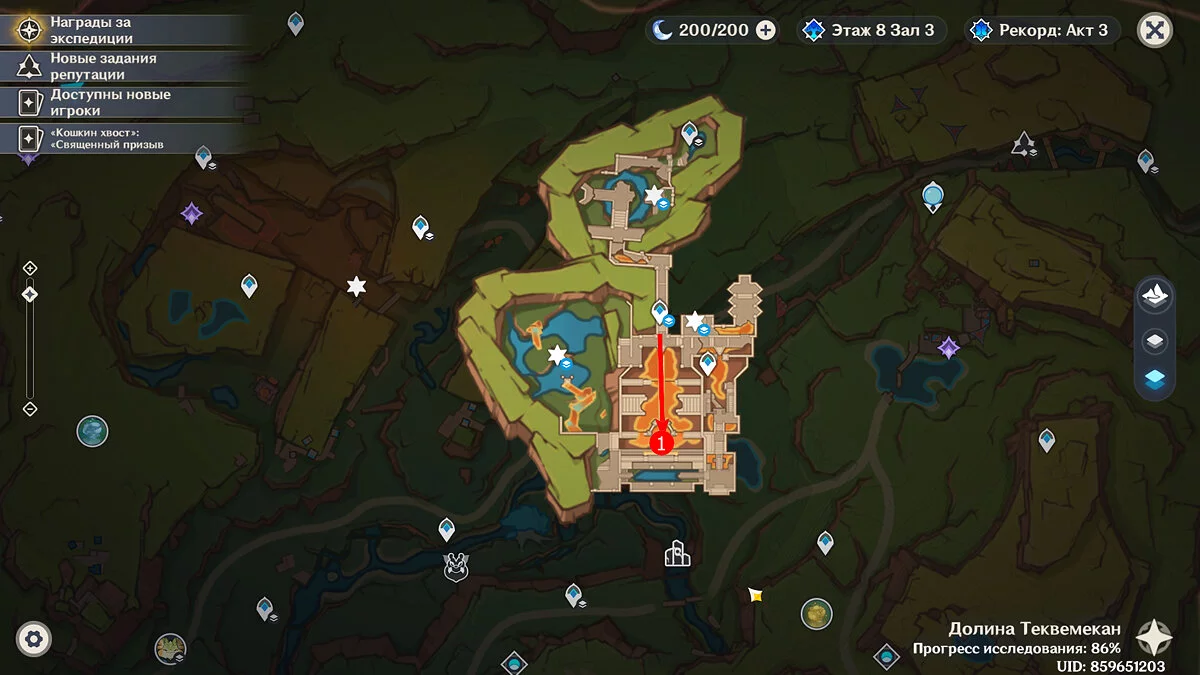
Chest #1
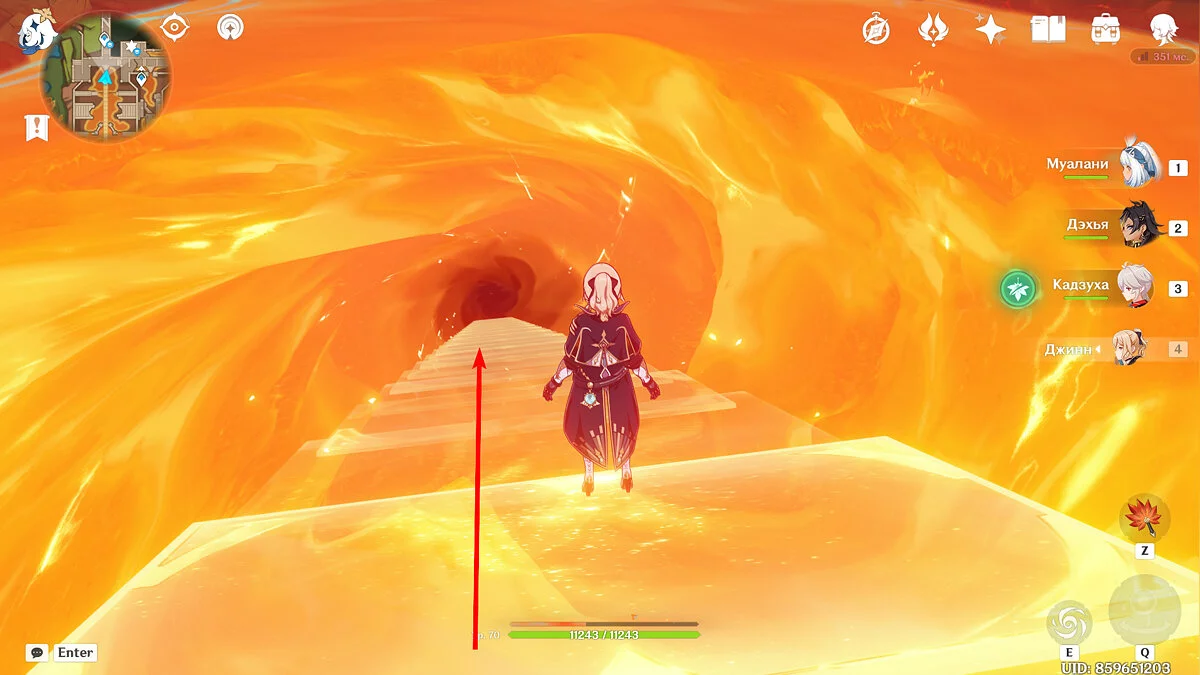
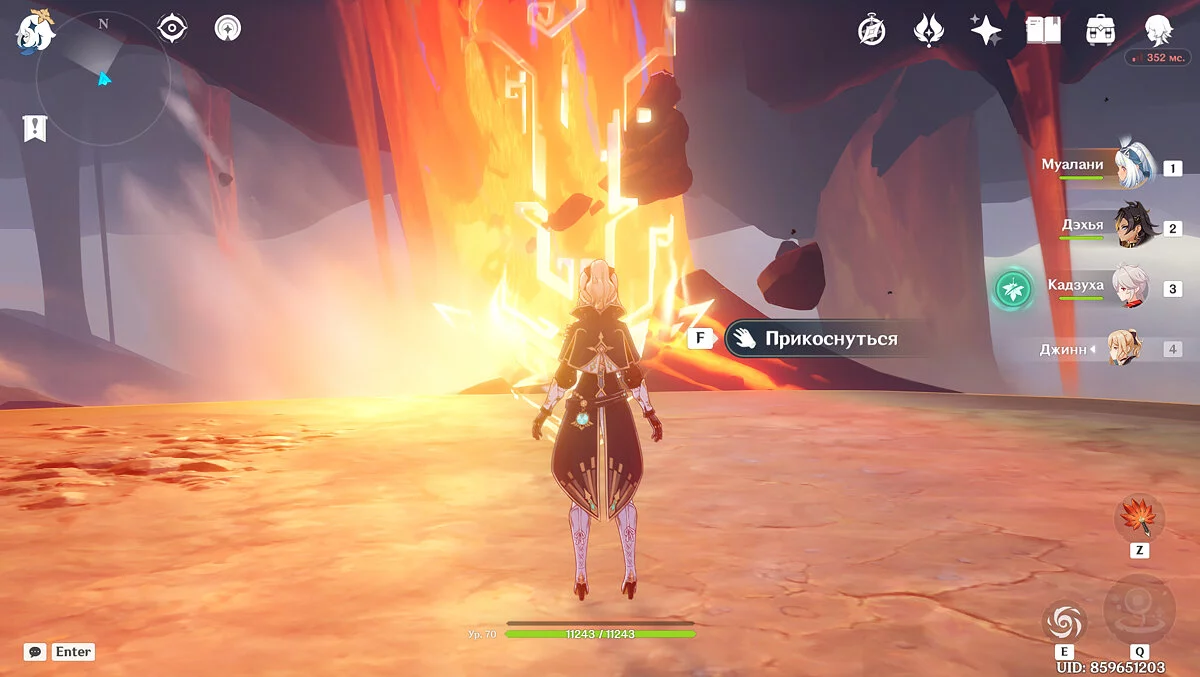
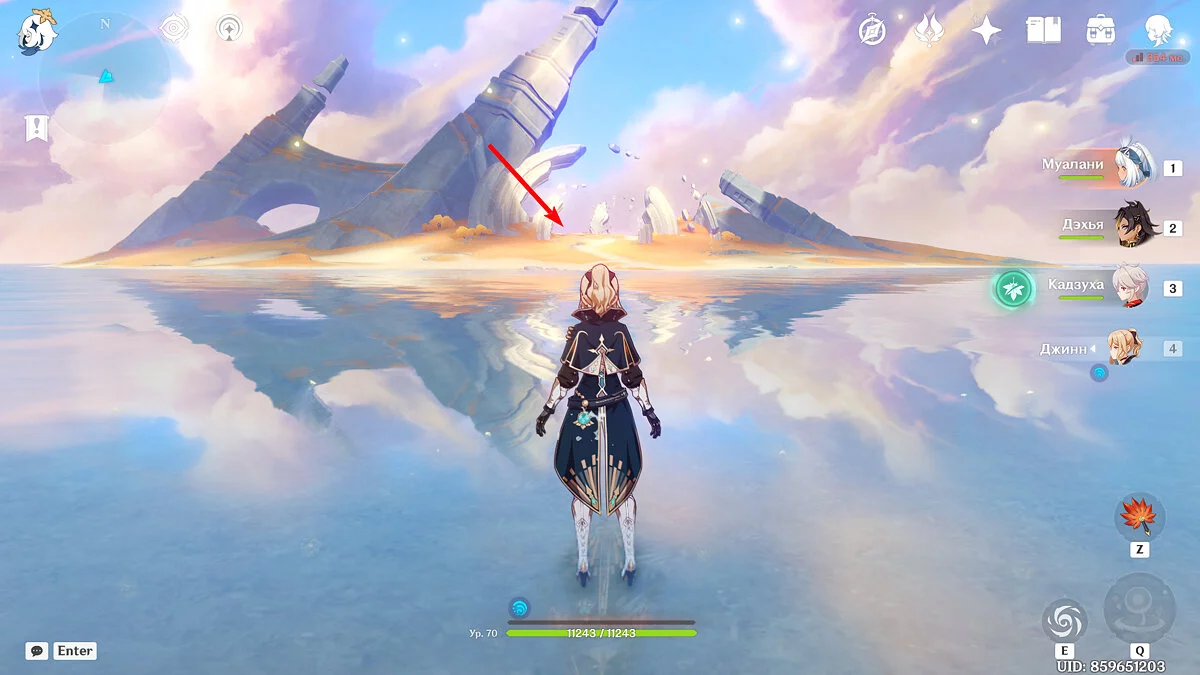
This chest can be obtained after completing the quest Between Promise and Oblivion in the final location. Complete all challenges with your companion Zavrian, descend the golden staircase. Defeat the enemies and touch the seal that will send you to the location. There, you will be able to take the chest.
Chest #2
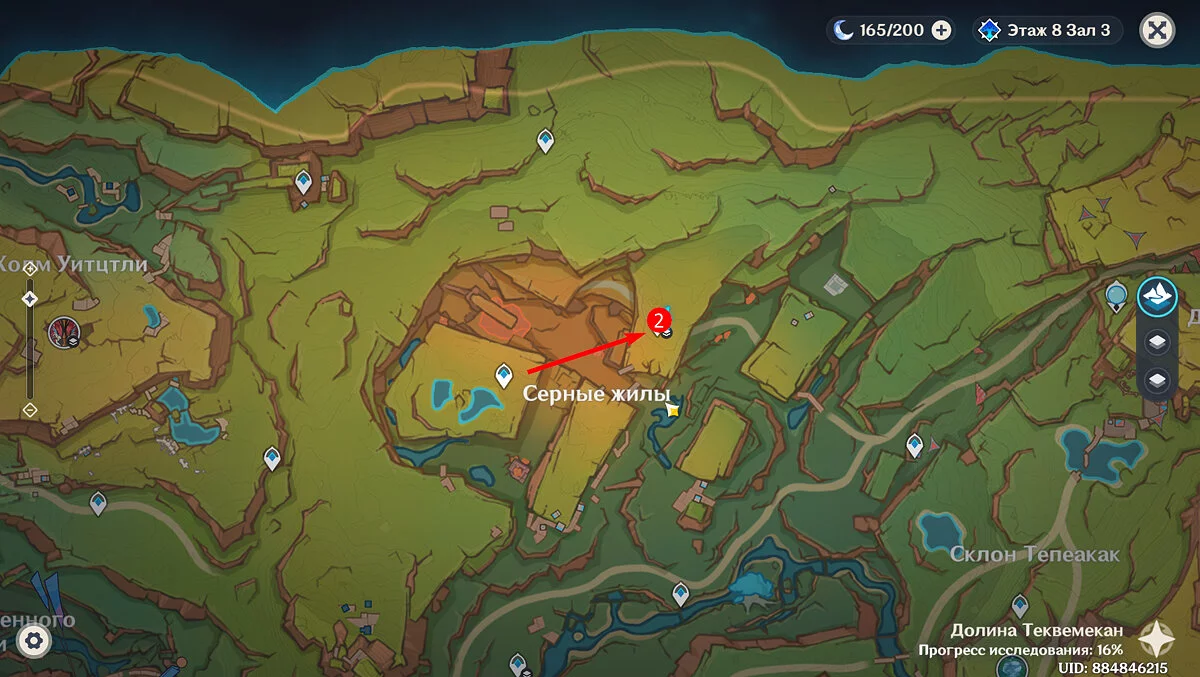
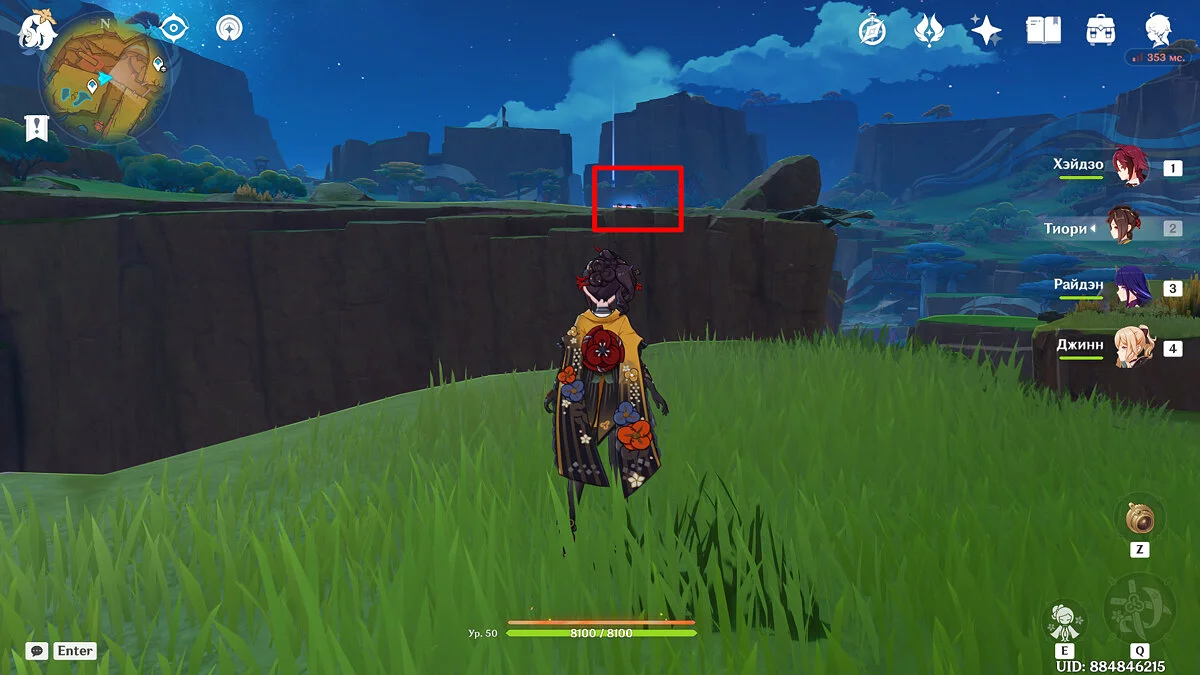
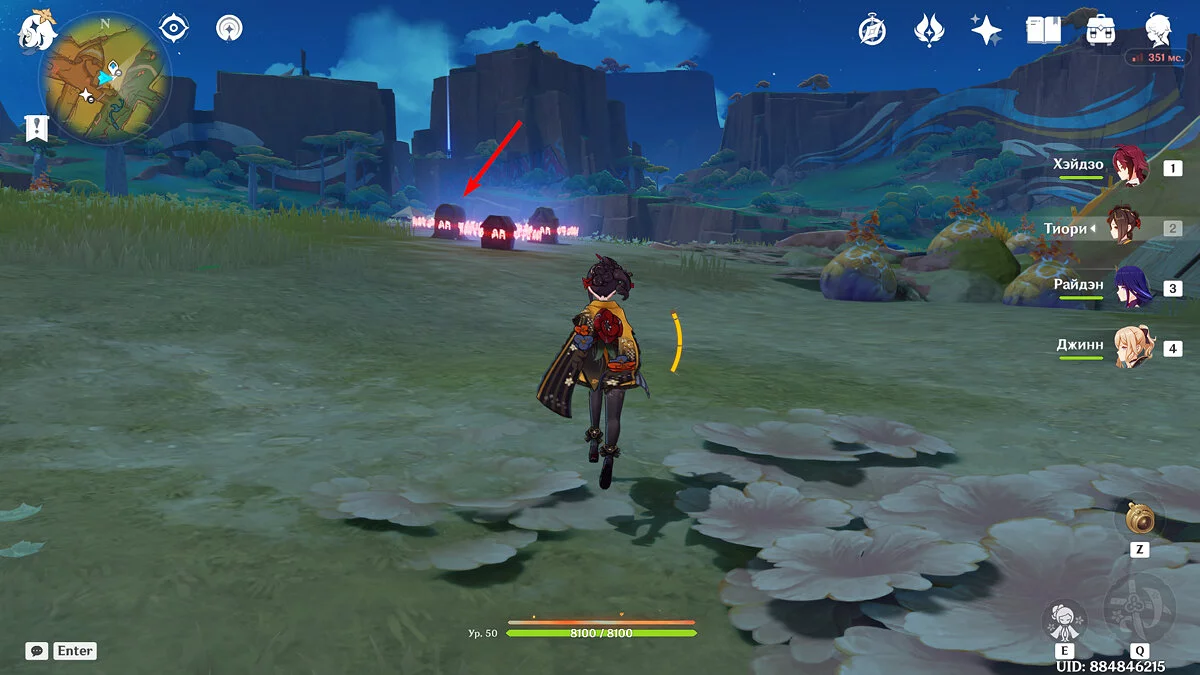
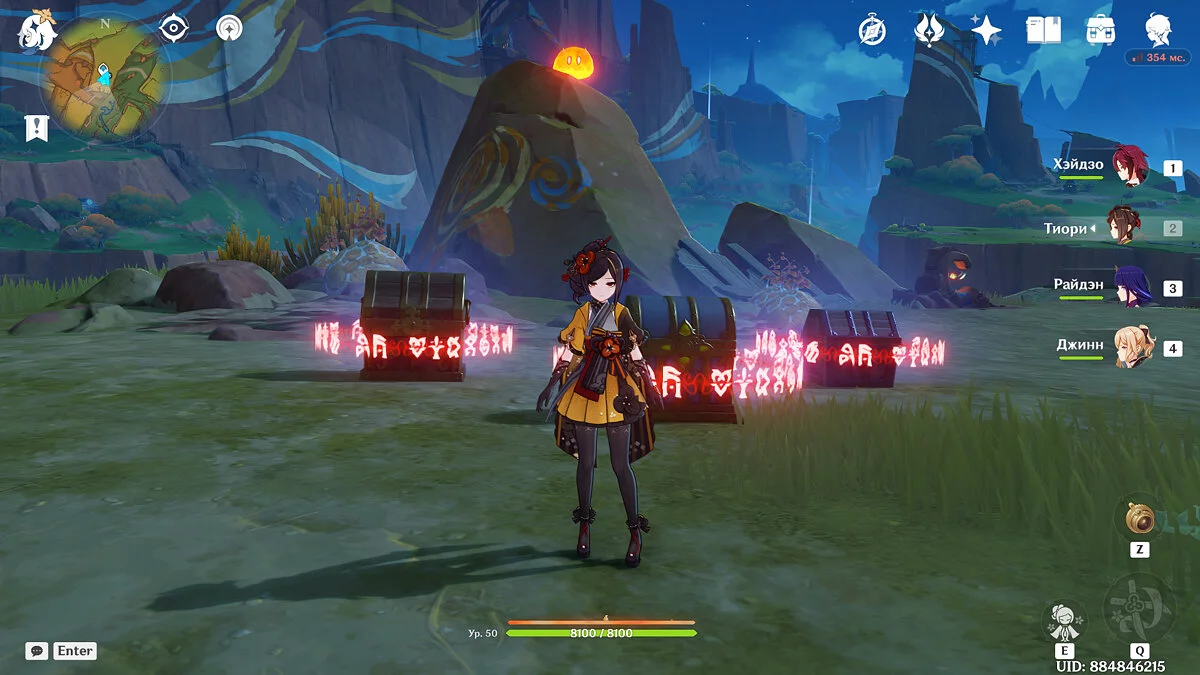
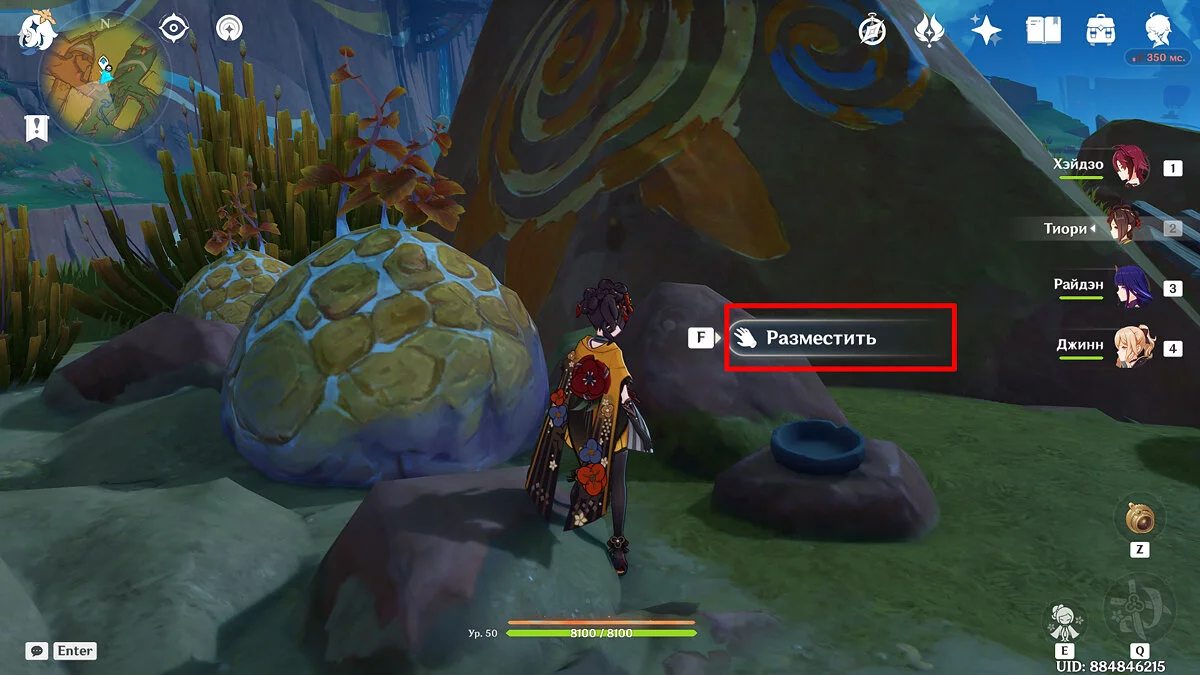
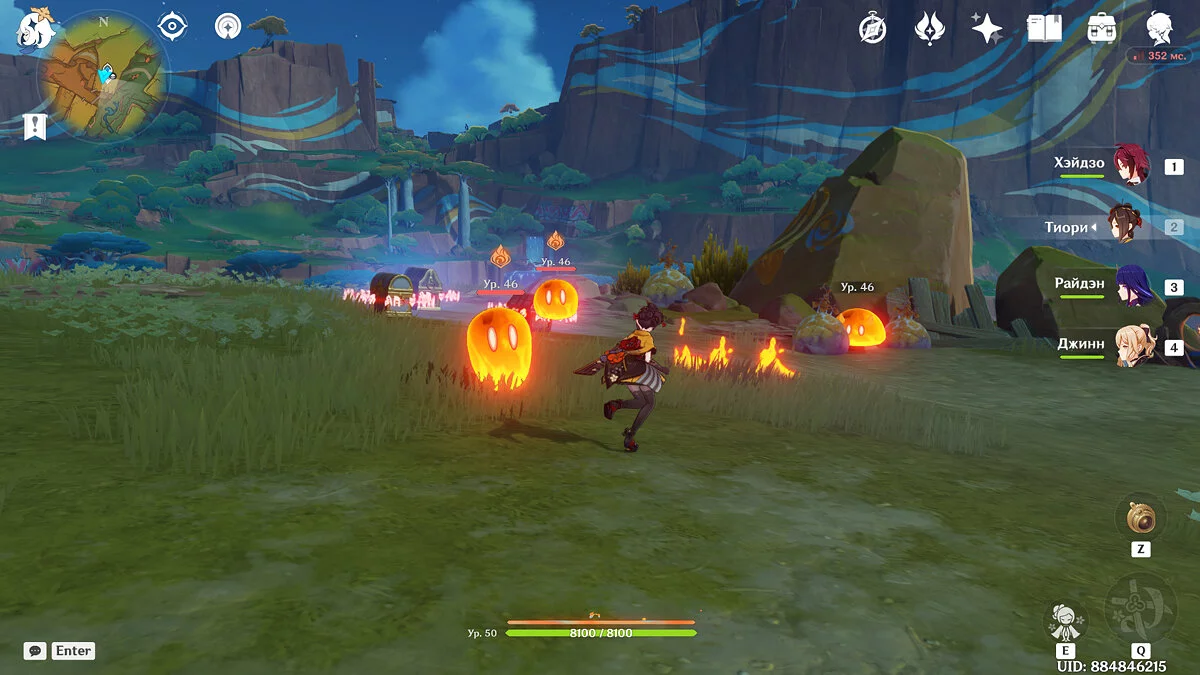
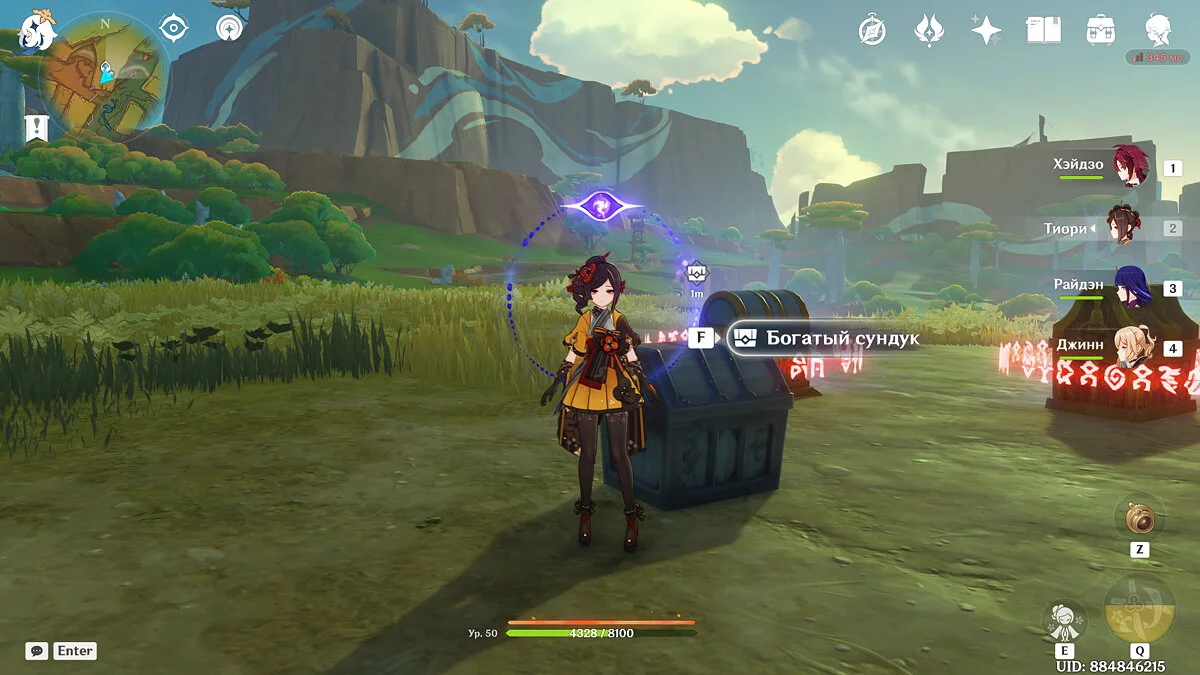
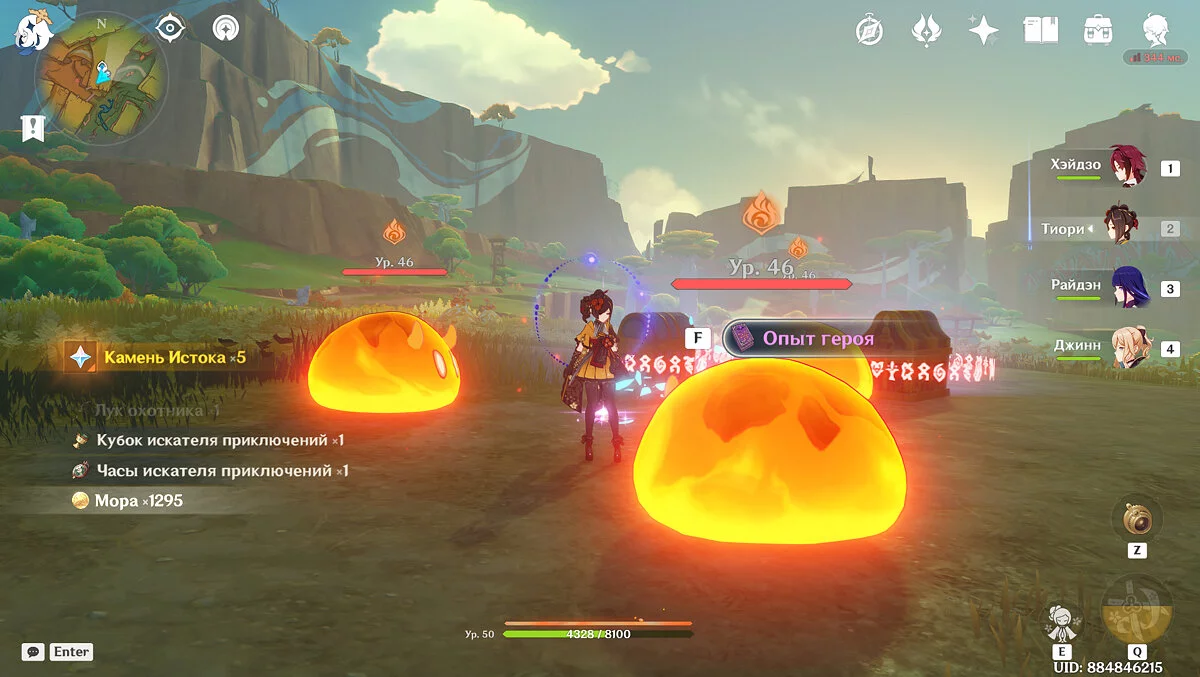
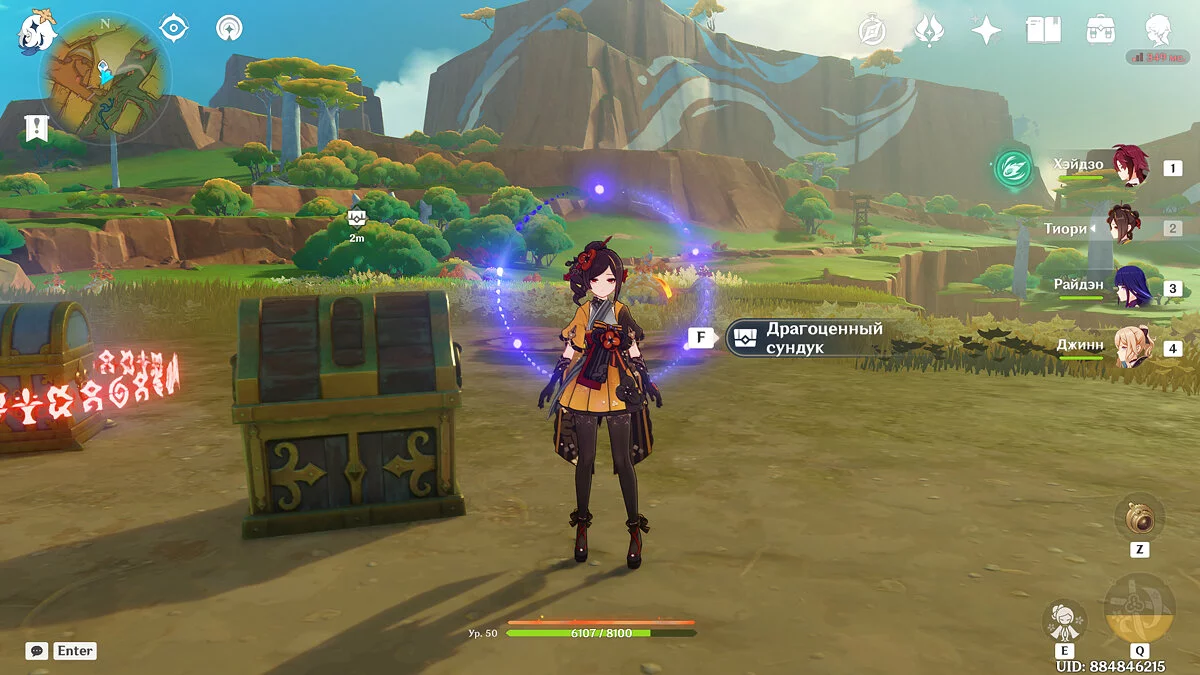
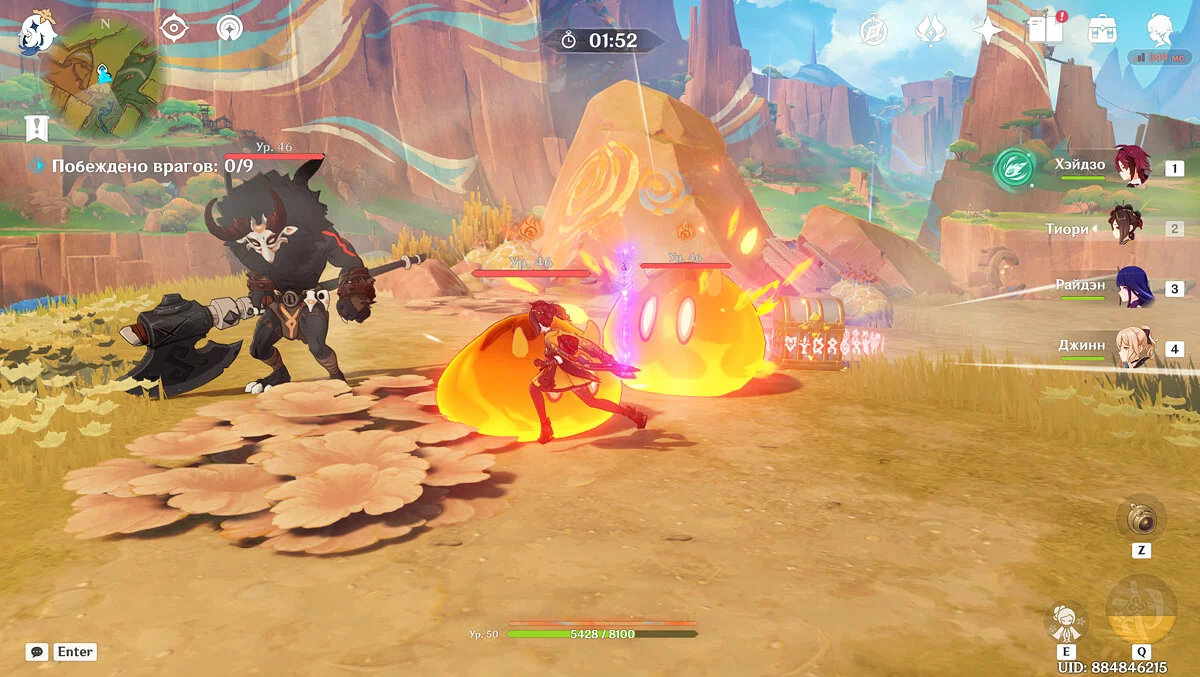
Use the above-ground teleport in the Sulfur Veins and fly to the slope northeast of the teleport point. There you will see three locked chests: a rich one, a precious one, and a luxurious one. To open the rich one, place the ashtray in the bowl. To open the second one, defeat the appearing slimes. To open the third one, open the previous chest and complete the time trial by killing all the enemies.
Chest #3
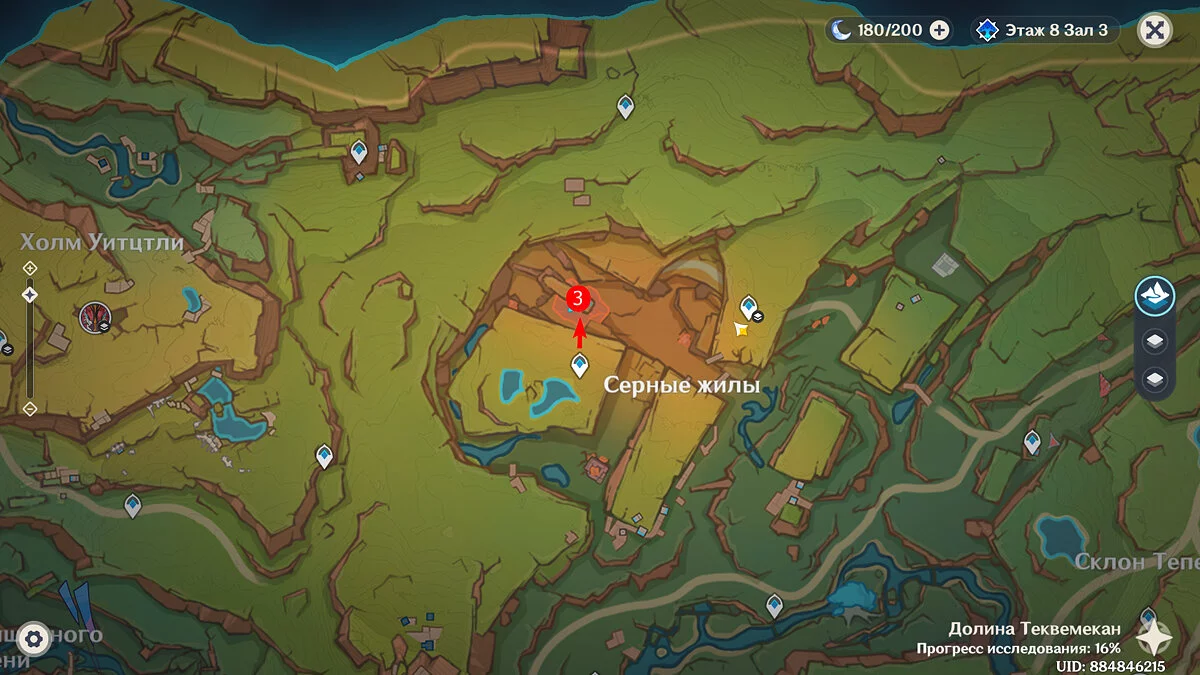
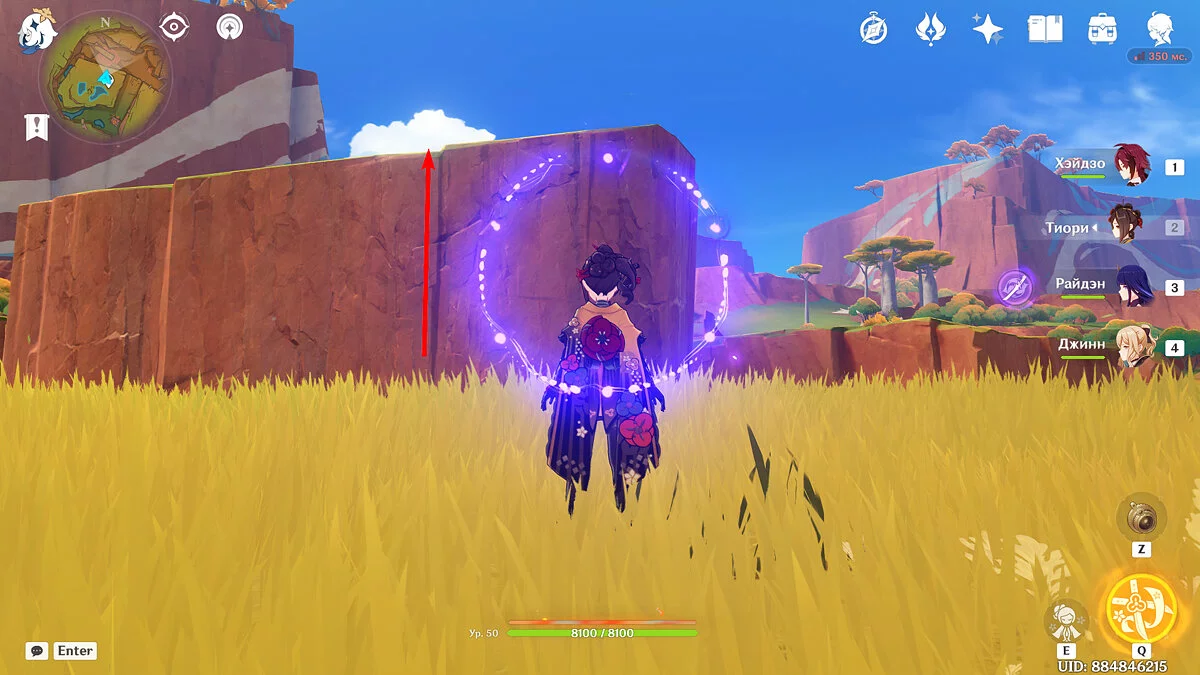
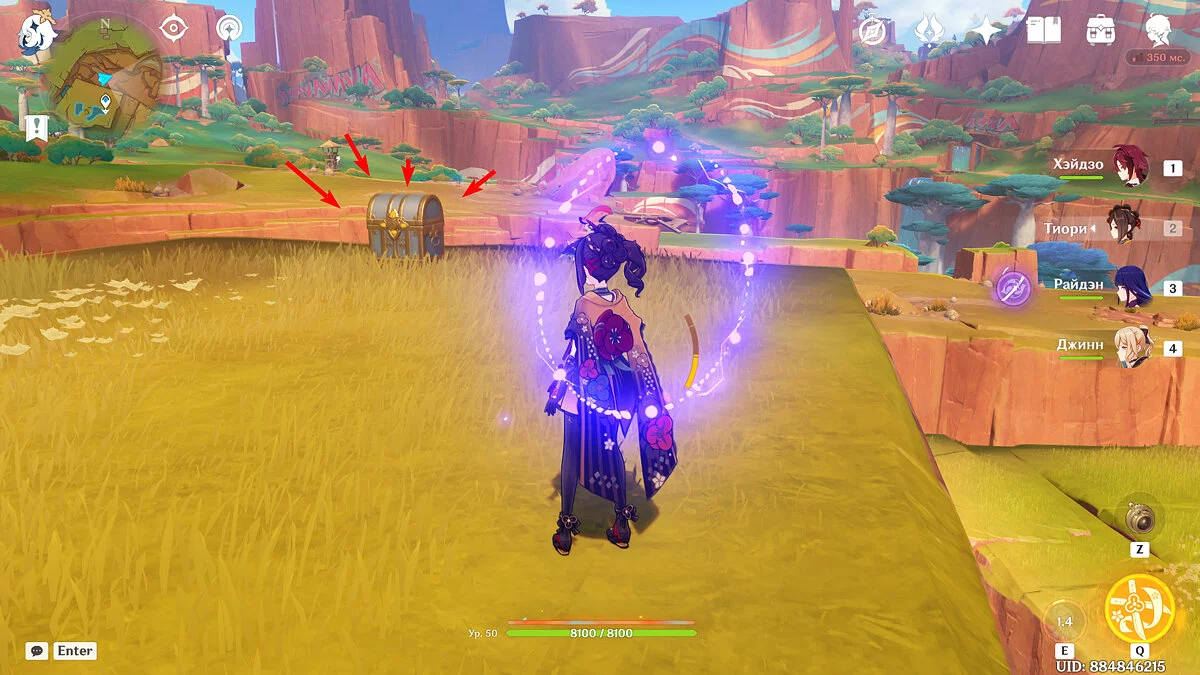
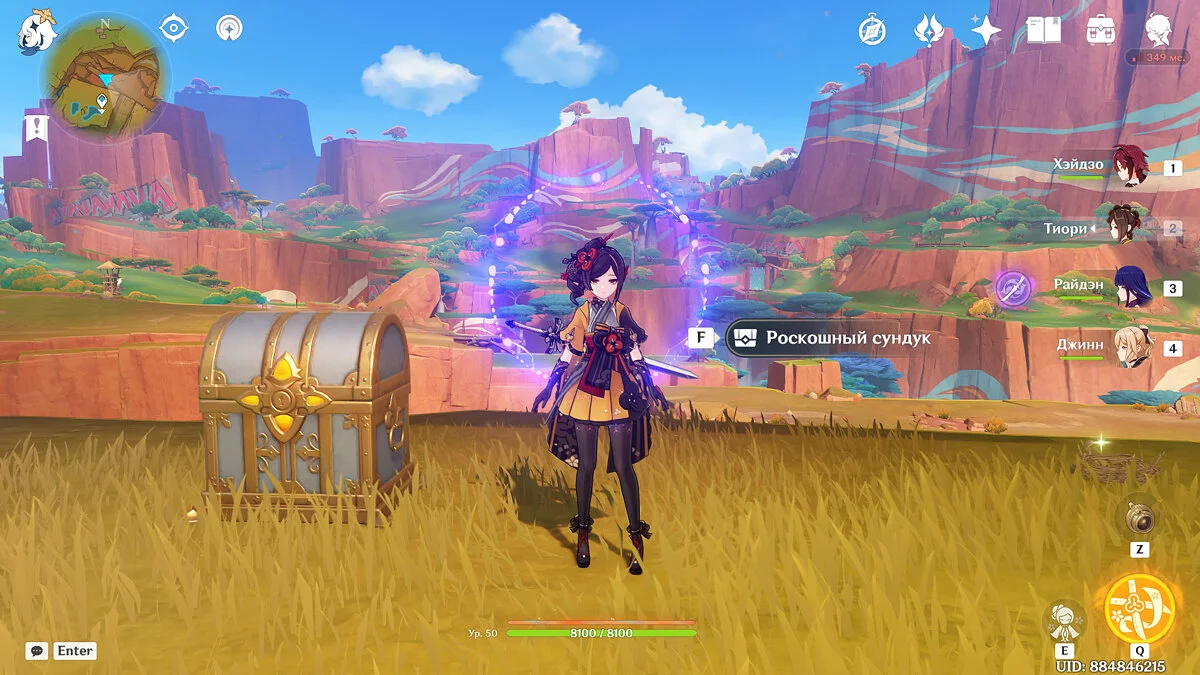
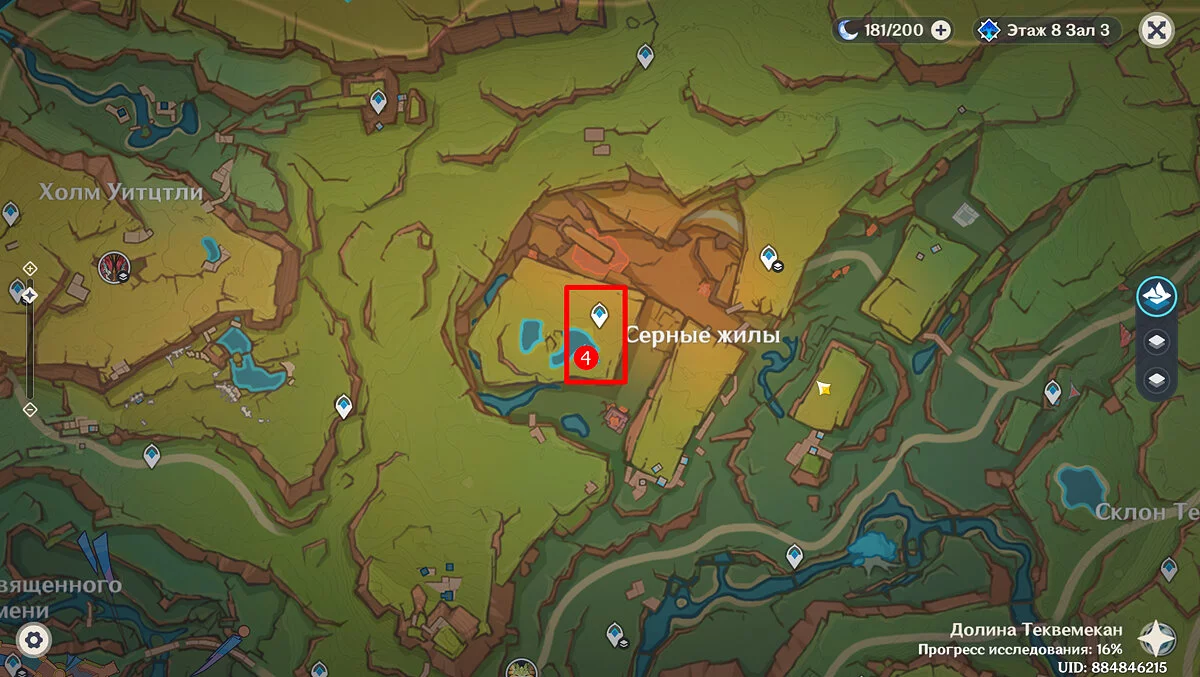
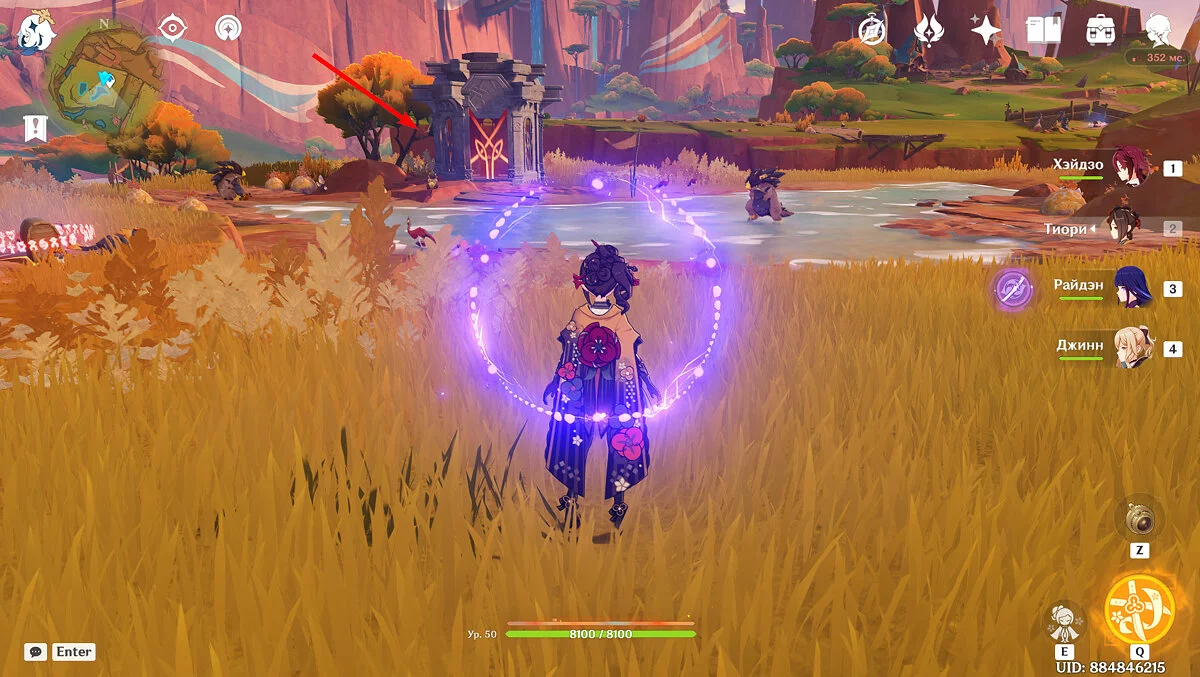
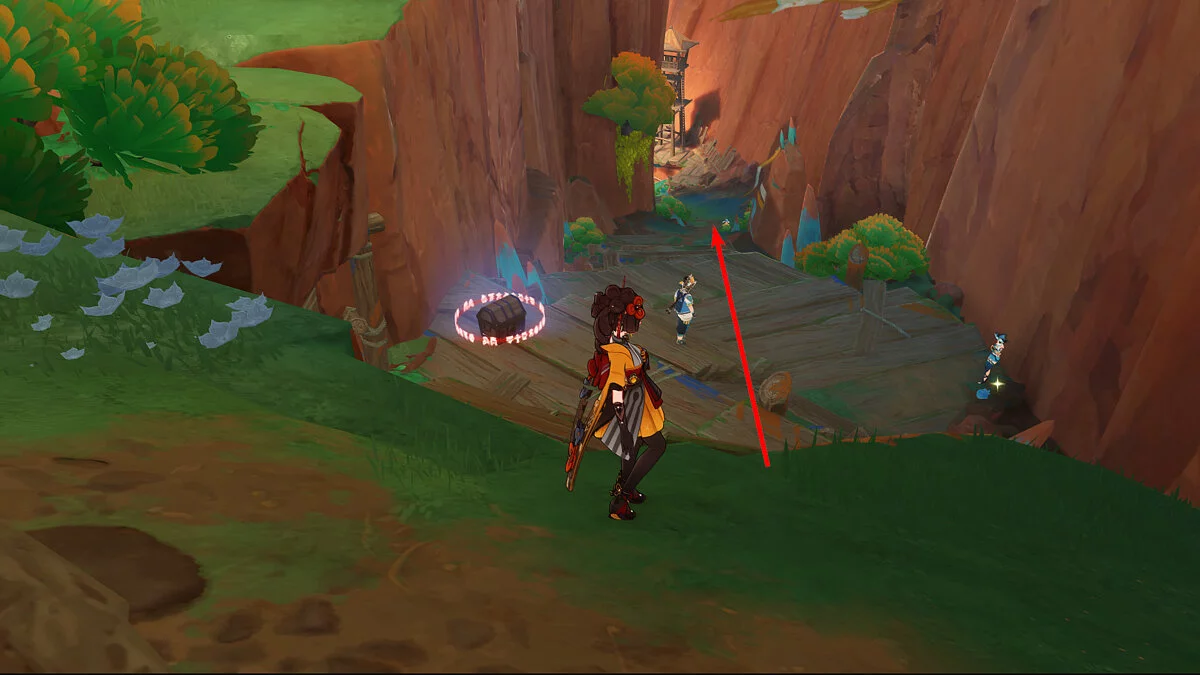
Return to the teleport point in the Sulfur Veins, but this time climb the slope opposite. At the very edge, there will be a luxurious chest.
Chest #4
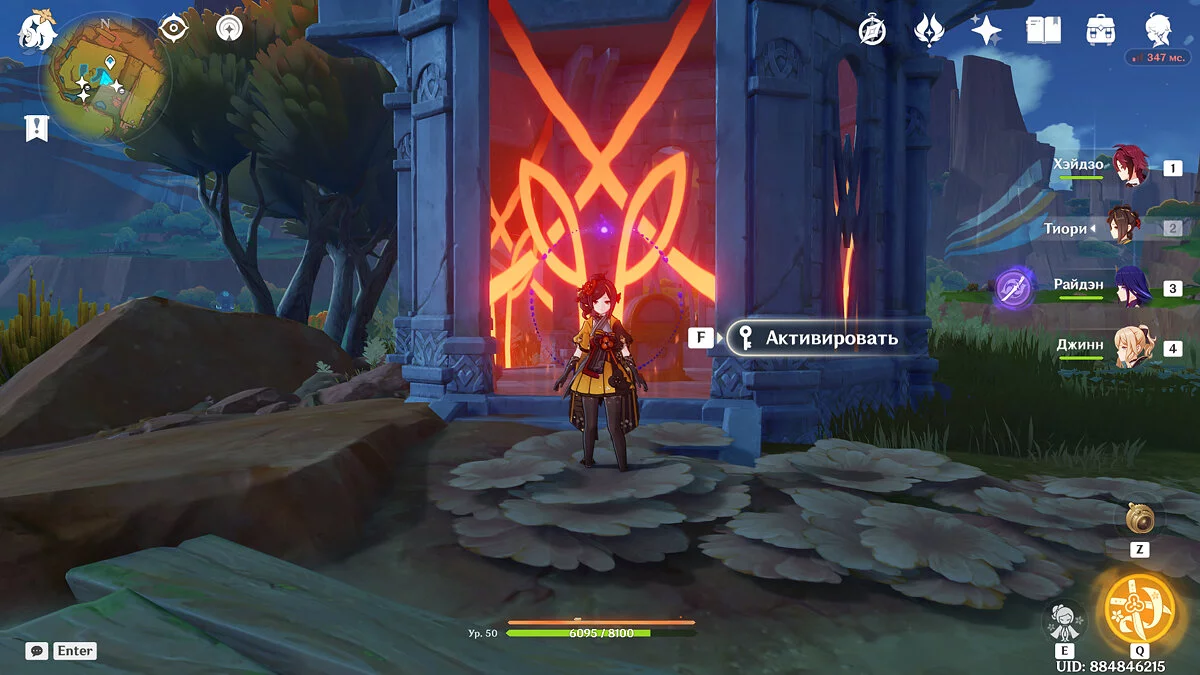
Use the same teleport again. In the other direction from it, there will be a Depths Shrine. Keys to it can be obtained by elevating the Circle of Tona or the Statue of the Archons.
All Luxurious Chests in the Basin of Countless Flames
There are a total of five luxurious chests and one Depths Shrine near the Sacred Flame Stadium. Below, we will detail each treasure chest and how to find it.
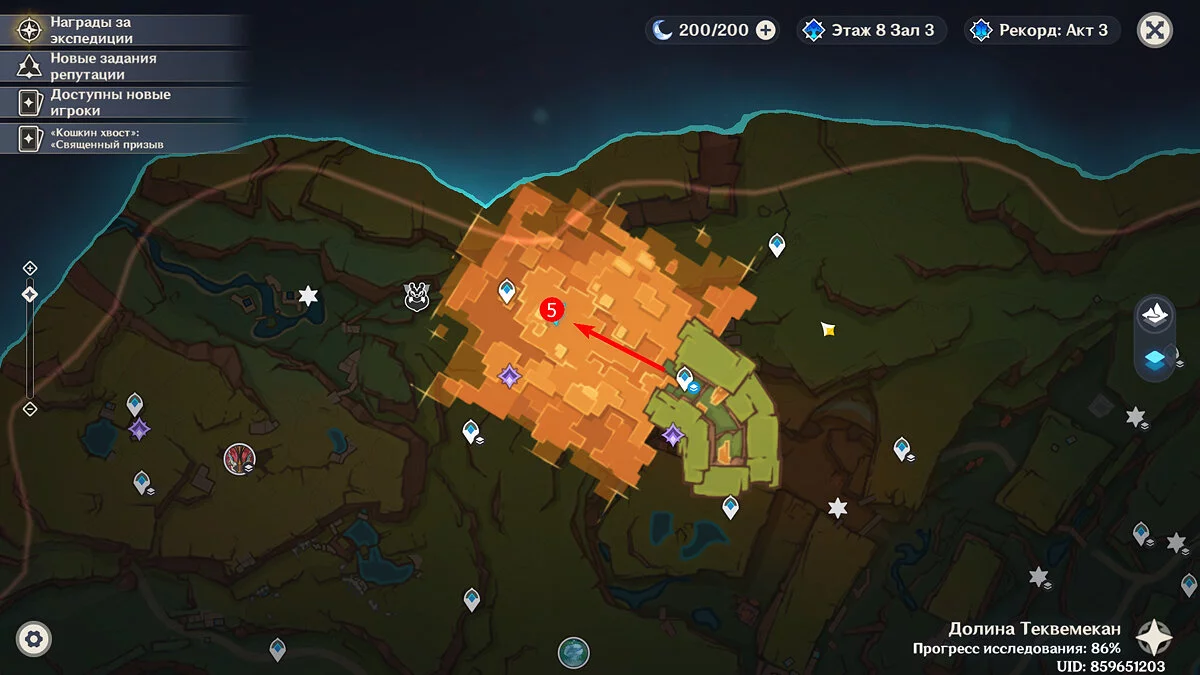
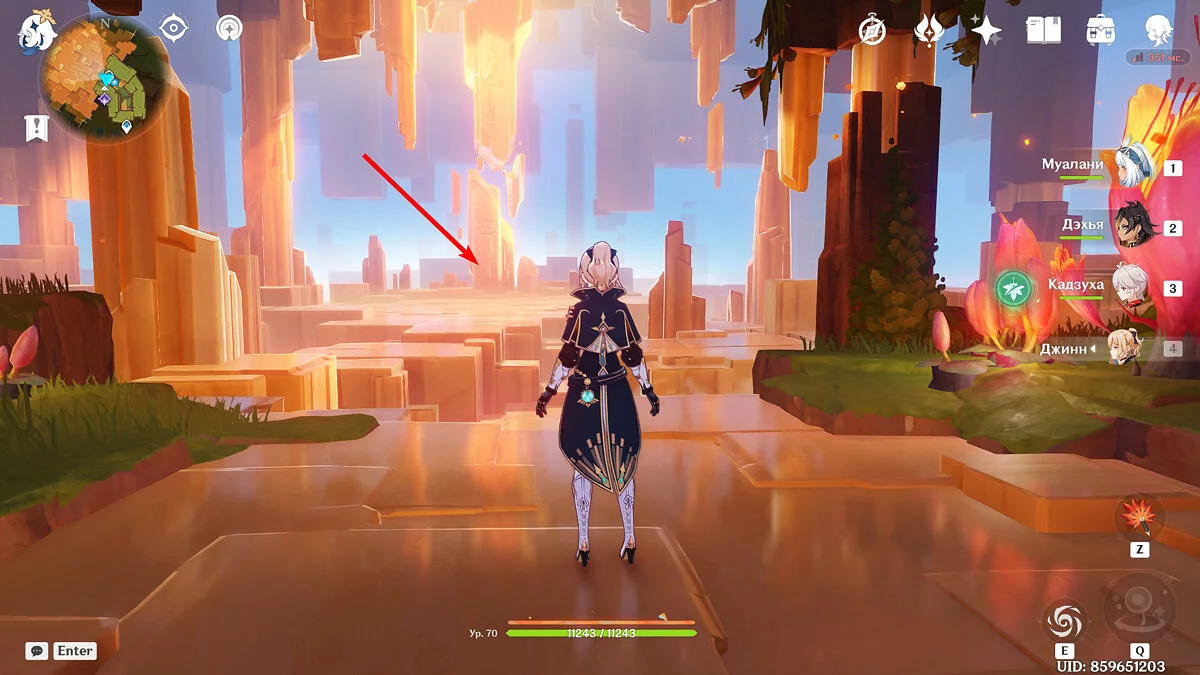
Chest #5
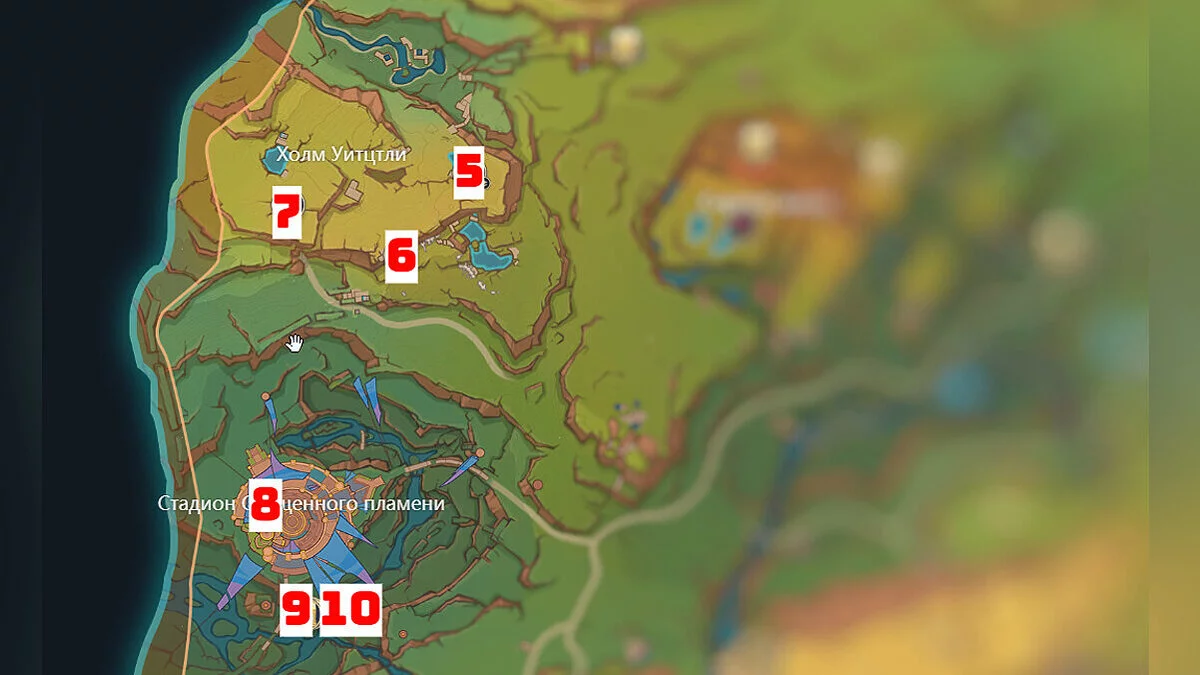
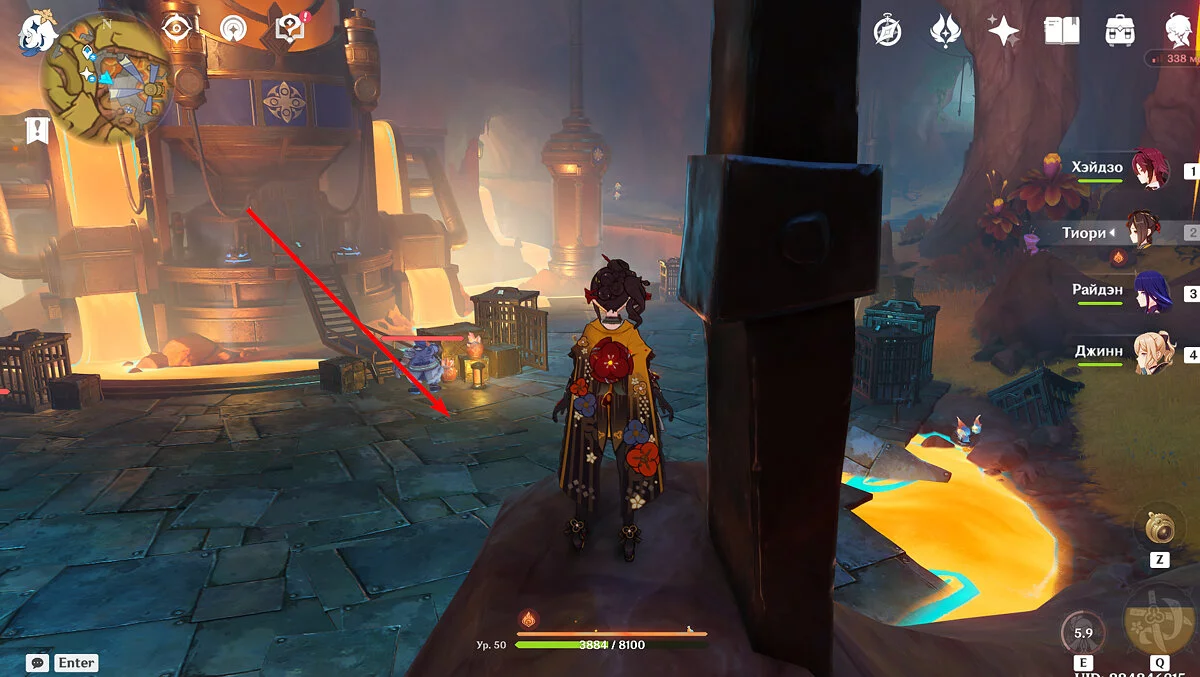
This chest can be obtained during the quest Between Promise and Oblivion after defeating all enemies in the hall with amber stones.
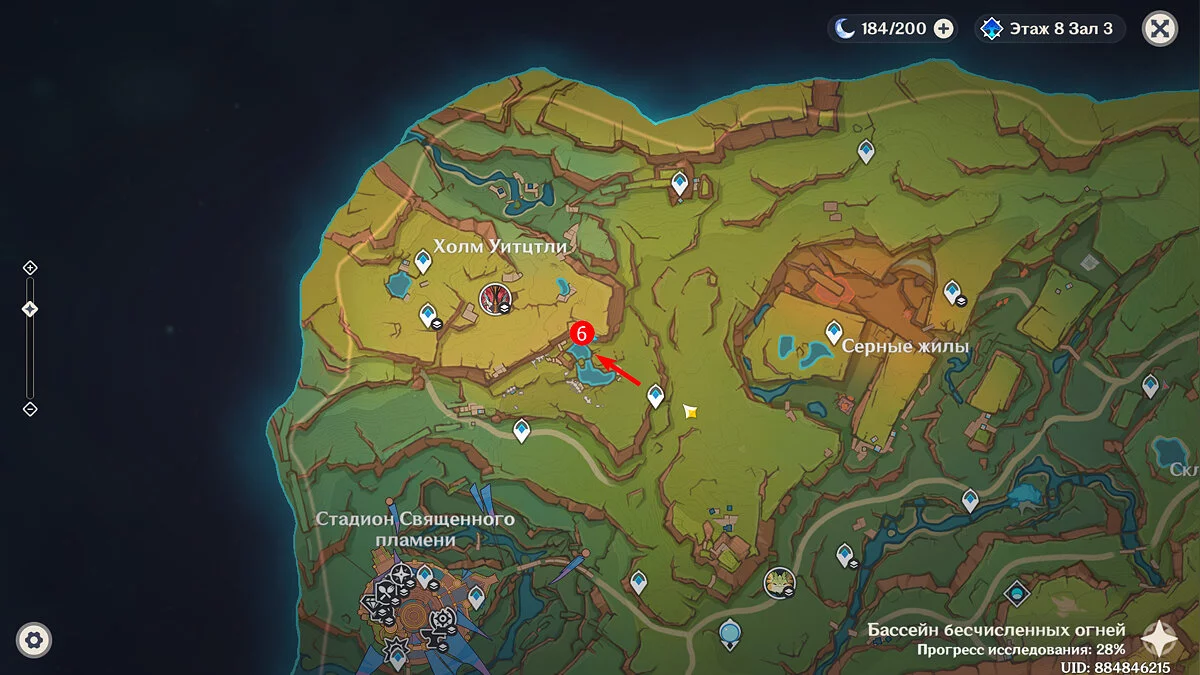
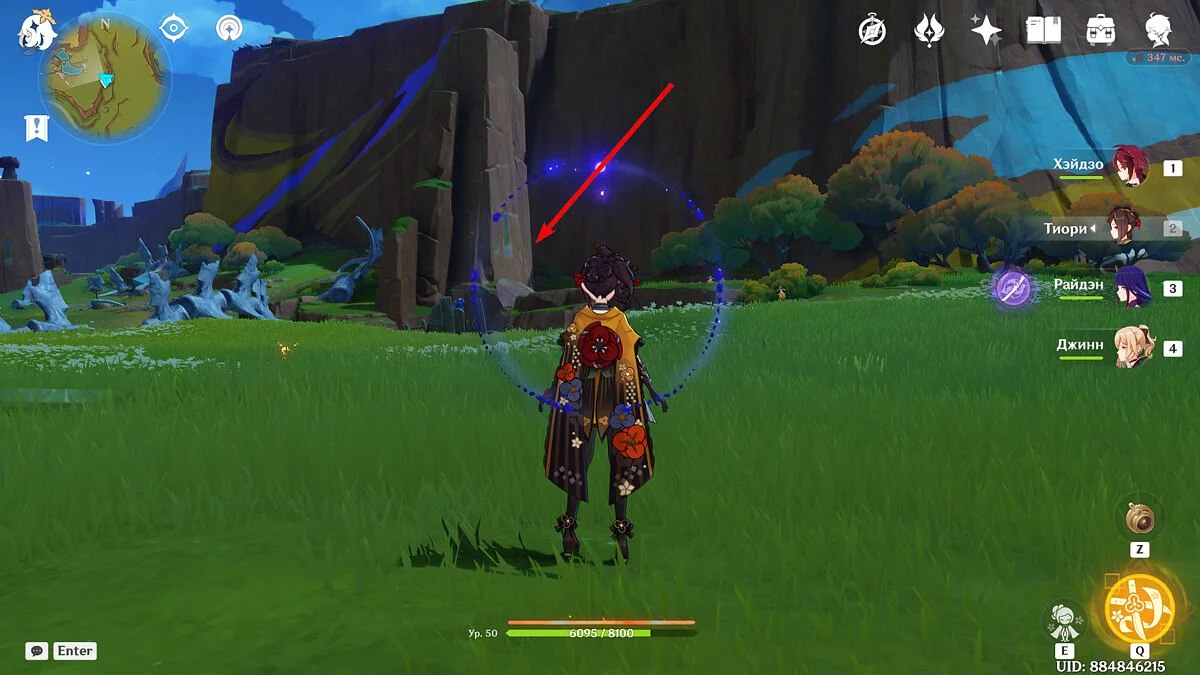
Chest #6
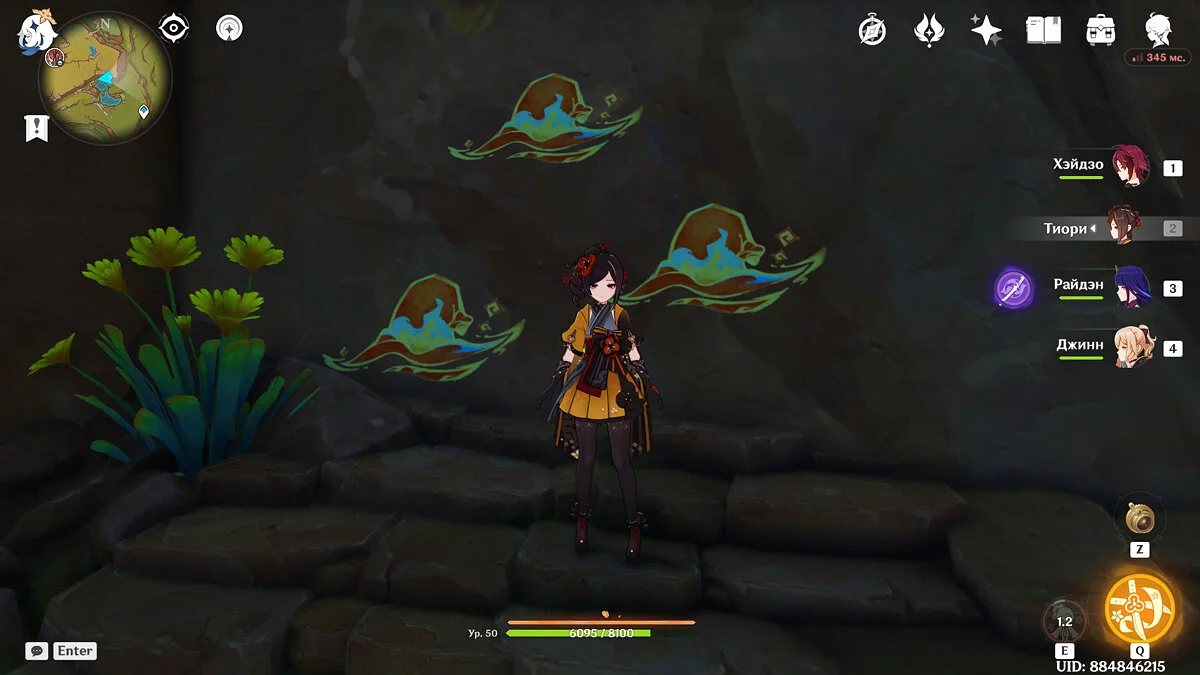
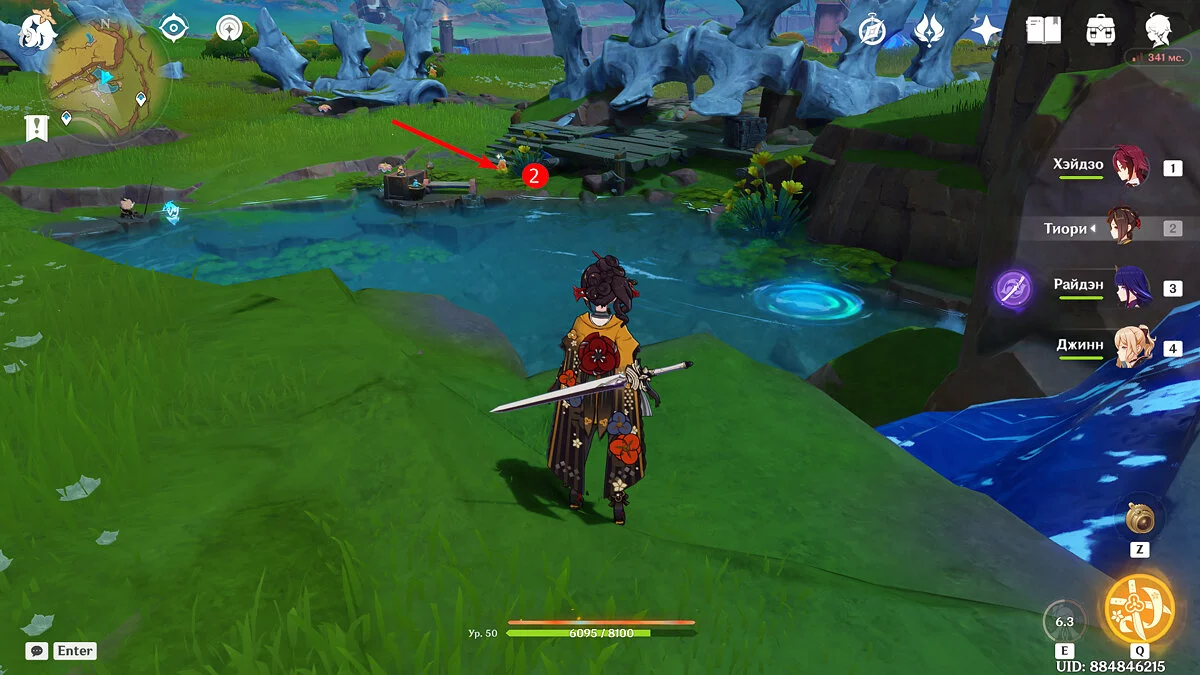
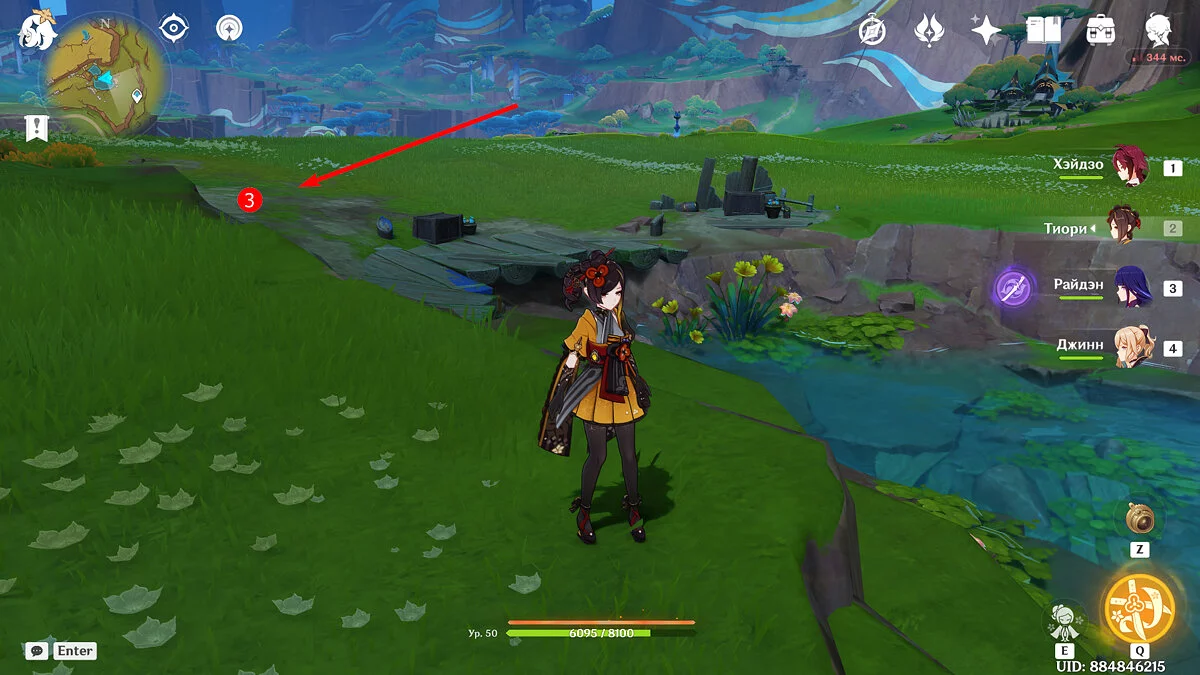
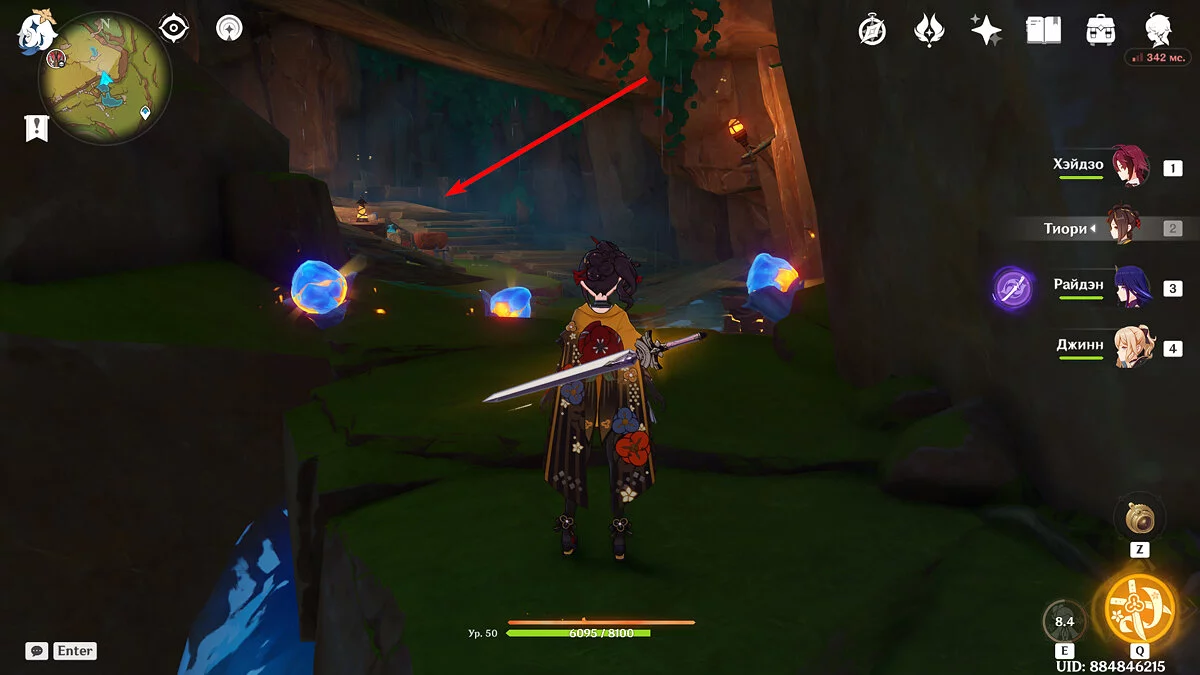
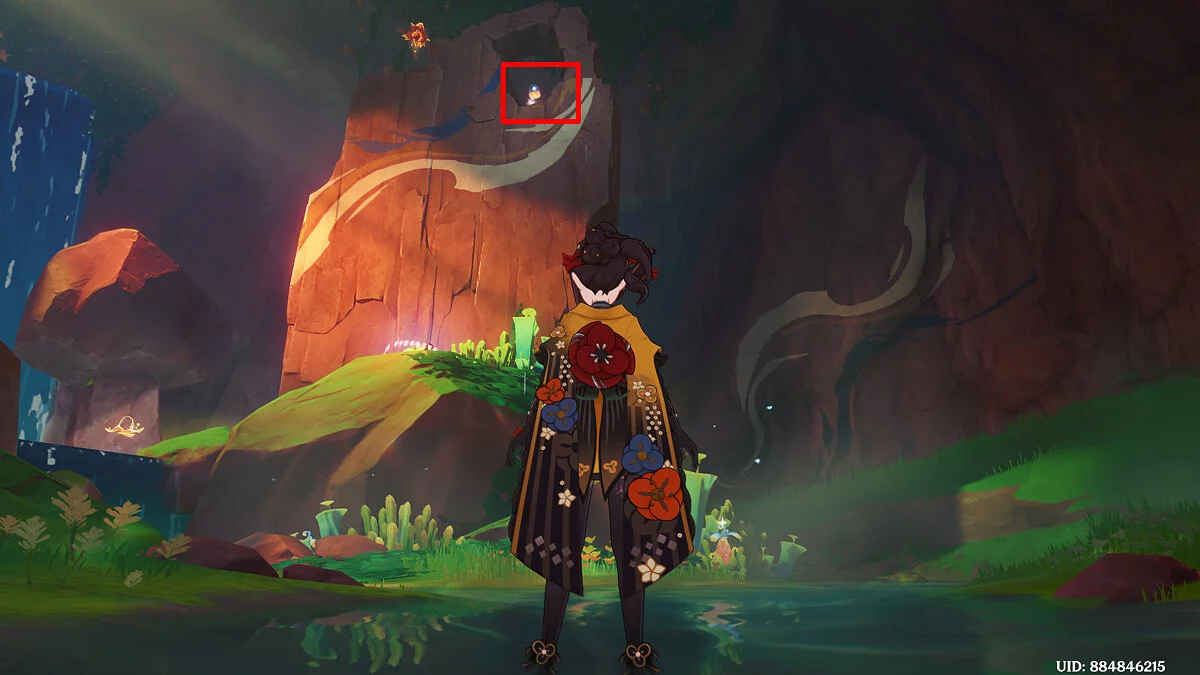
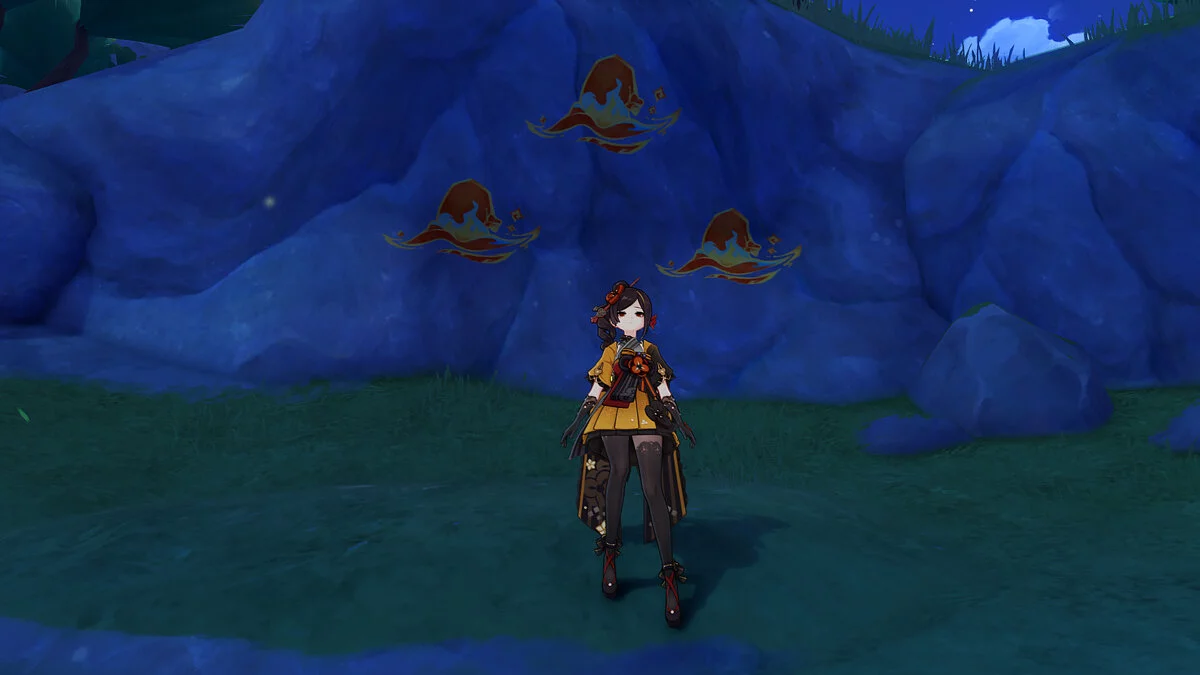
Teleport to the northeast of Witzli Hill and run to the small pond with waterfalls. The cave with the chest opens if you bring all the manitus to their drawing on the rock. However, to get them, you need to use the skills of Zavrians. You can read more about solving the puzzle in a separate guide.
Chest #7
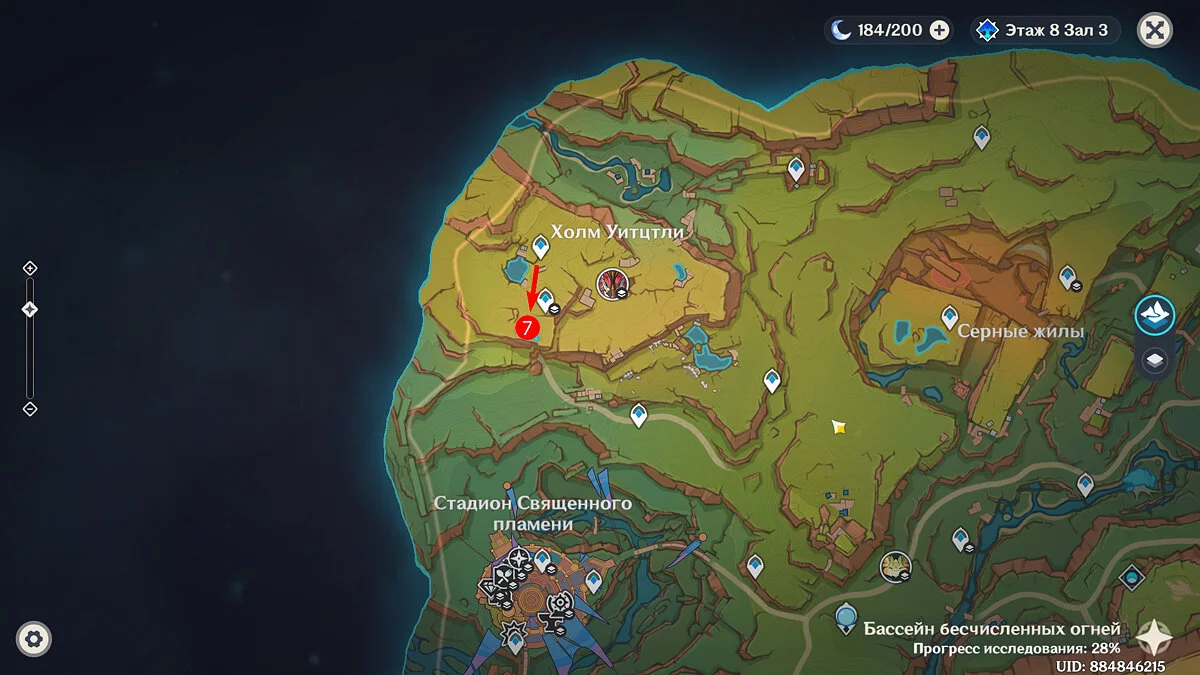
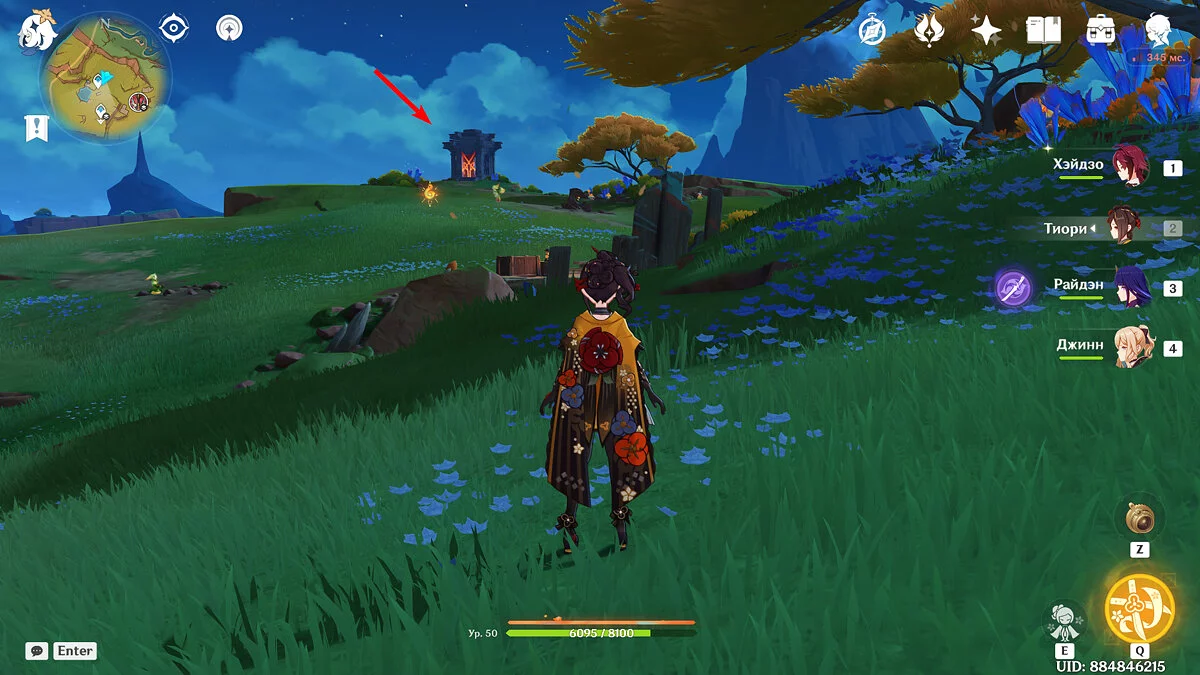
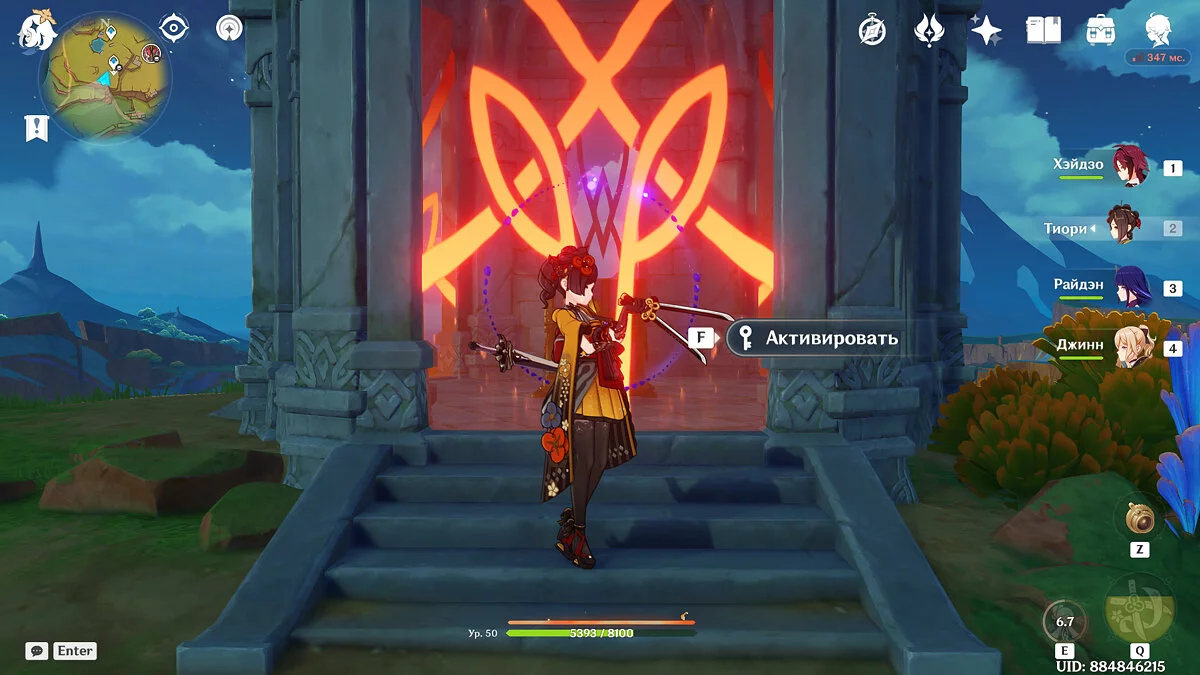
Use the teleport point on Witzli Hill and run south. Below the small lake, there will be a Depths Shrine. Use the special key to open it.
Chest #8
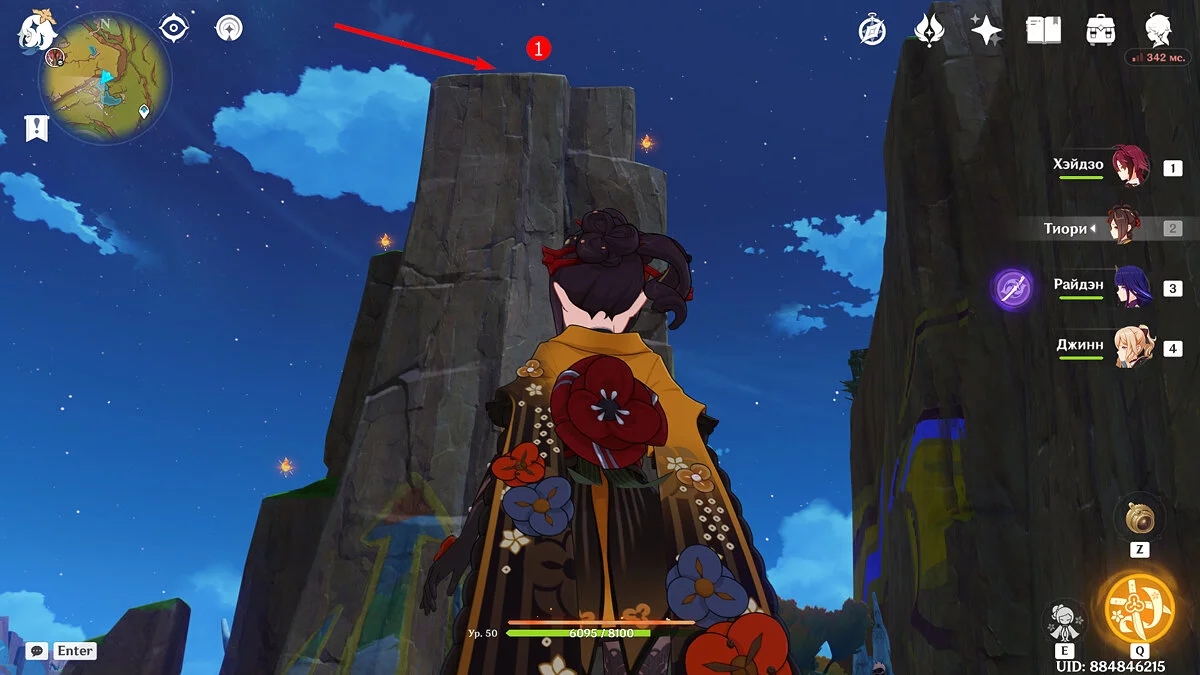
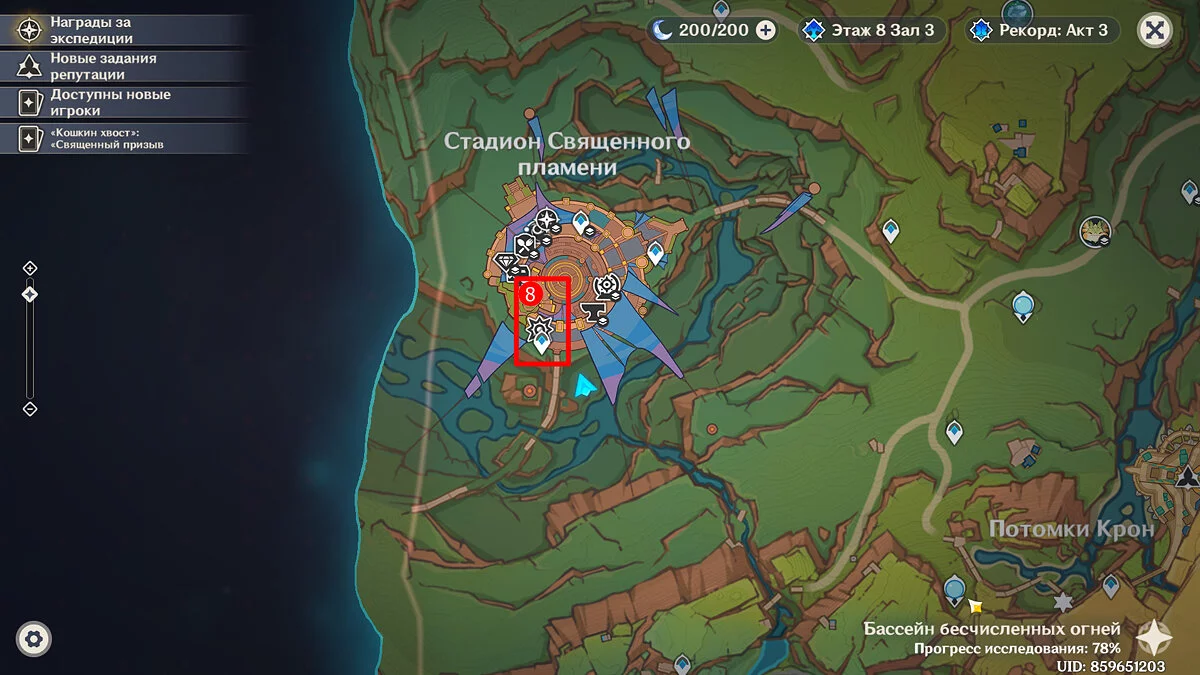
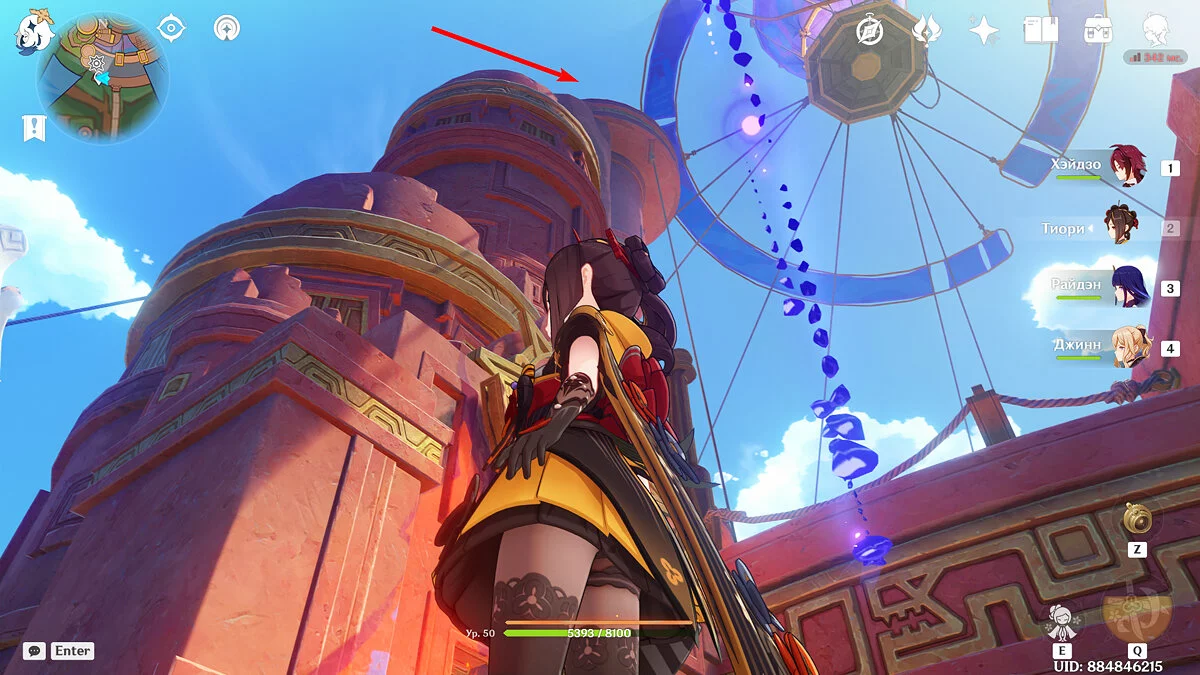
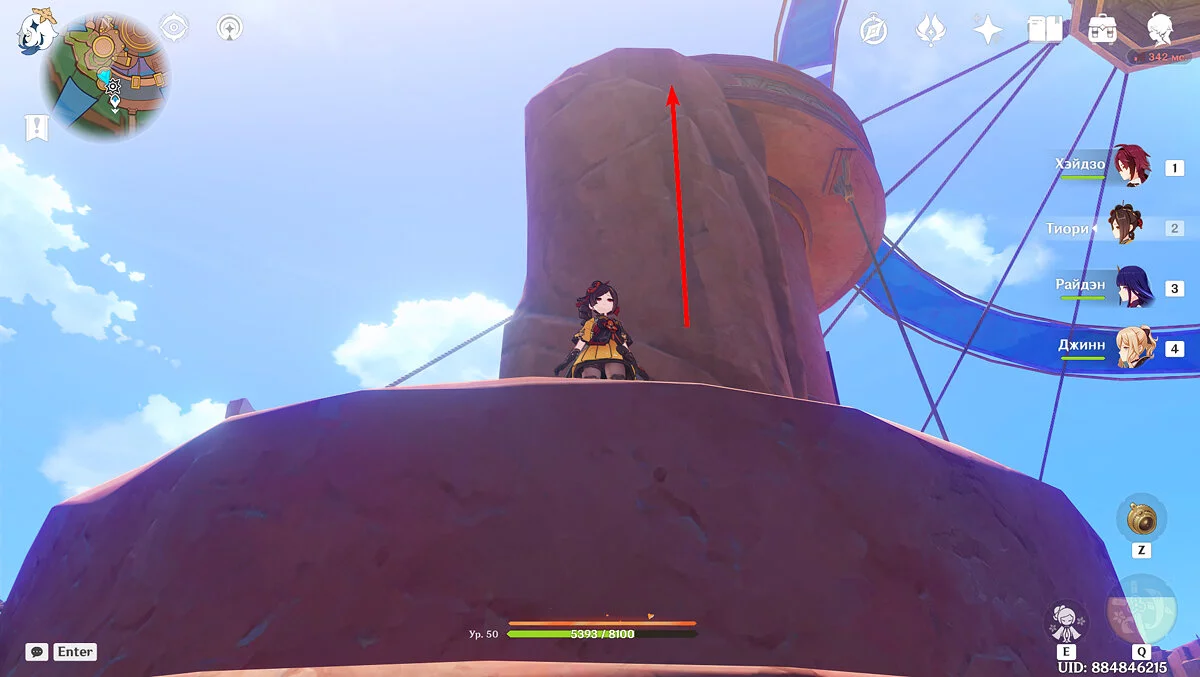
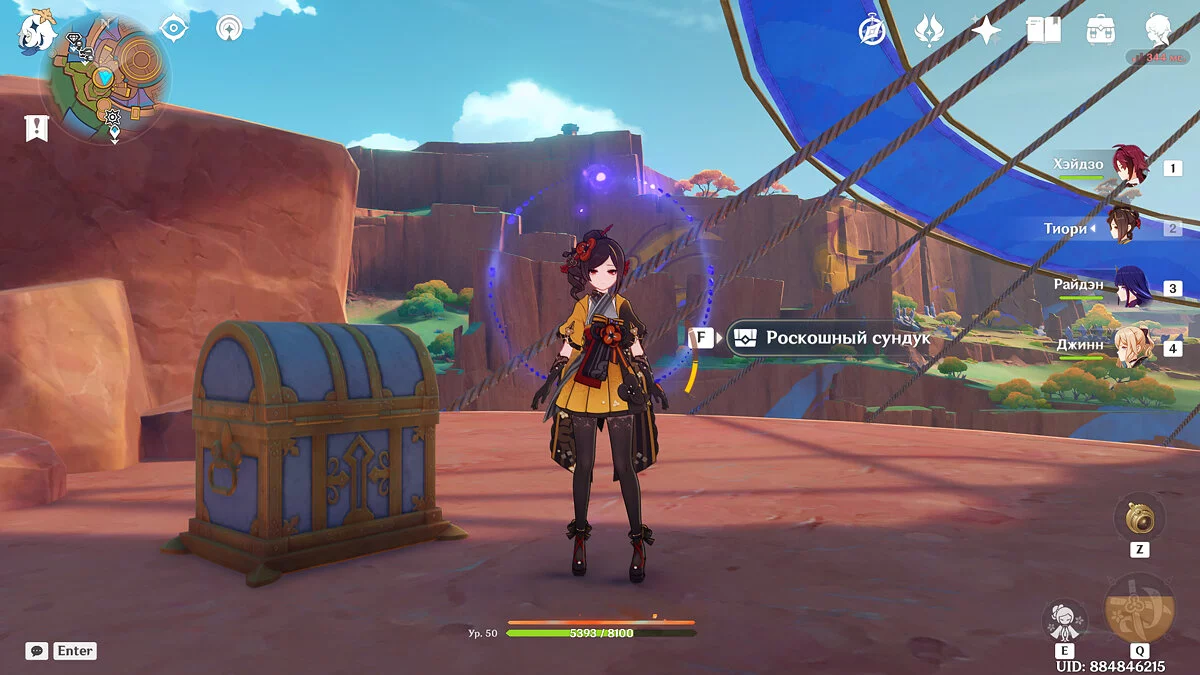
Teleport near the Chamber of Advisors at the Sacred Flame Stadium. The luxurious chest will be on the highest tower opposite the point. To easily climb there, use Shilonen, Kachina, Kinich, Wanderer, or other heroes who can easily climb walls, otherwise, you will either run out of stamina or get stuck. The chest will be on the highest platform near the balloon.
Chest #9 and #10
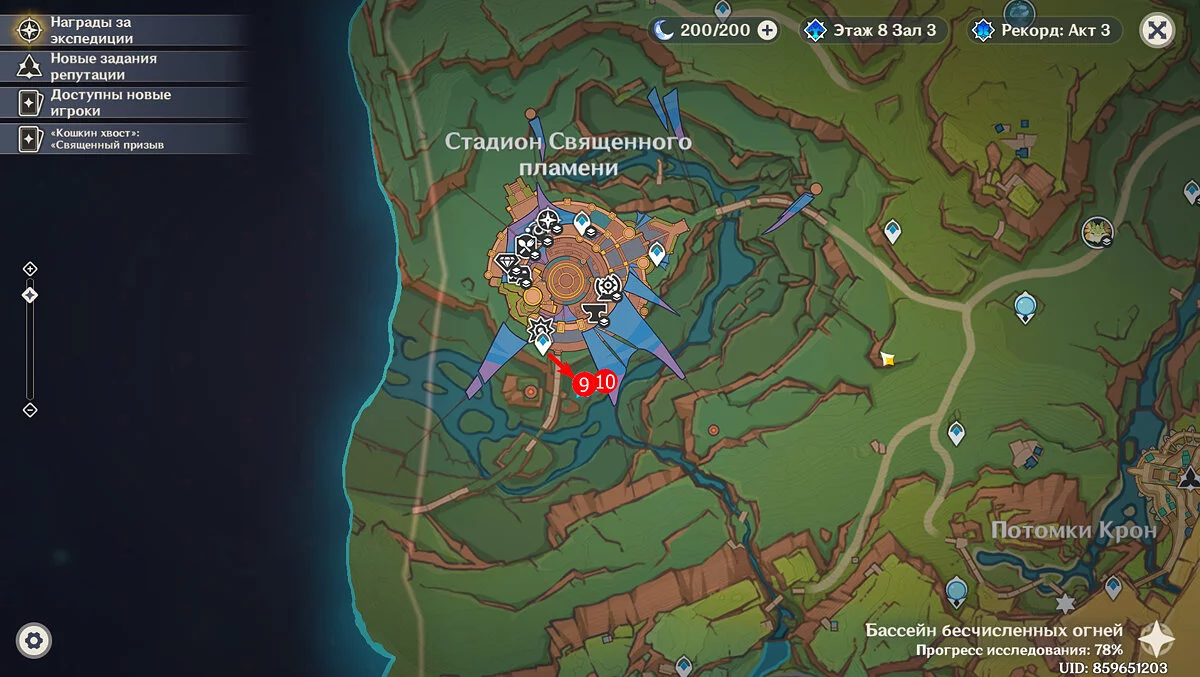
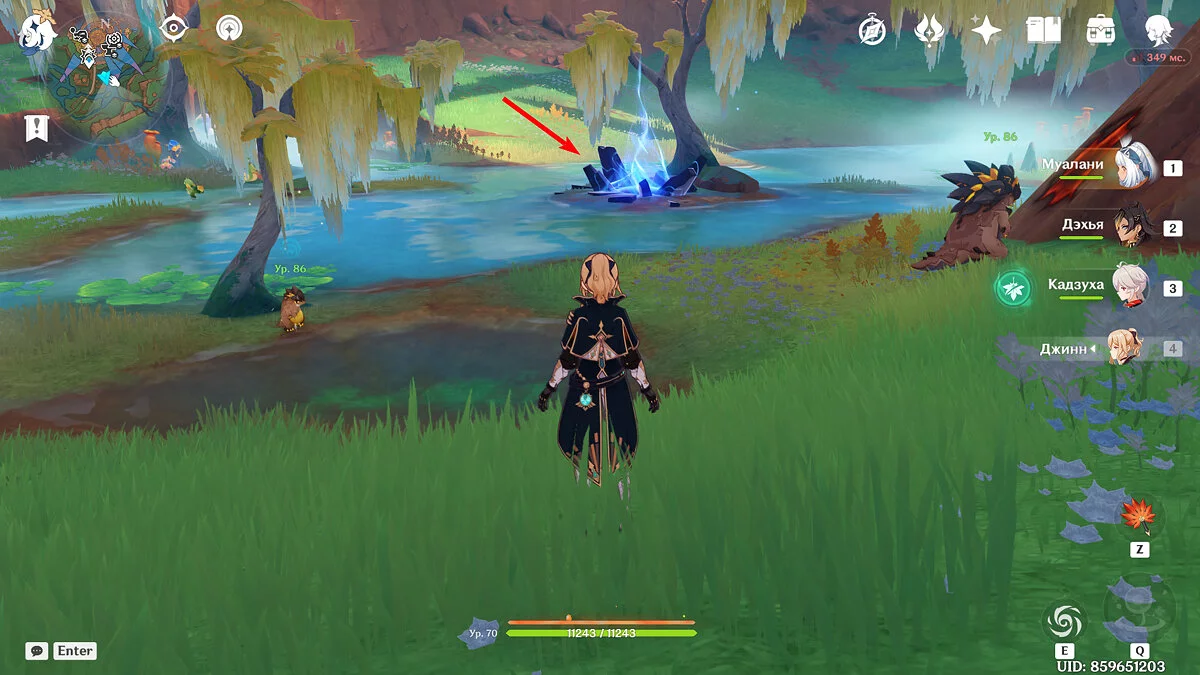
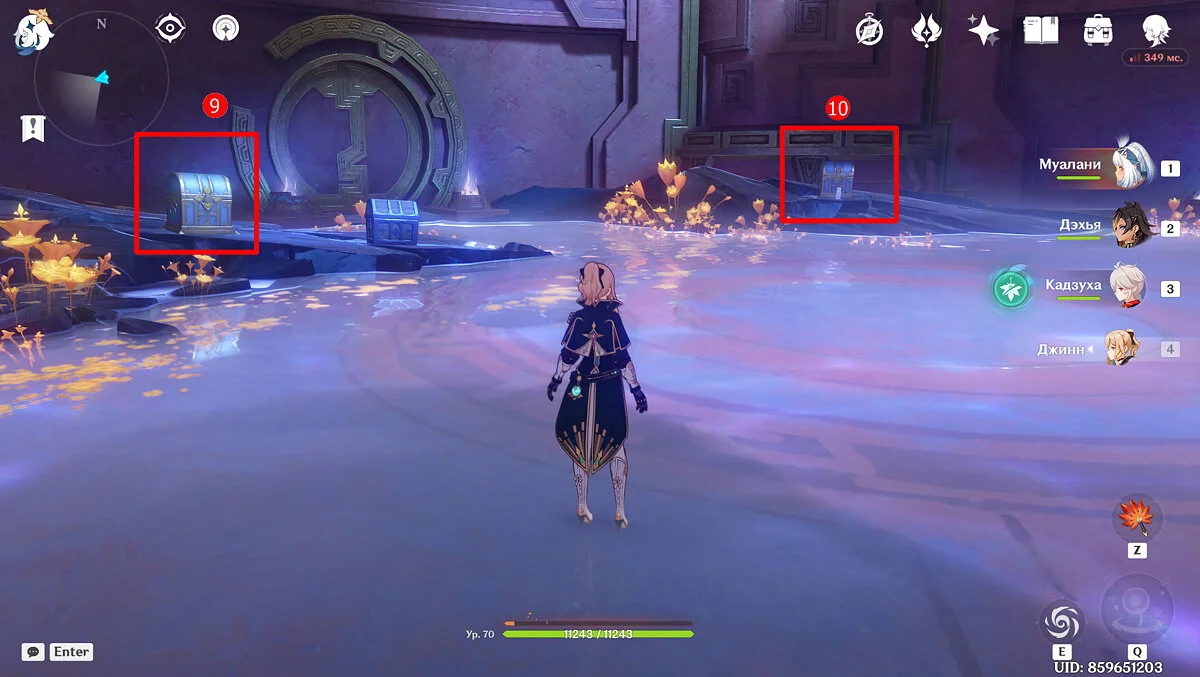
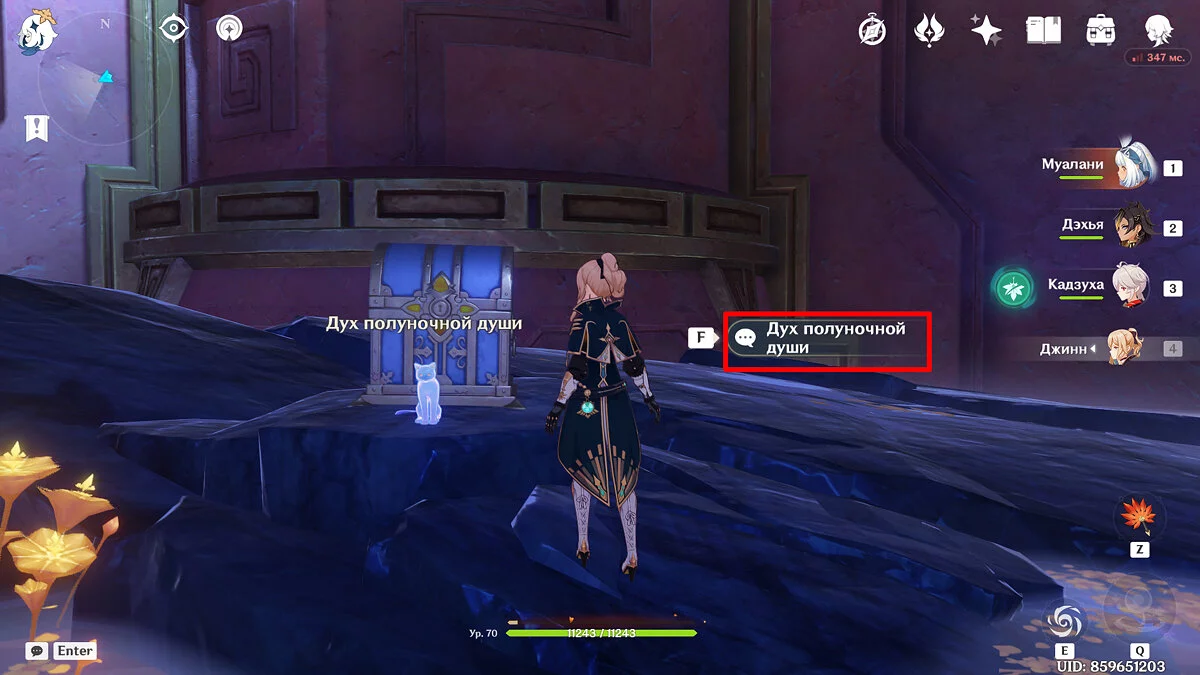
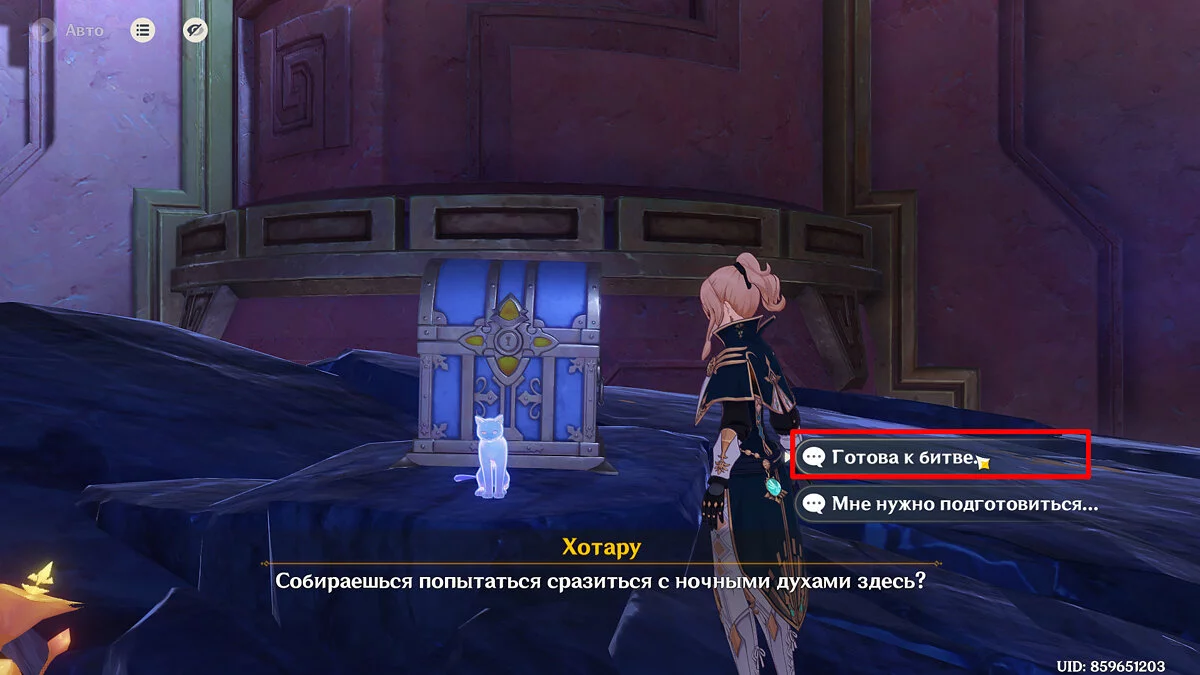
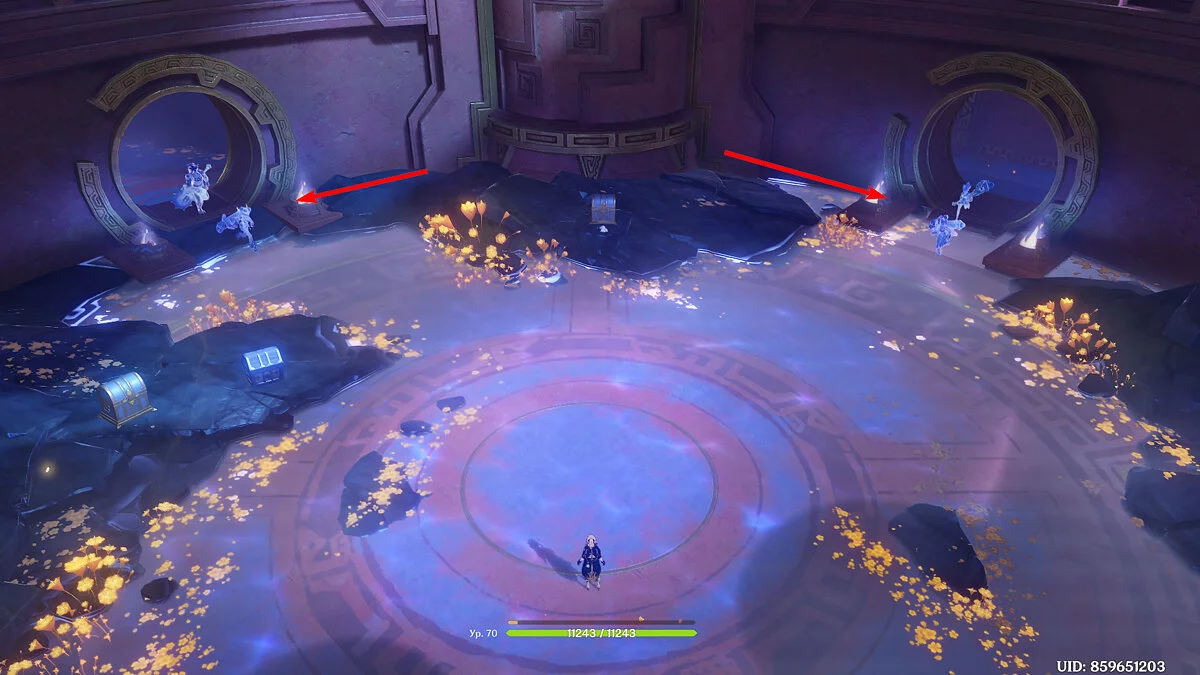
From the same teleport, run south to the river. There you will see a pile of scattered obsidian stones. Through them, you can enter the Realm of Night, where there will be two luxurious chests and many other treasures of varying value. Approach the ghostly cat and talk to it, after which the trial will begin. Defeat all enemies within the allotted time, and you can take the chests.
All Luxurious Chests on Mount Coatepec
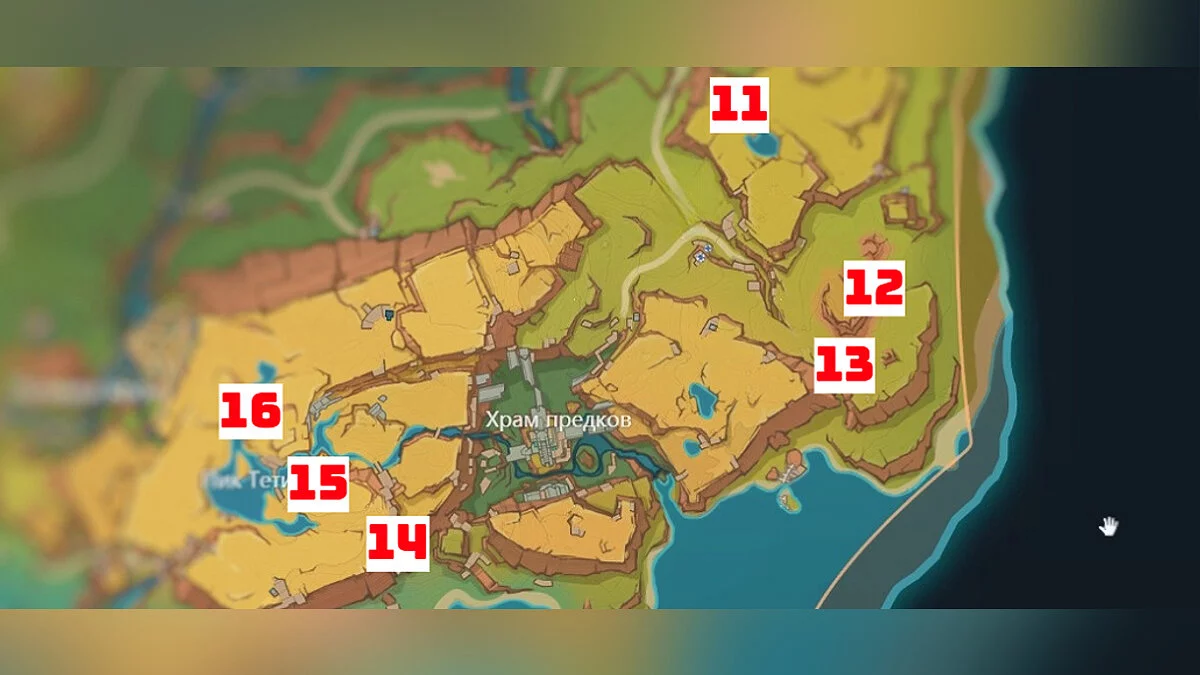
There are a total of five luxurious chests and one Depths Shrine in the territory of the Descendants of the Crown tribe. Next, we will tell you how to find each of them and which farming route is best to choose.
Chest #11
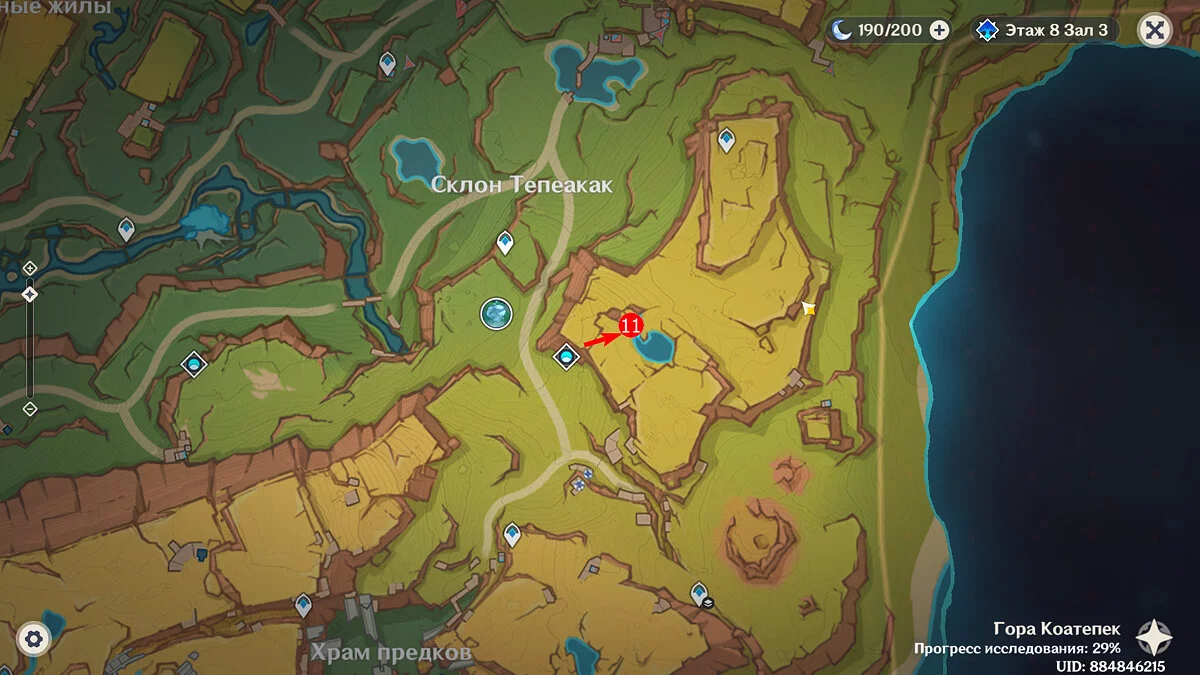
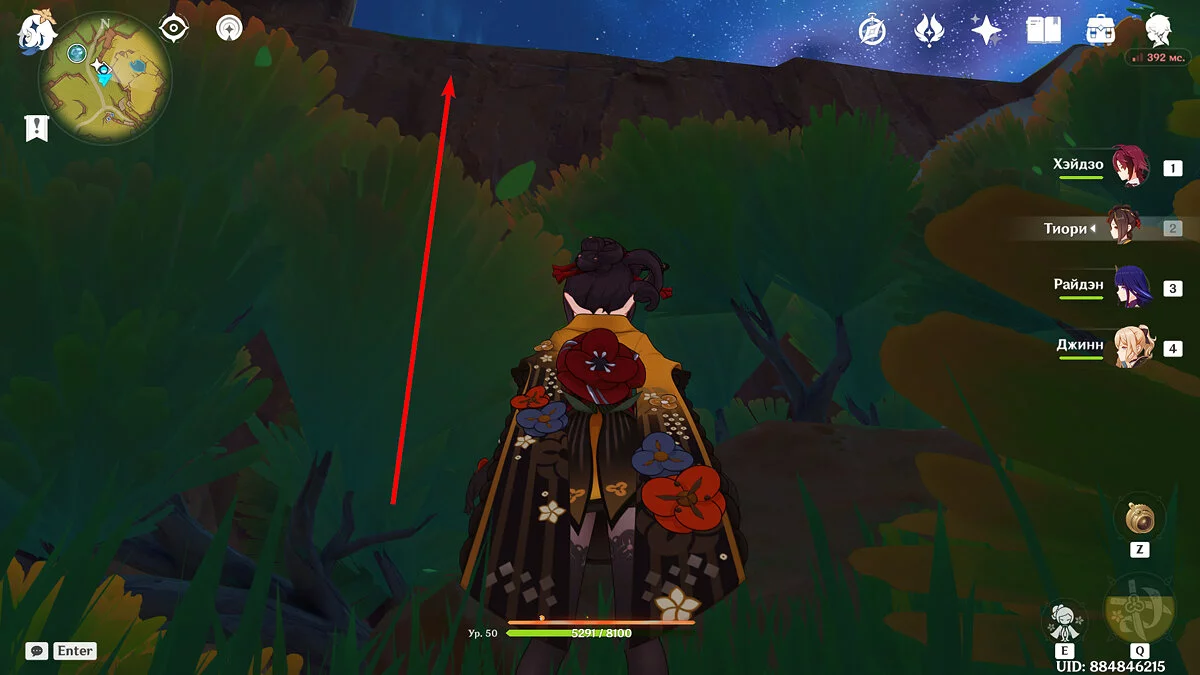
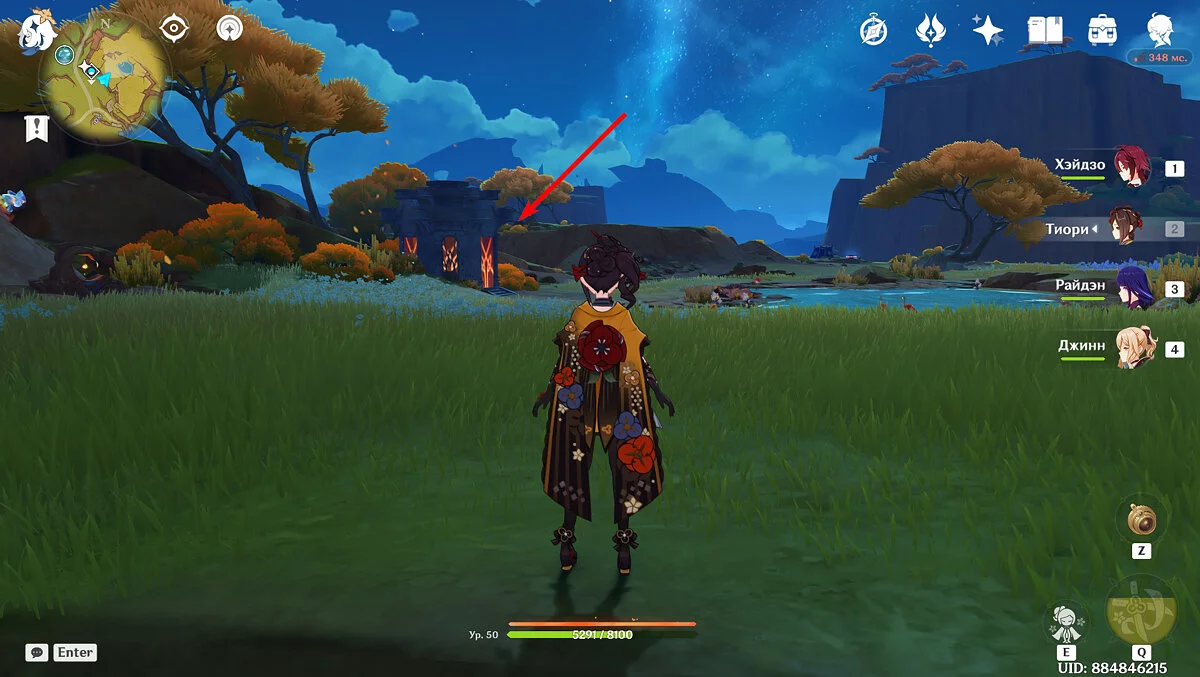
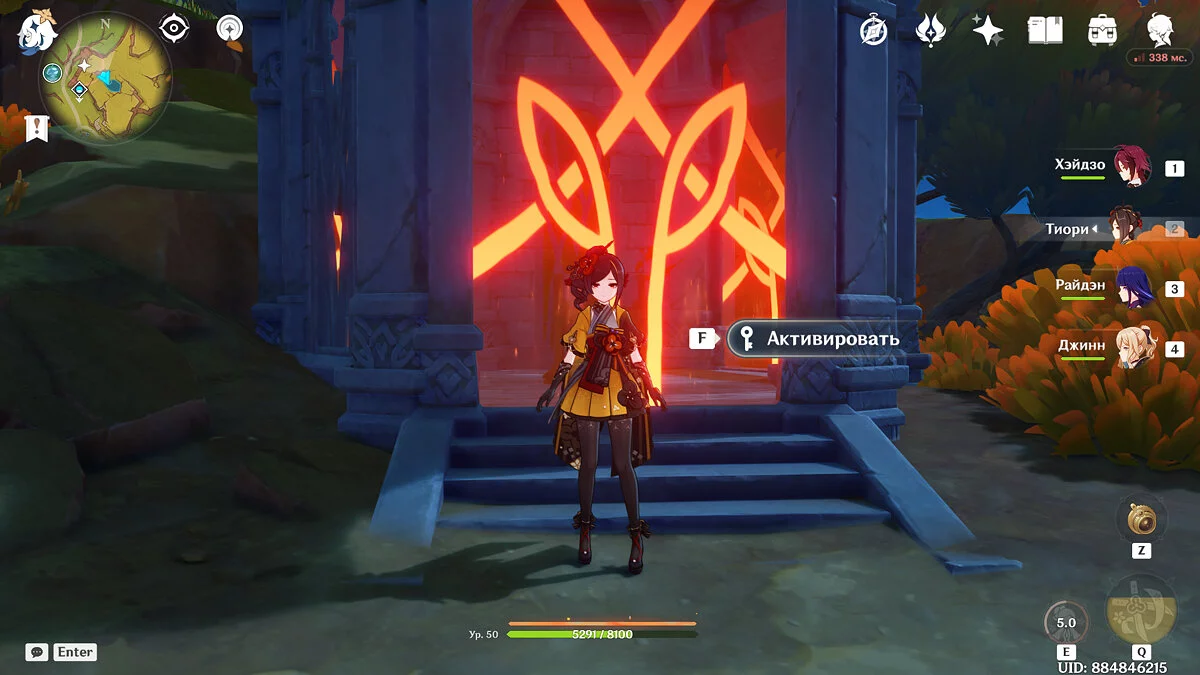
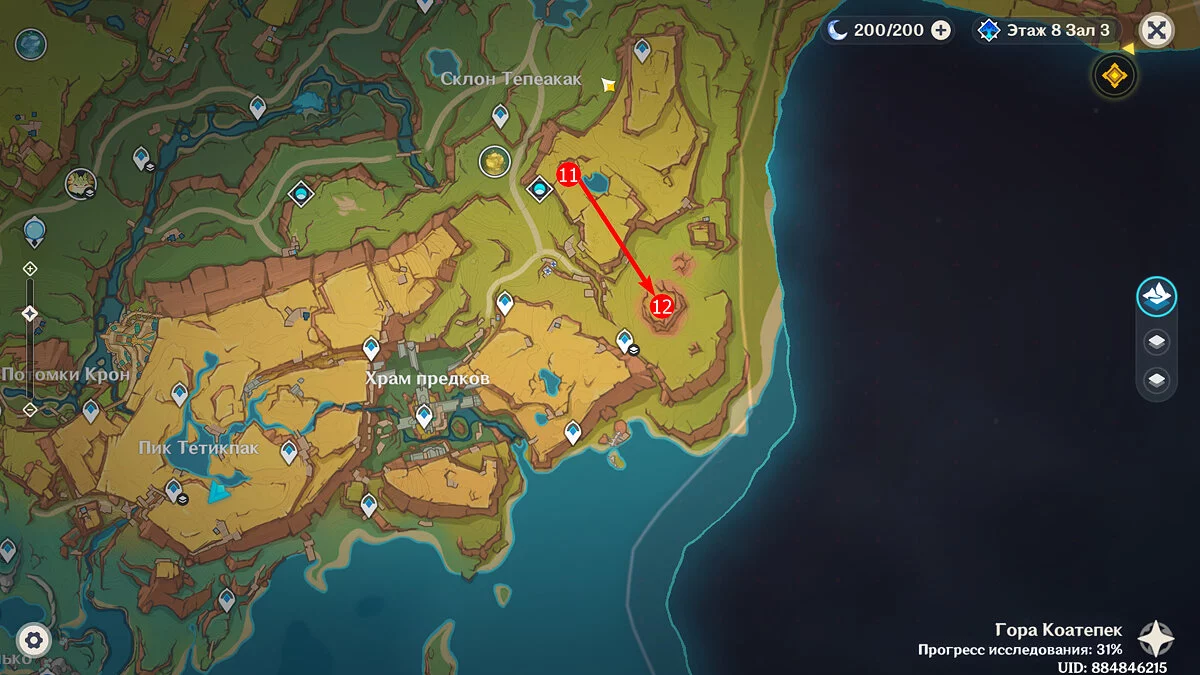
Teleport to the Fire Ruins dungeon and climb the cliff opposite. Once at the top, run slightly west and you will see a Depths Shrine. Use the special key to open it and take the luxurious chest.
Chest #12
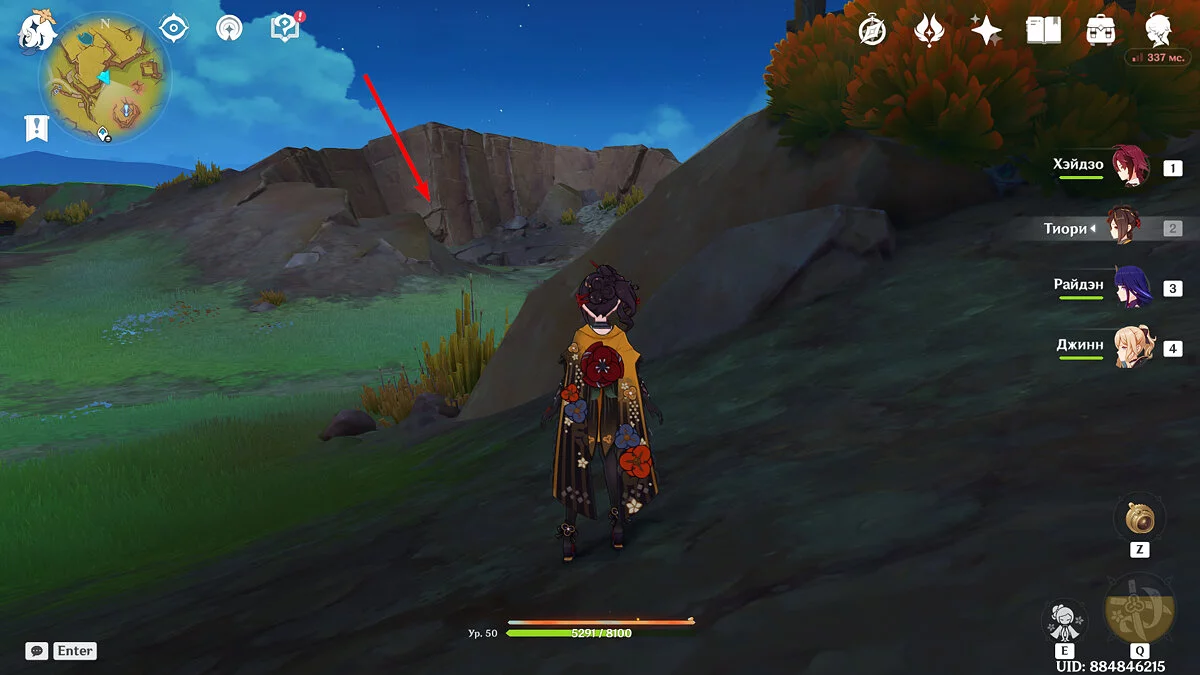
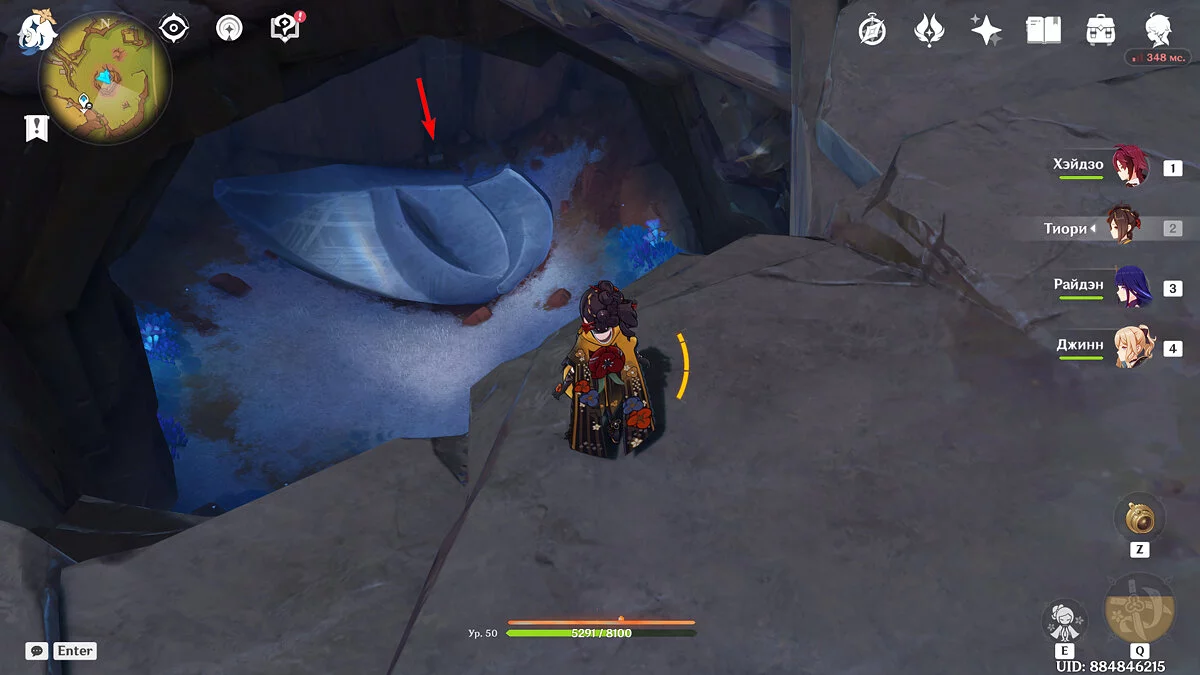
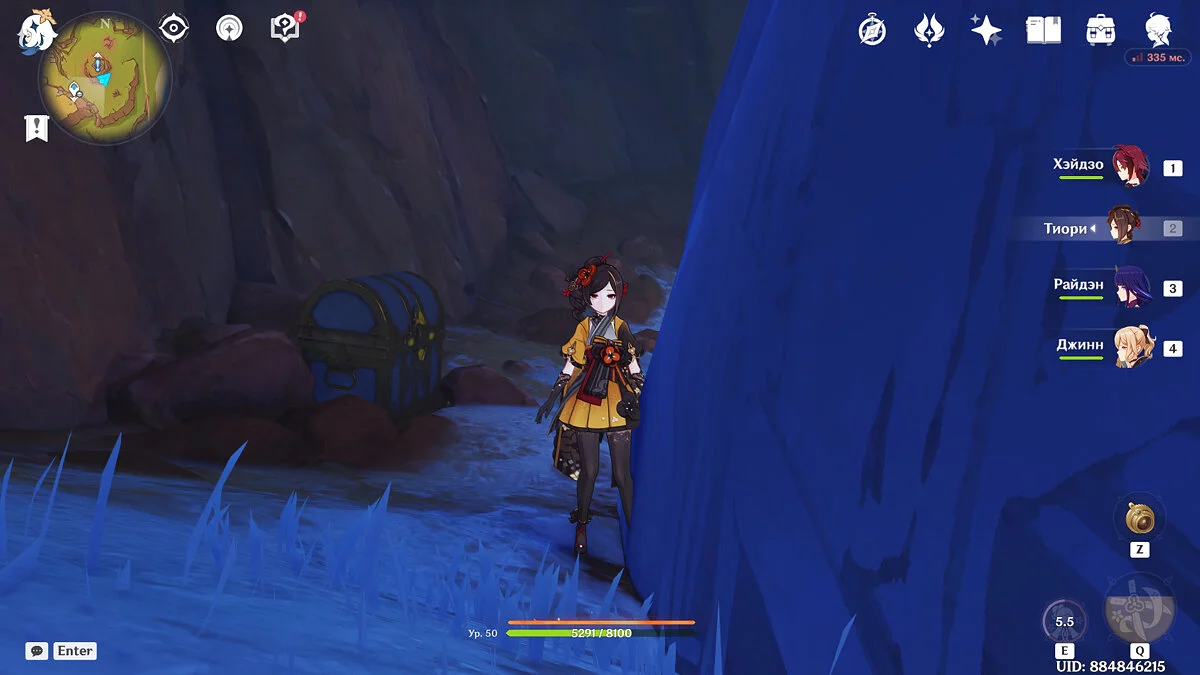
From the Depths Shrine, run south, passing the lake. Upon seeing a fissure in the rock, run to it, then jump down. The luxurious chest is behind a large silvery rock inside the fissure. Just approach and take it — it is not blocked by anything.
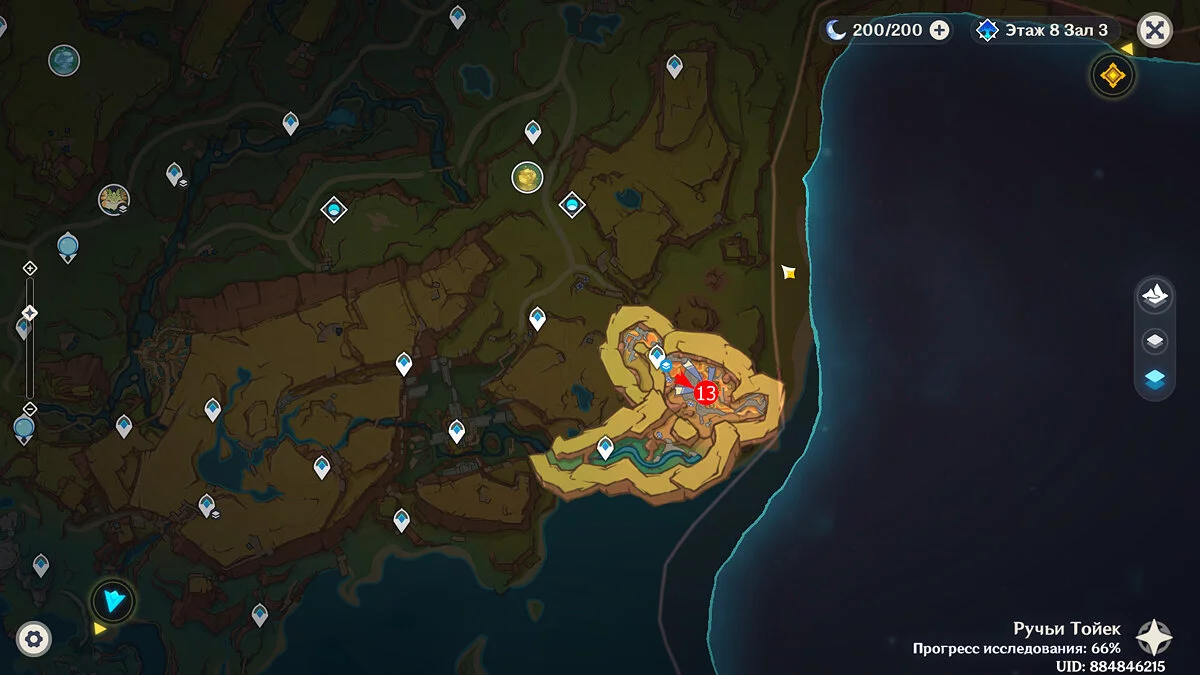
Chest #13
This chest can be obtained after solving all the puzzles in the Phlogiston Mining Research Center. For more details on how to solve all the secrets related to the fake transmission spheres, read the separate guide.
Chest #14
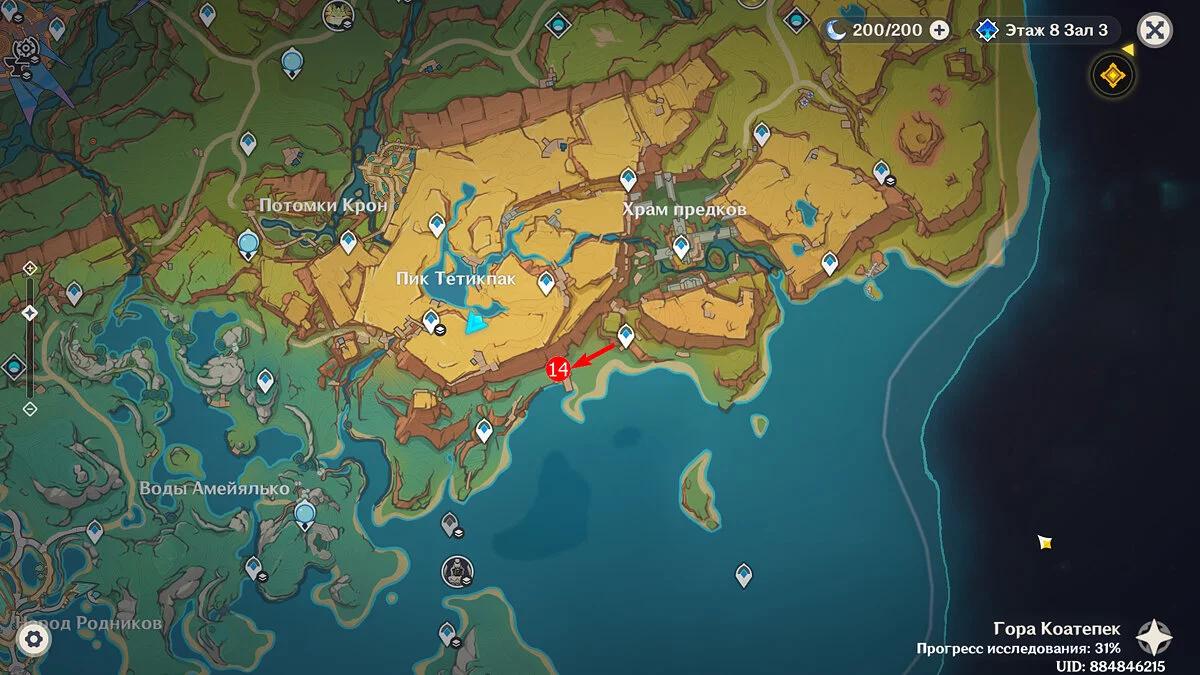
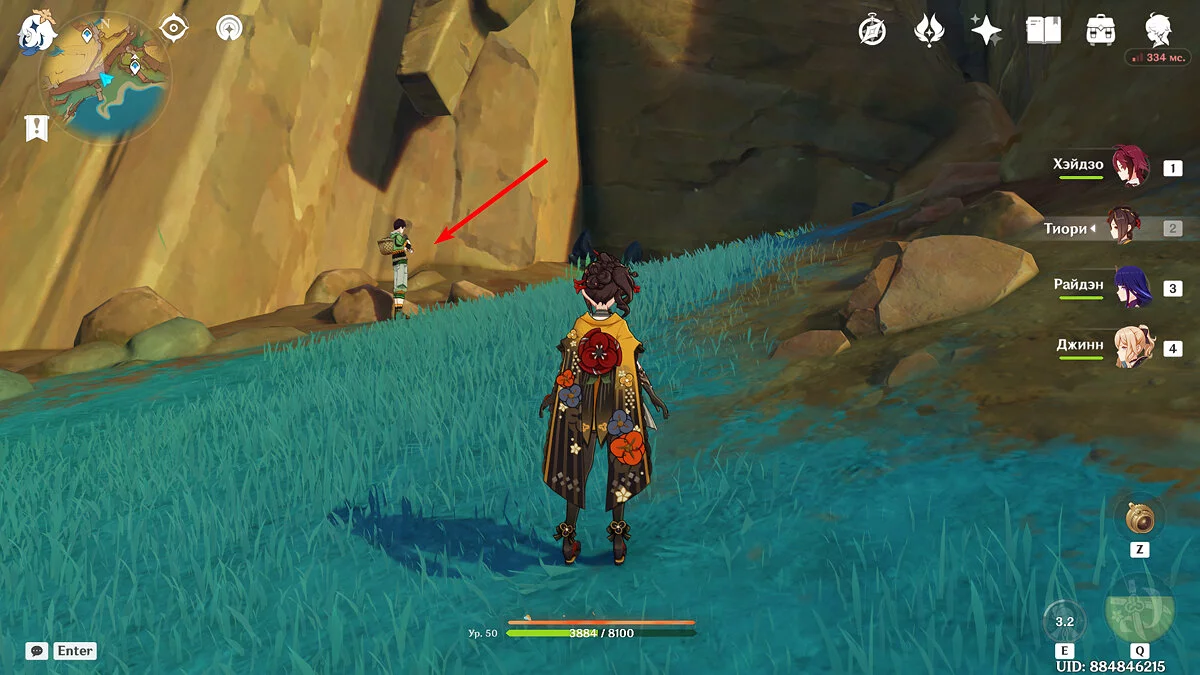
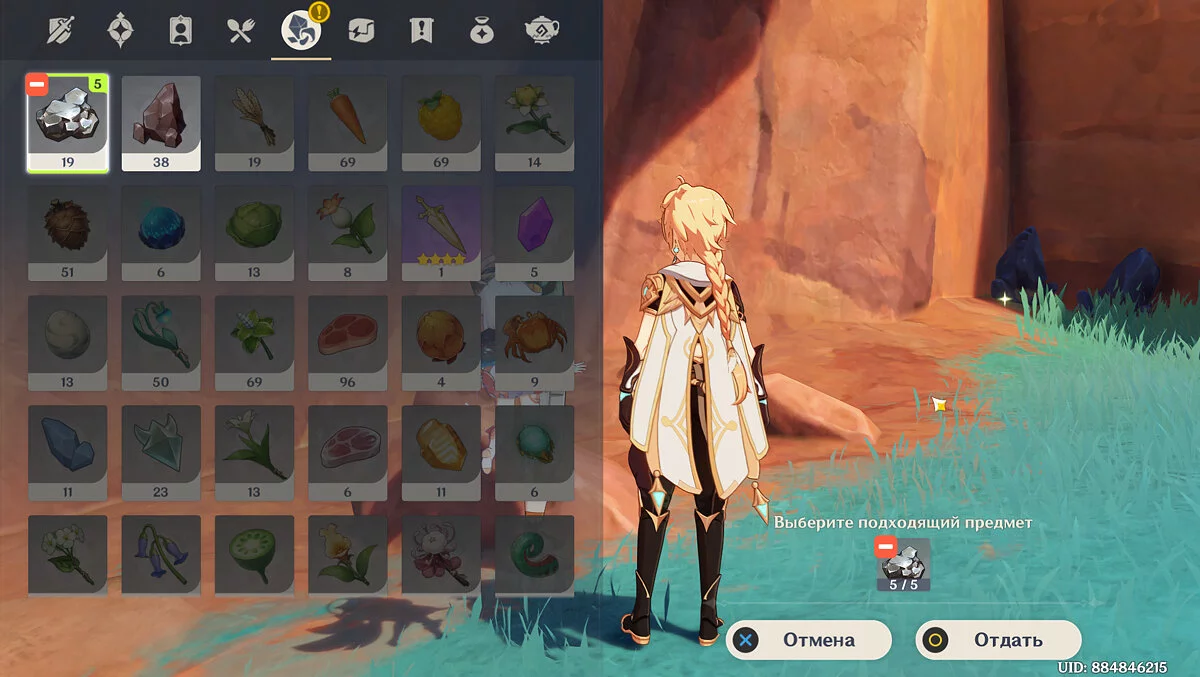
Teleport to the southernmost point from the Ancestral Temple and run west along the shore until you see a character named Quispi. Talk to him and give any ore. To get the luxurious chest, you need to be patient. Visit Quispi for four real days in a row and give minerals. On the fourth day, the young man will give you the chest.
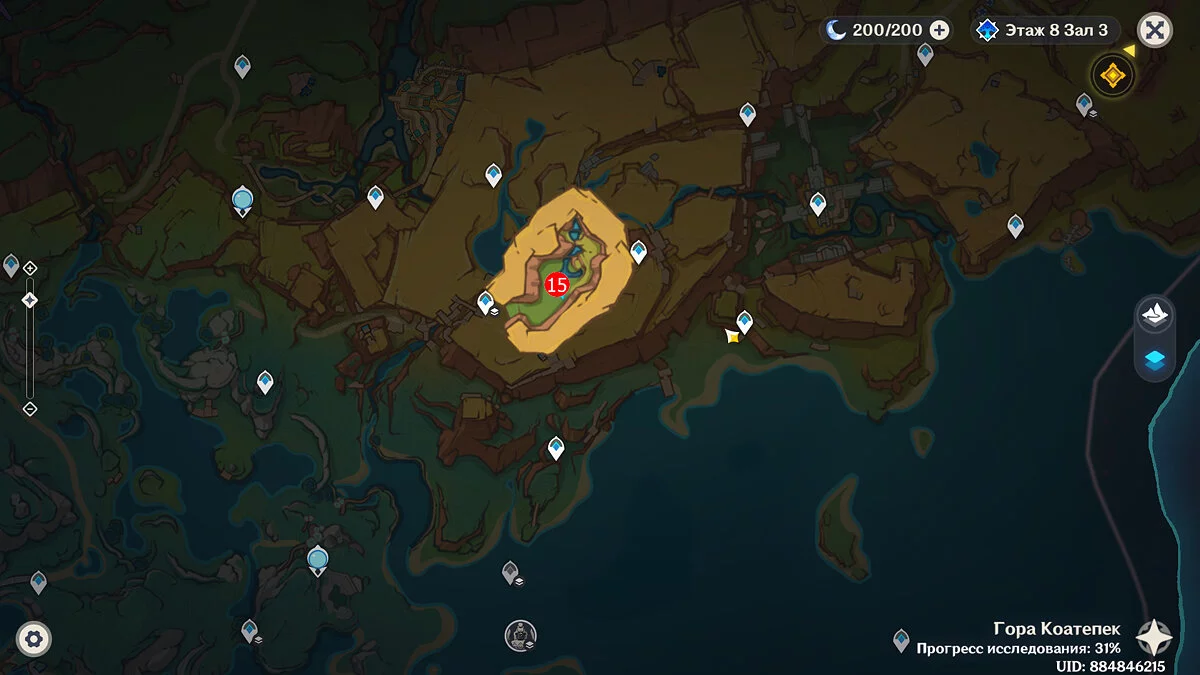
Chest #15
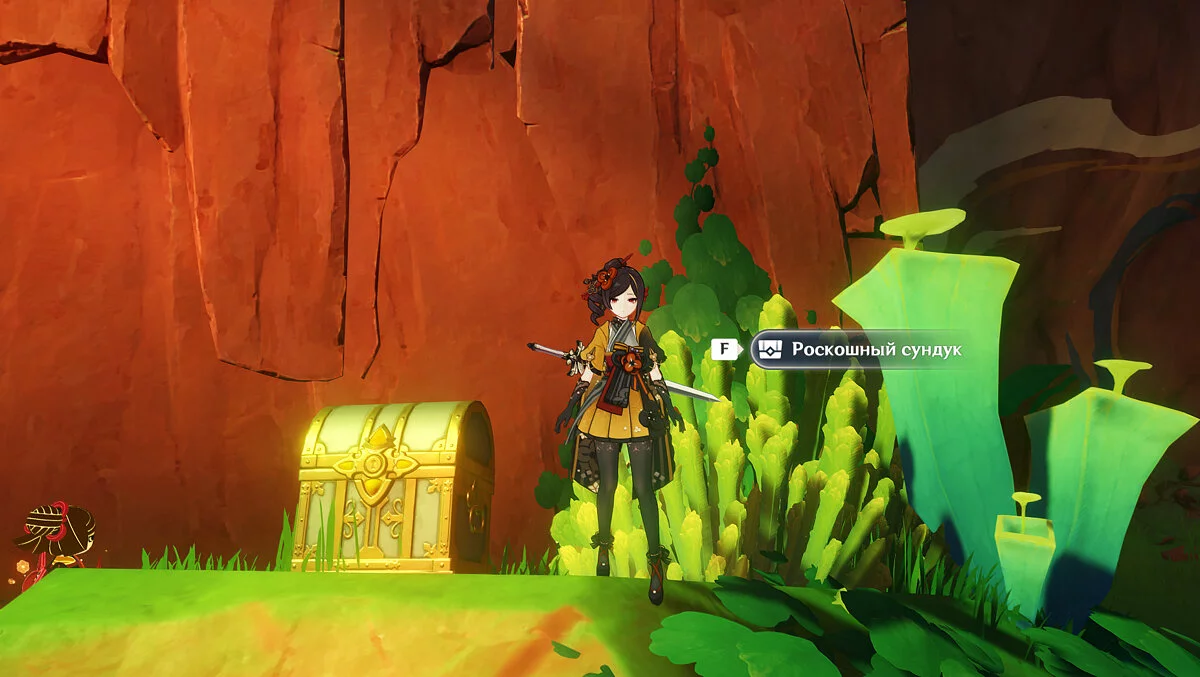
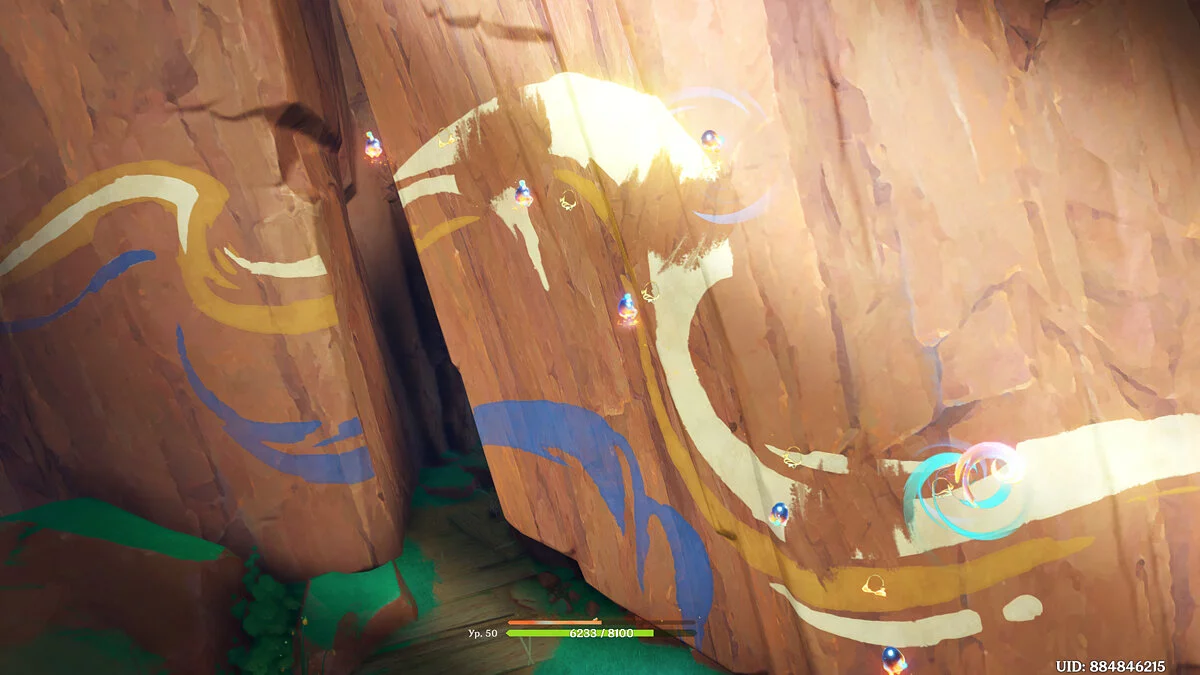
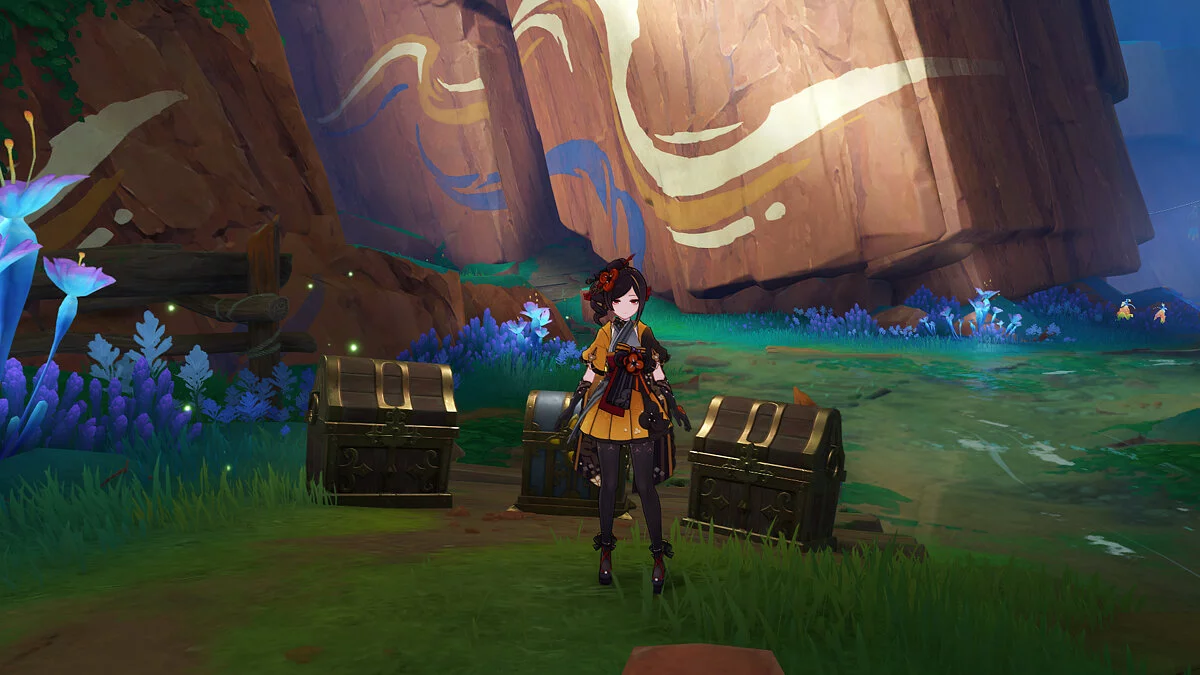
This chest is located in a closed secret location that opens after finding six broken stones with graffiti. To get the luxurious chest, you need to bring all the manitus to their place and restore another drawing inside the cave.
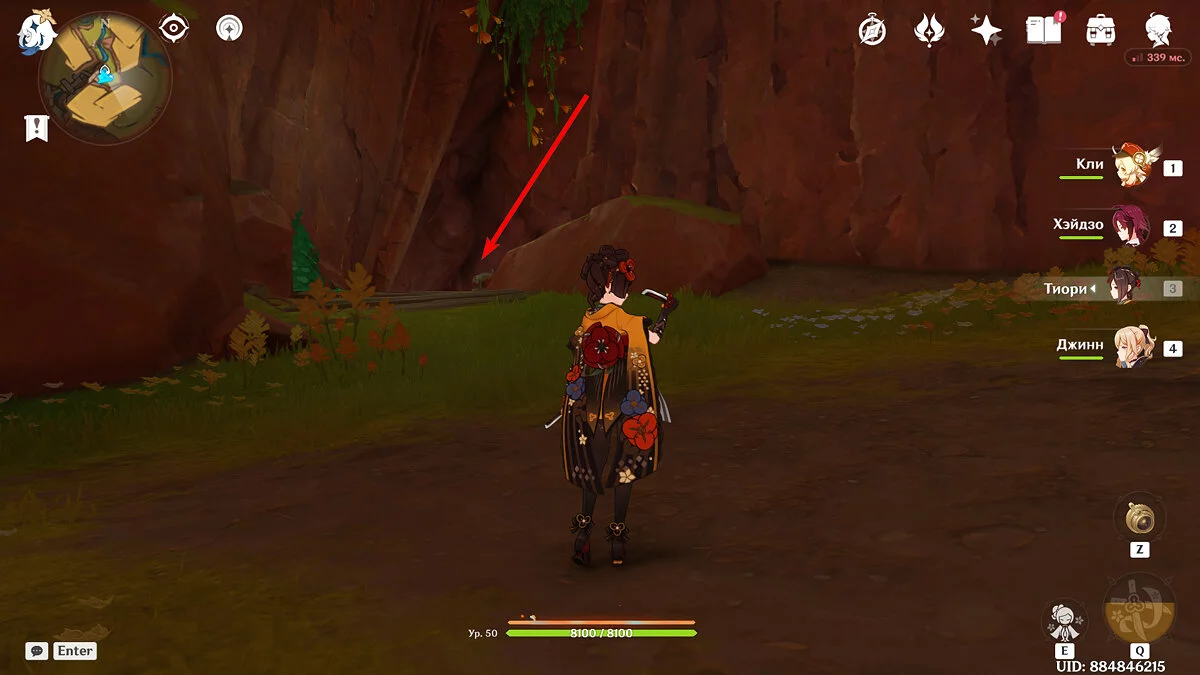
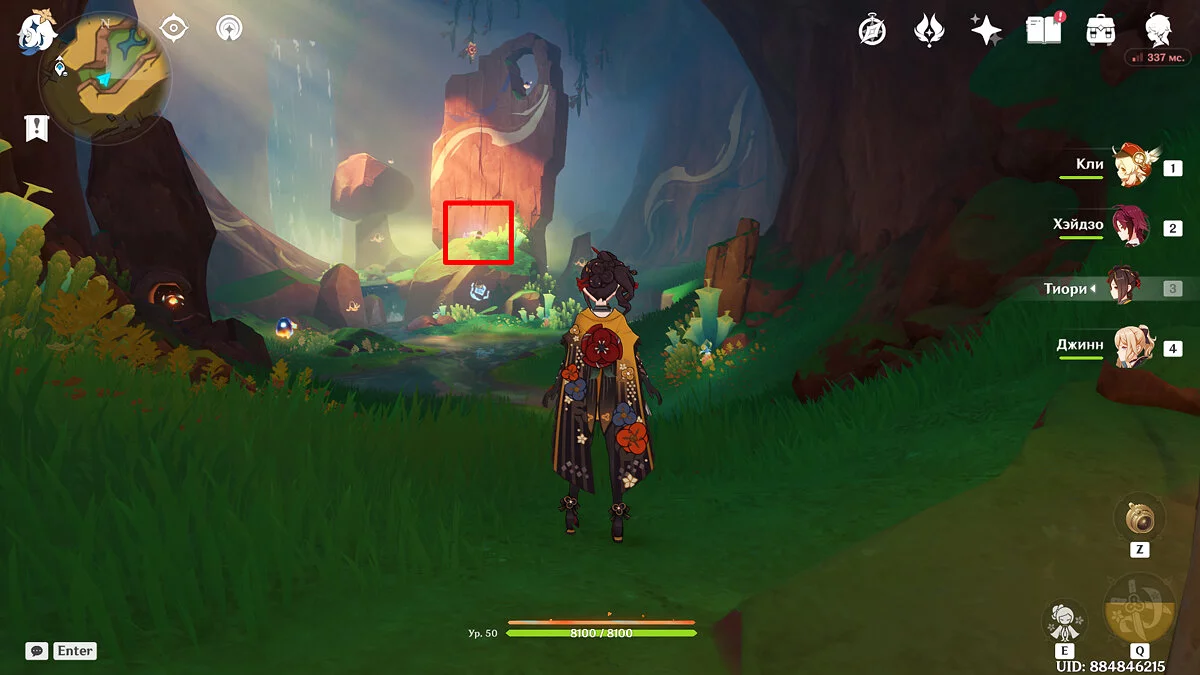
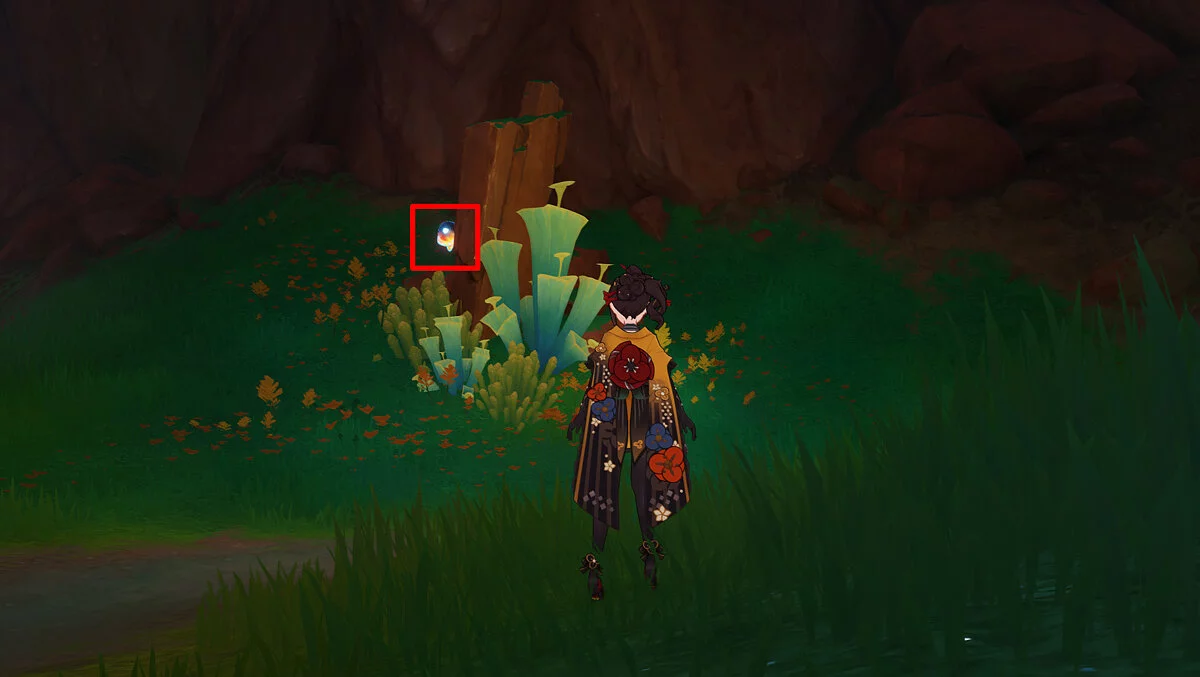
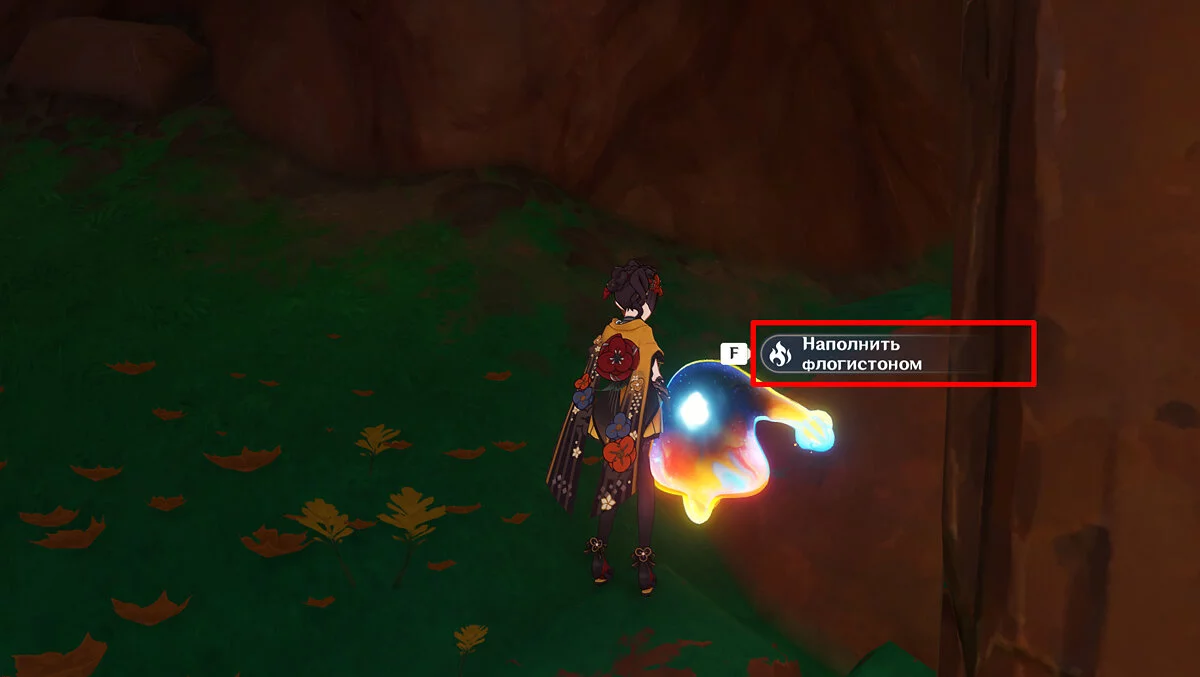
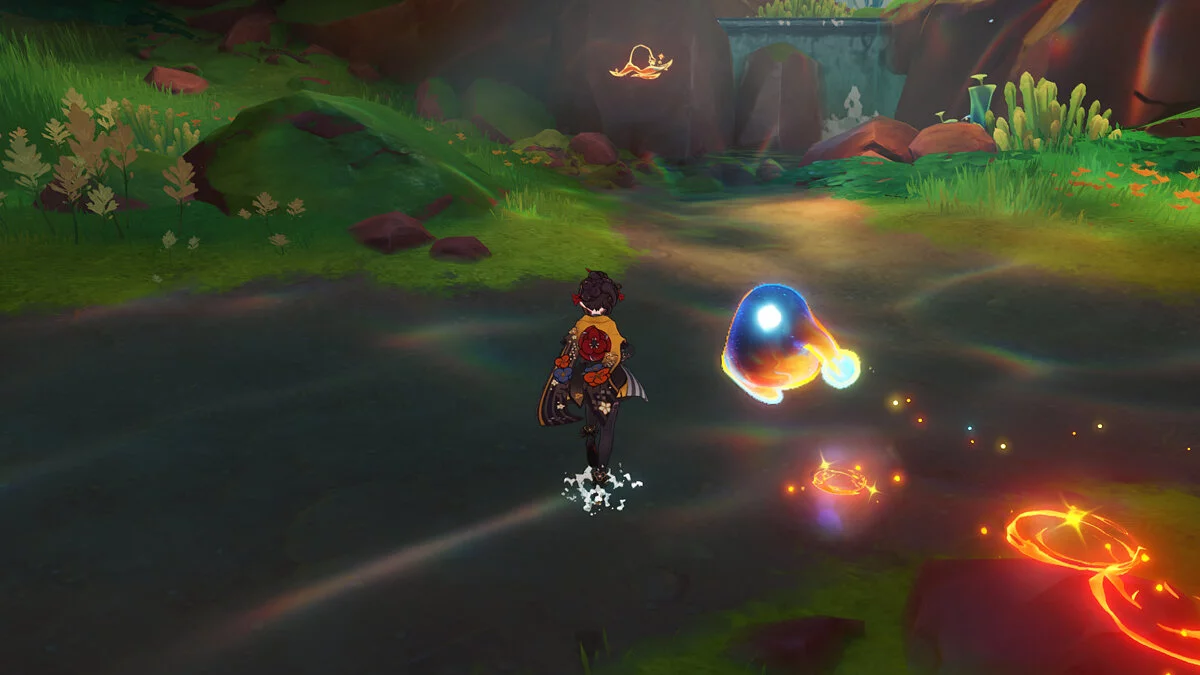
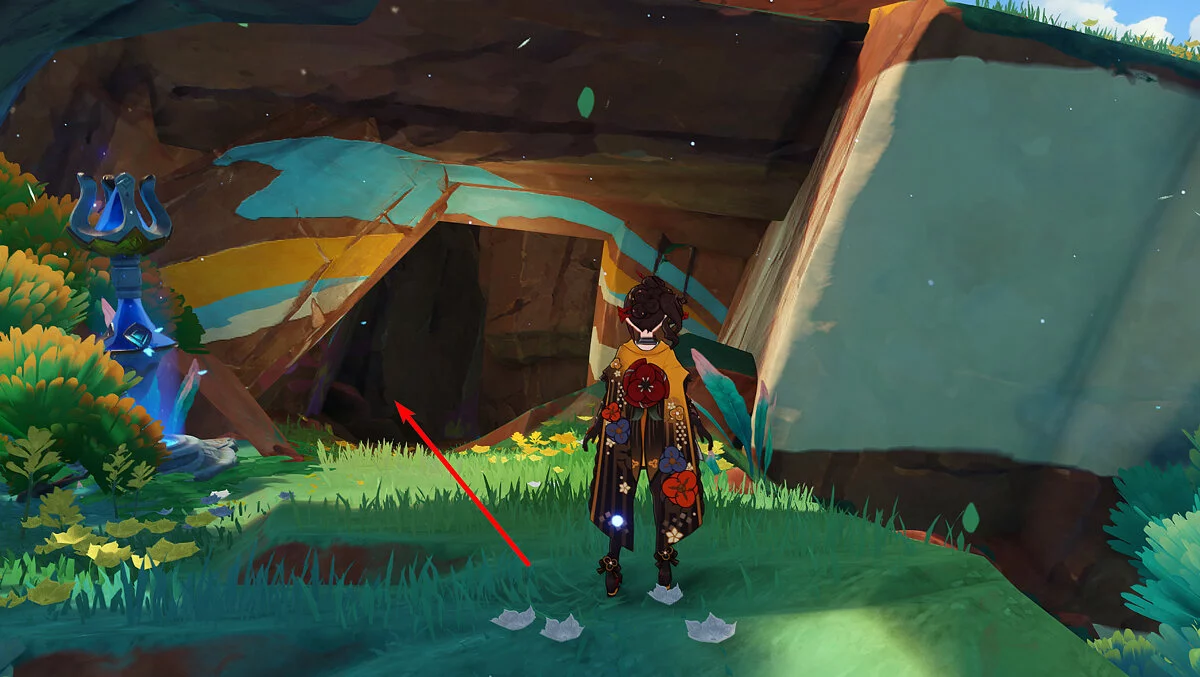
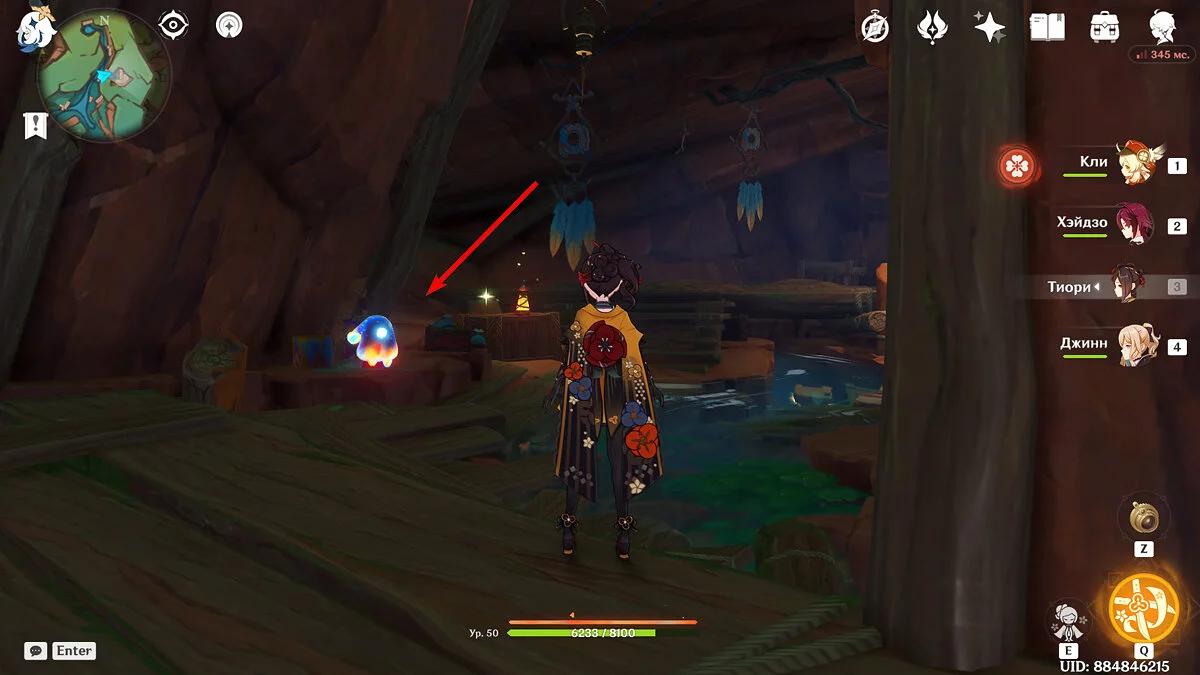
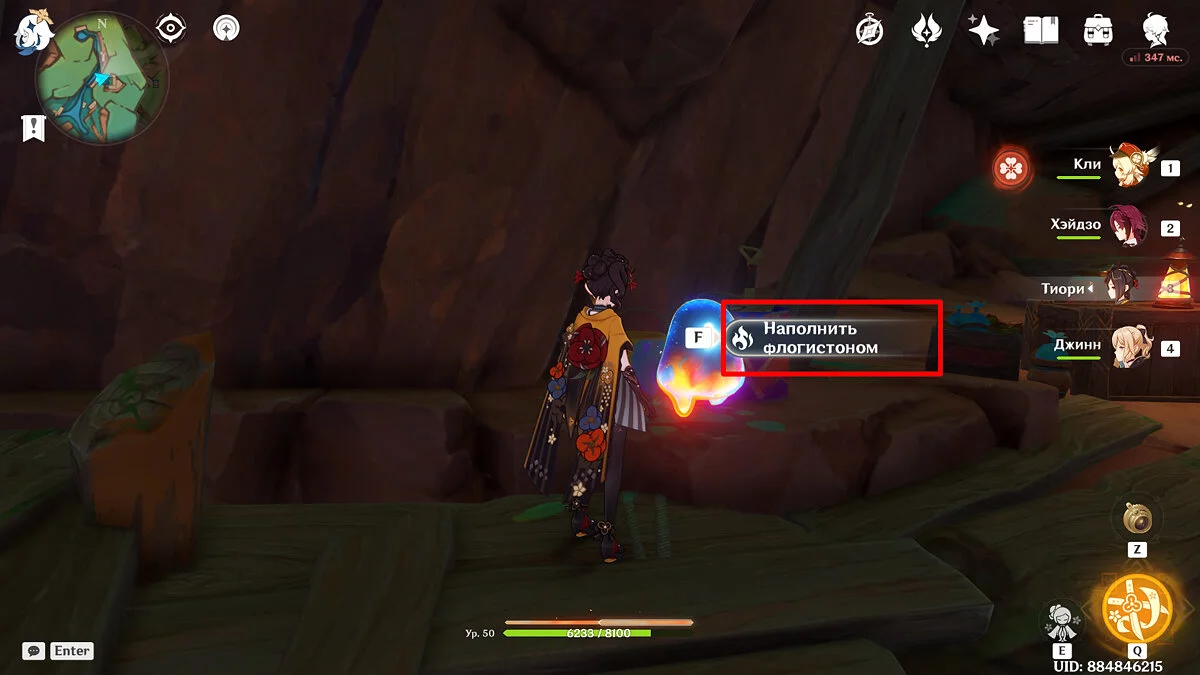
Teleport to the underground point of Tetikpak Peak and run forward to the hidden cave. The first manitu can be seen to the right of the entrance, but if you approach it, it will not react. Fill the creature with phlogiston and escort it to its drawing.
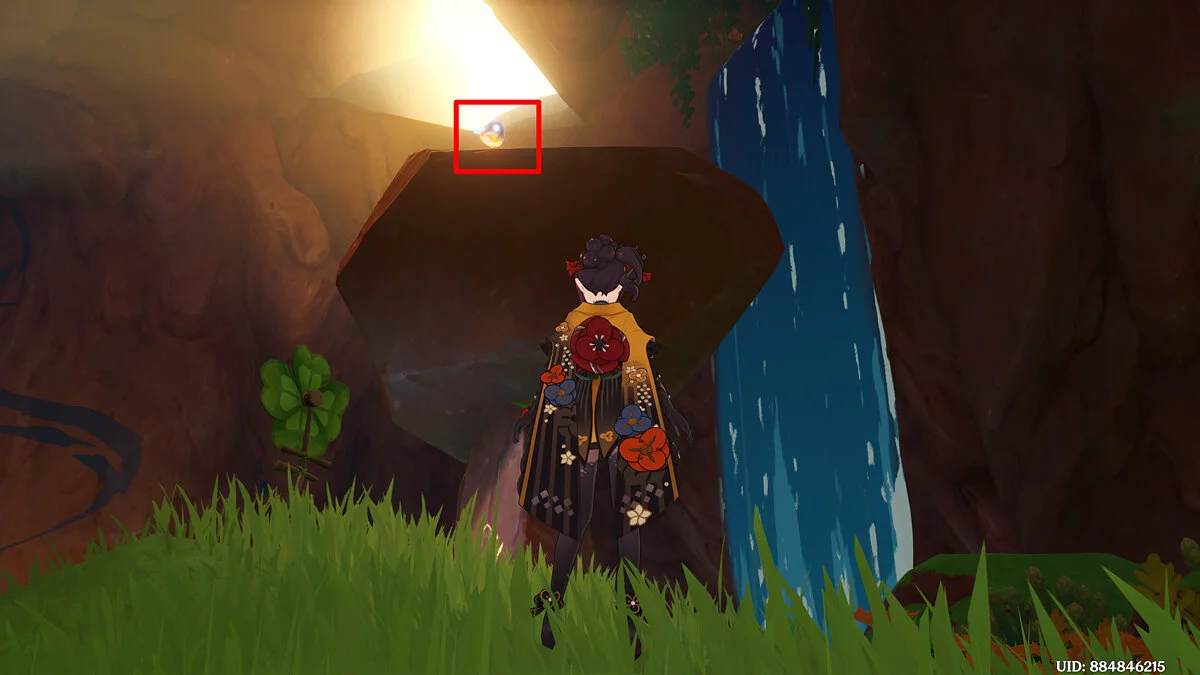
The second fairy can be found on a rock behind the central ledge, and the third in a recess near the central stone. Escort them to their graffiti and receive the luxurious chest.
Chest #16
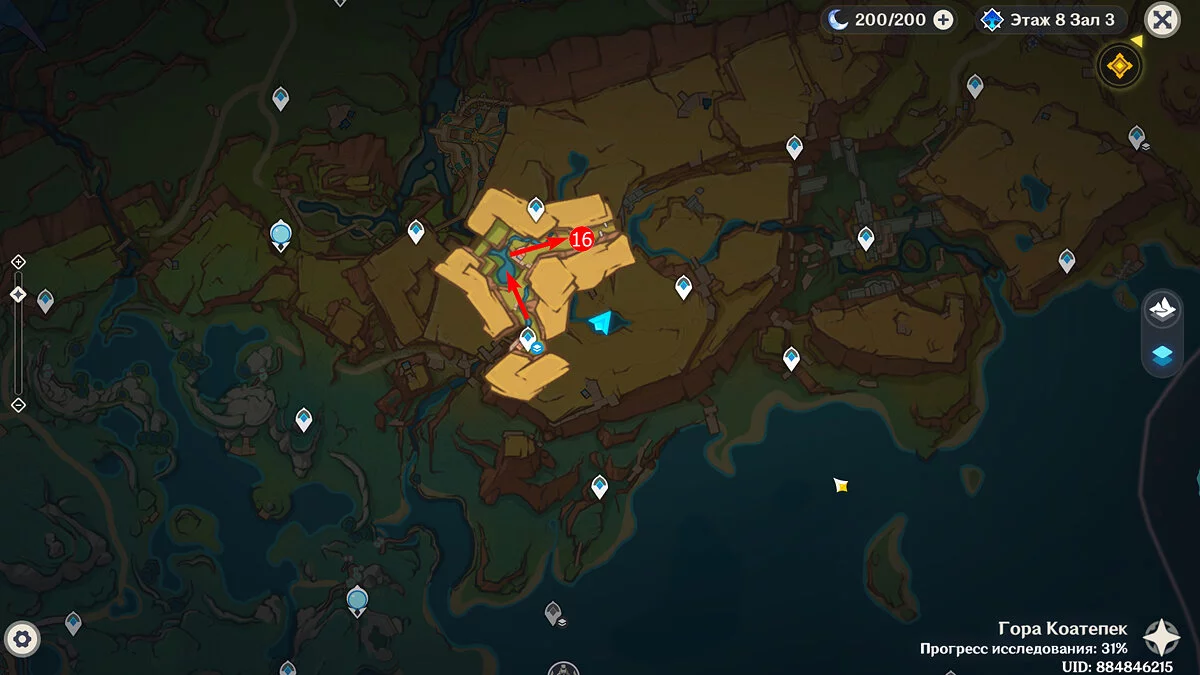
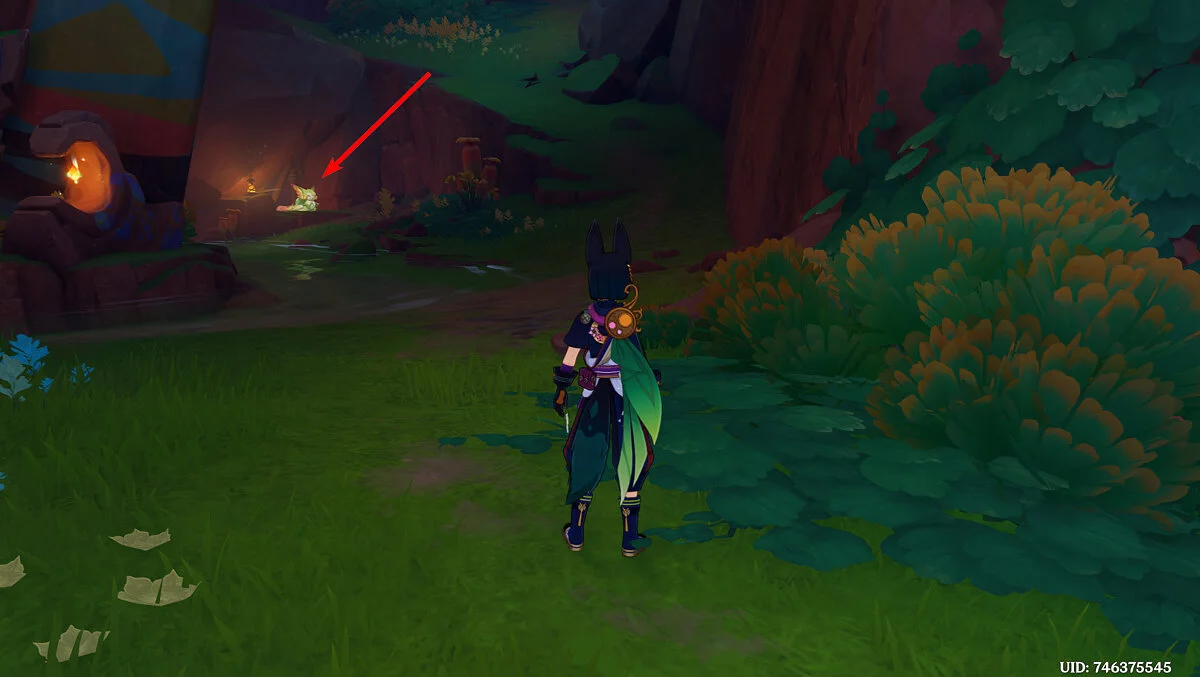
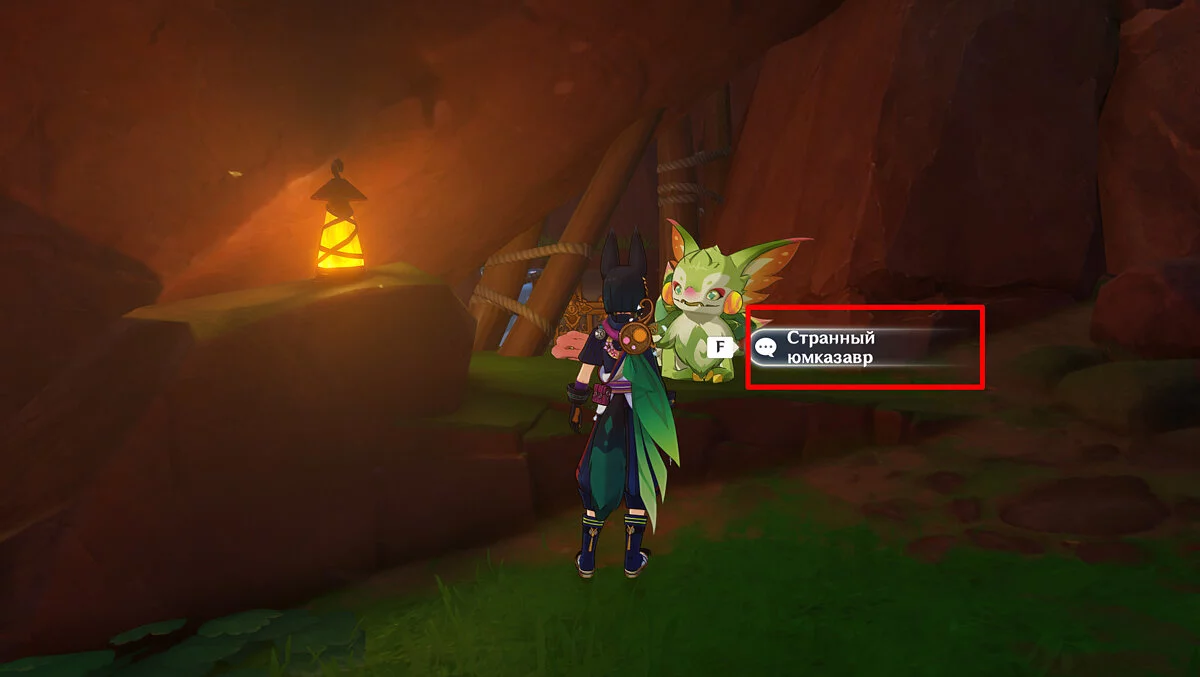
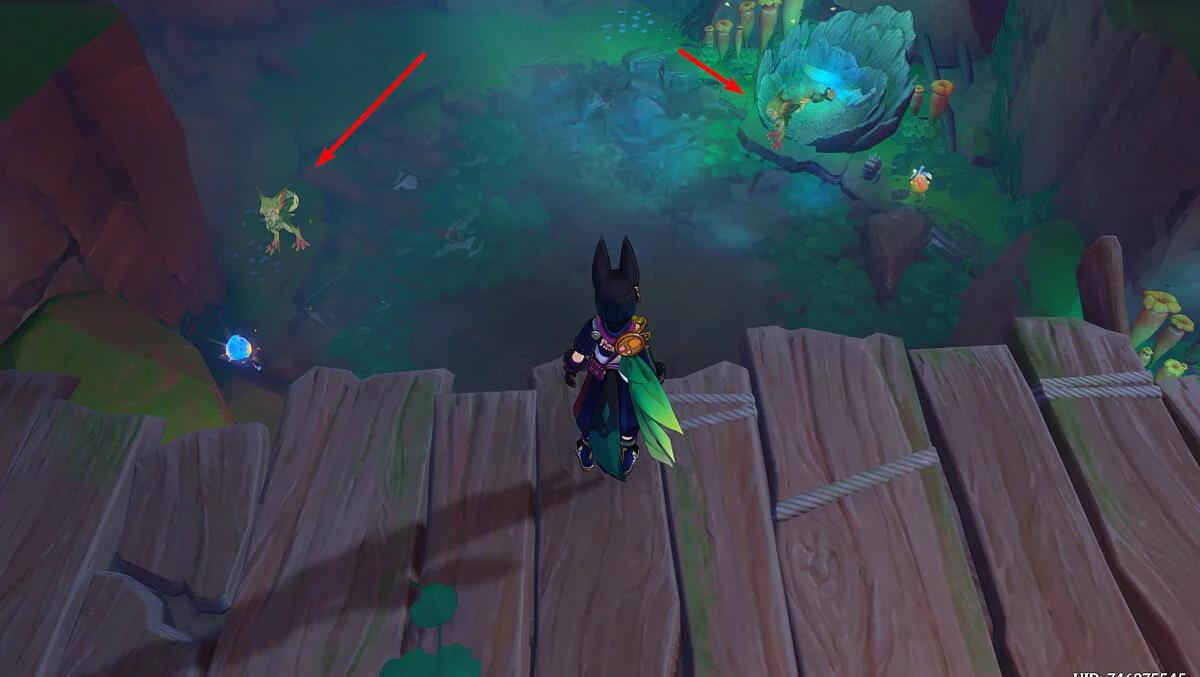
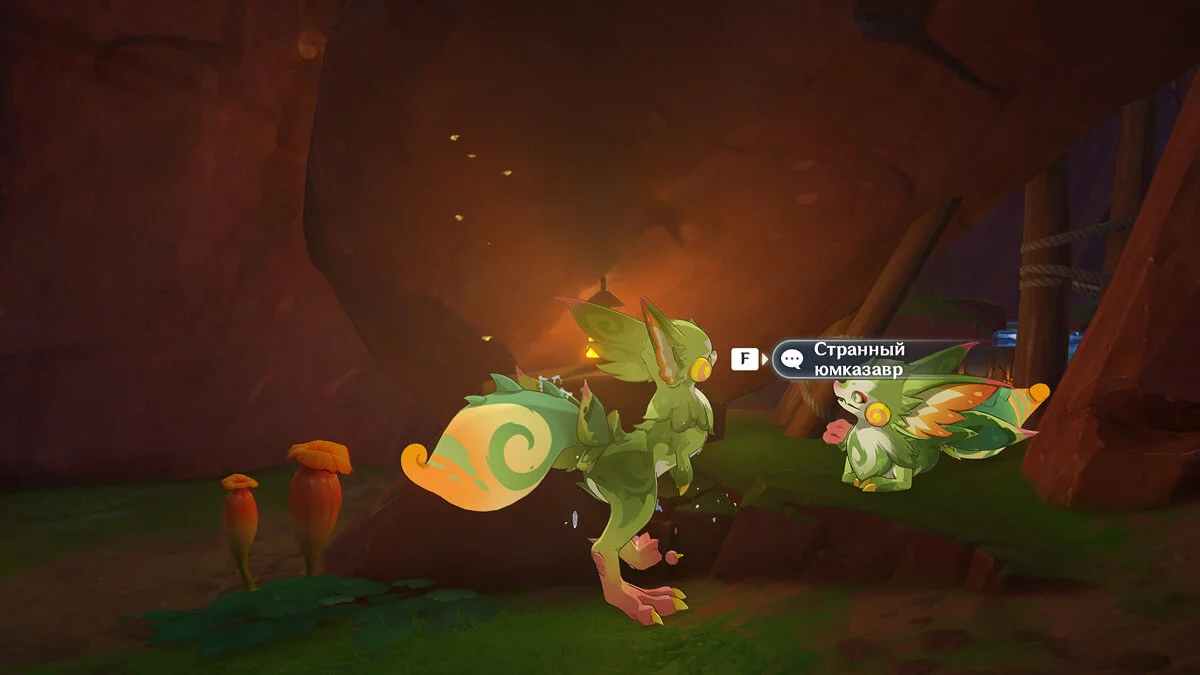
Return to the underground teleport at Tetikpak Peak and go slightly north from it, then turn right at the fork. There you will see a Yumkazaur blocking the entrance to a cave. Talk to him. Unfortunately, the dialogue will lead nowhere, as the Traveler and the saurian won't understand each other.
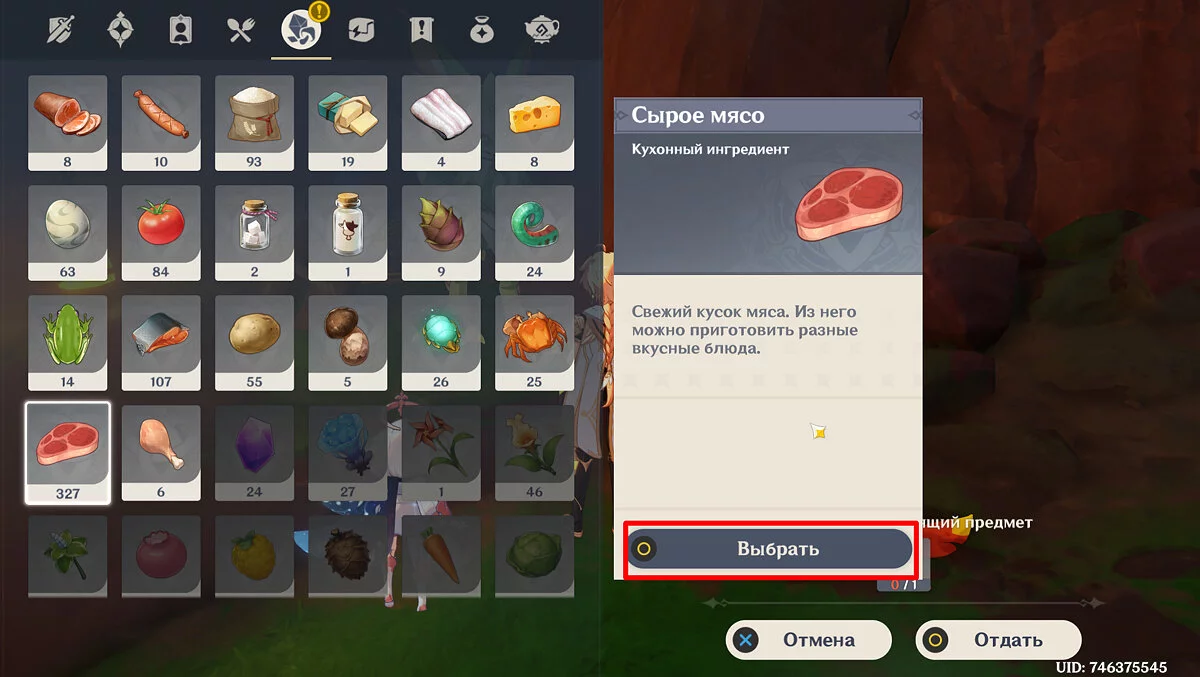
Possess a freely roaming Yumkazaur nearby and talk to the strange lizard again. It turns out the creature is hungry. Despite Paimon's assumptions, it's better to feed him meat rather than herbs. To do this, exit the saurian's body and give the Yumkazaur some food.
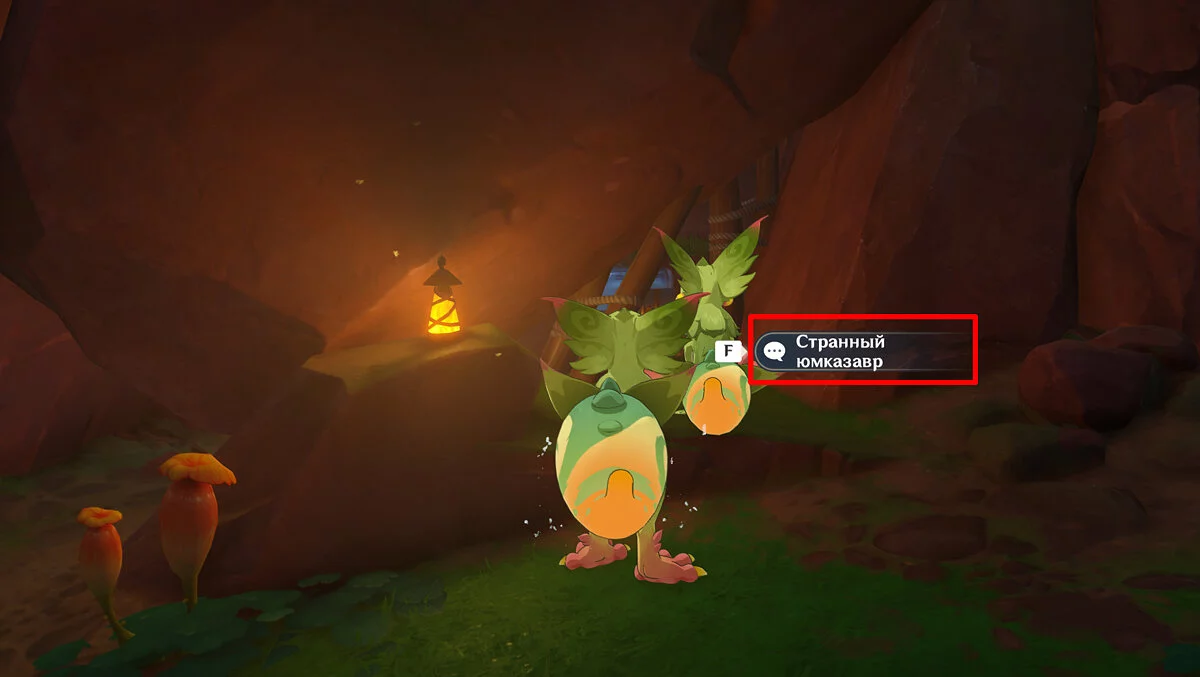
However, the gluttonous lizard is not satisfied with the food and does not want to open the passage to the chest, instead falling asleep. To understand the Yumkazaur's thoughts, possess his kin again and talk to Paimon. Then let your Tepetlizard companion intervene and take the luxurious chest.
All Luxurious Chests in Toyek Streams
There are four luxurious chests and one Depths Shrine near the Sacred Flame Stadium. Below, we'll detail each treasure and how to find it.
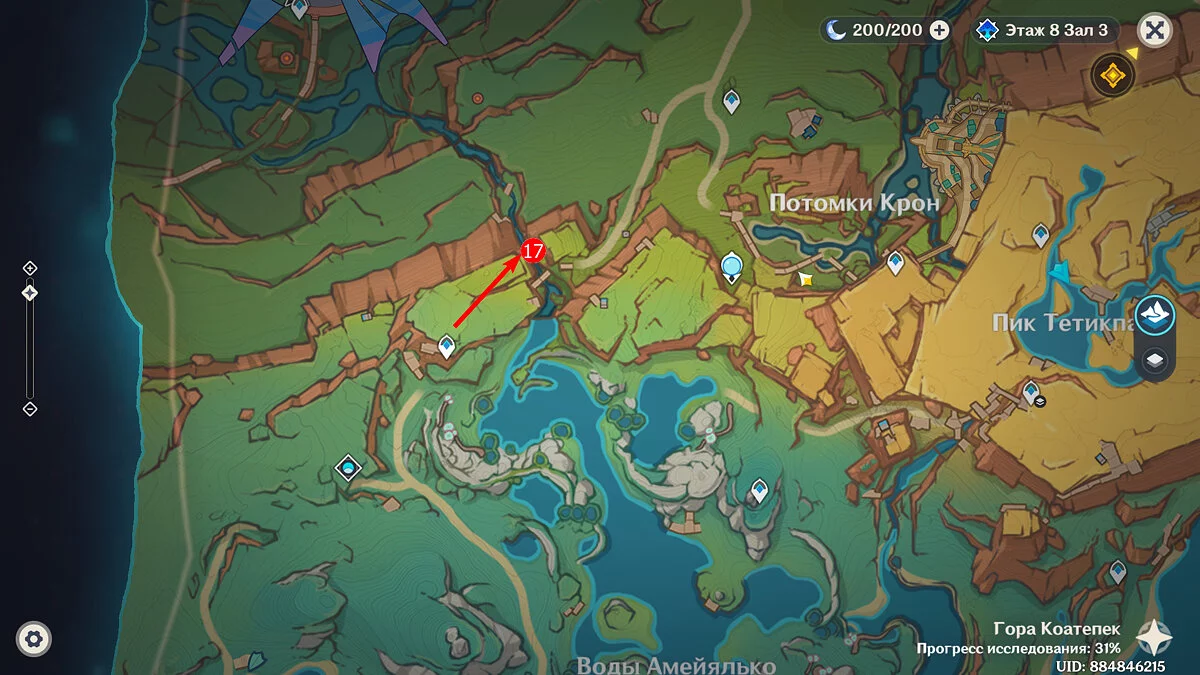
Chest #17
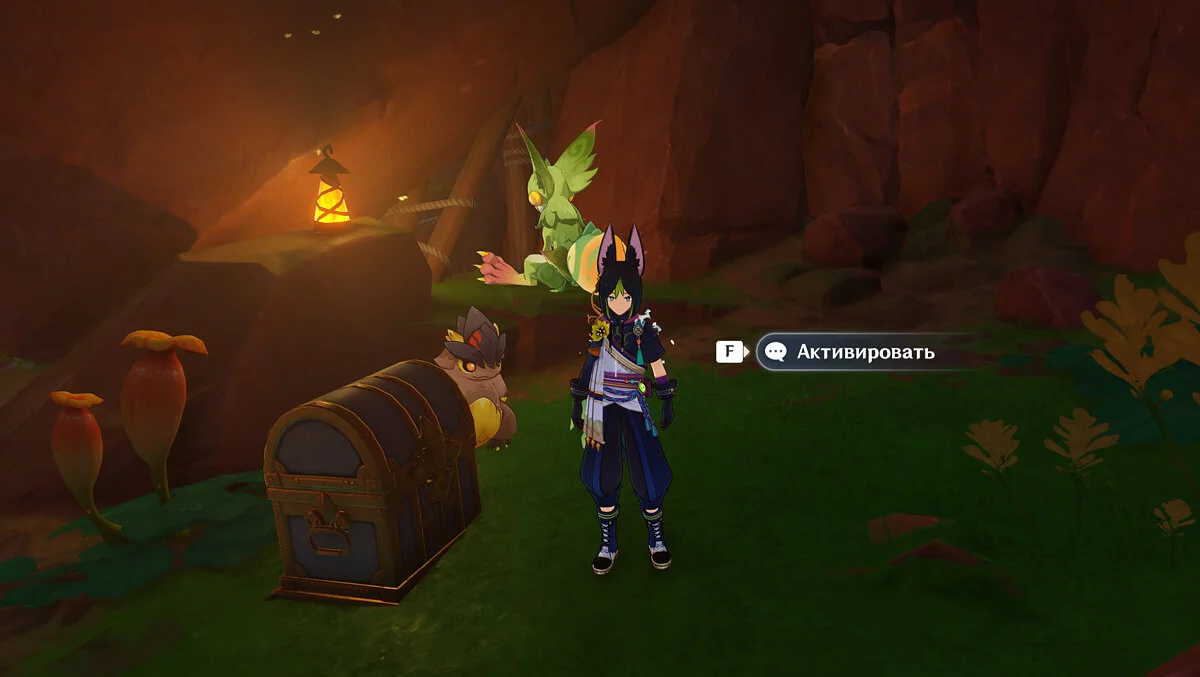
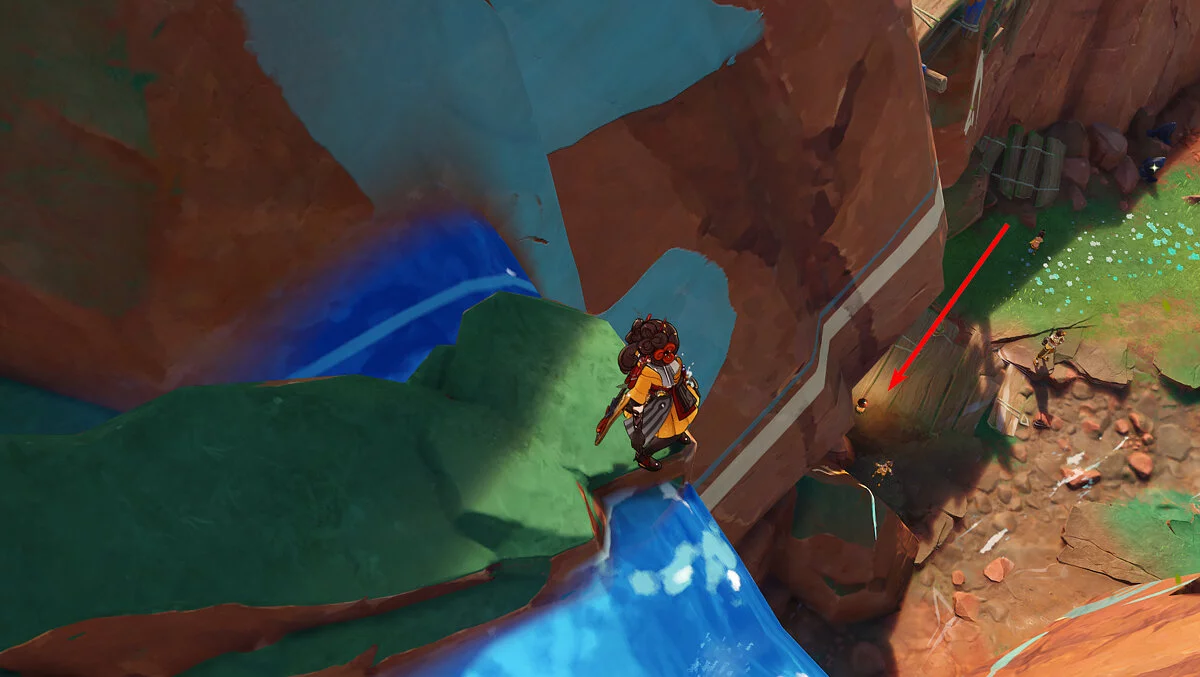
Teleport to the northernmost point of Toyek Streams and enter the small gorge behind. Passing the enemies, swim through the narrow stream and jump down at the base of the waterfall, towards the rock with the barrier. To open it — fill the nearby monument. For detailed instructions on how to get to the secret location, read the separate guide about Pyrokules.
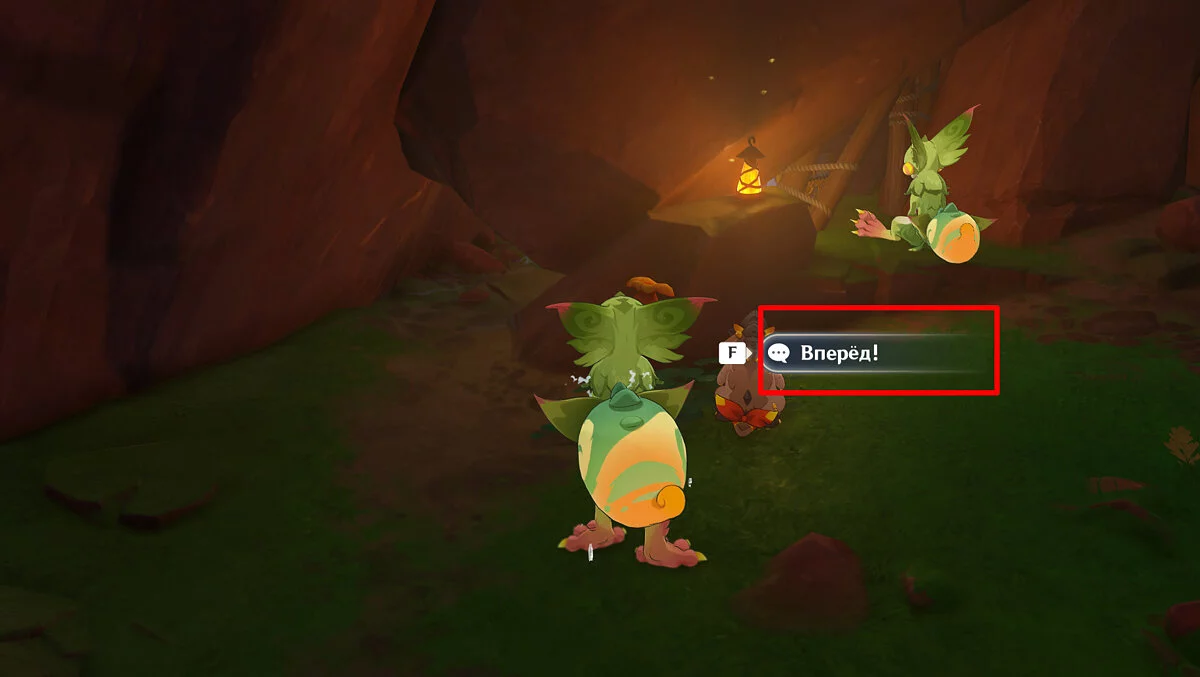
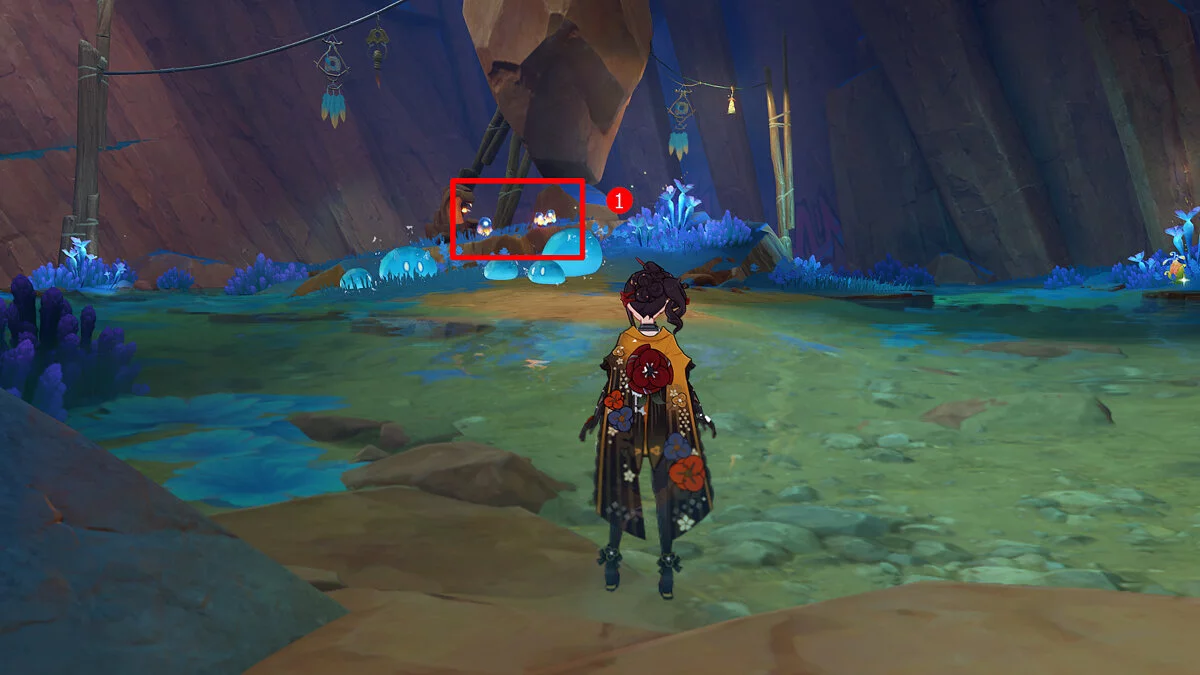
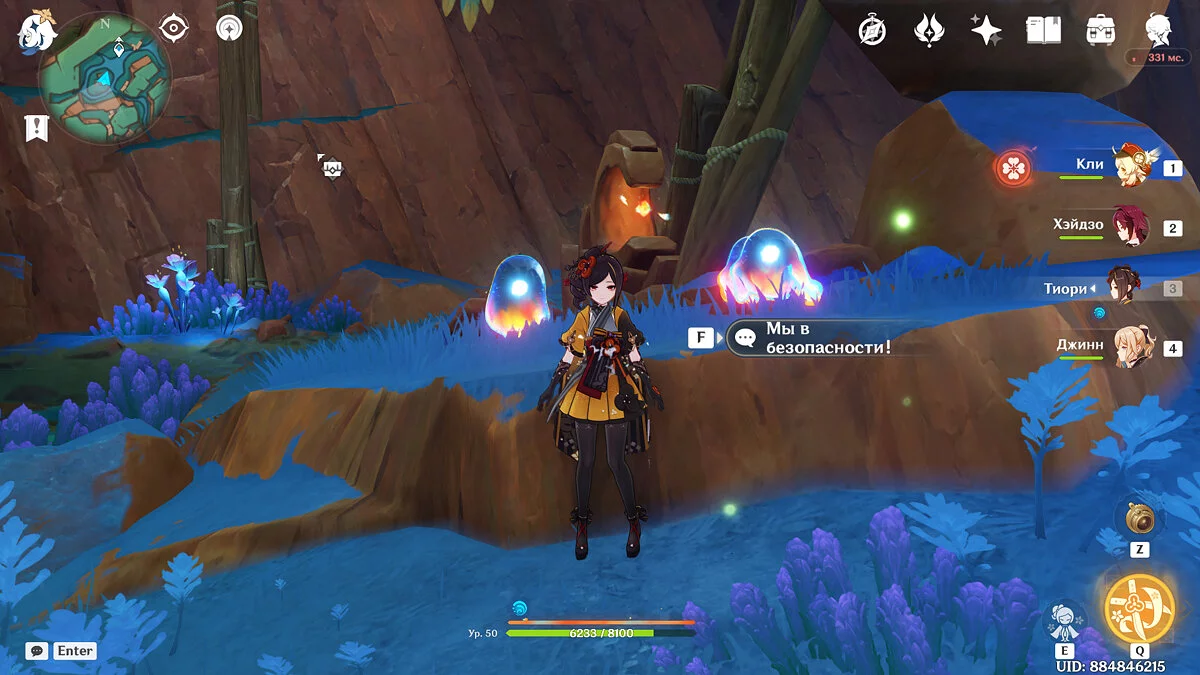
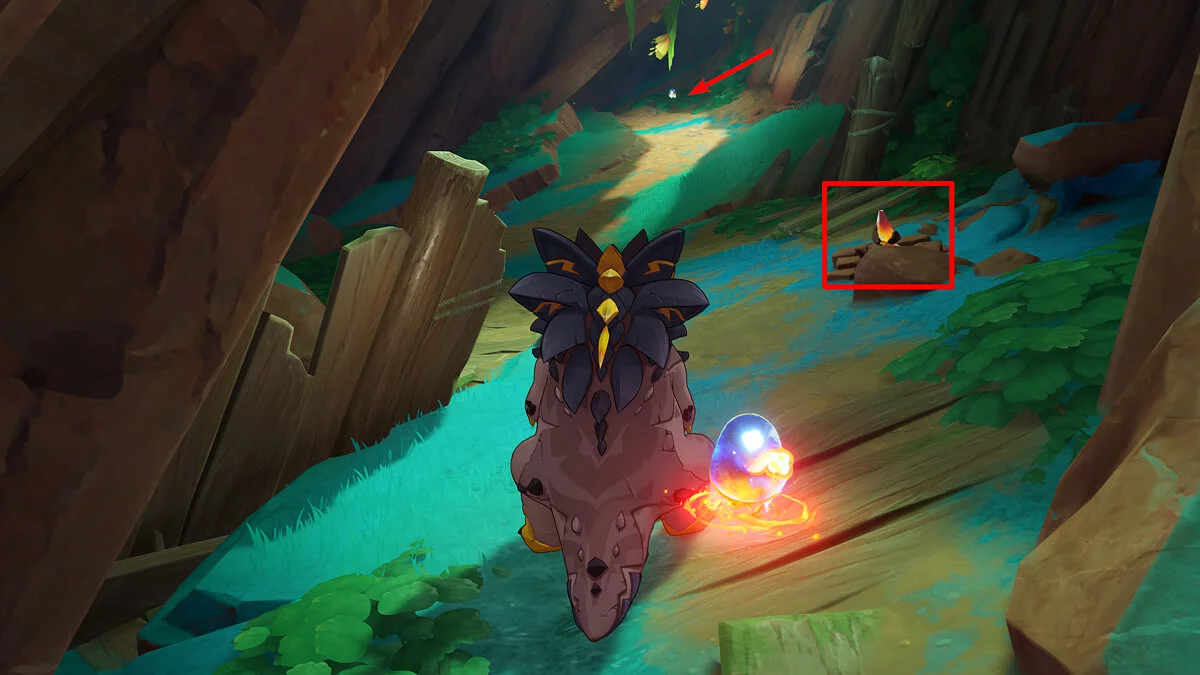
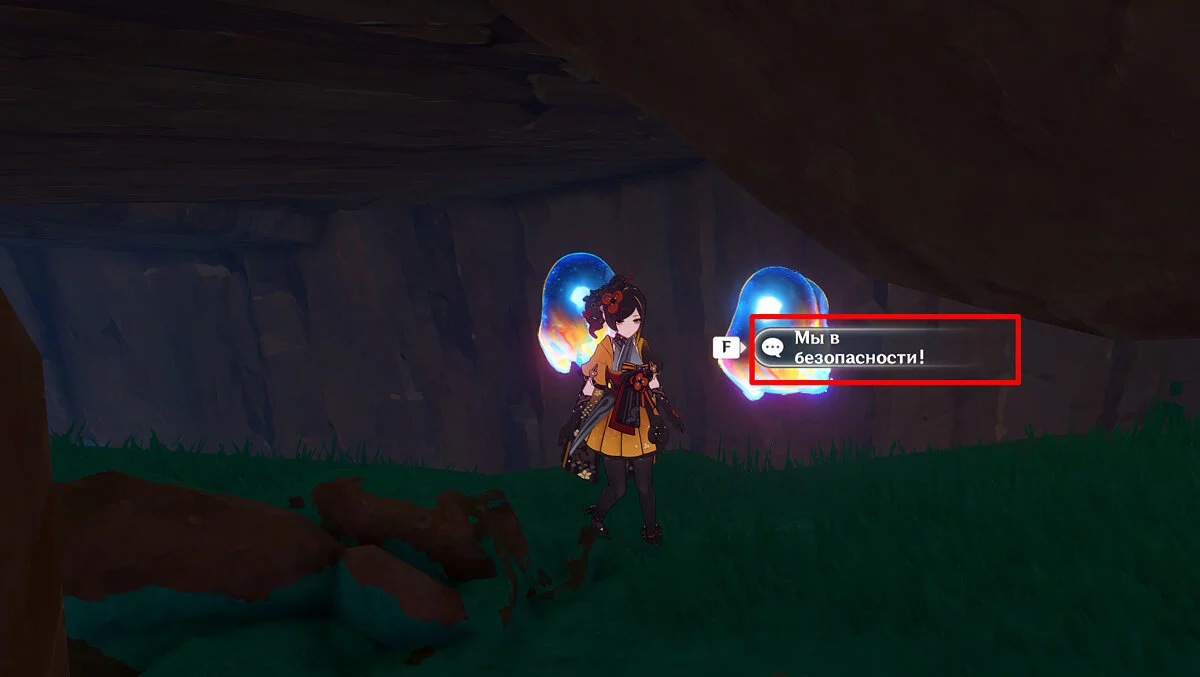
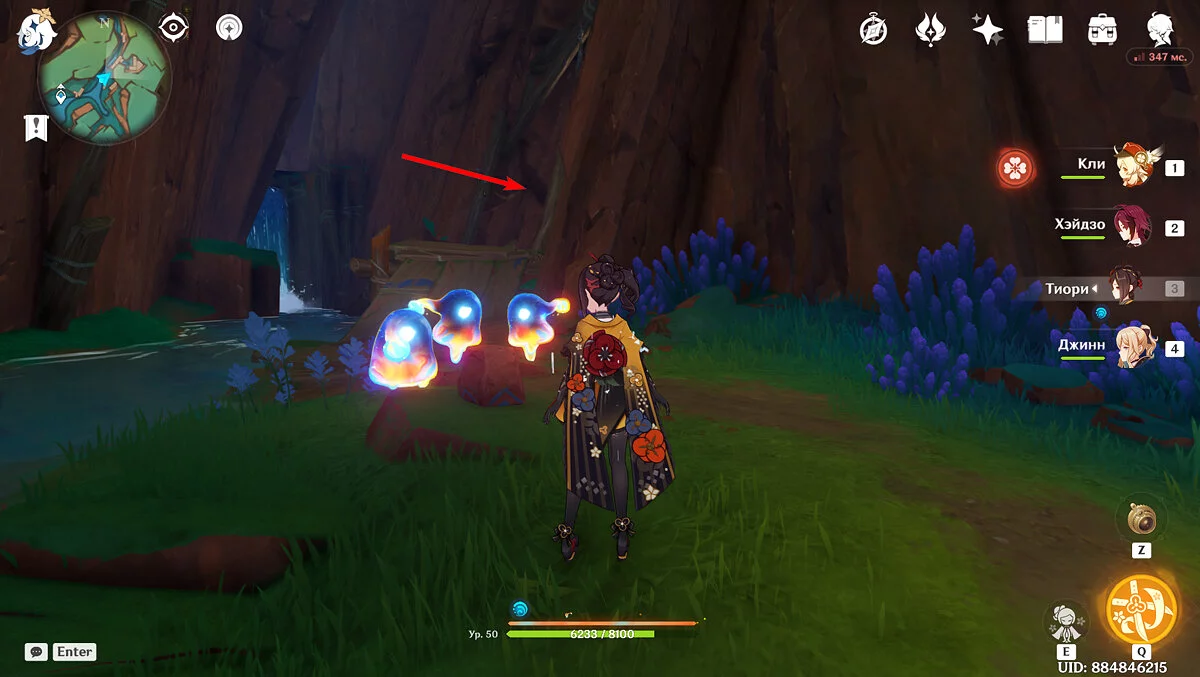
Run to the center of the small pond and you will see a rock with worn graffiti. Bring all the manitus to it to get the luxurious chest. The first group will be at the rhomboid stone in the center of the cave. Defeat the Hydro slimes and convince the fairies that they are safe.
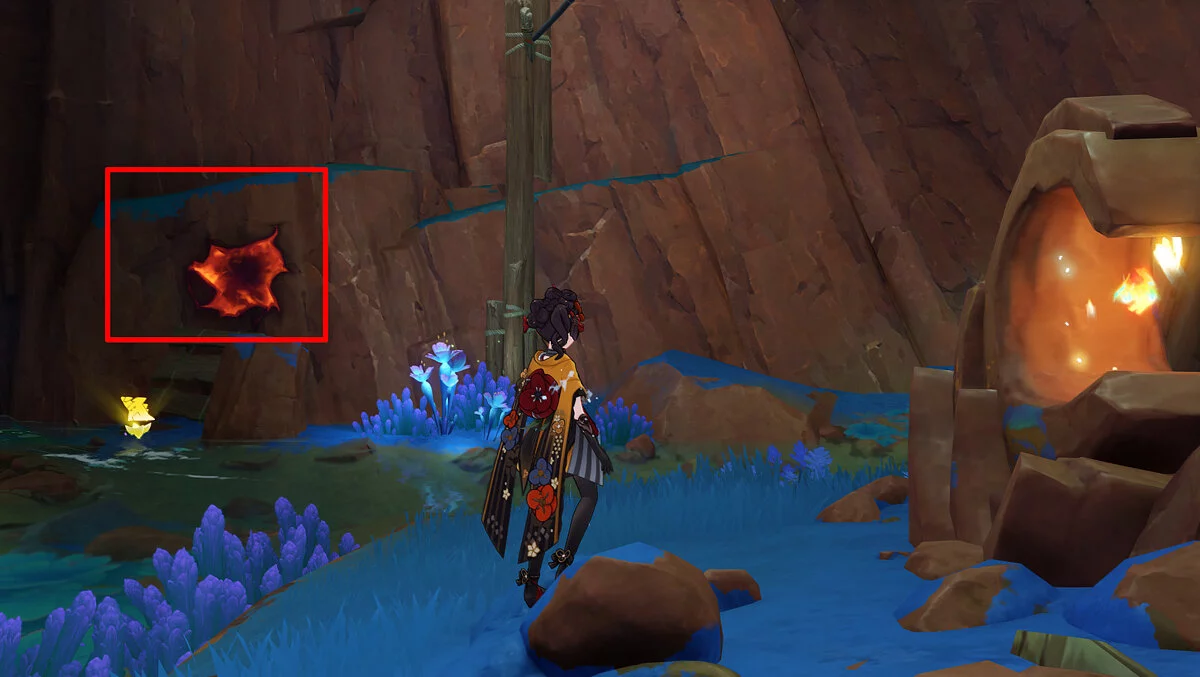
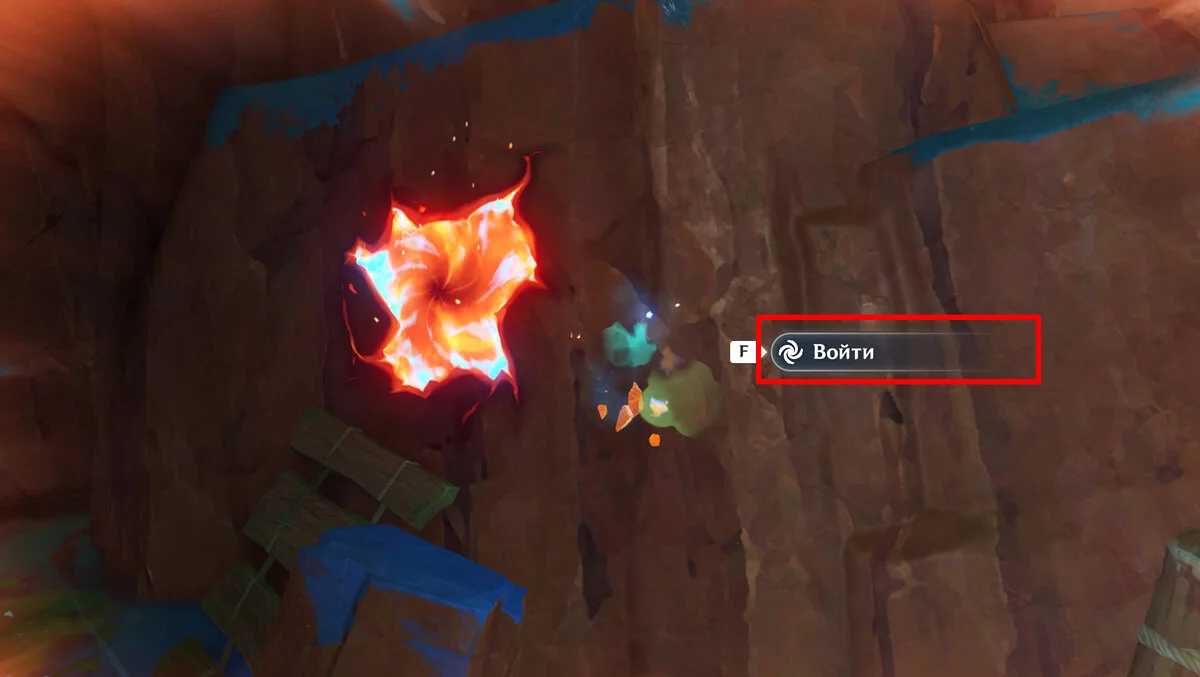
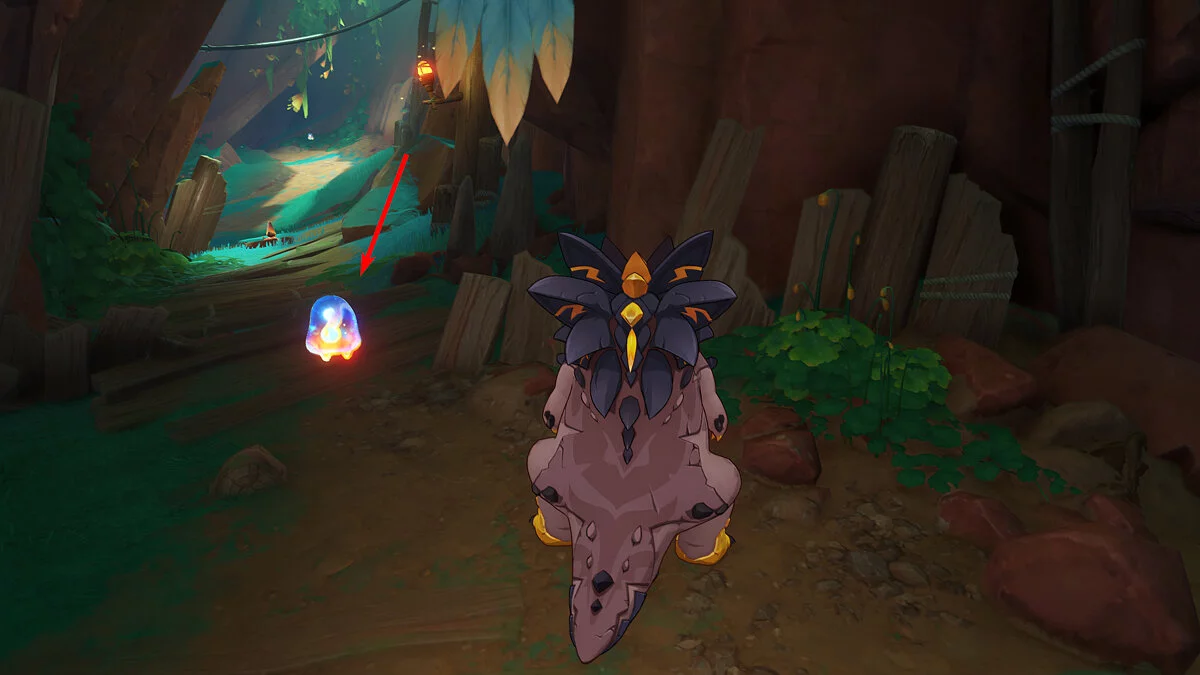
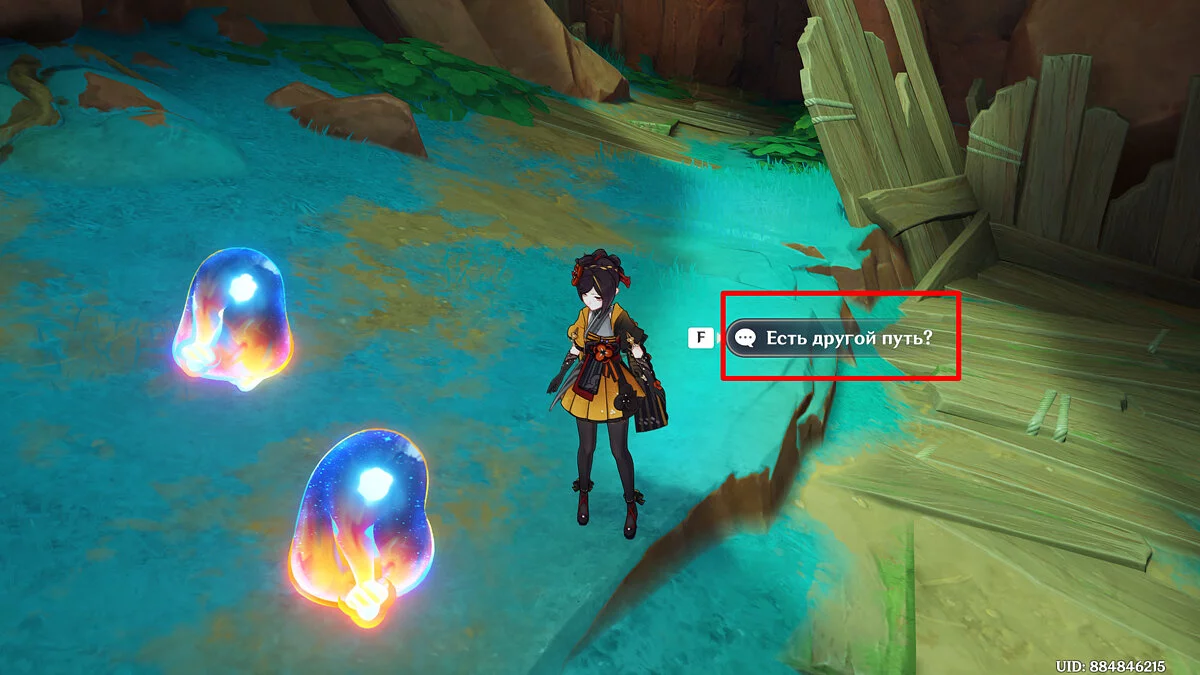
From the stone, turn left and you will see a molten crack in the rock, as well as a monument with a Tepetlizard. Possess the saurian and go through it. Upon ascending, you will immediately see a manitu. Without leaving the lizard's body, follow the creature. At the other end of the gorge, there will be another fairy, but there is a danger in the form of exploding spikes on the way. Destroy them to reunite the manitu. Unfortunately, the previous path will be closed, so ask the creatures if there is another way out, and then escort them to their kin.
Return to the center of the cave. All the fairies have gathered in front of the unfinished graffiti, but there is still one more left. Run across the wooden bridge to the waterfall, but turn left. There will be another manitu. Fill it with phlogiston and return to the other creatures. Restore the graffiti and claim the reward — one luxurious chest and two precious ones.
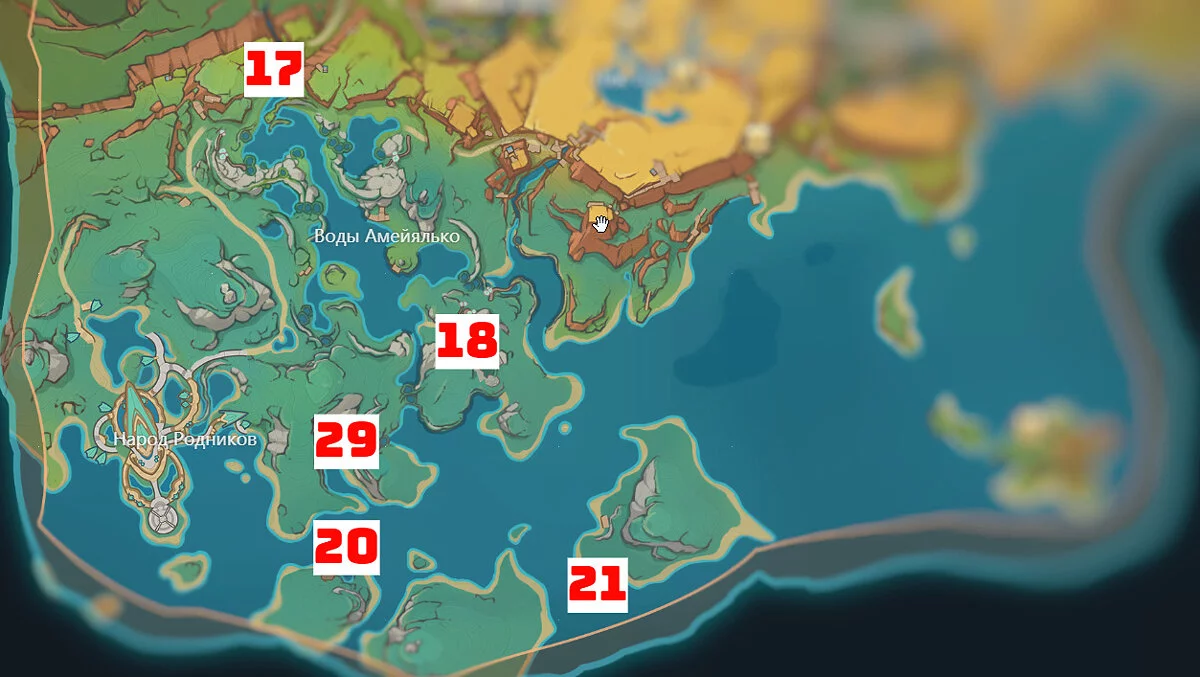
Chest #18
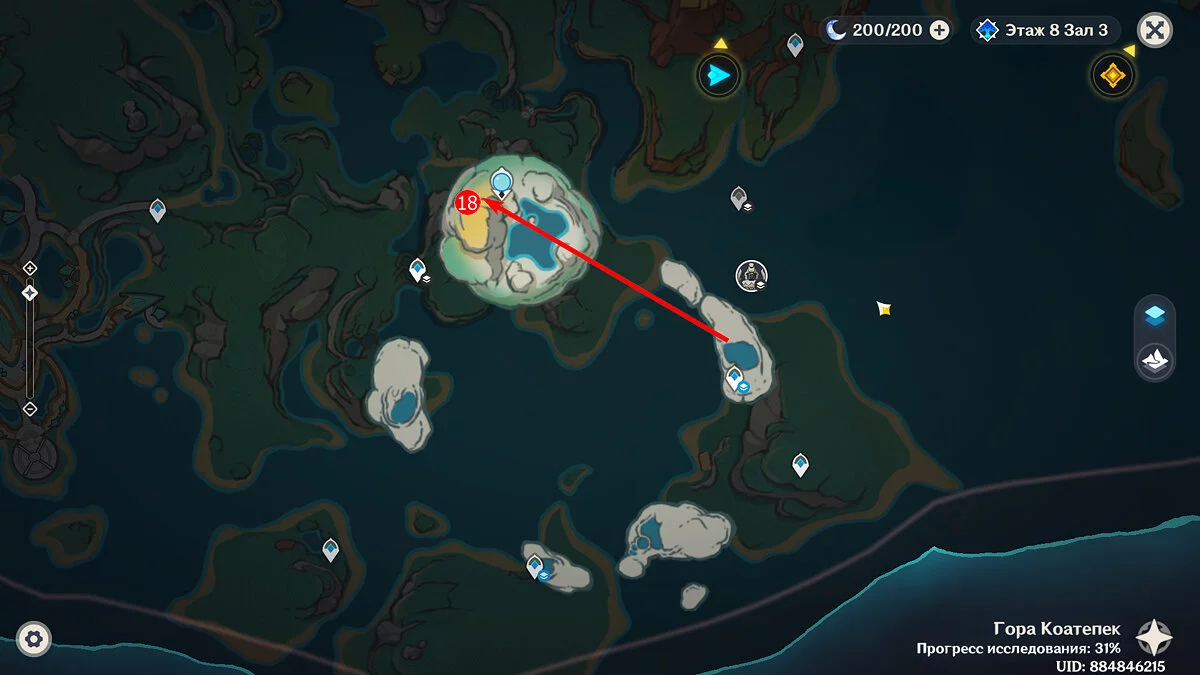
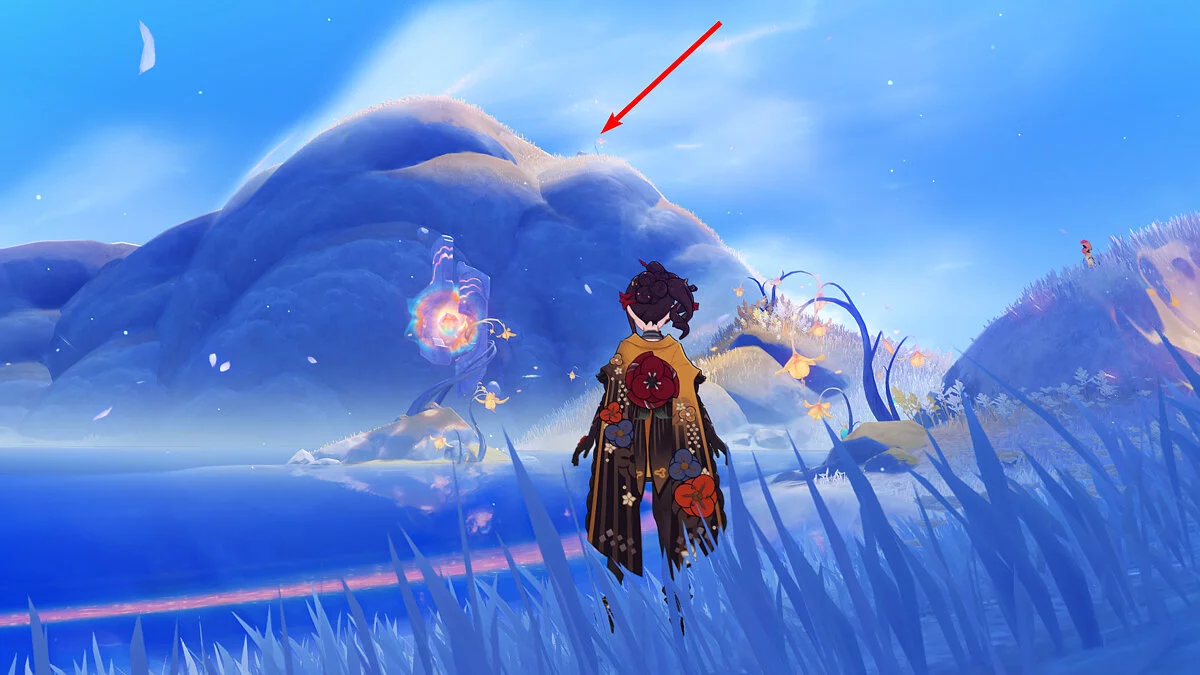
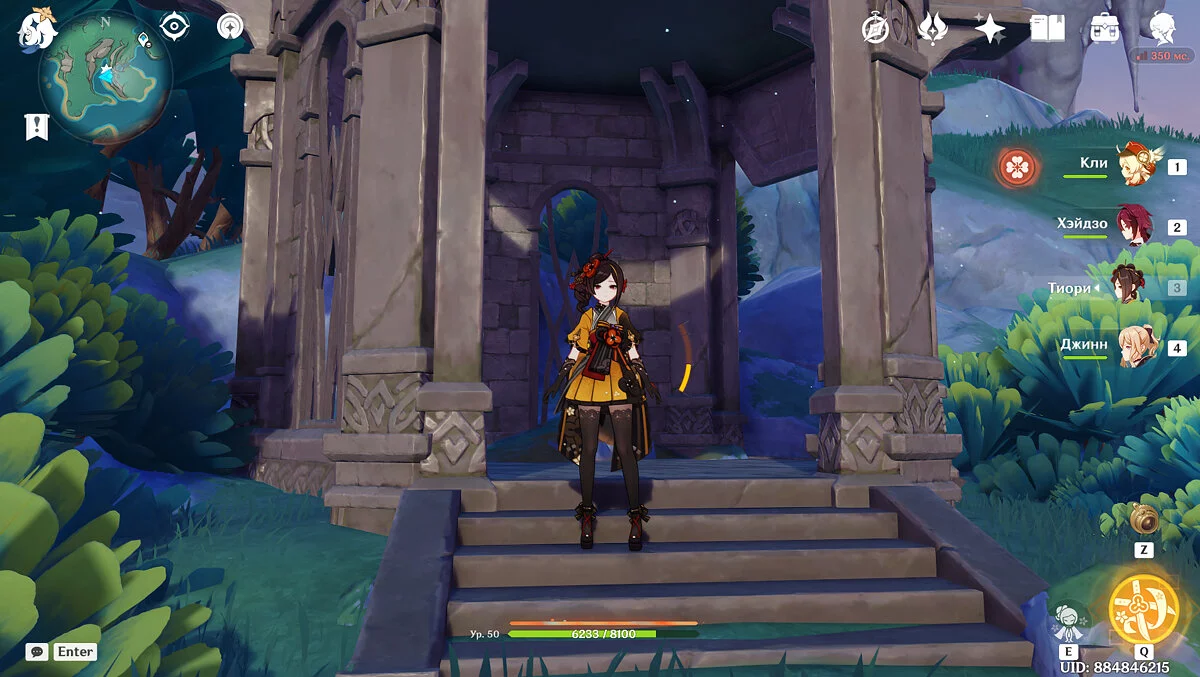
This chest can be collected after the quest A Tale of Dreams Torn from Fire, on the largest island in the Upper Worlds. However, it is easy to miss and overlook. To return to it, use the nearest teleport on the levitating islands, and use the spiritual paths to move to the indicated point.
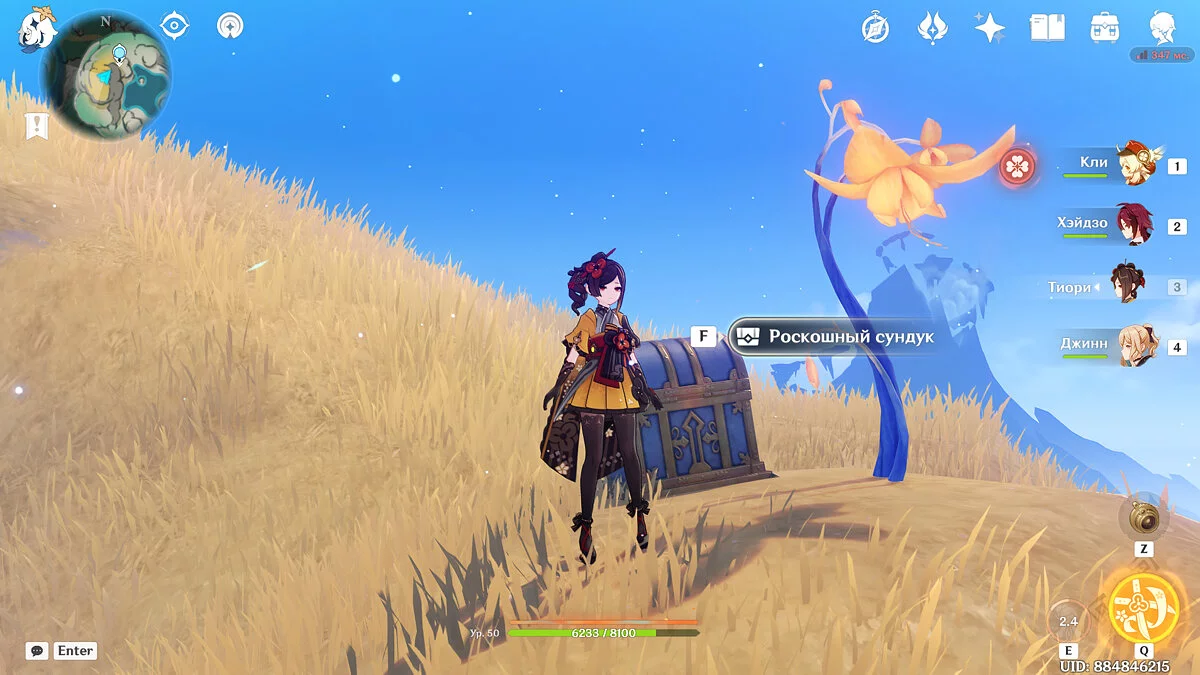
Climb to the highest hill on the island, but not to the very top. On the slope to the right under the flower, there will be a treasure.
Chest #19
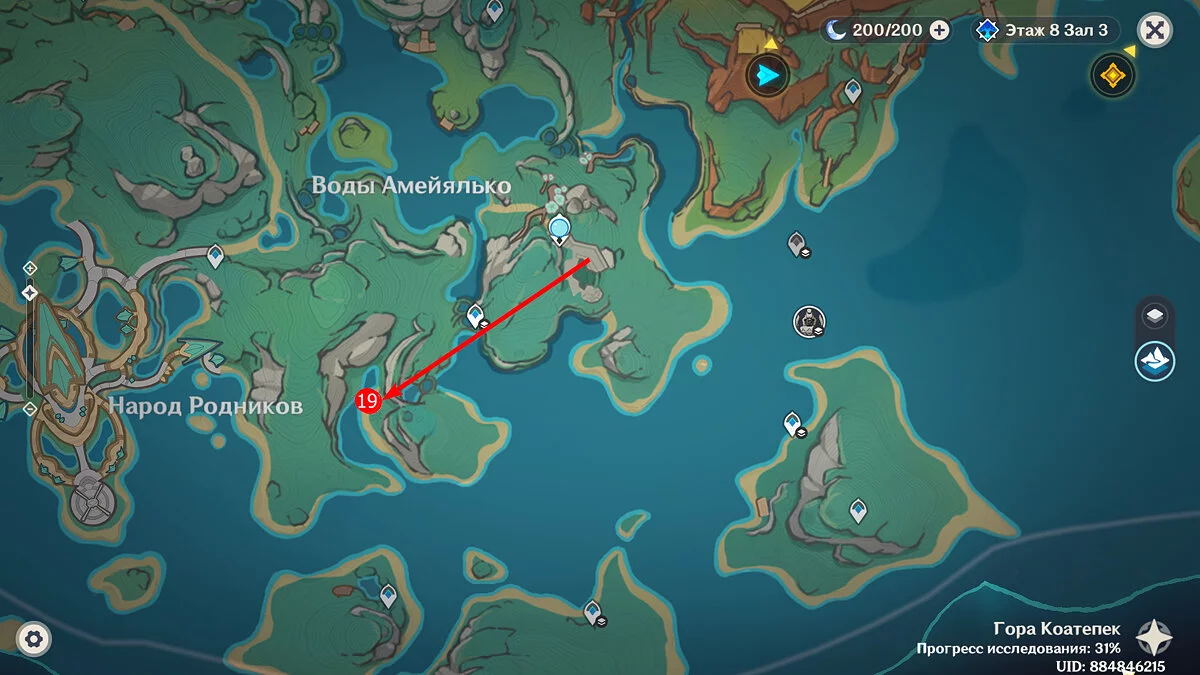
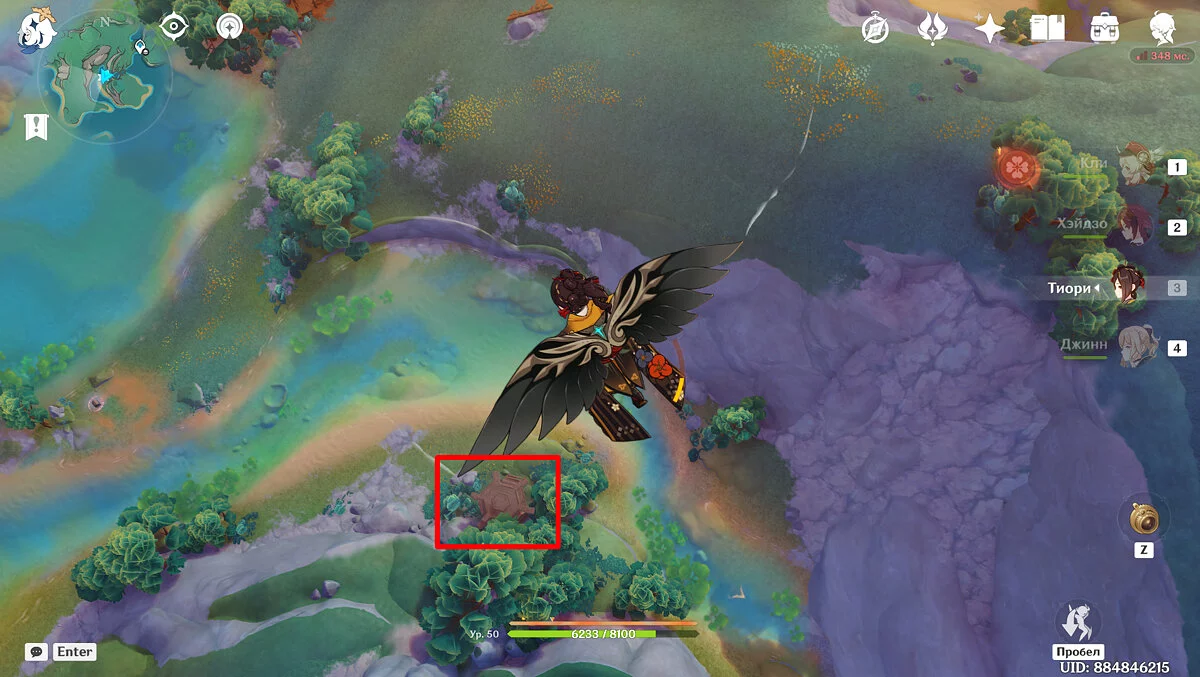
From the previous chest, you can calmly fly down to the Depths Shrine. Keep to the east, and when you see a roof in the shape of a gear surrounded by trees — land. Use the special key to open the treasure and take the chest.
Chest #20
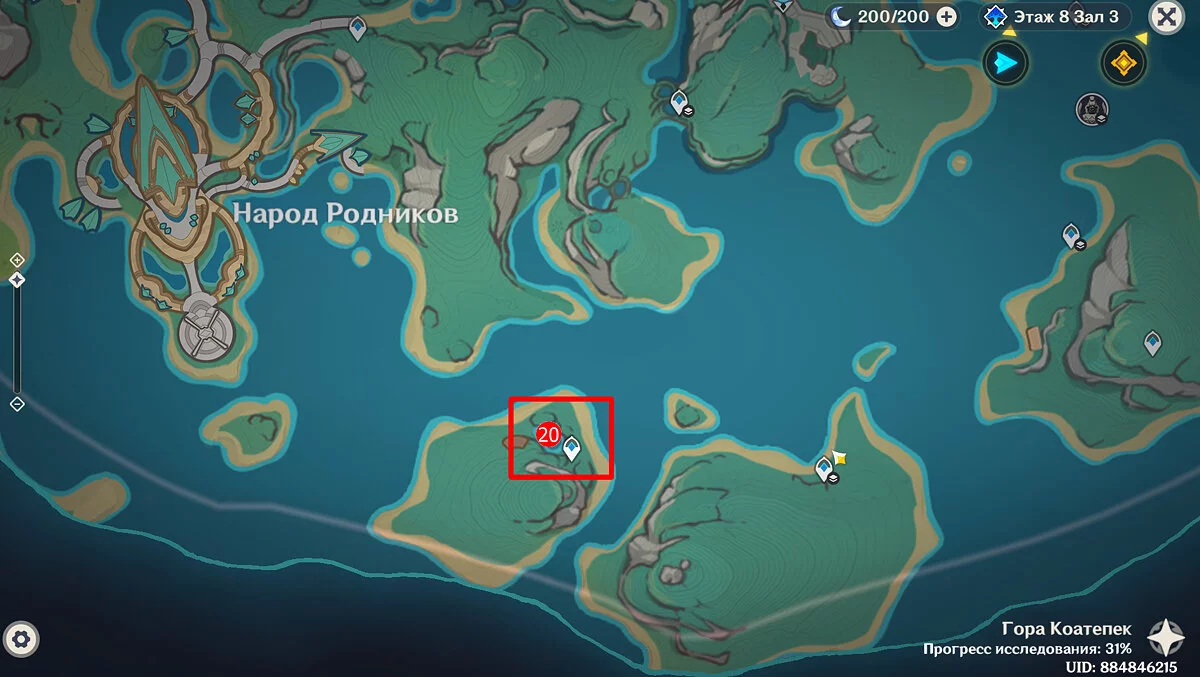
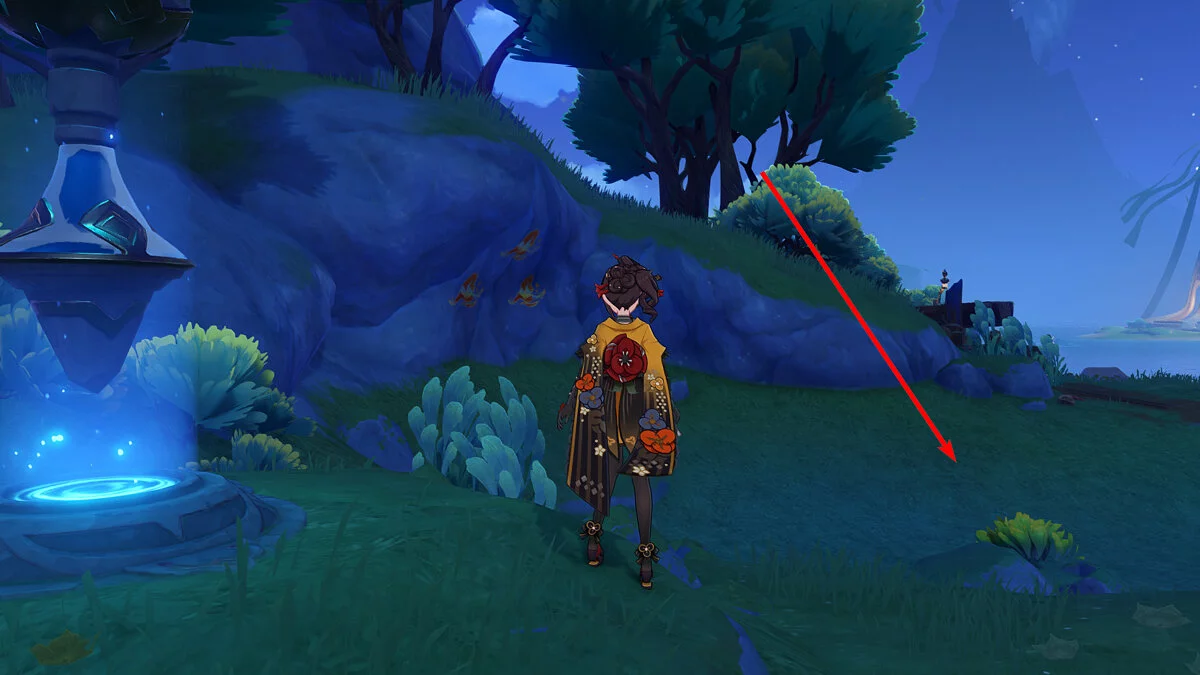
Use the teleport on the island located southeast of the Springfolk, and run to the small pond. Inside, there are luxurious and rich chests. To retrieve them, bring three manitus to your graffiti.
More details on where to find each fairy — in a separate guide.
Chest #21
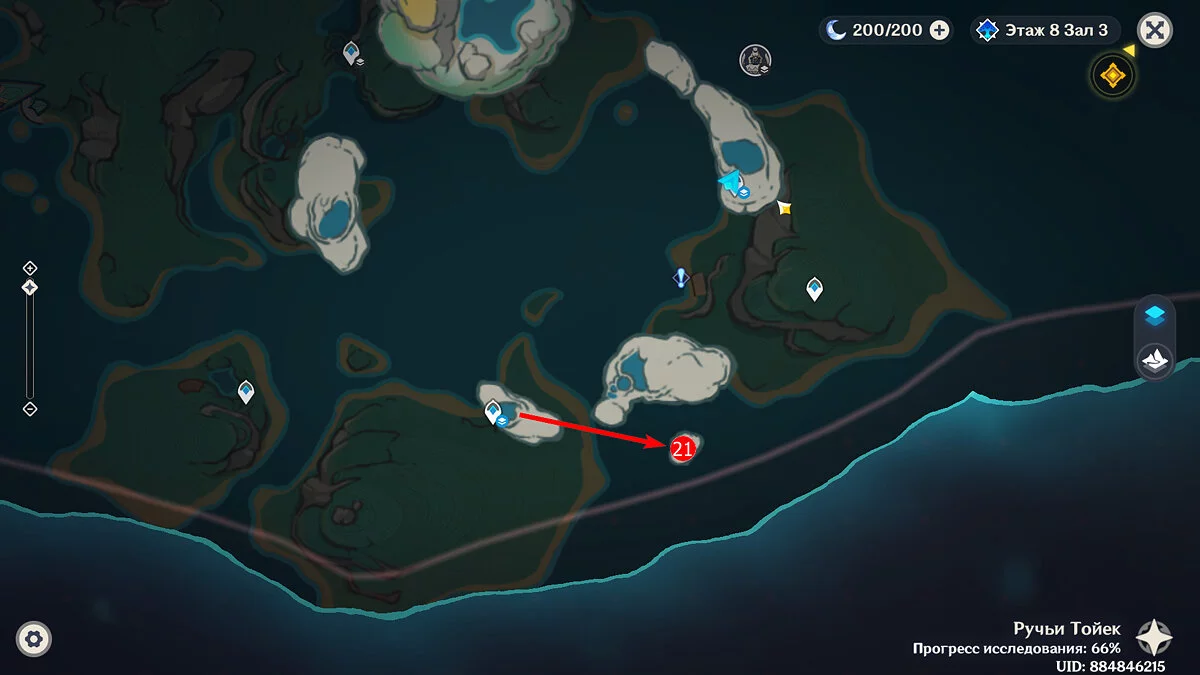
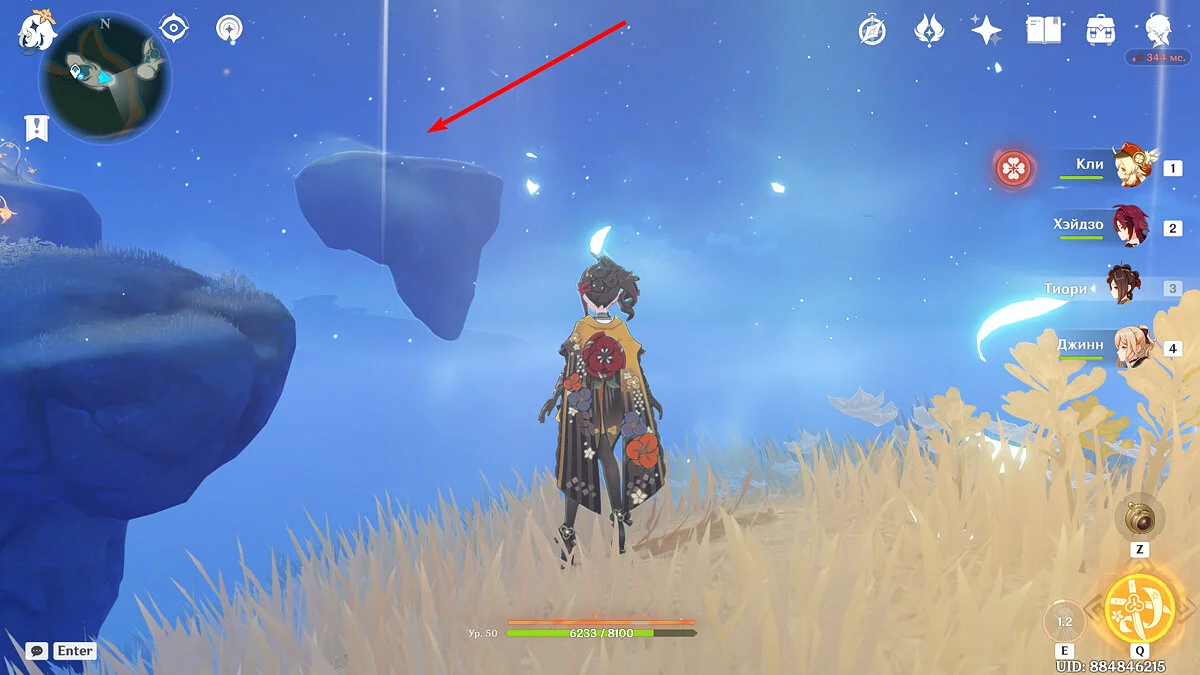
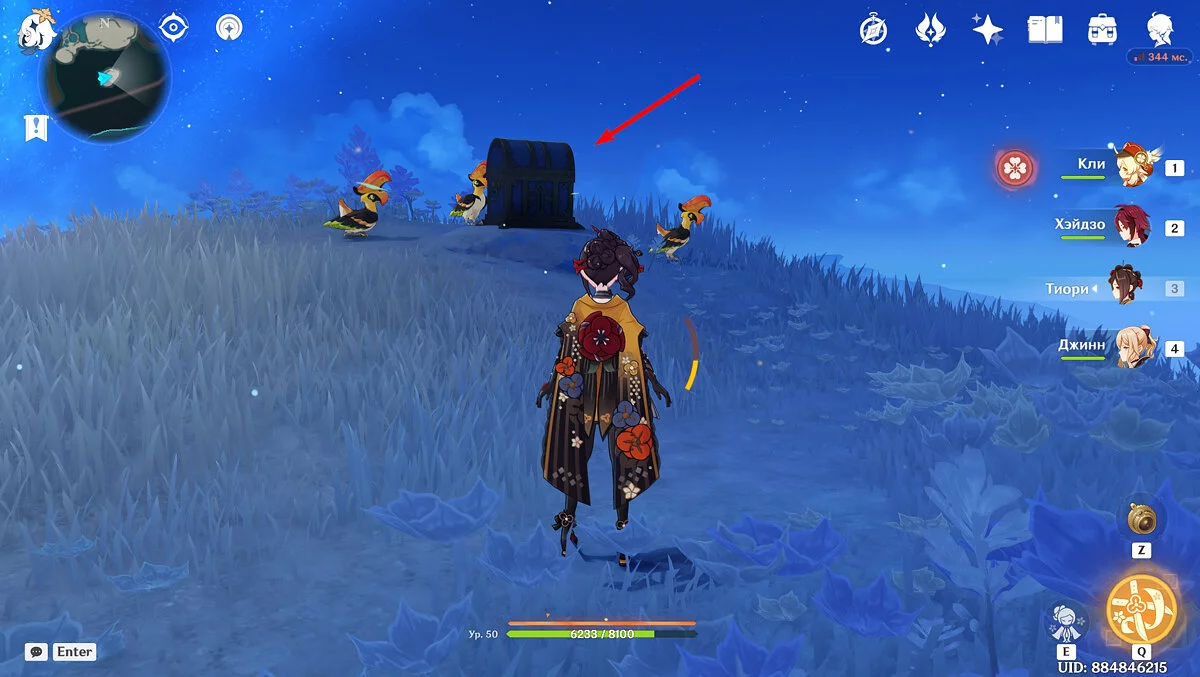
Use the more southern point in the Upper Worlds and fly to the other island on the right using the air stream. There will be another luxurious chest surrounded by three birds.
Other guides
- How to Clear the Fog and Break the Seal on Tekoloapan Beach in Genshin Impact
- Secrets, Mysteries, and Puzzles of Natlan in Genshin Impact
- Riddles, Puzzles, and Secrets of Dragonspine in Genshin Impact
- Riddles, Puzzles, and Secrets of Inazuma in Genshin Impact
- Open Your Heart to Me Quest: Find the Secret Cave in Ochkhanatlan in Genshin Impact
- Dance in the Moonlight in Genshin Impact: how to find а photographer
- Ultimate Mavuika Builds Guide for Genshin Impact: Best Strategies and Tips
- The Best Build for Sucrose in Genshin Impact: How to Get a Hero
- How to Get into the Jade Chamber in Genshin Impact
- Where to find the Northlander Polearm Billet in Genshin Impact: How to craft the Dragonspine Spear
-
The Best Build for Sucrose in Genshin Impact: How to Get a Hero
-
How to Get into the Jade Chamber in Genshin Impact
-
Secrets, Mysteries, and Puzzles of Natlan in Genshin Impact
-
Where to find the Northlander Polearm Billet in Genshin Impact: How to craft the Dragonspine Spear
-
Riddles, Puzzles, and Secrets of Dragonspine in Genshin Impact
-
Riddles, Puzzles, and Secrets of Inazuma in Genshin Impact
-
Spirit Carp in Genshin Impact: What They Are For and How to Find Them All
-
Where to Find Mist Flower in Genshin Impact
-
Live Wallpapers on the Desktop: How to Install
-
Underwater Nocturne in Genshin Impact: How to Find the Blank Music Score
-
Everything about Venti in Genshin Impact: Builds, Artifacts, Weapons, Abilities, and How to Get
-
Best Builds for Xiao in Genshin Impact
-
Everything About Hu Tao in Genshin Impact: Best Builds, Abilities, Leveling, and Skills
-
Everything About Yoimiya from Genshin Impact: Best Builds, Skills, Leveling, and Ascension
-
Gorou in Genshin Impact: Best Builds for Weapons and Artifacts, Talents, Skills, Constellations and Tactics
-
Arataki Itto in Genshin Impact: Best Builds for Weapons and Artifacts, Skills, Talents, Leveling Up and Ascension
-
Shikanoin Heizou in Genshin Impact: Best Builds for Weapons and Artifacts, Skills, Talents and Leveling Up
-
Best Arlecchino Builds in Genshin Impact
-
How to get Dandelion Seeds in Genshin Impact
