Stalker 2 Guide: How to Disable Shader Compilation at Startup
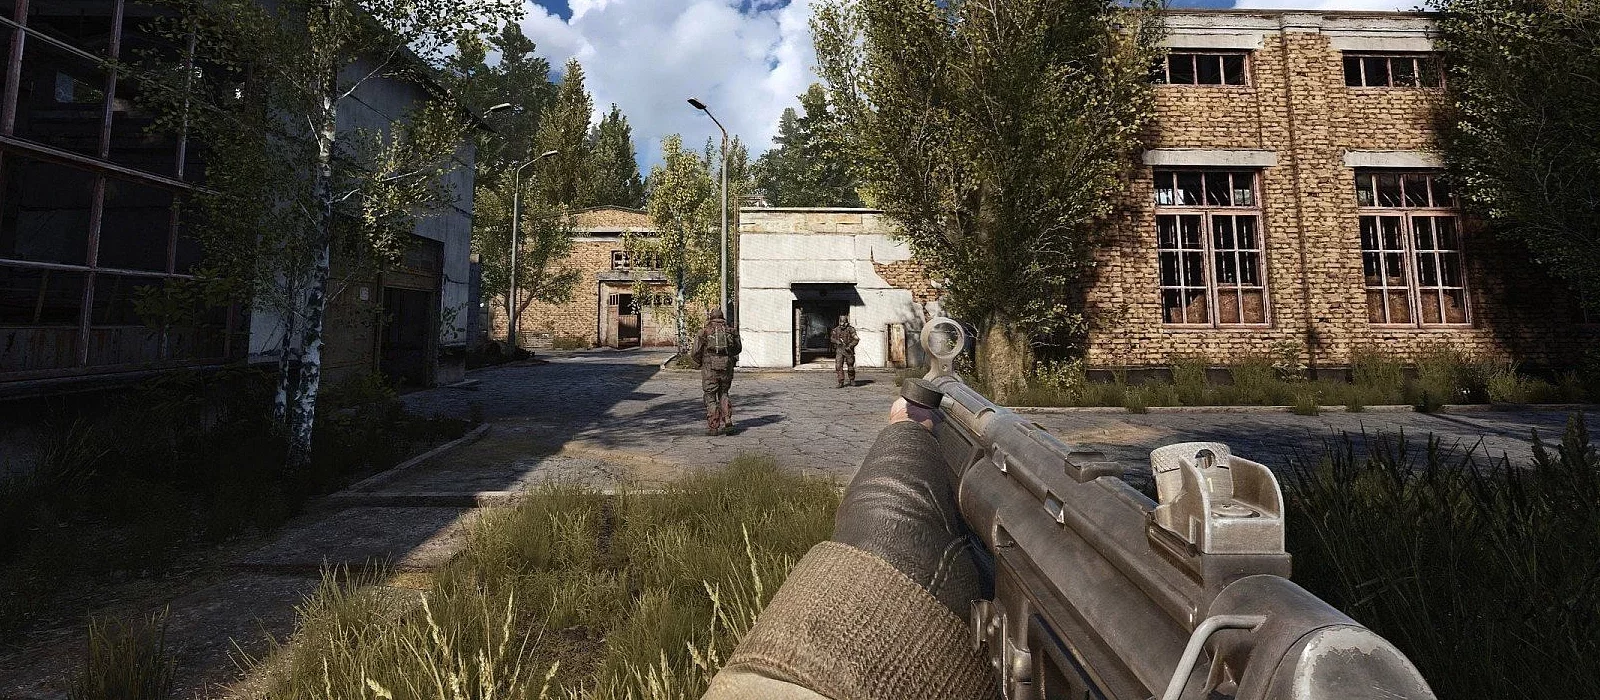
S.T.A.L.K.E.R. 2: Heart of Chornobyl is another release on Unreal Engine 5, which, despite its impressive visual fidelity, is not without technical issues. Unlike many modern games that compile shaders only on the first launch, Stalker 2 does this every time it starts. Depending on your PC's specifications, the process can take a significant amount of time. In this guide, we will detail how to disable shader compilation and the startup video.
How to Disable Shader Compilation
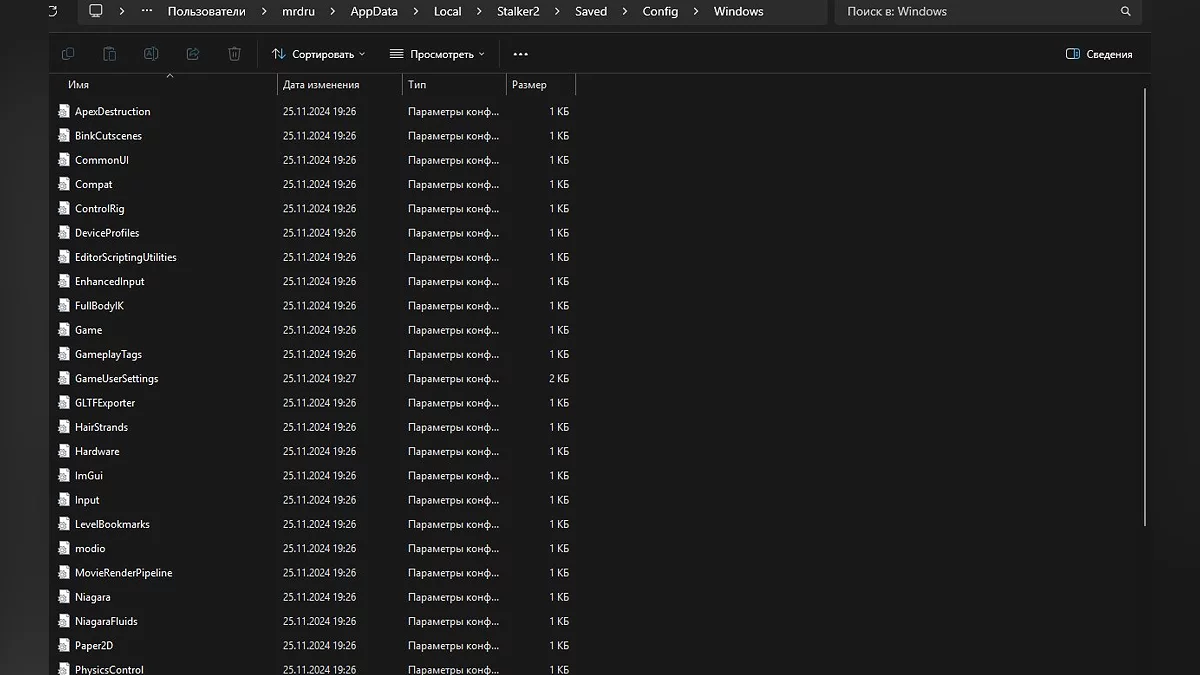
To disable the shader compilation process, you need to create an Engine.ini file for Stalker 2 and add a few commands to it. First, make sure the game is launched, then navigate to the following folder:
For Steam:
- C:\Users\USERNAME\AppData\Local\Stalker2\Saved\Config\Windows
For Xbox:
- C:\Users\USERNAME\AppData\Local\Stalker2\Saved\Config\WinGDK
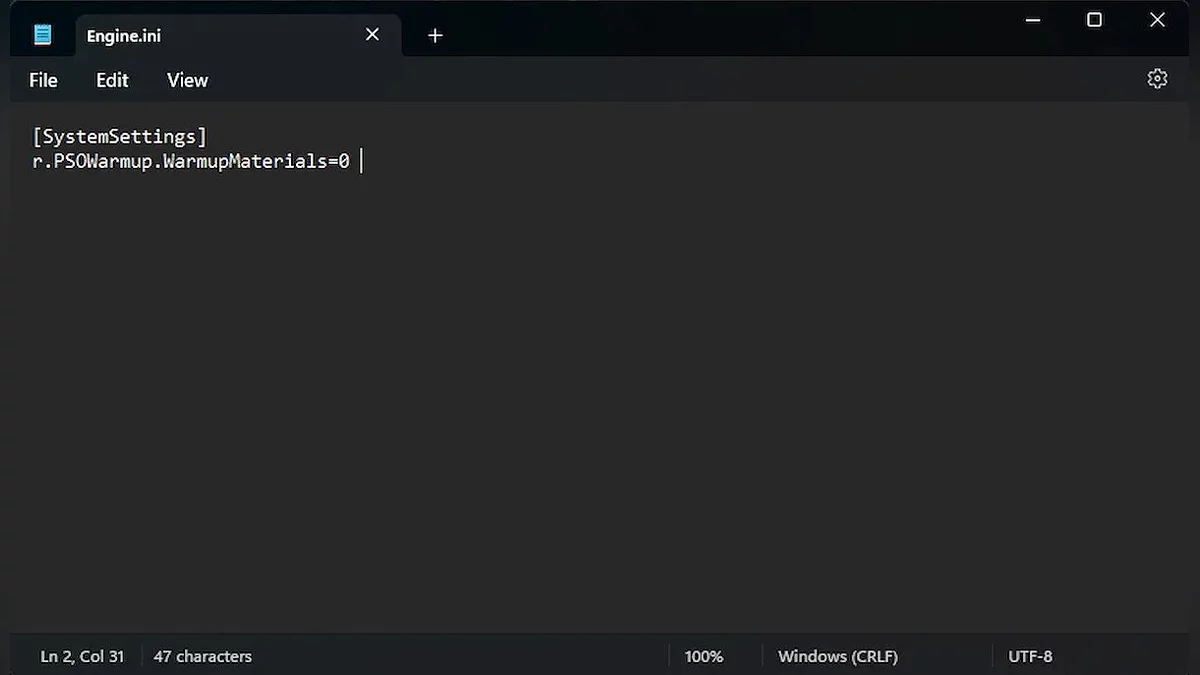
Navigate to the appropriate path and create a text file named Engine.ini, ensuring its extension is set to .ini and not .txt. Copy the following command and paste it inside the document:
[SystemSettings]
r.PSOWarmup.WarmupMaterials=0
Once you are done, save the file (Ctrl+S) and close Notepad. Restart Stalker 2 — this time, the game will completely skip the shader compilation stage.
Although this will rid you of the shader compilation issue at each startup, we recommend enabling this process again when installing new game updates and each time you update your graphics card drivers. In most games, the shader compilation process is automatically initiated in the scenarios described above. To re-enable shader compilation, simply delete the lines from the Engine.ini file or set the value to r.PSOWarmup.WarmupMaterials=1.
There is also a second way to disable the annoying compilation — use this modification for Stalker 2. It can not only disable the shader compilation process but also provide additional gameplay optimization, reducing lag and speeding up load times.
- First, download the appropriate version of the modification through the link above.
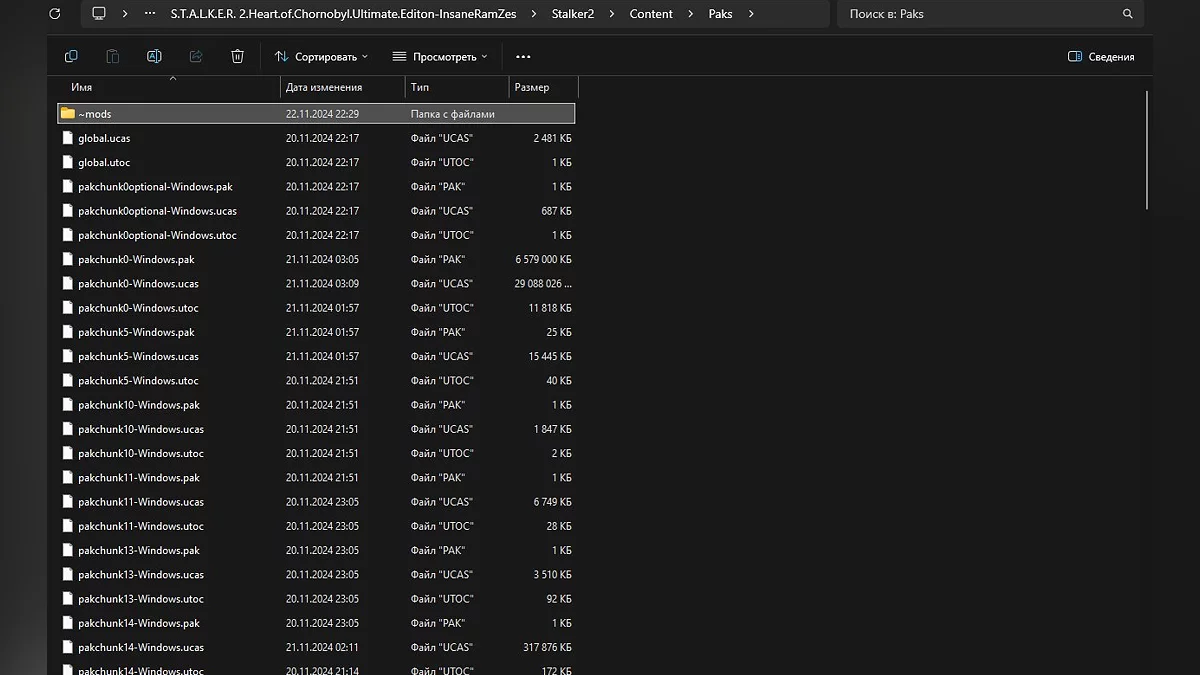
- Navigate to: S.T.A.L.K.E.R. 2 Heart of Chornobyl\Stalker2\Content\Paks.
If the ~mods folder is missing in this directory, create it manually and unpack the contents of the modification archive into this folder.
If you need to remove the changes made, simply delete this file from the ~mods directory.
How to Disable the Intro Video
You can save a few seconds at startup by skipping the intro videos and logo appearance when starting Stalker 2. For this, we will use the handy STALKER2Tweak tool.
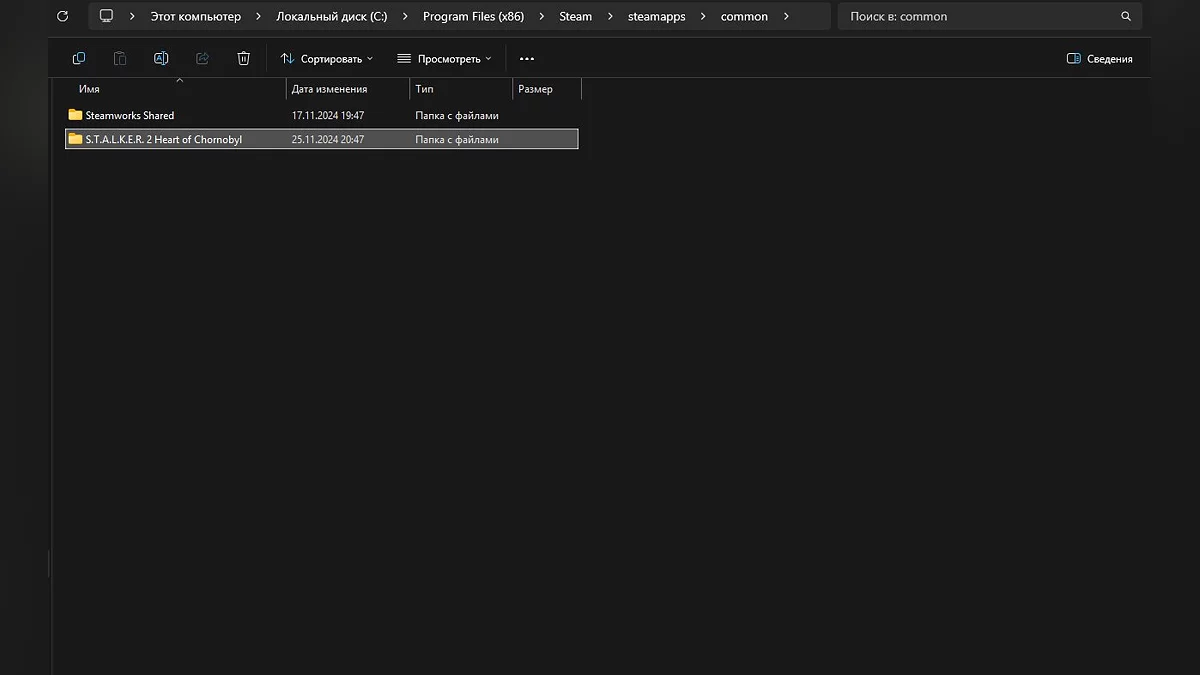
Follow this link and download the latest version of STALKER2Tweak. Choose the zip file for Steam or Xbox in the Assets section to start the download. Once downloaded, extract the zip file into the Stalker 2 installation folder:
- steamapps\common\S.T.A.L.K.E.R. 2 Heart of Chornobyl
That's all you need to do, and the next time you launch Stalker 2, the intro videos will be skipped. STALKER2Tweak also adds the following improvements and features:
- Enable developer console;
- Disable mouse smoothing and fix X/Y axis sensitivity mismatch;
- Adjust first-person model field of view;
- Fix vertical field of view when playing on an ultrawide display.
To disable the changes made, simply navigate to the directory again and delete the STALKER2Tweak file.
Other guides
- Guide to All Stash Locations in Stalker 2: Complete Map and Tips
- Stalker 2 Guide: Should You Kill Kvashka
- The Key to Freedom: Stalker 2 Quest Walkthrough
- Guide to All Weapons in Stalker 2: Best, Unique, and Ones Not Worth Upgrading
- Stalker 2 Interactive Map: Key Places and Locations
- Ultimate Guide to All Door and Safe Codes in Stalker 2
- Stalker 2 Guide: Kill Nimble or Spare
- How to fix the bug in the On the Edge quest in Stalker 2
- Stalker 2 Guide: Help the Wanderer or Side with the Varta Faction
- Shock Therapy: Stalker 2 Quest Walkthrough
-
Shock Therapy: Stalker 2 Quest Walkthrough
-
The Key to Freedom: Stalker 2 Quest Walkthrough
-
Stalker 2 Guide: Kill Nimble or Spare
-
Stalker 2 Guide: Help the Wanderer or Side with the Varta Faction
-
Stalker 2 Interactive Map: Key Places and Locations
-
S.T.A.L.K.E.R. 2: Heart of Chornobyl Walkthrough Guide — Survive, Hunt Artifacts, and Complete Missions
-
Dangerous Visitors: Stalker 2 Quest Walkthrough
-
Unknown Quest at the Junkyard: Stalker 2 Quest Walkthrough
-
Bullseye: Stalker 2 Quest Walkthrough
