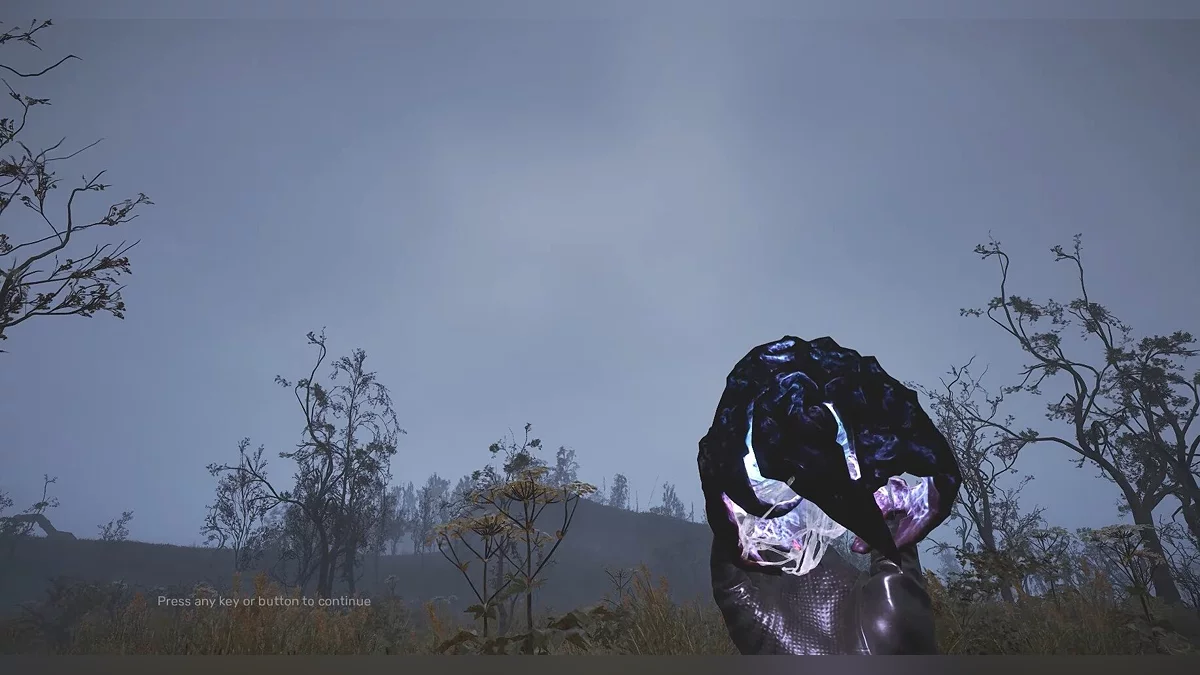
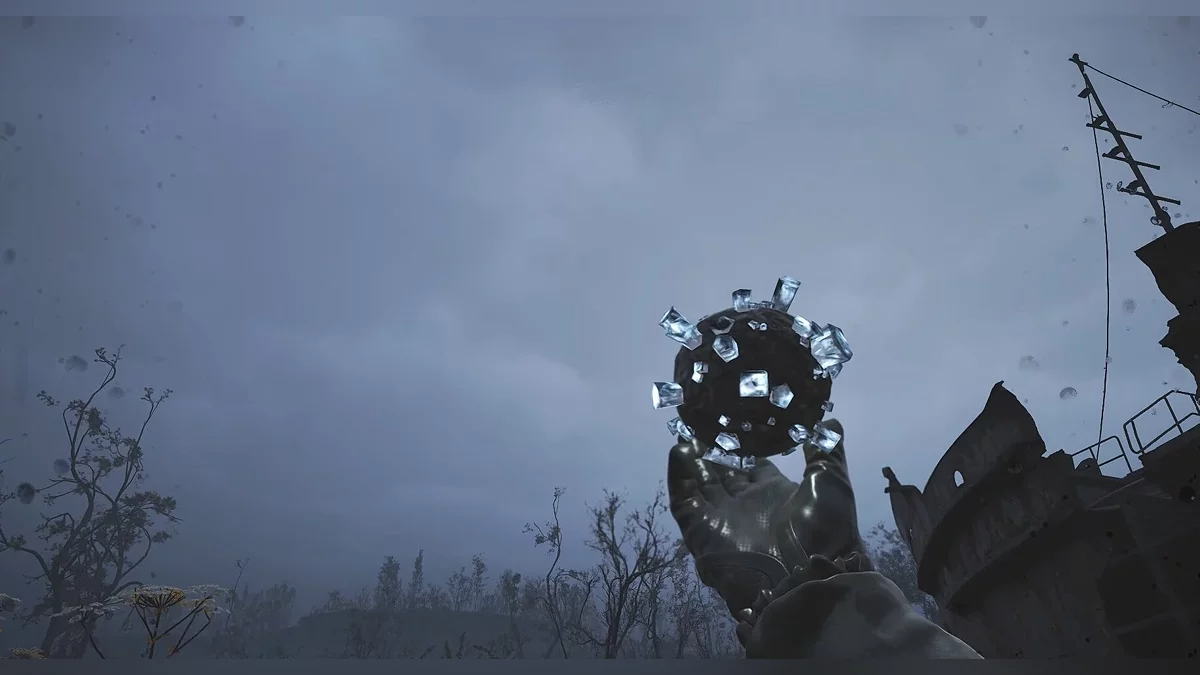
Artifacts Guide in Stalker 2: How to Farm Common and Legendary Artifacts
S.T.A.L.K.E.R. 2: Heart of Chornobyl is an exciting open-world first-person shooter that continues the cult series of games about post-apocalyptic adventures in Chernobyl. The game once again opens up a mysterious world of artifact hunting, promising unique finds and unforgettable experiences. In this guide, we will detail all the artifacts available in the game and share useful tips on finding them.
What are artifacts for?
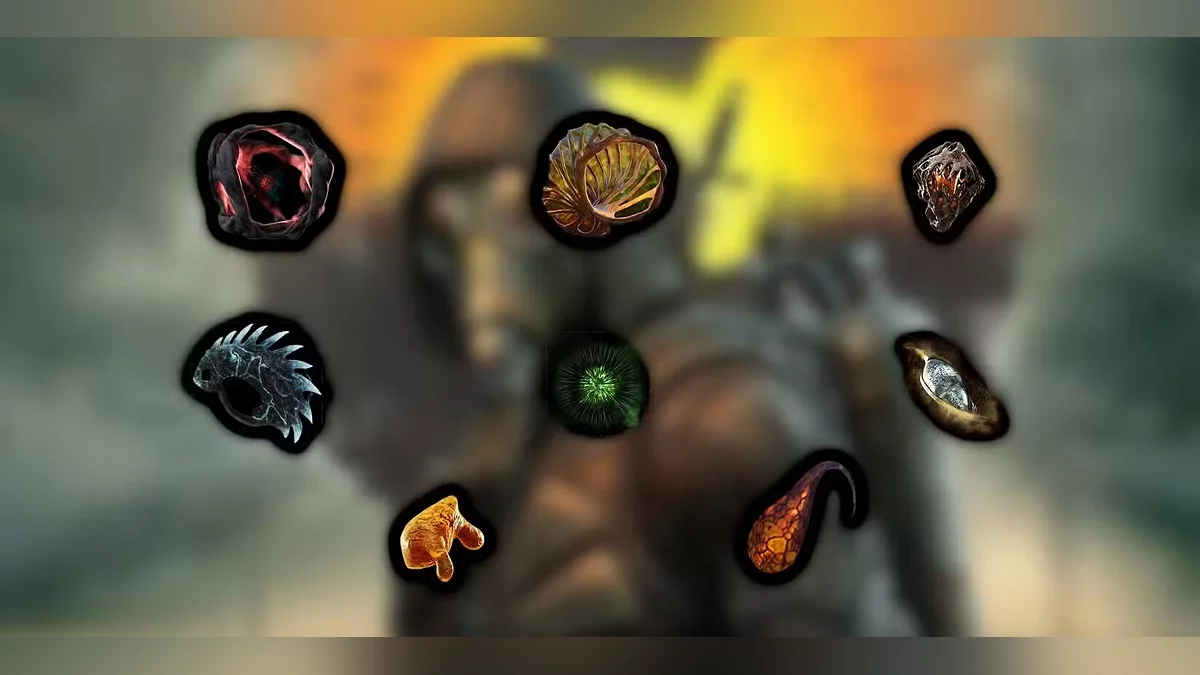
Artifacts enhance certain characteristics of your character when you equip them on armor. However, it is worth remembering that many of them can also impose negative effects. The secret to success is the ability to combine several artifacts simultaneously to maximize their unique properties.
How to find artifacts in Stalker 2
There are four main ways to obtain artifacts in the game:
- Exploring anomalies. Using a special scanning device, you can study the surroundings of anomalies and obtain artifacts corresponding to their type.
- Inspecting locations. Some artifacts may be hidden in unexpected places in story locations, so carefully explore every corner.
- Purchasing from traders. Some traders offer artifacts for sale, allowing you to choose from their selection.
- Mission rewards. In rare cases, completing a main or side quest may be rewarded with a new artifact.
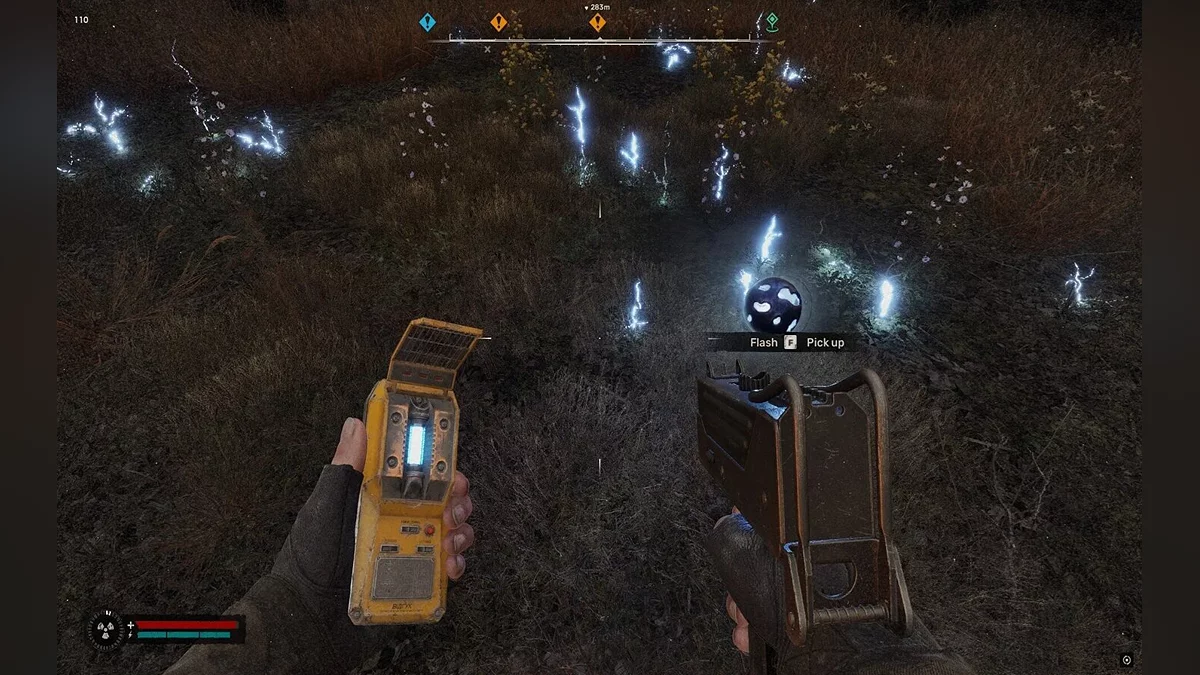
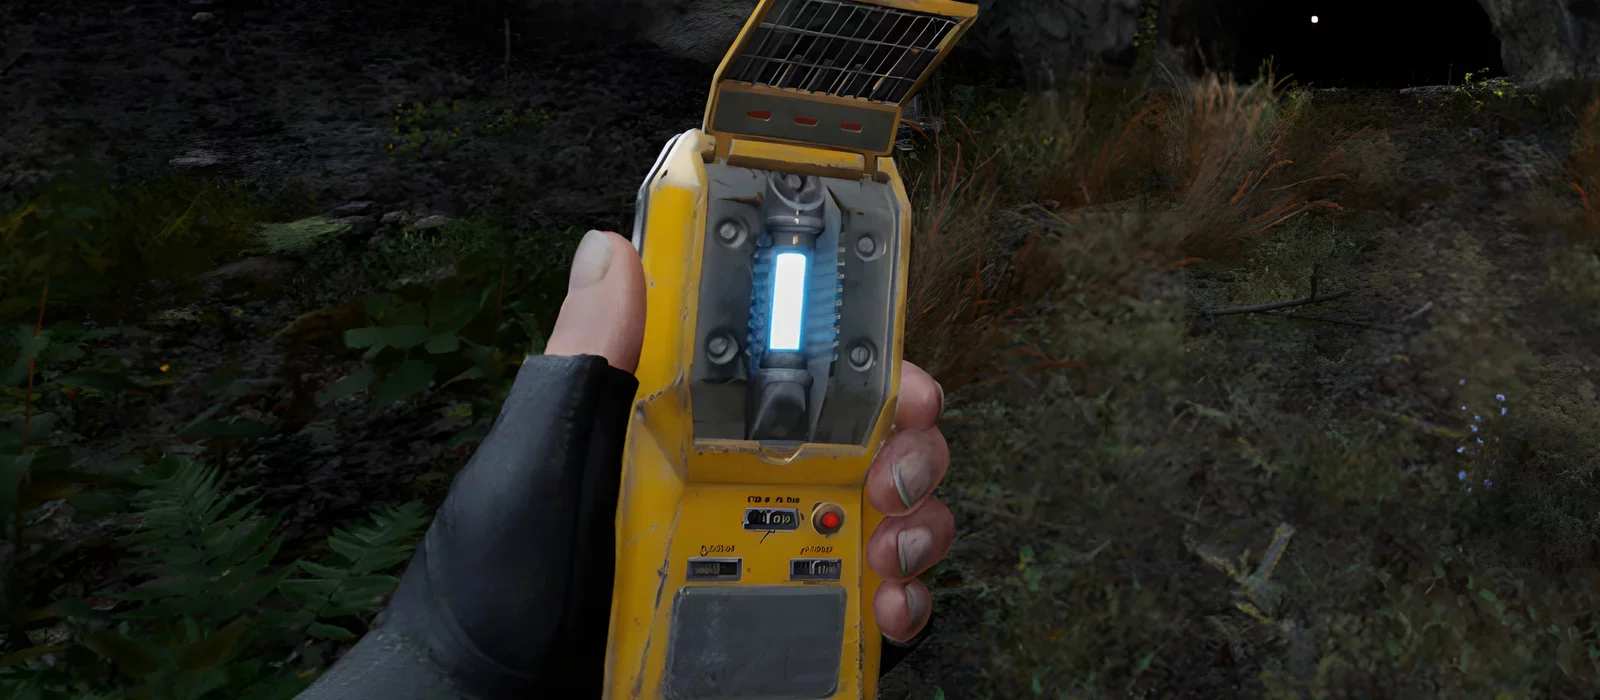
Using detectors is the most effective method compared to others. To detect anomalies, you need to hold a special device and monitor its audio signals. The closer you are to the target, the more intensely it reacts.
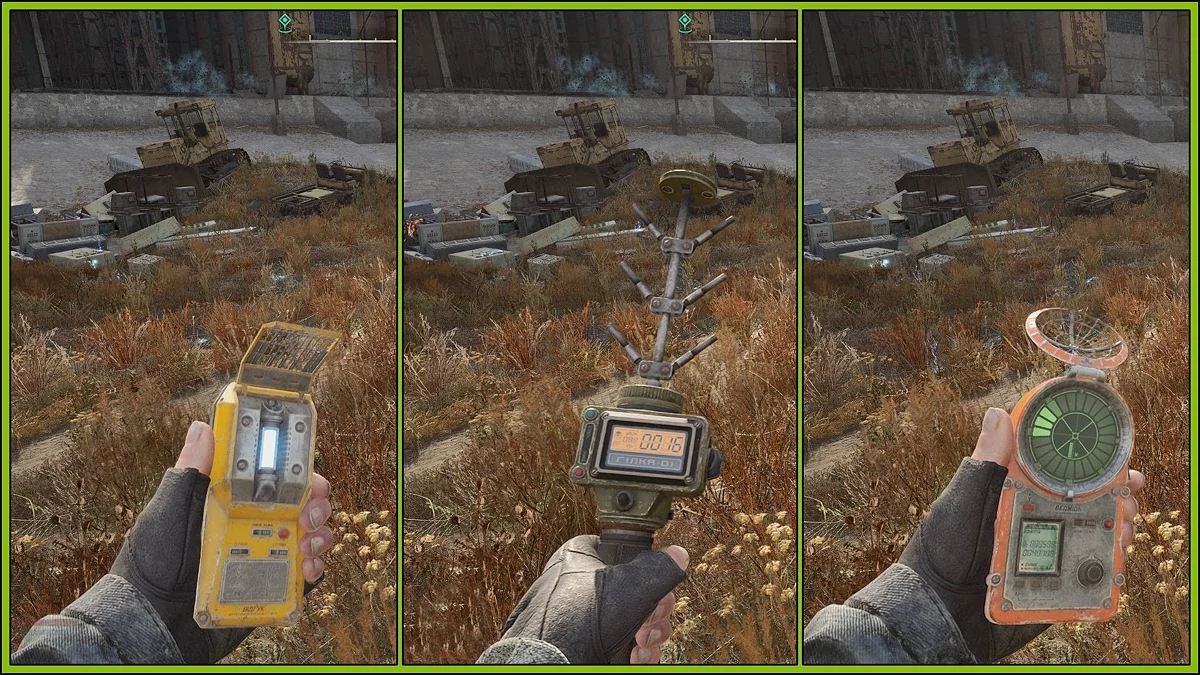
Anomaly activity detectors Otklyk and Medved have a search radius of 50 meters, while Gilka and Veles cover 100 meters. This is their main difference, as other characteristics mostly coincide.
You will receive Otklyk at the beginning of the game, while Gilka, Medved, and Veles can be obtained by completing additional missions: For Company (Budmo!) at the Garbage location, A Sign of Hope from Professor Lochki, and the story mission In Search of Lost Glory respectively.
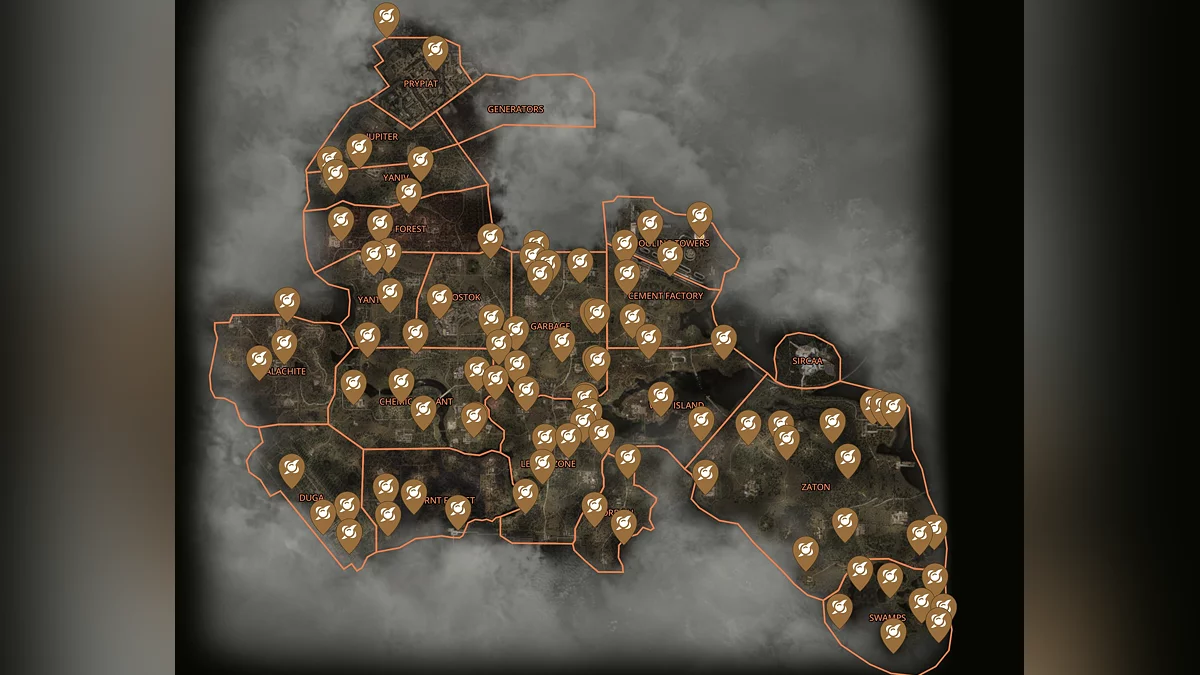
The game features the following types of anomalies: acid, electric, gravitational, and thermal. They are marked with a question mark on the in-game map. As you approach them, be cautious, as your character may take damage. More details on each of the anomalies can be read here.
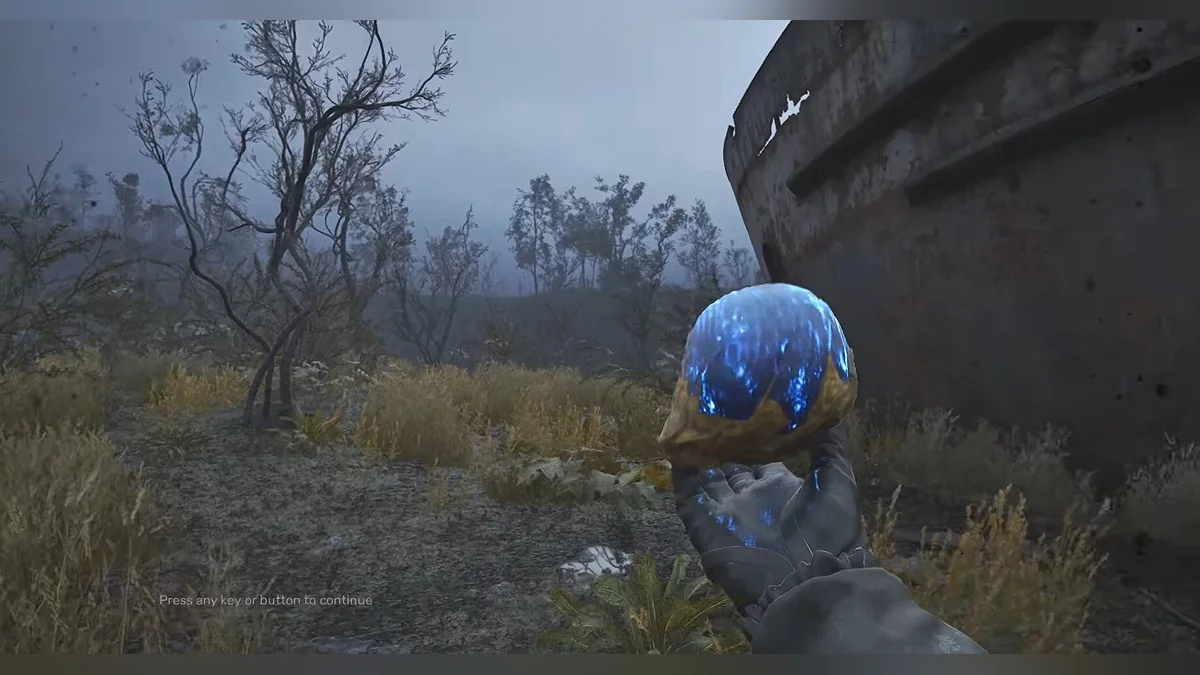
If the detector lights up blue, it means there is an item nearby. Simply approach it to collect the necessary artifact, which will appear right in front of you or nearby. You will receive one of the artifacts of the corresponding element and, after some time, you can return to try your luck again.
How to farm artifacts
Your only reliable companion in the search for anomalies where artifacts can be found is the detector we mentioned earlier. This is undoubtedly the priority and most effective method. However, it is worth noting that there are other methods that can also help in the search for valuable artifacts. Below, we will detail each of these methods and share the most useful tips.
Searching with a detector
At the beginning of the game, you are provided with a guide to exploring anomalies using the detector. However, for beginners, this moment may go unnoticed. The detector equipment is located in the main section of your gear (TAB). Once opened, press the Q key to take the device in hand.
While exploring the Zone, you will repeatedly encounter places where artifacts can be found. These locations are scattered throughout the game world, and there are more than 100 of them, meaning they can appear to you completely randomly. To save time searching, we recommend using the interactive map, which will help you immediately head to the nearest anomaly and not waste time on long searches.
There is no strict attachment to each of the anomalous sites in the game, meaning that in any anomalous zone, you can find different artifacts. We came to this conclusion by repeatedly exploring the same anomaly after saving the game. The only exception is legendary artifacts — their location is always the same, and they can only be obtained once.
Searching in safes
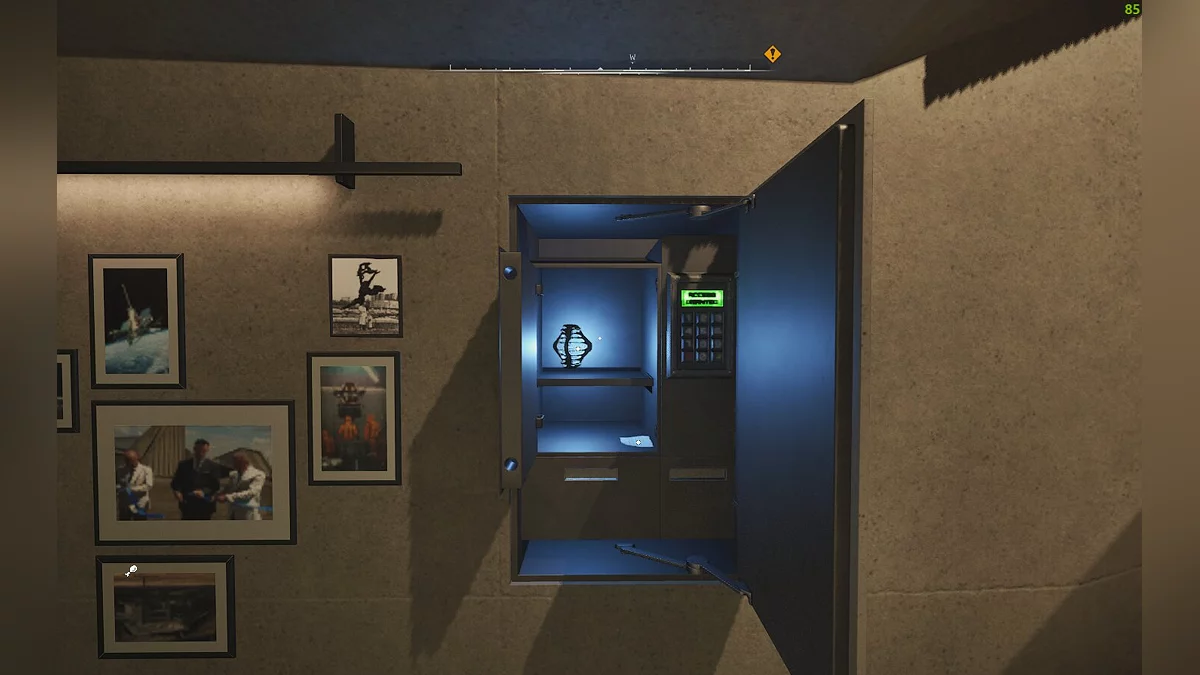
The game world covers more than 64 square kilometers, and during its exploration, you will repeatedly encounter locked safes hidden in various corners of the Zone. In some of these safes, especially the most inaccessible ones, you can find rare and valuable artifacts. One such example is Professor Dalin's safe, located in the NIIChAZ region, which contains the unique artifact — Mica.
Purchasing artifacts
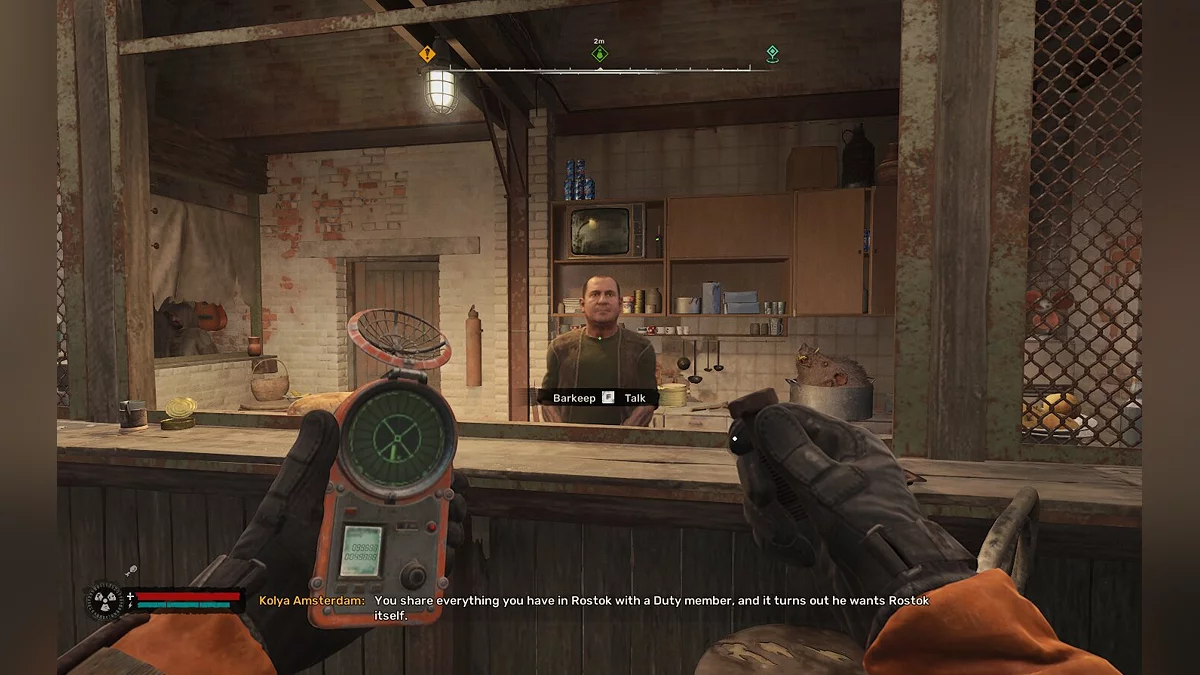
As in previous parts of the game, you will encounter traders in this world, but in this part, their number has significantly increased — a total of 27 traders. It is worth noting that if you wound or kill a non-hostile stalker in such locations, access to traders, technicians, and medics will be immediately closed. Therefore, it is recommended to adhere to a more neutral style of play so as not to lose the opportunity to trade with certain traders.
From time to time, any of these NPCs may have an artifact available. They usually sell artifacts from acid and electric-type anomalies. If you are in the early stages of the game and have no other options but to buy artifacts with coupons obtained from completing tasks, we recommend using this method.
Where it is more profitable to sell artifacts
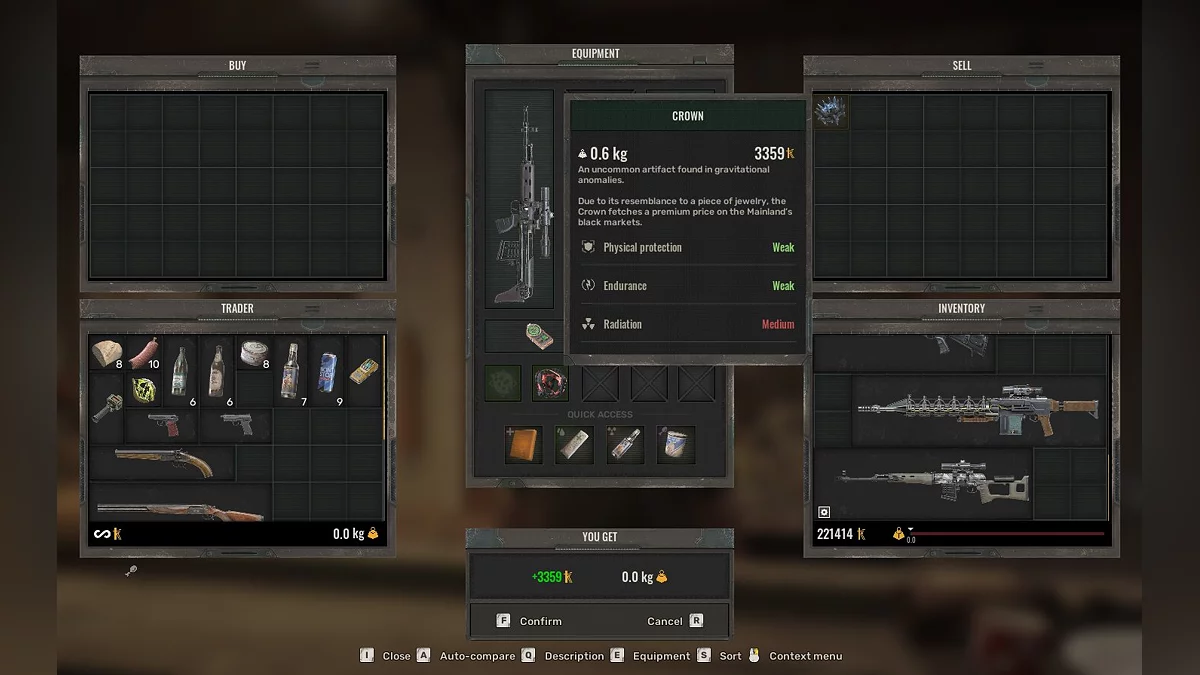
Sometimes it may happen that you receive a duplicate of the same artifact or use artifact search methods for profit. In such cases, it is important to consider that the price of artifacts listed in your inventory will differ significantly from the price offered by the trader, and it is usually much lower. This is worth keeping in mind if you are counting on a profit from the sale.
We strongly do not recommend selling artifacts to NPCs in bars. These traders can reduce the item's cost by more than 3 times, which significantly reduces your profit. At the same time, gunsmiths offer much more favorable conditions — they only reduce the price of artifacts by 2-2.5 times.
Best artifacts for farming
All anomaly zones are divided into five types: thermal, electric, acid, gravitational, and legendary. Most artifacts from thermal and gravitational anomalies are valued at 14,000 coupons, but their selling price will be significantly lower. The value of artifacts from acid and electric anomalies is even less: 6,000-9,000 coupons. The most prioritized among all artifacts are legendary ones, the quantity of which is limited, and their search justifies the price: 14,000-80,000 coupons.
Based on the above, it can be concluded that if you have not yet started farming legendary artifacts, of which there are only six, now is the time to start searching. These artifacts represent real value, and finding them can significantly increase your capital. If for some reason legendary artifacts are unavailable, a good alternative for earning will be thermal and gravitational artifacts, which also have a decent value.
Map and list of all artifacts in Stalker 2
Most of the items presented here are located in plain sight if not associated with an anomaly. During the passage of story or additional missions, you will need to slightly deviate from the route to find them. For example, look inside a nearby bus or examine the place where someone's detector is left.
Thermal Artifacts
- Beefsteak — slightly increases resistance to bleeding but exposes to minor radiation.
- Defect — prevents severe bleeding, increasing carry weight and radiation level.
- Whirligig — enhances resistance to bleeding while emitting a small amount of radiation.
- Hypercube — maximizes endurance at high temperatures and prevents bleeding, but causes significant radiation damage and has the rarest spawn chance.
- Eye/Drops — increases endurance at high temperatures but also emits radiation.
- Crystal — improves tolerance to high temperatures while subjecting to mild radiation exposure.
- Petal — enhances bleeding control, increasing radiation accumulation.
- Lyre — significantly prevents bleeding, adding carry weight and slightly increasing radiation level.
- Magma — improves tolerance to high temperatures, expands inventory size, and increases radiation background.
- Mama's Beads — slow down bleeding strength but increase radiation harm.
- Meat Lighter — significantly boosts endurance at high temperatures and radiation level.
- Fireball — provides slight protection from high temperatures while irradiating.
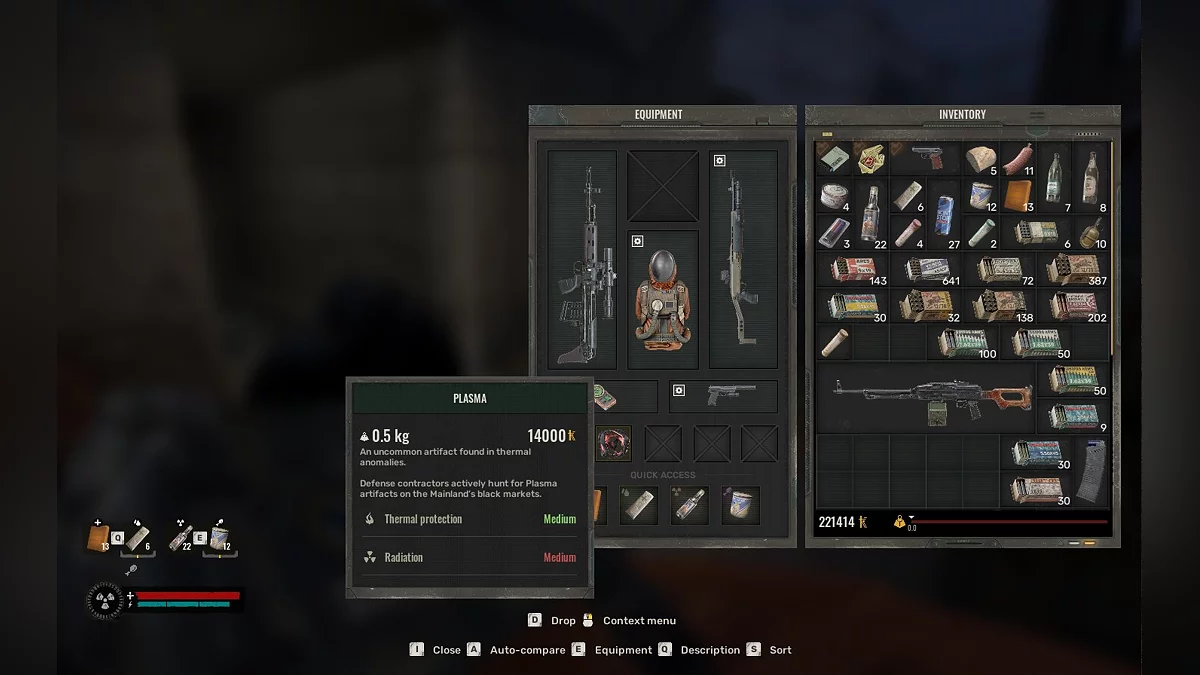
- Plasma — enhances resistance to high temperatures but emits radiation.
- Cavity — helps resist bleeding longer, expands inventory volume, and alters radiation level.
- Torch — increases endurance at high temperatures, boosts carry weight, but exposes to strong radiation.
Electric Artifacts
- Harp — slightly extends resistance to bleeding, slightly increases electric protection, and exposes to minor radiation.
- Battery — improves endurance but adds radiation level. Can be obtained by exchanging 3 anti-rads with the trader on Wild Island or purchased at the NCT Malachite camp.
- Bengal Fire — increases energy protection but also emits radiation.
- Glare — significantly boosts energy protection and radiation level.
- Flash — adds energy protection and increases radiation amount.
- Crest — enhances endurance but also raises radiation level.
- Storm Berry — maximizes endurance and increases radiation emission, being one of the rarest items.
- Soul — adds endurance but also affects radiation level.
- Rat King — slightly improves resistance to bleeding, slightly increases electric protection, and adds a negative radiation effect. Can be obtained for completing a short mission in the electric field of the Dump location.
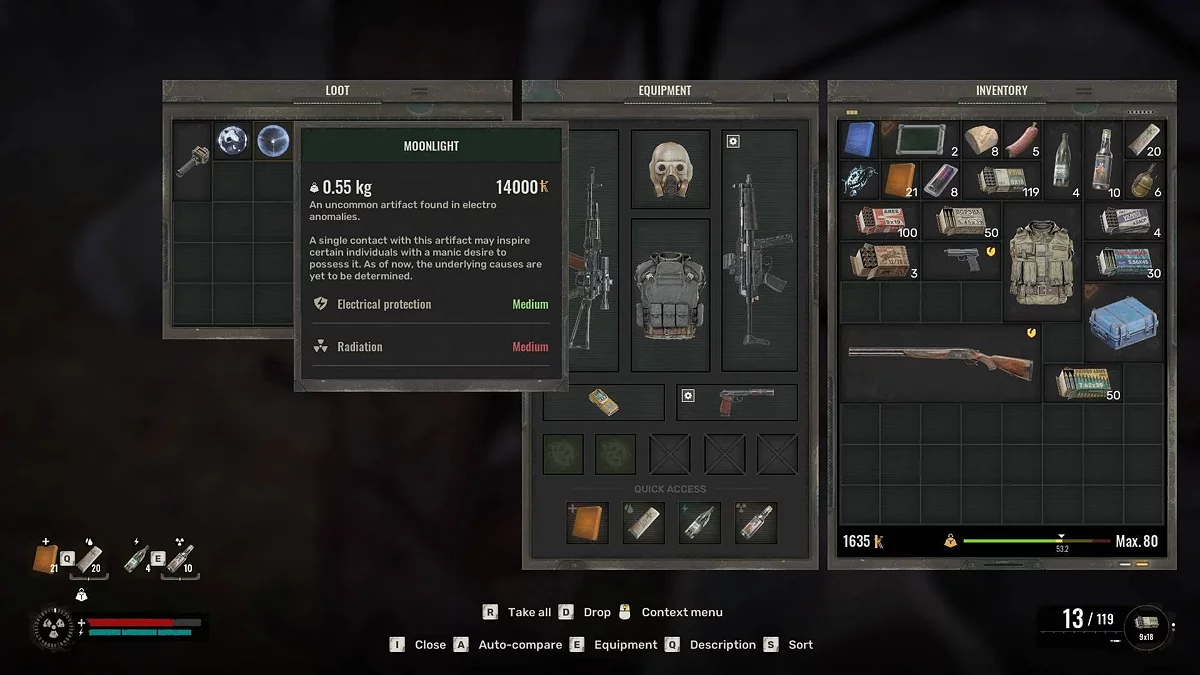
- Moonlight — improves energy protection but reduces radiation resistance.
- Starfish — makes bleeding control more effective, increases endurance, but reduces radiation resistance.
- Dummy — slightly boosts endurance, enhancing the radiation effect. Can be obtained by exchanging 3 anti-rads with the trader on Wild Island.
- Sapphire — extends the effect of bleeding resistance, improves endurance, and exposes to minor radiation.
- Snowflake — increases endurance while irradiating your character.
- Labor Lesson — slows the onset of bleeding effect, slightly increases endurance, and emits radiation.
- Lantern — enhances energy protection and affects radiation level.
- Chocolate — slightly strengthens energy protection but is accompanied by weak radiation emission.
Acid Artifacts
- Liquid Stone — maximizes radiation protection and has the rarest spawn chance in the anomaly.
- Tourist's Breakfast — improves chemical protection but irradiates the character.
- Infusoria — strengthens chemical protection while exposing to radiation.
- Kolobok — enhances chemical protection but simplifies radiation penetration.
- Thorn — slightly increases radiation protection, can be purchased from the Barman in Rostok.
- Crystal Thorn — slightly improves radiation protection characteristics.
- Meat Slice — boosts chemical protection at the cost of rare character irradiation, drops from Wild Island enemies.
- Sea Urchin — increases radiation protection value.
- Film — adds chemical protection but negatively affects radiation level.
- Mold — slightly raises chemical protection, accompanied by mild irradiation.
- Bouncy — significantly increases radiation protection.
- Bubble — strengthens radiation protection.
- Horn — aids in improving radiation protection, slightly irradiating the character.
- Shell — enhances chemical protection but is subject to irradiation. Can be purchased from the Barman in Rostok.
- Slug — slightly increases radiation protection value.
- Slime — boosts radiation protection.
- Mica — enhances radiation protection.
- Devil's Mushroom — significantly improves chemical protection but exposes to radiation.
Gravitational Artifacts
- Broken Stone — increases physical protection and accelerates the radiation infection indicator.
- Bud — enhances endurance, boosts physical protection, and affects the radiation background.
- Whirlwind — upgrades endurance, adding physical protection and irradiating.
- Twist — improves physical protection at the expense of radiation exposure.
- Pebble — helps in enhancing endurance, slightly strengthens physical protection, and negatively affects radiation level.
- Gravi — expands inventory size, adding active irradiation.
- Goldfish — slightly increases carry weight and exposes to weak radiation influence.
- Stone Heart — affects carry weight and the amount of emitted radiation.
- Rosin — enhances endurance, worsening the radiation background.
- Blood Stone — boosts carry weight and adds to character irradiation.
- Compass — maximally strengthens physical protection and causes irradiation, having the rarest drop chance from anomalies.
- Crown — slightly raises endurance, slightly increases physical protection and irradiates. Can be found on the island south of the swamp camp.
- Rubik's Cube — improves physical protection and reduces radiation protection.
- Medusa — upgrades physical protection, changing irradiation values.
- Flytrap — adds carry weight at the expense of radiation.
- Night Star — improves inventory size, sacrificing stable radiation background.
- Spring — adds carry weight and exposes to irradiation.
How to Find Legendary Artifacts in Stalker 2
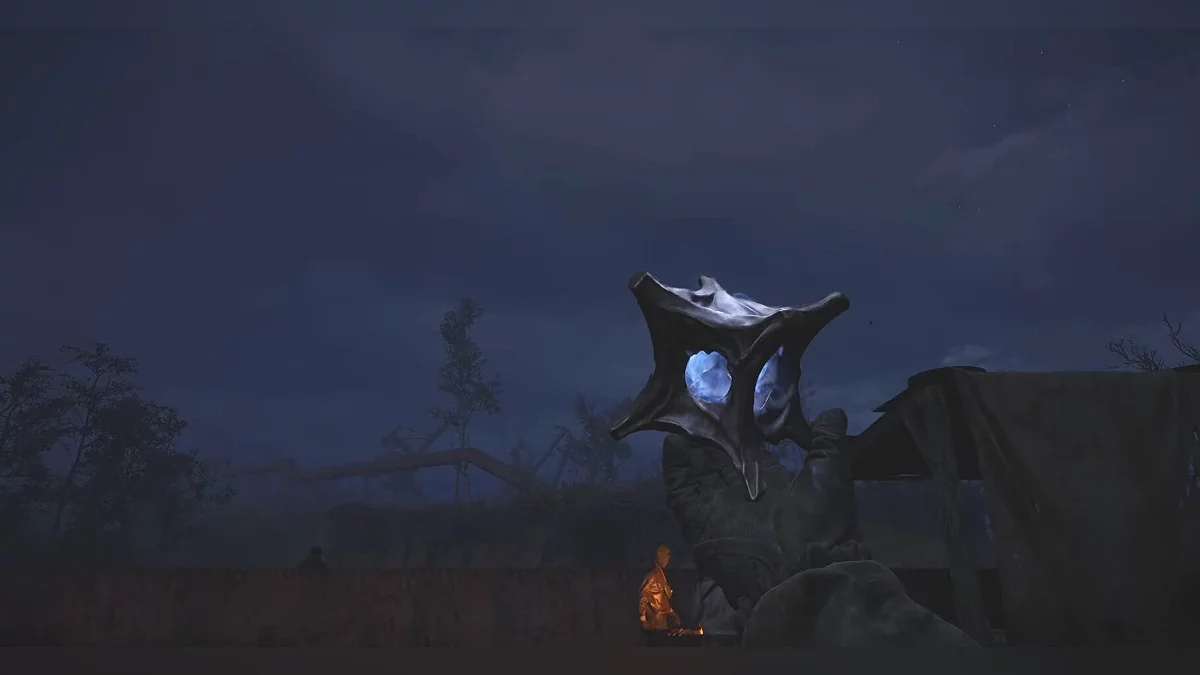
The game features six unique artifacts, each appearing in a special location and granting Skif unique abilities. We have created a selection of detailed guides where you will find a detailed description of each artifact and step-by-step instructions on how to find them.
Other guides
- Guide to All Stash Locations in Stalker 2: Complete Map and Tips
- Stalker 2 Guide: Should You Kill Kvashka
- The Key to Freedom: Stalker 2 Quest Walkthrough
- Stalker 2 Interactive Map: Key Places and Locations
- Guide to All Weapons in Stalker 2: Best, Unique, and Ones Not Worth Upgrading
- Stalker 2 Guide: Kill Nimble or Spare
- Stalker 2 Guide: Help the Wanderer or Side with the Varta Faction
- Ultimate Guide to All Door and Safe Codes in Stalker 2
- How to fix the bug in the On the Edge quest in Stalker 2
- Shock Therapy: Stalker 2 Quest Walkthrough
-
Stalker 2 Guide: Kill Nimble or Spare
-
Guide to All Weapons in Stalker 2: Best, Unique, and Ones Not Worth Upgrading
-
Shock Therapy: Stalker 2 Quest Walkthrough
-
The Key to Freedom: Stalker 2 Quest Walkthrough
-
Stalker 2 Guide: Help the Wanderer or Side with the Varta Faction
-
Stalker 2 Interactive Map: Key Places and Locations
-
S.T.A.L.K.E.R. 2: Heart of Chornobyl Walkthrough Guide — Survive, Hunt Artifacts, and Complete Missions
-
How to Repair, Upgrade, and Install Modules on Weapons in Stalker 2
-
Dangerous Visitors: Stalker 2 Quest Walkthrough
-
Warlocks Deptor: Stalker 2 Quest Walkthrough
-
A Tough Awakening: Stalker 2 Quest Walkthrough
-
Unknown quest near the Poppy Field: Stalker 2 Walkthrough
-
Budmo: Stalker 2 Quest Walkthrough
-
Unknown Quest at the Junkyard: Stalker 2 Quest Walkthrough
-
Unknown Quest at the Deaf Meadow: Stalker 2 Quest Walkthrough
-
A Sign of Hope: Stalker 2 Quest Walkthrough
-
Stalker 2 Guide: Where to Find All Journalist's Stashes
-
Deal with the Devil: Stalker 2 Quest Walkthrough
-
Bullseye: Stalker 2 Quest Walkthrough
-
All Business With Owl: Stalker 2 Quest Walkthrough
