The Gauntlet of Shar in Baldur's Gate 3: How to Complete the Trials of Soft Step, Repetition, Leap of Faith, and Obtain the Dark Gems
The Gauntlet of Shar location in Baldur's Gate 3 is filled with various puzzles and trials that players will need to complete to progress further in the story. In addition, you will also encounter numerous enemies here. In this guide, we will tell you how to complete all the Trials of Shar, deal with Yurgir, and find the four dark gems.
Baldur's Gate 3 Guides
- How to Find the Annals of Karsus and Solve the Puzzle of the Sorcerous Sundries Cellar Doors in Baldur's Gate 3 — Guide
- The Enclave Library in Baldur's Gate 3: How to Open the Stone Door and Where to Find the Wolf Rune
- How to Save the Myconid in Baldur's Gate 3 and Receive the Goodshroom
- Where to Find and How to Repair the Moon Lantern in Baldur's Gate 3
- How to Solve the Murders at the Open Hand Monastery in Baldur's Gate 3
- How to Save and Get the Owlbear Cub in Baldur's Gate 3
- How to Open the Gilded Chest in the Owlbear Cave in Baldur's Gate 3 — Guide
- The Road to the Moon Towers in Baldur's Gate 3: How to Get There and Solve the Moon Discs Puzzle
- Co-op in Baldur's Gate 3: How to Play Online with a Friend
- How to Solve the Night Puzzle in Baldur's Gate 3
- How to Save the Gnome Wulbren and the Tieflings in Baldur's Gate 3
- How to Solve the Puzzle in the Audit Chamber's Vault in Baldur's Gate 3
- How to Find All Companion Characters in Baldur's Gate 3
- Where to find hellish ore for Karlach in the quest «The Hellion's Heart» in Baldur's Gate 3
- Guide to the Adamantine Forge in Baldur's Gate 3
- How to Have a Romance With Every Companion in Baldur's Gate 3
- The Gauntlet of Shar in Baldur's Gate 3: How to Complete the Trials of Soft Step, Repetition, Leap of Faith, and Obtain the Dark Gems
- All Endings of Baldur's Gate 3 — How to Get Good, Bad, and the Secret Endings
- Glut and Spaw in Baldur's Gate 3: How to Defeat the Invading Duergar and Avenge Glut's Circle
How to Start the Quest Find the Relic of Ketheric Thorm
First, you will have to reach the second act of the story and go through Underdark — Grimeforge. Along the way, you will meet various characters and complete side quests. Mainly, you need to get to the Moon Towers.
Since Baldur's Gate 3 offers a good variety of paths, each player may reach the towers differently, but the journey onwards will be more or less the same for everyone.
As soon as you meet the locals and talk to Adept Zarel, you will receive a new task Find the Relic of Ketheric Thorm.
How to Access the Challenge of Shar Location
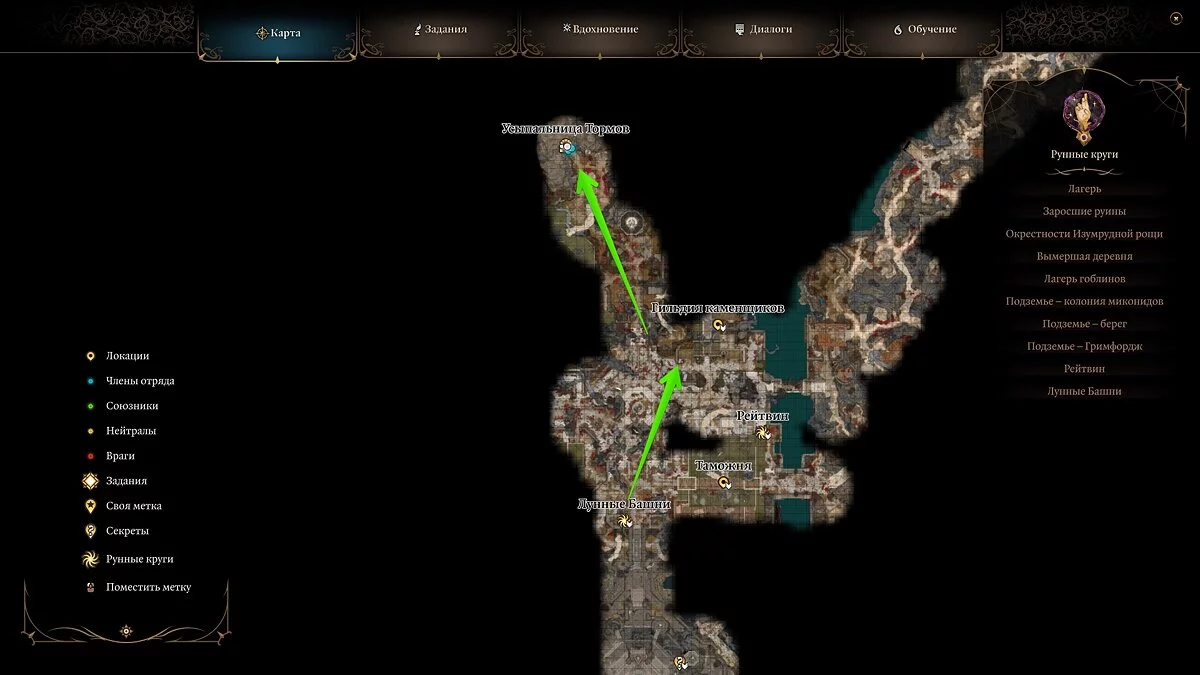
A marker will appear on the map, which you need to follow. Once you reach the entrance to the cave, enter it. We advise not to rush and complete all additional quests and other matters on the map, as after solving all the puzzles and completing the trials, you will find yourself in The Prison of the Night Song, from which you can only escape after completing the main quest.
For instance, you must visit the Last Light tavern to save Isobel, free the gnome Vulbren and the Tieflings, and optionally awaken Arta Culah. Here, you can also infiltrate the Sharite Sanctuary and solve a small puzzle. In any case, there is plenty of main and secondary content in the second act.
Upon reaching the marker at the top of the map for the quest Find the Relic of Ketheric Thorm, you will meet Raphael. Talk to him and enter to activate the runestone.
Tip: It is recommended to bring along several sets of trap disarming tools. They will come in handy for opening locked doors, which there will be quite a few of here.
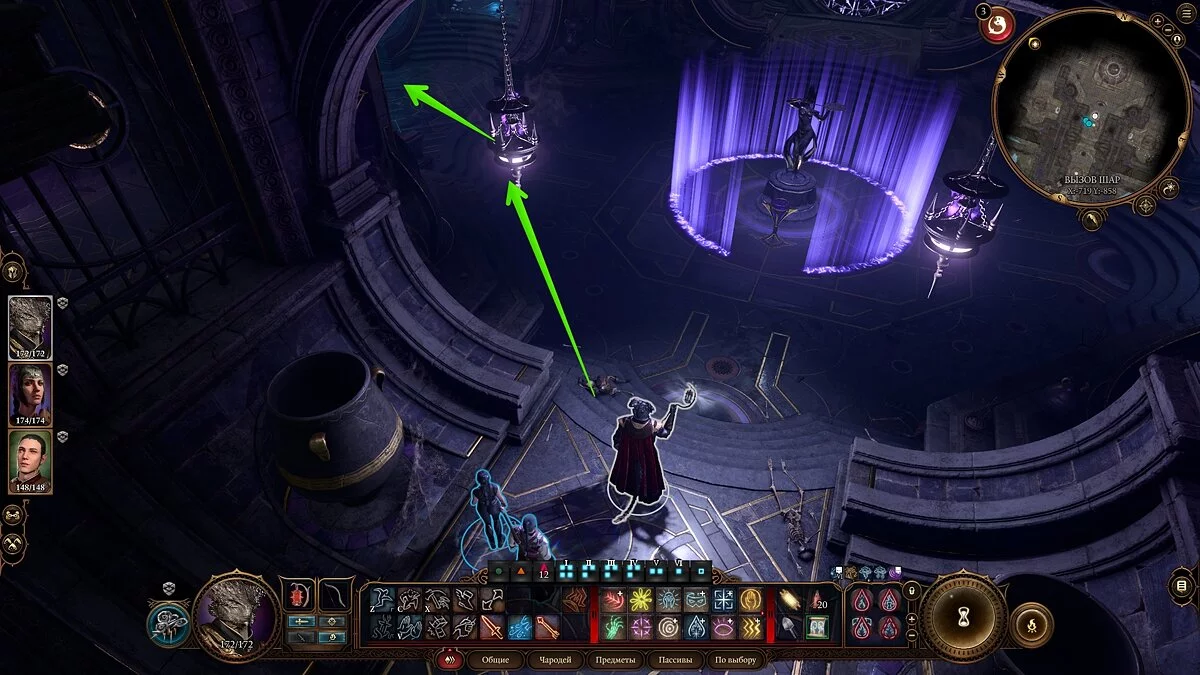
You will find yourself in a crypt where you can find several volumes of Ketheric Thorm's diary and a map of the temple. In the large hall, disarm the traps on the floor if you don't want your party to perish quickly. Then press three buttons in a specific sequence:
- Under the painting of the tower to the left of the entrance.
- Under the painting of the throne to the right of the entrance.
- Under the central painting on the opposite side of the room.
Sit on the platform and use the teleportation gem to arrive at a new location. But the journey doesn't end here — you need to reach Balthazar.
Note: For the next quest and all the trials, it is highly recommended to have Shadowheart in your party.
How to Find Balthazar
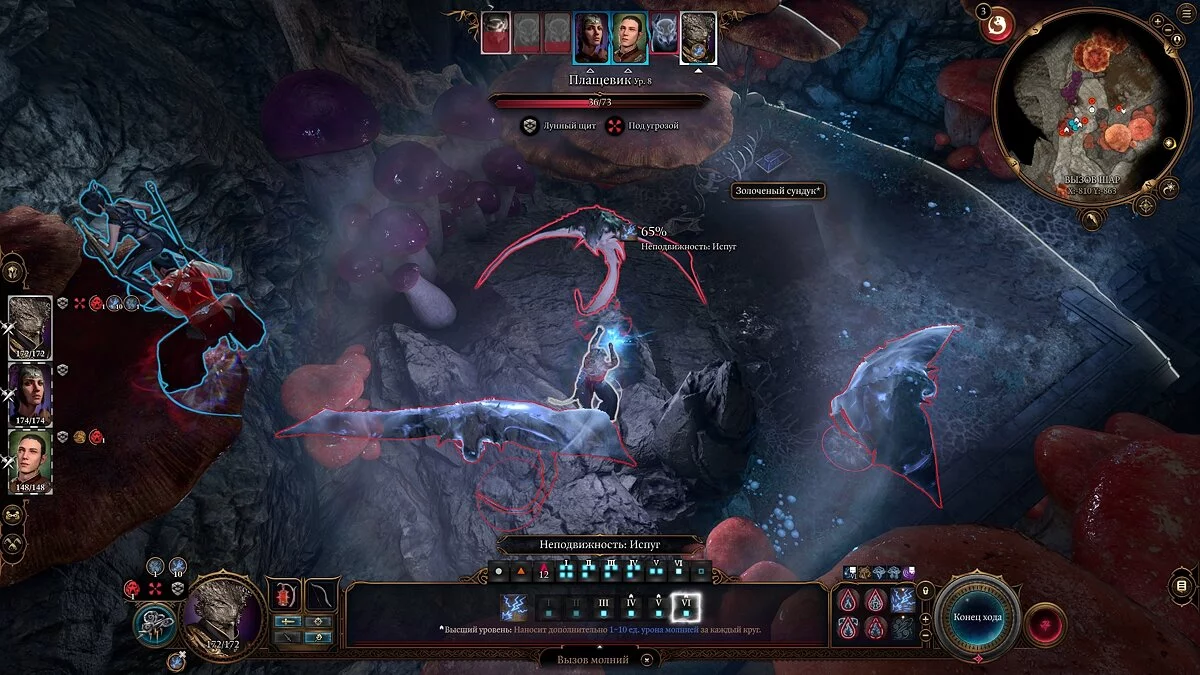
Run down the road ahead and open the round stone door. Do not approach the statue, as you will be attacked. Carefully walk on the left side and pick the heavy door. It's worth noting that it is resistant to almost all elements, so you will need to use a set of lockpicks. Save beforehand, so in case of failure, you can try again and preserve your tools. However, if you have a sorcerer in your party with lightning damage spells, such as Call Lightning, you can easily break it.
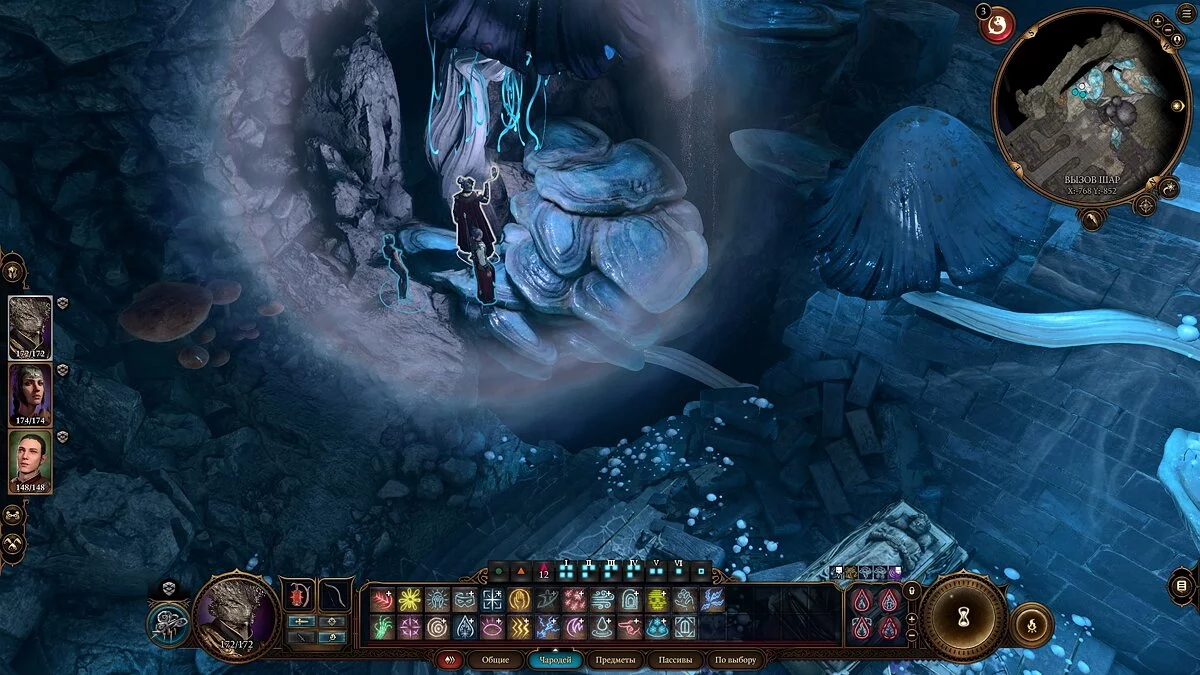
Climb the stairs up and to the left of the sarcophagus find a passage through large mushrooms. Use jump to reach a spacious cavern with a cloak wearer, who will summon several phantasms.
Ignore the monsters it creates and attack the cloak wearer directly. This way, you will save time, as after its death, the phantoms will be destroyed.
Descend to the oak doors and again choose how to open them — using a sapper's kit or a spell. To the right of the door, there is a Shar altar. If you successfully pass the Religion check, you will receive the Grace of the Night Singer bonus, which will be useful in subsequent battles. The buff lasts until the first long rest.
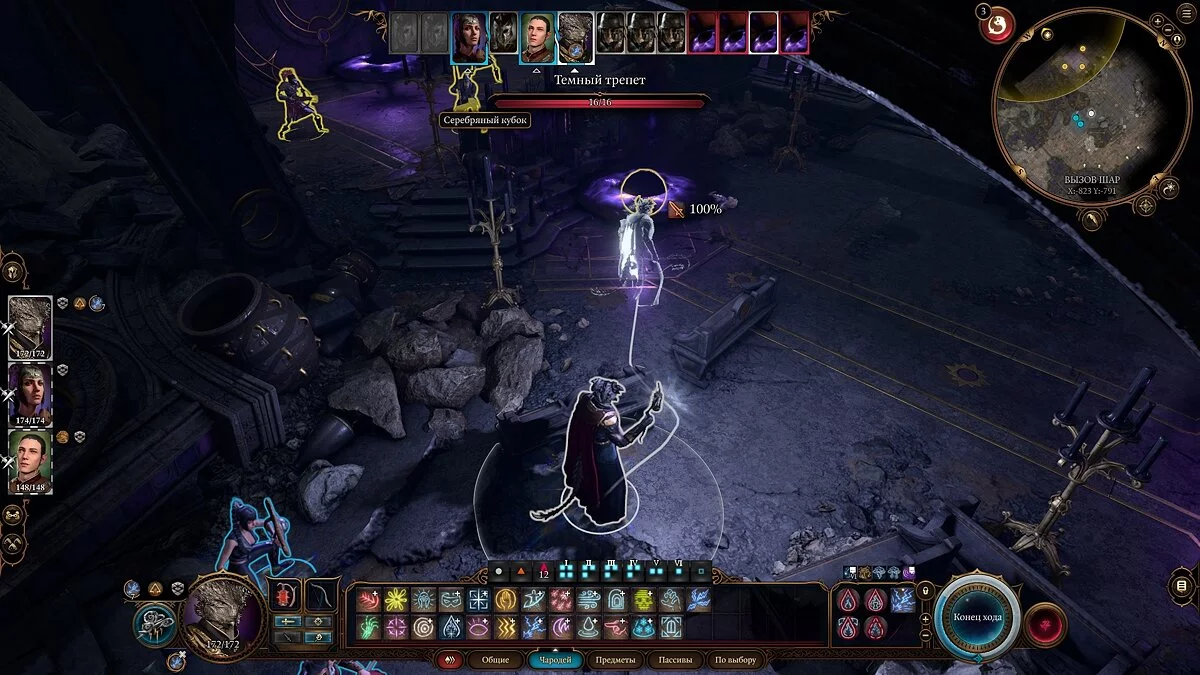
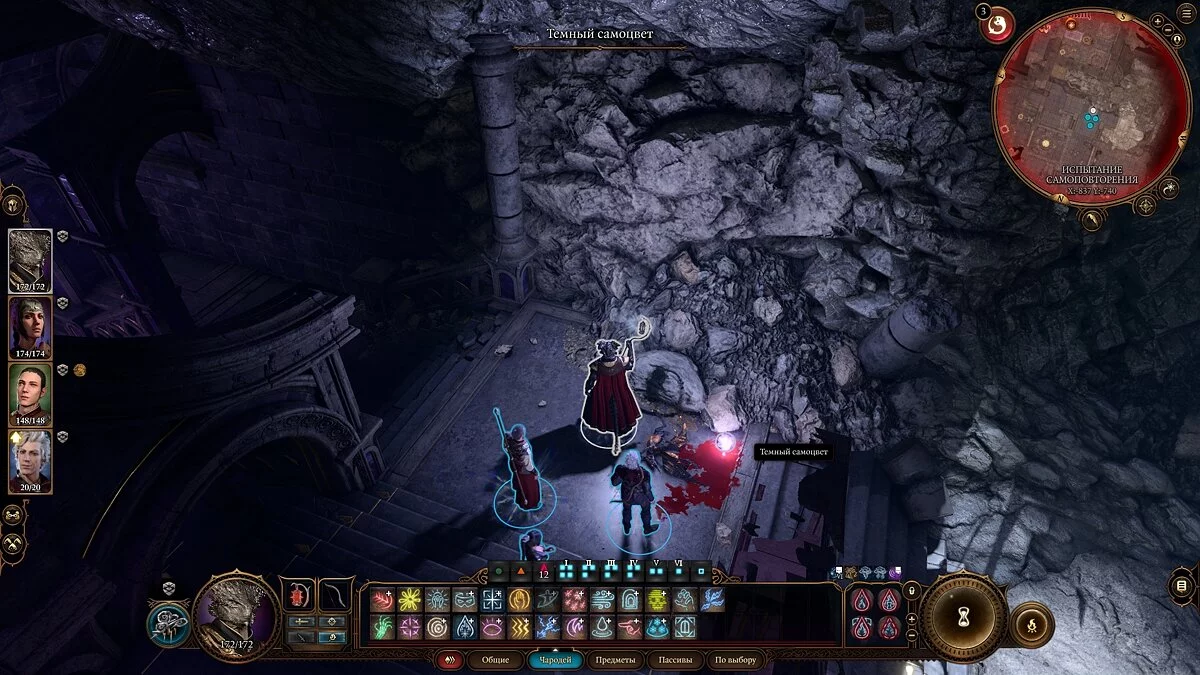
Behind the next double door, skeleton duelists will be waiting. After a brief scene, a justiciar and several dark orbs will appear — eliminate them.
Right after the battle, the stone door will open, and you will be able to meet Balthazar. How you deal with him is up to you. If you leave him alive, pass a Persuasion check to receive a golem summoning bell — it will help in tough battles. Either way, the quest will update. Now you will need to explore the Call of Shar location and pass several trials, as well as deal with Yurgir.
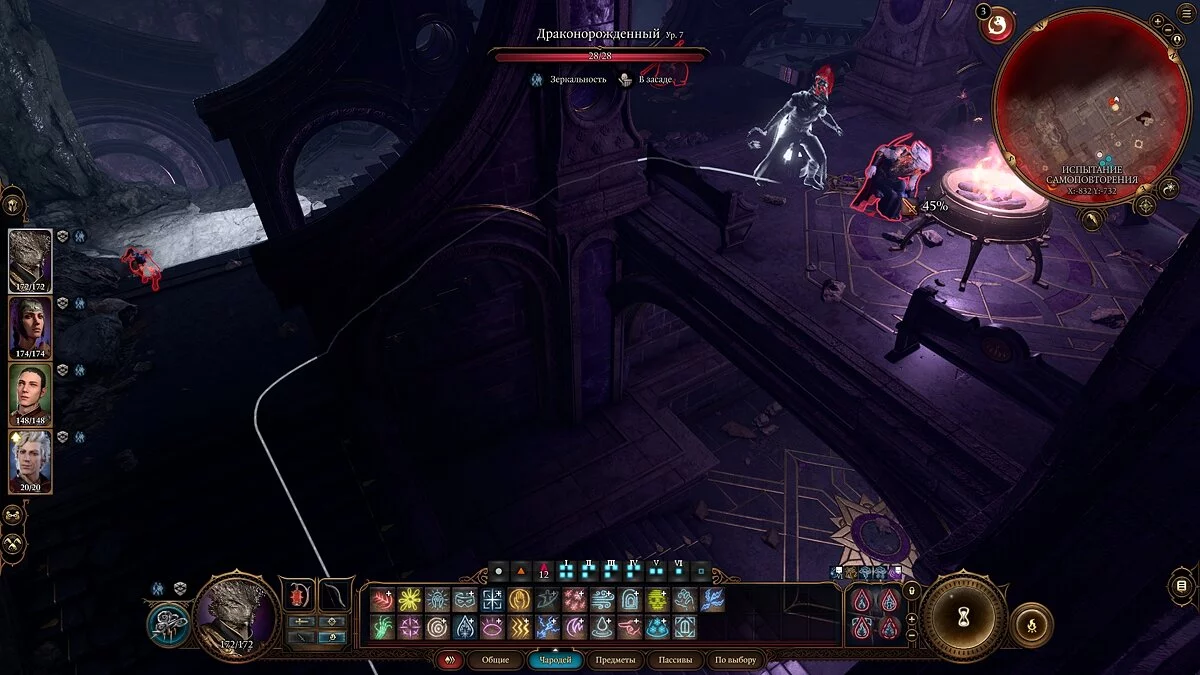
How to Find Yurgir — The First Gem
Finding the monster's location is not difficult. Simply open the task journal and select the quest Settle the score with Rafael's old enemy. By this point, it will already be active.
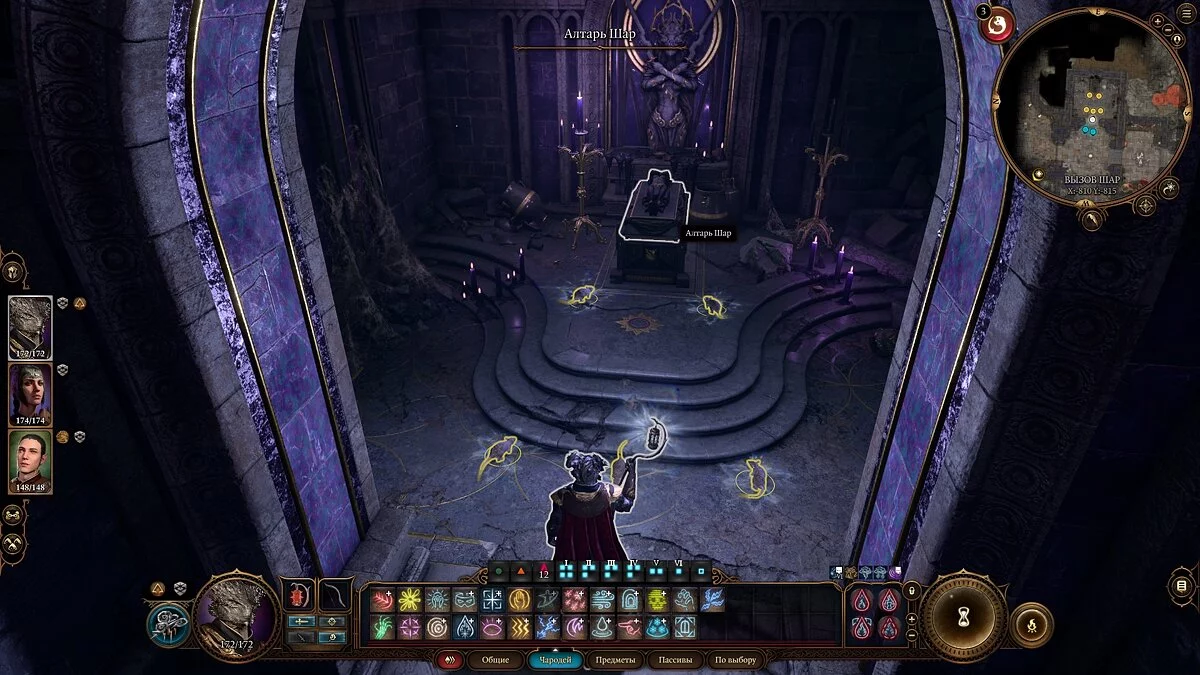
From Balthazar's refuge, go down the stairs and activate the runic circle. Pass by the altar with one sphere and find the elusive beast. It will lead you to Yurgir.
The dark gem will be lying in the room where the character is located. However, picking it up without a fight is impossible. There are several effective ways to do this — we talked about all of them in this material.
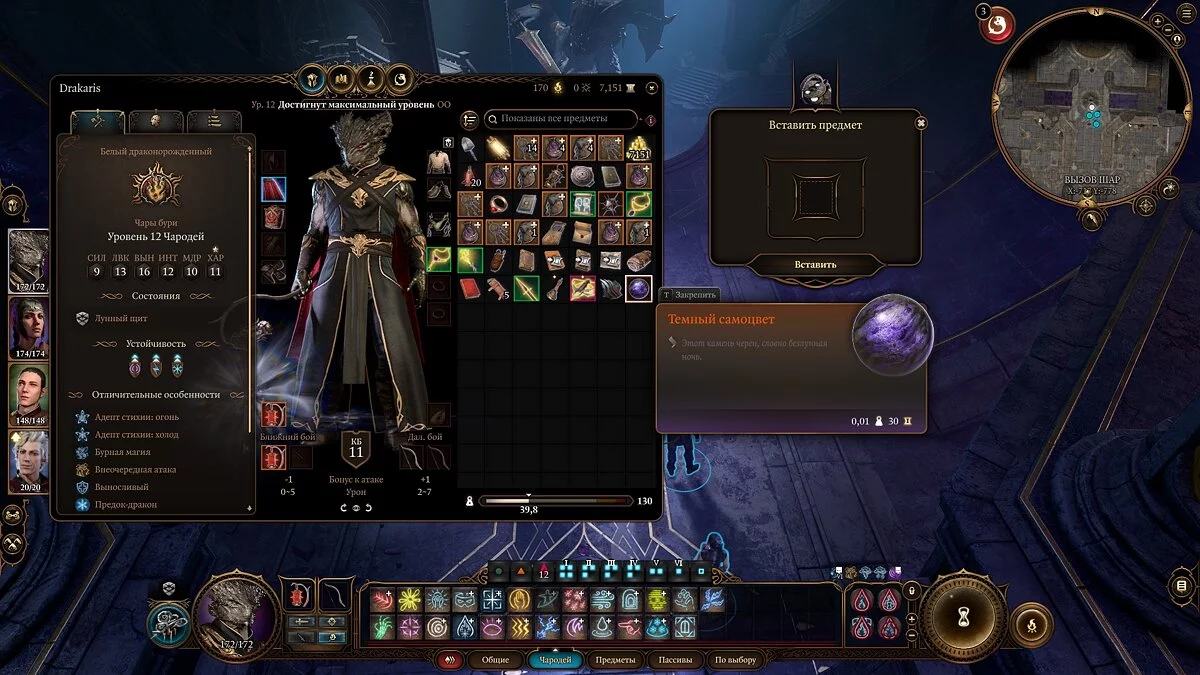
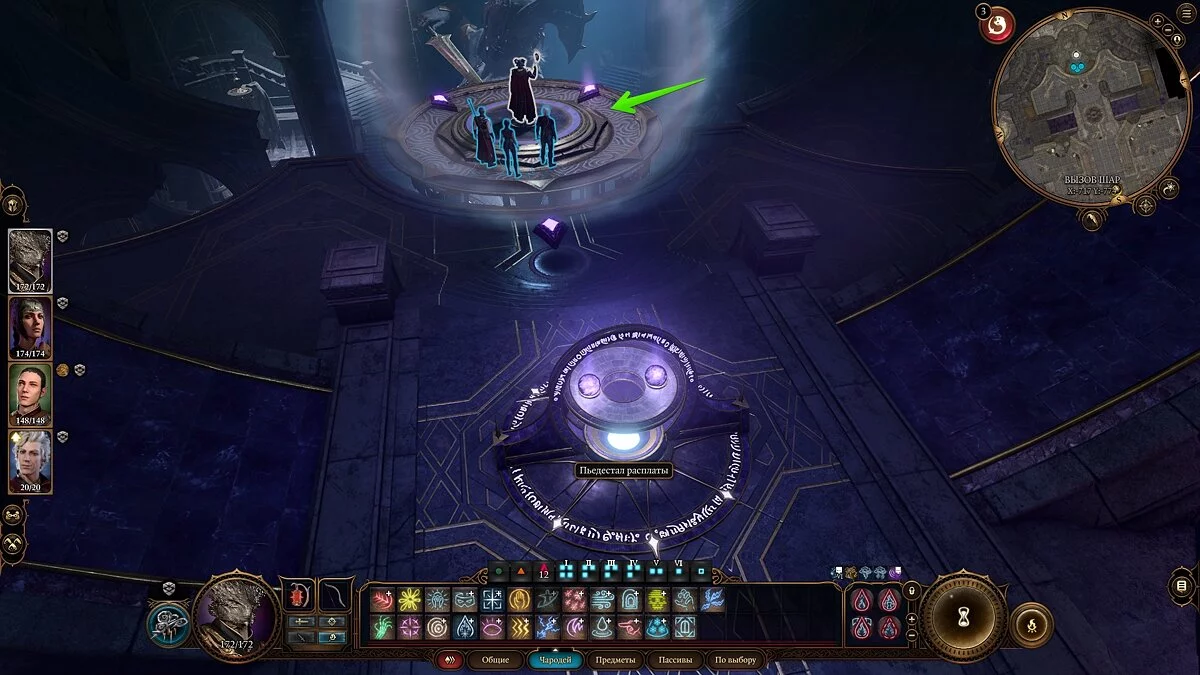
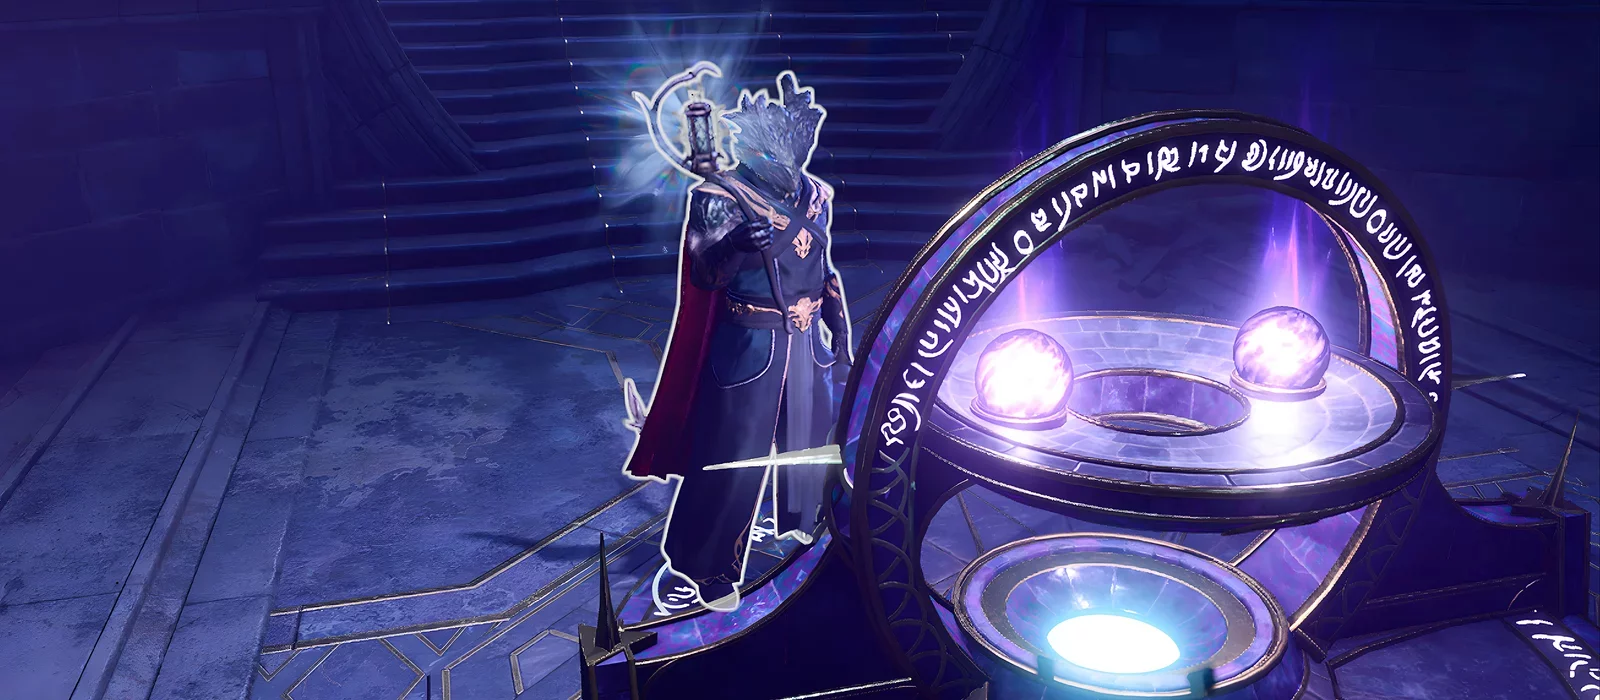
Help Yurgir or deal with him to get the sphere. When you're ready, return to the central part of the location and place the gem in the pedestal of atonement.
This will activate the elevator, but it's too early to go down. You will need to complete three trials of Shar, which Shadowheart will tell you about.
How to Find the Spear of Night in the Library
Inserting the first sphere into the pedestal, Shadowheart will remind you of the Spear of Night, which you must take with you after completing all the trials. It doesn't matter if you do it before all the trials or after, the main thing is to do it, as the companion will refuse to follow you into the Prison of the Night Song.
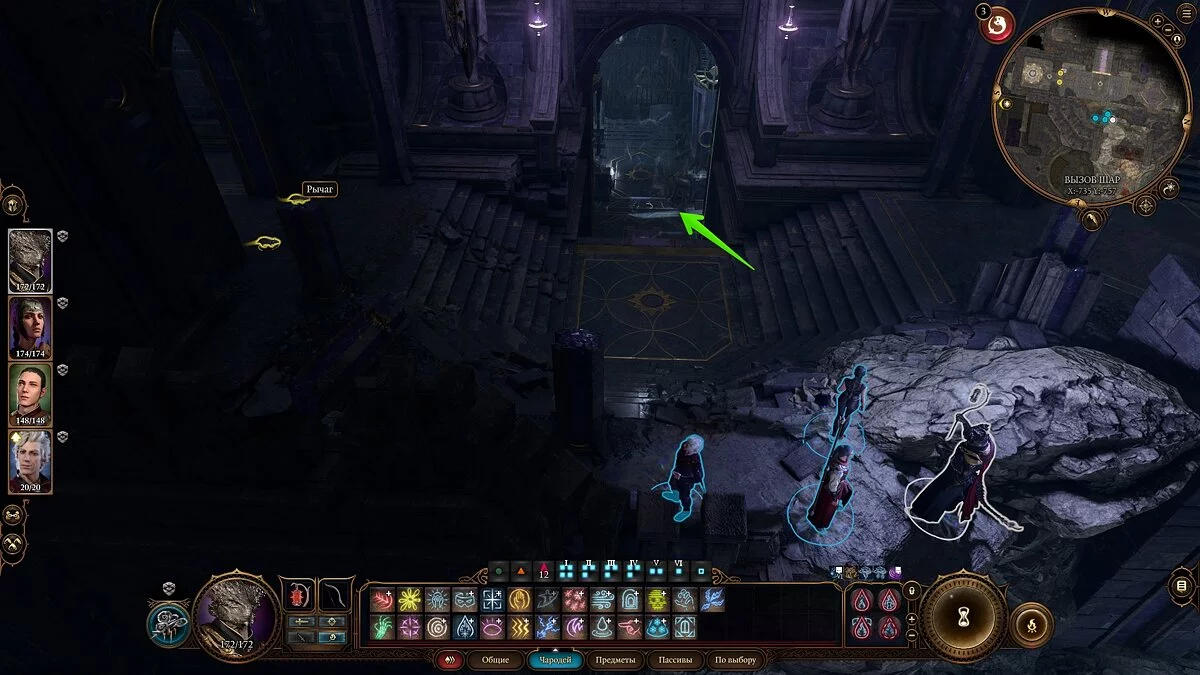
Where to find the spear, we also talked about in a separate guide, but there's nothing complicated. Teleport to the Call of Shar runestone and find the elevator to the right. If you've already found the handle for it, just insert it at the base of the lever and call it. The handle, by the way, is located on the lower level — so you will have to find another way in any case.
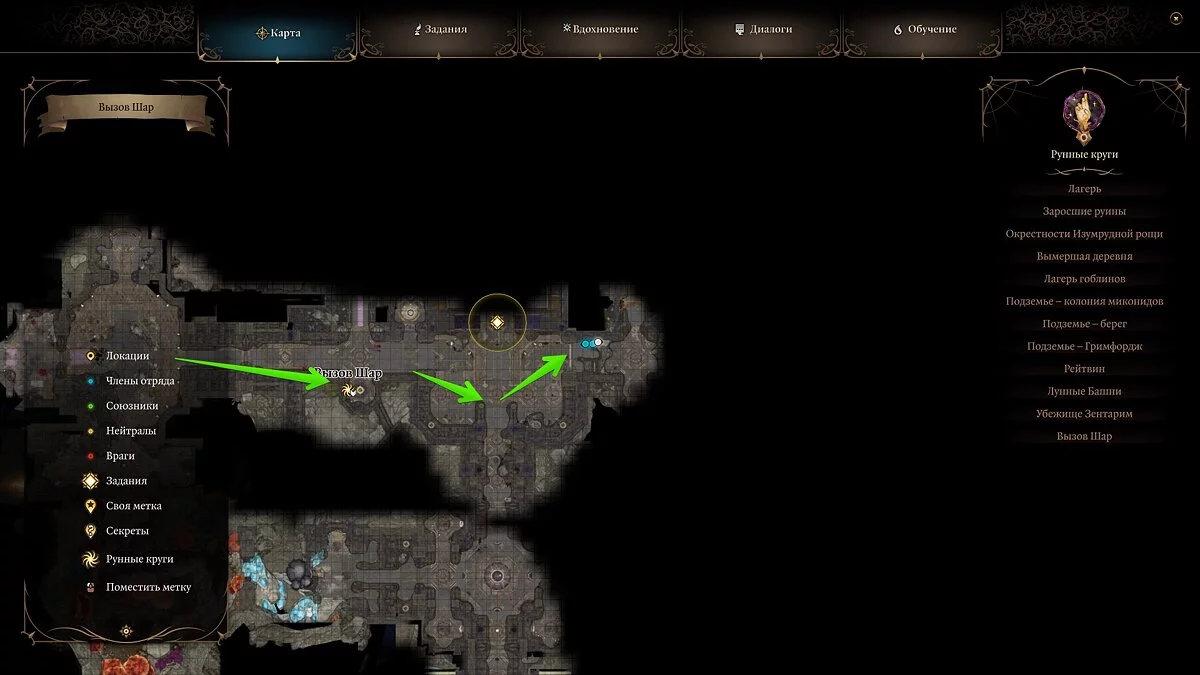
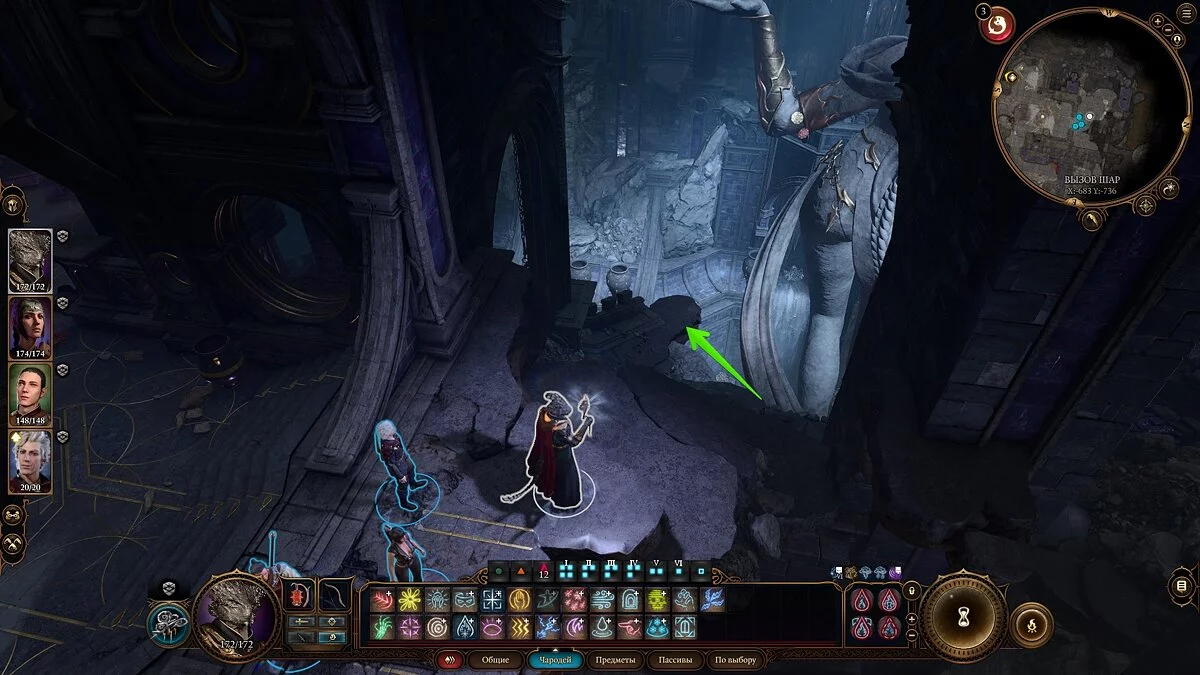
For this, you need to return to the wing where Yurgir resides and descend through the ruins to the central part of the location.
Use the rocky cliffs to move to the opposite wing and find the entrance to the Library. To return, simply use the elevator that got stuck below.
How to Dispense with Silence in the Library
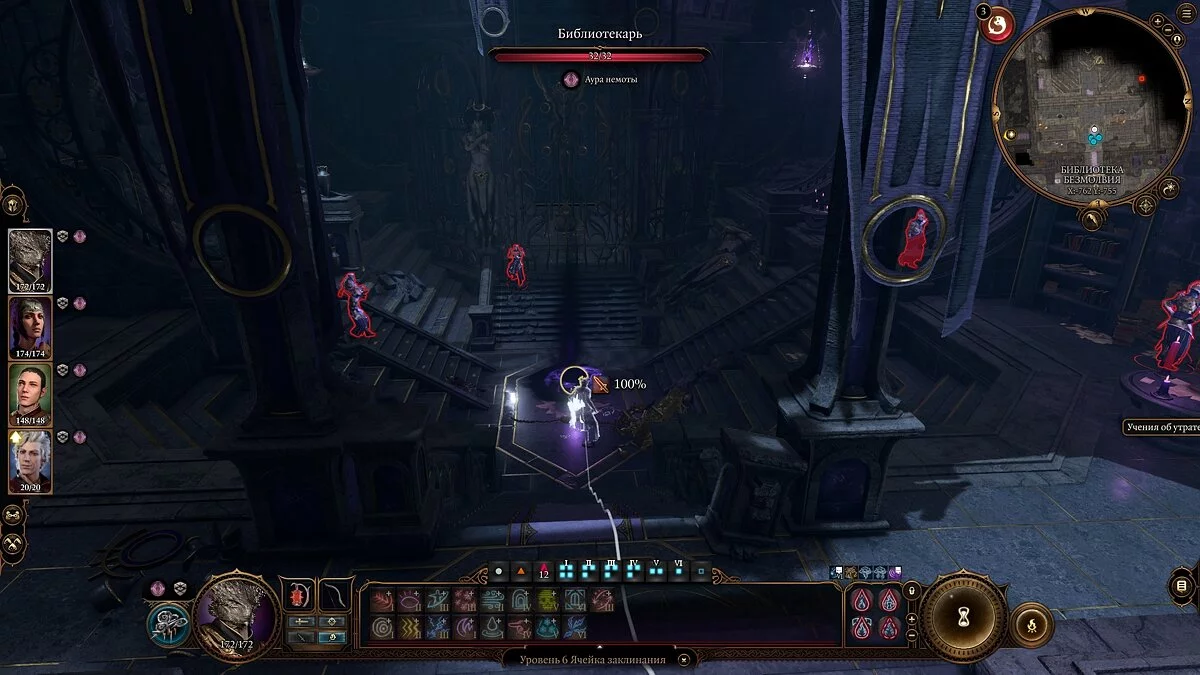
However, now you need to infiltrate the library and fight a small group of enemies. It's worth noting that the area is under the effect of Silence. The only way to dispense with it is by destroying the Librarian — a dark sphere in the center of the map. Use one warrior to quickly deal with it, after which the battle will become significantly easier.
How to Solve the Puzzle of the Night
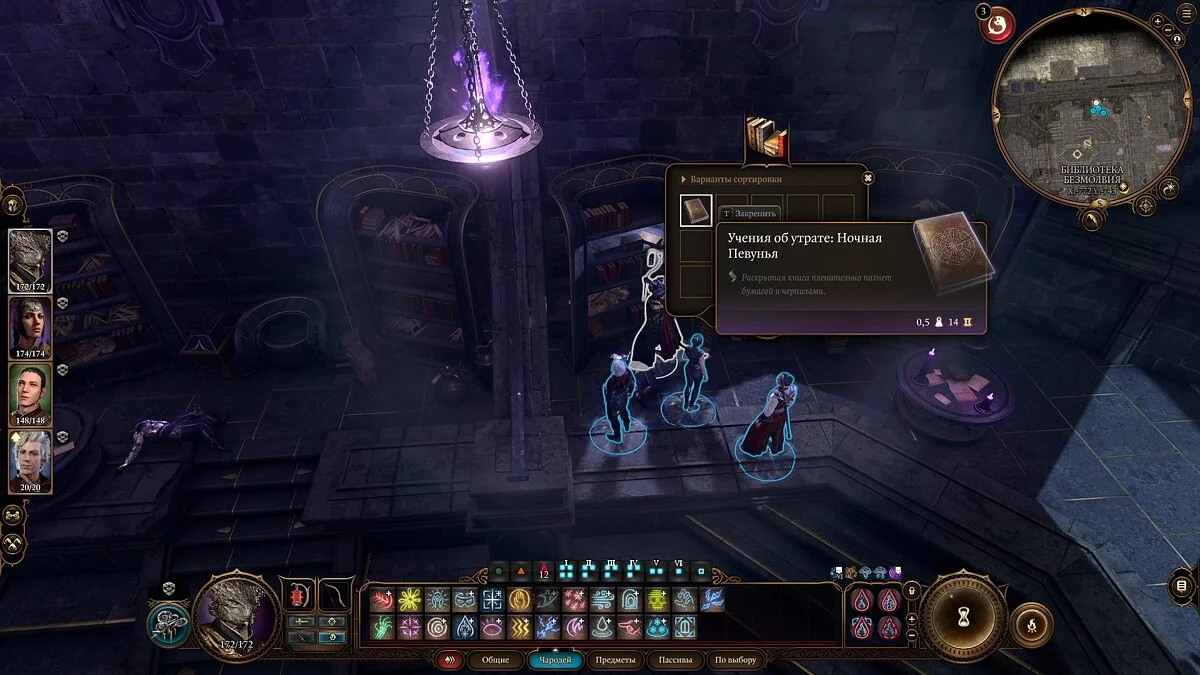
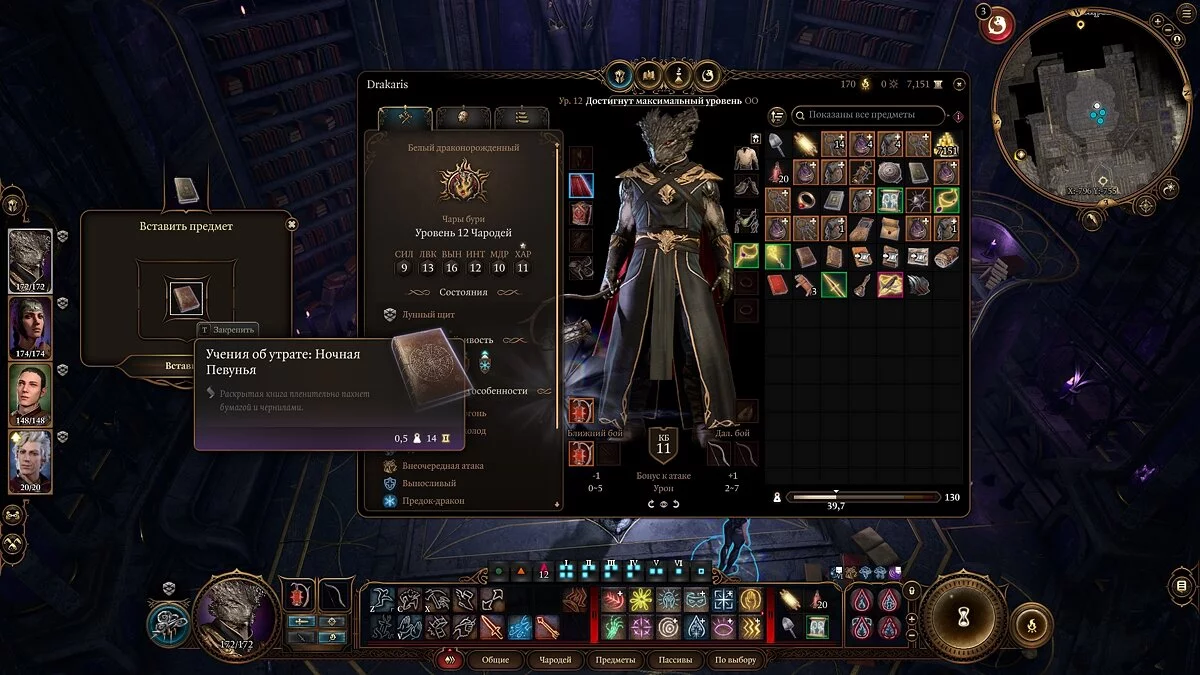
Having done that, look at the trapped bookshelf to the right of the entrance from where you came. Here you will find a single book — Teachings of Loss: The Night Singer.
Now you need to pick the iron lifting gates using lockpicks. There's no other way to open them. Entering the vault, be cautious — if the party fails the Perception check, you risk activating a trap. In the center of the room, there's a small stand where you need to place the book you found earlier. Be careful, if you place a different item, the traps will trigger.
This will open a secret door, behind which you can find the Spear of Night, as well as search a gilded chest.
How to Complete All Trials of Shar
But let's return to the trials of Shar. There are three in total:
- The Trial of Soft Steps;
- The Trial of Repetition;
- The Trial of the Leap of Faith.
You can complete them in any order, the most important thing is to find three gems after finishing each one.
Use fast travel to the rune circle in this area or ascend with your party on the elevator. To the left of the elevator, there will be a passage to the northern part of the location — that's where you need to go.
Note: At the beginning of each trial, Shadowheart will ask the hero to let her do it. Agree, but it's not strictly necessary to complete the trial with the companion. This will slightly improve your relationship with the girl.
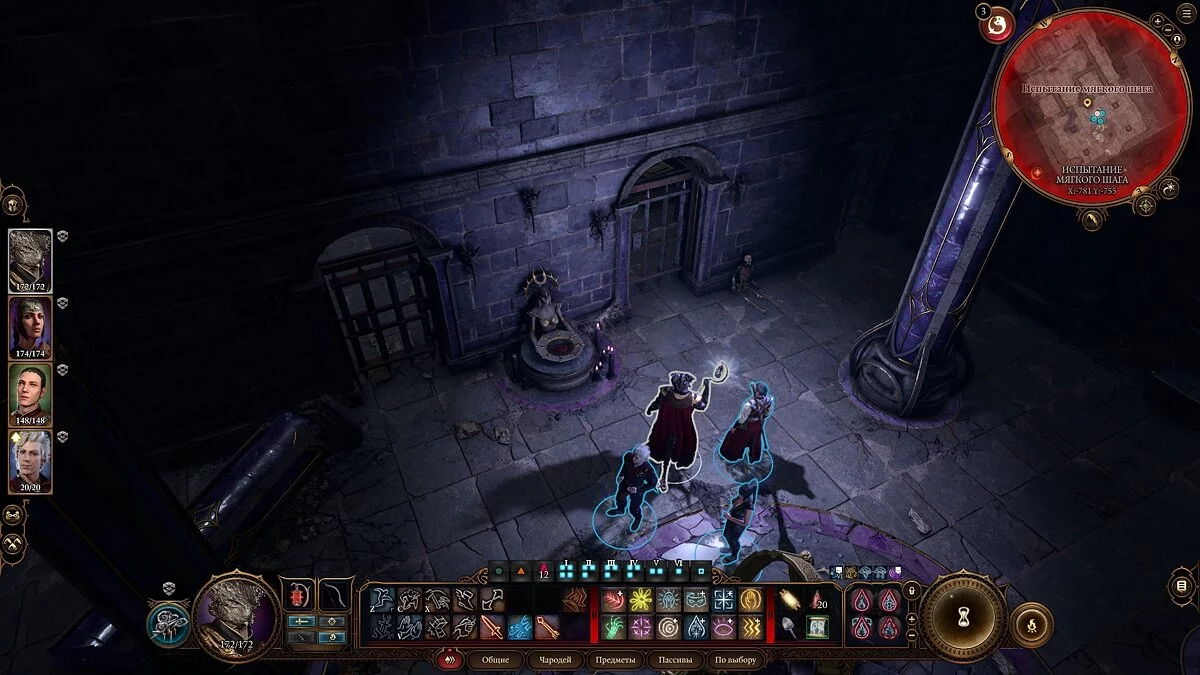
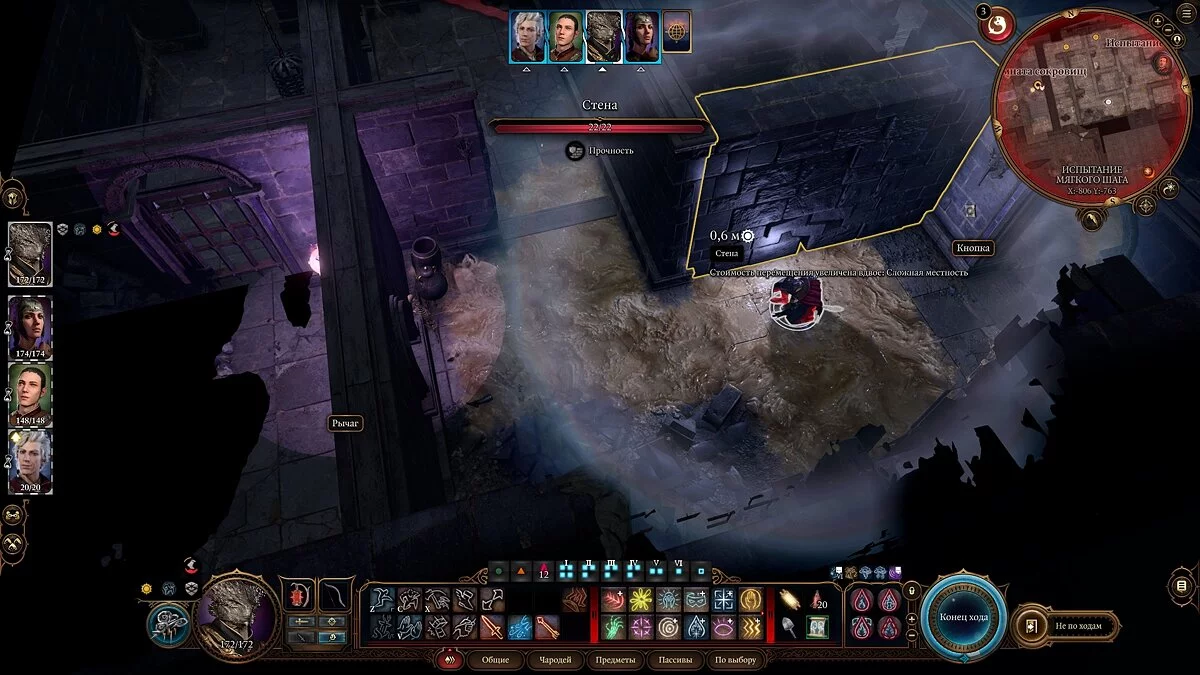
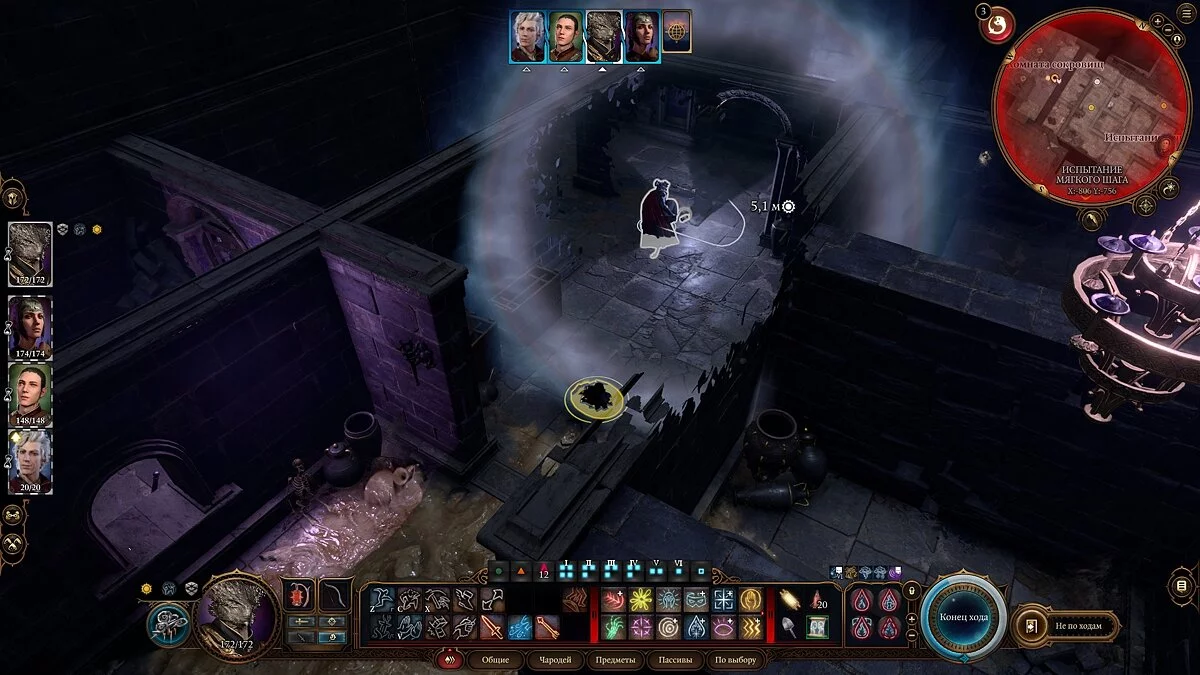
How to Complete the Trial of Soft Steps — the Second Gem
- Objective: Reach the locked grate, avoiding all shadows on the map.
The direction of the shadows' gaze will be highlighted in red, but you can also use a scroll or potion of invisibility. We also recommend switching to turn-based mode, which will allow you to control the movement of shadows.
If a character is detected, you will be sent back to the beginning of the trial. On the left side of the location, you will encounter spilled oil, as well as some traps. Use tools to disarm them.
To progress, hide behind walls and let the shadows pass by you freely.
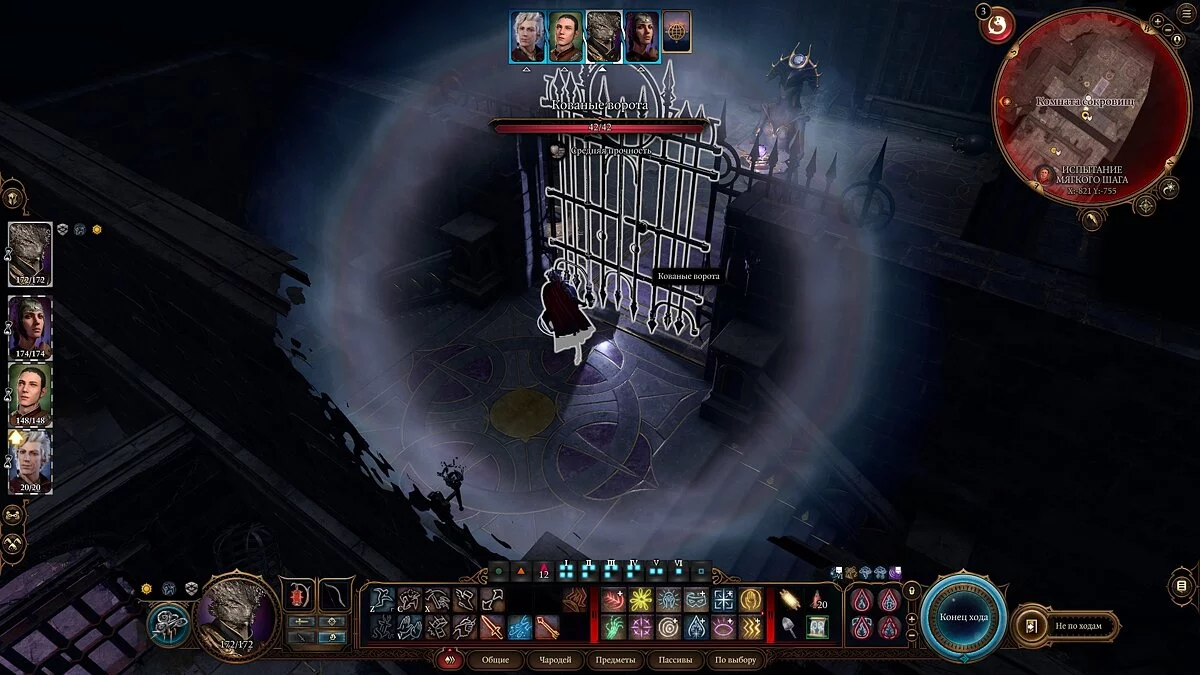
Eventually, players will find themselves at the forged gates, which we recommend picking with a sapper's kit. Take the sphere and activate the transfer flow to quickly rejoin your party members.
How to Complete the Trial of Repetition — the Third Gem
- Objective: Destroy all enemies.
In this trial, your opponents will be your own teammates. However, there's a small trick — if you attack other heroes with one character (for example, Shadowheart dealing damage to Astarion), the companion will receive serious debuffs. You should only attack the same hero you are controlling at the moment.
During the battle, your counterparts will use all available abilities and class features that you use. Prepare for a fairly difficult fight.
The gem will appear at the location of the last enemy killed. Pick it up and head to the next trial. Be sure to quick save after descending the stairs.
How to Complete the Leap of Faith Trial — the Fourth Gem
- Objective: Reach the statue without dying and obtain the gem.
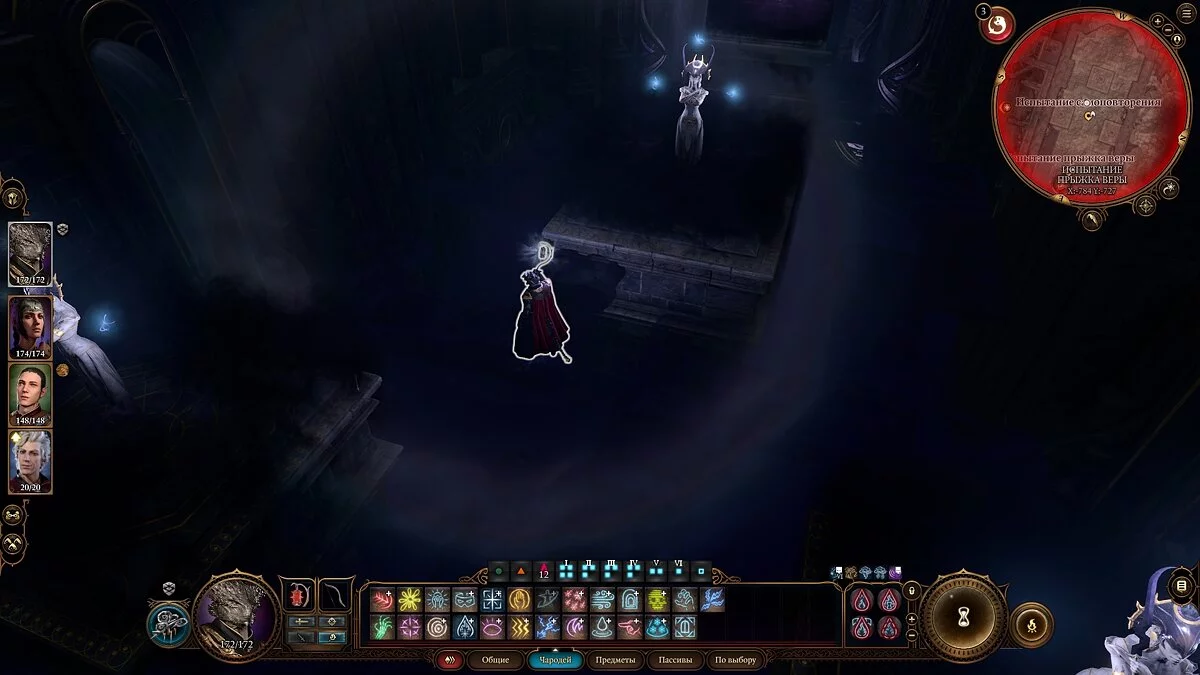
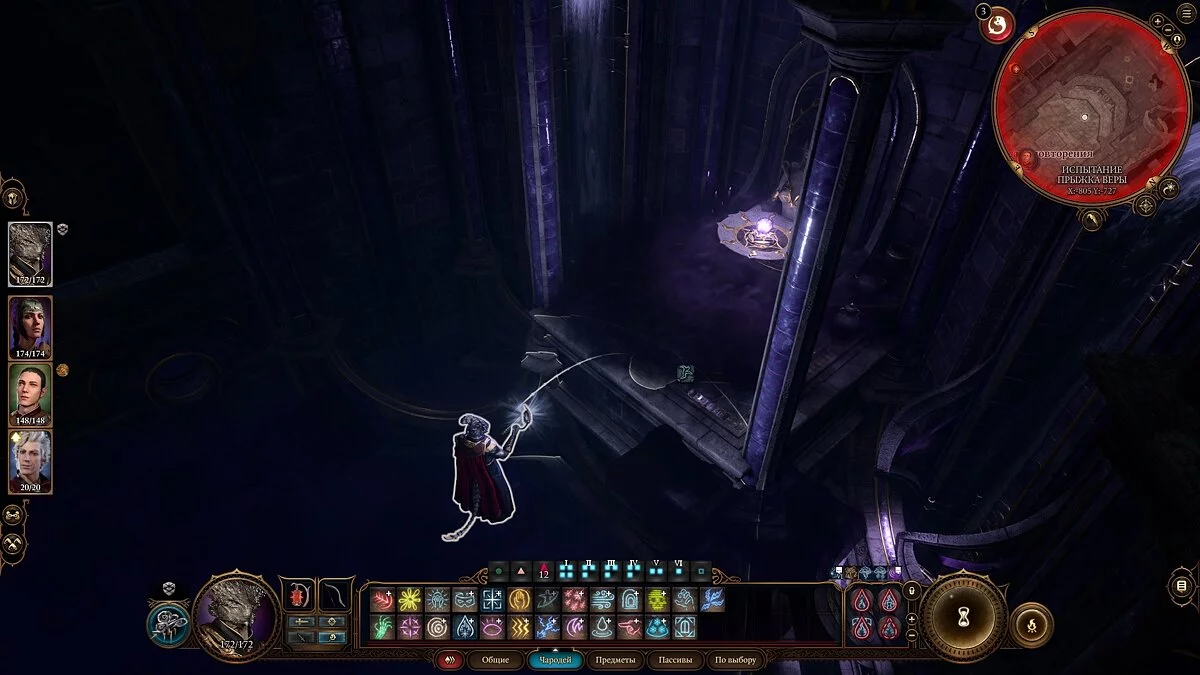
For this trial, it would be good to have a scroll of flight or the Powerful Jump spell. However, you can also move across barely visible platforms located between the stone blocks. If you have a source of light, such as a moon lantern, it is recommended to bring and equip it.
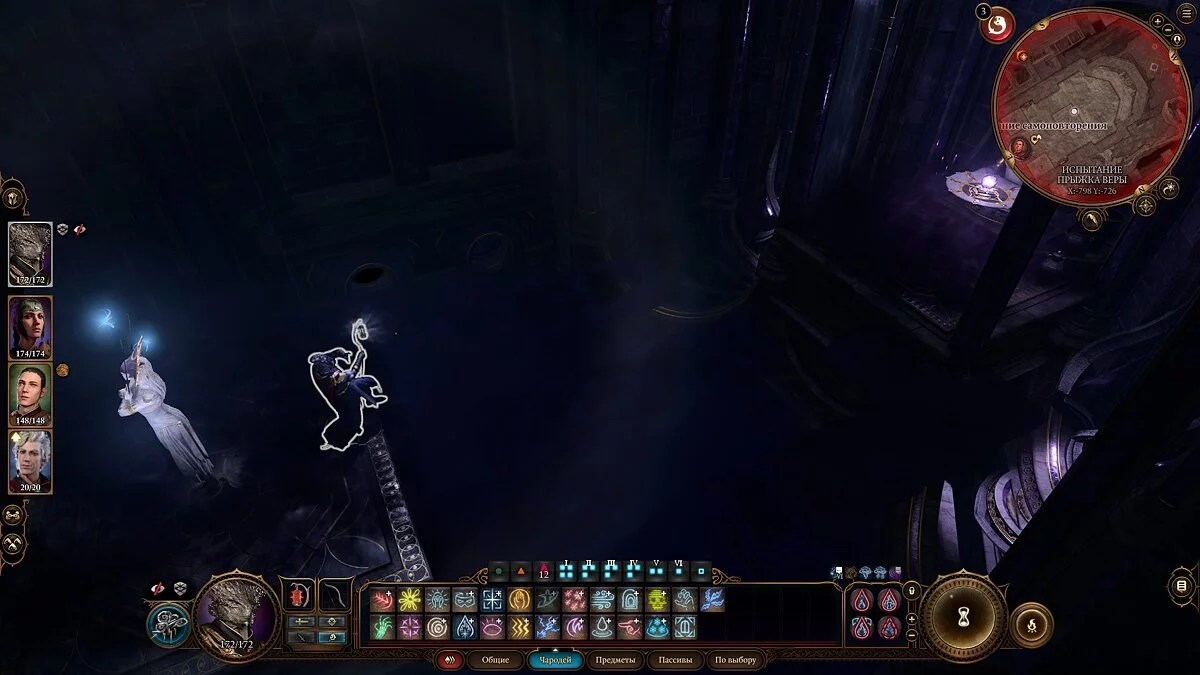
On the platform with the statues, heroes will receive the Blindness condition, but if they have a lantern, they will still be able to see the correct path. The main thing is not to fall into the abyss. The first time, the player will be teleported to the nearest statue, and the second time, they will die.
If you are playing as a wizard, you can use the Door in Space spell. It will help to safely move between platforms and quickly reach the sphere.
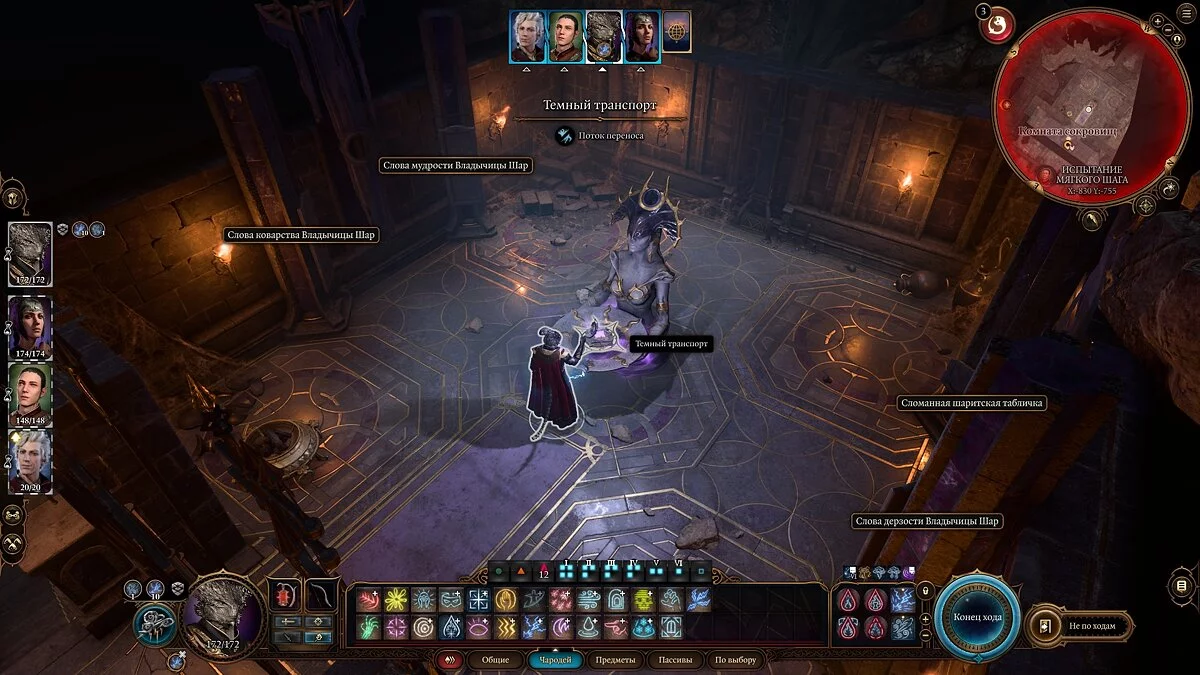
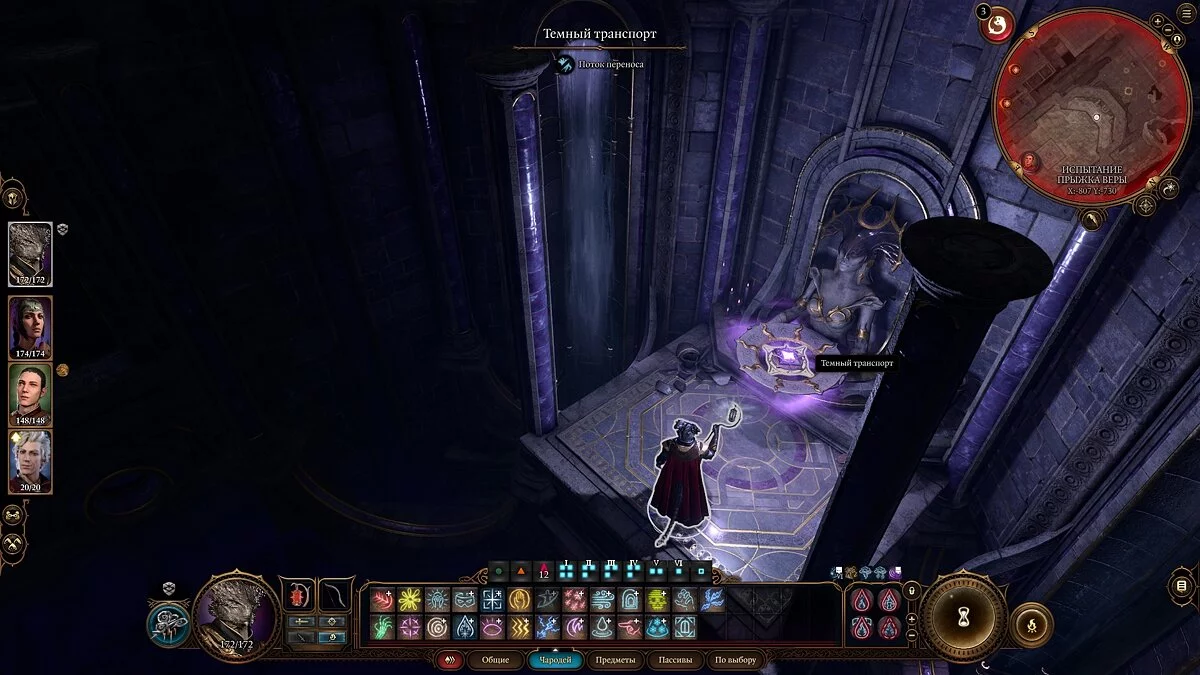
Pick up the sphere, but do not return the same way. It's better to touch the dark transport — this will definitely avoid losing one of the heroes.
Where to Insert the Dark Gems?
Now that you have three gems obtained from completing the trials, return to the center of the map and use the elevator to descend to the lower level. The first gem will be needed just to activate this mechanism.
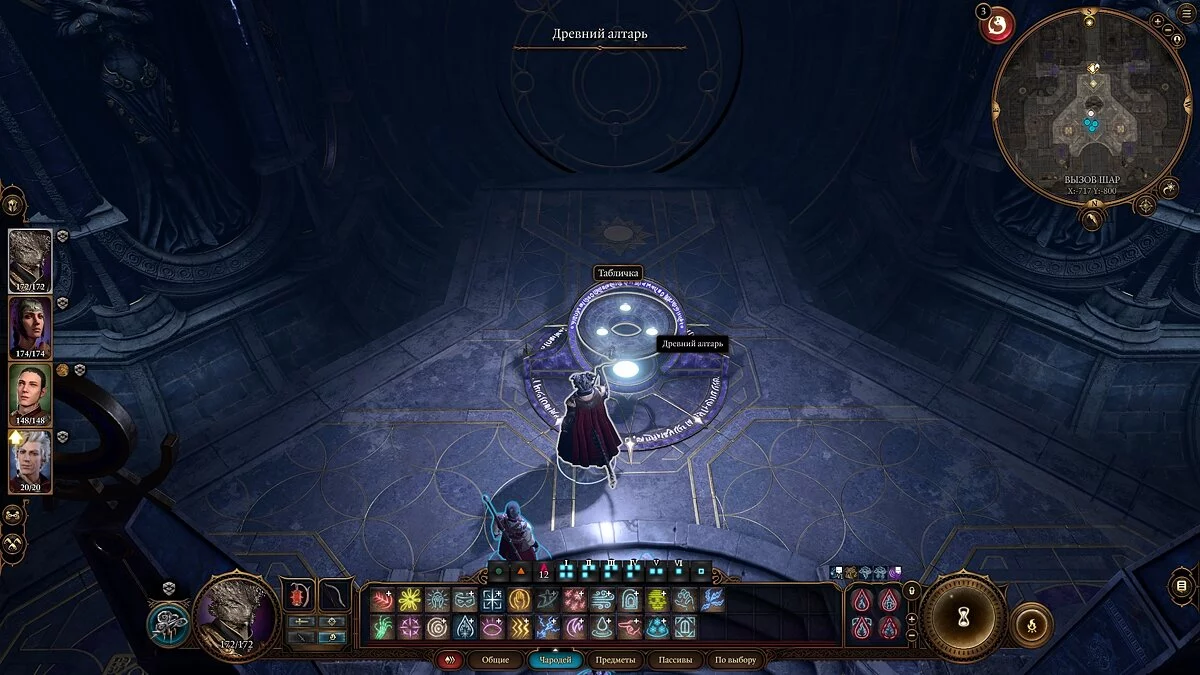
Once descended, you will see a similar altar — insert the three remaining spheres into it, after which the path will open, and you will be able to enter the Night Song Prison location.
How to Open the Treasure Room?
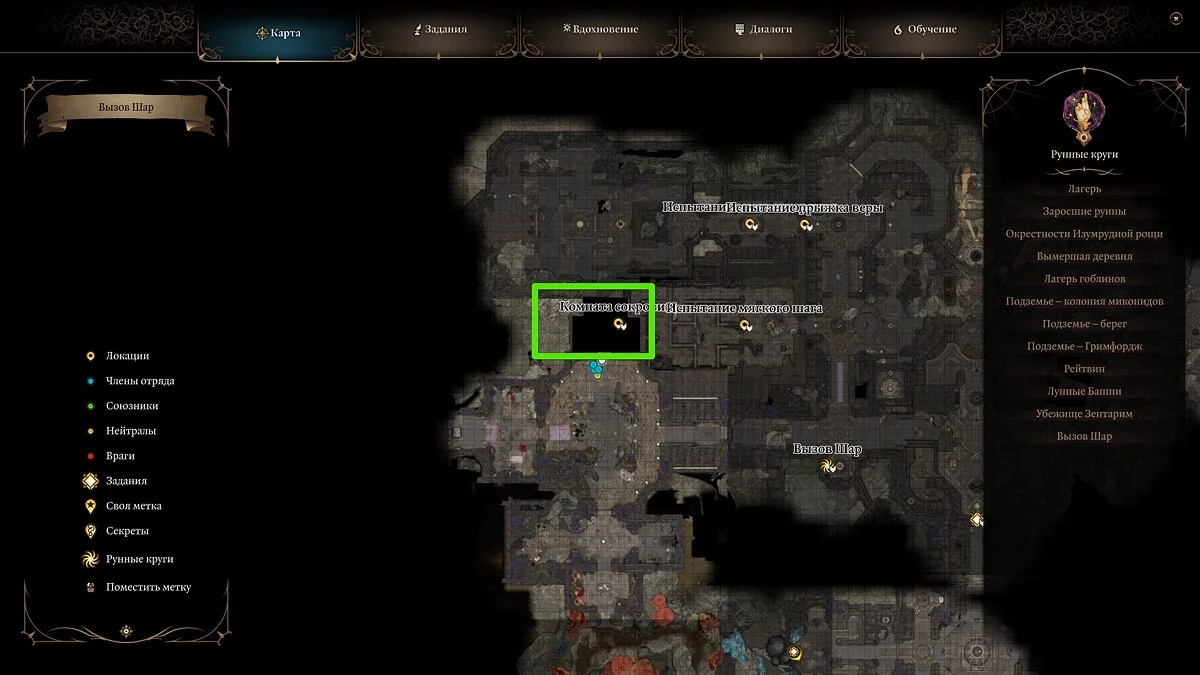
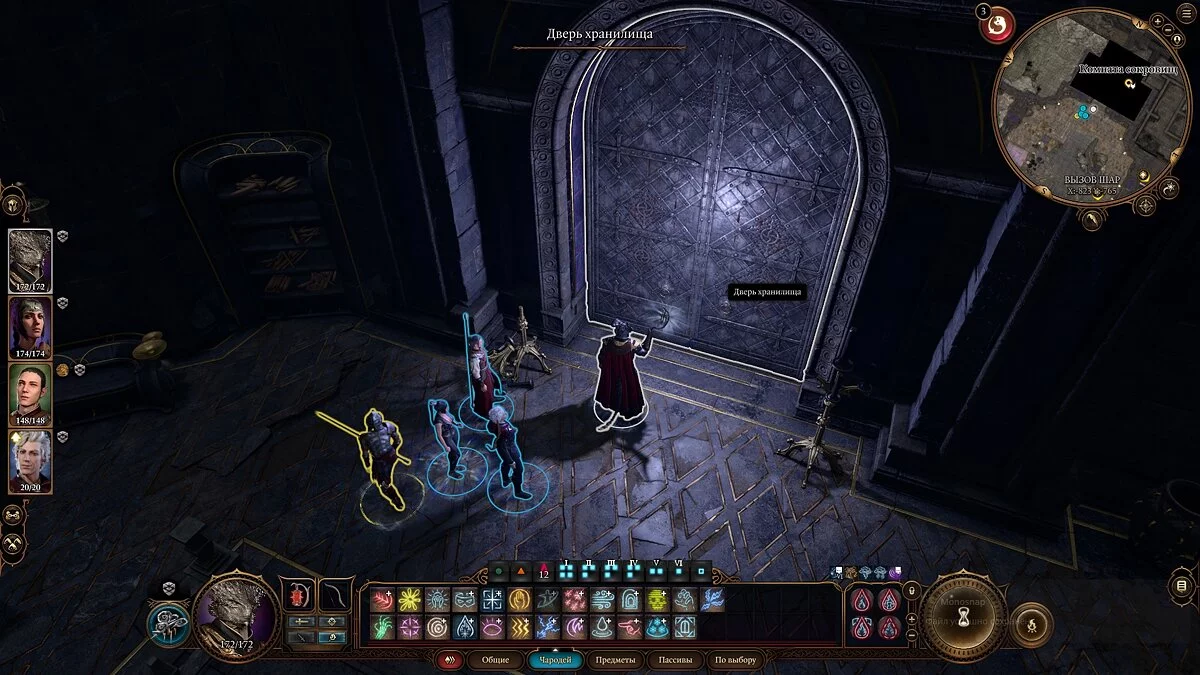
Access to the treasure room, located near Balthazar's refuge, can be gained through lockpicking.
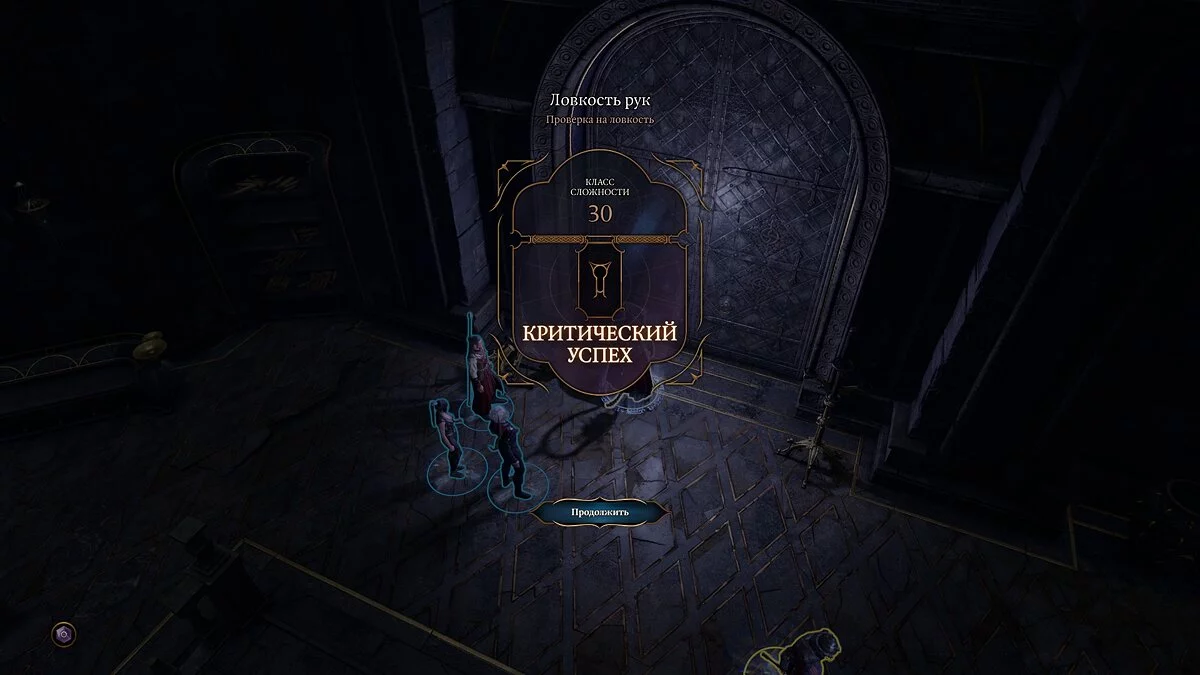
Be warned that the difficulty class for opening the door is 30 points, so we recommend stocking up on additional bonuses or at least making a backup save in case of failure.
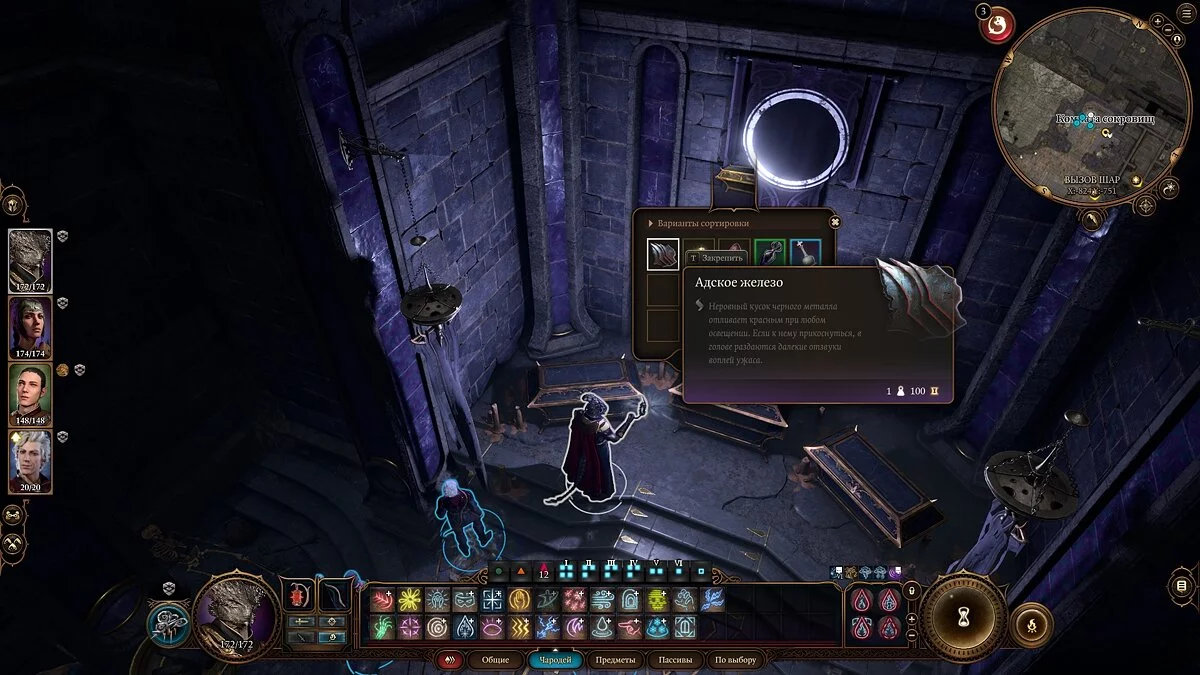
Inside, you'll find several gilded chests, potions, scrolls, and infernal iron. The latter can also be looted from the corpse of Yurgir, if you have, of course, finished him off. This resource will be needed for Karlah's quest.
How to Enter the Room with the Mirror and Open the Gilded Chest?
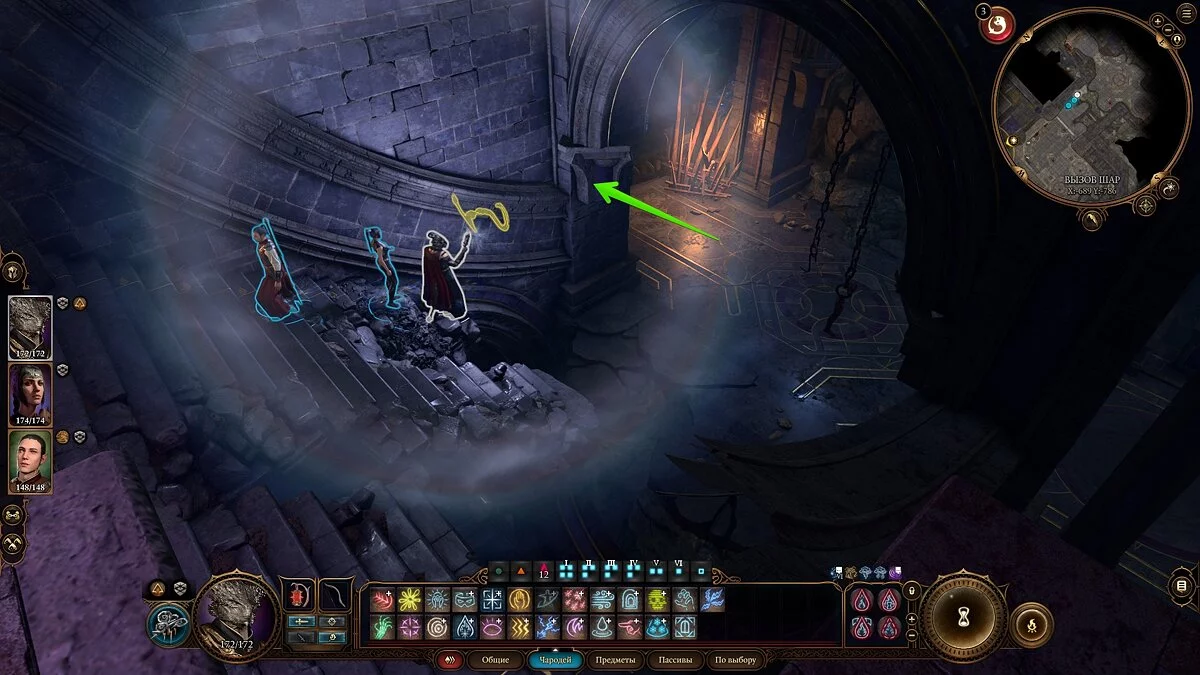
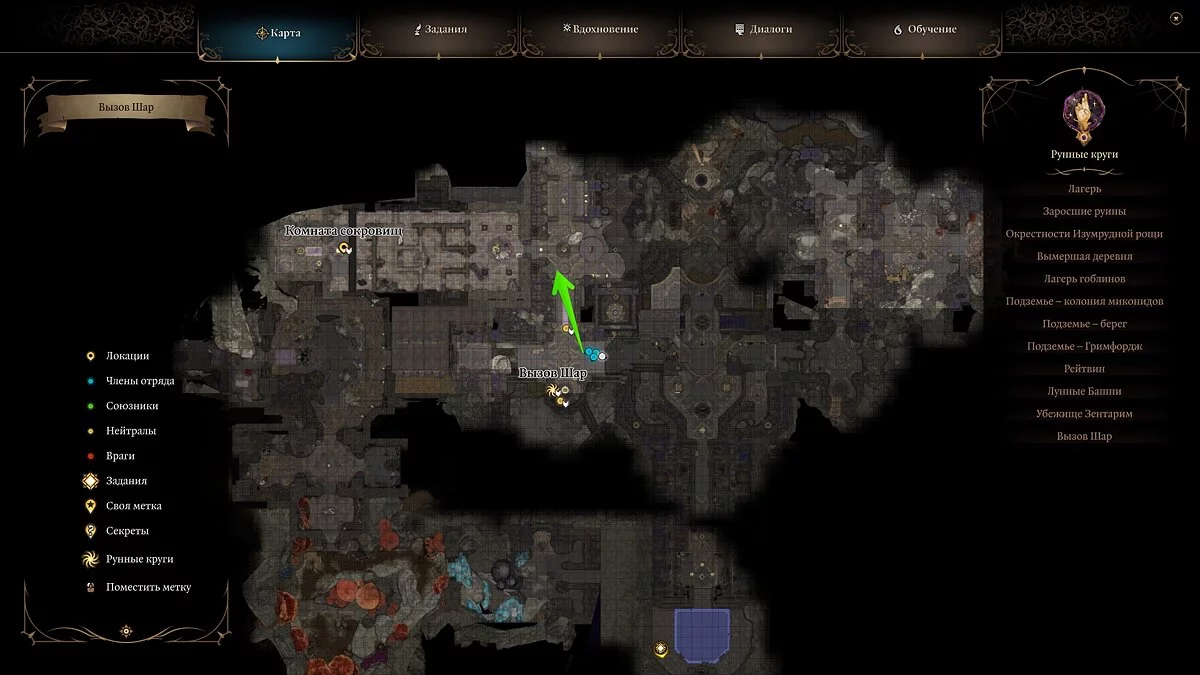
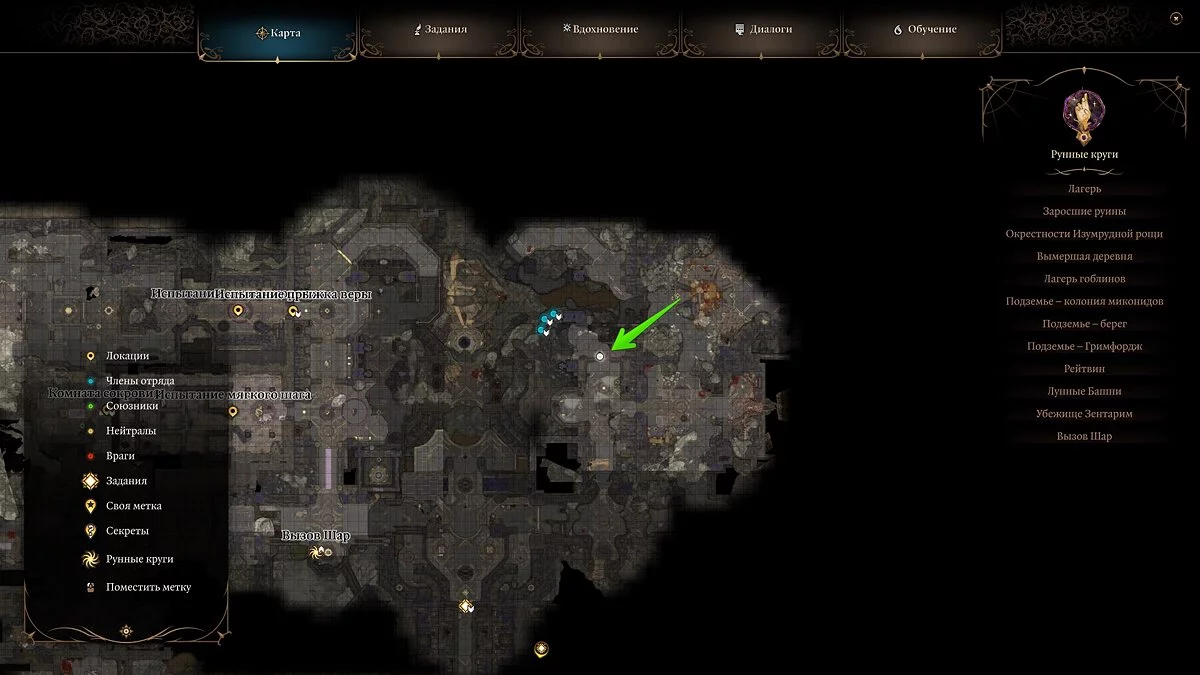
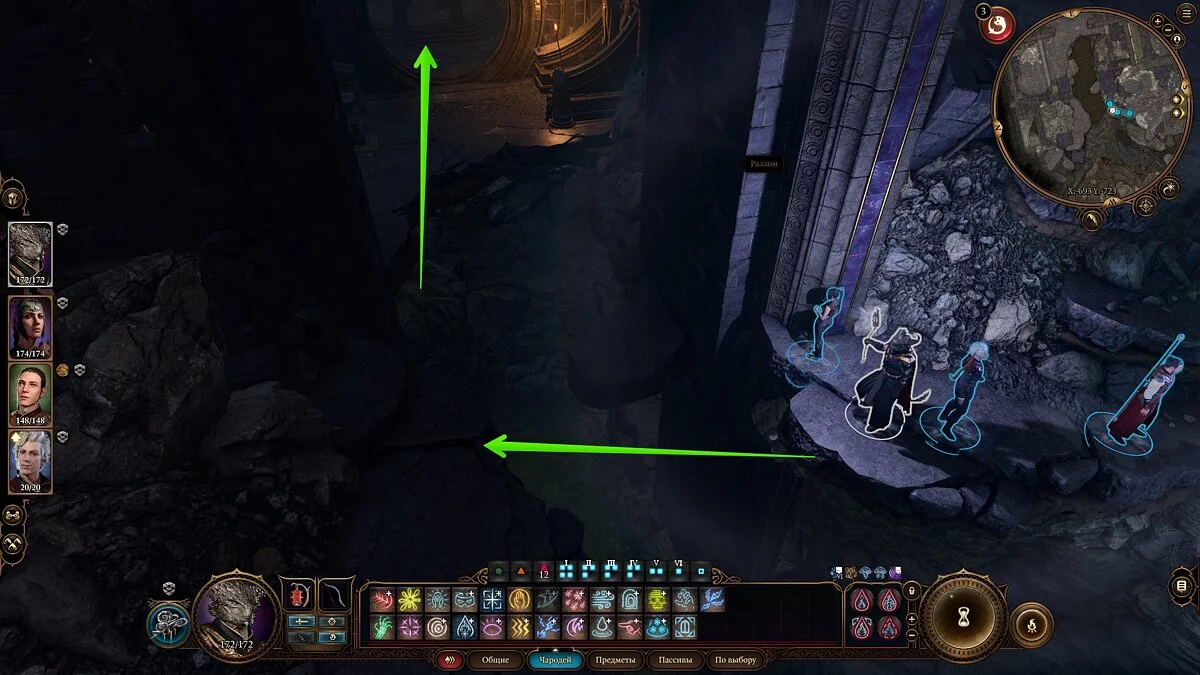
To fully explore the Challenge of Shar location, you'll only need to visit one hall, located directly beneath Yurgir's refuge. Follow the ruins down the same way you ran to the library. But instead of heading to the central part of the map, turn left.
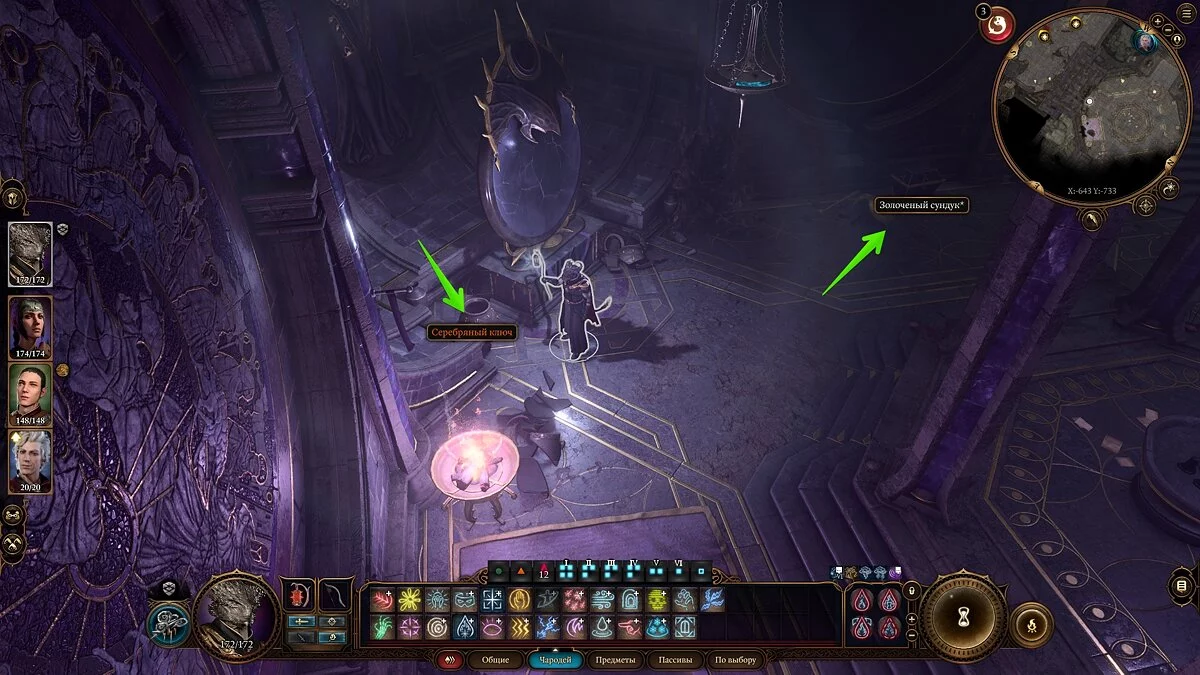
The distance between solid surfaces is too great, so you'll have to use an enhanced jump or teleport. Once at the door, interact with it and pick up the silver key under the mirror.
Use it to open the gilded chest nearby and take the gold, as well as the gold ingot.
***
That's all you need to know about navigating the Challenge of Shar location in Baldur's Gate 3. If you encounter difficulties during the trials or get stuck at a certain point, write about it in the comments. We'll definitely try to help you.
Other guides
- Best Build for Sorcerer (The Dark Urge) in Baldur's Gate 3
- All Endings of Baldur's Gate 3 — How to Get Good, Bad, and the Secret Endings
- Best Druid Build (Halsin, Jaheira) in Baldur's Gate 3
- Co-op in Baldur's Gate 3: How to Play Online with a Friend
- Glut and Spaw in Baldur's Gate 3: How to Defeat the Invading Duergar and Avenge Glut's Circle
- Best Build for a Paladin (Minthara) in Baldur's Gate 3: Which Attributes, Traits and Subclass to Choose
- Best Warrior (Lae'zel) Build in Baldur's Gate 3
- Best Ranger (Minsc) Build in Baldur's Gate 3: Which Attributes, Traits and Subclass to Choose
- How to Find the Annals of Karsus and Solve the Puzzle of the Sorcerous Sundries Cellar Doors in Baldur's Gate 3
- The Enclave Library in Baldur's Gate 3: How to Open the Stone Door and Where to Find the Wolf Rune
- Wie man das Rätsel im Tresor der Prüfungskammer in Baldur's Gate 3 löst
- Wie man das Nachtpuzzle in Baldur's Gate 3 löst
-
Best Warrior (Lae'zel) Build in Baldur's Gate 3
-
Co-op in Baldur's Gate 3: How to Play Online with a Friend
-
All Endings of Baldur's Gate 3 — How to Get Good, Bad, and the Secret Endings
-
The Enclave Library in Baldur's Gate 3: How to Open the Stone Door and Where to Find the Wolf Rune
-
Best Druid Build (Halsin, Jaheira) in Baldur's Gate 3
-
Best Monk Build in Baldur's Gate 3
-
Best Barbarian (Karlach) Builds in Baldur's Gate 3
-
Best Rogue Build for Astarion in Baldur's Gate 3
-
Best Wizard (Gale) Build in Baldur's Gate 3
-
How to Have a Romance With Every Companion in Baldur's Gate 3
-
How to Solve the Night Puzzle in Baldur's Gate 3
-
The Road to the Moon Towers in Baldur's Gate 3: How to Get There and Solve the Moon Discs Puzzle
