Guide to the Adamantine Forge in Baldur's Gate 3

In Baldur's Gate 3, there's a wide array of gear of varying rarity, but the best armors and weapons can't simply be looted from fallen enemies. To find treasures, you'll need to scour the farthest corners of Faerûn and even solve a few puzzles. In this guide, we'll talk about the adamantine forge — a place where you can make mithral armor and several blades, as well as defeat a boss.
Baldur's Gate 3 Guides
- How to Find the Annals of Karsus and Solve the Puzzle of the Sorcerous Sundries Cellar Doors in Baldur's Gate 3 — Guide
- The Enclave Library in Baldur's Gate 3: How to Open the Stone Door and Where to Find the Wolf Rune
- How to Save the Myconid in Baldur's Gate 3 and Receive the Goodshroom
- Where to Find and How to Repair the Moon Lantern in Baldur's Gate 3
- How to Solve the Murders at the Open Hand Monastery in Baldur's Gate 3
- How to Save and Get the Owlbear Cub in Baldur's Gate 3
- How to Open the Gilded Chest in the Owlbear Cave in Baldur's Gate 3 — Guide
- The Road to the Moon Towers in Baldur's Gate 3: How to Get There and Solve the Moon Discs Puzzle
- Co-op in Baldur's Gate 3: How to Play Online with a Friend
- How to Solve the Night Puzzle in Baldur's Gate 3
- How to Save the Gnome Wulbren and the Tieflings in Baldur's Gate 3
- How to Solve the Puzzle in the Audit Chamber's Vault in Baldur's Gate 3
- How to Find All Companion Characters in Baldur's Gate 3
- Where to find hellish ore for Karlach in the quest «The Hellion's Heart» in Baldur's Gate 3
- Guide to the Adamantine Forge in Baldur's Gate 3
- How to Have a Romance With Every Companion in Baldur's Gate 3
- The Gauntlet of Shar in Baldur's Gate 3: How to Complete the Trials of Soft Step, Repetition, Leap of Faith, and Obtain the Dark Gems
- All Endings of Baldur's Gate 3 — How to Get Good, Bad, and the Secret Endings
- Glut and Spaw in Baldur's Gate 3: How to Defeat the Invading Duergar and Avenge Glut's Circle
How to learn about the adamantine forge
The forge is located in the Underdark, and you can learn about it from Philro the Fun in the «Dreadful Ravine» location. After defeating Philro, read the note to gain new information. There's another way — a drow memory crystal you'll find during your exploration of the Underdark. As usual in Baldur's Gate 3, there's more than one way to discover it, and you might find your own method. Either way, head to the dwarven city of Grimgorge.
How to get into Grimgorge
Getting into the underground city itself is not so straightforward. You need to find the Dilapidated Village location to the southeast of the «Underdark — Sussur tree» travel gates. Here, you'll encounter the dwarf Geh Coalchunk. You can either fight or negotiate with him. In any case, you need to reach the lower level of the Dilapidated Village and use the boat.
In the water, the team will be chased by dwarves again, and you'll need to deal with them in any suitable way.
Before dealing with the forge, be sure to complete the quest to free Nere from the rubble, or you'll miss out on many interesting quests.
How to open the adamantine forge
In Grimgorge, find the place where gnomes stand next to deep rothé, similar to buffaloes. Skaryall, the chief of the dwarves, doesn't want to share information, but try to talk him into it. Then use a spell or a «Speak with Animals» potion and talk to the rothé. Persuade the cows to attack the dwarves. This needs to be done in any case, otherwise, the gnomes will attack you themselves right after clearing the rubble. The rothé will help remove the stones, and the path to the forge will open. However, this is again not the only option.
How to quickly get to the adamantine forge
There's a way to bypass most obstacles and traps to get directly to the forge. However, it's not suitable for everyone — as you won't be able to forge equipment (or parts of it), and you won't be able to find all the molds. Nevertheless, if you want to avoid extra complications, read on.
You'll need a character with the second-level spell «Misty Step». Essentially, it's a teleport. Head north in Grimgorge to the «Abandoned Shelter» location. Go up the stairs and you will see an improvised wooden bridge. Cross it to a ledge, and then teleport to another stone ledge in the cliff. You'll arrive at the fast travel point «Underdark — ancient forge». Now you can easily teleport the rest of your party members. However, access to the main entrance and some of the forging molds will be blocked.
How to get to the adamantine forge the standard way
Once you clear the rubble, the path will open. Take a good lockpicker in your party and equip them with sapper's tools, as many traps lie ahead. The vampire Astarion is best suited for this. You will face three types of traps:
- Gargoyle statues;
- Marble slabs;
- Stuck beacons.
Eventually, you will ascend a long stone bridge. At the end, there will be closed gates that can only be opened from the inside. If you use a ghost hand, you can open the room. Inside you'll find the Idol of Shar for Shadowheart. There's also a chest with decent loot:
- Rare cloth armor «Protecting Sparkshield»;
- «Oil of Sharpness»;
- «Potion of Lightning Resistance»;
- 127 gold coins.
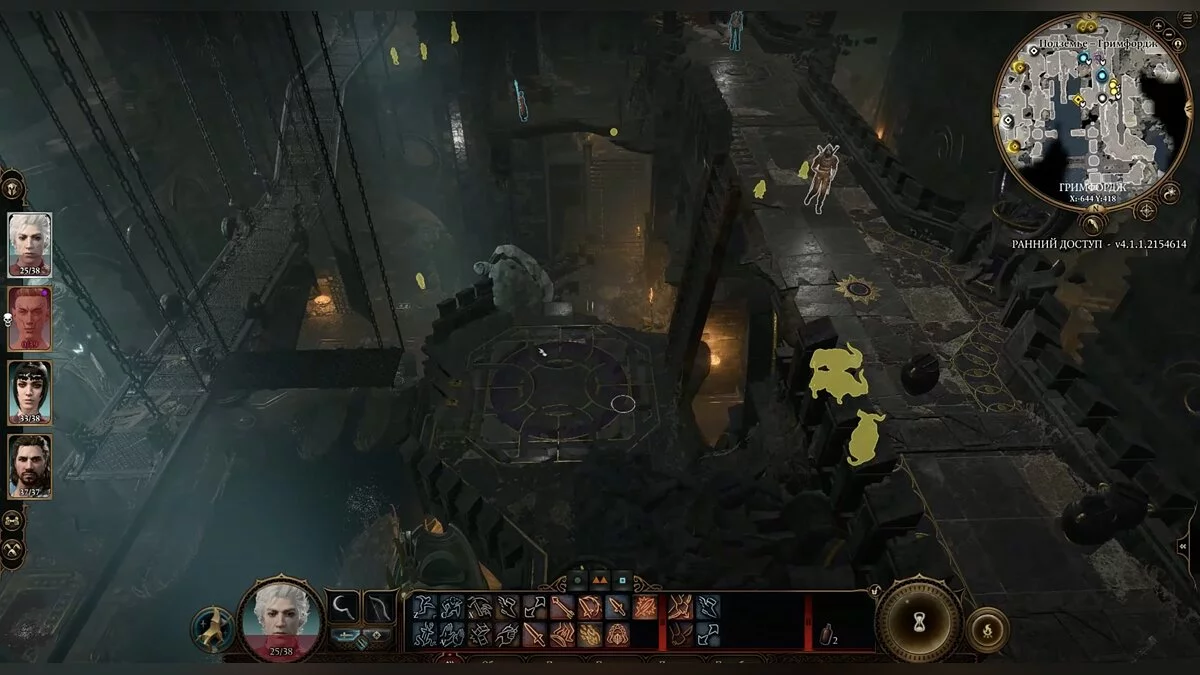
A staircase leads down from the bridge, go down and you will see two levers and a movable platform. This is a good time to search for molds for forging equipment. It's easier to do this along the way than to come back later. By manipulating the levers, you should get at least one character across the chasm straight to the forge. There will be a portal through which other heroes can join.
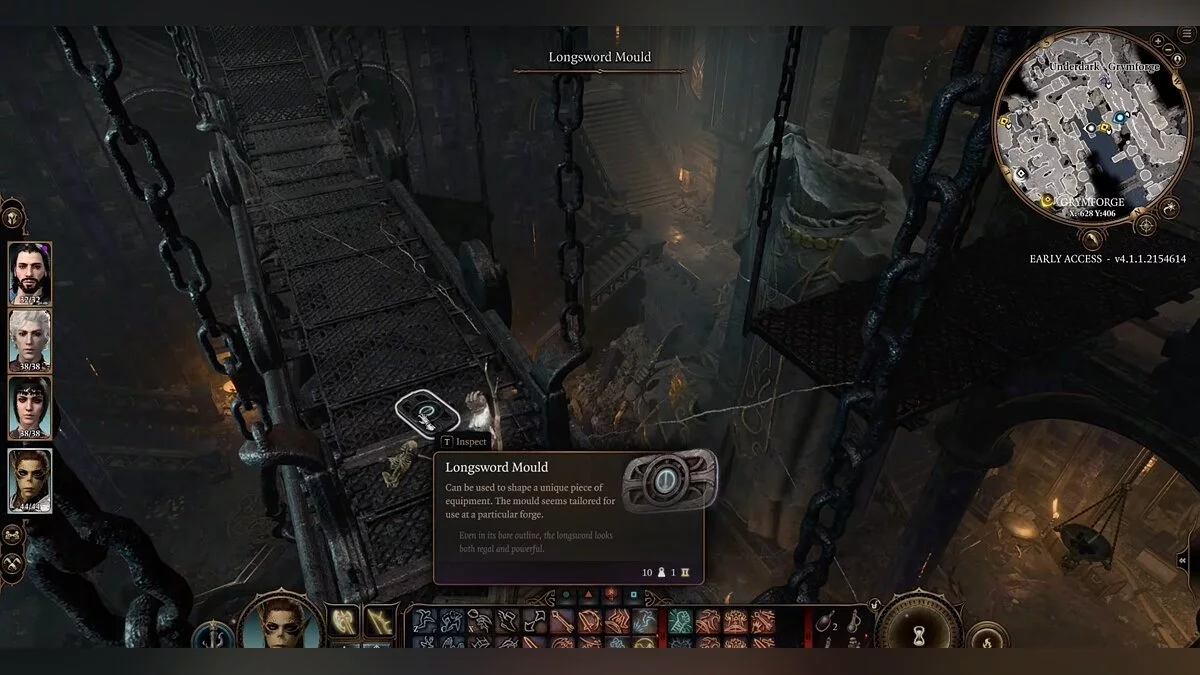
Where to find the long sword mold
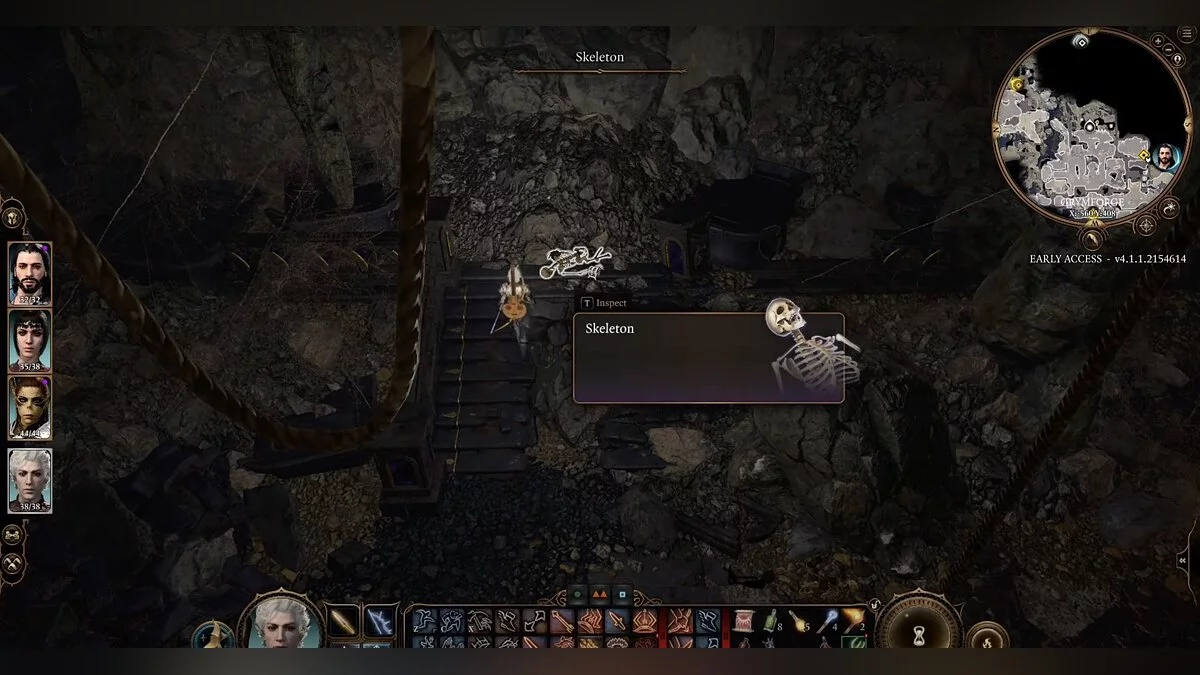
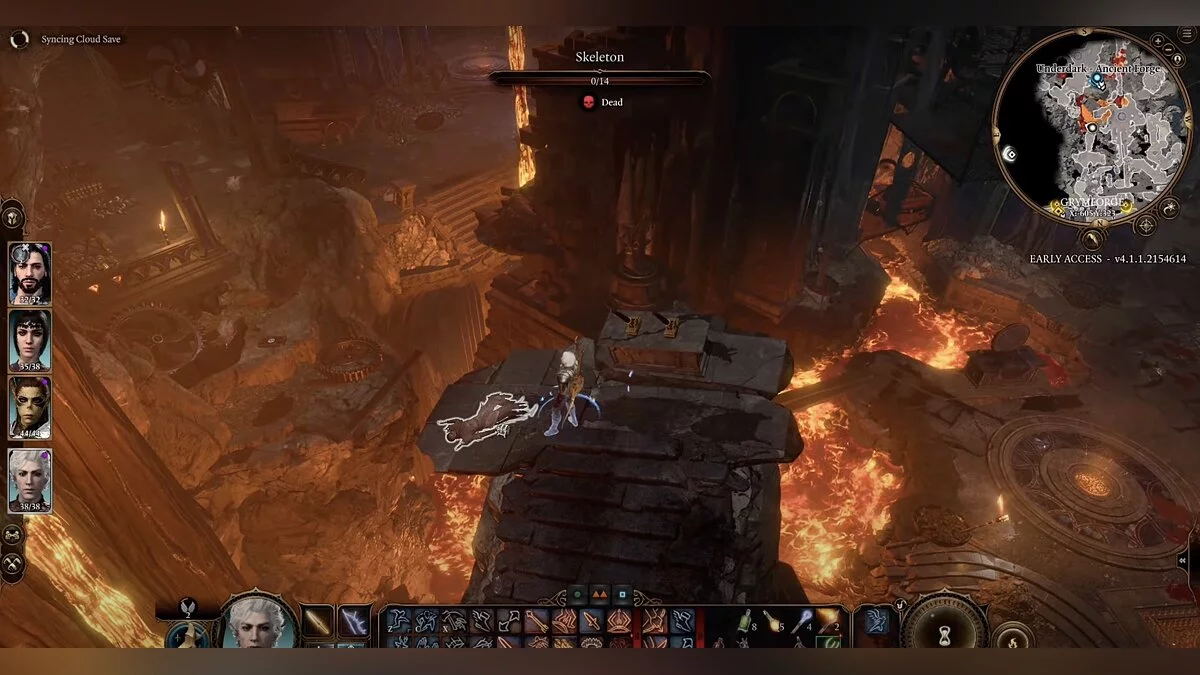
Once you're at the first two levers and platform, don't rush to press anything. Using jump, move to the platform, and then to the iron bridge below. That's where the mold for the sword awaits near a skeleton.
Where to find the shield mold
For the shield mold, it's best to split your squad. The first group, which must include a thief, will retrieve the mold, while the second handles the levers.
Now, with your active squad, jump onto the moving platform, and with the remaining members, pull the right lever. The platform will move forward, jump off it and open the large gates. Inside there are three tiers. On the first, there's a skeleton of a Sharite Inquisitor and some loot, on the second, break another set of gates and kill three hell boars. Here you'll also receive a reward. Finally, ascend to the third tier, where a single skeleton with the shield mold awaits.
Where to find the scimitar mold
It's located near the shield mold. Descend to the first tier and exit through the first set of broken gates. Facing the doors, go right. Eventually, you'll see an elevation with two more levers. The skeleton with the scimitar mold lies to the left.
Where to find the mace mold
Firstly, your second squad should not return to the first. Leave them near the new levers, and let them wait there. Switch to the heroes near the first levers and press the right one to bring the platform back. Jump onto it, then onto the bridge where the sword mold was located. Go to the end of the bridge. Now switch to the second squad and pull the right lever. Another moving platform will rise to the first. Jump onto it.
With the second squad, press the left lever first, and when the platform stops — press the right. Now, with the first squad still standing on the moving platform, you can jump onto the ledge, and from there into the hall. Right here is the portal to the forge, which you should immediately activate. The squads can be reunited, no more lever manipulations will be needed.
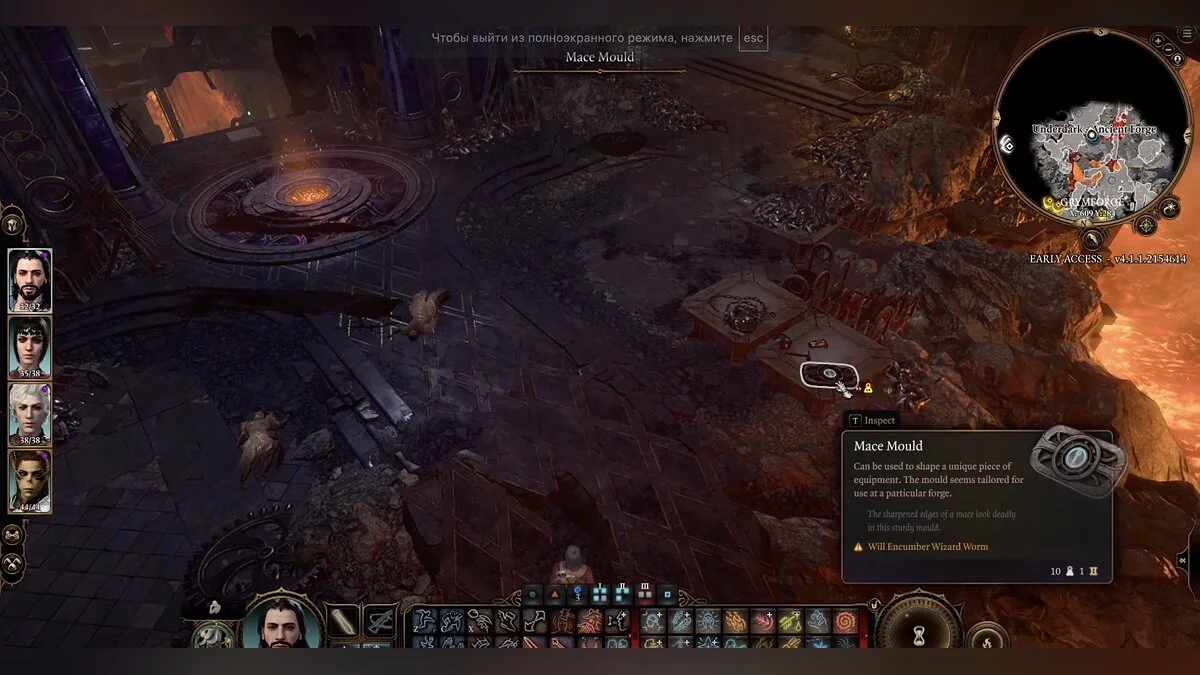
Opposite the portal is a table, on which lies the mace mold.
Where to find the plate armor mold
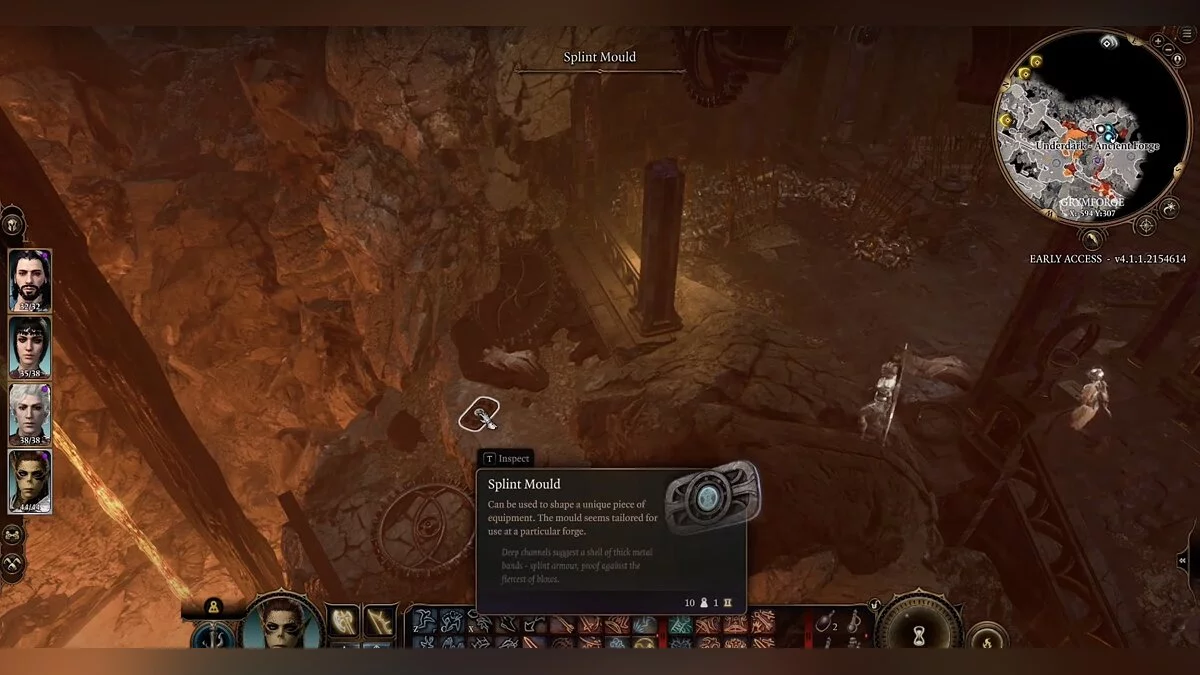
Continue exploring the forge, but don't go towards the smelting mechanism, instead — find the lift to the second tier. There, pay attention to a large gear lying on the ledge. Next to it is the mold.
Where to find the scale armor mold
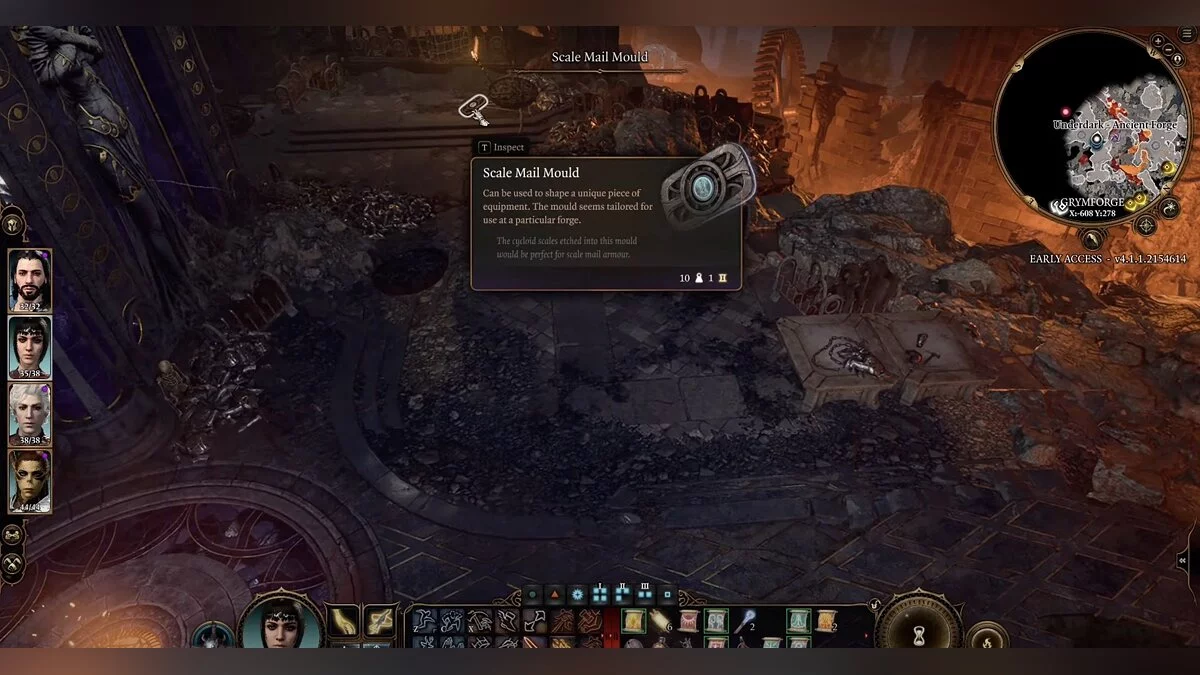
You won't have to search long for this mold. While exploring the forge, you'll come across a place in the eastern part where living armors attack. Deal with them and take the mold.
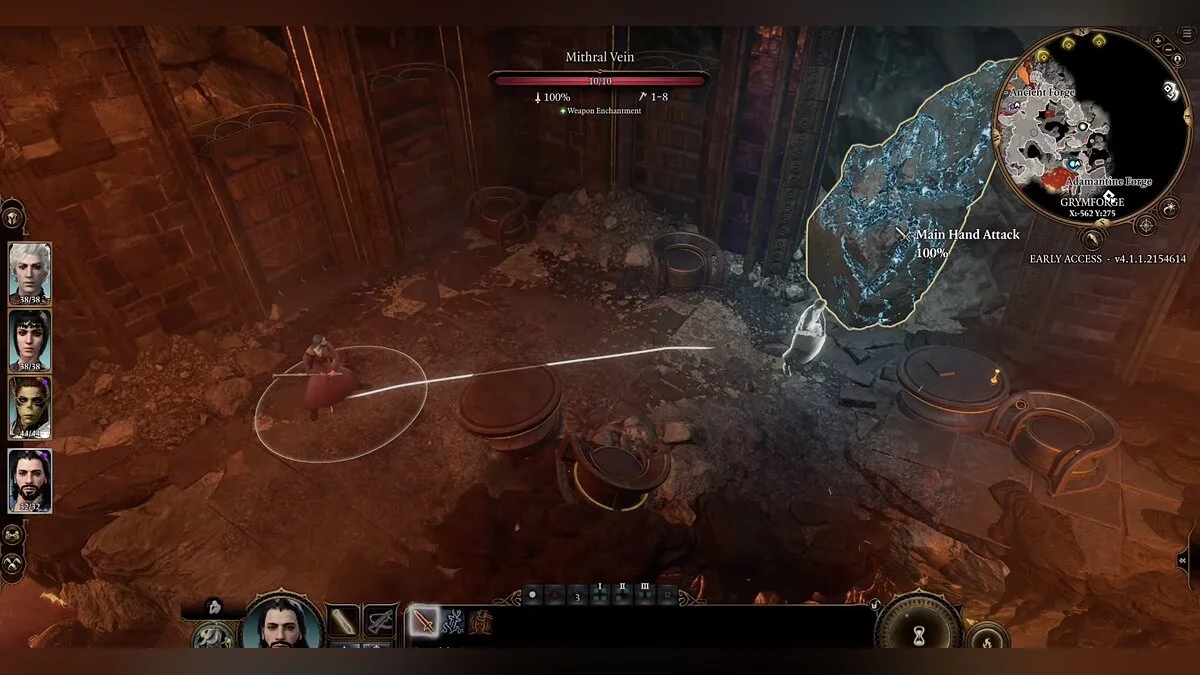
Where to find mithril ore
You've gathered the molds, but you still lack the appropriate material. Without it, going to the forge is pointless — you'll have to return. There are two mithril veins in the forge location. The first can be found by going left from the battle site with the living armors. You'll need to jump across stones to avoid falling into the lava. The veins are vulnerable to force and crushing damage, so simply hit them.
The second vein is located a bit further. Go towards the main smelting mechanism until the edge. Jump to the other side and immediately turn left. Again, cross the lava; there will be monsters here.
How to activate the adamantium forge
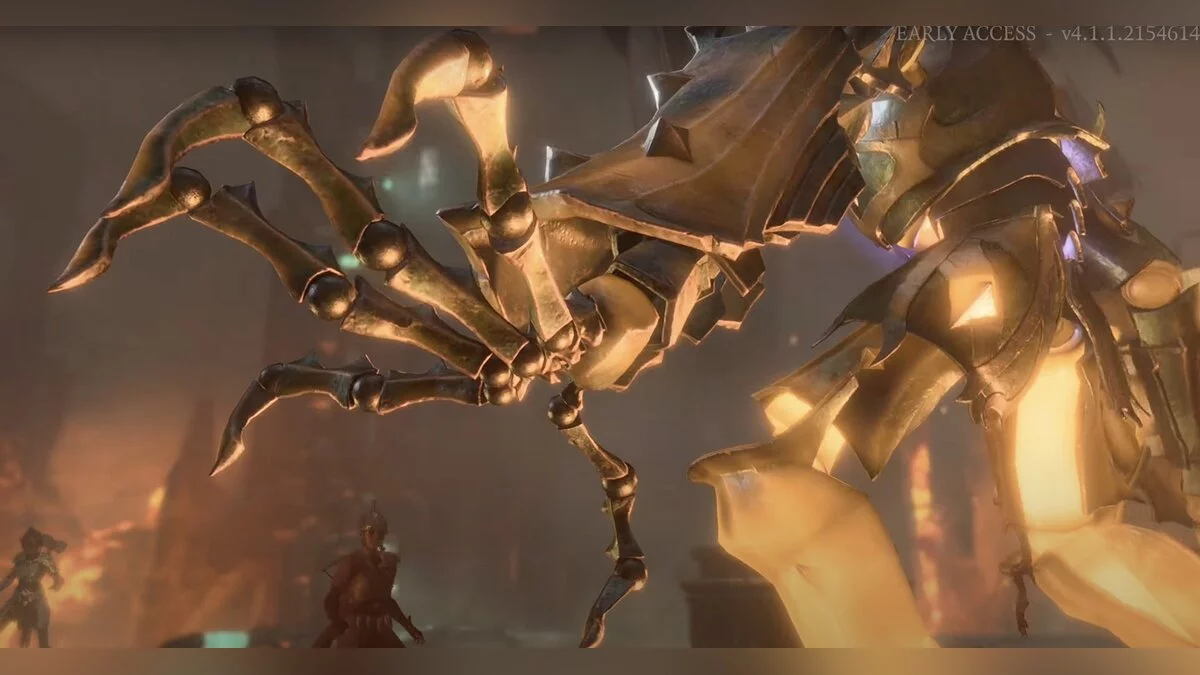
The forging process is quite simple. Insert the mithril ore into the crucible (central mechanism). Next to it is the casting chamber. Place one of the molds there. Press the forge lever, and the platform will descend to the lava lever. Press it. Right after this, a boss — Grim, the eternal guardian of the forge — will appear.
After defeating him, you can continue to use the forge. But you need to activate the lava earlier than pressing the forge lever. Also, don't forget to remove the used mold with a special lever.
How to defeat Grim, the Eternal Guardian of the Forge
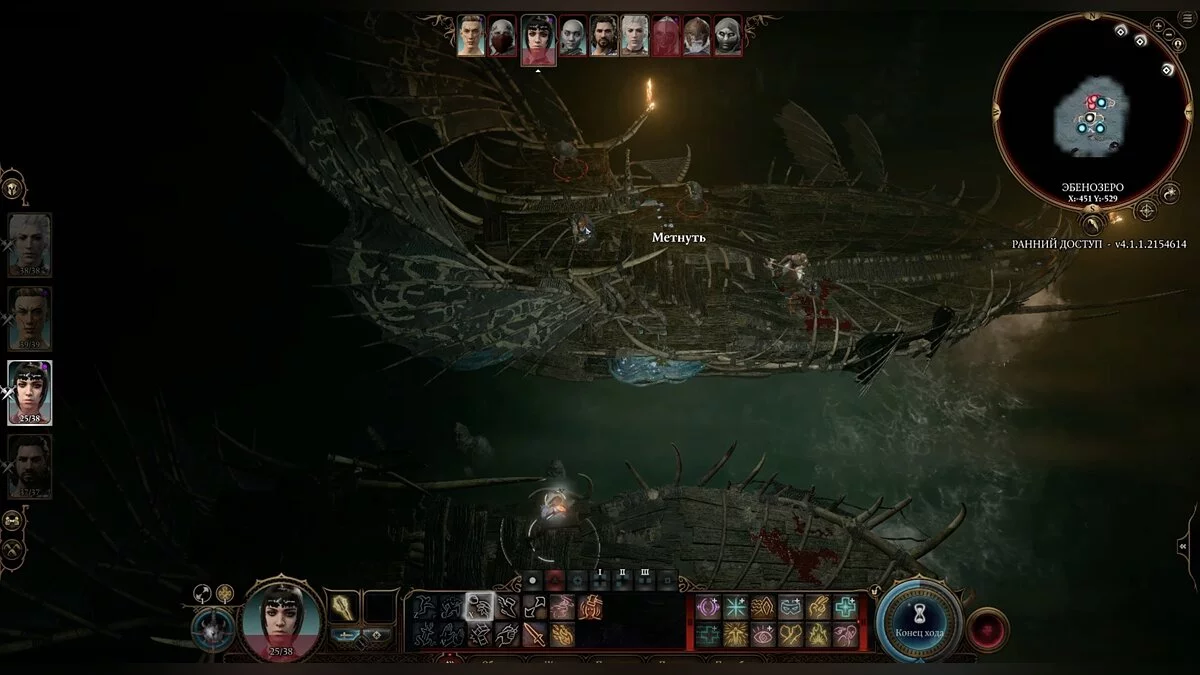
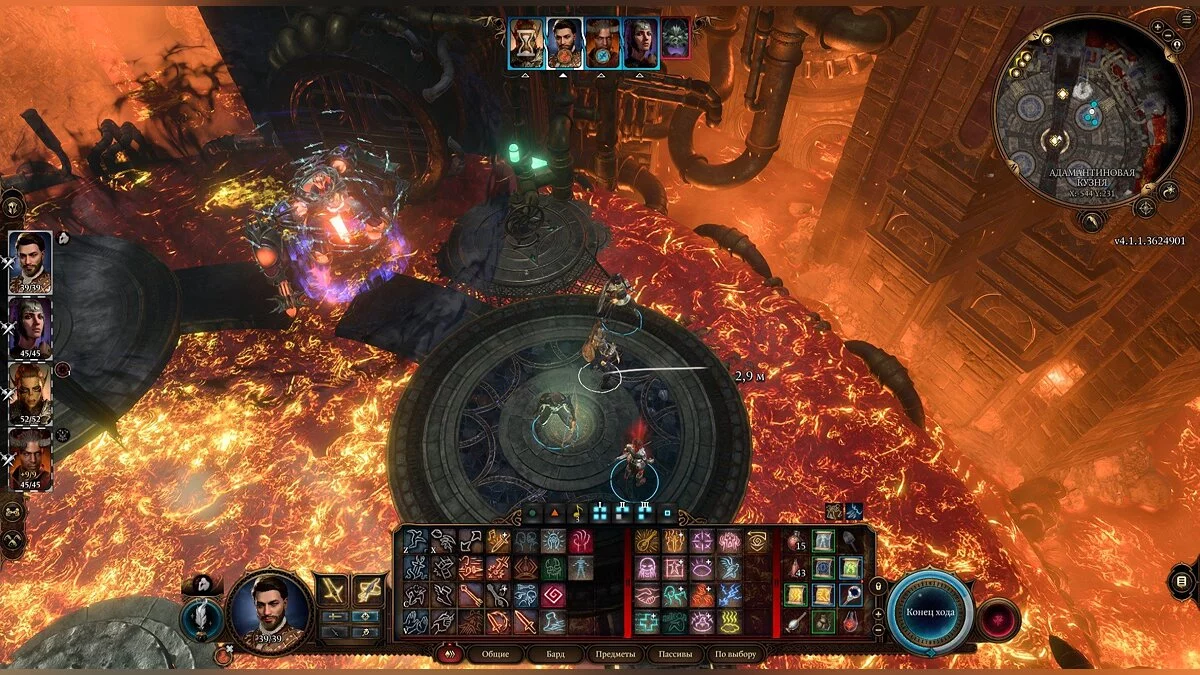
Grim is a large robot that is immune to most types of damage. To fight effectively, you need to consider two factors. Using the lava lever, you cover the arena with lava accordingly, and Grim heats up. Only in this state can the boss receive damage, meaning you constantly need to refresh the status of his heating.
The second important point: the boss makes anyone who last dealt damage his main target. We will use this aspect to our advantage, so a hero with «Misty Step» must participate in the battle.
The tactic is simple. According to the developers' design, Grim takes the most damage from the forge's very own hammer. Information about this can be found in one of the notes, but not everyone will think to interpret the metaphorical hint correctly, so we'll help.
The character with teleport stays at the crucible. One hero waits at the lava lever, while the remaining two take positions on the west side of the arena. As soon as the boss appears, open the lava valve and make Grim susceptible to damage. Shift the machine's focus to the character with teleport, and the hero responsible for the levers, run to the forge lever. When Grim gets close to the center character, teleport aside and press the forge lever. The huge hammer will strike the guardian's molten armor, dealing about 100 units of damage. After such a round, minor enemies will appear on the west. The two free heroes will have to deal with them. They should not be distracted by the boss fight at all.
Another method is direct confrontation. The fight can be longer or shorter, depending on the composition of your squad. Note that you need to take crushing weapons for the fight. Cast a speed buff from your mage on your barbarian or berserker. Now the character can make up to 4 hits at a time. Cover Grim with lava and just hit. The boss may die in 2 rounds.
What can be made in the adamantium forge
You can create six items in total, but you won't be able to do this all at once. Perhaps mithril ore can be found elsewhere, and then you can return to the forge. On average, resources are enough for two forgings. Any adamantium weapon has the ability to make all attacks on objects critical. In turn, the armor will always give a recoil, making the opponent stagger for several steps.
Adamantium Longsword
- A hand-and-a-half weapon that deals from 6 to 15 units of damage;
- When attacking, the blade ignores resistance to slashing damage;
- Weapon enchantment +1.
Adamantium Mace
- A crushing weapon that deals from 6 to 11 damage;
- When attacking with the mace, resistance to crushing damage is ignored;
- Weapon enchantment +1.
Adamantium Scimitar
- A light, slashing, and fencing weapon that deals from 4 to 9 damage;
- Like the sword, it ignores resistance to slashing damage during attacks;
- Weapon enchantment +1.
Adamantium Shield
- Armor class +2;
- If an enemy misses, they stagger for 2 turns;
- If damage from a melee attack does get through to the shield's bearer, they can use their reaction to force the attacker to make a Dexterity saving throw;
- Should the attacker fail, they fall prone;
- Protects the bearer from critical hits.
Adamantium Plate Armor
- Heavy armor, armor class 18;
- All incoming damage is reduced by 2;
- If a melee attack hits the character in armor, the attacker staggers from the recoil for 3 turns;
- Protects against critical hits;
- Does not allow for Dexterity bonus to armor class;
- Disadvantage on Stealth checks.
Adamantium Scale Armor
- Medium armor, armor class 16, all incoming damage is reduced by 1;
- If a melee attack hits the character in armor, the attacker staggers from the recoil for 2 turns;
- Protects against critical hits;
- Limits Dexterity bonus to armor class to no more than +2;
- Disadvantage on Stealth checks.
How to solve the bug with the adamantium forge
Some users have experienced a bug where the forge would freeze and the sequence of actions would not complete upon revisiting. To solve the problem, try pressing all the necessary levers and interacting with the crucible again. If that doesn't help, enable «Turn-based mode» and have each character in a full party of four take turns fulfilling all the conditions for activating the adamantium forge.
The third method is to restart the game. It's important to save in a separate slot to not corrupt your main game. Finally, the most radical option is to restart the battle with the Eternal Guardian of the forge. This should only be done if there are saves right before the battle. Otherwise, it's better not to resort to this method.
Other guides
- Best Build for Sorcerer (The Dark Urge) in Baldur's Gate 3
- All Endings of Baldur's Gate 3 — How to Get Good, Bad, and the Secret Endings
- Best Druid Build (Halsin, Jaheira) in Baldur's Gate 3
- Co-op in Baldur's Gate 3: How to Play Online with a Friend
- Glut and Spaw in Baldur's Gate 3: How to Defeat the Invading Duergar and Avenge Glut's Circle
- Best Build for a Paladin (Minthara) in Baldur's Gate 3: Which Attributes, Traits and Subclass to Choose
- Best Warrior (Lae'zel) Build in Baldur's Gate 3
- Best Ranger (Minsc) Build in Baldur's Gate 3: Which Attributes, Traits and Subclass to Choose
- How to Find the Annals of Karsus and Solve the Puzzle of the Sorcerous Sundries Cellar Doors in Baldur's Gate 3
- The Gauntlet of Shar in Baldur's Gate 3: How to Complete the Trials of Soft Step, Repetition, Leap of Faith, and Obtain the Dark Gems
- Wie man das Rätsel im Tresor der Prüfungskammer in Baldur's Gate 3 löst
- Wie man den Gnom Wulbren und die Tieflinge in Baldur's Gate 3 rettet
- Wie man das Nachtpuzzle in Baldur's Gate 3 löst
-
Best Druid Build (Halsin, Jaheira) in Baldur's Gate 3
-
Best Warrior (Lae'zel) Build in Baldur's Gate 3
-
All Endings of Baldur's Gate 3 — How to Get Good, Bad, and the Secret Endings
-
Co-op in Baldur's Gate 3: How to Play Online with a Friend
-
The Gauntlet of Shar in Baldur's Gate 3: How to Complete the Trials of Soft Step, Repetition, Leap of Faith, and Obtain the Dark Gems
-
Best Monk Build in Baldur's Gate 3
-
Best Barbarian (Karlach) Builds in Baldur's Gate 3
-
Best Rogue Build for Astarion in Baldur's Gate 3
-
Best Wizard (Gale) Build in Baldur's Gate 3
-
How to Have a Romance With Every Companion in Baldur's Gate 3
-
How to Save the Gnome Wulbren and the Tieflings in Baldur's Gate 3
-
How to Solve the Night Puzzle in Baldur's Gate 3
-
The Road to the Moon Towers in Baldur's Gate 3: How to Get There and Solve the Moon Discs Puzzle

