How to Set a Computer to Boot from a USB Drive in UEFI BIOS, Phoenix Award BIOS, AMI BIOS
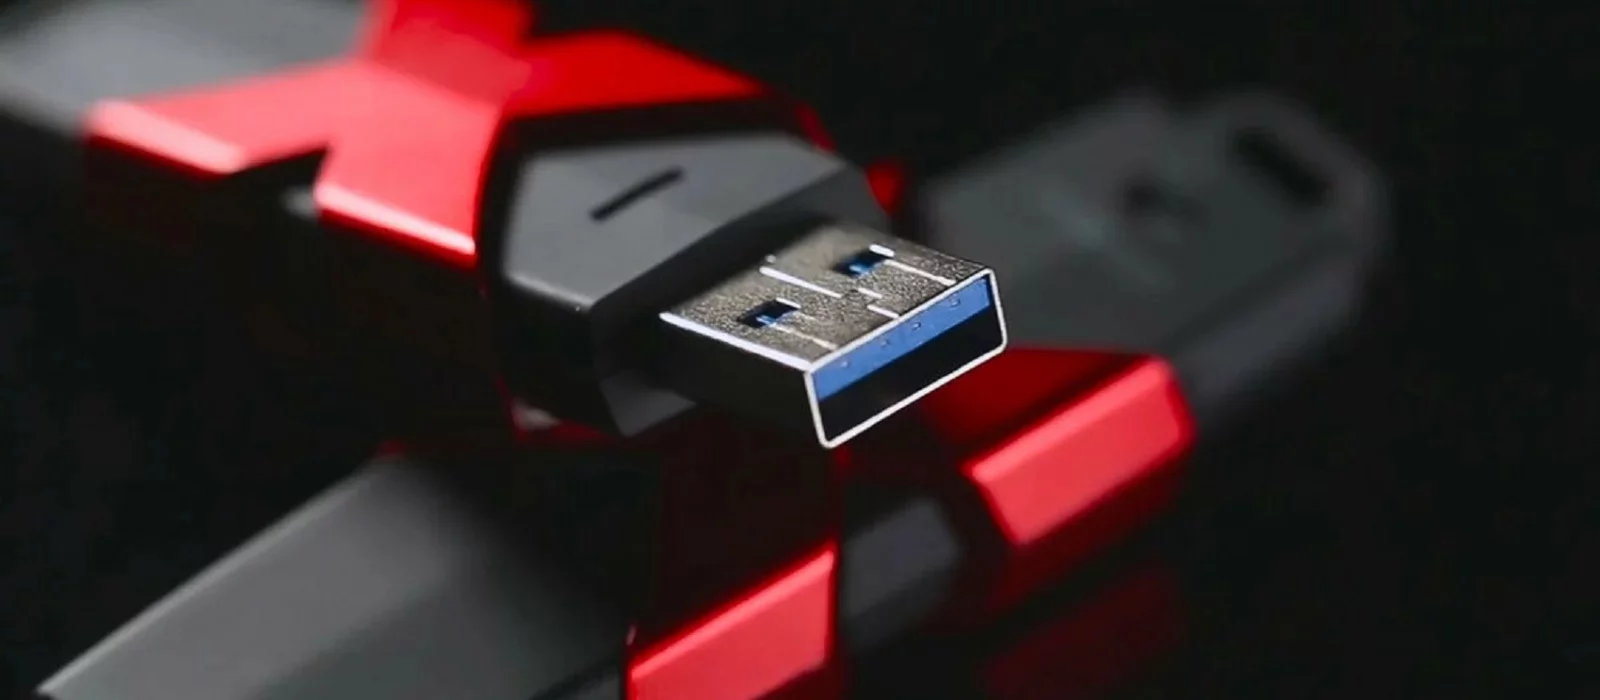
Today, to install or reinstall an operating system, a USB flash drive is used. You need to pre-record the installation file on it. However, for your computer to boot from the flash drive after turning on, certain settings need to be configured in the system. This article will guide you on how to do it.
To access BIOS, press the Del or F2 button immediately after turning on the computer, before the operating system loads. In some cases, especially on laptops, the keys Esc, F1, F2, F9, or combinations Ctrl+F2, Ctrl+Alt+Del, Ctrl+Alt+Esc, Fn+F2 might be responsible for this action. The necessary button usually appears on the screen right after turning on. First, insert the flash drive with the operating system installer. The following actions depend on your BIOS version.
How to Set a Computer to Boot from a USB Drive in Phoenix Award BIOS
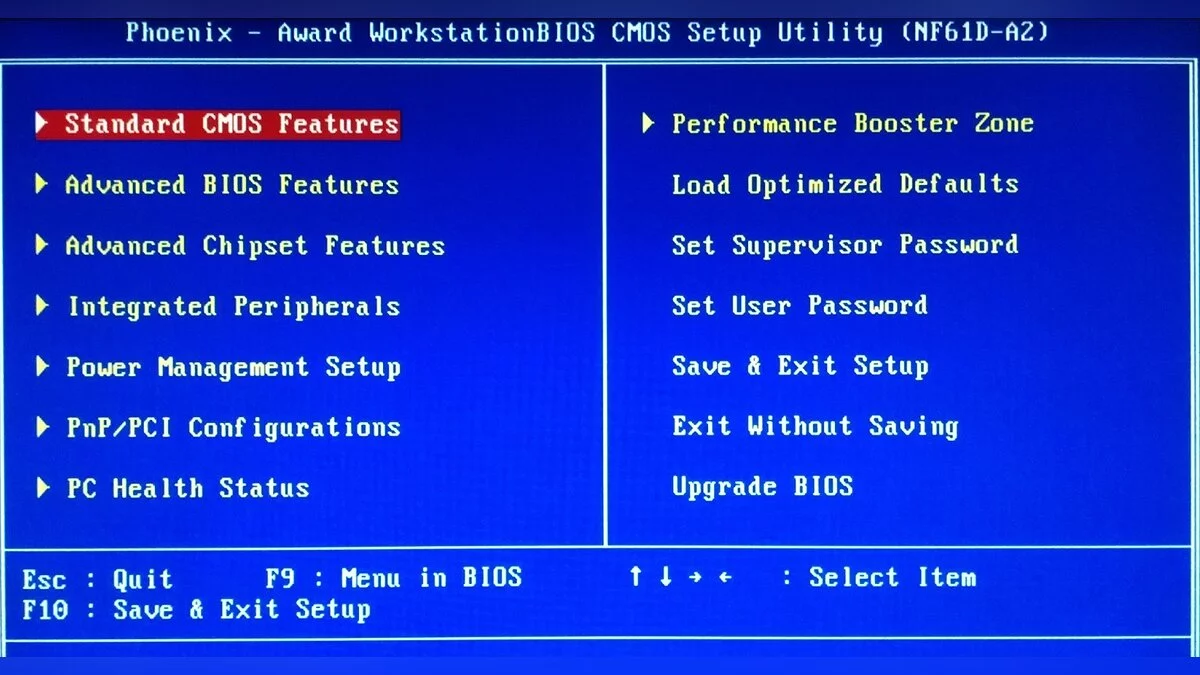
This version of BIOS has the following interface:
The algorithm for setting a computer to boot from a USB drive in Phoenix Award BIOS:
- Open Advanced BIOS Features.
- Set the Hard Disk Boot Priority to USB-HDD.
- In the First Boot Device option, select USB-CDROM.
- Set the Second Boot Device to Hard Disk.
- Open the Integrated Peripherals menu. For USB Keyboard Function and USB Mouse Function, set them to Enabled.
- Exit using the Esc key. You will be asked if you want to save the changes. Press the Y key to accept them.
How to Set a Computer to Boot from a USB Drive in AMI BIOS
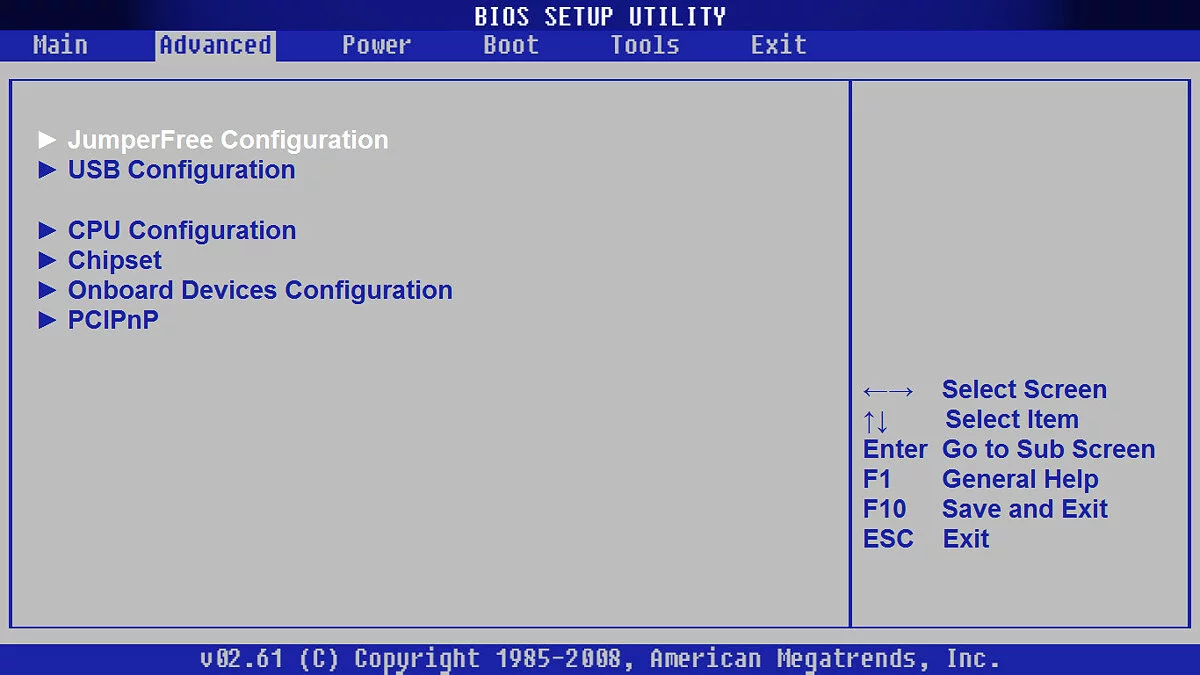
This version of BIOS has the following interface:
The algorithm for setting a computer to boot from a USB drive in AMI BIOS:
- Open the Boot menu.
- Select Hard Disk Drives.
- In the first line (1st Drive), set your flash drive. You should see its name. In the second line (2nd Drive), set your hard disk. Exit to the previous menu.
- Select Boot Device Priority.
- As the first boot device (1st Device Priority), choose your flash drive. Set the priority using the + and — keys.
- Exit BIOS. Do this by pressing Esc and confirm the changes to the settings.
How to Boot from a USB Drive in UEFI BIOS
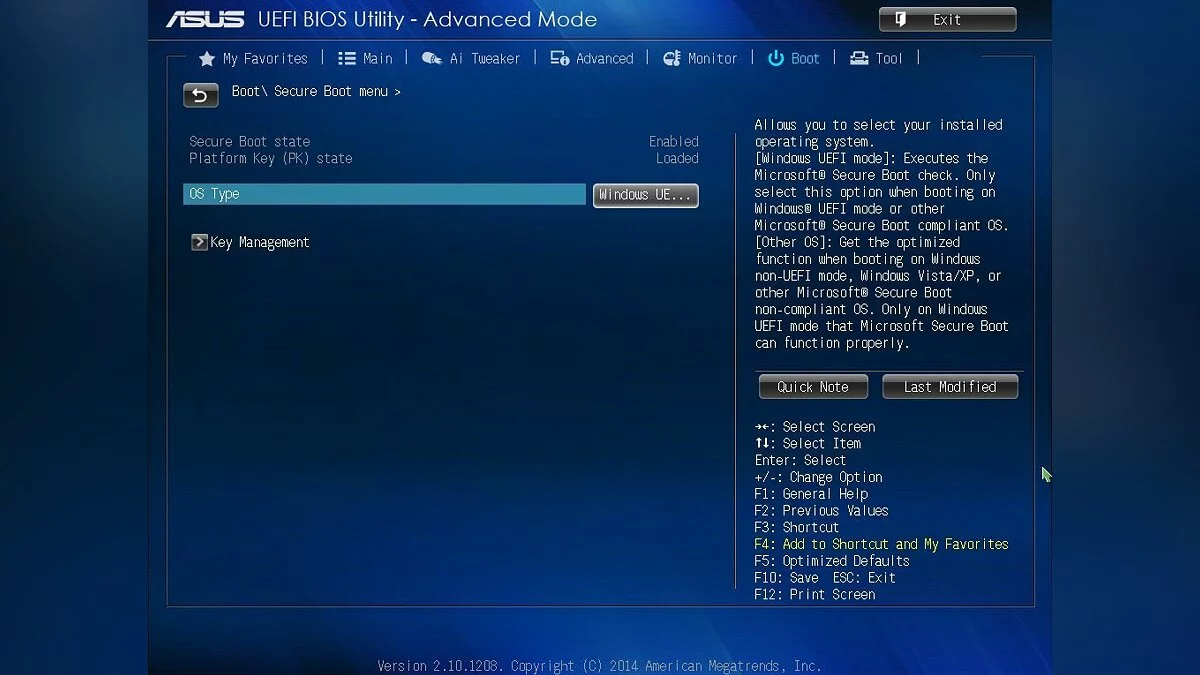
The interface of this BIOS version looks like this:
There are two methods to set up booting from a USB drive in UEFI BIOS.
First method:
- Press F7 to enter Advanced Mode.
- Go to the Boot section.
- In the Boot Option #1 section, select your USB drive. If you have already inserted it into the computer, you will see its full name. For the second device (Boot Option #2), specify the hard disk.
- Press F10 to save the changes and exit BIOS.
Second method:
- Open the Save and Exit menu.
- In the Boot Override section, select your USB drive.
- Exit using the Esc key and save the changes.
This is the only method where the system will boot from the USB drive just once.
How to Boot from a USB Drive Without Entering BIOS
This method is the simplest, but it does not work with all motherboards. The algorithm is as follows:
- Immediately after turning on the computer, repeatedly press F8.
- In the window that opens, you will be prompted to choose the device from which to boot. Specify the name of your USB drive.
How to Boot from a USB Drive on HP BIOS
HP BIOS is used on HP laptops. The simplest way to boot from a USB drive is similar to the one we described in the previous section. Only instead of the F8 key, you need to press the F9 button. In the menu that opens, select the USB drive as the priority boot device.
If you cannot access the boot menu, you will have to act through BIOS:
- Invoke BIOS by pressing the F10 key while the computer is booting.
- Open the System Configuration menu.
- Press on the Boot Order item.
- Choose the USB drive as the 1st device. You can move the line down the list using the F5 key. To move up, use F6.
- Press F10 to save and exit.
How to Boot from a USB Drive on Lenovo BIOS
This system is found in Lenovo laptops.
- To enter BIOS, after the Lenovo logo appears, press F1, F2, or Fn, depending on the laptop model.
- Open the Boot menu.
- Click on the Boot Priority item and select the Legacy First option. If the laptop does not support EFI boot, this item will not be available to you. Move to the next step.
- Go to the list located under the word Legacy, and move the USB device (USB HDD) to the top line using F5 and F6 keys.
How to Set Up Booting from a USB Drive on Asus BIOS
This method is applicable for Asus laptops:
- Hold down the F2 button and, without releasing it, turn on the computer.
- Once you enter the BIOS, select the Boot menu.
- Open the Hard Drive BBS Priorities item.
- Click on Boot option 1 and select your USB flash drive.
How to Create a Bootable USB Drive with Windows
The algorithm is simple:
- Visit the official Microsoft website and download the official Windows 10 or Windows 11 image.
- Run the Media Creation Tool and accept the license terms.
- Indicate that you want to create installation media.
- Select the specific USB drive and click Next.
- If the device and USB ports are working properly, after some time, you will see the message «USB flash drive is ready». After that, you can install the operating system.
What to Do if BIOS Does Not Recognize the Bootable USB Drive. How to Boot from a USB Drive in Legacy Mode
Possible reasons and solutions for the error:
- Errors when creating the boot file. Make sure you have installed the operating system bootloader on the flash drive, not just copied the files. If it doesn't help — format it and try again. To do this, open Explorer, right-click on the flash drive, and select Format. If it doesn't work, then the device is physically damaged. Try another flash drive.
- Secure Boot function is activated in the system. It serves to protect the computer from malicious software, but it may prevent you from reinstalling the system. To disable it, go to BIOS, open the Boot menu, find the Secure Boot item, and set it to Disabled. After successfully installing the system, it is advisable to re-enable this function.
- Mismatch of boot modes. Most often, only the EFI boot mode is activated by default in BIOS. If you recorded the bootable USB drive in Legacy mode, the system might not recognize it. To fix this situation, go to the Boot menu, find the Load Legacy Option Rom item, and set it to Enabled.
- Mismatch between flash drive and USB port versions. This issue can occur, for example, when installing Windows 7. It is impossible to install this operating system on a USB 3.0 flash drive. In this case, use a USB 2.0 storage device. It is preferable for both the flash drive and the port to be of the same version.
- Problem with USB ports. First, check that they are not disabled. Open the Integrated Peripherals menu. The value next to USB ports should be Enabled (Inabled). It is also possible that the port is faulty. Try inserting the flash drive into another port. If all else fails — replace the port.
- Problem with the computer. Older machines may have another issue — lack of USB support. This limitation can be circumvented with the help of the Plop Boot Manager application. Install it on a CD or DVD and configure the BIOS so that this device is the first in the boot priority. After starting the computer, this program will open. Select the flash drive as the boot device.
-
Medicament Predicament: Dragon's Dogma 2 Walkthrough Guide
-
Nesting Troubles: Dragon's Dogma 2 Walkthrough Guide
-
Brothers Brave and Timid: Dragon's Dogma 2 Walkthrough Guide
-
Seat of the Sovran: Dragon's Dogma 2 Walkthrough Guide
-
Monster Culling: Dragon's Dogma 2 Walkthrough Guide
-
Disa's Plot: Dragon's Dogma 2 Walkthrough Guide
-
The Arisen's Shadow: Dragon's Dogma 2 Walkthrough Guide
-
The Stolen Throne: Dragon's Dogma 2 Walkthrough Guide
-
Nation of the Lambent Flame: Dragon's Dogma 2 Walkthrough Guide
-
A Place to Call Home: Dragon's Dogma 2 Walkthrough Guide
-
How to Install Games and Apps on Chrome OS Flex
-
A Magisterial Amenity: Dragon's Dogma 2 Walkthrough
-
Off the Pilfered Path: Dragon's Dogma 2 Walkthrough
-
All Endings of Alone In The Dark (2024): How to Get Them
-
How to Fix Errors 0x80072EE7, 0x80a40401, and 0х80072EFD on Xbox
-
Walkthrough for Underground Blossom: All Puzzles and Achievements
-
Glut and Spaw in Baldur's Gate 3: How to Defeat the Invading Duergar and Avenge Glut's Circle
-
All Muspelheim Trials in God of War: Ragnarok
-
Everything You Need to Know About GTA 6: PC Release, Characters, Map, and Cheats
-
Duskwood Walkthrough (Episodes 1-10): All Answers and Endings
