Blue Screen in Windows 10 and 11: How to Fix

The Blue Screen of Death (BSOD) is one of the most unpleasant and alarming events that Windows 10 and 11 users can encounter. In this guide, we will look in detail at how to identify the causes of the BSOD and what steps to take to restore normal system operation.
What is a Blue Screen (BSOD)
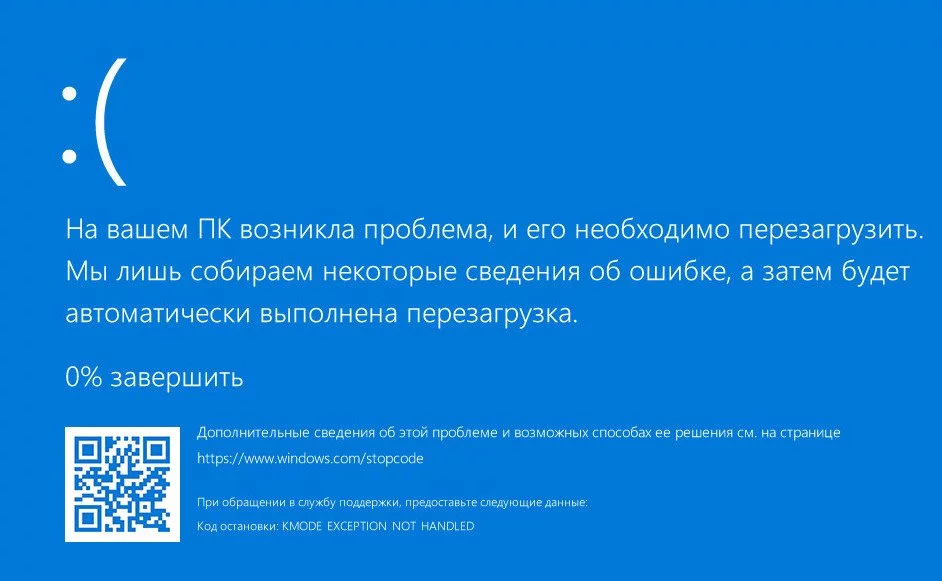
The Blue Screen of Death, also known as BSOD, is a signal of a critical error occurring in the Windows operating system. This error causes the computer to shut down immediately and restart. When a BSOD appears, the system has detected such a serious problem that continuing to work could lead to data corruption or damage to the system itself. The screen displays a blue background with text containing information about the problem, the error code, and, in the latest versions of Windows, a QR code that can be scanned for more detailed information about the failure.
The causes of a blue screen can vary. The most common are hardware component issues such as faulty RAM, hard drive failures, or overheating of individual system nodes. It can also be software failures, including device driver issues, software incompatibility, Windows update errors, as well as viruses and other malware.
An important aspect is that the BSOD does not always mean serious system damage. In some cases, the error may be accidental, and a system reboot resolves the issue. However, recurring blue screens are a signal that diagnostics and troubleshooting are necessary to avoid more serious consequences. Despite its intimidating name, the blue screen is a useful diagnostic tool as it provides important information that helps identify and fix the source of the problem.
Error Code Lookup and Troubleshooting
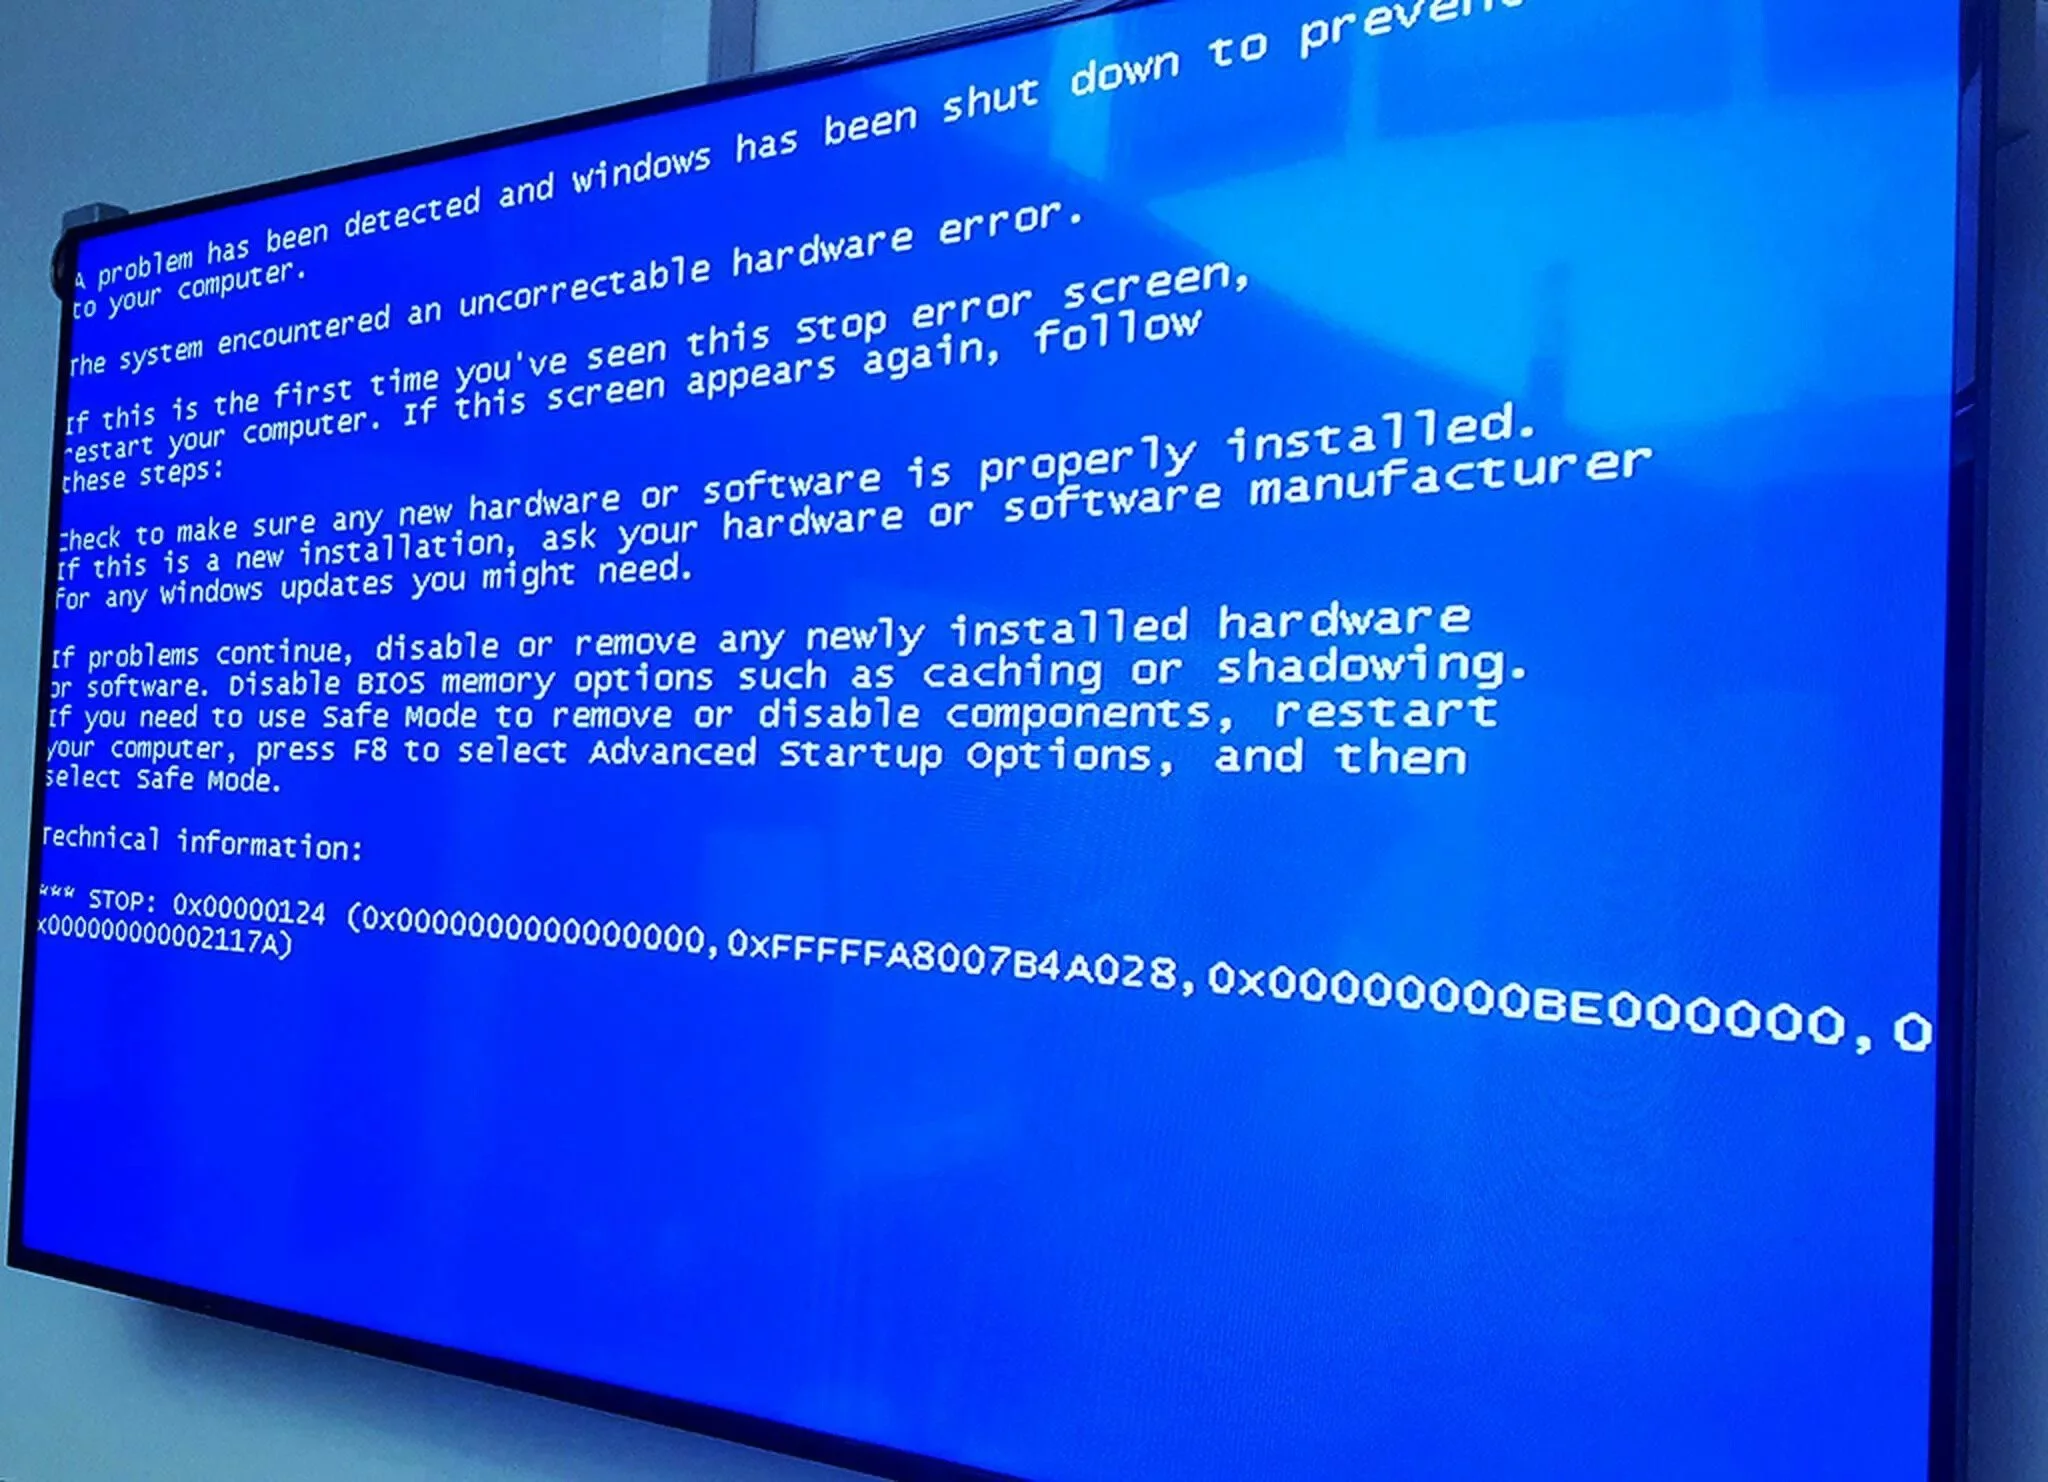
When a Blue Screen of Death (BSOD) occurs, an error code or error message is displayed on the screen. This code is the key to understanding the cause of the failure. The most common codes include «IRQL_NOT_LESS_OR_EQUAL,» "CRITICAL_PROCESS_DIED," «PAGE_FAULT_IN_NONPAGED_AREA,» and others. Each of these codes points to a specific problem related to hardware or software.
The first step in diagnostics is to write down or photograph the error code. After that, use the Internet to search for information about this error. The search can include a regular query in a search engine or scanning the QR code provided on the BSOD screen in modern versions of Windows. Microsoft and other software developers provide databases and forums where you can find a detailed description of the error and possible ways to fix it. For your convenience in identifying the cause of the failure, we will consider each error code and the reason for its occurrence.
After identifying the cause of the error, you can proceed to fix it. Depending on the error code, this may include updating or rolling back drivers, removing conflicting software, checking and restoring system files, or even replacing hardware components.
Removing Problematic Software and Drivers
One of the most common causes of a blue screen is software or device driver incompatibility or errors. If the blue screen appeared shortly after installing a new application or updating a driver, there is a high likelihood that the problem lies in this component.
The first step will be to remove or roll back recently installed programs or drivers. Windows provides several convenient tools for this:
- Control Panel: Through the «Programs and Features» menu, you can easily remove recently installed applications that may have caused a conflict.
- Device Manager: This tool allows you to manage device drivers. You can find the device that recently received a new driver and roll back to the previous version if the blue screen started appearing after the update.
- Safe Mode: If the problem is so severe that the system cannot boot in normal mode, you can try entering the system in safe mode. In this mode, only the minimal necessary drivers and services are loaded, allowing you to safely remove problematic software or drivers. (Use Shift+Restart in the start menu and select safe mode).
After removing the problematic component, it is recommended to restart the computer to check if the problem has disappeared. If the blue screen no longer occurs, you can try reinstalling the software or driver, ensuring that the most up-to-date version is used.
Removing Recently Installed Programs or Drivers
Sometimes the Blue Screen of Death can be caused by incompatibility or errors in recently installed programs or drivers. If the BSOD started appearing after installing new software or updating drivers, this is likely the cause of the failure.
If blue screens began appearing after installing a new program, try removing it by following these steps:
- Open the Control Panel.
- Go to the Programs and Features section.
- Find the recently installed software in the list, right-click on it, and select Uninstall.
- Follow the prompts to complete the uninstallation process.
After completing the uninstallation, restart your computer and check if the problem is resolved.
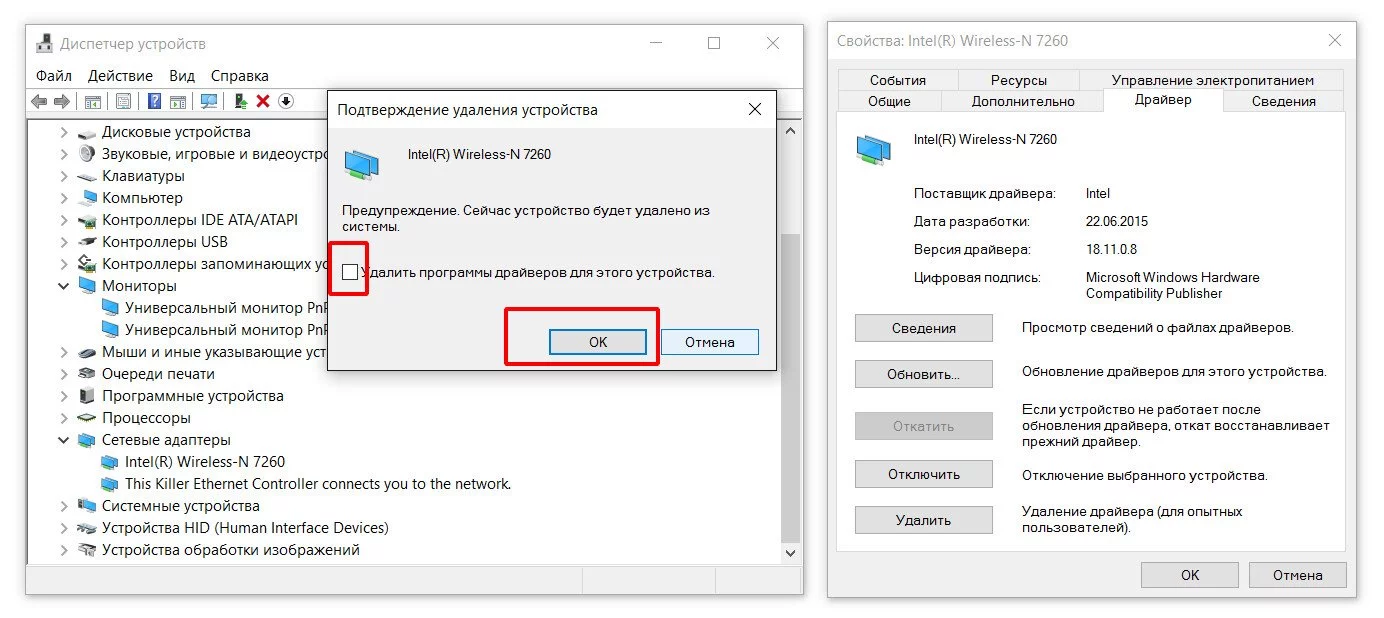
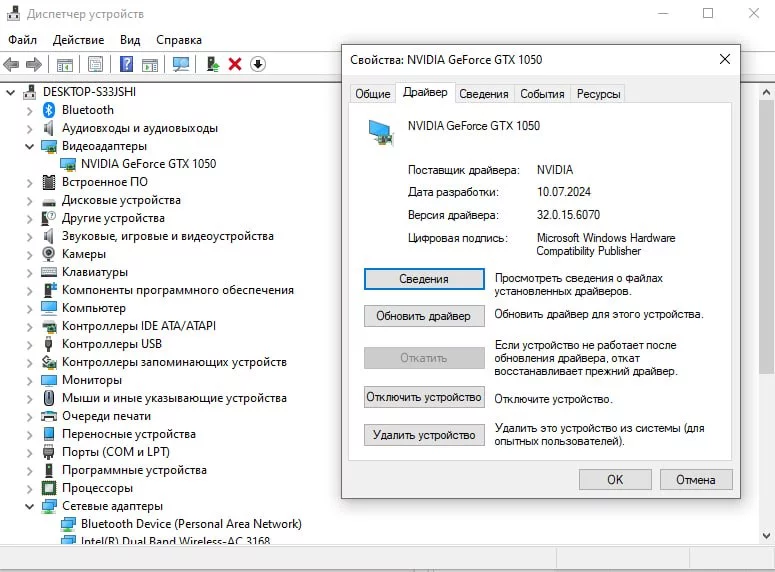
- Press Win + X and select Device Manager.
- Find the device whose driver you updated, right-click on it, and select Properties.
- Go to the Driver tab and click the Roll Back Driver button. If this option is available, the system will restore the previous version of the driver.
- After rolling back, restart your computer.
If the blue screen no longer appears after rolling back the driver, you can keep this driver or wait for a more stable update from the manufacturer.
If removing the program or rolling back the driver did not help, you can try restoring the system to a state before the problematic software was installed. System Restore allows you to roll back changes to the operating system without losing personal files.
- Press Win + S, type System Restore, and select the corresponding item.
- Follow the instructions of the recovery wizard and select a restore point created before the problematic software was installed.
- Start the recovery process and wait for it to complete.
After system restoration, the blue screen problem may disappear, as all changes related to recently installed programs and drivers will be undone.
These actions will help eliminate blue screens caused by incompatible or malfunctioning software or drivers and restore stable system operation.
Restoring System Files
If the blue screen problem persists despite system updates and removal of problematic programs, you should check the integrity of Windows system files. Over time, some of these files may become corrupted, which can cause critical errors.
Windows has built-in utilities to check and restore system files:
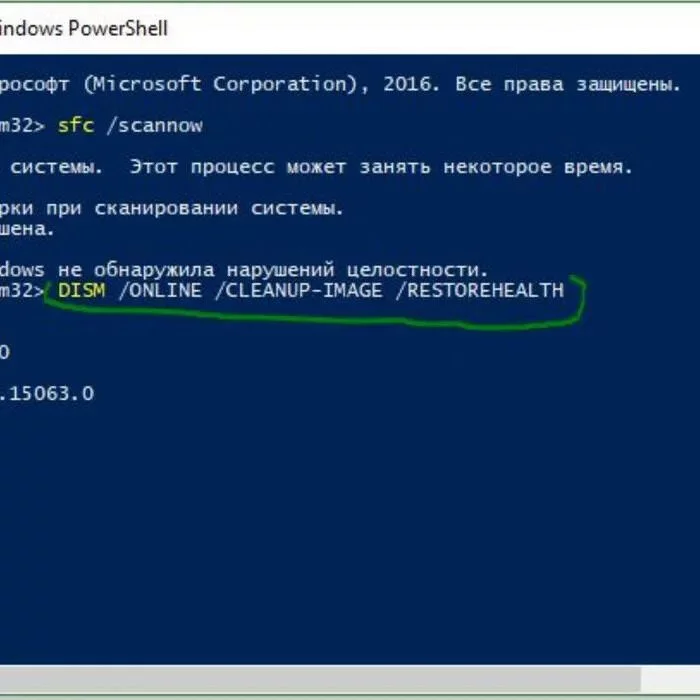
- DISM (Deployment Imaging Service and Management Tool): This utility allows you to fix corruption in the Windows image. To run it, you need to open the command prompt as an administrator and execute the following command: DISM /Online /Cleanup-Image /RestoreHealth. The utility will check the system for damage and, if found, will attempt to fix it. The process may take some time, after which a report on the actions performed will be presented.
- SFC (System File Checker): This utility is designed to scan and restore individual system files. After using DISM, it is recommended to run a check using SFC to ensure the integrity of all files. This also requires a command prompt with administrator rights. Enter the command: SFC /scannow. The utility will scan the system and, if it finds corrupted files, will try to restore them.
These utilities can help resolve issues with system files that may cause a blue screen. After completing these steps, you need to restart the system and check if the problem is resolved.
CHKDSK (Check Disk) Hard Drive Check
CHKDSK (Check Disk) is a built-in Windows utility that checks the integrity of the file system and the state of the hard drive. It can identify and fix disk errors, such as corrupted sectors, file system failures, and other issues that may cause various errors, including the Blue Screen of Death (BSOD).
CHKDSK scans the hard drive, checking the file system structure and the physical condition of the disk. The utility can perform the following tasks:
- File System Integrity Check: Checks and repairs logical errors in the file system, such as file inconsistencies or corrupted entries.
- Physical Error Check and Repair: Identifies and marks bad sectors on the disk so that data is not written to them in the future.
- File System Optimization: In some cases, it can help optimize the distribution of files on the disk.
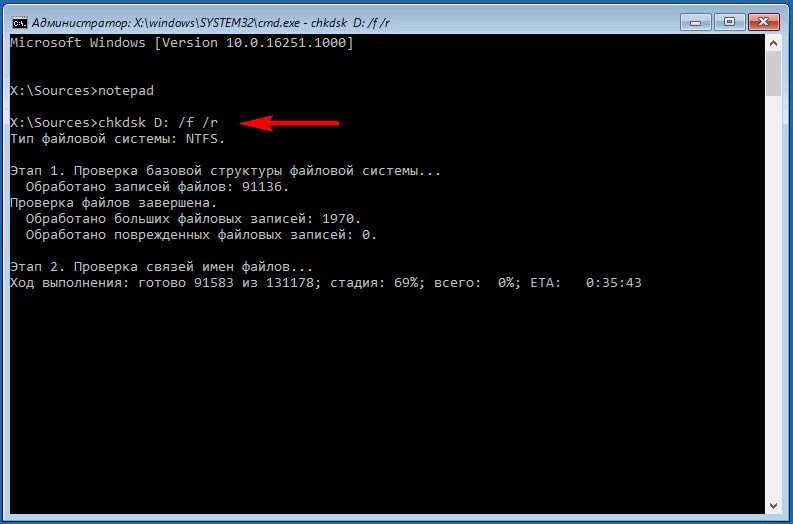
To run CHKDSK, follow these steps in the command prompt:
- Press Win + X and select «Command Prompt (Admin)» or «Windows PowerShell (Admin)“;
- Enter the command chkdsk C: /f /r, where: C: is the drive letter to be checked, /f is to fix errors on the disk, /r is to detect and repair bad sectors.
- If the disk is in use by the system, a prompt will appear to check it at the next restart. Enter Y and restart the computer to run the utility.
A blue screen can occur due to various issues, including file system corruption, hard drive failures, or driver errors. CHKDSK helps to:
- Detect and fix logical errors on the disk that may cause a blue screen.
- Identify bad sectors that can lead to read/write errors, causing system crashes.
- Prevent further disk deterioration by marking bad sectors so they are not used by the system.
However, it is important to note that CHKDSK does not always solve the problem, especially if the blue screen is caused by hardware or driver issues. In such cases, additional diagnostics and troubleshooting may be required.
Conducting Memory Check
Memory issues can also cause a blue screen. If the memory is malfunctioning, it can lead to errors when accessing data, which in turn causes system crashes. Windows has a built-in utility to check the state of the memory — Windows Memory Diagnostic.
To conduct a check:
- Open the ”Start» menu and search for «Windows Memory Diagnostic». The utility will open, offering two options: restart the computer and check the memory immediately or check it at the next restart.
- Select the first option, and the system will automatically restart. The check will take some time, and upon completion, the computer will restart again. The results of the check can be viewed after logging into the system.
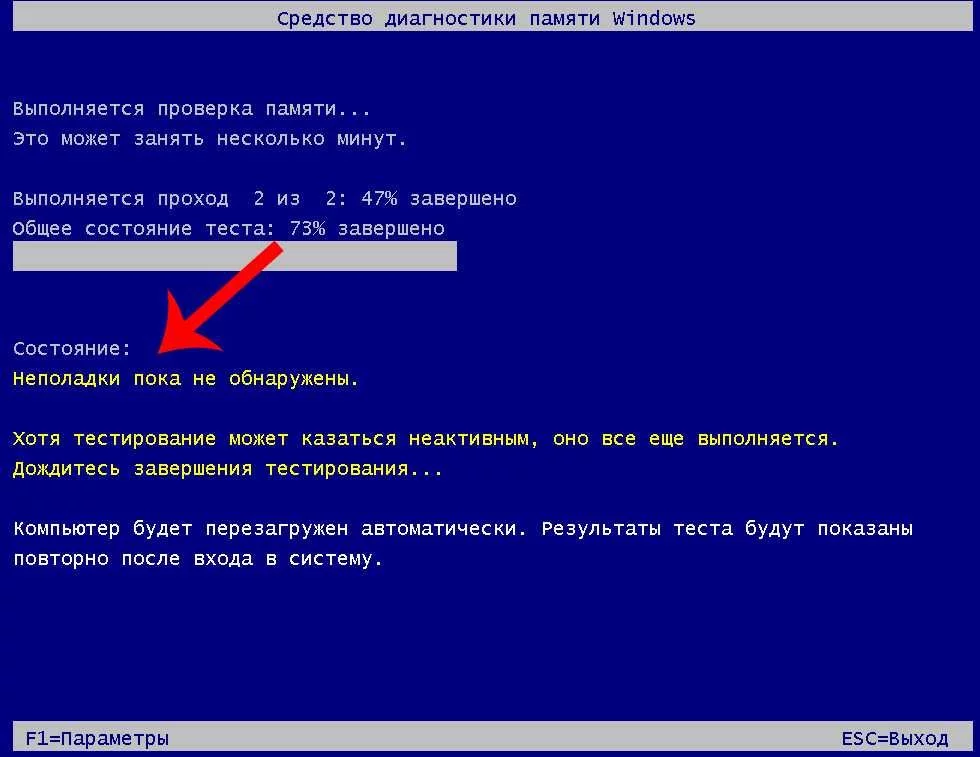
If the utility detects errors, it may indicate problems with the memory, and you should consider replacing the defective modules. Otherwise, even if the memory is not causing problems now, regular checks can help identify and resolve potential issues that may lead to more serious problems.
Checking the System for Malware
Malicious software (viruses, trojans, etc.) can also cause errors leading to a blue screen. Some types of malware can alter system files, corrupt drivers, or affect the operation of critical processes, causing crashes.
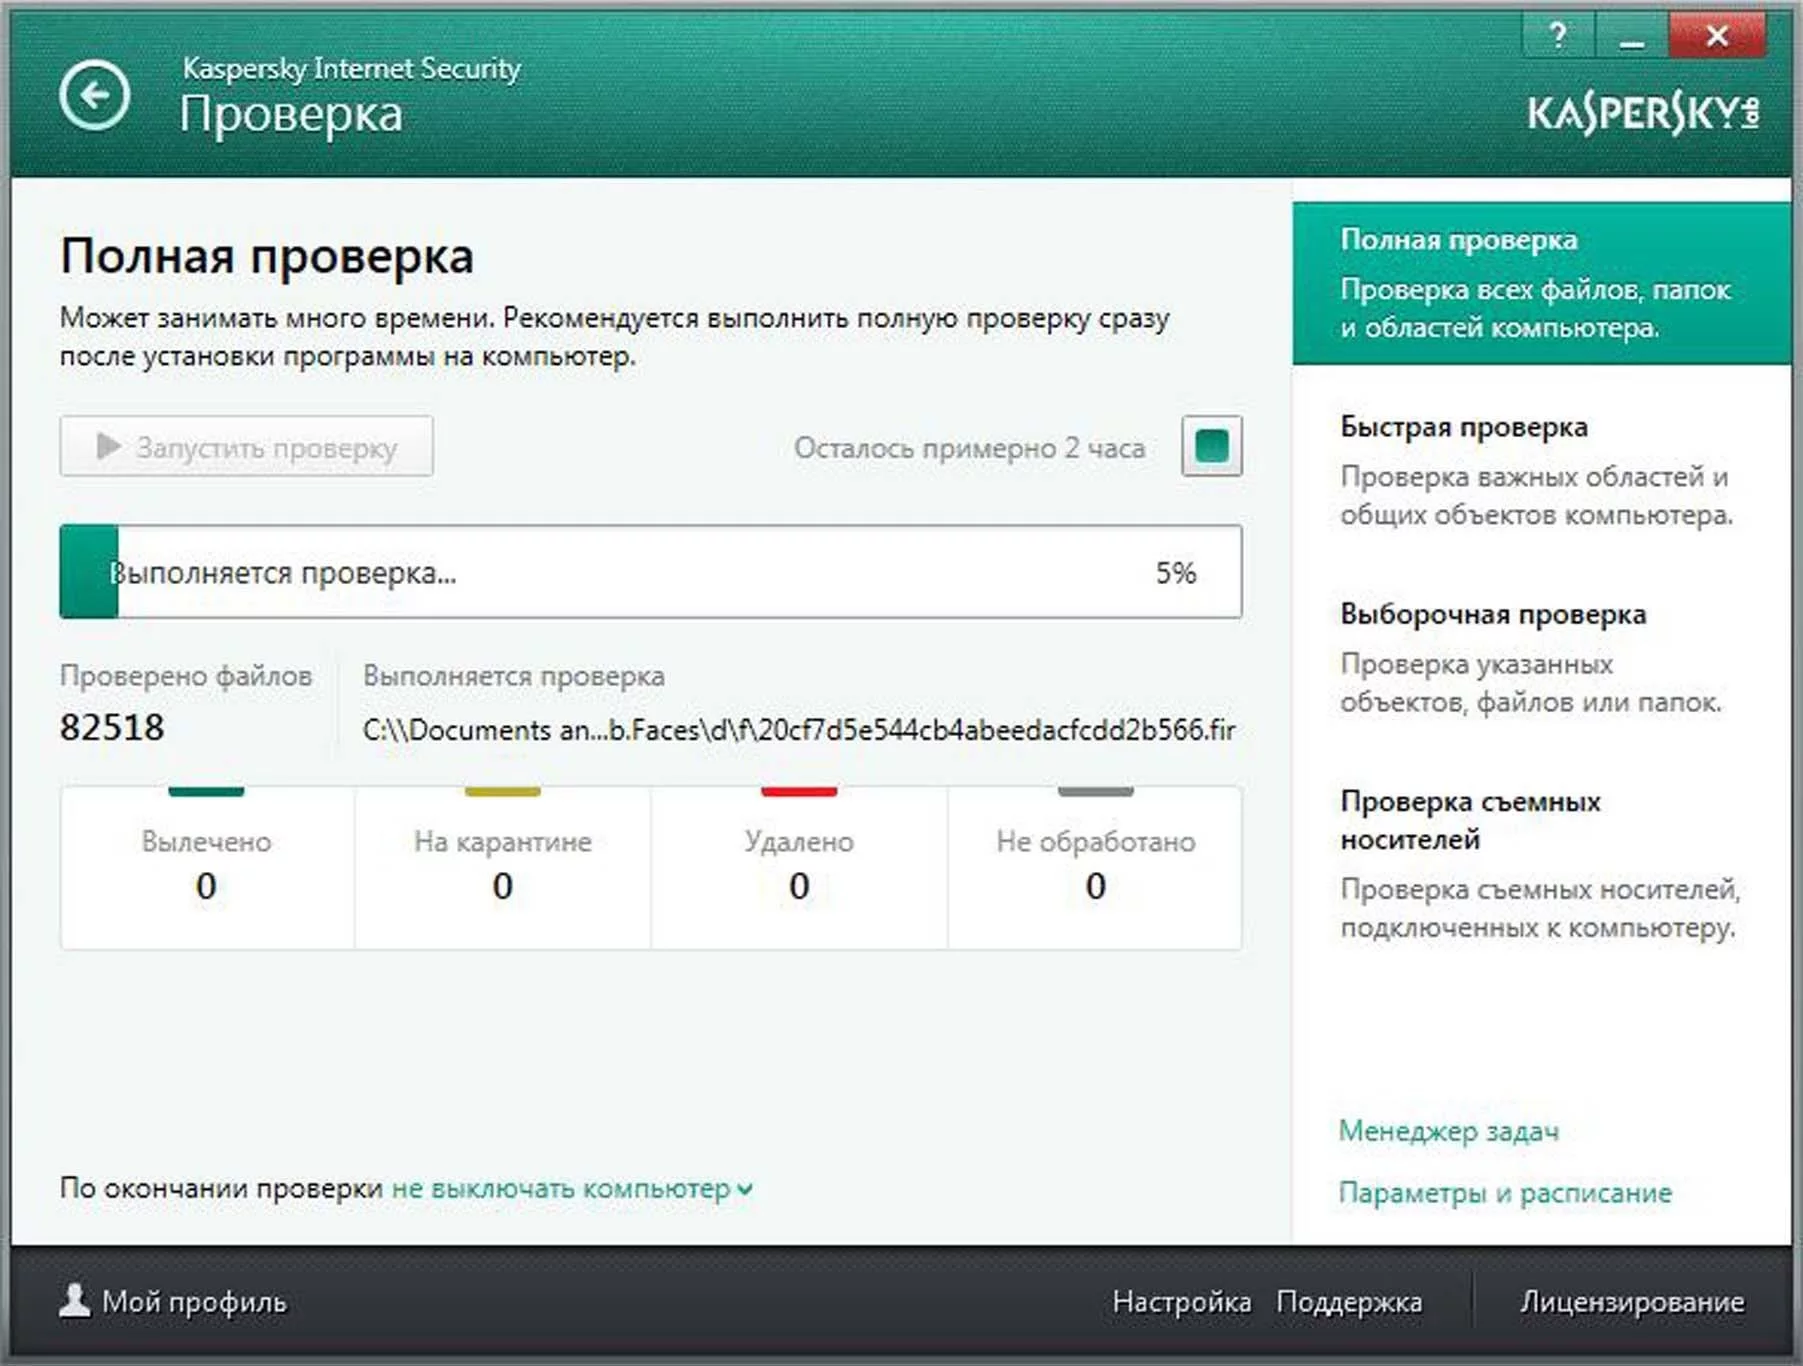
To check the system for malware, it is recommended to use reliable antivirus software. This can be the built-in Microsoft Defender or third-party solutions from well-known antivirus software manufacturers.
Steps to perform the check:
- Update the antivirus databases to the latest version to ensure that the program can detect the newest threats.
- Perform a full system scan. This may take some time but will allow you to detect and remove even hidden threats.
- If suspicious files are detected, follow the antivirus instructions to eliminate or isolate them.
Regular malware scans are one of the most important precautionary measures that can help avoid blue screen problems caused by viruses and other threats.
These methods constitute the main actions that need to be taken if a blue screen of death appears on a working system. They help detect and eliminate the most common causes of crashes, significantly improving Windows stability and minimizing the risk of recurring errors.
Possible Error Codes and Their Solutions
- 0x0000000D (MUTEX_LEVEL_NUMBER_VIOLATION)
- 0x0000001A (MEMORY_MANAGEMENT)
- 0x0000000A (IRQL_NOT_LESS_OR_EQUAL)
- 0x00000050 (PAGE_FAULT_IN_NONPAGED_AREA)
- 0x000000EF (CRITICAL_PROCESS_DIED)
- 0x00000010 (SPIN_LOCK_NOT_OWNED)
- 0x0000003B (SYSTEM_SERVICE_EXCEPTION)
- 0x00000025 (NPFS_FILE_SYSTEM)
- 0x00000019 (BAD_POOL_HEADER)
- 0x1000007E (SYSTEM_THREAD_EXCEPTION_NOT_HANDLE)
- Nicht funktionierende Mäuse, «Blue Screens of Death» und Neustarts — das jüngste Windows 11-Update hat sich als problematisch erwiesen
- Optimierung von Windows 10 und Windows 11: wie man das System beschleunigt
- Wie man HEIC-Dateien öffnet