All bosses in Black Myth: Wukong — best tactics for victory

Black Myth: Wukong is made as a souls-like, which means bosses play a significant role in the game. Each such opponent is a serious challenge, so you can get stuck on them for a long time. In this guide, we will share optimal tactics for battling the most dangerous enemies.
Chapter 1. Erlan — Sacred Deity
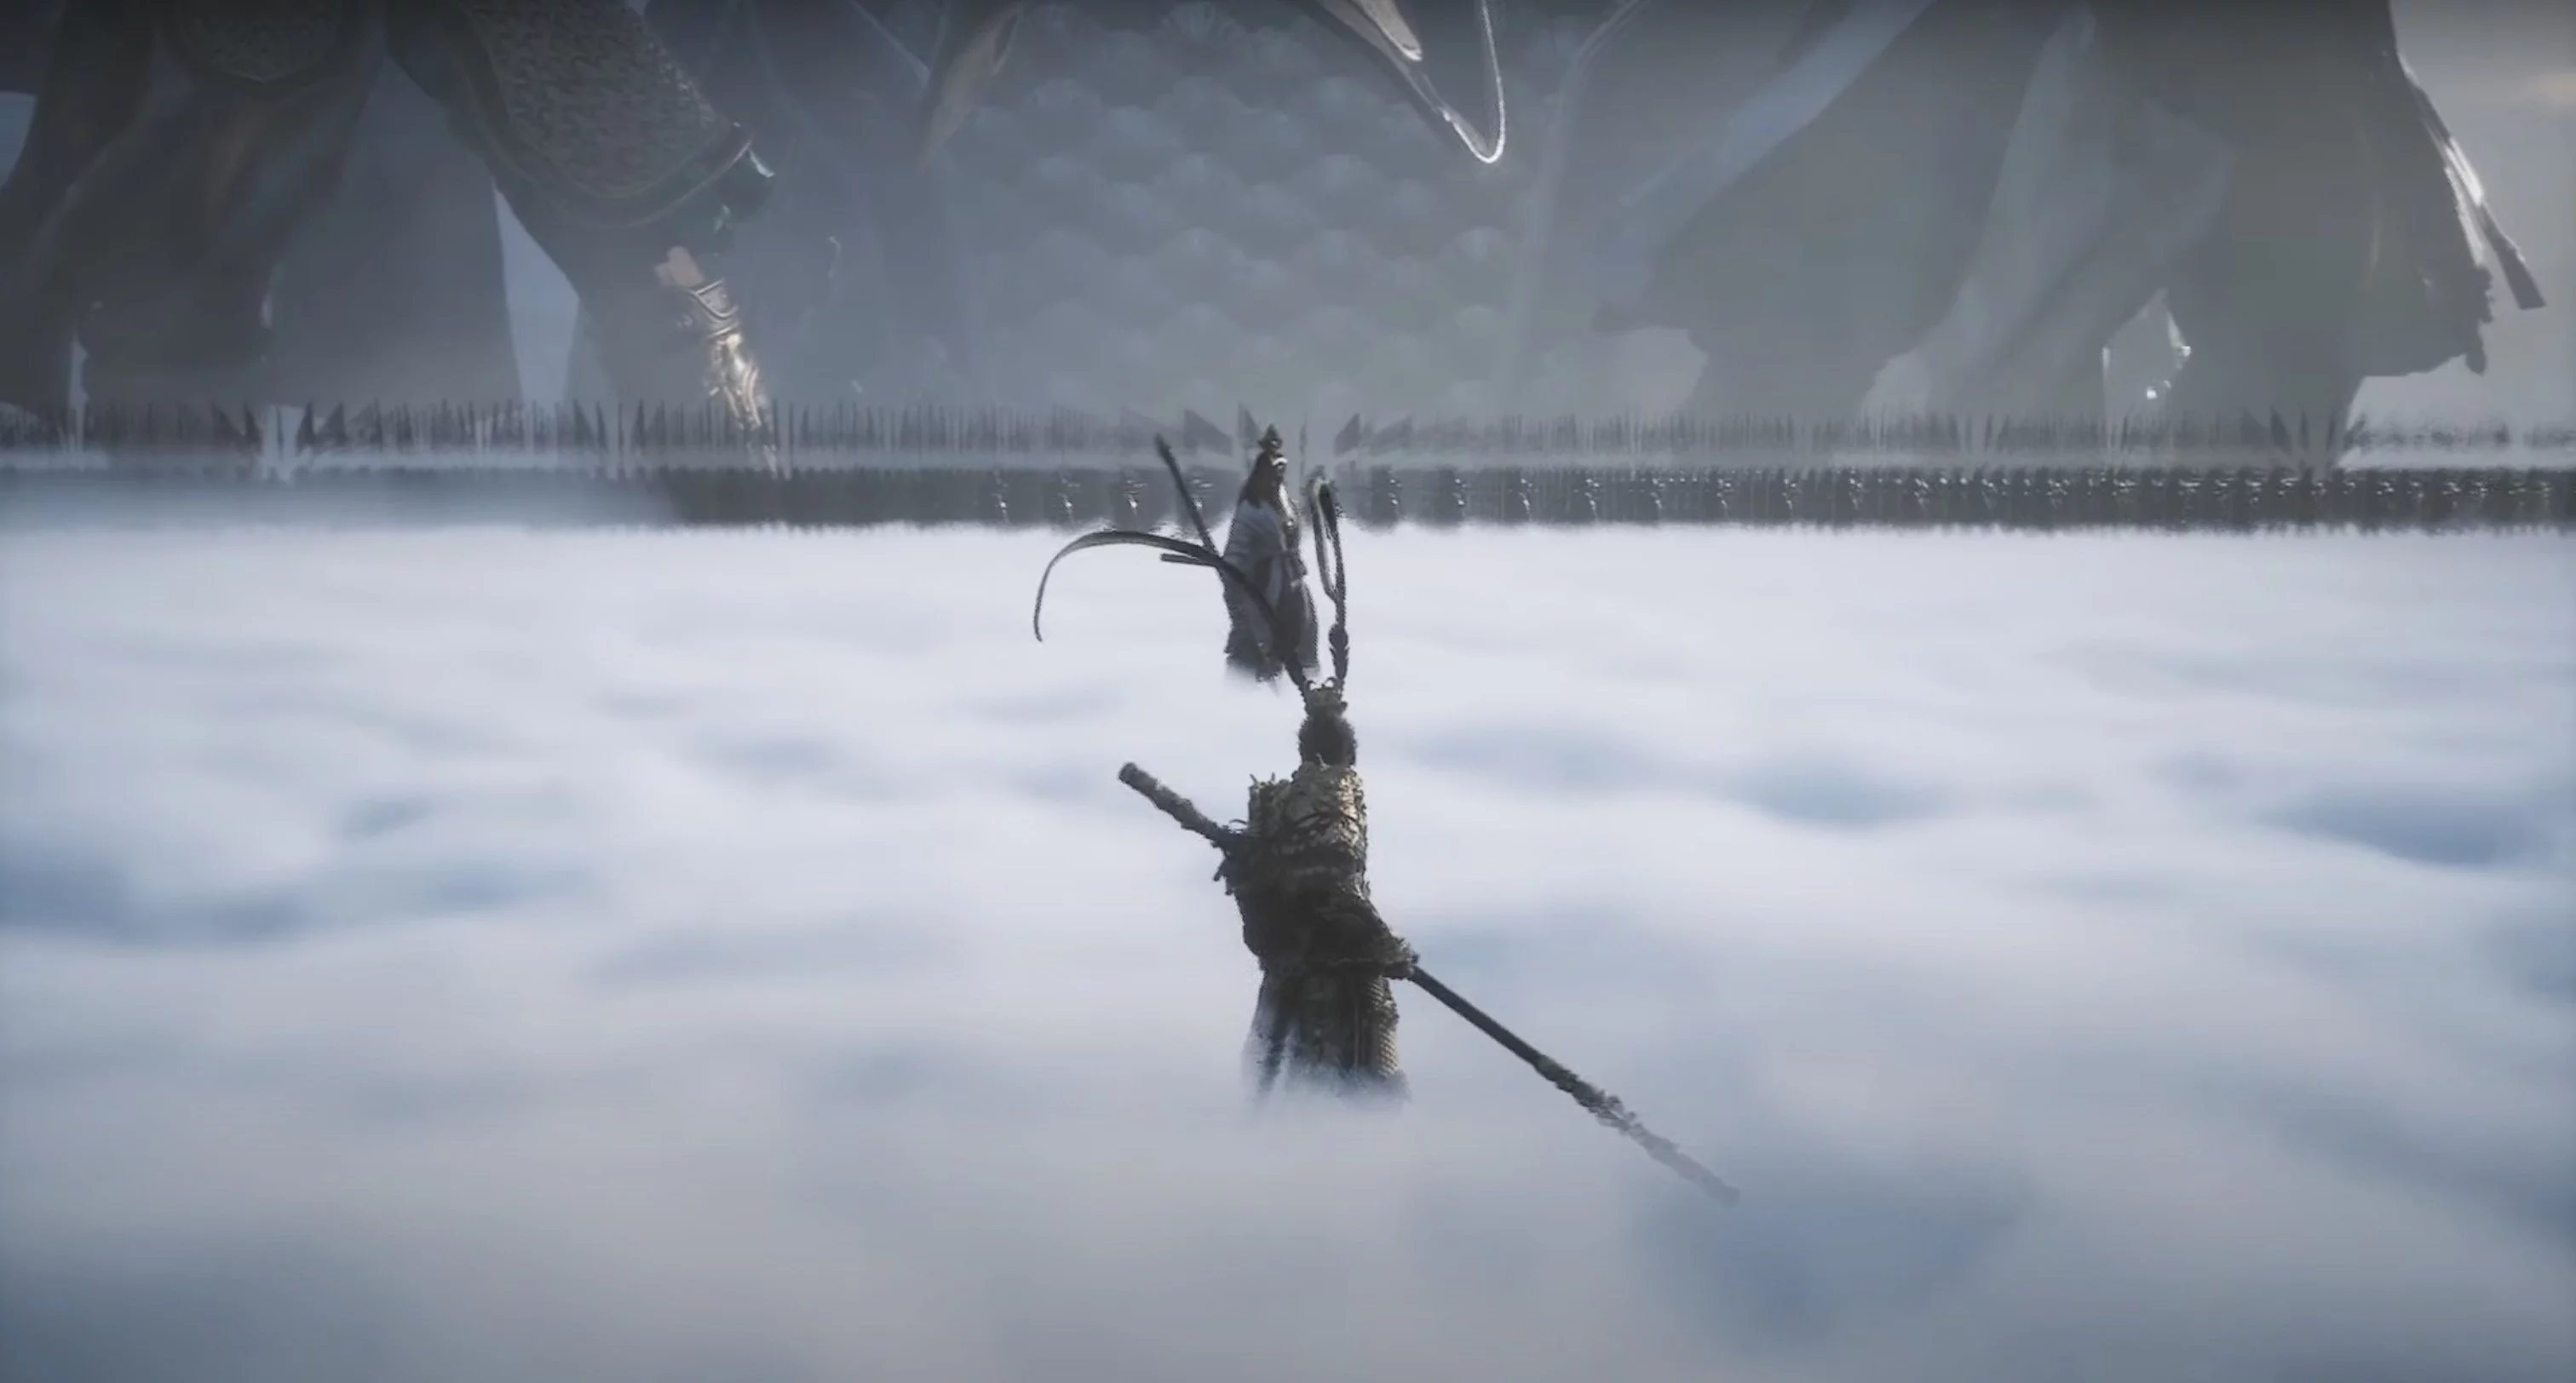
- Location: Tutorial boss in the prologue
- Difficulty: 0
The tutorial boss will help you understand which buttons to press. You cannot lose the fight because the Monkey King has infinite health.
Reward: none.
Guard Bull
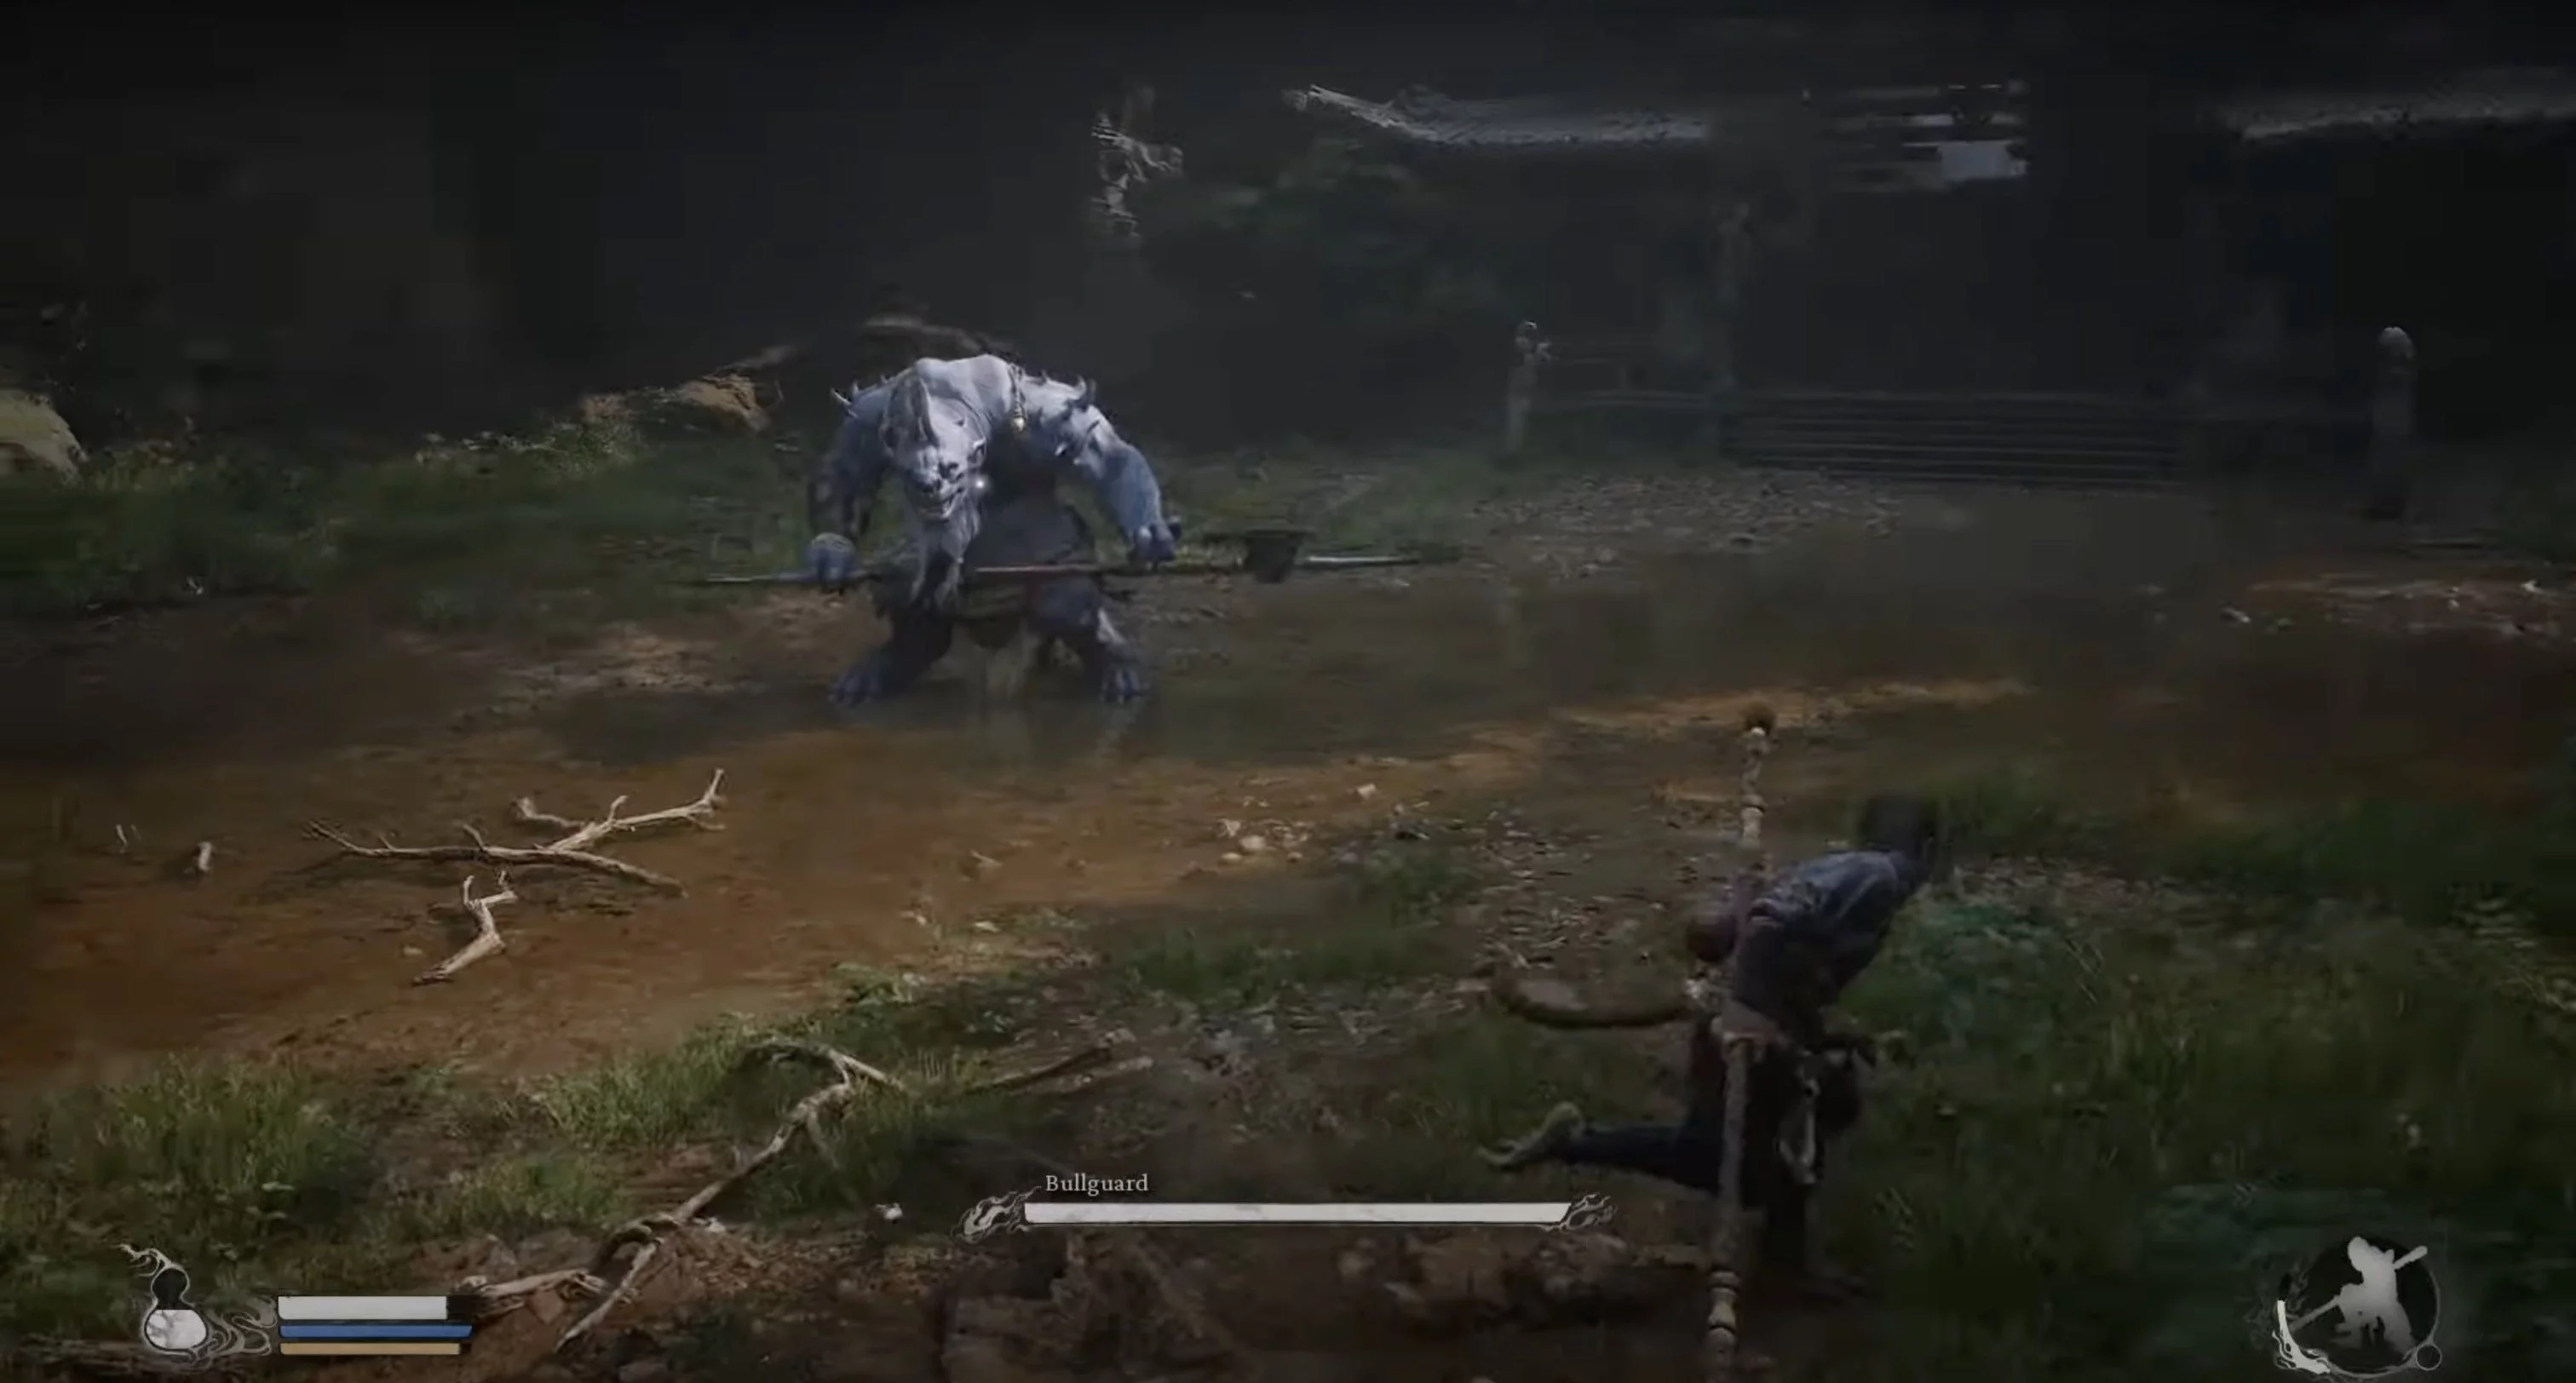
- Location: Wolf Forest, Near Hills
- Difficulty: 1
The first serious opponent on your path. Fortunately, defeating him is not that difficult if you understand his behavior pattern. The Bull hits hard, but he reacts slowly and generally behaves very sluggishly. This is an advantage you should use.
Important — sometimes the Bull can be stunned by heavy attacks, giving you time for a combo of light attacks. Don't forget about healing; it will be useful in any case. When the boss's health drops to half, a cutscene will start, after which you will gain your first spell Immobility. Use it, and then hit only with light attacks to quickly finish the fight.
Reward: 394 Will, 2 Yarn.
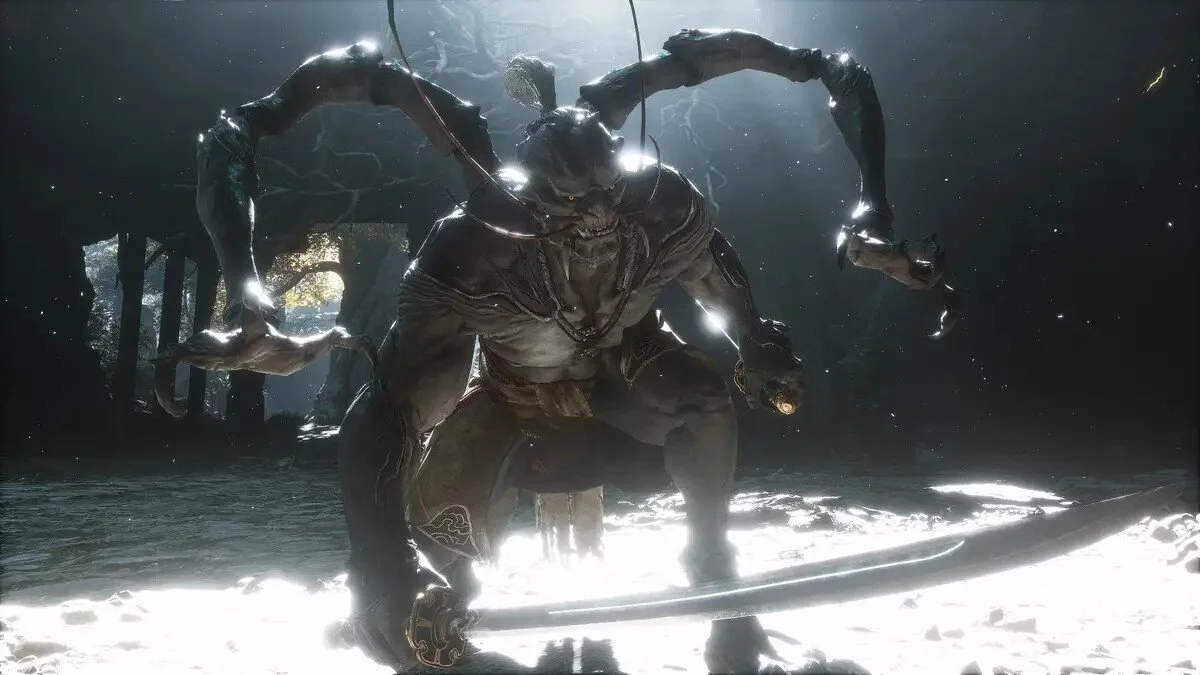
Guang-zhi
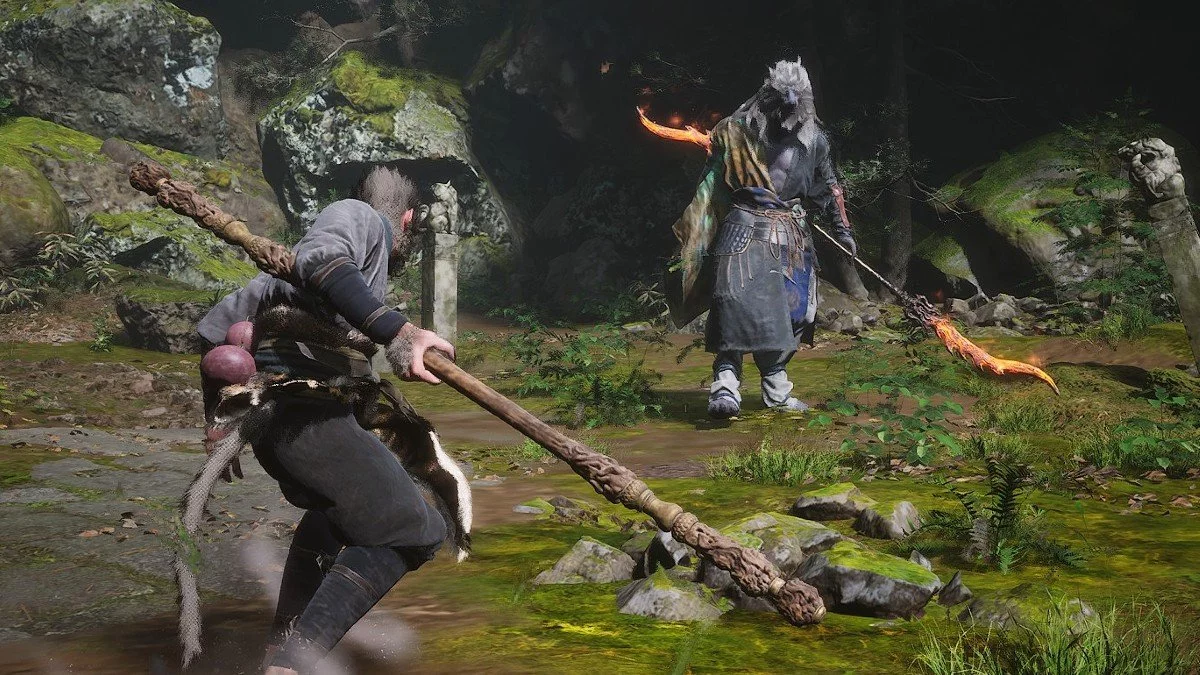
- Location: Wolf Forest, Forest (outside)
- Difficulty: 5
The path to the boss may not be the most obvious, and he is not needed for the main storyline. However, defeating Guang-zhi will give you the first transformation, which will greatly simplify life in the future. From the fast travel point indicated in the Location, go forward across the bridge, and then a bit further until you see torches leading to the arena.
The boss wields a double-edged staff that also burns. This is an important point because every missed hit accumulates a burning state. If the bar fills up, the Chosen One will start losing health. To extinguish the flame, dodge 3-4 times.
In battle, the main thing is to wait and not rush in. While the wolf casts his combo attacks, approaching him is pointless. The most annoying attack is when the boss suddenly lunges at you, closing the distance almost instantly. Don't forget to use Immobility whenever it is available. Perfect dodging is not necessary, but you will need to carefully watch the distance to not miss the attack window.
If you feel you lack health — explore other areas and level up. You can always return to the boss later. For the victory, you will receive his form and can temporarily become a formidable wolf with a fiery staff.
Reward: 567 Will, 1 Stone Spirit.
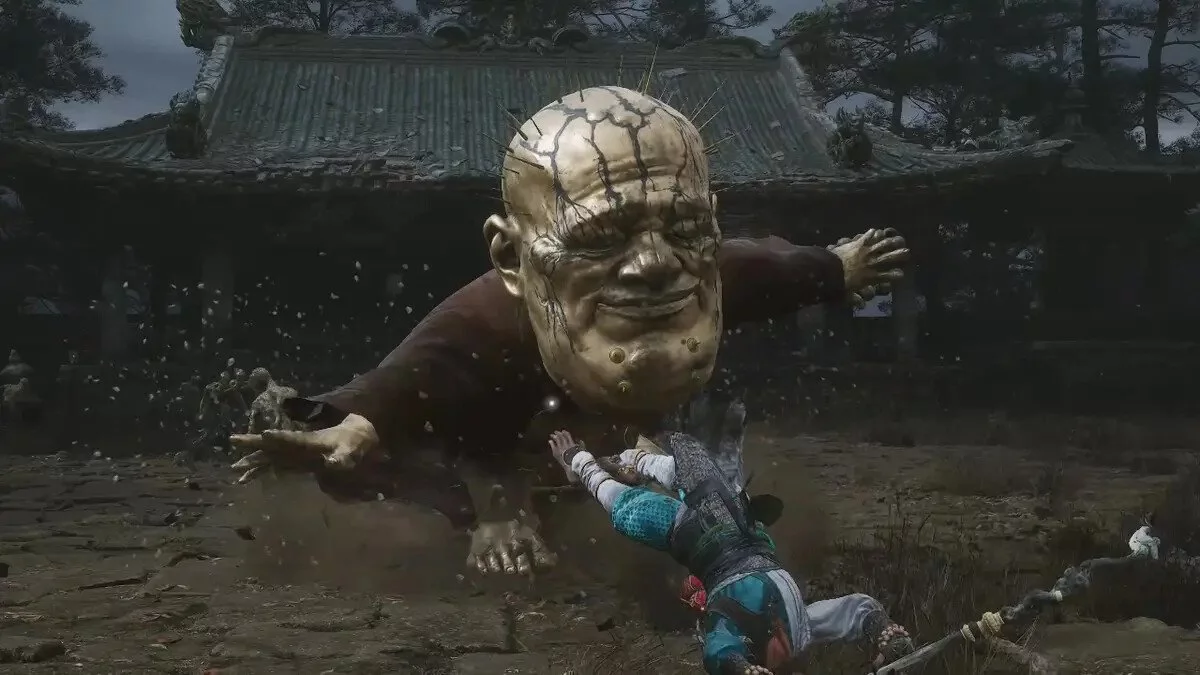
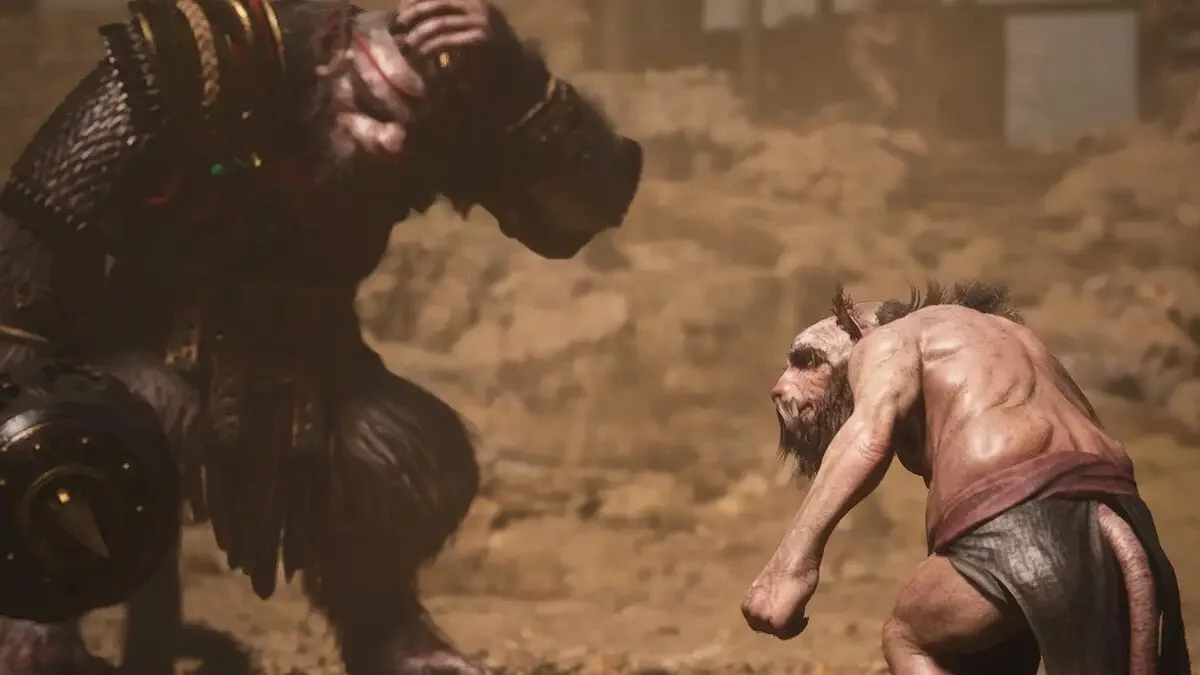
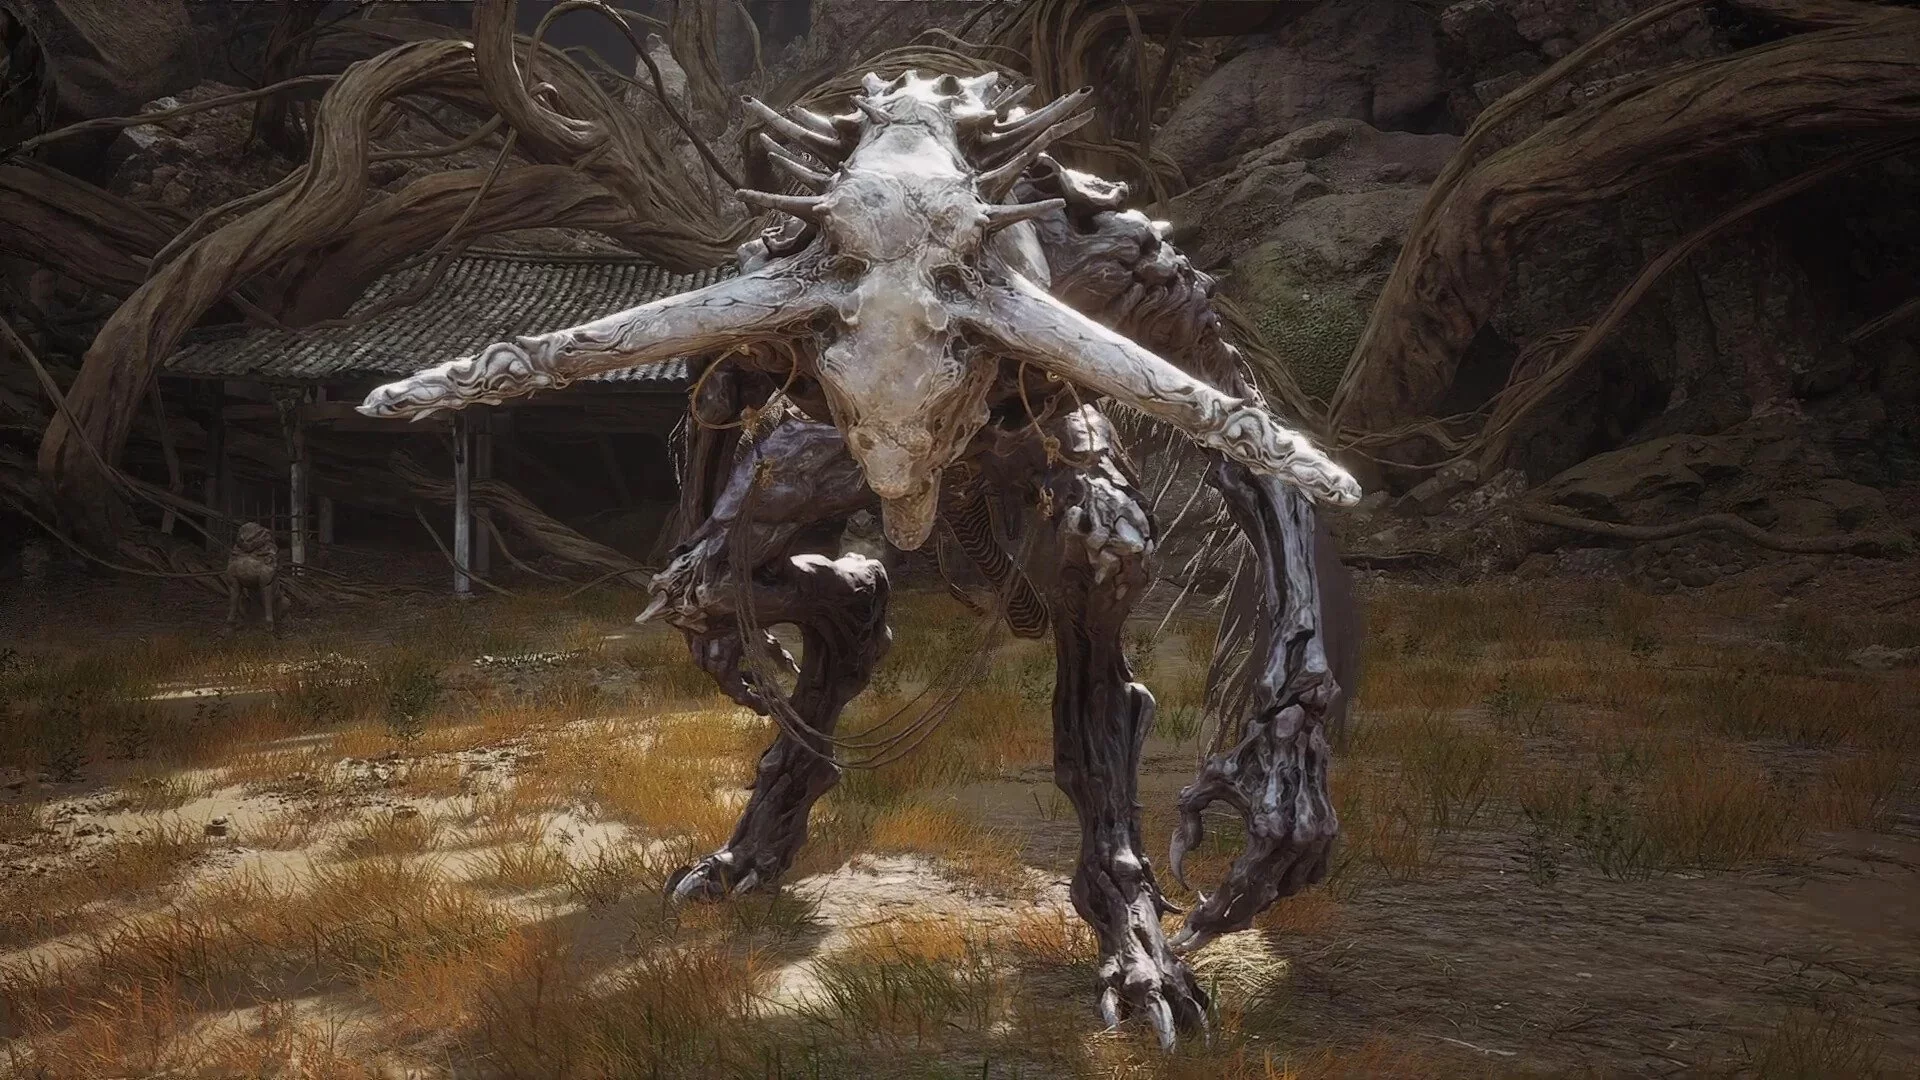
Wandering Wight
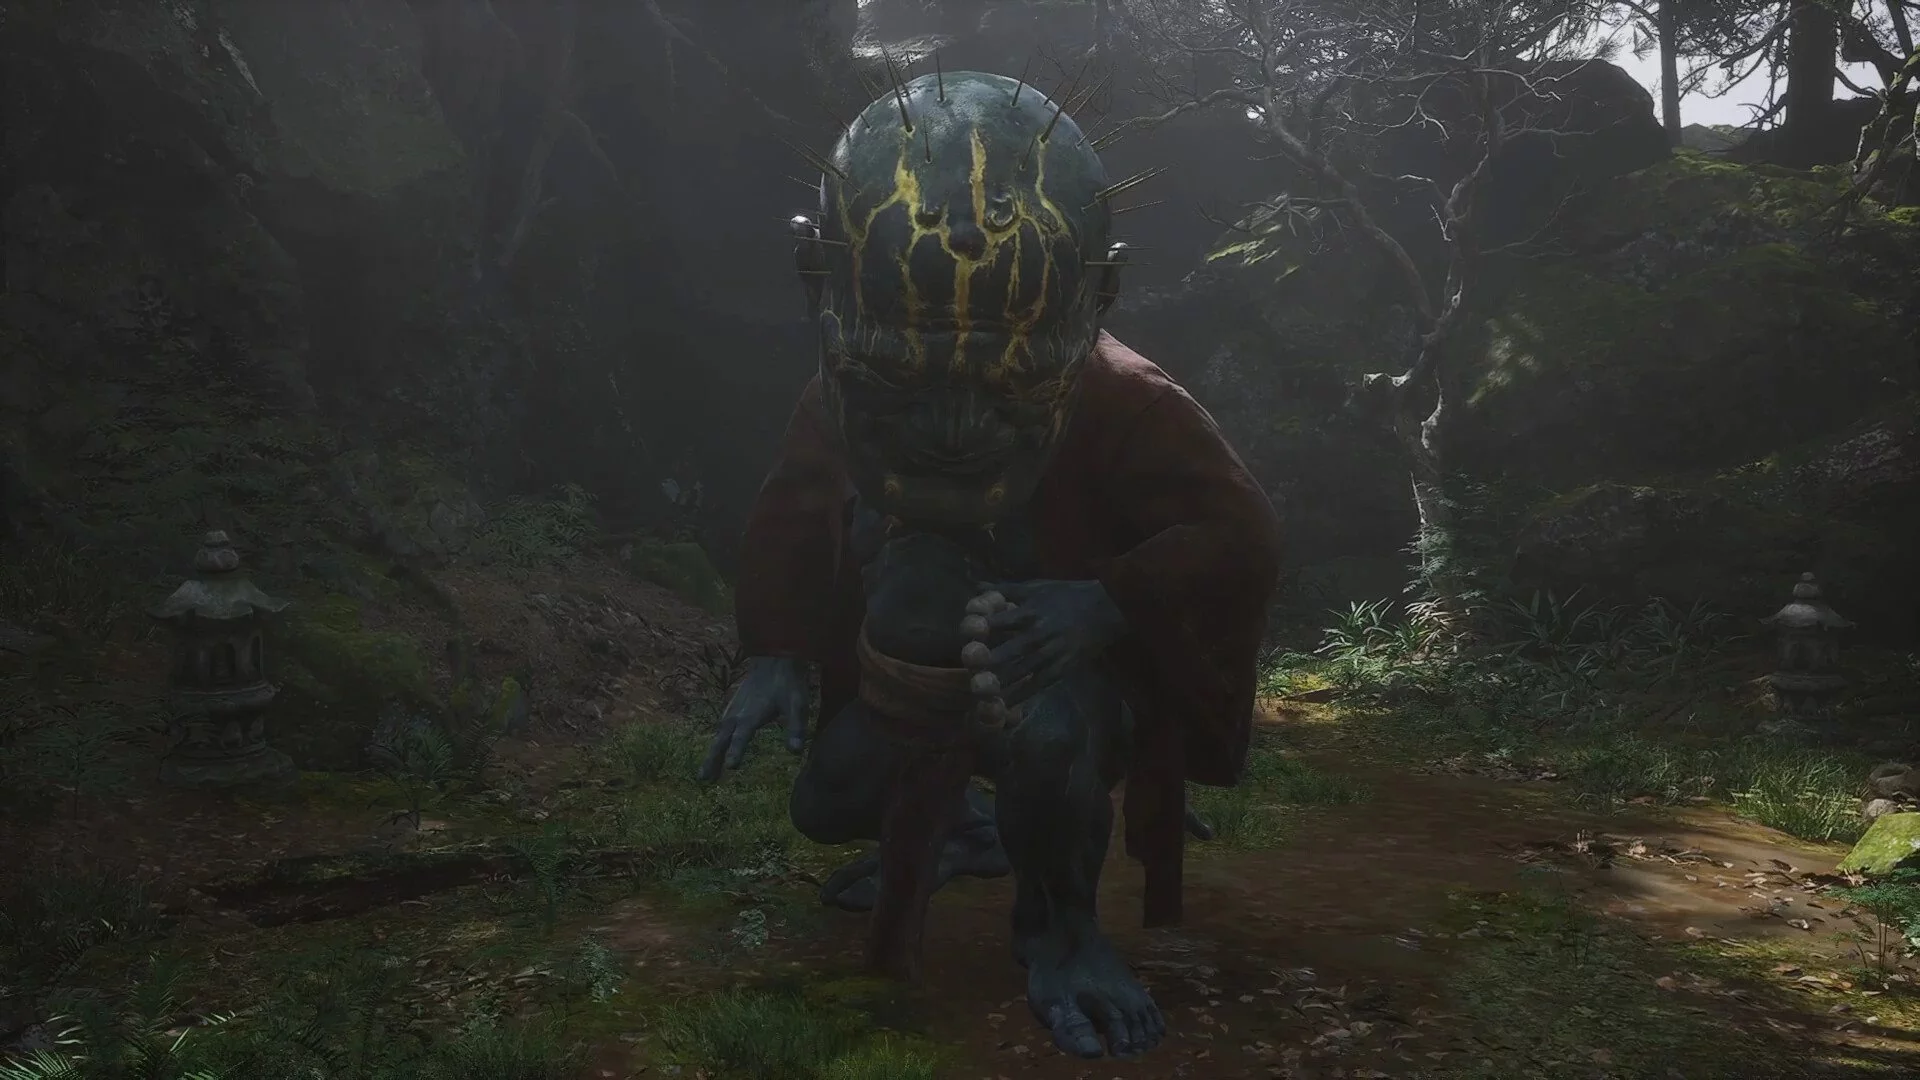
- Location: Wolf Forest, Forest (outside)
- Difficulty: 3
You will easily notice this enemy because of his size. He stands in the way of your main goal, but you don't need to kill him immediately. You can return later. The Wight itself is not the most difficult boss, but it has a few features that can make you spend quite a bit of time with it. Another point to consider — defeat the Wight before the battle with the Honorable Elder Jin-chi.
So, to defeat the Wight, start the fight with a heavy attack and then immediately immobilize it. Your stamina should be enough for about three full combo attacks. After each, the Wight will be stunned and won't attack. Even when the spell wears off, continue attacking until your stamina is depleted. Right after that, activate the transformation. If you don't have it yet, the fight will drag on. After transforming, hit with heavy attacks, then maneuver at a safe distance until the immobilization spell recharges. Try to keep trees or rocks between you and the Wight.
The Wight attacks with its legs or arms, but these attacks are not as frightening as one particular combo that can kill you instantly. When the boss stomps the ground and raises stones around itself, urgently run behind some obstacle. The stones will be thrown away by the energy, and you along with them if you're not hidden. But that's not the end—there will be two more similar attacks, each with an increasing area of effect. Finally, the Wight will direct a stream of air towards the hero. This final attack deals monstrous damage and is homing. The only way to survive is to stand behind a tree or rock. Note that trees won't save you from the first three moves.
Reward: 755 Will, 3 Yarn, Cat's Eye Beads (equipment). A bit further along the storyline, you will upgrade your healing bottle and be able to unlock another short transformation. If you've already done this, the Wight's soul will become one of these transformations. If the boss is defeated earlier, you can buy the soul later near the shrine.
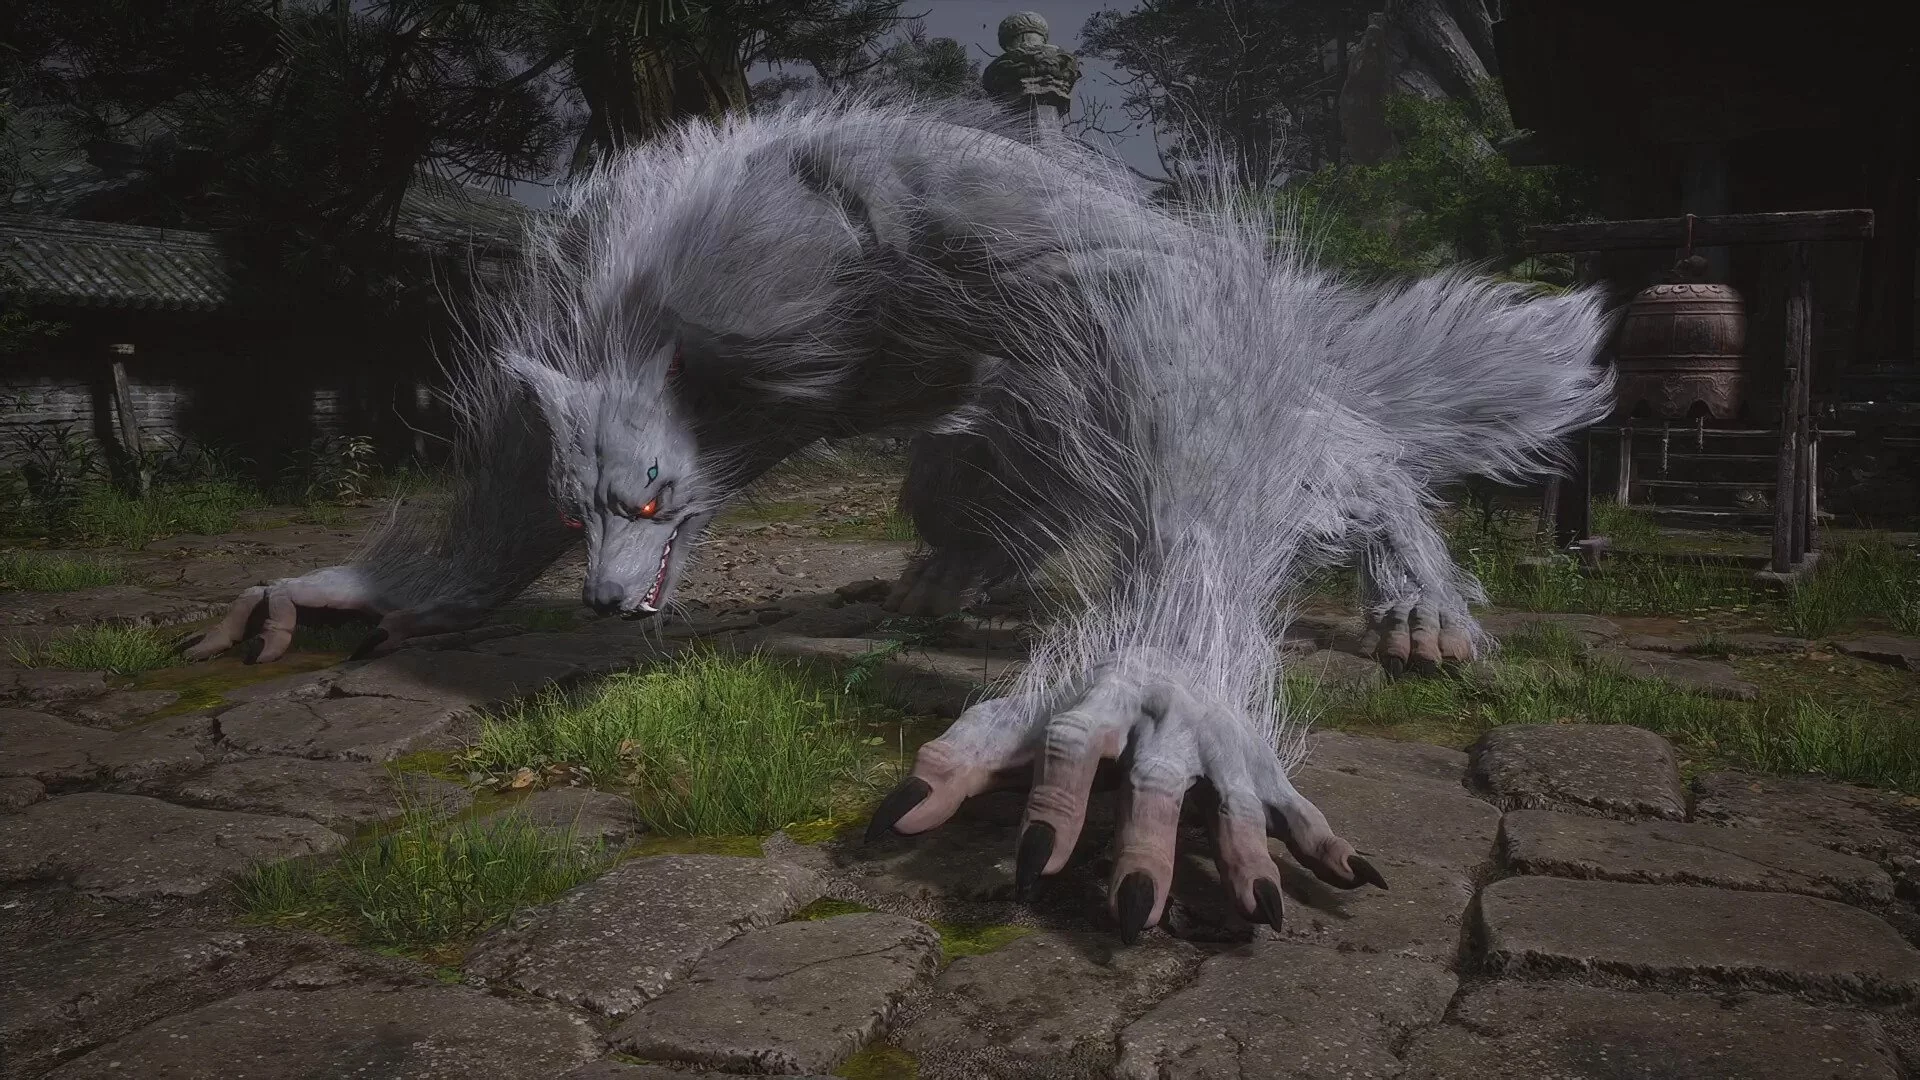
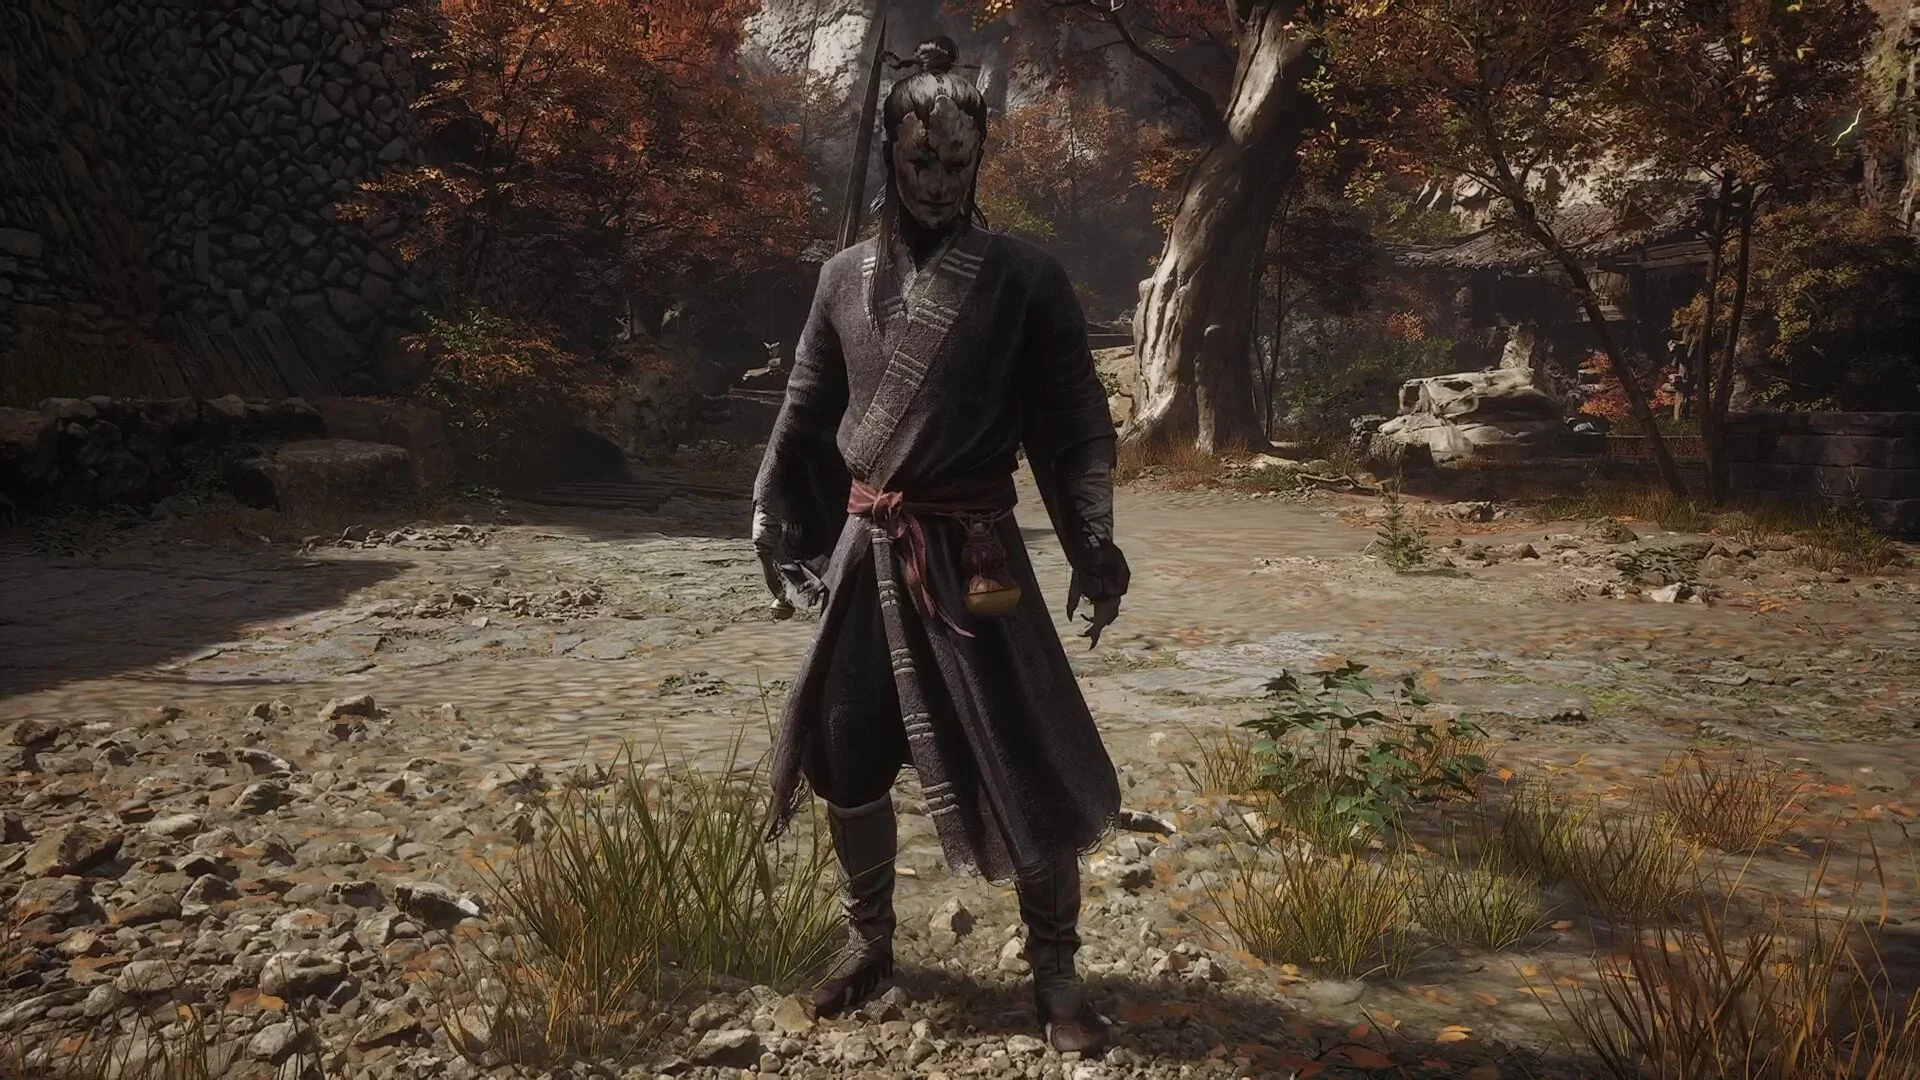
Lin Xu-zi
- Location: Wolf Forest, Guanyin Temple
- Difficulty: 4
The first real storyline boss, but not the hardest. The same wolf or Wight can cause much more trouble. The boss is a huge white wolf that attacks exclusively with its paws and rarely with its jaws.
Start the fight by immobilizing and then immediately perform a combo attack. Then try to move to the boss's rear. It doesn't attack from the back, so this position is relatively safe. The boss has two unpleasant attacks. The first is when it falls on its back, rolls over, and then makes sweeping strikes with its paws. The second is when the wolf jumps from the temple roof. This attack always has a very slow start, so you can prepare. To avoid damage, run not away from the wolf but as close to it as possible. When the boss jumps, its trajectory will be higher than where the hero stands, so the attack will miss.
In this fight, you will definitely need to heal, so remember this crucial point. While the Chosen One drinks from the bottle, he is entirely defenseless. It's much more effective to lose a significant amount of health and then restore it twice in a row rather than once. This tactic will save your life more than once.
Dodge the sweeping strikes sideways, but for the jaw attack, it's better to jump back. It has a short range but a wide angle, so increasing the distance is the best approach.
Reward: 754 Will, Gray Wolf Mask (headgear), 3 Threads, Mind Core (material).
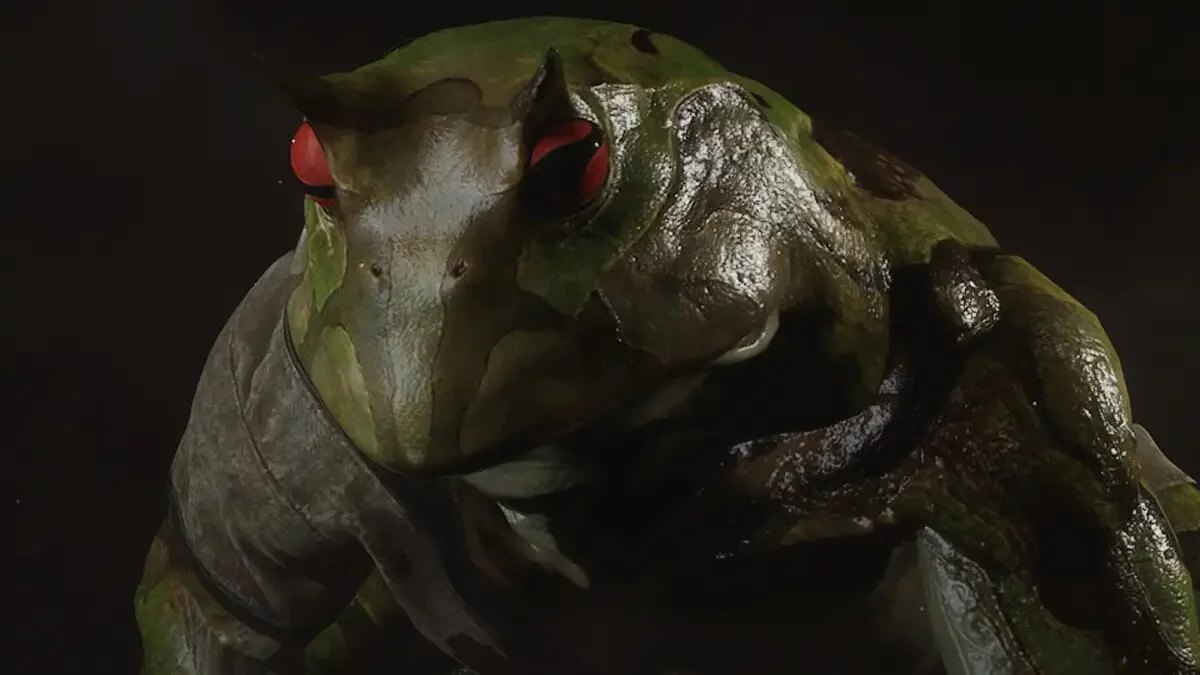
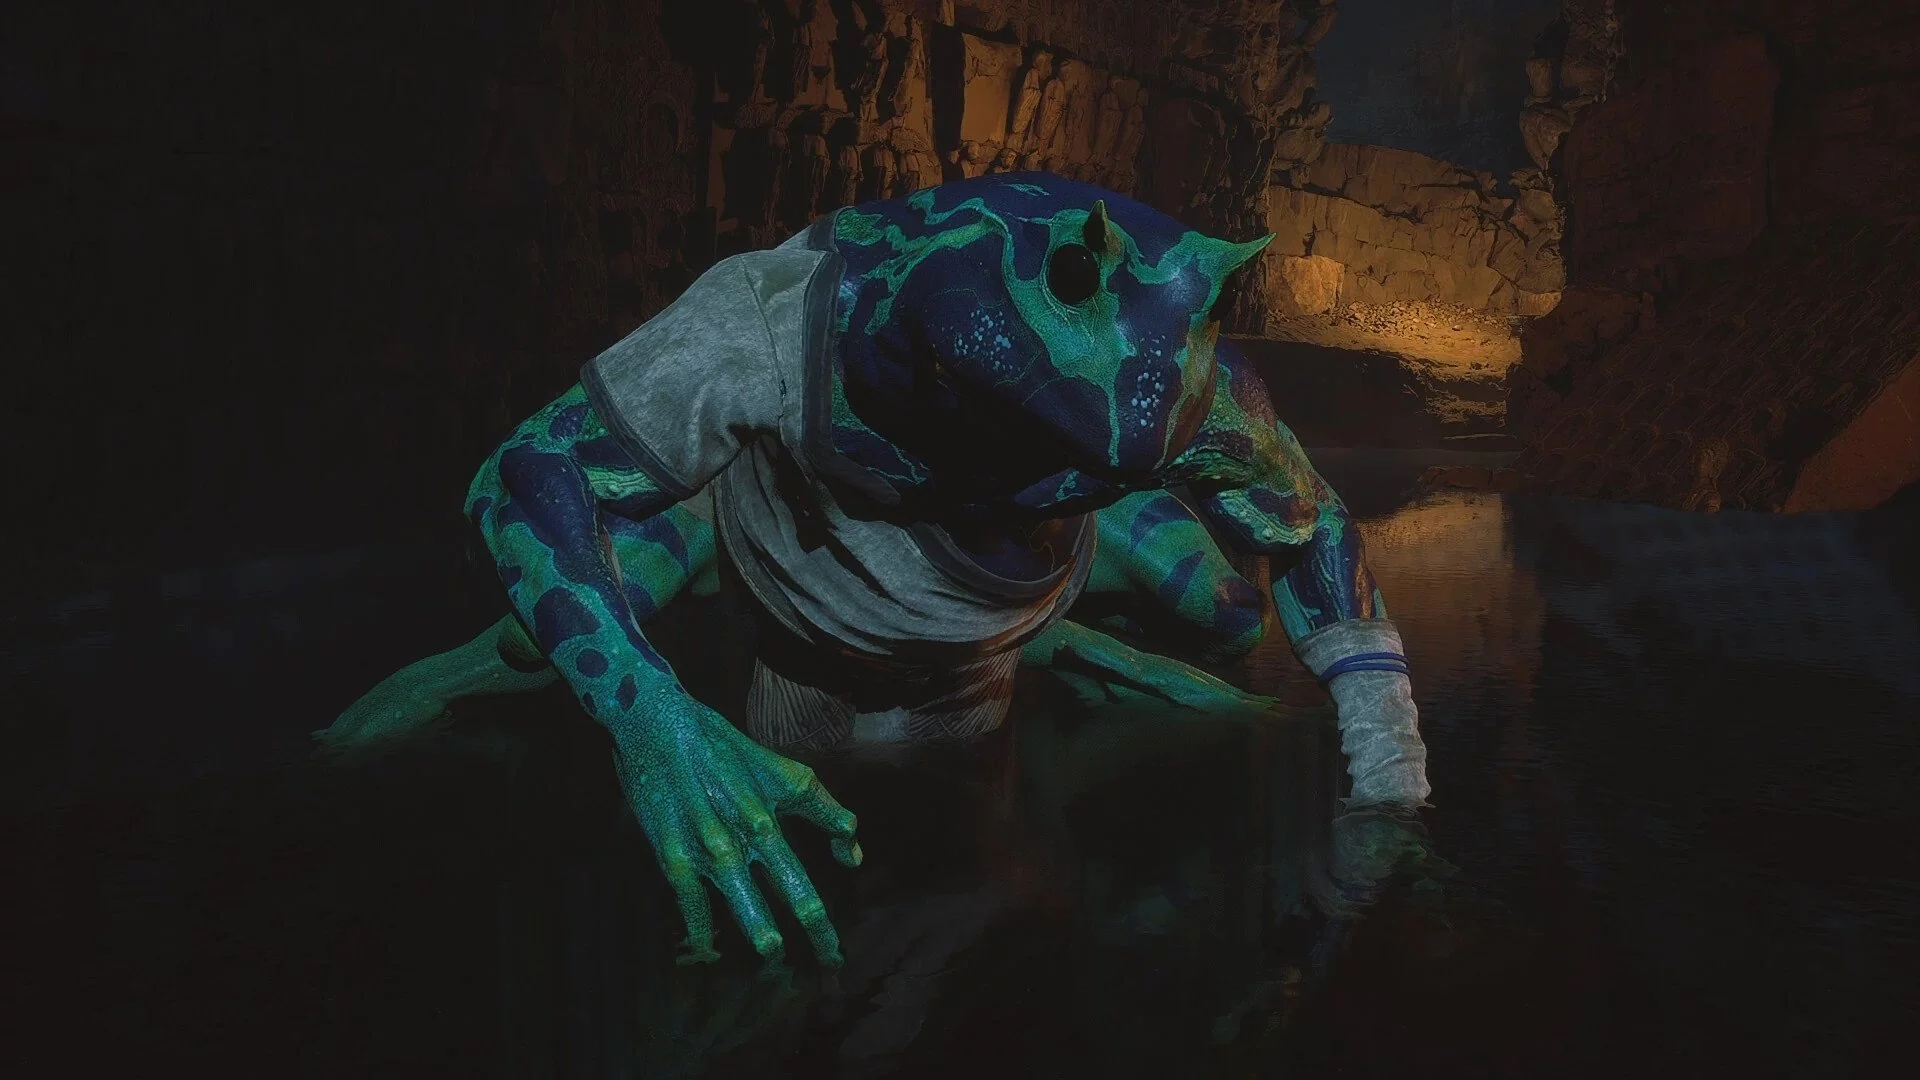
Bao-li-gu-lan
- Location: Bamboo Grove, Snake Path
- Difficulty: 2
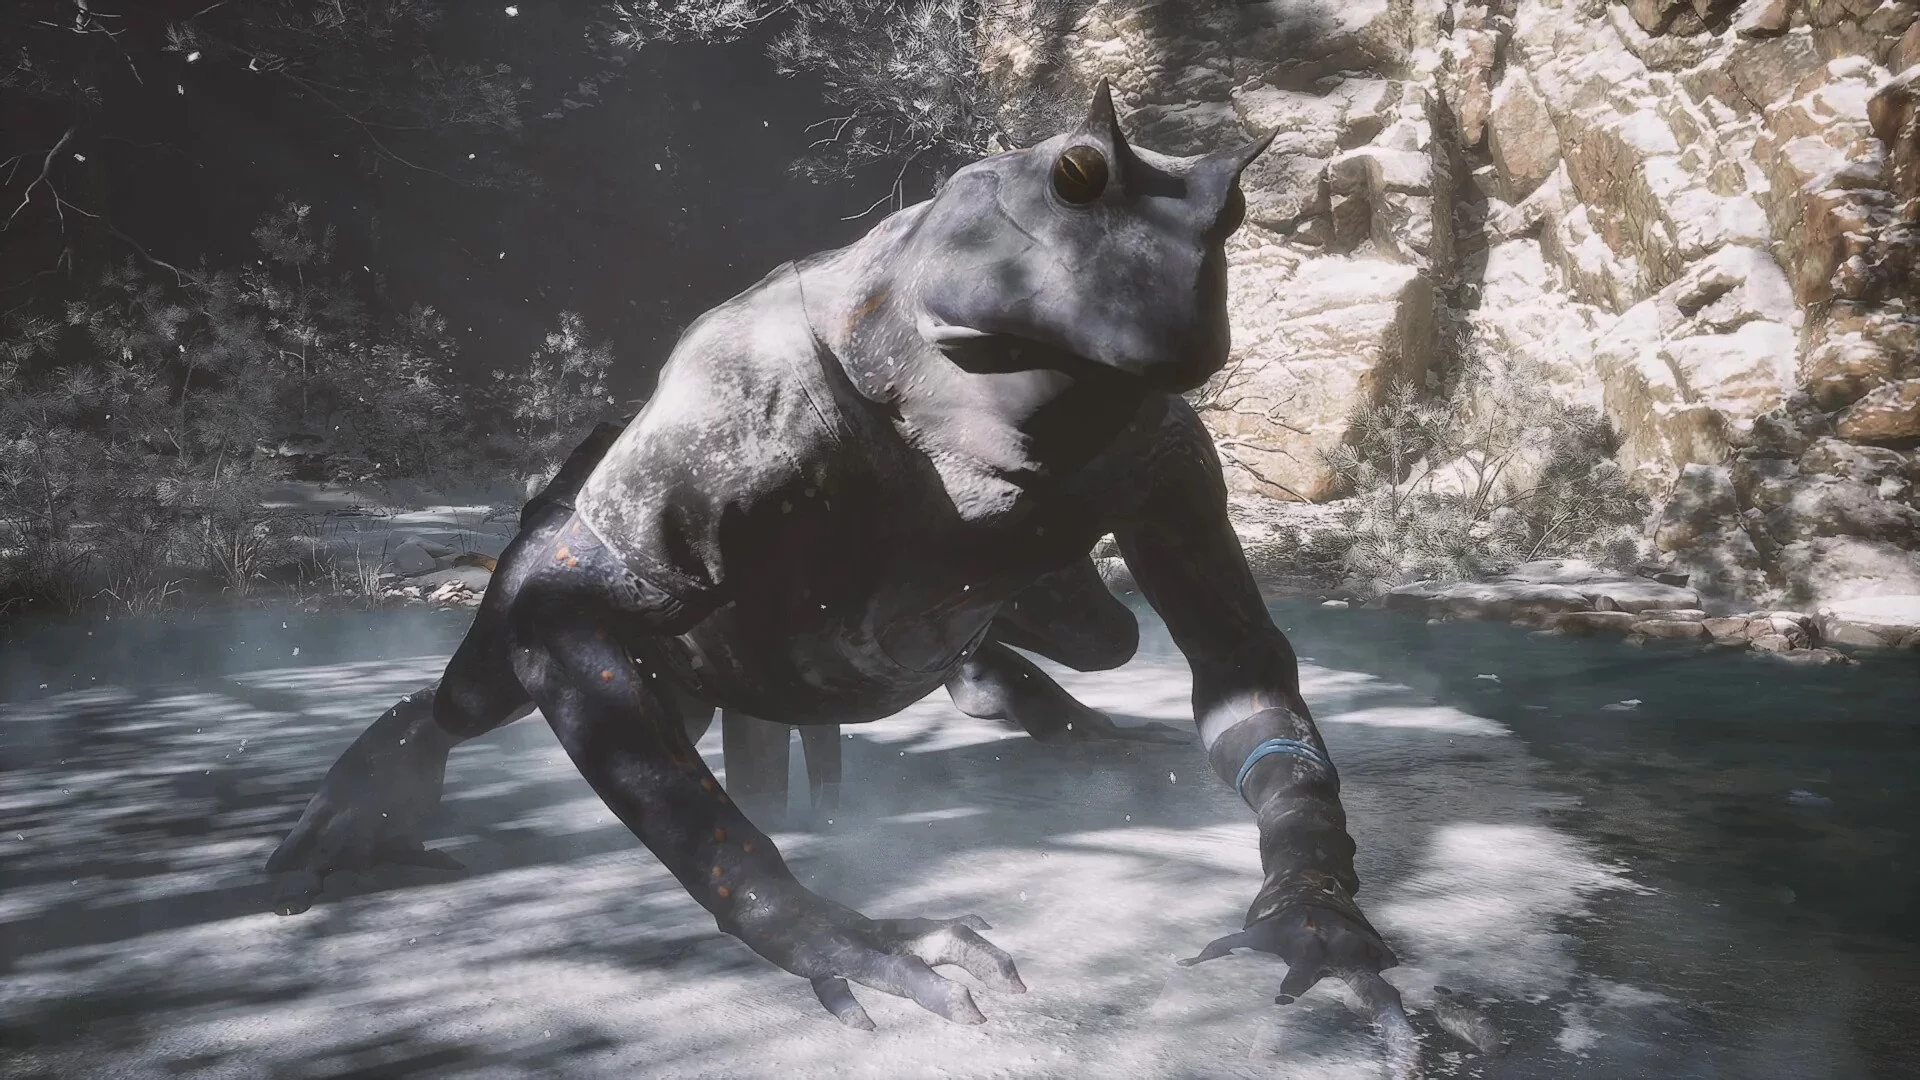
Optional frog boss that won't cause you any problems. You can find it by keeping to the left from the shrine and jumping into the pond. You should come out to a spacious arena where aggressive smaller frogs will immediately attack you. It's advisable to eliminate them right away, as they can complicate the battle. You can fight it if you want to collect all the spirits. For the victory, you will be able to transform into this very frog.
Reward: 384 Will, 1 Stone Spirit, Tadpole (material).
Guang-mou

- Location: Bamboo Grove, Snake Path
- Difficulty: 3
A serious opponent who will be much weaker if you have obtained the transformation. You can find him by jumping into the lower area from the shrine where you killed the frog, but go right into the grove with snake skeletons. Stick to the right side and you will find a passage to the arena. Guang-mou is a storyline opponent, so you won't miss the fight anyway.
This is the first mage on your path, casting various spells from a distance. The first is bluish spheres that will slowly fly towards you, the second is sharp targeted magic shots, the third is a swarm of flies that slowly approaches and deals damage over time, and the fourth is snakes from the ground that spit poison. The boss himself regularly teleports around the arena, so you need to catch him for an attack.
Start the fight with a heavy strike, then freeze Guang-mou and perform a combo of light attacks. Immediately after this, change form to set the enemy on fire during heavy attacks. Using heavy attacks is also necessary because they sharply pull you towards the enemy, regardless of the distance. When the snakes appear, remove the focus from the boss and hit the snakes' heads. For the victory, you will be able to transform into Guang-mou to summon those very snakes.
Reward: 528 Will, 1 Stone Spirit, Iron Bull's Blood (material).
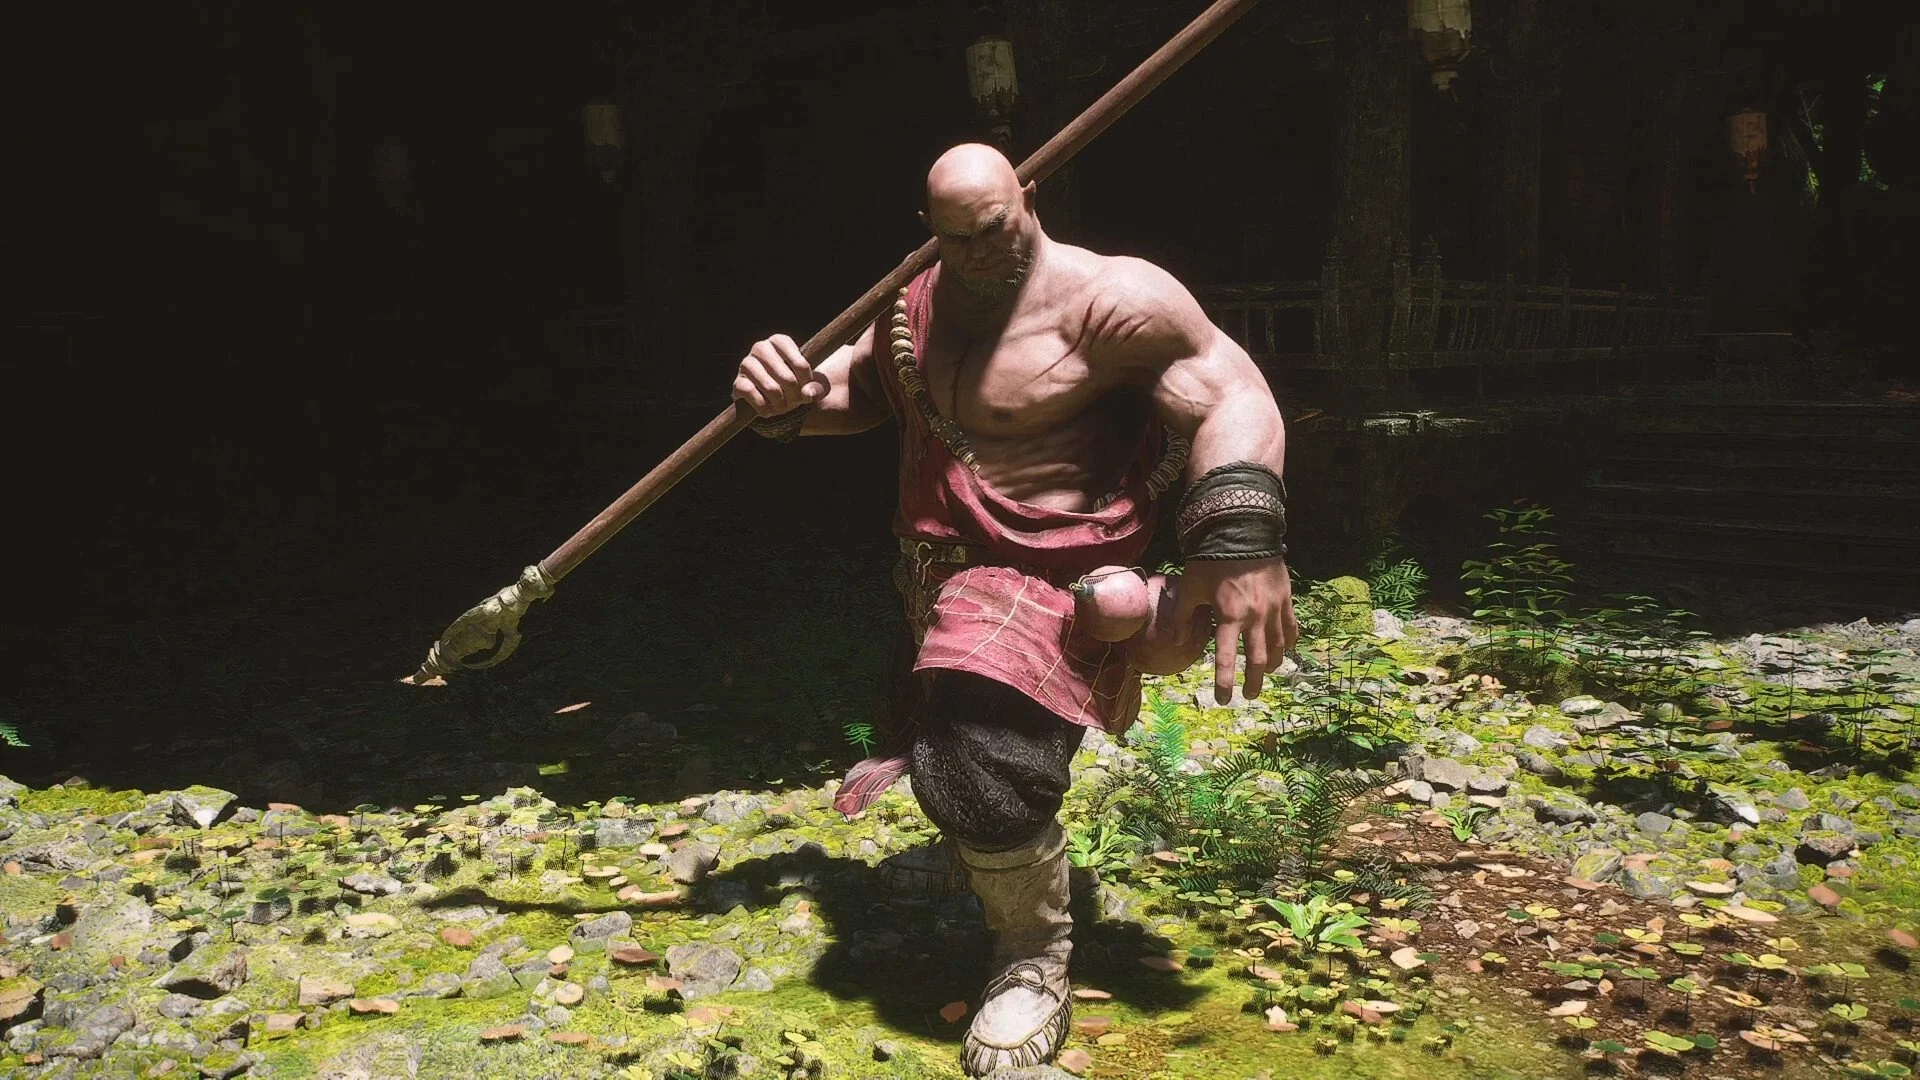
White-Clad Noble

- Location: Bamboo Grove, White Mist Swamps
- Difficulty: 6
Another storyline boss with which you may have significant problems. This is the first enemy with a double health bar and two very different phases of the fight. You will have to use everything you have learned up to this point. The fight starts with the Noble lunging with his spear in a jump. To avoid taking damage right away, dodge forward and to the side. The entire first phase is an attempt to quickly deal with the enemy without using health potions.
Immediately after dodging, immobilize the enemy. Perform a series of attacks, but the boss won't be stunned. Right after unfreezing, he will start attacking. Circular attacks are relatively safe—you can dodge them. Much worse are the straight lunges that end most combos. The boss also has another attack that can disrupt your entire strategy. The first phase implies that you will often be close to the enemy, but this is not entirely true. You need to break the distance because the attack when vertical lines fly at you is the most dangerous. If you are too close, you will take the full amount of damage and can die immediately. However, at a distance, it is much easier to dodge it.
After the first freeze, immediately activate the transformation and attack with heavy blows. Ideally, you should achieve a result where you no longer use spells and drink a maximum of one potion during the first phase.
The second phase will require a different approach. The boss will grow a snake tail and move much faster, including underwater. Most of his attacks are useless, except for one—a quick lunge forward across the entire arena. And here you should not be far, but rather as close as possible. As practice shows, in this case, the lunge becomes almost useless. The main task is to survive the boss's other attacks while continuing to deal damage to him. And here the potions will come in handy. You will probably need several attempts to understand our recommendations and feel the timings, but in the end, this is almost the only working strategy. In addition, we advise you to return to the grove with the snakes and farm a few levels there. For success, we advise distributing the sparks so that the talents responsible for stamina and health are maxed out. The rest is not so necessary, as there will be no time for heavy attacks, and dodging is more important to be perfect, not frequent.
Reward: 687 Will, 3 Threads, Jade Fang (material).
Elder Jin-chi
- Location: Hidden Place: Old Temple, Main Hall
- Difficulty: 3
This is a hidden boss that you might not reach. However, it's worth defeating as you will get a very useful artifact. As you progress, you may have found two bells. You can strike them with a battering ram. After defeating Xiu-cai, go straight instead of right. You will see a tree with a hanged man and several weak enemies. A little further will be the last third bell. As soon as you ring it, you will immediately be transported to a hidden location. Here lies equipment—this will come in handy.
The elder is an improved version of the Wandering Undead. However, in some sense, he is a bit easier. There are many walking undead around the elder. They will not attack by themselves, so ignore them. Immediately freeze the elder, but you won't be able to stun him repeatedly. Perform whatever combo you can. The boss will start chasing you. His attacks are slow but hit hard enough. Dodge and find the right moment for transformation to attack with fire.
At some point, the elder will start acting differently. In the first case, the minions will start glowing yellow and run towards you. If you hesitate, you will get an explosion in your face, so run away. Keep the boss in visual contact, as he usually starts attacking before the kamikazes stop running towards you.
The second trick is the boss hovers above the arena, and minions gradually appear, hobbling towards him. If they get close enough, they will give the boss their life force. Quickly eliminate all of them at a distance.
After such movements, the whole cycle will repeat. Your task is not to rush and calmly wait for the spells to recharge. As a reward, you will receive a Fire Cloak, which gives complete protection from fire. Don't forget to take it off the hanged man when you return to your world.
Reward: 2000 Will.
King of the Black Wind
- Location: Black Wind Cave (inside)
- Difficulty: 4
In fact, the difficulty of this fight largely depends on the level you come at. If you spent a lot of time on Xiu-cai and leveled up, the King of the Black Wind will seem much weaker than he could be.
The King fights with a spear and attacks in three-hit combos. It will be easy to dodge them. The King also has only one health bar. The boss uses fire and air magic. Both of these skills are easily readable.
When the boss disappears, he starts moving as a cluster—dodge. When the King drinks from a bottle, it means he will spit fire. If you stand at a sufficient distance, the attack might not work at all (it happened to us). The battle tactic is the same as always—freeze him and hit with everything you've got. At other times, adapt to the situation.
The main strike to be wary of is a large air blast in the center of the arena. At such moments, it is better to stay away. Another important point—towards the end of the fight, the boss will start to seemingly teleport and attack from different points. You just need to endure this moment through dodges. After such a series, the King is vulnerable to light attacks. Defeating the boss will teach you the invisibility spell.
Reward: 696 Will, 1 Stone Spirit.
Black Bear Guai
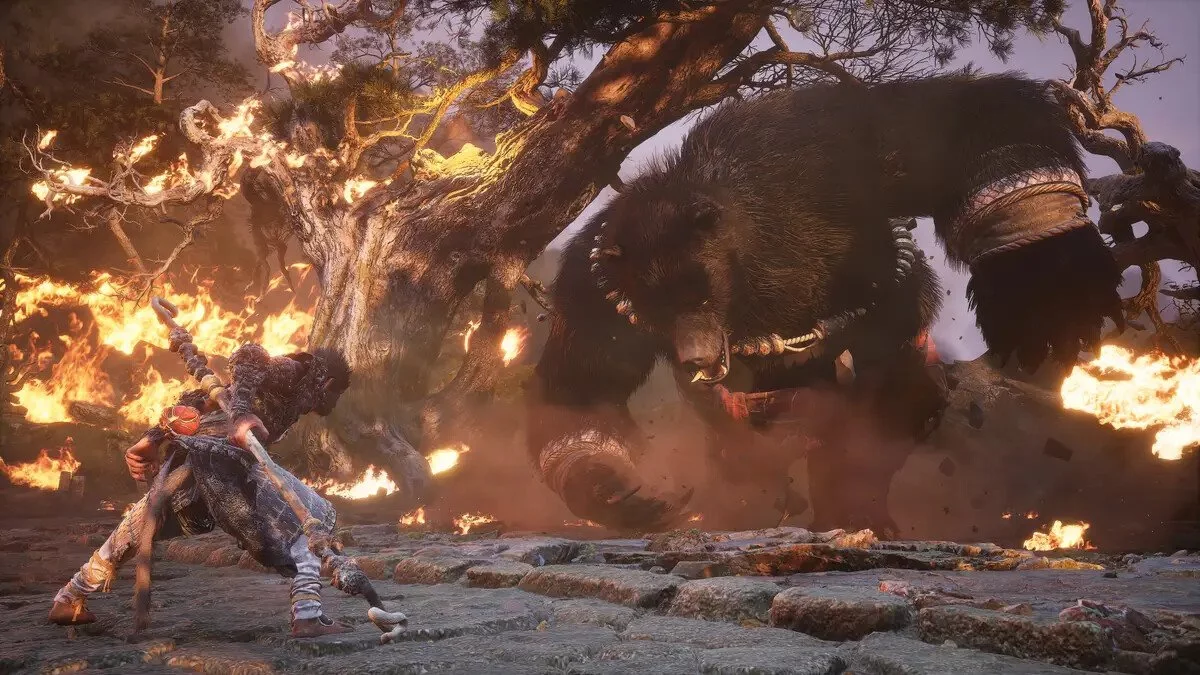
- Location: Black Wind Cave, Bodhi Peak
- Difficulty: 5
So, we have reached the final boss of the first chapter. In theory, he is considered the strongest compared to the previous ones, but to us, he seemed about the same as the King of the Black Wind. In the battle, timely dodges are more important than skills. The rest is a matter of time.
The bear strikes with sweeping paw attacks, about three in a row. Additionally, he jumps to the hero's position and suddenly accelerates. Overall, none of this is problematic. Things get worse in the middle of the fight when the boss scorches the ground, covering it with lava. Use the mantle to protect yourself from the fire. The bear's paws will also become fiery, adding a new attack where the boss disappears, like the King, and moves across the arena as a fiery wind.
The victory tactic is not much different from previous ones. Freeze the enemy and then deal light attacks. Then use transformation and repeat until victorious. It all depends on whether you have enough overall health and how hard you hit. Make sure to craft the last available armor, it will simplify the fight.
Reward: 990 Will, 1 Flaming Ebon Gold, 5 Yarn, 2 Silk, 1 Yaoguai Core, 1 Stone Spirit, 1 Mind Core.
Red Loong
- Location: Wolf Forest, Forest (outside)
- Difficulty: 3
Secret boss that can only be unlocked if you obtained Loong's scales in the second chapter. How to do this is explained in the section about Black Loong also in the second chapter. Returning to one of the initial locations, explore its left part and find the waterfall. Now you can pass through it.
Red Loong is a dragon that attacks with electricity, so you will need shock resistance medicines. The boss is not very strong but still dangerous. Watch out for his tail strikes and area attacks. Sometimes the dragon lunges with its claws. If you manage to immobilize him and summon clones, there is a good chance to stun the enemy, which will give you an advantage.
Reward: 1358 Will, Mind Grain, 3 Silk, Loong Pearl (material), Thunder Tail (material).
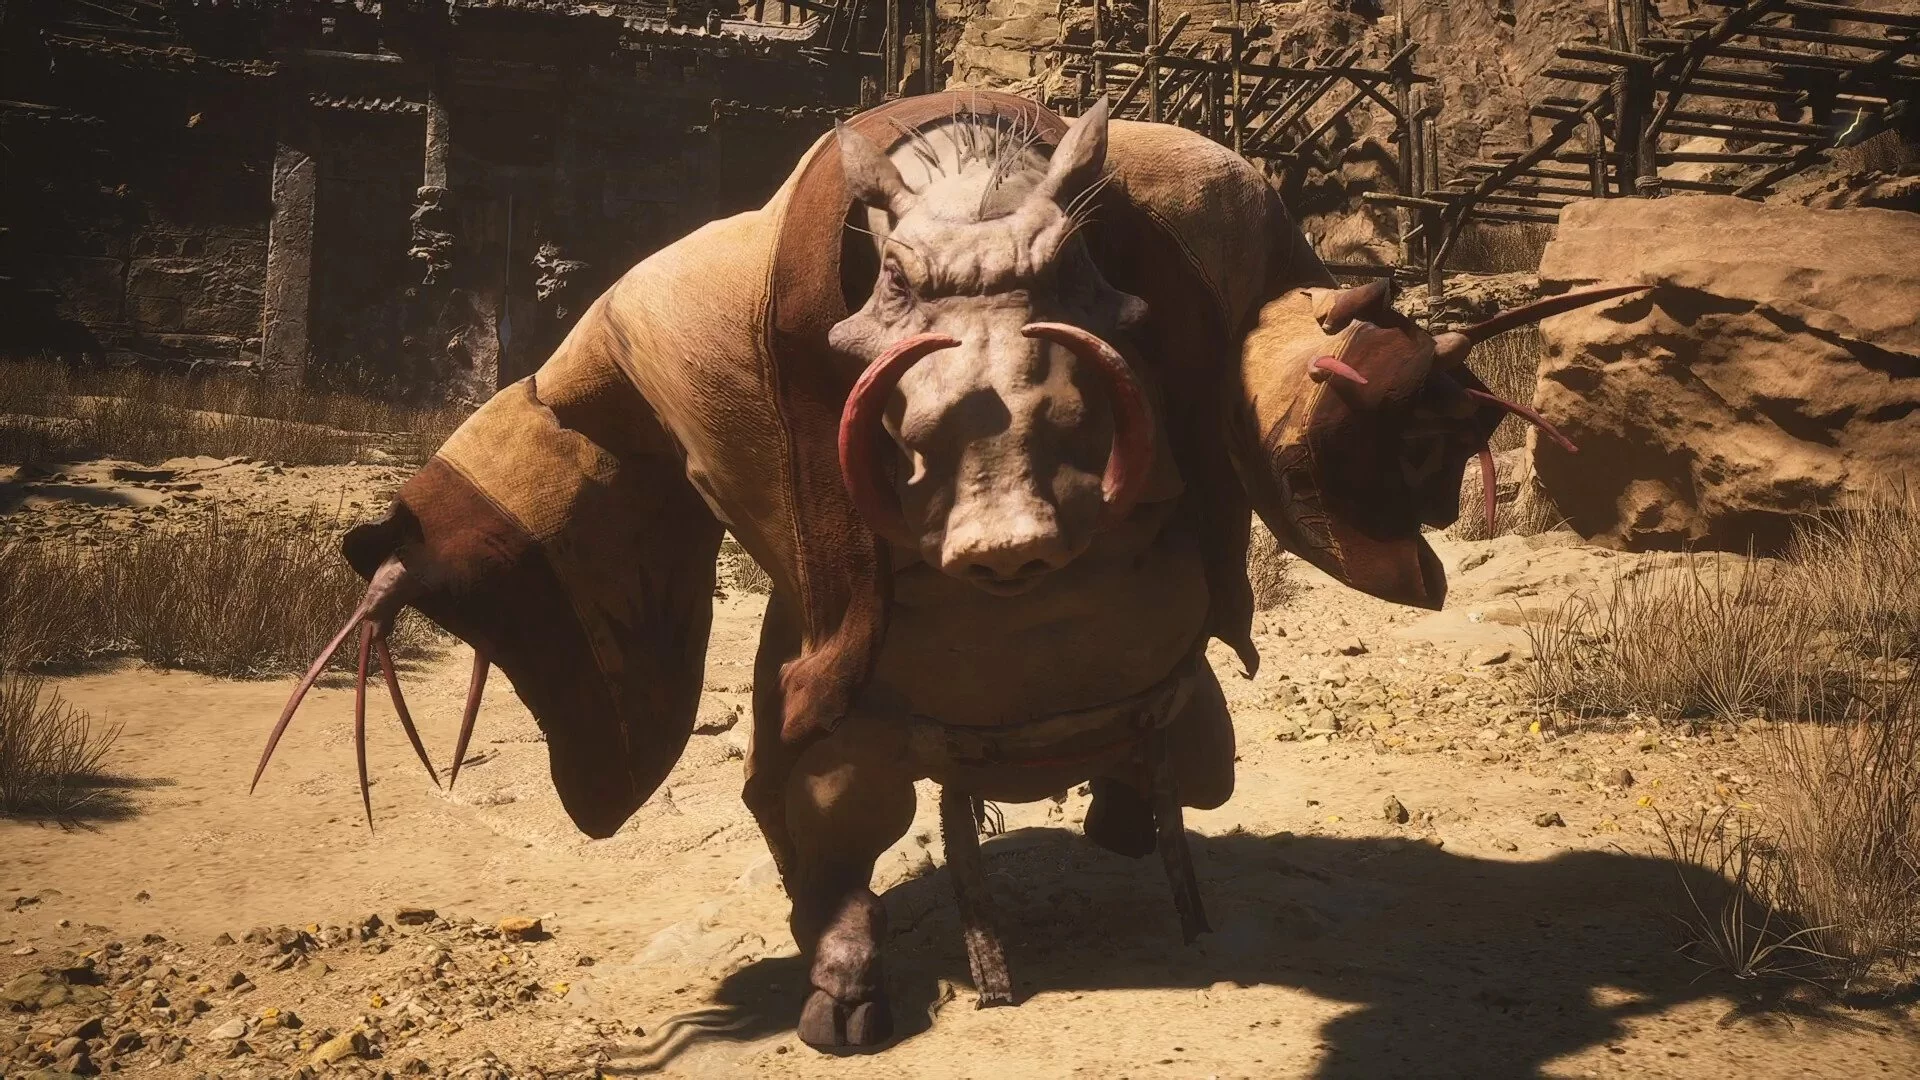
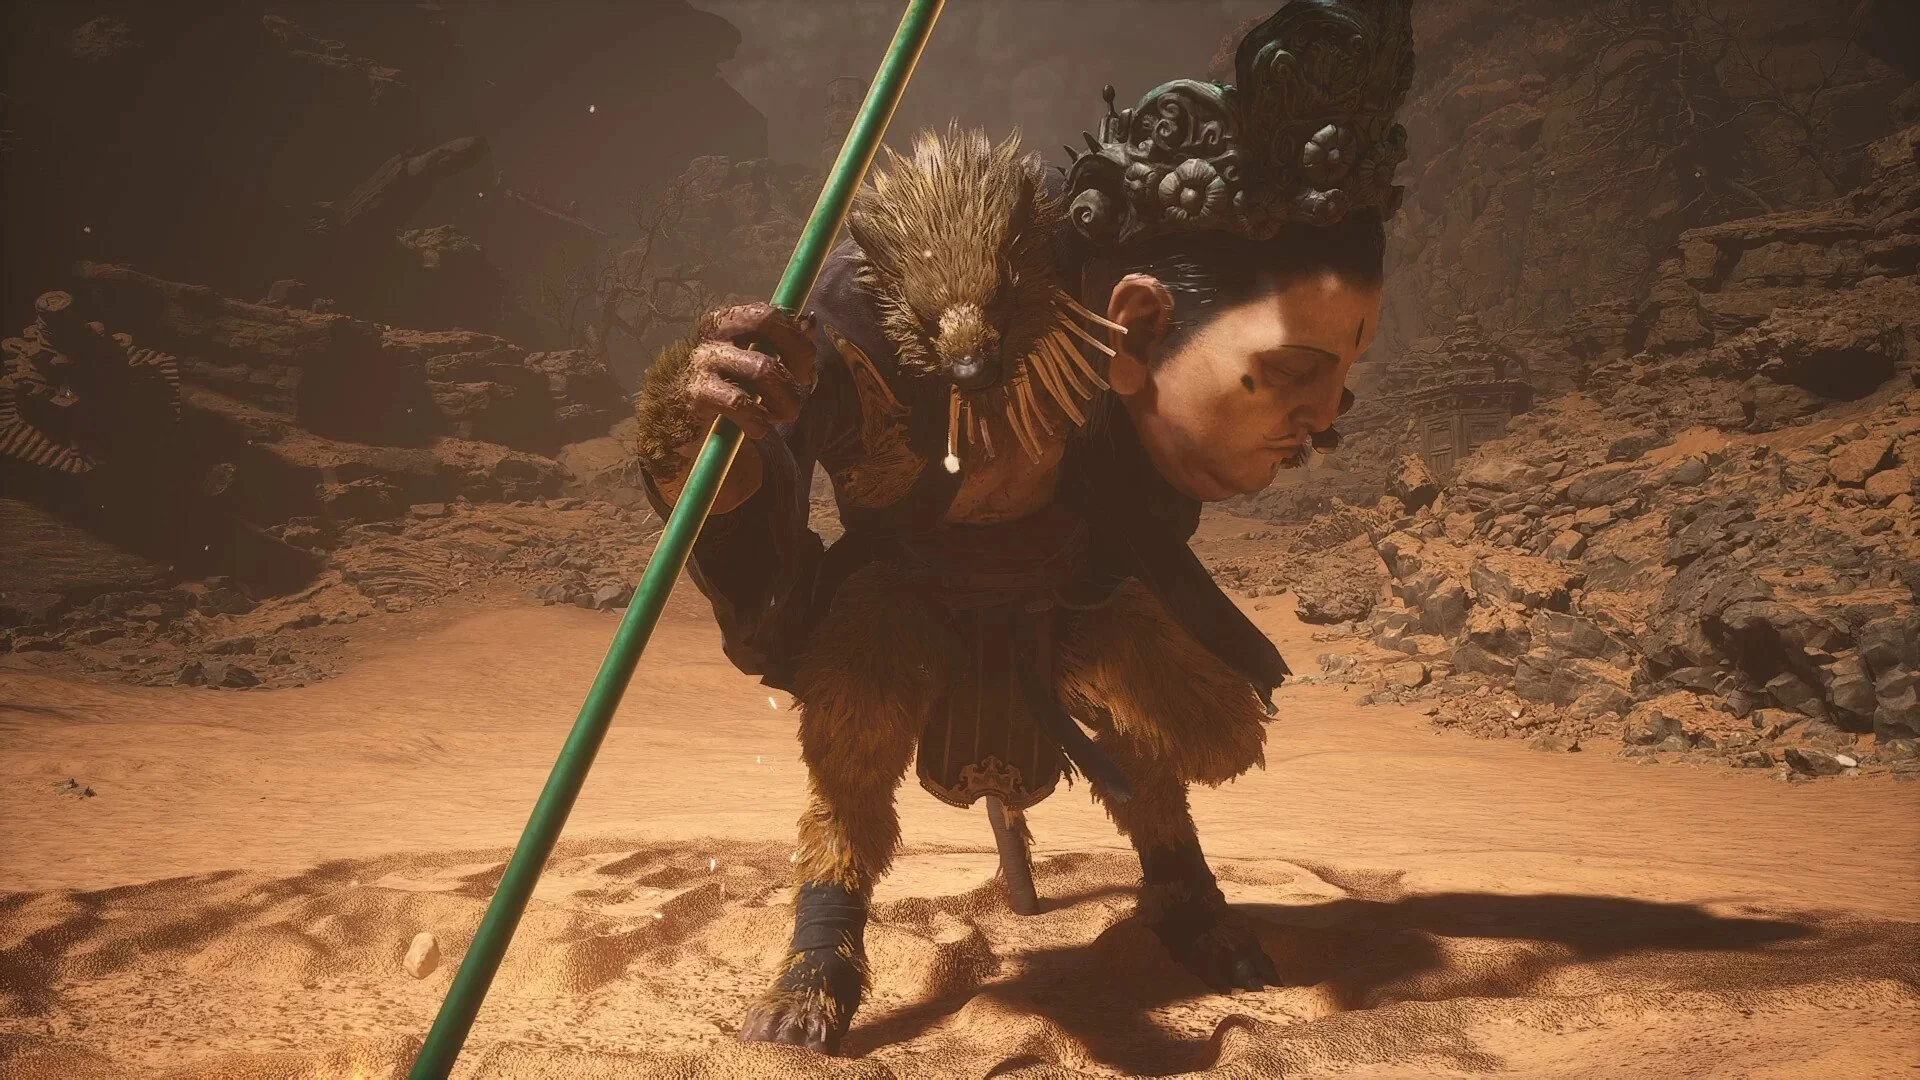
Chapter 2. Lang-li-gu-bao
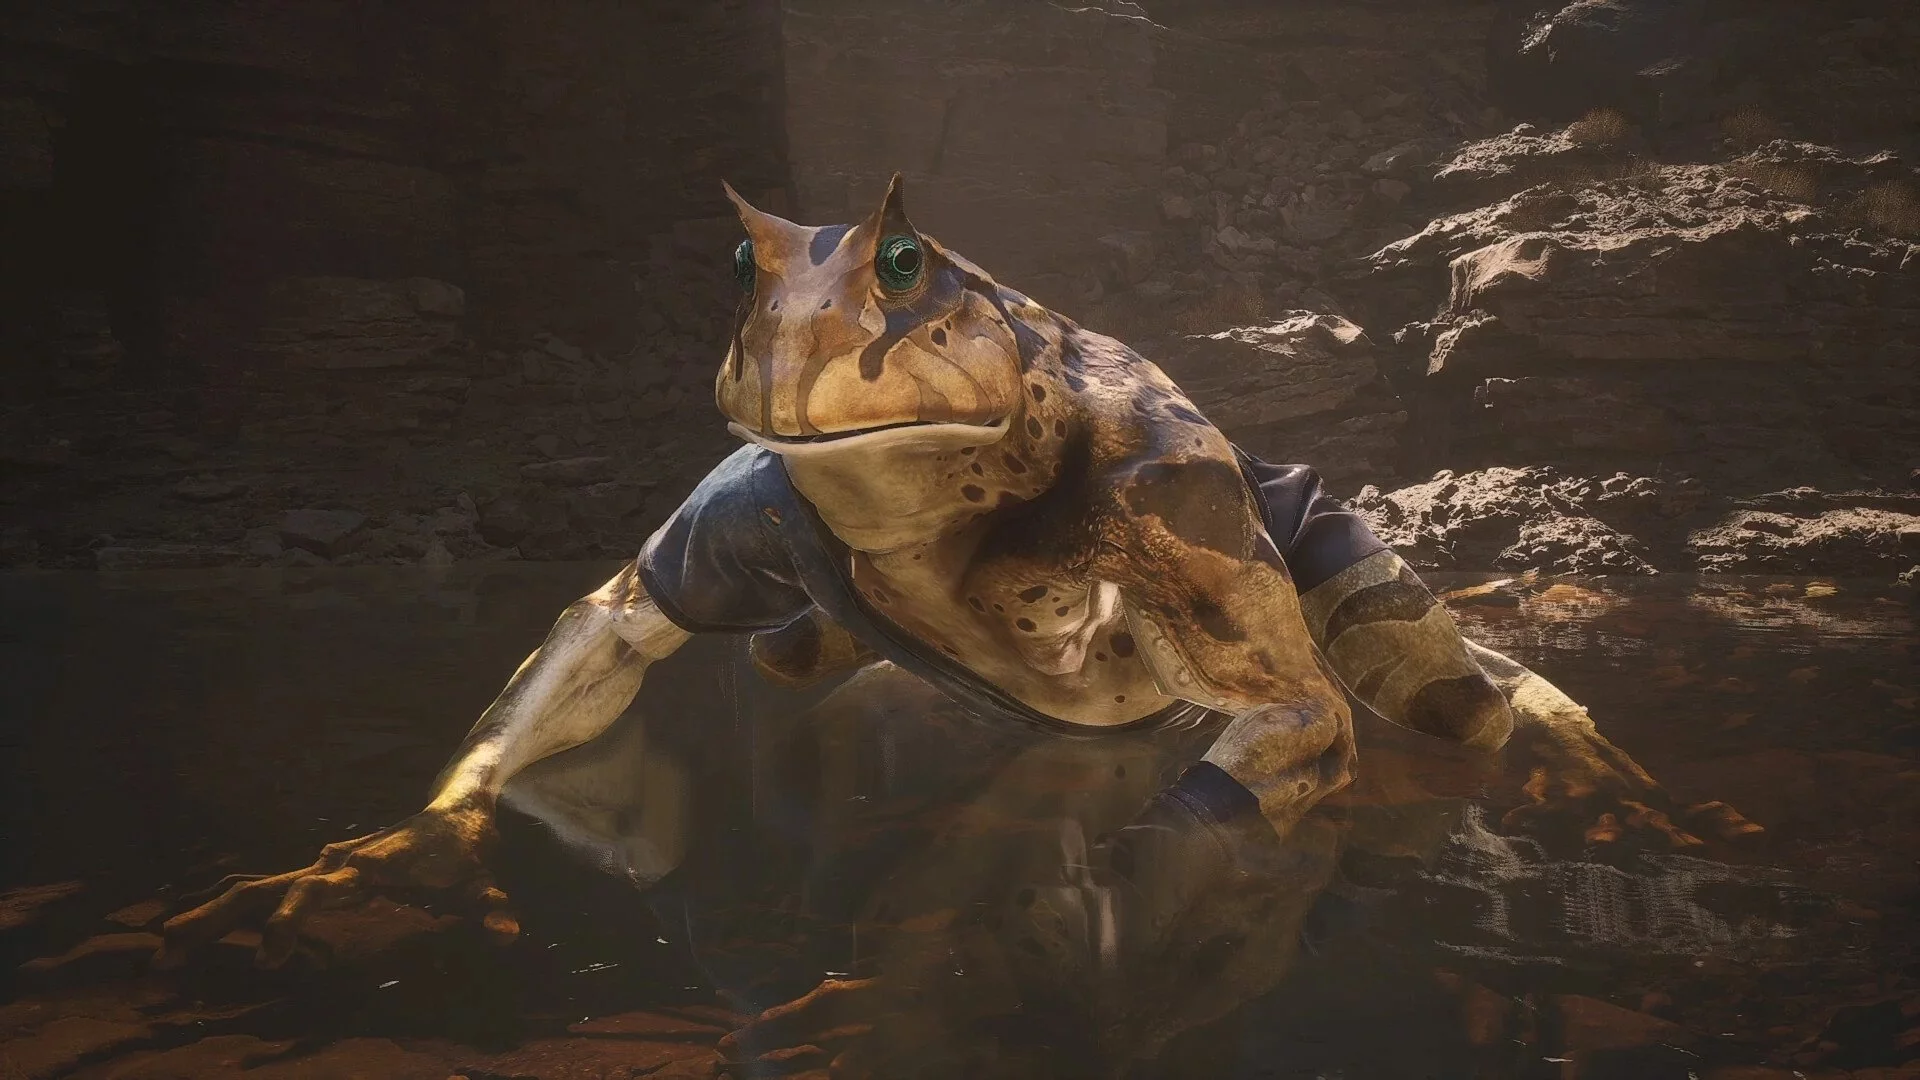
- Location: Sandy Gate Village, Settlement Entrance
- Difficulty: 3
As soon as the second chapter begins, you will find yourself in a desert rocky location. Before finding the first shrine, you will have to follow forward for quite a while. Along the way, you will encounter several enemies and a large area where the second frog is already waiting. You can approach it from behind, but in case of defeat, you will have to run a long way back. It is much easier to visit the village first and activate the shrine there.
The frog is almost no different from the previous one, but there is a nuance. To the regular attacks, electric attacks have been added. This element increases all damage received by the Chosen, making you much more vulnerable. There are two types of such attacks—an electric tongue and electric balls that the boss releases over the area. Fortunately, the frog has little health.
An important point—the frog can be defeated through a quest, receiving an additional reward. In this case, you will definitely have to approach the boss through the village. In the cave right before the descent to the arena, there is a non-aggressive monster from the first chapter. He asks you to defeat the frog, and in return, you will receive medicine recipes. It is important to complete the quest because after this you will be able to craft most of the potions yourself at rest points.
Reward: 763 Will, 2 Yarn, 2 Silk, Tadpole (material), 2 Evil Repelling Medicines.
Earth Wolf
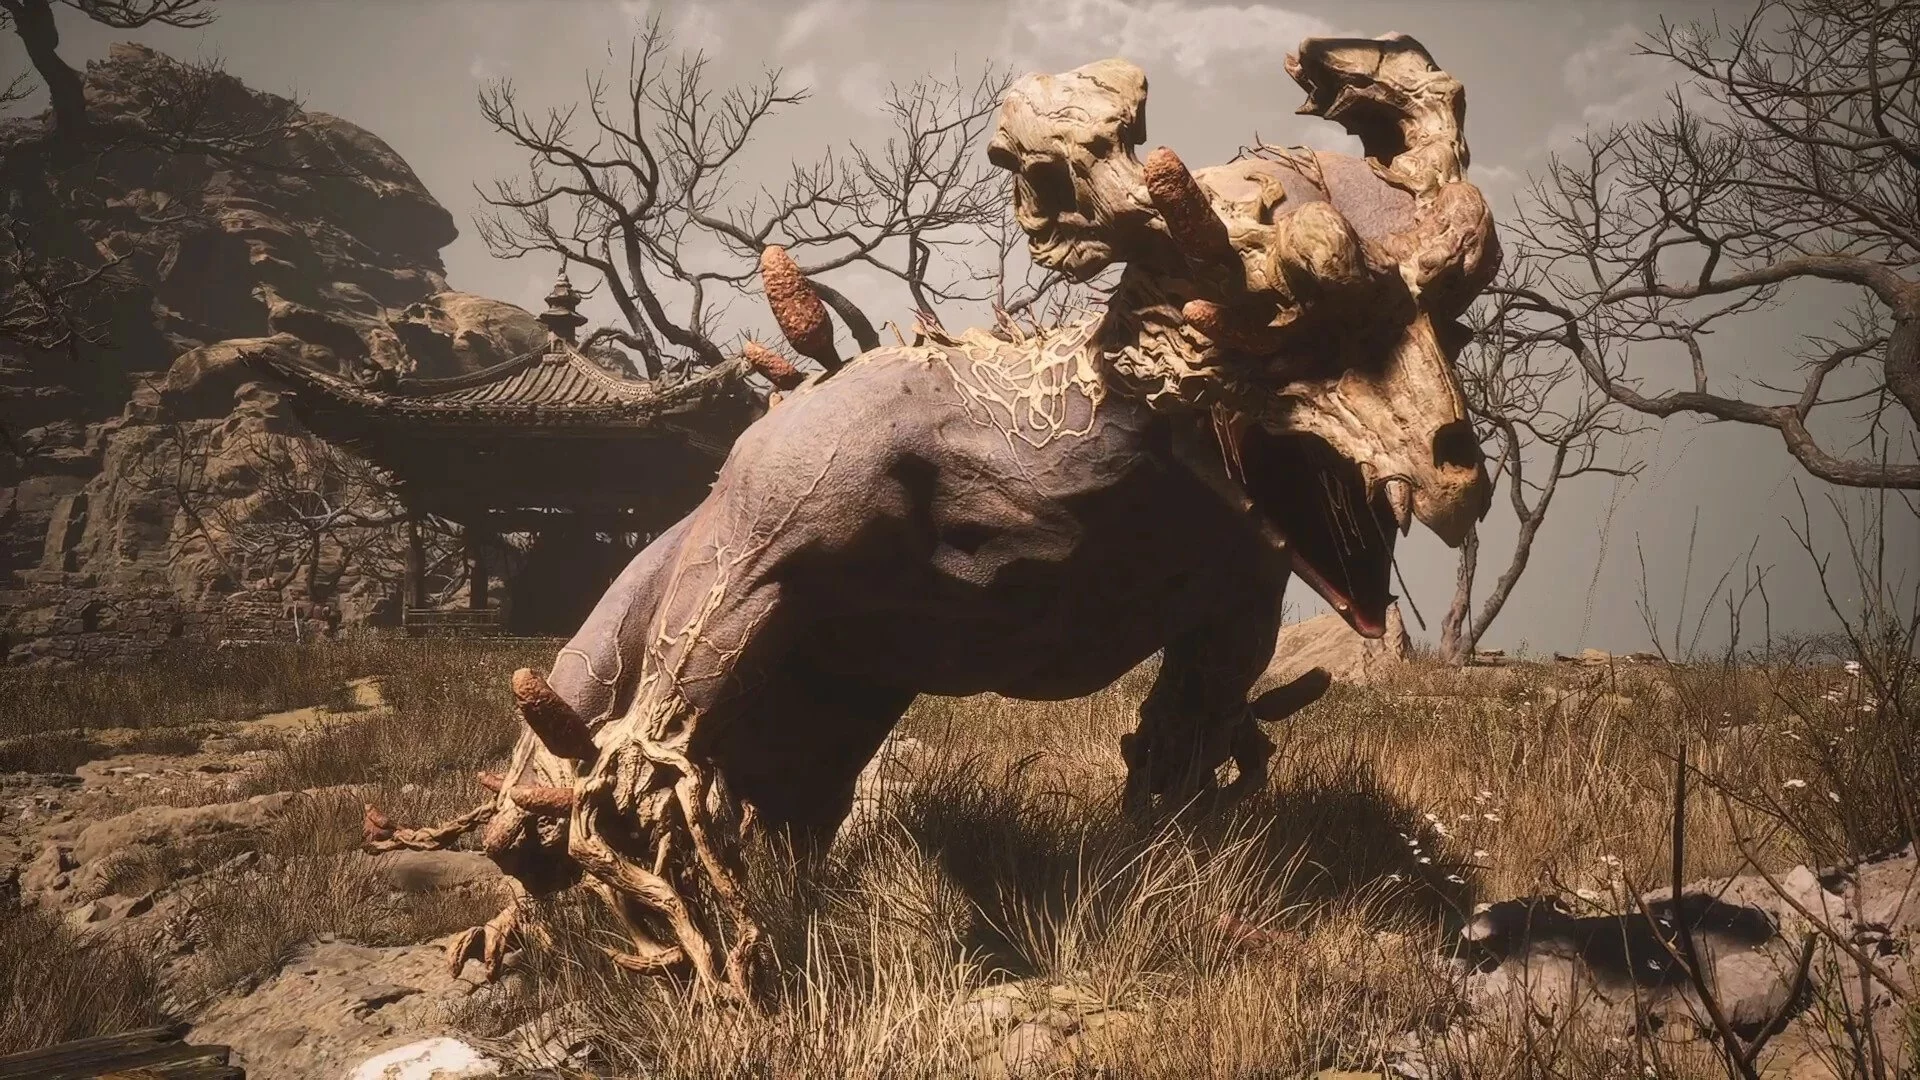
- Location: Sandy Gate Village, Settlement Entrance
- Difficulty: 2
Another optional boss that you will find if you carefully explore the settlement. He is located on the opposite side from the arena with the King of Flowing Sands—the story boss. The wolf does not pose a significant threat. He is medium-sized, strikes with jumps and paws. Sometimes he shoots projectiles. Overall, the boss does not have much health, so use all the available arsenal and just finish him off.
Reward: 835 Will, 1 Small Piece of Gold, 1 Yarn, Iron Bull's Blood (material), Earth Wolf (spirit).
King of Flowing Sands and Second Prince of Flowing Sands
- Location: Sandy Gate Village, Settlement Entrance
- Difficulty: 4
You will meet these enemies very soon after the frog. This is a story battle, so no matter how lost you get in the vast location, you will come to them sooner or later. The King and the Prince are two rats—father and son respectively. The King is small and does not pose much of a threat, but the Prince wields a large mace and is quite agile. This is the first dual boss on your path, but there is a secret that will help simplify the passage a bit. Do not attack the King, only fight the Prince. If you defeat him, the battle will end immediately. However, if you kill the King, the Prince will go into a rage and start attacking much faster and harder.
There won't be any special tactics here. The Prince attacks slowly, sometimes with sweeping thrusts, sometimes over a small area. By this time, you already have enough resources to relatively easily deal with such enemies. Do not forget about immobilization and other spells. If you are not confident in your abilities—move away, the arena allows it.
Reward: 1008 Will, 2 Yarn, 2 Silk, Iron Bull's Blood (material).
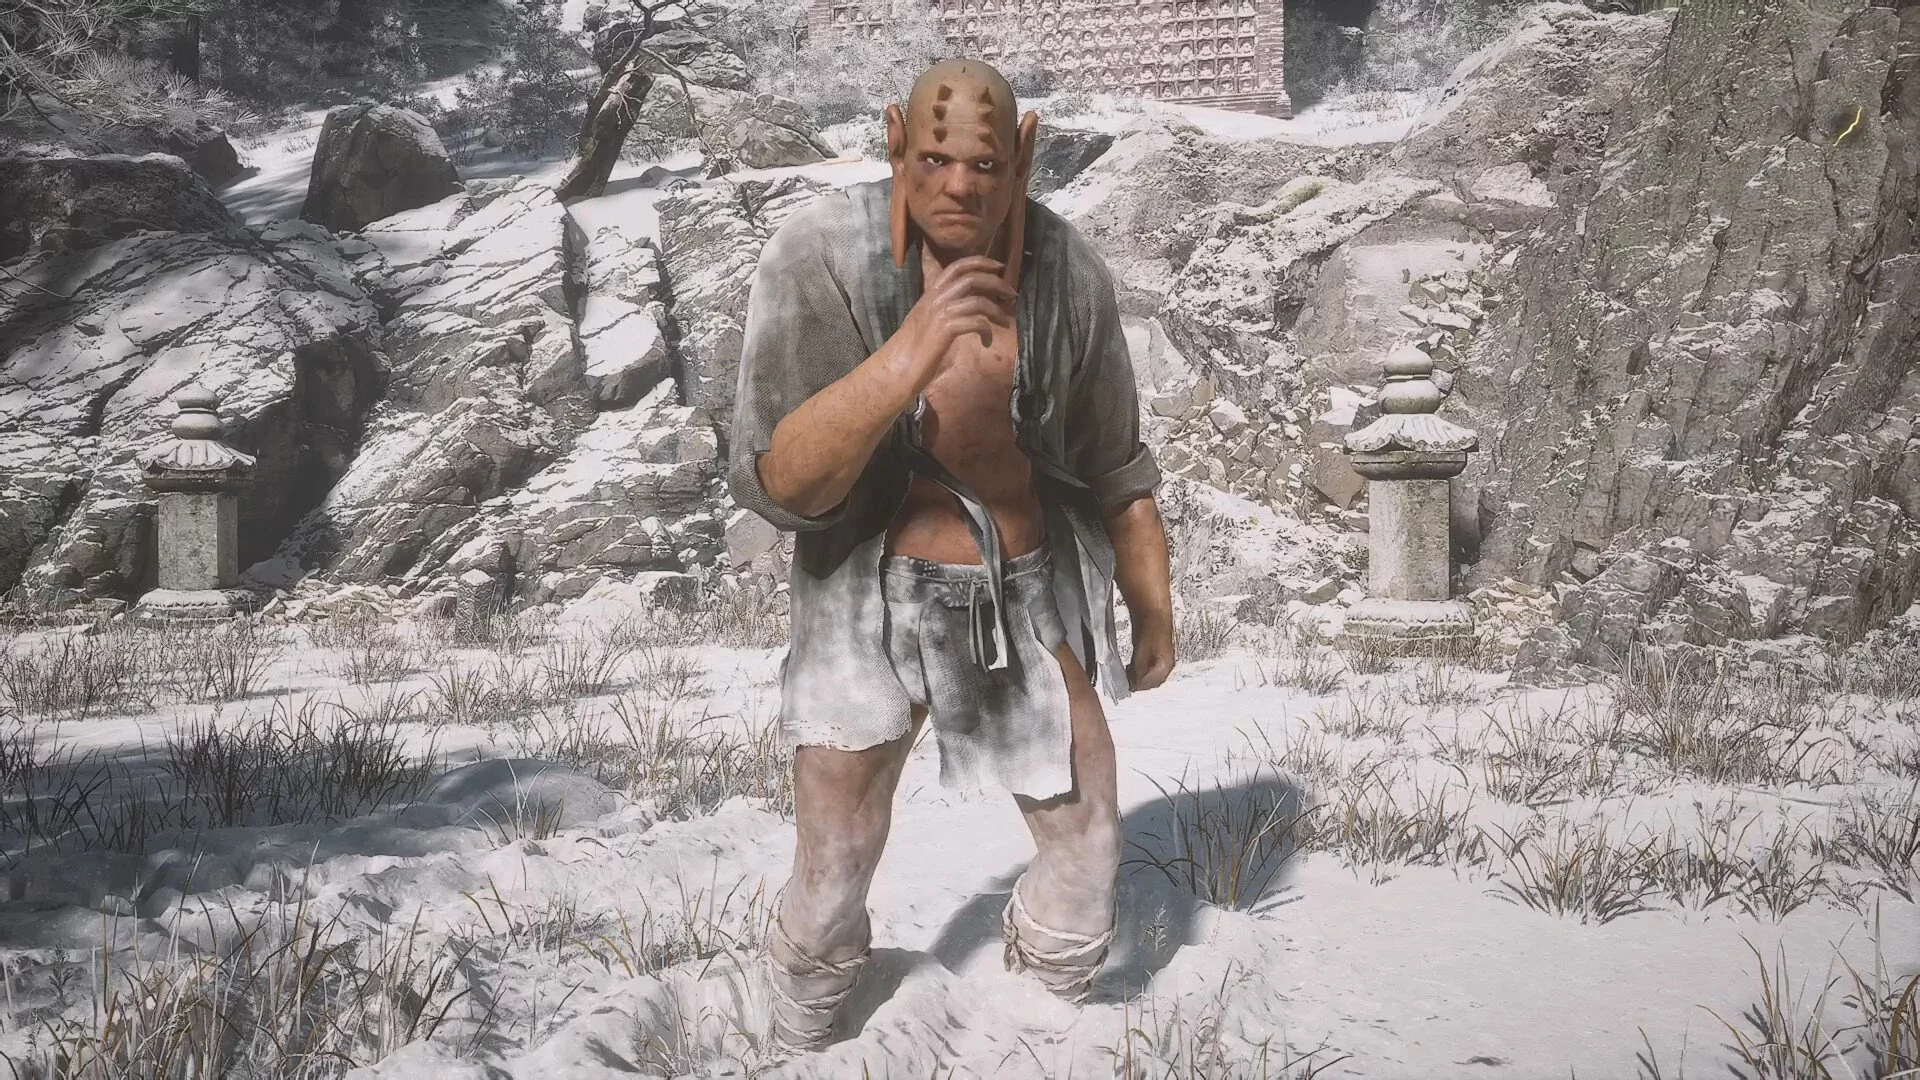
First Prince of the Flowing Sands

- Location: Sandy Gate Village, Valley of Despair
- Difficulty: 2
The next rat and offspring of the king is different from the previous one. After defeating the Second Prince, activate the shrine. You will have two paths—to the cave and across the bridge. Go to the cave, where you will eventually reach the boss. The First Prince is a giant, but this works in your favor, as the monster is extremely clumsy. The main attack is with claws, as well as a jump and sudden landing. All of this is easy to avoid. Use immobilization and transformation, and be sure to upgrade the skill that allows you not to interrupt combos with dodges.
Reward: 1019 Will, 2 Yarn, 2 Silk, Golden Arhat Part (Key Item).
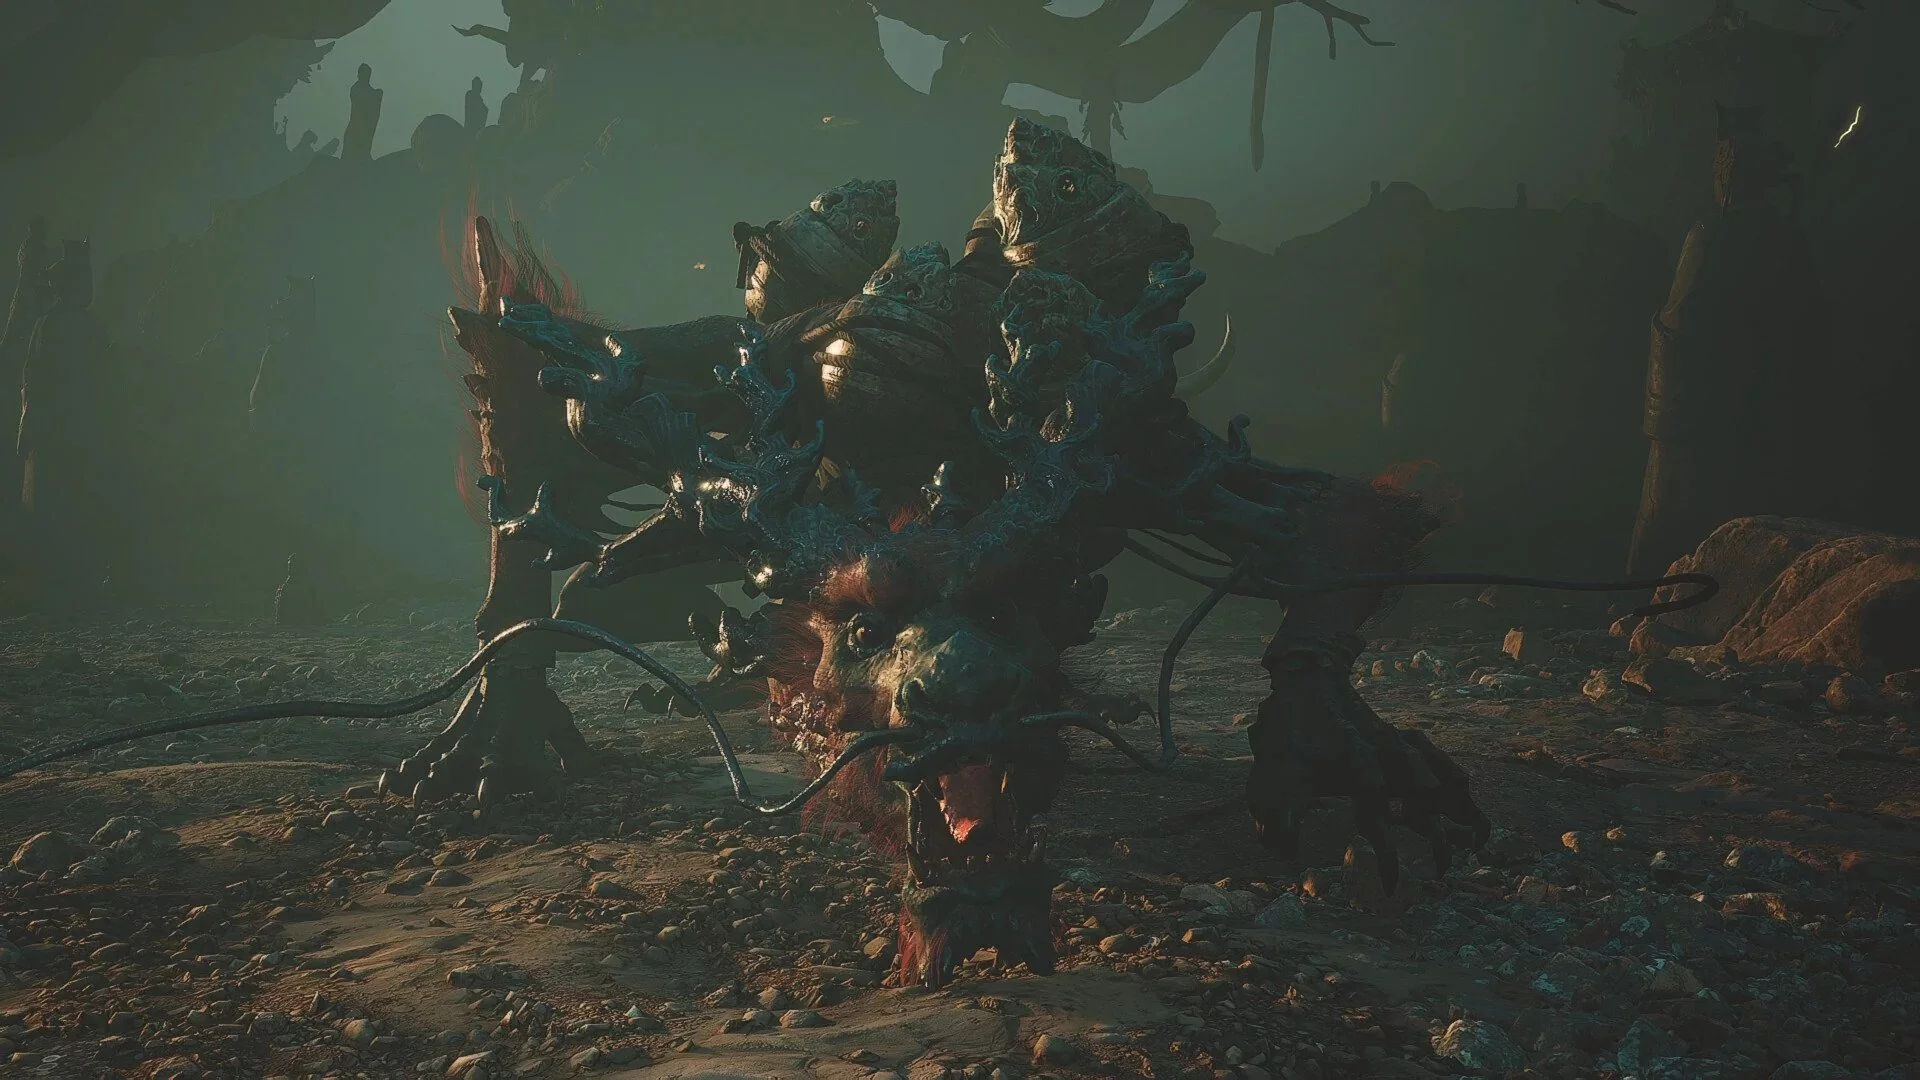
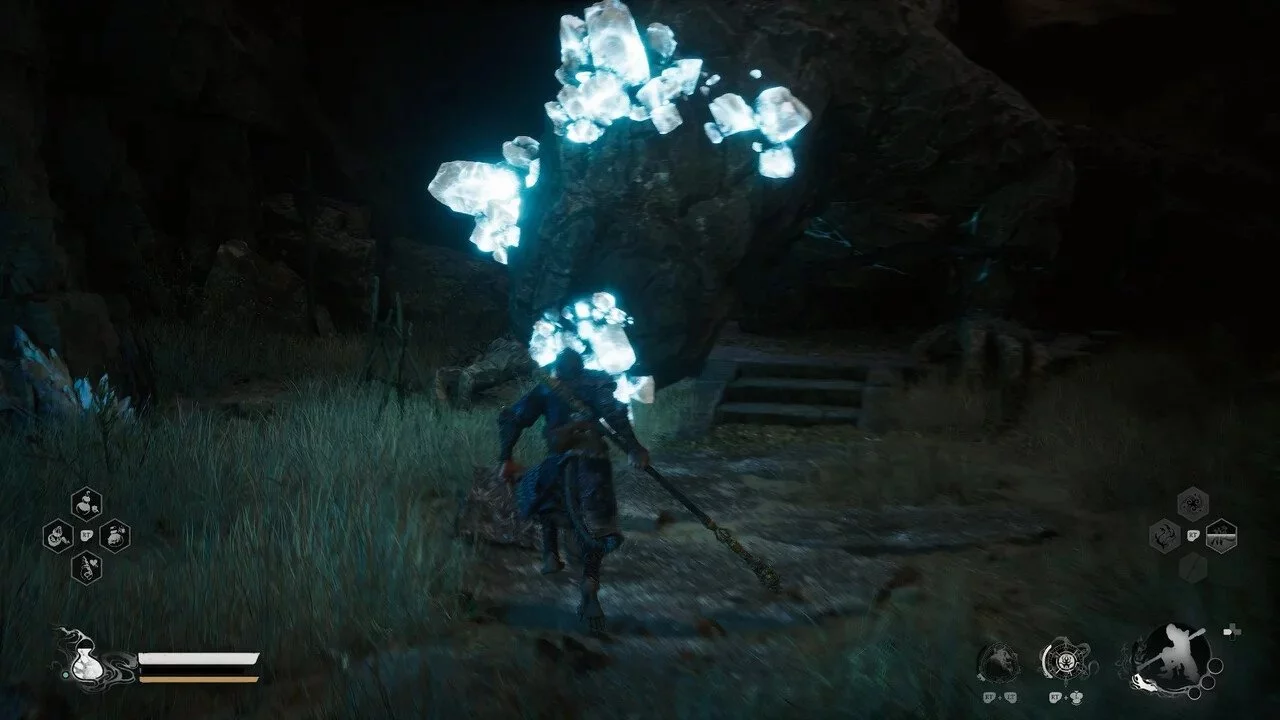
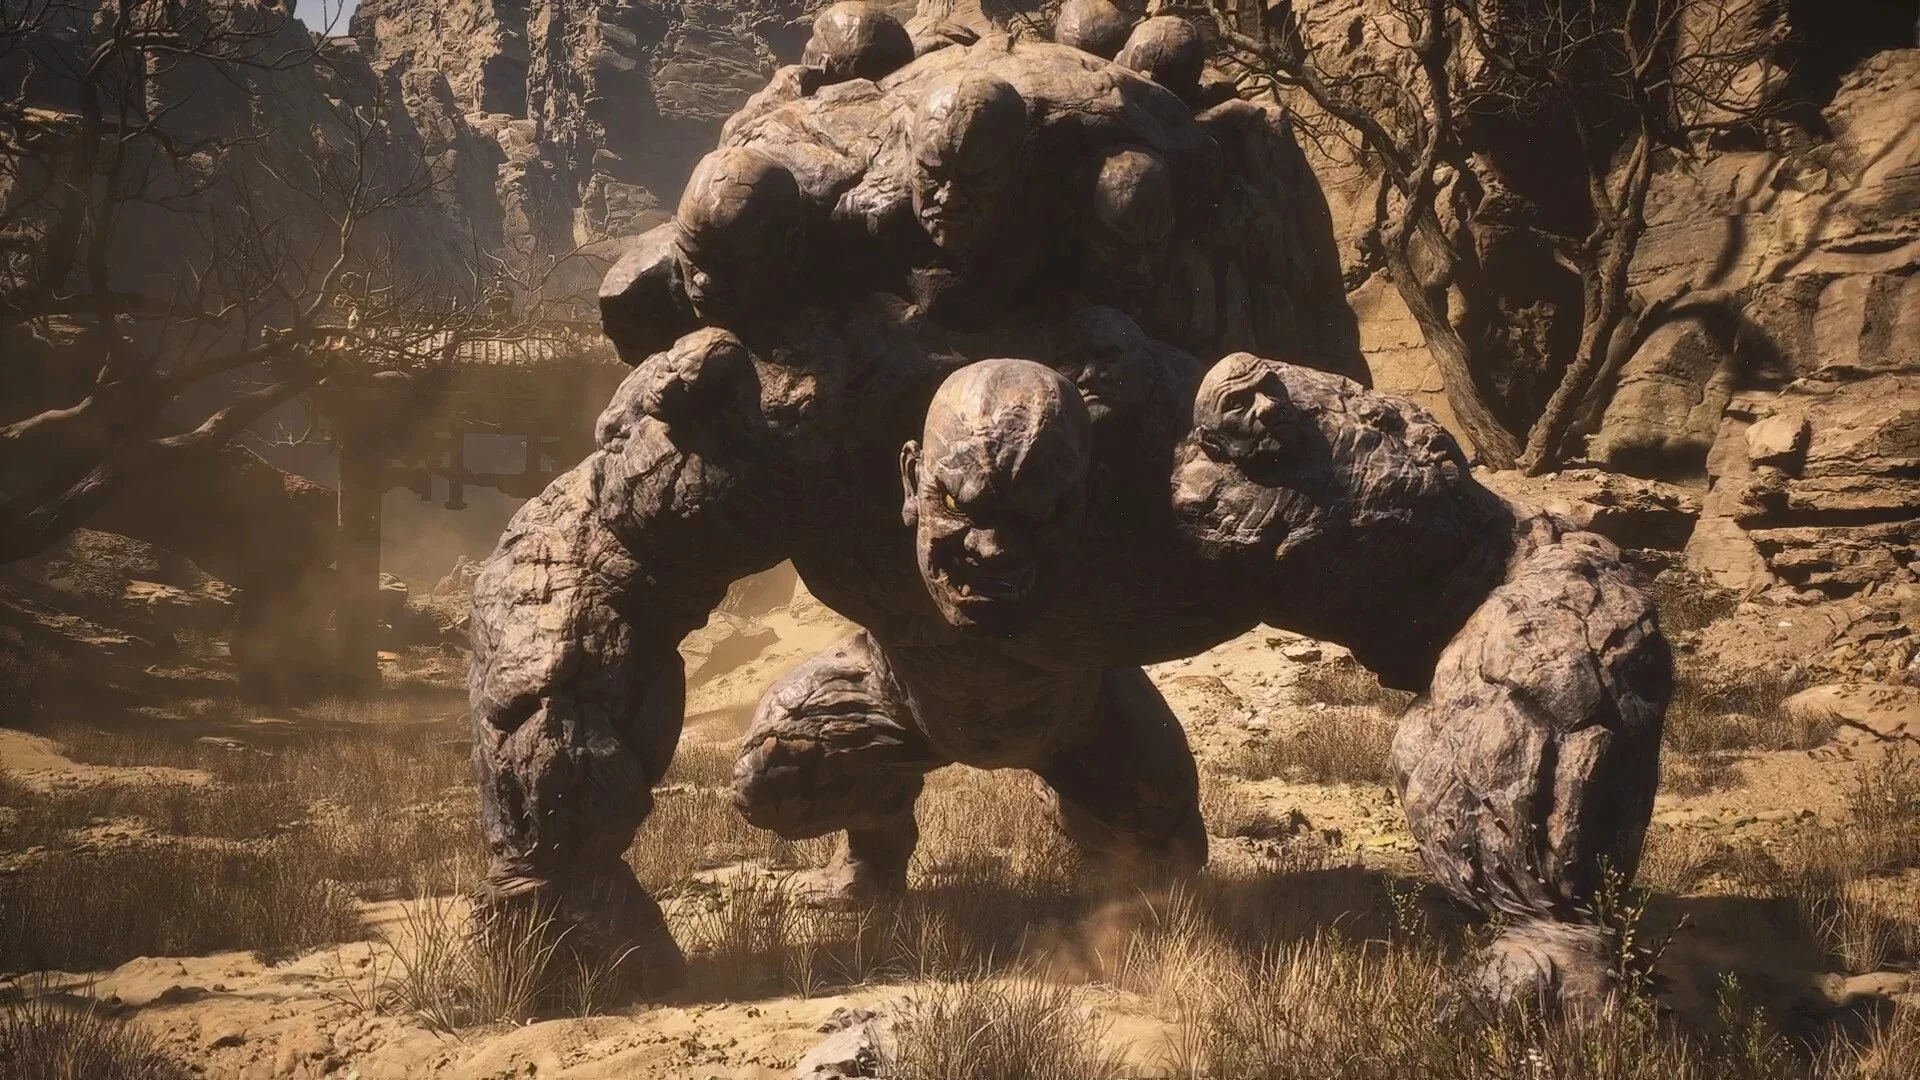
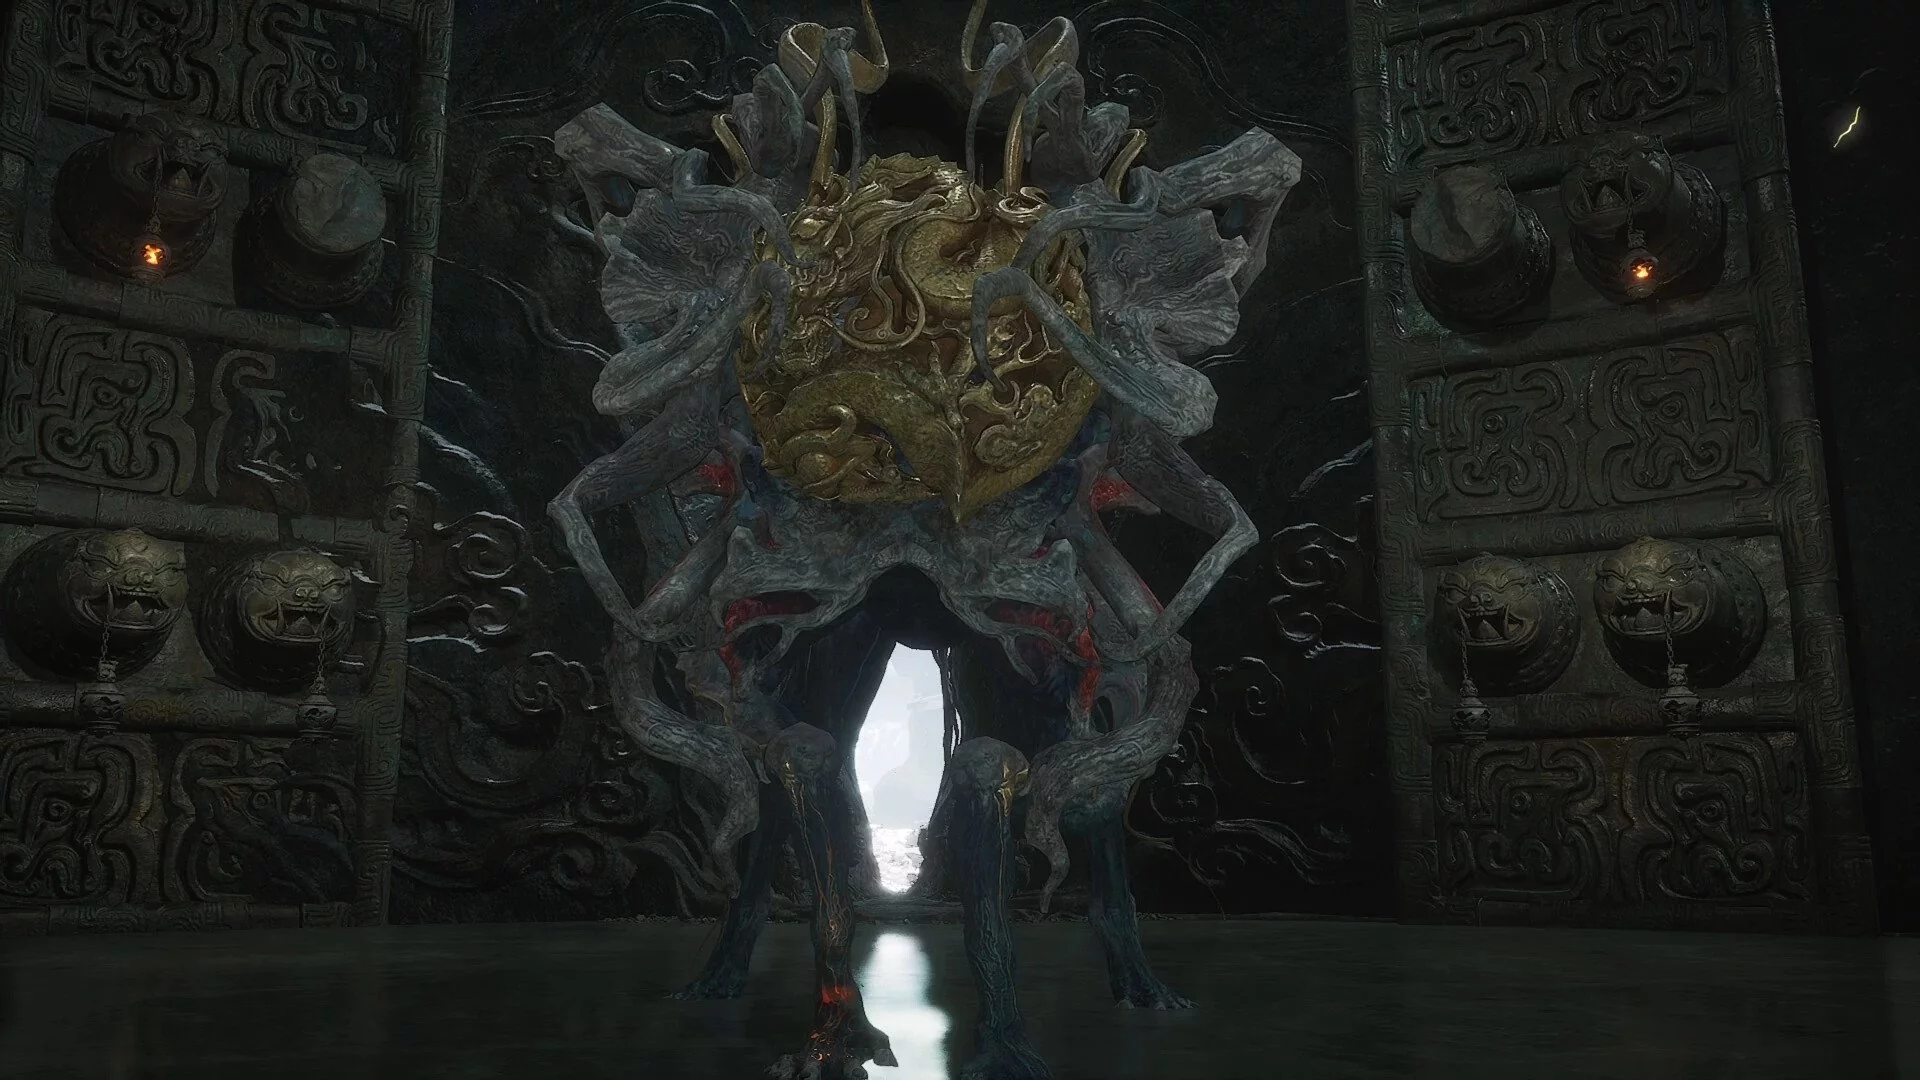
Mother of Stones
- Location: Rock of Fear, Wind Shelter
- Difficulty: 2
Despite the fact that by this time you may have already unlocked the Temple of the Crouching Tiger, we recommend clearing the Rock of Fear first. The bosses there are less aggressive, so it will be an additional opportunity for leveling up. The Mother of Stones can be found in a large cave that runs almost through the entire location. Interestingly, she is associated with a quest that is best taken before the fight. In the local settlement, where there are many spitting enemies, at the very bottom you can notice strange stones. If you get closer, you can start a dialogue. The creature will say that it is stuck and will ask you to do something in the cave. This something will be the boss fight. Although the battle is optional, the rewards will come in handy.
The Mother of Stones is a stone with bluish veins. It does nothing by itself but summons pairs of stone monsters that will constantly interfere and hit with headbutts in jumps. Here you will need the stance of thrusts, as its direct enhanced heavy strike perfectly keeps the monsters at a distance in a confined space. As soon as the monsters disappear—run to attack the Mother. You will have to repeat this about three to four times.
When you win, return to the creature. It turns out it deceived you, so you will need to defeat another boss. You will receive the main reward only after this.
Reward: 759 Will, 2 Yarn, 2 Silk, Stone Essence (Key Item).
Stone Man
- Location: Rock of Fear, Wind Shelter
- Difficulty: 1
Nothing special. The boss hits hard and slowly, but he has very little health. Eliminate him with magic, and then take the new transformation form—Azure Dust. After that, you can trade with him, buying rare upgrade materials.
Reward: 759 Will.
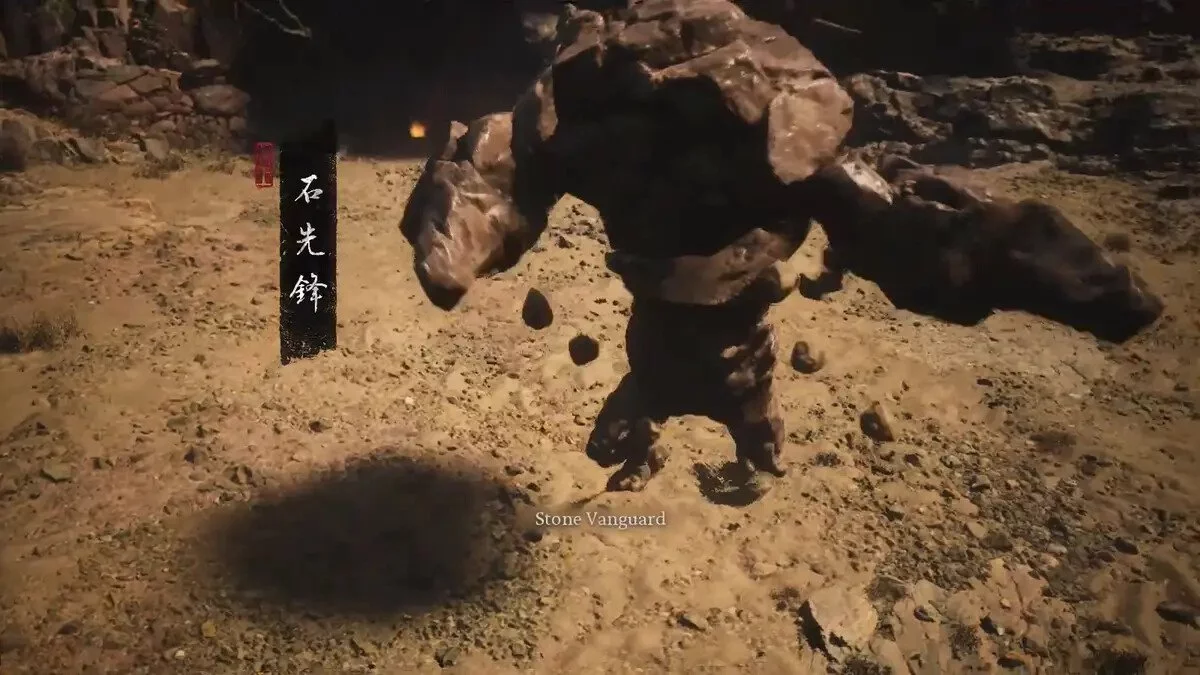
Stone Guardian
- Location: Rock of Fear, Stone Plain
- Difficulty: 5
A story boss that you can't bypass if you want to progress further in the game. The guardian resembles a golem and fights similarly. The main attacks are with stone hands. Initially, the fight seems simple, but the guardian can cause a lot of problems. The issue is that his swing is wide enough to catch the hero with a hit even from the side. The chosen one keeps locking onto the boss from the front, making it hard to read movements and dodge obvious hand swings. The optimal strategy is to stay behind. The guardian is most vulnerable there.
Other attacks of the boss include numerous paw strikes from top to bottom, area attacks with stone spikes, and summoning stone monsters that will quickly jump at the hero, followed by the boss's own jump.
Area attacks are unpleasant, but their damage can be minimized if you notice that the guardian's paws flash yellow just before the spikes appear. At this moment, it's best to jump since dodging doesn't always work.
Reward: 1375 Will, 2 Yaoguai Cores, Stone Fortress (key item), Mind Core (material), new available armor.
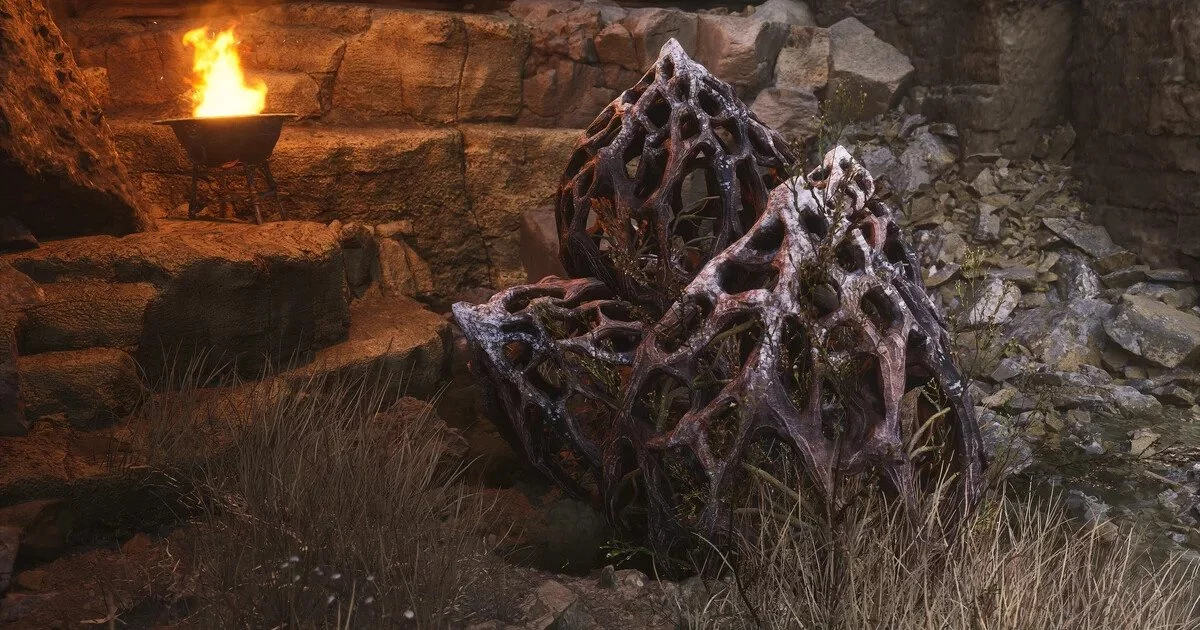
Protective Tablet
- Location: Rock of Fear, Stone Plain
- Difficulty: 4
A secret boss that can be found in the same arena as the previous one. You can activate the fight if you have found all six Buddha Eyes. We have a guide on this. Approach the rock a little to the left of the arena entrance and activate it. The creature is very similar to the Stone Guardian and fights similarly but is a bit easier. The fight starts with the boss quickly running towards you. With each step, you will take damage. After that, there will be regular paw or body strikes following a jump—very easy to dodge. For some reason, in this fight, the hero can easily get behind the boss, making the battle feel less difficult. The only attack to watch out for is the area attack. The tablet's paws will also glow before the spikes appear, so dodge or jump.
Reward: 1374 Will, 2x Yaoguai Core, Stone Heart (material), Mind Core (material), Scanda Sense (key item).
Bloodthirsty Daoist
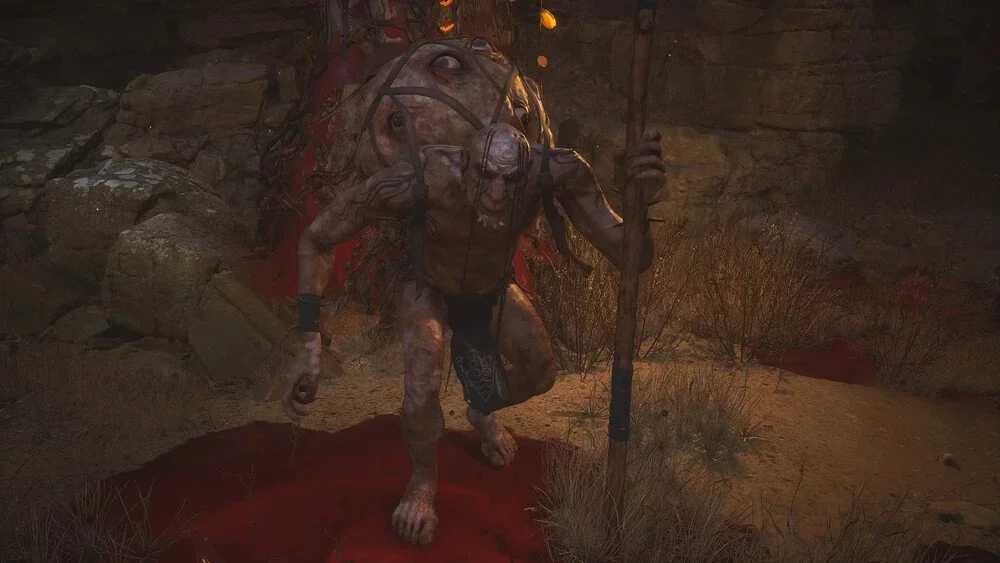
- Location: House of the Yellow Wind, Wind Gate
- Difficulty: 1
You will find the boss near a tree that helps upgrade the healing potion bottle. This is a very simple fight, and the boss has little health. If you want to simplify the process even more, summon clones. By this time, you will have learned the spell.
Reward: 769 Will, 2 Yarn, 2 Silk, Blood of the Iron Bull (material), Blood-Eyed Daoist (Spirit).
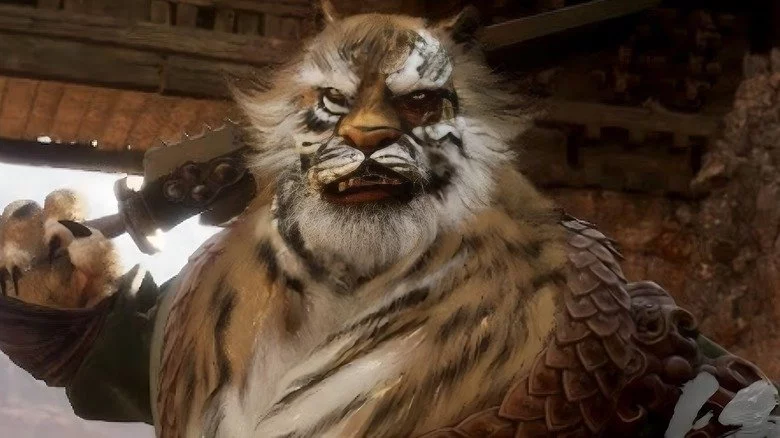
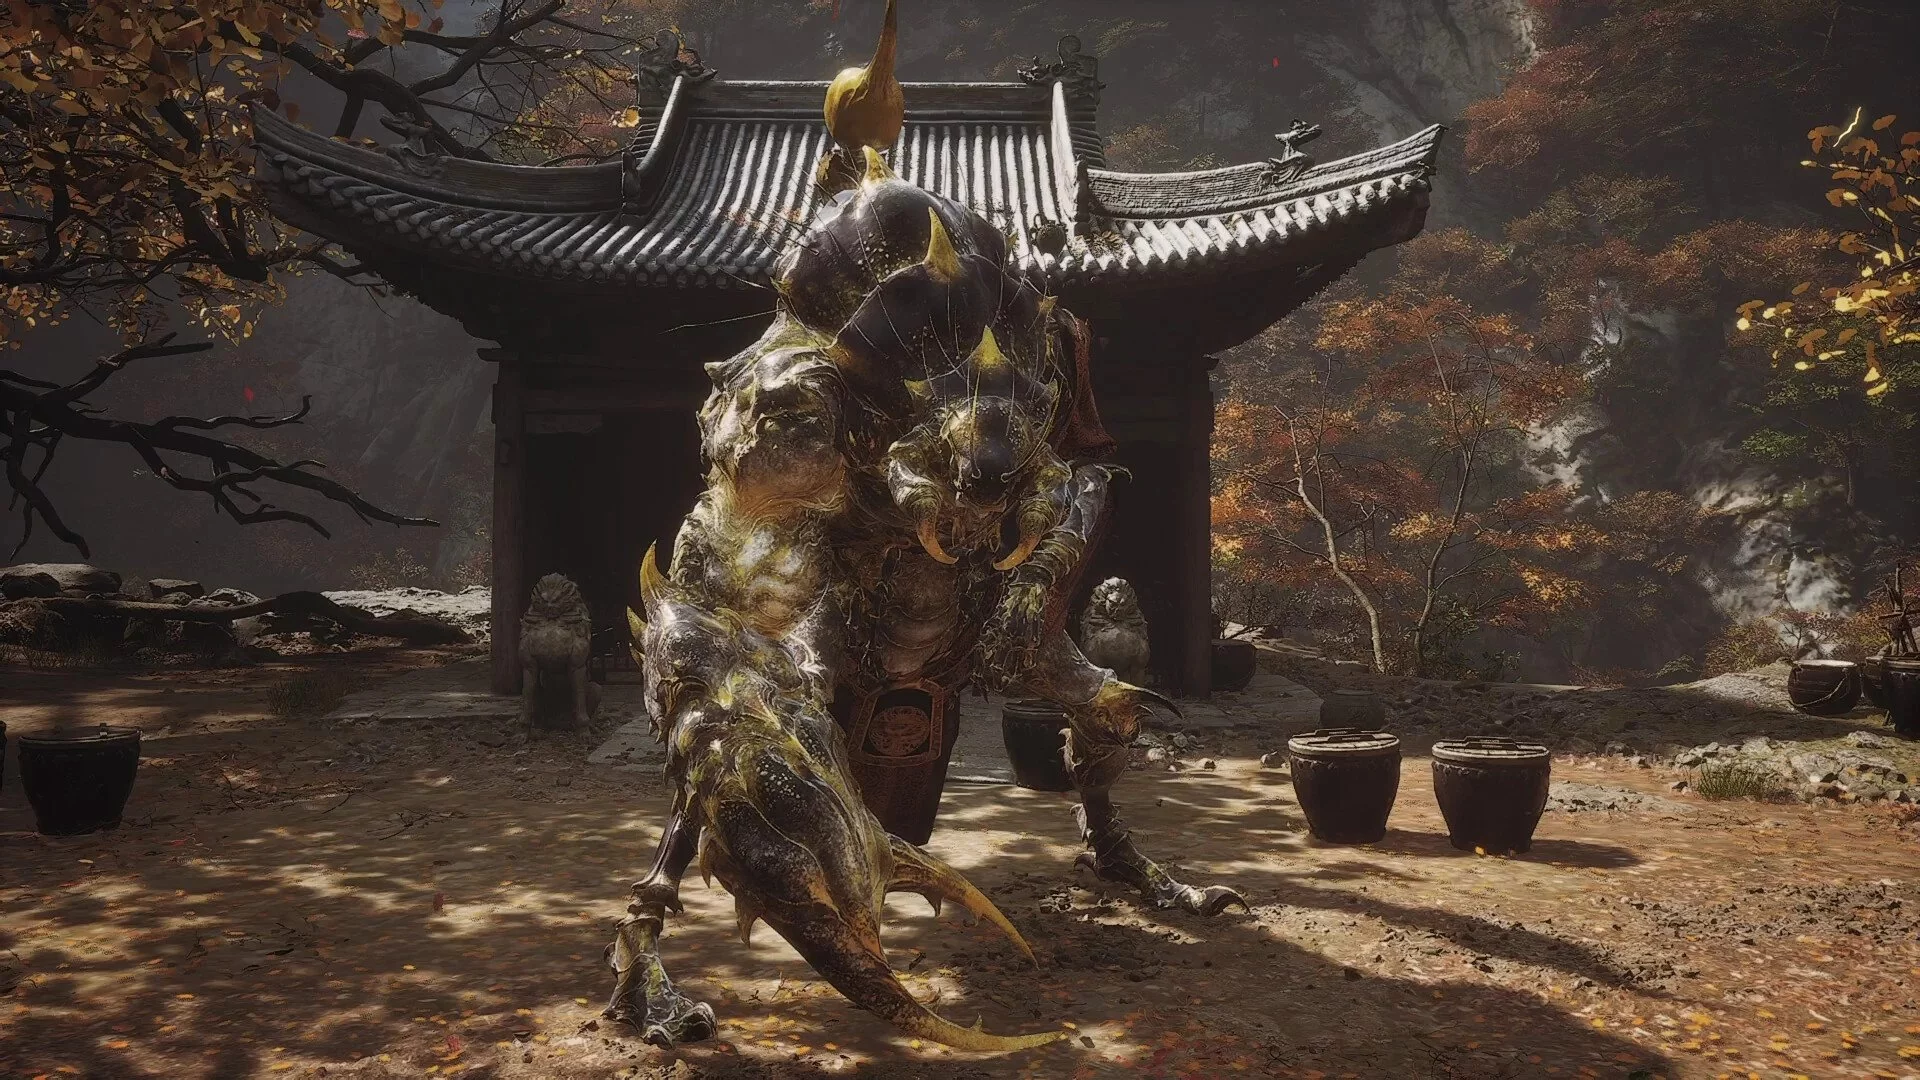
Tiger Guardian
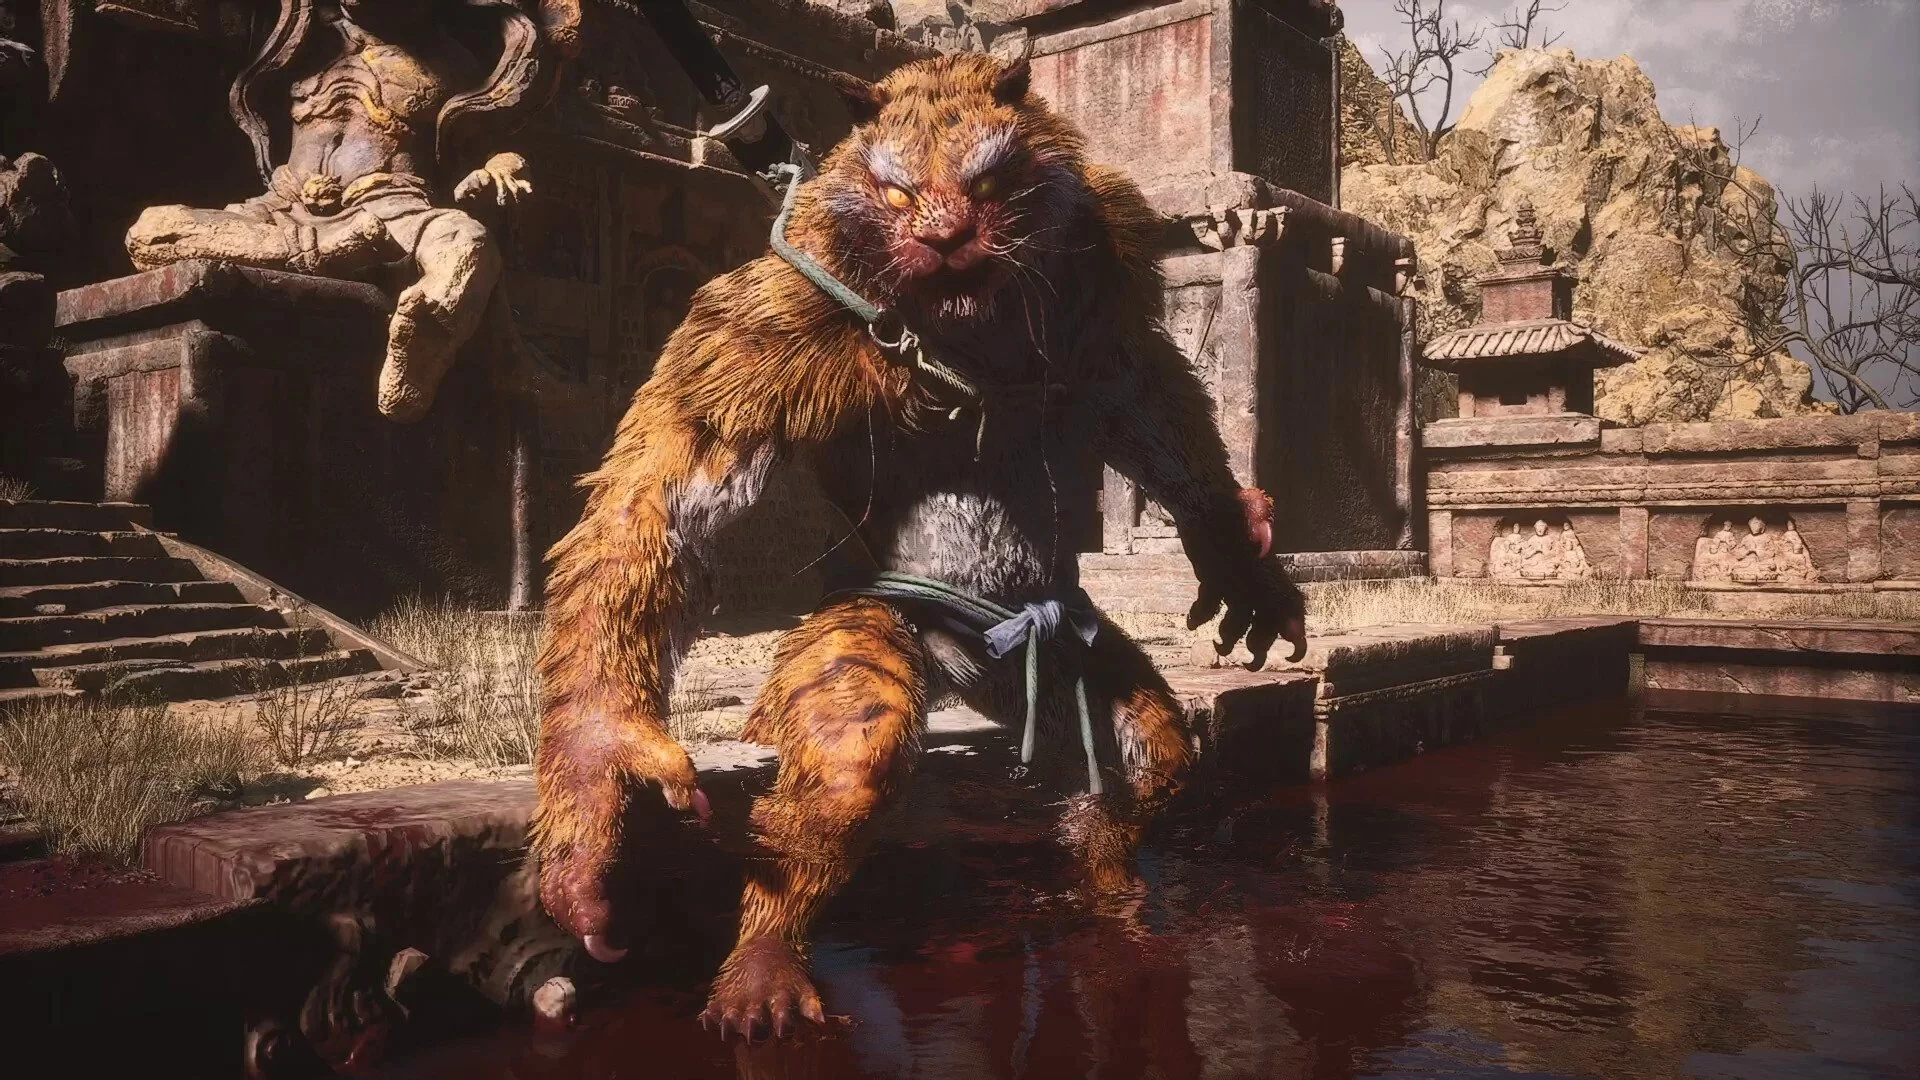
- Location: Crouching Tiger Temple, Temple Entrance
- Difficulty: 6
The Tiger Guardian is the first boss for which you might need potions for enhancements. We specifically placed him below the Stone Guardian and other available battles so you have the opportunity to level up, find new armor, and strengthen your flask. The tiger is a very fast enemy, so forget about heavy attacks. The fight always starts with the monster moving to the right and then trying to hit you with a jump. Here you must dodge in any case, otherwise, you will take the first damage.
Then the tiger attacks with its hands and feet, and after that, it will also pull out a sword. If you survived the melee attacks, then the sword will cause big problems. When the hero is far away, the tiger sends bloody tornadoes at him with the sword, then makes several energy strip attacks and immediately makes a sharp lunge across the entire arena. This lunge can be performed without previous additional attacks, and it is the most dangerous attack capable of killing you instantly.
Sometimes the tiger will turn into a statue and then appear from any place already in the process of attacking. There is also a melee analog of the sword lunge—a hand strike.
You won't be able to defeat him on the first try. Be prepared to spend several attempts studying the combinations and sequences. All of the tiger's attacks are very long. You will have to dodge in whole chains, and it is very important that most maneuvers are perfect, otherwise, you will not have enough stamina. Also, make sure not to use magic just before an attack. There is one annoying moment in the game when bosses cancel your spells. If you cast it simultaneously with the enemy's attack, you will take damage, and the spell will go into cooldown. This way, you will waste precious mana.
Another point—choose a suitable spirit because most of them will be useless. We recommend the one you got after the battle with the Undead. It has a good quick headbutt that takes away a decent amount of health. Don't hesitate to drink potions for increased damage, health, and reduced incoming damage—they will help a lot.
Rewards: 1354 Will, 2 Yaoguai Cores, Mind Core (material), Tiger's Swiftness (key item), Stone Hardness (spell).
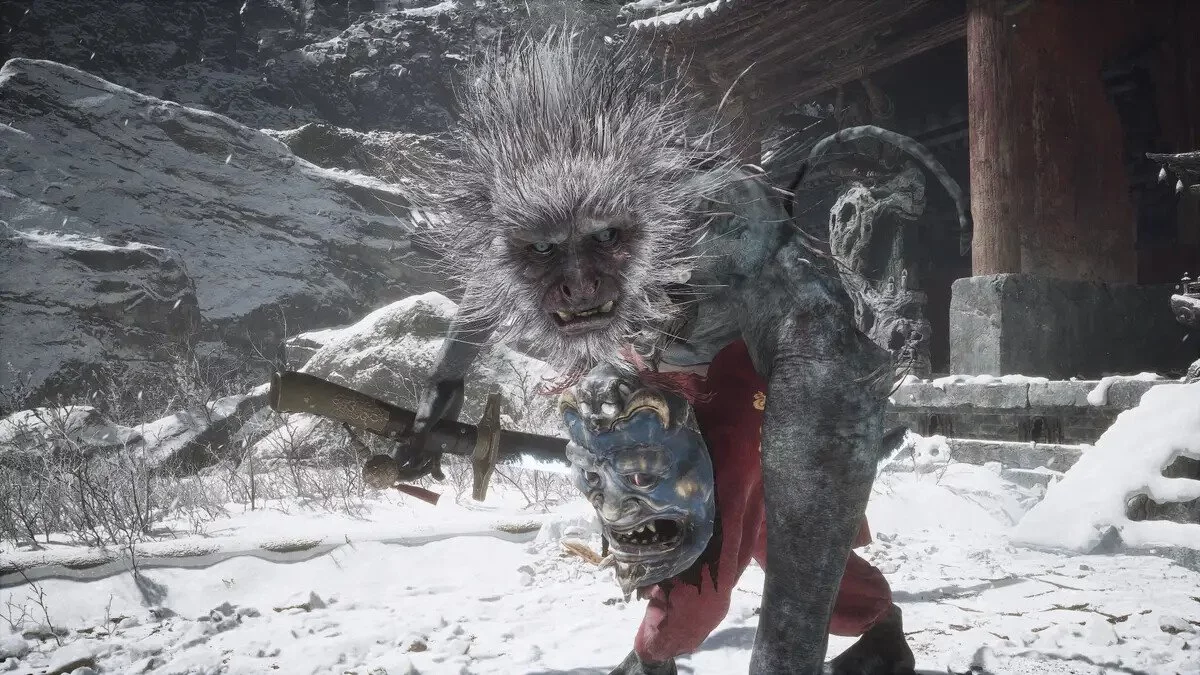
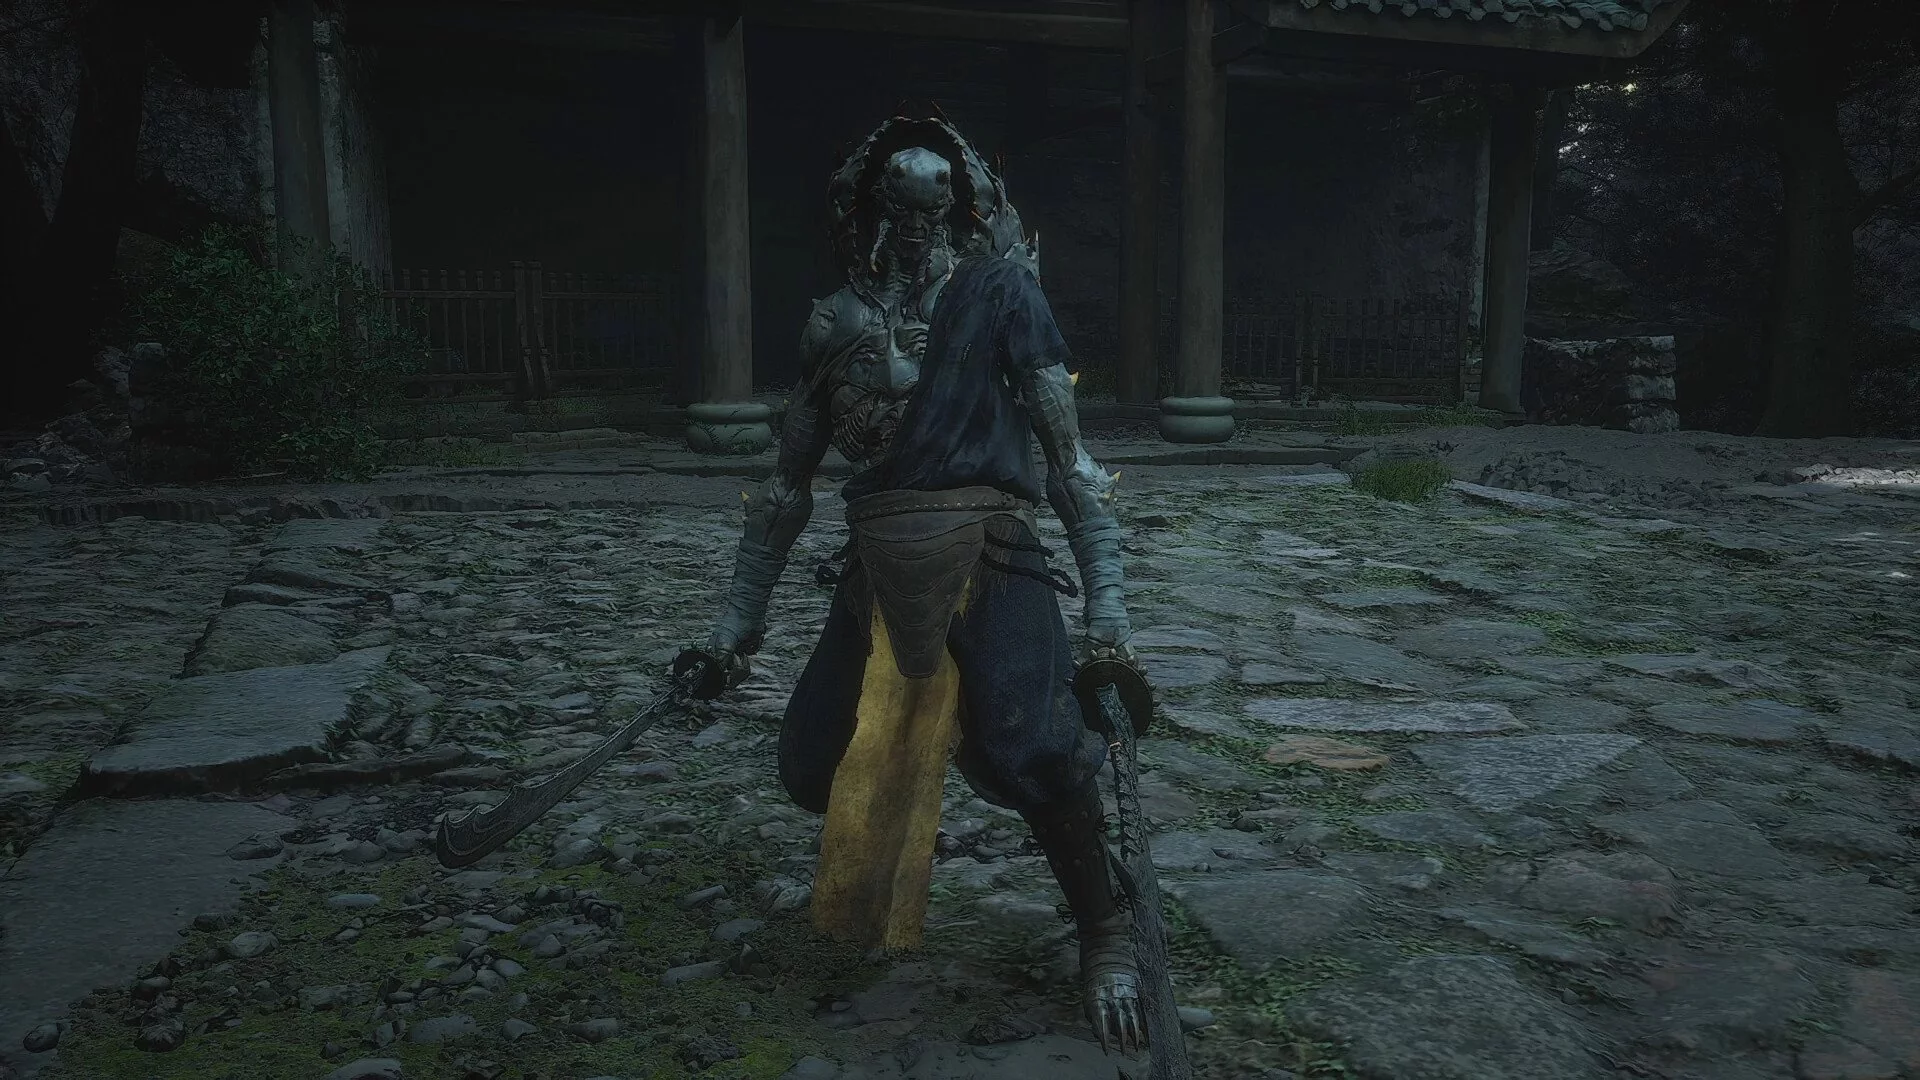
Tiger's Acolyte
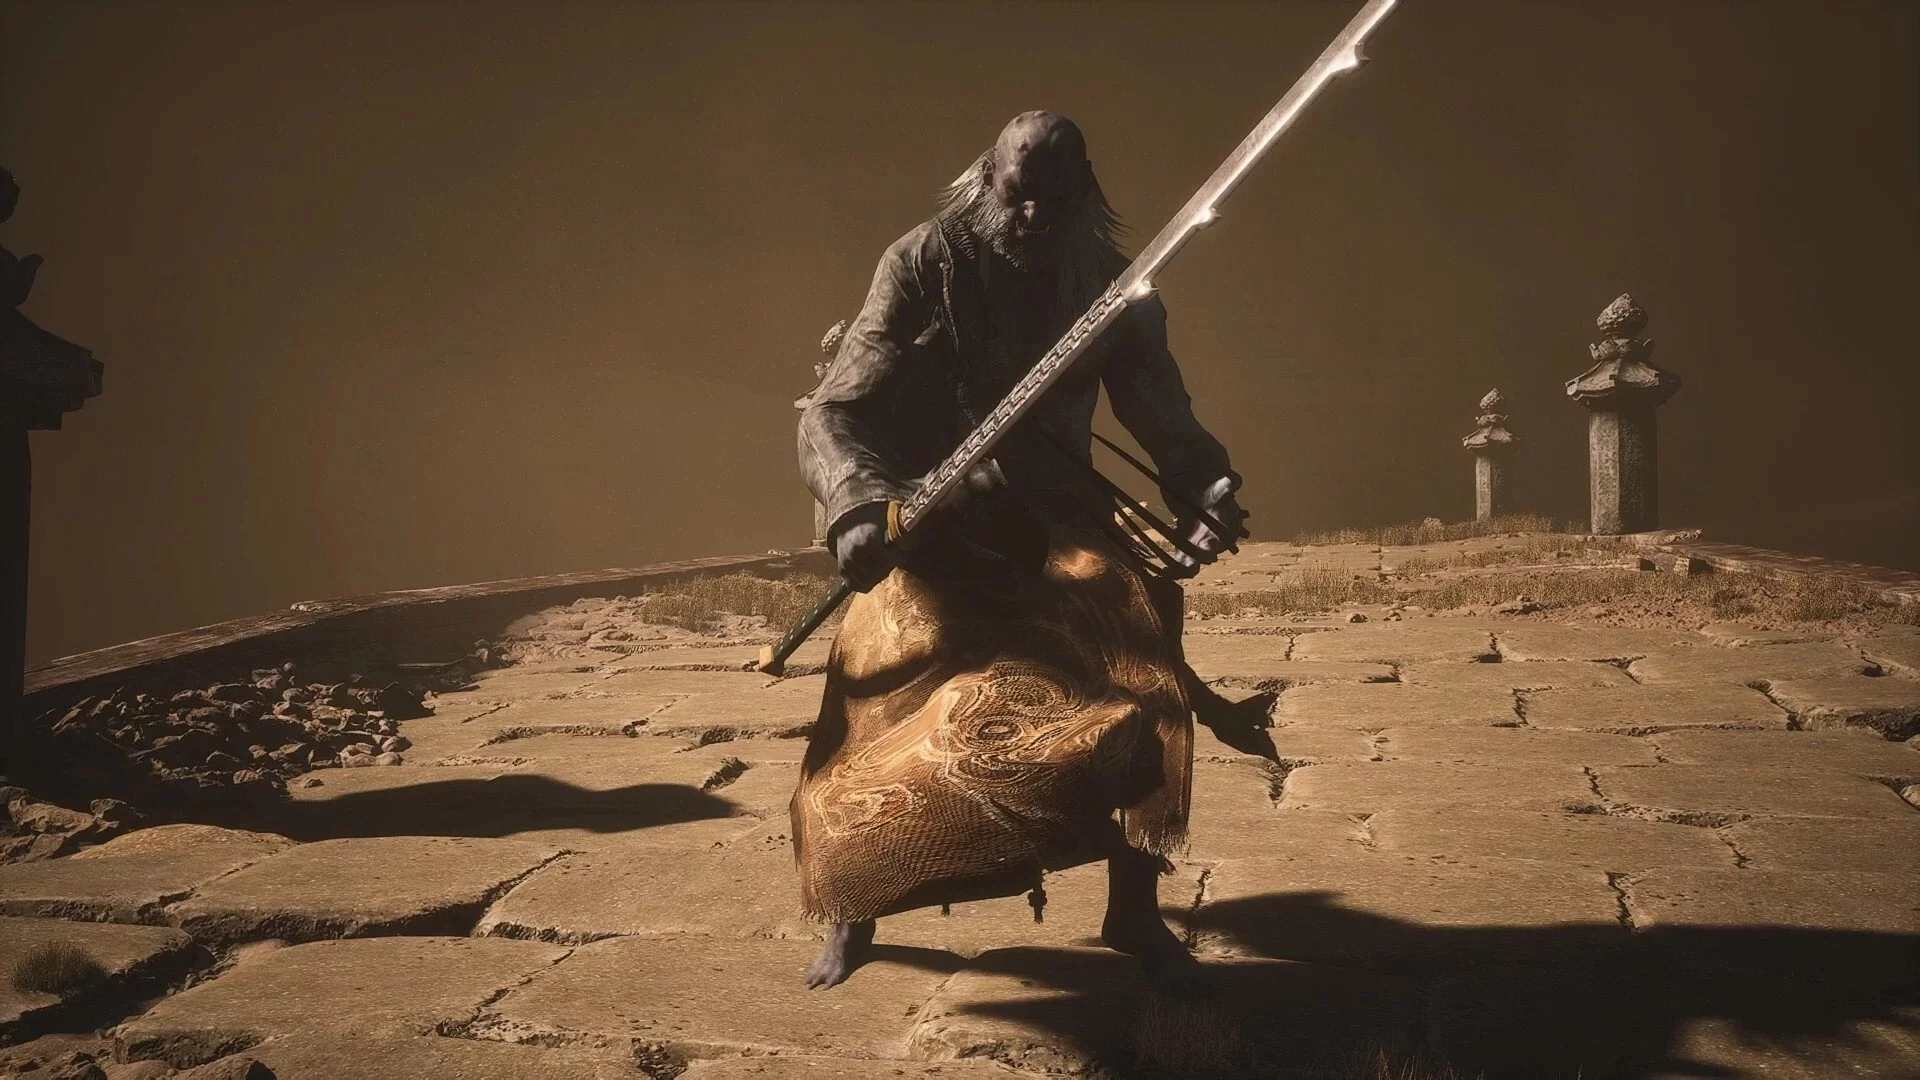
- Location: House of the Yellow Wind, Wind's Edge Village
- Difficulty: 2
As you explore the location, you will eventually encounter this boss. He is quite weak, but there are a few nuances. Firstly, the acolyte wields a long sword and deals significant damage. Secondly, he has long claws, which he immediately attacks with in a combo, meaning there are many attacks, and they are fast. If you hesitate, you will die almost immediately. However, the main problem is the arena. You will meet the enemy on a narrow bridge, and yes, you guessed it right—you can fall off it. This adds additional complexity. To win quickly, start the fight not with freezing but with transformation, and only after that use other magic.
Rewards: 777 Will, 2x Yarn, 2x Silk, Old Rattle (key item), Blood of the Iron Bull (material), Tiger's Acolyte (spirit).
Yellow-Robed Squire
- Location: Rock of Fear, Stone Plain
- Difficulty: 1
A hidden boss that opens access to an entire additional location. You can find him if you find the boar and complete two of his tasks—help him sober up and feed him. After that, return to where you first saw the boar, and you will see the boss there. The battle with him is unlikely to cause problems. The monster attacks either with claws or a magical hoop. The latter is the one to watch out for, but the arena is large enough to step back in time.
Reward: 1037 Will, Boar Mask (head armor), after the boss fight, follow him through the gate to enter the secret location.
Tiger Guardian 2
- Location: Hidden Place: Sahali Realm, Sand Gate Pass
- Difficulty: 4
The Tiger Guardian in the secret location is very different from the tiger you met in the temple. However, he is just as strong an opponent and can cause quite a few problems. Fortunately, by this time, you should be well-leveled to have some advantage. A good decision would be to stock up on pills that permanently increase your stats. You can do this in the basement of the Crouching Tiger Temple.
The boss attacks with long chains of lunges and sweeping blade strikes. Be sure to time it right and summon clones—they will help a lot. For the rest of the time, use the familiar freezing and transformation.
Reward: 1014 Will, 2 Yarn, 2 Silk, Tiger Account (accessory).
Fuban
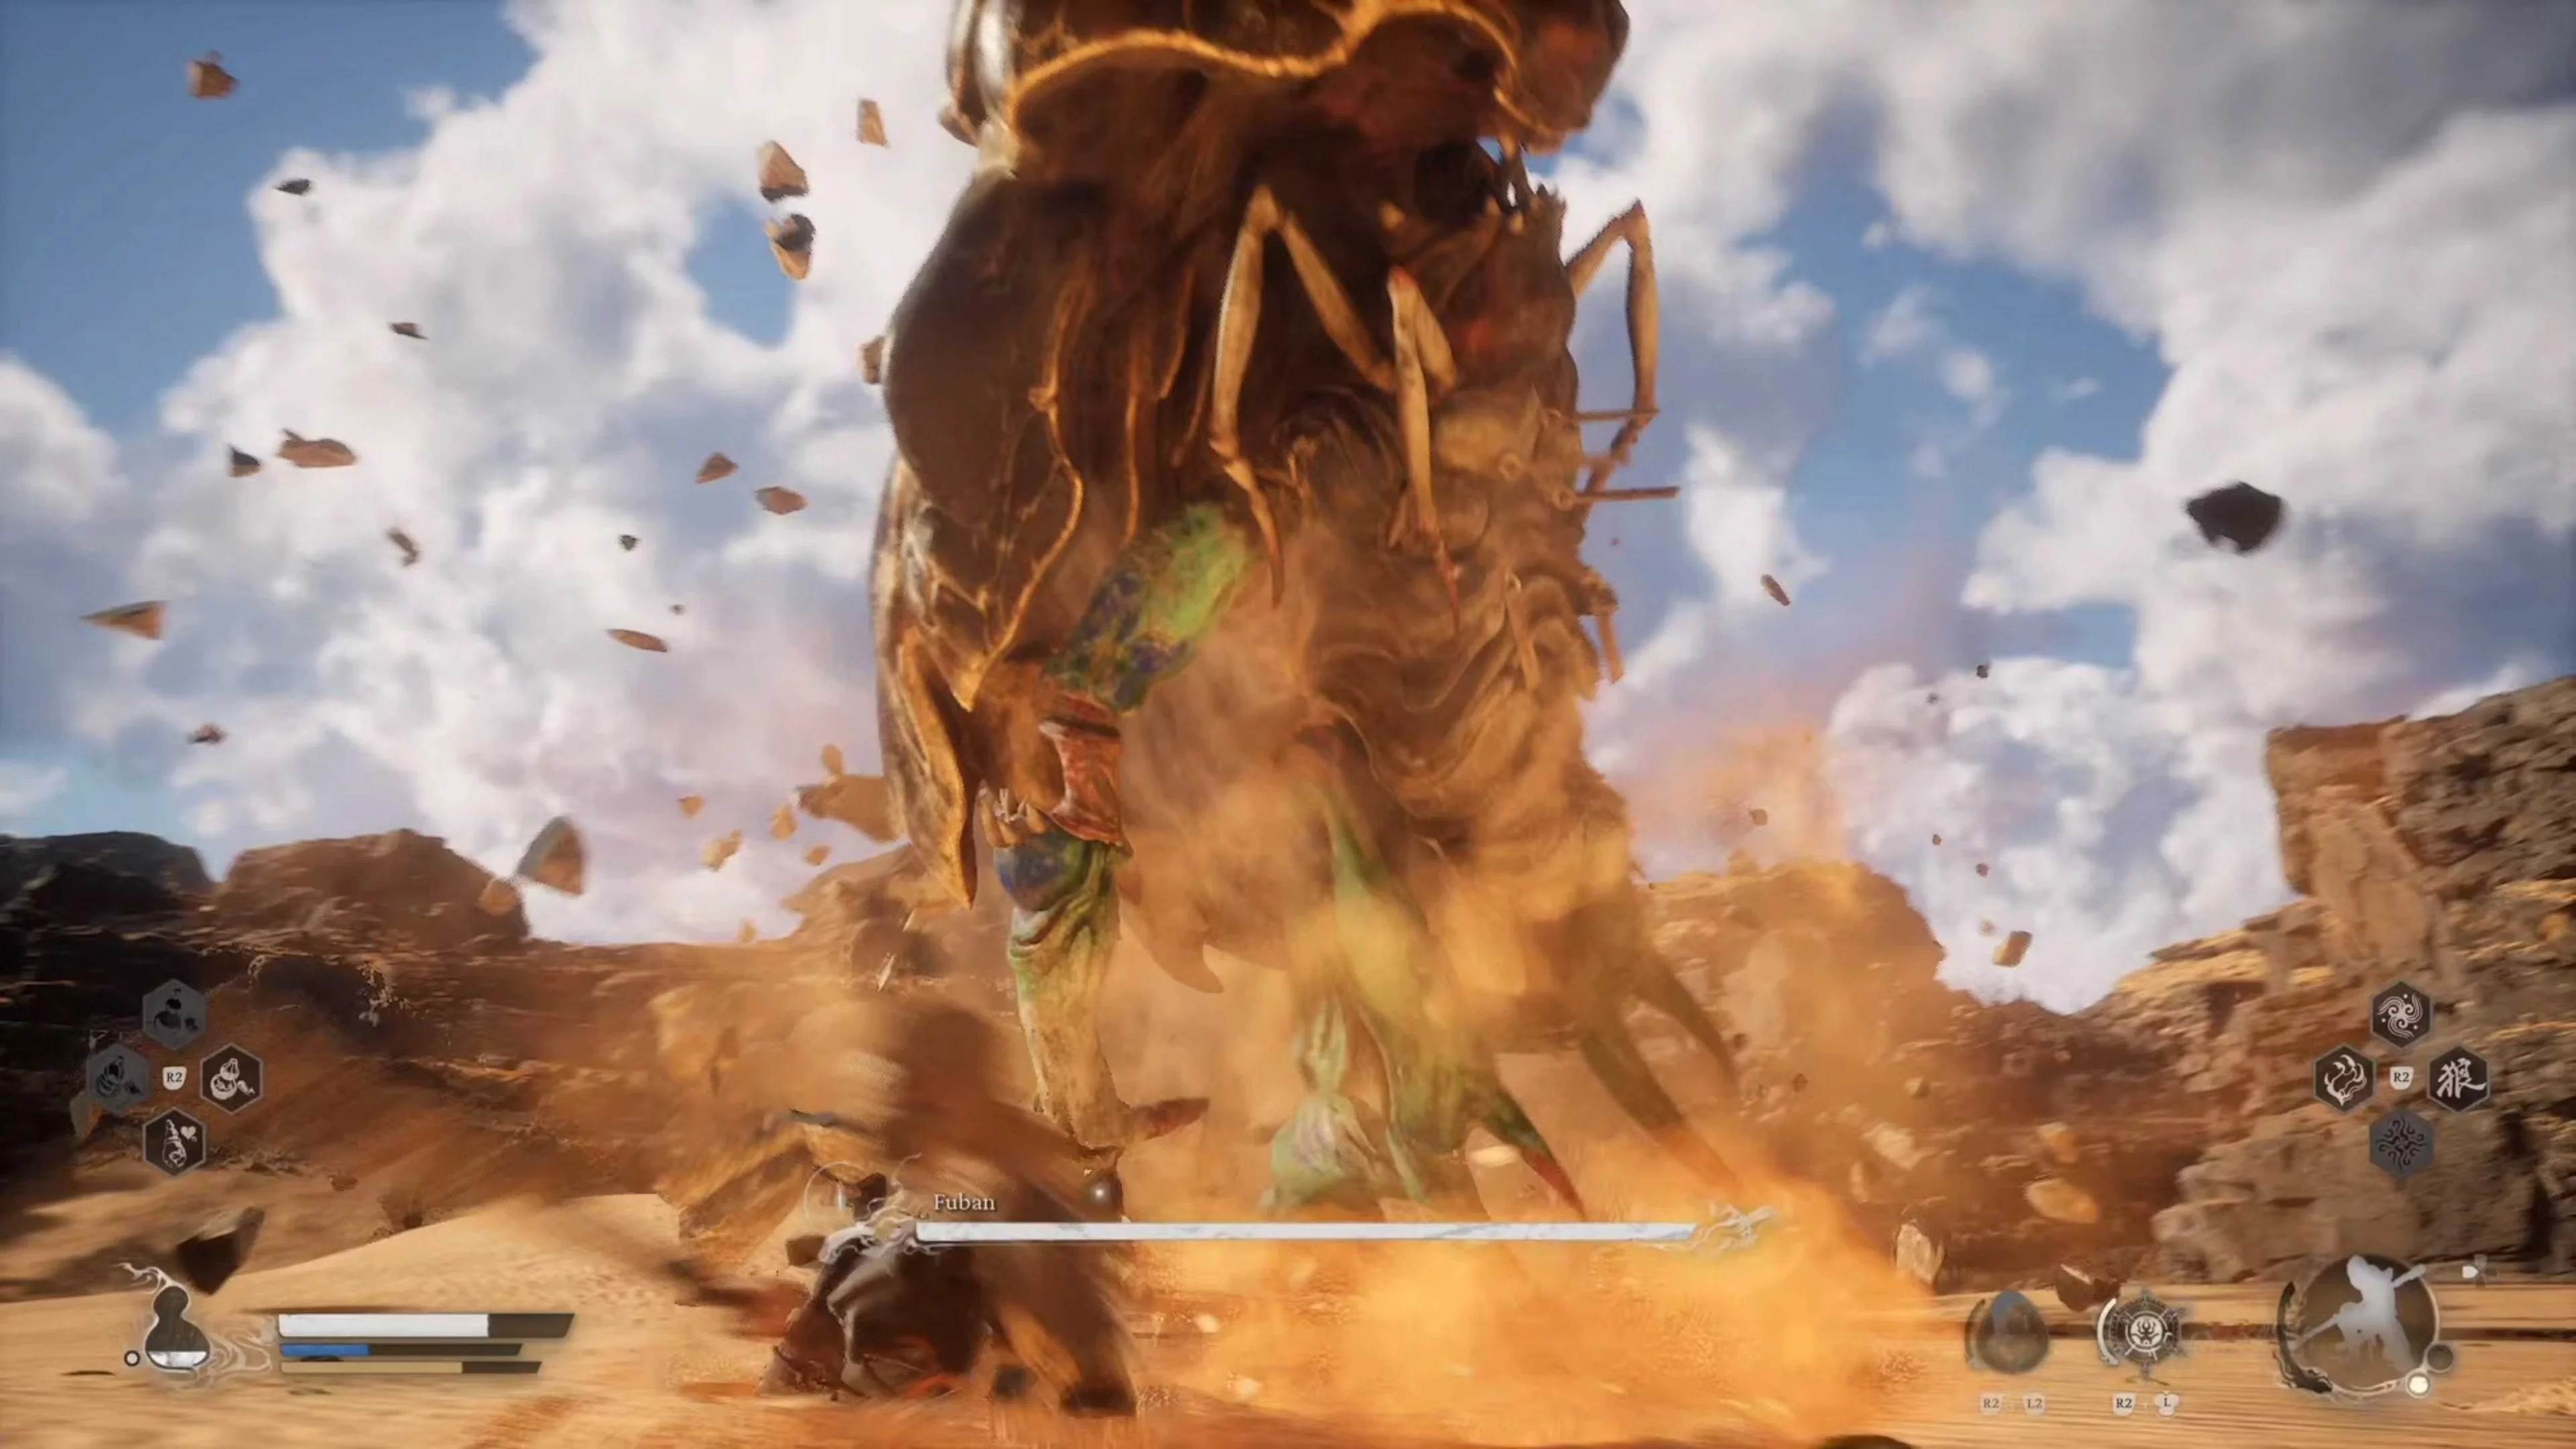
- Location: Hidden Place: Sahali Realm
- Difficulty: 1
After passing the tiger, you will find yourself in a huge arena where you will have to fight a beetle. The beetle is enormous and may seem like a tough fight, but it is not. The boss has only two attacks—a jump on the hero from the sand and a strike with its legs. Both are easy to dodge, and even if you are late, your health level and the amount of healing potion allow it. All you need to do is just hit. When the boss has 70% health left, a cutscene will start, and you need to climb on it to remove the artifact. Immediately after, a rat will join the fight, who summoned the monster. He will help you.
Importantly, defeating the beetle will simplify the fight with the final boss of the chapter.
Reward: Wind Tamer (Vessel), Sky-Piercing Horn (legendary material for crafting weapons).
Mad Tiger
- Location: Sand Gate Village, Bottom of the Well
- Difficulty: 5
A secret boss that is unlikely to be found without a guide. When you defeat the Tiger Servant, you will receive a rattle as a reward. You need to visit three places with it and shake it. The places will be near the shrines House of the Yellow Wind, Wind Gate, House of the Yellow Wind, Edge of the Wind Village, and Sand Gate Village, Settlement Entrance. We won't go into details, but if you've done everything right, a child's spirit will appear and call you to the well. Jumping in, you will meet the Mad Tiger—another dangerous opponent. He has no weapons, but he fights very quickly with his claws, throws rocks, and can catch the hero, triggering an animation of several powerful blows where you can't do anything. Defeating him is difficult, even if you are well-leveled. We recommend using boosts and clones.
Reward: 1029 Will, 1x Stone Spirit, 1x Yaoguai Core, Iron Bull's Blood (material), Mad Tiger (Spirit)
Black Loong

- Location: Rock of Fear, Hidden Loong Cave
- Difficulty: 5
Another hidden boss that is impossible to find without guide hints. You need to obtain a special item—Loong Scales. You can get them by breaking a special wall in the arena where you fought the First Prince. The wall differs from the others and consists of small Buddhas. To break it, you will need the Wandering Undead spirit, which strikes with its head. Without it, breaking the wall is almost impossible.
If you break it—go forward and take the scales from the chest. Now return to the Rock of Fear and find the sand waterfall near the Stone Plain shrine. It used to block the path, but now you can move forward.
Black Loong is a huge monster with two electric hammers. He is an extremely dangerous enemy, so preparation is required for the fight. First, make plenty of medicines, especially those that reduce shock (electricity) damage. Take all boosts before the battle and be ready to use them in the fight through quick access.
Loong actively strikes with his weapons, adding electricity to them. Sometimes he will spin the sticks in front of him, creating a sand vortex. However, the most dangerous attack occurs when the monster strikes one of the hammers on the ground and starts hitting the area with electric waves. Visually, this will look like blue circles. They appear with varying intensity, and dodging doesn't help. If you start jumping—you will eventually take damage due to the different distances between the waves. This will immediately slow down the Chosen, and you may die from the remaining waves simply because you won't have time to drink from the flask.
However, we found a secret that will help make a very difficult fight relatively simple and even trivial. The key is a small rock lying on the arena. You will notice it if you take the time to study the arena. Or you can summon clones—it will give you time to look around. As soon as the waves start—run as fast as you can to the rock and jump on it. This will work without any problems. Absolutely all the electric waves after this won't cause any harm. Just wait for Loong's attack to end and continue the fight as usual.
Reward: 1591 Will, 2x Refined Iron Sand, 1x Mind Core, 1x Loong Pearl, 1x Thunder Bone, Tricadna Pendant (Curio).
Yellow Wind Sage
- Location: House of the Yellow Wind, Wind Gates
- Difficulty: 5
Finally, we have reached the final boss of the second chapter. In fact, this is a serious opponent even with full upgrades and the best armor, but if you decide to come to him earlier (which is possible), you risk facing a real challenge.
The Sage wields a trident and moves very quickly around the arena. If you defeated Fubany, you received an artifact that temporarily nullifies the boss's wind-related attacks — this will be very helpful.
The boss has two phases, clearly divided by half of his health. You must stay close to the rat for most of the fight, as he has special attacks at a distance that are hard to dodge. Conversely, the Sage often misses at close range, which you should definitely take advantage of.
Be sure to use immobilization and clones, as this will allow you to relatively quickly get through the first phase. The most dangerous attack is the summoning of a stone Fubany, which will jump out of the sand and start falling on you. At this moment, it's best to use transformation, as dodging will be difficult.
In the second phase, wind whirlwinds will appear, sucking in the hero and dealing minor damage. They can be removed with the artifact. Moreover, after using the artifact, the Sage will be inactive for a few seconds, so try to use it close to the boss.
Reward: Smoking Ears (relic), 1x Samadhi Wind Agate (material), 2x Golden Iron Leaves (material), 5x Silk, 2x Yaoguai Core, 1x Refined Iron Sand (material), 1x Mind Core (material).
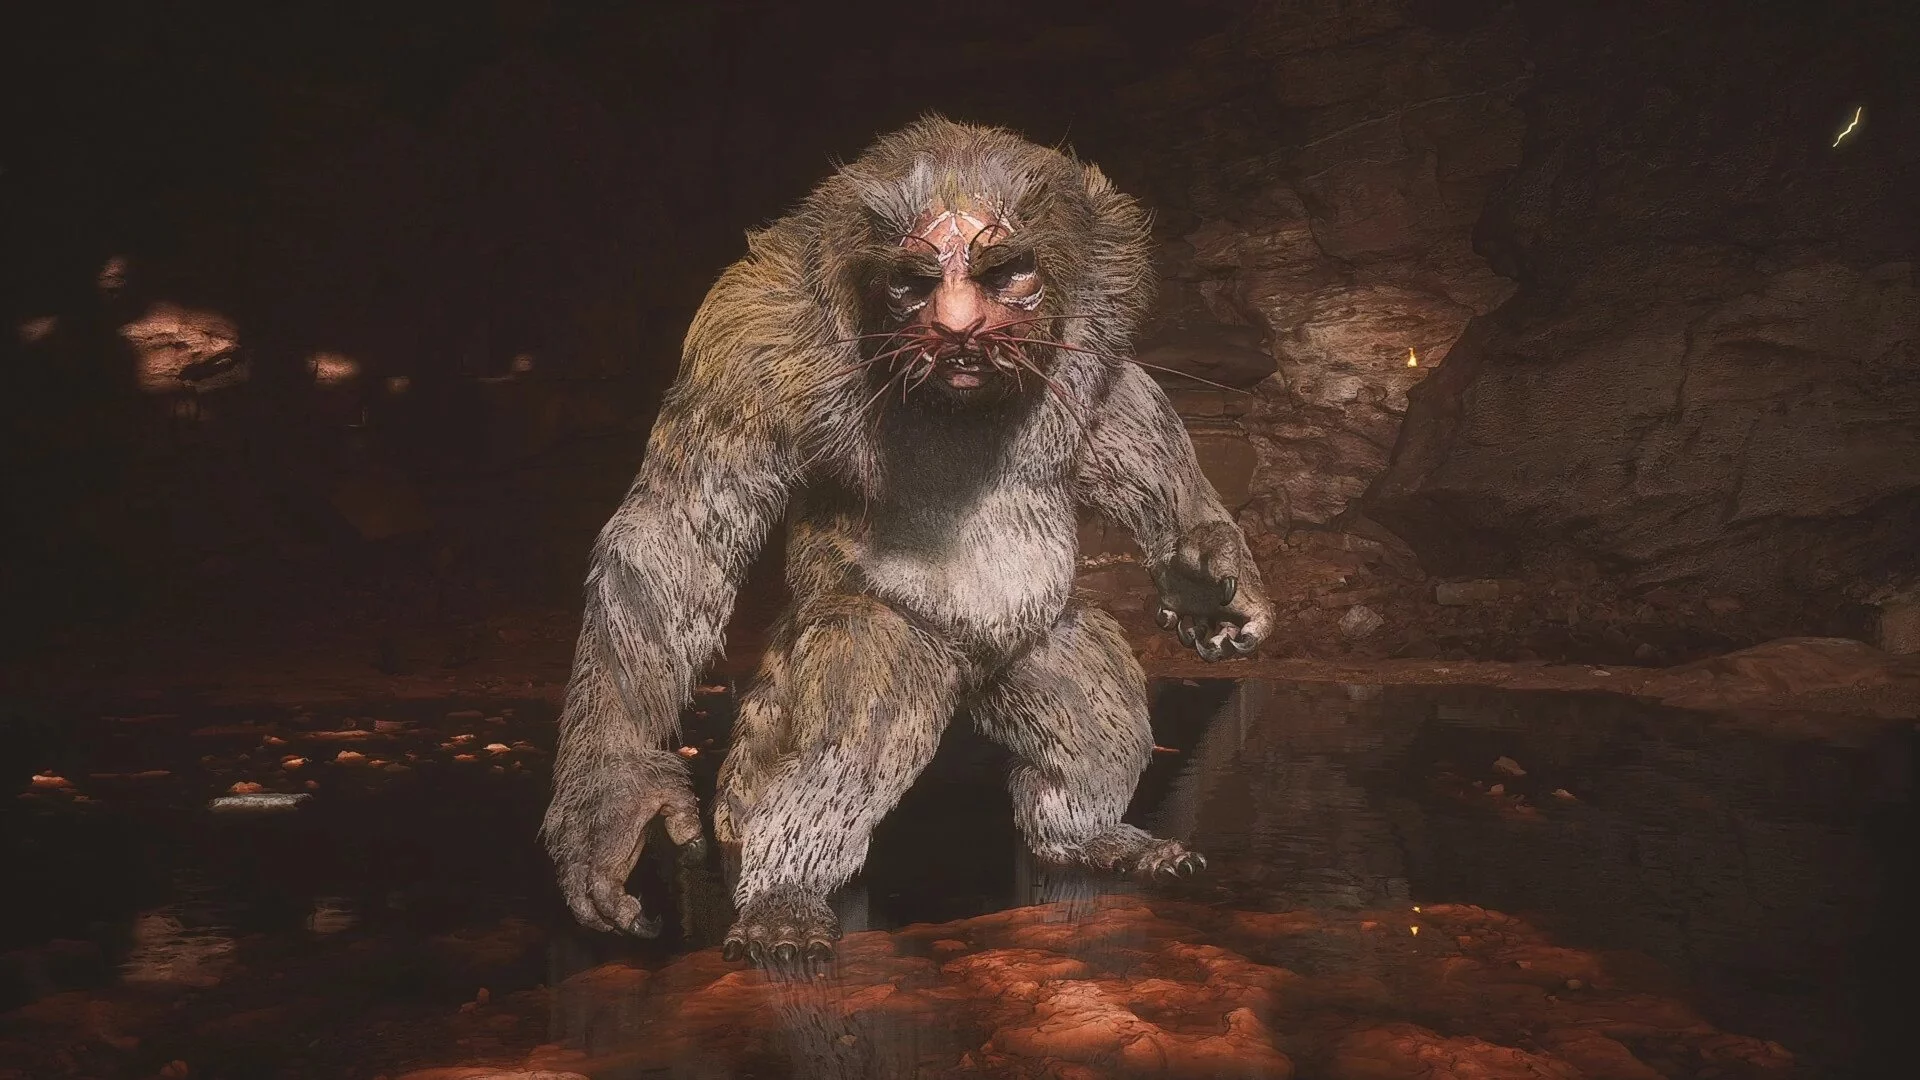
Chapter 3. Macaque Chief (First Battle)
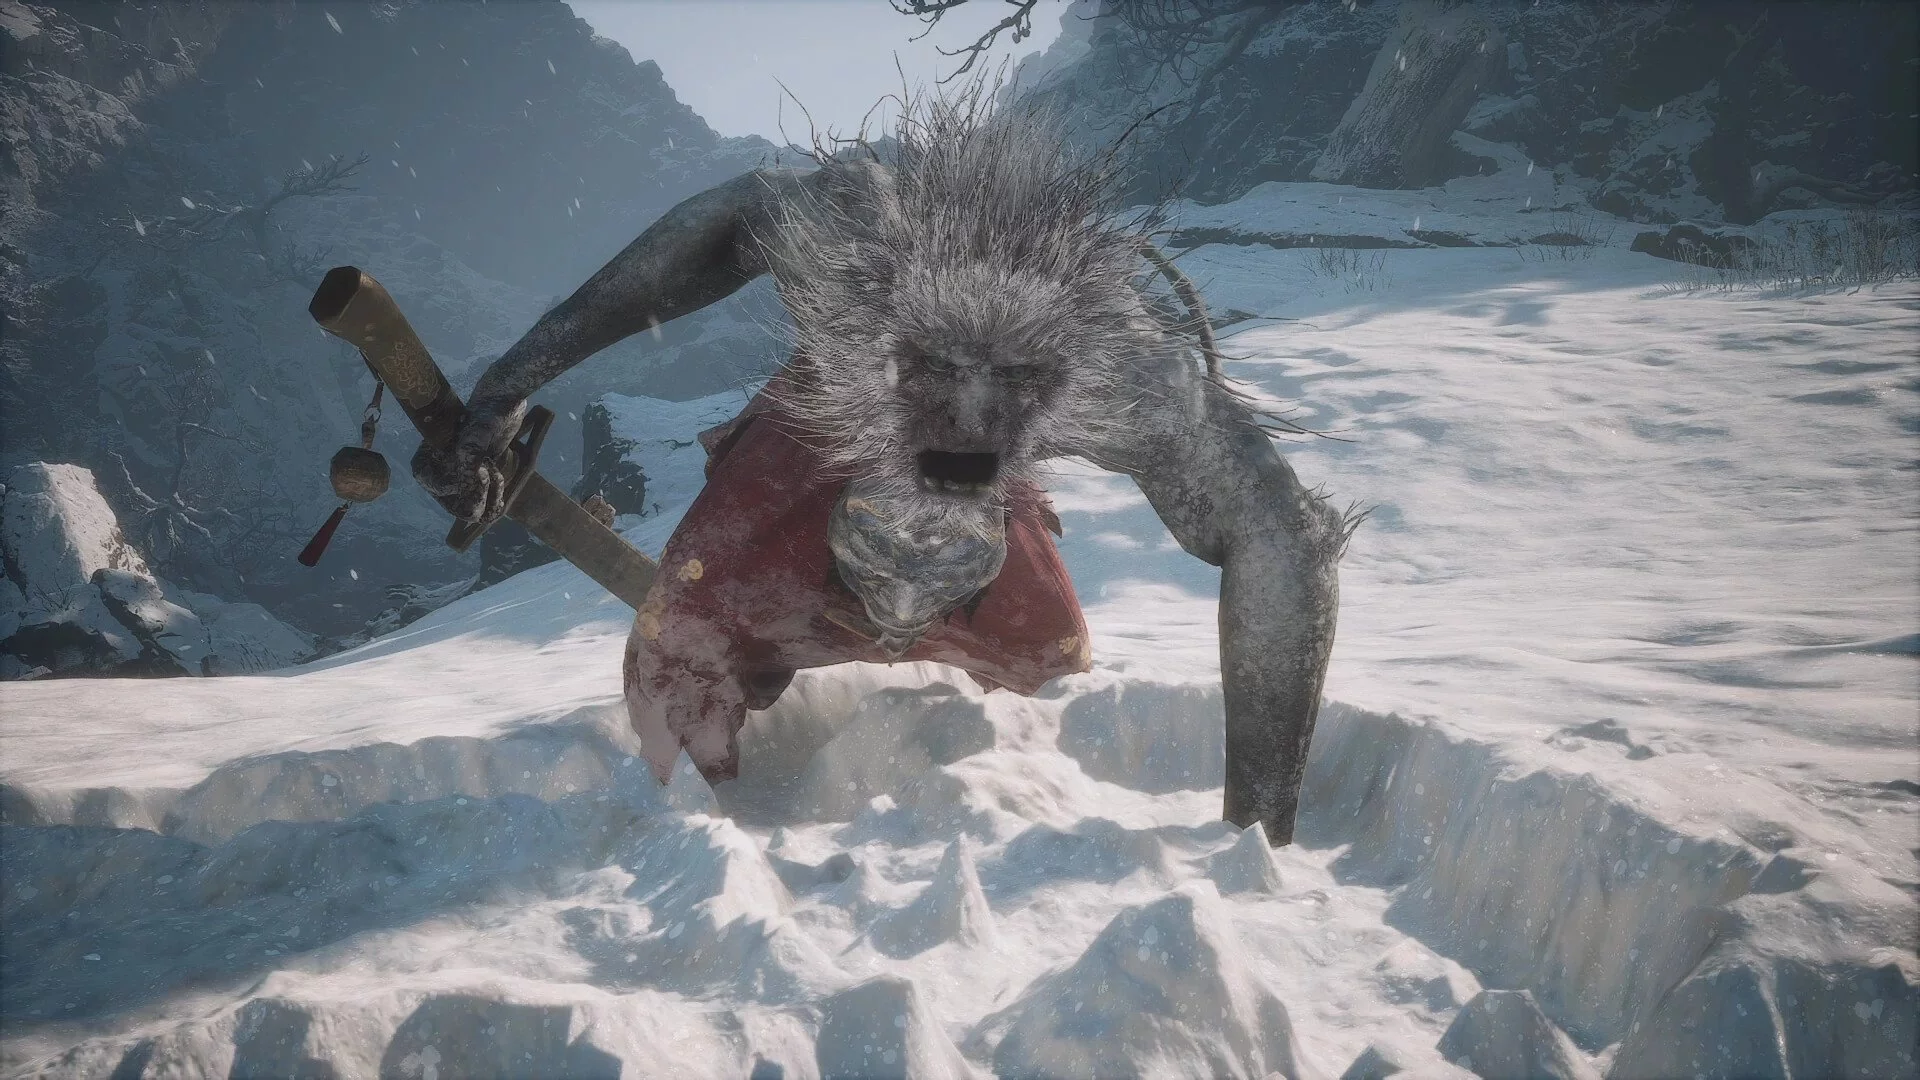
- Location: Snowy Path, Frosty Trail
- Difficulty: 1
Your first opponent in the new chapter. The Macaque Chief is an extremely simple boss. Just use your entire arsenal and victory will be yours.
Reward: 1600 Will.
Kang-jin Loong
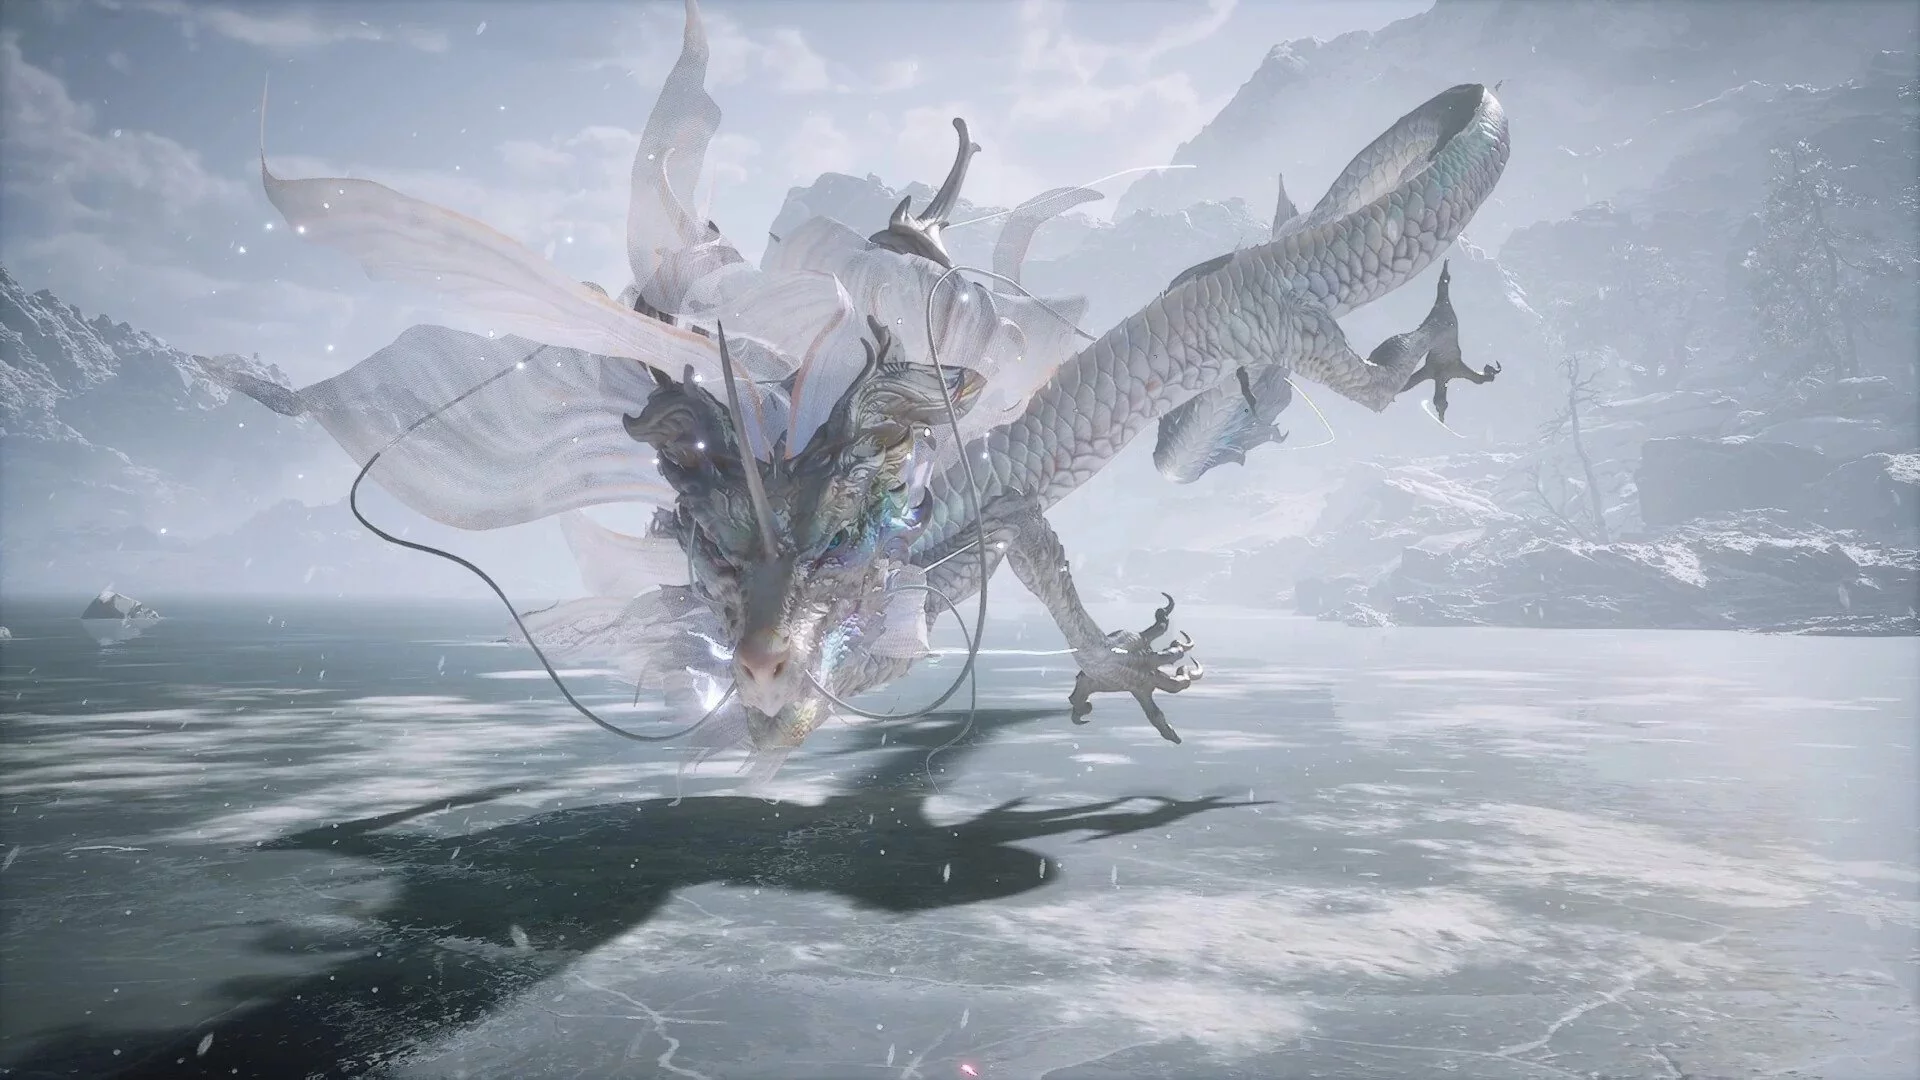
- Location: Snowy Path, Mirror Lake
- Difficulty: 4
Your first real dragon. As befits a serpent, the boss moves quickly and deals a lot of damage. Moreover, he is hard to hit. While the dragon is flying, you will hardly be able to catch him for attacks, so don't waste mana and focus on dodging. As soon as the enemy slows down, try to hit him on the head. Be sure to use your clones, then slow him down and transform. Plus, don't forget to successfully use the Undead Spirit to deal significant damage at once.
If you're lucky, you'll defeat the dragon before he transitions to the second phase. If something goes wrong, be prepared to dodge lightning bolts that appear in columns all over the arena. At such moments, don't even try to damage the dragon — just run and dodge.
Reward: 3 Cold Iron Leaves, Star Cloud Horn (material)
Lotus Captain
- Location: Pagoda World, Upper Pagoda
- Difficulty: 3
Finding this boss without a hint can be difficult. From the Upper Pagoda shrine, turn back to the stairs. Instead of the path you came to the shrine, pay attention to the cliff. Down there will be a roof and a descent to a small arena, not a chasm. Jump down, and you will immediately enter the battle.
The enemy releases many homing orbs and beams, which are extremely difficult to dodge. Additionally, sometimes he will cast a targeted volley — the most powerful move. However, the captain does not have much health. You will most likely win on the first try if you are well upgraded and already have the latest available gear.
During the fight, the boss constantly teleports, so you will have to run to him. To even the odds a bit, freeze him or attack from invisibility from a long distance.
Reward: 1193 Will, 2 Cold Iron Leaves, Frost Sprout Branch (Curio), 1 Mind Core, Lotus Captain's Spirit (Key Item) — collect his golden spirit after the fight.
Wise-Voice Captain
- Location: Pagoda World, Prayer Drum
- Difficulty: 4
A story boss you cannot pass by. The boss is somewhat reminiscent of the previous one, only larger in size. The captain has a lot of health, but he hits slowly and weakly. You should always attack his front right paw until you stun the enemy. When the boss is stunned, hit his head. The most dangerous attacks are when the monster starts releasing golden lightning over the area, and when his front paws glow yellow. In the first case, just dodge, and in the second, try to slip under the boss, otherwise an animation will start during which you will take damage several times.
Reward: 1584 Will, 2 Refined Iron Sands, Mind Core, Wise-Voice Captain's Spirit (key item, collect his golden soul after the fight).
Macaque Chief. Second Battle
- Location: Pagoda World, Guardian Temple
- Difficulty: 1
The second encounter with the Macaque Chief is almost no different from the first. It's still the same elementary boss that you will easily defeat. Sequentially use magic starting with immobilization, and there will be no problems. For the victory, you will receive a new spell Ring of Fire in a cutscene.
Reward: Ring of Fire (Spell).
Kang-jin Star
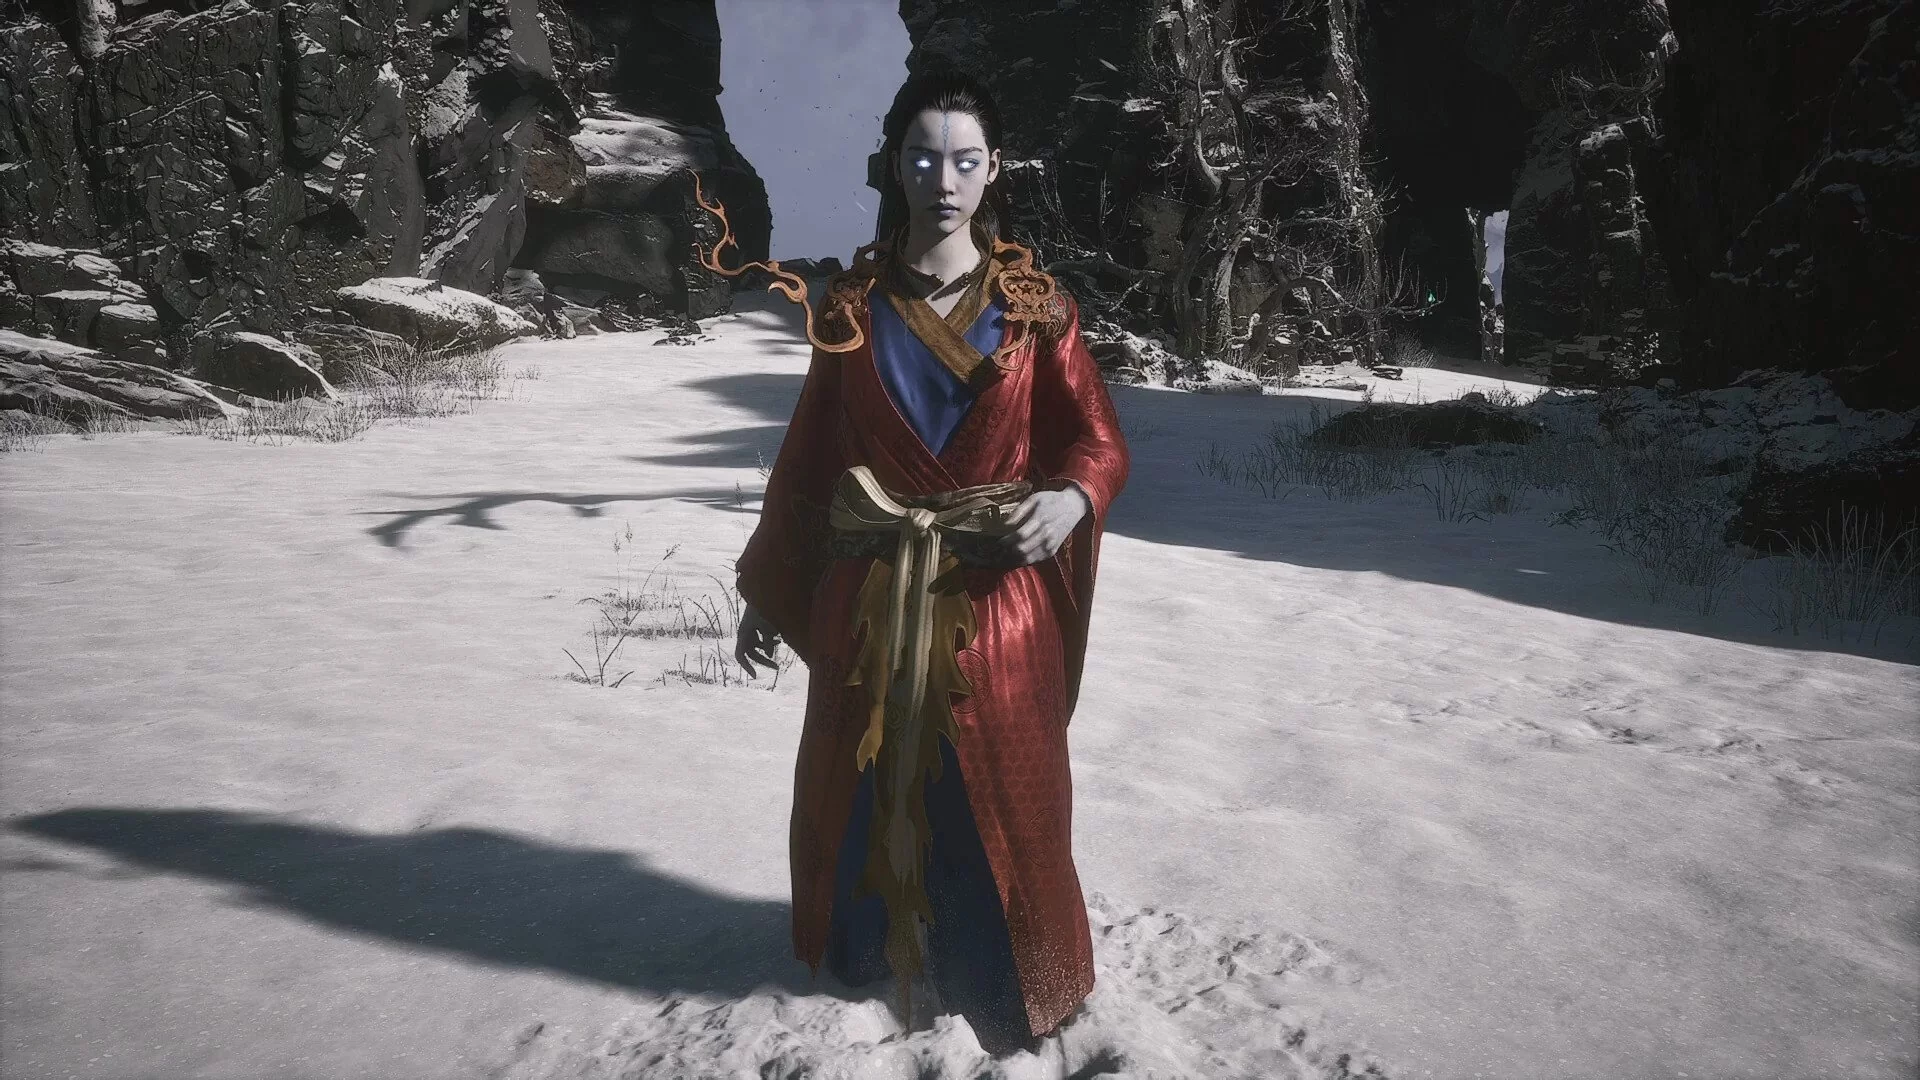
- Location: Bitter Lake, Turtle Island
- Difficulty: 6
A boss that will require not only attention but also enhancements with medicines. The girl can transform into a dragon and is generally a rather serious opponent. She attacks with lightning just like the dragon Kang-jin Loong, but her moves are more varied. The form will change regardless of health, and you, of course, will not be able to deal much damage while the boss is in the air. Another important point is the prolonged attack during which you will lose control and take a lot of damage. You must dodge it, but it's extremely difficult to track.
Reward: 3 Cold Iron Leaves, Star Cloud Horn (material)
When the boss has half health left, the second phase will begin, where the girl's hair will turn white, and her attacks will become more aggressive. At this stage, it is important to update the medicine that increases resistance to shock. Almost all of Star's attacks will cause this condition. Beware of the move where horizontal frozen lightning bolts, resembling needles, appear in the air. They are harder to dodge than vertical columns.
Another point is the proper use of spells. Since the boss moves frequently, it may happen that you use clones or transformation in vain. It will take some time to figure out the timings, but the general rule is that after a strong move or transformation into a dragon, the girl stops for a few seconds. This is your moment.
Reward: 1573 Will, 3 Cold Iron Leaves, 1 Mind Core (material), 1 Moon Pearl (material), Moon Armor Set available for crafting.
Cyan Loong
- Location: Bitter Lake, Turtle Island
- Difficulty: 5
An optional boss you won't find unless you've collected the Loong scales. However, we have previously mentioned this secret in the section about Black Loong, so you definitely have them. Cyan Loong is on the same turtle as Kang-jin Star. From the shrine, go right and interact with the statue. He will appear on the platform almost right next to the water. This is a fairly difficult opponent, and the battle takes place in a not-so-large arena, so there will be little room for maneuver.
Loong fights with a sword and deals electric damage. His attacks are fast and dangerous. Most of the time, the boss is on the ground, but when the dragon takes off, he dives sharply at the Chosen One, and this attack is the one to watch out for.
Overall, there won't be any special tips here, except to stock up on medicines that increase shock resistance. Study all the boss's attacks and defeat him. If you can't manage it, continue the story and come back later.
Reward: 2553 Will, 2x Fine Gold Thread, 1x Mind Core, Mountain-shattering Claw (material), Fire Breath (drink), Moon Pearl (material).
Apramana Bat
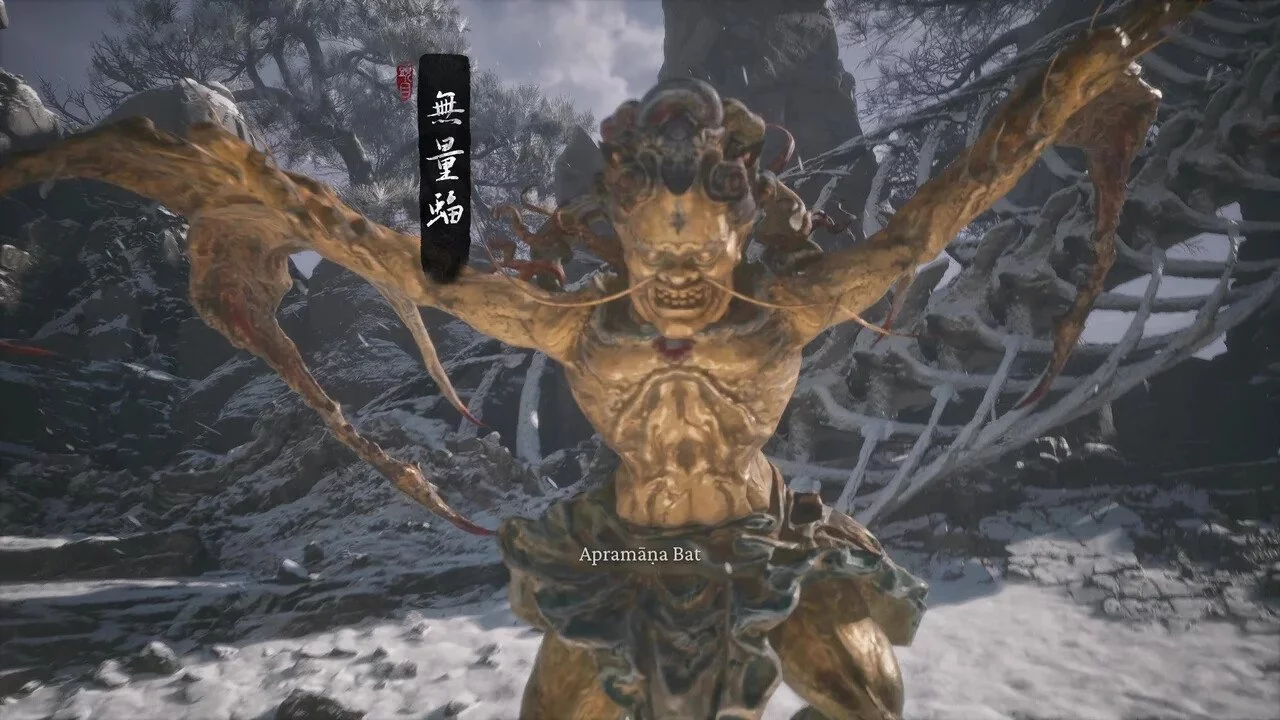
- Location: Bitter Lake (north shore)
- Difficulty: 2
Important: you may lose the opportunity to defeat this boss if you come to him too late. Find him as soon as you arrive on the turtle while you still have the pig in your team.
Near the altar, face the water and move along the shore to the left. You will definitely eventually reach the Bat. The battle itself is not particularly difficult, but the boss is hard to catch for a prolonged attack. As soon as the monster is within reach, do everything to immobilize and stun it.
Reward: 1205 Will, 2 Cold Iron Leaves.
Chen Loong (Old Loong)
- Location: Bitter Lake (north shore)
- Difficulty: 2
Like other Loongs, this one is only available if you found the scales in the second chapter. As soon as you arrive on the turtle to the shore, find the shrine. Activate it, face the water, and go right along the shore. You should almost immediately notice a small dragon.
Unlike all previous Loongs, this one will be much less dangerous. He is slow and has a small amount of health. Start by immobilizing, then clones, then spirit strike, then attack from invisibility and transformation. This series should be enough for victory, but if not — just keep attacking with light strikes. The importance of Chen Loong is that he will unlock access to a side quest, the reward for which is a blacksmith and the ability to upgrade equipment.
Reward: 1177 Will, 2x Yaoguai Cores, 1x Refined Iron Sand (if you complete his quest line, you will also receive: Scroll of Good Wishes).
Yin Tiger
- Location: Scroll of Good Wishes, Zodiac Village, Settlement Entrance
- Difficulty: 7
You can easily miss this boss if you do not complete Chen Loong's quest and do not unlock access to the secret settlement where all important friendly NPCs are gathered. Yin Tiger is the very blacksmith who upgrades your equipment. You can challenge him to a friendly duel at any time. If you do this as soon as you reach the blacksmith, you will most likely lose. The boss is very strong and performs attacks almost without a break. You, on the other hand, will deal very little damage. However, it will become easier to defeat him later. Do not hesitate to try again and again as you gain new abilities and equipment.
Yin Tiger fights with a huge sword. His specialty is constant teleportations and disappearances. When he comes out of invisibility, he immediately attacks. Additionally, the boss can strike the ground with his sword, causing an area explosion with fire around him. Yin Tiger also makes quick lunges across the entire arena. The main problem is blocking. Yes, the boss can block your attacks, although you do not have this ability. Fighting him will require high speed, so do not try to use slow attacks — you simply will not have time. First, try to summon clones, then immobilize the opponent. After that, attack from invisibility and transform.
Reward: Black Tree Flow (spell) — you will receive a new form for transformation (Yin Tiger).
Non-White. First Battle
- Location: Valley of Delights, Awareness Rock
- Difficulty: 3
You will encounter this boss twice. The first battle takes place in a small arena. Non-White wields an ice spear and can perform quick combos in several attacks if you hesitate. Otherwise, the main problems are twofold — the freezing effect that slows you down, and armor. This is the first boss with armor. Regular attacks will almost not take away health but will reduce armor. If you manage to perform full combo chains, you can damage both the armor and the enemy himself. Also, create a remedy for frostbite.
You will not receive any rewards, as the boss will escape.
Non-White. Second Battle
- Location: Valley of Delights, Awareness Rock
- Difficulty: 3
The next battle will begin in a few minutes, so before moving forward, rest at the shrine. This time, the boss will switch from ice attacks to poisonous ones. Make sure to have the appropriate remedies. Otherwise, the combos will remain almost unchanged, but the arena will become larger, and Non-White will start moving faster.
Reward: 1188 Will, 2x Yaoguai Cores, 1x Refined Iron Sand.
Lang-li-gu-lang
- Location: Valley of Delights, Happy Forest
- Difficulty: 1
Another frog, which can be found not far from the Happy Forest shrine. You have already killed a similar enemy twice, so you are unlikely to experience difficulties for the third time. The only nuance is that this time the frog casts frostbite, which slows the hero down. Use clones on it, then immobilize to quickly reduce its health. Otherwise, fight as usual and use available spells.
Reward: 902 Will, 2x Silk, 1x Cold Iron Leaf, 1x Tadpole.
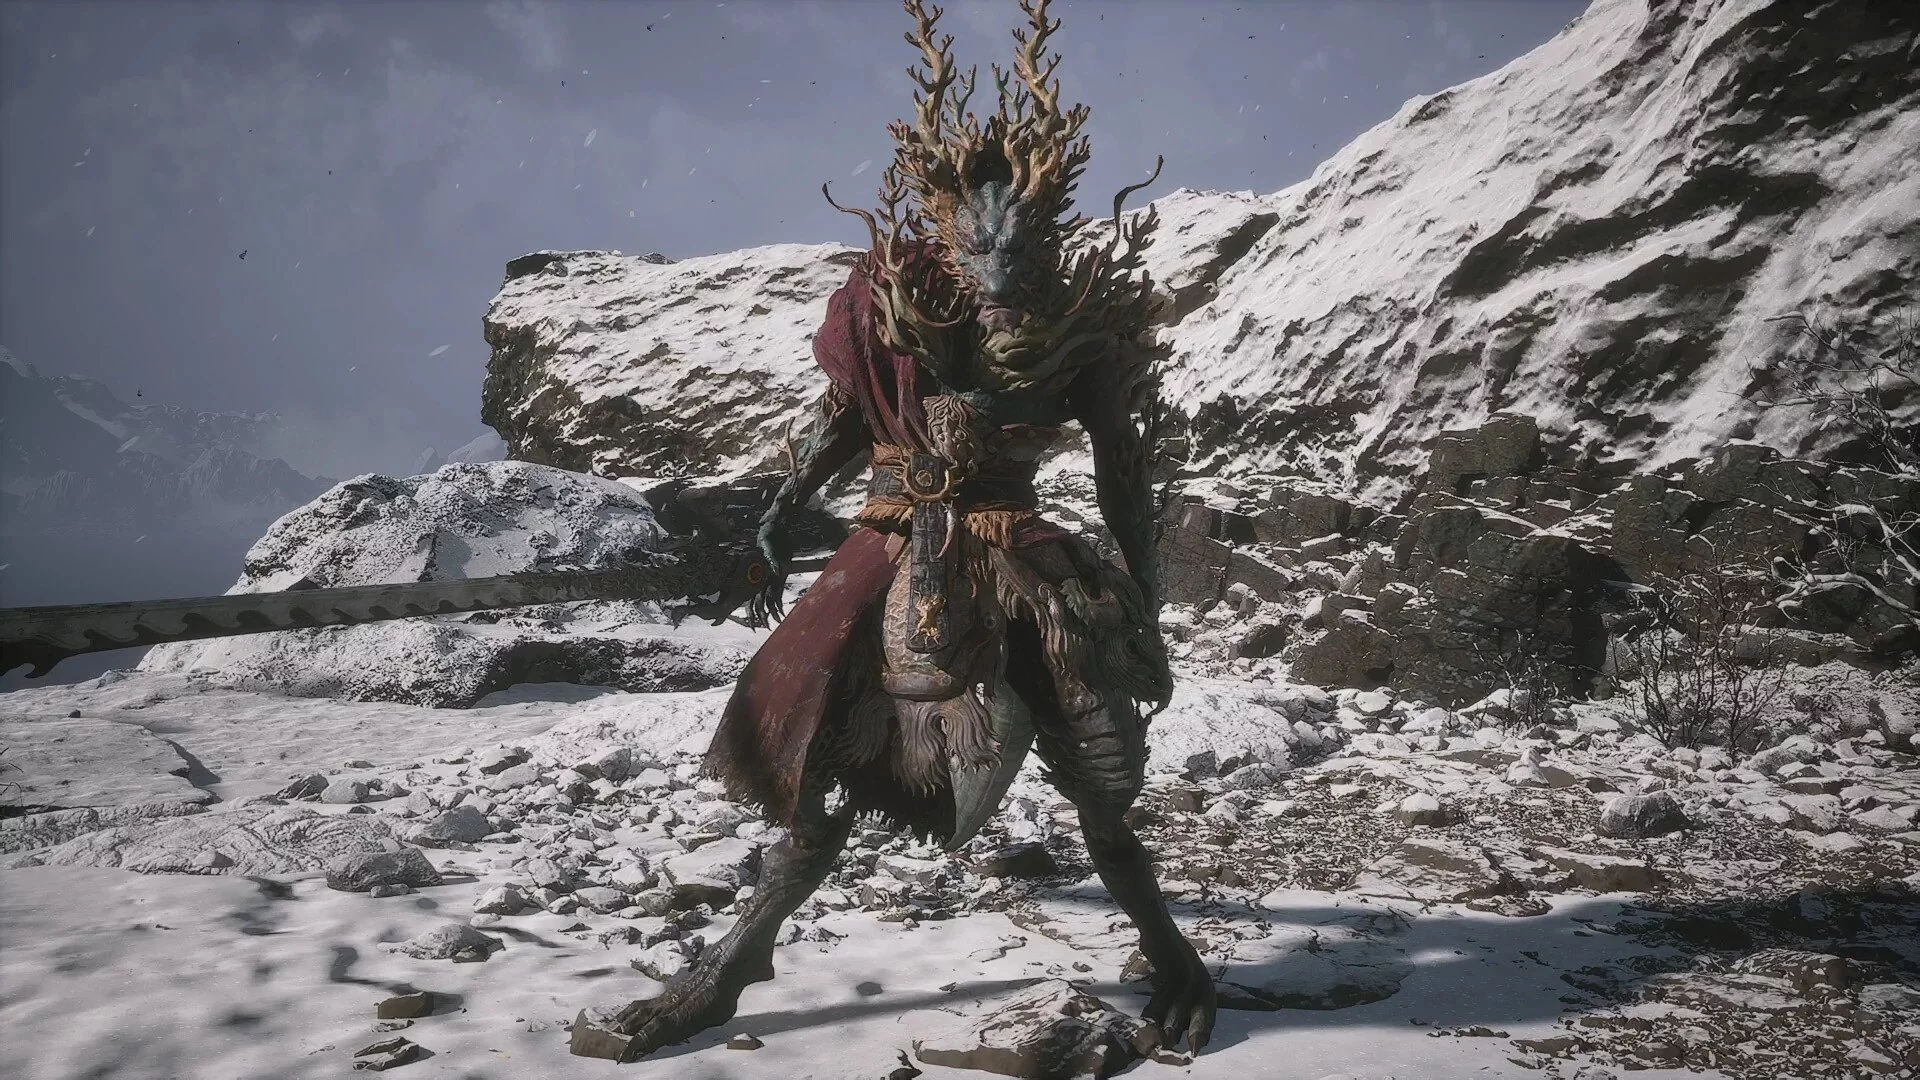
Non-Able
- Location: Valley of Delights, Stream of Joy
- Difficulty: 4
You can find the boss if you explore the area further from the water on a hill. The enemy has two phases with full health bars. In the first phase, he only fights with his legs, as his hands are tied. Despite the strong kicks, they are quite easy to dodge. We recommend not spending more than one Immobilize spell. Otherwise, you need to get through the first stage without spending resources.
The second phase begins with the boss freeing his hands. Palm strikes deal massive damage, and the combo chain is quite long. Pay attention to the moments when the enemy pauses and accumulates energy. This means that his most powerful attack is about to begin — be sure to dodge. Otherwise, use all spells, but time them so that the enemy is on the ground and not in a jump. Otherwise, you will waste magic and not deal much damage.
Reward: 1188 Will, 2 Cold Iron Leaves, Maitreya Sphere (if you did not find it earlier in the chest), Non-Able (Spirit).
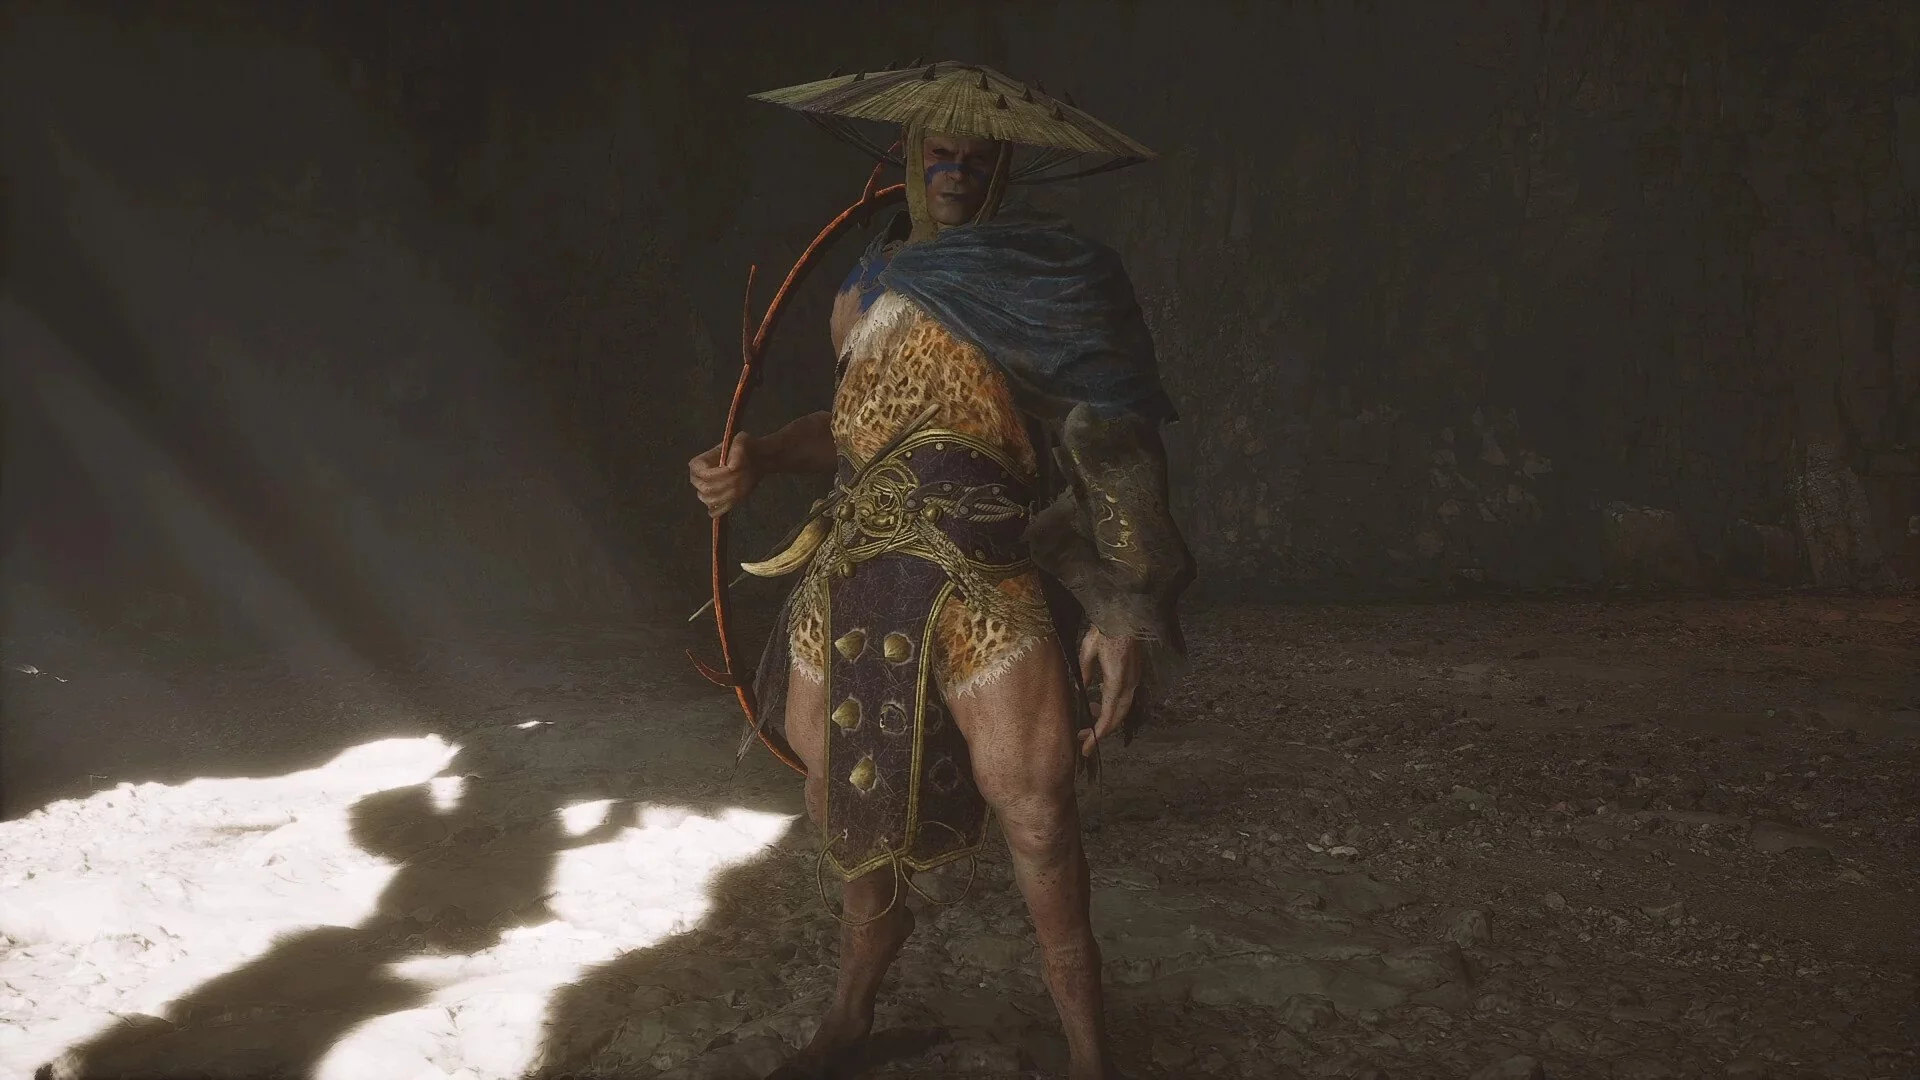
Green-Capped Martialist
- Location: Valley of Delights, Watermelon Field
- Difficulty: 4
A secret boss you will not encounter if you do not complete the treasure hunter's quest. How to do this is described in the game endings guide. And yes, this battle is mandatory for the true ending.
The main thing to know is that most of the boss's attacks are fire-based, so be sure to wear the Fire Cloak artifact that you received in the first chapter. This will provide full fire protection and save you from the enemy's most dangerous attack.
Before the battle, stock up on medicines and drink damage, life, and fire resistance boosters. The fighter attacks with a fire ring, but such attacks are relatively easy to dodge. While the human form is in front of you, do not hesitate to strike. Usually, the boss's combo attacks consist of three to four consecutive hits, after which you will have a window to respond. An additional challenge will be the reflection of strikes, which the boss often uses, as well as the ring strike at a distance. The opponent also constantly teleports and quickly removes the Immobilize spell. In general, almost any magic will be ineffective to some extent. The only thing that will bring significant benefit is the strike from invisibility. The rest will either miss or quickly stop working.
When the boss turns into a fire ring, keep dodging. The ring is slow enough, so there will be no problems. But when there are two rings, use the Fire Cloak. The good news is that you deal considerable damage in melee, so you will defeat the boss if you are agile enough and can neutralize the fire attacks.
Reward: 1181 Will, 2x Yaoguai Cores, 1x Refined Iron Sand, Prohibition Talisman (spell).
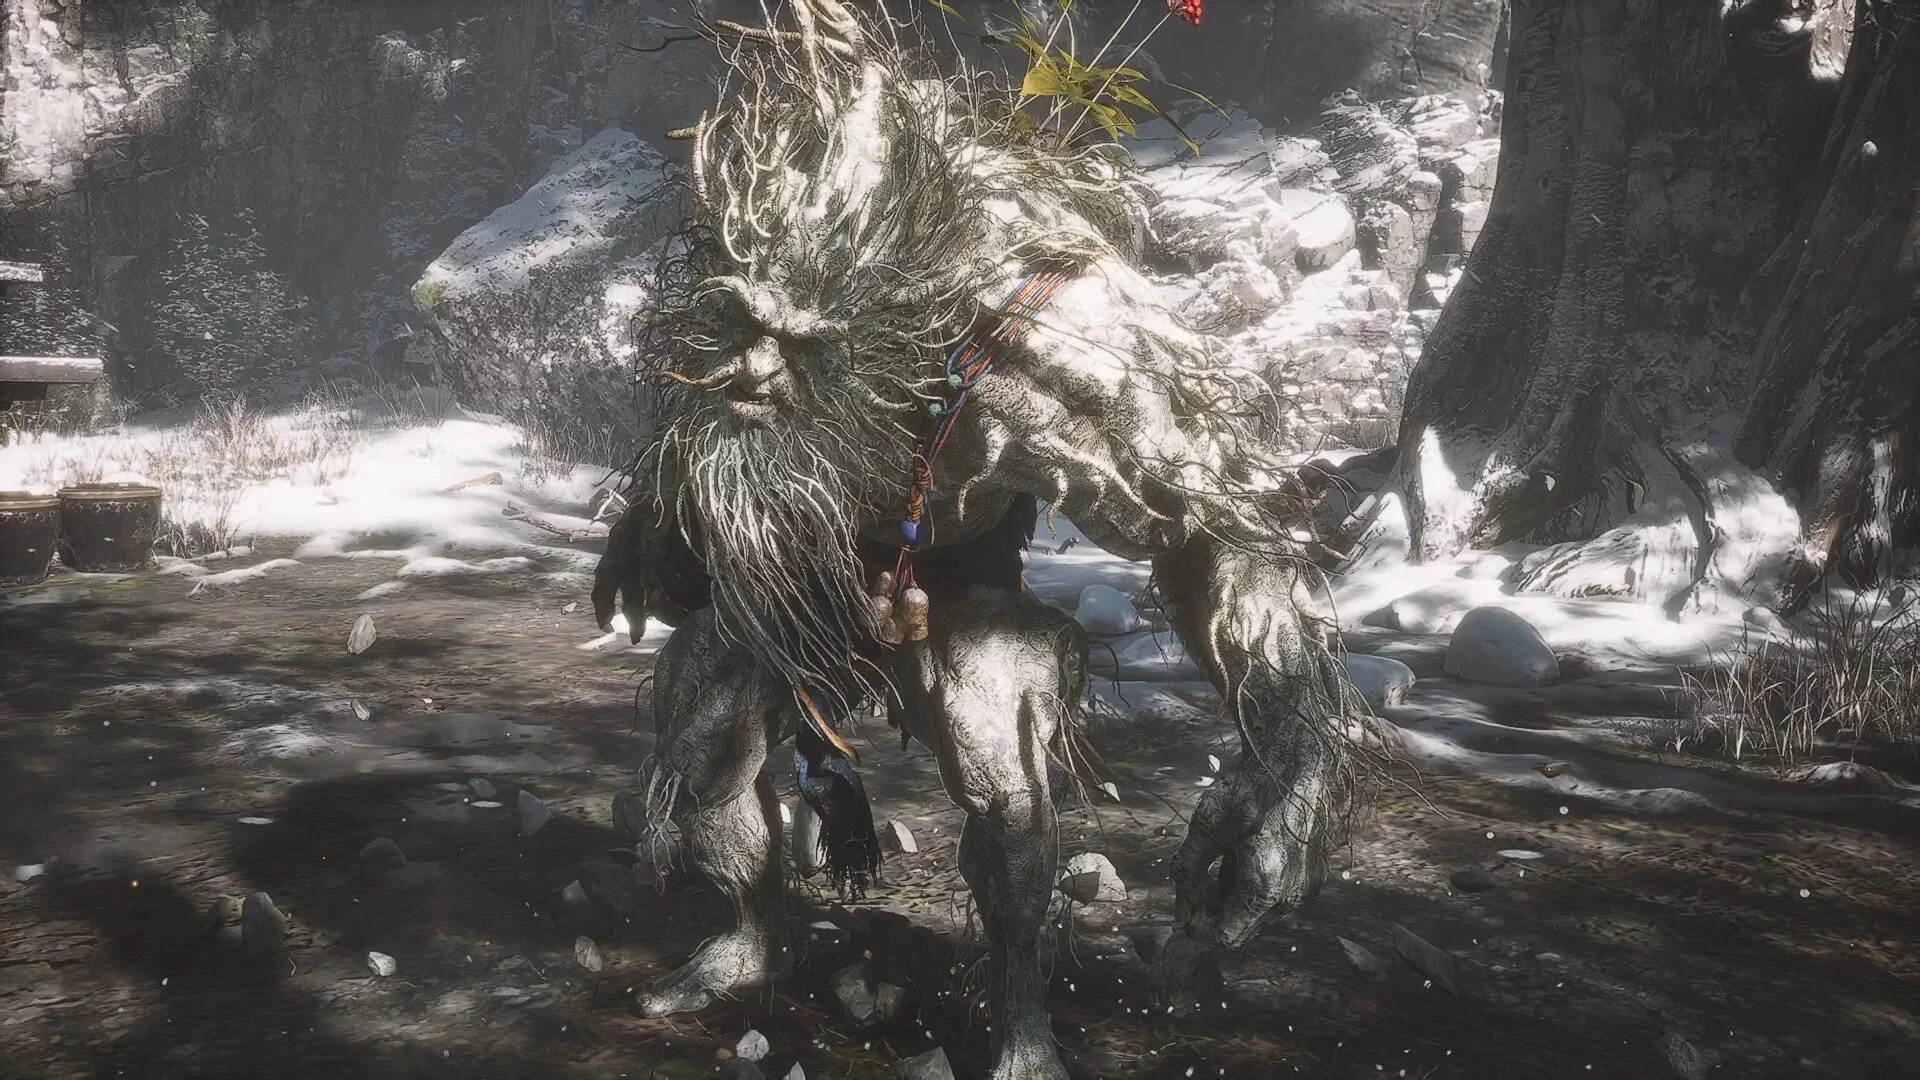
Old Ginseng Guai
- Location: Valley of Delights, Karma Towers
- Difficulty: 1
From the shrine, go to the right and soon you will notice a snow-free zone. A bush grows in the center, which will turn out to be the boss. The opponent is very simple. You can summon clones and then immobilize him, and the victory is almost in the bag.
Reward: 1436 Will, 2x Silk, 1x Cold Iron Leaf, 1x Iron Bull Blood, 1x Millennium Ginseng Seeds (Seeds), Old Ginseng Guai (Spirit), Ginseng Cloak (epic armor).
Captain Kalpa-Wave
- Location: Valley of Delights, Longevity Road
- Difficulty: 3
A story boss that blocks your path to the temple, so you can't pass by. You can only attack the legs. After dealing enough damage, the opponent will fall — this is your chance to gain an advantage by striking the weak head. Start by summoning clones, then immobilize, strike from invisibility, and transform. Powerful jumping kicks can generally be ignored, but don't expose yourself too much.
Reward: 1182 Will, 2x Yaoguai Cores, 1x Refined Iron Sand, Captain Kalpa-Wave Spirit (key item, take his yellow soul after the battle).
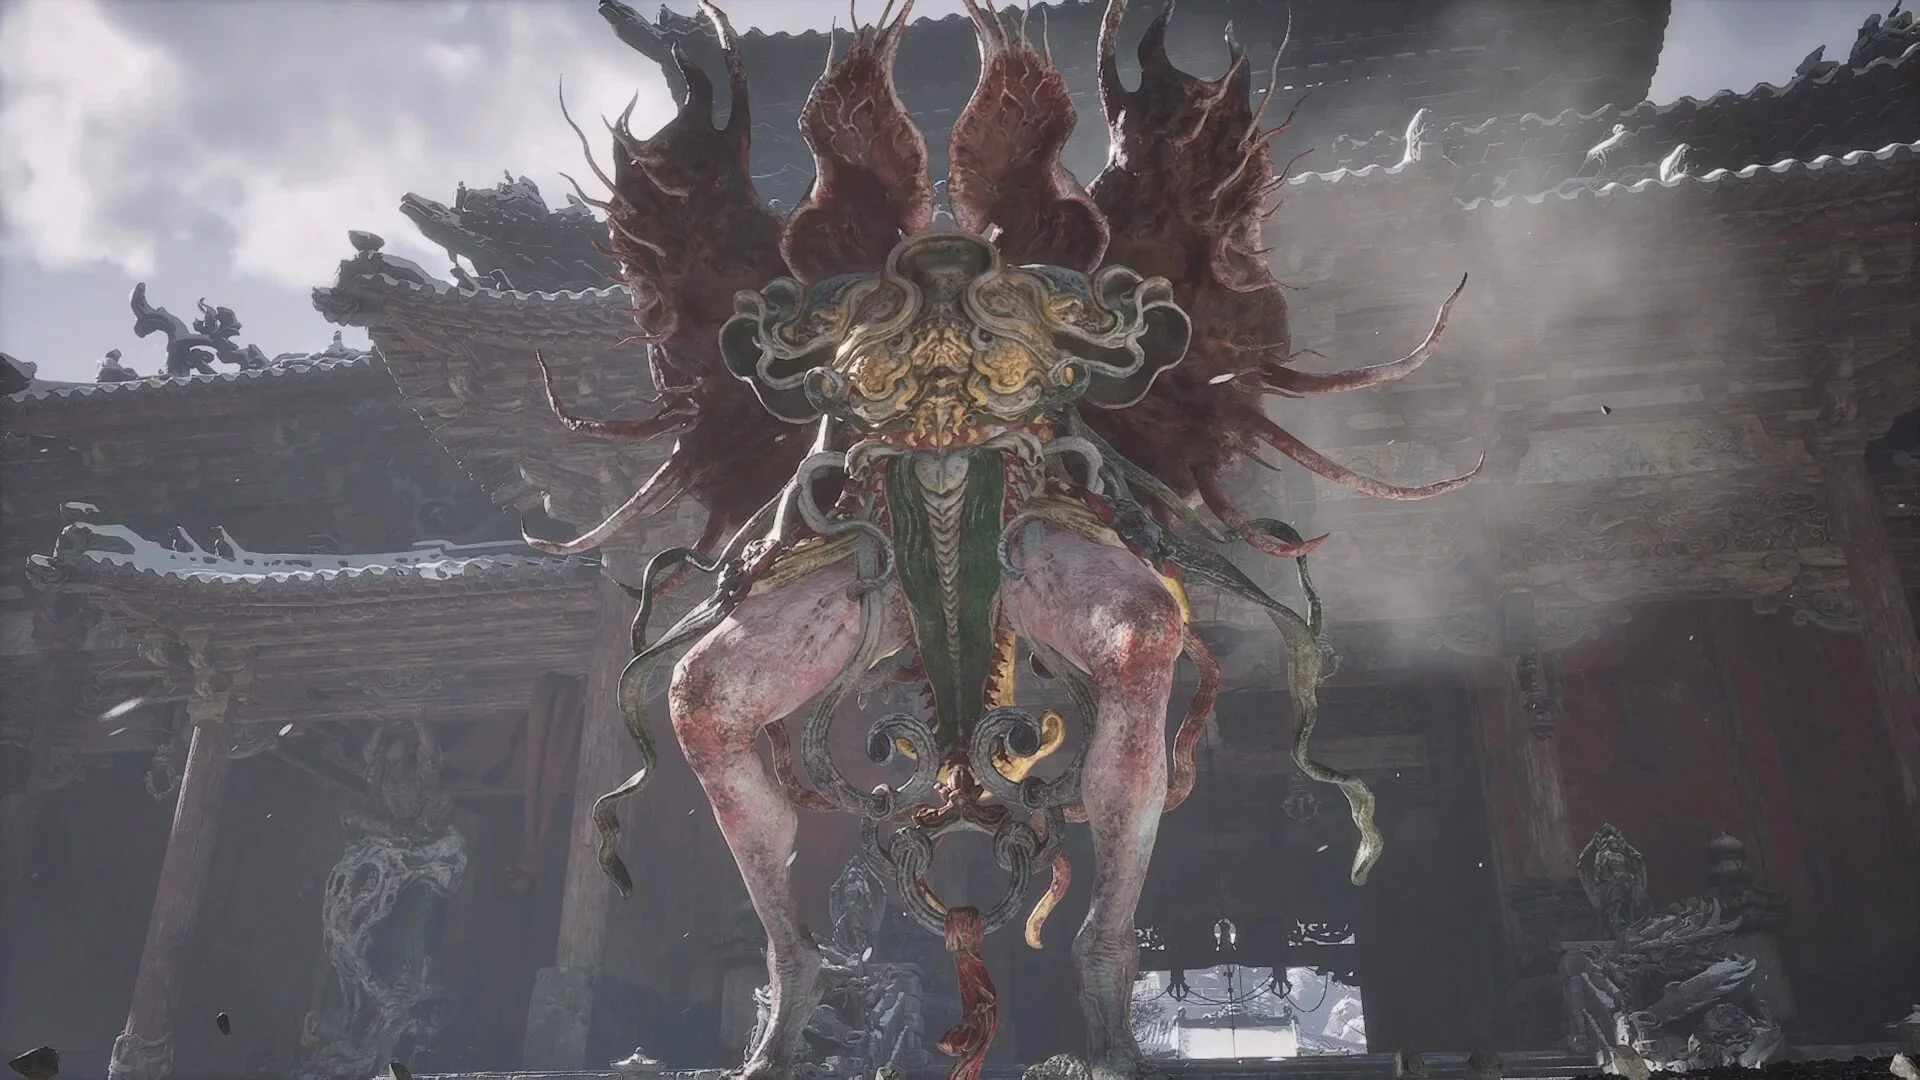
Sea Monk
- Location: New Thunderclap Temple, Temple Entrance
- Difficulty: 3
Although the boss is optional, he is quite strong. To find him, face the temple at the shrine and then go right to the end. Go up the stairs on the left, and once on the upper level, go through the central arch to the balcony.
Be sure to use the combo — clones and freezing, otherwise, it will be difficult to win. The boss can also restore health to the maximum. The hero will be constantly frozen, so take care of resistance. If you attack fiercely enough, you can win relatively quickly.
Reward: Frostbite (spell) — new form for transformation.
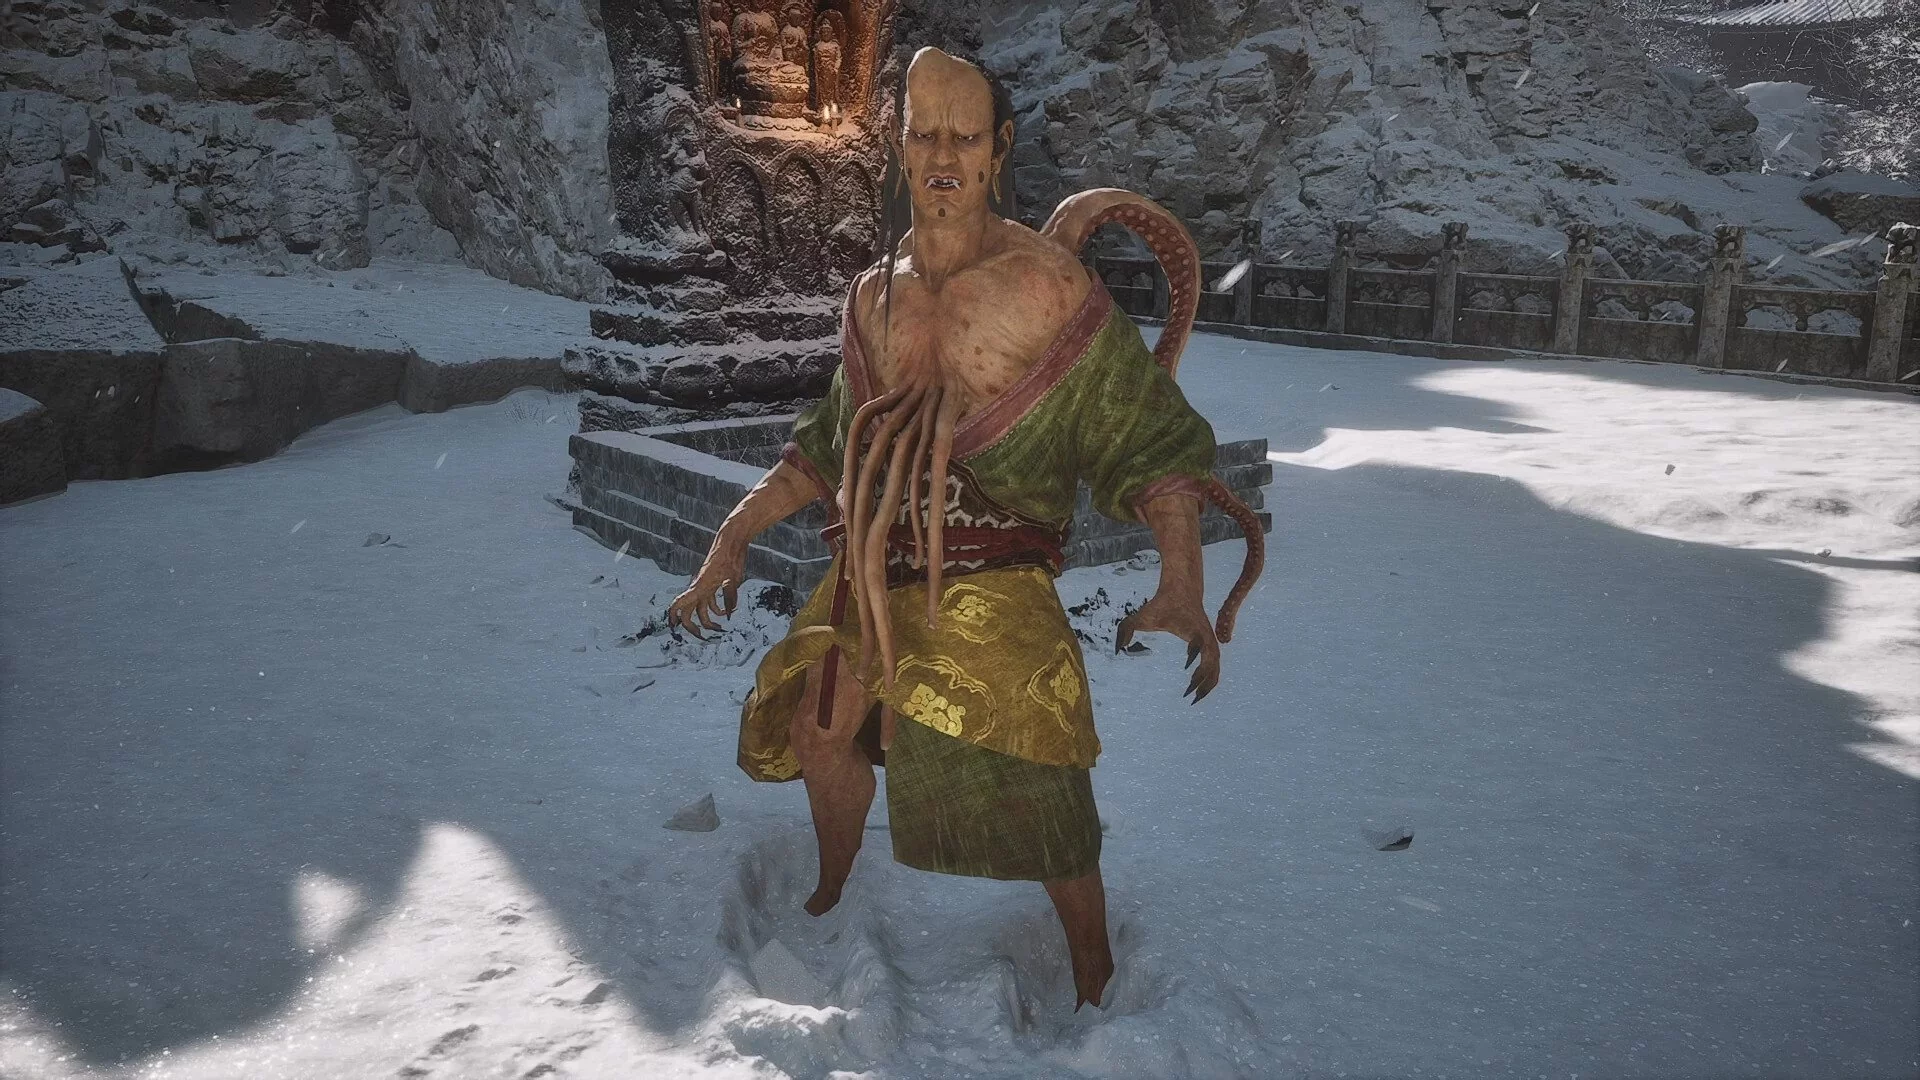
Non-Pure
- Location: New Thunderclap Temple, Temple Entrance
- Difficulty: 1
From the shrine, go straight, pass through the temple building, and go up the left staircase. Go through the central gate, and you will see two colossi. Immediately turn right. There will be an open building, inside which the boss awaits.
This is a simple opponent that you will easily defeat with familiar tactics. The main thing is not to yawn and dodge in time if necessary. However, if the fight drags on, he can create problems. Without clones, all of Non-Pure's attention will be focused on the hero. Wide circular strikes cover a huge area and hit hard, so you will have to circle around for a long time before an attack window appears.
Reward: 890 Will, 1x Yaoguai Core, 1x Refined Iron Sand, Non-Pure (Spirit).
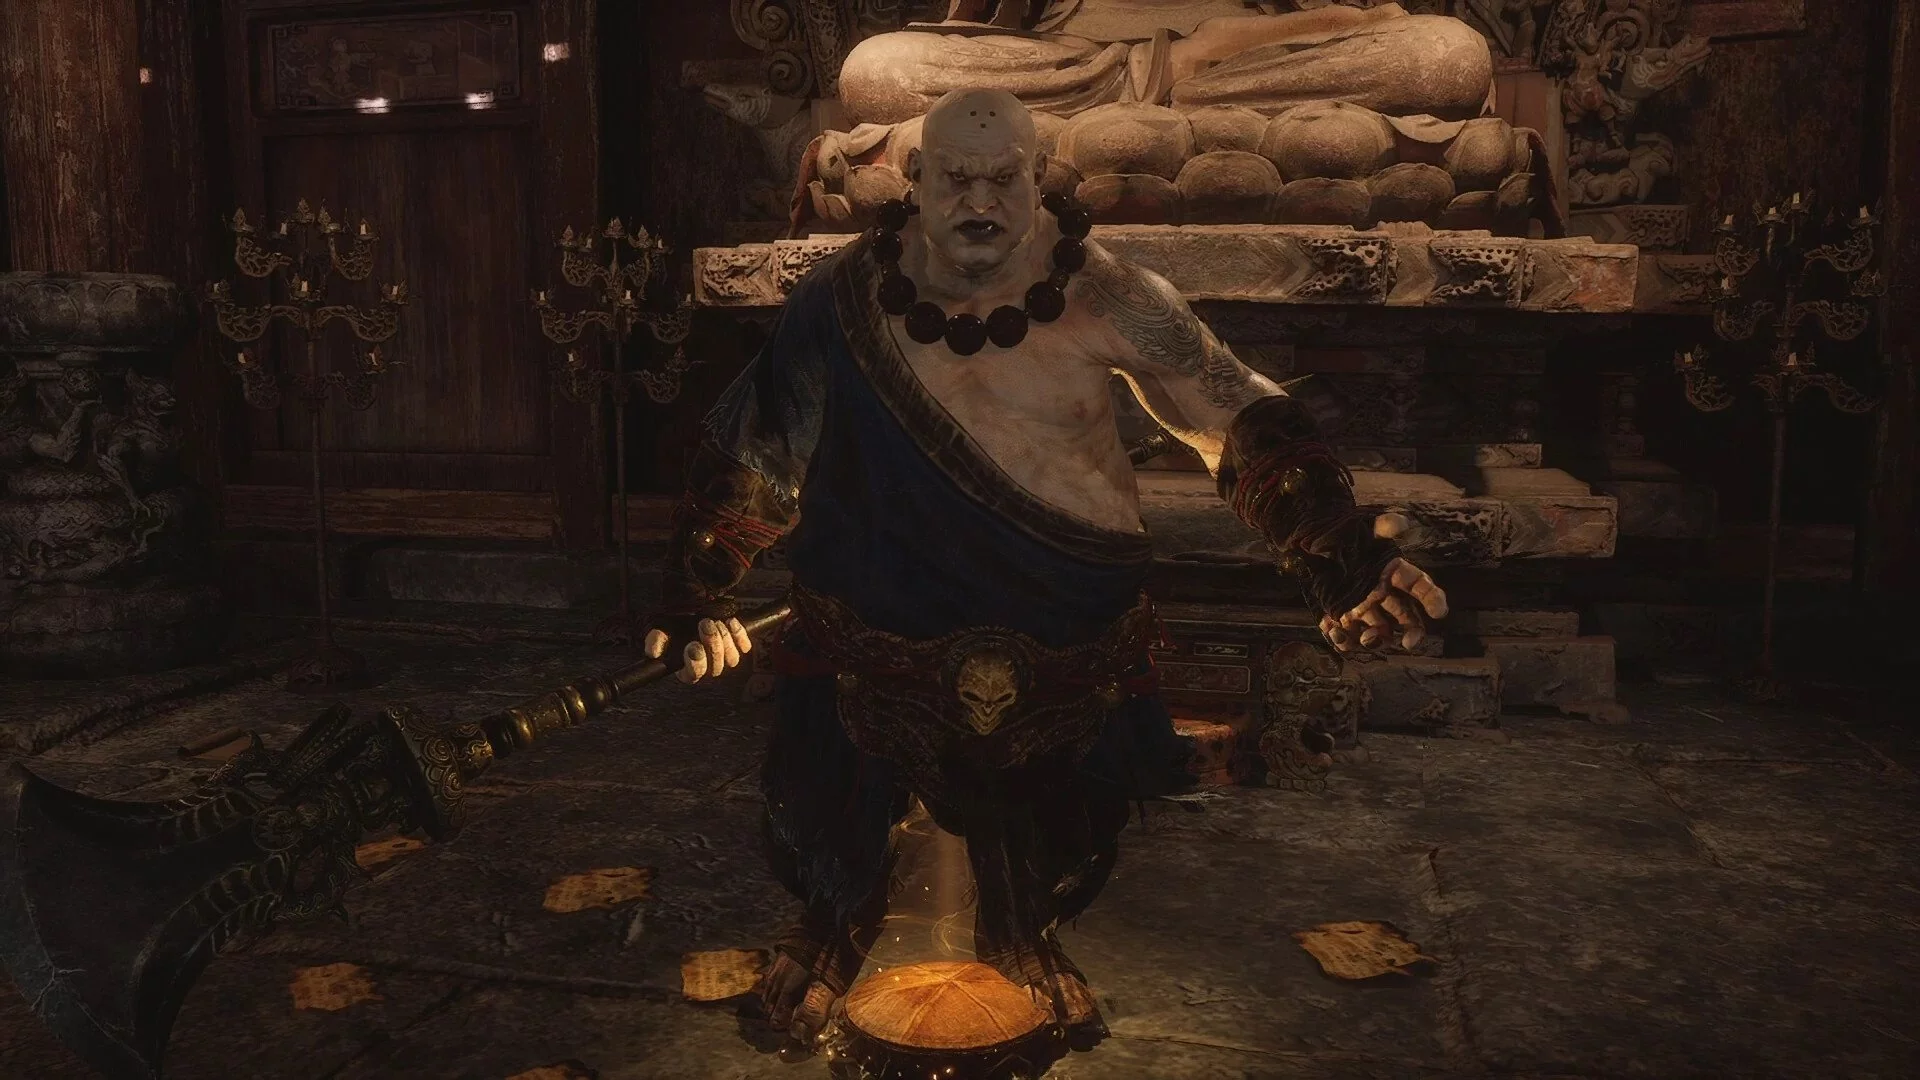
Non-Void
- Location: New Thunderclap Temple, Temple Entrance
- Difficulty: 4
A secret boss that can be defeated as part of a quest. When you find yourself near the shrine Valley of Delights, Happy Forest, there will be a kind of gate ahead, opening the path to the New Thunderclap Temple. Next to the gate lies a corpse with which you can interact. Talk to the spirit three times to learn that he wants to take revenge on the monk. You will turn into a fox, but there is no point in immediately running to the temple. Return to your usual form and pay attention to the new item in your bag — the Fox Brush. Thanks to it, you can turn into an animal at any time, remember this.
When you find yourself at the point New Thunderclap Temple, Temple Entrance in the story, run forward through the first building, then go up the left staircase and keep to the left. You will go into another building, go up to the second floor, and then even higher. Defeat two enemies summoning lightning, and then use the item from your bag to transform. Go into the room ahead and watch the cutscene with the monk.
The fight is more difficult than it seems. Immobilization hardly affects the boss, and he regularly takes on a ghostly form, in which he cannot be hit. Moreover, the entire path to him is a long distance with many enemies. If you clear them, you will spend all your mana, so it is better to run through, exposing yourself to random hits.
Your task is to quickly deal as much damage to the monk as possible. First, summon clones, then try a transformation. The most effective will be the strike from invisibility — Shadow Step. If the fight drags on, the boss will revive the papers lying around the arena and make them fly after you. Upon contact, you will receive constant damage.
Take care of medicines that increase attack power, and also make sure to use the spirit strike at the right moment and not miss.
Reward: 1174 Will, 1x Tonic Decoction, 2x Cold Iron Leaves, 1x Iron Bull Blood, Non-Void (Spirit).
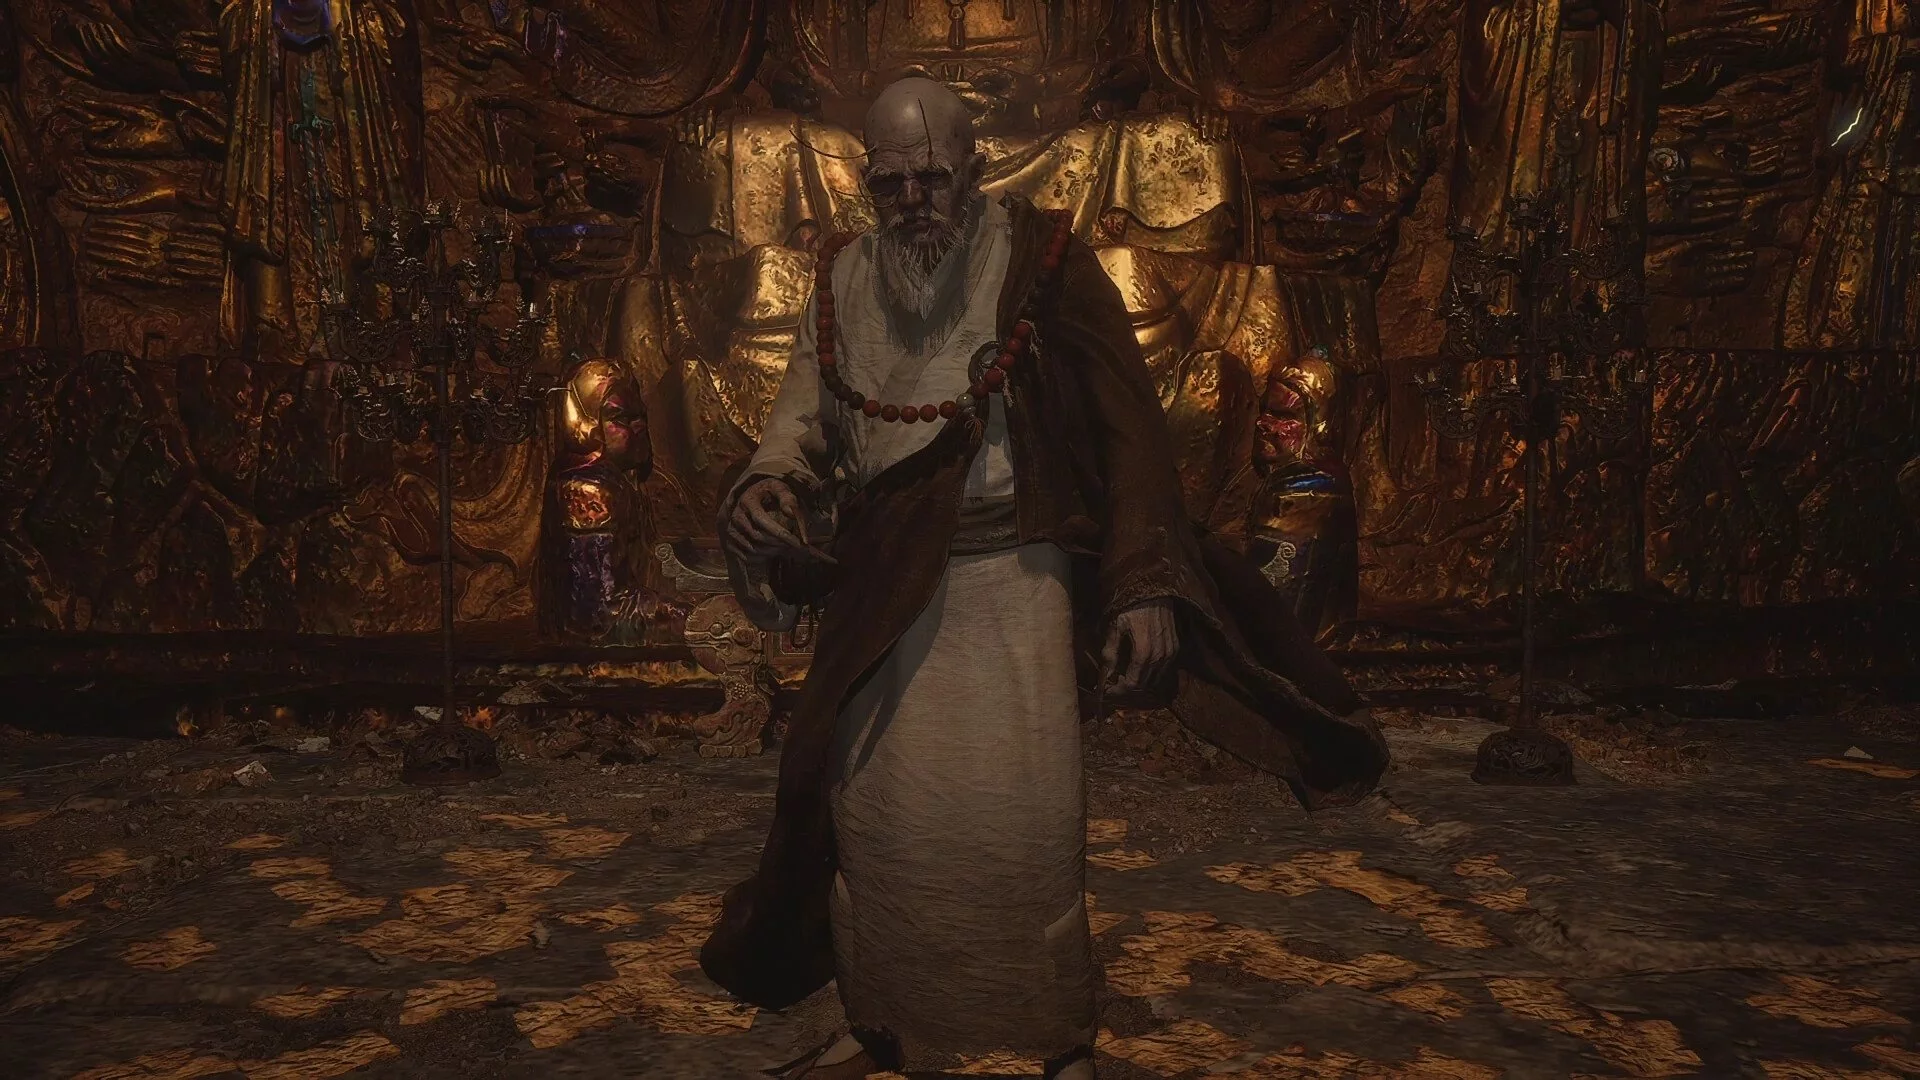
Yellowbrow. First Battle
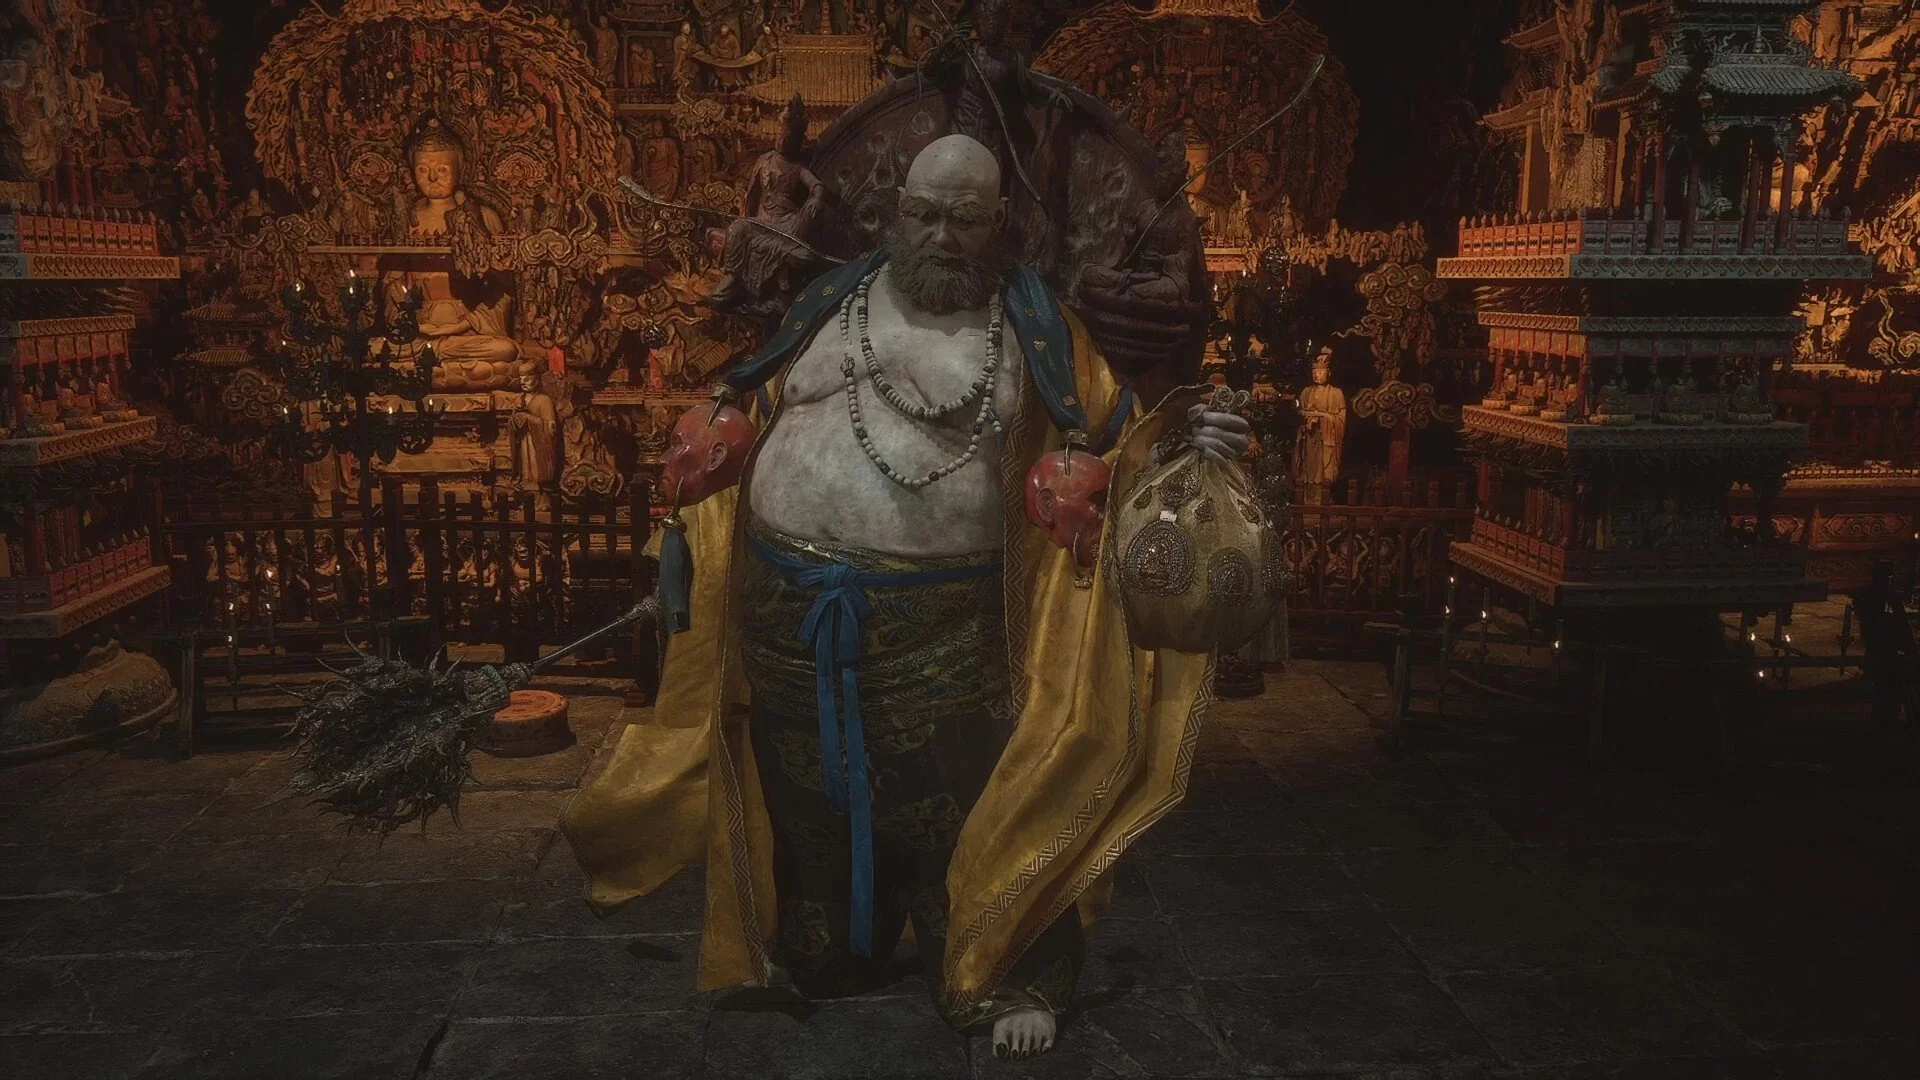
- Location: New Thunderclap Temple, Mahavira Hall
- Difficulty: 4
Final Boss of Chapter Three
The final boss of the third chapter is divided into three parts. The first fight will be with Yellowbrow. He attacks with an electric staff. Don't save your magic — it will be restored later. Also, don't be afraid to lose between stages. If you lose, you will immediately start from the phase where you left off. For the first phase, stock up on medicines that increase immunity to shock. Other medicines should also be sufficient, but it is better to save them for the third battle. Ideally, by this time, you should have fully upgraded defense in your main skills.
Yellowbrow attacks with large intervals, but he will still be quite dangerous. Use clones on him, and then immobilize him. Remember that freezing doesn't work as effectively on Yellowbrow as usual.
Approximate combo: Clones, immobilization, a series of quick attacks, spirit attack, transformation. When the boss's health drops to zero, you will be transported to another arena.
Monkey Chief. Third Battle
- Location: New Thunderclap Temple, Mahavira Hall
- Difficulty: 5
In the third encounter, the monkey chief will be very different from his previous versions. Firstly, he moves quickly around the arena; secondly, he summons two of his clones. A boar will assist you in the battle, periodically healing the hero. At this stage, you will have full mana and a healing flask again. As before, use the combo: Clones, immobilization, quick combo attack, attack from invisibility, spirit attack, transformation. You may need several attempts to learn the boss's timings, but the main thing is not to waste medicines.
Yellowbrow. Second Battle
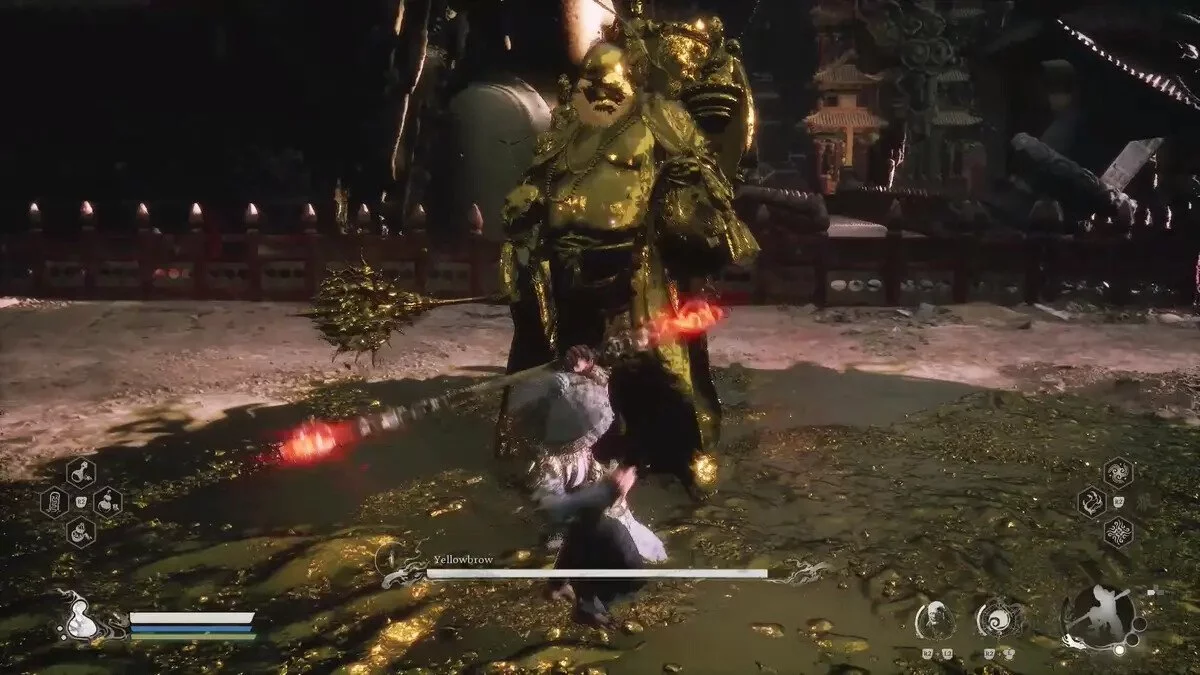
- Location: New Thunderclap Temple, Mahavira Hall
- Difficulty: 5
After the final victory over the Monkey Chief, you will transform into him and kill Yellowbrow's phantoms. Eventually, the villain himself will appear in the arena. His attacks will become more aggressive, and the damage will increase. Now it's time to buff yourself to the max. You will restore your health kits and mana again. The main feature of the second battle is that the boss periodically turns golden and becomes immune to attacks. This can be solved in two ways — either just wait for the effect to wear off or attack with a powerful charged attack.
If the boss creates an electric circle — just jump out of it. When he charges area attacks — dodge. Towards the end of the battle, the boss will periodically cast long animations that cannot be interrupted. You need to keep moving and replenish your health to the maximum if you want to come out victorious.
Reward: 1x Cosmic Radiance (weapon material), 3x Cold Iron Leaves, 2x Pure Gold Threat (armor material), 1x Golden Trio (weapon material), 2x Refined Iron Sand, 1x Mind Core.
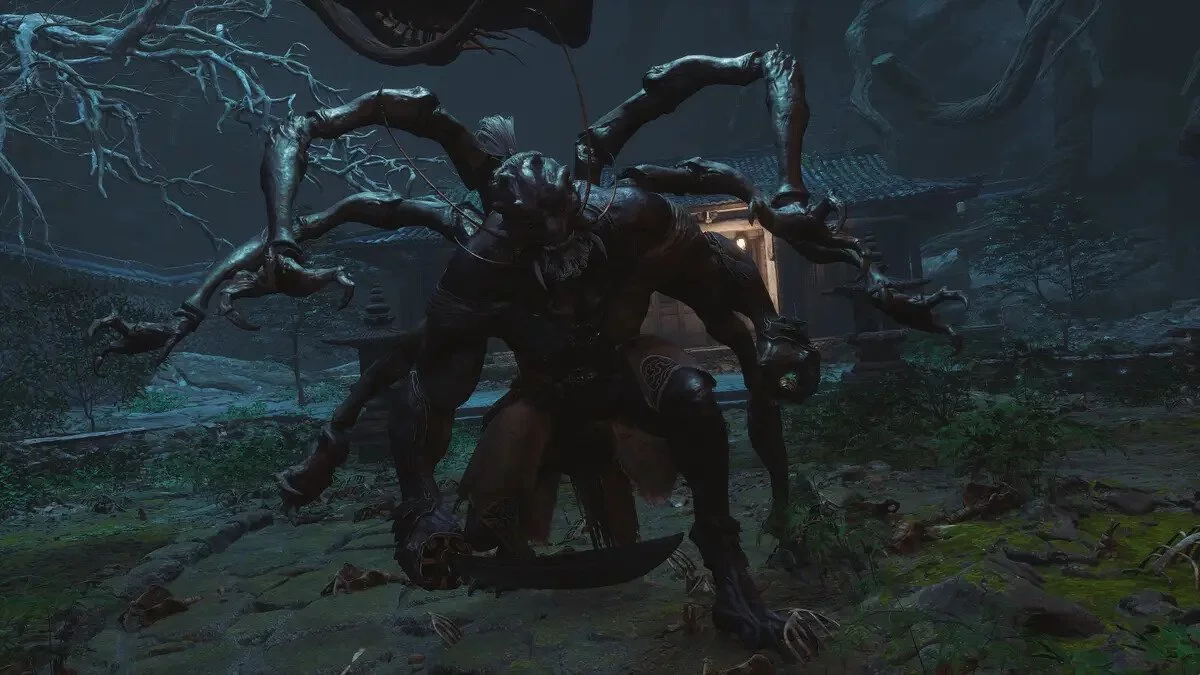
Chapter 4. Second Sister
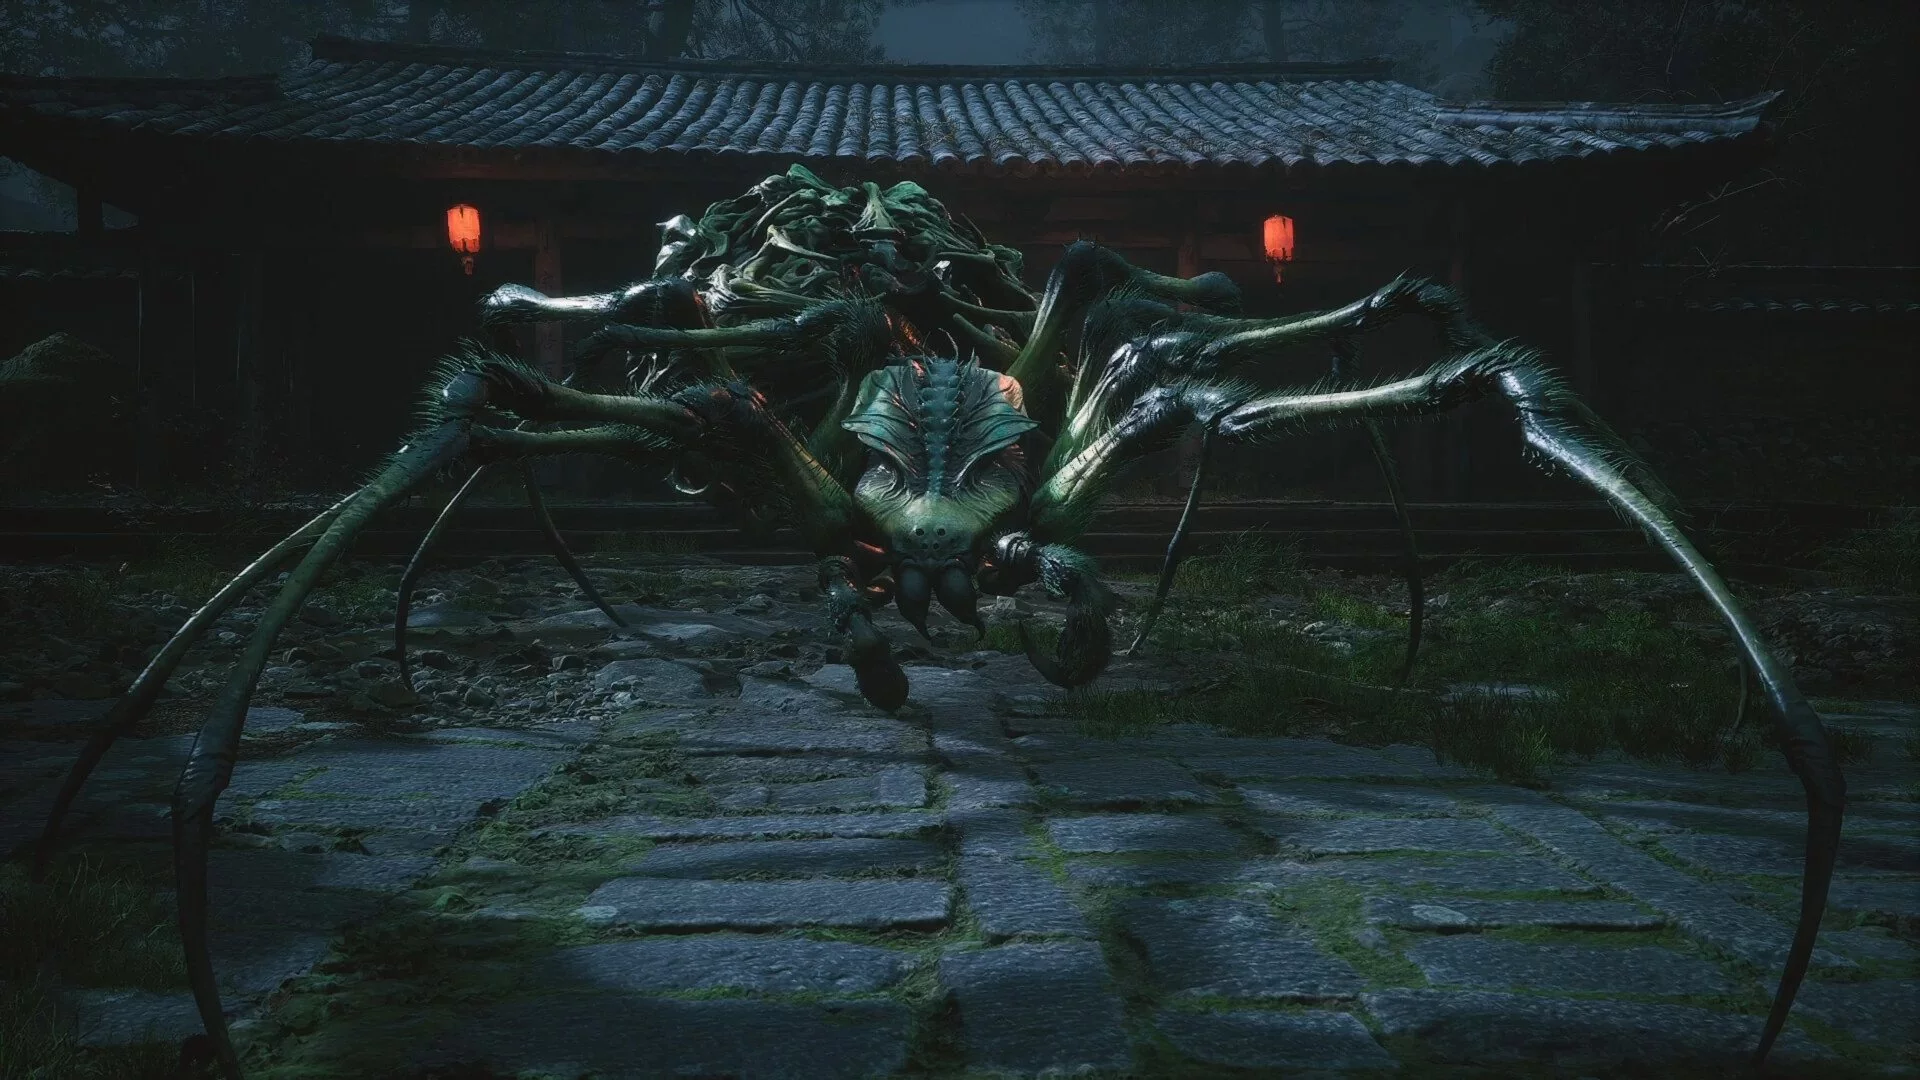
- Location: Lanxi Village, Zhu's Domain
- Difficulty: 2
From the shrine, you need to climb the stairs and go through the gate. The fight will start immediately. The second sister is a big spider. Despite her size, she is a very simple enemy. Start with clones, then standard immobilization, a quick series of attacks, spirit strike, attack from invisibility, and finally — transformation. If you manage to complete the full combo, the boss will be close to death. Note that sometimes the spider stands on her hind legs. At these moments, it's better to wait, as you won't deal much damage. The boss also spits poison, but there's a trick. If you find yourself under the spider (which is possible), the attack will simply miss the hero.
Reward: 1952x Will, Poisonous Mane (material), Grain of Golden Tree (material).
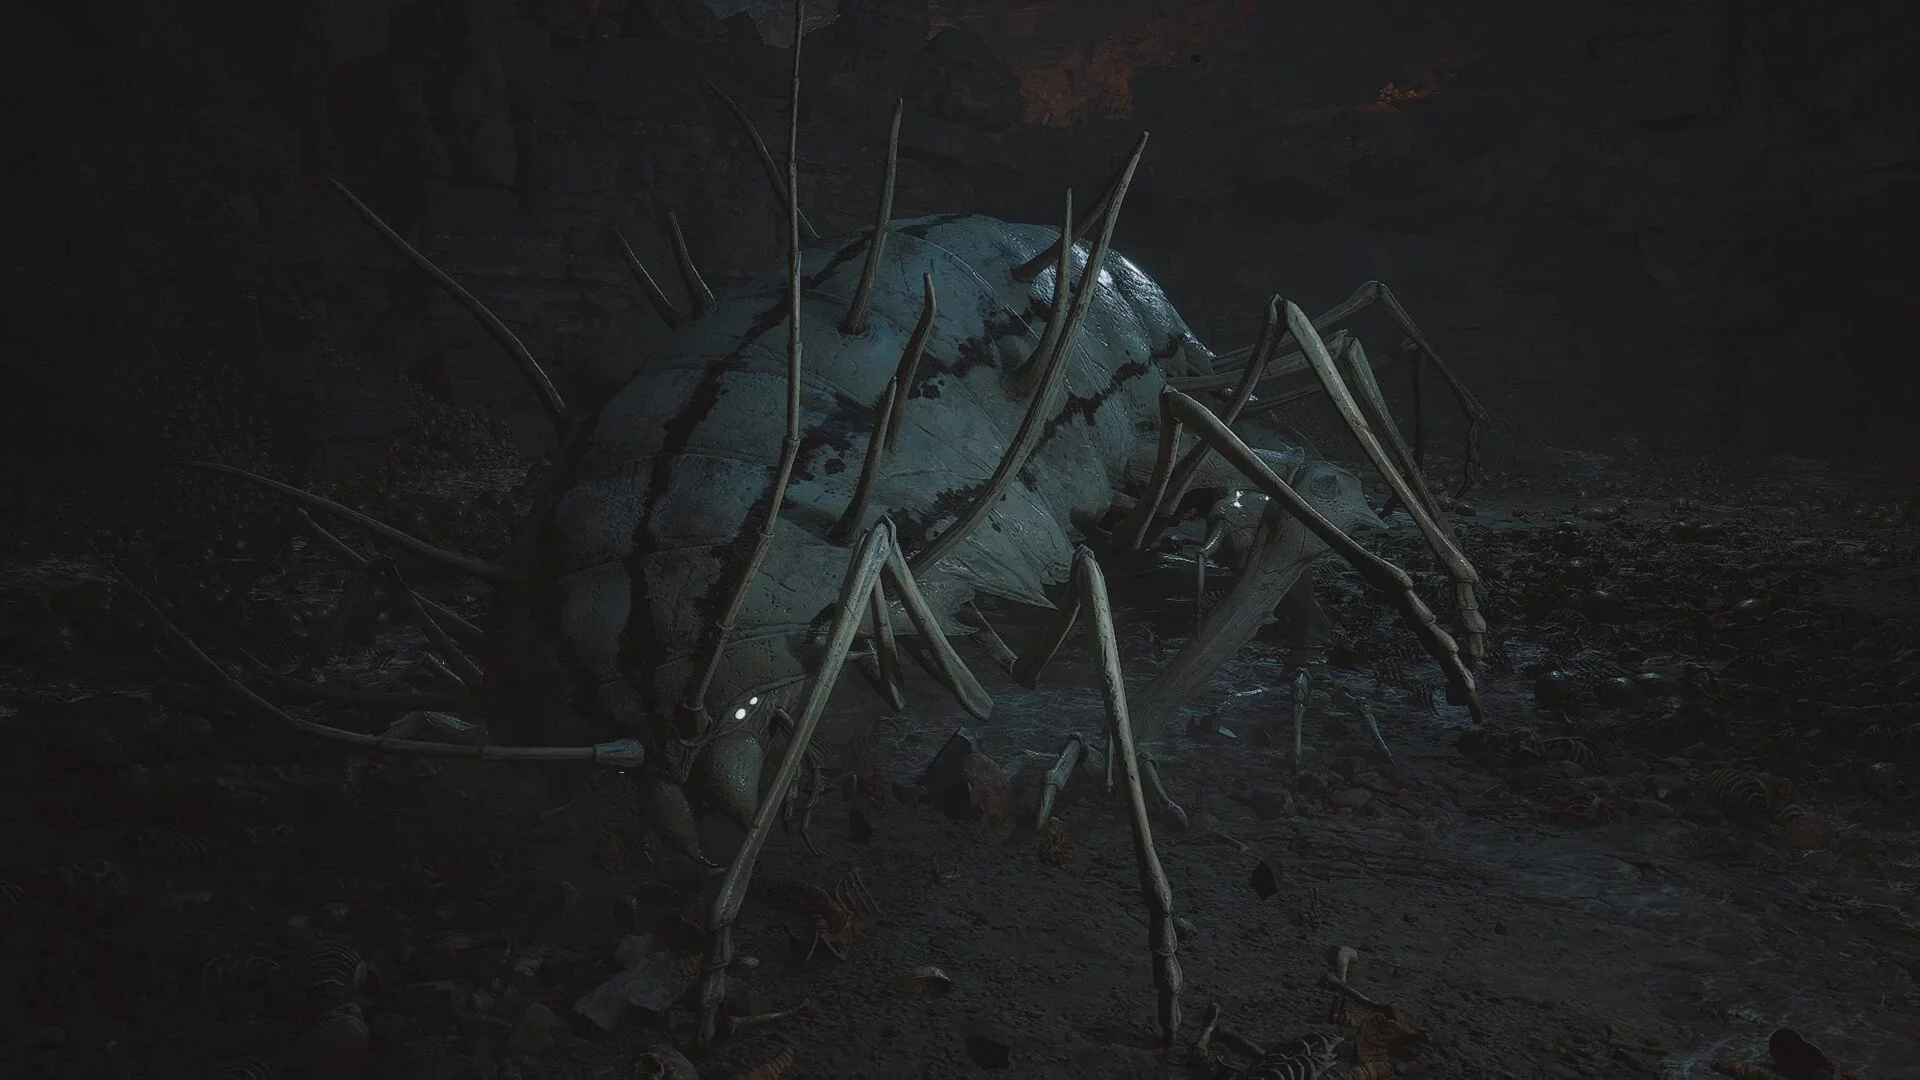
Elder Gluttonous Worm
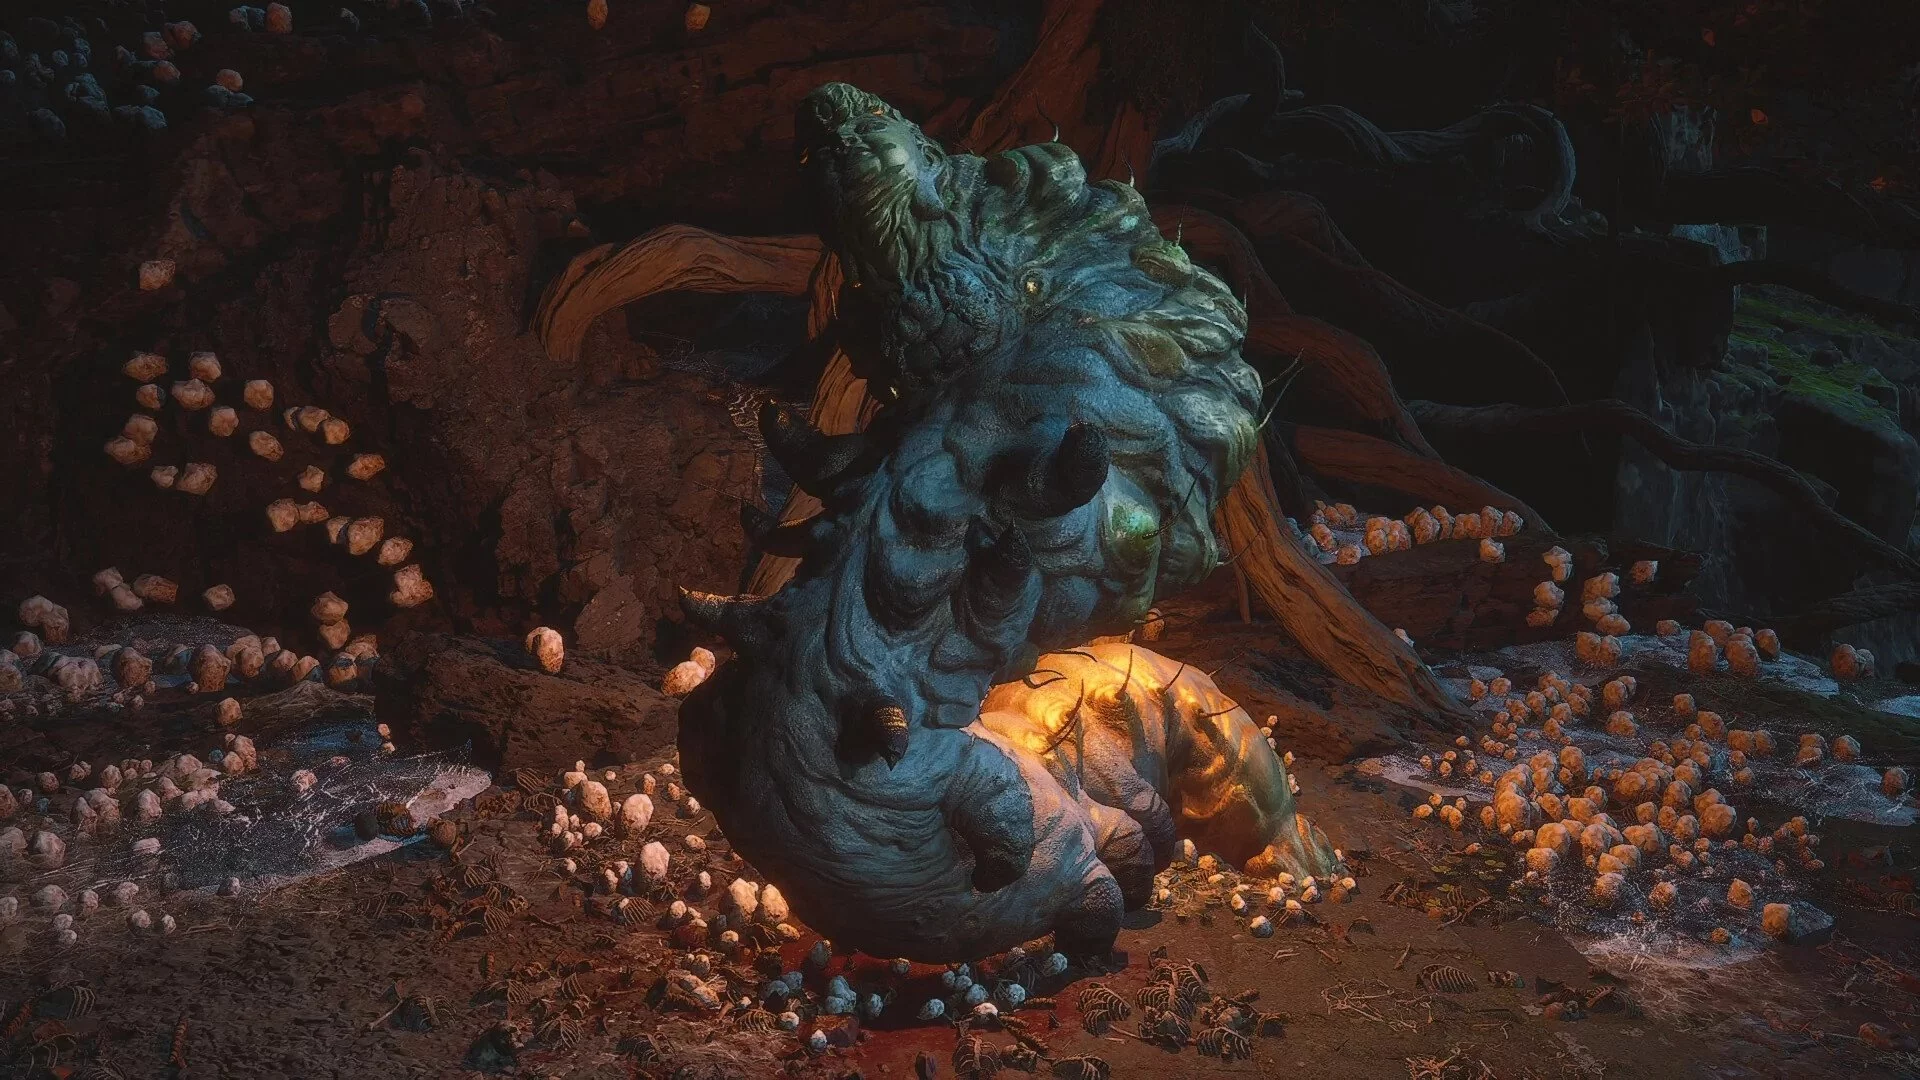
- Location: Web Pit, Leafy Bridge
- Difficulty: 2
To the left of the altar, there will be a green bridge. Cross it, then turn left onto the stone bridge. On the right, there will be a treasury with five chests. Passing through it, you will reach the boss.
The second boss of the chapter is again a very weak opponent. Start with immobilization or clones, then a series of quick attacks, strike from invisibility, spirit strike, and transformation. By this time, such a combo will become familiar to you. Just use the entire available arsenal, and the enemy will fall. If this doesn't happen — the boss's most dangerous attack is poison spits over the area. After this, puddles will remain on the ground, which can be harmful.
Reward: 1471 Will, 2x Silk, 1x Cold Iron Leaves, Proto-Gluttonous Worm (key item).
Venom Daoist. First Battle
- Location: Web Pit, Jade Lake
- Difficulty: 3
There is an interesting aspect to this boss. You can obtain special venomous bracers, but they will only drop if you first destroy 4 out of the boss's 6 arms without killing him. The easiest way to do this is by attacking from behind.
To find the boss, run to the right from the altar into the cave. You will enter a room with hanging cocoons, head towards the torchlight. Eventually, you should find a large cocoon, which you need to strike.
The boss wields a sword, which should be taken into account. However, after meeting the condition with the arms, victory will be easy. The enemy makes sharp dashes, which you will have to dodge. Otherwise, the strategy is familiar — start with clones and proceed according to the scheme.
It's important to remember — this fight opens access to a hidden area, which you must find and clear if you want to get the true ending.
Reward: 1930 Will, Venomous Bracers if you tore off 4 arms.
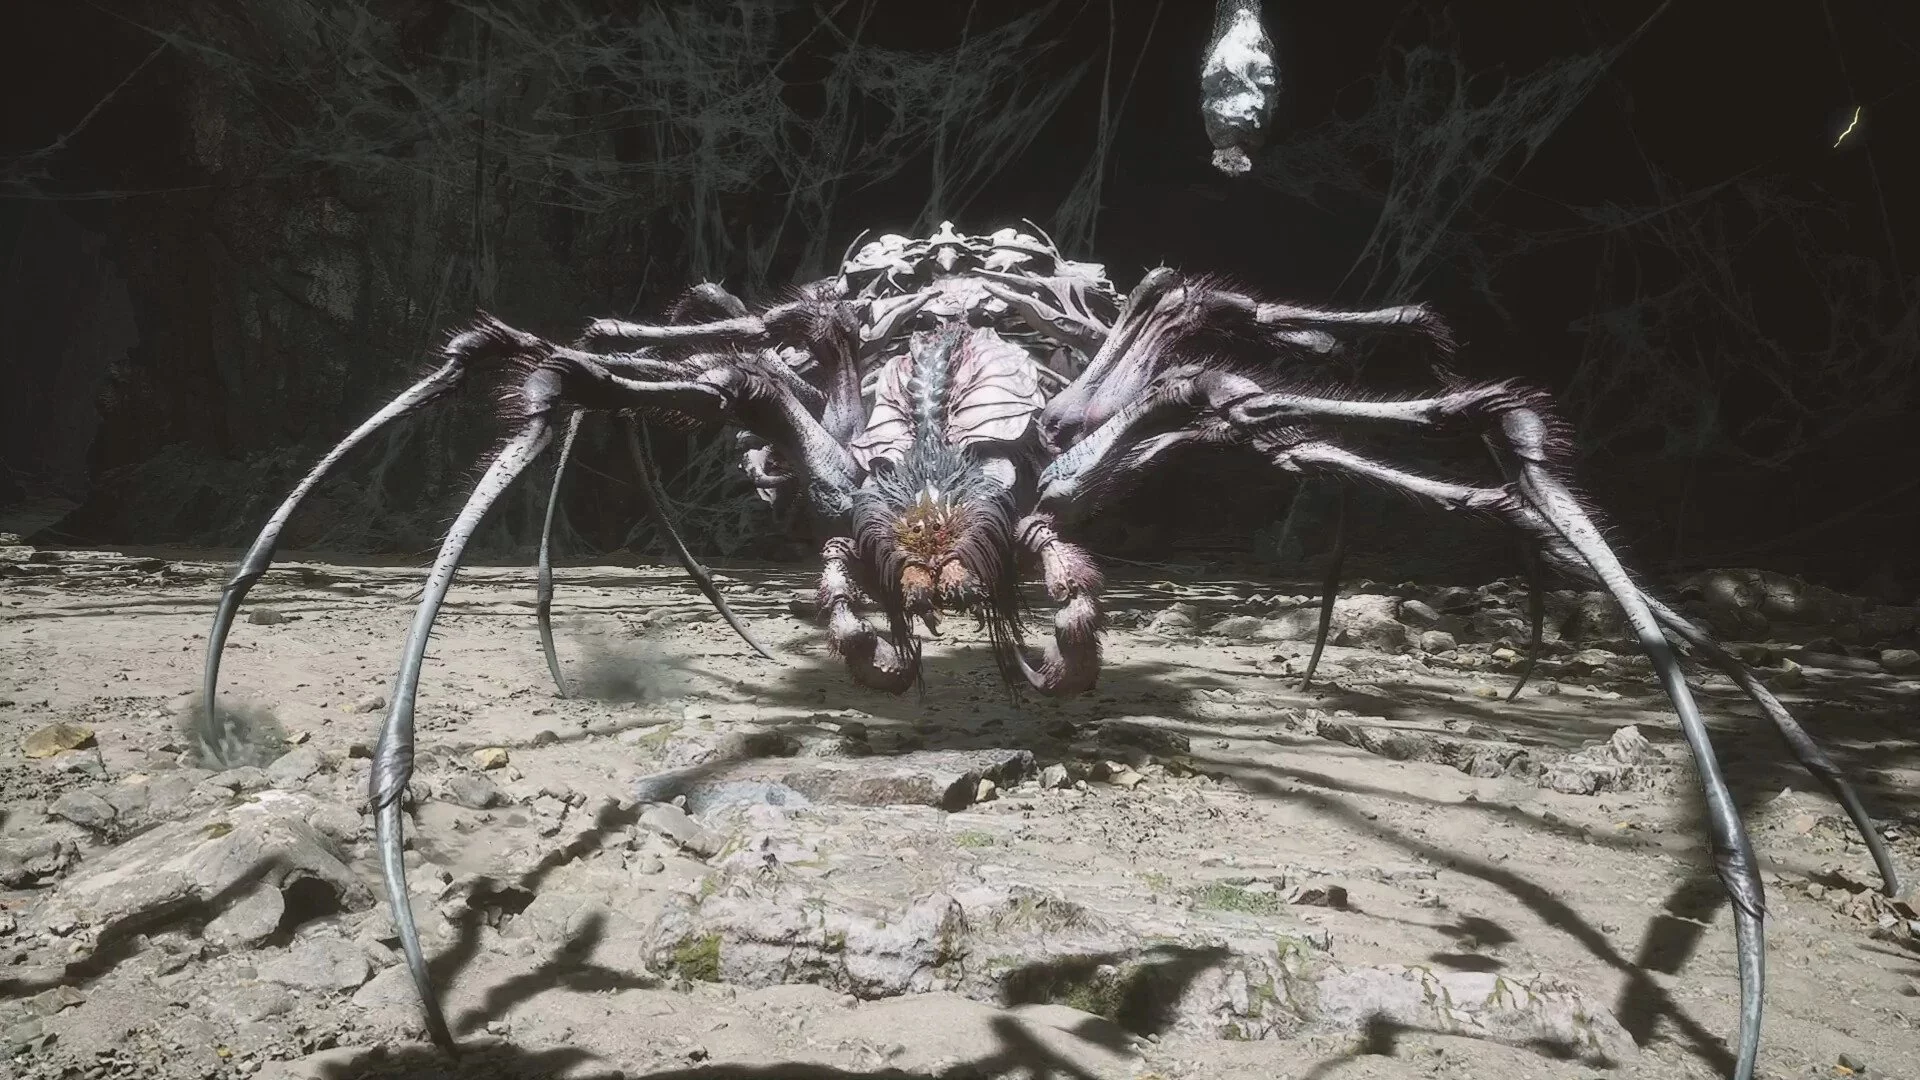
Guai Centipede
- Location: Web Pit, Mid-Pit
- Difficulty: 4
Stand before the altar, then jump off the ledge to the right. Move forward a bit and descend again. The boss is a large centipede. She often attacks with jumps and tries to crush you, but these strikes are easy to dodge.
When health is low, the boss will summon smaller centipedes. You don't need to hit them — they will disappear over time. The main thing is to dodge when the main enemy starts rolling towards you. Otherwise, no special tactics are required.
Reward: 1958 Will, 1x Void Focus (material), Grain of Golden Tree (material), Guai Centipede (Spirit).
Buddha's Right Hand
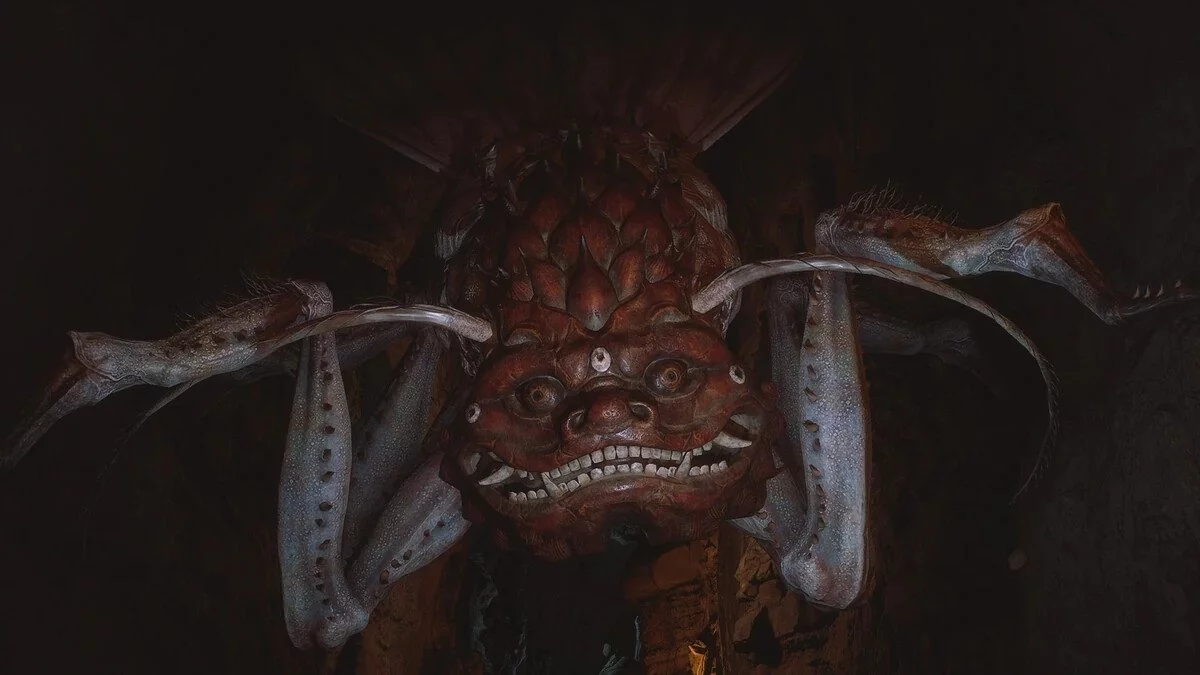
- Location: Web Pit, Rock of Oblivion
- Difficulty: 2
After the altar, interact with the glowing hand. The boss is literally a hand. You will encounter it in a narrow corridor, which means dodging freely will be inconvenient. The hand doesn't deal much damage, but it has a lot of health. In this case, we do not recommend using costly spells. It's better to use Immobilization more often.
When the boss's health is low, it will transform into a beetle. The attacks will also change — poison and sound waves will be added. It would be good if by this time you drink potions that increase poison resistance. If you attack fast enough, you might skip the second phase. Try using not only immobilization but also other magic if you are confident in your abilities and have sufficiently upgraded your mana reserve.
Reward: 1942 Will, 2 Cold Iron Leaves, 1 Thin Golden Thread, Buddha's Right Hand (material), Echo of the Past (Key Item).
Yellow Loong
- Location: Web Pit, Dead Loong Ravine
- Difficulty: 6
As with other Loongs, this boss will only appear if you have scales from the second chapter. Moreover, you must defeat all other Loongs: Red, Black, and Blue.
To the right of the altar, there is a staircase leading up. Nearby, there will be a gazebo where the dragon awaits. At this stage of the game, Yellow Loong is the most dangerous opponent. He easily kills with one combo, so consider coming back to him later — this is possible even in the final chapter.
Like the other Loongs, Yellow uses electricity and fights with a spear. Make sure to have shock-resistant potions. It wouldn't hurt to take other pills for enhancement.
All of the boss's combos are very long. He has one phase, but after 50% health, the attacks will become faster and more aggressive. Always restore your health to full, otherwise, you may not survive the next attack.
When the boss sticks his spear into the ground, he immediately takes off and starts diving at the hero. This attack deals massive damage. Also, beware of final blows in combos — they usually cause an energy explosion.
Reward: 5115 Will, Great Strength Tendon (material), Kun Mountain Steel (material), 1 Grain of Mind (material), 1x Core of Mind, 1x Loong Pearl (material), Golden Carp (Curio), Golden Radiance (Spell).
Bao-li-gu-bao
- Location: Web Pit, Pit Bottom
- Difficulty: 2
Face the altar and run to the left through the hanging cocoons. Reach the torch. There is a crack in the wall opposite, through which you can squeeze. Inside, keep to the left.
The boss is a classic frog. The only difference is that its attacks inflict a poisoning effect, so you need to defeat it quickly.
Reward: 1446 Will, 1x Refined Iron Sand, Tadpole material, Buddha's Left Hand material.
Zhu Bajie

- Location: Web Pit, Immortality Hut
- Difficulty: 6
Run right from the shrine to reach the boss arena. There will be three phases, but after the first one, you have the opportunity to rest near the altar. Zhu Bajie is a pig who traveled with you in the third chapter. He fights with a rake, and in the first phase, he mostly hits with it. Additionally, the boss periodically spits slowing goo and turns into a small tornado. This stage is not very difficult. As usual, start with the clones, and then follow the usual pattern.
After victory, the boss will escape. Return to the shrine, rest, and now run to the left. The pig will have full health again, and the entire arena will be covered in mud, which slows your dodges and movements. The second phase is not much different from the first. Immediately dodge the first three attacks, then summon the clones. Cast spells, but don't neglect regular attacks. This is because when Zhu Bajie has half health left, the final third phase will begin.
At the end of the battle, the boss will start transforming. First, he will be a big boar, then something resembling a rhino, and then a fish. Just dodge the last two. When fighting the boar, you can hit the boss. Immobilization will be useful here to keep the enemy within reach for a longer time.
Reward: 2604 Will, 2x Thin Golden Thread material, Bloody Needle key item, and Jade Moon Rabbit curio.
Violet Spider
- Location: Web Pit, Meeting Cave
- Difficulty: 5
A story battle that you won't miss. Run right from the altar. Before the fight, enhance your attacks and critical damage. We also recommend taking other available potions and pills to increase poison immunity. Immediately after the start, be prepared to dodge the first attack.
In close combat, the spider attacks with poison, so constantly monitor your health and condition. Use clones, Immobilization, quick attack, spirit attack, more quick strikes until the state of stun, strike from invisibility, Transformation. This should be enough to almost kill the Violet Spider. Remember that when the enemy's health is less than half, the boss's eyes will light up, and she will start spitting web. Avoid getting caught. There will also be poisoned puddles on the floor — don't step in them.
Reward: 2581 Will, 1x Refined Iron Sand, Spider Leg material, 2x Thin Golden Thread material, and Grain of Golden Tree material.
Commander Beetle
- Location: Yellow Flower Temple, Dashing Forest
- Difficulty: 3
Face the shrine, then run to the right. Pass two enemies in yellow and turn right again, then go up the stairs. There will be several sword-wielding enemies training. The boss is behind them.
The peculiarity of the battle is that all those who were training in the courtyard will join the fight. This will be the main difficulty, as there are many enemies, and they attack simultaneously. It's advisable to deal with the small fry first, then take on the boss, but you can also ignore the swordsmen and attack the leader directly.
If you decide to follow the first scenario, choose area attacks. For example, the Wind Pill artifact will help stun the regular enemies for a short time. The boss himself is unlikely to be a problem. He fights with several swords and spits poisoned daggers. It would be good if you have antidote pills. A standard spell combo starting with clones is suitable against the boss. Try not to use all your mana before the direct battle with him, or charge your flask with a potion that increases both health and mana.
Reward: 1476 Will, 2x Silk, 1x Cold Iron Leaves, Void Focus material, Commander Beetle spirit, and Three Purest Tablet curio (in a chest on the table by the arena wall).
Senior Warden
- Location: Yellow Flower Temple, Courtyard of Light
- Difficulty: 1
A secret boss that will only appear if you found all 4 talismans in Chapter 4. It's important to complete this quest before defeating the final boss, otherwise, it will become unavailable.
As soon as you pick up the last talisman, an enemy with huge wings and a hand instead of a head will appear. The secret is that you only need to reduce his health by about 15%, after which the battle will end. Therefore, no special tactics are required.
Reward: Ninefold Purified Heavenly Pill (in a small chest behind the boss arena).
Mushroom Woman
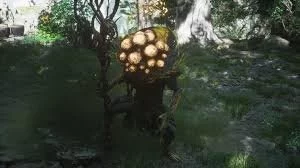
- Location: Yellow Flower Temple, Courtyard of Light
- Difficulty: 1
From the altar, turn around and run down the stairs, then keep to the left. When you pass through another temple, there will be stairs on the right. Go up and keep to the right. You should reach an uphill path. At the very end, there will be a small passage to the left, then immediately to the right. You will come out into a spacious area. Keep moving forward until you notice a mushroom in the center that can be pulled out — this is the boss.
The boss has spinning attacks that deal poison damage, but very little health. Hit her with all your spell charges and you will almost immediately kill her.
Reward: 1455 Will, 1x Refined Iron Sand, Void Focus material, Monkey Head Mushroom Spore seeds, Mushroom Woman spirit, legendary drink Nine Heavens Sunset (on the table near the house at the end of the arena).
Venom Daoist. Second Battle
- Location: Yellow Flower Temple, Courtyard of Light
- Difficulty: 3
The path to this boss is the same as to the Mushroom Woman, but at the very end, after climbing all the stairs, you need to turn left instead of right. There is another large space. The boss will only appear if you defeated him in the first battle.
The fight consists of two phases, each with a full health bar. At the beginning, the enemy behaves almost the same as before. To transition faster to the second phase, try to cut off the two hands on his back. To do this, use immobilization.
In the second phase, the boss becomes more dangerous, his sword combos are longer, and his strikes are more painful. By this time, you are unlikely to have much mana left, so fight with what you have. A good option would be enhancing potions or a flask with replenishing mana.
Reward: 1956 Will, Golden Tree Grain material, and access to a secret location.
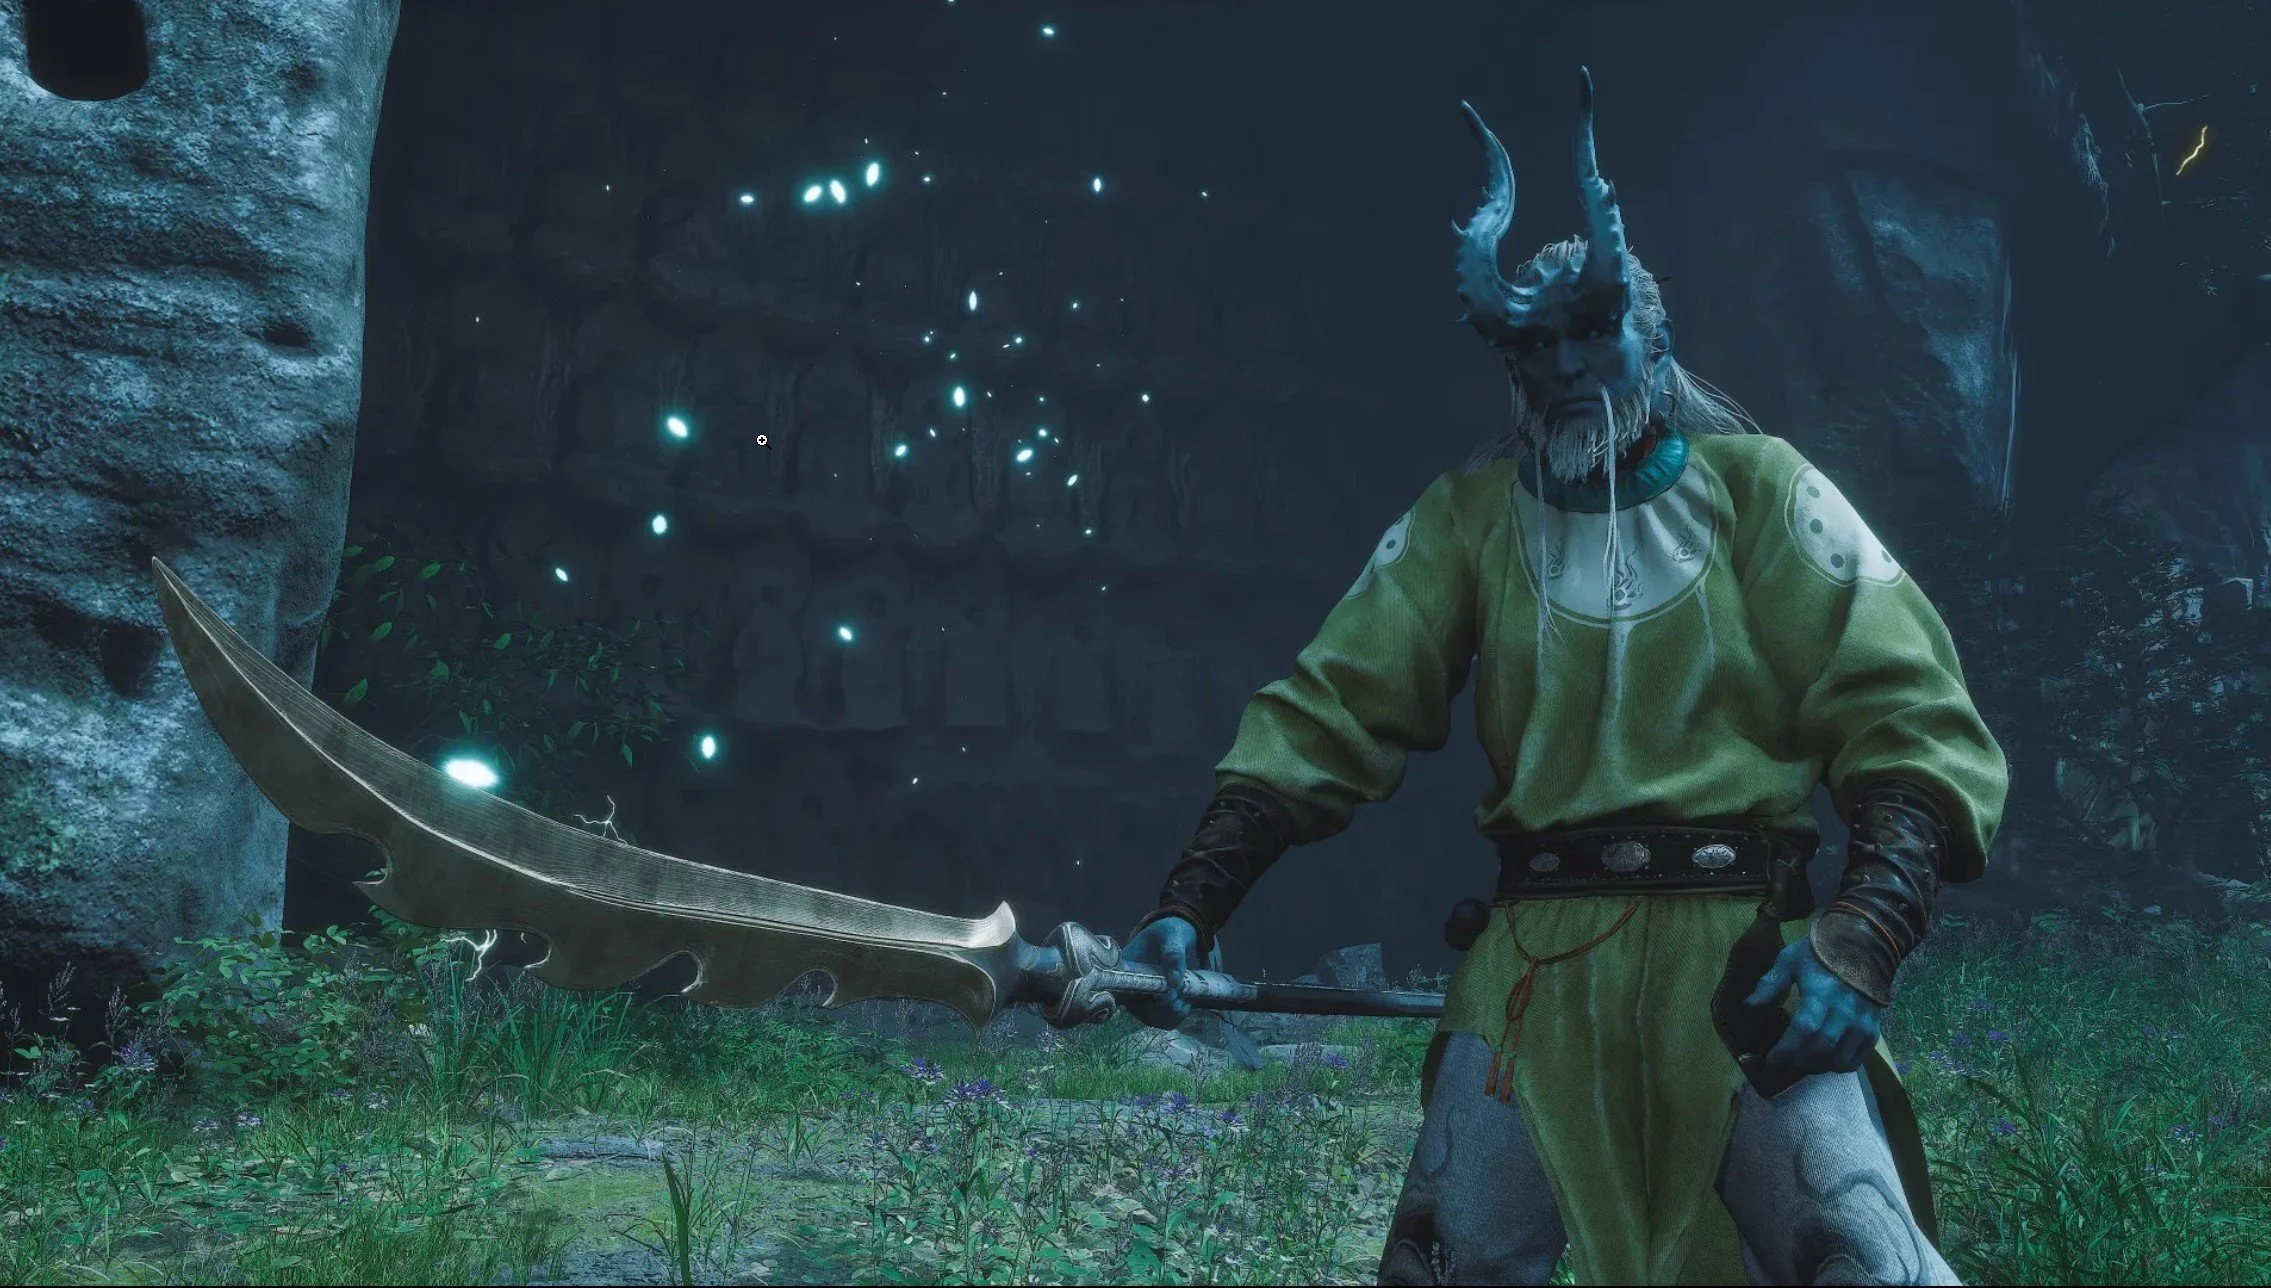
Daoist Mi
- Location: Hidden Place: Purple Clouds Mountain, Falling Petals Village
- Difficulty: 3
A secret boss in a hidden location. You gain access there after defeating the Venom Daoist. It's important to defeat this boss before the final one in the hidden location — the Twilight Lord.
From the altar, climb the stairs on the left. The boss looks like an ordinary person in a mask and just stands in the courtyard. At the beginning, he will ask you to complete a task and find the Violet Hail. In the nearby village, you need to kill daoists in yellow clothes until the Violet Hail drops. Bring the item to the NPC, after which the battle will begin.
The fight consists of two phases with full health bars. In the first phase, the boss attacks with a sword and kicks, and in the second phase, he transforms into a worm and starts dealing poison damage.
The attacks are easy to dodge, but it's better to stock up on antidotes. It's best to save as much mana as possible for the second phase and use only immobilization and melee attacks in the first phase. For the victory, you will receive a new transformation spell.
Reward: 1469 Will, 1x Refined Iron Sand, and the transformation spell Violet Hail.
Scorpion Lord
- Location: Hidden Place: Purple Clouds Mountain, Deity's Abode
- Difficulty: 7
You also need to defeat this boss before fighting the Twilight Lord. From the altar, climb the stairs up. In the courtyard on the roof sits a scorpion drinking alcohol. Talk to him, then break the barrels under him.
The scorpion is a very difficult opponent. If your level is below 70, it's better not to even try to defeat him. The boss can kill you in two hits. If you can't make any progress, complete the story bosses of Chapter 4, start Chapter 5, and then return. This way, you'll update your gear.
Additionally, you will take poison damage, so you need to stock up on antidotes. We recommend conducting several test attempts before spending the antidotes. The point is that the boss's combo attacks are designed in such a way that only perfect dodges will work. If you start just avoiding attacks, you will definitely miss and take damage. Tail attacks are especially dangerous.
Follow when the sting on the tail lights up golden — be sure to dodge. When the monster buries itself underground — watch the movement of the ground — it's easier to track where the boss will jump out. Also, when the enemy is underground, he can grab you with his tail, hit, and poison you. This is an extremely dangerous combination, as you may die from poisoning before you can recover health.
You can't keep your distance for too long. Otherwise, you will be attacked by the tail across the entire arena, which takes about 50% of your health. The main thing to understand is that if you take damage even once, immediately heal to full, as the second hit will kill you. Also, immediately treat the poison effect.
Now about the tactics — you won't be able to stay alive for long in the battle, so your goal is to quickly deal as much damage as possible in a short time. Be sure to buff damage and critical damage.
When the fight begins — summon clones, then step back so the boss misses his combo, immobilize him, immediately get close and cast the Wandering Wraith spirit attack, quick attack combos. While the clones are alive — deal as much damage as possible. If you're lucky, the enemy will be stunned. Immediately after the clones disappear, transform, and then attack from invisibility to quickly get close and hit harder, or use the Wind Pill.
If everything worked out, the boss will have about 20% health left. Now it will be difficult for you, as the mana will run out and all that will remain are dodges and quick attacks.
Reward: 2588 Will, Heaven-Piercing Horn material, Deadly Sting material, 2x Fine Gold Thread material, Grain of Mind material, Stained Jade Bottle, Enhanced Aura Moon Pill (from the chest under the roof where the boss was sitting).
Duskveil Lord
- Location: Hidden Place: Purple Clouds Mountain, Nest in the Clouds
- Difficulty: 6
The final boss of the hidden area. He is only slightly easier than the Scorpion Lord but still quite challenging. The fight consists of two phases with their own health bars. In the first stage, the boss is slow and not too dangerous, so try to get through the first phase without using potions, healing, and magic. The only dangerous attack is when the boss stomps his feet nearby.
In the second stage, everything changes. Immediately summon clones. Poisoned daggers will fly at you — try to dodge in a wide arc. When a window for an attack appears, immobilize the enemy and attack with the spirit for increased damage. After that, you can attack normally while the clones distract the boss.
When the enemy is back on the ground, use transformation with strong attacks, and then the Wind Pill. The finale will be the Misty Step, but only if there is mana left.
Beware of the red mist — it deals constant damage, so it's highly undesirable to get into it.
Reward: Kun Mountain Steel material, Blood Moon Beast Horn material, 2x Golden Tree Grain material, Grain of Mind material, Two-Crested Rooster Blood supplement, and Weaver's Needle artifact.
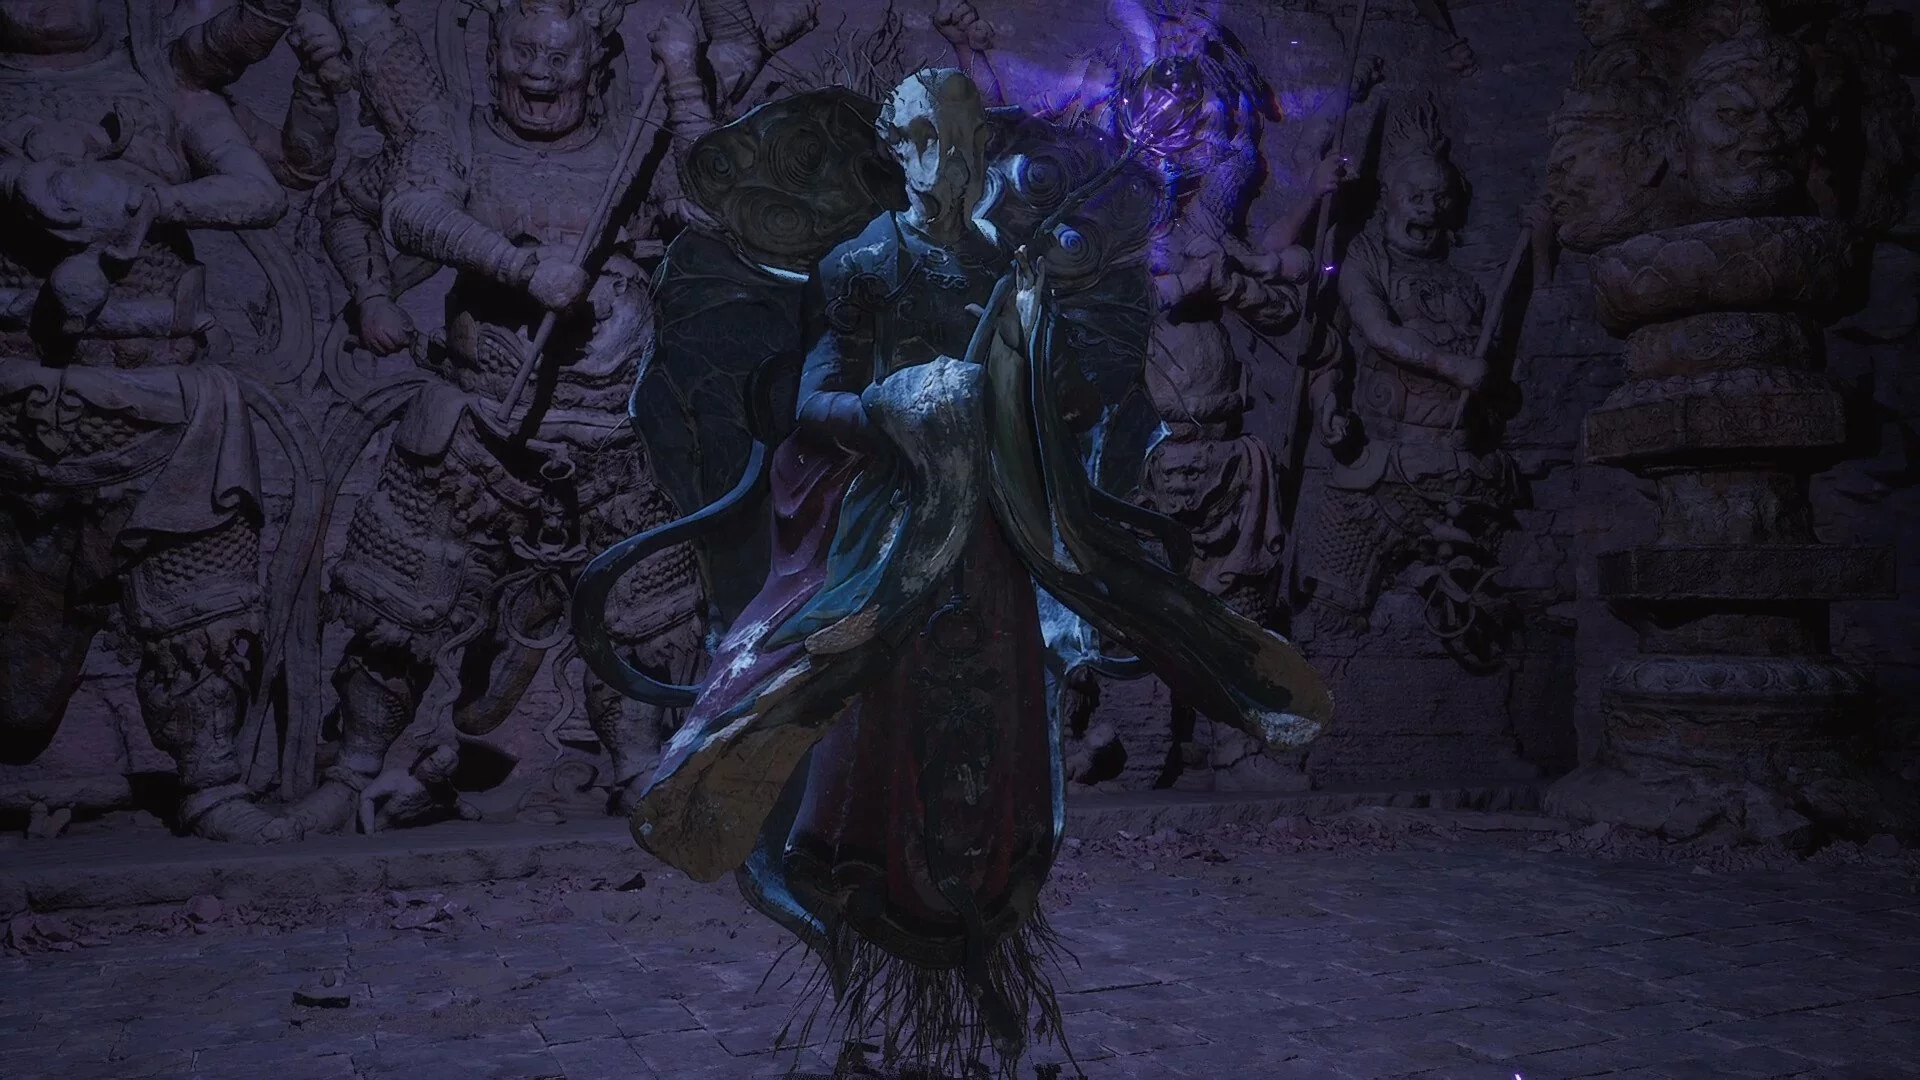
Hundred-Eyed Daoist Master
- Location: Yellow Flower Temple, Courtyard of Light
- Difficulty: 7
From the altar, run to the right into the hole in the wall. You should reach a large field where the boss will be waiting. This is another incredibly difficult opponent, but if you have successfully dealt with all the previous ones, it will be a little easier to win. The new artifact Weaver's Needle, which you received after defeating the last boss, will also help you.
Be sure to prepare for the battle to the maximum. Upgrade your flask, buy celestial medicines, and stock up on regular medicines to increase attack power, health, and defense. You also need the best equipment possible.
In your first attempt, spiders will help you. They will take about 20% of the boss's health. The good news is that all subsequent attempts will retain this small advantage — the boss will always have slightly less health at the start.
The boss inflicts shock and poison conditions, so make sure you have the appropriate medicines for at least one of these effects.
Beware of the yellow swords — the boss shoots them at your position. The most dangerous move is when the boss buries itself in the ground and grabs the hero from there. You need to keep moving constantly to dodge. The boss will also spit poison in front of him — dodge here as well. When the monster raises its hand, lightning will strike you from above. Dodge several times in a row to get out of the danger zone.
Start the fight by summoning clones. Attack while they hit along with you. You can immediately use immobilization and finish the series with a transformation.
When the boss has 30% health left, a cutscene will start and the second phase will begin. Health will not increase, but the boss will learn new moves. This is when you need to use the new artifact Weaver's Needle. Fire will also fly at you from the hands, and various effects, such as shock, will be added to the combos. Time your attacks with the spirit correctly. If you did everything right and still have mana left, use everything you have. Overall, this strategy should help you win.
Reward: 3693 Will, Radiant Golden Eye material, 2x Fine Gold Thread material, Heavenly Ribbon material, 2x Golden Tree Grain material, Kun Mountain Steel material, Grain of Mind material, Heaven-Piercing Horn material, and Envious Tongue relic.
Other guides
- All Secrets and Mysteries of Black Myth: Wukong
- Interactive Map of Black Myth: Wukong — Key Locations and Areas in the Game
- How to Unlock All Secret Locations in Black Myth: Wukong
- How to Save the Game in Black Myth: Wukong
- How to Find All Artifacts in Black Myth: Wukong
- The Best Armor in Black Myth: Wukong — How to Find and Which Armor to Upgrade?
- How to Find the Blacksmith in Black Myth: Wukong and Unlock Equipment Upgrades
- The Best Skills in Black Myth: Wukong: How Progression Works and What to Level Up First
- Guide to Endings in Black Myth: Wukong. How to Unlock the Secret Finale
- Where to Find the Three Bells in Black Myth: Wukong
- Wie man Luna Schuppen in Black Myth: Wukong erhält
- Wie man den Schmied in Black Myth: Wukong findet und Ausrüstungs-Upgrades freischaltet
- Wie man alle Rezepte (zerissene Seiten) in Black Myth: Wukong findet
-
How to Save the Game in Black Myth: Wukong
-
How to Find All Artifacts in Black Myth: Wukong
-
The Best Skills in Black Myth: Wukong: How Progression Works and What to Level Up First
-
Where to Find the Three Bells in Black Myth: Wukong
-
How to Unlock All Secret Locations in Black Myth: Wukong
-
How to Find the Buddha's Eyes in Black Myth: Wukong
-
Black Myth: Wukong won't launch on PC? Black and blue screen? Crashes? — Problem Solving
-
How to Find Silk in Black Myth: Wukong — What It Is Used For
-
Places for Meditation in Black Myth: Wukong — How to Find All