
Halo: Reach is a fast-paced first-person shooter set in the sci-fi Halo universe. The game tells the backstory of the legendary elite soldier from the Noble... Read more
First Reshade



-
1575547762_defaultpreset_halo_reach_mcc_13_1_0_0_1575526048.zipDownload (9.81 MB)
Original title: Halo Reach (MCC) First Reshade
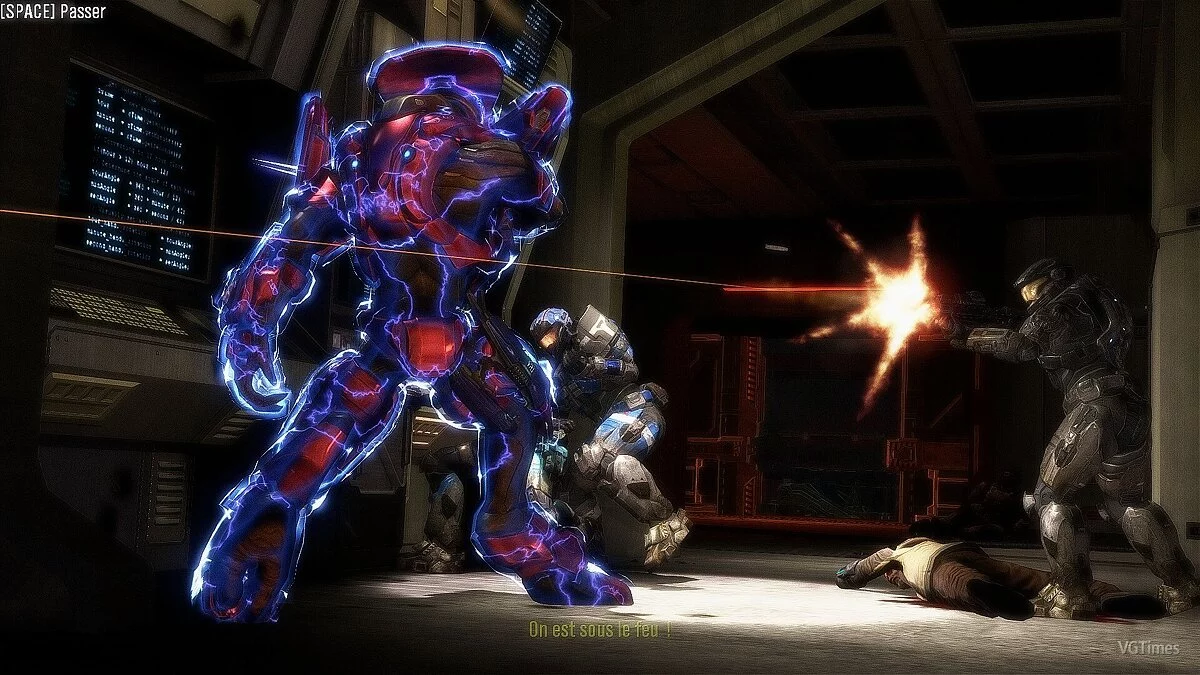
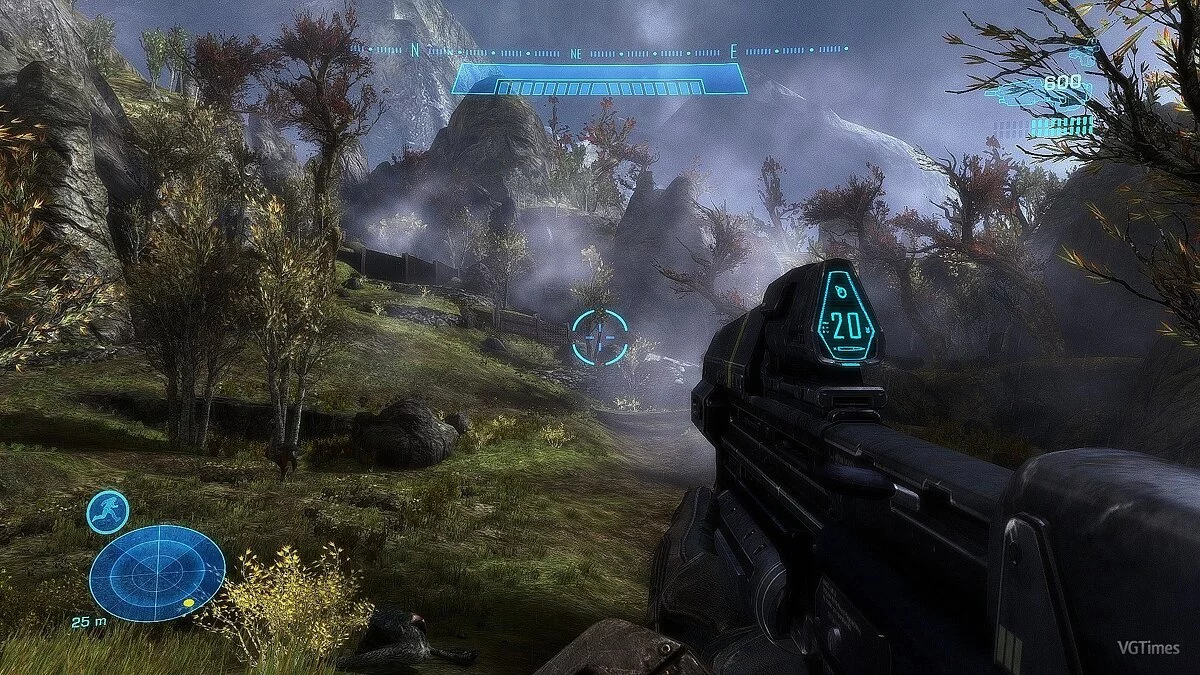
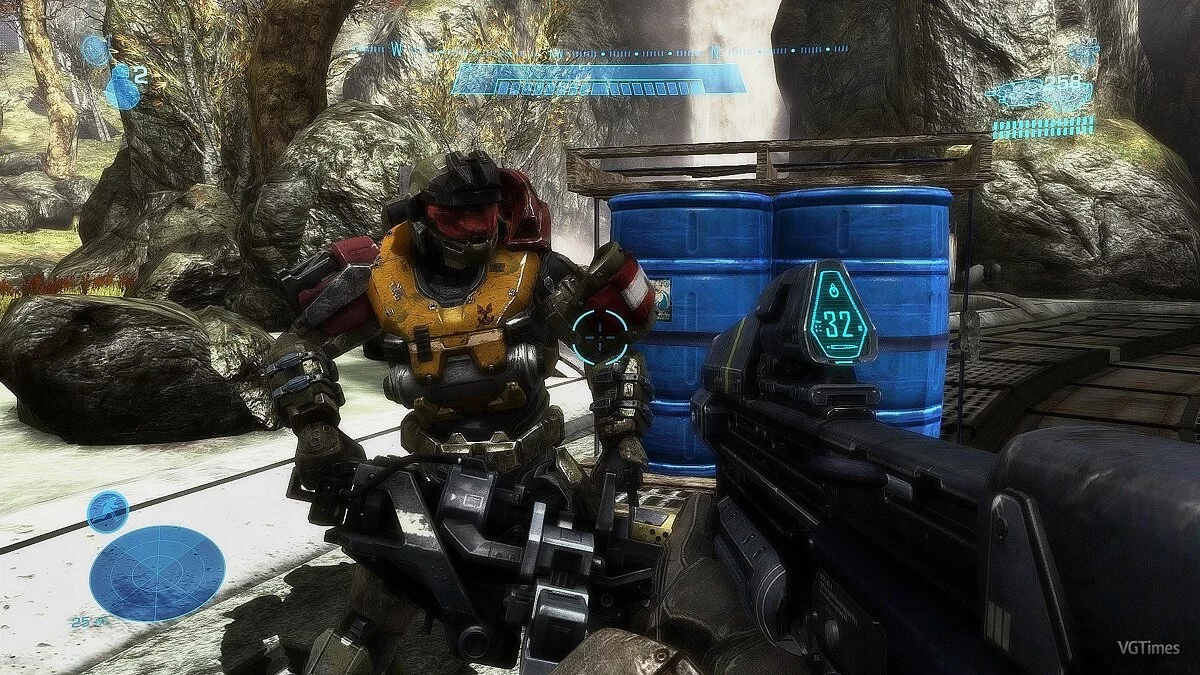
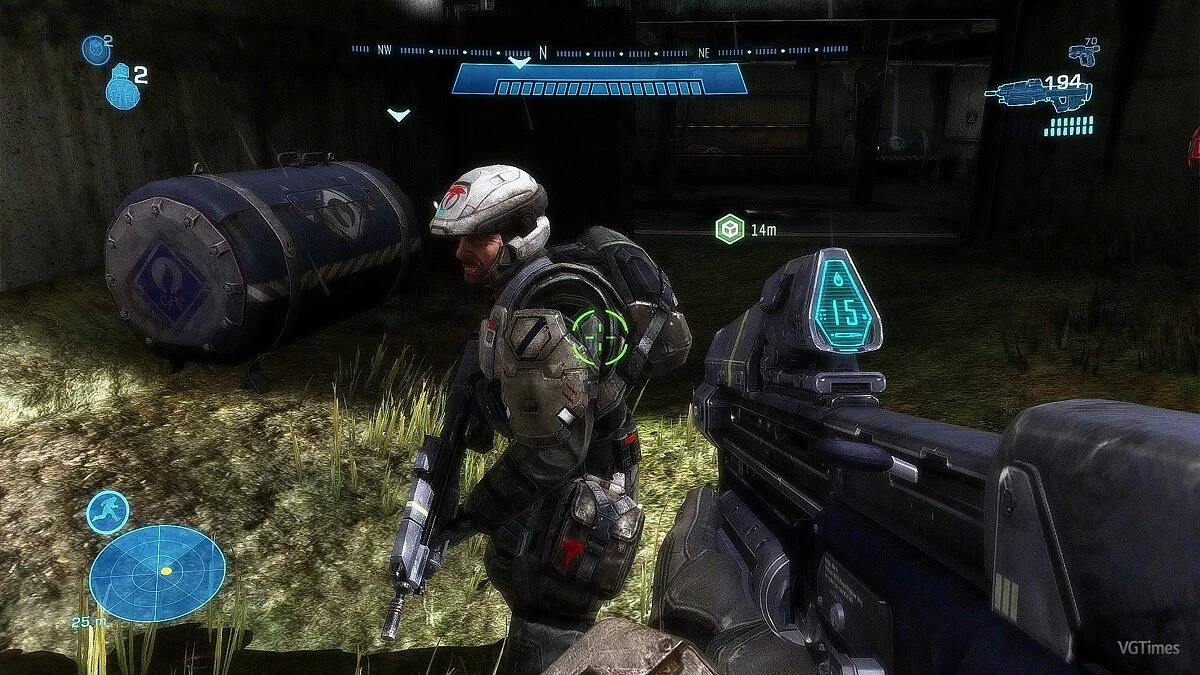
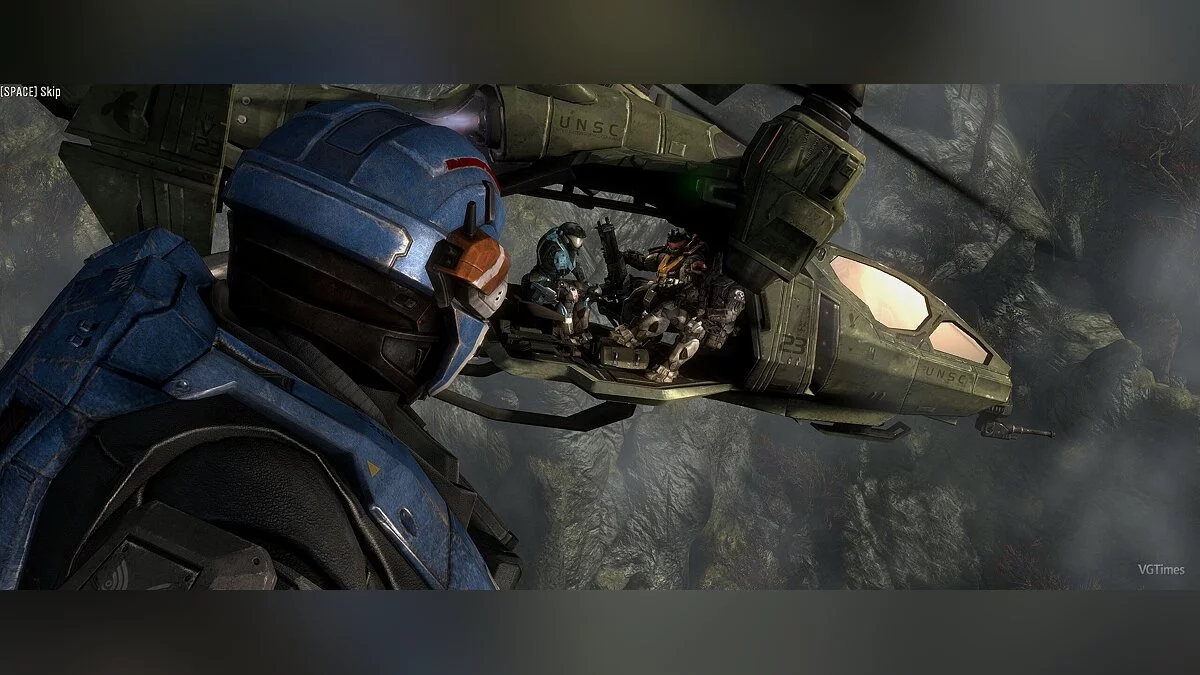
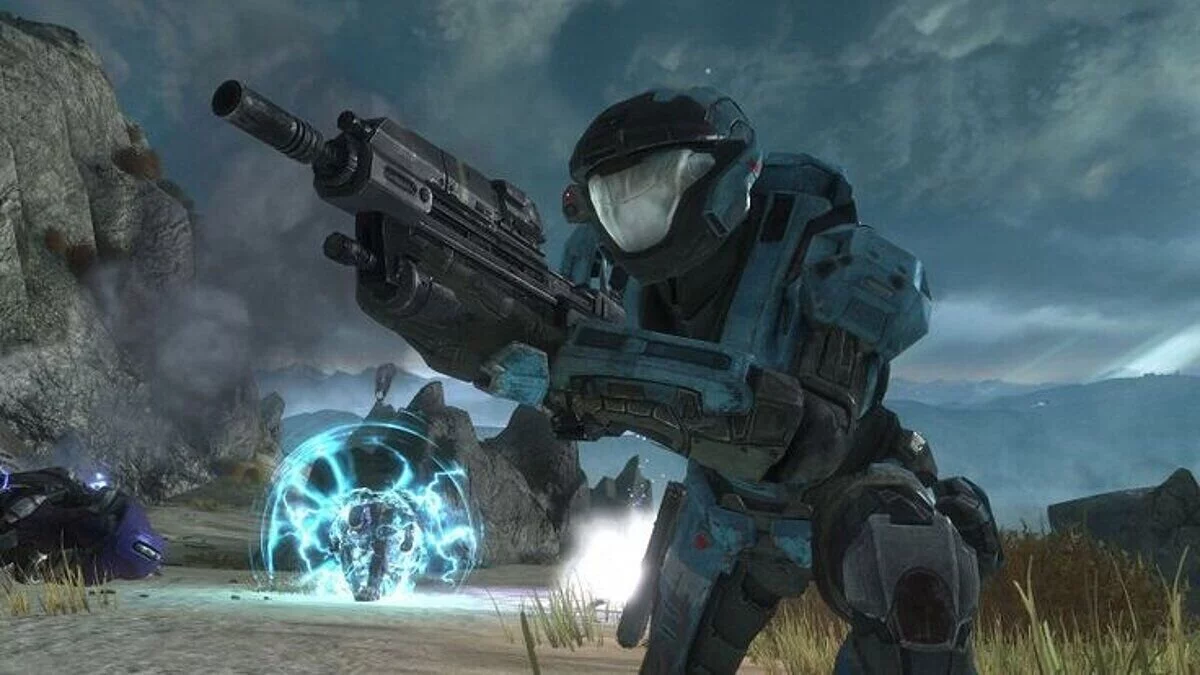
A graphical preset for Halo: The Master Chief Collection that enhances the overall visuals of the game while having minimal impact on performance.
You can choose from three ready-made presets:
High settings:
LumaSharpen, Lightroom, Clarity, Bloom, MXAO, AmbientLight, MagicDOF
Medium:
LumaSharpen, Lightroom, Clarity, Bloom, MXAO settings
Minimum:
LumaSharpen, Lightroom, BLOM
LumaSharpen: makes edges and textures smoother and sharper
Lightroom (the best and main effect): color, brightness, and dark tone level adjustments.
Clarity: shadow and lighting calibration (increases texture detail).
Bloom: white blur and adaptation according to lighting.
MXAO: realistic sunlight shadow (an important light source).
AmbientLight: realistic ambient lighting (an important light source)
MagicDOF: blurs distant objects and allows focusing on nearby objects
Installation:
1) Extract the archive to the game folder
2) Run the ReShade installer and select the game's .exe file
3) Choose the game's API — this is DX10 +
4) ReShade will request to download .fx files, select all and click "OK" to download and install them
5) After successful installation, close the program
6) Launch the game and open the ReShade menu by pressing the Home (pos1) key on the keyboard. Then click the dropdown arrow to open the dropdown menu and select the file "LUT.fx" from the list. If you do not see the file in the list, you will need to add it manually by pressing the + key next to the dropdown arrow, then enter the full file name, for example: LUT.fx, and press Enter.
To close the ReShade menu, press the Home (pos1) key on the keyboard.
Оригинальное название: Halo Reach (MCC) First Reshade
Графический пресет настроек для Halo: The Master Chief Collection, который улучшит общую картинку игры, при этом практически не влияя на ее производительность.
Вы можете выбрать один из трех готовых пресетов:
Высокие настройки:
LumaSharpen, Lightroom, Clarity, Bloom, MXAO, AmbientLight, MagicDOF
Средние:
Настройки LumaSharpen, Lightroom, Clarity, Bloom, MXAO
Минимальные:
LumaSharpen, Lightroom, BLOM
LumaSharpen: делает края и текстуры более сглаживающими и четкими
Lightroom (лучший и основной эффект): настройка цветов, яркости и уровней темного оттенка.
Clarity: калибровка затенения и освещения (увеличение детализации текстуры).
Bloom: размытие белого и адаптация в соответствии с освещением.
MXAO: реалистичная тень солнца (важный источник света).
AmbientLight: реалистичное окружающее освещение ( важный источник света)
MagicDOF: делает размытый дальний объект и позволяет сосредоточиться на ближнем объекте
Установка:
1) Распакуйте архив в папку с игрой
2) Запустите установщик ReShade и выберите файл .exe игры
3) Выберите API игры — это DX10 +
4) ReShade запросит скачивание .fx файлов, выберите все и нажмите «ОК», чтобы загрузить их и установить
5) После успешной установки закройте программу
6) Запустите игру и откройте меню ReShade, нажав клавишу Home (pos1) на клавиатуре. Далее нажмите стрелку раскрывающегося списка, чтобы открыть раскрывающееся меню, и выберите файл «LUT.fx из списка. Если вы не видите файл в списке, вам придется добавить его вручную, нажав клавишу + рядом со стрелкой раскрывающегося списка, а затем введите полное имя файла, например: LUT.fx, и нажмите Enter.
Чтобы закрыть меню ReShade, нажмите клавишу Home (pos1) на клавиатуре.
Useful links:
![Halo: Reach — Trainer (+13) [1.0 - UPD: 20.11.2020]](https://files.vgtimes.com/download/posts/2020-11/thumbs/1605943893_clms2xgdguzahwt4kfeltq.webp)
![Halo: Reach — Trainer (+8) from 04.11.2021 [WeMod]](https://files.vgtimes.com/download/posts/2021-04/thumbs/1618143735_2021-04-11_152010.webp)
![Halo: Reach — Trainer (+7) [ v1.0]](https://files.vgtimes.com/download/posts/2019-12/thumbs/1575929470_4q4ms9c1f-wbg82pqhxvtq.webp)
![Halo: Reach — Trainer (+13) [1.0 - UPDATED: 28.05.2021]](https://files.vgtimes.com/download/posts/2021-05/thumbs/1620202113_nx7syo80oiktxw1cc-yuwq.webp)
![Halo: Reach — Cheat Engine Table [UPD: 15.02.2020]](https://files.vgtimes.com/download/posts/2020-02/thumbs/1582294150_1582294123_223.webp)
![Halo: Reach — Trainer (+8) from 09.04.2022 [WeMod]](https://files.vgtimes.com/download/posts/2022-09/thumbs/1662283850_2022-09-04_123004.webp)