

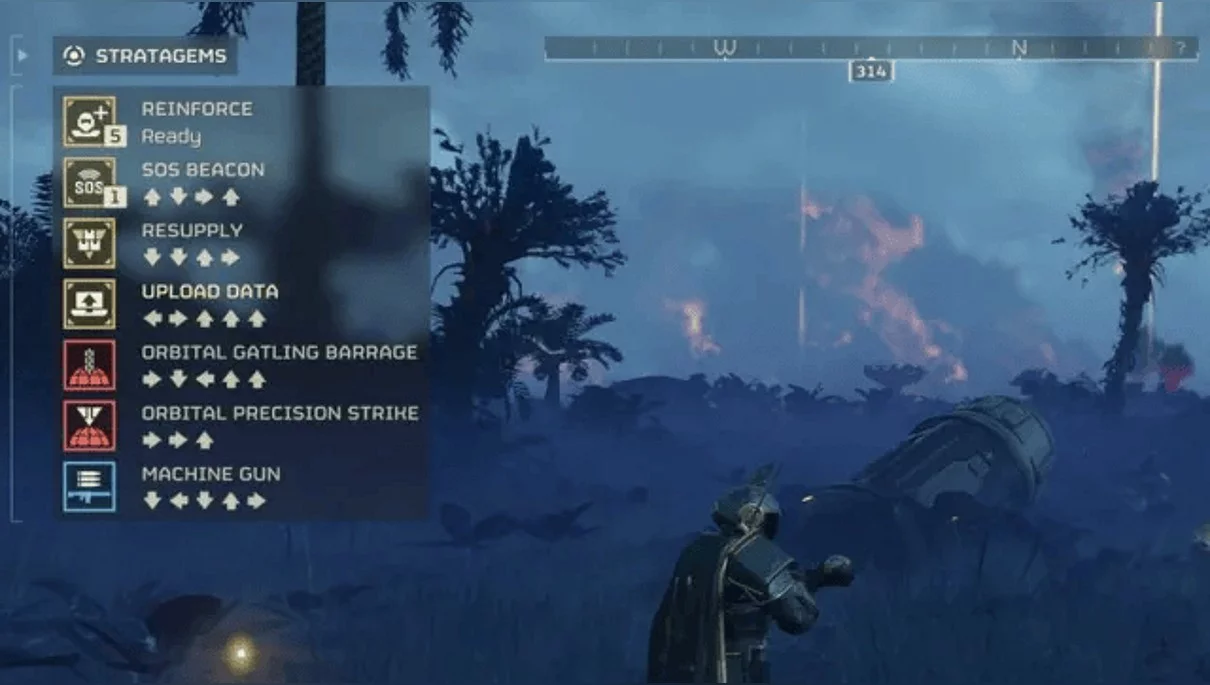
Stratagems represent a vast array of powerful weapons and support equipment that you can call down from your ships during missions in Helldivers 2. Each player is allowed to equip up to four stratagems, and the right choice can play a key role in successfully completing missions. In this guide, we have compiled the best stratagems for each category.
One of the most important mechanics in Helldivers 2 is the combination of stratagems, which can be used to call for fire support, request ammunition and additional weaponry, and deploy automatic turrets. Below, we will describe the best stratagems, the codes (or key combinations) activating them, whether you can equip identical stratagems, and how to skillfully use this mechanic in battle.
Can you choose identical stratagems
In the first part of the game, you could choose several identical stratagems for your equipment. However, in Helldivers 2, after selecting stratagems, they become greyed out, indicating that you cannot select them again.
Best stratagems of each category
Stratagems in Helldivers 2 have different purposes and are used depending on the specific mission objectives. Upgrades occur in accordance with a specific element of the main ship, which remains in orbit of the planet during missions. Let's look at the best stratagems when upgrading ship elements.
Patriotism Administrative Center
The Administrative Center offers a variety of essential support stratagems. Support weapons provide you with the firepower needed to successfully complete missions. The need for them arises as the standard equipment struggles with increasing difficulty. The best of them are presented below.
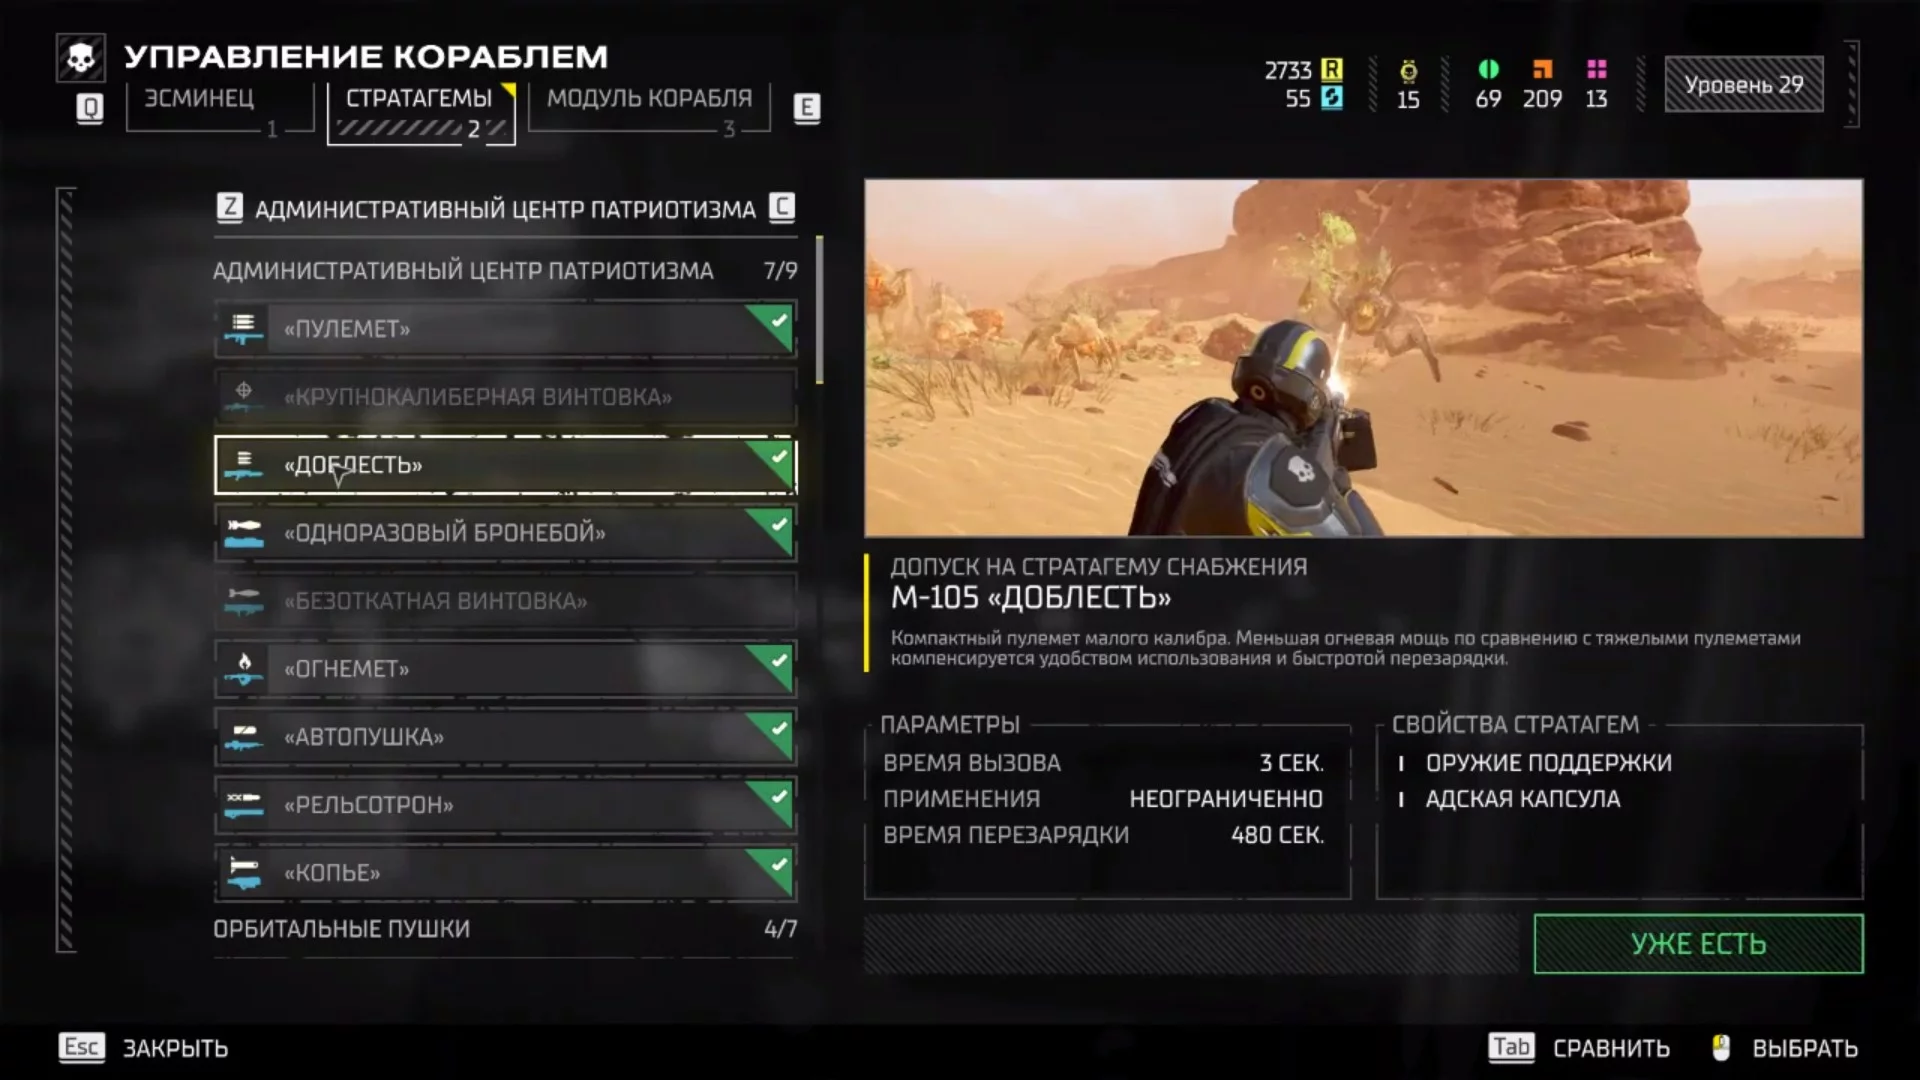
M-105 «Stalwart»
- Activation: Down, Left, Down, Up, Up, Left.
The «Stalwart» machine gun is suitable for hitting numerous weak enemies. Its significant magazine capacity, low damage, stable vertical recoil, accuracy, and adjustable rate of fire allow this handheld machine gun to easily destroy a large Swarm of Terminds.
Unlike its more powerful counterpart, it can be used more steadily and even reloaded on the move, making it mobile and significantly reducing the likelihood of accidental damage. However, it is ineffective against tank units and generally does not have a significant impact on them.
Nonetheless, it can still deal damage to weak spots, such as shooting at the head or limbs of automatons, as well as unprotected joints of armored Terminds.
APW-1 «Anti-Material Rifle»
- Activation: Down, Left, Right, Up, Down.
The «Anti-Material Rifle» is an effective support sniper weapon available for selection before a mission or for finding and picking up at points of interest and target zones during missions. It is recommended to acquire this stratagem, especially if you have limited options for using armor-piercing weapons.
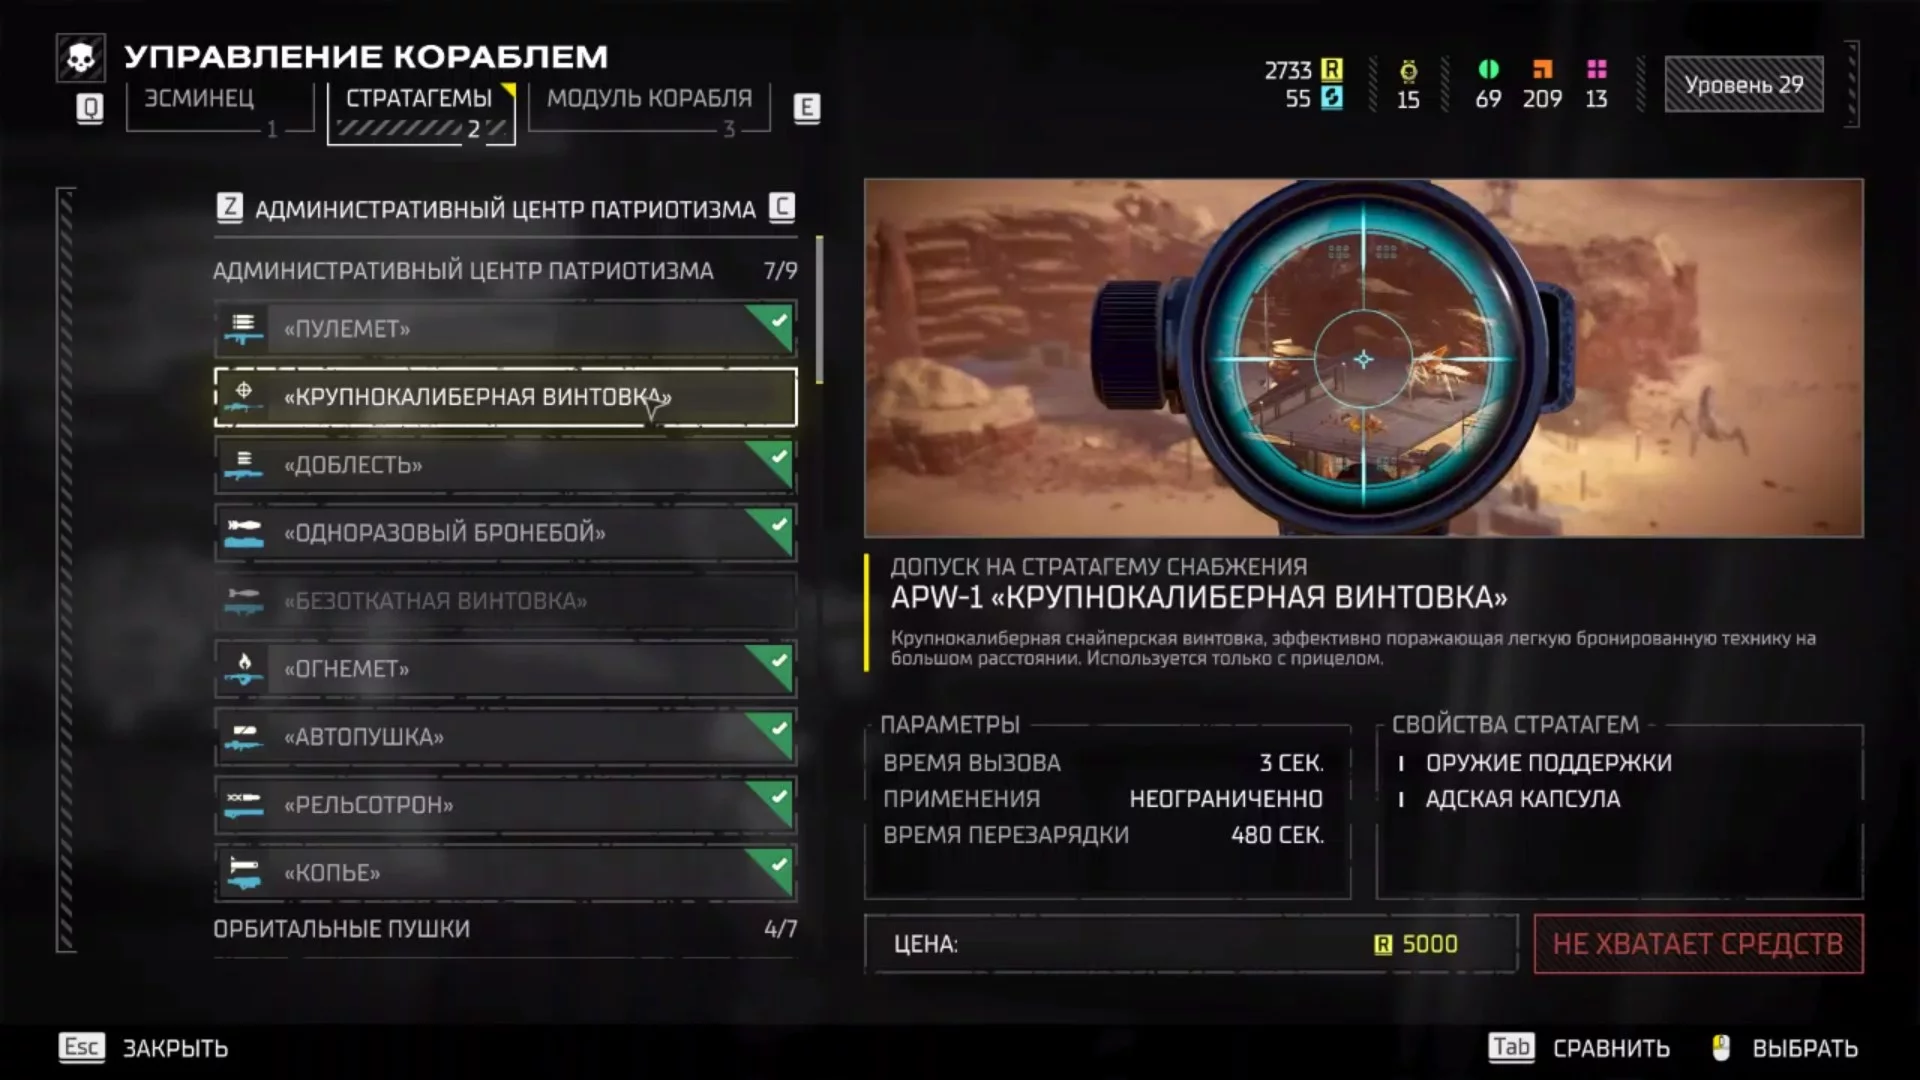
It's wise to reserve this rifle for medium to high-level enemies, using it to eliminate threats that standard weapons cannot handle. Its long range means that when invading an enemy outpost or nest, it's better to position yourself at a safe distance and attack larger threats in advance before moving forward.
GR-8 «Recoilless Rifle»
- Activation: Down, Left, Right, Right, Left.
«Recoilless Rifle» serves as an excellent addition to the arsenal collection in Helldivers 2, especially if you aim to effectively deal with armored enemies. This weapon requires high precision, patience, and support from teammates ready to provide you with a quick reload since the rifle comes with a support backpack that reduces reloading time by 80% if used by your teammates.
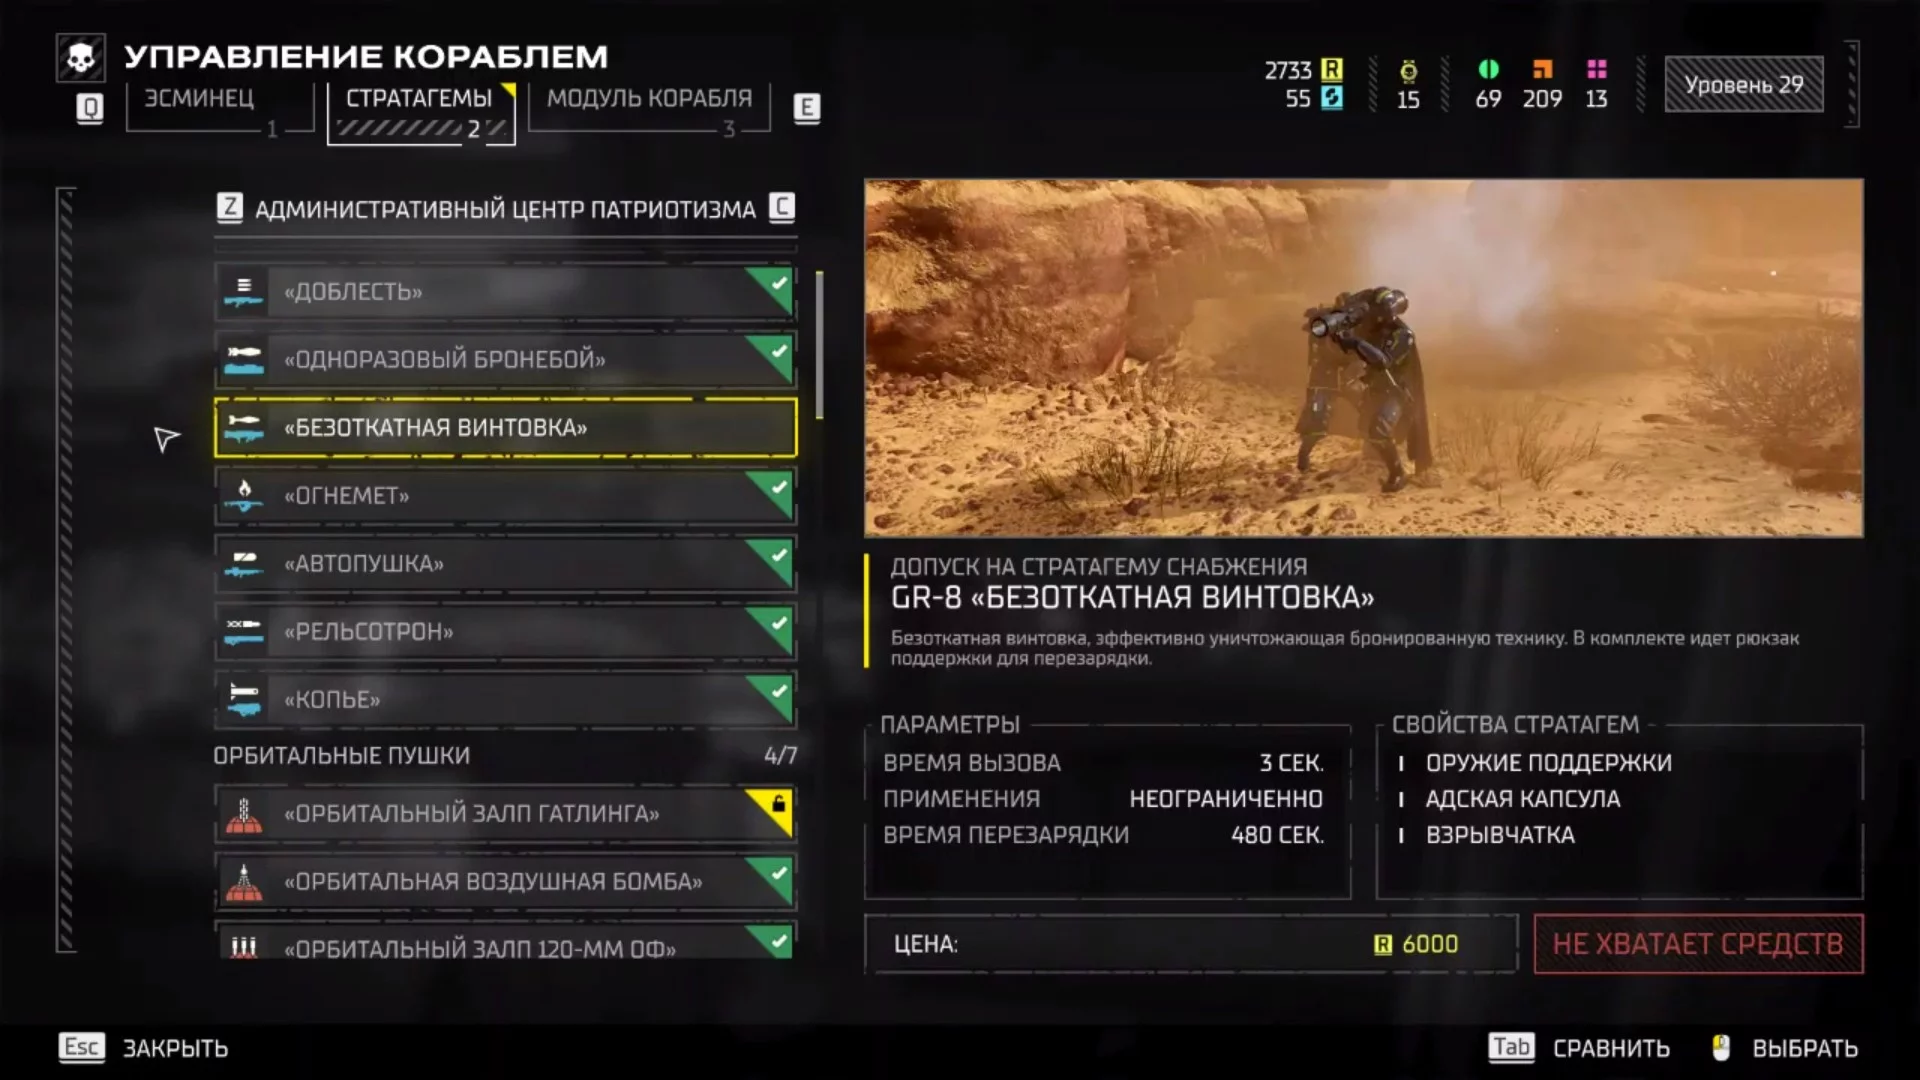
Using the recoilless rifle, you can easily handle low-level enemies, but its primary purpose is the destruction of massive armored targets. It's important to aim for the limbs, not the head, to successfully take down enemies. However, remember that this weapon requires at least two shots to destroy larger opponents. Keep a safe distance between you and the enemies to avoid damage from the blast radius of the shot.
AC-8 «Autocannon»
- Activation: Down, Right, Left, Down, Down, Up, Up, Right.
In Helldivers 2, the autocannon becomes an unparalleled means of combating automatons, thanks to its ability to penetrate their light armor and quickly eliminate even those enemies typically considered durable. One of its advantages is the economical use of ammunition and relatively quick reload, making it the ideal choice for efficiently destroying a large number of targets.

RSS-422 «Railgun»
- Activation: Down, Right, Left, Down, Down, Up, Left, Down, Right.
«Railgun» is a stratagem that drastically changes the game's dynamics. Unlocking this weapon allows for easy headshots on Bile Titans and stripping leg armor off Chargers before finishing them off. This weapon is widely used at higher difficulty levels, thanks to its efficiency and ability to quickly destroy armored targets.
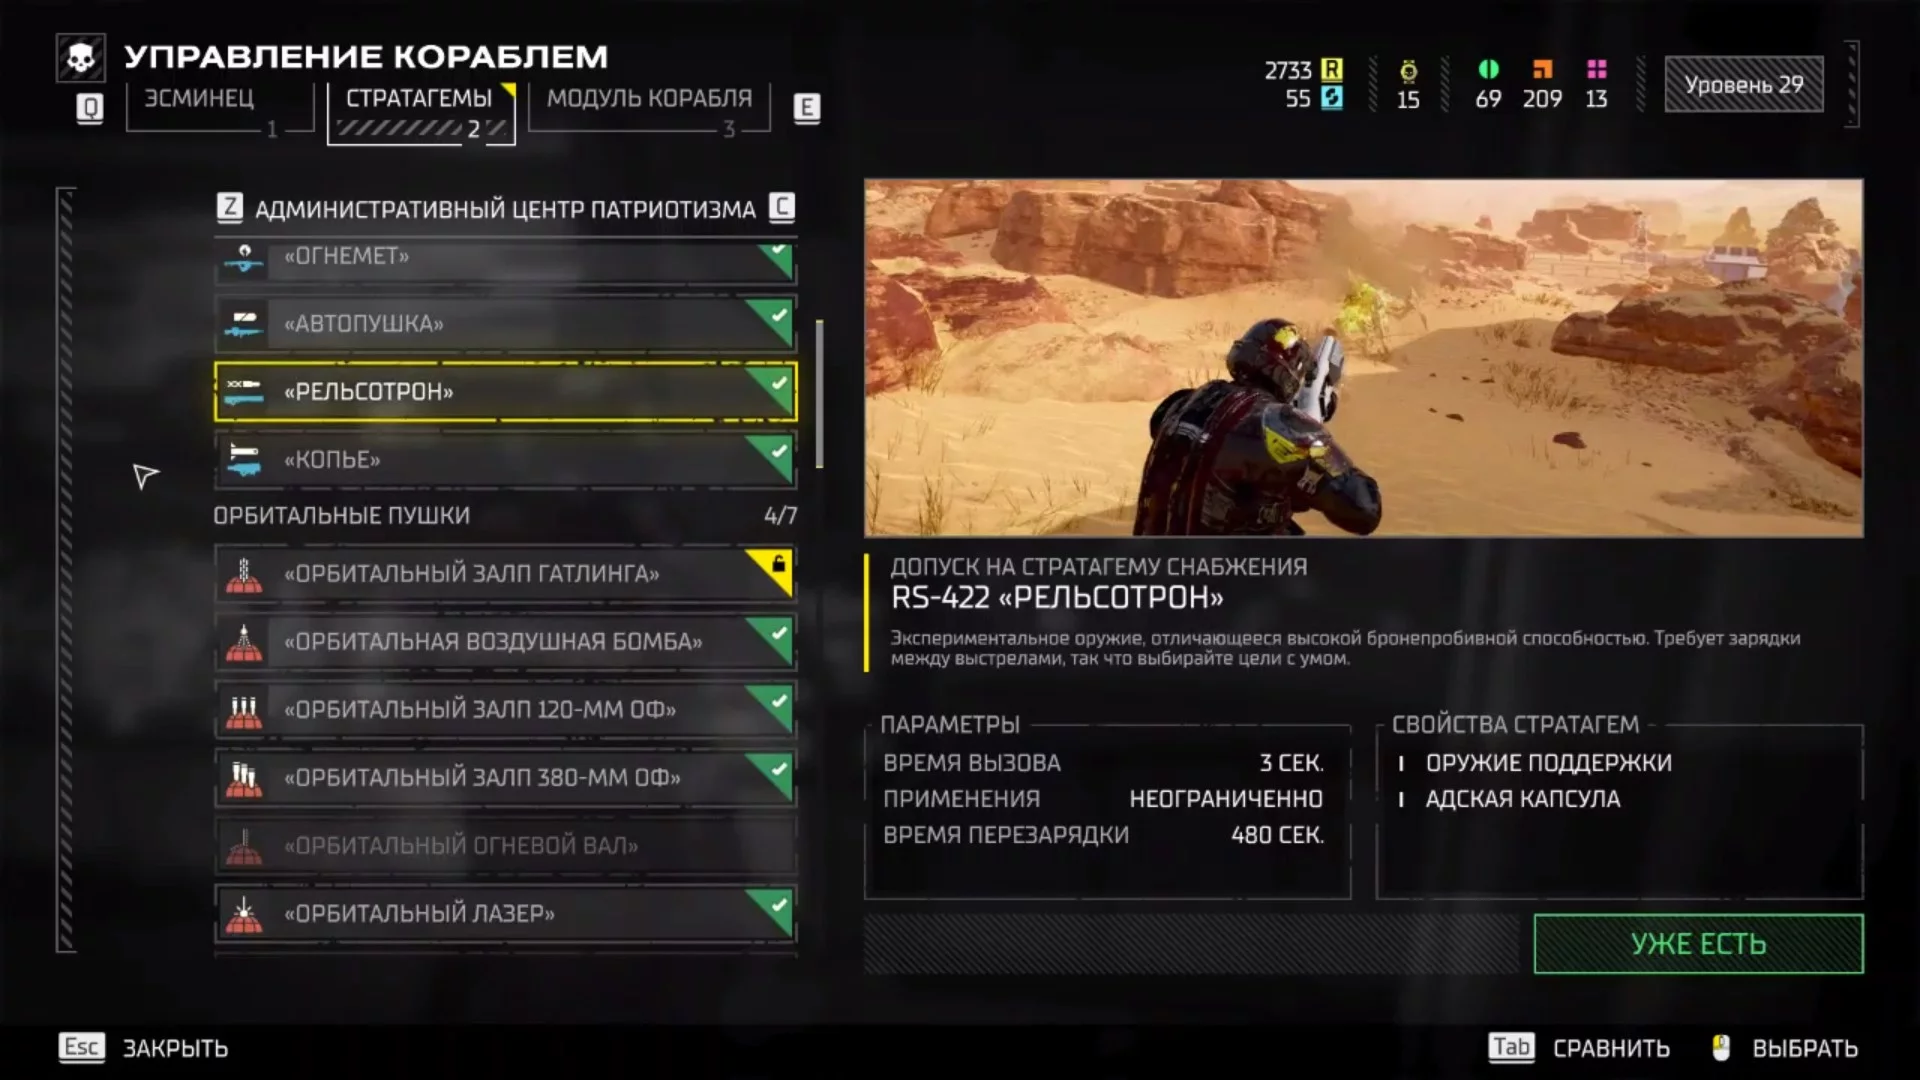
The RS-422 Railgun becomes available to the player at level 20, and switching the mode from «Safe» to «Unsafe» brings numerous advantages. It allows for easily decapitating Bile Titans with a few precise shots. However, caution is advised: the long charge time in «Unsafe» mode can lead to the weapon exploding in front of the player.
Orbital Guns
Among the most versatile stratagems in Helldivers 2 are the orbital strikes. They are best used for destroying specific targets or calling in heavy artillery against large fortifications or groups of enemy units. Below are some of the best ones.
«Orbital Gatling Barrage»
- Activation: Right, down, left, up, up.
«Orbital Gatling Barrage» is an offensive stratagem that delivers a powerful overhead strike. This tactical skill calls down a stream of explosive rounds from rapidly rotating «Destroyer» cannons. The effectiveness of the orbital Gatling barrage is best demonstrated in open areas, where enemies are concentrated close to each other or key points.
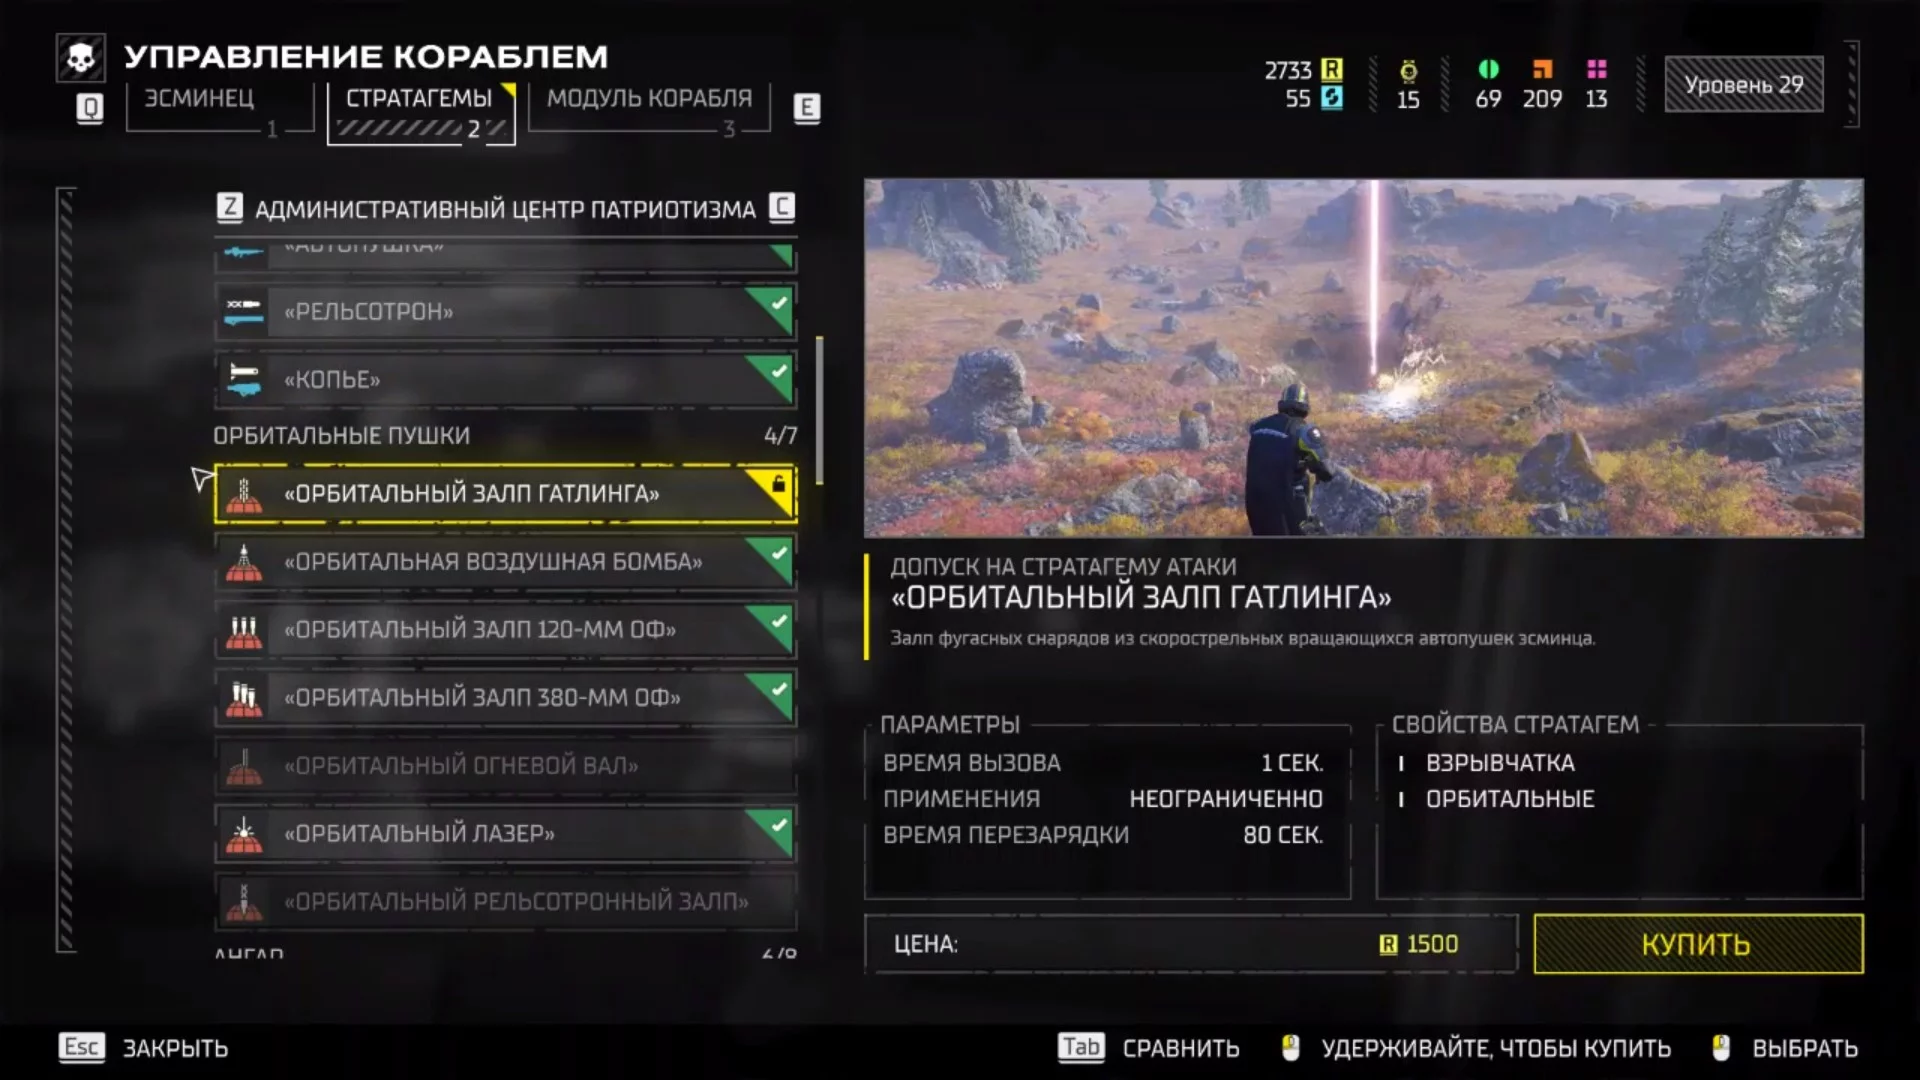
The unique feature of the orbital Gatling barrage is its ability to be managed with a wide spread, which is a challenge for other orbital attacks. Thanks to its quick call-in and short cooldown period, it is ideally suited for instant response to enemy movements or creating favorable conditions during offensive operations.
«Orbital Laser»
- Activation: Right, up, left, up, right, left.
The Orbital Laser is a multi-target skill. It creates a long beam that attacks every enemy in its area of effect, also causing the surface to ignite, dealing additional damage.
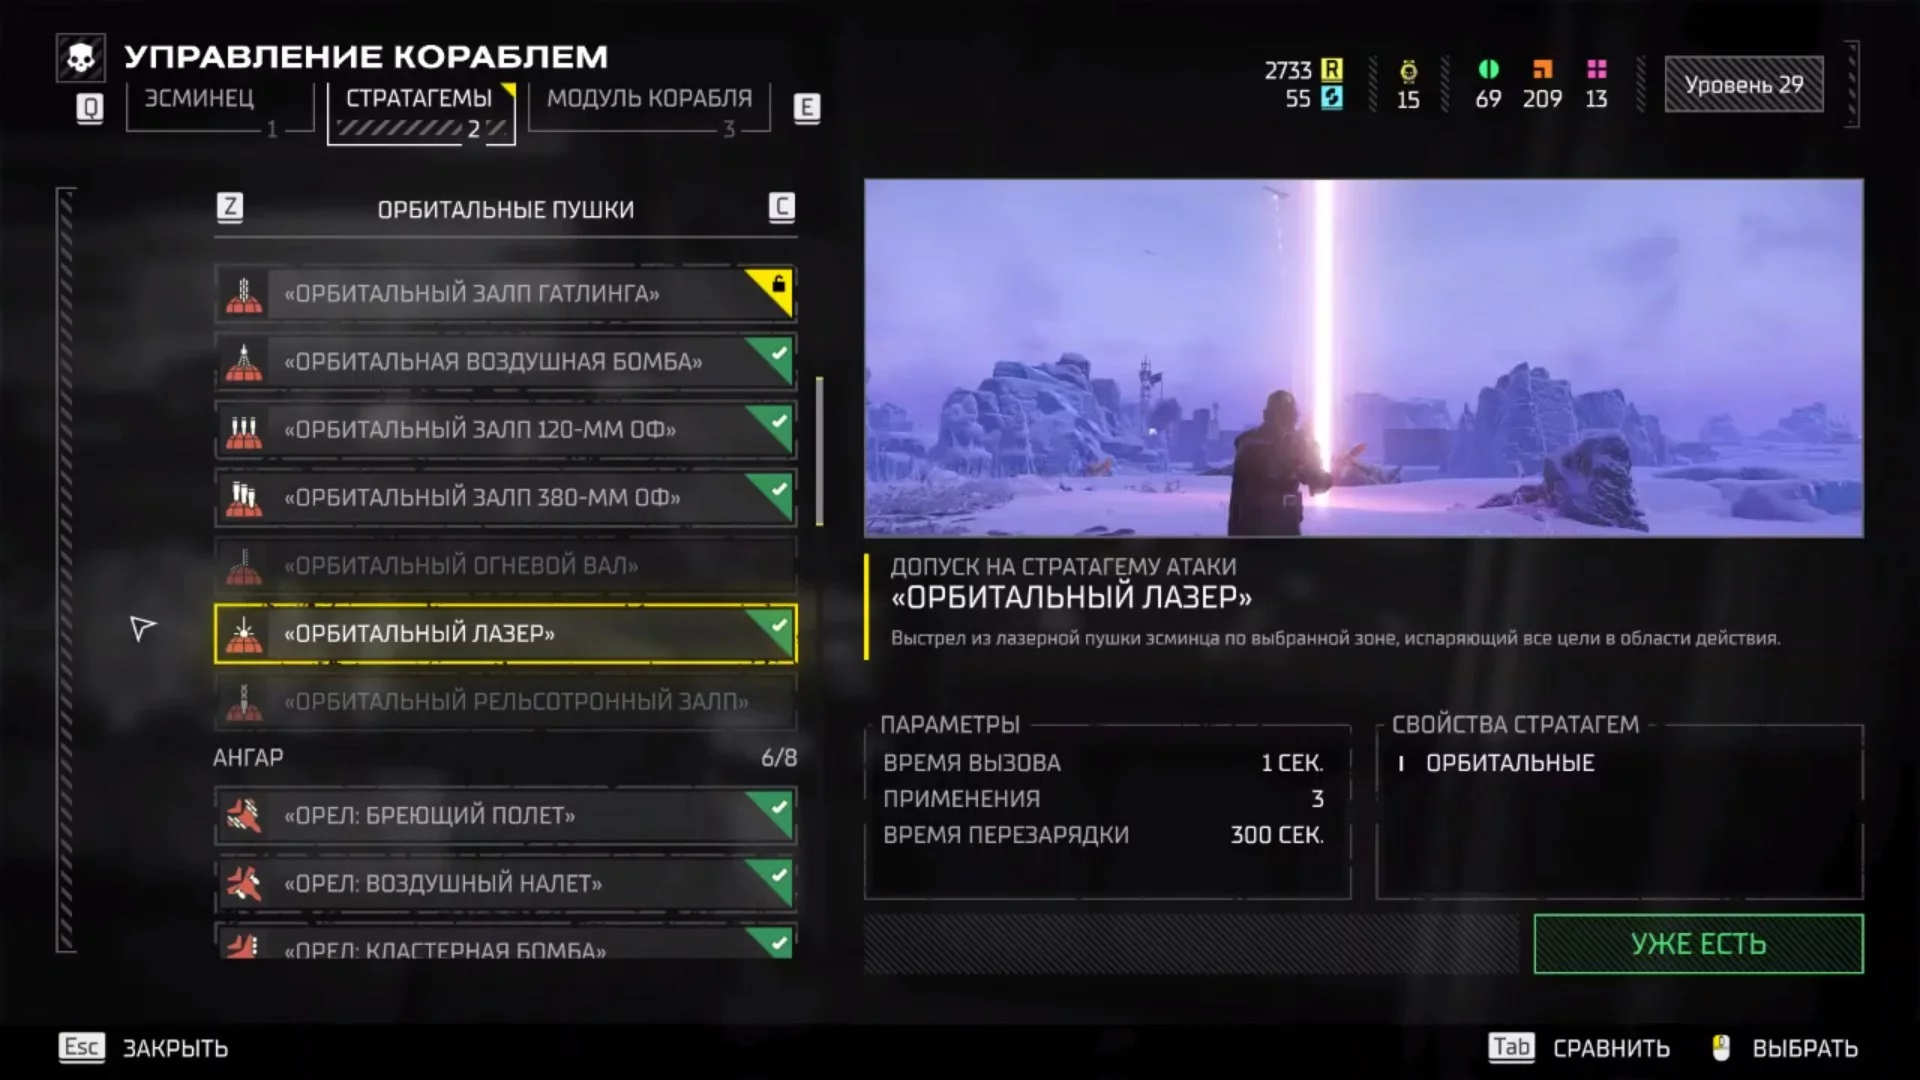
It's an excellent means for damaging large armored targets, creating breaches in insect offensives, and if necessary, providing a safe retreat. It's important to remember that the Orbital Laser will automatically target the nearest enemies, making it dangerous for all within its range.
«Orbital Railcannon Strike»
- Activation: Right, up, down, down, left.
It's a multifunctional weapon capable of destroying almost everything in its path. Particularly effective in missions with bile titans and brutes. The ship in orbit selects the largest target near the beacon and fires a high-velocity projectile from the railcannon at the enemy's anticipated position. In the absence of large enemies, it automatically targets a smaller one, which can be useful for destroying small groups of enemies.
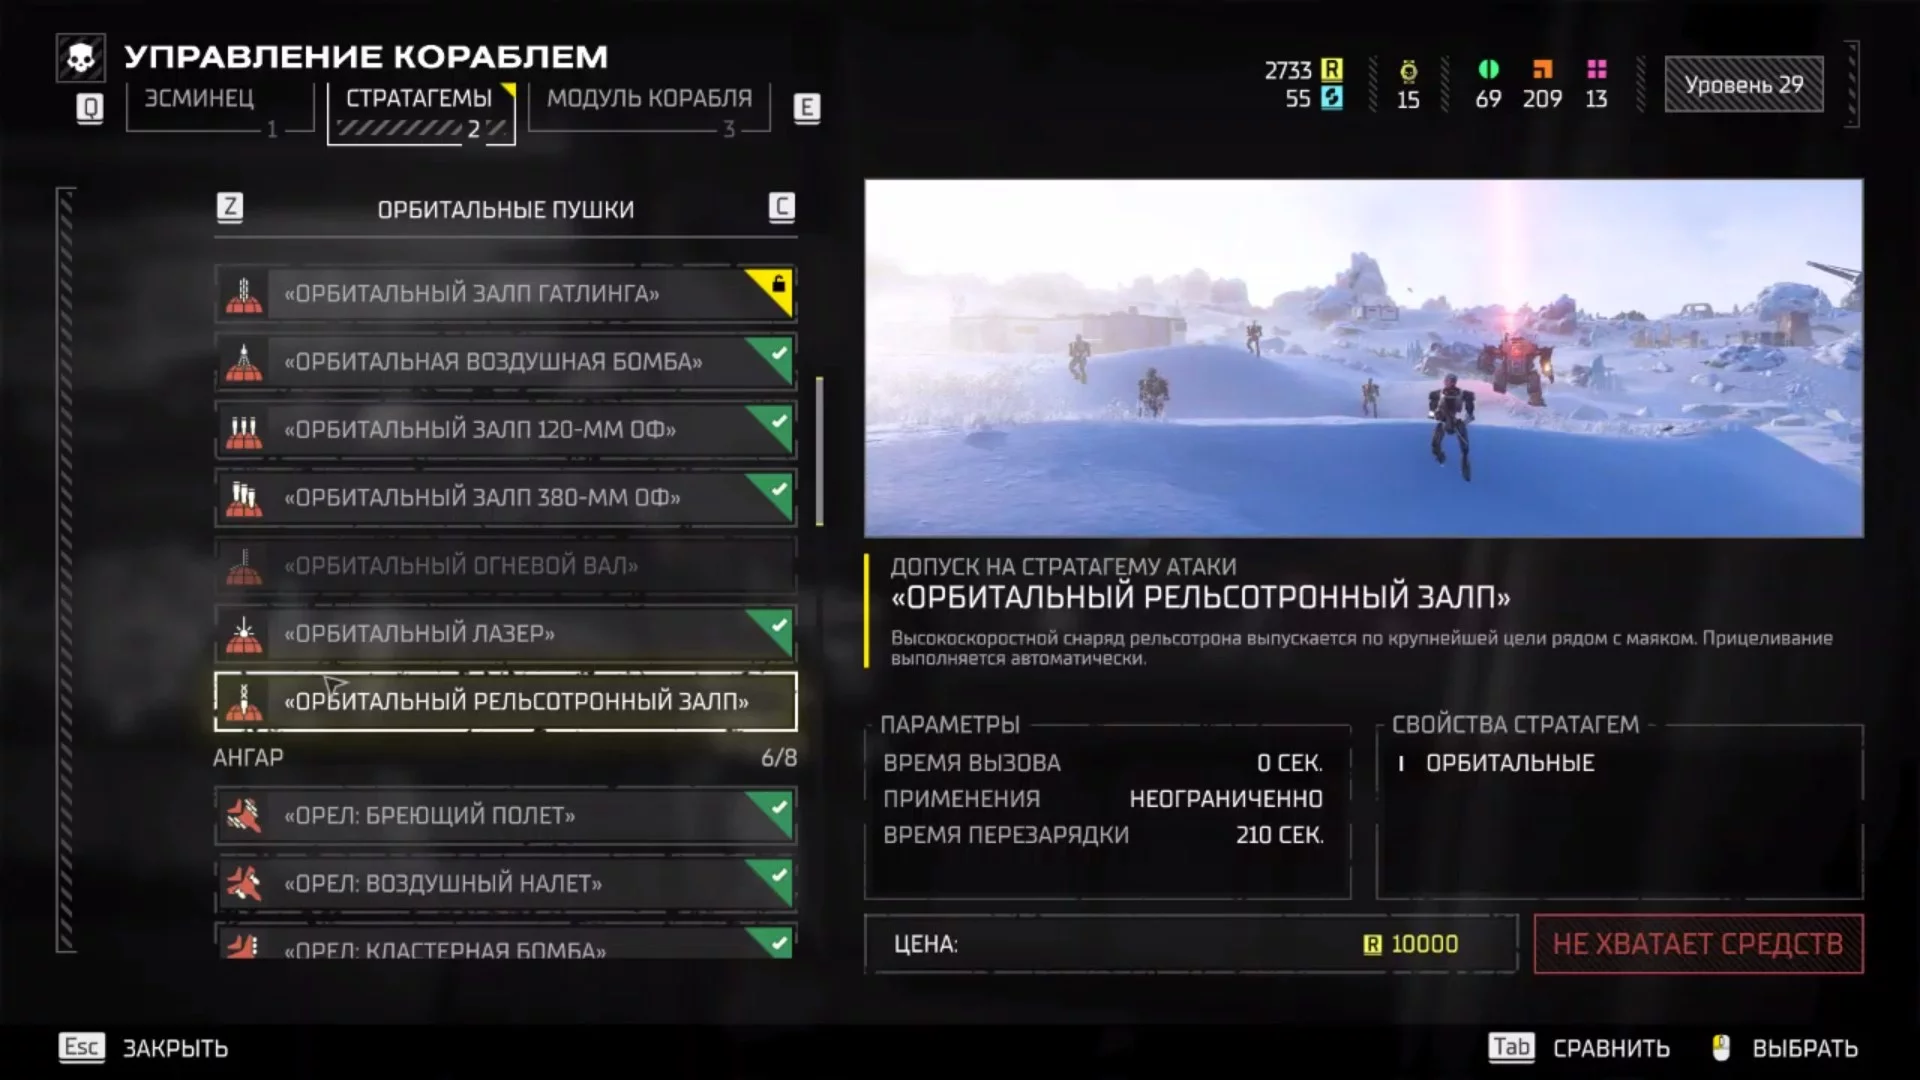
The Railgun successfully destroys Cyborg IFVs and Bug Tanks with a single shot, but Bug Giants sometimes survive with minimal health. This type of attack ignores enemy armor and allows hitting the Enlightened Obelisk even in its protected state, which is one of the ways to achieve the «Knock-knock. Who's there?» achievement.
Hangar
Hangar stratagems—also often called «Eagle» stratagems, as that's the name of the close air support plane that delivers them behind you. Similar to orbital stratagems in that they're typically called in either to destroy structures or to eliminate threats. However, they differ in that the «Eagle» pilot eventually has to return to your ship to rearm after a few uses, and then a cooldown period of 150 seconds begins.
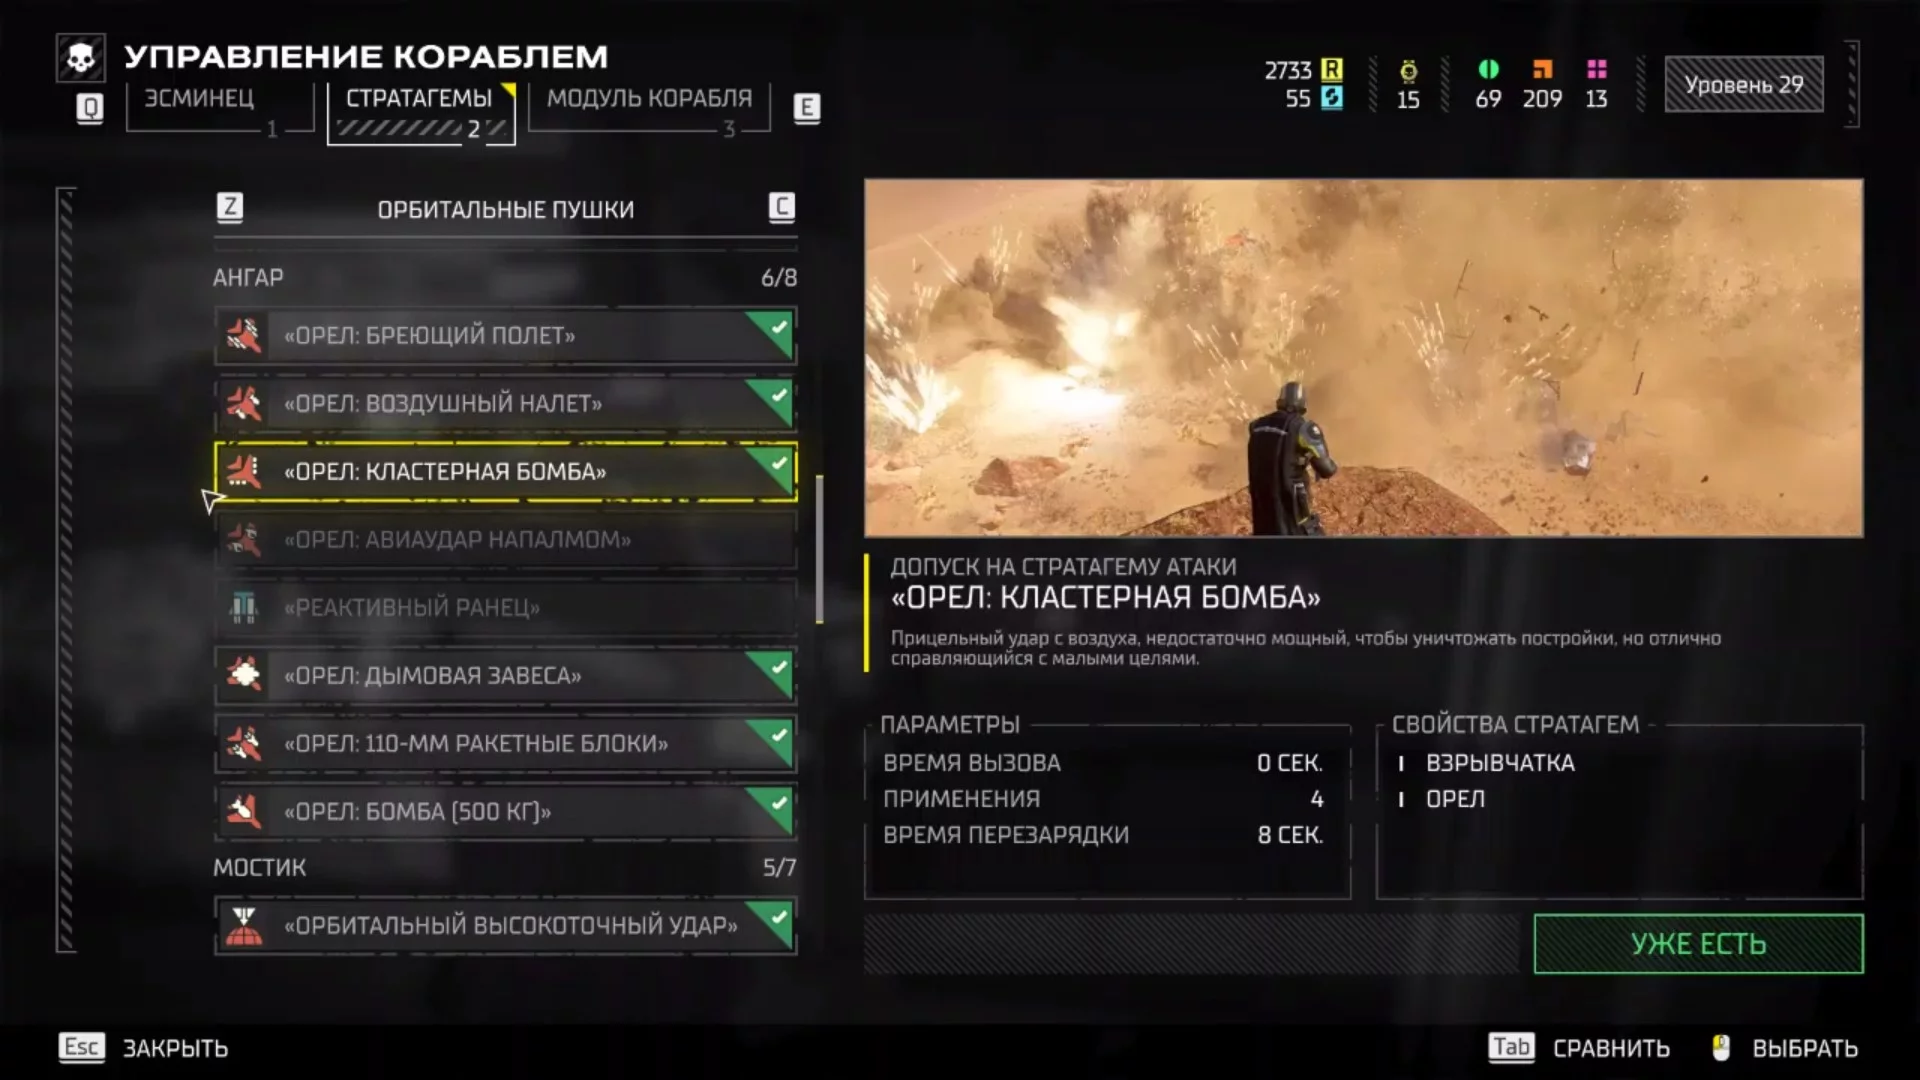
«Eagle: Cluster Bomb»
- Activation: Up, right, down, down, right, down.
This stratagem is ideal for confronting large groups of enemies, and since it's the only «Eagle» ability that can be used four times, each resupply will be particularly effective. However, it can cause harm to allies if used improperly. It's important to consider that the bombs will fall horizontally in the direction the beacon was thrown. We recommend retreating a bit further from the beacon to more accurately assess the impact zone.
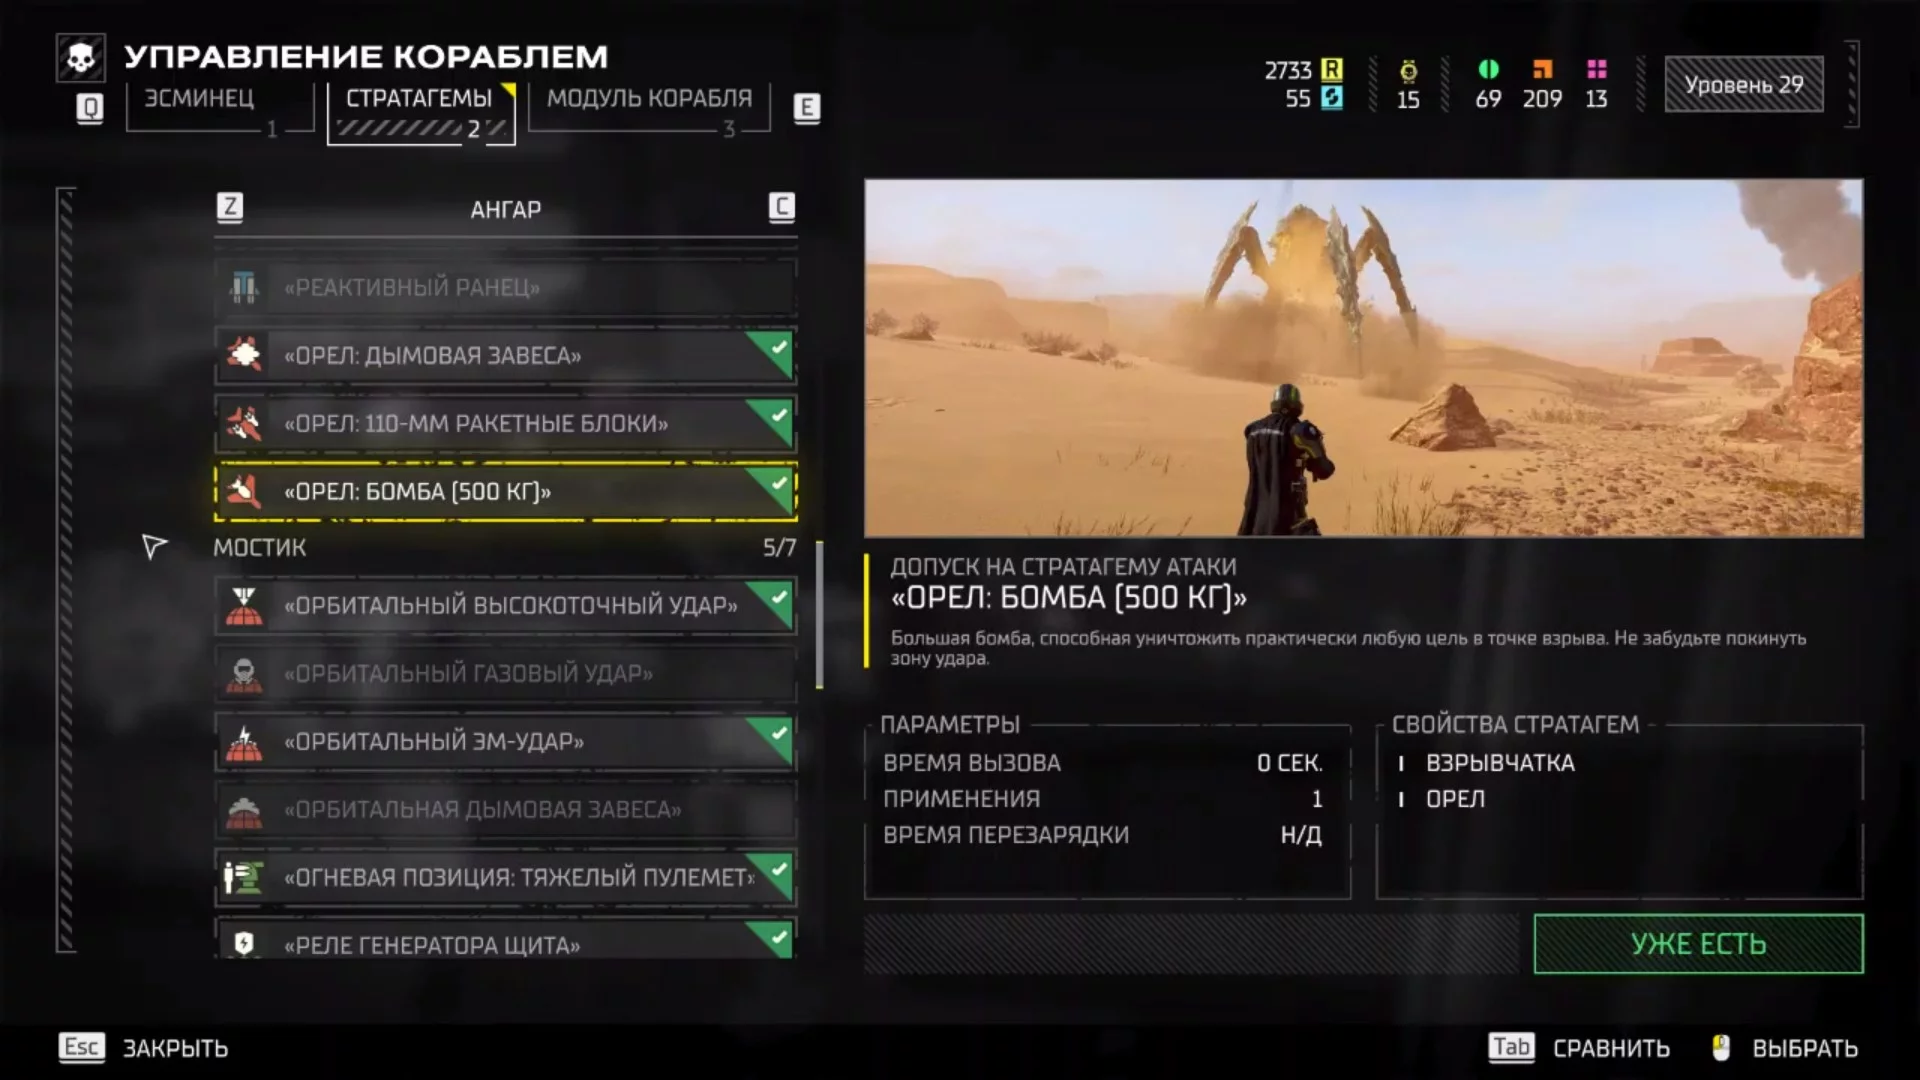
«Eagle: Bomb [500KG]»
- Activation: Up, left, down, down, down.
While the use of a 500-kilogram bomb may not be too practical, it provides unforgettable experiences from its use. A few seconds after the beacon is thrown, a powerful explosion occurs, destroying everything in the designated area. However, the limited number of uses makes this choice less preferable compared to other stratagems. Nonetheless, if your goal is to create a massive explosion at the center of a large gathering of enemies or an insect nest, then this option is perfect.
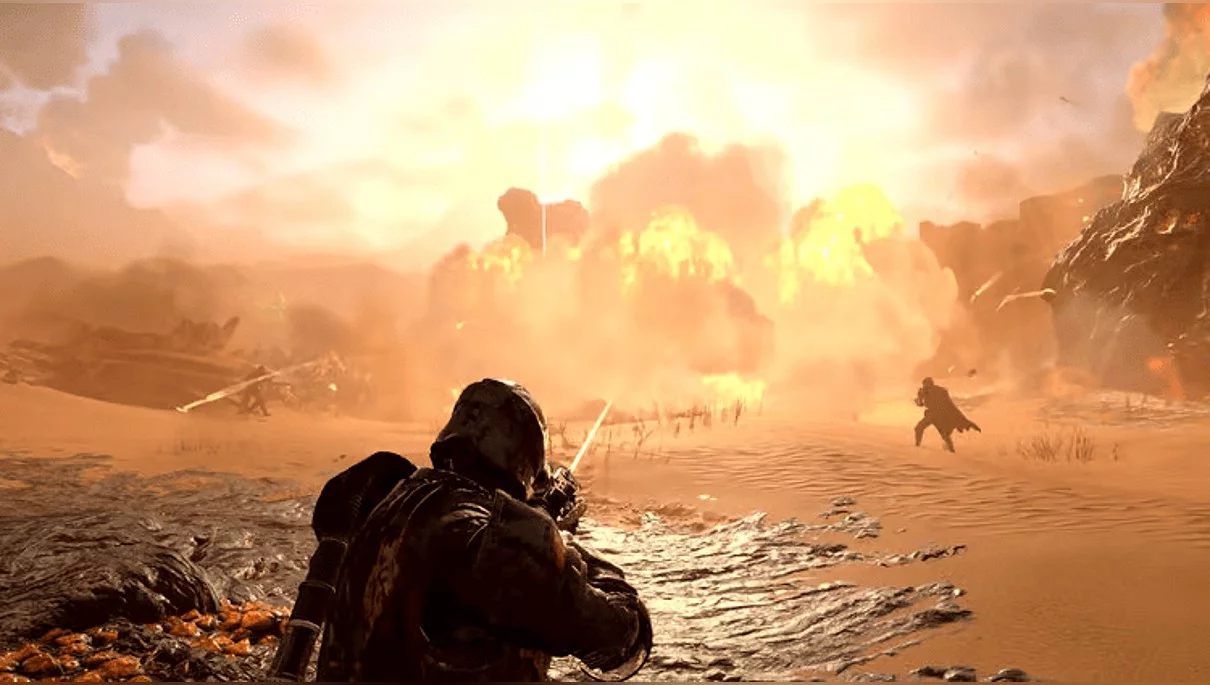
Despite the significant damage this type of bomb inflicts on surrounding objects and enemies, it has reduced effectiveness in clearing large territories.
The stratagem also implies some risks, as unlike other bombings where the «Eagle» is directed from left to right, when dropping the 500-kilogram bomb, the «Eagle» is directed from behind the Helldiver who called the strike, similar to artillery shelling. This makes it a somewhat risky option for use on high terrain, as the bomb can accidentally hit the position of allies located on an elevation.
Bridge
Whether it's clearing fortified enemy positions, disrupting enemy offensives, or destroying key targets, various bridge stratagems are a vital advantage in the Helldivers' arsenal, allowing them to turn the tide of battle and secure victory in the ongoing struggle. Let's examine the most popular among them.
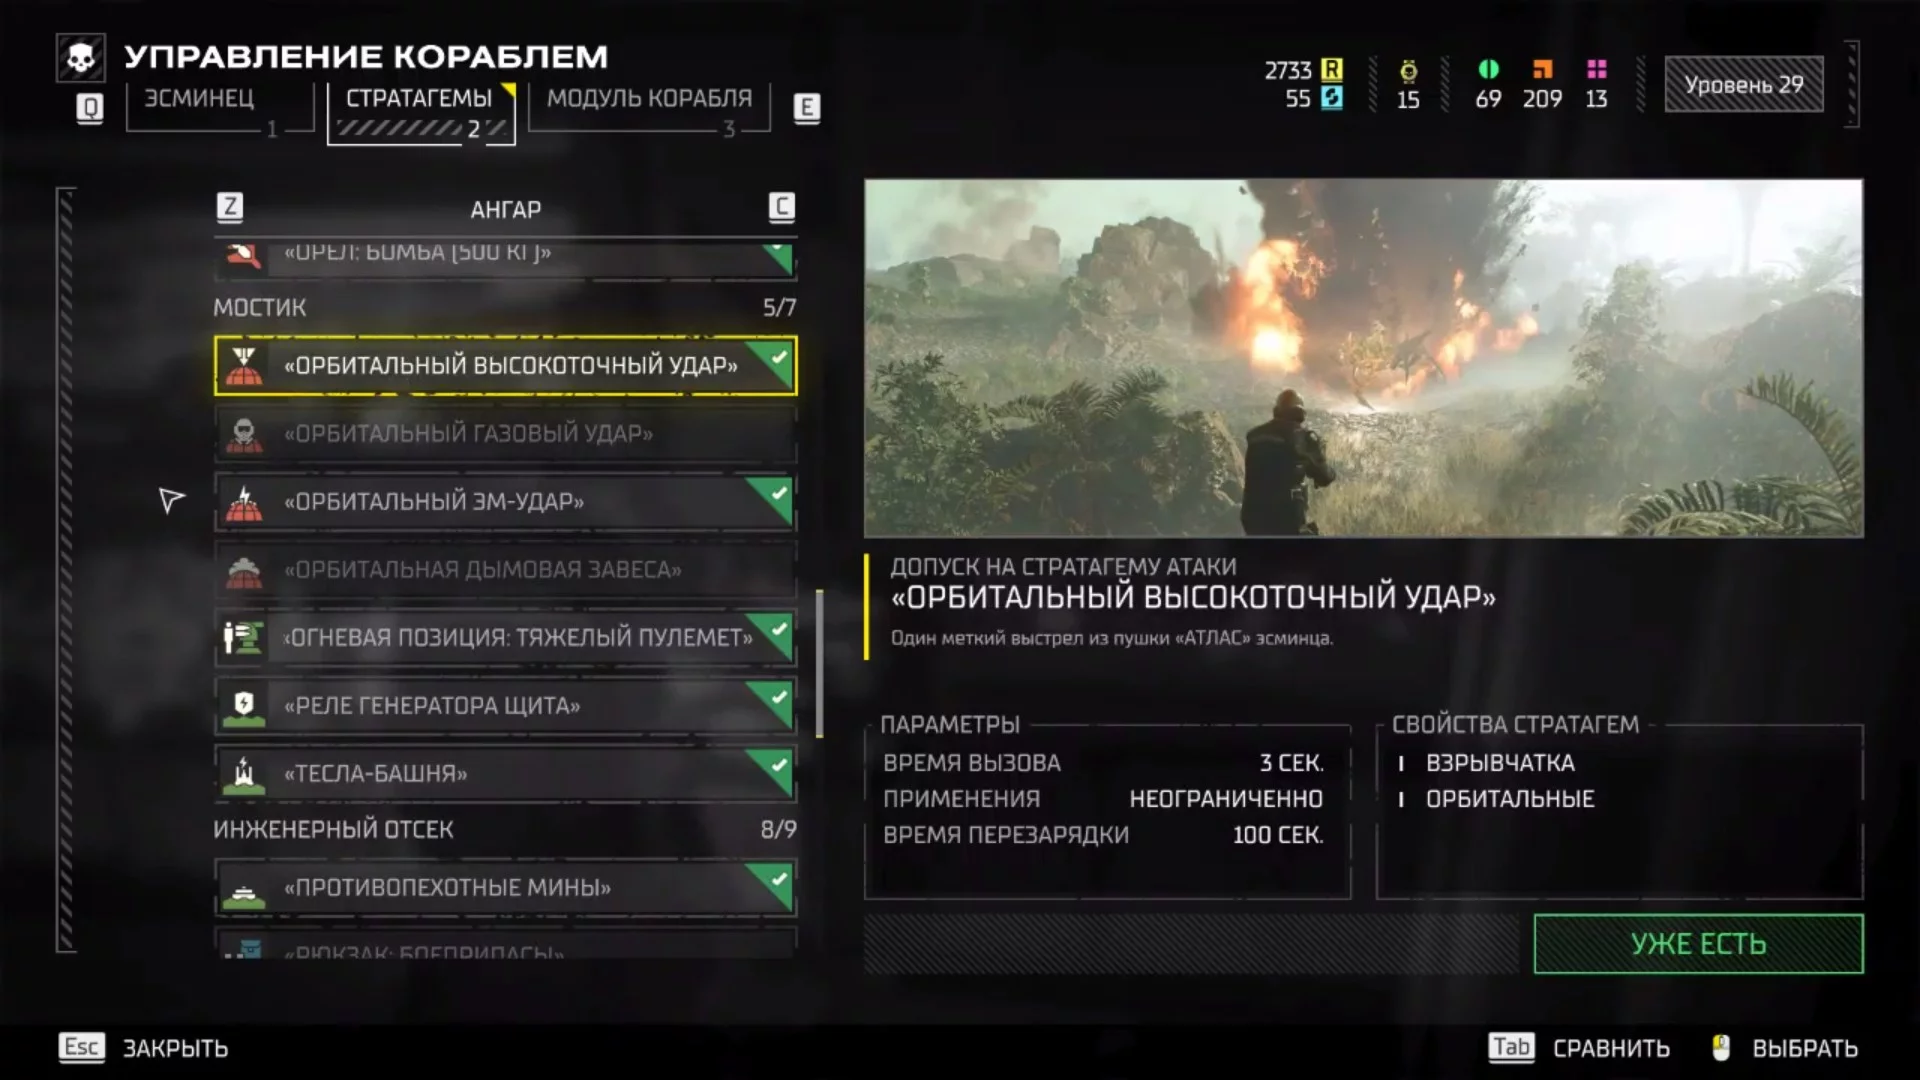
Orbital Precision Strike
- Activation: Right, right, up.
Thanks to its short cooldown and the ability to be used an unlimited number of times, the Orbital Precision Strike stands out as the best option among bombardments. It doesn't require a wide area of effect, as you're usually targeting a specific armored enemy. If your goal isn't large groups of enemies, then Eagle stratagems might be a better choice. Unlike a massive carpet bombing, which can prevent you from entering an area, harm allies, and still not reach the target, this precise strike is much more effective.
FX-12 Shield Generator Relay
- Activation: Down, up, left, right, left, down.
The Shield Generator Relay stratagem stands out as a key defensive tool in Helldivers 2, providing a significant advantage on the battlefield. It allows players to create a large dome, effectively protecting against ranged attacks. Designed for intense combat scenarios, FX-12 highlights the tactical depth of the game and fits perfectly into the cooperative gameplay mechanics.
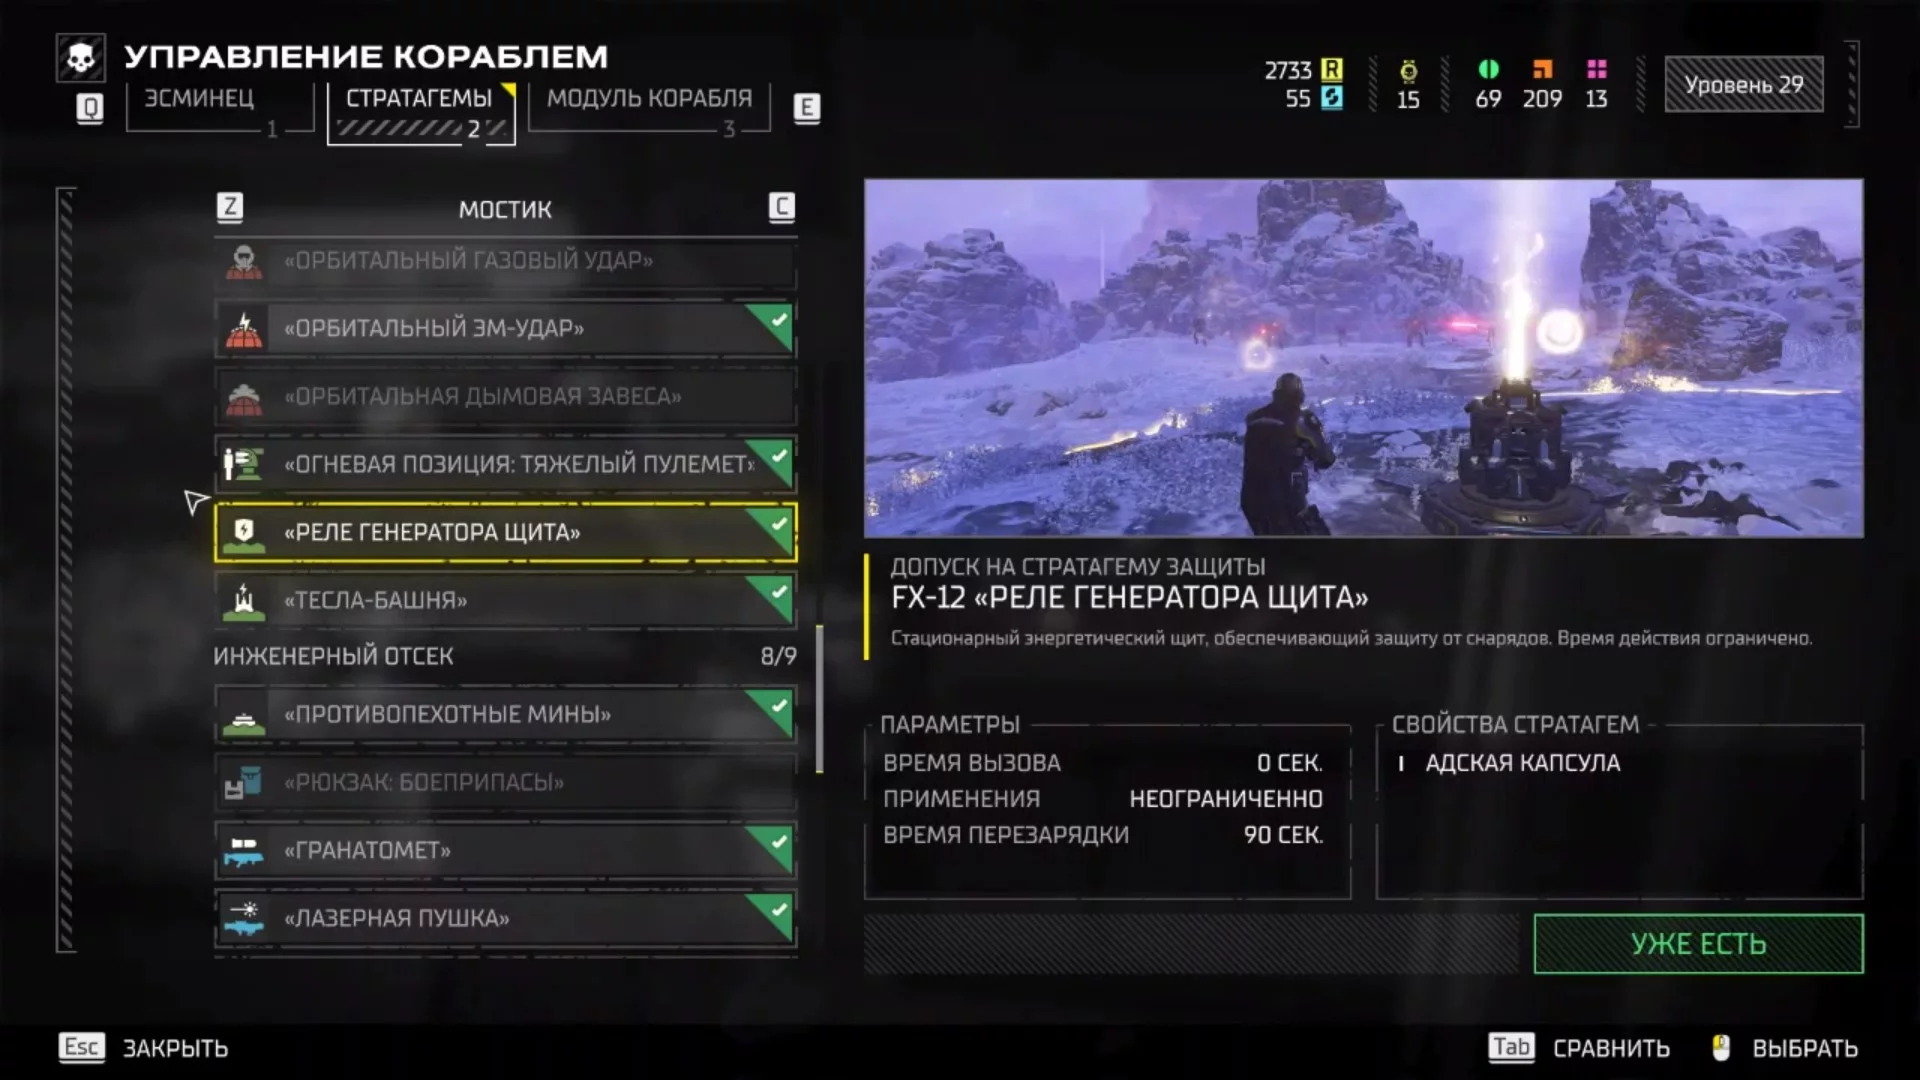
FX-12 differs from standard individual protection systems in its ability to operate on a larger scale. The shield generator can cover and protect the entire team, ensuring collective safety in missions where coordination and joint tactics play a crucial role in survival and successful task completion.
Engineering Bay
The Engineering Bay offers a variety of weapons and defensive tools used by Helldivers to confront and overcome enemy threats on the battlefield. From explosive ordnance, such as anti-personnel minefields and grenade launchers, to modern energy weapons and various protective mechanisms. Let's look at the best among them.
B-1 Supply Pack
- Activation: Down, left, down, up, up, down.
Supply Pack is one of the best stratagems in the game. When your effectiveness in combat against enemies depends on the availability of ammunition, additional supplies can significantly enhance your combat capability. The supply kit includes four boxes that can be used to replenish ammunition for team members or yourself.
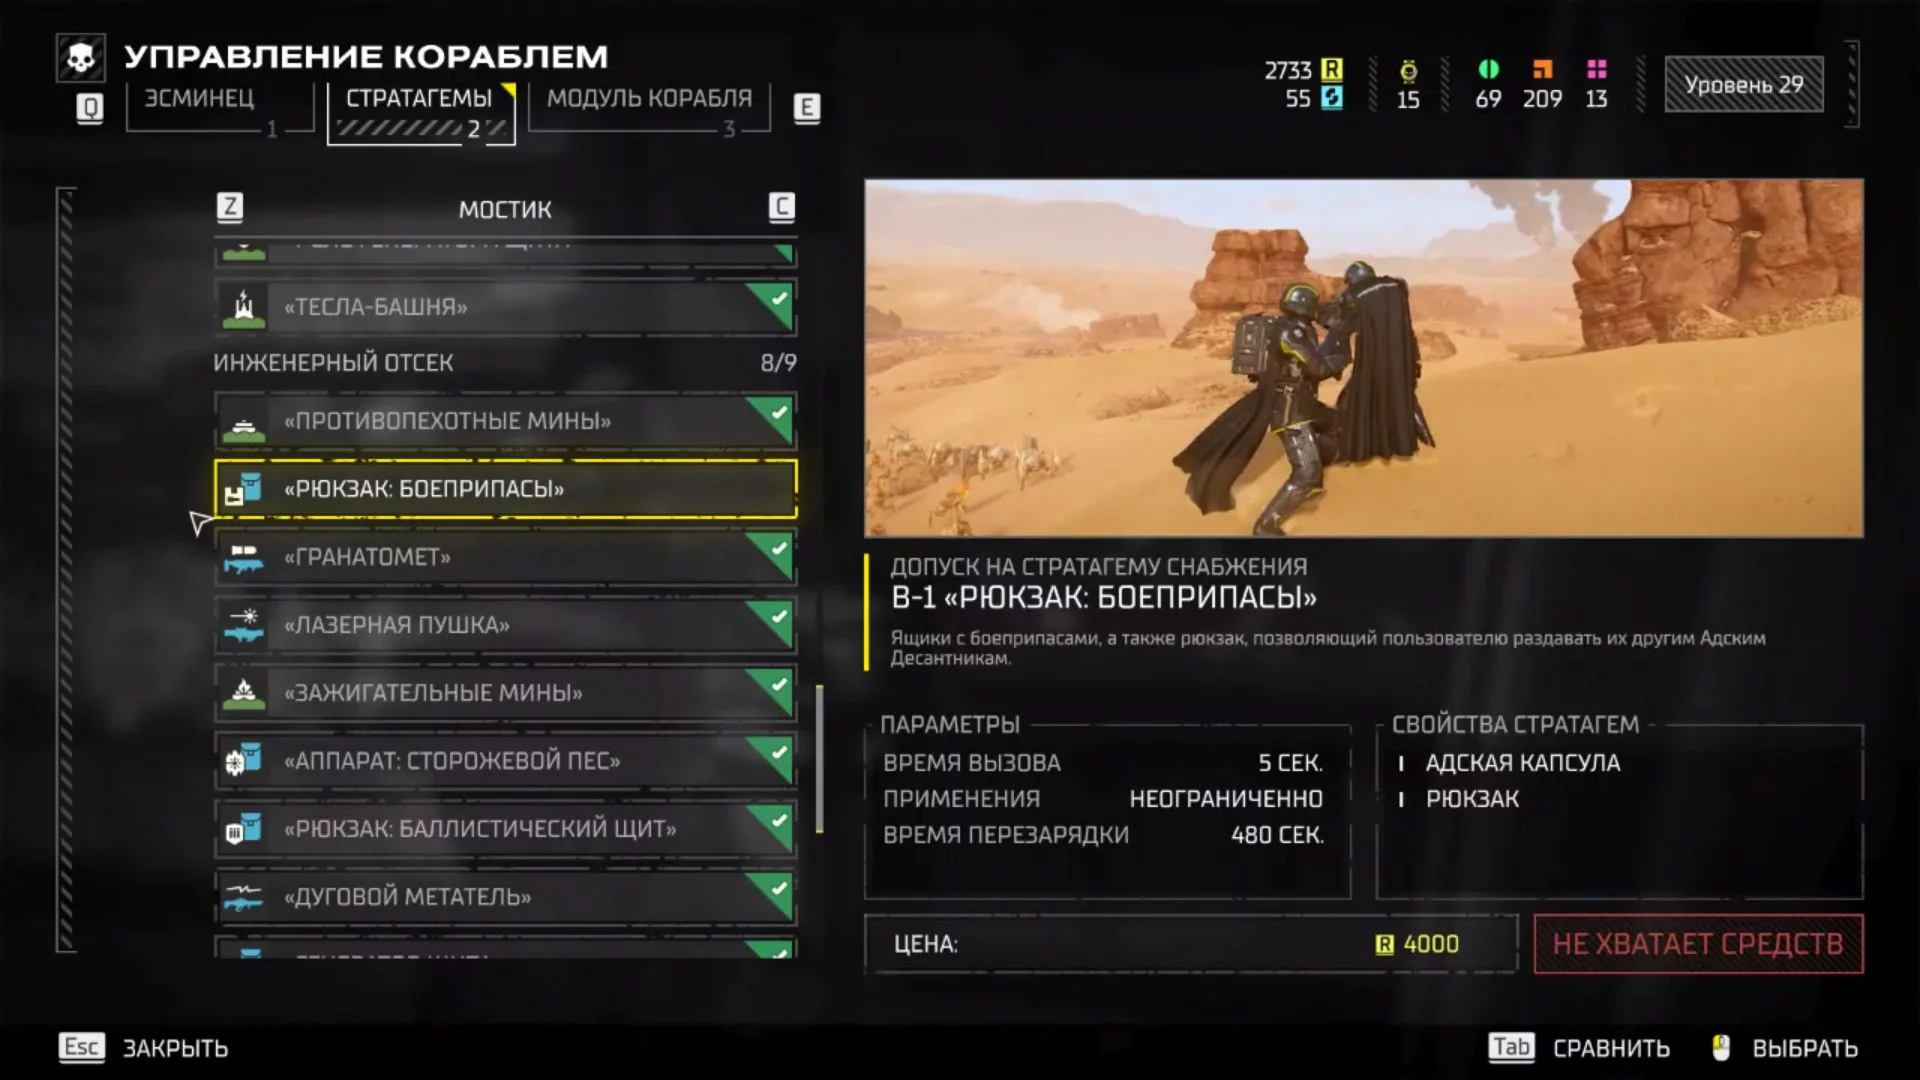
It's important to note that partially empty magazines in weapons will not be automatically replenished, so it's recommended to reload each gun before use.
GL-21 «Grenade Launcher»
- Activation: Down, left, down, up, left, down, down.
The GL-21 Grenade Launcher is a support stratagem, serving as a powerful means to combat infantry. Its primary purpose is the destruction of armored infantry and the demolition of fortified positions. Use the grenade launcher against fortified enemies and to support your teammates' attacks on enemy positions. Be wary of potential damage to allies and use ammunition wisely for critical moments in battle.
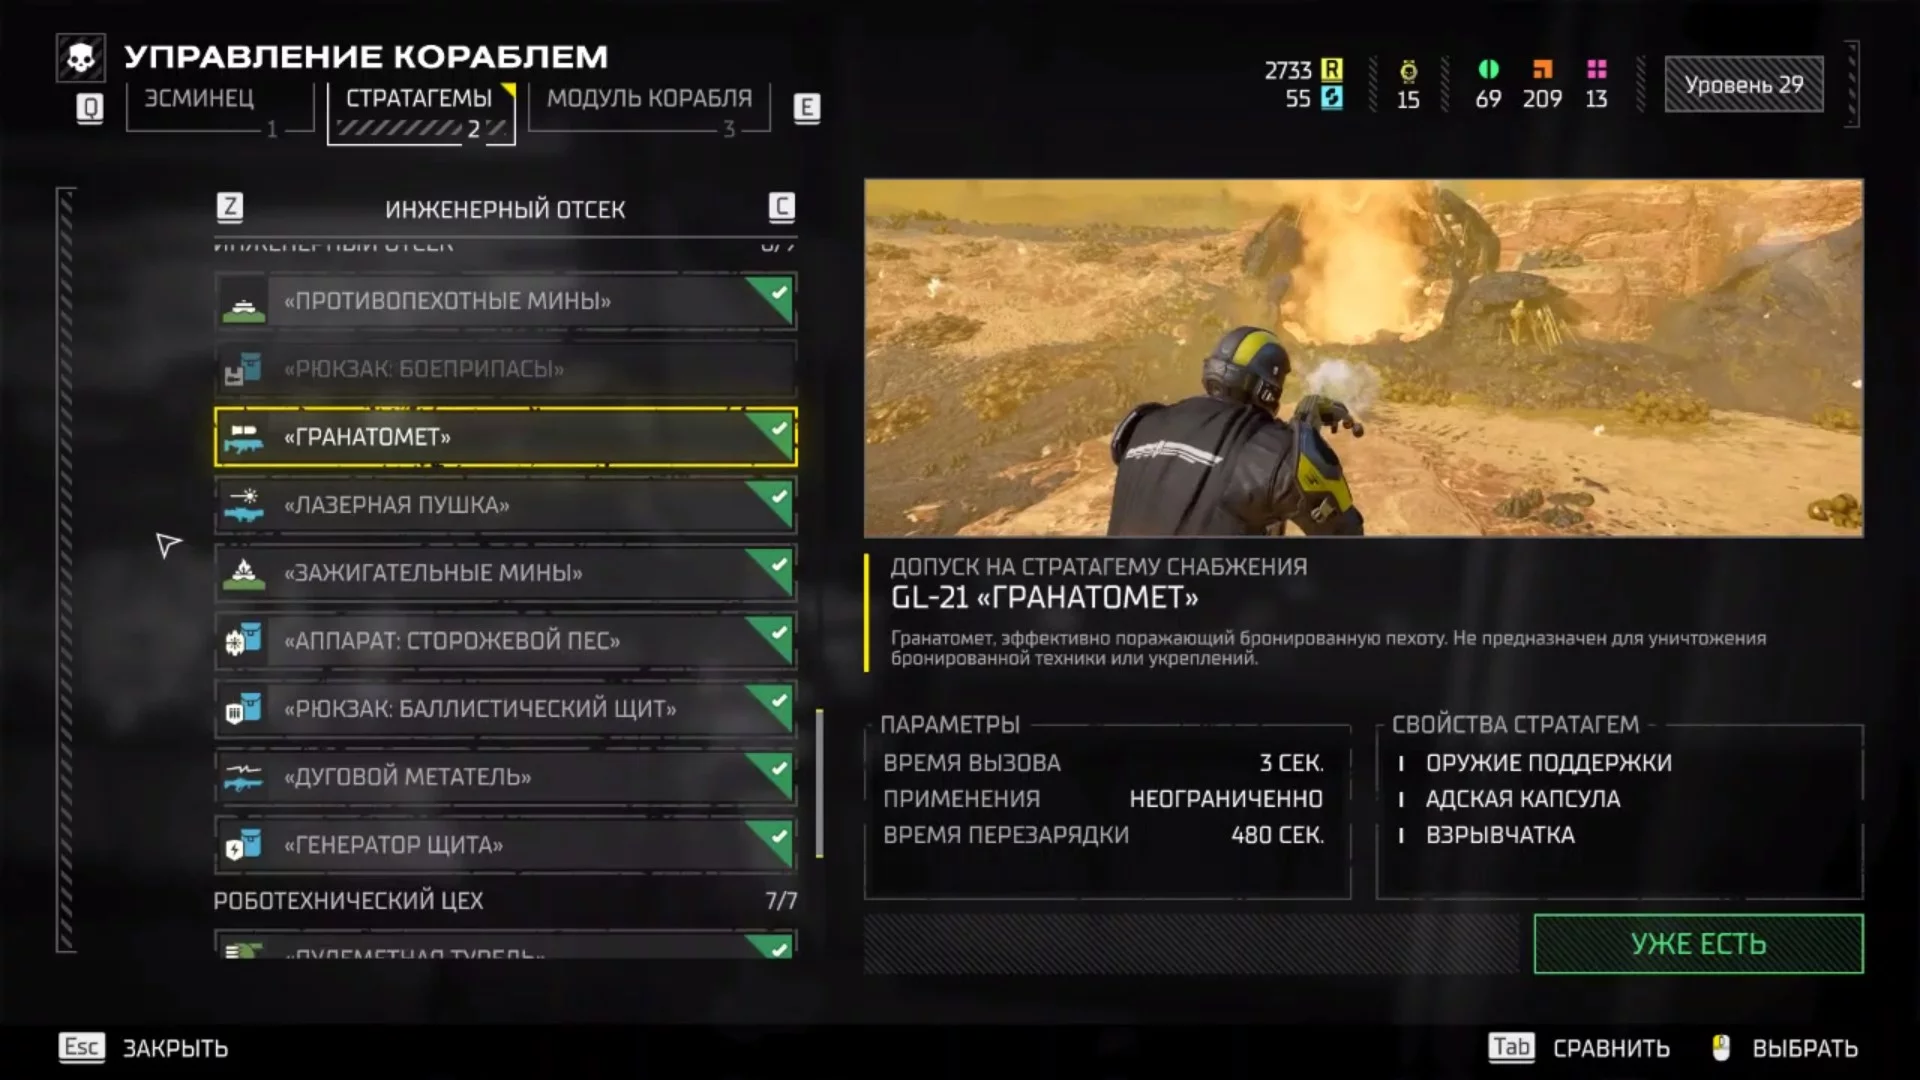
This grenade launcher is particularly effective for destroying fortified enemy forces, creating additional opportunities for successful maneuvers. With careful use, you can avoid harming your allies.
SH-32 «Shield Generator Pack»
- Activation: Down, up, left, down, right, right.
Although the relay offers excellent protection for the entire squad, the SH-32 is considered one of the most reliable means of individual protection. It operates by absorbing damage up to a certain limit, after which it gets destroyed. However, if you avoid taking damage for a while, the shield quickly regenerates its properties. This device is particularly useful for deflecting acidic attacks from insects or any type of damage that could slow your movement, as well as effectively countering close-combat enemies.
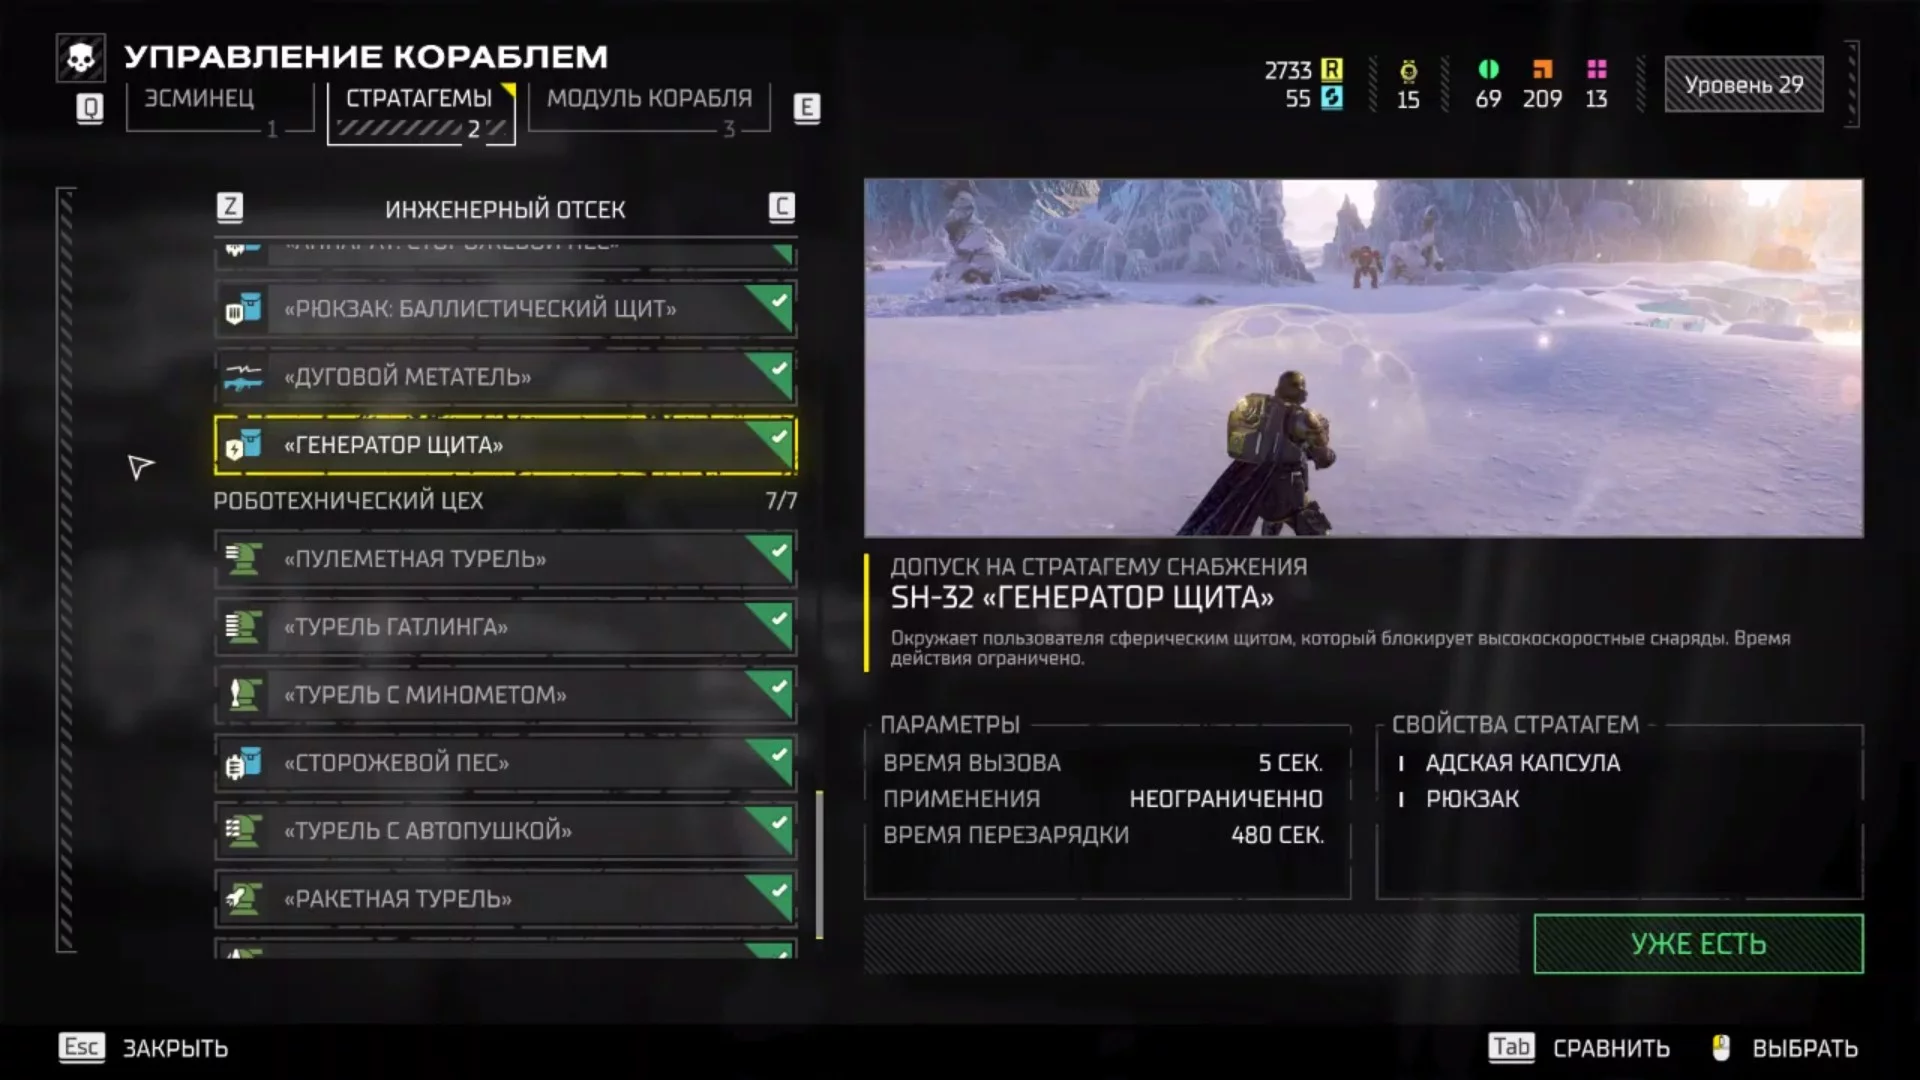
The «Shield Generator» is summoned as an equipment supply. Throw the stratagem projectile to a location where you can easily access the supplies, preferably near you. Once the supply drops, interact with it to retrieve and activate the pack.
Robotics Bay
If you're defending positions or going through missions to clear a precise number of enemies, choose stratagems from this section. They will protect you or destroy a large number of enemies during their arrival or deployment.
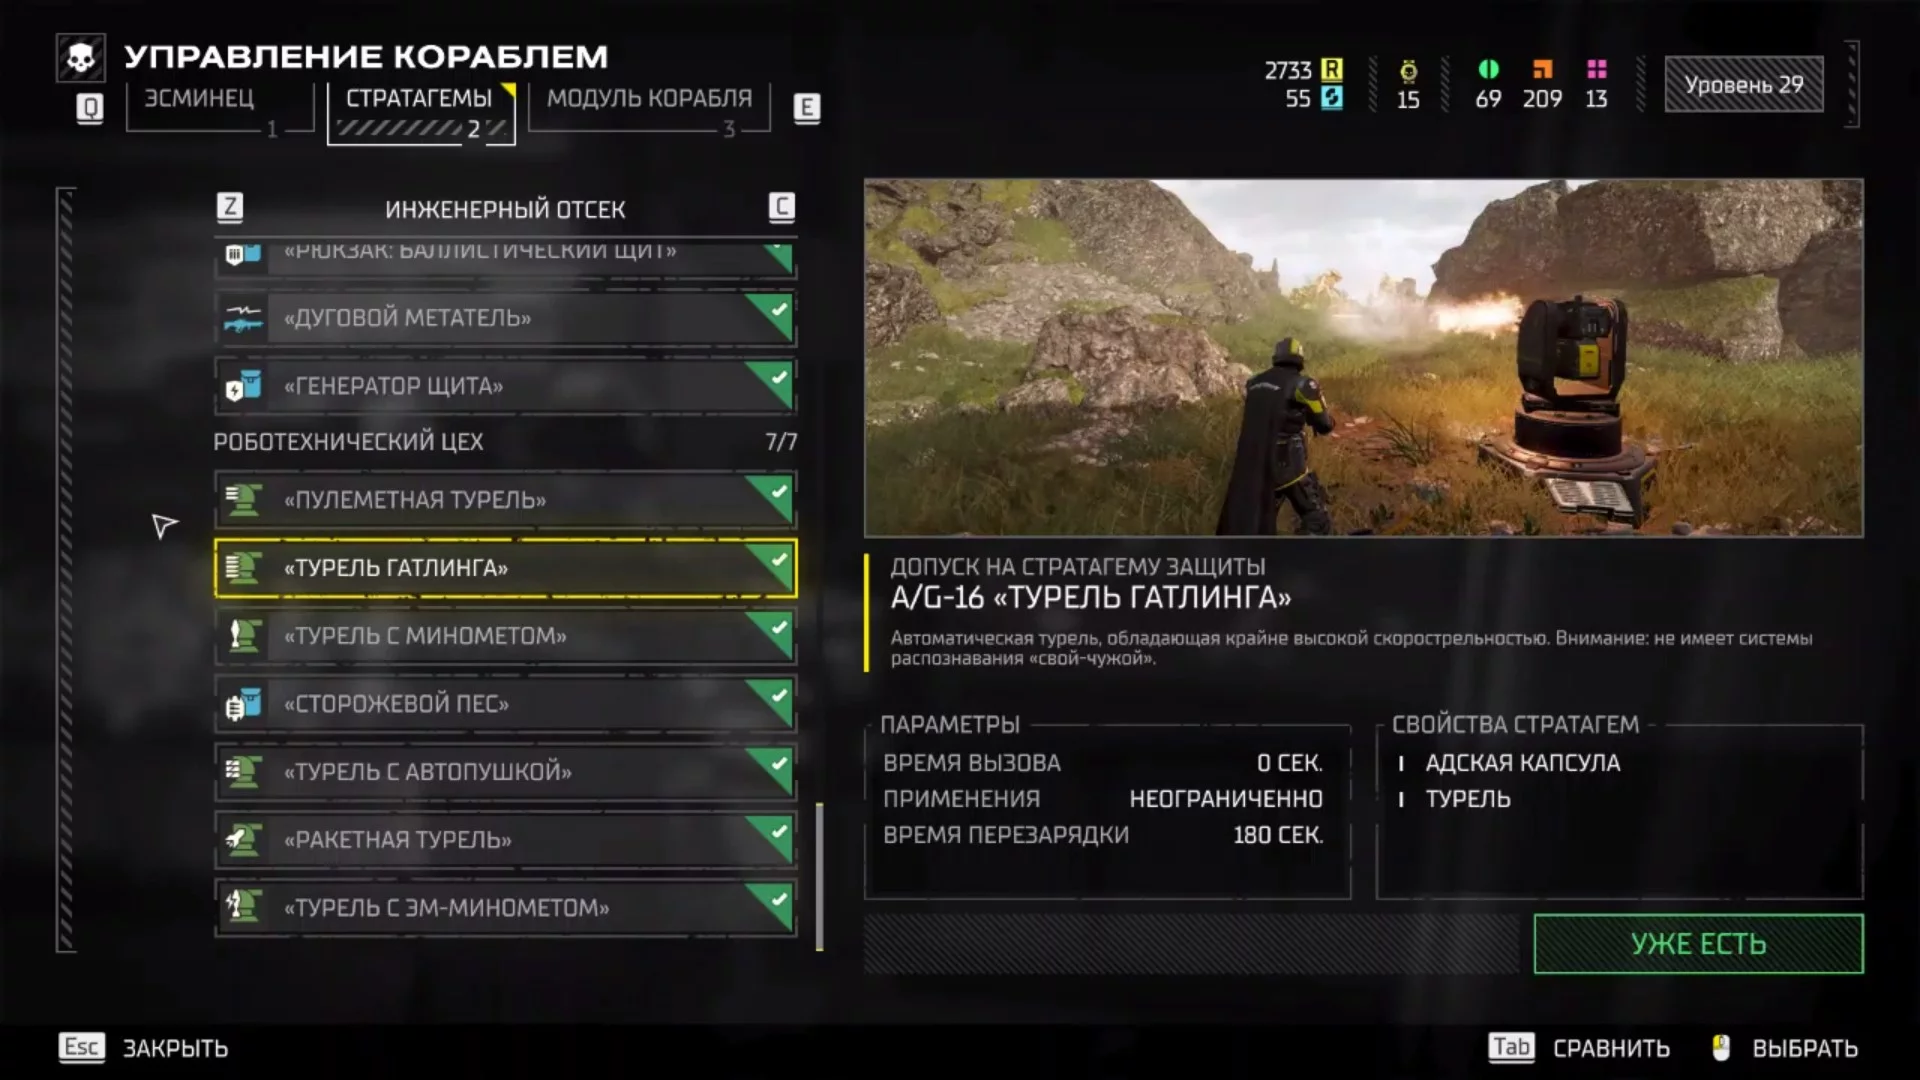
A/G-16 «Gatling Sentry»
- Activation: Down, up, right, left, down.
The Gatling Sentry is a more advanced model than the standard Machine Gun Sentry, with a similar cooldown period. An important aspect of using turrets is undoubtedly their proper placement. Therefore, make sure to position them facing the enemy and do not step into the line of fire.
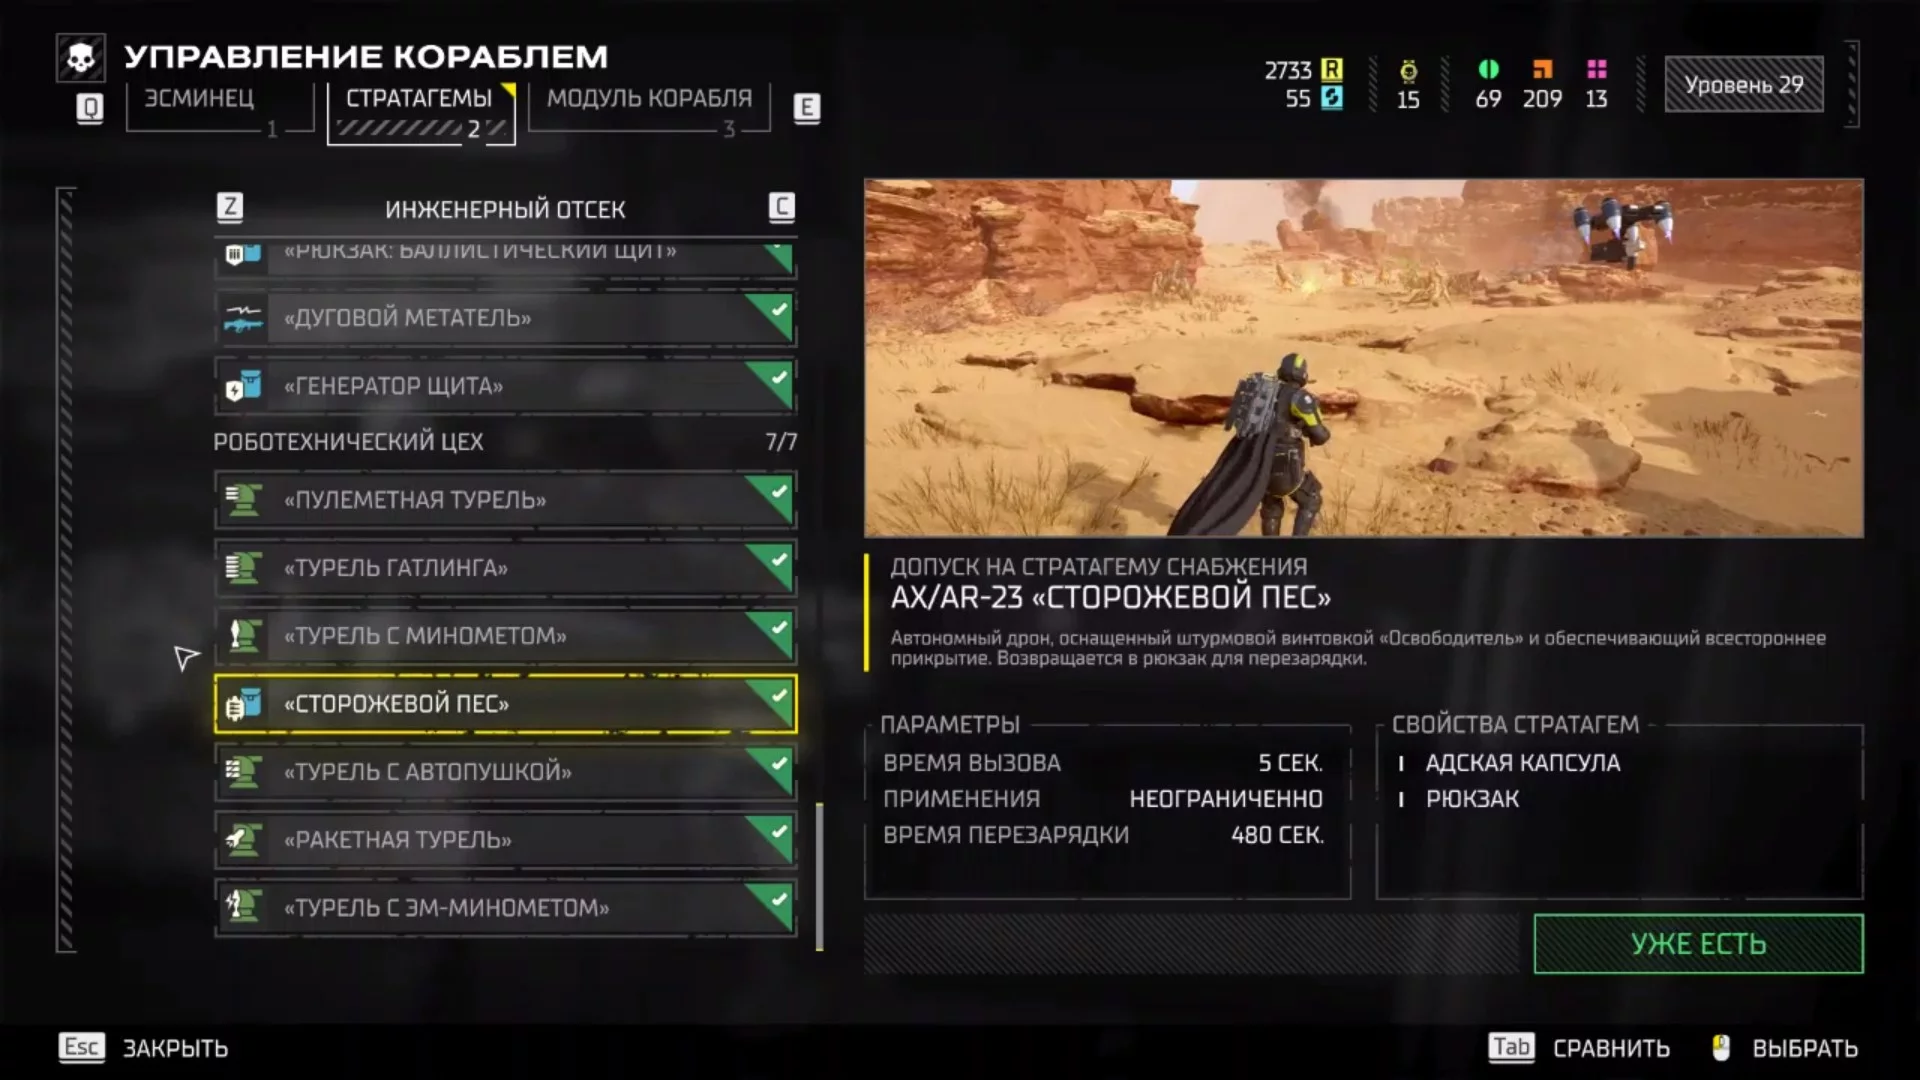
AX/AR-23 «Guard Dog»
- Activation: Down, up, left, up, right, down.
The «Guard Dog» is a drone that follows you and provides 360-degree cover, attacking all approaching objects until it needs to be reloaded in your backpack. It is especially useful when you are reloading your weapon or trying to evade enemies. However, if you prefer to act stealthily, it might not be the best choice. Instead, you could opt for the energy variant AX/LAS-5 «Device: Guard Dog» in the Engineering section, but it's simply different versions of the same ability.
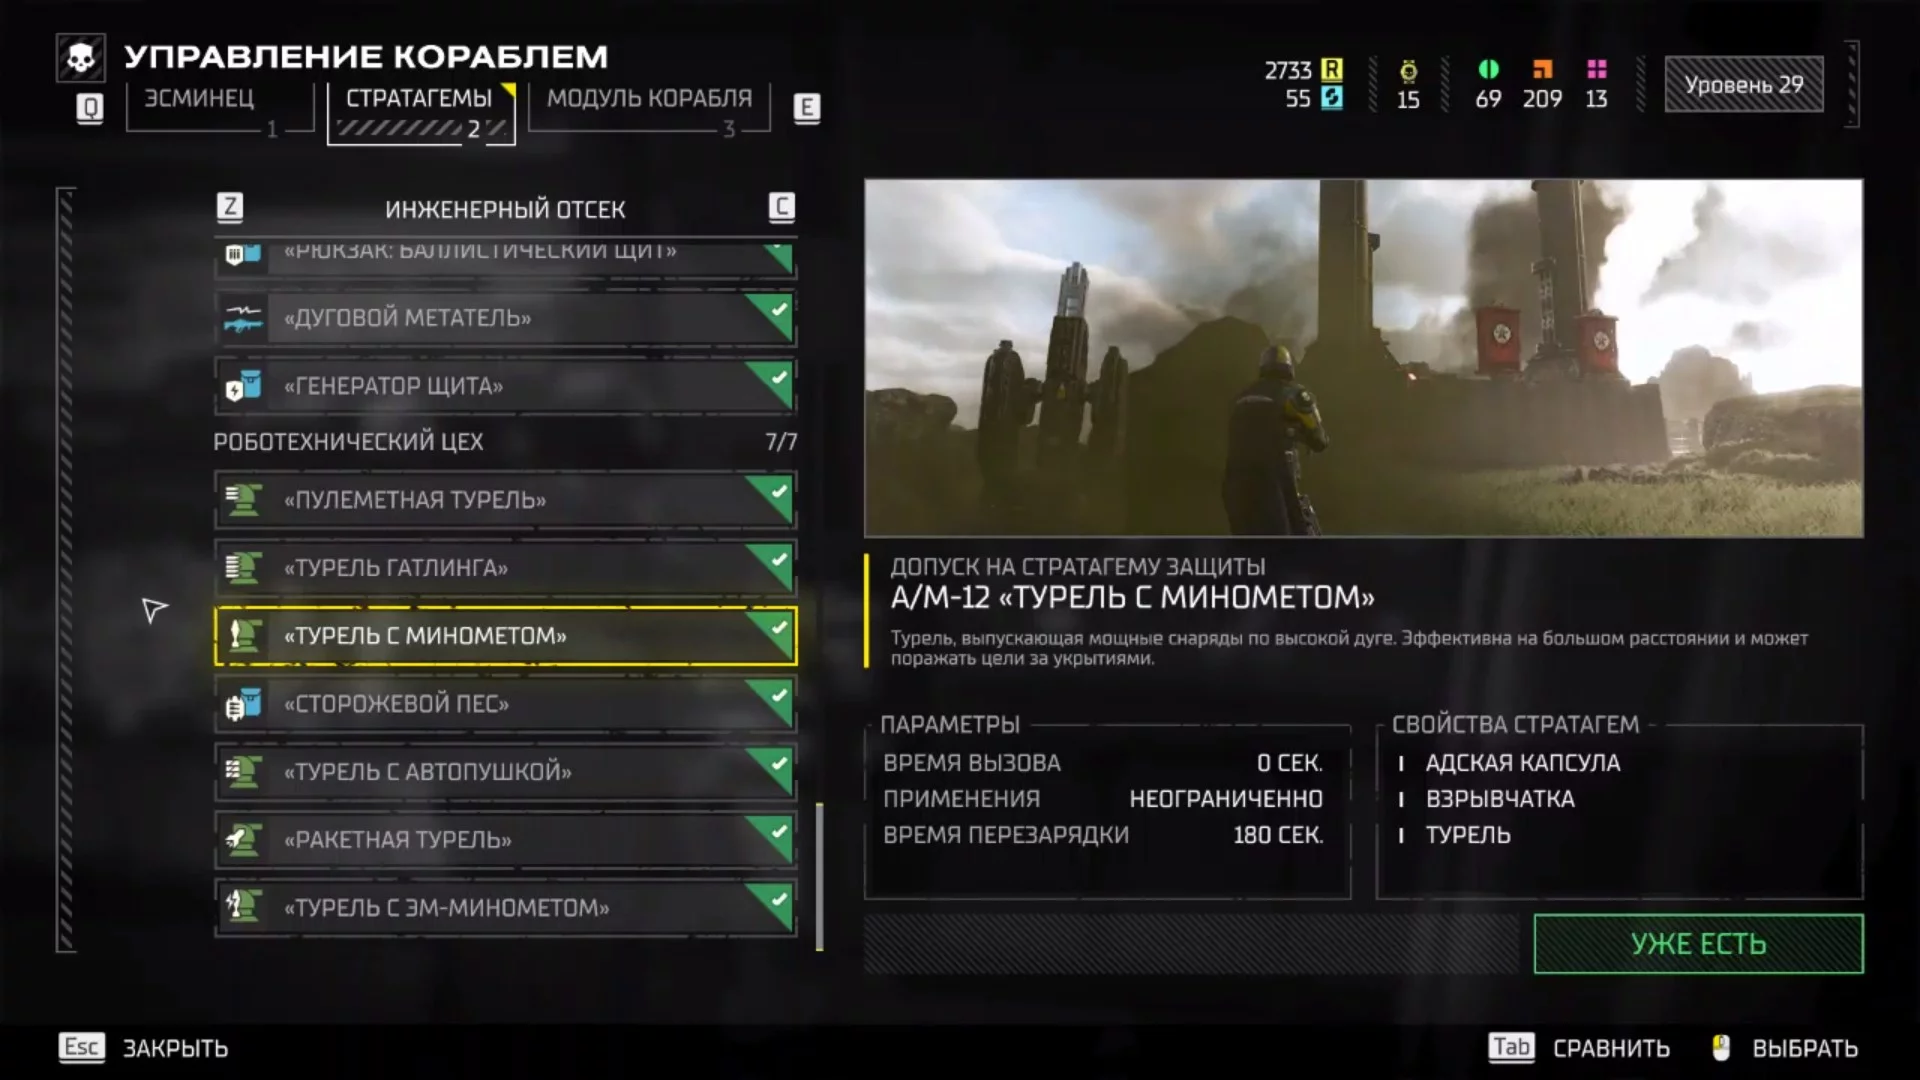
A/M-12 «Mortar Sentry»
- Activation: Down, up, right, right, down.
The Mortar Sentry is perfectly suited for defensive operations, such as «Extermination of Termids» or «Automatons». The secret to success lies in staying close to the sentry and avoiding enemies, making it useful in any situation where you can engage from a distance.
A/M-23 «EMS Mortar Sentry»
- Activation: Down, down, up, up, left.
An effective solution for defensive tasks includes the use of the [b«EMS Mortar Sentry»[/b]. This type of sentry stands out among others due to its unique nature, making it the best choice in this list. Although the damage from its projectiles may not be the highest, the key advantage is the static field left after the shot. This field slows down enemies, making them vulnerable to other weapons.
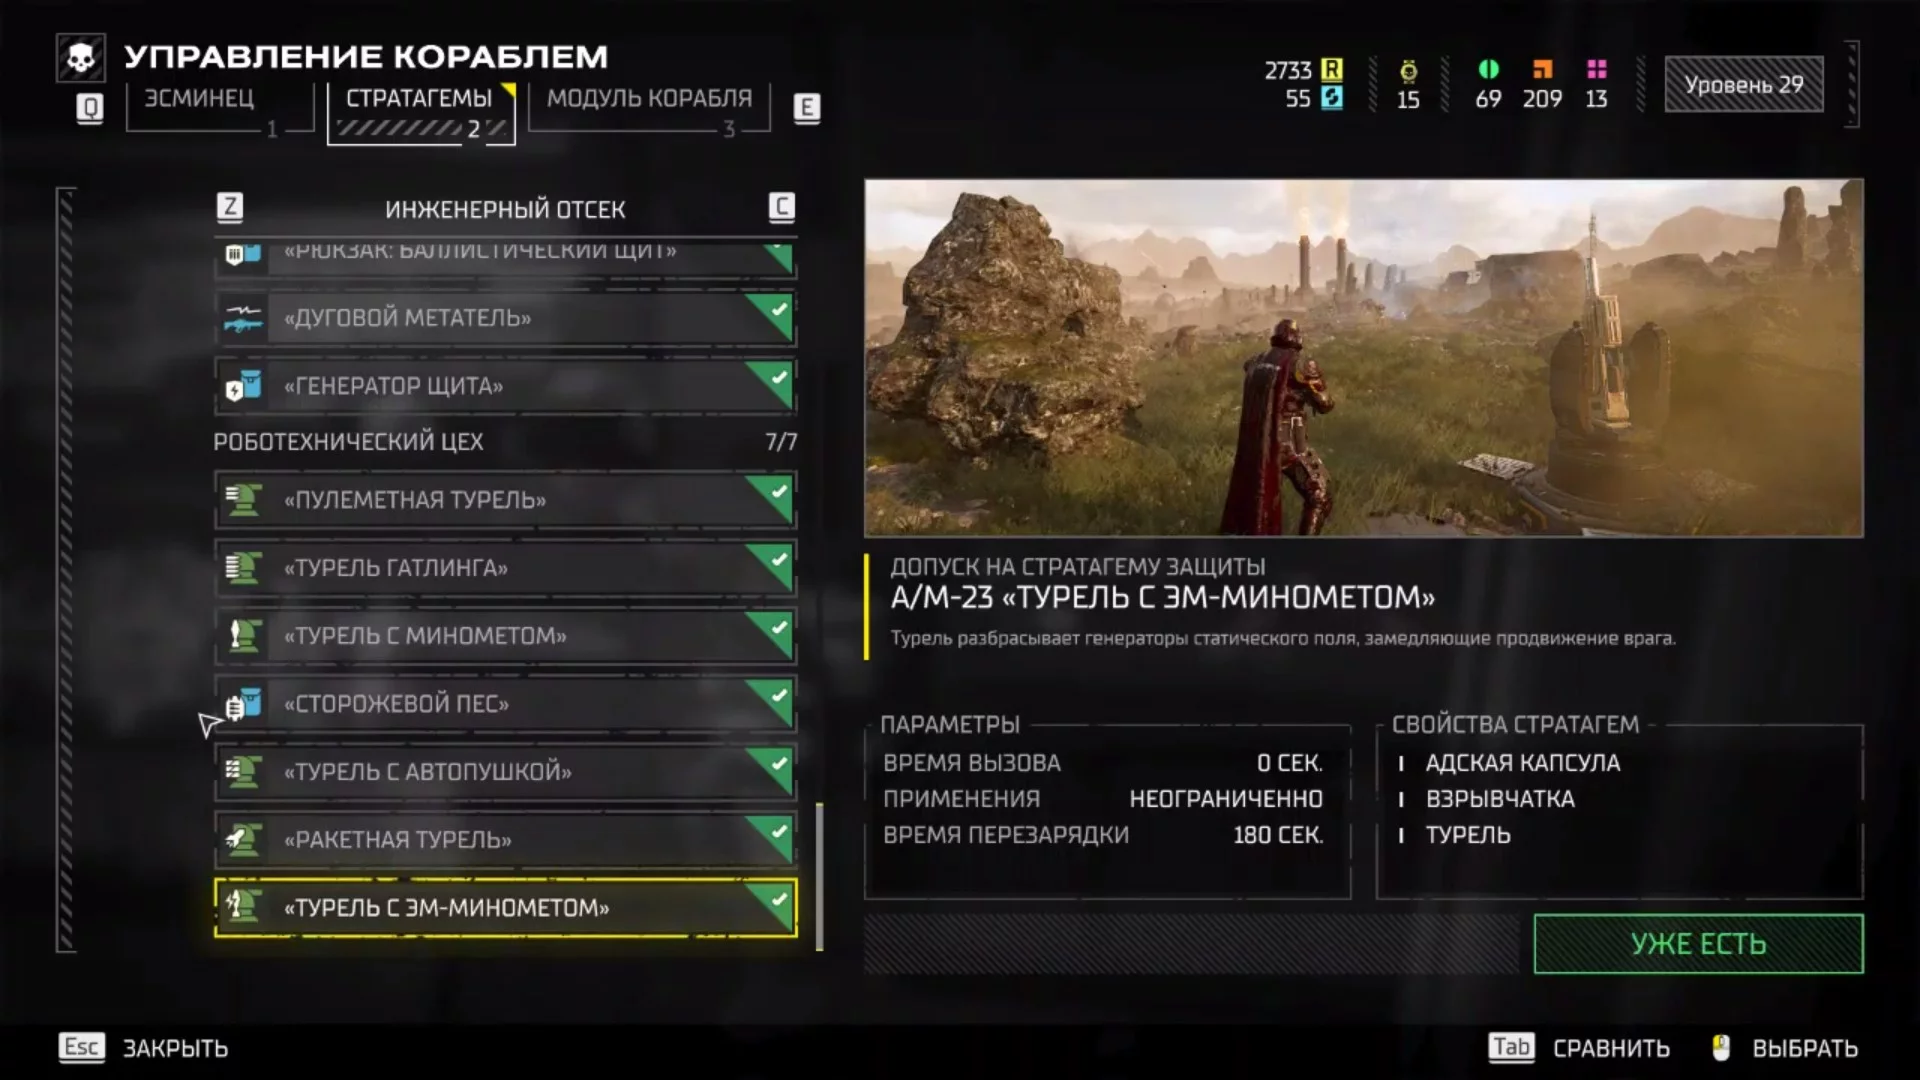
The effective application of such sentries allows for easily slowing down the Bile Titan and destroying it using other equipment. In team play, defending a position becomes much more efficient, especially in the later stages of the game when multiple sentries are working simultaneously.
Other guides
- Helldivers 2 crashes on startup? Black screen? Unable to connect? Failed to create a lobby? — Troubleshooting
- How to Quickly Farm Super Credits and Medals in Helldivers 2
- Co-op in Helldivers 2: How to Play with Friends, Cross-Platform and Cross-Gen Availability
- Best Weapons in Helldivers 2: Grenades, Primary and Secondary Weapons
- All Enemies in Helldivers 2 and Ways to Destroy Them
-
 How to Quickly Farm Super Credits and Medals in Helldivers 2
 -
 Helldivers 2 crashes on startup? Black screen? Unable to connect? Failed to create a lobby? — Troubleshooting
 -
 Co-op in Helldivers 2: How to Play with Friends, Cross-Platform and Cross-Gen Availability
 -
 All Enemies in Helldivers 2 and Ways to Destroy Them
 -
 Best Weapons in Helldivers 2: Grenades, Primary and Secondary Weapons
 -
 Palworld 1.0 Best Pals for Early Game, Combat, Bases, and Mounts