Where to Find Wakestones and Shards in Dragon's Dogma 2
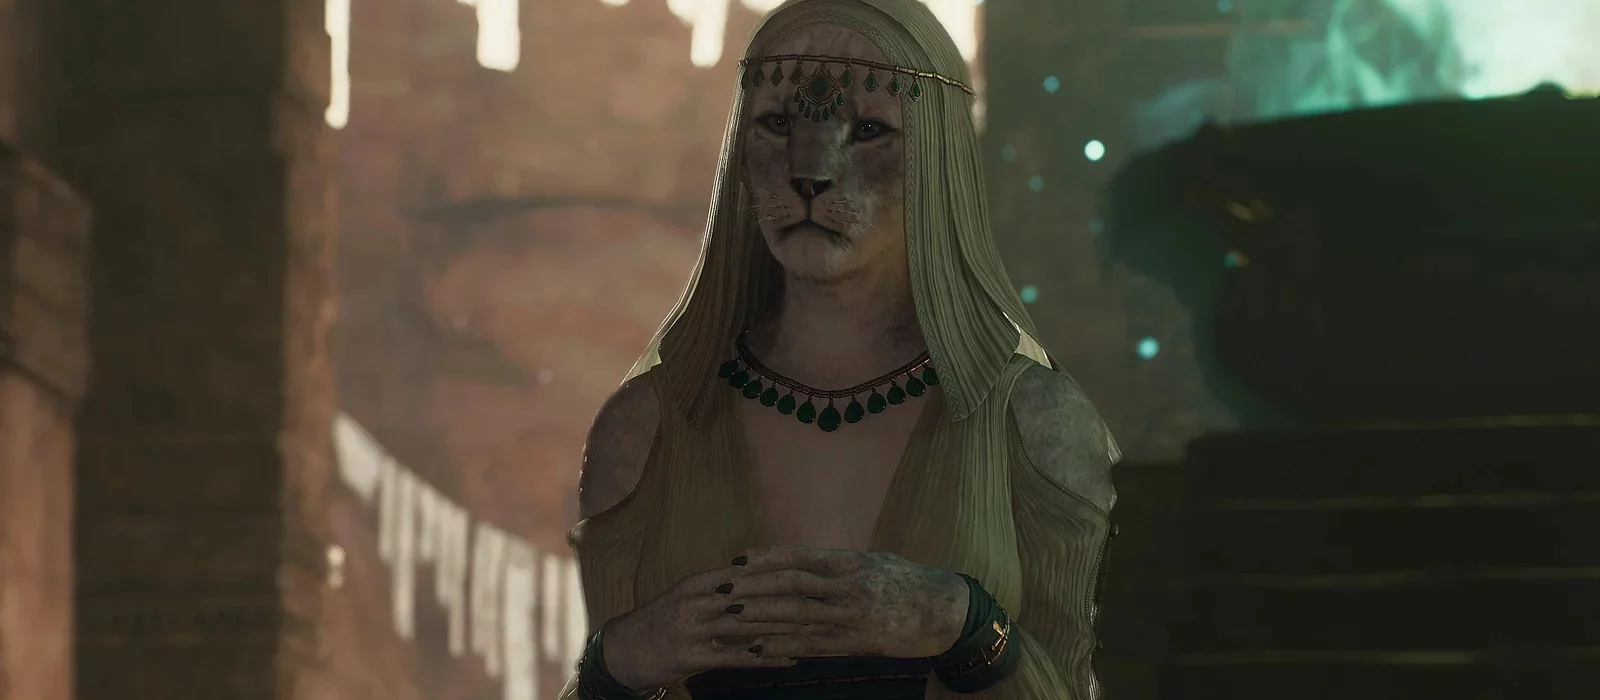
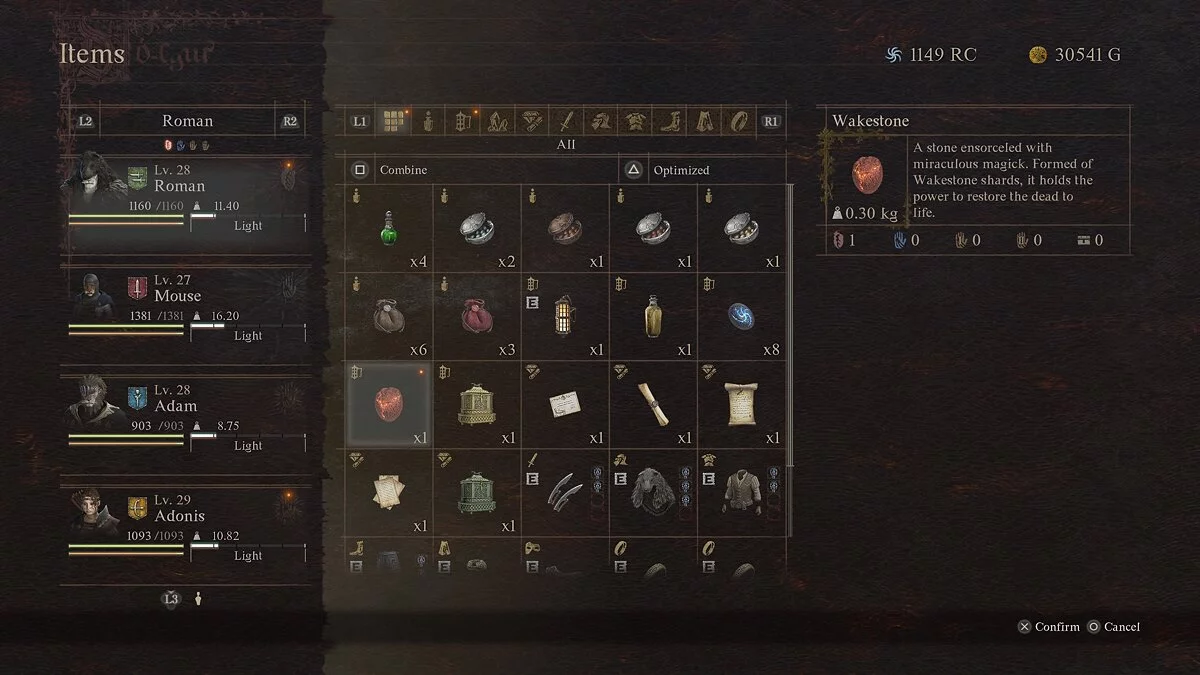
Wakestones are one of the most important consumables in Dragon's Dogma 2. They are not easy to find, and few know how to fully utilize their potential. In this guide, we will explain why you need wakestones, how to find and use them.
Why You Need Wakestones
Wakestones are a very valuable and rare resource. They allow you to continue a difficult battle from the exact point where you were defeated. Additionally, they can resurrect any NPC, enabling you to continue quests that were failed due to the accidental death of an important character.
Moreover, wakestones can be considered a last resort to restore health, as the revived hero will have full HP, while the boss will have the same amount of health as at the moment of your death.
To resurrect important NPCs, visit the city crypt. There, you can easily revive anyone you need to continue your adventure. Furthermore, the game takes this action into account, so the initially failed quest will develop according to a slightly different scenario. Note that crypts and morgues always have at least three shards, so you can immediately assemble a full wakestone and resurrect the necessary NPCs.
How to Get More Wakestones
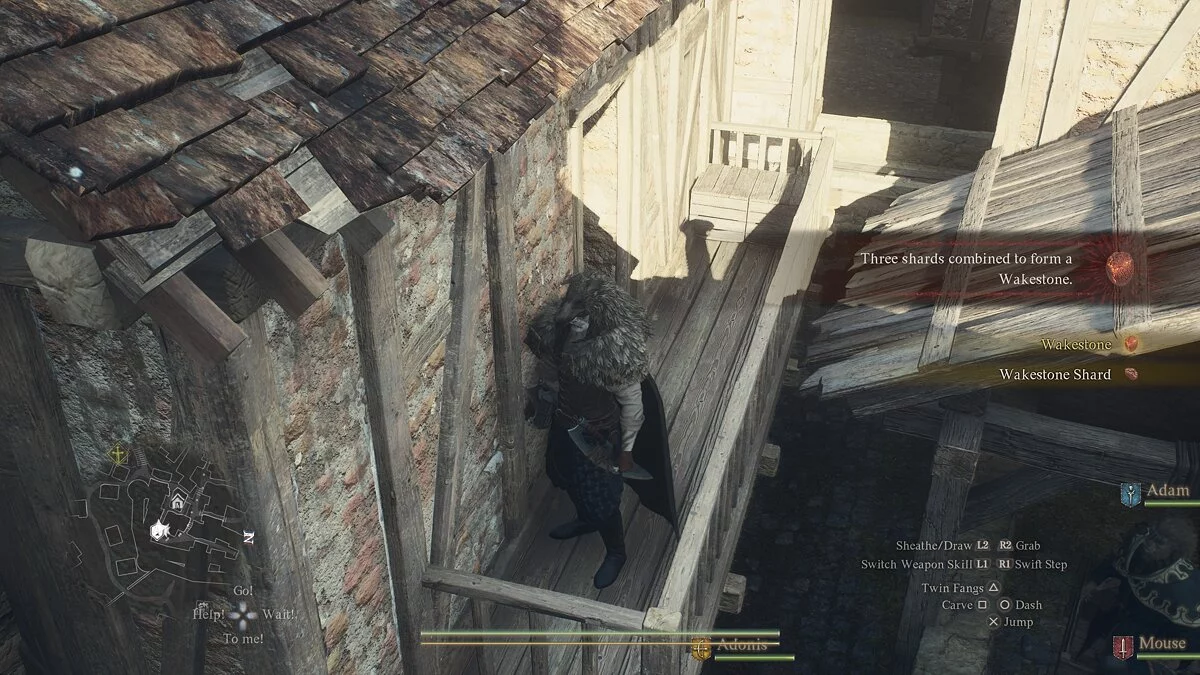
To obtain a full wakestone, you need to combine three shards. They can be found in various hidden places in the world of Dragon's Dogma 2, as well as received as rewards. There is a way to speed up the process of collecting shards. For this, you will need a special consumable — the Dragon's Gaze. Using it, you will see the nearest shards on the map and be able to find them much faster. It is important to remember that the petrified dragon eye is also a rather rare item, so you won't be able to use it constantly.
Also, do not waste wakestones in regular skirmishes. You always have the option to start from the last checkpoint, and it is better to save the precious treasure for truly tough battles.
Where to Find Wakestones and Shards
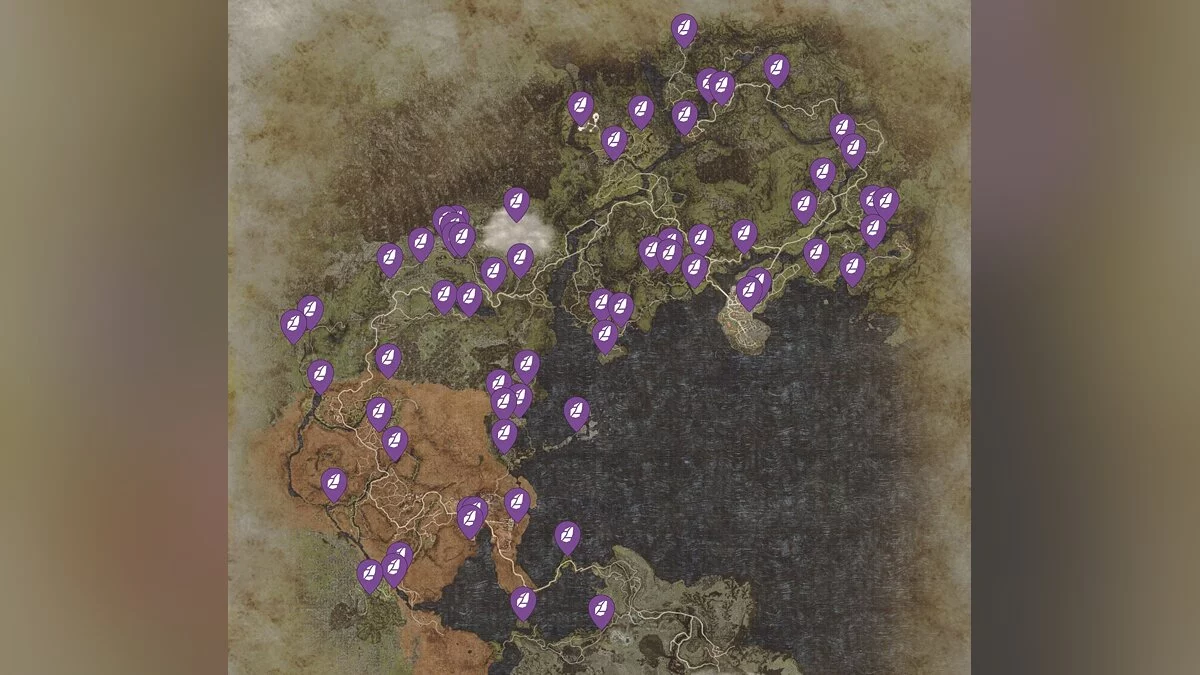
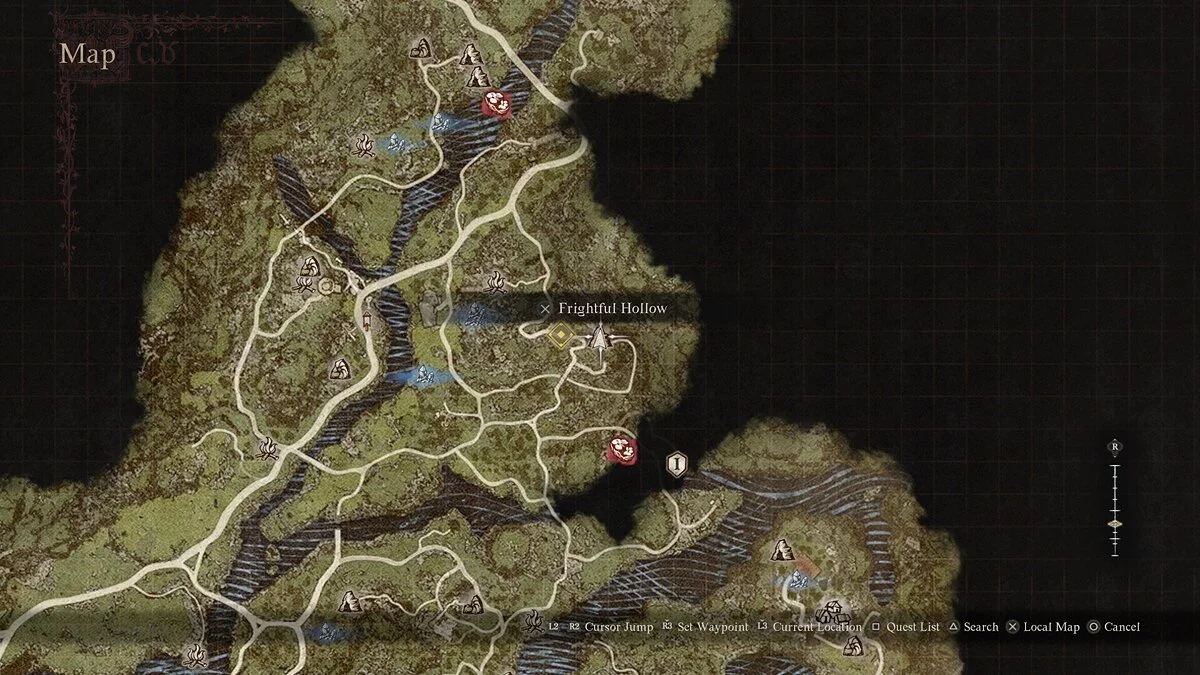
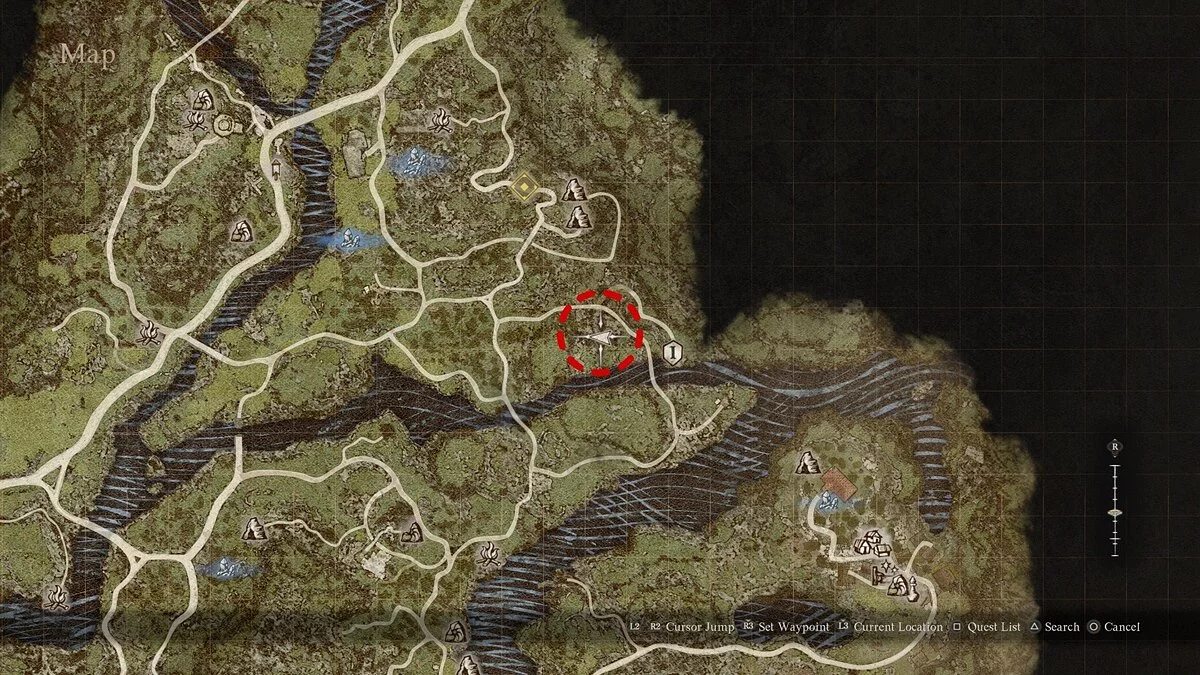
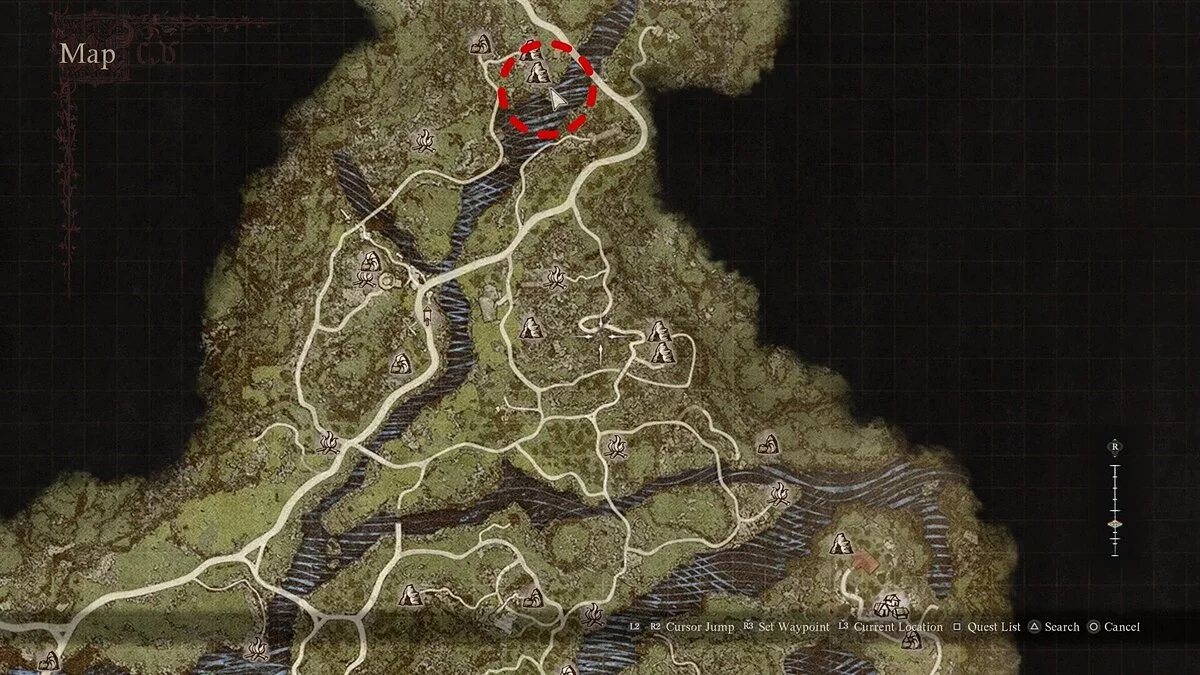
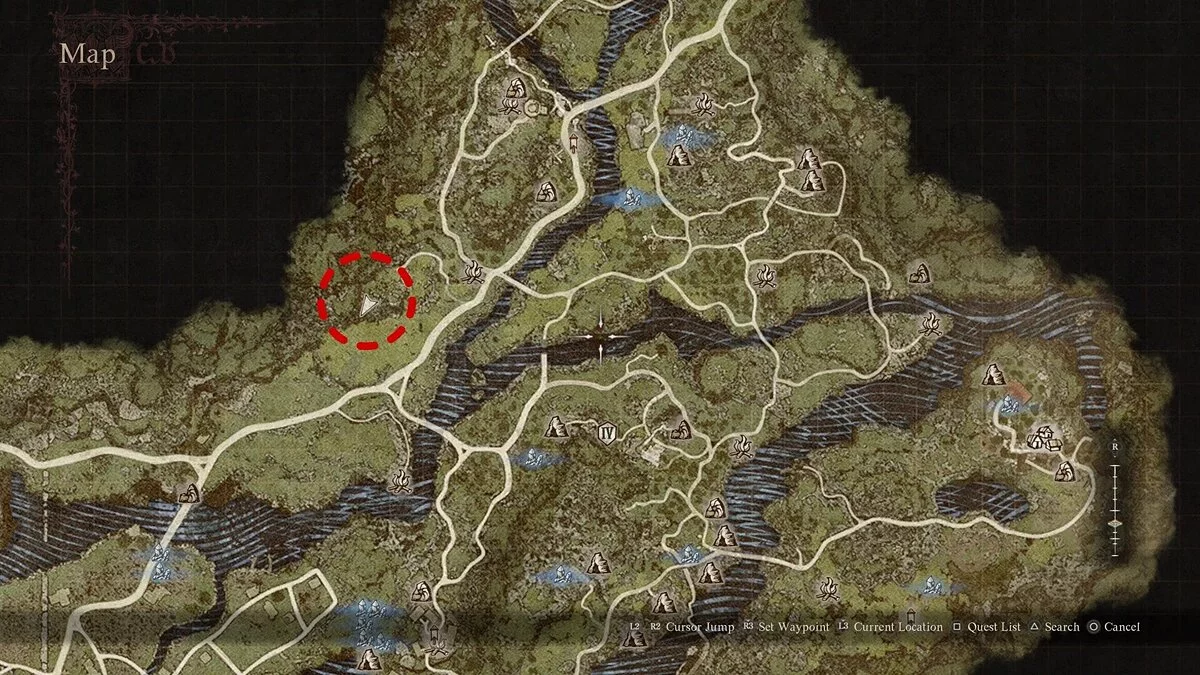
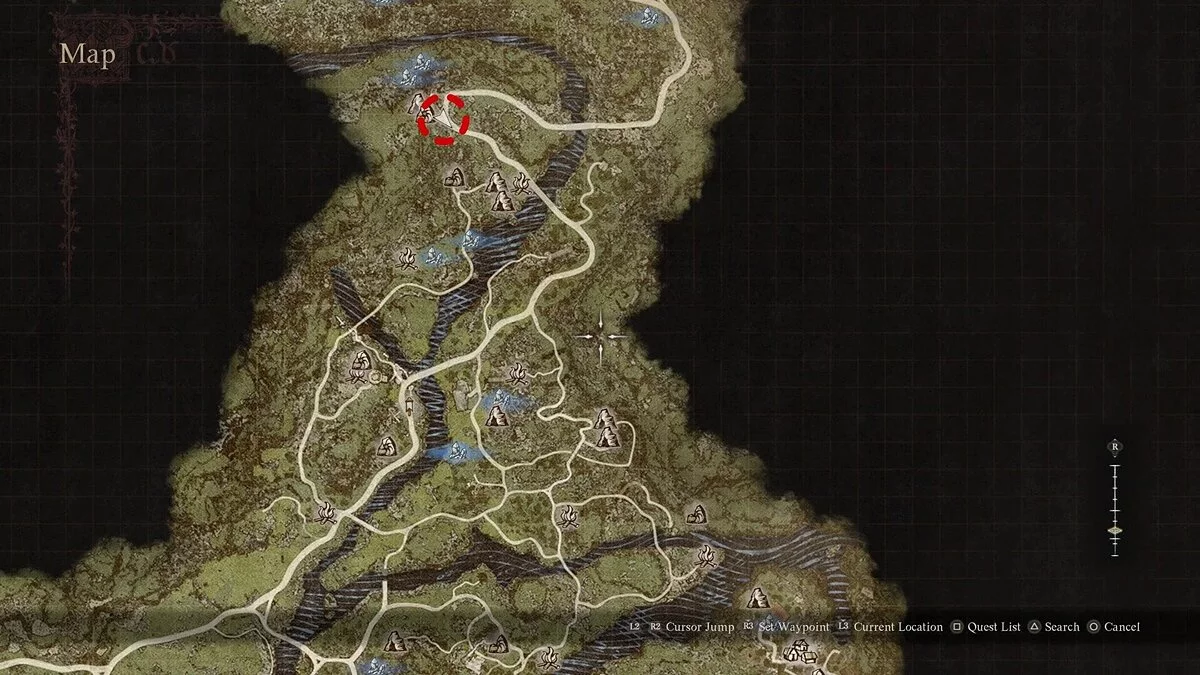
There are quite a few shards and full wakestones in the game world, but they are unevenly distributed. Below we provide a general map of all regions with markings of the main bulk of these consumables. Some can be found in caves and dungeons.
Wakestones and Shards Near the Border Watch Post
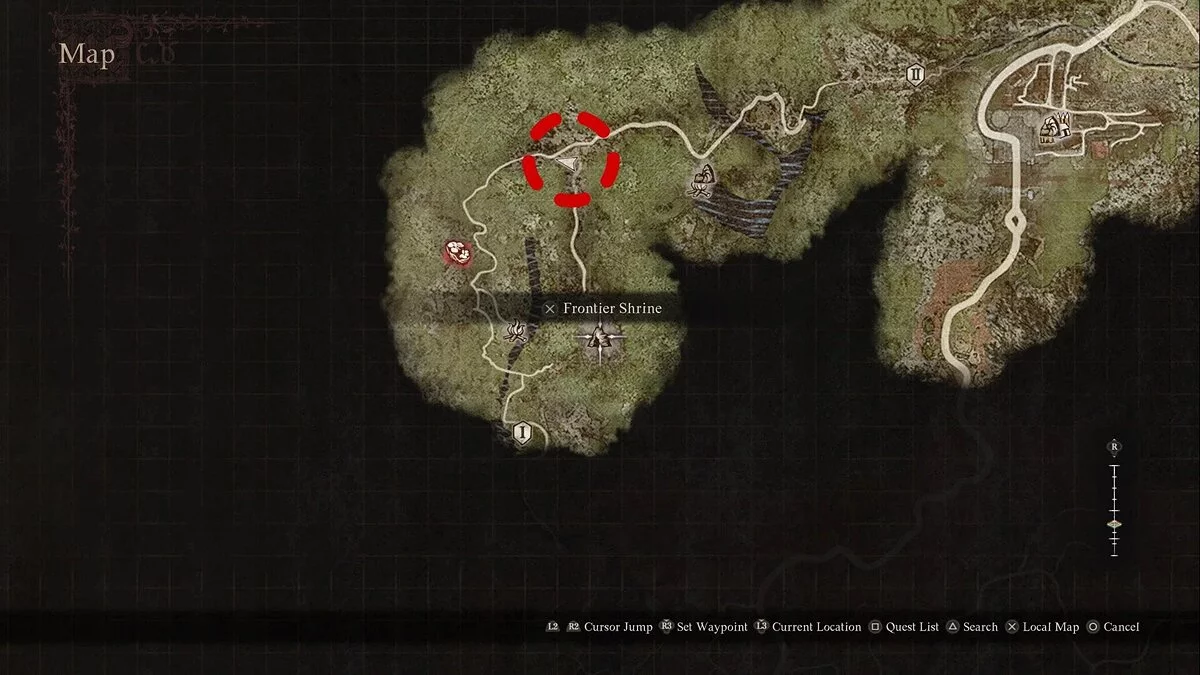
Inspect the northwestern area from the post.
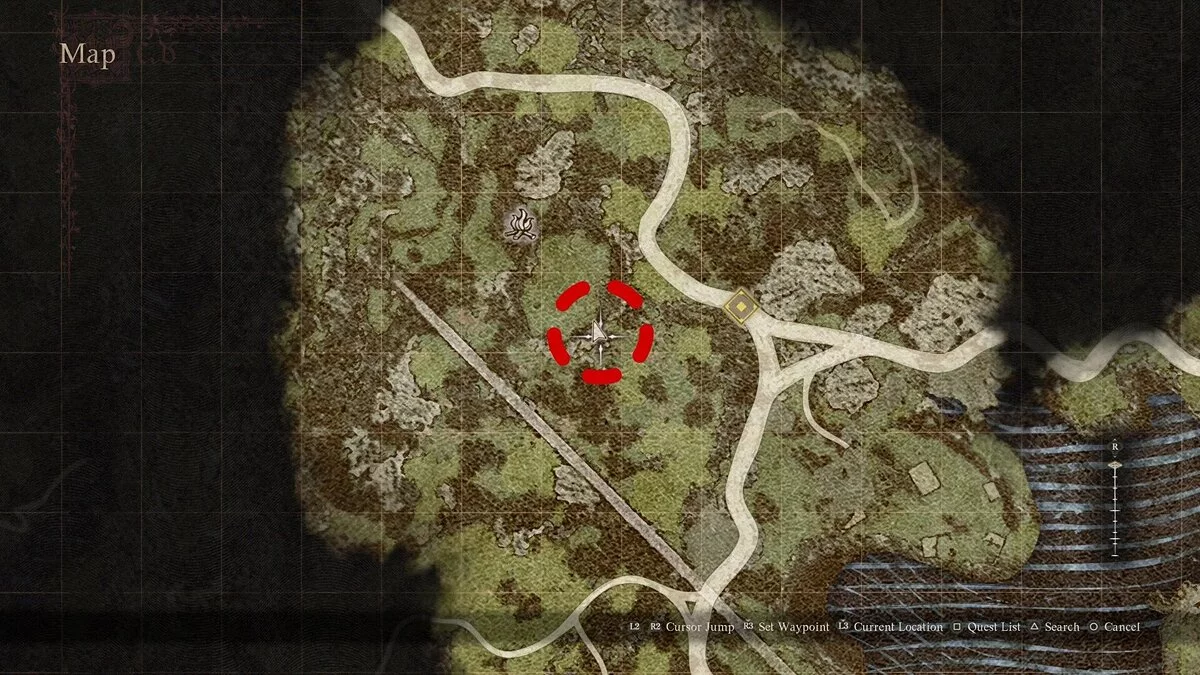
Find a beheaded statue there and inspect its base. There is a shard in the chest.
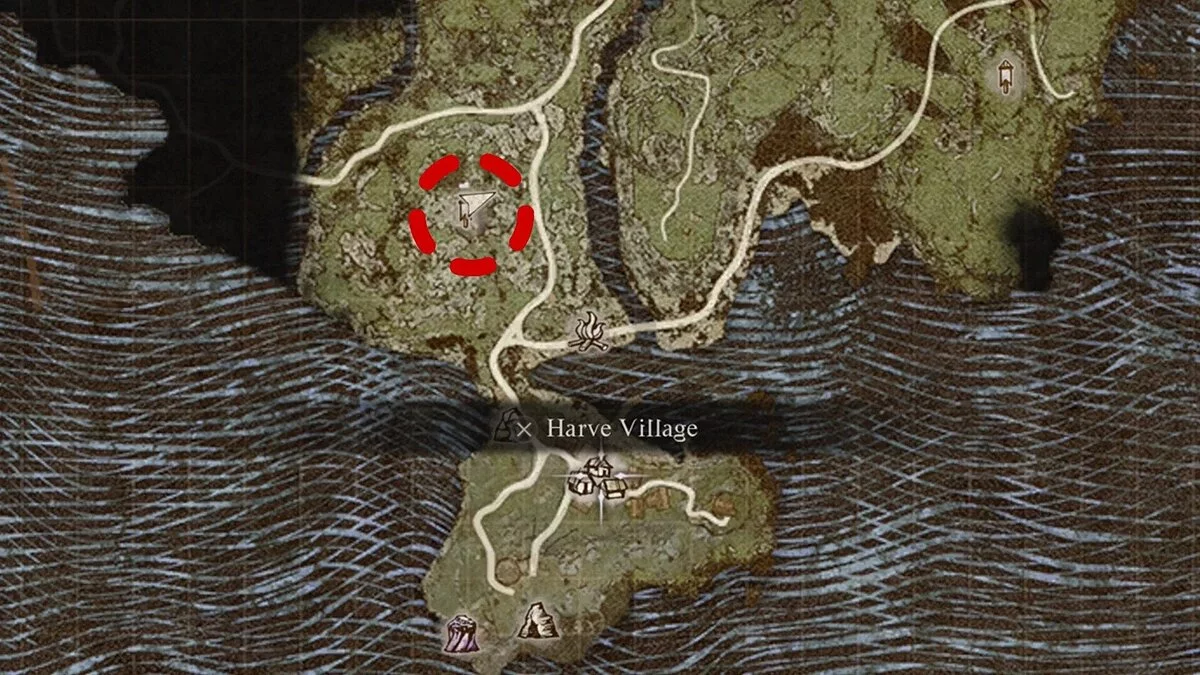
Wakestones and Shards Near Harv Village
To the north of the village, there are ruins, visit them.
Among the many houses, find the one with a preserved basement staircase and go down. There is a chest with a shard.
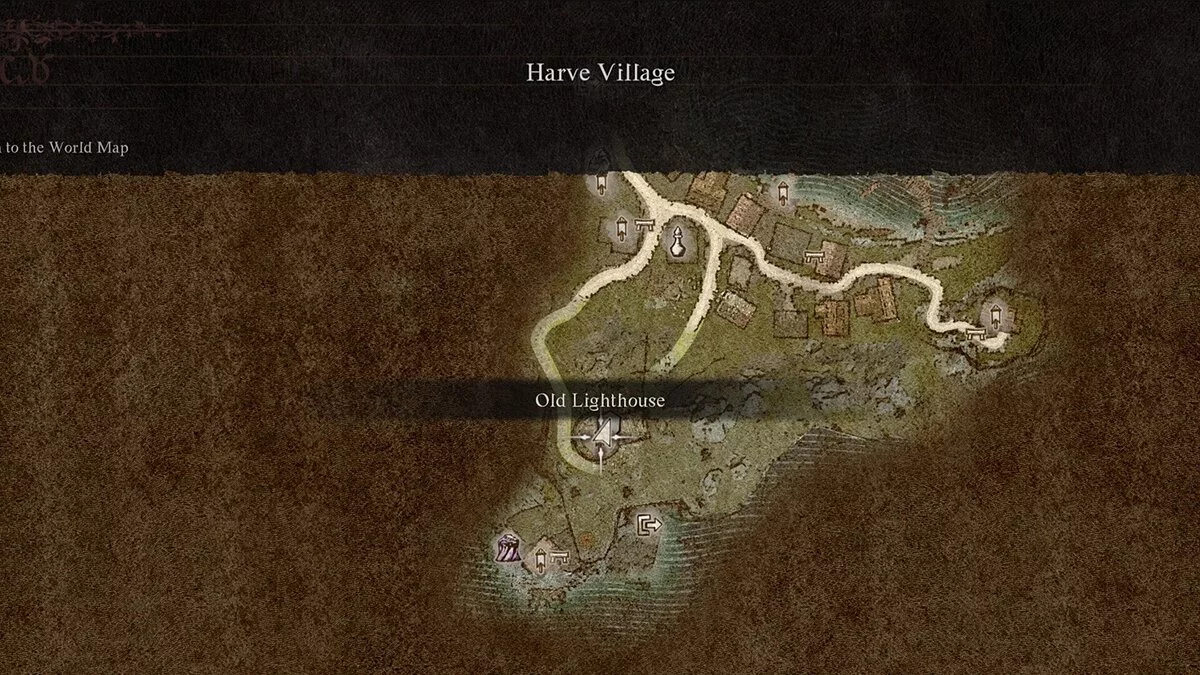
In Harv Village, there is an Old Lighthouse.
Enter it and go down to the lowest level of the building. Among the many junk items, there is a chest with a shard.
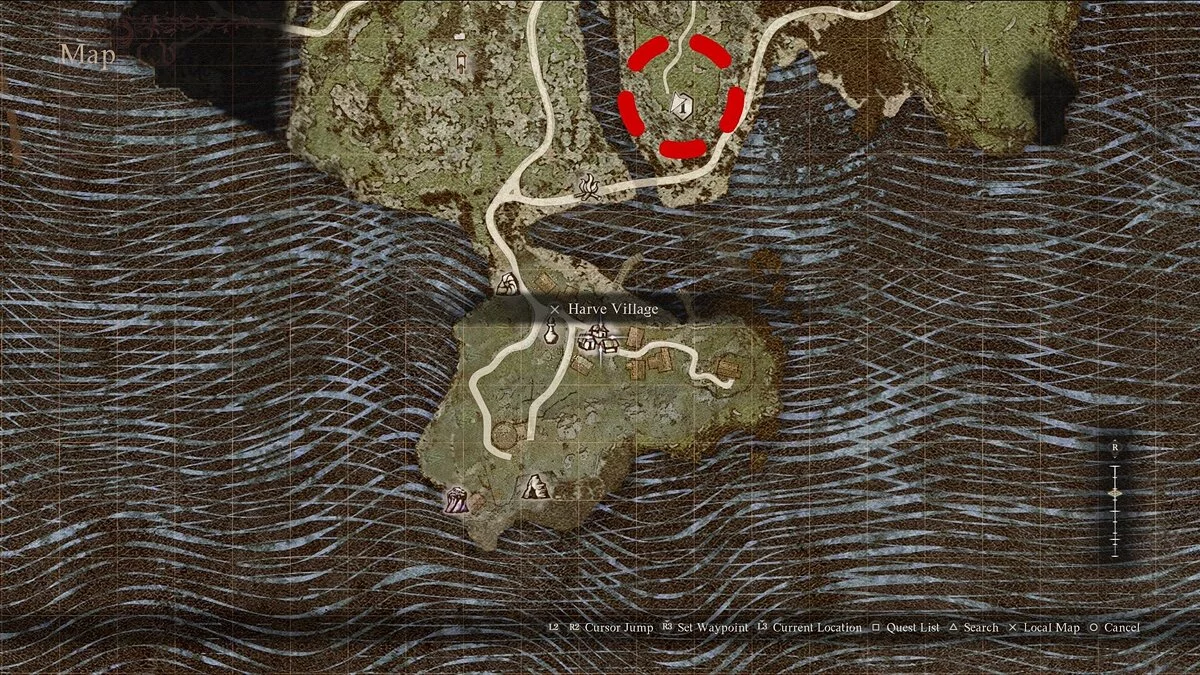
Explore the area north of the village.
One of the cliffs offers a beautiful view of the local pier — there is a chest with a shard.
Wakestones and Shards Near Melve
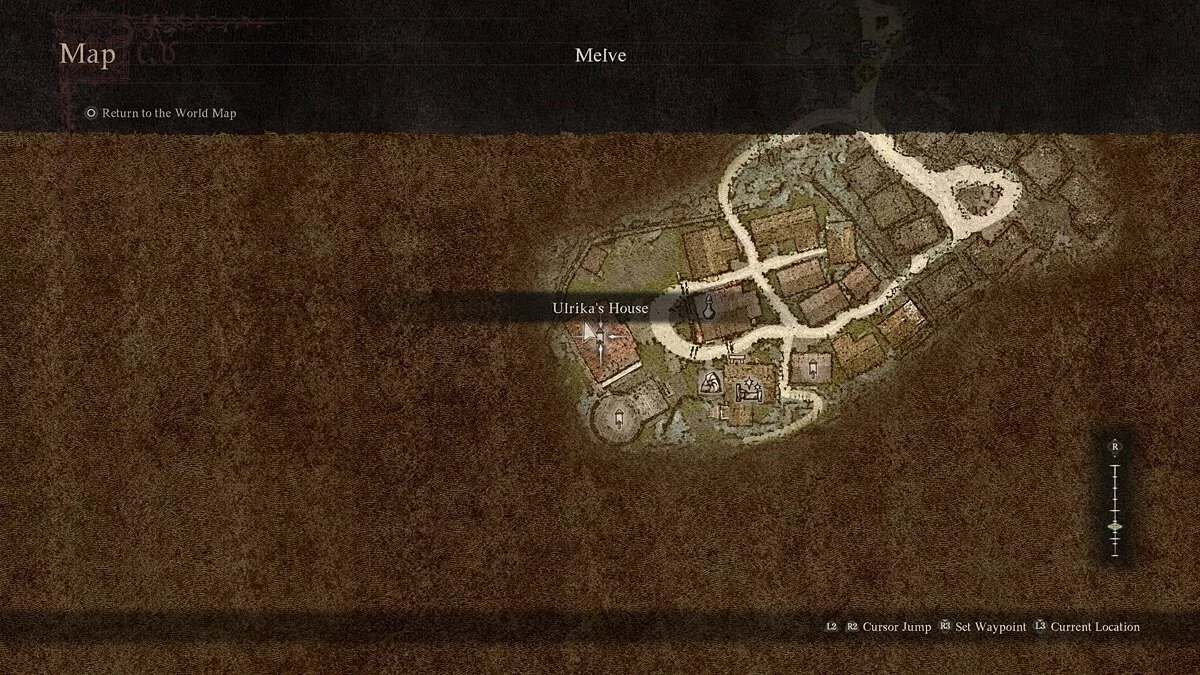
Find Ulrika's dwelling. Inside the house, there are several rooms. You need the one closest to the staircase.
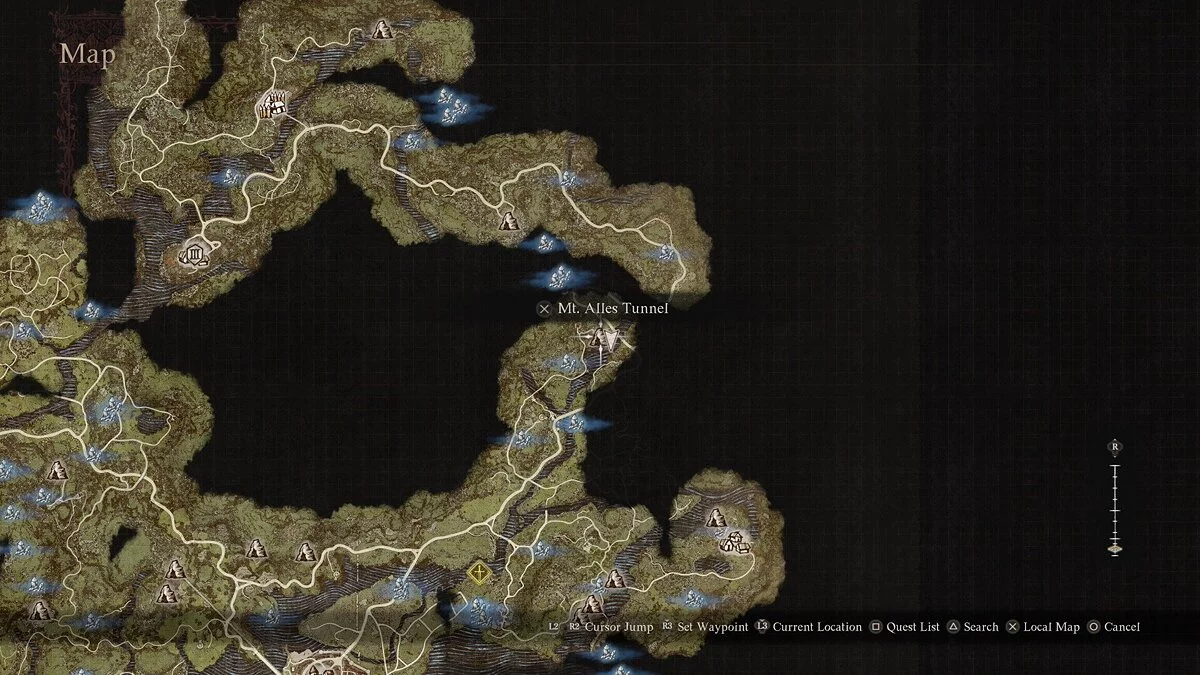
To the east of Melve, there is a cave Alles Mountain Tunnel.
It is easy to find on the map, as such places are marked by the game. Go through the entire dungeon to the end to find a stash near the right wall.
Wakestones and Shards Near Vernworth
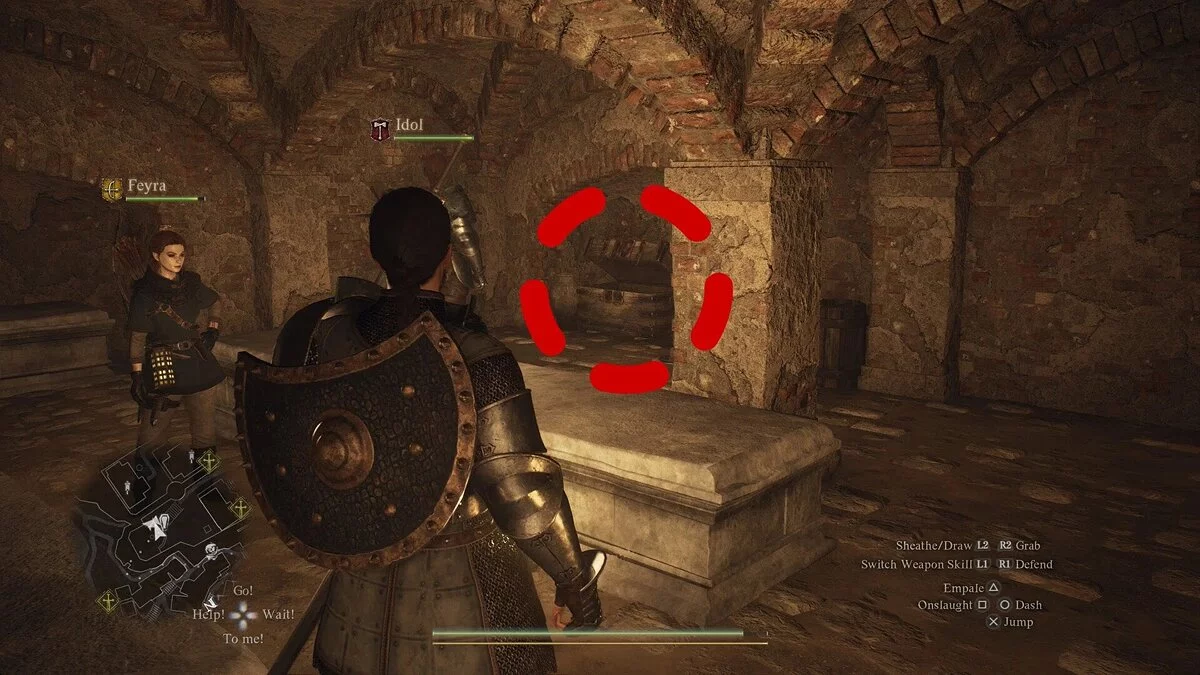
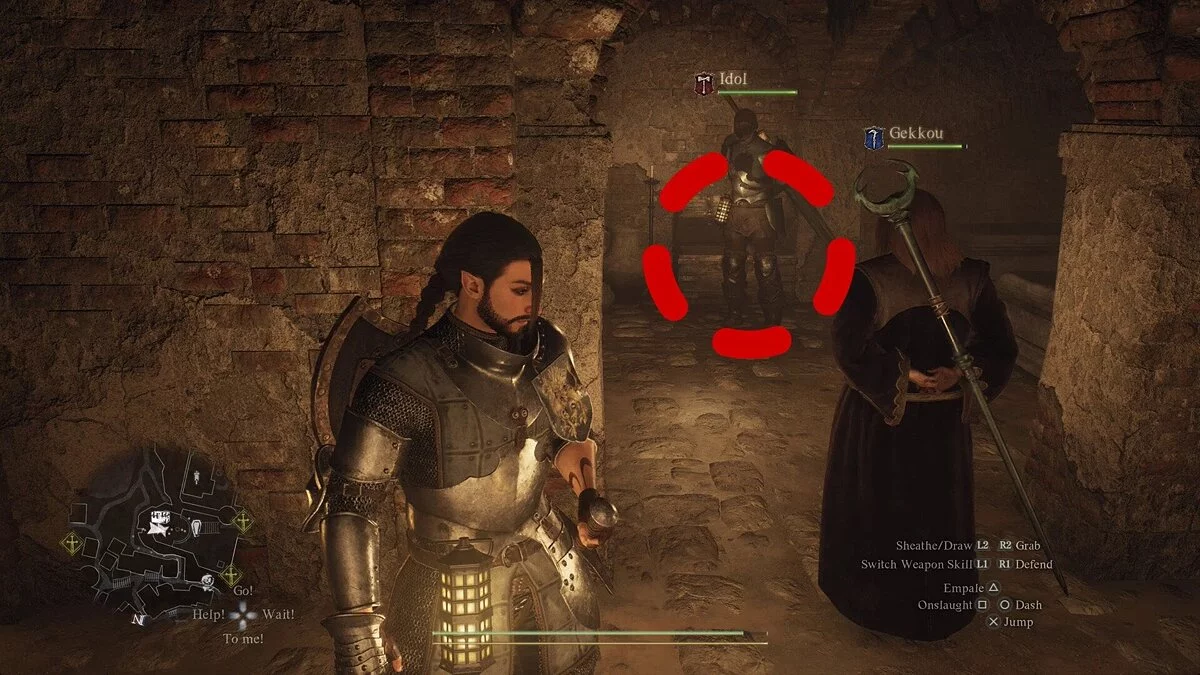
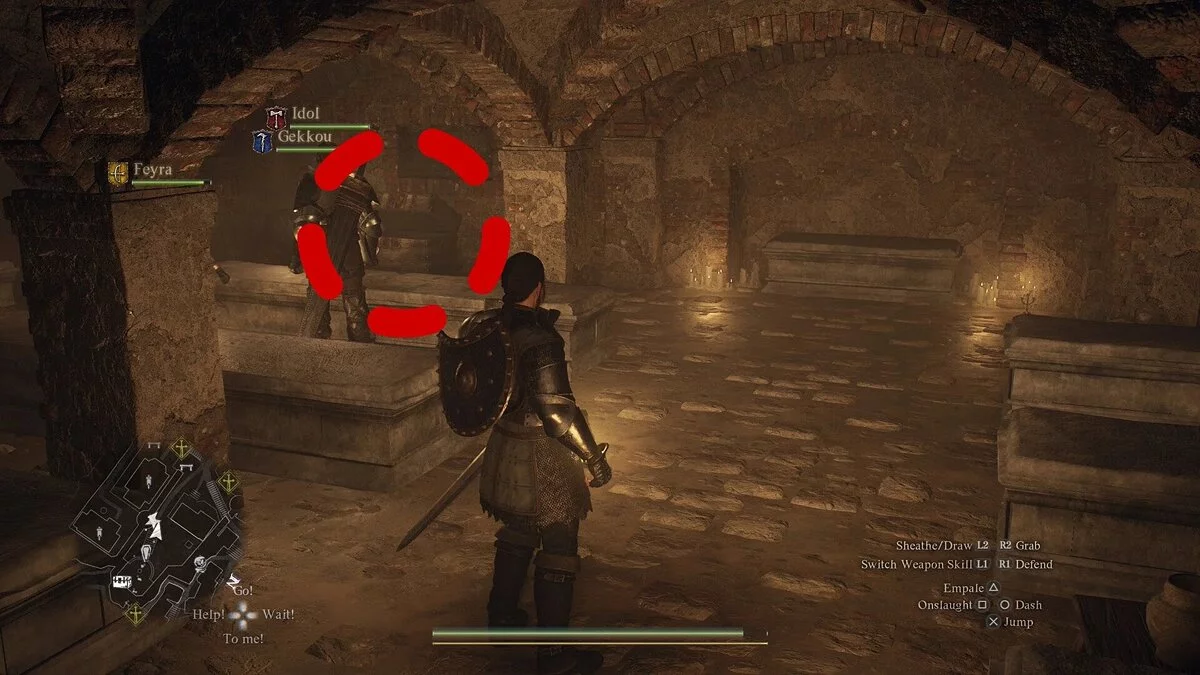
Explore Vermund's crypt. On the first floor, there is a stash with a shard.
Climb the stairs to the second floor of the crypt. Look around, there should be a chest with a second shard nearby.
Still in the same crypt, go to the room farthest from the stairs. The floor is still the second. There is a new shard.
To the northwest of Vernworth, there is a goblin camp. Defeat the enemies and find a wooden platform near the cliff. Climb to the top and you will see a ledge with a chest in the rock opposite.
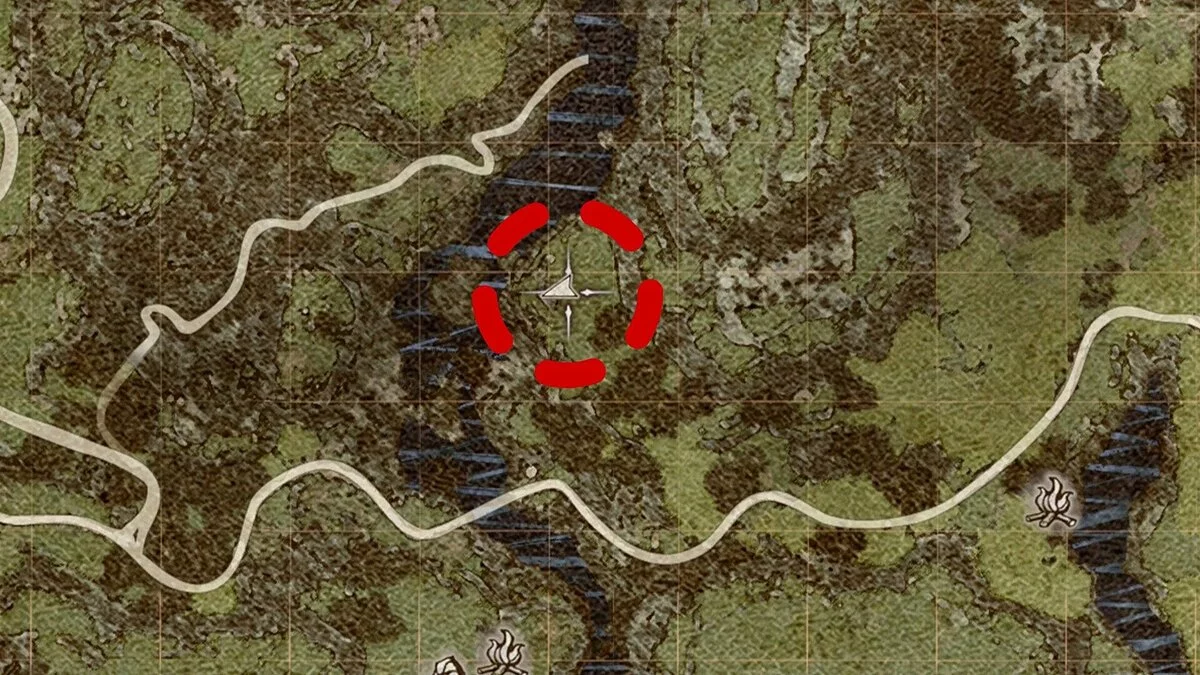
To the west of Vernworth, there is a beautiful waterfall. Examine the area next to it. The chest is just on the ground.
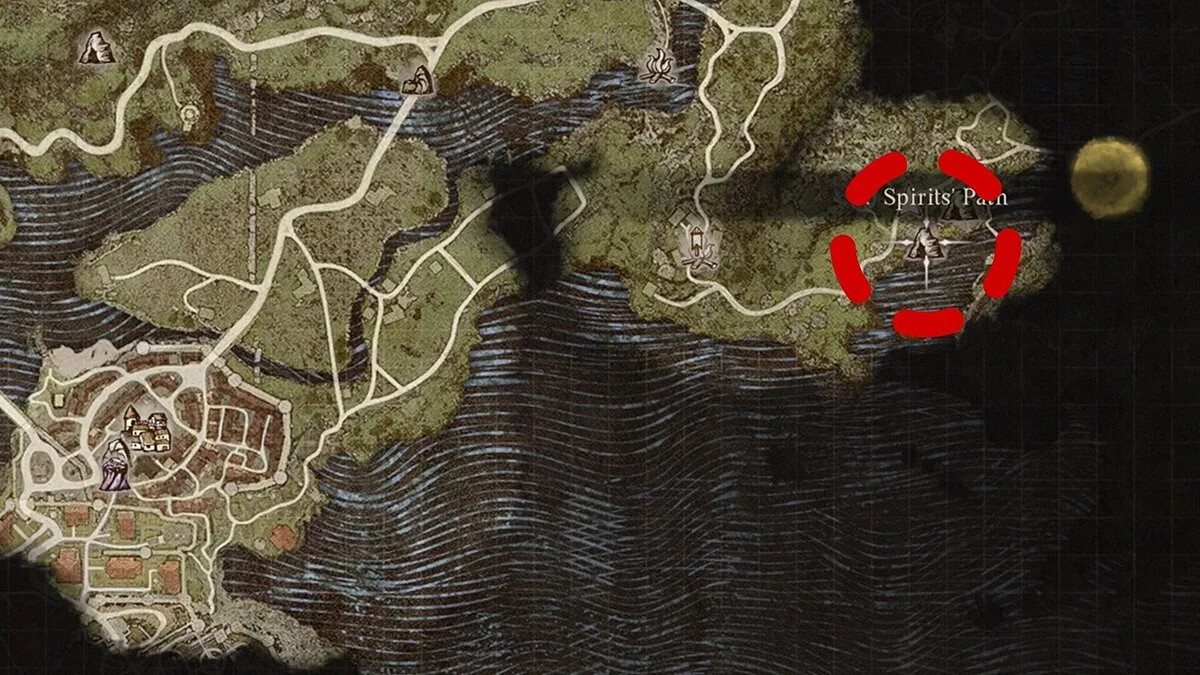
Explore the map to the east of Vernworth to find the cave Spirit Path. Go through the dungeon and find the chest.
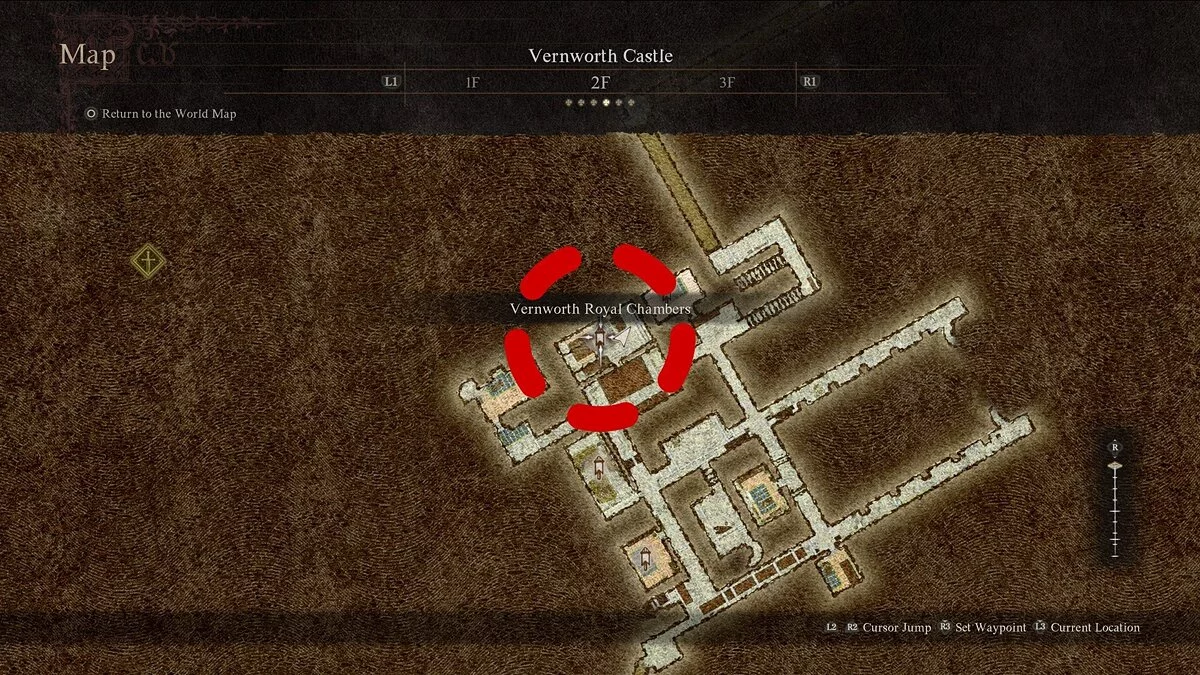
When you are in Vernworth Castle, go up to the second floor. There are the Royal Chambers. Enter and you will see a chest.
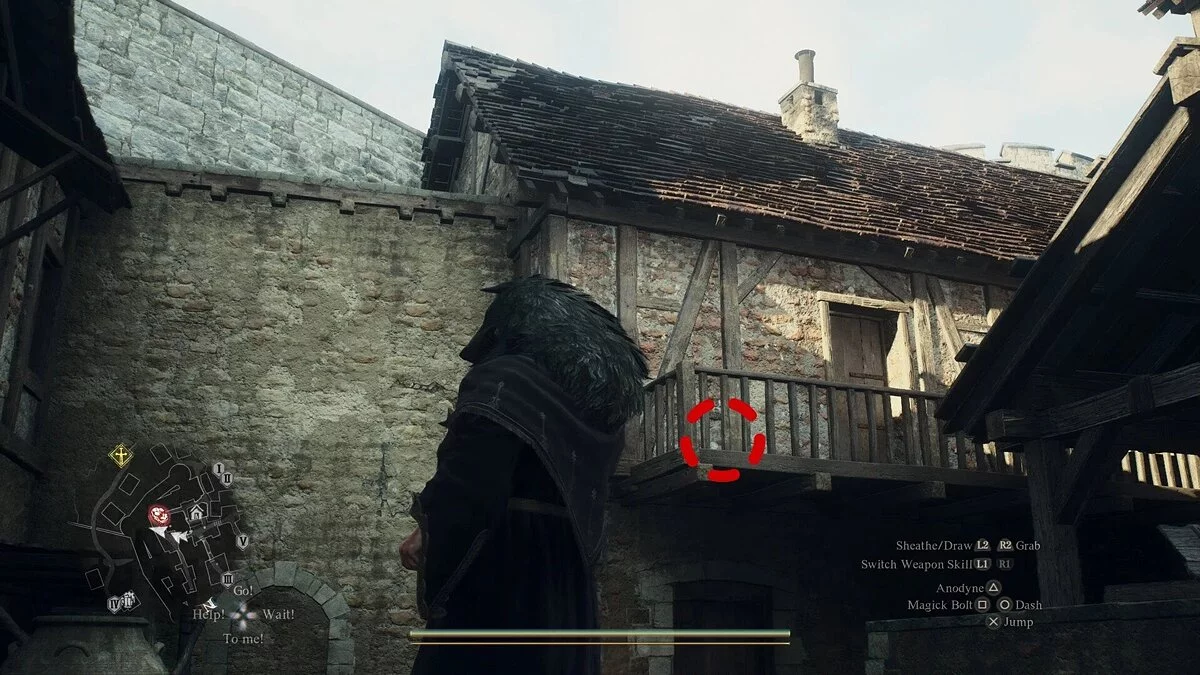
The city of Vernworth is divided into quarters. Find the Common Quarter, where your personal housing should be. Look for a stash on the balcony of the house opposite yours.
To the northwest of Vernworth, there is a tower. You don't need to go inside, just walk around the building.
You will see a harpy nest. They are usually located at some elevation. Kill the monsters and get inside to find a stash with a full wakestone.
Wakestones and Shards Near Malachite Forest
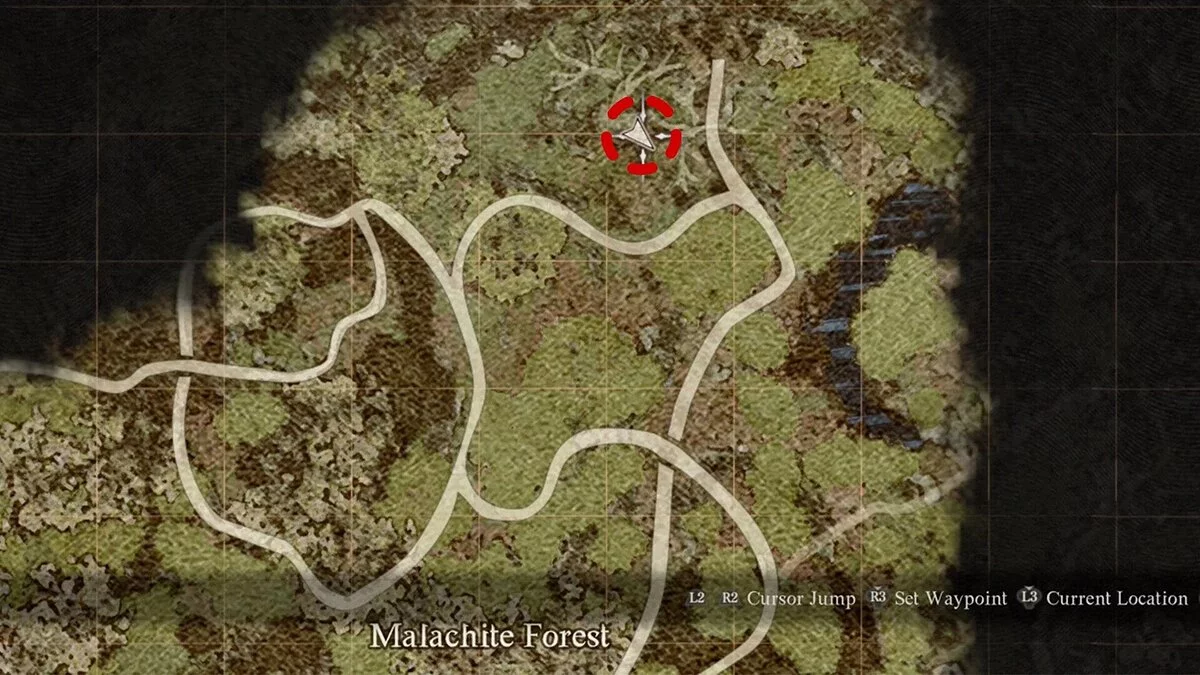
In the northern part of Malachite Forest, there is a very large tree. Next to it is a pedestal with a shard.
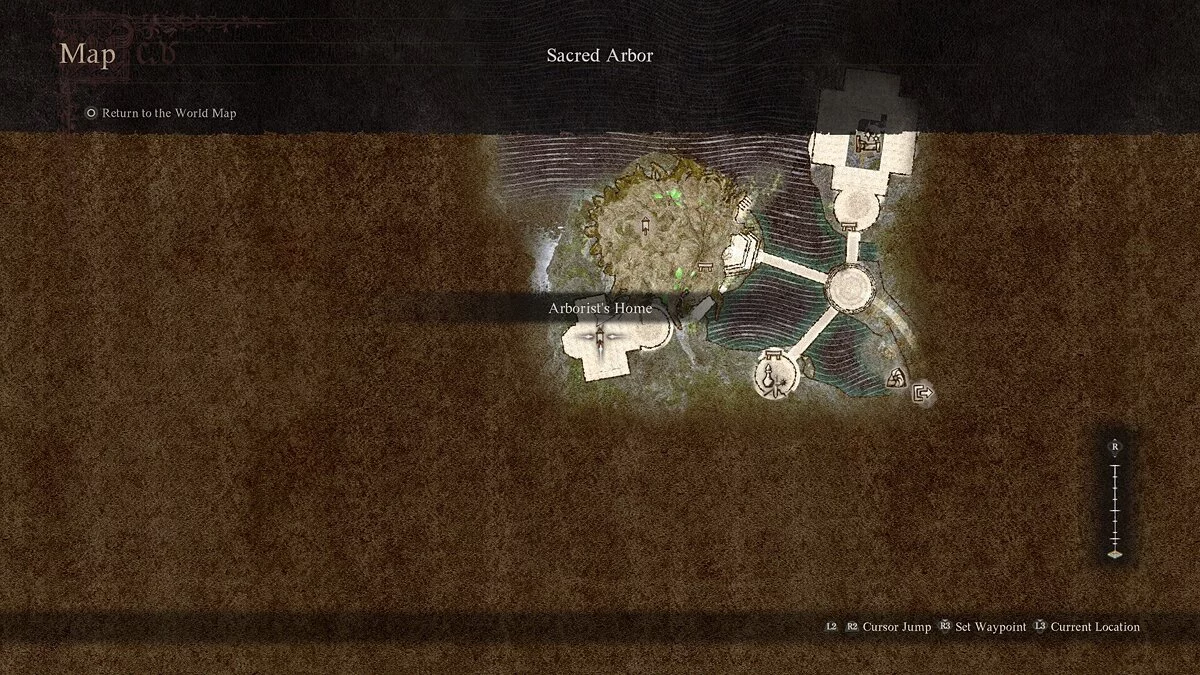
Find the location Sacred Arbor. There is an arborist's house, enter the bedroom to find a chest.
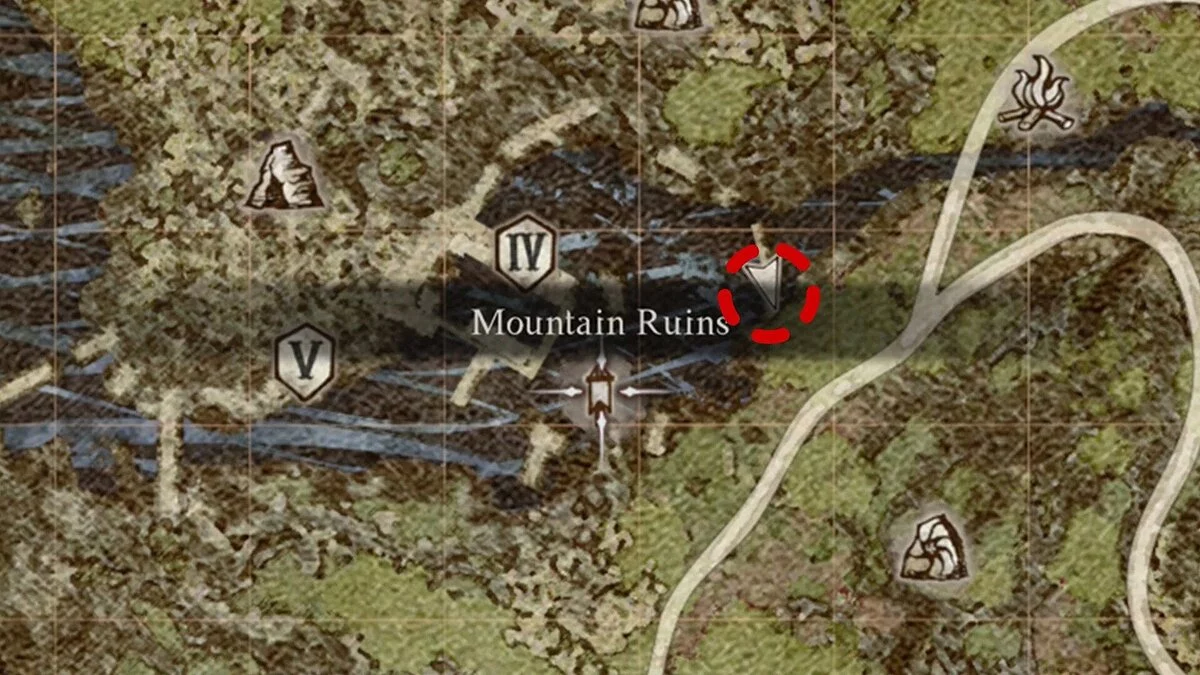
In the Malachite Forest, there are Mountain Ruins. There are many ruins, but you need to find a few specific broken platforms.
While on them, look to the right side to find a chest.
Wakestones and Shards Near the Eastern Forest
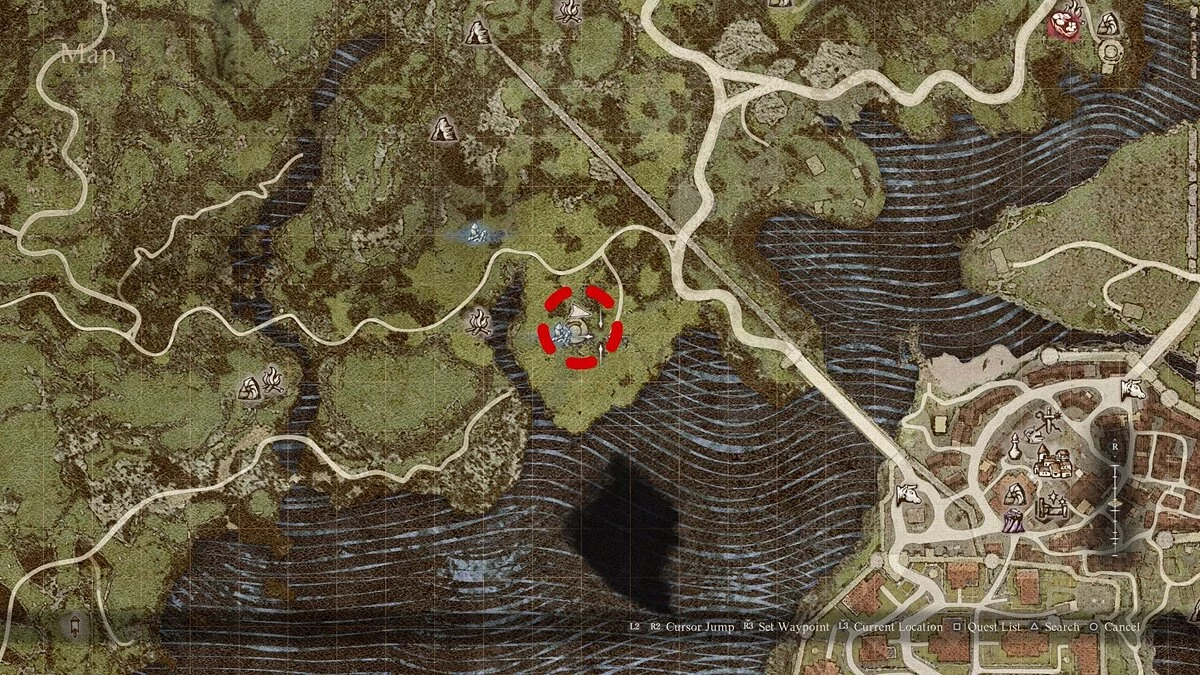
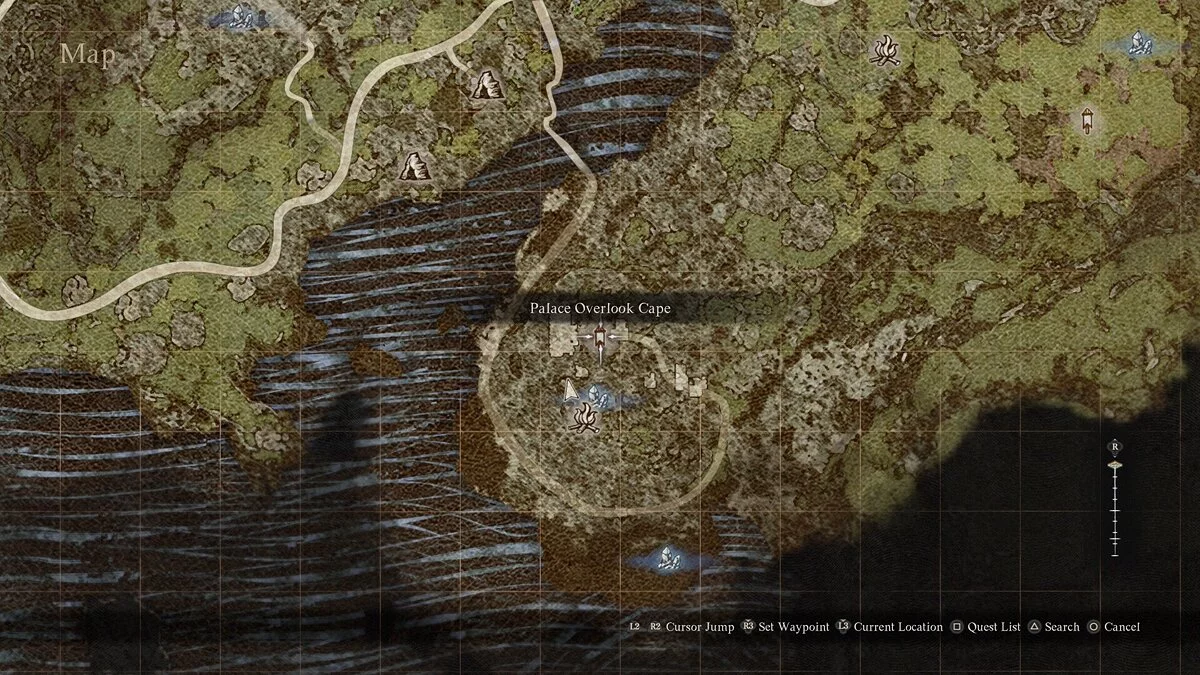
To the southwest of the Eastern Forest, there is a location Palace Overlook.
It's a cape where you will find a campsite. The chest with a full wakestone is very close, it is in plain sight.
Wakestones and Shards Near the Nameless Village
Explore the area to the west of the Nameless Village. There you can find a stash.
The entrance to the cave Terrifying Ravine is a sinkhole in the ground. You will also see the dungeon on the map, as with other underground locations.
You can find the ravine to the north of the Nameless Village. Descend to the depth, and you will almost immediately see a chest with a shard.
To the north of the Nameless Village, there are more ruins. A stash awaits you there.
Find the entrance to the tunnel through the Alles Mountain. This location is to the northwest of the village. Go through the location completely and exit to the mountain. Look around to notice another headless statue (one should be to the left of your position).
The chest is behind the statue.
To the west of the Nameless Village, there is a river with ruins on its bank. From there, go south to see a broken statue, and behind it, a chest.
To the north of the Nameless Village, there is the entrance to the Cave of the Forsaken. You do not need to enter the dungeon itself.
Look around, paying special attention to areas above the heroes. Your attention will surely be drawn to a chest on a ledge of the cliff to the right.
Wakestones and Shards Near the Misty Swamps
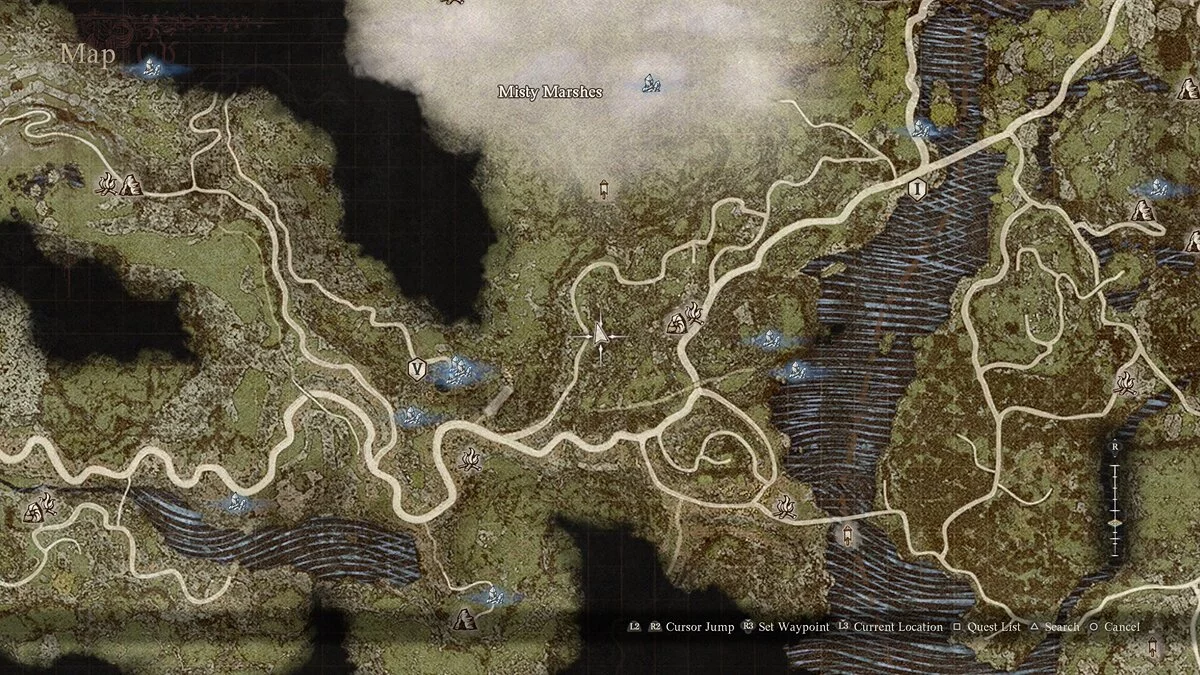
Go south from the Misty Swamps, and very soon you will find a broken statue.
The stash is in front of it.
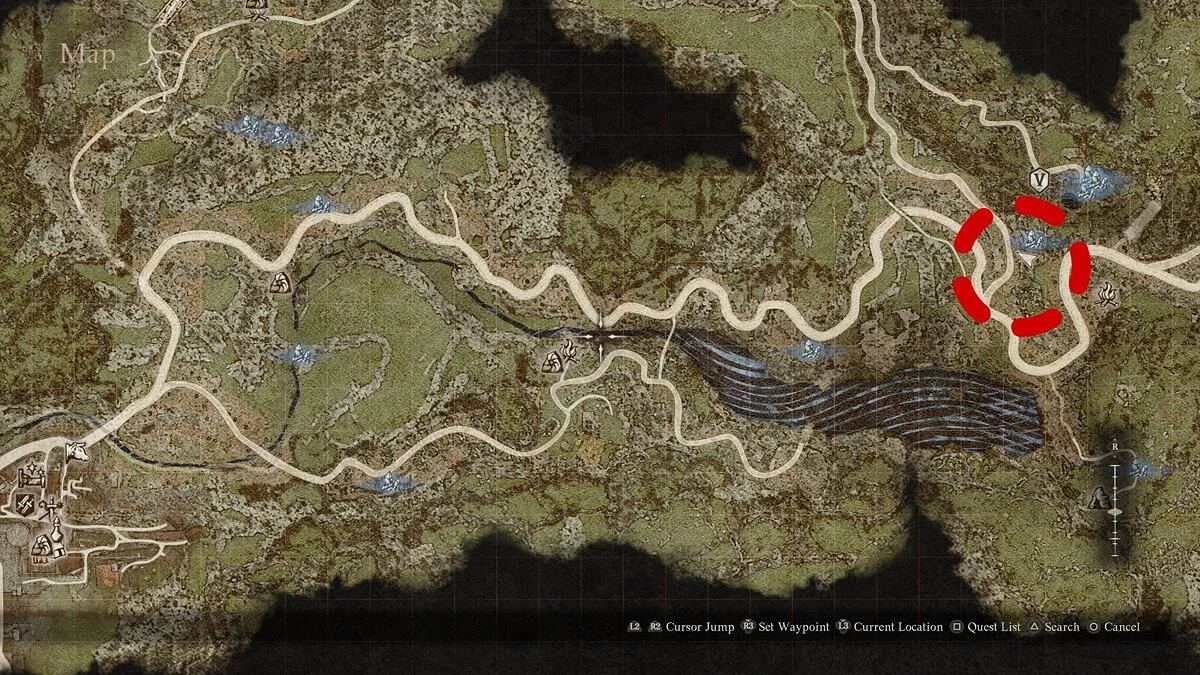
In the southwestern direction from the Misty Swamps, there is an old tower. Enter it and explore one of the balconies. There is a chest with a full wakestone.
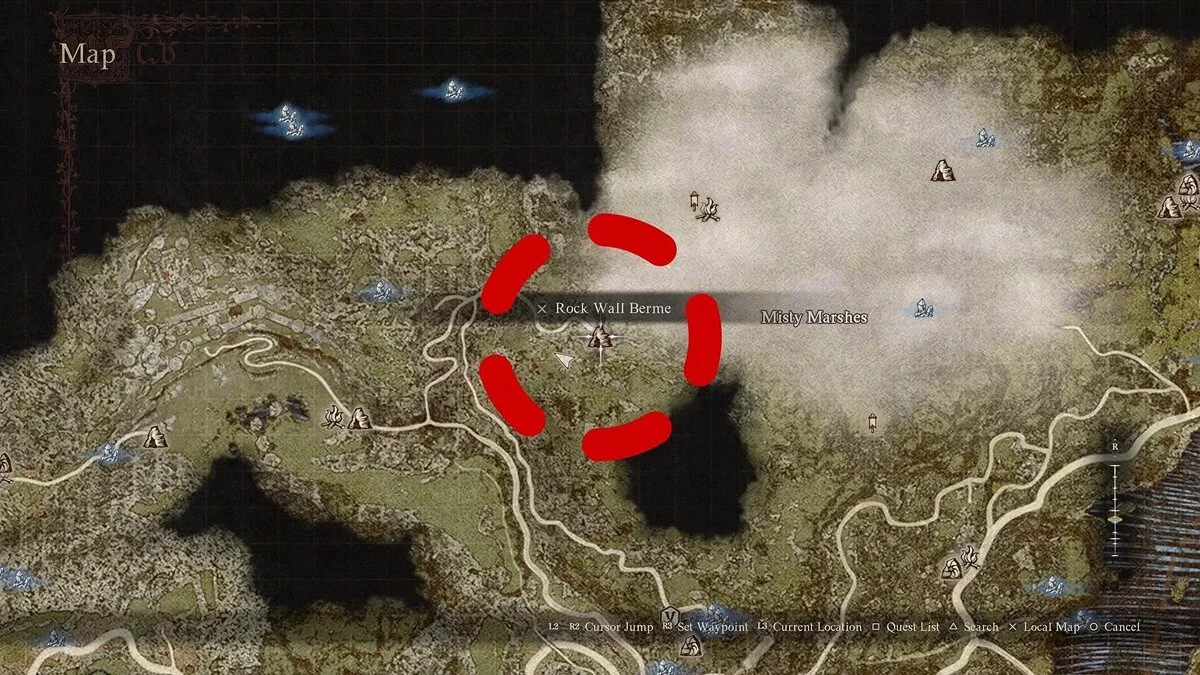
To the west of the location, there is a dungeon called Berme Stone Wall. It is marked on the map like the caves. Inside, there is a stash with another wakestone.
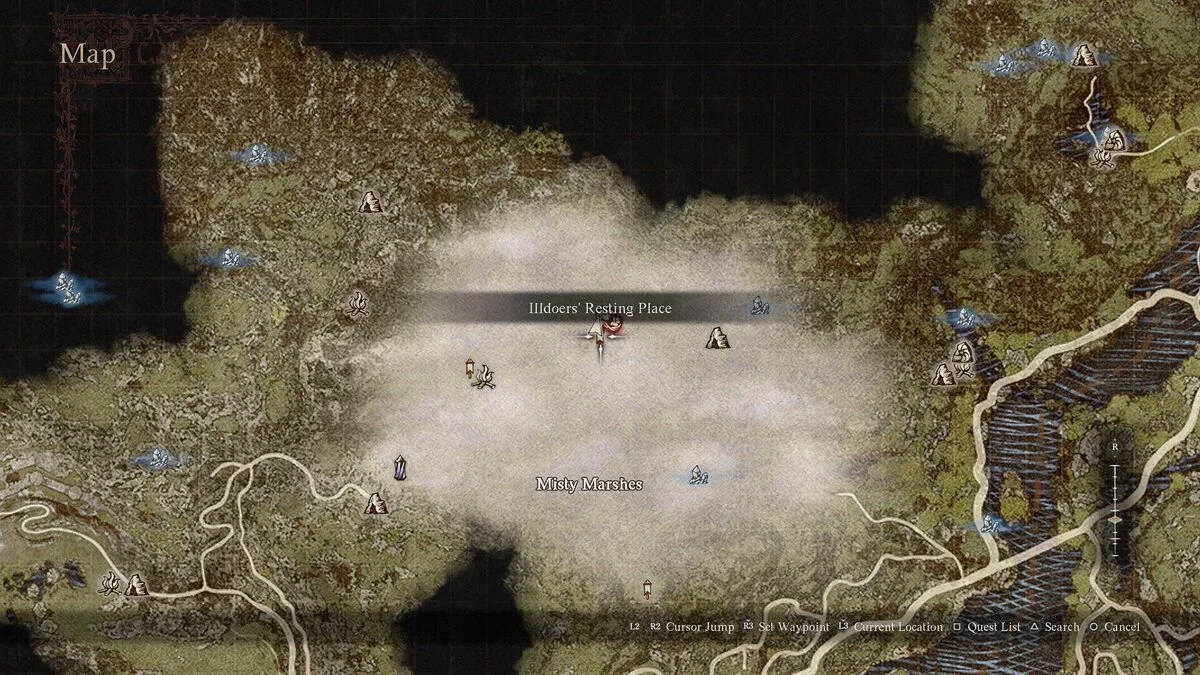
In the Misty Swamps, find the area called Illdor's Resting Place.
There's nothing special to do here, just open the chest waiting for you on the ground.
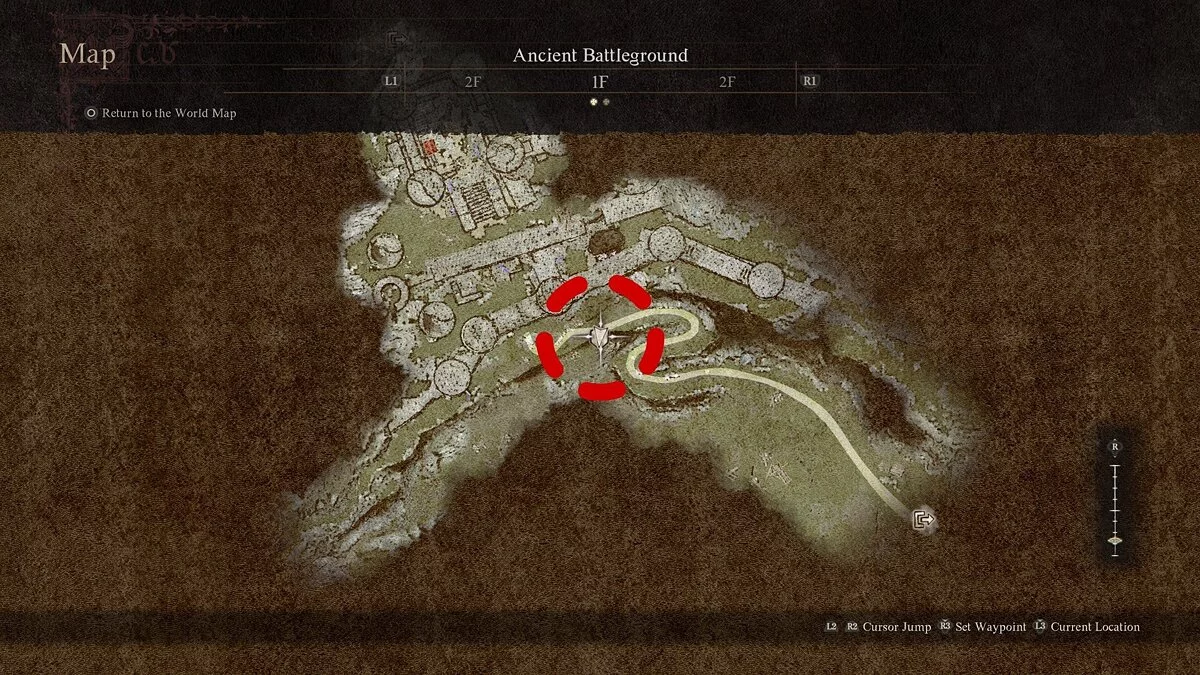
Wakestones and Shards Near the Ancient Battlefield
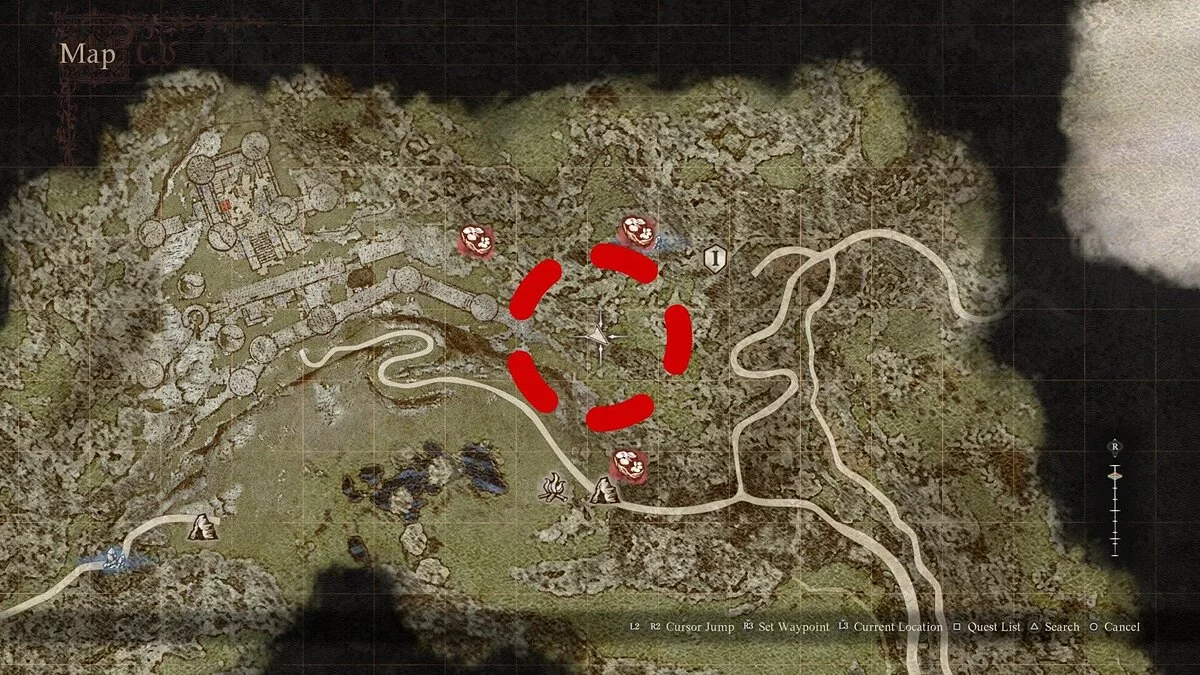
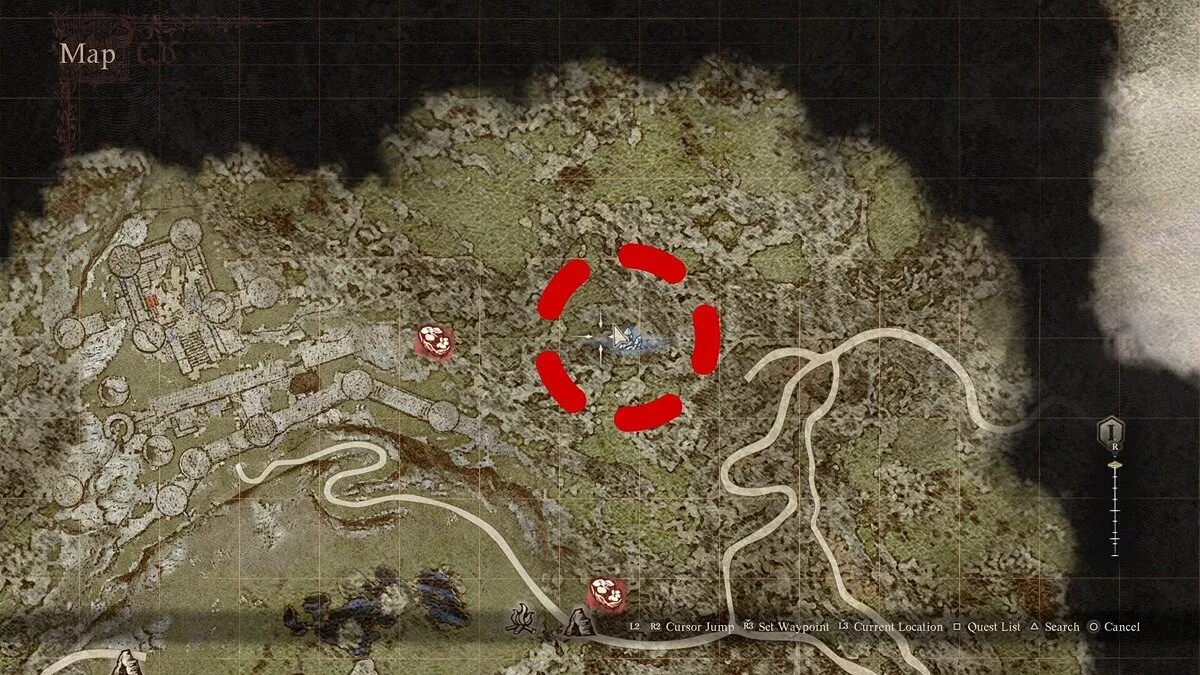
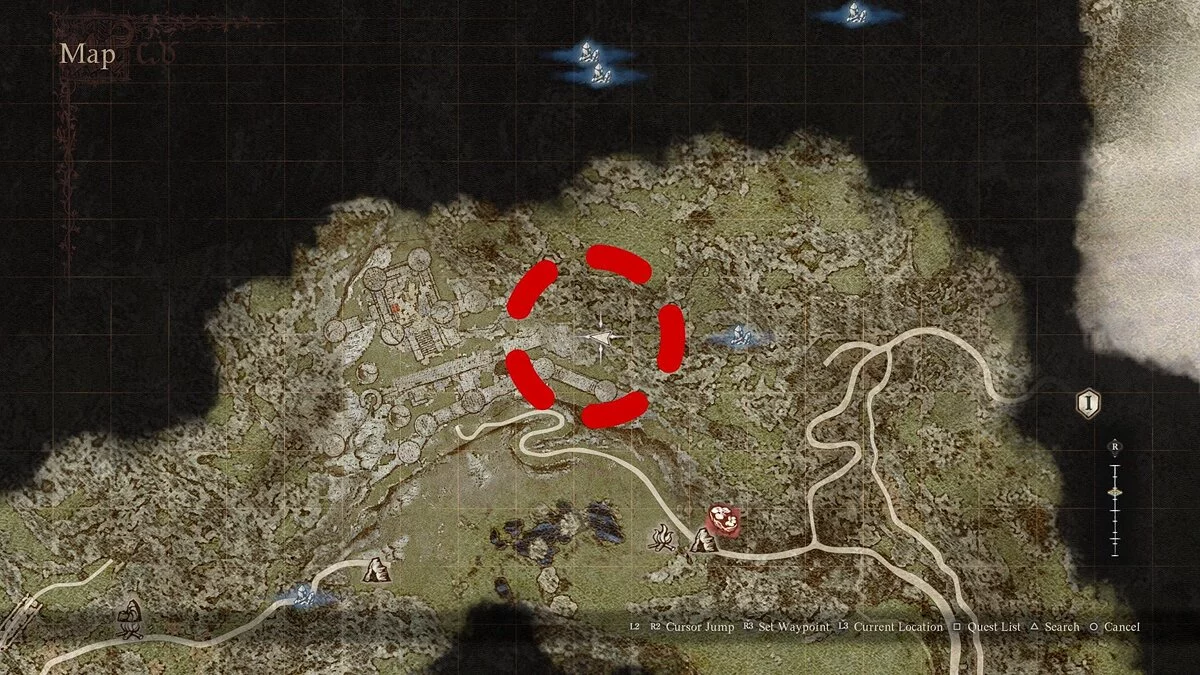
Explore the castle ruins. You need the harpy's nest. Inside is one of the shards.
While exploring the Ancient Battlefield, you may come across a chest with a shard. No additional actions are required, just visit the place marked on the map.
Clear another harpy's nest. This time not in the castle ruins, but just on the battlefield. As usual, there is a shard inside.
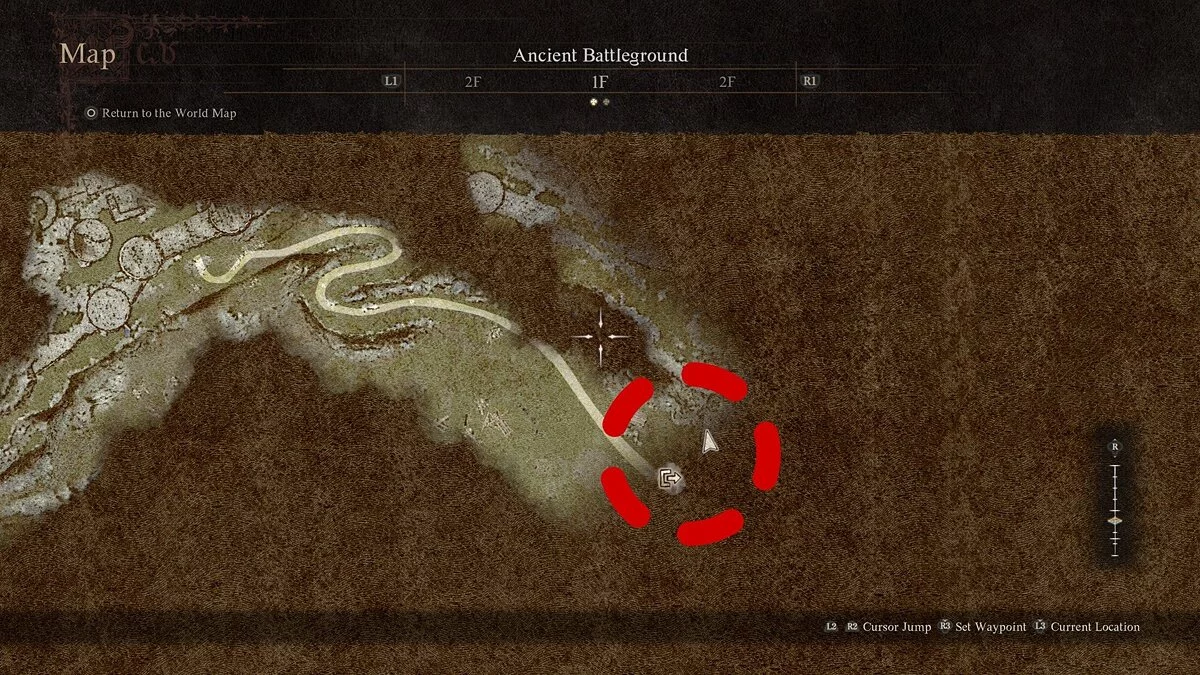
You need the entrance to the Ancient Battle area. Look around to find a large stone bridge with arches you can pass through. Climb up and find a large crossbow. The chest with a shard will be nearby.
Another shard can be found in a hidden area. To open it, find a trebuchet on the battlefield and load it with a stone. You will need to make three shots in total. Then inspect the area where the projectiles landed. You will find a newly formed sinkhole that you can pass through into the wall. There is a chest with a shard.
In the western part of the battlefield, there is another chest just waiting for you to discover it.
It stands on a stone platform and is quite easy to spot.
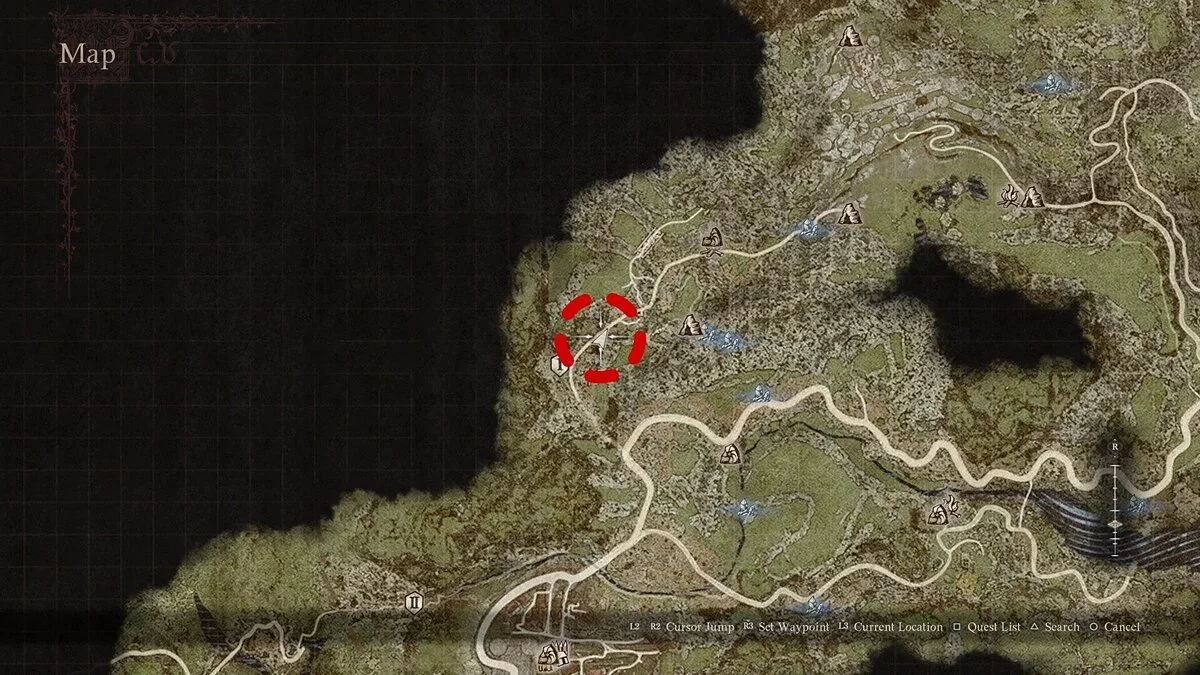
Wakestones and Shards Around the Checkpoint
To the east of the settlement, there is a tree. Next to it is a chest with a shard.
Also to the east, look for a staircase down in the ruins. Inside will be several enemies, deal with them and open the chest.
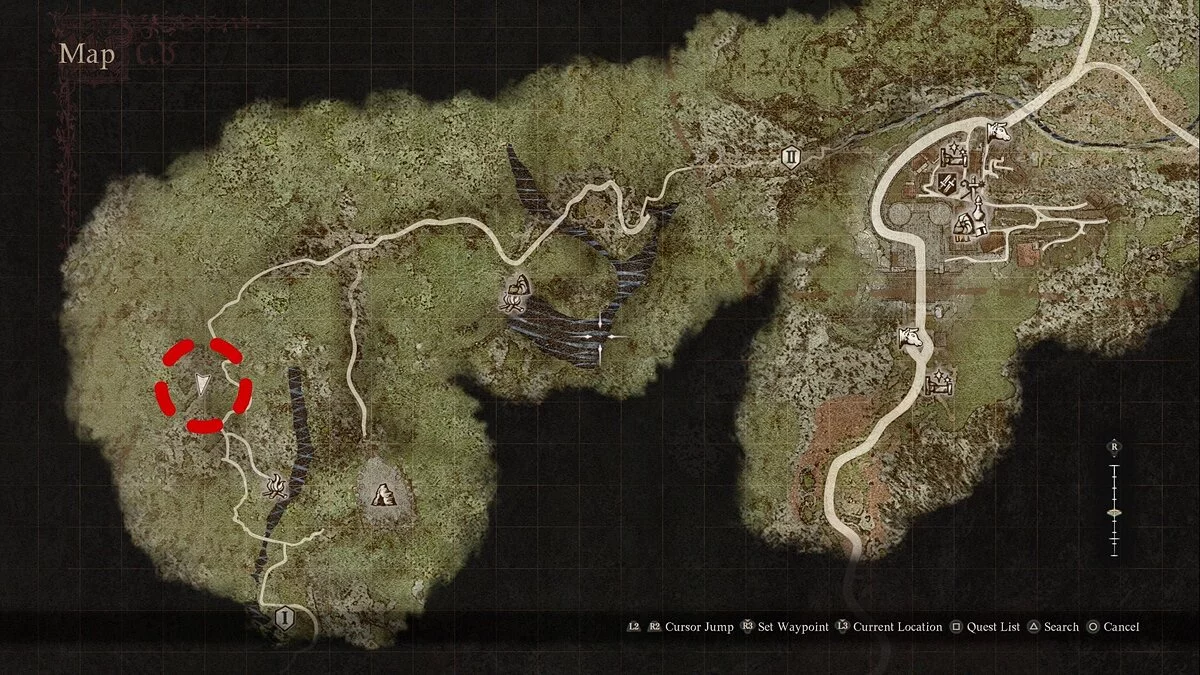
Explore the western part of the area. Not far from the Border Sanctuary, find a partially destroyed wall. The stash is on one of the ledges.
In the far western part of the area, there are large mountains. On one of the ledges is a stash.
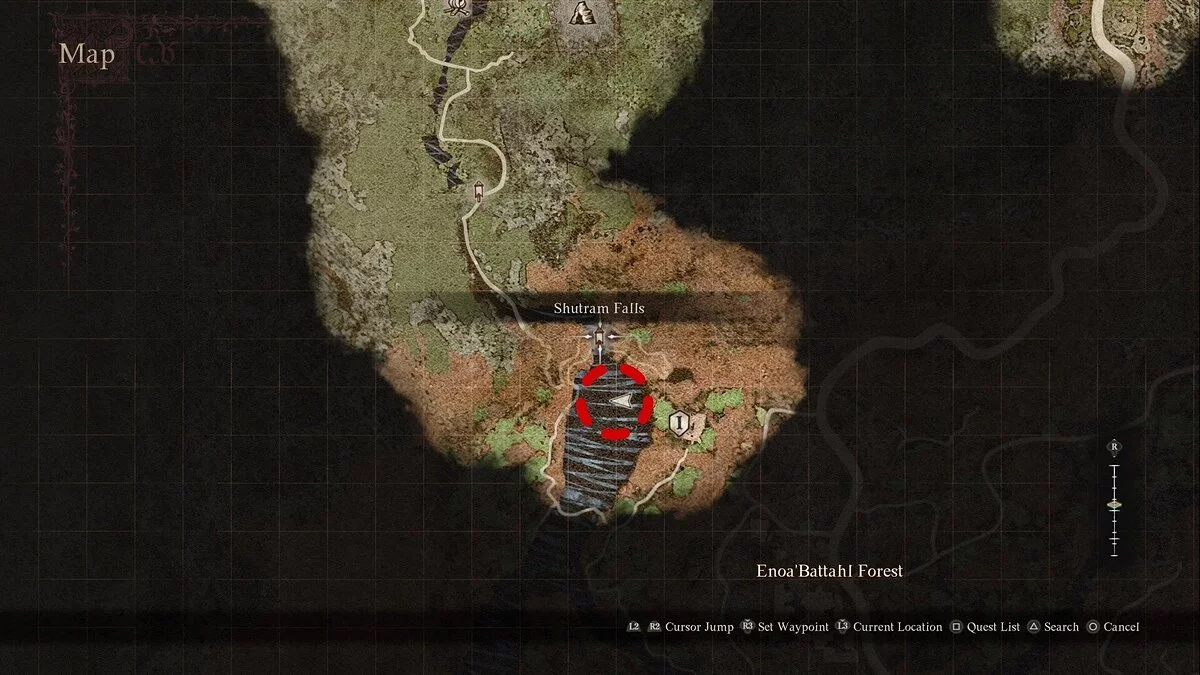
To the south, where the desert begins, find the Shutram Waterfall. Next to one of its pools is a stone with a chest.
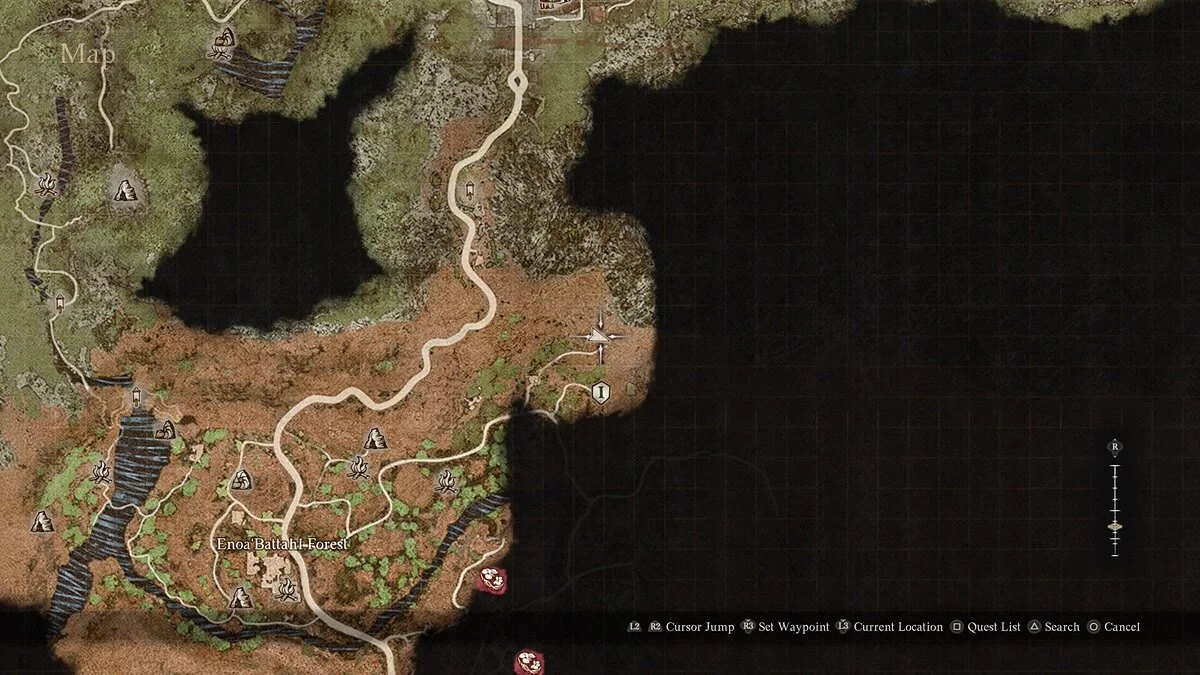
Also to the south of the settlement, on one of the cliffs, there is a chest with a shard.
Finding it may be difficult due to the lack of obvious landmarks, so check the map.
Wakestones and Shards Near the Inoa'Battal Forest
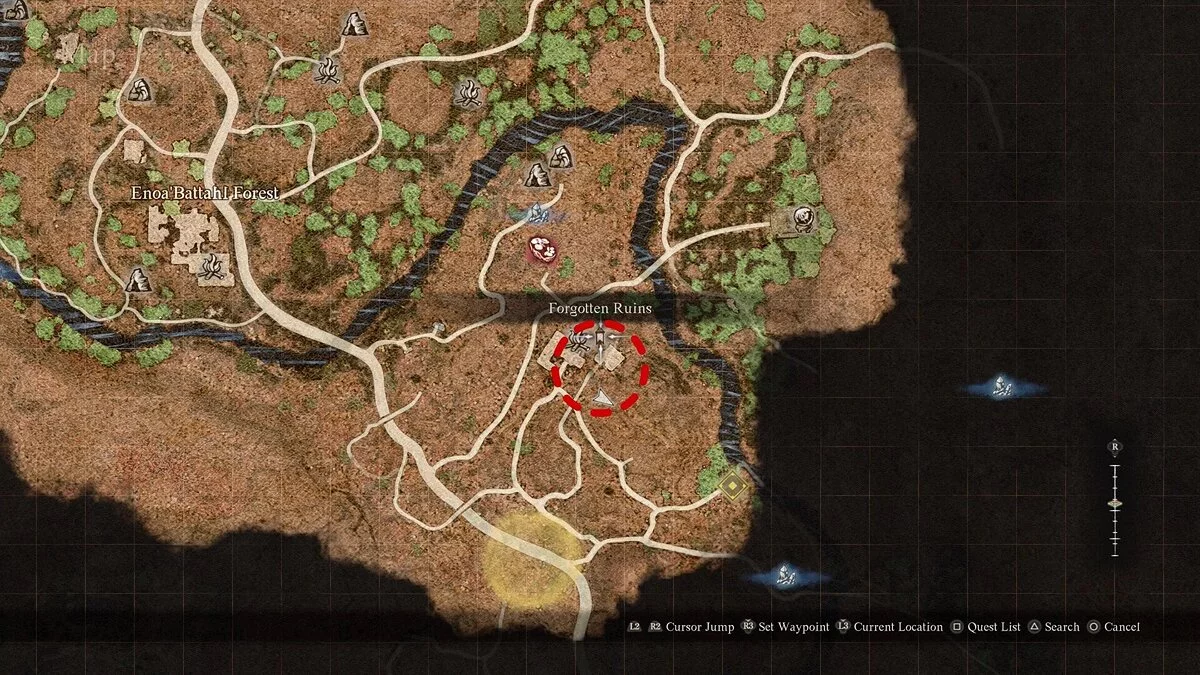
Find the area called Forgotten Ruins. The chest stands on a slight elevation next to a structure made of sticks.
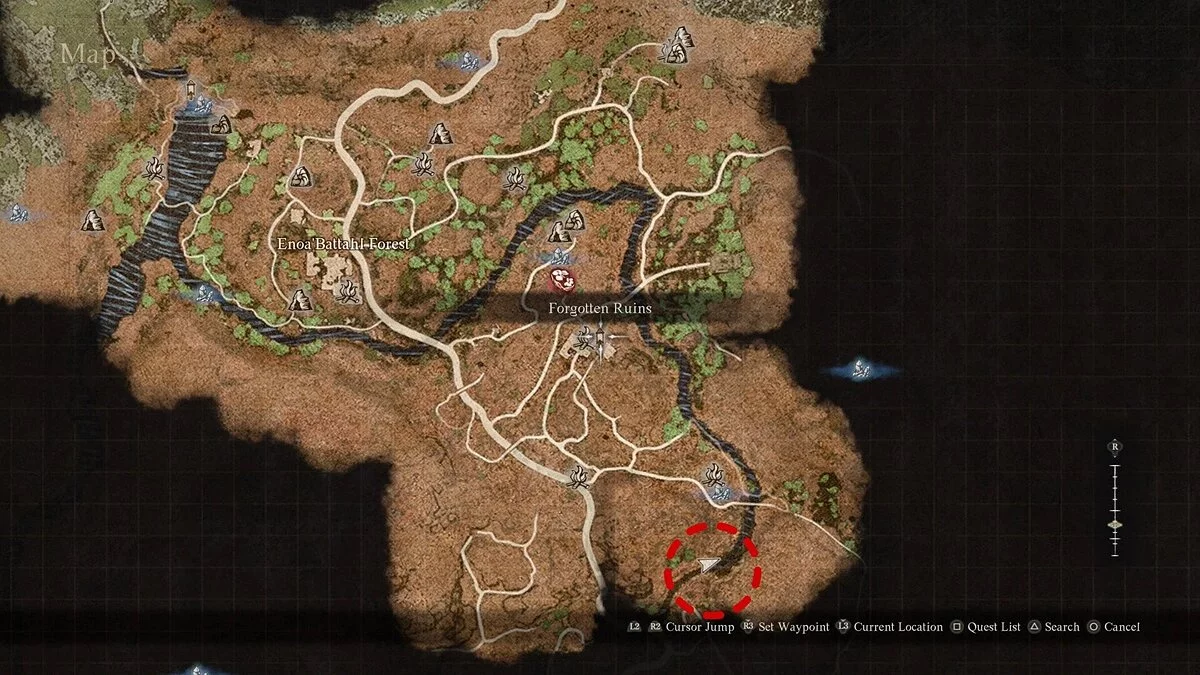
From the Forgotten Ruins, go further south. On a cliff ledge is a chest.
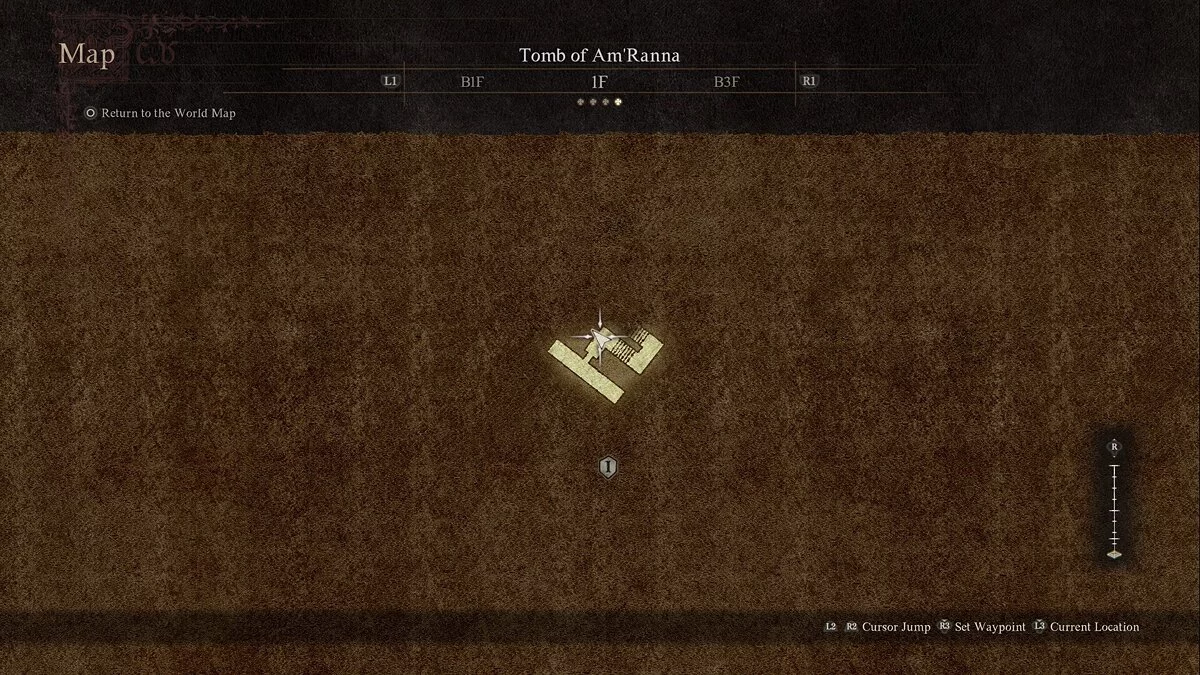
Explore the dungeon Tomb of Am'Ranna.
As a reward, you will receive a whole wakestone.
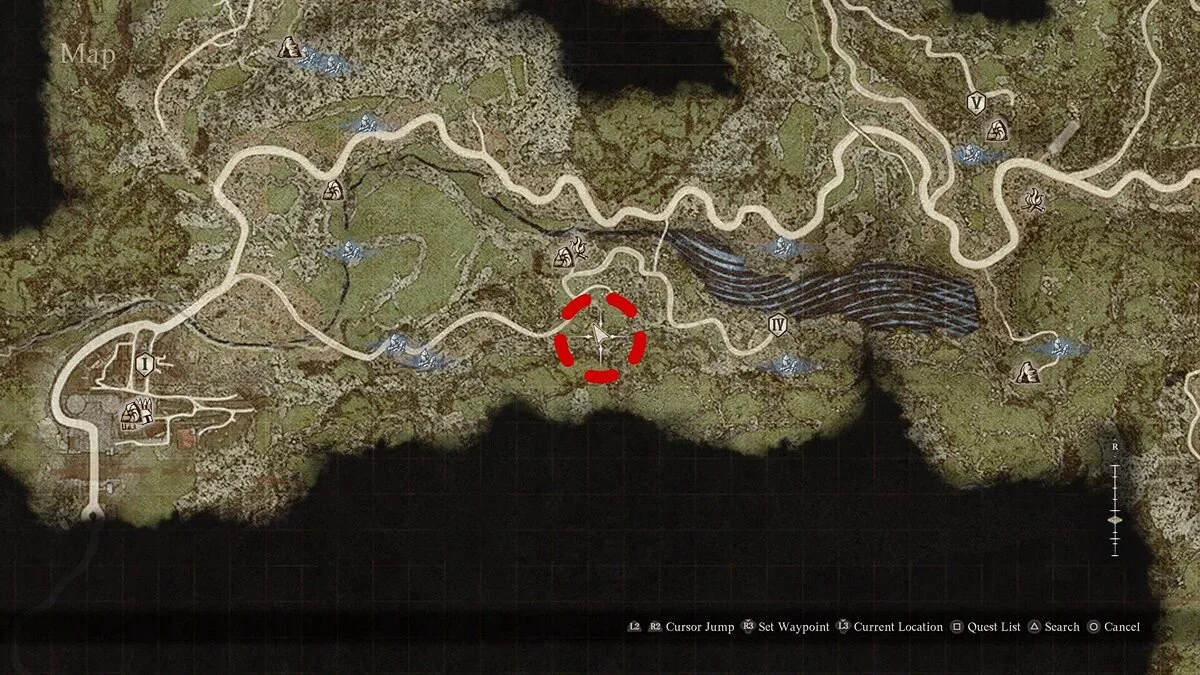
Wakestones and Shards Near Bakbattal
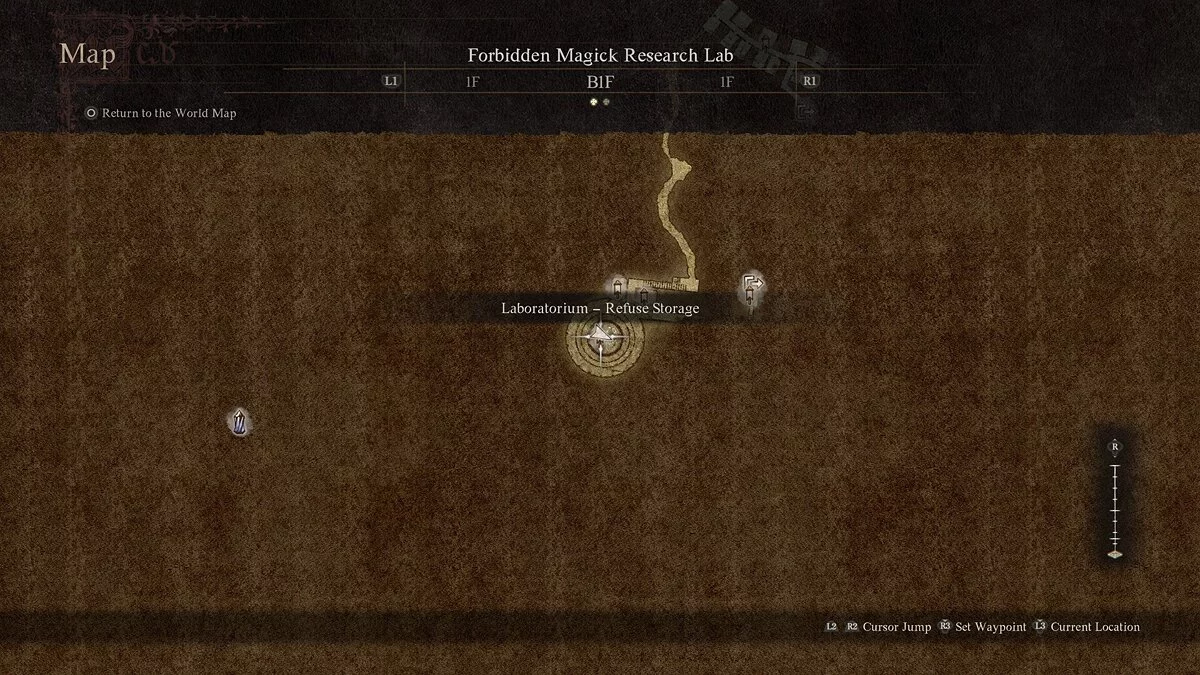
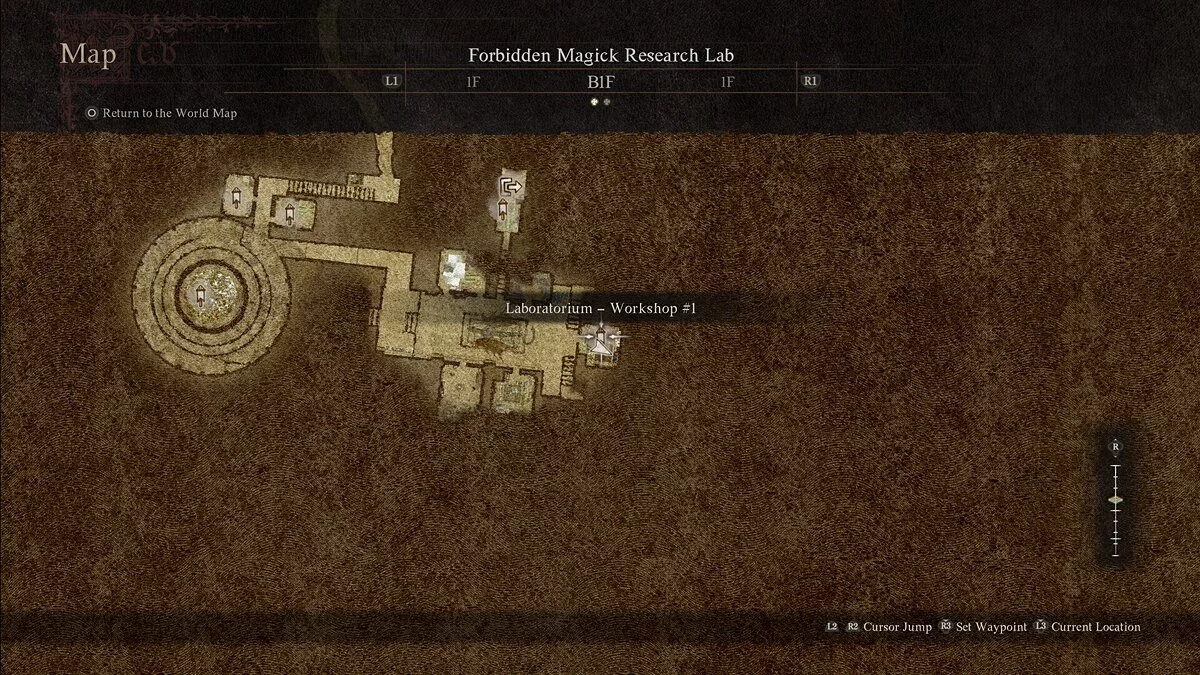
Visit the Forbidden Magic Research Laboratory. Inside, you will find a dragon skeleton. Nearby is a chest with a whole wakestone.
In the same laboratory, find Workshop No. 1. There is a shard inside.
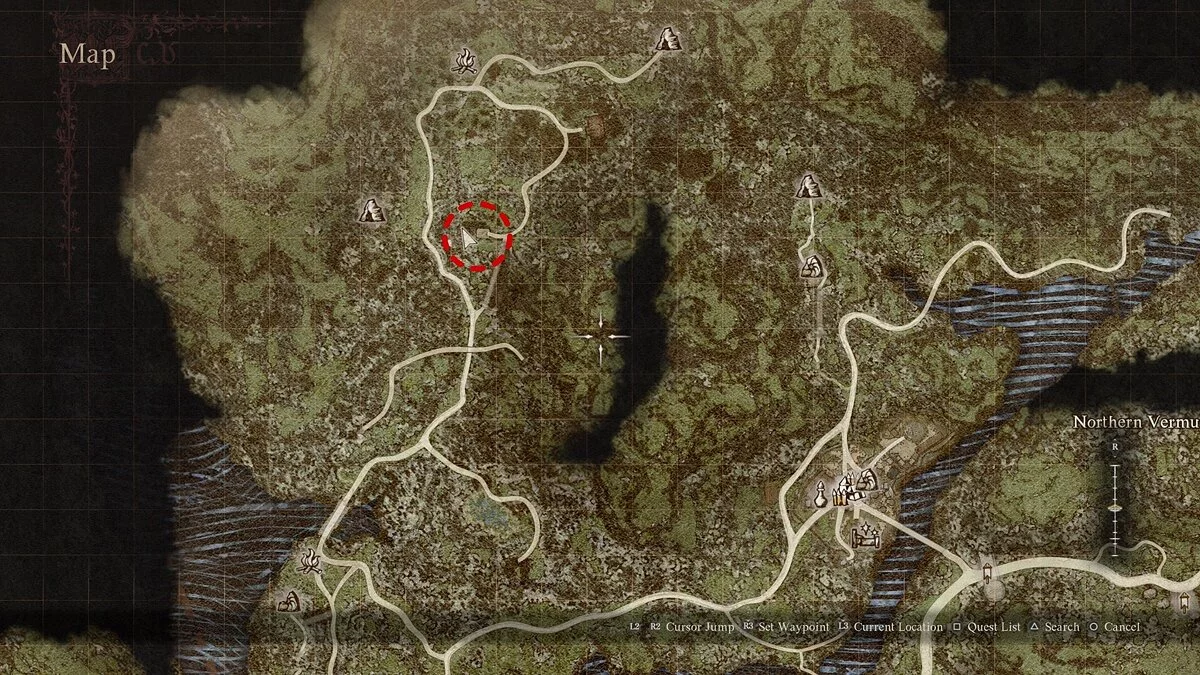
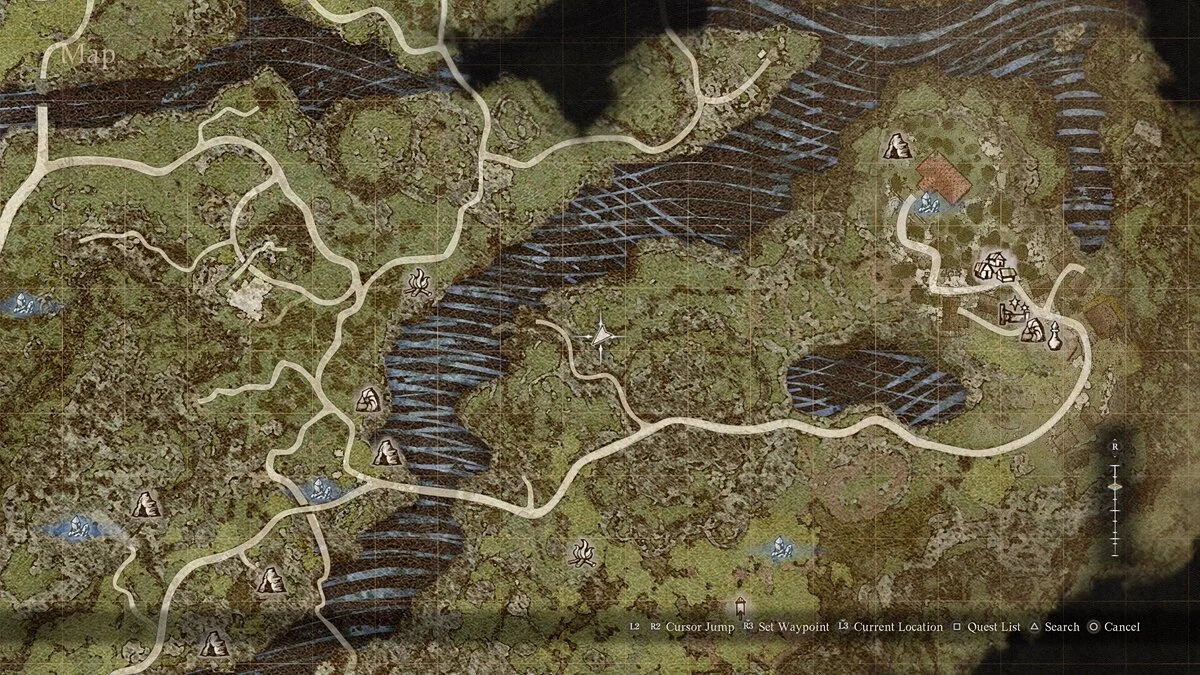
Visit the place shown in the screenshot.
The chest stands on a stone in the middle of the road.
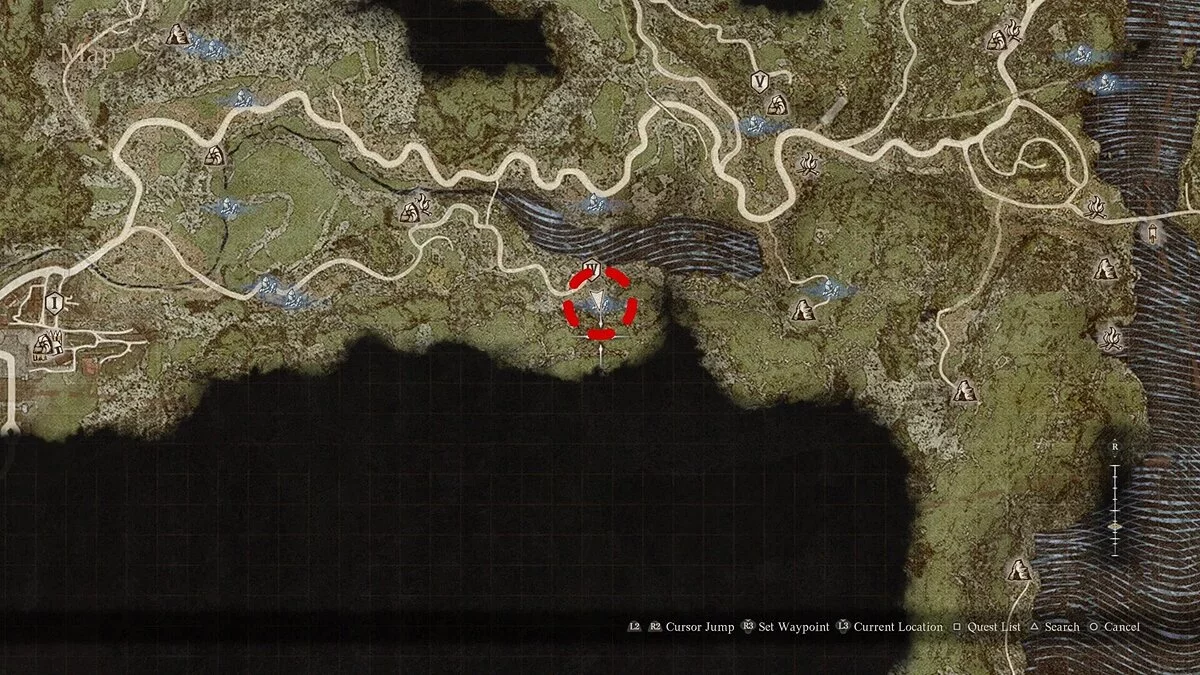
Wakestones and Shards Near the Serpent's Blood Forest
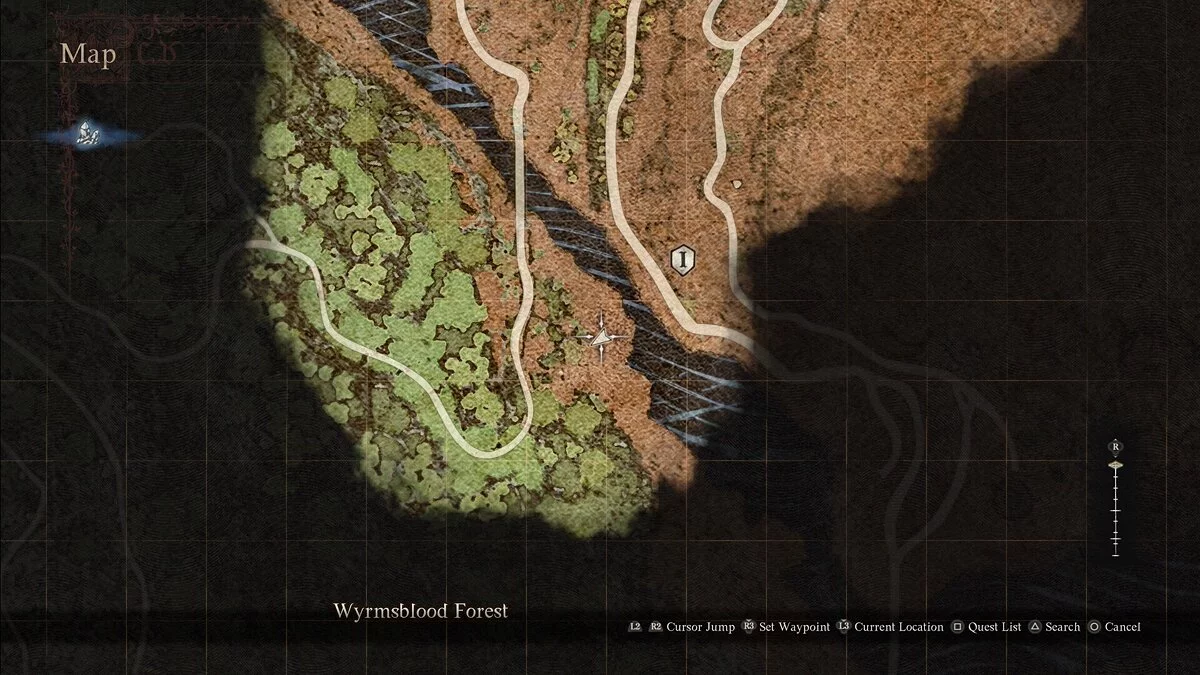
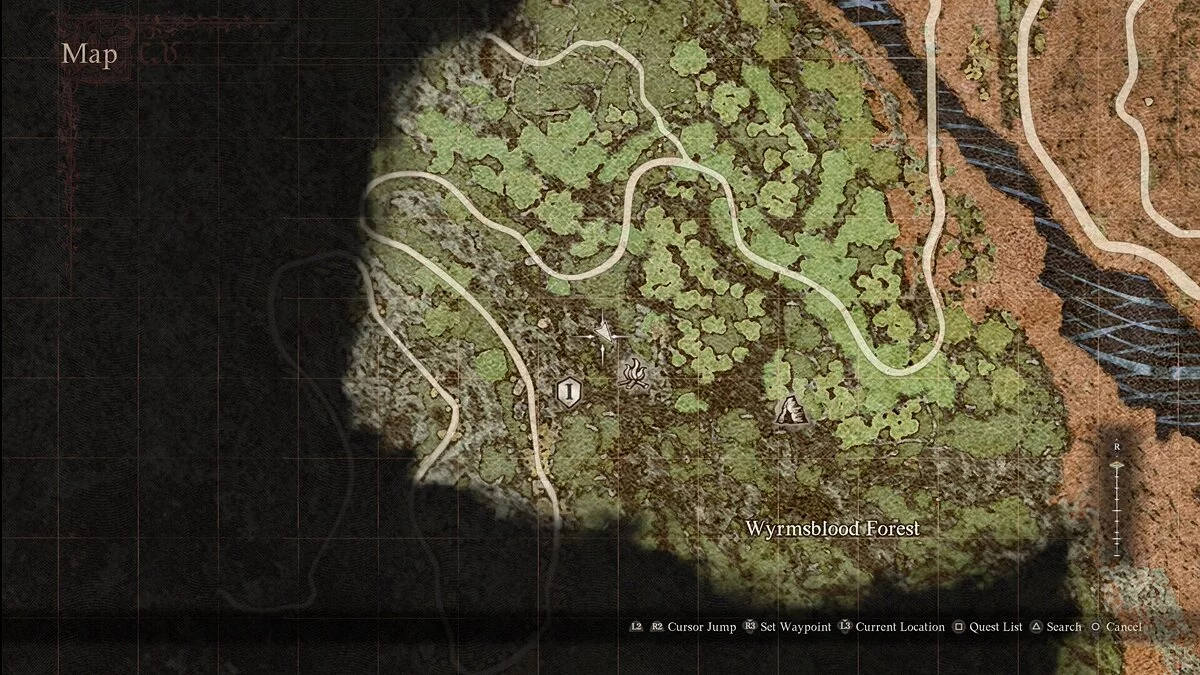
Find the campsite in the area, and then inspect the cliffs above it. On one of the ledges is a chest with a shard.
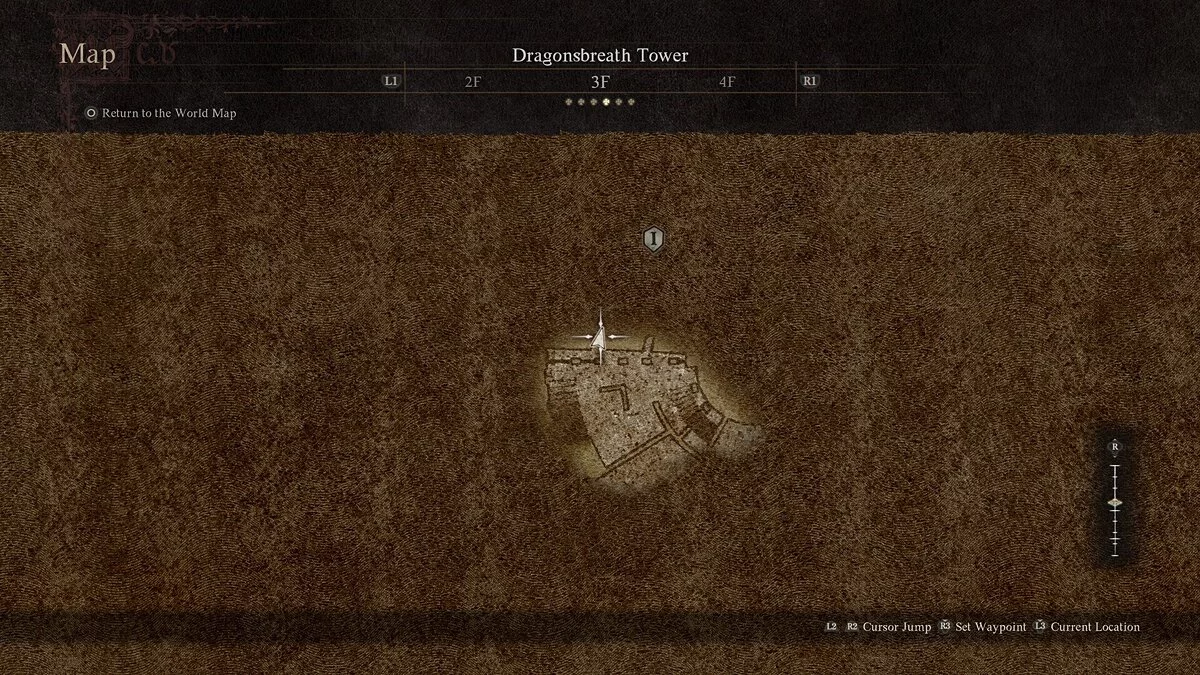
On the third floor of the Dragon's Breath Tower, there is a short ledge with a chest at the end.
Be careful not to fall into the abyss.
Wakestones and Shards Near the Volcanic Island of Agamen
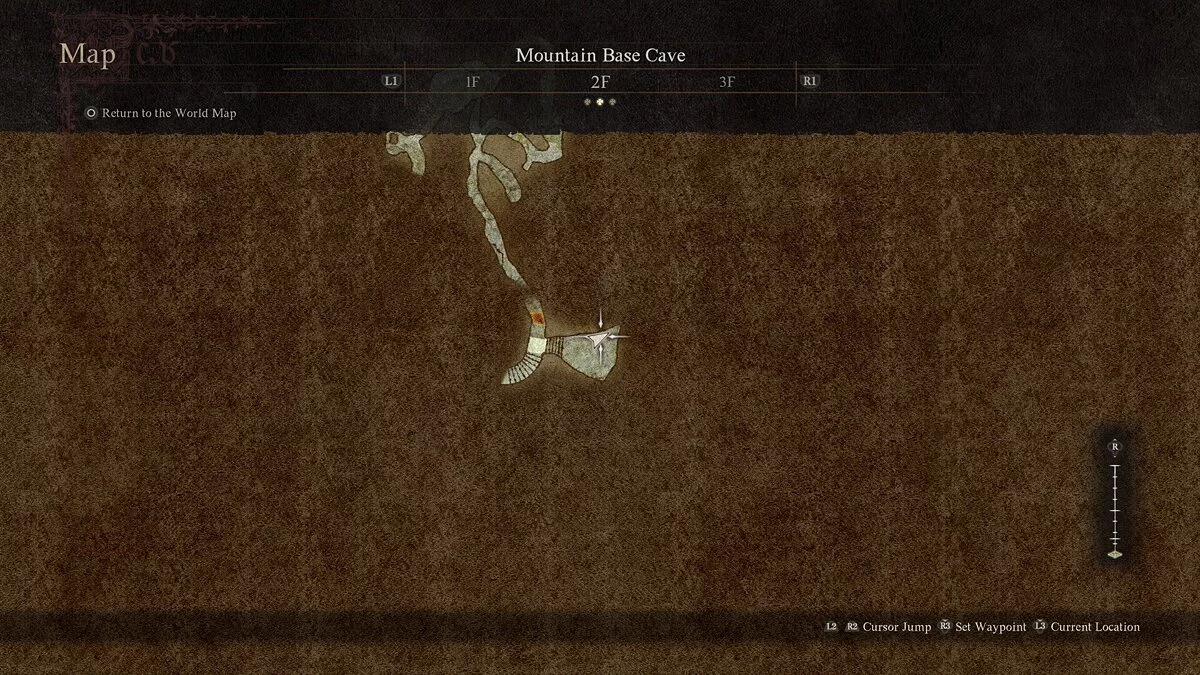
Inspect the cave Mountain Base. On the second floor, there is a room with many jars. Among them is a chest.
Explore the area Debris-Strewn Coast.
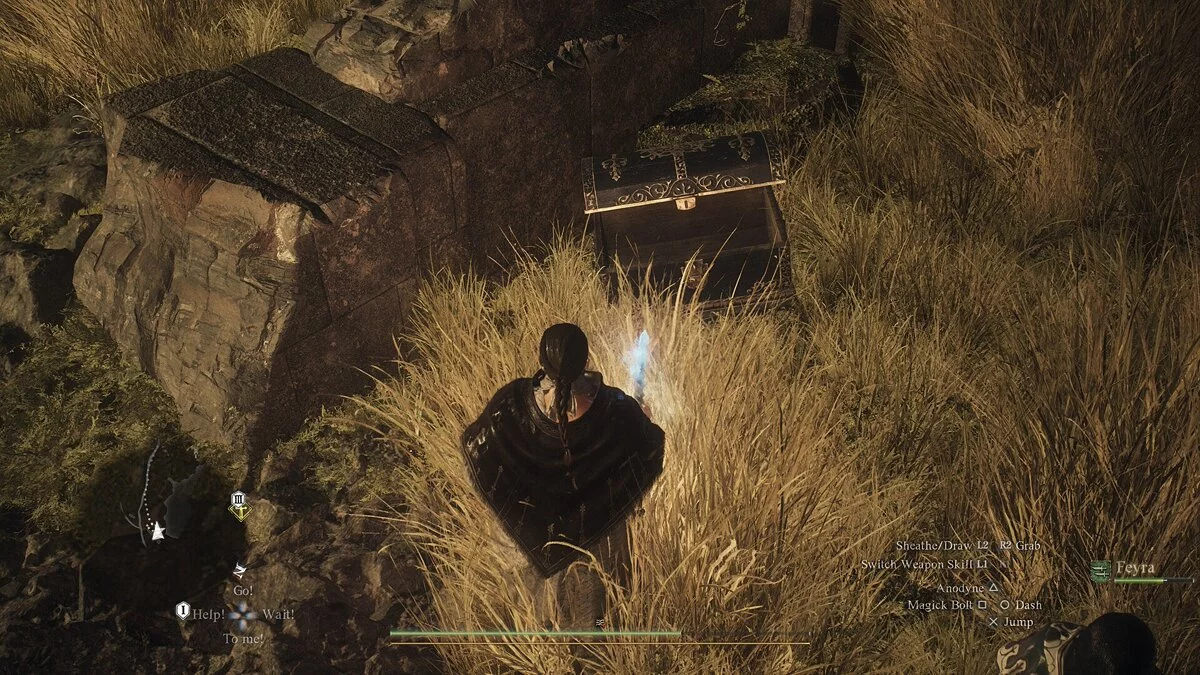
To the east of this place, in the fields, there will be a chest with a shard.
***
These are all the known locations so far, but surely we have not listed everything. Please leave a comment if we missed something.
Other guides
- Dragon's Dogma 2: All Bugs, Known Glitches and Problem Solutions
- Dragon's Dogma 2 crashing at startup? Black screen? Character creation error? — Troubleshooting
- Best Pawns in Dragon's Dogma 2: Which Traits to Choose for Each Class
- Optimizing Dragon's Dogma 2 Graphics for Low-End PCs: How to Increase FPS
- Romances in Dragon's Dogma 2: Is There Sex and How to Start Relationships
- The Sphinx in Dragon's Dogma 2: Where to Find and How to Solve All Puzzles
- The Nameless Village: Dragon's Dogma 2 Walkthrough Guide
- Interactive Map of Dragon's Dogma 2: Key Locations and Places in the Game
- Tips for Beginners on Dragon's Dogma 2 — Guide
- All Endings of Dragon's Dogma 2: How to Get the True Ending
- Wo man Wakesteine und Splitter in Dragon's Dogma 2 findet
- Wie man Igons und die Quest der Drachenpriesterin in Elden Ring: Schatten des Erdtree abschließt
- Ein Speedrunner hat Dragon's Dogma 2 in anderthalb Stunden ohne Rüstung oder Waffen abgeschlossen
-
Optimizing Dragon's Dogma 2 Graphics for Low-End PCs: How to Increase FPS
-
All Endings of Dragon's Dogma 2: How to Get the True Ending
-
Dragon's Dogma 2: All Bugs, Known Glitches and Problem Solutions
-
The Sphinx in Dragon's Dogma 2: Where to Find and How to Solve All Puzzles
-
Best Pawns in Dragon's Dogma 2: Which Traits to Choose for Each Class
-
Tips for Beginners on Dragon's Dogma 2 — Guide
-
Multiplayer in Dragon's Dogma 2: Will There Be a Cooperative Mode?
-
How to Farm Experience in the Early Stages of Dragon's Dogma 2
-
A Beggar's Tale in Dragon's Dogma 2: How to Start and Who to Give the Garment To
-
Best Professions in Dragon's Dogma 2: Which to Choose and How They Work
-
Gaoled Awakening: Dragon's Dogma 2 Walkthrough Guide
-
Tale's Beginning: Dragon's Dogma 2 Walkthrough Guide
-
In Dragon's Wake: Dragon's Dogma 2 Walkthrough Guide
-
Seat of the Sovran: Dragon's Dogma 2 Walkthrough Guide
-
An Unsettling Encounter: Dragon's Dogma 2 Walkthrough Guide
