
Full Metal Gear Solid Delta: Snake Eater Walkthrough Guide
 Vladyslav Shamshurov
Metal Gear Solid Delta: Snake Eater is a remastered classic from Hideo Kojima. In the game, you will take on the role of Snake — a brave US spy. The project goes against modern trends and offers a high level of hardcore challenge. In this walkthrough, we’ll show you the optimal path for all adventures to simplify your experience and help you with bosses.
Tips Before You Start
Metal Gear Solid Delta: Snake Eater is quite challenging to master. Before you dive into the spy action, it’s helpful to learn a few important things.
How the Opening Question Affects the Game
At the very beginning, the game will ask which part of the series is your favorite. For each answer, you’ll receive a camouflage, but their properties aren’t revealed—which is a shame. Some of them are much more useful than others. Also, using them will lock you out of some trophies. All special camouflages from this section will unlock after your first playthrough, but if you’re not chasing platinum, having a certain buff from the start can really help.
- “I’m playing the MGS series for the first time” unlocks the MUMMY camouflage, which prevents Snake from bleeding;
- “I like MGS 1” unlocks two outfits. The first, AUSCAM Desert, doubles health regeneration speed. The second, DPM, reduces incoming damage to 2/3;
- “I like MGS 2” unlocks DESERT TIGER—suppressors do not wear out when used;
- “I like MGS 3” unlocks FLECKTARN—batteries do not drain when used;
- “I like MGS 4” unlocks a camouflage and face paint—BROWN and GREEN, which give bonuses: the oxygen bar underwater or in gas does not decrease, and the grip gauge while hanging from rails or ledges does not decrease;
- “I like MGS: Peace Walker” unlocks the BANANA camouflage, which makes all food taste good to Snake;
- “I like MGS V” unlocks the NATIONAL FLAGS face paint with no bonuses;
- “I like everything in the MGS series” unlocks the GRENADE outfit—gives Snake infinite grenades.
How Difficulty Level Works
Another important detail, unusual for modern players, is that you cannot change the difficulty level. This matters because the game is quite hardcore, so assess your abilities before starting. It works the other way too: if you choose an easier mode, you’ll either have to finish the game or start over.
Do You Need to Hide Bodies
Metal Gear Solid Delta: Snake Eater is one of those old-school games where you need to pay close attention to the bodies of fallen enemies. Patrols regularly inspect the area and will easily notice if a comrade is lying in the middle of the forest. This will instantly trigger an alert and reinforcements. Always hide bodies when possible. Additionally, Snake can loot items from enemies while dragging them. The mechanic is a bit clunky, but it will give you lots of useful consumables.
Why You Need Melee Combat
The next tip follows directly from the previous one. Learn to sneak up behind enemies so they don’t notice you. To do this, you need to move very slowly. The melee takedown mechanic is basic. Trying to get through obstacles with just a pistol will be difficult due to a lack of ammo. Besides, that’s not exactly the playstyle the developers intended.
Why You Need Stun Grenades
The third important tip—pick up stun grenades. They can knock out several enemies at once. This is one of the most effective ways to take out enemies in the early stages of the game.
Why You Need the Tranquilizer
Use the tranquilizer more often than the pistol. The game rewards you generously for non-lethal playthroughs. Bosses especially give great rewards for non-lethal takedowns. The tranquilizer knocks out regular enemies with one shot, but you need to hit the head. If you aim for the body, you’ll have to use more rounds.
How the Suppressor Works
Suppressors are very useful, but they are rare and their durability is limited. Keep this in mind when using pistols, including the tranquilizer. If possible, avoid situations where you need to shoot without a suppressor.
Should You Explore Locations
Locations are divided into zones where you can find secrets: frogs and ducks, as well as equipment. Be observant even in the forest, as all items are simply lying in containers and are not marked in any way.
Why You Need Camouflage
Camouflage matters, and you’ll have to change it several times on the go. Watch the stealth index at the bottom of the screen—it will help you determine if you’re hidden enough. If you pick the wrong outfit, you’ll be seen even when crouching. Snake can also get dirty with mud, but not everywhere. Mud will increase your stealth. Face paint also affects your stealth.
How Stamina and Food Work
The hero has two parameters—health and stamina. Stamina is constantly depleted, and you can restore it by eating food. Not all food is to Snake’s liking. This affects how much stamina is restored. If you ignore stamina, the spy will become weaker, his hands will shake when holding weapons, and it will be harder to grab enemies.
If you eat food Snake doesn’t like for long enough, he’ll get used to it and stamina will be restored a bit more. You can also eat animals, even snakes, but it’s better to contact the paramedic and check if the species is poisonous.
By the way, food can spoil. Watch out for this so you don’t get poisoned.
Why You Need Healing
Snake receives various injuries. They must always be treated in a special way and as quickly as possible. Prolonged wounds, fractures, or poisonings can lead to fatal consequences—for example, stamina will drop to a minimum and you’ll need a lot of consumables to restore it. The game will tell you what needs to be done to heal each problem. You can perform these actions in any order.
Why You Need the Radio
The radio in the game is not just an exposition element. When you arrive at a new location, talk to everyone you can. It’s through radio conversations that you’ll be taught mechanics and learn about hidden secrets in the area. Don’t neglect this. For example, you can blow up a supply depot so that enemies become less resilient due to malnutrition.
Virtuous Mission. How to Reach the Dawn Base
After a long cutscene, you will find yourself in the forest. Listen to the briefing and climb the tree to get your backpack. To pick it up, you’ll need to hang from a branch. Listen to the second briefing.
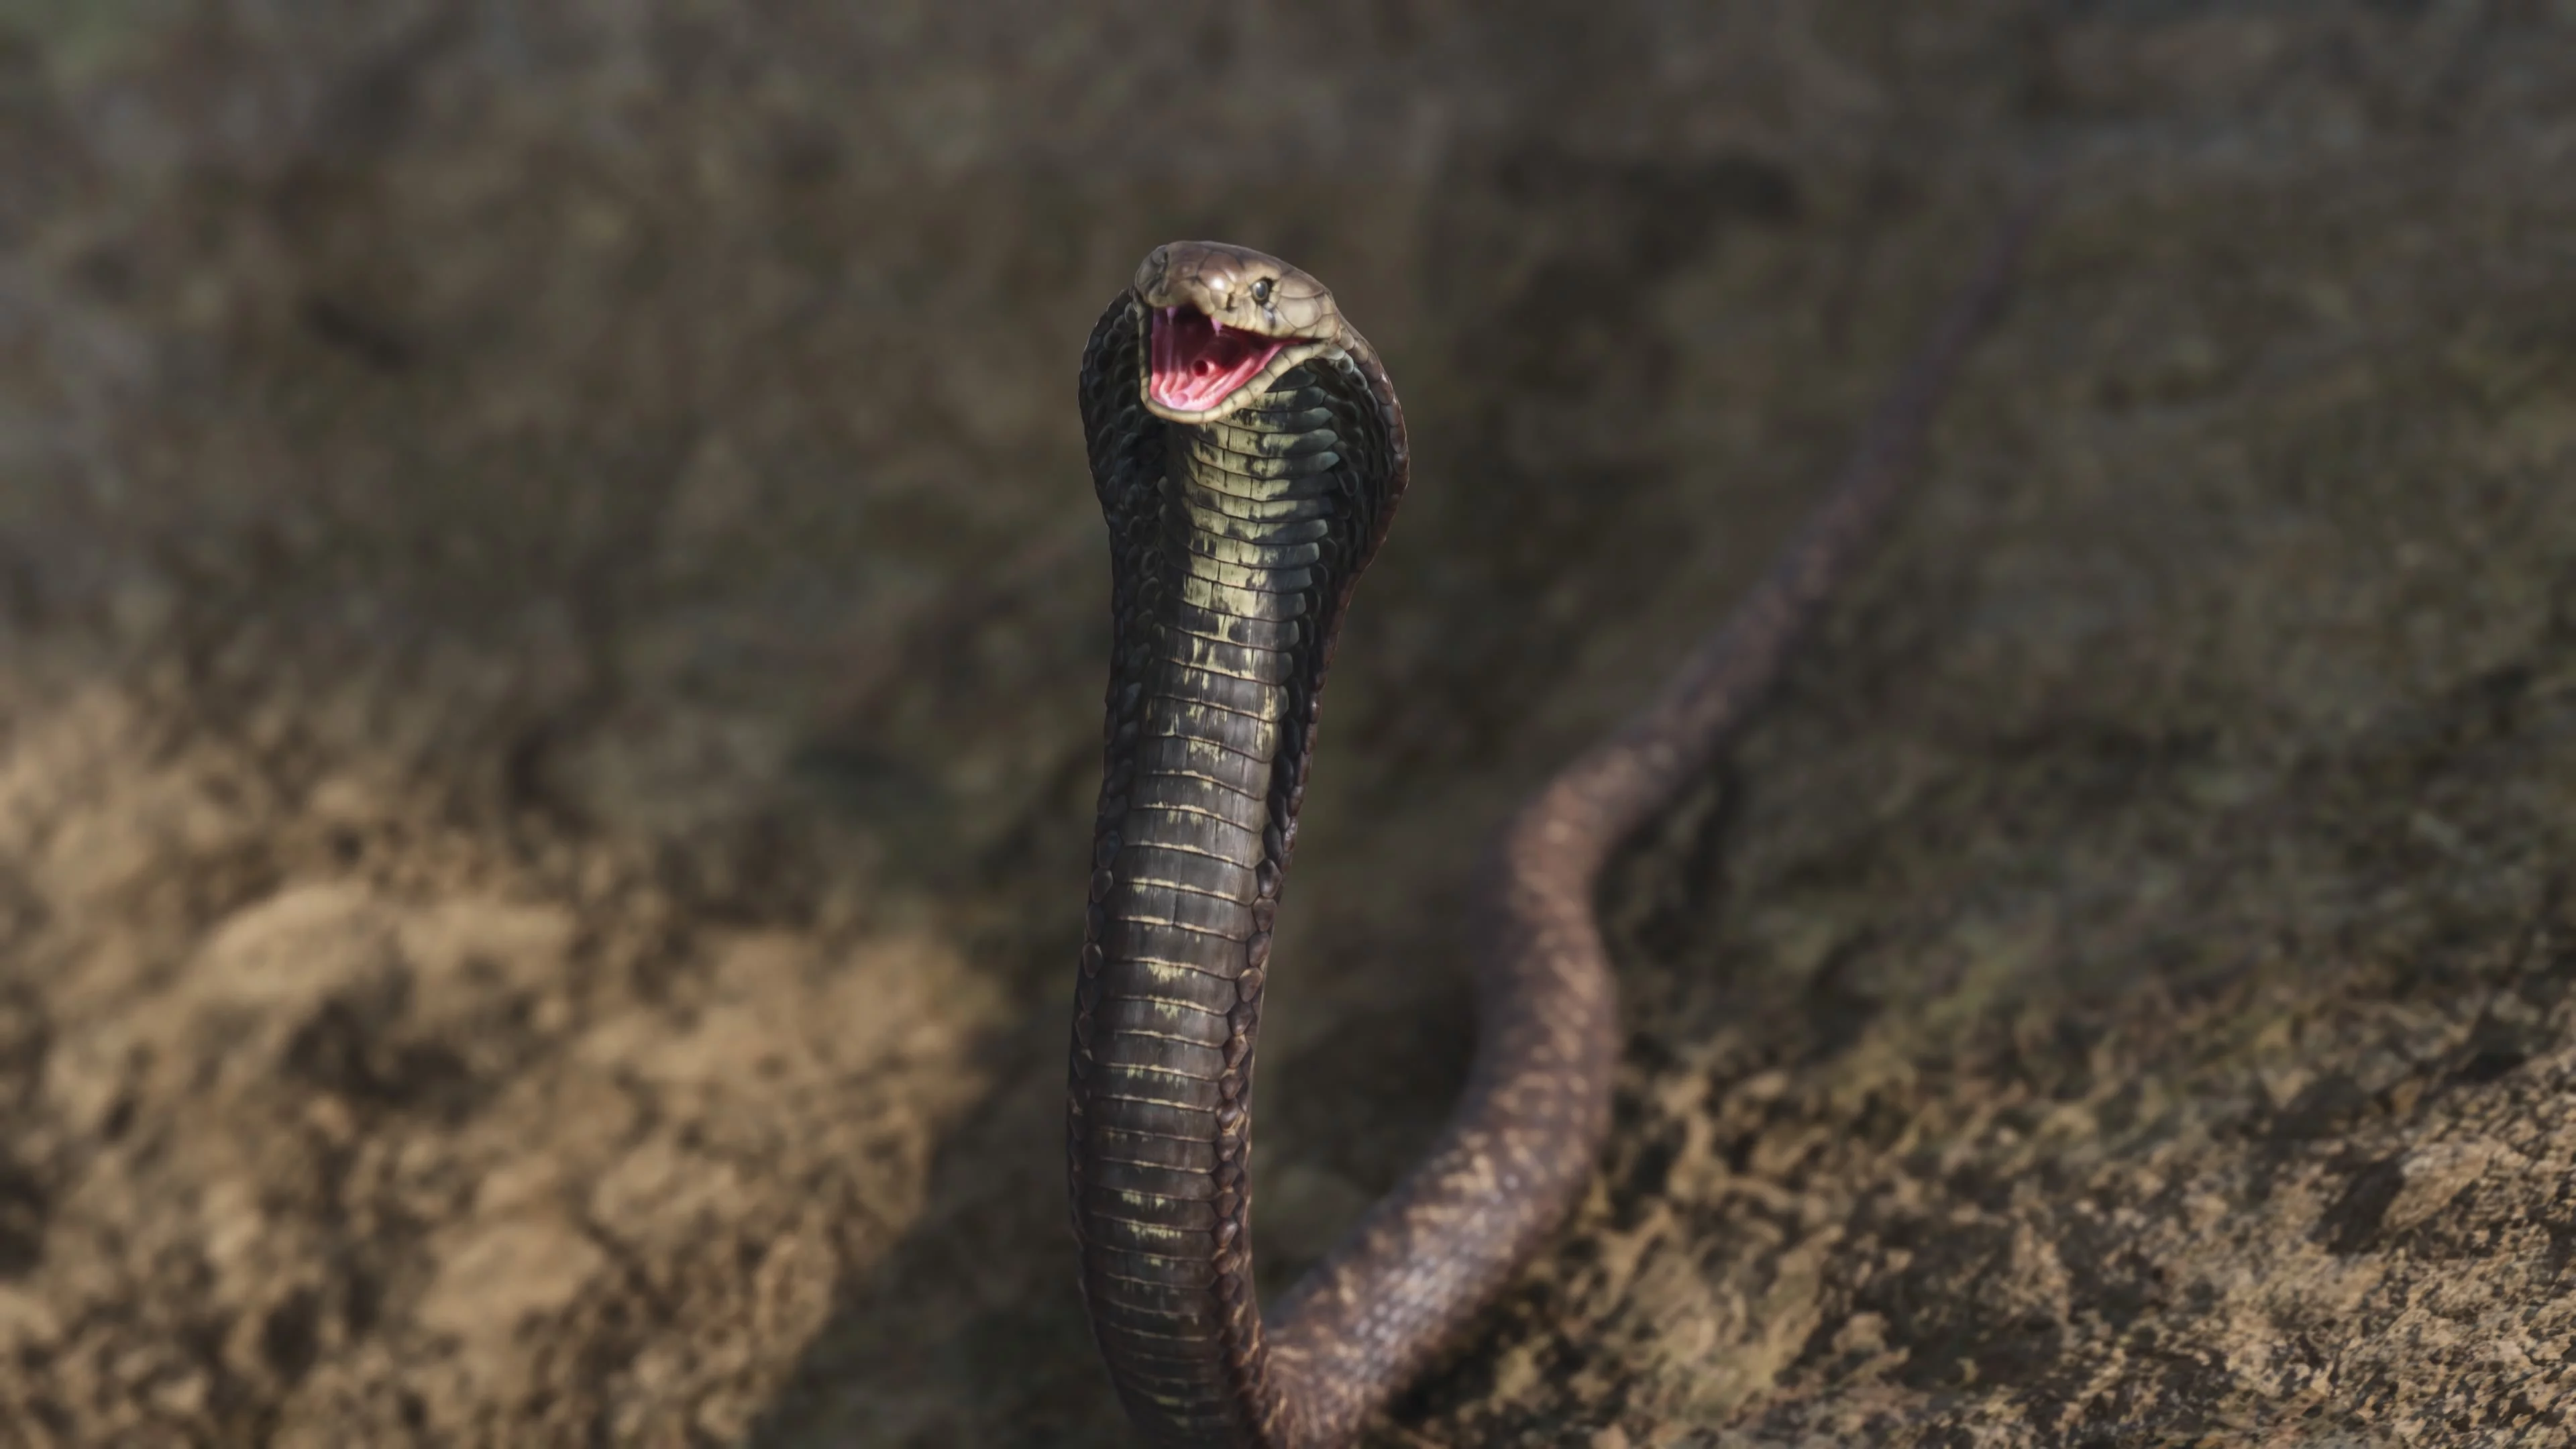
Open the survival interface and change your camouflage. Pay attention to the numbers—the higher they are, the less attention you attract. There’s an anaconda crawling ahead. You can immediately shoot it with a tranquilizer to put it in your backpack, or kill it with a knife. Move forward to the Deep Forest, Swamps zone.
Ahead, you’ll be taught how to roll, and you may also notice large alligators in the swamp. There’s no point in interacting with them; just carefully walk past them in a straight line. There you’ll be taught how to change weapons. Continue moving and you’ll reach a new zone—Deep Forest, North.
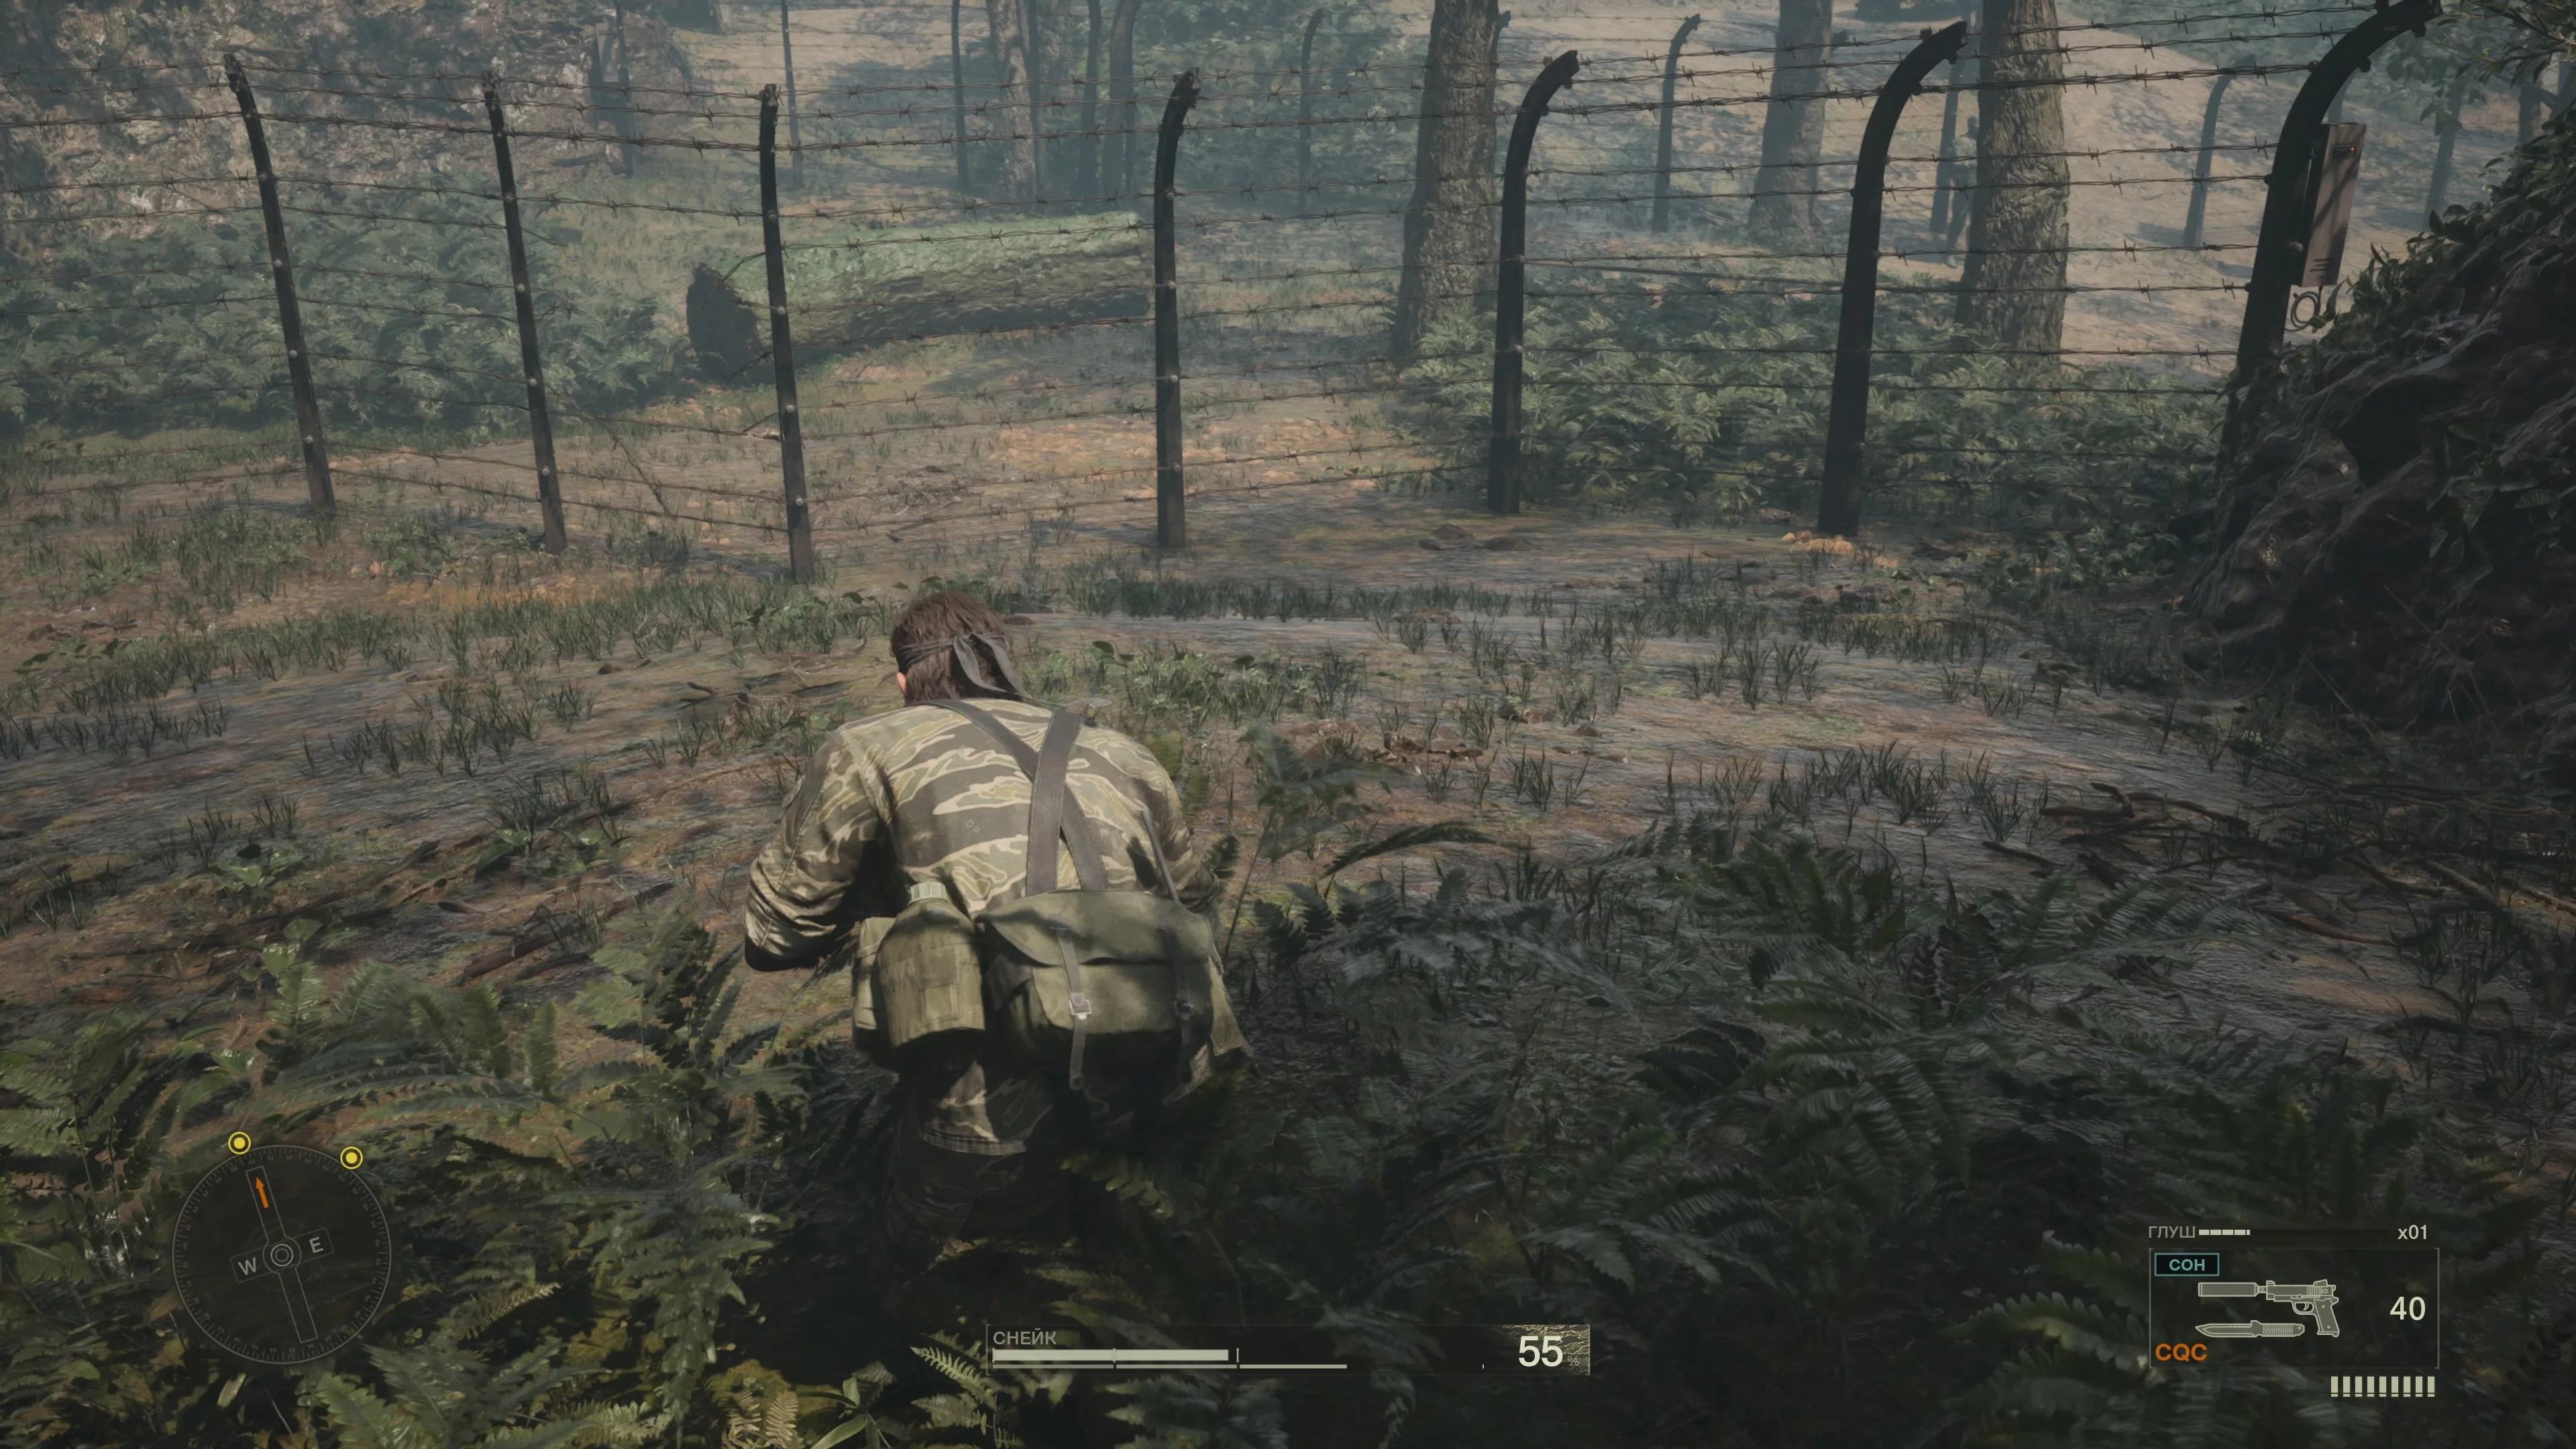
Snake will spot two soldiers. A briefing will immediately start. Try to take out the guards without the tranquilizer, but if you can’t—a pistol will help. In fact, there are four guards, so be careful. If you hesitate, they’ll call for reinforcements. The tranquilizer is most effective with a headshot and has its own ballistics, so shoot from close range for accuracy. Bodies should be hidden in the grass. Remember, your main goal is to remain unseen, not to knock everyone out. Go to the far part of the map where the second guard is patrolling to find a collectible duck on a fallen tree. Shoot it to get a achievement. In this same area, to the right of the exit, find a frog.
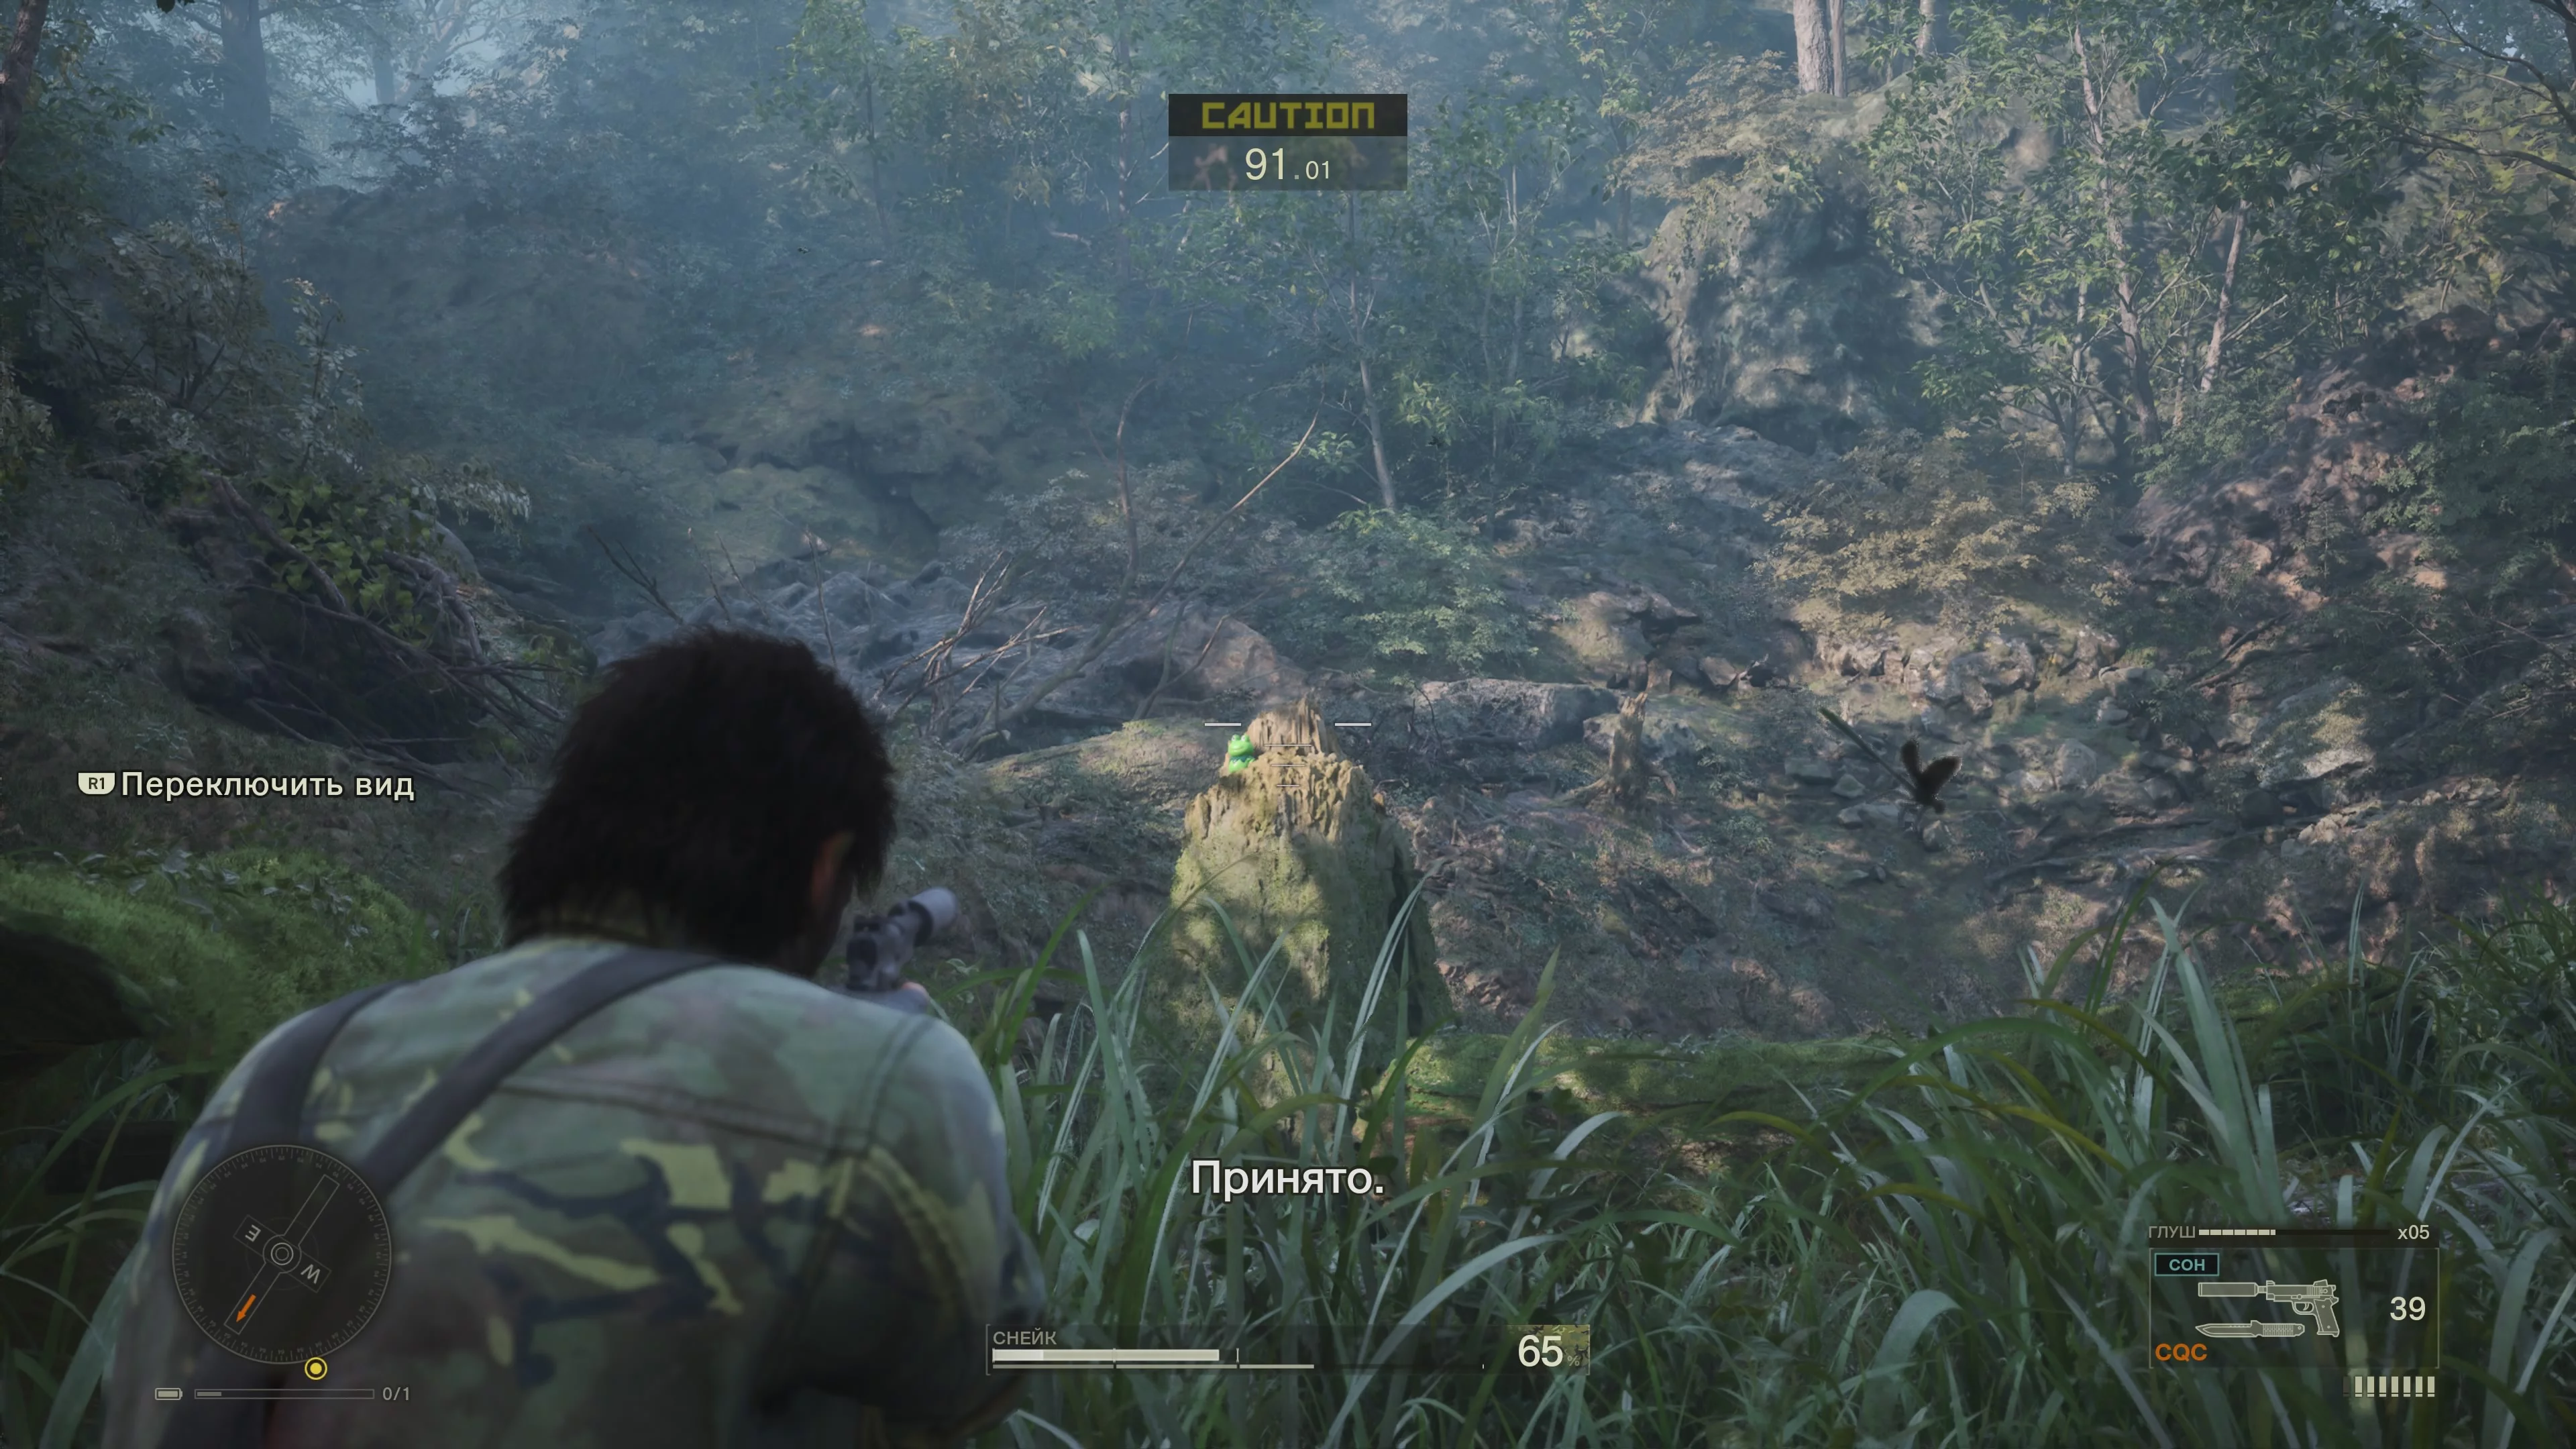
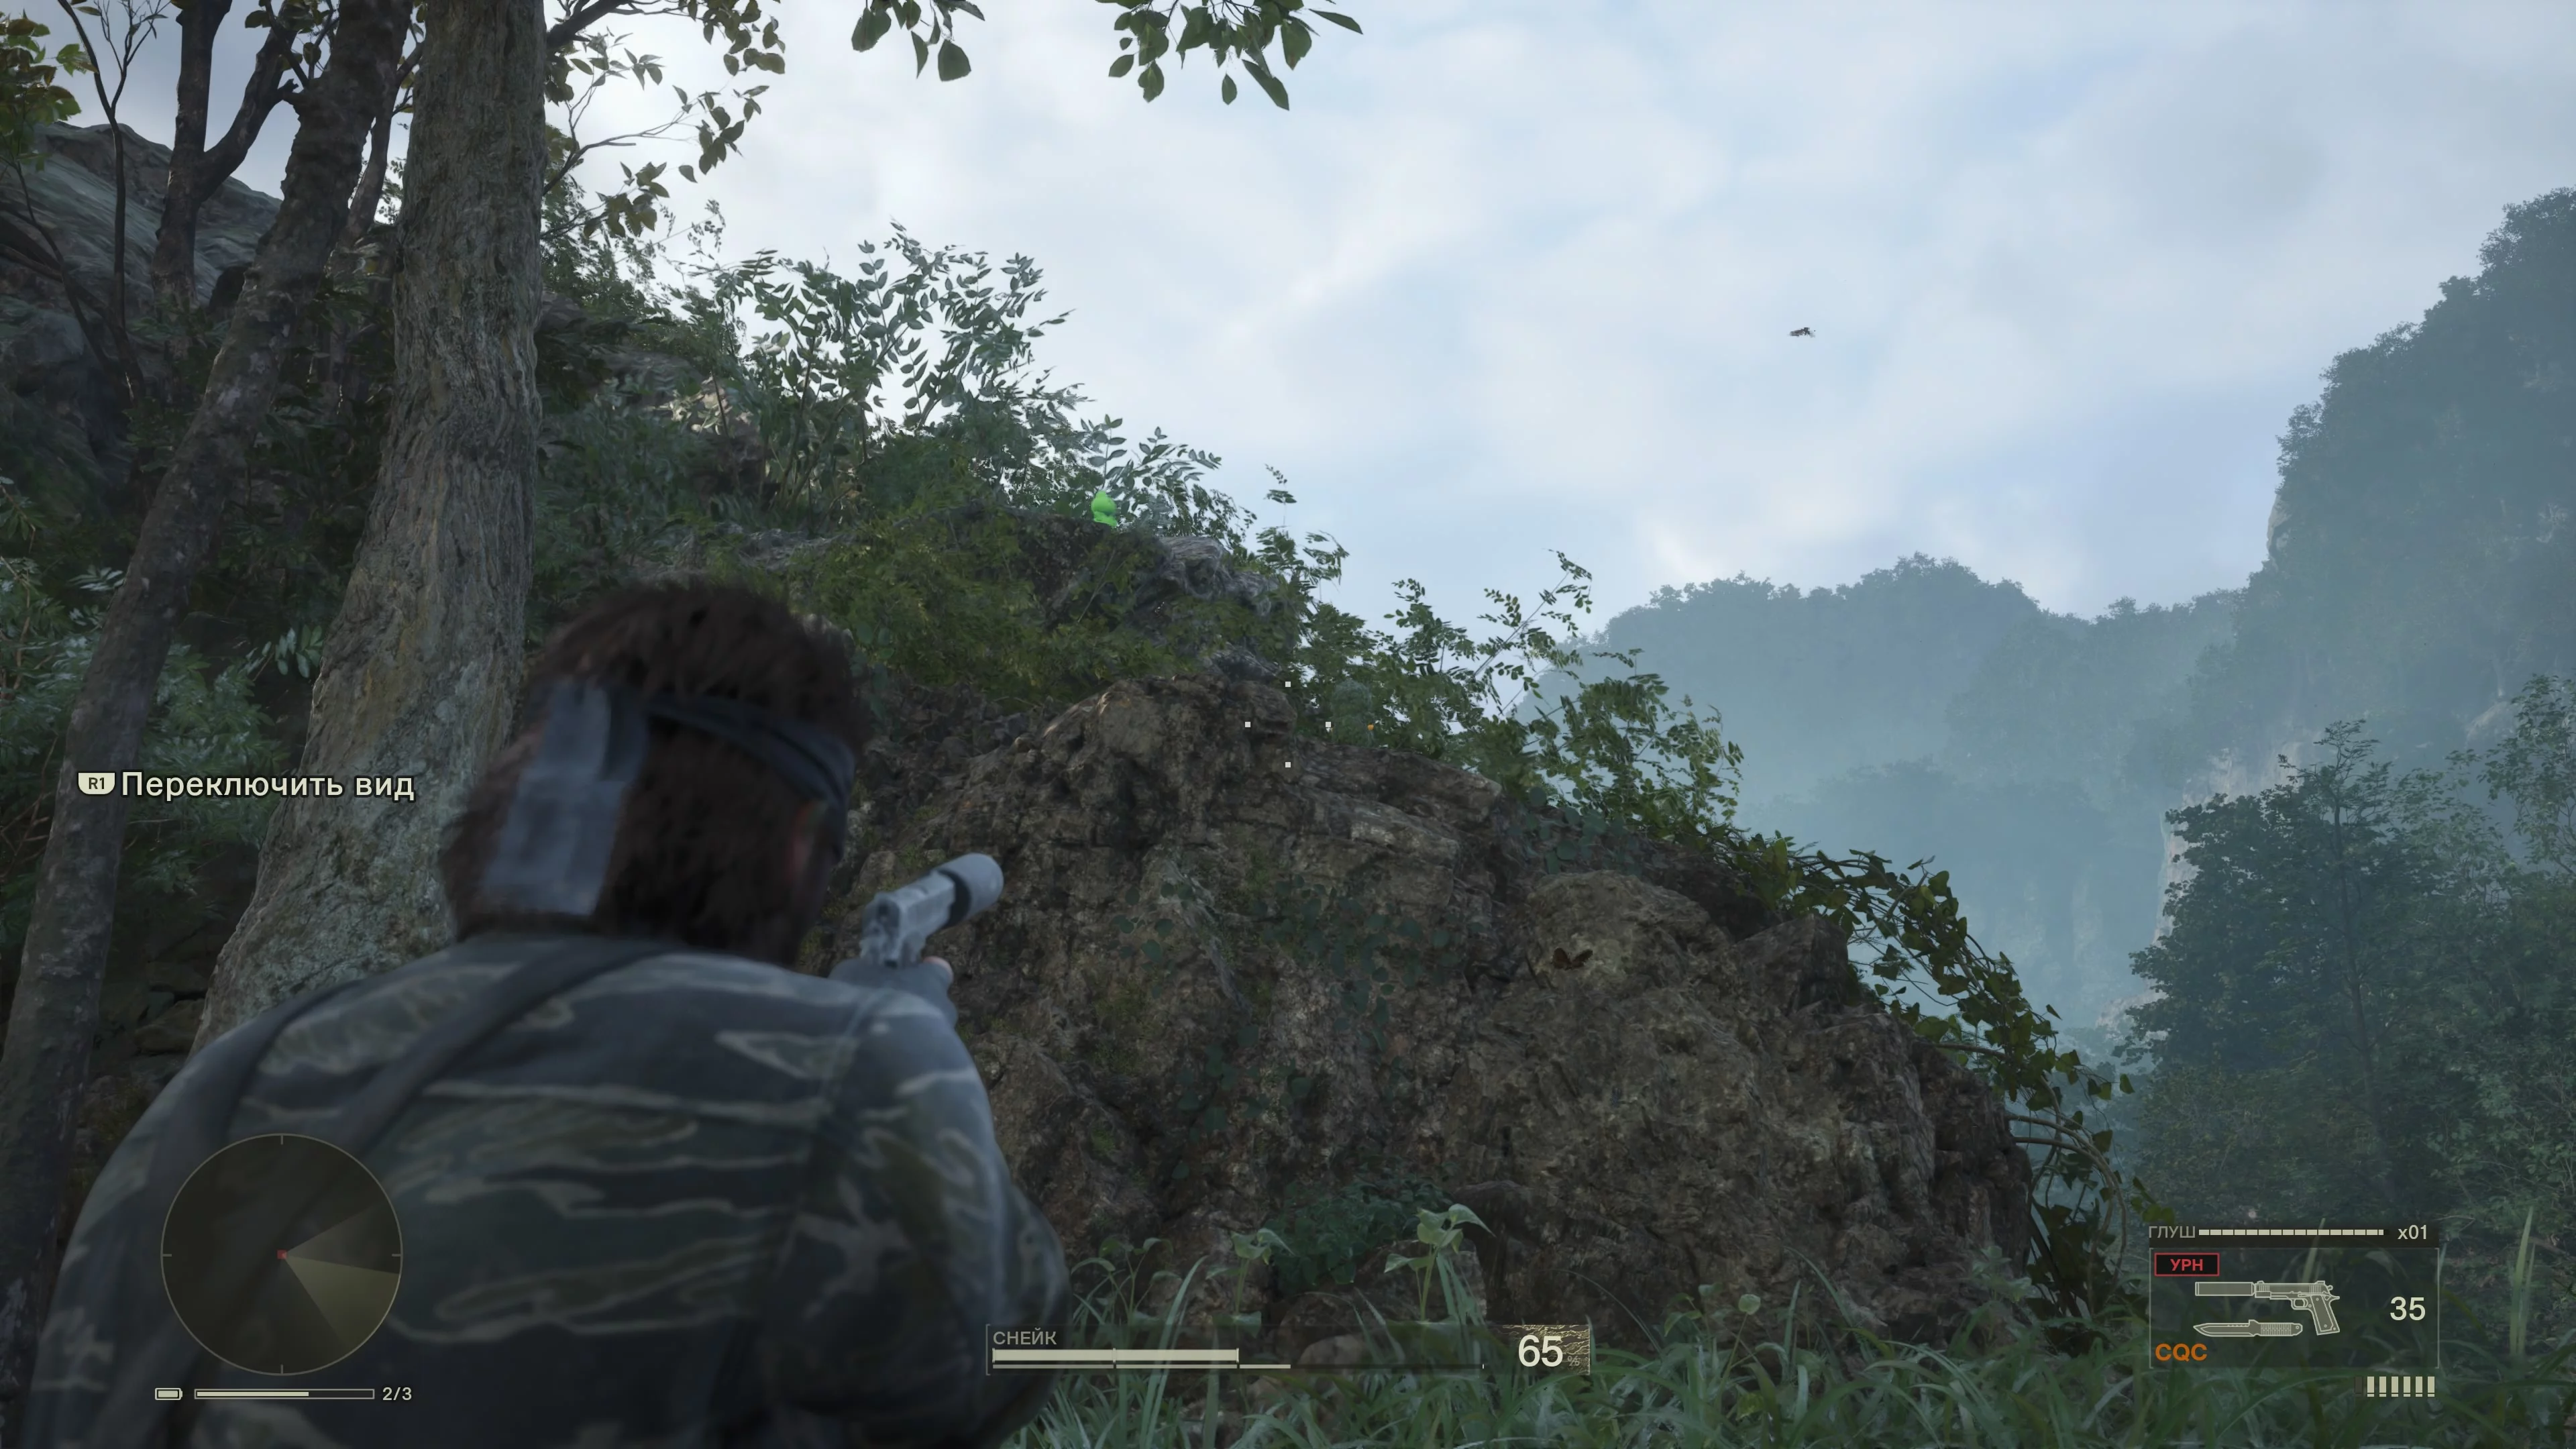
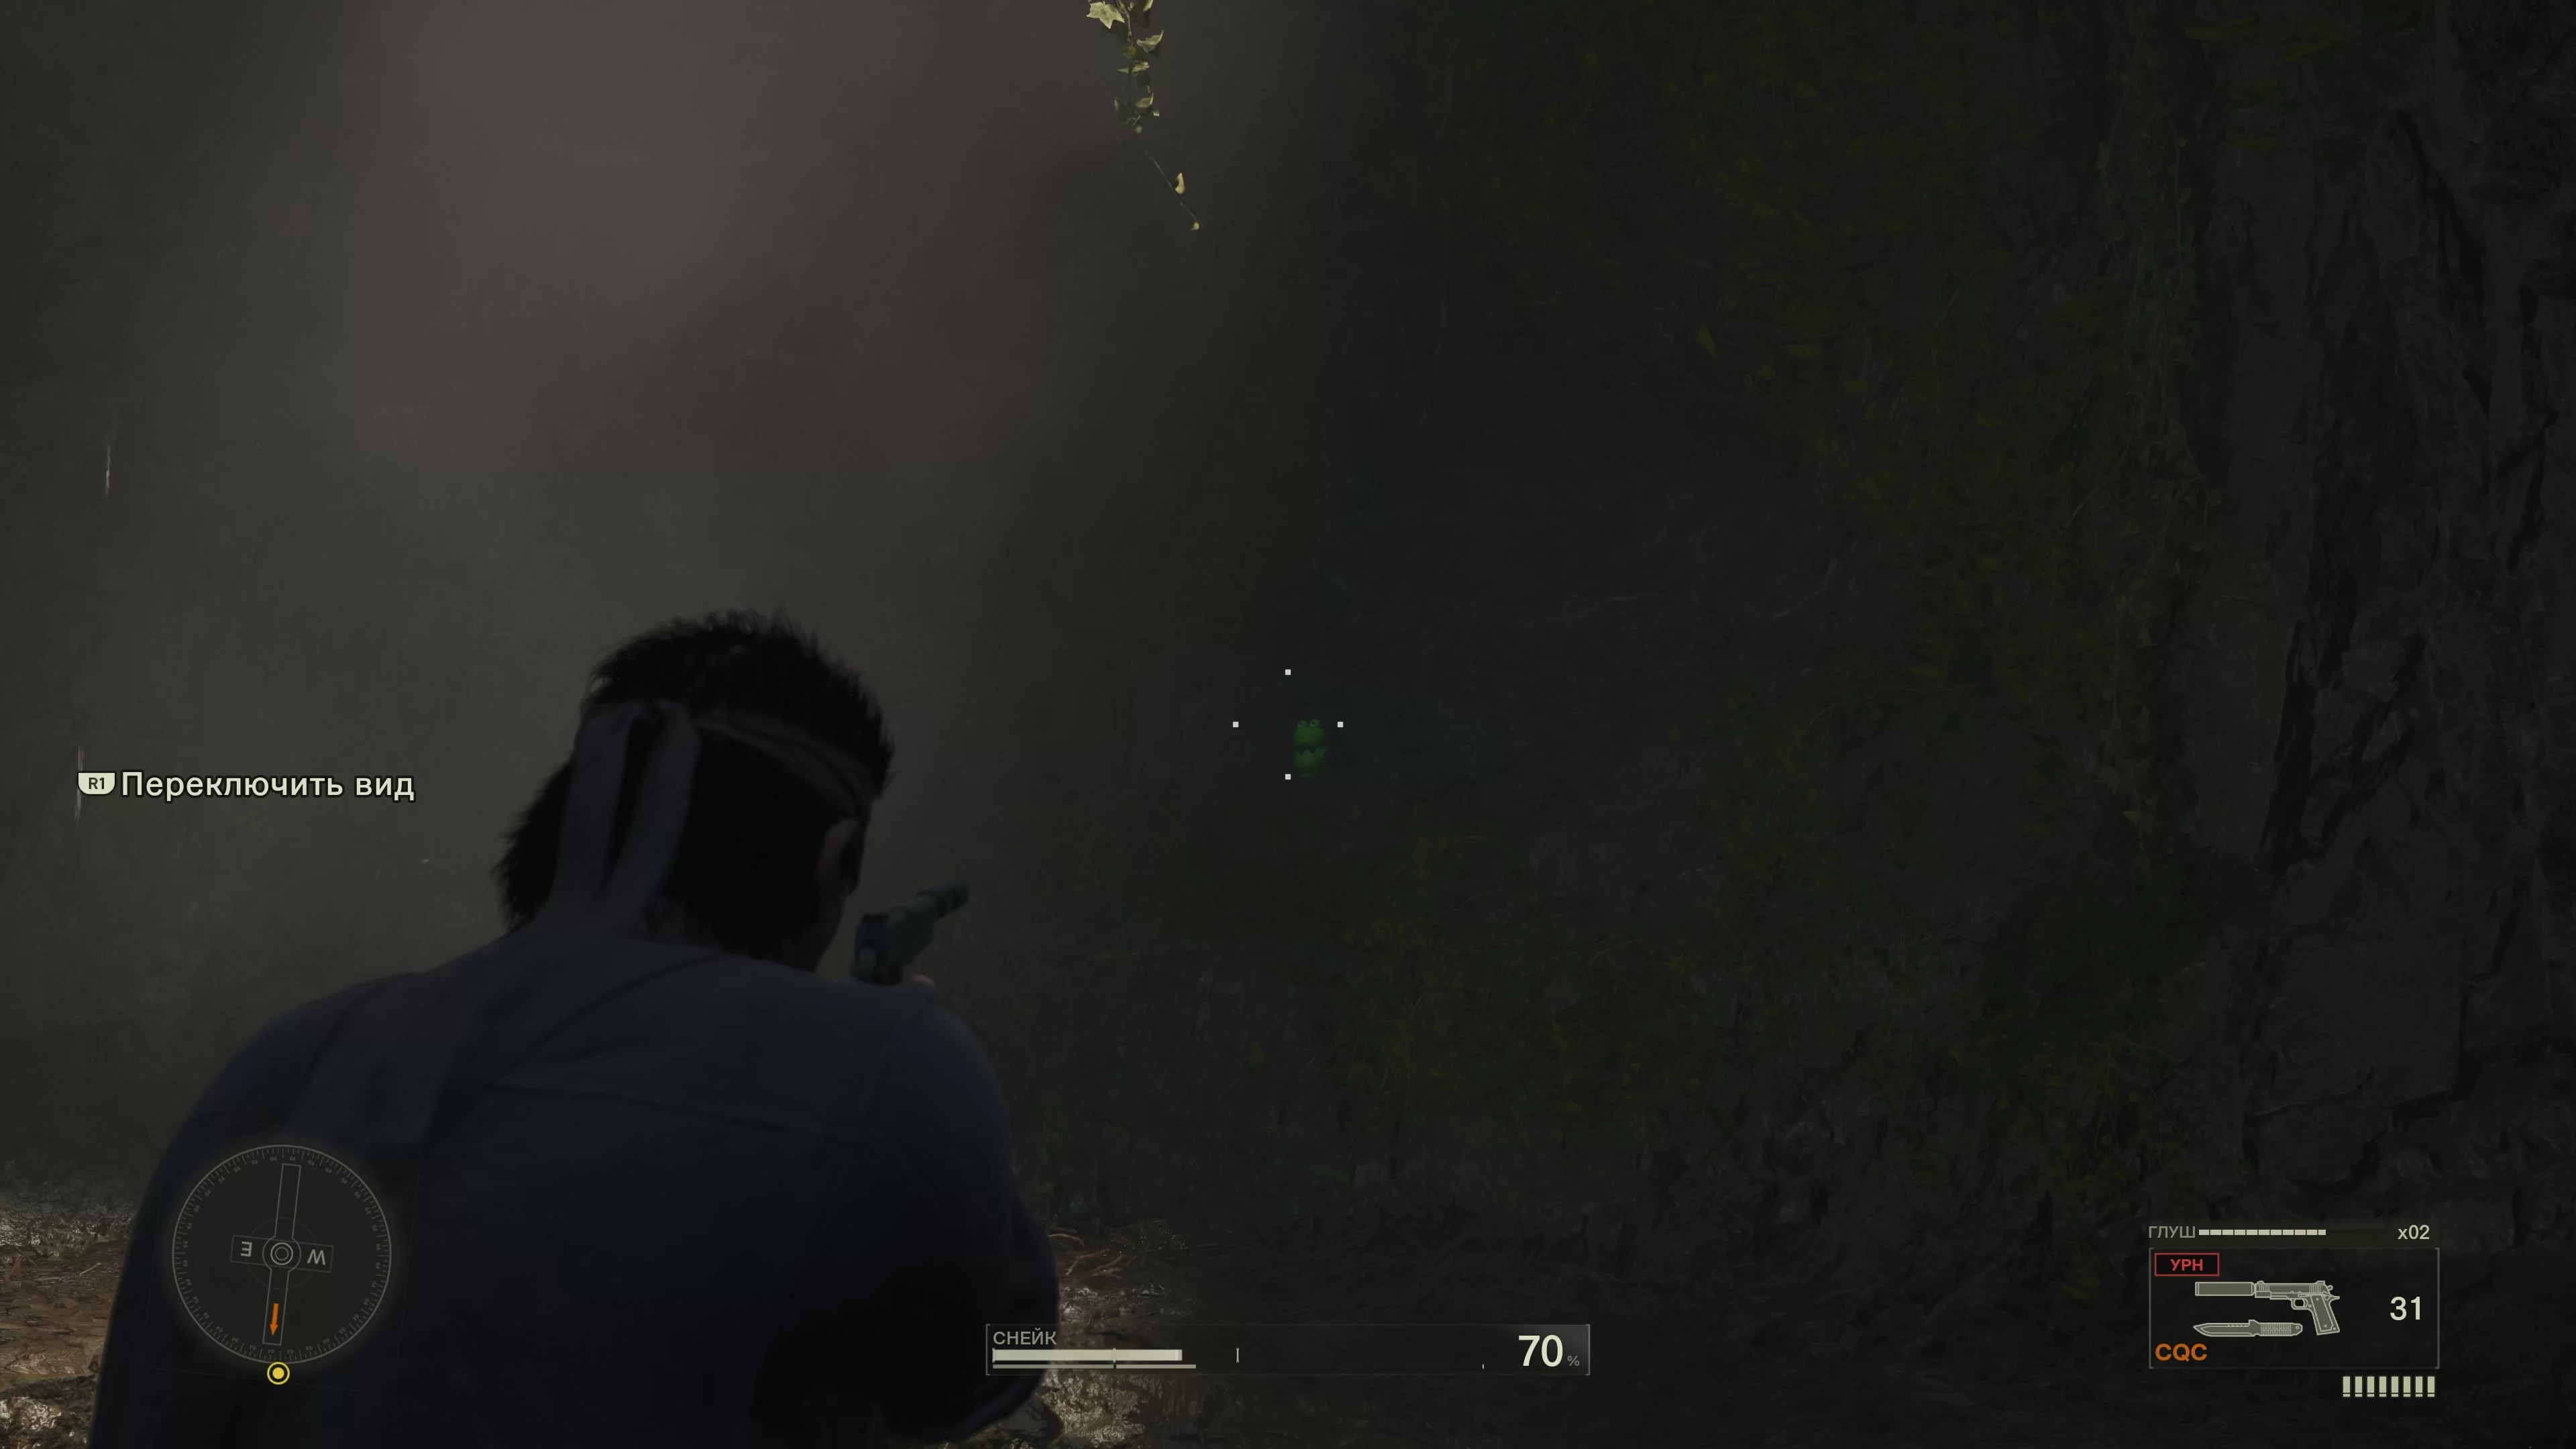
Now head up to River Valley—a new zone. After a short cutscene, shoot the beehive above the soldier to chase him off the bridge. There may be more guards ahead. Knock down the green frog on the tree to the left of the hive. Ducks and frogs are scattered everywhere—these are collectibles. If you manage to find them all, you’ll unlock secret camouflages. Cross the bridge carefully, occasionally hanging from your hands to avoid detection. After the bridge, turn left and walk along the cliff. There’s a rifle cache under the bridge.
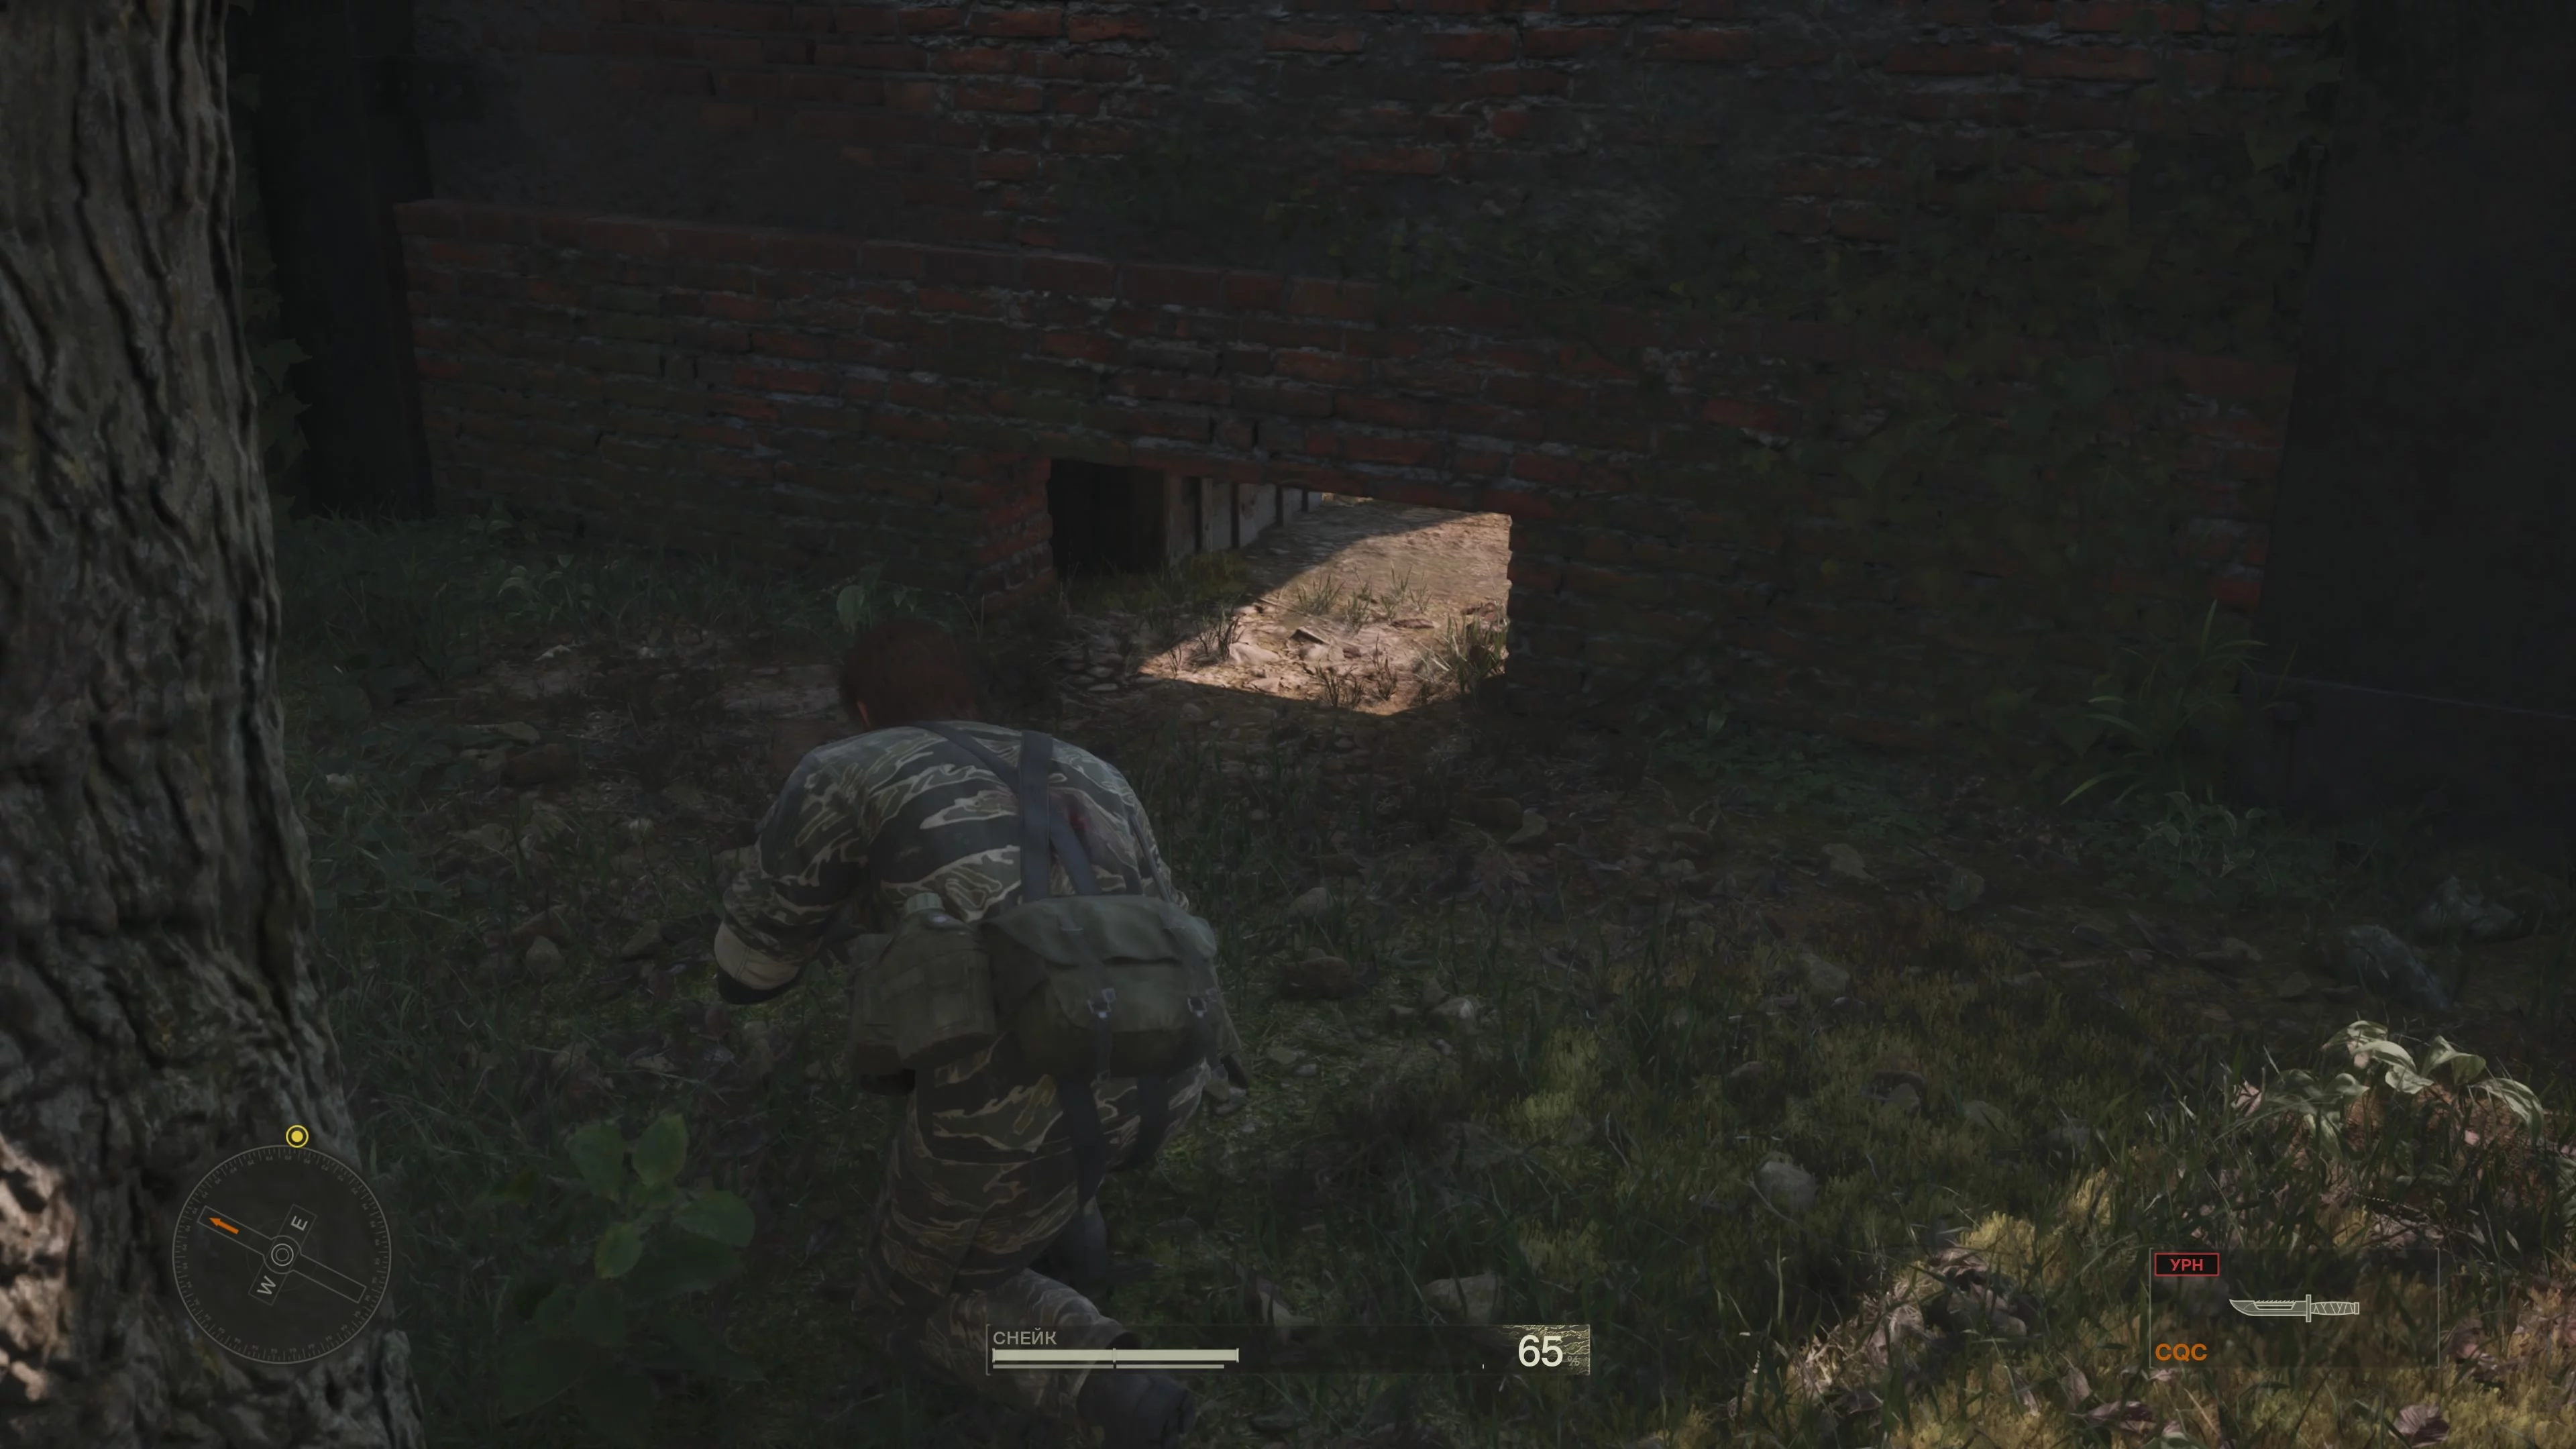
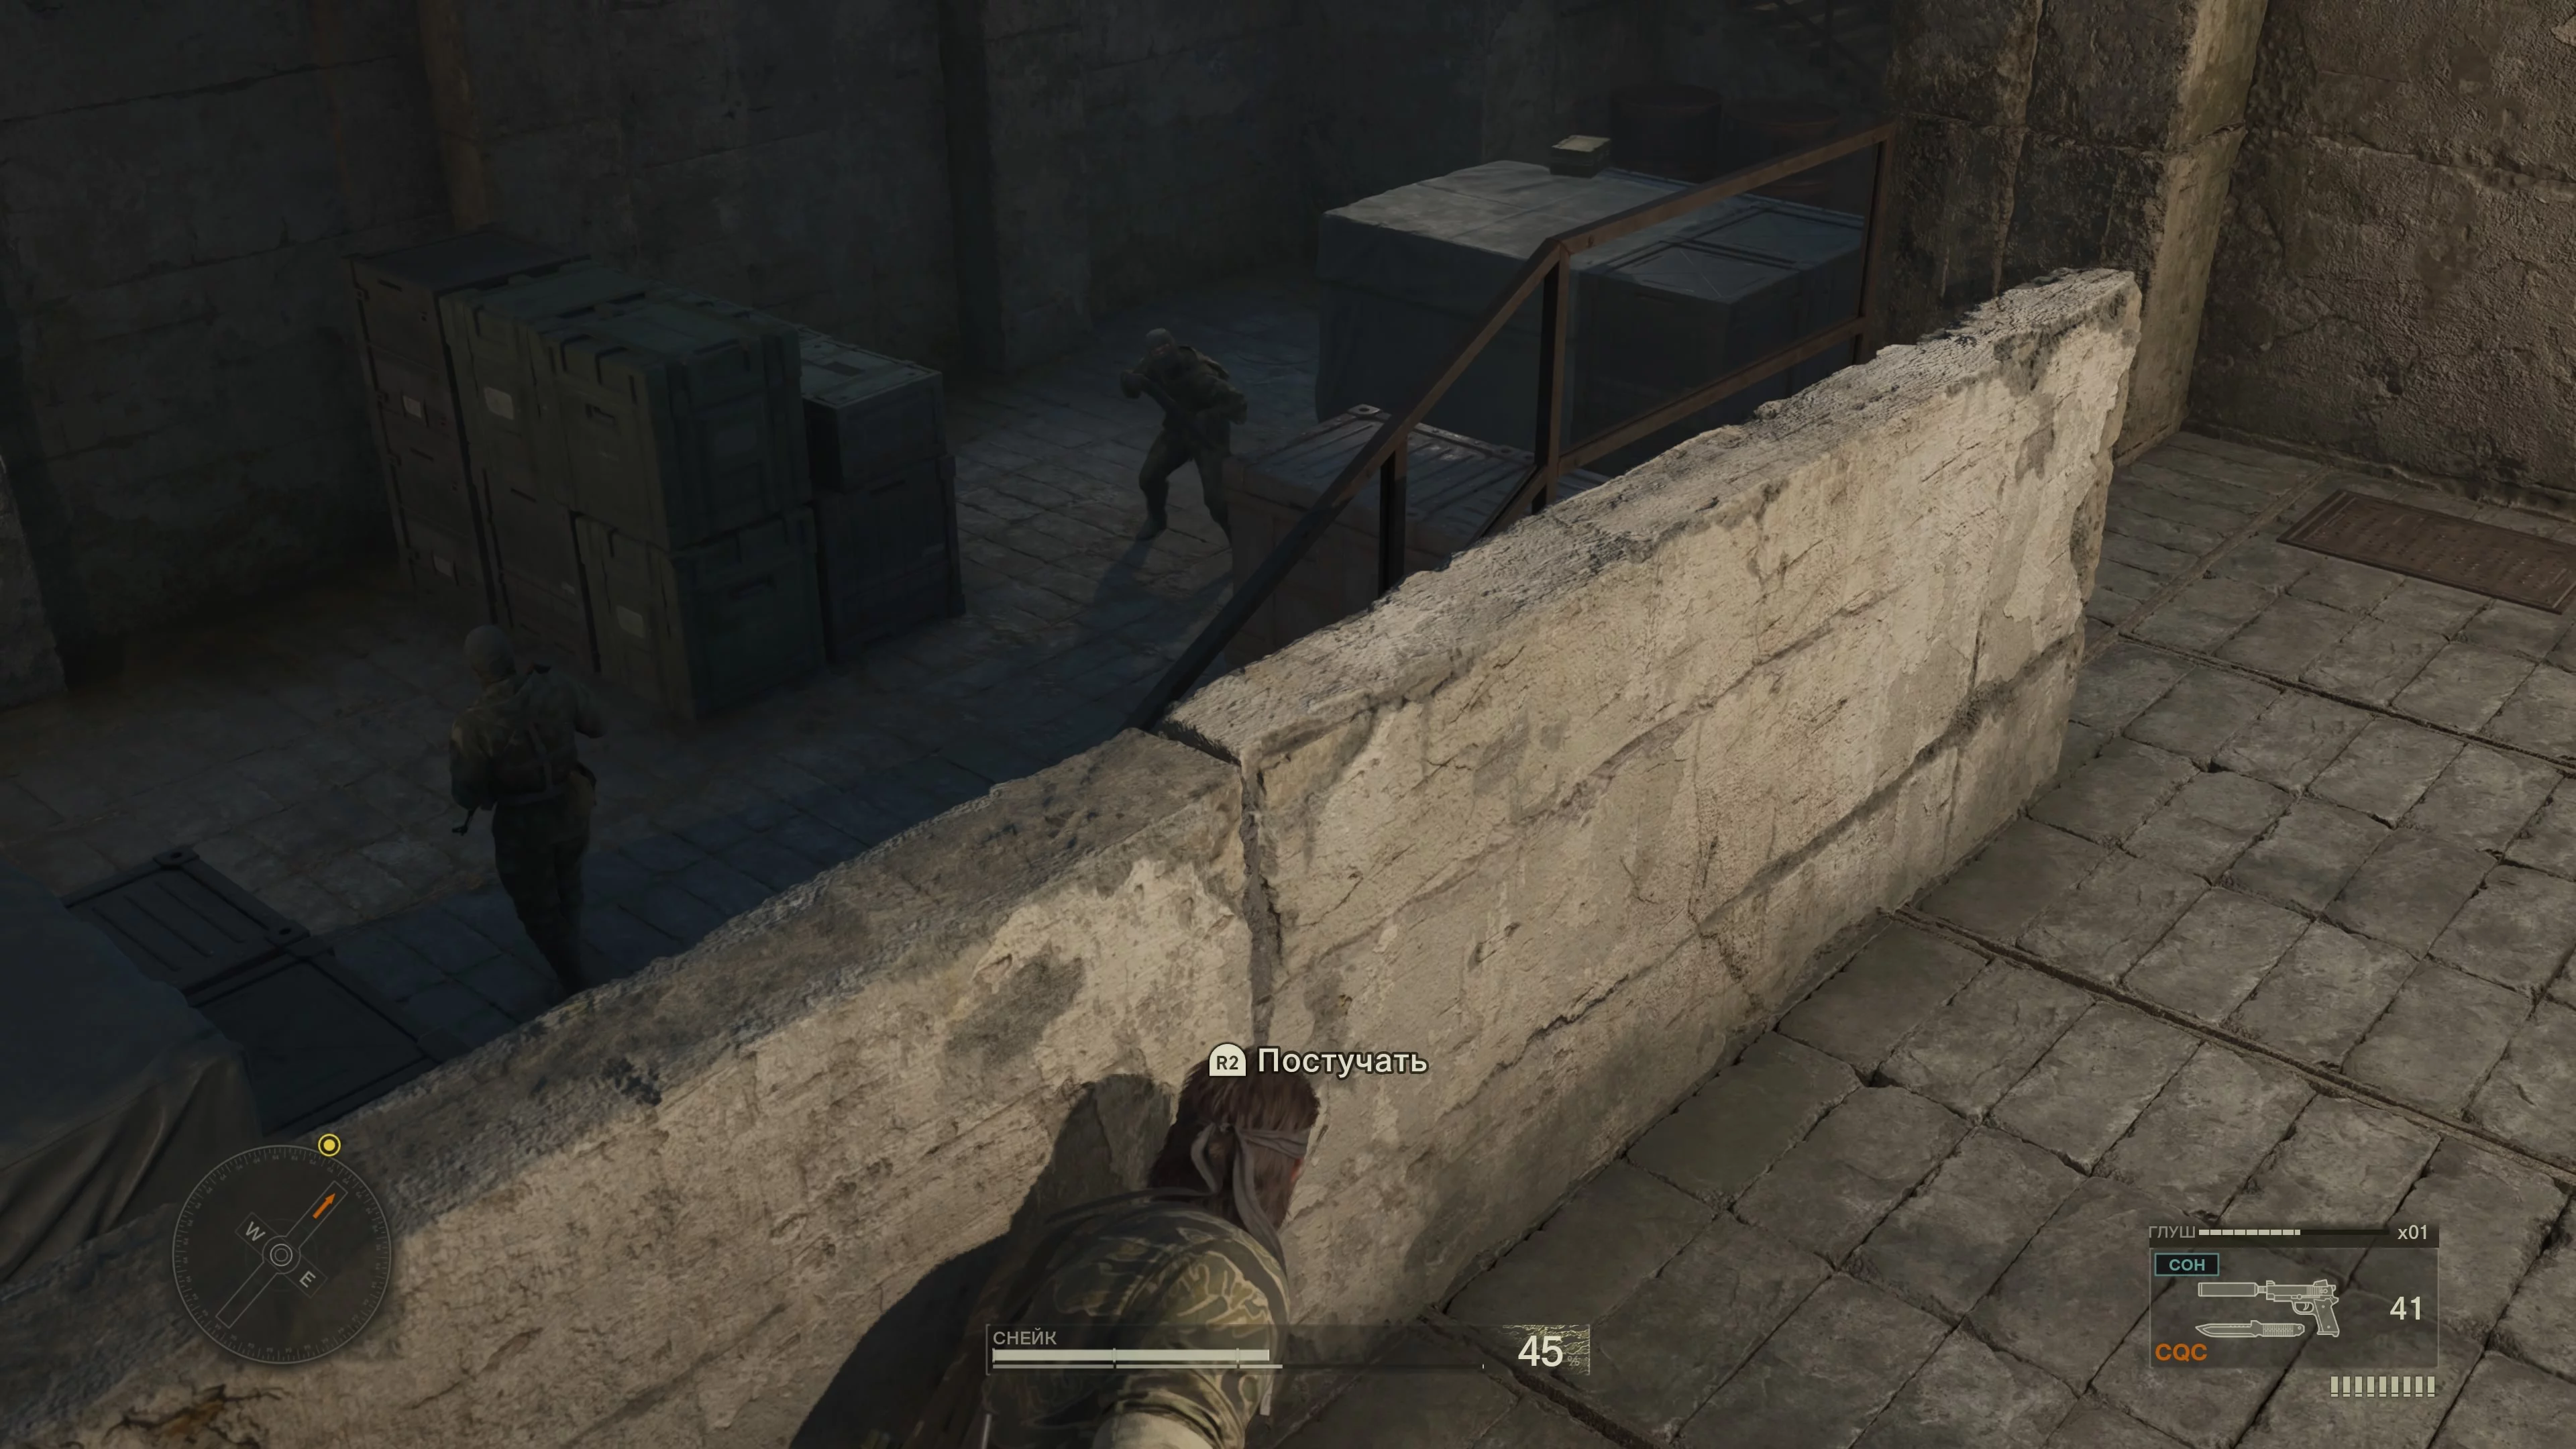
Keep to the left to quickly reach the "Dawn" zone. You've arrived at the place where Sokolov is being held. A major crossing through several guards awaits. There are six of them in total, so stay alert. Keep to the left and take out two soldiers with your pistol, or wait until the nearest one walks away and shoot the one farther away. Note that there are several ways to enter the building, for example, through a gap under the wall.
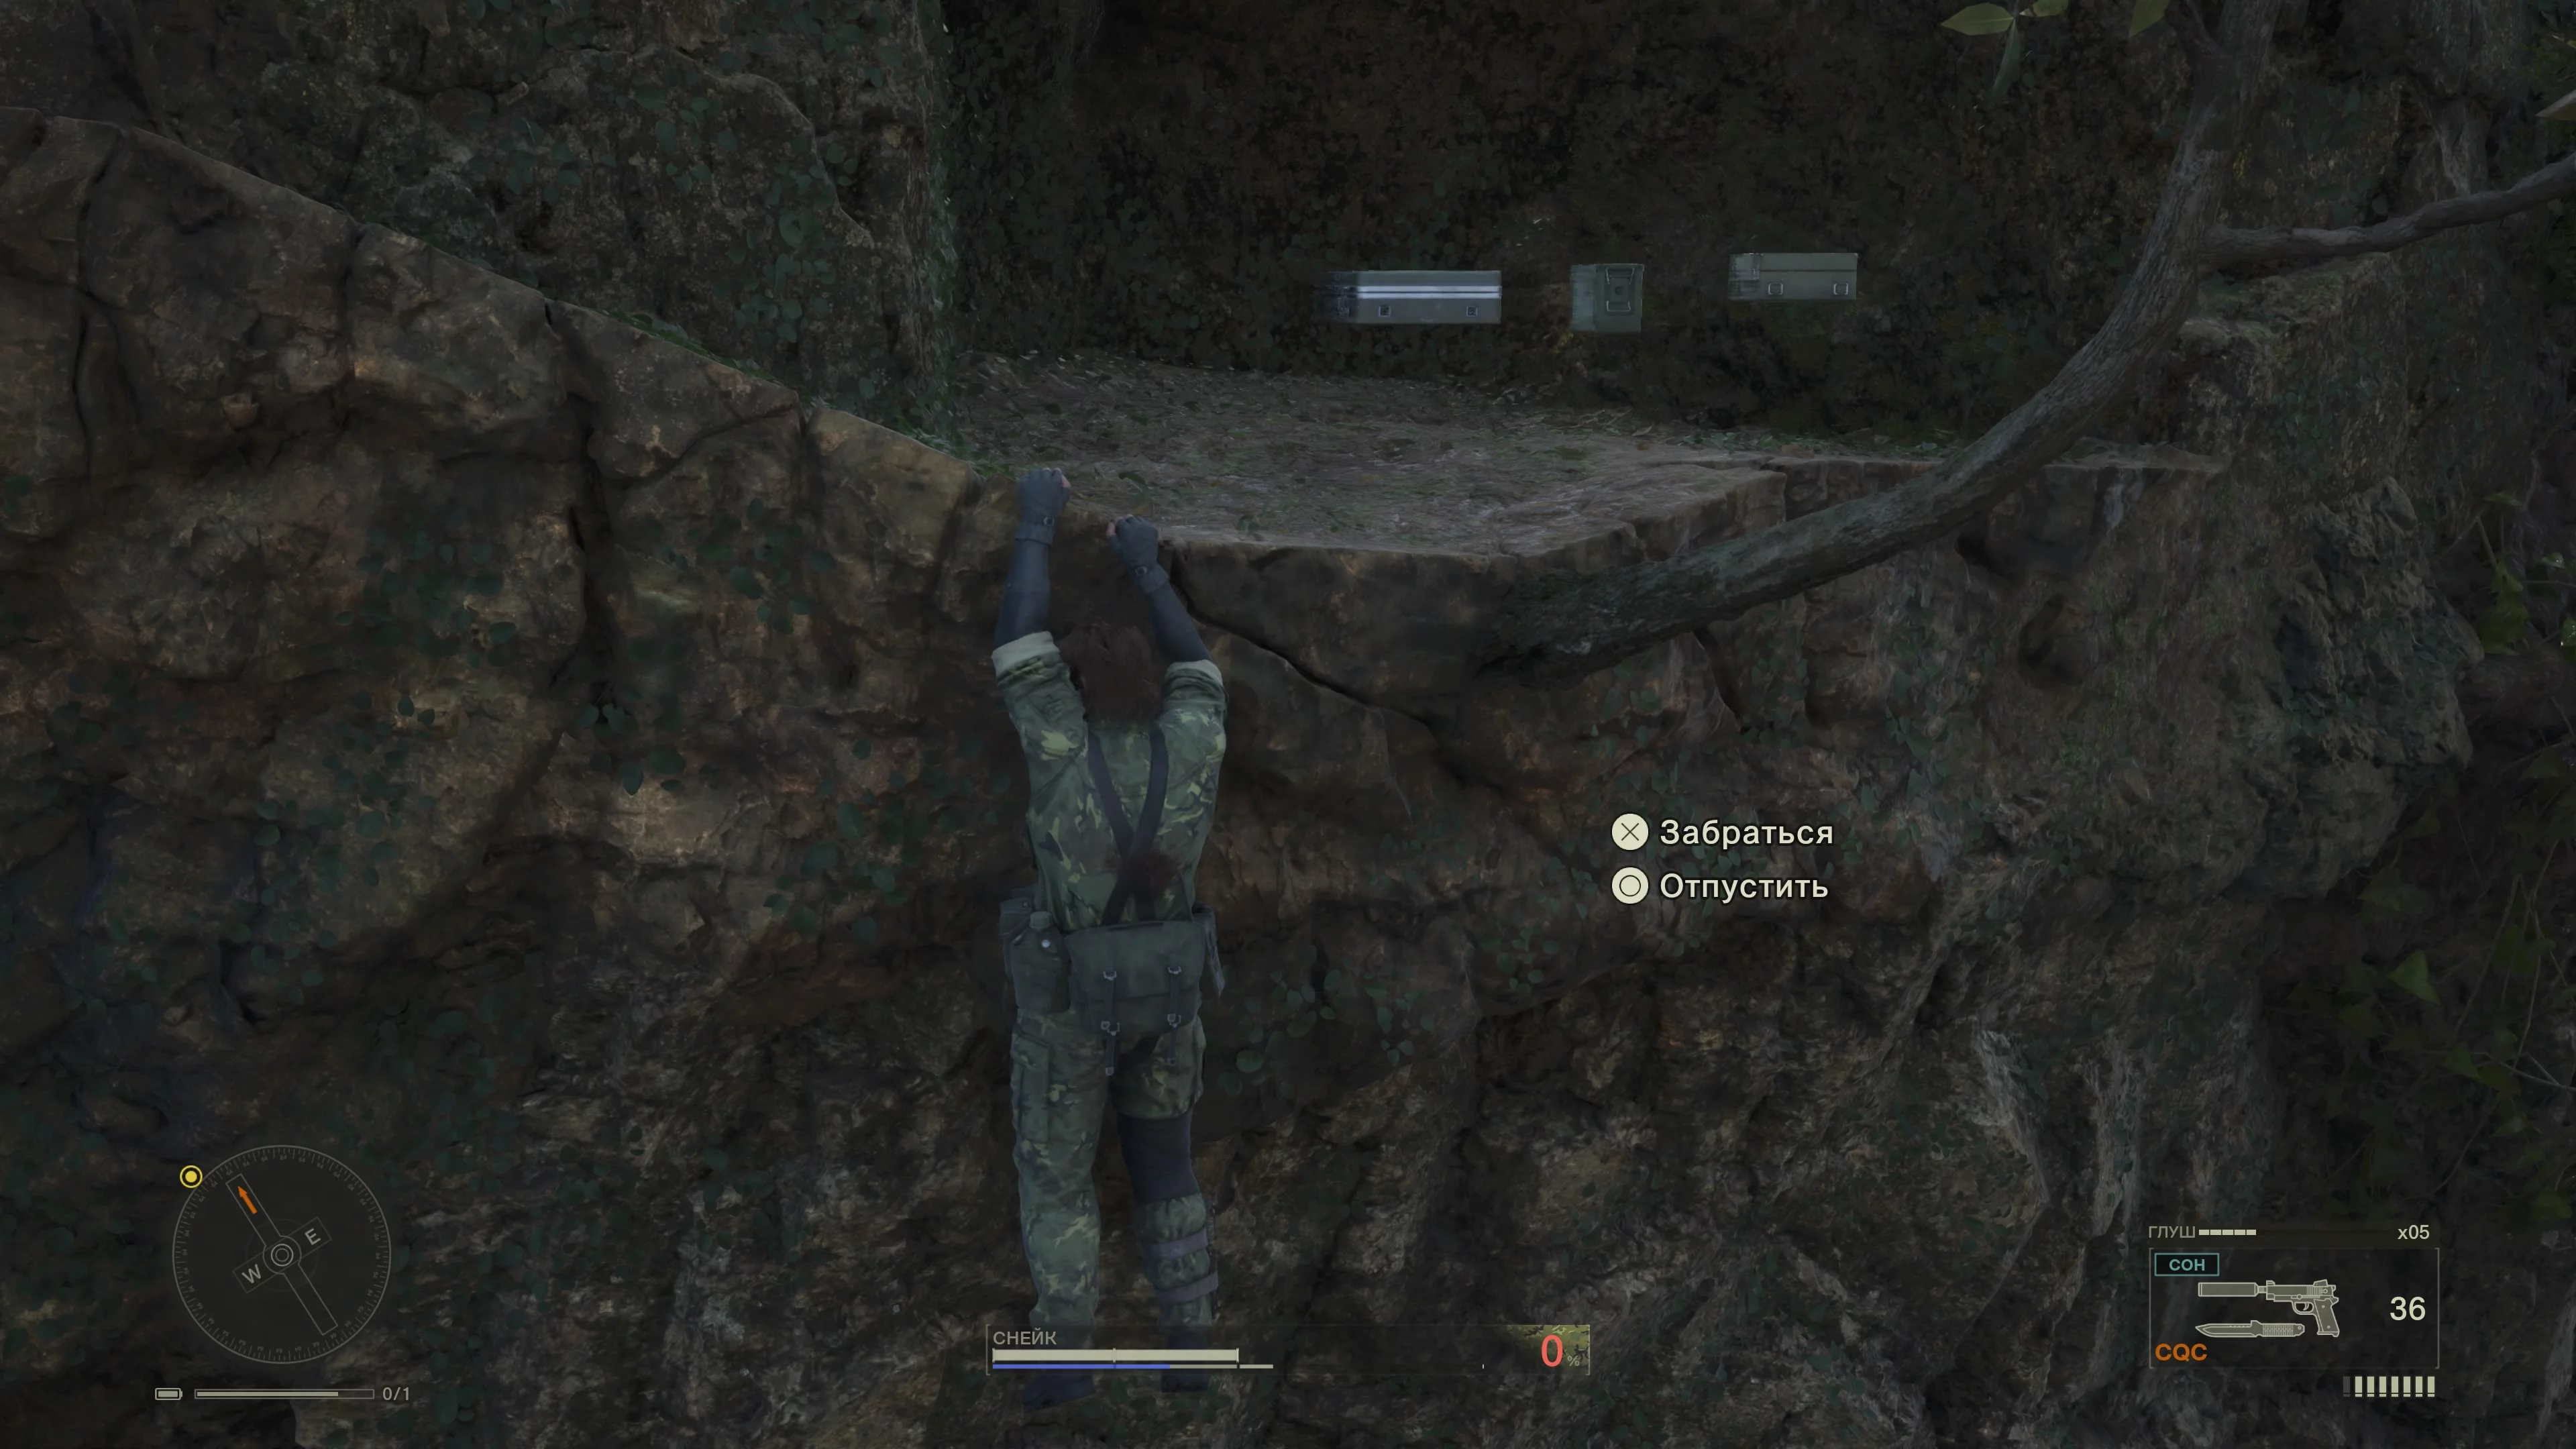
On the base to the left, there's another pair of soldiers. Climb the ladder to grab the suppressor, then go back down. Take out the guards. To the right of the ladder on the ground, pick up the shotgun. Go to where the guards were and in the building ahead you'll find another duck.
The room where Sokolov is held is just to the left, but watch out for two more guards. When you get inside, a long cutscene will start.
How to Rescue Sokolov
Return with Sokolov to the suspension bridge and watch another cutscene. After this, Snake will be seriously wounded, and you'll be taught the healing mechanic.
Open the survival menu and select the healing section. This is a fairly advanced system that shows all your wounds, including random ones. Each injury gives its own debuffs. Start by selecting the bone fracture. Use a splint and a bandage to treat the injury. Cuts are more complicated. First, you need to disinfect the wound, then stitch it, secure it with a band-aid, and also tie it with a bandage. The actions are not listed in this order, so you can do them as the game suggests—the wound will be treated anyway. When you’re healed, another large cutscene will play, ending the prologue. The game will begin.
The Snake Eater. How to Meet Adam
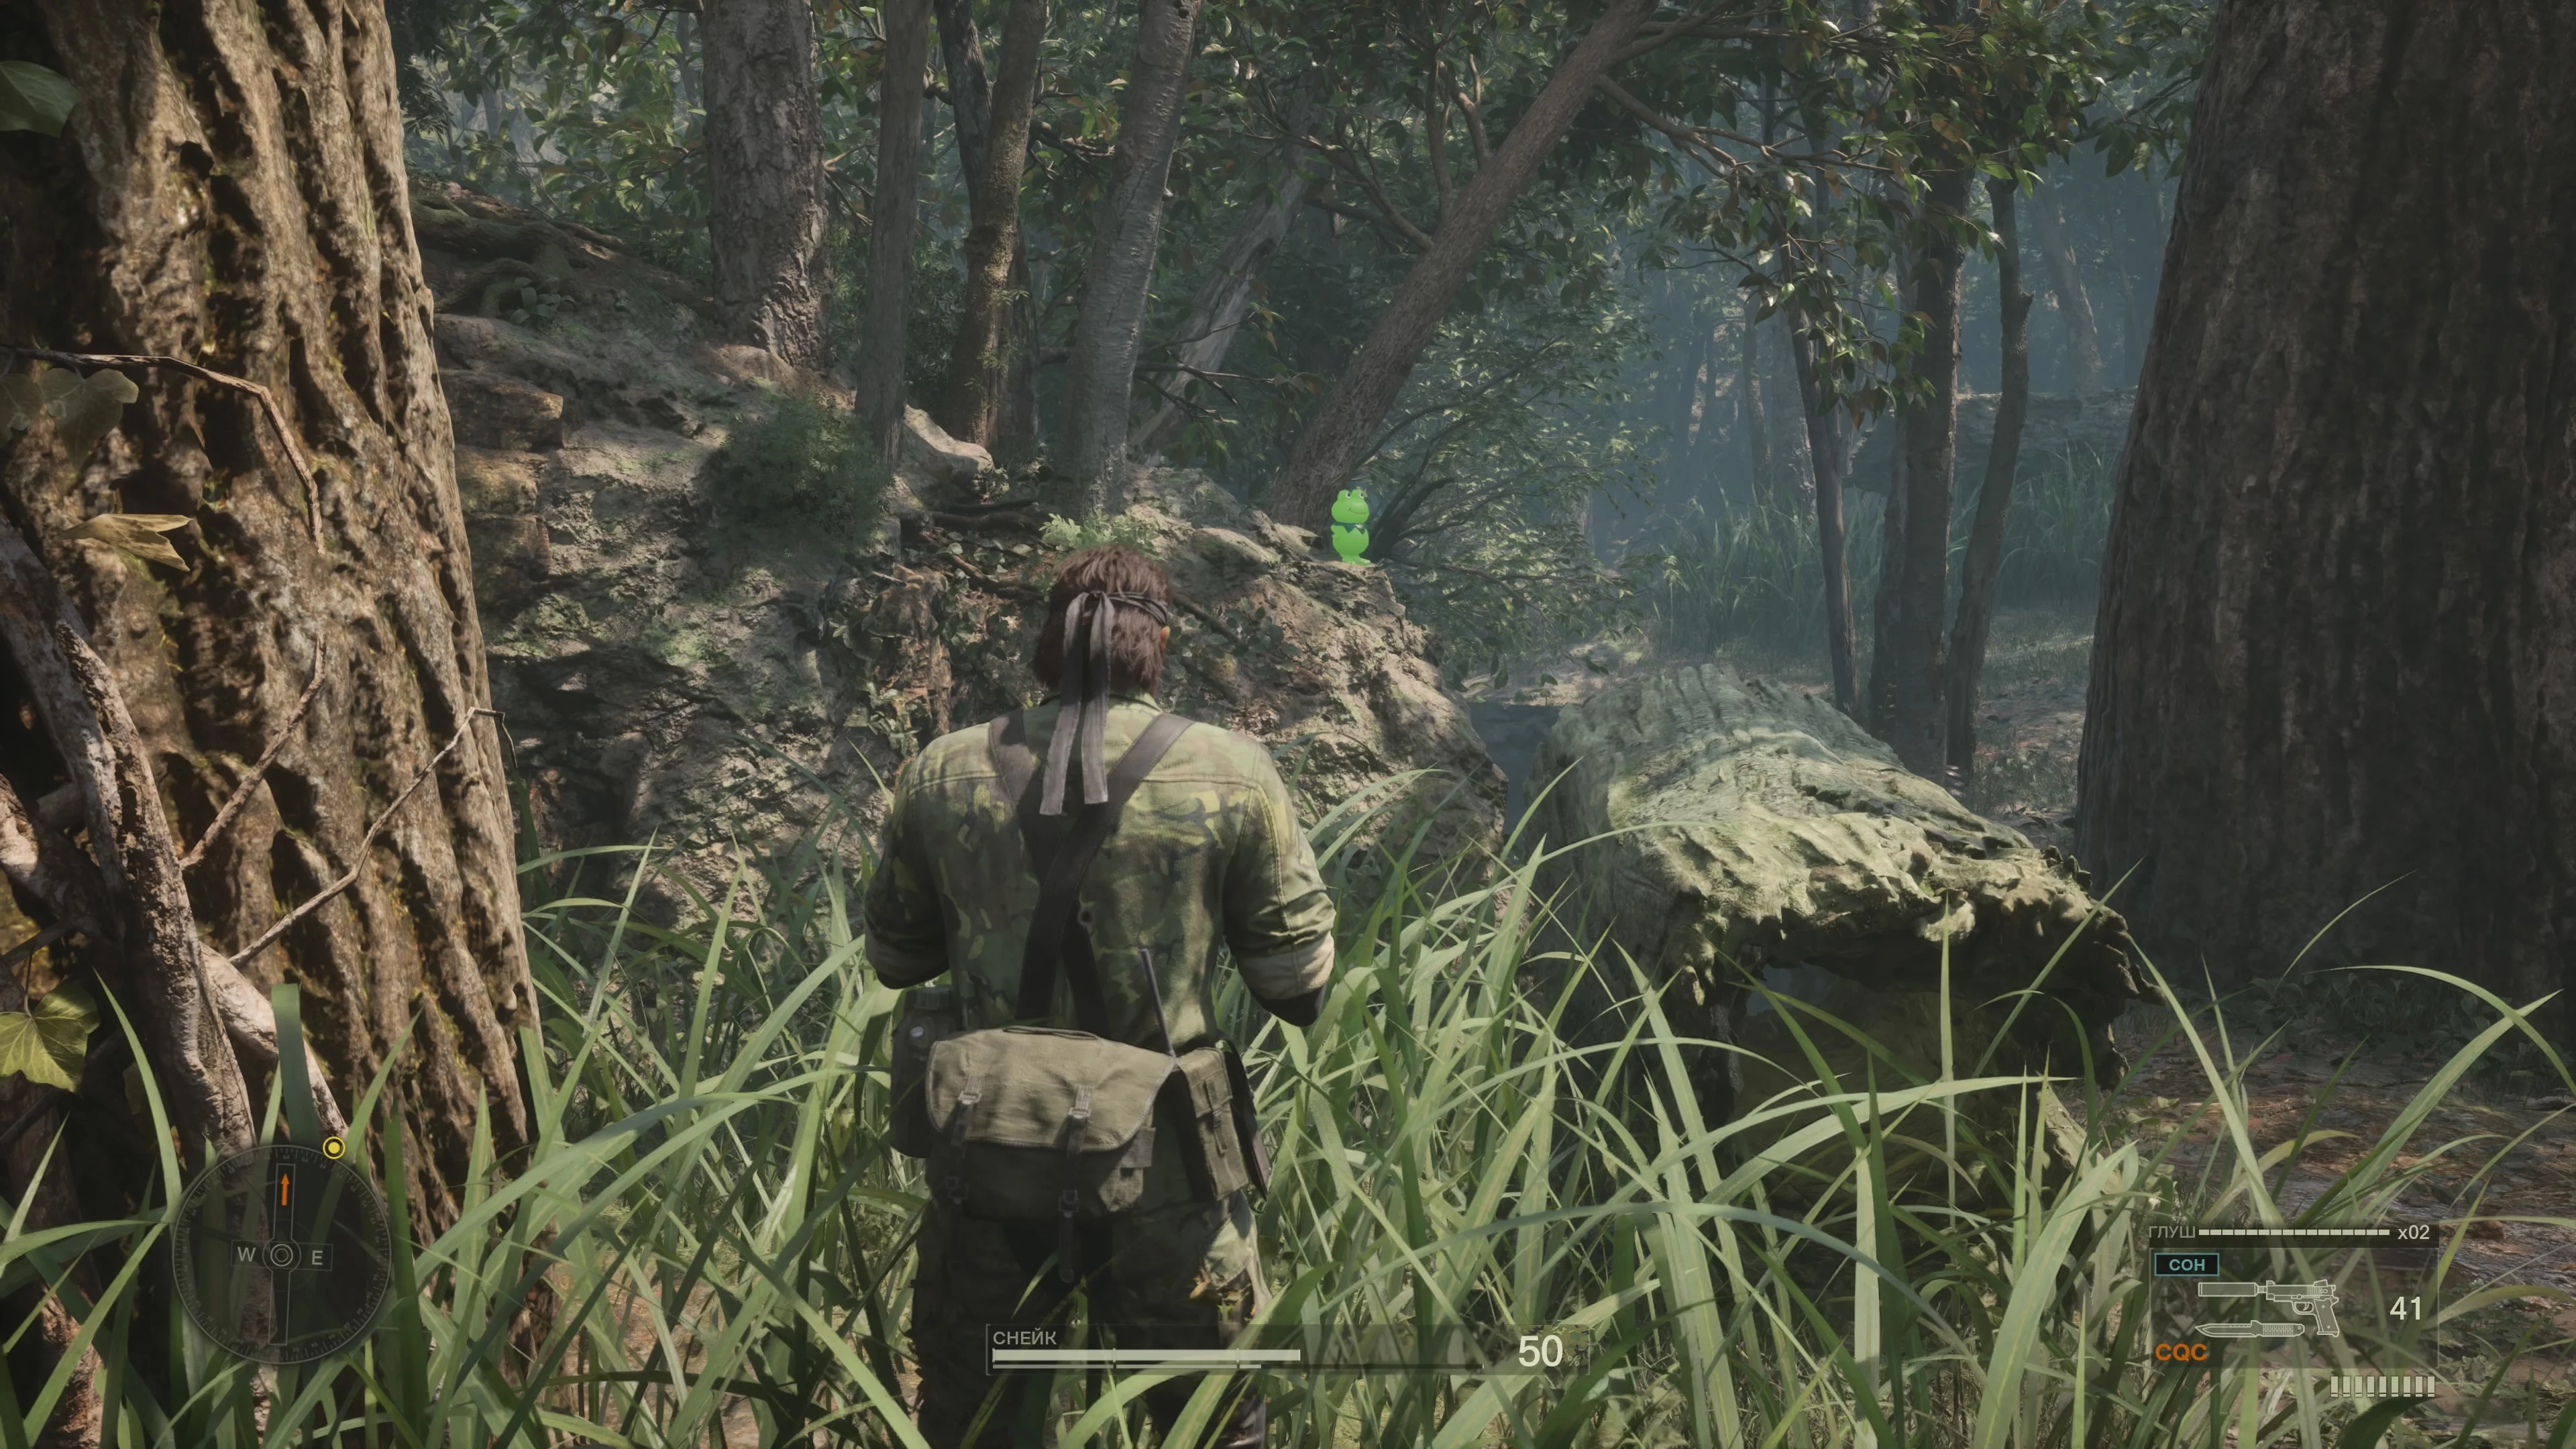
After the briefing, you will find yourself in the Deep Forest, East location. Move forward to enter the northern part. Turn left and descend the mountain. You will meet The Boss. Right after the cutscene, soldiers will start approaching you. Hide in the grass to give yourself an advantage. Note that there is also a duck sitting on the branches here, but you can't shoot it yet.
The guards will immediately raise the alarm—you can't prevent this, but they won't see you. You can use stun grenades or take them out with melee attacks. In any case, reinforcements are on the way. Go to the right, but be careful—there may be enemies ahead. Eventually, you'll reach the suspension bridge you visited in the prologue. On the other side, there will be a soldier, after which you'll finally enter the Dawn territory. Unexpectedly, there’s no one at the base, so head straight to the room where you found Sokolov, then leave and meet Eva.
How to Escape from Dawn
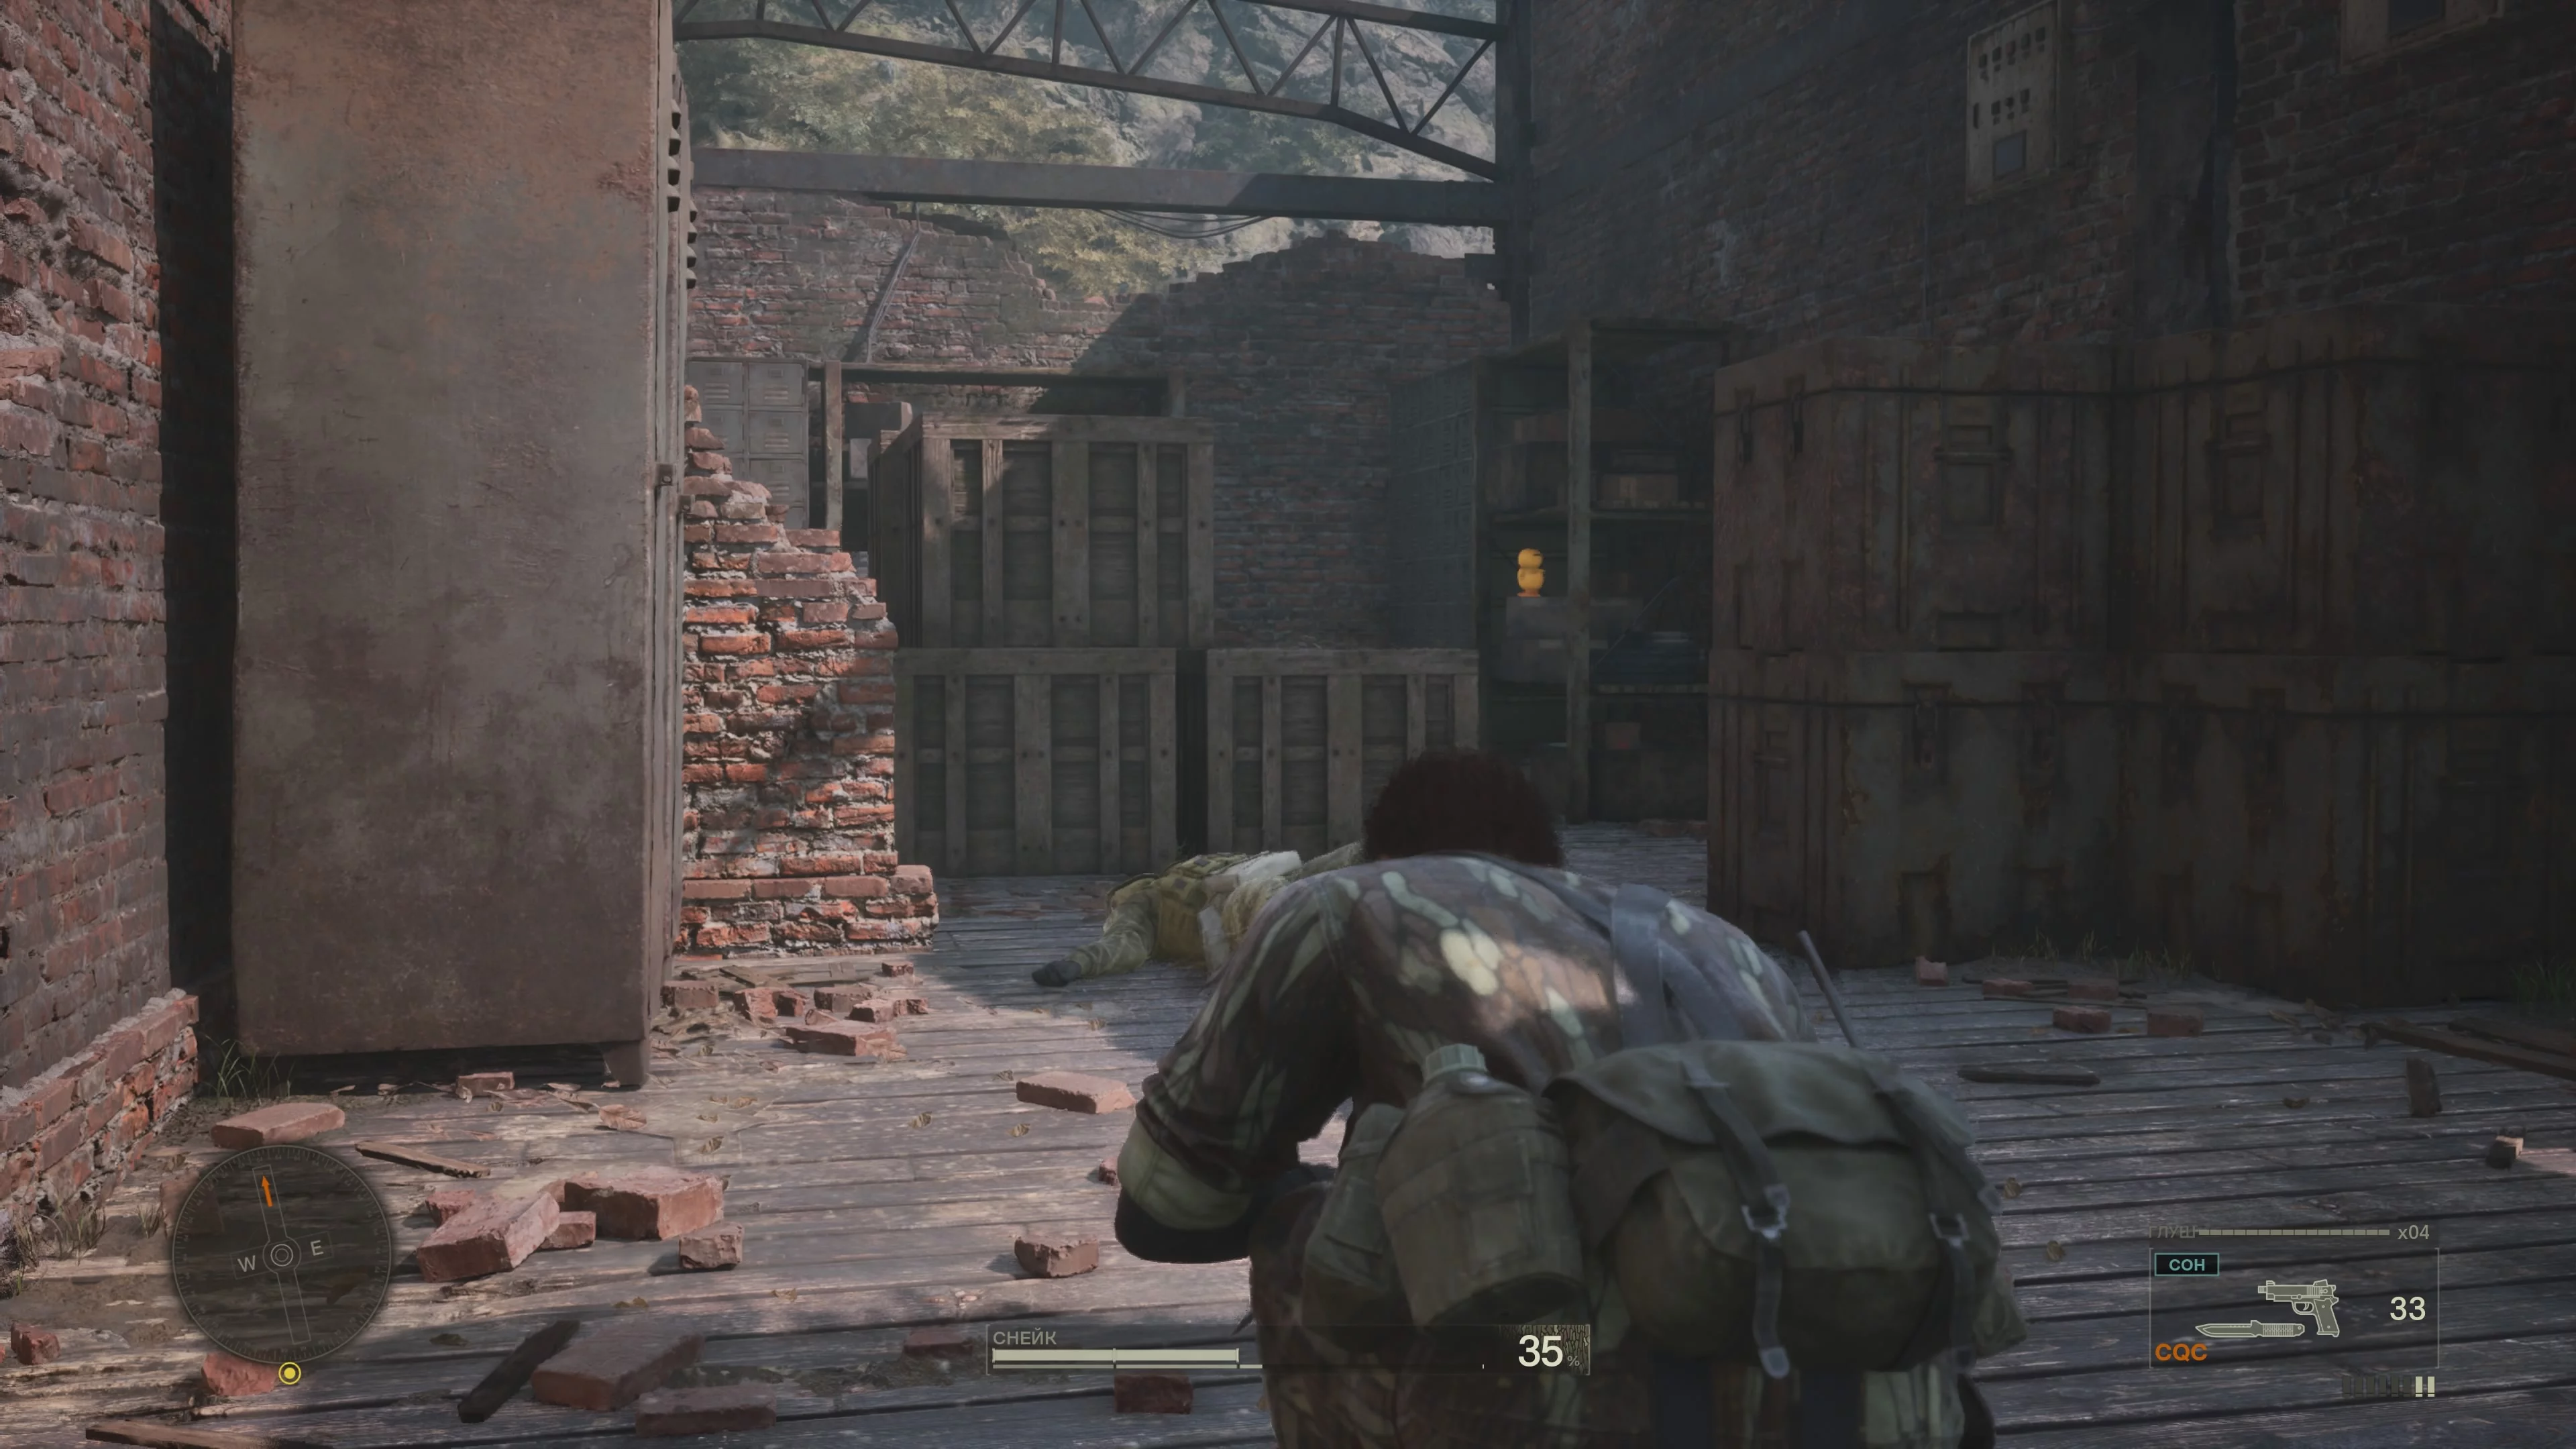
After the cutscene, you’ll encounter a large group of enemies. The easiest way is to hide under the bed and throw grenades at them from there, but you can try any other method of elimination. You have a tranquilizer and a combat pistol. Choose whichever you prefer. However, we recommend minimizing the number of kills, as this will be useful later. A little further ahead, near the crates, pick up the mine detector.
After dealing with the enemies, climb onto the roof of the building to spot a duck. Under the stairs to the second floor at the beginning of the base, shoot the frog.
Go down and head left. A cutscene will start, after which the exit from Dawn will open. You won’t be able to leave the area earlier.
How to Find Ocelot
Go back for the ducks and frogs. In the location with the bridge, there is a guard. Take him out quietly to avoid calling reinforcements. To the left, on the hill, are a frog and a duck.
On the other side, there are a couple more soldiers, but you don’t need to go there unless you want to shoot the duck from the beginning. Return to Dawn and head to the opposite exit, using the map as a guide.
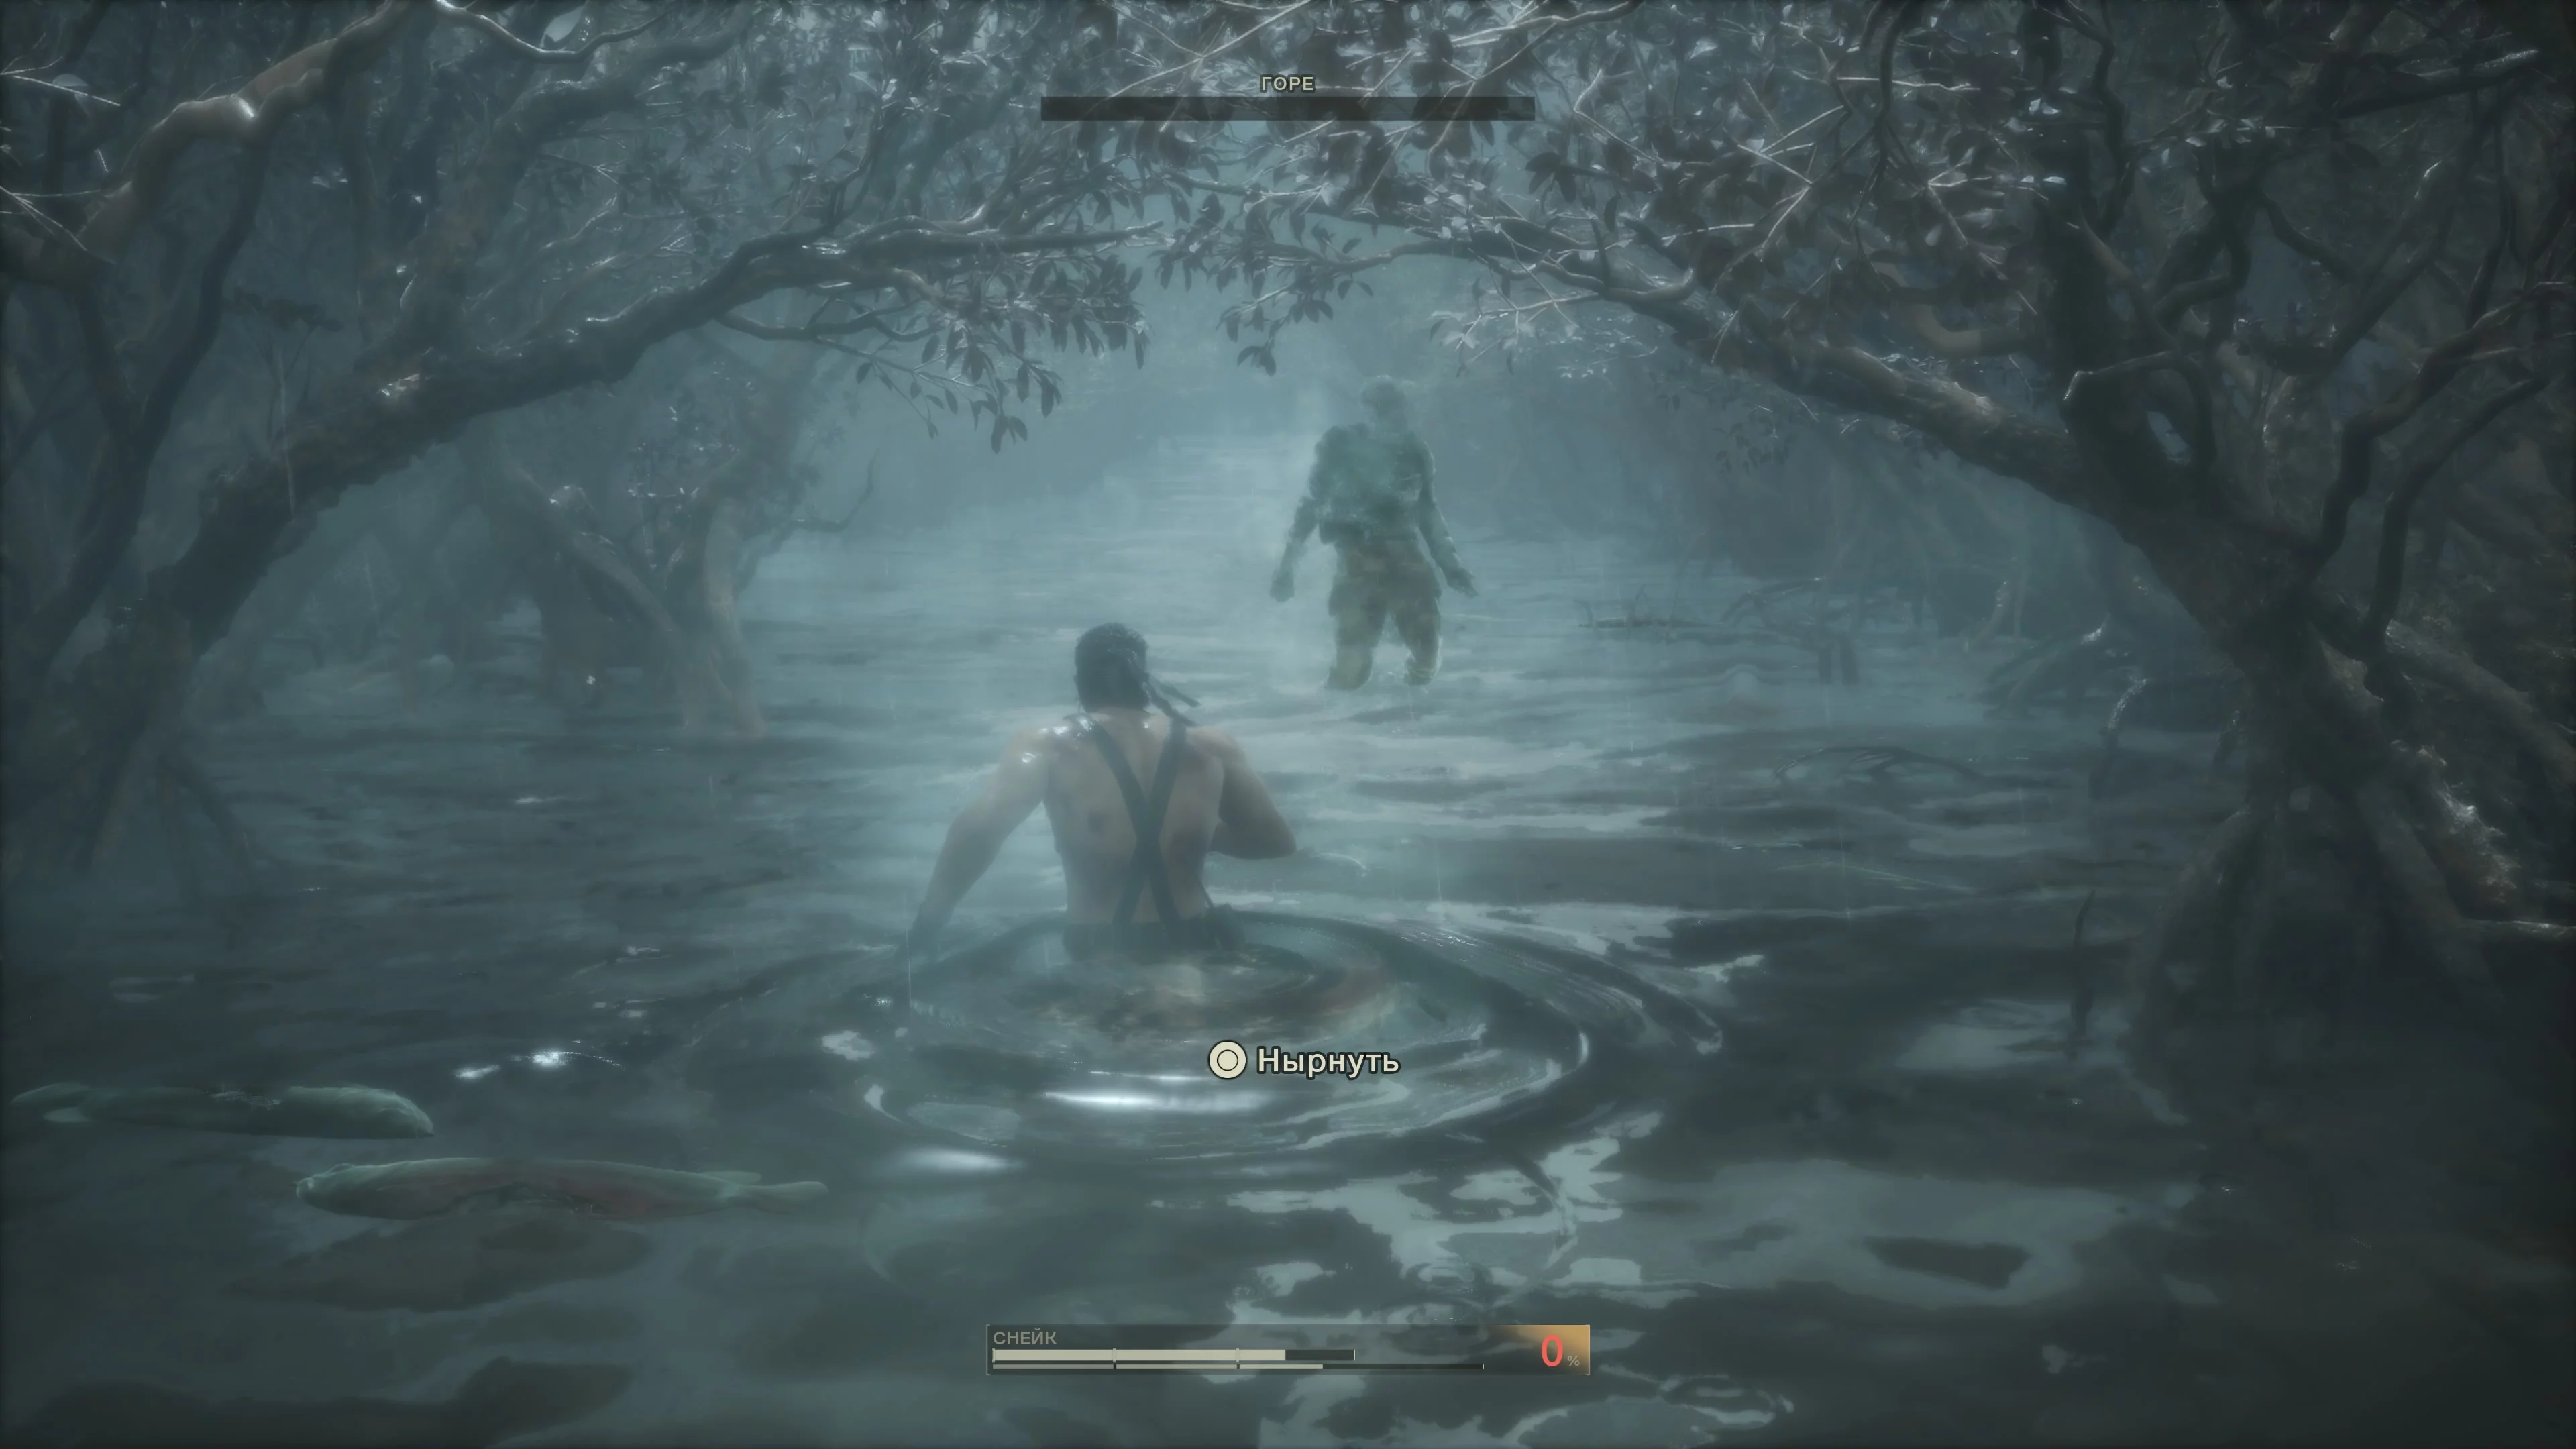
You will arrive at the Black Pond. There are many snakes and alligators here. Also, leeches can attach to Snake’s body in the water. Swim forward. On the rocks to the right, there’s a duck.
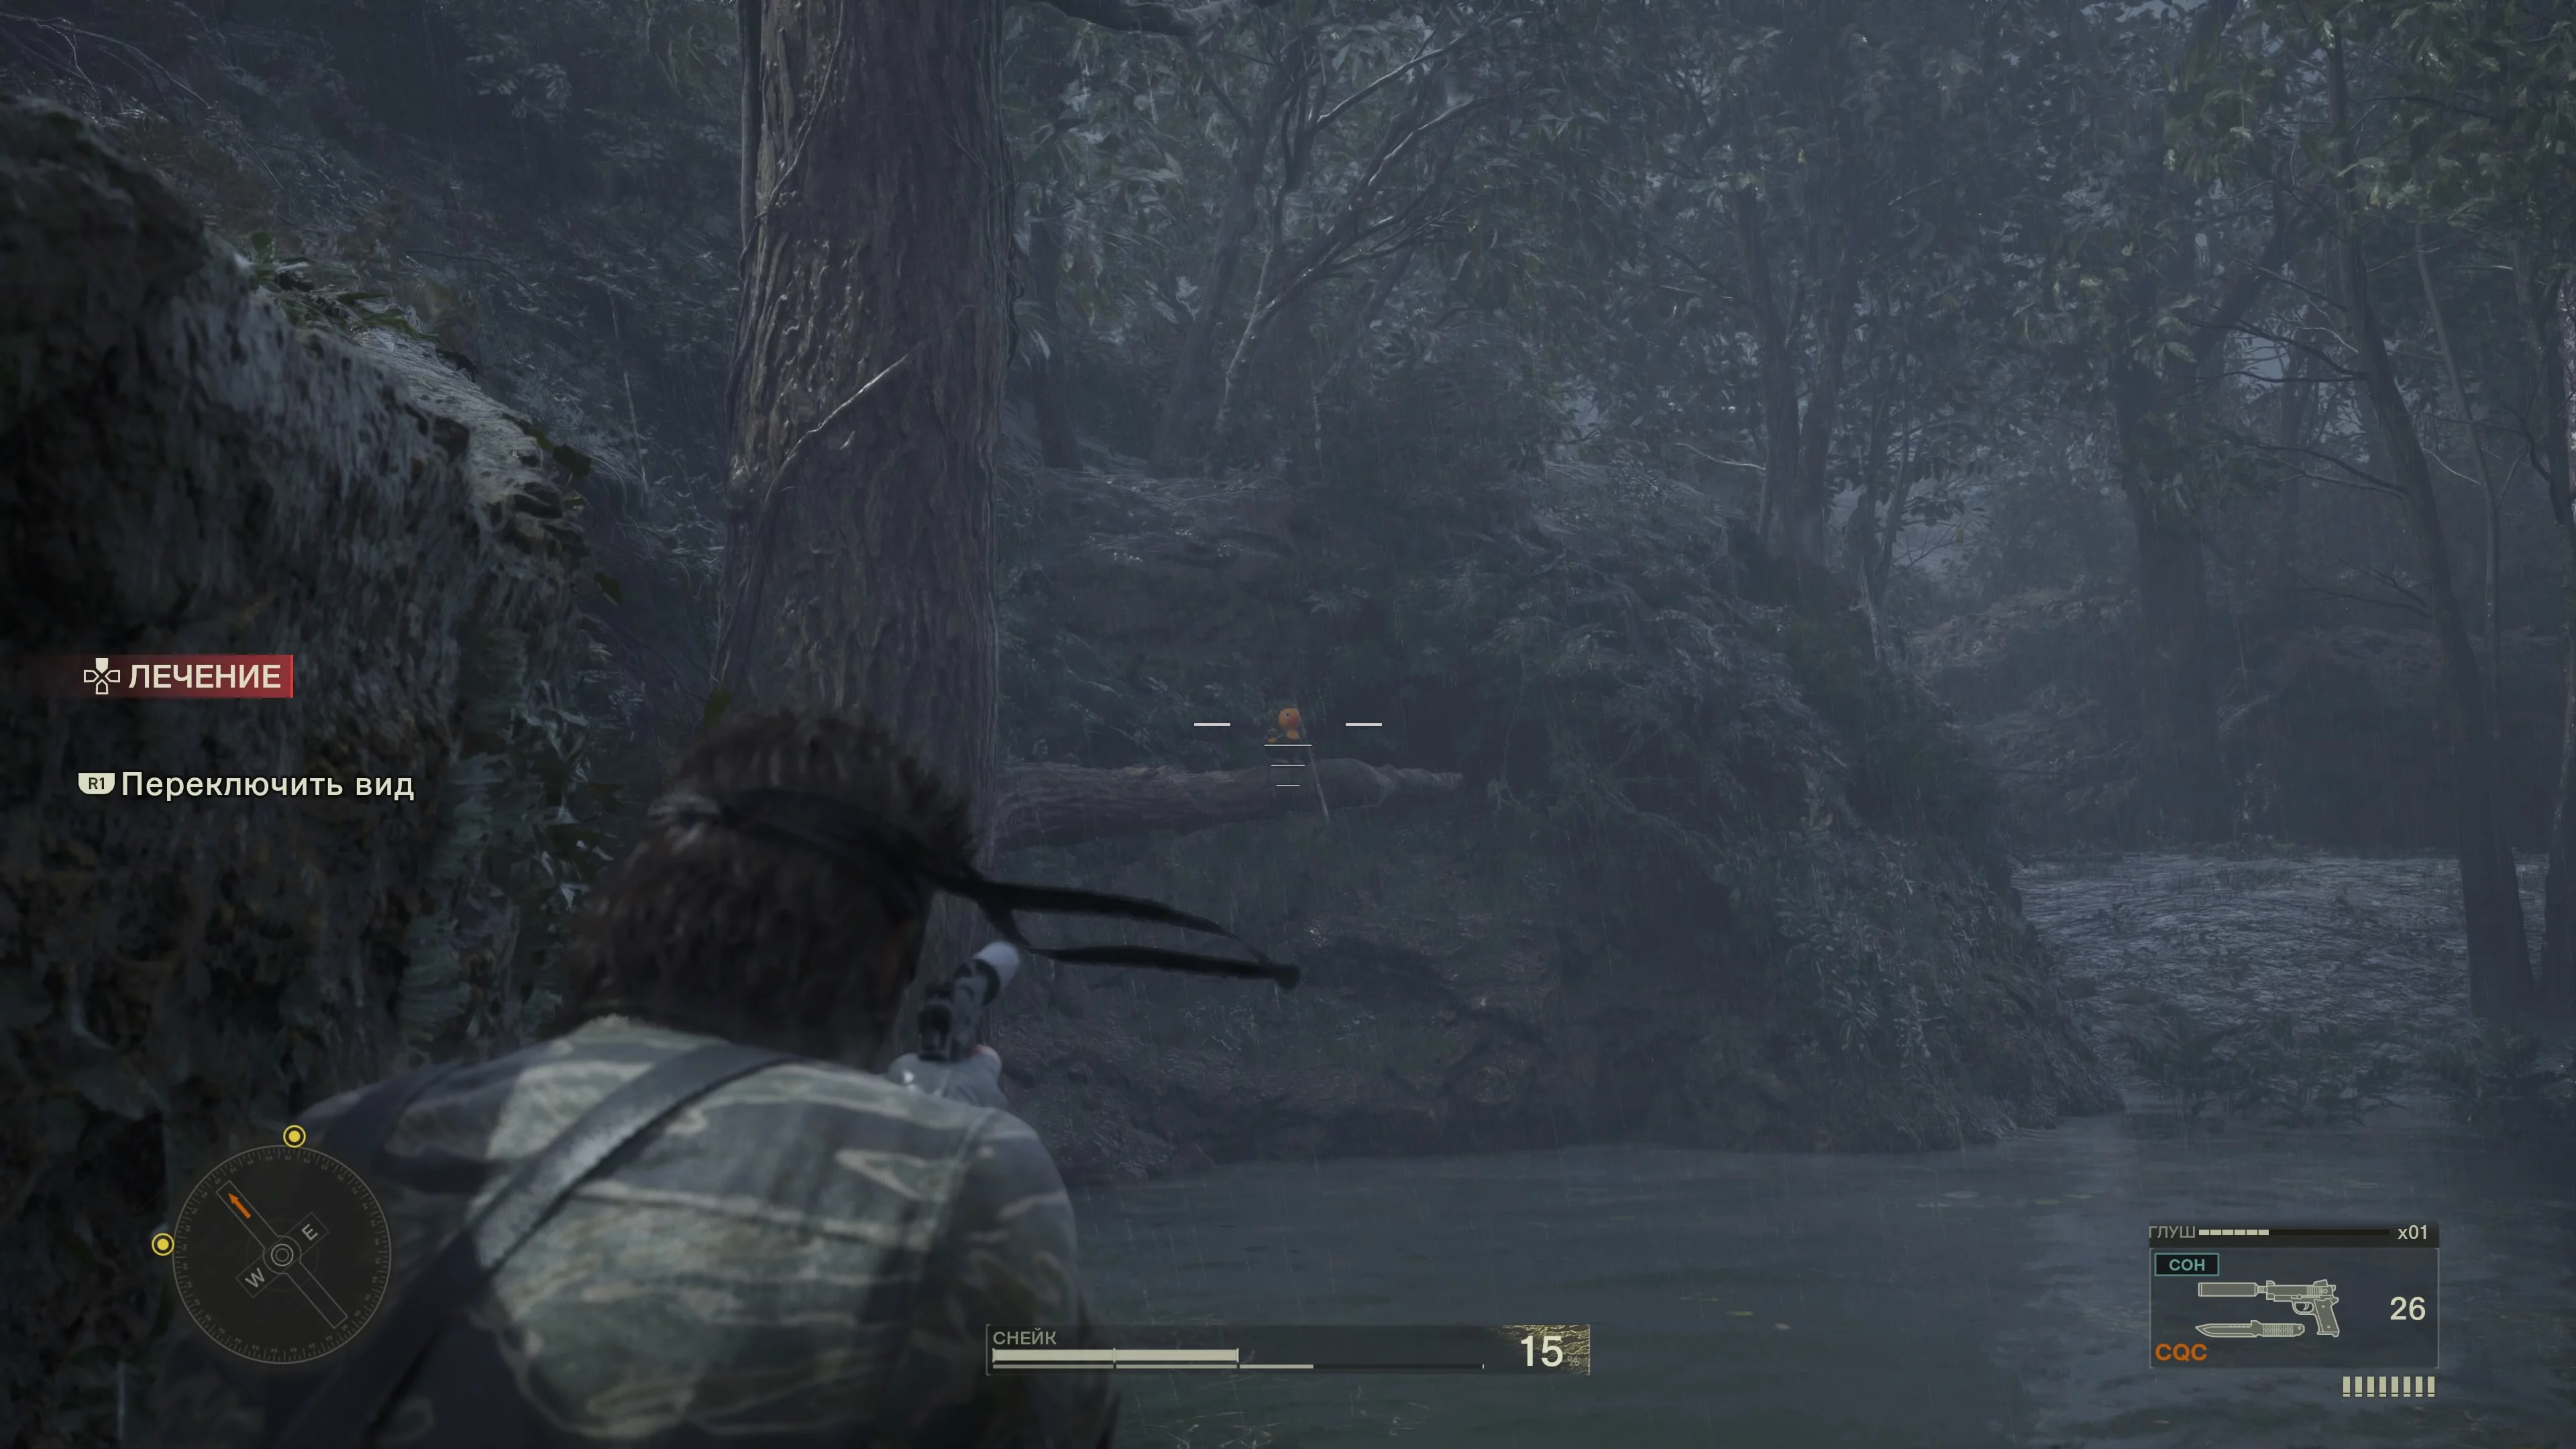
It doesn’t matter if you go right or left. On the right at the start, there’s a tripwire that triggers a falling log. Ahead is a new zone—Great Maw, South, but there is electrified barbed wire there. To the right, there’s a tunnel you can crawl through. If you swim left from the duck, dive near the fallen trees to move forward. You can collect some supplies. Eventually, you’ll hit the wire again, but to the right, it’s broken. The area ahead is full of mines. Crawl on your belly to automatically collect them and avoid getting blown up.
After passing the first barbed wire, you’ll encounter a second fence. Look for a gap to move forward. There you’ll meet a new enemy—a guard dog. You need to take it out as quickly as possible, otherwise it will raise the alarm. Smoke grenades also work well against dogs.
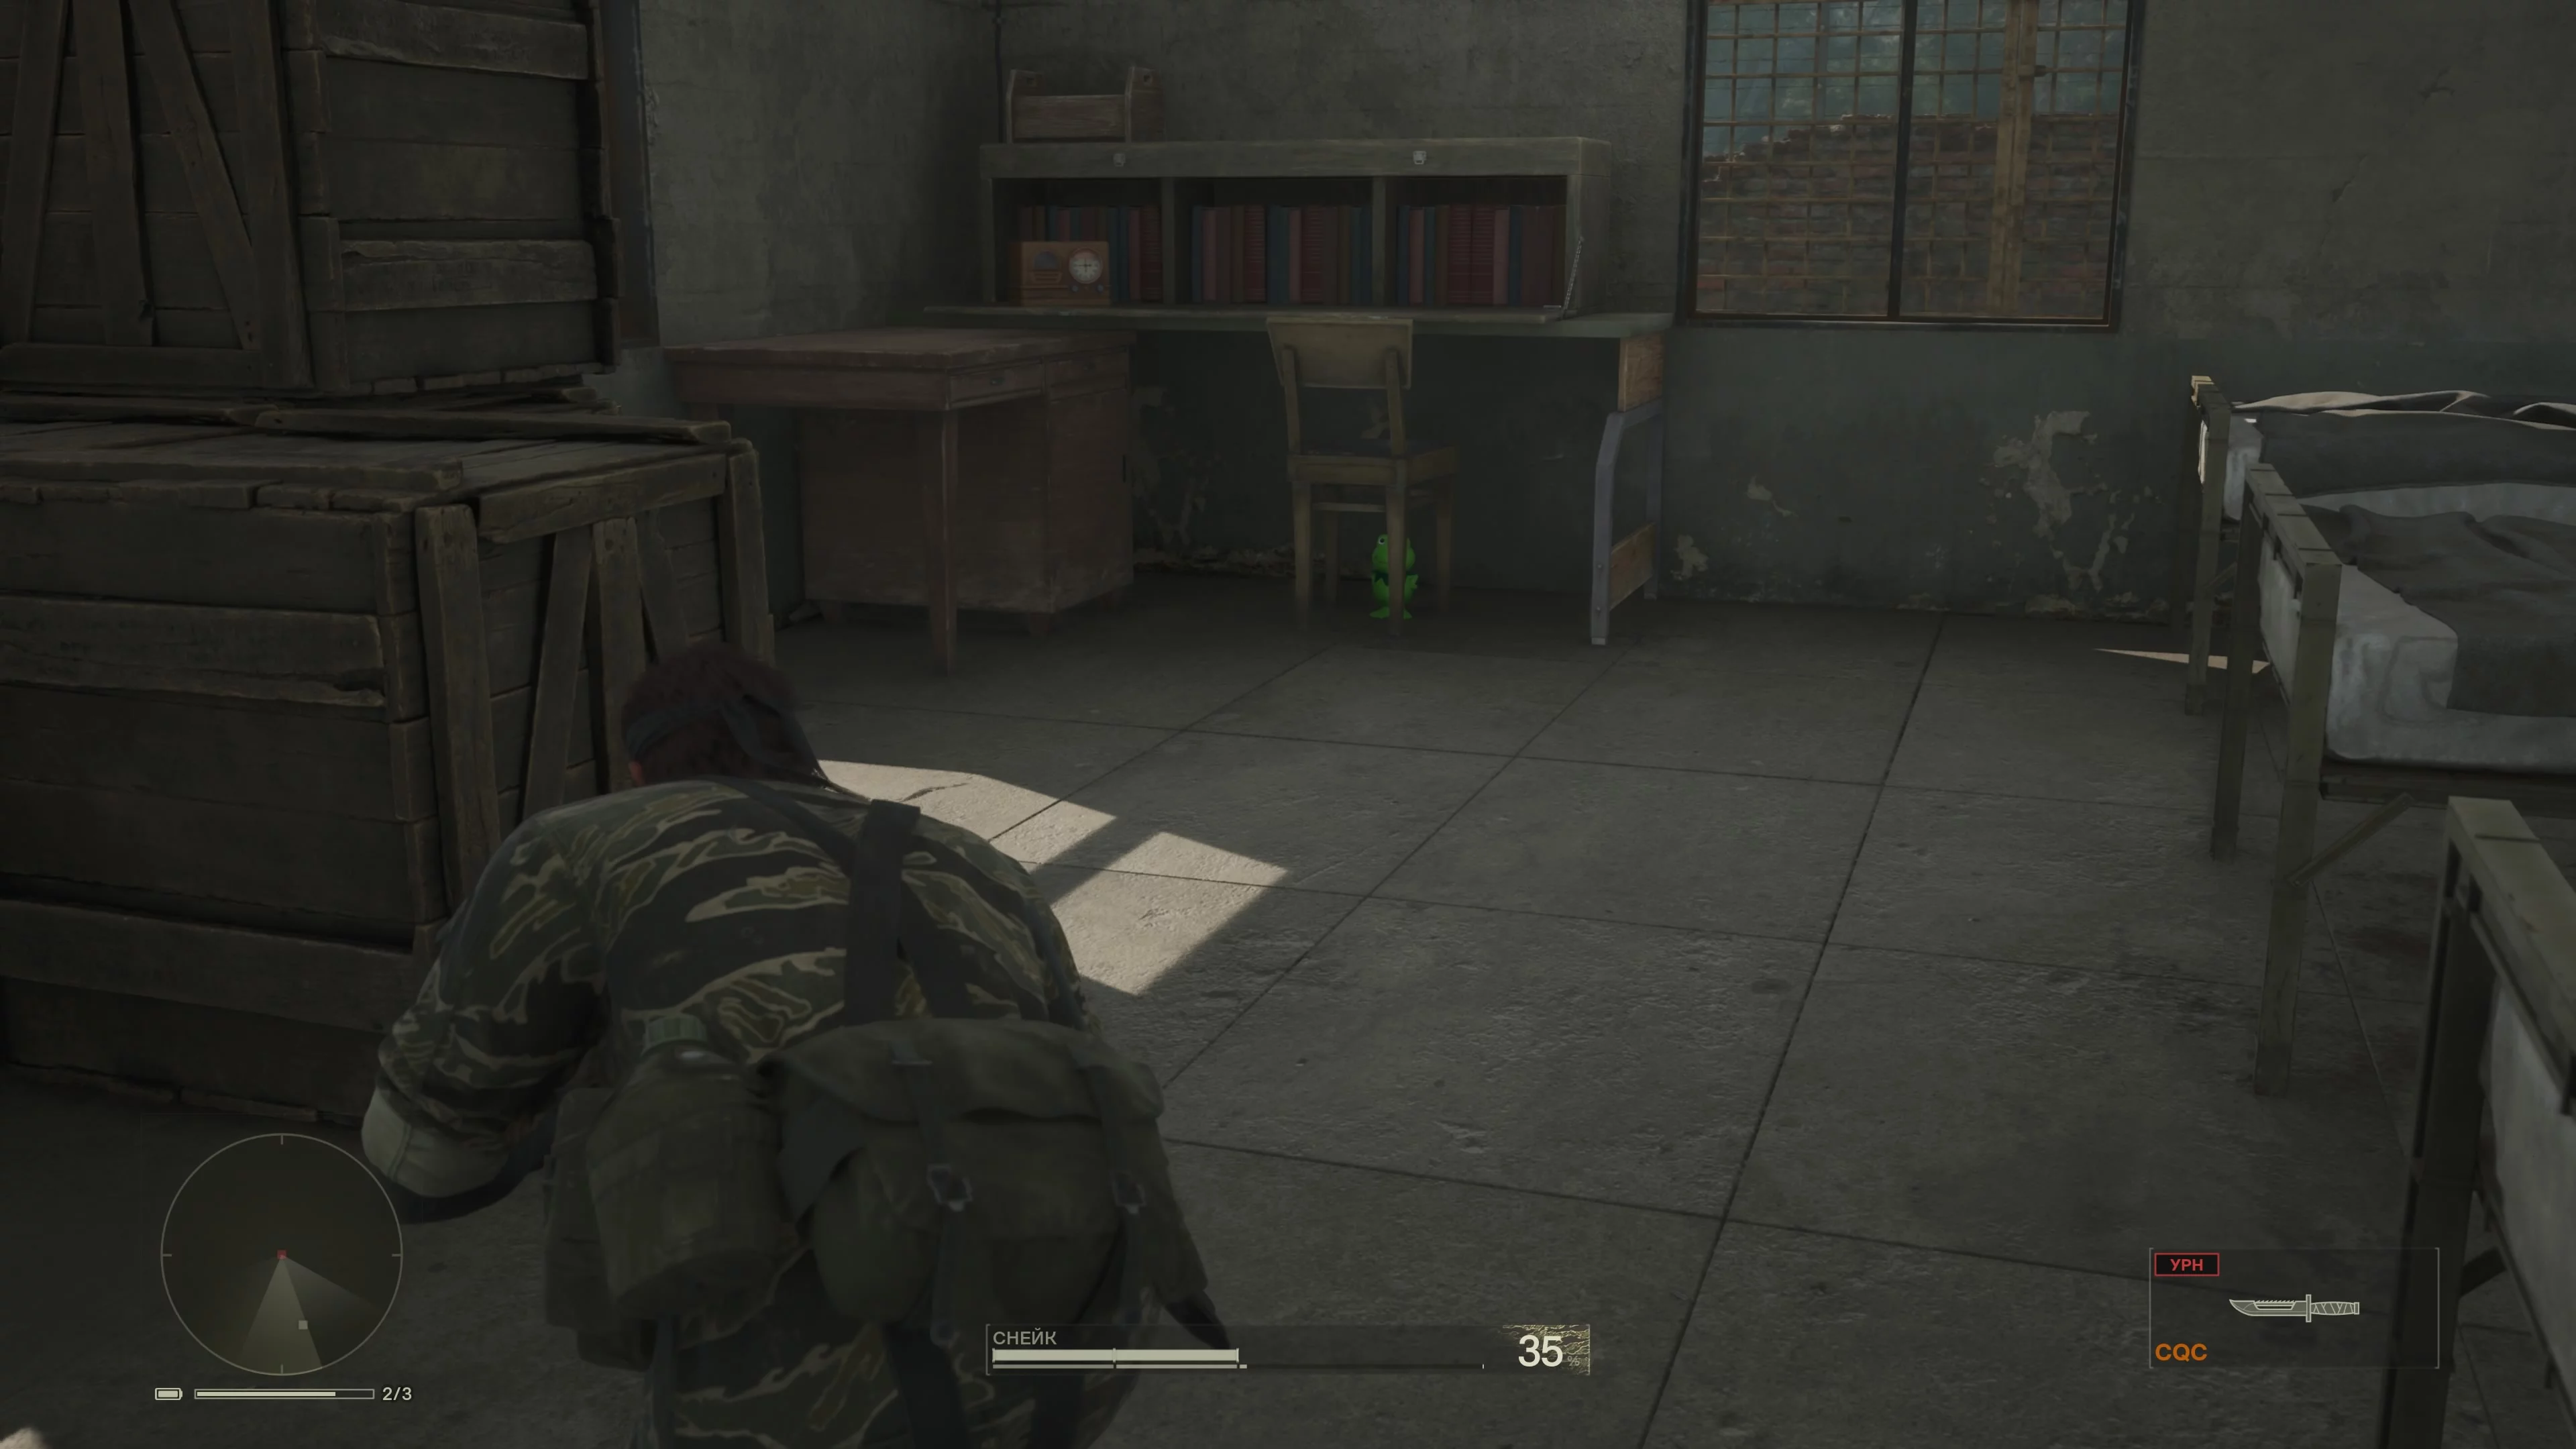
Move forward—two more guards ahead. If you don’t take them out quietly, reinforcements will arrive. Your task is to go forward through the gap in the barbed wire. You’ll end up in the Great Maw, Base zone. Immediately pay attention to the soldier next to the stationary machine gun. It’s very important that he doesn’t have time to get behind it. There are many ways to get onto the base. If you want to be stealthier, find a gap in the barbed wire to crawl through. Inside the building, under the table, there’s a frog.
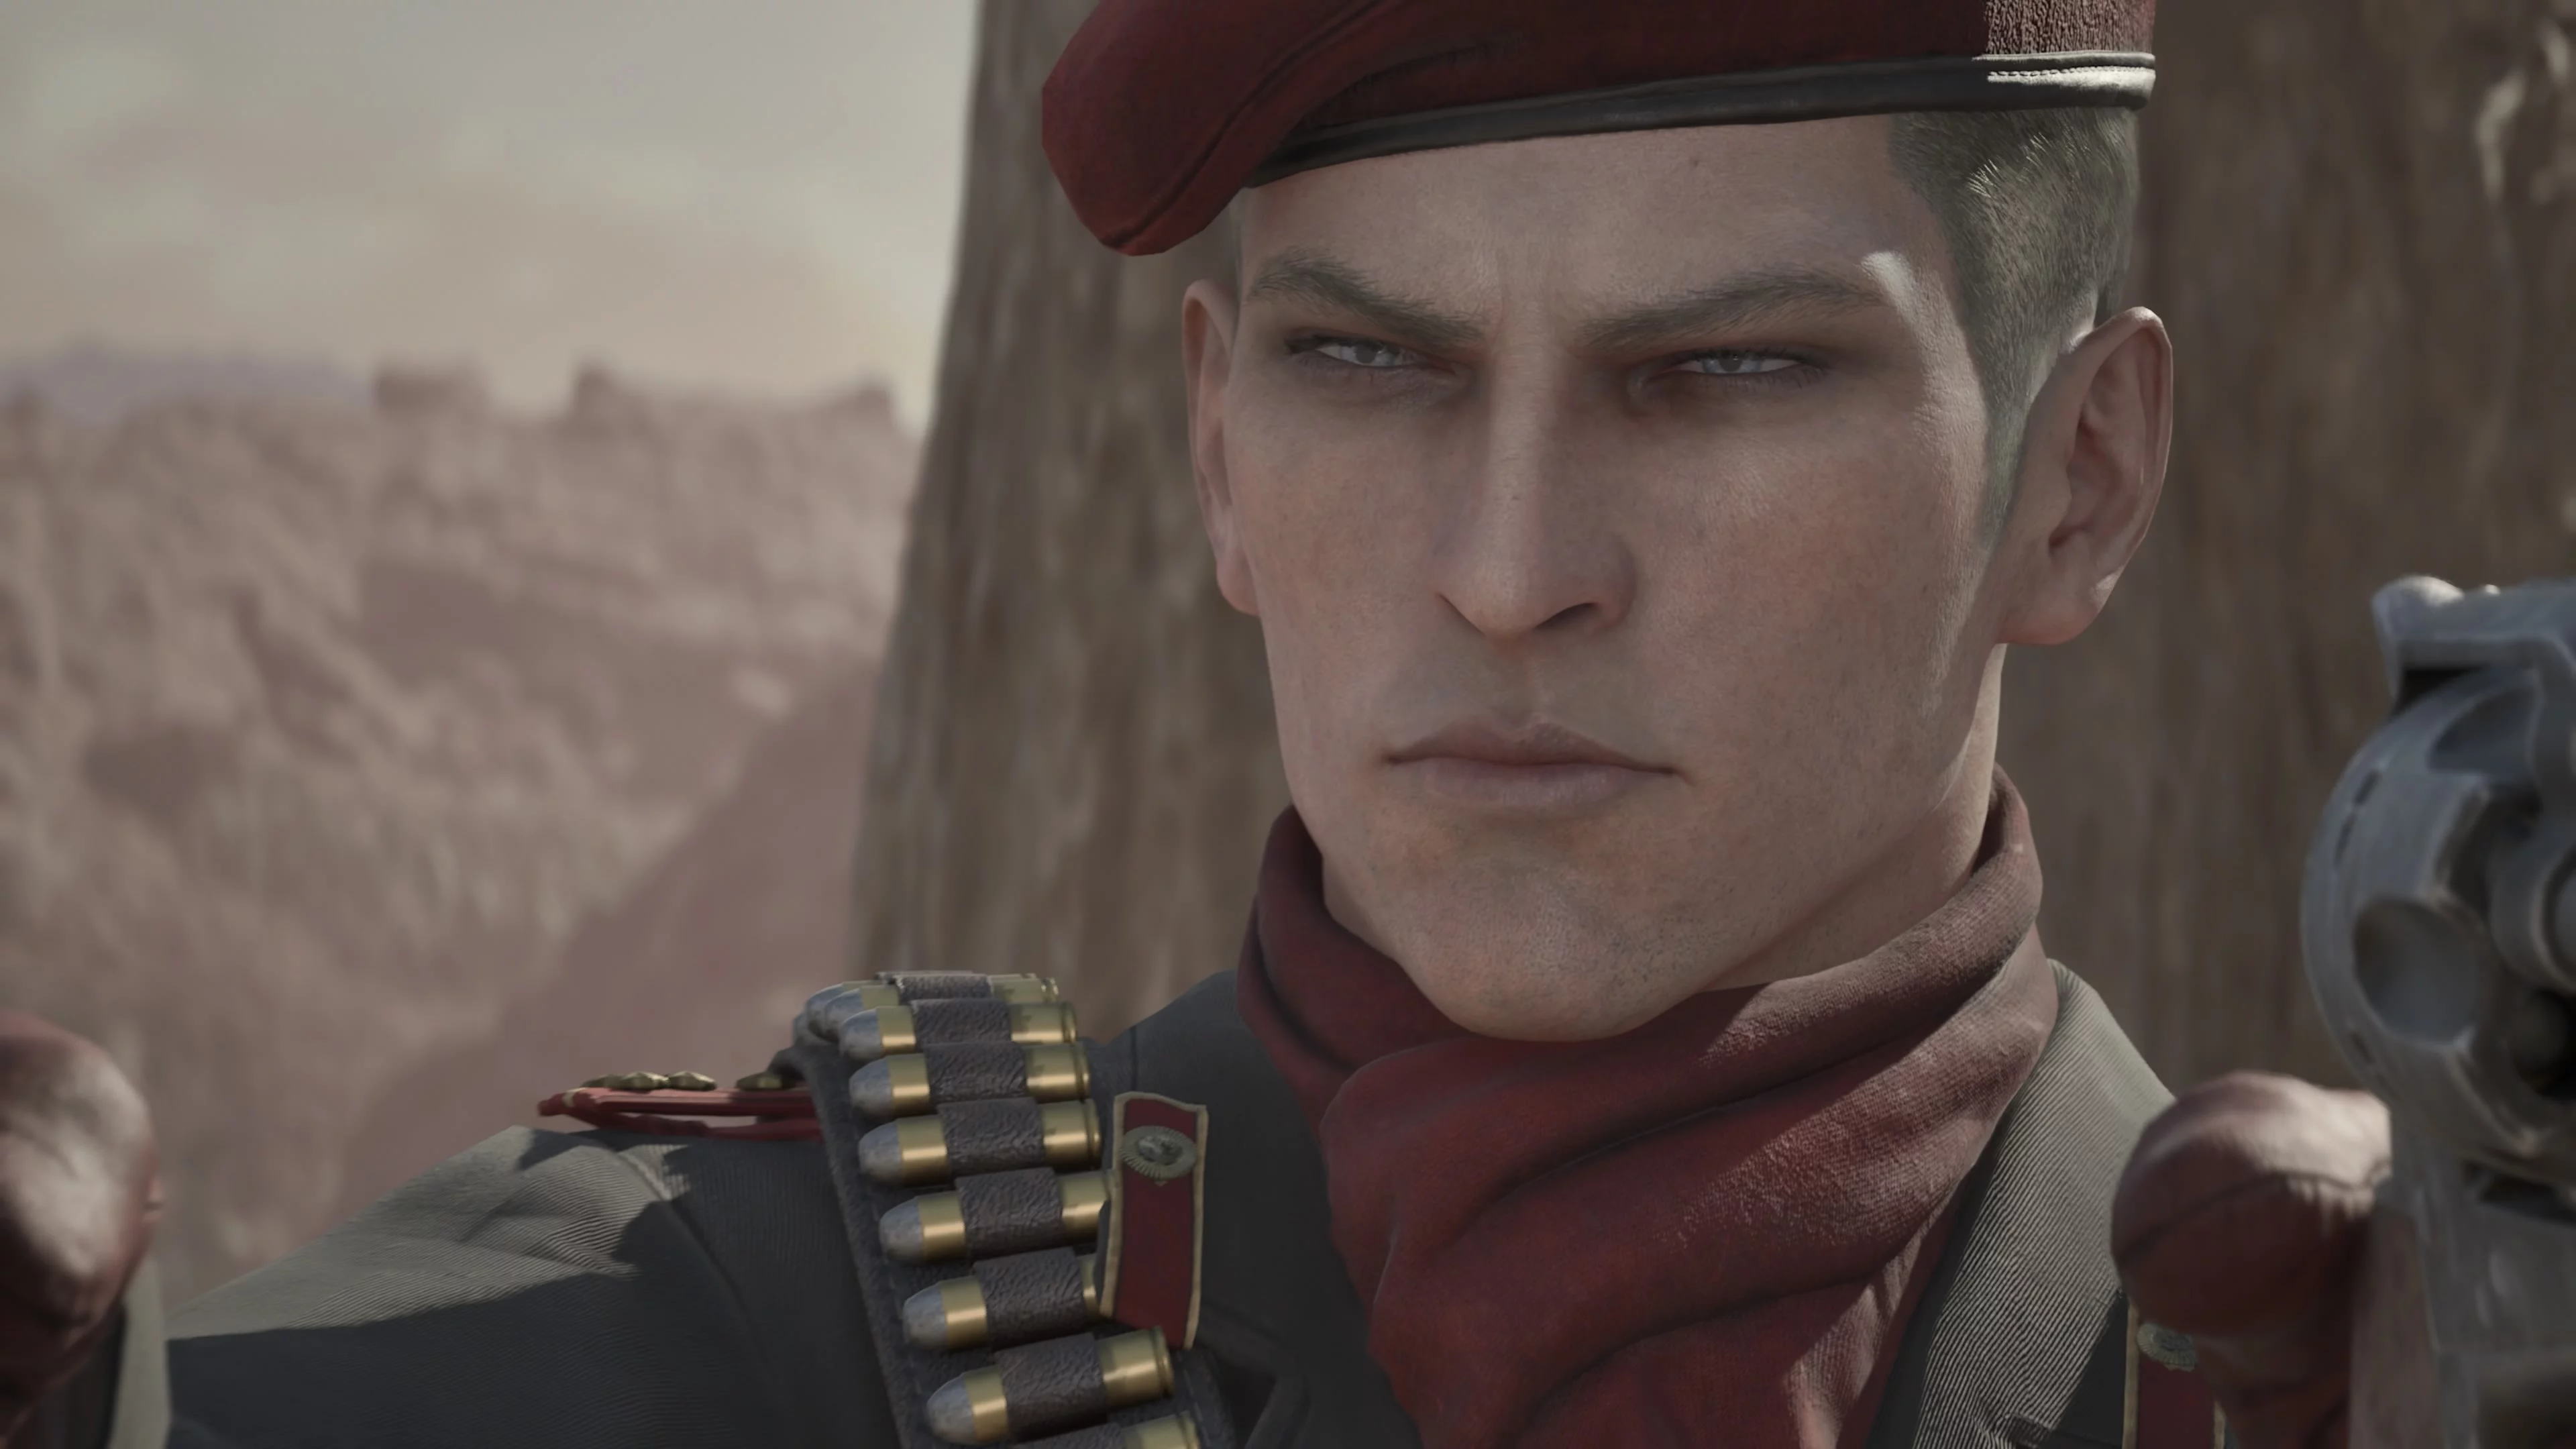
Check your map to see where to go. Once you reach the point, watch the cutscene. You are about to face your first boss battle—Ocelot.
How to Defeat Ocelot Non-Lethally
The battle style is a pistol duel. Ocelot will survive no matter what, but for the trophy camouflage, Snake must fight using the tranquilizer. Each of you is on opposite sides of the ravine, so you can't get close. Ocelot constantly moves between cover, making him hard to hit. Nevertheless, the boss often exposes himself when reloading or showing off.
Ocelot will also offer a pistol duel. It's important to shoot first to deal several wounds at once. Pay attention to the trees with beehives—they can slow down your opponent, but there are also such trees on your side. You can also use stun grenades, though this is a bit of a cheat, since Ocelot expects to test your shooting skills and will be disappointed. If you run out of ammo, crawl around your area—there is a supply there. Beware of snakes—they can bite and you'll have to stop to treat the poison. For defeating Ocelot with the tranquilizer, you'll receive a achievement and new camouflage.
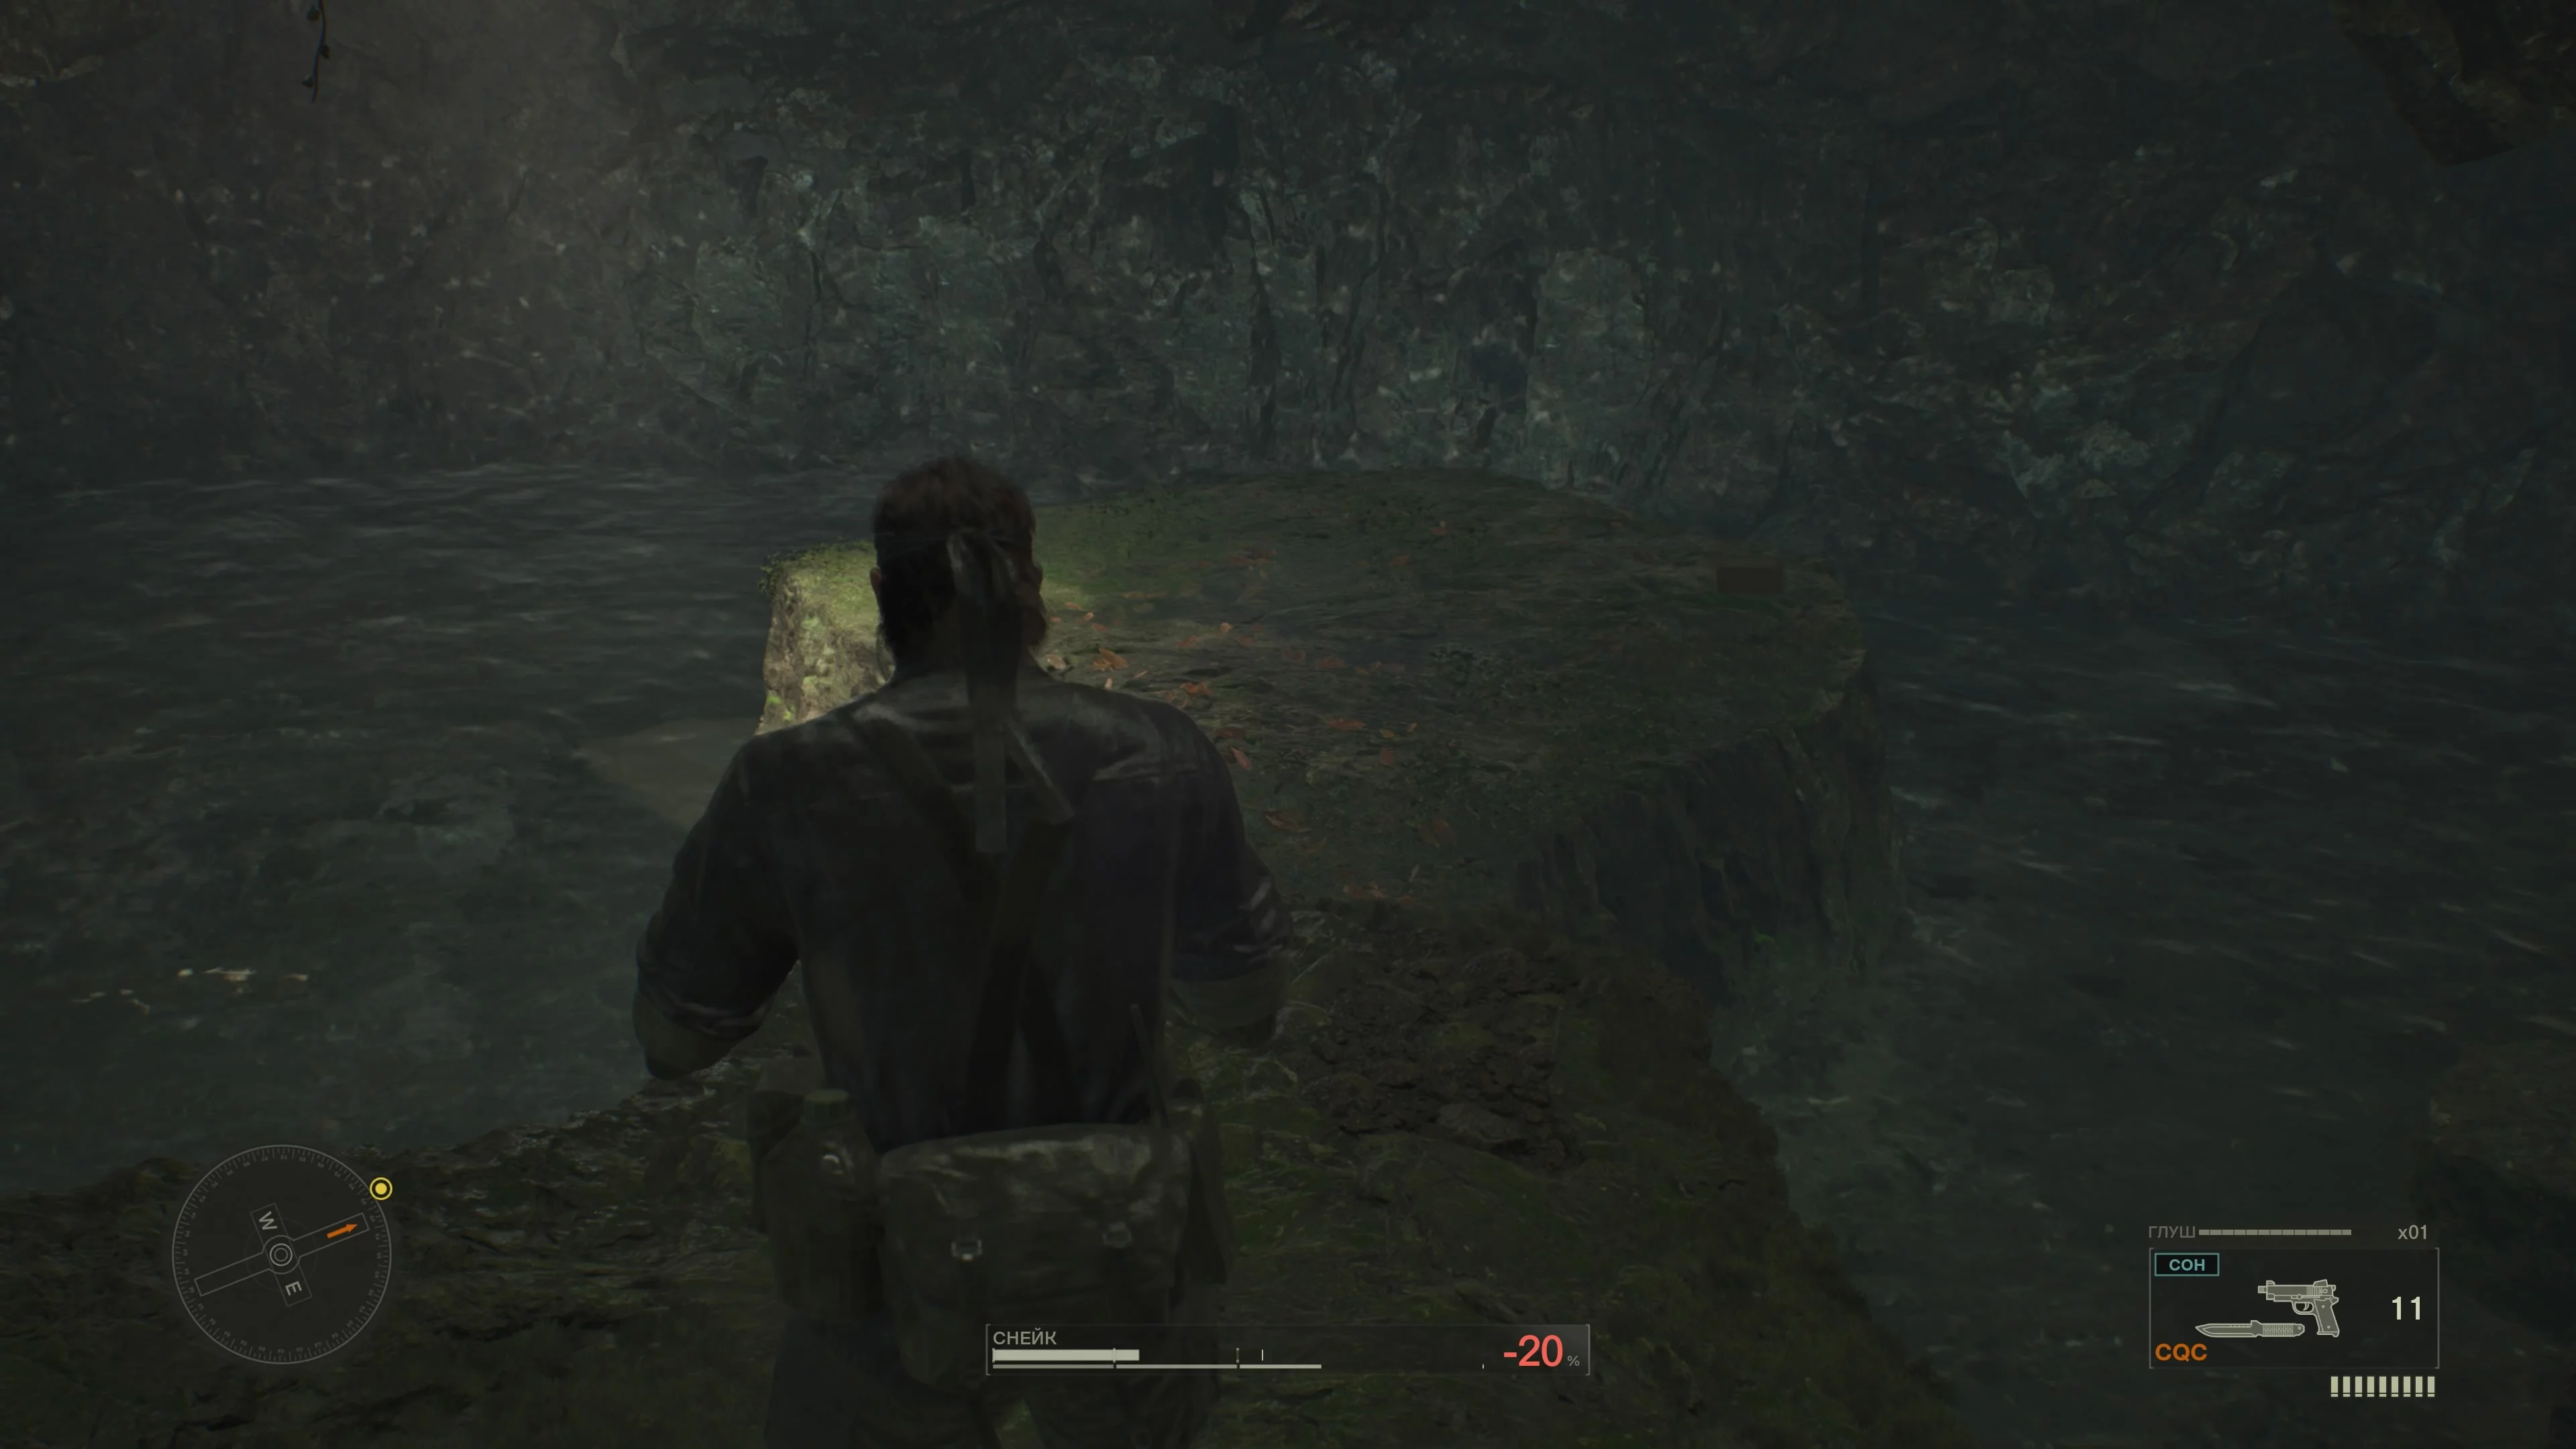
How to Escape the Cave
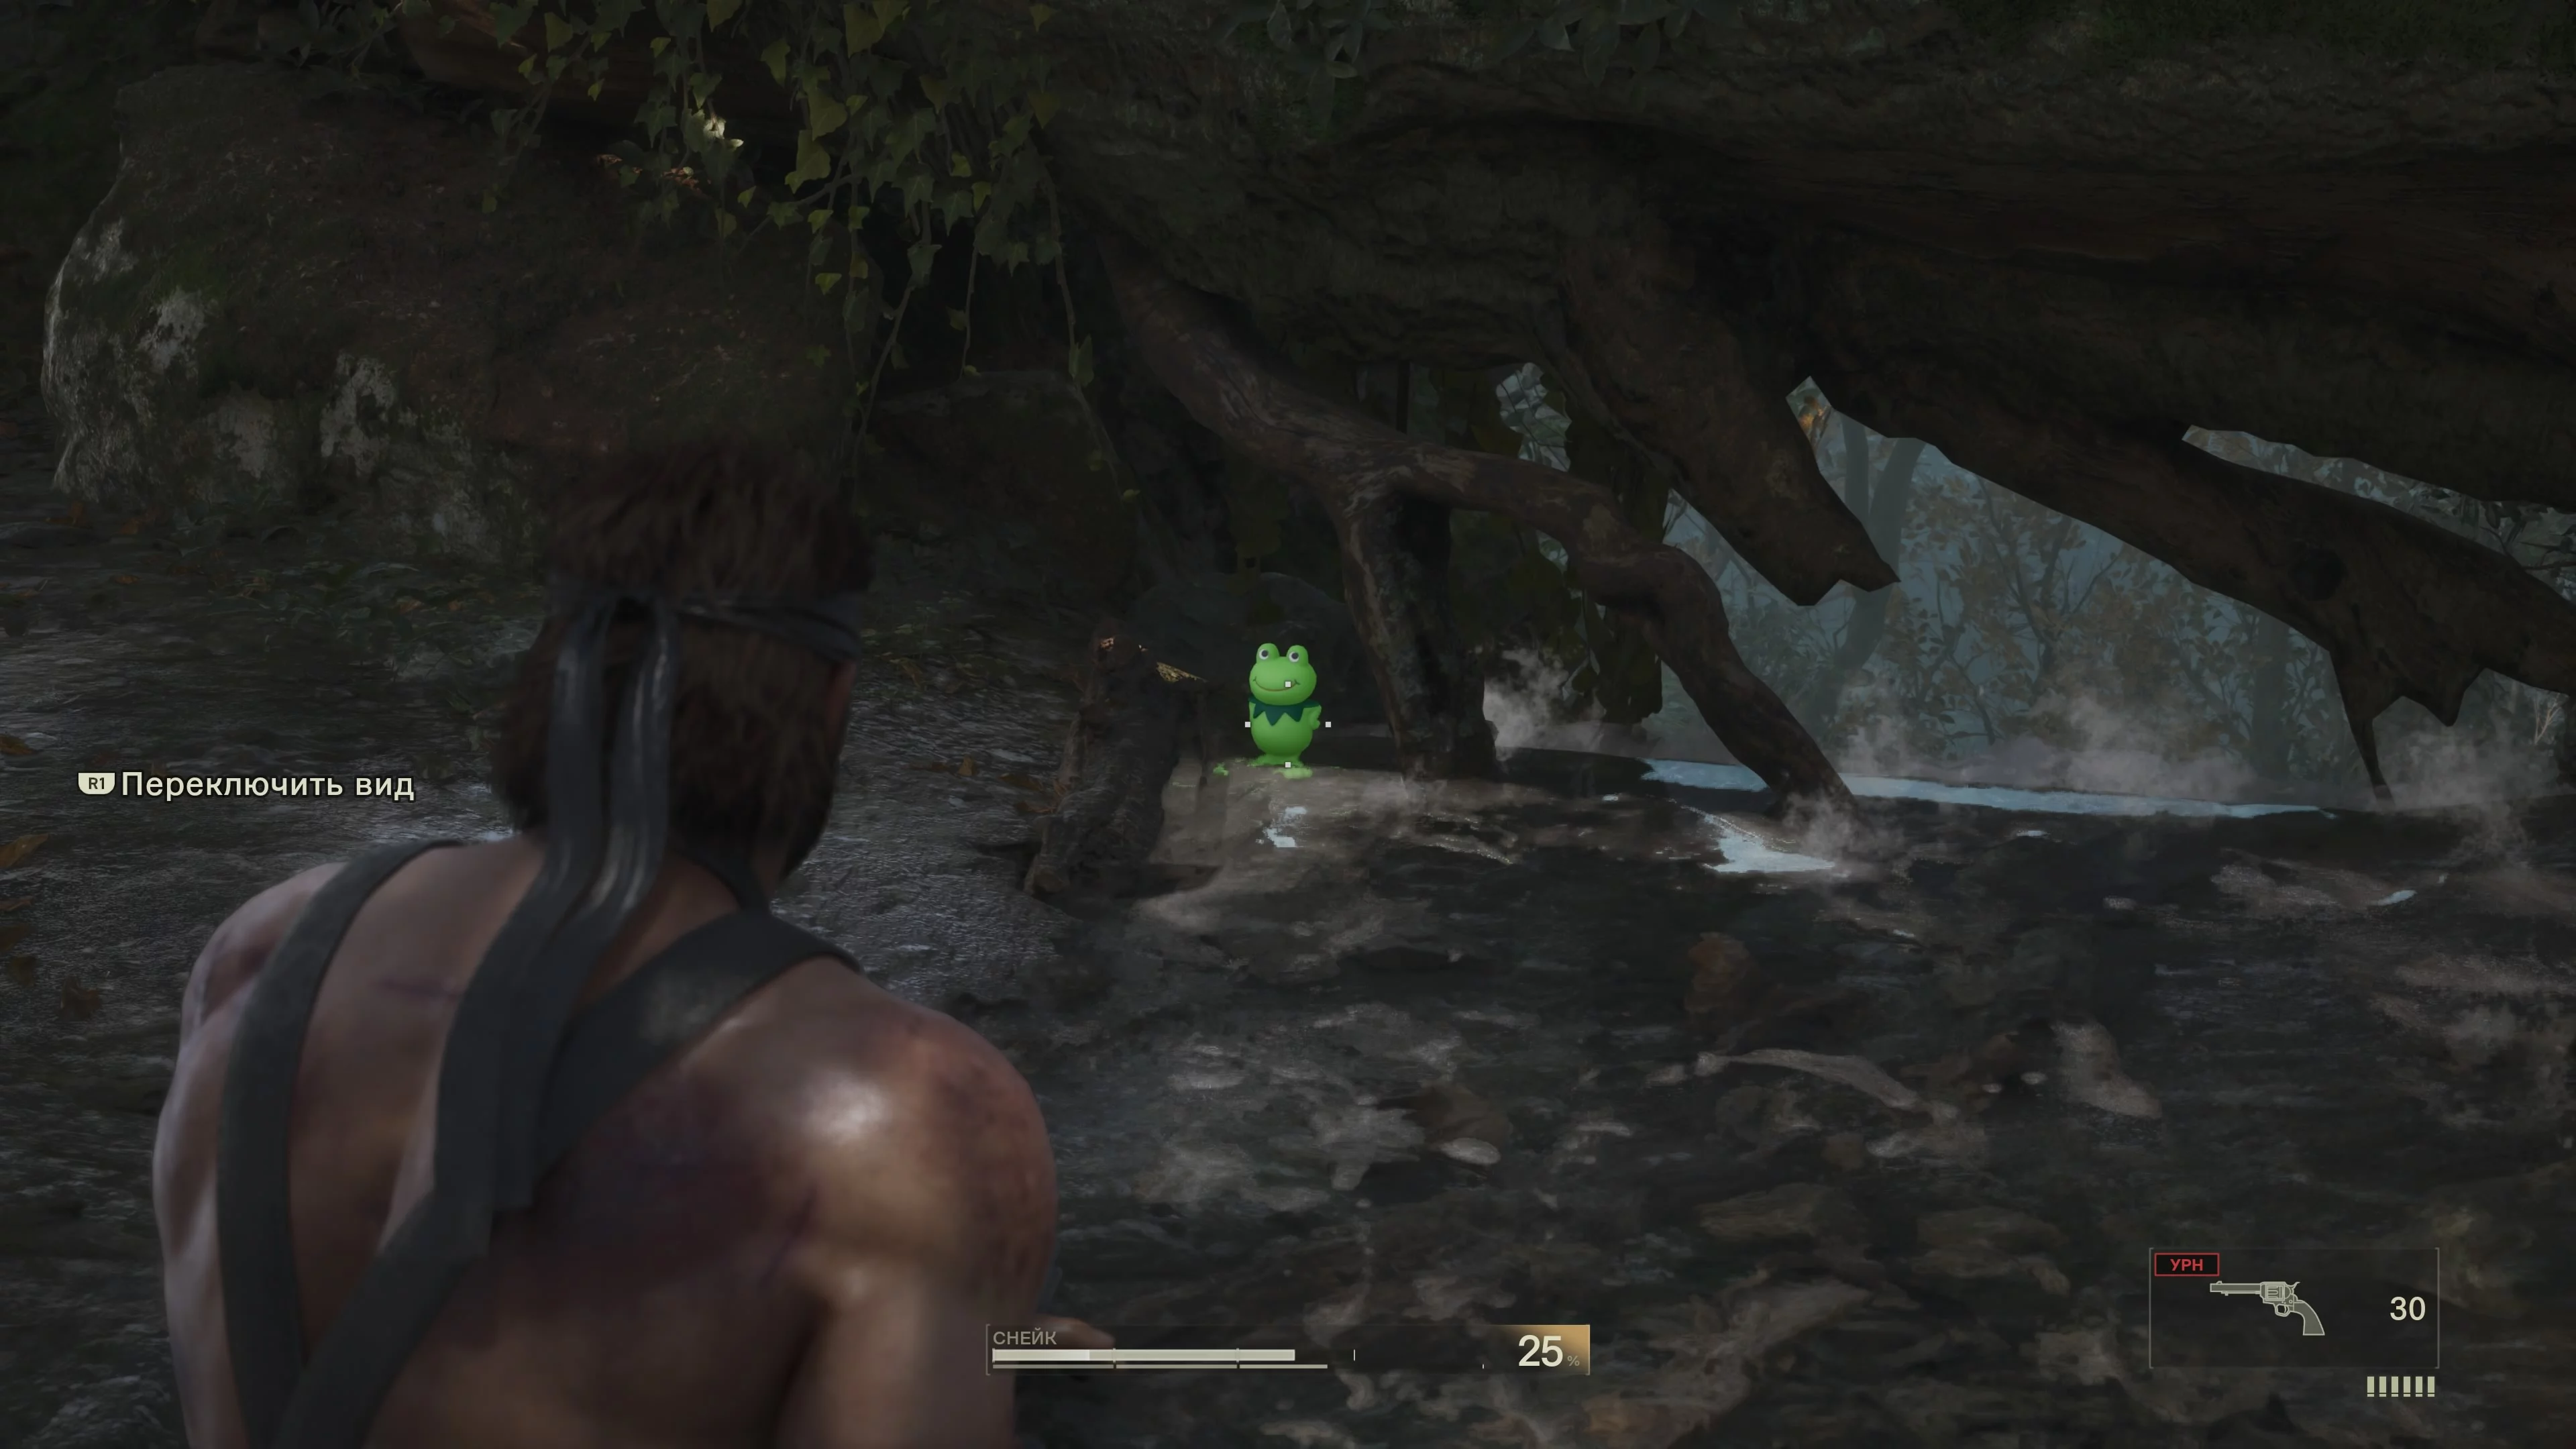
After the fight, Snake will be attacked by bees and you'll end up in a cave. Change your camouflage and move a little forward. Notice the crack in the wall. Crawl through it to find a duck.

You can go down to the water. Behind you there will be green edible mushrooms, and next to them a torch. You can cut the mushrooms with a knife—they make a good snack.
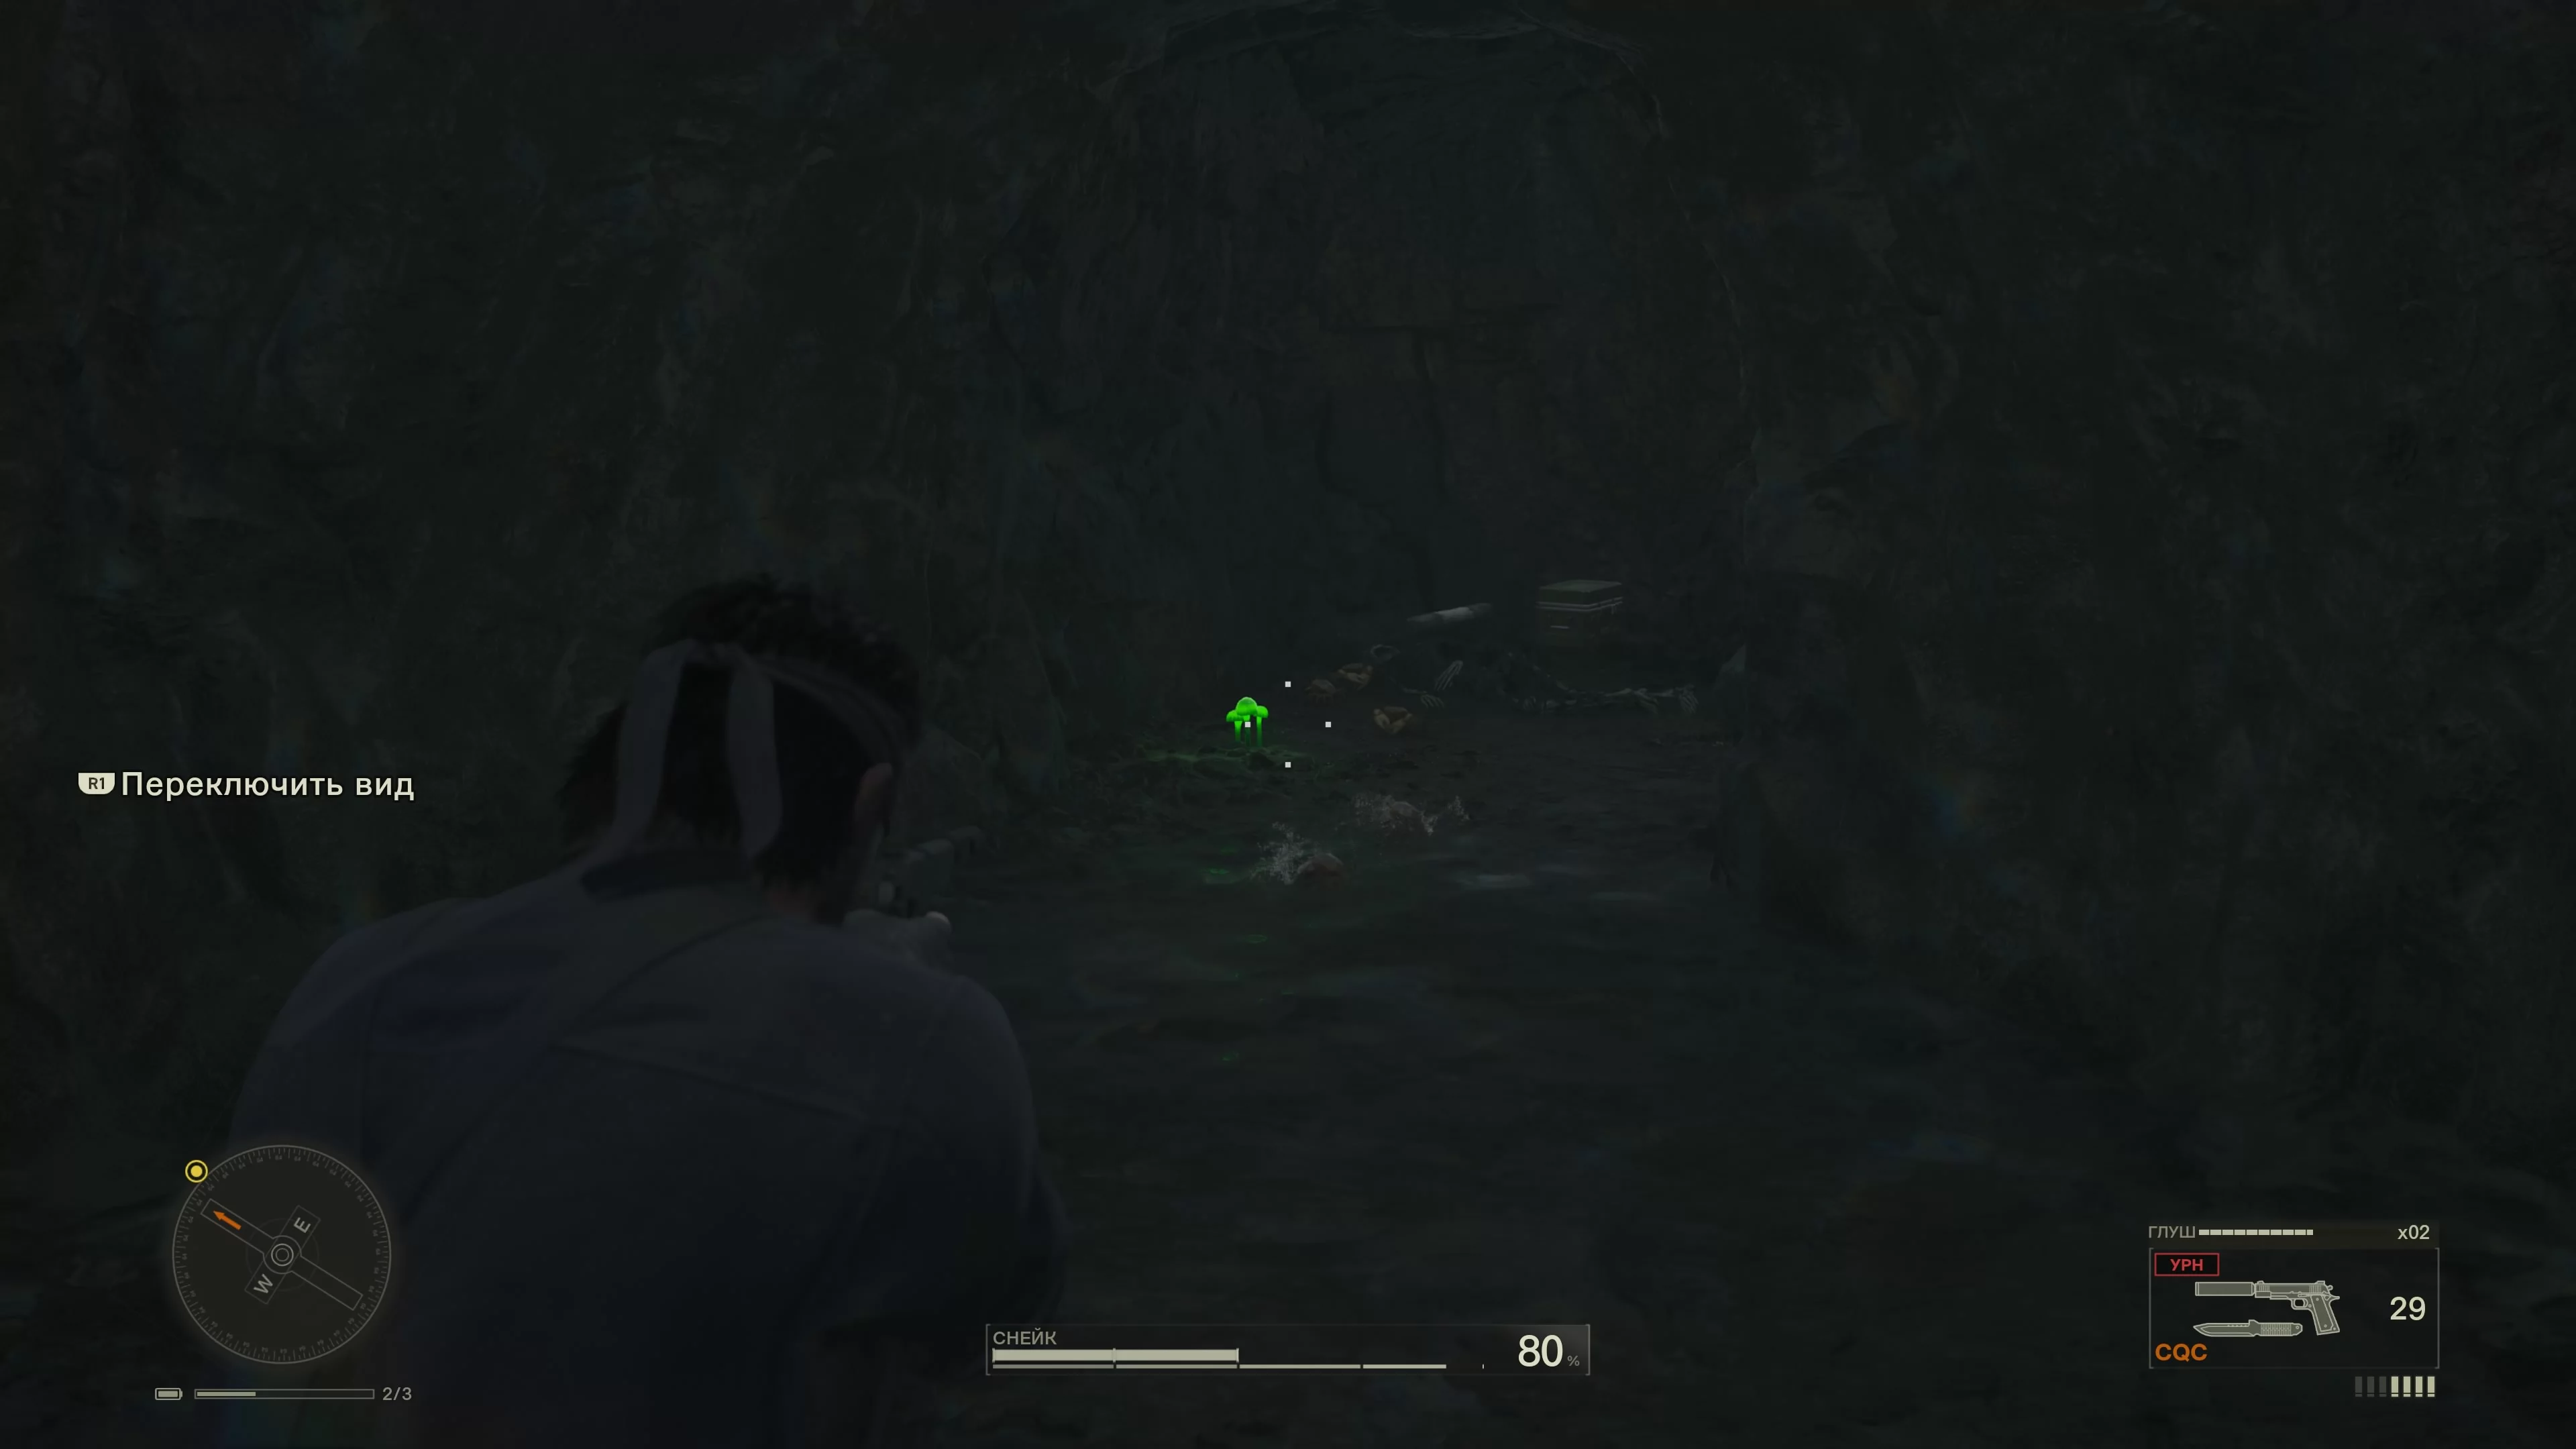
Go into the corridor ahead. The path leads upward, but below there is a depression. Jump down there and pick up the AK-47. You can cut the mushrooms to take them into your backpack.
Go into the available corridor and swim to the right. There is an underwater cave here, but there is nothing inside. Go back to the place where you found the assault rifle, but do not jump down to it. Crawl through the cracks to reach a cave where you'll find a frog and NVG—night vision goggles. This is an extremely important item for the upcoming boss fight, but for now it isn't really needed. If the cave is too dark, use the torch.
From here, there is only one path—down through the crevice. Refill your stamina to maximum beforehand, as you’ll have to swim through a long underground tunnel and your oxygen will deplete very quickly. You’ll return to the water cave where you already swam to the right. Now swim left from your position (the same way as before) to return to the beginning of the location. Go to the place where the duck was and head right.
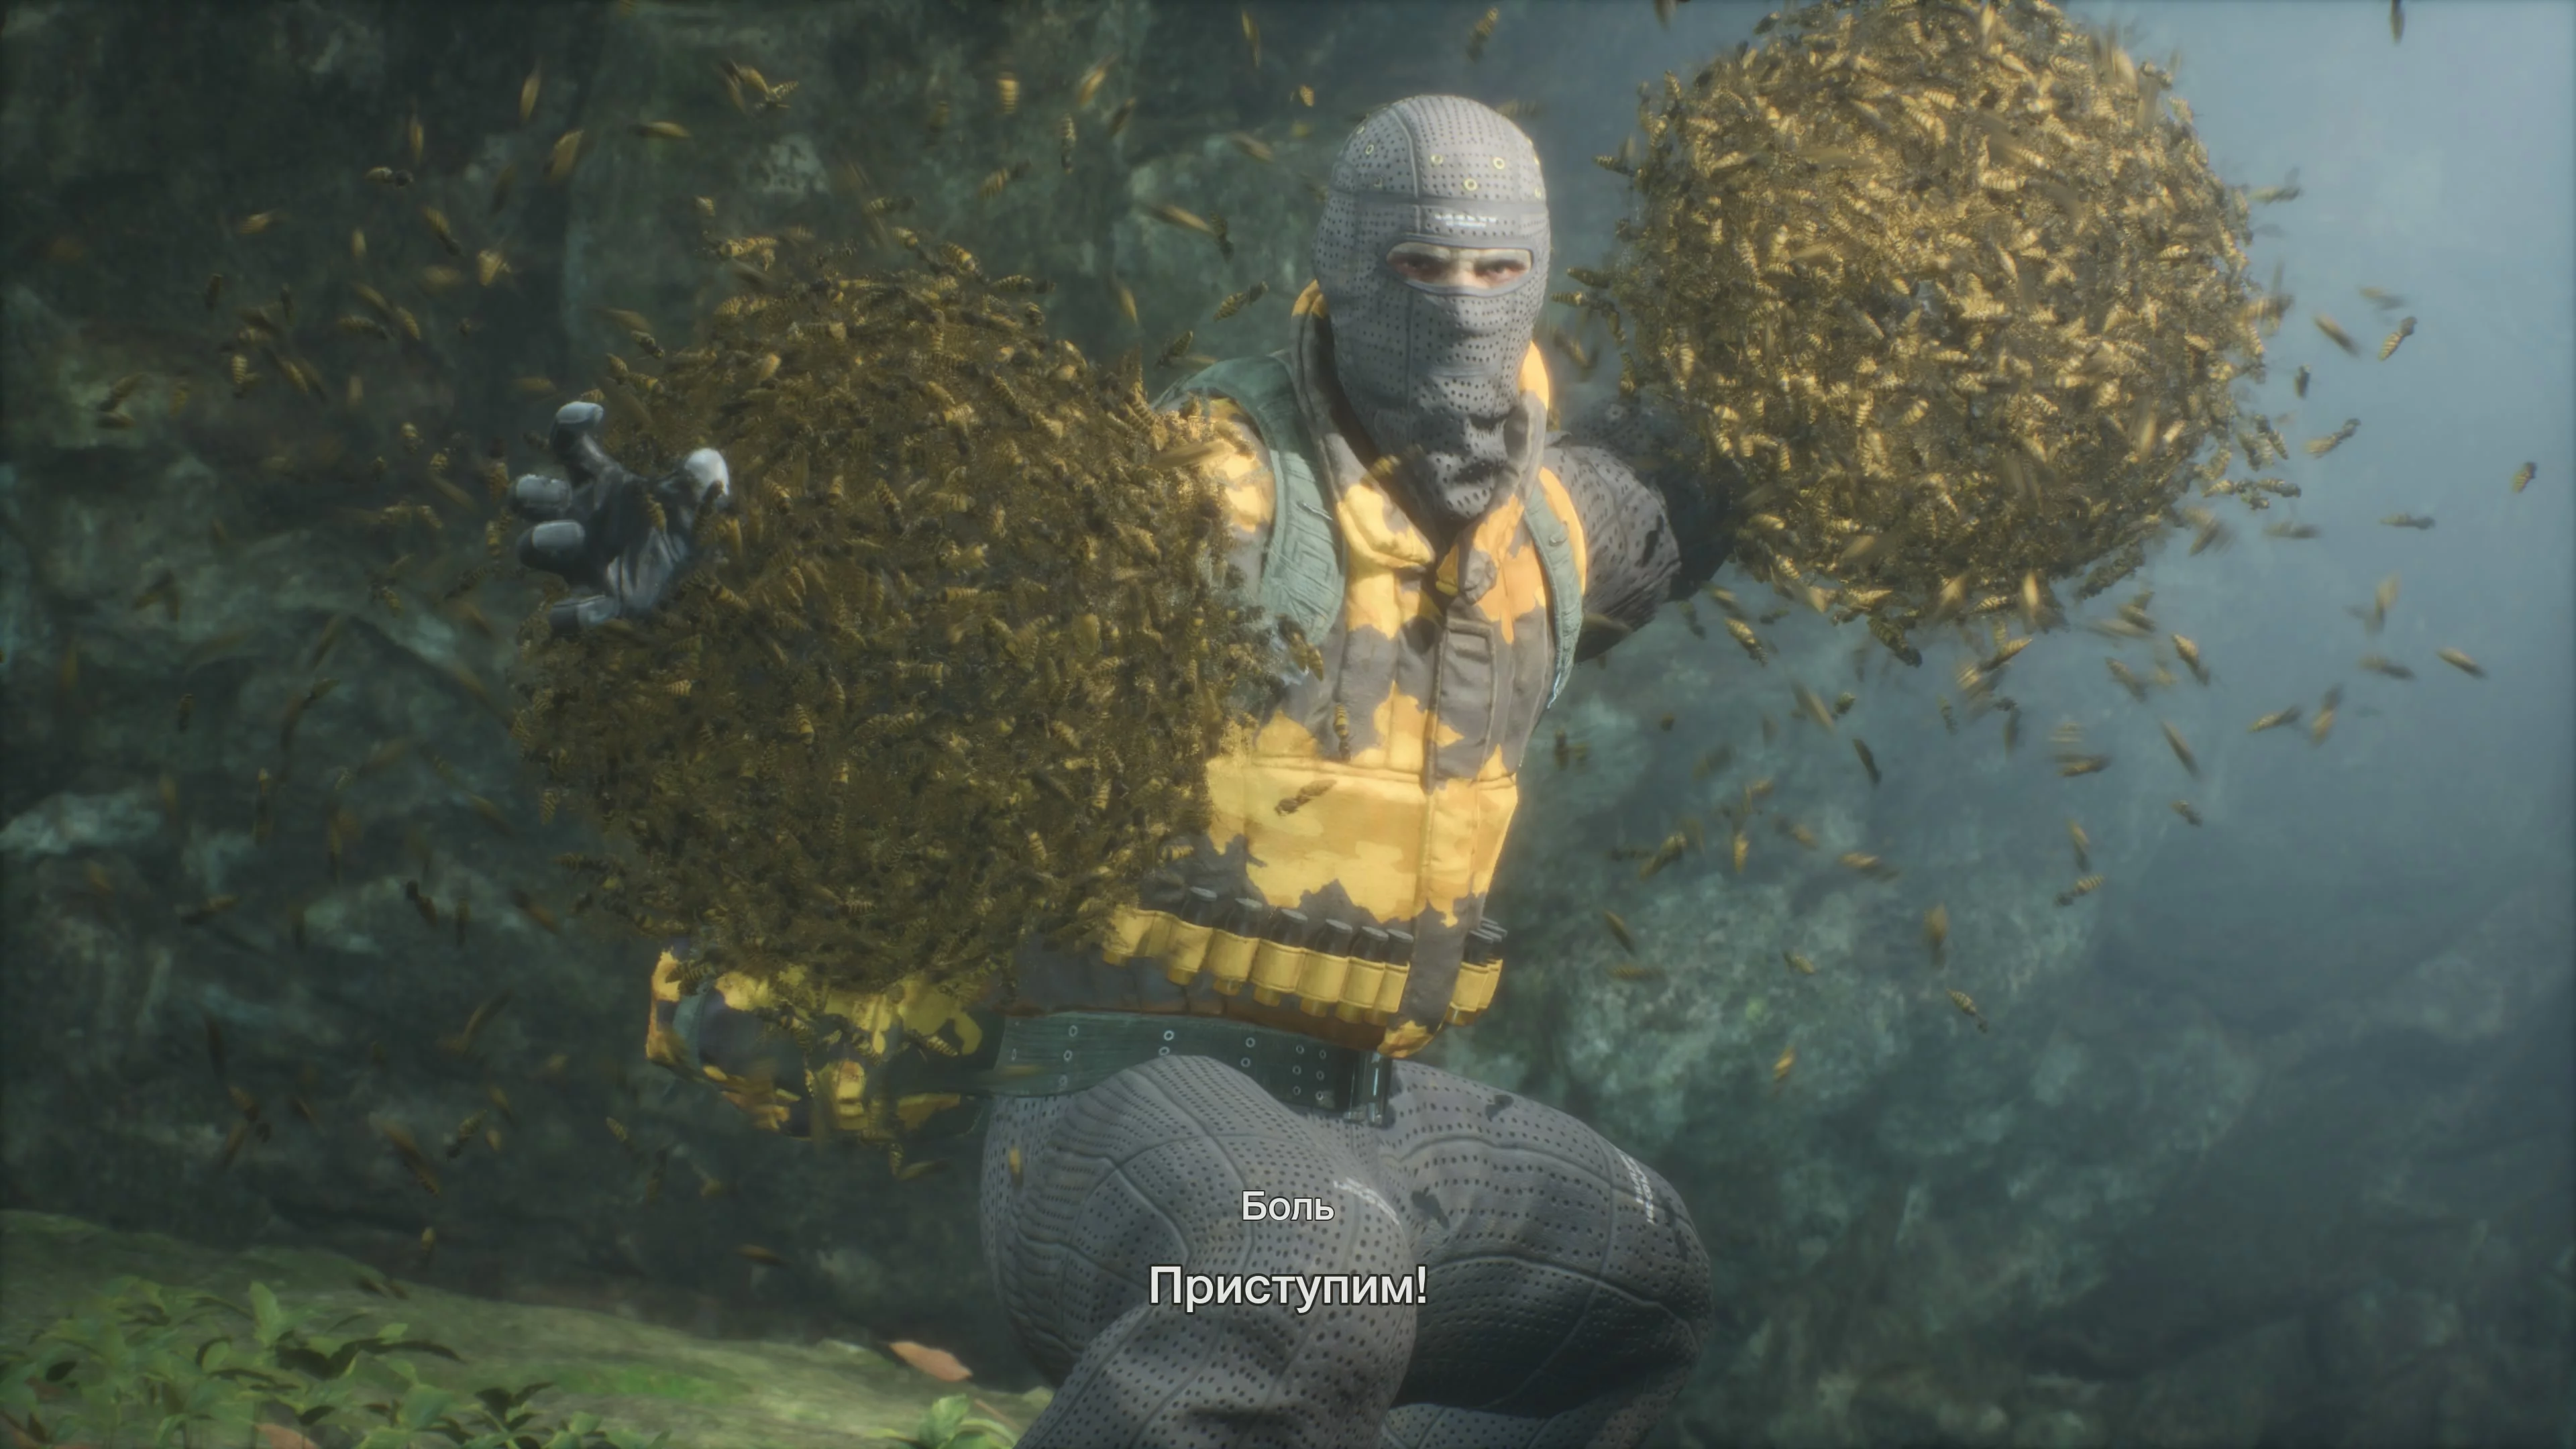
How to Defeat The Pain Non-Lethally
You will find yourself in a new part of the cave and almost immediately encounter the second boss—The Pain. This man controls hornets and is much more dangerous than Ocelot. The first thing you need to do is add repellent to your active items—this will weaken the bees. The repellent works for a limited time, but you can use it even when the swarm is already covering Snake. This fight will be long, especially if you want to avoid killing the boss and use the tranquilizer instead. In addition to the attack where The Pain sends a swarm at you, he also uses bee grenades and, most annoyingly, insect clusters that home in on Snake. Moreover, the beekeeper will almost constantly create an impenetrable armor out of insects. Later, new attacks will appear—a machine gun made of bees, a bee-bullet that injures Snake and remains in his body, as well as decoys.
The tactics for the fight are as follows. You are almost always in the water, while The Pain is on a rock in the center of the cave. Underwater, he can't see you, and the bees can't attack. Pay attention to the small rocks around The Pain's location. You can climb onto them, and ammo also appears there. You need to hide underwater and try to swim unnoticed behind the enemy.
The tranquilizer does almost no damage to the bee armor, so it makes sense to use lethal weapons to break it faster. For convenience, use first-person view—this makes it easier to hit The Pain in the head with the tranquilizer and deal more damage. Don't forget to regularly restore your stamina by eating food. There are plenty of fish around you—an almost endless supply. Your task is to avoid the grenades and bee-bullets—these attacks deal the most damage. When you notice insect clusters, shoot them with lethal weapons. If you’re quick enough, they’ll fly at the boss himself instead of you.
Do not use grenades, as The Pain can catch them and throw them back at you. The tactics won't change, but because of the armor, you won't win quickly. Your goal is simply to survive long enough. After defeating him with the tranquilizer, the boss will leave behind camouflage. To climb onto the rock—find a small slope to the right of where you end up at the end of the battle. Follow it and you’ll stop right above the box with the camouflage. Use a roll to get down.
How to Find the Graniny Gorki Lab
Exit the cave and after a short cutscene, continue on your way. You will reach a fork. On the left is a depression with ammo, but be careful—there’s a mine there. Take the right path to enter a new location—Lowland, South.

You’ll find yourself in a river, knee-deep in water. Ahead, two soldiers are flying on special drones. Important—they are shielded from the front and equipped with machine guns. The enemies light up the area with spotlights, so it’s better to lie down and swim, occasionally coming up for air. There are only two enemies and you don’t need to fight them, it’s enough just to survive and move forward.
There is another path to the side before the main exit from the area. It will lead you to a sniper rifle, which allows you to skip one of the bosses by killing him before the intended battle. More details about this can be found in the guide about the sniper The End.
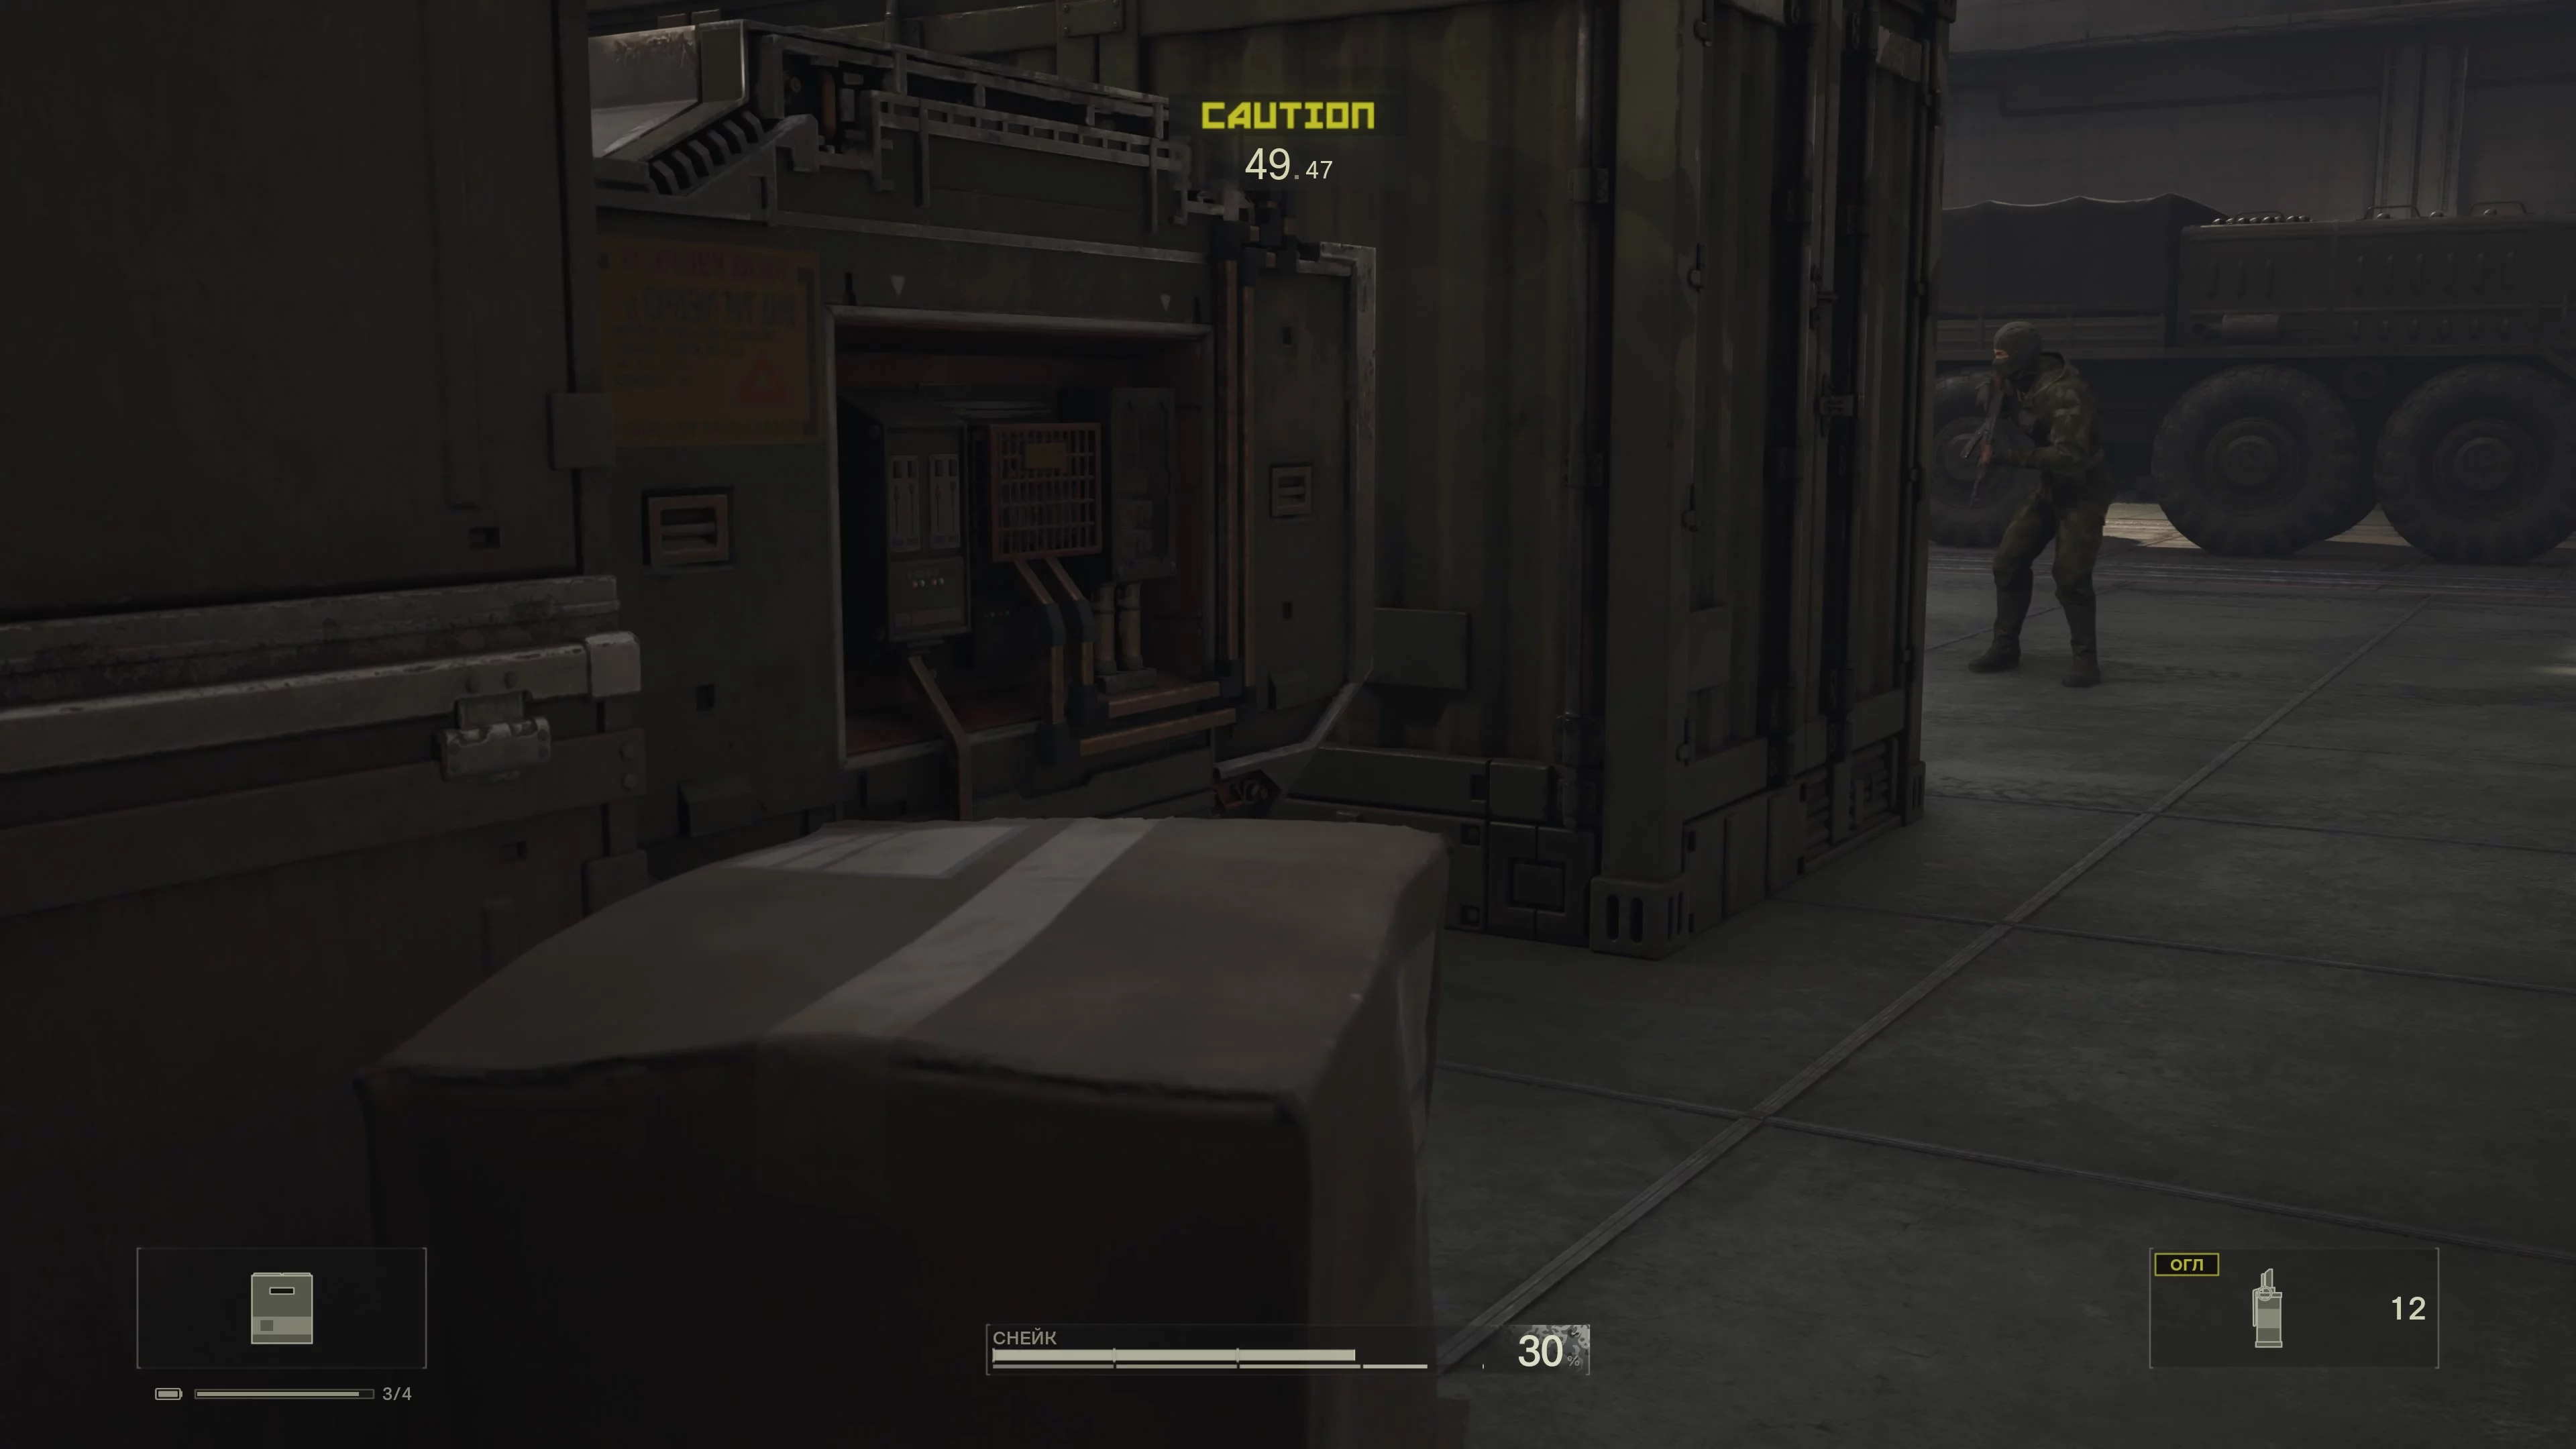
Watch the cutscene, after which you'll find yourself at the dock. There’s a soldier ahead, and three more behind him. It's best to take them out with the tranquilizer, as getting close is dangerous. Go through the only accessible passage to the base to reach Lowland, Warehouse.
Below, there are two soldiers. If you raise the alarm, enemies with shields will arrive, and they are hard to take down, so do everything quietly. Head to the staircase on the right. On the top floor, there’s another enemy.
Go through the open gates to enter Graniny Gorki, South. There are many tripwire traps here, so proceed with caution. Your path is straight ahead, so there shouldn't be any problems, but we recommend moving while crouched to avoid being caught, or use NVG, which highlights traps. The next location is the lab walls.
You’ll find yourself in front of barbed wire. Immediately change your camouflage and lie down. The area ahead is patrolled by two soldiers and a dog. Take them out with the tranquilizer. The passage through the fence will be on the left. Note the duck on the roof of the building in the center. Where you crawled through on the left, there will be a frog, and in the bushes, there’s a gap to get through the wall.
You’ll find yourself at the base.
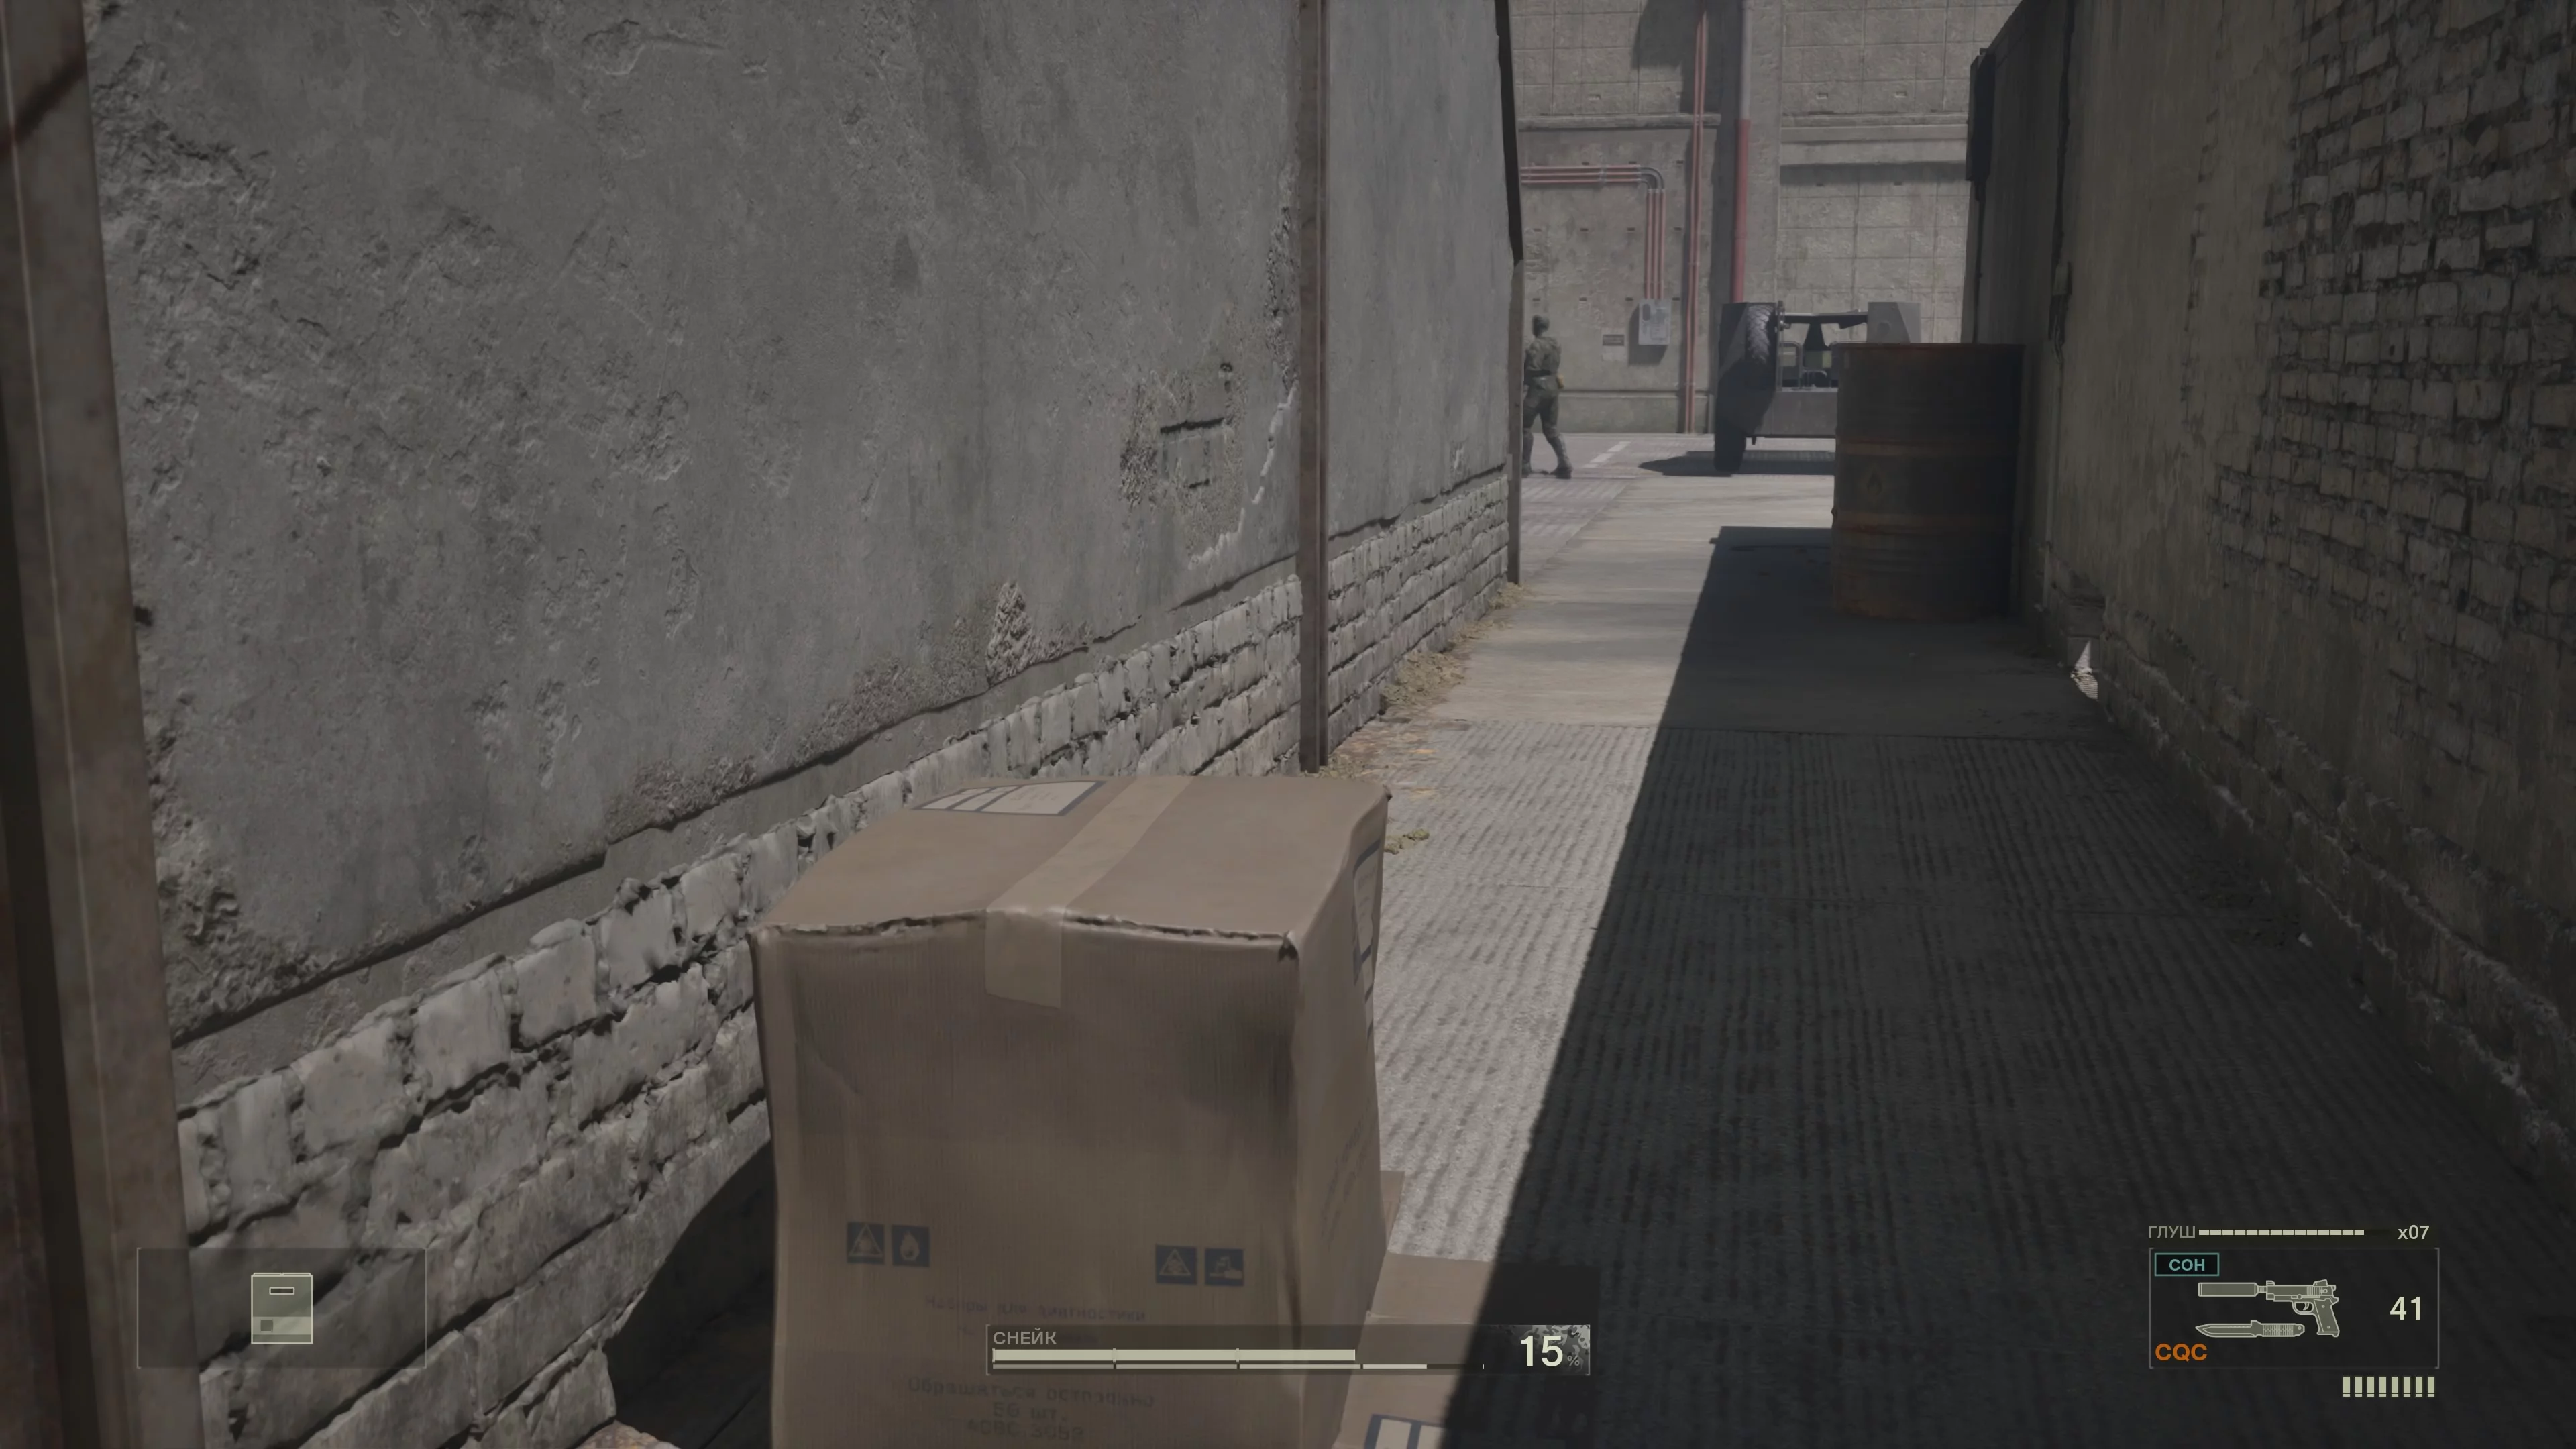
How to Get Through the Graniny Gorki Lab Without Raising an Alarm
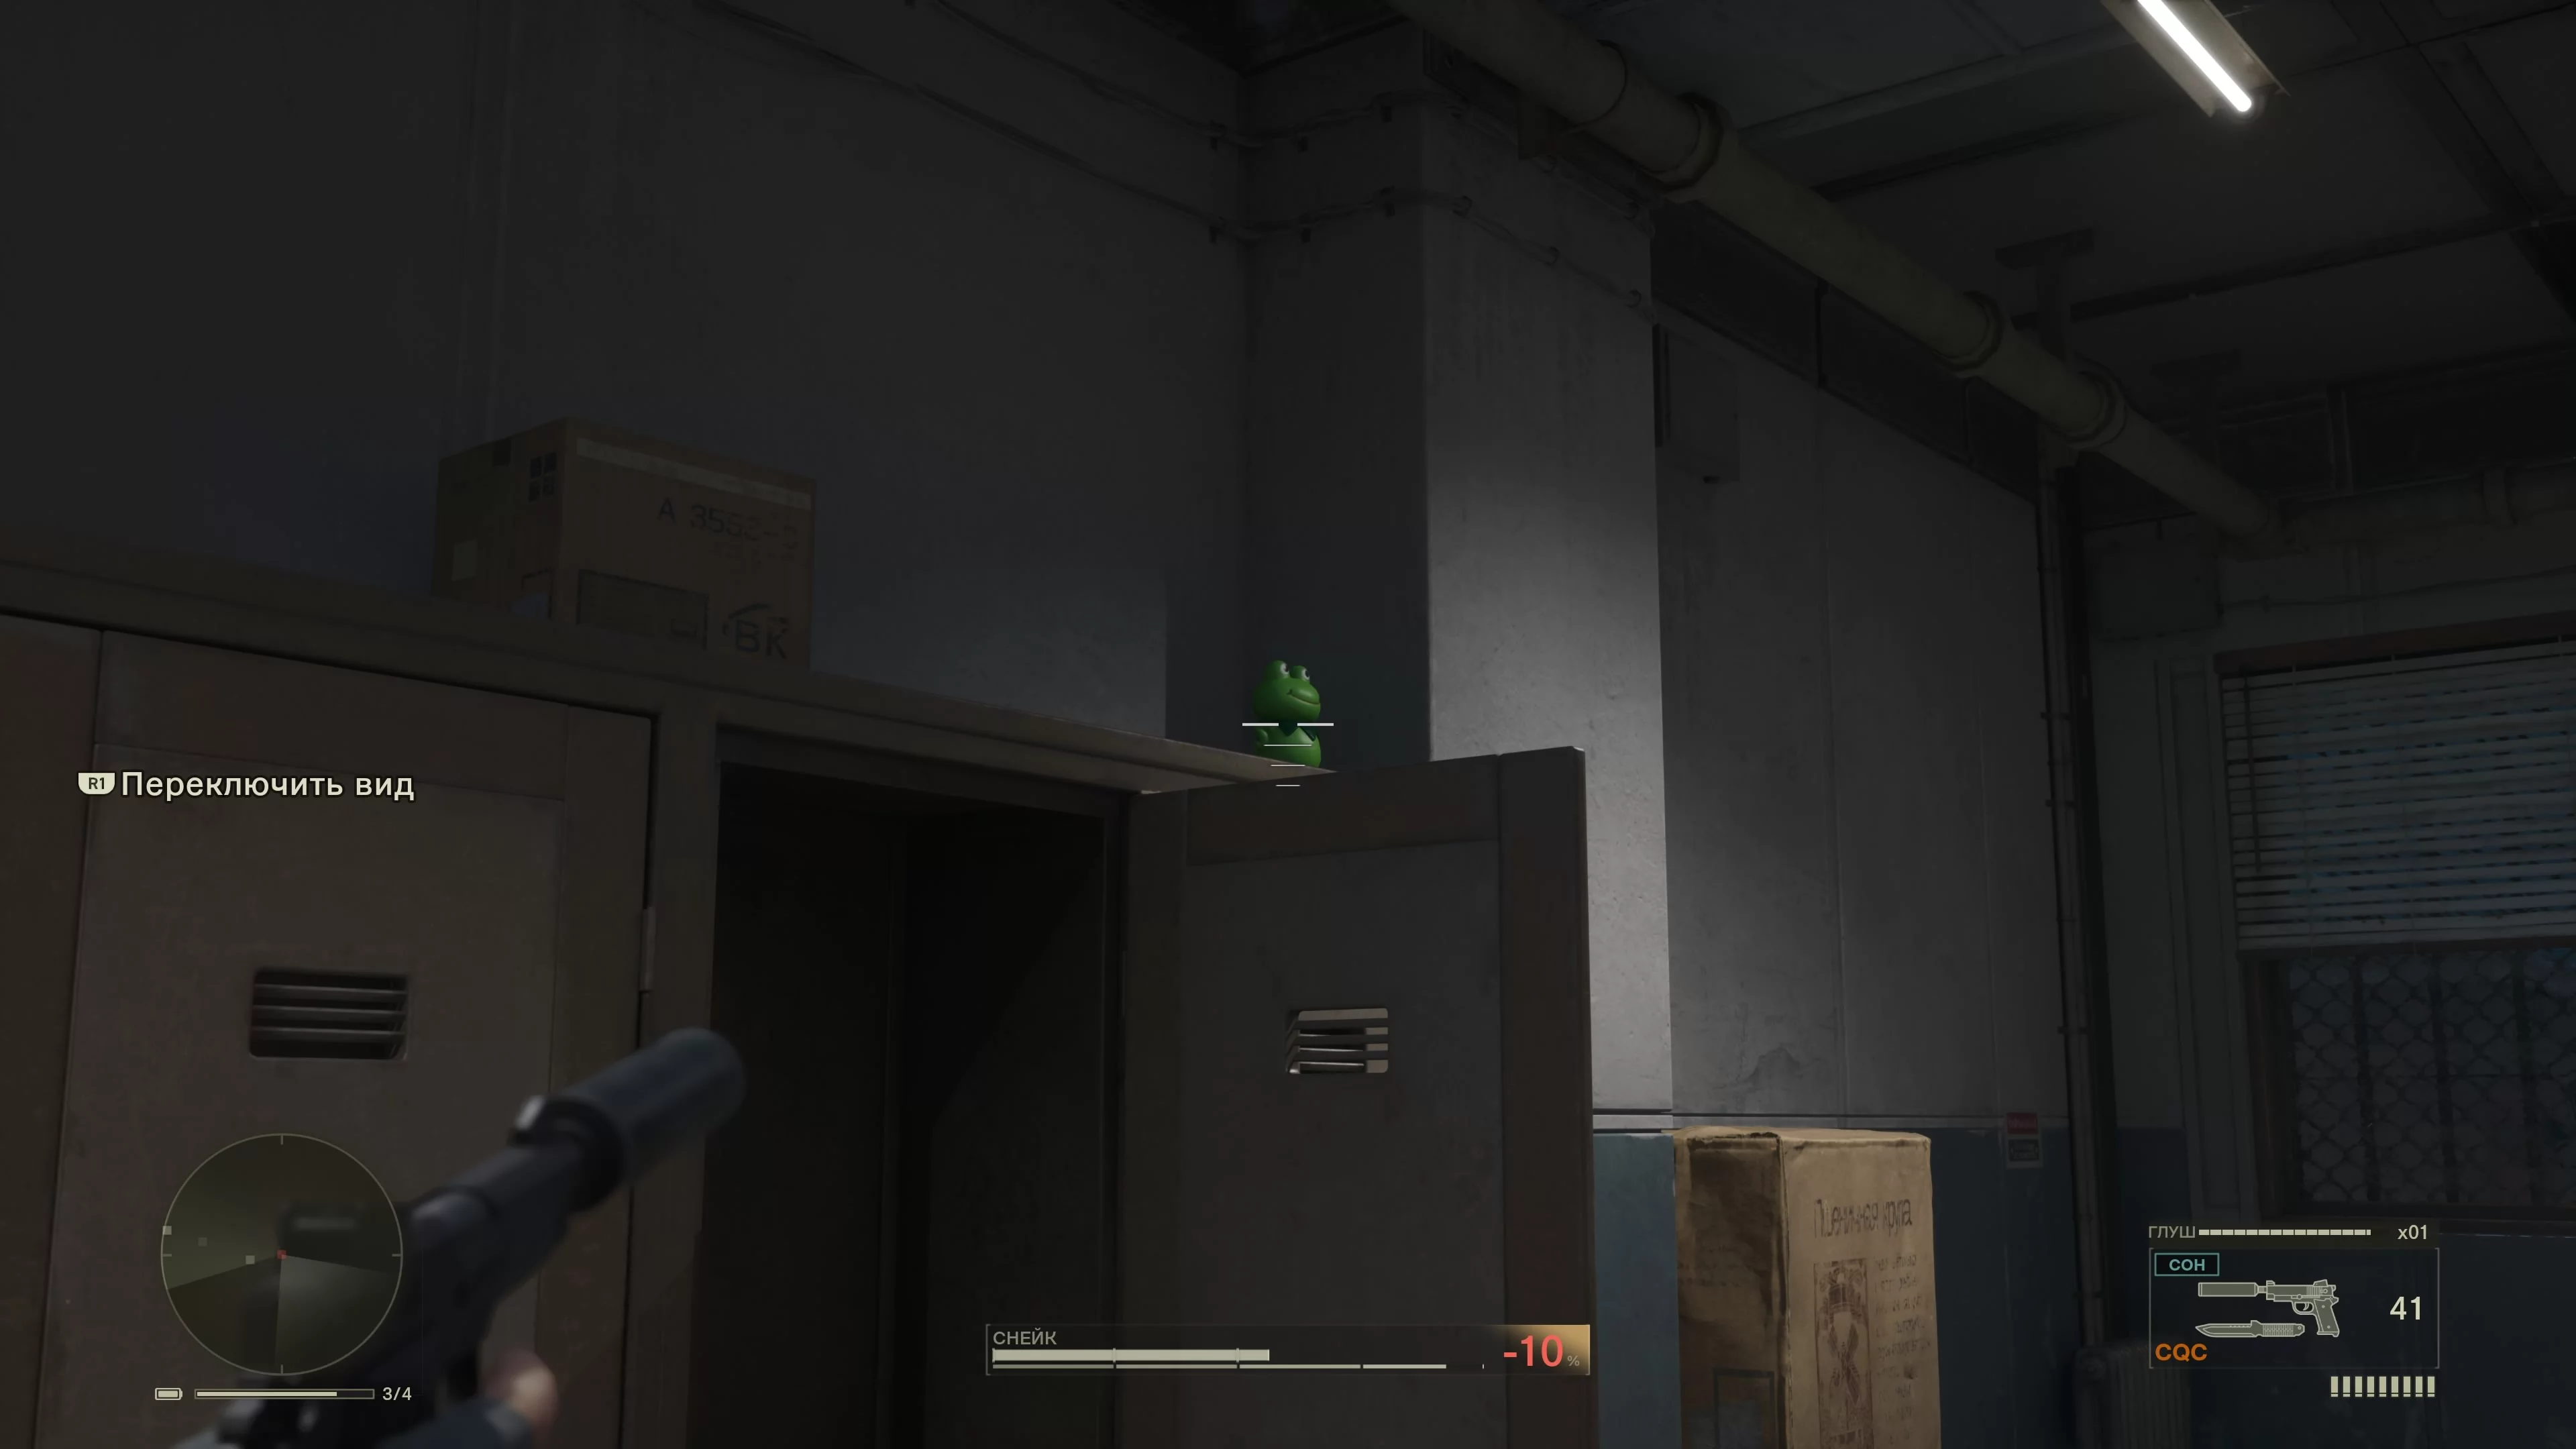
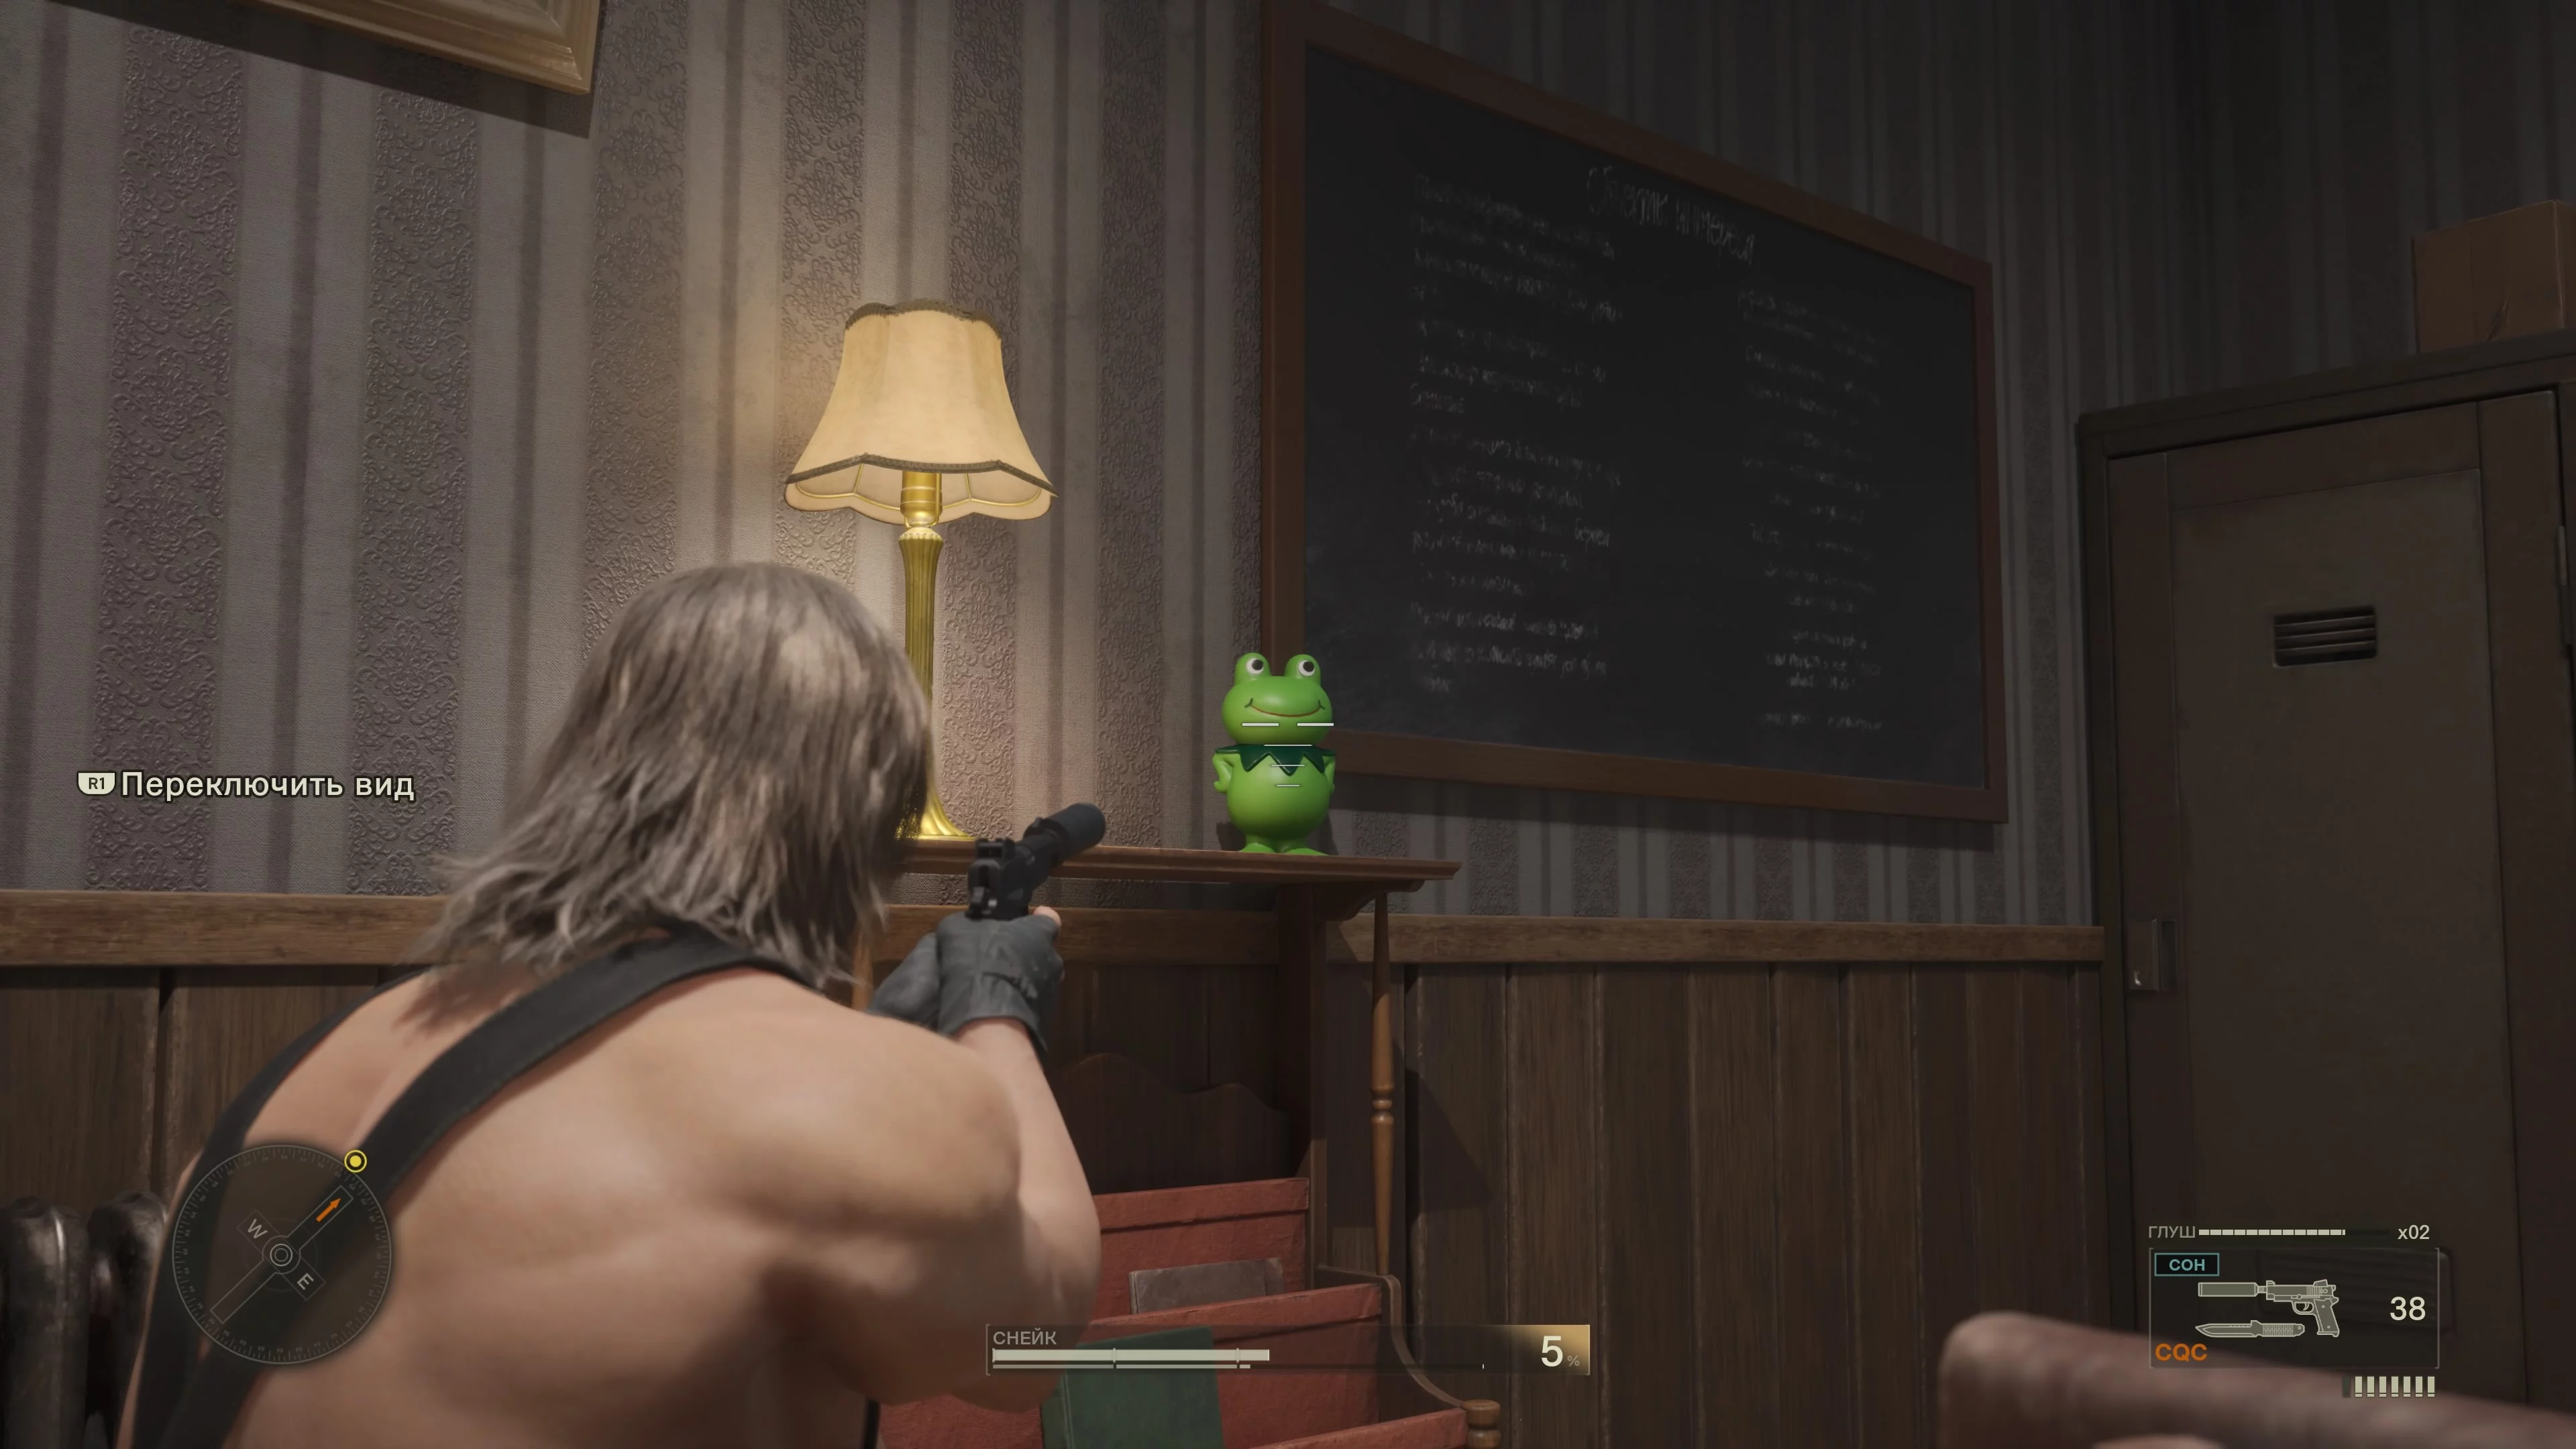
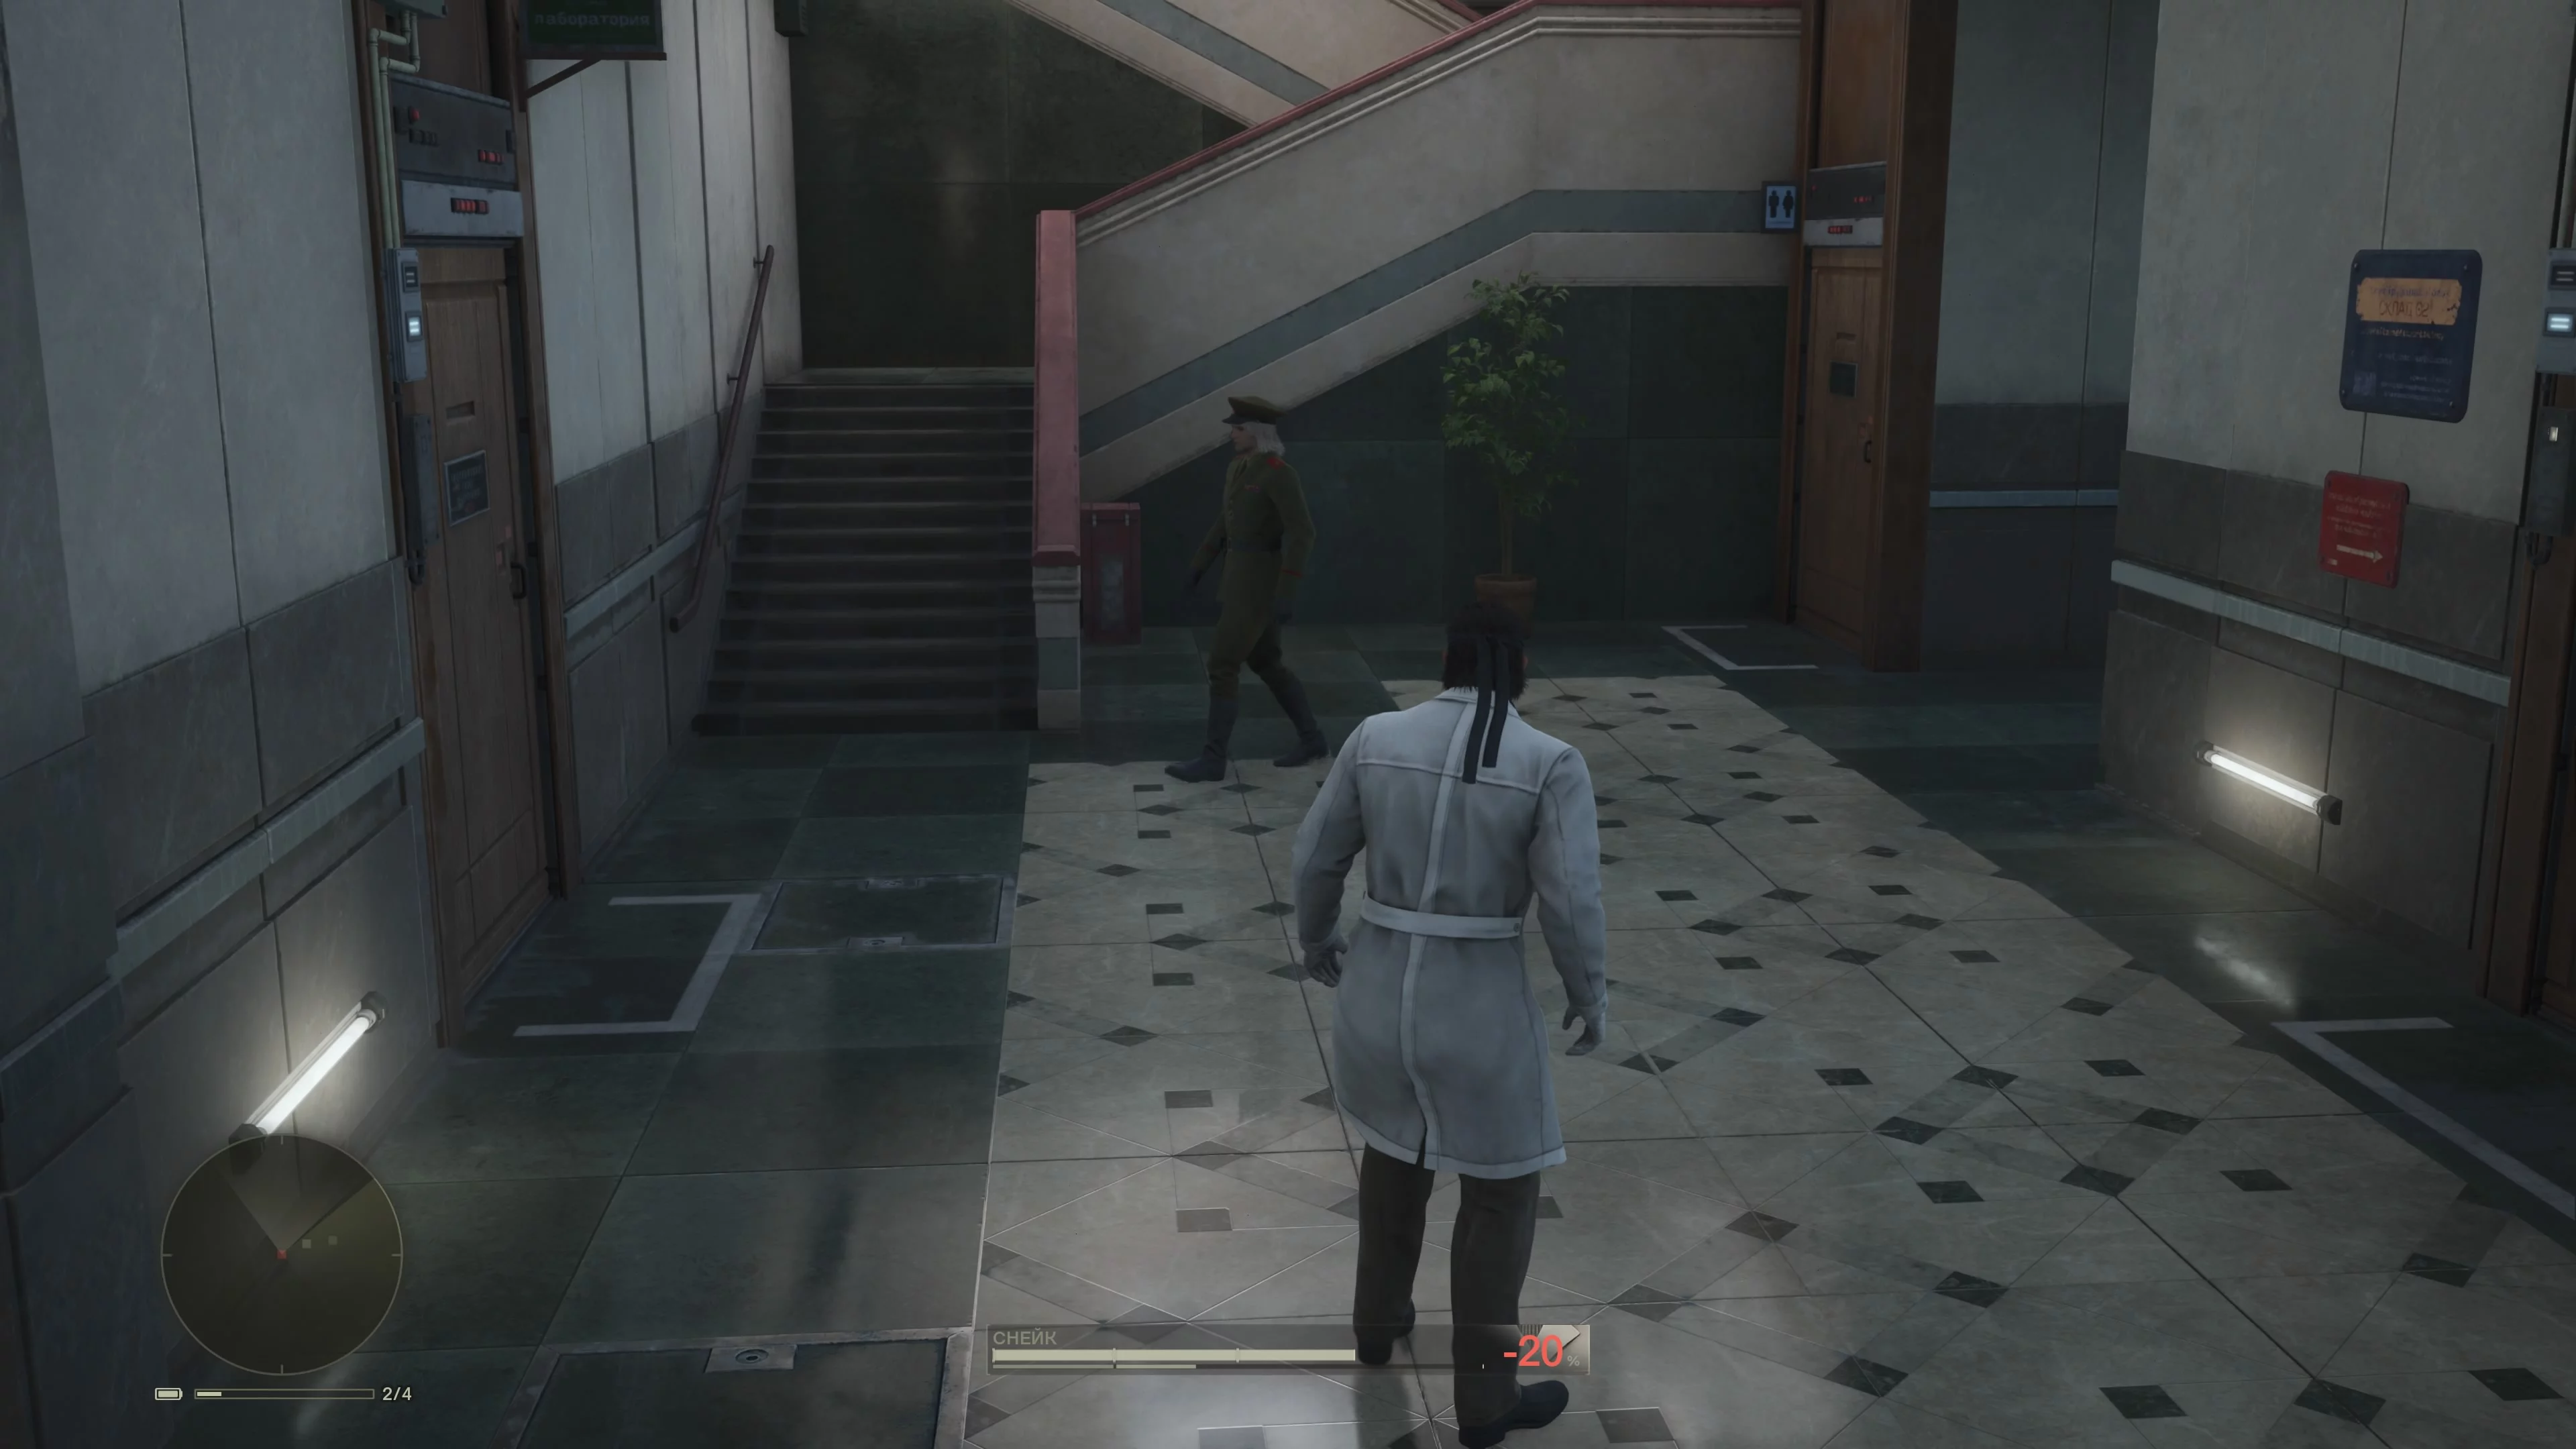
Two guards are walking on the left. You can take them out or slip under the car. Don’t go through the main doors, but a bit ahead and to the left. Overall, it should be easy to get through. Once inside, change into the lab coat. This way, the soldiers will think you’re a scientist and won’t attack you, so you don’t have to hide. However, other scientists will quickly see through your disguise. Go forward into the hall, then right and straight down the corridor. Near the lockers, notice the frog.
You’ll have to take off the lab coat to shoot, as you can’t use weapons in this disguise. There are ammo in the lockers, and you can open them even while wearing the coat.
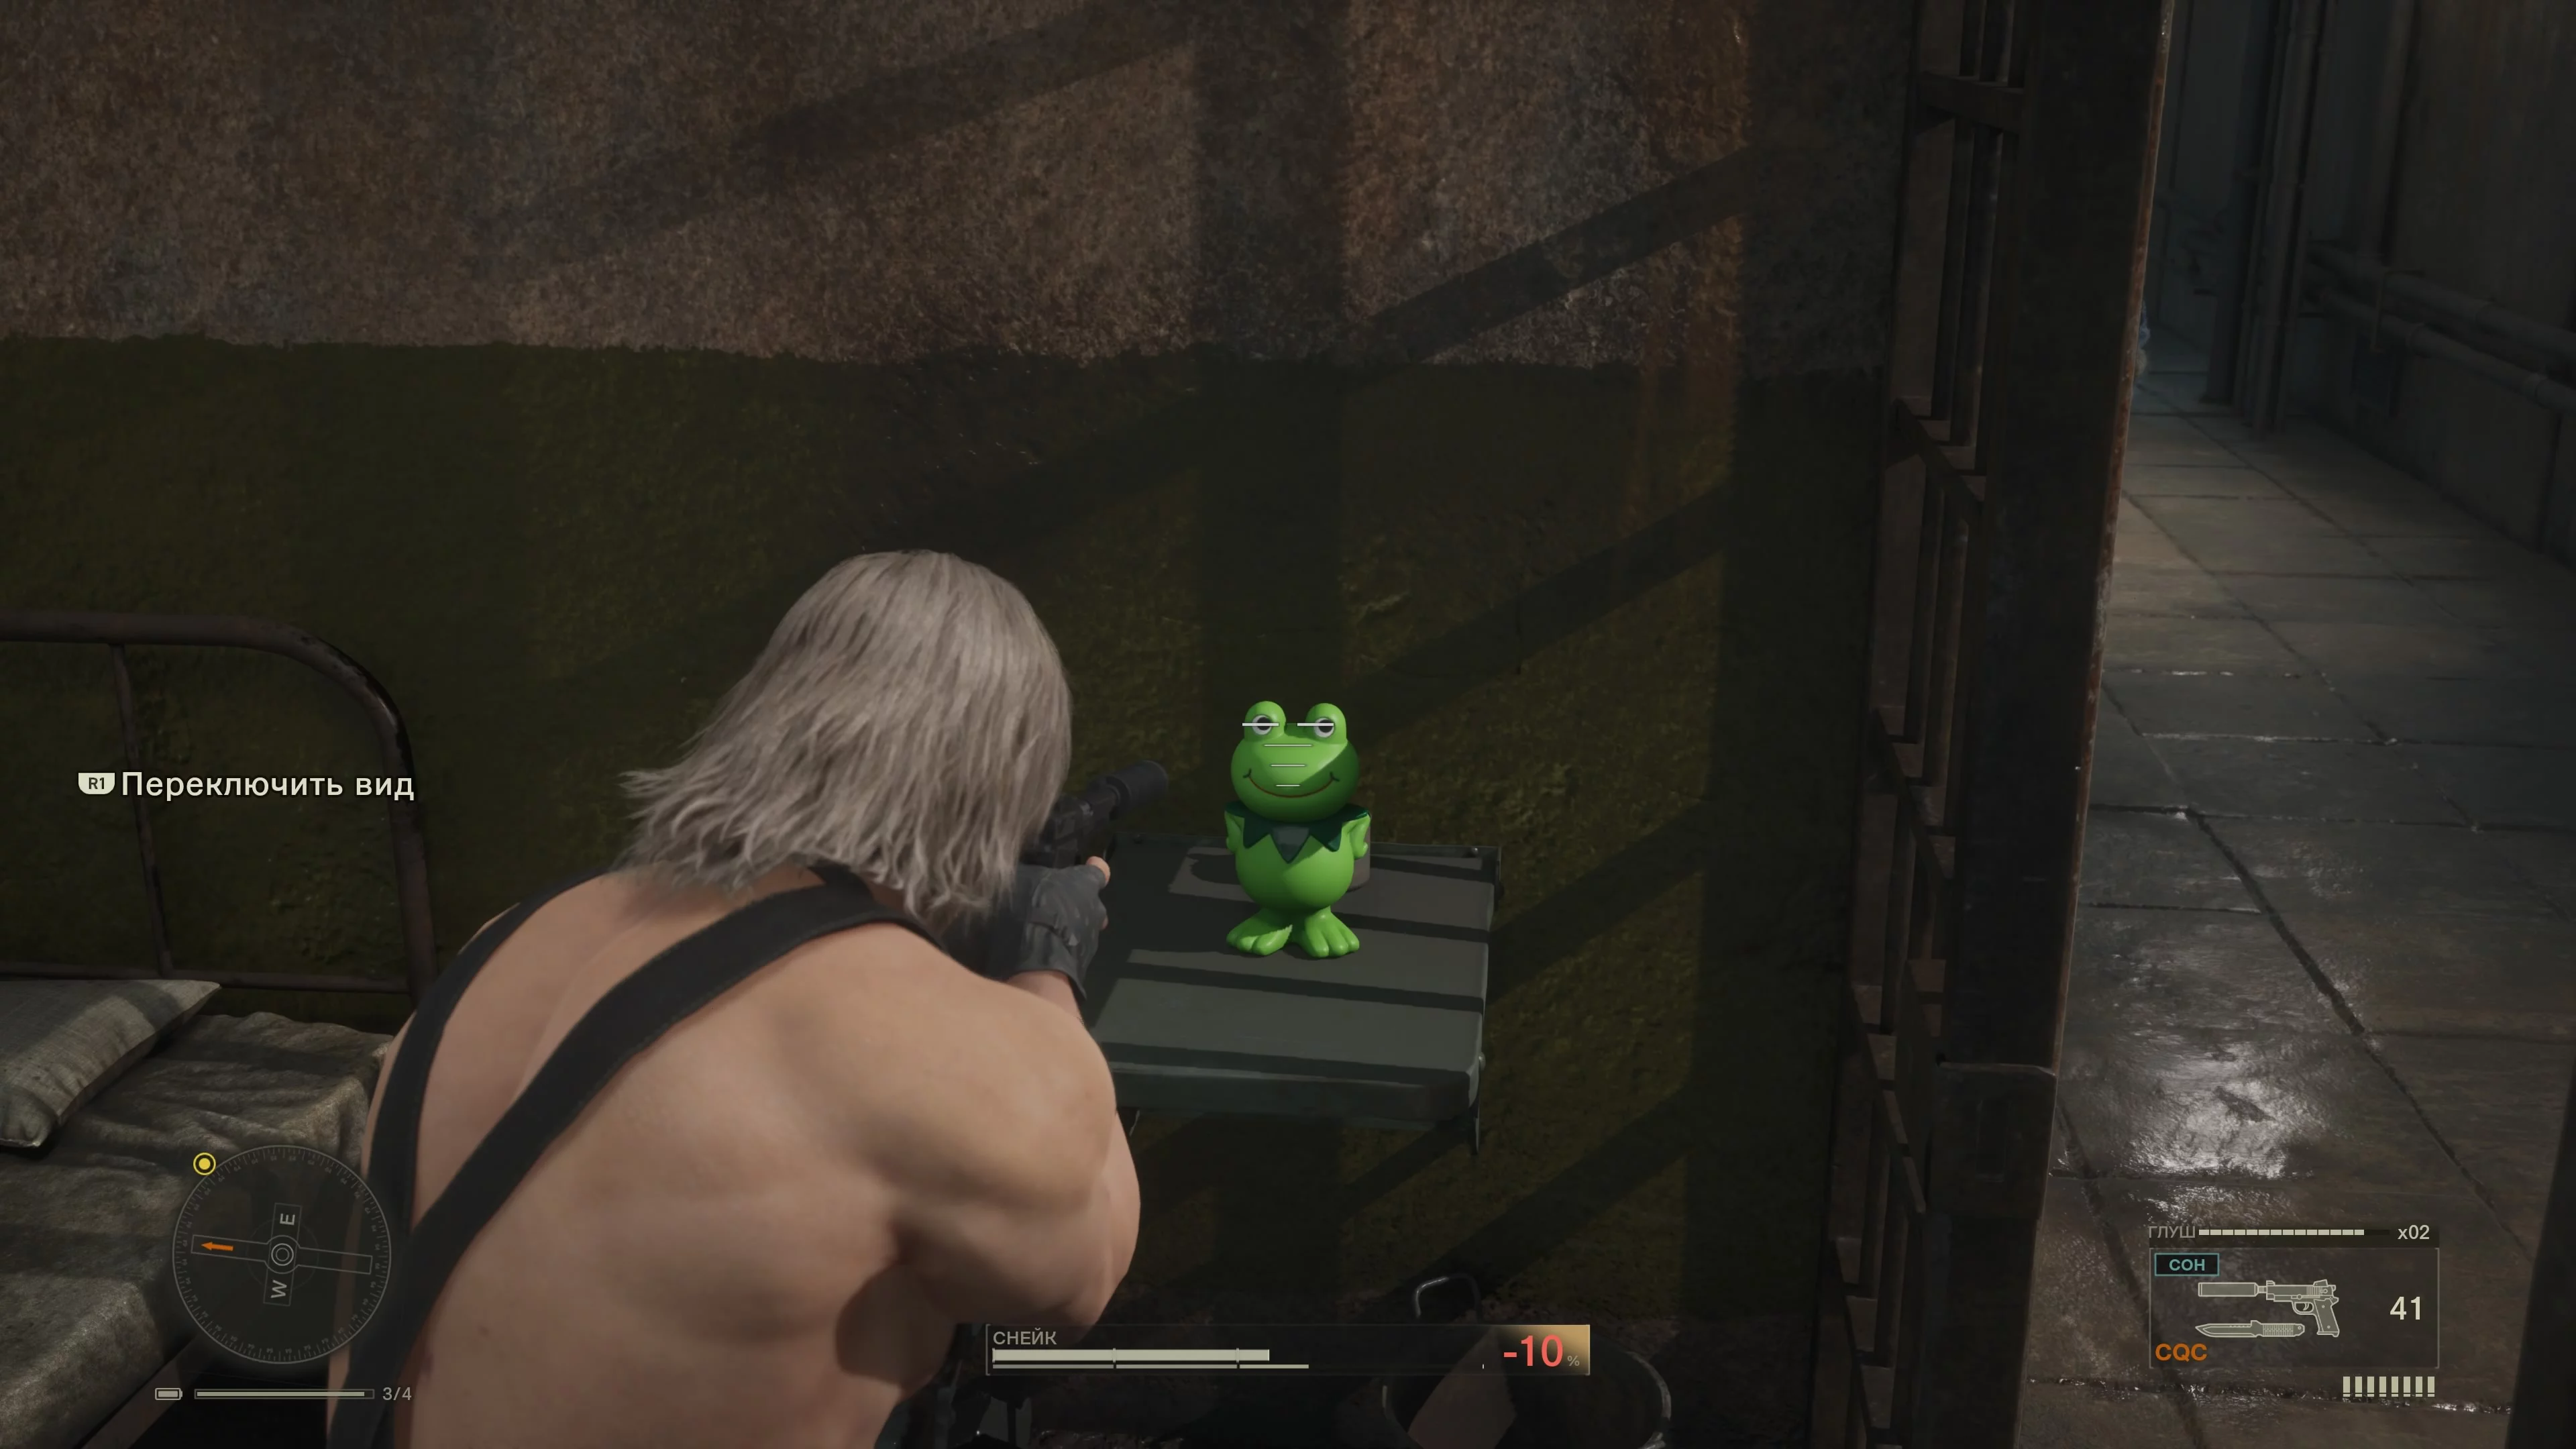
Go down the stairs to the basement and walk down the corridor to the last cell—there’s a frog there.
There’s no point in going up to the second floor. There are only a few supplies there. Return to the hall where you started exploring the lab, but now just go right. You’ll enter another room with one guard, and a little further ahead is a staircase down—that’s where you need to go.
Go to the end of the corridor. There are doors to the left and right. On the right, there’s an office with a guard inside. Remove your camouflage and quietly take him out. Here you’ll also find sleeping gas cigarettes, which can be used while wearing the scientist disguise.
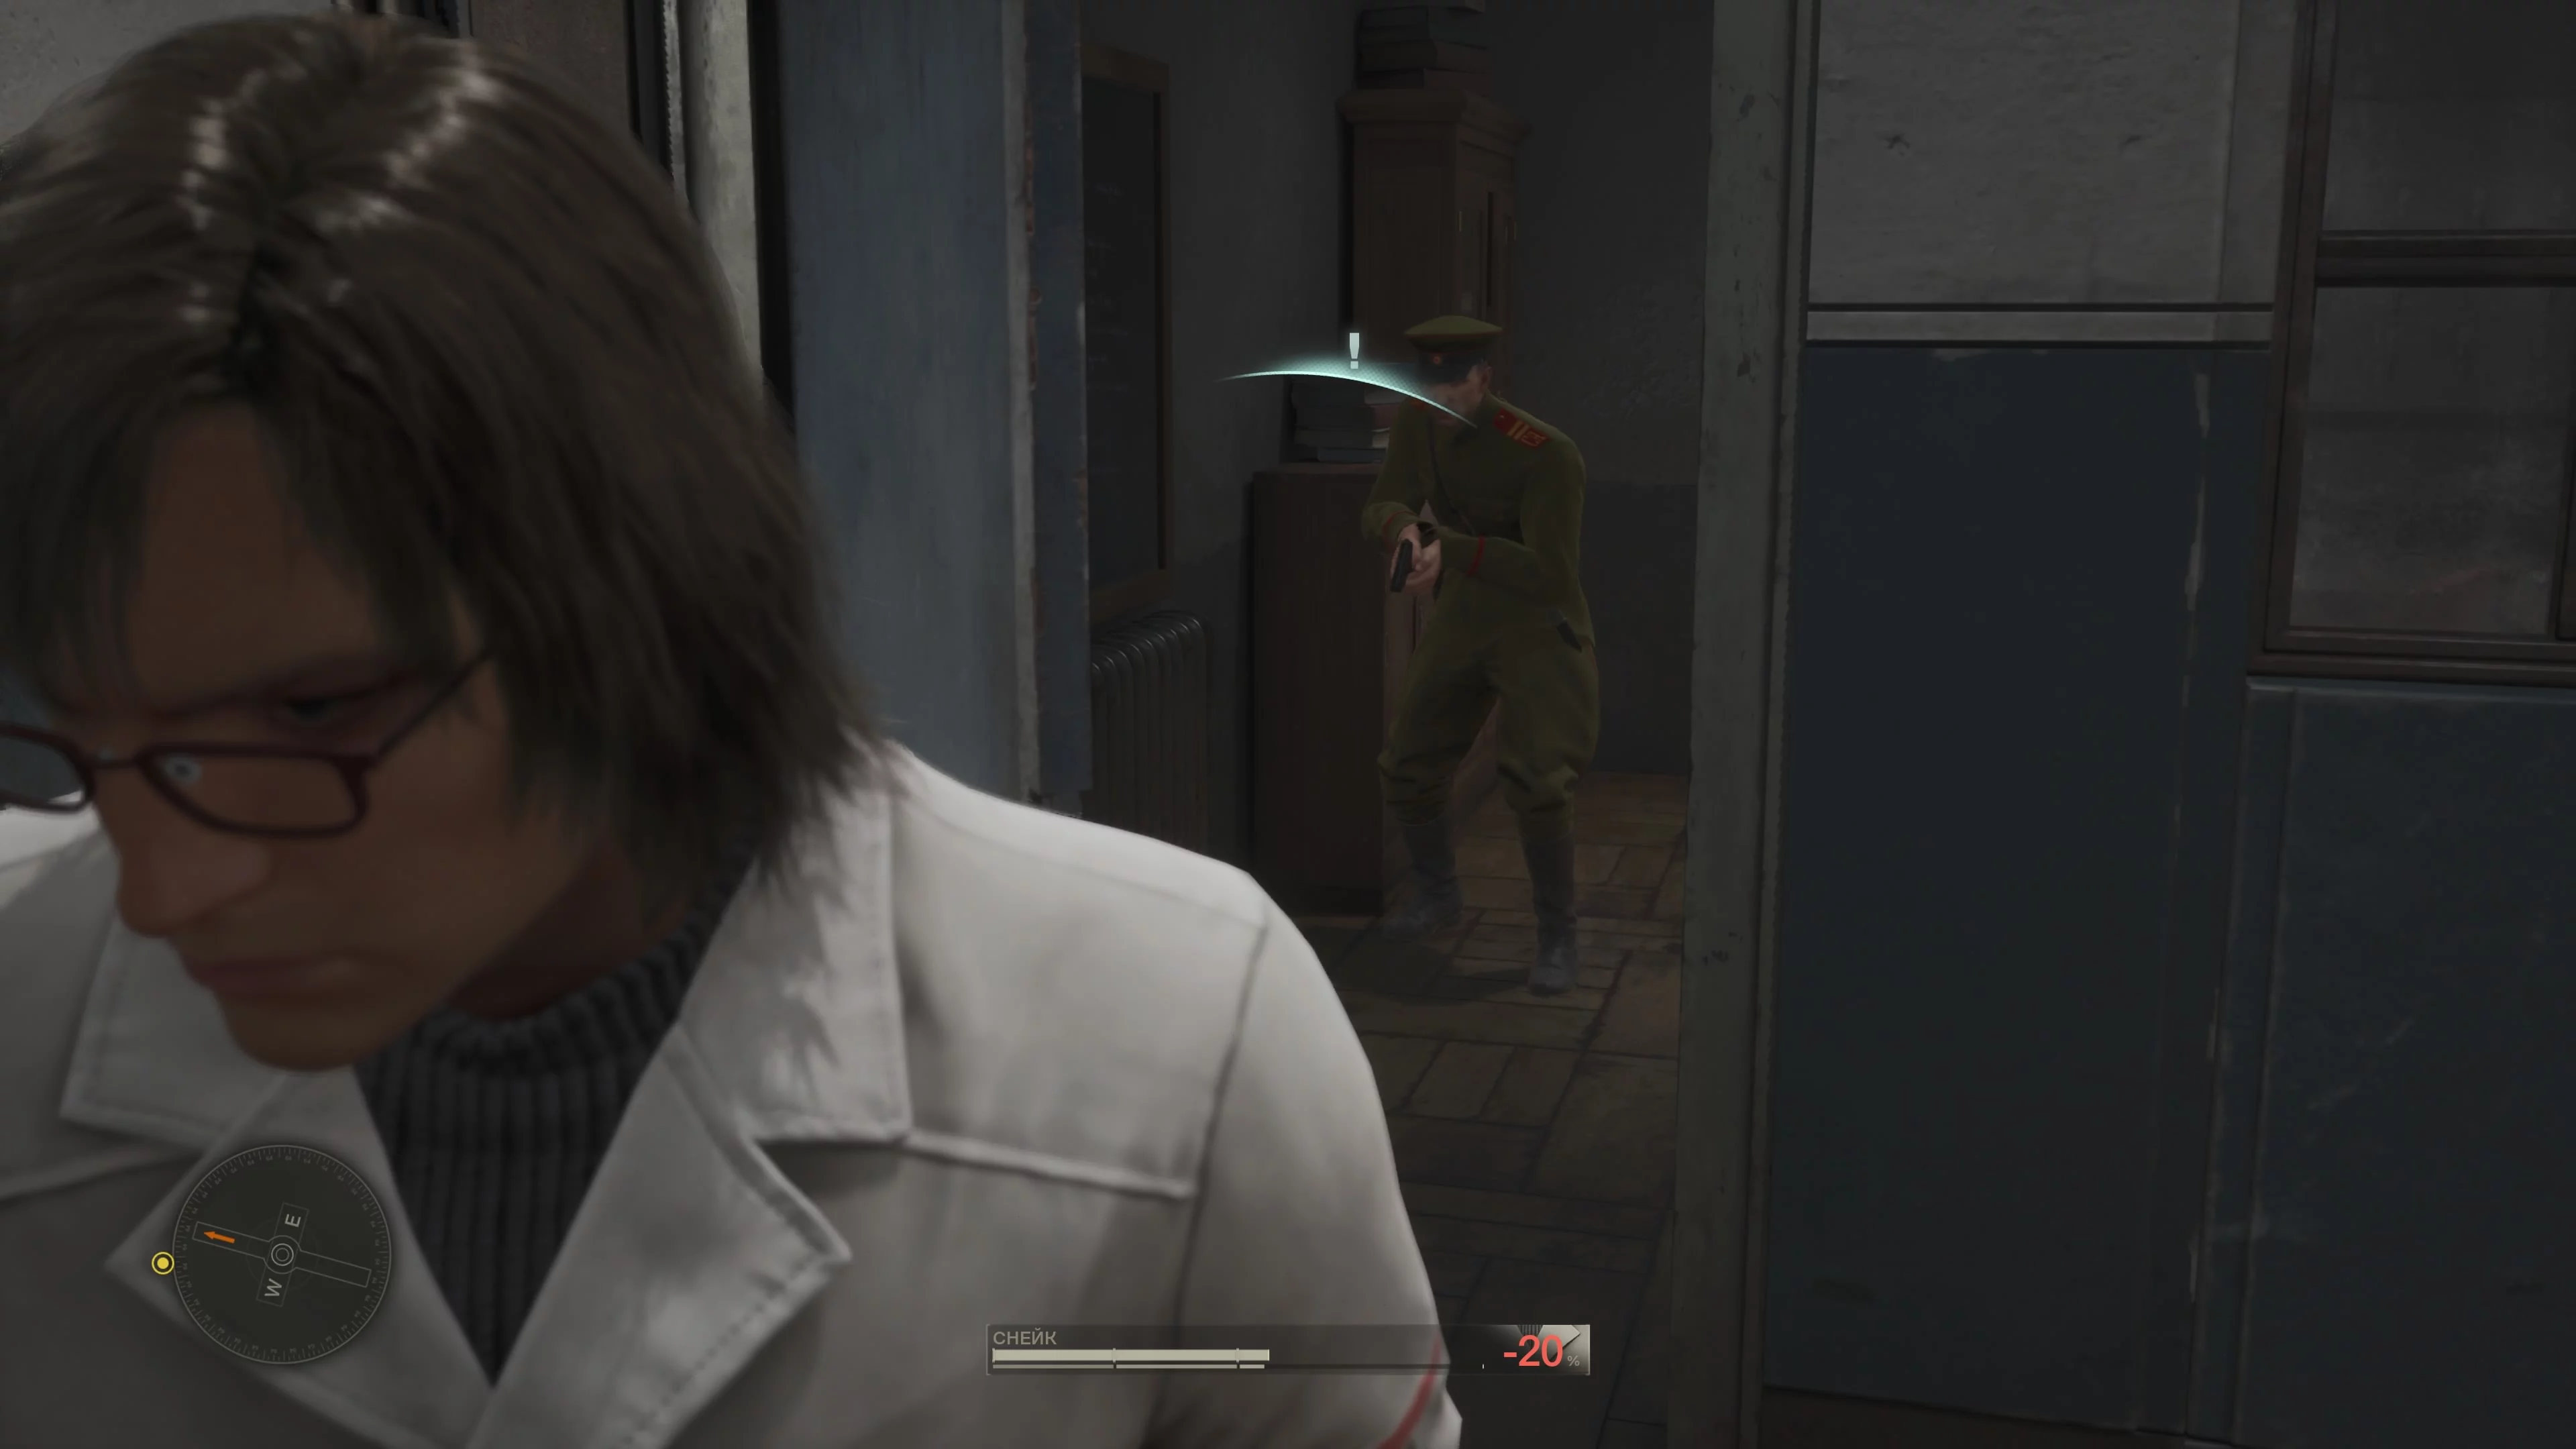
Behind the left door, there will be a scientist. Immediately crawl under the table so he doesn’t notice you. Take him out and check the locker in the left corner. There you’ll find chloroform handkerchiefs—also available when wearing the lab coat. There’s also a frog here.
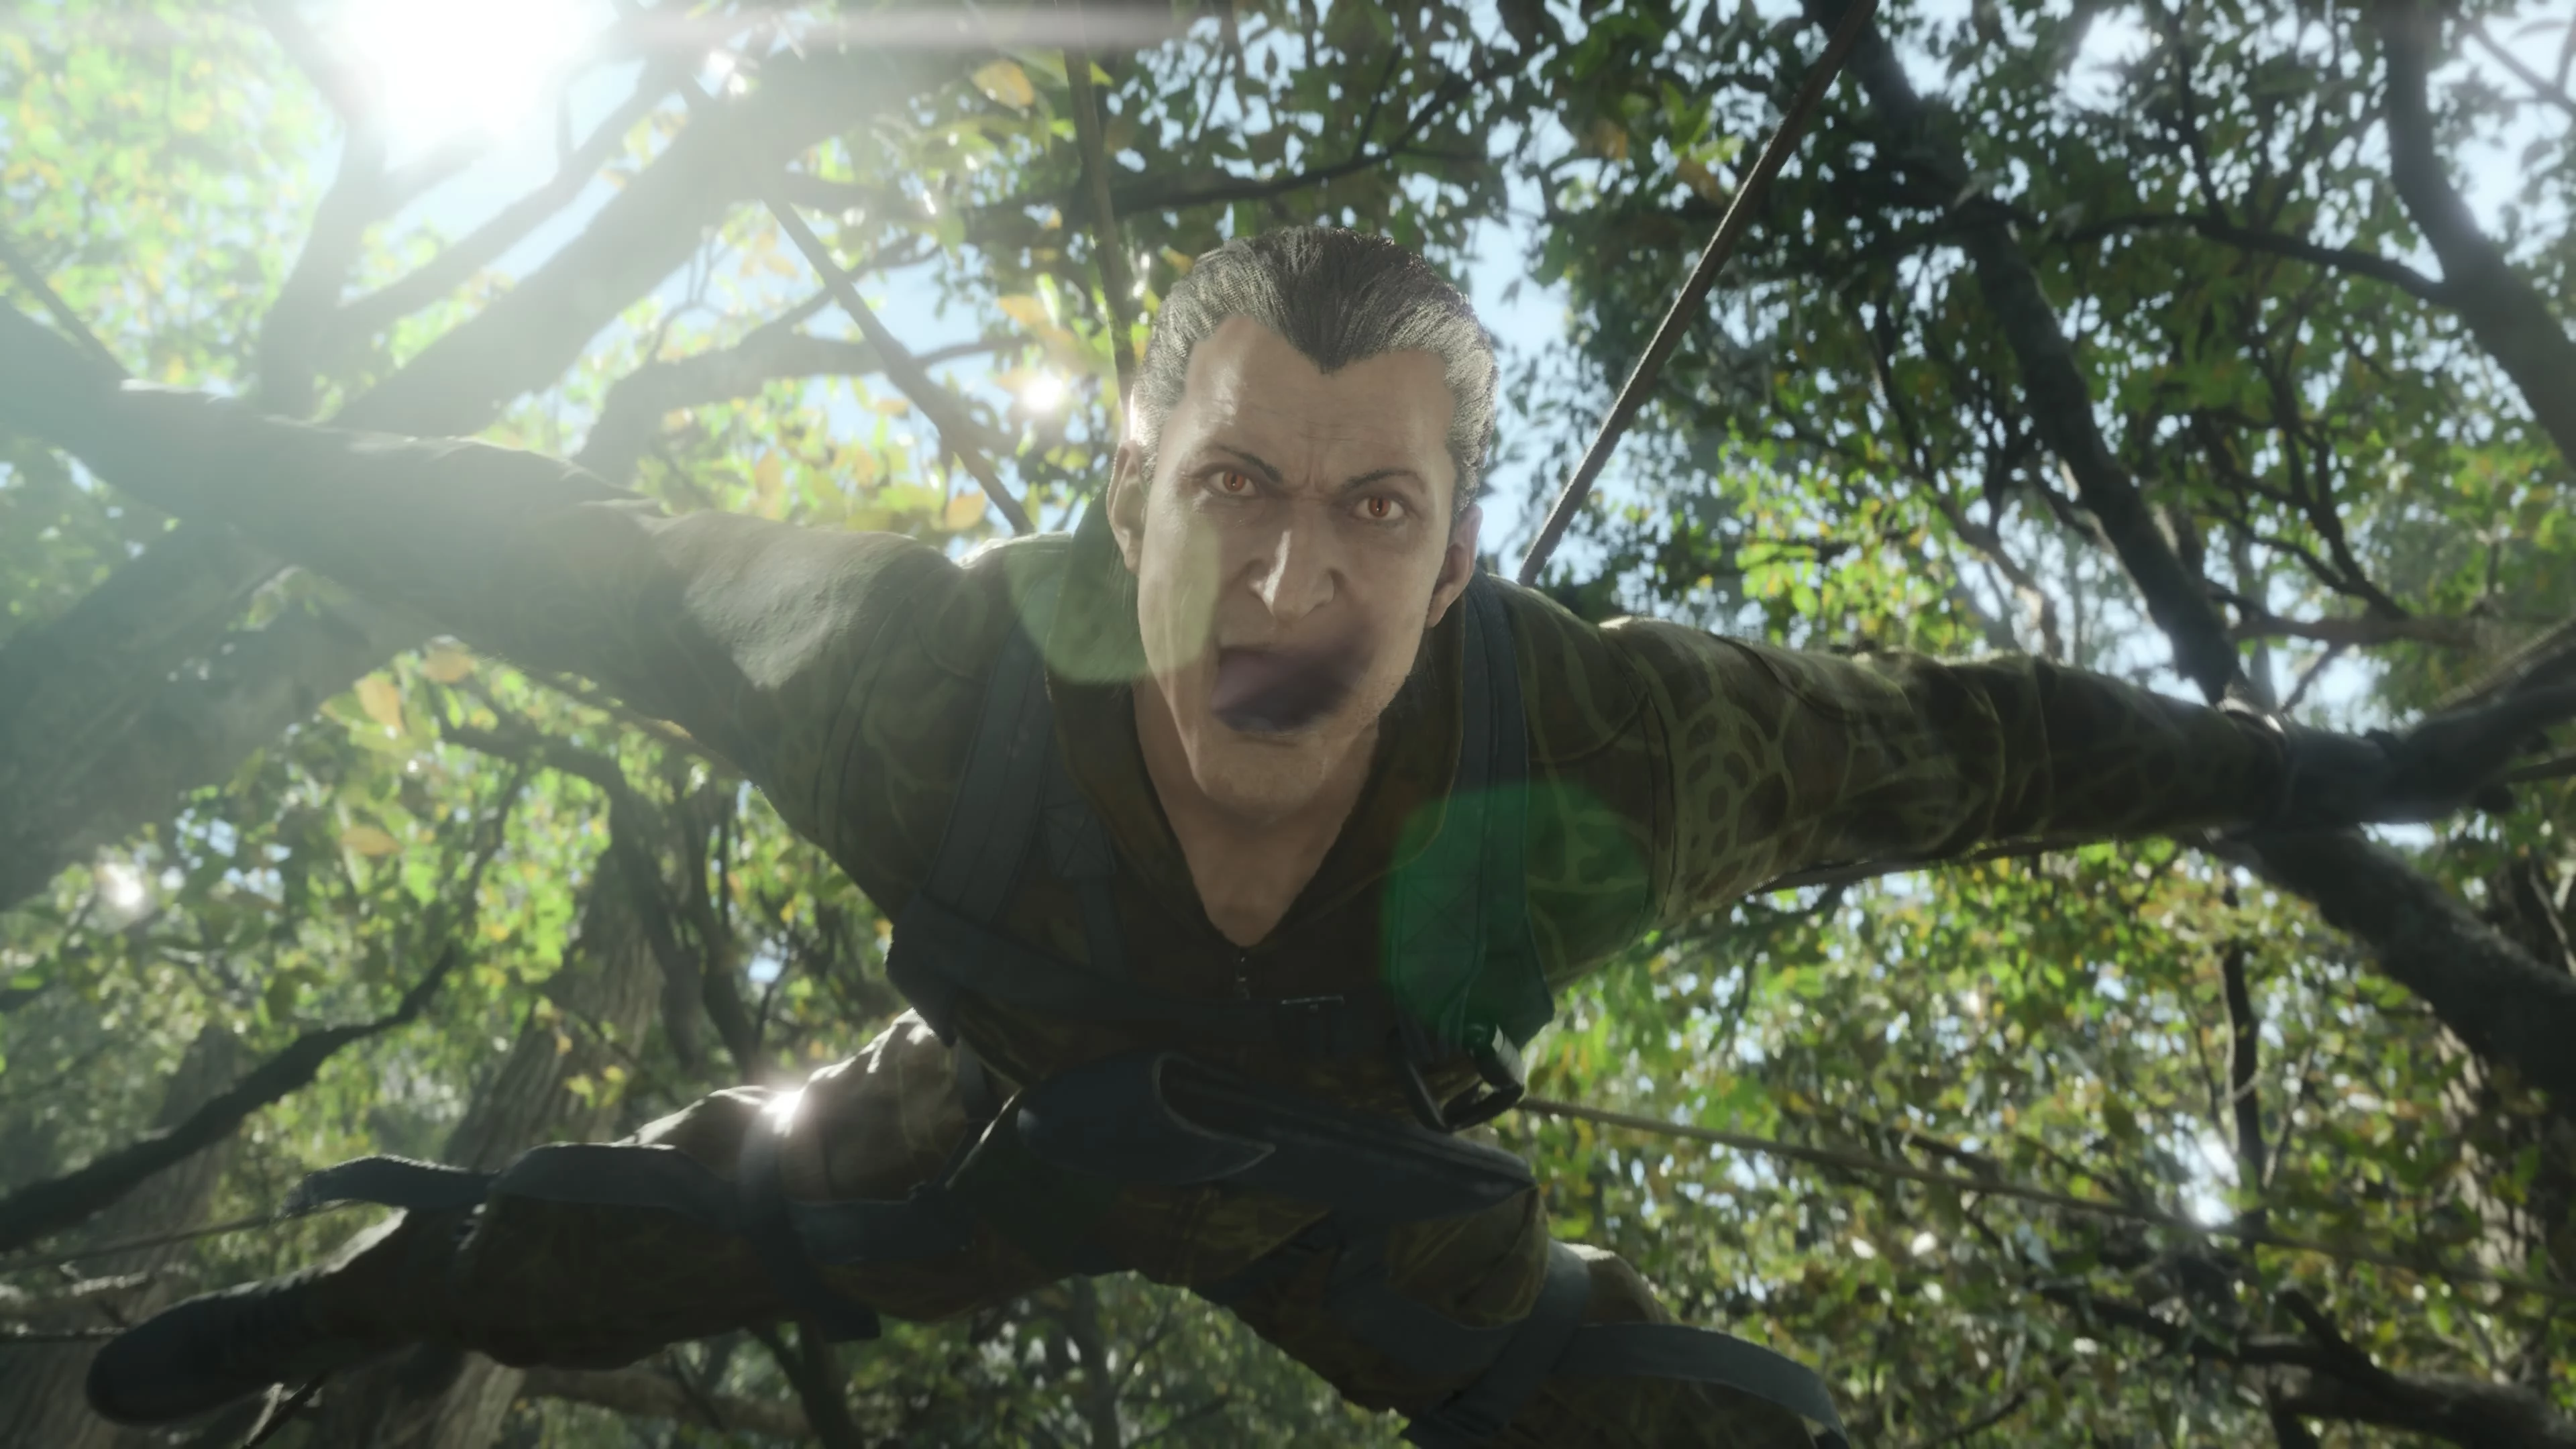
In the next room, two scientists are walking around the office. Take them out however you like and go left. Watch the cutscene. You’ll have to leave the base the same way you entered, meaning you’ll pass by all the awakened scientists and soldiers. Once outside, run into the forest with traps. When you reach the location, a cutscene will start. You’ll meet a new boss—The Fear.
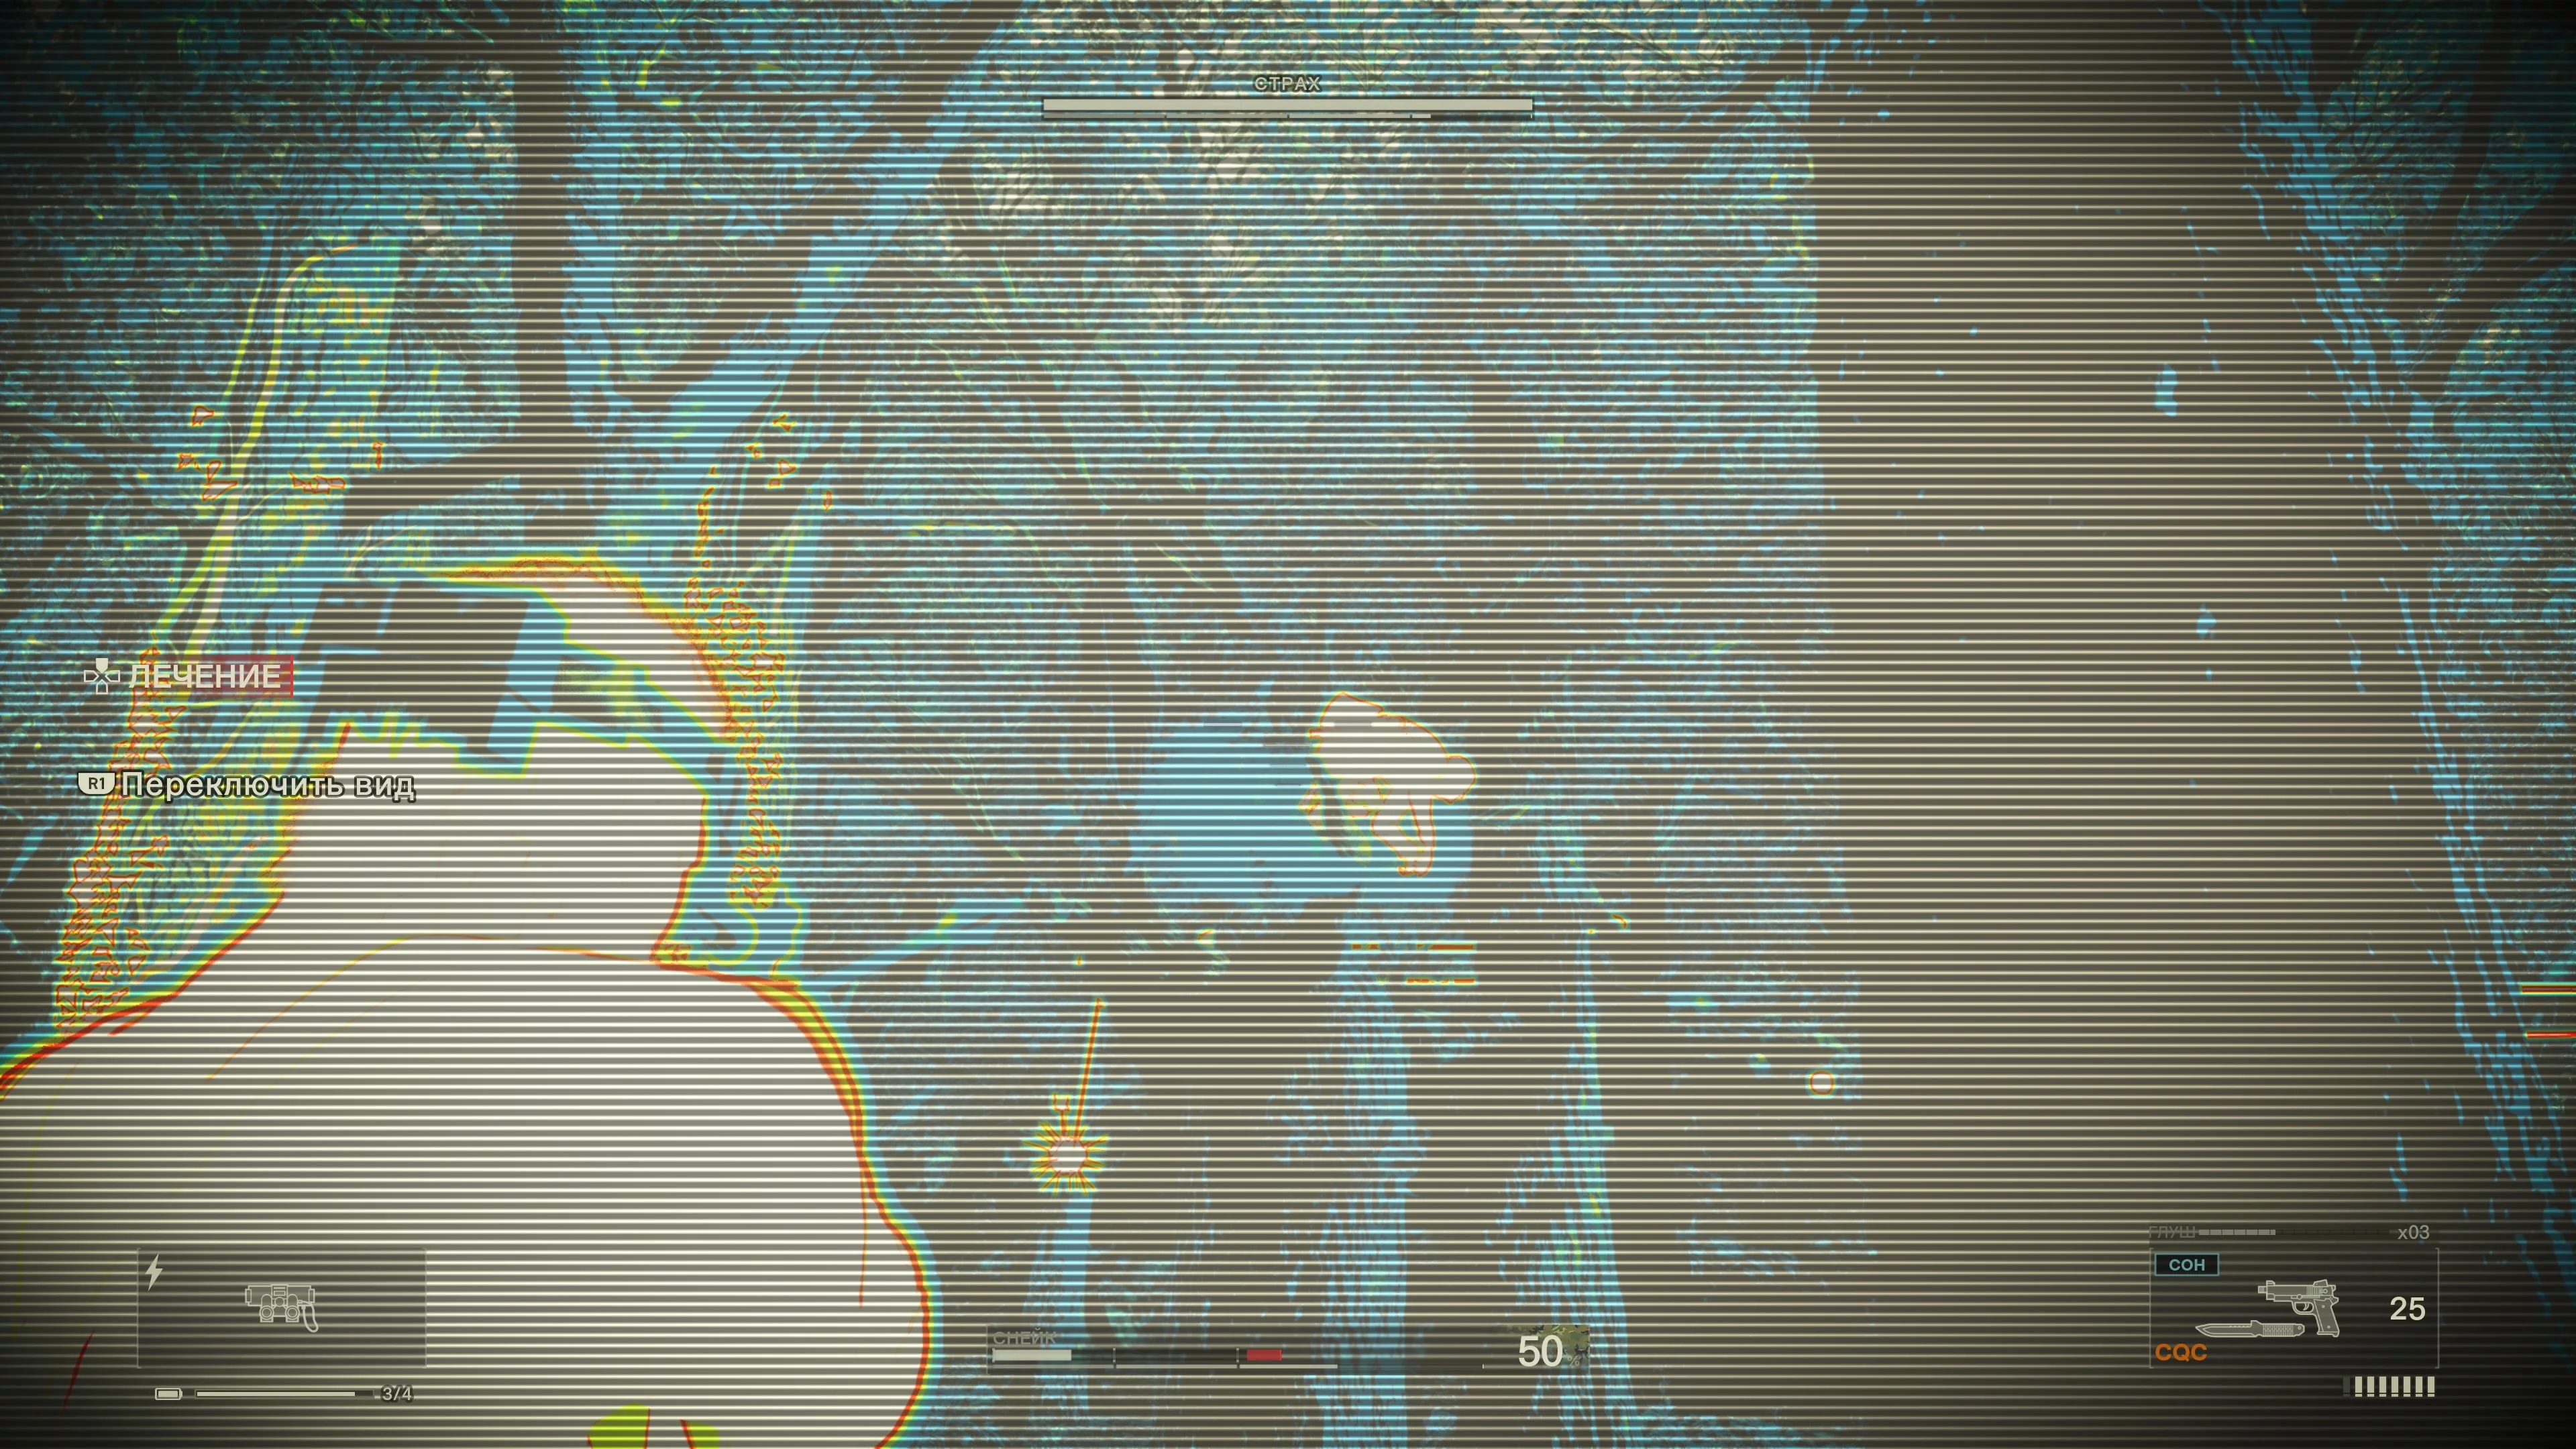
How to Defeat The Fear Non-Lethally
The Fear is unlike previous serious enemies. First, you’ll start with a poisoned crossbow bolt in your leg. Heal yourself and change your camouflage. The second problem is The Fear’s invisibility. He constantly moves through the trees, remaining unseen and shooting poison. Don’t forget about the traps, which are still present. When the enemy’s health drops, he’ll start shooting grenades and periodically come down to eat and heal.
There are several ways to make the fight easier. The first is to scatter poisoned or spoiled food. We have a special guide about spoiled food. If The Fear eats it, he’ll get poisoned and start vomiting, giving you an advantage. Also, while the boss is eating, you can shoot him.
The second method makes the battle almost trivial. You’ll need NVG. If you followed our walkthrough, you have it. Activate it. In this case, invisibility loses its meaning. Shoot him with the tranquilizer if you want to continue a non-lethal playthrough. If you run out of ammo, there are enough boxes in the arena to replenish it. Act quickly and aggressively so The Fear doesn’t have time to restore stamina by eating. It’s easier to cure poison than to reduce the full stamina bar again.
After winning, take the trophy camouflage and head to the warehouse. You’ll need to take out three guards again—one on the floor below and two on the very bottom level. Then go to the door that was the entrance to the location and turn left—another red door should open automatically. If it doesn’t, add the key card from your backpack to your inventory.
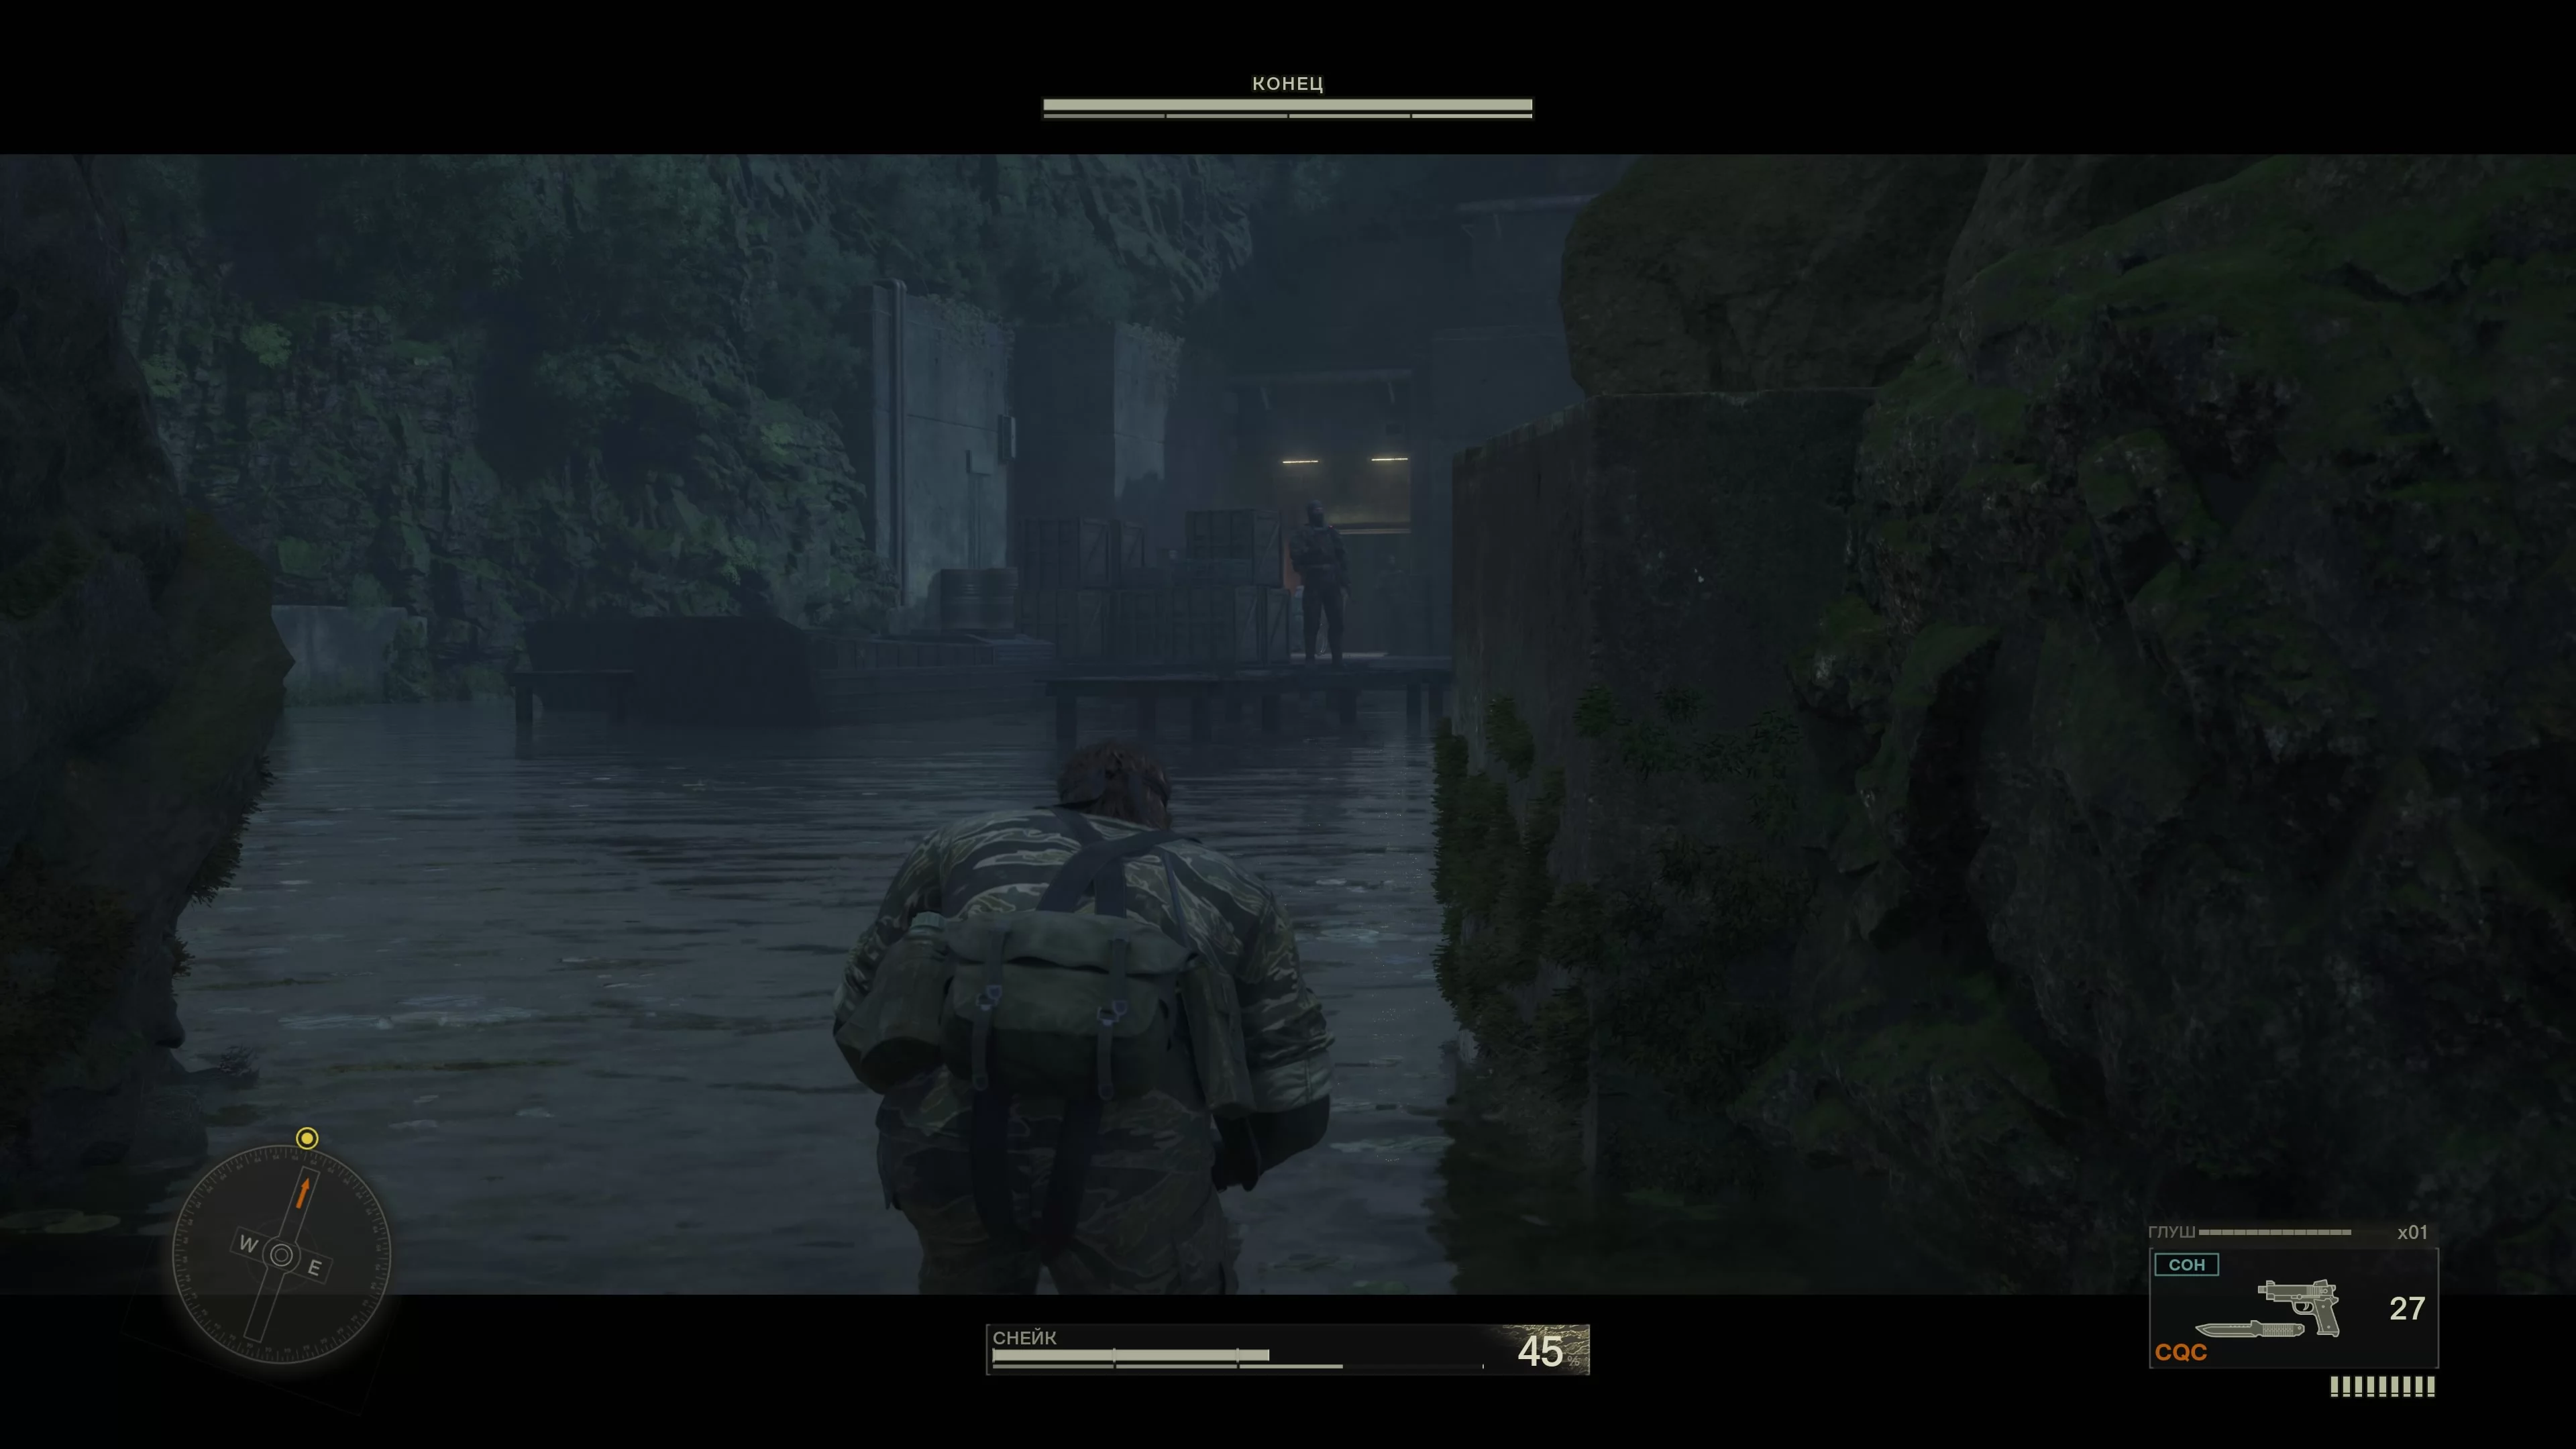
How to Find the Sniper The End
You will find yourself in the Svyatogorny forest. Pay attention to the flowers—cut them to slightly replenish your supply of healing items. Once in the western area, go left. There you will see a frog, but be careful—there is an enemy nearby.
There are more soldiers wandering through the forest, so proceed to your goal carefully. You can reach an area with a large house. To do this, don’t follow the objective marker, but take the right path.
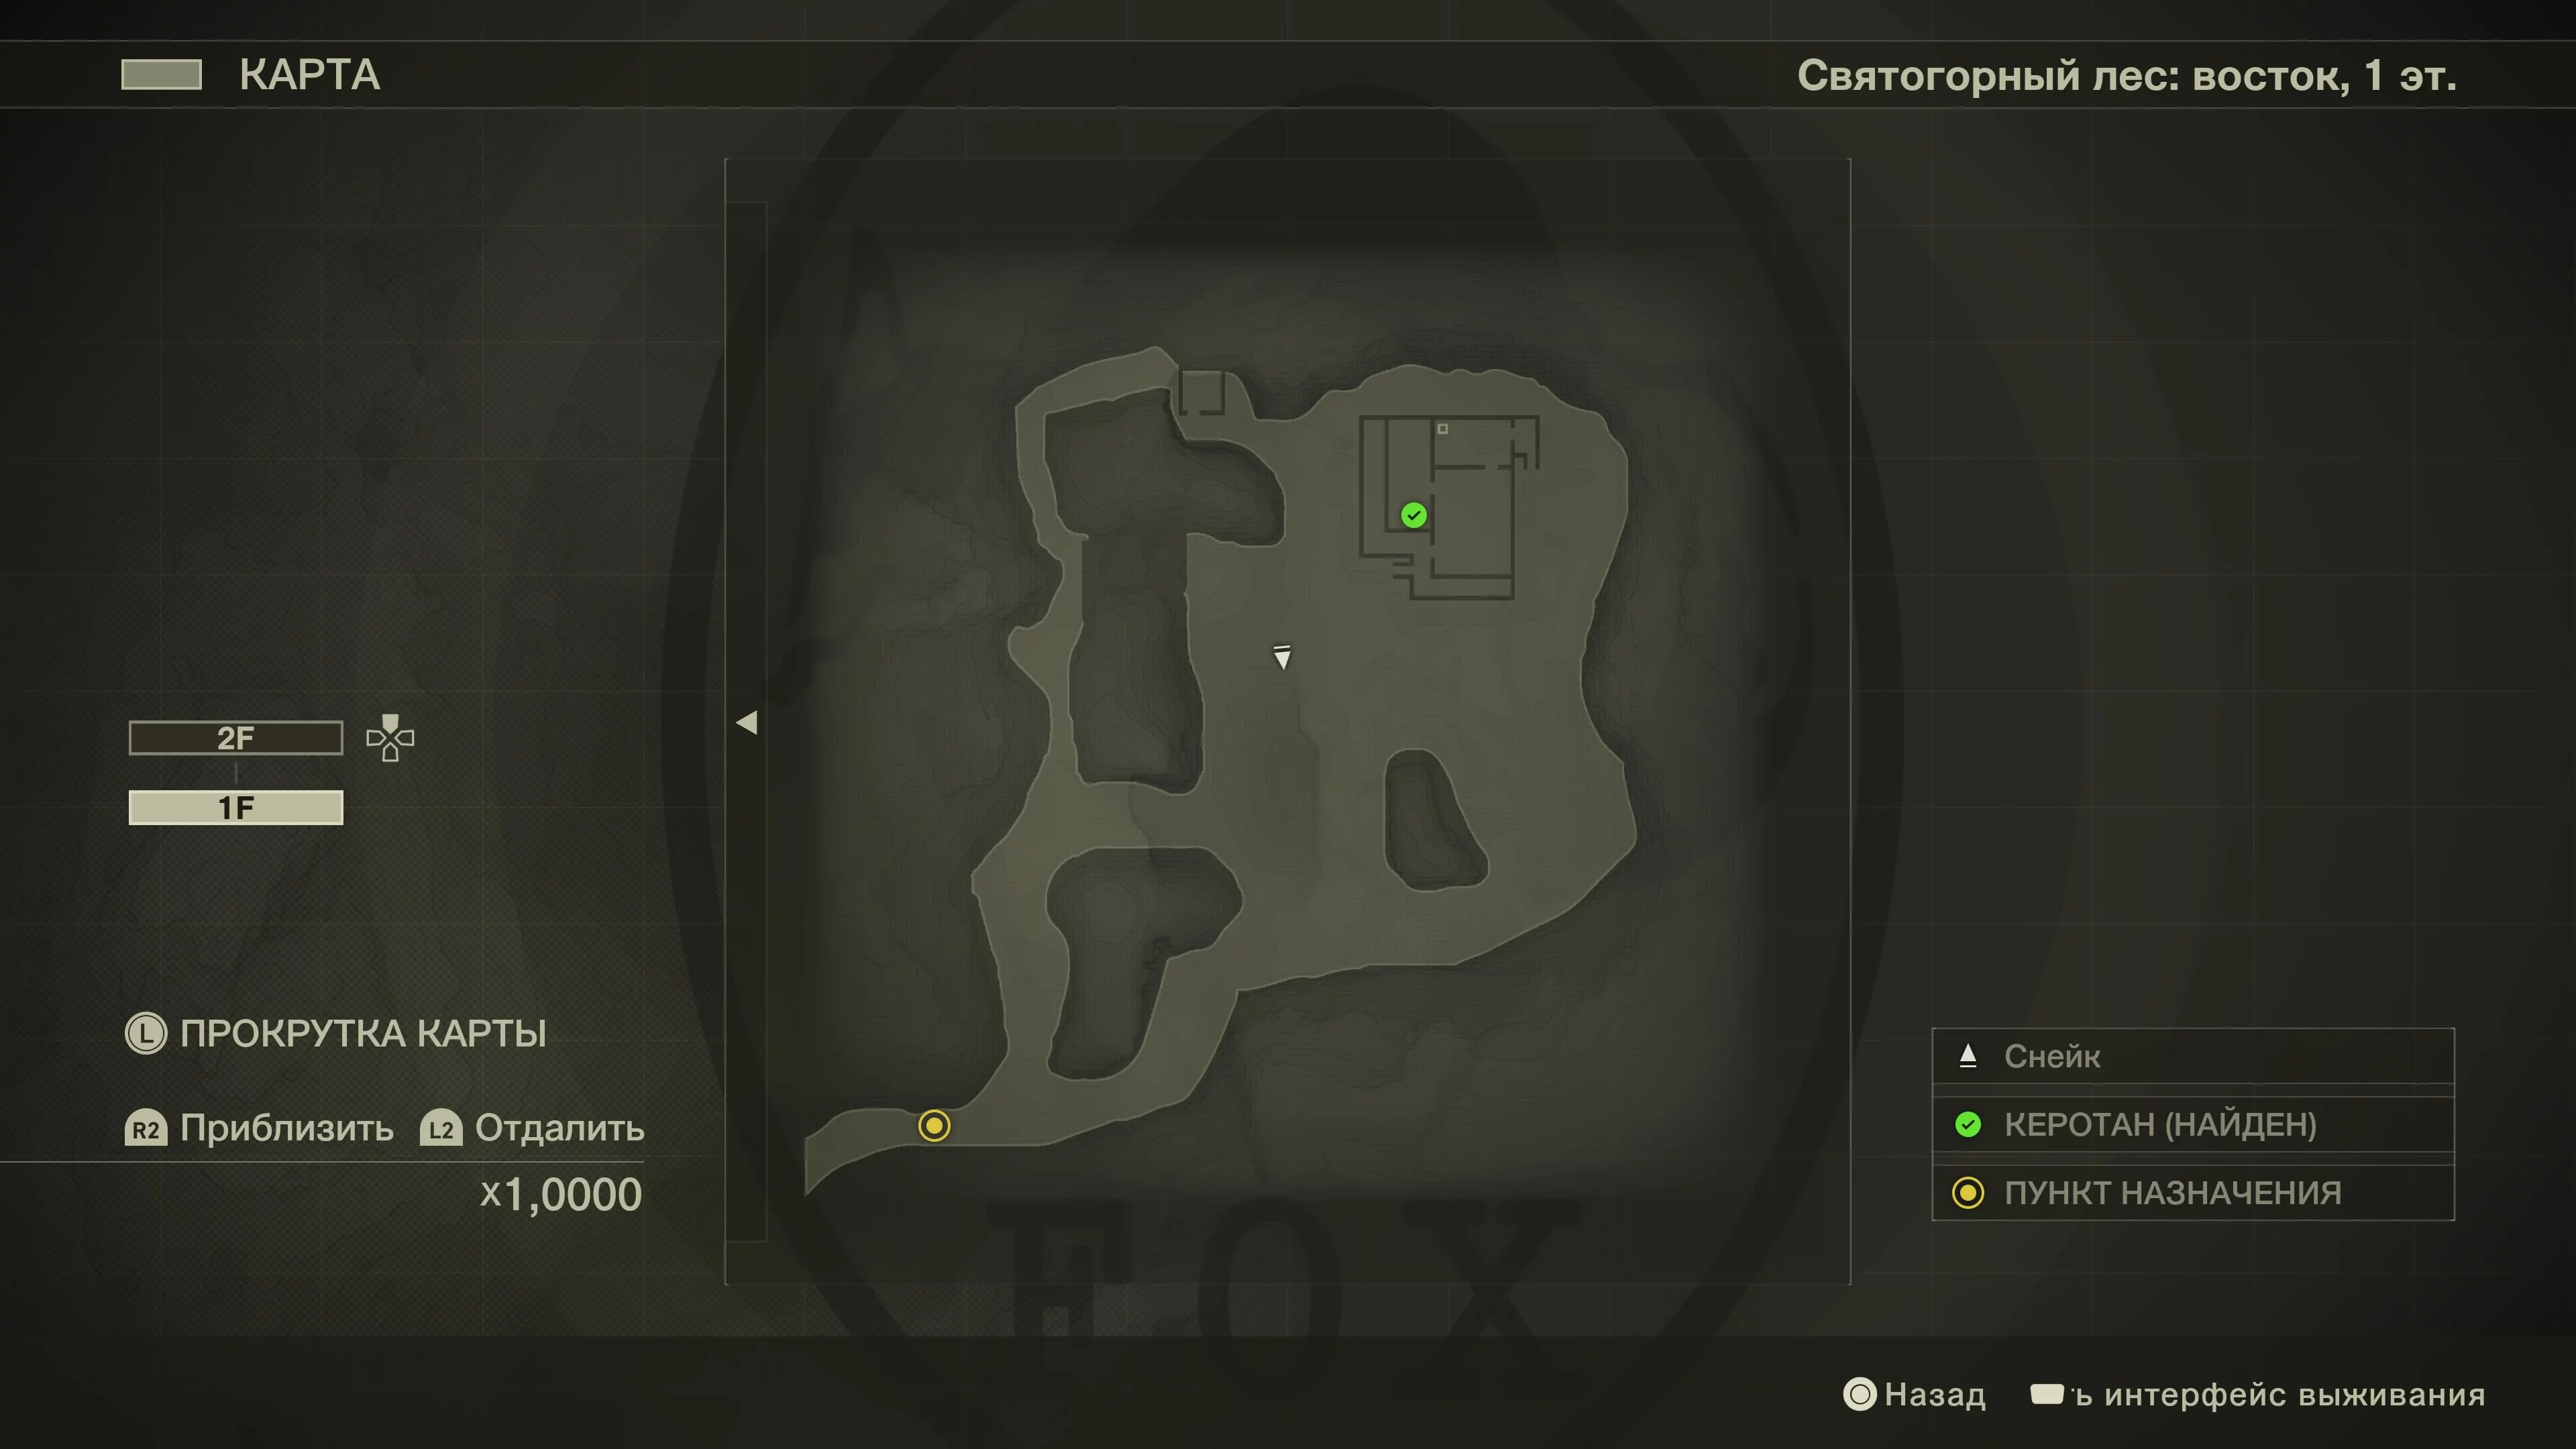
This is not easy, as there are many soldiers around, but if you succeed, you will find a frog.
How to Defeat The End Non-Lethally
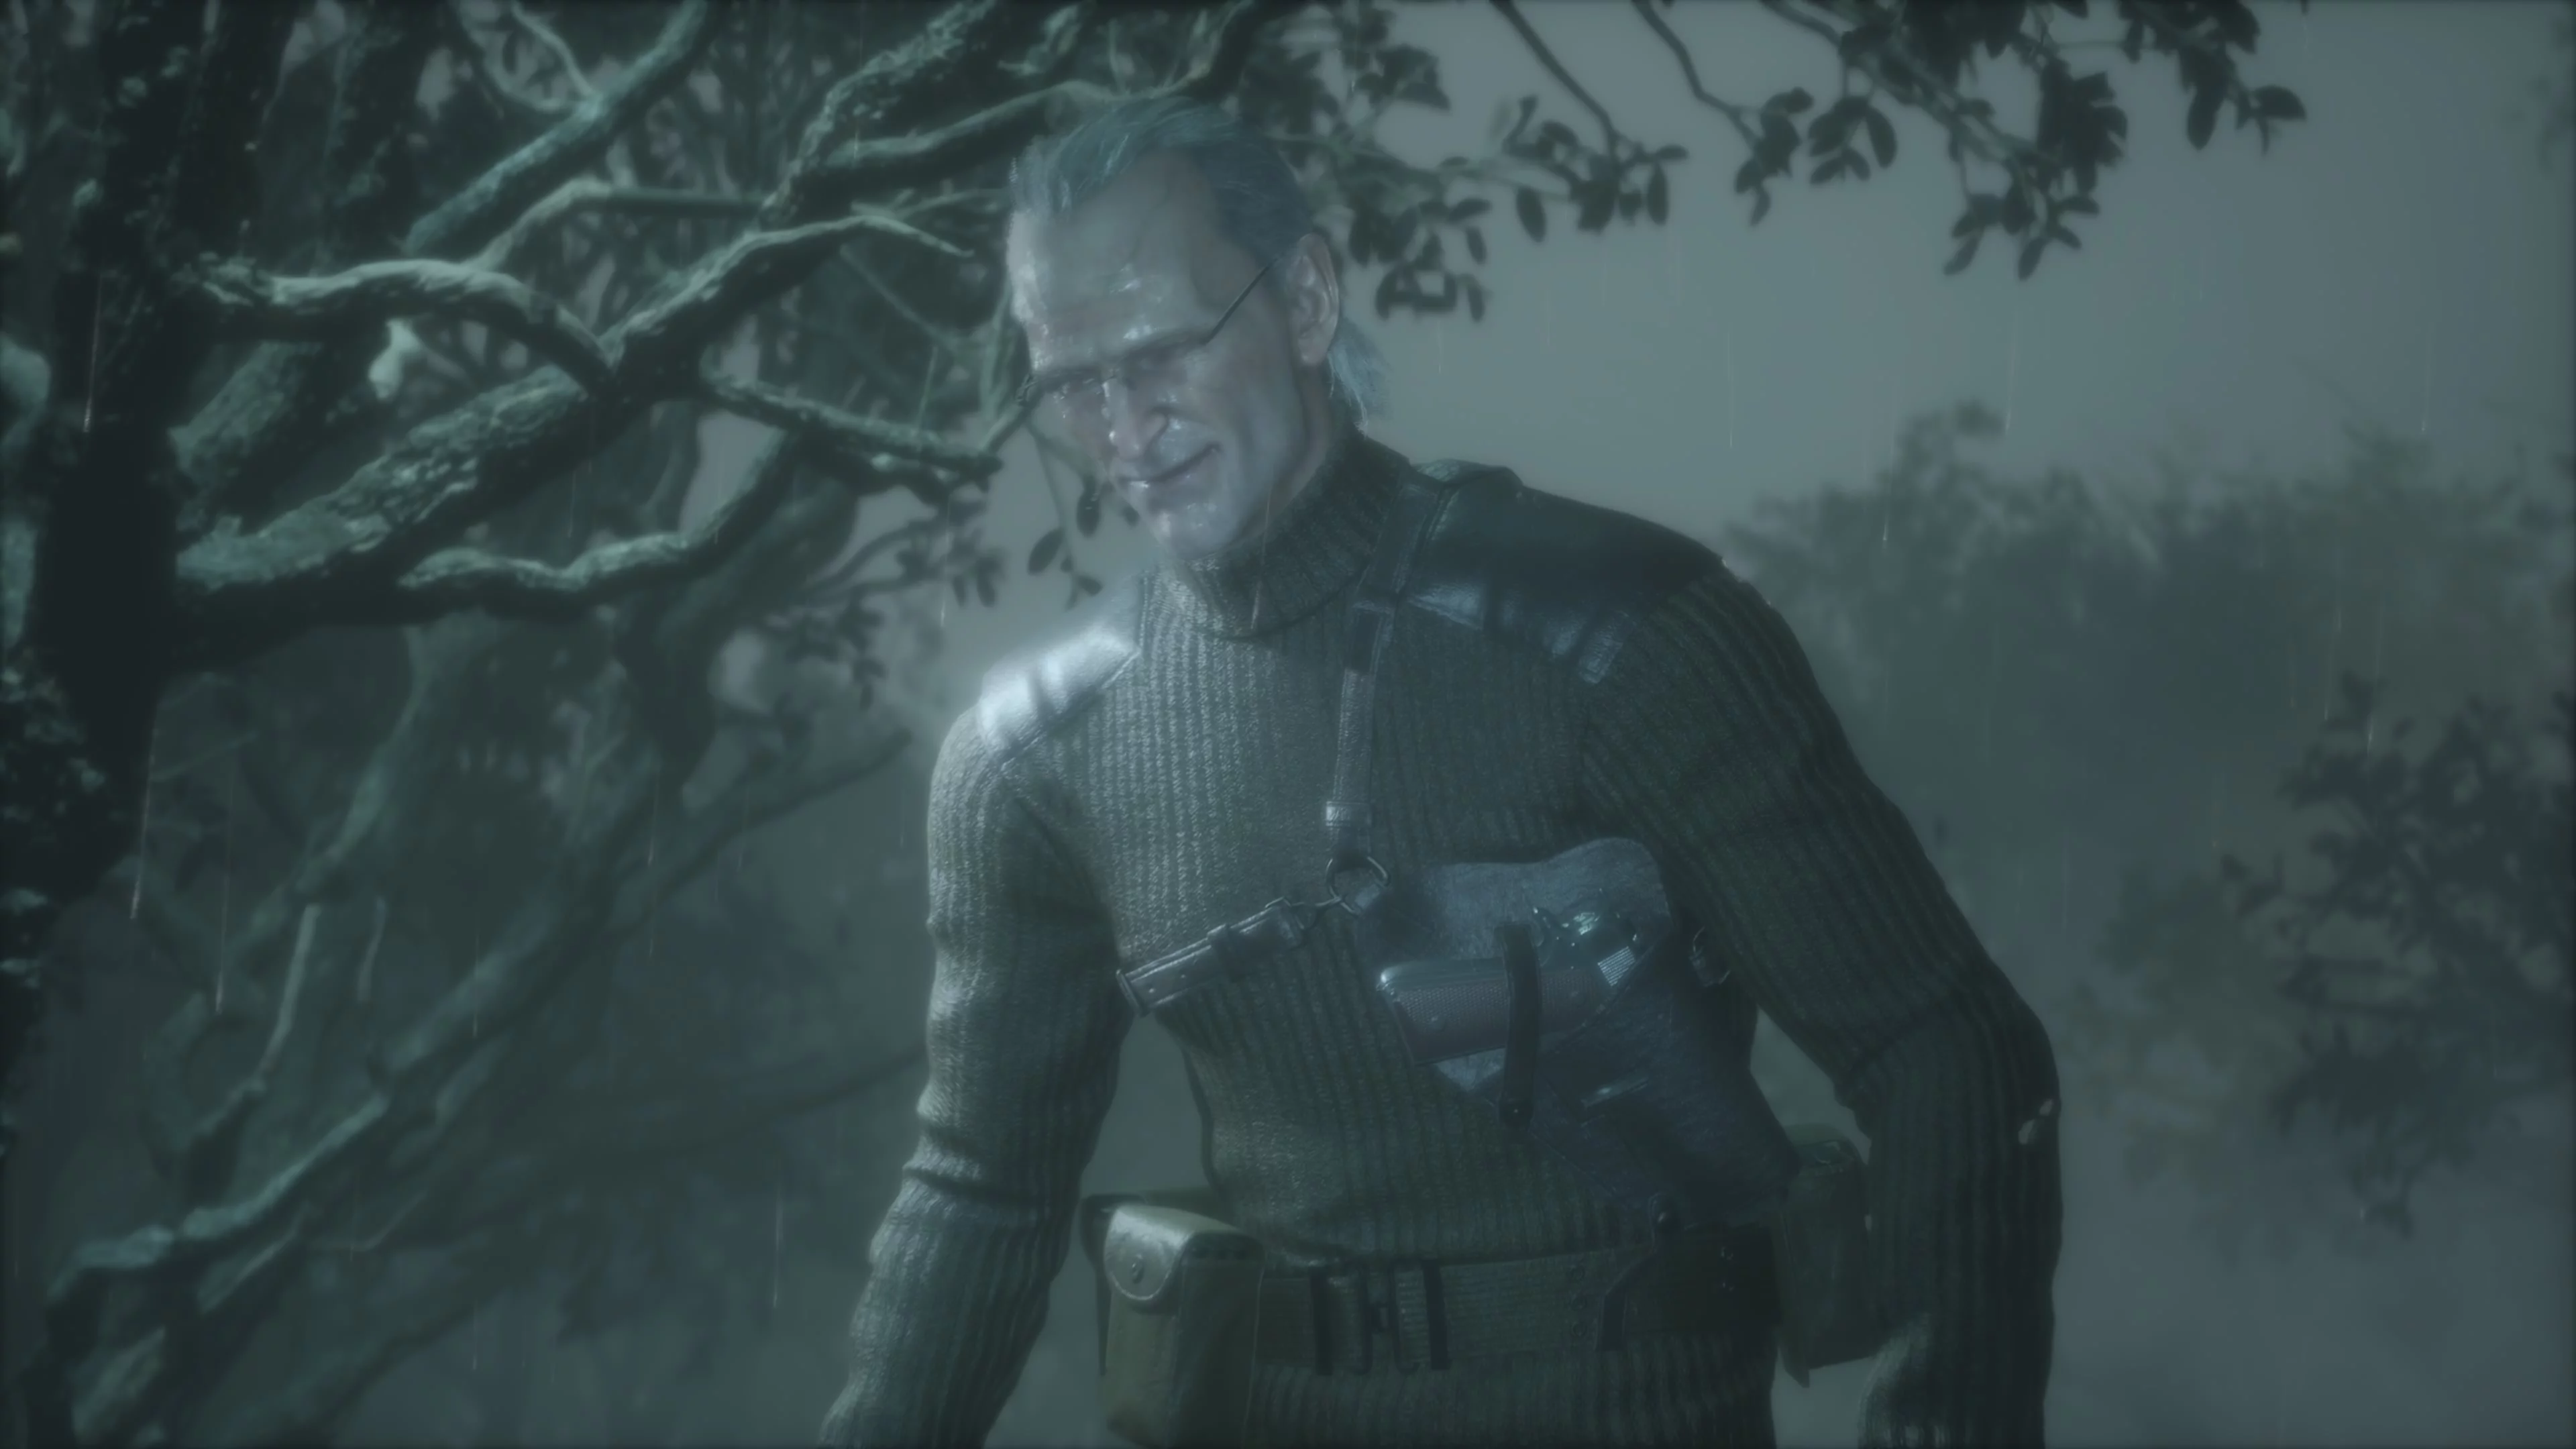
The location marked by the marker is the battle with the old man named The End. This is one of the longest and most difficult boss fights in the game. You will have three areas for the fight. As you explore them, sniper positions will be marked on the map, and The End is a sniper. The point of the fight is that the old man waits for you in different places. You must find him before he finds you. There are several frogs and ducks in the locations, as well as plenty of animals to restore stamina. The End shoots tranquilizers, which can be removed from your body with a knife. If you don't manage to do so and your stamina runs out, the game will send you back to the prison in Graniny Gorki, from which you’ll have to escape. It’s best not to let this happen.
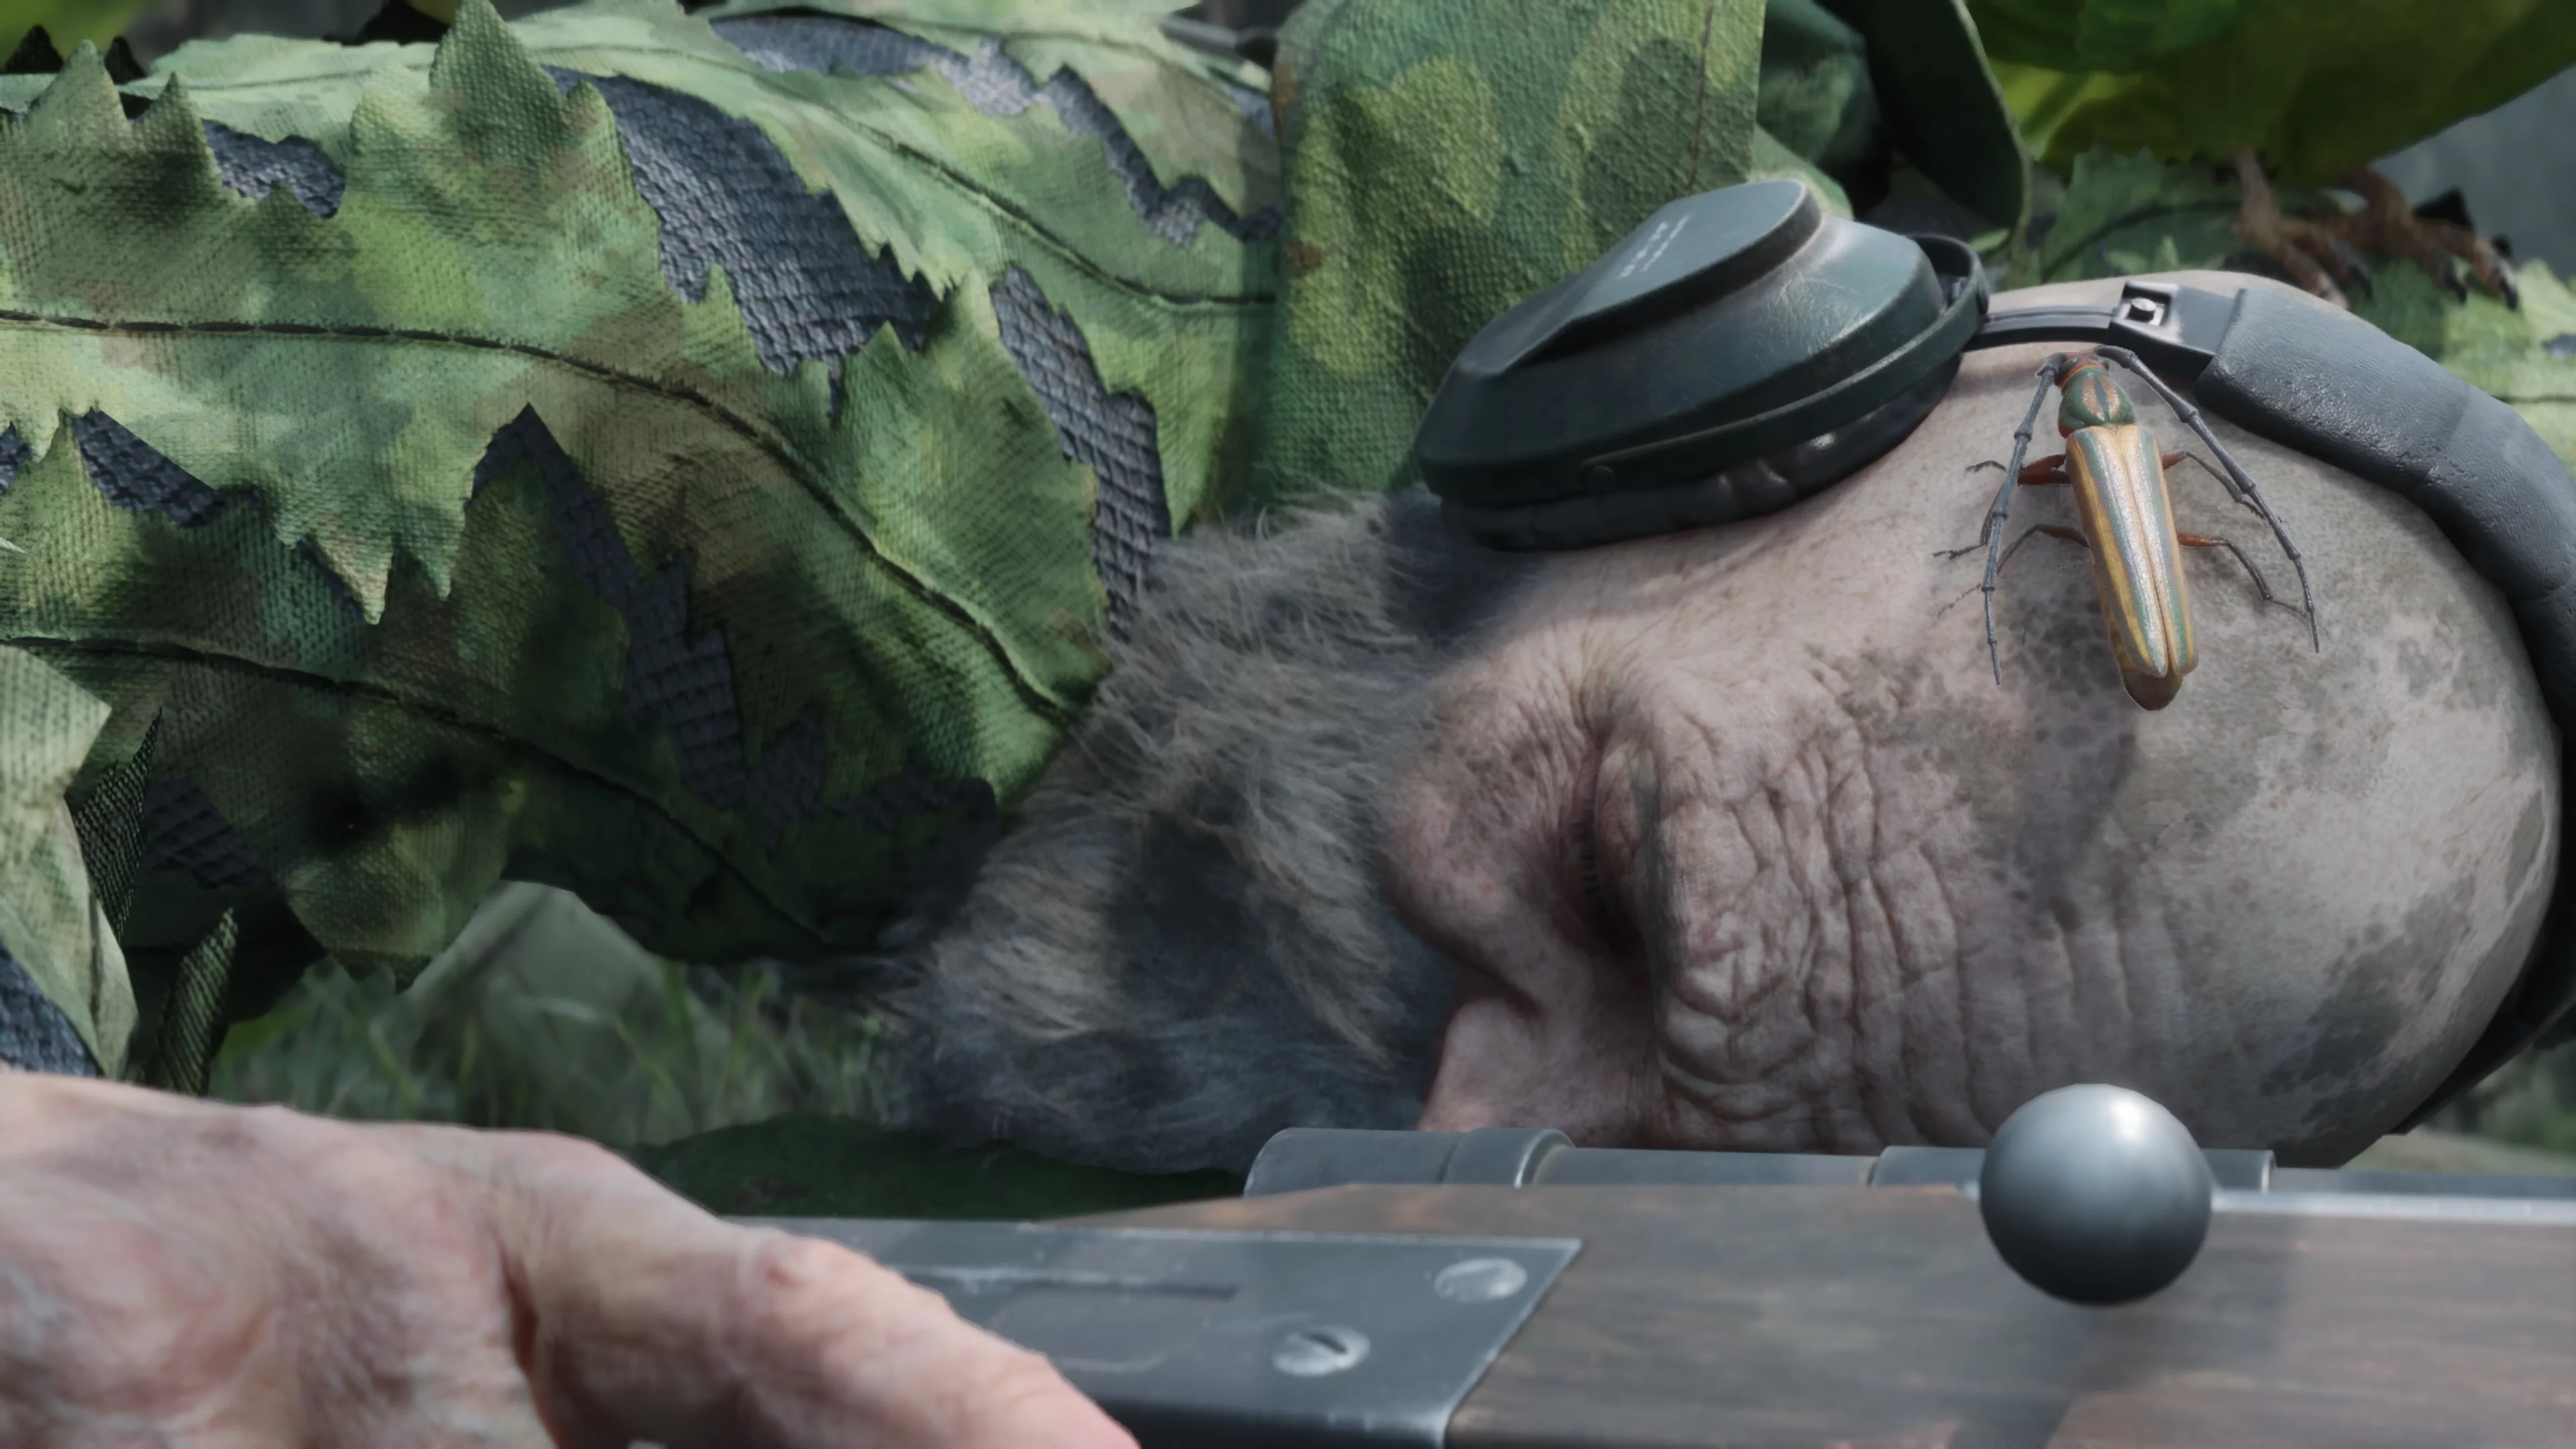
The only thing that will help you find The End is the anti-personnel sensor. This device beeps if a person is nearby. Neither the motion sensor nor the thermal goggles are as effective in practice. The goggles have heavy interference and it’s almost impossible to spot the old man in the bushes. If you manage to get close, you’ll have a chance to shoot, but after one or two hits, the old man will throw a stun grenade and run away. In theory, NVG should show his tracks, making the search easier, but that never happened for us.
You should know two things. First—the entire boss fight can be skipped. We have a separate guide about this, but you will need to kill the old man, which contradicts our non-lethal walkthrough. The second point—for winning you’ll get a sniper rifle that shoots tranquilizers—one of the best weapons in the game, if not the best. However, you won’t get camouflage. To get the camouflage, you need to force the old man to drop it during the fight. For this, you must intimidate him by aiming a weapon at him. Unfortunately, we were never able to do this. The End didn’t react at all to being aimed at with the tranquilizer. Also, you cannot grab him, although some authors claim it’s possible. If you get close, the grab button simply does not appear.
In any case, the advantage of this boss is that he gradually weakens on his own. Your task is to survive while The End’s condition worsens. In the end, his stamina will be at a minimum and you’ll be able to defeat him with just a couple of accurate shots.
How to Overcome the Mountain Trail
Exit through the newly opened passage into the tunnel. You’ll have to climb a very long ladder to the main theme of the game. Eventually, you’ll reach the mountain in the Krasnogorye area.
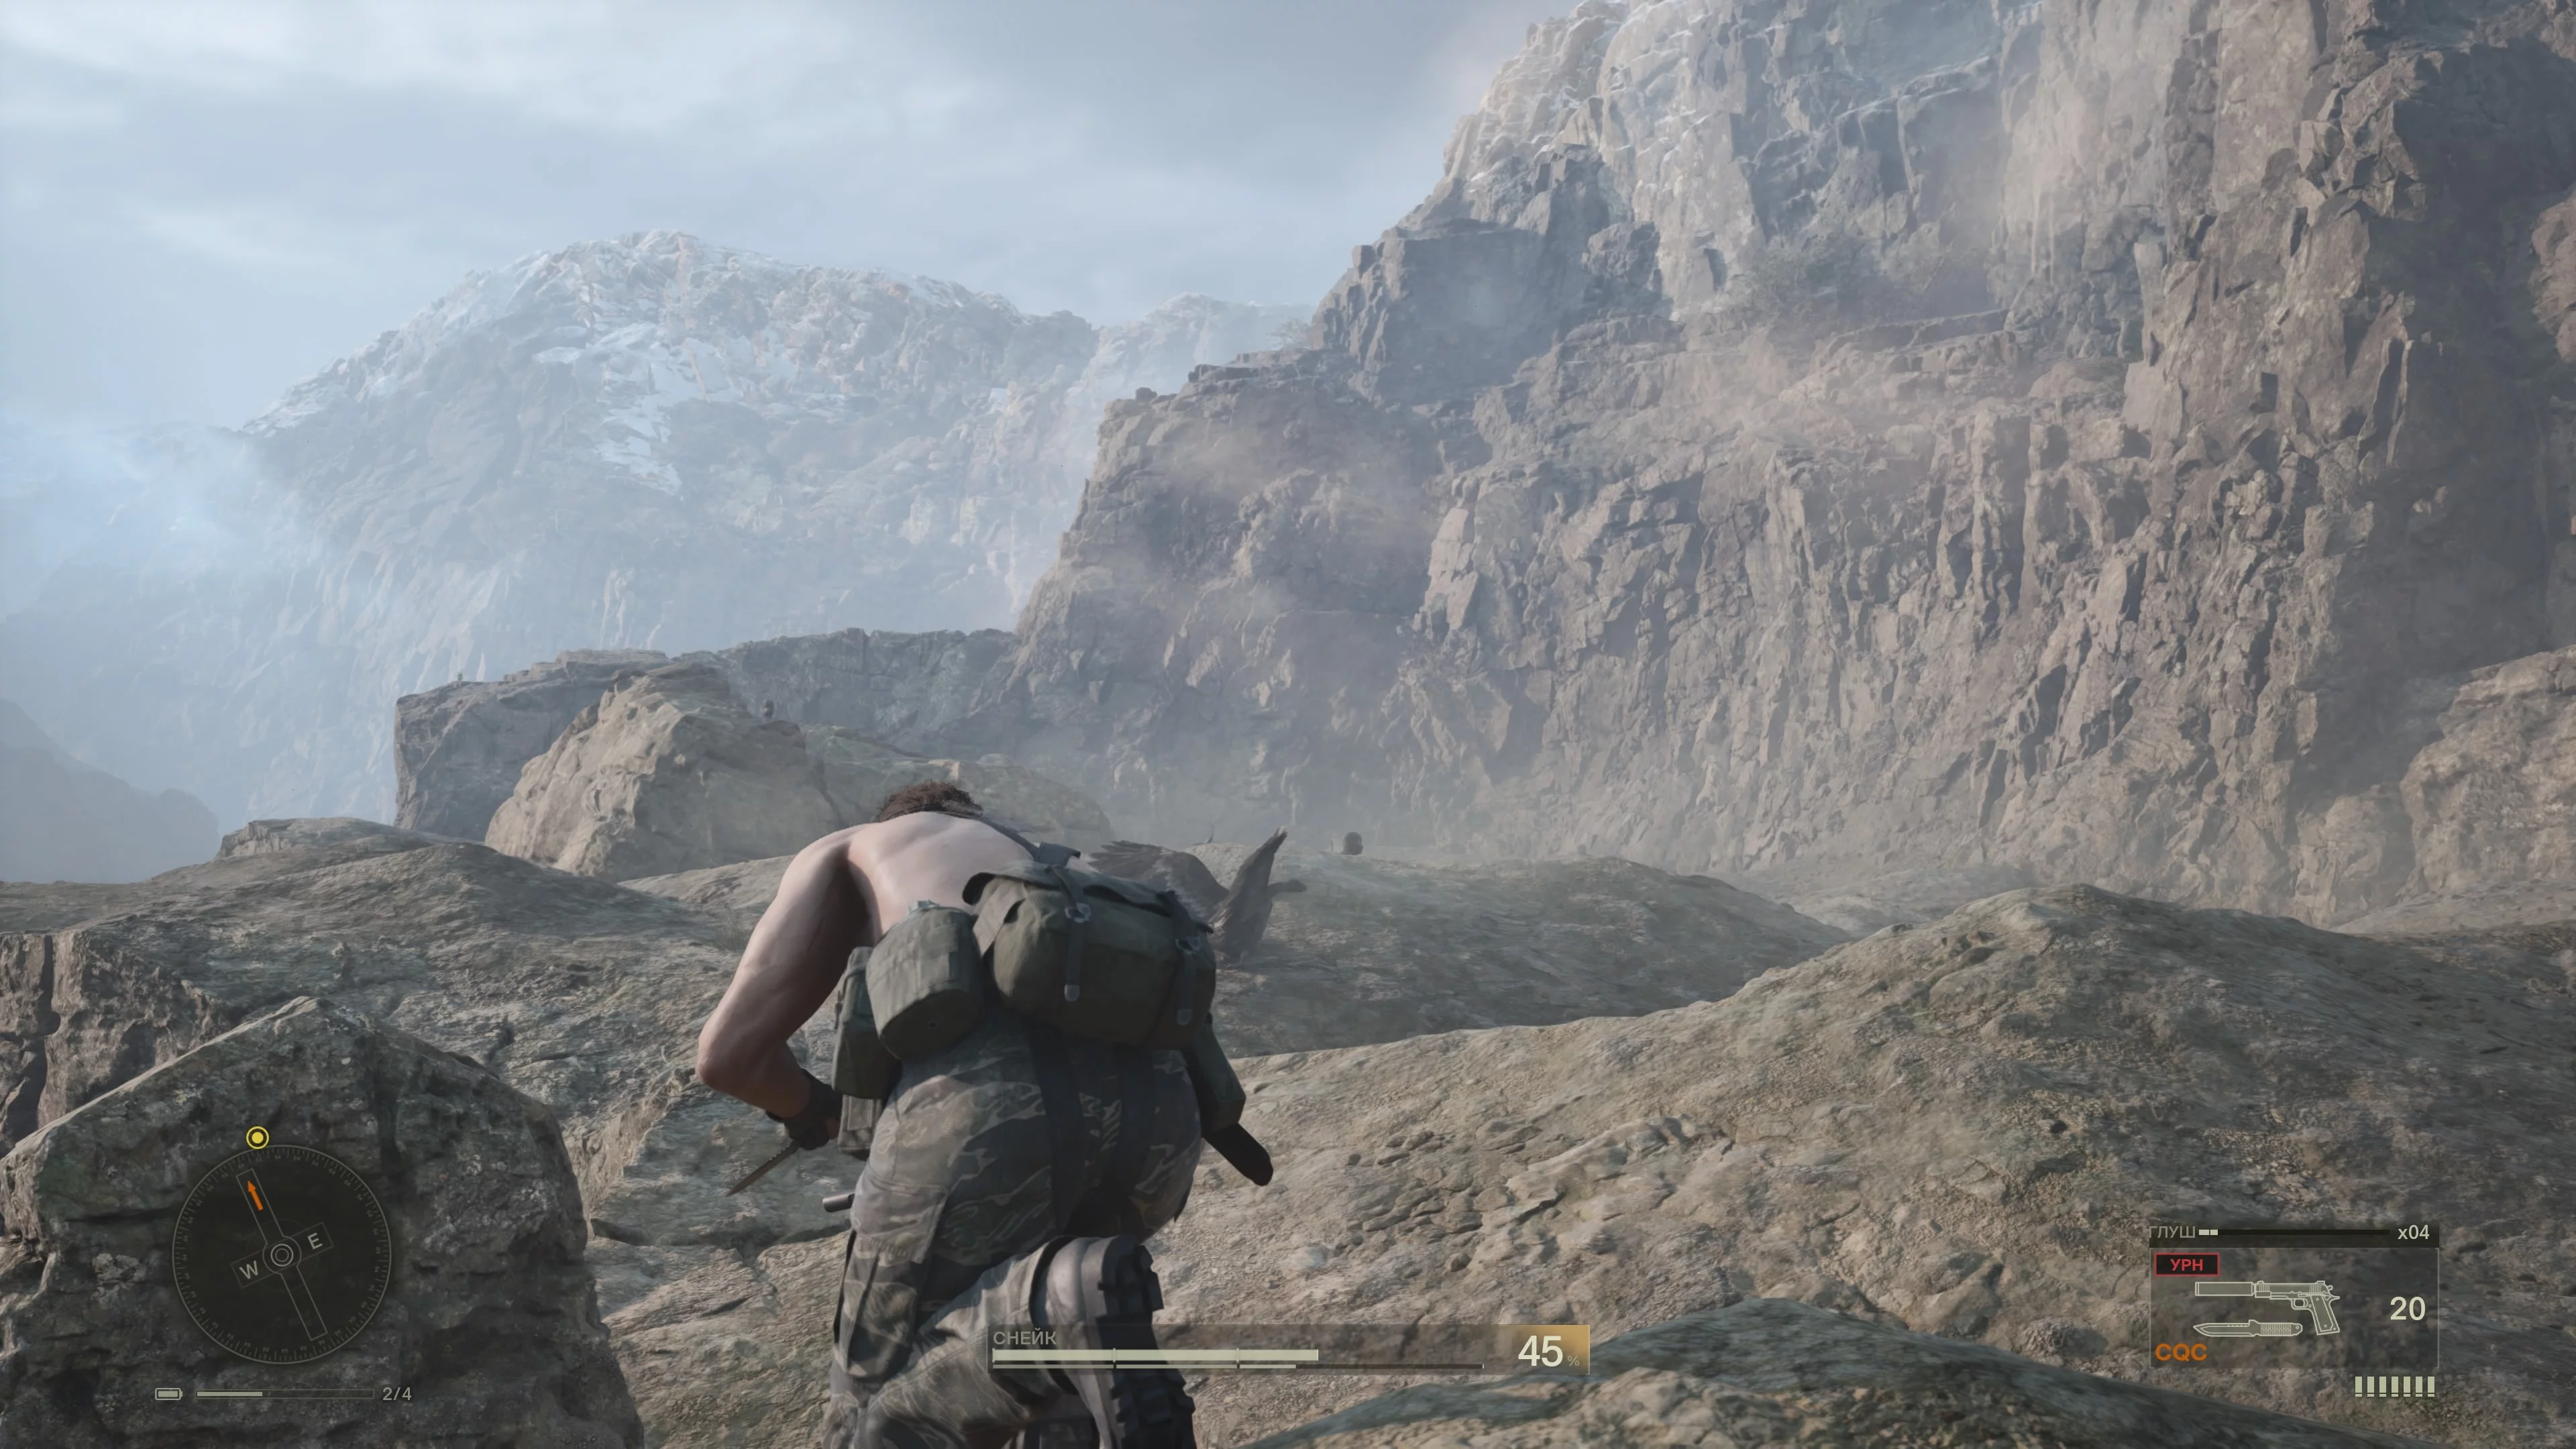
You’ll find yourself in hilly terrain with many enemies. It’s better to try to sneak around them, as you’ll soon have to literally climb up the mountain. The problem is that there’s nowhere to hide on the narrow trail, so you can easily be spotted. If this happens, the enemies will call in a combat helicopter, which we shouldn’t shoot down if we want to complete the game non-lethally. There’s a way to reduce encounters—there are gaps in the rocks below that not only shorten the path, but also serve as cover.
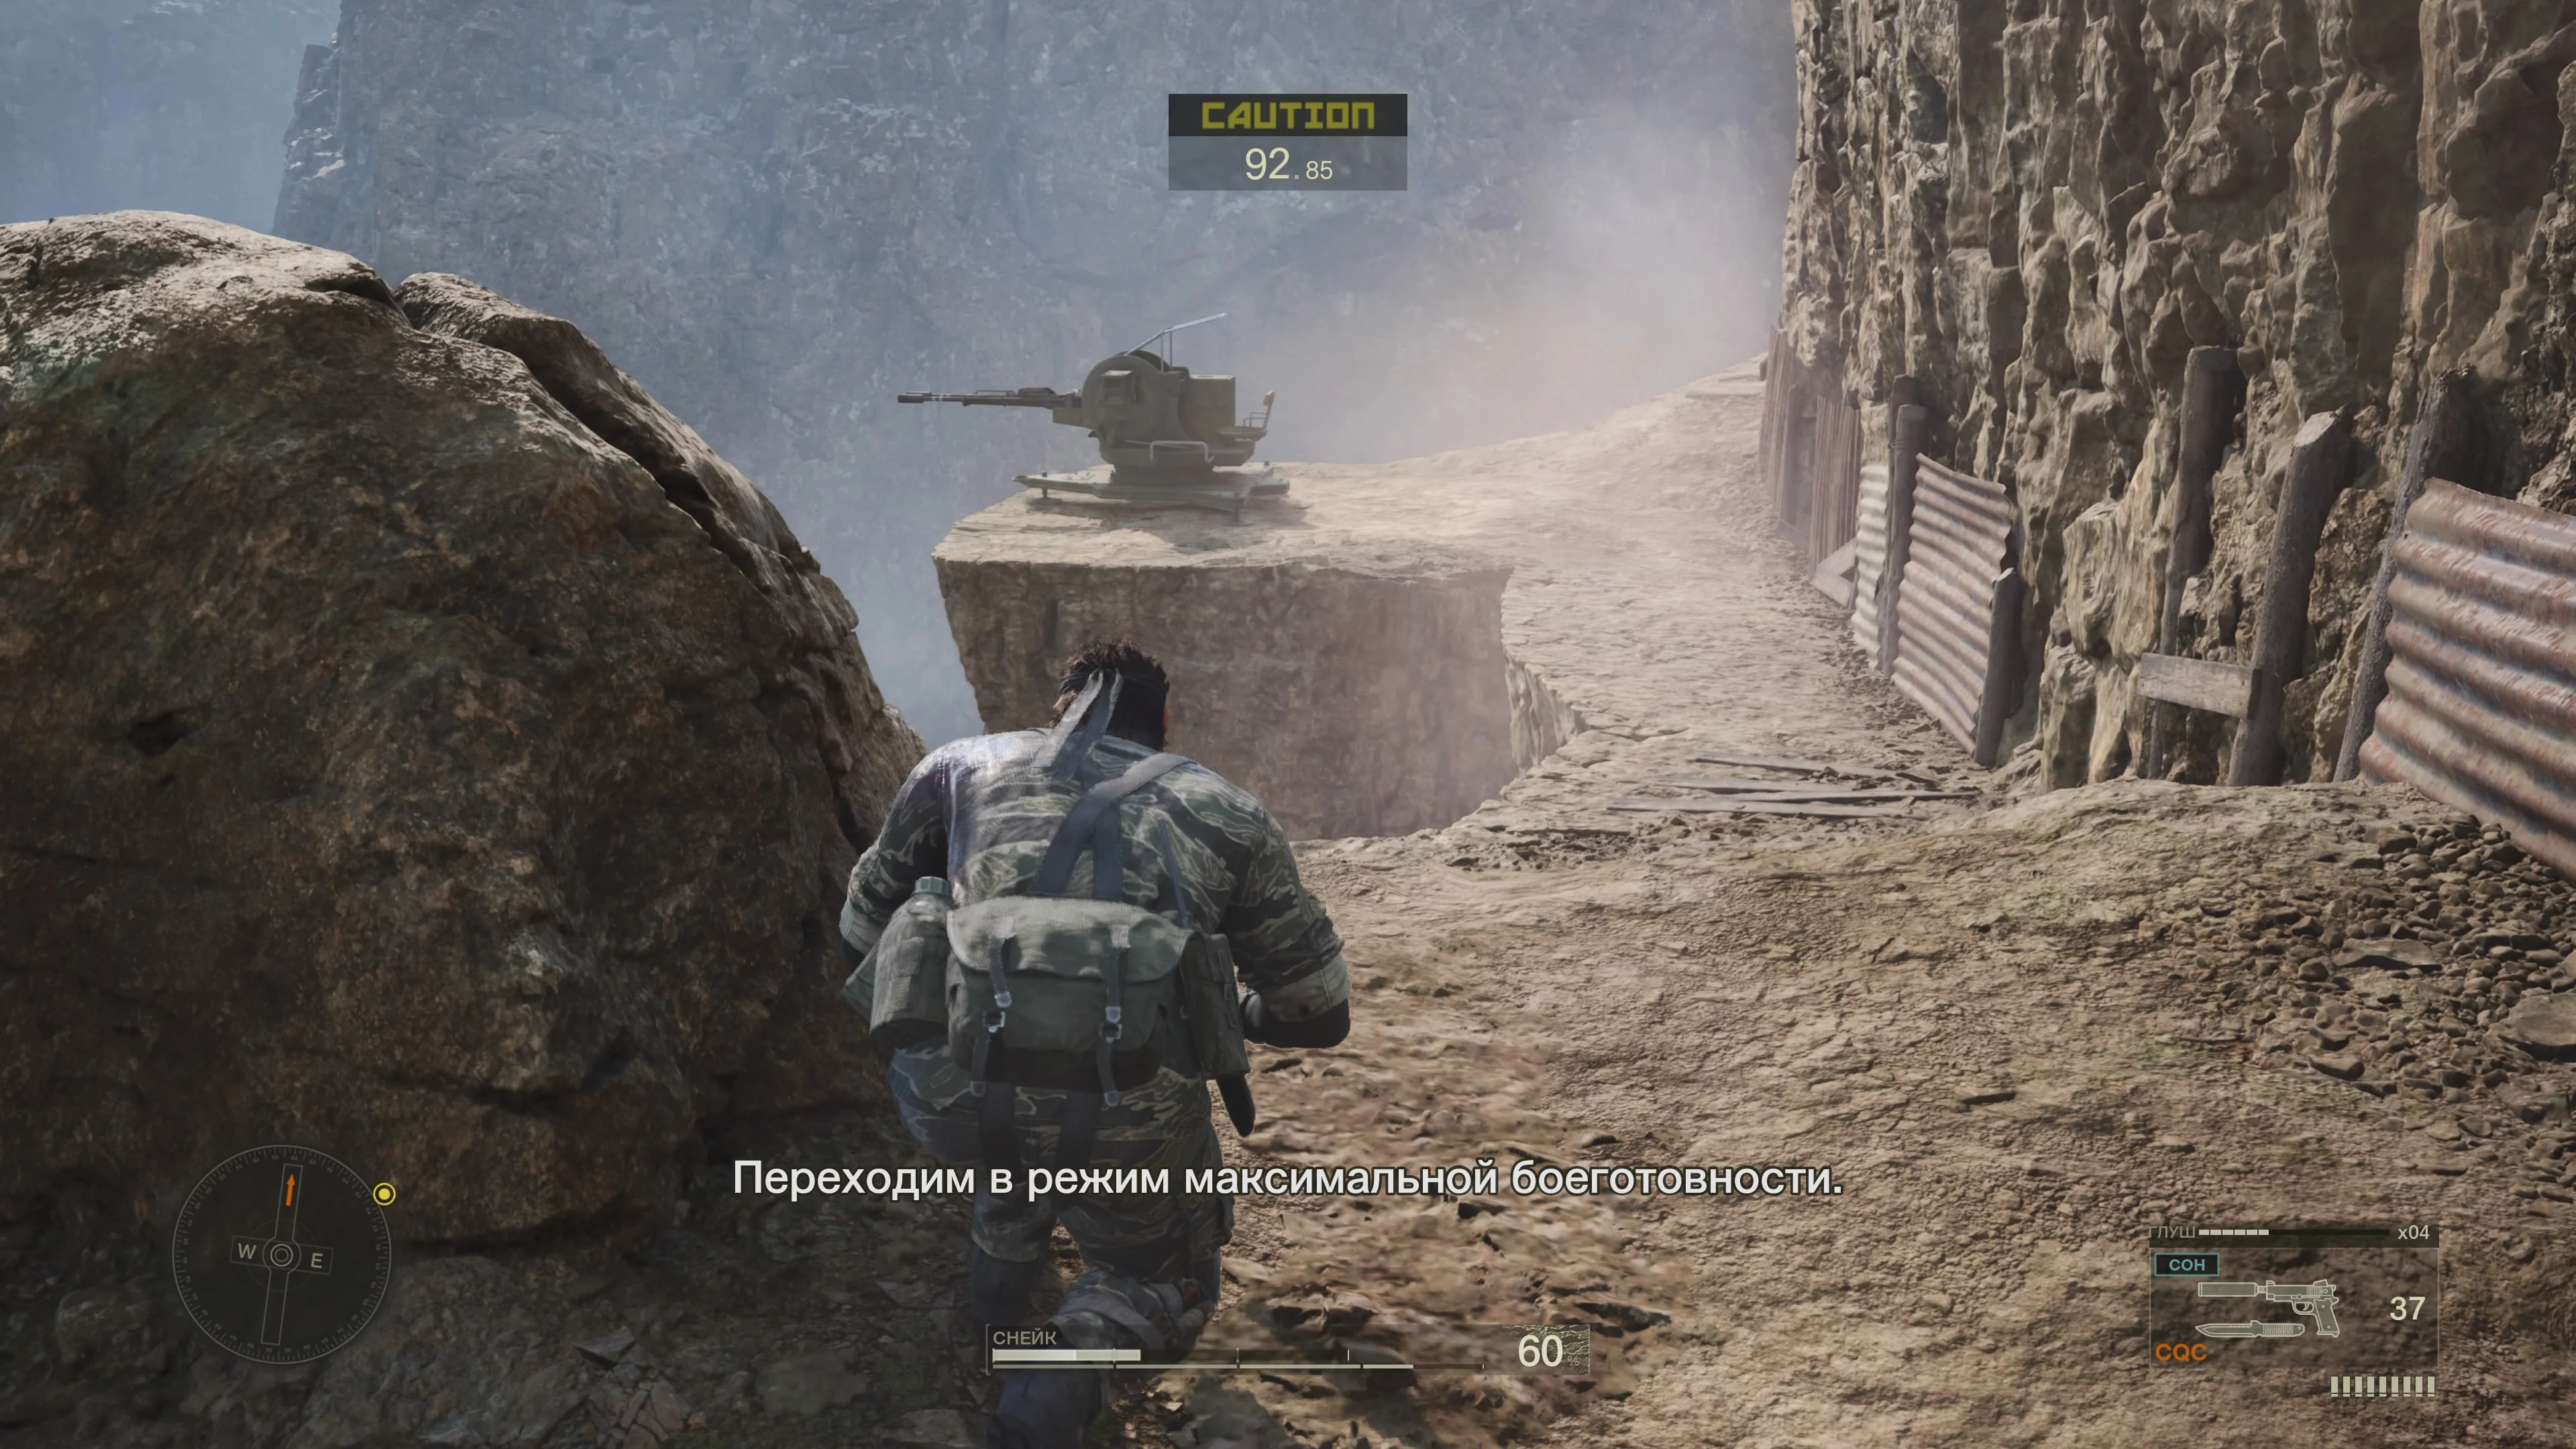
When you reach the top and see the houses, go inside to pick up the RPG, though it’s useless for us. Move to the new location regardless, even if the soldiers are searching for you. You’ll see a base and a wide trench in the center. Jump into it.
Make your way to the end and you’ll see a tunnel. Go through it and then another one. This way you’ll reach the end of the base, bypassing all the soldiers. Climb to the surface through the structure. Ahead are only two soldiers, which can be taken out with the tranquilizer. Head to the objective marker and watch the cutscene.
After the cutscene, you’ll find yourself on the mountain in front of the base. Go back and enter the trench again, but now there will be new enemies—flamethrower soldiers. They are extremely dangerous, so don’t rush, so you don’t accidentally get caught in their fire. You need to reach the red door almost in the center of the base. Once there by any means, go down into the tunnel. Collect ammo along the way. When you reach the balcony, turn left and go to the end. Notice the frog on the pipes ahead. It’s best seen from the center of the balcony. Use a sniper rifle to shoot it. Jump over the railing and meet the boss named The Fury.
How to Defeat The Fury Non-Lethally
The Fury is much easier than The End, but the arena where the fight takes place is extremely inconvenient, so you’re more likely to die because of it than the enemy. You are in several narrow corridors. Some of them connect in the middle, but generally, passages between corridors exist only at the beginning and end.
The Fury patrols the area and covers the surface with fire. You need to catch him when he’s just walking. On average, you’ll have time to make three shots with the tranquilizer. As soon as the enemy falls, run to another corridor, because The Fury will suddenly take off and rush through the entire corridor, burning everything. Pay attention to the red pipes under the ceiling. Not all corridors have them, but where they do—shoot the pipes to extinguish the flames. This even works with the tranquilizer. Overall, there shouldn’t be any other difficulties. Always keep both ends of the corridor in view, otherwise Snake will be caught off guard. After a non-lethal victory, take the camouflage and climb the ladder to the enemy base.
How to Find the Lab in Grozny Grad
Climb the external ladder and go right. There is a gap at the bottom of the building. Once in the new area, you’ll see a car on the left. Immediately crawl under it. A soldier will appear, walking right past you. Take him out and climb onto the roof using the ladder to the left. Go to the opposite edge and wait for the guard to move left. Jump down and you’ll see a hole in the floor—this is a tunnel. Climb in, then go right. At the fork, look left—a frog.
Crawl to the end and carefully peek out. You should see a moving spotlight. You need to keep to the right side and circle around the building. There are many guards there, so sneaking through will be difficult.
Overall, raising an alarm is not a big problem. From this position, it’s very convenient to shoot soldiers with the tranquilizer, and if something goes wrong—you can hide back in the tunnel.
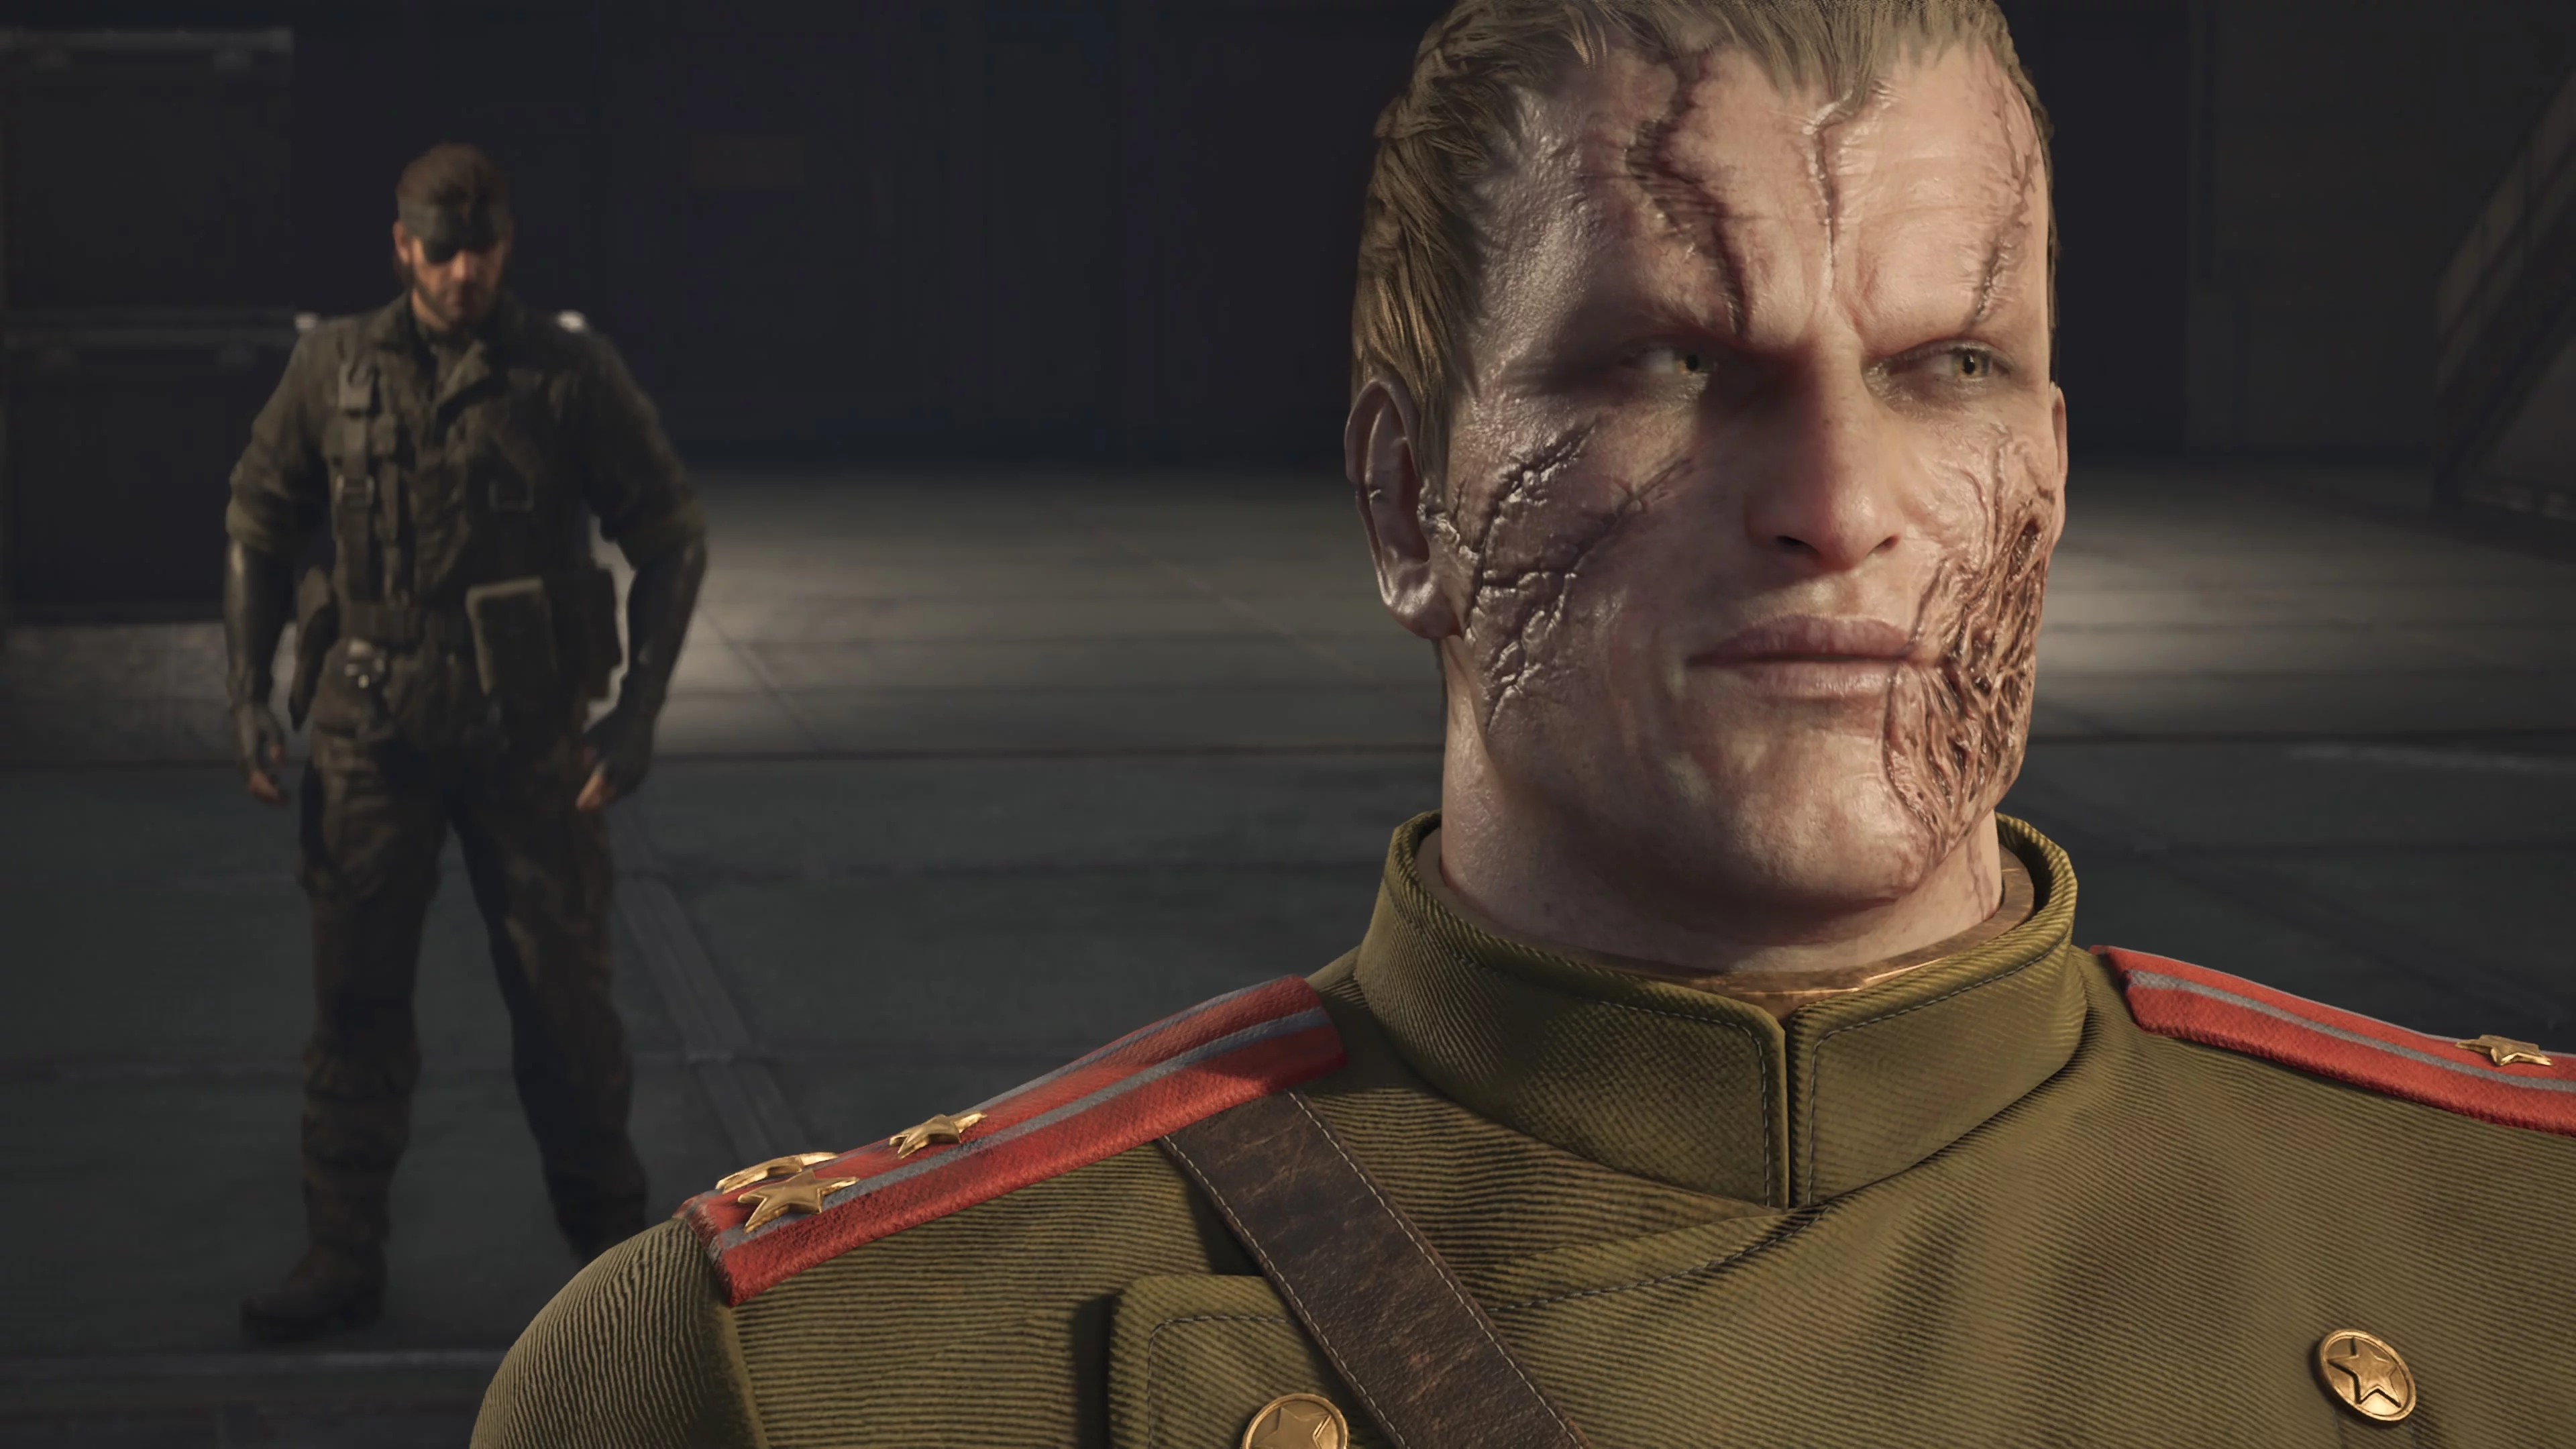
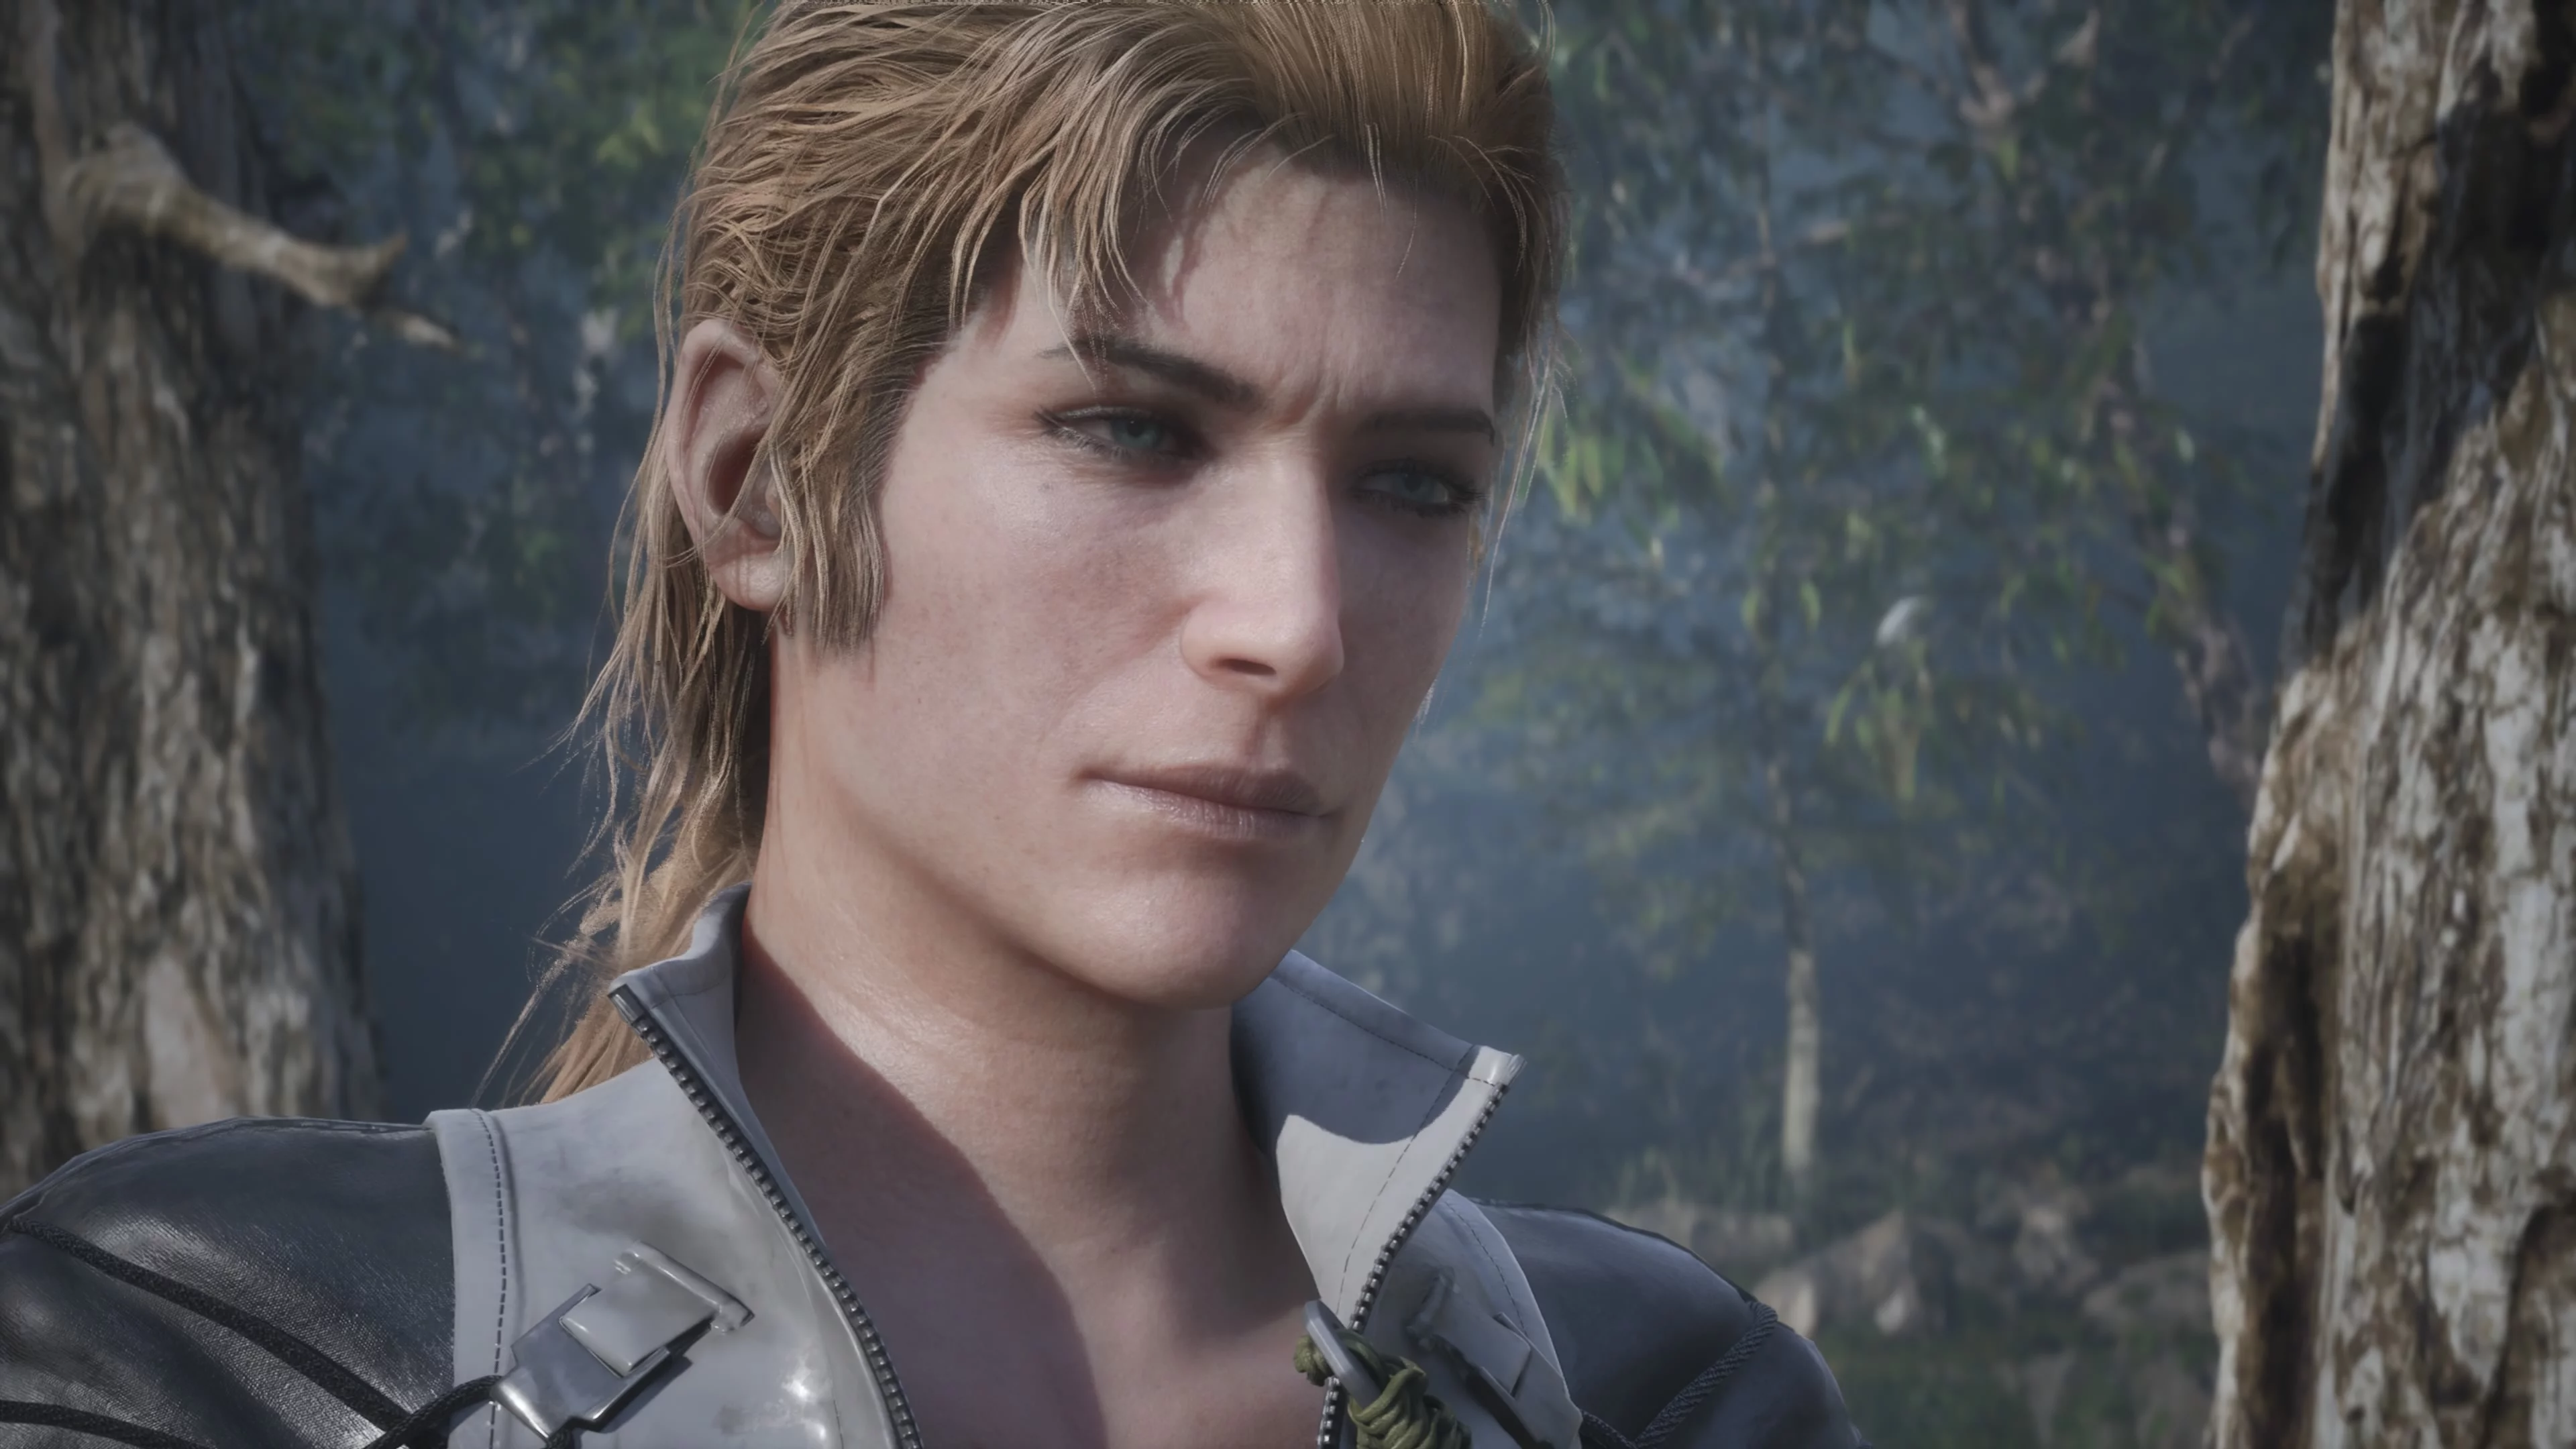
How to Find Raikov
Once in the east wing of the lab, put on the lab coat; this will allow you to look around. Your task is to find Raikov—the anime-style blond commander of the Soviet army and Volgin’s confidant. Overall, this is not difficult. If the target is nowhere to be seen, go to the far doors on the left. One of them won’t open. Eva will hint that you need to interrogate one of the soldiers. Almost all of the soldiers patrolling the area are conveniently standing in deserted spots, but don’t forget to remove the scientist camouflage. Once you get the radio frequency, go to the door and open it by entering the right combination on the radio. The game will prompt you by marking the required frequency with a green lock. Inside the room are ammo and a submachine gun.
For some reason, immediately after this, we noticed Raikov. Calmly follow him to the second floor of the lab to the lockers. There will be no one here, so take him out to trigger a cutscene and take his uniform. Snake will shove the Soviet commander in a thong into a locker and take the outfit. For unknown reasons, you have had Raikov’s mask in your face paint options since the very start of the game. By putting it on, you become an exact copy of the target. There are more rooms in this part of the lab, but there’s nothing there except annoying scientists who will immediately raise the alarm if they see you in a lab coat. There’s no point in going there, so from the lockers, immediately head through the door on the right to enter the central lab.
How to Escape from Grozny Grad
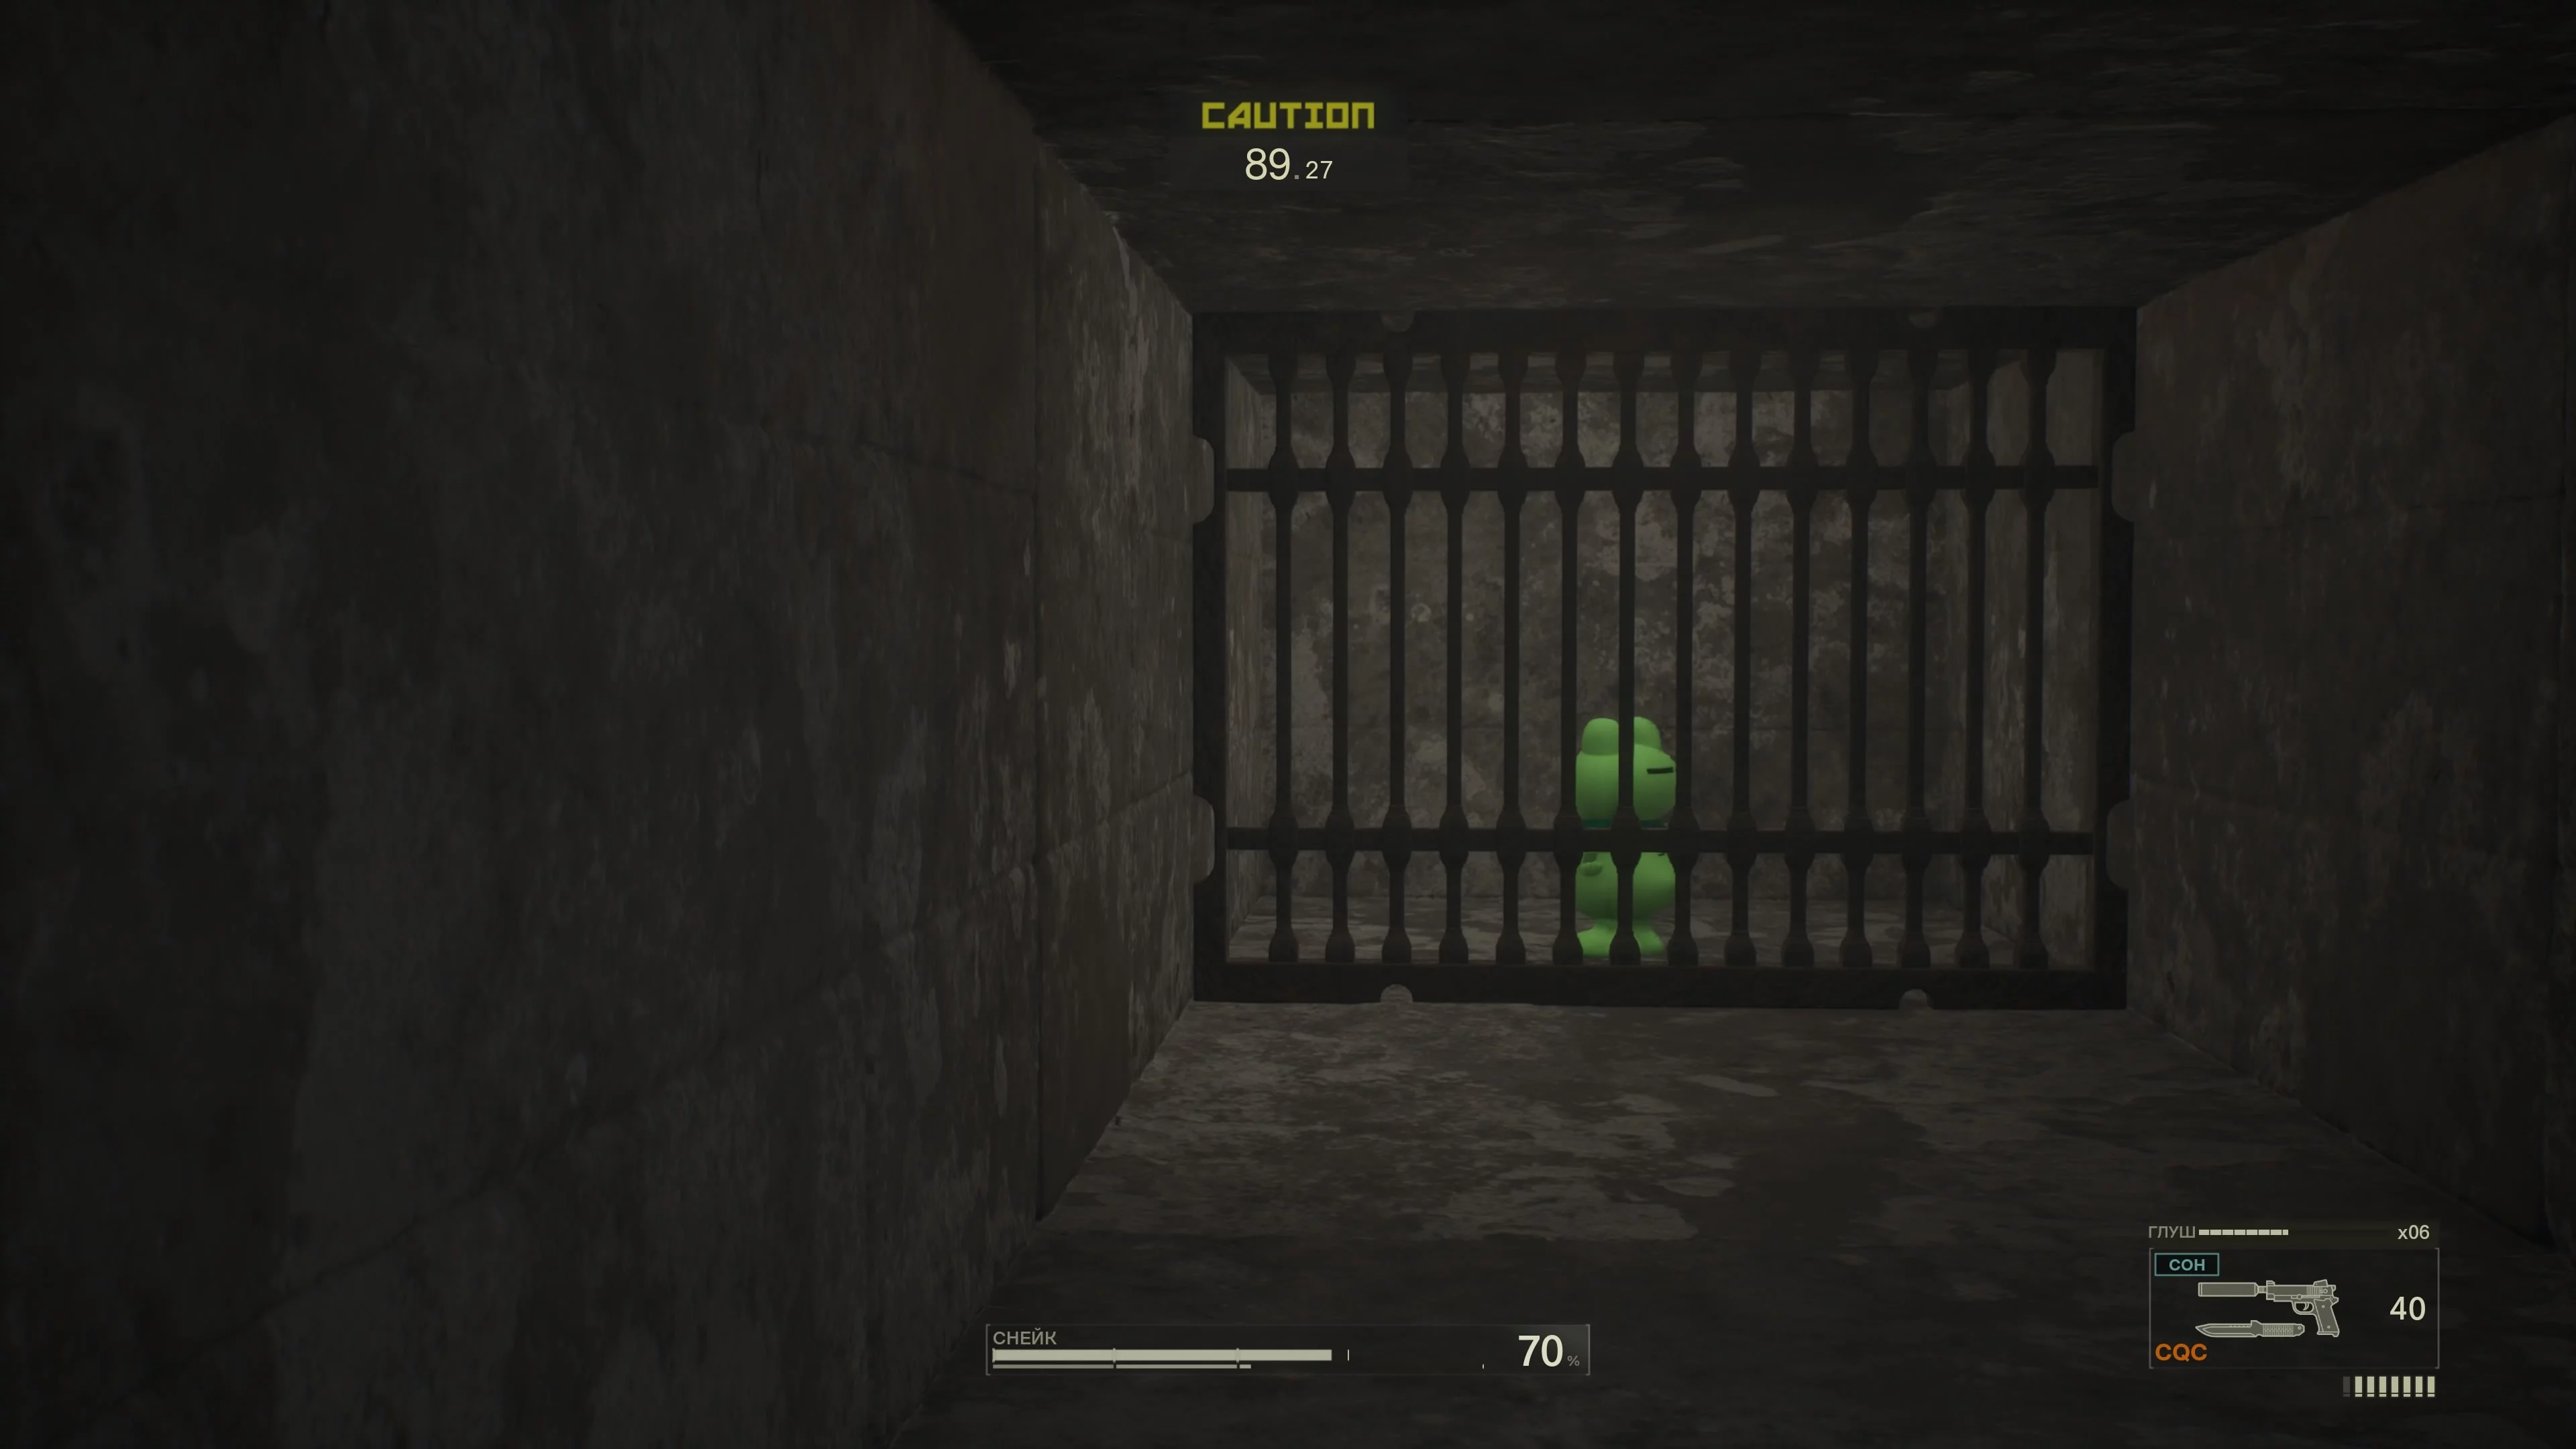
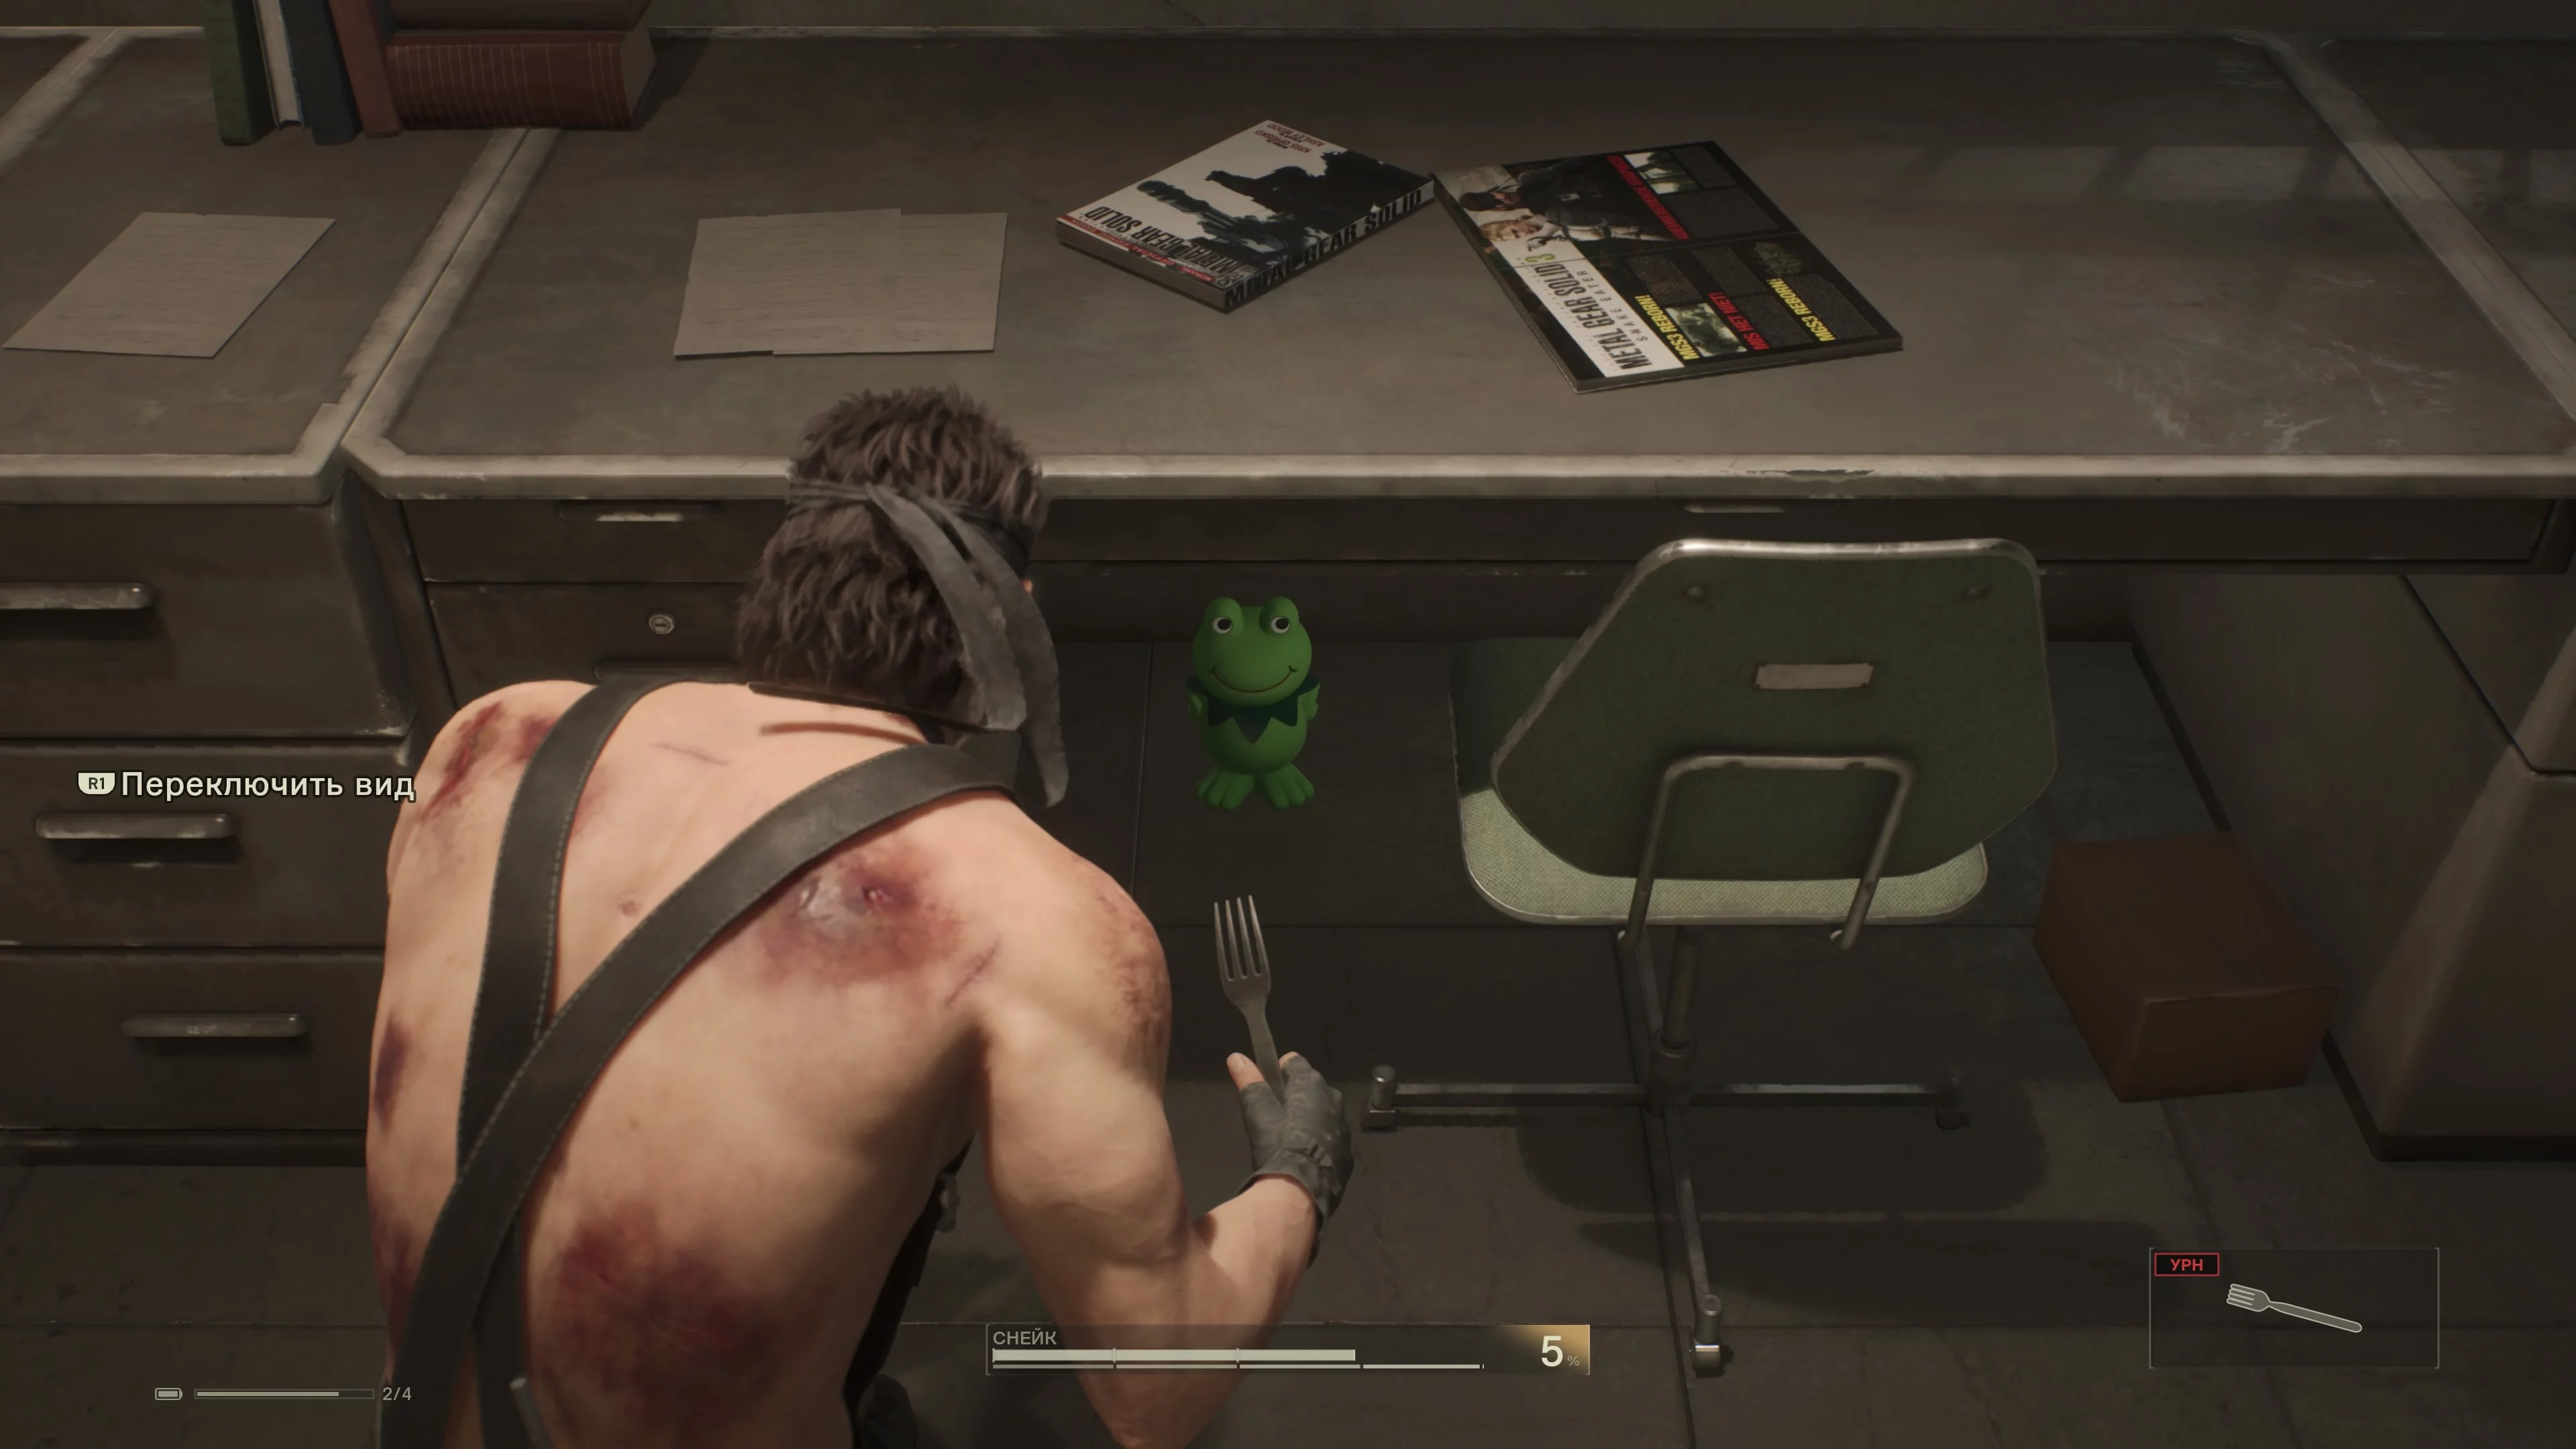
Go down the corridor and watch the long cutscene. Once you’re in the cell, pick up the fork and remove the bullet and the transmitter. It will turn out to be a fake death pill. Wait for the guard to walk by and use it. When the gate opens and the guard comes closer, take the revival pill and take out the soldier.
Go to the guard room on the right. There will be a frog under the table.
To collect it, throw a smoke grenade, as you can’t reach it with the fork. Go down the corridor to the end. On the right is a blue door—with some supplies behind it. Now exit to another area—Grozny Grad, southeast.
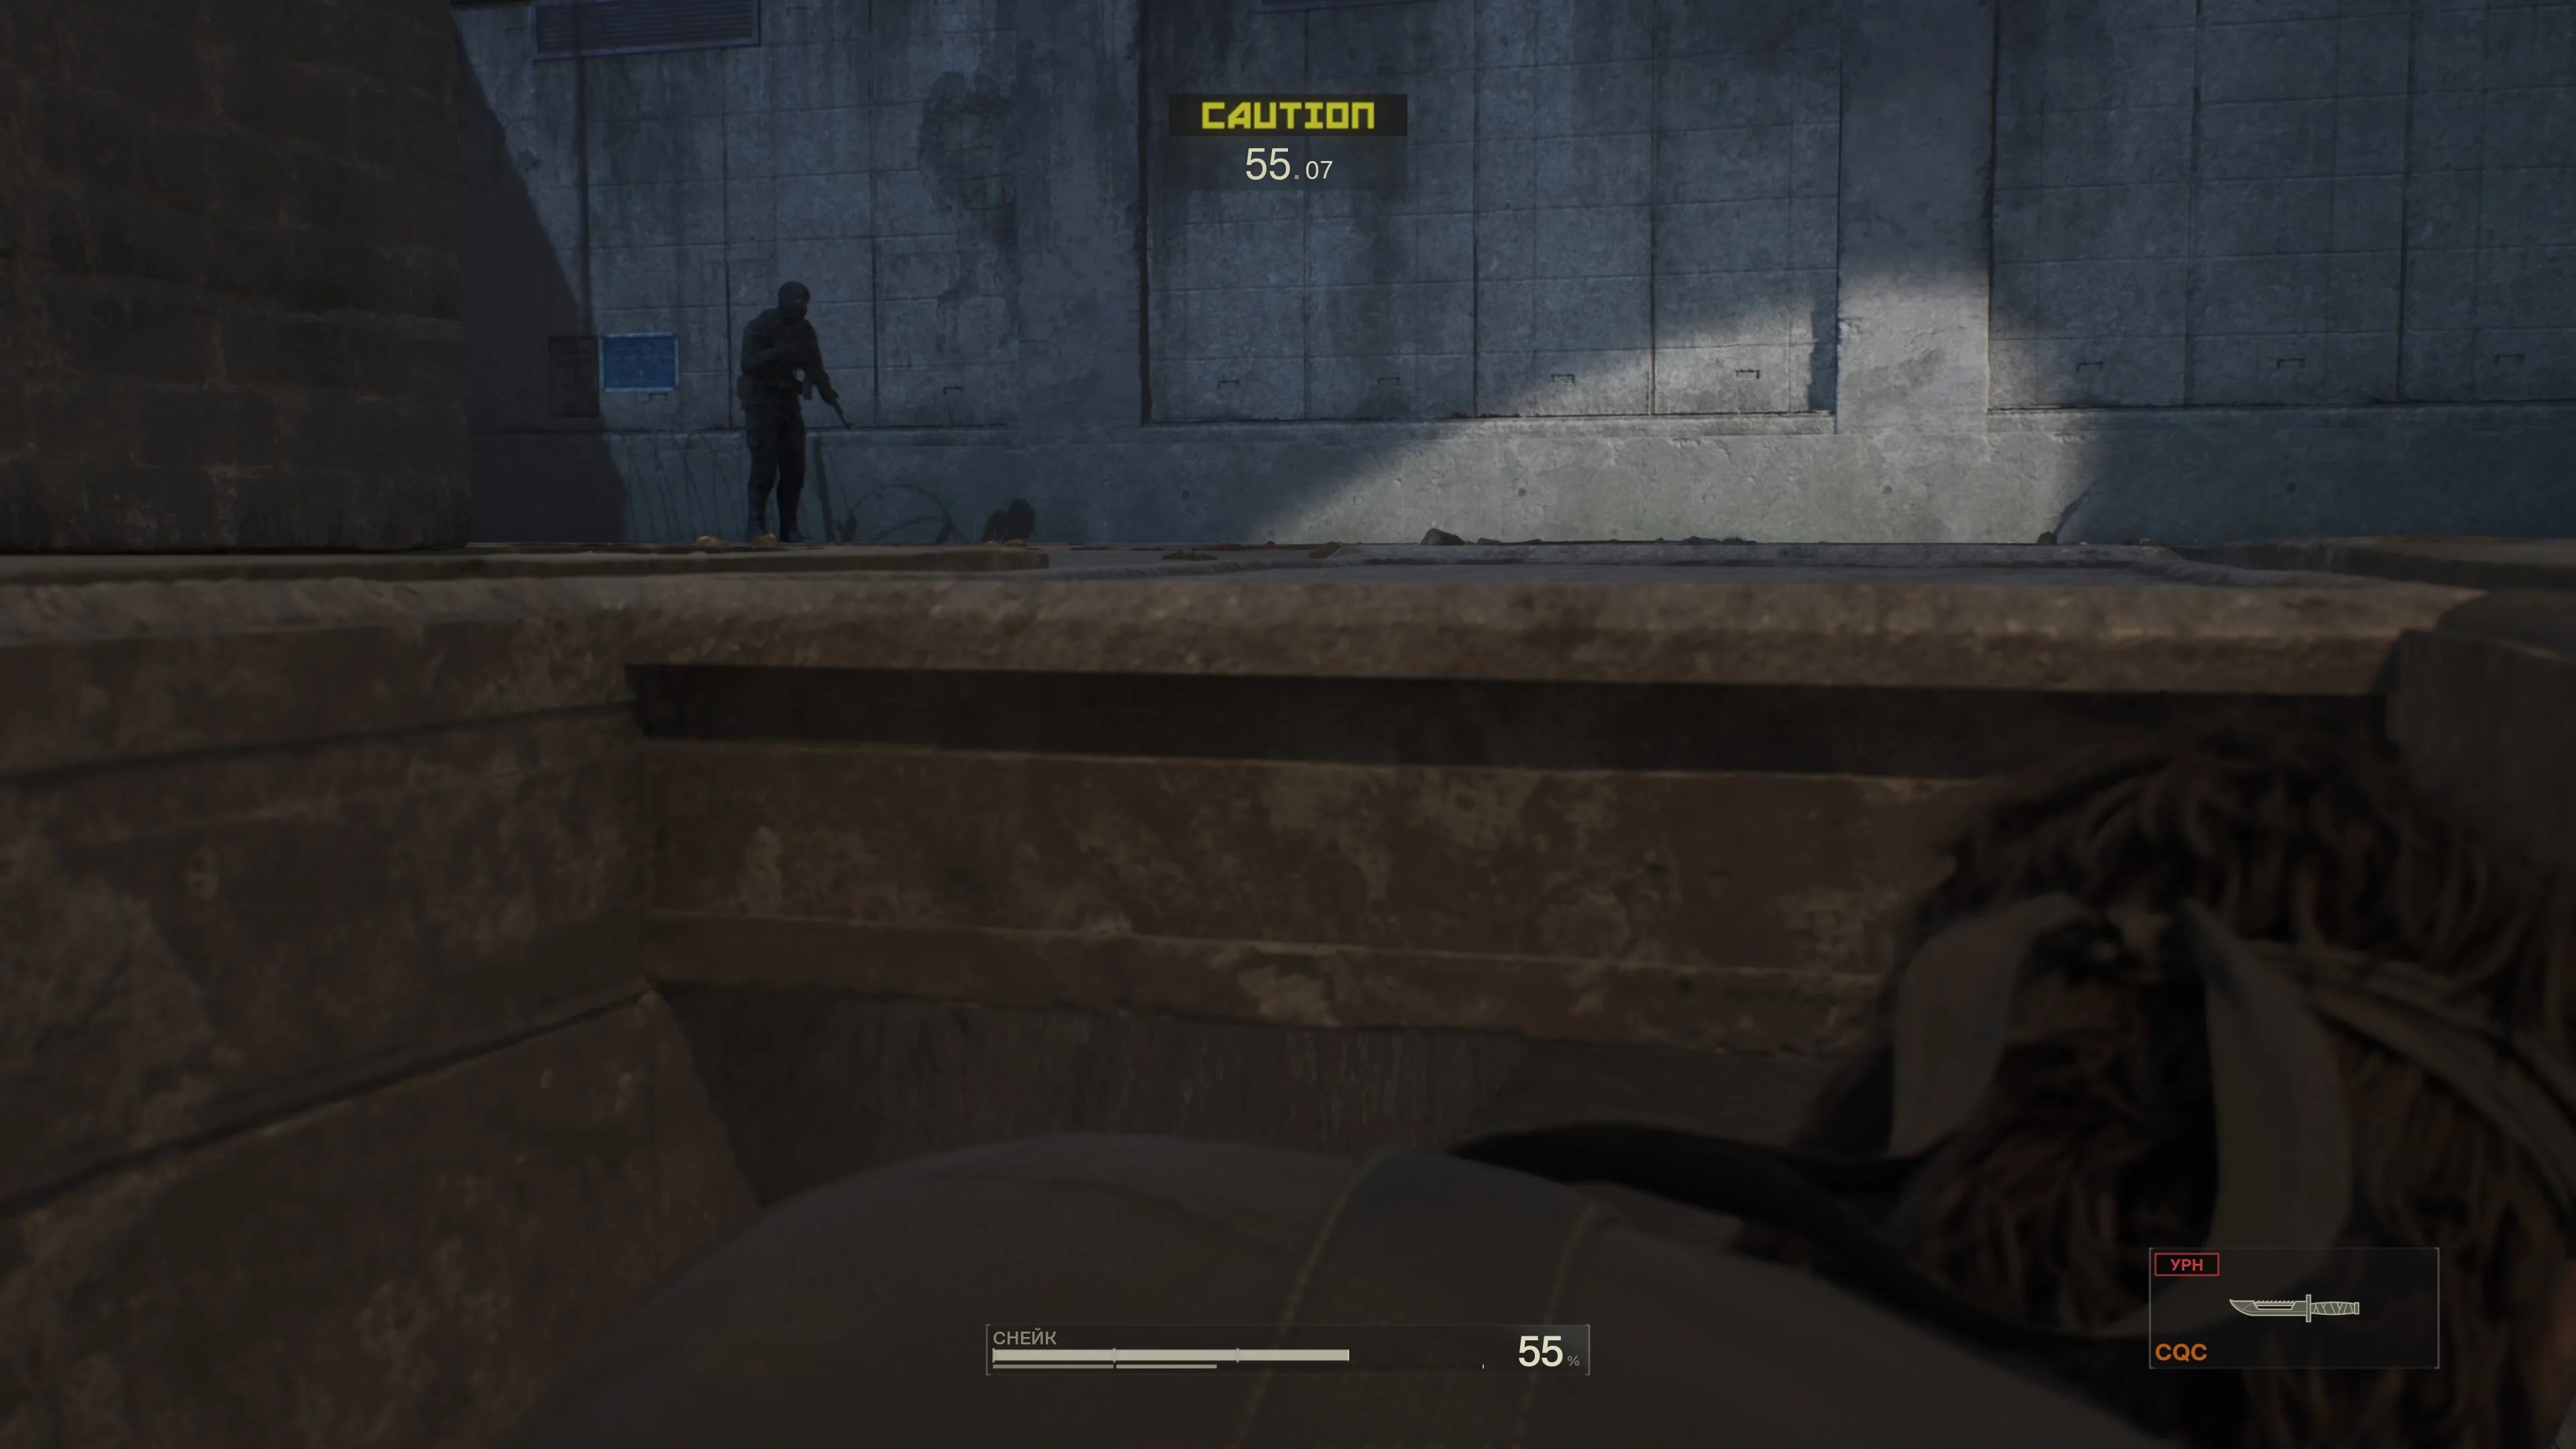
Once outside, go left, crawl through the gap in the building, then move toward the objective marker without raising the alarm. You have nothing to fight with, so don’t get caught.
Before the area with the descent into the sewers, a dog is sleeping—don’t wake it. Once below, listen to the conversation with Eva. Go down the ladder until you reach the channel with water. Go left. You can walk through the water, but there are gaps in the walls to the right and left to crawl through. You need the very last gap (it doesn’t matter if it’s on the right or left) to bypass the grate in the middle and reach the place where you can dive into the water. Here you’ll most likely encounter dogs, which can be temporarily neutralized with smoke grenades. Move forward until you see a cutscene.
How to Defeat The Sorrow Non-Lethally
Immediately after, you’ll face The Sorrow. The difficulty of this fight depends on your only previous decision—how many you have killed. Don’t pay attention to the dead fish and bosses. They count as dead anyway, even if you defeated them with tranquilizers. You can’t fight The Sorrow. The ghosts of your victims will come at you. Try to avoid them. Sometimes The Sorrow casts a ghostly ray. You can dodge it by diving into the water. Reach The Sorrow’s skeleton, and Snake will die. Don’t press continue, instead activate the revival pill.
When you return to the real world, there will be a frog on the right.
Go upstream to the waterfall. There will be no threats. Behind the waterfall is a cave and a cutscene. After it, you’ll get your equipment back.
How to Blow Up the Shagohod’s Fuel
Go down the corridor. You will also receive The Sorrow’s camouflage. Pay attention to the live frogs—catch them with the tranquilizer. They’ll come in handy later. At the exit from the tunnel, pick up the box and climb the ladder.
You are back at the Grozny Grad base again. You need to infiltrate the same laboratory you’ve already visited, and then get to the Shagohod. Once inside, put on the scientist camouflage. However, the Shagohod’s mechanics will recognize you. The objective is to plant 4 C3 charges on the fuel tanks.
All 4 are located at the far end of the hall. The mechanics will quickly expose you, so be cautious. Place the charges any way you can—there are no specific recommendations here—after which a cutscene will start, and you’ll enter a fight with Volgin.
How to Defeat Volgin Non-Lethally
This fight is time-limited, but there’s enough time if you do everything correctly. The boss uses several electric attacks, which change depending on the situation. It’s important to remember a few things. First—the most annoying attack, a homing energy sphere, is activated only if you have a weapon in your hands. This move not only deals direct damage to Snake, but also instantly destroys your ammo. The only solution is to hold a knife or nothing at all. The second attack is shooting bullets from his hands. It spreads in a wide arc, so it’s important to have space to dodge.
Shooting Volgin, even with a tranquilizer, is usually useless, as his force field deflects projectiles. Your task is to catch the boss at moments when the field is down. This can be done in several ways or with one tactic. At the start, put on Raikov’s mask—it will stop the colonel for a couple of seconds and give you a chance to shoot. After that, you can remove the mask, as it’s useless. Put away all weapons and dodge attacks until Volgin rushes at Snake. At this moment, it’s important to perform a close-quarters move and knock out the colonel first. Otherwise, you’ll take a painful hit. When Volgin falls, quickly switch your equipment to the tranquilizer or the sniper rifle obtained after the fight with The End. It’s also non-lethal, but hits much harder. You’ll have enough time for one shot, then repeat the process.
When the boss’s stamina bar drops to half or a bit lower, a cutscene will start, after which the second phase of the fight will begin. Now the colonel’s attacks become more dangerous. Instead of one sphere, there will be two, and the boss will more often be protected by a shield and attack with bullets in four directions. Your tactics won’t change, but you can make things easier for yourself.
Equip the frogs you caught and throw one at the colonel. For some reason, he’s very afraid of them and will immediately get distracted. This is your chance to deal additional damage. Two of your frogs are more than enough to tip the scales in Snake’s favor. Sometimes the colonel starts yelling at Ocelot—this is a chance to land a melee blow. Volgin also recharges his energy at the transformer. The situation here is variable. Sometimes we managed to deal damage or knock the boss down, and sometimes not. After your victory, you’ll receive camouflage. A cutscene will start, smoothly transitioning into the battle with the Shagohod.
How to Defeat the Shagohod
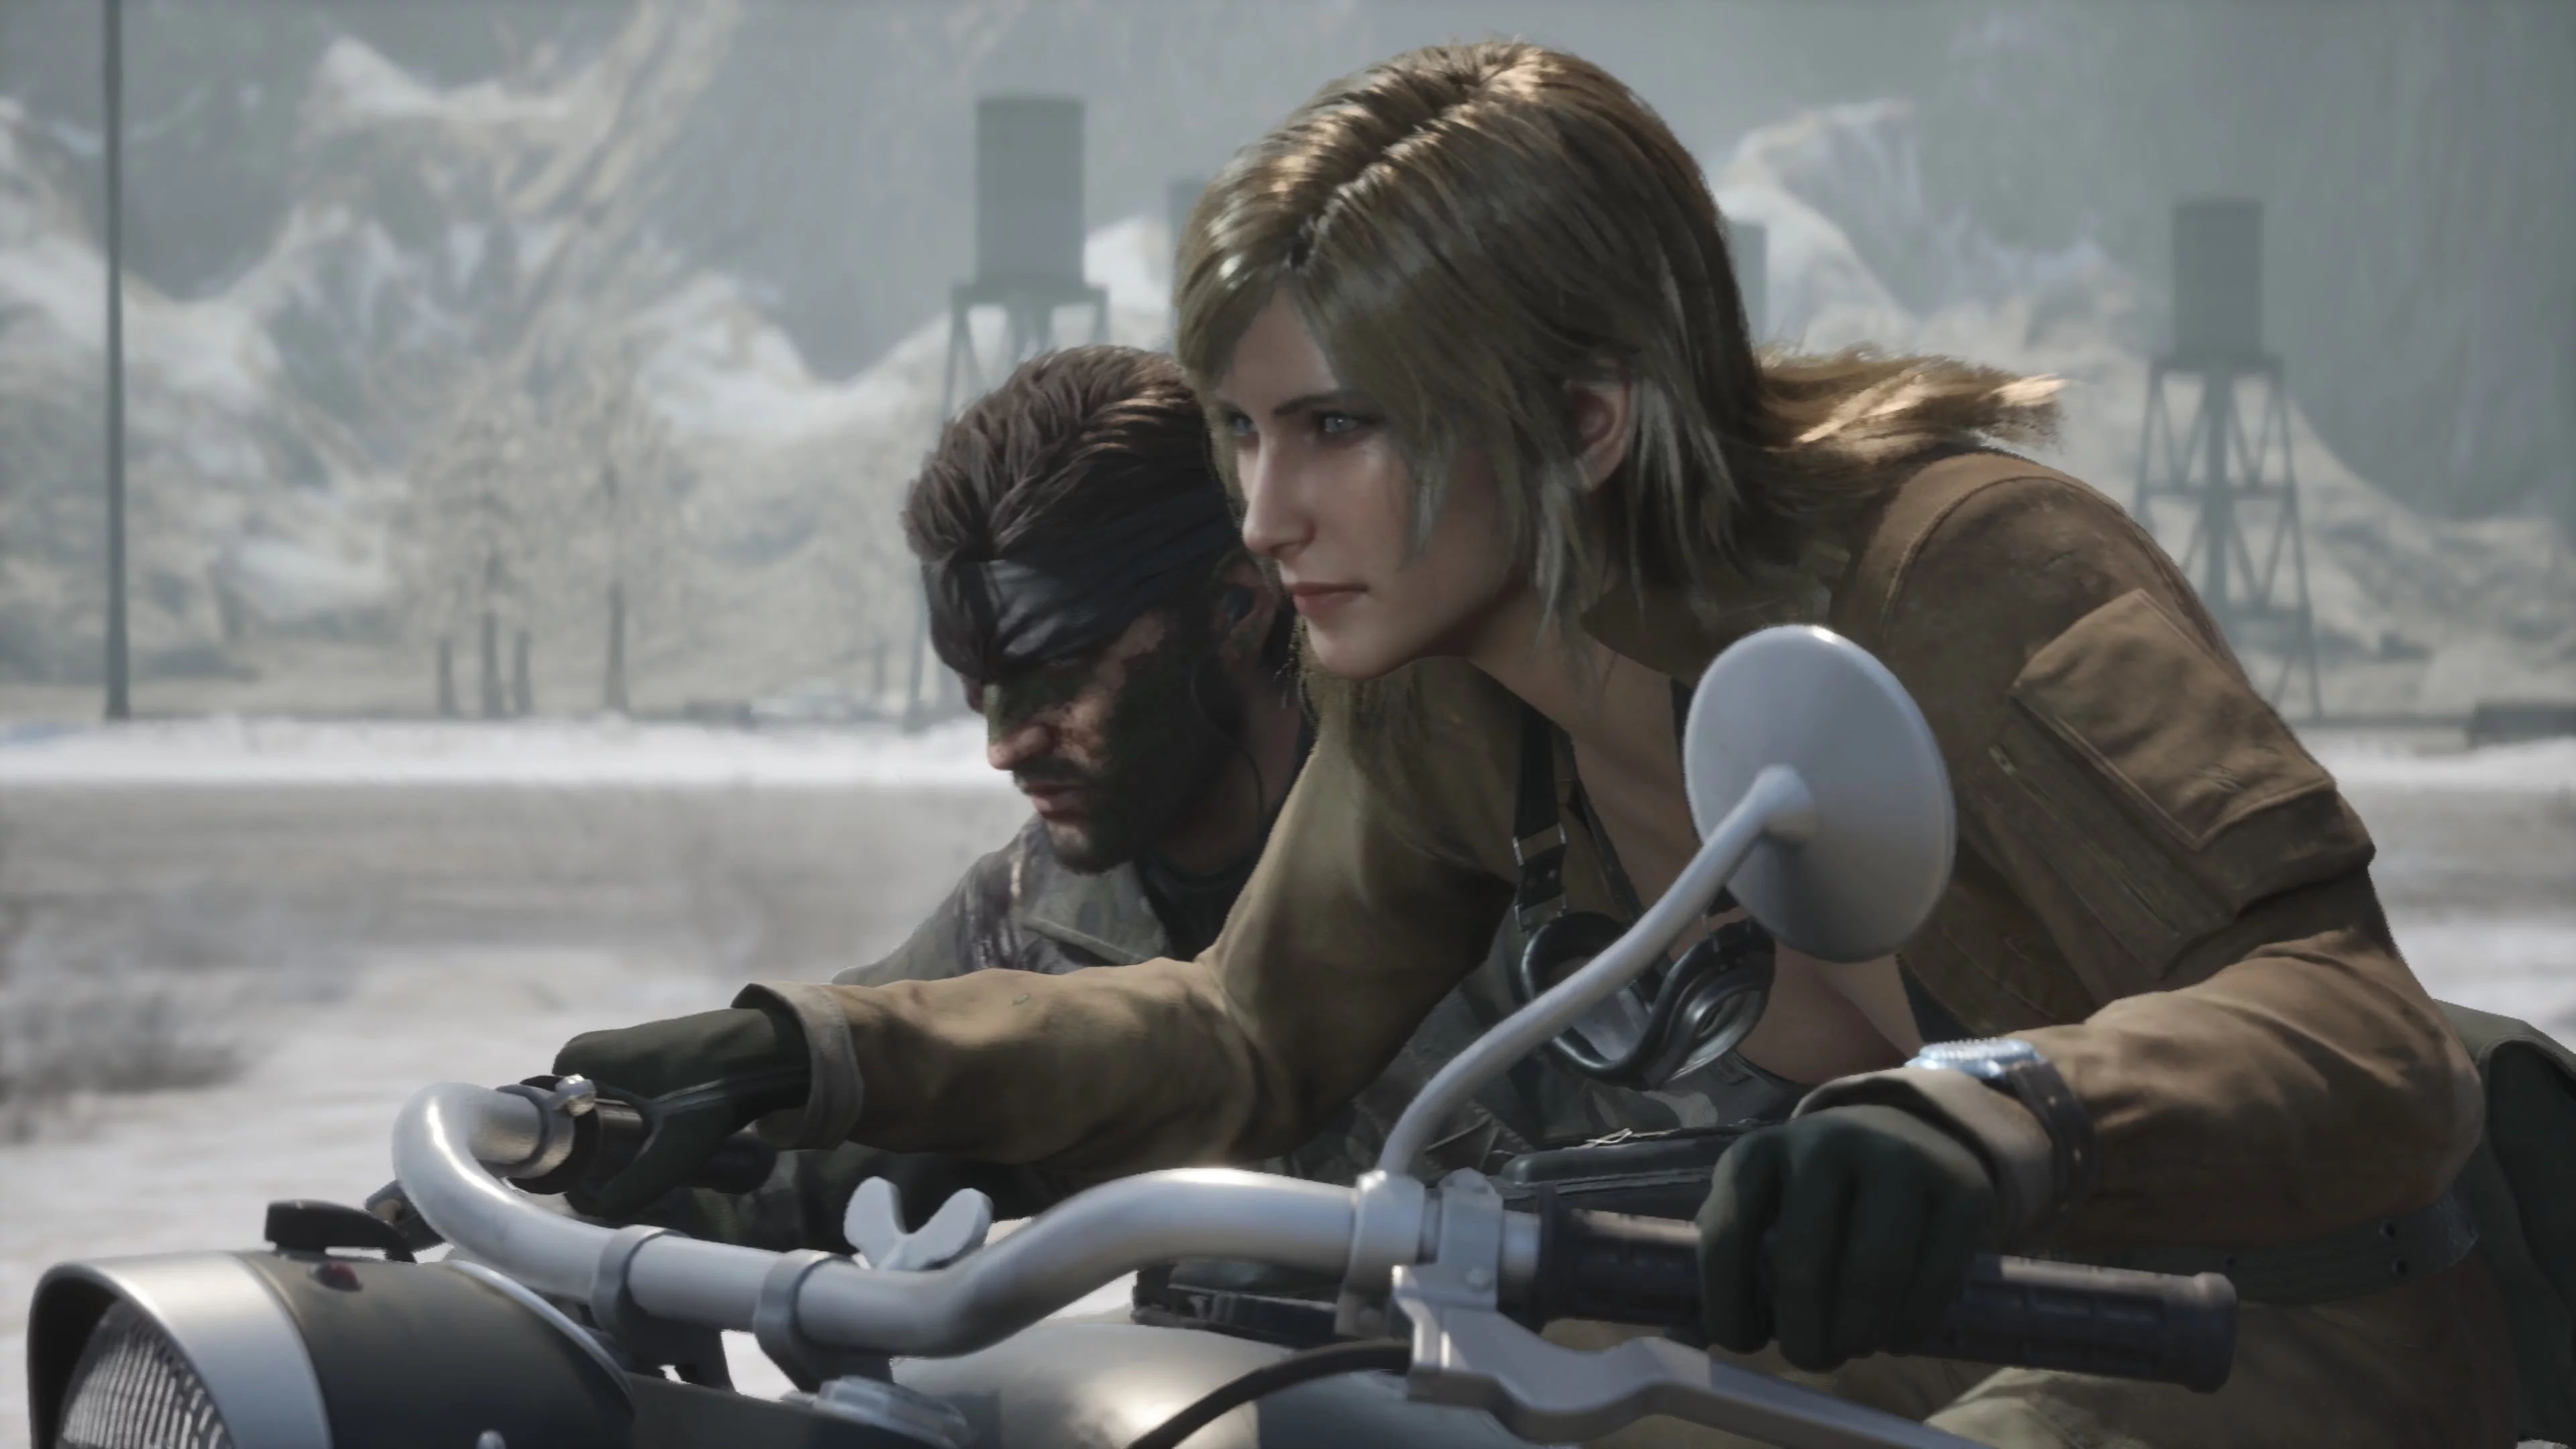
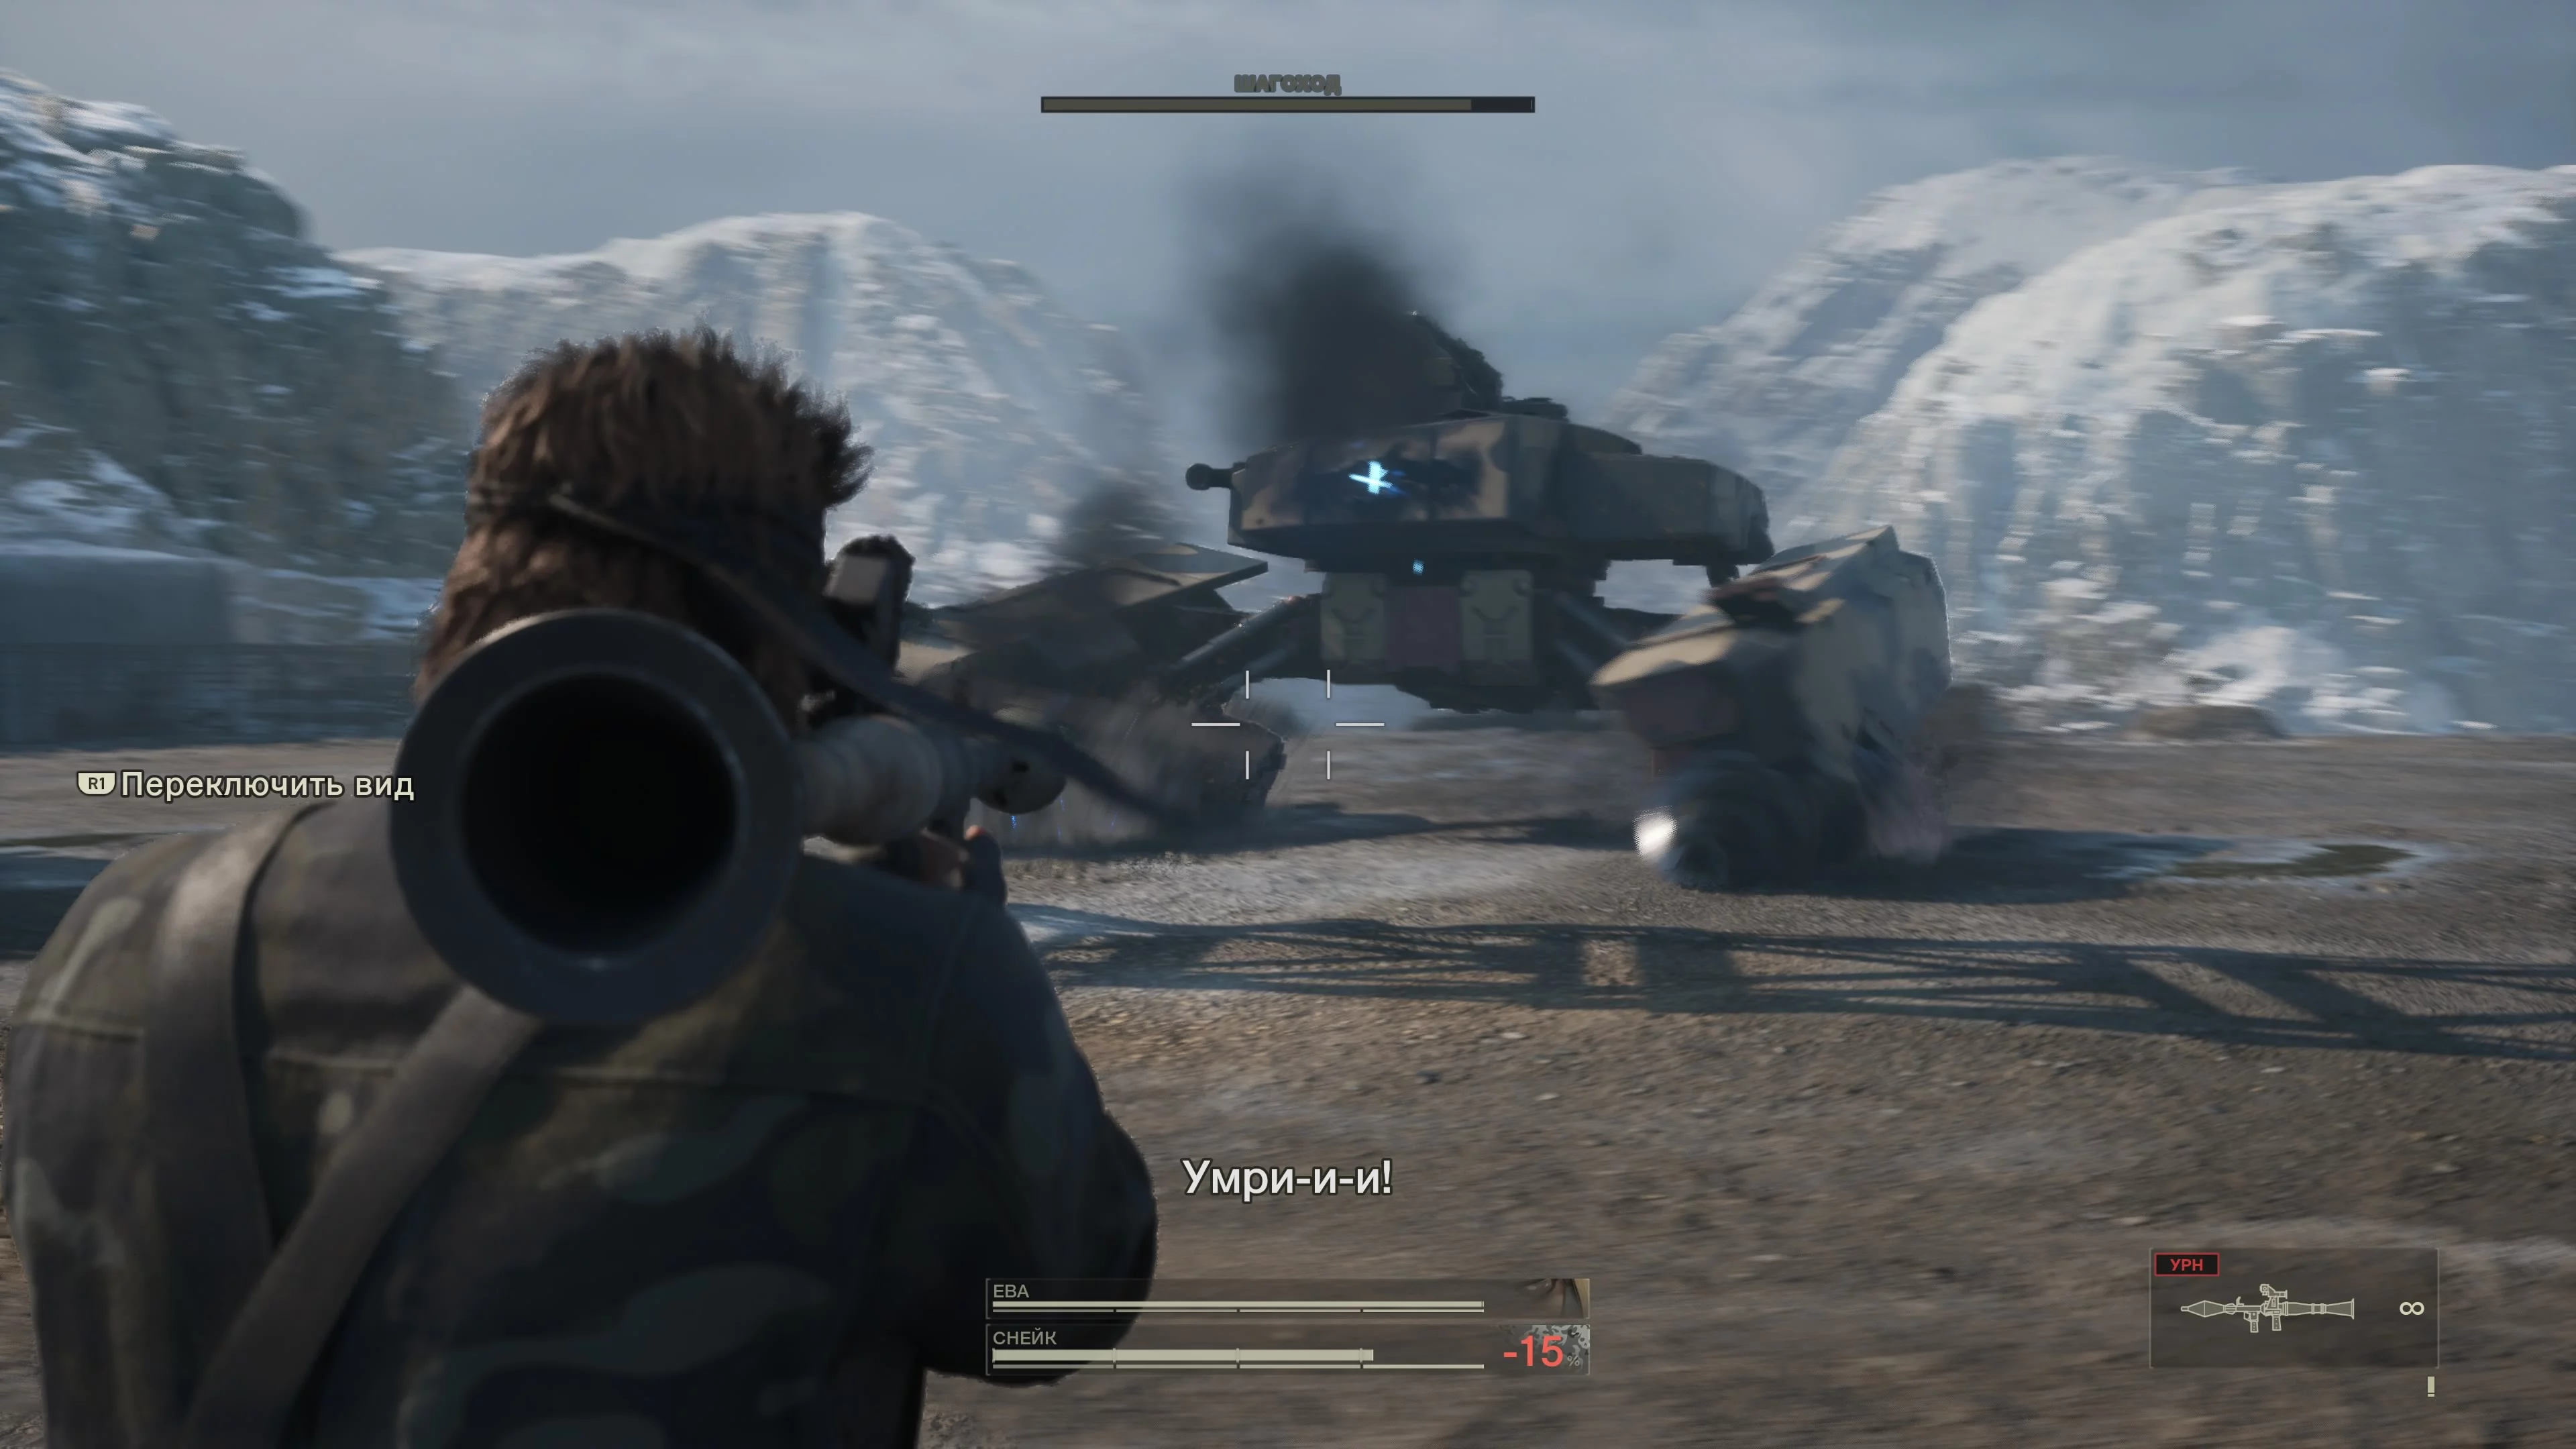
At the beginning, you can't do anything. Eva drives you on a motorcycle, and Snake's task is to shoot the soldiers. In this segment, it's extremely difficult to use non-lethal weapons. They fire slowly, and there are a lot of enemies. You can try, of course, but it's easier to take a machine gun or an assault rifle. The chase will drag on, but mechanically nothing will change. Eventually, you'll reach a bridge, which Eva will suggest blowing up to drown Volgin along with the Shagohod. Shoot the first bomb with your sniper rifle, then the second one at the right moment, when the tank is on the bridge. After the cutscene, you'll enter a new phase of the boss fight.
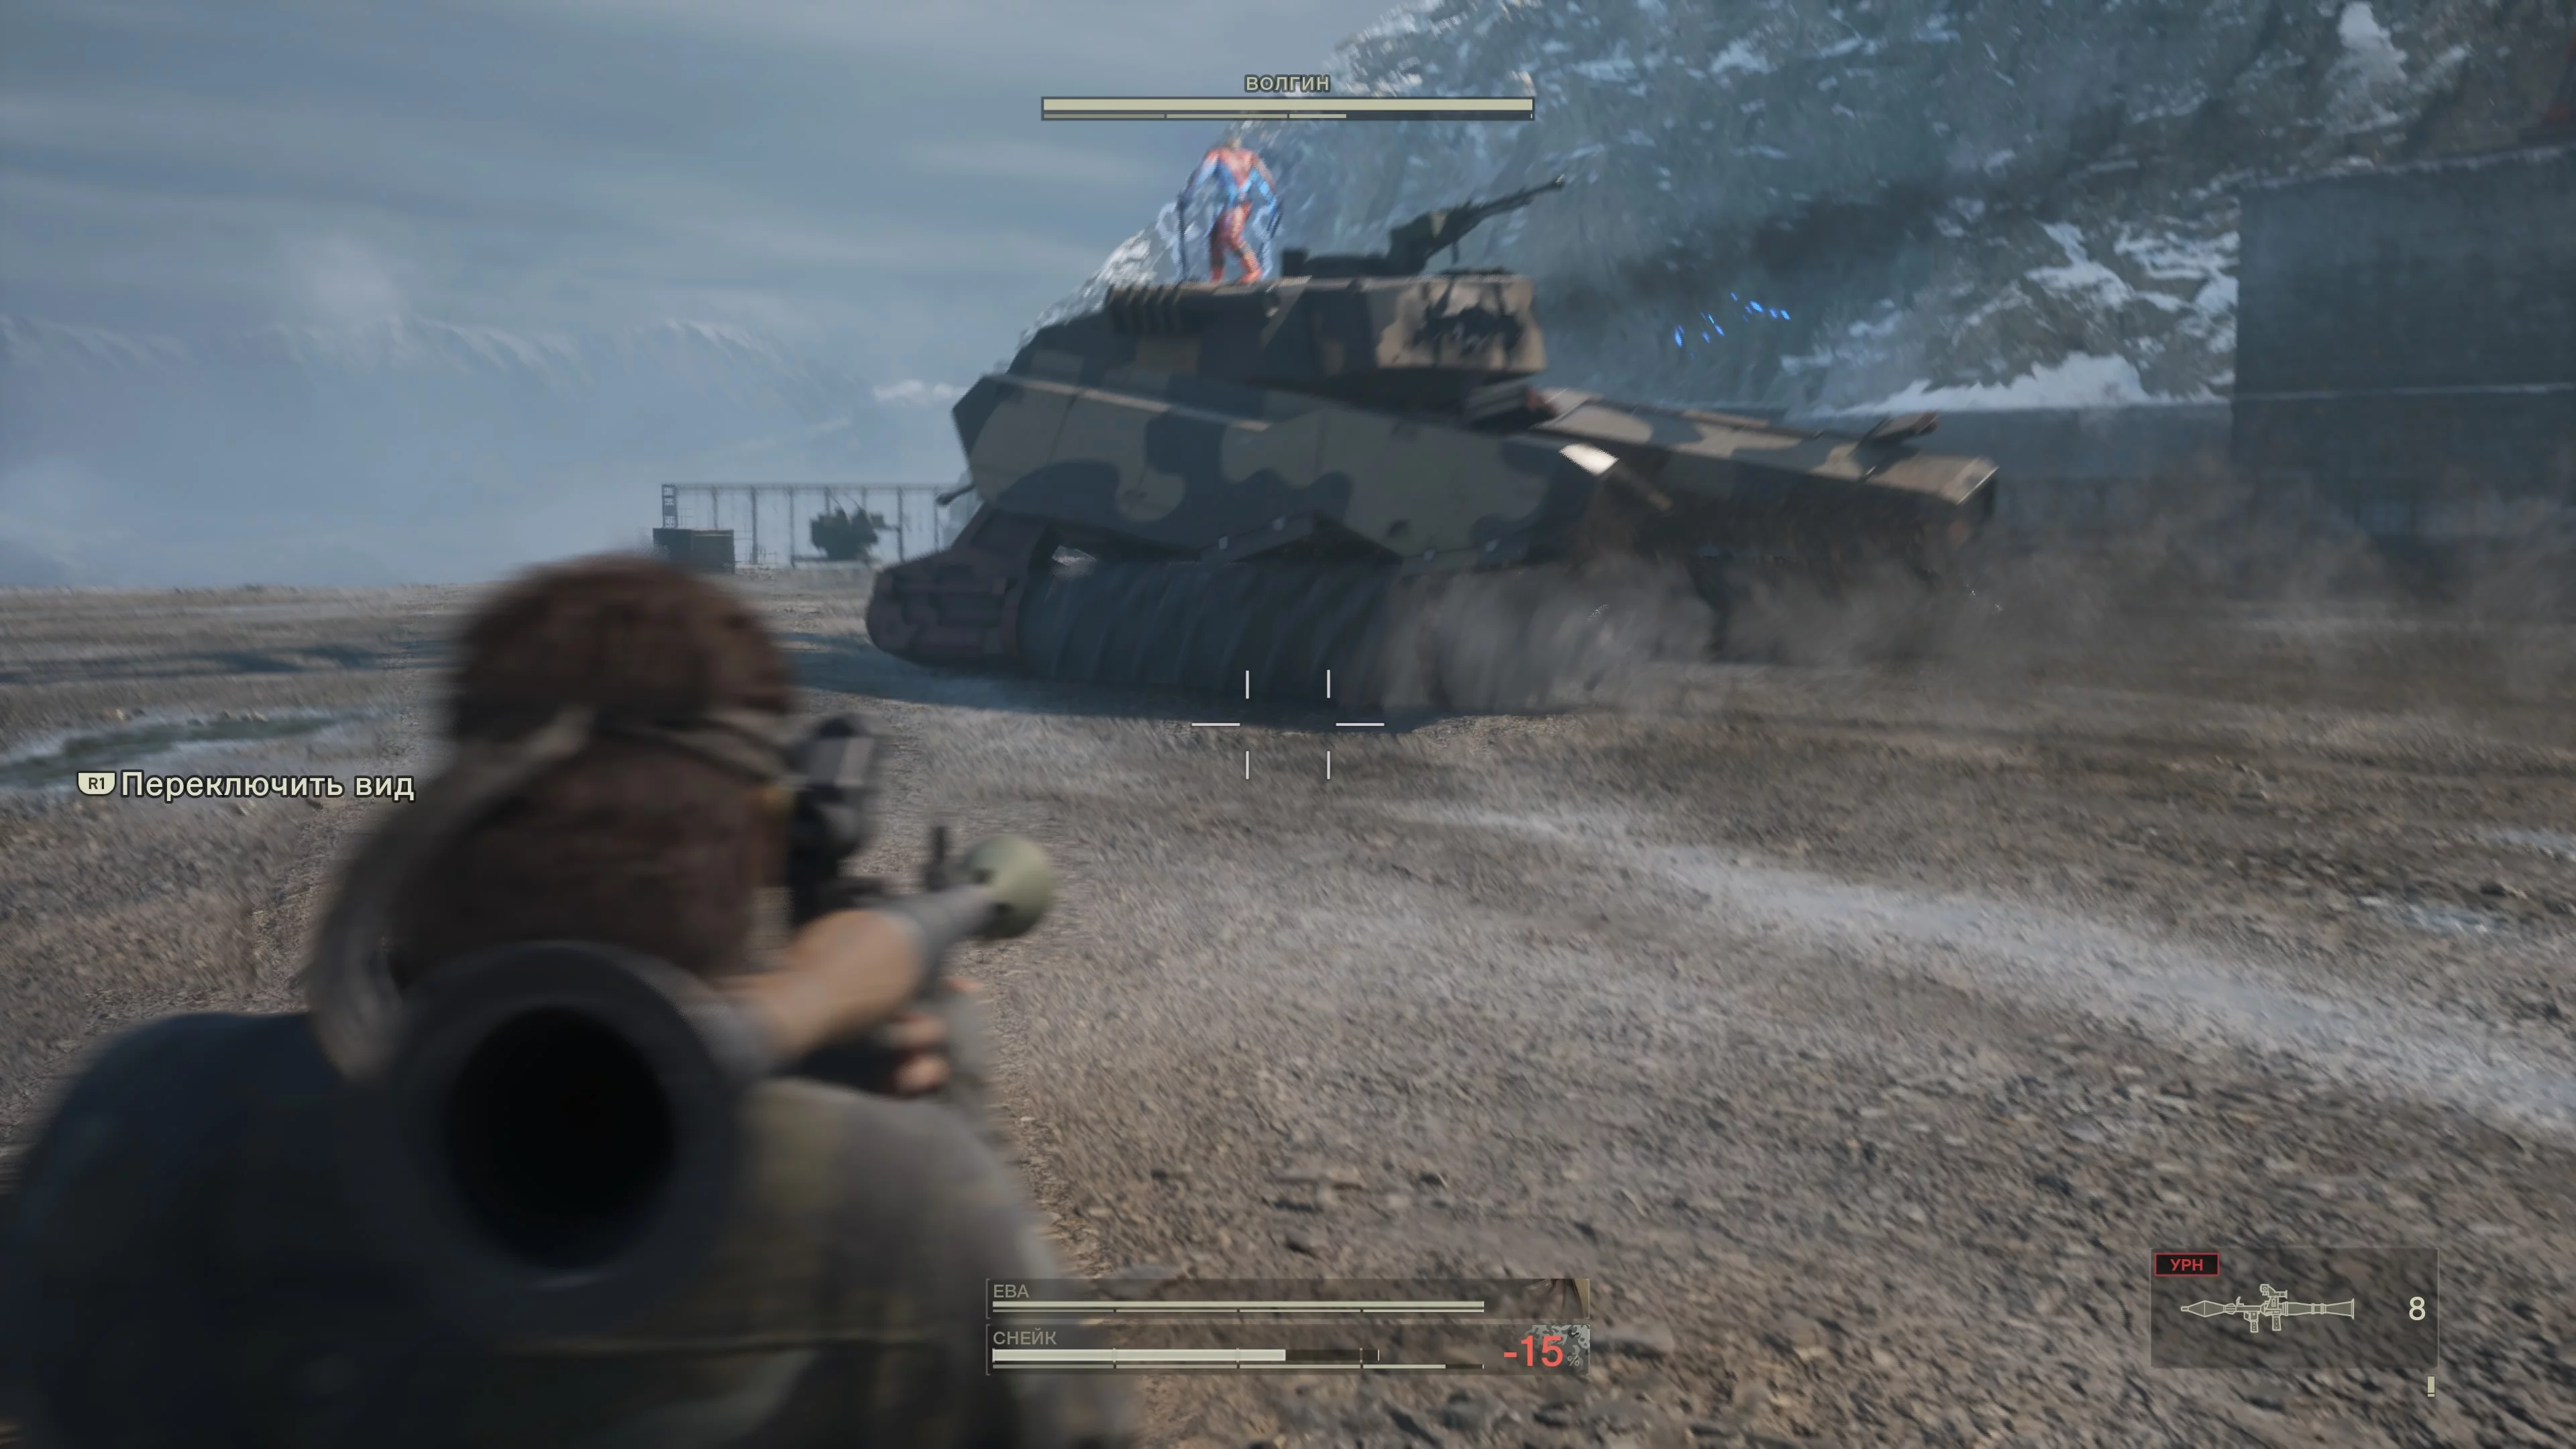
Take the RPG and shoot at the drilling mechanisms that the Shagohod uses instead of tracks. When the tank stops, shoot the RPG at the turret. When the machine's health runs out, the colonel himself will appear.
Eva will distract Volgin on the motorcycle. Your task is to disable the tracks just like you did before, and then shoot the colonel himself. You won't get rewards for non-lethal shots, so you can use whatever you want. We shot with The End's sniper rifle. You'll have enough time for one shot, after which you need to repeat the procedure with the tracks and the RPG.
If you run out of ammo, Eva will give you more—so you don't need to worry about that. After your victory, another chase will begin with motorcycles and flying drones. Kill everyone. On the way, you might spot several frogs, but shooting them will be difficult. After the crash, heal yourself and Eva from injuries.
How to Reach The Boss
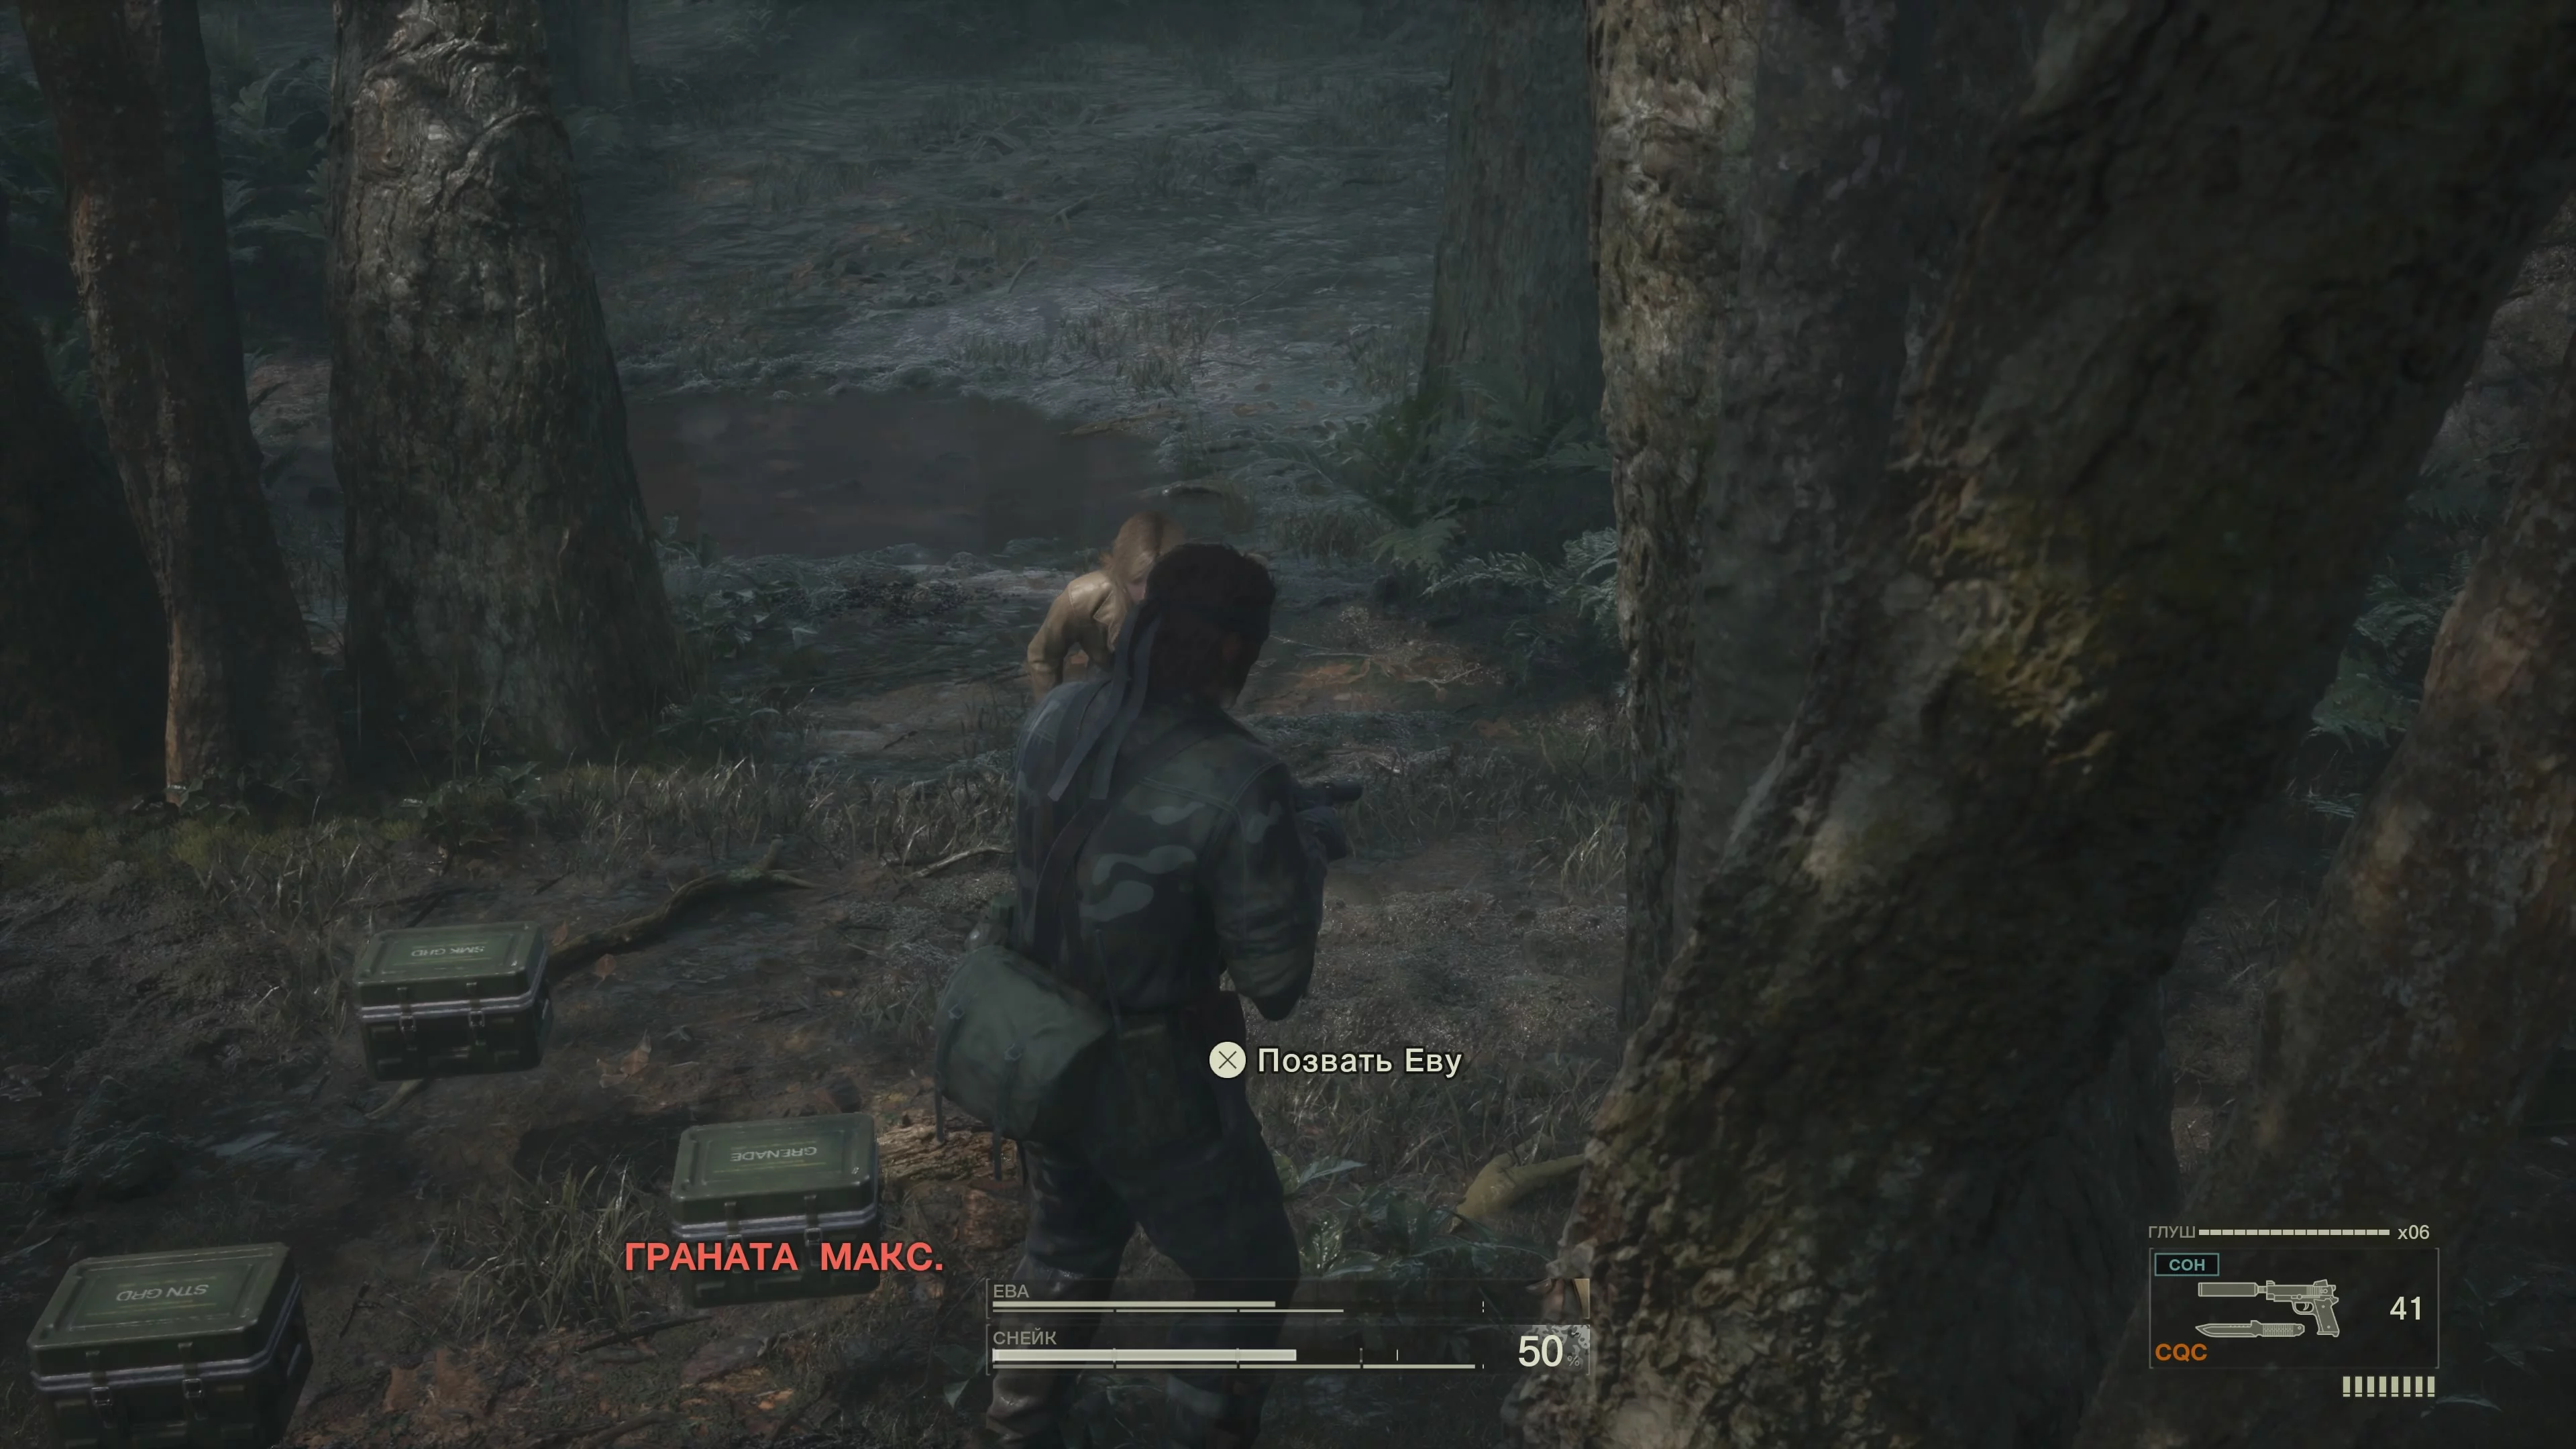
You will have to go through a small section of forest together with the girl, fending off constant waves of enemies. Eva also needs to be fed and healed if necessary. You don't have to stop, since the enemies are endless—just don't forget to call the spy to you.
In the next area, the forest will become noticeably brighter, and there will be fewer enemies. Carefully take out all the enemies to move forward. Then there will be a long cutscene, after which you will start the fight with The Boss.
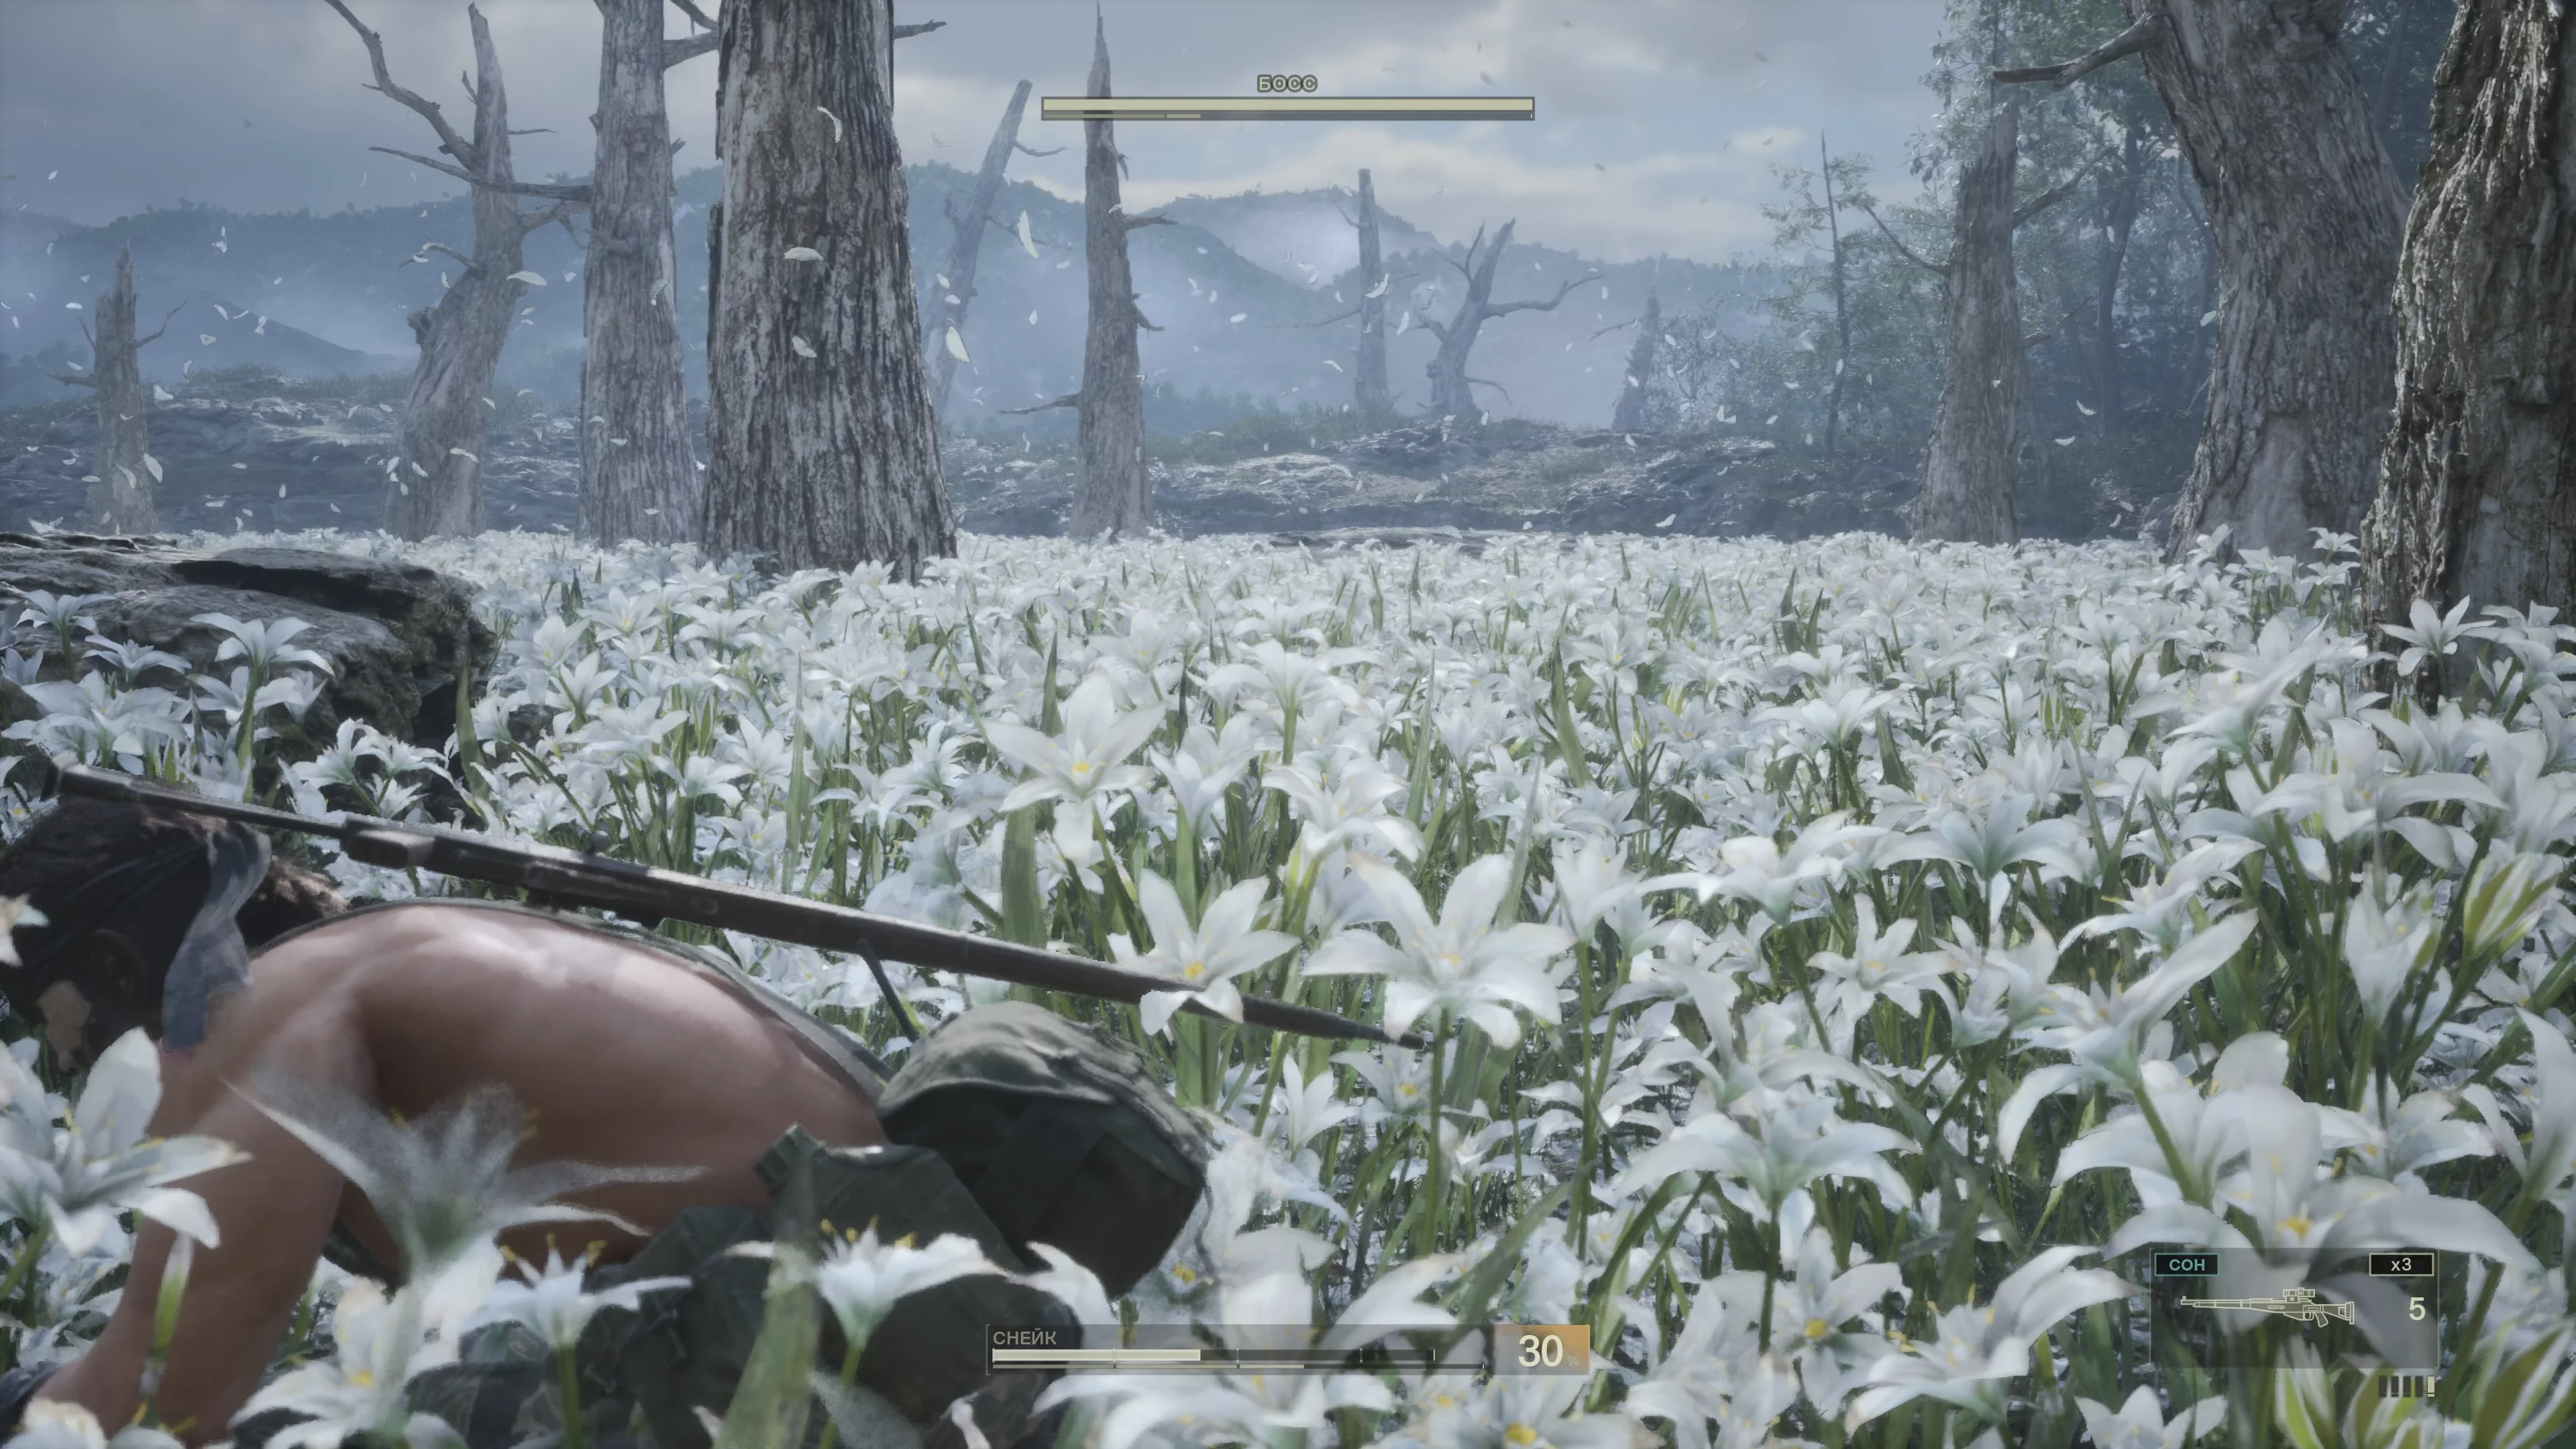
How to Defeat The Boss Non-Lethally
In fact, the fight is not too difficult, but it requires attentiveness. You are in a field of white flowers, surrounded by tree trunks. The Boss attacks with two moves—she shoots with a machine gun or quickly closes the distance, after which she disarms Snake and breaks his arm. You lose your weapon and will have to pick it up in the flowers. At the same time, The Boss starts shooting, increasing the damage.
You can block melee attacks, but it will be extremely difficult. When The Boss strikes, time slows down a bit—this is the moment when you must press the melee attack yourself. There will be no special markers or hints, so it’s hard to catch the timing. Try to put away your weapon so you don’t lose it in case you fail.
As for the main tactic—we’ll once again attack with non-lethal weapons. Fortunately, The End’s sniper rifle is more than enough. Hide behind the trees. There’s no point in lying down in the flowers, because you’ll completely lose sight of The Boss. While you’re not moving, the enemy can’t see you and won’t approach. The Boss will also hide behind trees. Change your position while crouched and aim at your mentor behind cover with the sniper scope. Even if you hit her arm, it counts as a success. You can’t make more than one shot at a time, because if The Boss is not behind cover, she’s invulnerable. The good news is that you just need to shoot and then freeze. Most often, the enemy will shoot back somewhere nearby but won’t notice you. Stay behind the trees as much as possible. The fight is time-limited—10 minutes—but that’s more than enough.
After your victory, take the trophy camouflage and watch the cutscene. Shoot The Boss, after which there will be another long cinematic. Control will return when you’re already on the plane, as Snake fights Ocelot.
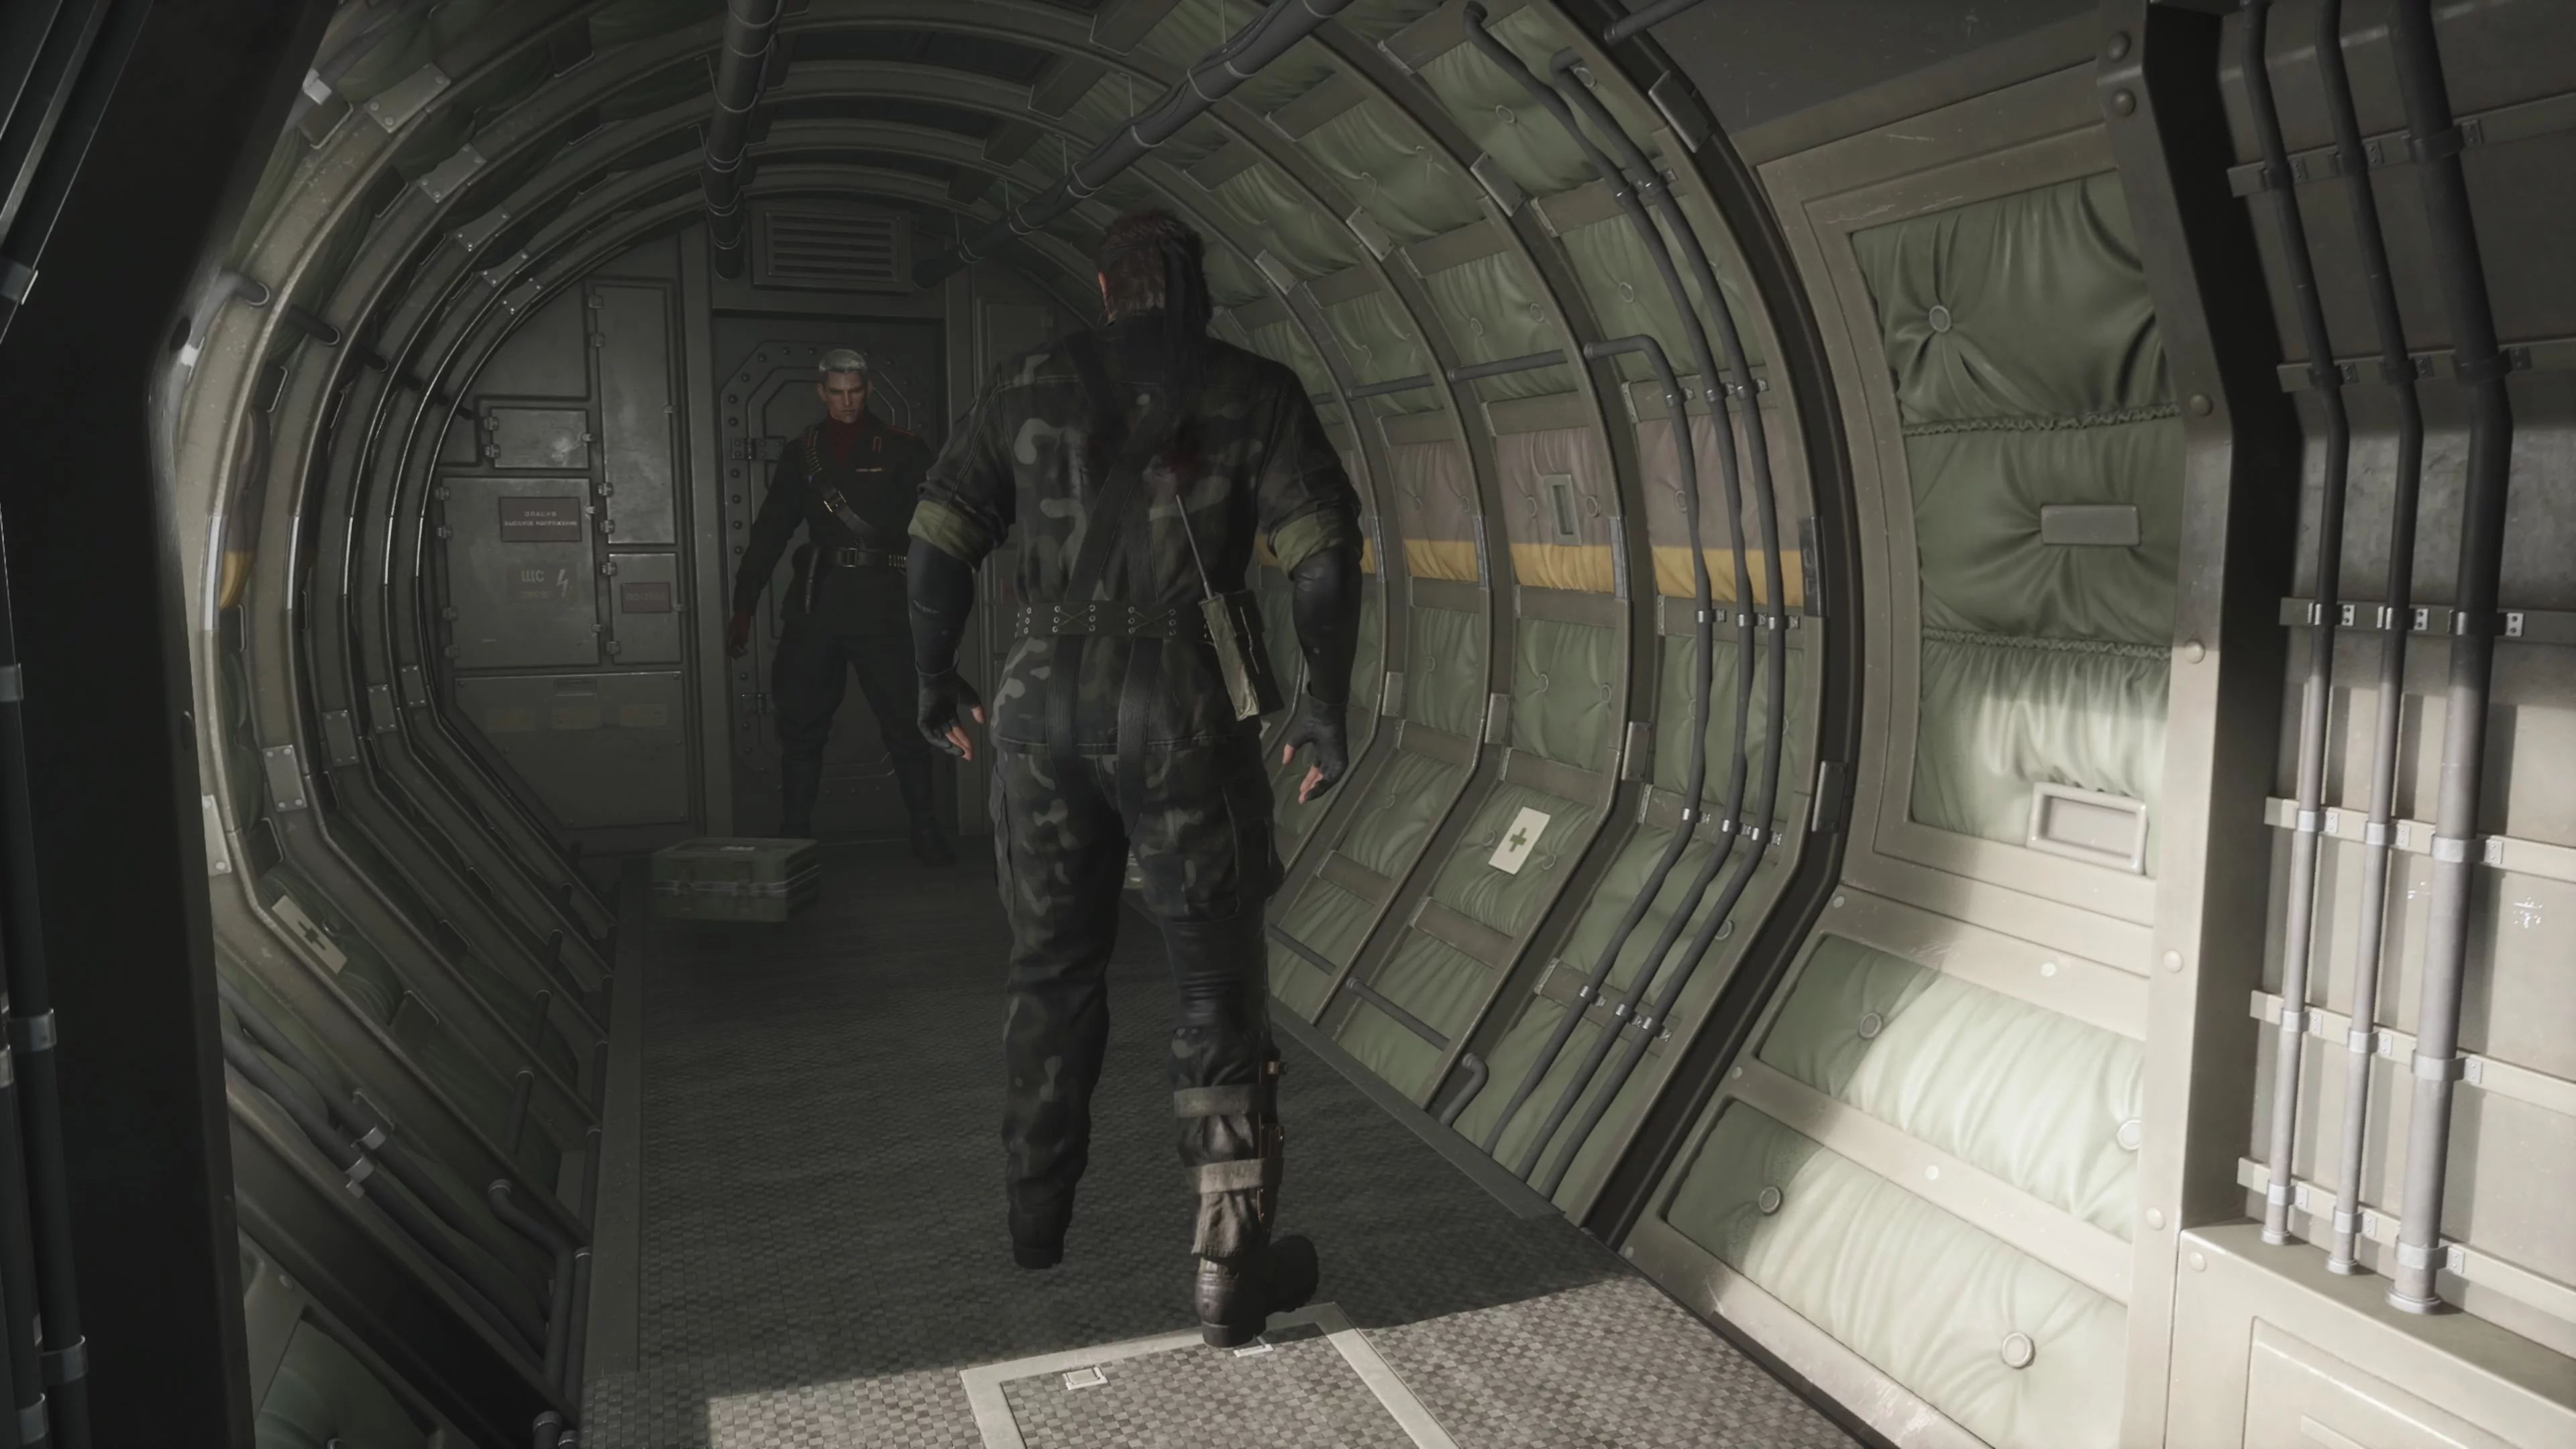
You need to choose a revolver. In reality, the bullet in one of the pistols is a blank. But we chose the left one, and it turned out to be correct. Shoot at Ocelot until the bullet is fired. After that, watch the cutscene until the end. Congratulations, you’ve completed the game!
Other guides
- Metal Gear Solid Delta: Snake Eater — How to Get All Weapons (Full Guide)
- Secret Radio Frequencies in Metal Gear Solid Delta: Snake Eater — Complete List and How to Use
- MGS Delta: Snake Eater — Rotten Food Explained: Usage, Advantages, and Disadvantages
- How to Defeat The End Early in Metal Gear Solid Delta: Snake Eater
-
 Secret Radio Frequencies in Metal Gear Solid Delta: Snake Eater — Complete List and How to Use
 -
 MGS Delta: Snake Eater — Rotten Food Explained: Usage, Advantages, and Disadvantages
 -
 How to Defeat The End Early in Metal Gear Solid Delta: Snake Eater
 -
 Metal Gear Solid Delta: Snake Eater — How to Get All Weapons (Full Guide)
 -
 Palworld 1.0 Best Pals for Early Game, Combat, Bases, and Mounts
 -
 Konami Reports First-Day Sales for Metal Gear Solid Delta
 -
 A New Video Showcases Fox Hunt Mode in Metal Gear Solid Delta: Snake Eater
 -
 Metal Gear Solid Delta Gets Multiplayer Mode and New Fixes