

Based on the popular internet legend about liminal spaces, Escape the Backrooms is a cooperative horror game for multiple players. According to the plot, you must make your way through creepy and endless backrooms filled with terrifying entities and other dangers. The task is simple — find the exit and escape before madness or one of the inhabitants of the Backrooms gets you.
In this guide, we will detail how to complete all levels of the game, what traps and monsters await at each stage, and give tips for surviving the most difficult sections of Escape the Backrooms.
Level 0 — The Backrooms
The first level does not pose any particular threat to the player. Sanity is not consumed here, but you also won’t find supplies like flashlights or almond water.

After about four minutes, players will start being chased by the wire monster, so don’t linger too long.
At this stage, you need to find the door to the outside and the key for it. To get the key, you can first find the door. Once you arrive and face the door, turn right and walk straight until you reach a longer wall.
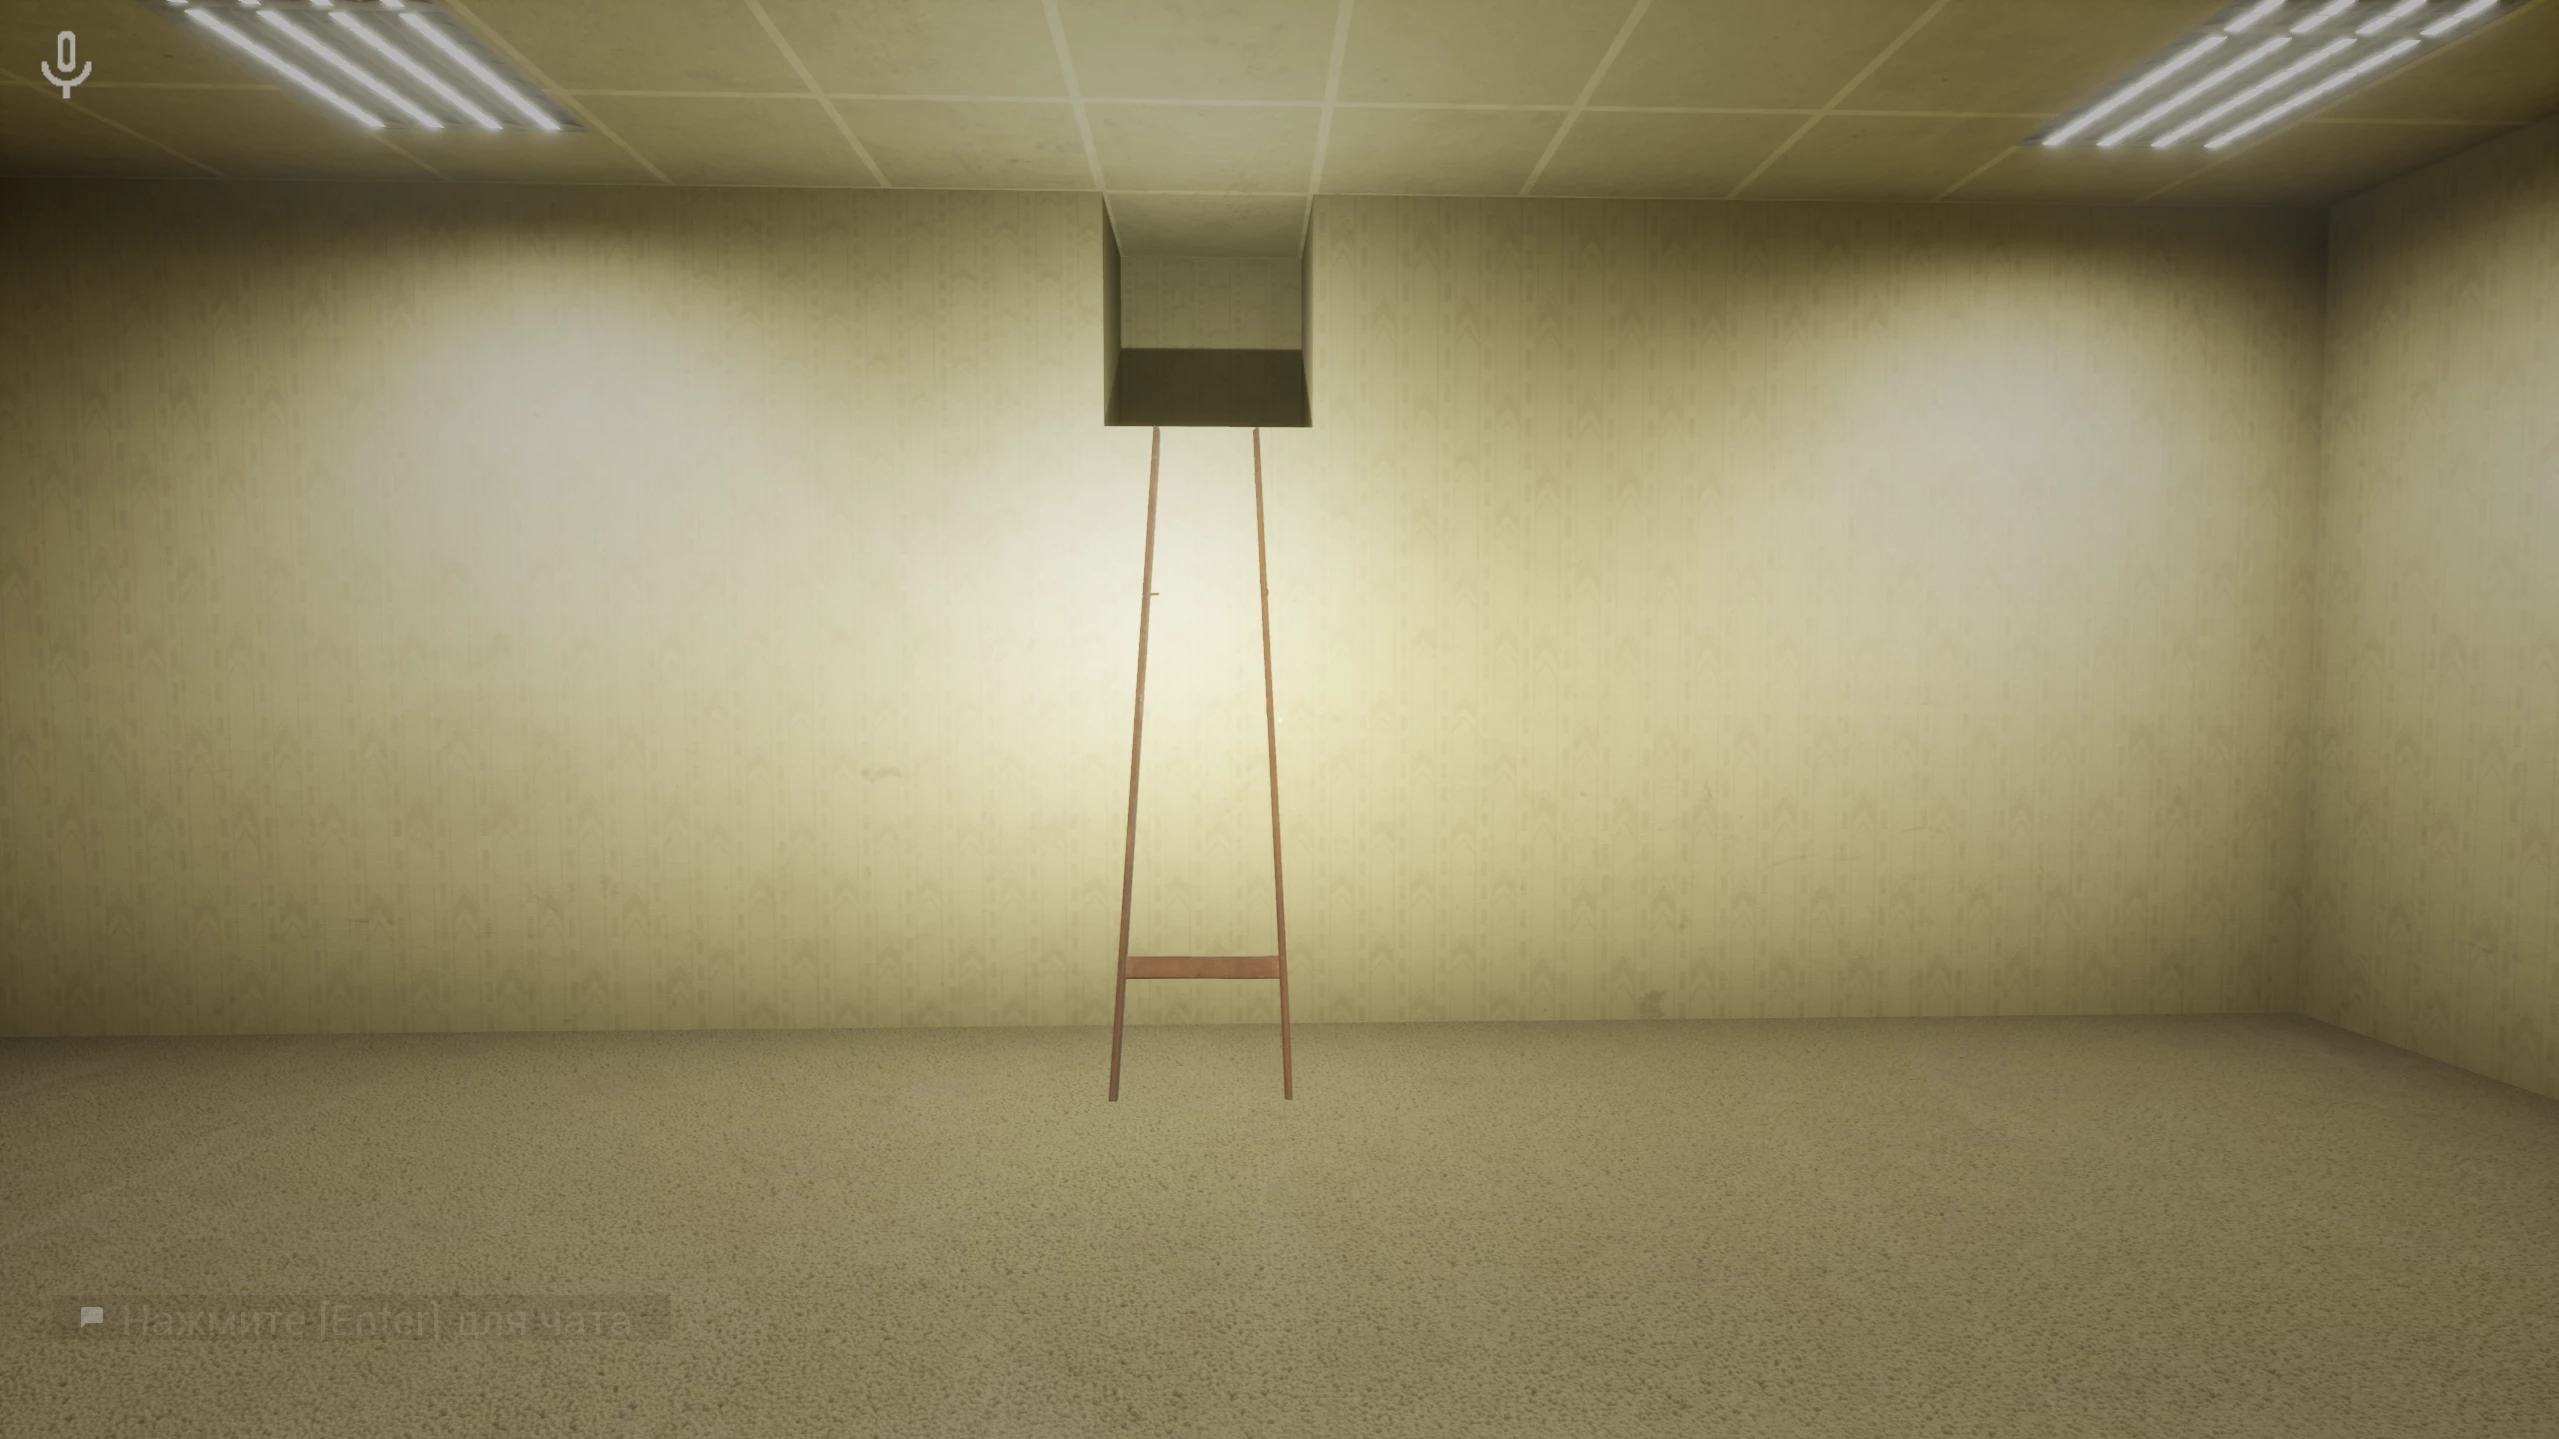
Follow this wall until you find a room with a recess. Nearby this niche, you’ll find ladder parts that you’ll need to assemble to access the box with the key.
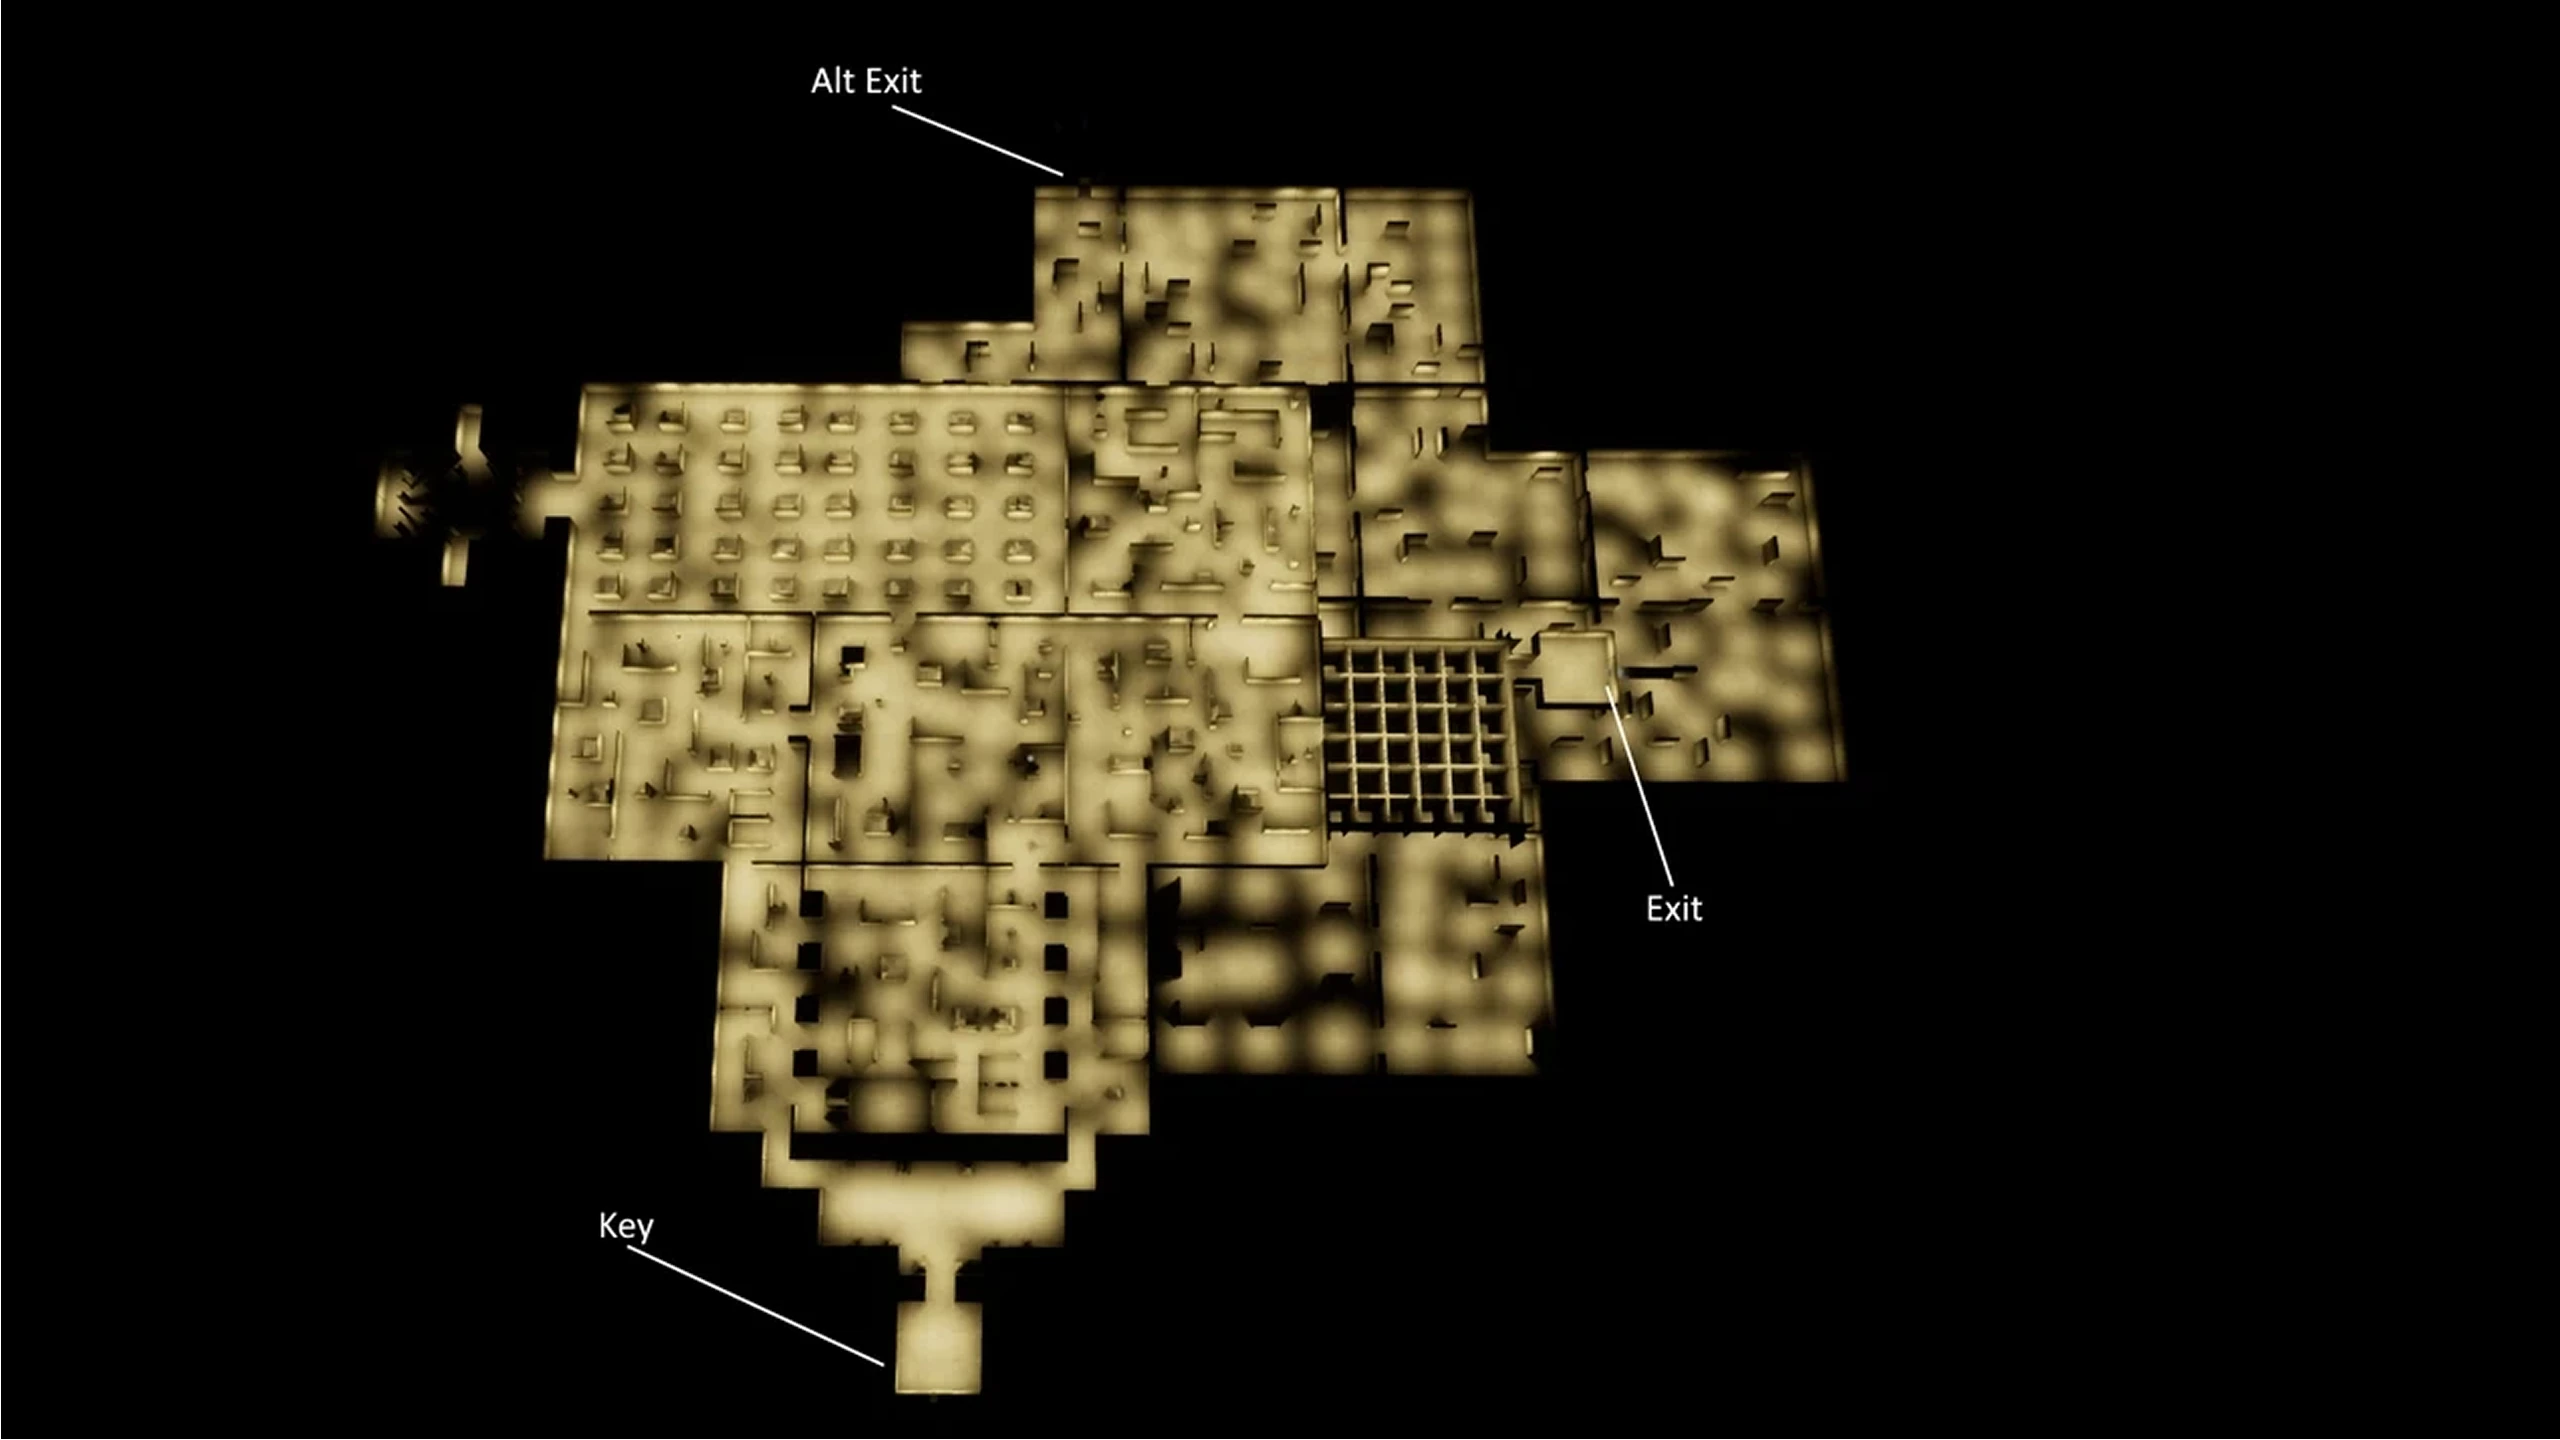
Alternatively, you can use the map and, using it as a reference, first find the ladder with the key and then head to the exit.
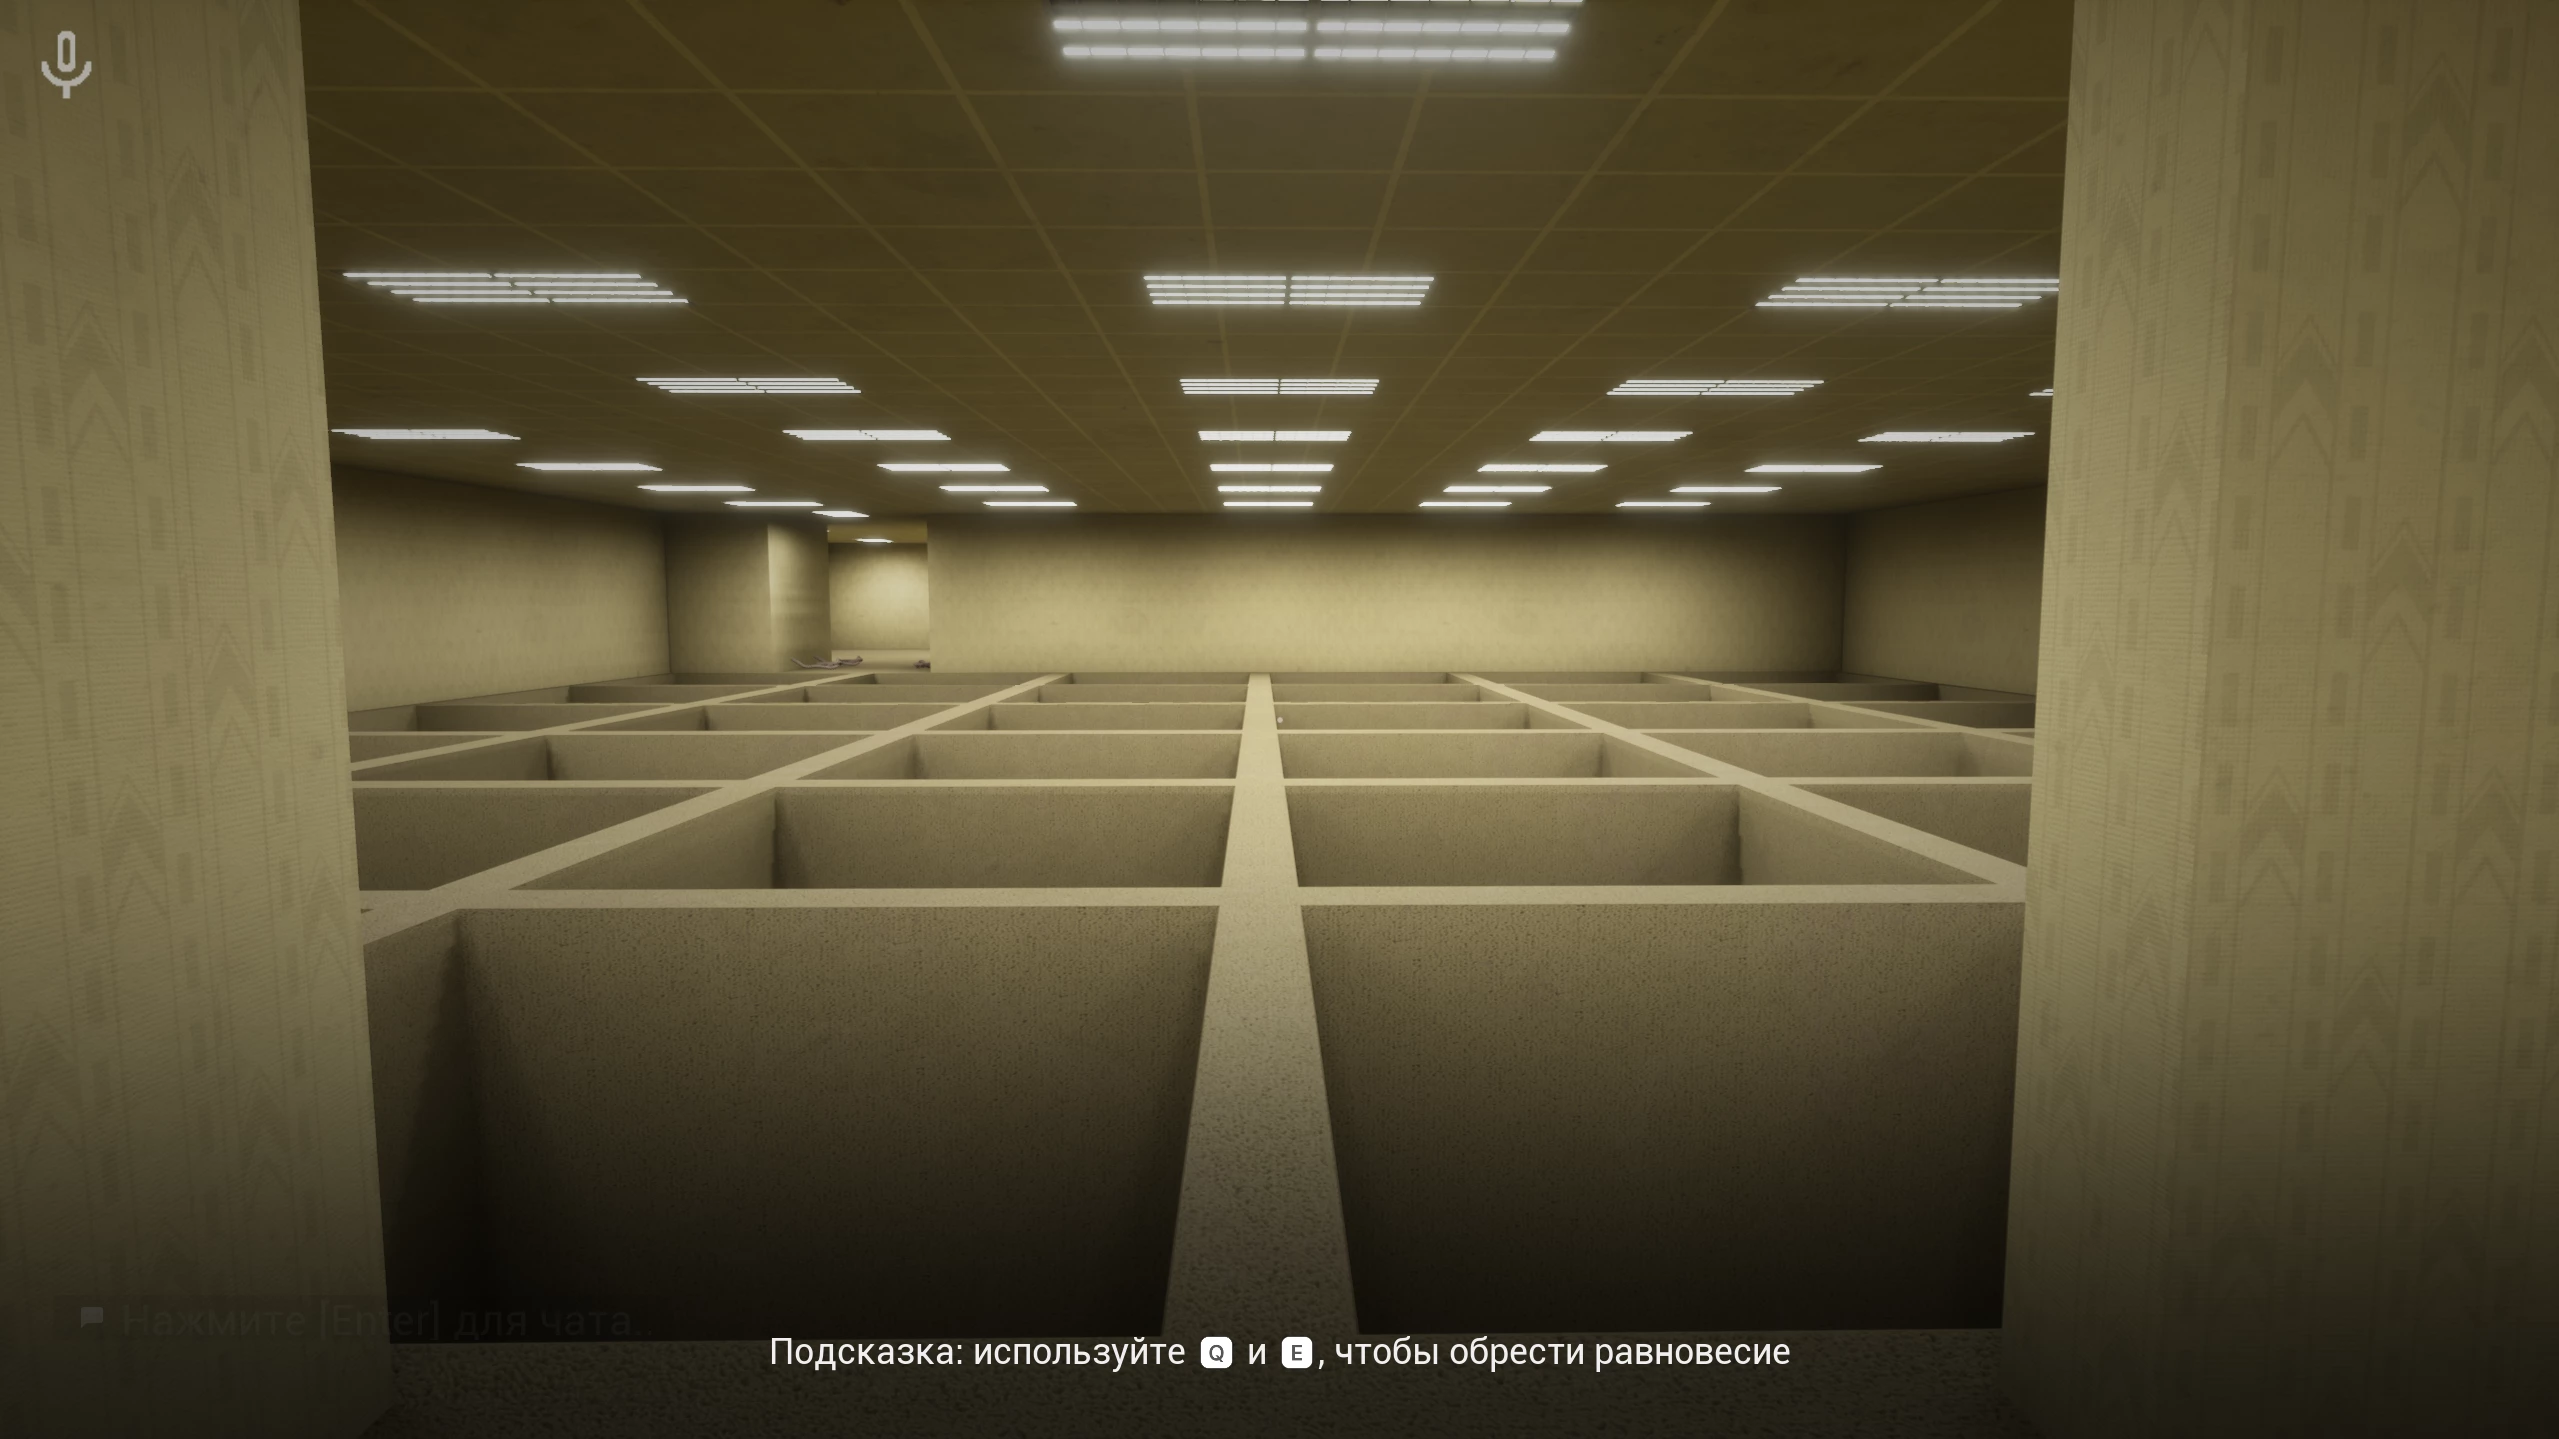
After you have the key, return to the door and open it. You will find yourself in a large hall with square openings all around the perimeter. Your goal is to cross this space and reach the exit, pressing Q and E so you don’t fall down.
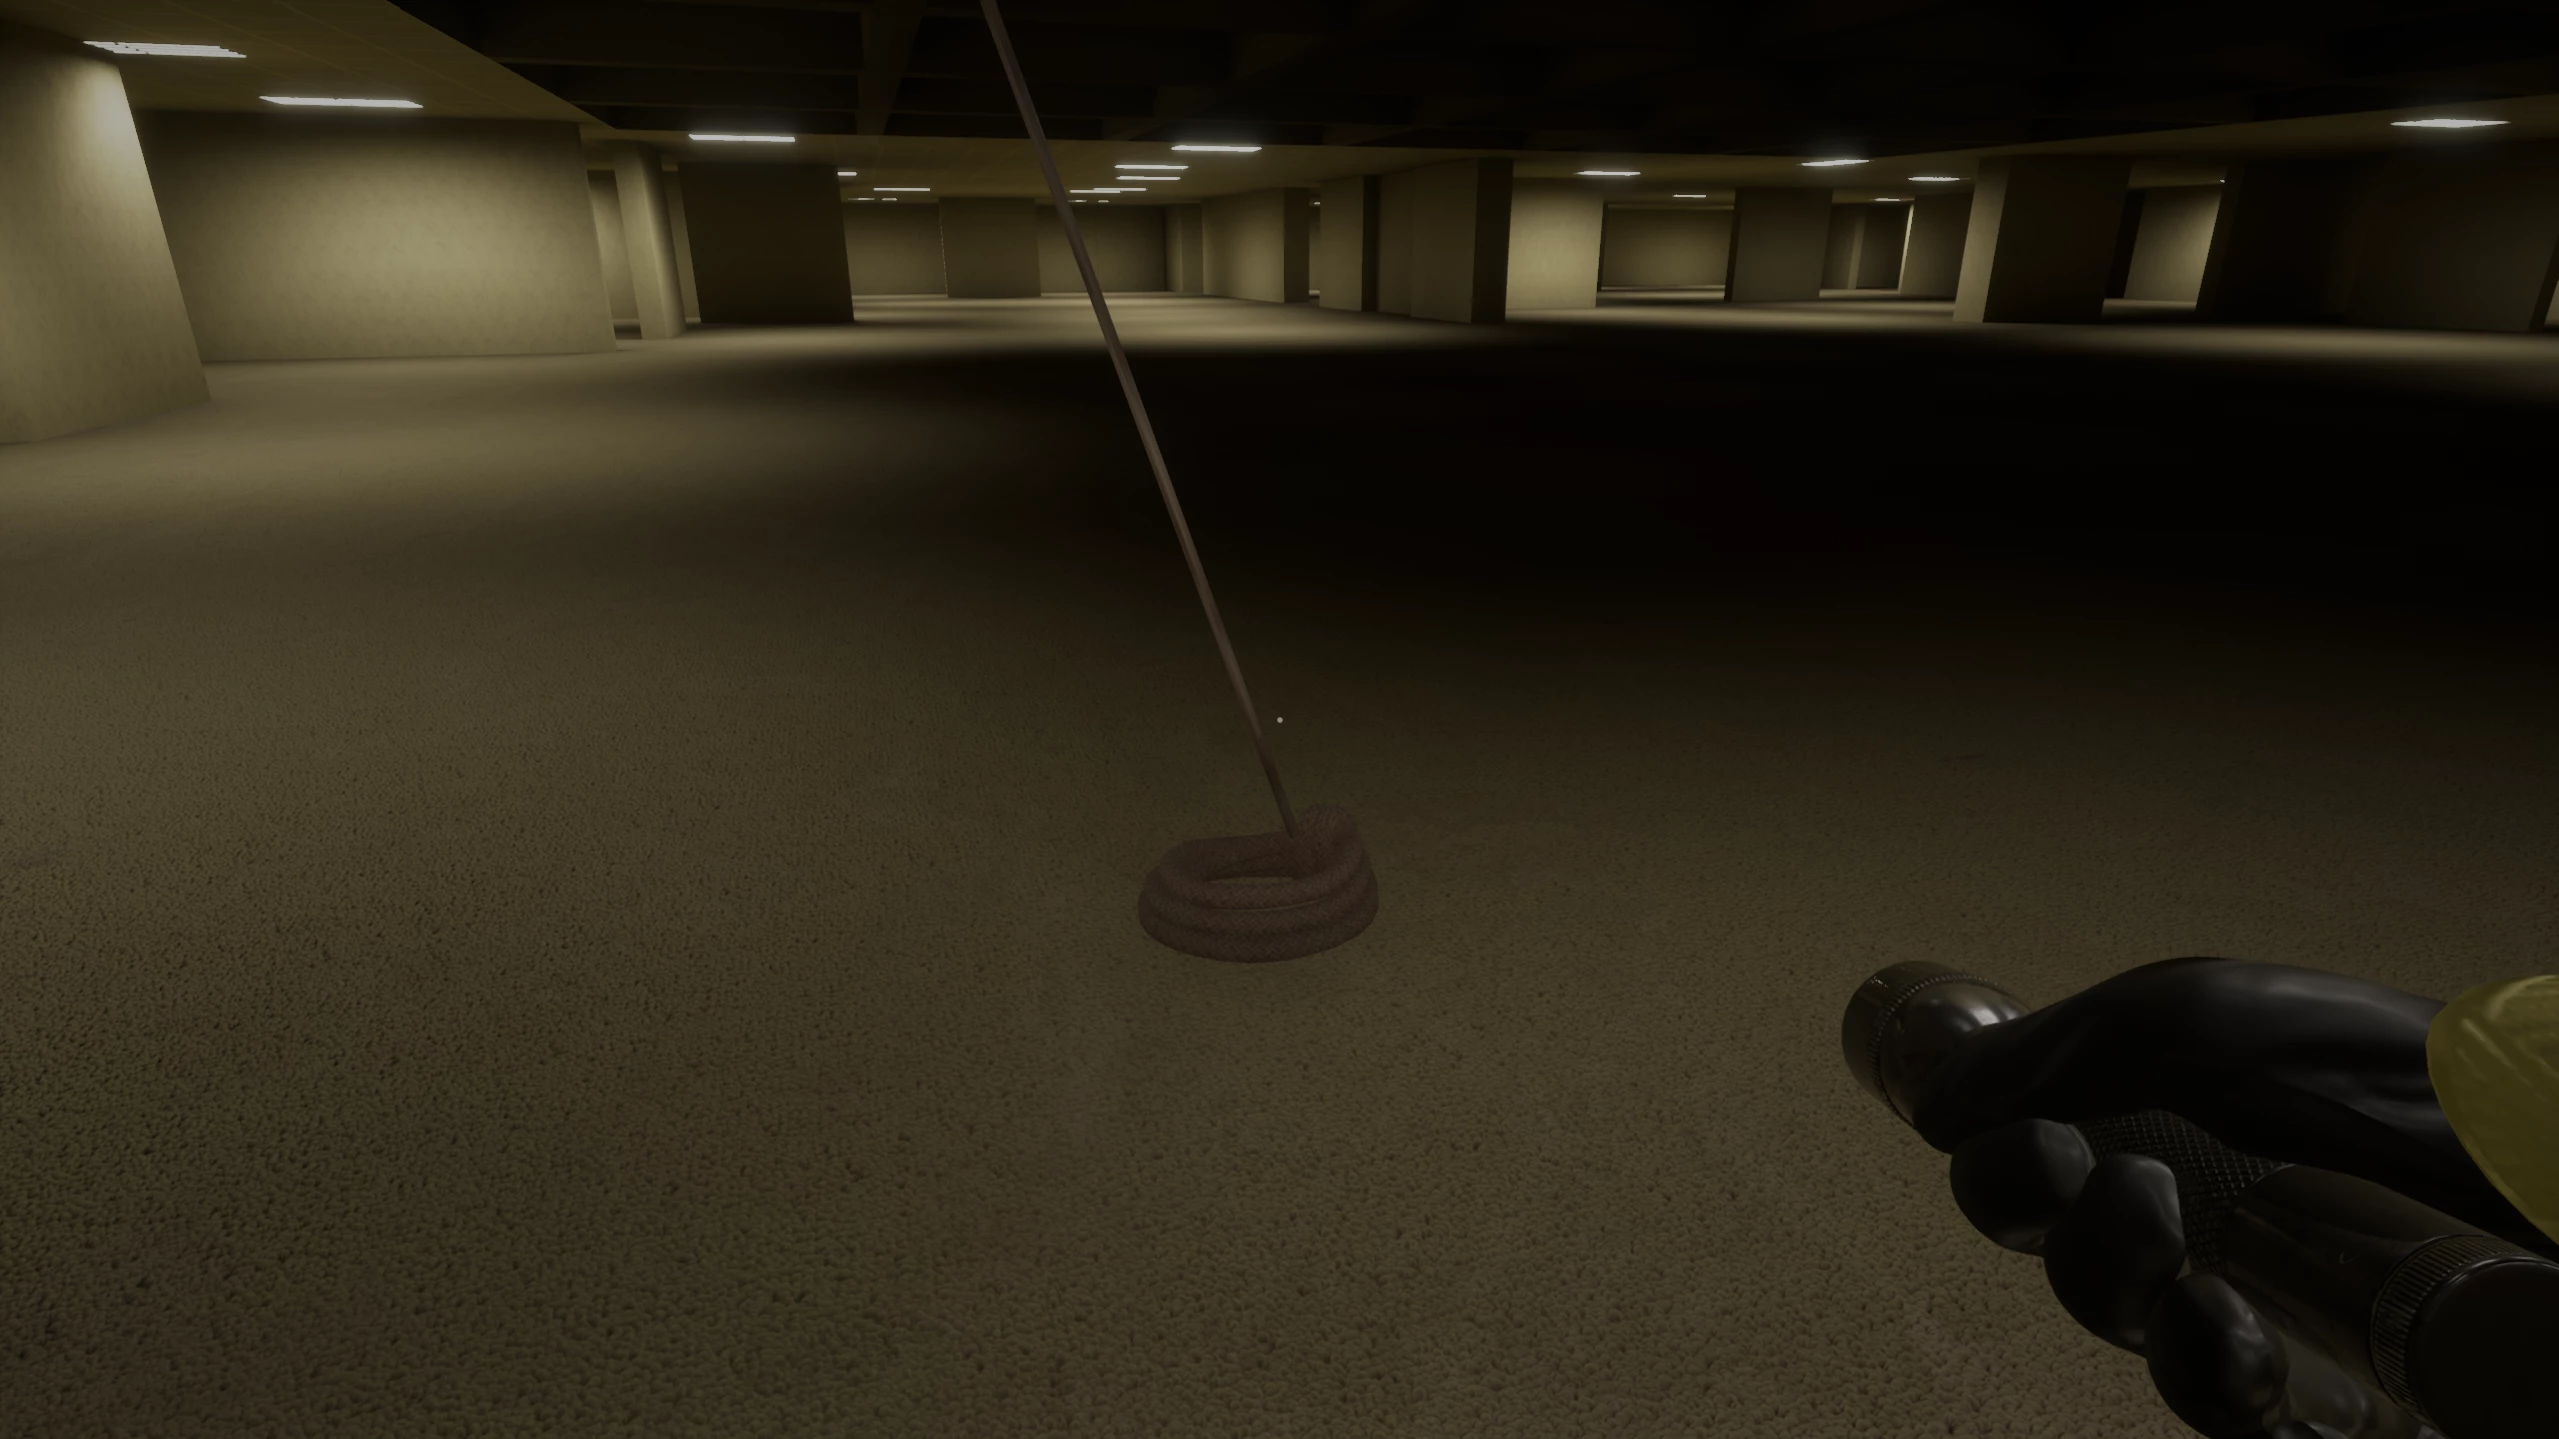
If you fall and are in multiplayer mode, another player can help you using a rope stretched from the opposite side.
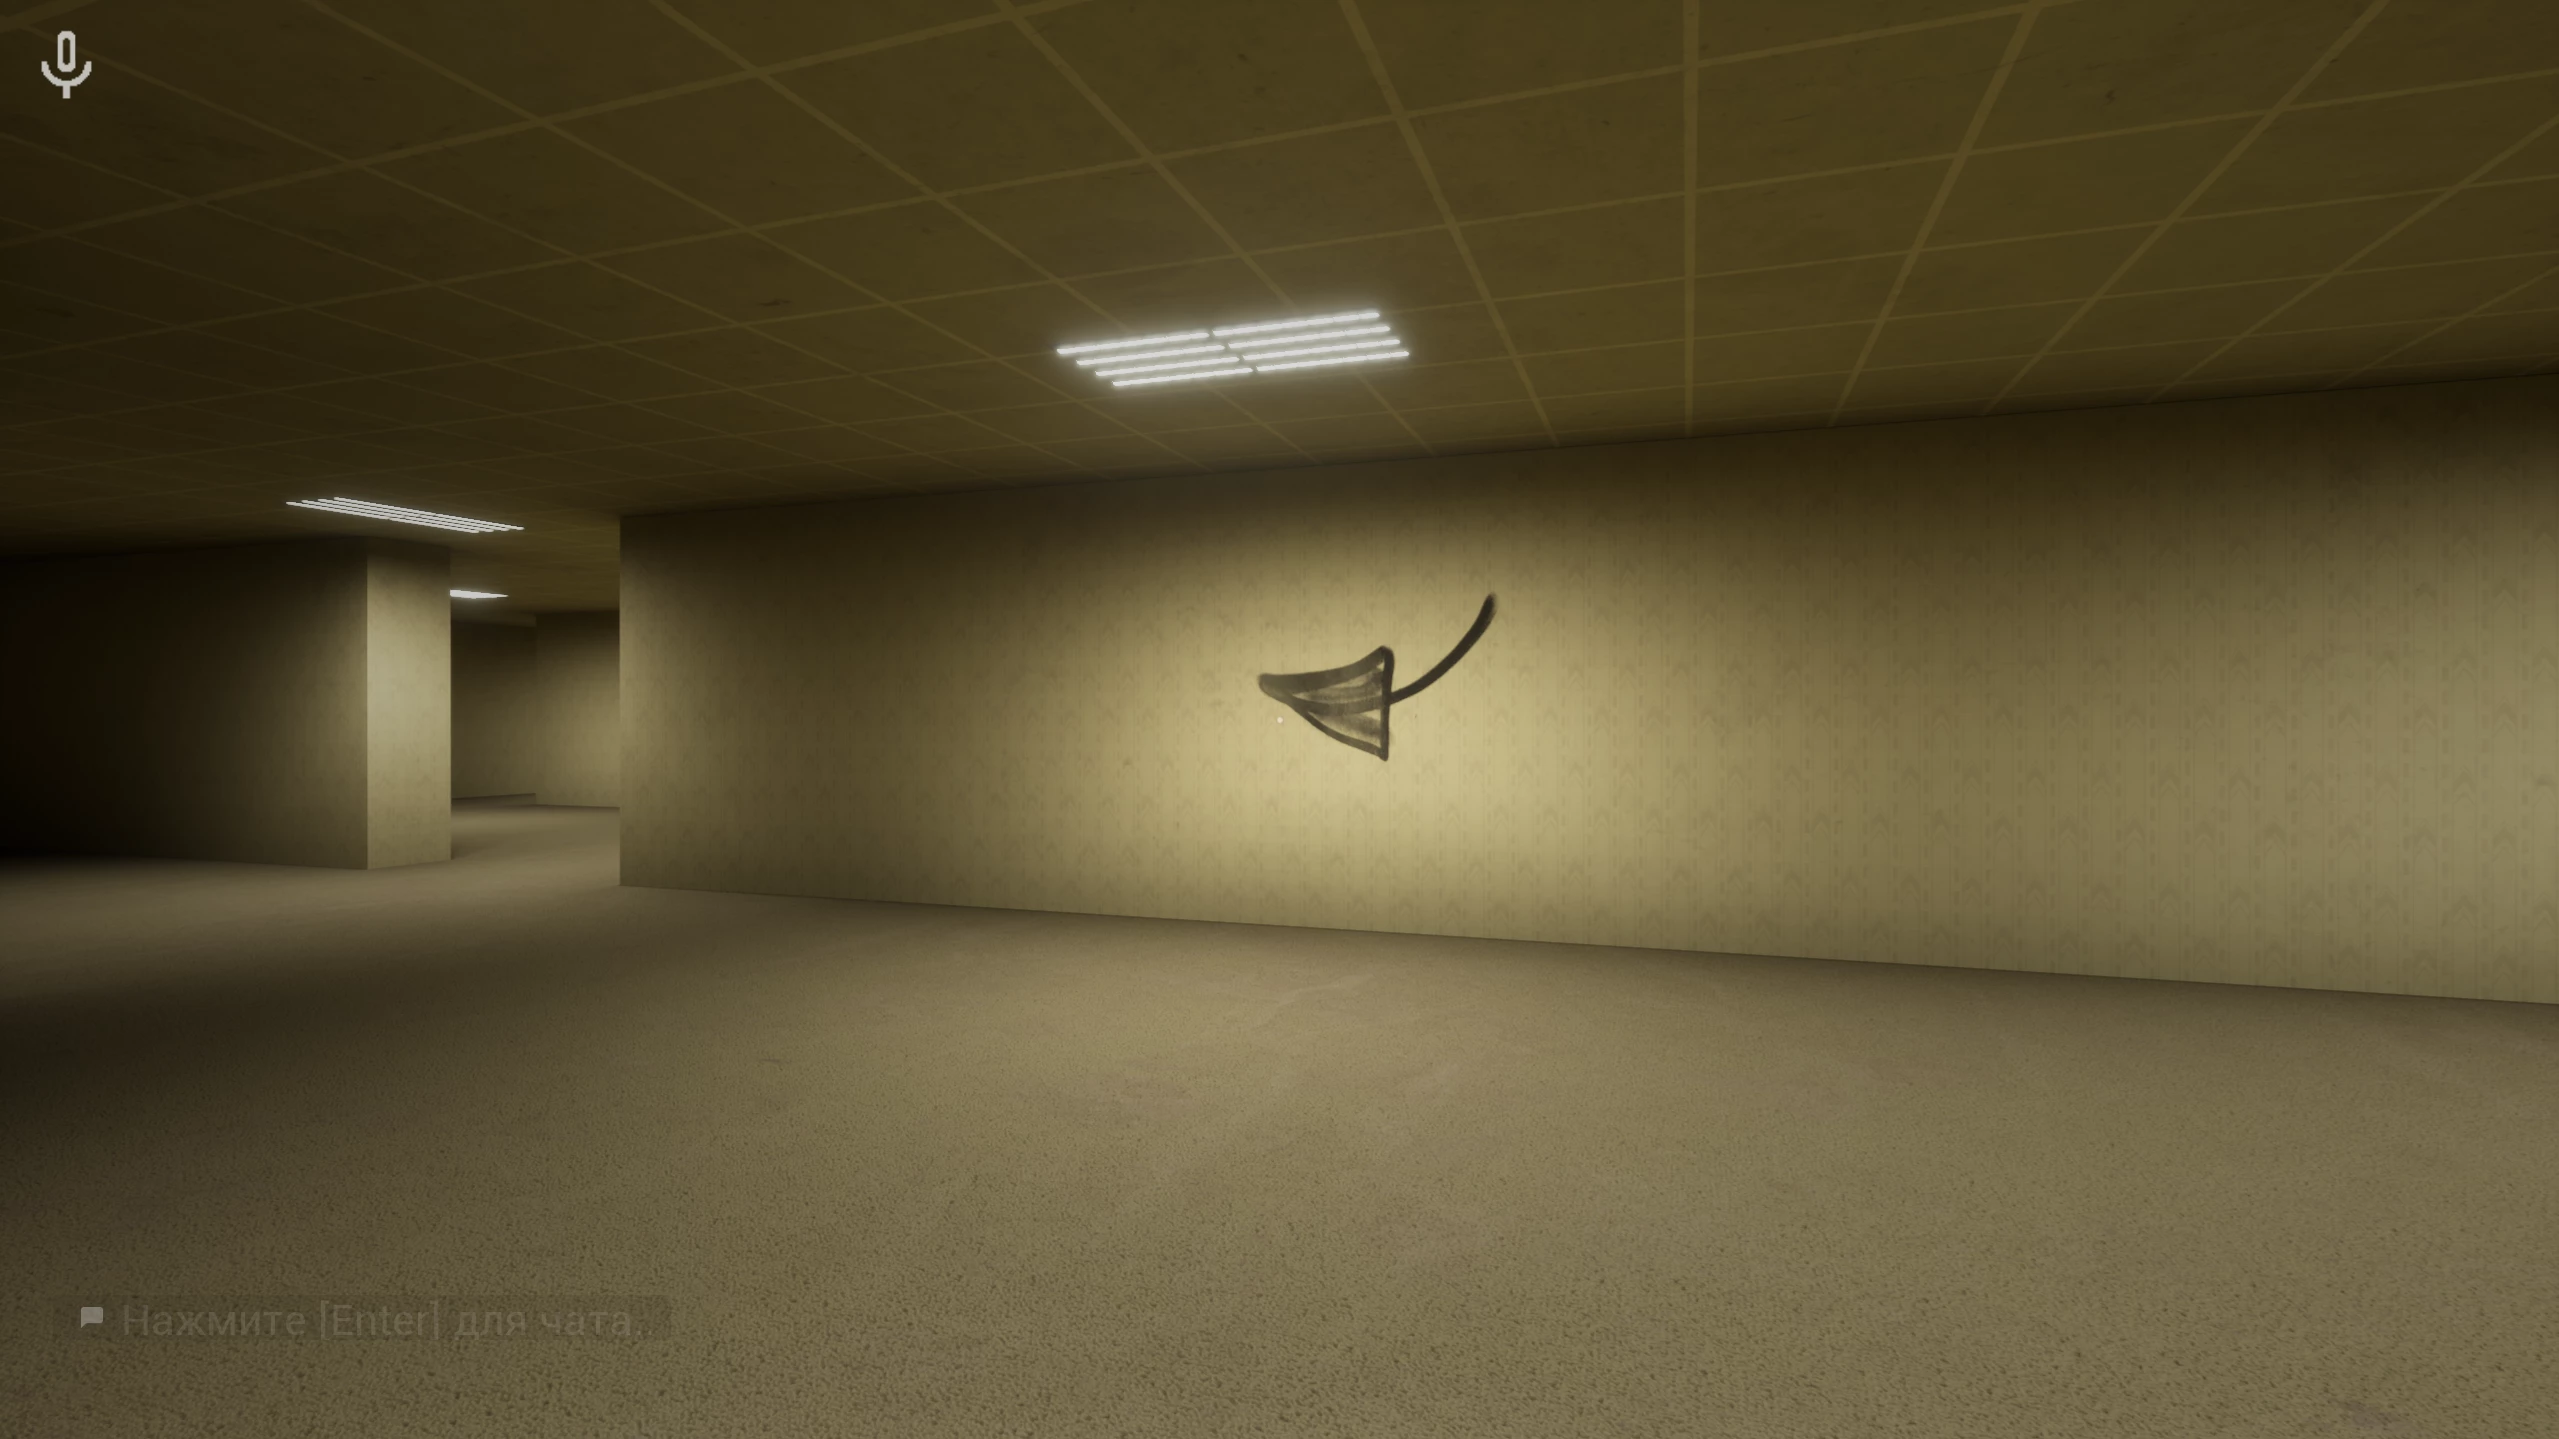
If you don’t have a second player, follow the arrows drawn on the walls. They will lead you to a room with a flashlight on the table and a staircase up. From there, go into the ventilation — an alternative exit from the level.
Level 1 — Parking Garage
The second level in this dimension is a huge parking garage. Explore the nearby rooms with gray doors to find almond water and flashlights. There are no monsters on this floor yet, so feel free to move around.
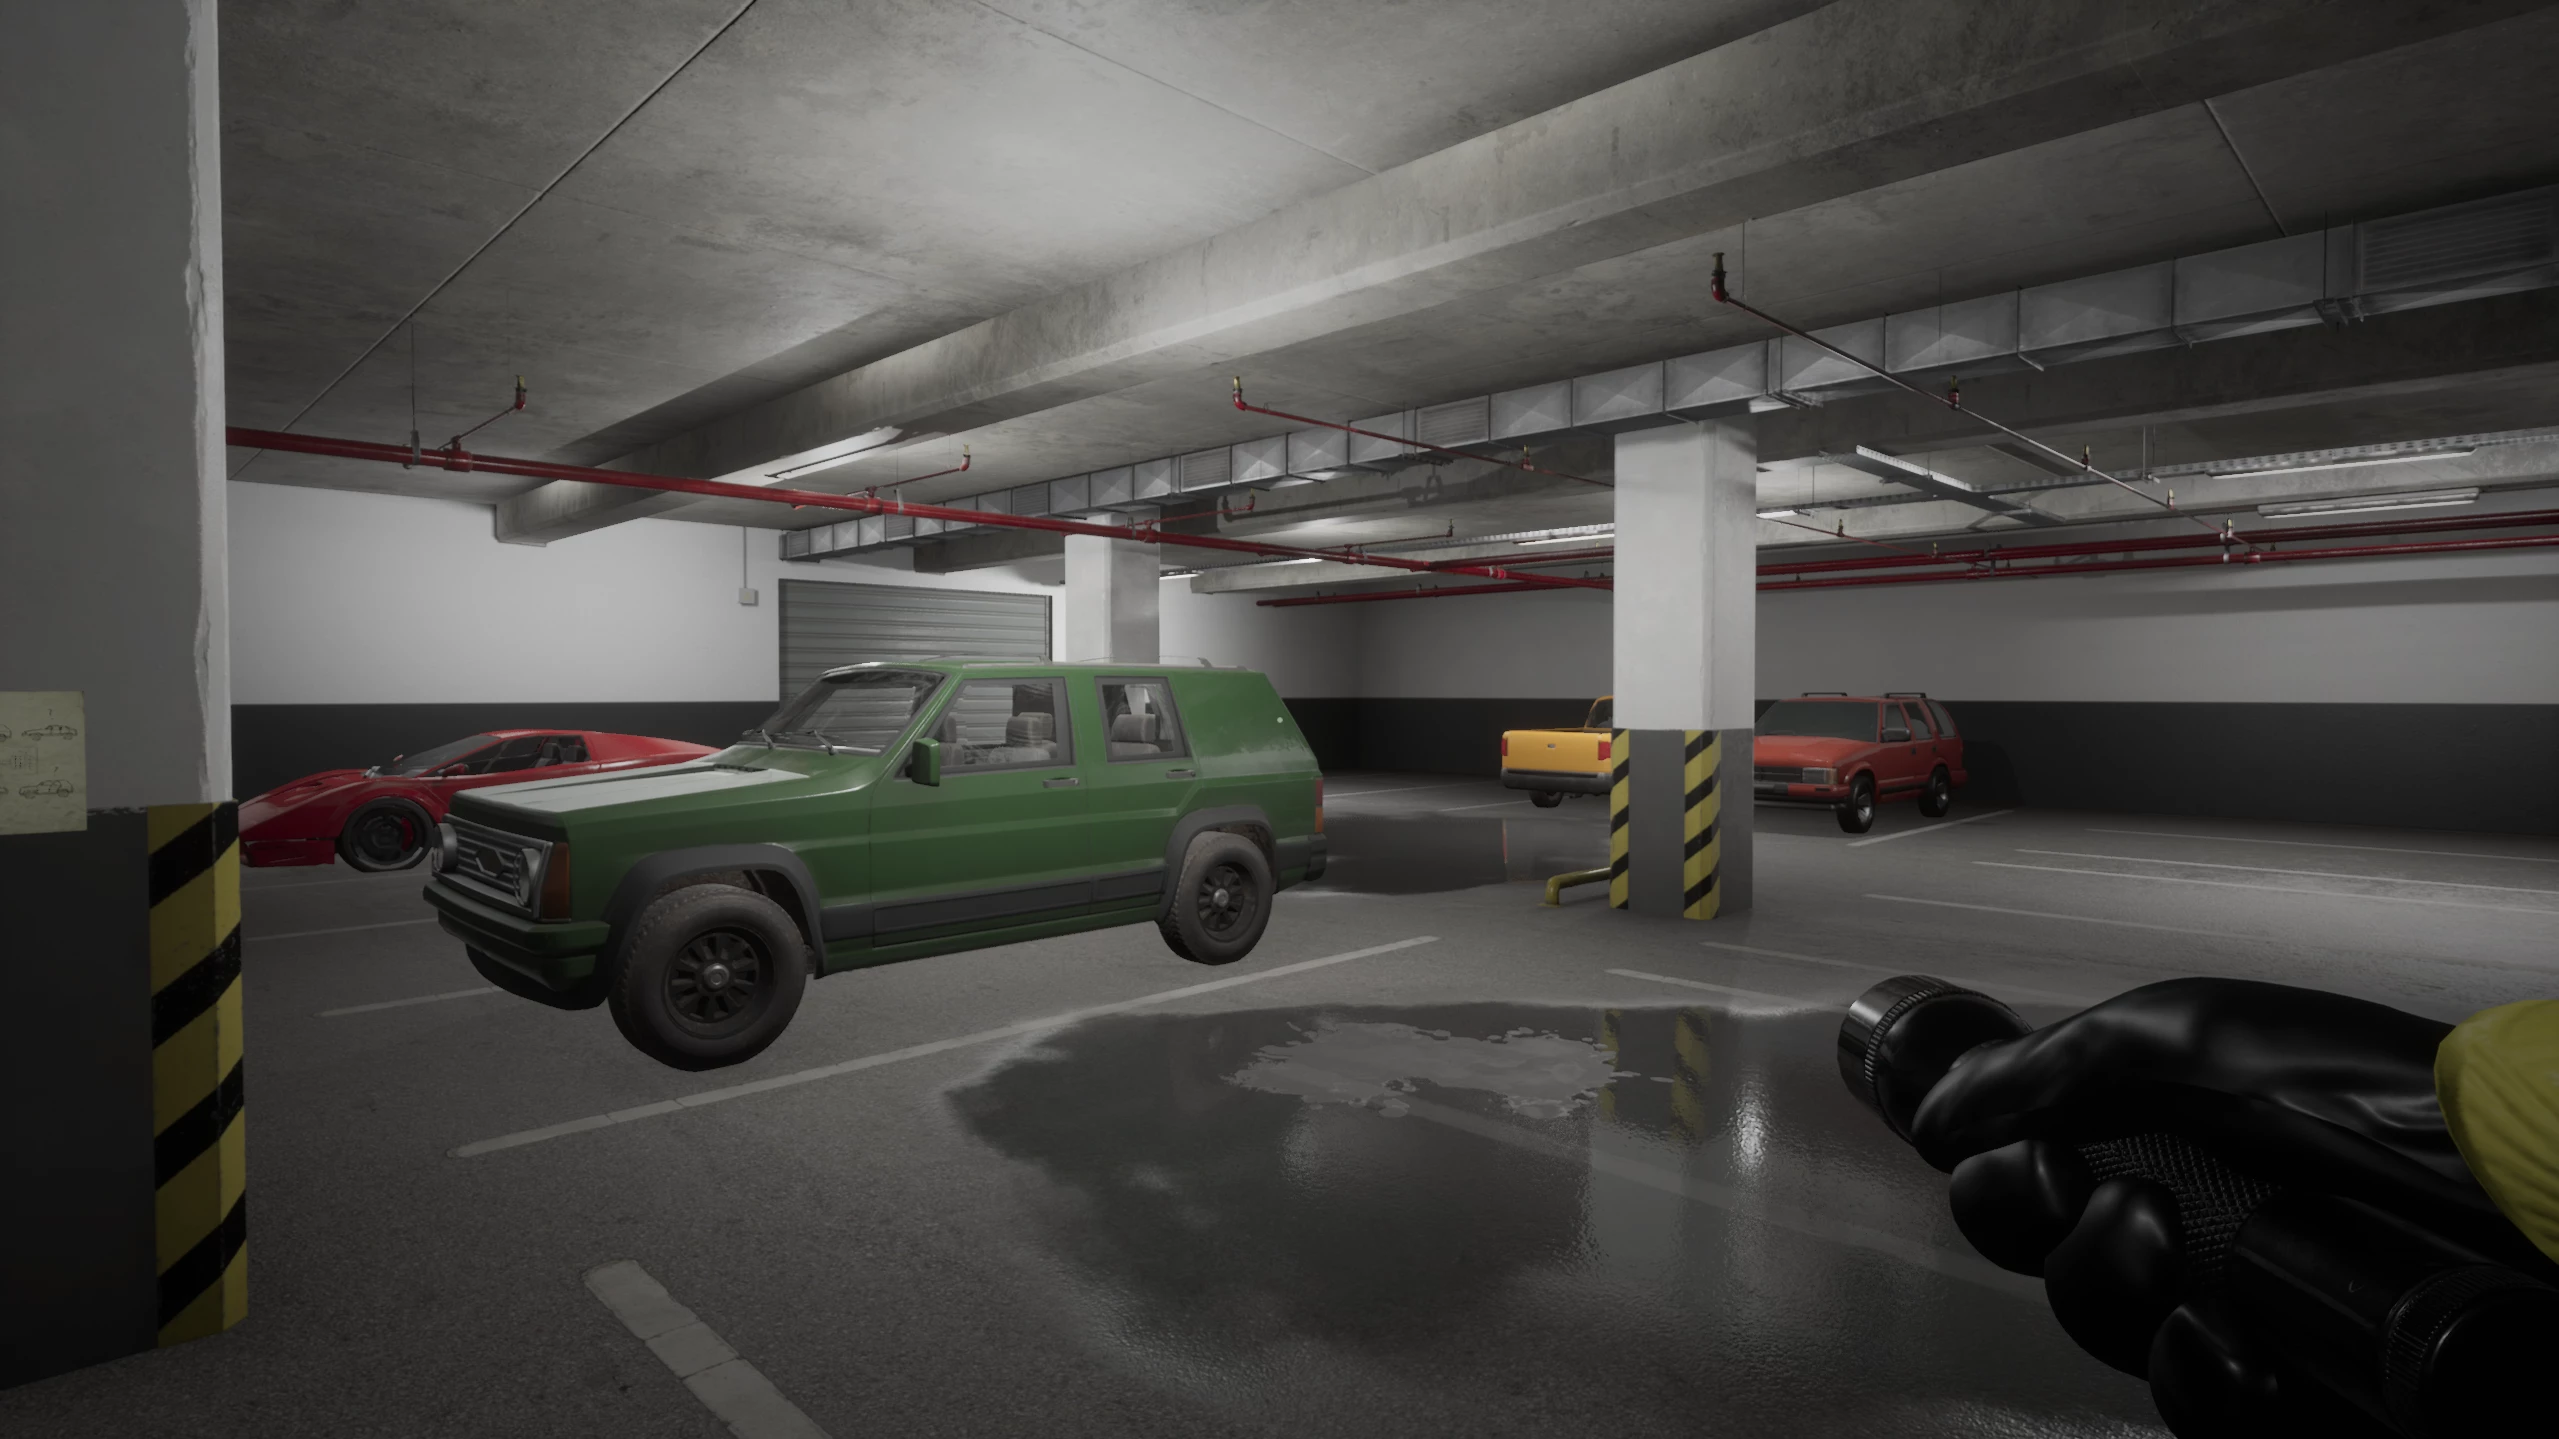
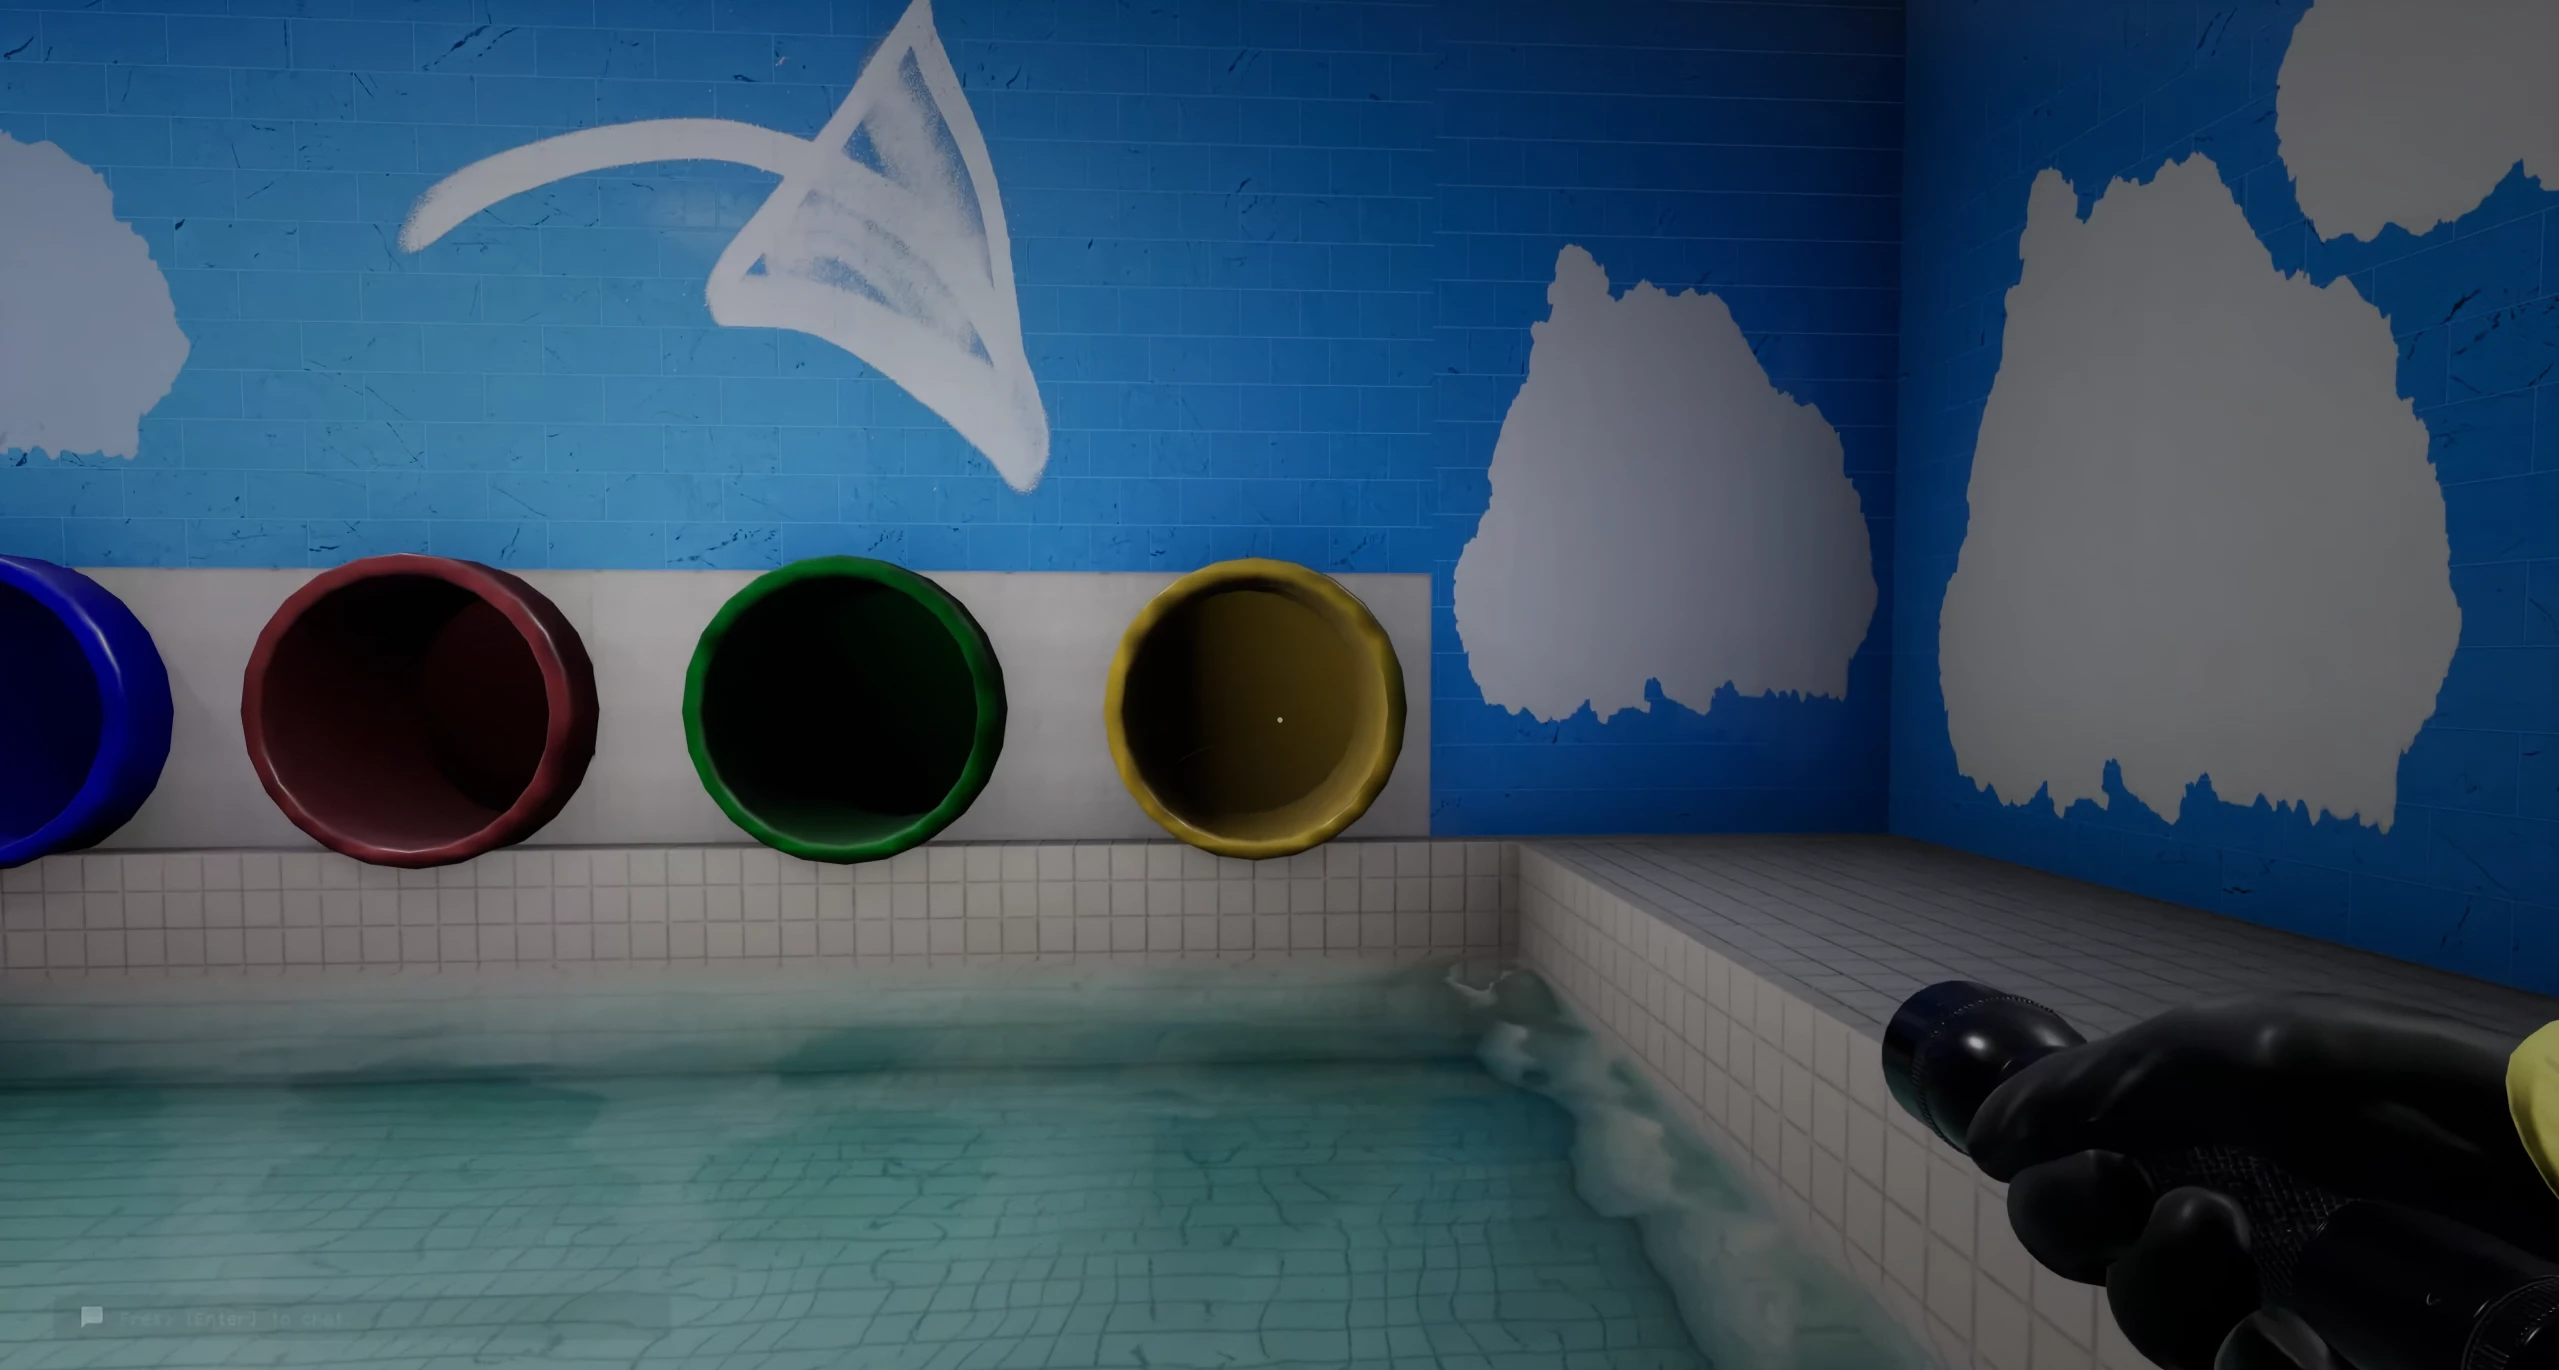
After collecting supplies, find the red door. Inside the room, there will be four cars of different colors. Remember the colors, as they are the code for the elevator.
Return to the elevator panel and enter the car colors in any order, then go down.
Level 1.1
After leaving the elevator, you will find yourself in a parking lot similar to the previous one. However, your task here is to find four keys hidden in various rooms on the map.
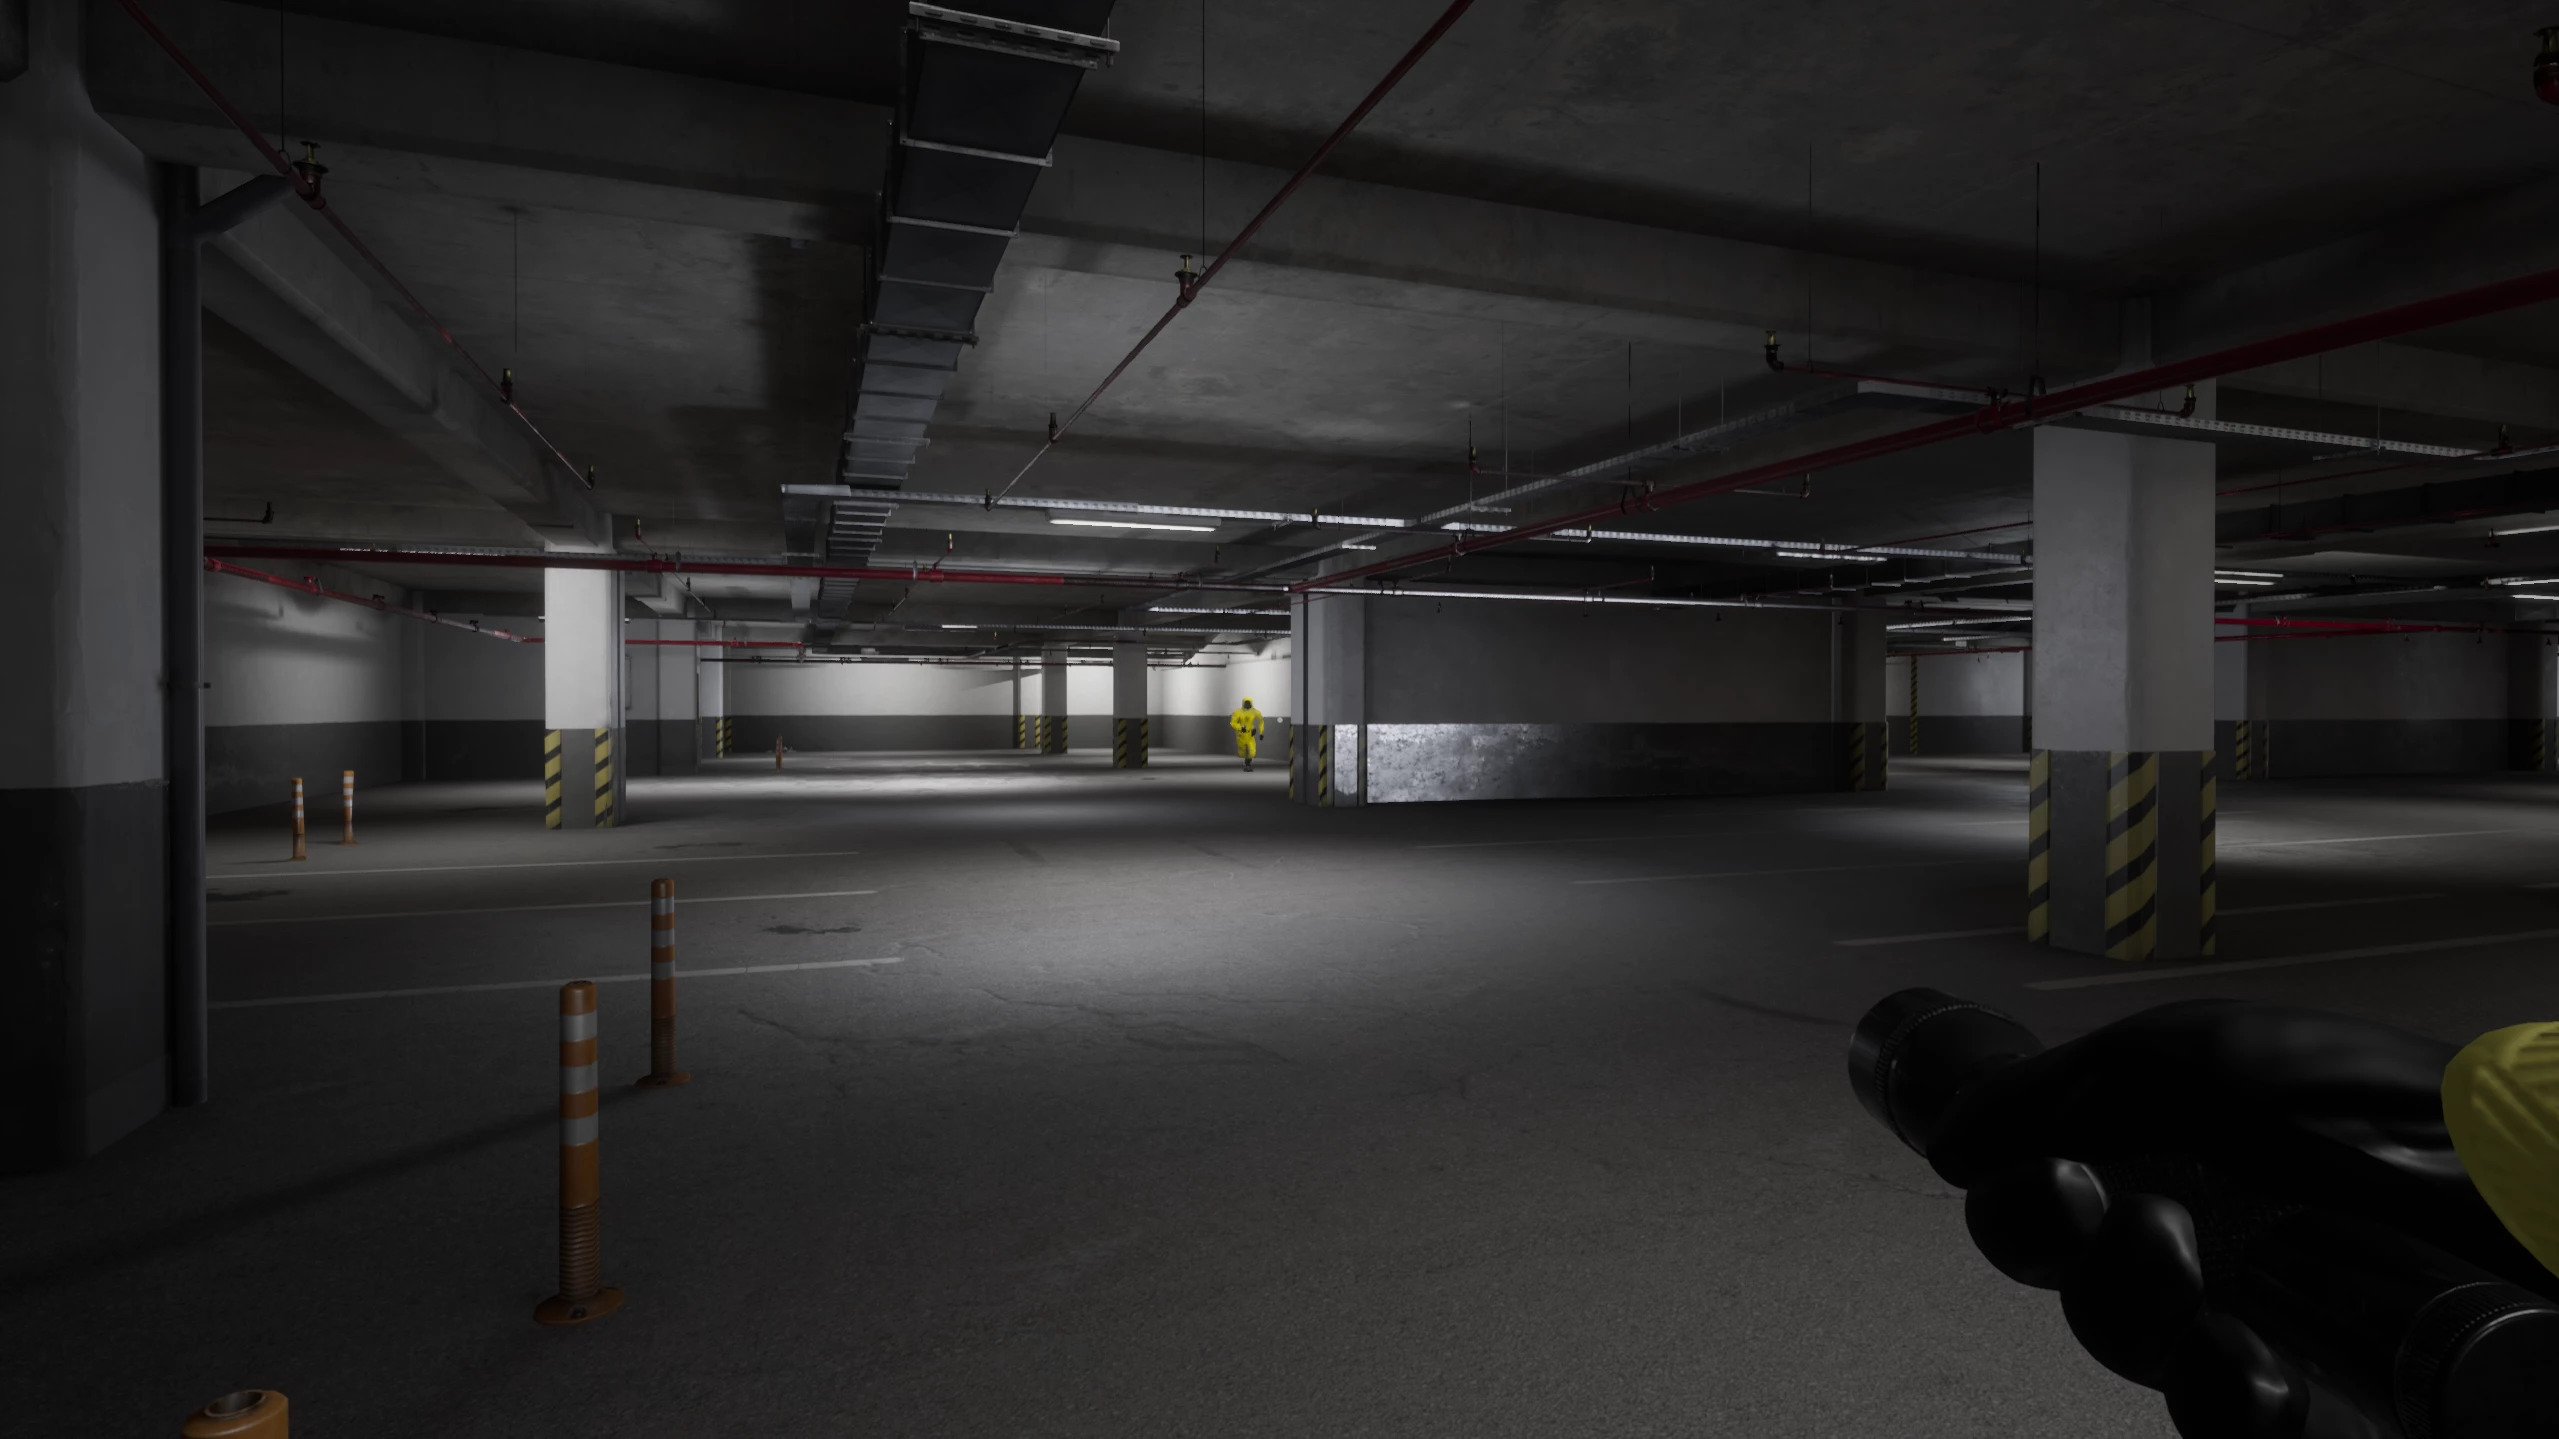
Beware of new monsters — Skin-Stealers inhabiting this area, and be extremely careful while exploring, as they can take the appearance of other players. Their number depends on the participants on the server, but there will always be at least one in the location.

The keys are hidden throughout the parking lot rooms. With some luck, two keys can spawn in one room at once. The left side of the location will be patrolled by monsters, so be careful. You can also find various supplies in the rooms.
Fortunately, Skin-Stealers cannot open doors, so use this to your advantage for safe movement.
After collecting four keys, head to the central room and insert the obtained items into the slots. The door will open as soon as you activate them simultaneously.
Level 1.2
After going down the stairs and picking up supplies from the shelves, you will reach the third floor of the parking lot. This section is darker than the others, so use flashlights for better exploration.
The new parking lot has three floors, and your task is to find the elevator on one of them.
When descending to the second or third floor, you will encounter a wandering Skin-Stealer, so be careful and listen for sounds to avoid running into the monster.
Elevators can be found in the upper left corner of the second floor or in the upper right corner of the third floor.
After finding the right door, go down.
The Hub
After leaving the elevator, you will find yourself in a new room. The main zone serves as a connecting point, allowing you to move between different locations in the game, making it a convenient place to rest and resupply.
Going inside the room with the exit sign, you will enter an underground tunnel with doors on the sides. They allow you to access other levels, but can only be activated from the levels they lead to.
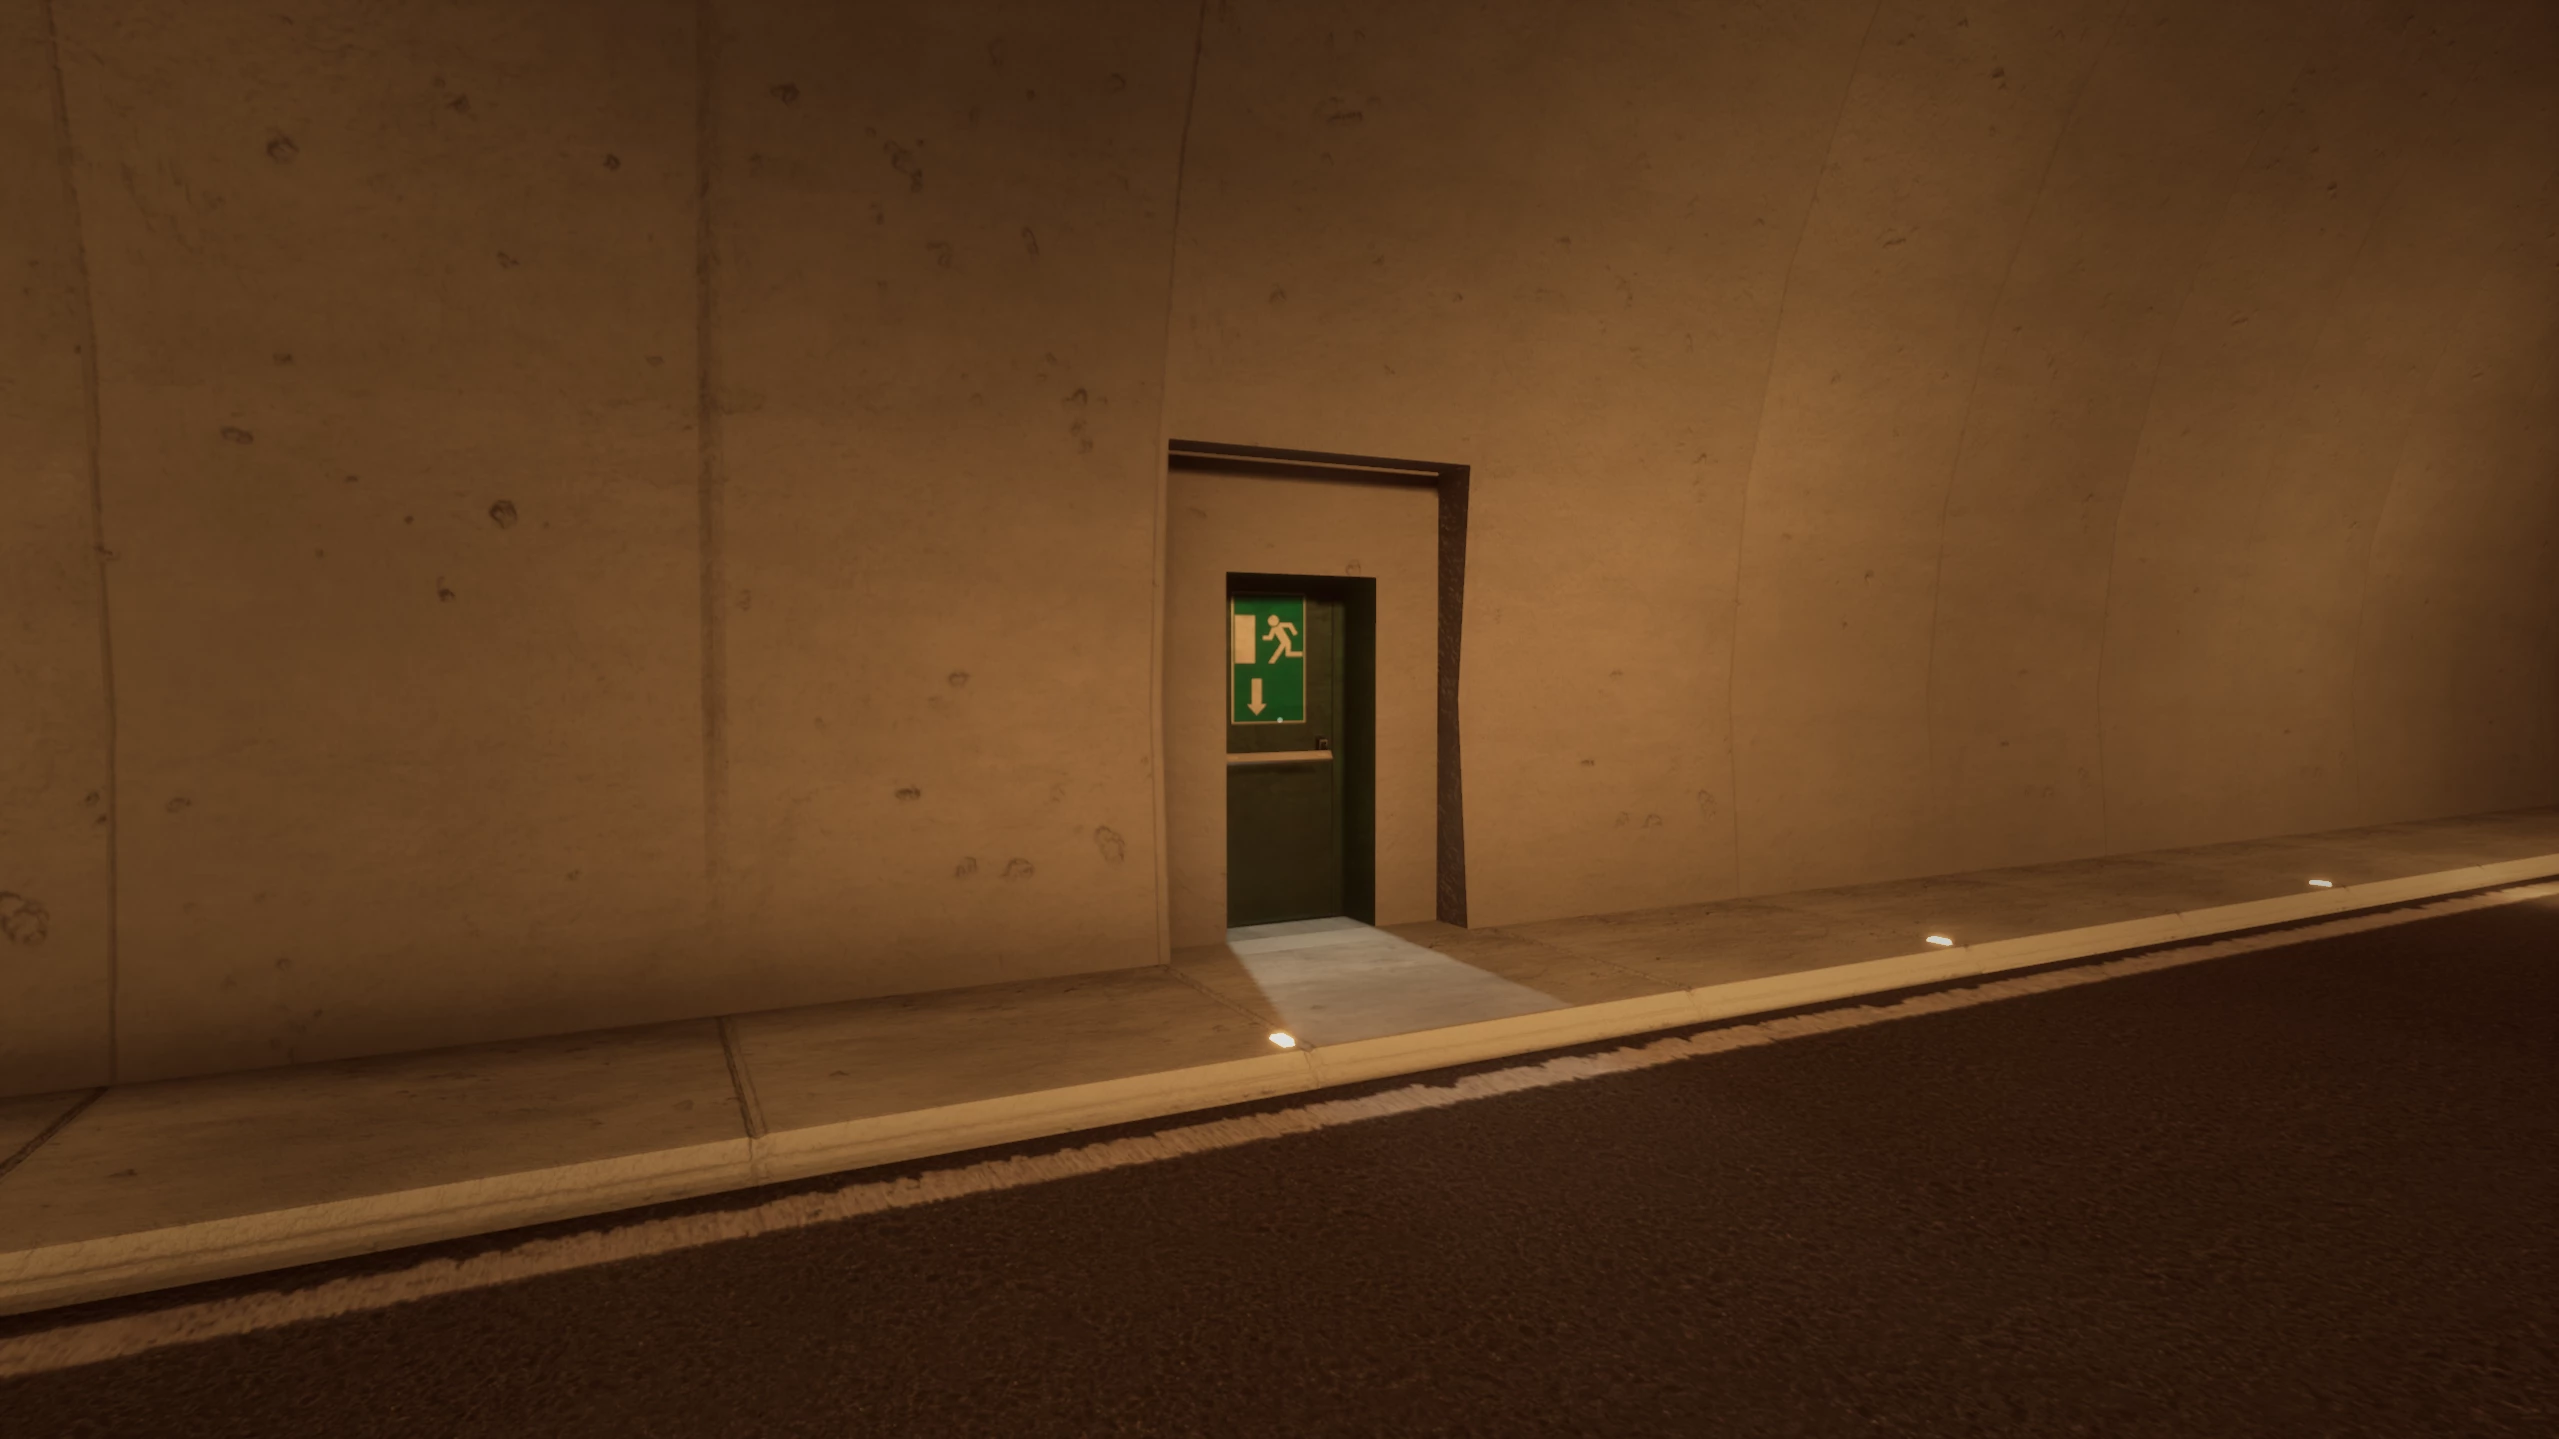
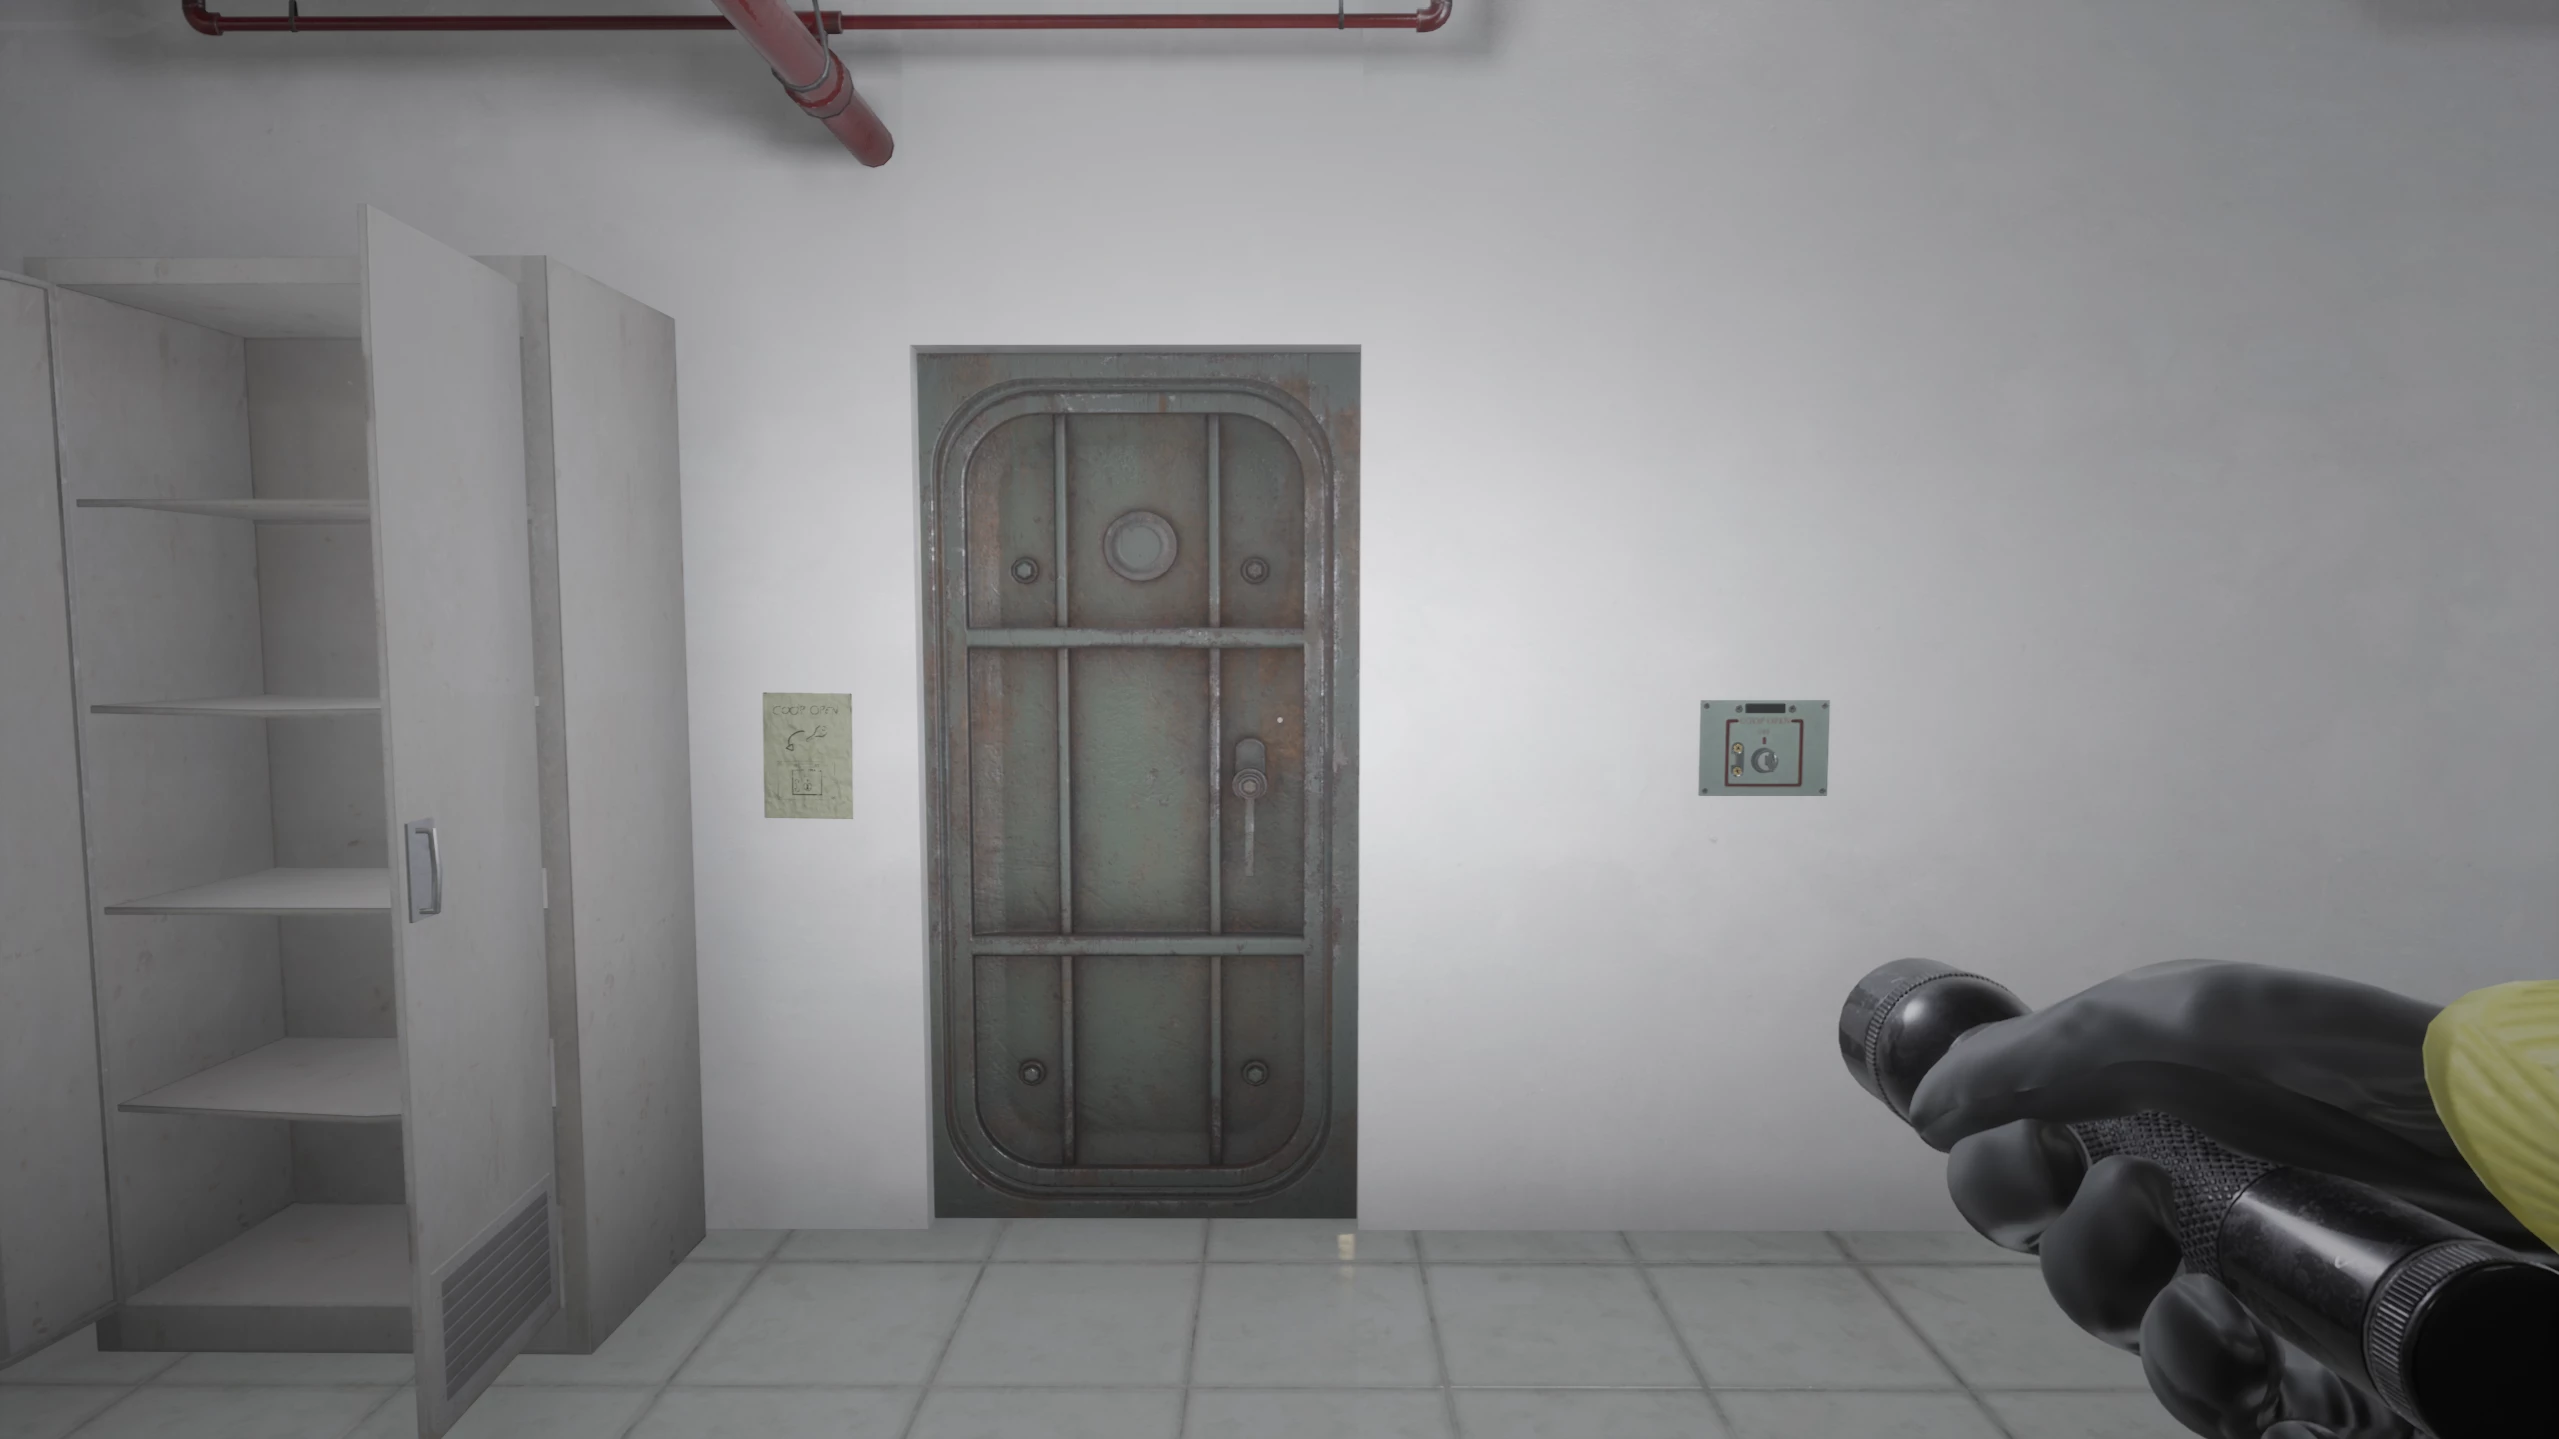
To progress further, you need to find the door with a green sign and a white figure. It will lead you to the M.E.G. base.
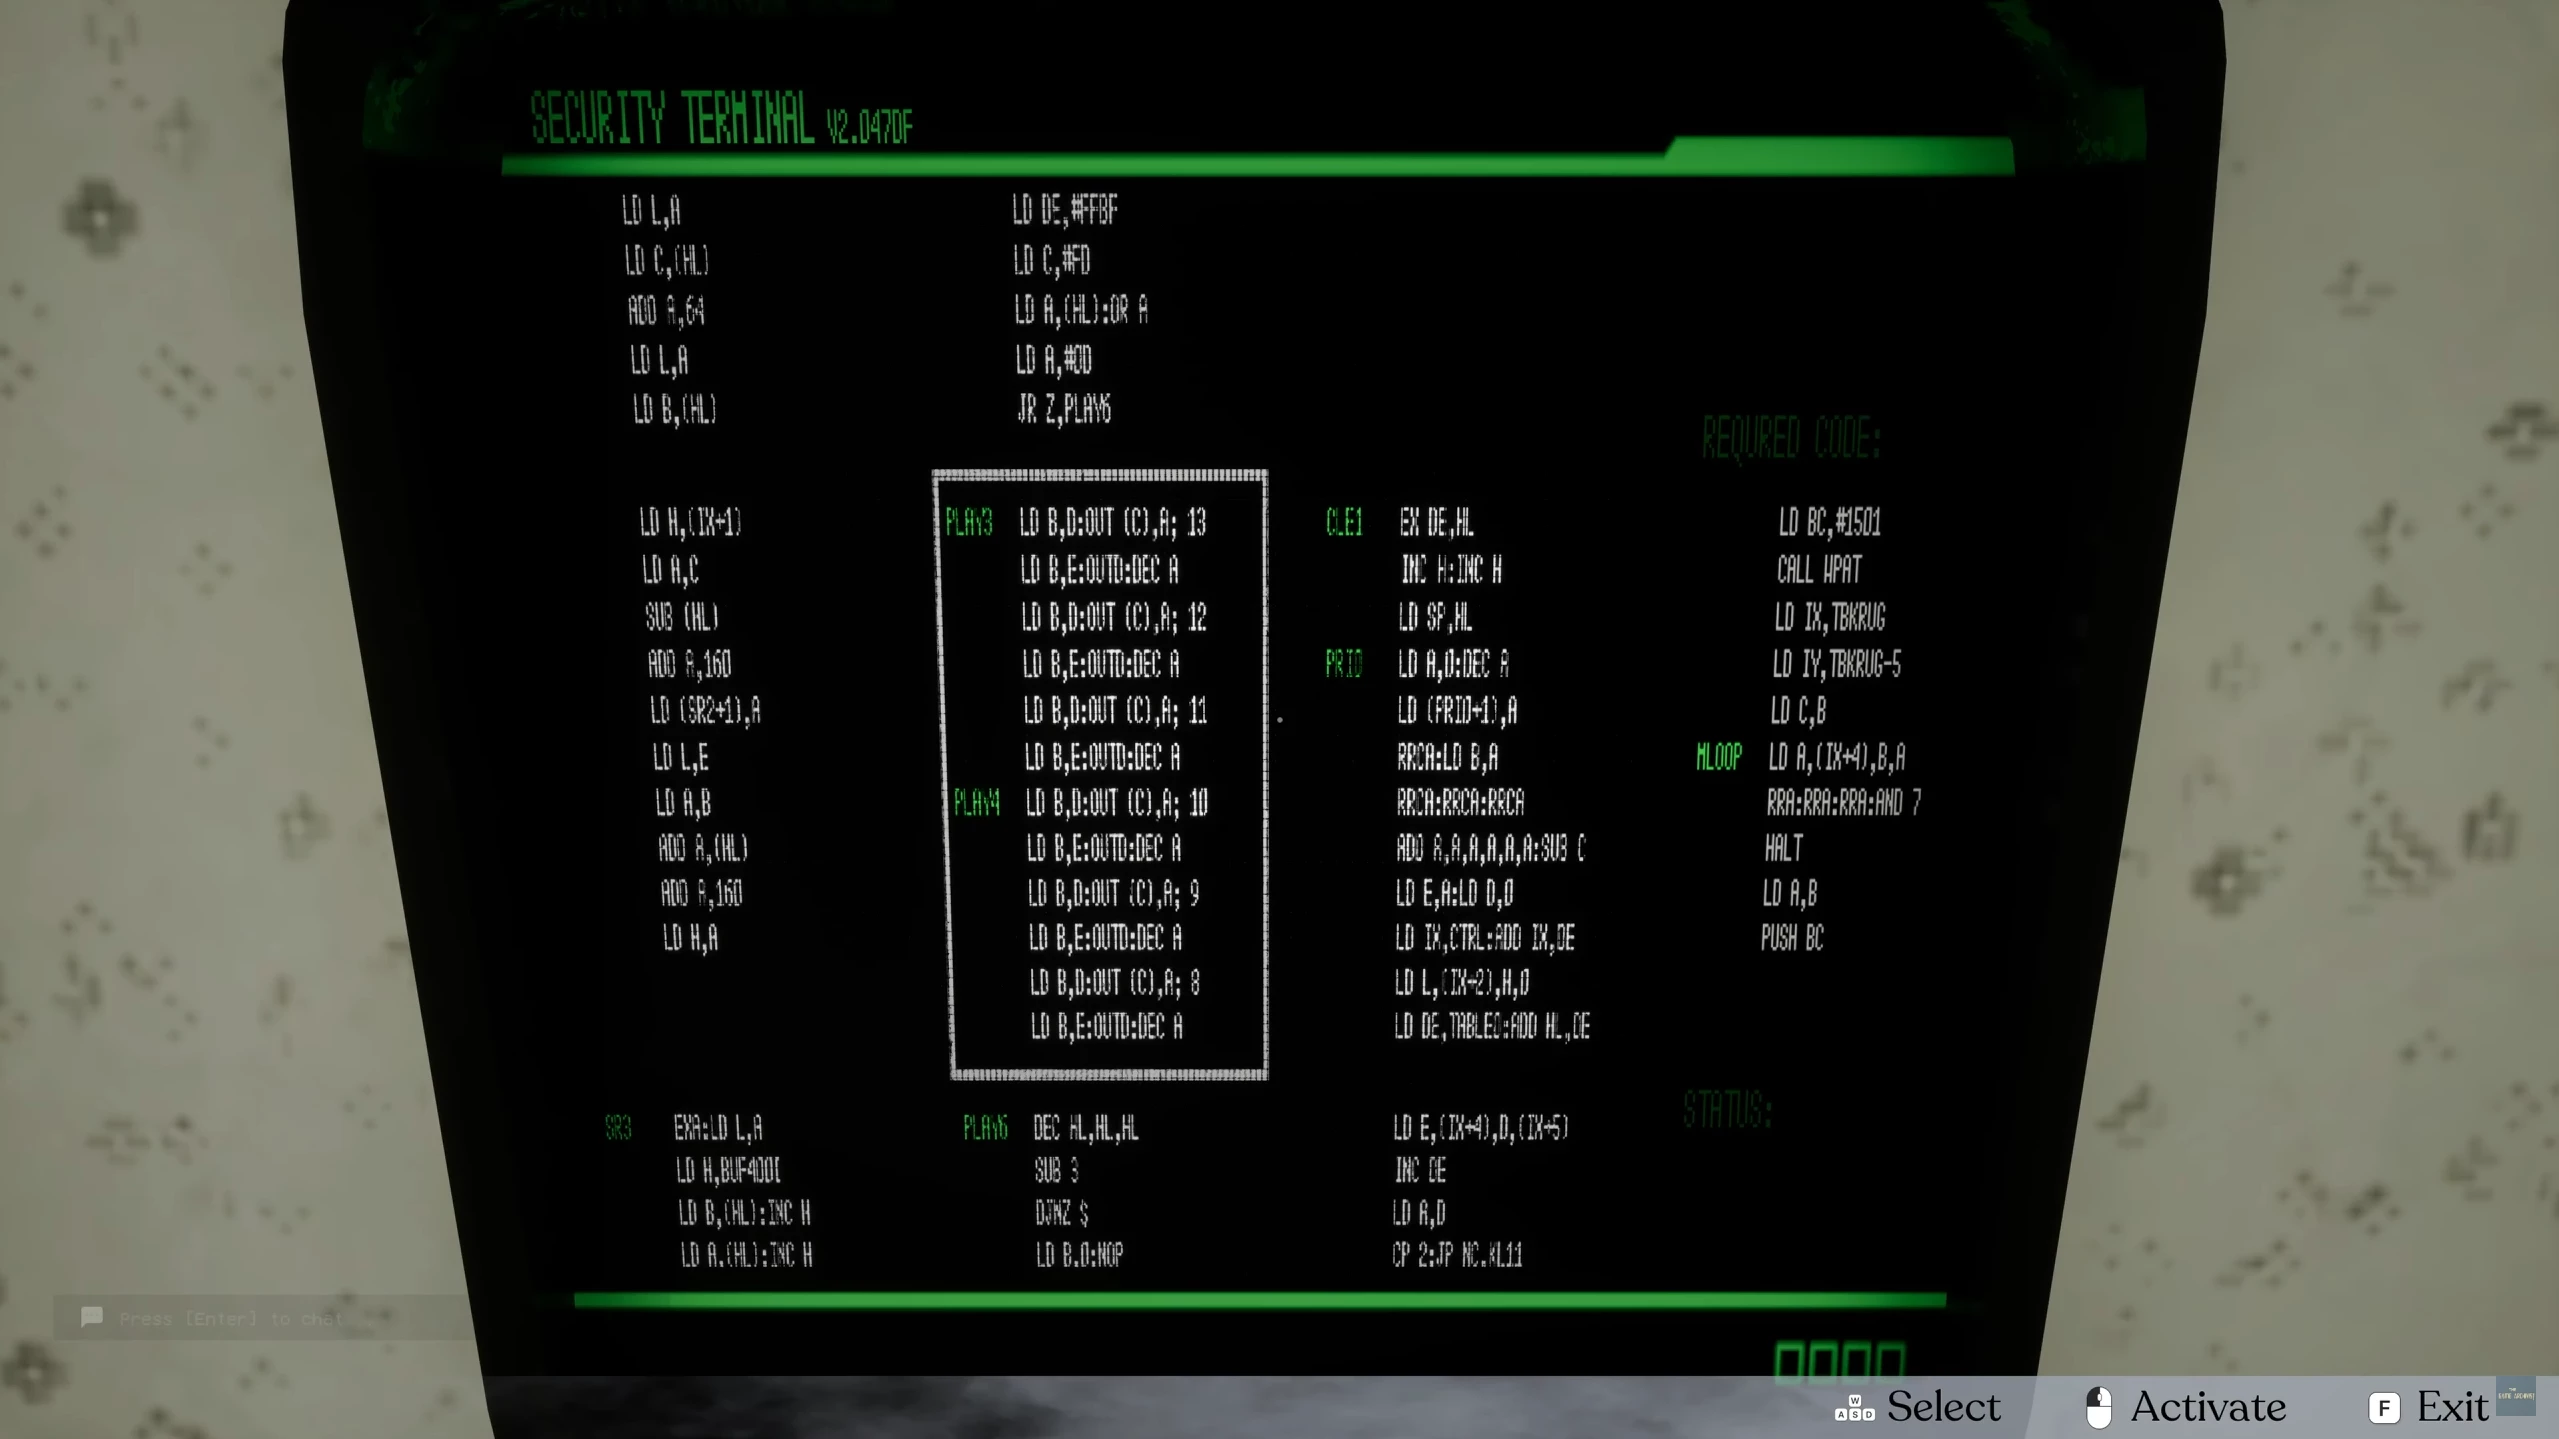
The door to the base is locked, and to the right of it there is a terminal with a puzzle. To solve it, you need to match the given code with its copy from the provided list.
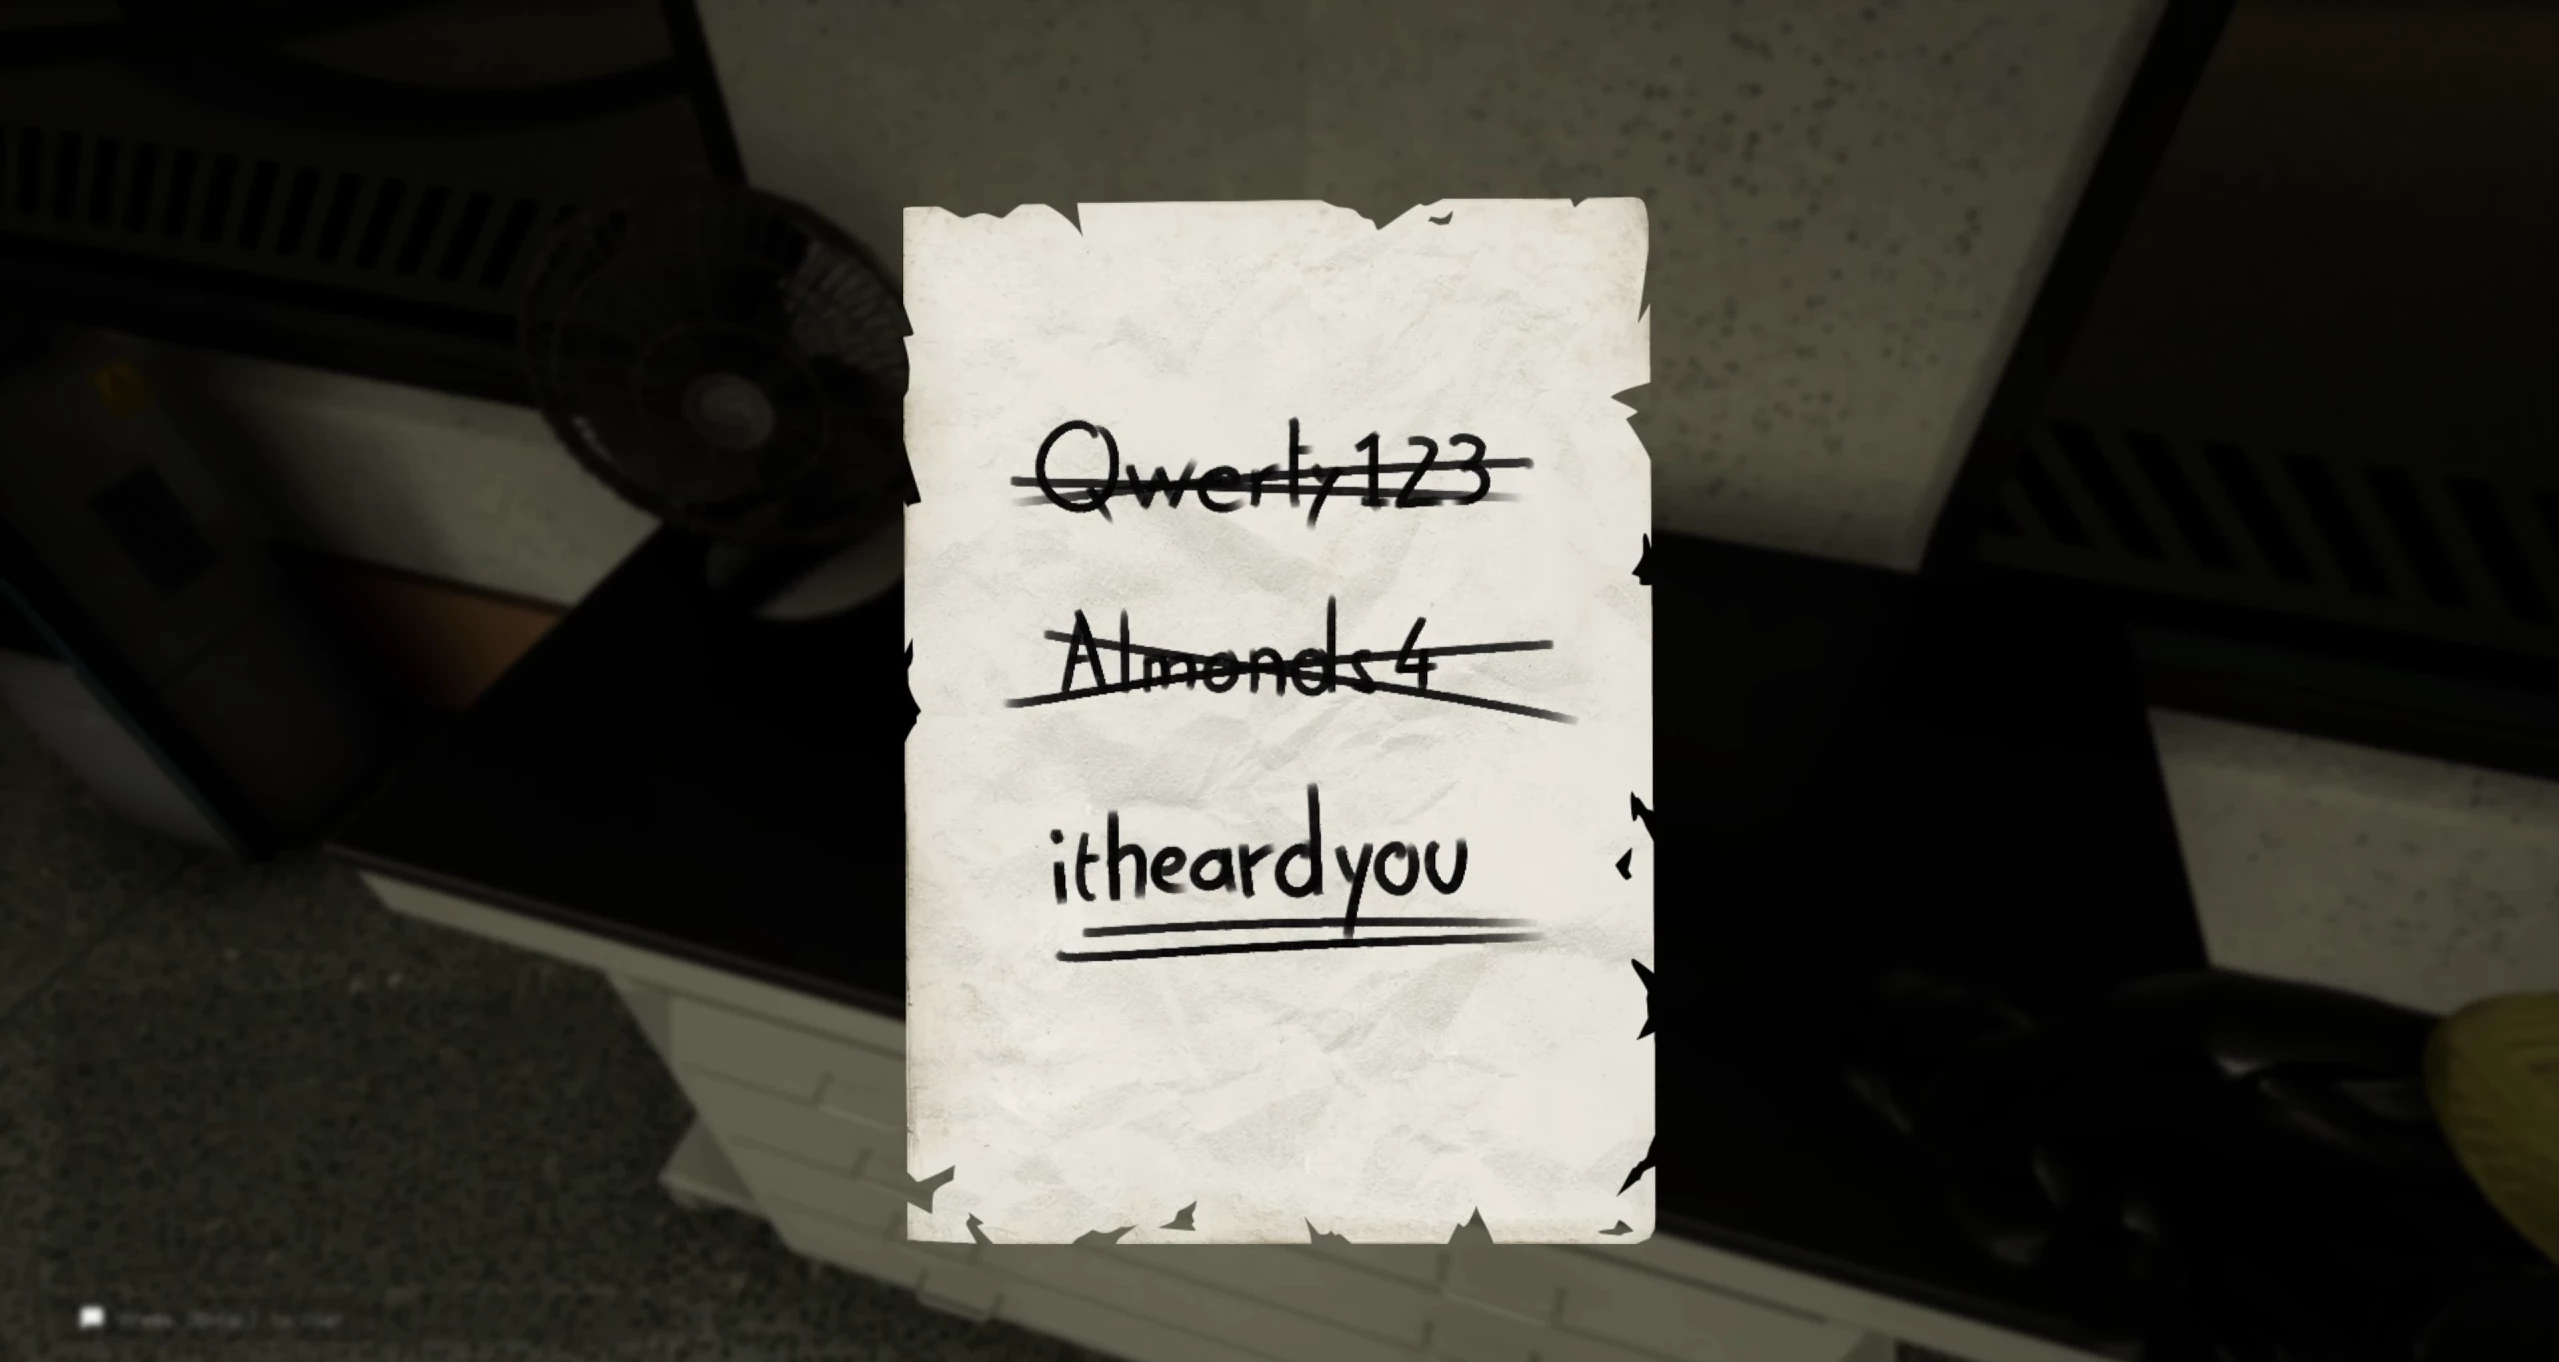
Once inside, all you need to do is turn on the lights using the switch to the right of the entrance and examine the terminals. While these terminals are unavailable, the password for them is written in the nearby notebook. The computer password: itheardyou.
After successfully logging into the system, several icons will appear on the desktop. One of them will allow you to open the garage doors you saw at the beginning of this level.
Using the wall controller, activate the door and enter a huge illuminated hall.
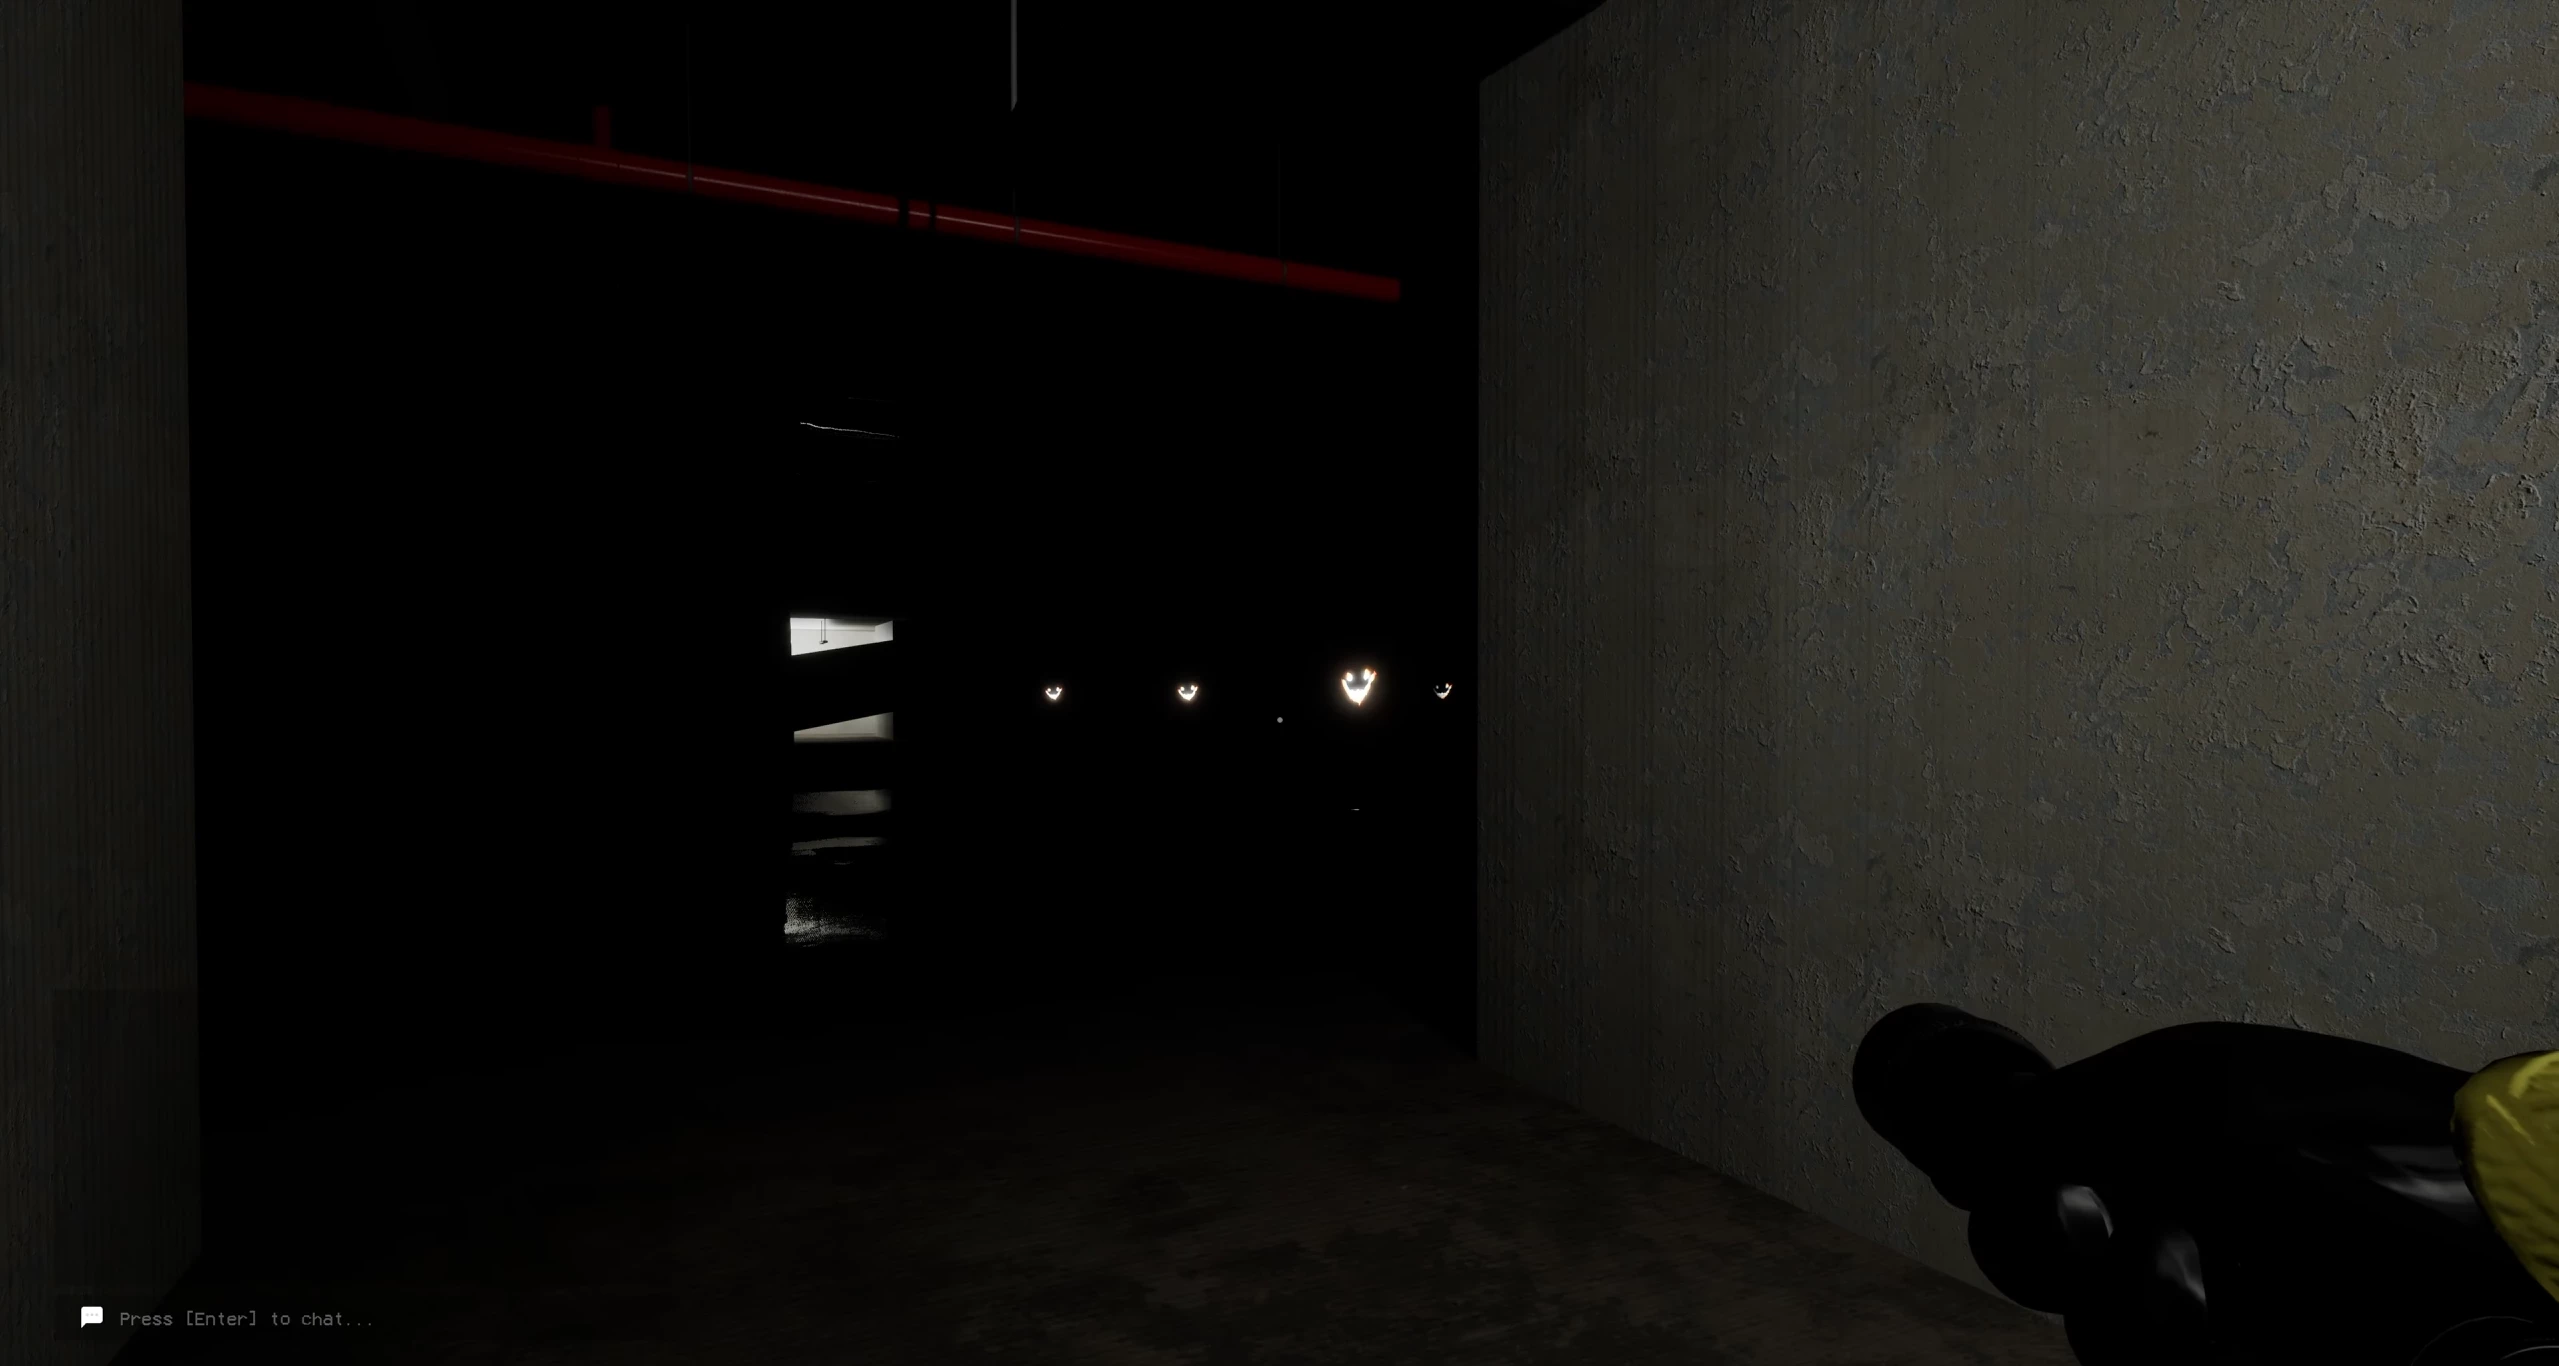
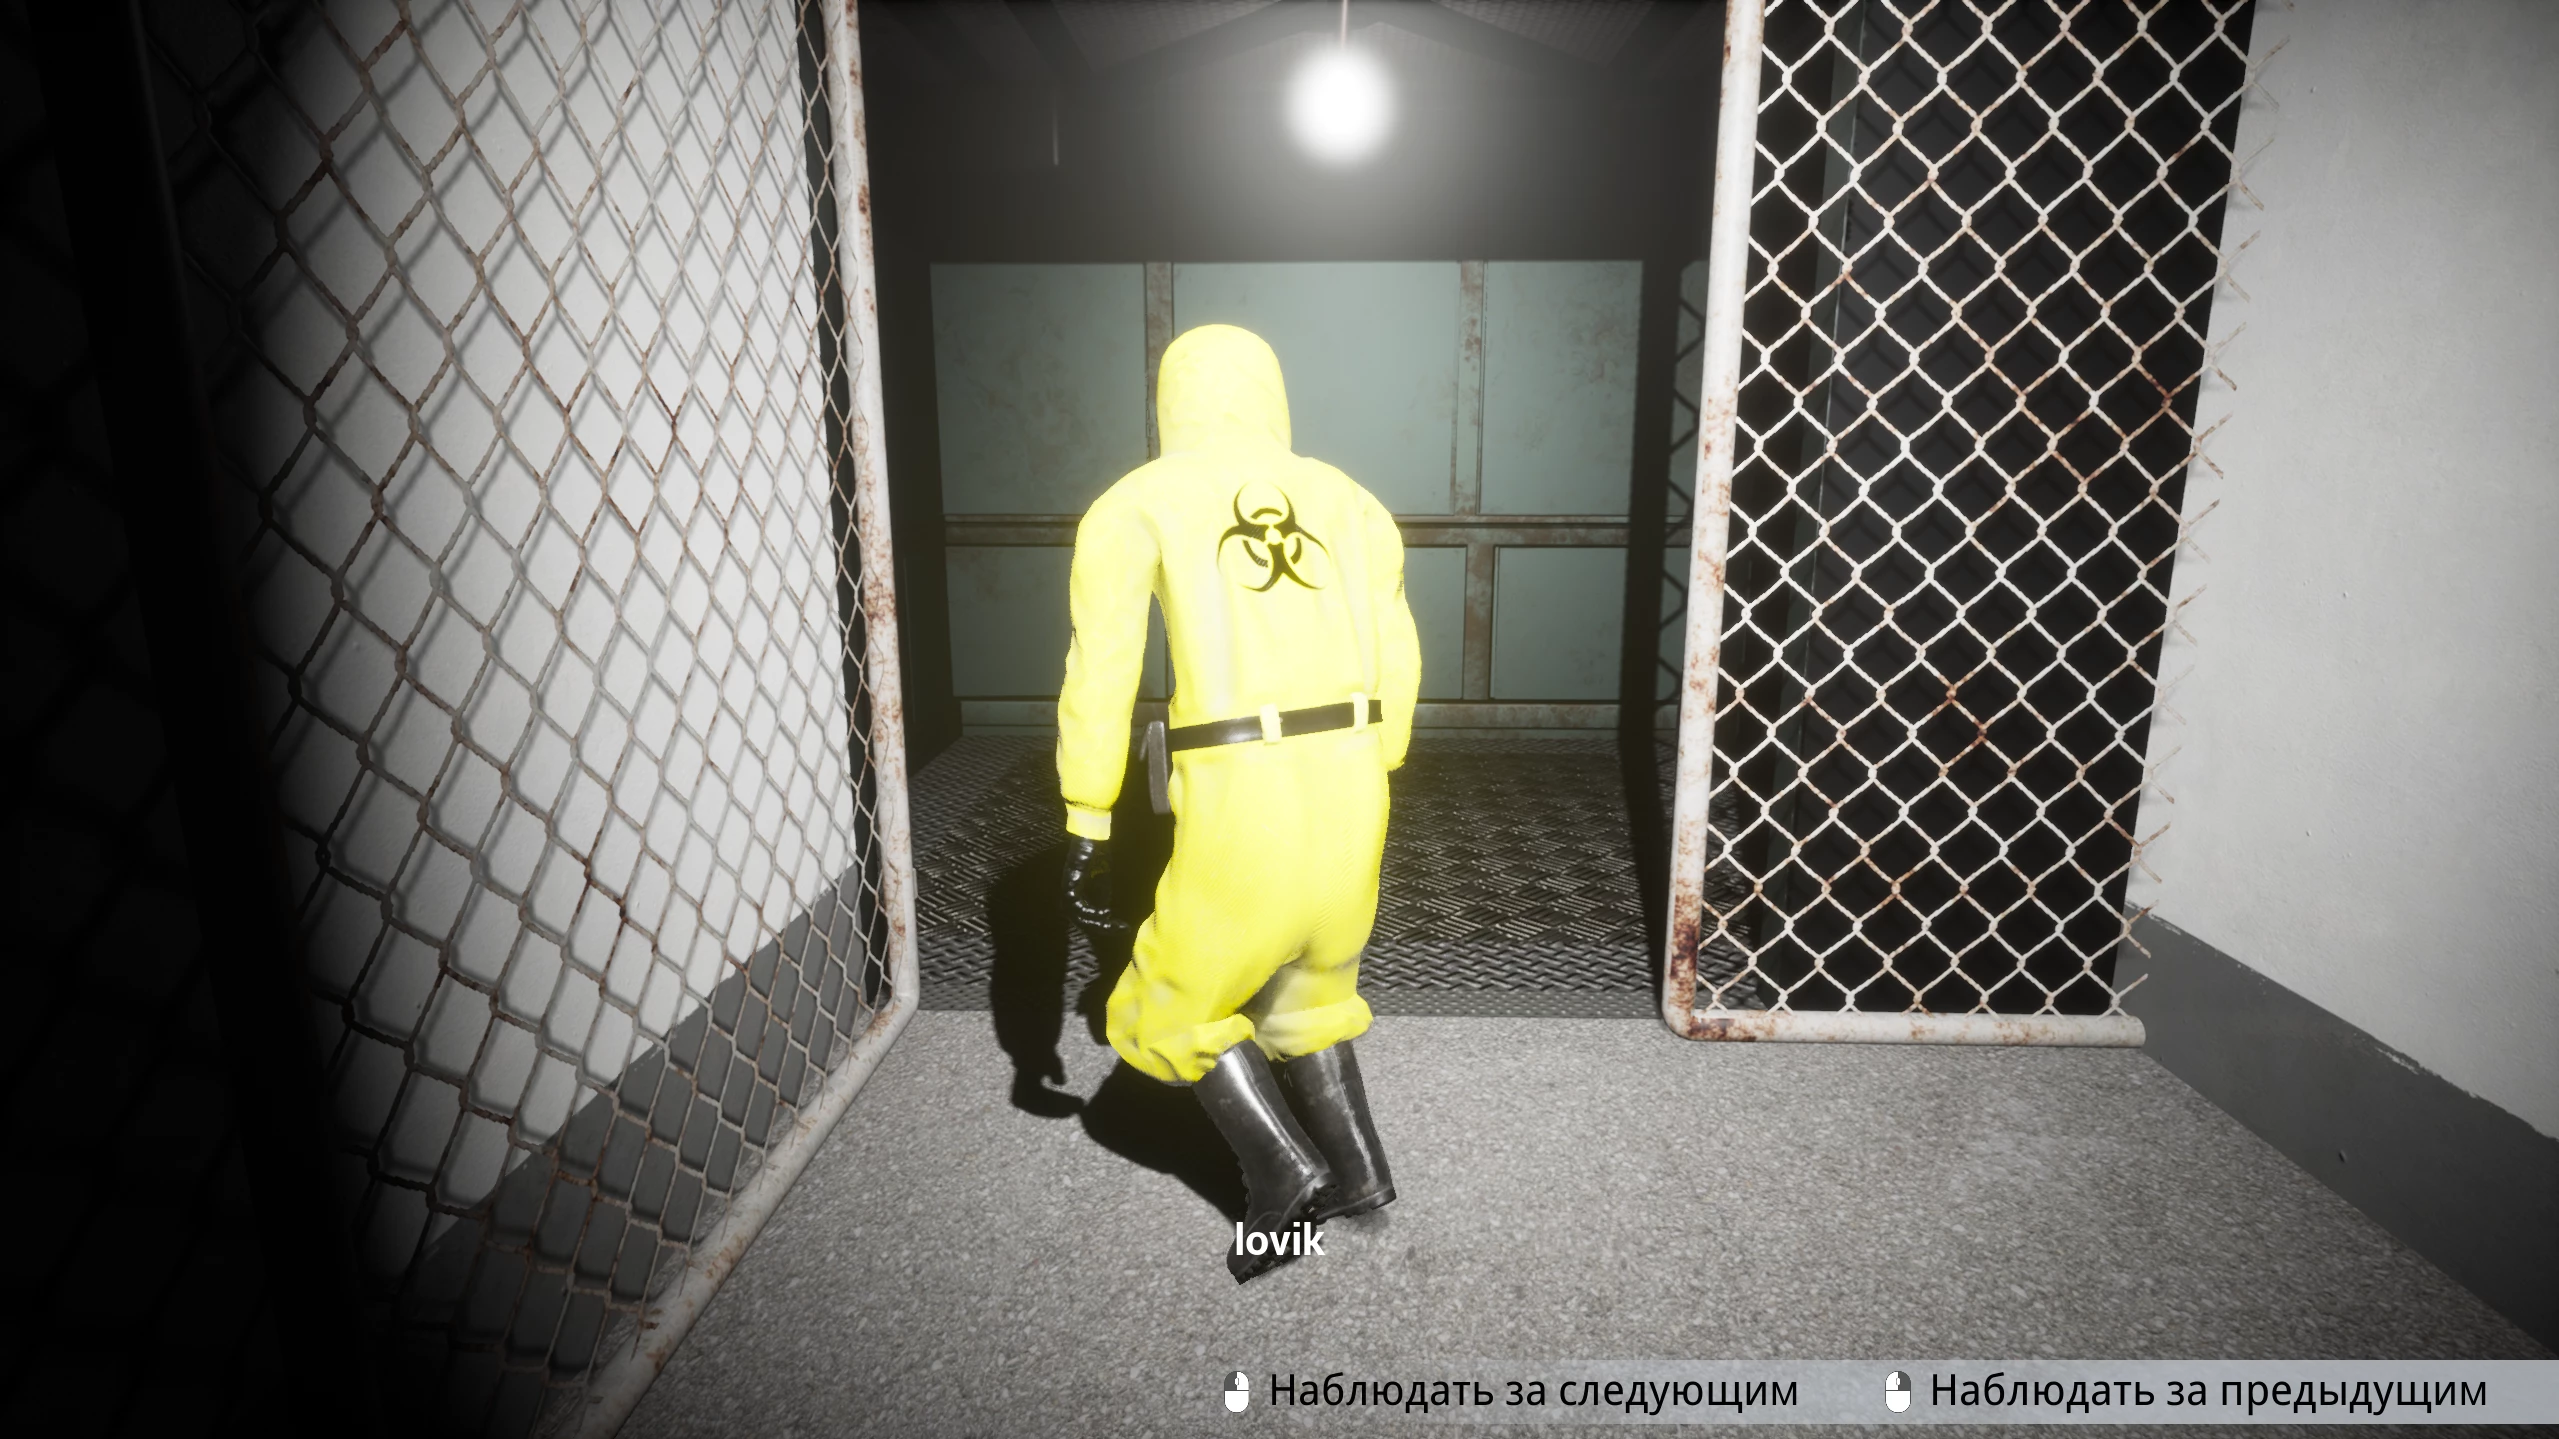
Here, new monsters appear for the first time — smilers, also known as grinners. They appear when the lights go out in the room, so stay in the lit areas along the sides of the garage to survive.
While exploring the edges of the room, find the blue door that leads to a corridor with rusty pipes on the walls.
Level 2 — Unattainable Dreams
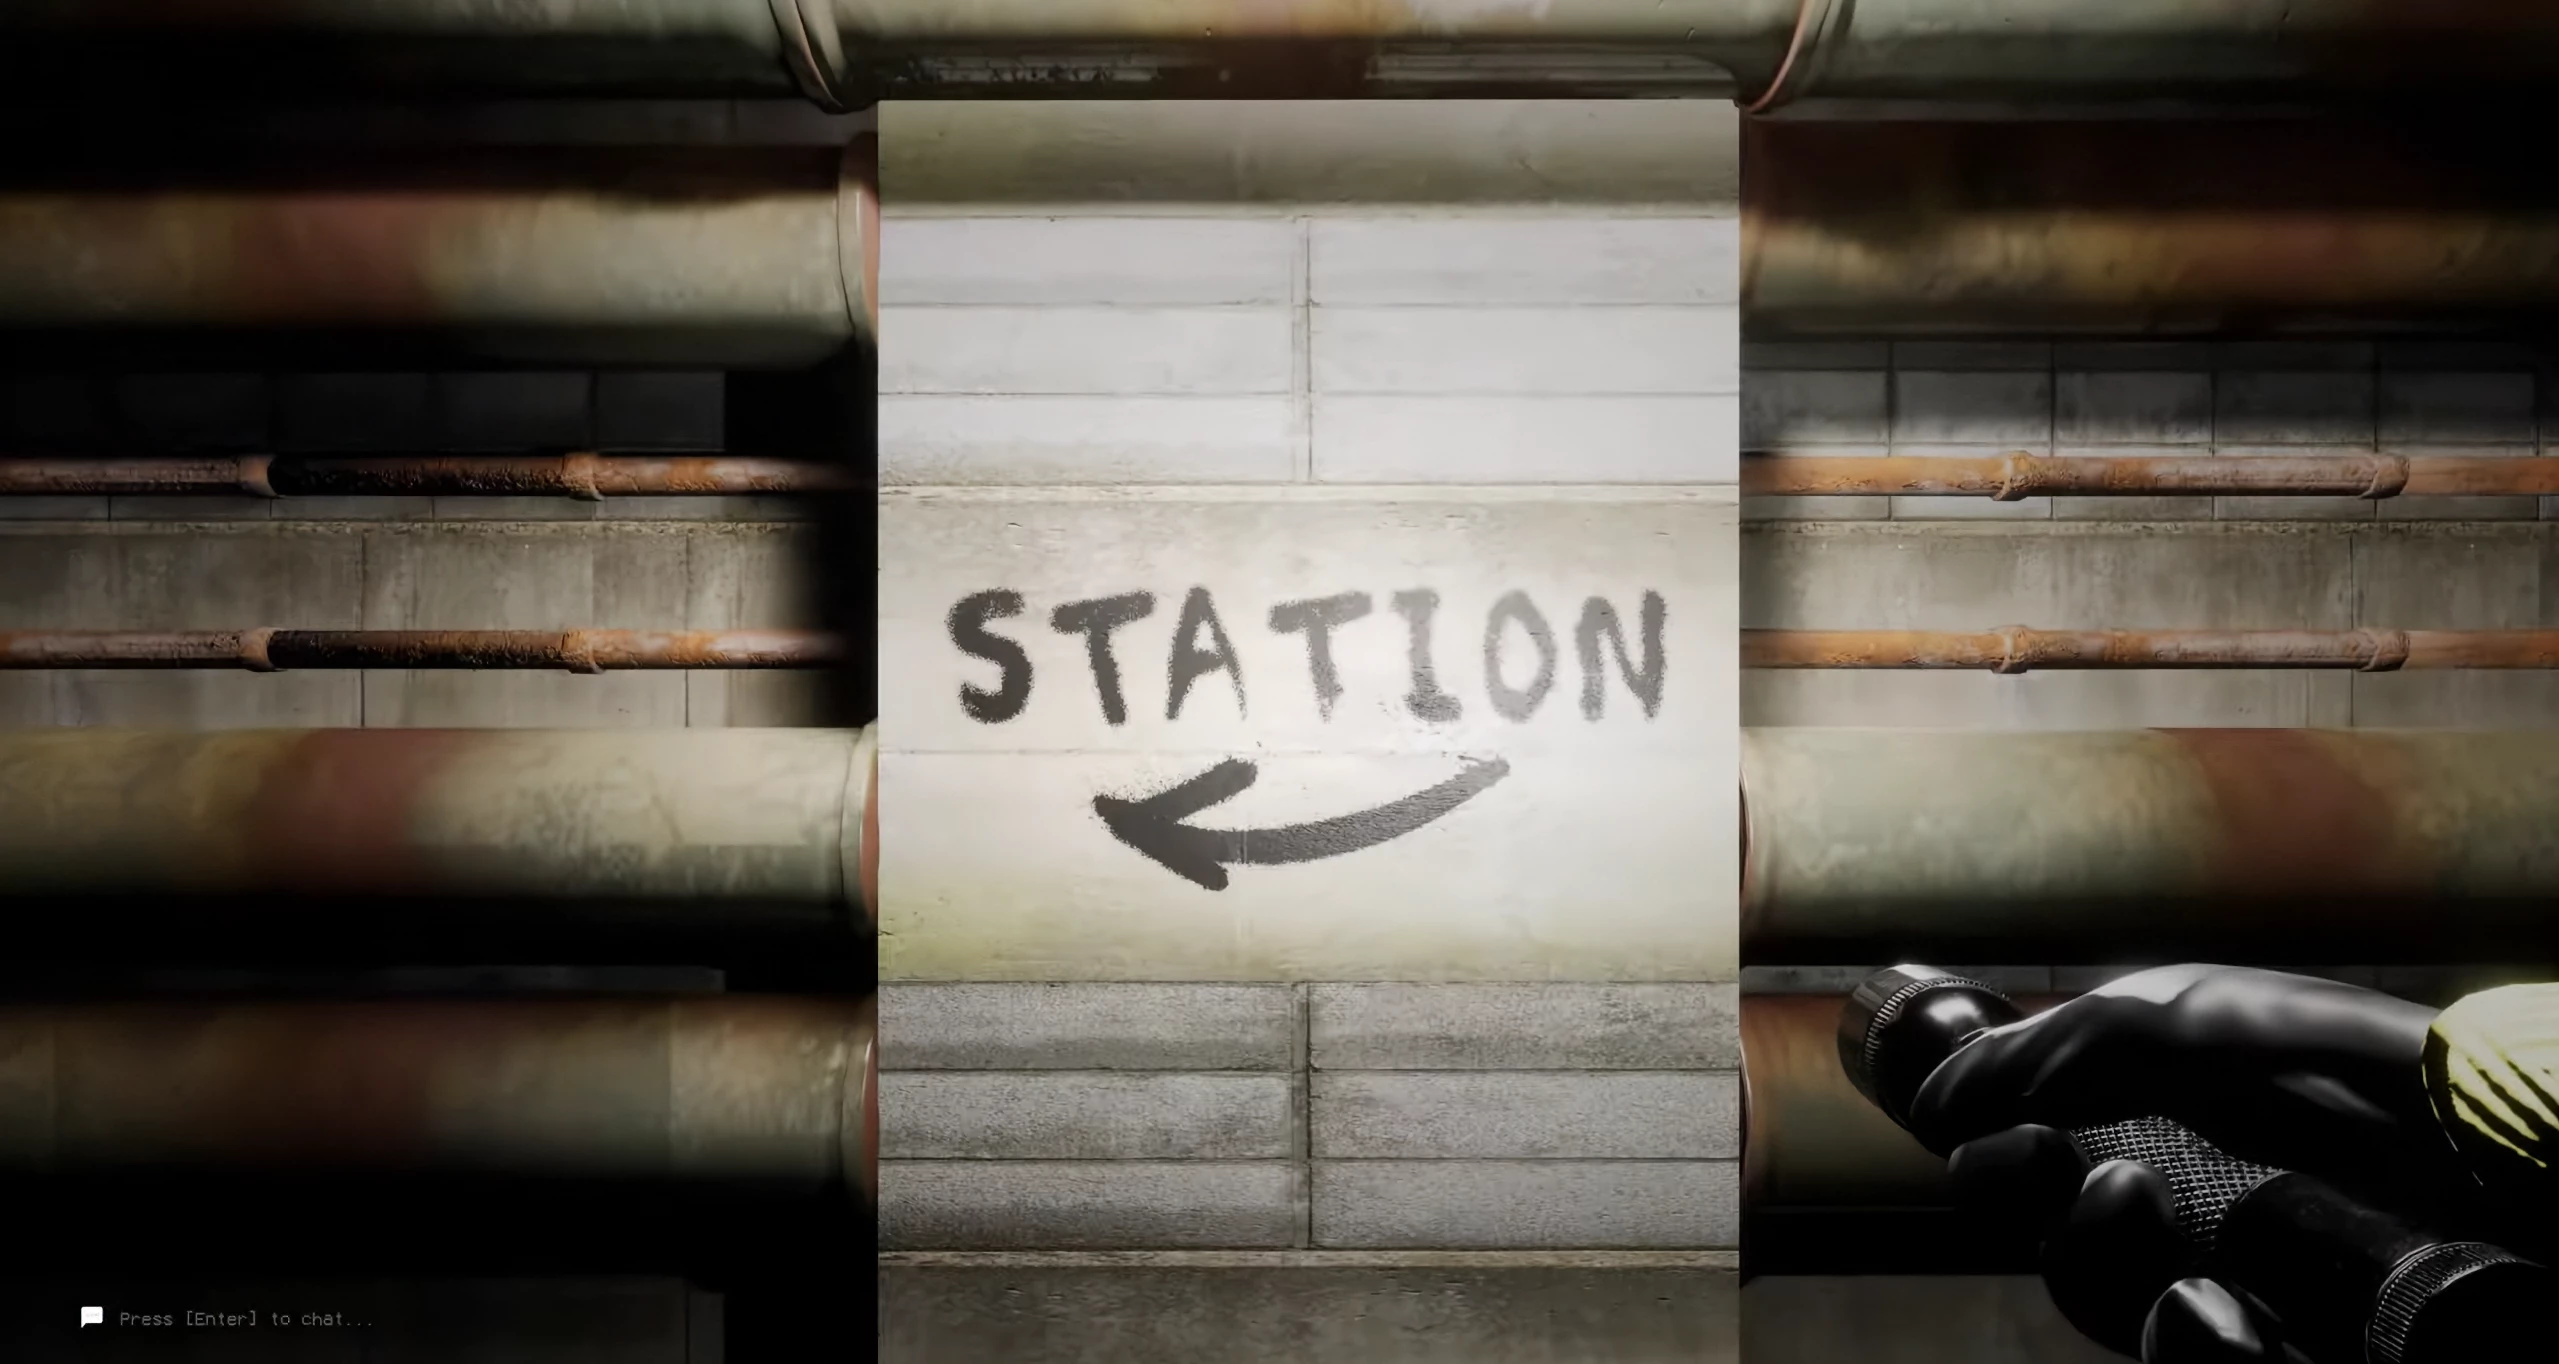
Once here, go in the direction indicated by the arrow labeled station.
Keep going until you find a flashlight on the floor and come across a dark section ahead. After passing through it, a smiler will attack you. Run straight until you see a turn to the right. It will lead to the exit to the next location.
Level 3 — Power Station
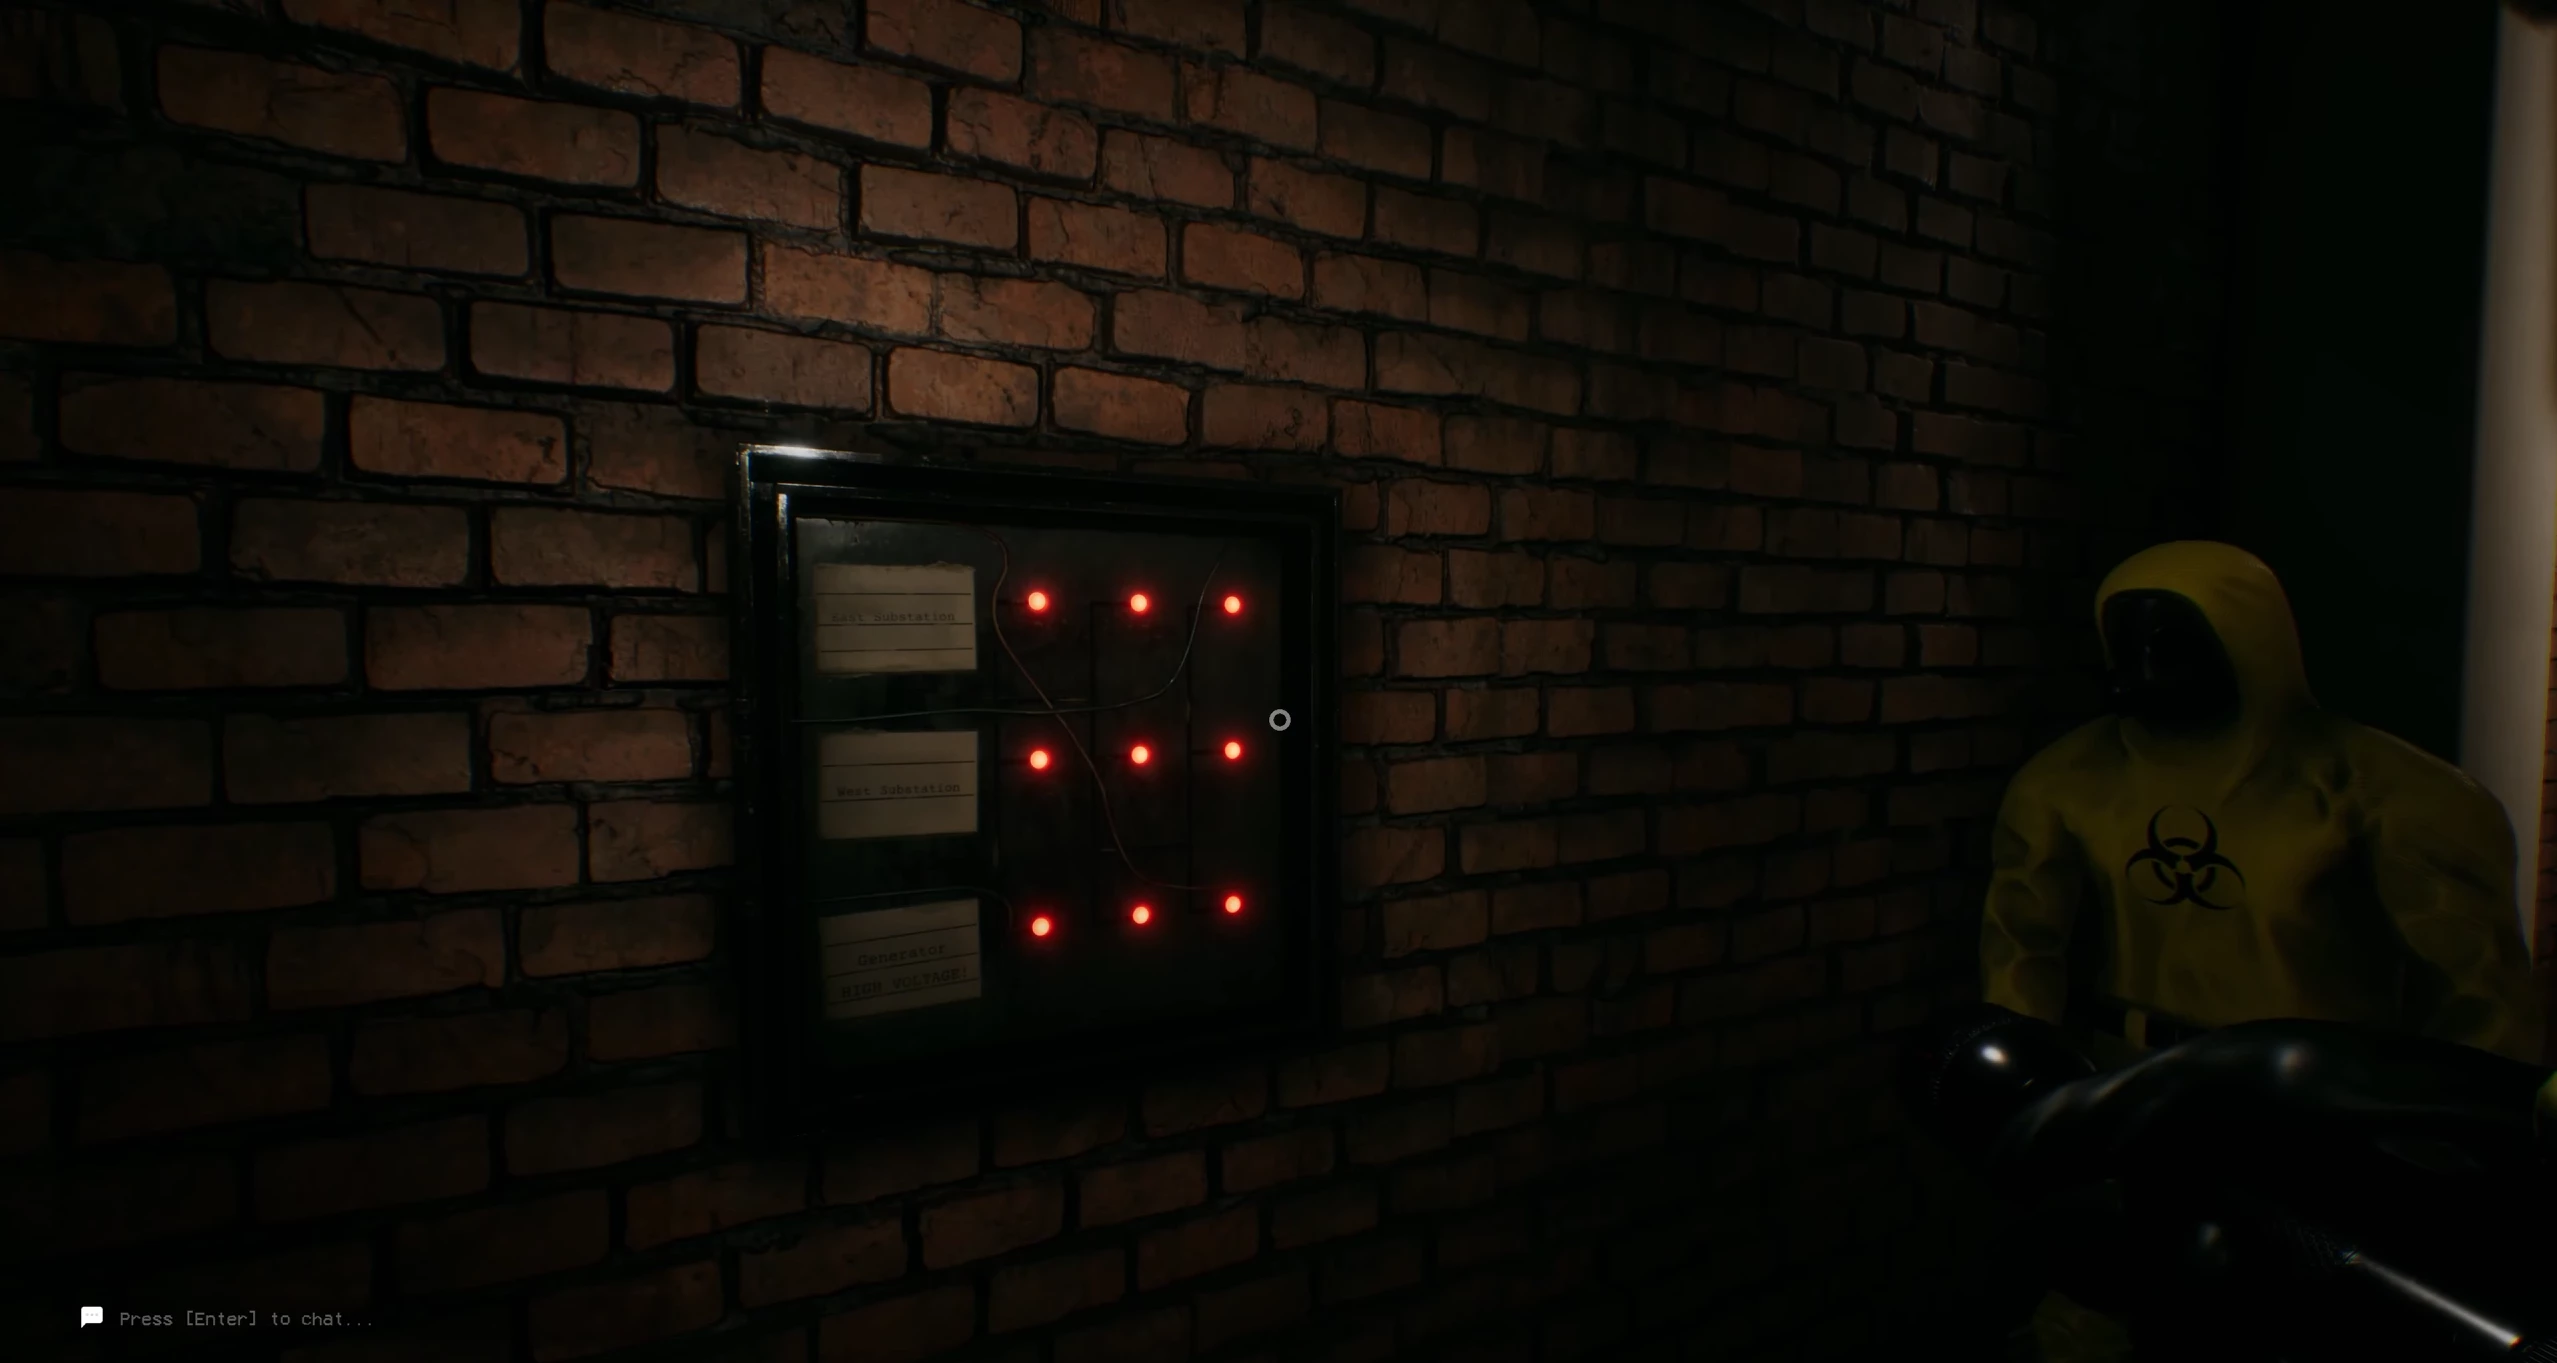
At this level, you need to activate nine fuse boxes to open the door outside. The boxes are scattered throughout the level in groups: three in each separate mini-section.
Return to the open door you entered through to reach the indicator box in the corridor and look around carefully, as various supplies may appear on the shelves.
Once the red light on the panel turns green, access to the next section will open.
The first part of the power station is safe, so explore the area calmly and activate the electronic panels.
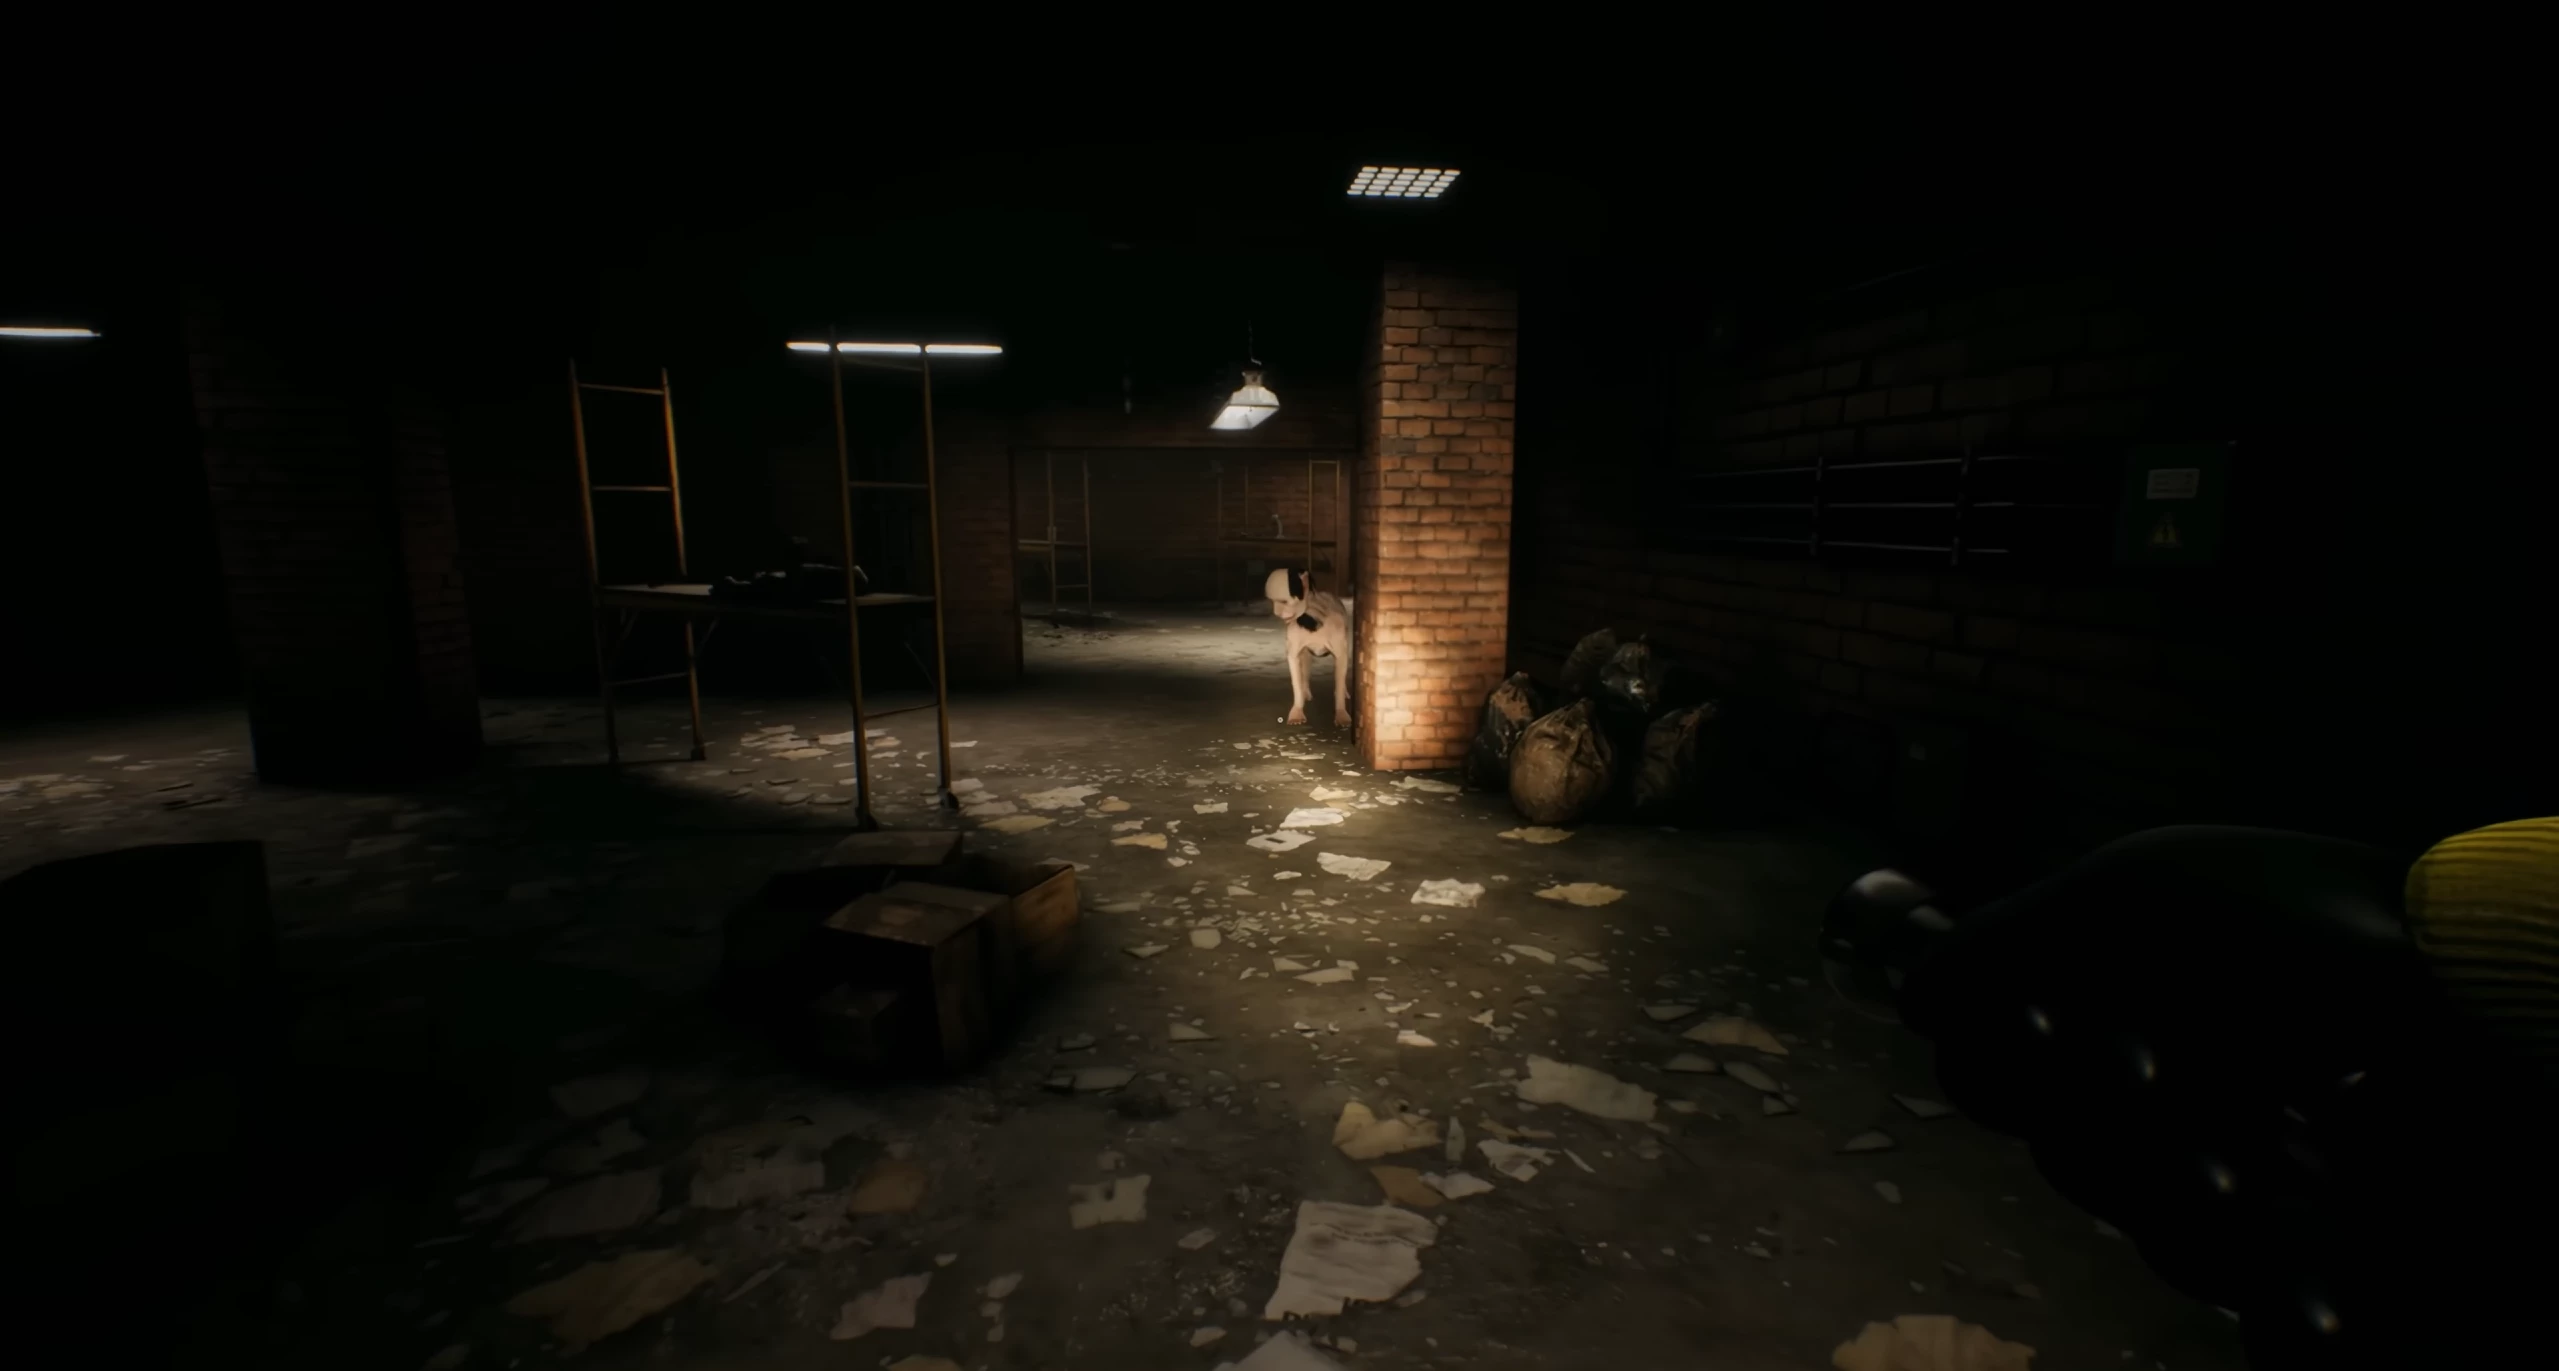
As soon as you unlock the second section, you will encounter the hound for the first time.
You can fend off hounds in several ways:
- Blind them with a flashlight.
- Close a door in front of them.
- Run far enough away.
After activating all three boxes in the second section, return to the white room and turn right.
The last three switches are guarded by several hounds. You may hear hounds on the other side of doors and walls, so always be careful and listen before entering.
Once all three switches are activated, the exit from the starting room of the level will become available.
Level 4 — Office
The fourth level is an office area with plenty of supplies. Here you can find flashlights, almond water, energy bars, juice, and flashlights.
The door back to the hub is straight ahead from the entrance, and then to the left by the doors, at the far side of the large empty room.
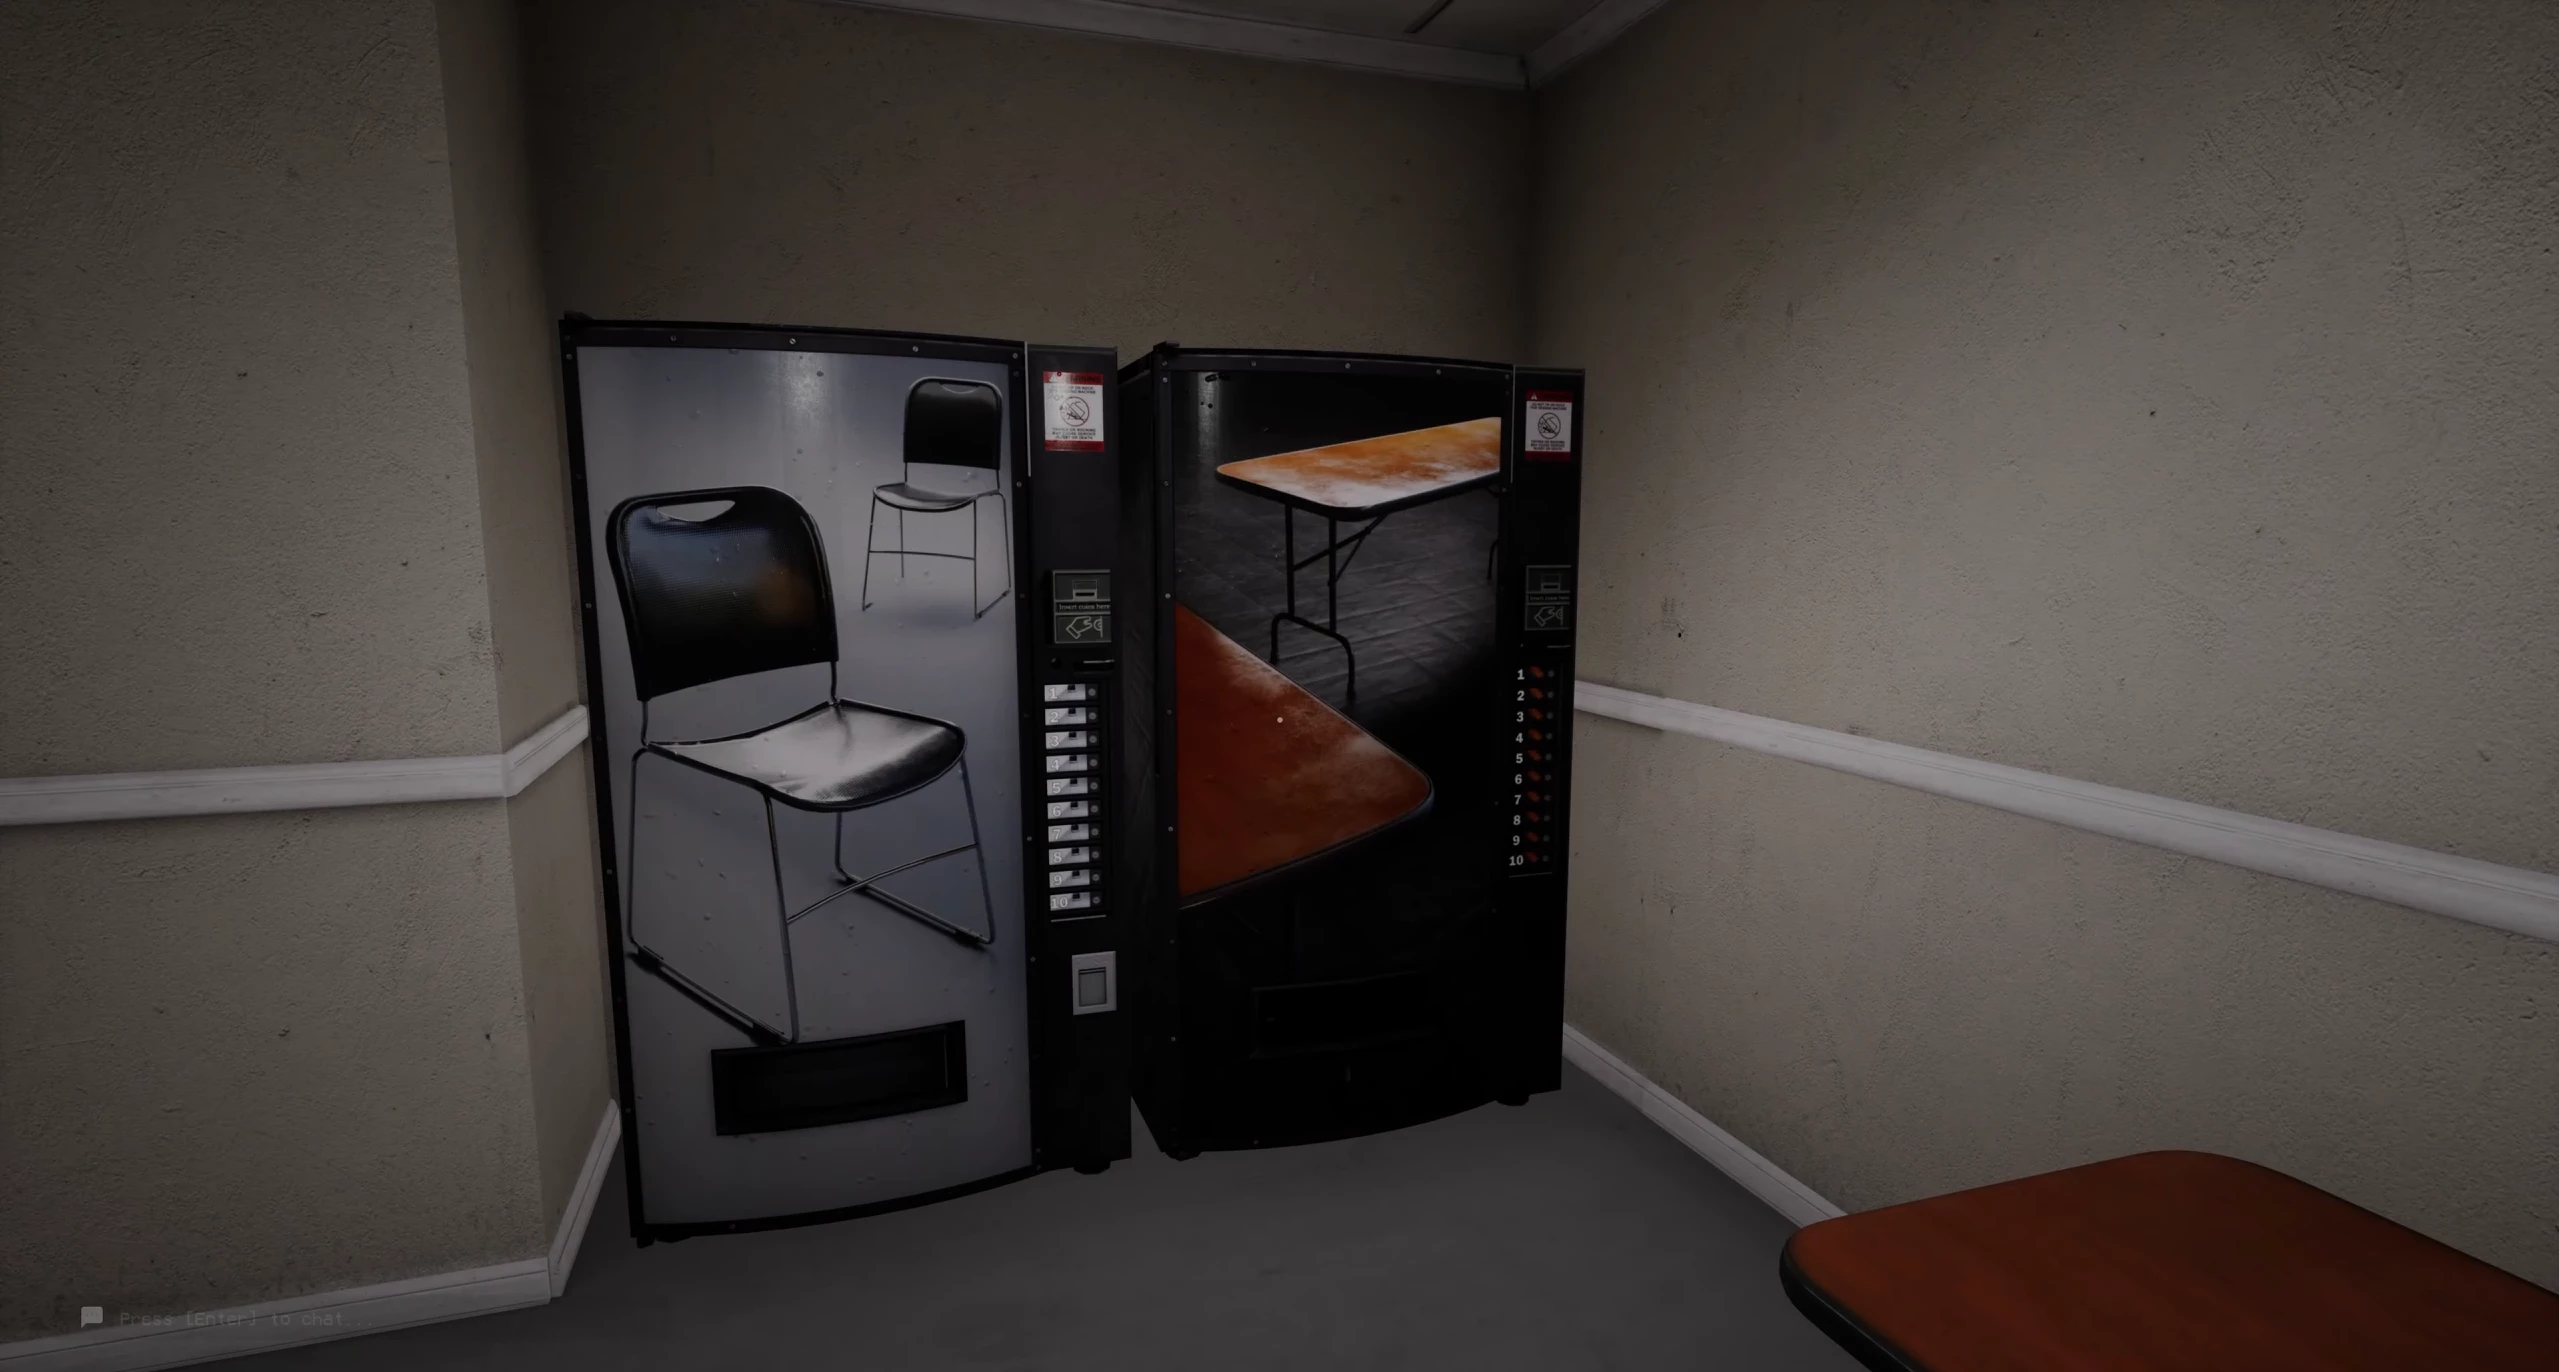
To complete this level, turn right from the entry room and go down the corridor to the break room. Here you will find four vending machines with different item images. The next door will open after you press the button with the number corresponding to the amount of these items in the room.
As you progress through the level, you will enter a series of rooms and corridors with cameras on the walls. If any of these cameras spot you, the door to the next level will be locked, and you'll need to reset the cameras from the very beginning.
Stick to the side walls and corridors, and wait for the cameras to turn away from you so you can slip past them.
Level 5 — Hotel

On your first time through this room, you'll see a locked door with four buttons. To open the door, you need to solve the puzzle with the paintings around the room. Press the buttons under them in order from youngest to oldest:
- Girl in a dress.
- Man with a bow tie.
- Bald man.
- Man looking to the left.
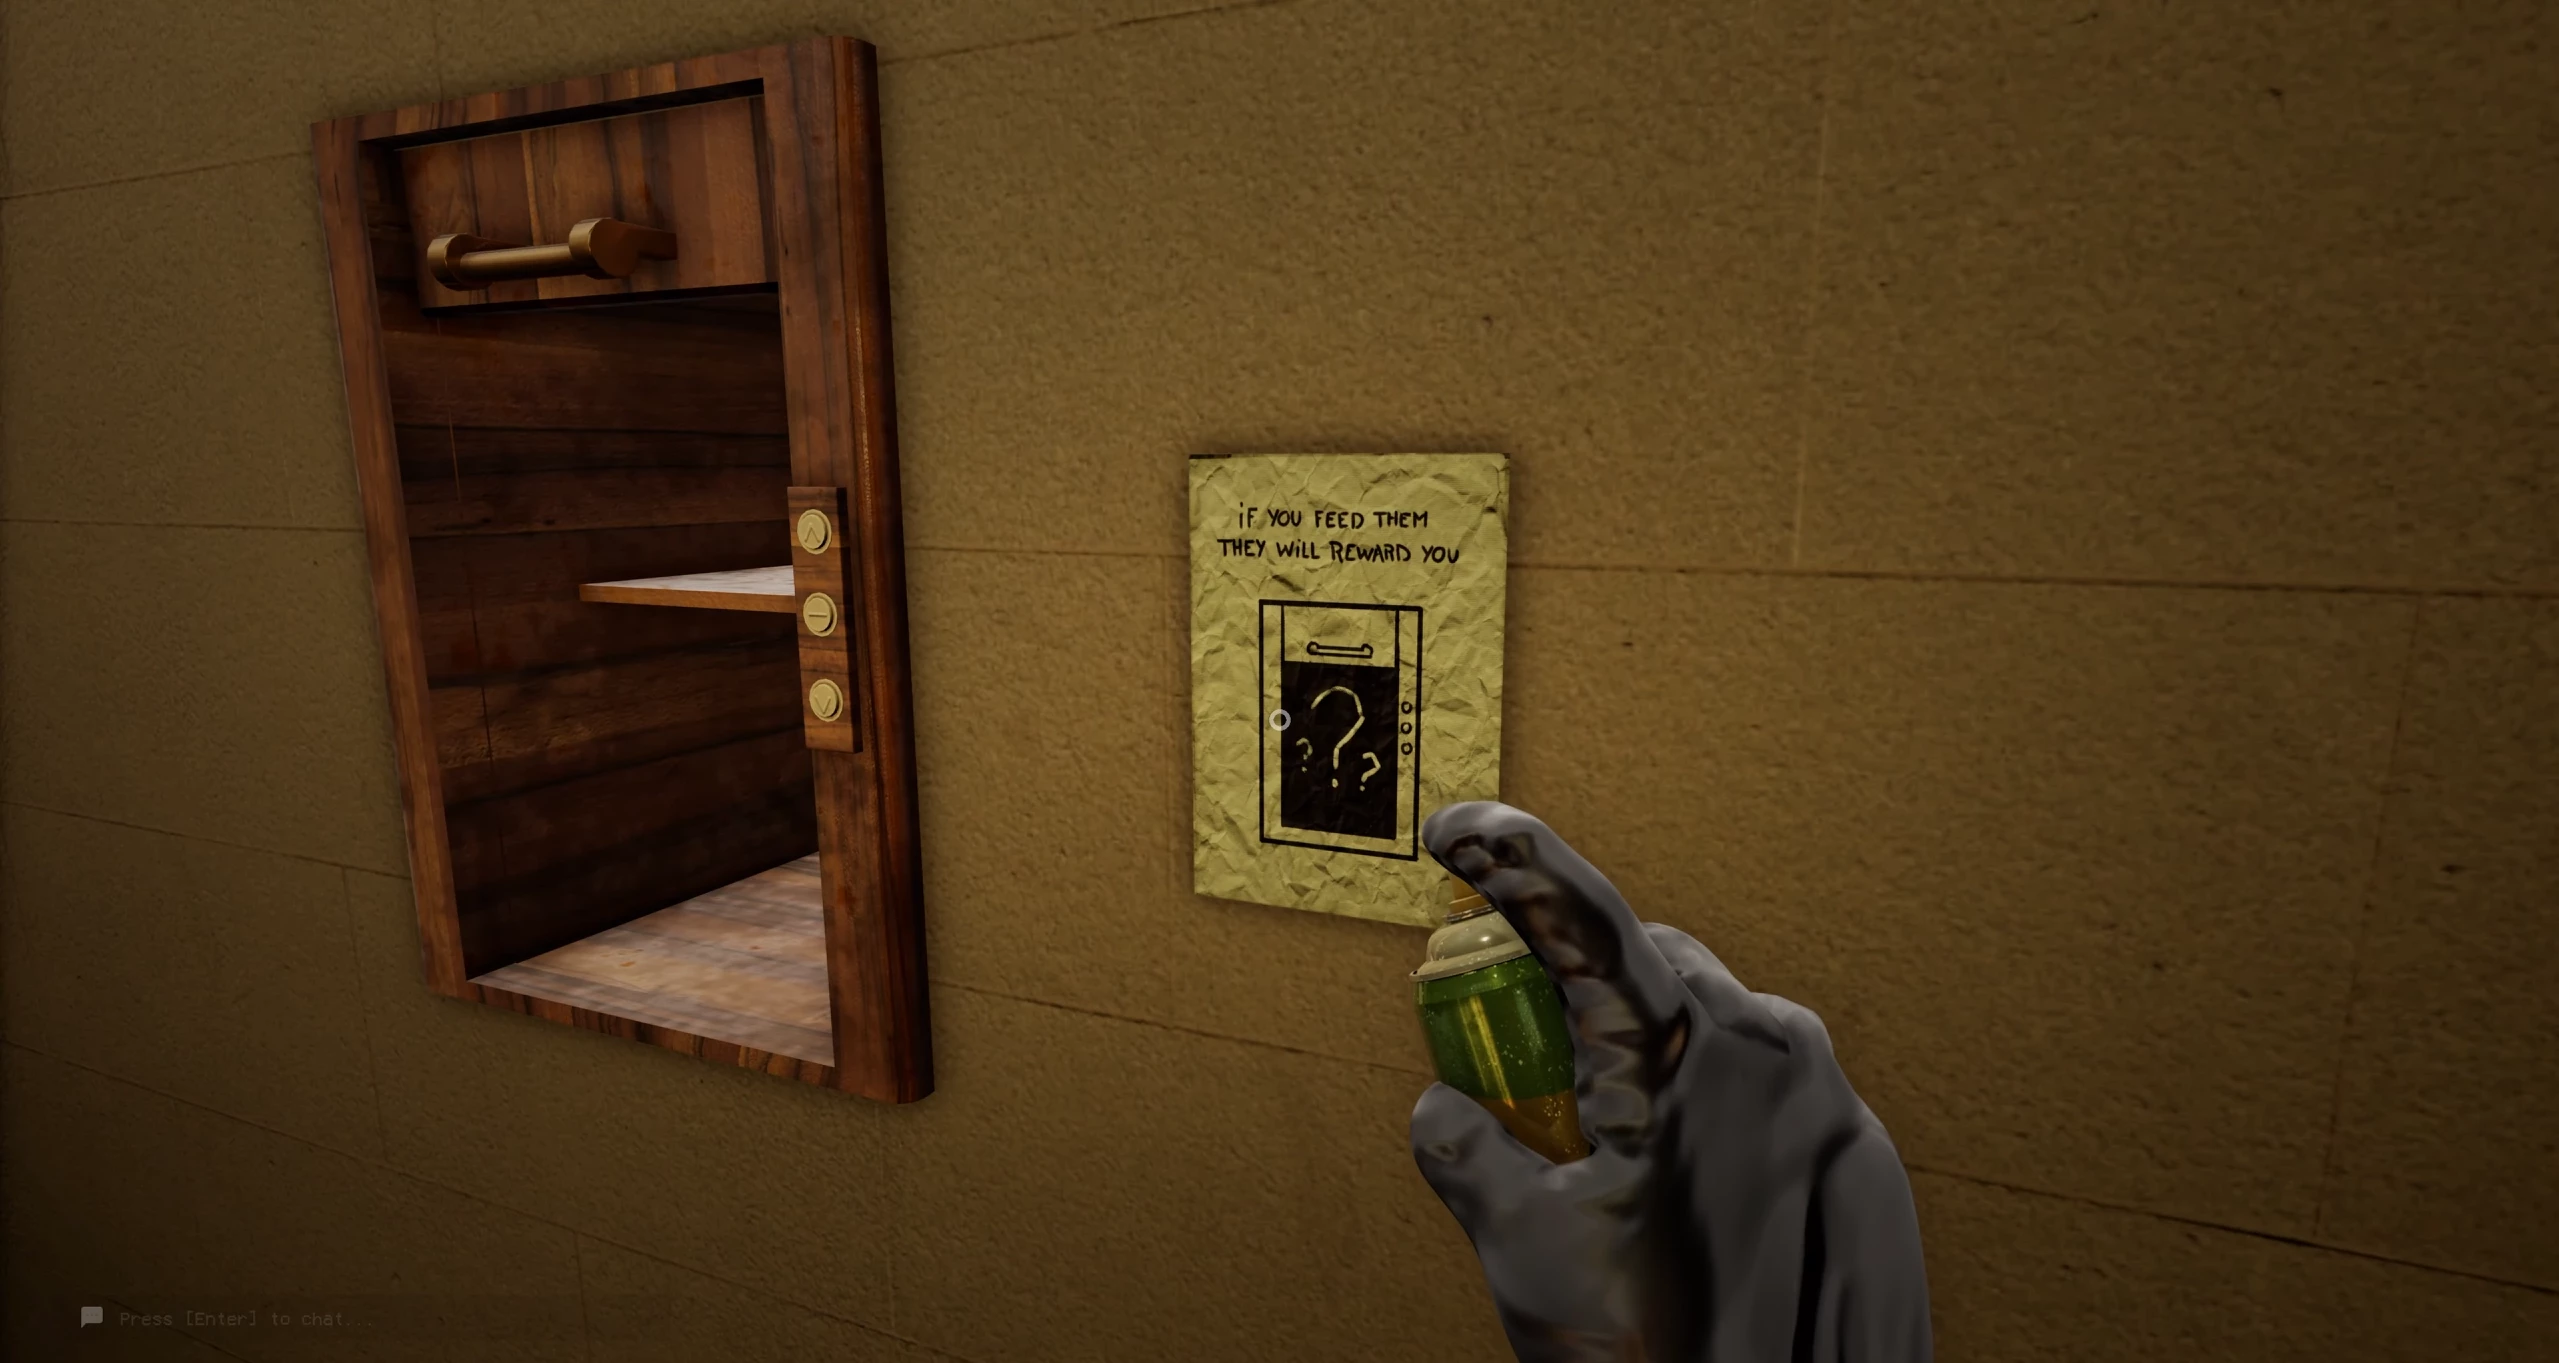
In the next zone, there will also be a locked door that requires three keys to open. If you turn left, at the end of the corridor you will see a dumbwaiter. Next to the dumbwaiter, there is a note saying you need to put food in it to receive the necessary items, but it only accepts moth jelly as food.

Pick up the insecticide on the table near the previous door and go inside the room. As you explore, you'll encounter groups of deadly moths. Spraying insecticide will kill the moths and leave behind moth jelly. Besides getting keys, you can use the jelly as food to gain a good boost to stamina and speed.
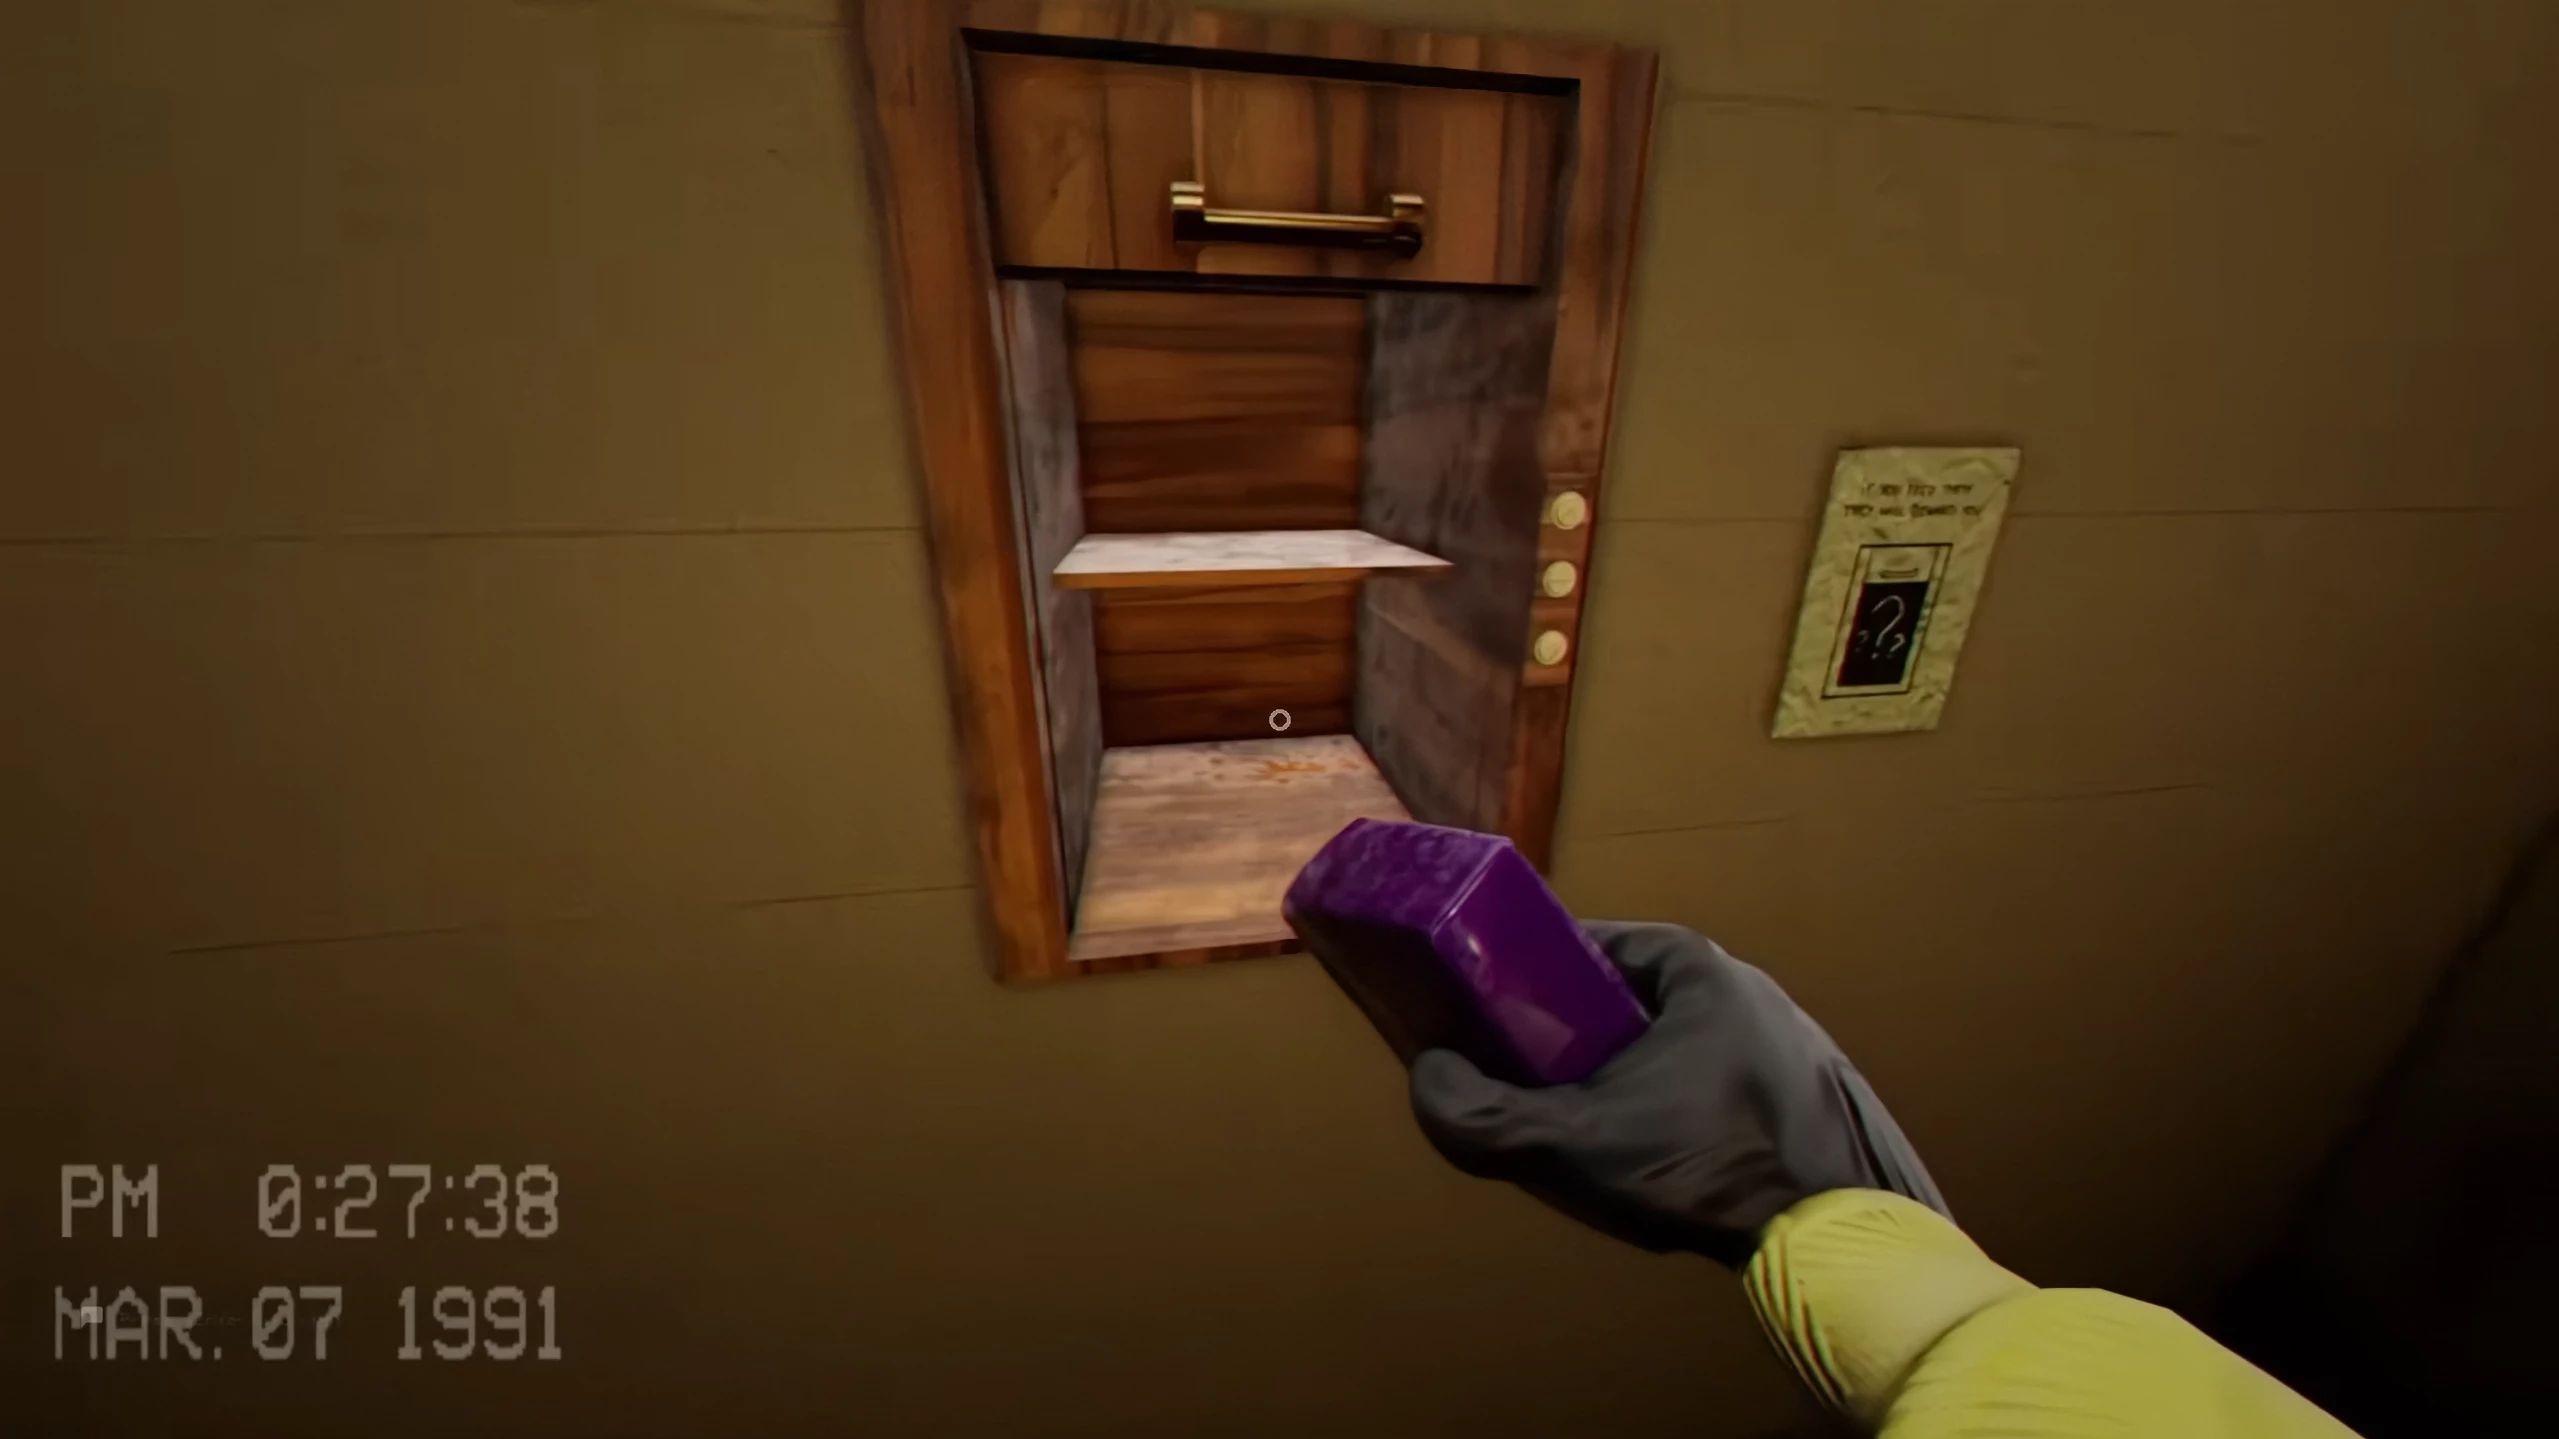
When you collect three blocks of moth jelly, return to the dumbwaiter. Then put the jelly in the dumbwaiter to receive the three keys needed to proceed to the next area.
Level 5.1
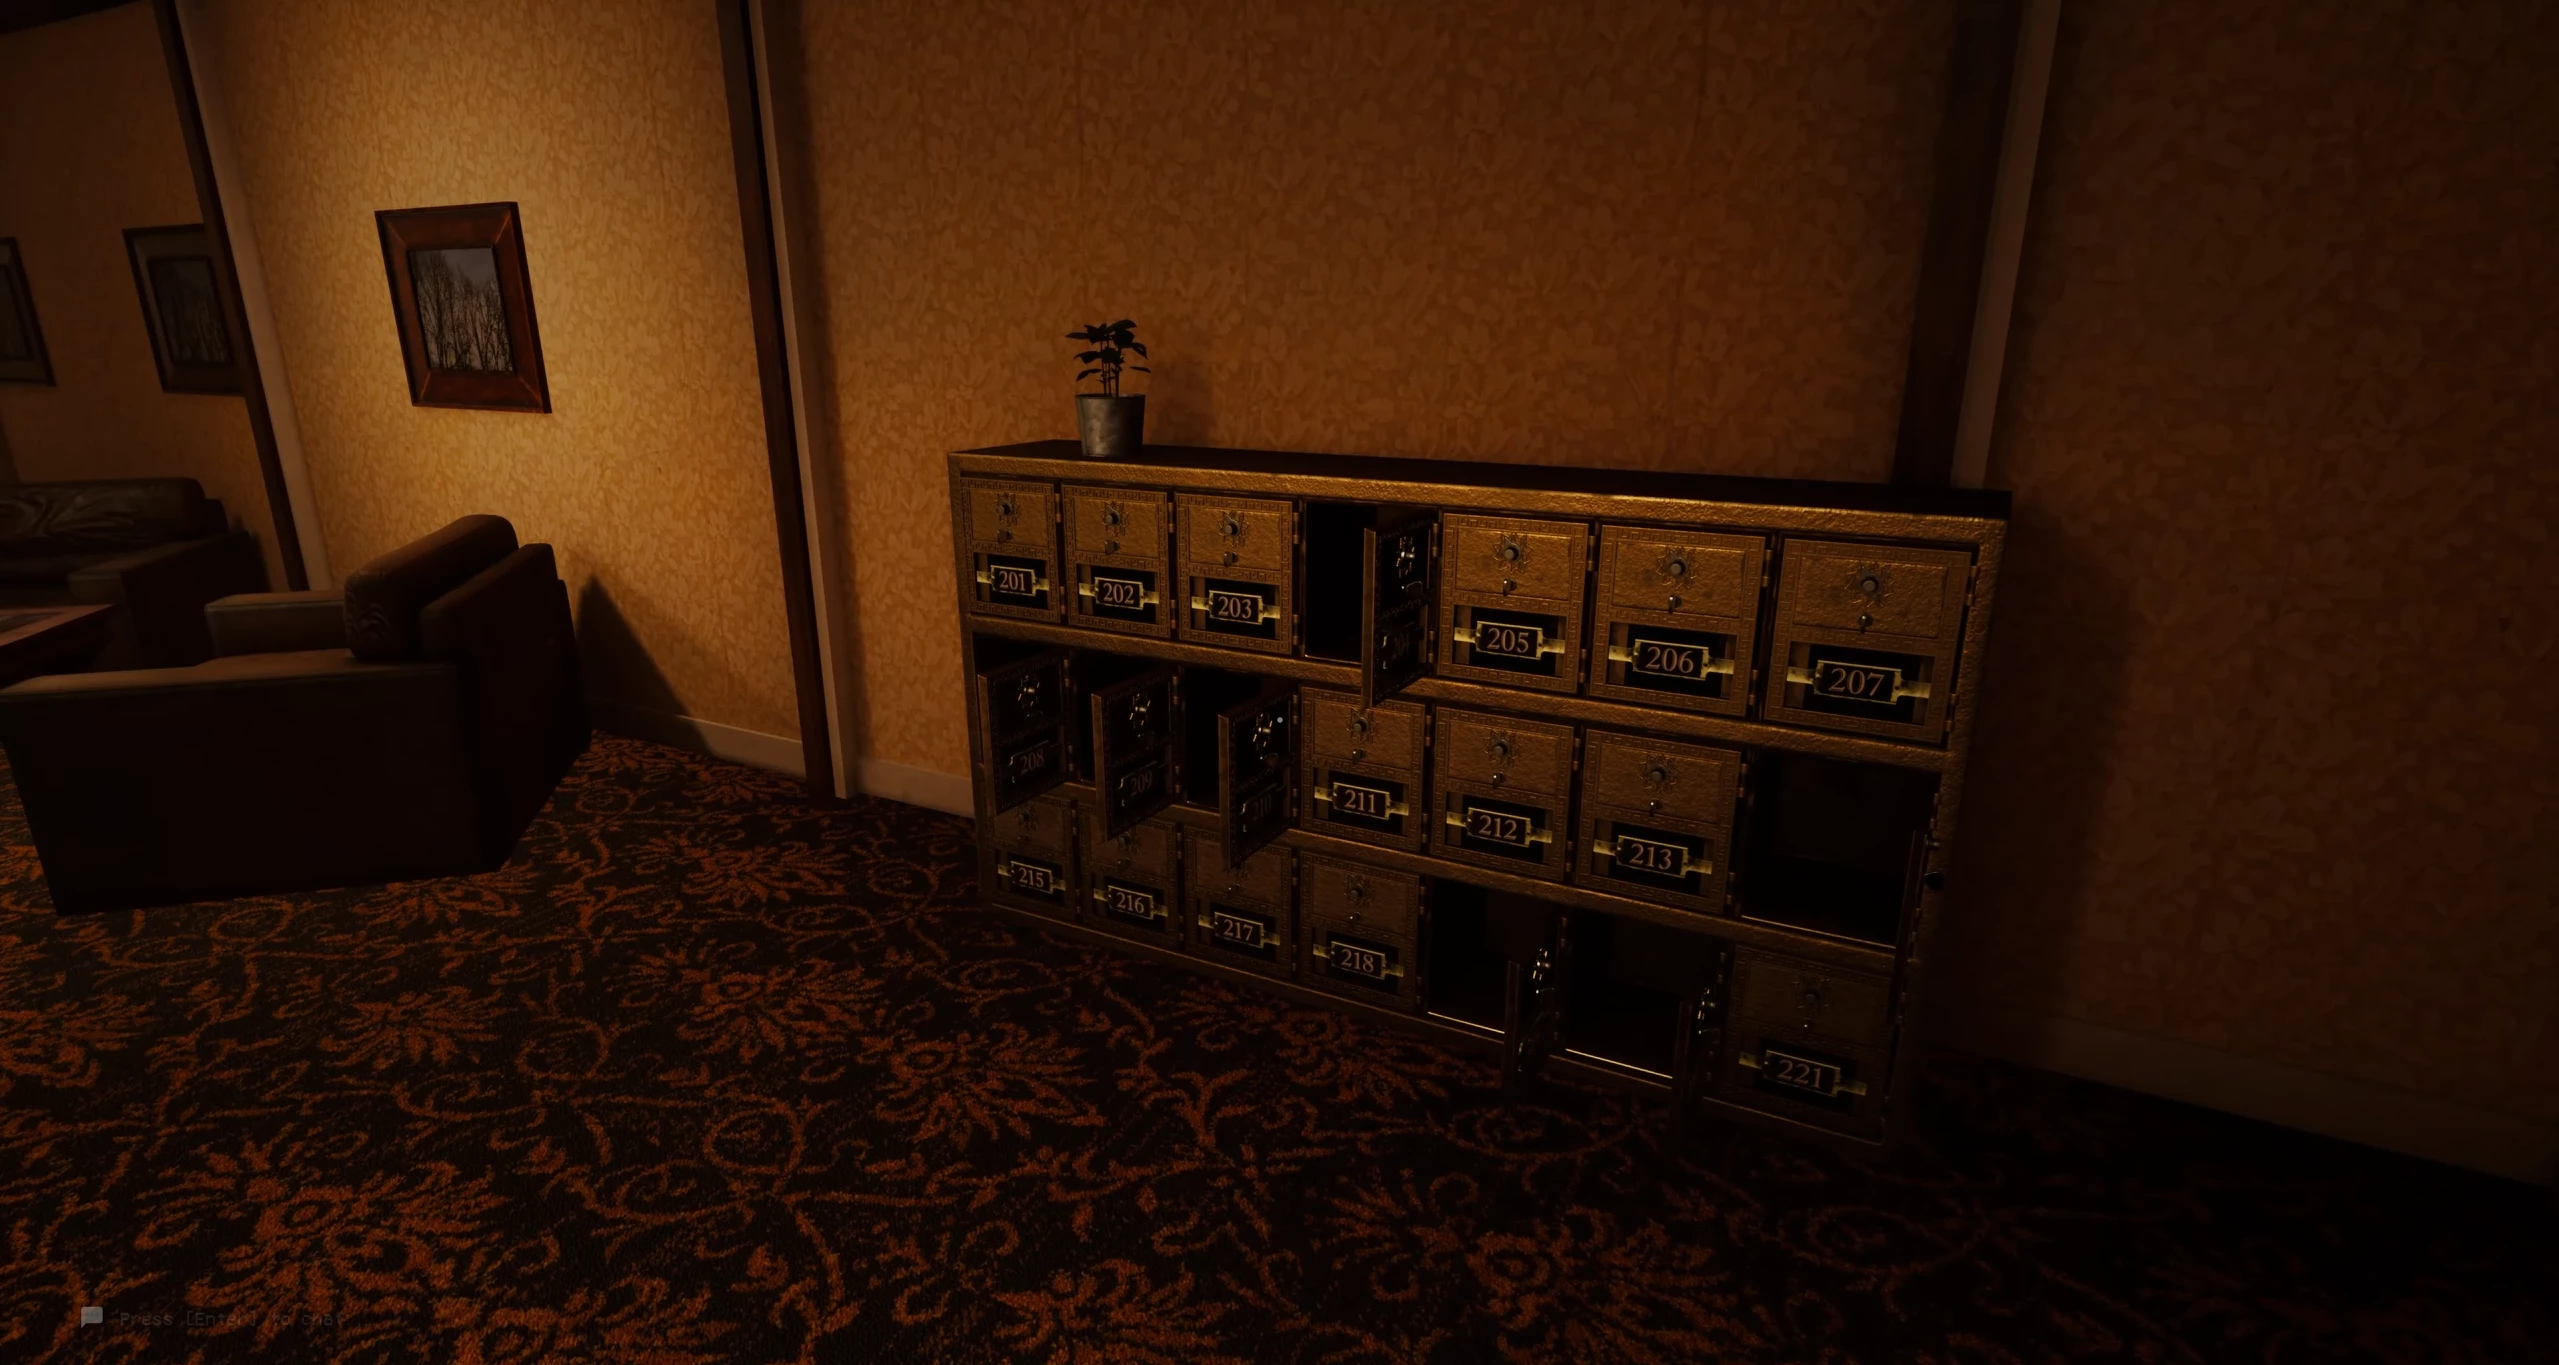
After taking the elevator up, you will enter a small lobby. On the left are mailboxes with the numbers of each room.
Open boxes show the room numbers where you can find a sheet of paper with a letter necessary to exit this part of the level.
The area is patrolled by Skin-Stealers and hounds, so be careful.
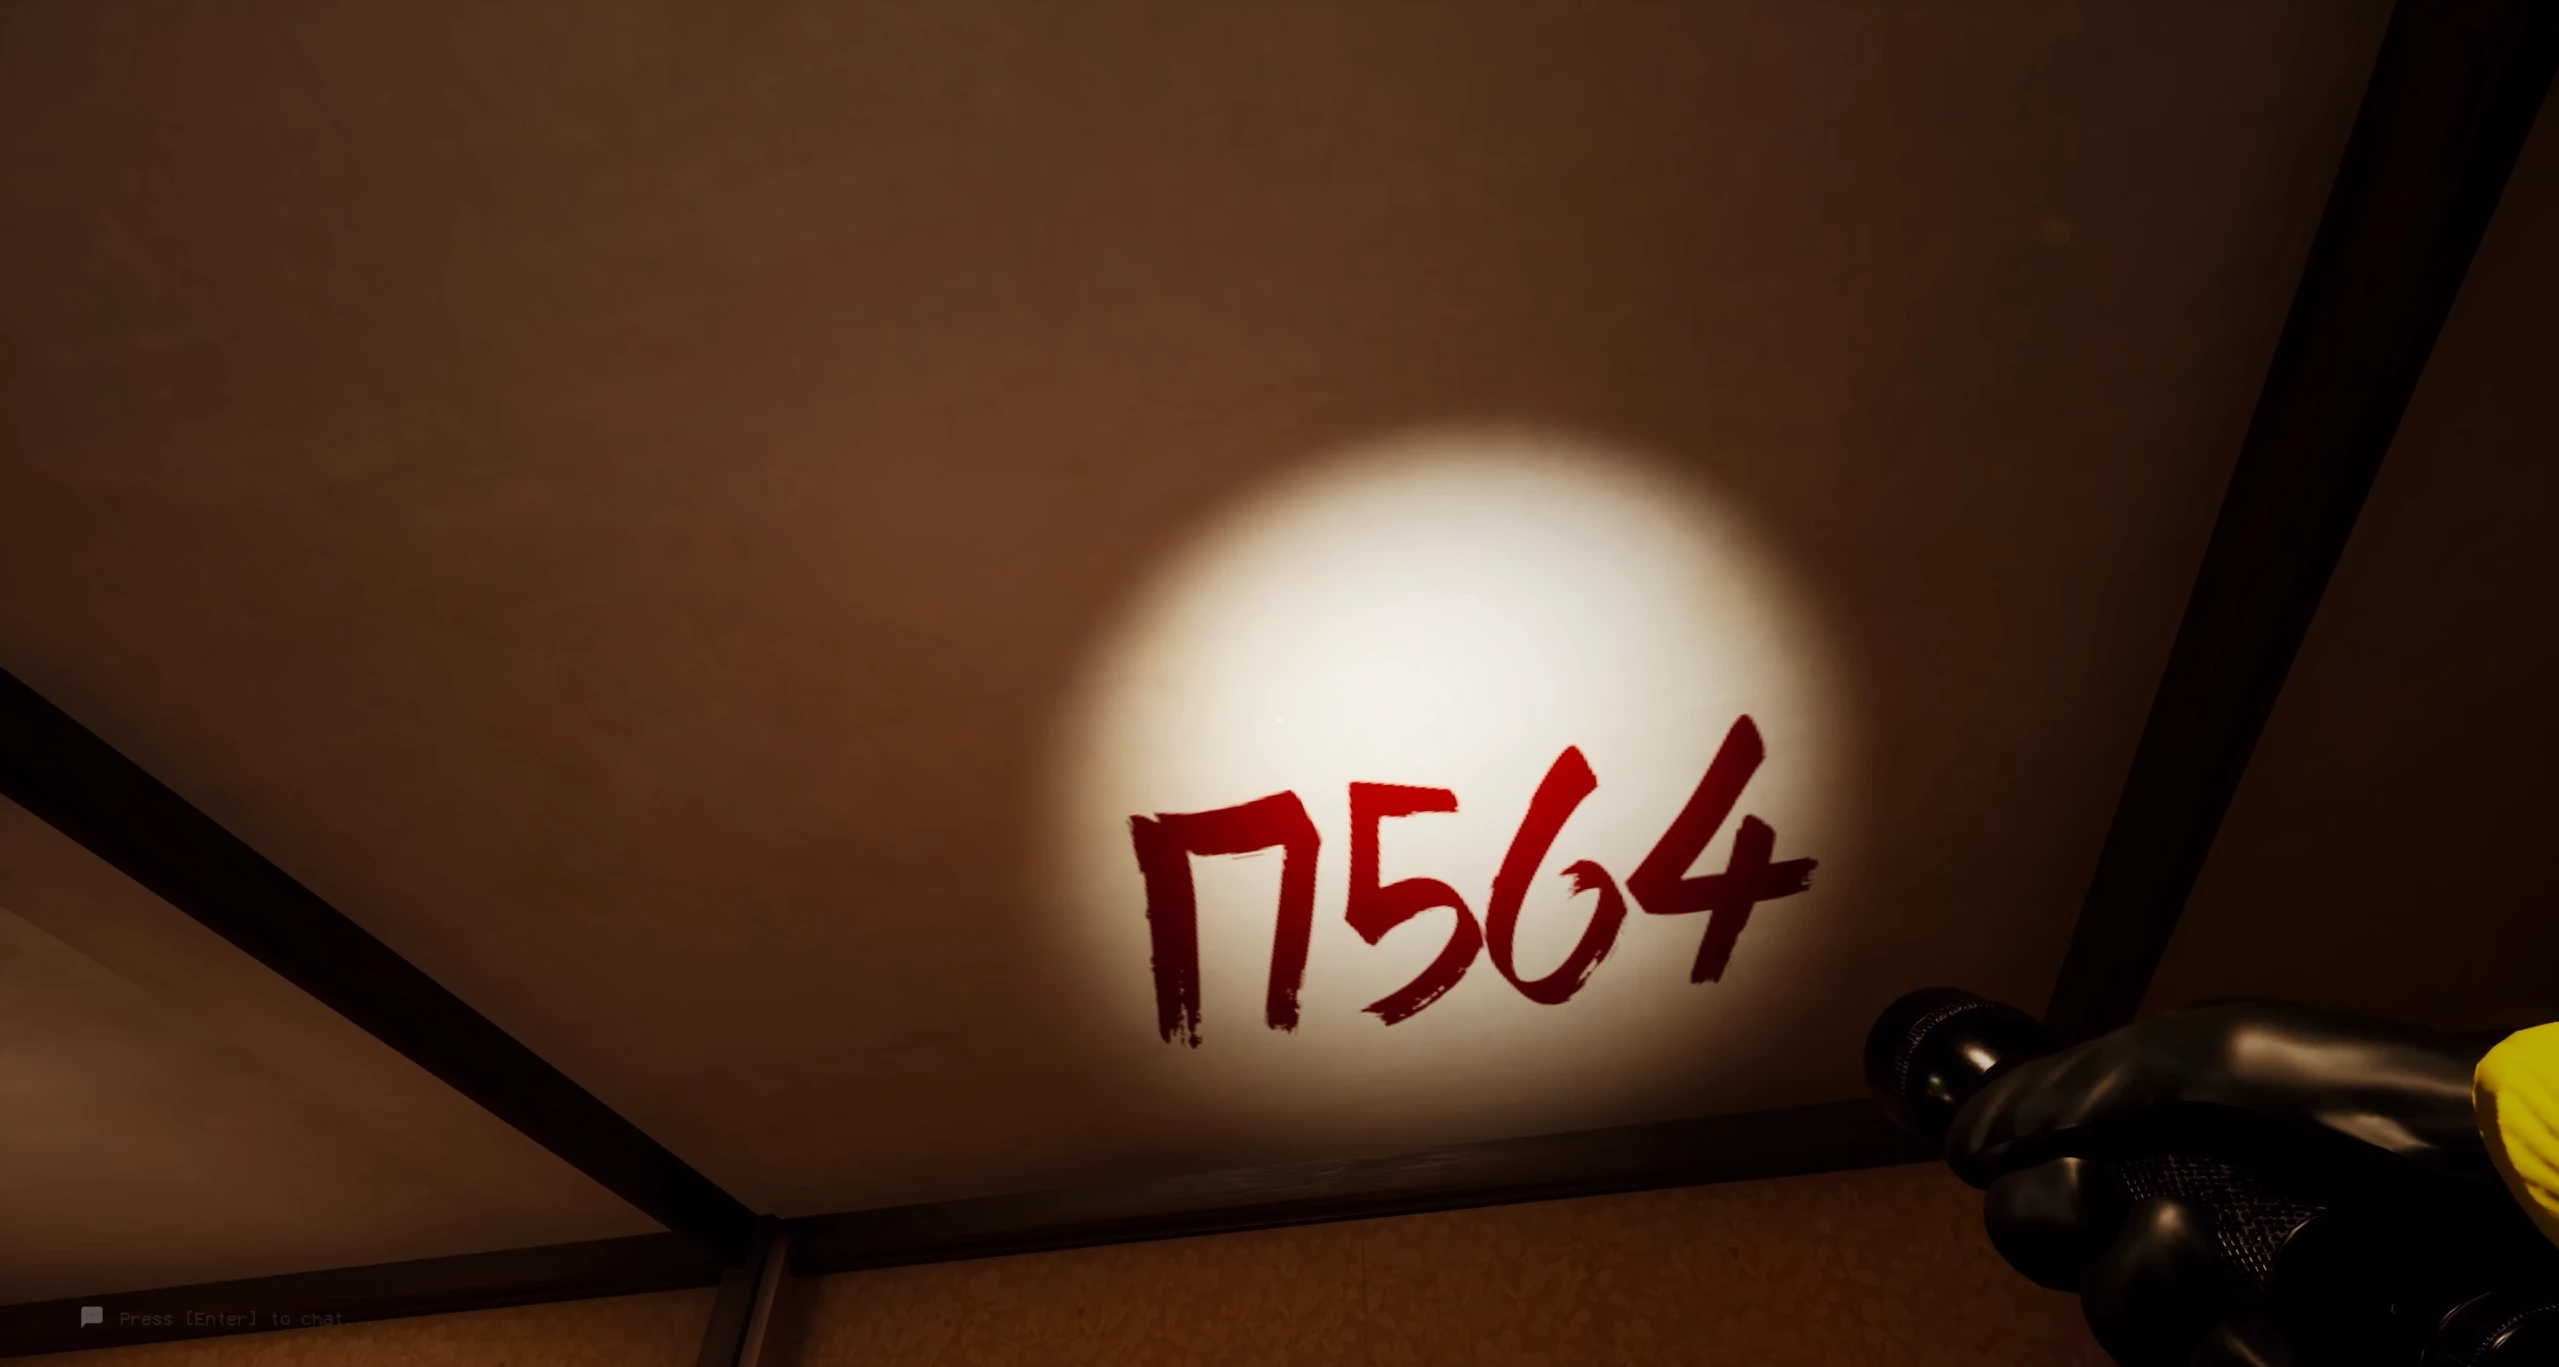
After collecting all the papers, place them in the mailbox at the start of the level, matching the room where the sheet was found. After this, a code will appear above you, which is needed to open the door nearby.
Possible lock combinations: 17564, 89472, and 05938.
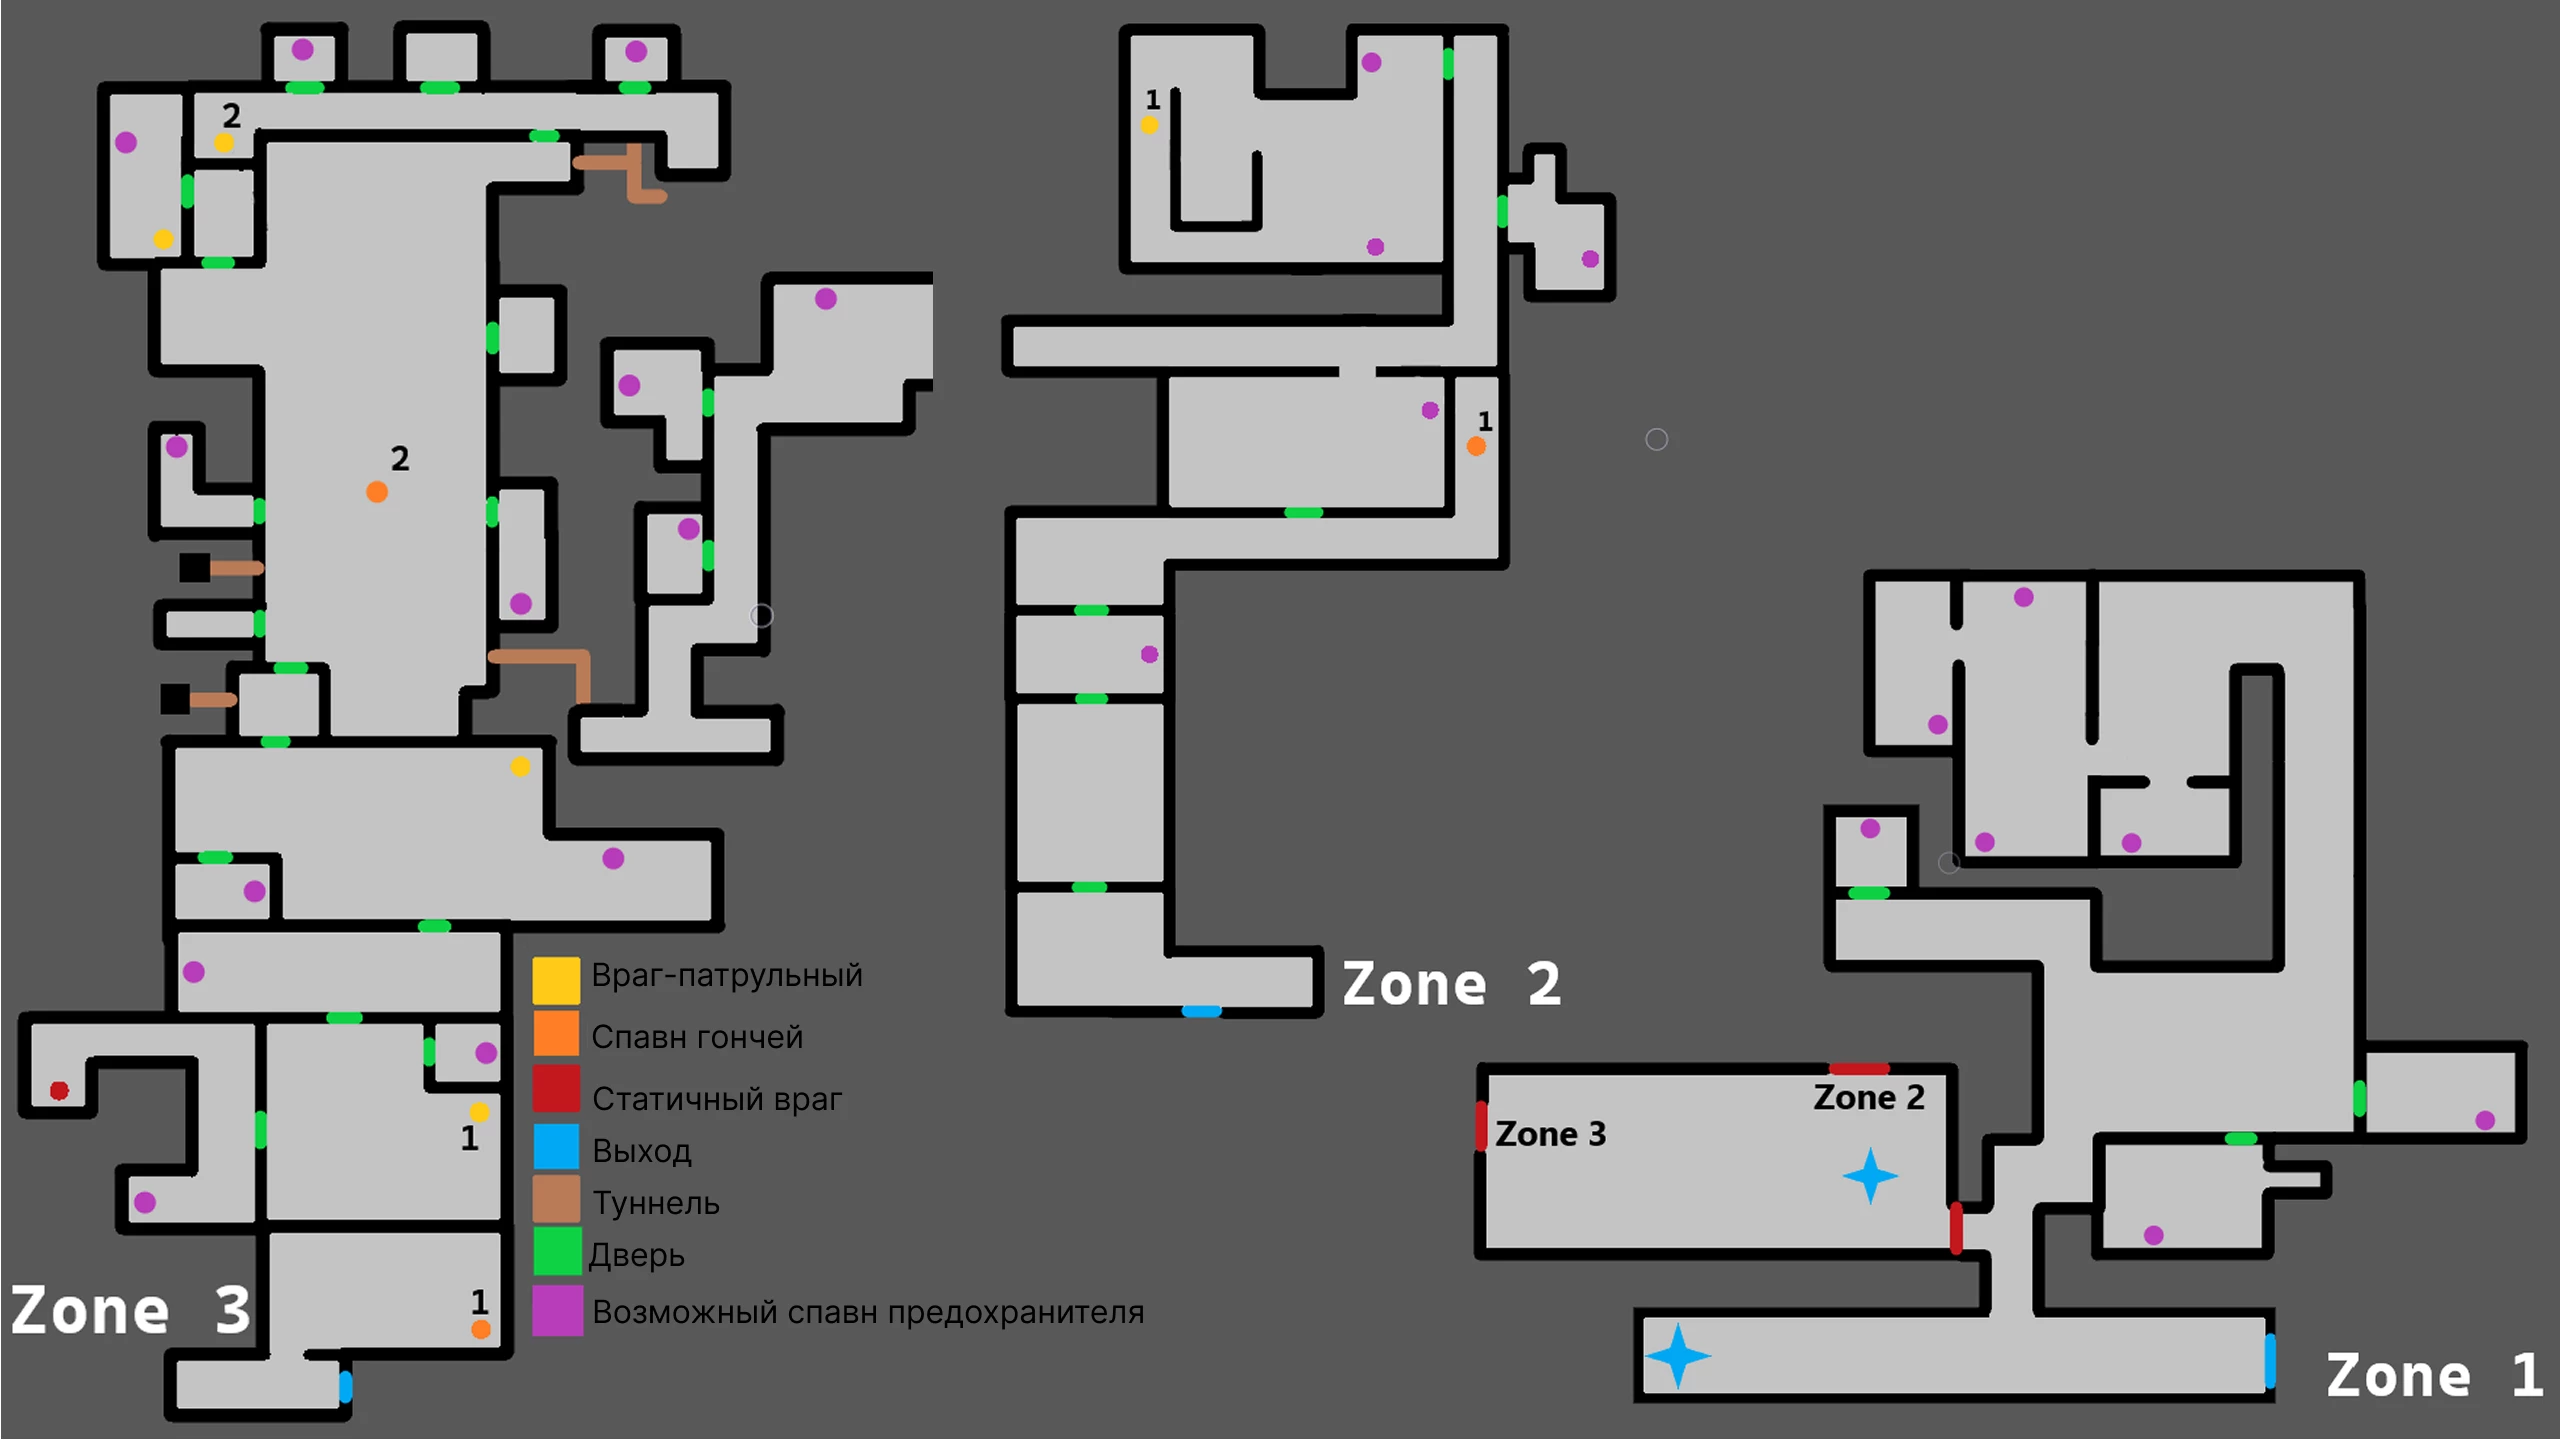
Level 5.2
This level is a giant maze full of death moths and trap rooms. Thermometers at the start of the level will help indicate the enemy's location. The higher the temperature, the closer the moth.
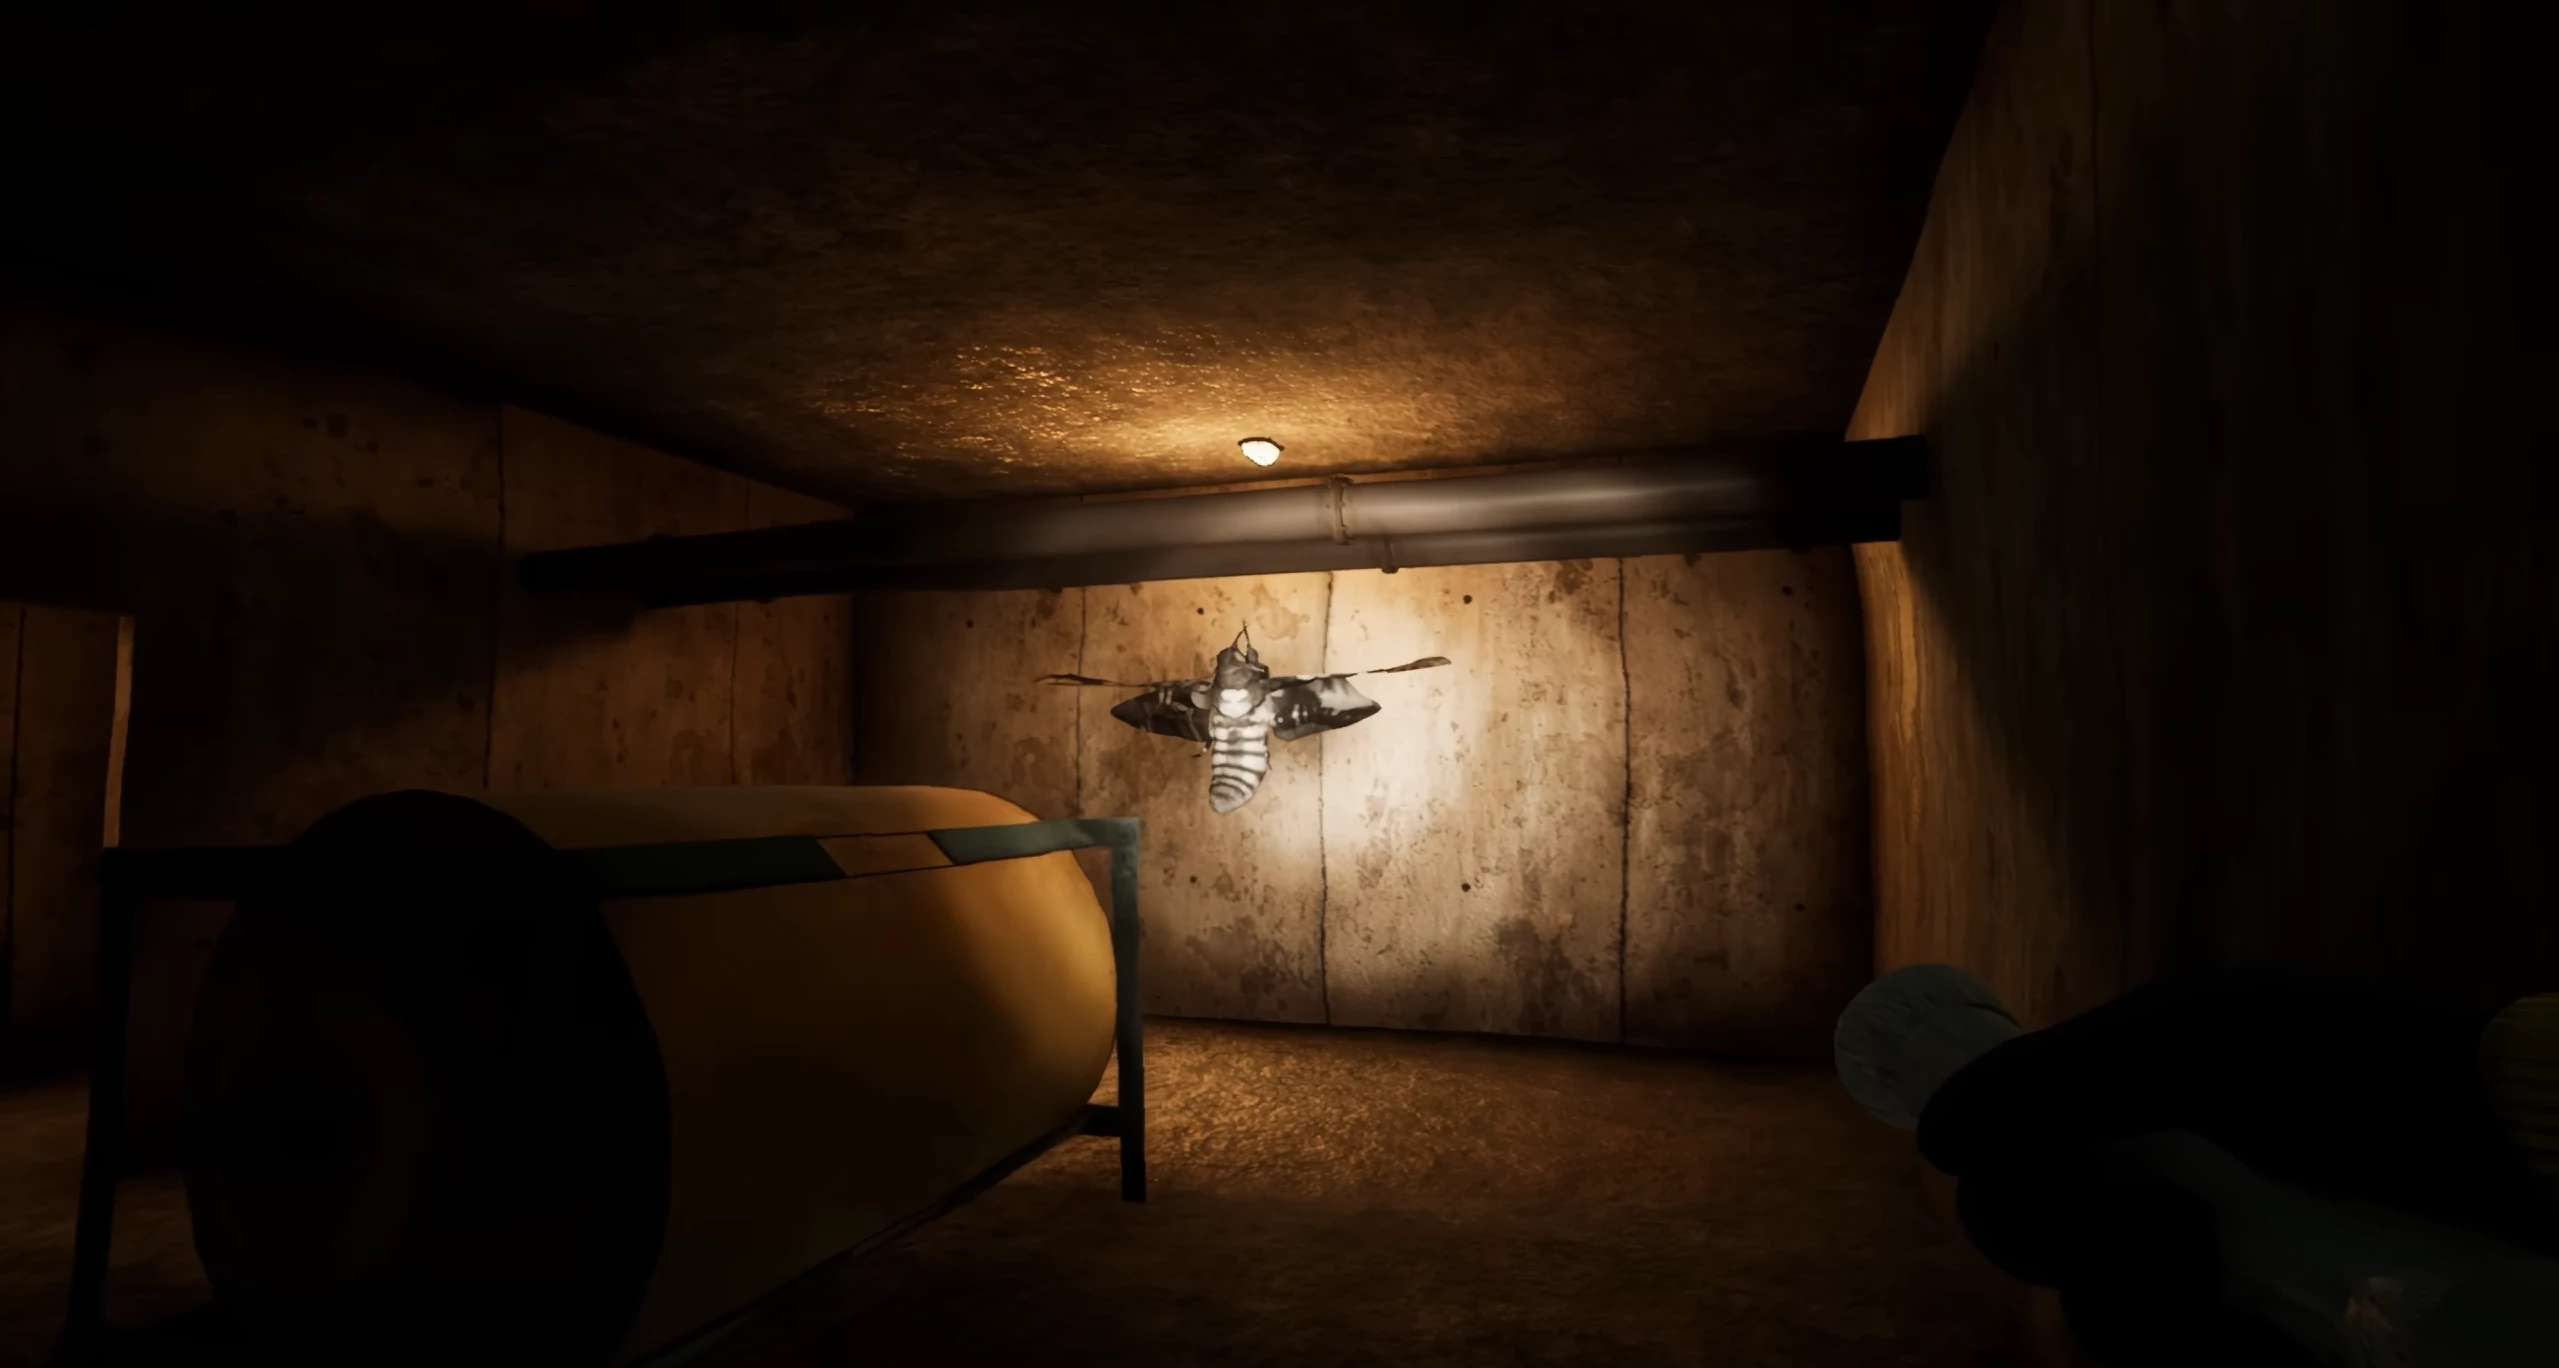
The monsters are sensitive to light and react to movement, so keep your distance and crouch to sneak past them.
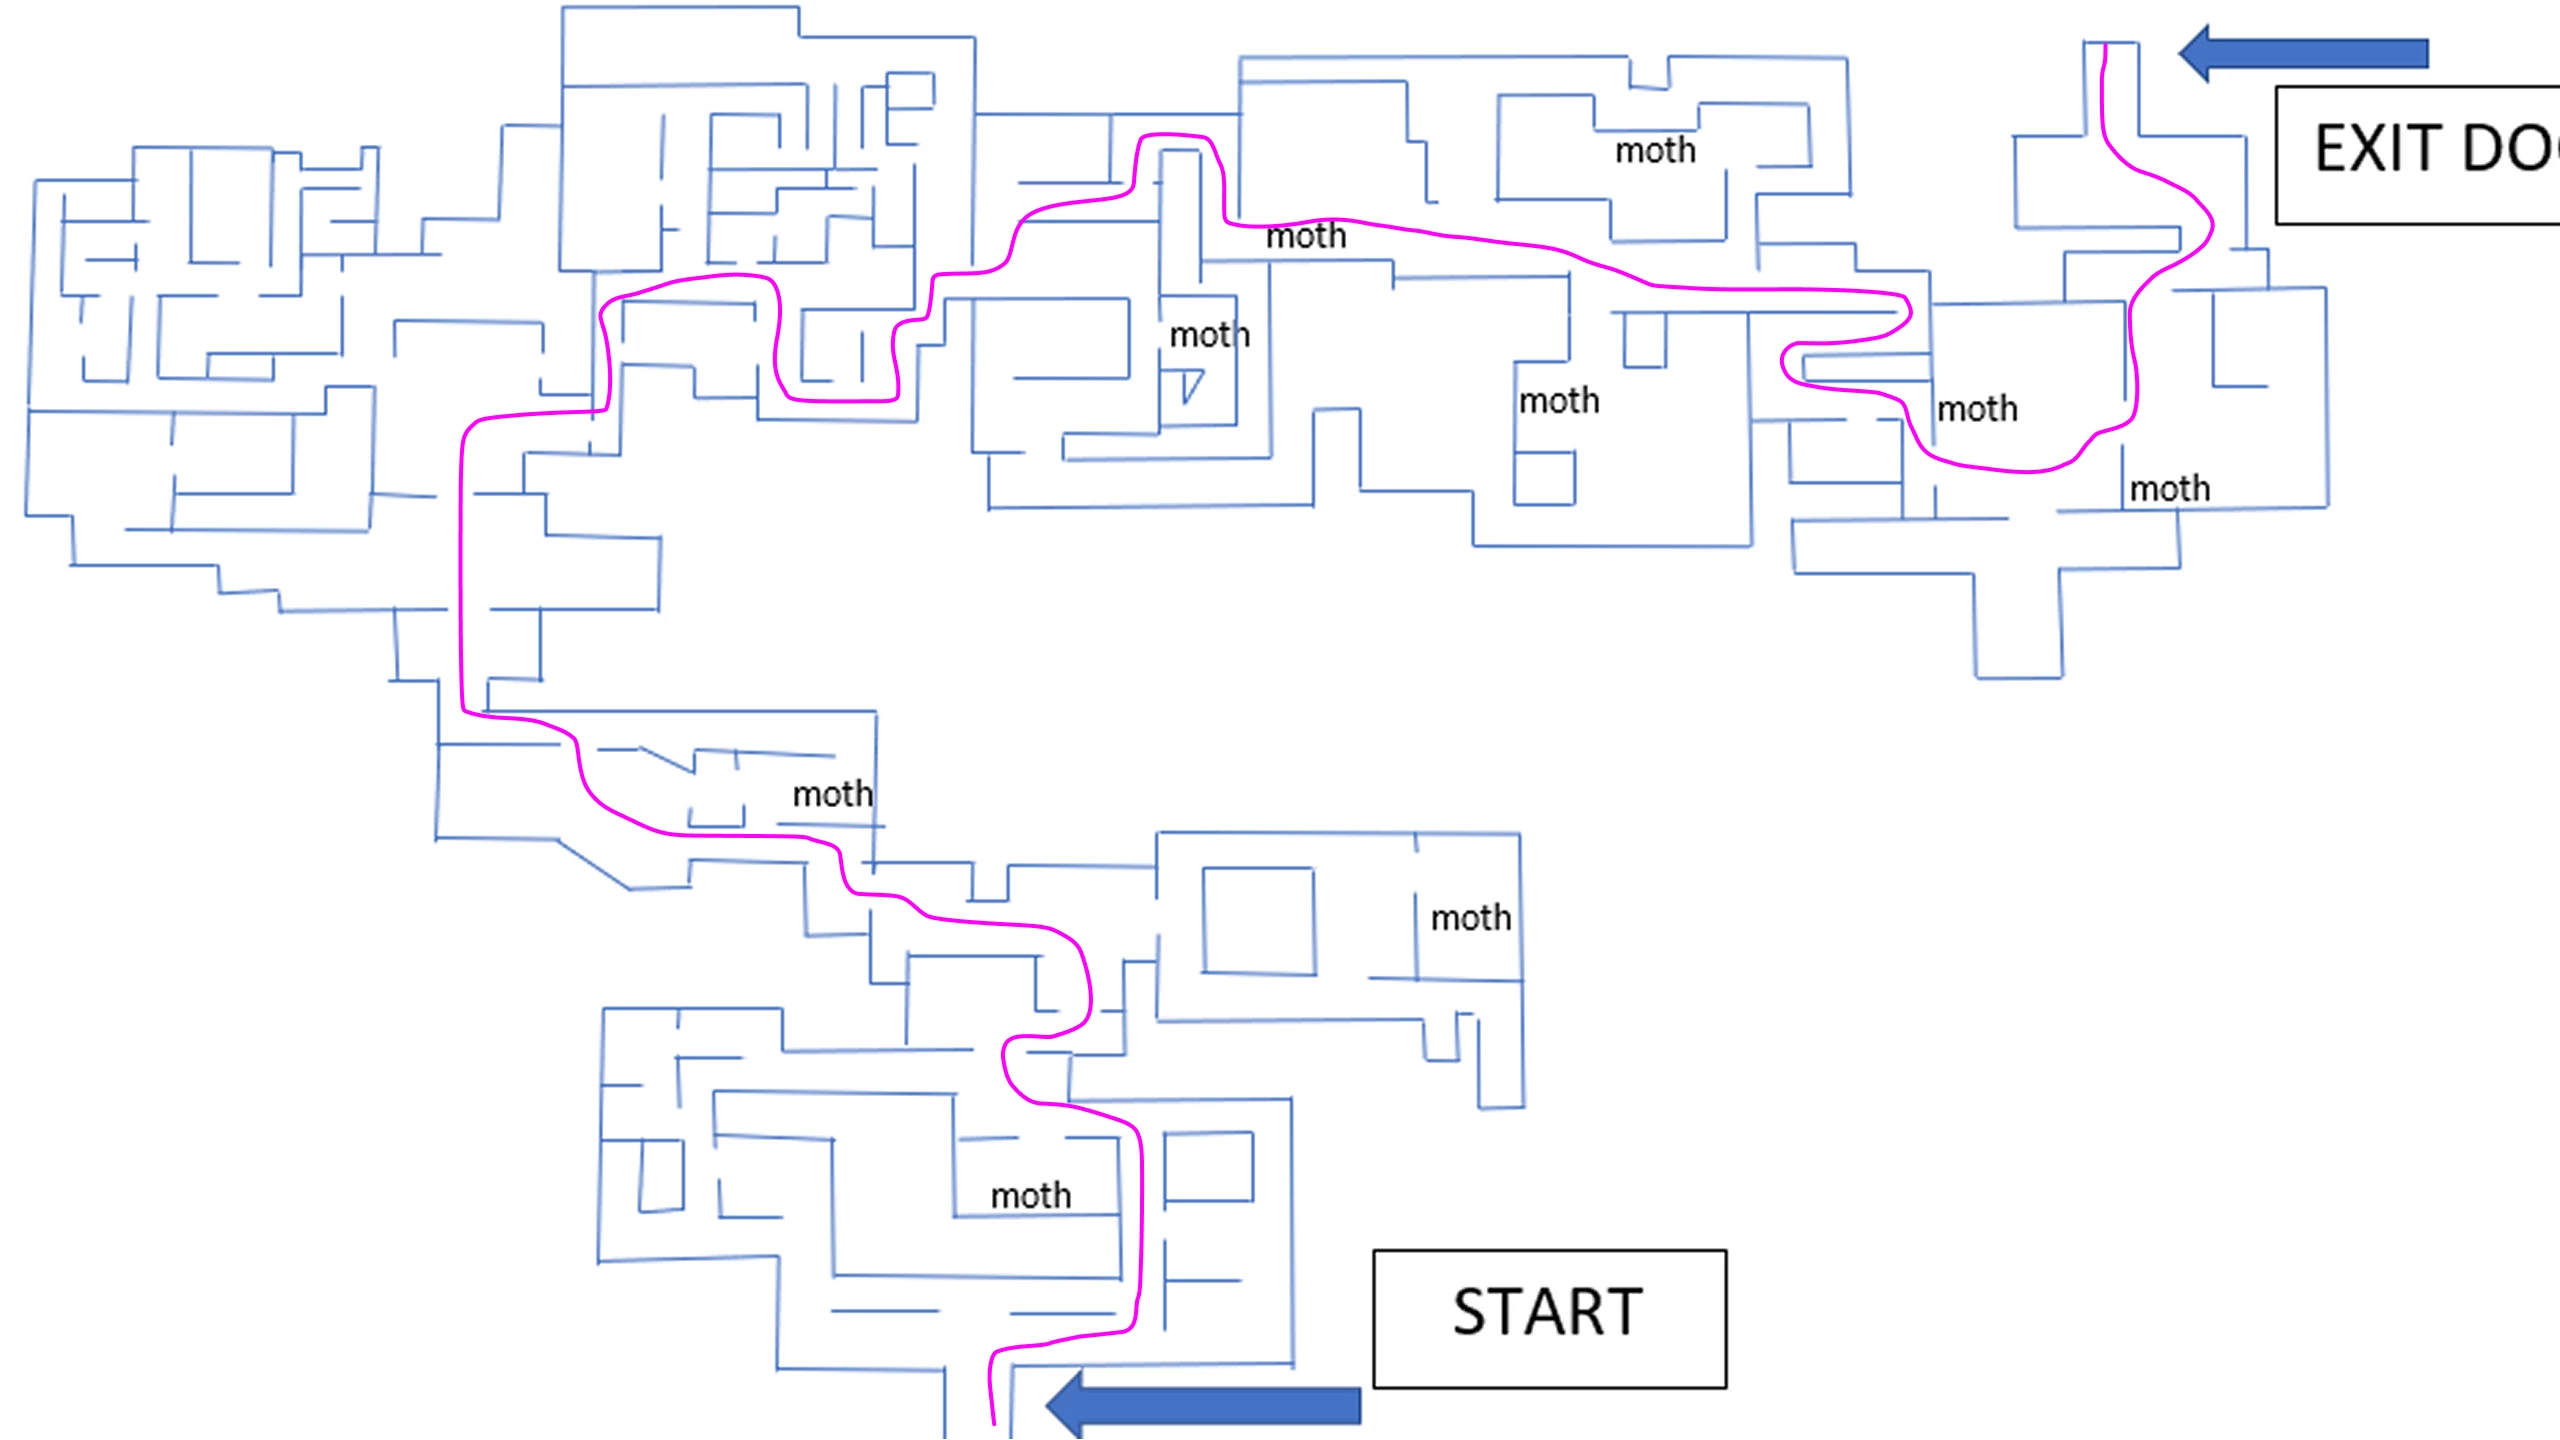
To get out of here, follow the map:
Level 6 — Fun!

After leaving the bunker, you will be sent to the second level, but this time head towards the arrow labeled Fun!.
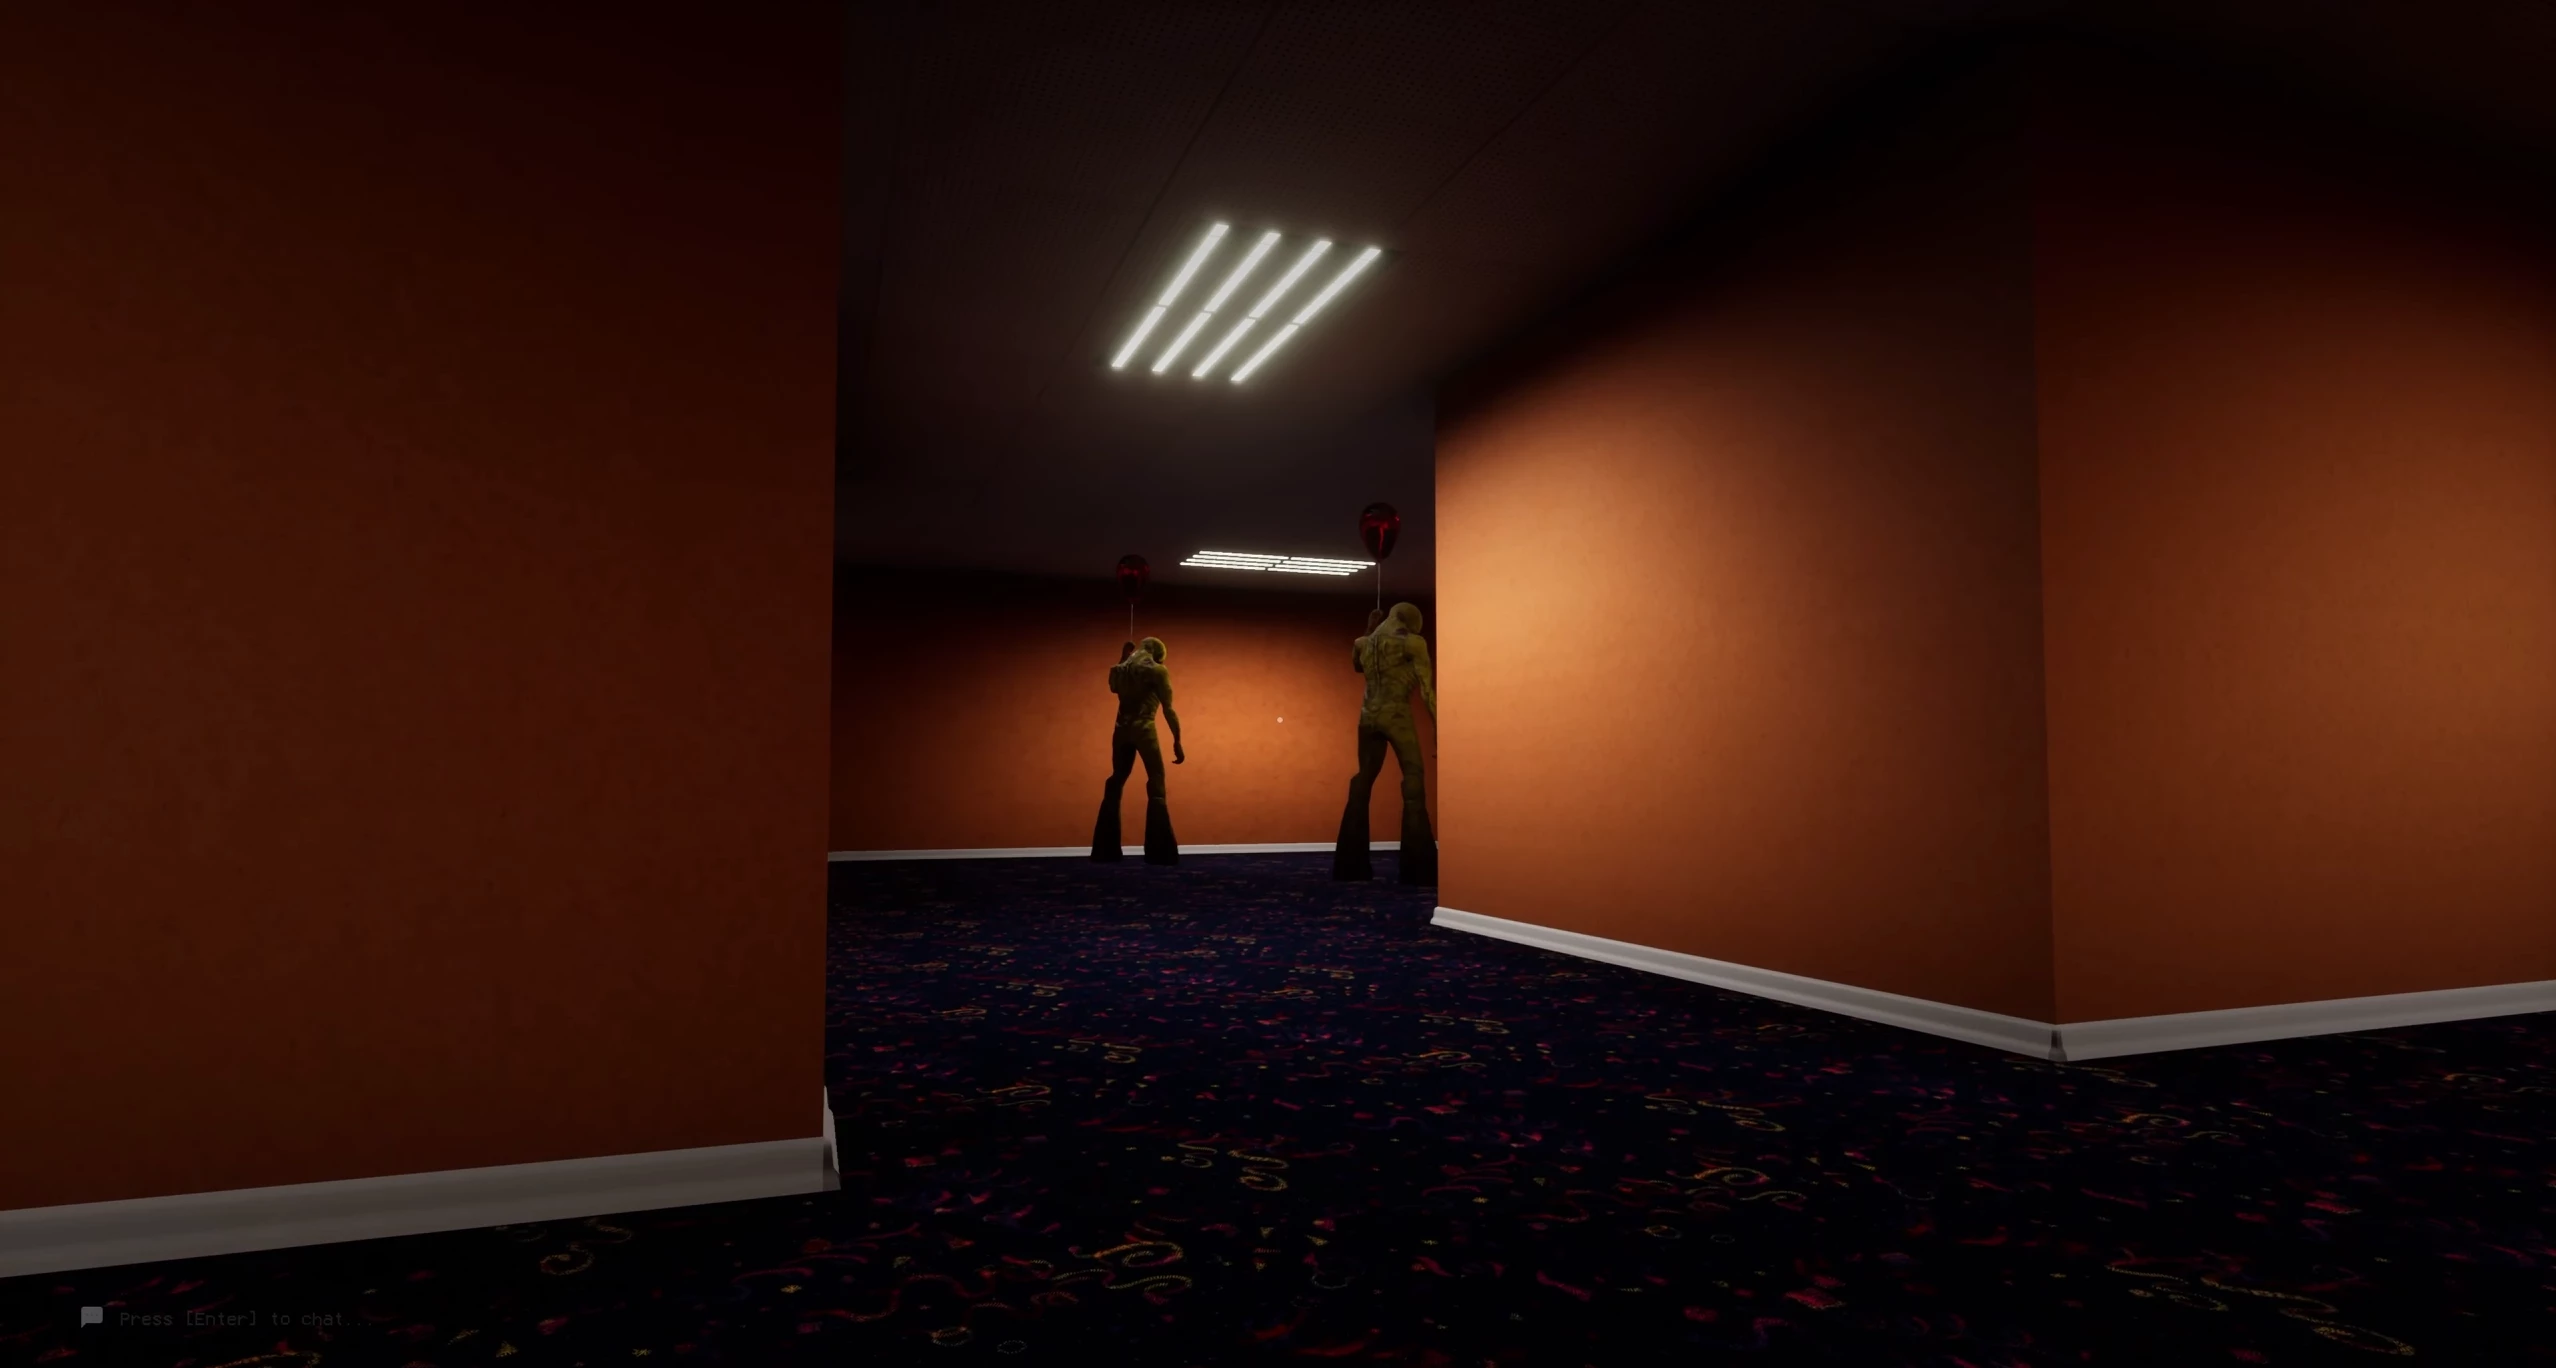
This level is a dangerous zone full of partygoers standing in every room. These creatures can see and hear the player if you get close enough. As soon as one of them notices you, the music stops and the monsters start making loud growling sounds. Hide under a table to avoid death.
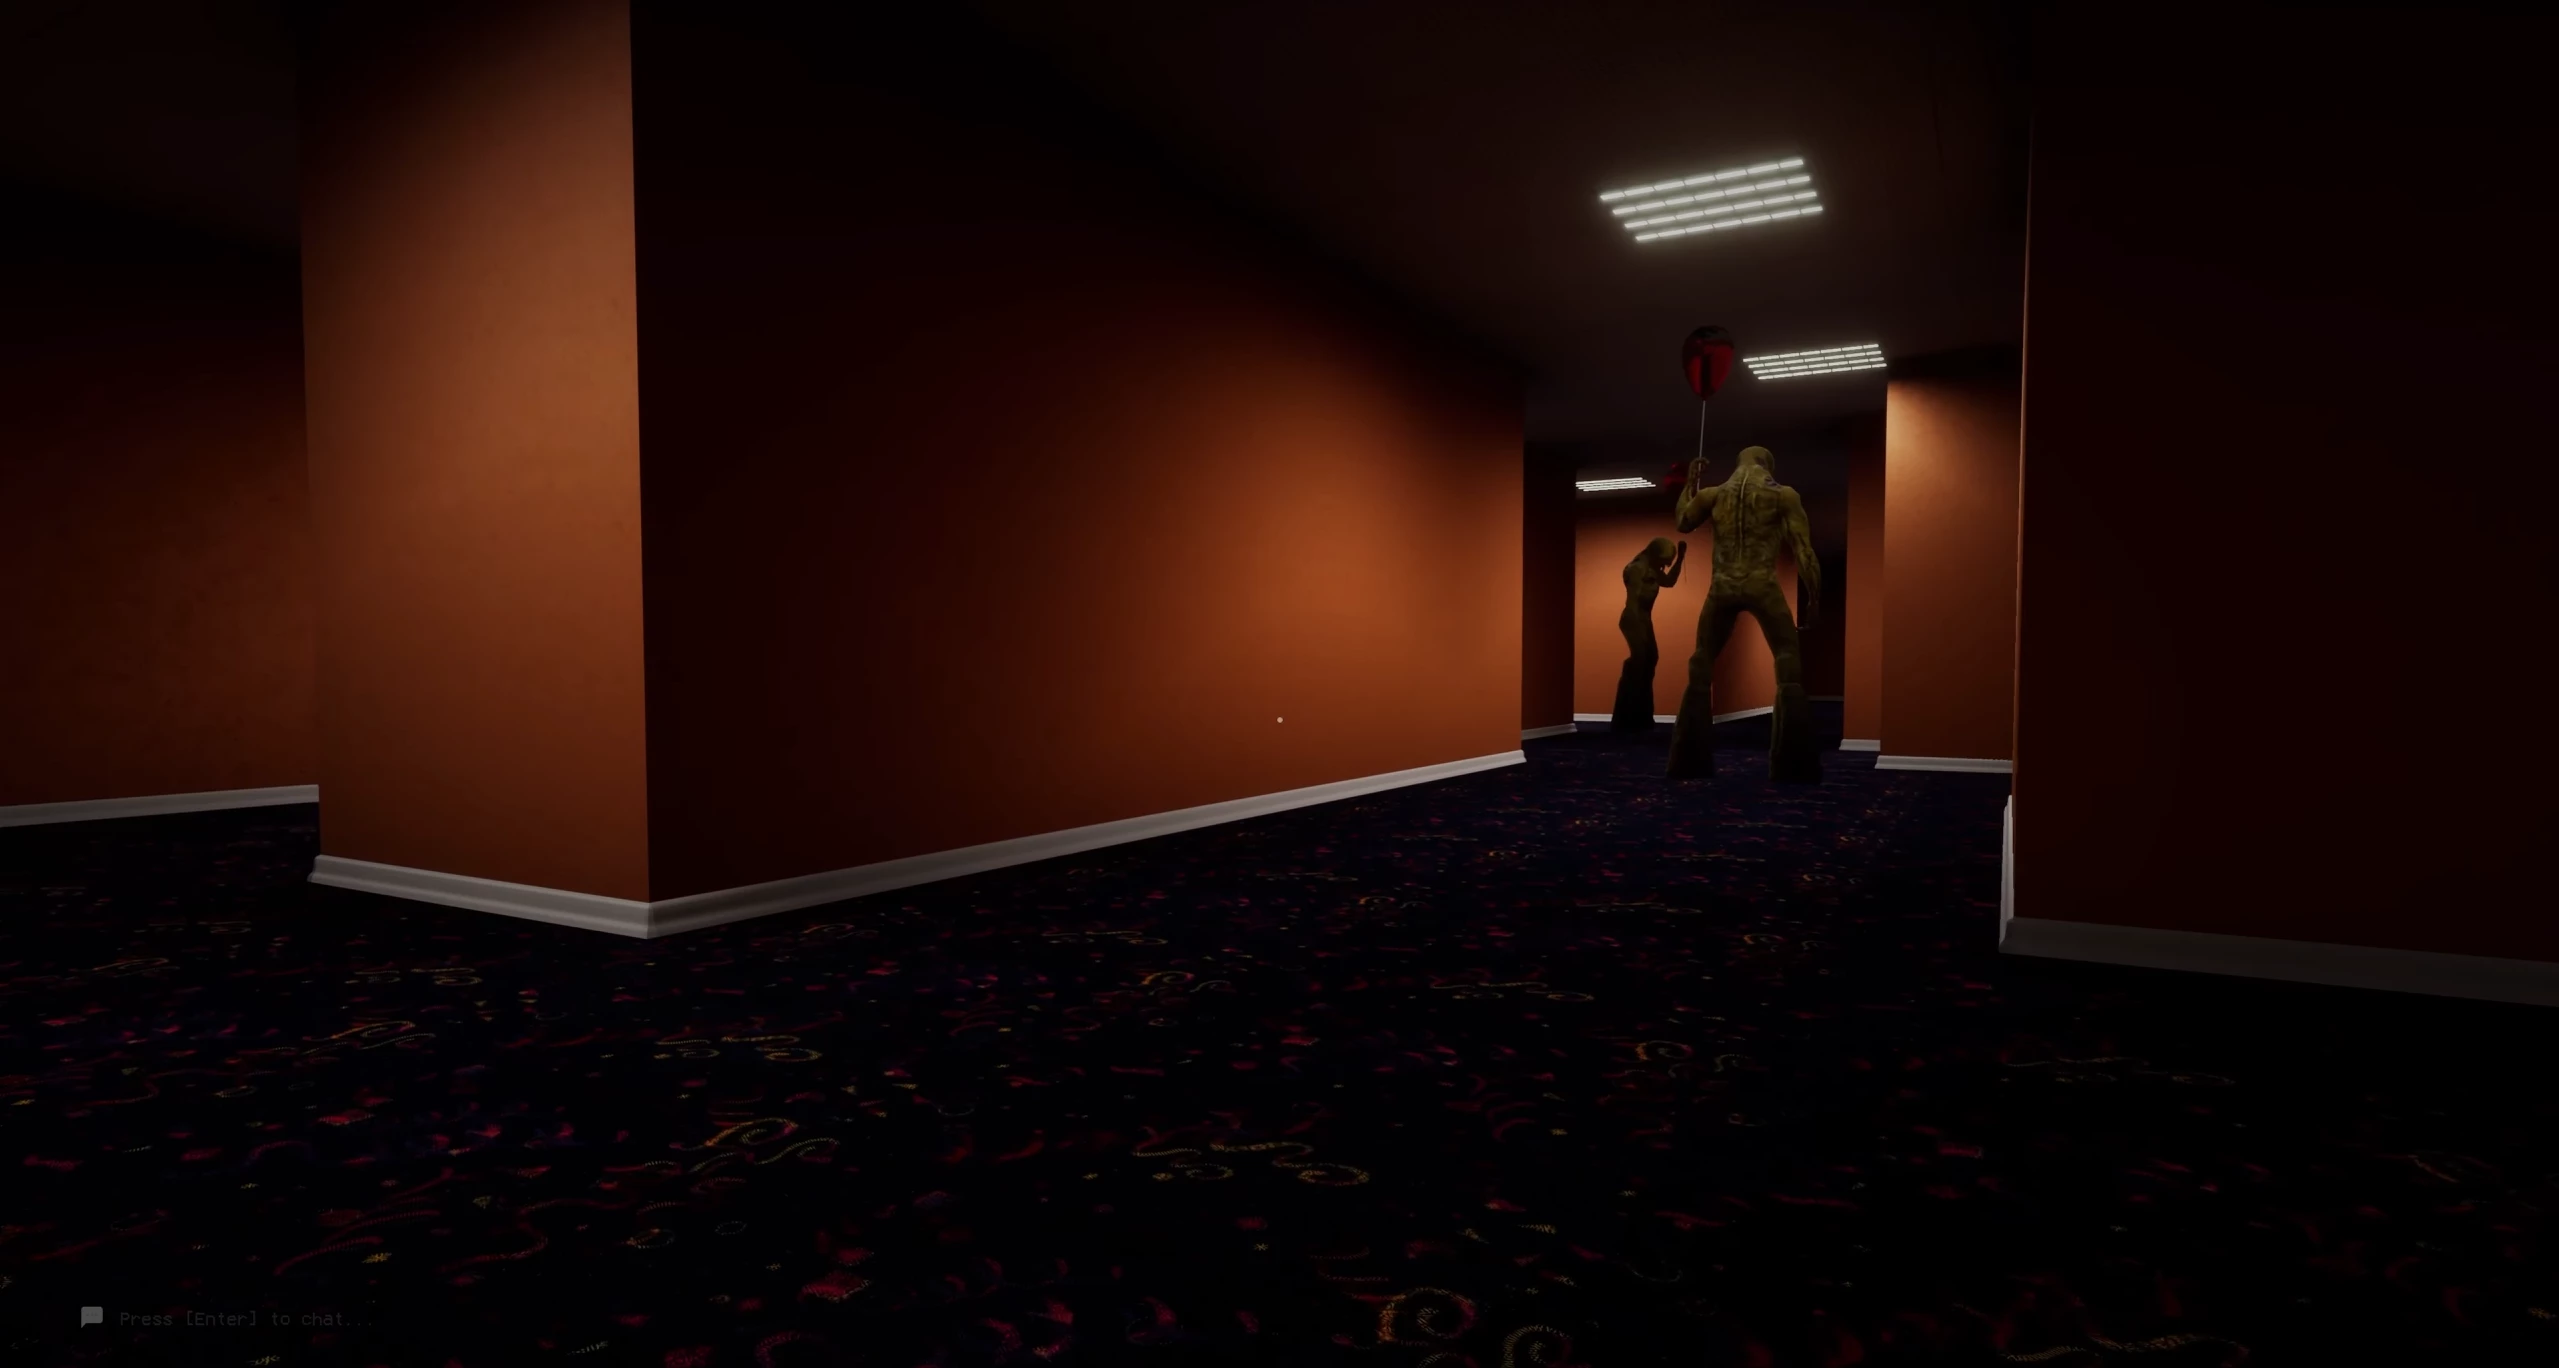
To get through the area, lure the first two partygoers, hide under the table, and run past them ahead. Go straight through the corridors until you reach a large hall. Here, stick to the left wall and move forward.
In the first room on the left, there will be a table so you can hide from the approaching partygoer ahead. Once they lose interest, keep moving forward, staying close to the wall.
At the end, turn left, run away from the partygoer, and hide under the table.
In the last room, quietly sneak around the partygoer from behind and head to the exit to the next location.
Other guides
-
 Baldur’s Gate 3 Romance Guide: Every Companion You Can Date
 -
 Baldur’s Gate 3 Adamantine Forge Guide
 -
 Baldur’s Gate 3 Infernal Iron Locations for Karlach
 -
 How to Find All Companion Characters in Baldur's Gate 3
 -
 Baldur’s Gate 3 Moonrise Towers Guide: Defiled Temple Moon Puzzle
 -
 How to Open Selune’s Gilded Chest in Baldur’s Gate 3
 -
 Baldur’s Gate 3 Owlbear Cub Guide: How to Recruit It to Your Camp
 -
 Baldur’s Gate 3 Open Hand Temple Murders Guide
 -
 Palworld 1.0 Best Pals for Early Game, Combat, Bases, and Mounts
 -
 Backrooms Director Kane Parsons Visits Valve, Voices Ambition to Helm Portal Movie