

Horror shooters combine an atmosphere of fear with dynamic combat, allowing you not only to survive but also to actively fight back against enemies. Despite the genre's rare popularity, as the experience of Doom 3 has shown, it has still given us some outstanding projects. In this guide, we will tell you how to complete the Total Chaos campaign and break down the puzzles you will encounter along the way.
Chapter 1. Arrival
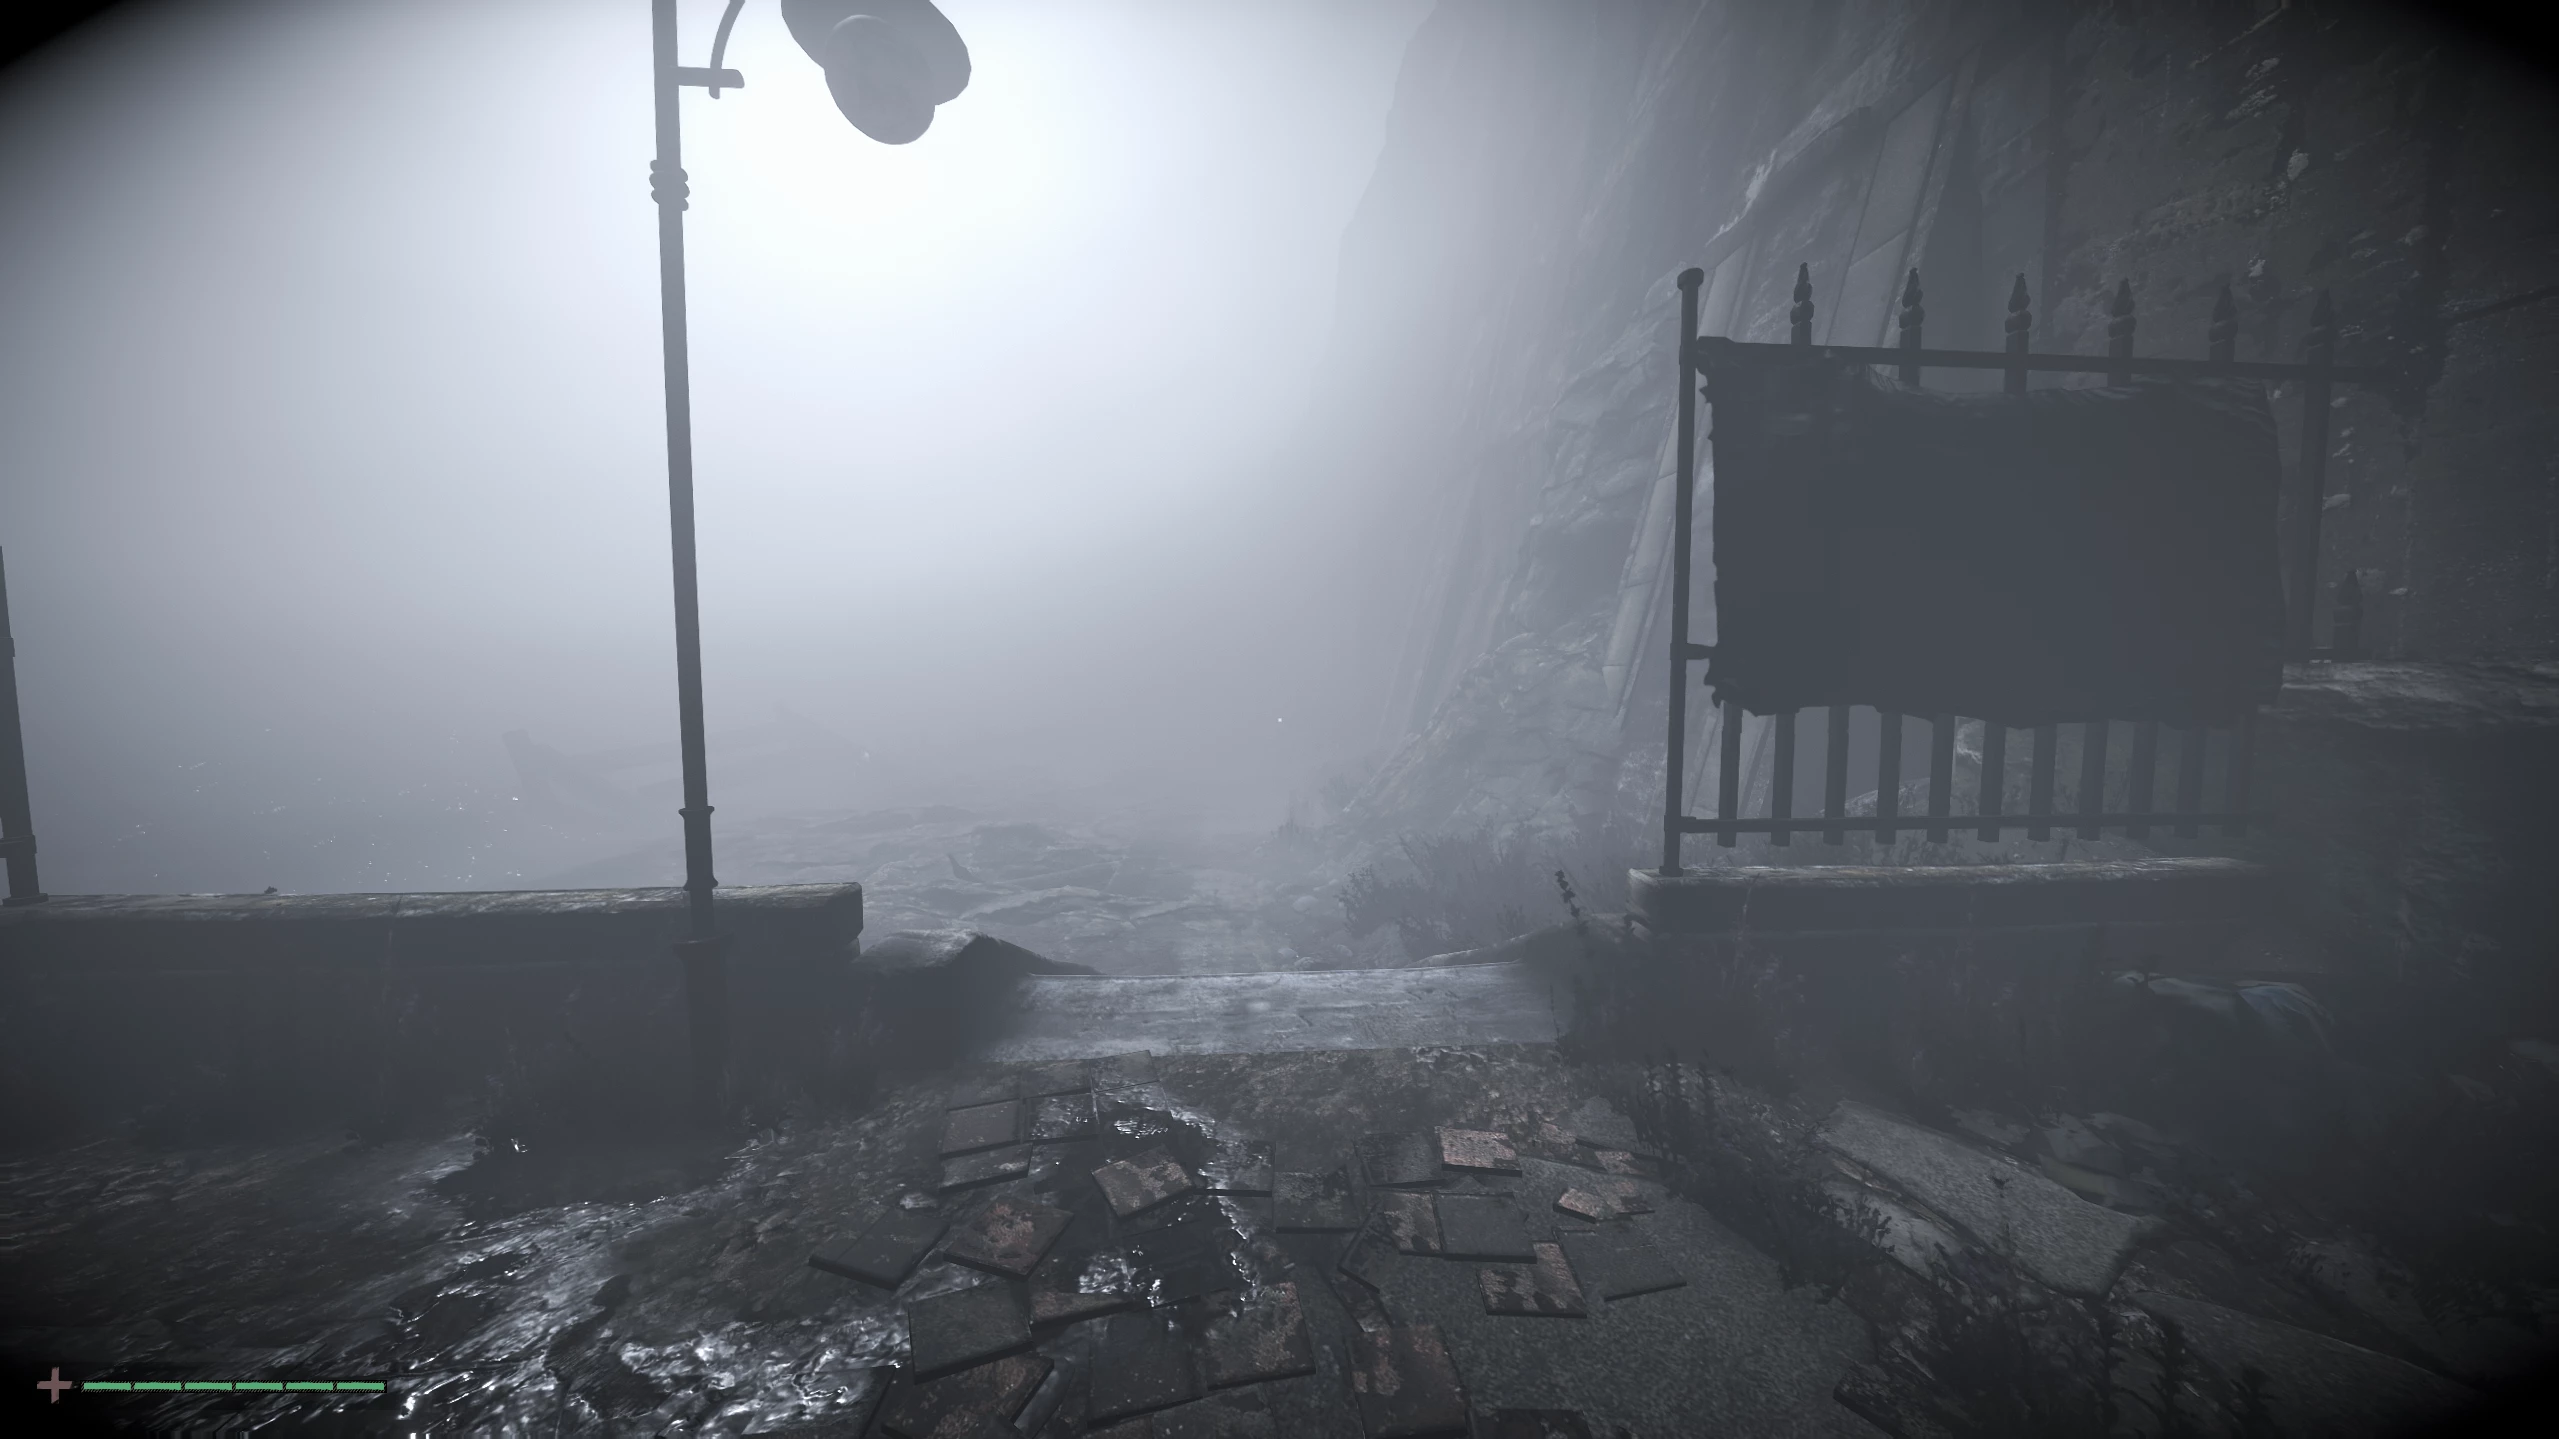
As soon as you arrive on the infected island, turn right and go down a small ladder.
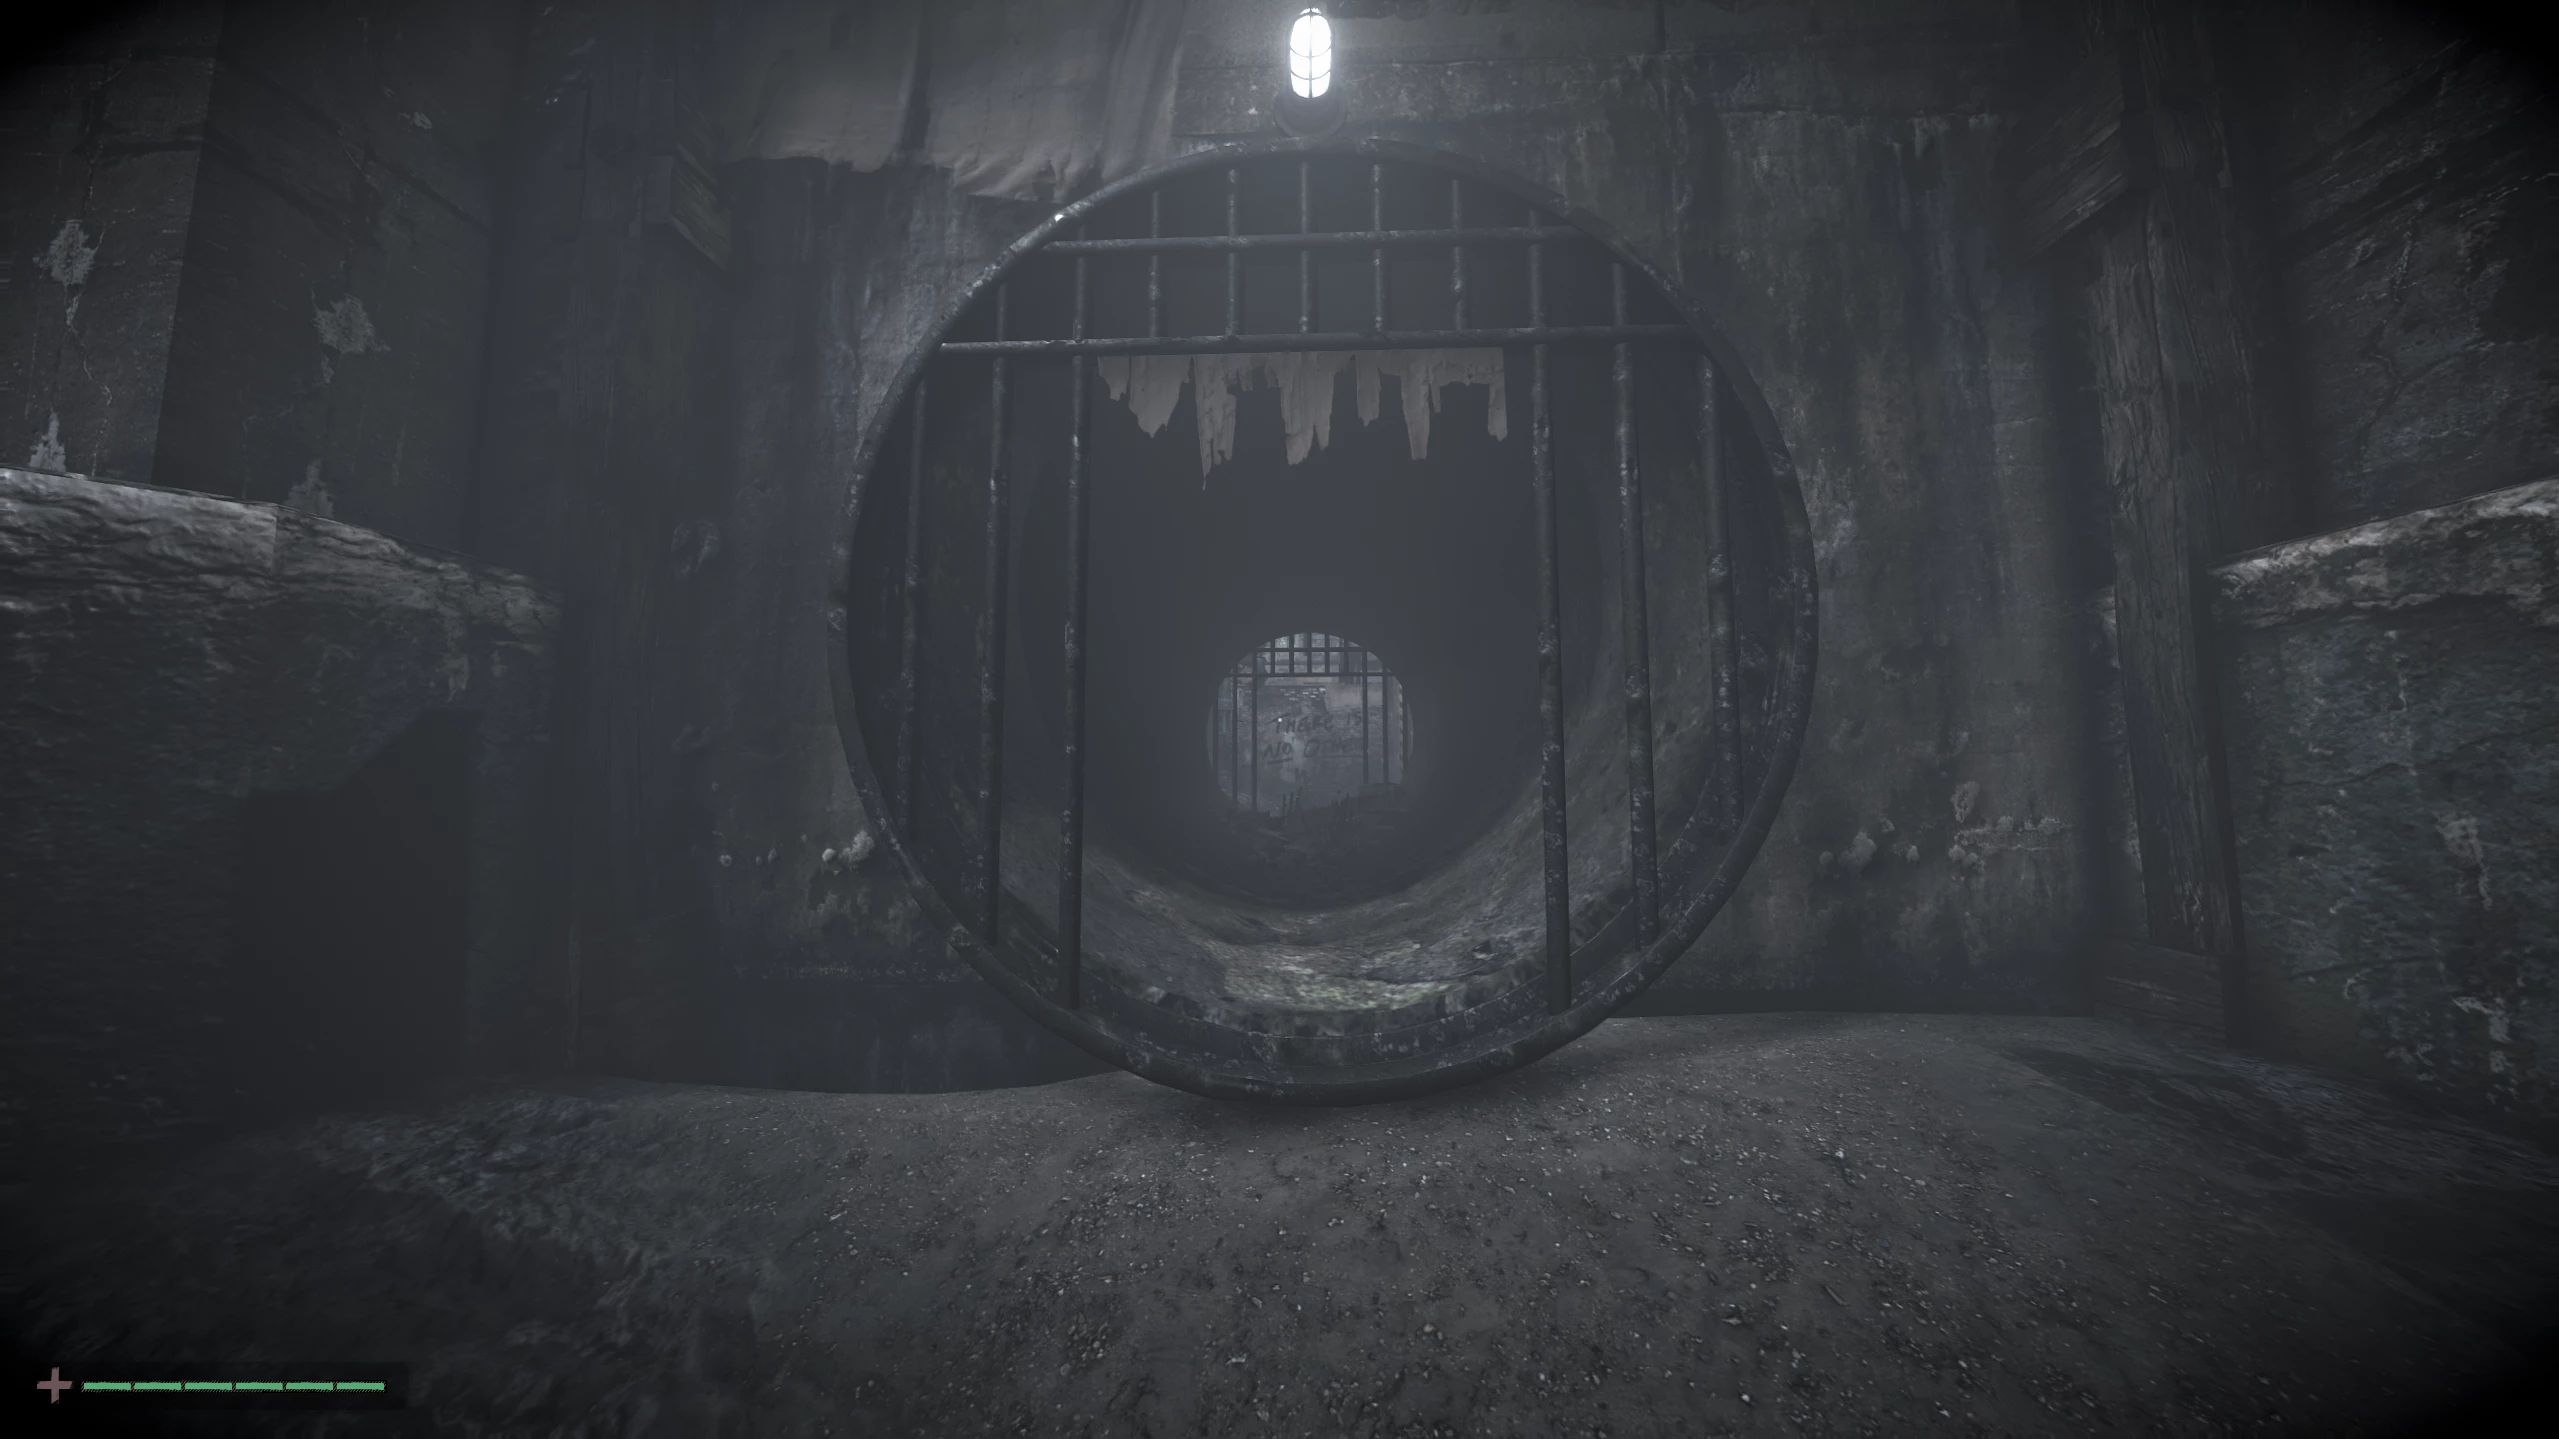
Walk along the empty shore until you come across an open sewer pipe leading inside the building.
How to Find the Coastal Key
In this room, turn right, go through another pipe, and climb the stairs to the second floor.
In the corridor, turn left and you’ll see a closed grated door. To unlock it, you need to find the coastal key on the grounds of the abandoned factory.

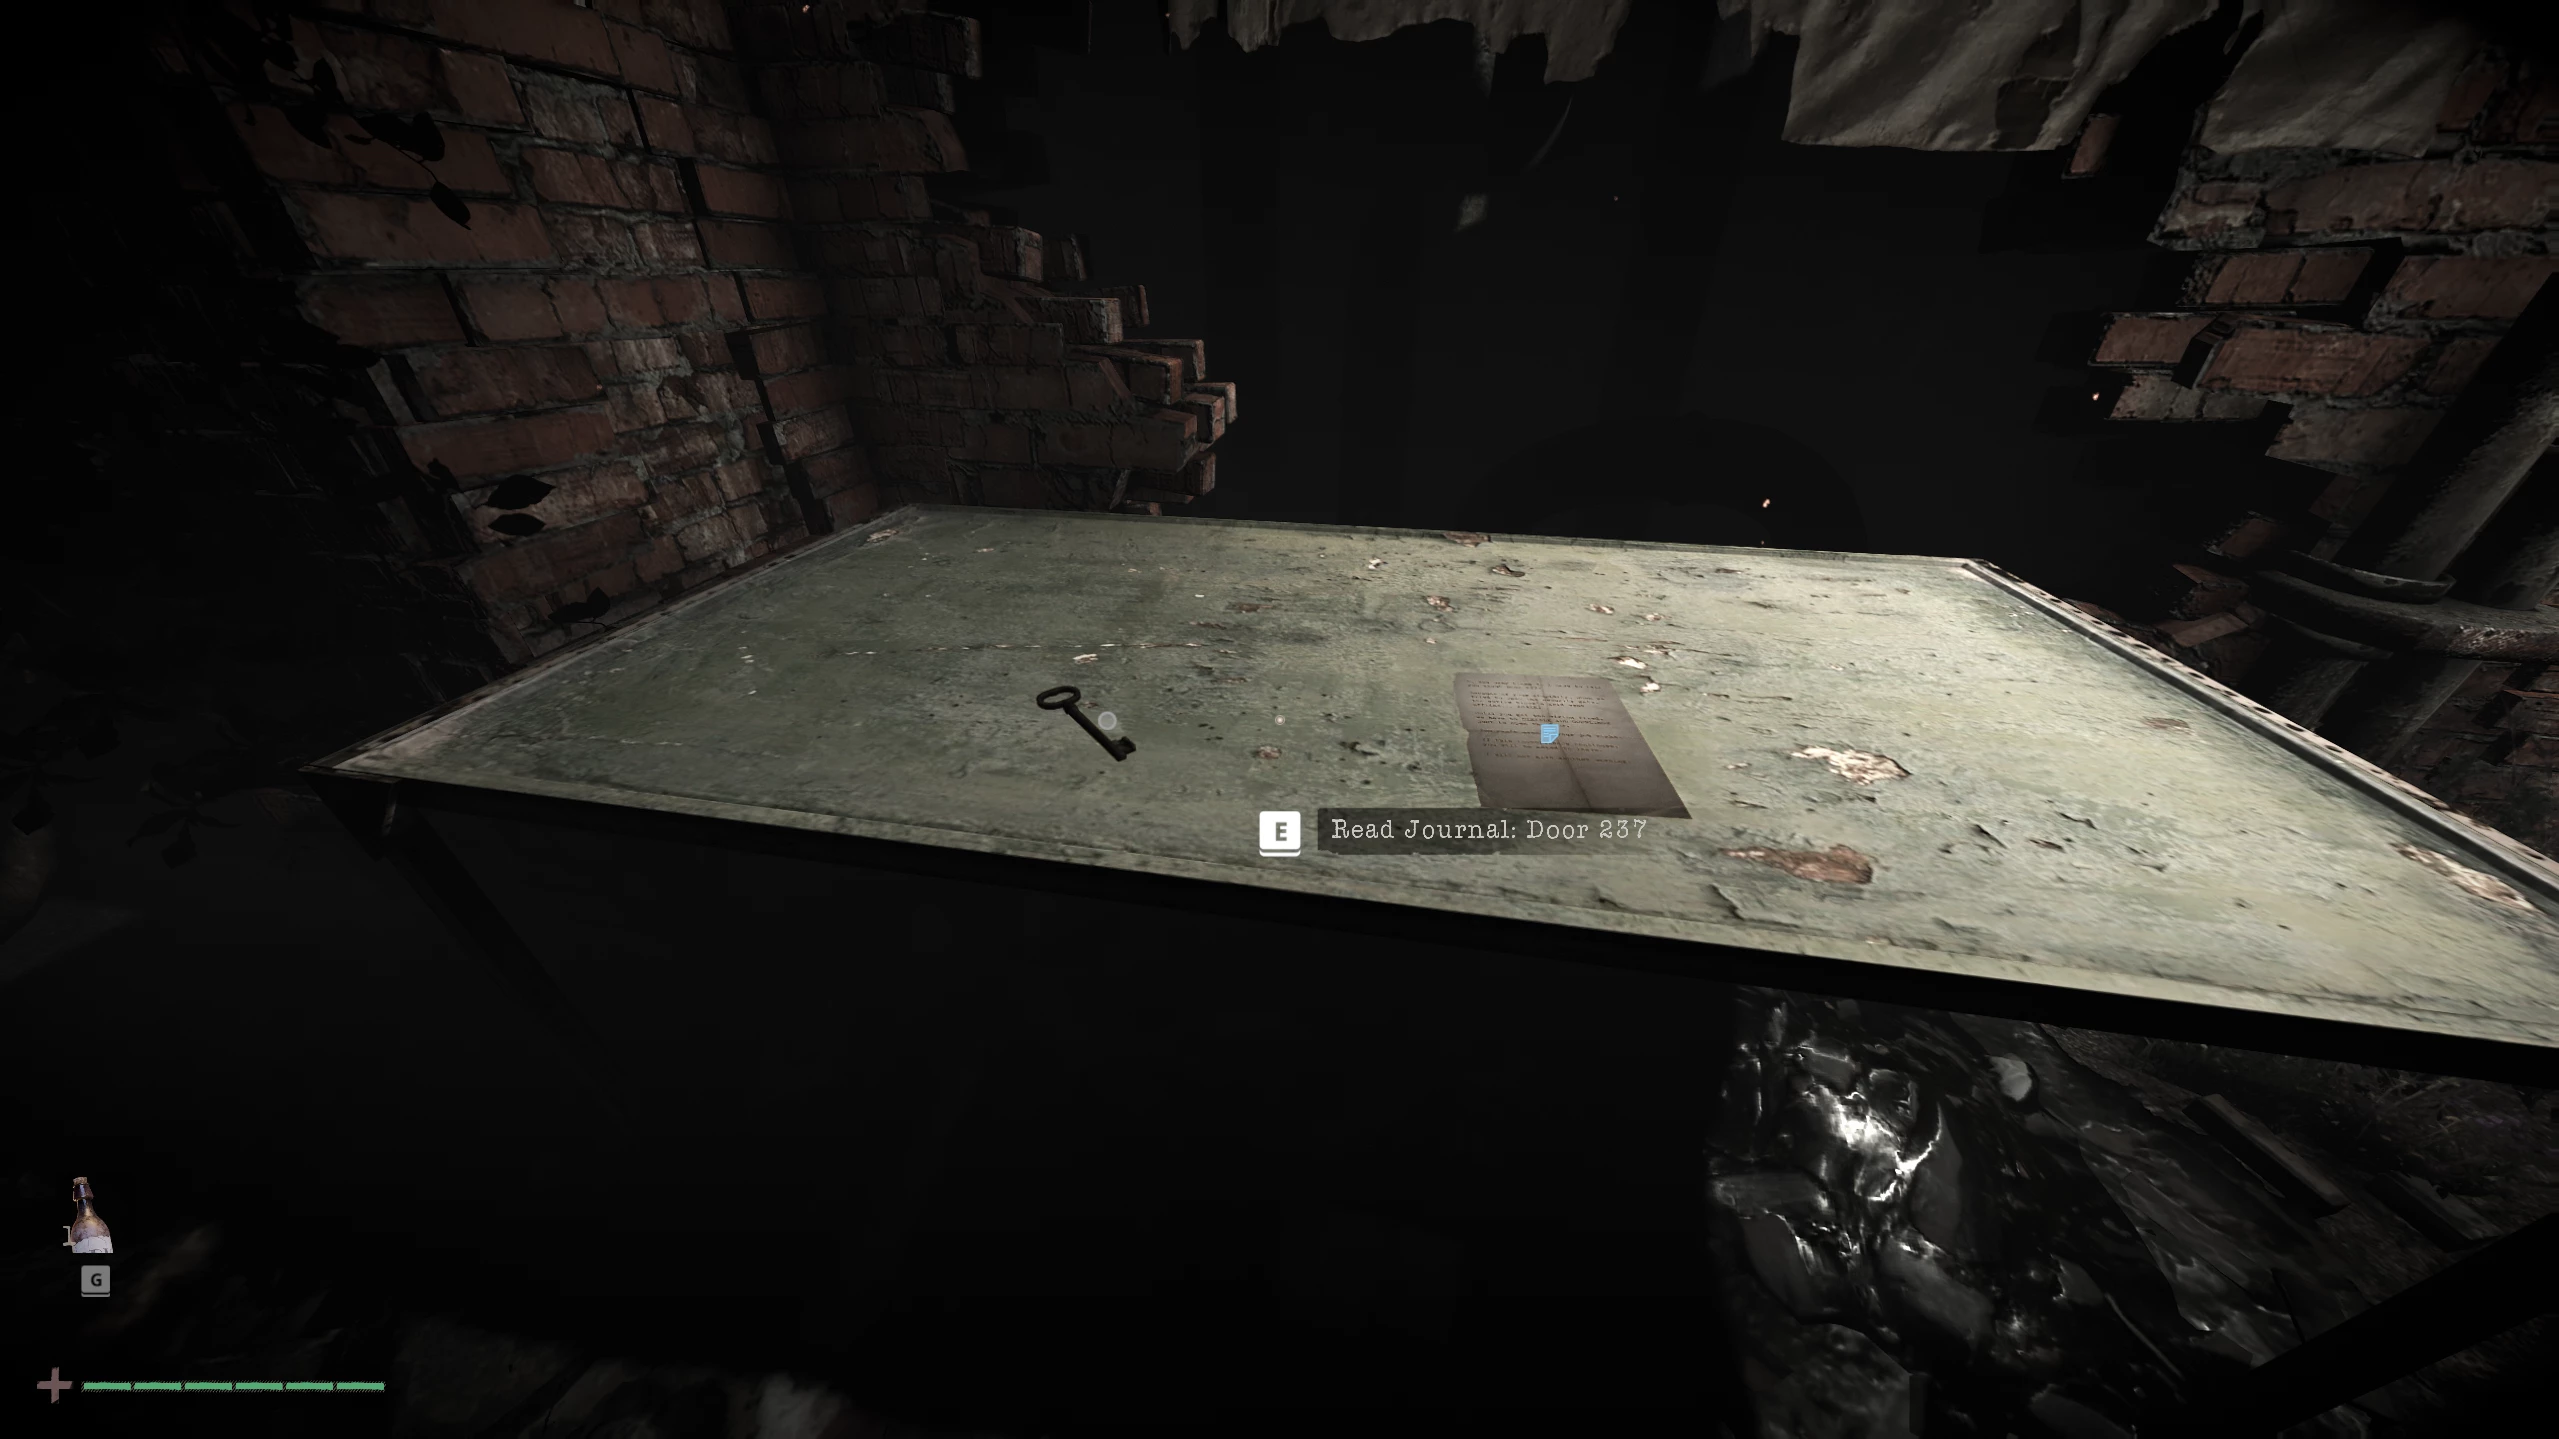
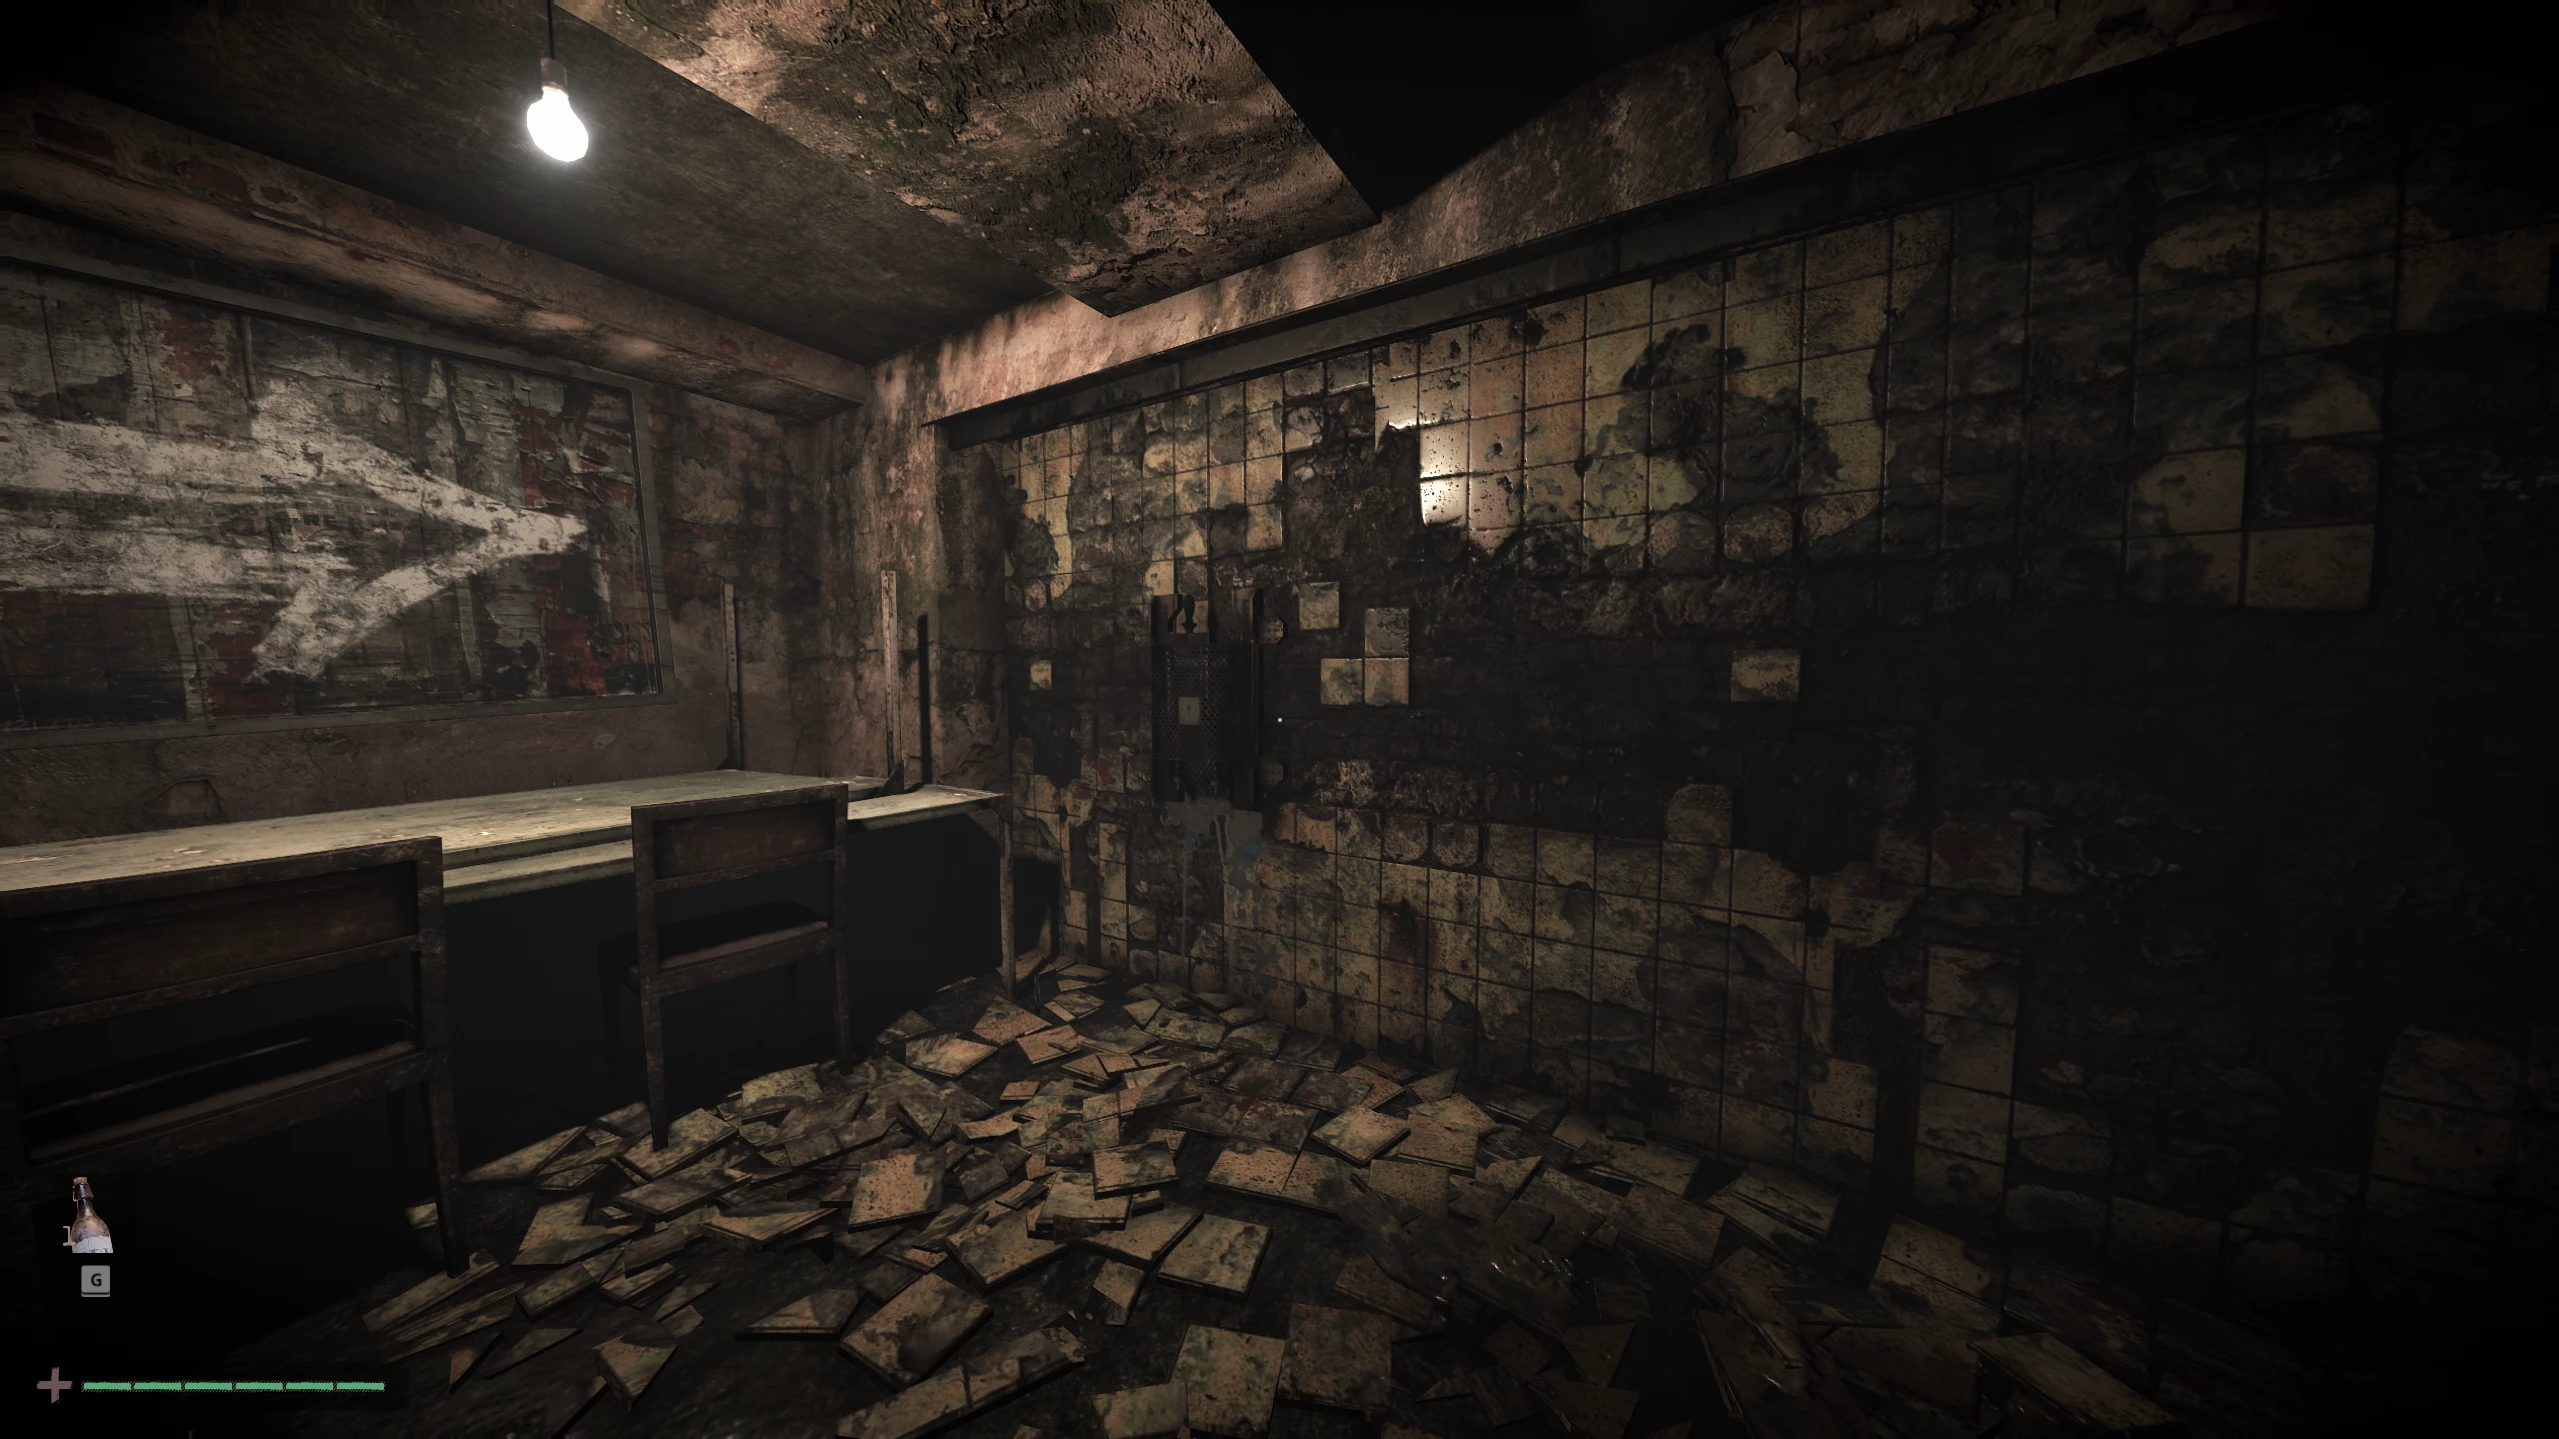
Go deeper down the corridor and enter the door on the right. On the table, pick up the first page of a worker's diary, as well as the key you need.
Return to the door, open it, and pick up the medkit, a can of stew on the table ahead, and don’t forget to grab the syringe near the door.
Throughout the walkthrough, you’ll come across all sorts of supplies needed to restore health, satisfy hunger, and craft certain tools. For now, hunger doesn’t decrease, so feel free to use dashes to move around.
We’ll cover the crafting system and survival aspects a bit later, when you encounter your first enemy and get your first weapon.
After collecting the supplies, go down the corridor, notice a strange creature behind the grate, and follow it.
First Weapon
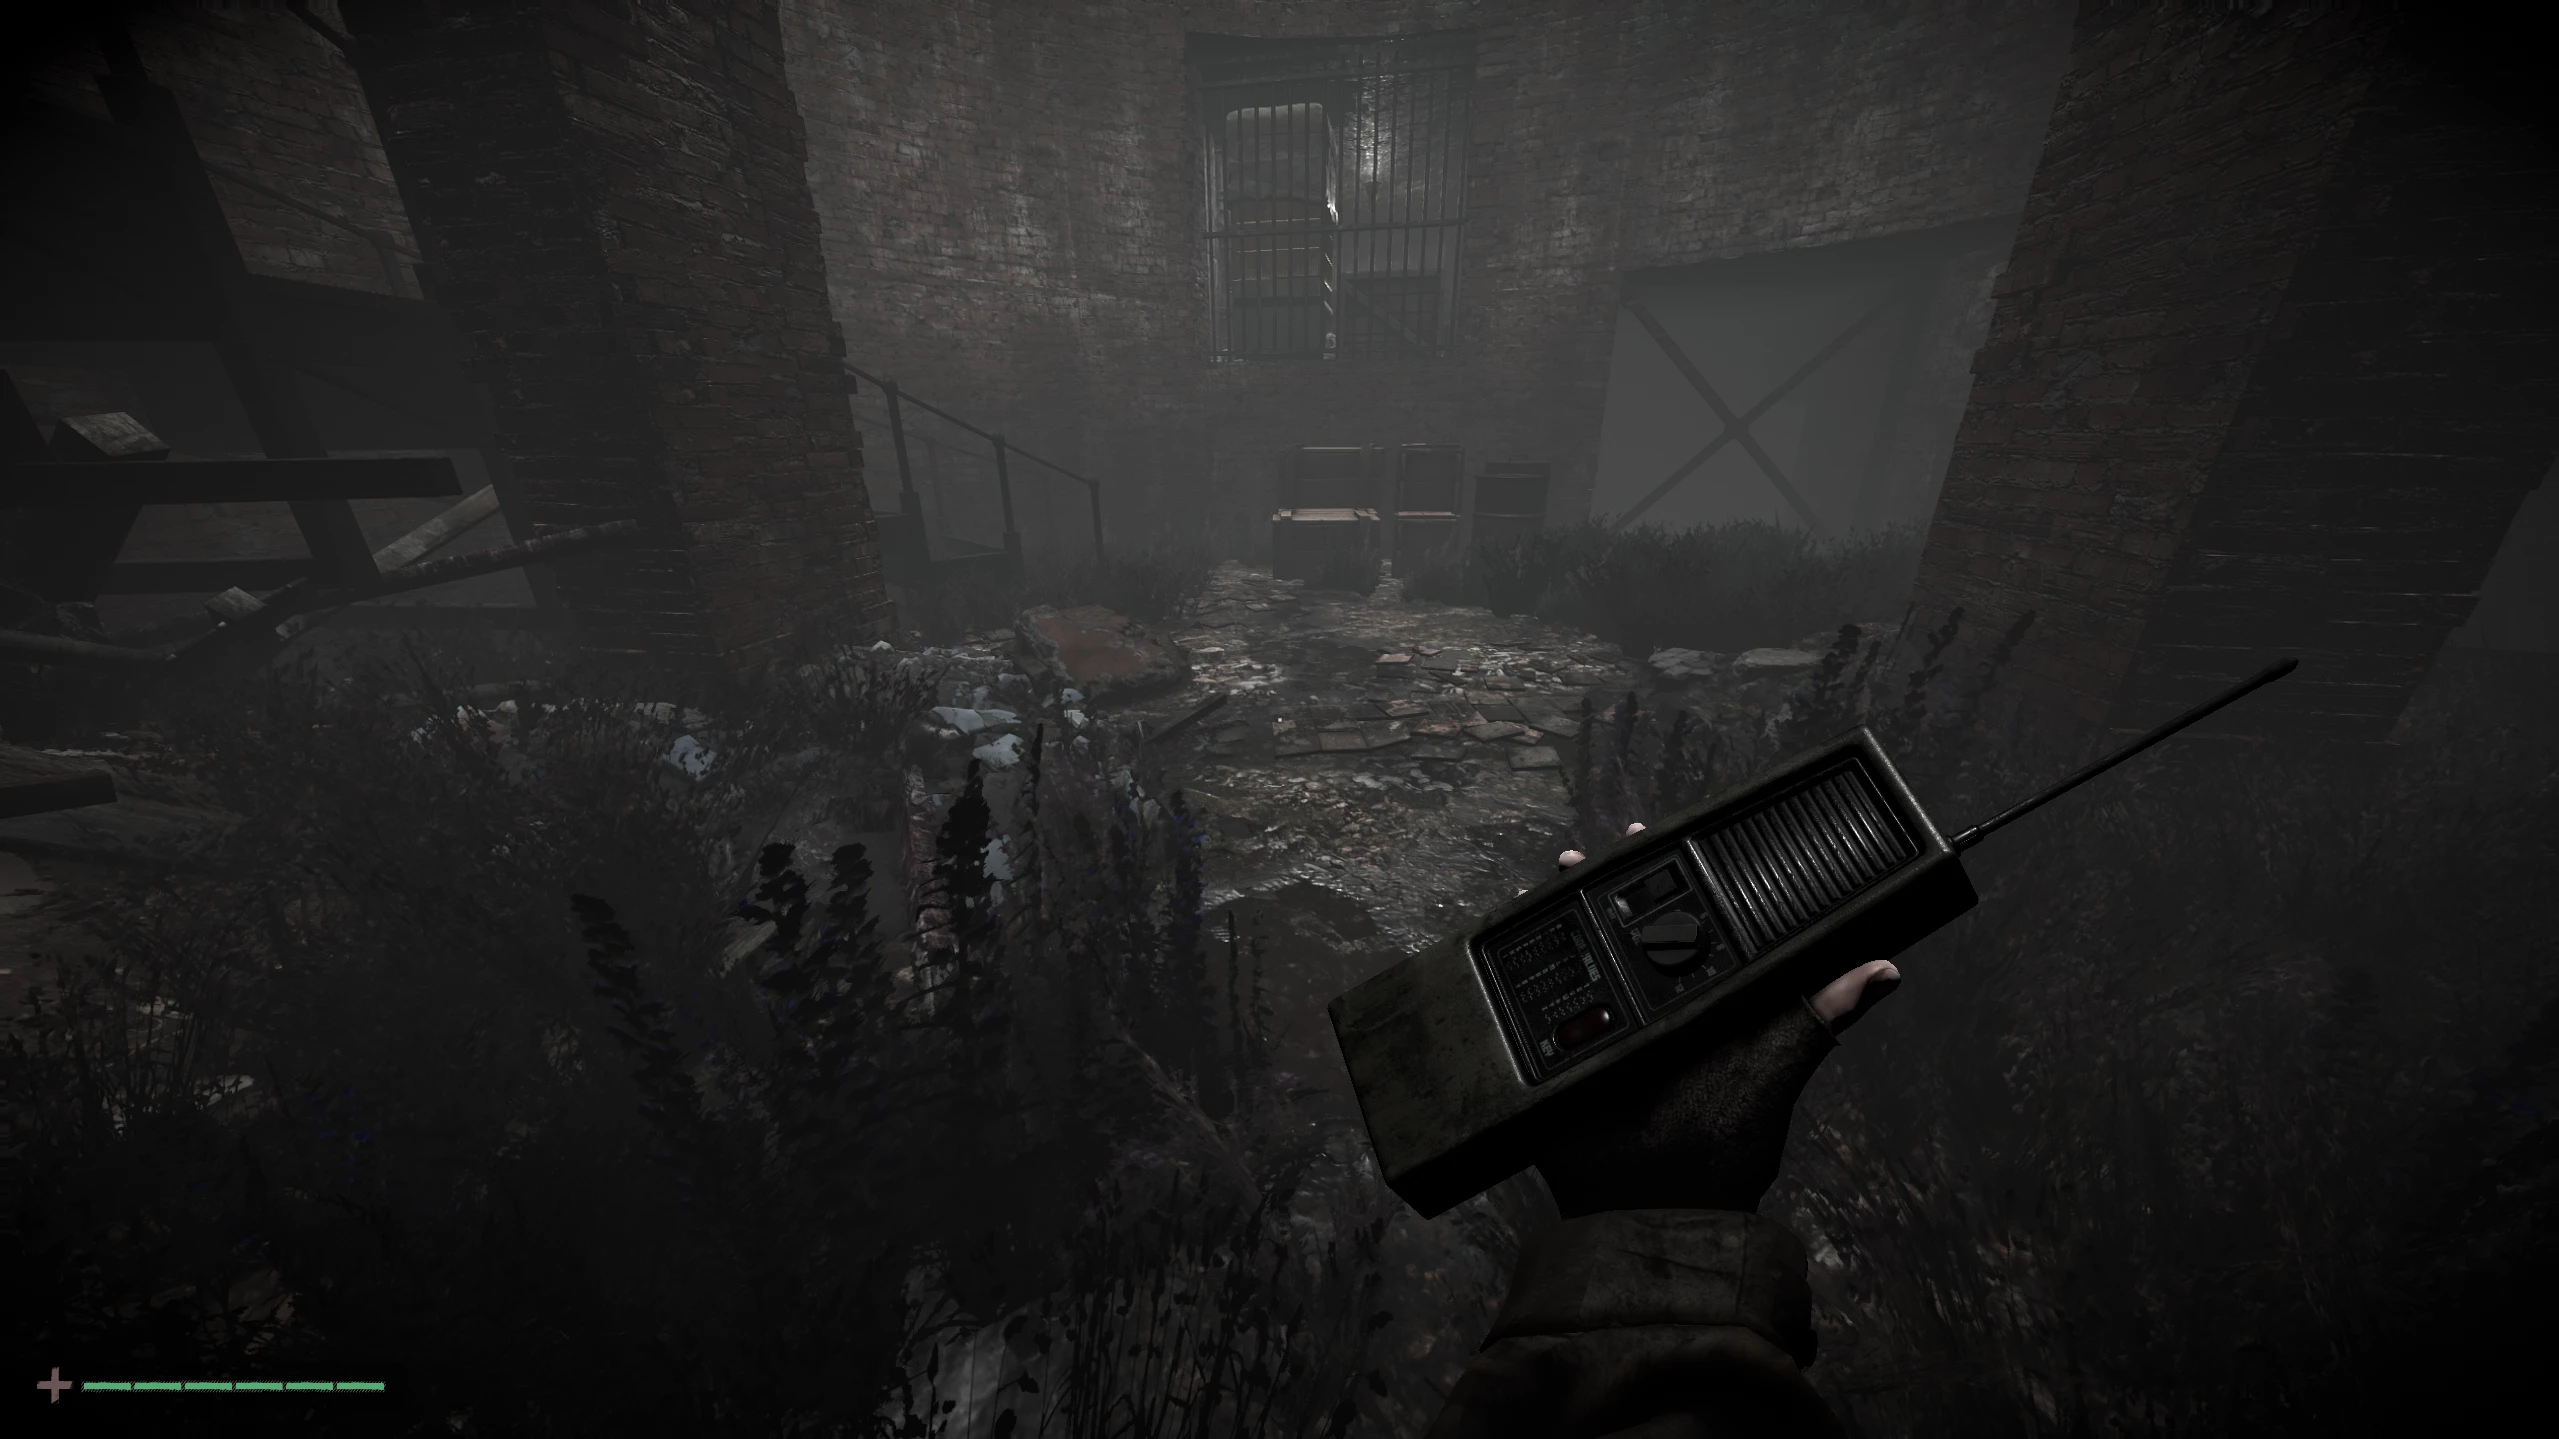
Once you enter the large room with the spiral staircase, you’ll receive a radio, through which a male voice will contact the protagonist, giving you tasks throughout the playthrough and telling the story of the island.
Go upstairs, jump over the wall, and move straight ahead.
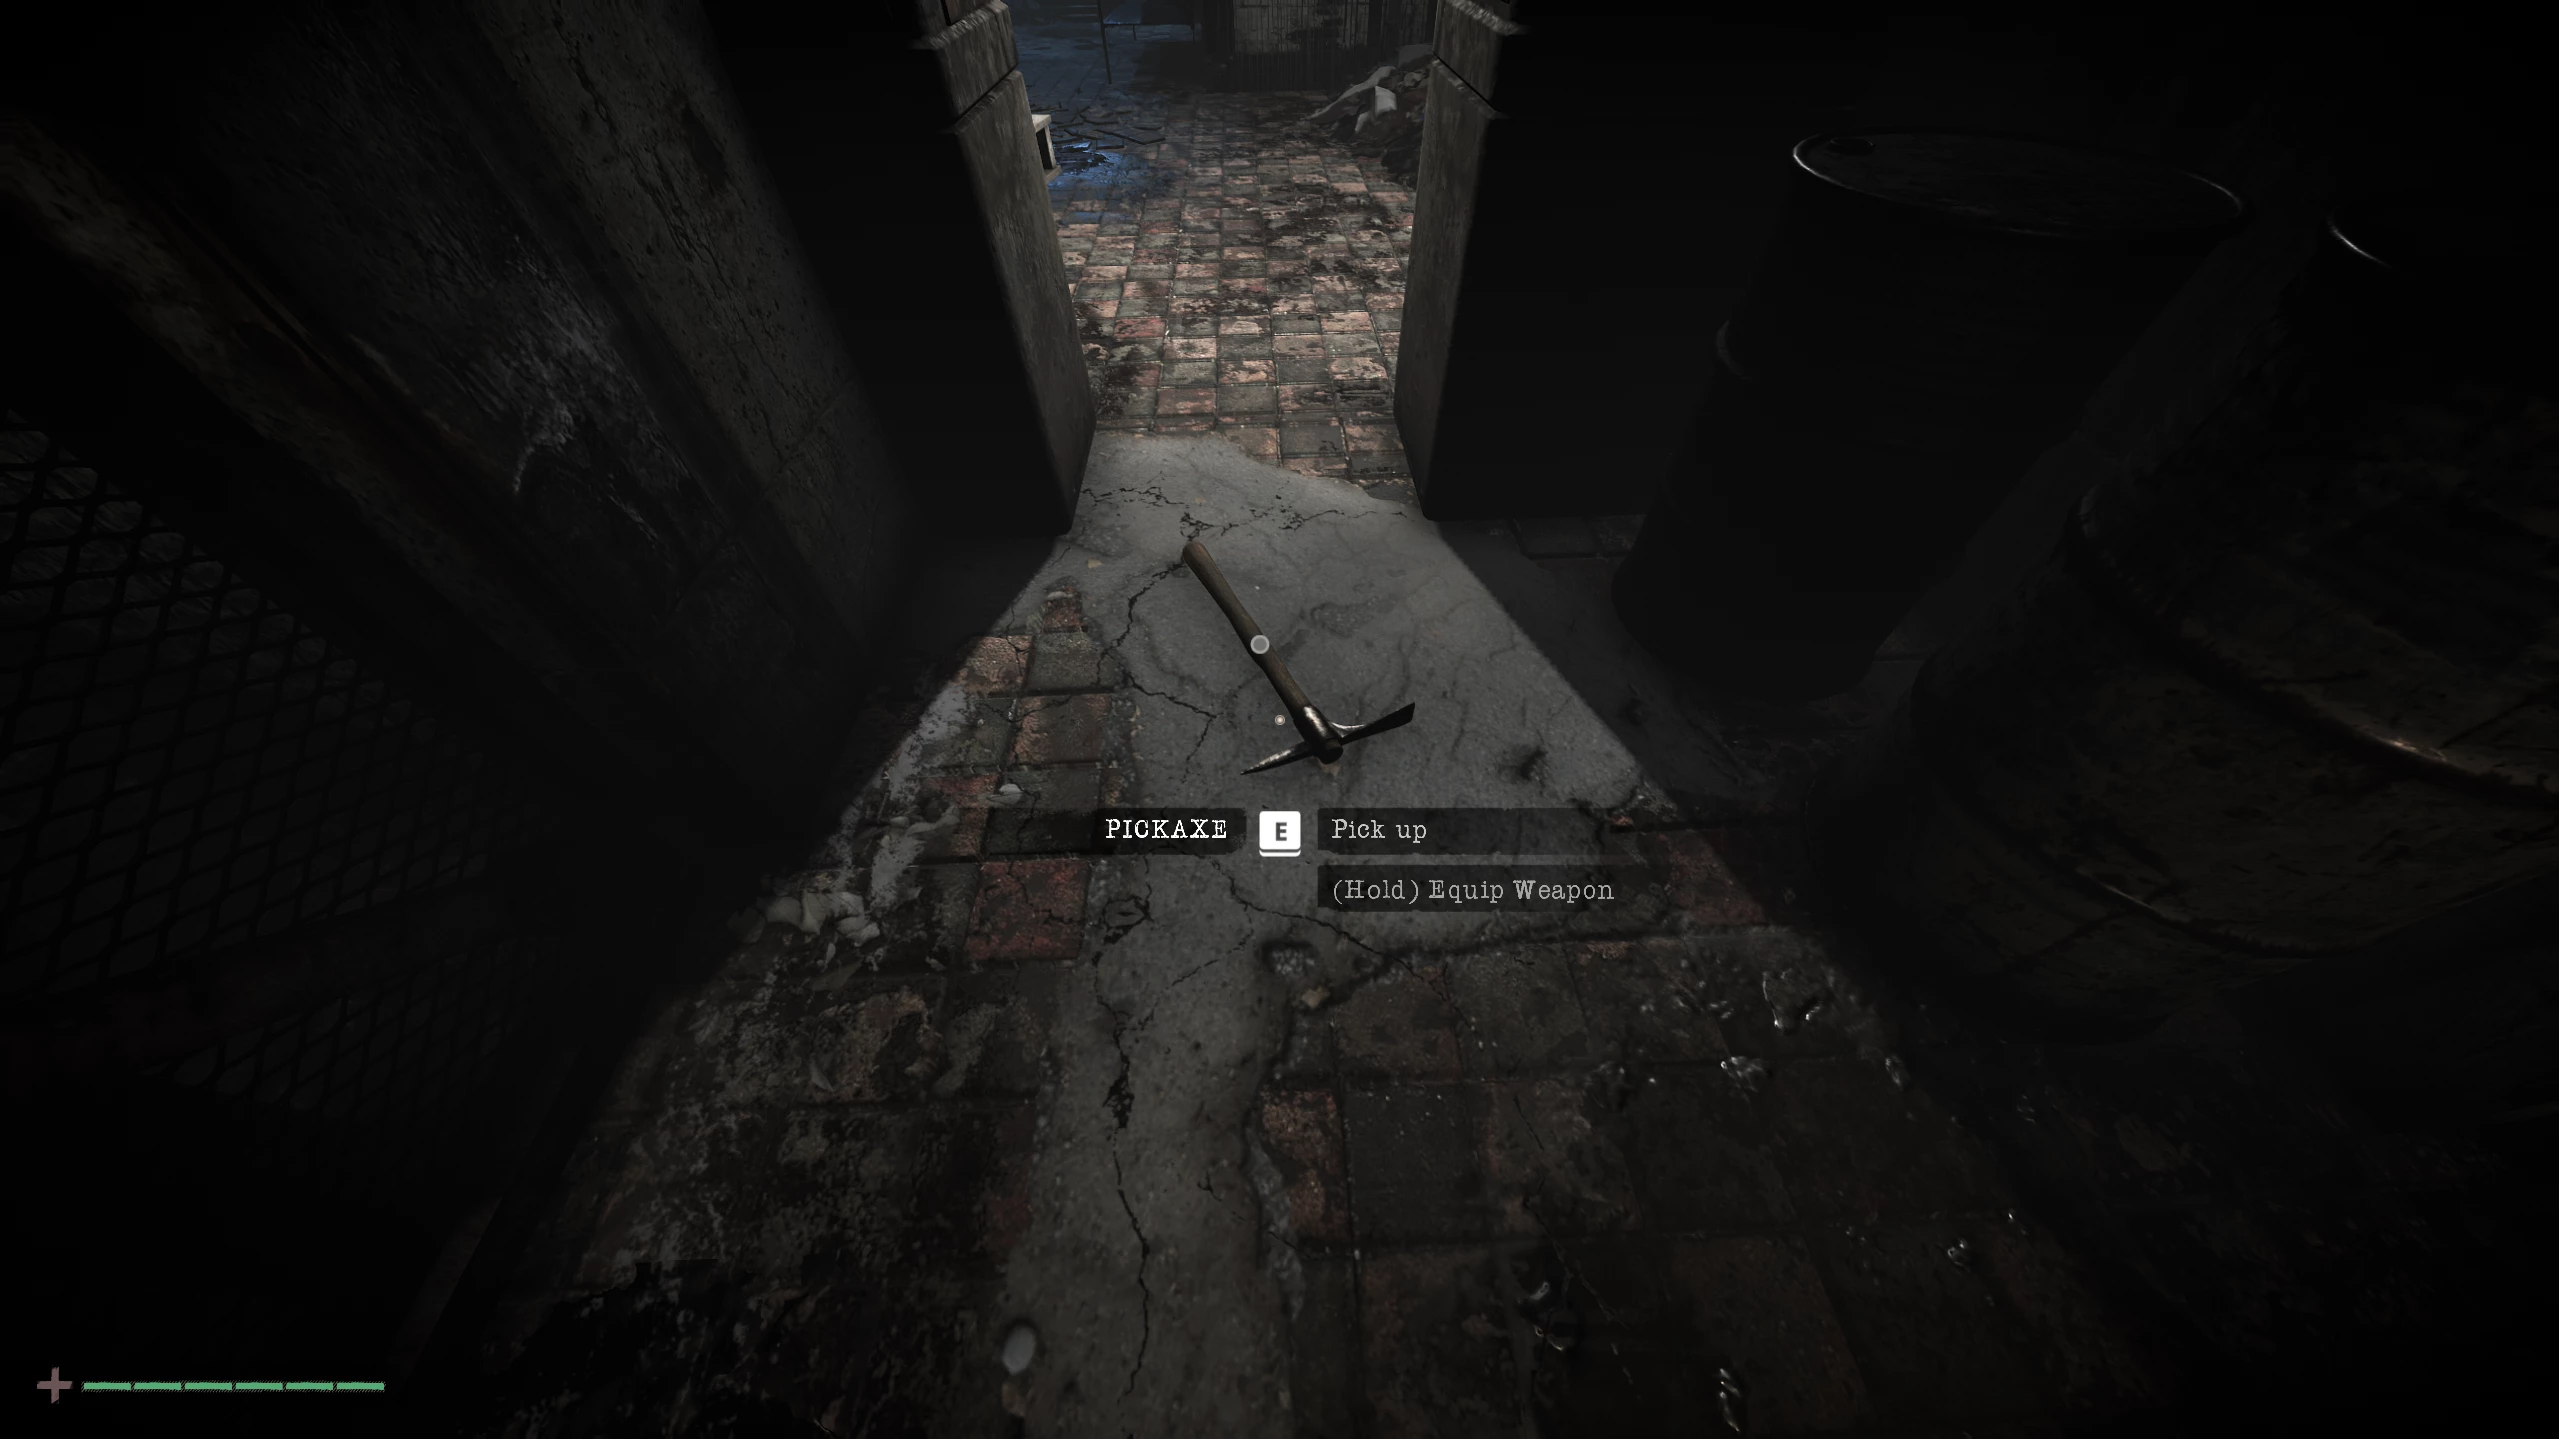
In front of the open grate you’ll find your first melee weapon — a pickaxe. When attacking, it can break wooden crates scattered throughout the building to obtain various crafting materials or supplies. At this point, its durability isn’t very high, so try to use it only as intended, namely for breaking boards that block your way.
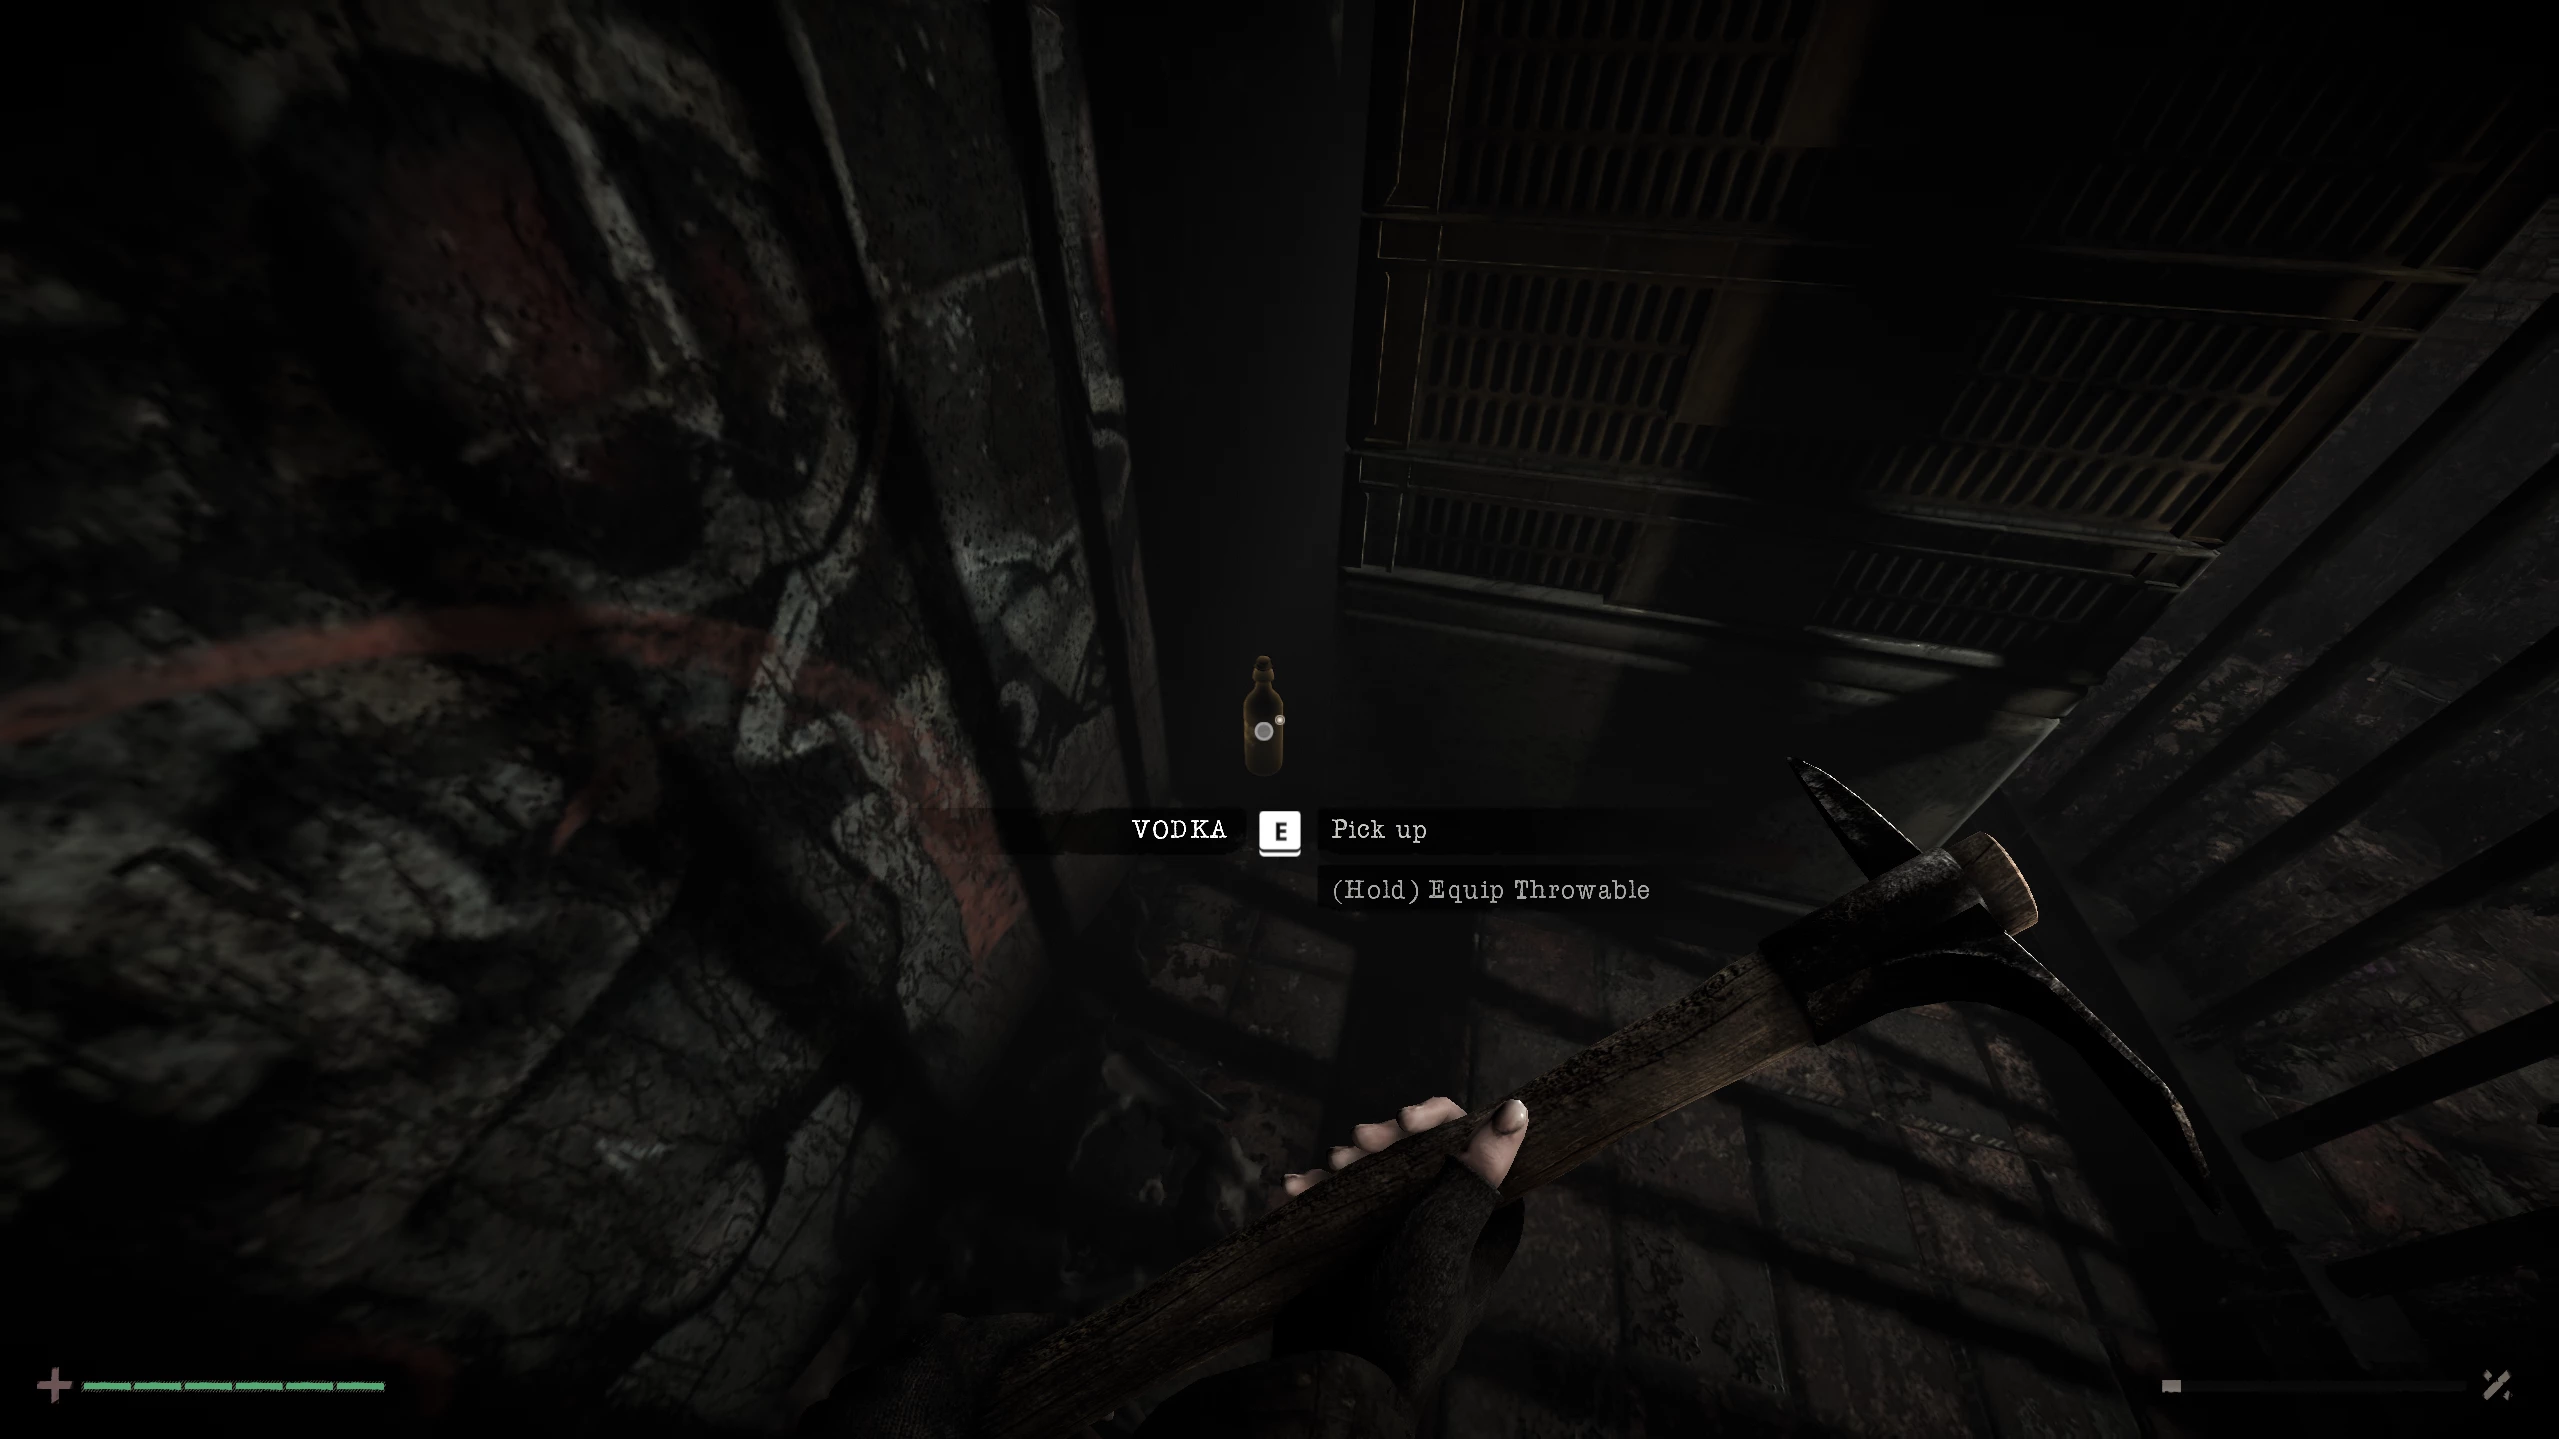
Also, don’t forget to turn back and grab the vodka on the lower shelf of the cabinet. It can be used as a crafting material or as a throwable weapon.
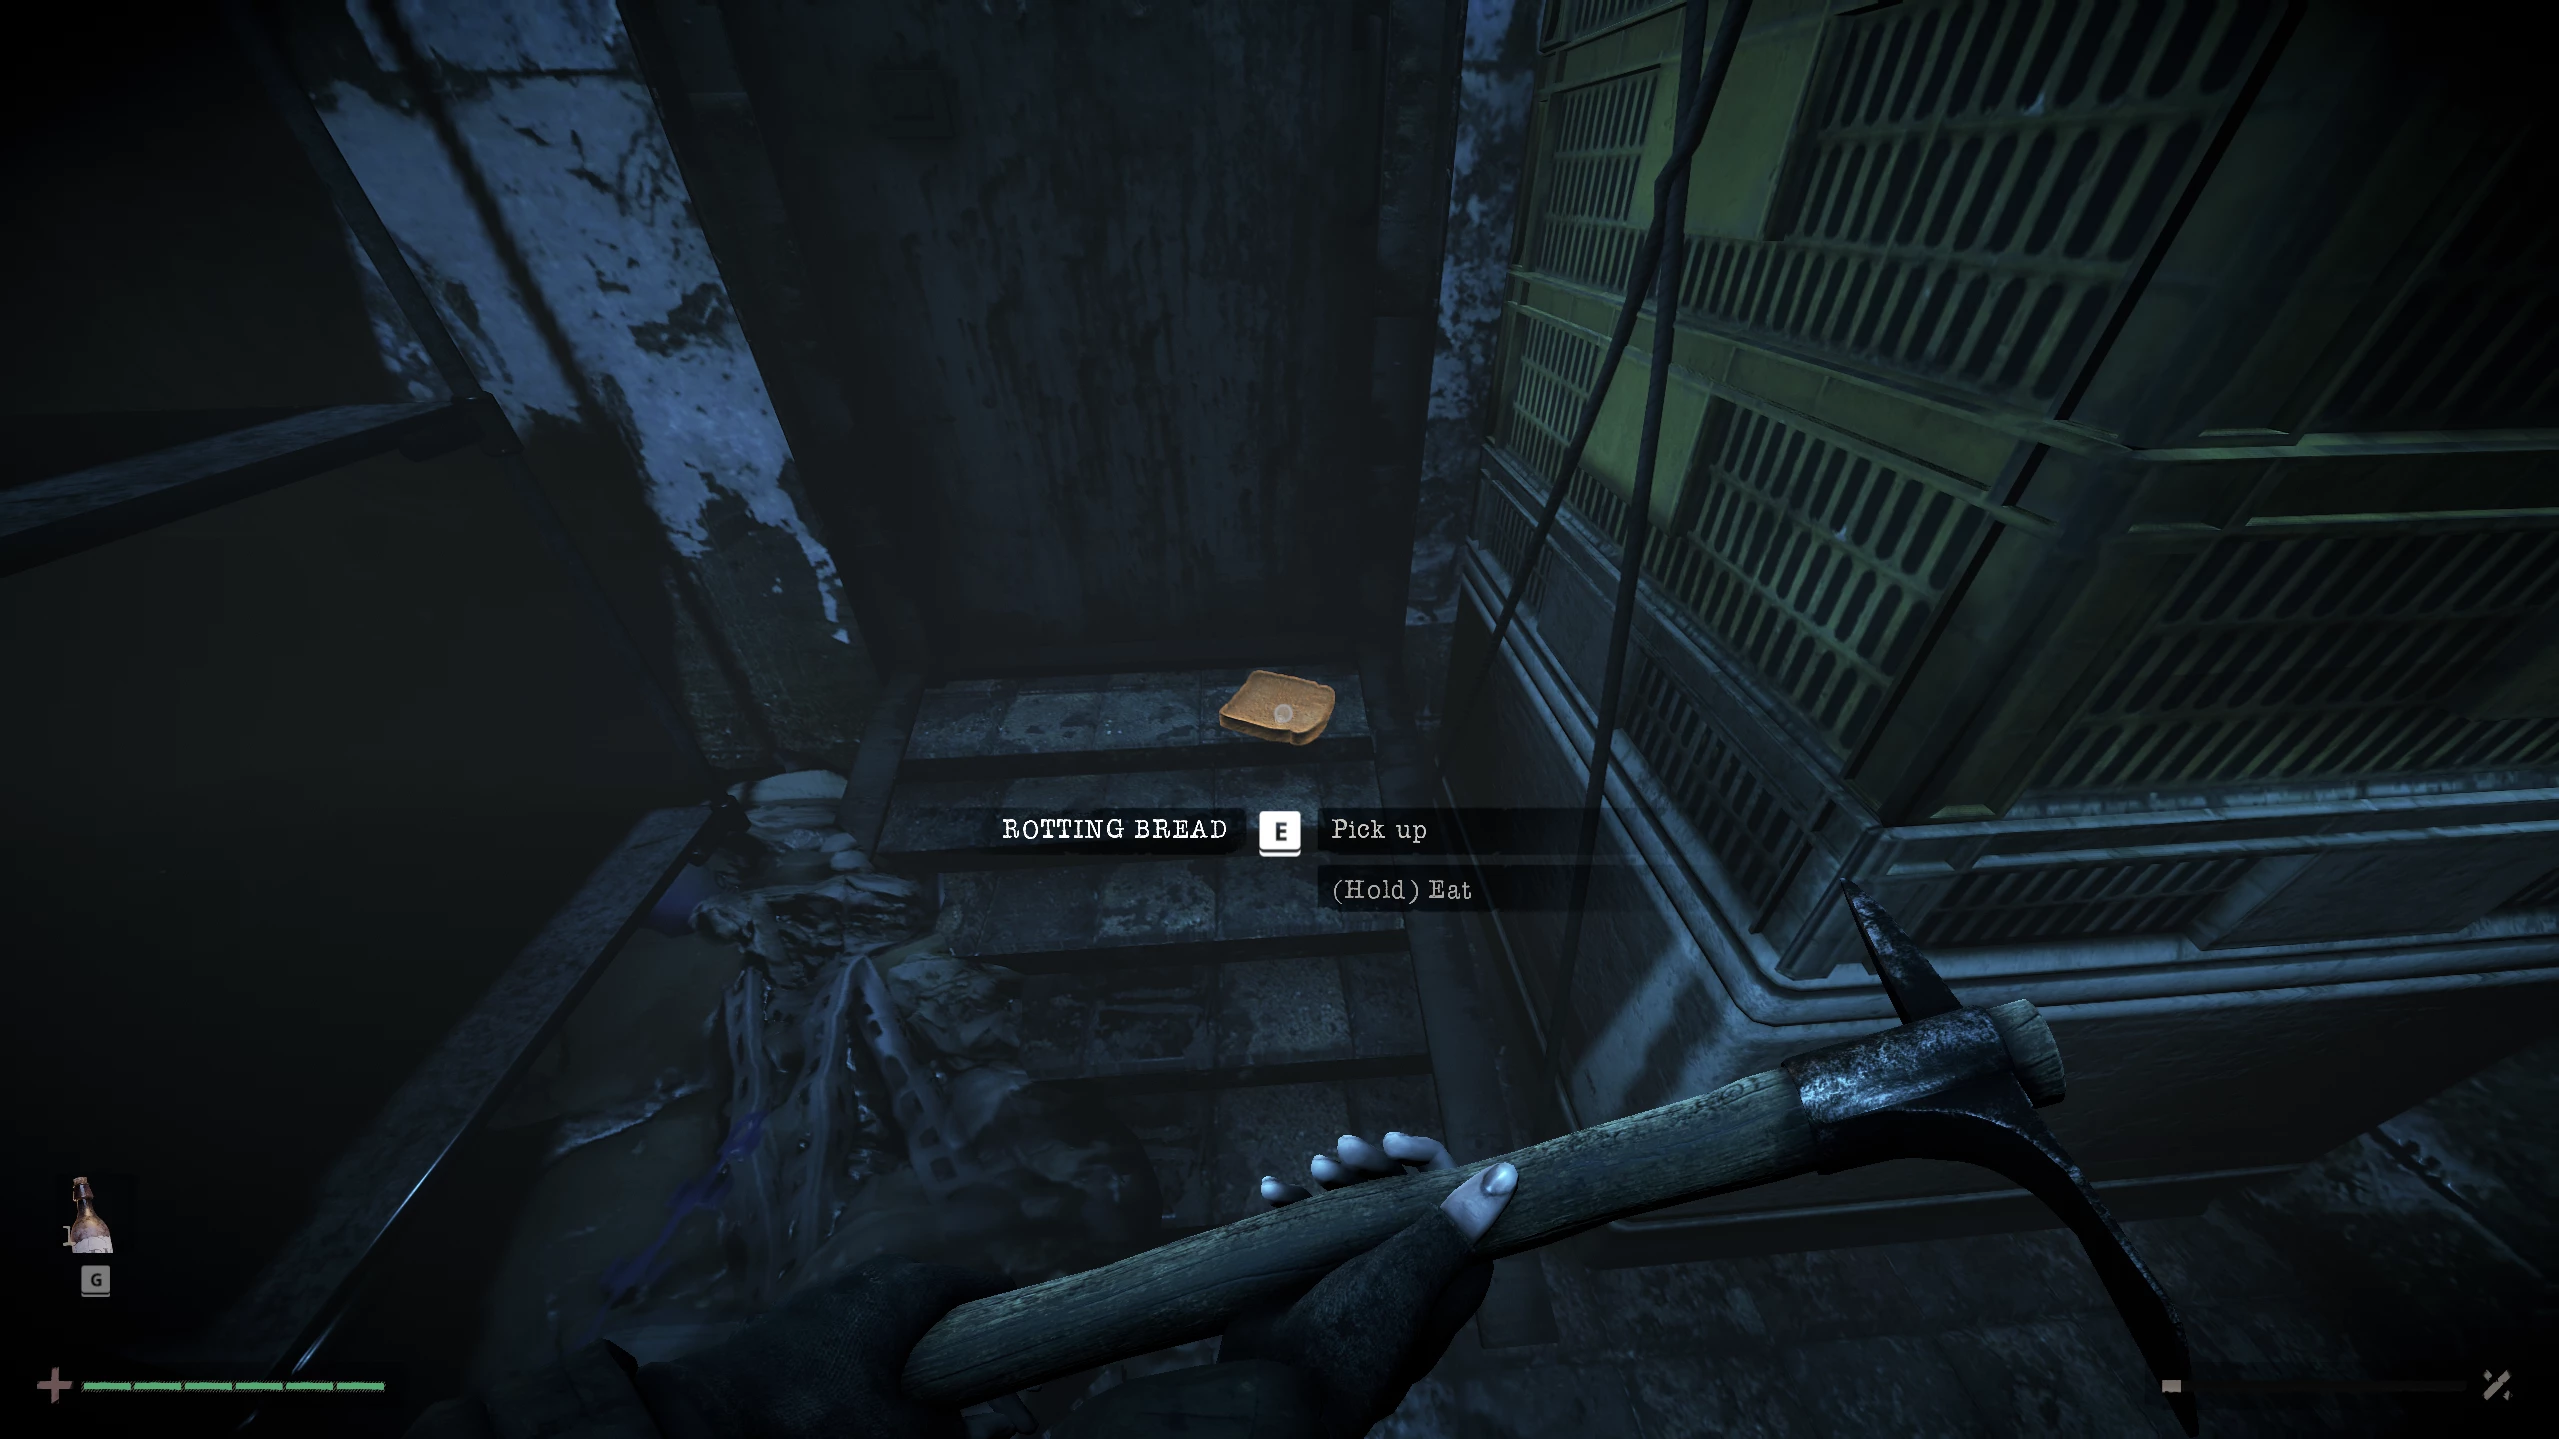
We return to the room with the blue glow and proceed to the door ahead. Here, pick up a piece of bread and turn left.
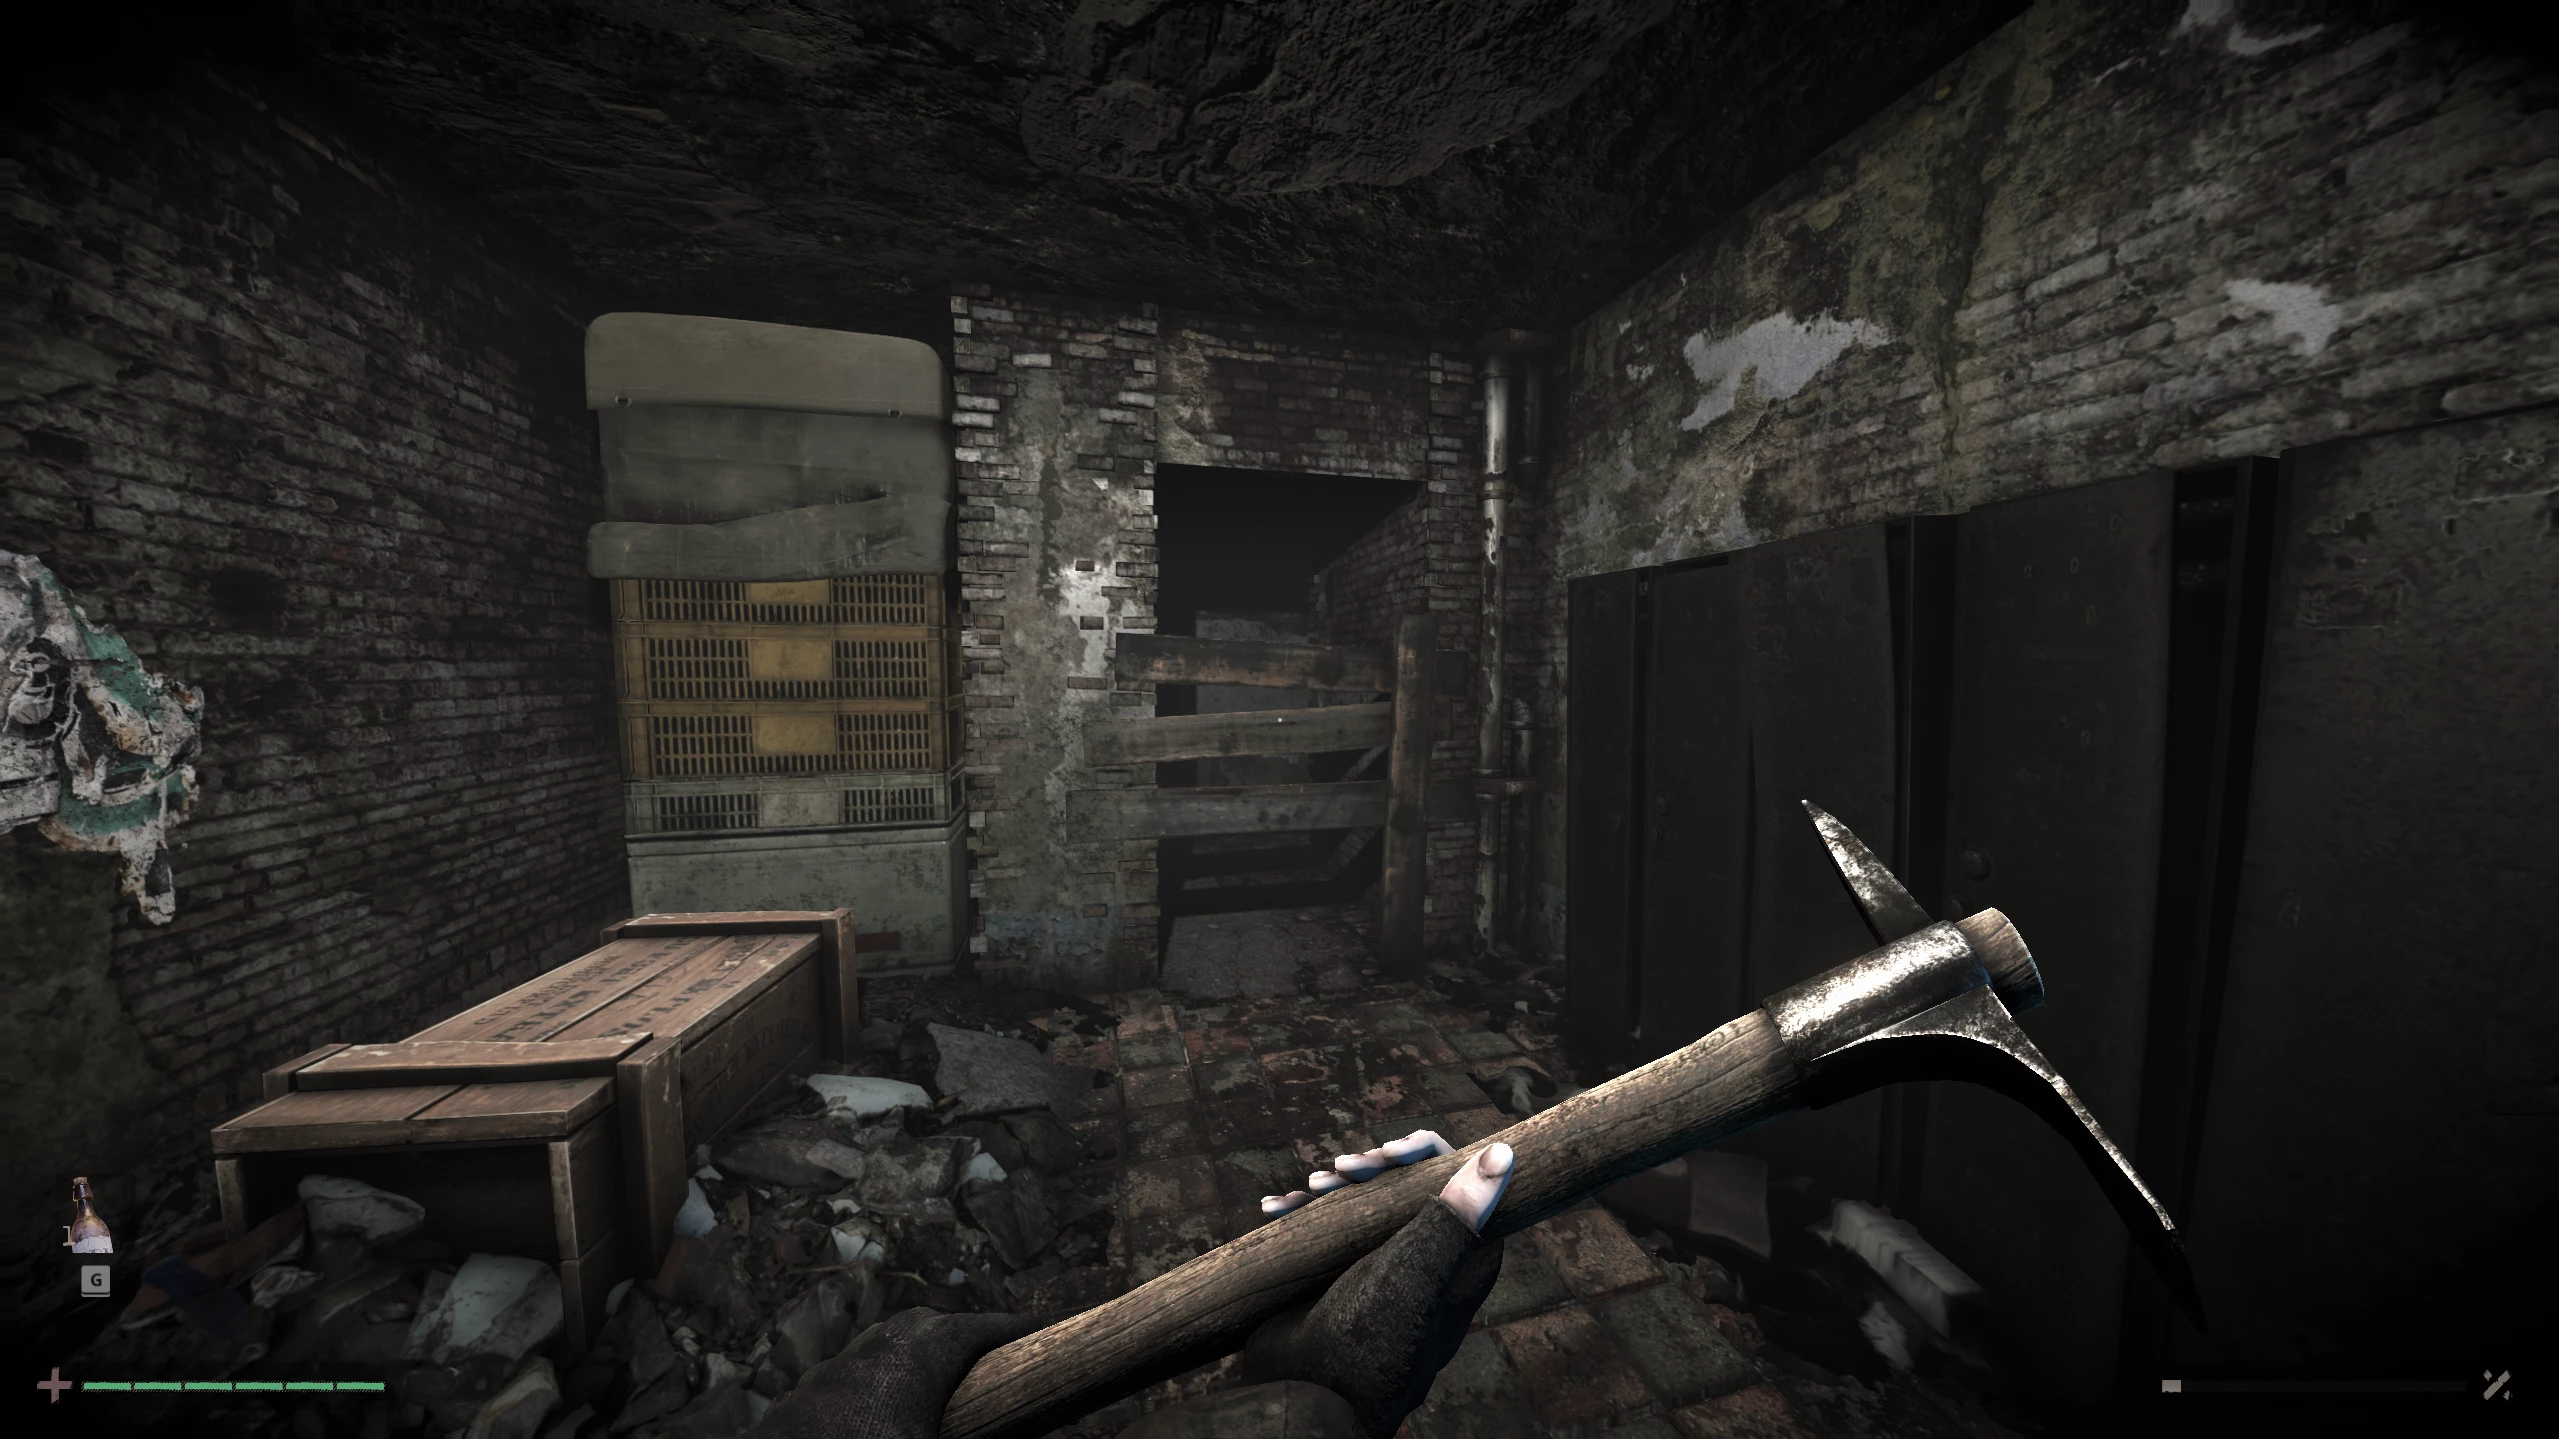
In a small lit closet, break the boards with the pickaxe and go through the dark corridor.
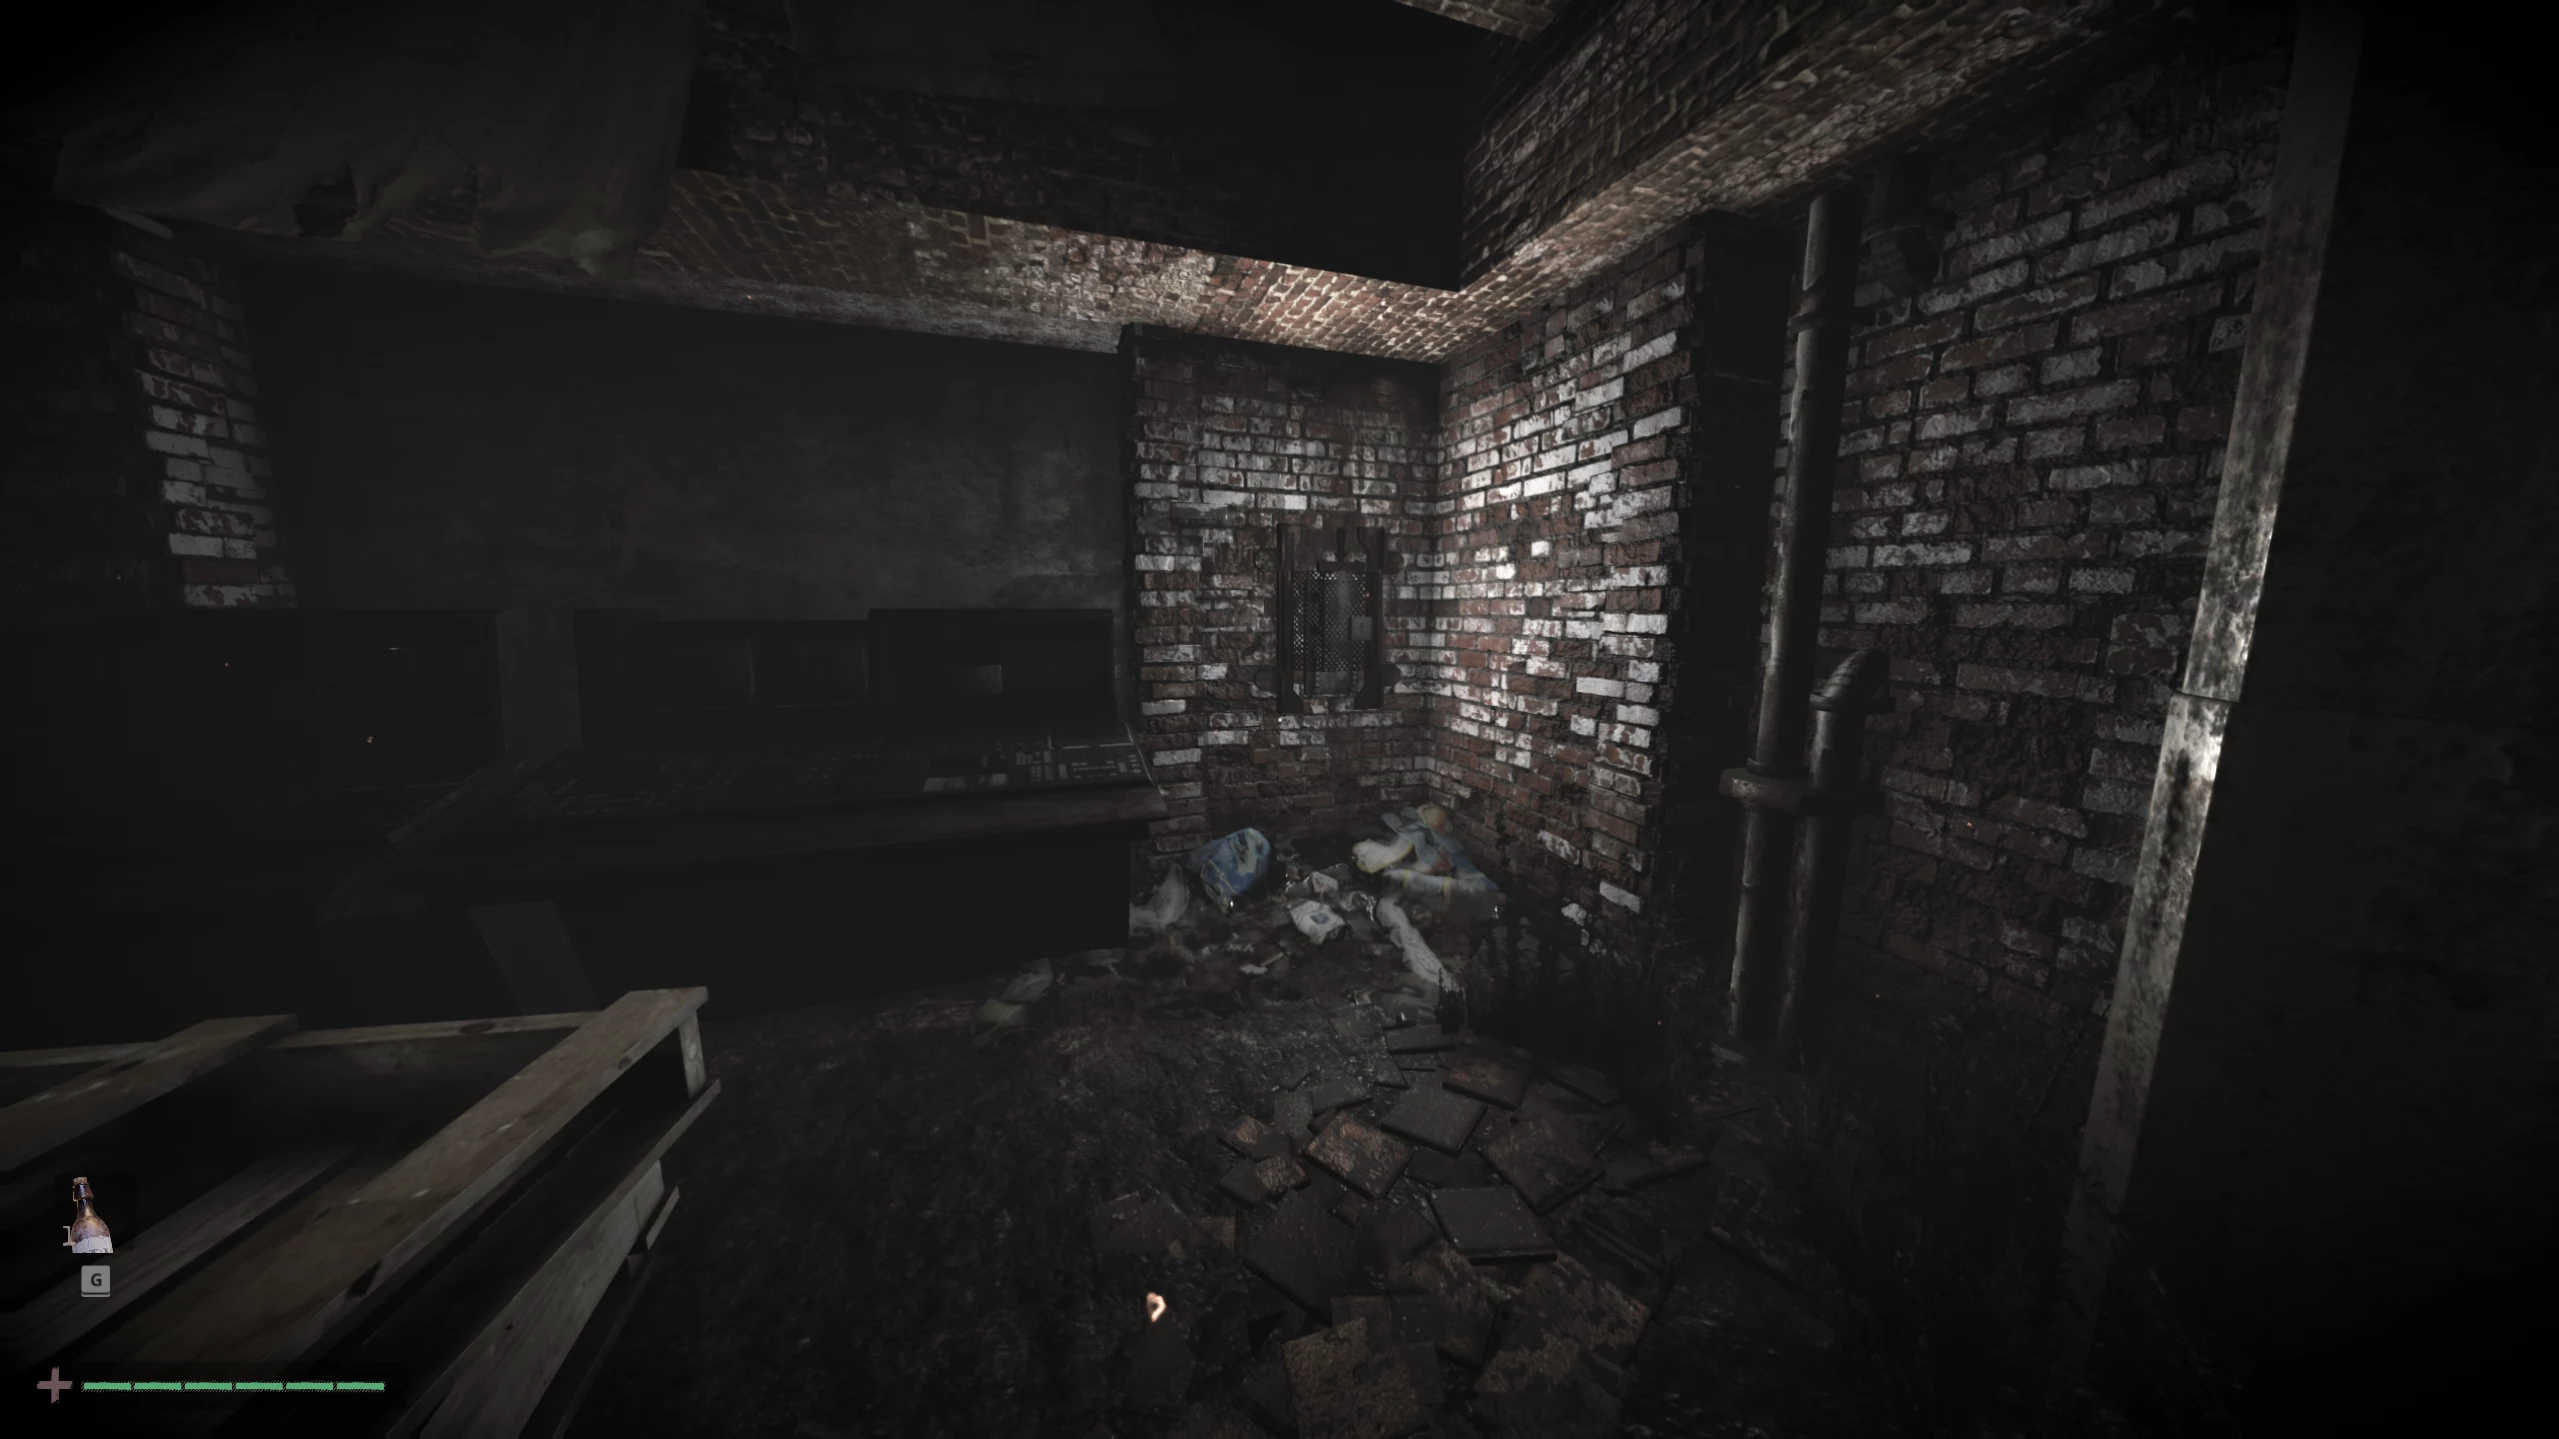
Next, break the large crates in your way again, then pick up the rotten apples that drop. Open the grate and turn right. On the table, pick up the bandages and keep going. To break the large barricade of wooden boards, hold down the right mouse button for a charged attack. The longer you hold the button, the stronger the attack will be.
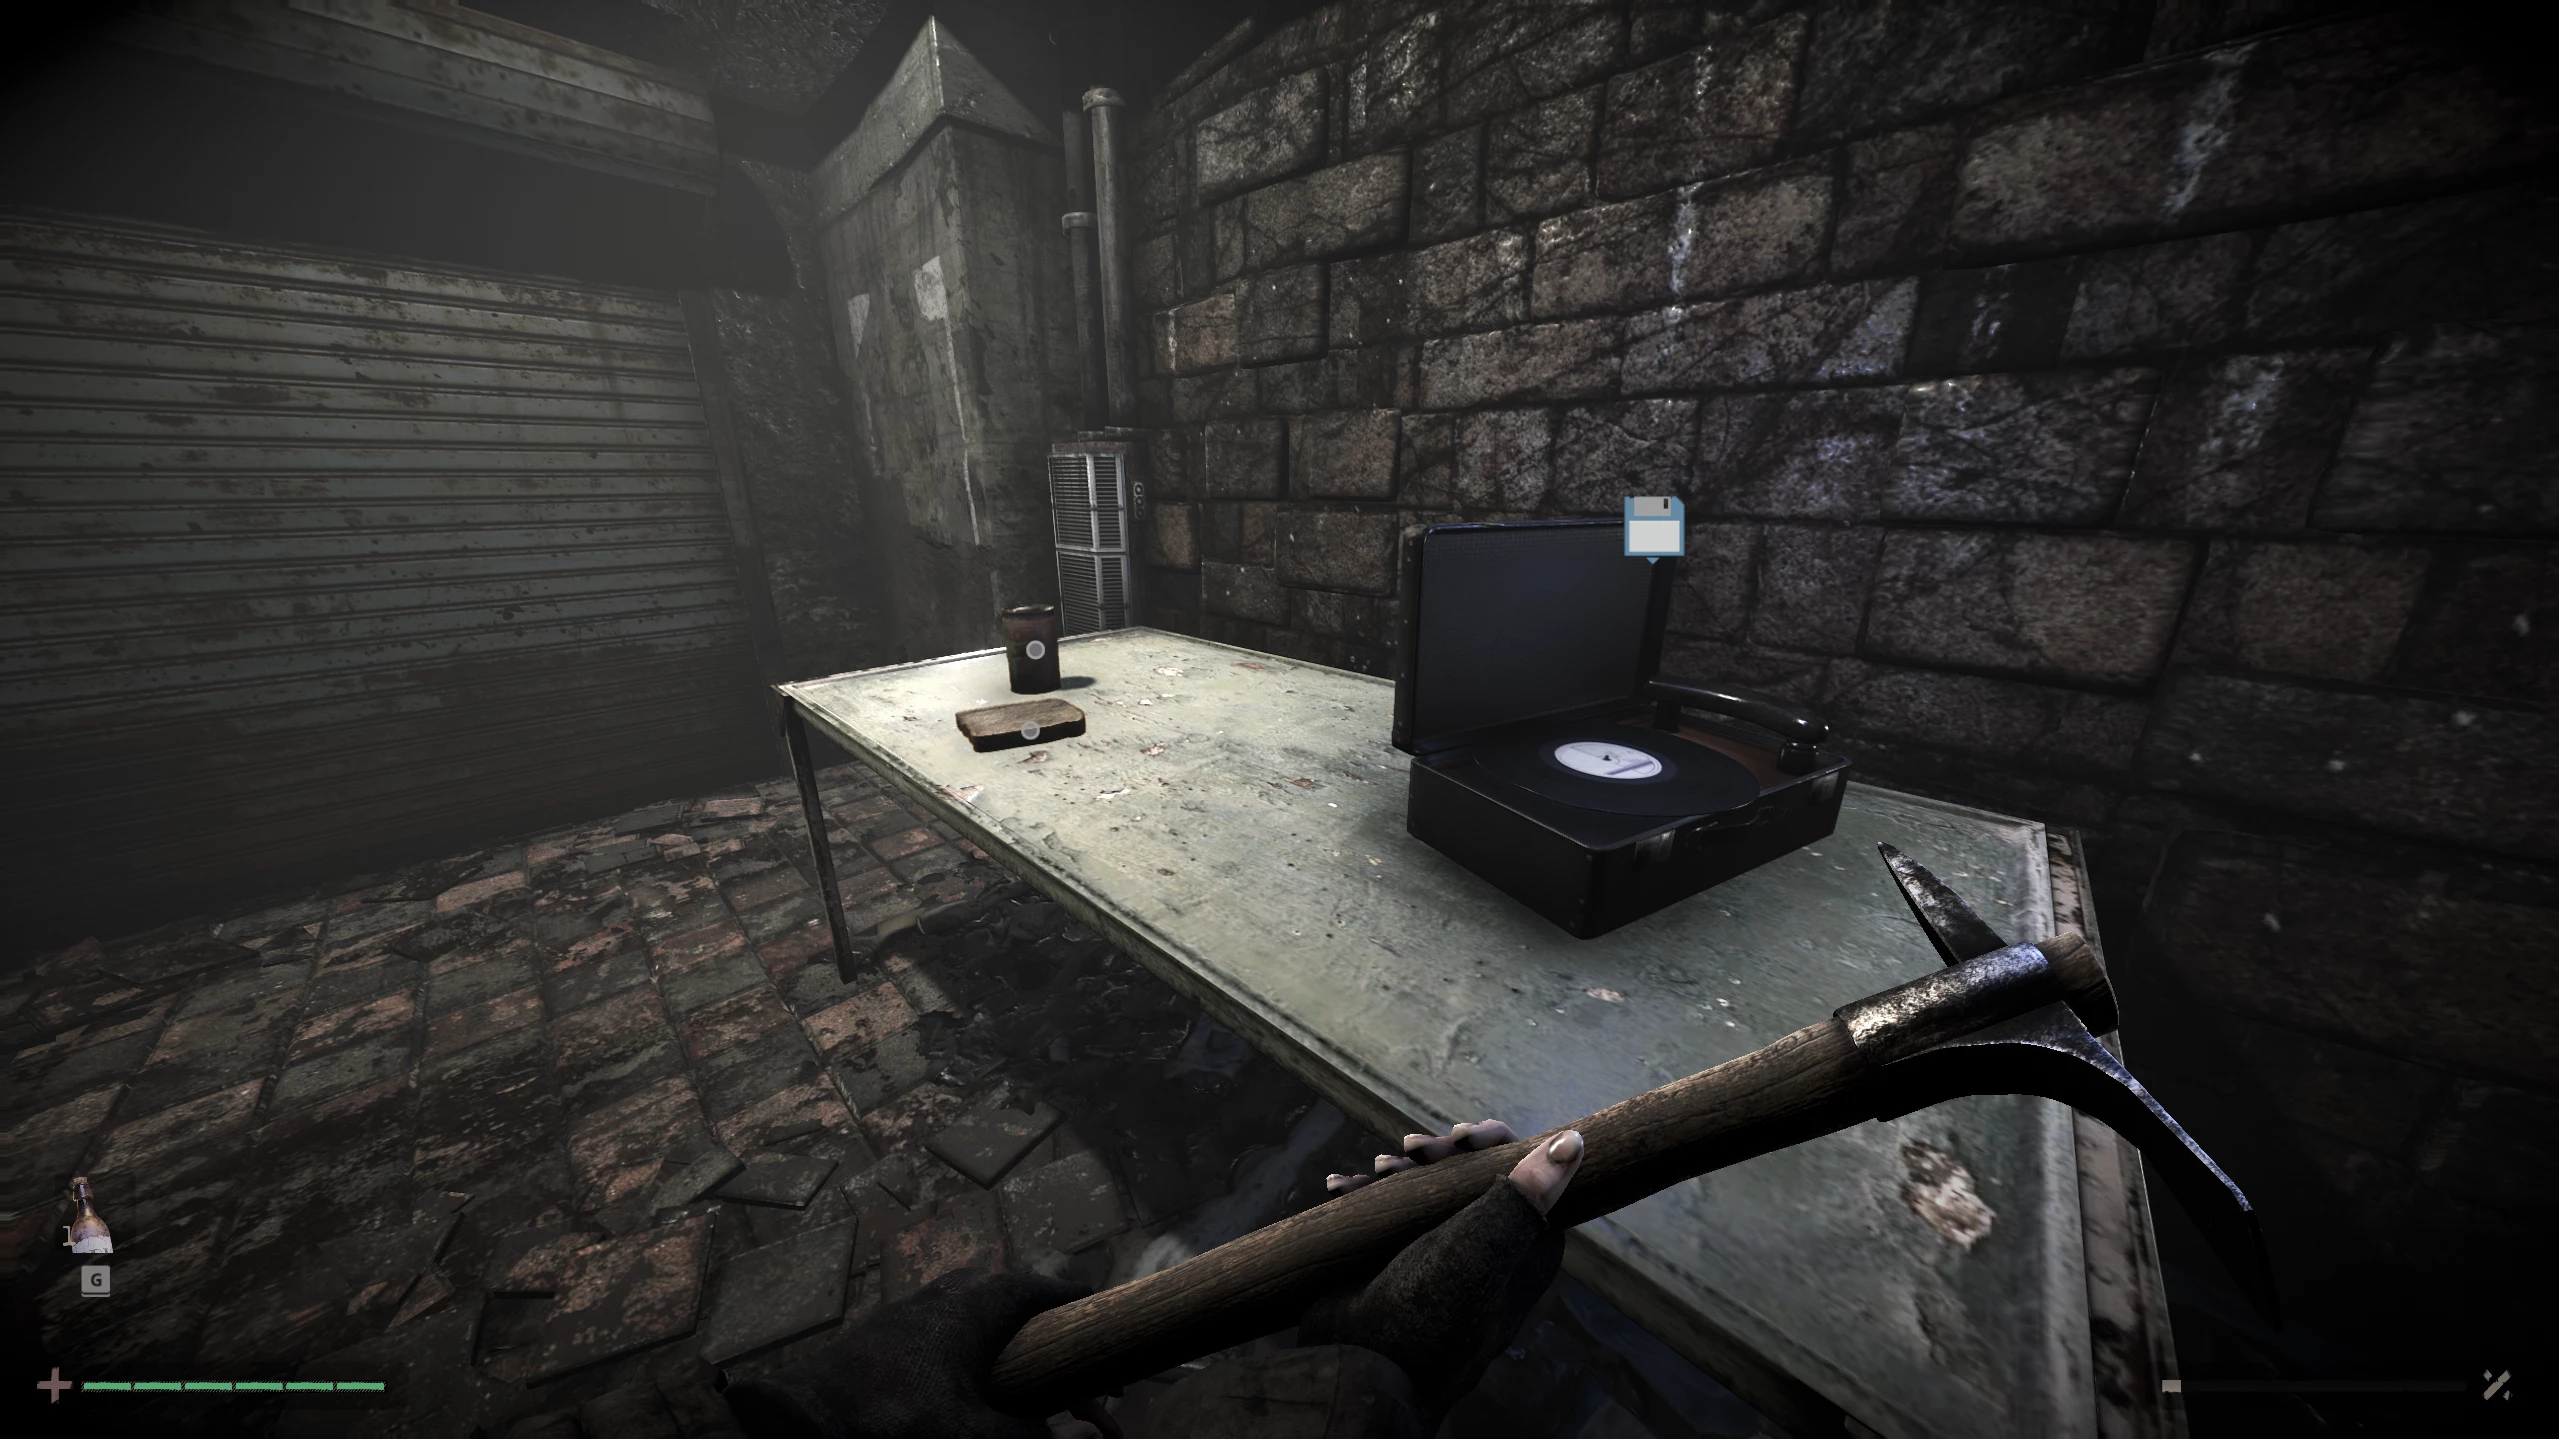
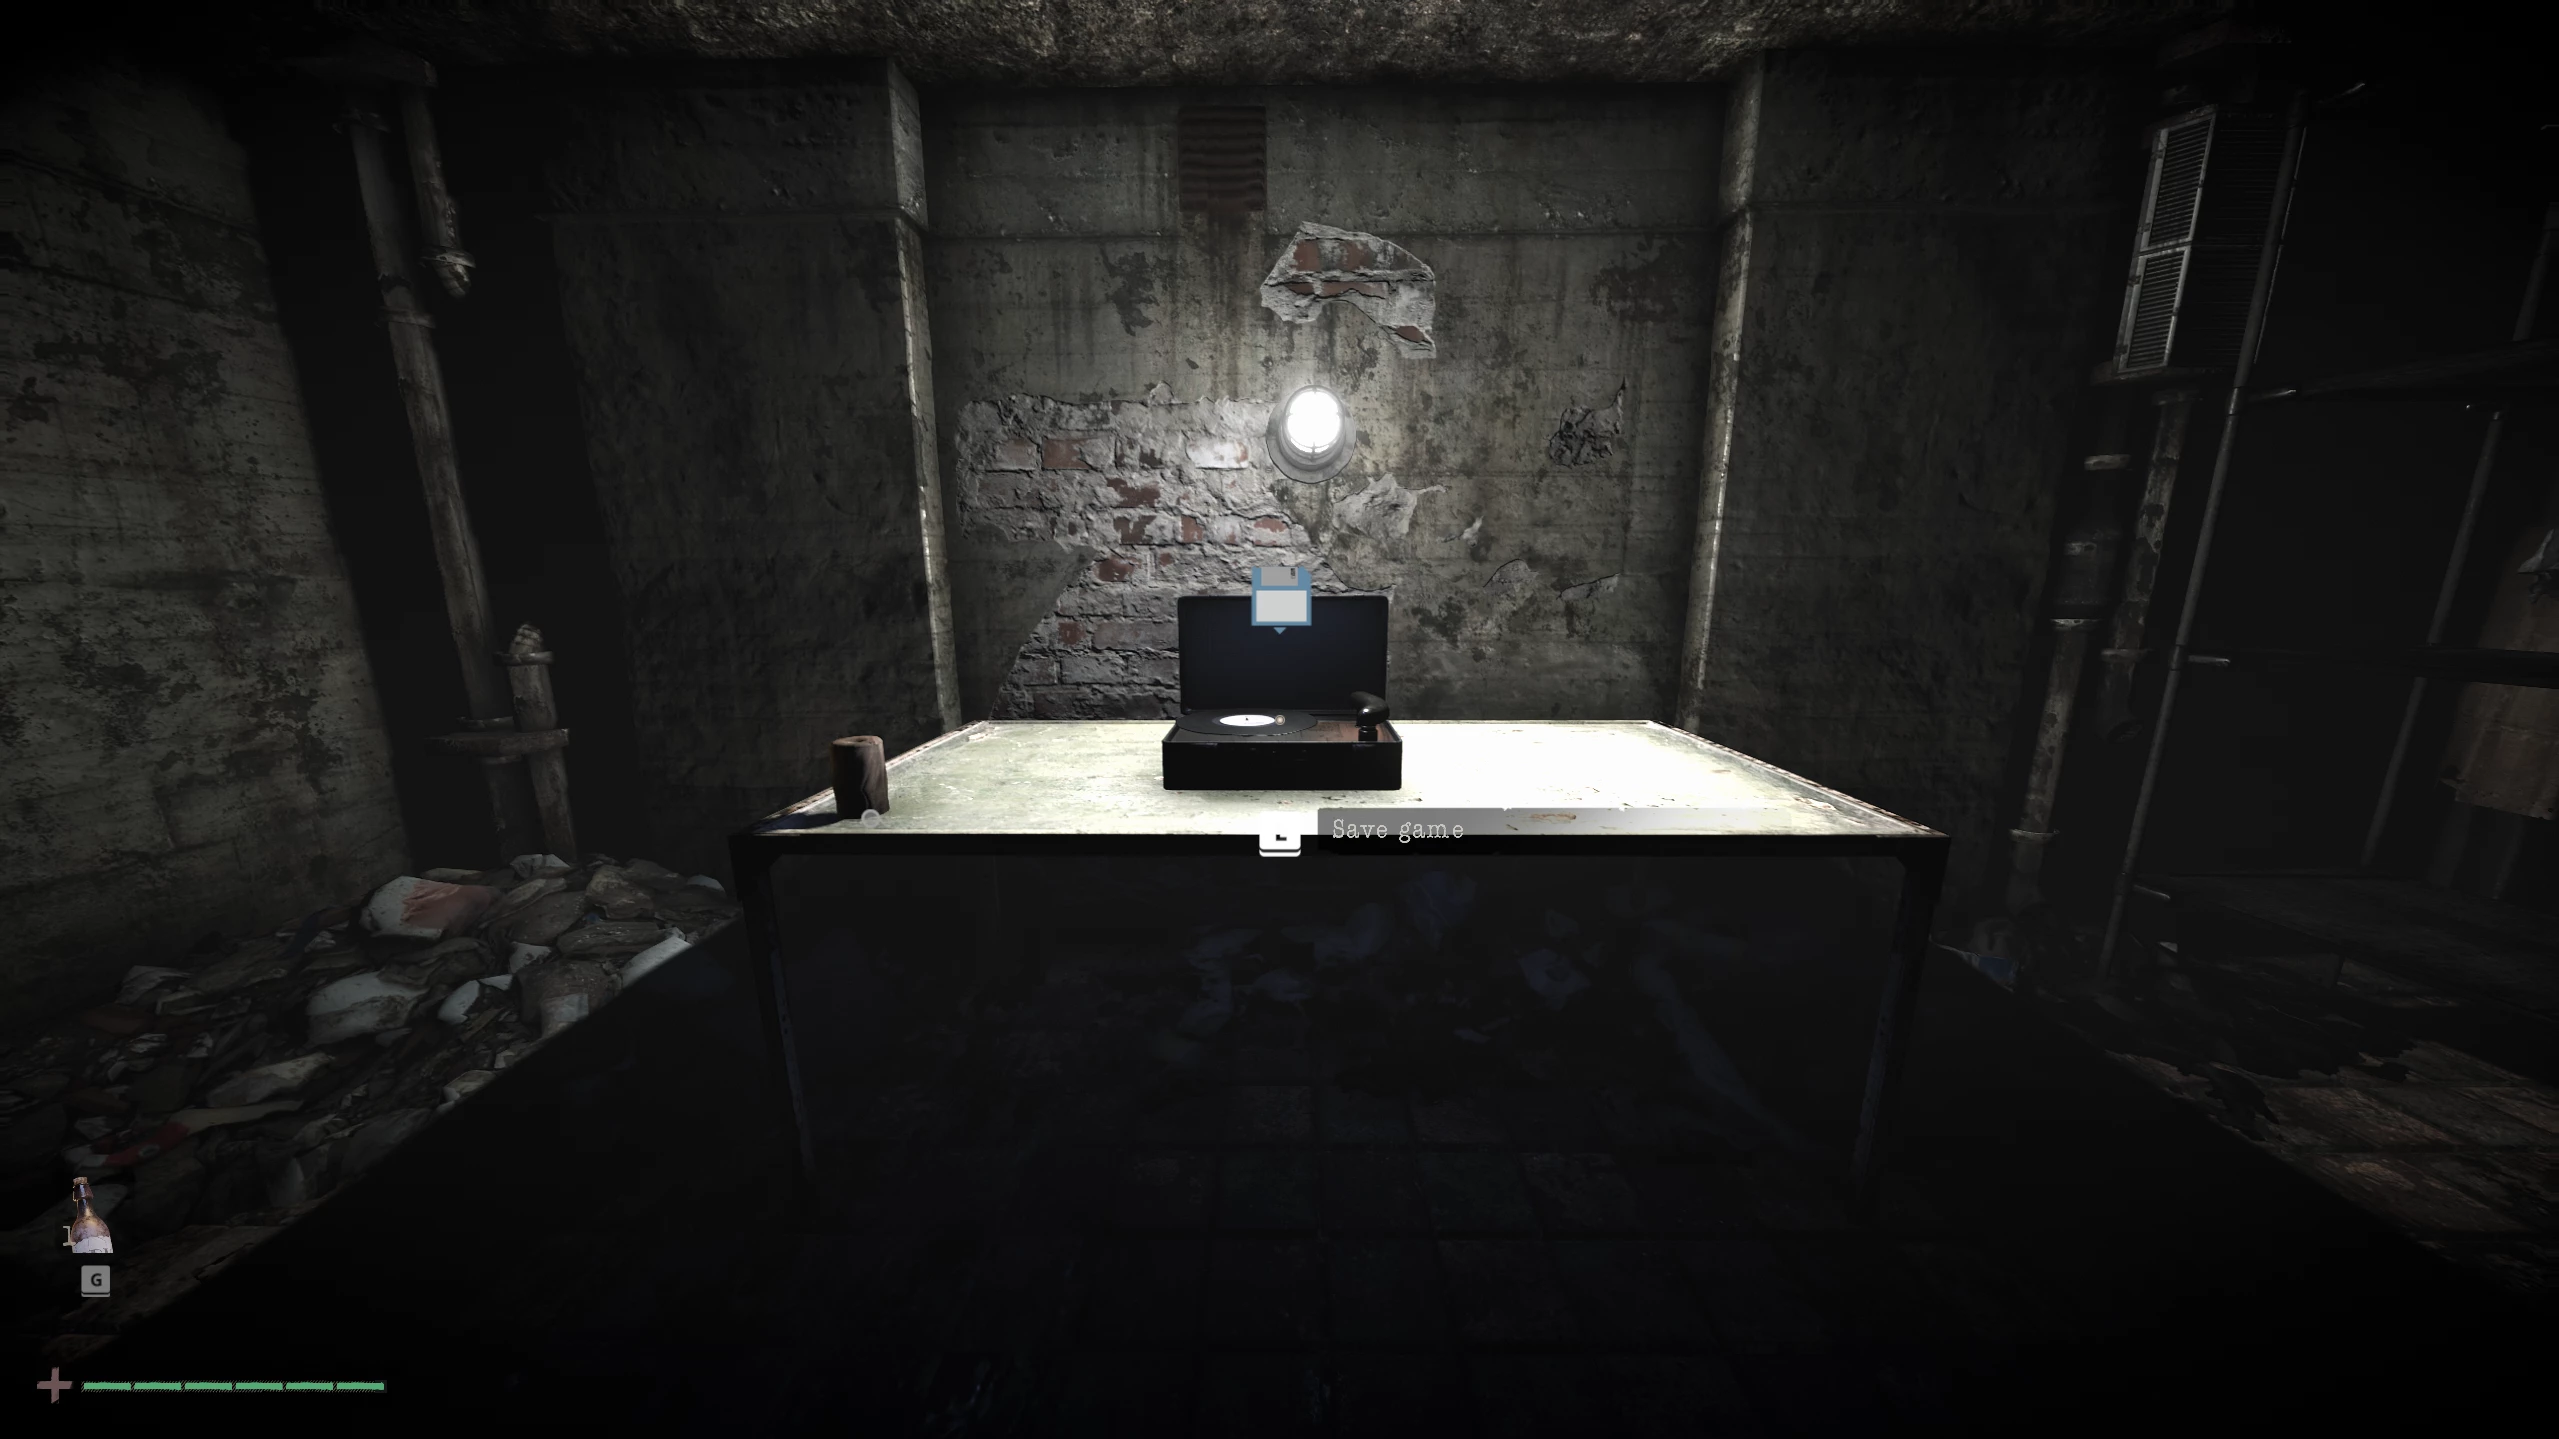
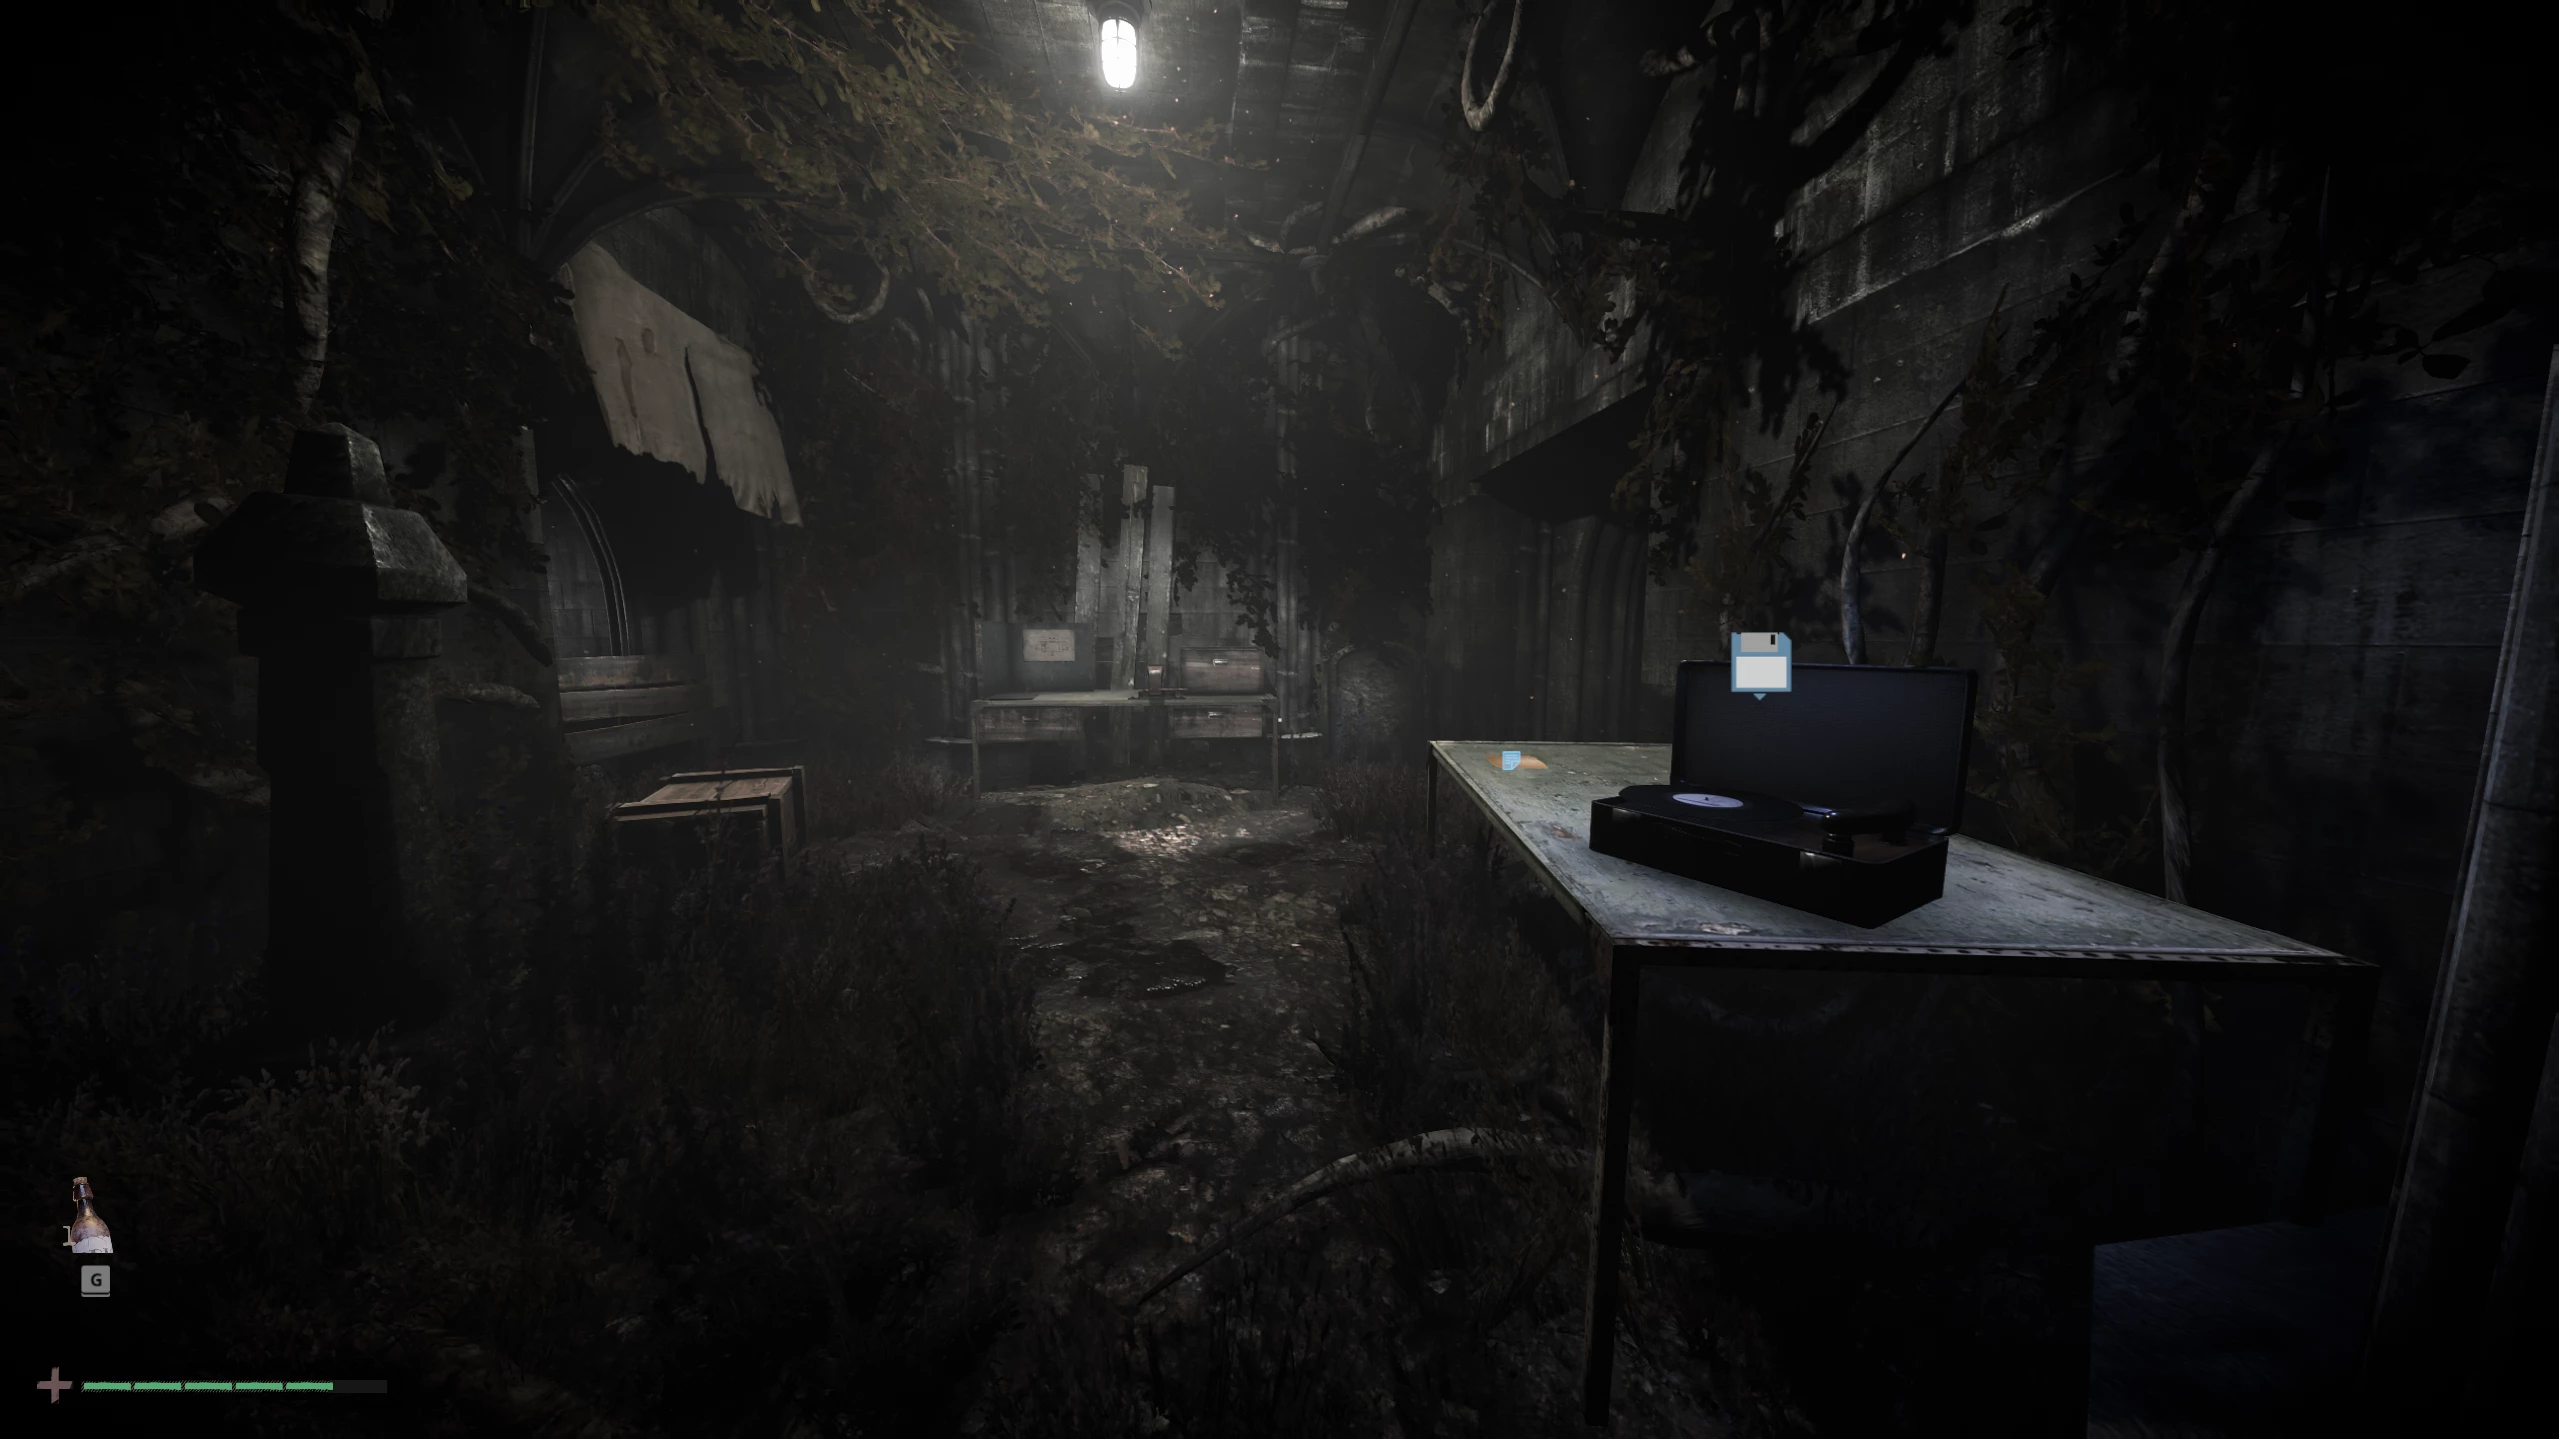
Turn right and come across the first save point. Here, they are represented as special record players. Take the bread and a can of stew from the table and save your game.
Pull the blue lever and open the iron curtain.
How to Find the Foreman's Key and Activate the Levers
The next segment is a puzzle involving searching for a key and flipping five different levers.
To find the foreman's key, go to the end of the corridor and turn left, then break the crate blocking your way. The pickaxe breaks, so be careful.
On the table, take the required key and collect another diary page. Open the door in the room for a shortcut, then look for all the levers.
Be careful, as from this point the room will be patrolled by an infected ghoul. He moves rather slowly, but can throw broken bottles and stones from the floor.
For the first lever, return to the dark corridor before the room with the key and turn right. In a small recess, the required switch is hidden.
After that, go straight into the lit room and head right. Use the second lever.
From there, turn towards the exit to the main area on the right and go straight to a small orange office with the third lever on the wall.
Return to the main corridor and turn left. In this wing, head down and activate the fourth lever.
The last, fifth switch is at the very beginning of the section, so head to the starting point and flip the final lever. Go through the opened corridor and close the door behind you, after which the ghoul disappears.
Near the crates, pick up the stew and enter the save room. On the shelf to the right, pick up bottles of dirty water, grab the bandages from the table, and save your progress.
How to Solve the Symbol Puzzle
Open the door with the lever, turn left, and pick up the rotten meat on the shelf. Then drop down and go straight along the corridor.

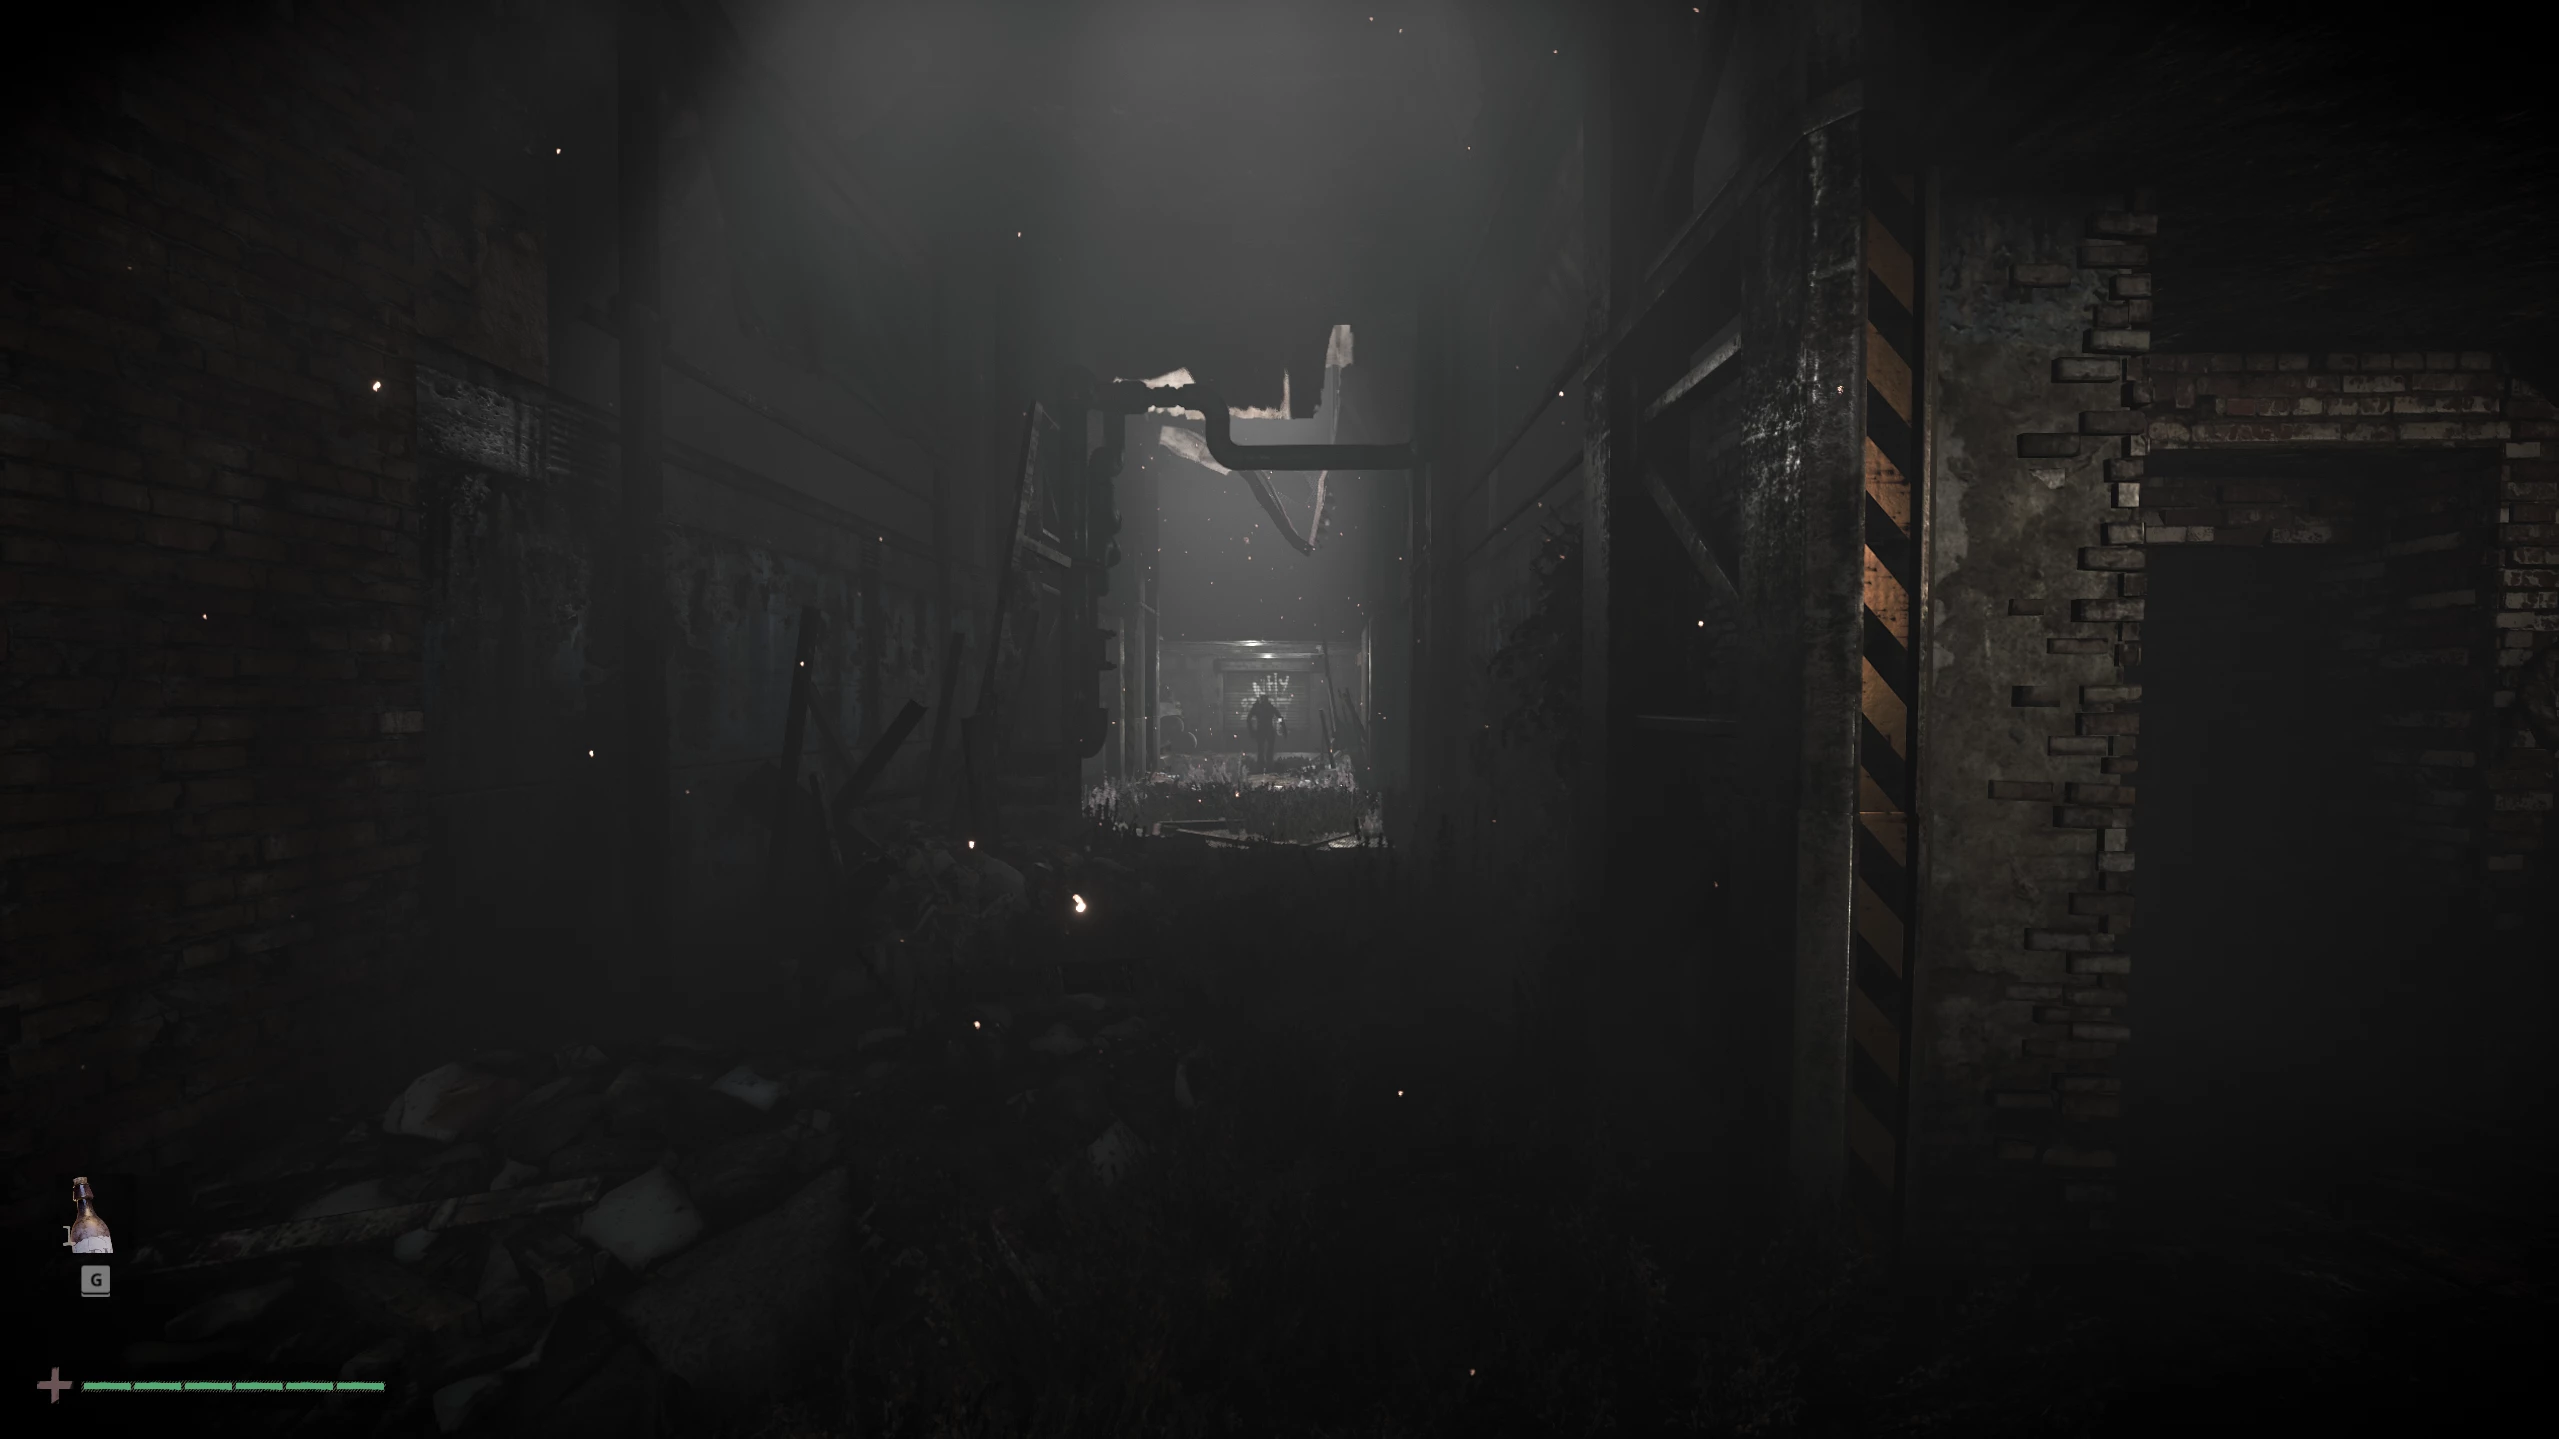
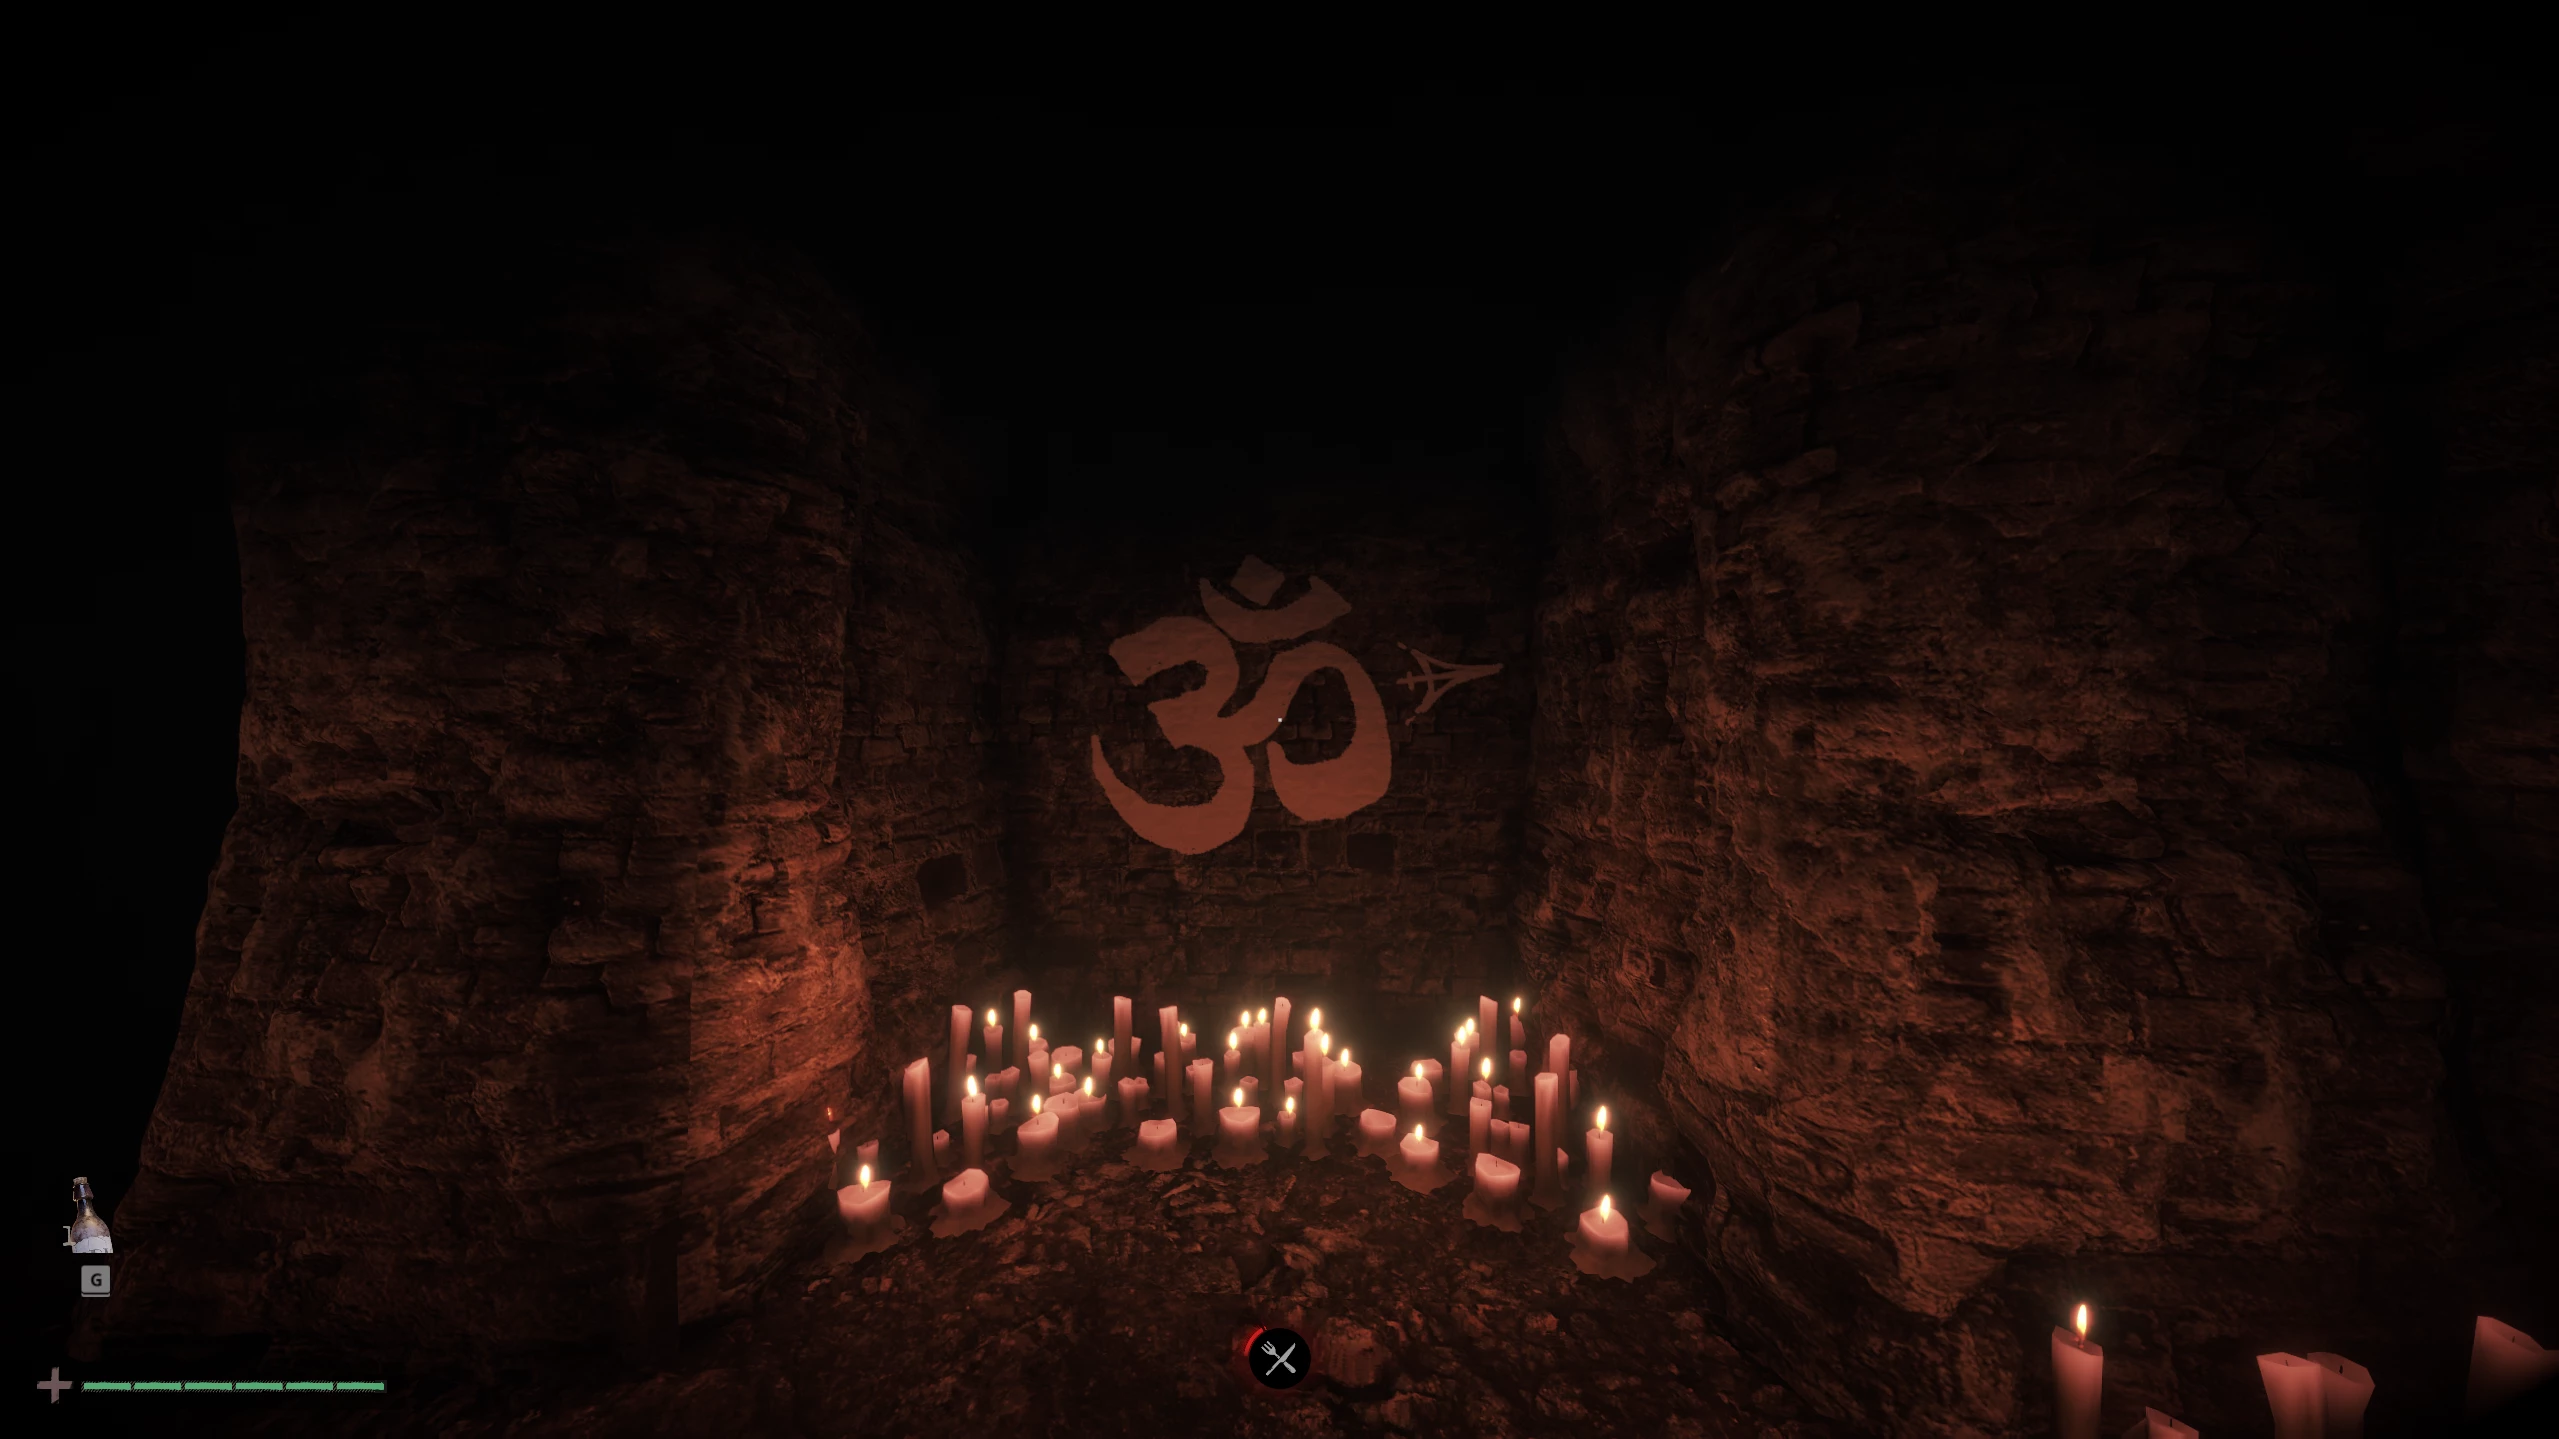
In the room, you’ll find another long, dark sewer pipe. There’s no other choice but to go through it, so overcome your fear and make your way to the other end. Turn right and once again run through a narrow, oppressive corridor, noticing a locked door and a certain symbol on the wall to the right along the way.
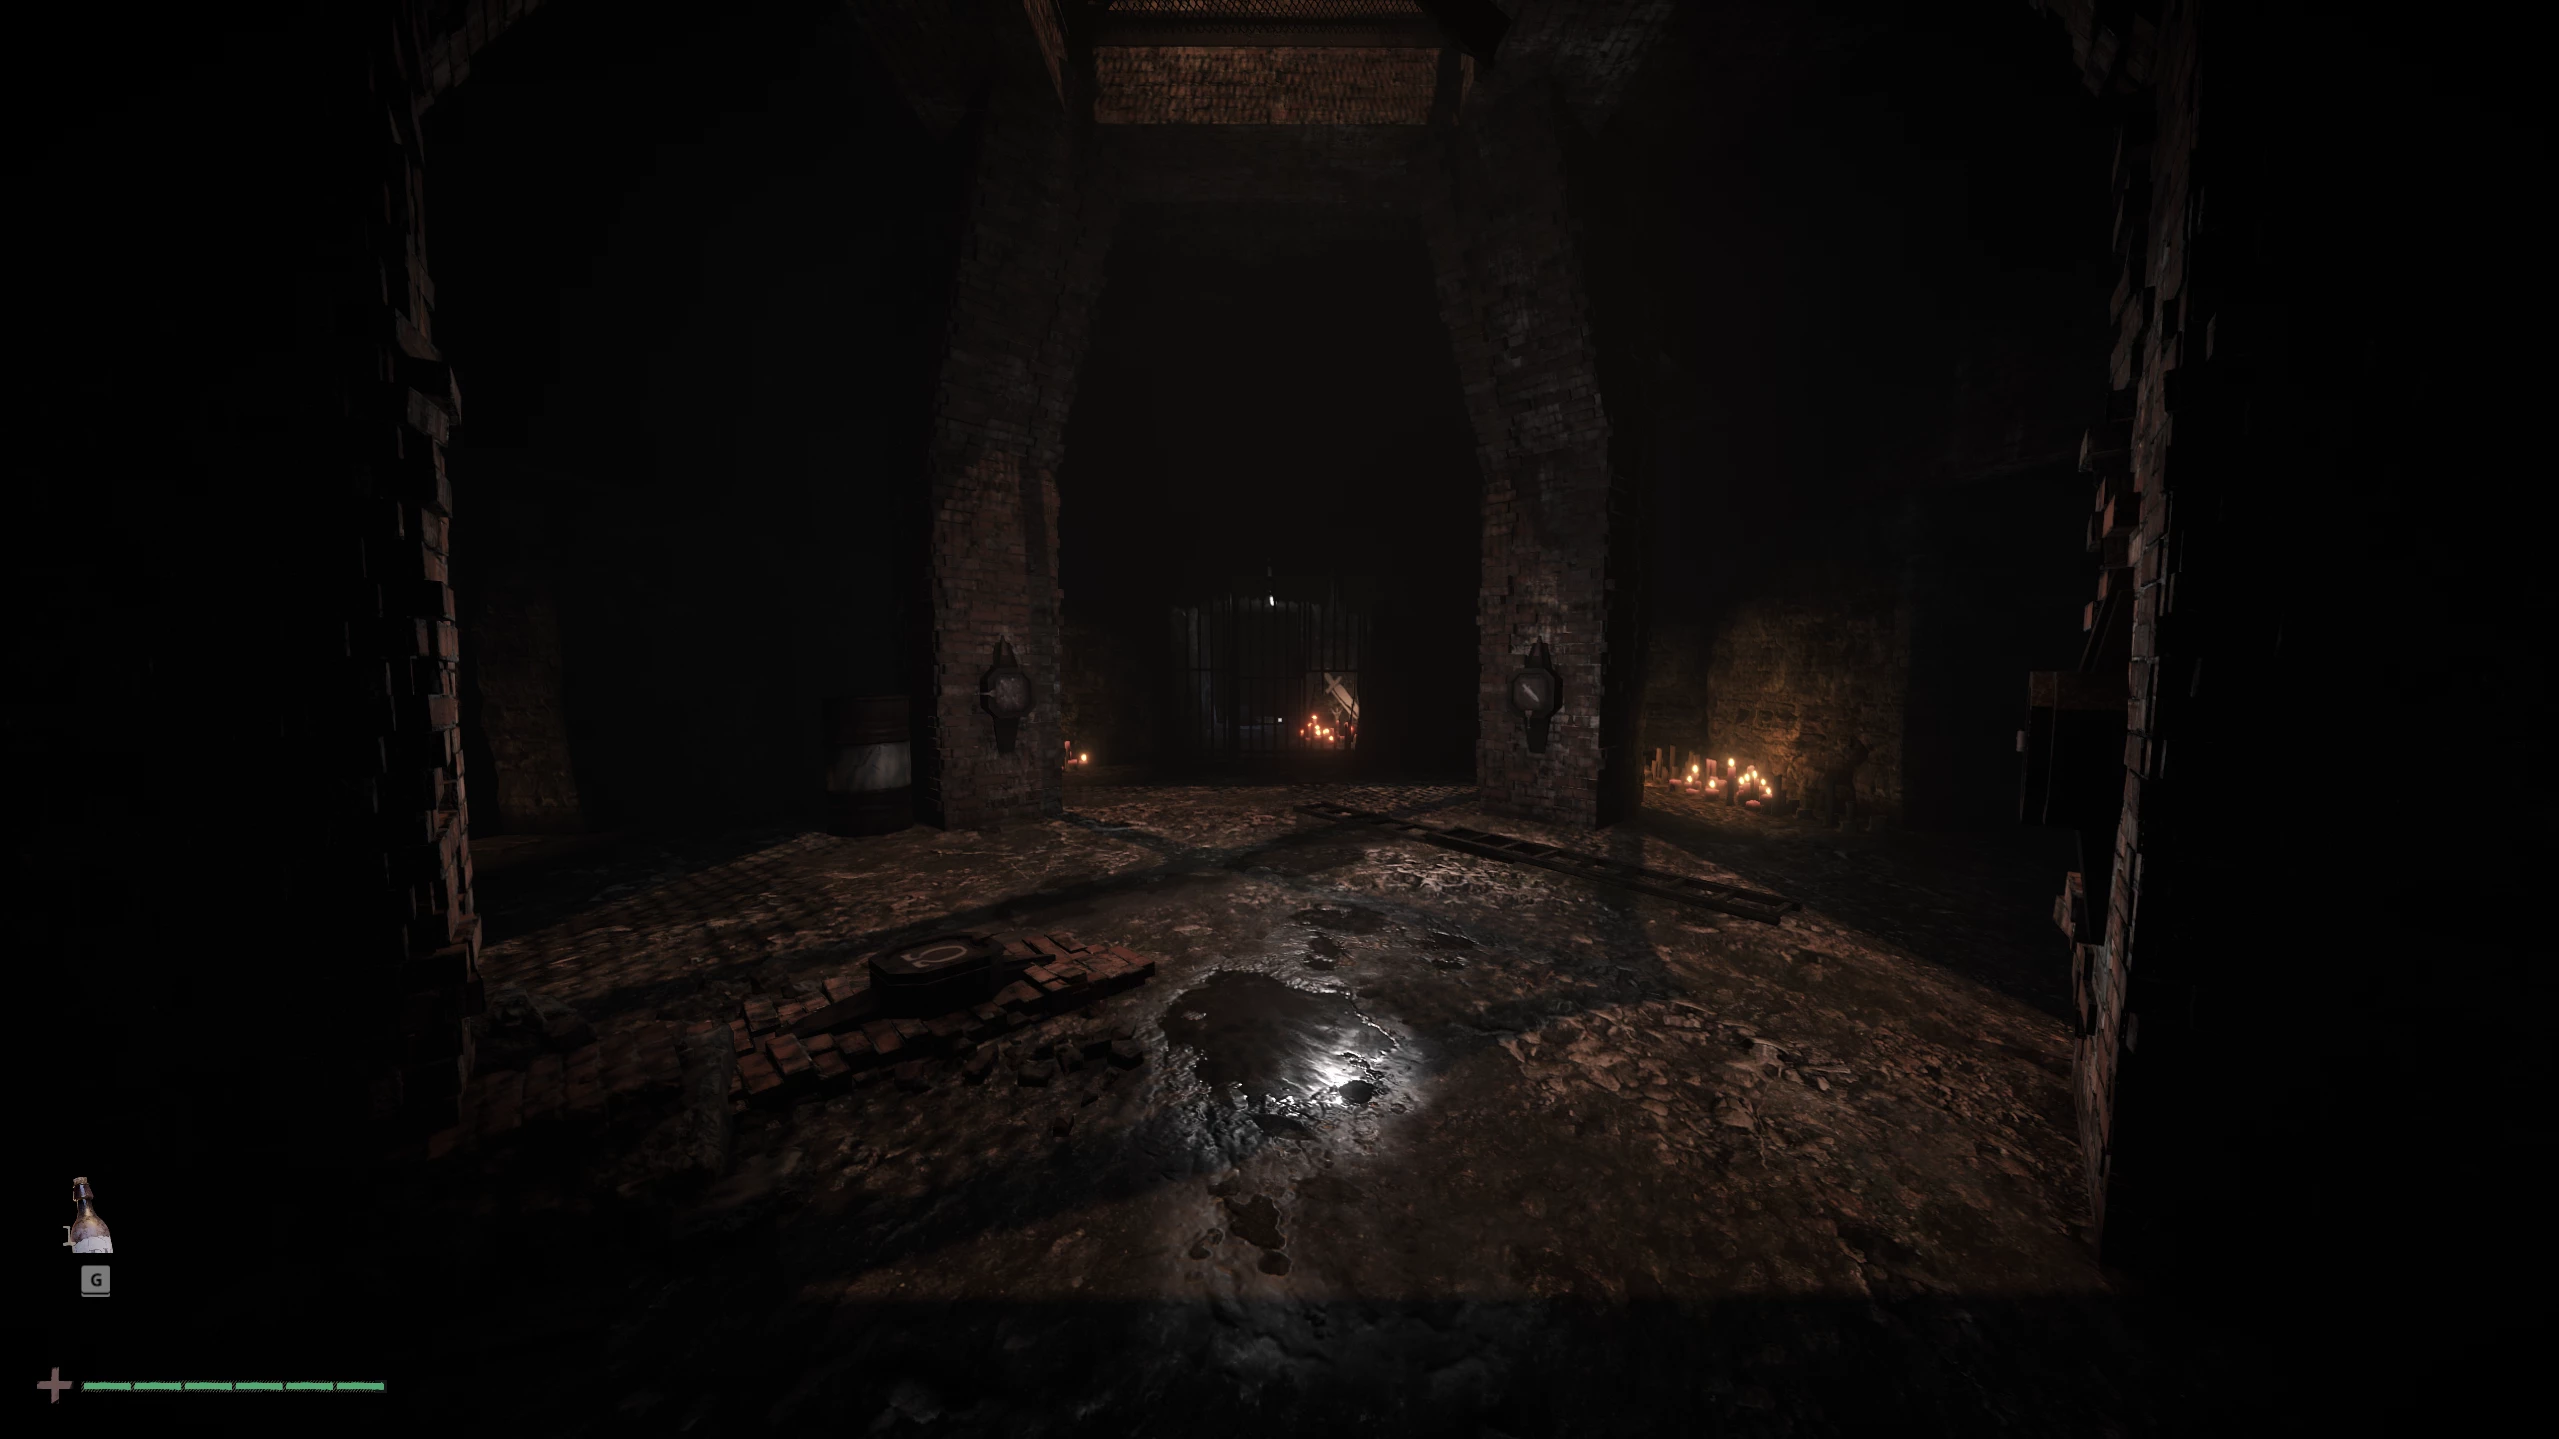
You need a tunnel key to open the door. To get it, go down the stairs and come across a symbol puzzle. In the open hall, there are four columns, each with a unique symbol. The door ahead will open as soon as all the symbols are set in the correct direction.
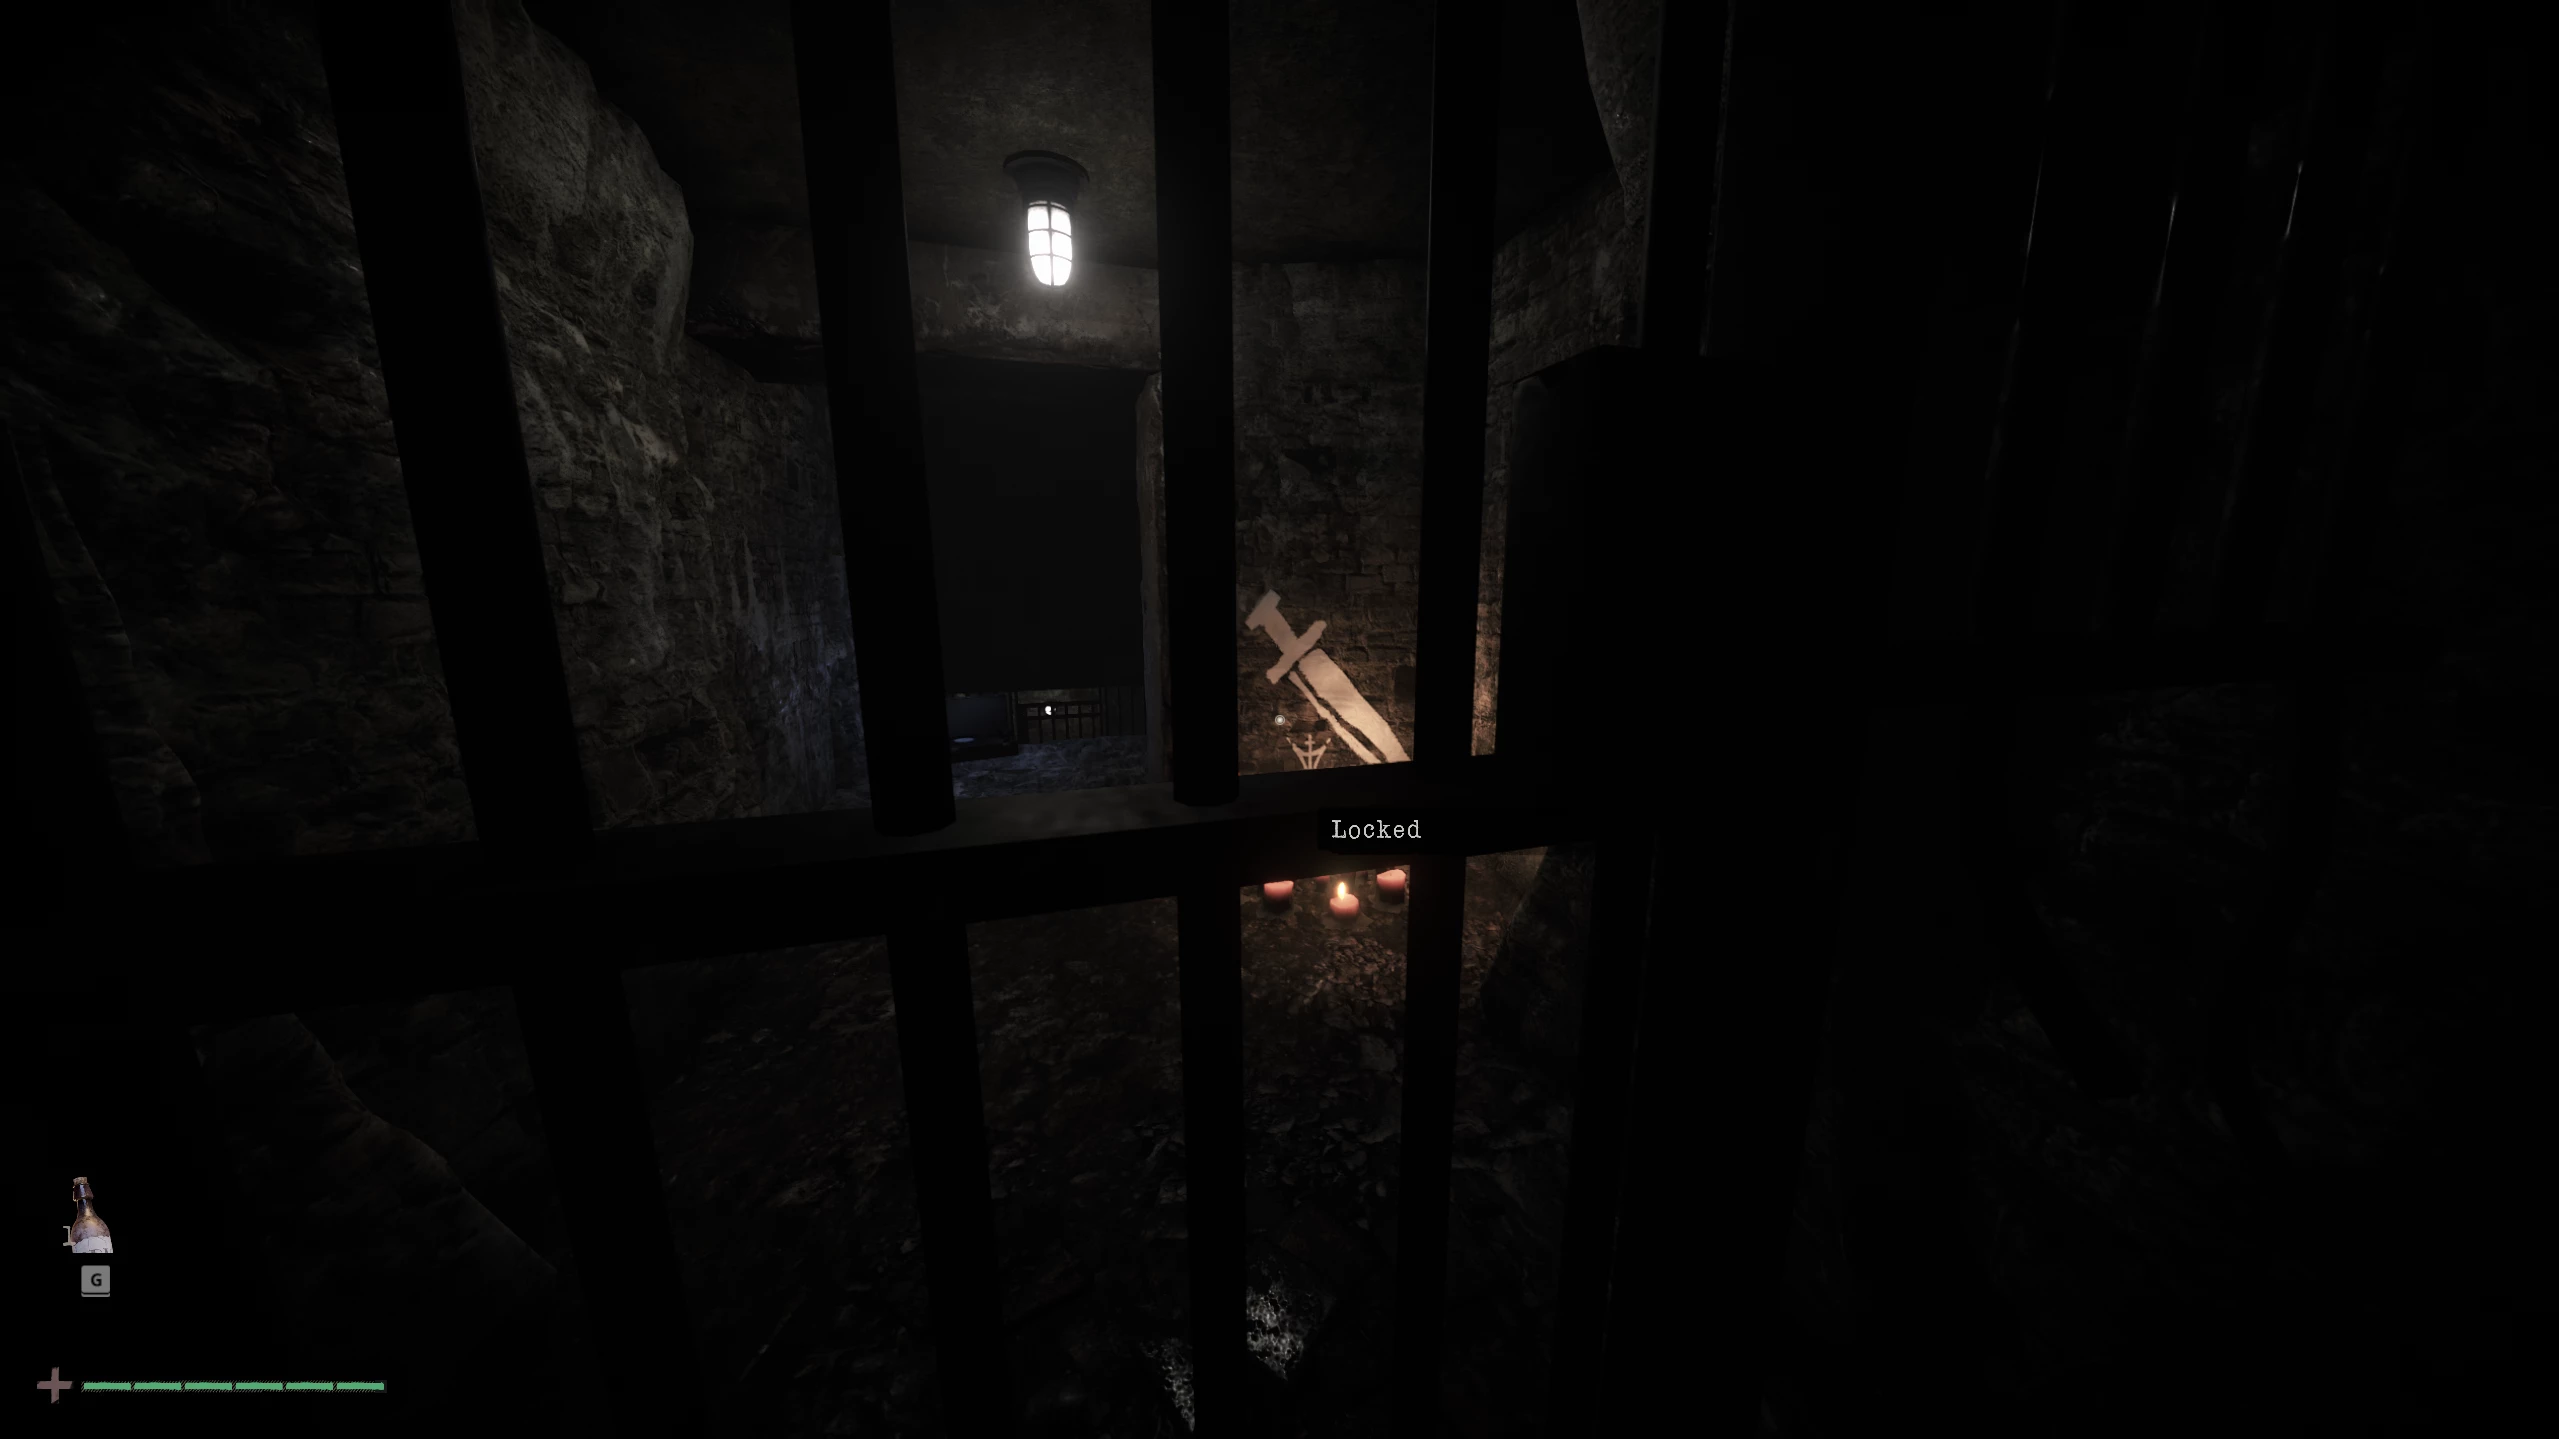
The direction for the sword symbol is indicated right behind the grate. Turn the symbol down.
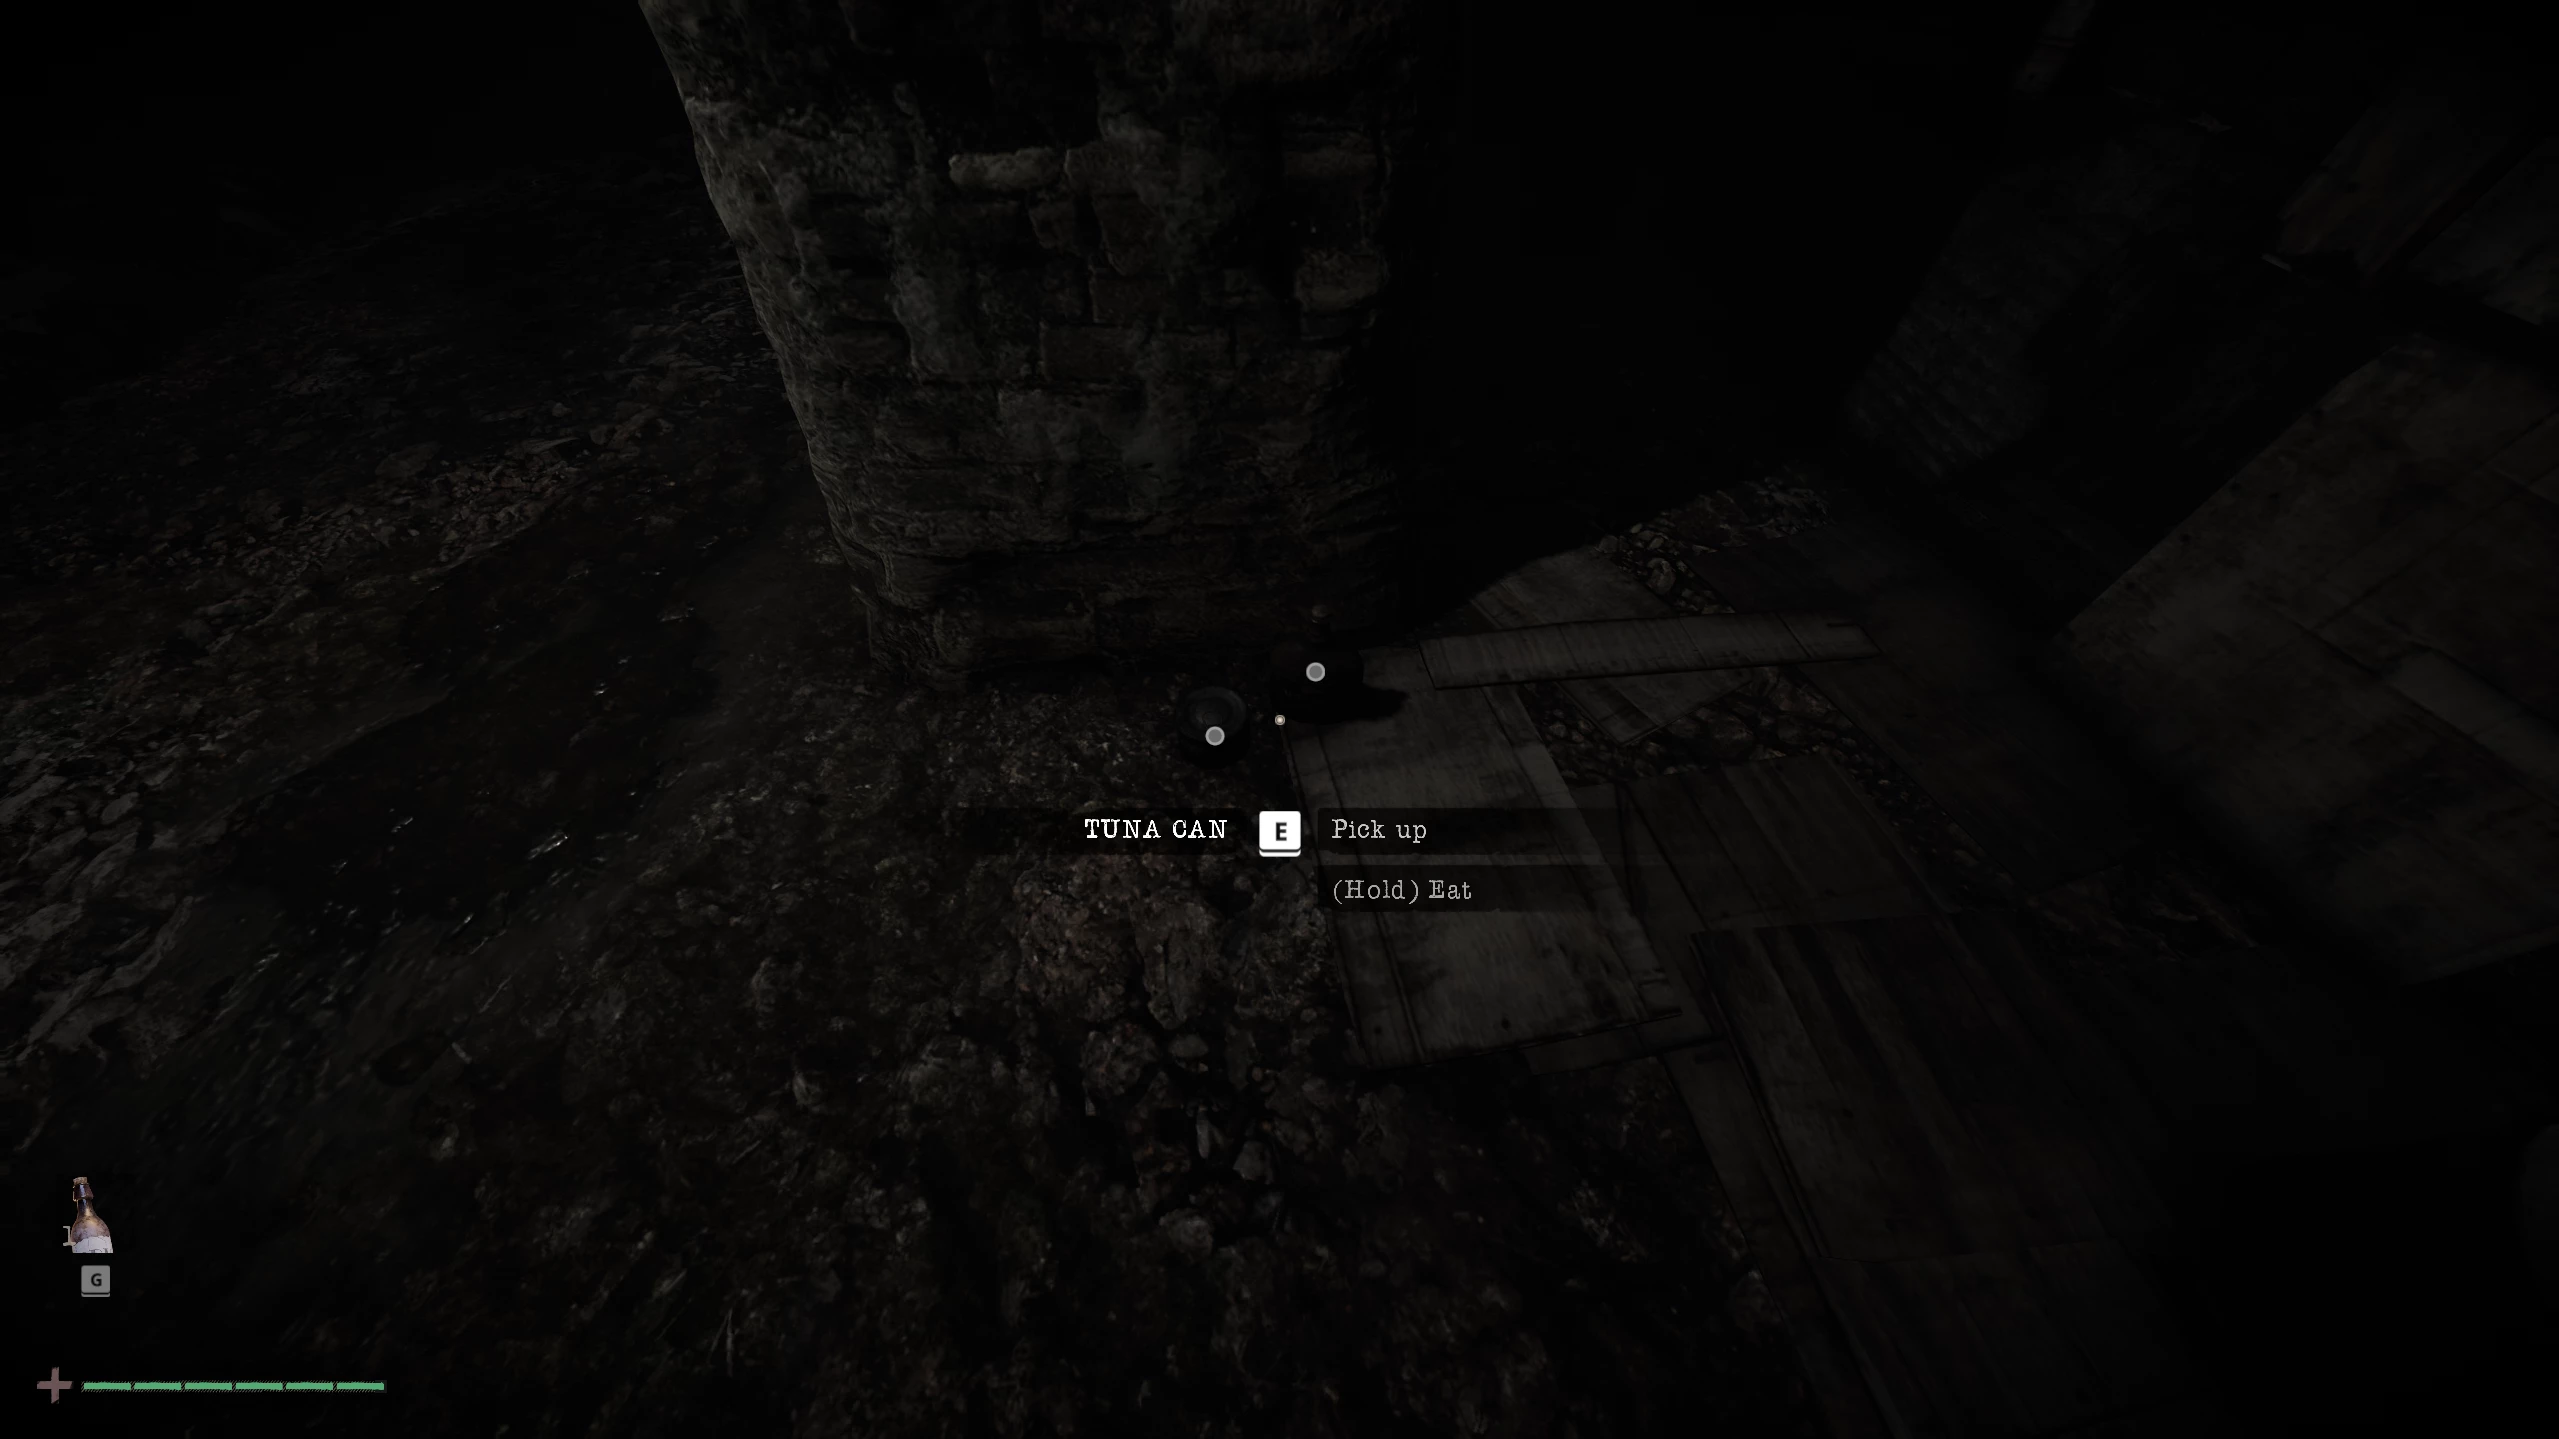
Next, go left and pick up supplies behind the column: a can of tuna and a bottle of whiskey. Return to the hall and go right. In the corridor, activate the lever on the wall, which opens the iron curtain behind you.
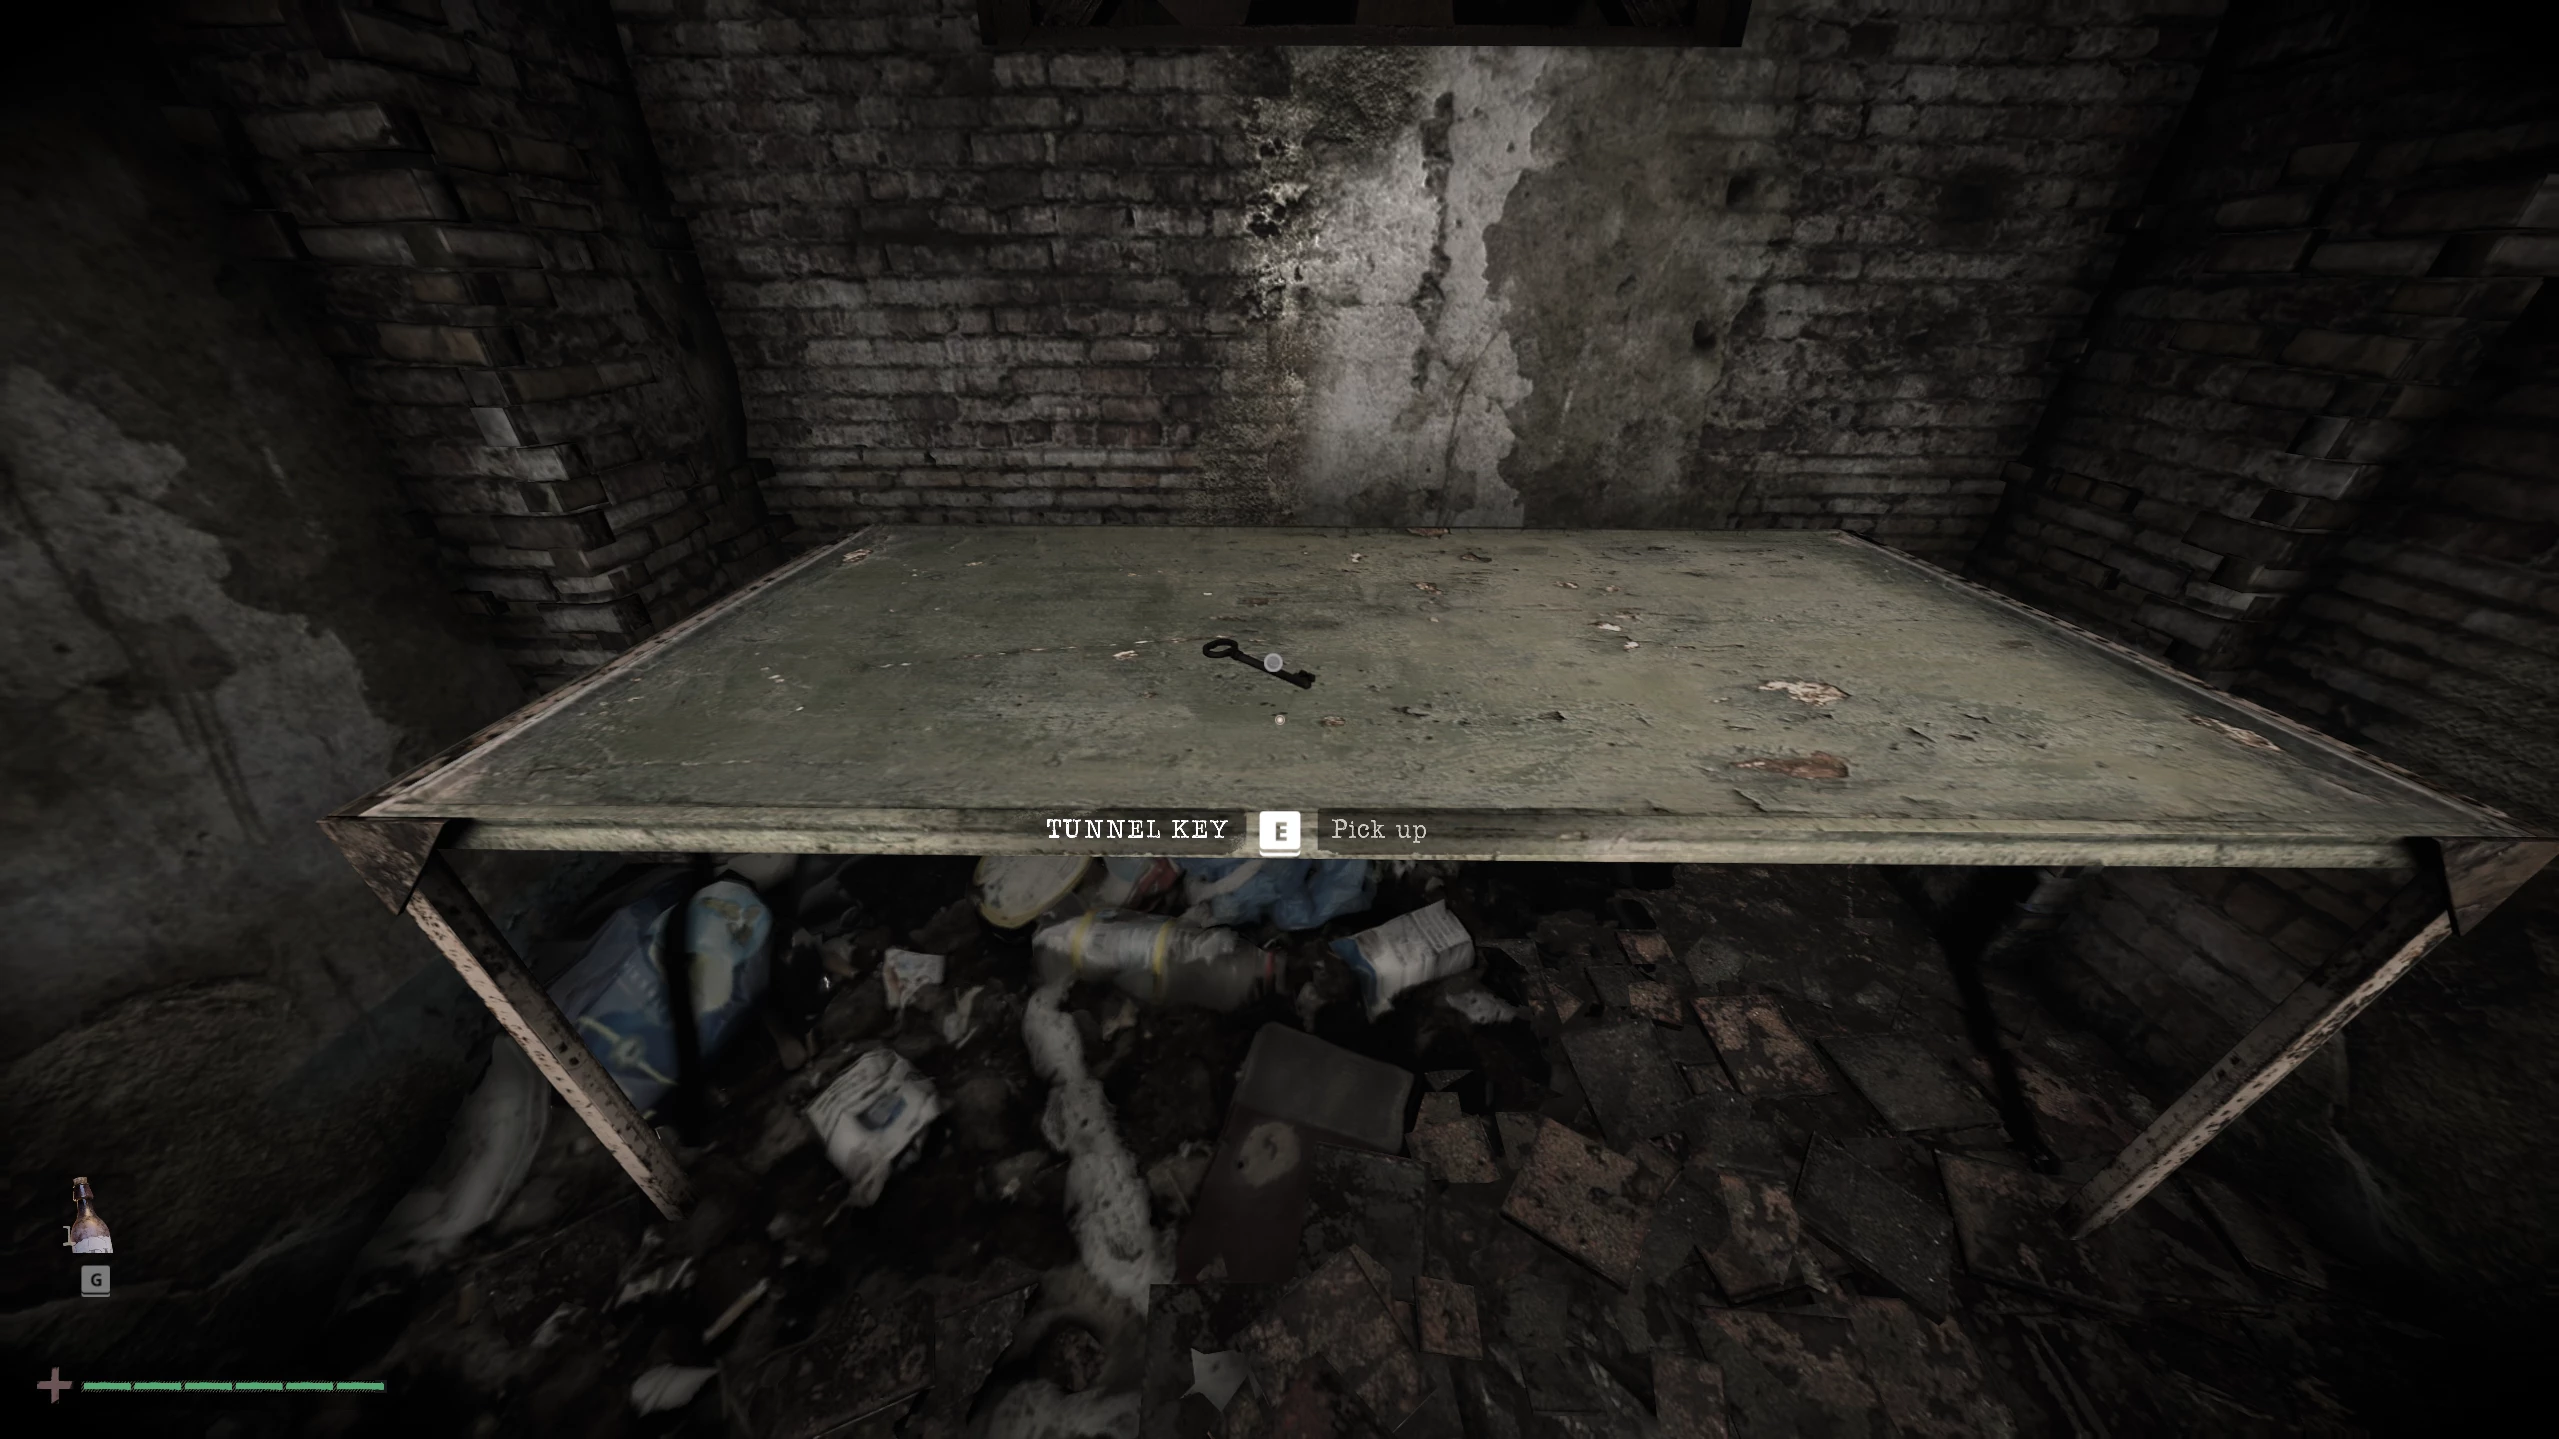
In the lit room, pick up the important tunnel key, and also notice the solution for the Omega symbol. Go to the hall and turn the disk with its image until the arrow points left.
The key gives you access to the cell you saw earlier. Go upstairs, open the grate, and pick up the supplies on the ground: apples and salami.
From this point, you are introduced to the hunger mechanic. It works just like in real life: the faster you move or attack, the more and more often your hunger bar will deplete. When you are hungry, your stamina bar will be limited, preventing you from using a fully charged attack or dashing frequently. To satisfy hunger, eat food you find on your journey.
In the cell, go left and notice another symbol on the wall with the arrow pointing right. Remember this and return to the hall.
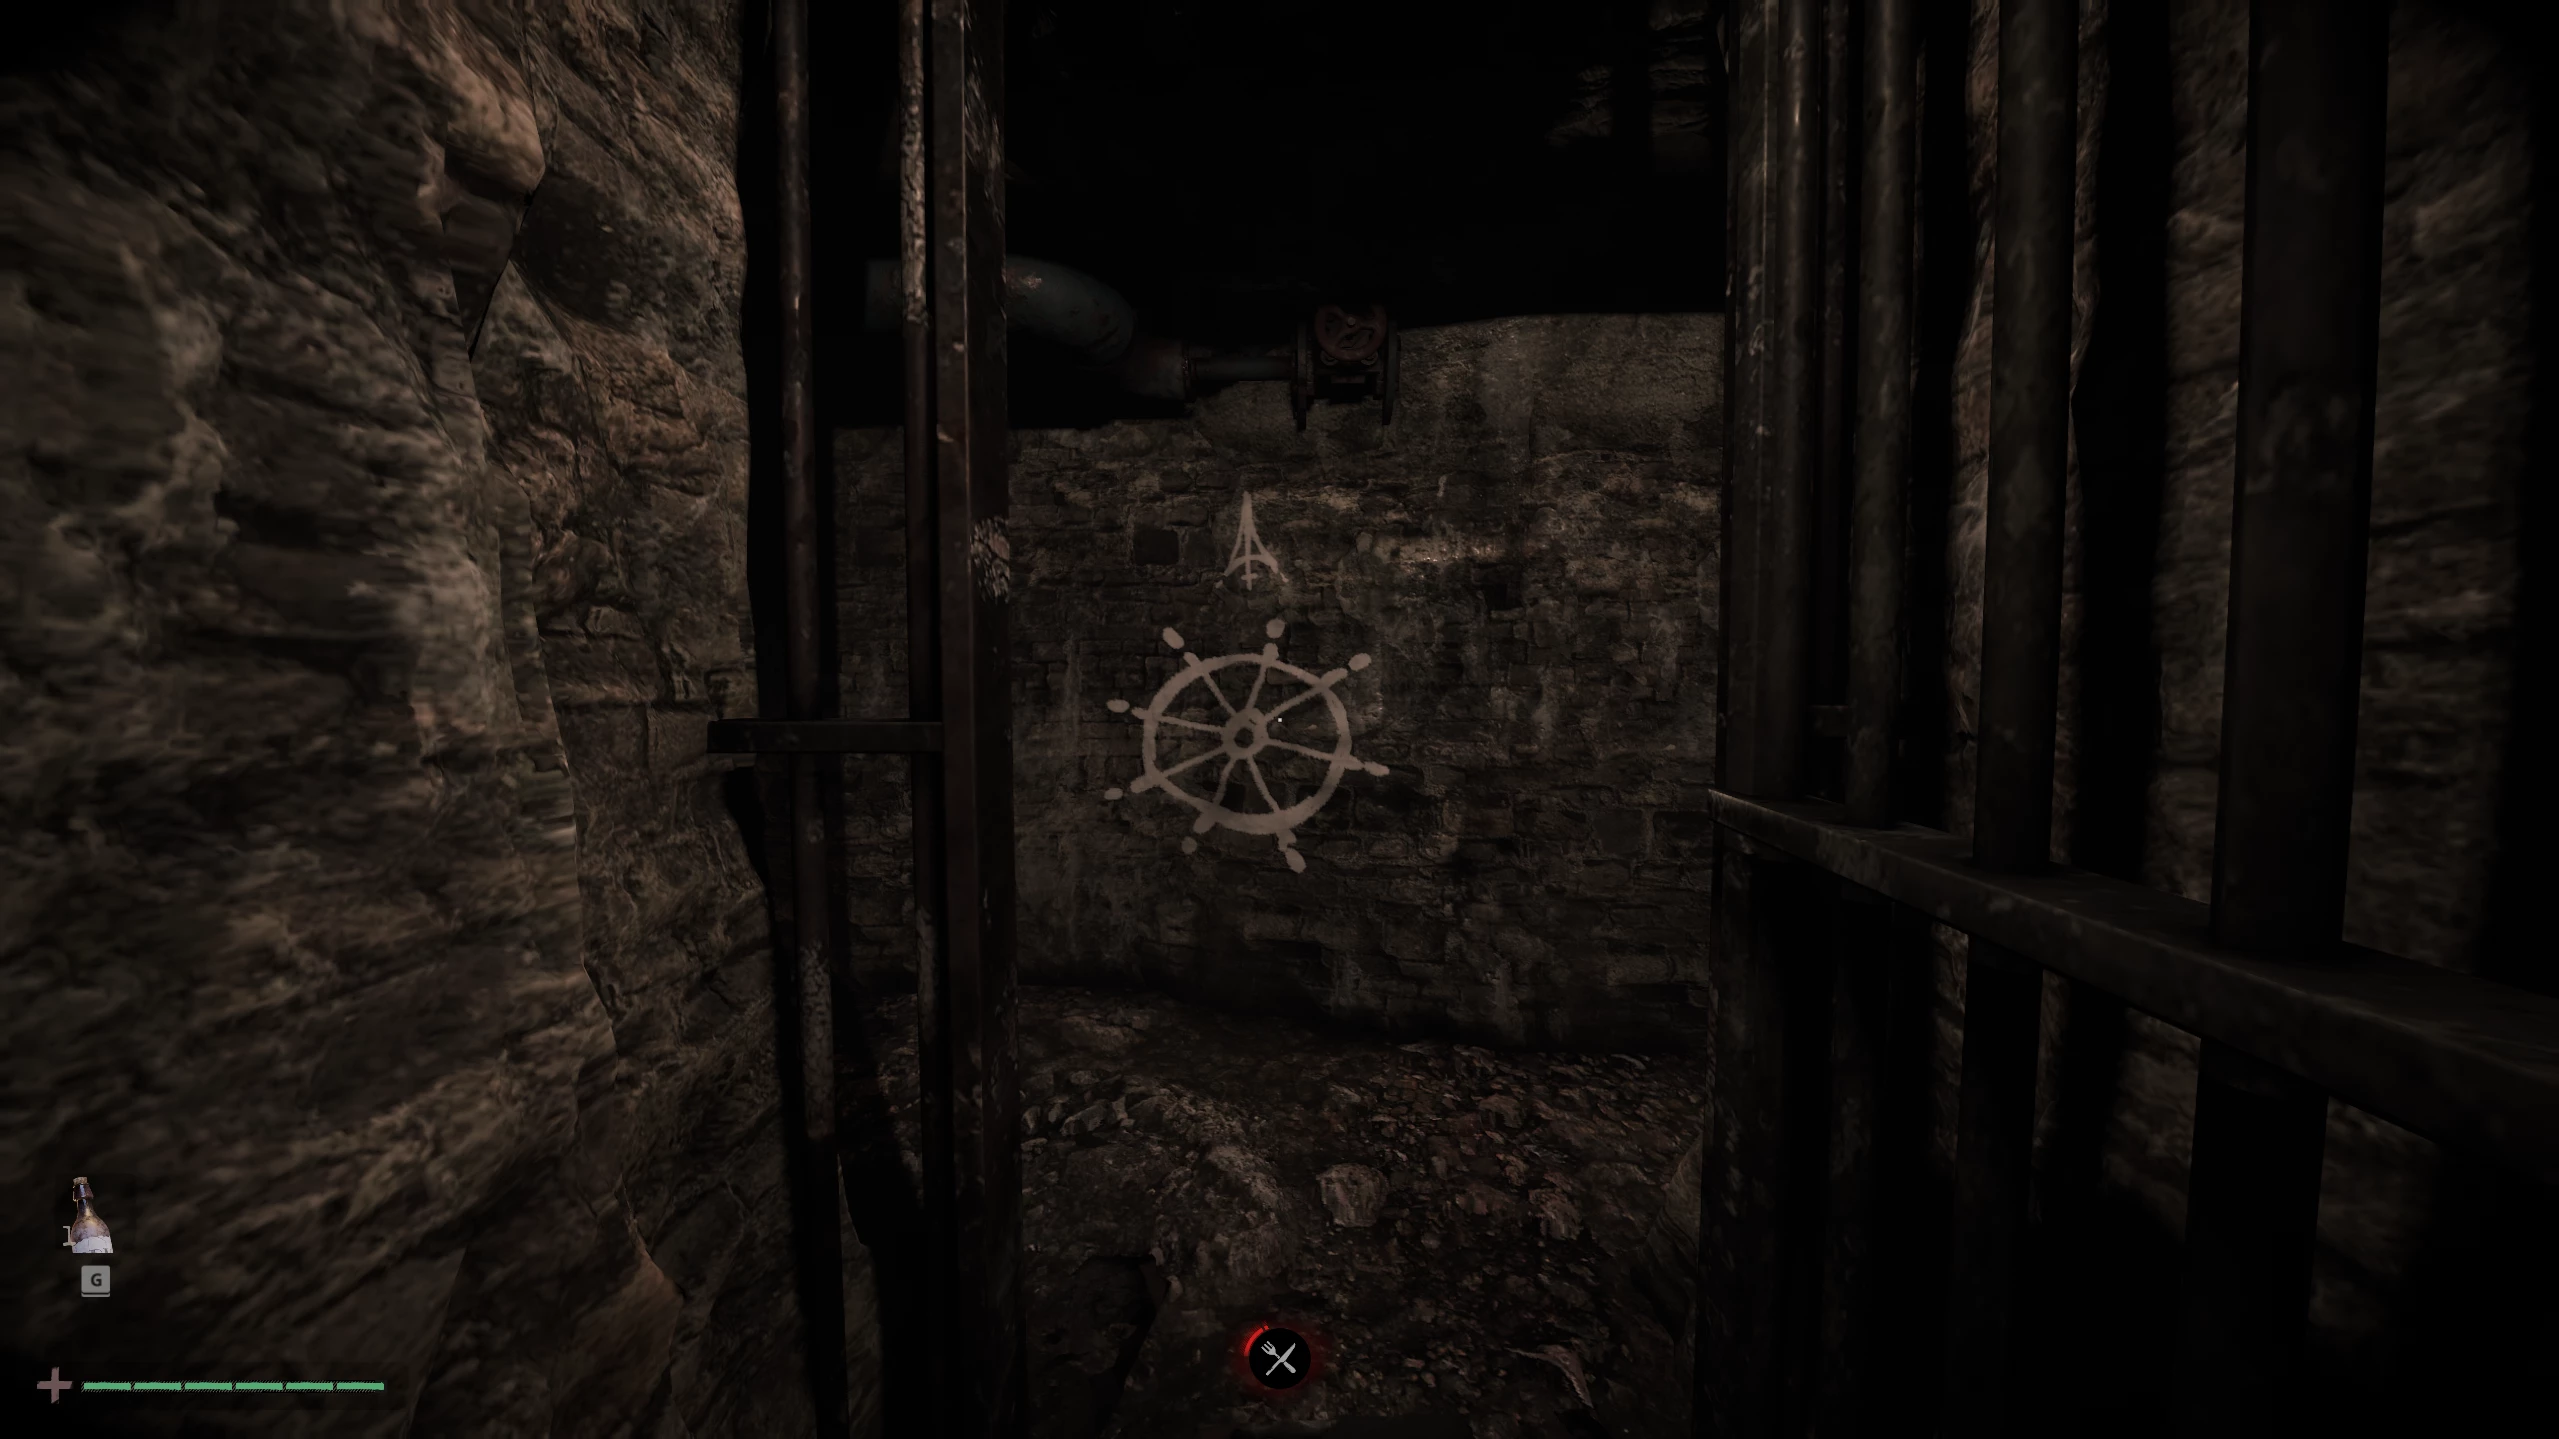
On the way, recall the helm symbol you saw at the very beginning. Its arrow is pointing up.
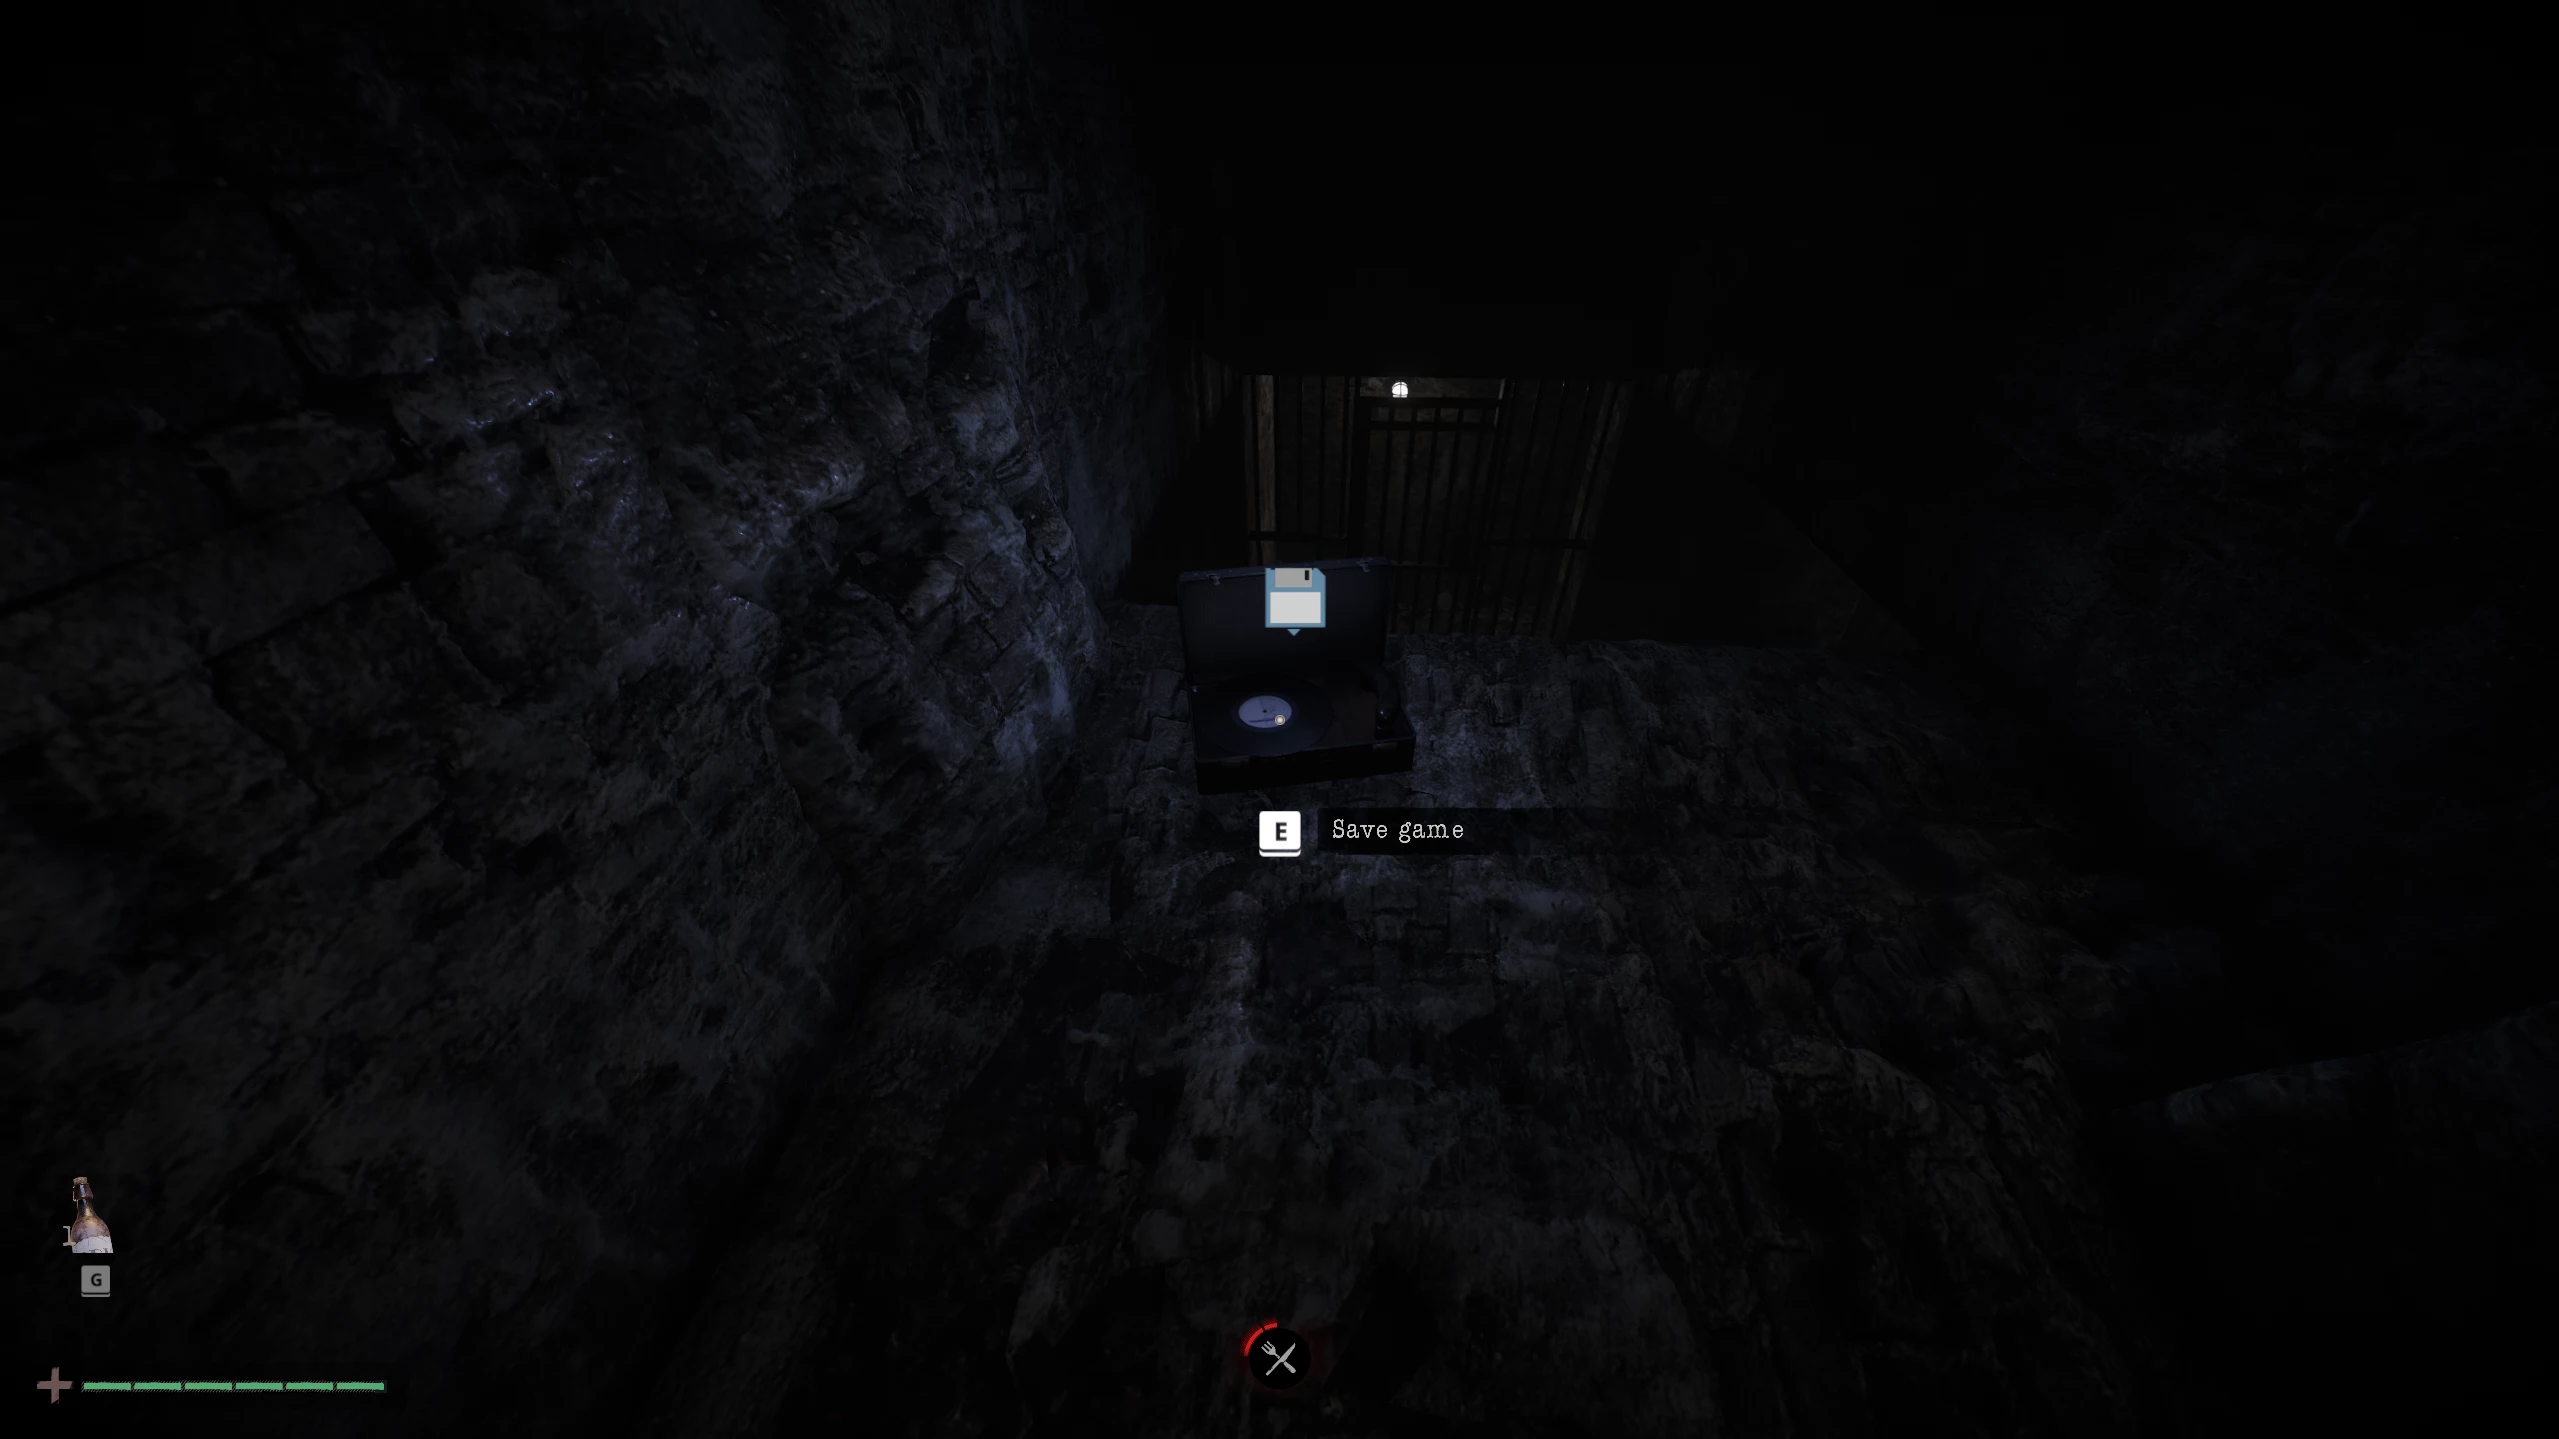
With the information about the direction of each arrow, solve the puzzle and go through the opened door ahead, then save your progress at the record player.
Chase
Now one of the most intense moments of the first chapter will begin — the chase by a group of ghouls. Satisfy your hunger with apples: you’ll need dashes.
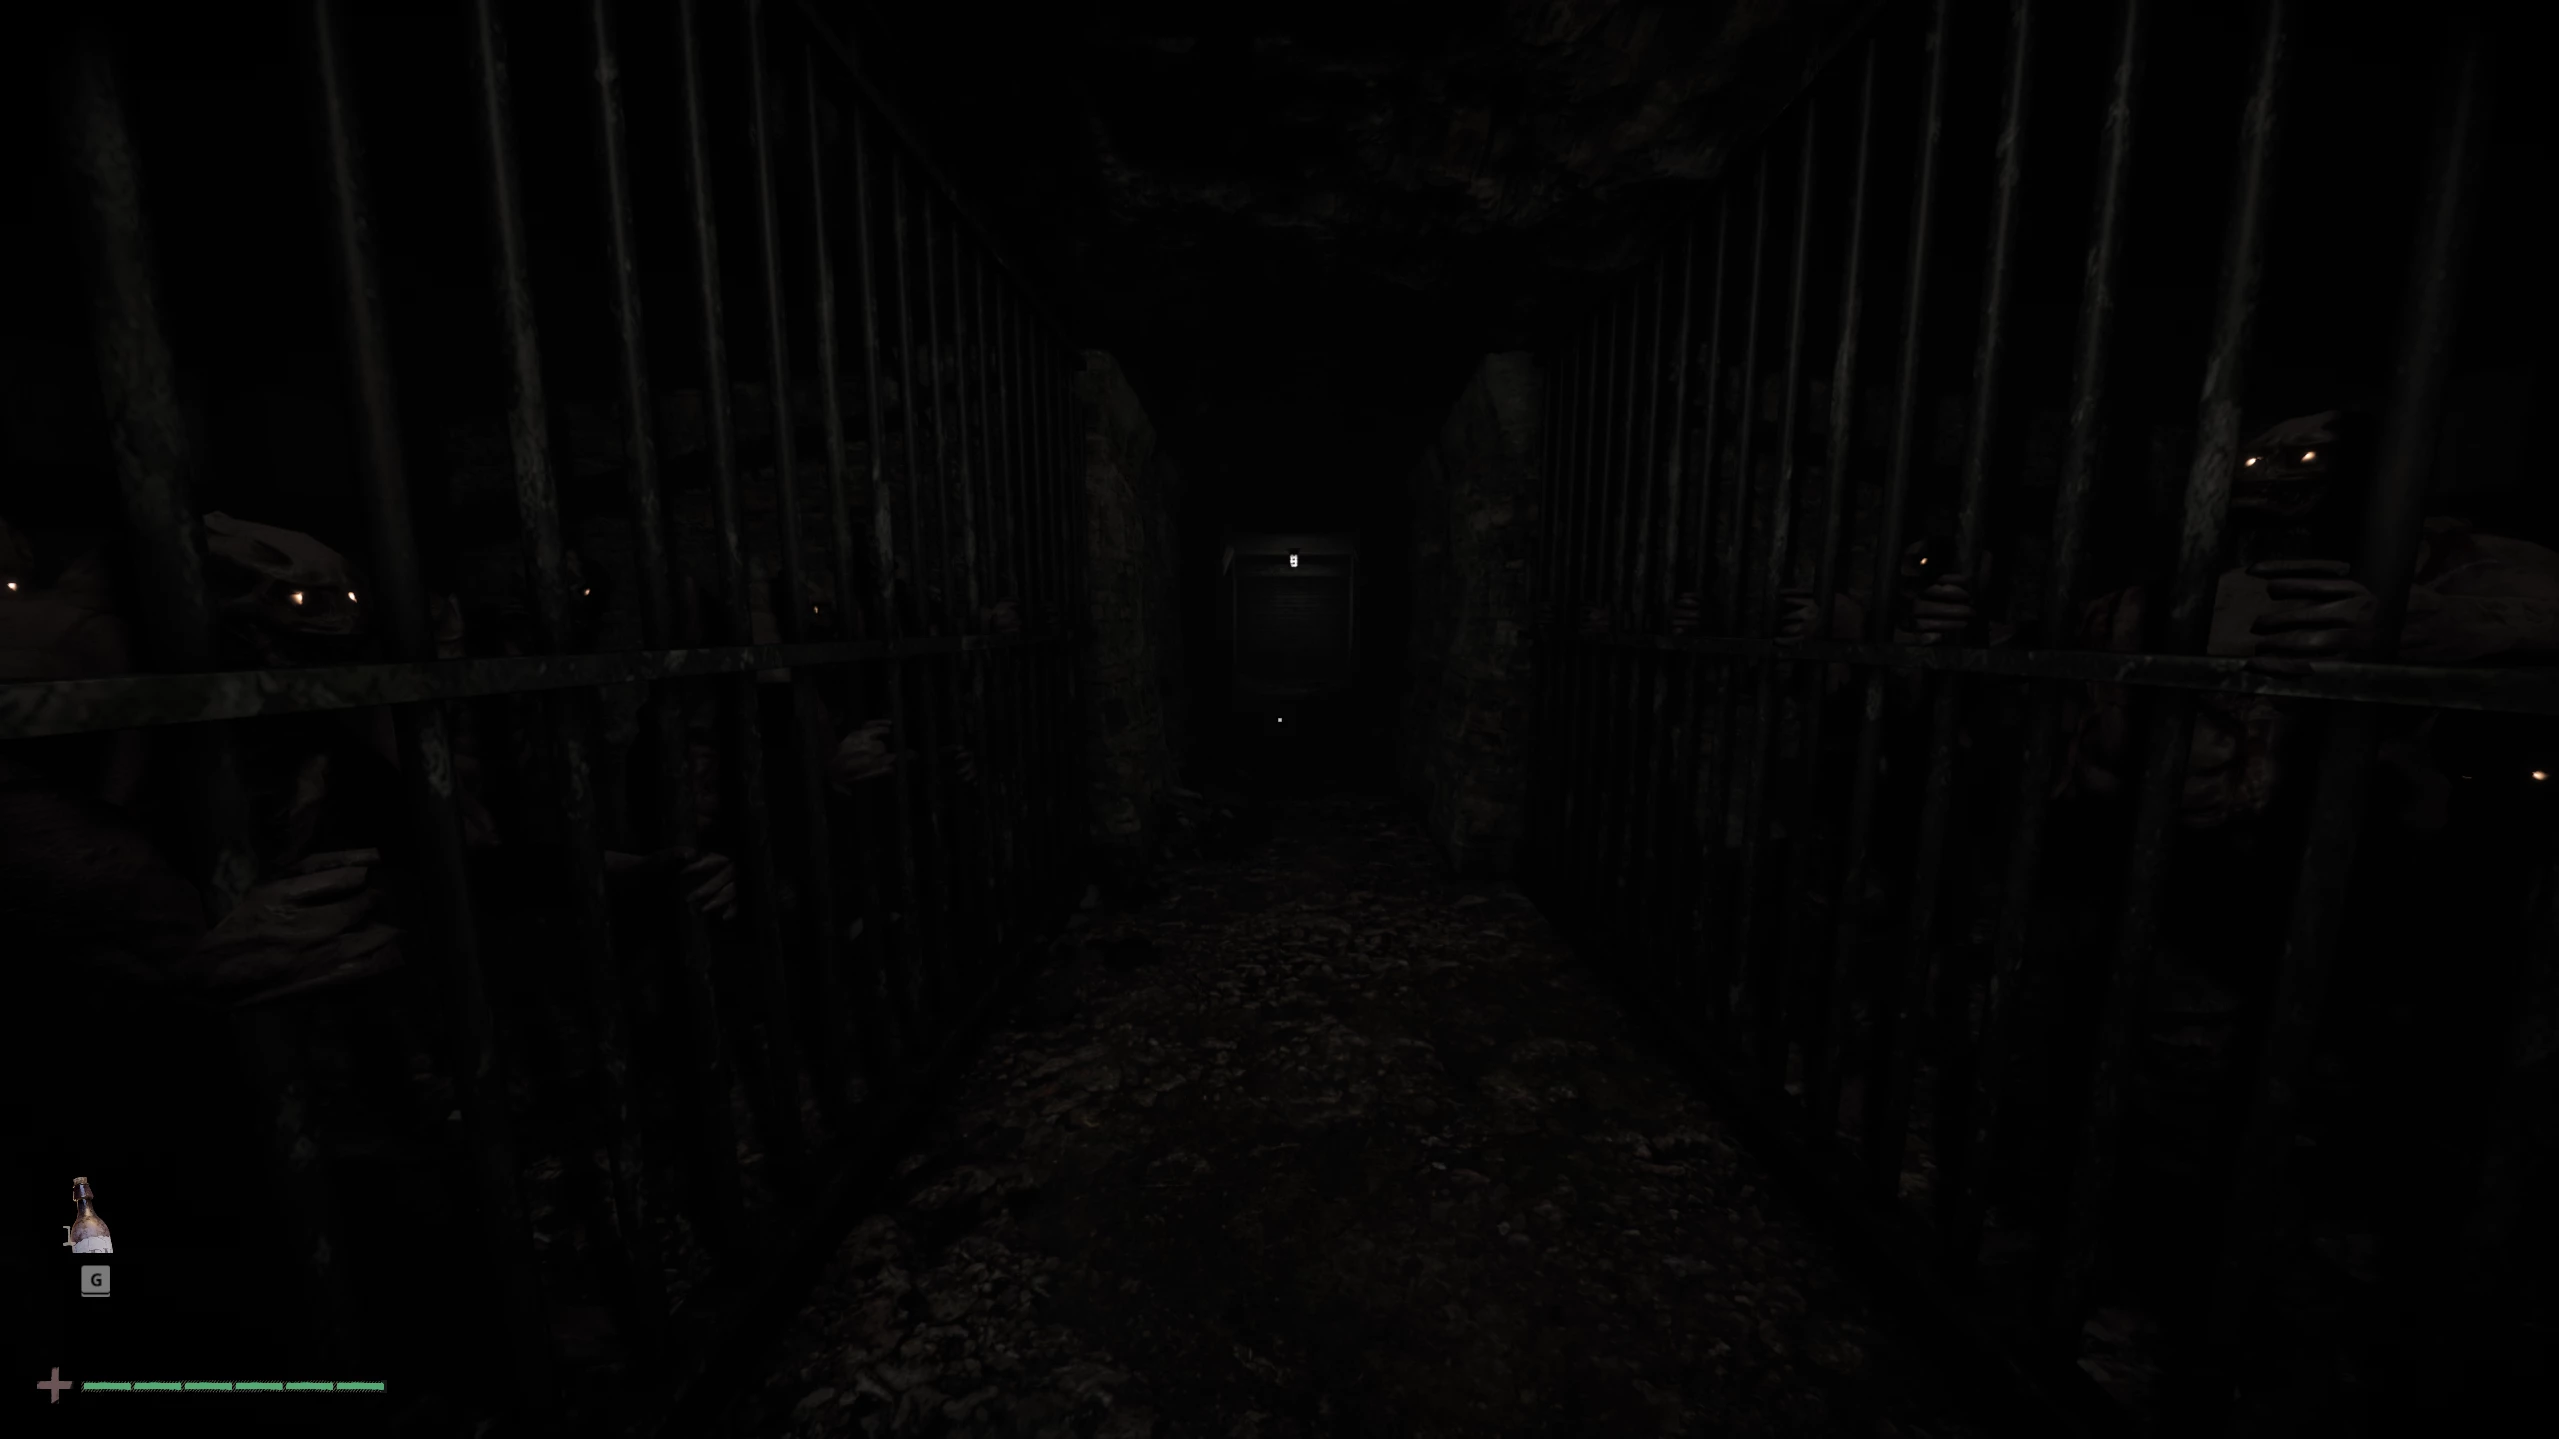
Run past the cells filled with monsters and go through the curtain. Turn right, run past the group of ghouls, then run left.
At the fork, turn right again. In the open room, wait for the ghouls to come out of the corridor, then run through them. After passing through the curtain, it closes behind you, and you enter a room overgrown with roots.
Go through the dark passage, turn left, and receive a message on the radio. A male voice thanks you for participating and promises to help you find all the answers to your burning questions if you follow his instructions.
The door to the left opens and you enter a safe zone. Save your game and go down the corridor on the right to get some fresh air.
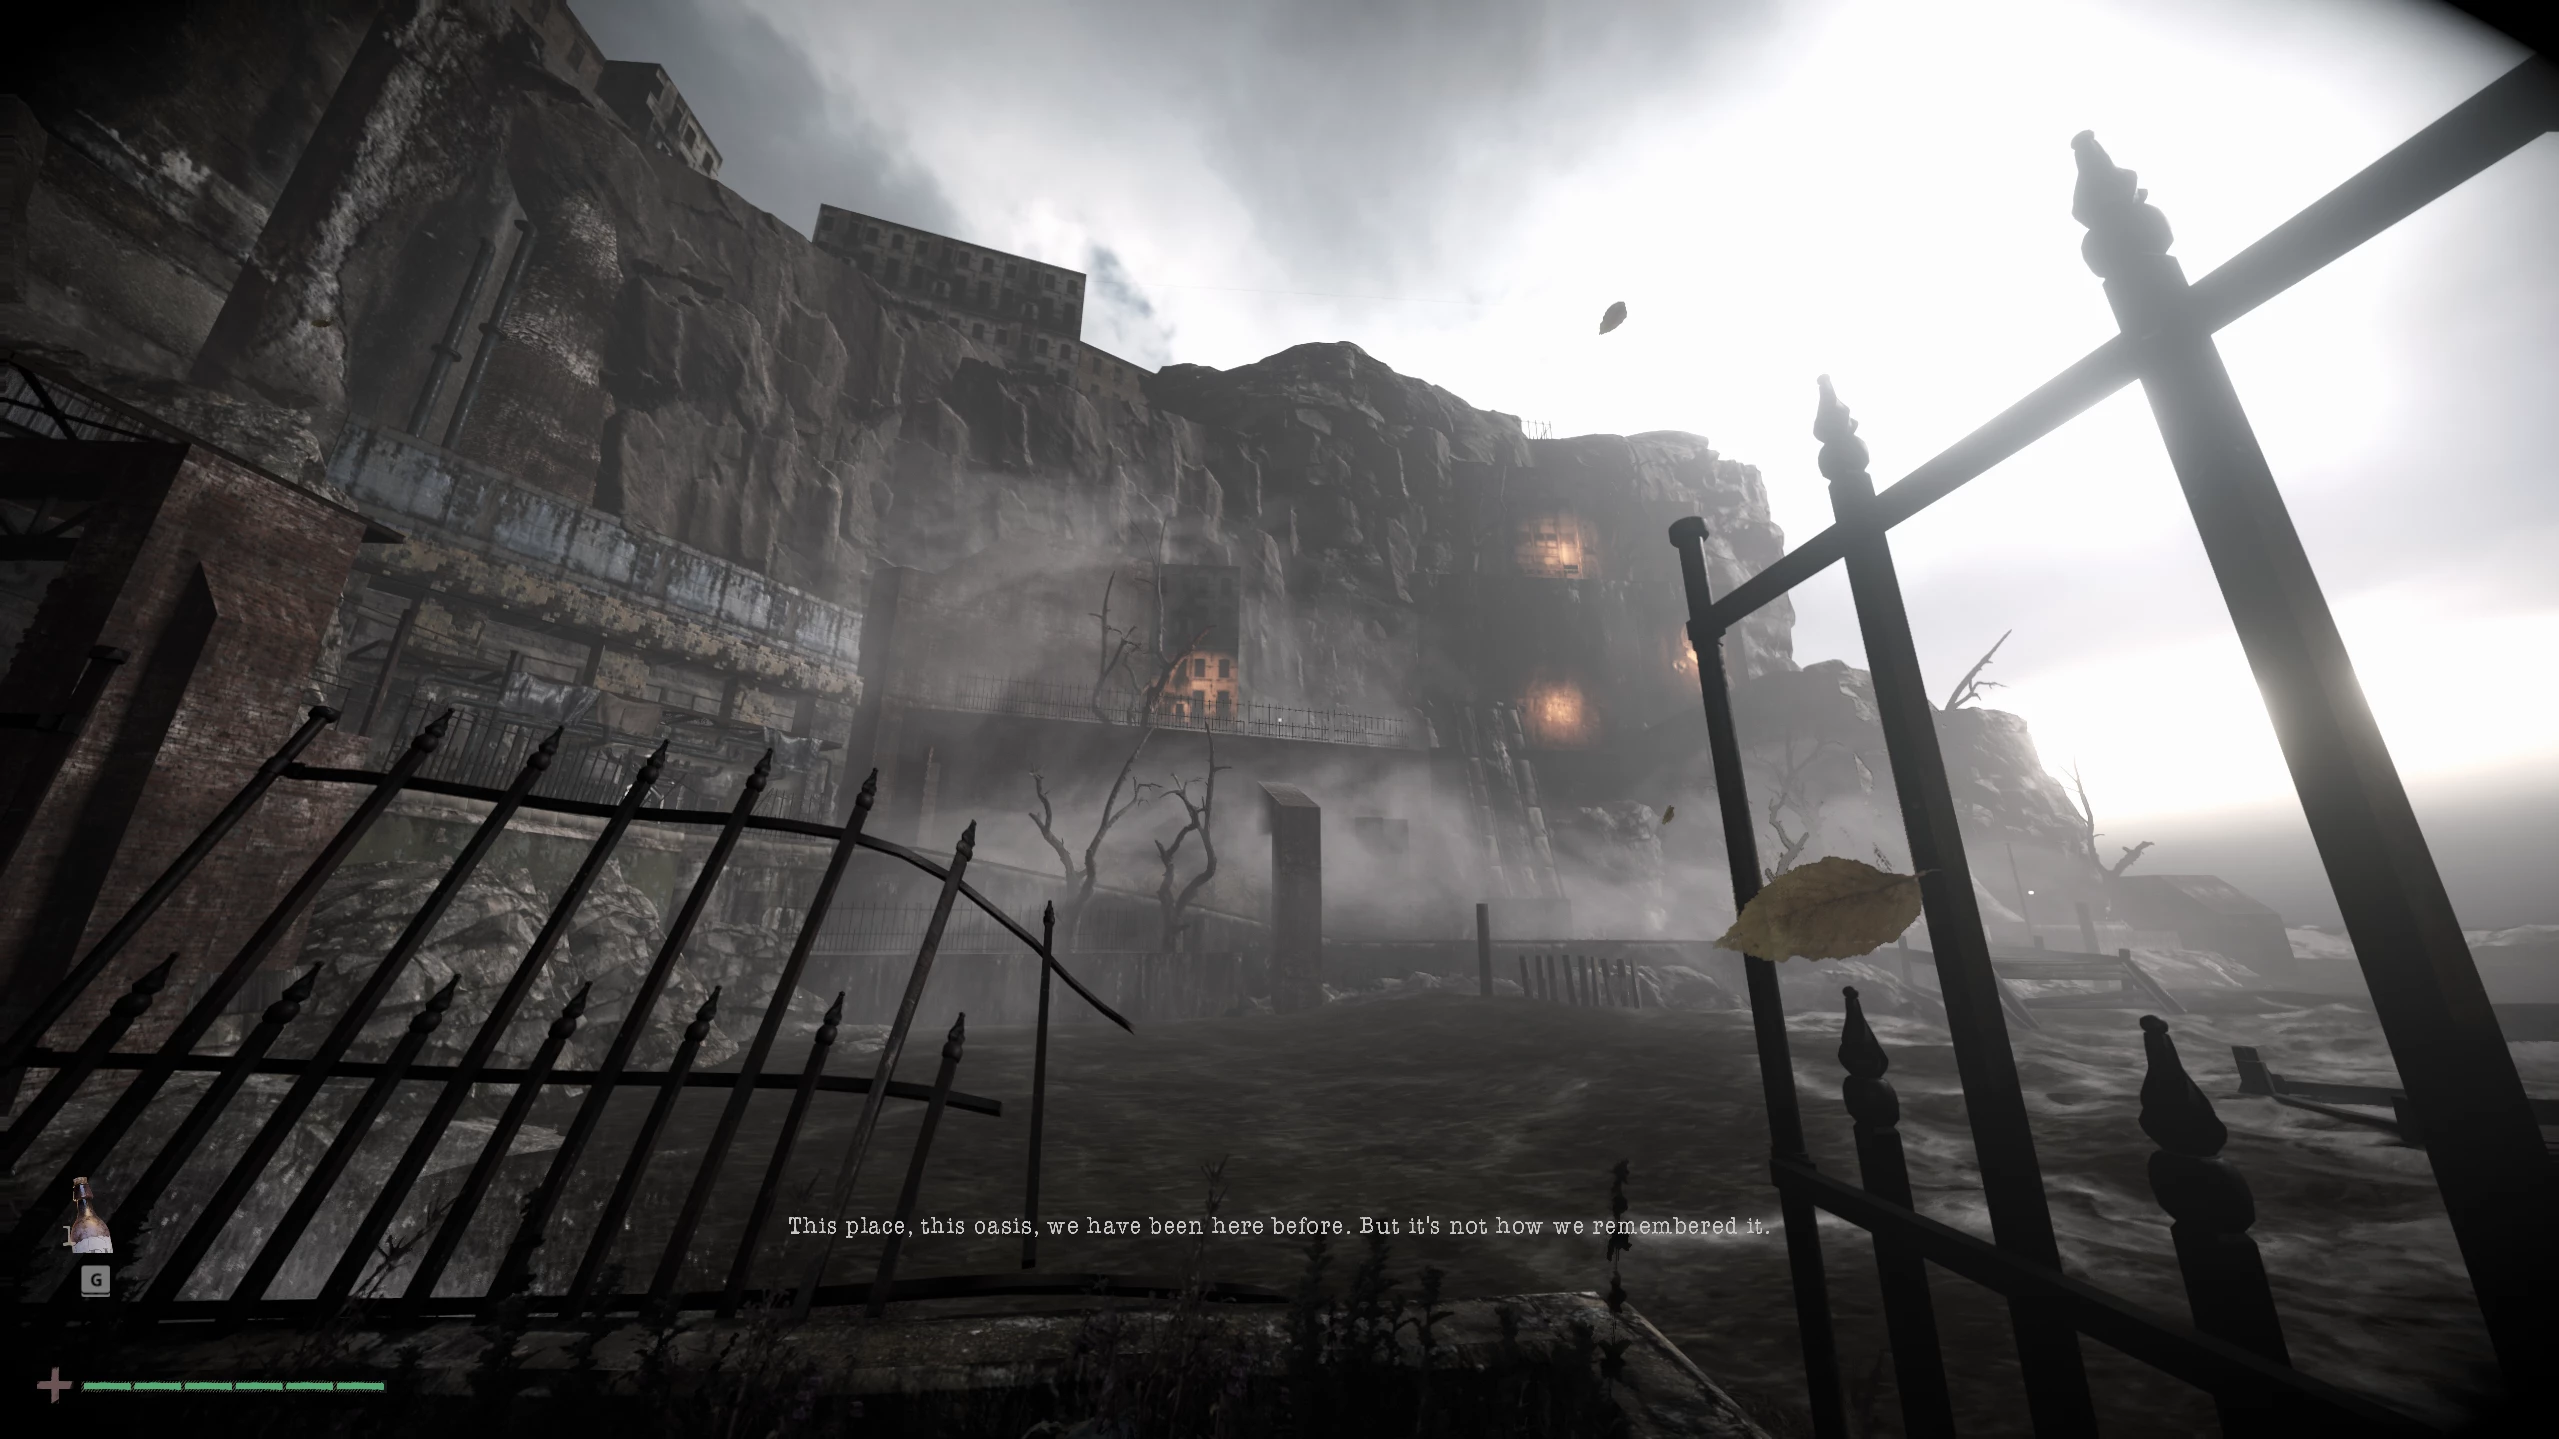
How to Find the Basement Key
Once, this place was considered an oasis, but disease struck it. The voice asks you to reach the mine in the north, as all the island's secrets and mysteries are hidden there.
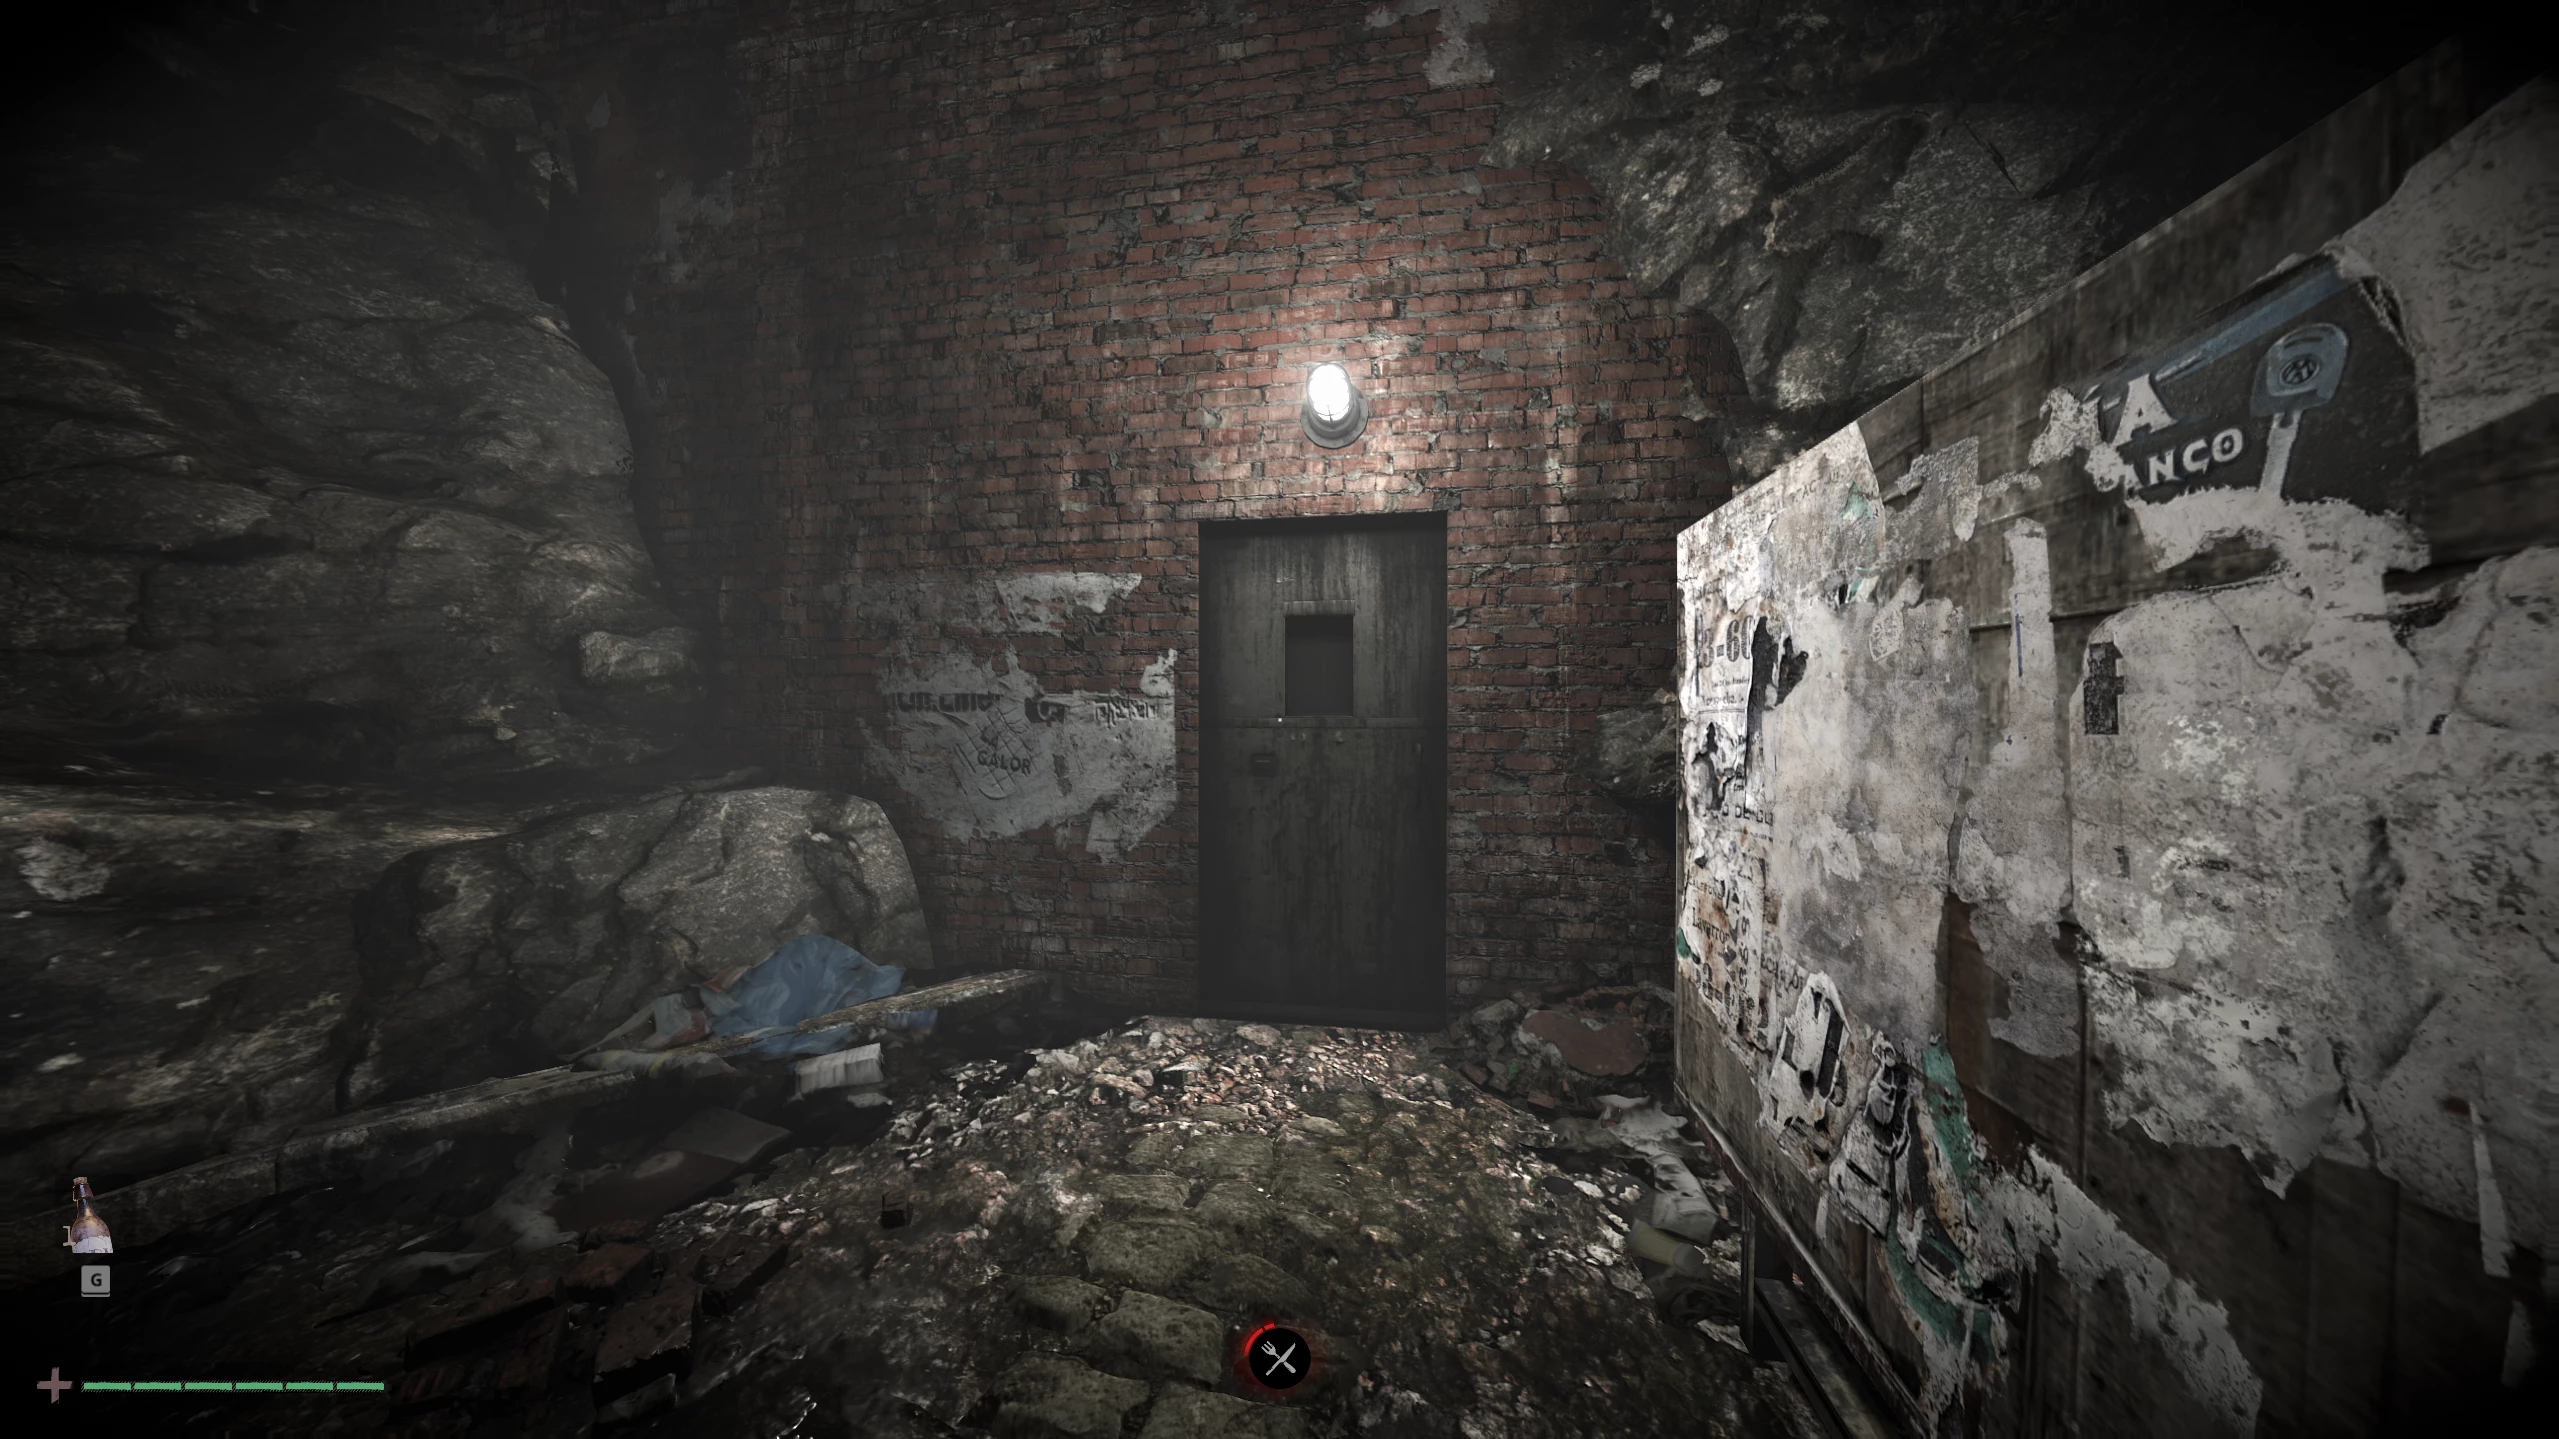
Your next task is to open the passage to the basement. To do this, go to the end of the road and enter the steel door.
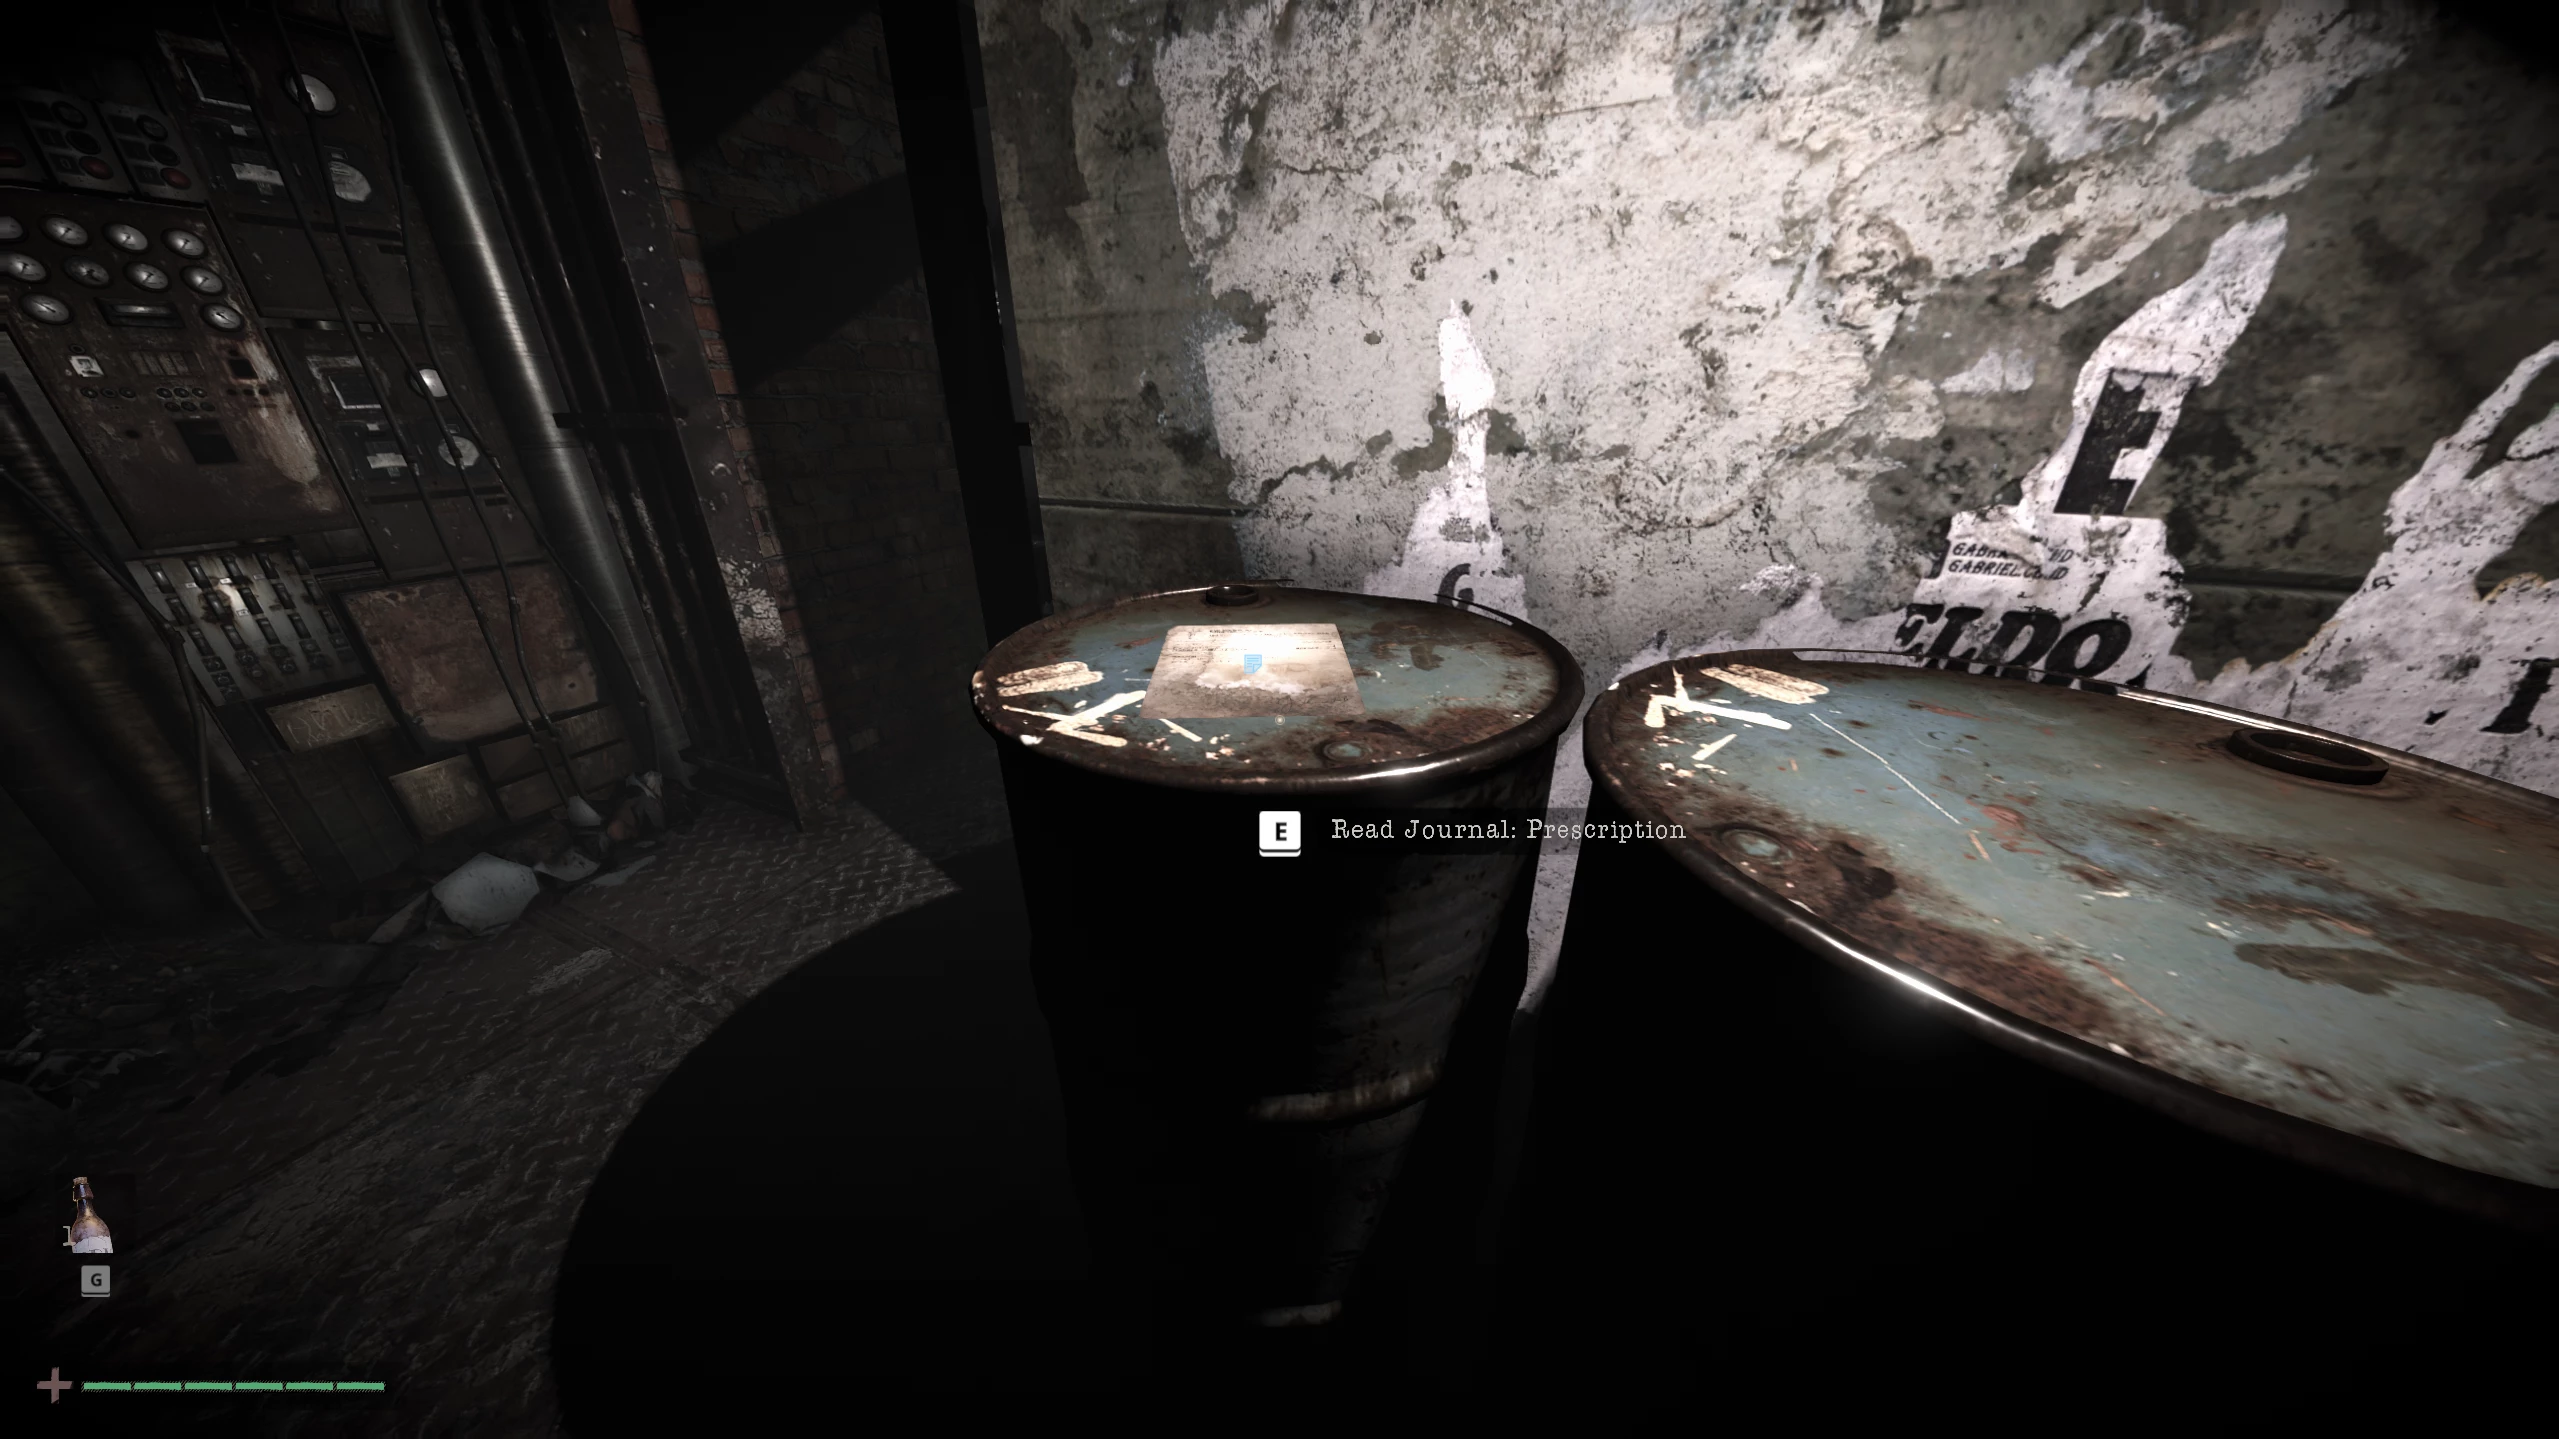
Pass through the brick corridors and pick up the journal page on the table. Continue along the rusty pipes and reach a fork. If you go right, you'll find a grate locked with the basement key. So, climb the stairs up and enter the dining hall.
On the table, there will be a variety of supplies, including meat, cans of stew, and bread. Take them, and don’t forget to pick up the diary page on the table behind you.
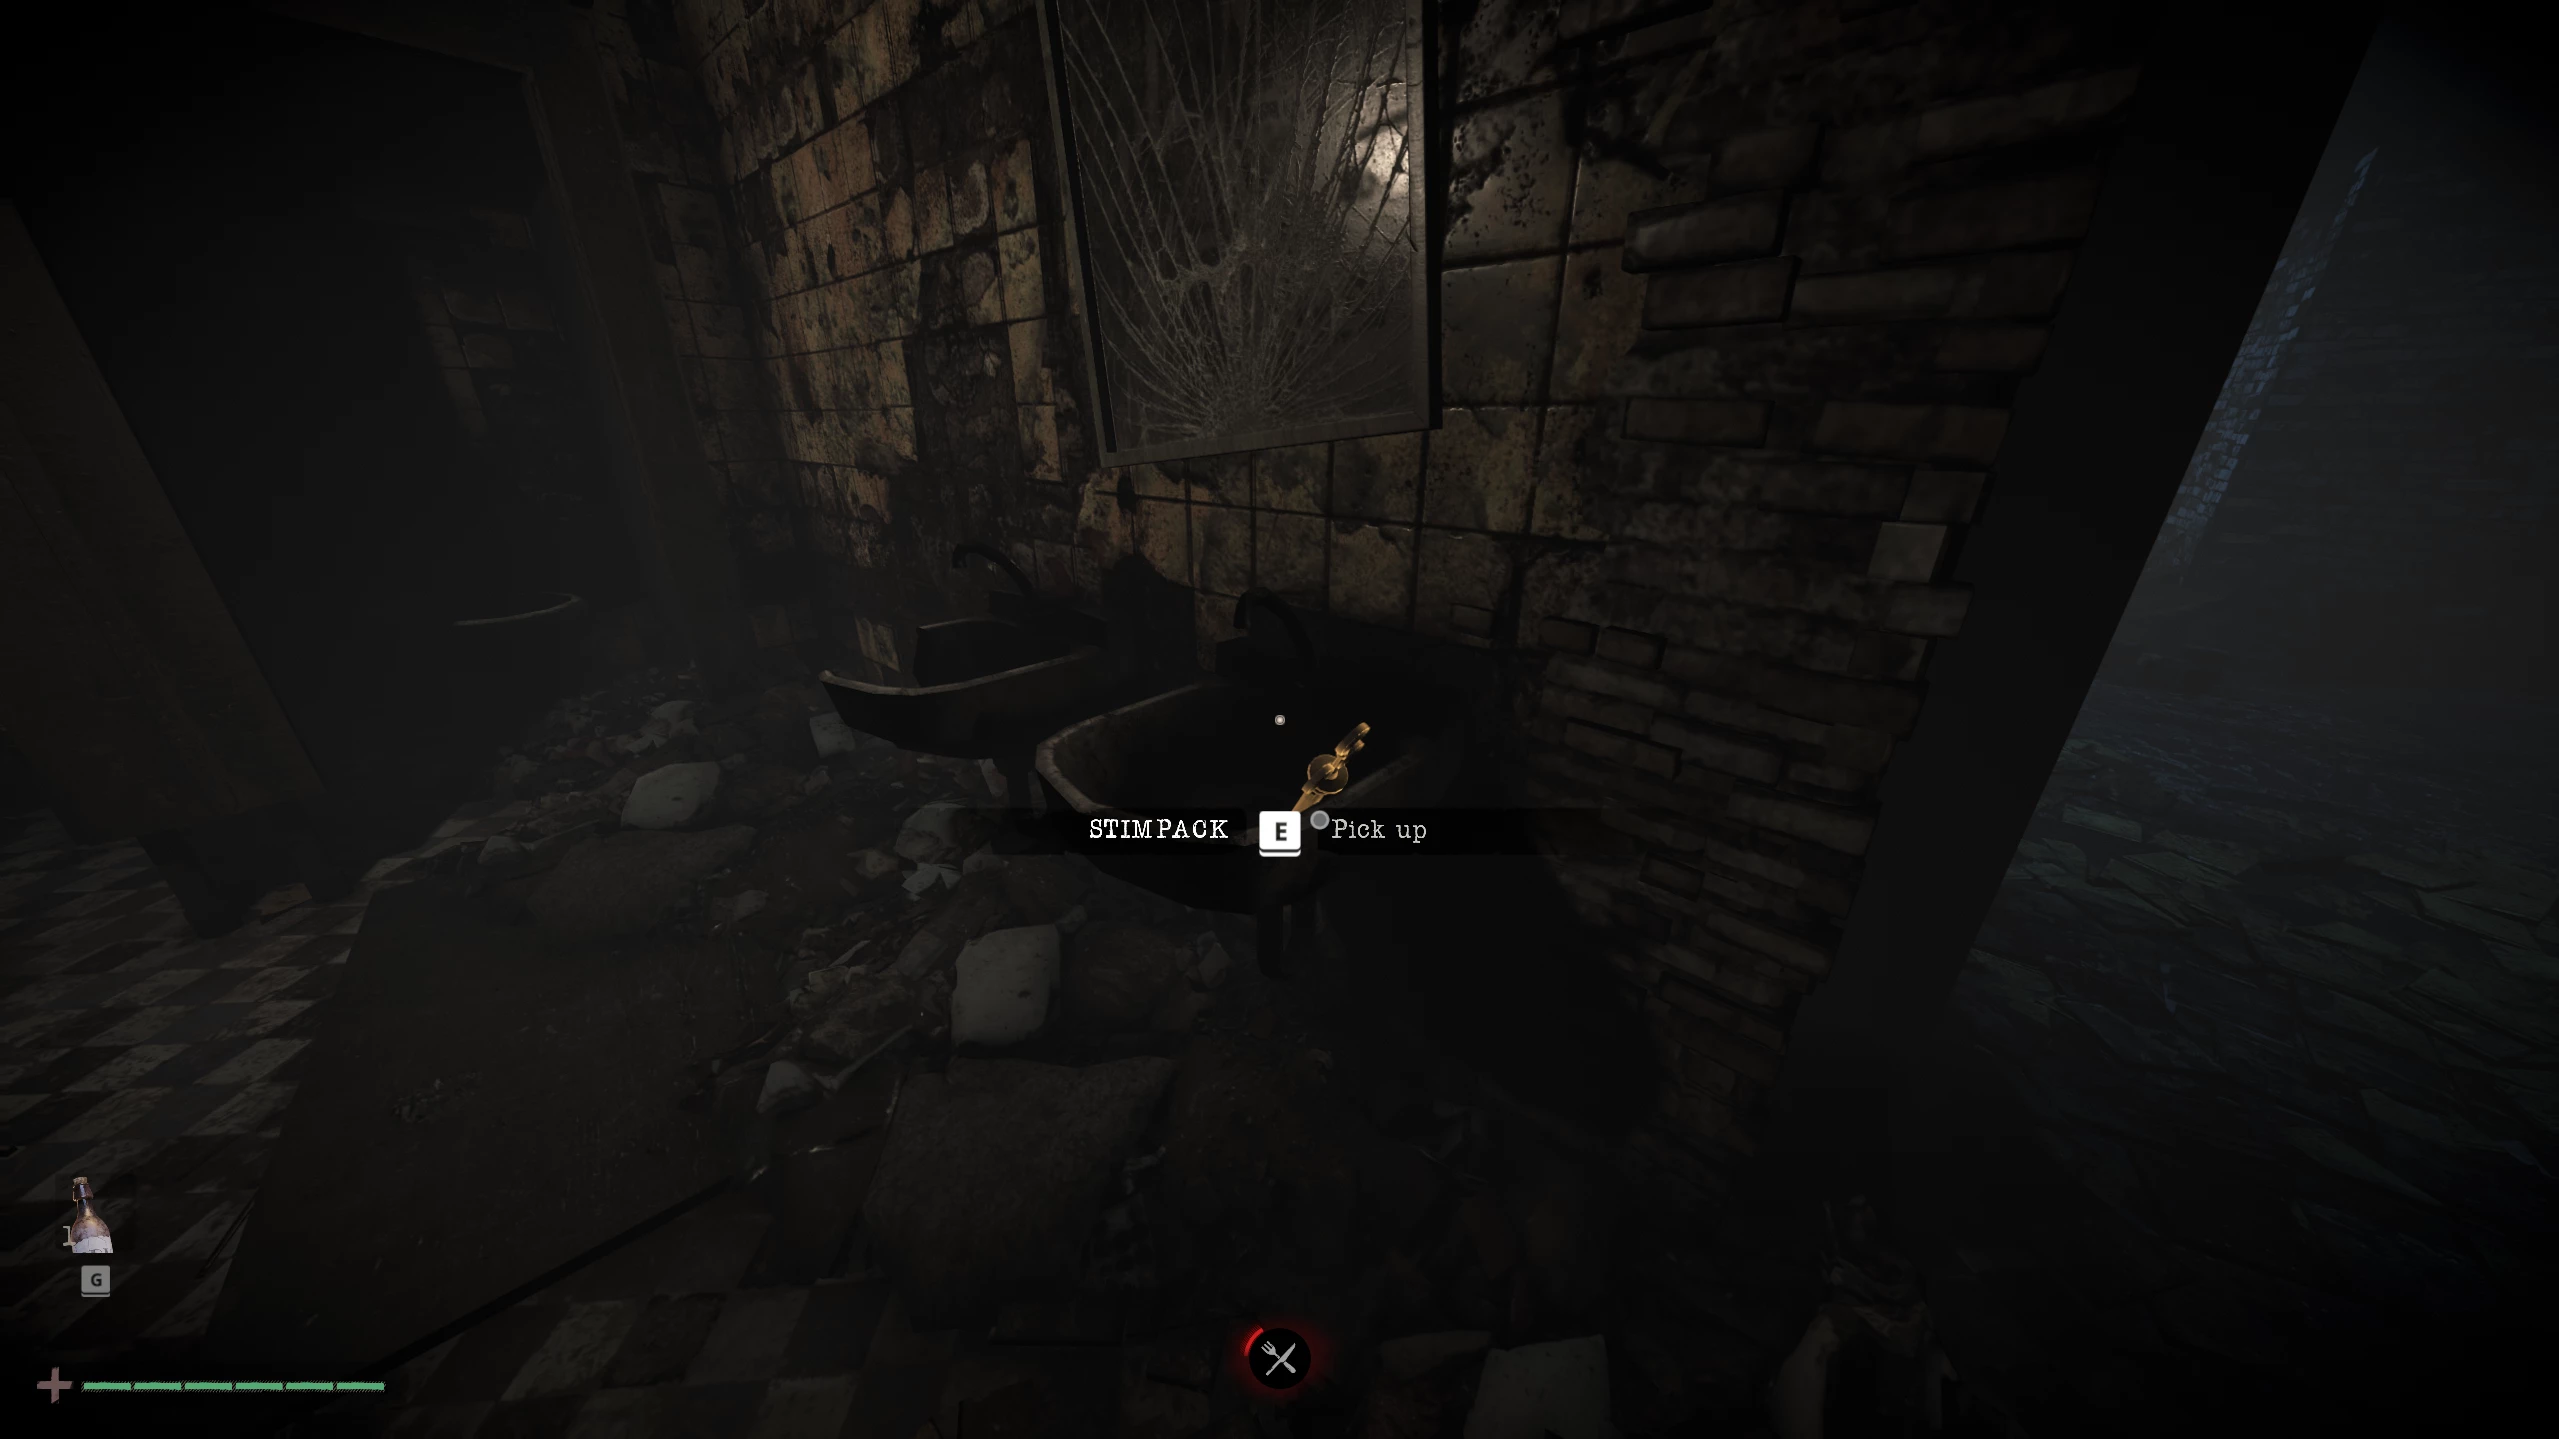
Before saving, go to the bathroom behind you to pick up an injection. Once you've picked up the healing item, save your progress. Go into the corridor ahead, turn left for an energy drink, then drop down from the ledge on the opposite side.
Go deeper until you reach a corridor with cages. On the right you’ll find supplies: an injection and a can of stew—don’t forget to pick them up.

Heading straight down the corridor, be ready to meet a new enemy—an electro-ghost. On contact, it inflicts bleeding and takes away a significant amount of health.
To counter it without a weapon, use dashes when it flies straight at you. You’ll collide with each other, but won’t take damage. You can also interrupt its attack or stun it for a short time with dashes.
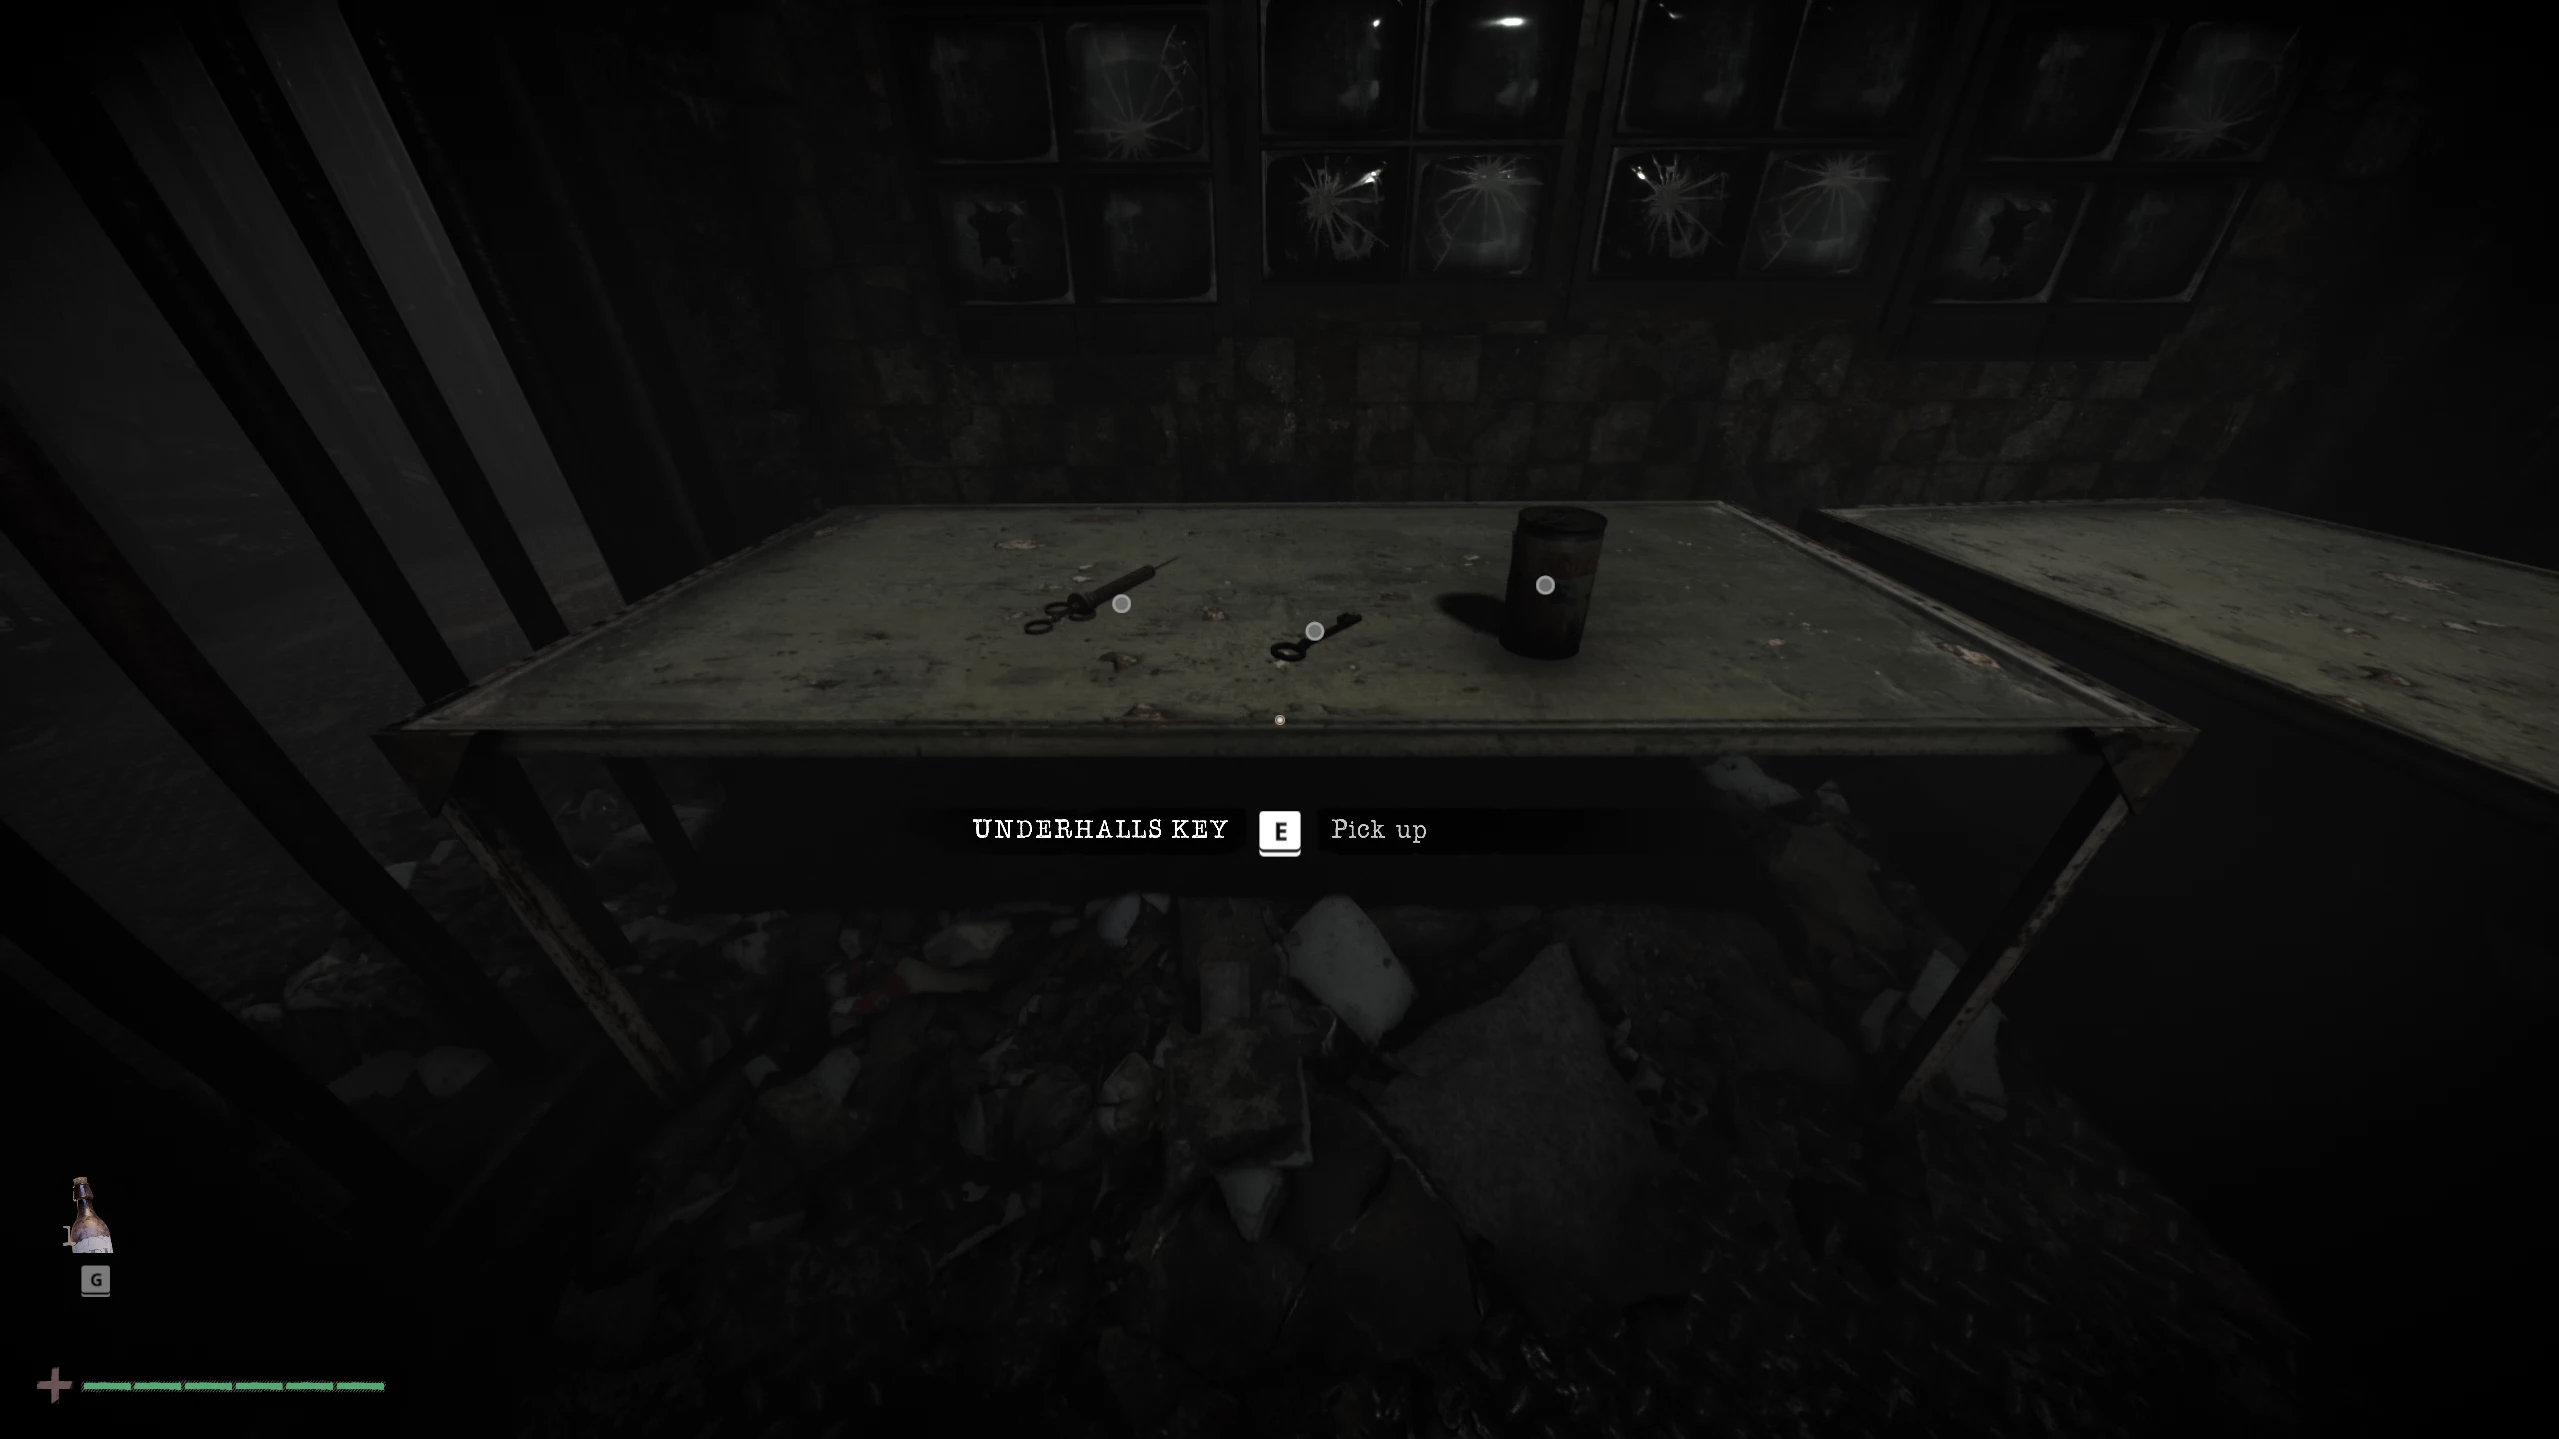
The basement key is located in the middle room. To get there, go straight from where you first met the ghost, then turn right twice.
In the bright room on the table, you’ll find diary pages, an injection, and the required key. Exit the office, turn right, and run straight. Use the key you obtained to unlock the door outside and escape from the ghost.
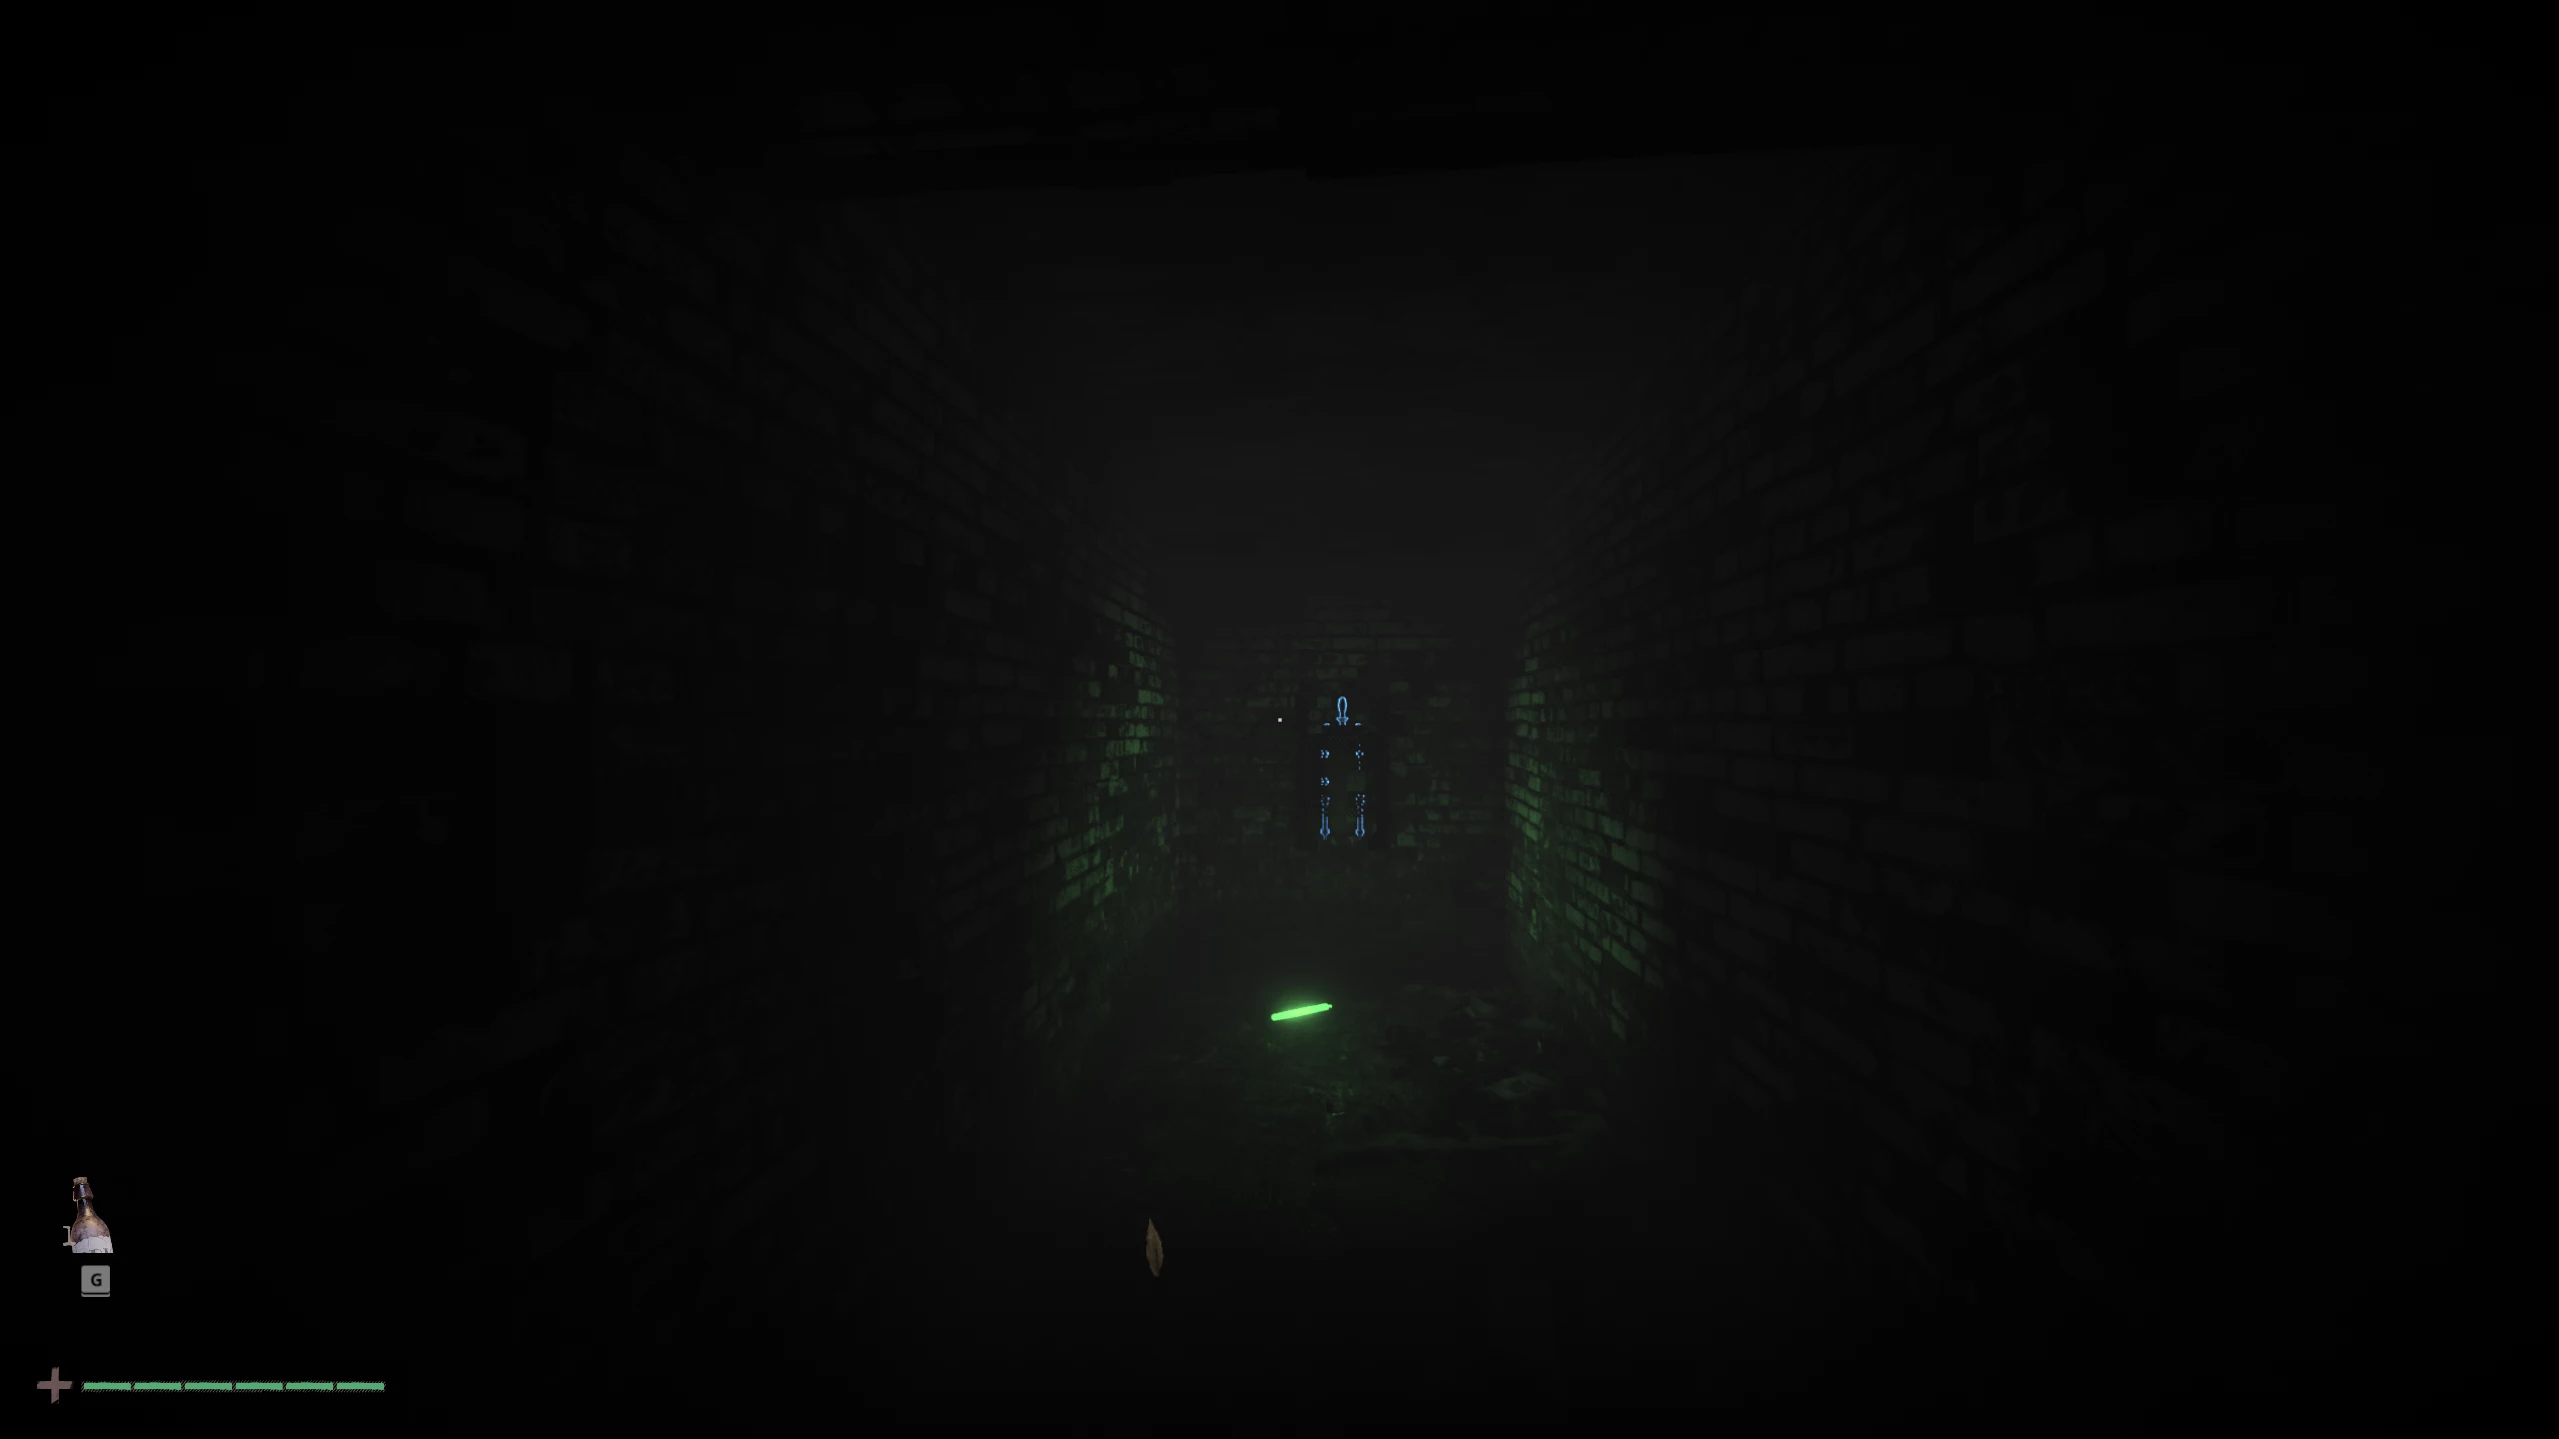
Run through the brick corridor, encounter a second ghost at the fork, and run left. From there, follow the glowing green sticks on the ground to the exit of the building.
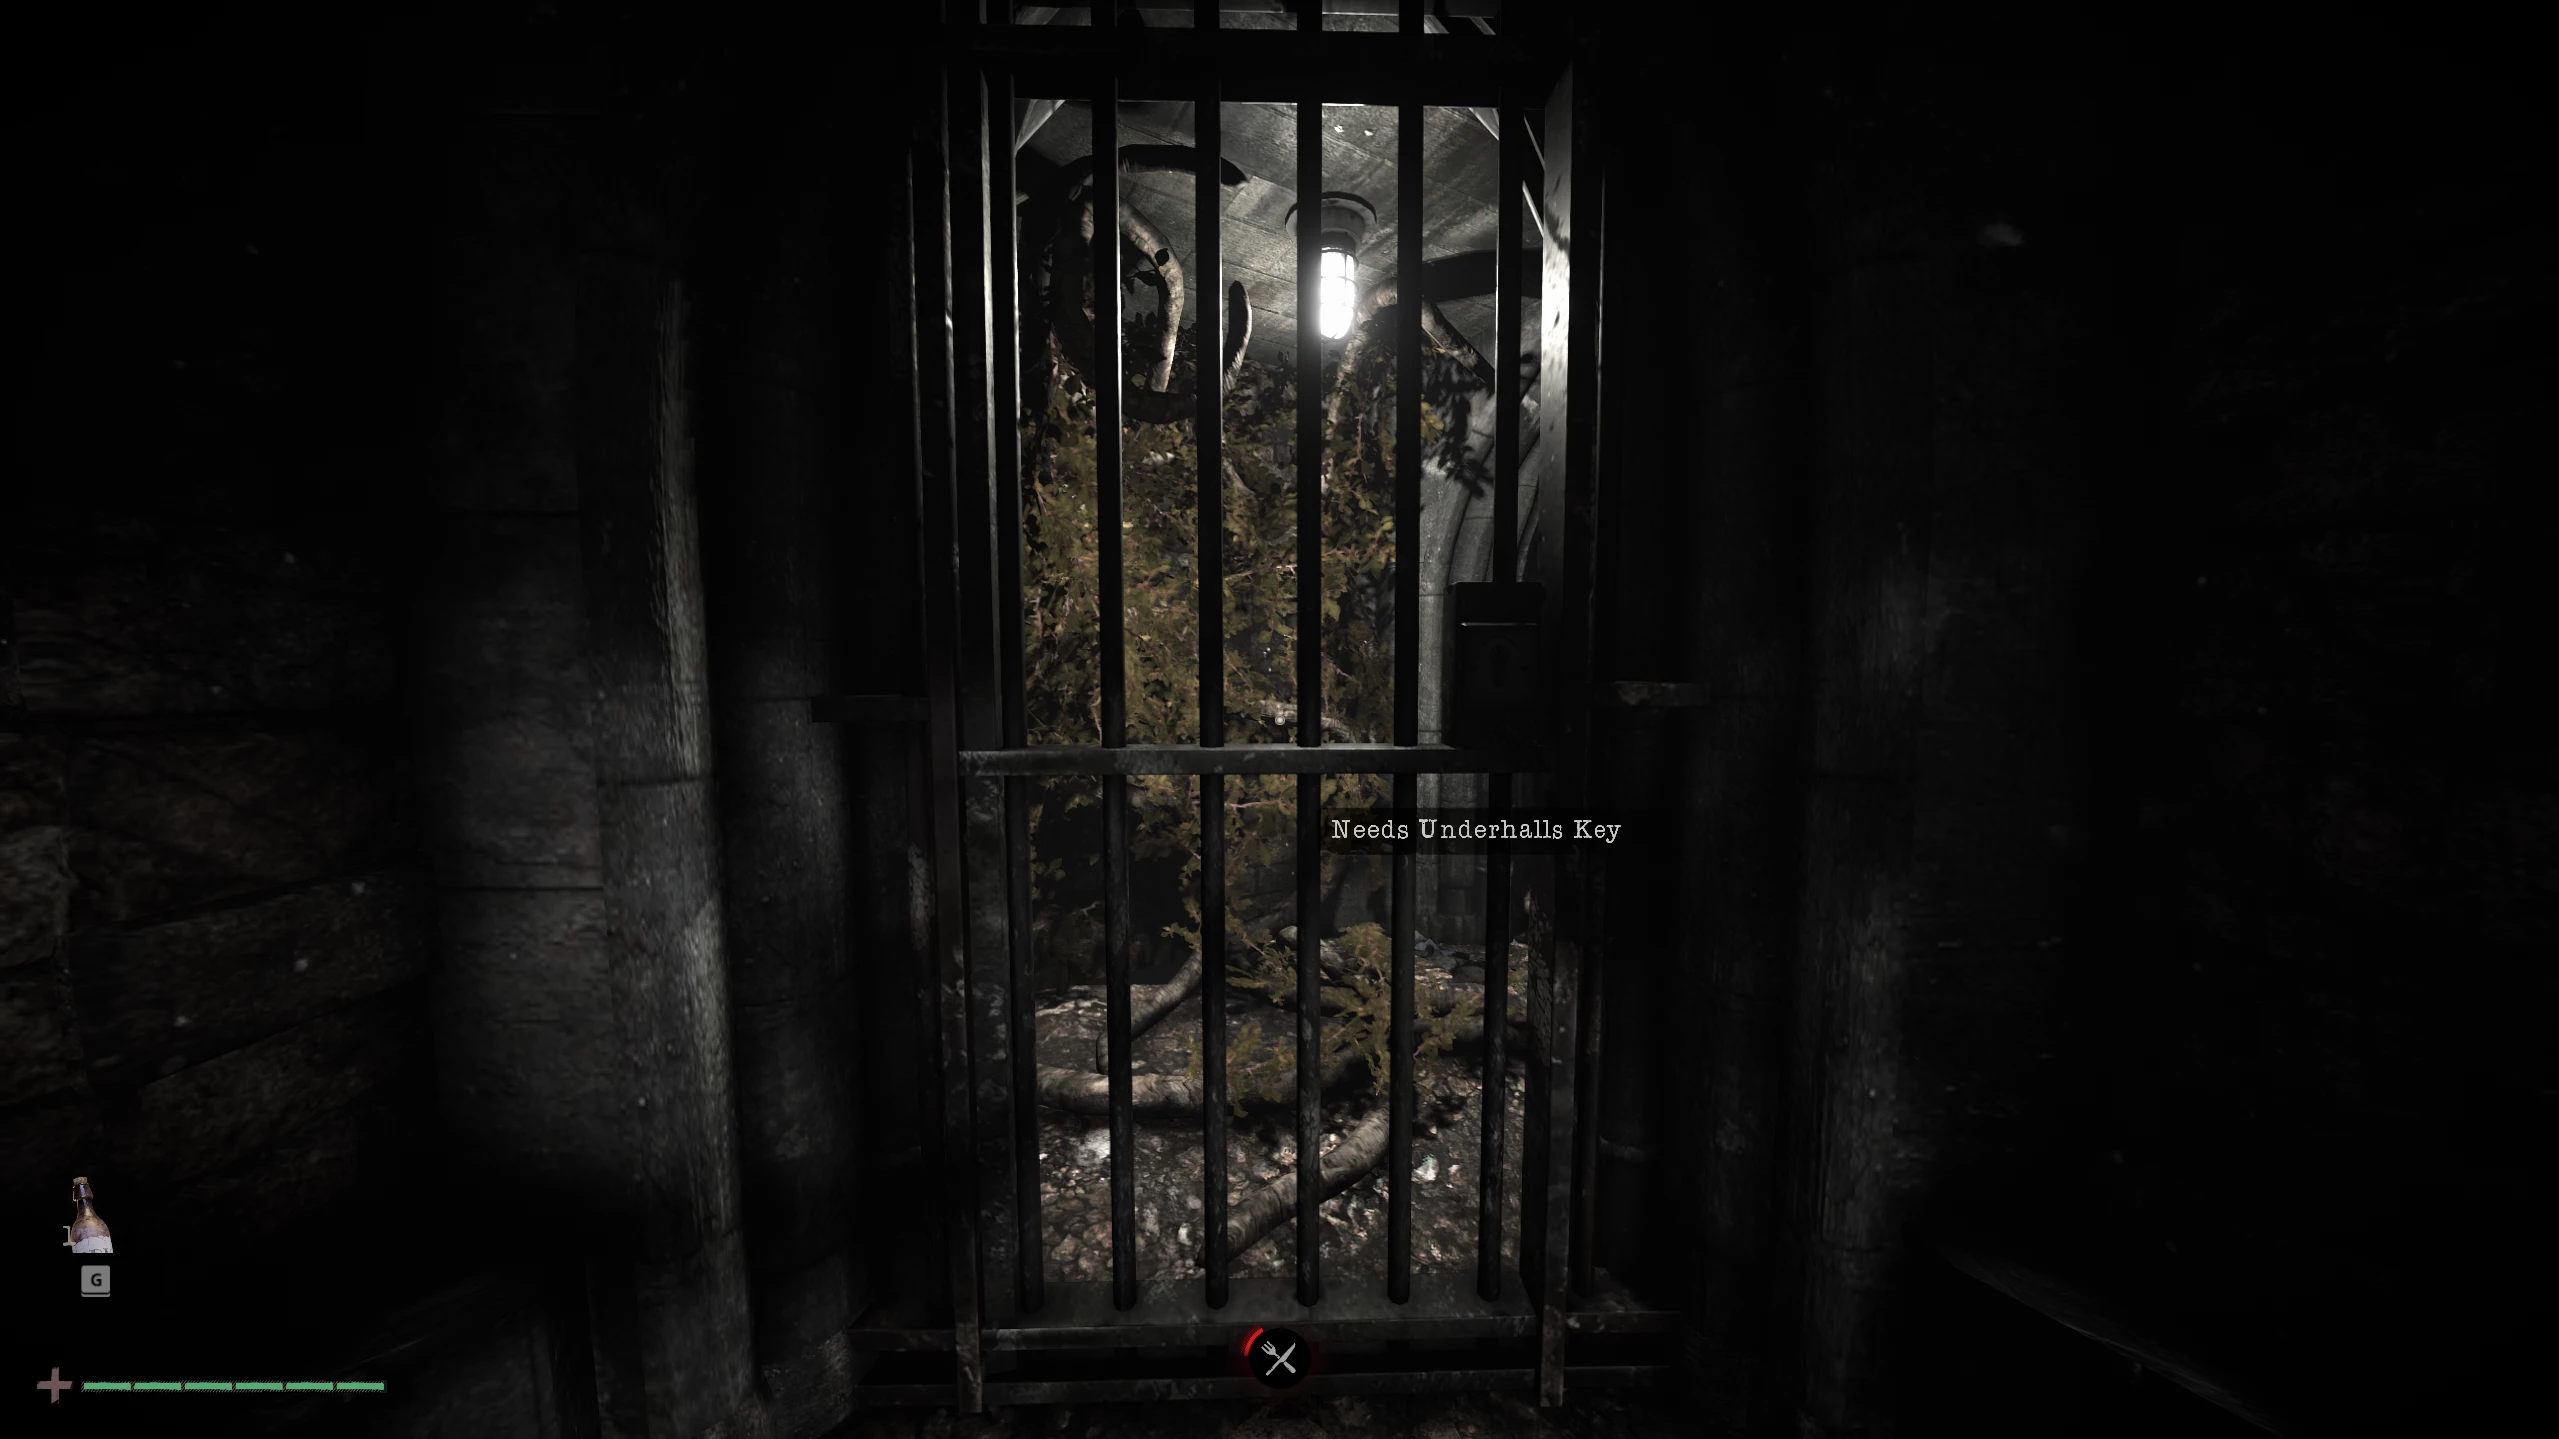
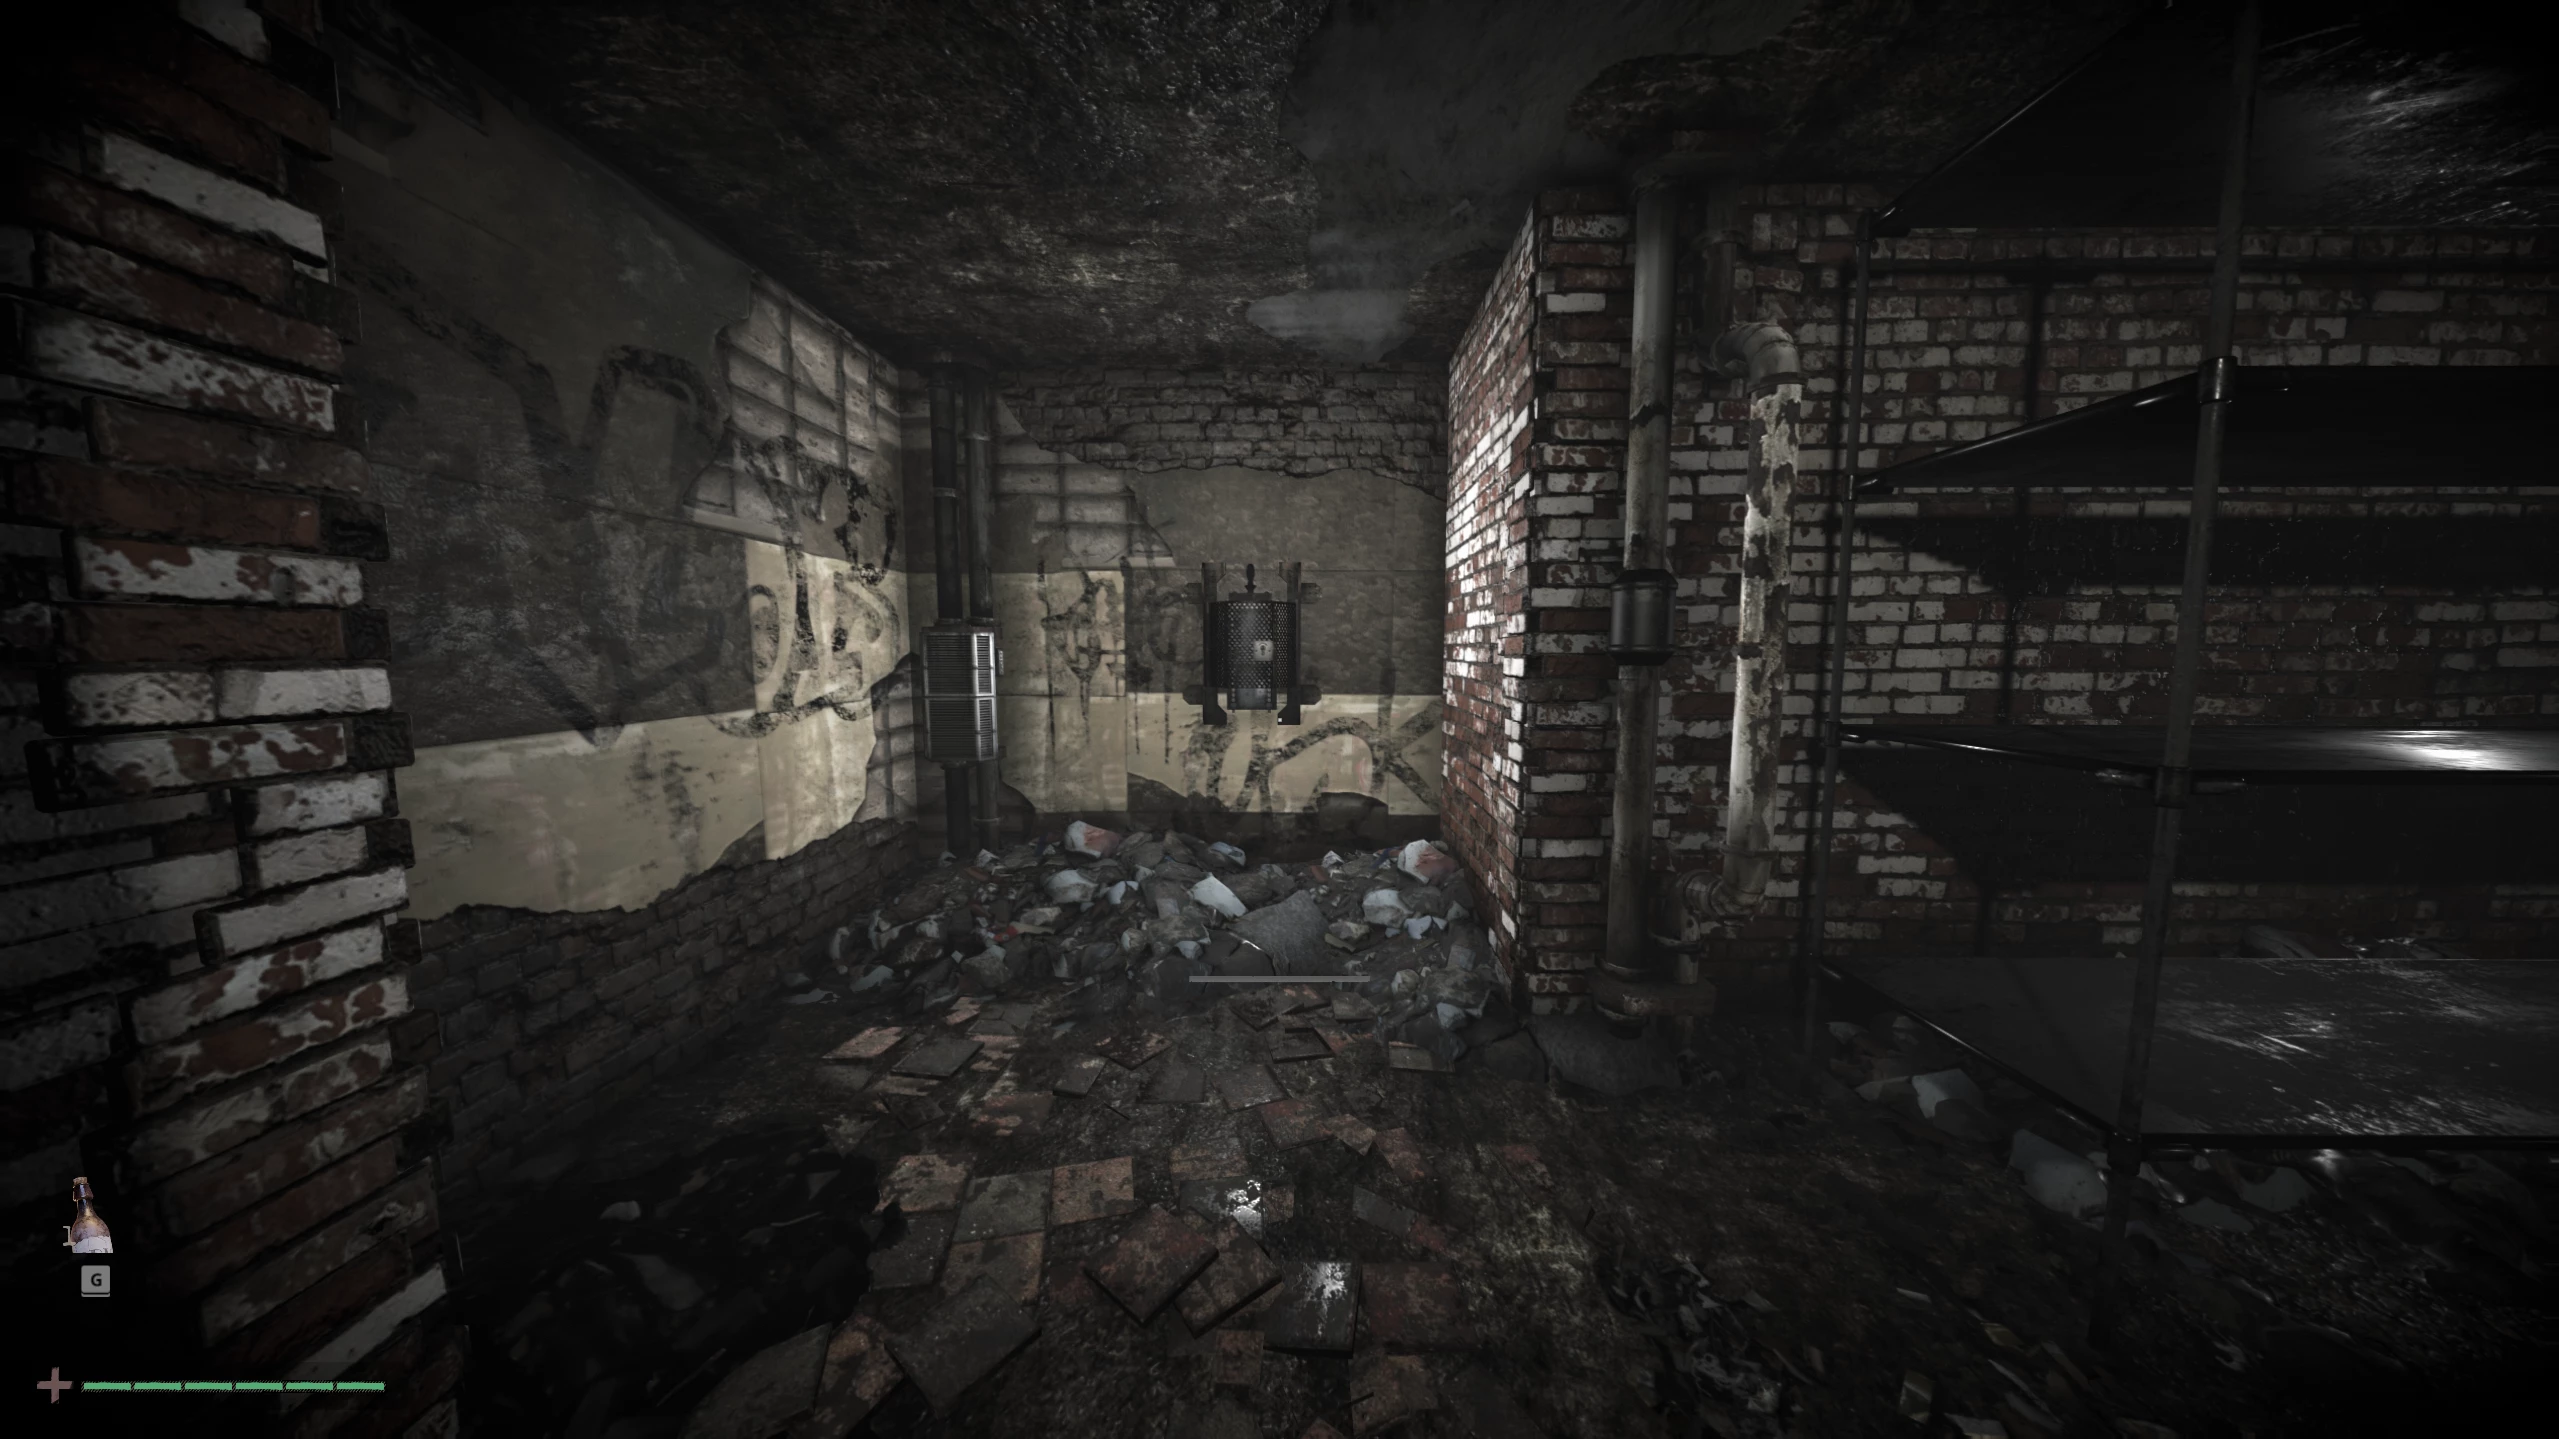
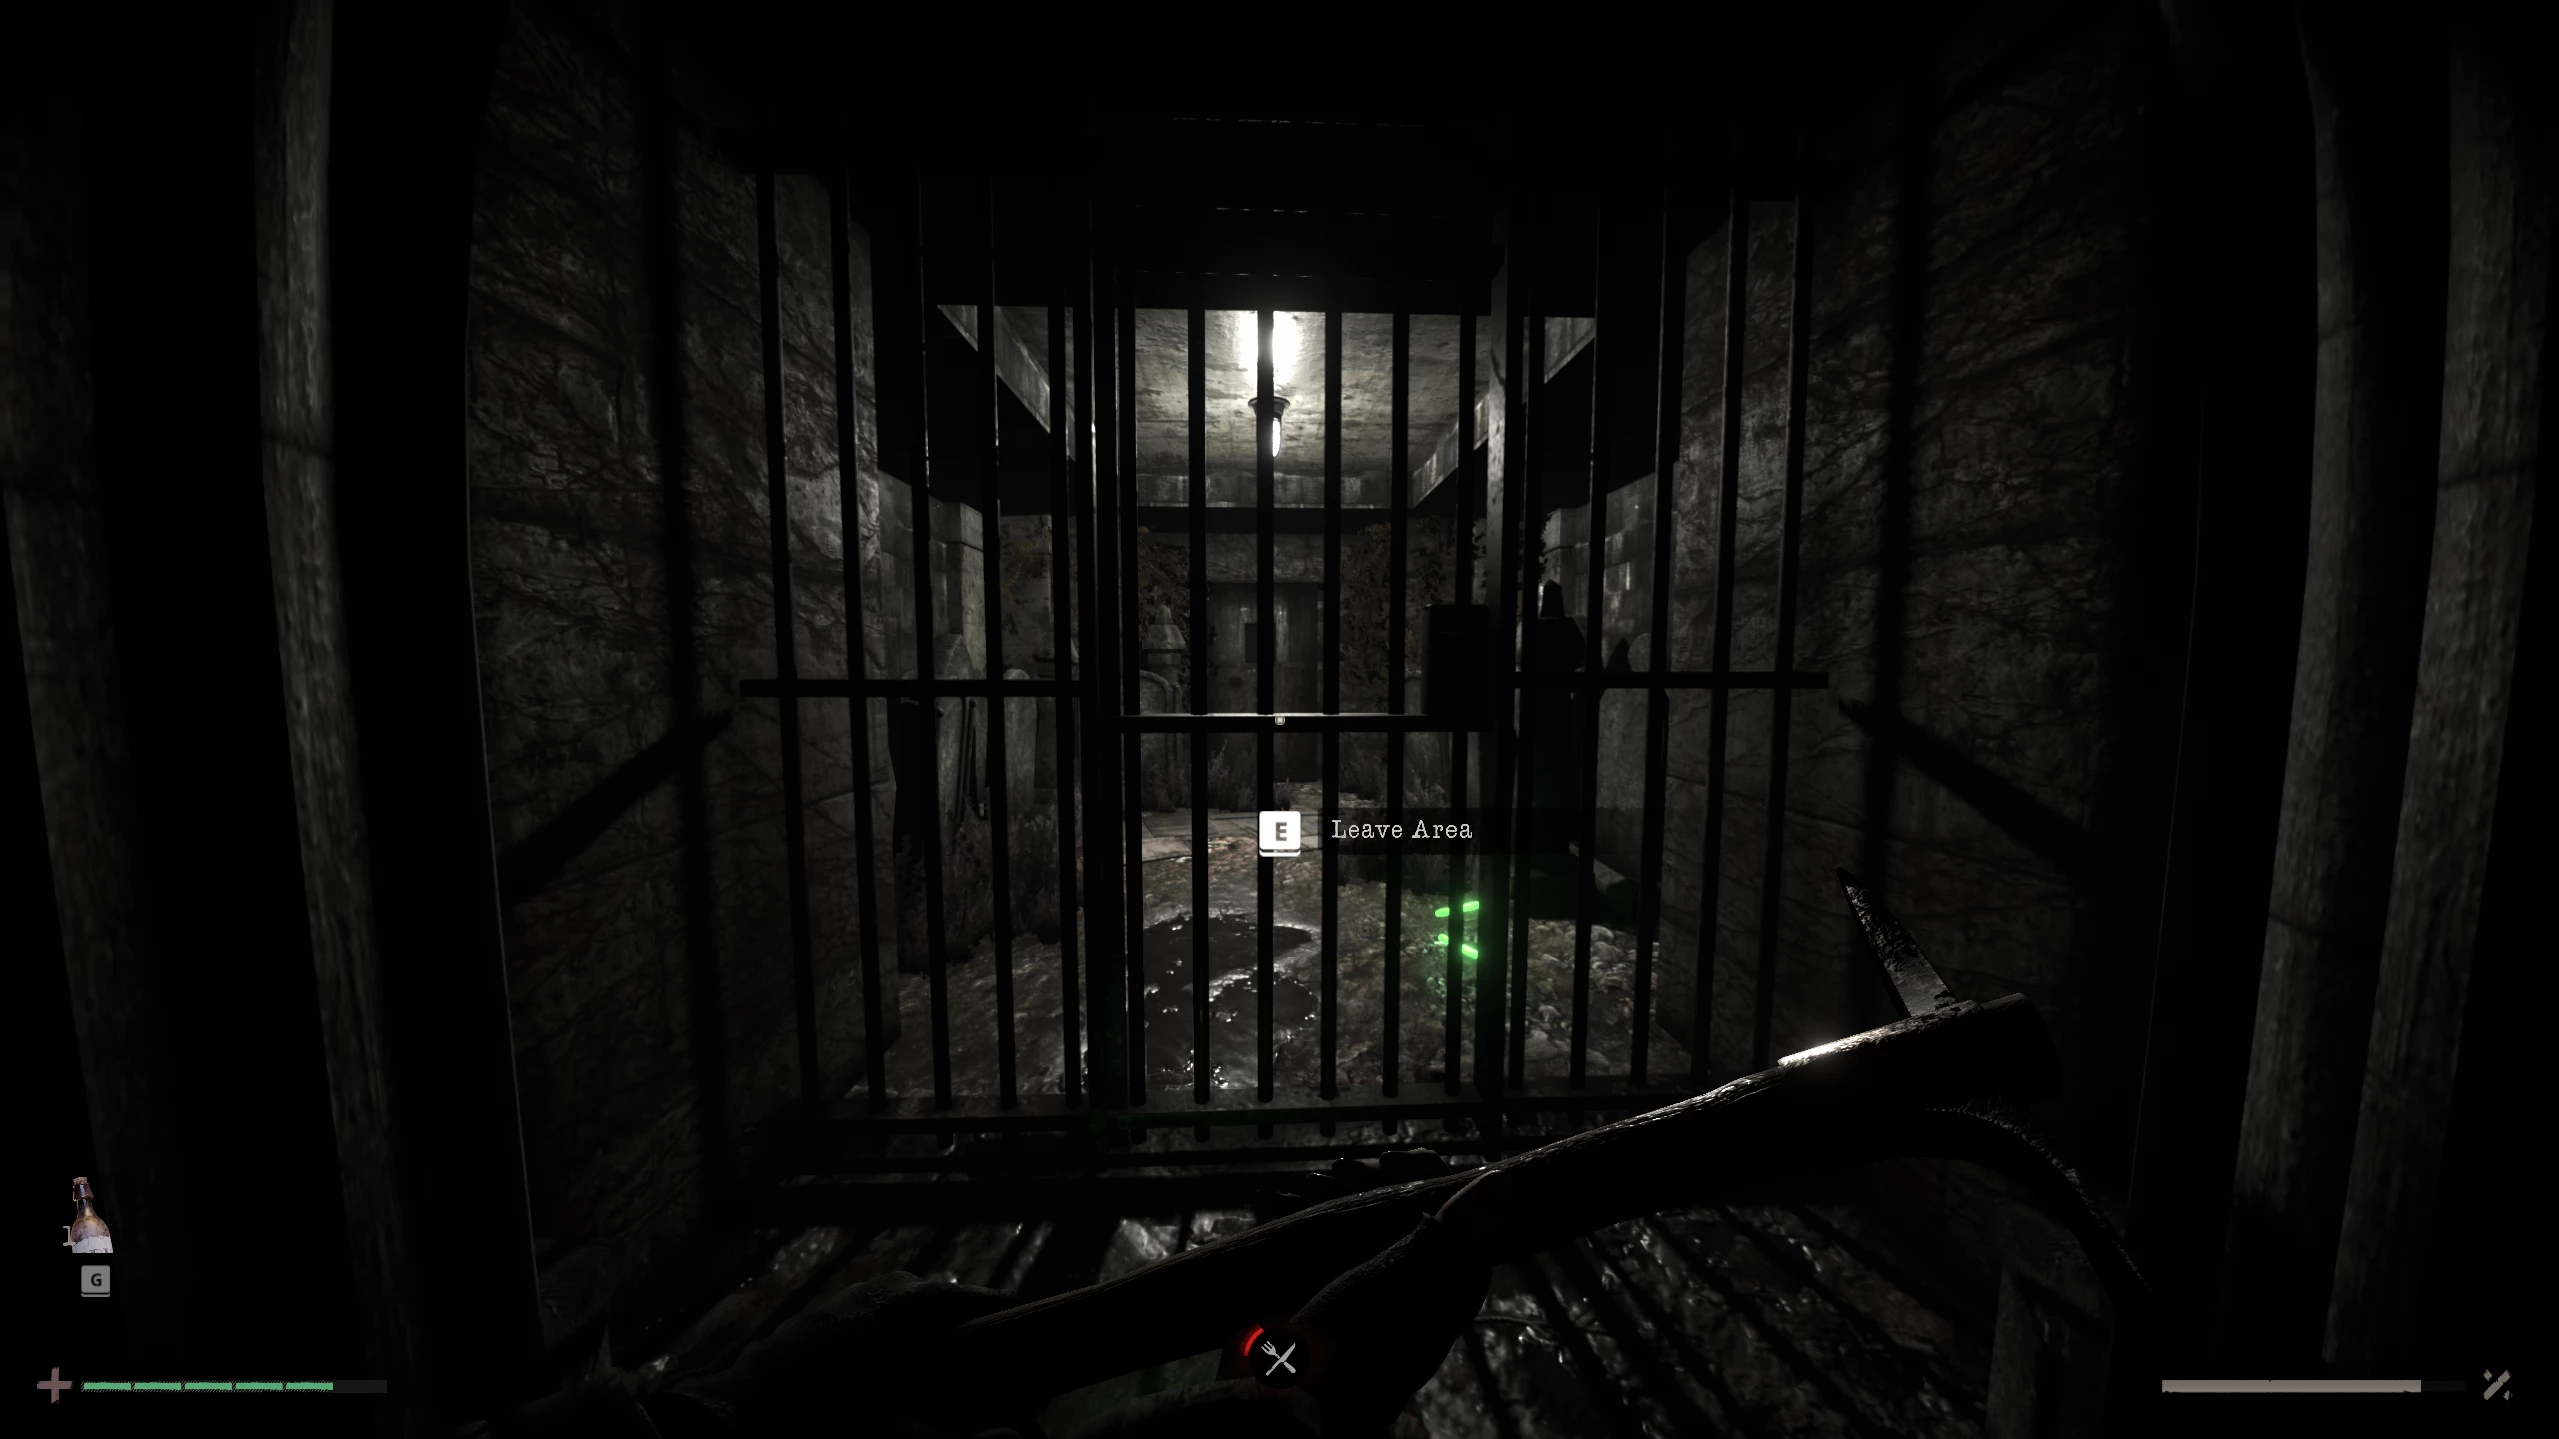
The basement key can be used to open the previously locked grated door in the center of the island. Go to the required location and use the item.
Workshop
The passage leads us to a workshop with a record player for saving.
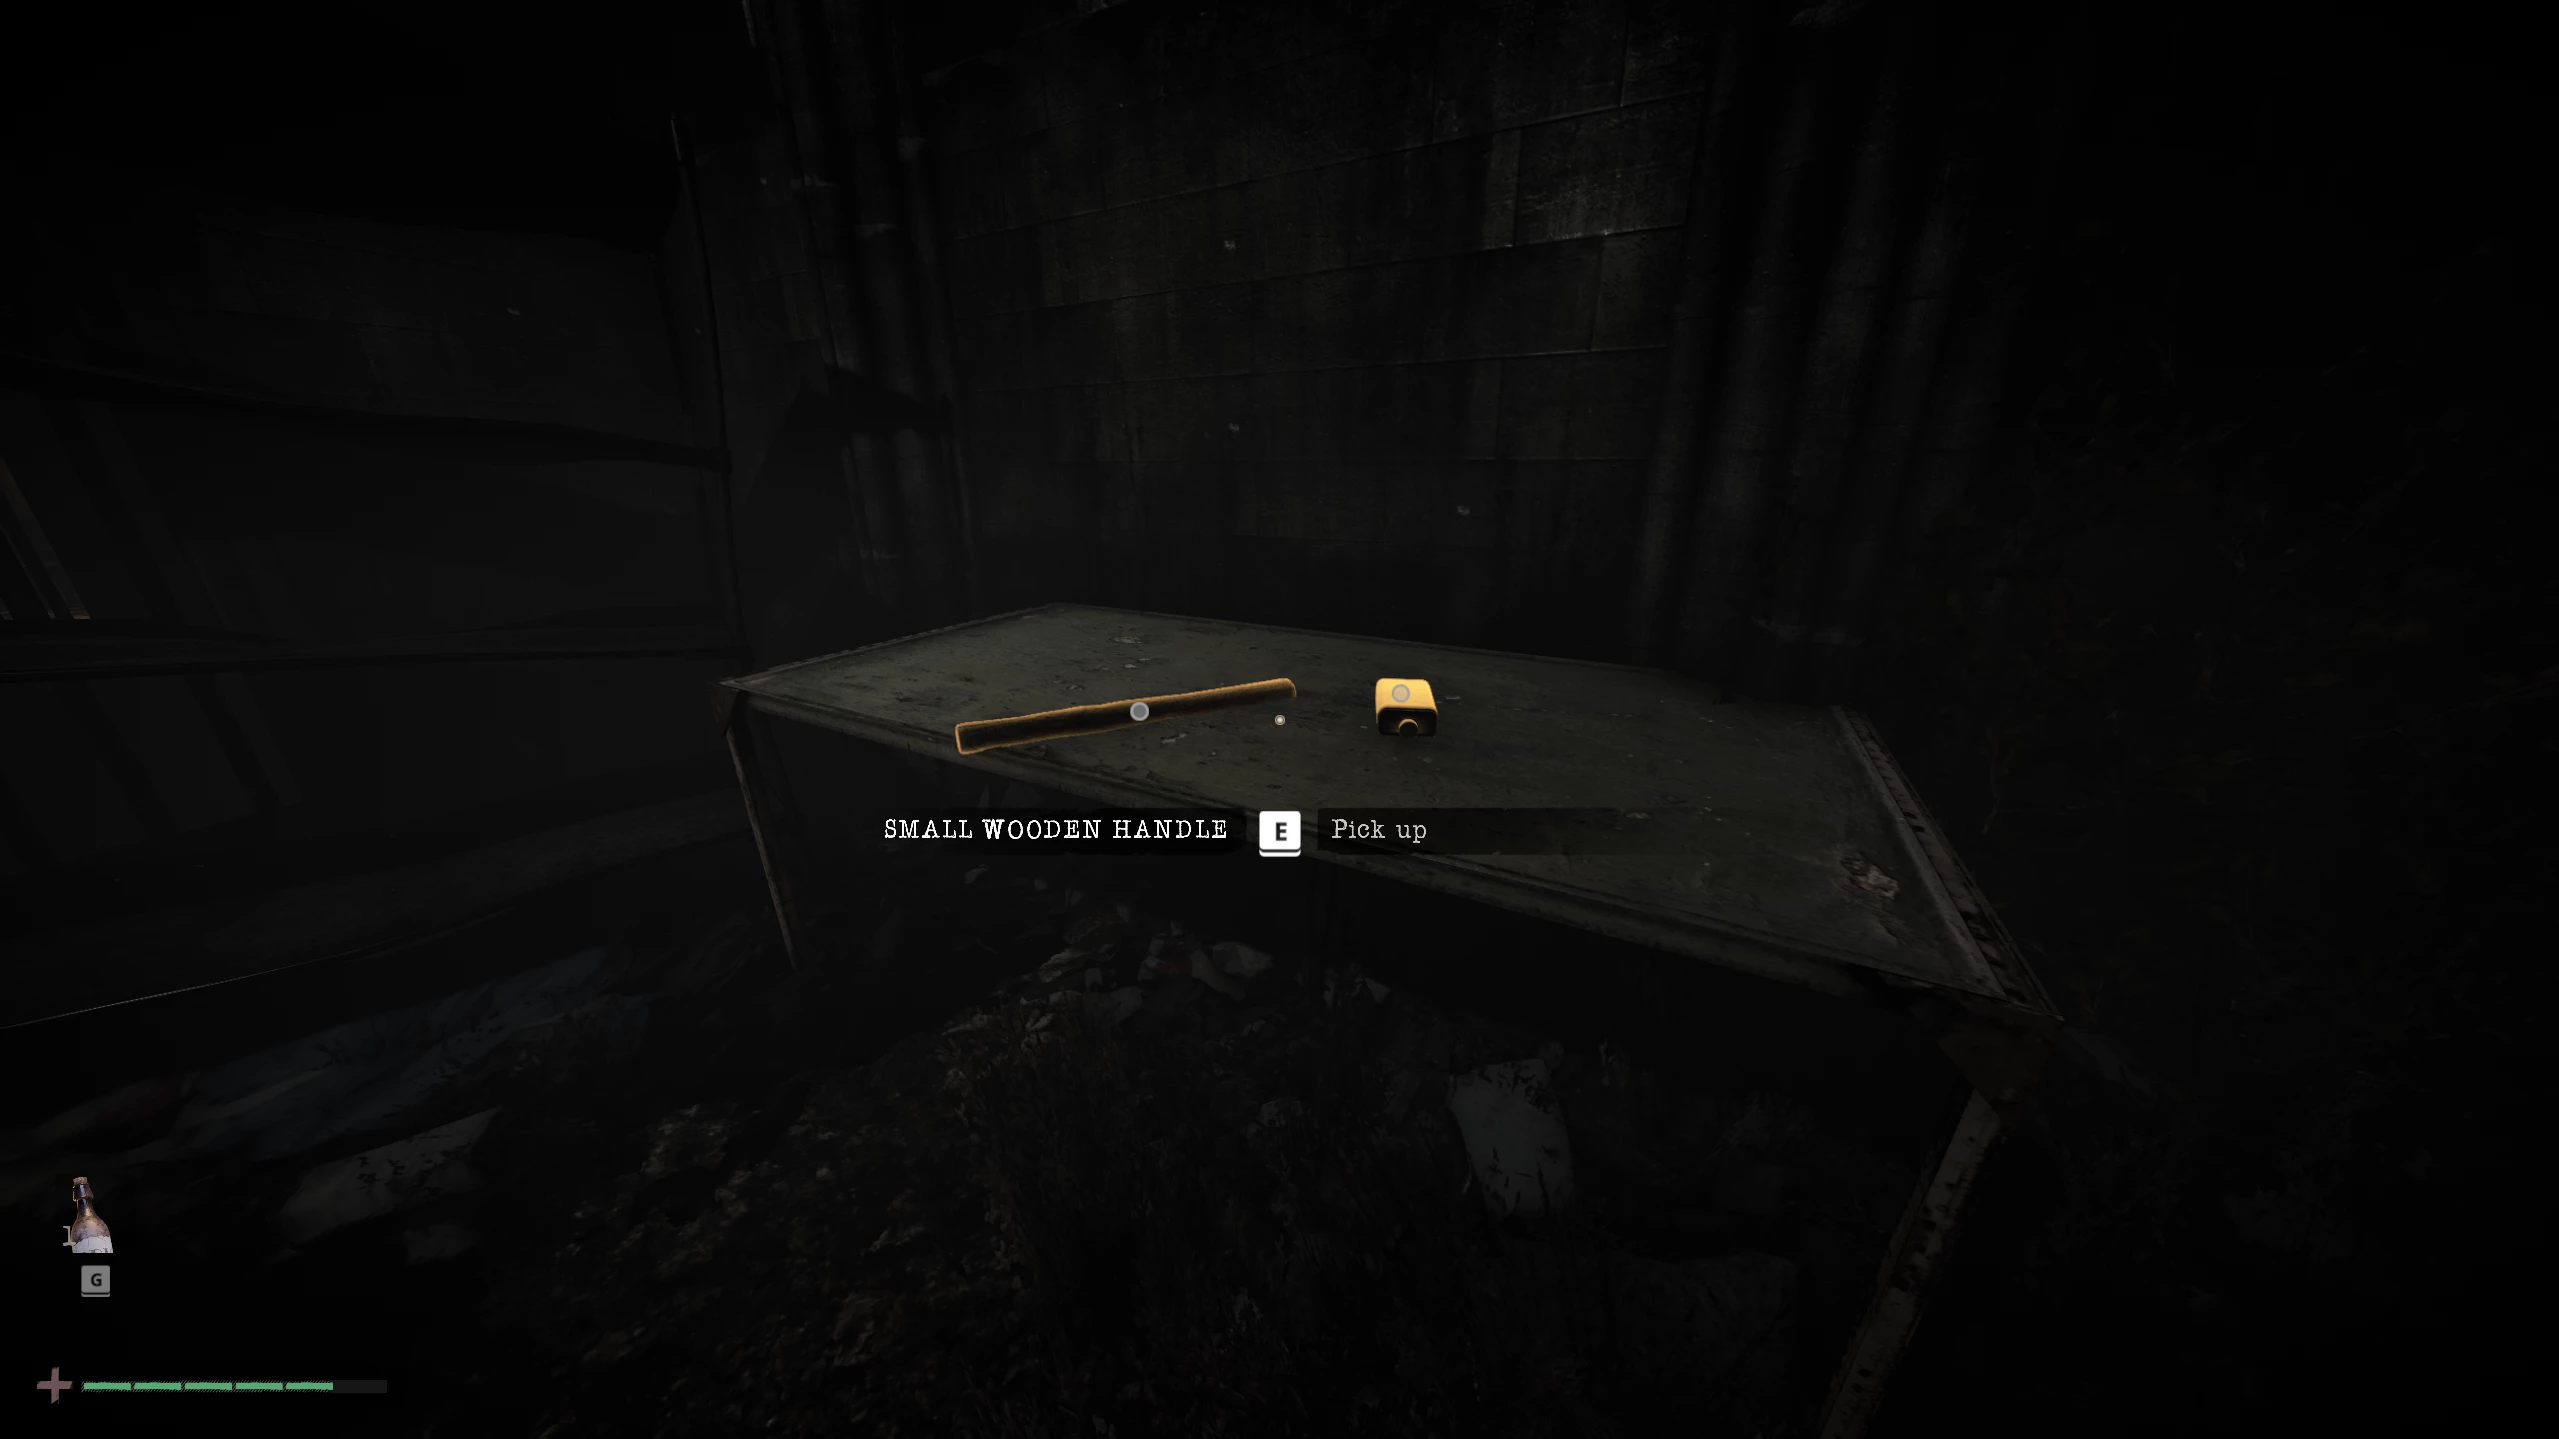
Pick up the pickaxe recipe on the table, go right and take the wooden handle along with the wood glue.

Return to the workbench, combine the steel part of the pickaxe, the wooden handle, and the glue to get a complete pickaxe. Save your progress, break the boards on the left, and enter the open arena where you can fight back against monsters for the first time.
Kill the first ghoul with the pickaxe, then eliminate his companion behind you as well.
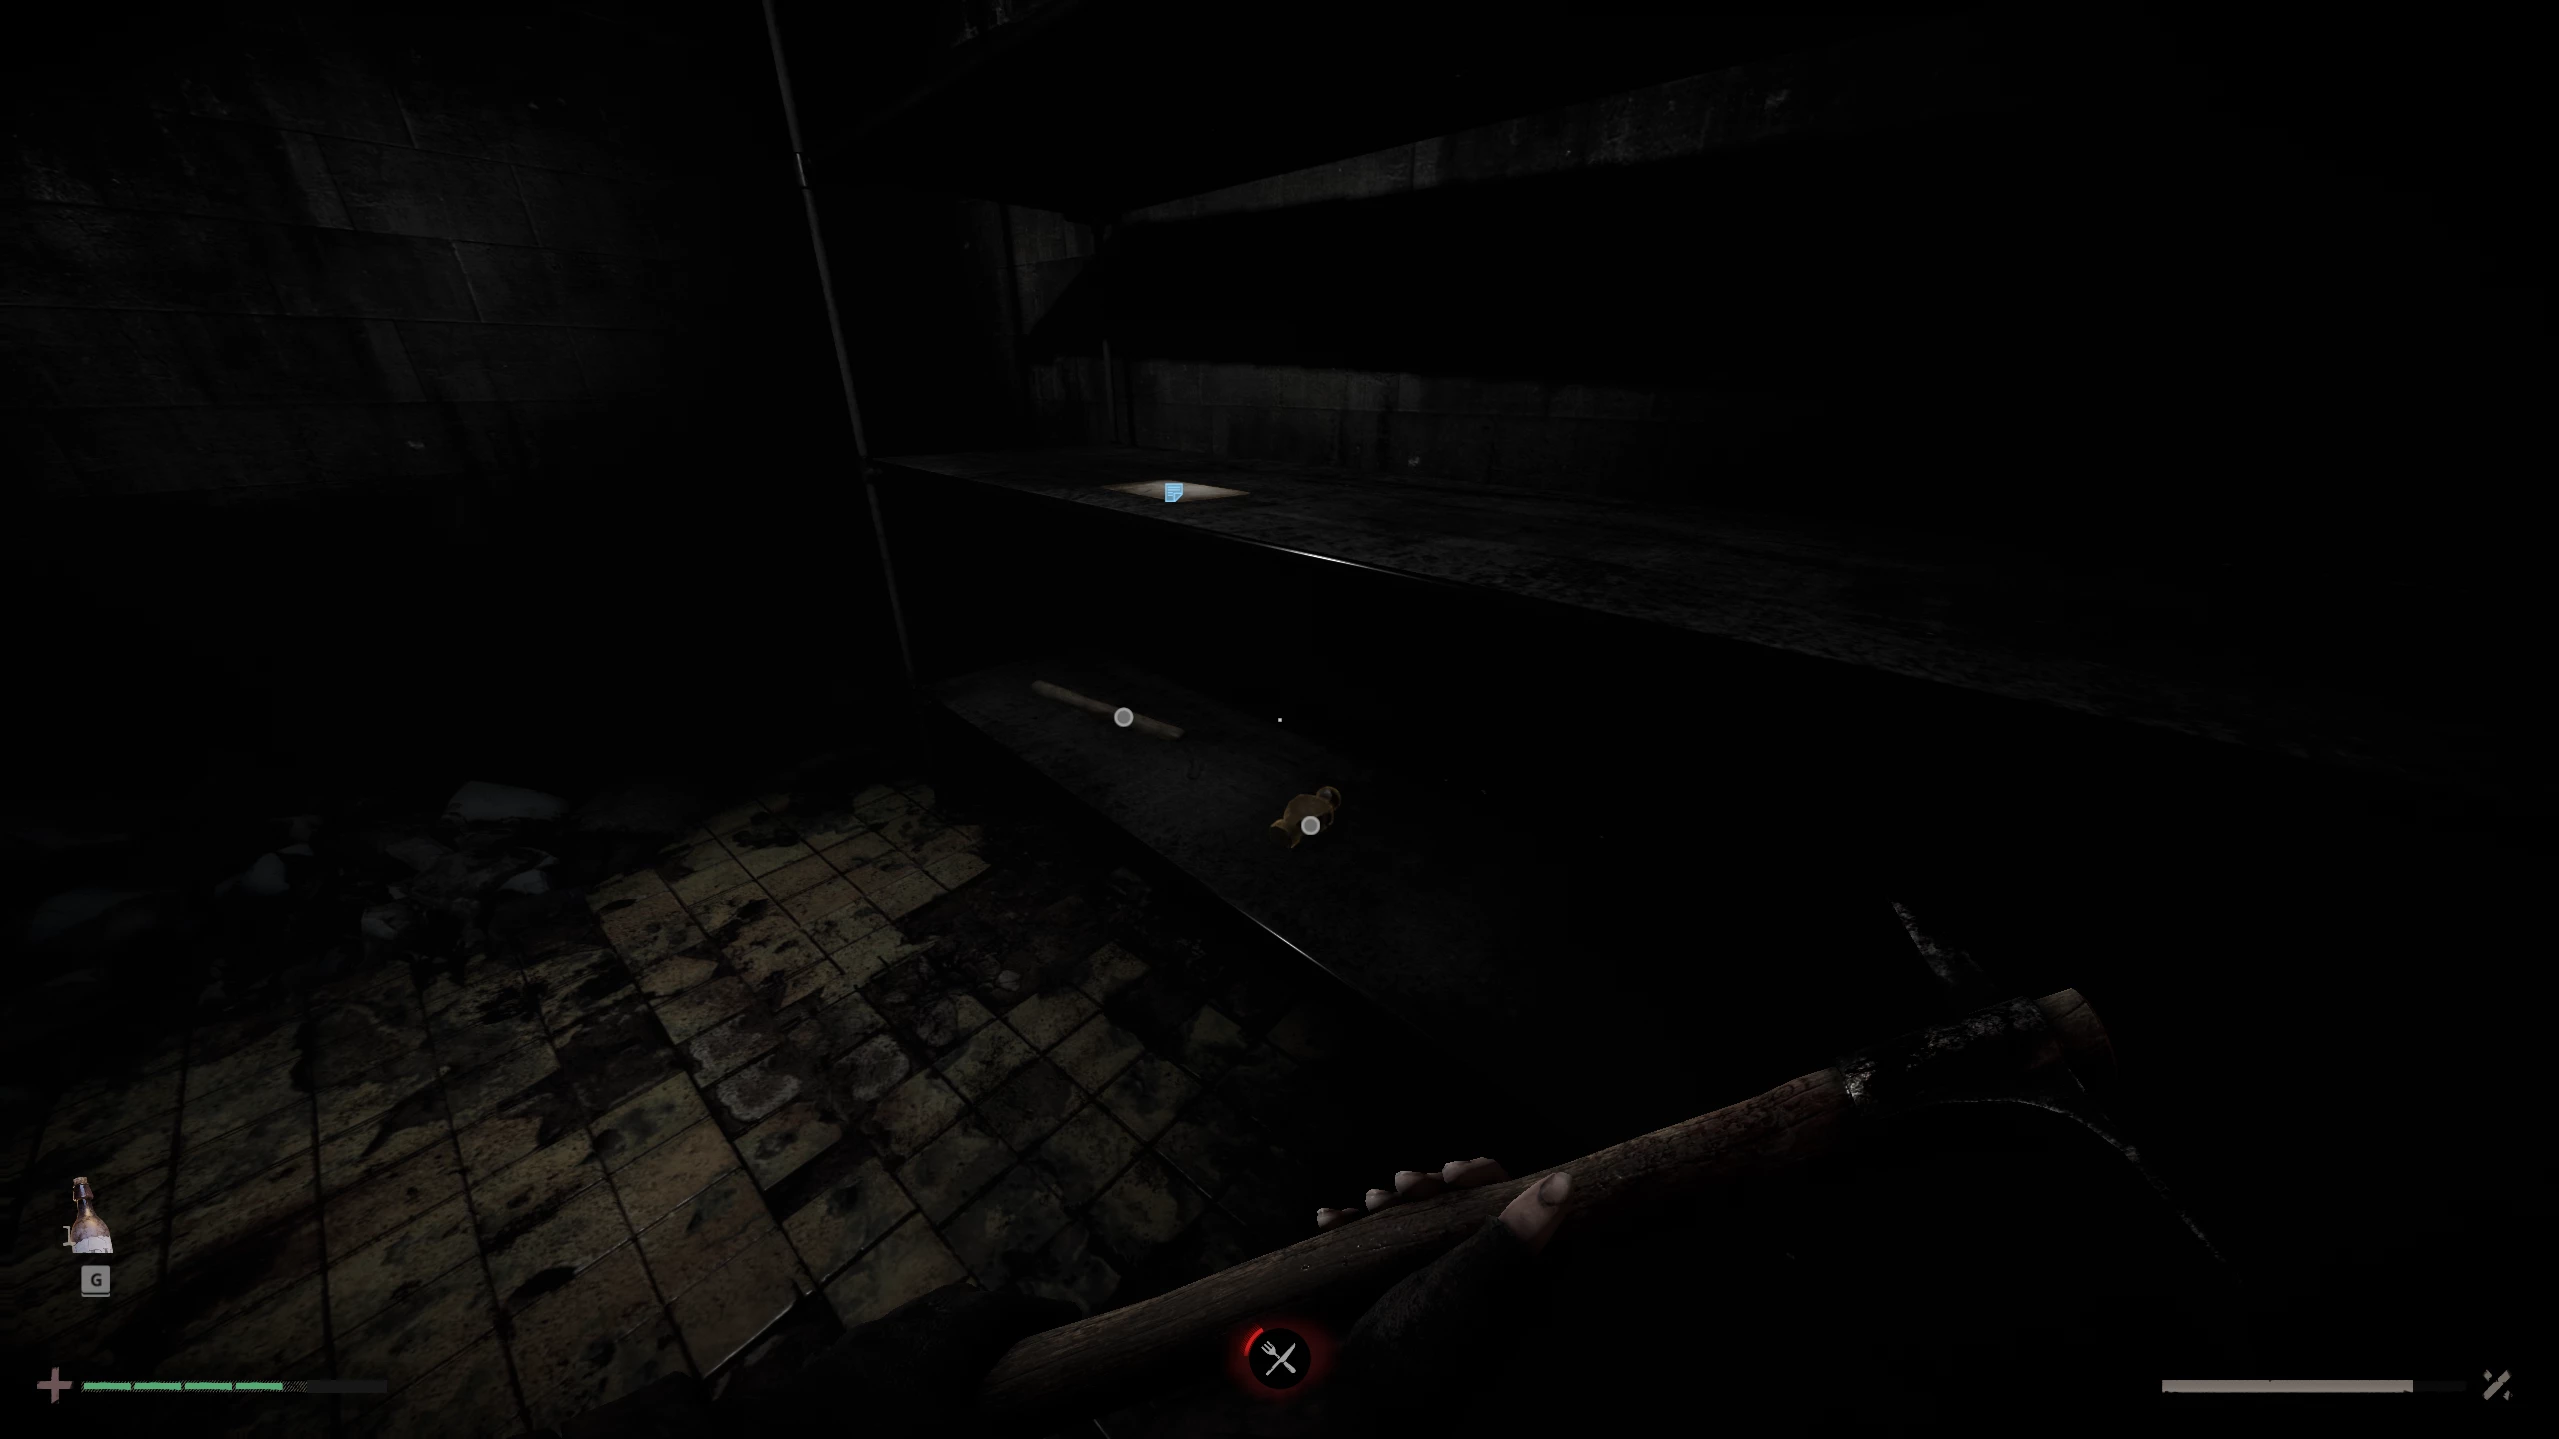
In the room he came from, you can find the hammer recipe, a wooden handle, and a tool head. All that's left is to find the glue, but we'll tell you about its location a bit later.
Next, go straight, turn right, and fight the third ghoul.
Go left, open the grate, and go through the door ahead, after which the second chapter begins.
-
 Baldur’s Gate 3 Romance Guide: Every Companion You Can Date
 -
 Baldur’s Gate 3 Adamantine Forge Guide
 -
 Baldur’s Gate 3 Infernal Iron Locations for Karlach
 -
 How to Find All Companion Characters in Baldur's Gate 3
 -
 Baldur’s Gate 3 Moonrise Towers Guide: Defiled Temple Moon Puzzle
 -
 How to Open Selune’s Gilded Chest in Baldur’s Gate 3
 -
 Baldur’s Gate 3 Owlbear Cub Guide: How to Recruit It to Your Camp
 -
 Baldur’s Gate 3 Open Hand Temple Murders Guide
 -
 Palworld 1.0 Best Pals for Early Game, Combat, Bases, and Mounts